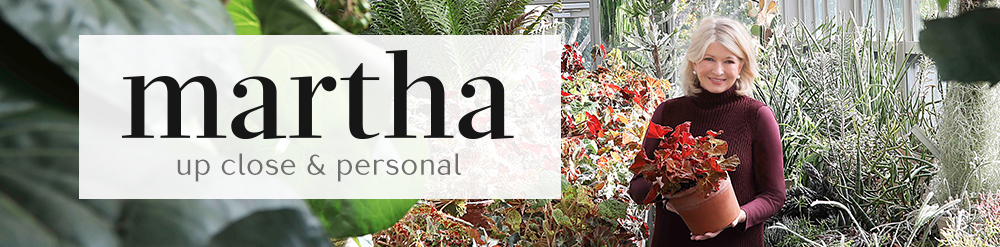
Do you have a favorite classic neighborhood restaurant? One that's known for its delicious homemade dishes and traditional and relaxed décor?
I've been dining at New York City's Elio's for 35-years. In fact, it was where I had my first date after my divorce in 1989. Elio's is a charming old-world Italian establishment on east 84th Street that has been delighting loyal guests for decades since the late Elio Guaitolini and his business partner, Anne Isaak, first opened it in 1981. Recently, I shared a most pleasant and delicious business dinner at Elio's with dear friends - longtime publicist, Susan Magrino, and Kevin Sharkey, EVP Director of Design at Marquee Brands. Among the plates we enjoyed - Lasagne Bolognese, Soft Shell Crabs, and Beef Carpaccio with Salsa Verde.
Here are some photos, enjoy.
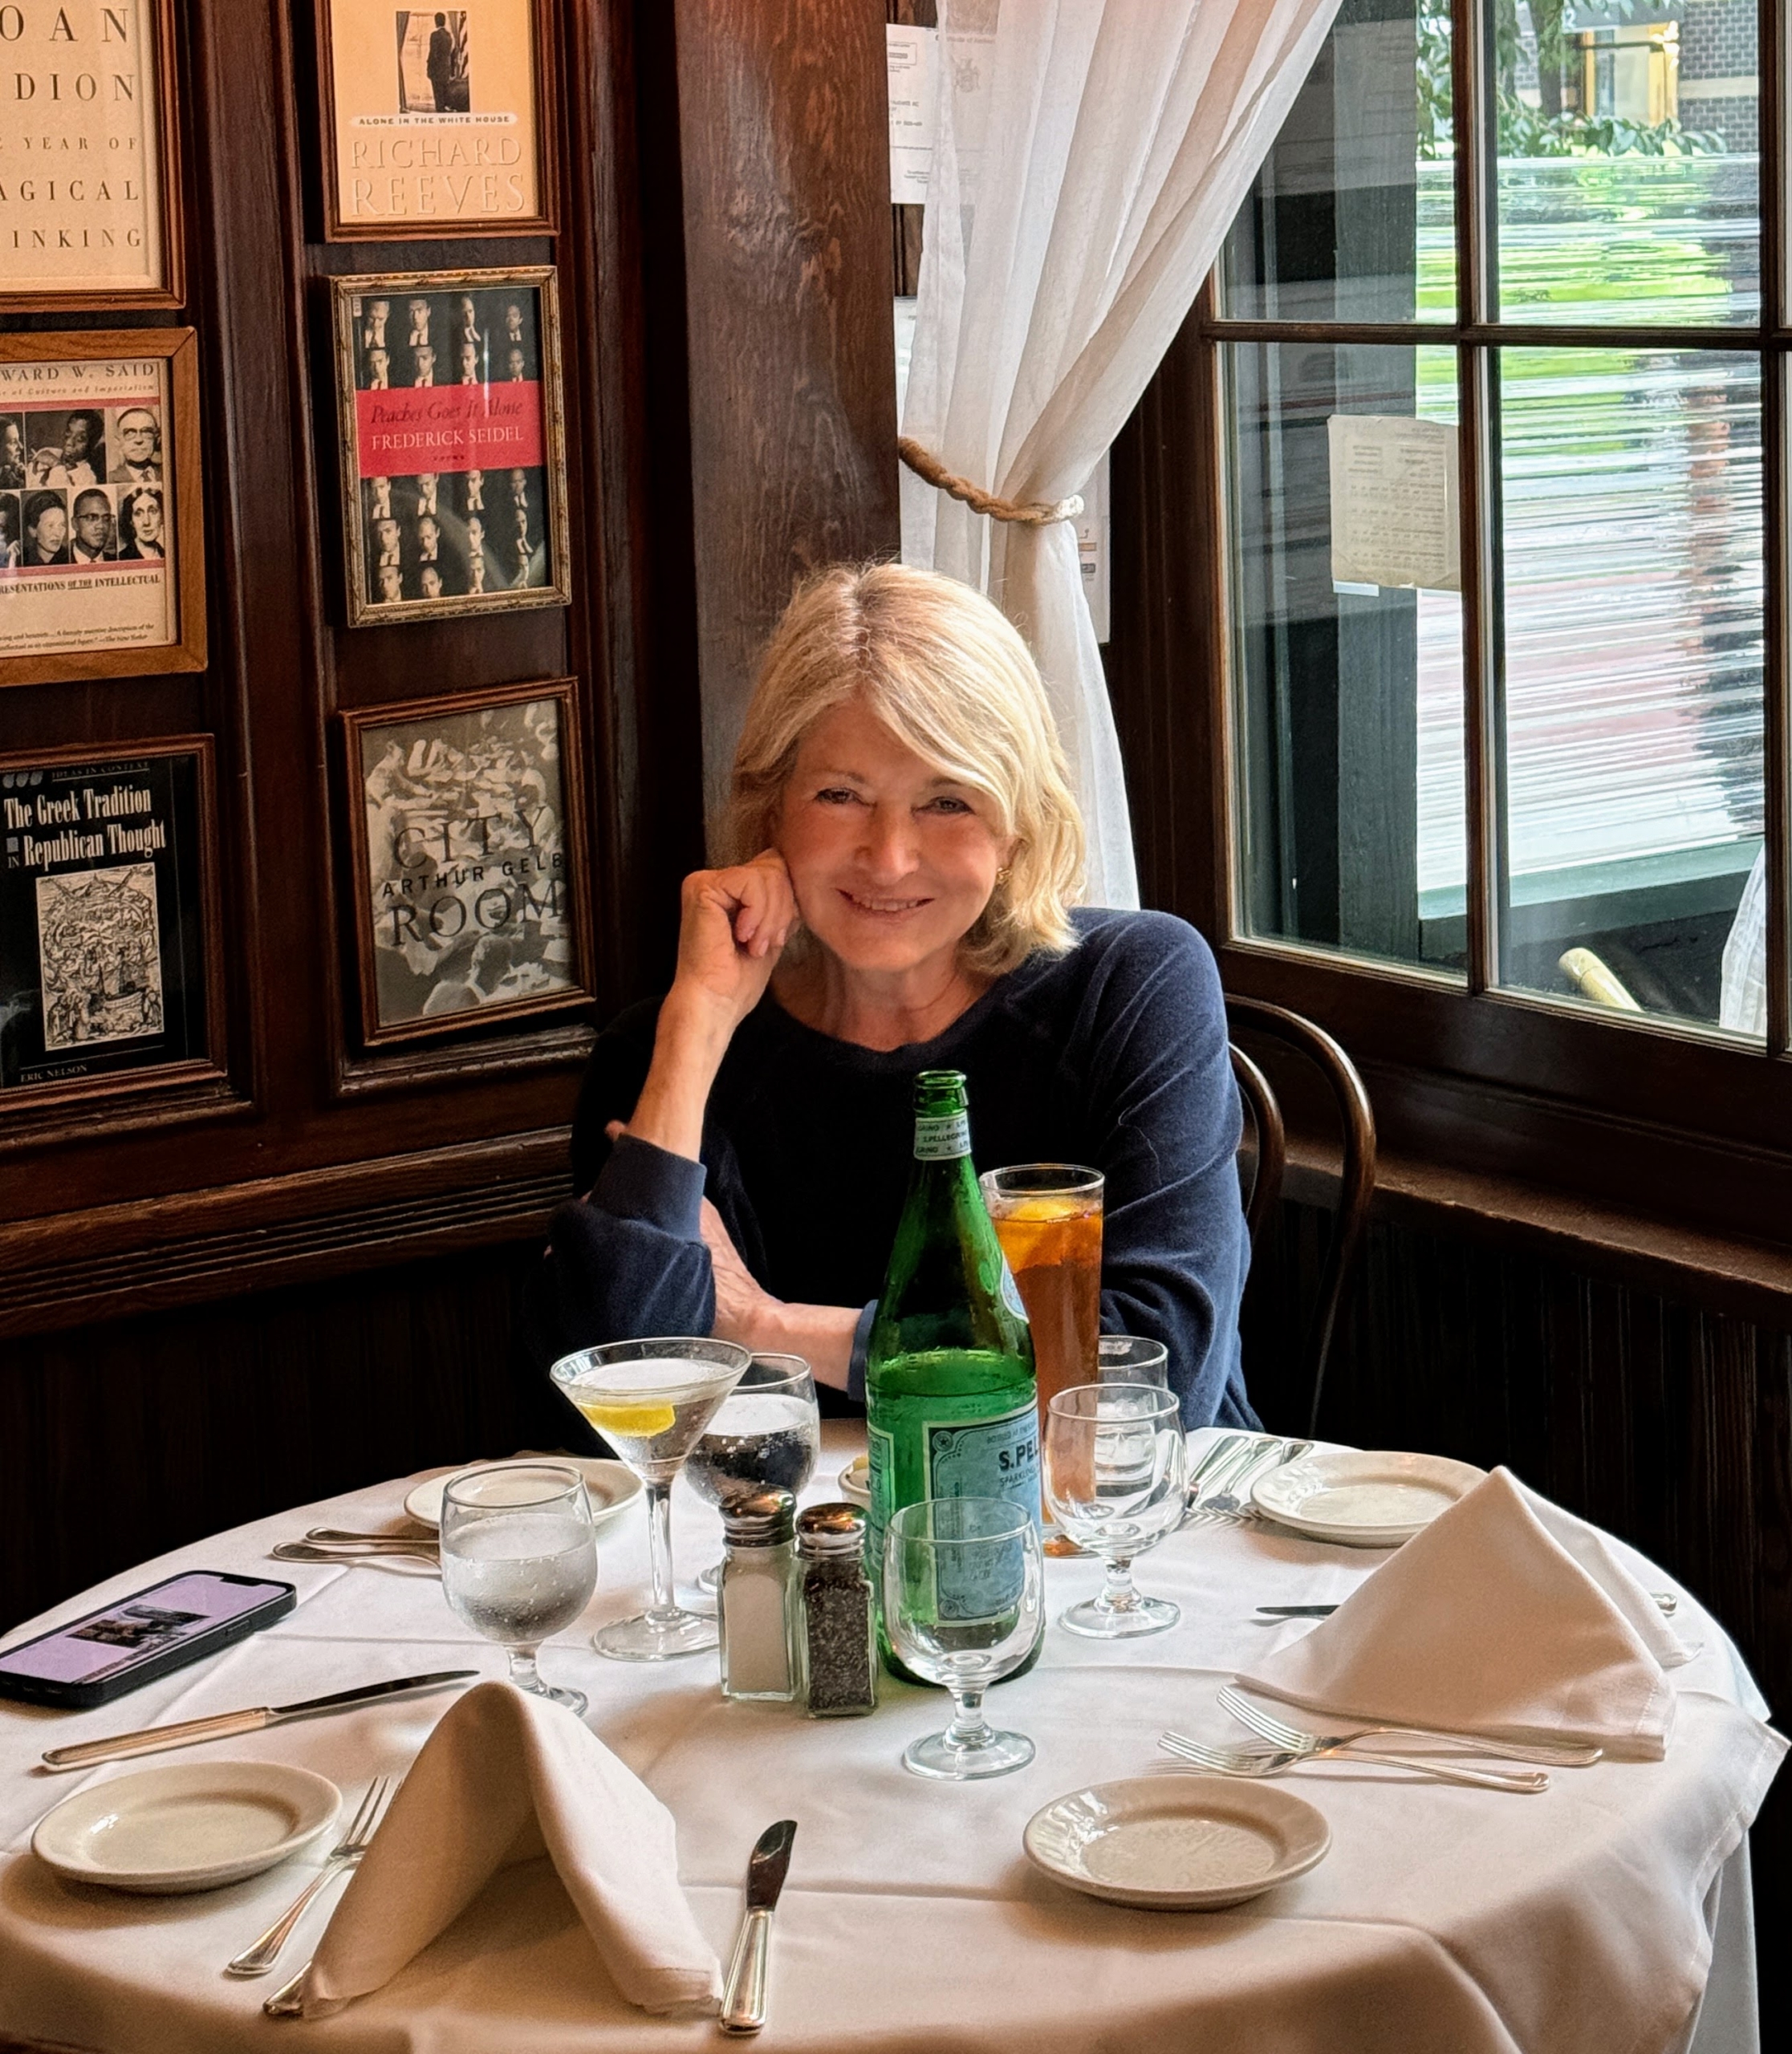
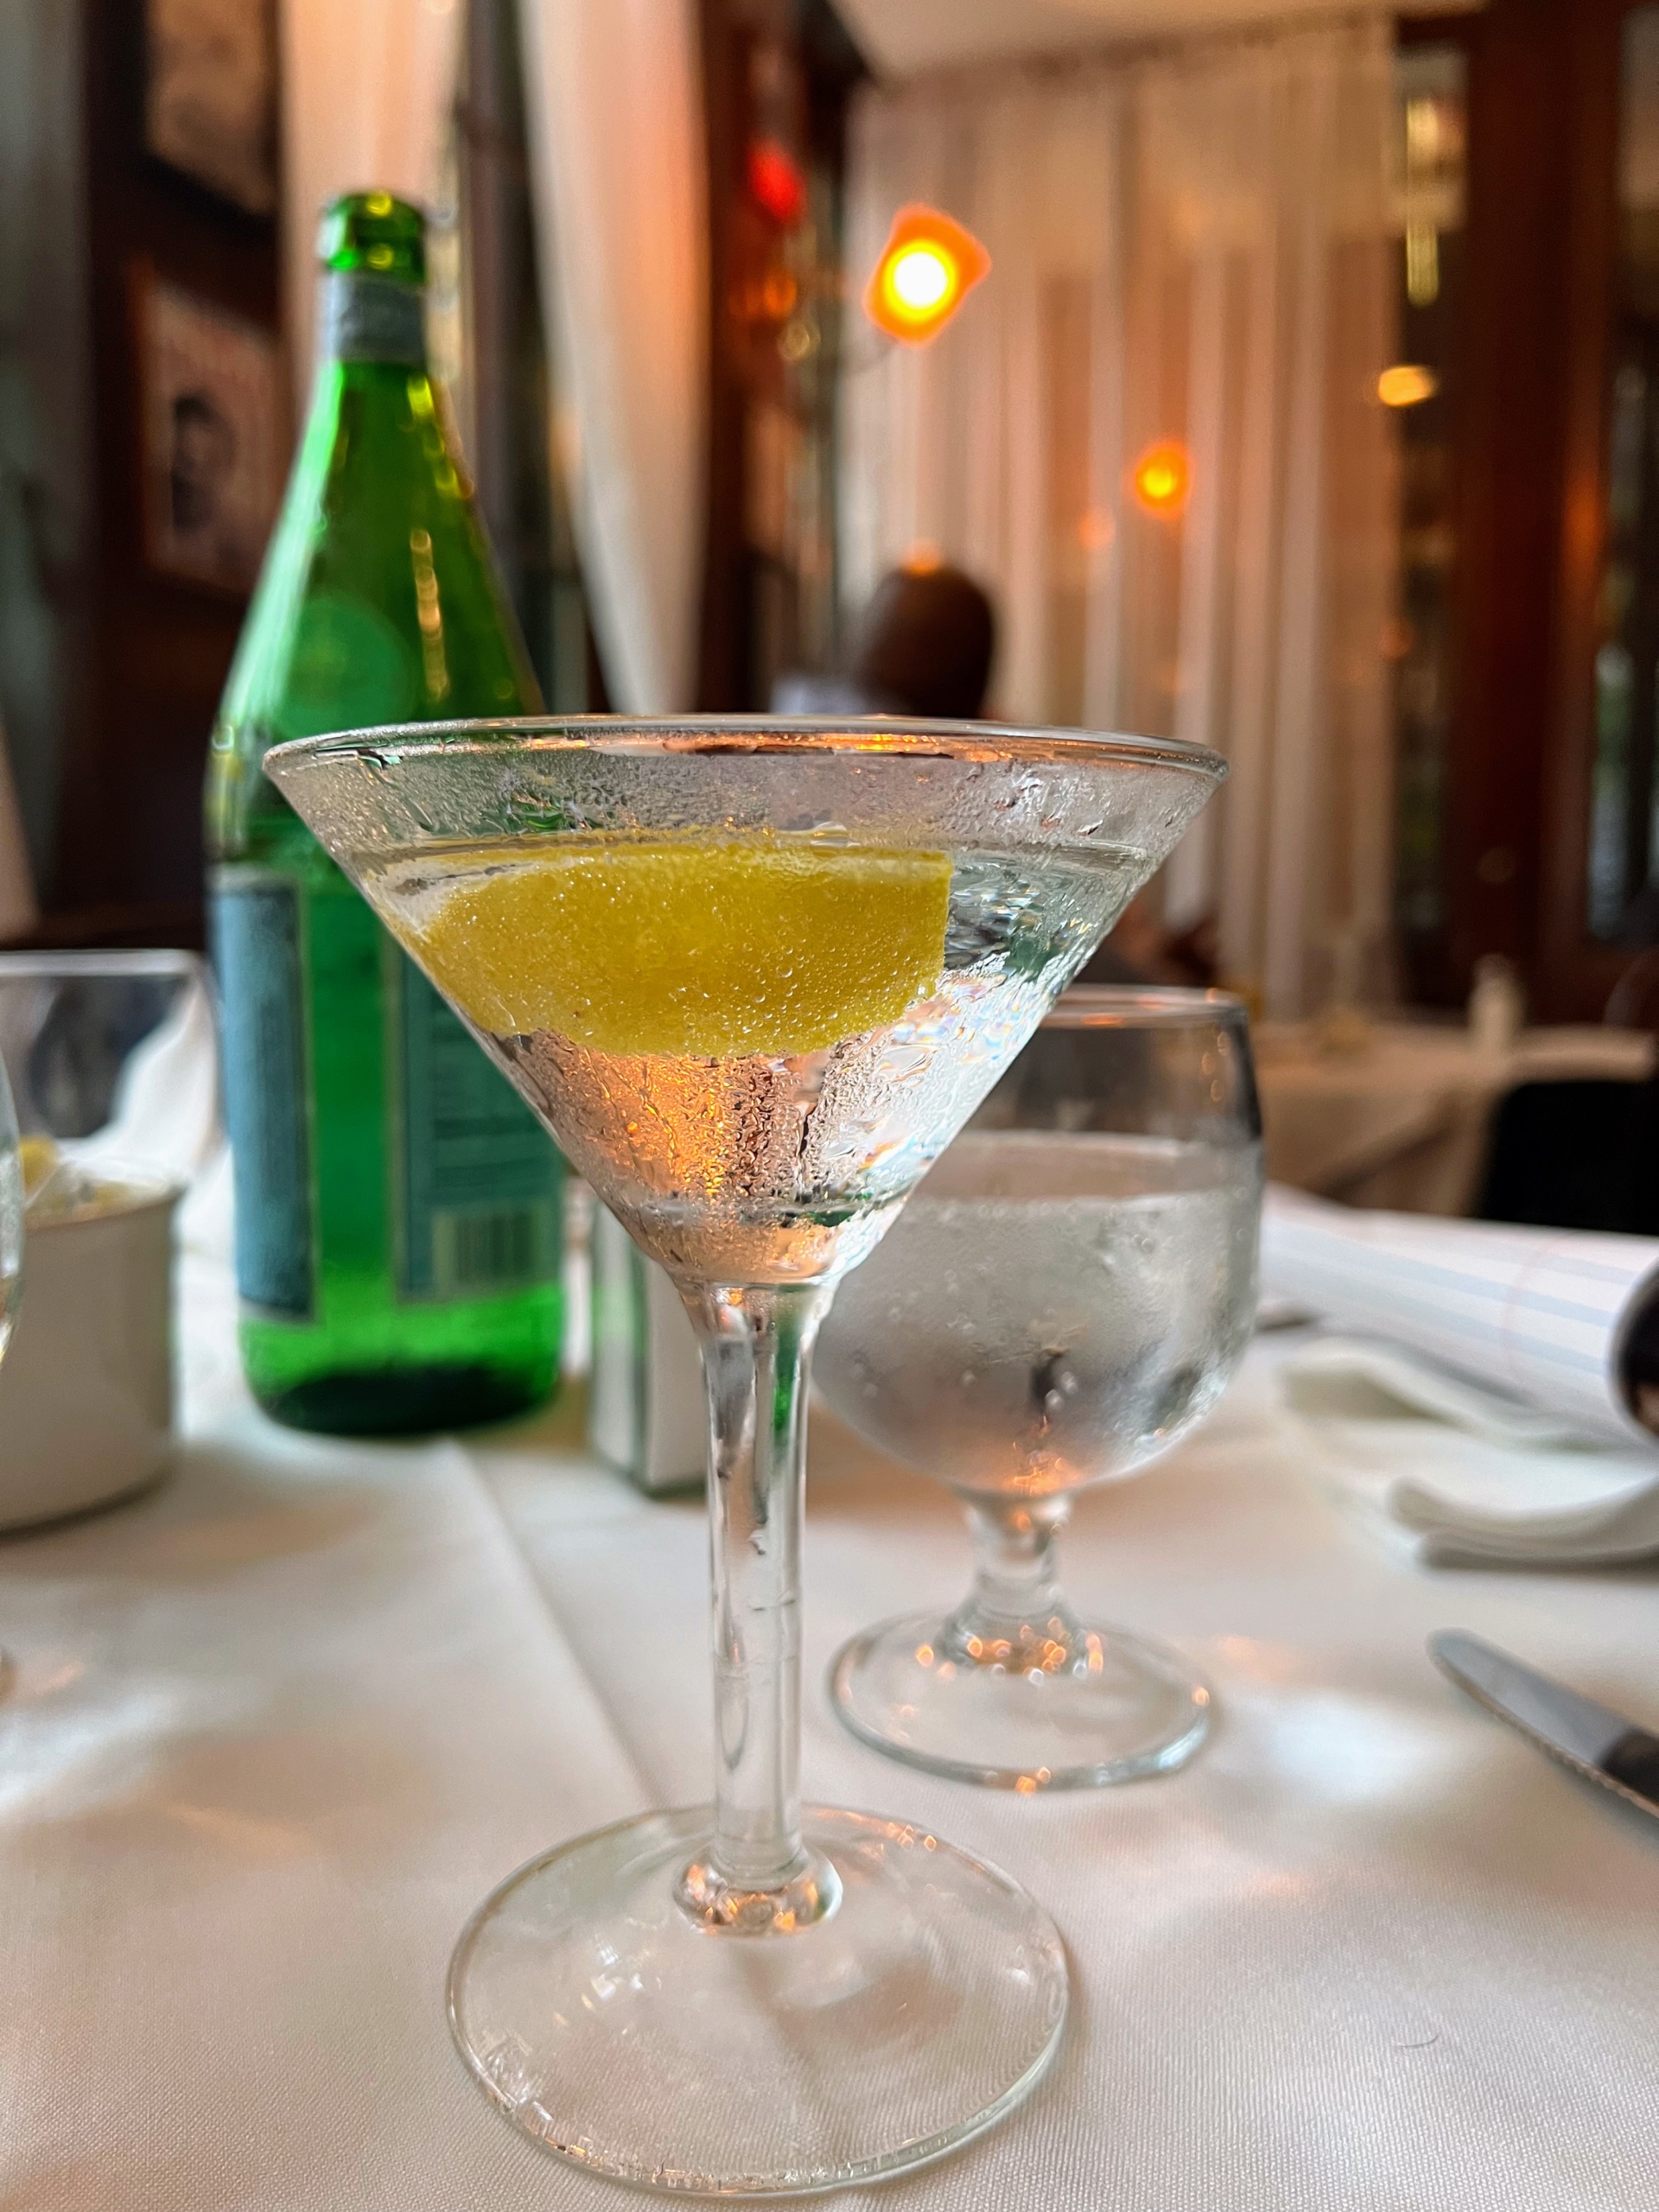
On this day, I was the first to arrive and took a seat at a corner table. It was a warm summer evening, so I ordered a refreshing iced tea and a martini. Thankfully, Susan and Kevin came in just a few minutes later – Kevin with his phone camera ready.
Often described as a neighborhood “clubhouse,” Elio’s is a classic old-fashioned Italian restaurant. Elio worked as a waiter at another well-known eatery, Elaine’s, before becoming a restaurateur. He opened Parma in 1977, and then Elio’s in 1981 with Anne, who previously worked as a sous chef at Chez Panisse.
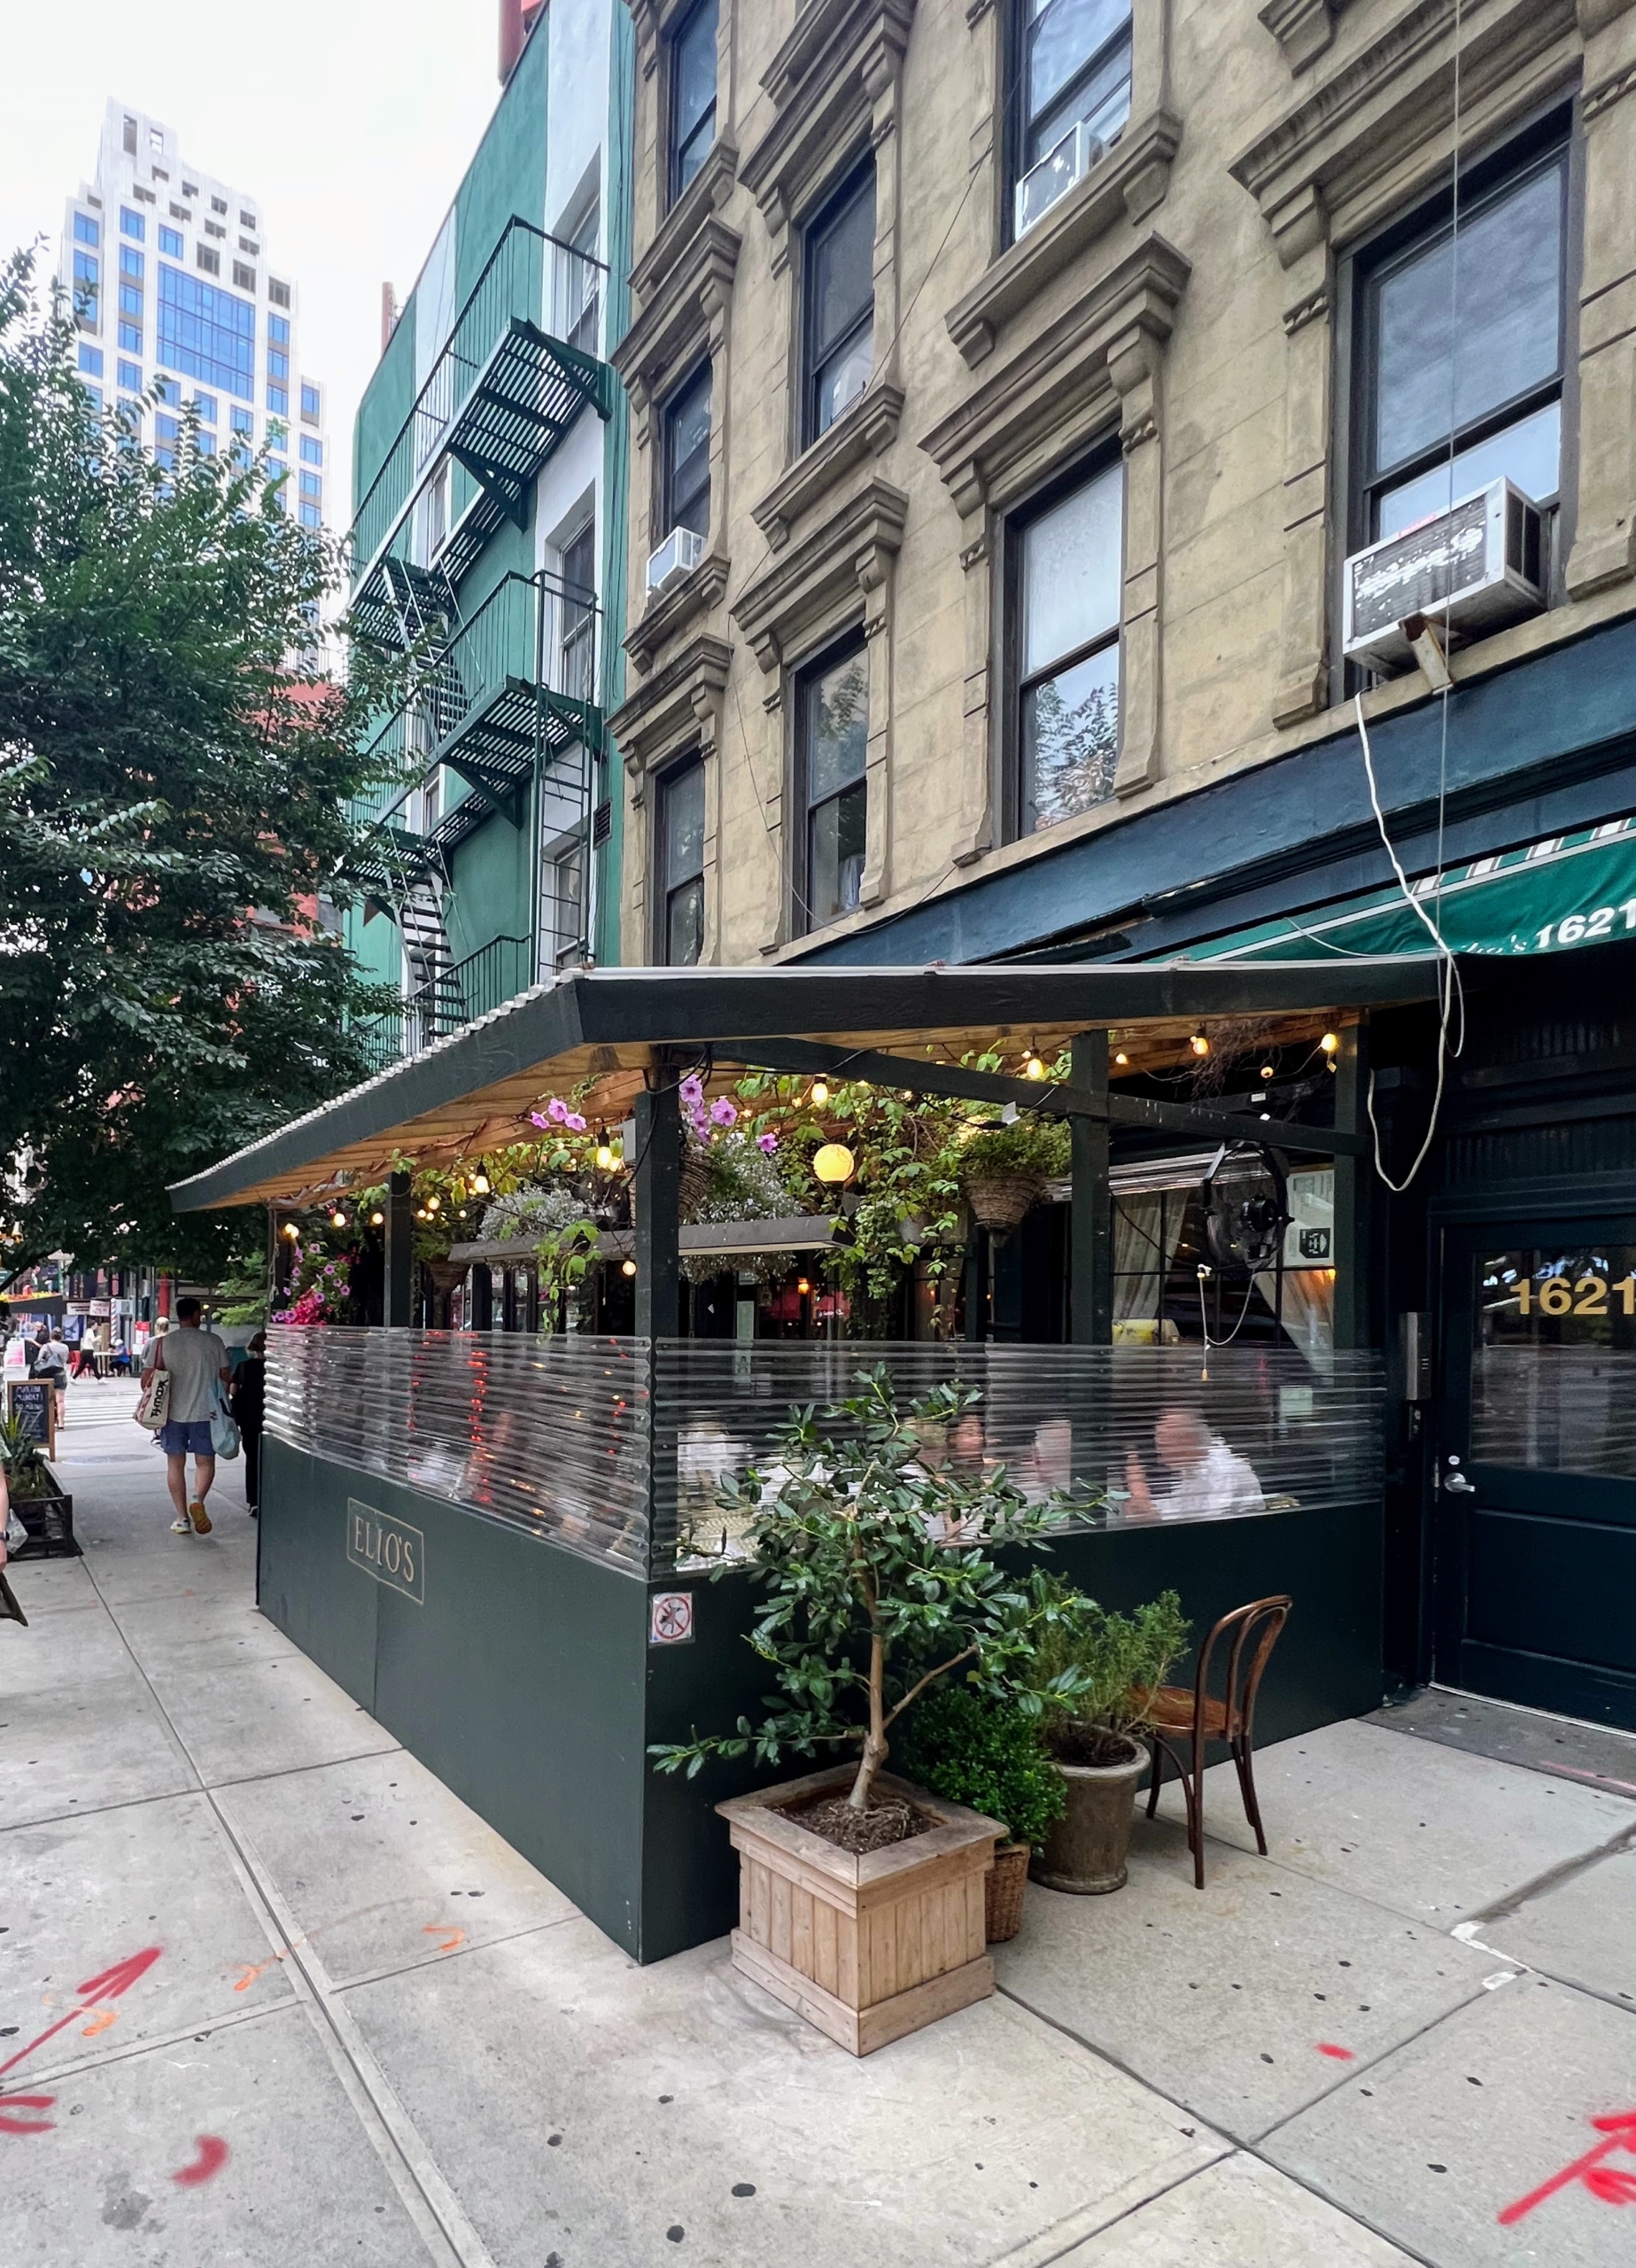
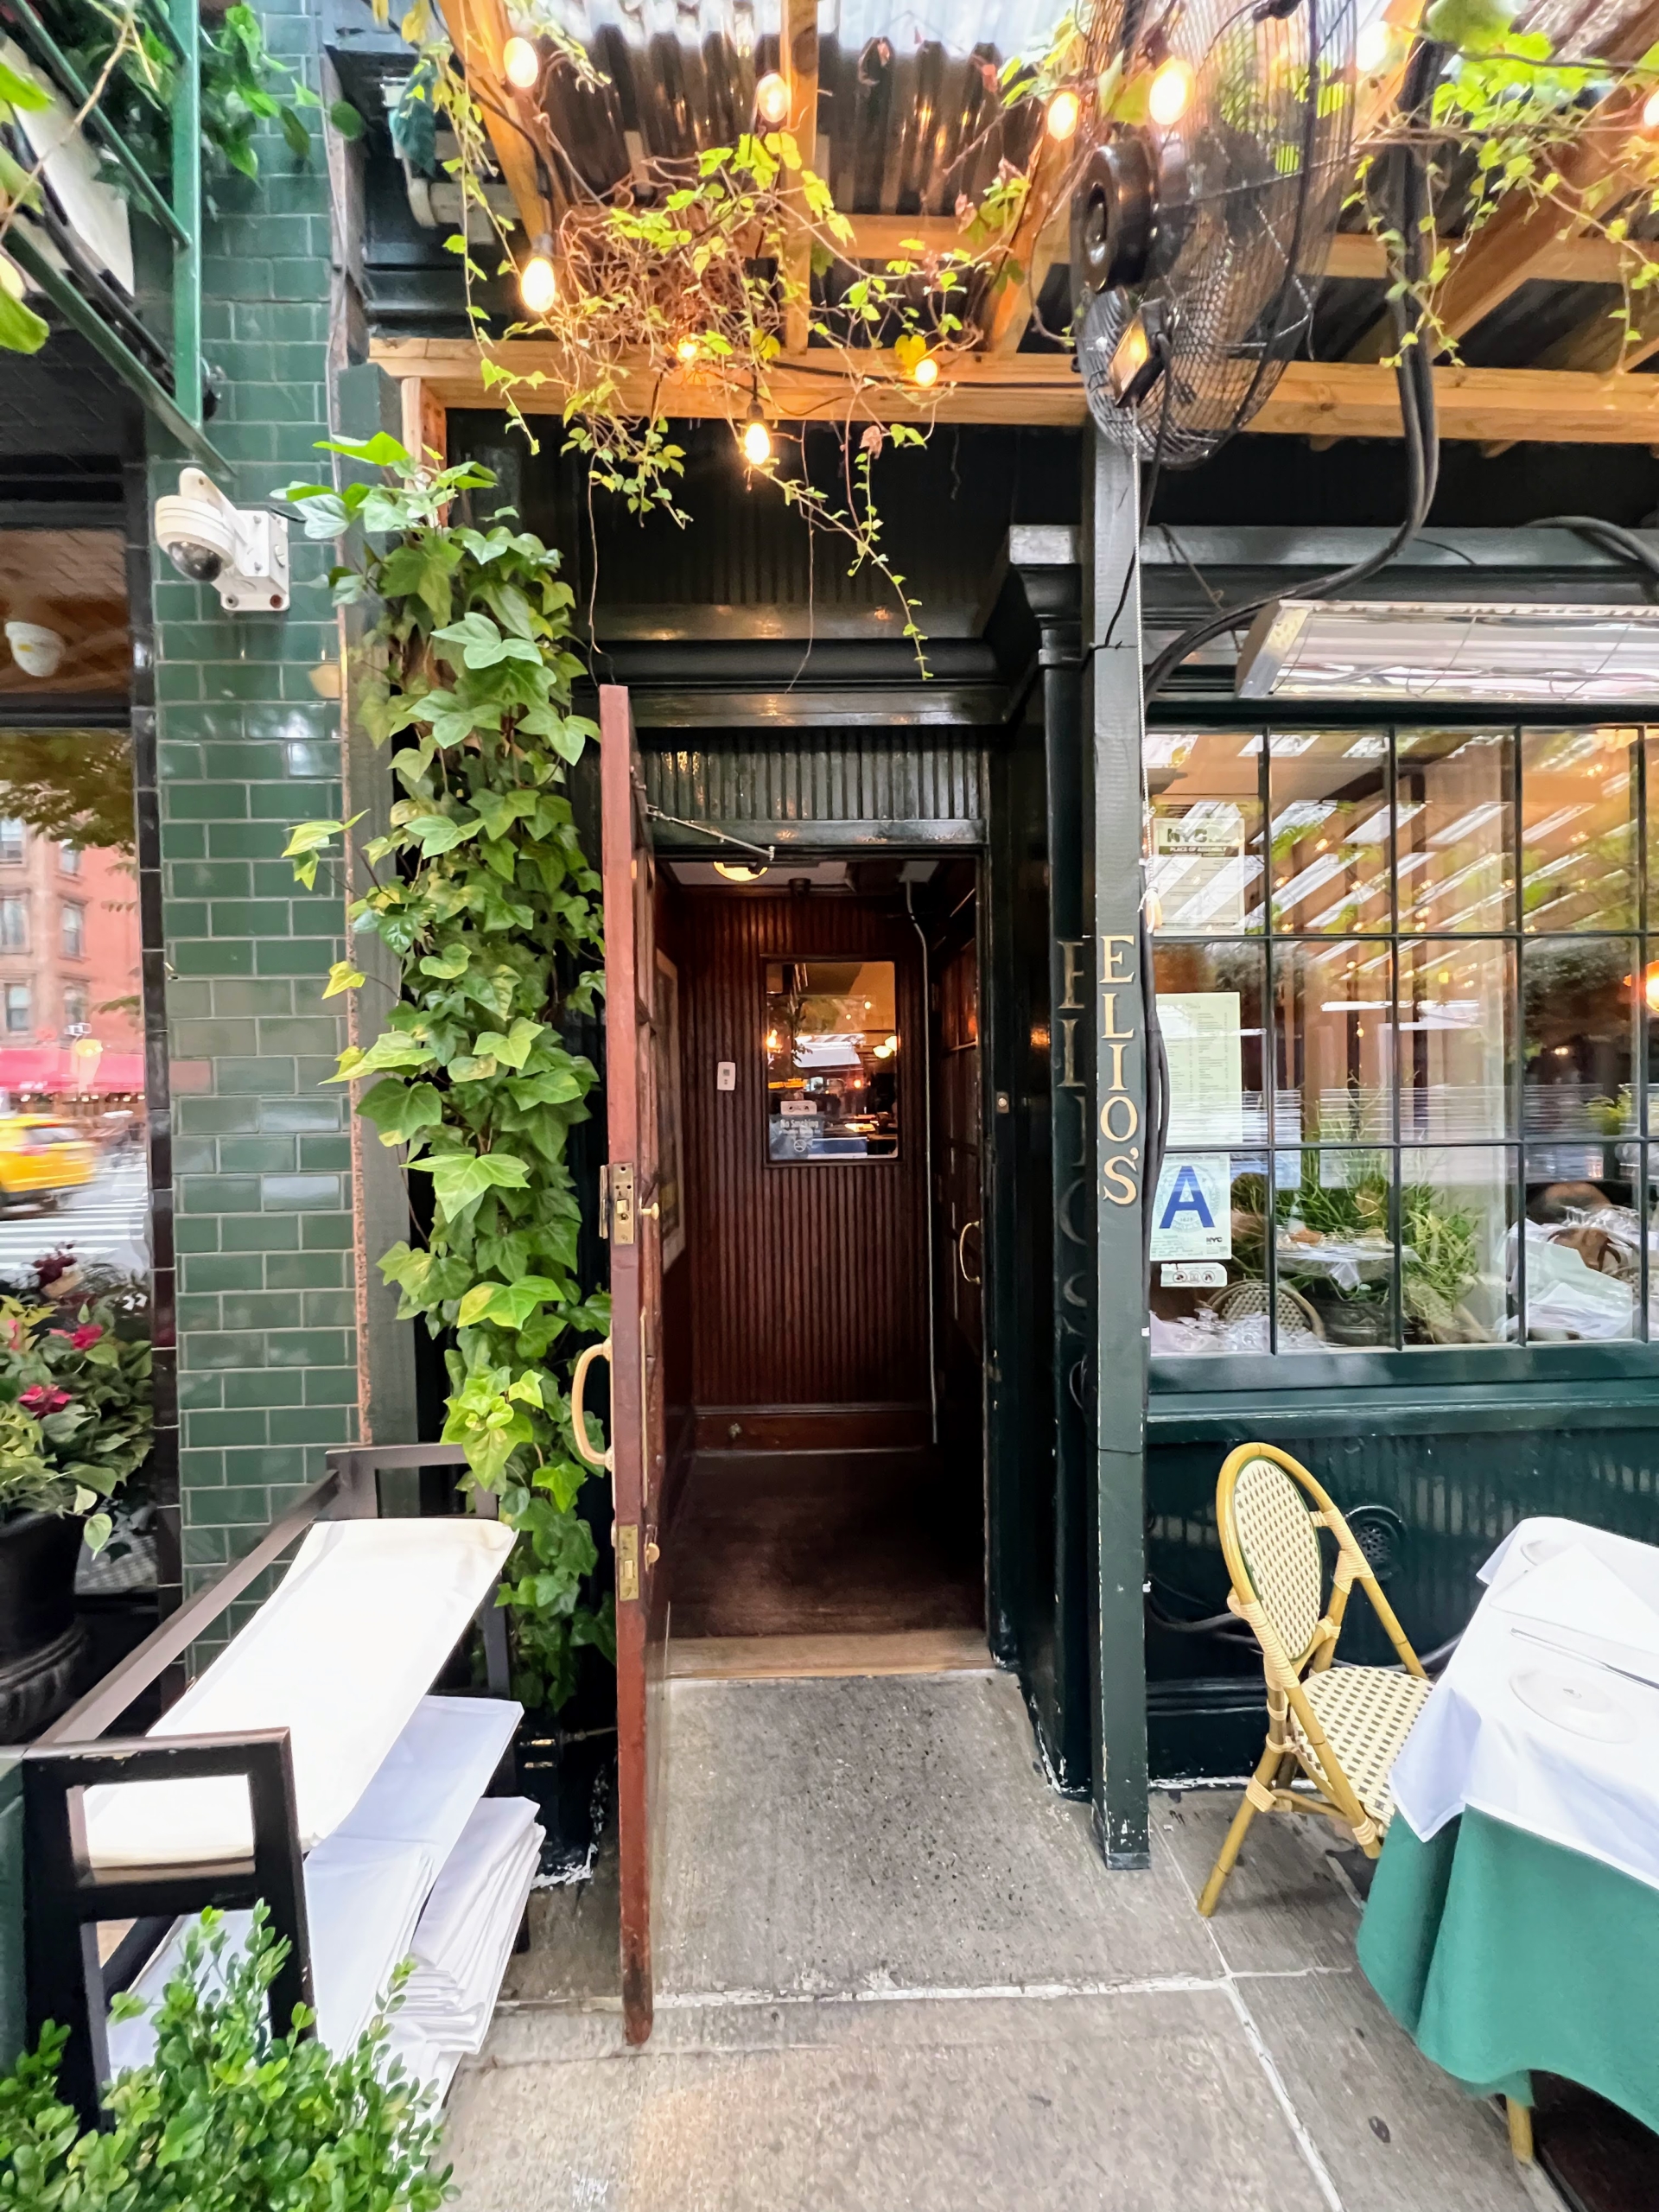
Elio’s shows off a friendly atmosphere with both outdoor and indoor seating.
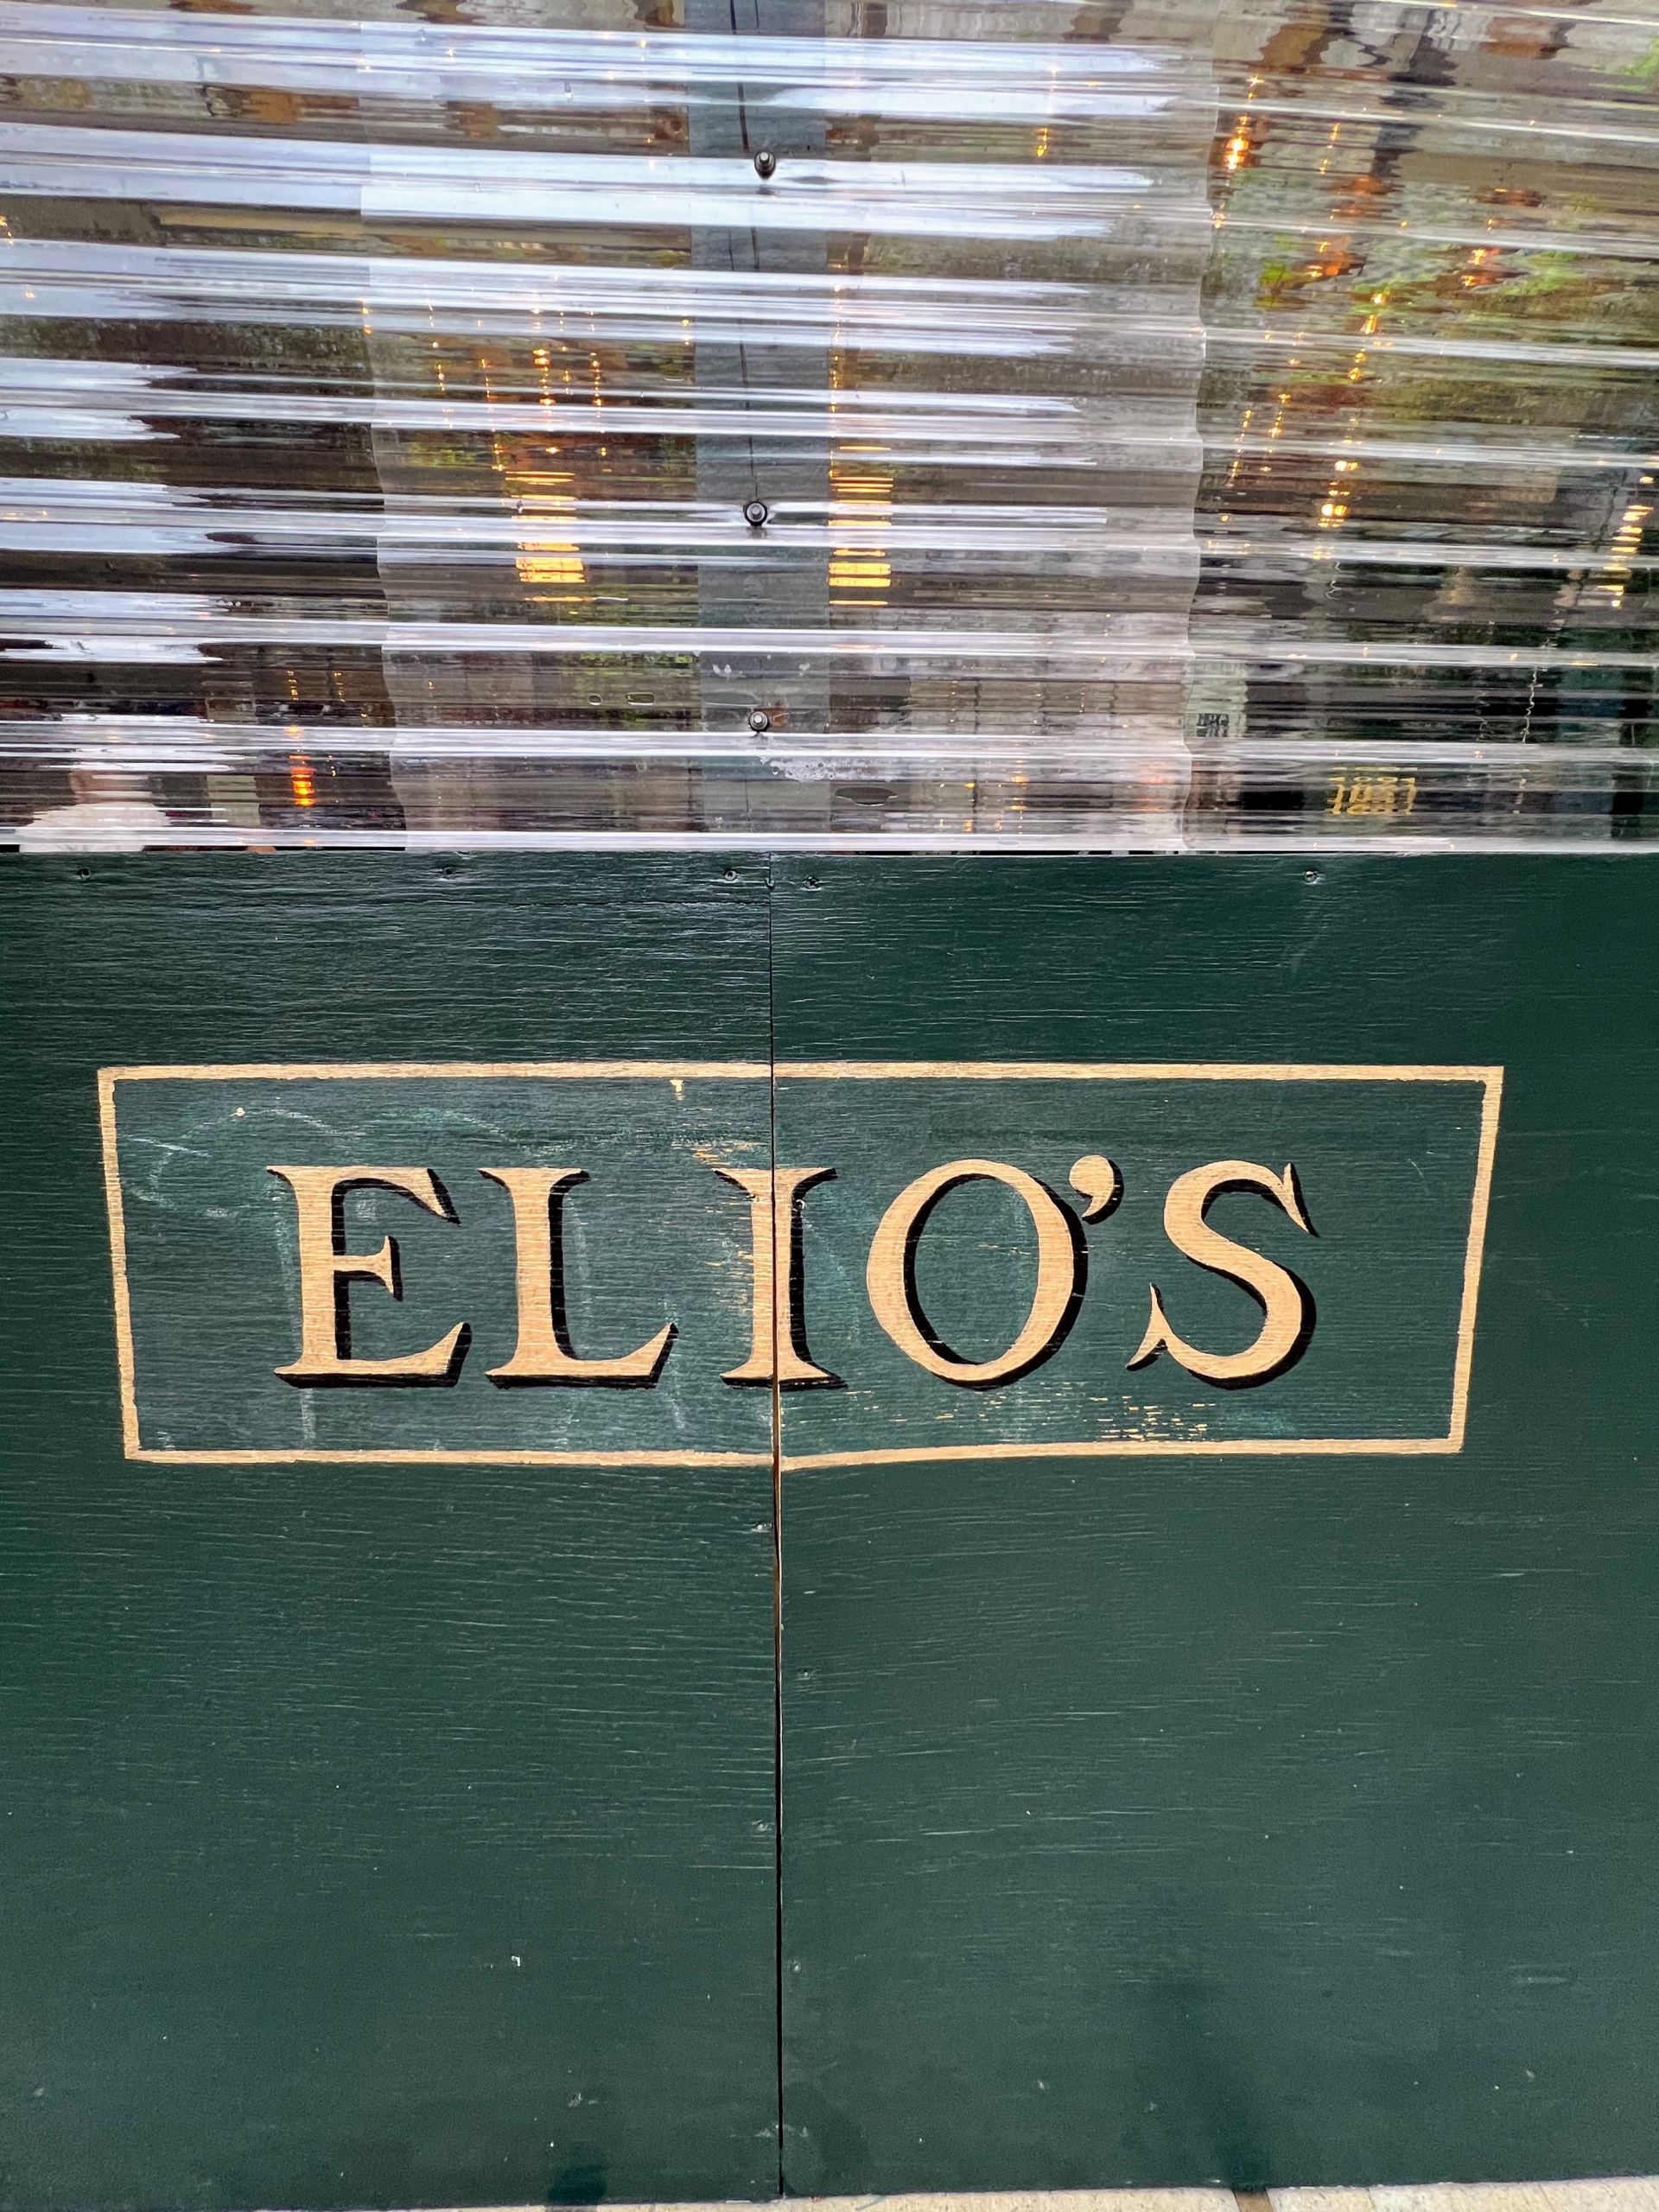
Here is the entrance to Elio’s, which has looked the same for decades.
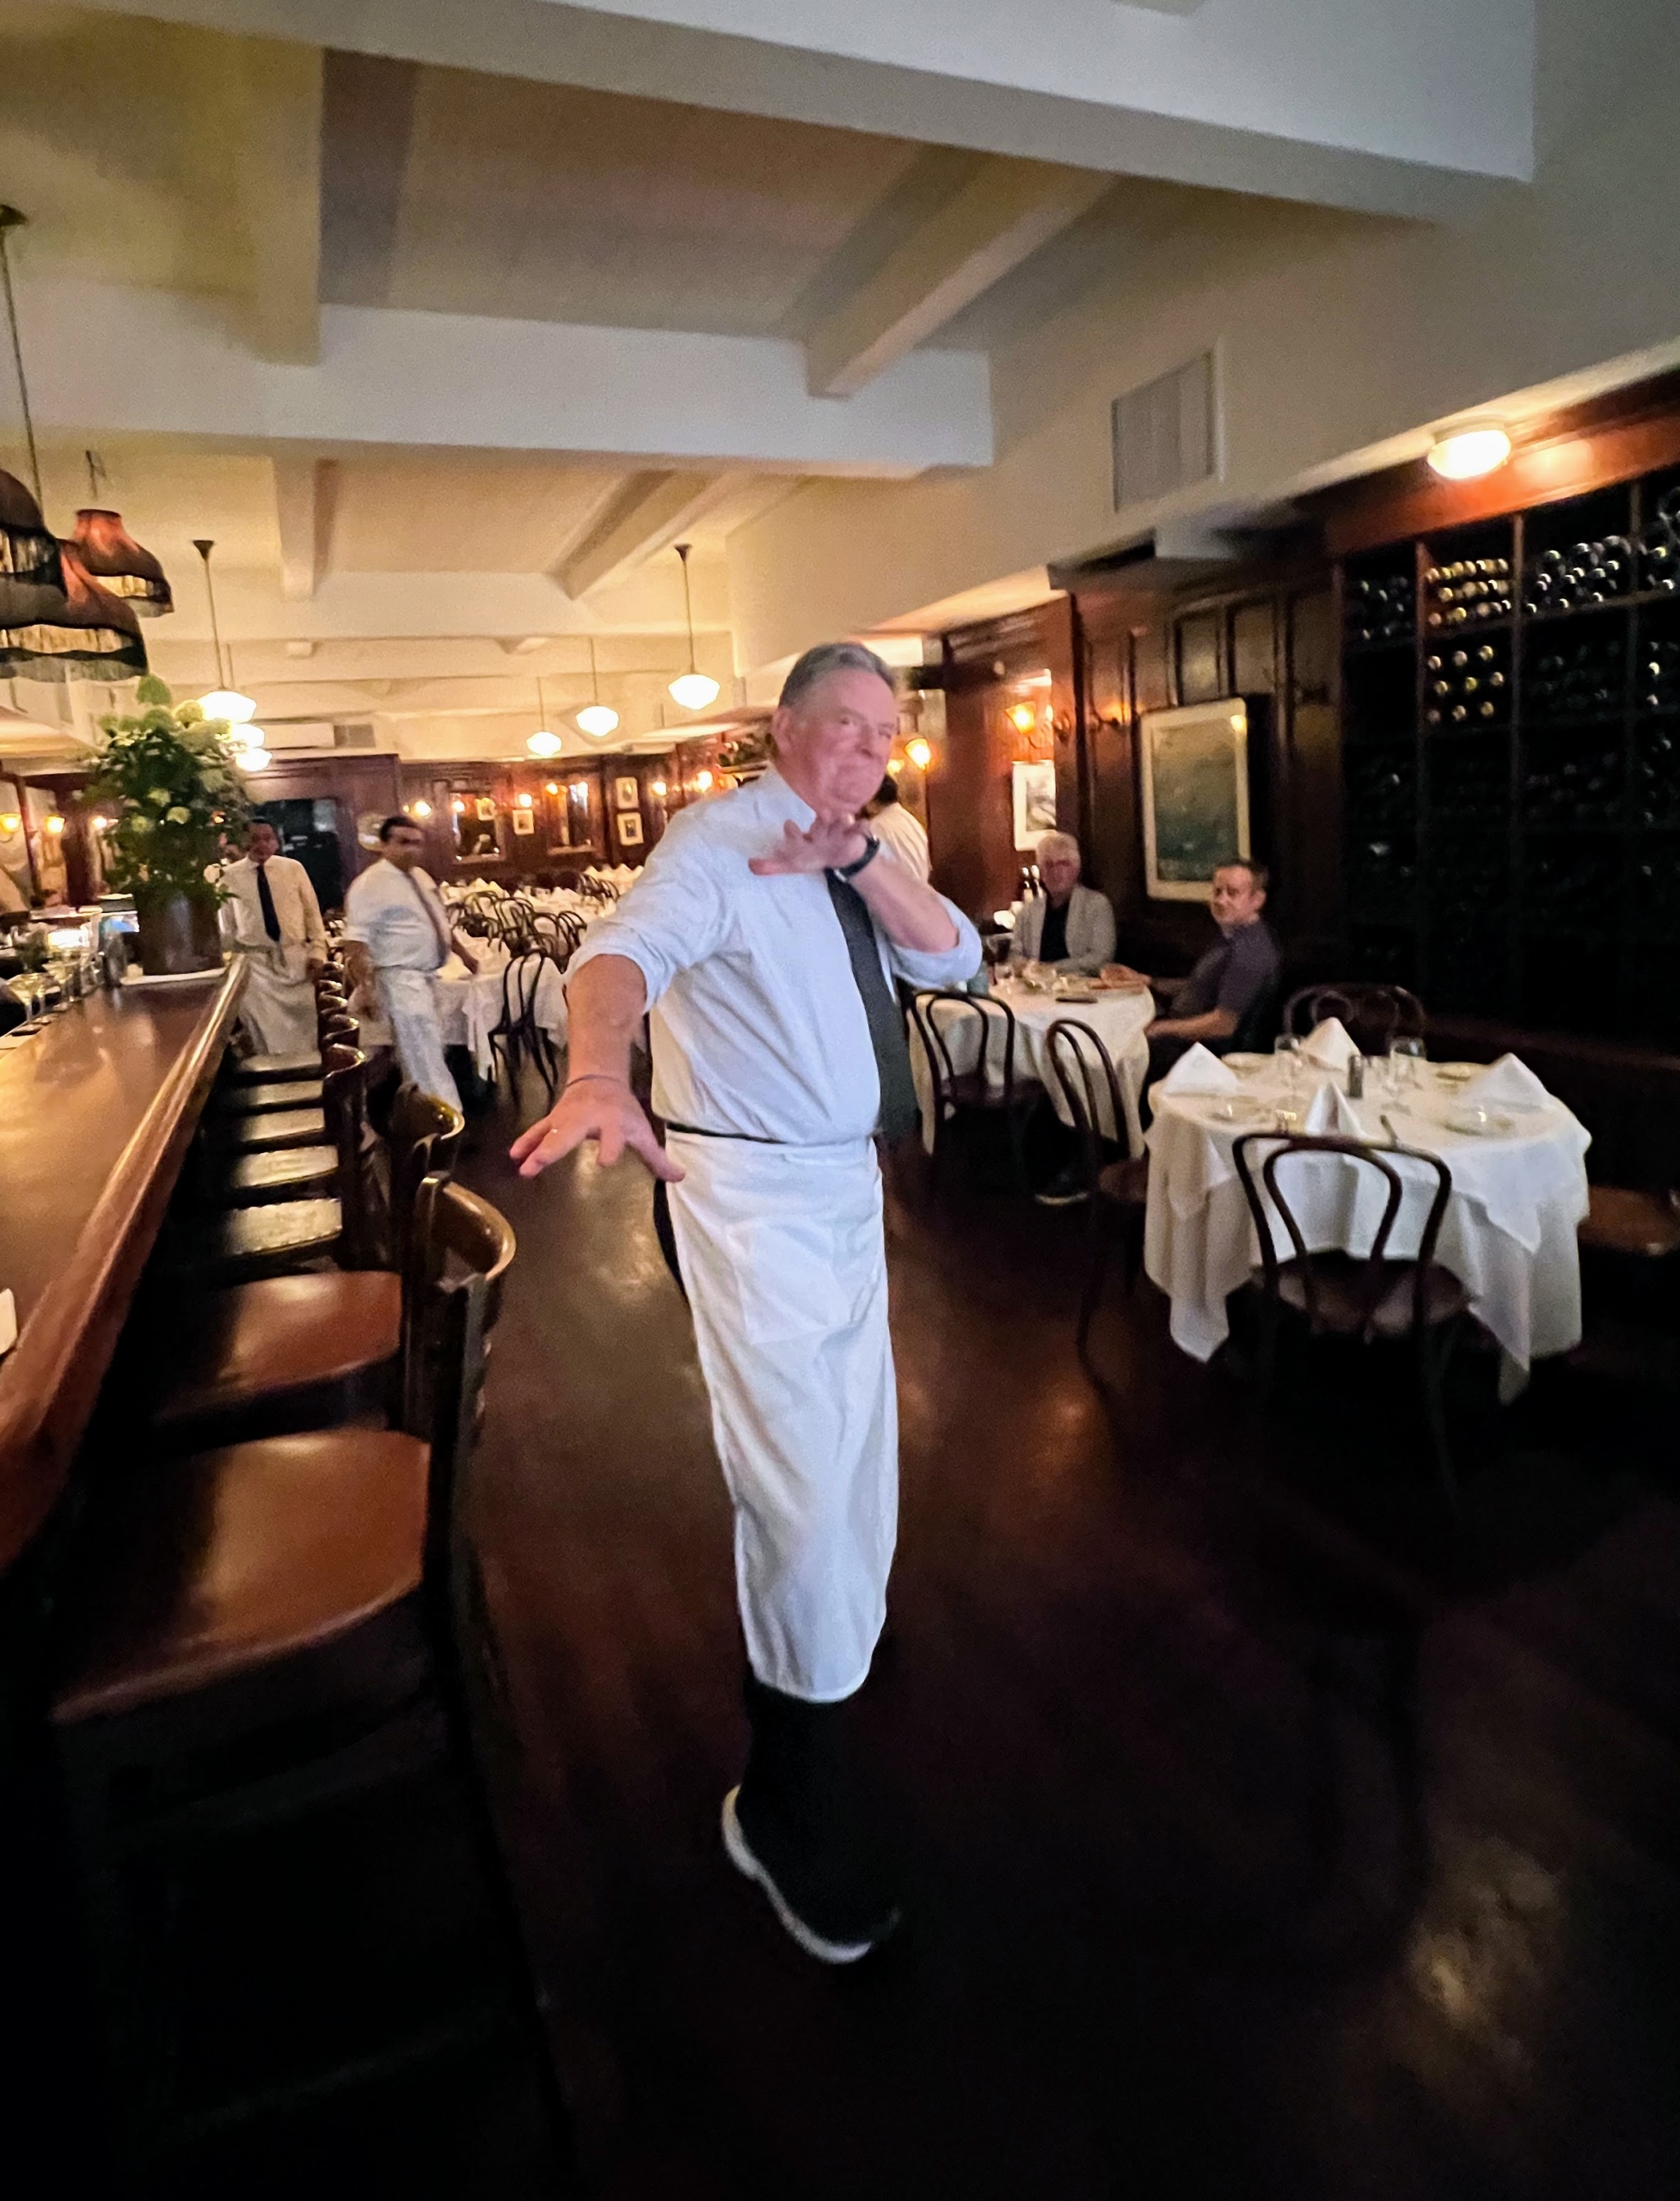
Longtime bartender extraordinaire, Brian Drew, and all the staff greet guests with “buono sera” or good evening. Brian makes one of the best icy cold martinis.
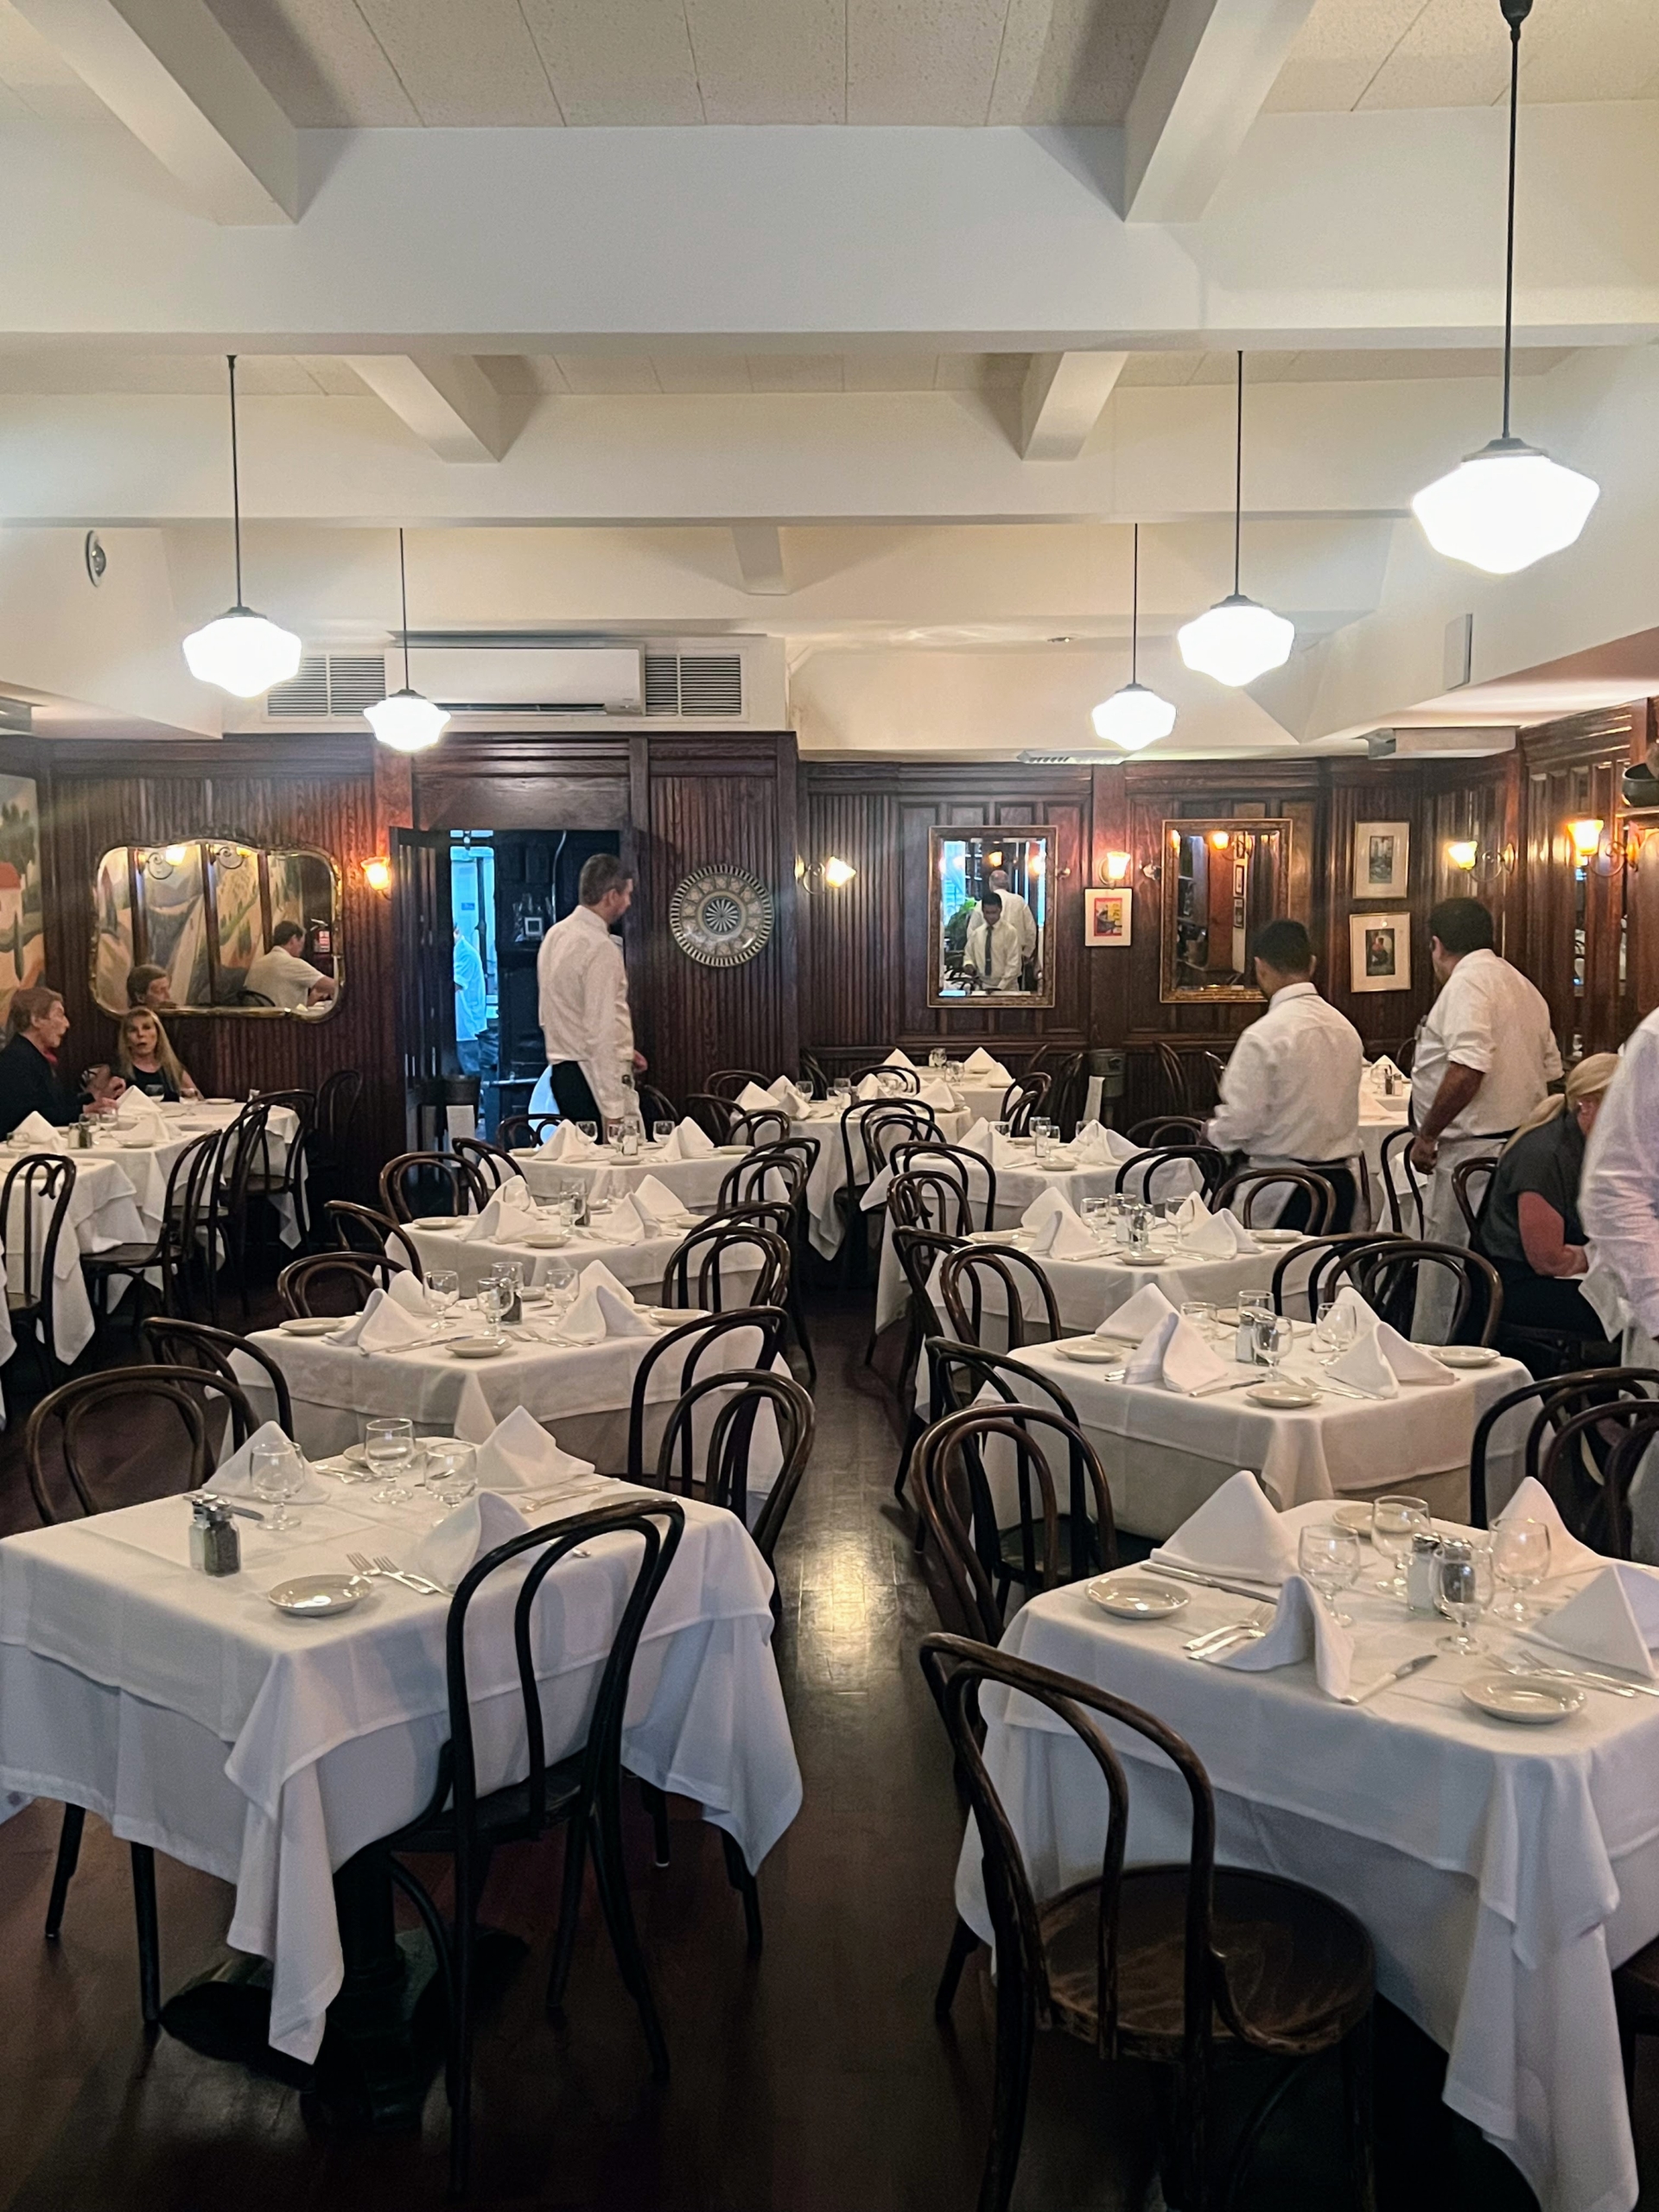
The dining room is intimate with tables placed closely together. I took this photo before the busy dinner rush.
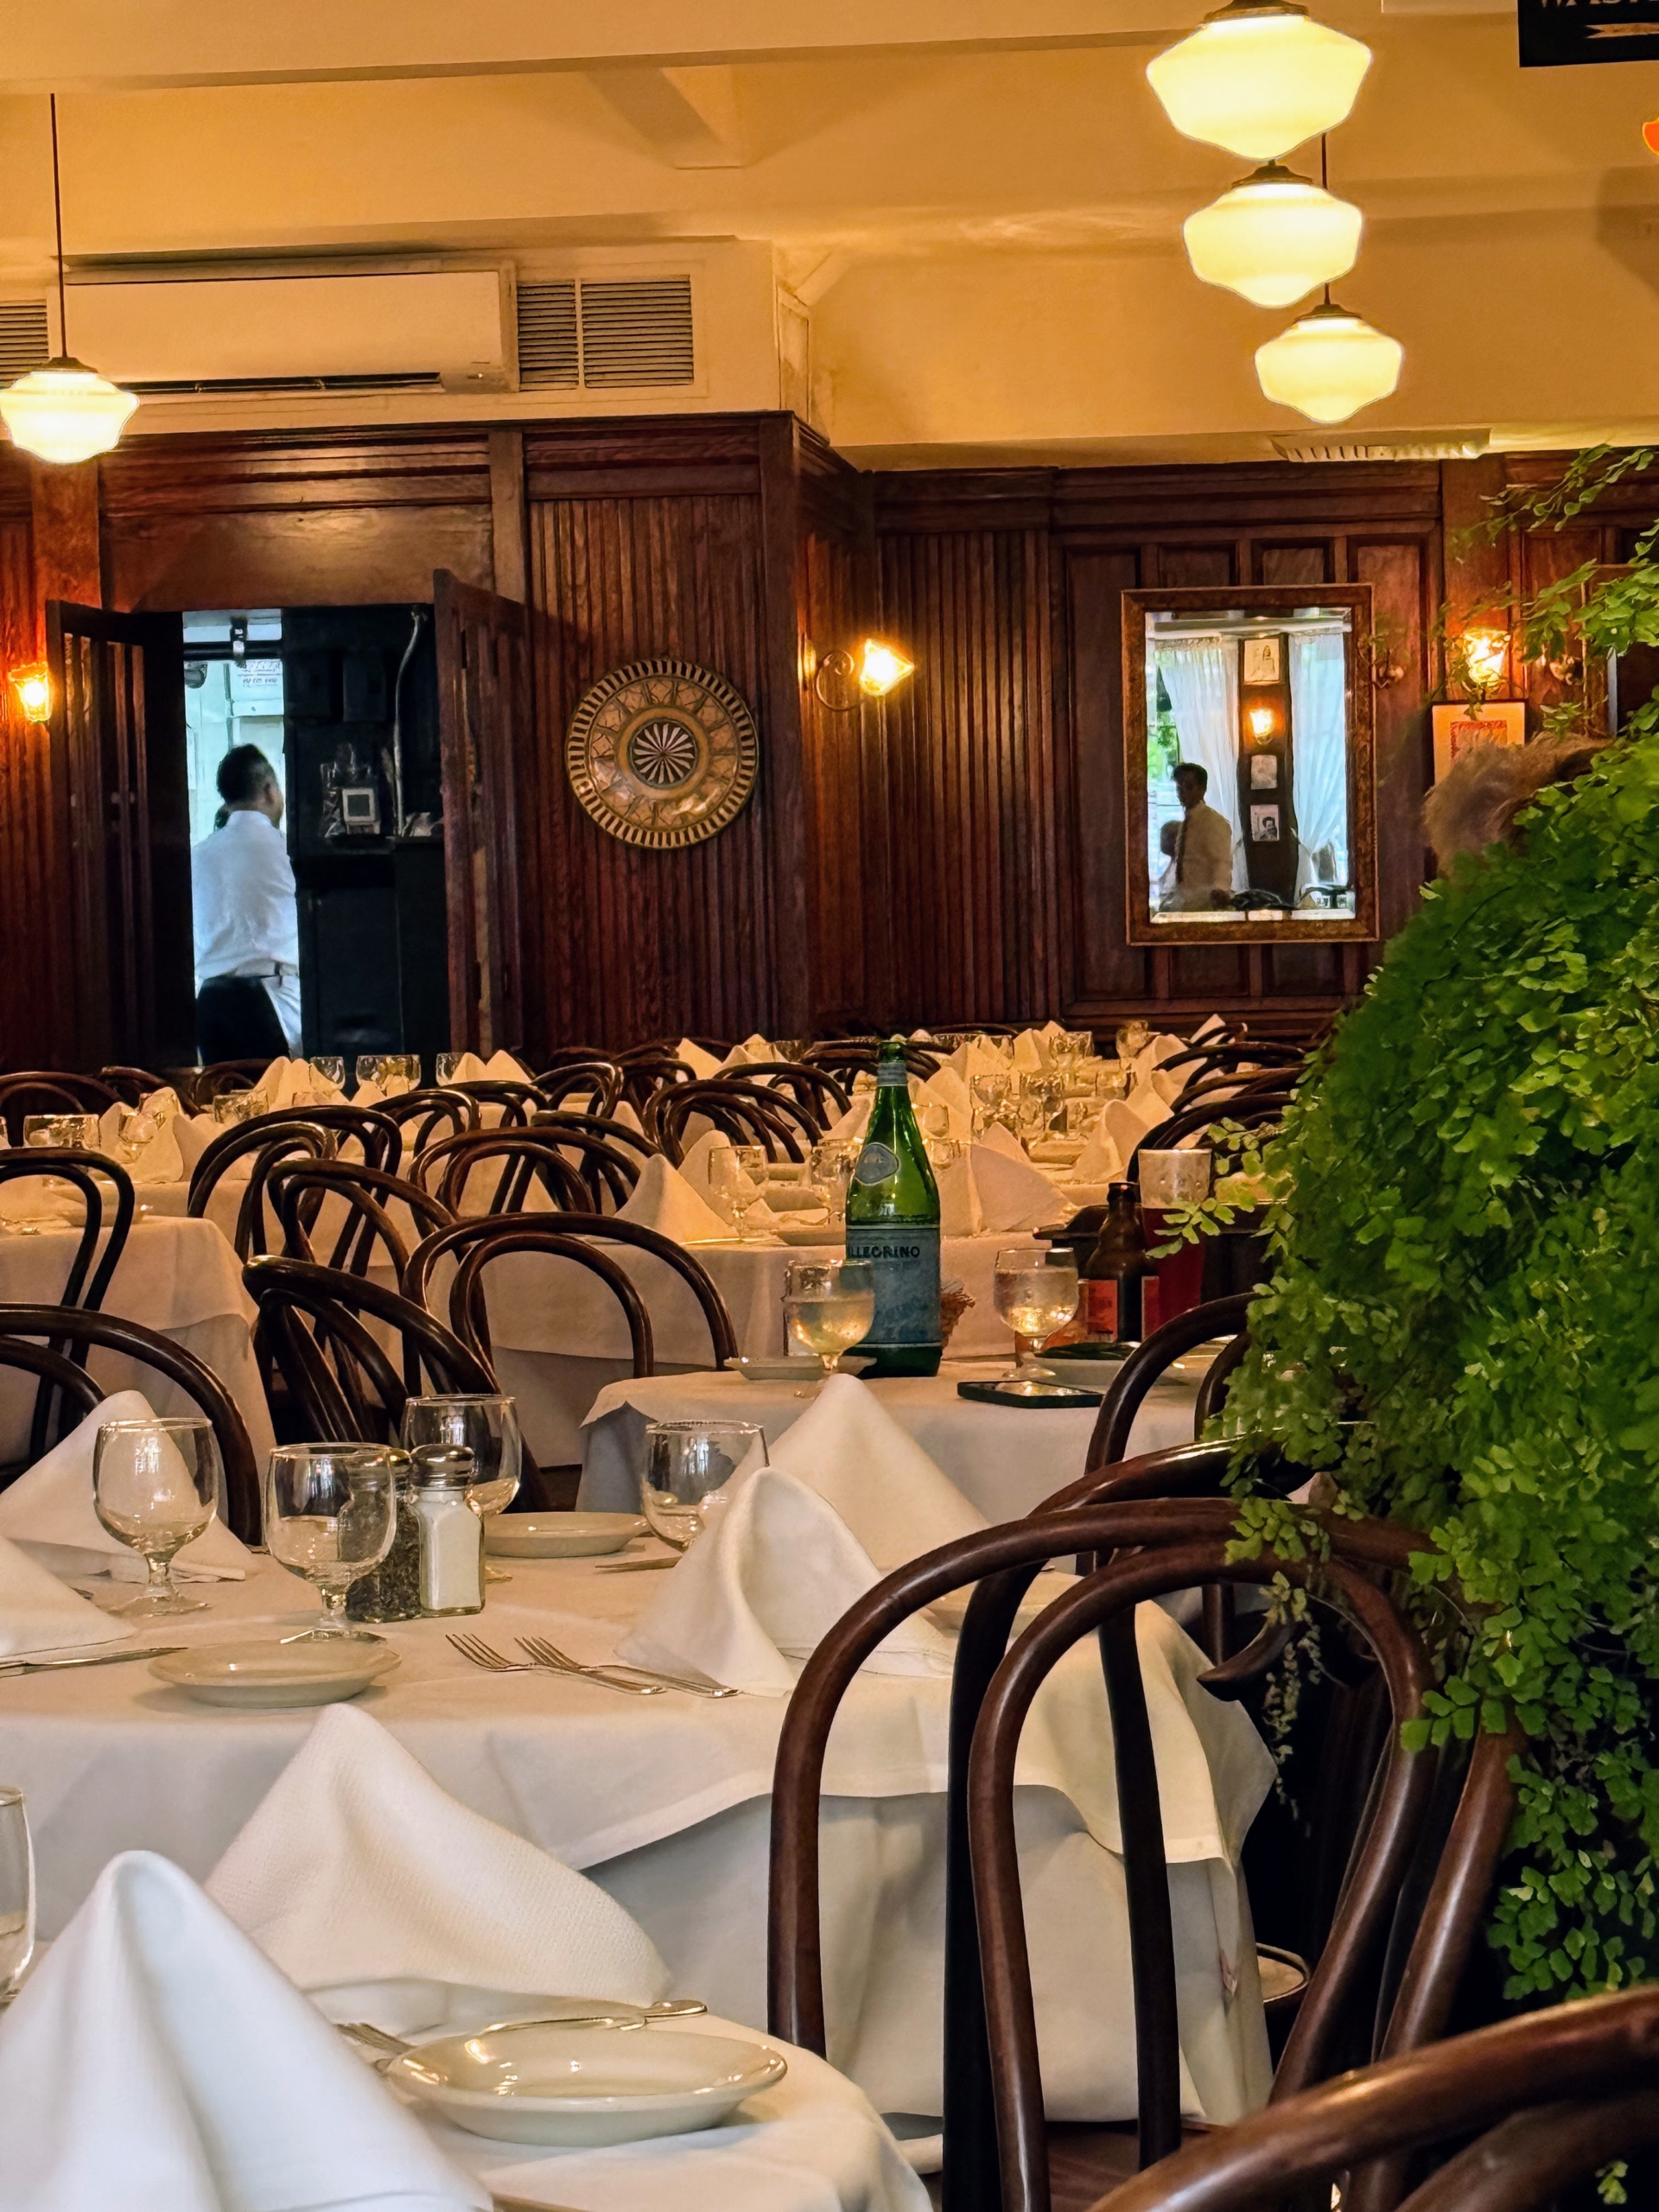
Here is my view from the corner table. The classic décor includes dark wood paneling, coffered ceilings, and old-fashioned light fixtures.
Here’s the cozy outdoor dining area as seen from the inside.
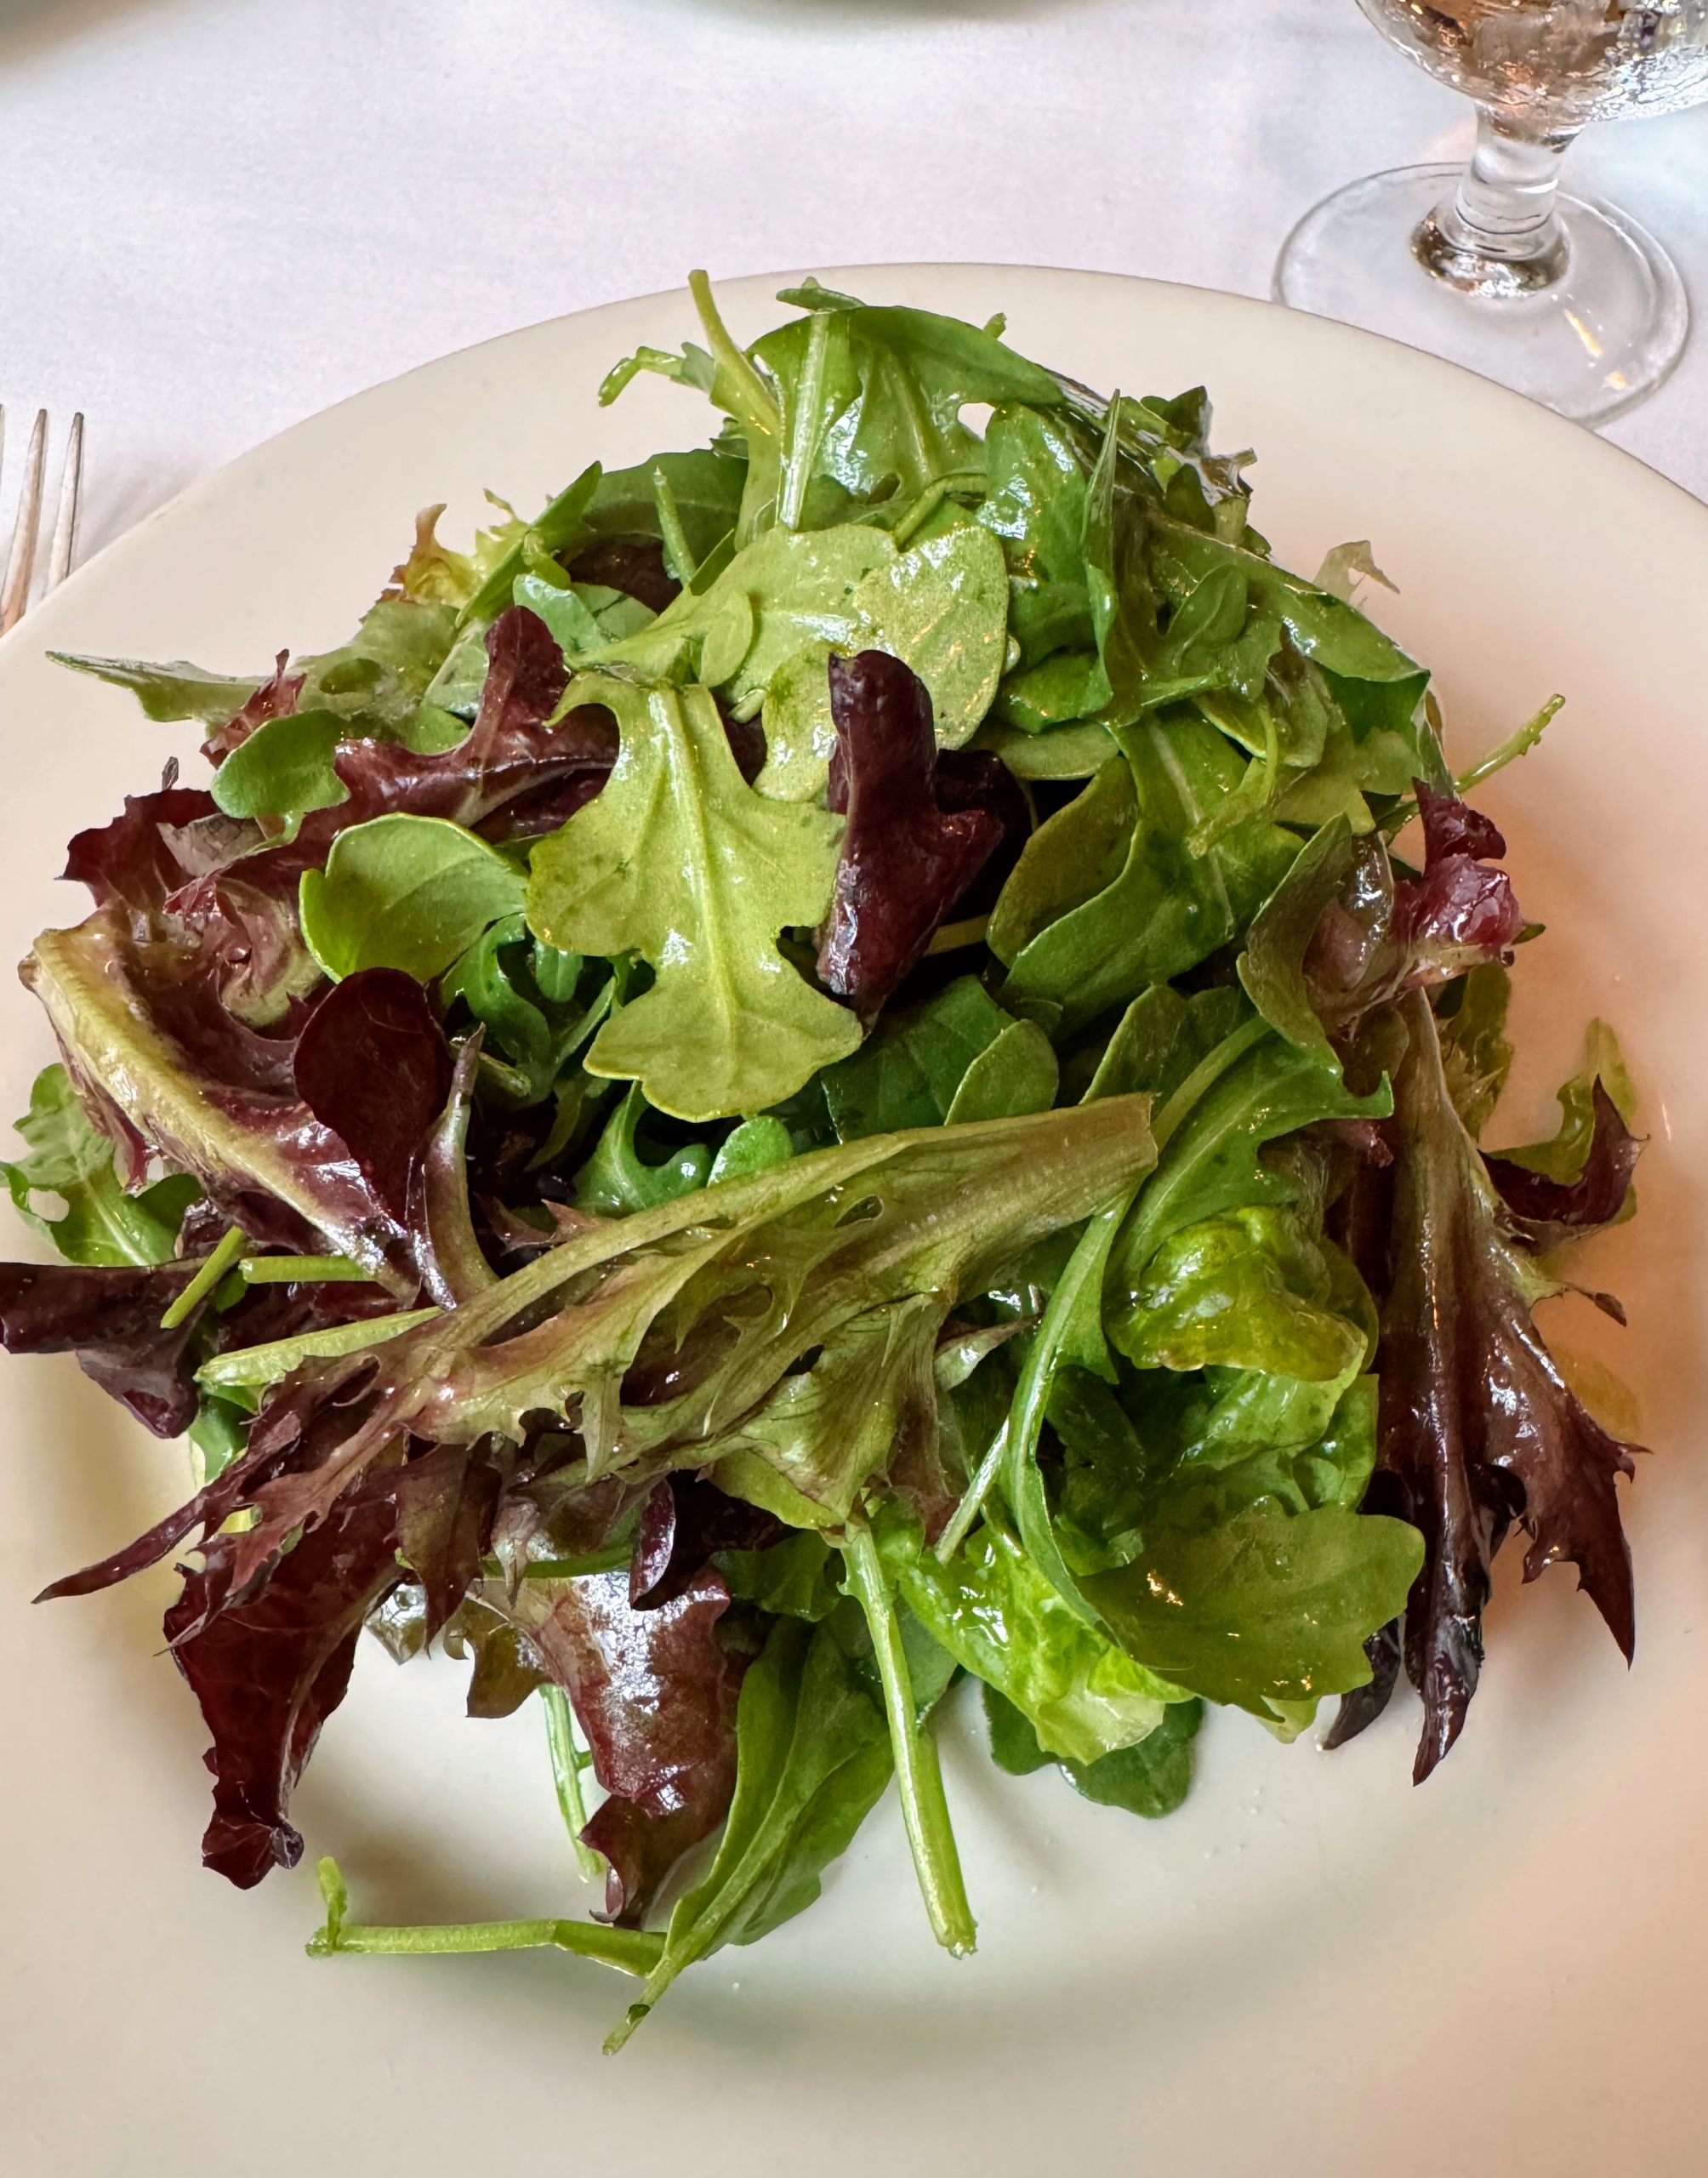
We started with mixed green salads and a light vinaigrette dressing. The greens are always so fresh and hand-selected every morning from local farmers.
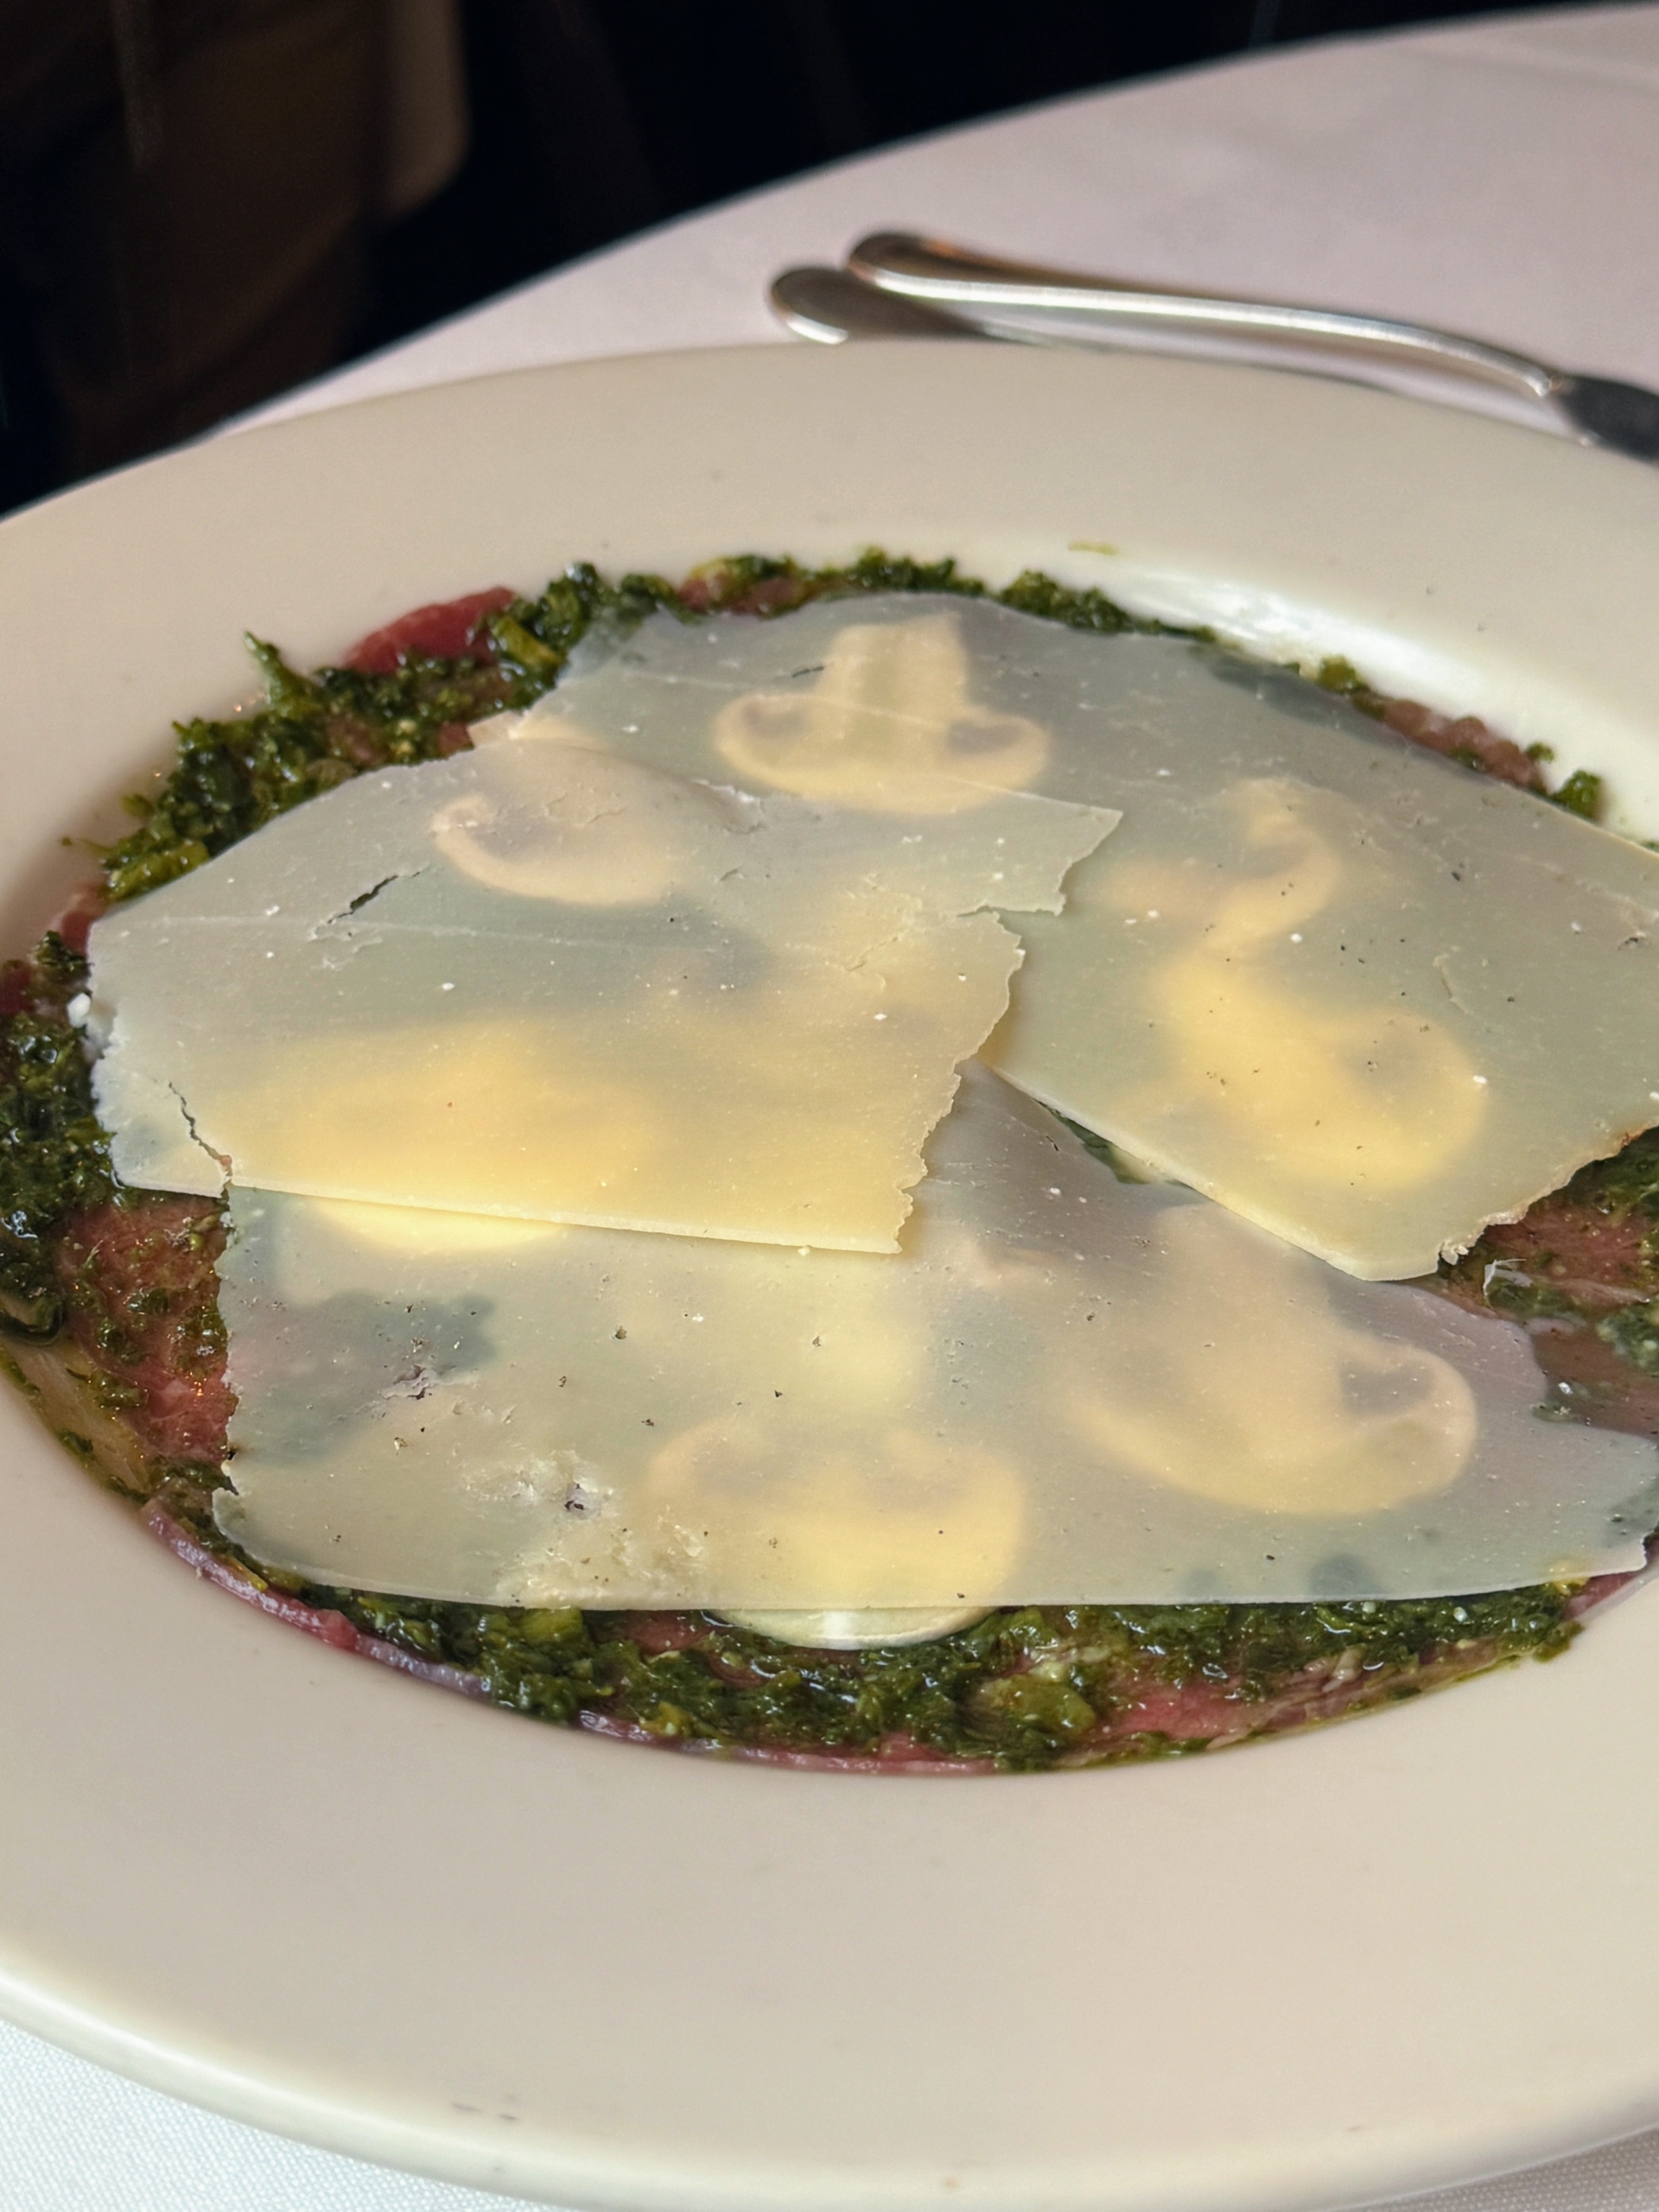
This is Beef Carpaccio, an Italian appetizer of raw beef that’s thinly sliced and traditionally served with olive oil, lemon juice, capers, and onions. Elio’s serves it with salsa verde.
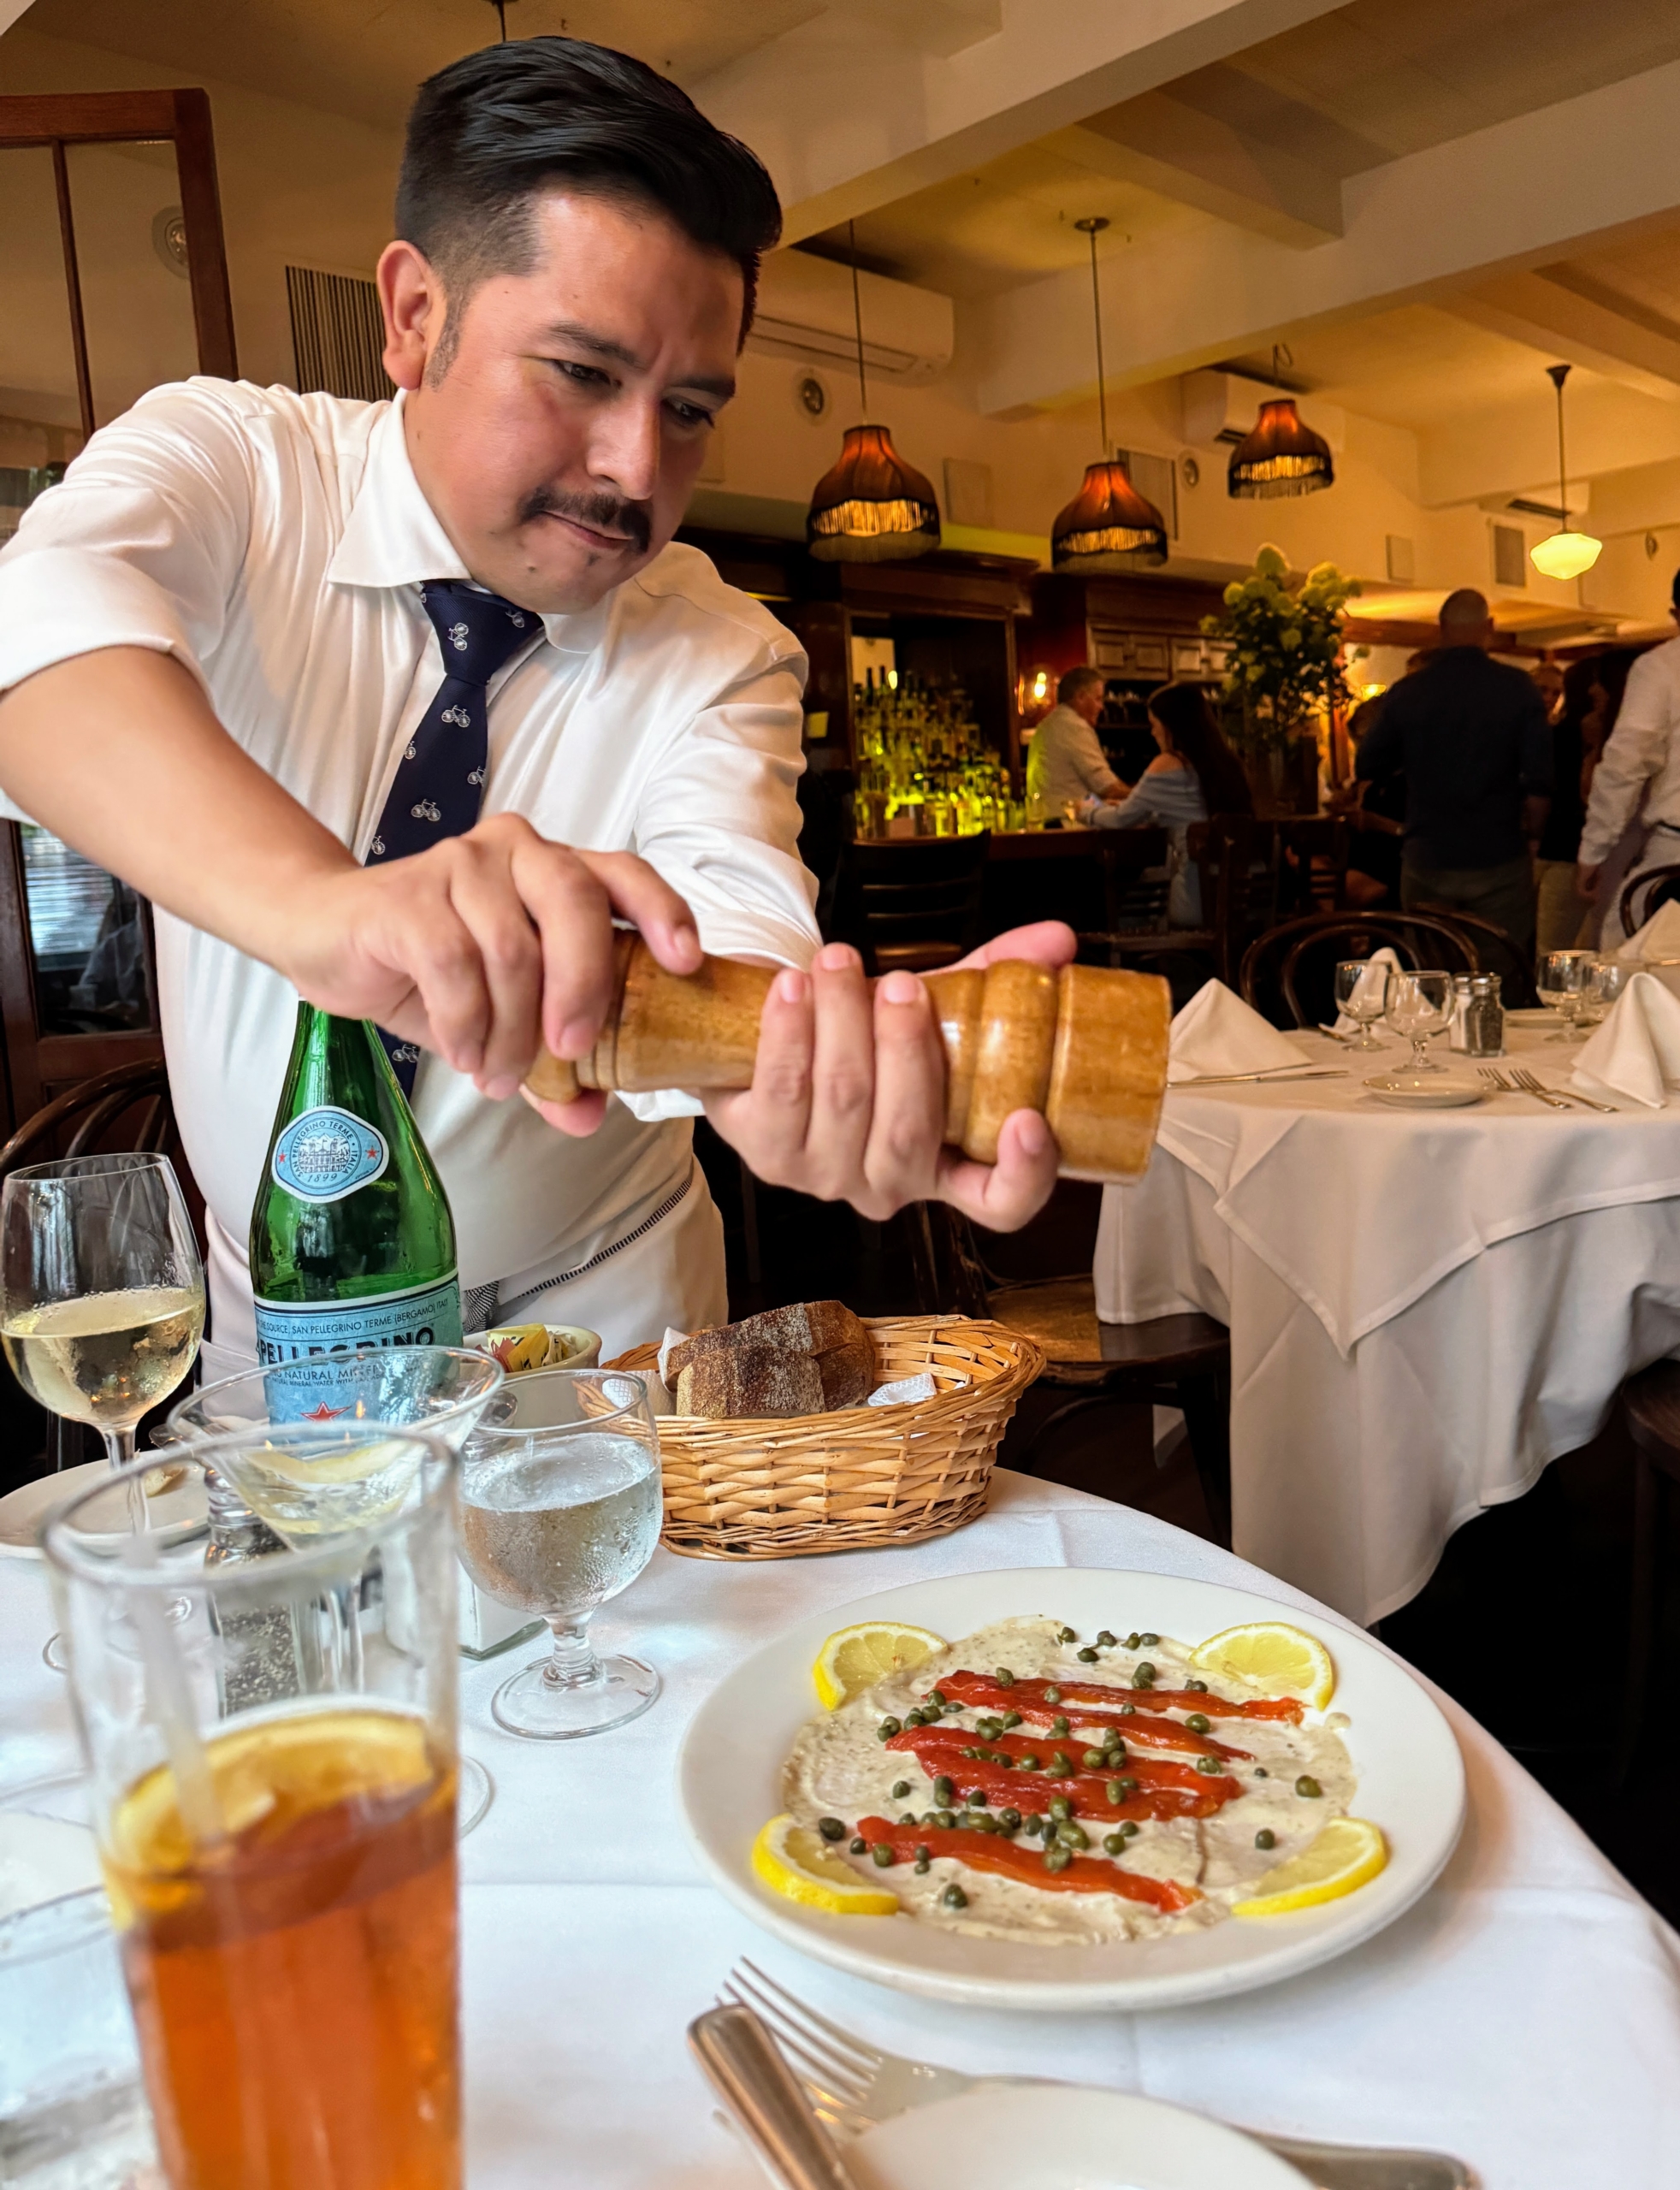
Waiter Manuel sprinkled just a bit of pepper on the Vitello Tonnato. This is another classic Italian dish of cold, thinly sliced veal covered in a creamy sauce. The dish originated in Piedmont, Italy, and is often served chilled or at room temperature during the summer.
Thanks Manuel. The wait staff is always so friendly – I just had to take a photo.
I had Lasagne Bolognese. It was so delicious, I decided to make my own lasagne a few days later for my crew at the farm.
Susan ordered Soft Shell Crabs Meunière.
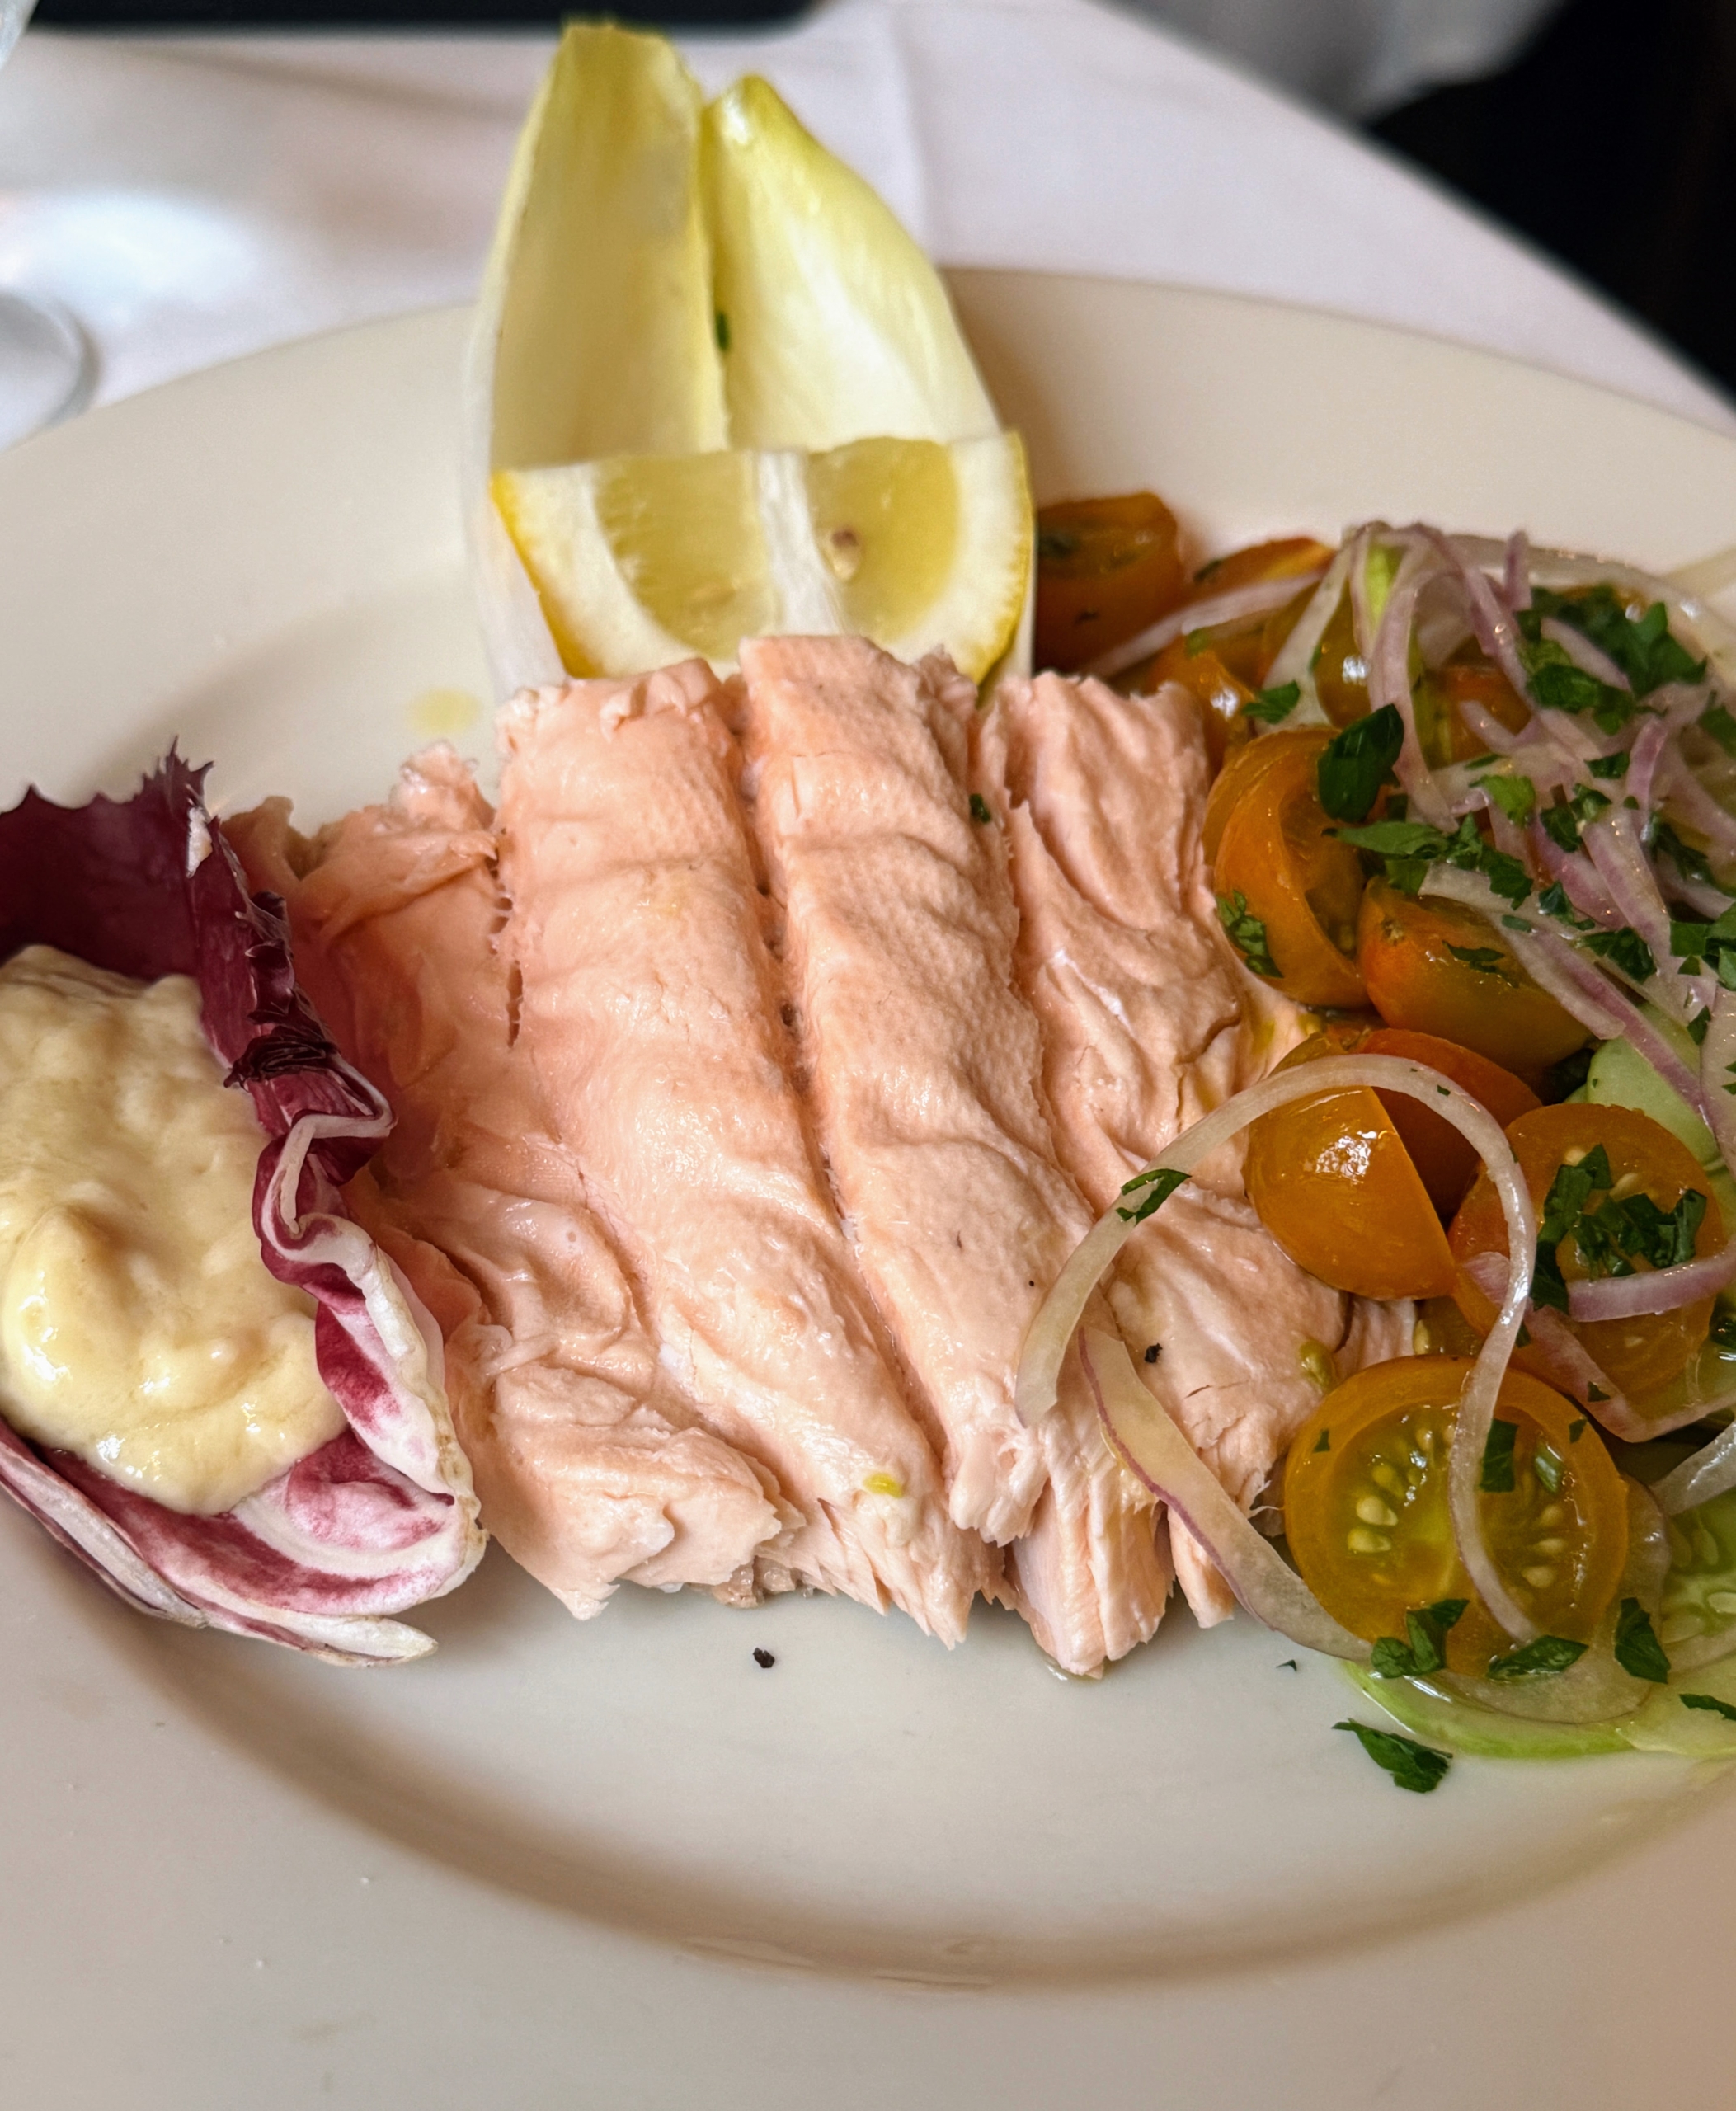
And Kevin had Faroe Island Cold Poached Salmon with Cucumber Salad and Mayonnaise. We all cleaned our plates.
And here’s a photo of my perfect martini made by bartender Brian. If you’re ever in New York City and want a special and classic Italian meal, visit Elio’s. You won’t be disappointed. And maybe I’ll see you there.
Another good pruning job is in progress at my Bedford, New York farm - this time, on the hedges surrounding my swimming pool.
Around the outside of the pool fence, I have a hedge of two dark-colored burgundy-black leafed specimens - Physocarpus opulifolius ‘Diabolo’ and Cotinus coggygria ‘Royal Purple' shrubs. Both are fast-growing shrubs that create a natural enclosure around the pool area. My resident tree expert, Pasang Sherpa, started pruning the hedges yesterday - a task I like to do once a year to keep them healthy and looking their best.
Here are some photos, enjoy.
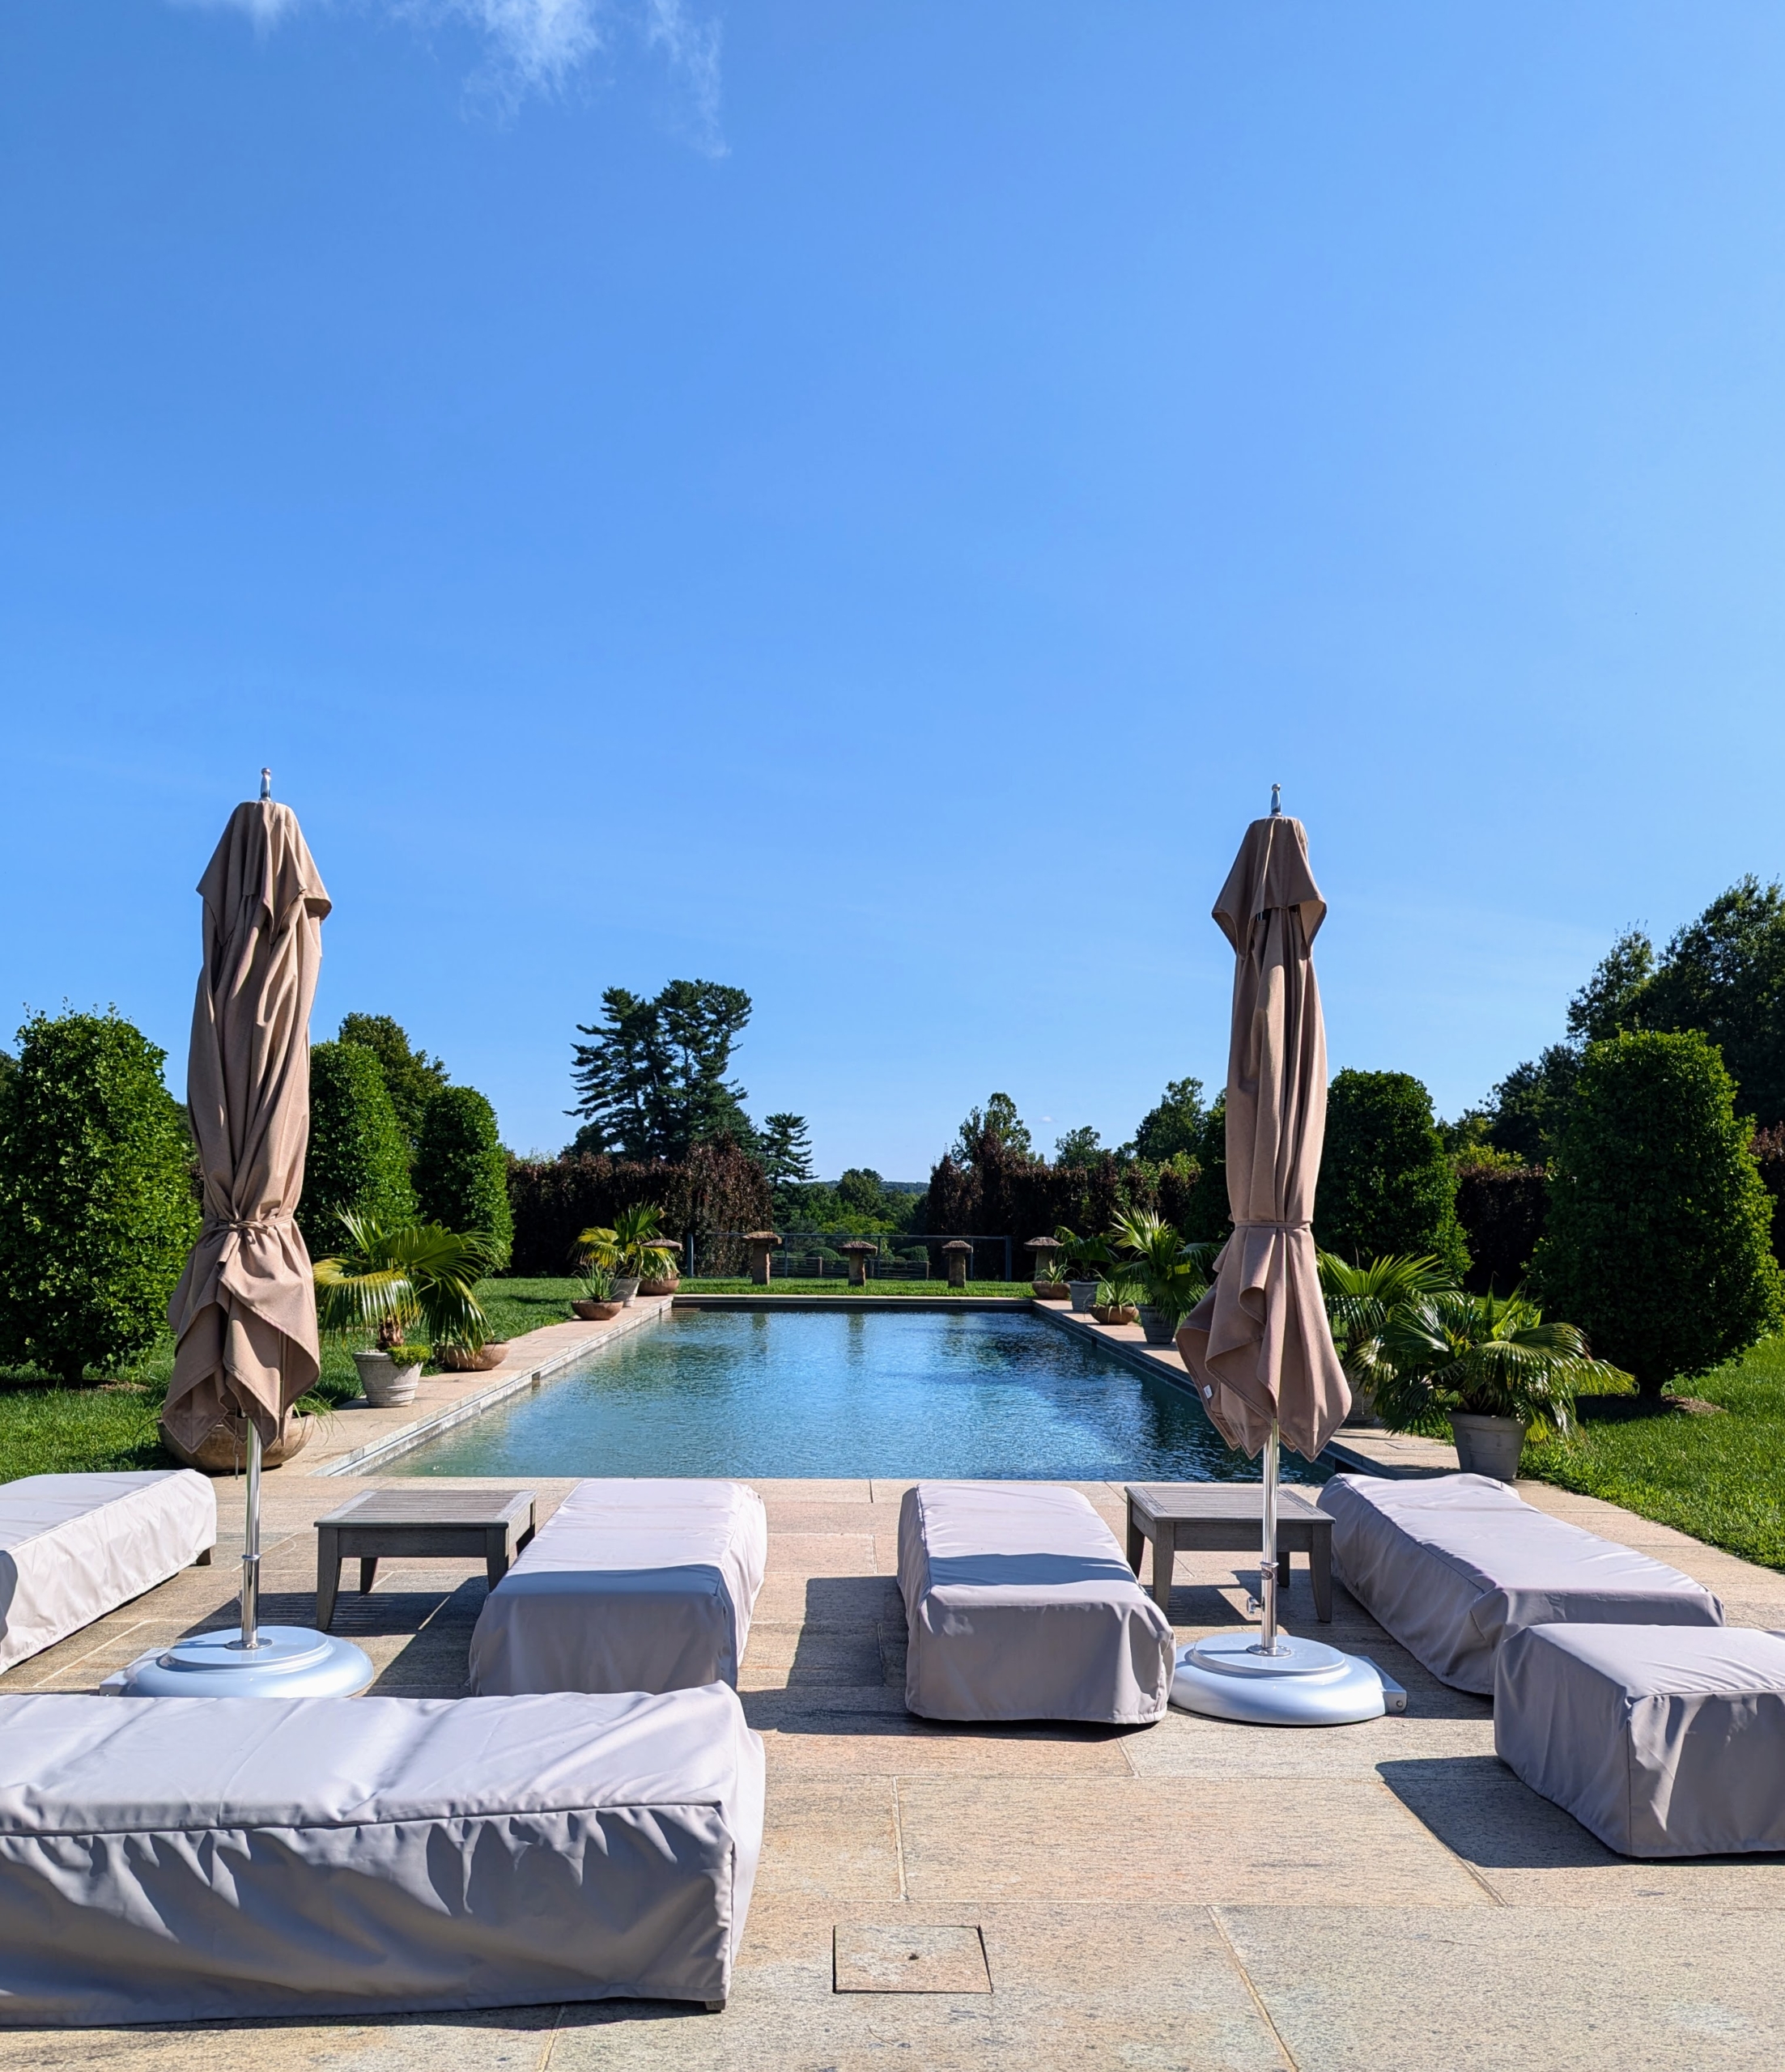
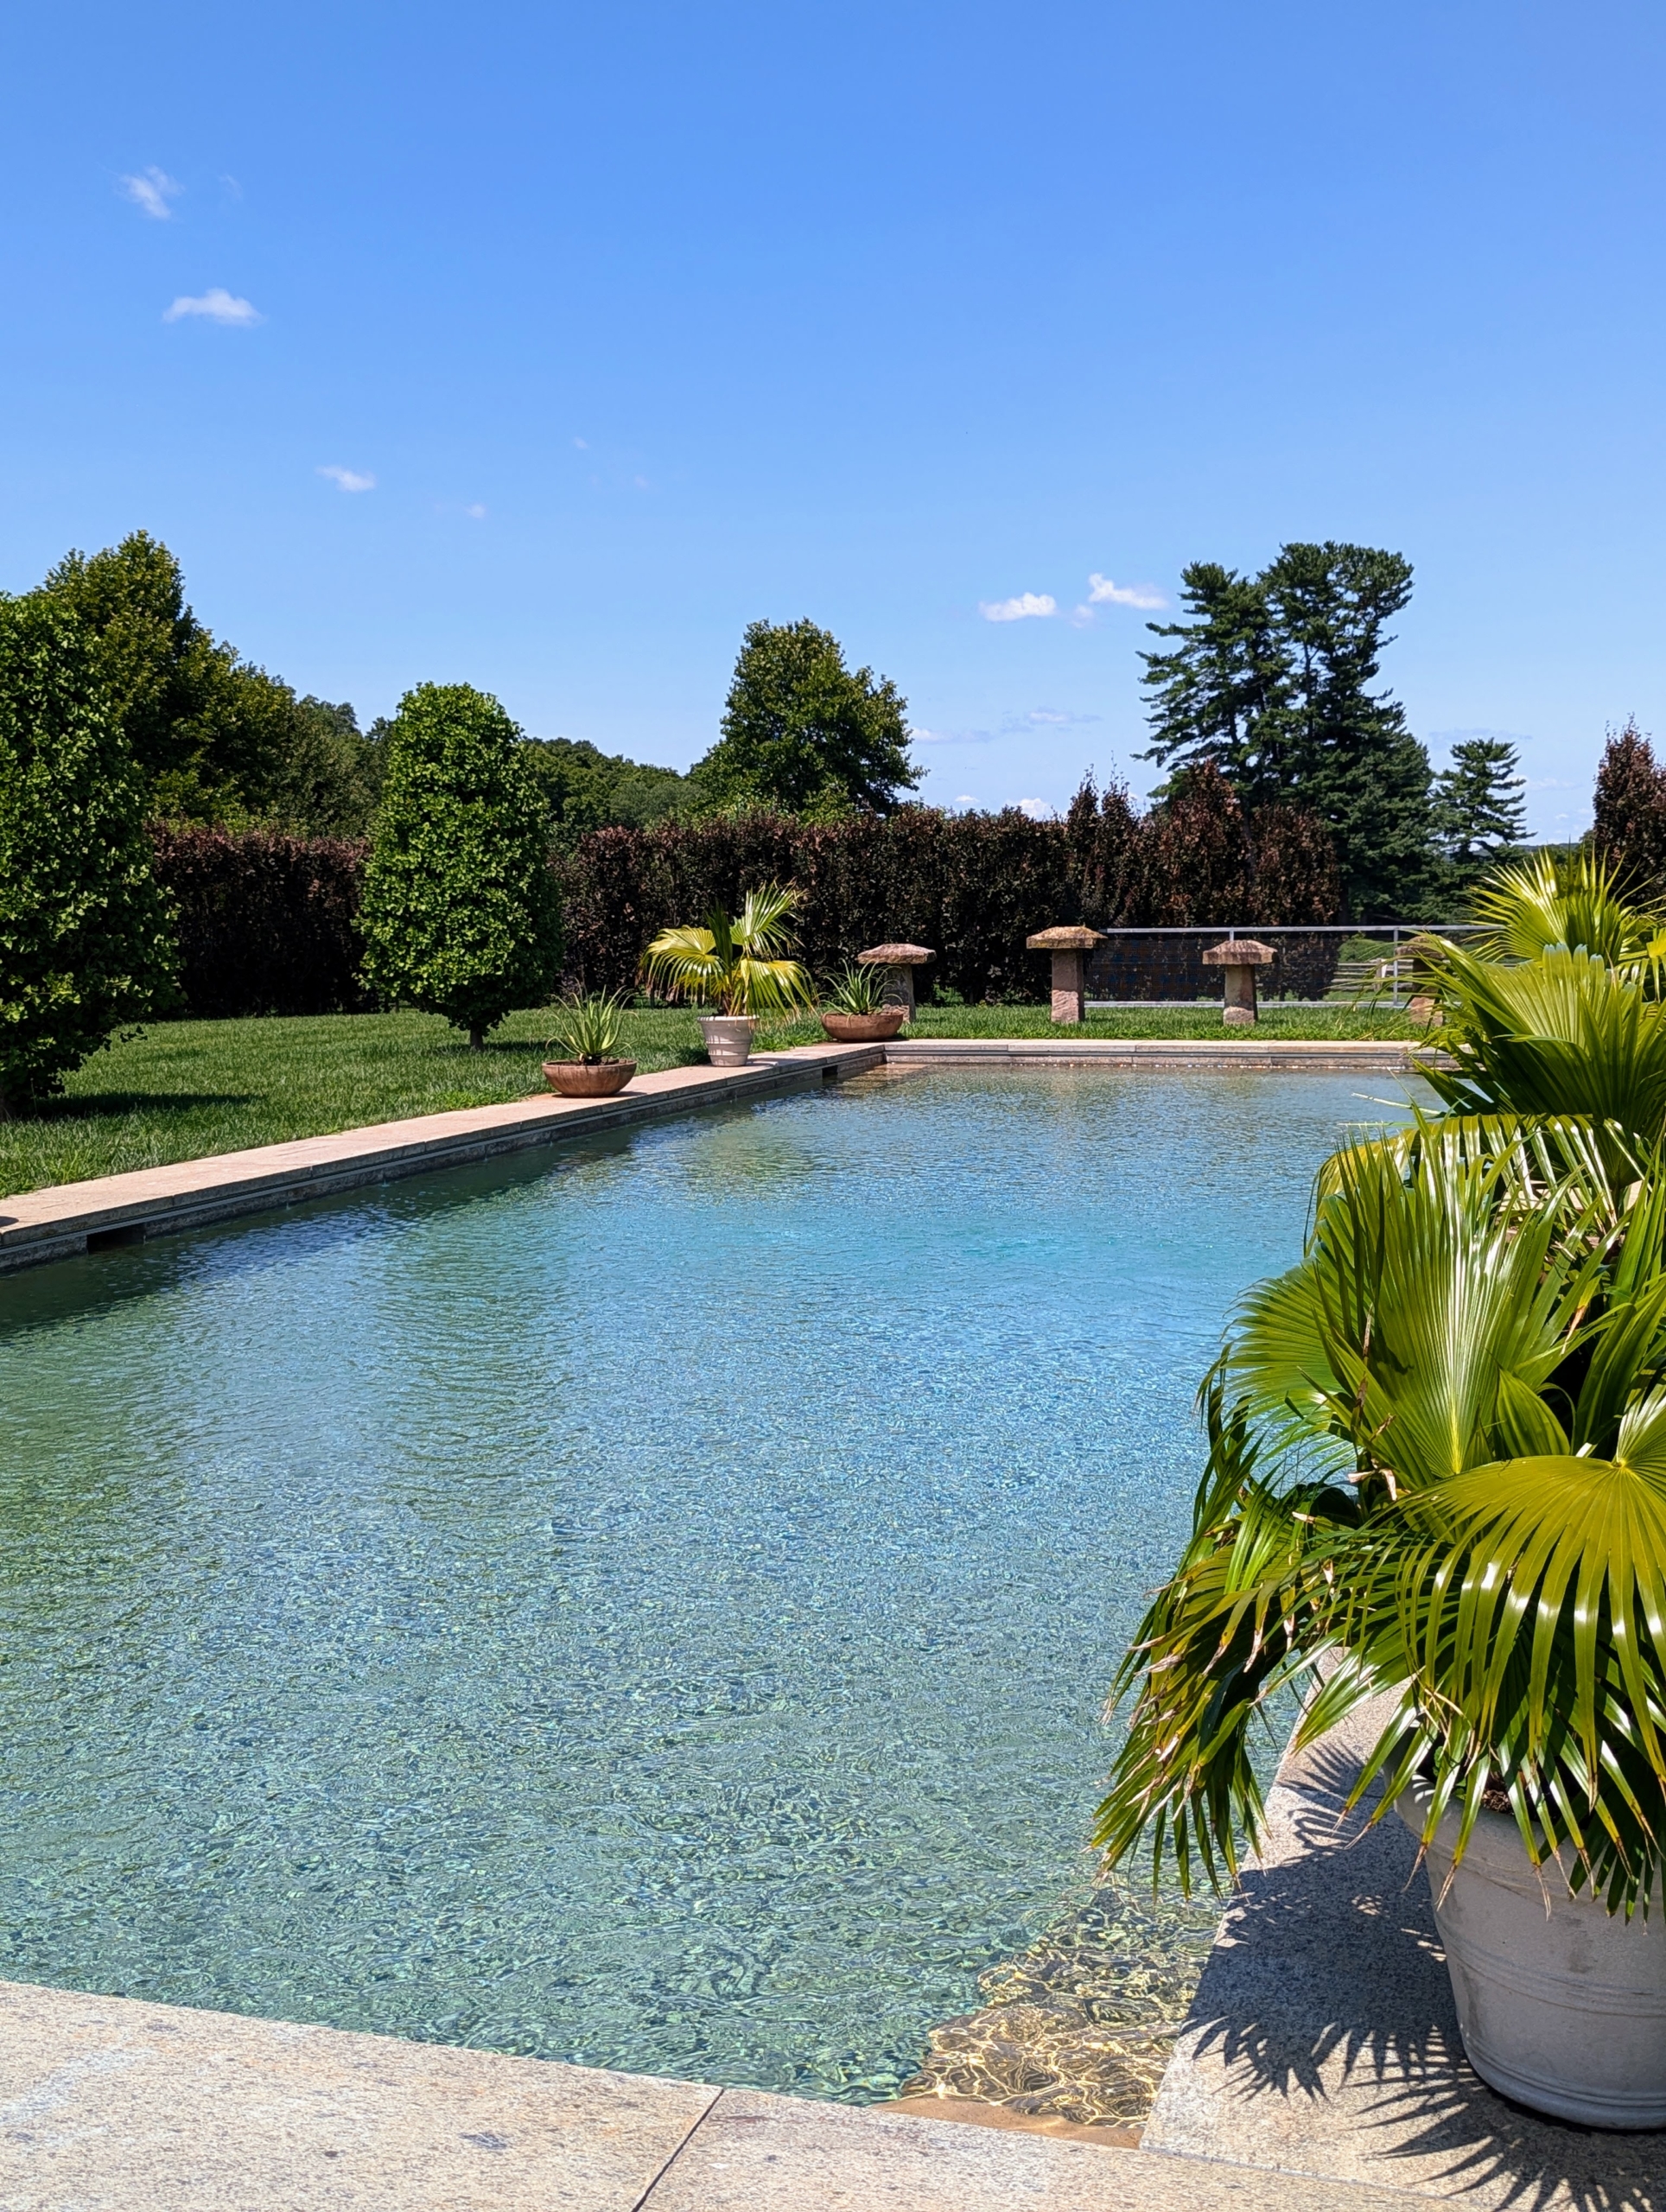
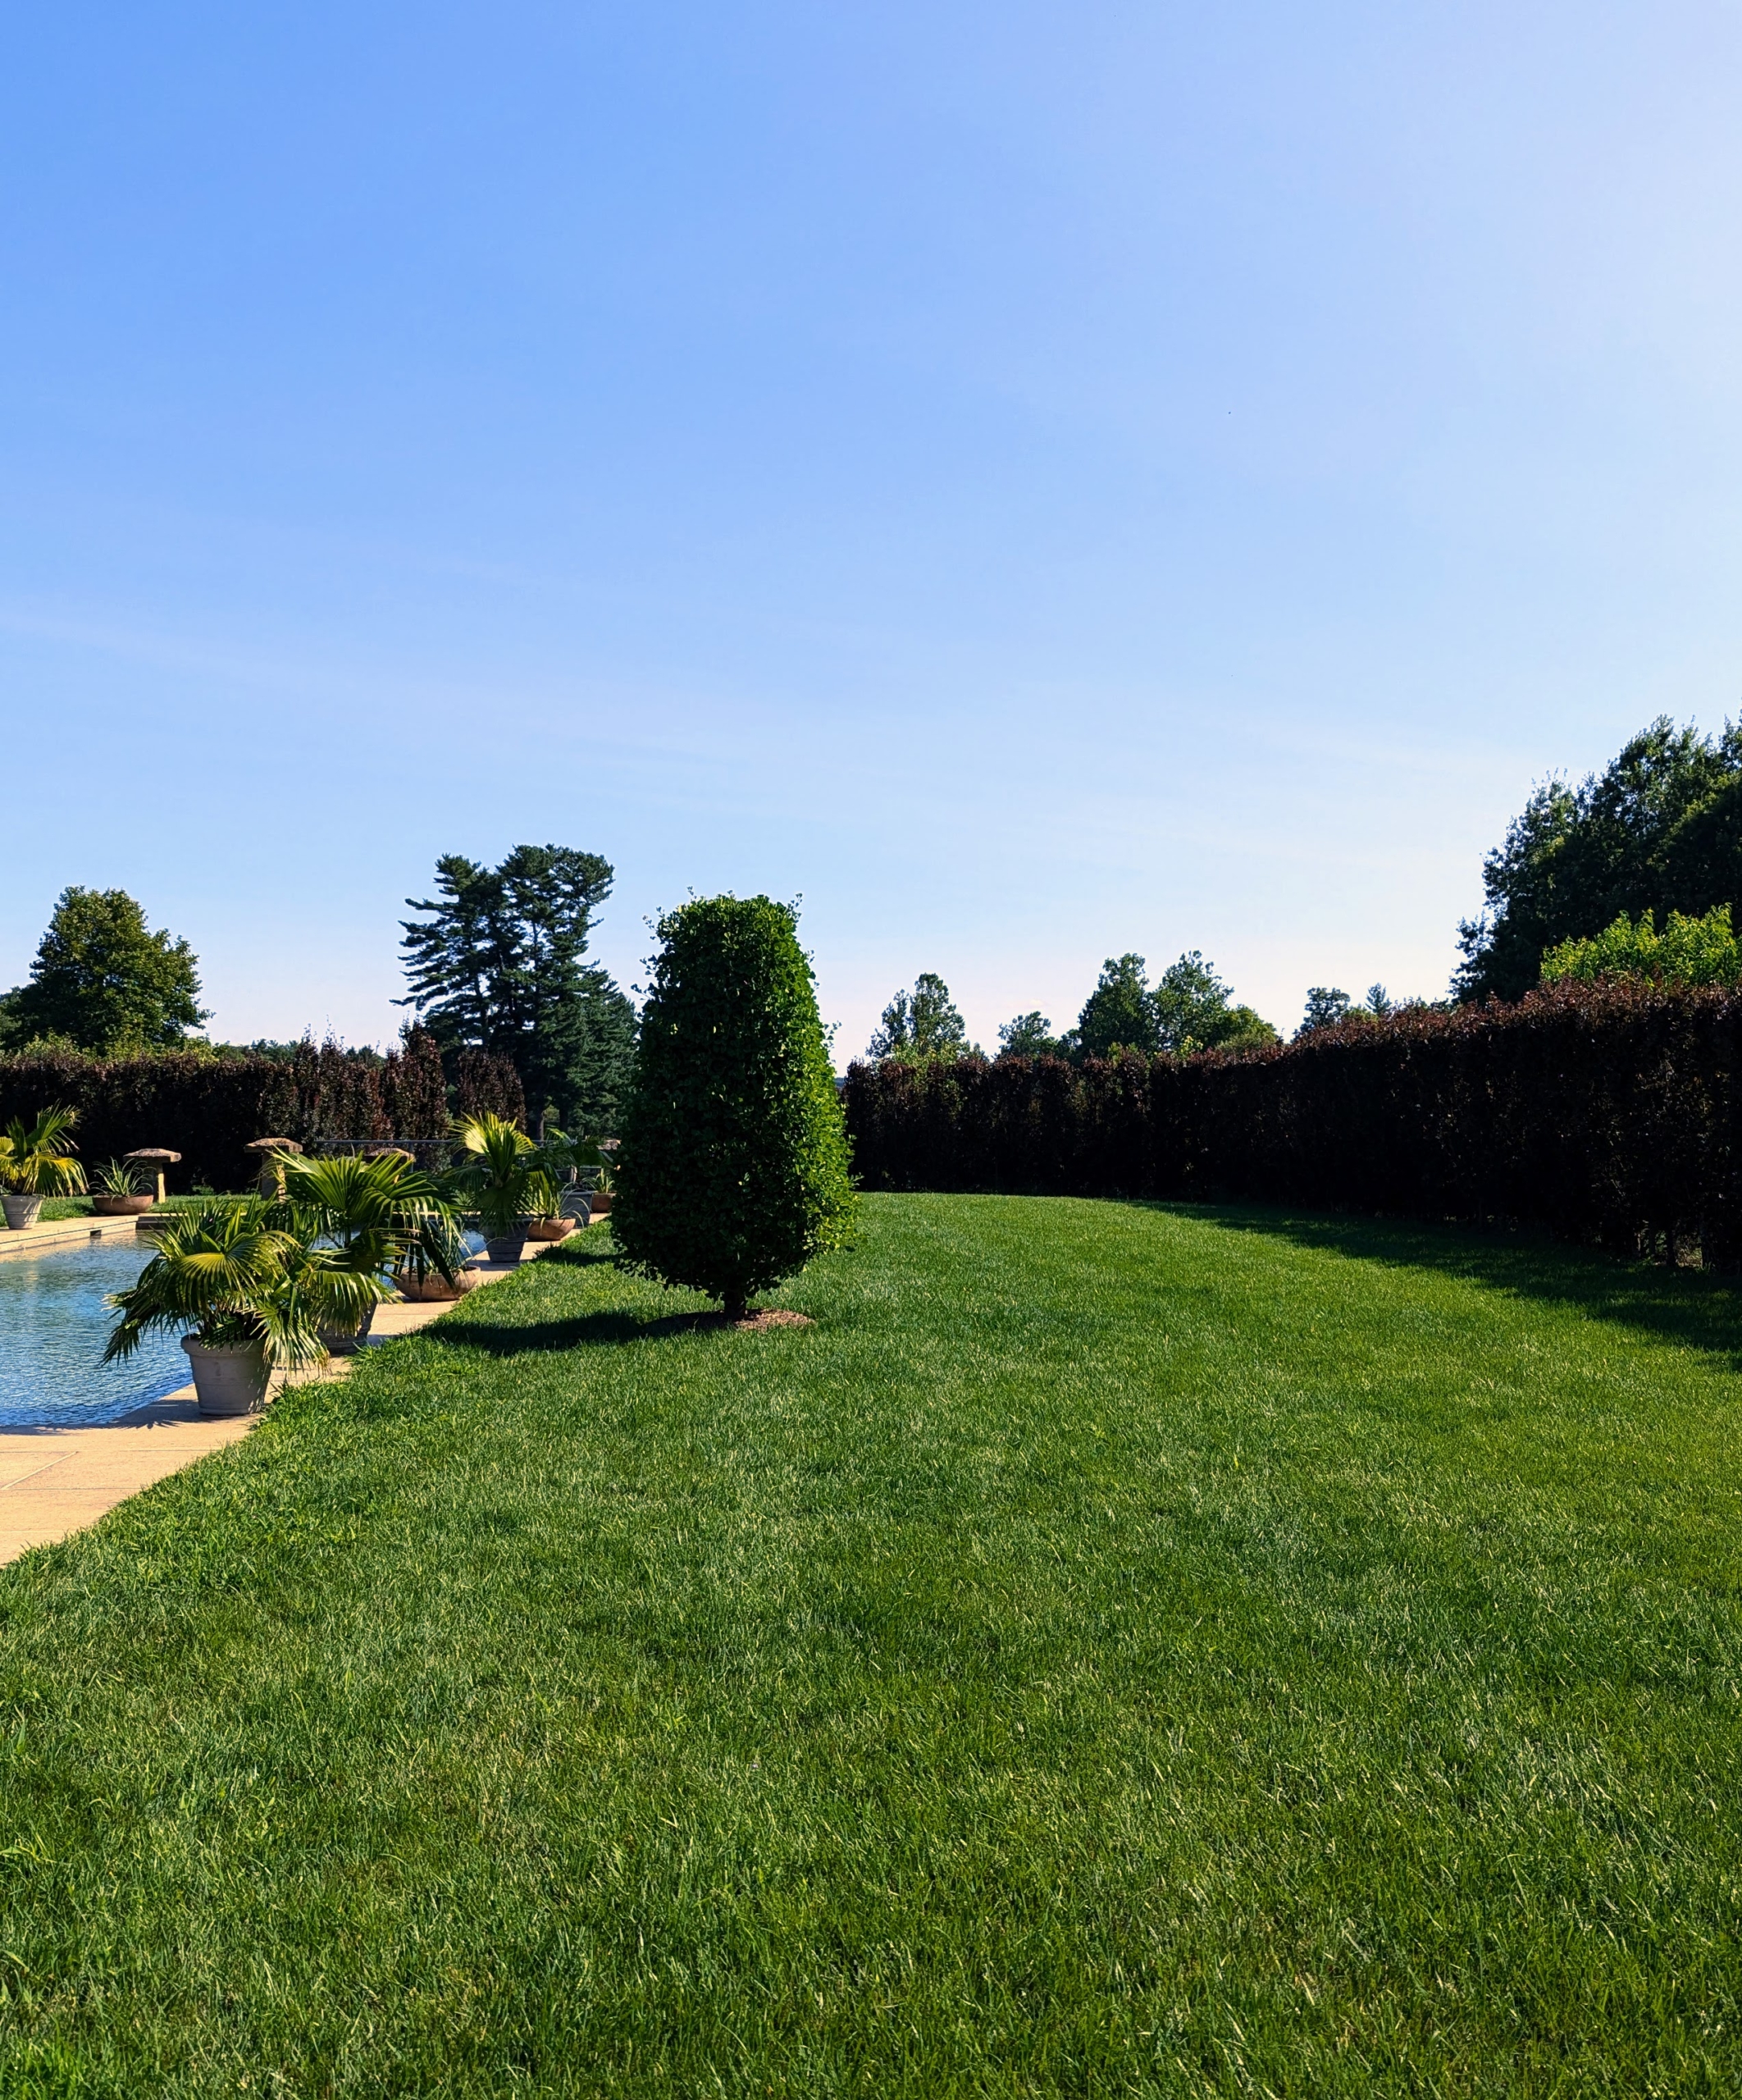
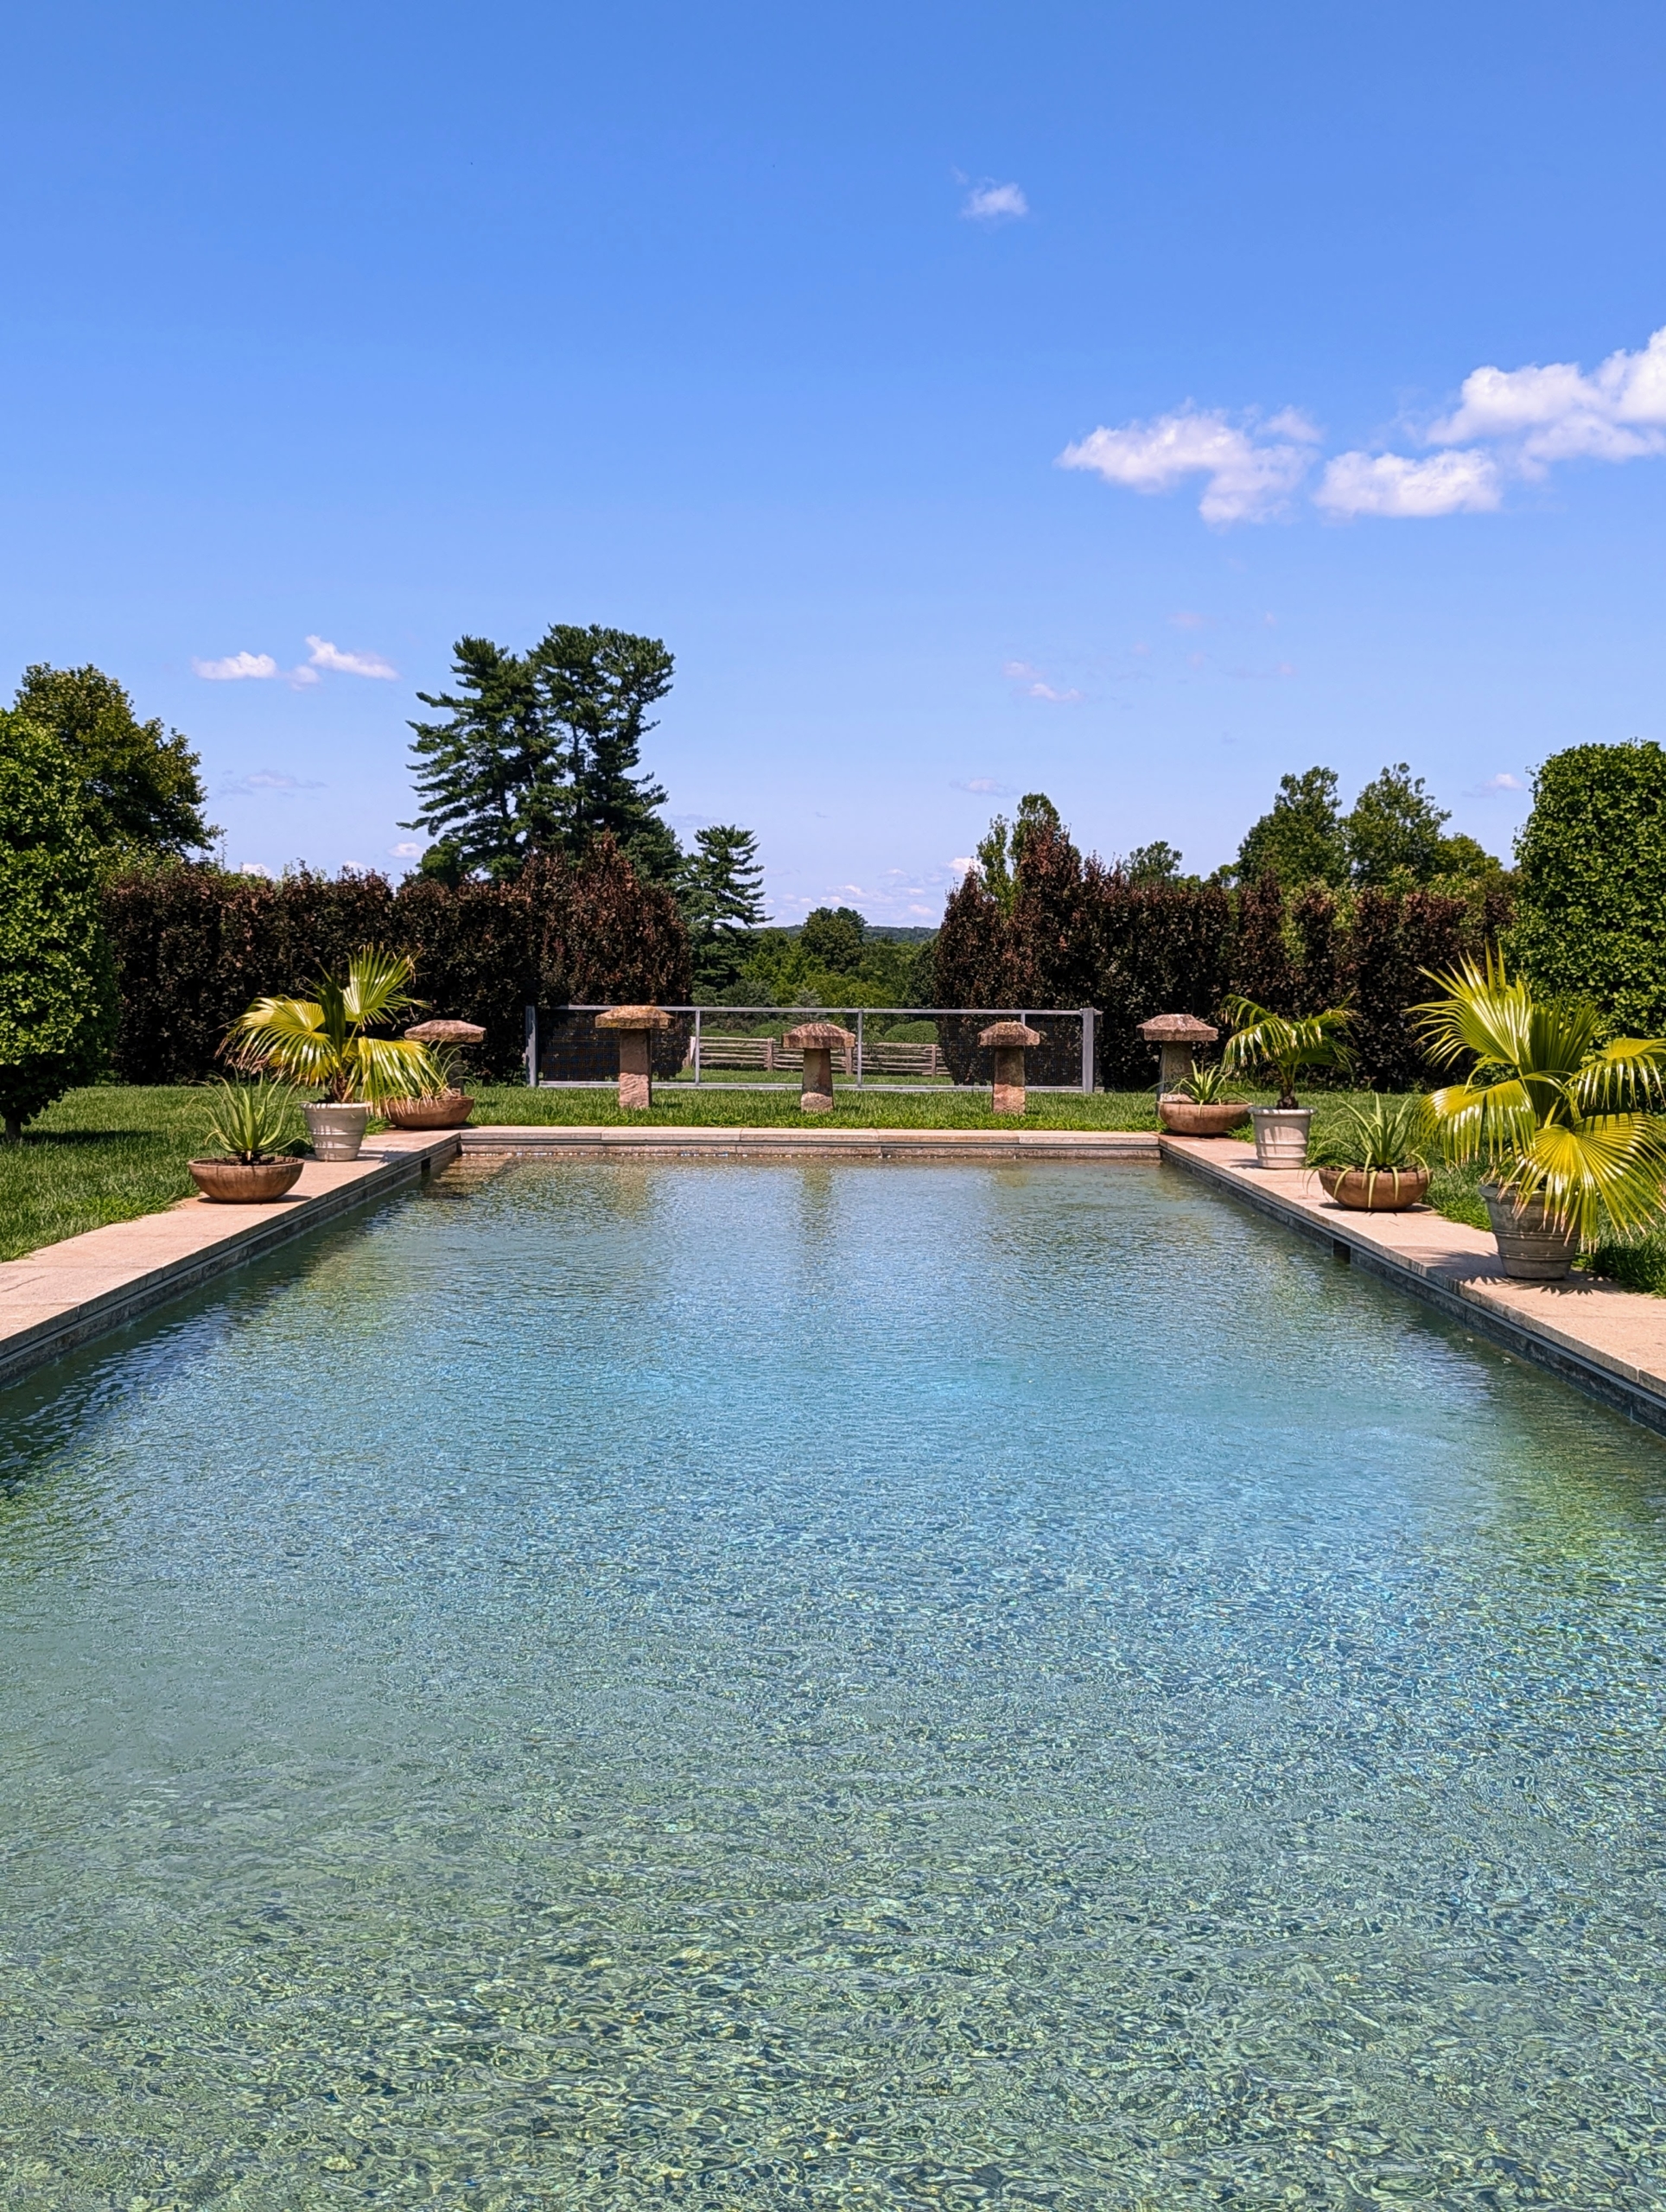
I wanted my pool area to look as natural as possible, where I could enjoy the gardens and panoramic views of the landscape with my family and friends.
Earlier this year, I planted six Ginkgo biloba Goldspire™ Obelisk trees around the pool. I also have some potted fan palms positioned along the pool’s edge.
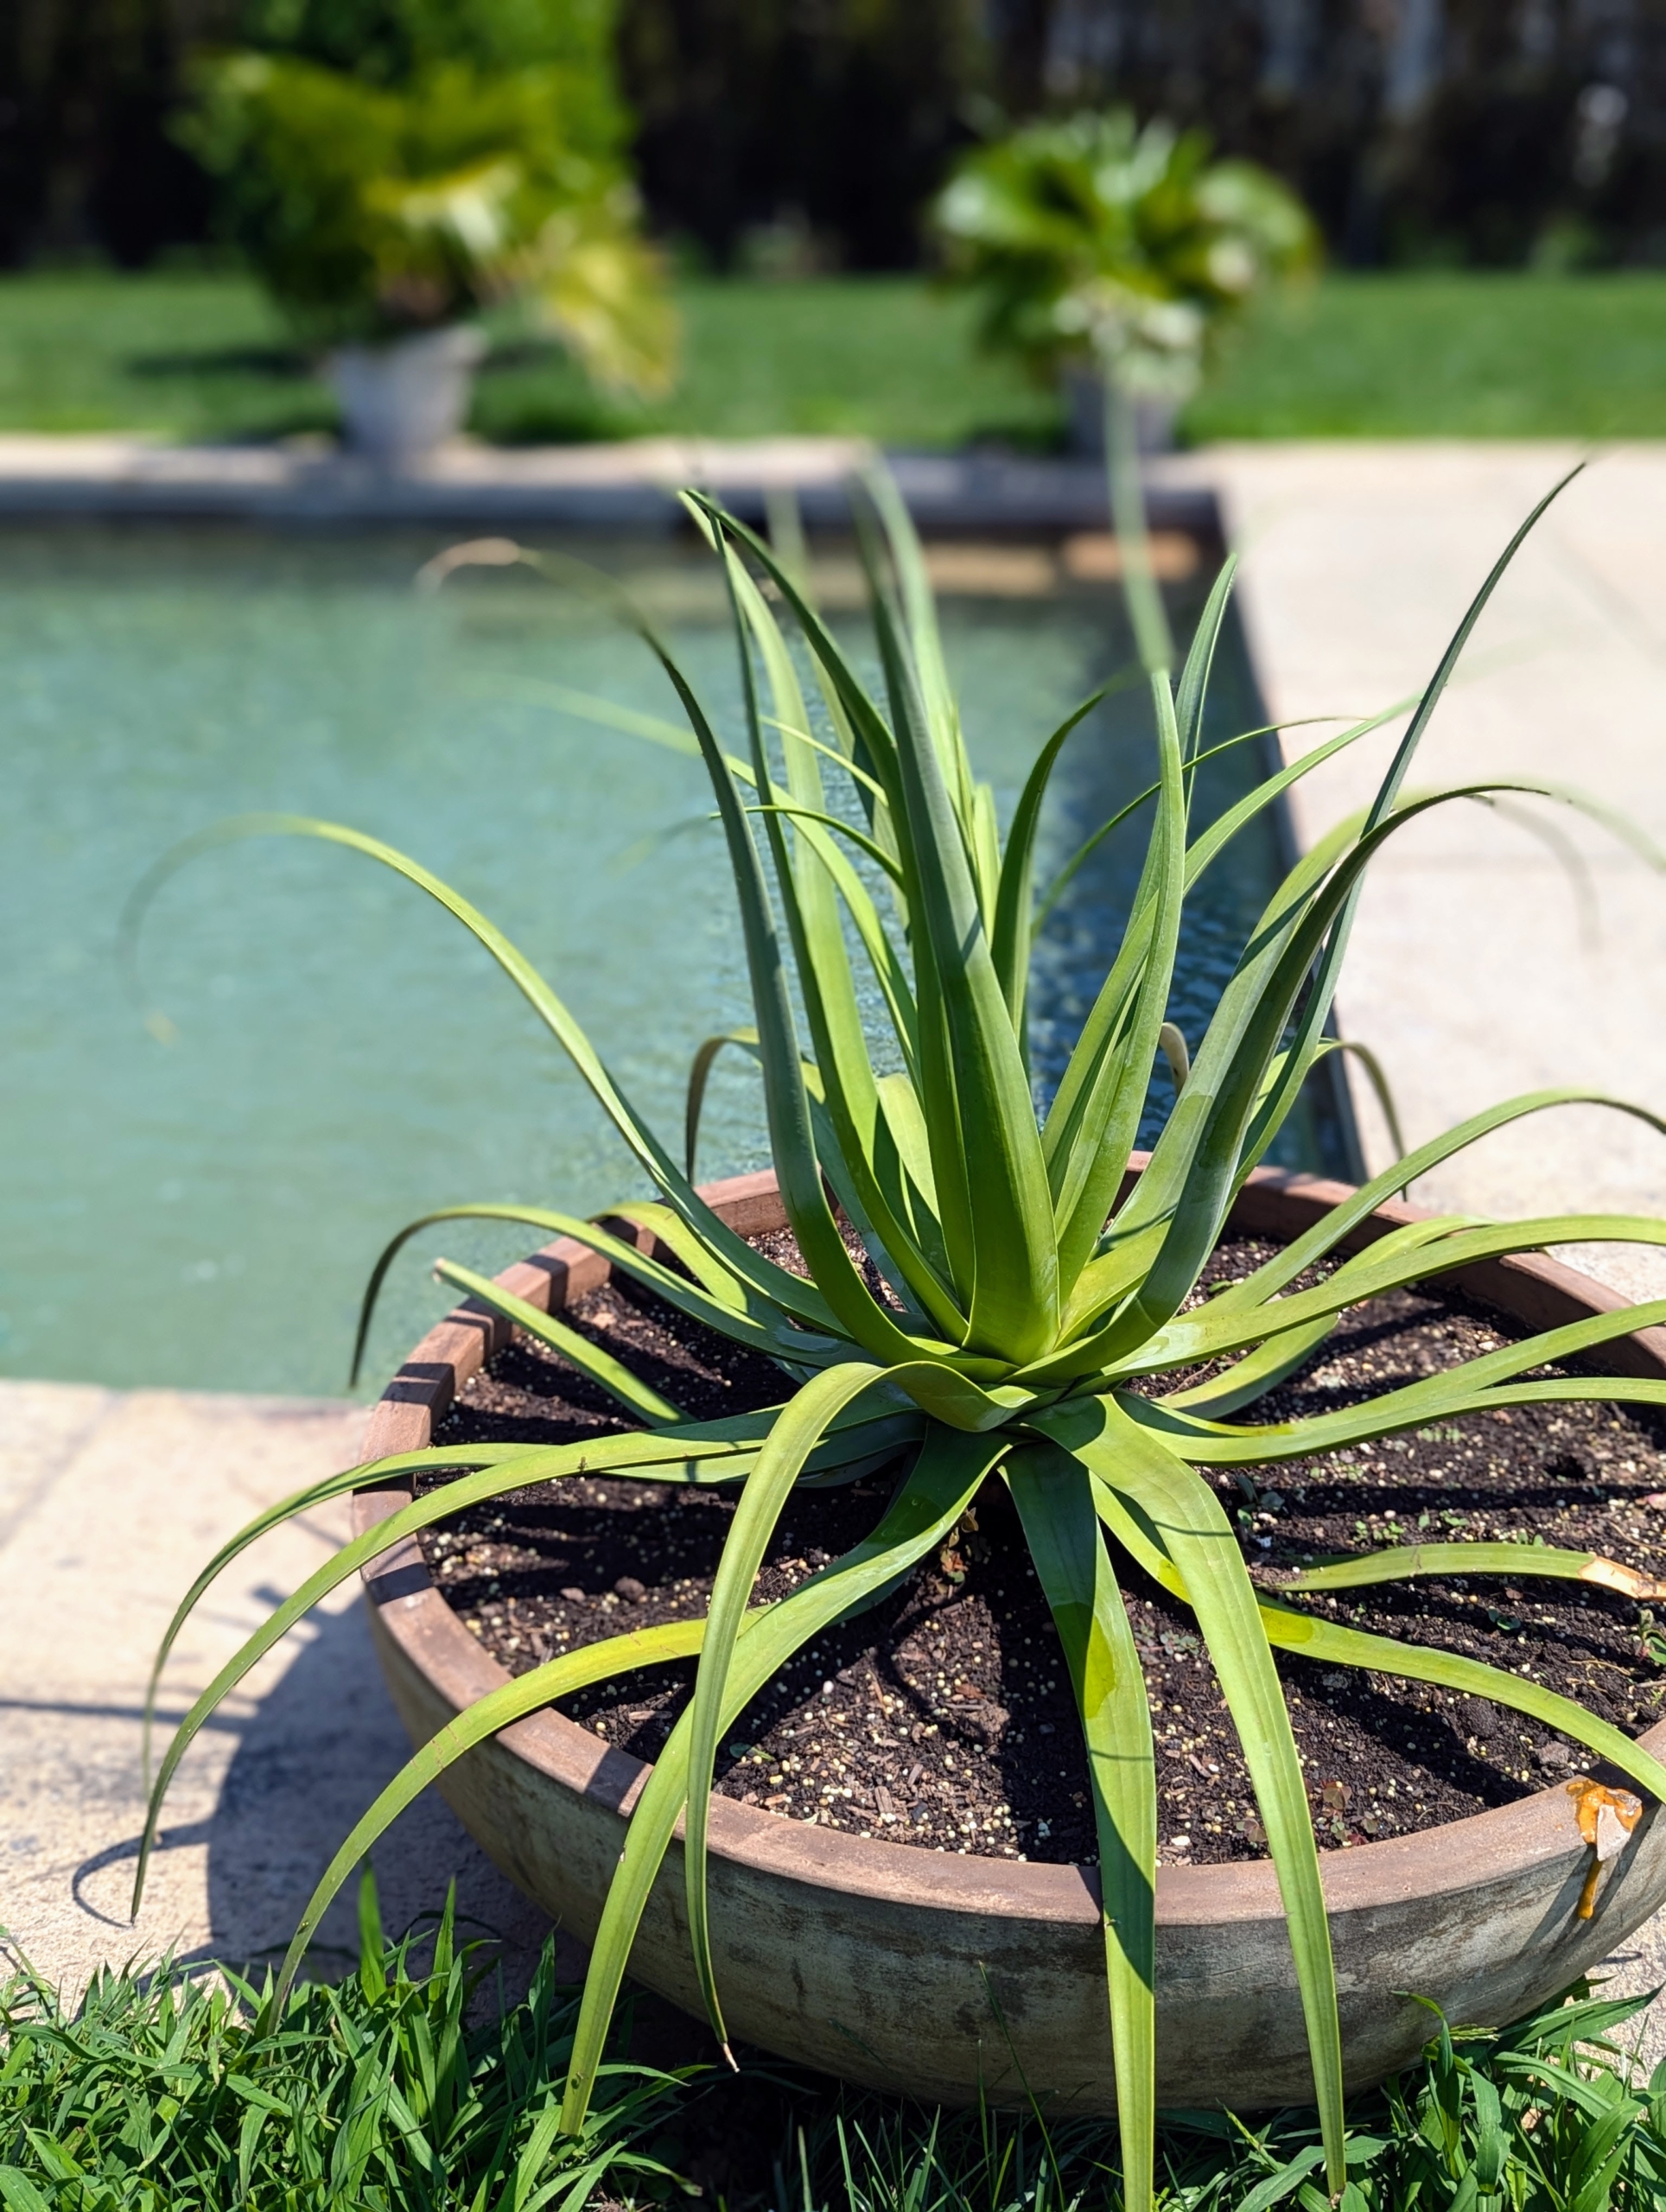
Mixed in are some potted agaves. I always take out many of my tropical plants and display them in beautiful ornamental urns around the farm during summer.
There is also lush green lawn on all four sides of the pool. All surrounded by the necessary pool fence disguised by tall hedges. The inside hedge is made of columnar beech trees. These are fastigiate meaning their branches slope upward more or less parallel to the main stem.
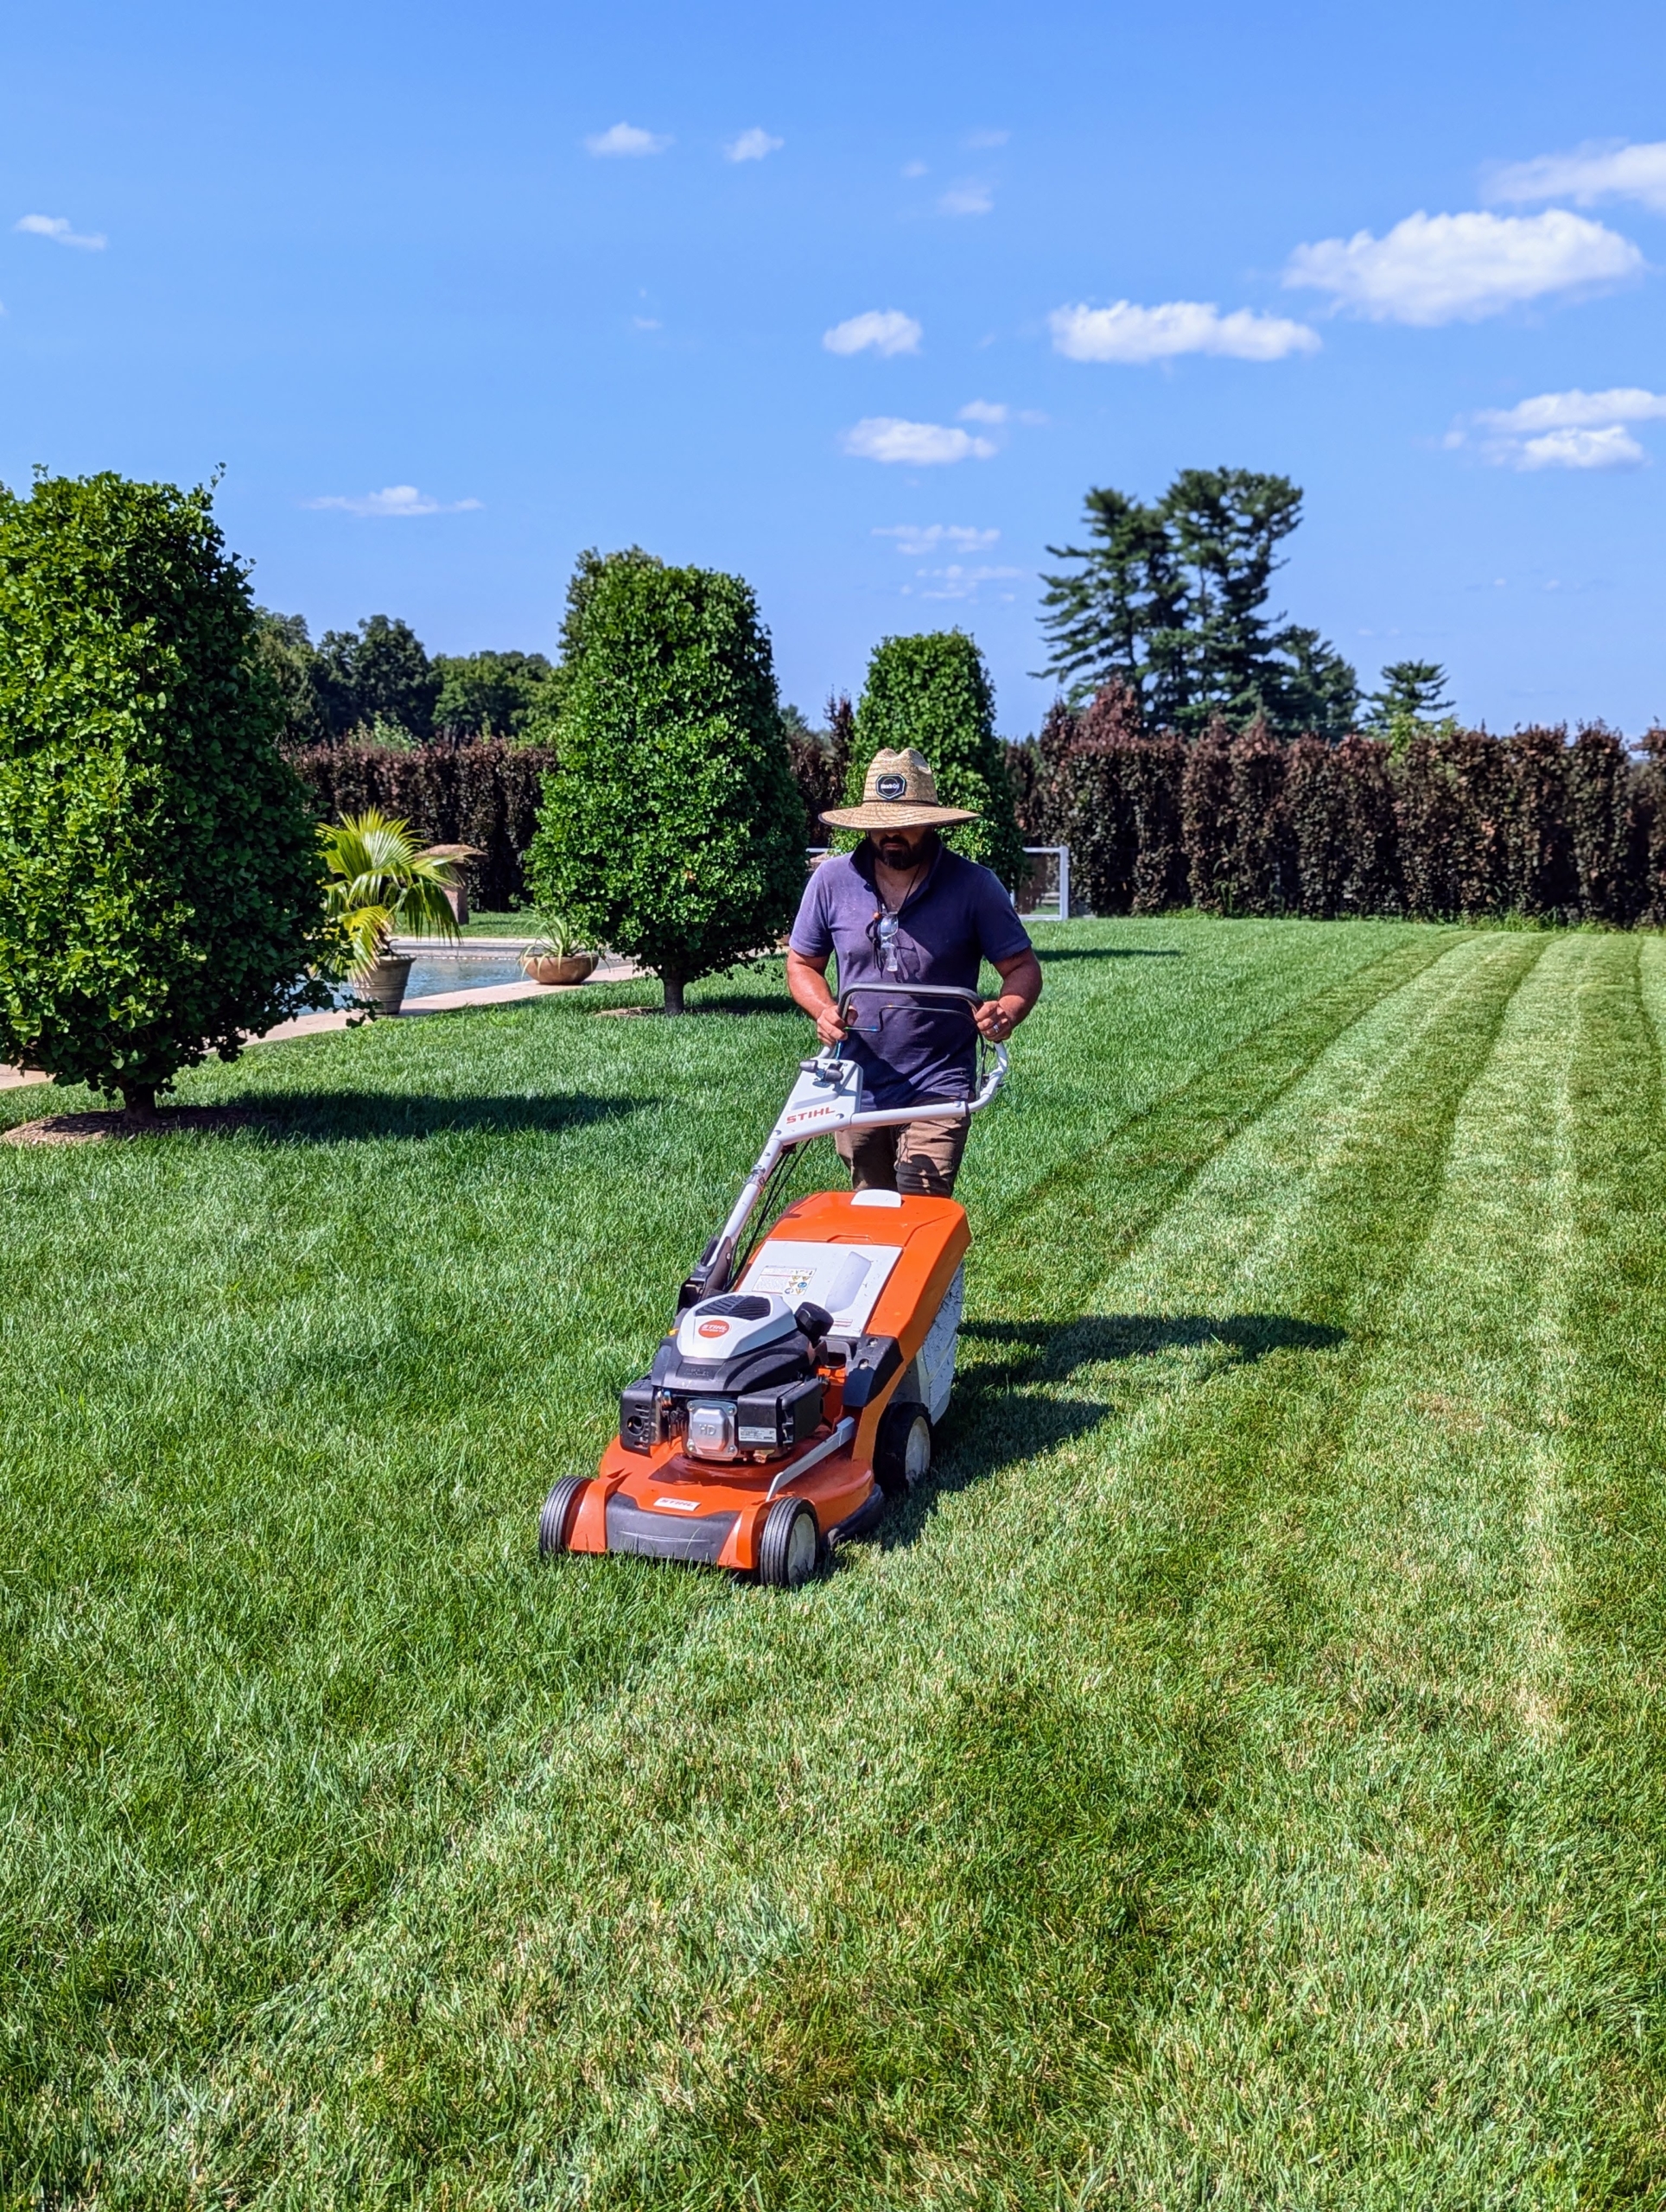
On this day, Adan Morales, my mower extraordinaire, cuts the pool lawn using our STIHL RM 655 VS push mower. This 21-inch gas powered mower provides really sharp, accurate cutting and easy bagging. It’s perfect to use in this enclosed area.
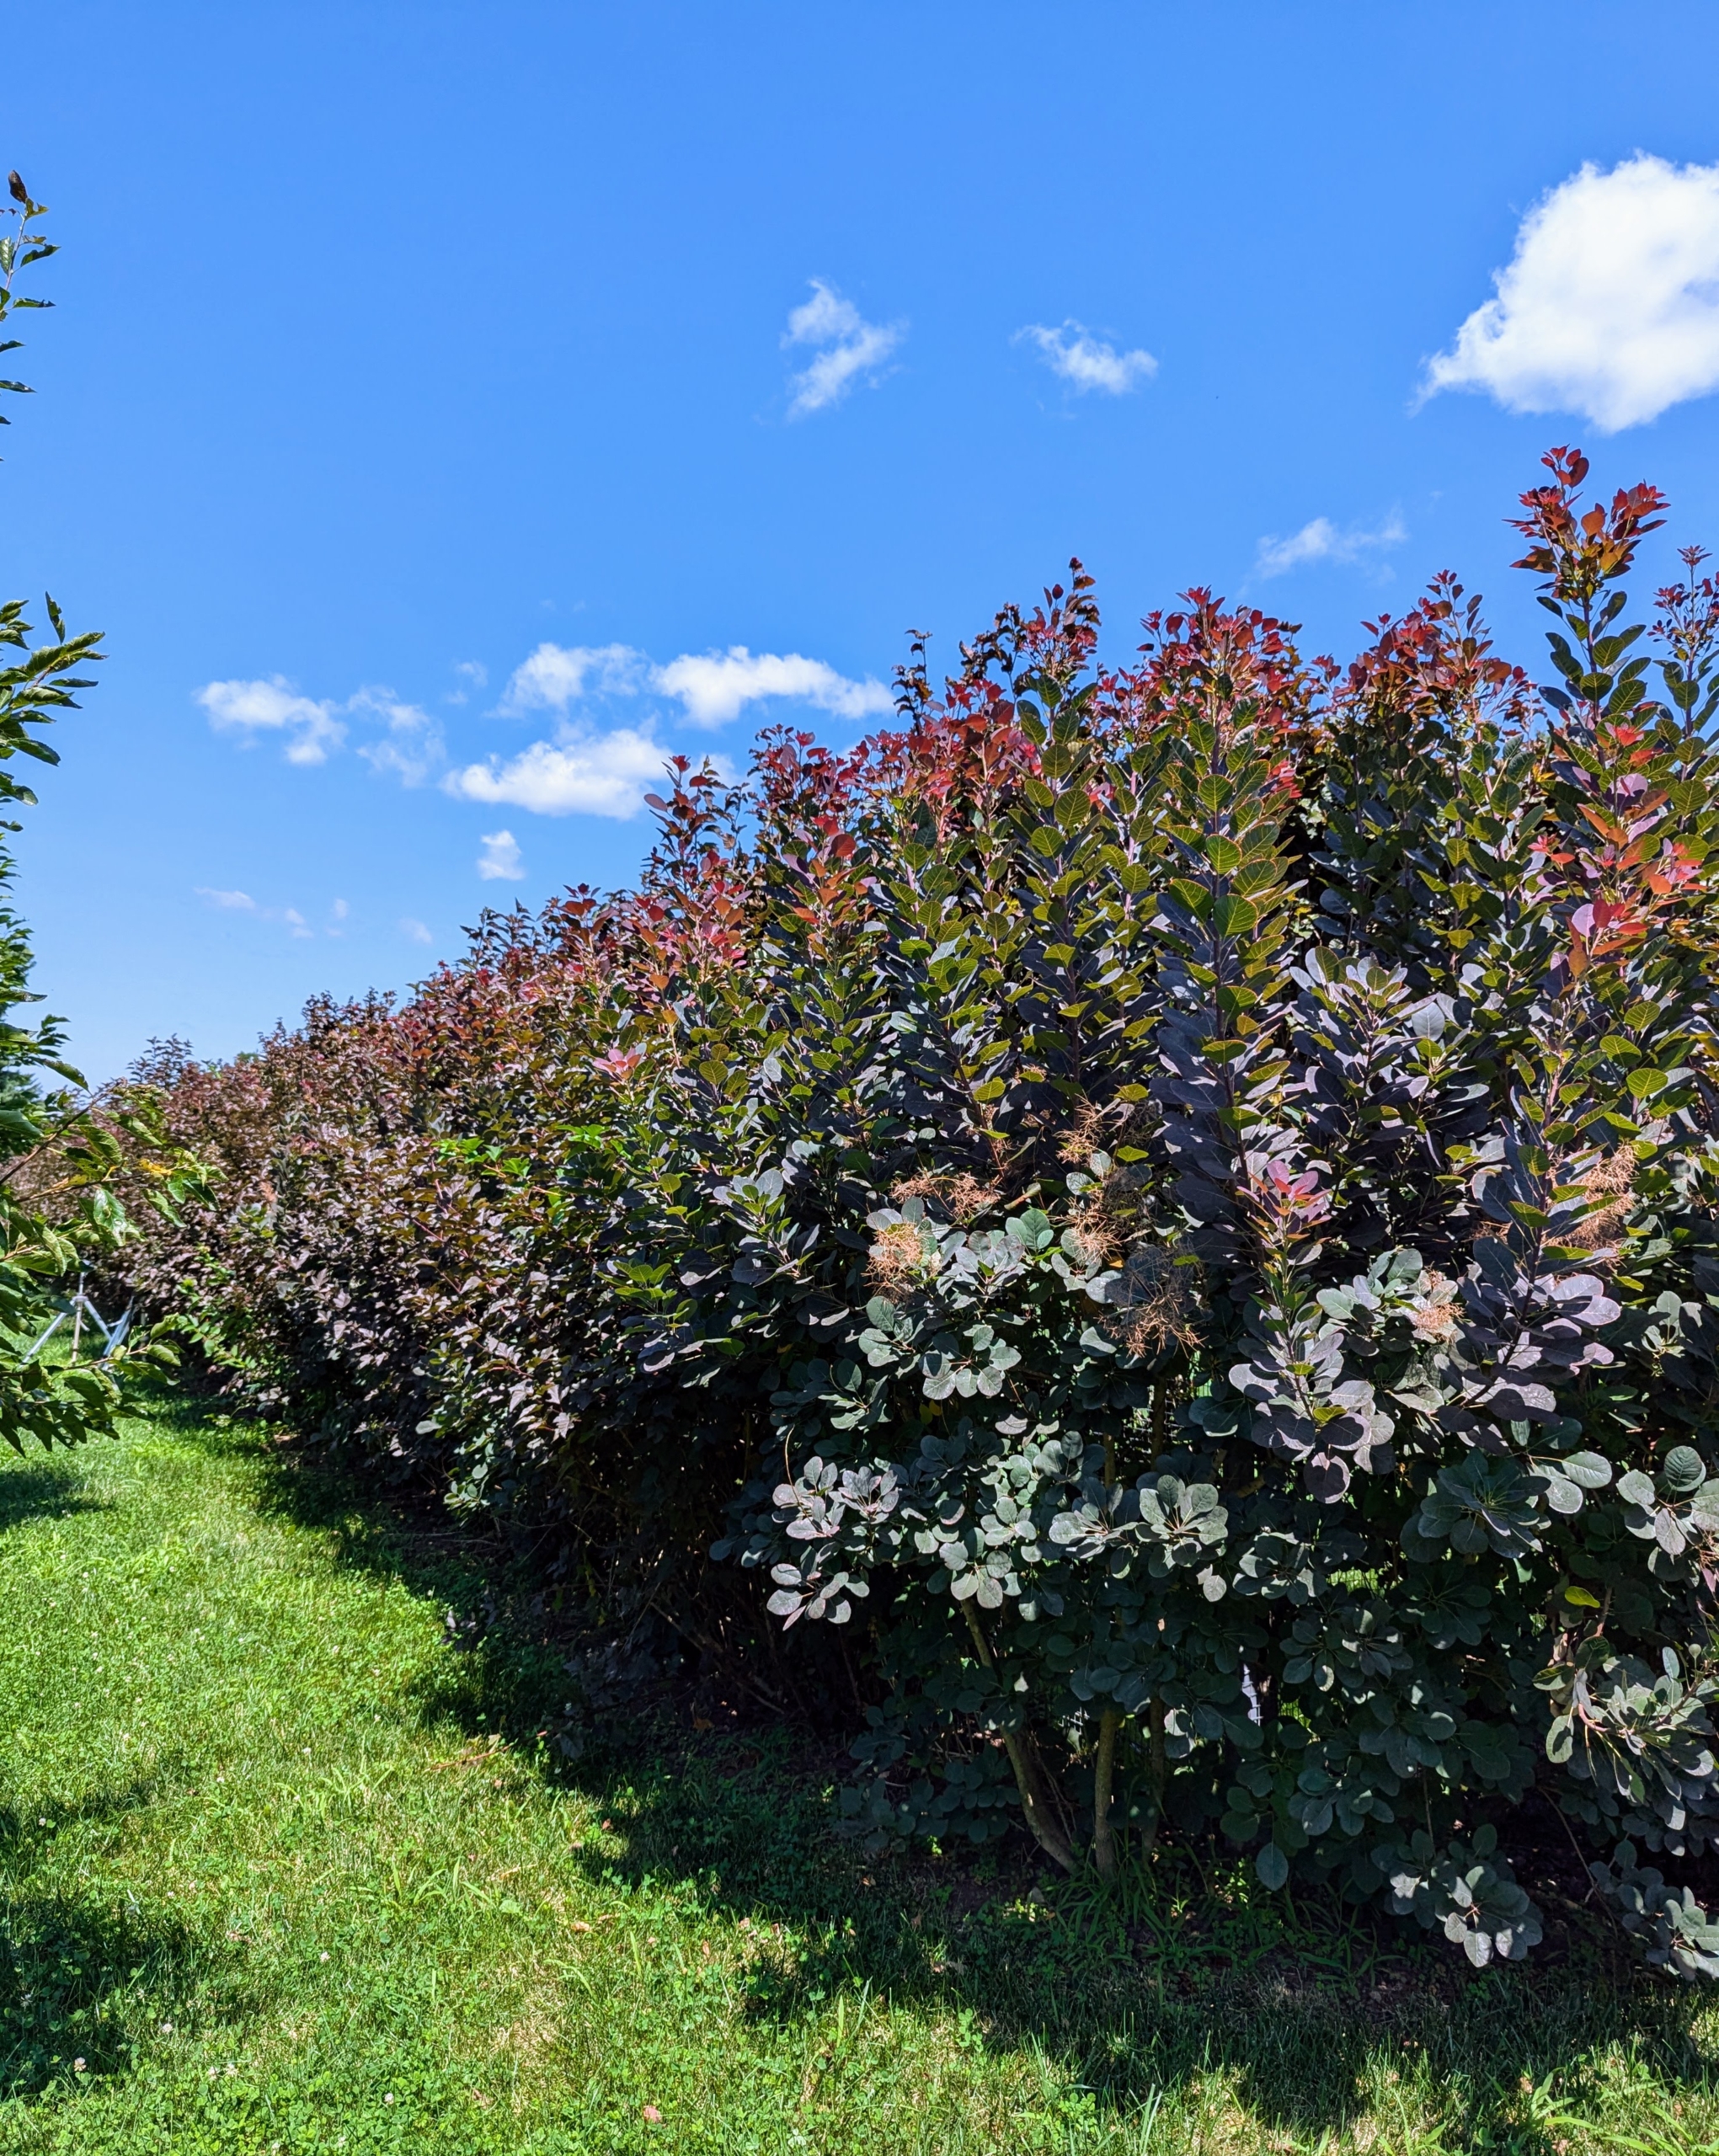
I chose these Physocarpus and Cotinus shrubs for the outside. These have grown quite a bit since last year – it’s hard to see the beech trees behind them.
They’re planted alternately and close together to create a hedge and to add interest. They can grow up to two feet per year.
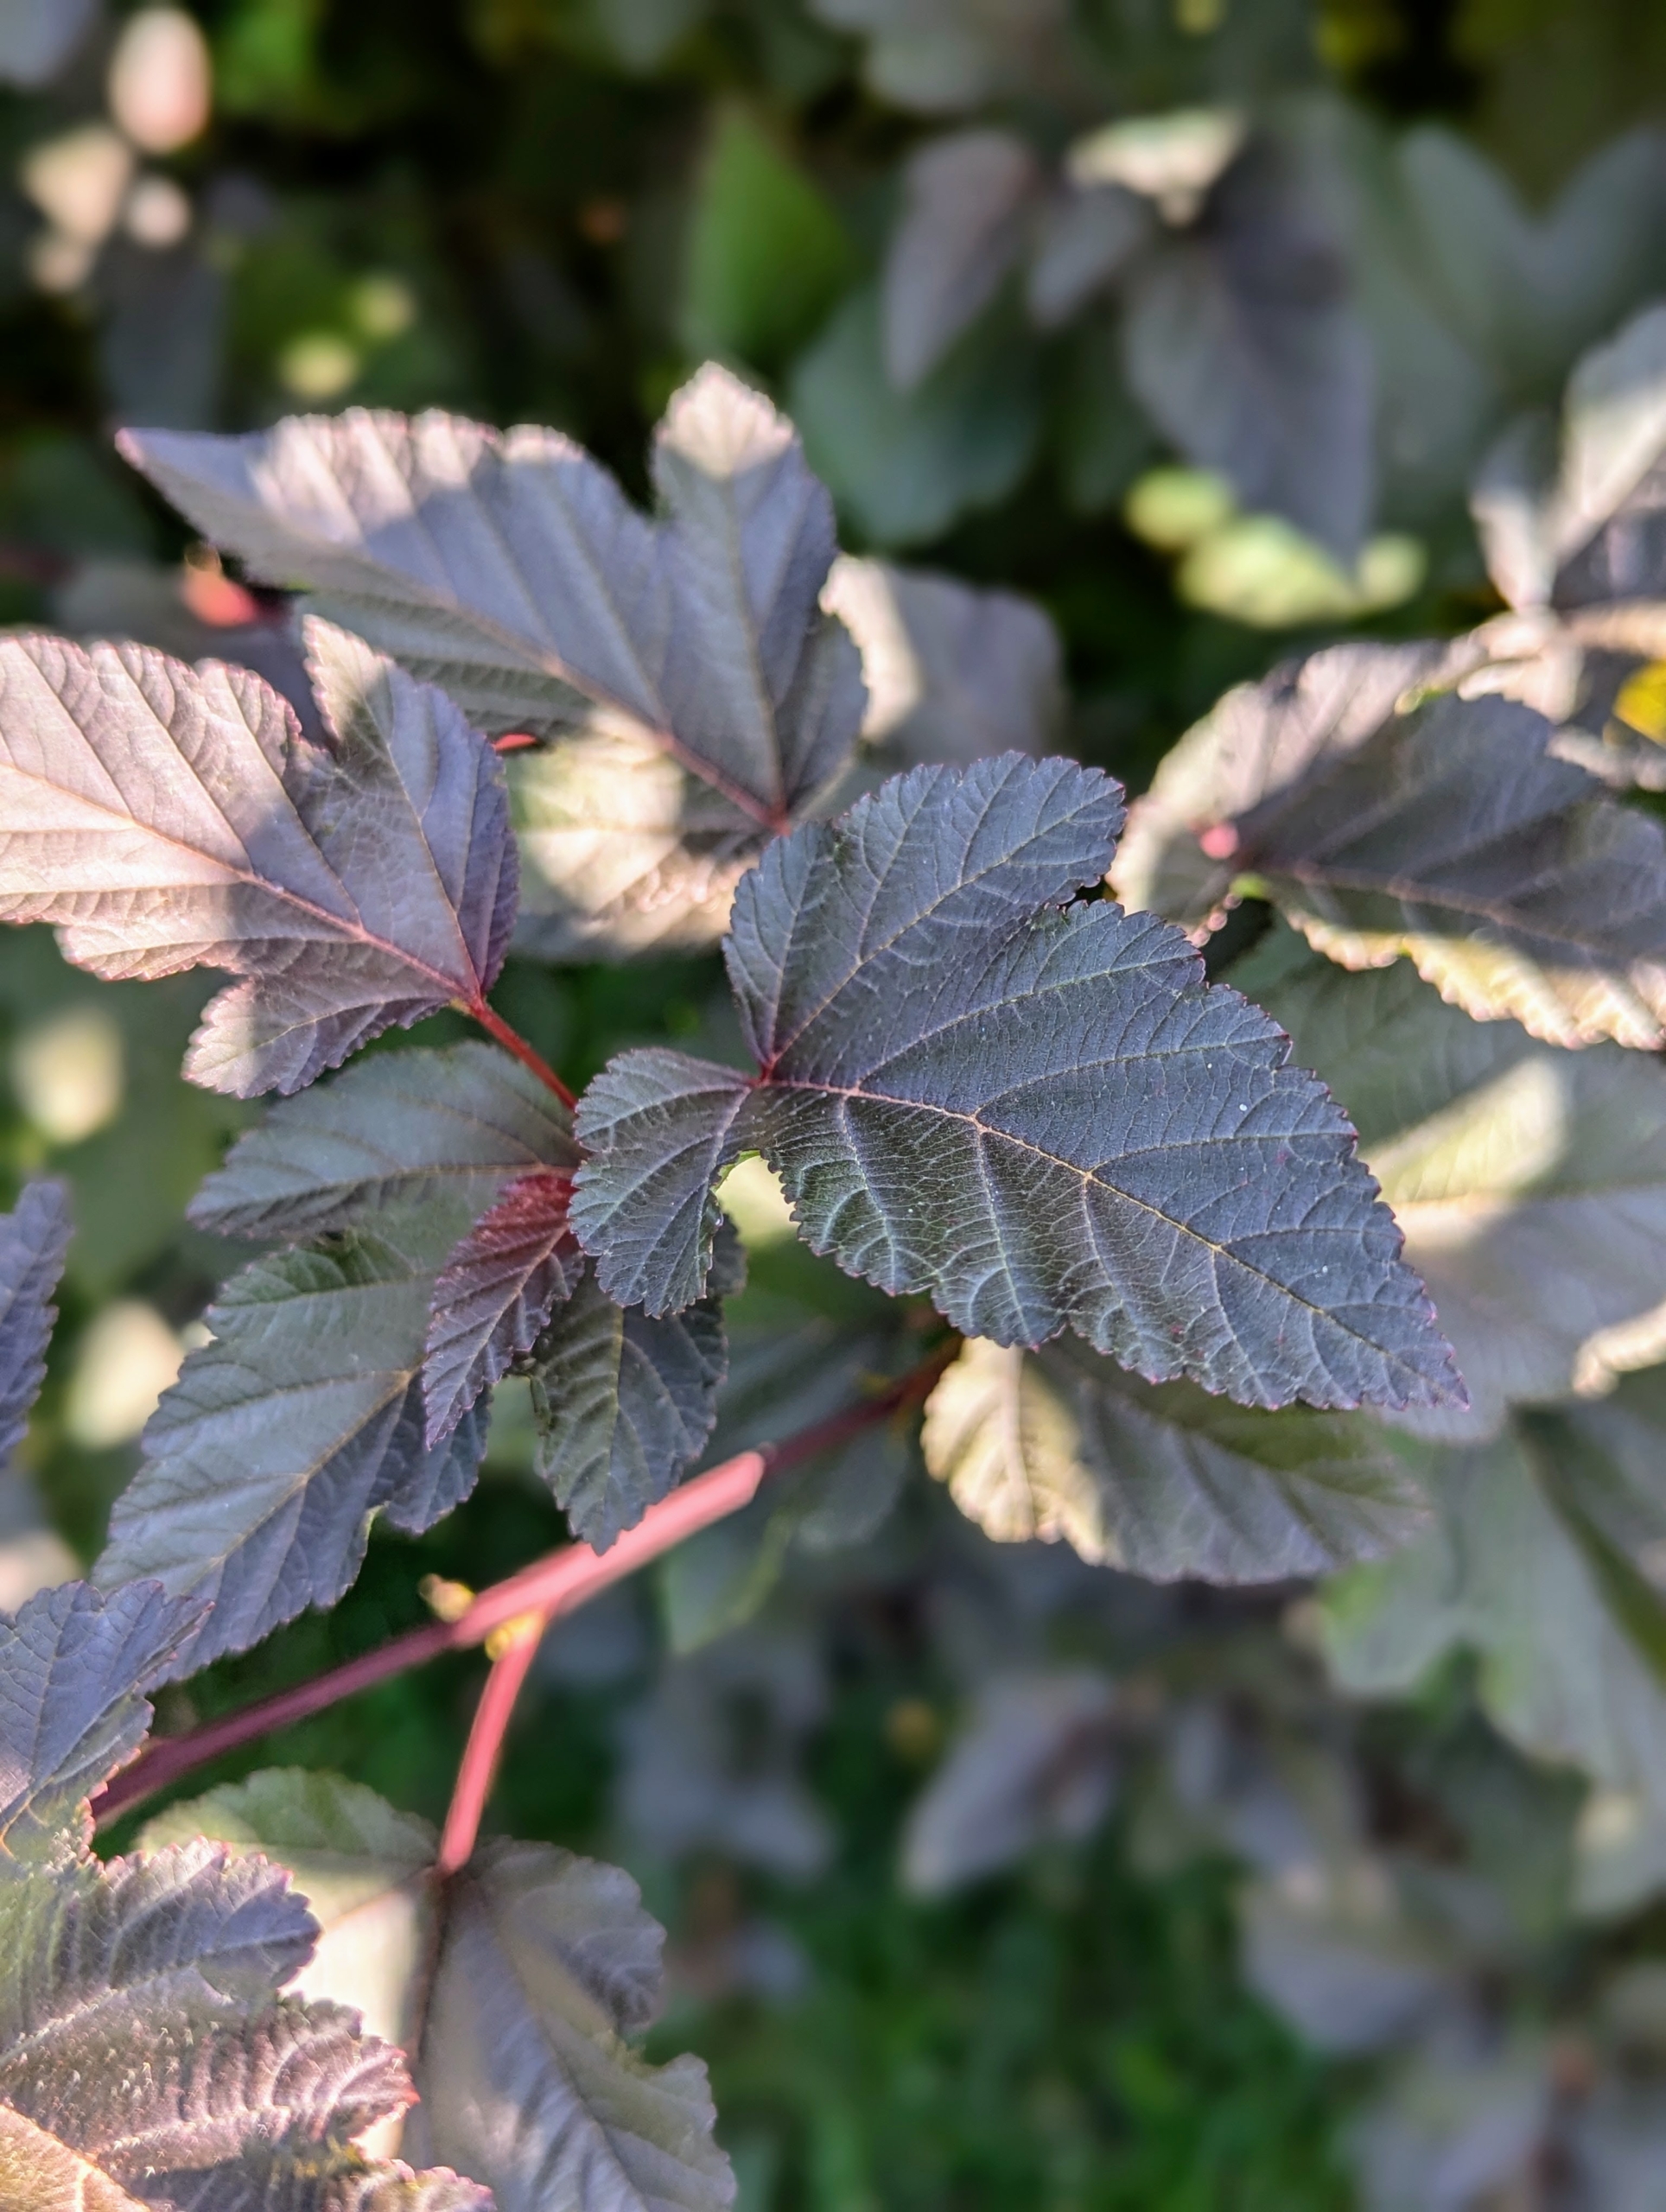
Physocarpus is commonly called ninebark, and is an upright, spreading, somewhat coarse, deciduous, Missouri-native shrub which is closely related to the genus Spiraea. It boasts a deep burgundy foliage with ovate to rounded, usually three to five lobed leaves that are dull green in summer changing to an undistinguished yellow in fall. Then its color veers toward bronzy red by the time the leaves fall in late November.
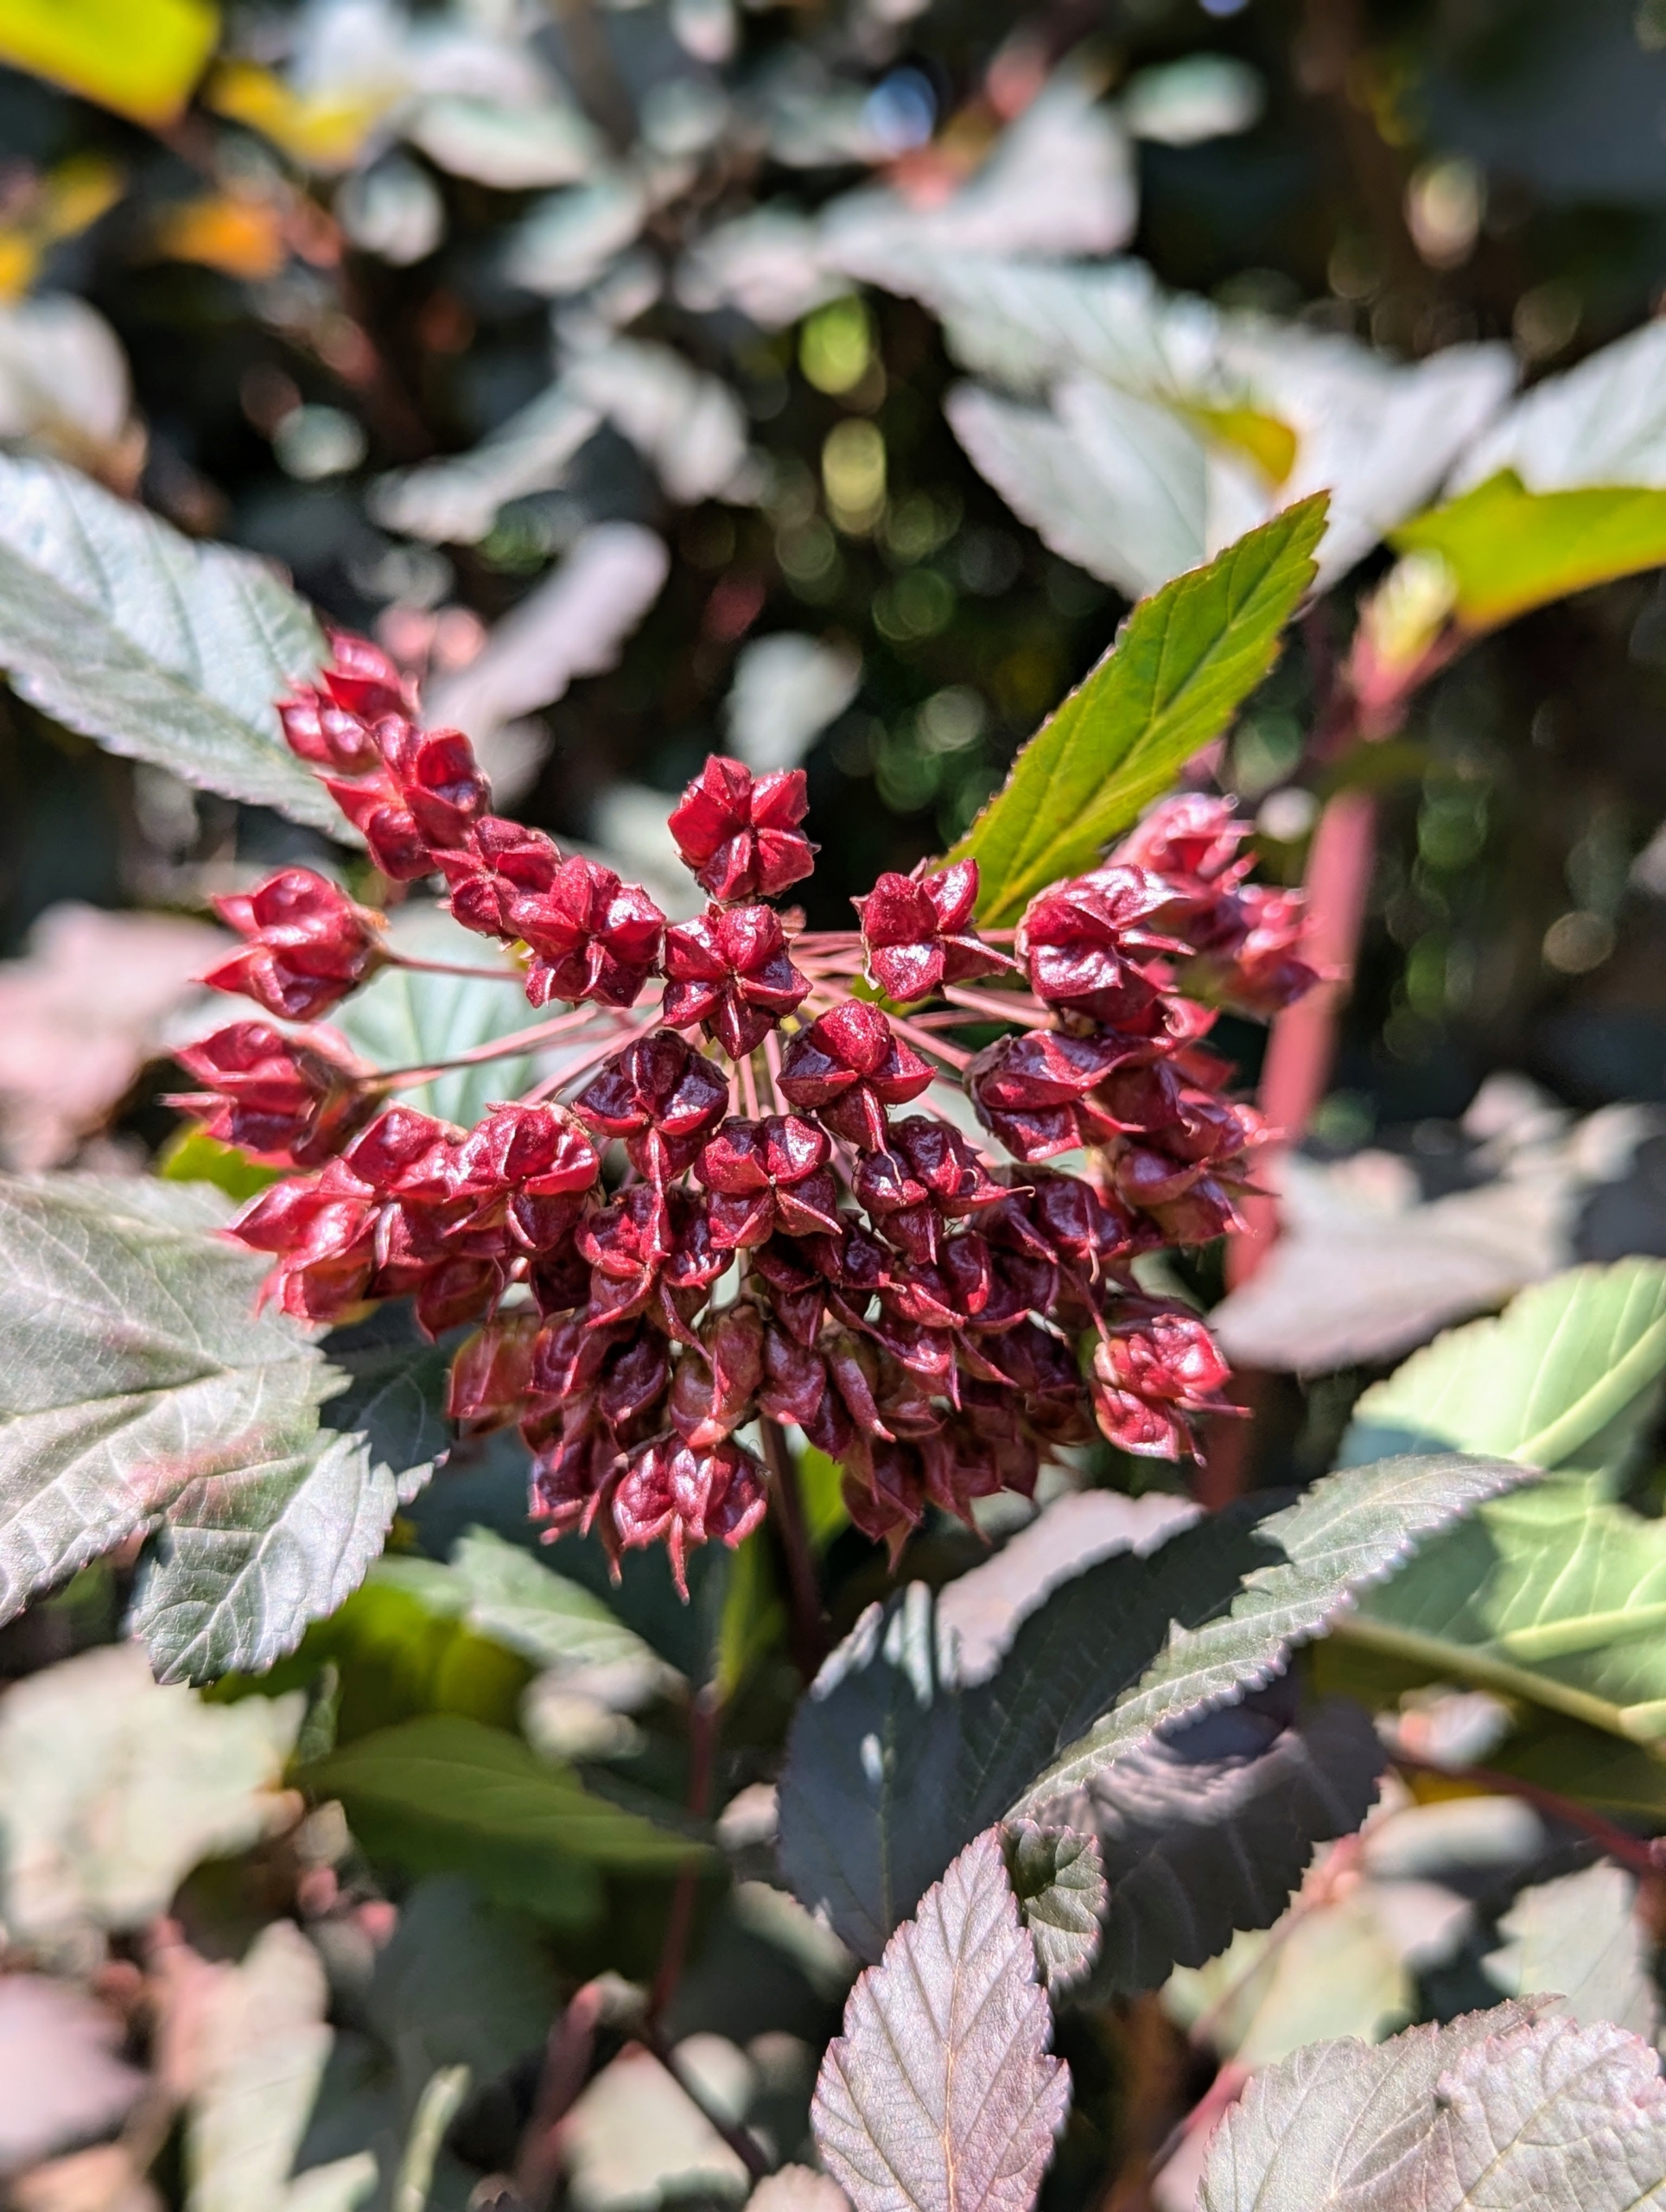
After the white flowers of the physocarpus bloom, what follows are these seed pods – a favorite food of small birds.
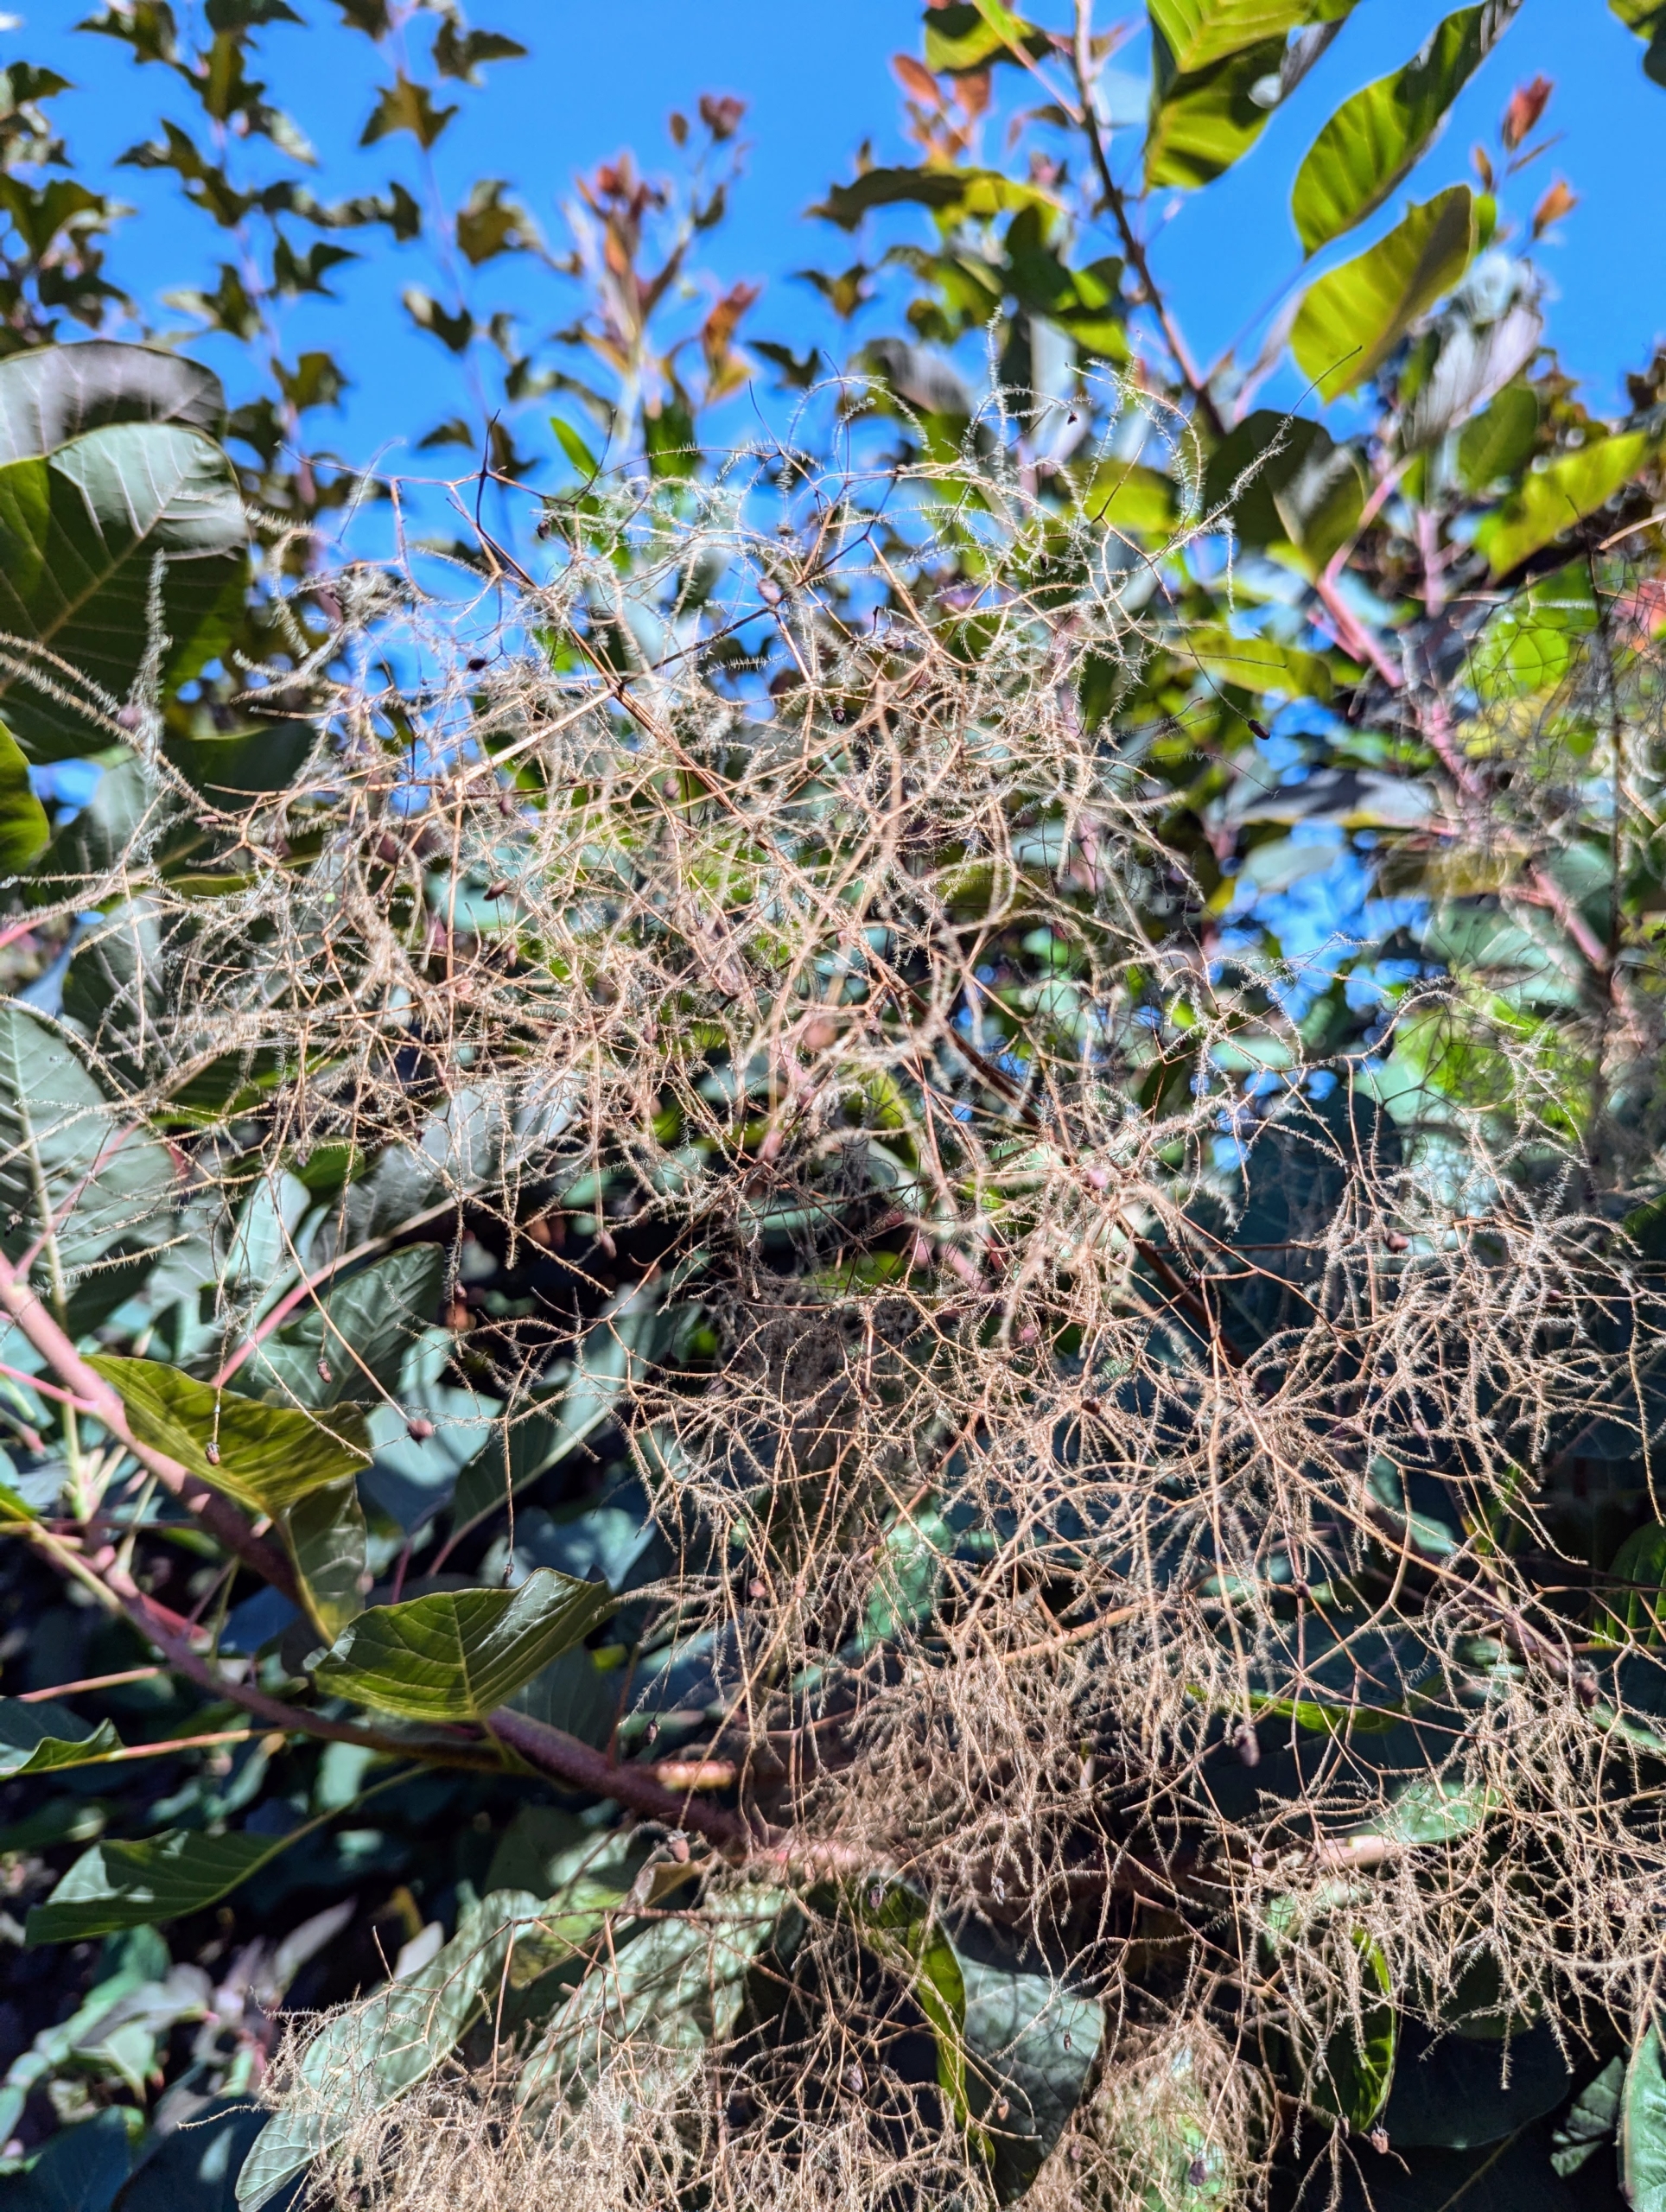
Also known as smoketree or smoke bush, Cotinus is a genus of two species of flowering plants in the family Anacardiaceae, closely related to the sumacs. They are a great choice for massing or for hedges. The foliage turns scarlet in autumn and has plume-like seed clusters, which appear after the flowers and give a long-lasting, smoky haze to branch tips.
In fact, the name “smoke bush” comes from this – the billowy hairs attached to the flower clusters which remain in place through the summer, turning a smoky pink to purplish-pink.
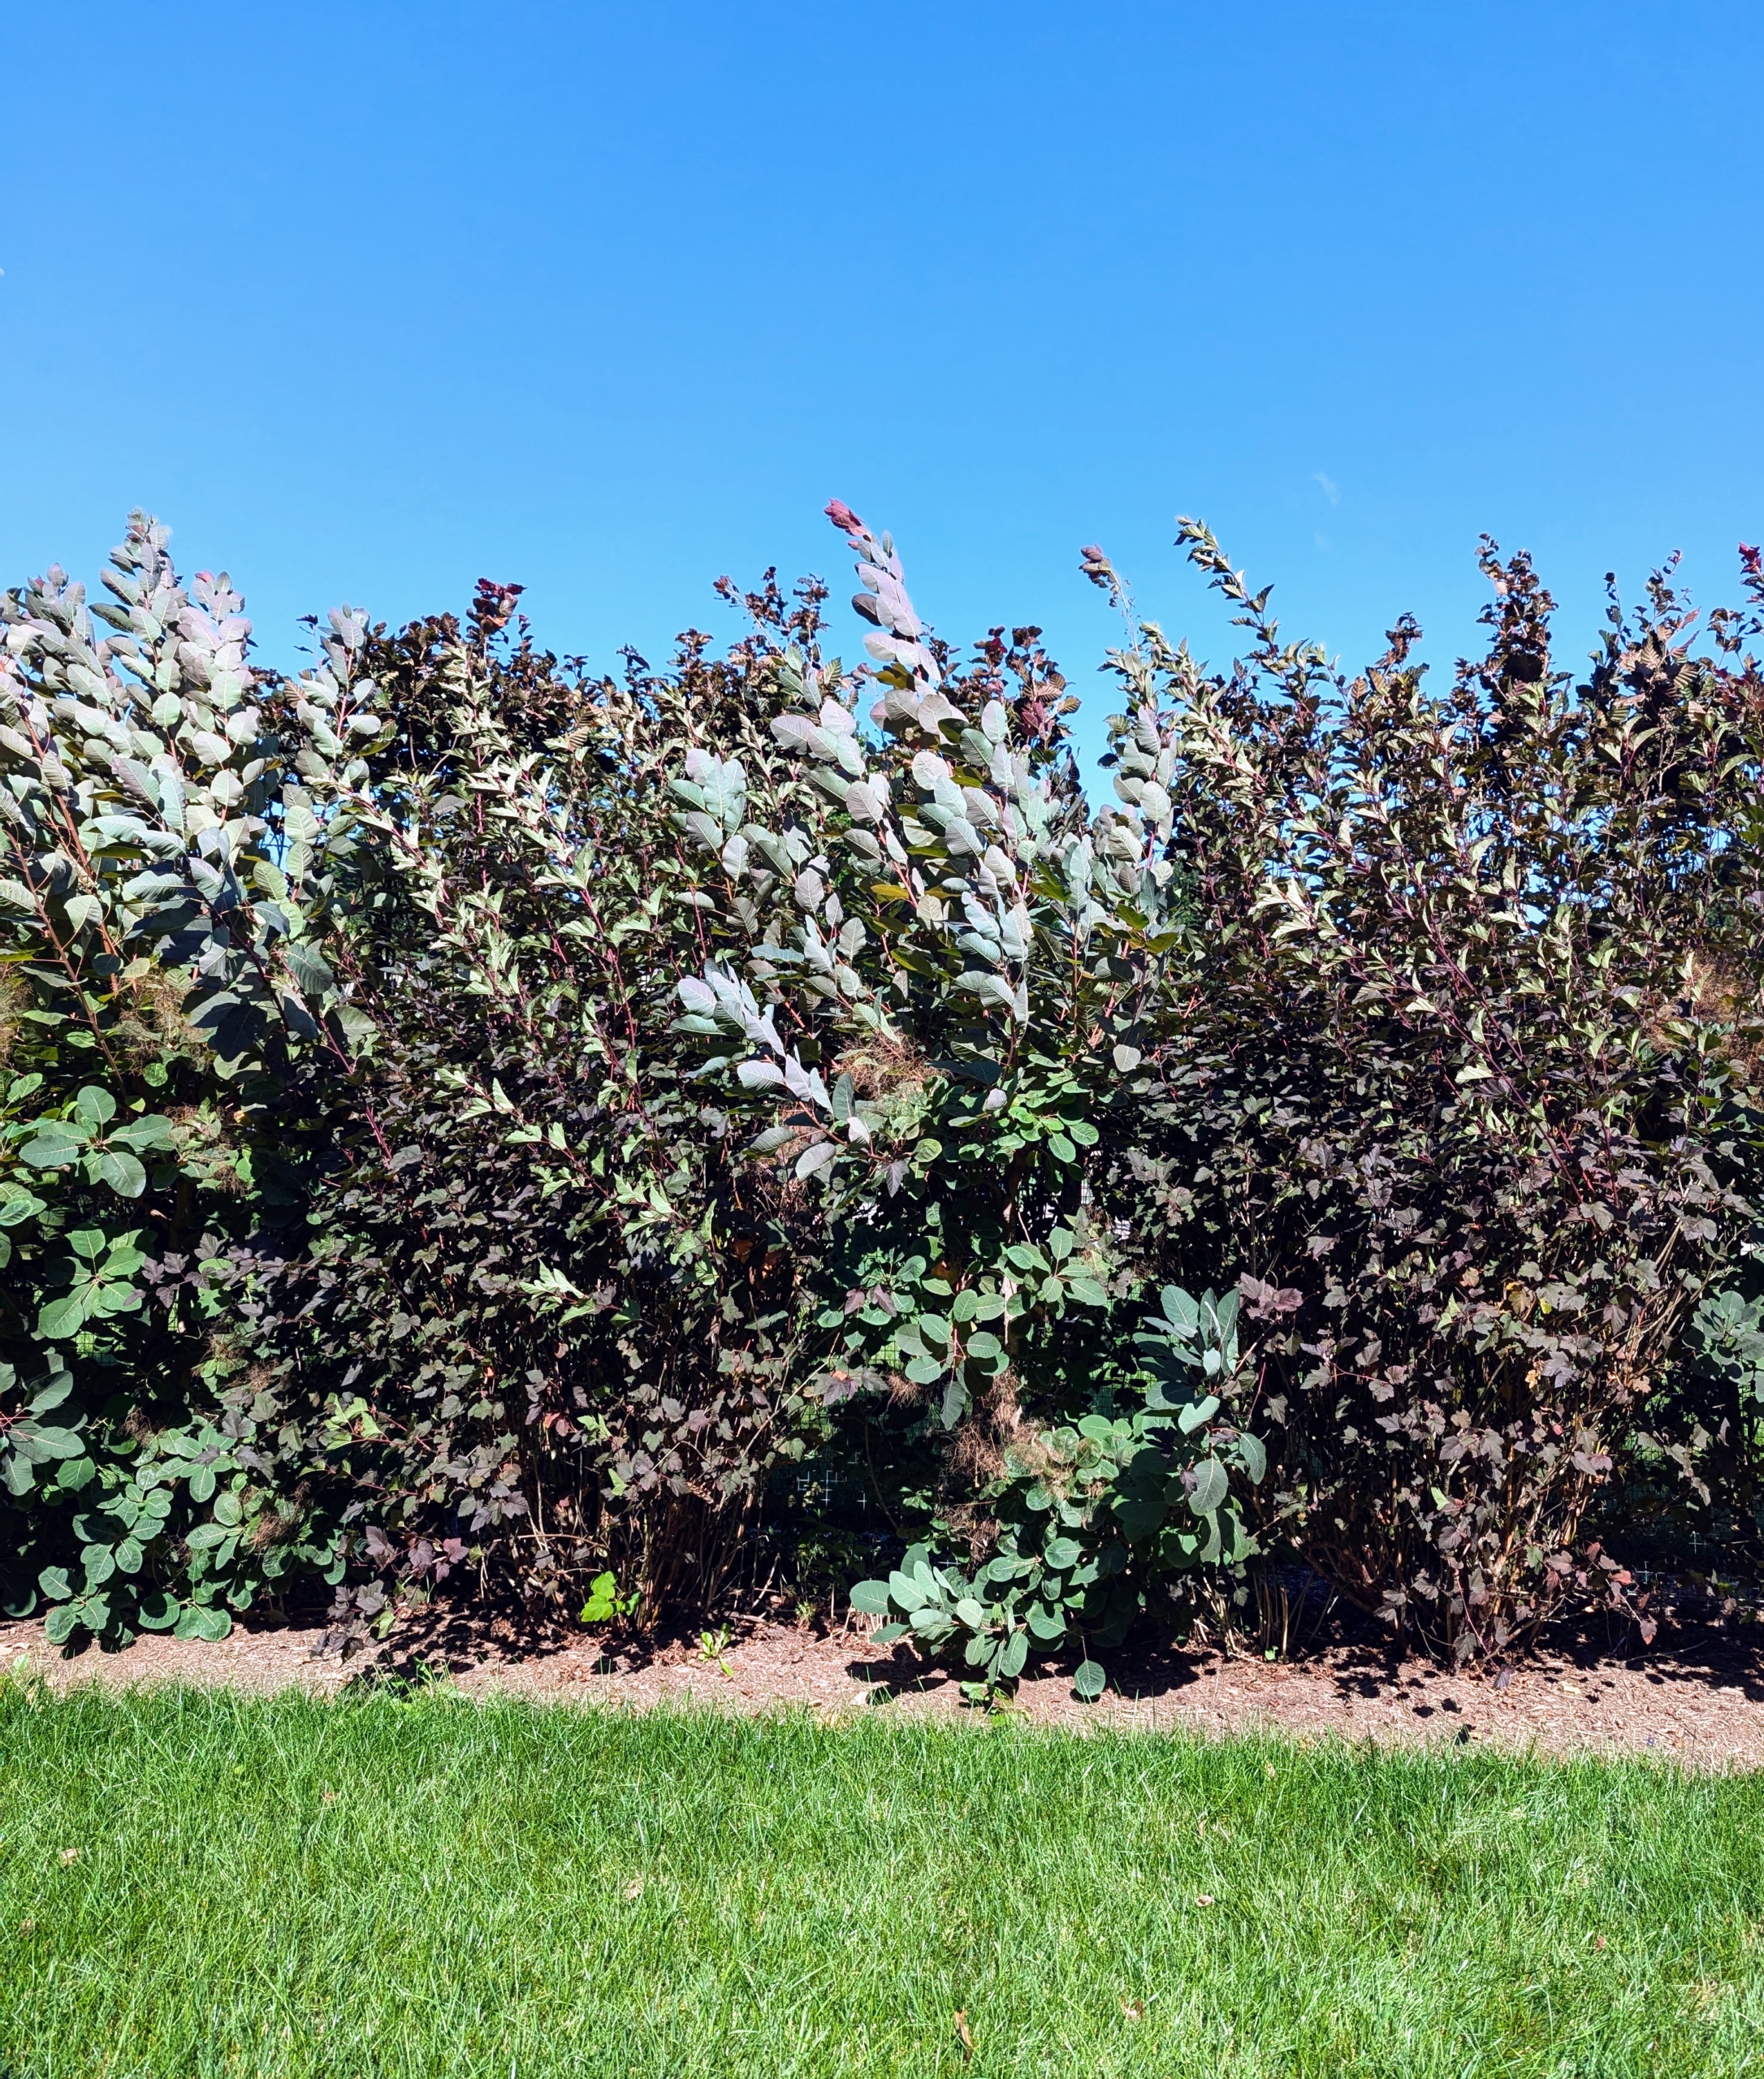
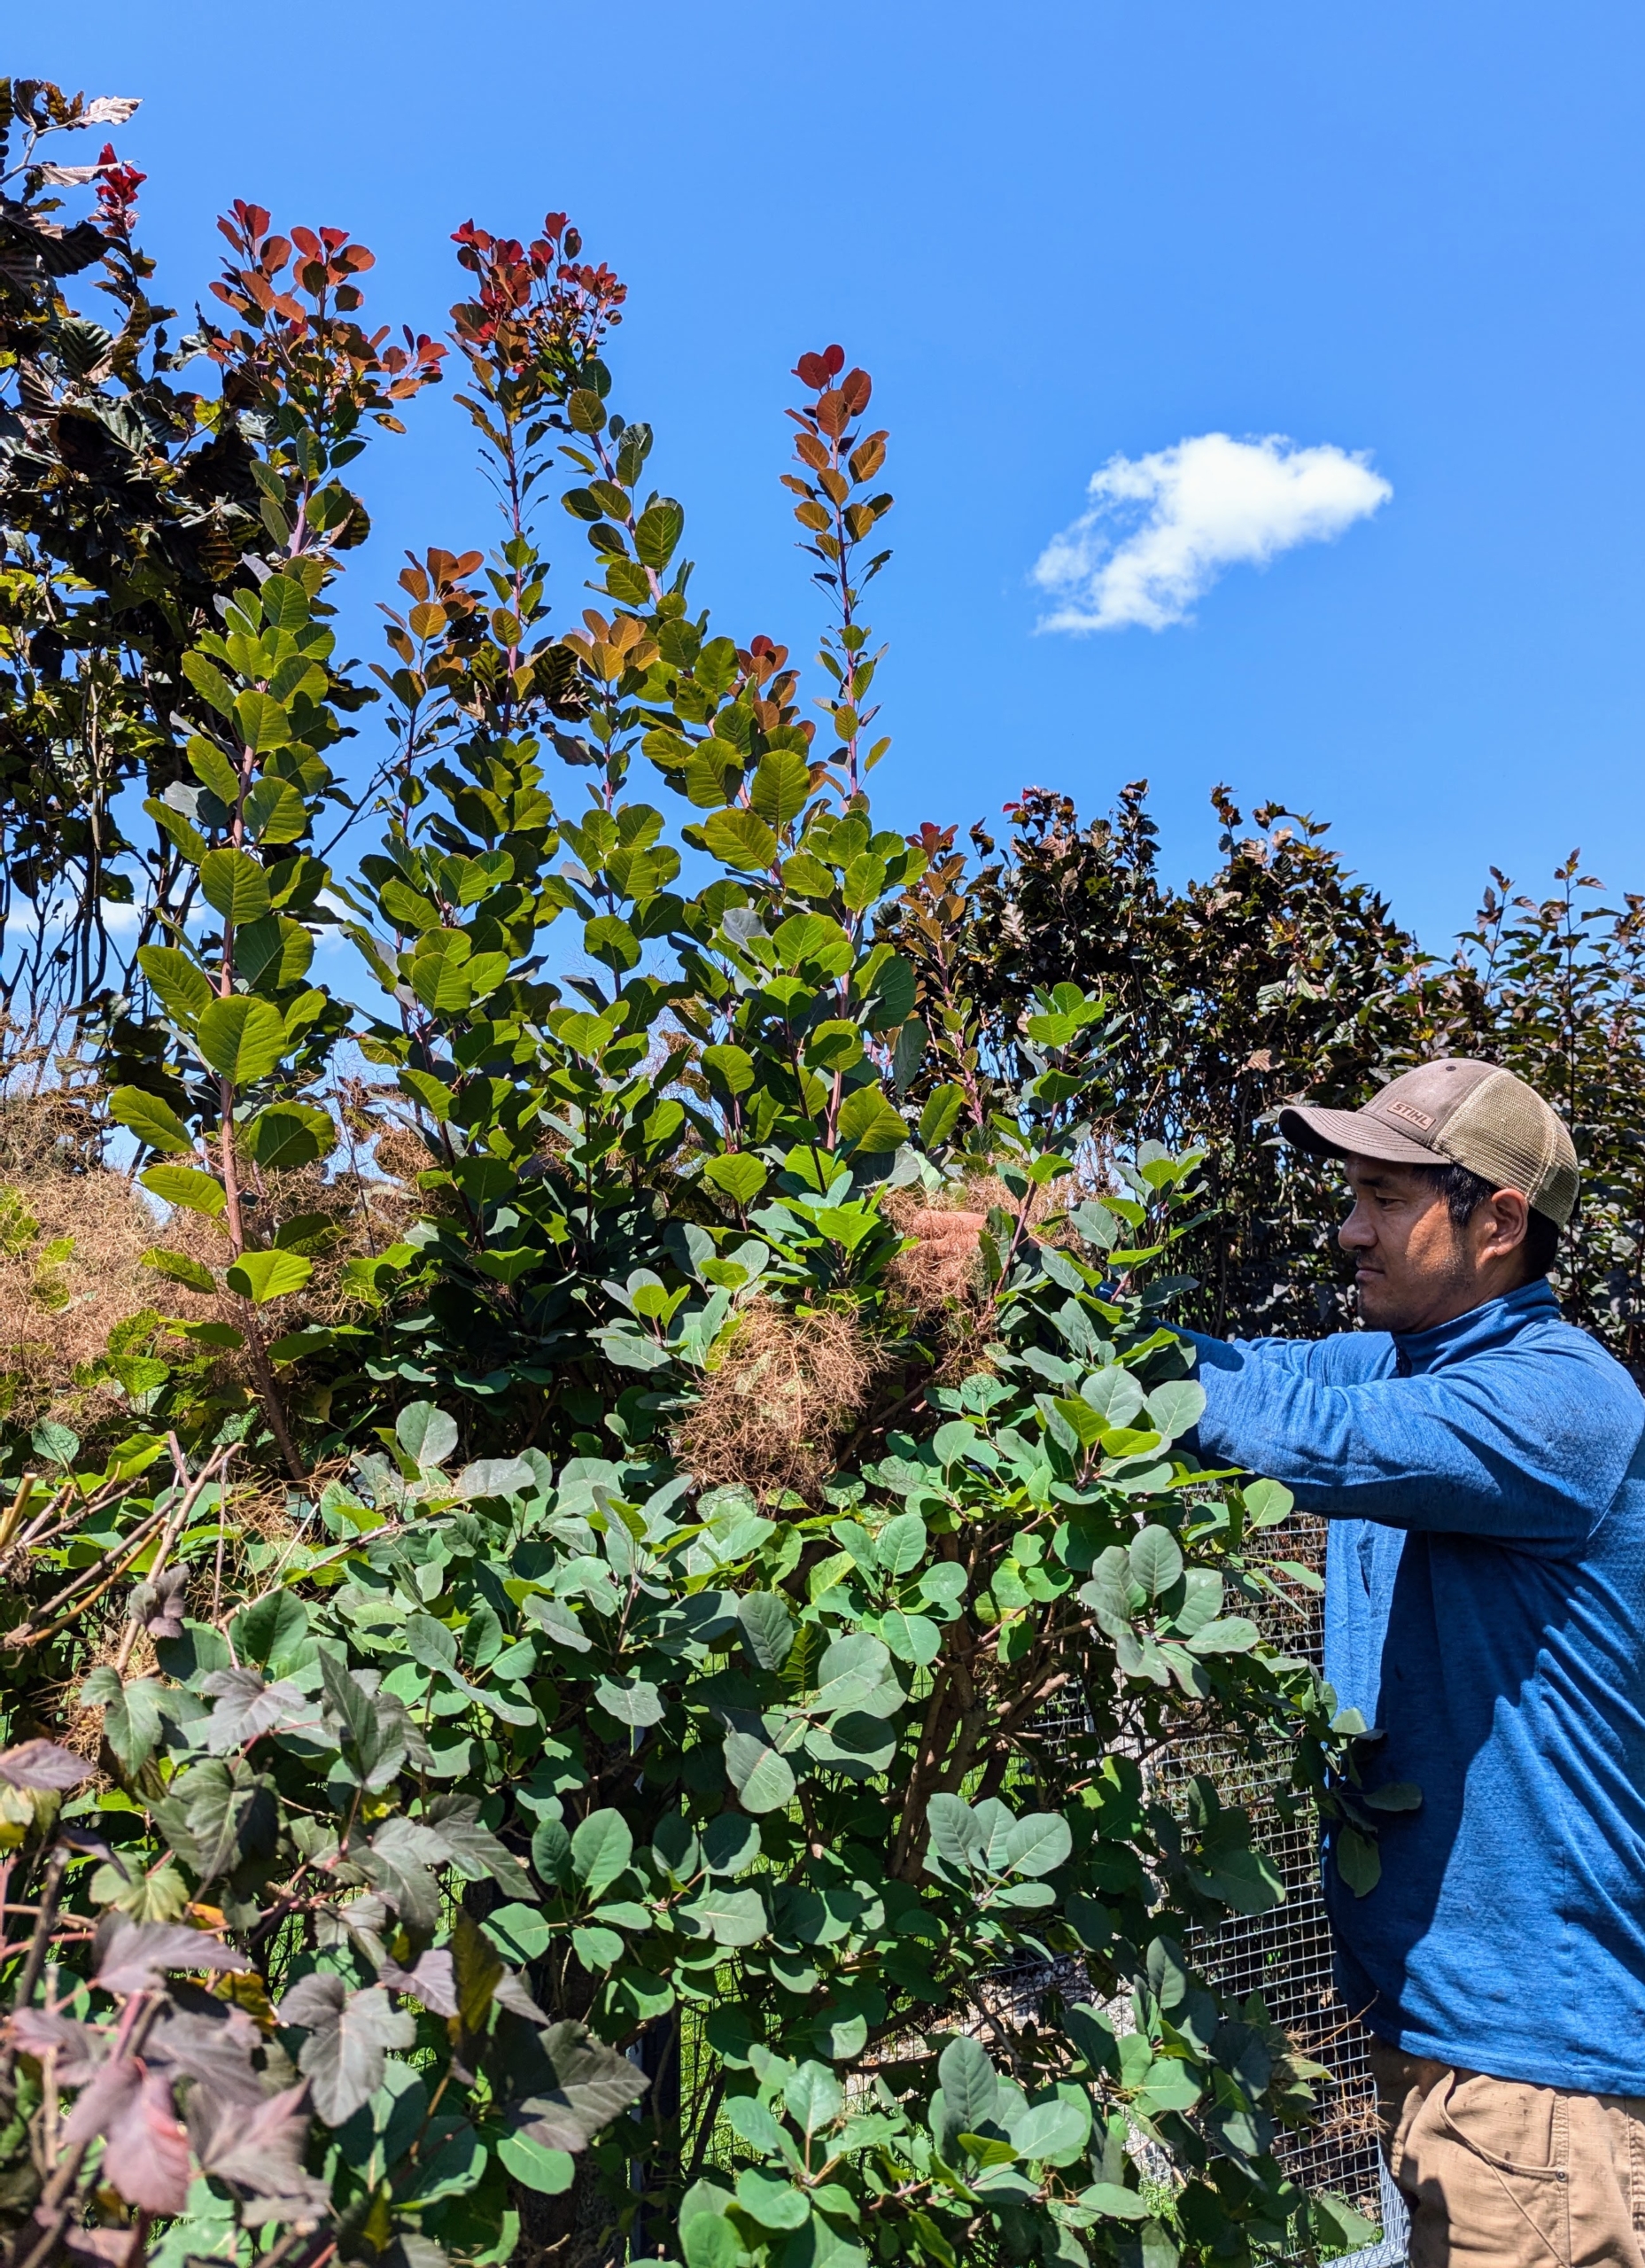
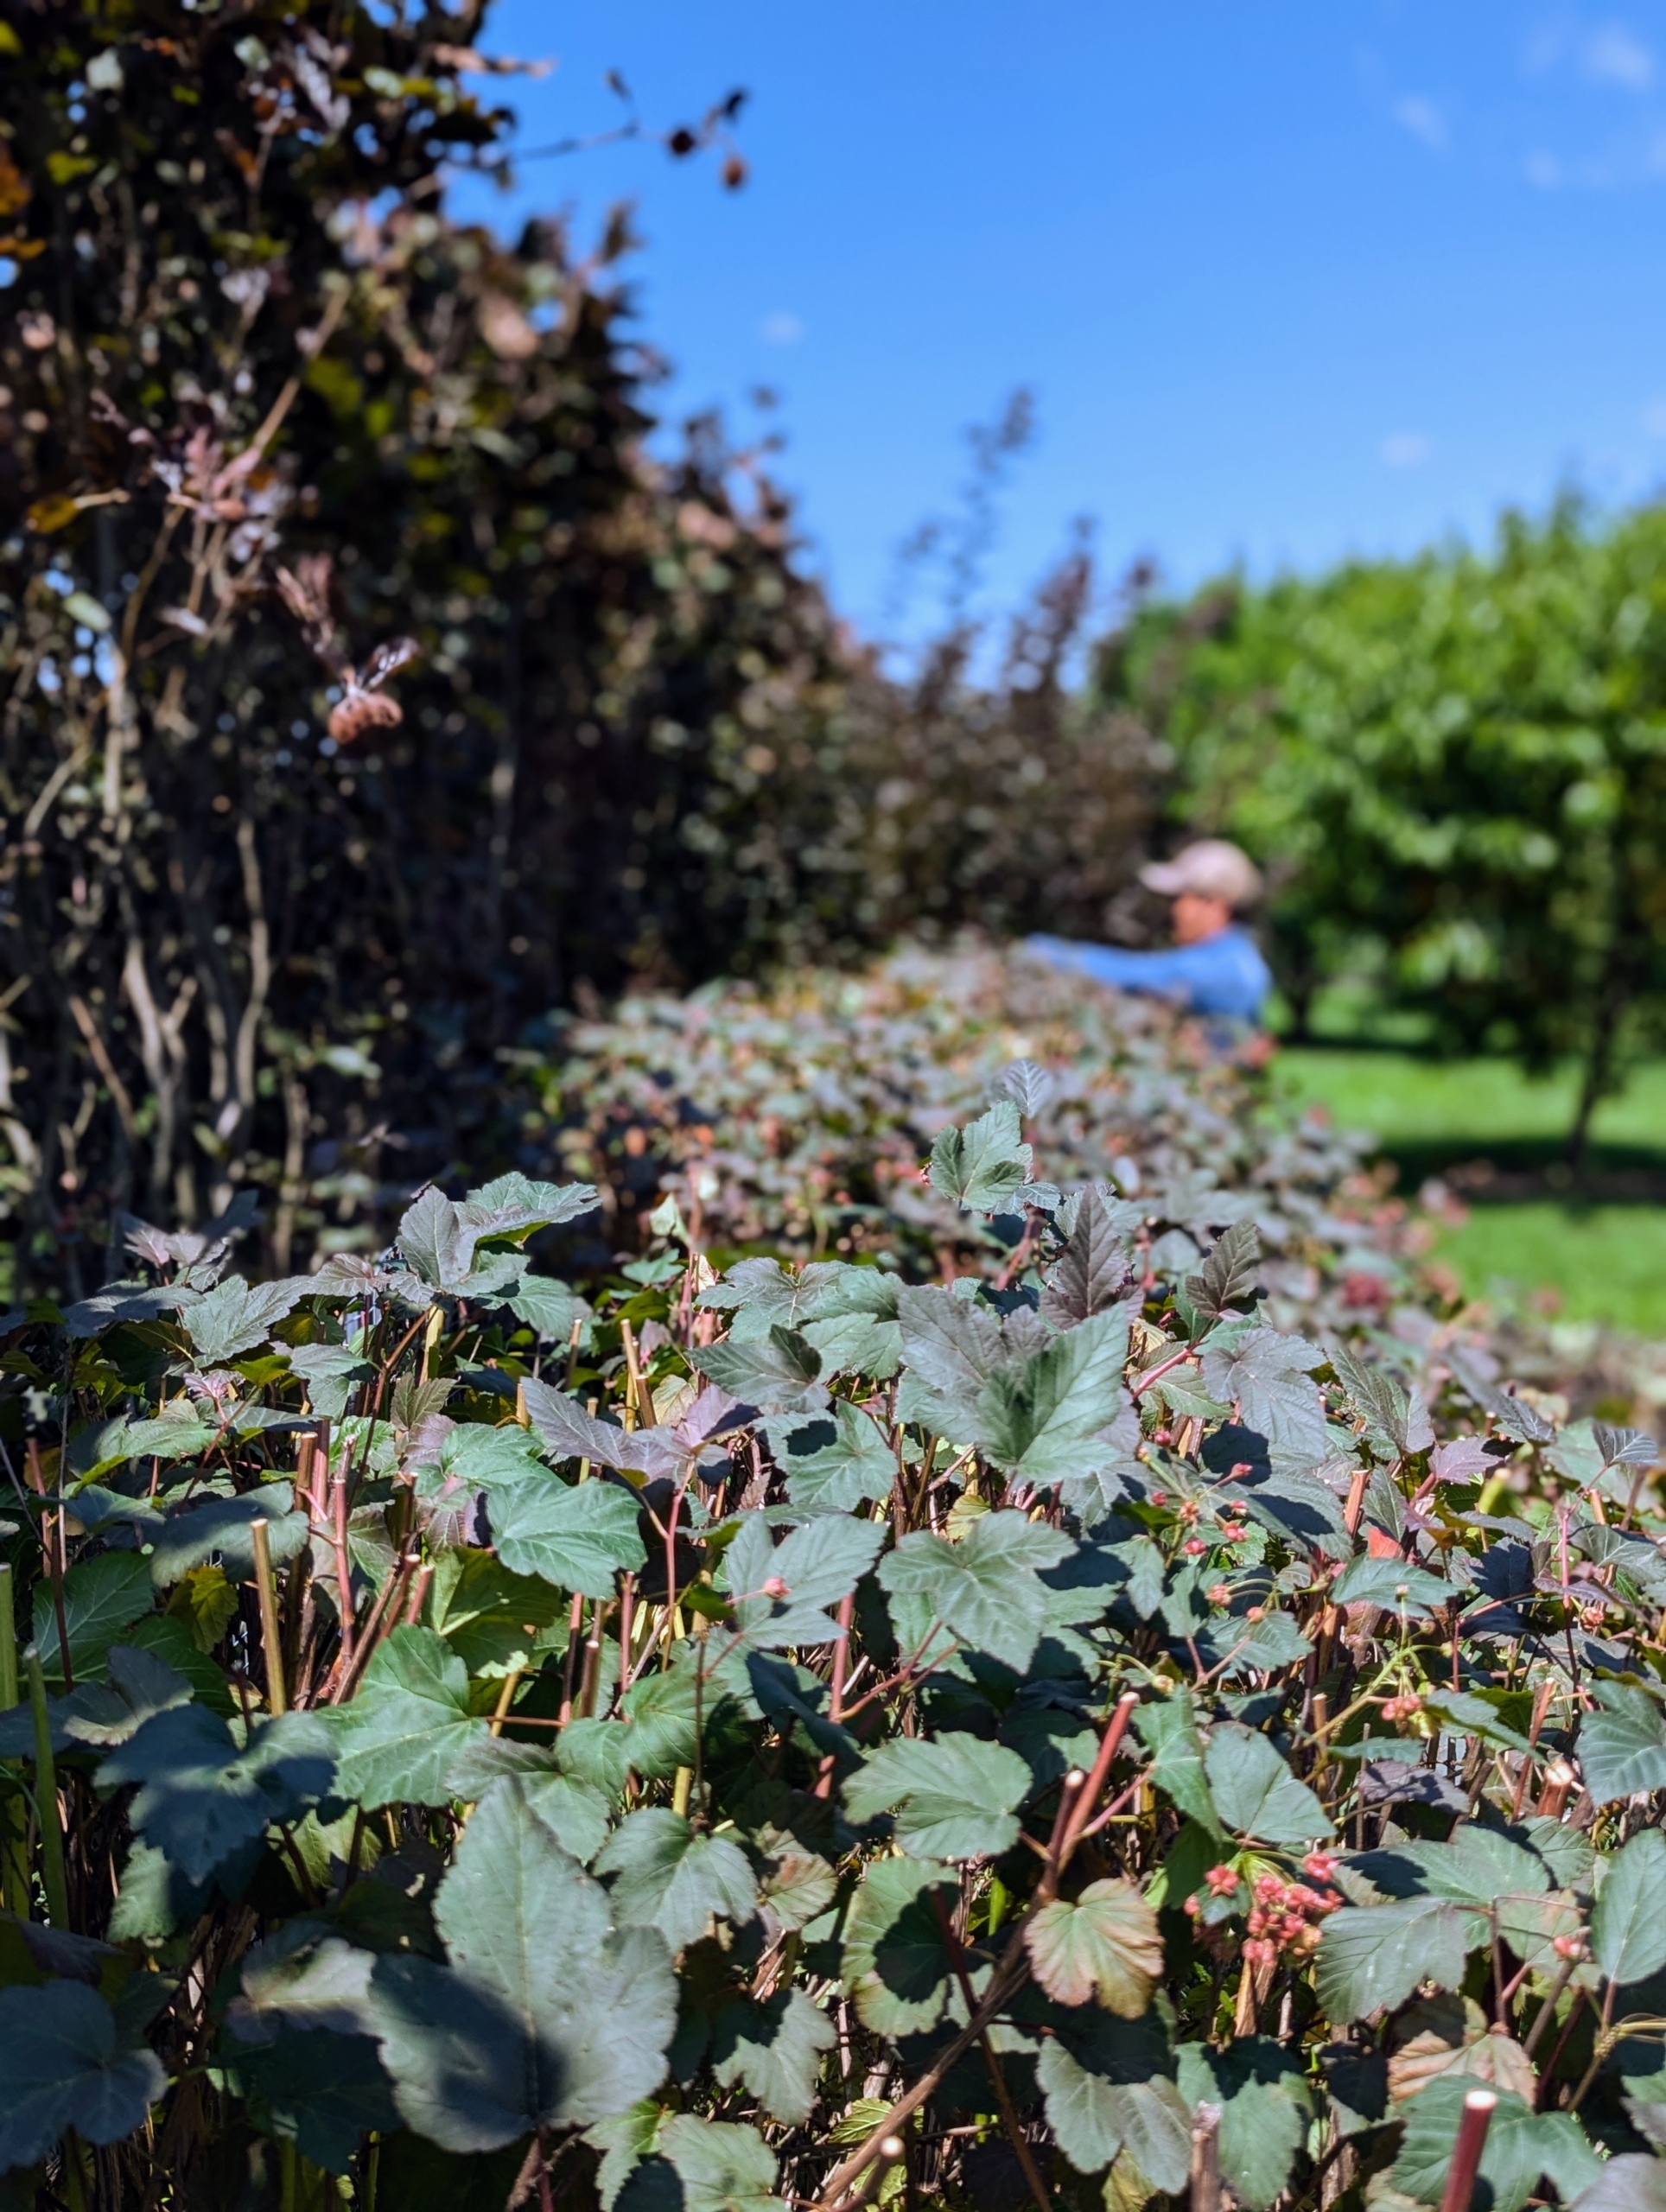
Pasang starts to prune the outside shrubs. Pruning means to lop or cut off any superfluous branches or shoots for better-shape and better growth. These look fuller every year – in part because of our regular pruning and grooming.
Pasang cuts off any dead or crisscrossing branches first. The rule of thumb when pruning is to cut the dead, diseased, damaged, non-productive, structurally unsound, or otherwise unwanted plant material.
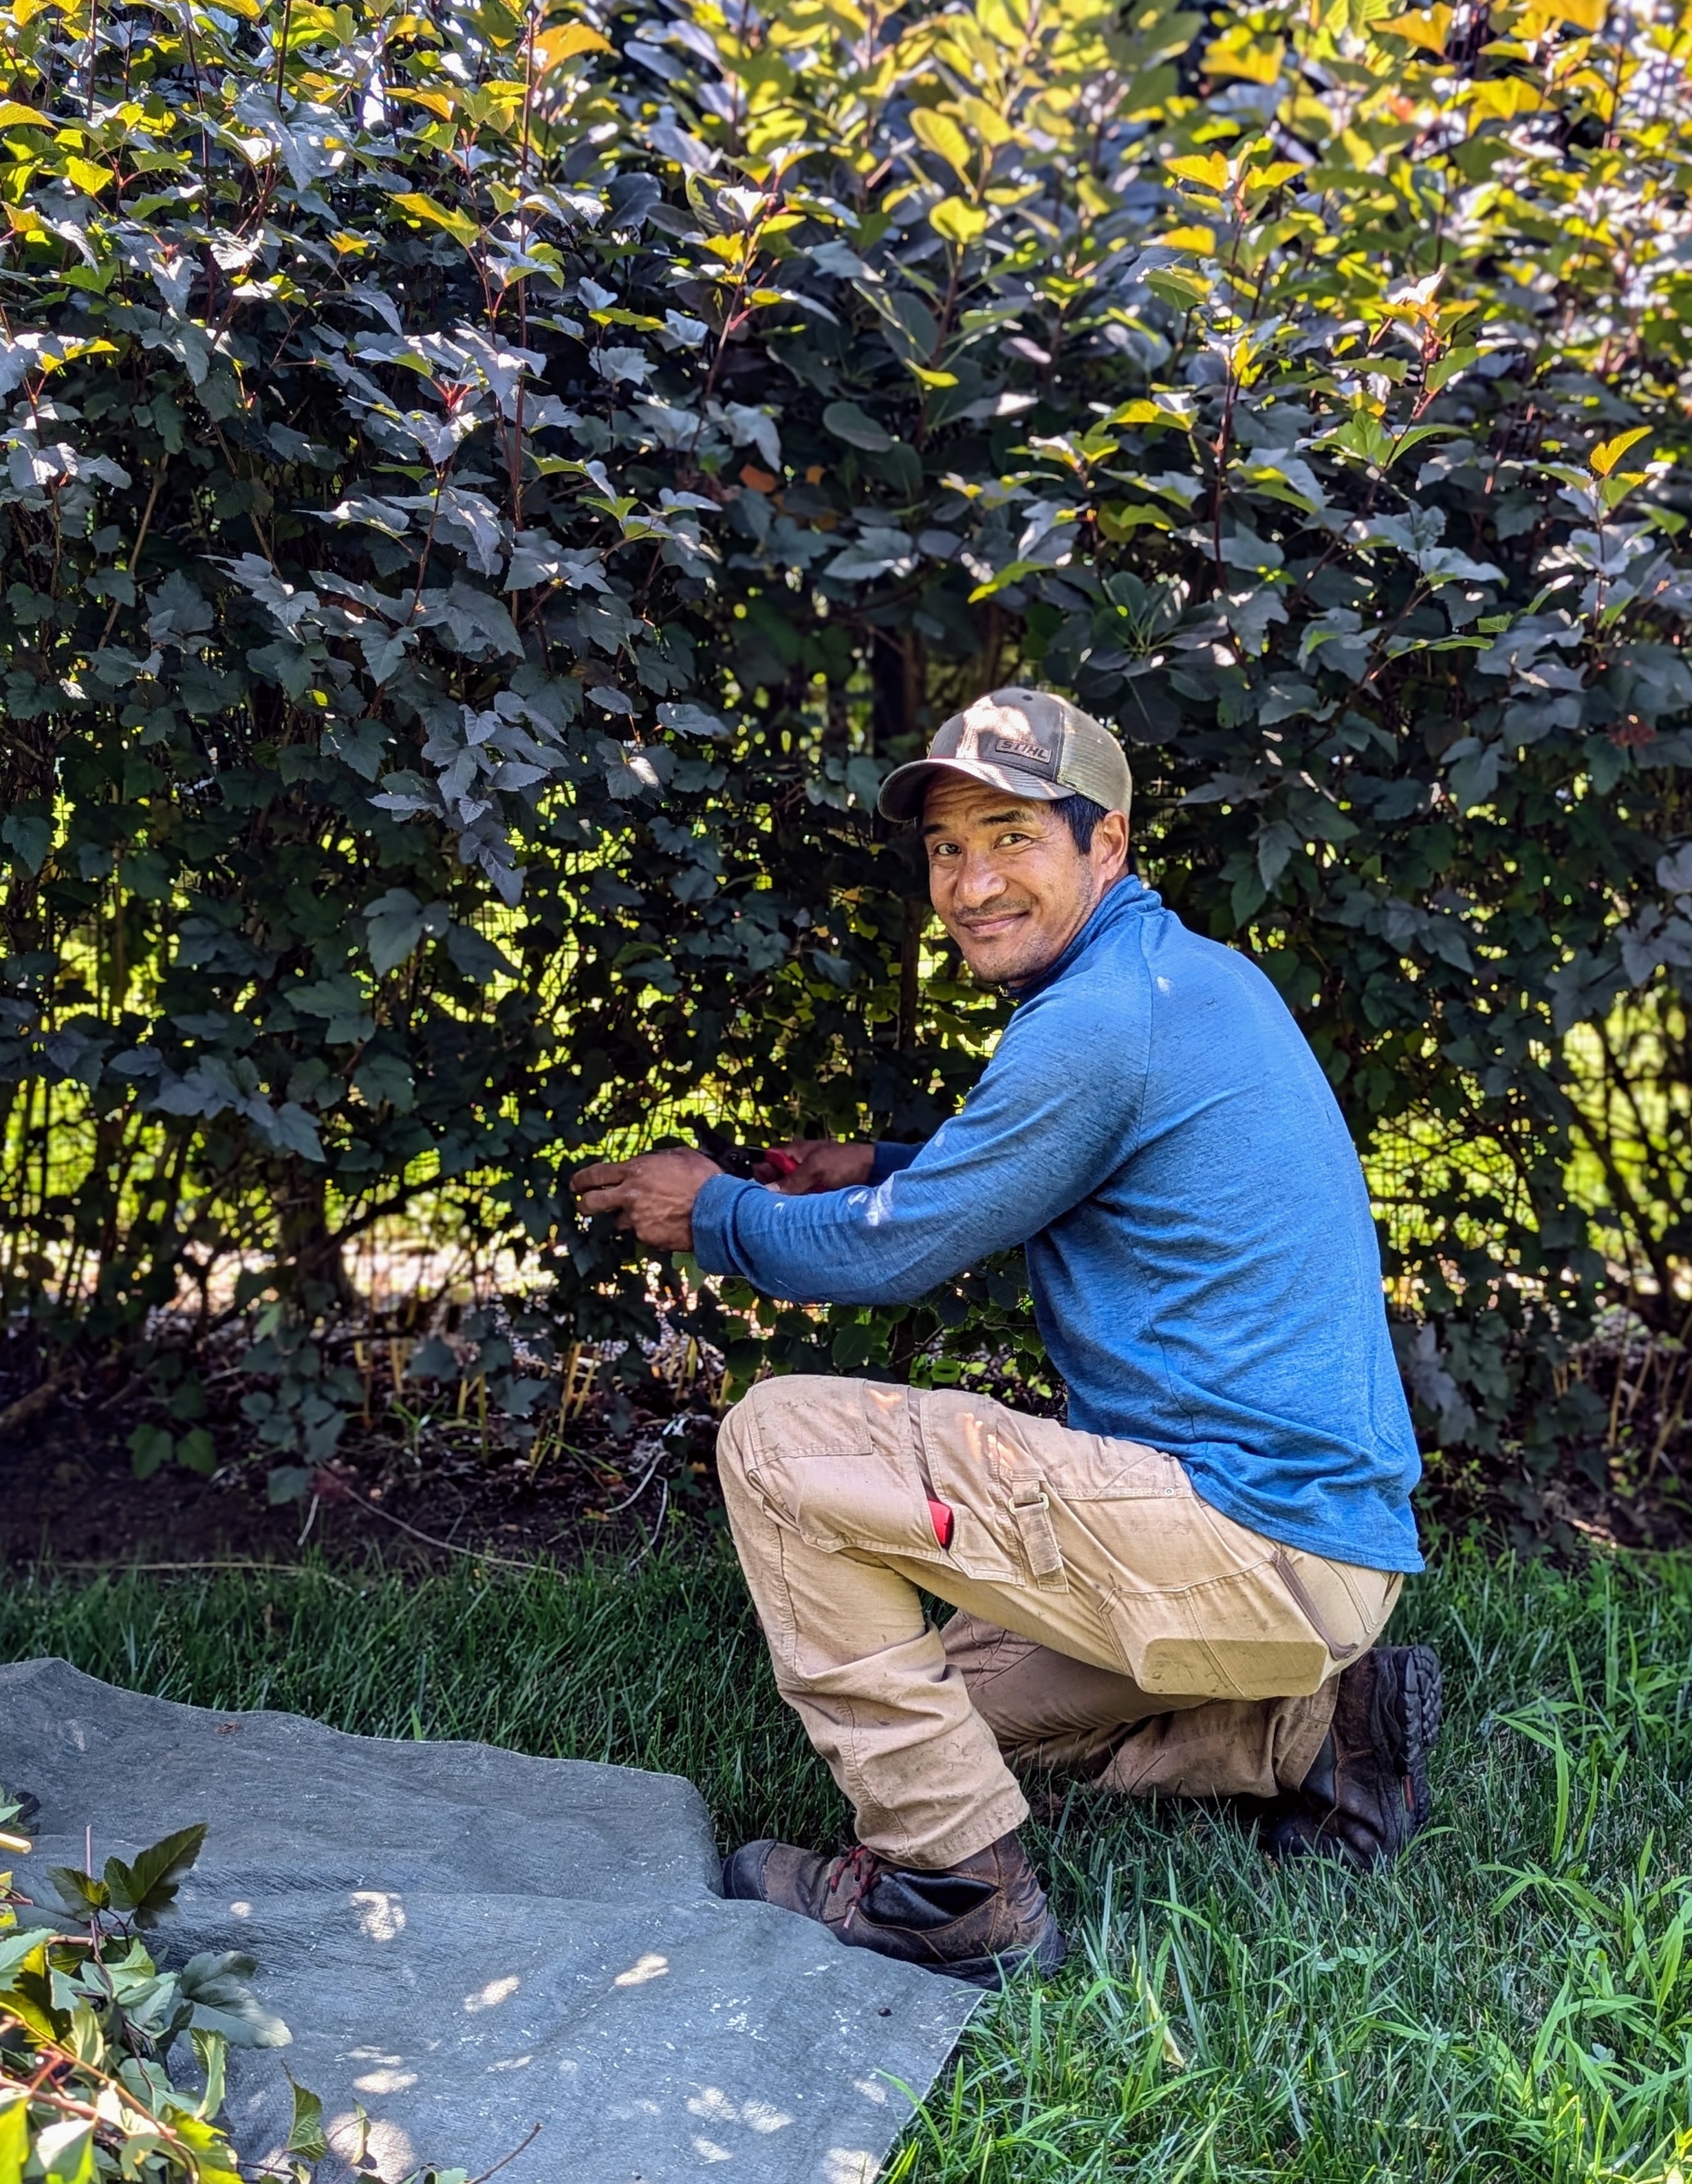
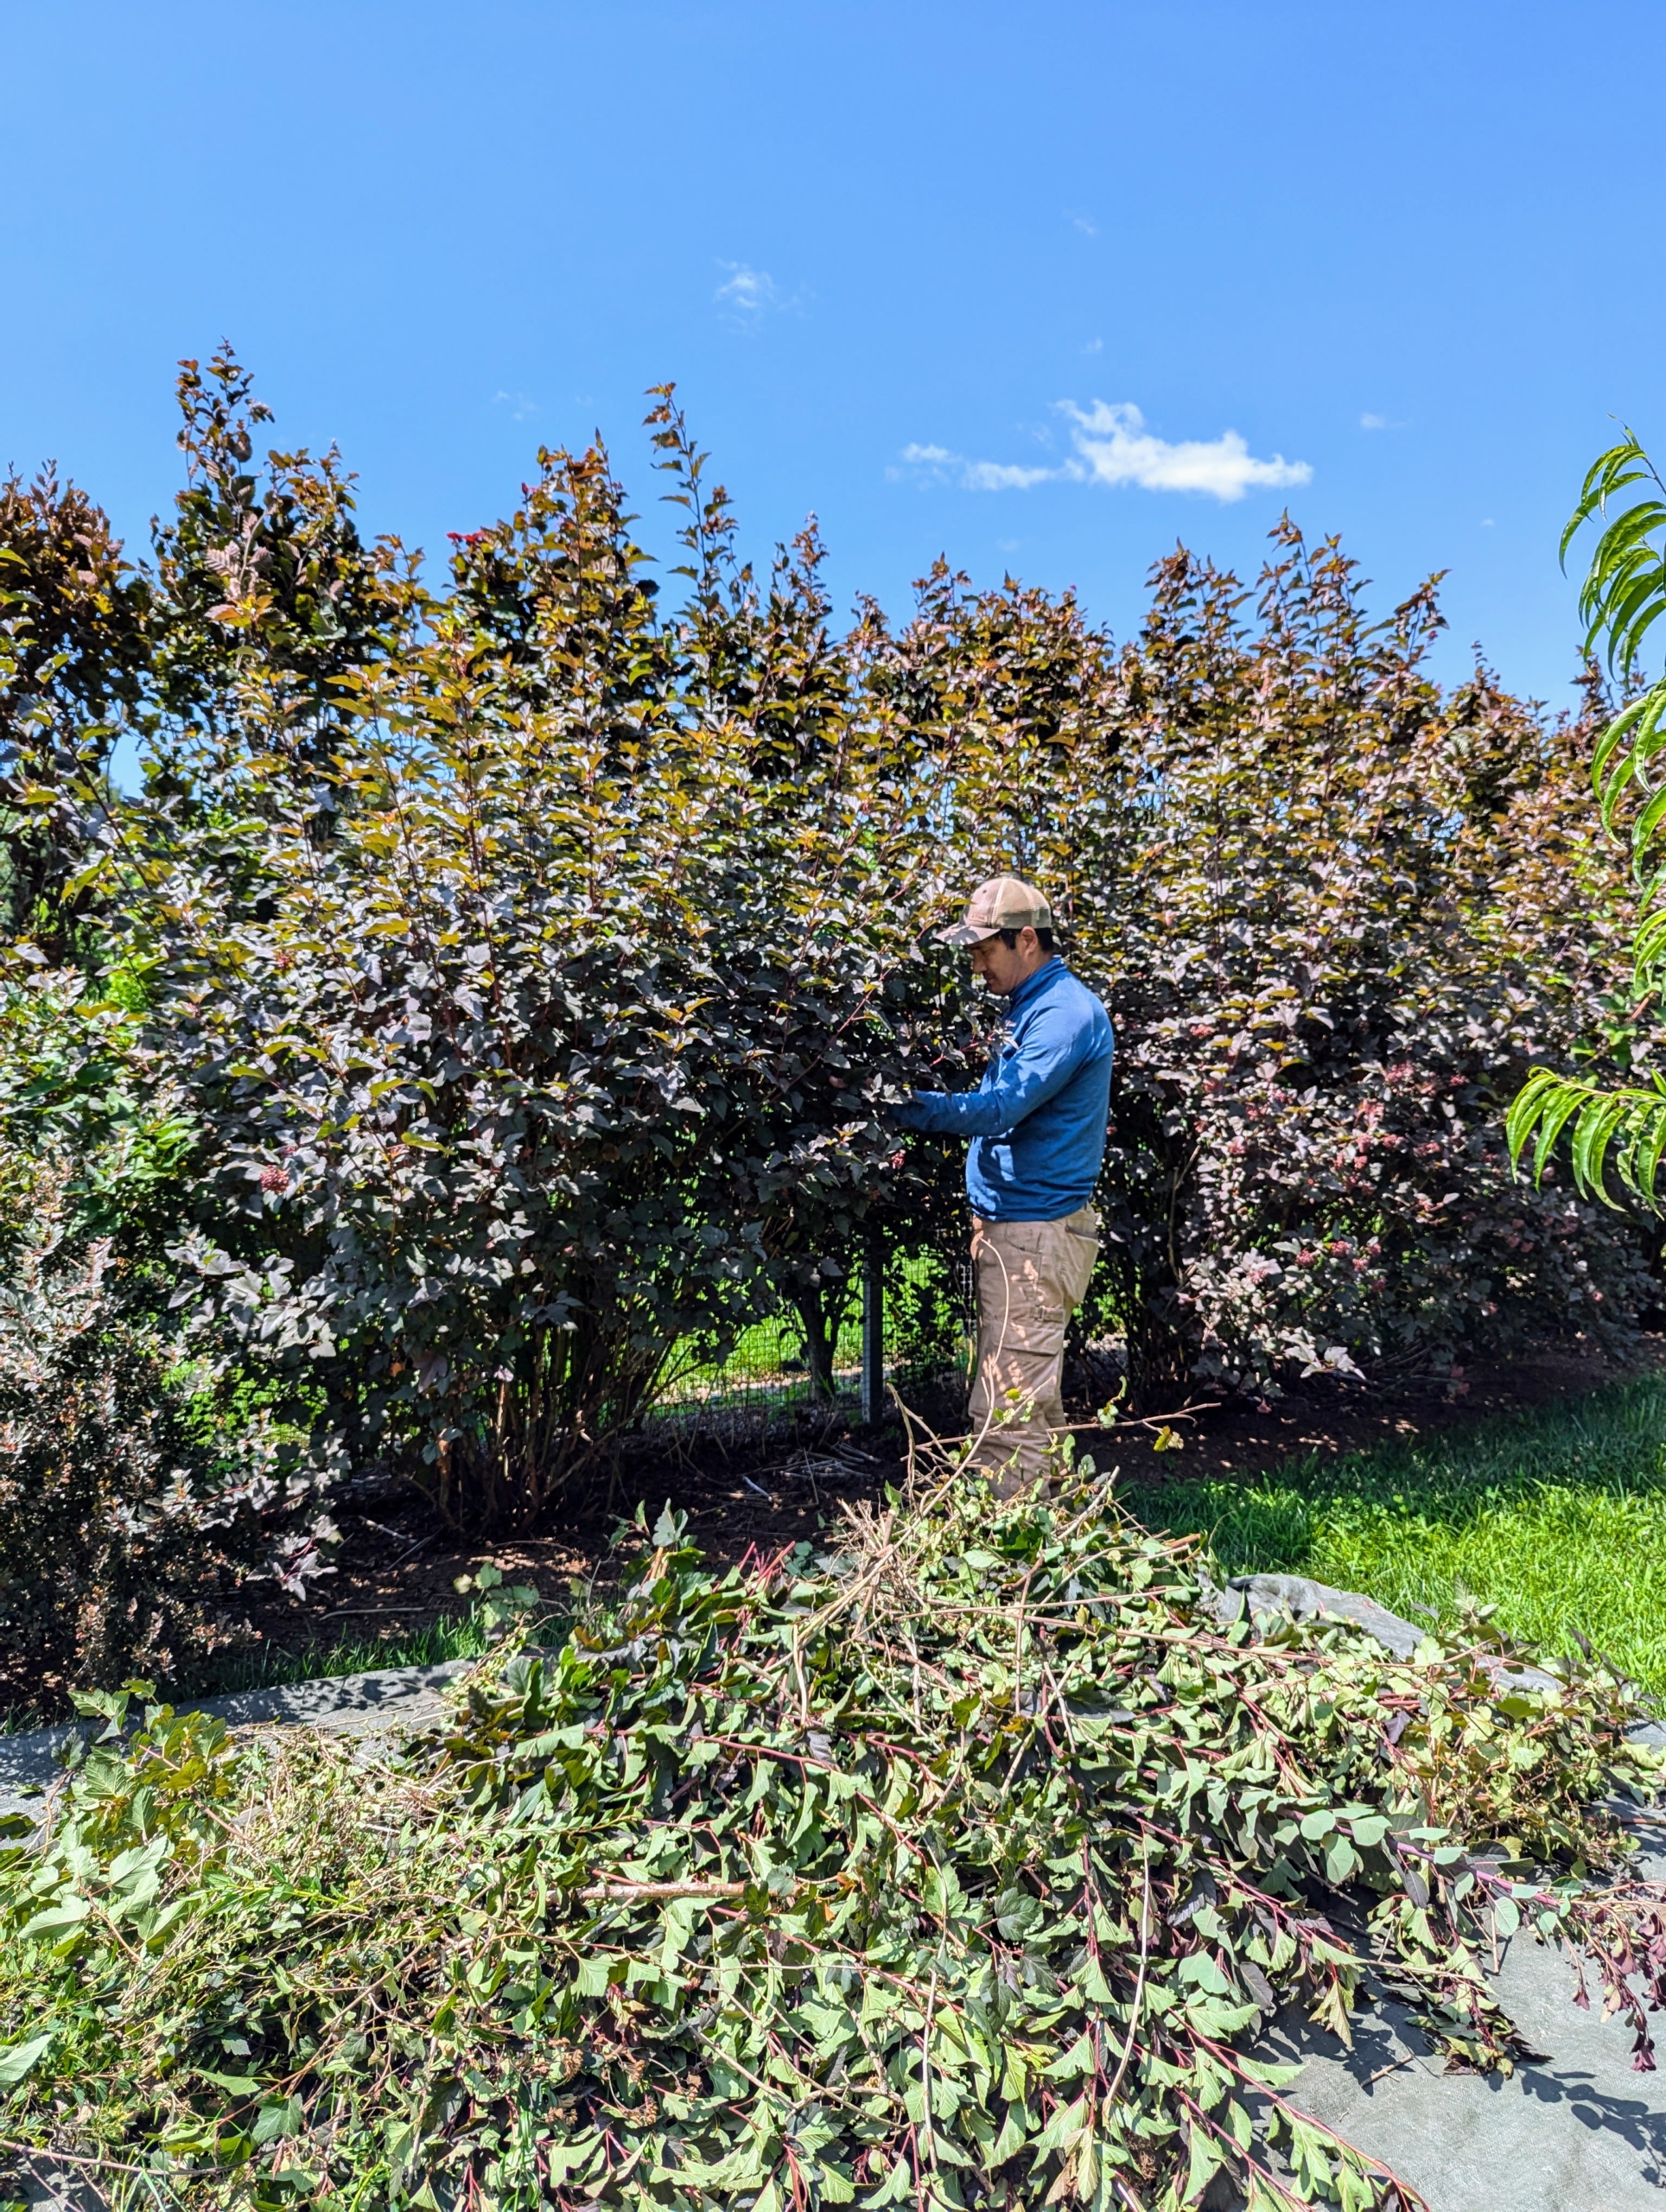
Pasang also grooms the bottom of the hedge – shaping and removing unnecessary branches. All shrubs can benefit from pruning every other year or so to maintain their shape, improve air circulation, and encourage new growth.
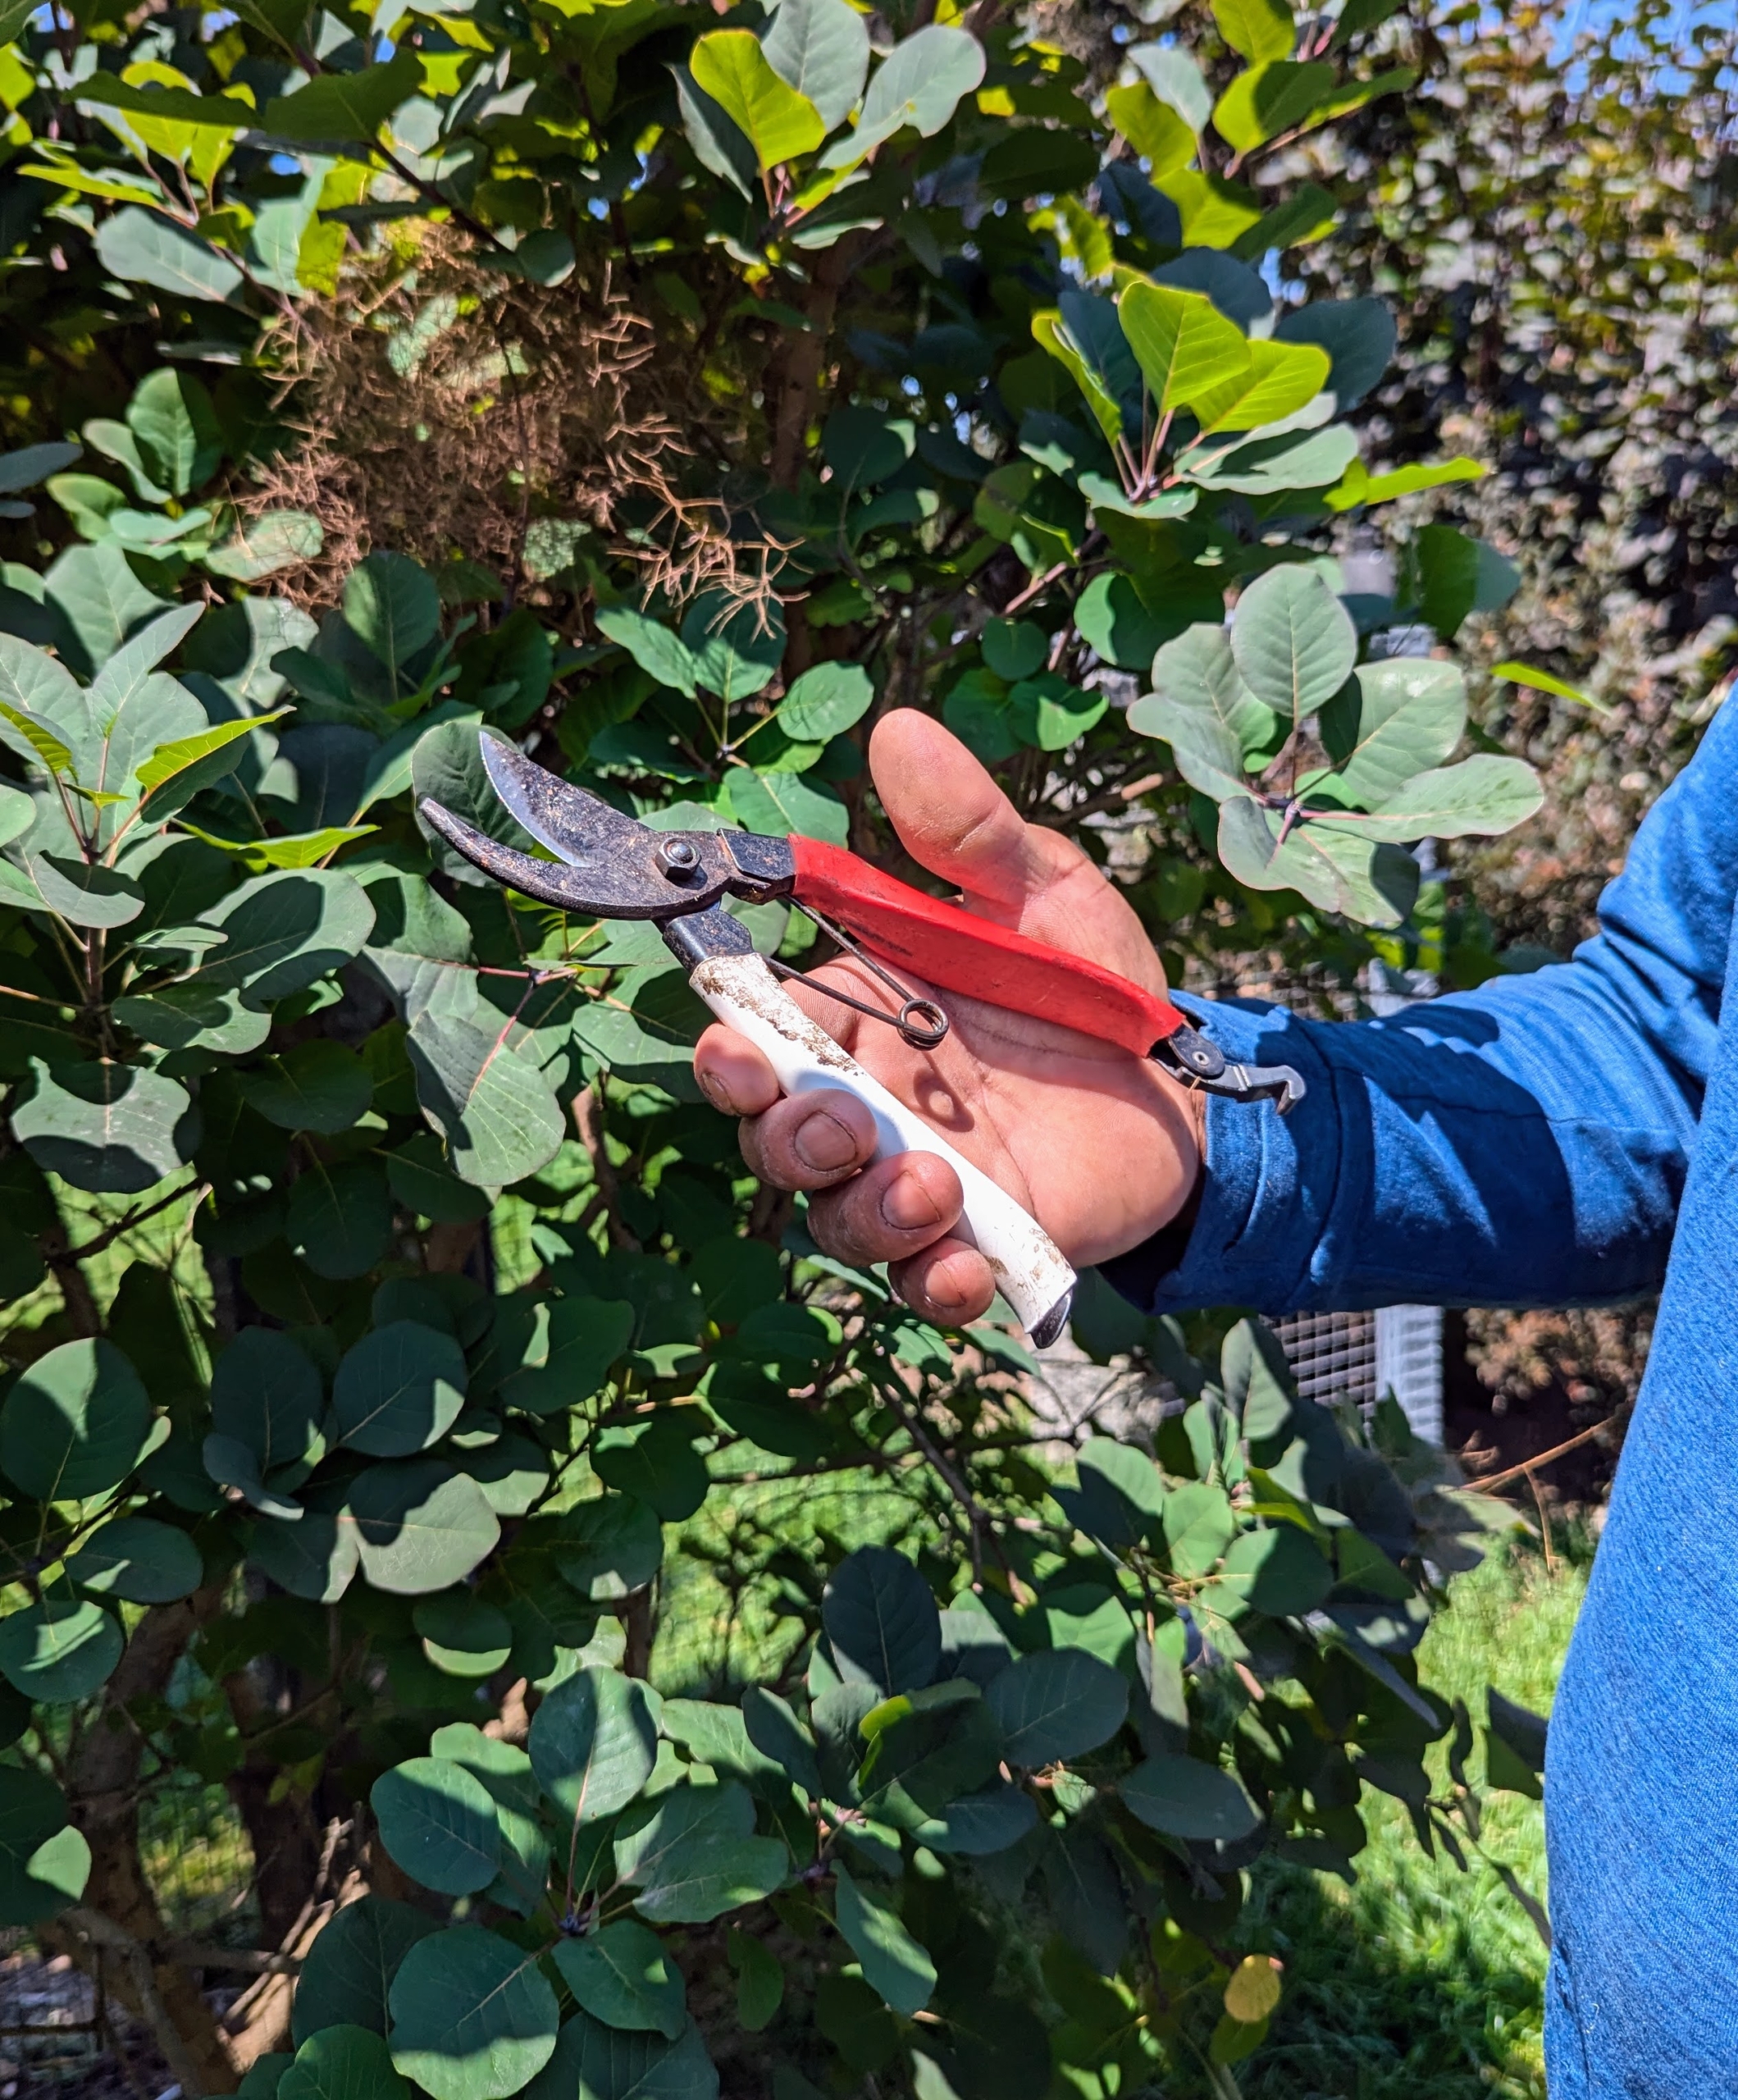
Pasang uses his Okatsune hand pruners. Pruning shears, hand pruners, or secateurs are a type of scissors used on plants. They are strong enough to prune hard branches of trees and shrubs, sometimes up to an inch thick. Everyone on the crew has a pair.
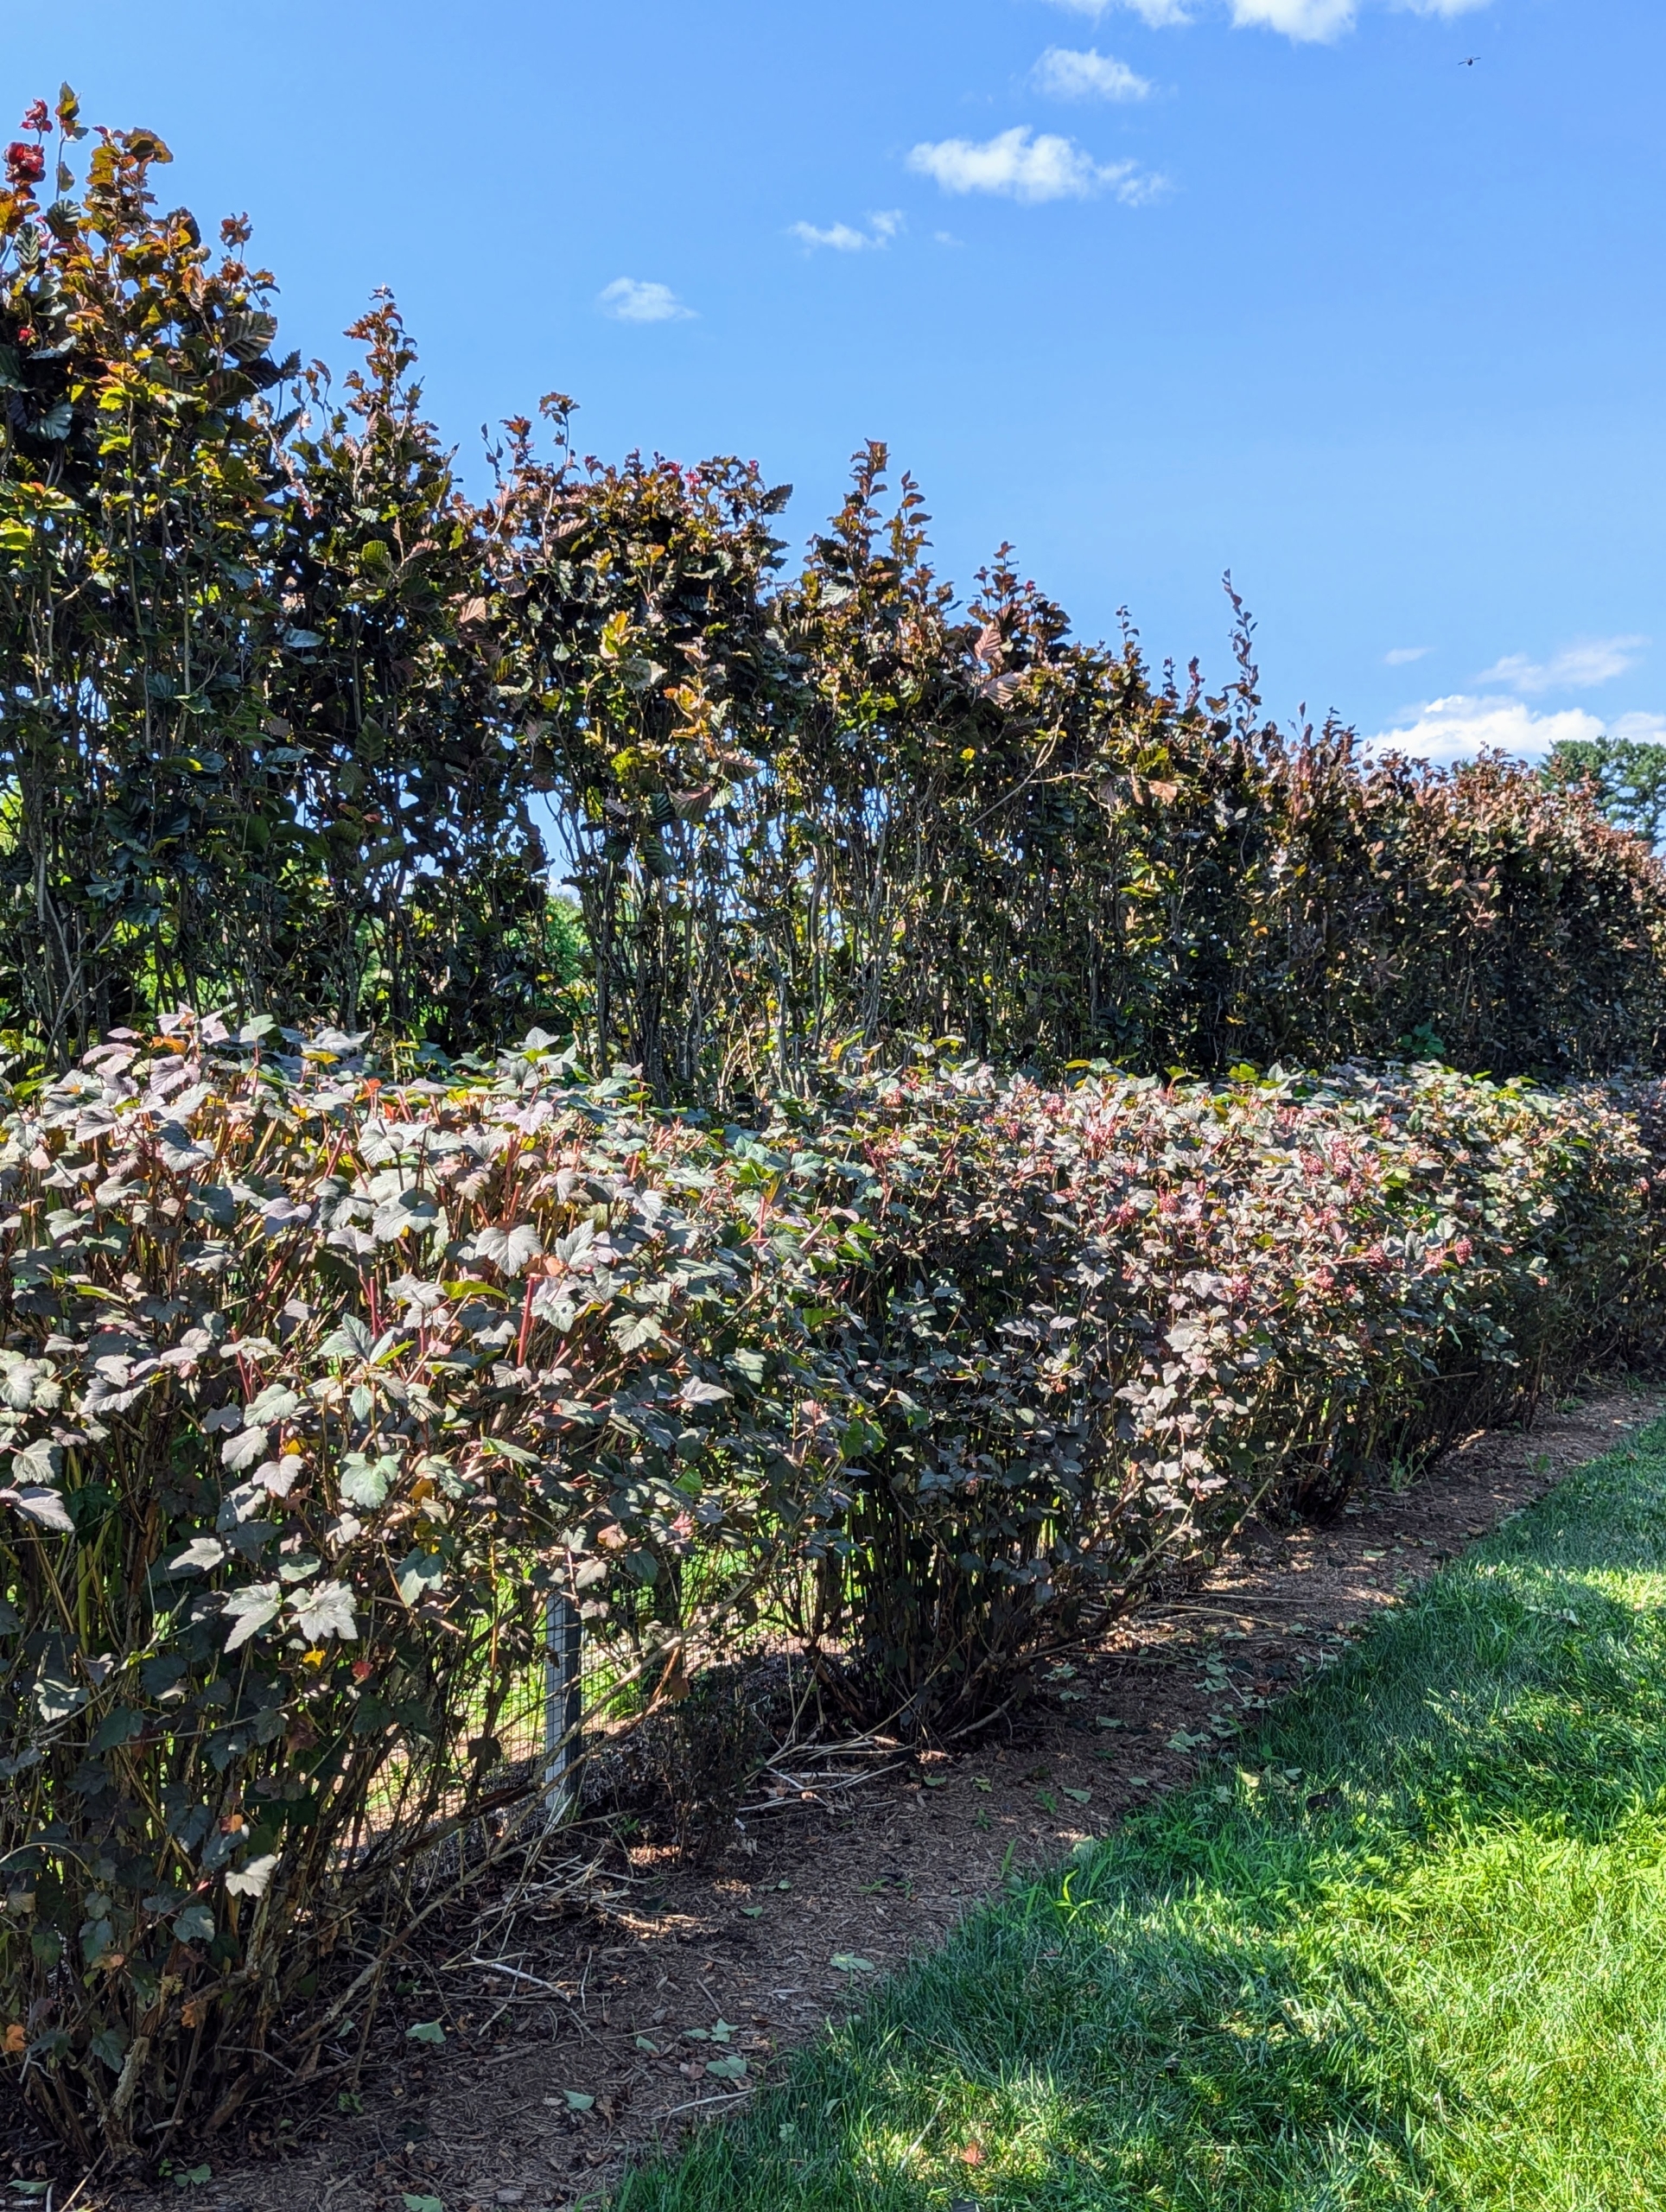
Here’s a look after a section of it is cut – it looks so much better. They’re the perfect height and disguises the fence very well – in fact, I instructed Pasang to cut them as tall as the fence – one cannot see it at all.
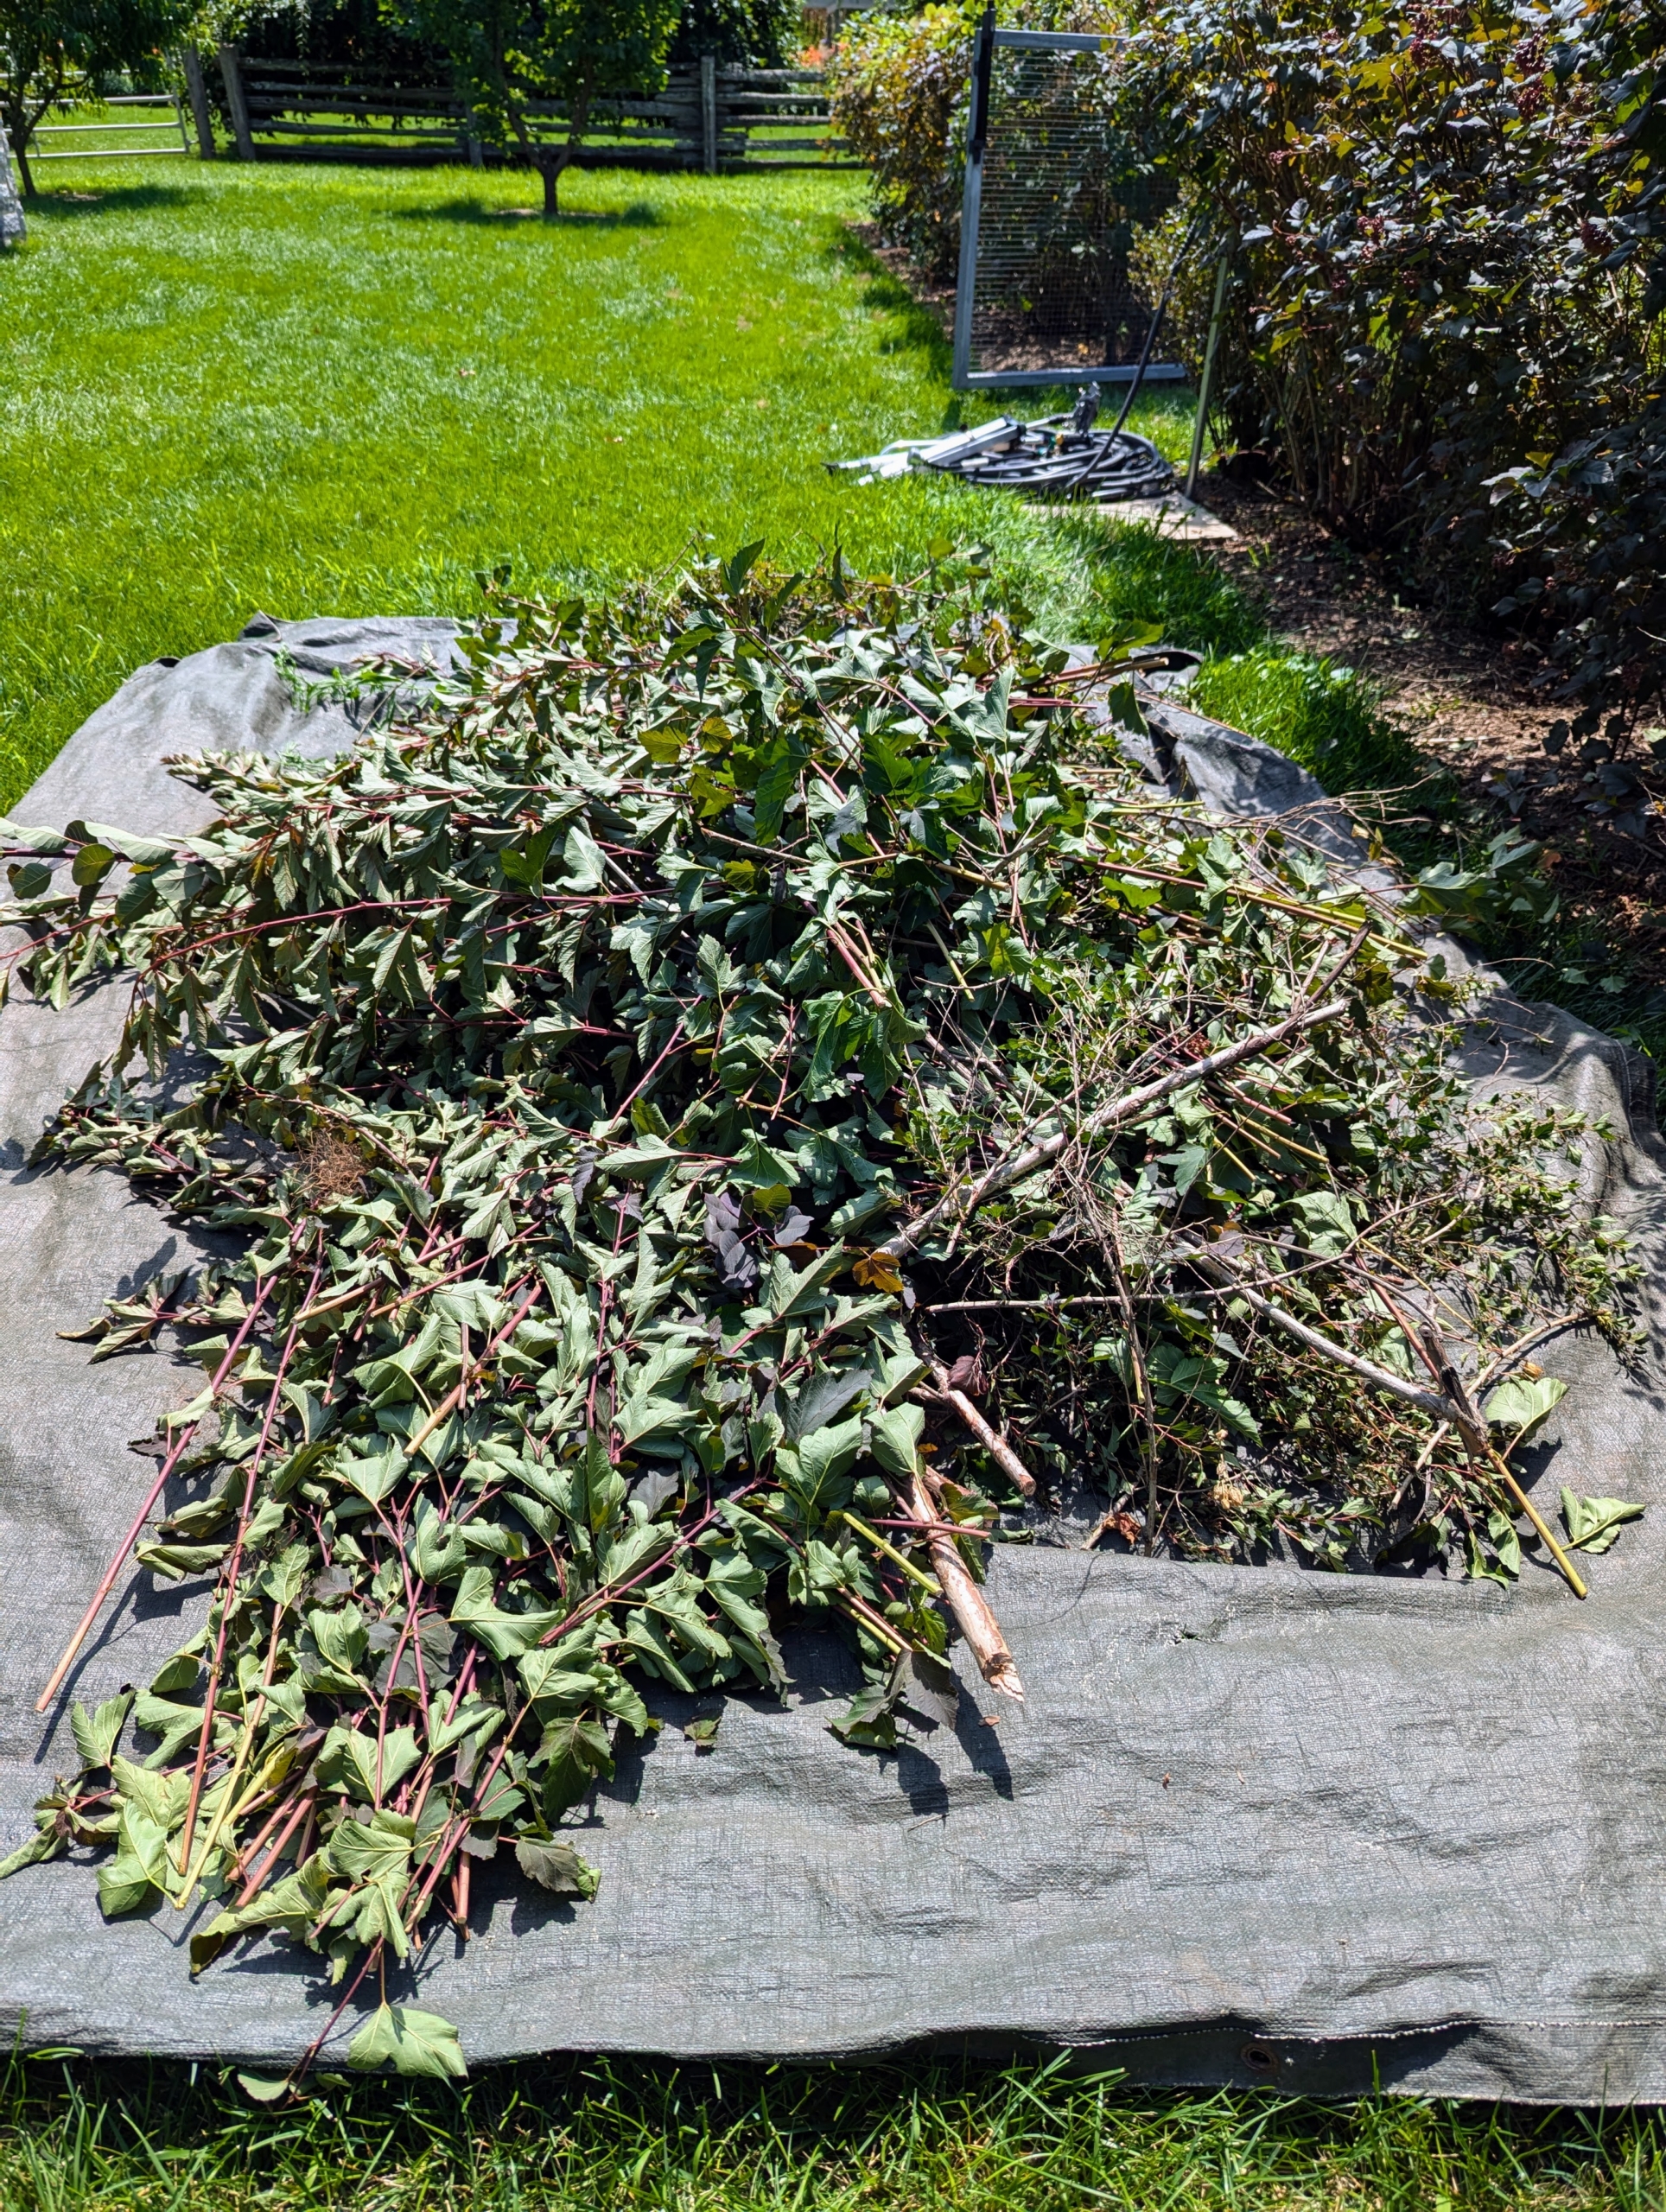
It doesn’t take long for the ground to fill with clippings.
Always work on a tarp to collect the cuttings. This makes cleaning up fast and efficient.
Here is one section of the outside hedge all done. One can see the beautiful layers of both the inside hedge and the outside hedge.
I’ve worked hard to develop the pool’s surroundings and am so pleased with how well everything has grown. This is one of my favorite summertime areas of the farm.
In order to keep my Bedford, New York farm and all its gardens, allées, and groves as beautiful as possible, I pay lots of attention to the maintenance and care of all my trees and shrubs.
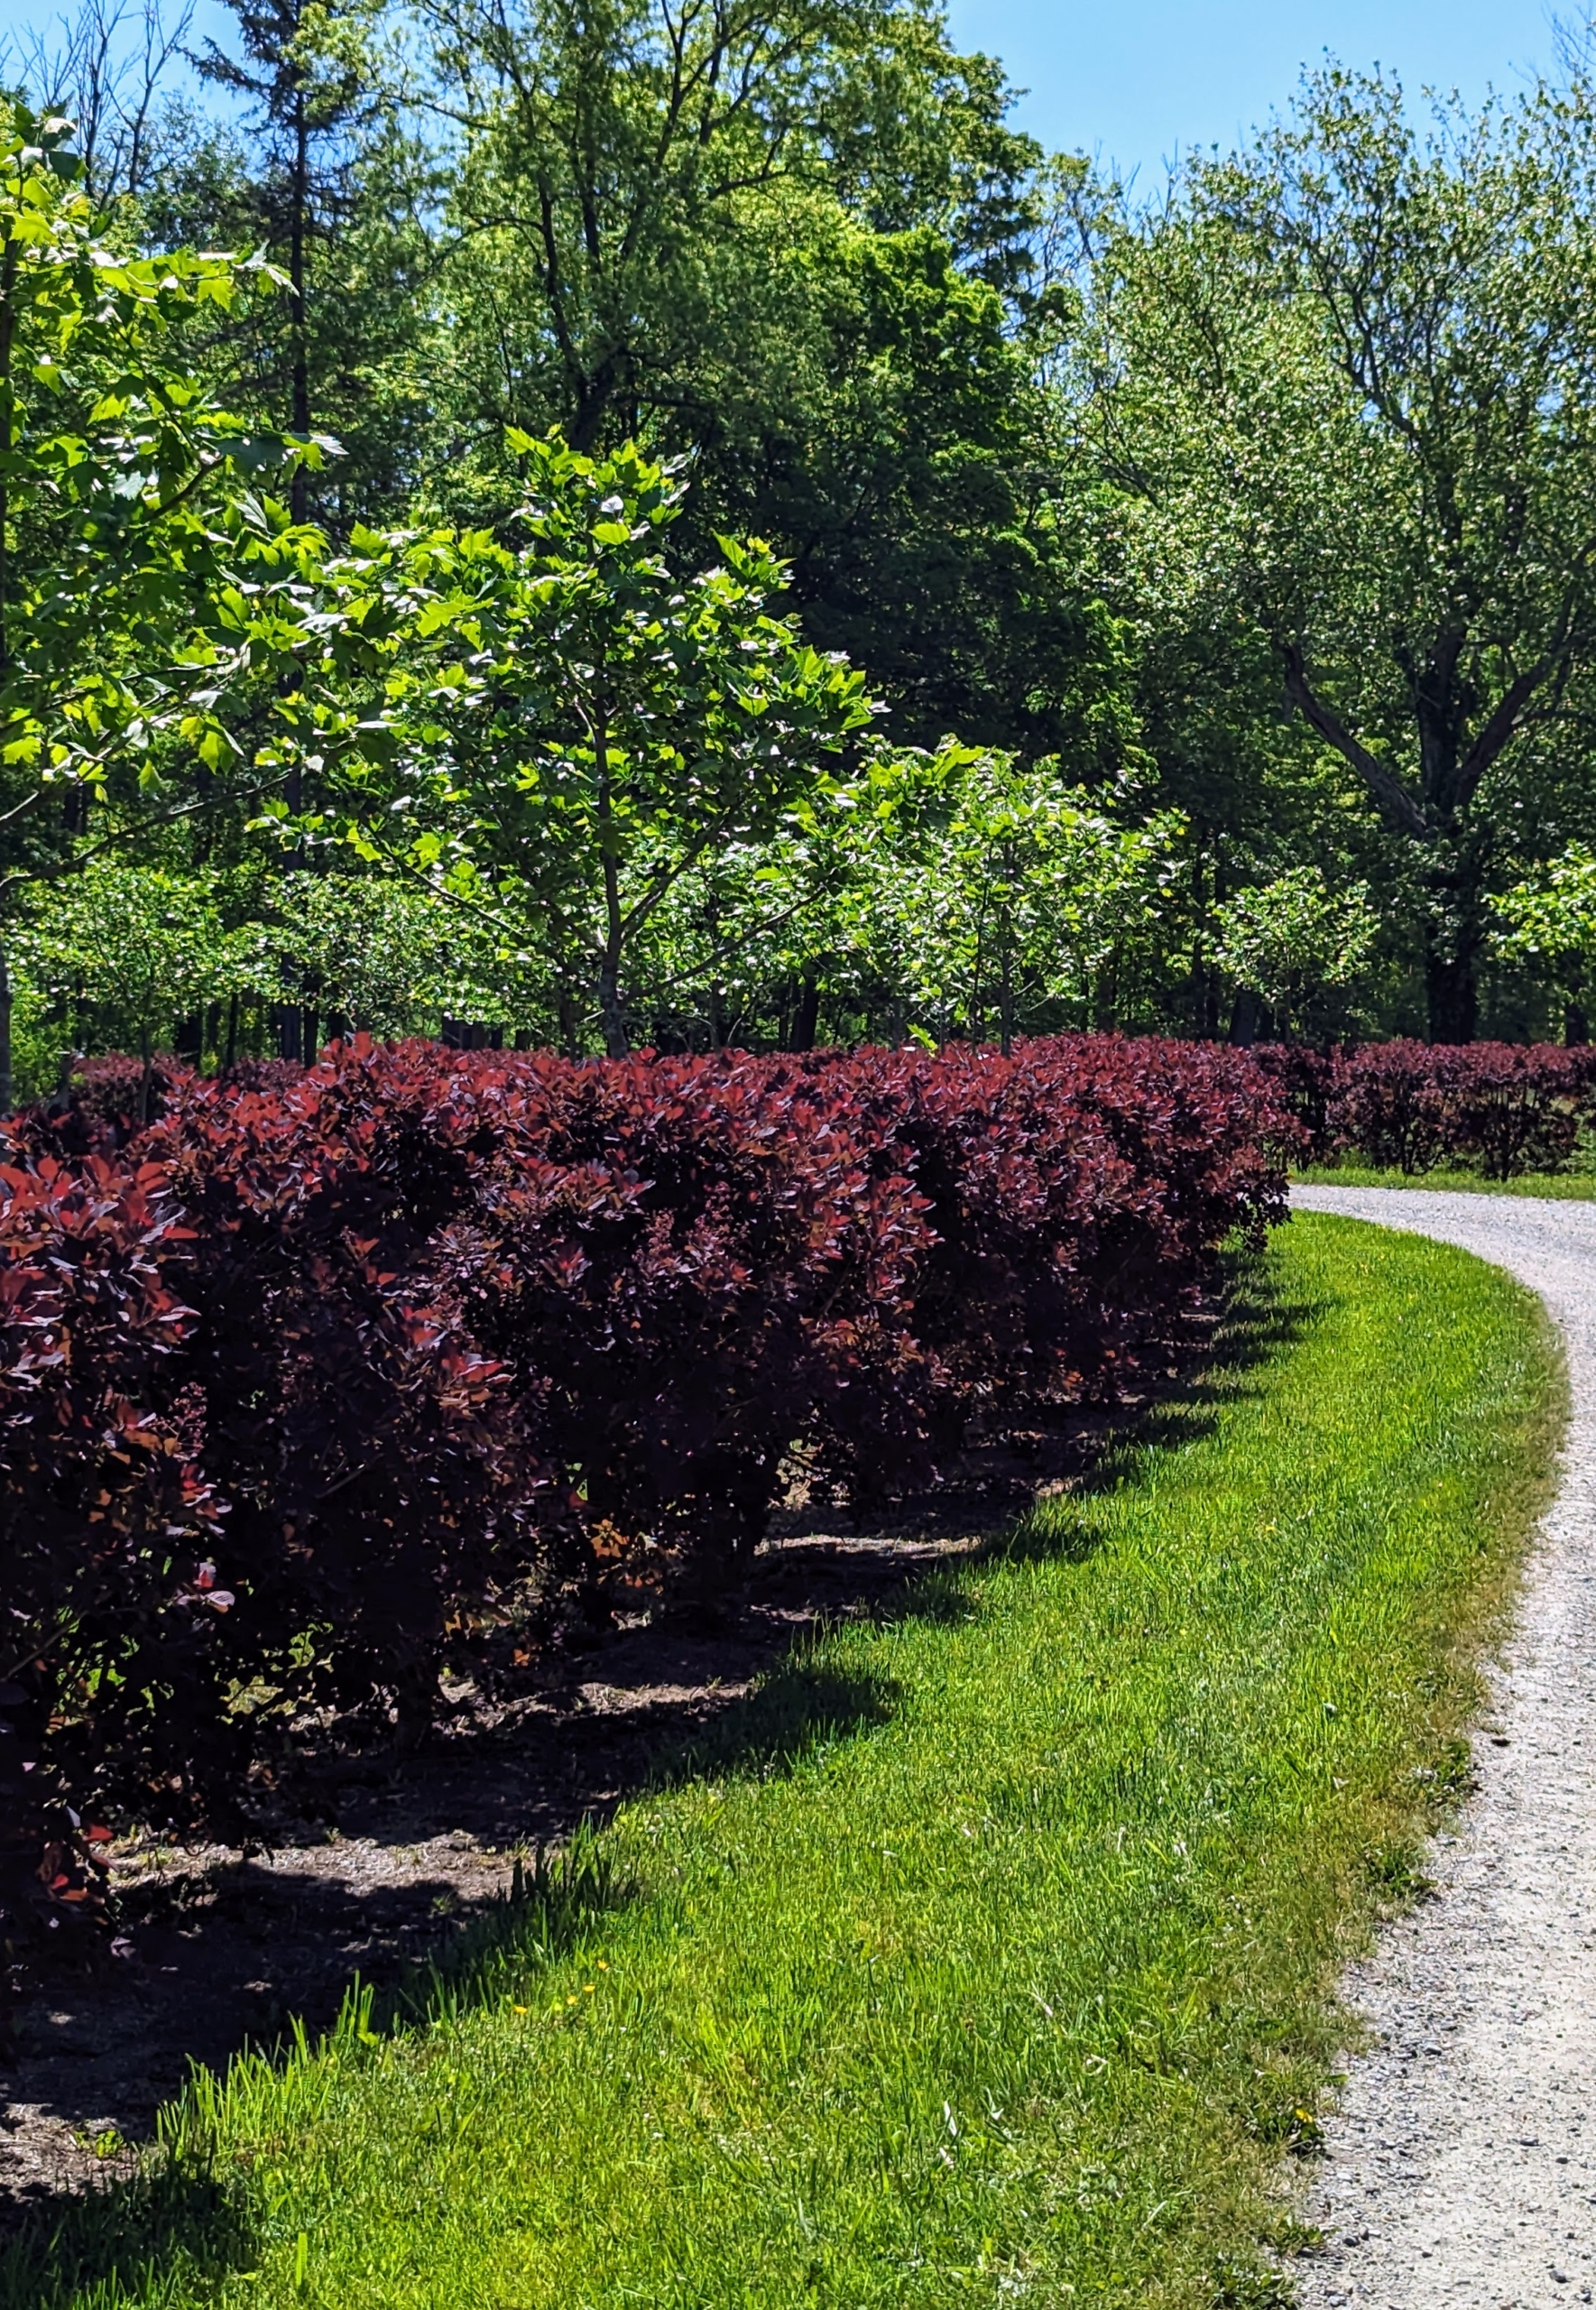
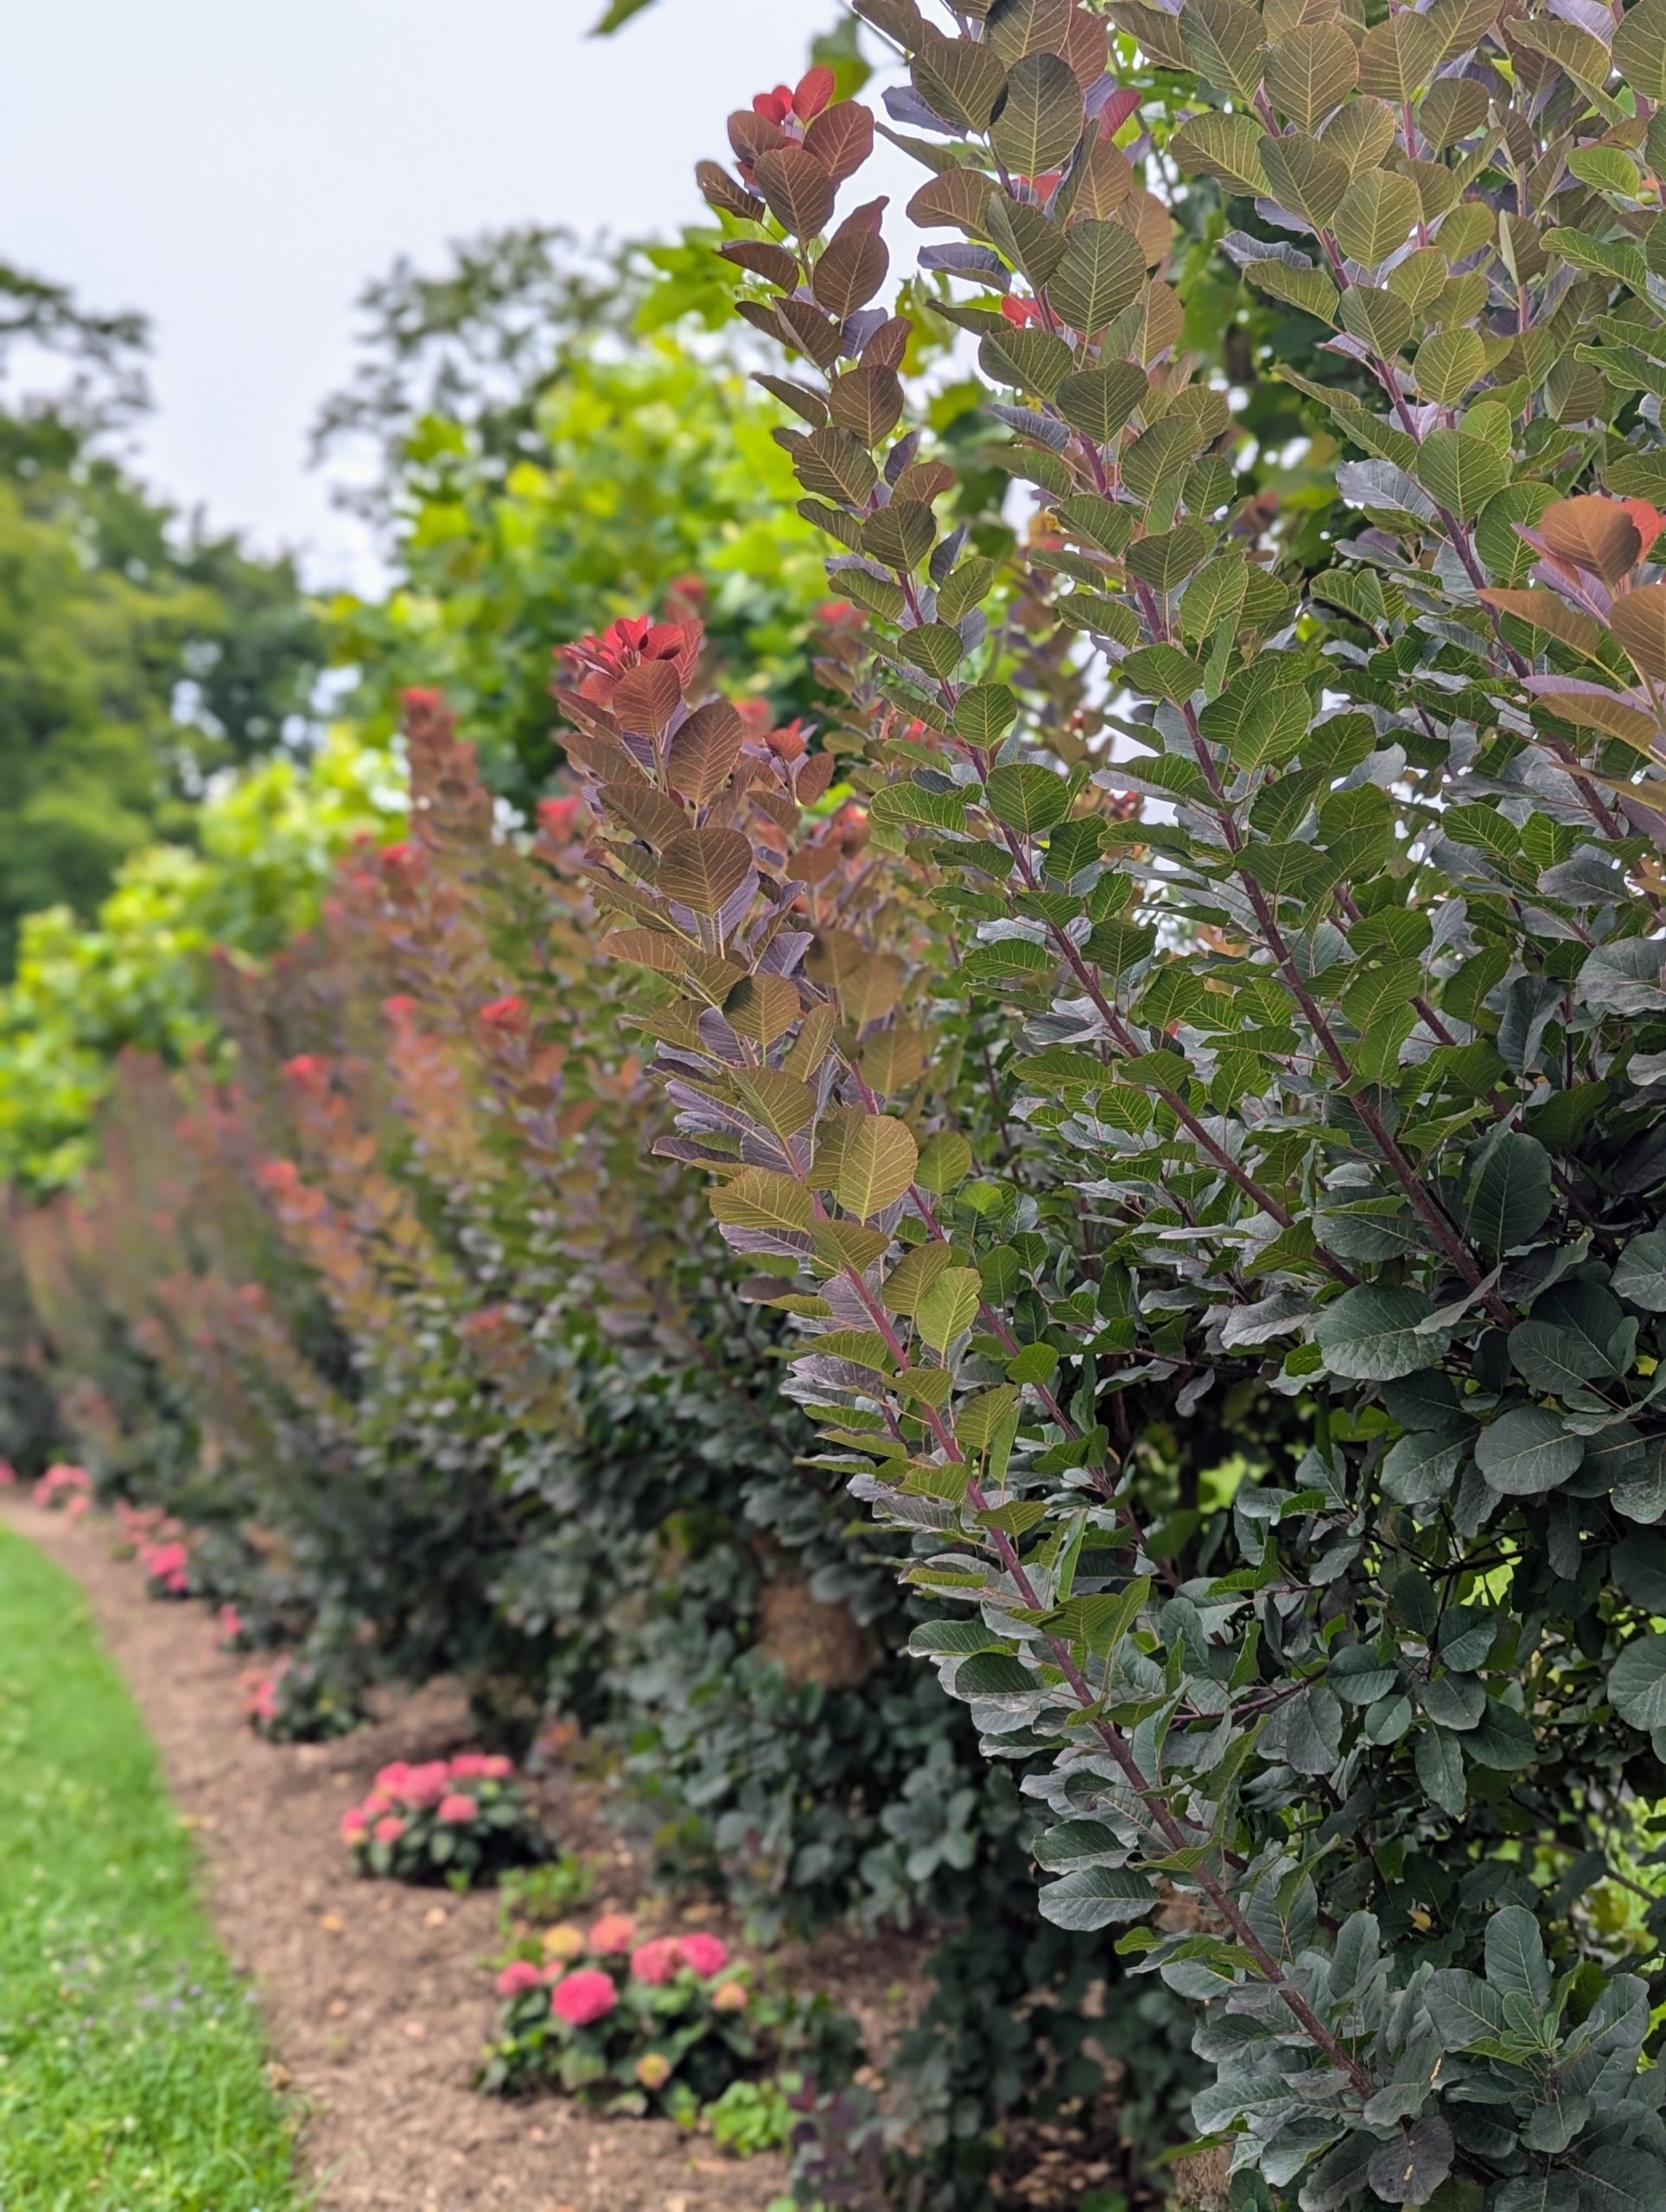
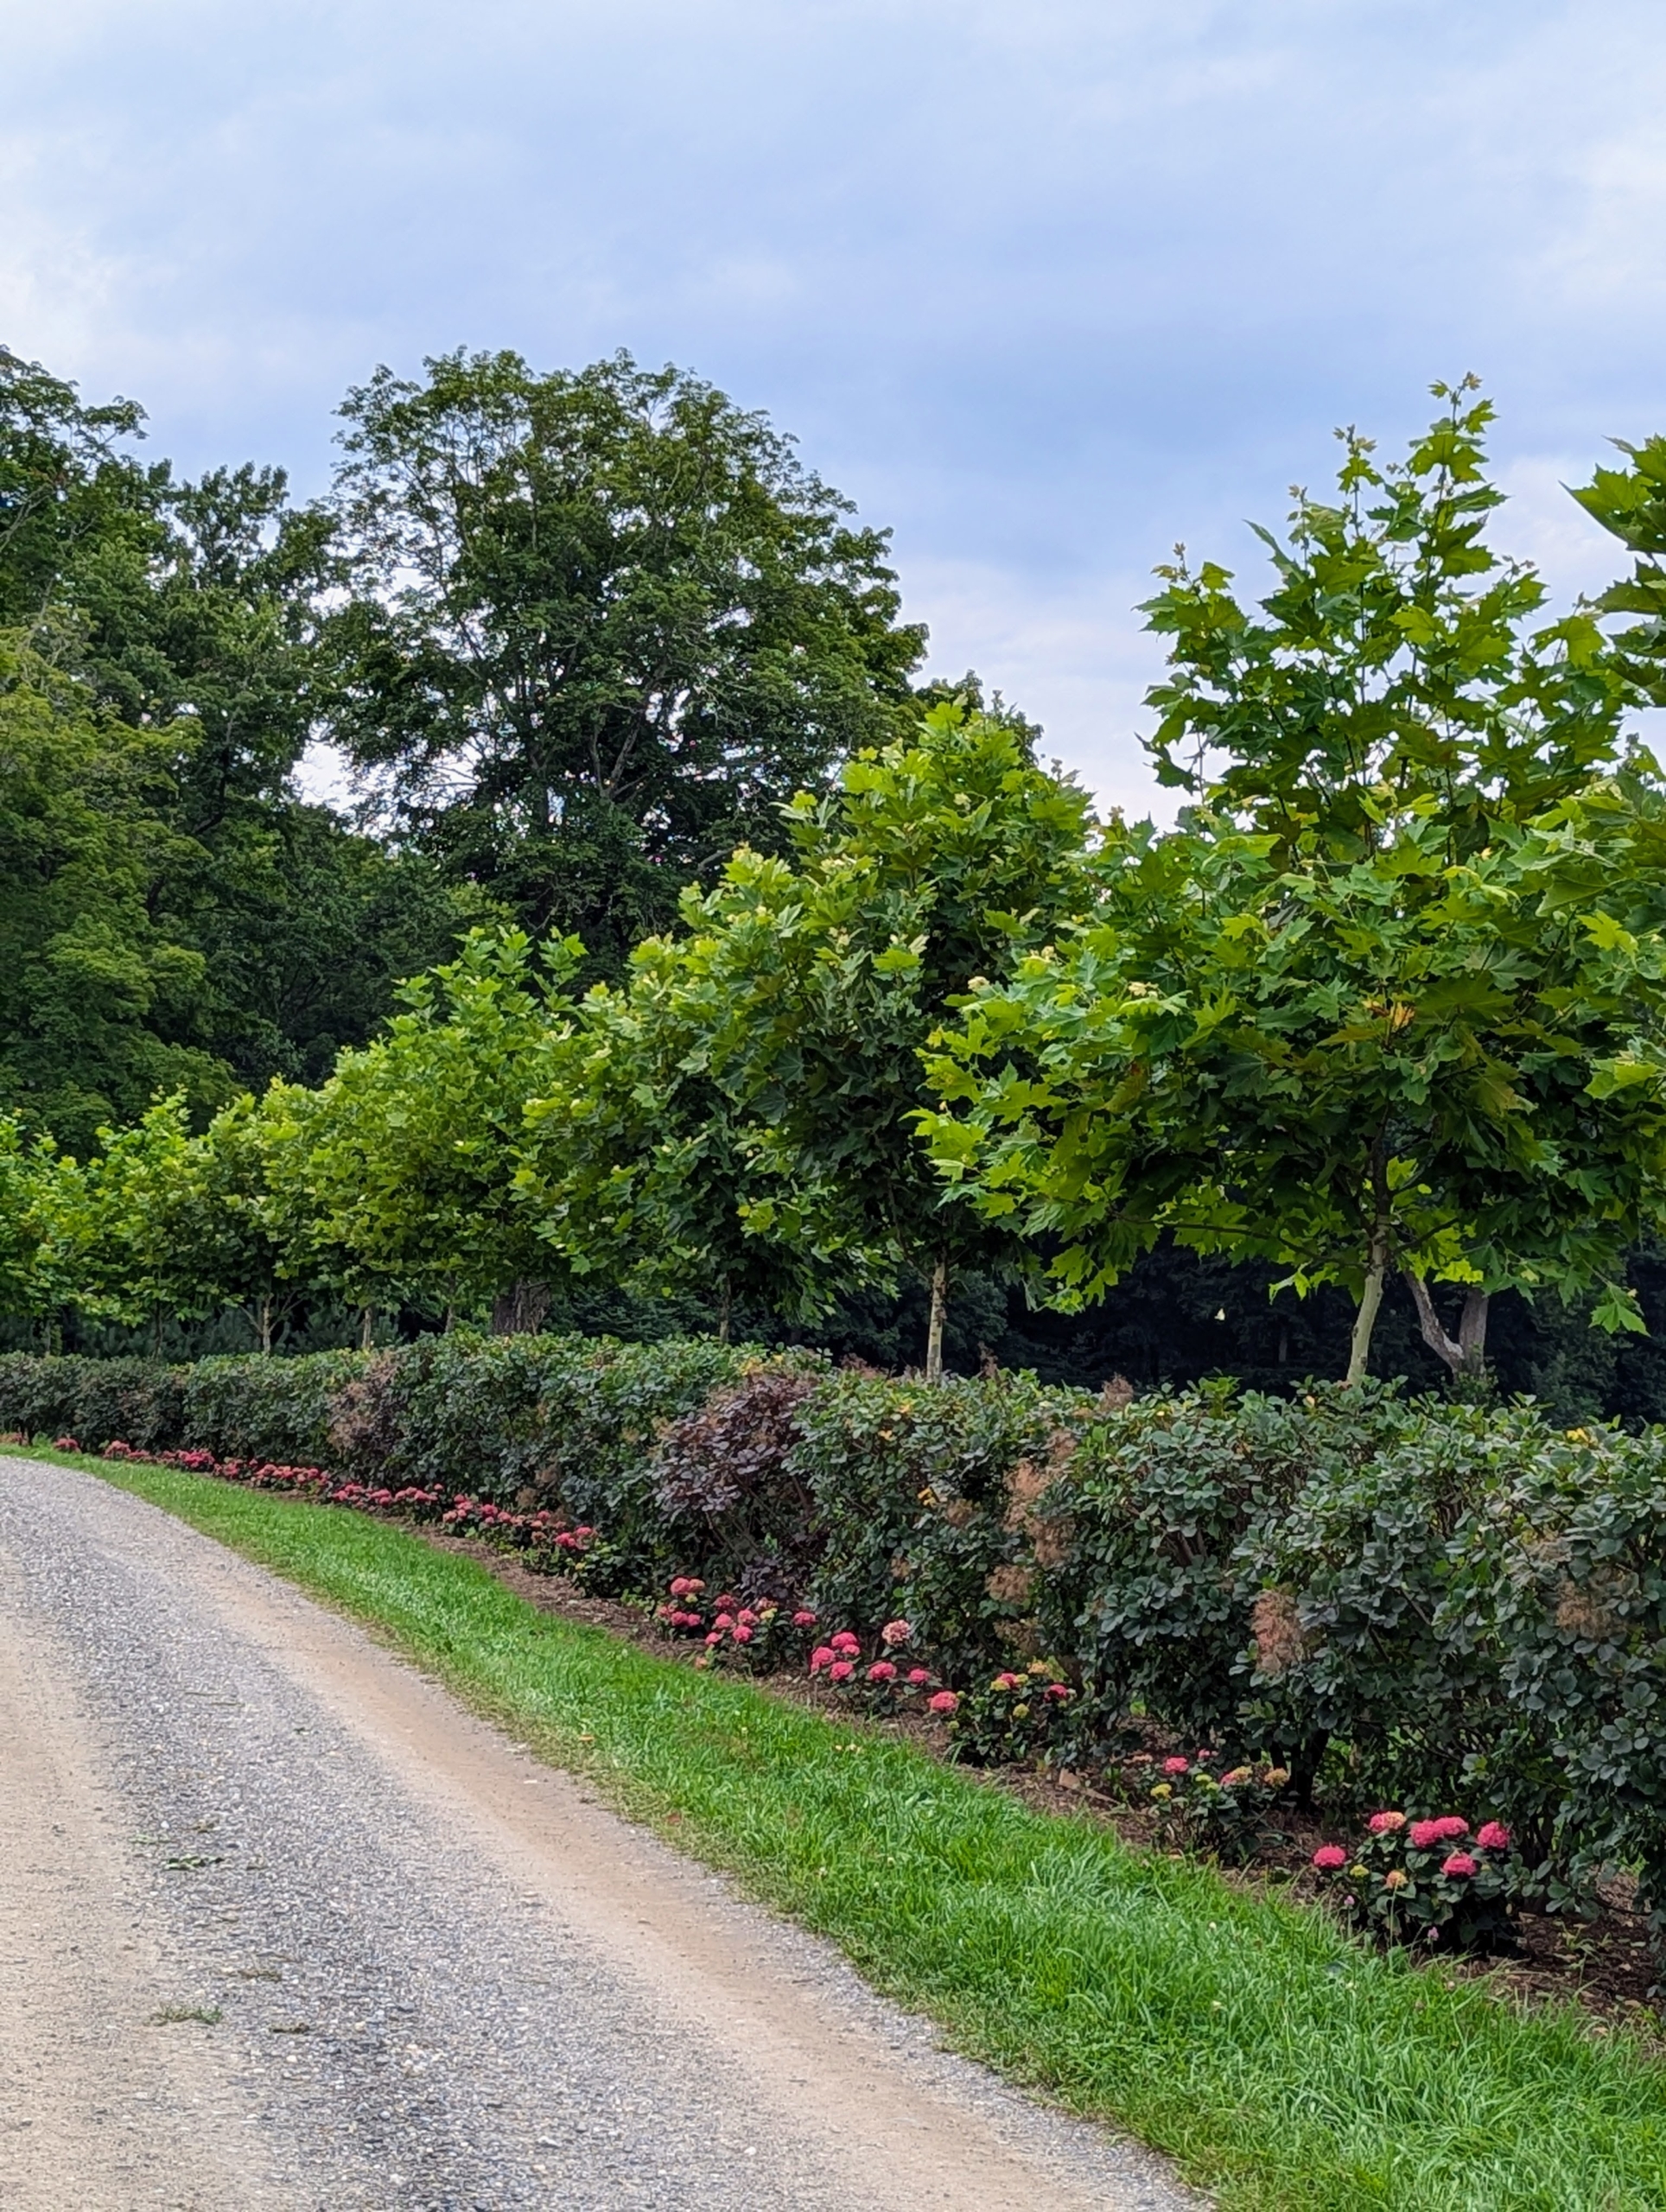
In 2019, I decided to plant an allée along the carriage road through the lower hayfields. I planted a selection of London plane trees and about 100 royal purple smoke bushes, Cotinus coggygria. Over the years these trees have thrived with the smoke bushes growing about 24 inches each year. This week they were pruned and groomed and they look excellent.
Enjoy these photos.
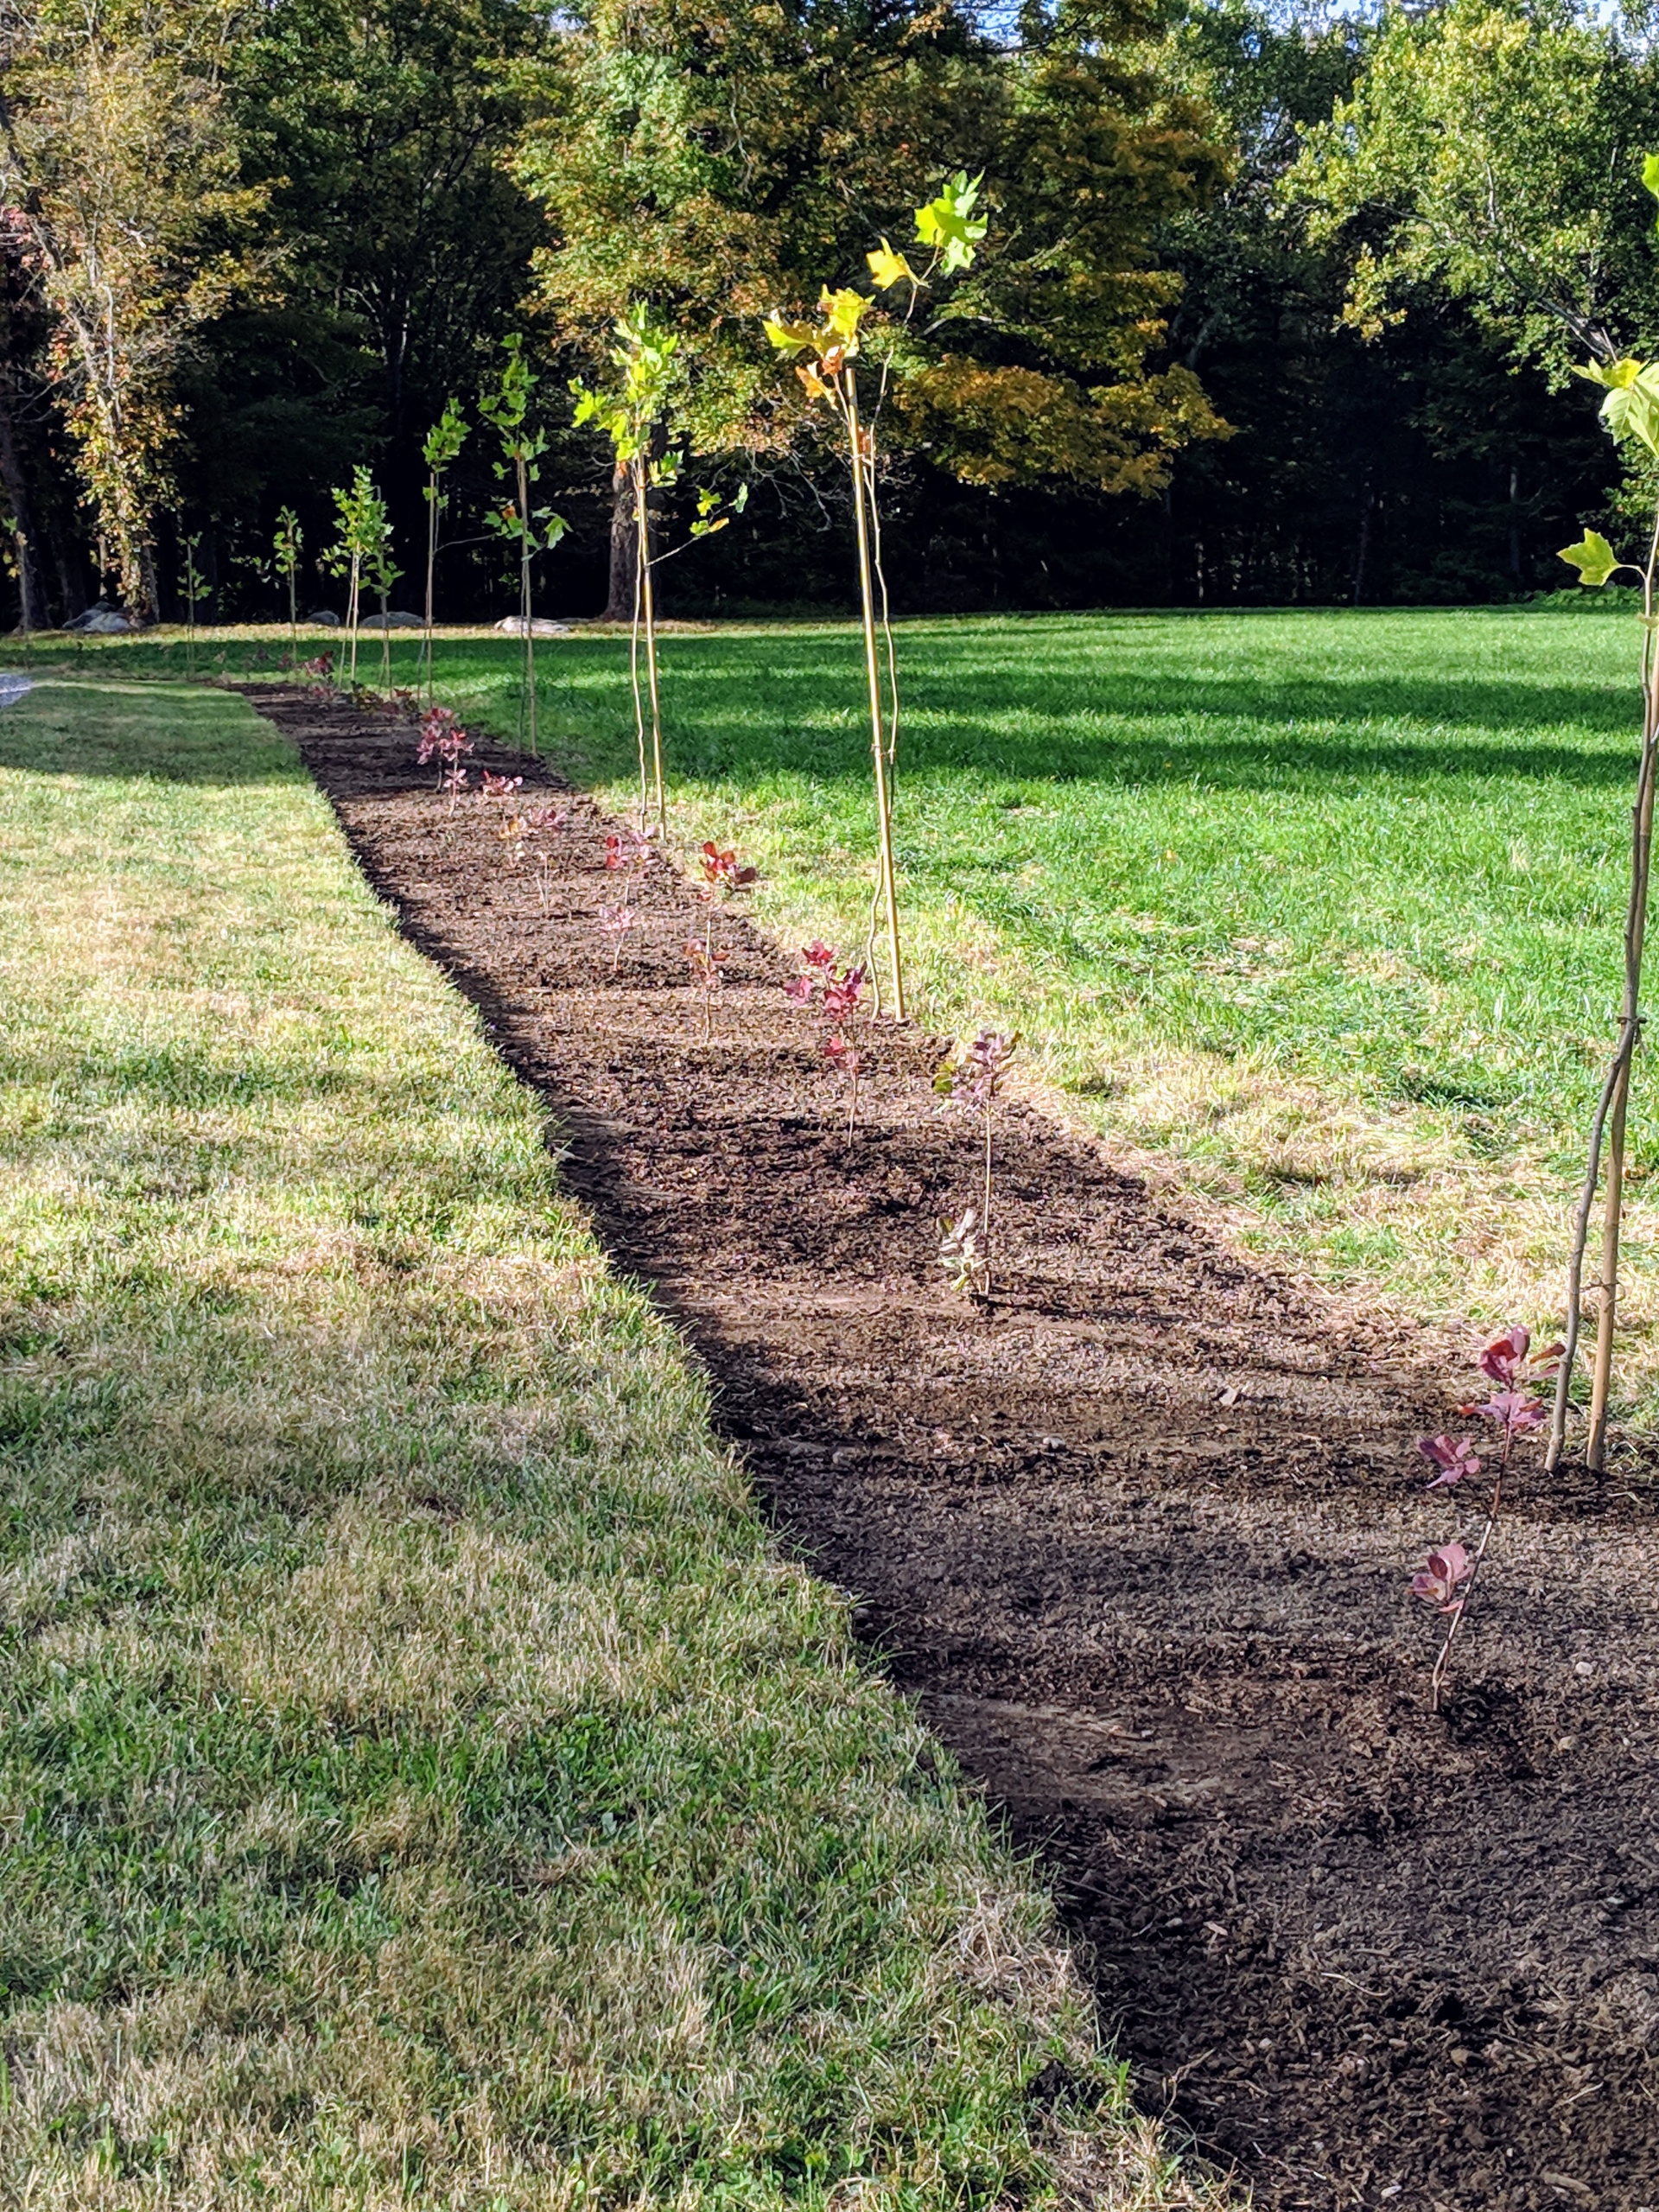
I planted this allée in the fall of 2019. I thought it was a perfect stretch of landscape for a long allée of London planes and smoke bushes. Here it is that first year.
I wanted the allée to extend the entire portion of the road that cuts through the lower hayfields. By the summer of 2021, it looked like this. These smoke bushes can grow up to 15-feet tall and 10-feet wide. I love its upright, multi-stemmed habit. I grow many smoke bushes at the farm.
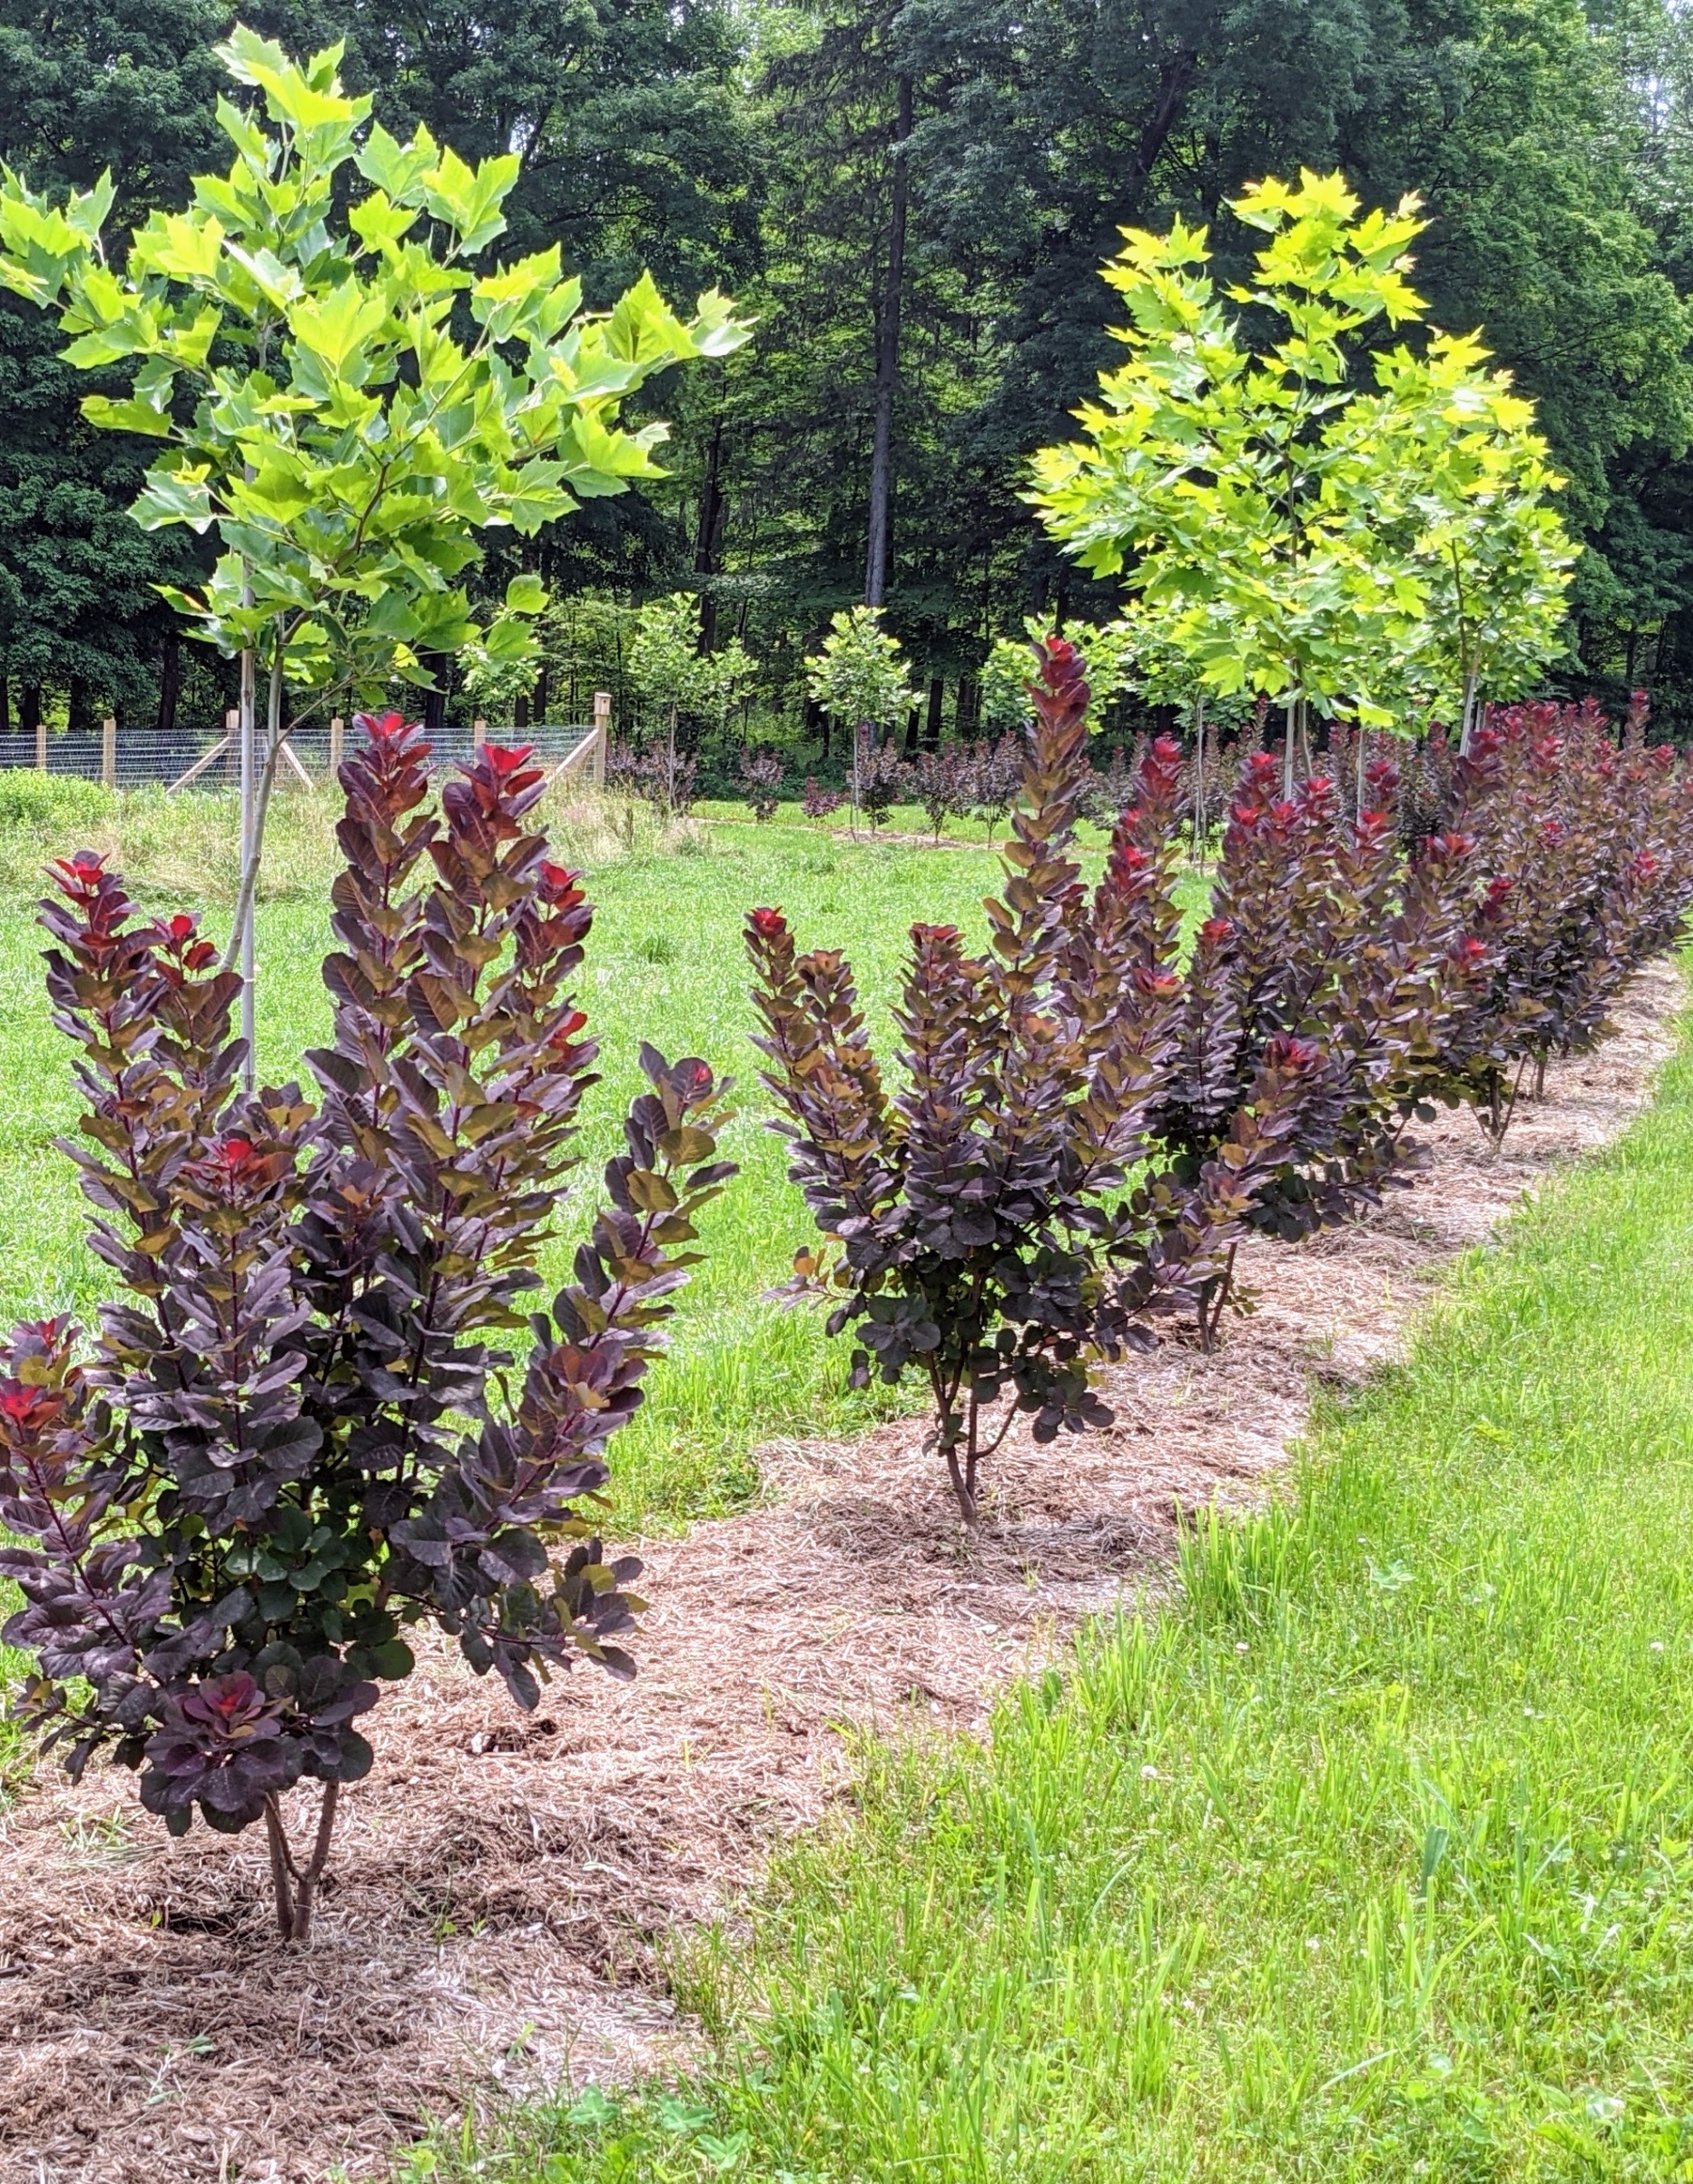
Here is the allée in June 2022 – the smoke bushes are wider and more full. Cotinus or smoke bush, is a genus of seven species of flowering plants in the family Anacardiaceae, closely related to the sumacs. It has an upright habit when young and spreads wider with age.
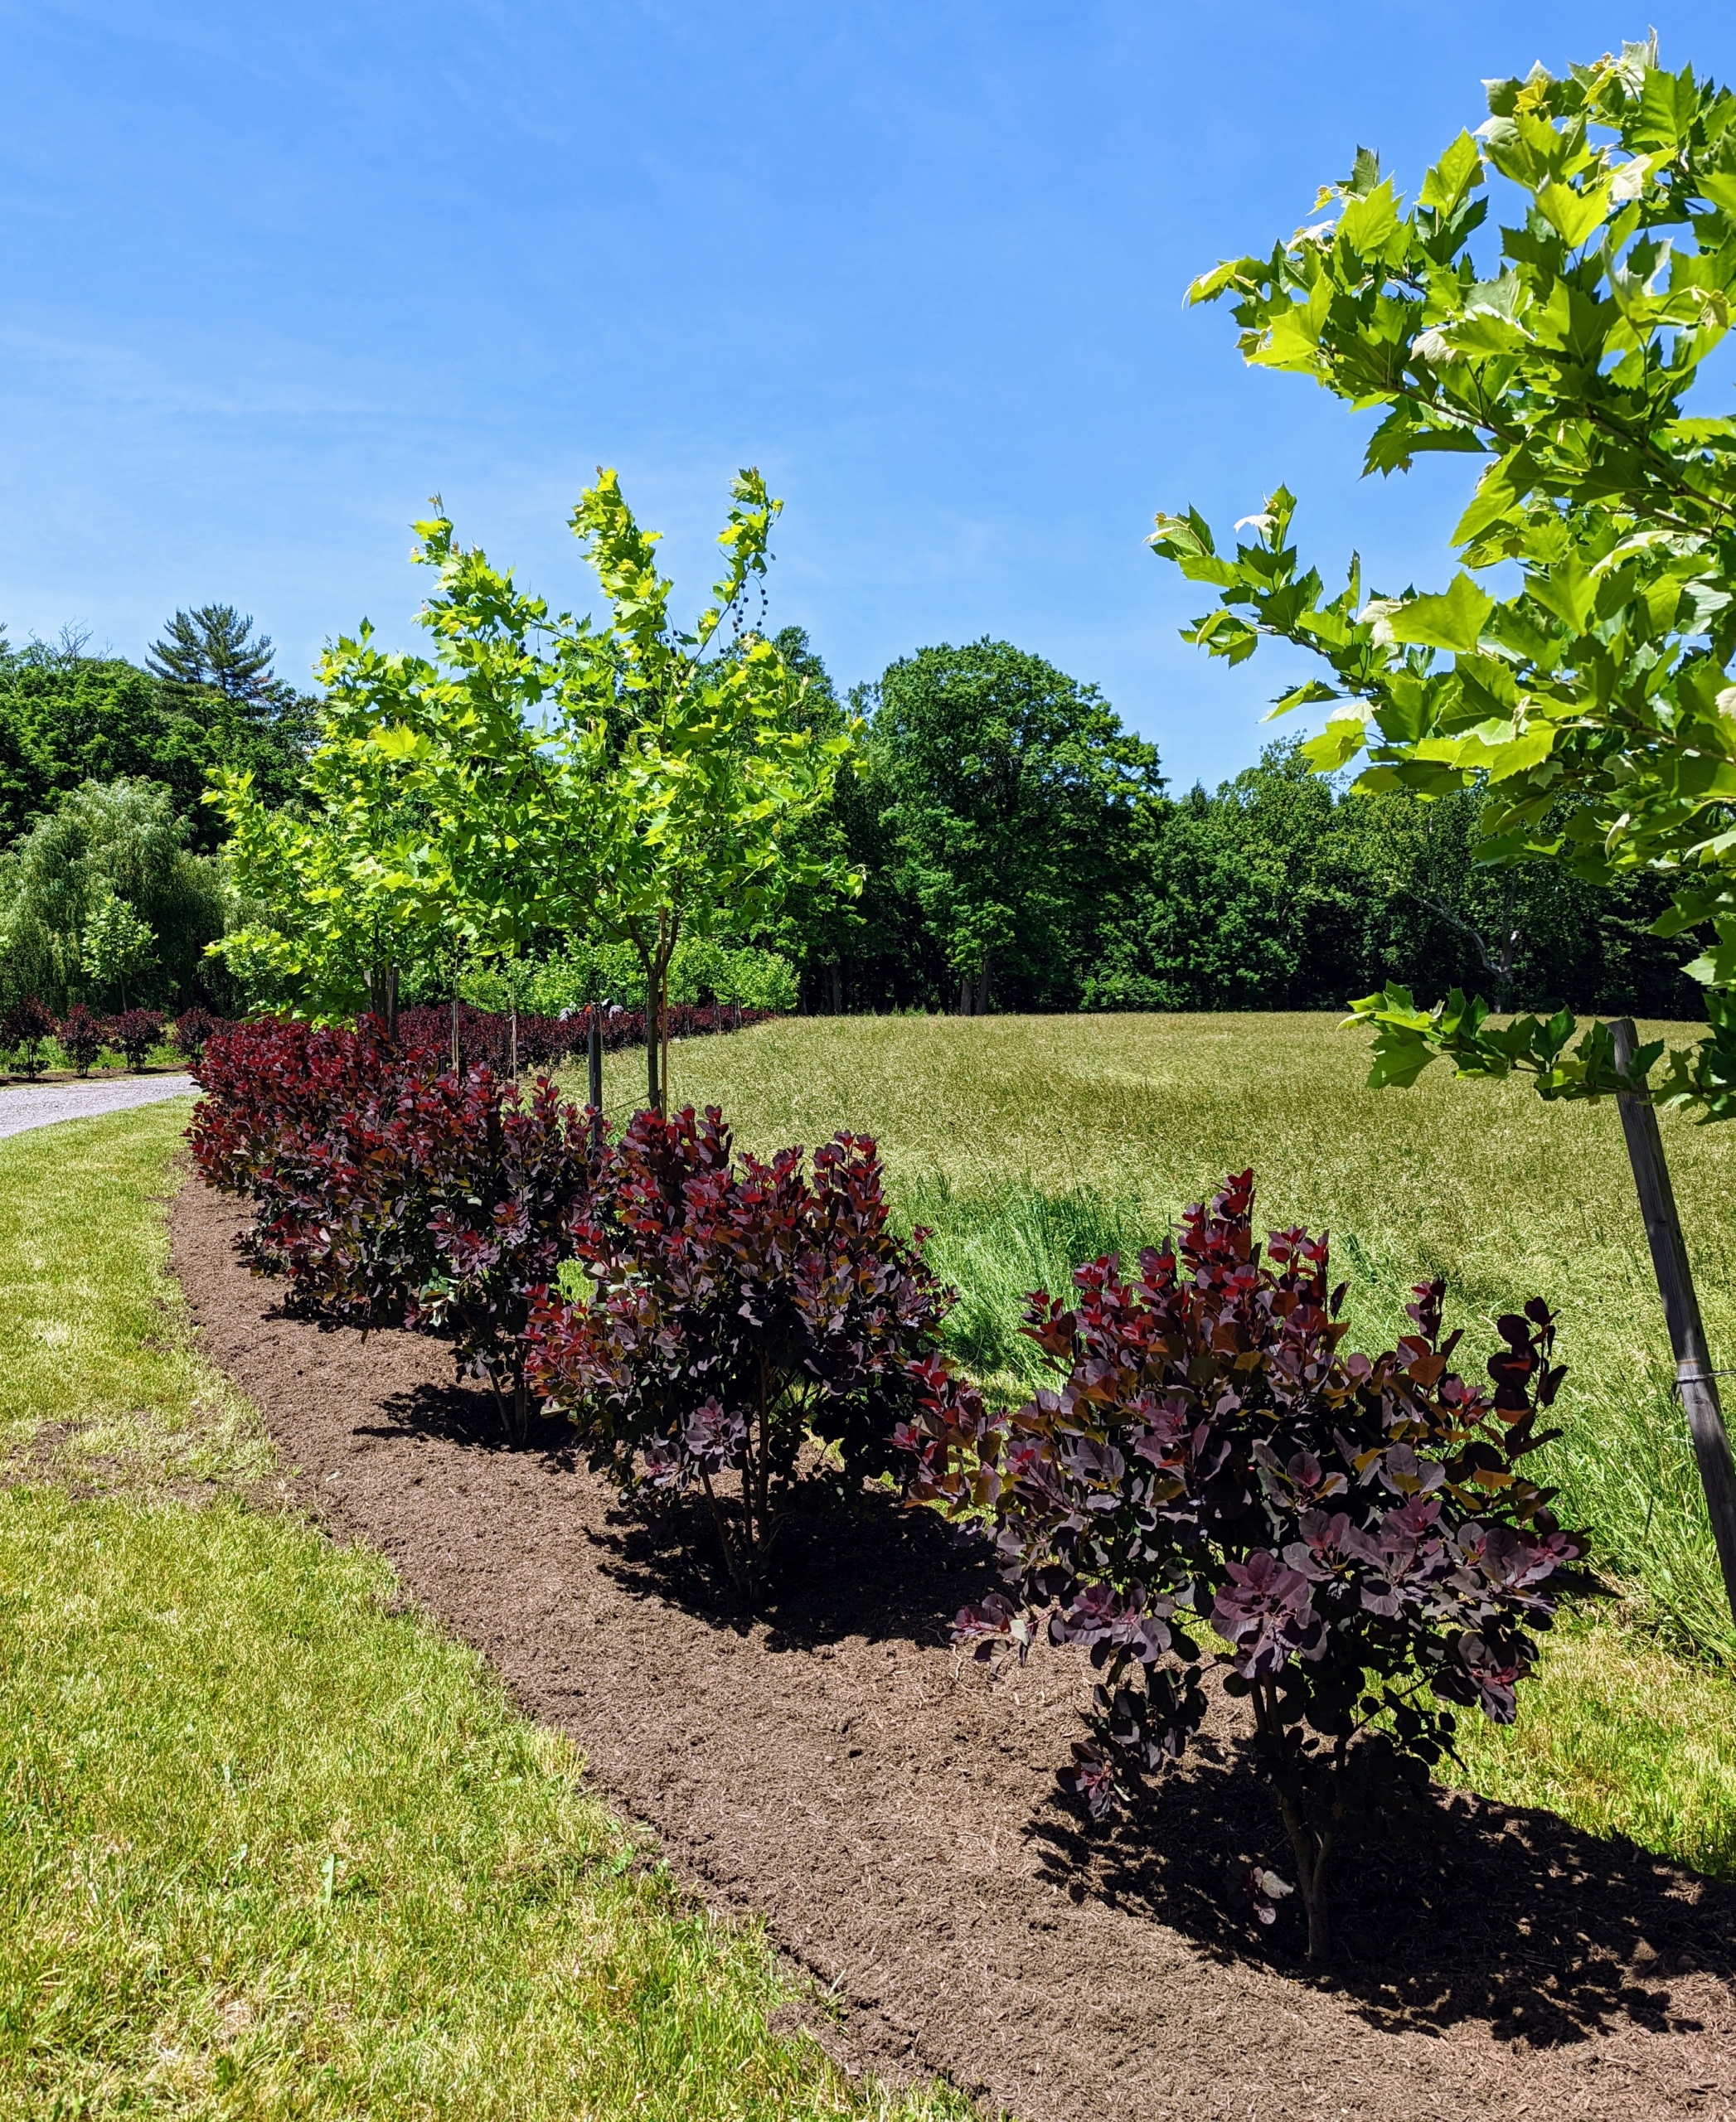
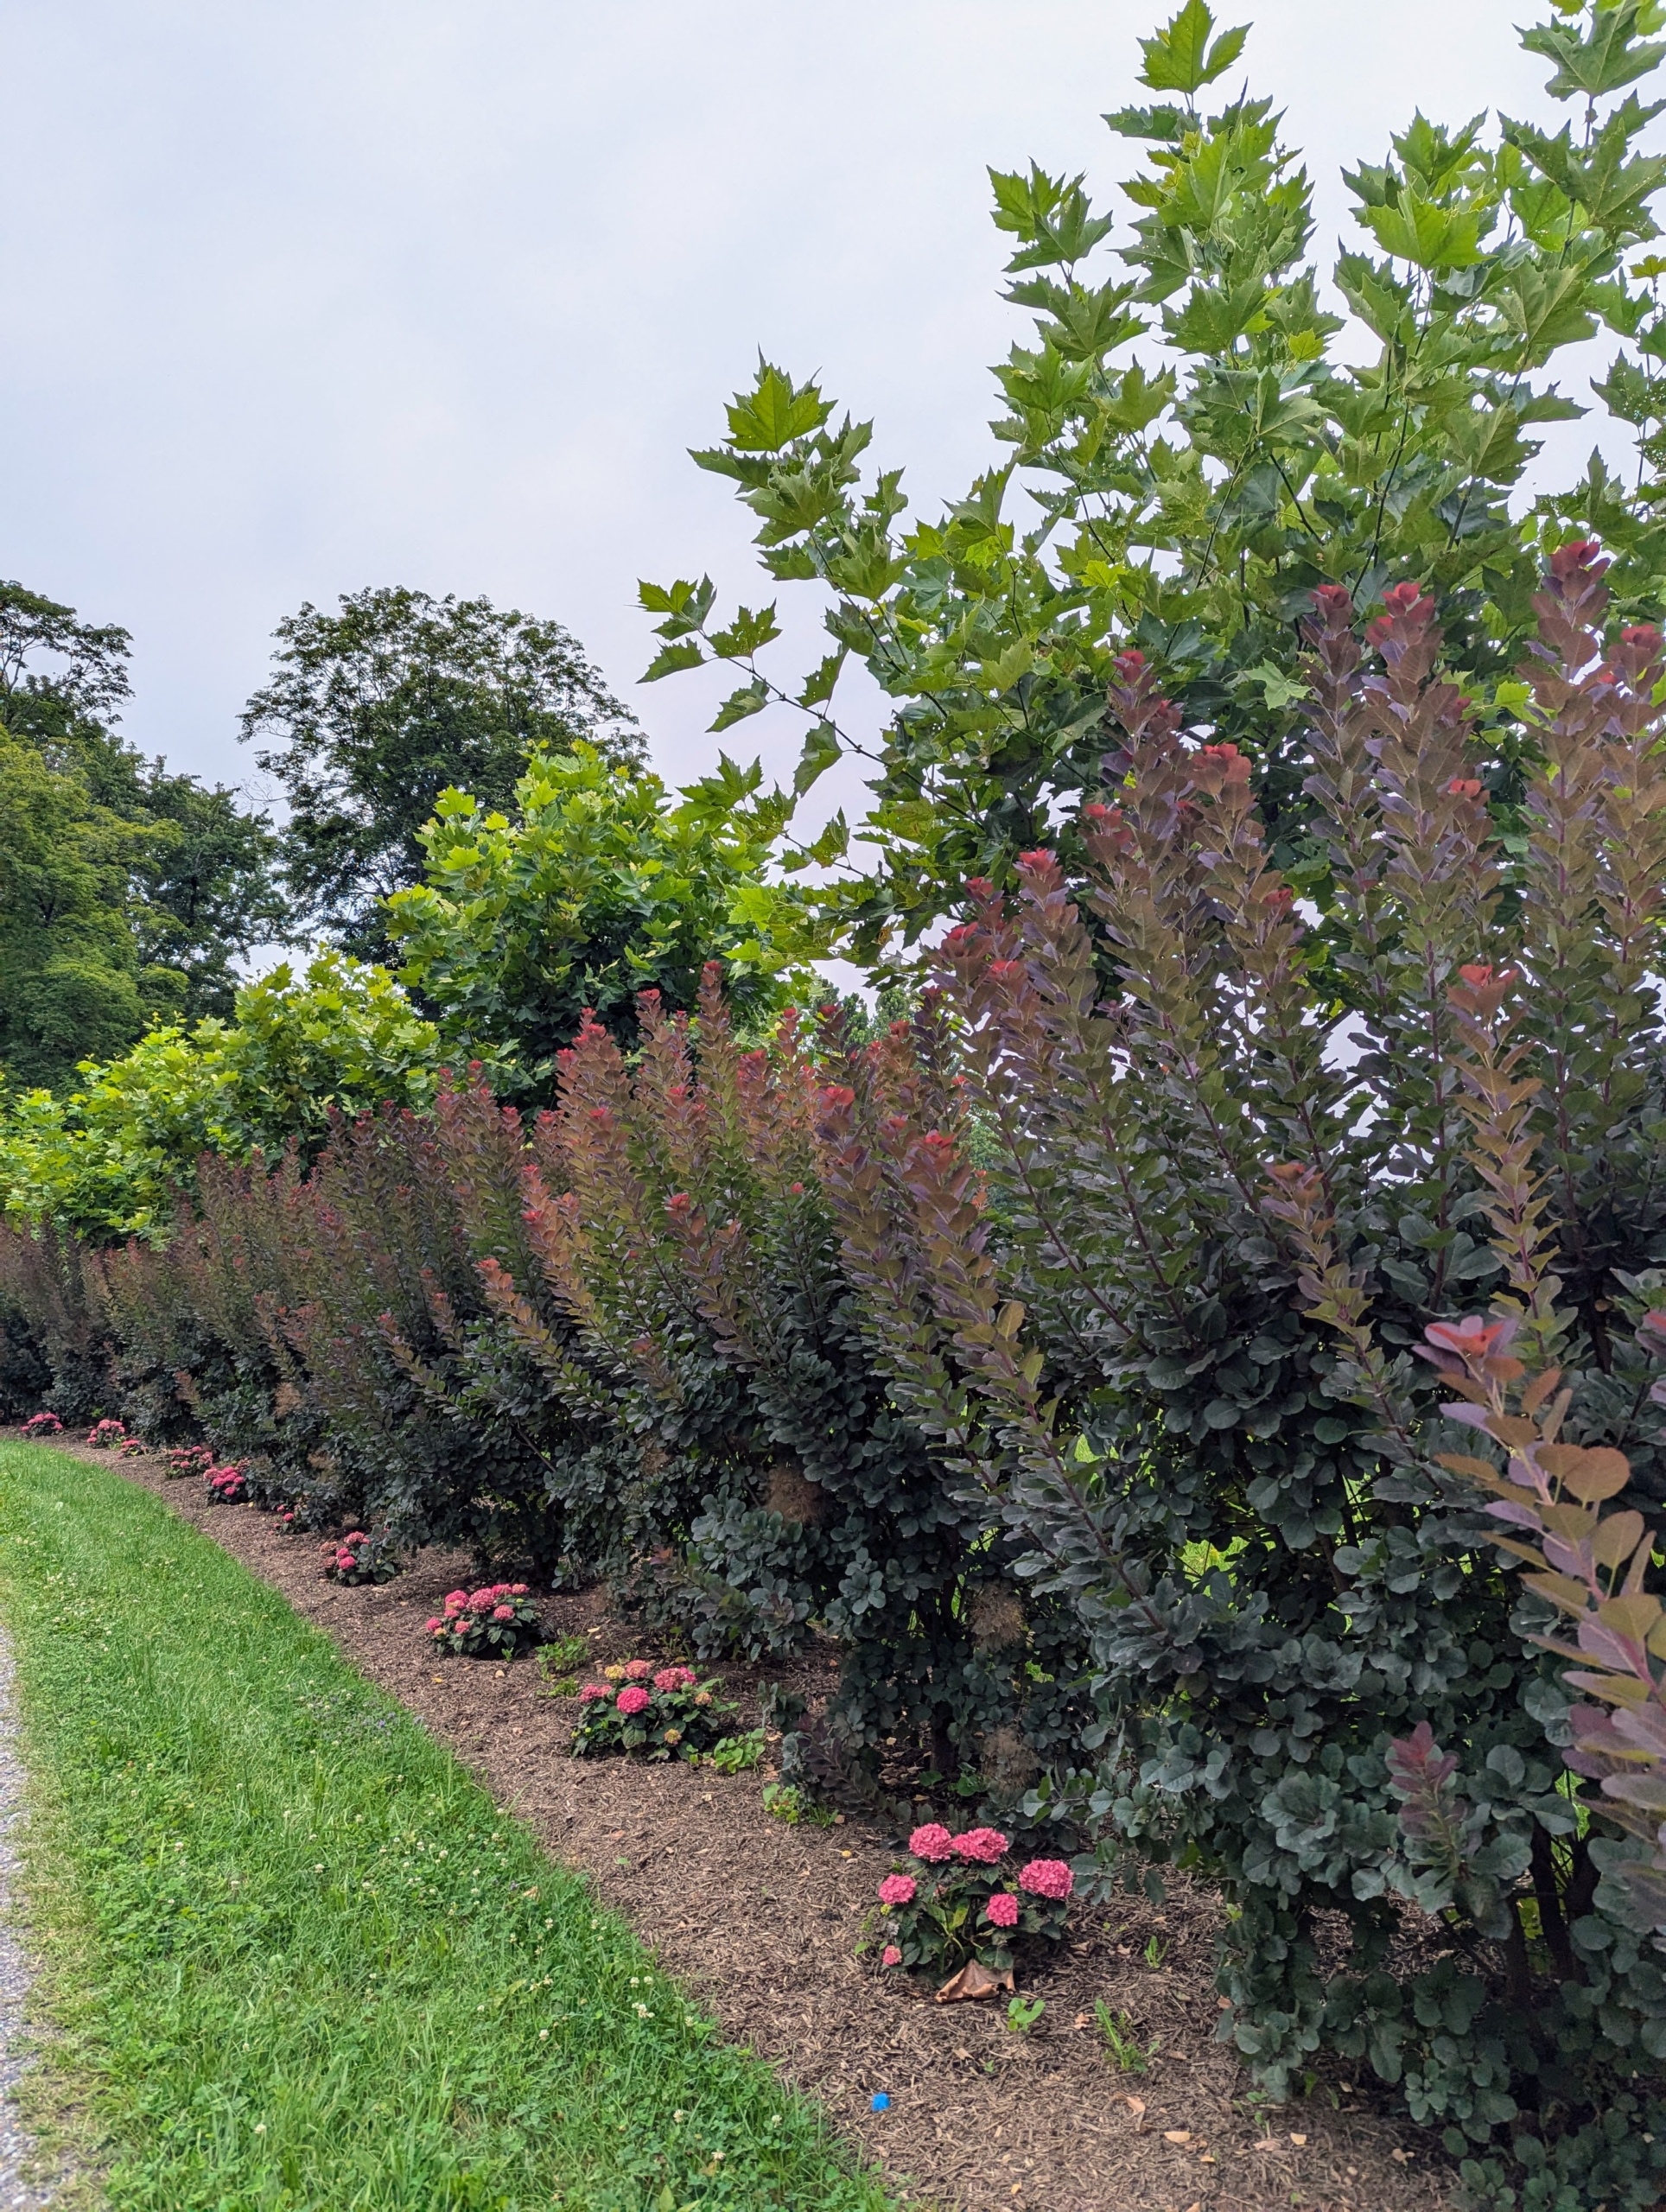
This photos was taken just last May. Under optimal conditions, smoke bushes can add about 13 to 24 inches to its height each year. The colors of the smoke bushes and the London planes behind them look striking together.
And this is the allée earlier this week before all the Cotinus was pruned. Look at all the growth.
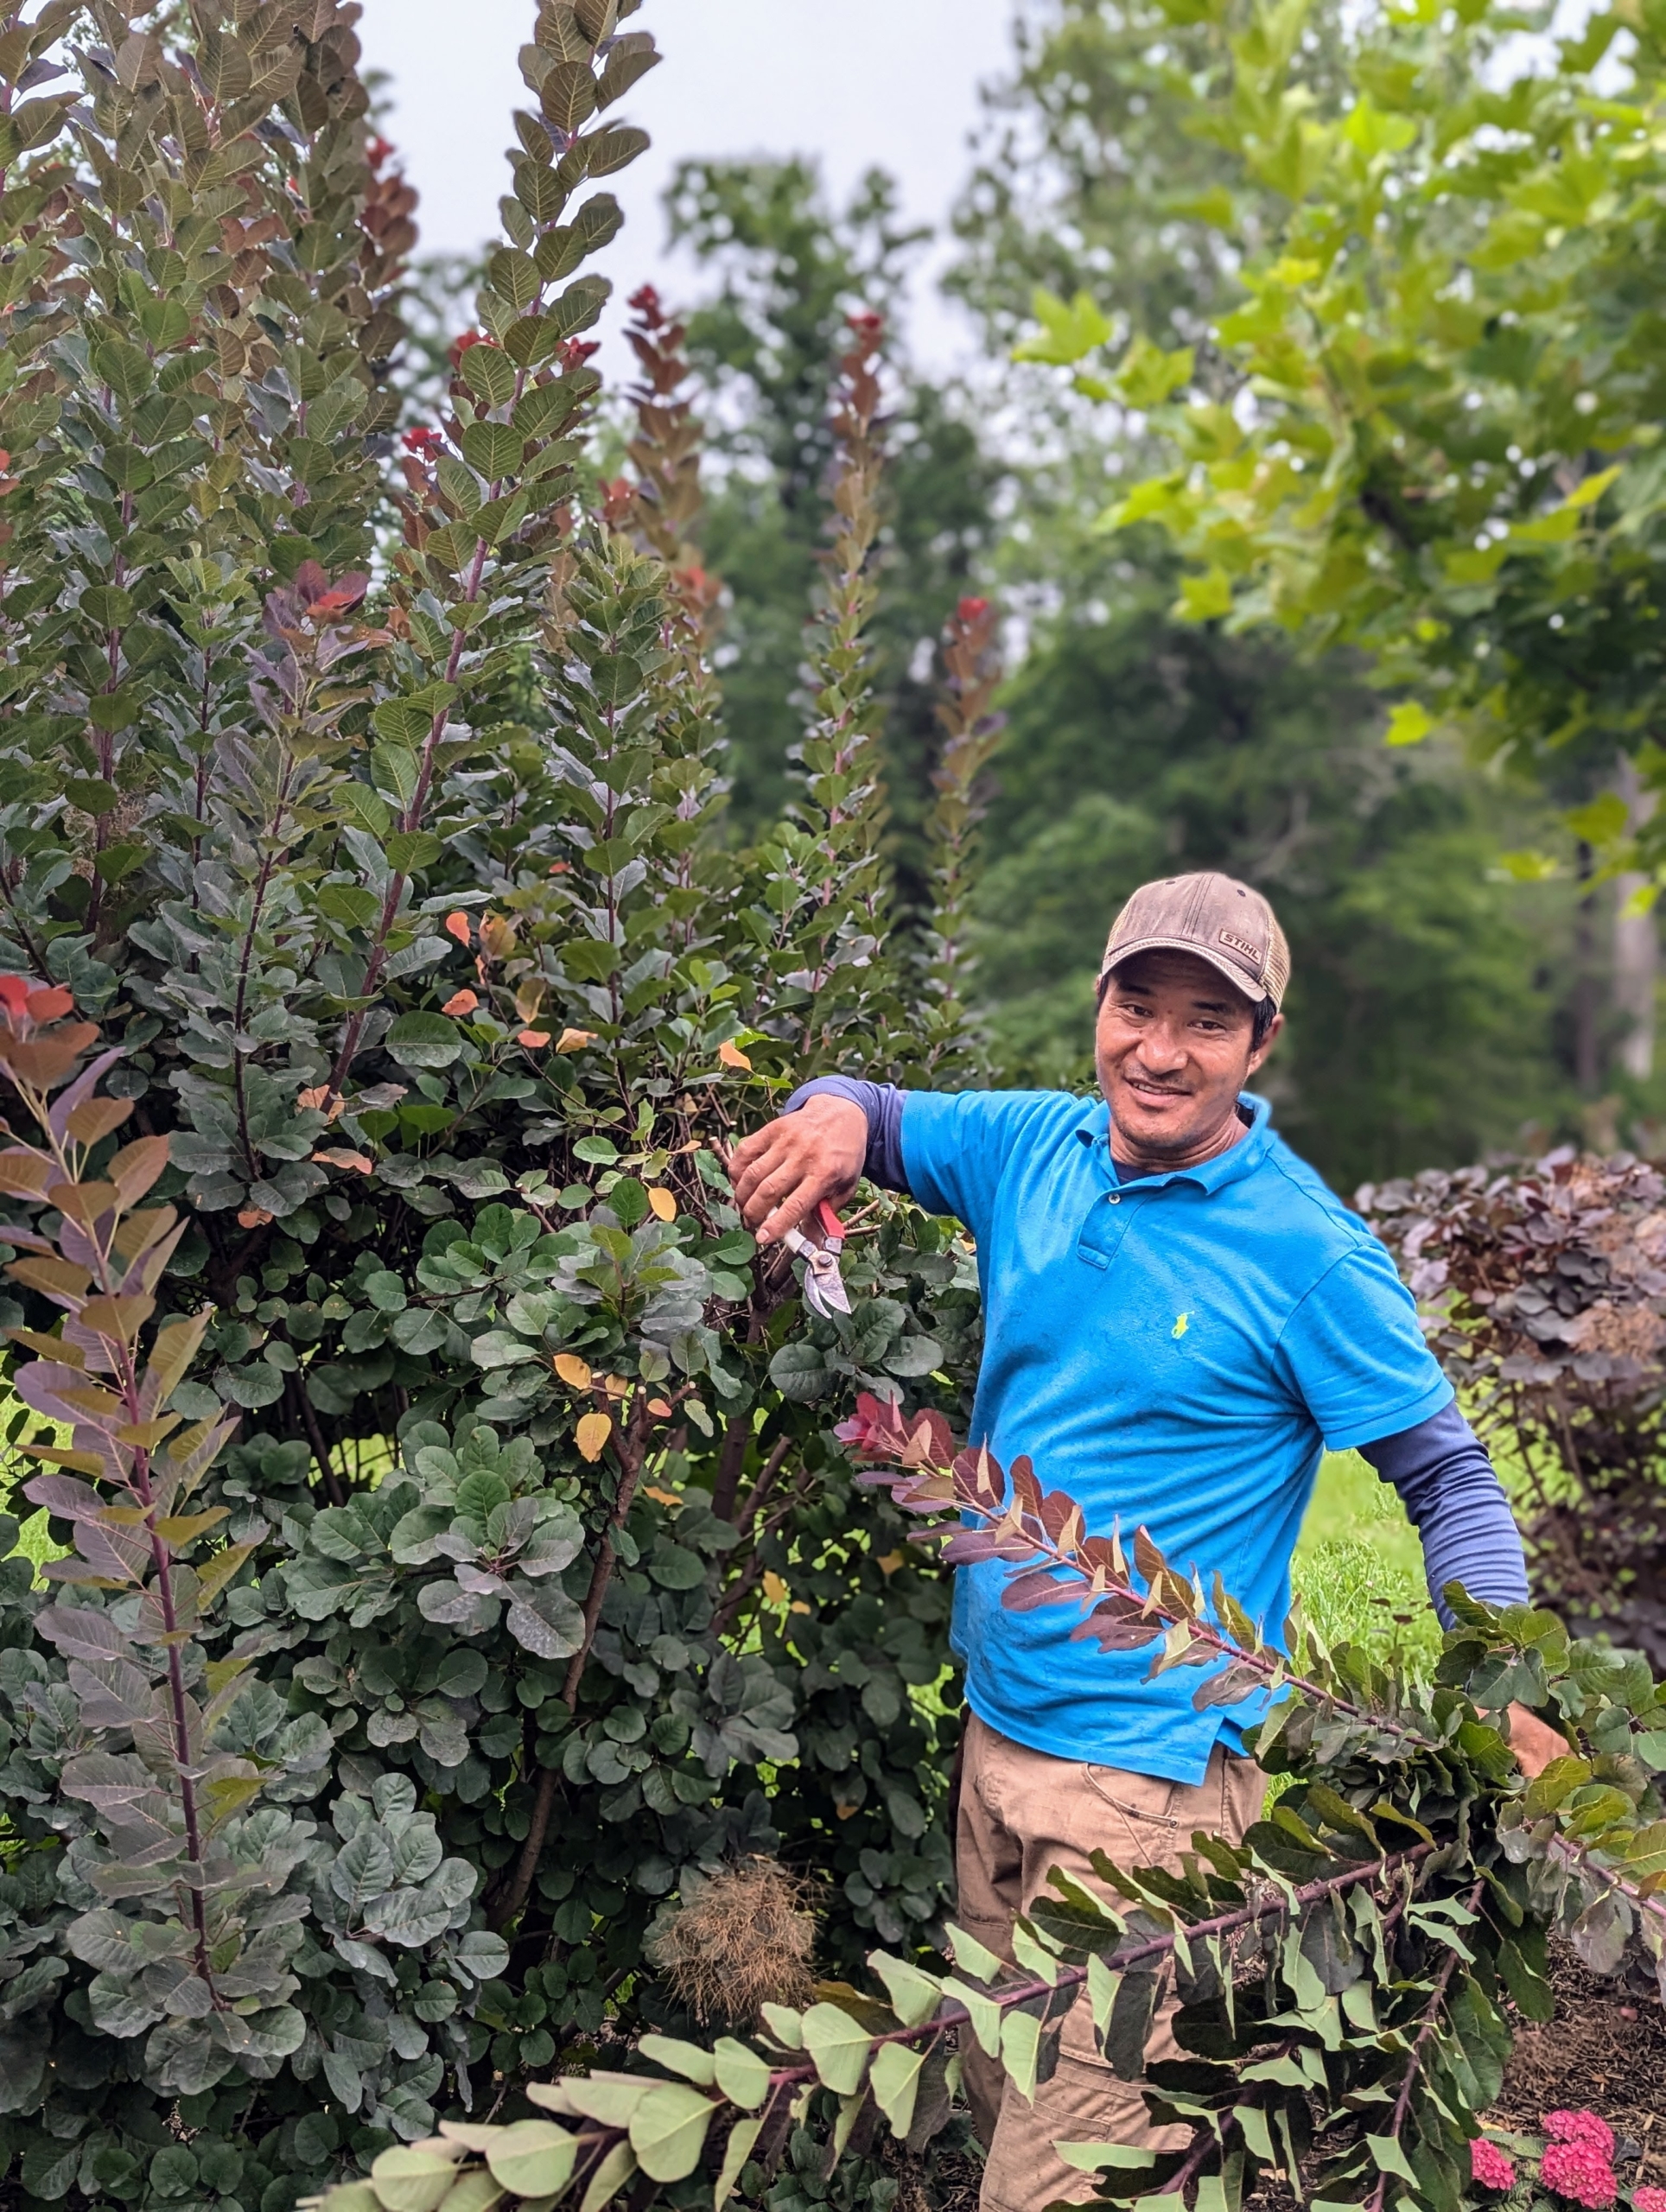
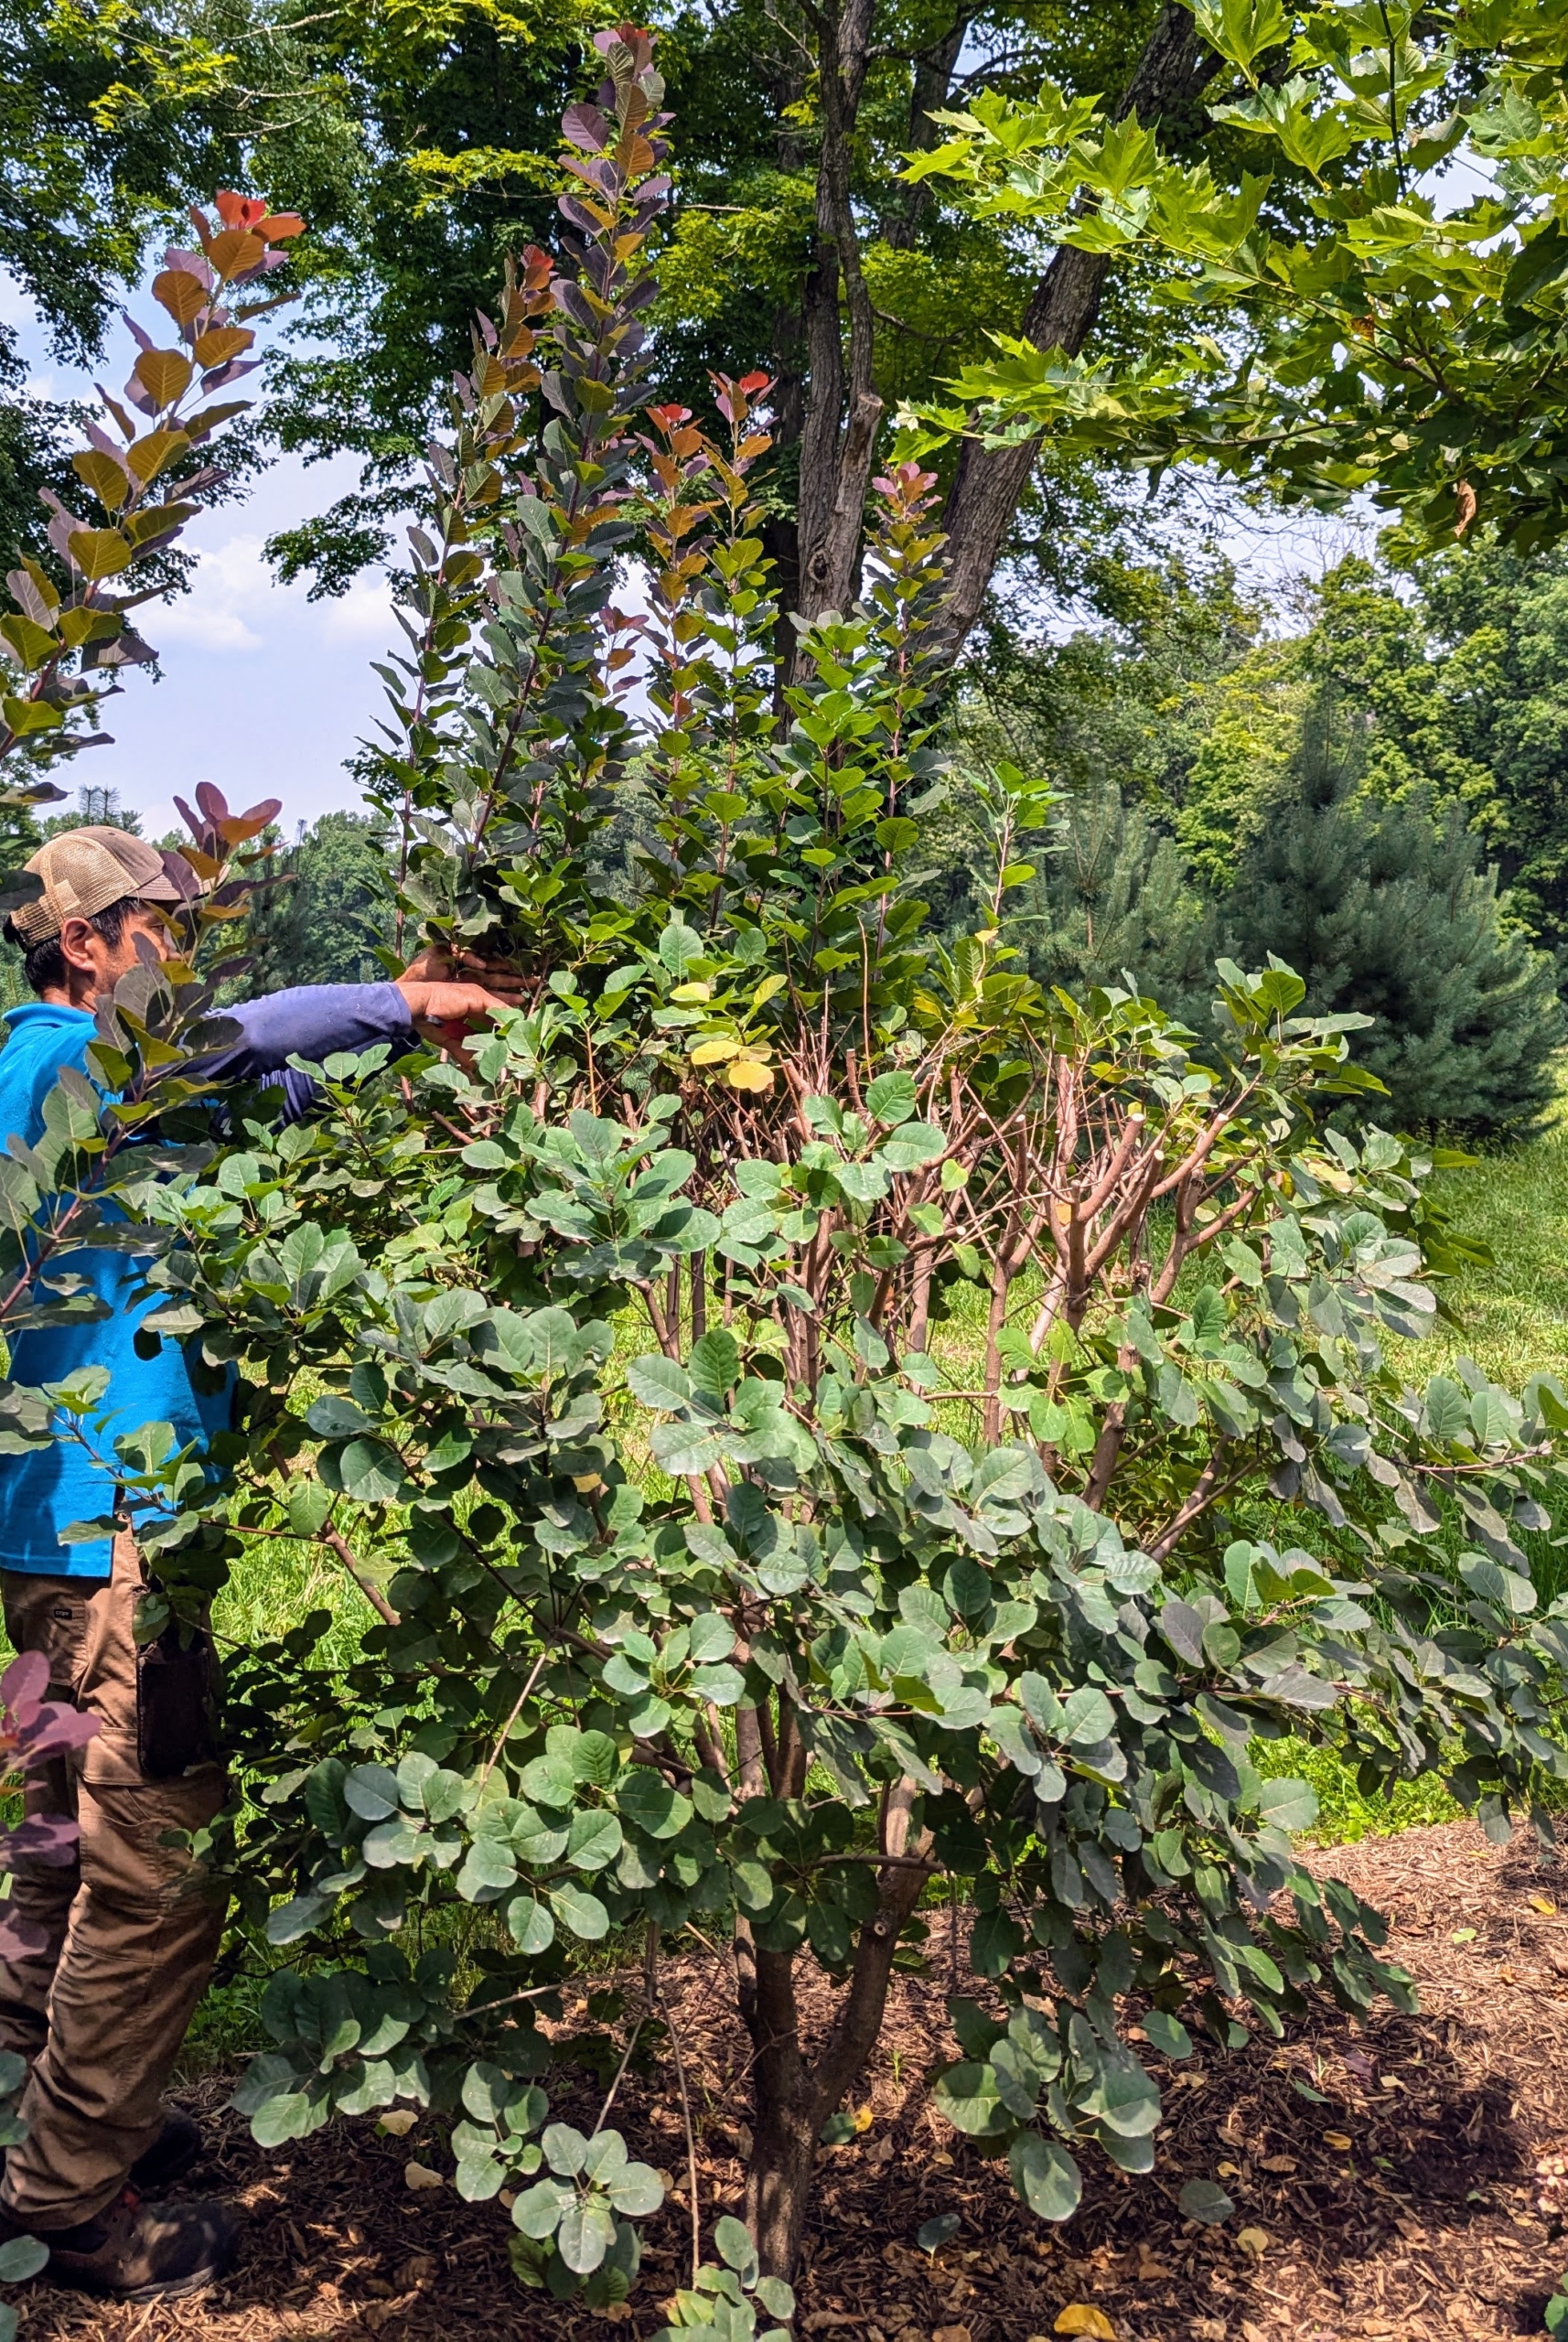
Pasang Sherpa is my resident tree pruner. He does a wonderful job overseeing the maintenance of all the trees here at my farm. I like as much of the pruning and grooming to be done by hand, so Pasang trims every branch with his pruners – one by one.
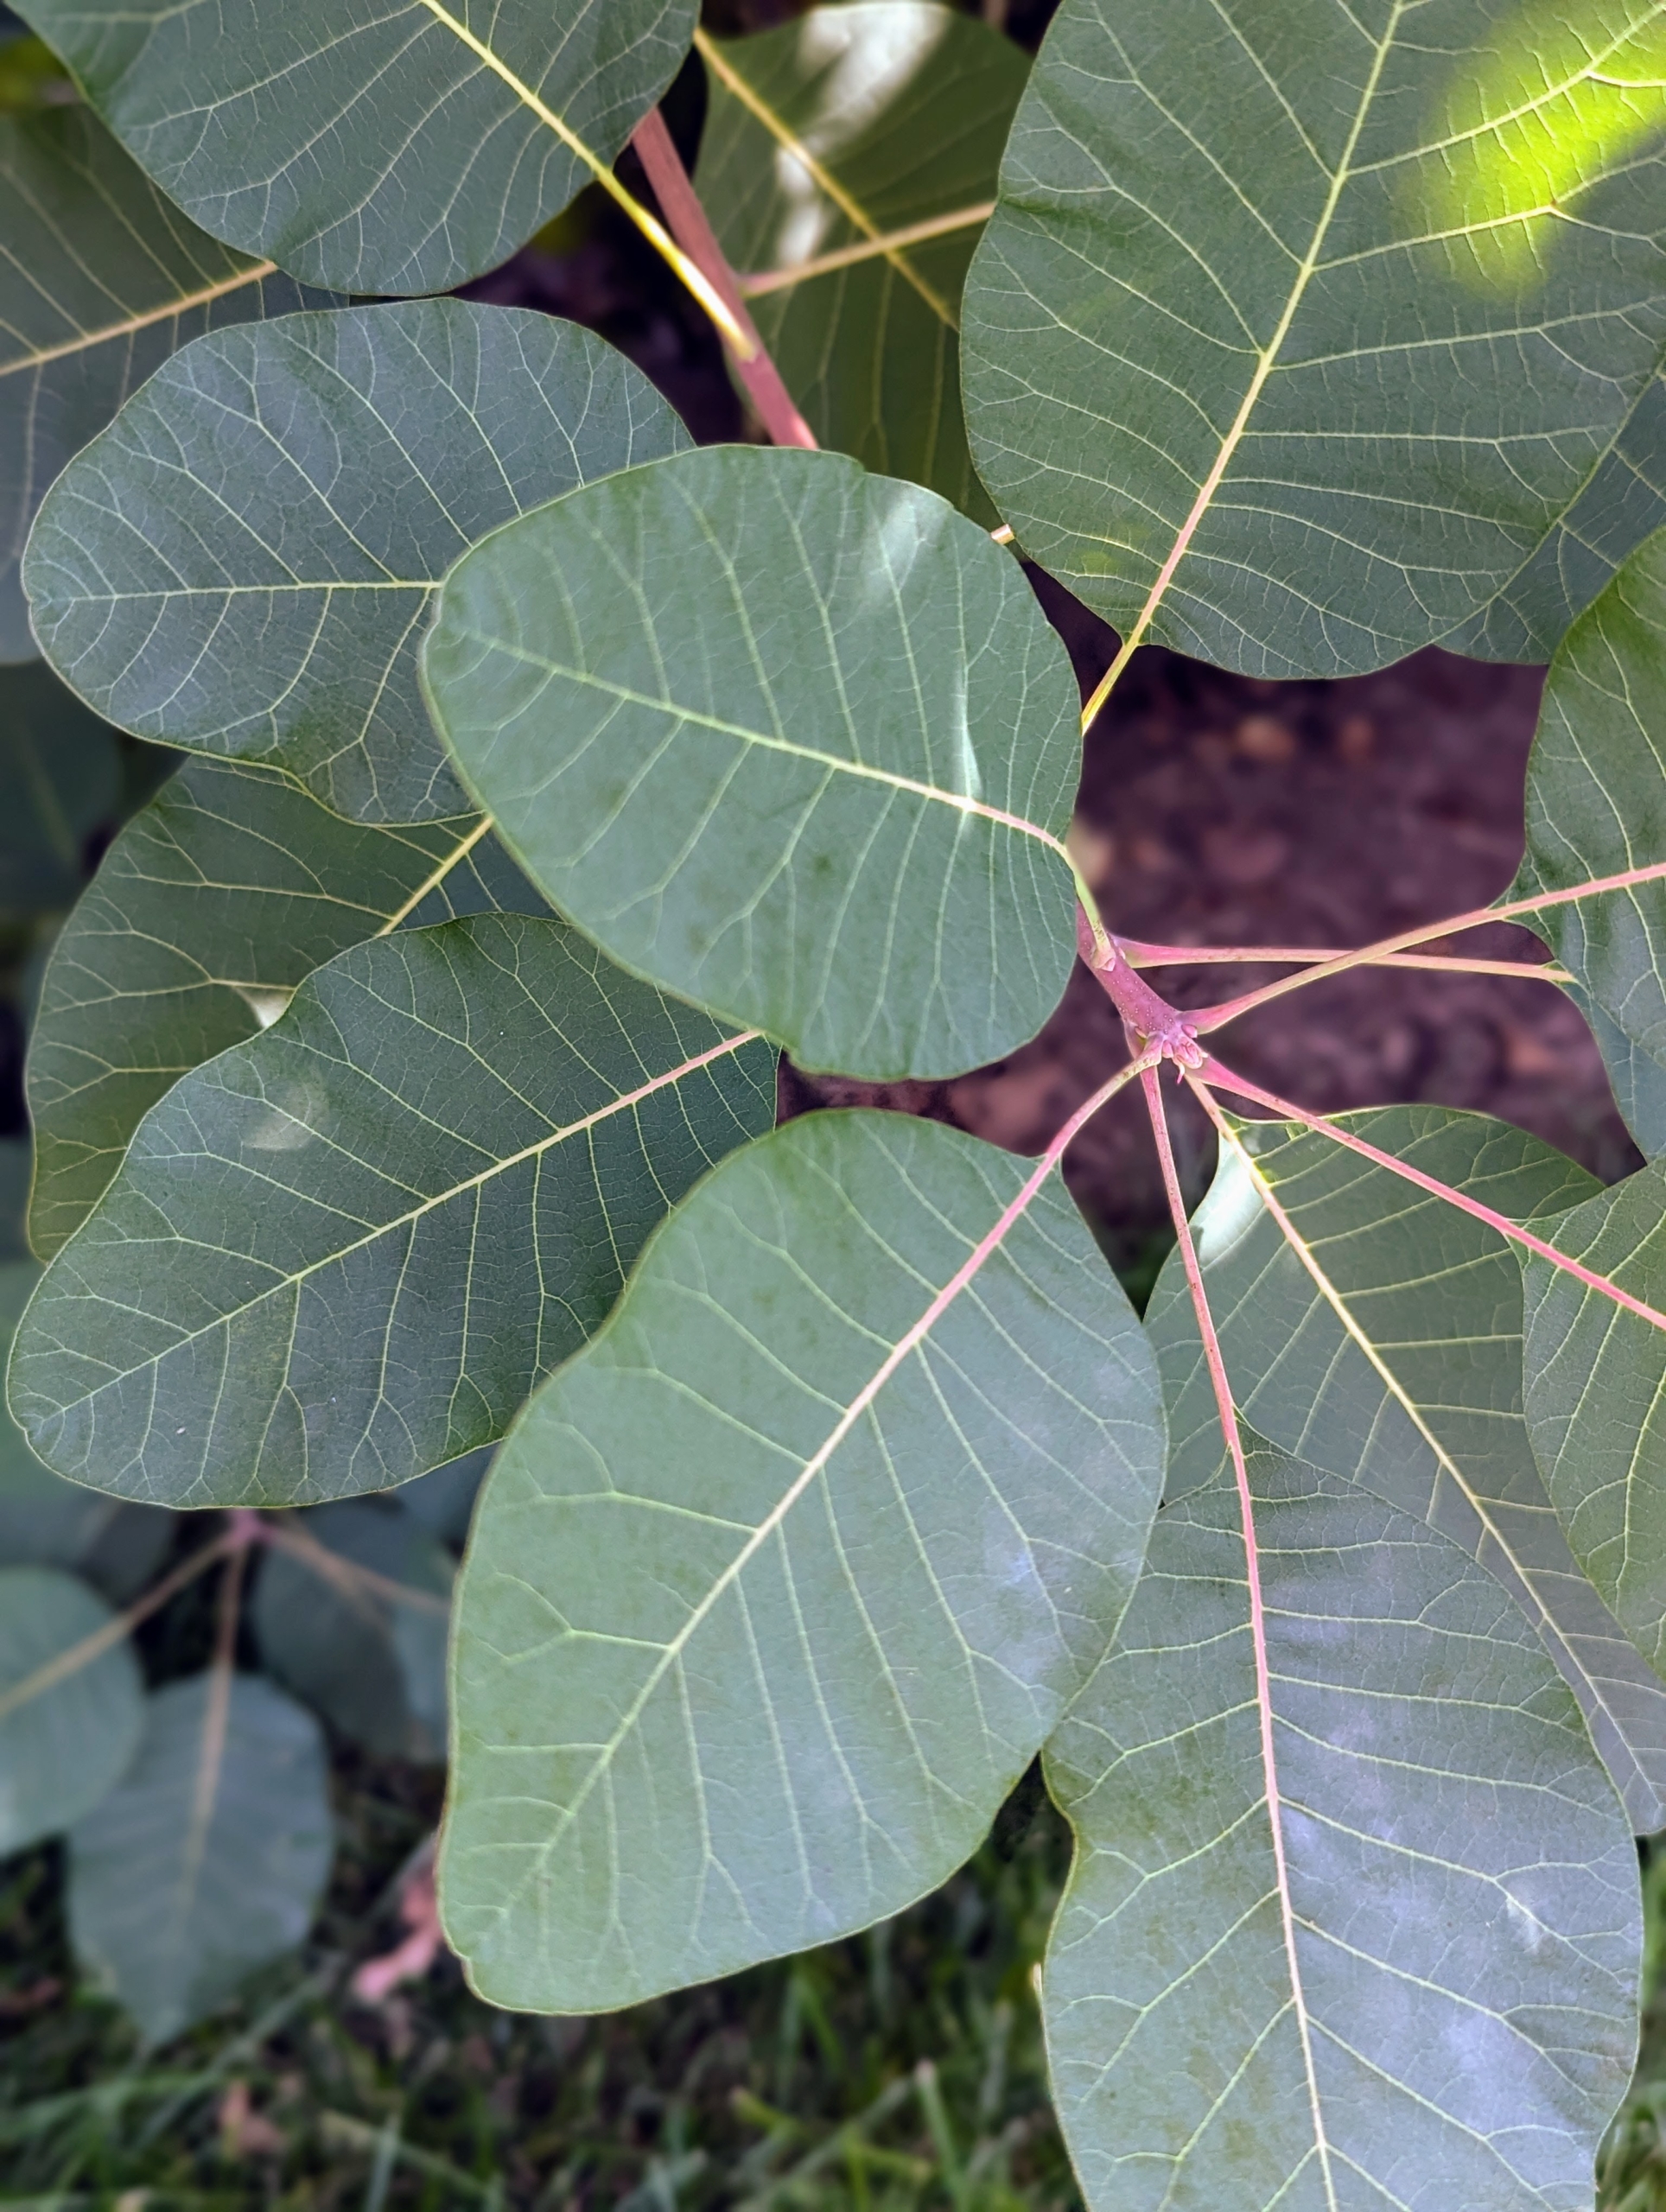
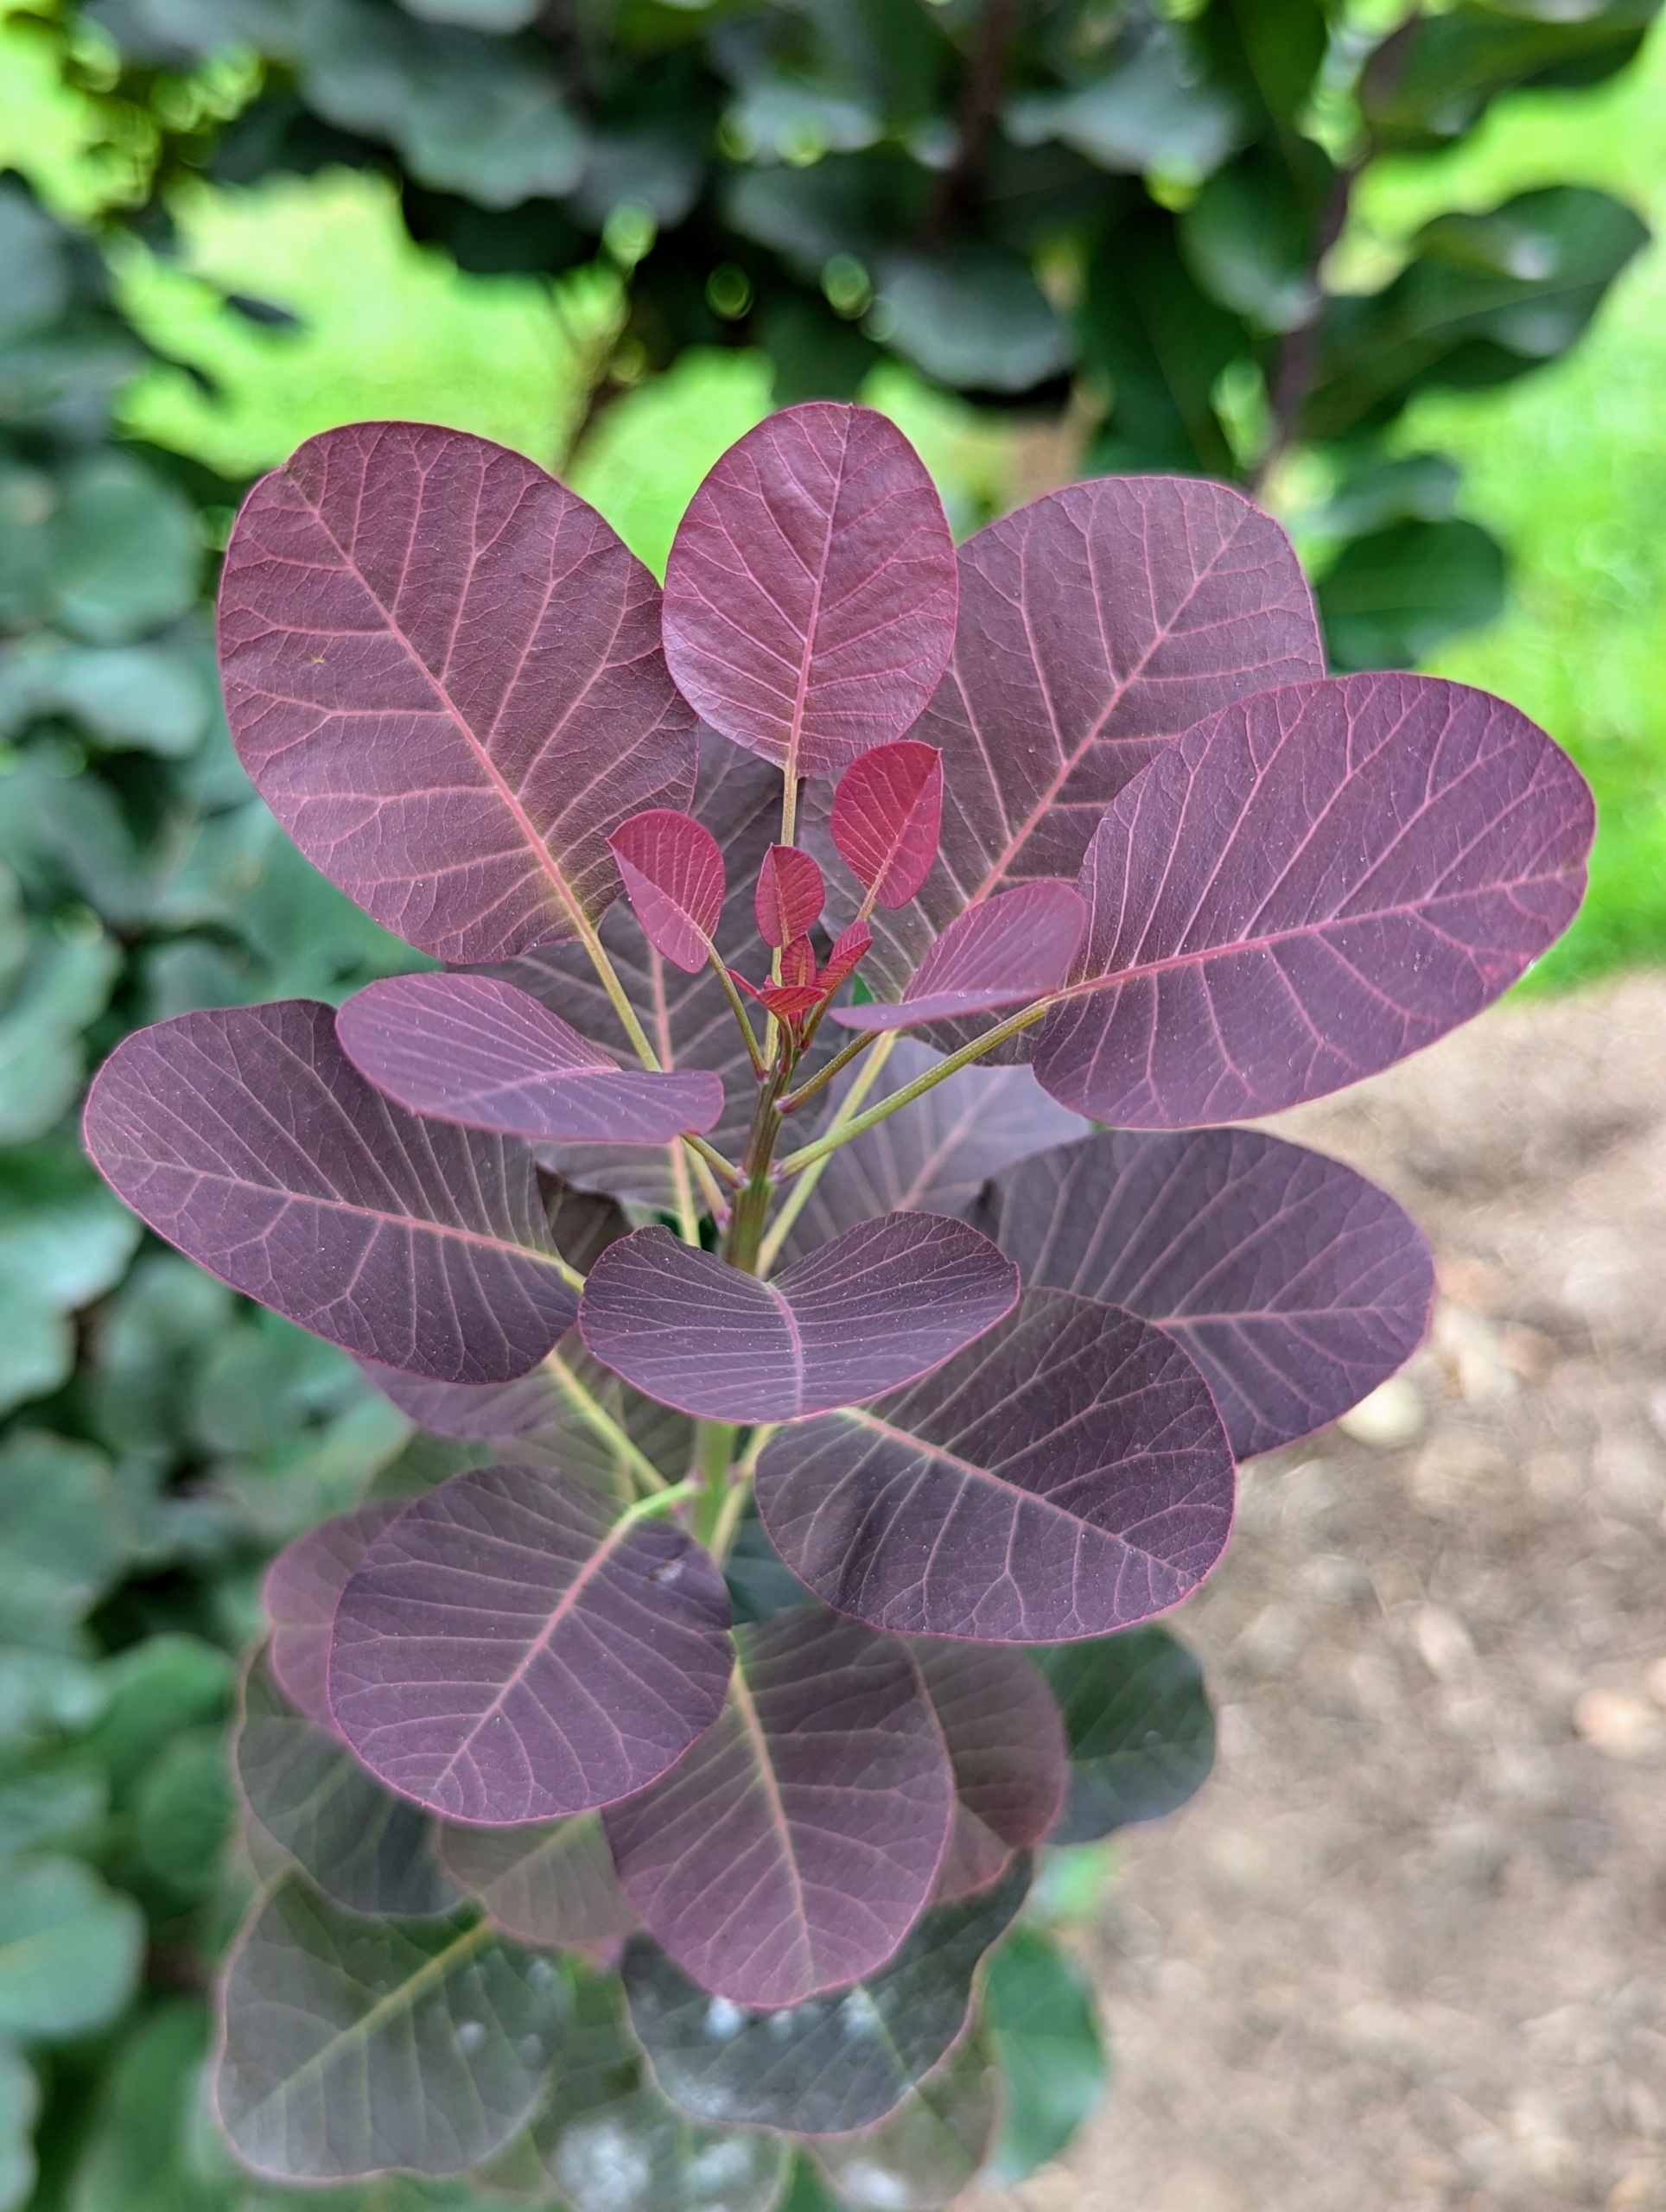
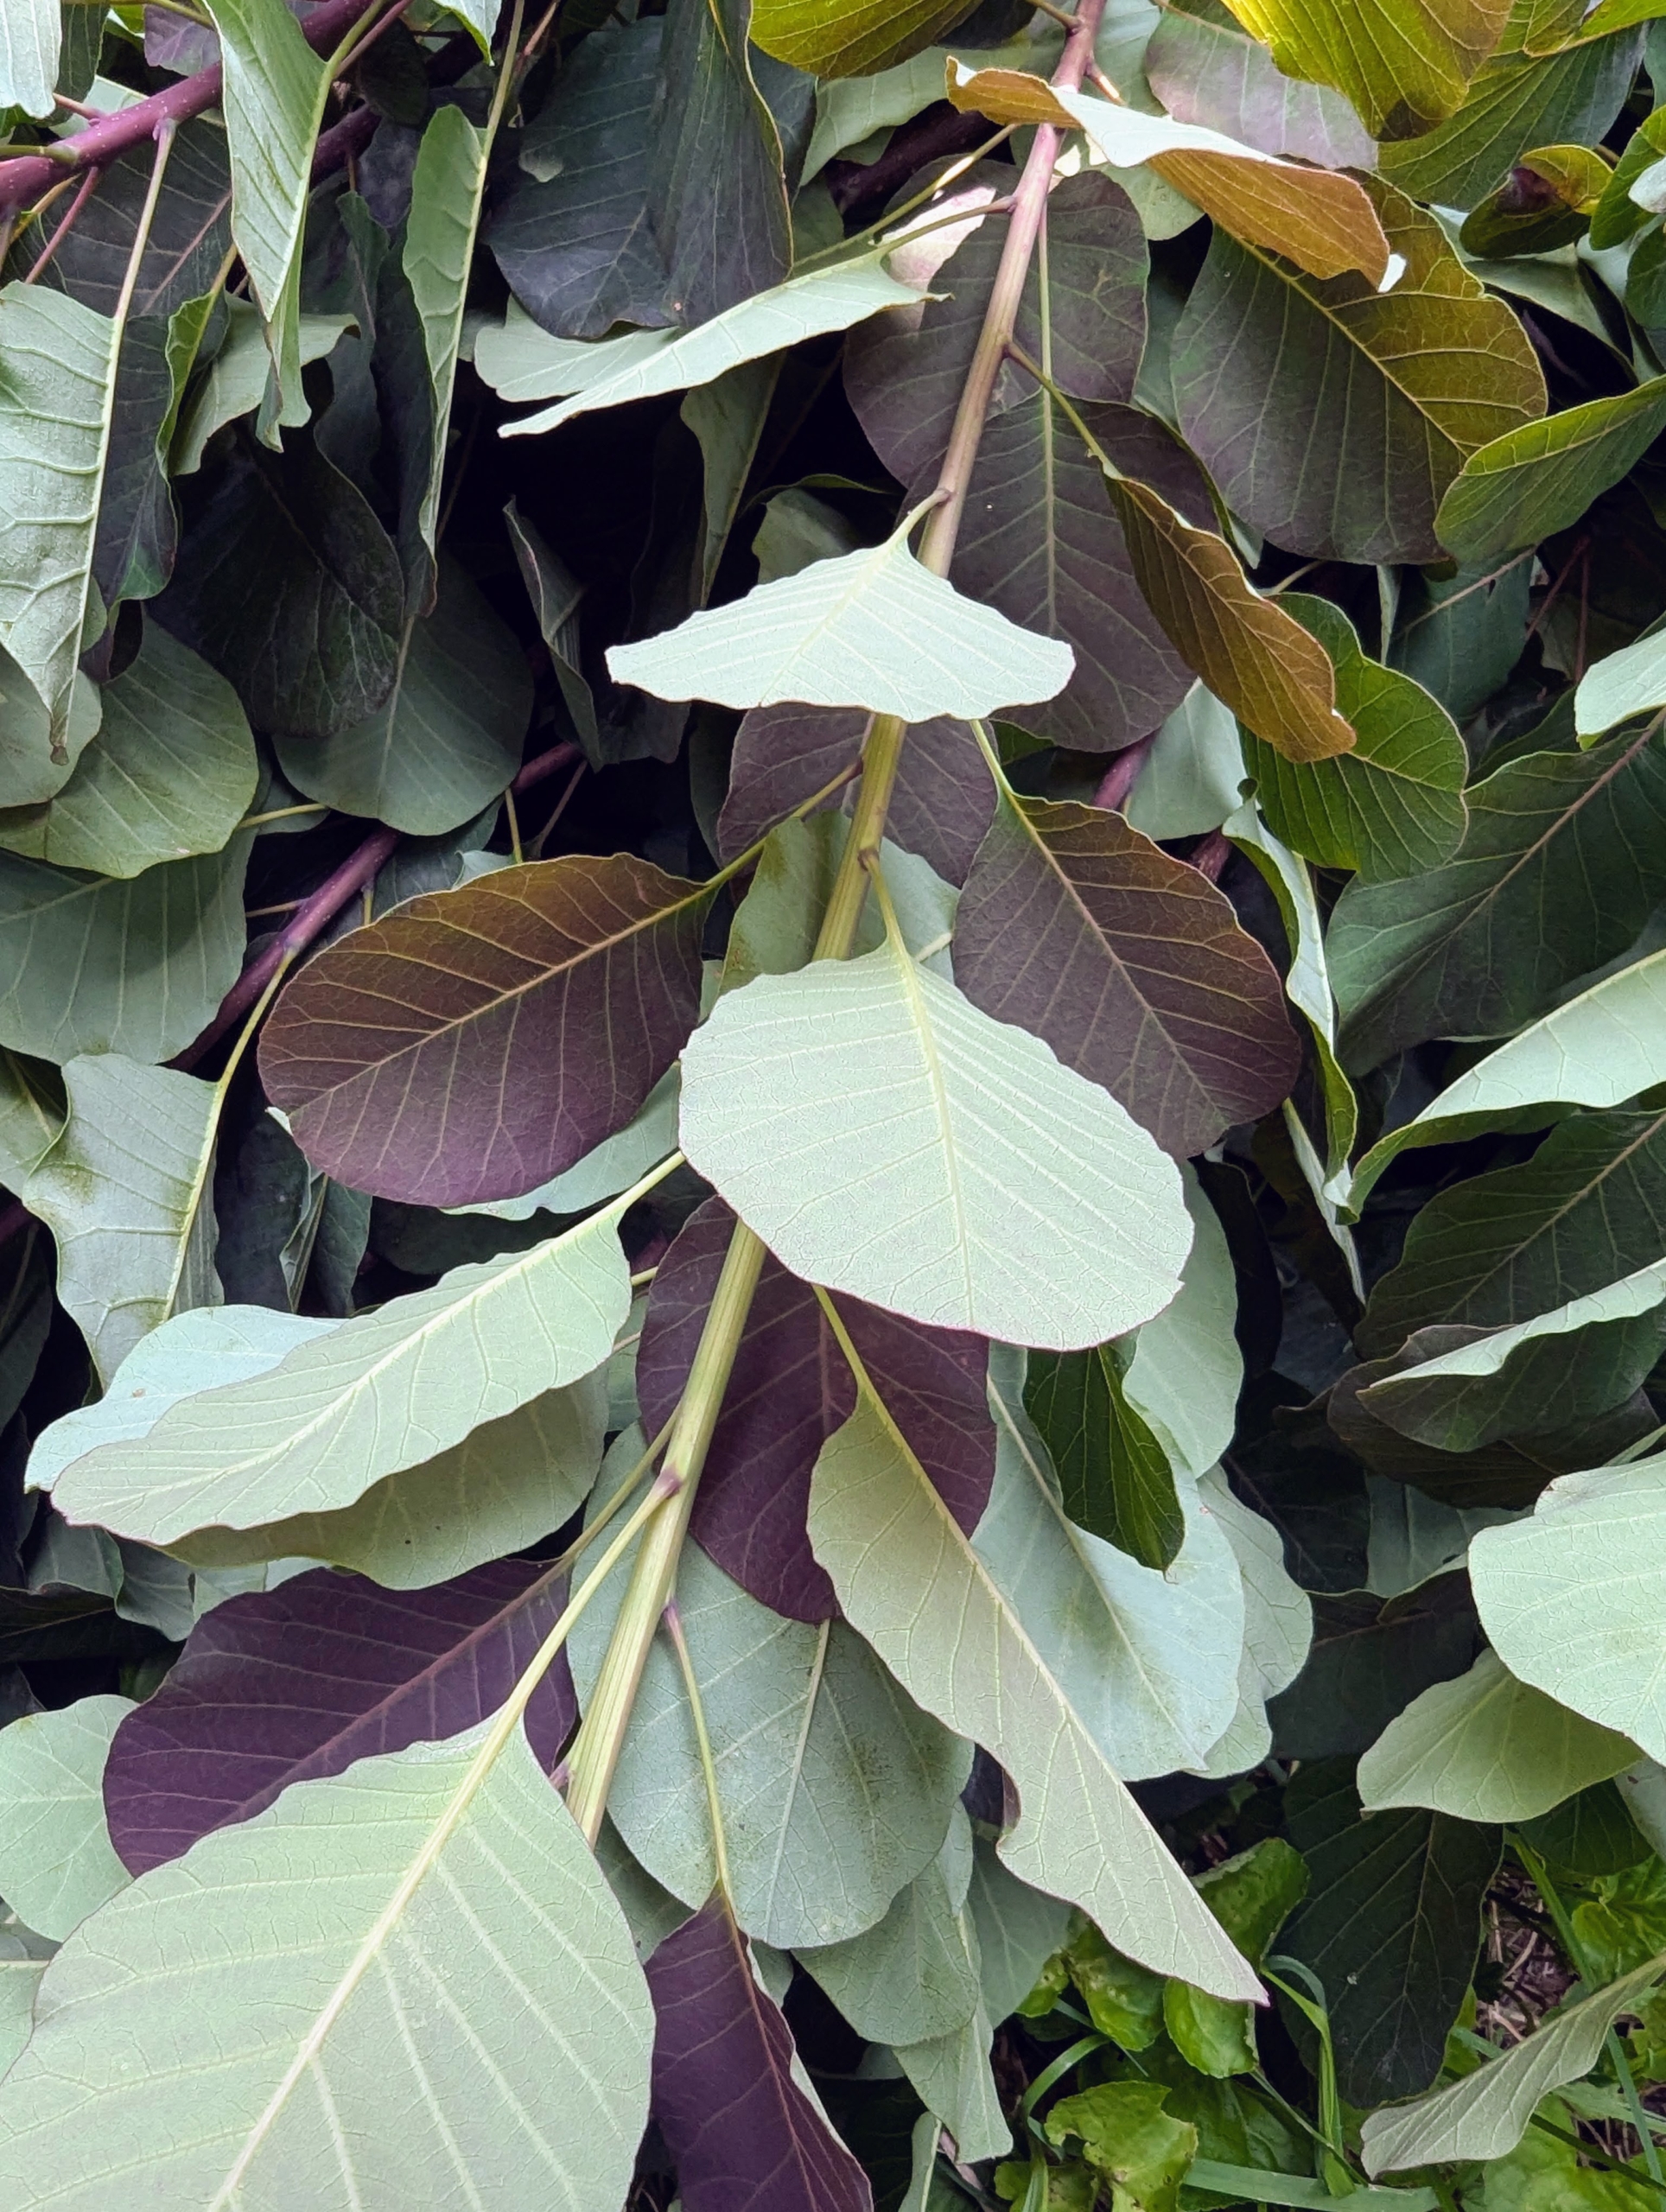
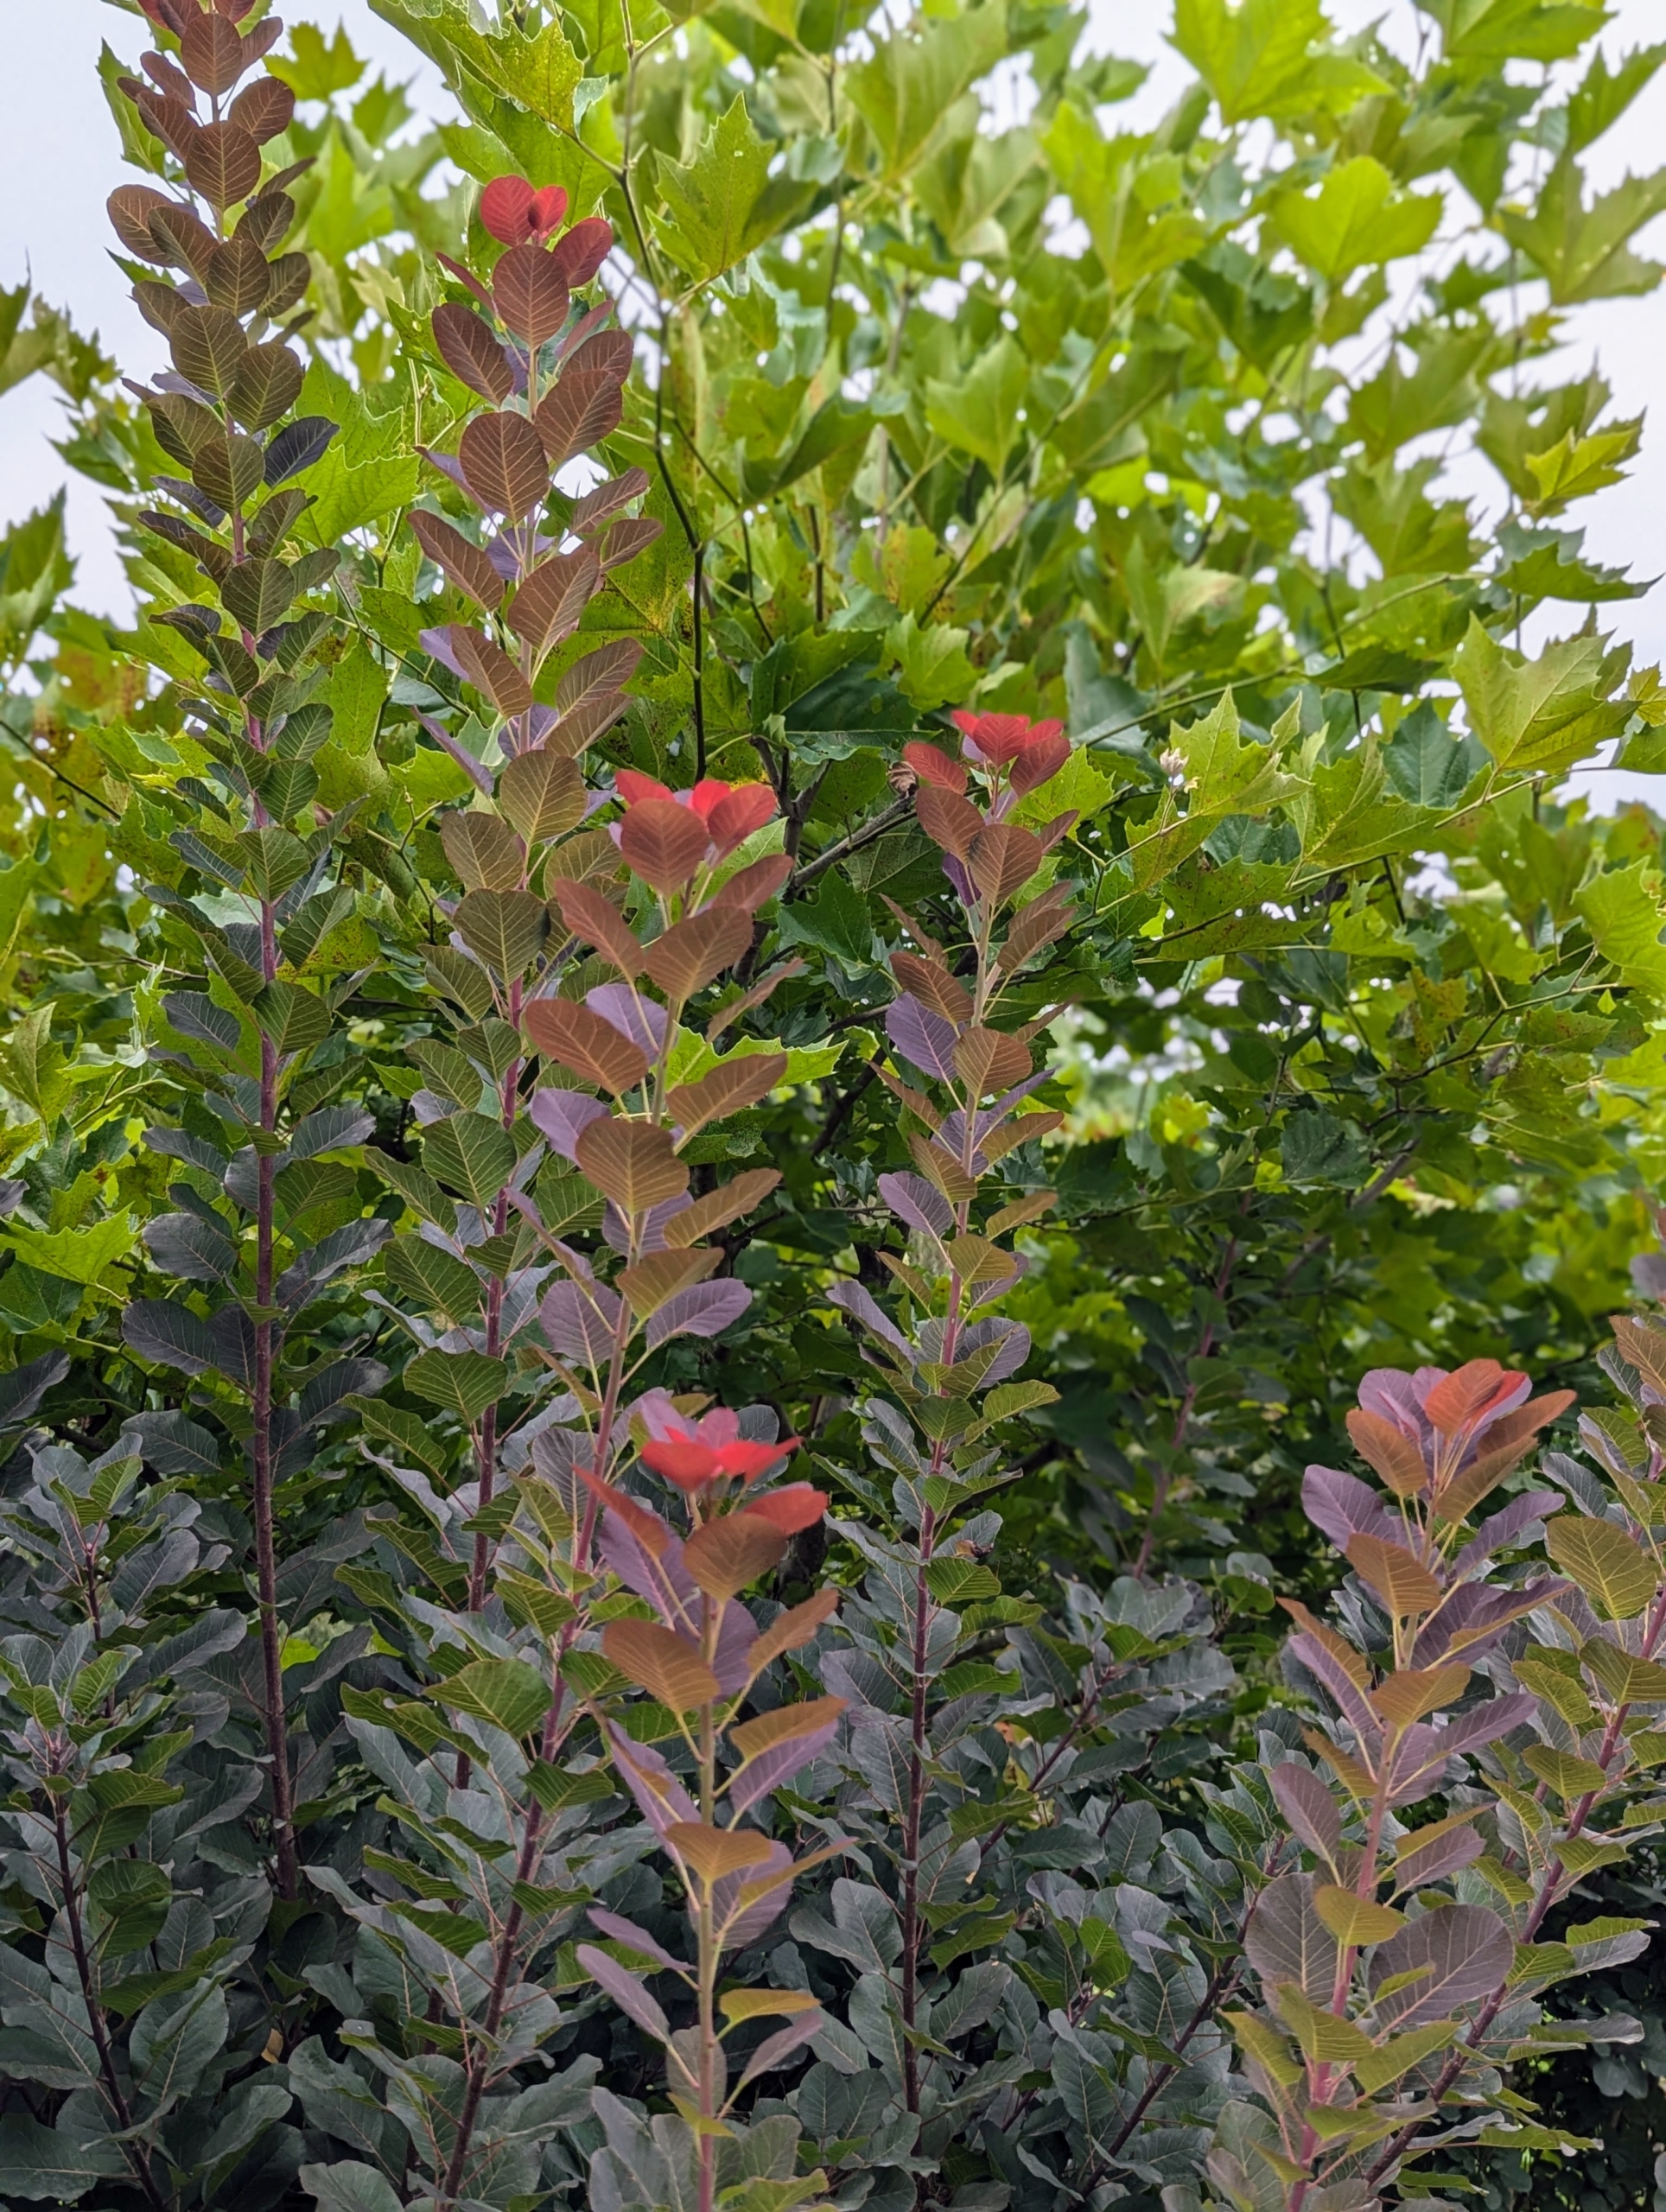
These royal purple smoke bushes, Cotinus coggygria, have stunning dark red-purple foliage that turns scarlet red in fall.
The undersides are bright green. The leaves of smoke bushes are waxy purple and are one and a half to three inches long, and ovate in shape.
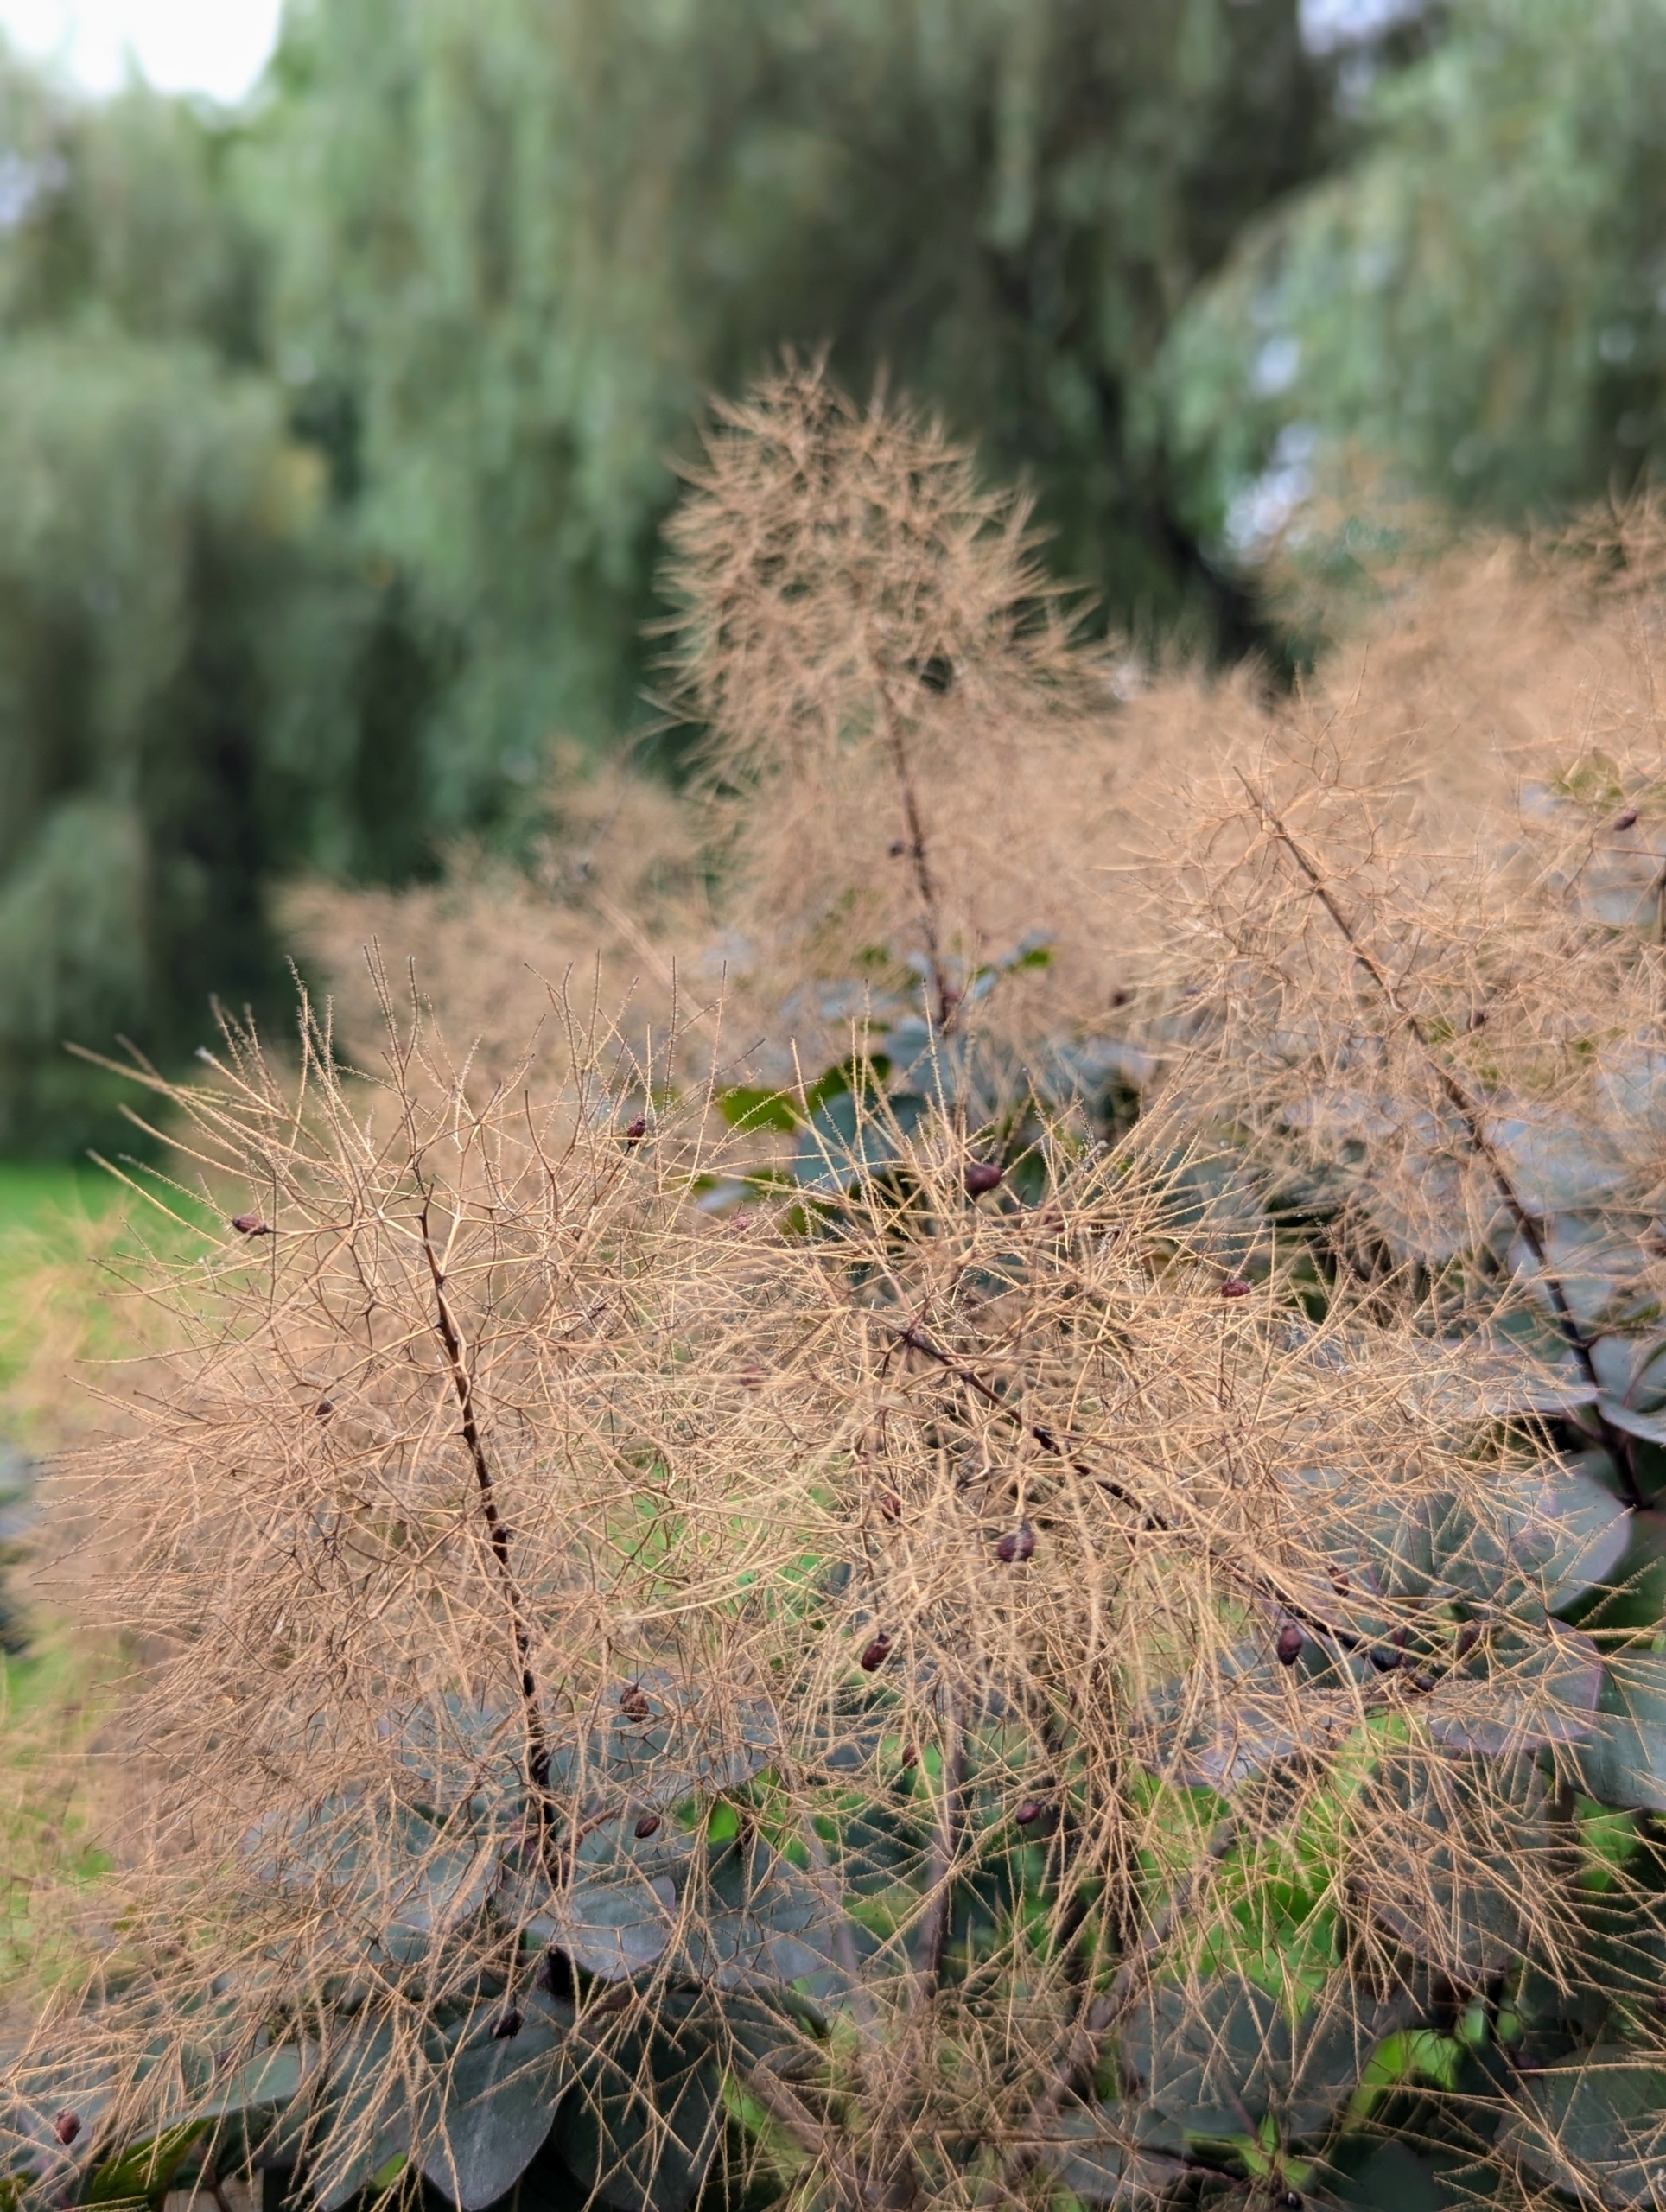
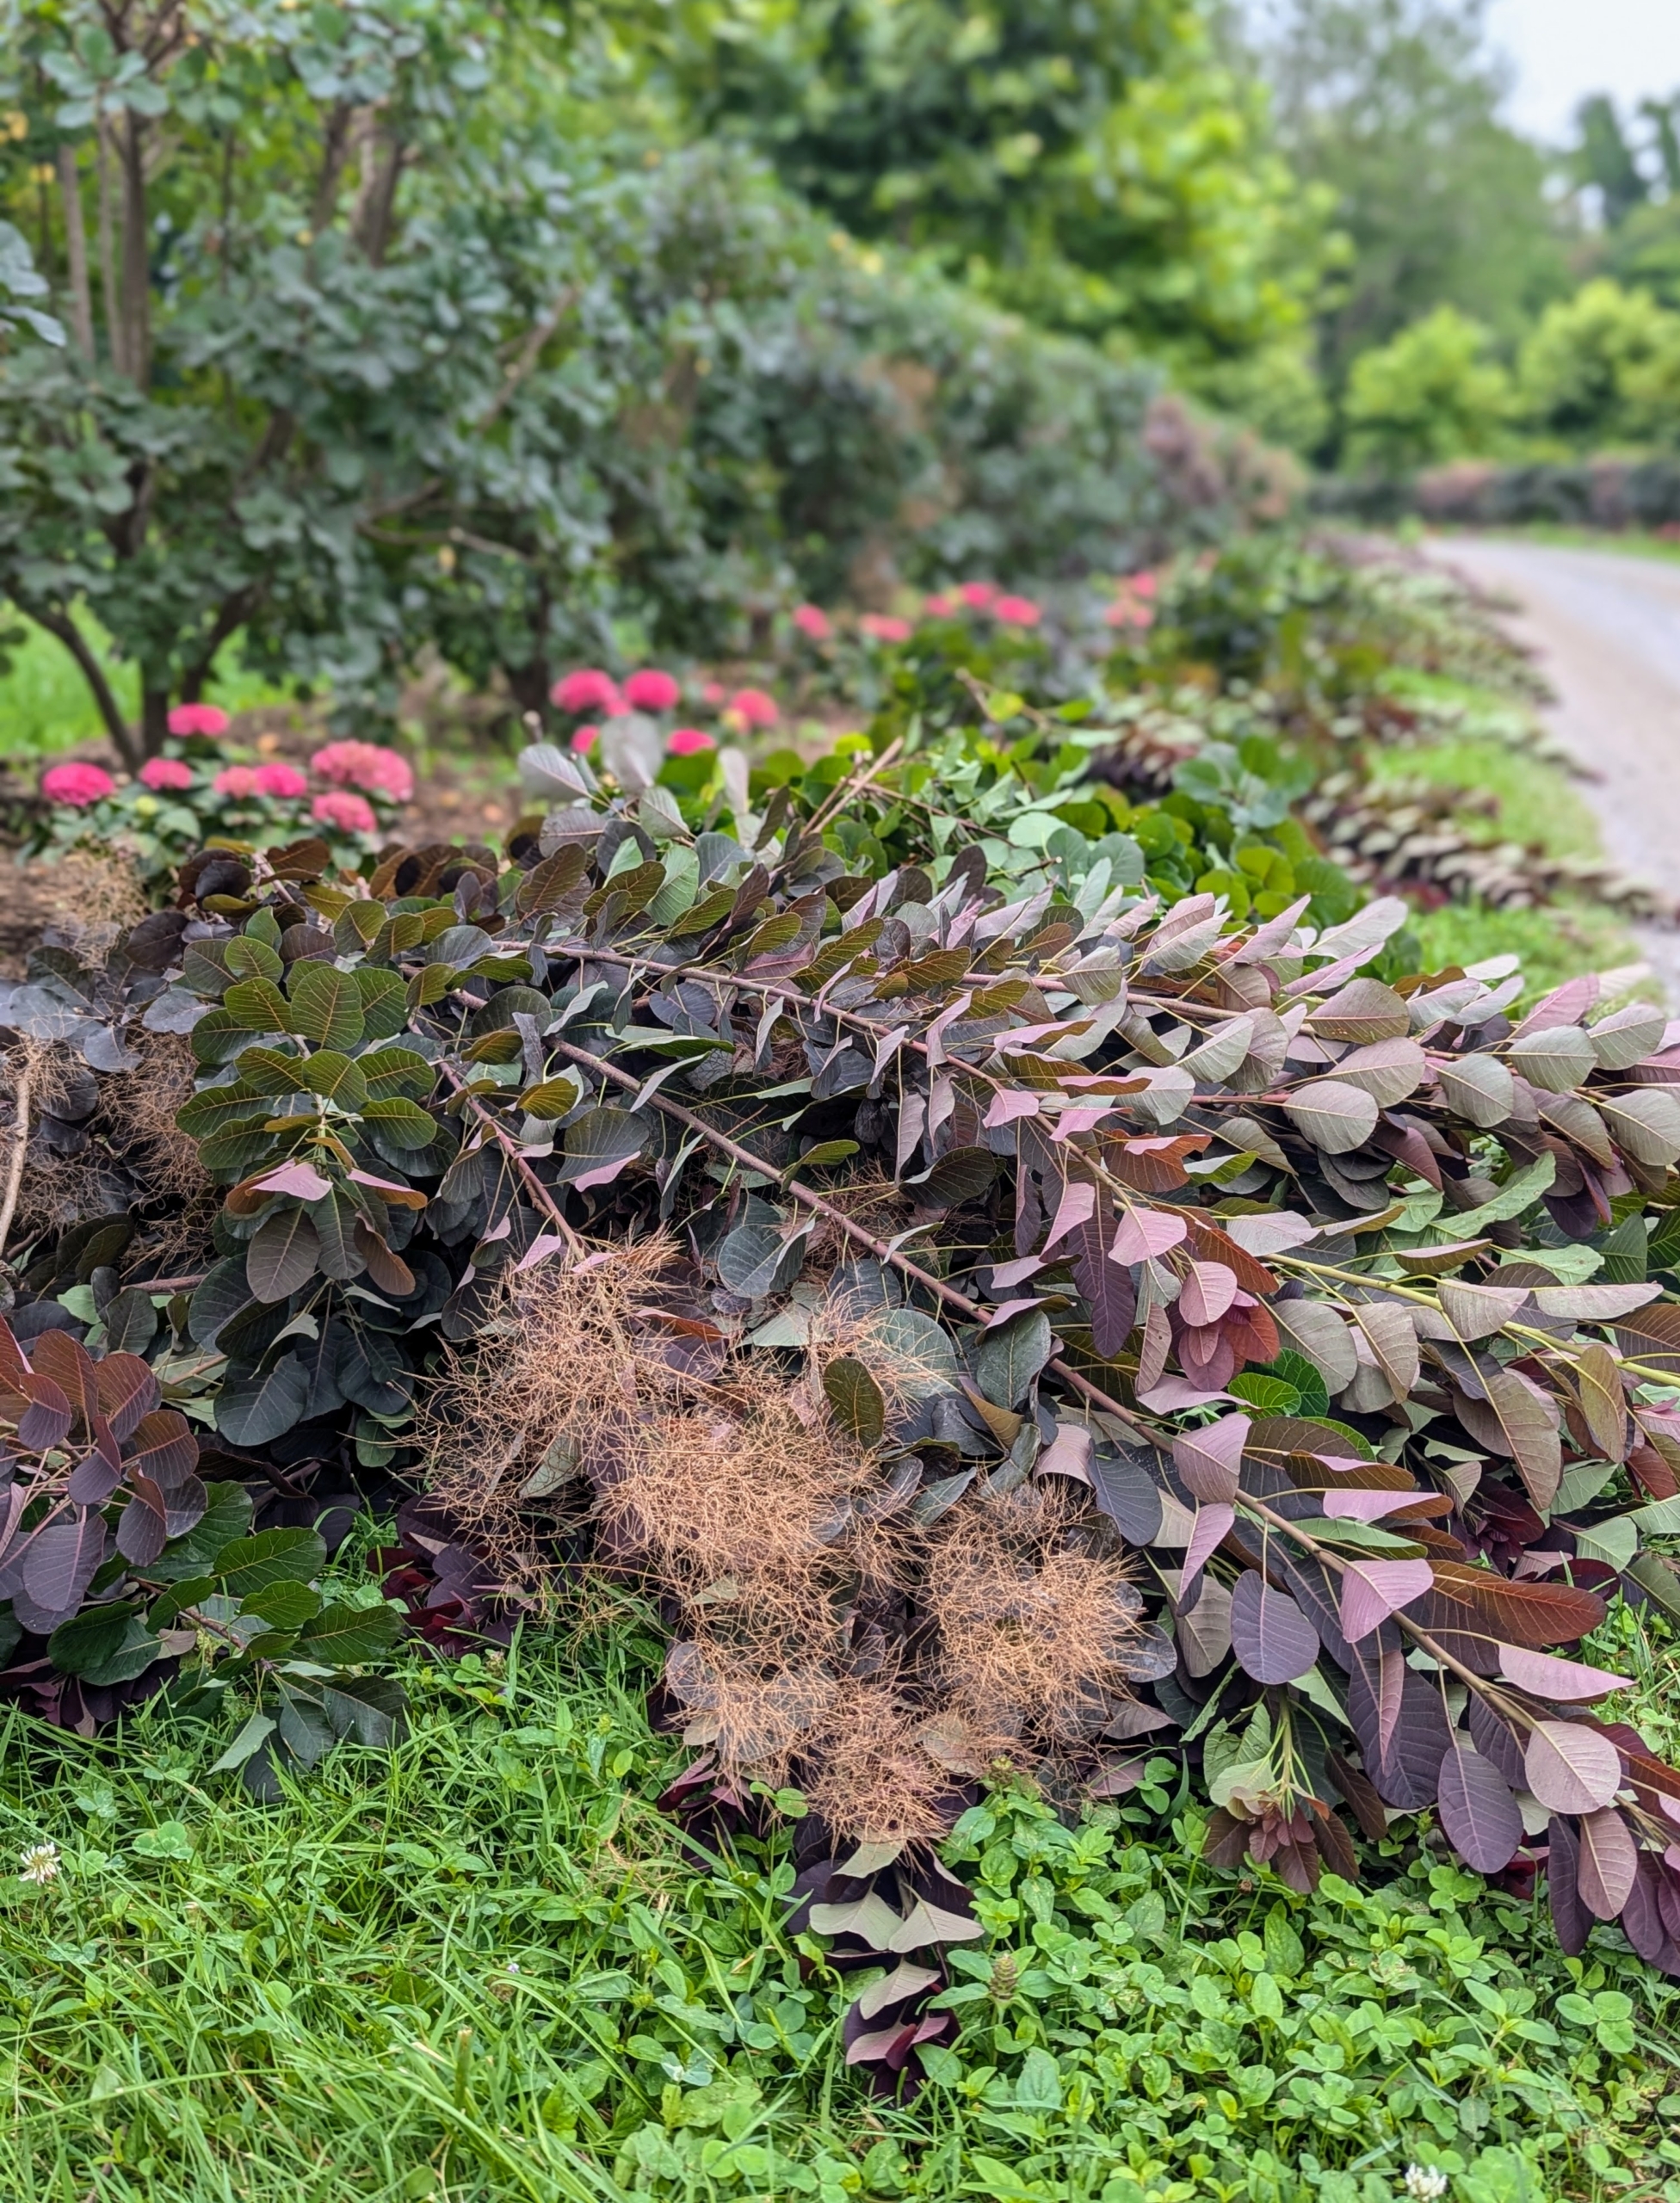
The name “smoke bush” comes from the billowy hairs attached to the flower clusters which remain in place through the summer, turning a smoky pink to purplish-pink as the weeks progress.
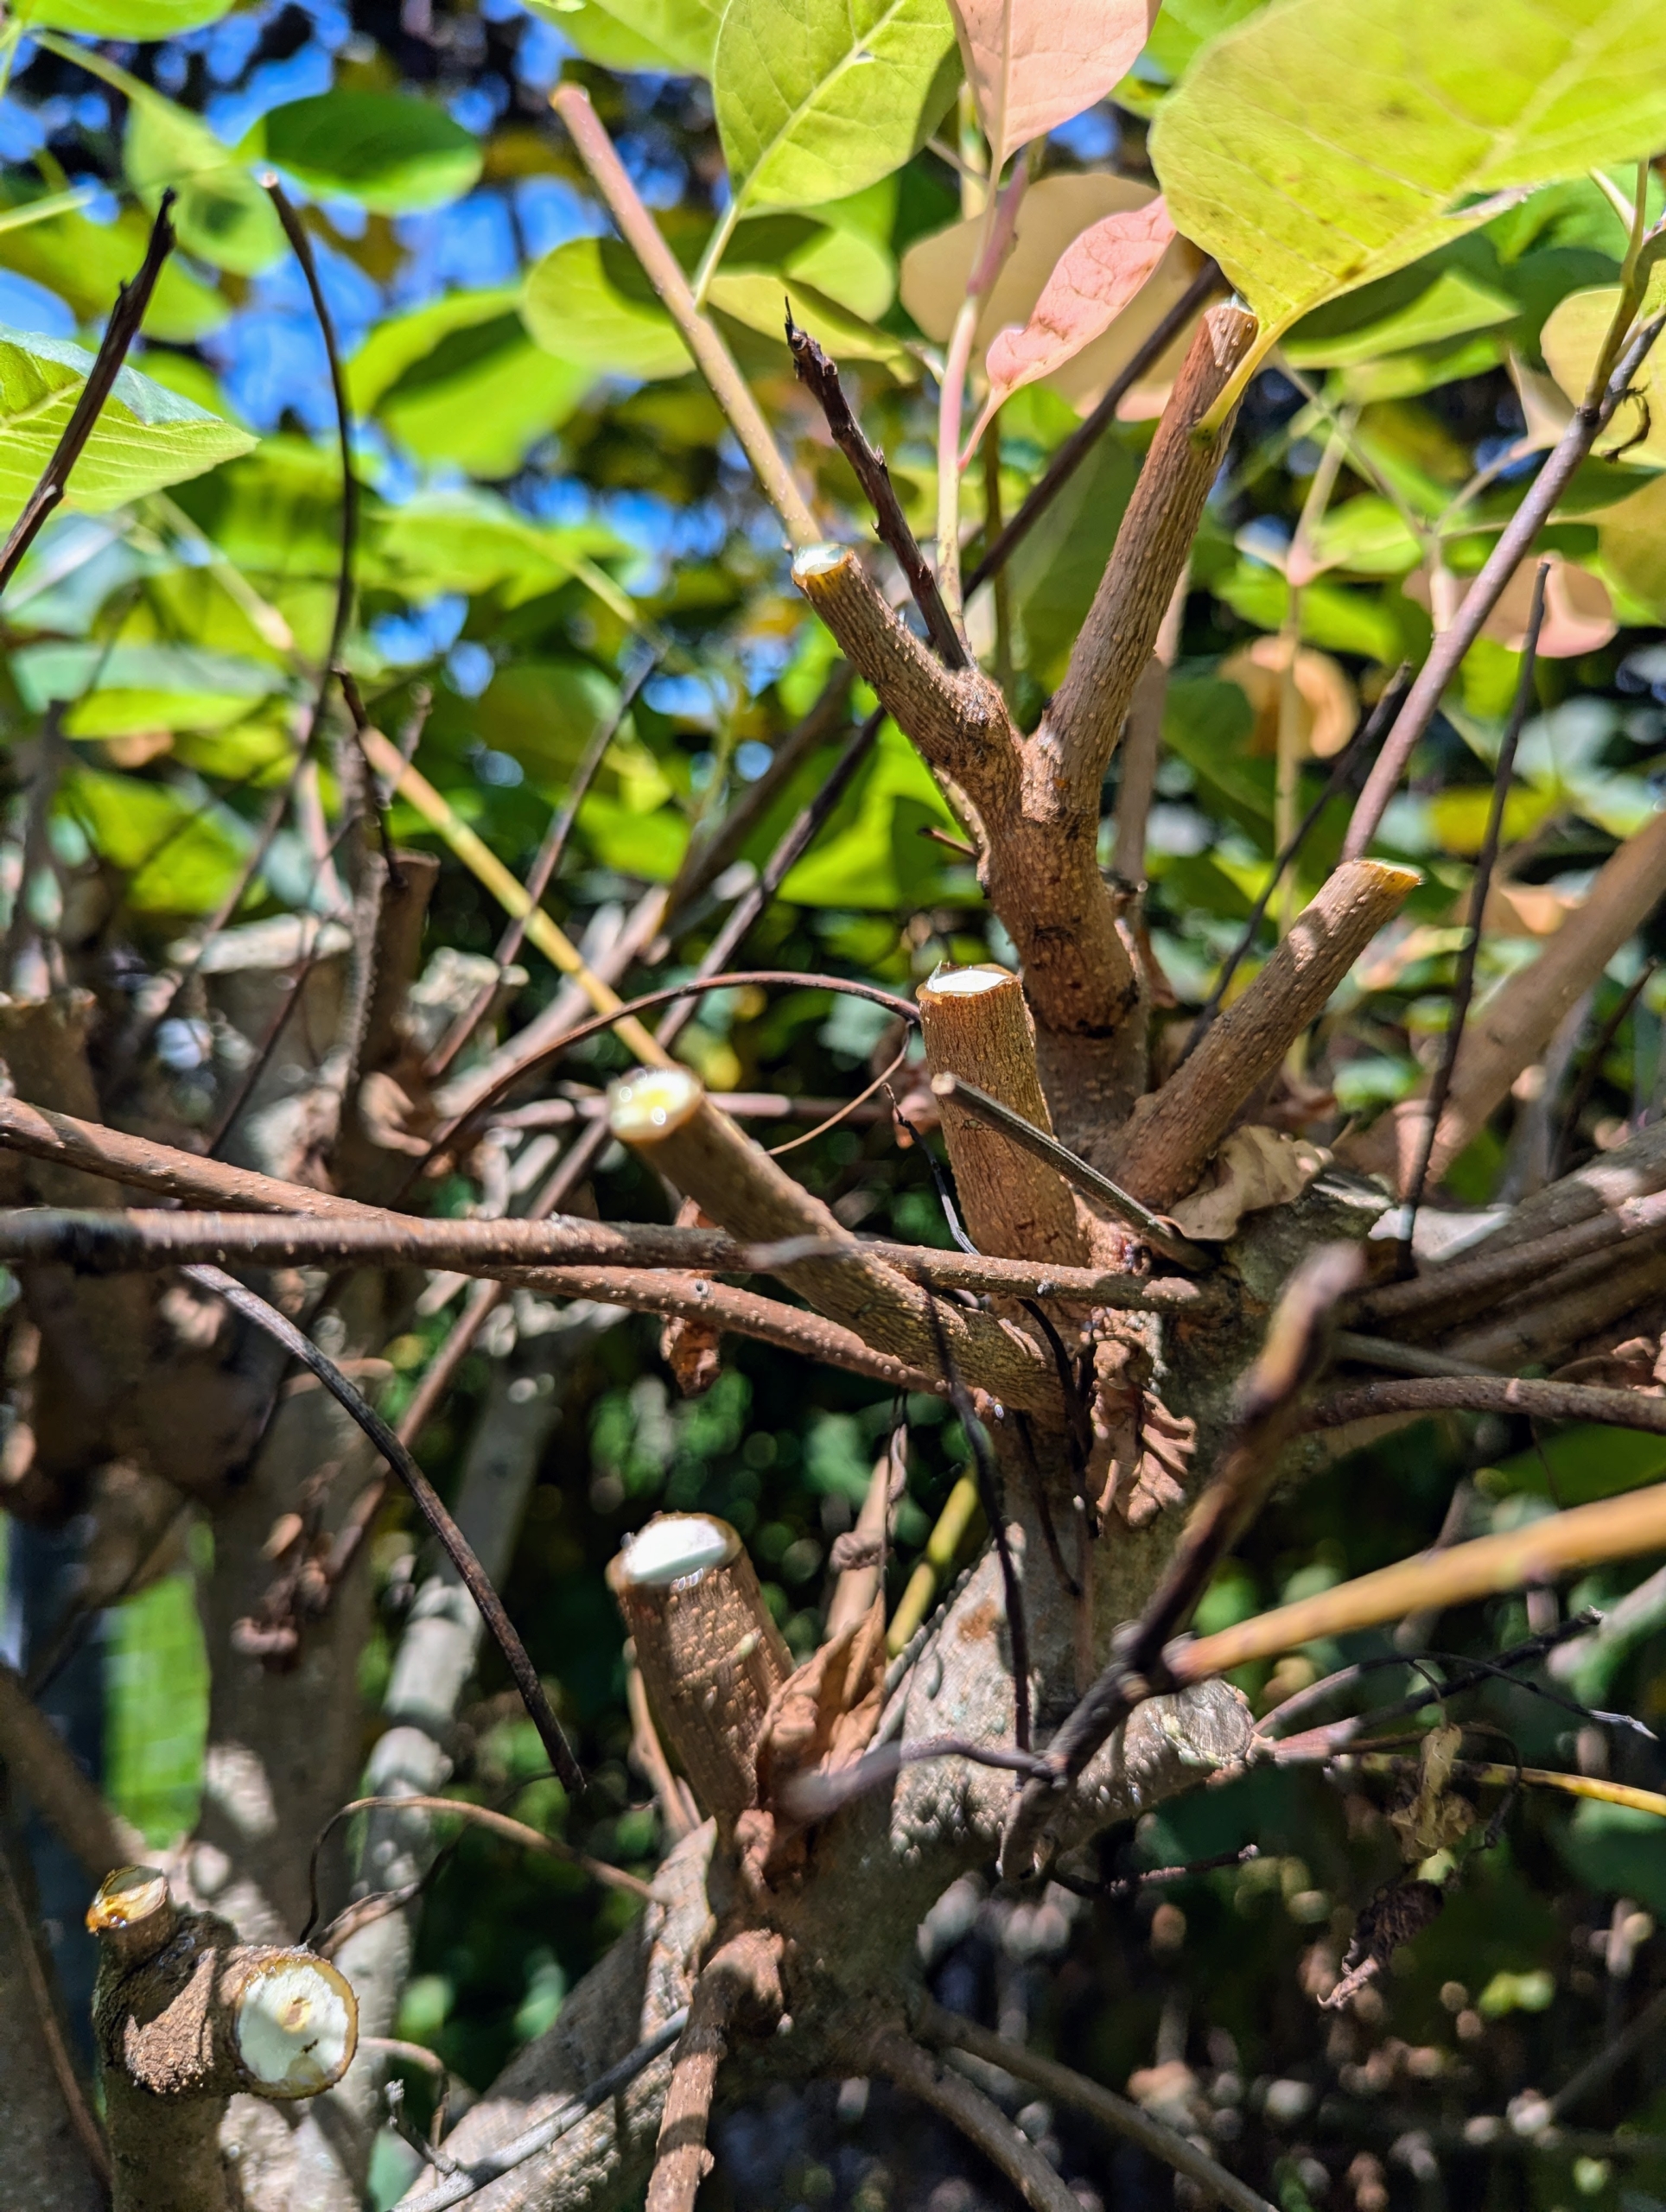
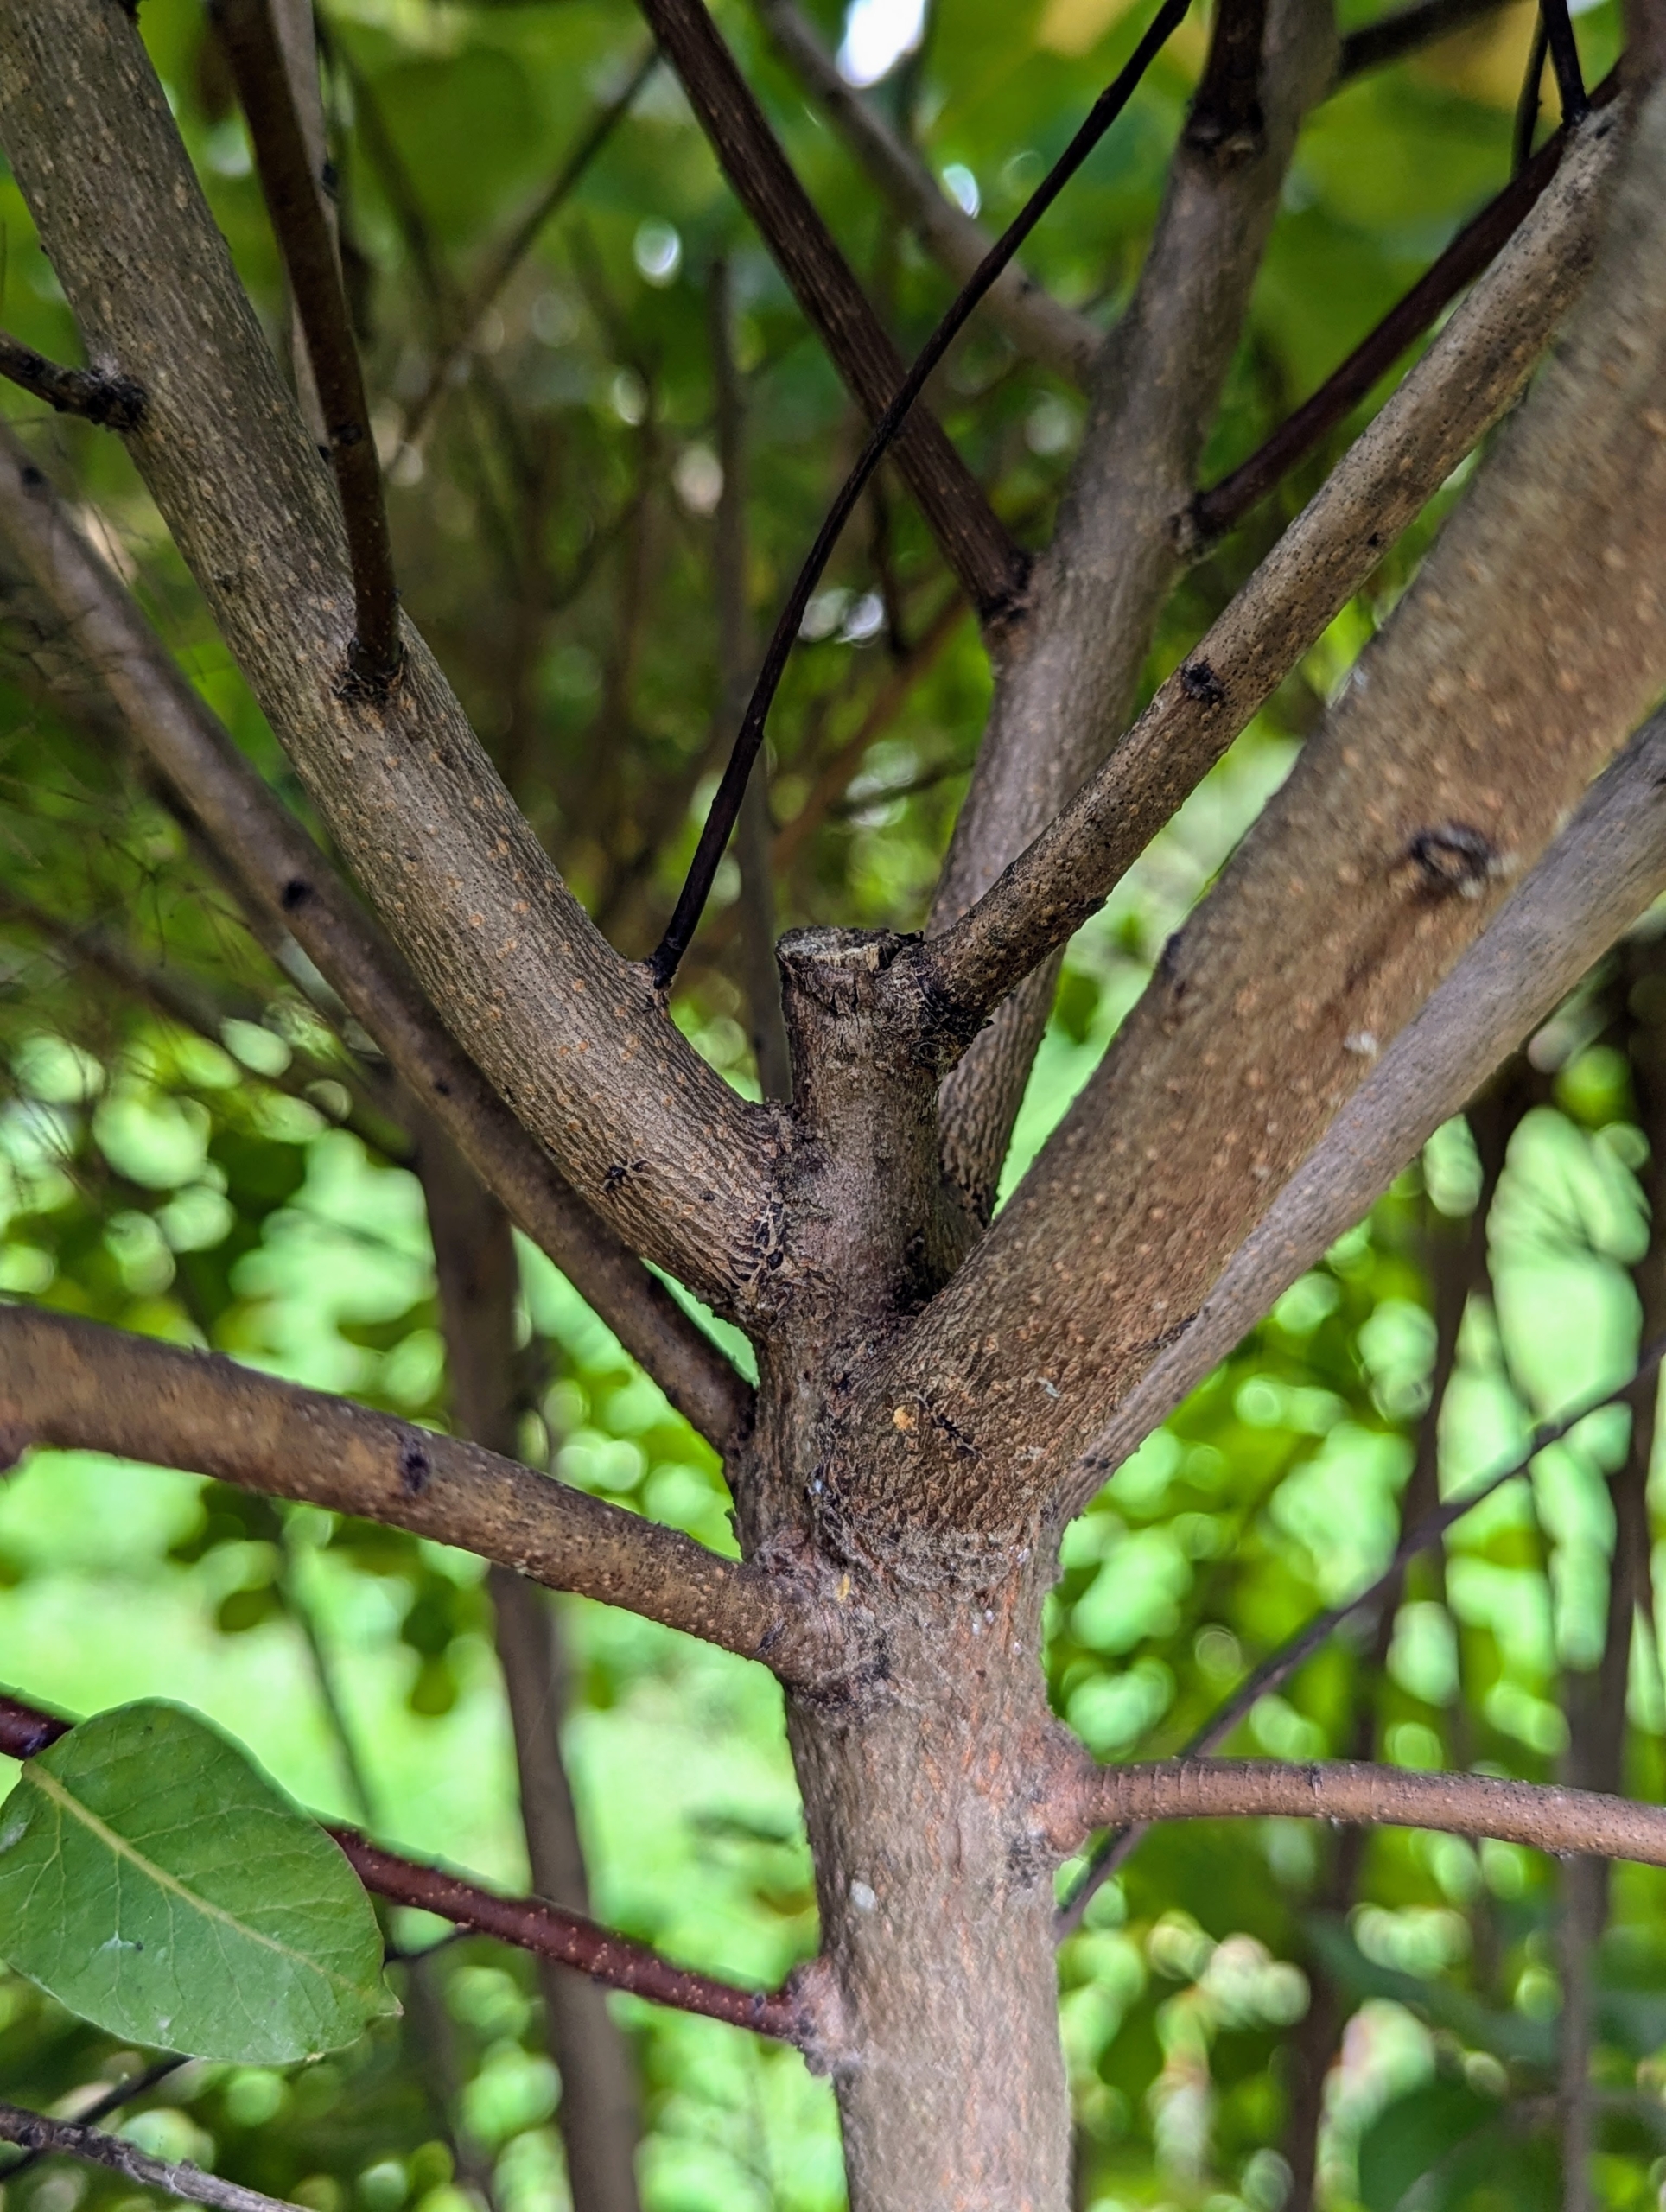
Notice the cut branch in the center. All the branches surrounding it are new – grown over the last 12 months. When removing amounts of wood, cut back to just before a growth node to prevent dead ends.
Look at the new growth. Cutting it back regularly can help the plant retain its most colorful foliage.
It also ensures the old stems produce plenty of flowers the following year.
Here, one can see what Pasang is cutting and what he has left to cut. He always uses a sharp and clean tool to prevent spreading disease.
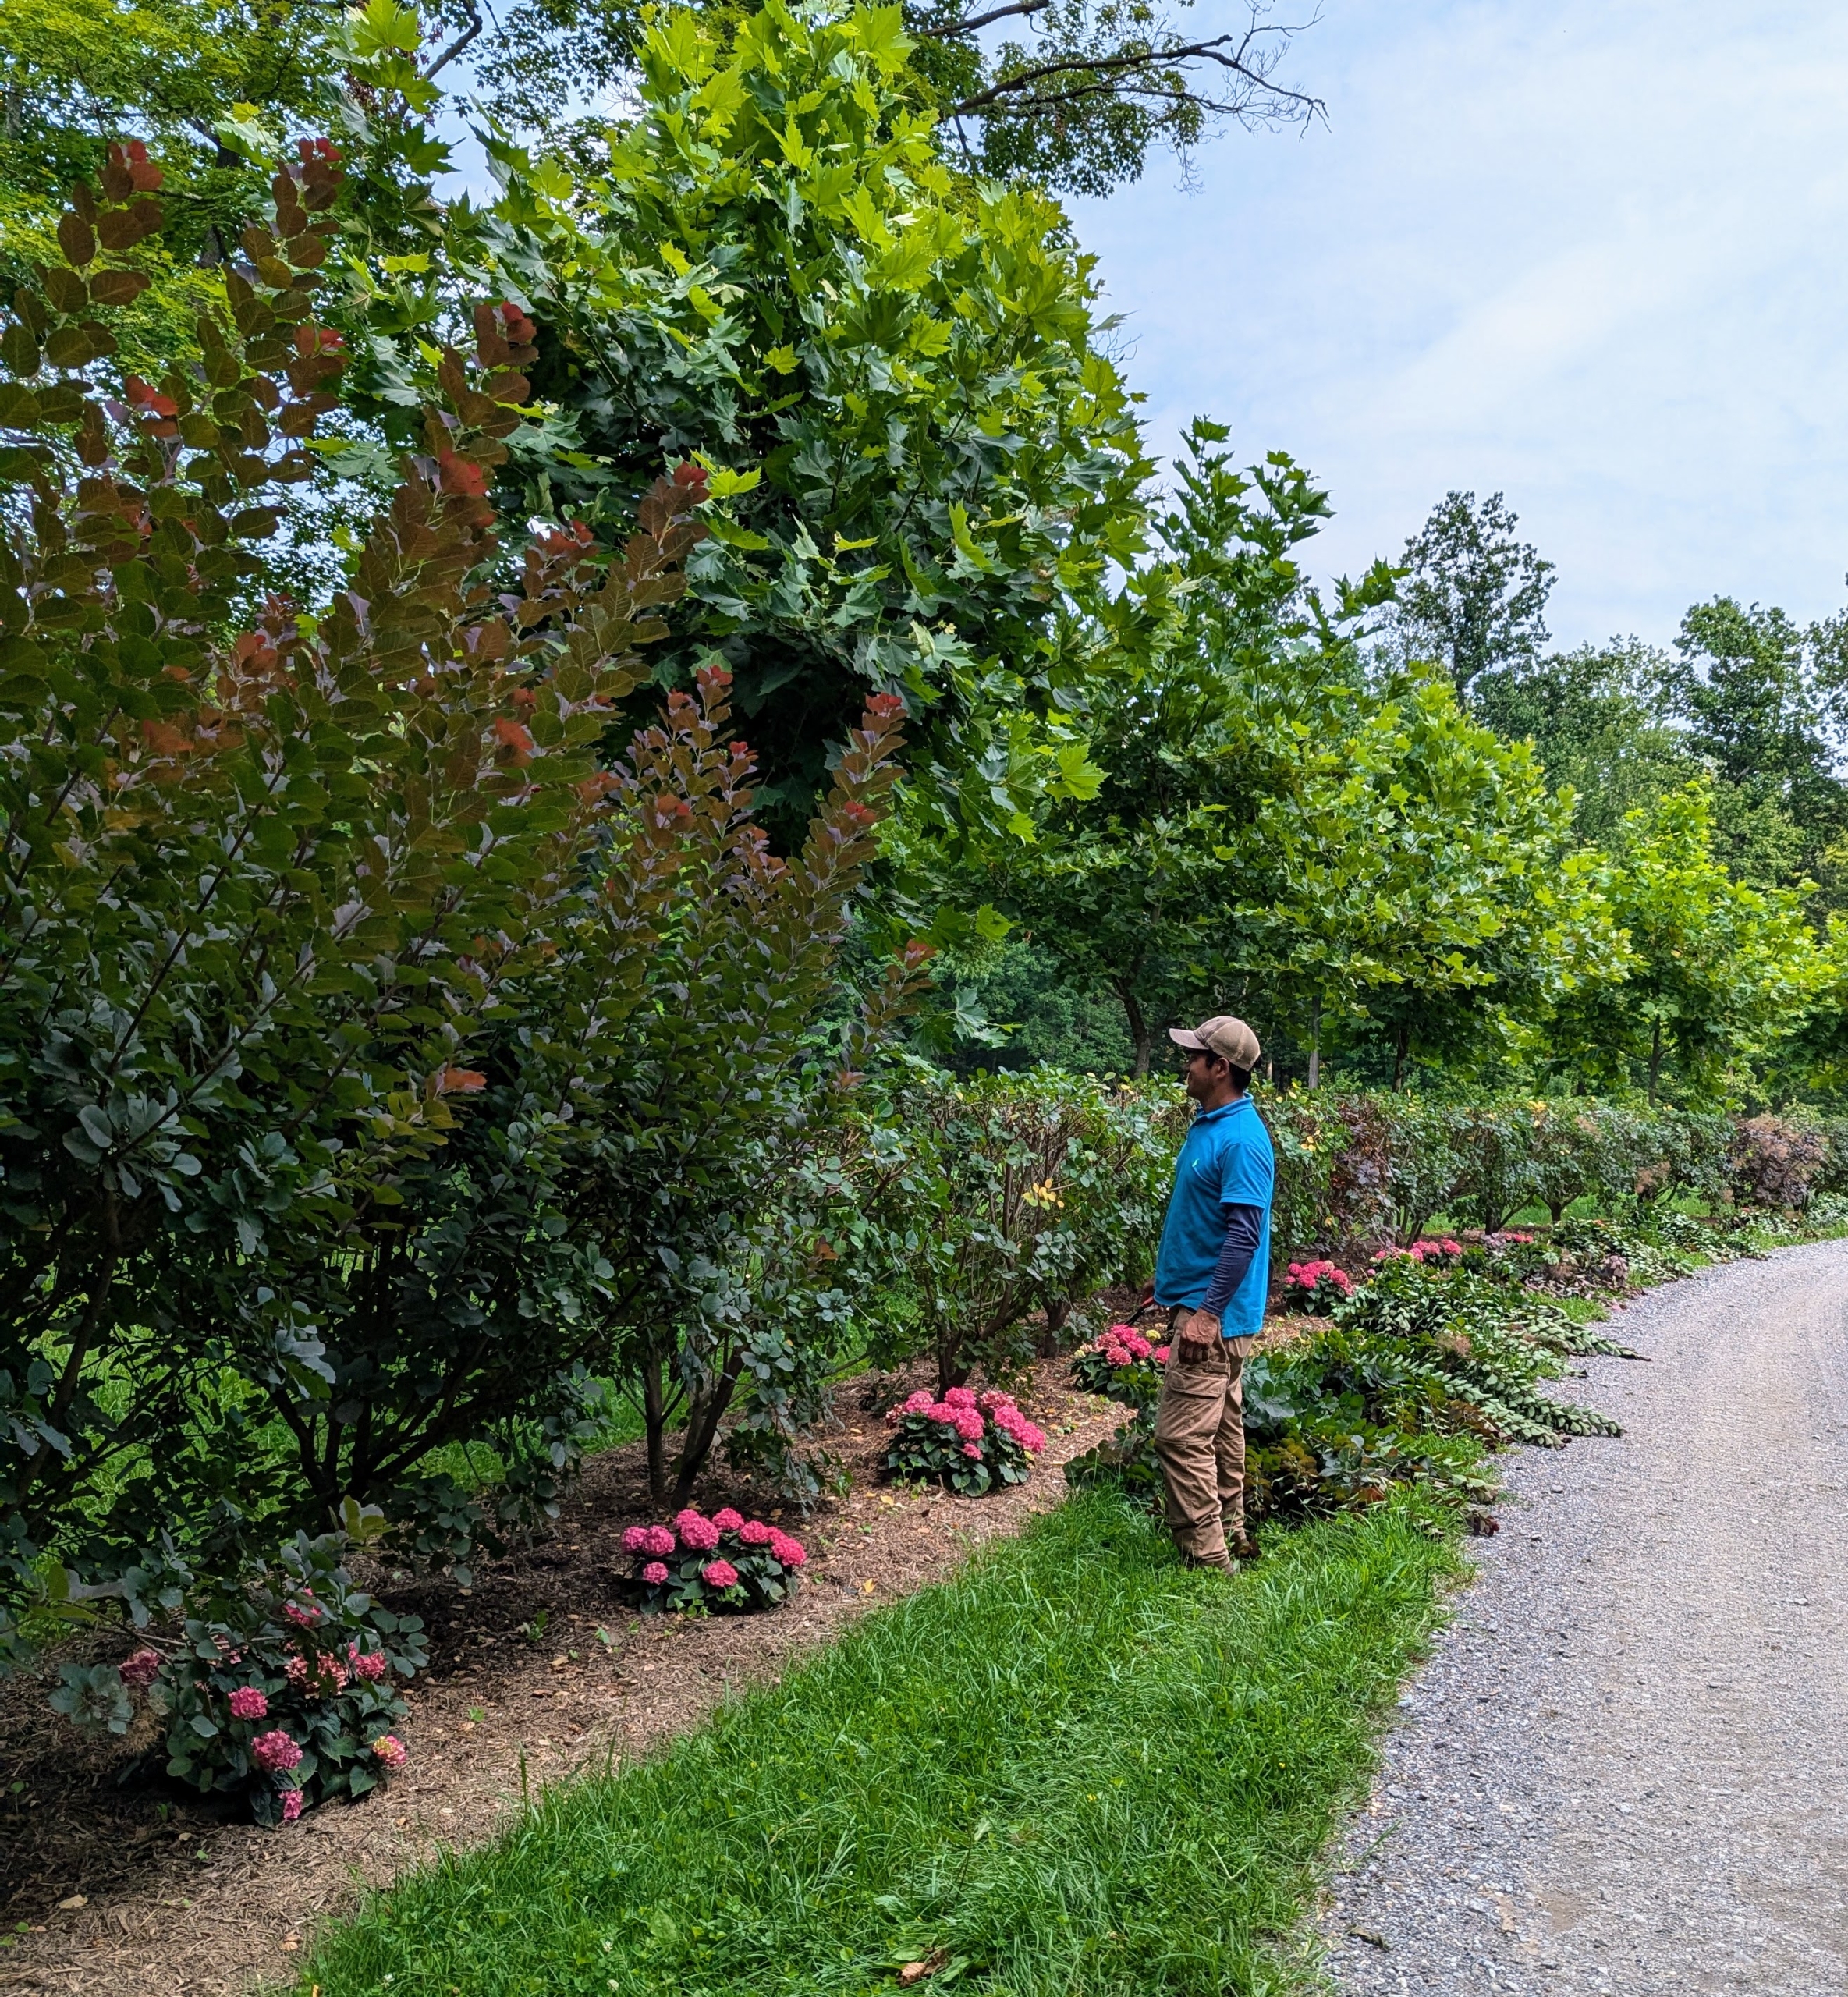
Pasang stops intermittently to assess his work and to make sure the smoke bushes are level with each other.
And look at the ground – so many cut branches. As they are cut, Pasang places the branches at the edge of the carriage road, so they are easier to pick up later.
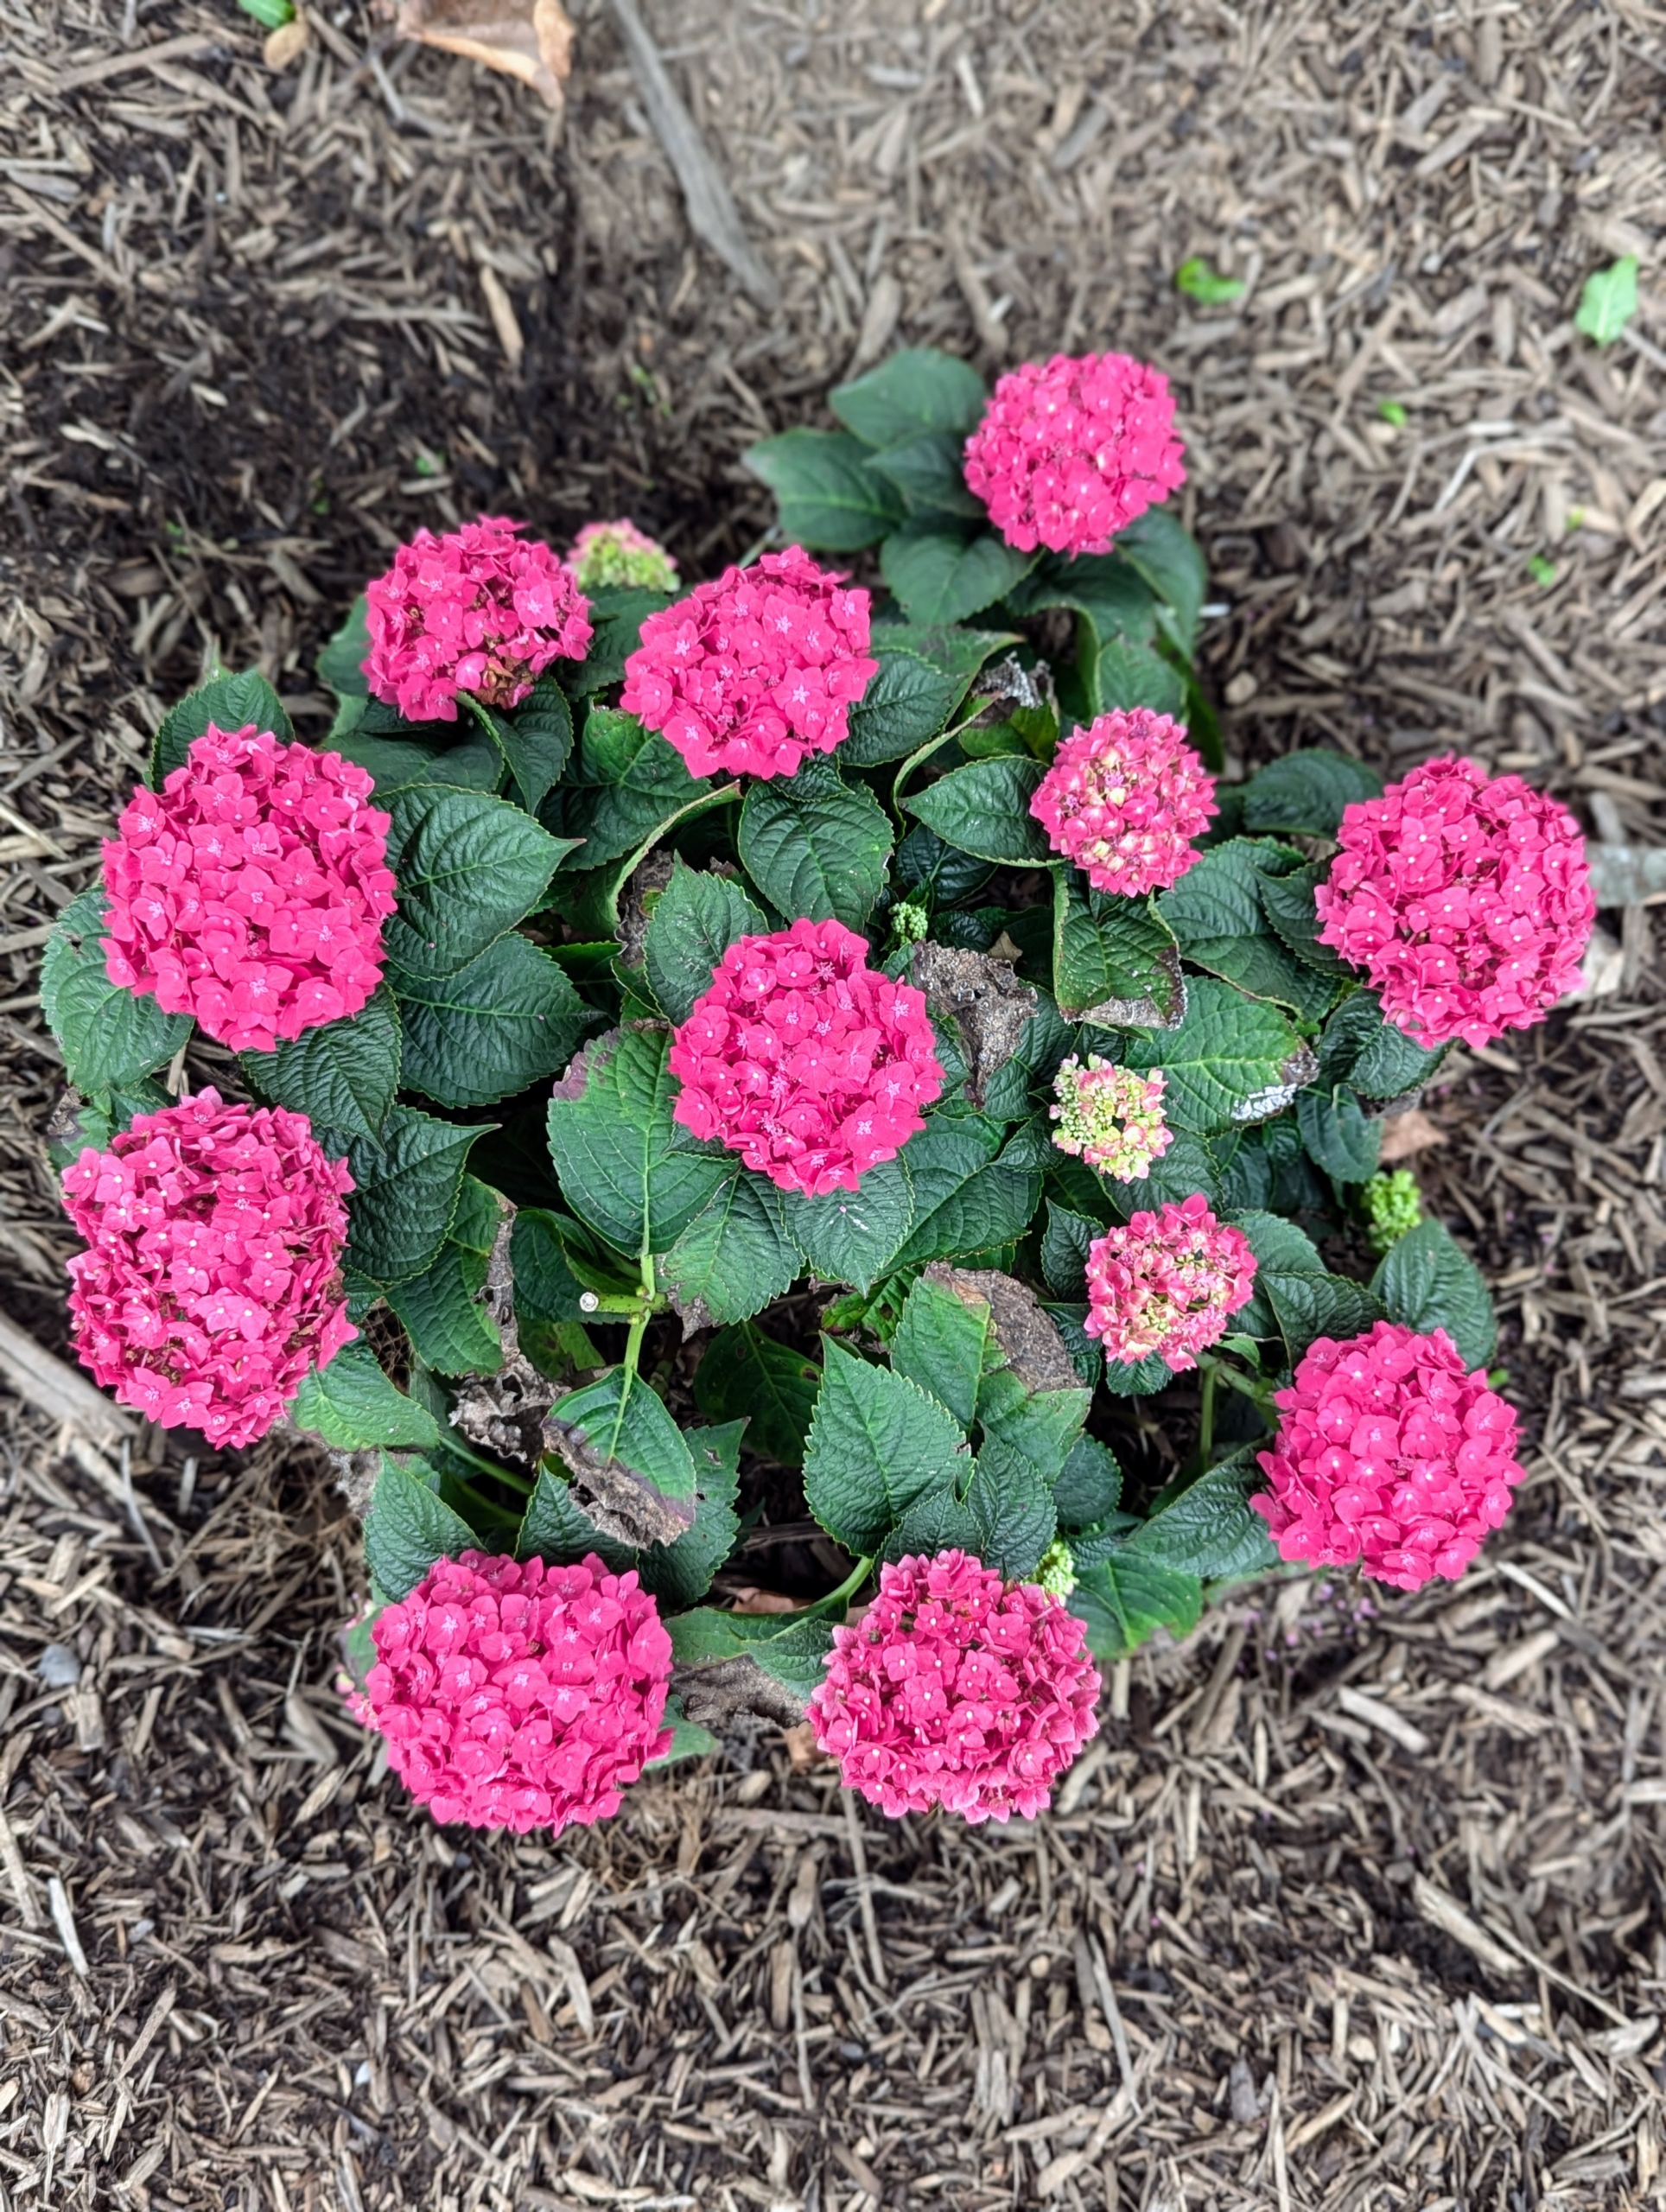
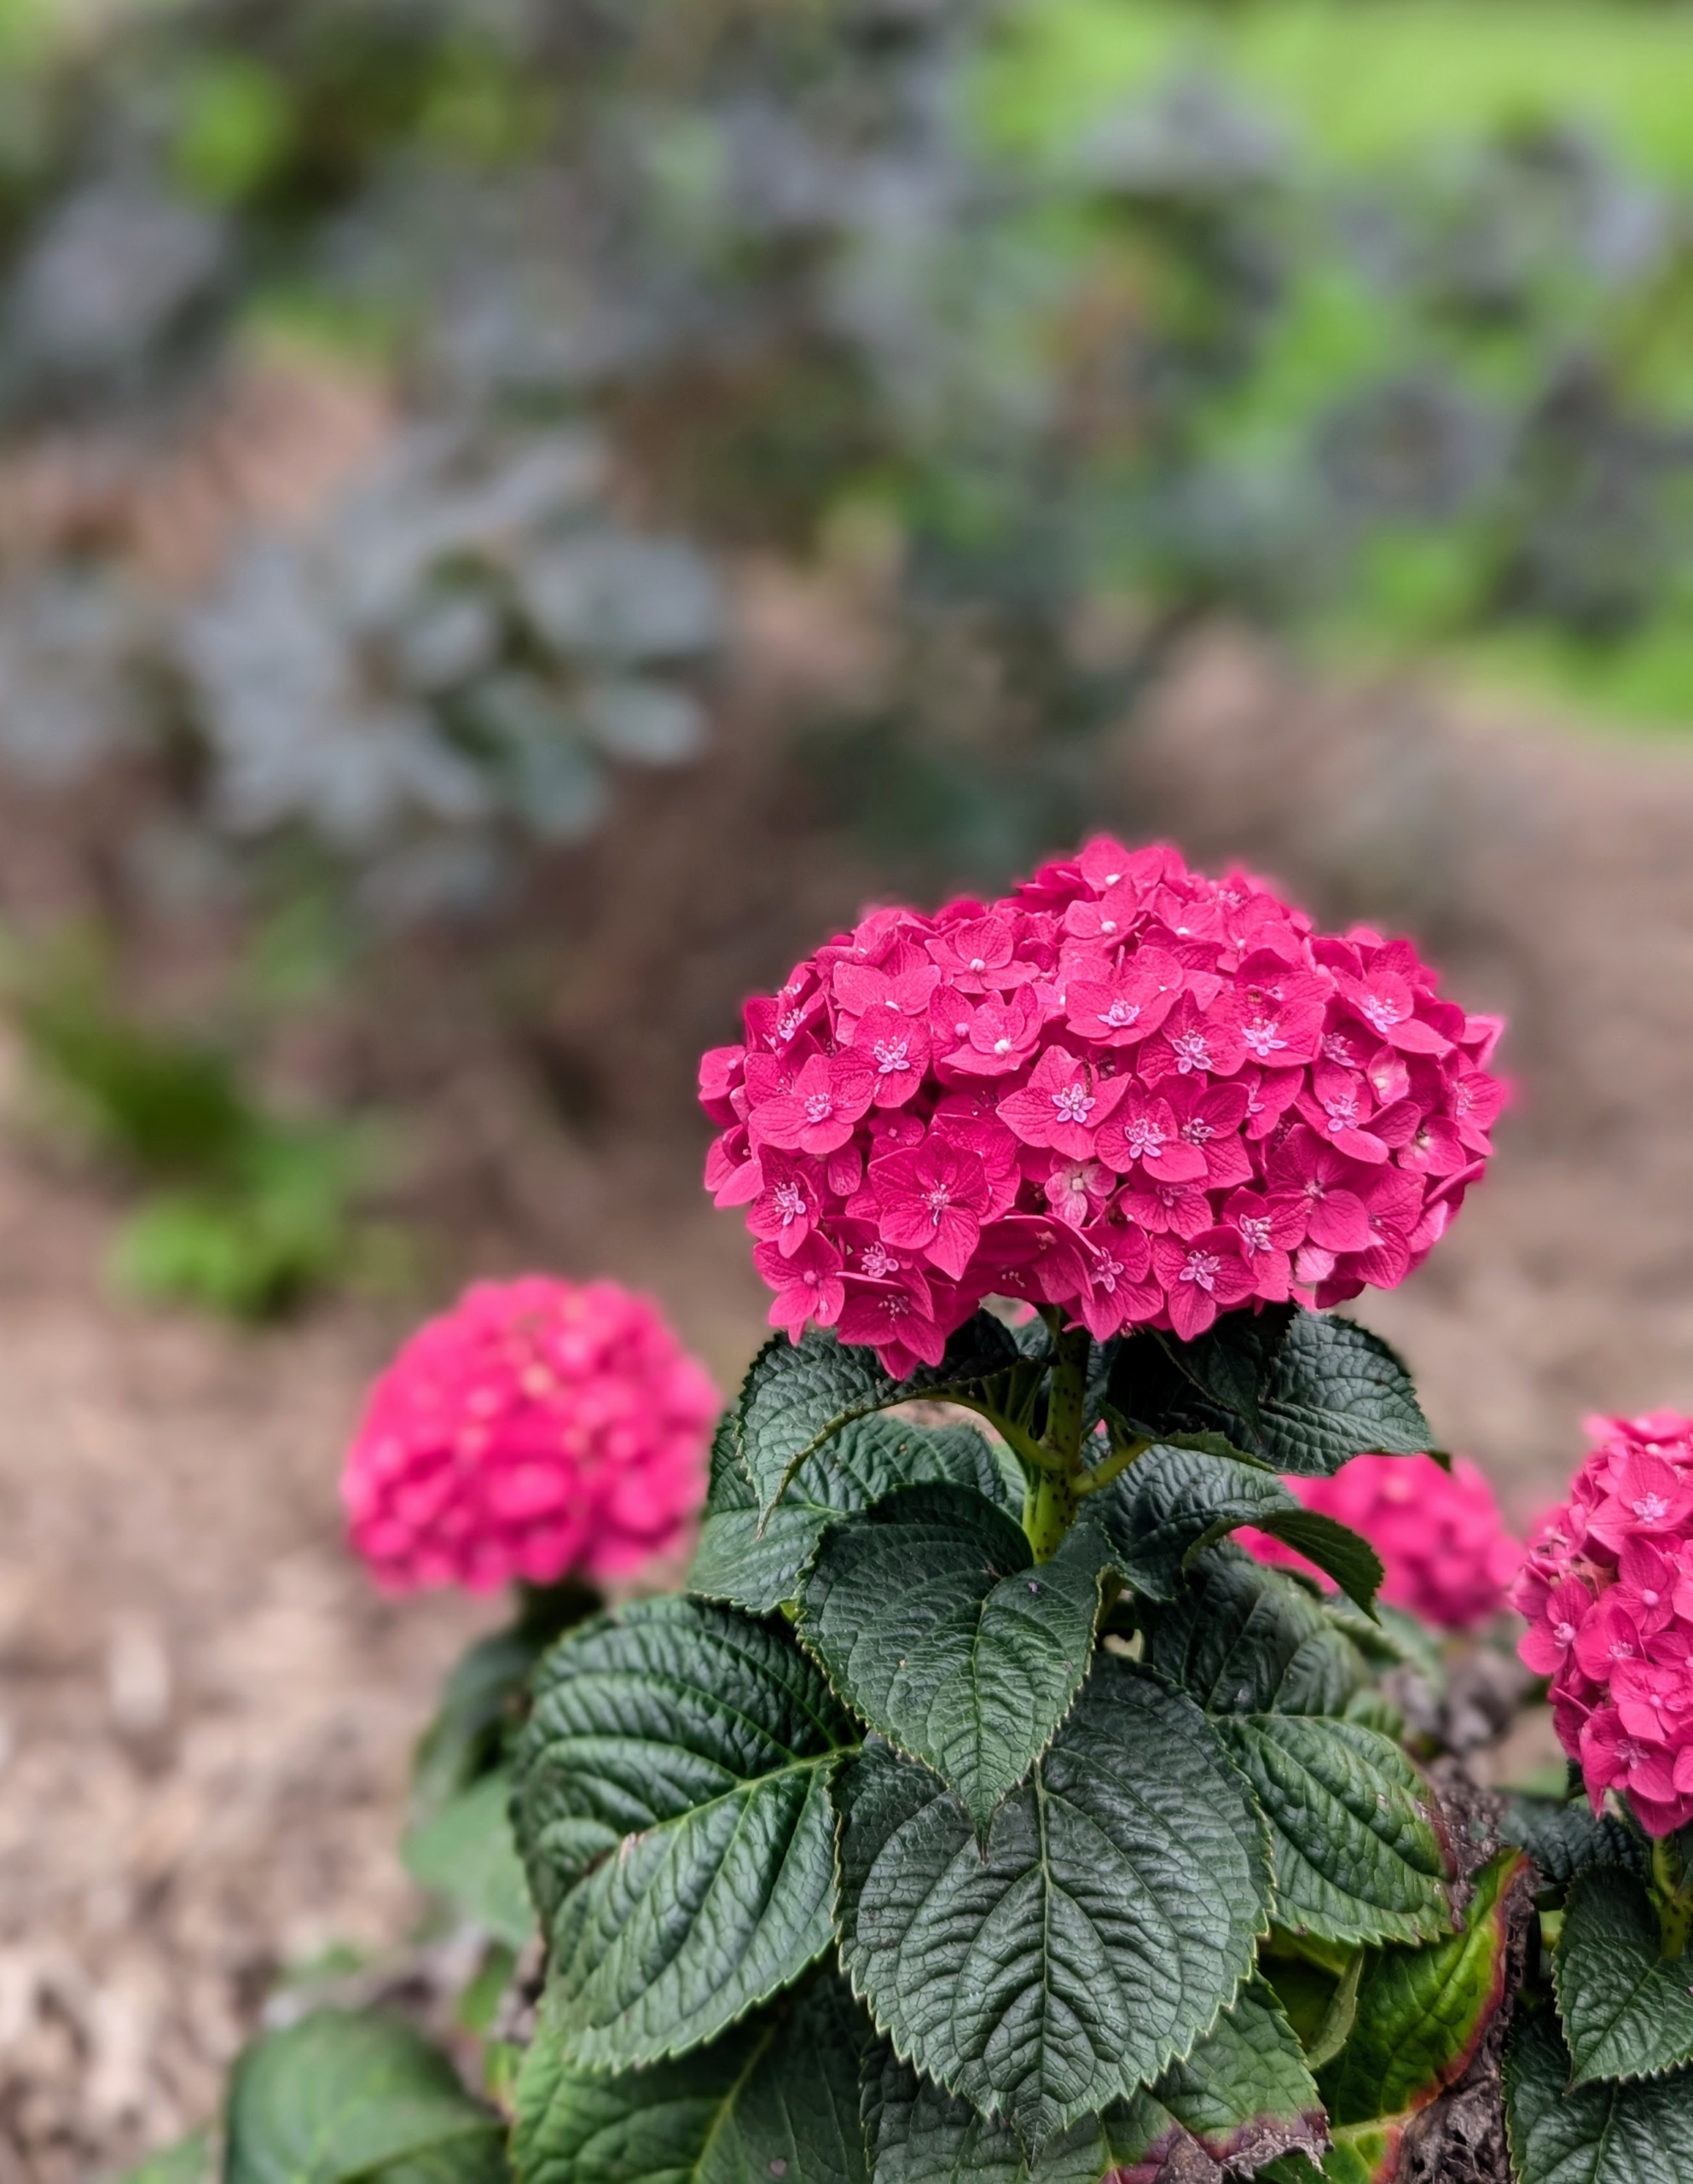
Lower to the ground at the base of the trees and shrubs are pink hydrangeas. I just planted these earlier this season.
The blooms on the compact Summer Crush® hydrangea are intense, deep raspberry pink.
And here is the allée now with all the smoke bushes pruned beautifully. After every pruning, the shrubs grow bushier with larger leaves. Wait until you see it next year!