With their plump, juicy sweetness and range of colors from vibrant red to deep purple-black, blueberries are truly one of nature’s finest delights. I use them in jams, jellies, and pies, but they’re equally delicious in pancakes, yogurt, cereal, and cobblers, or simply enjoyed by the handful. Low in fat and rich in vitamin C and antioxidants, it’s no wonder blueberries are one of America’s favorite fruits.
Enjoy the photos.
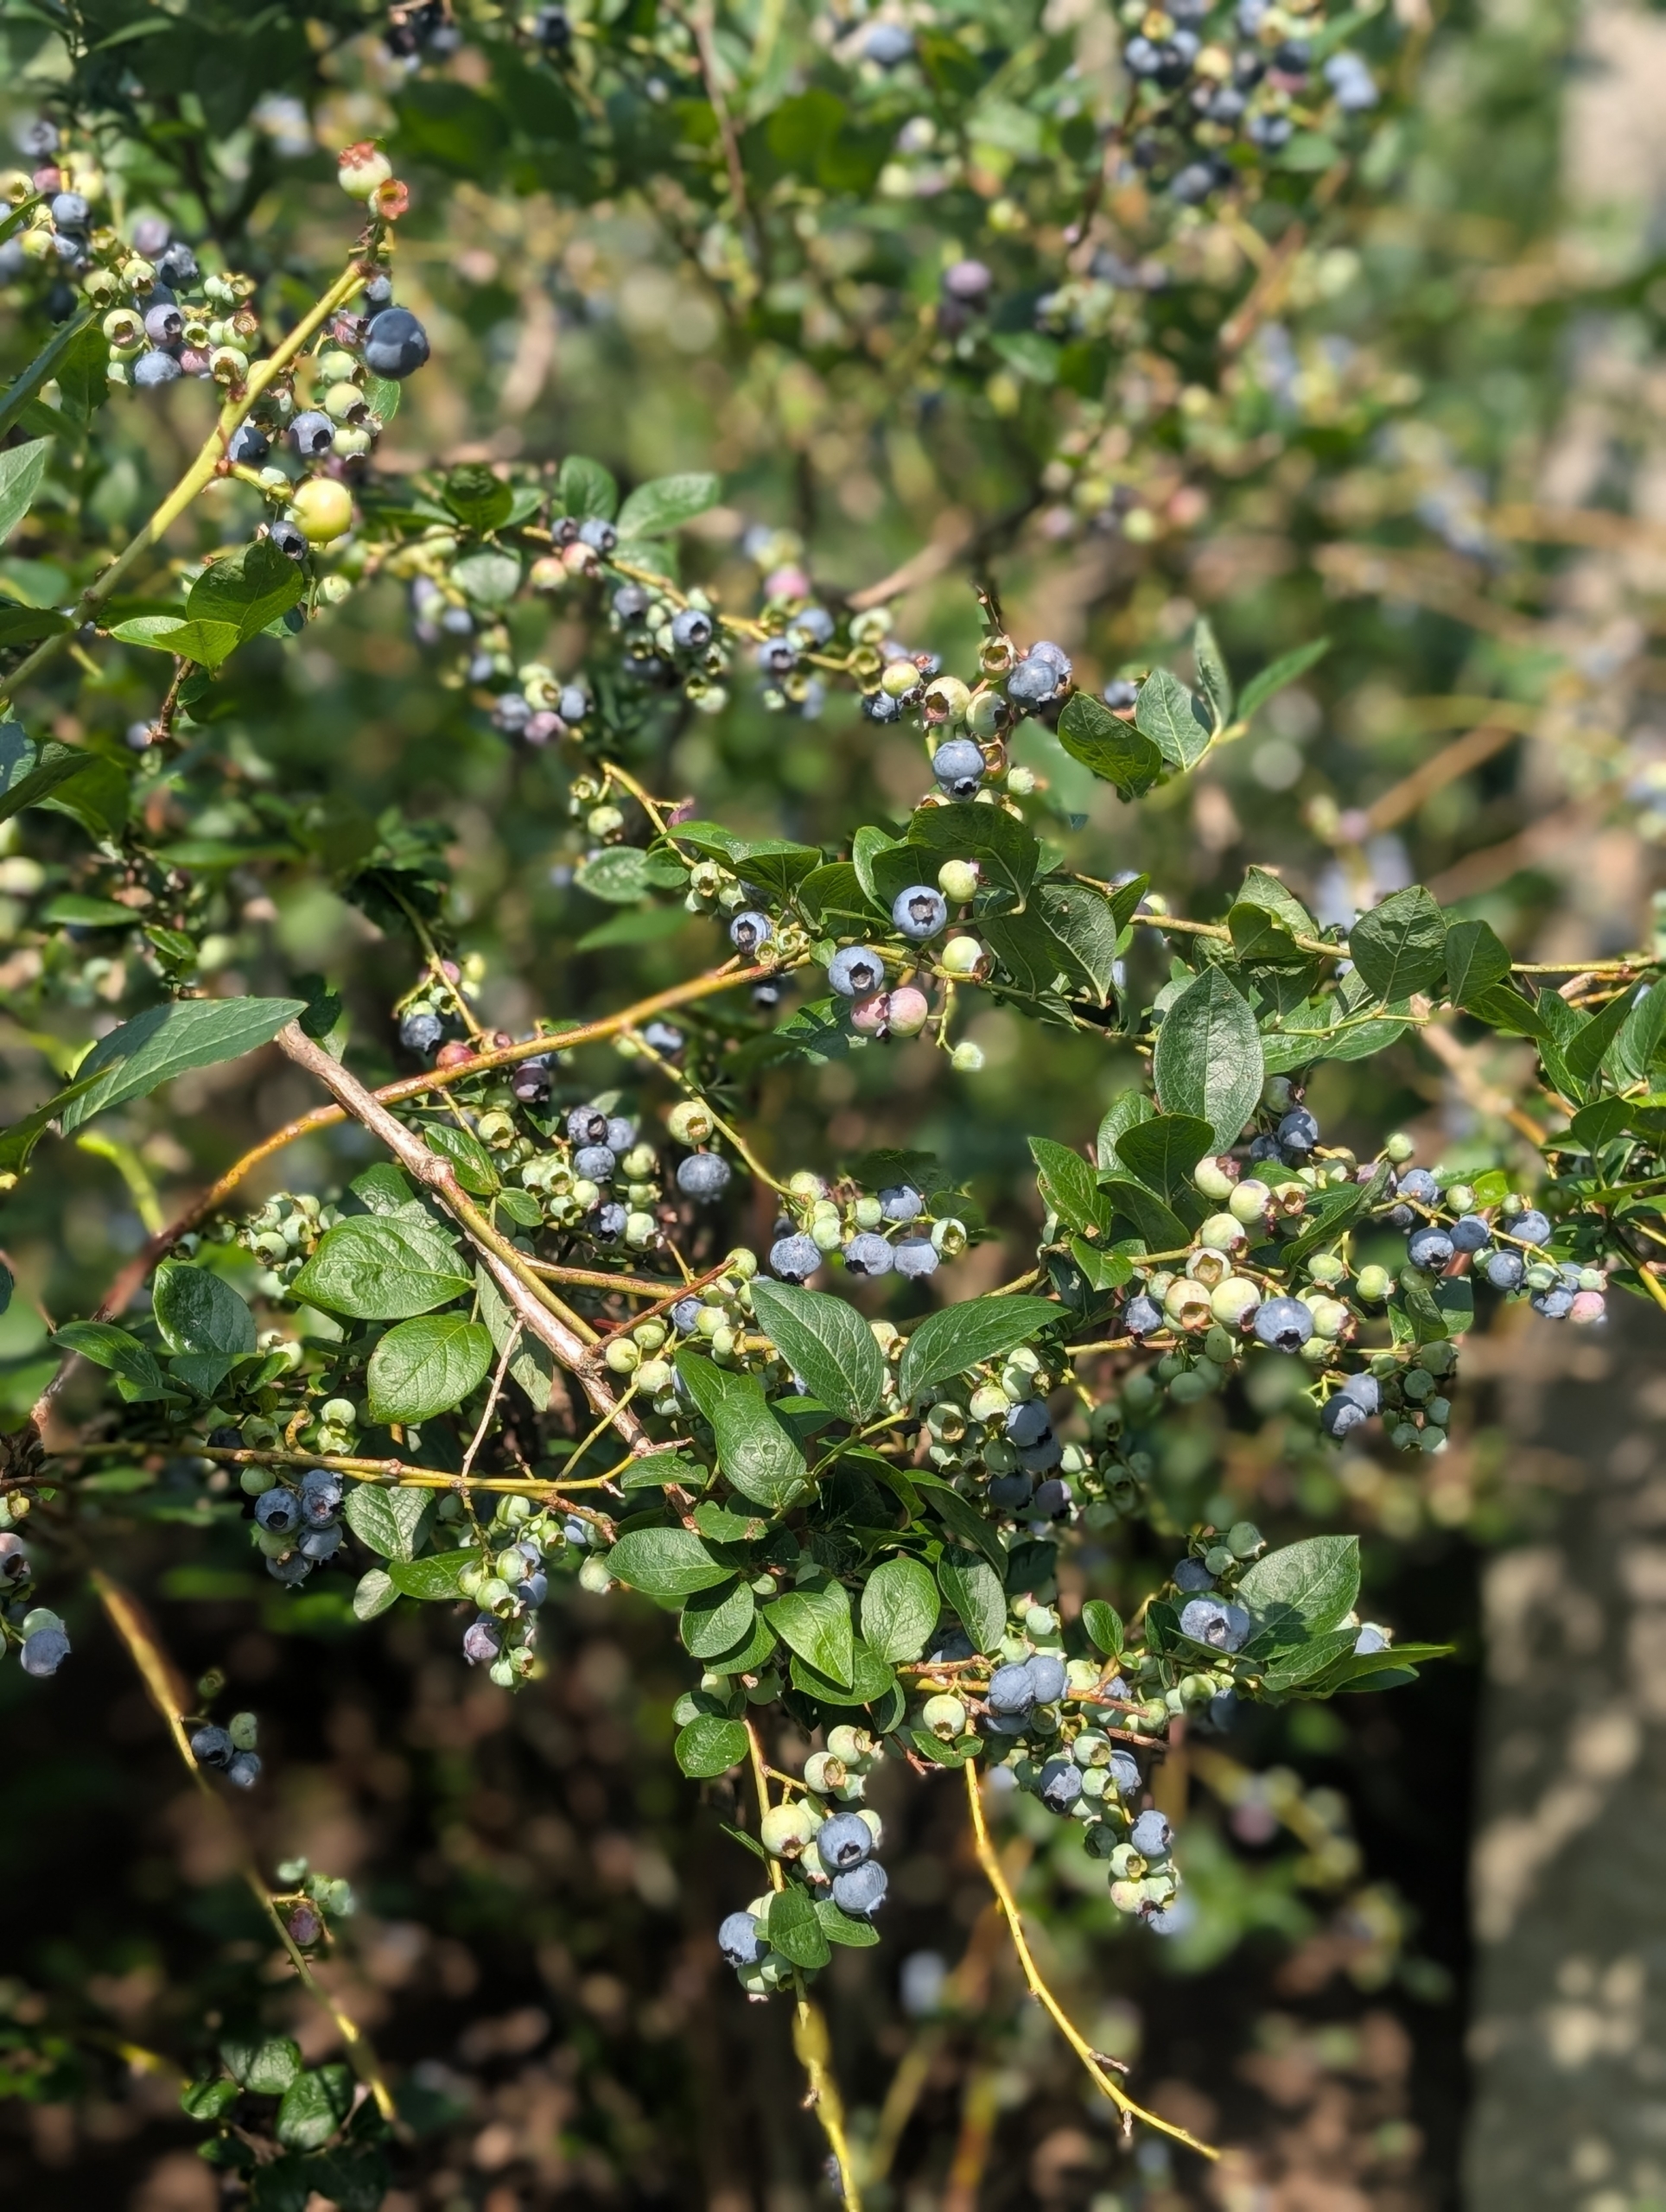
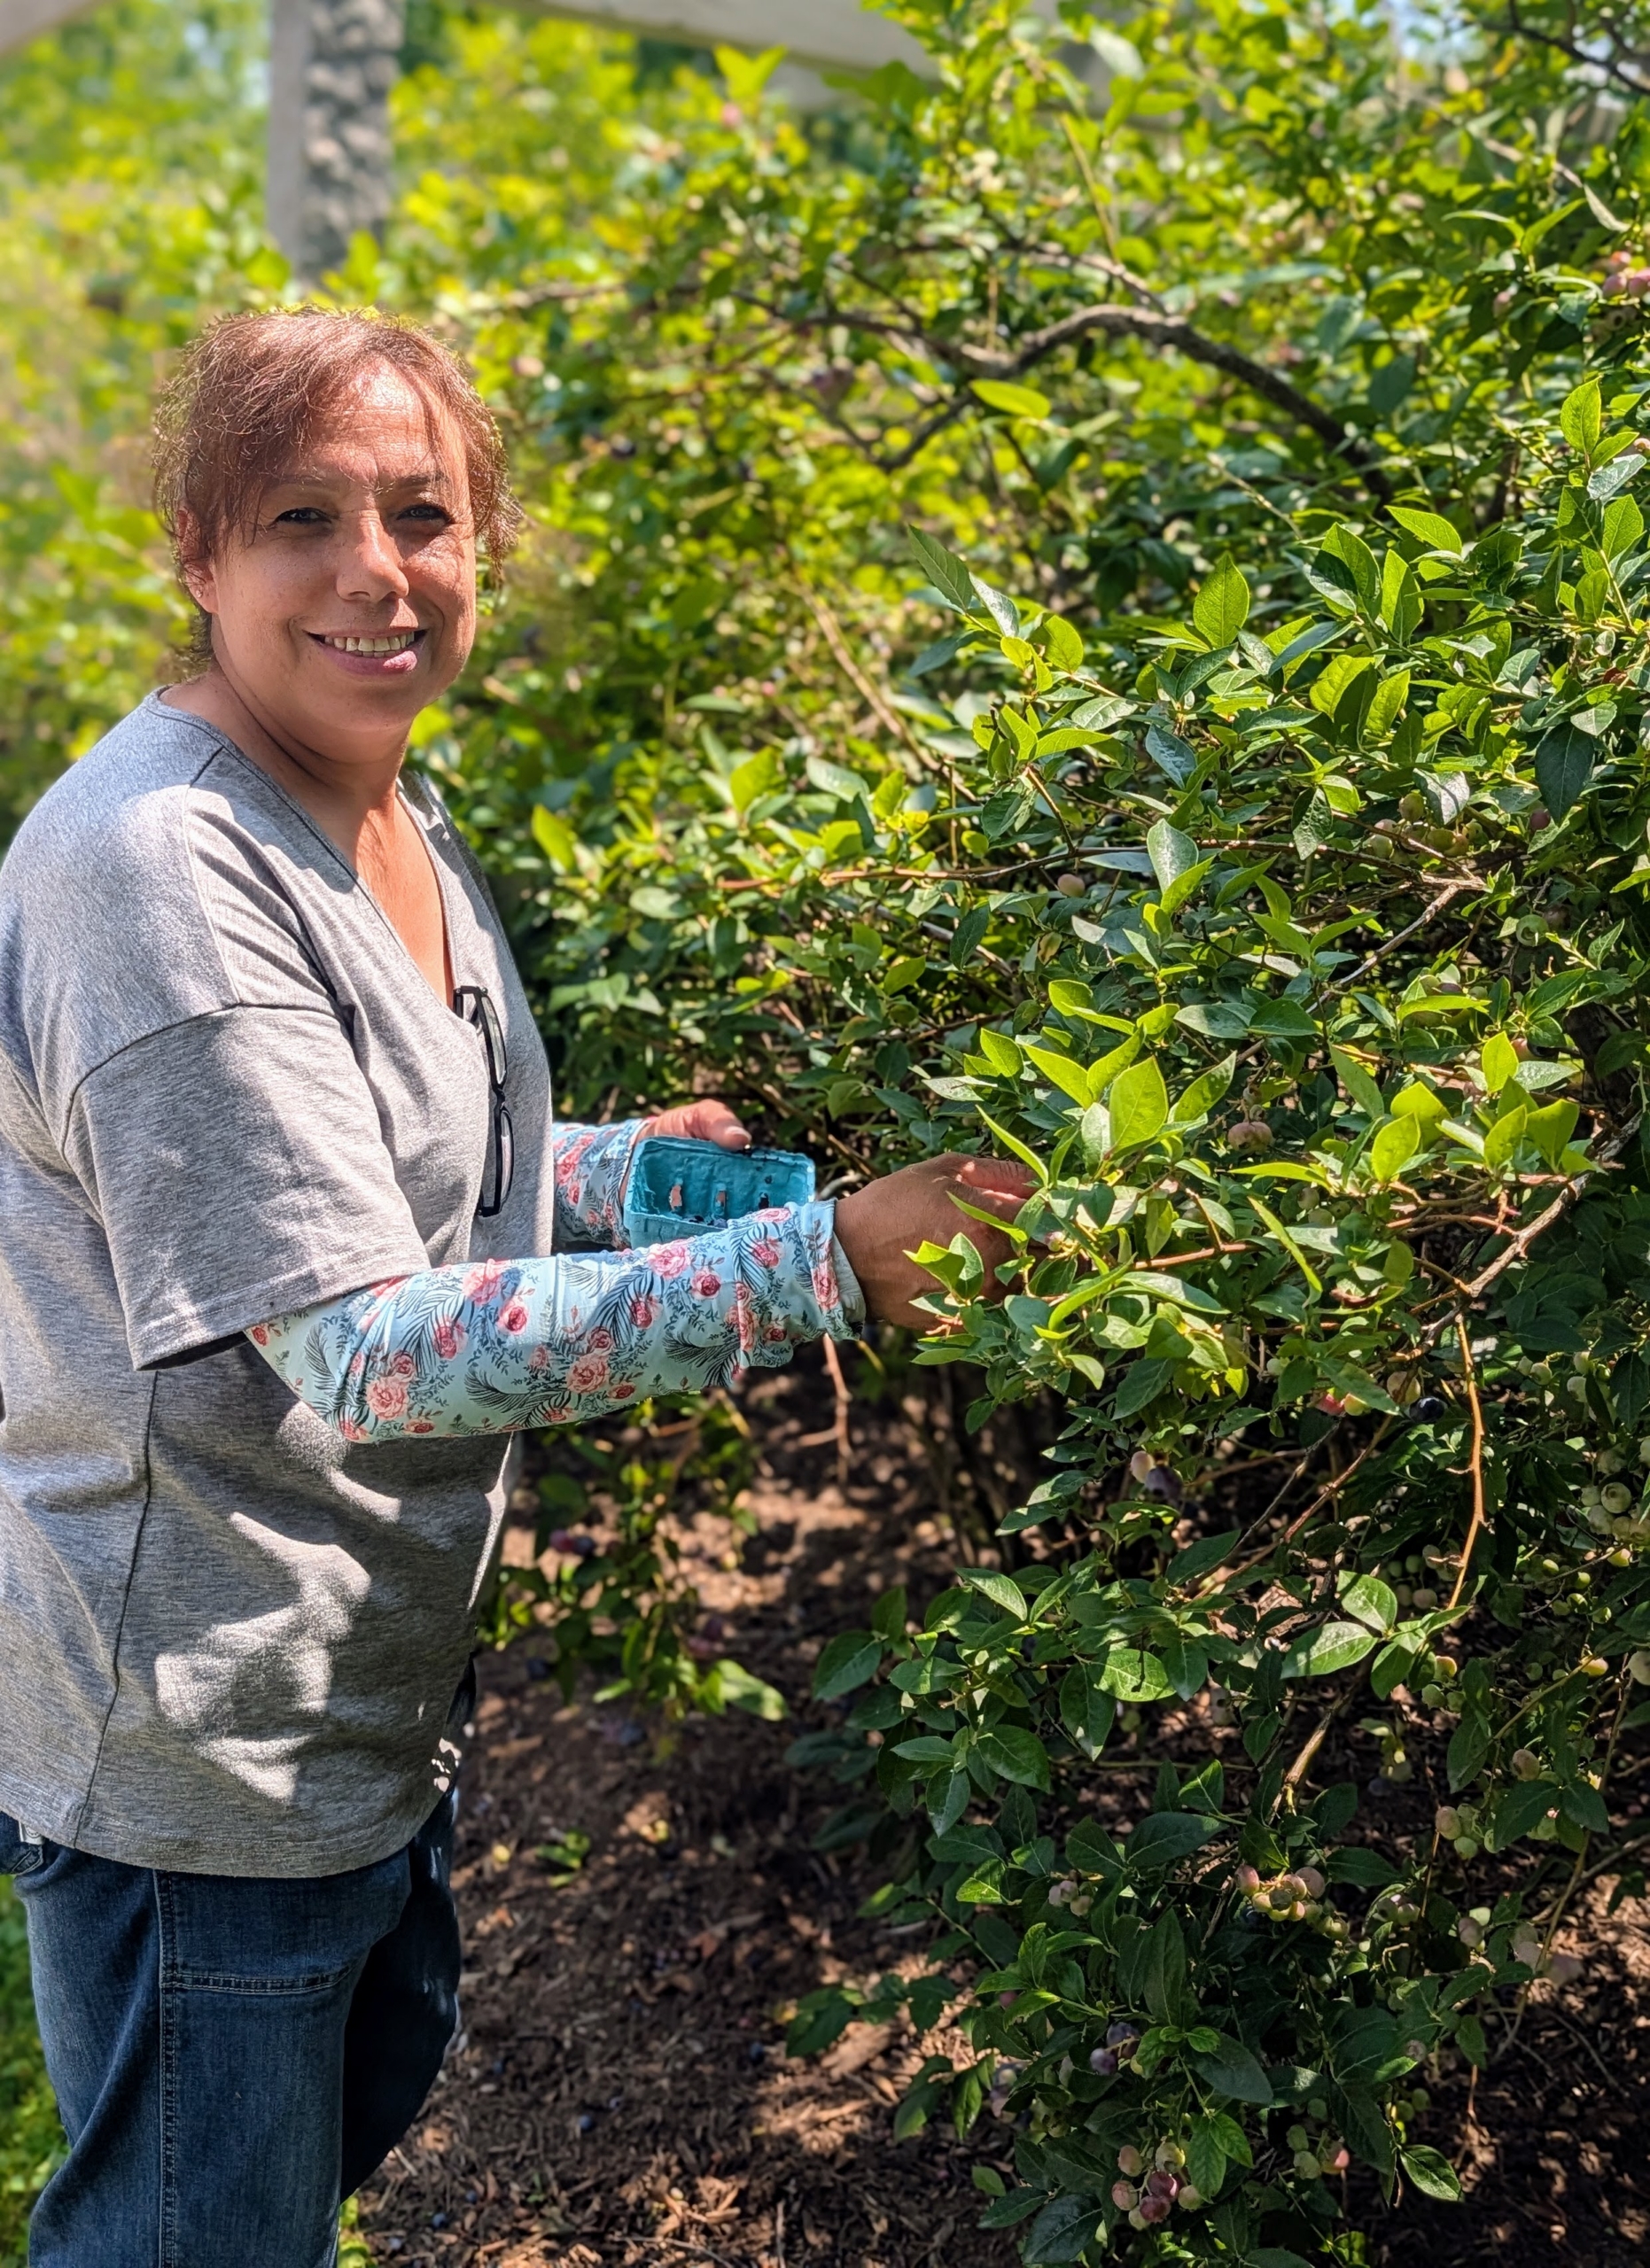
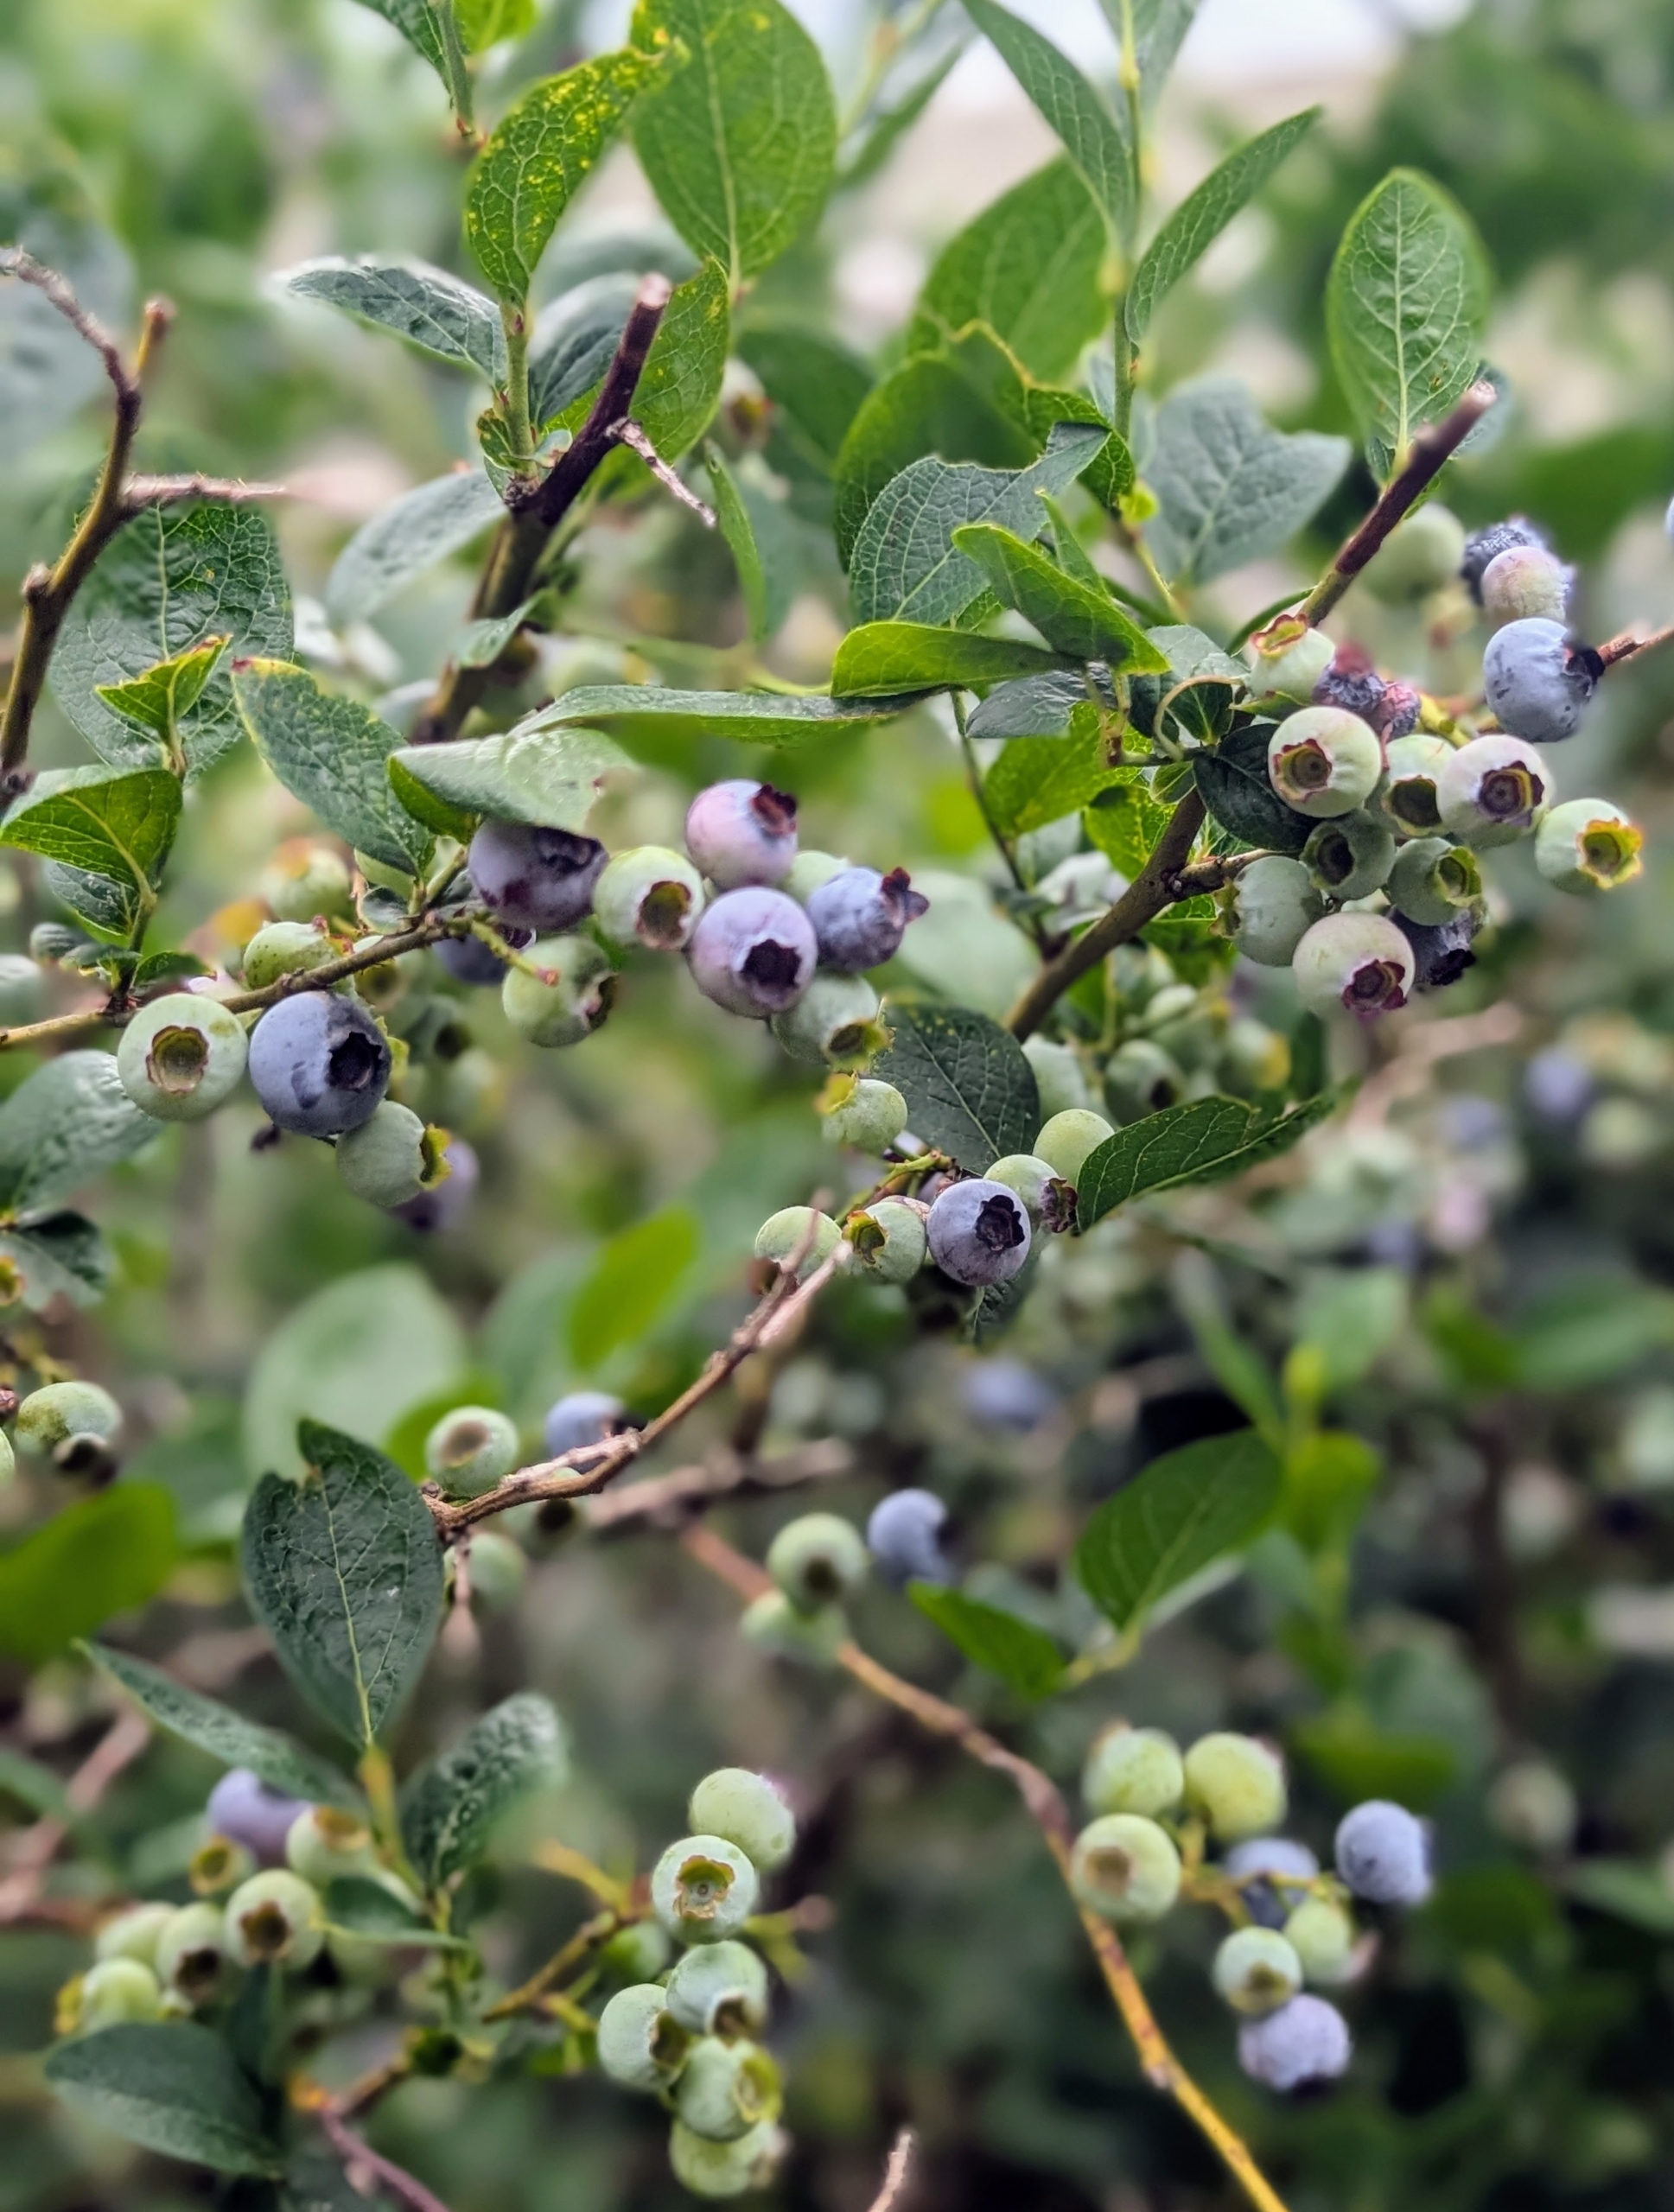
Right now my blueberry bushes are laden with delicious fruits – almost every branch is full.
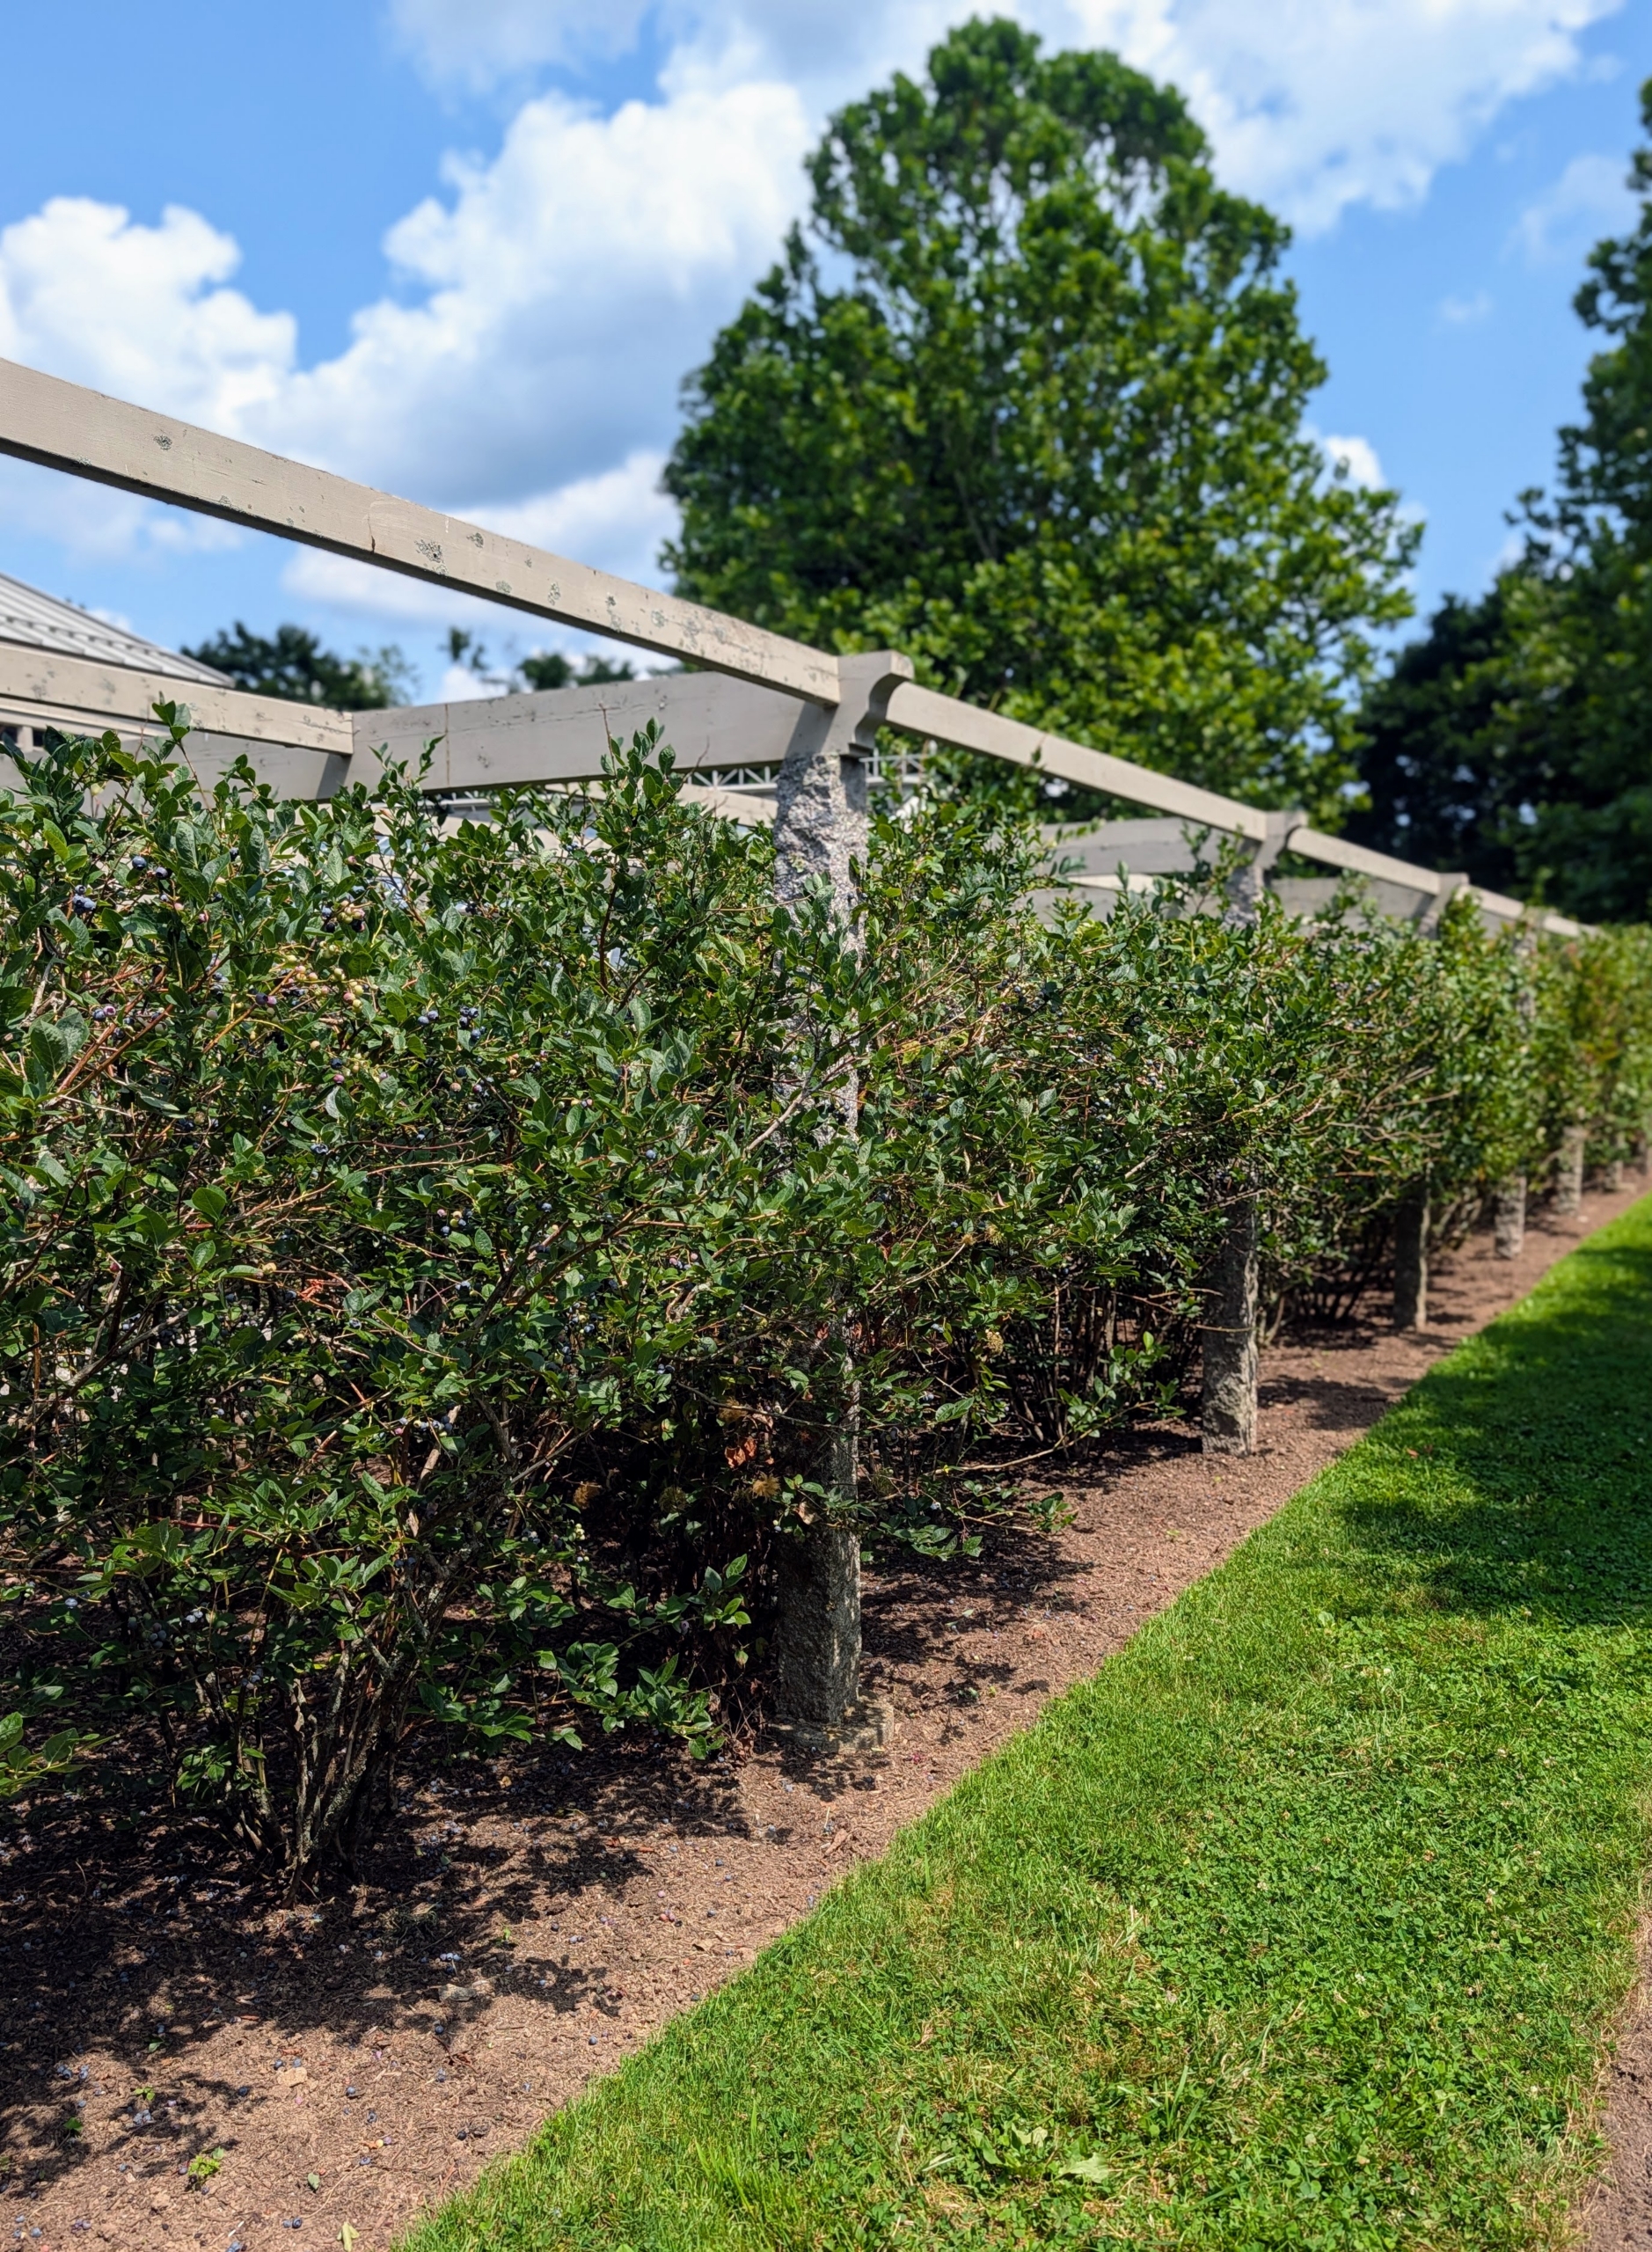
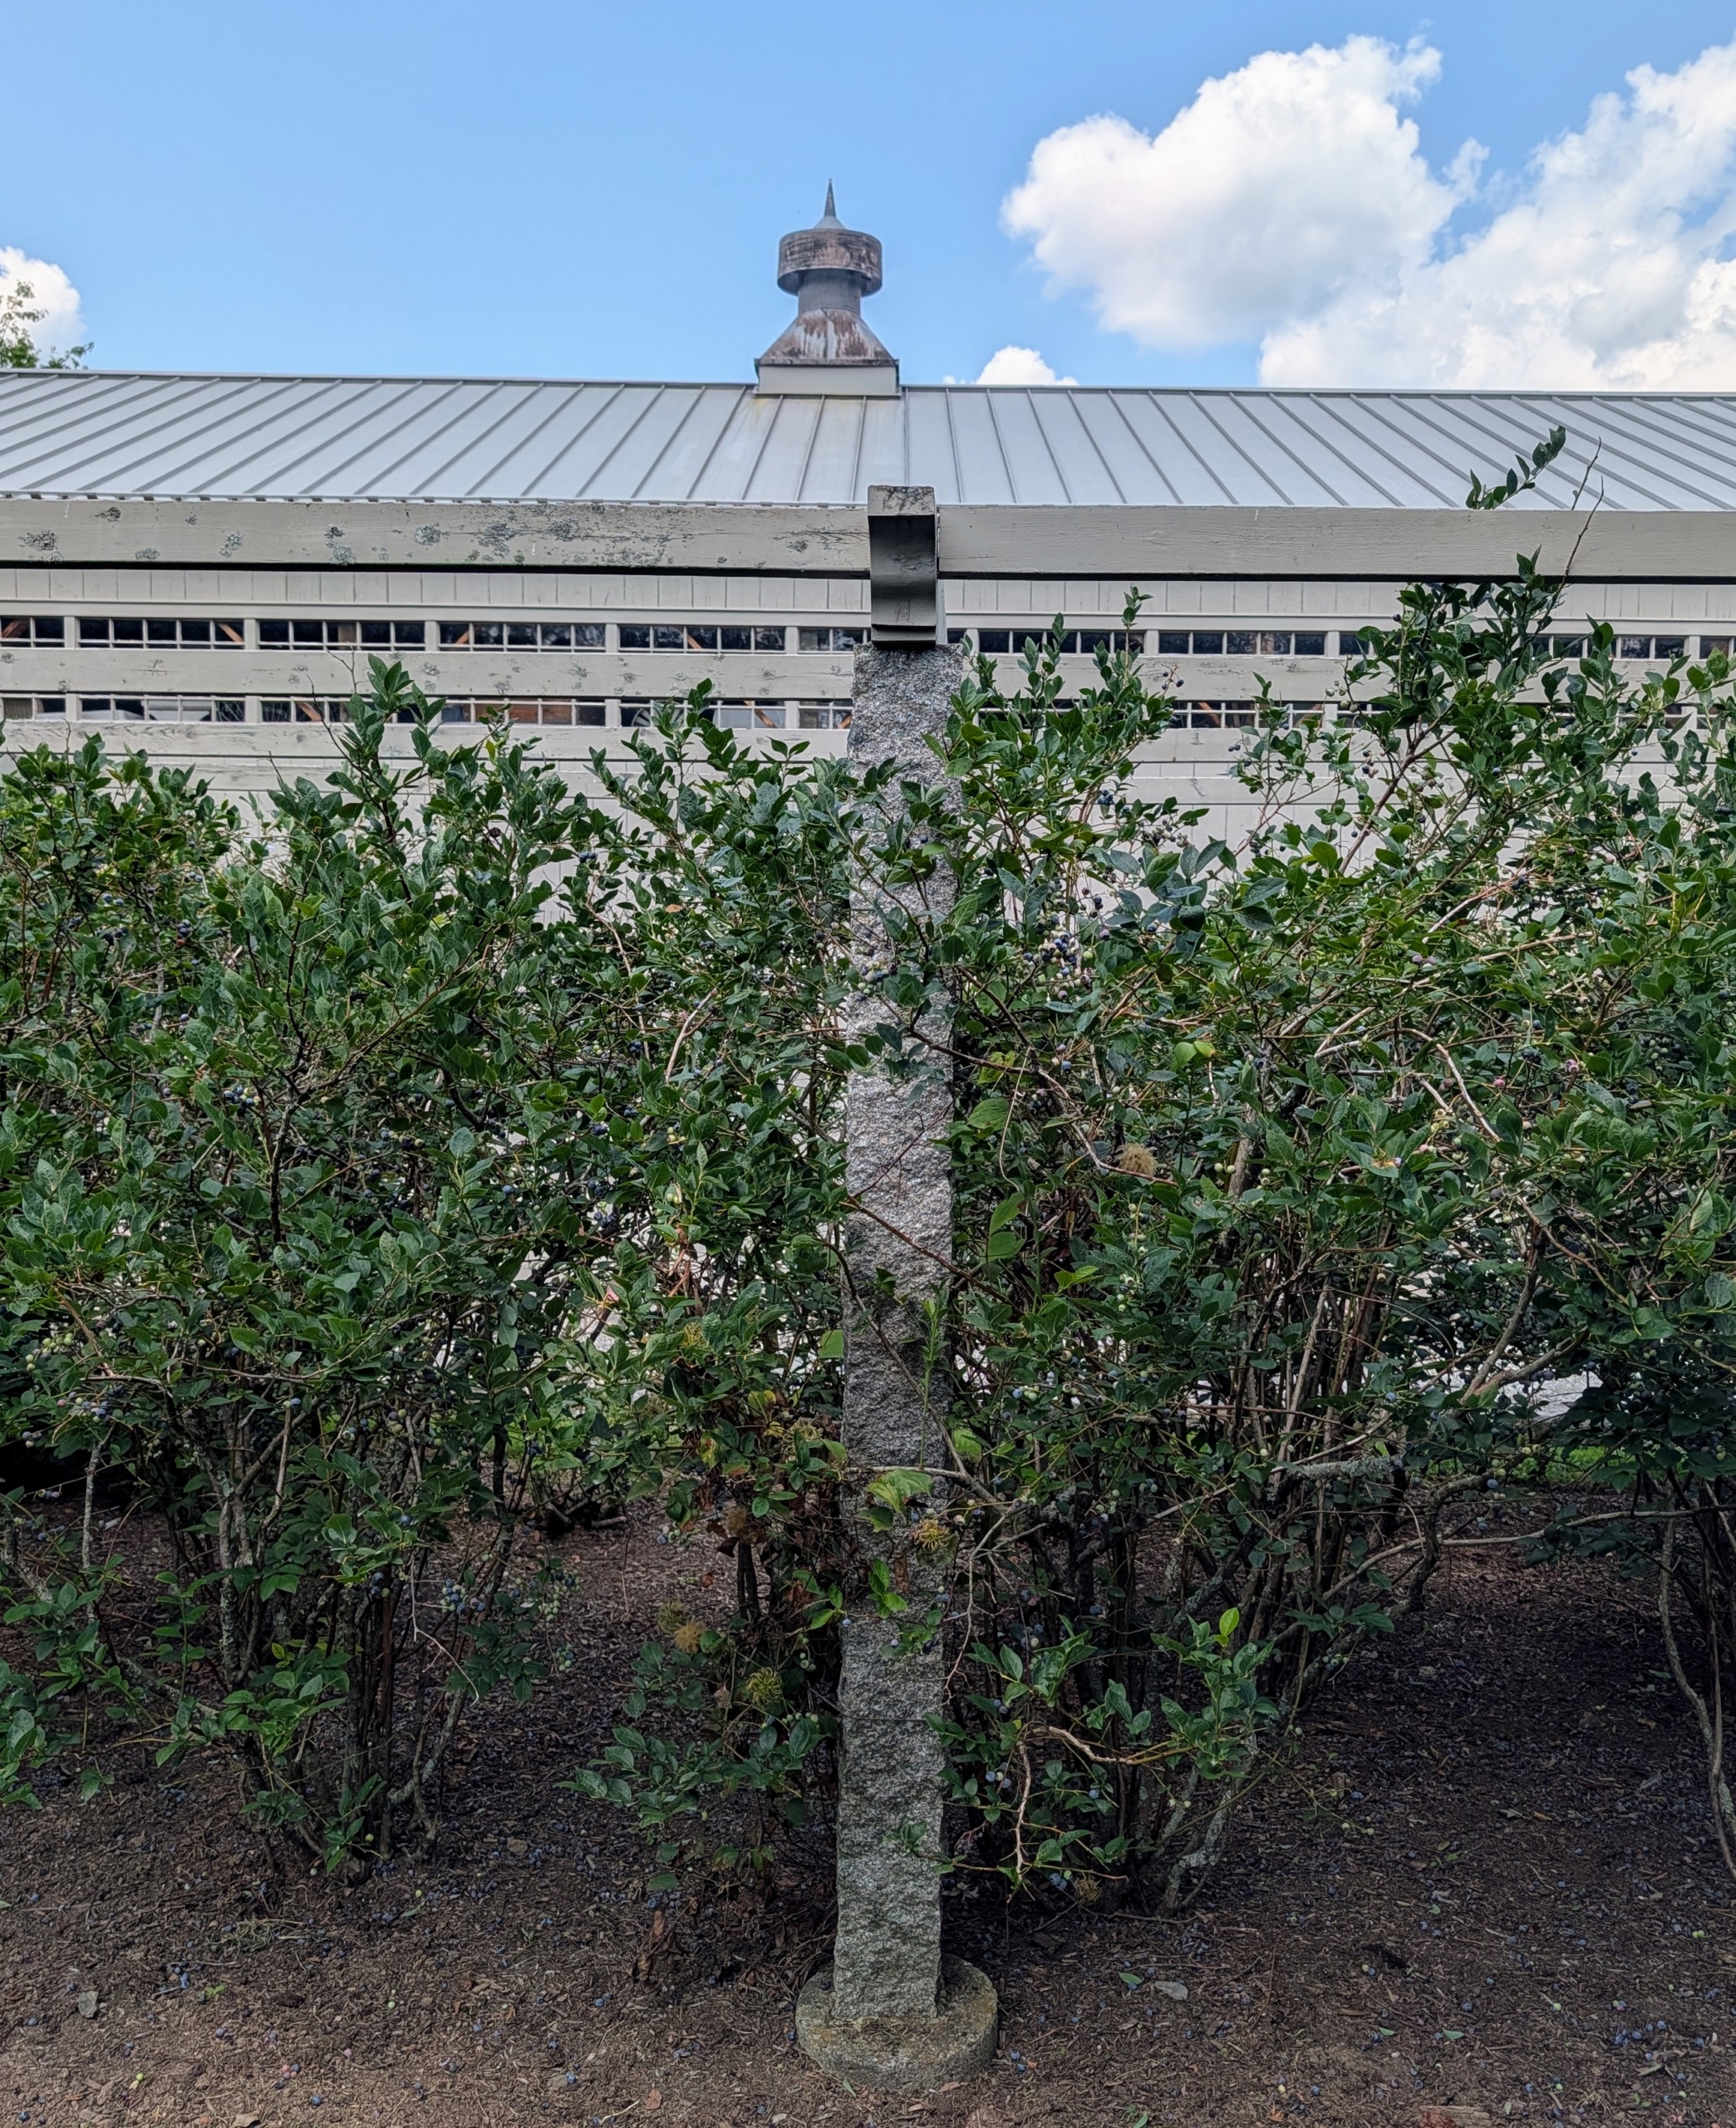
My blueberries are all from bushes located between my flower garden and large Equipment Barn, next to a stand of quince trees.
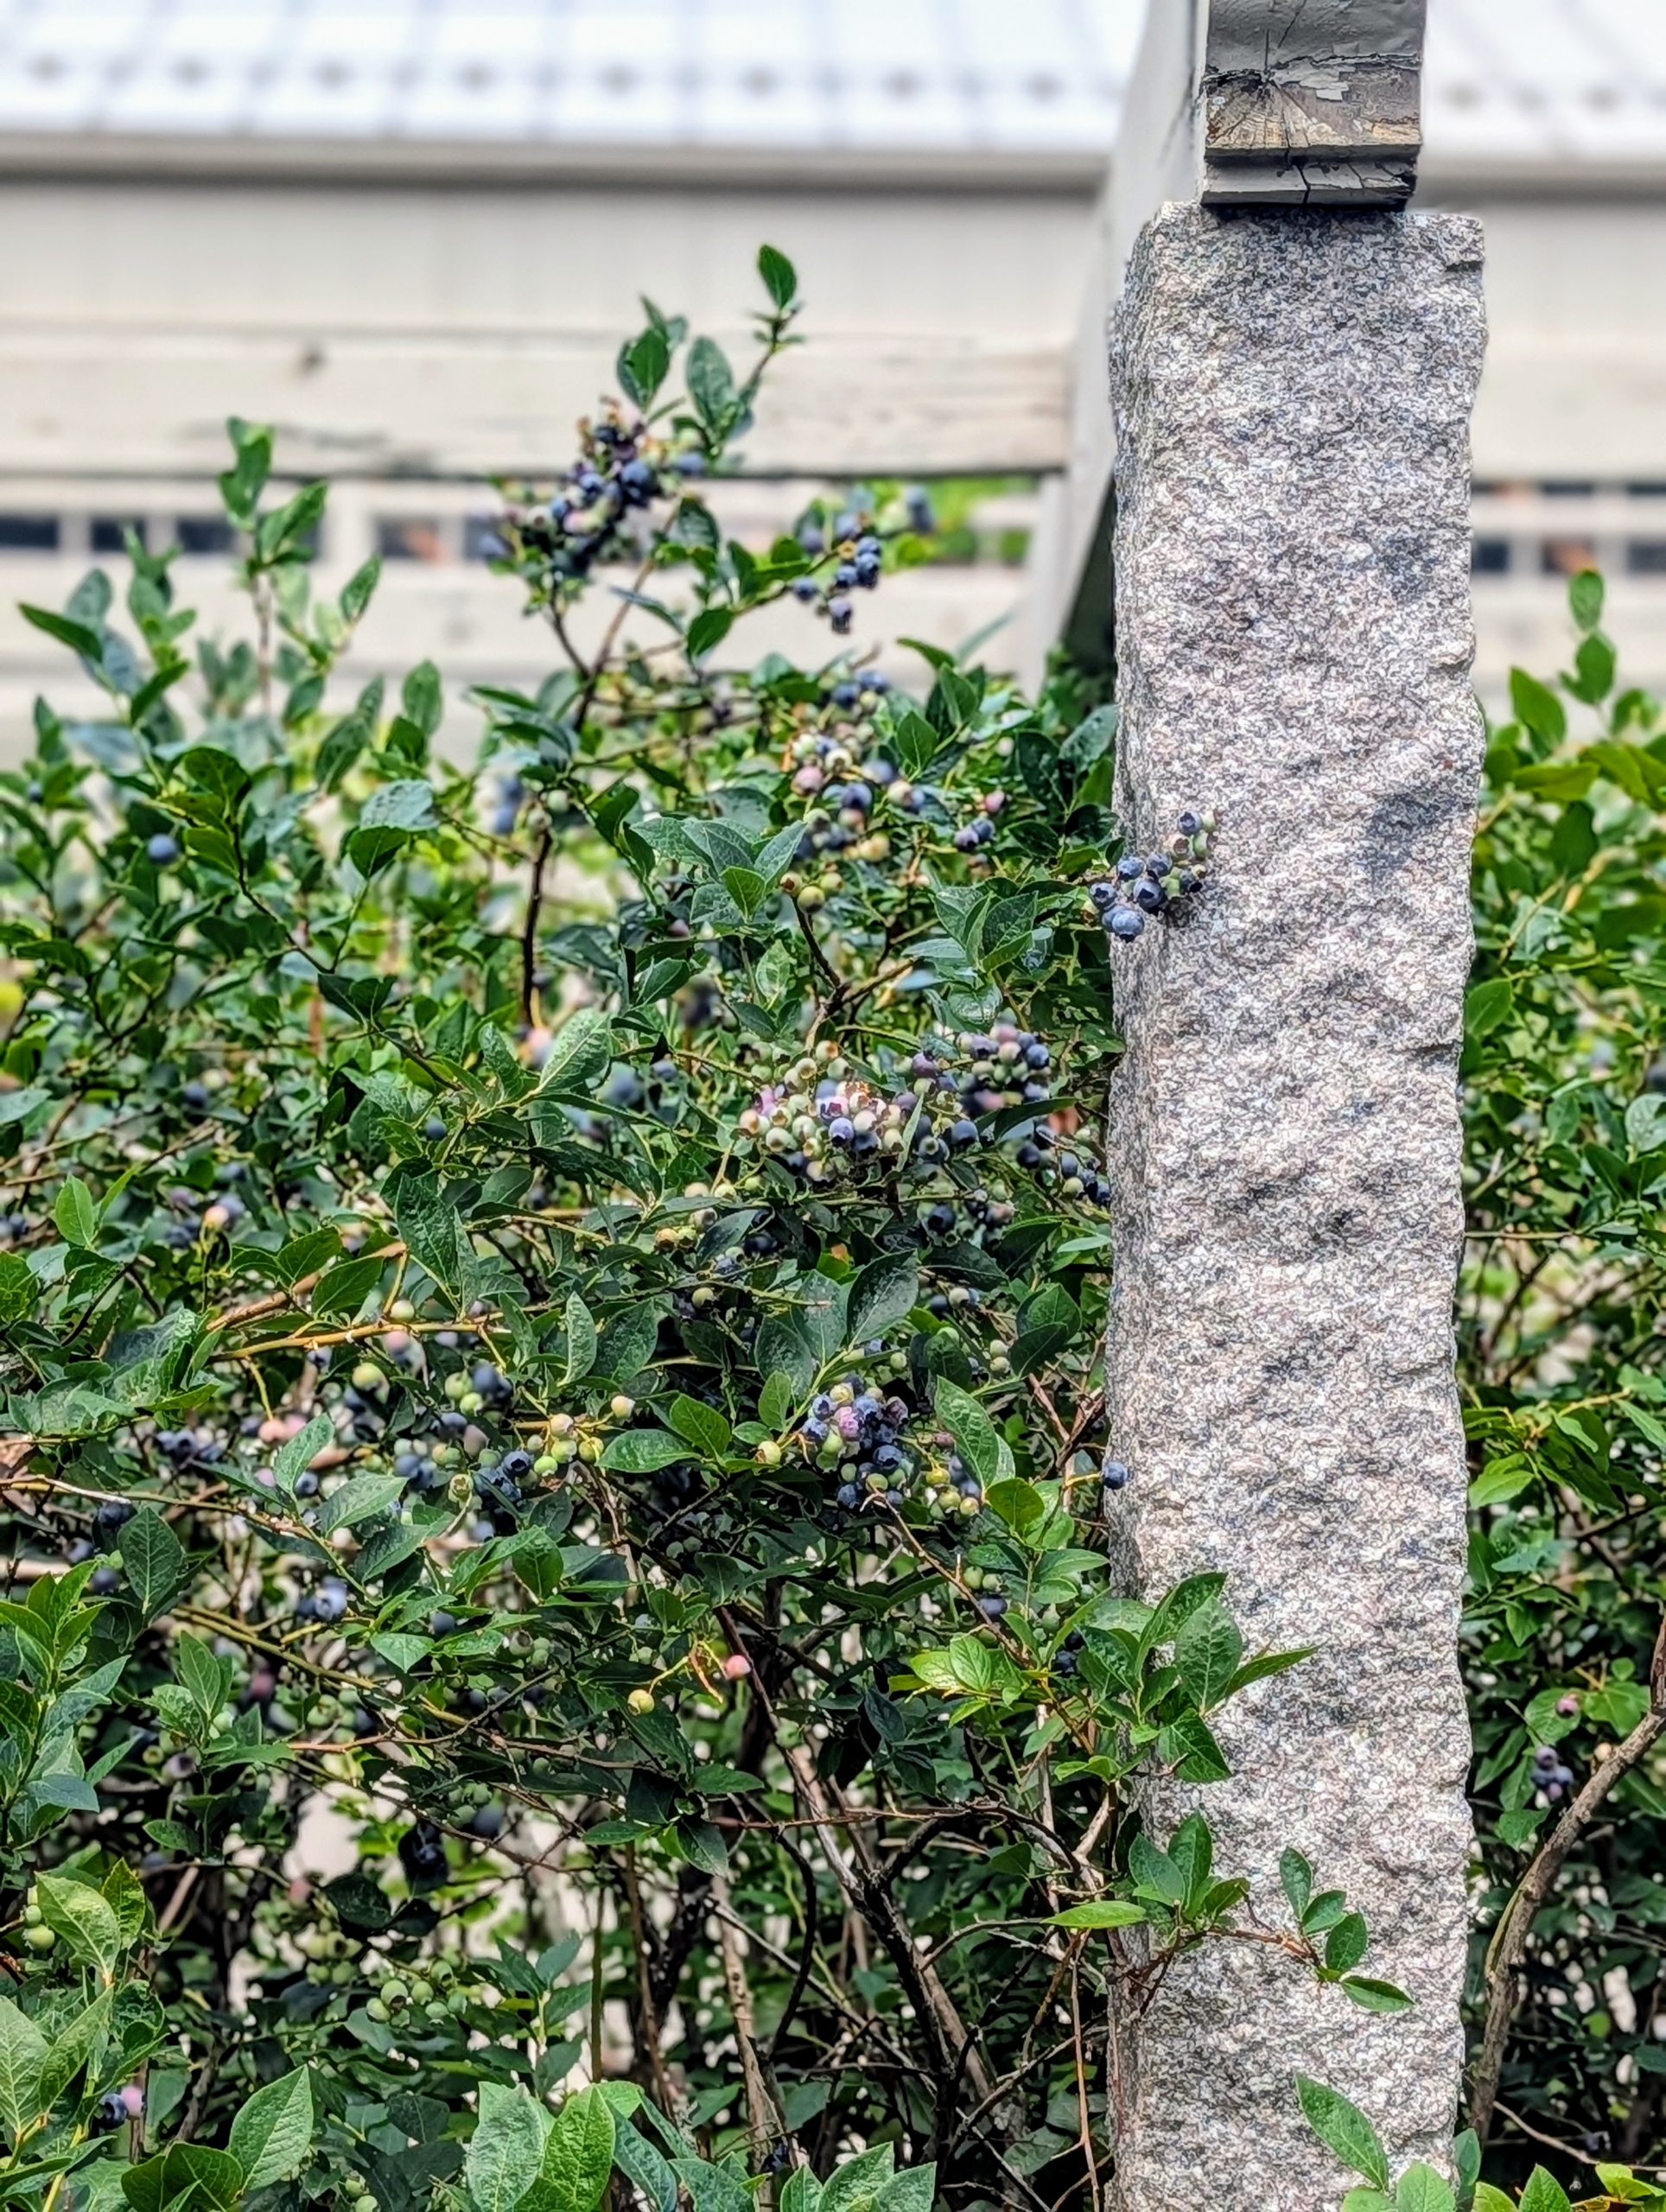
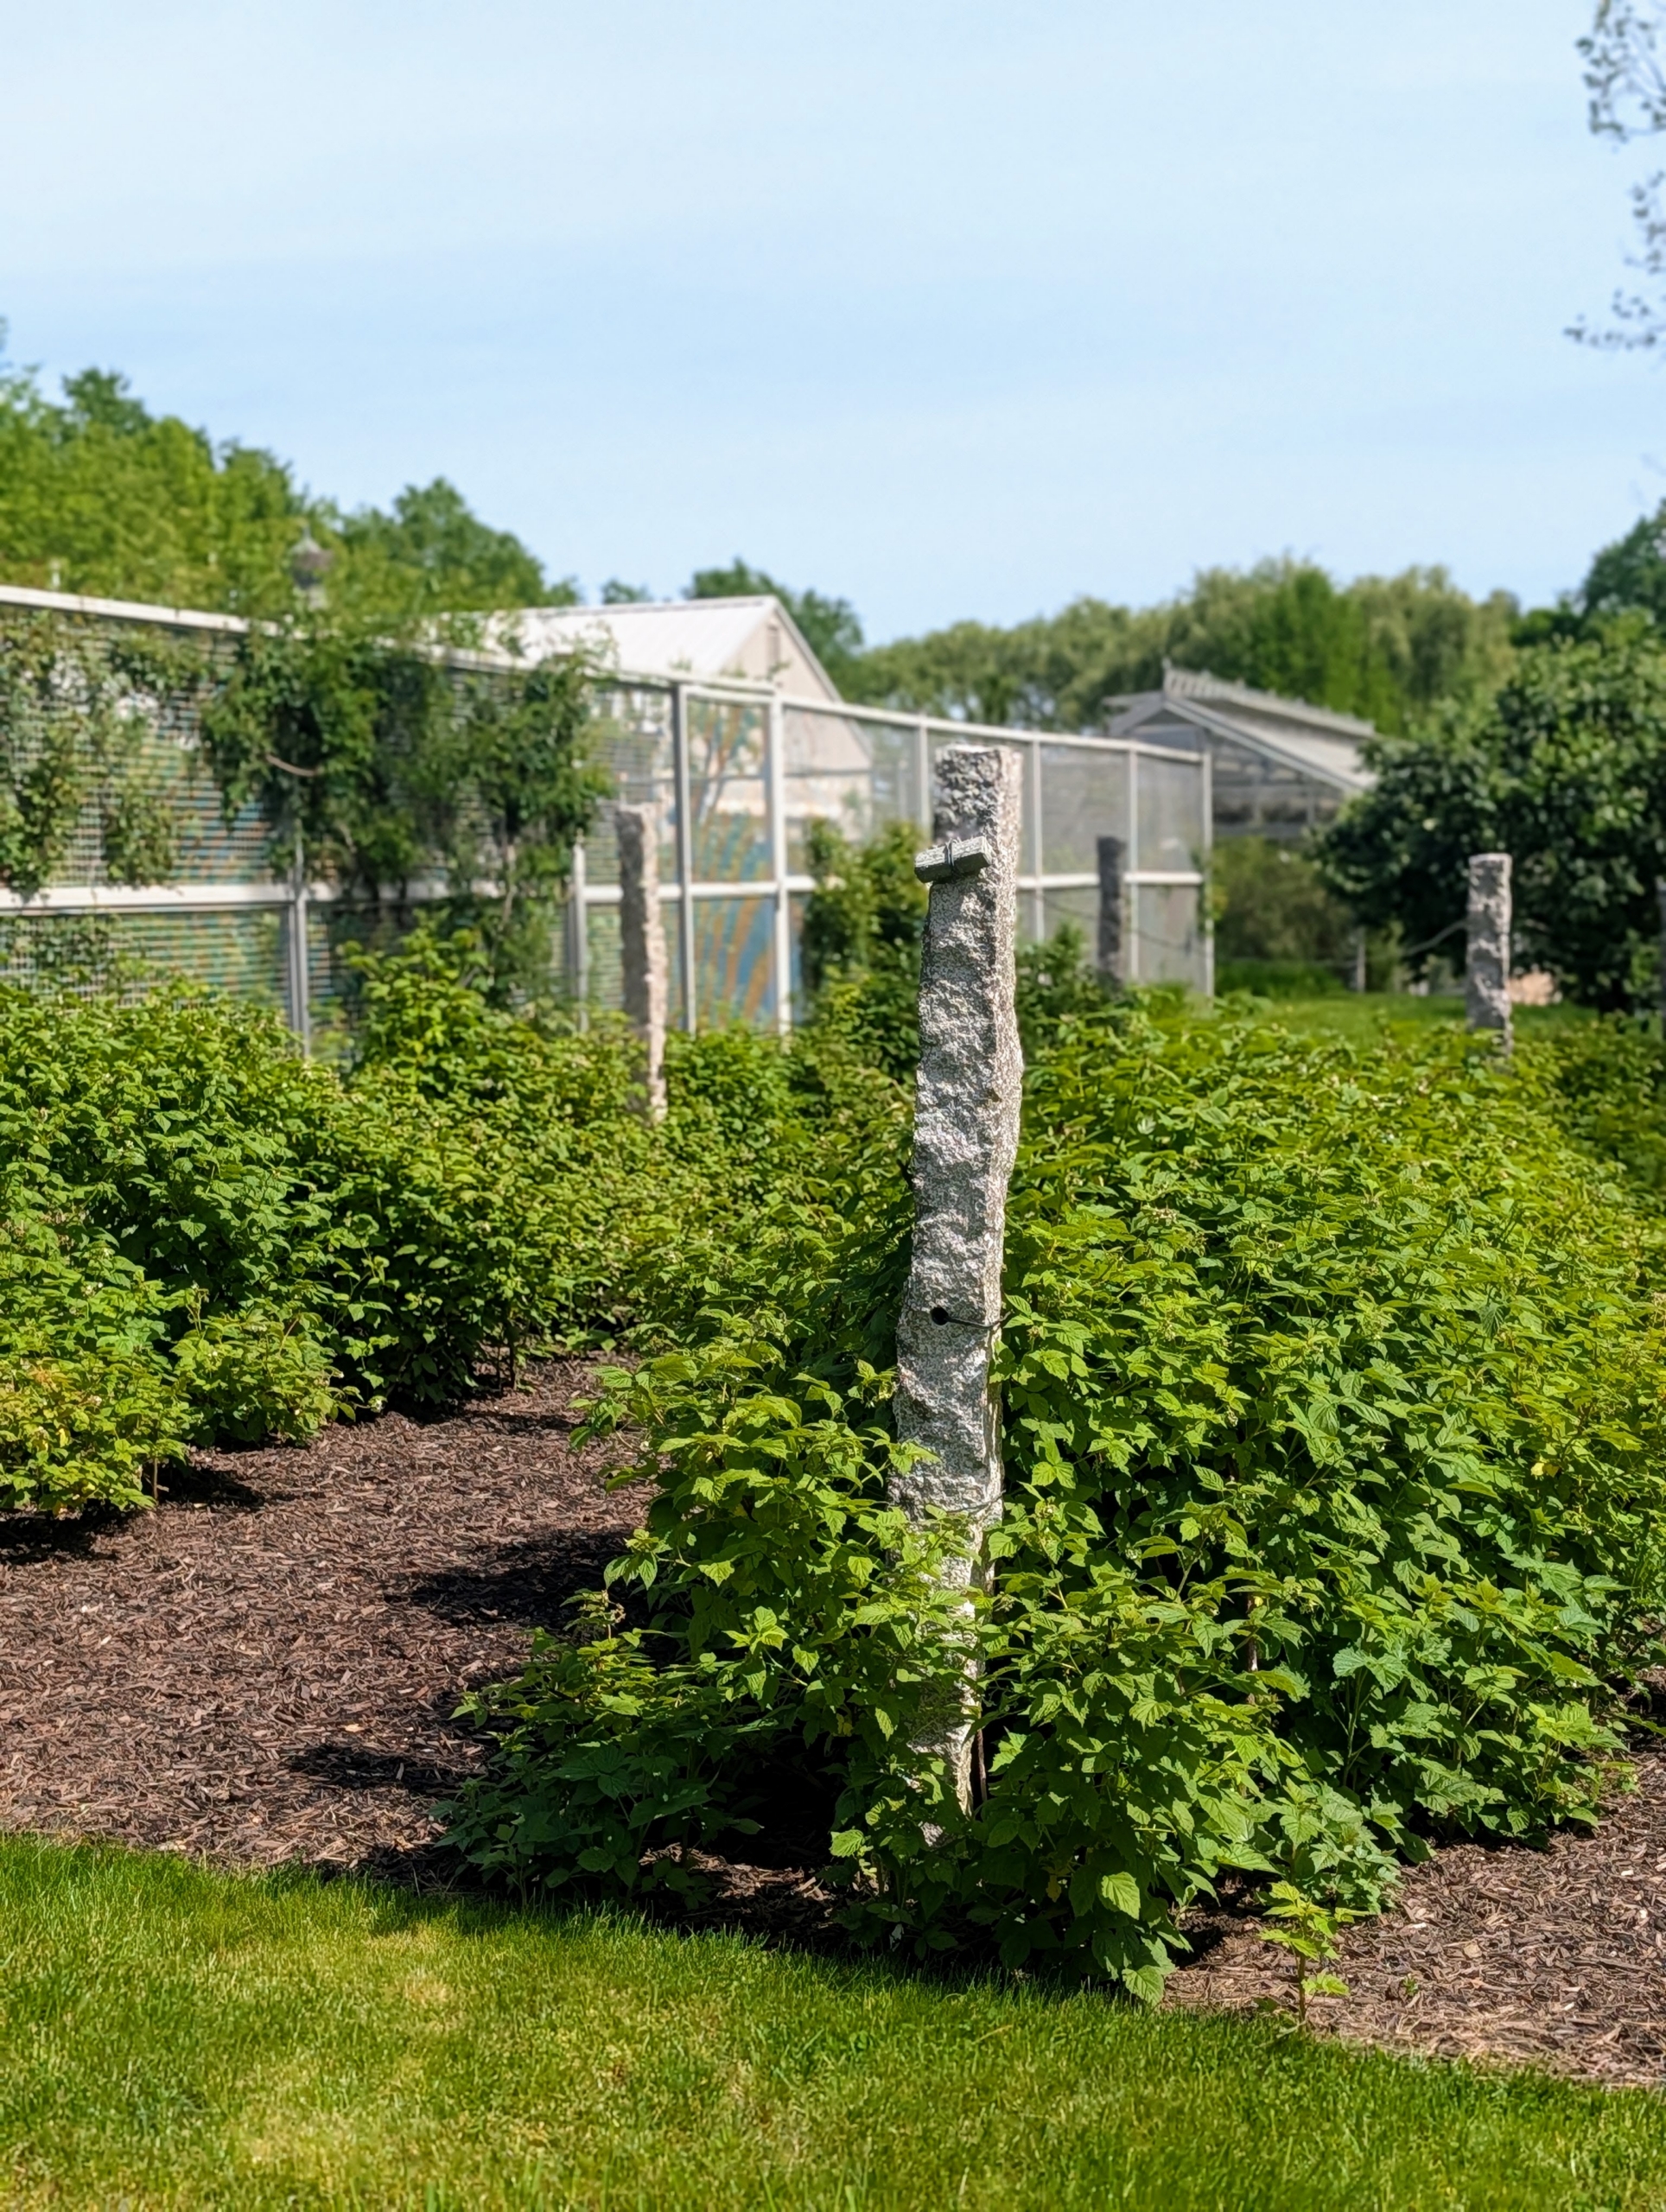
The posts supporting the pergola above are the same 18th-century Chinese granite uprights I use for the clematis pergola, my apple espaliers, and my raspberry bushes.
Every year around this time, the patch is checked often until the berries are ready for picking.
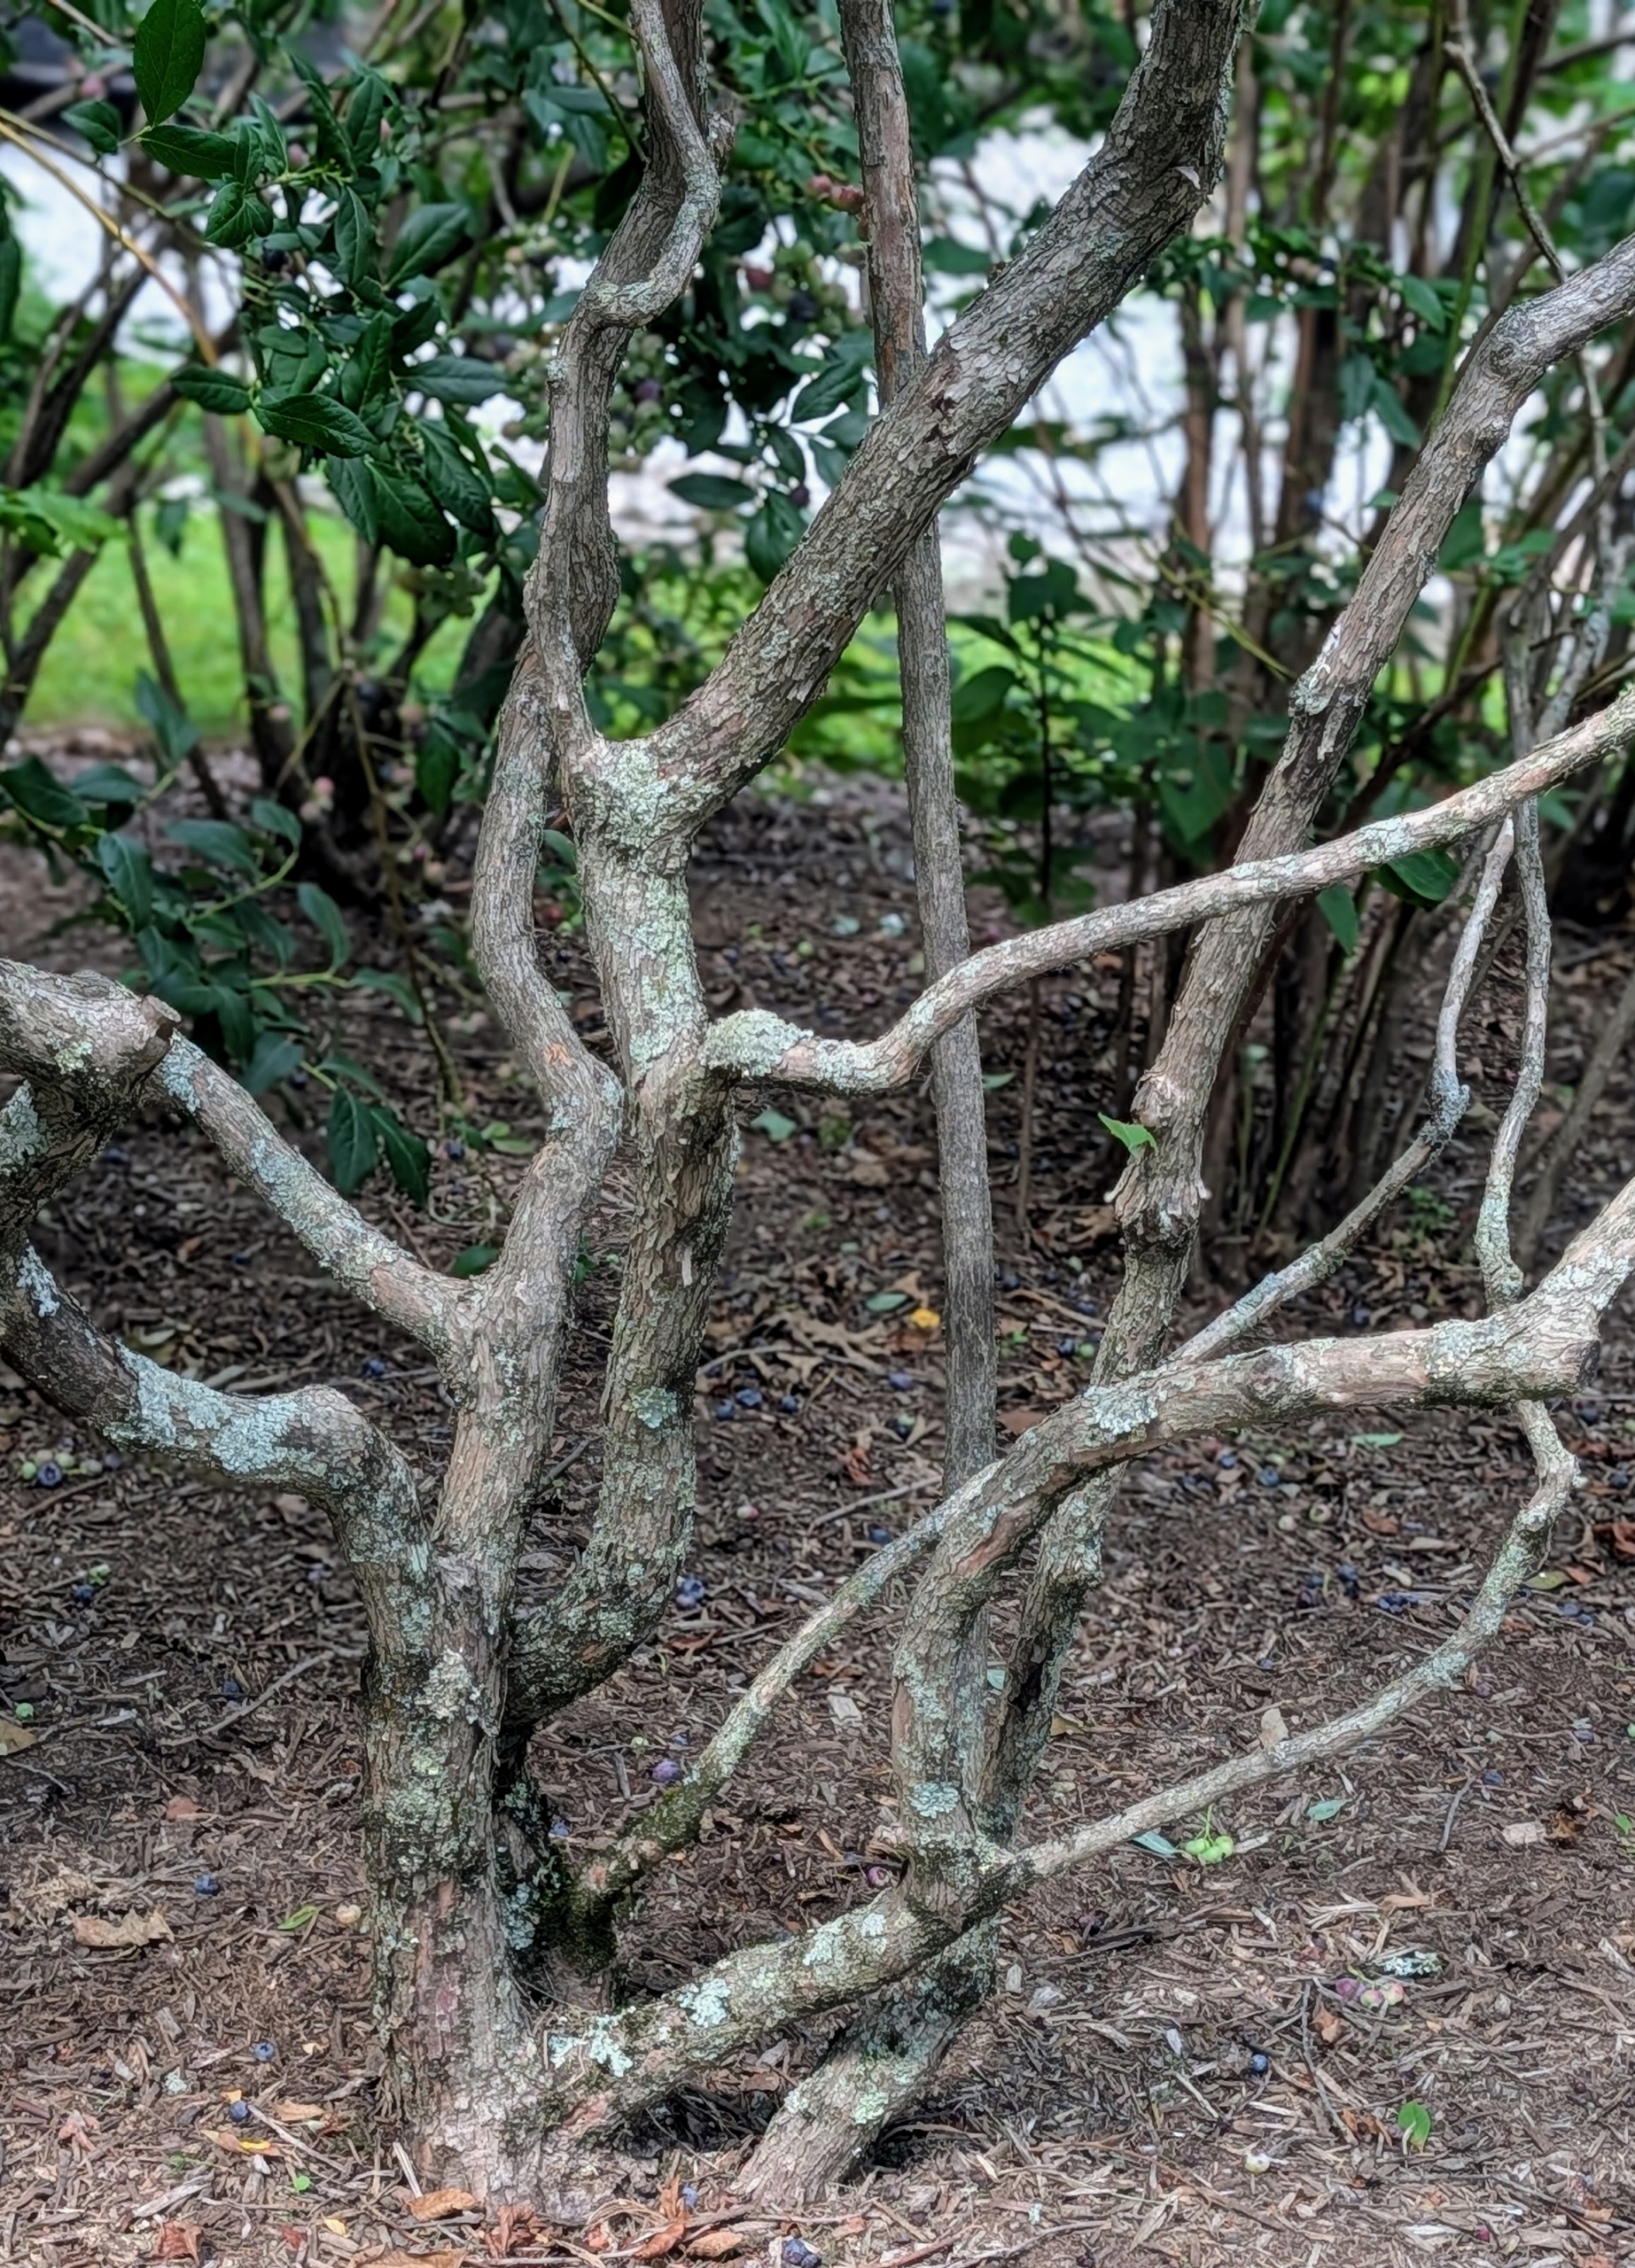
Standard blueberry bushes grow about six to 10-feet tall. New shoots grow from the crown under the soil.
At the base, blueberry shrubs have multiple canes growing directly out of the earth in clumps. The canes or branches are smooth and thornless. These bushes have done so well here at the farm. I am always so pleased with how prolific they are.
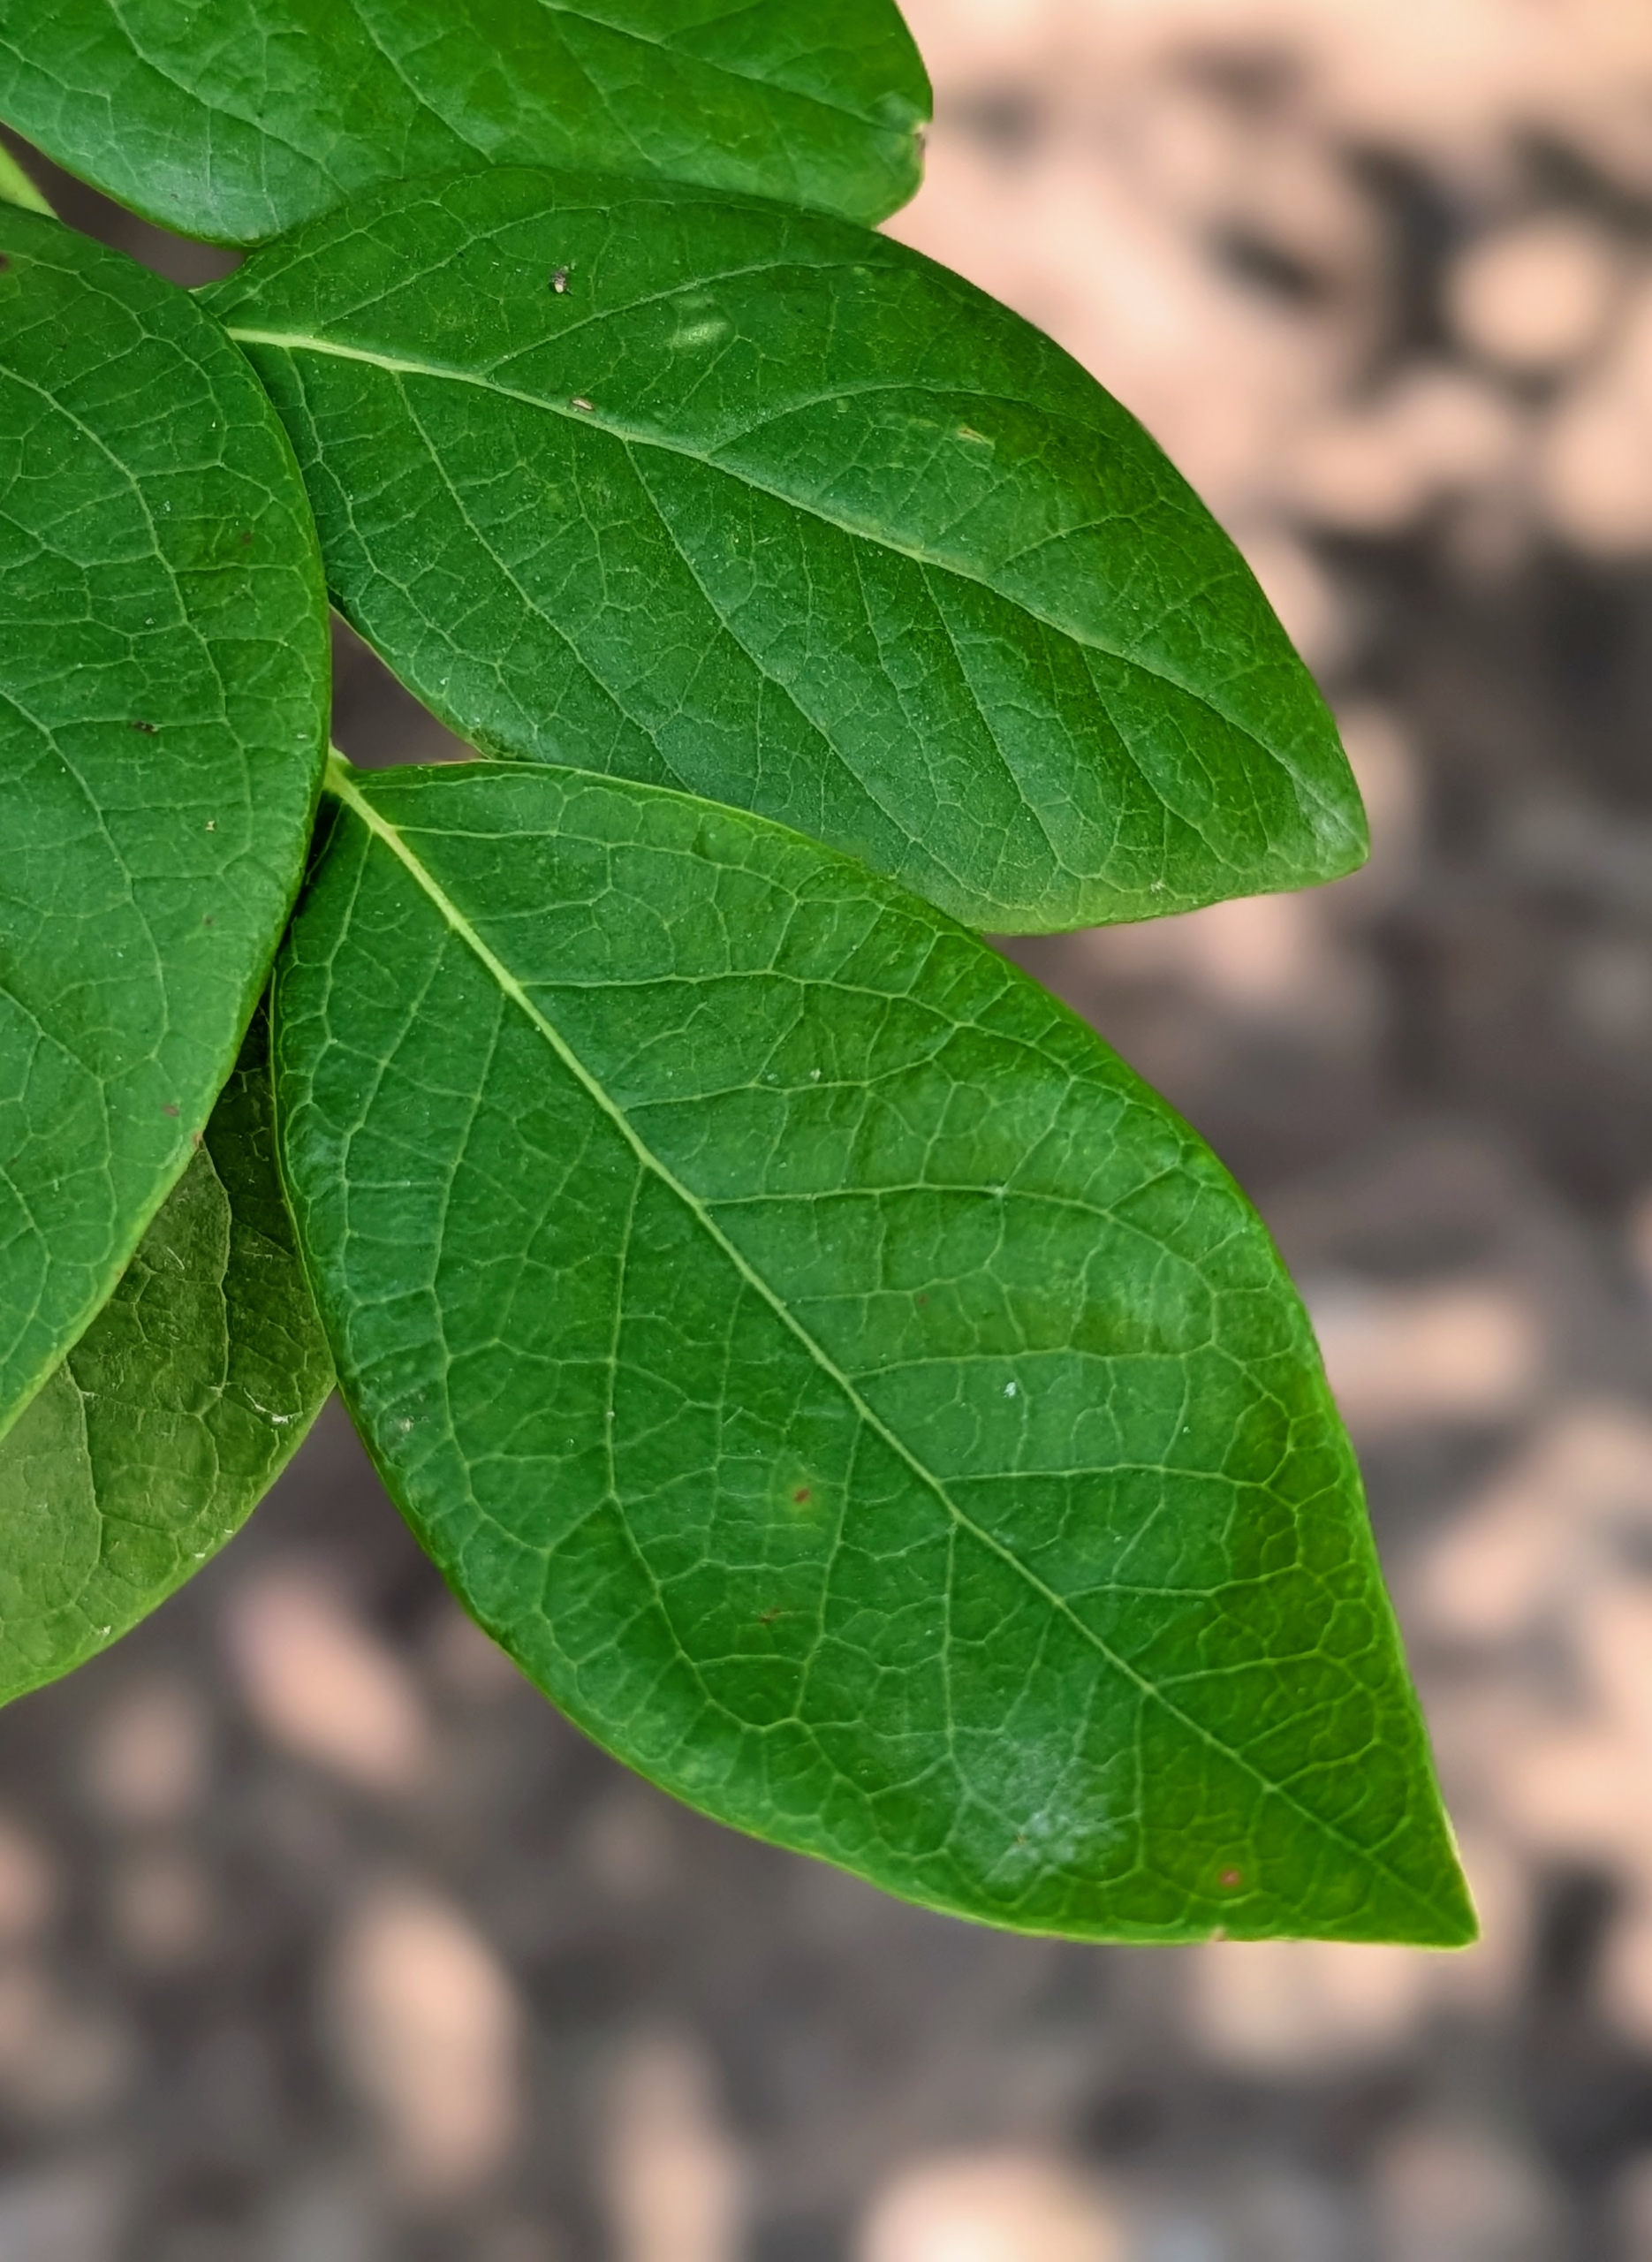
Blueberry bushes have glossy leaves that are green or bluish-green from spring through summer. The leaves are ovate, in an irregular oval or slightly egg shape that is wider at the bottom than the top. Blueberry leaves can also be harvested and dried for teas.
Blueberries are easy to grow when provided with acidic soil, consistent moisture, and adequate sunlight.
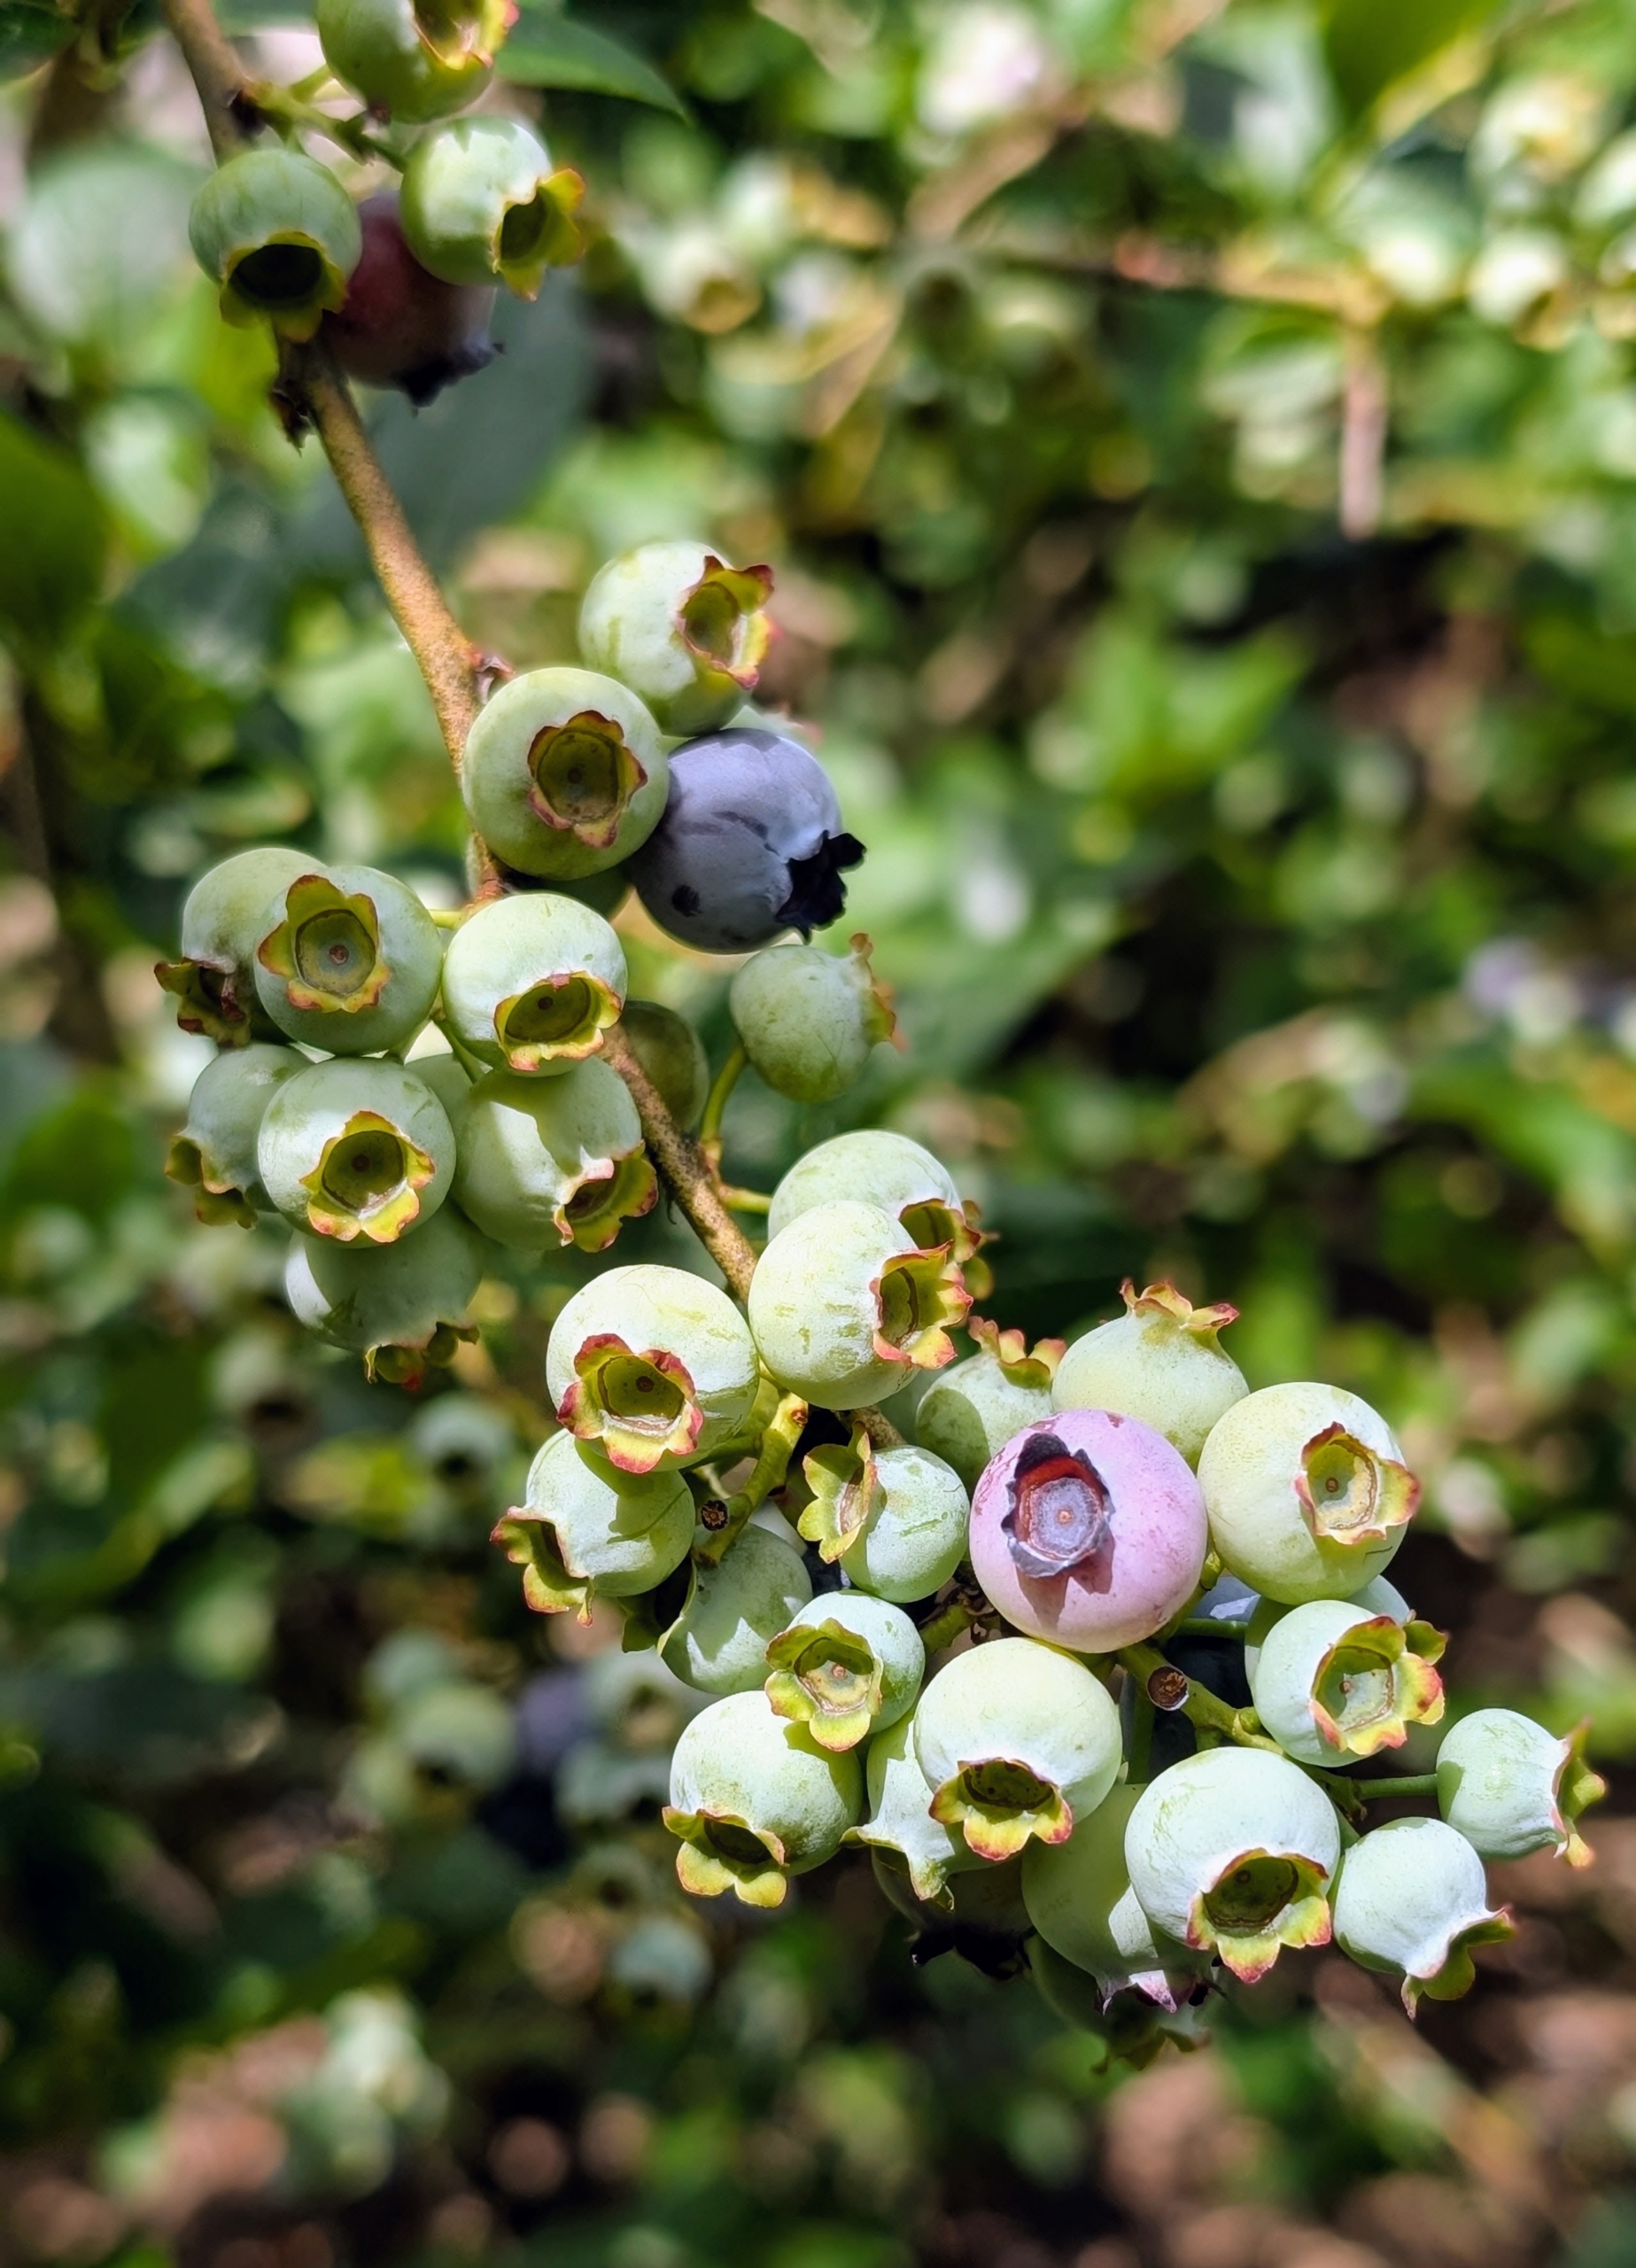
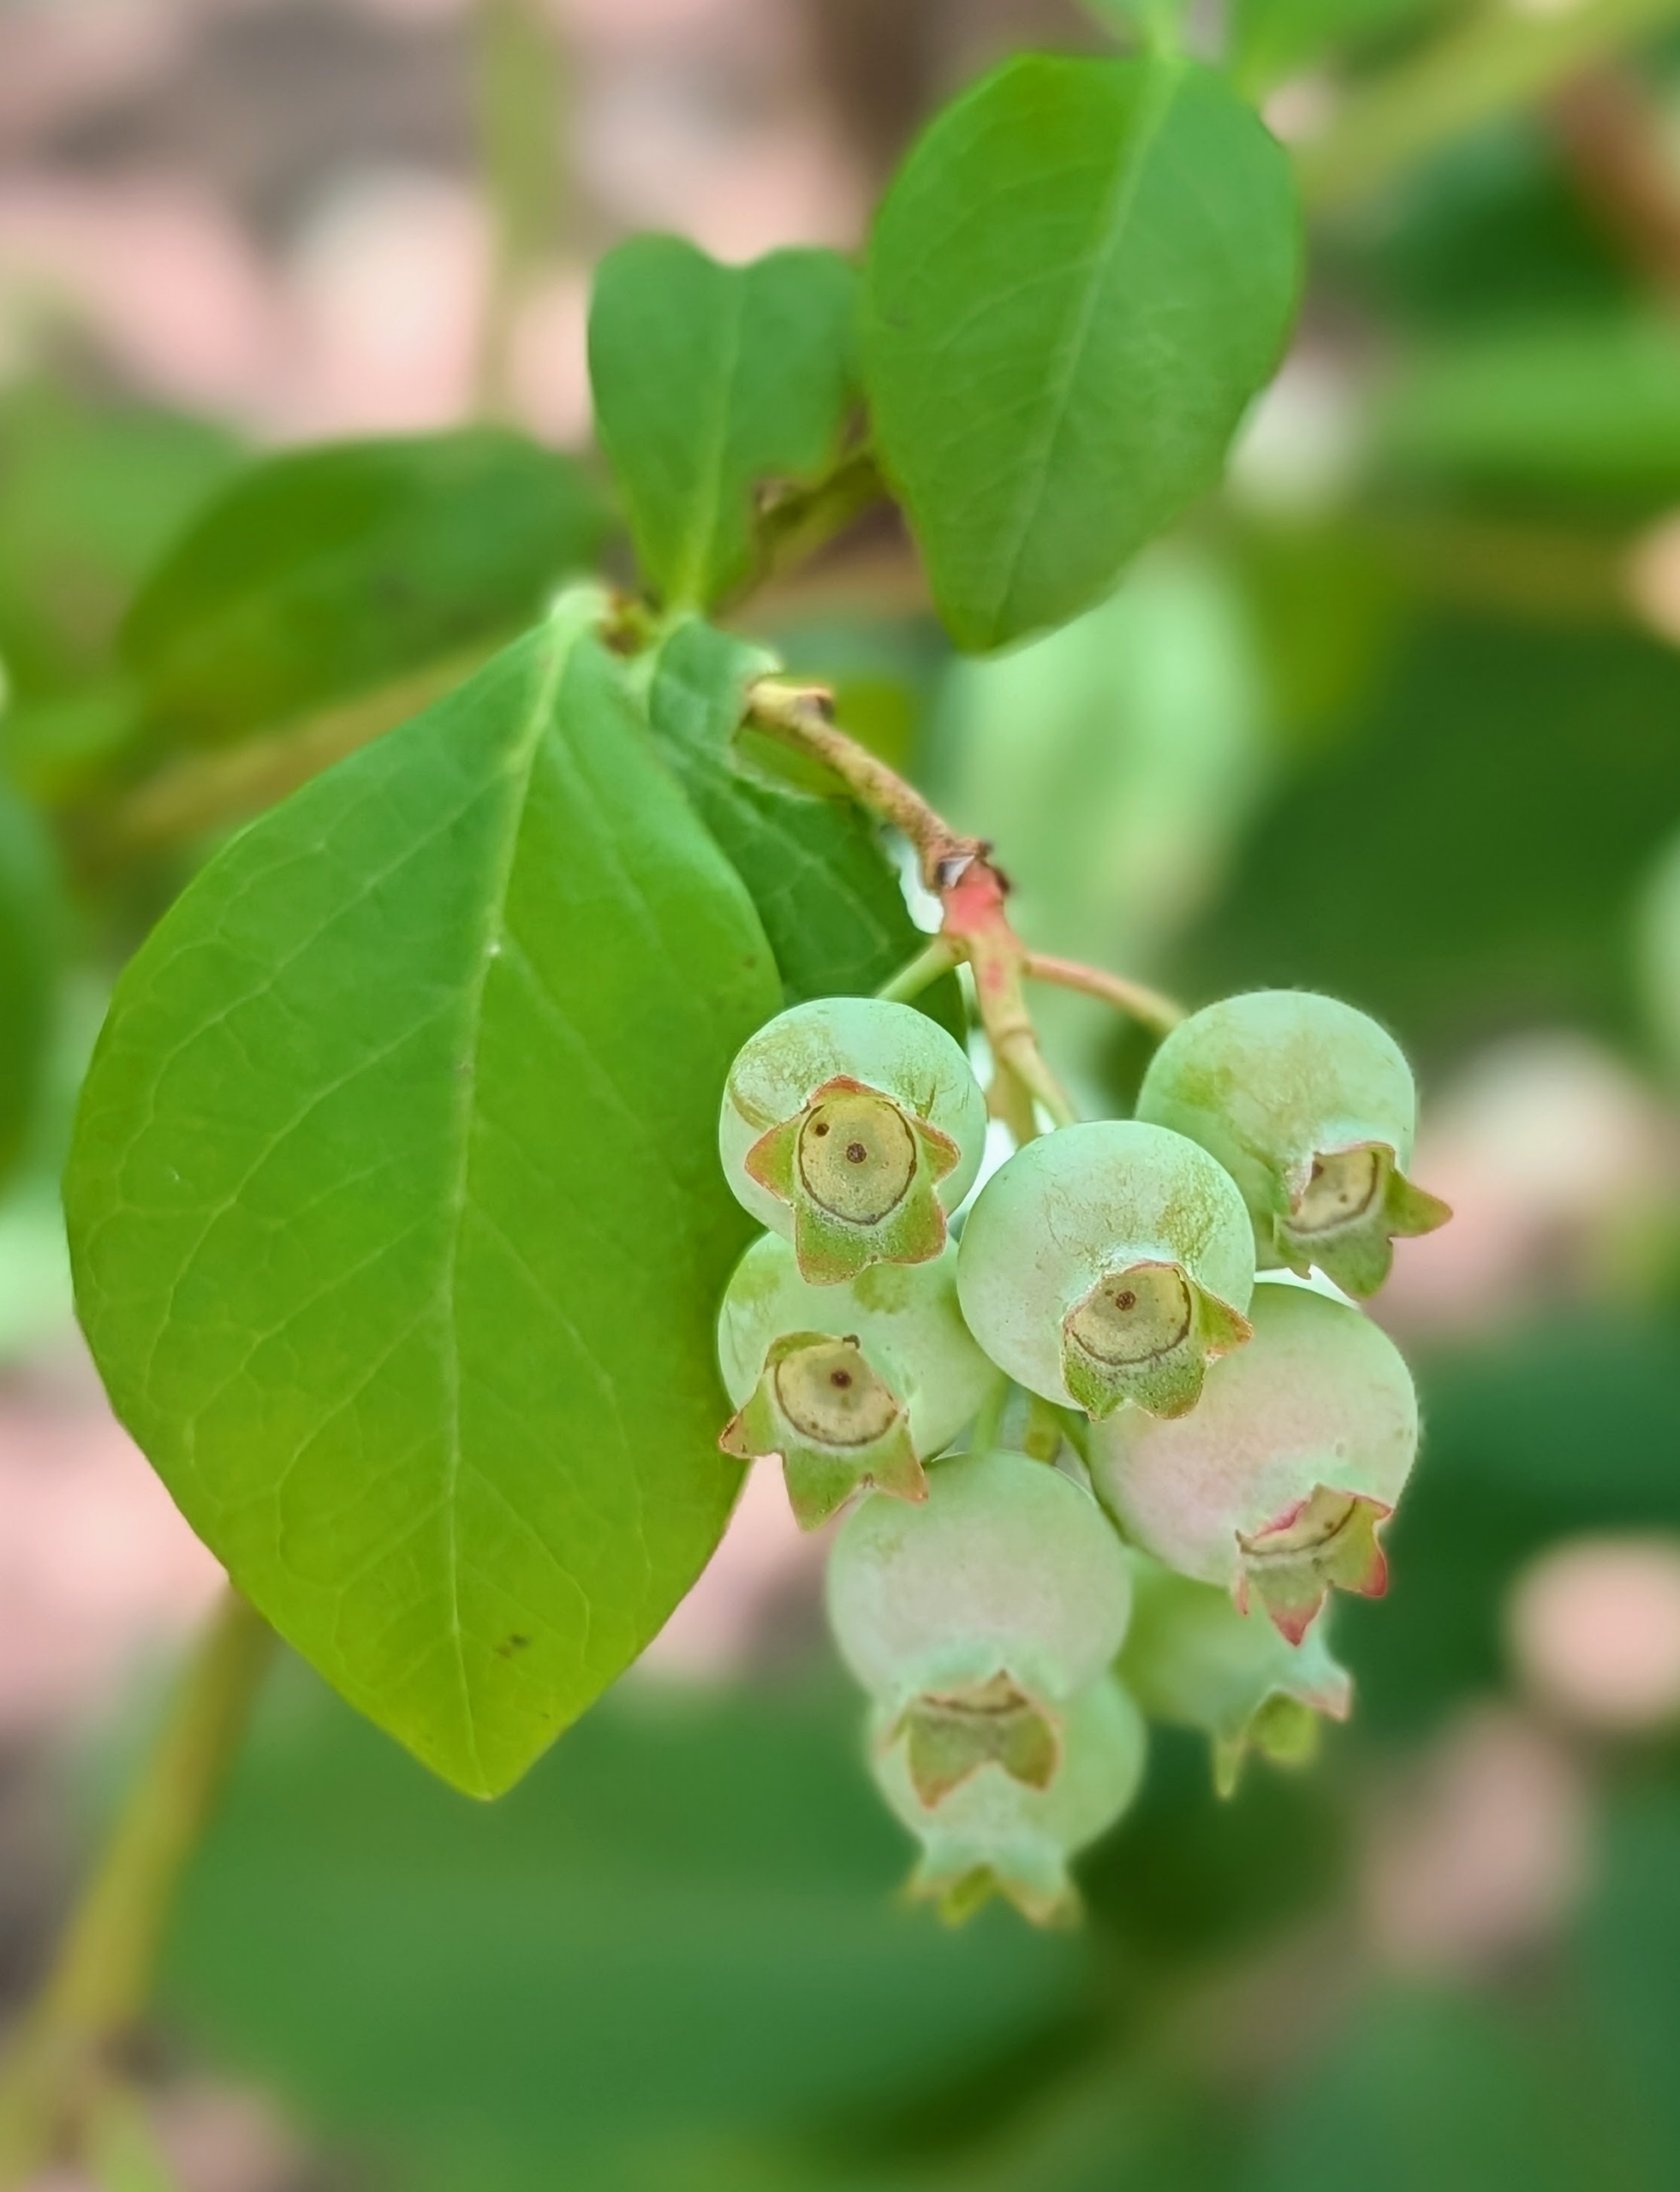
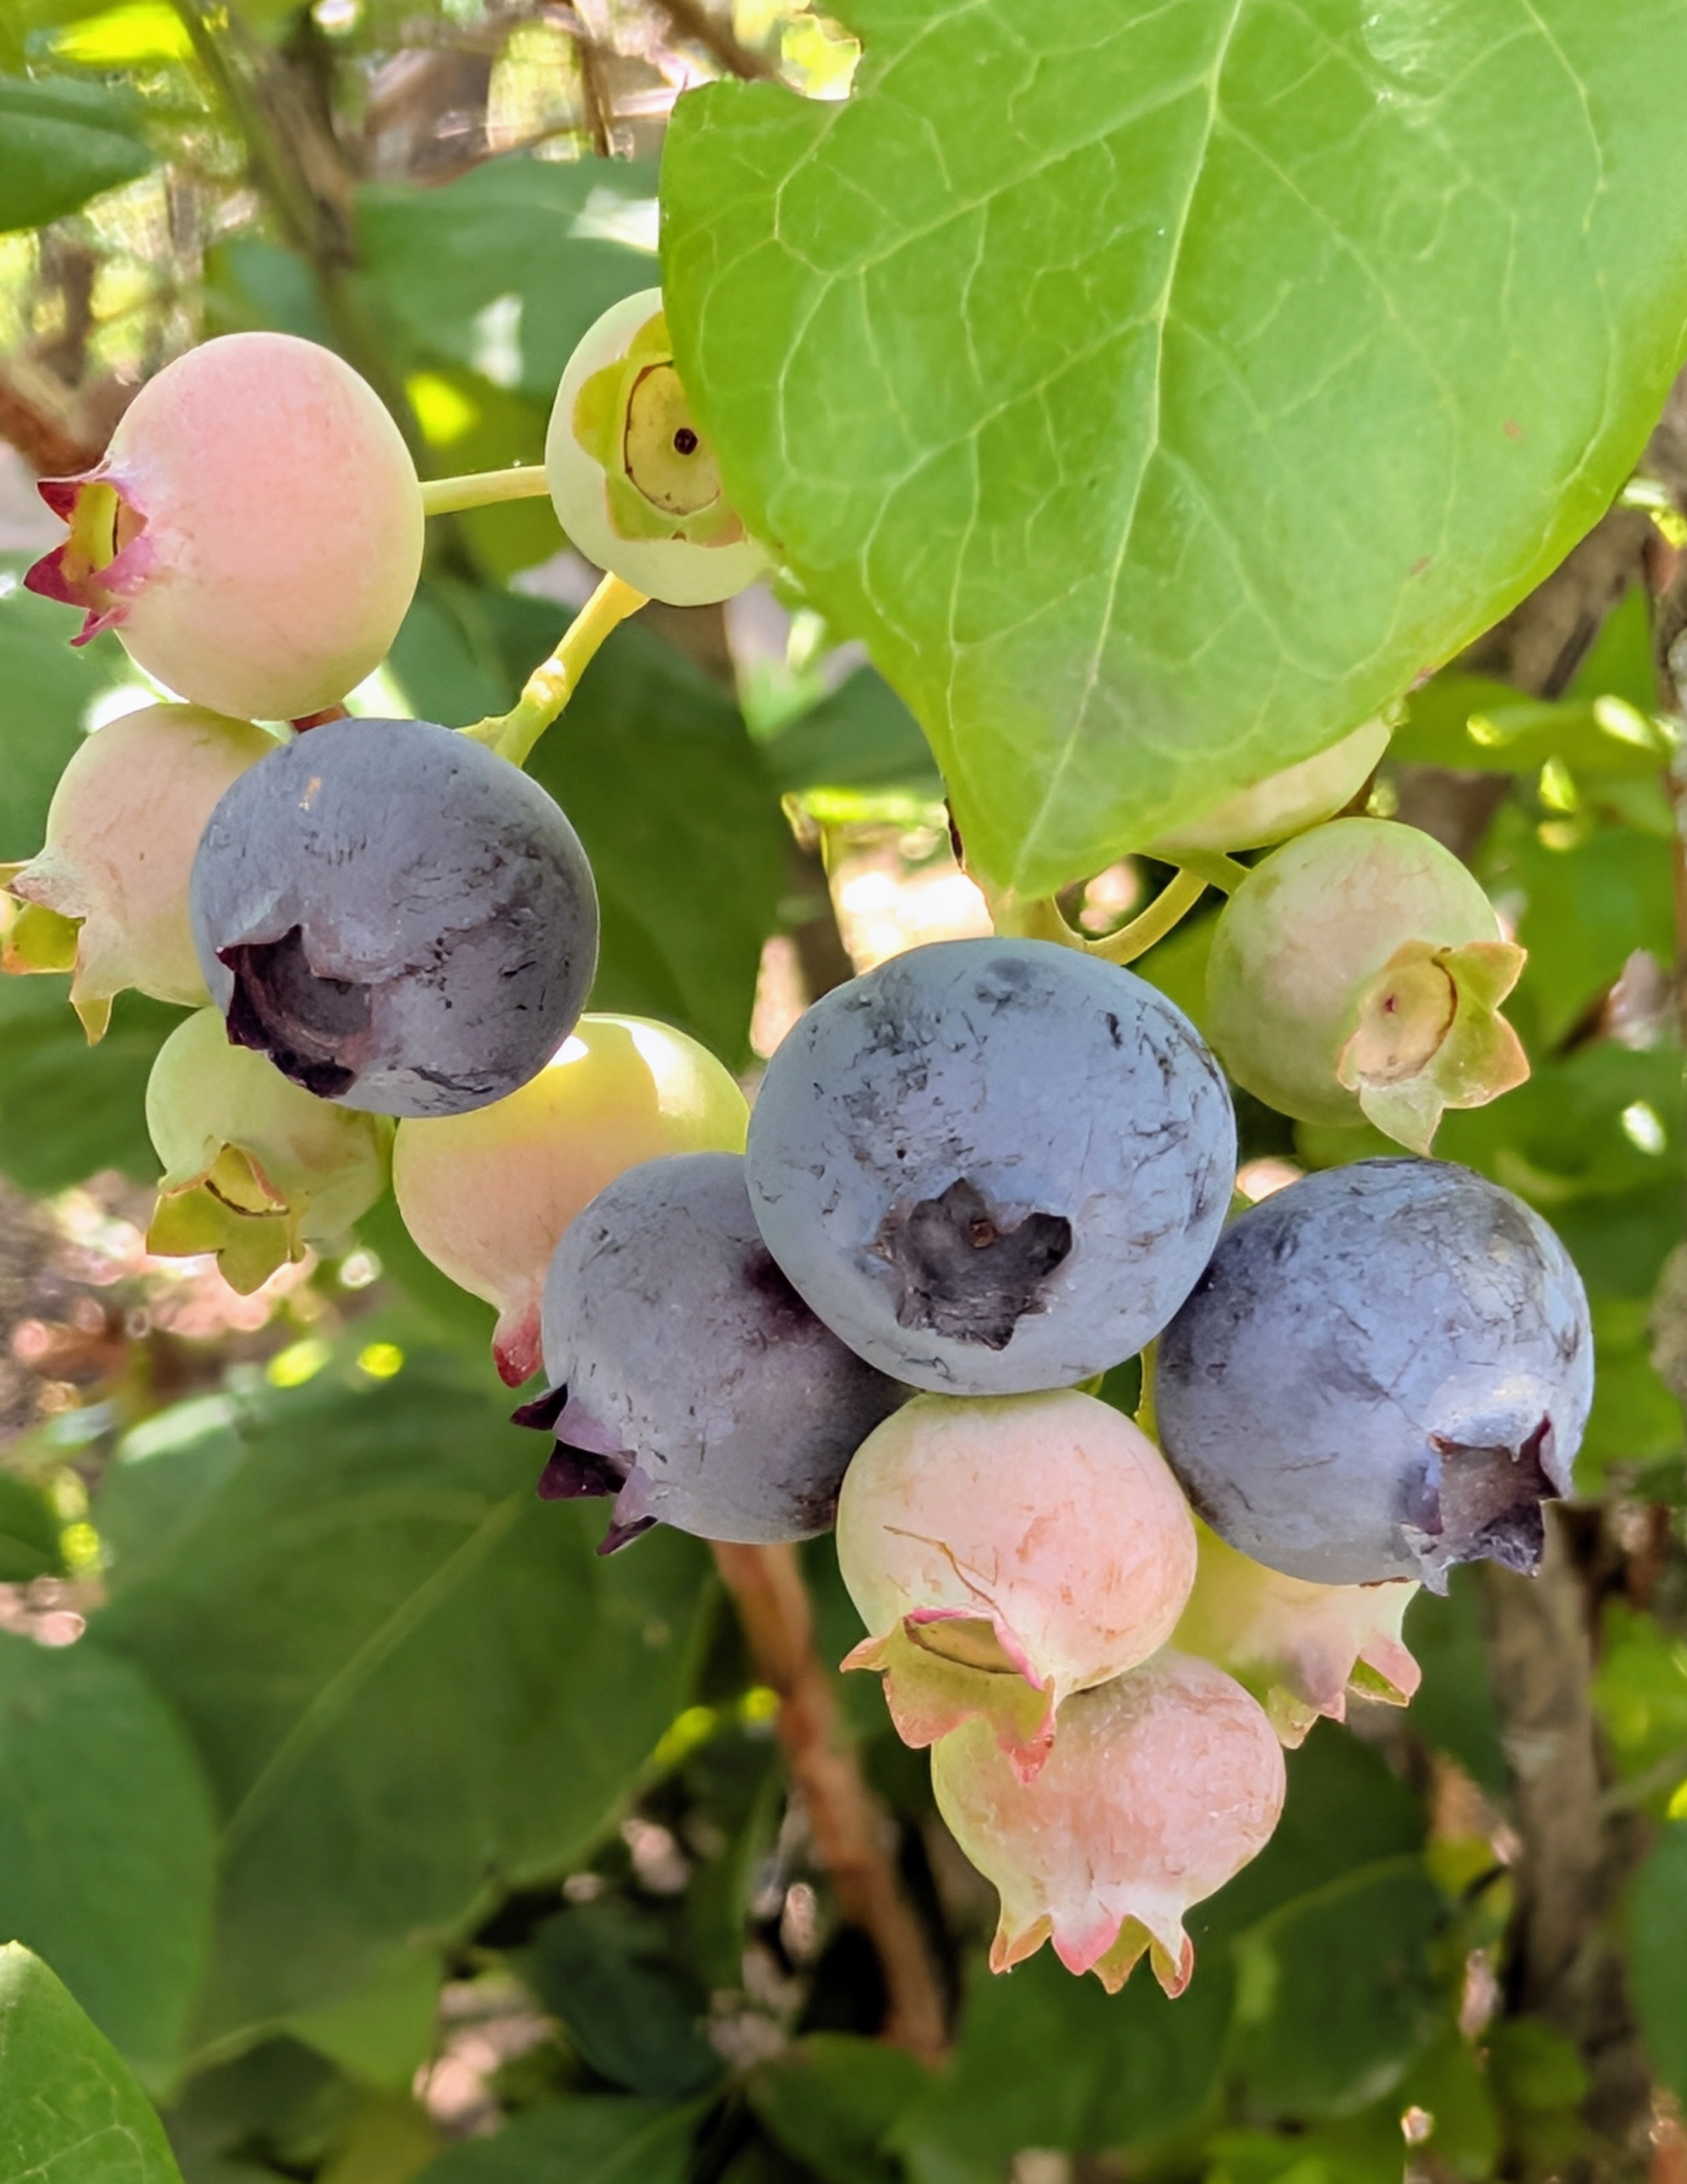
When the blueberries start growing they are pale green.
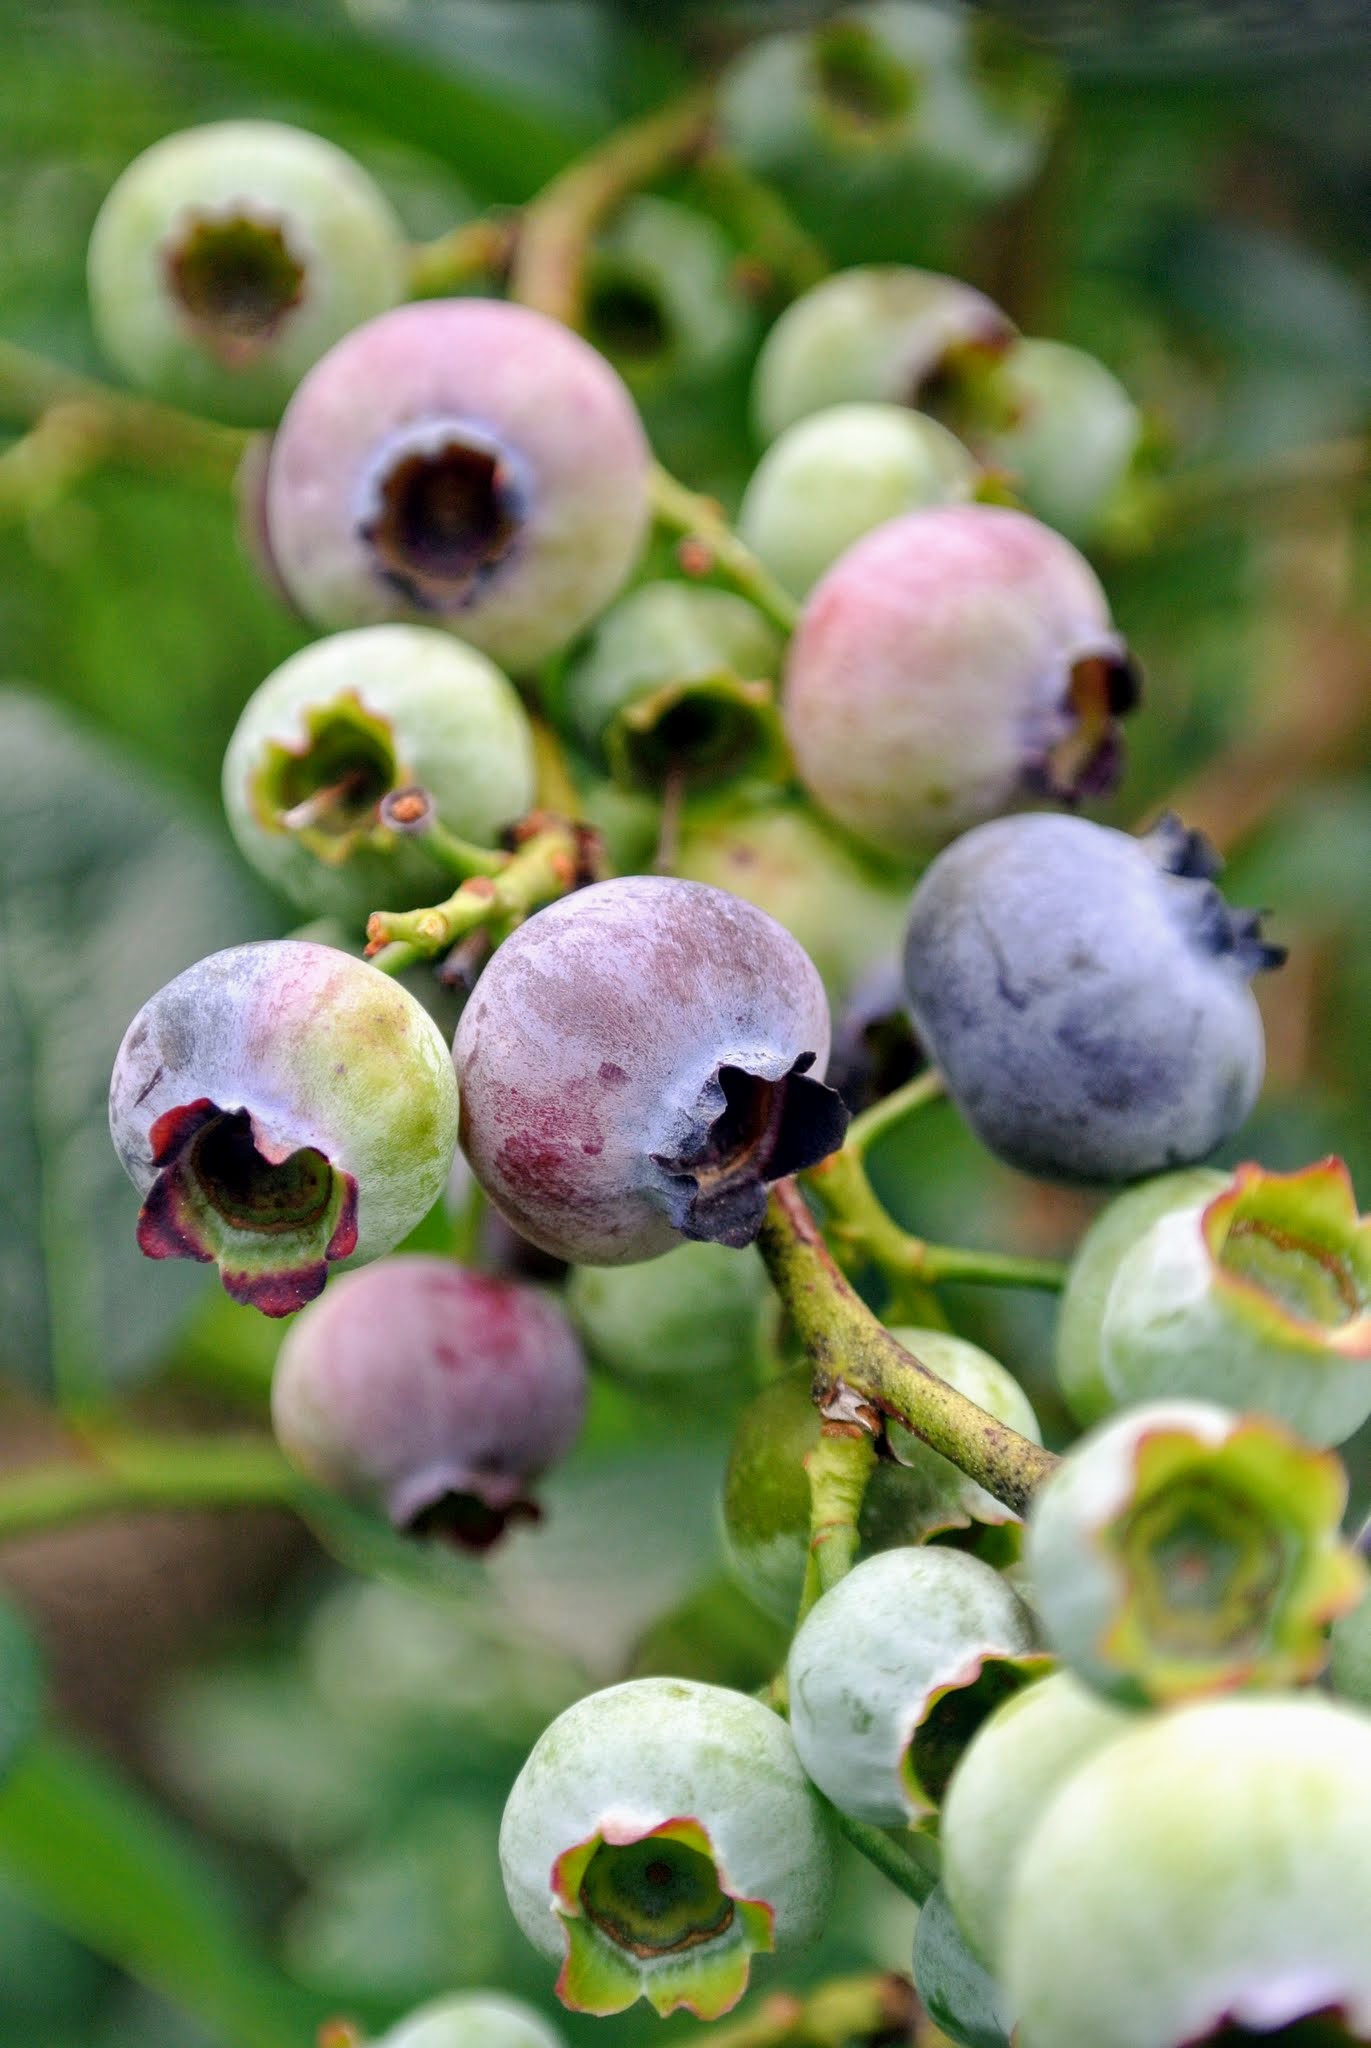
Days later, they turn reddish-purple.
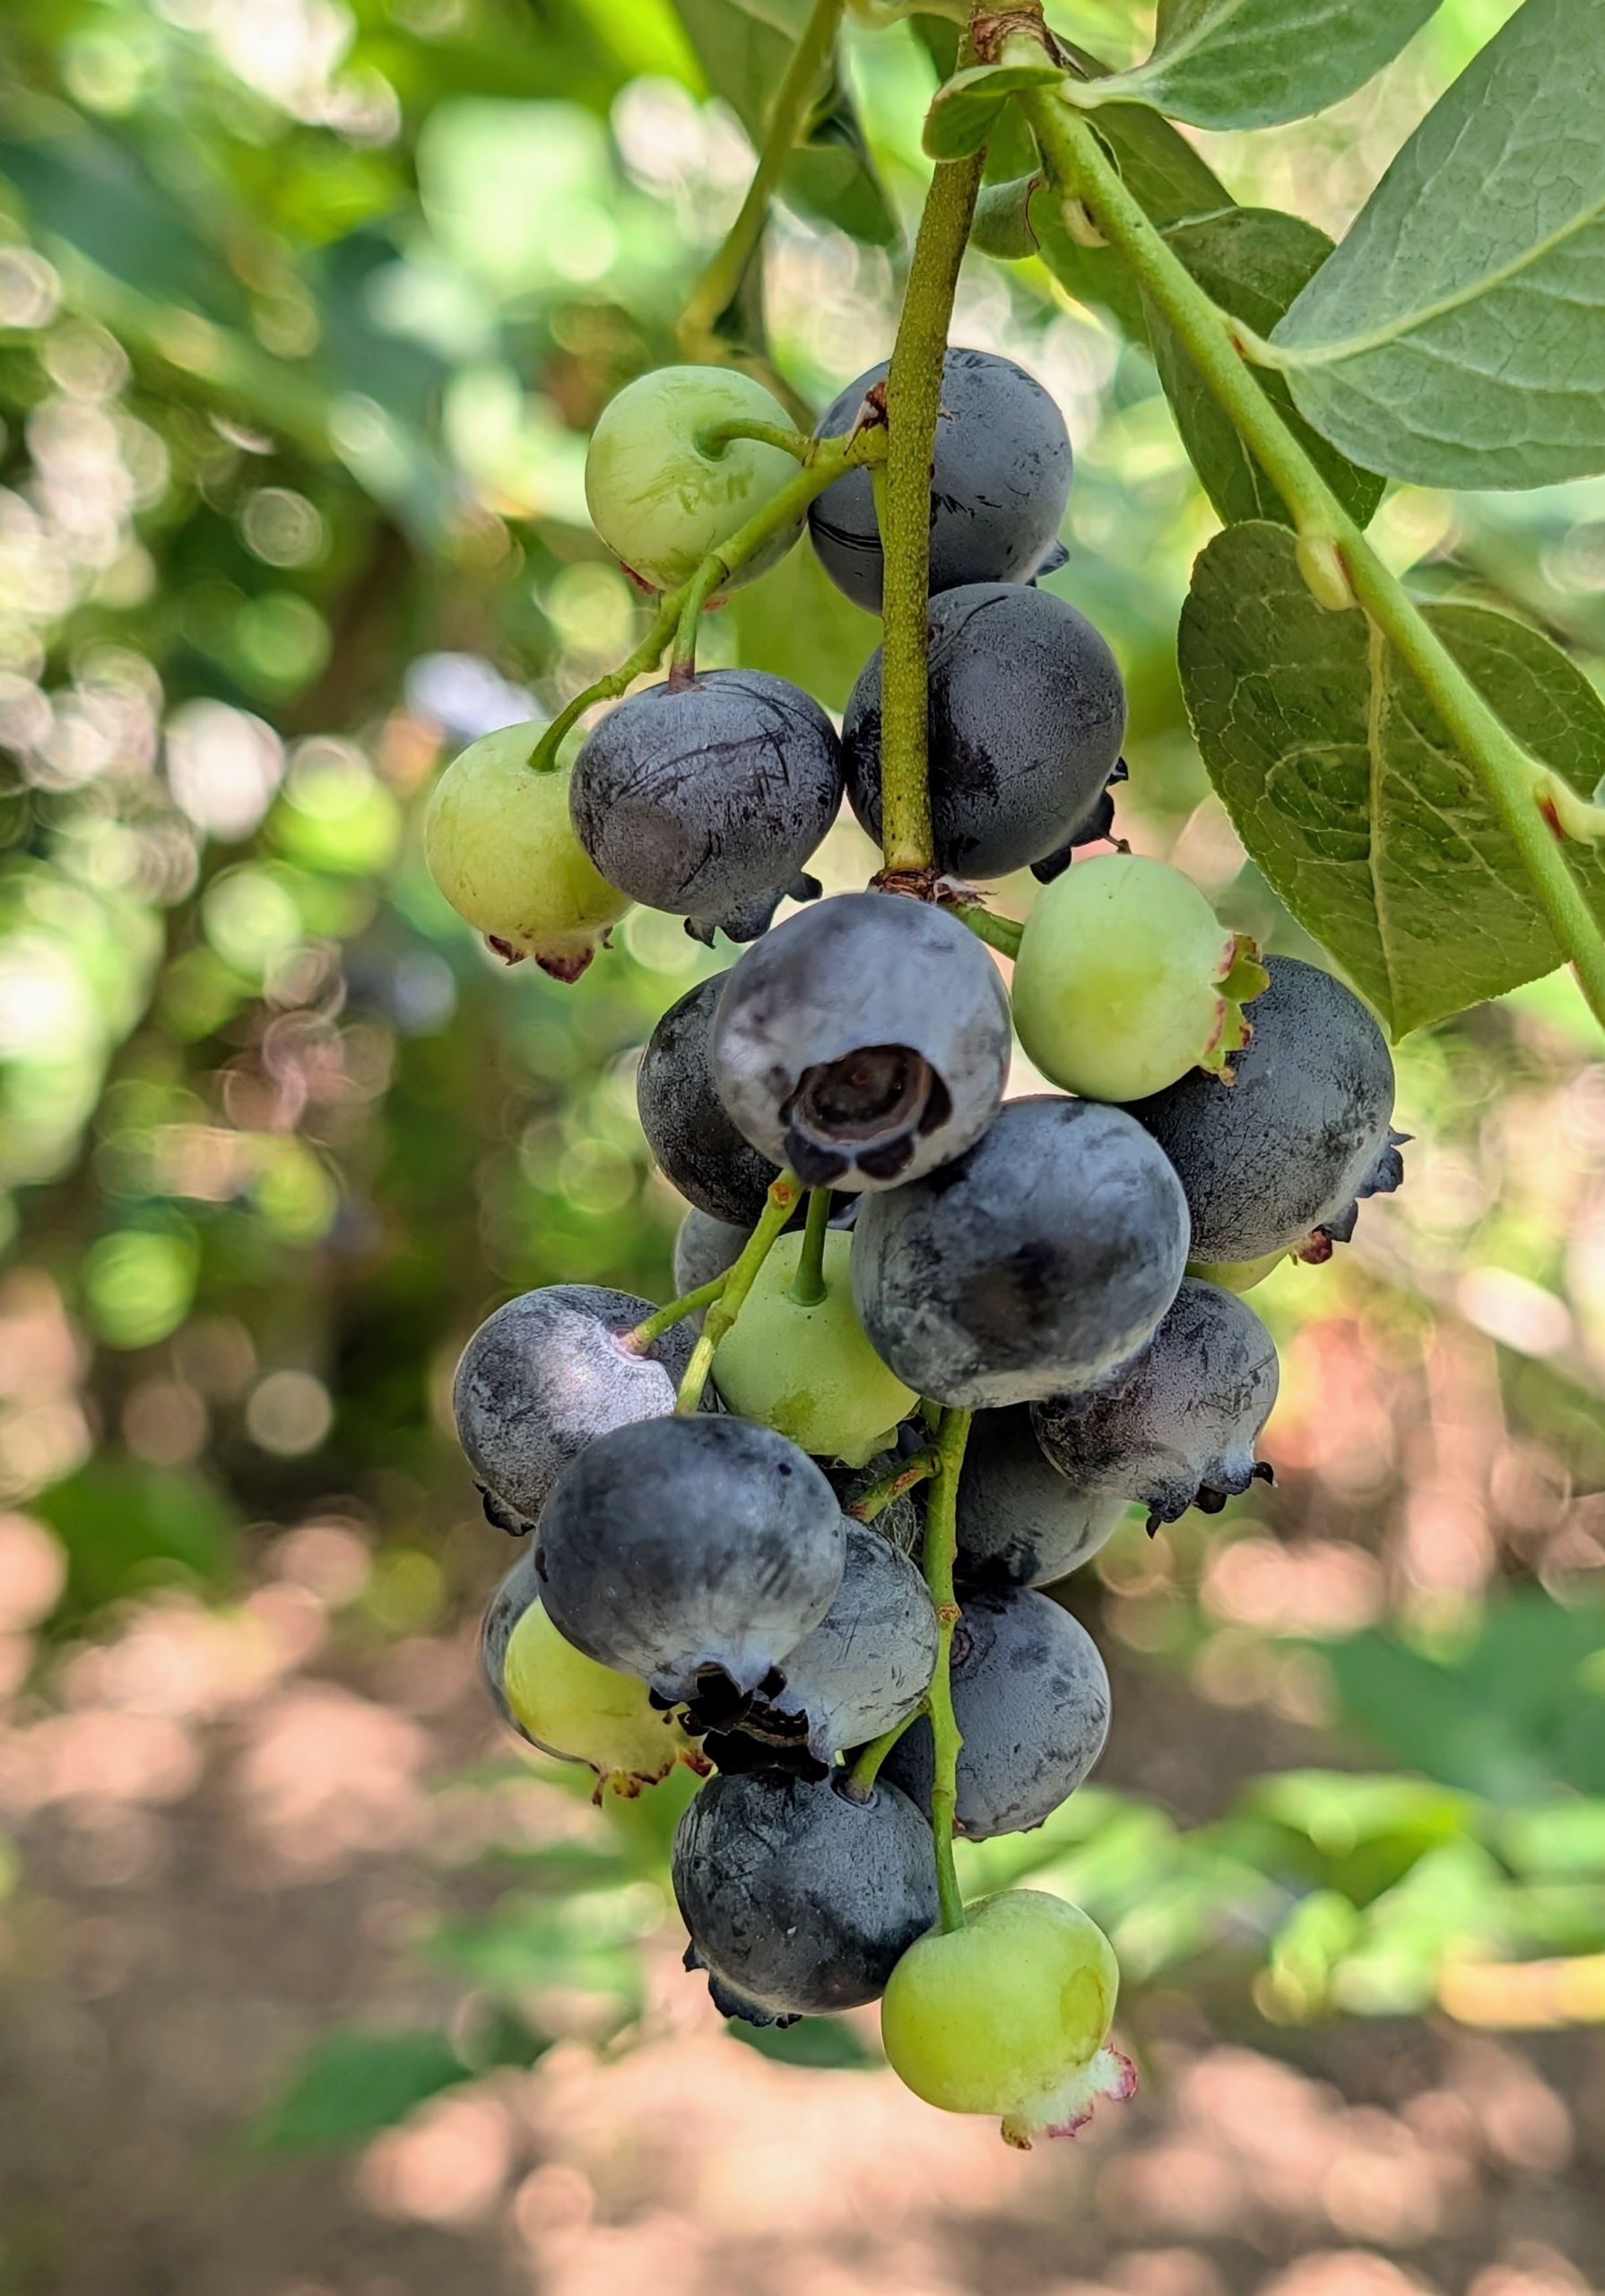
And finally they deepen to a more uniform dark purple-blue when ripe. The full transformation to deep blue typically takes about one to two weeks depending on the variety, climate and growing conditions.
And blueberries don’t actually reach their full flavor until a few days after they turn blue.
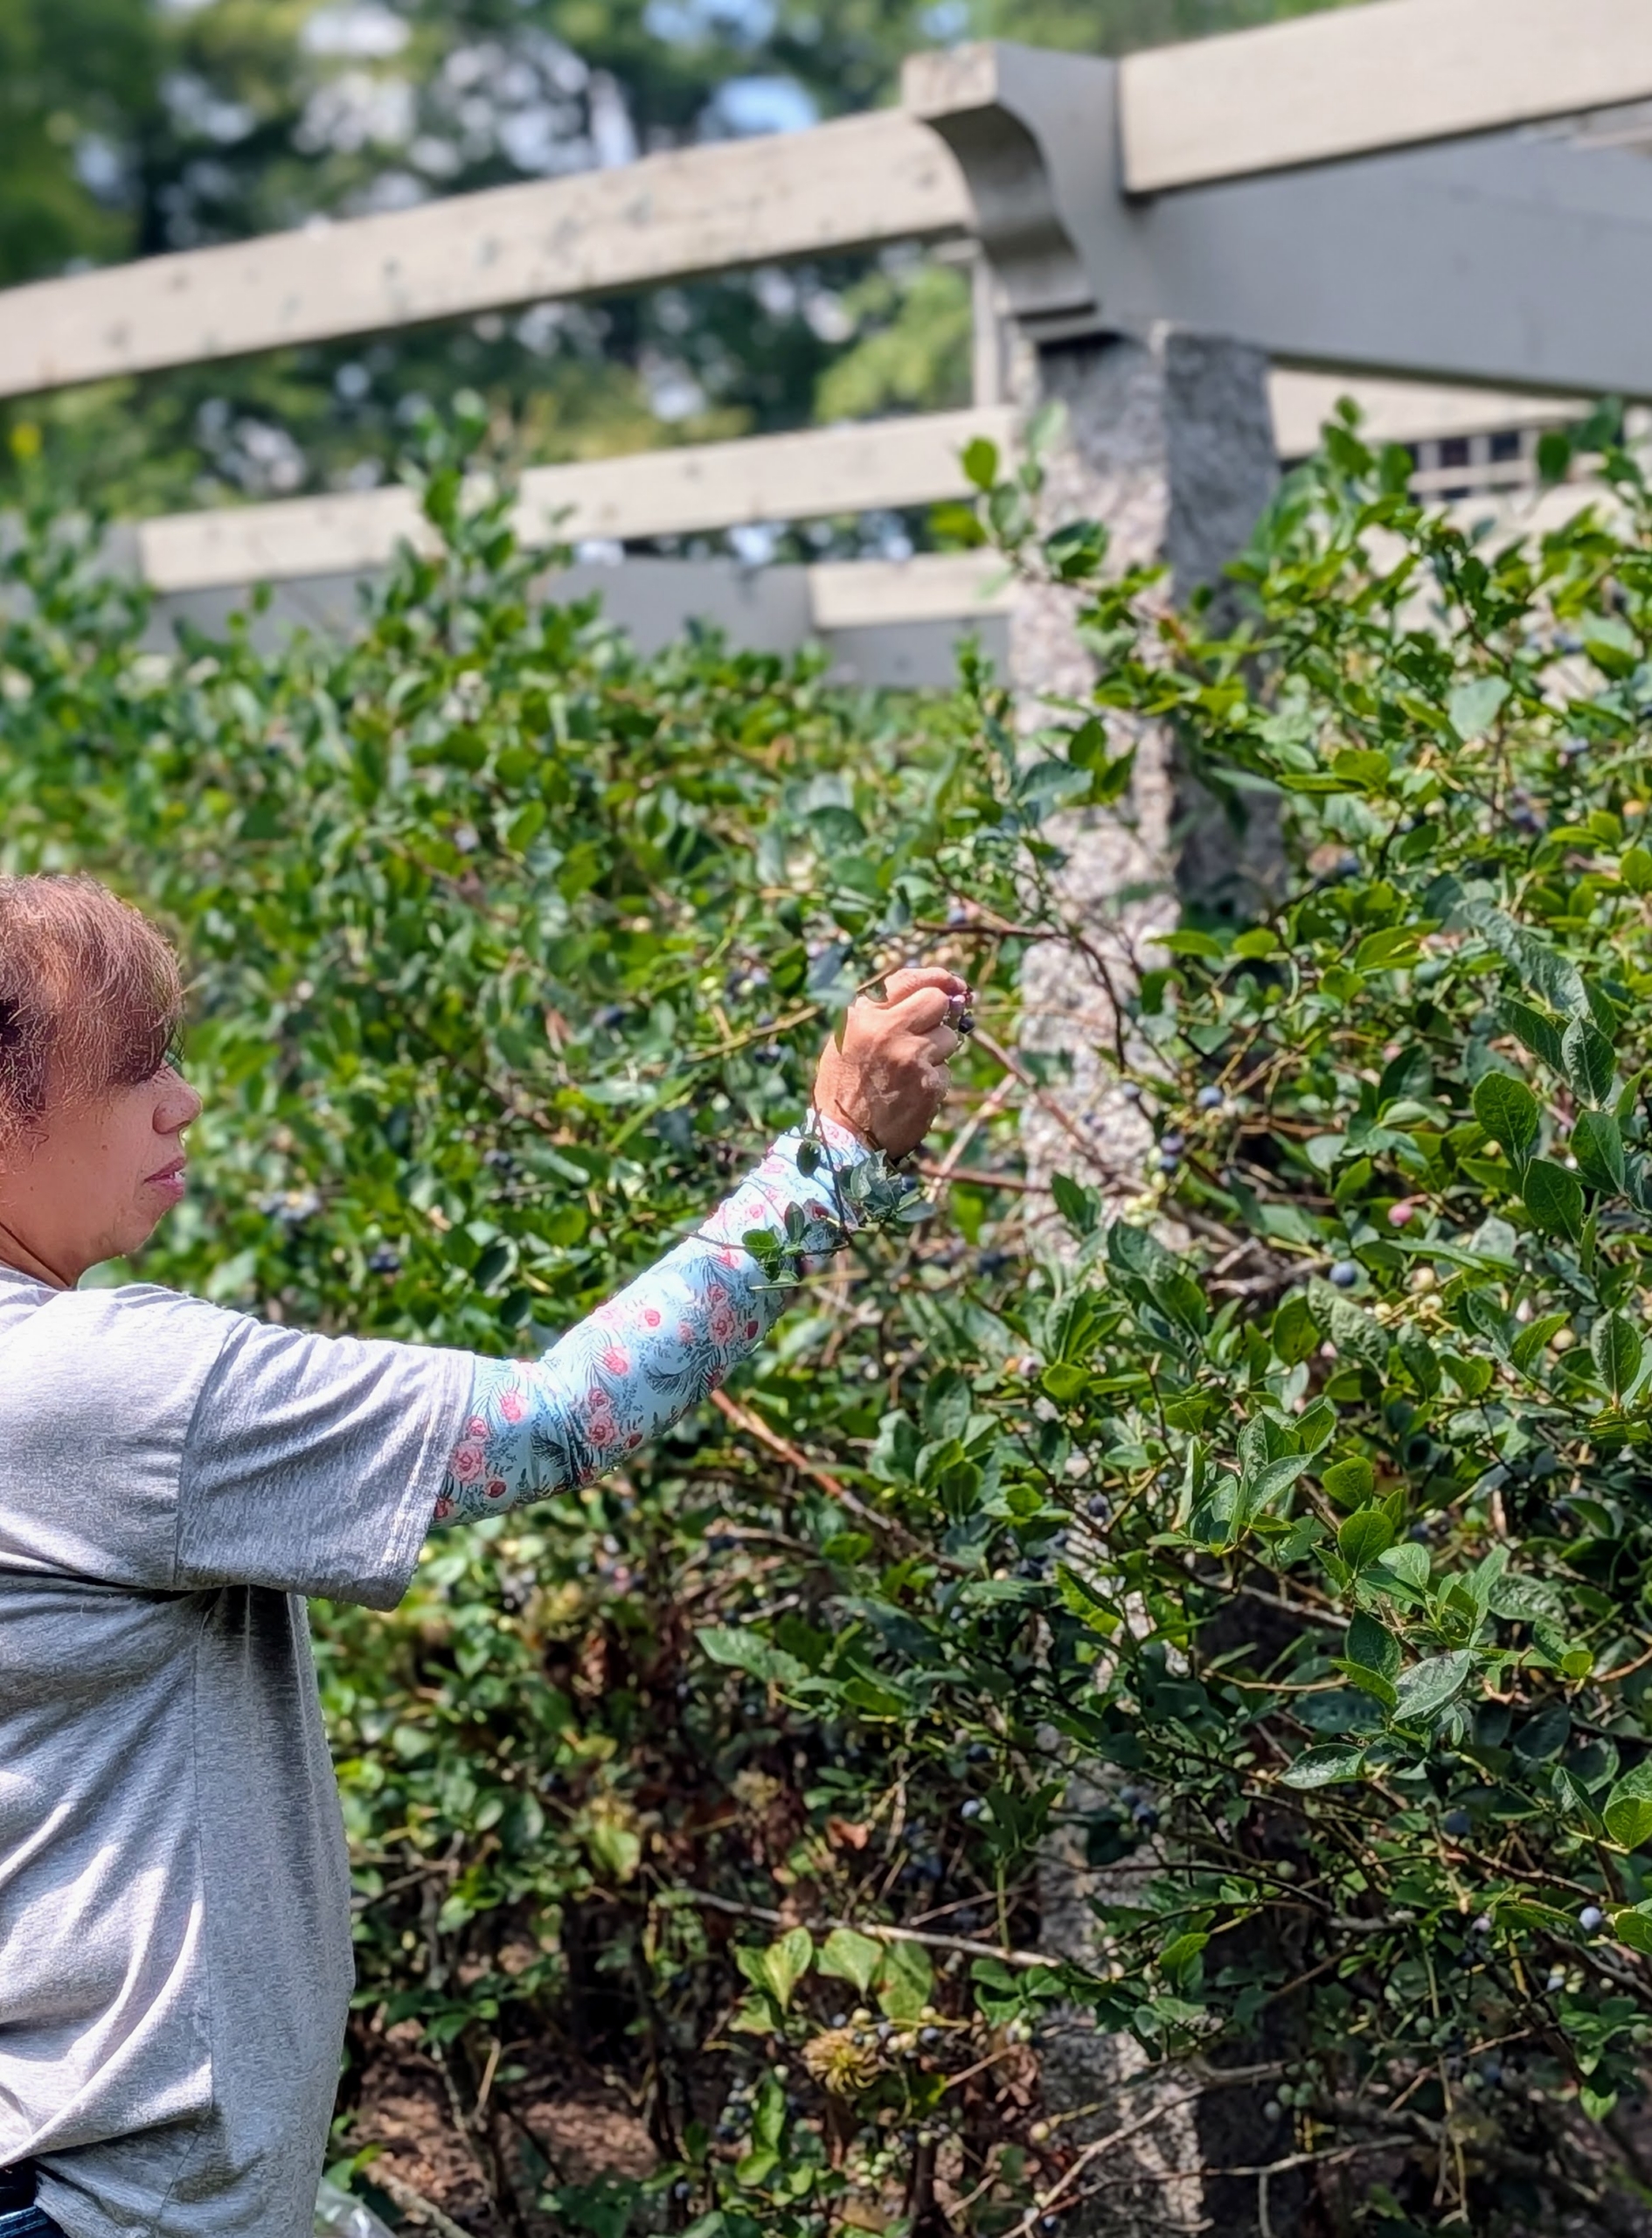
Yesterday, Elvira was happy to start harvesting.
There are different types of blueberries -Northern and Southern highbush. Rabbiteye, lowbush, and a hybrid called Half-High. Highbush blueberries are the types you commonly find at grocery stores and farmers’ markets. Lowbush blueberries are smaller, sweeter blueberries often used for making juices, jams, and baked goods.
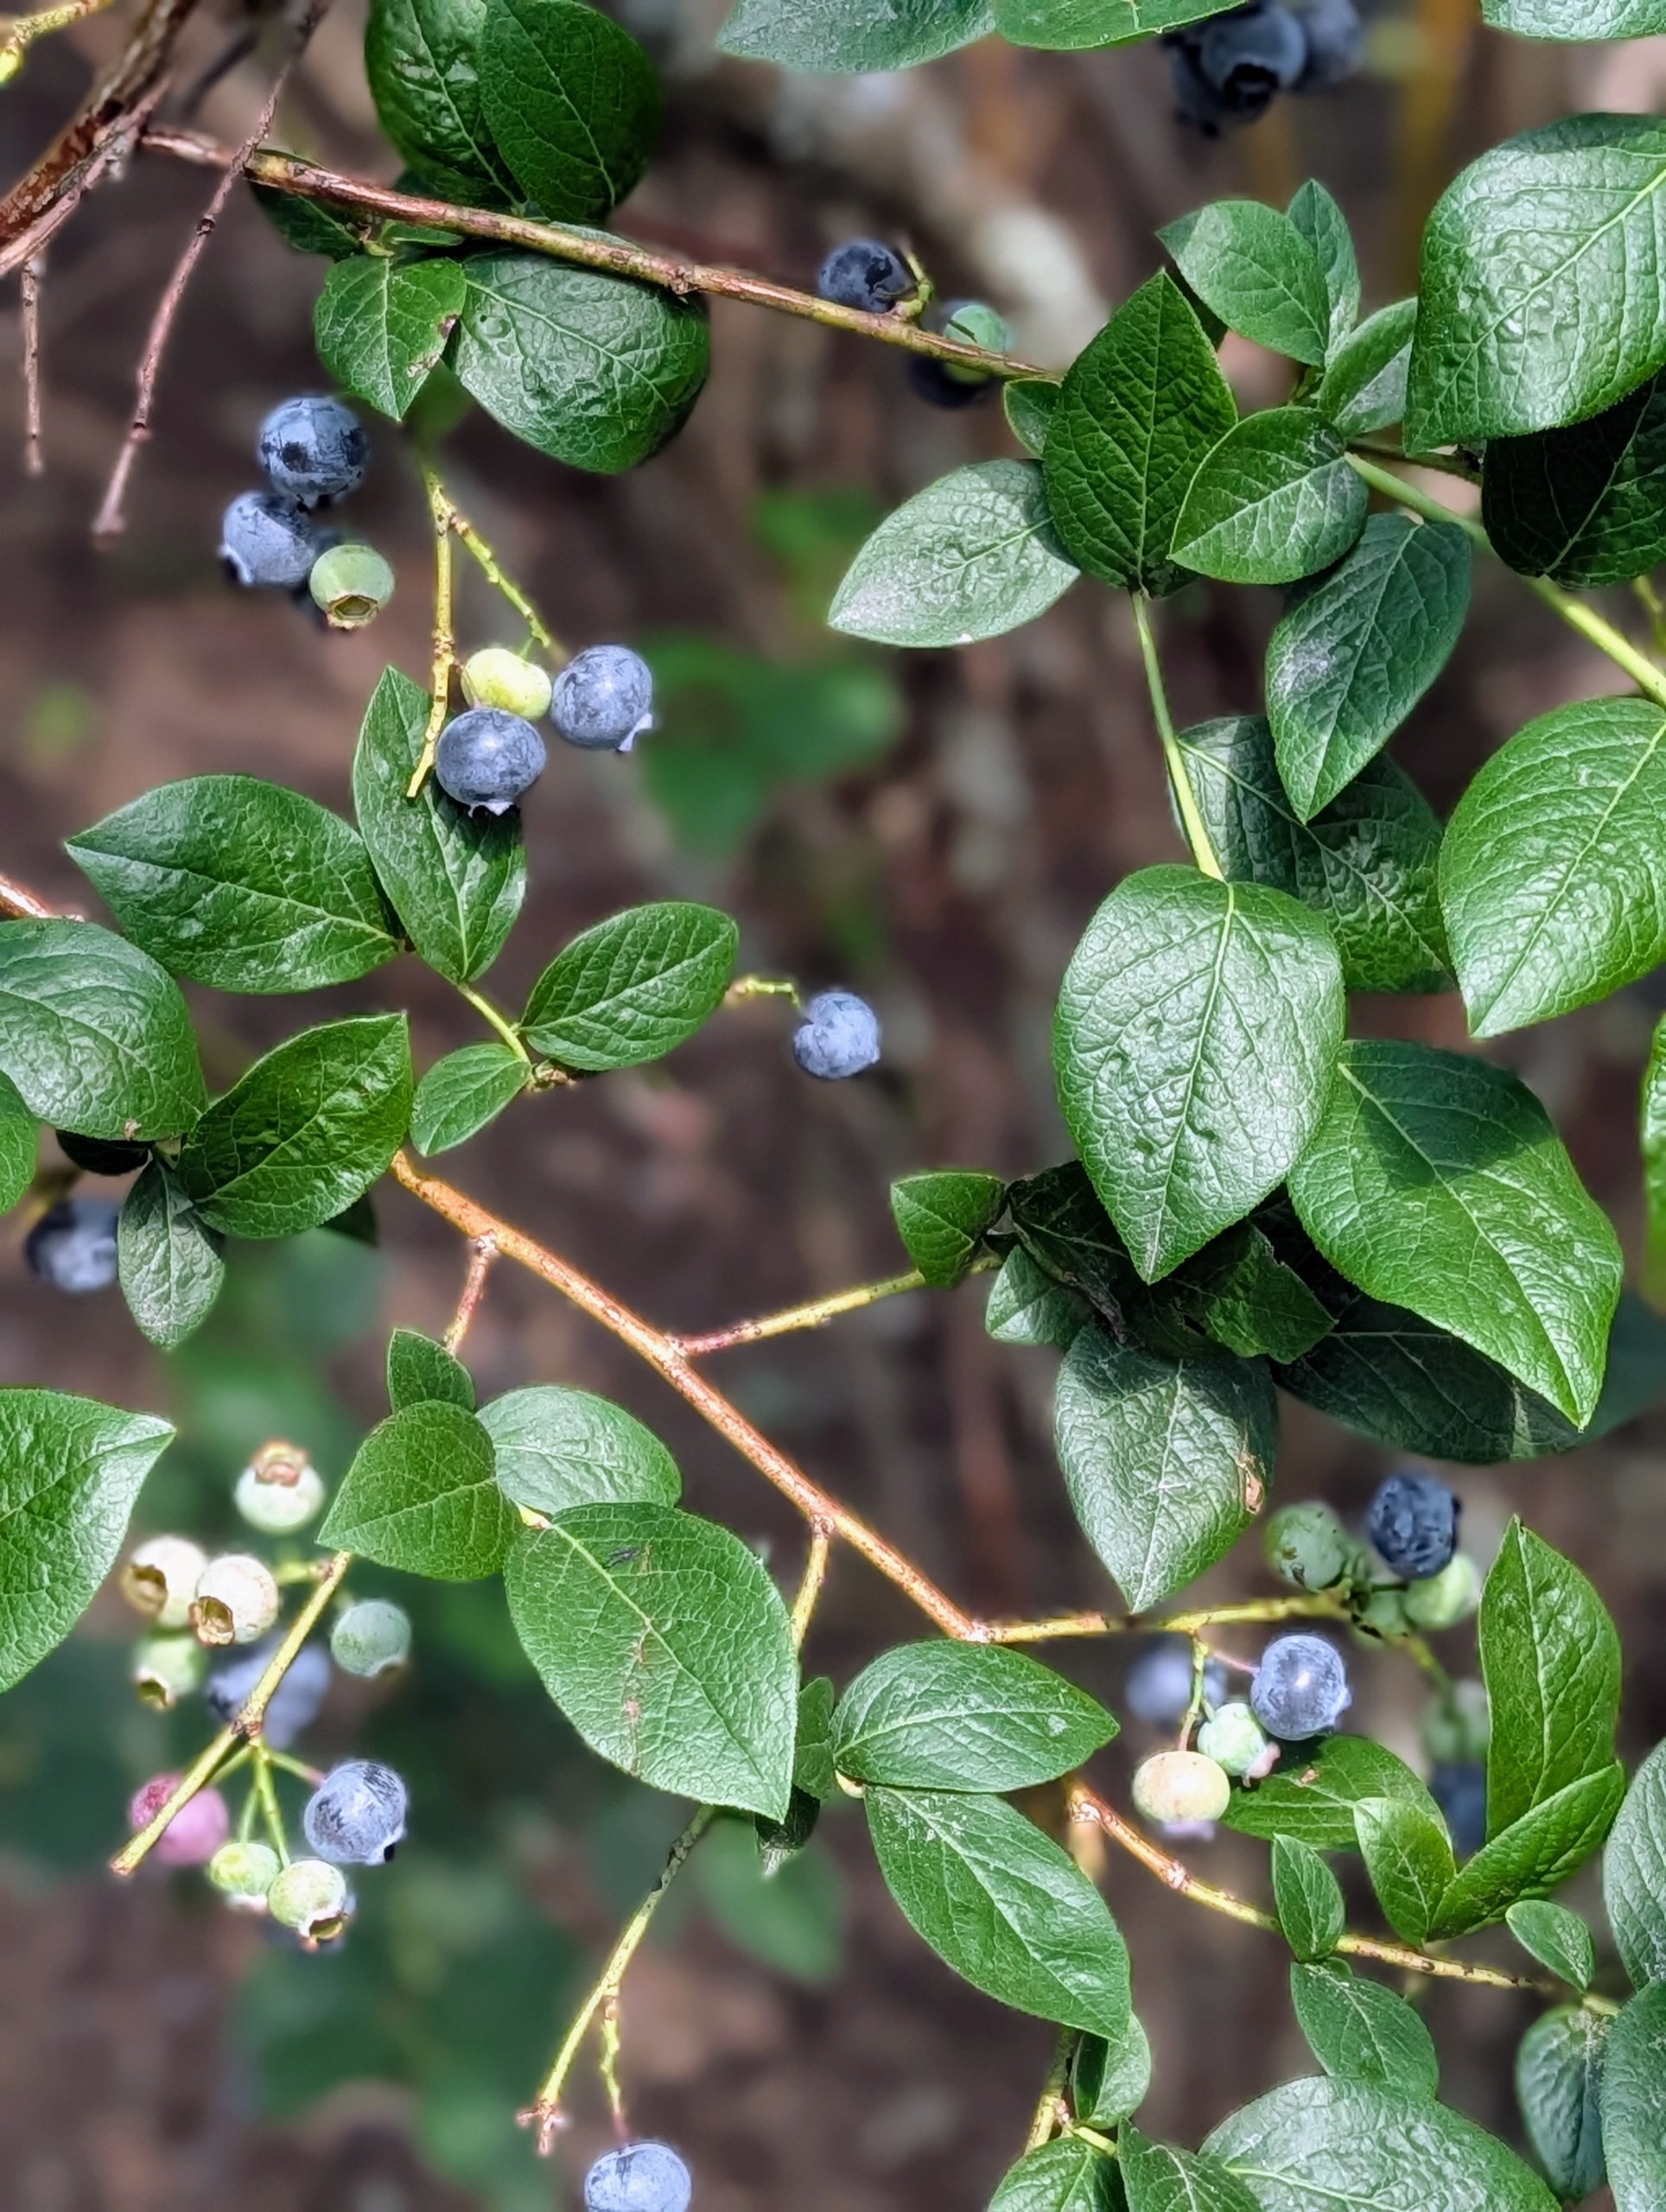
One tip to know which ones are ready – tickle the bunches lightly, and only the truly ripe ones will fall.
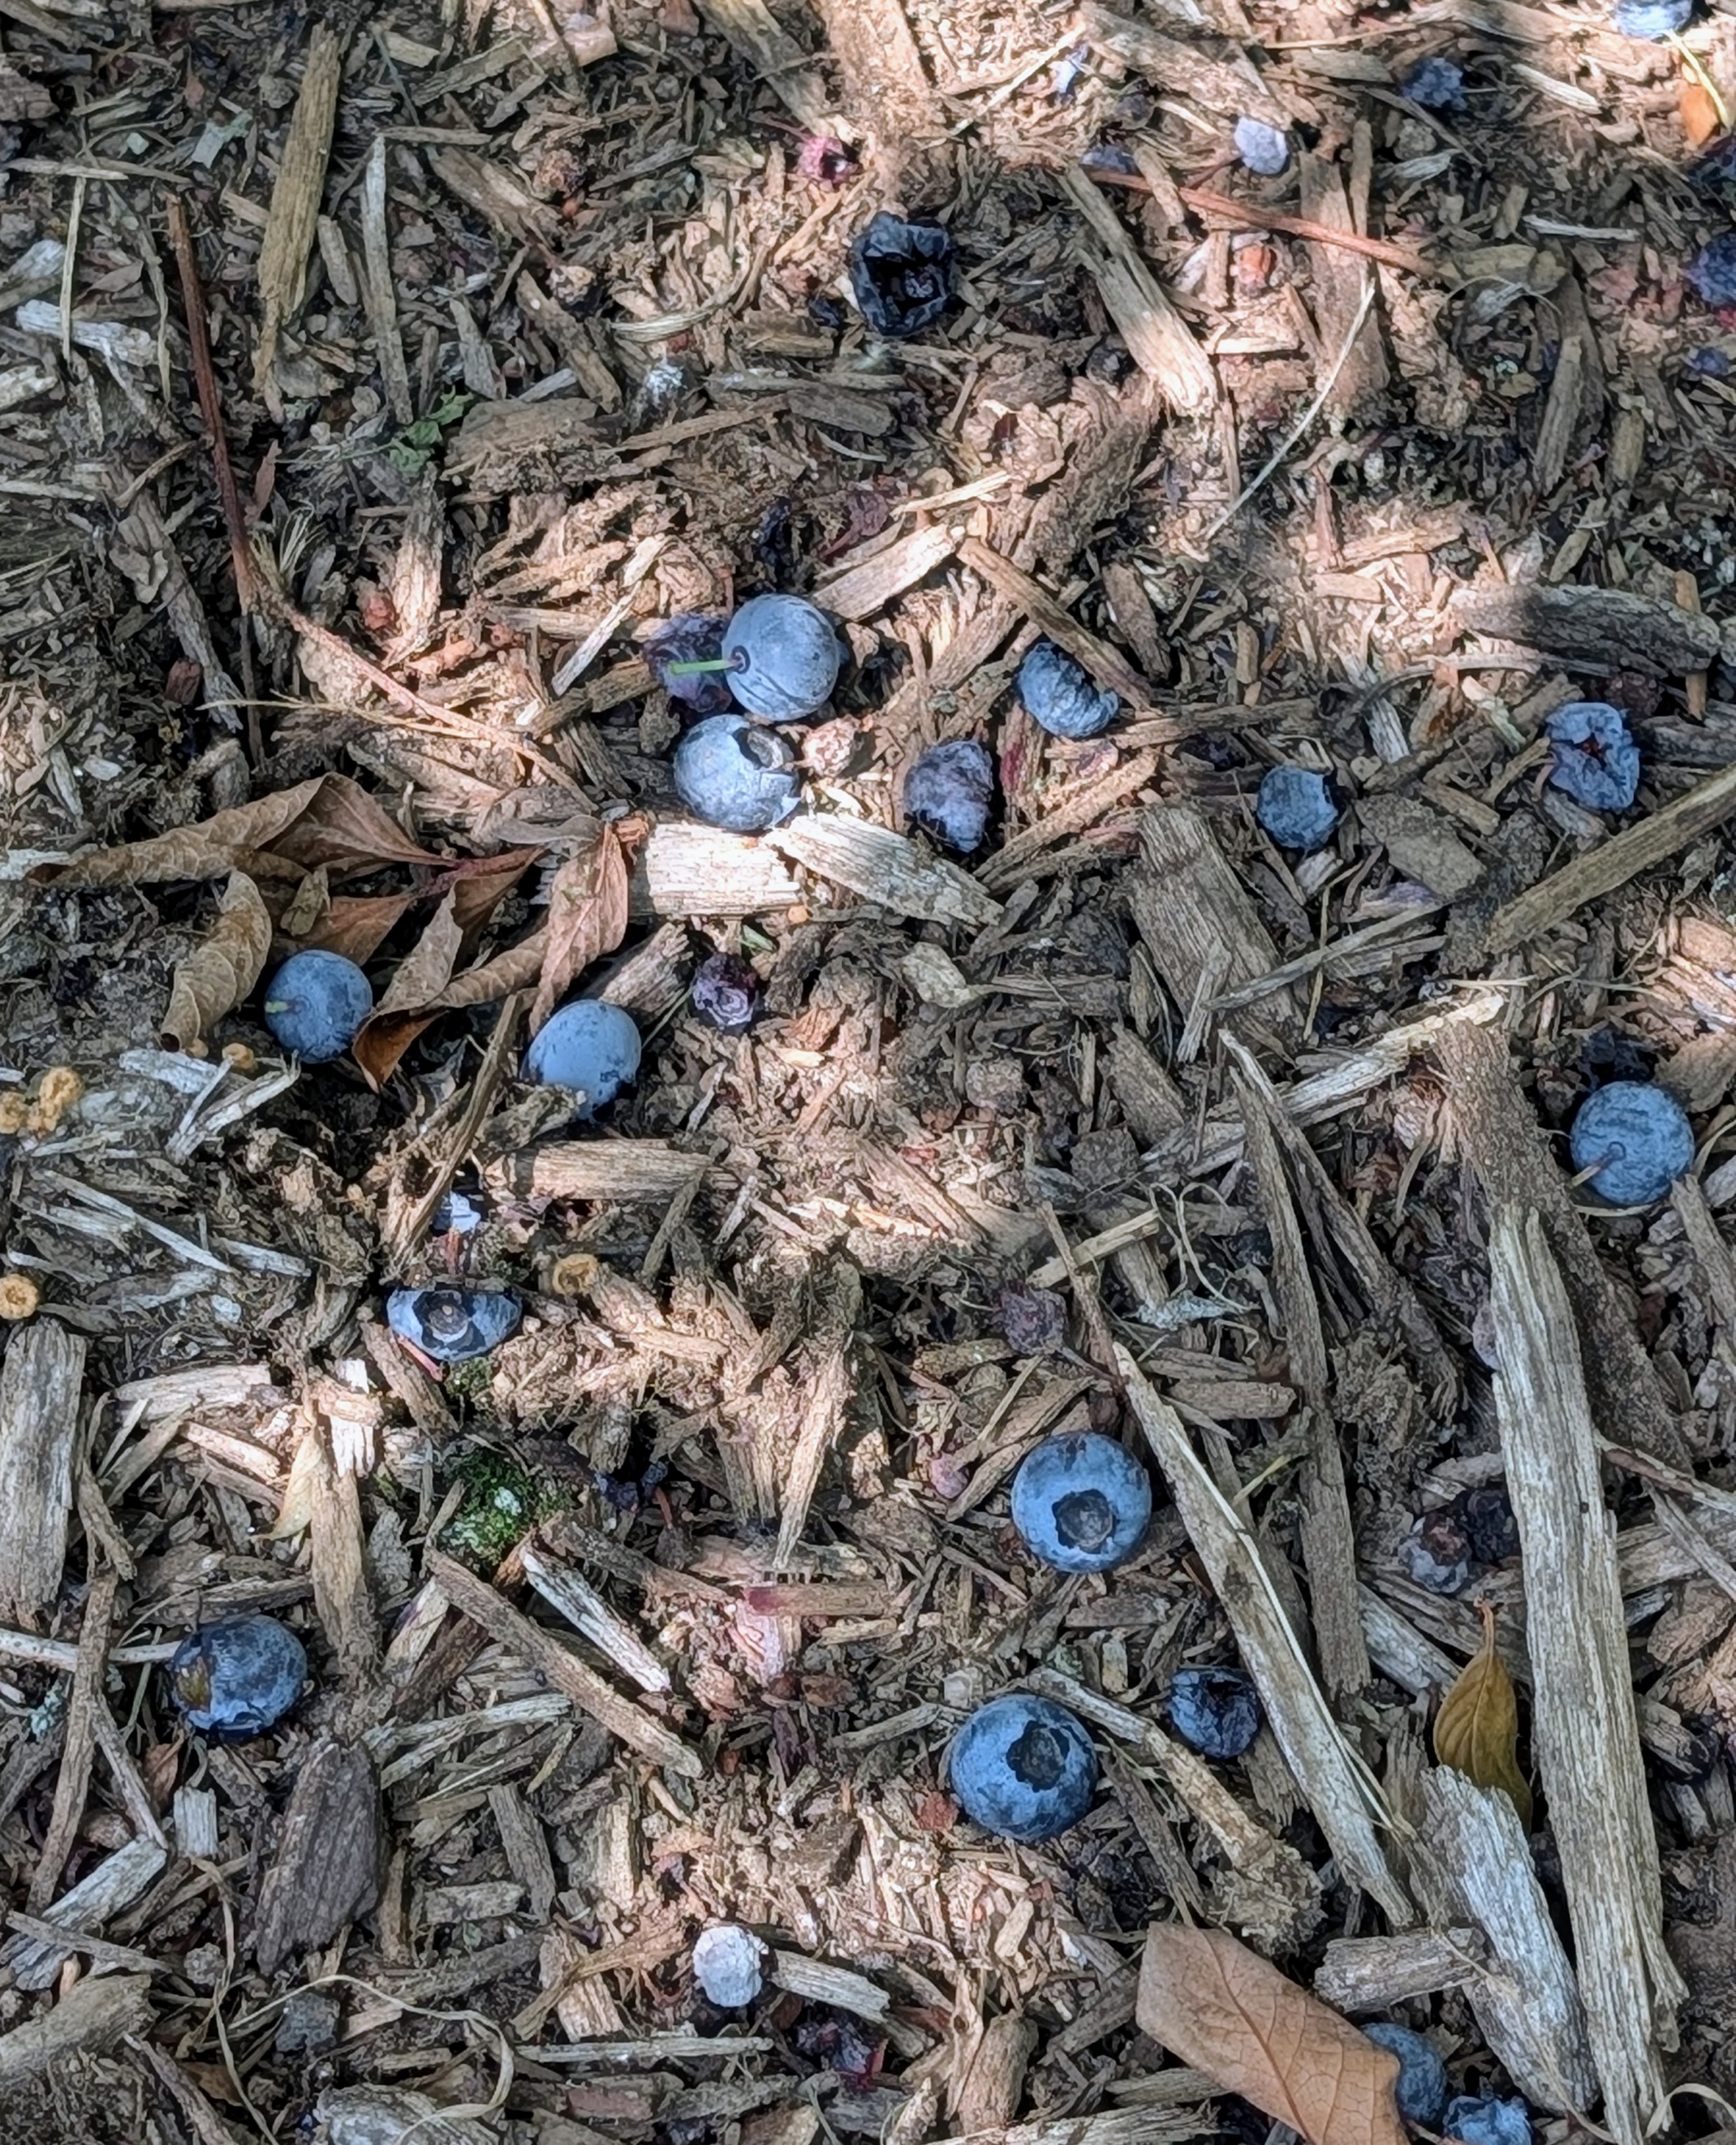
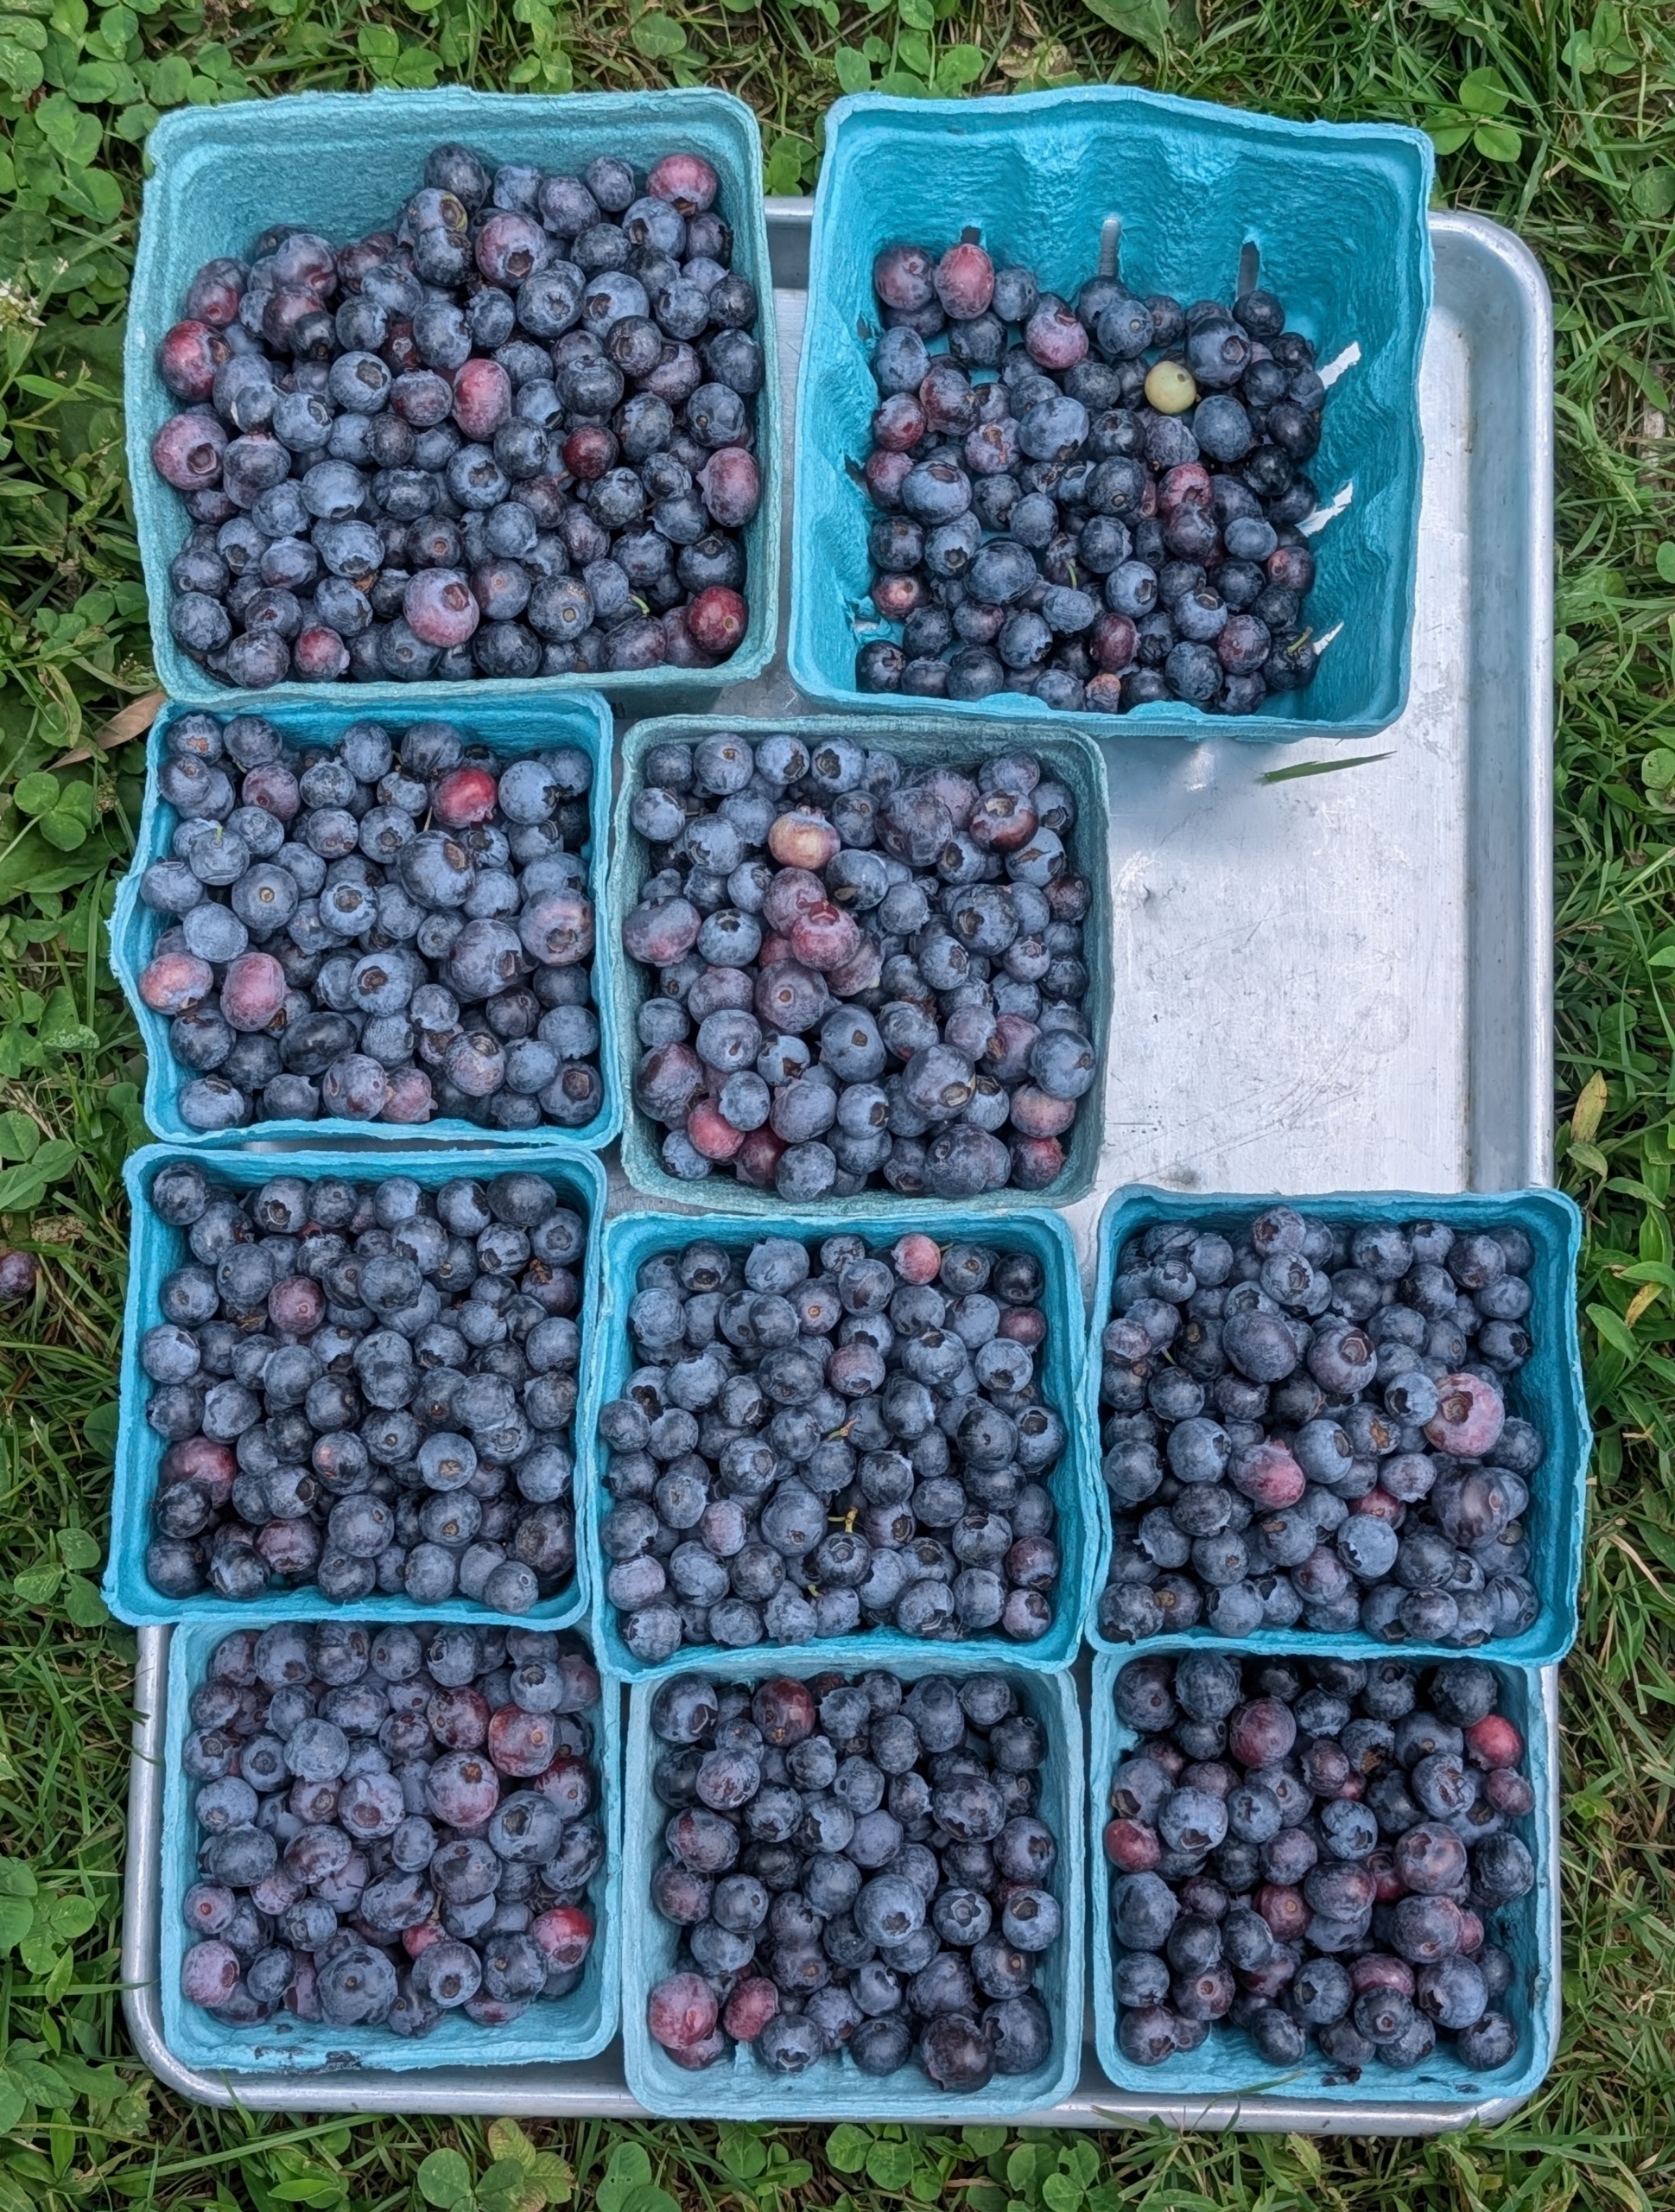
Many blueberries also fall to the ground. All those picked are carefully inspected – only the best are saved. The rest are enjoyed by the birds.
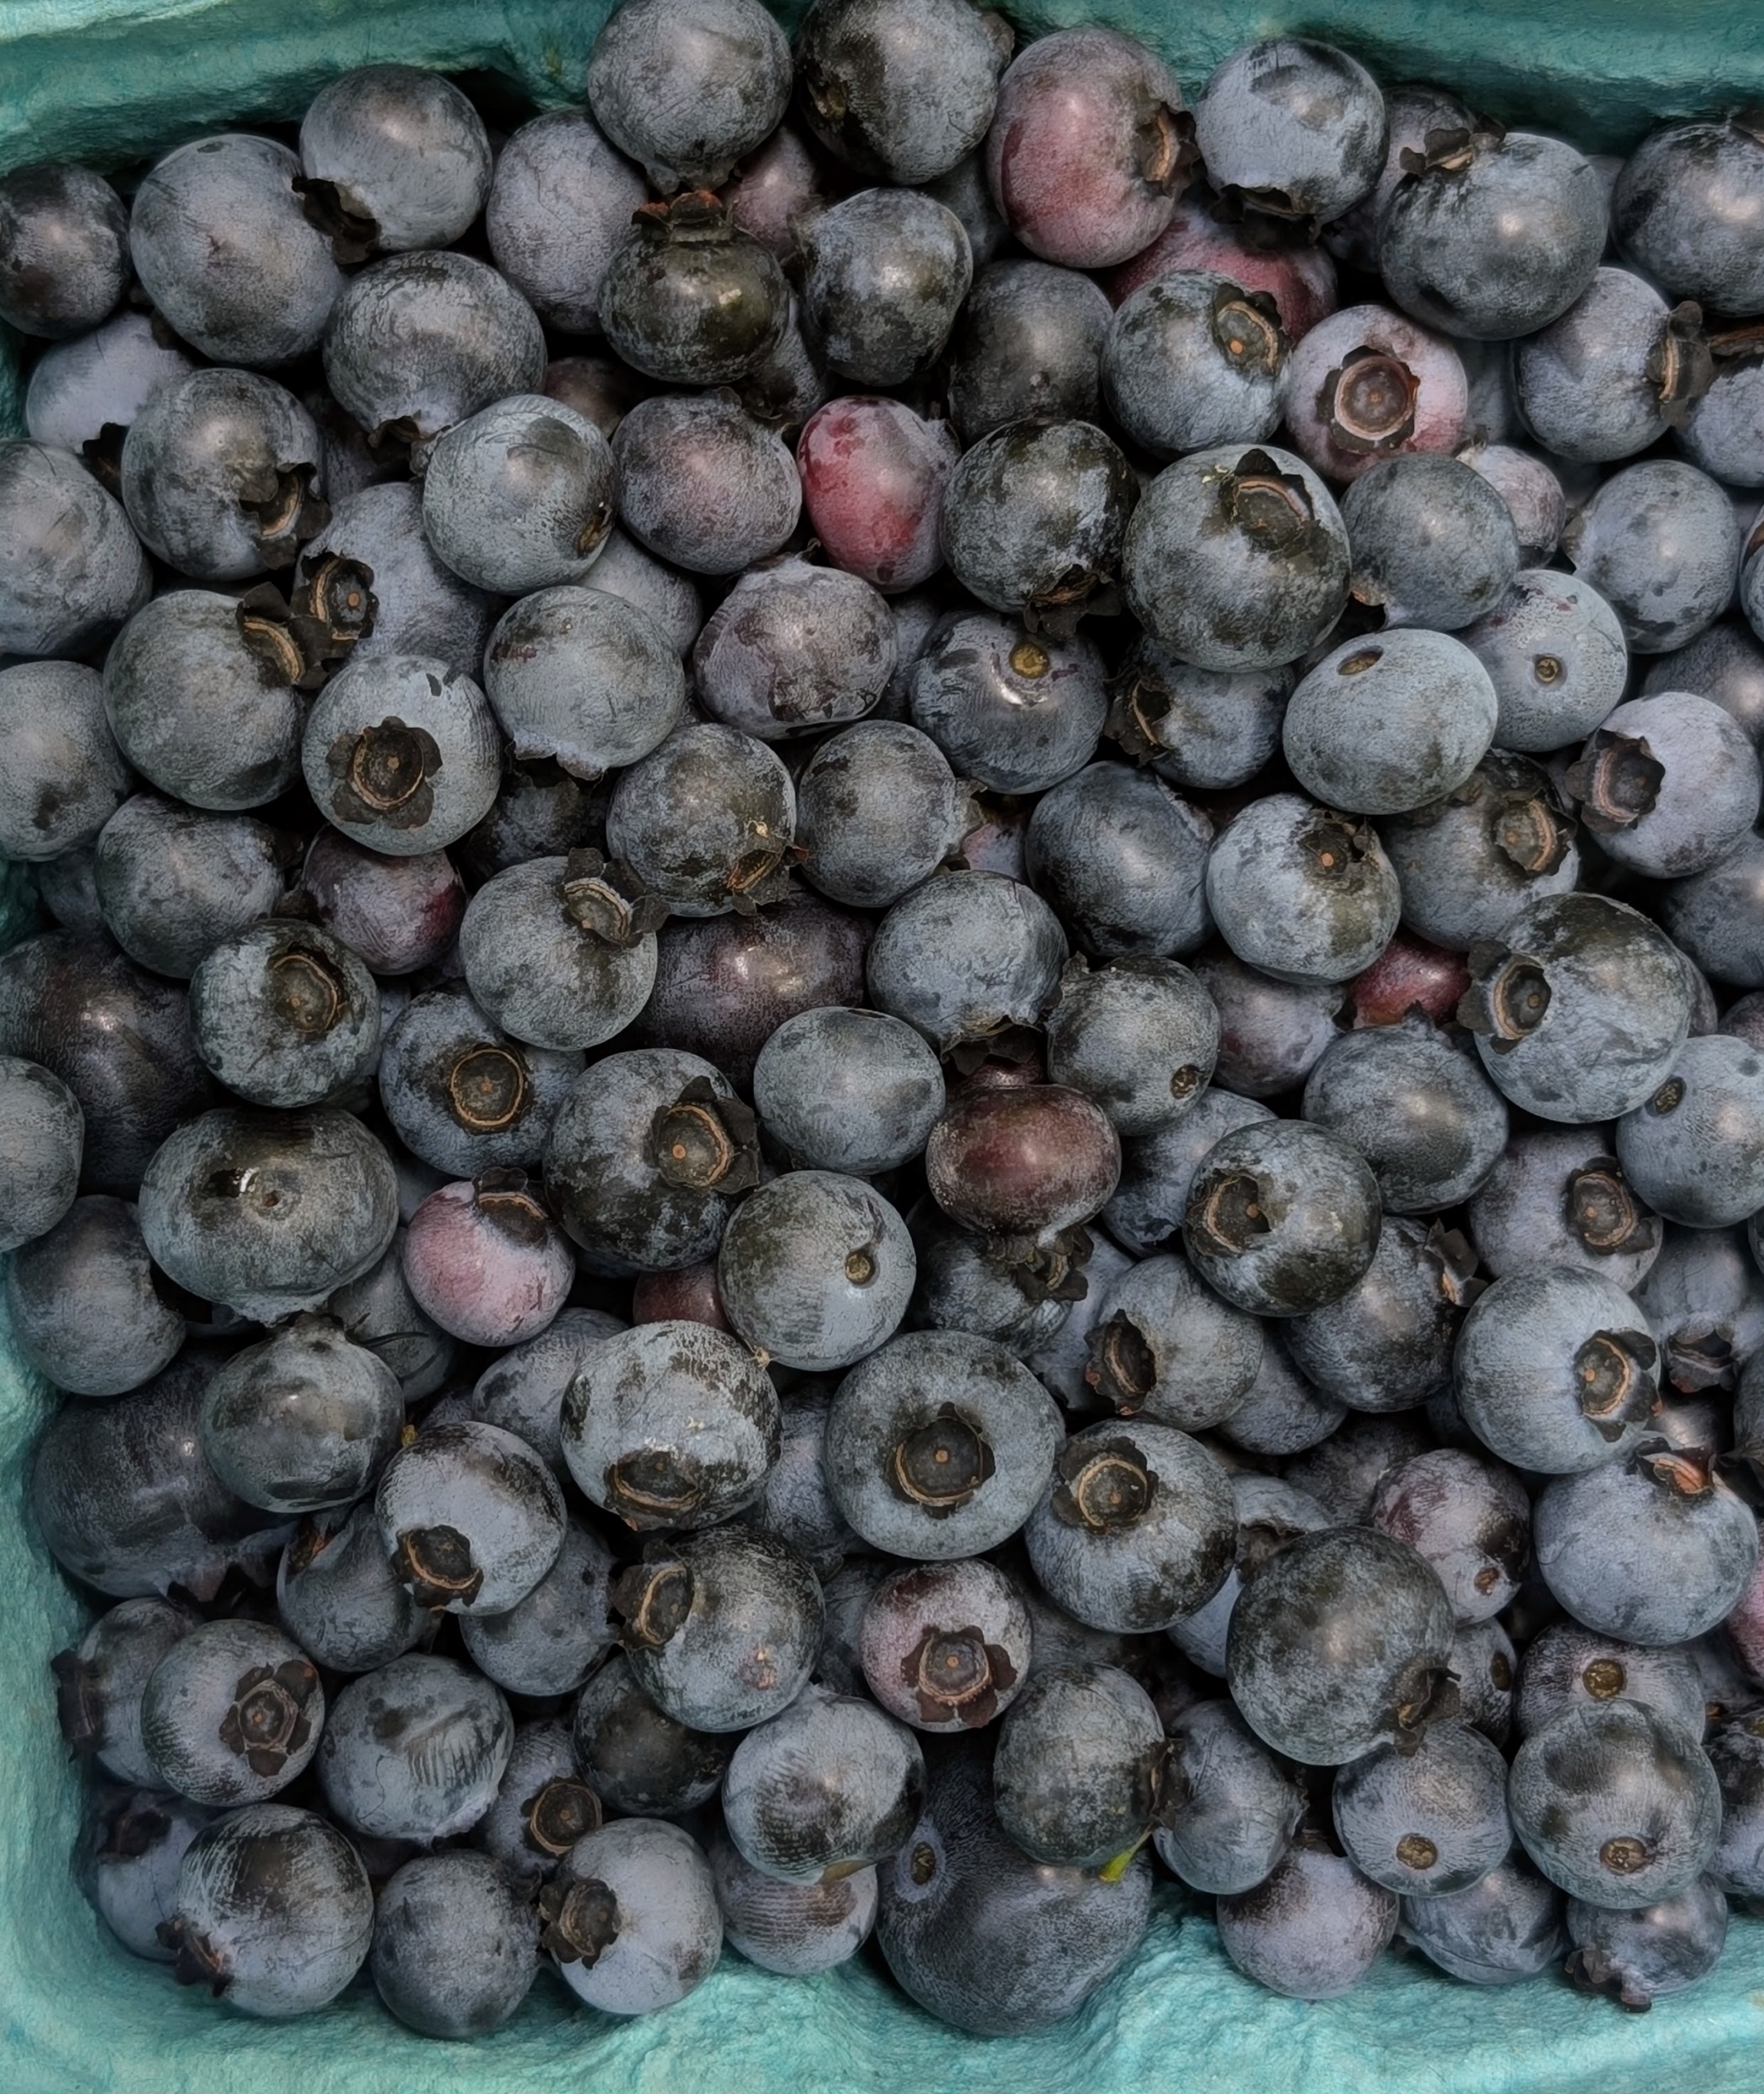
Each of these fruits is about five to 16 millimeters large with a flared crown at the end. They were once called “star fruits” by North American indigenous peoples because of the five-pointed star shaped crown.
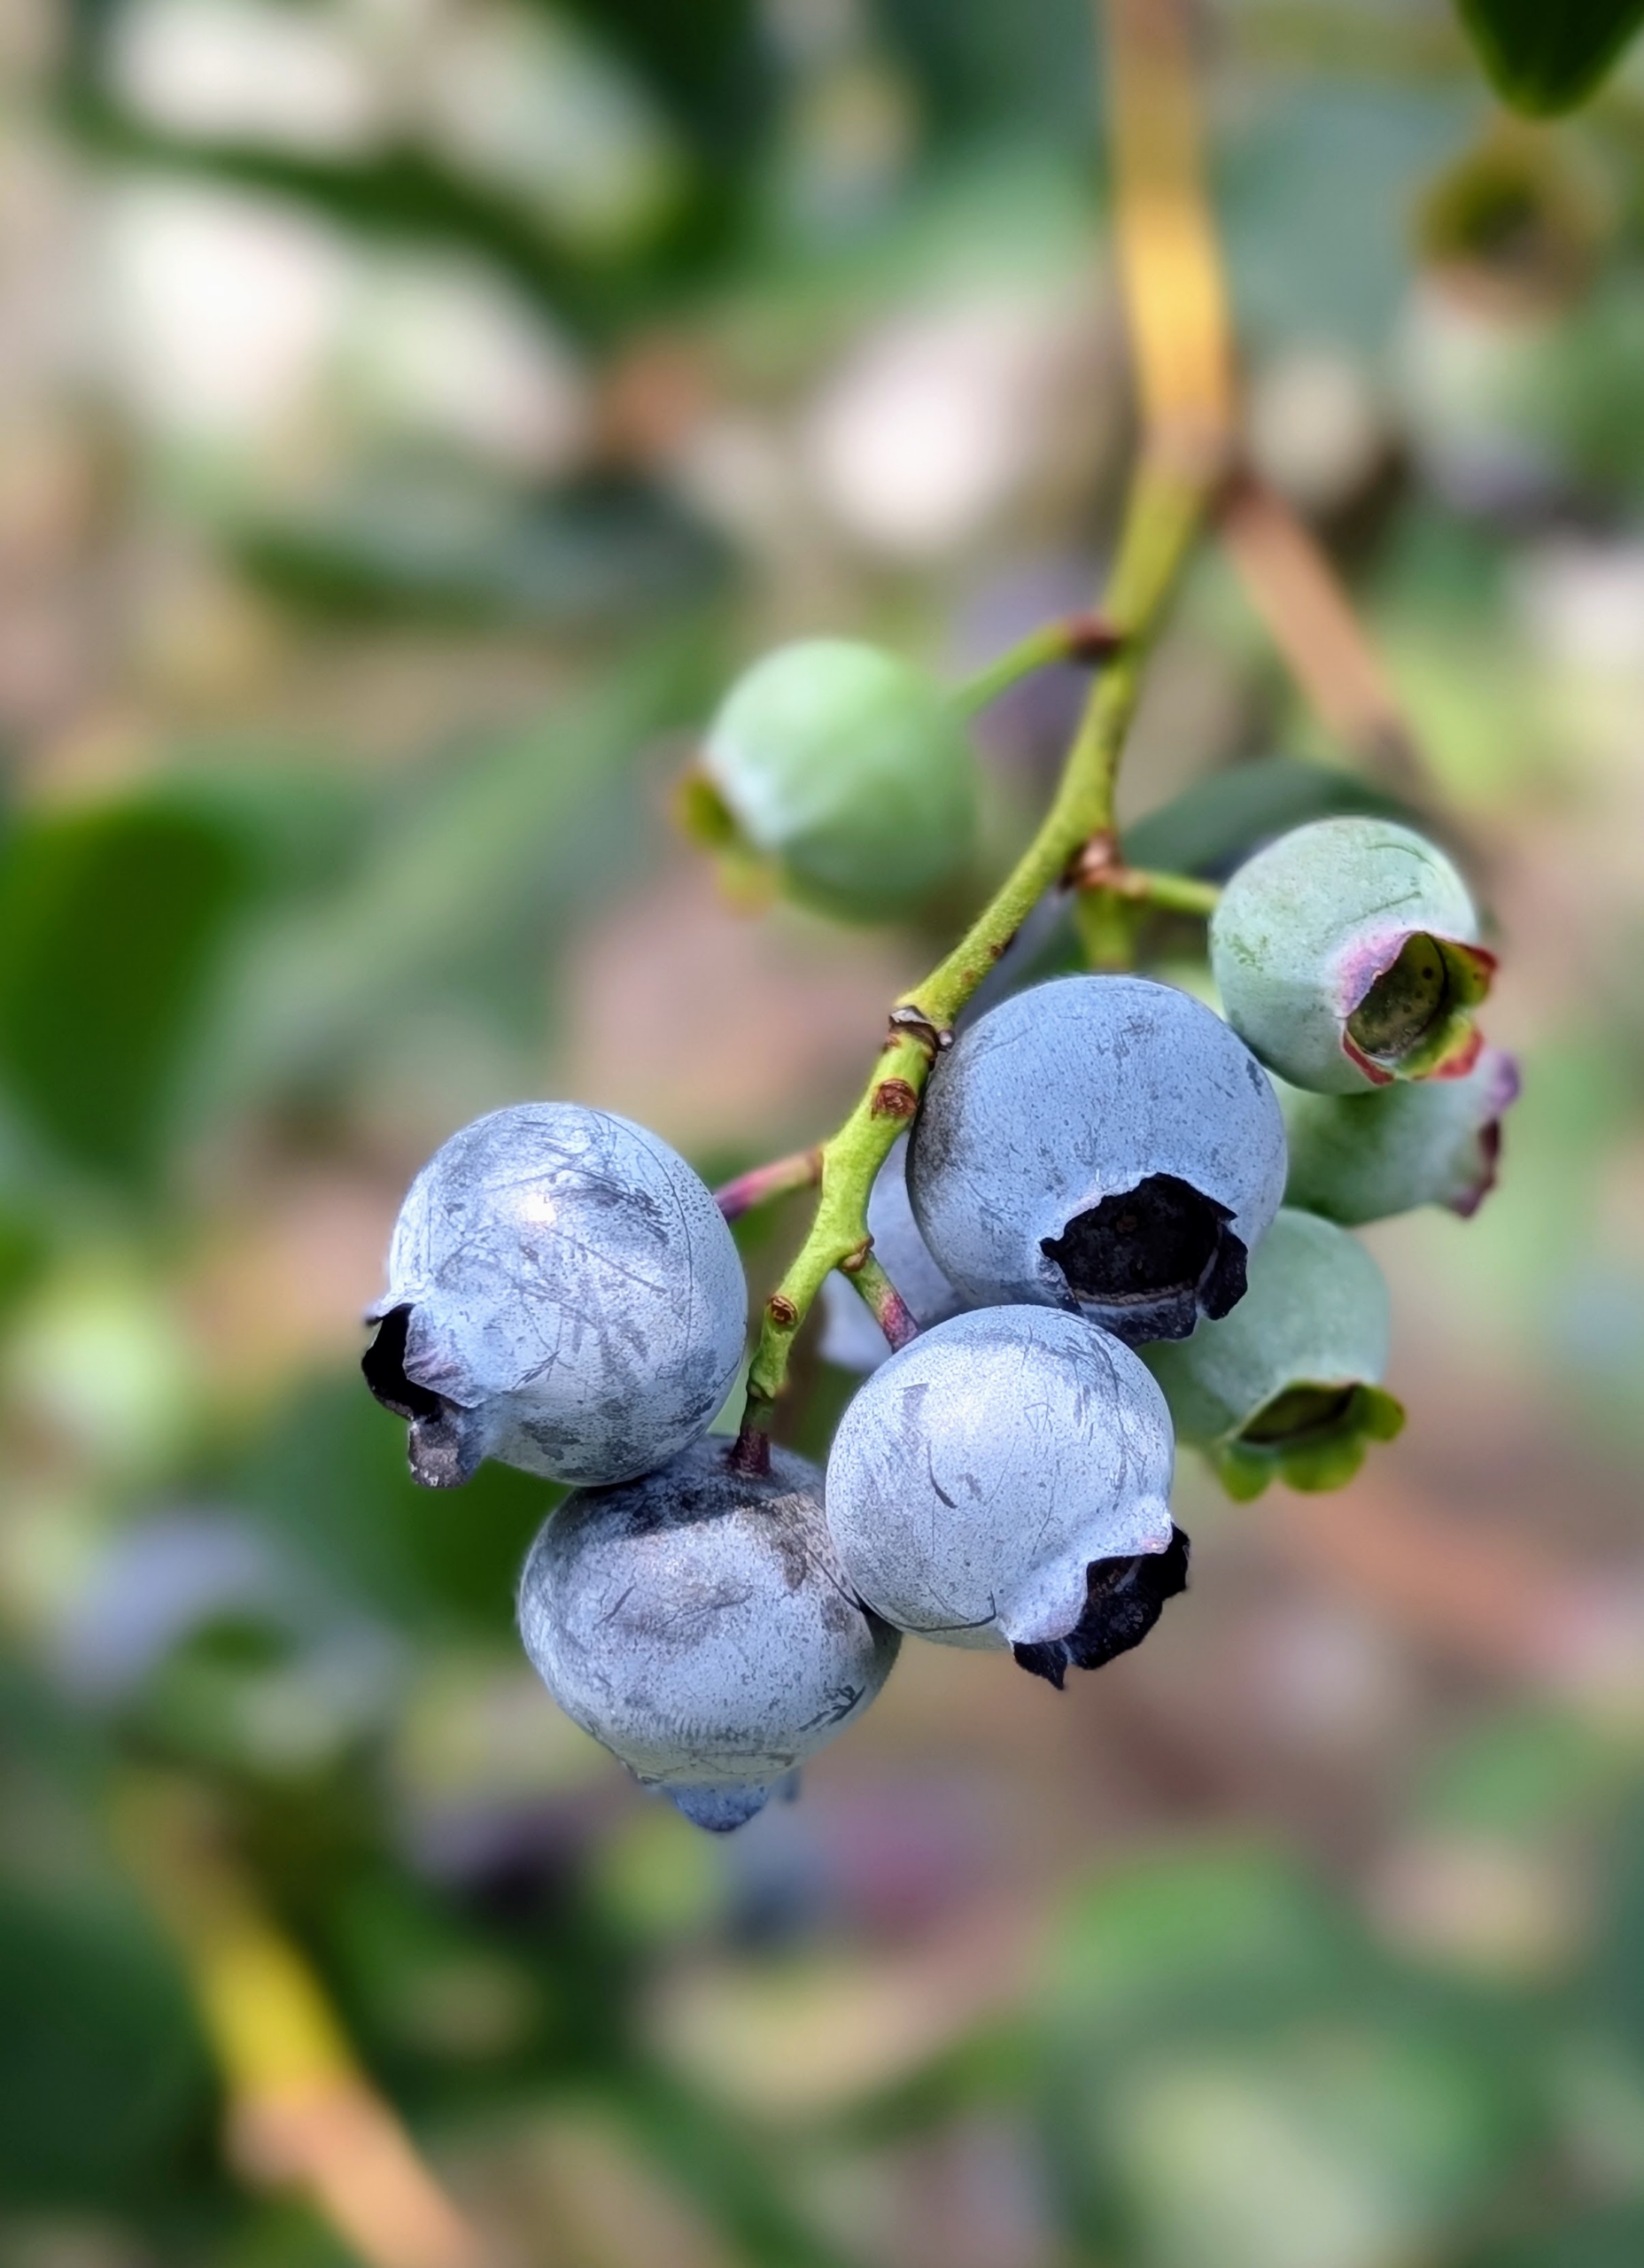
Blueberries are covered in a protective powdery epicuticular wax known as the “bloom”.
I grow many blueberry varieties, including ‘Bluegold’, ‘Chandler’, ‘Darrow’, ‘Jersey’, and ‘Patriot’.
A single healthy blueberry bush can produce thousands of berries a year.
These boxes were all picked in under an hour. Blueberries produce from early summer through late fall – we will pick lots and lots of berries before the end of the season.
Facing the long and winding pergola at my farm is my Stewartia garden, which is filled with so many lush plants this time of year.
Originally filled with rows of ferns and lilies, my Stewartia garden now features those plants alongside a vibrant collection of Stewartia trees, Japanese maples, Cotinus, and flourishing specimens like Epimediums, Syneilesis, and hostas. It has truly matured beautifully over the years.
Enjoy these photos of the garden in summer.
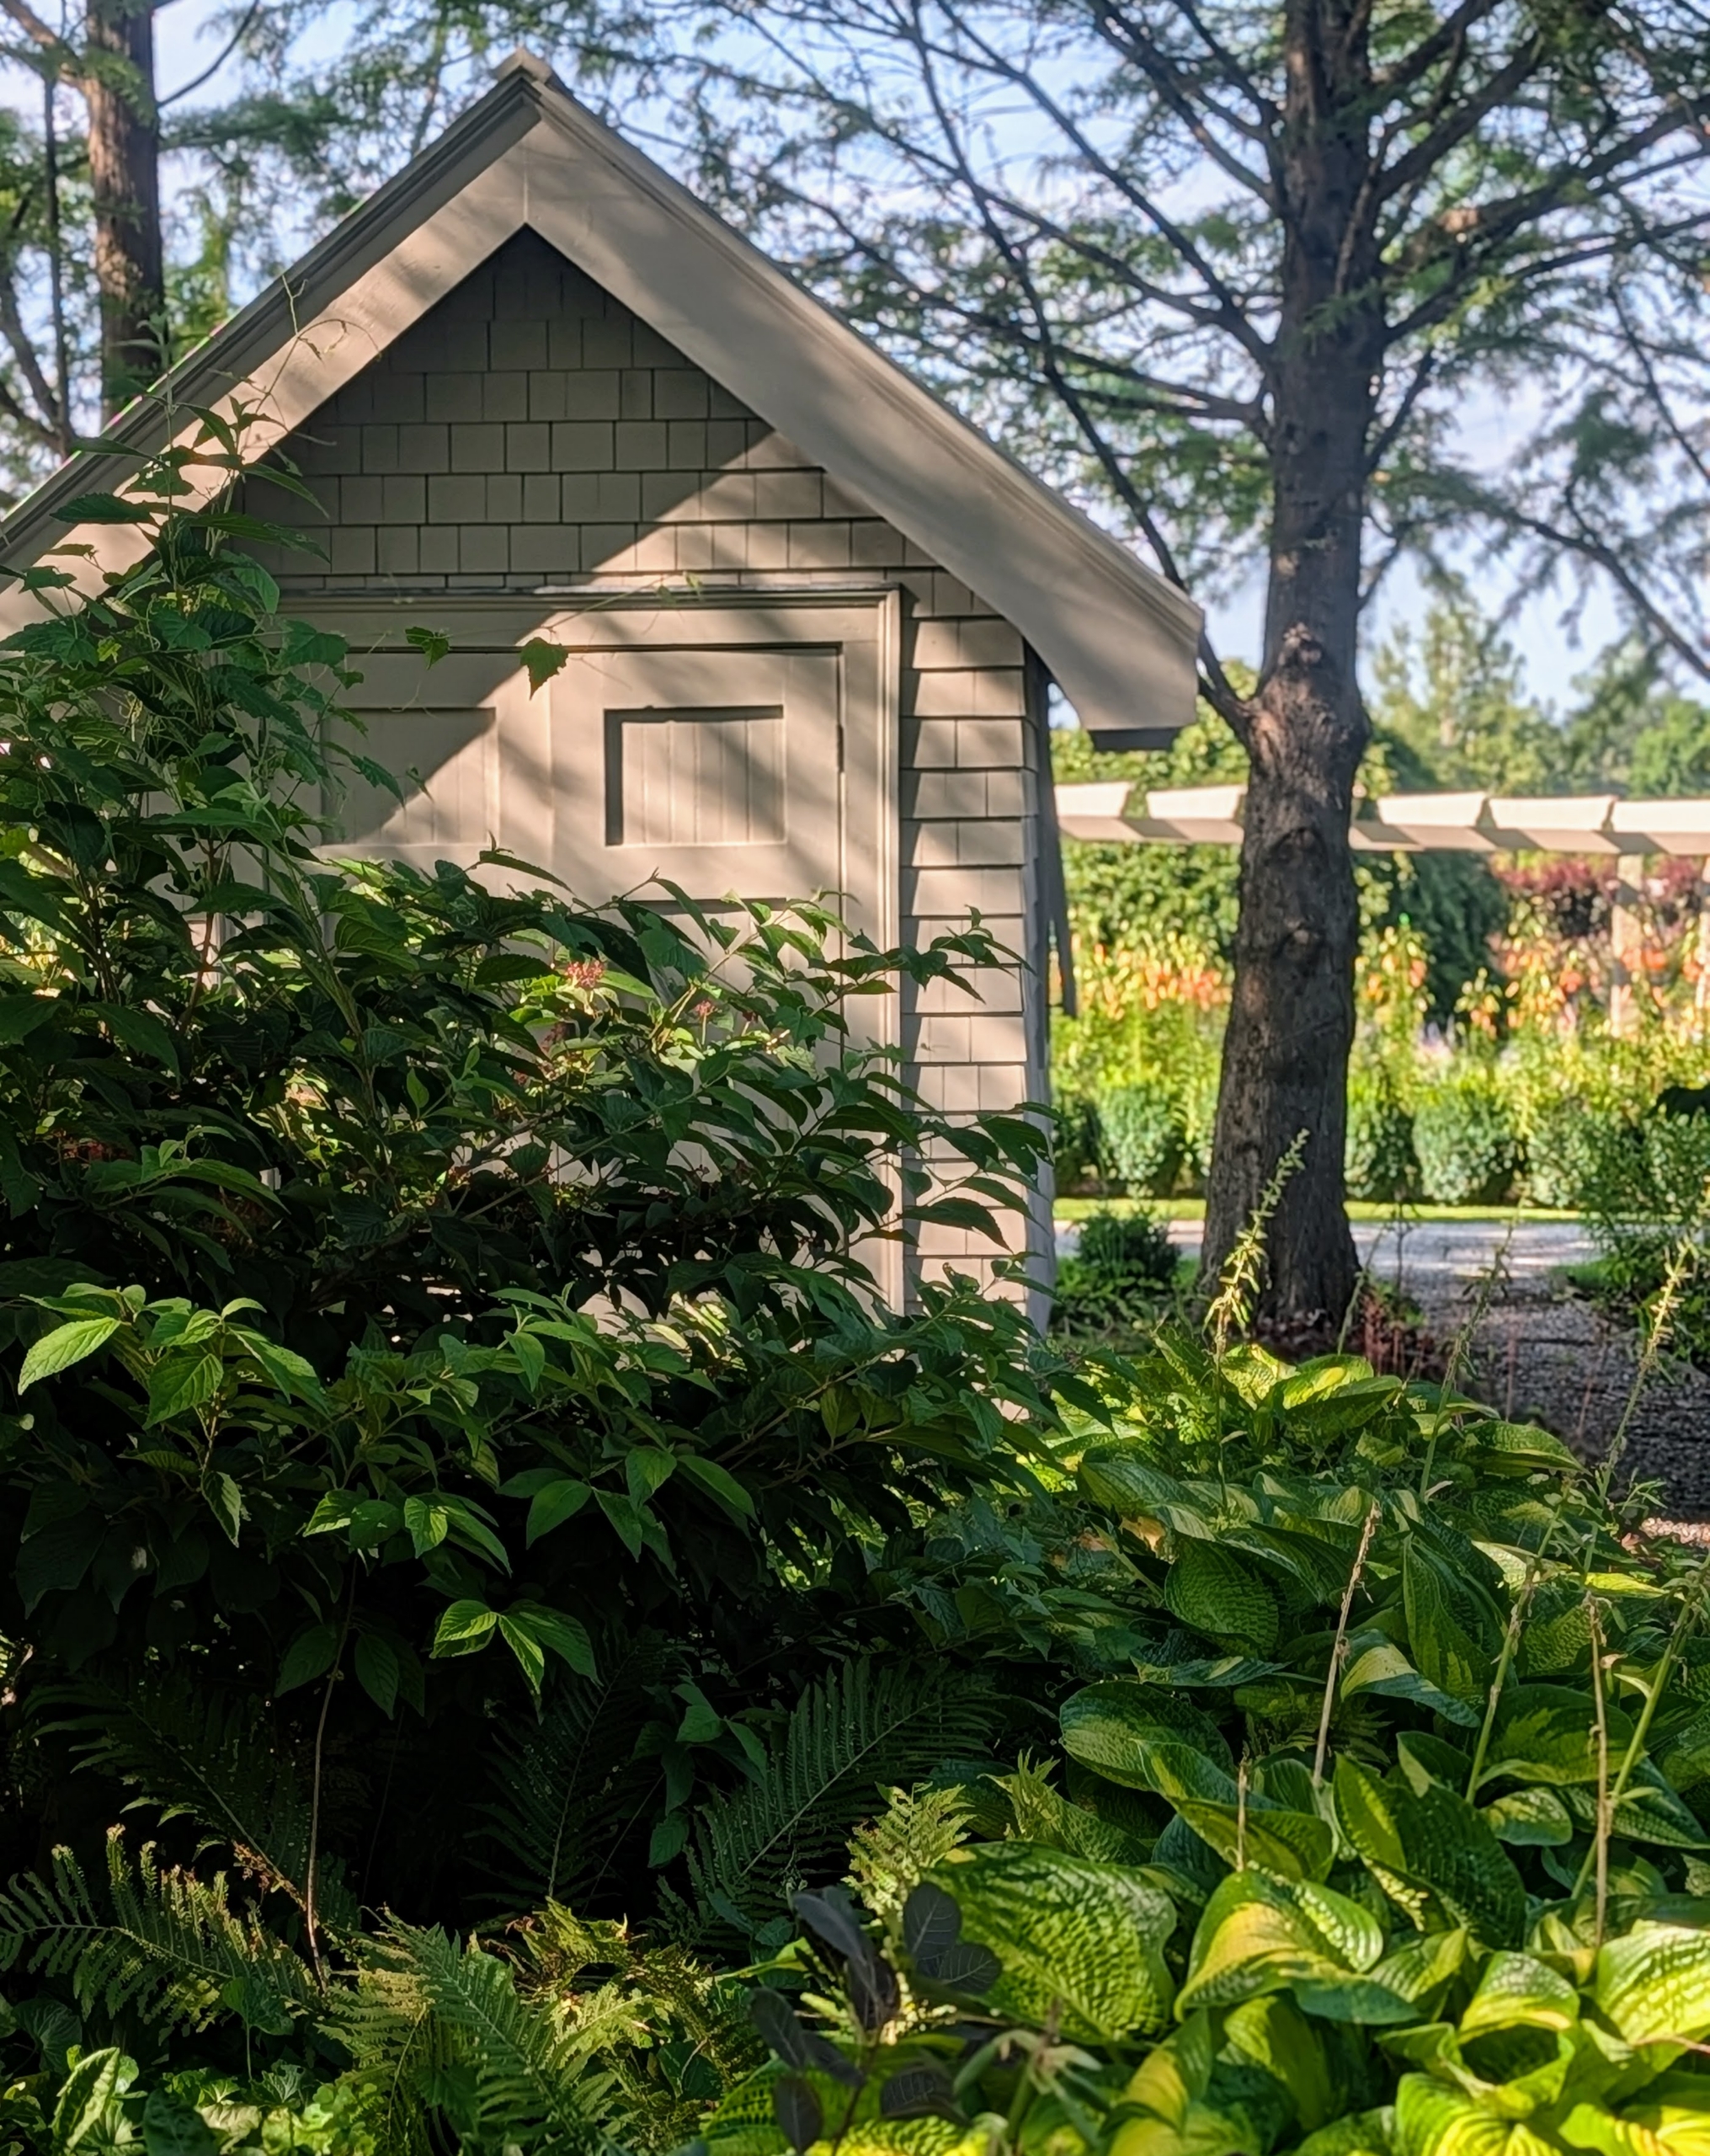
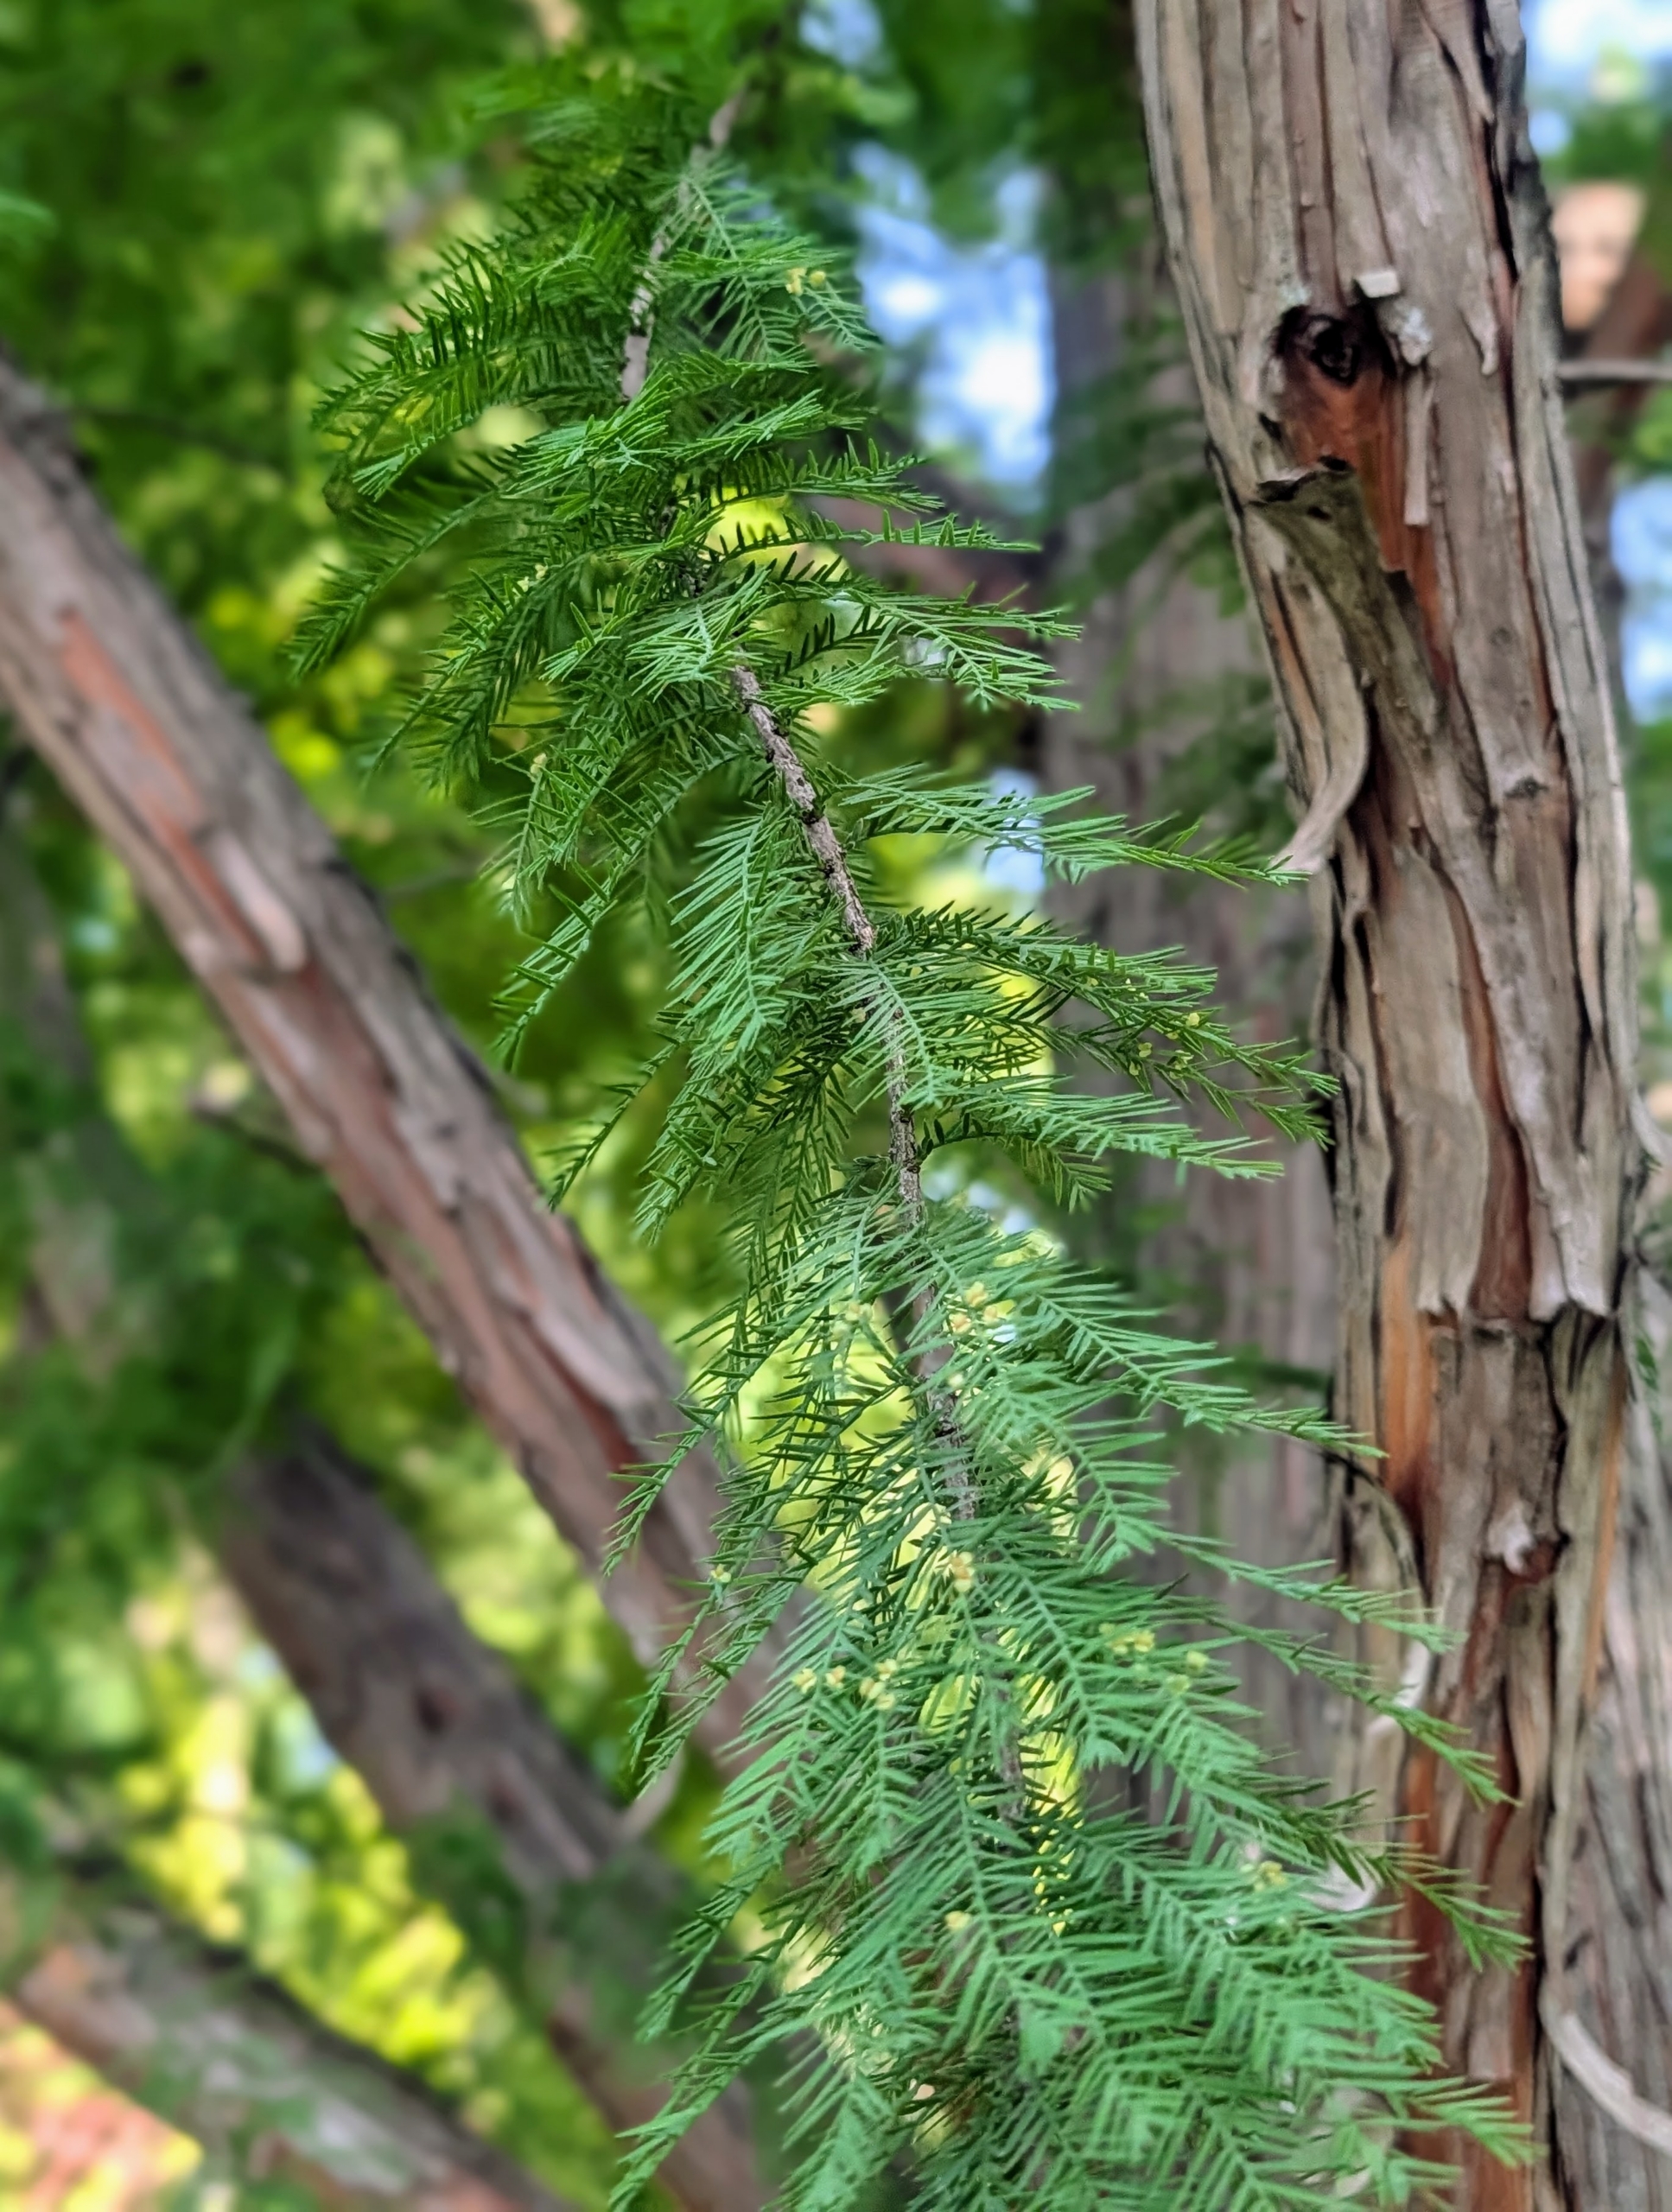
The gardens around my Basket House and across from my long pergola are filled with greenery. Many are under the cover of the towering bald cypress.
The foliage of the bald cypress is bold green and feathery, made up of many small leaflets that are thin and lance-shaped.
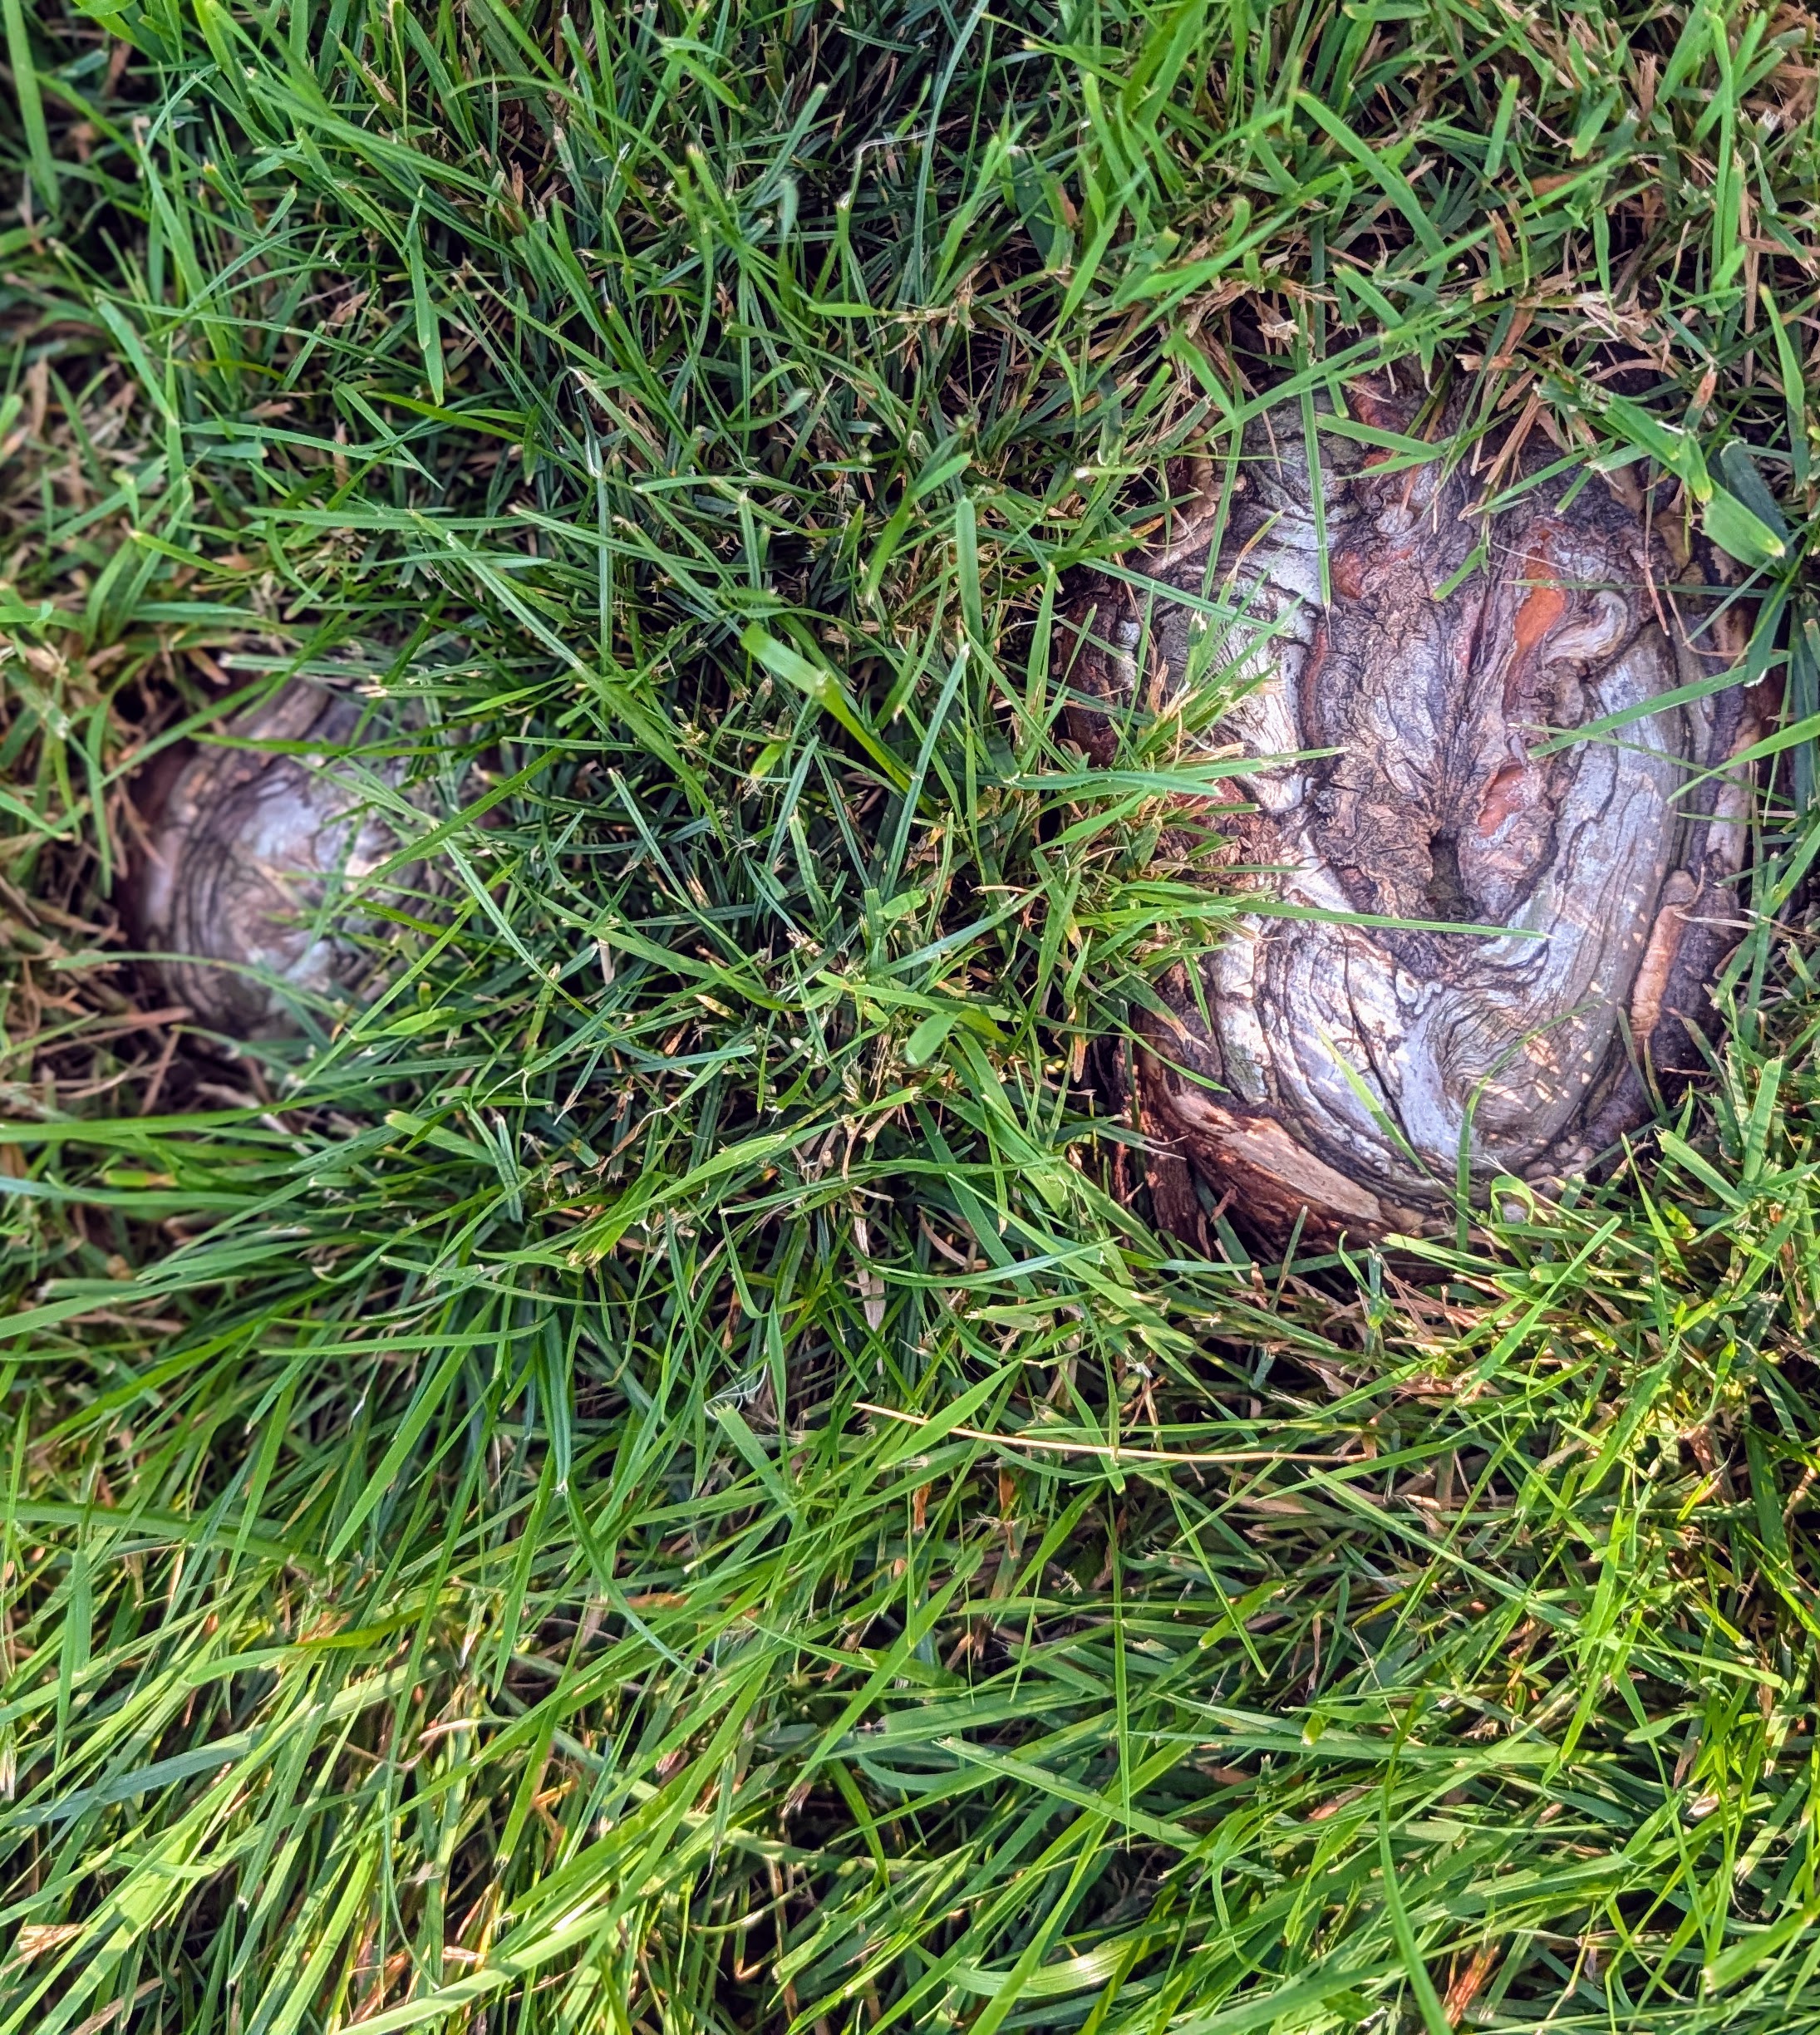
One of the most interesting characteristics of the bald cypress is its knees. Known by the scientific name pneumatophores, these growths are specialized root structures that grow vertically above the moist soil near the tree. It is believed that these structures aid the oxygen and carbon dioxide exchange in the roots. Looking carefully at the ground, one can see many of these unique knees.
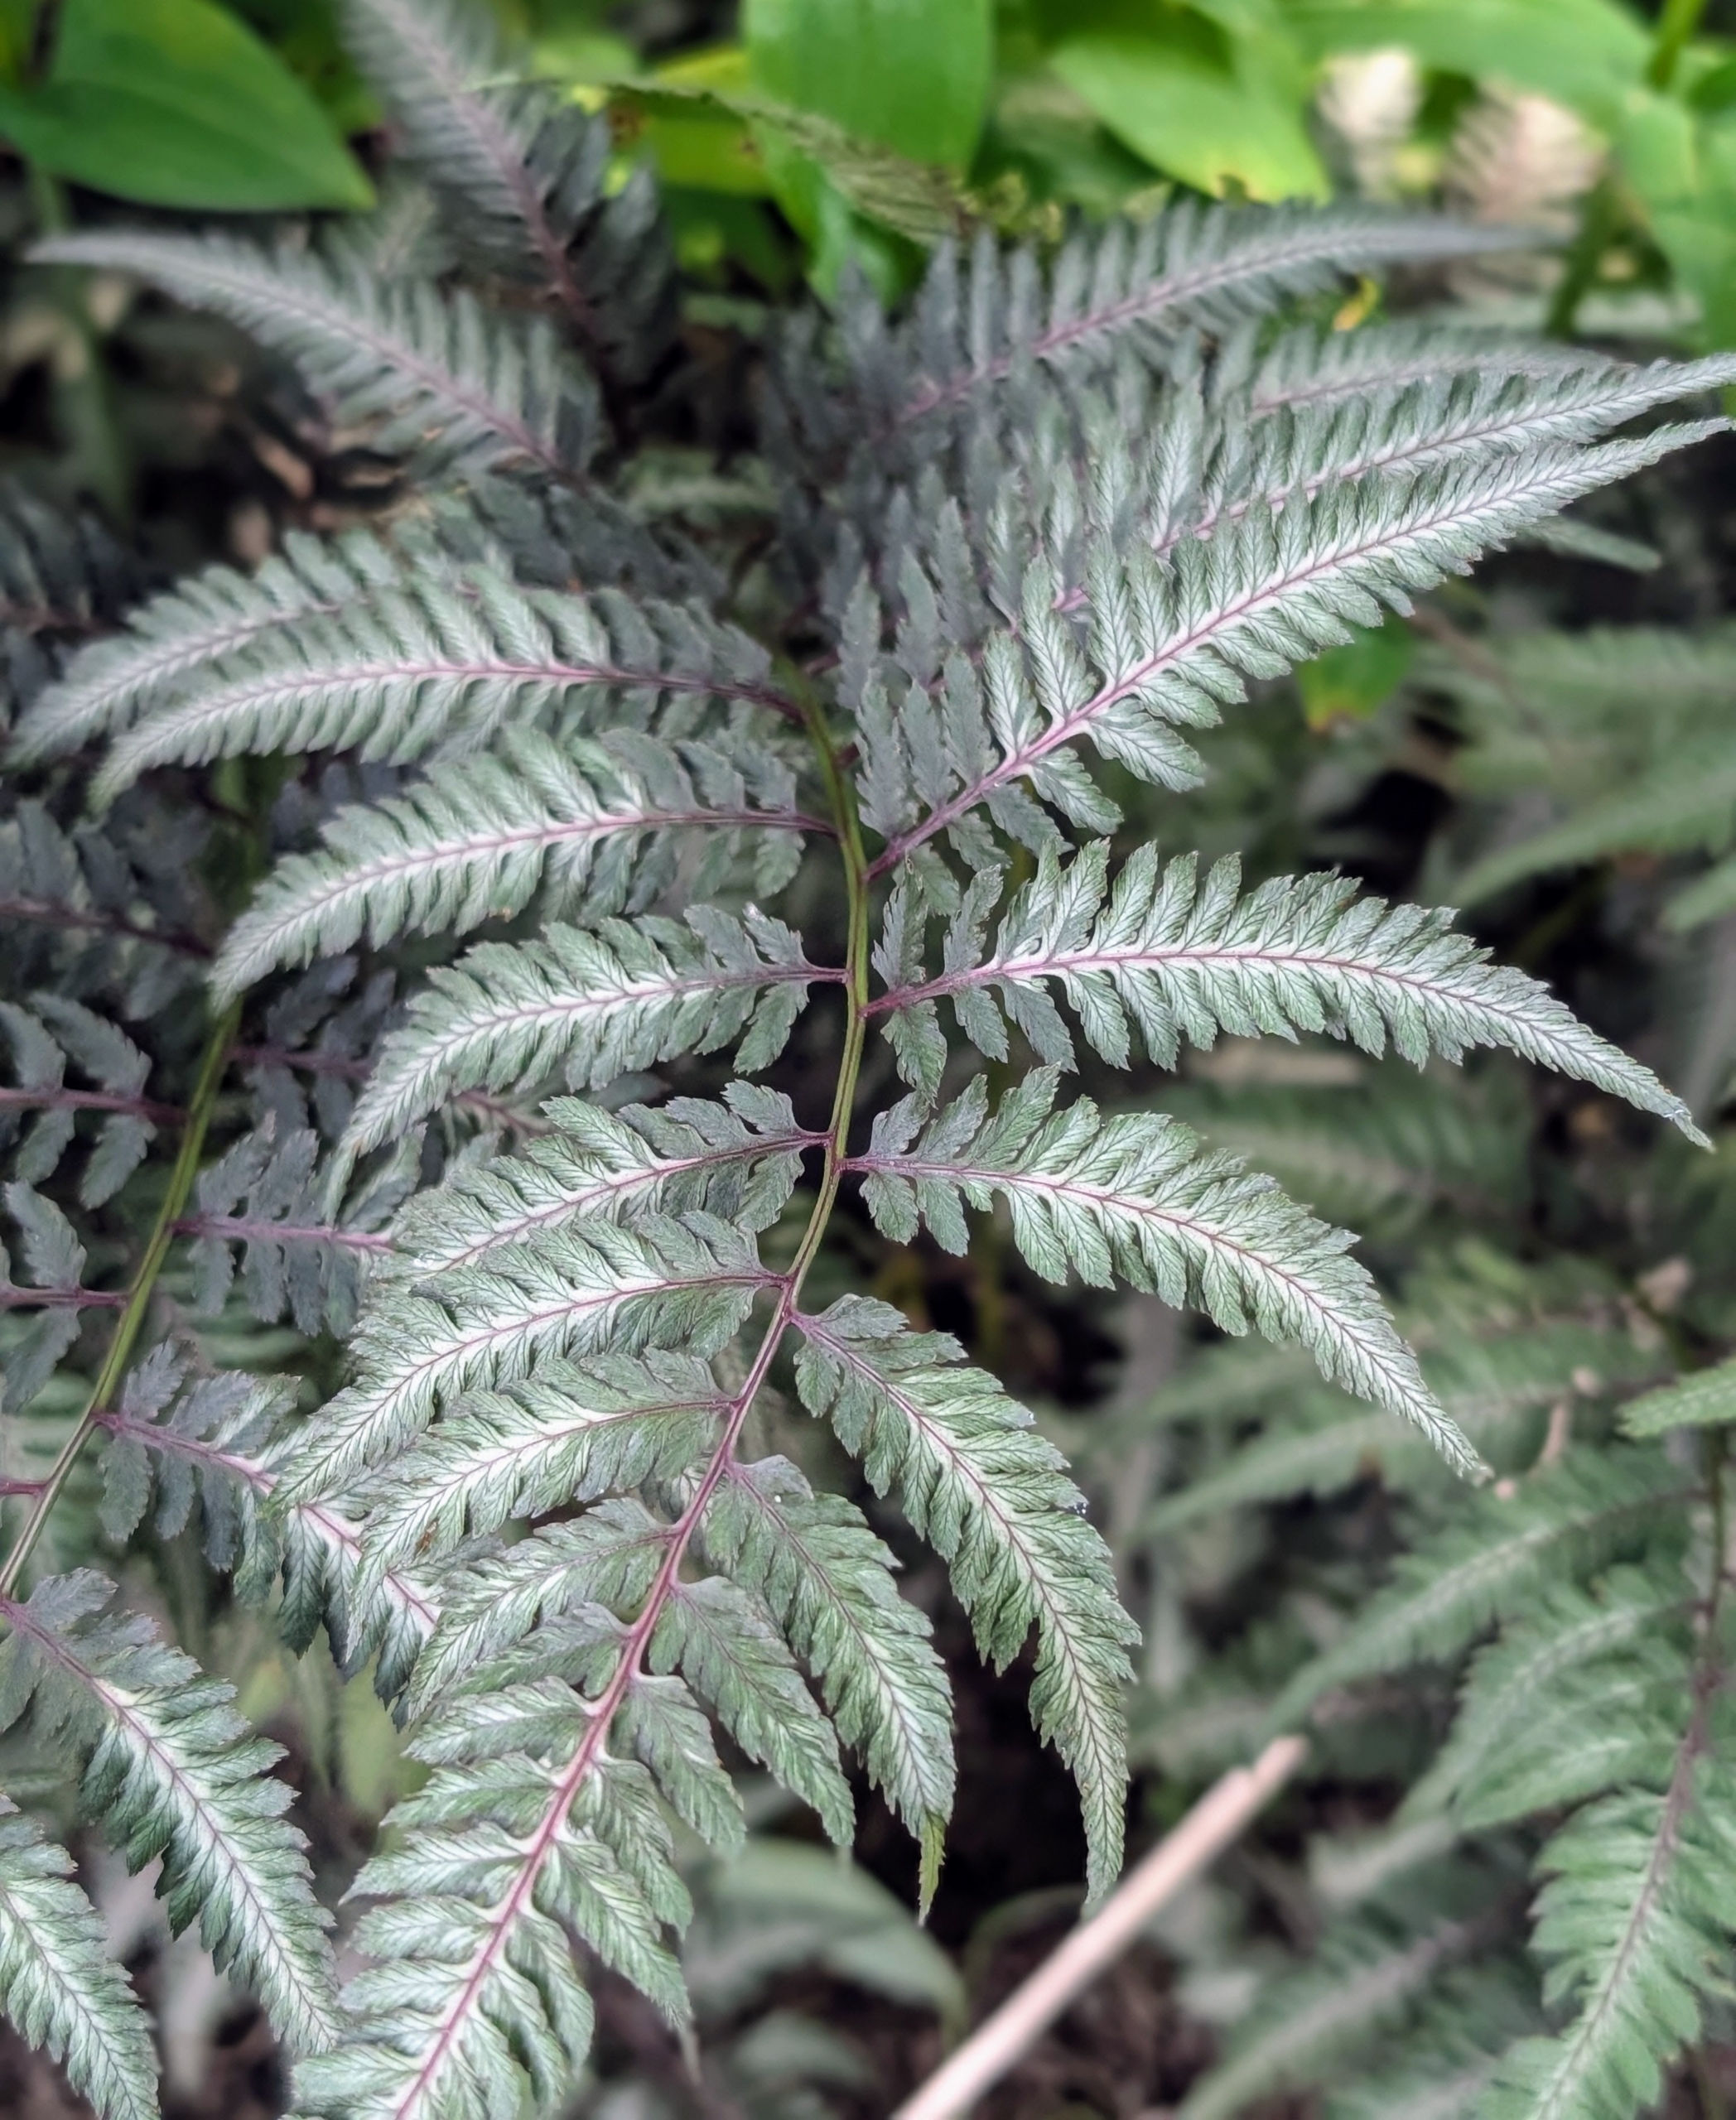
Some of the ferns in this area include the Japanese painted ferns – beautiful mounds of dramatic foliage with luminescent blue-green fronds and dark central ribs that fade to silver at the edges.
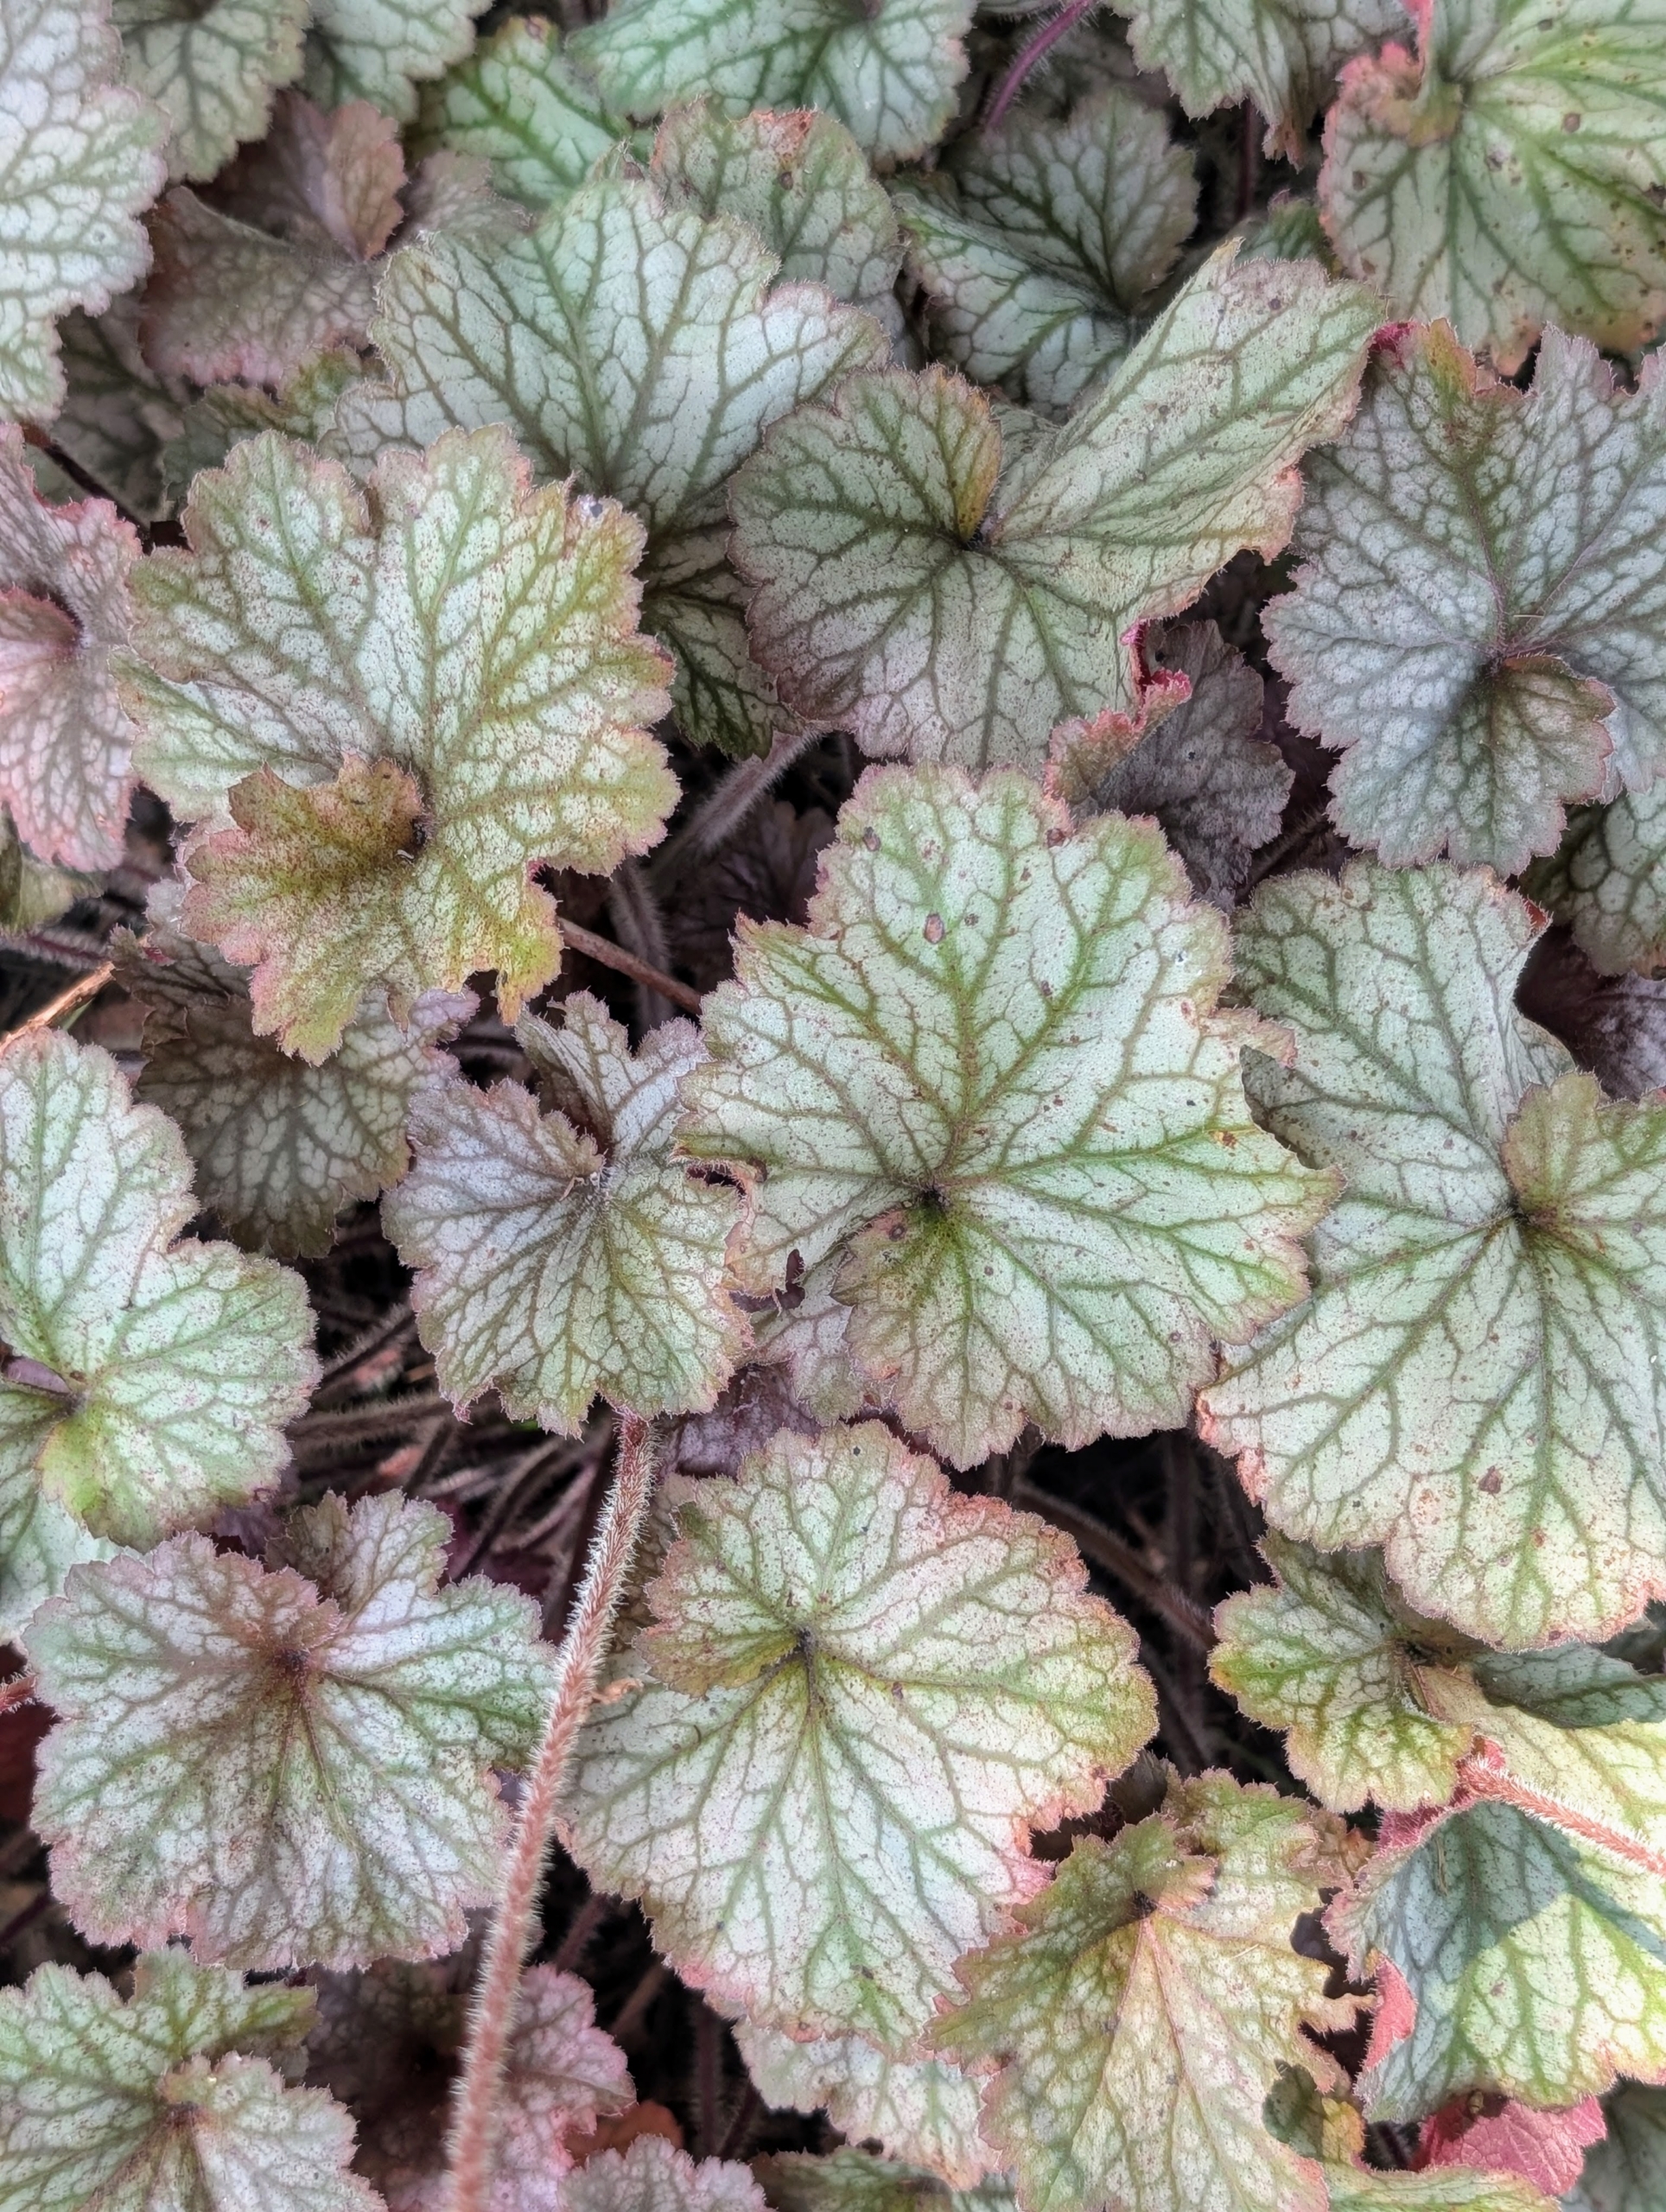
Heuchera is a genus of largely evergreen perennial plants in the family Saxifragaceae, all native to North America. Common names include alumroot and coral bells.
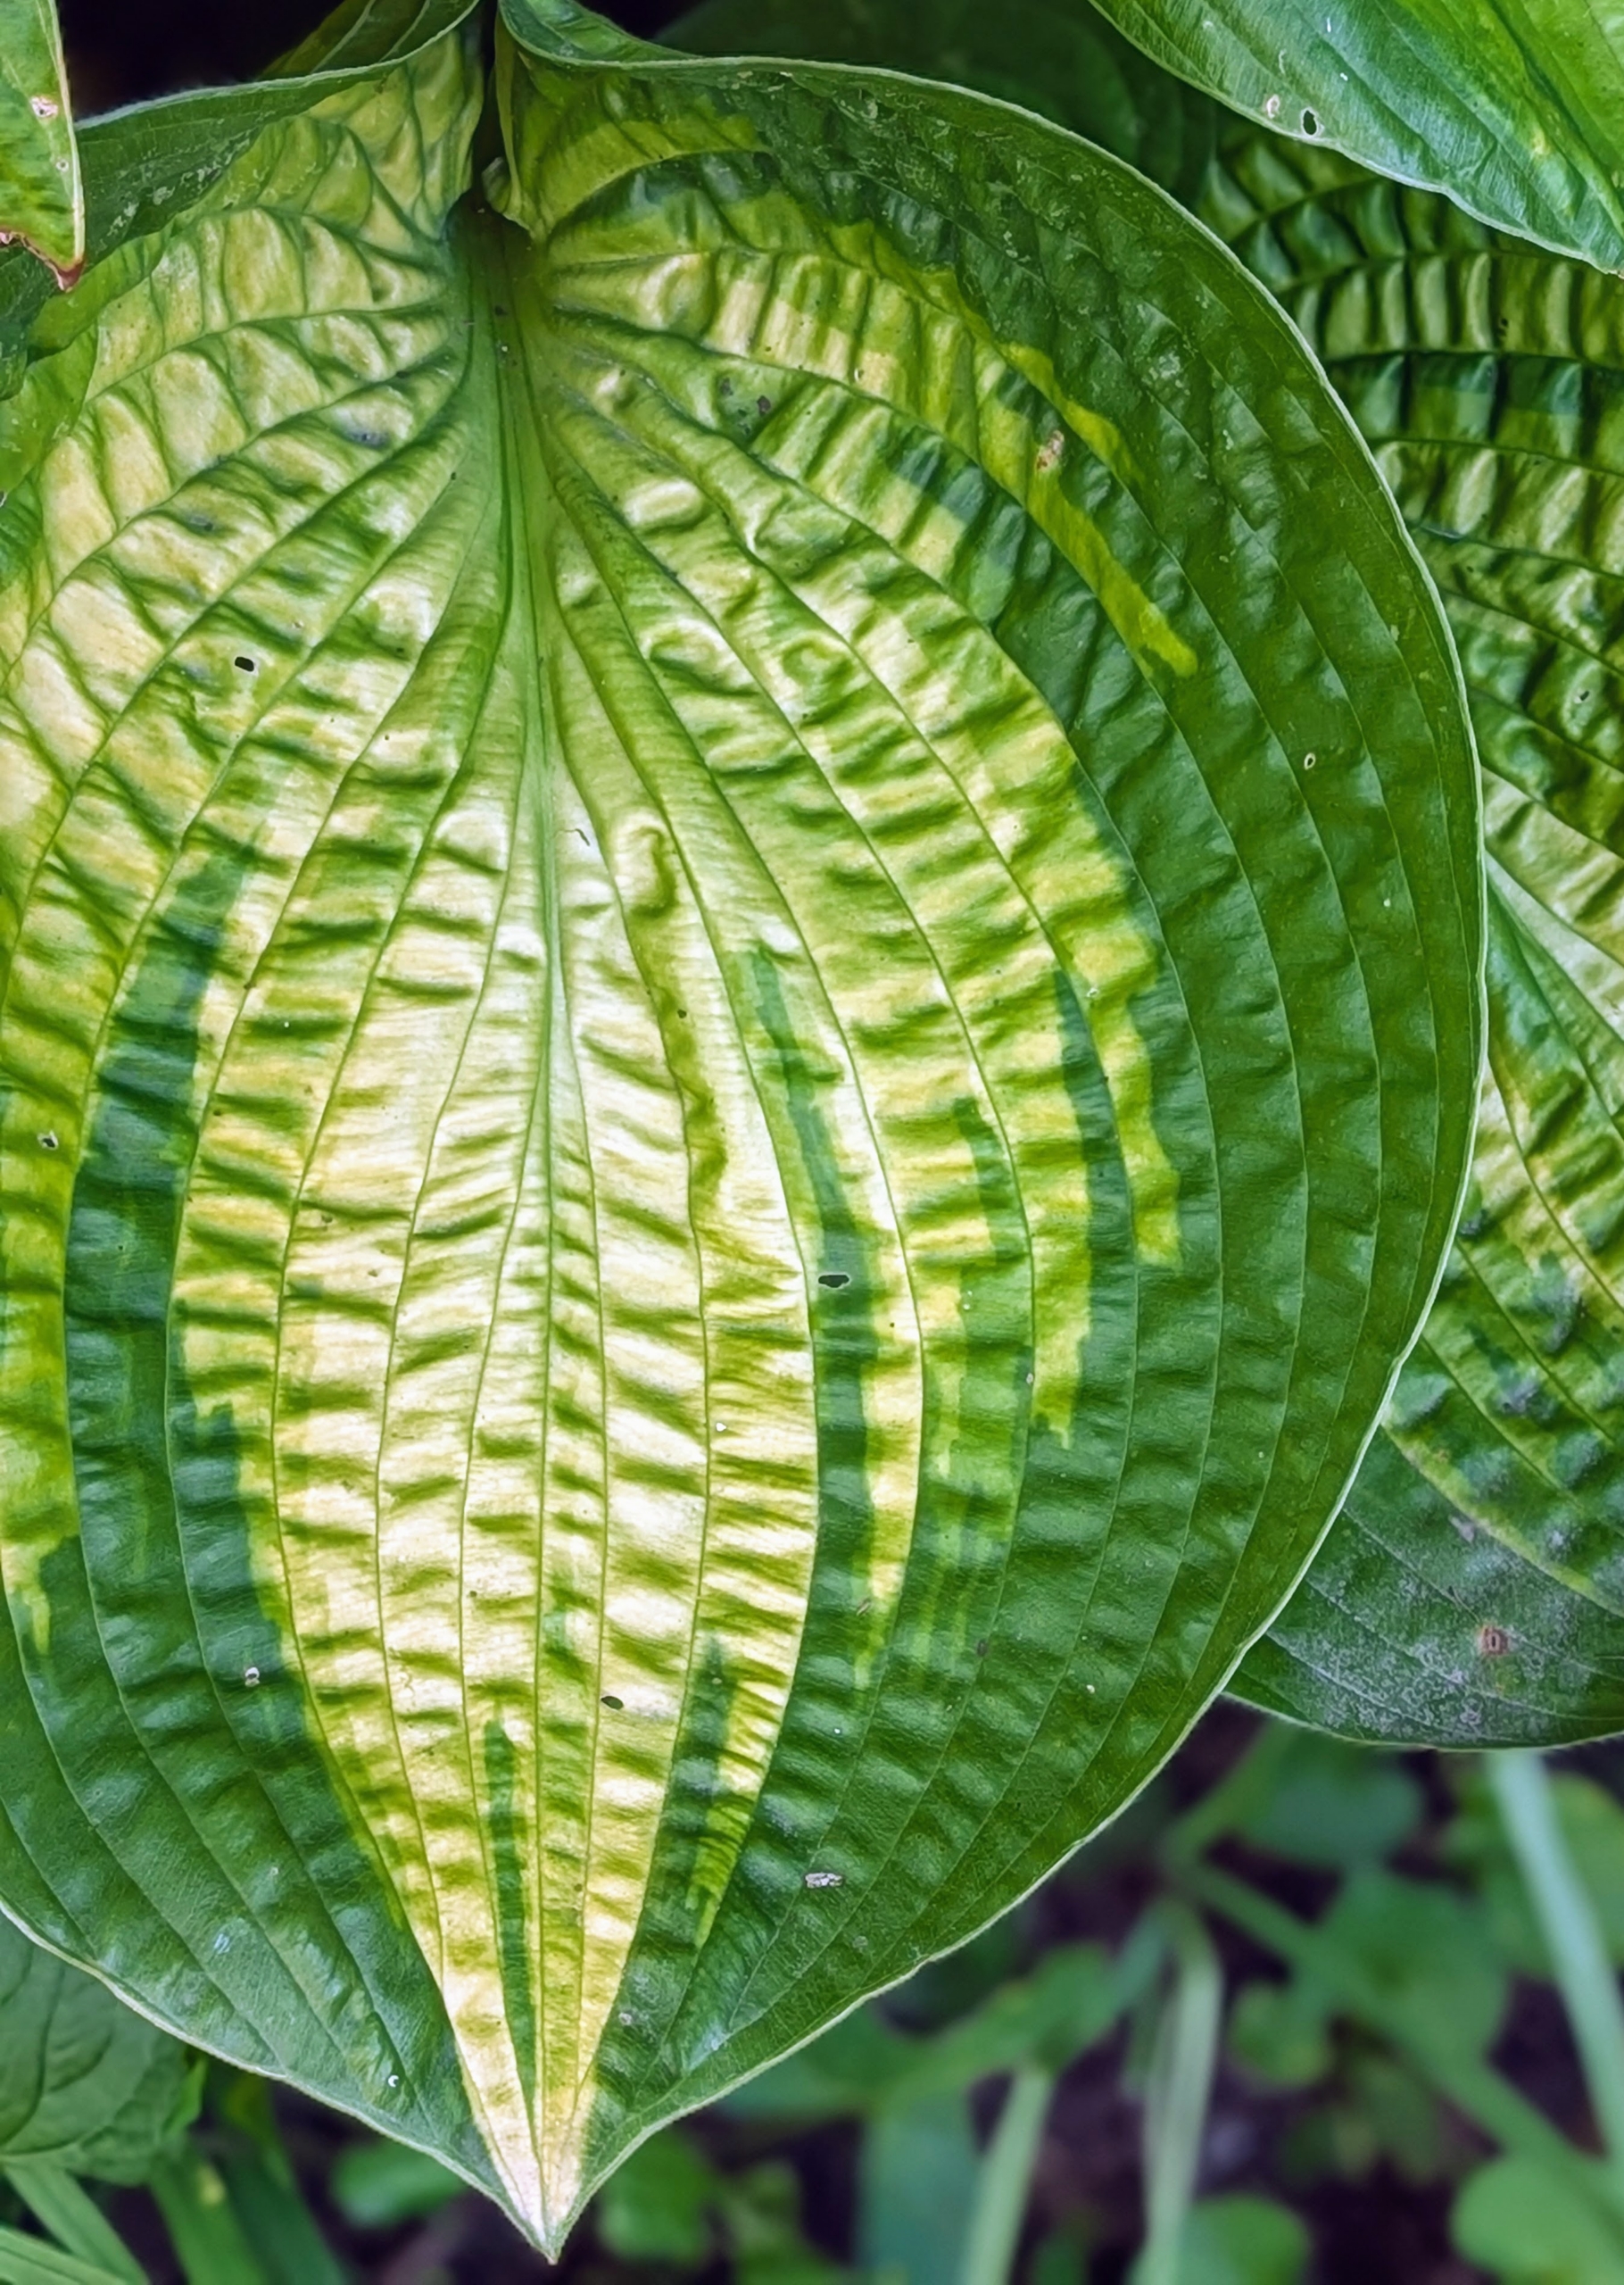
The hostas are so lush with their varying leaf shapes, sizes, and textures. I also have a large hosta garden down behind my chicken yard.
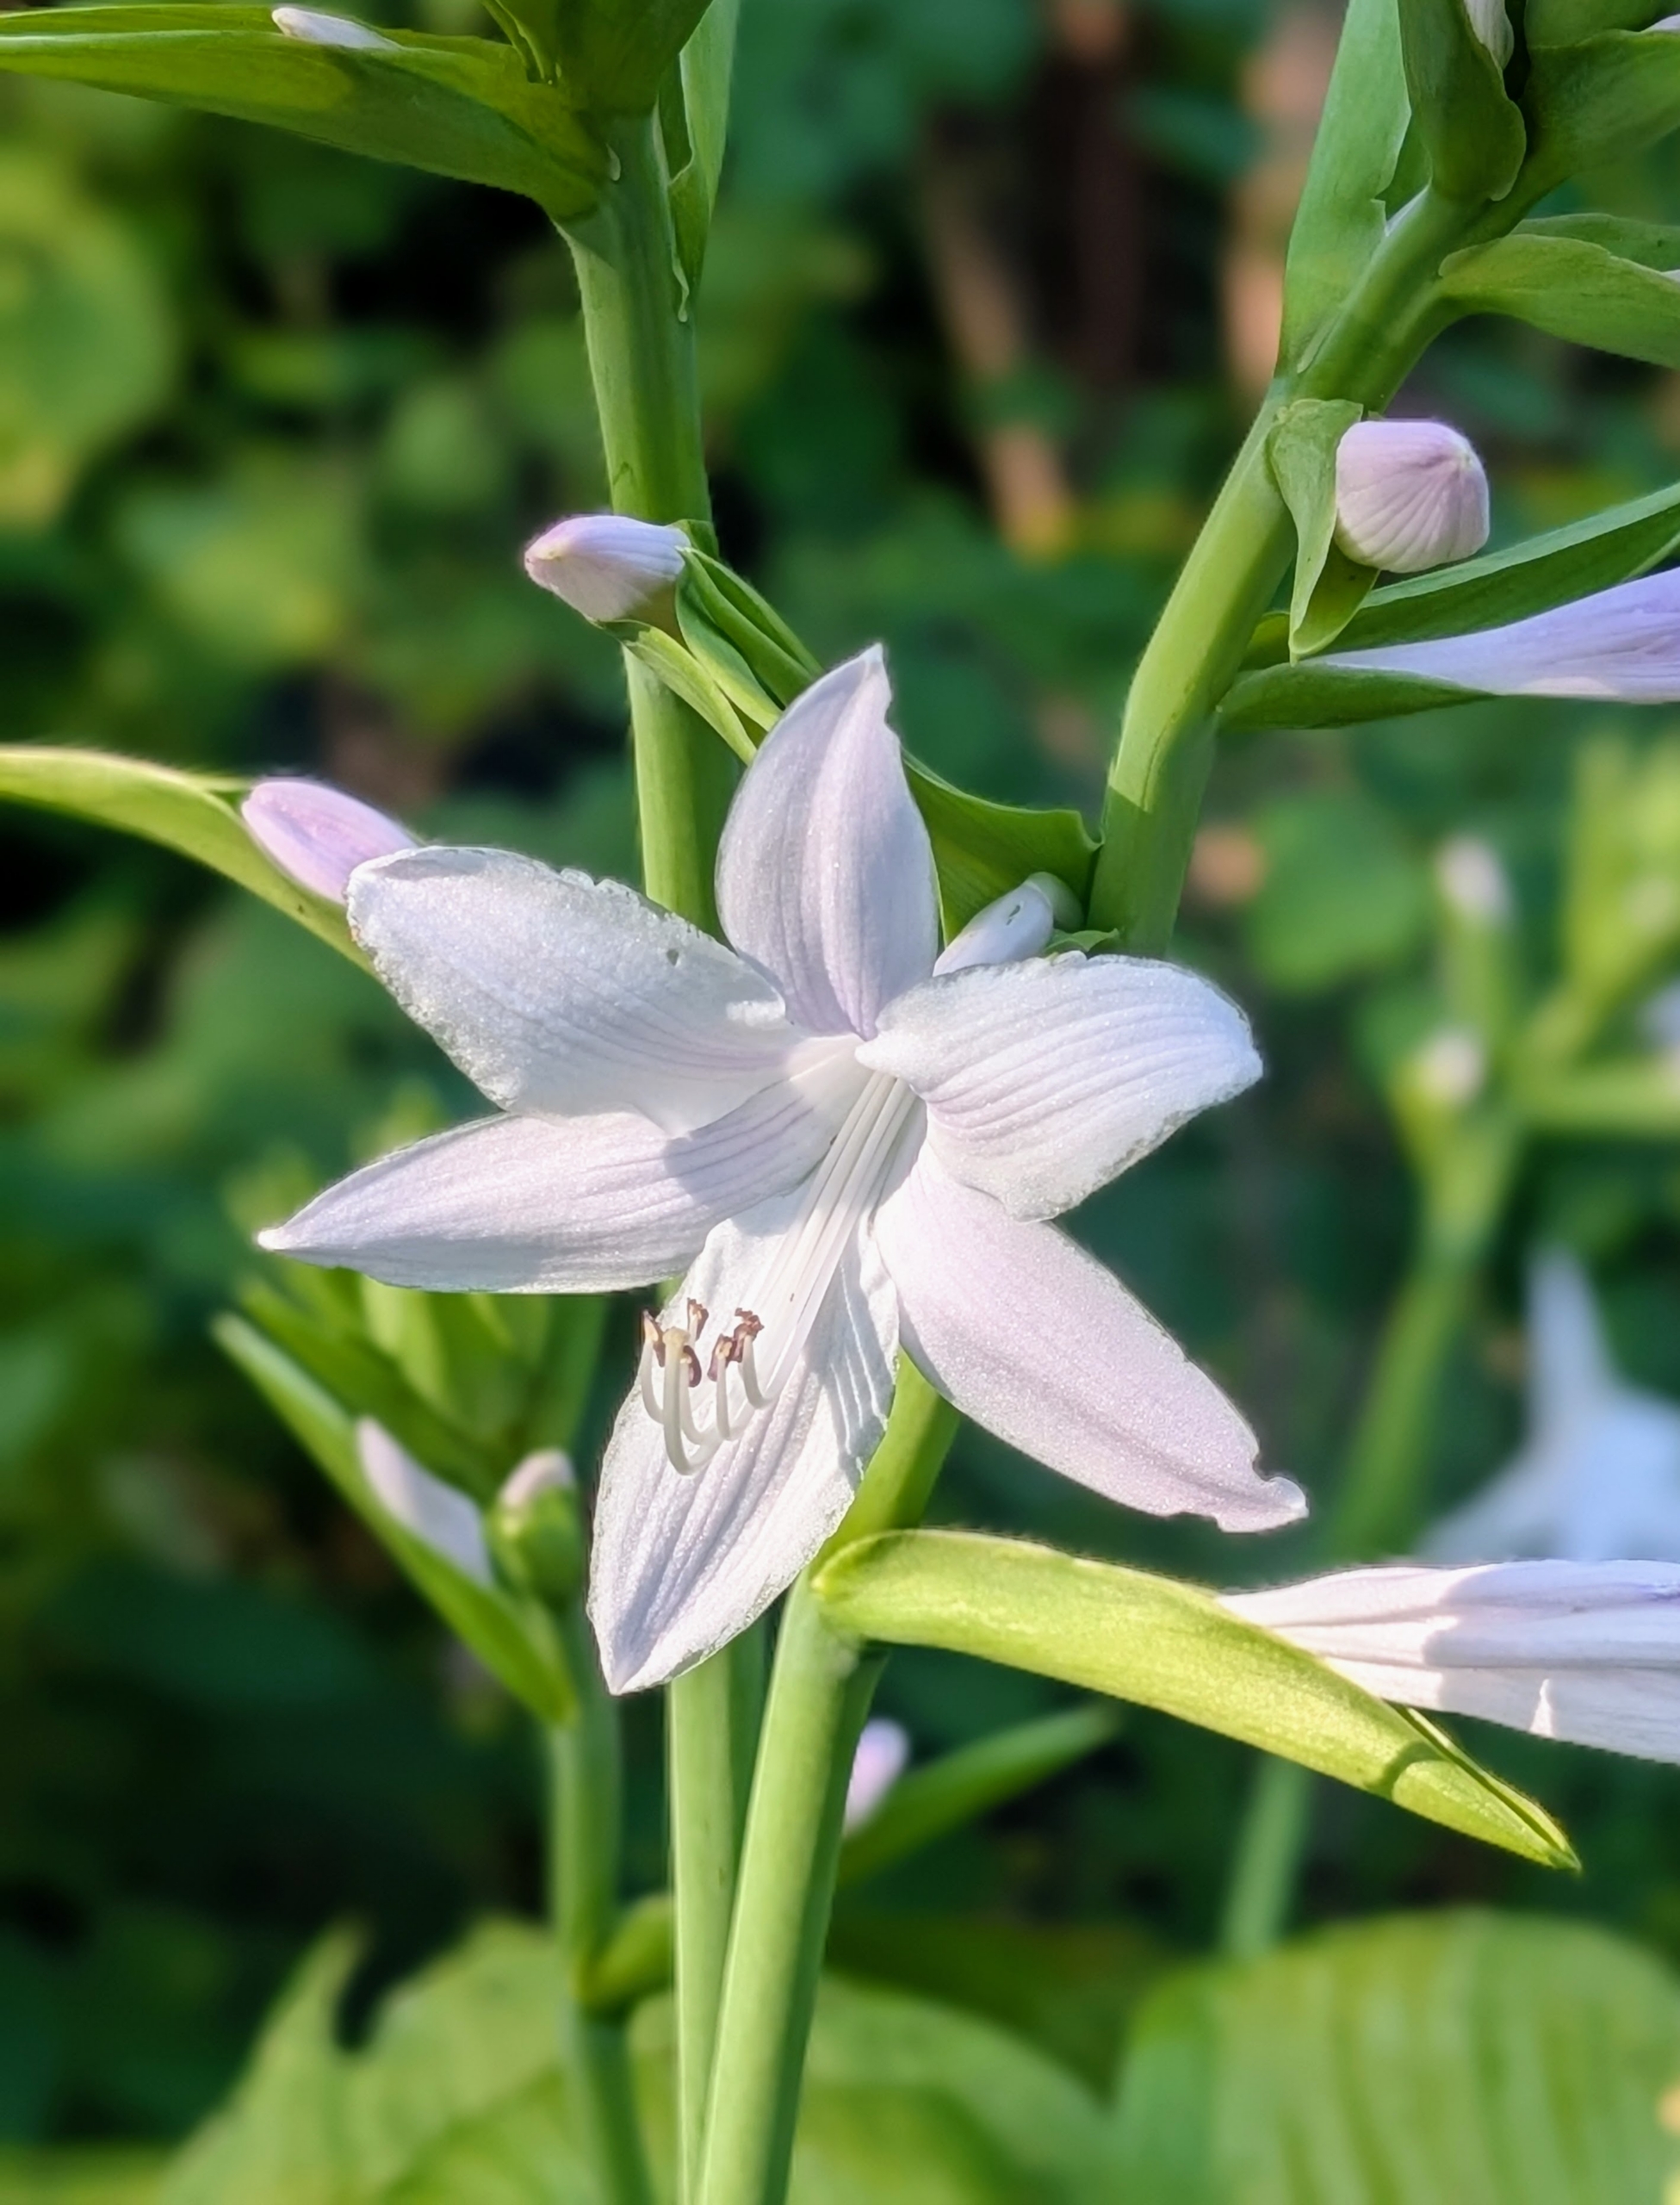
Hosta plants produce attractive flowers in shades of white, lavender, pink, or light blue, typically blooming from early summer to early fall.
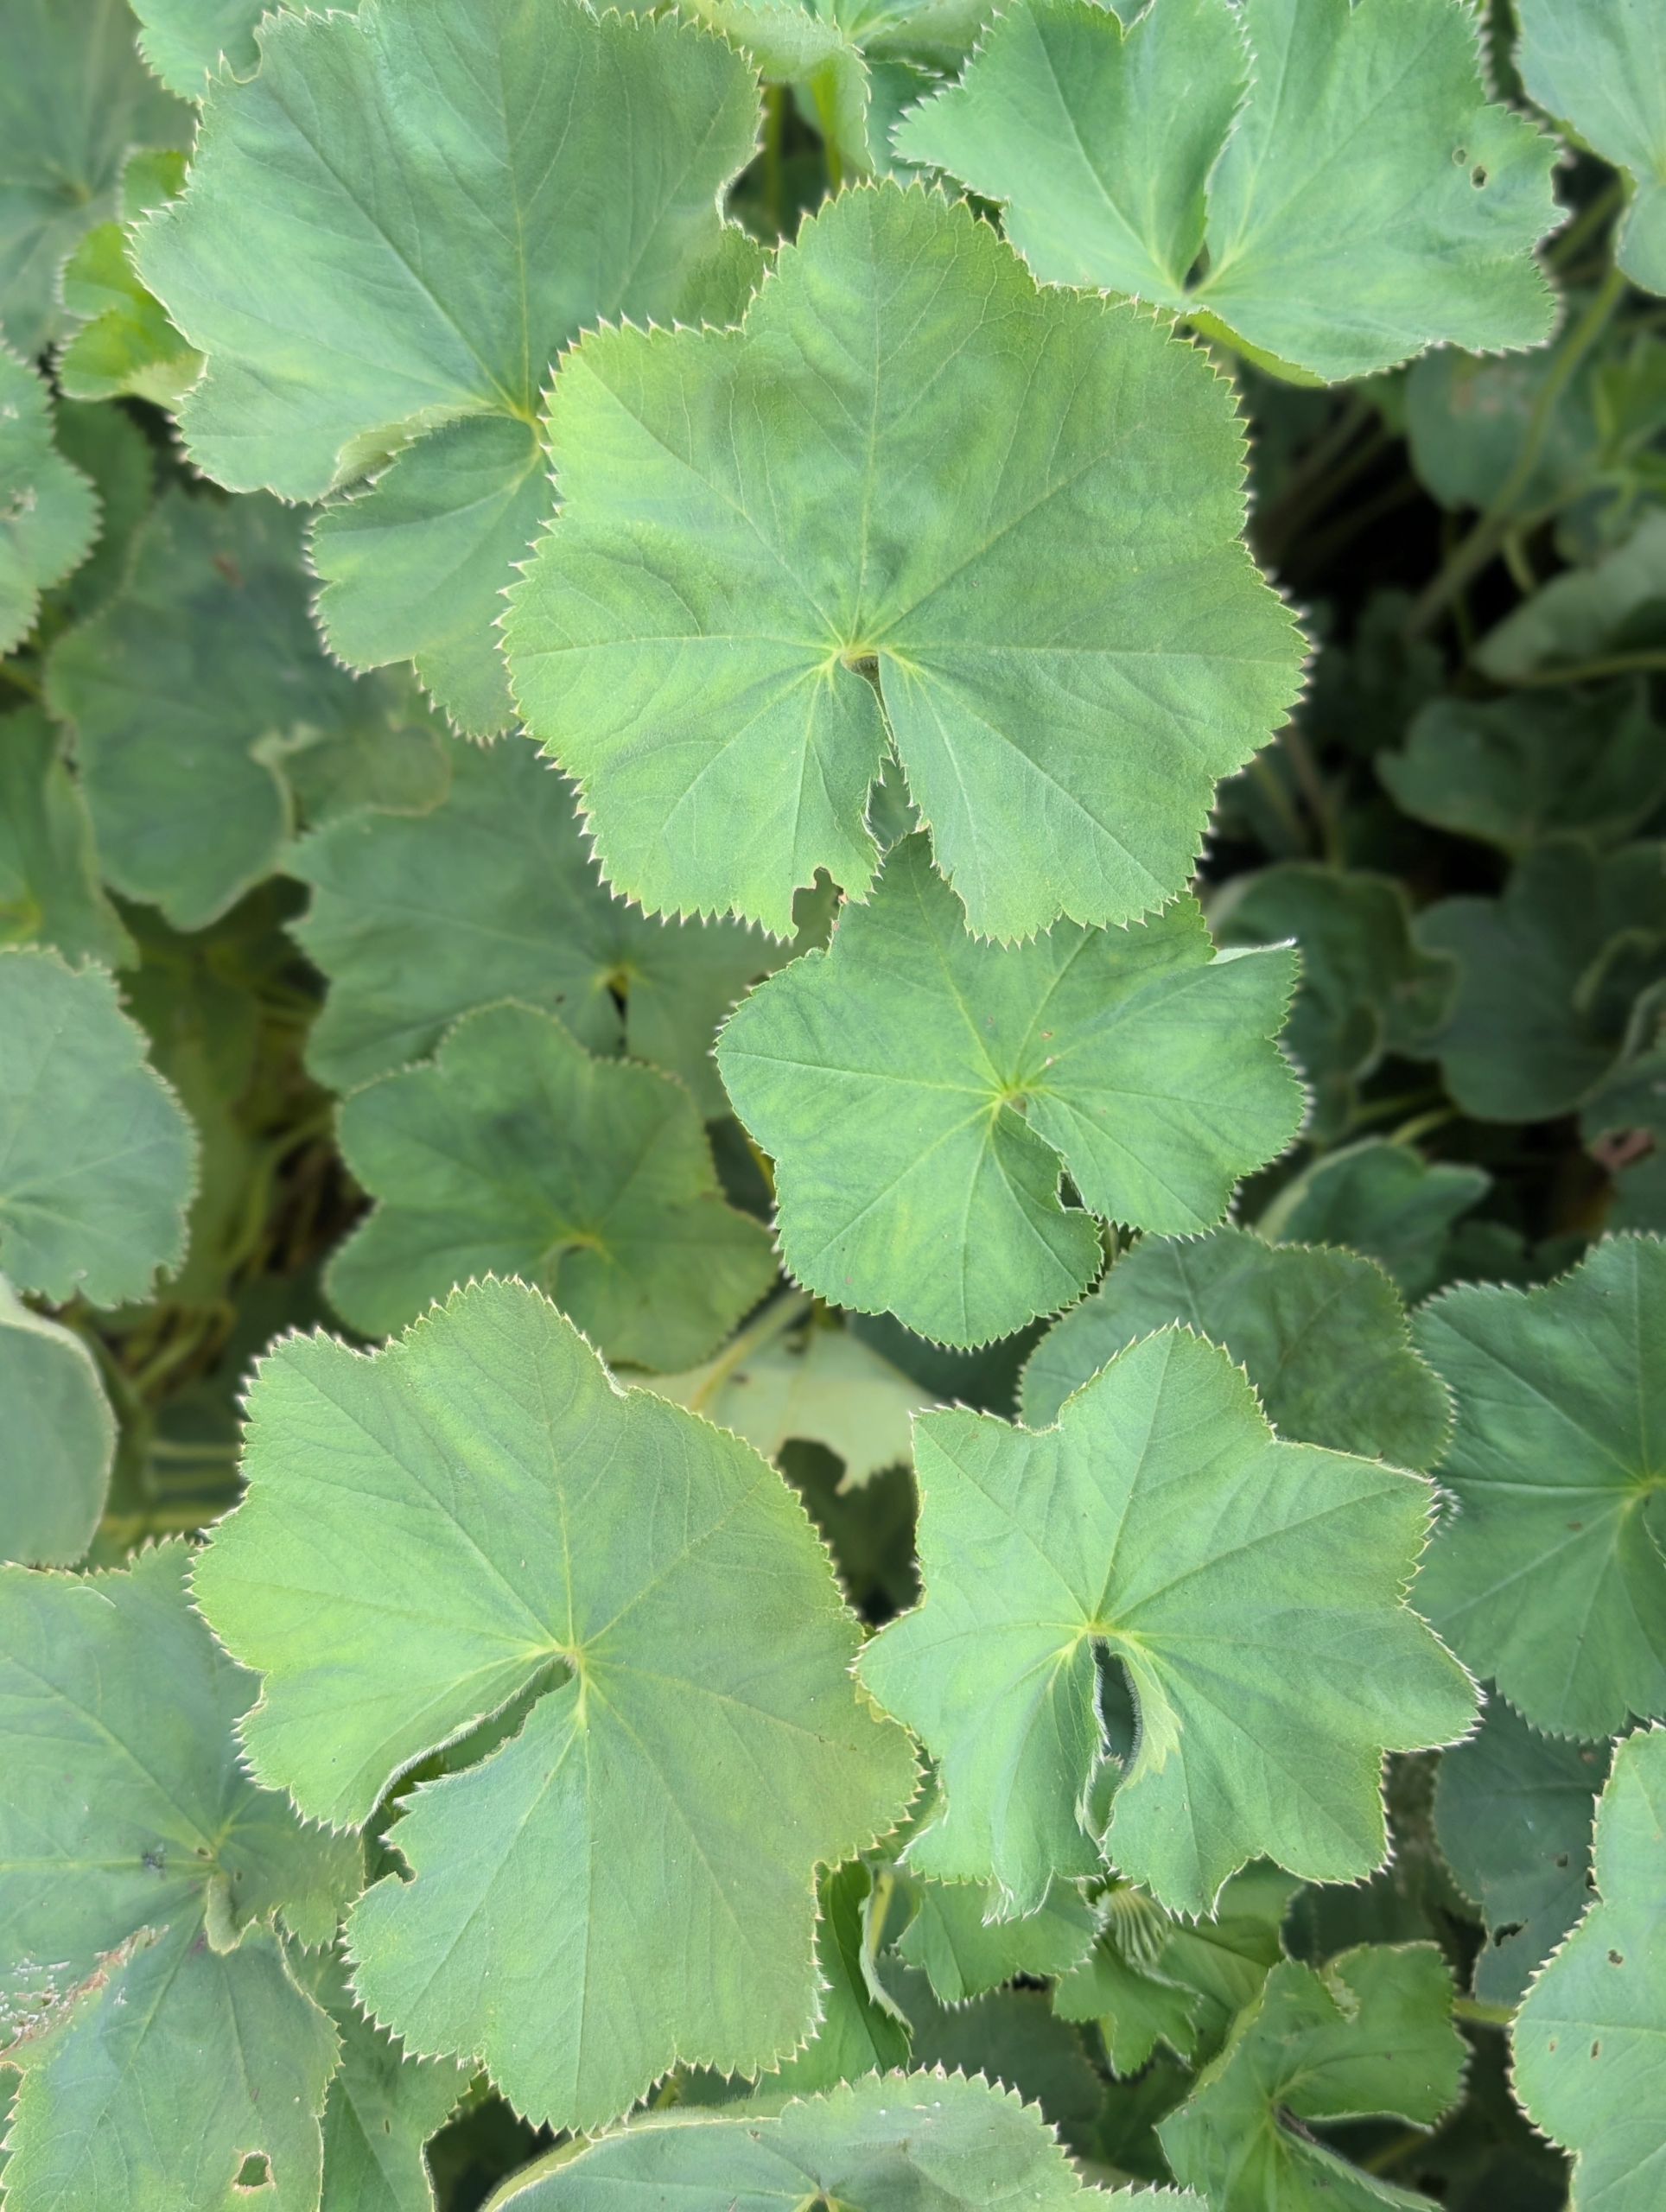
Lady’s mantle, Alchemilla vulgaris, grows along one edge. It is a clumping perennial which typically forms a mound of long-stalked, circular, scallop-edge light green leaves, with tiny, star-shaped, chartreuse flowers.
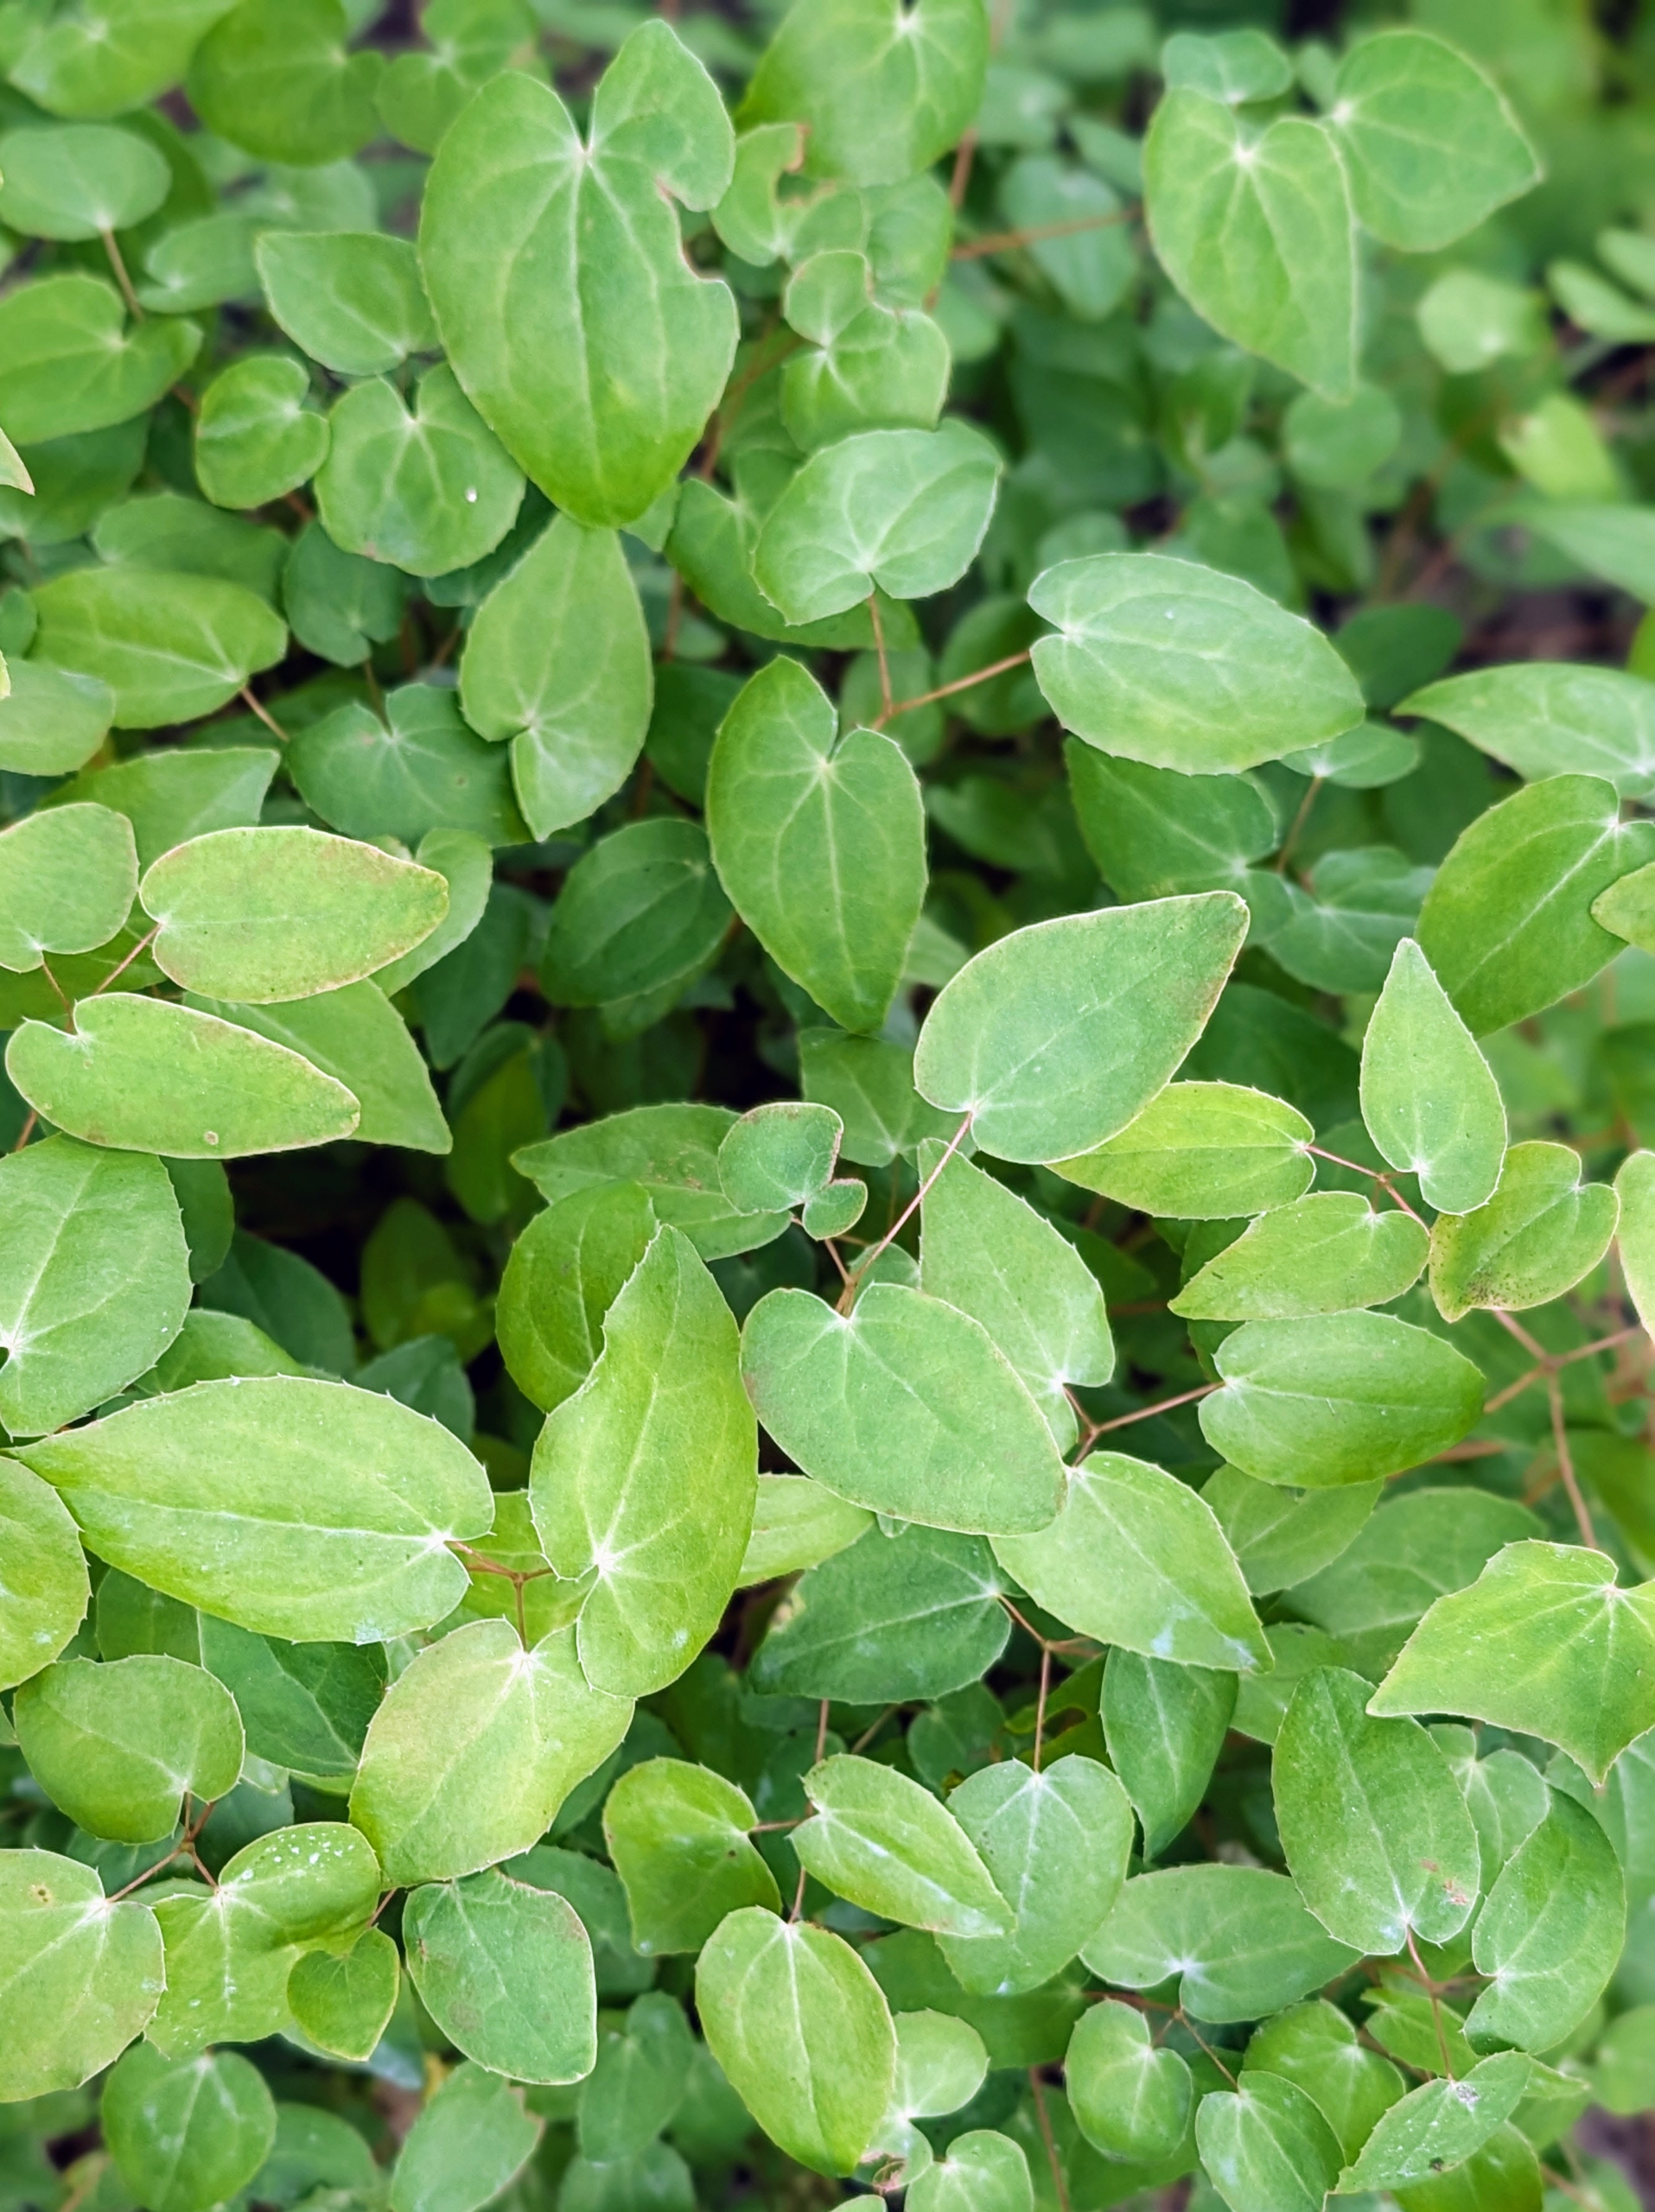
Epimediums are long-lived and easy to grow and have such attractive and varying foliage. Epimedium, also known as barrenwort, bishop’s hat, and horny goat weed, is a genus of flowering plants in the family Berberidaceae.
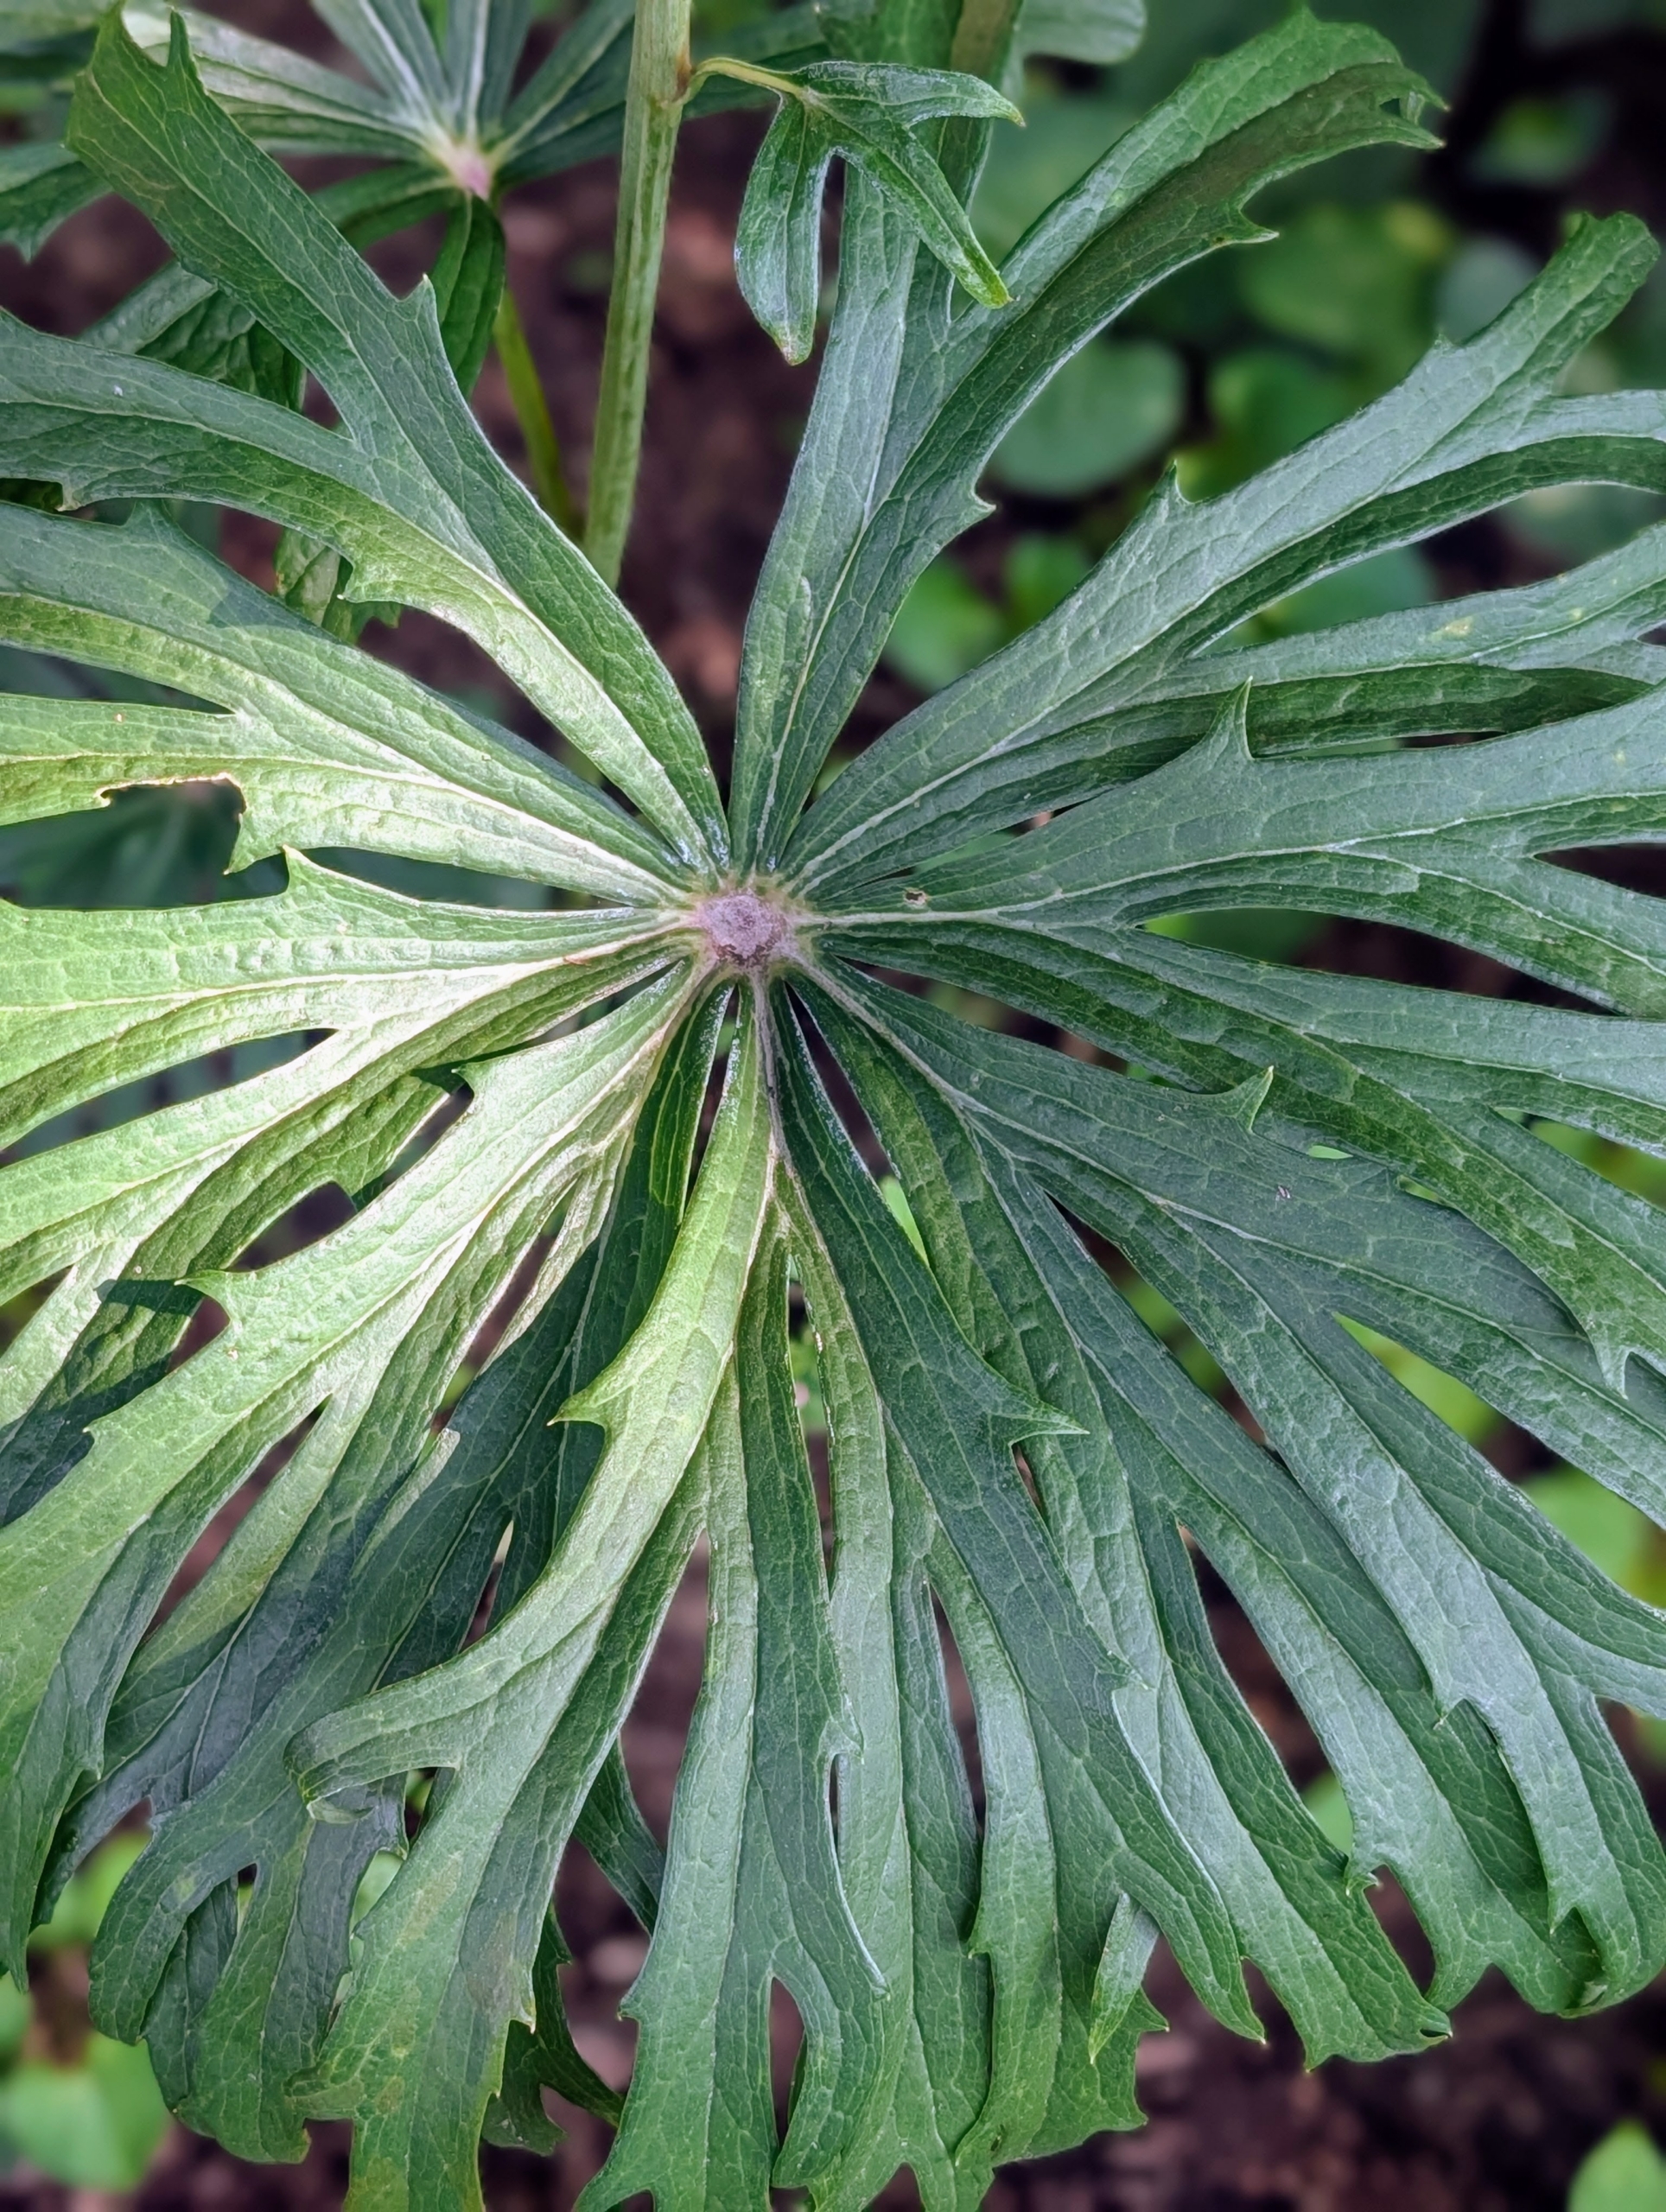
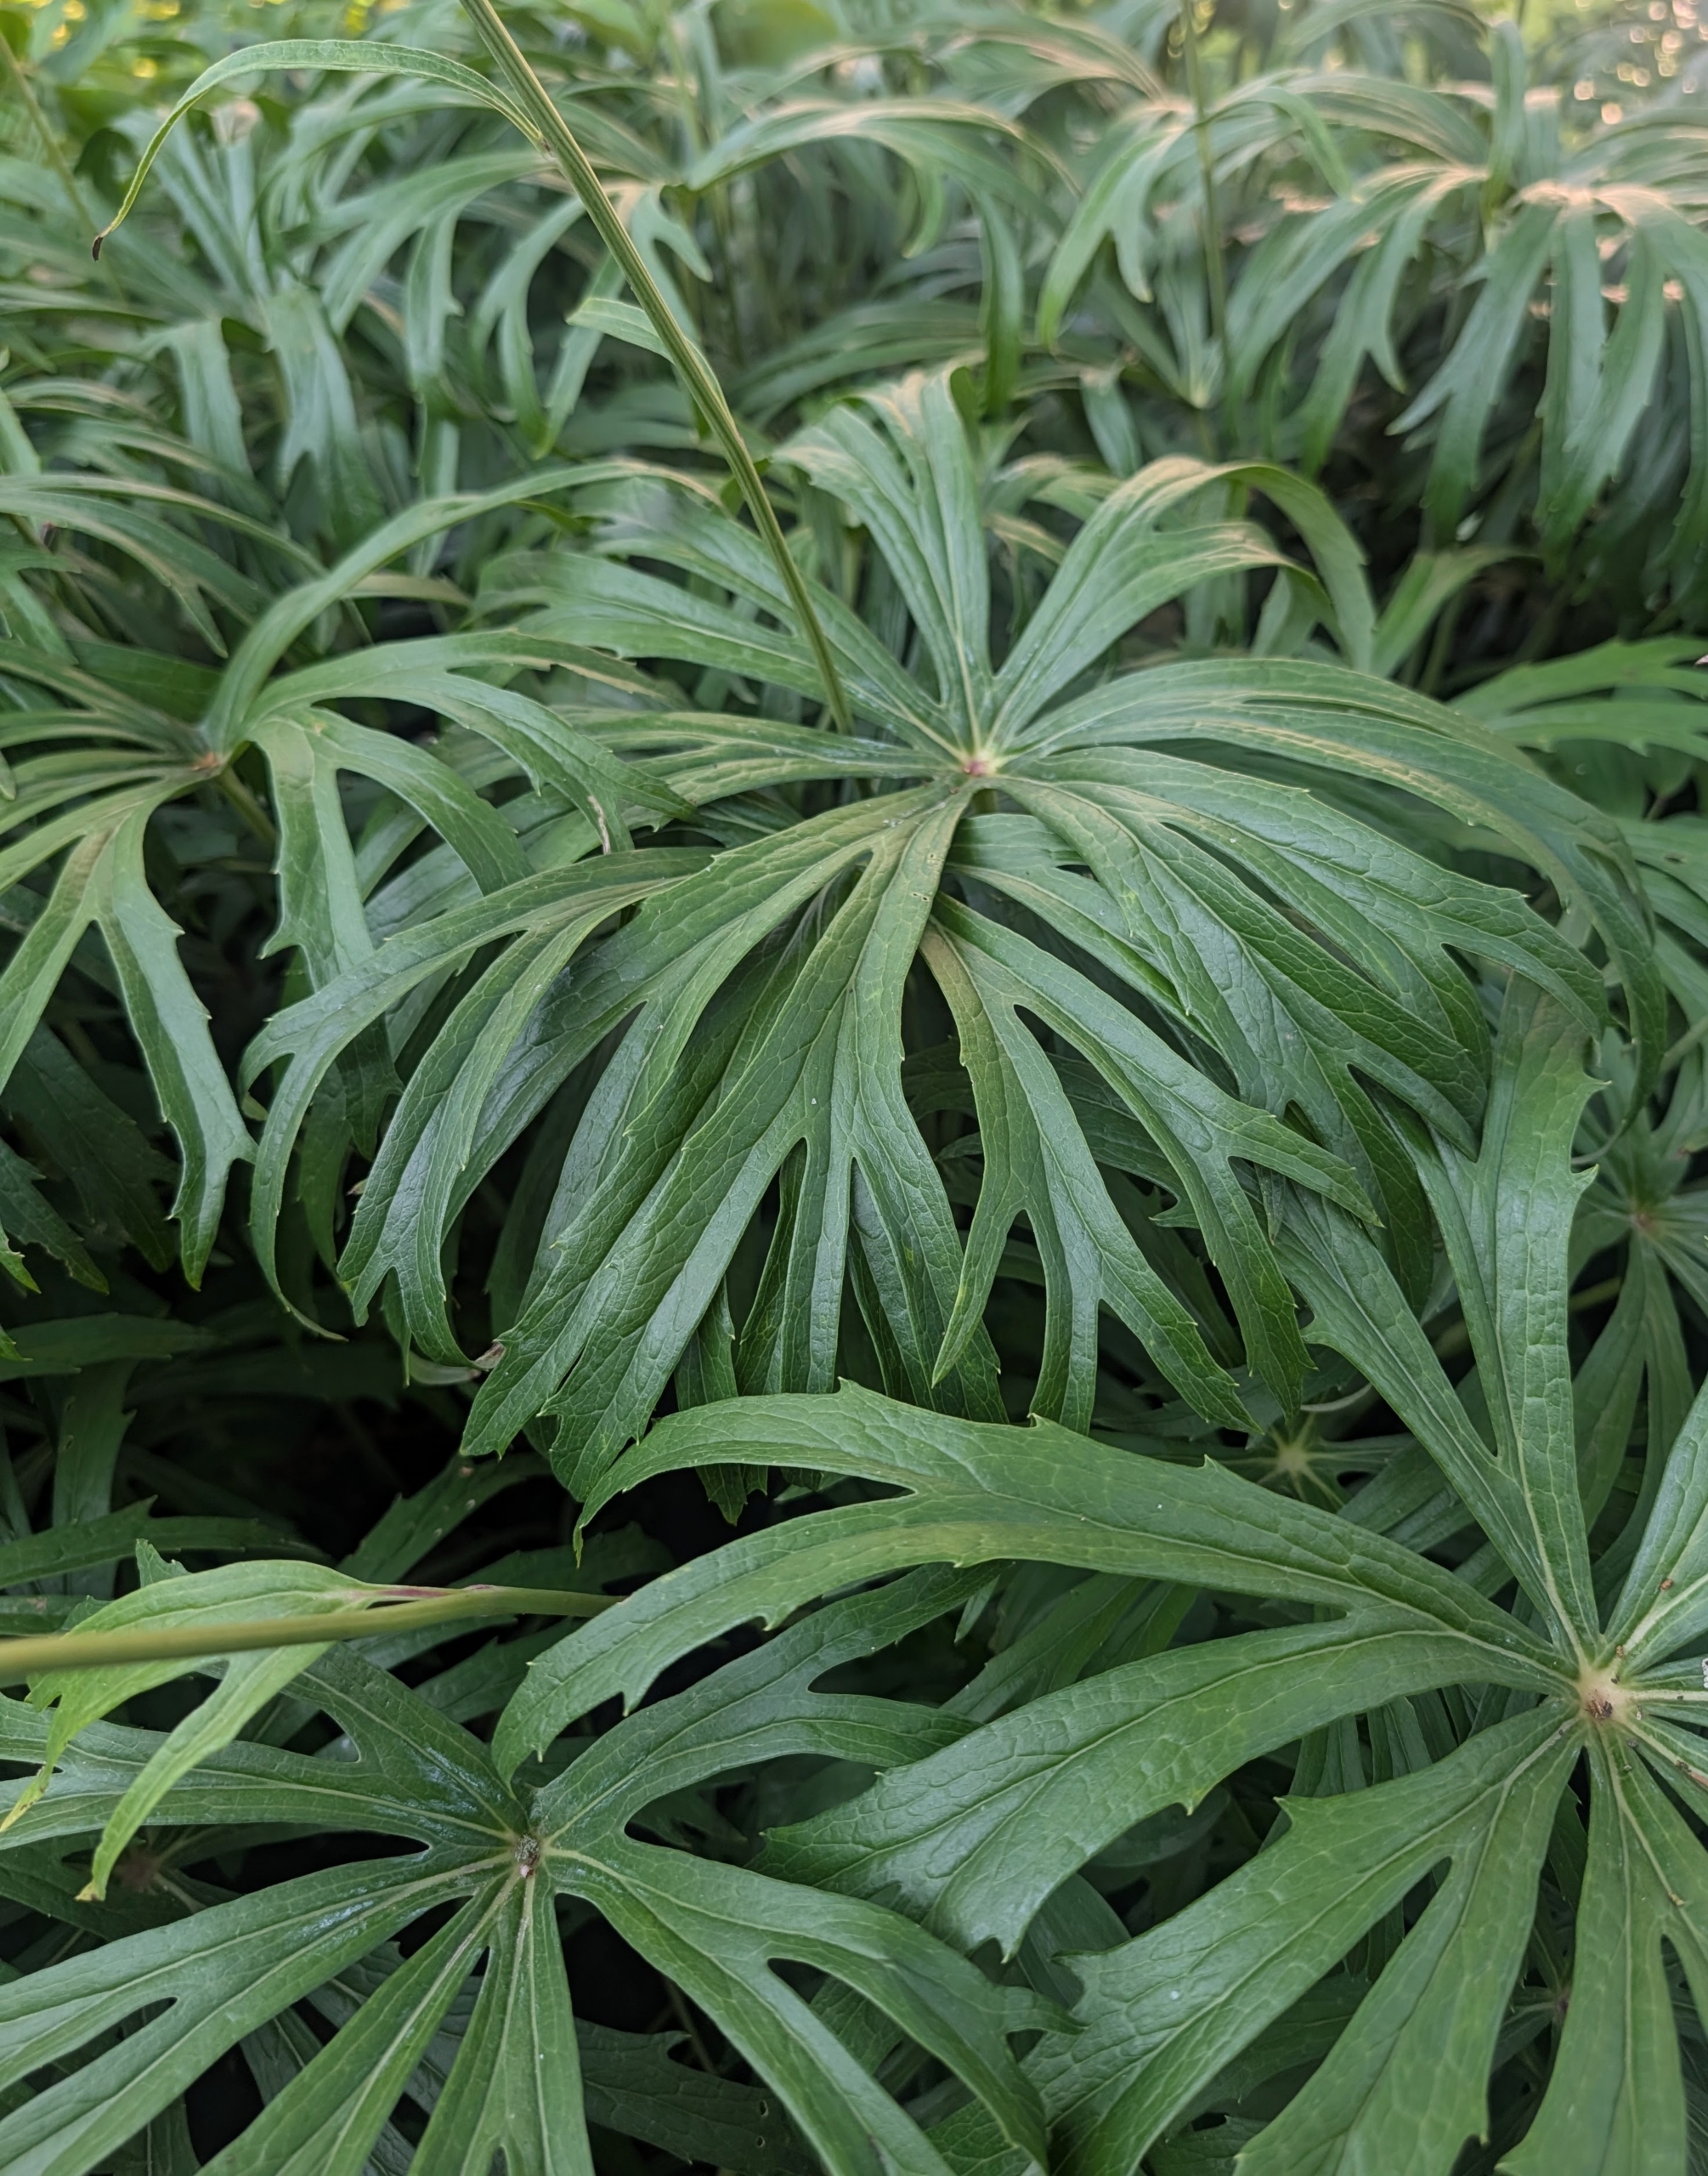
This is Syneilesis palmata. These plants form green umbrella-shaped leaves. Mature specimens have leaves that can be more than a foot across.
And over time, it naturally multiplies and forms colonies in shaded or woodland environments.
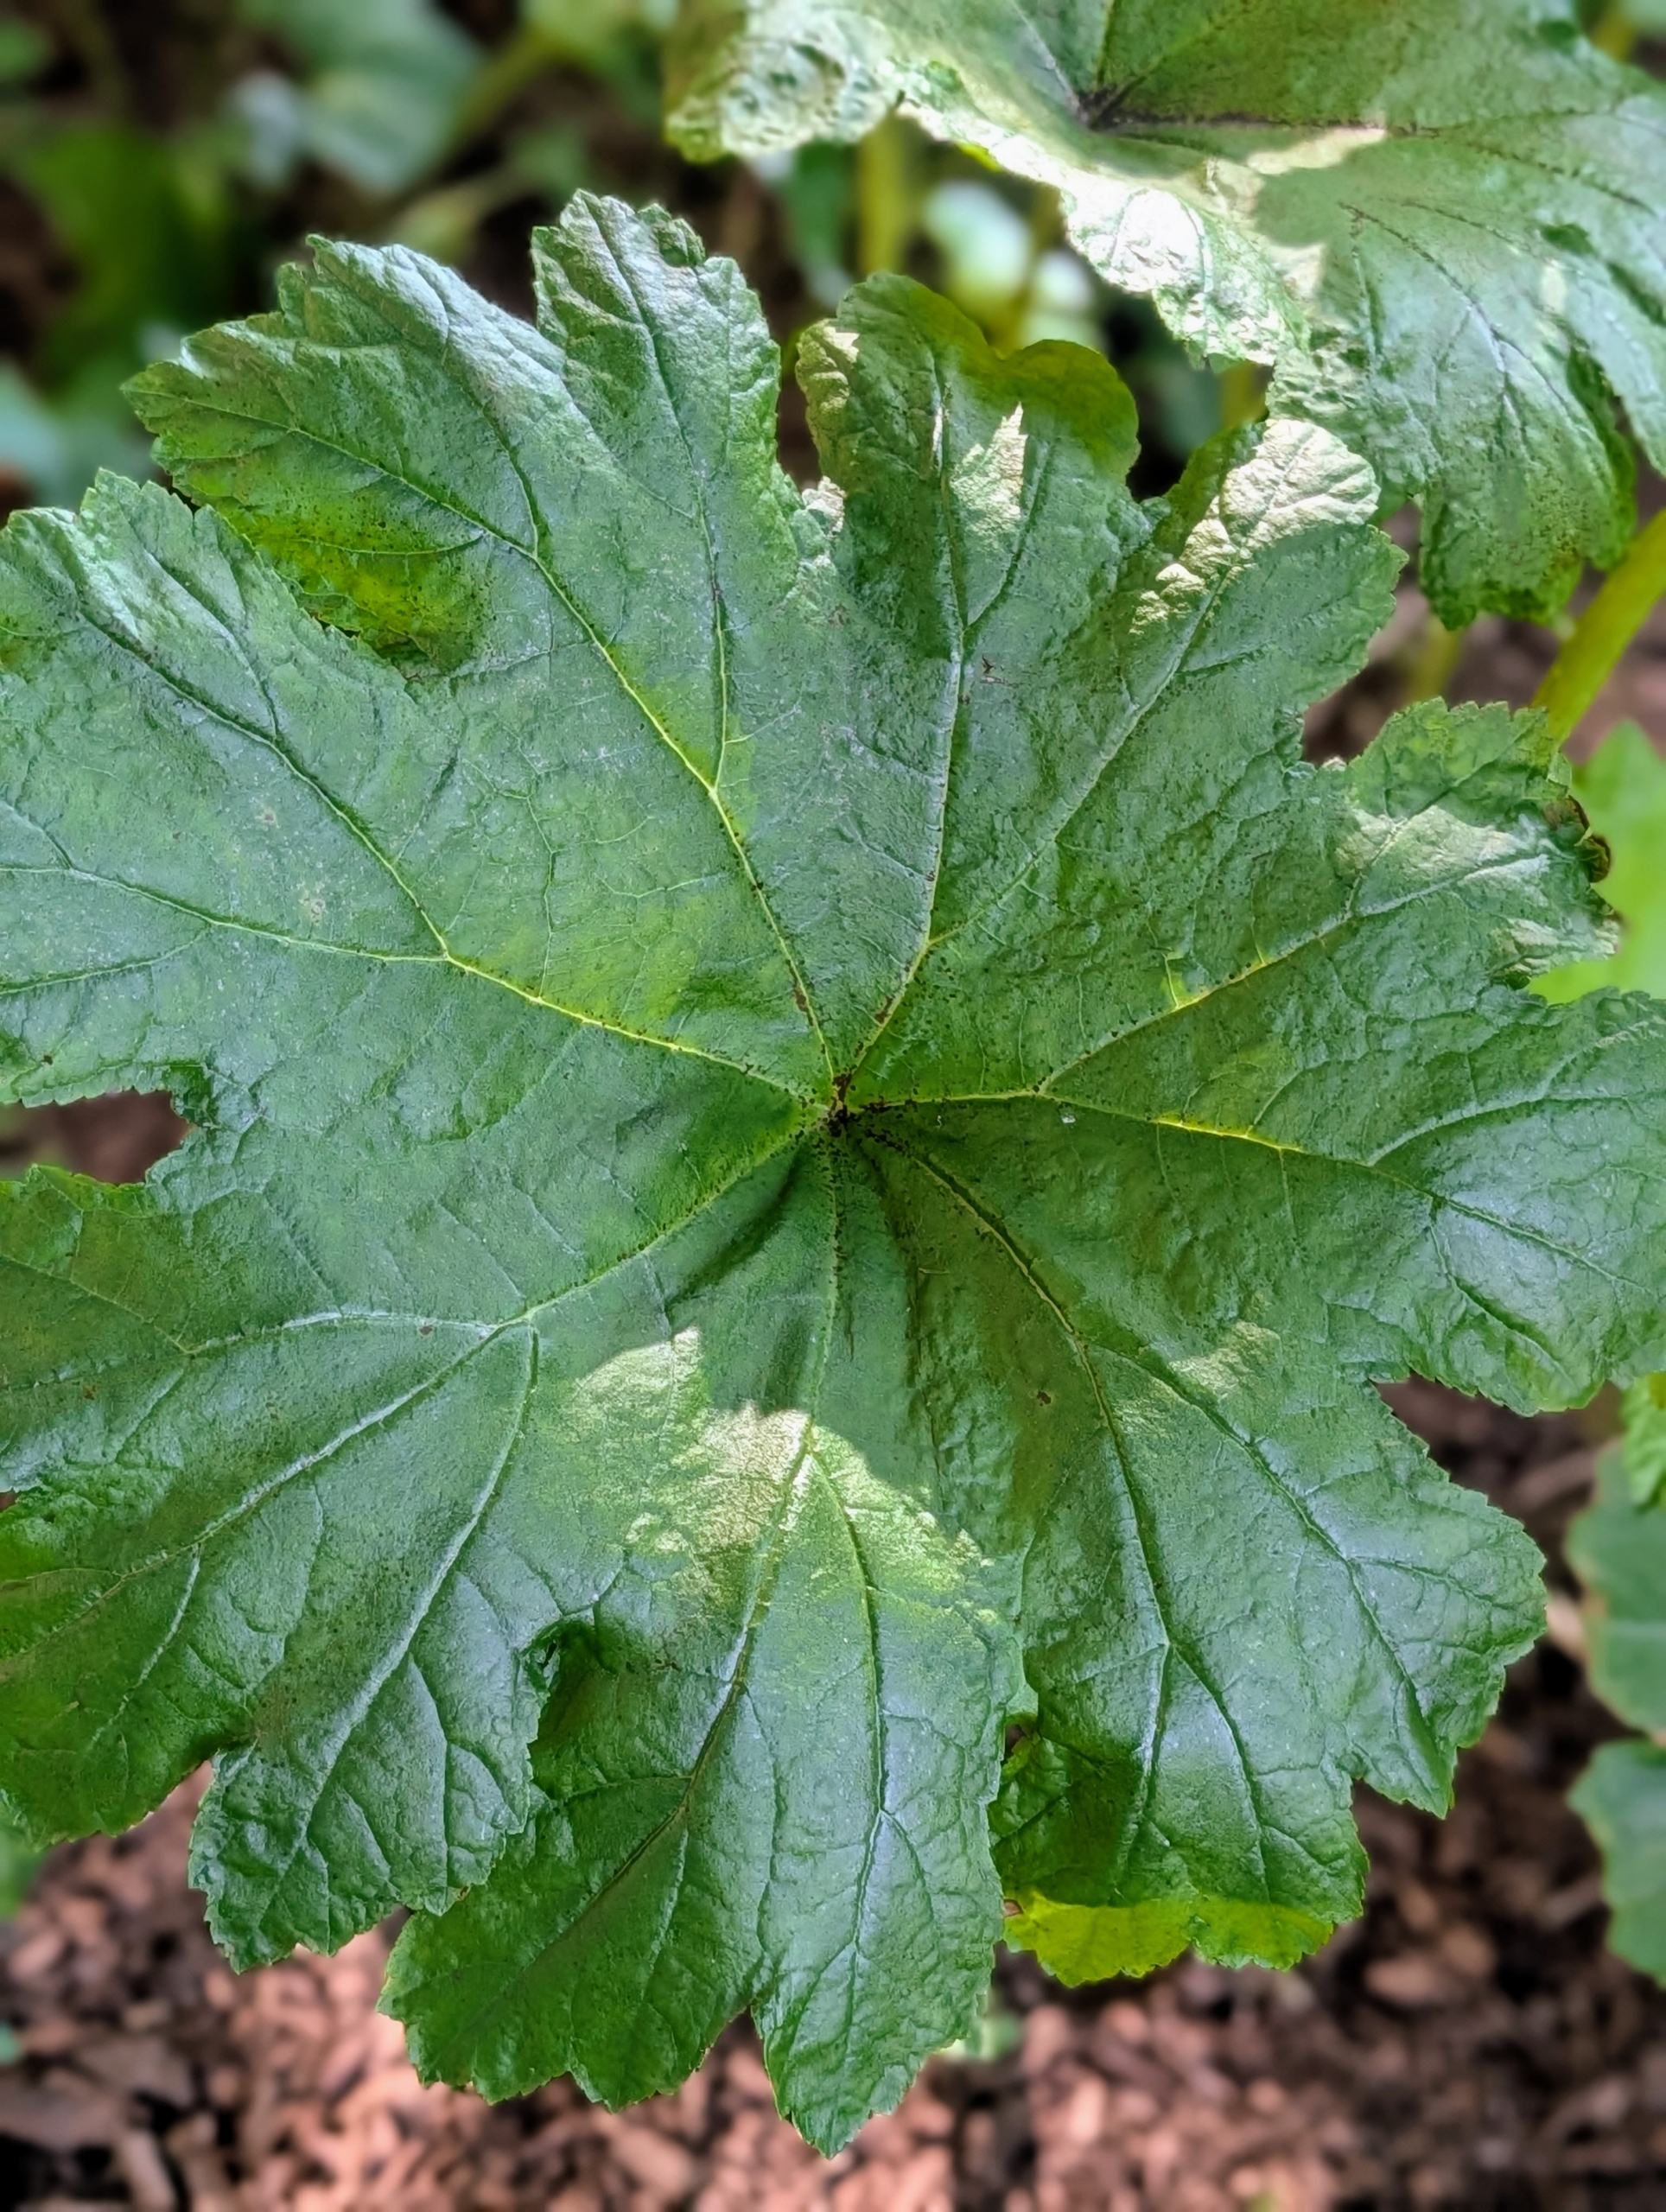
Astilboides is an interesting plant with huge, bright green leaves that are round and flat and measure up to 24-inches across. The effect is dramatic, and beautiful among other hardy perennials.
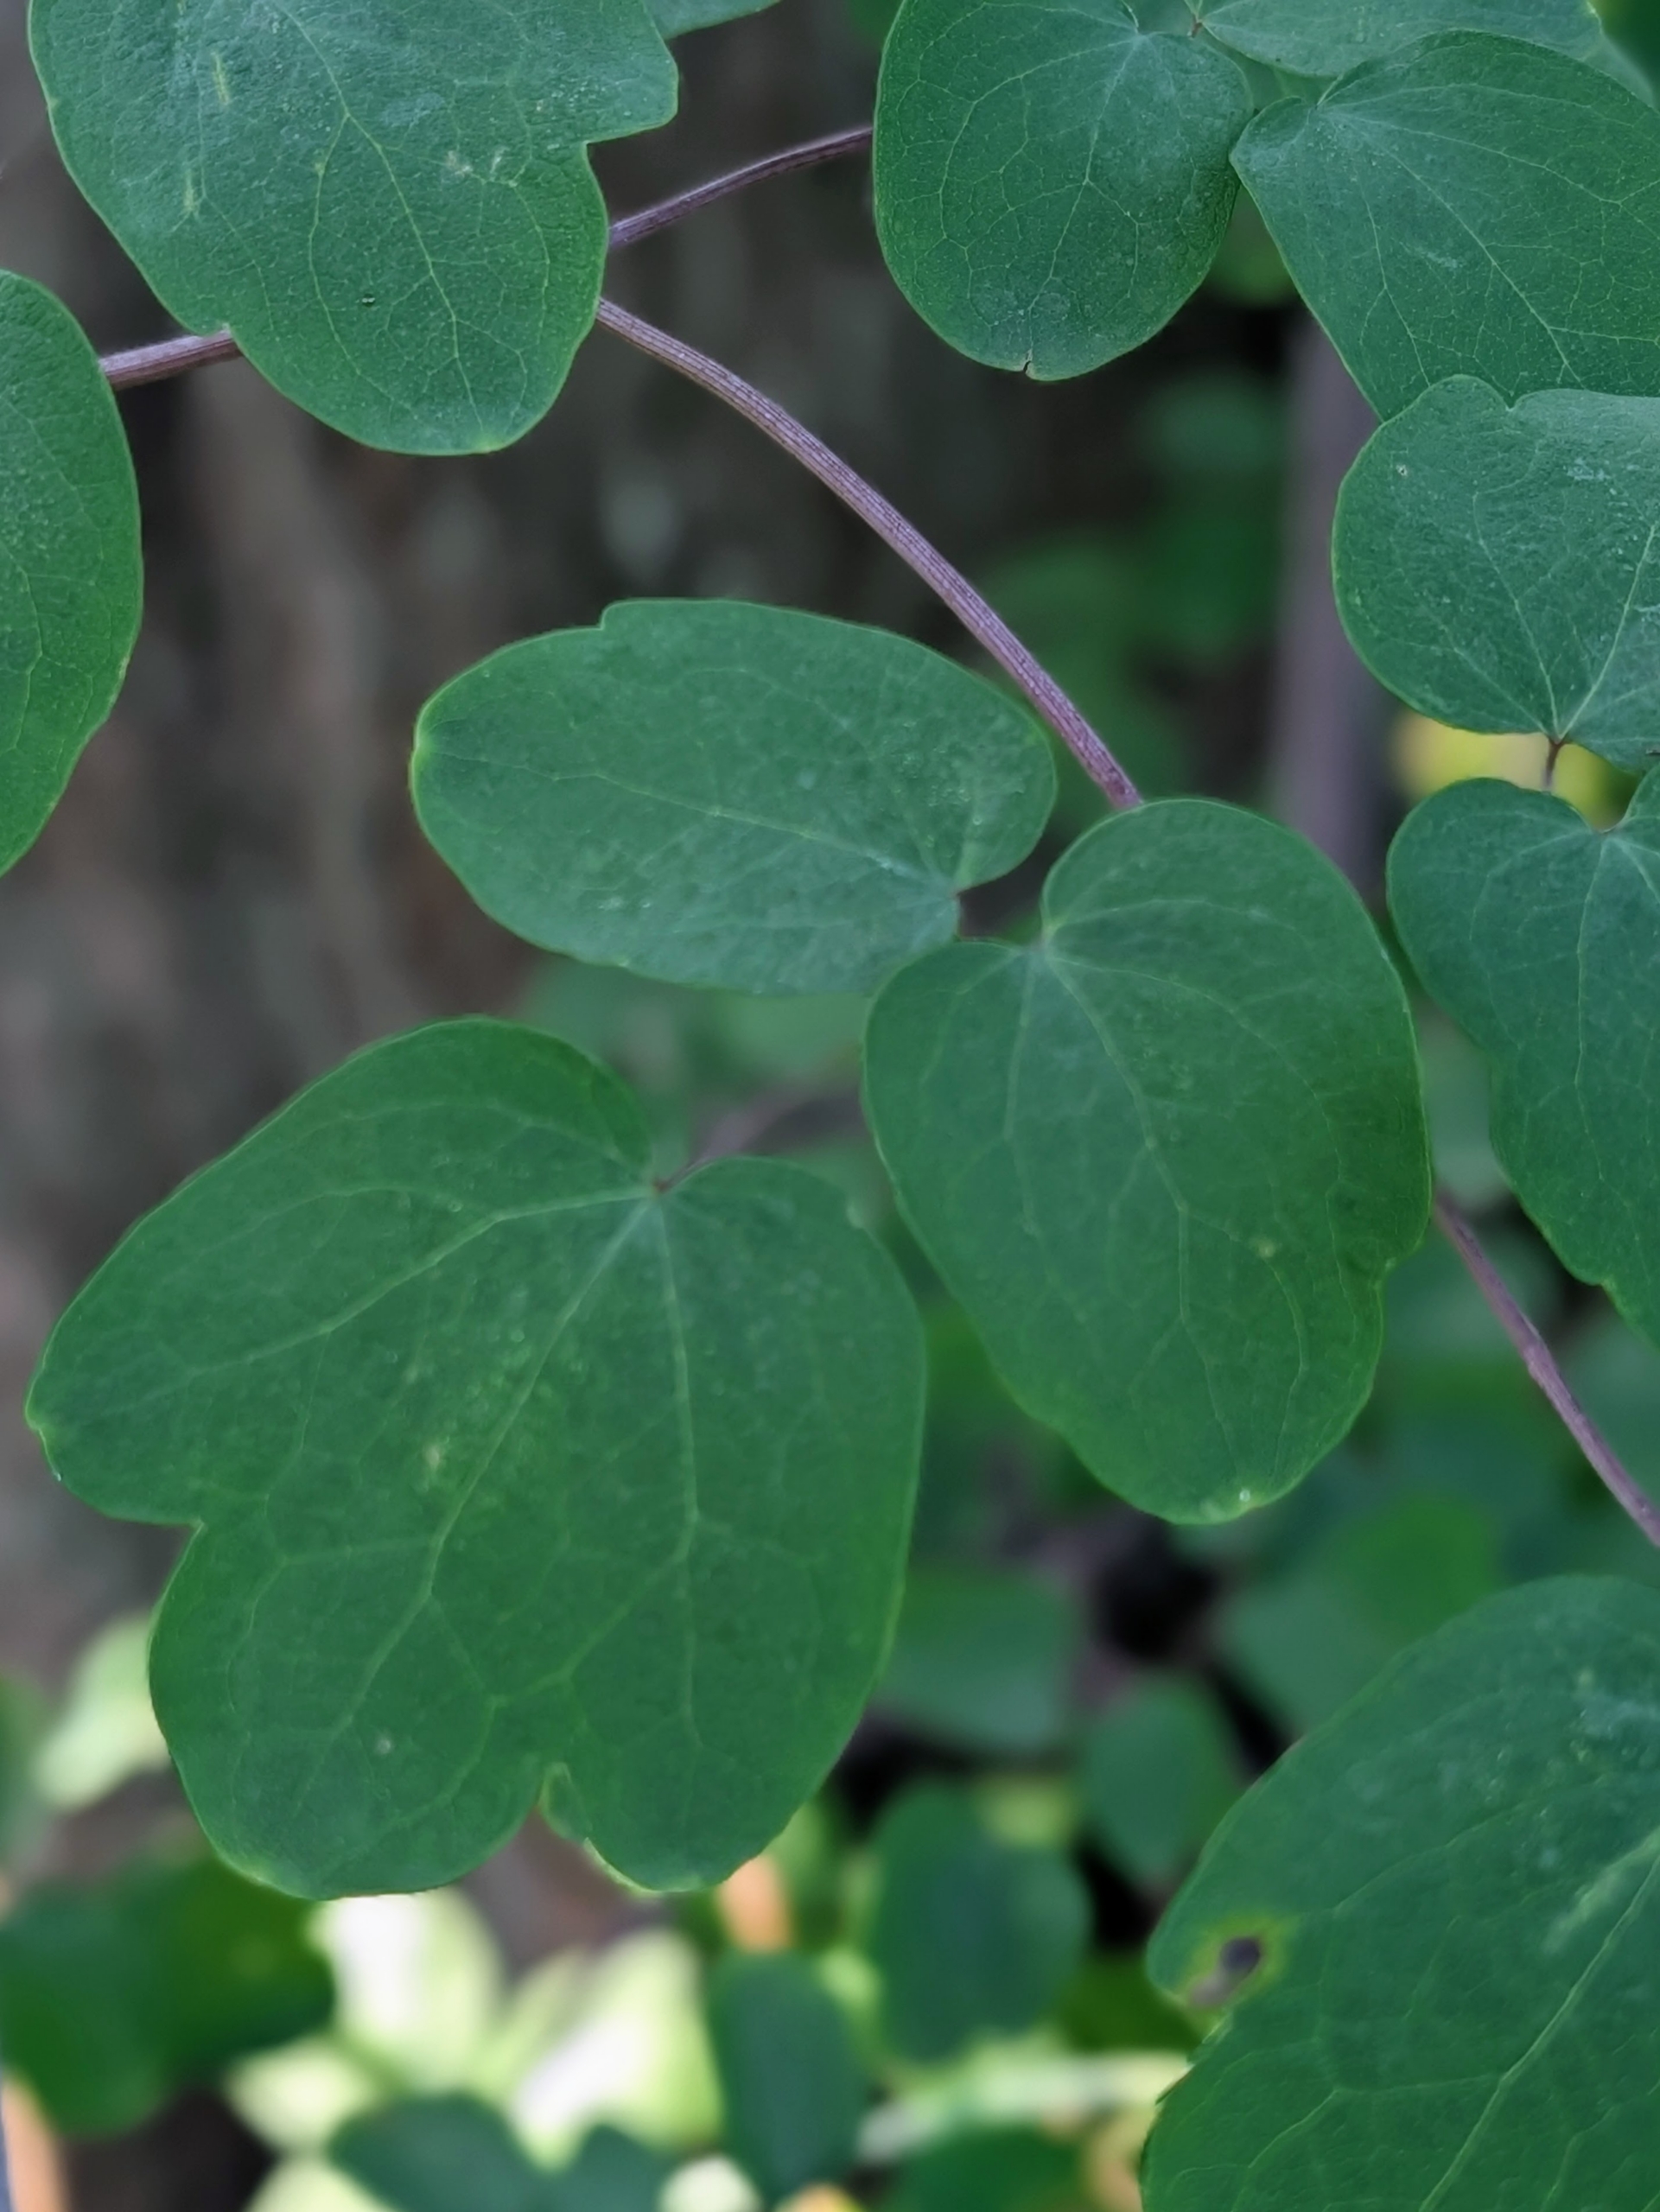
And these are the dainty leaves of Thalictrum, or Meadow Rue – a robust, upright, clump-forming perennial that produces clouds of lavender mauve flowers later in the season.
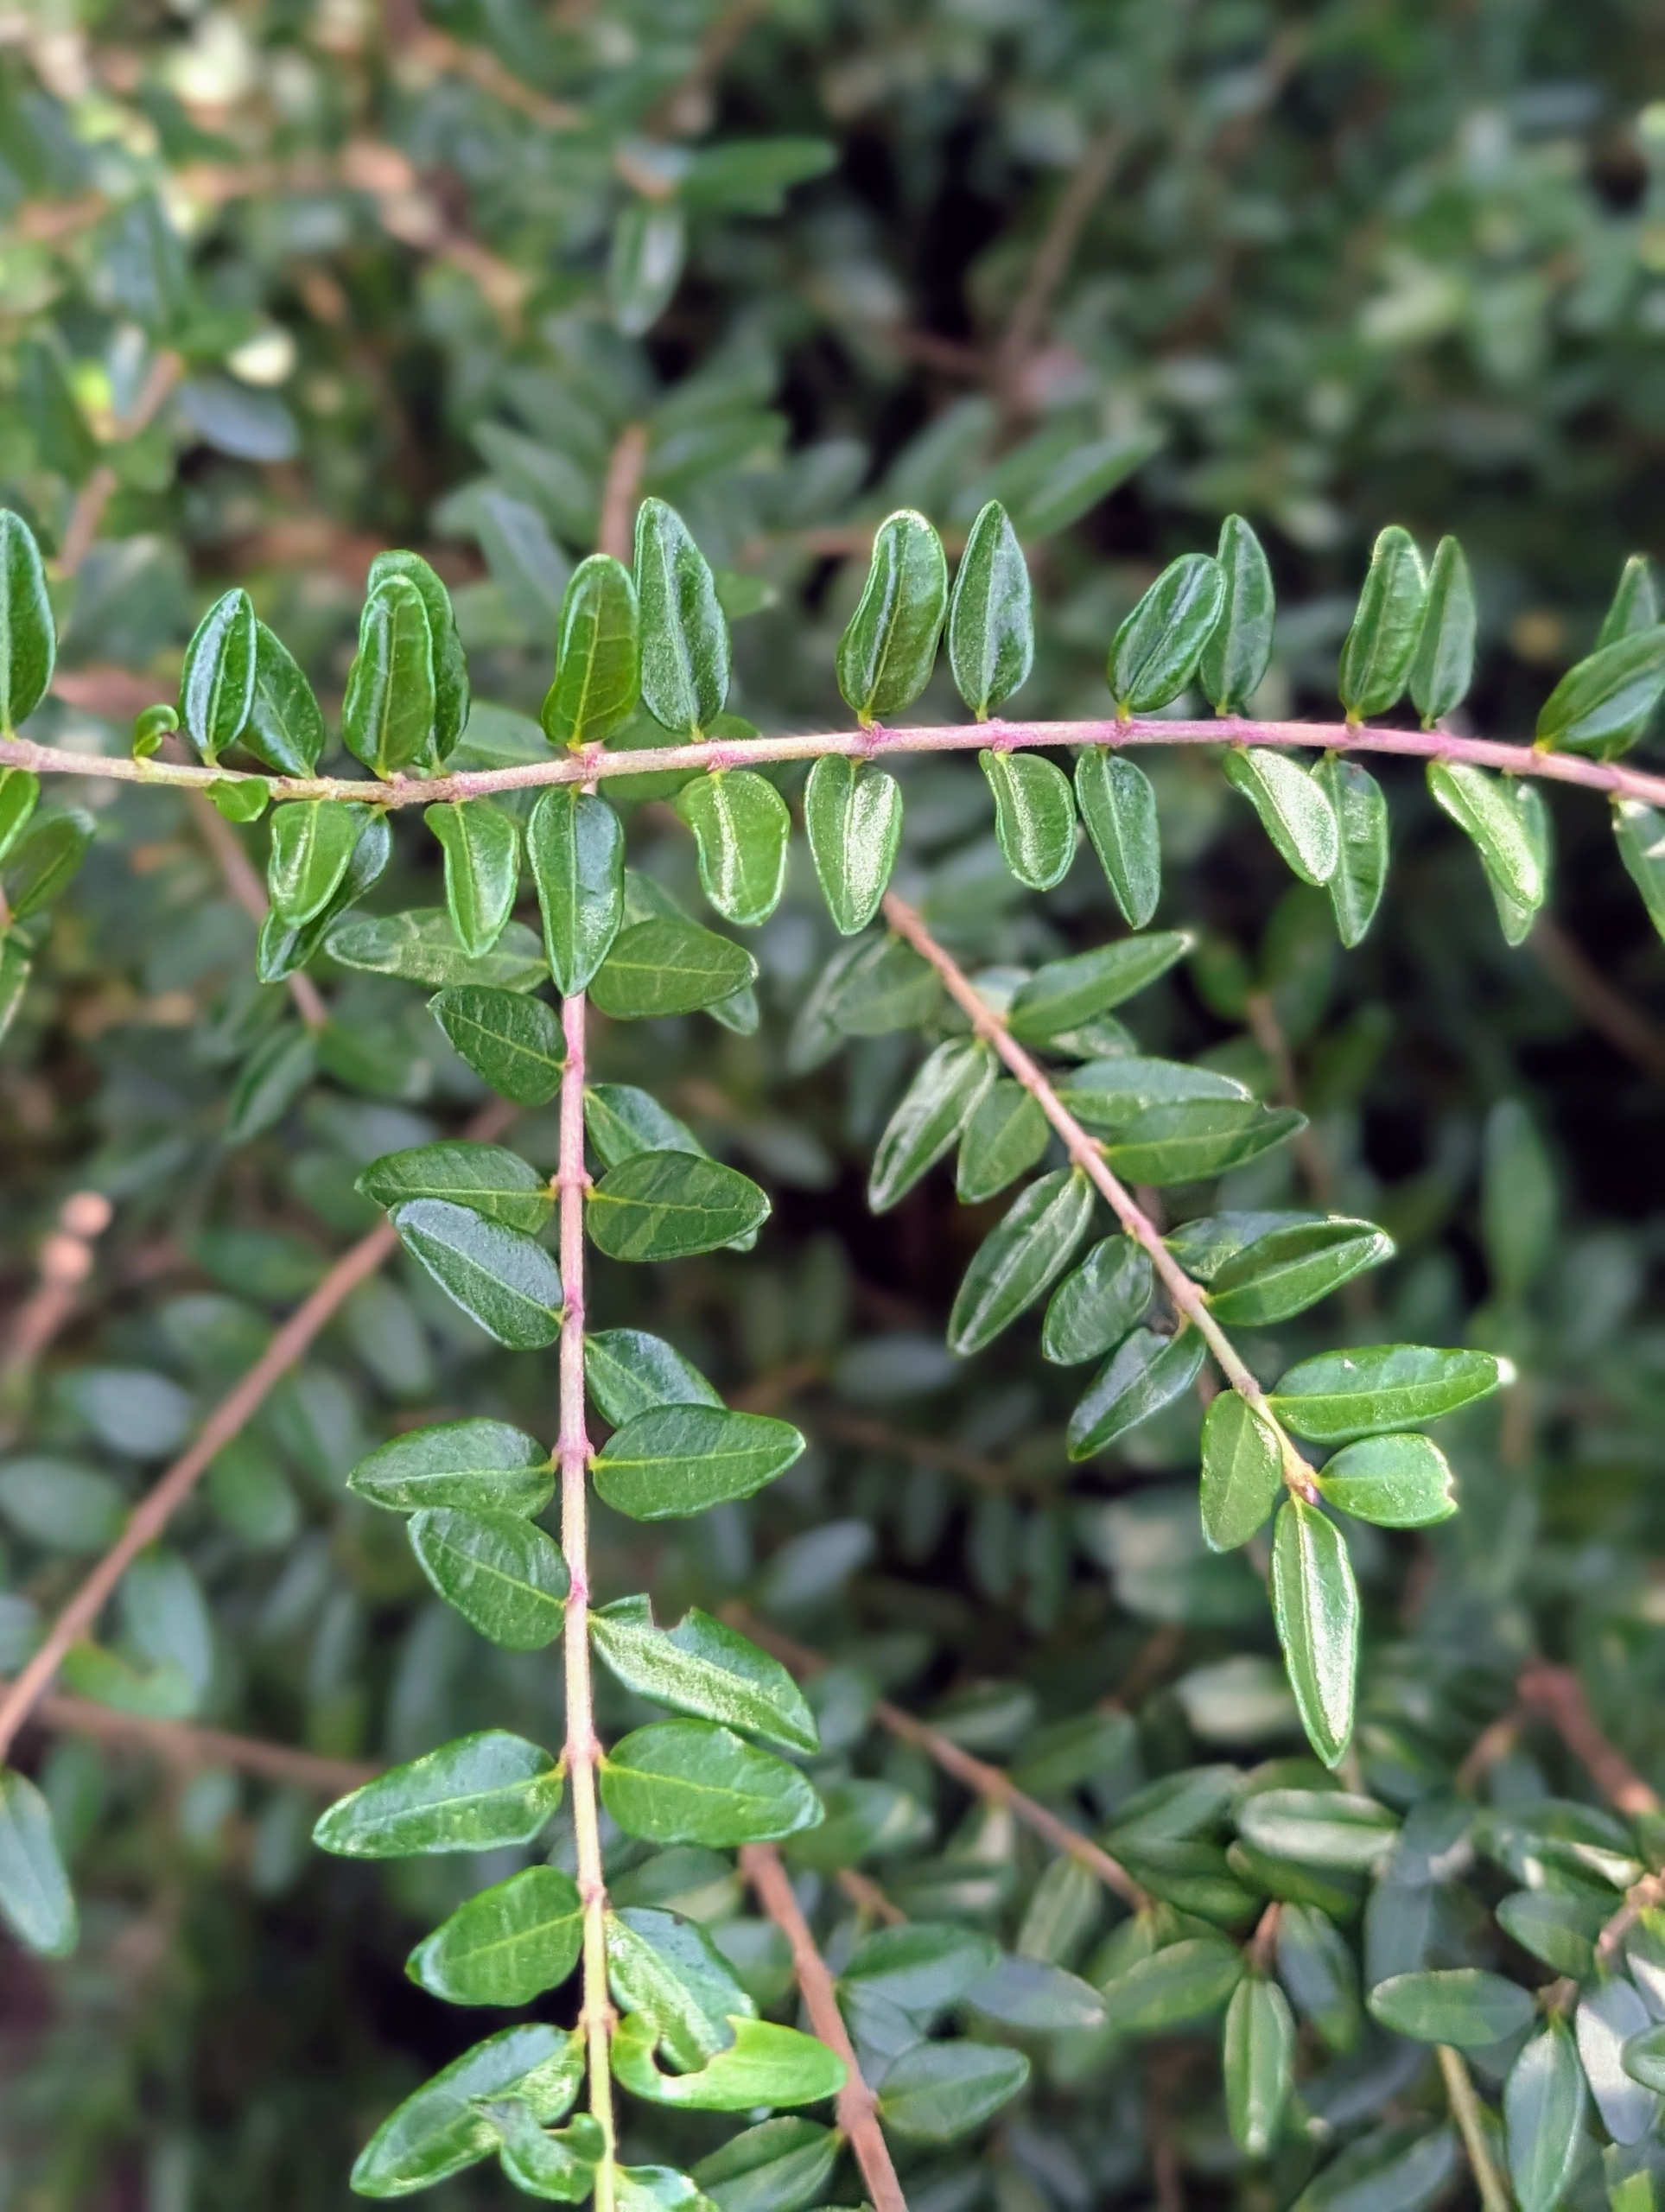
Cotoneaster is a vigorous, dense, evergreen shrub with soft arching stems studded with leathery, glossy, rounded, dark green leaves. These plants work well for a low hedge.
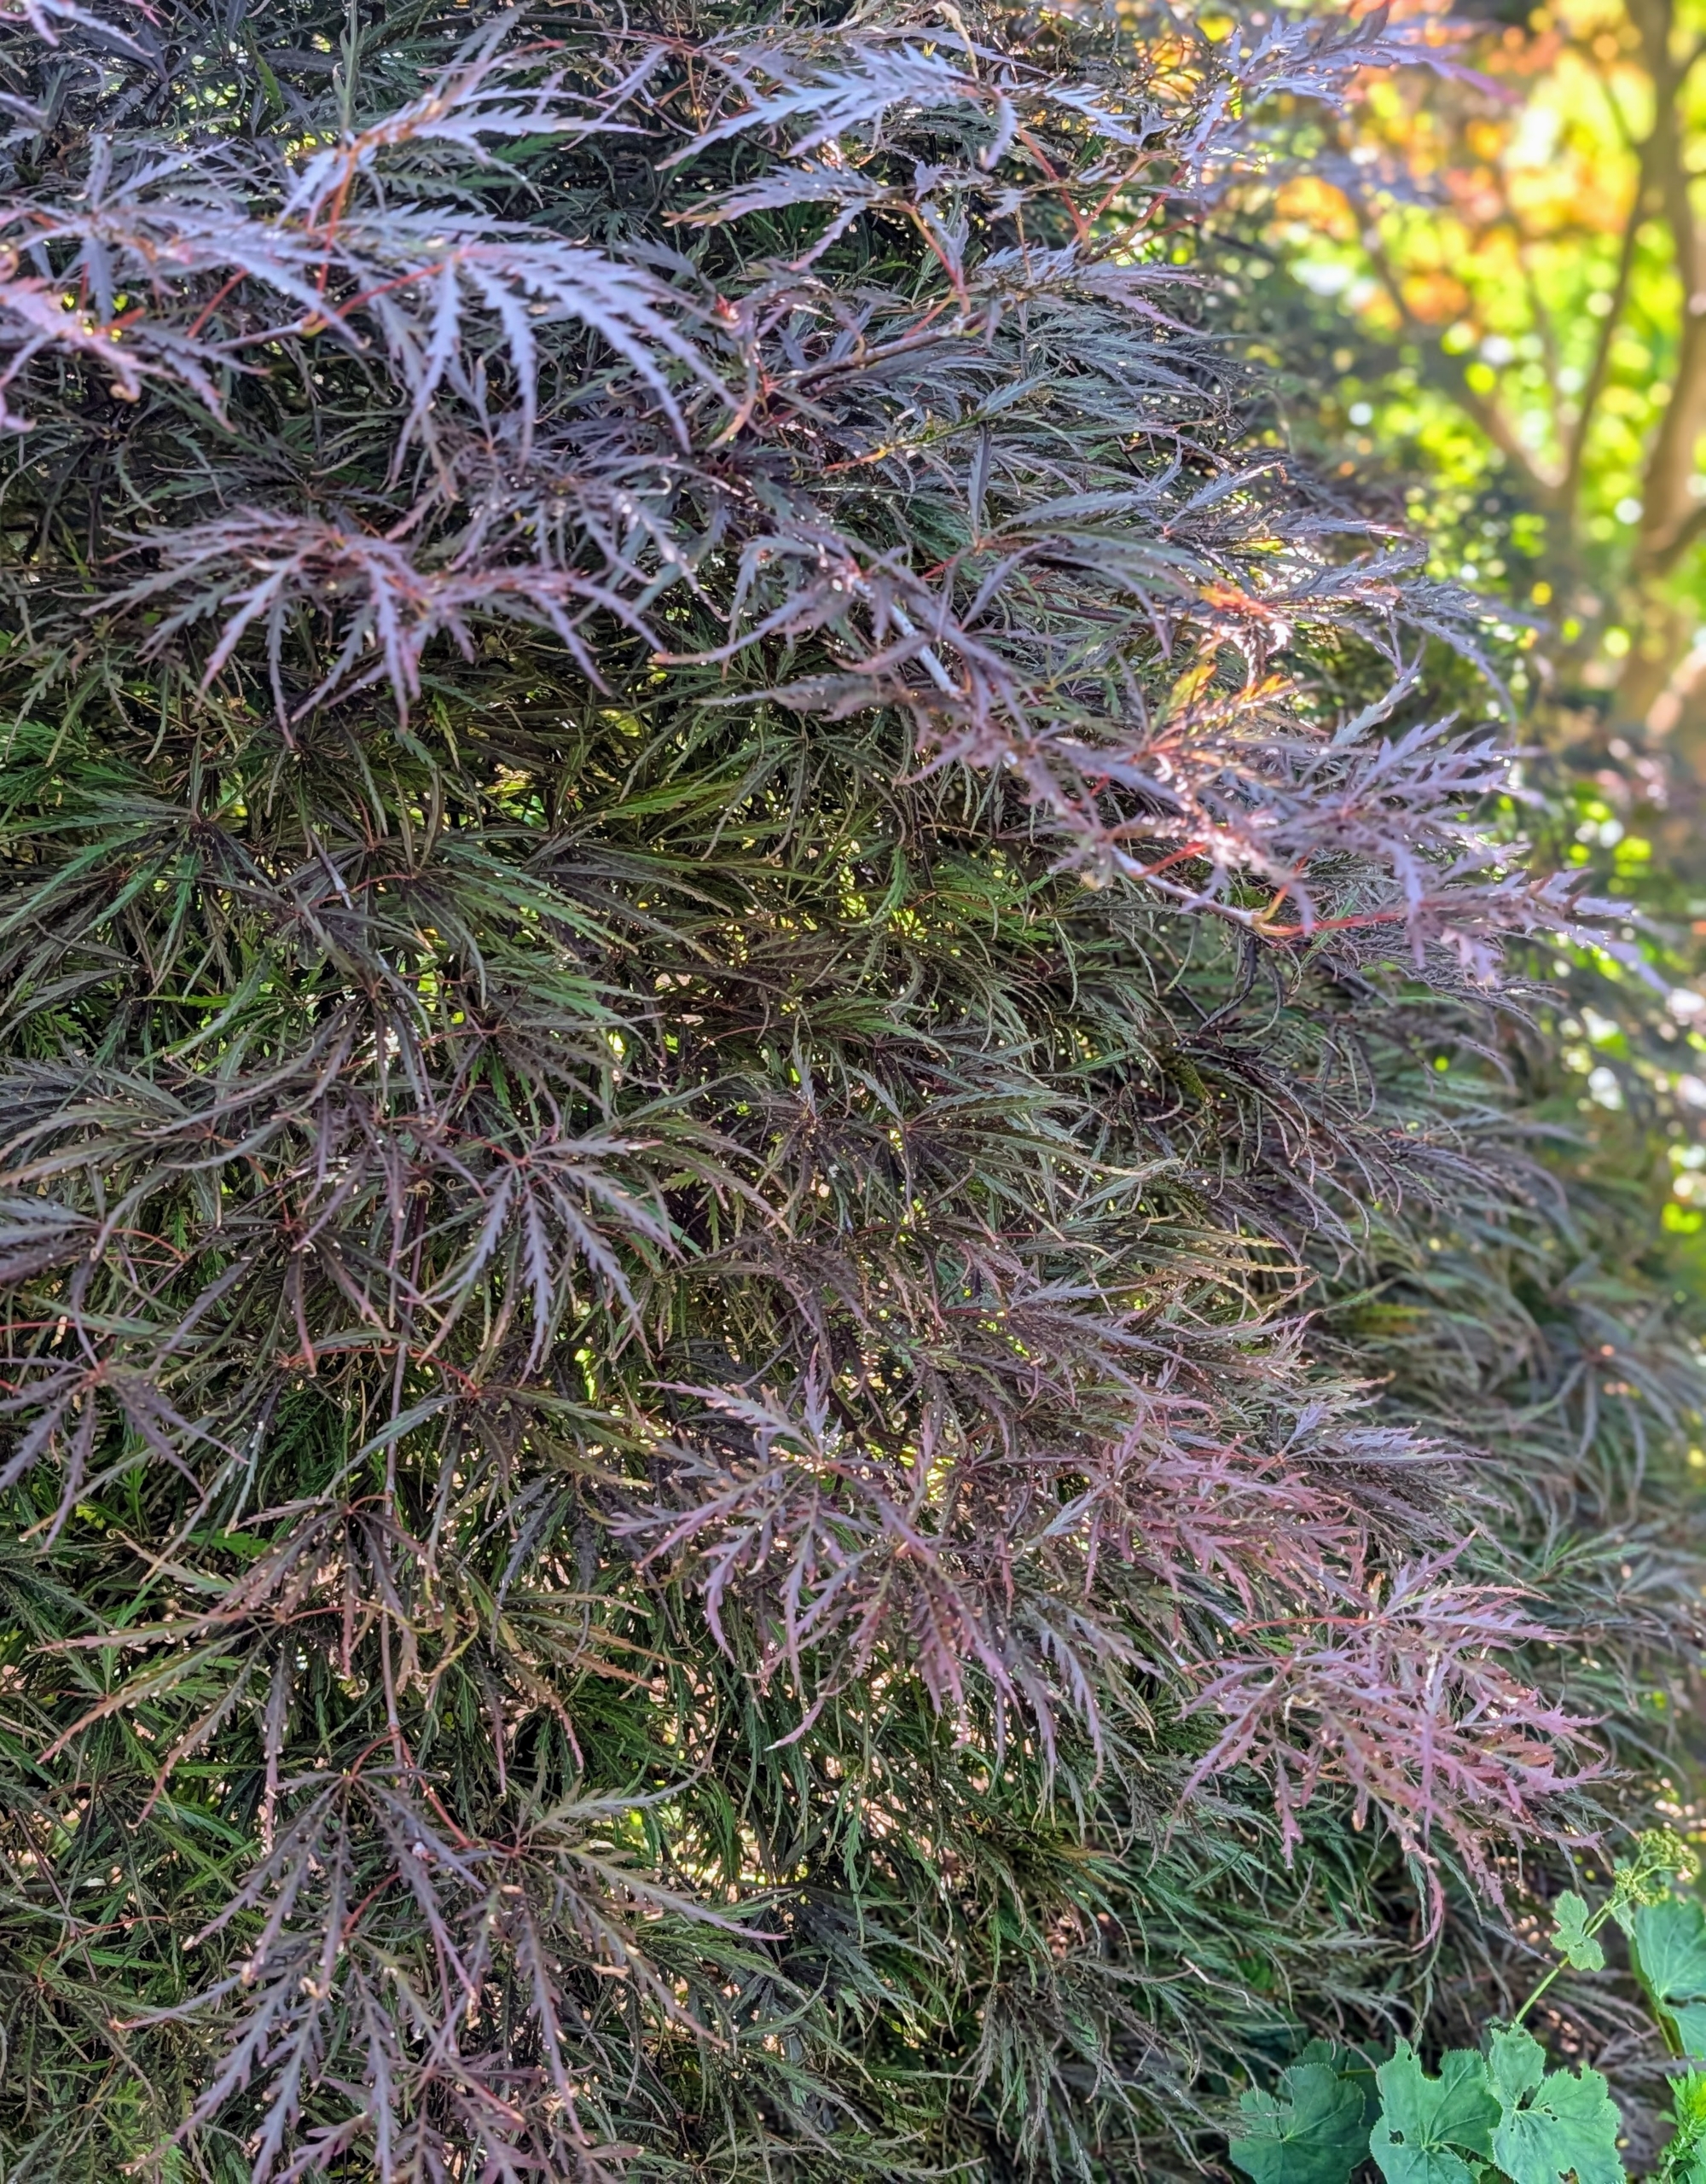
I have many Japanese maples at the farm. With more than a thousand varieties and cultivars, the iconic Japanese maple tree is among the most versatile small trees for use in the landscape. Some of the Japanese maples in this garden include Acer palmatum var. dissectum ‘Crimson Queen’, Acer palmatum ‘Shaina’, and Acer palmatum var. dissectum ‘Red Dragon’.
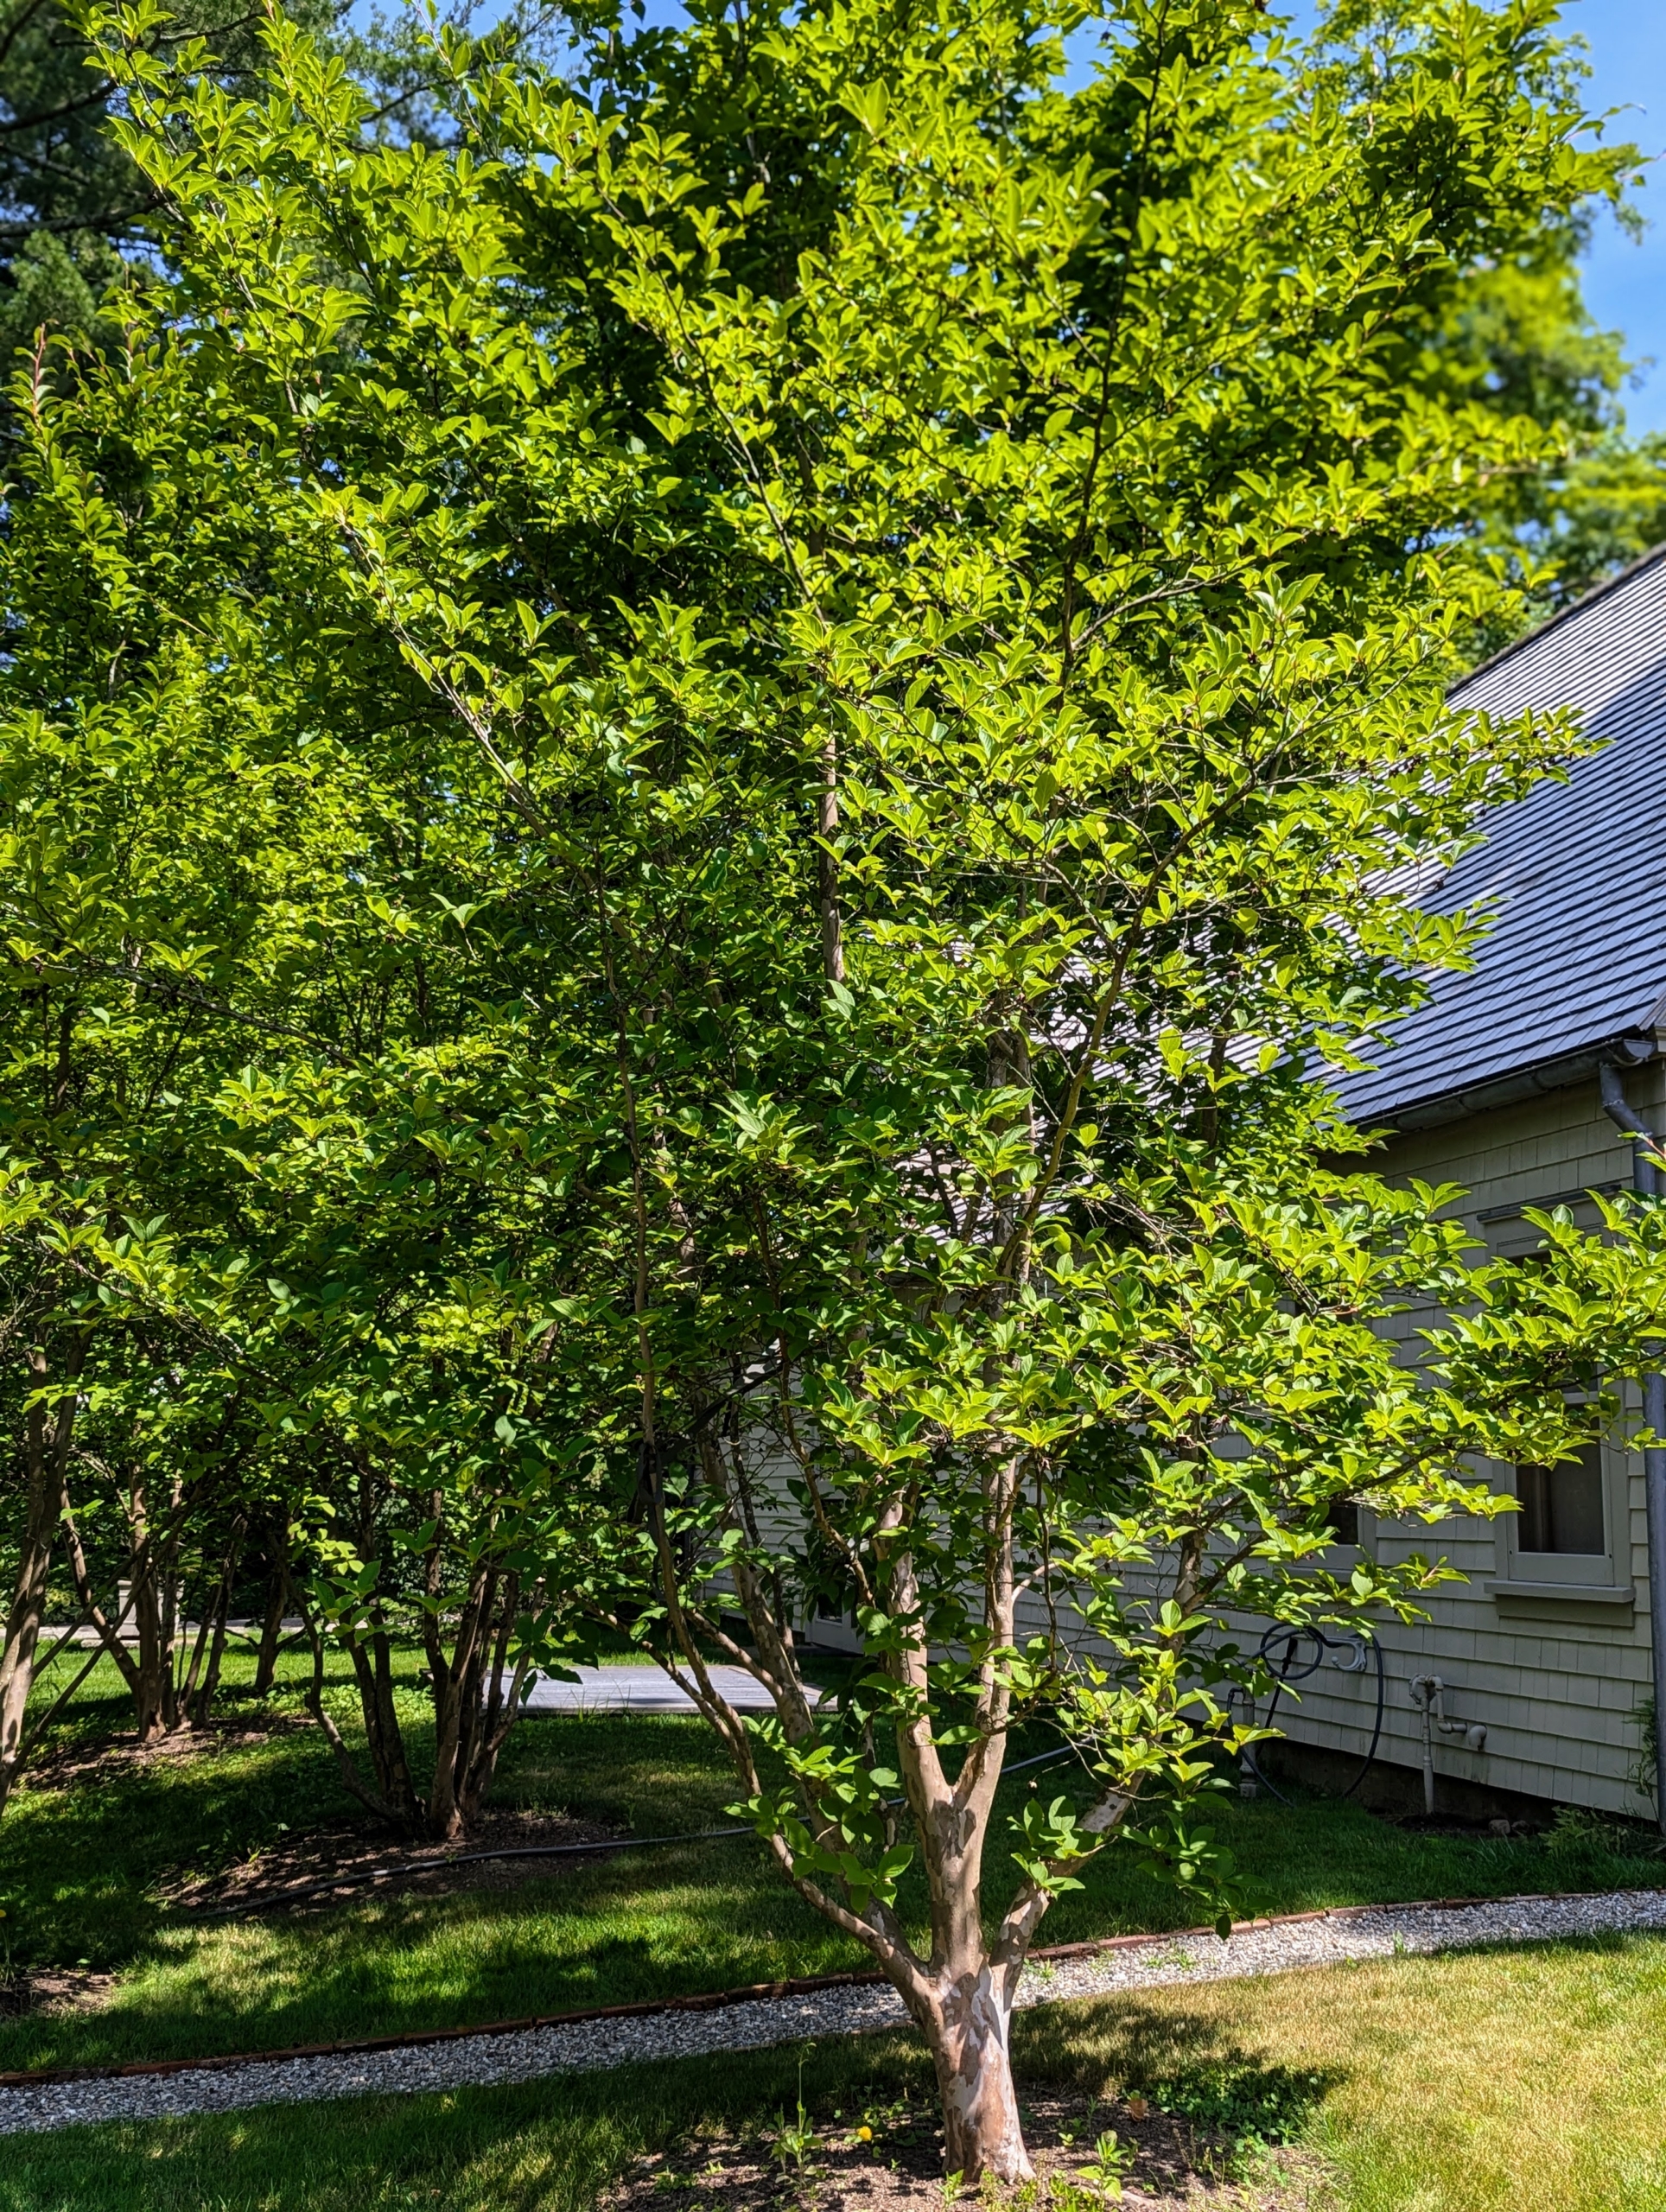
I also have many Stewartia trees. Stewartia is a species of flowering plant in the family Theaceae, native to Japan and Korea. All varieties are slow-growing, all-season performers that show off fresh bright green leaves in spring, white flowers resembling single camellias in summer, and colorful foliage in autumn.
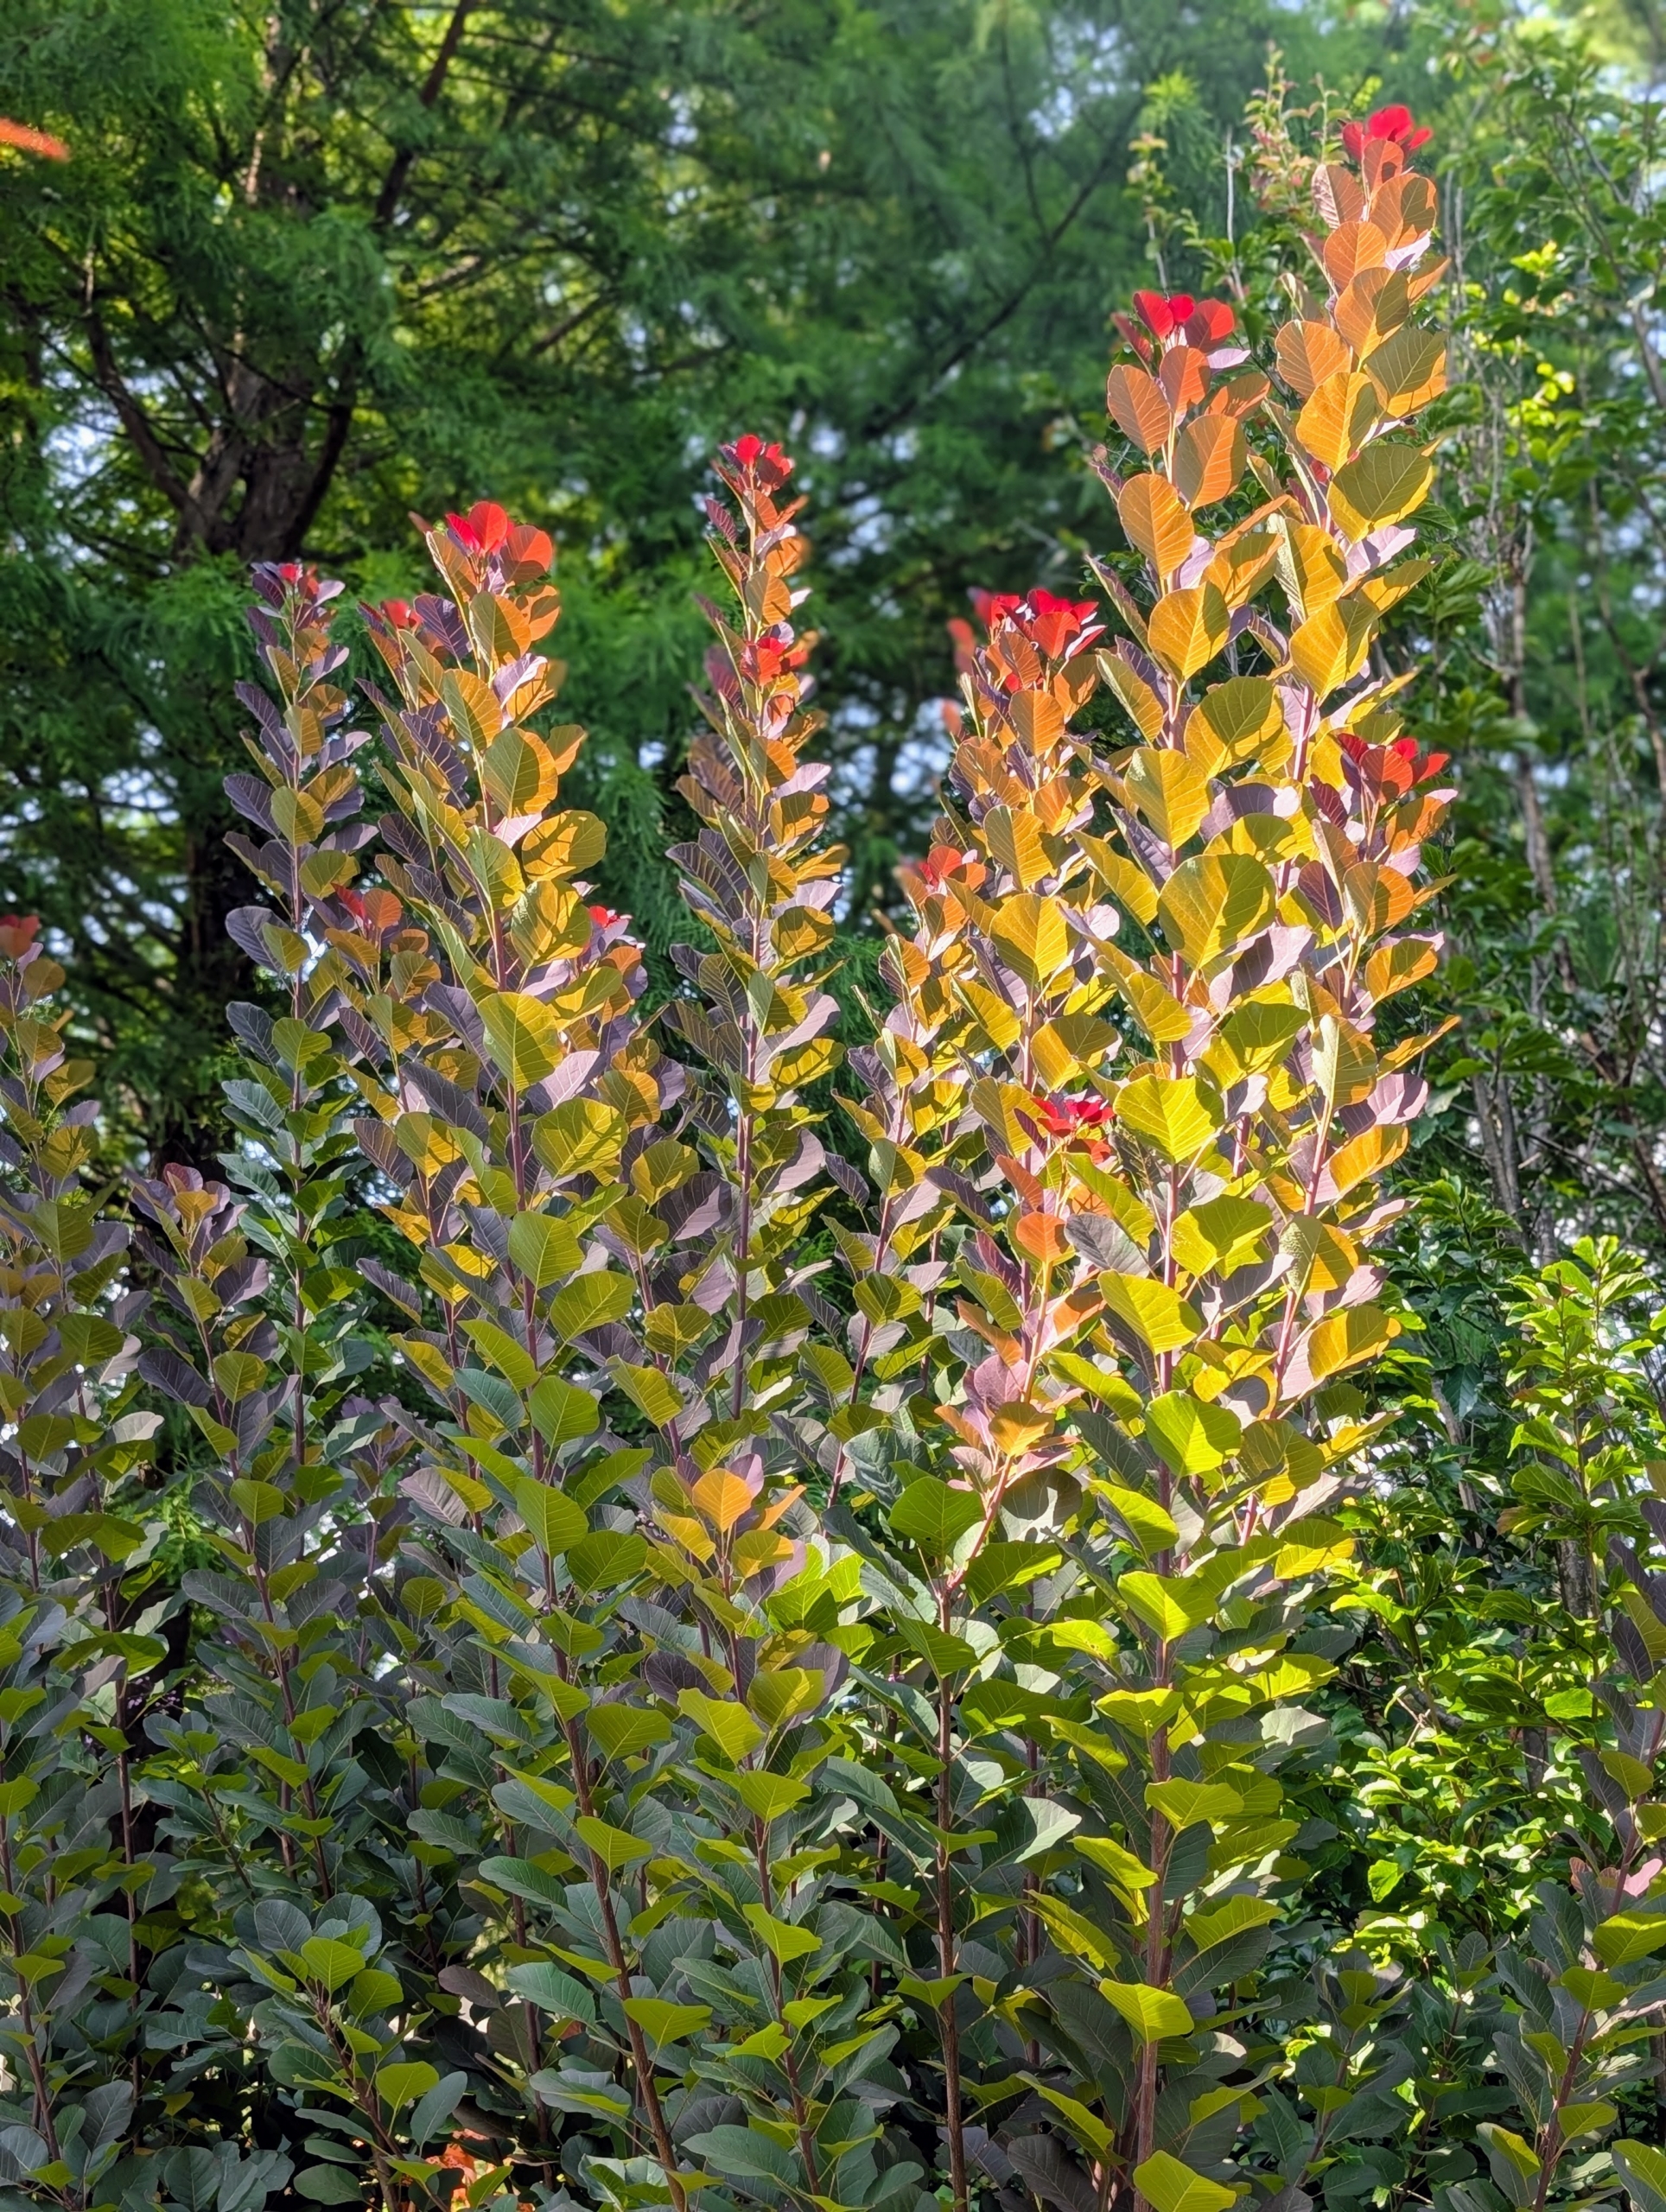
Cotinus, the smoketree, or smoke bush, is a genus of two species of flowering plants in the family Anacardiaceae, closely related to sumacs. The simple, oval shaped leaves range from deep purple and red to bright green. They offer such a colorful display throughout the seasons.
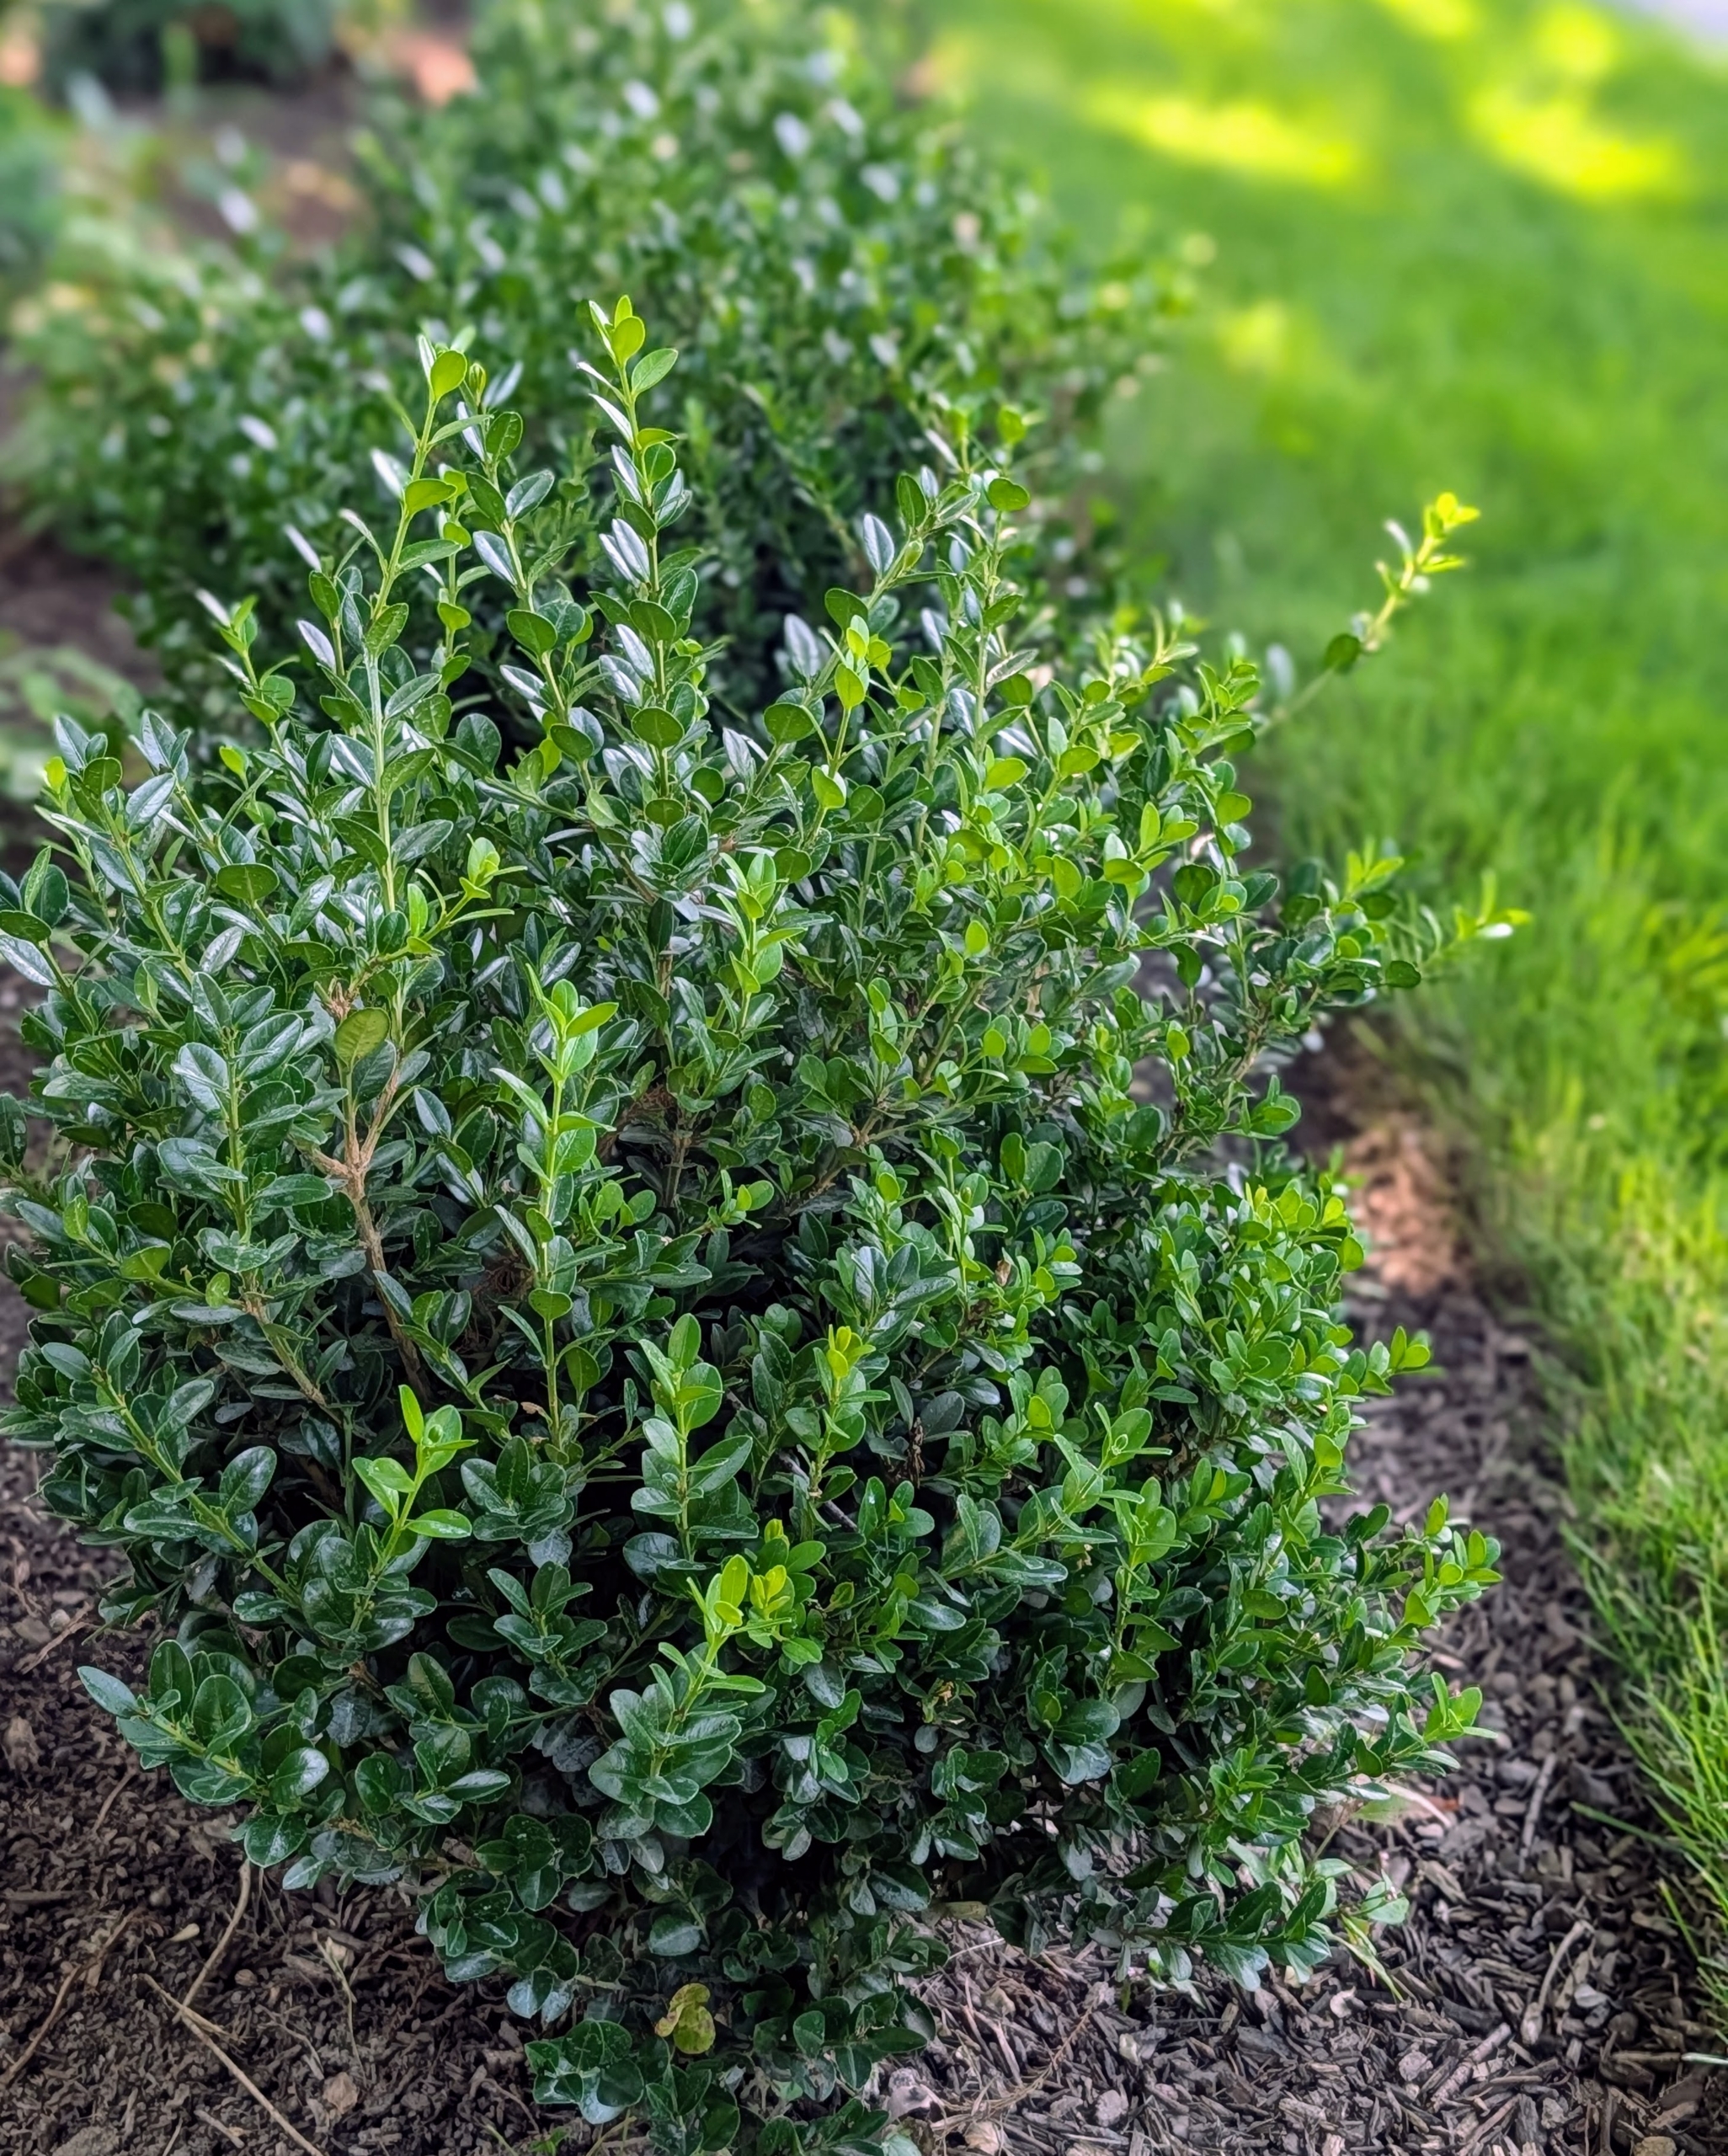
Last year I planted a border of boxwood. I decided the space would look so pretty matching the boxwood across the carriage road along my winding pergola. Boxwood can grow in full sun and partial shade.
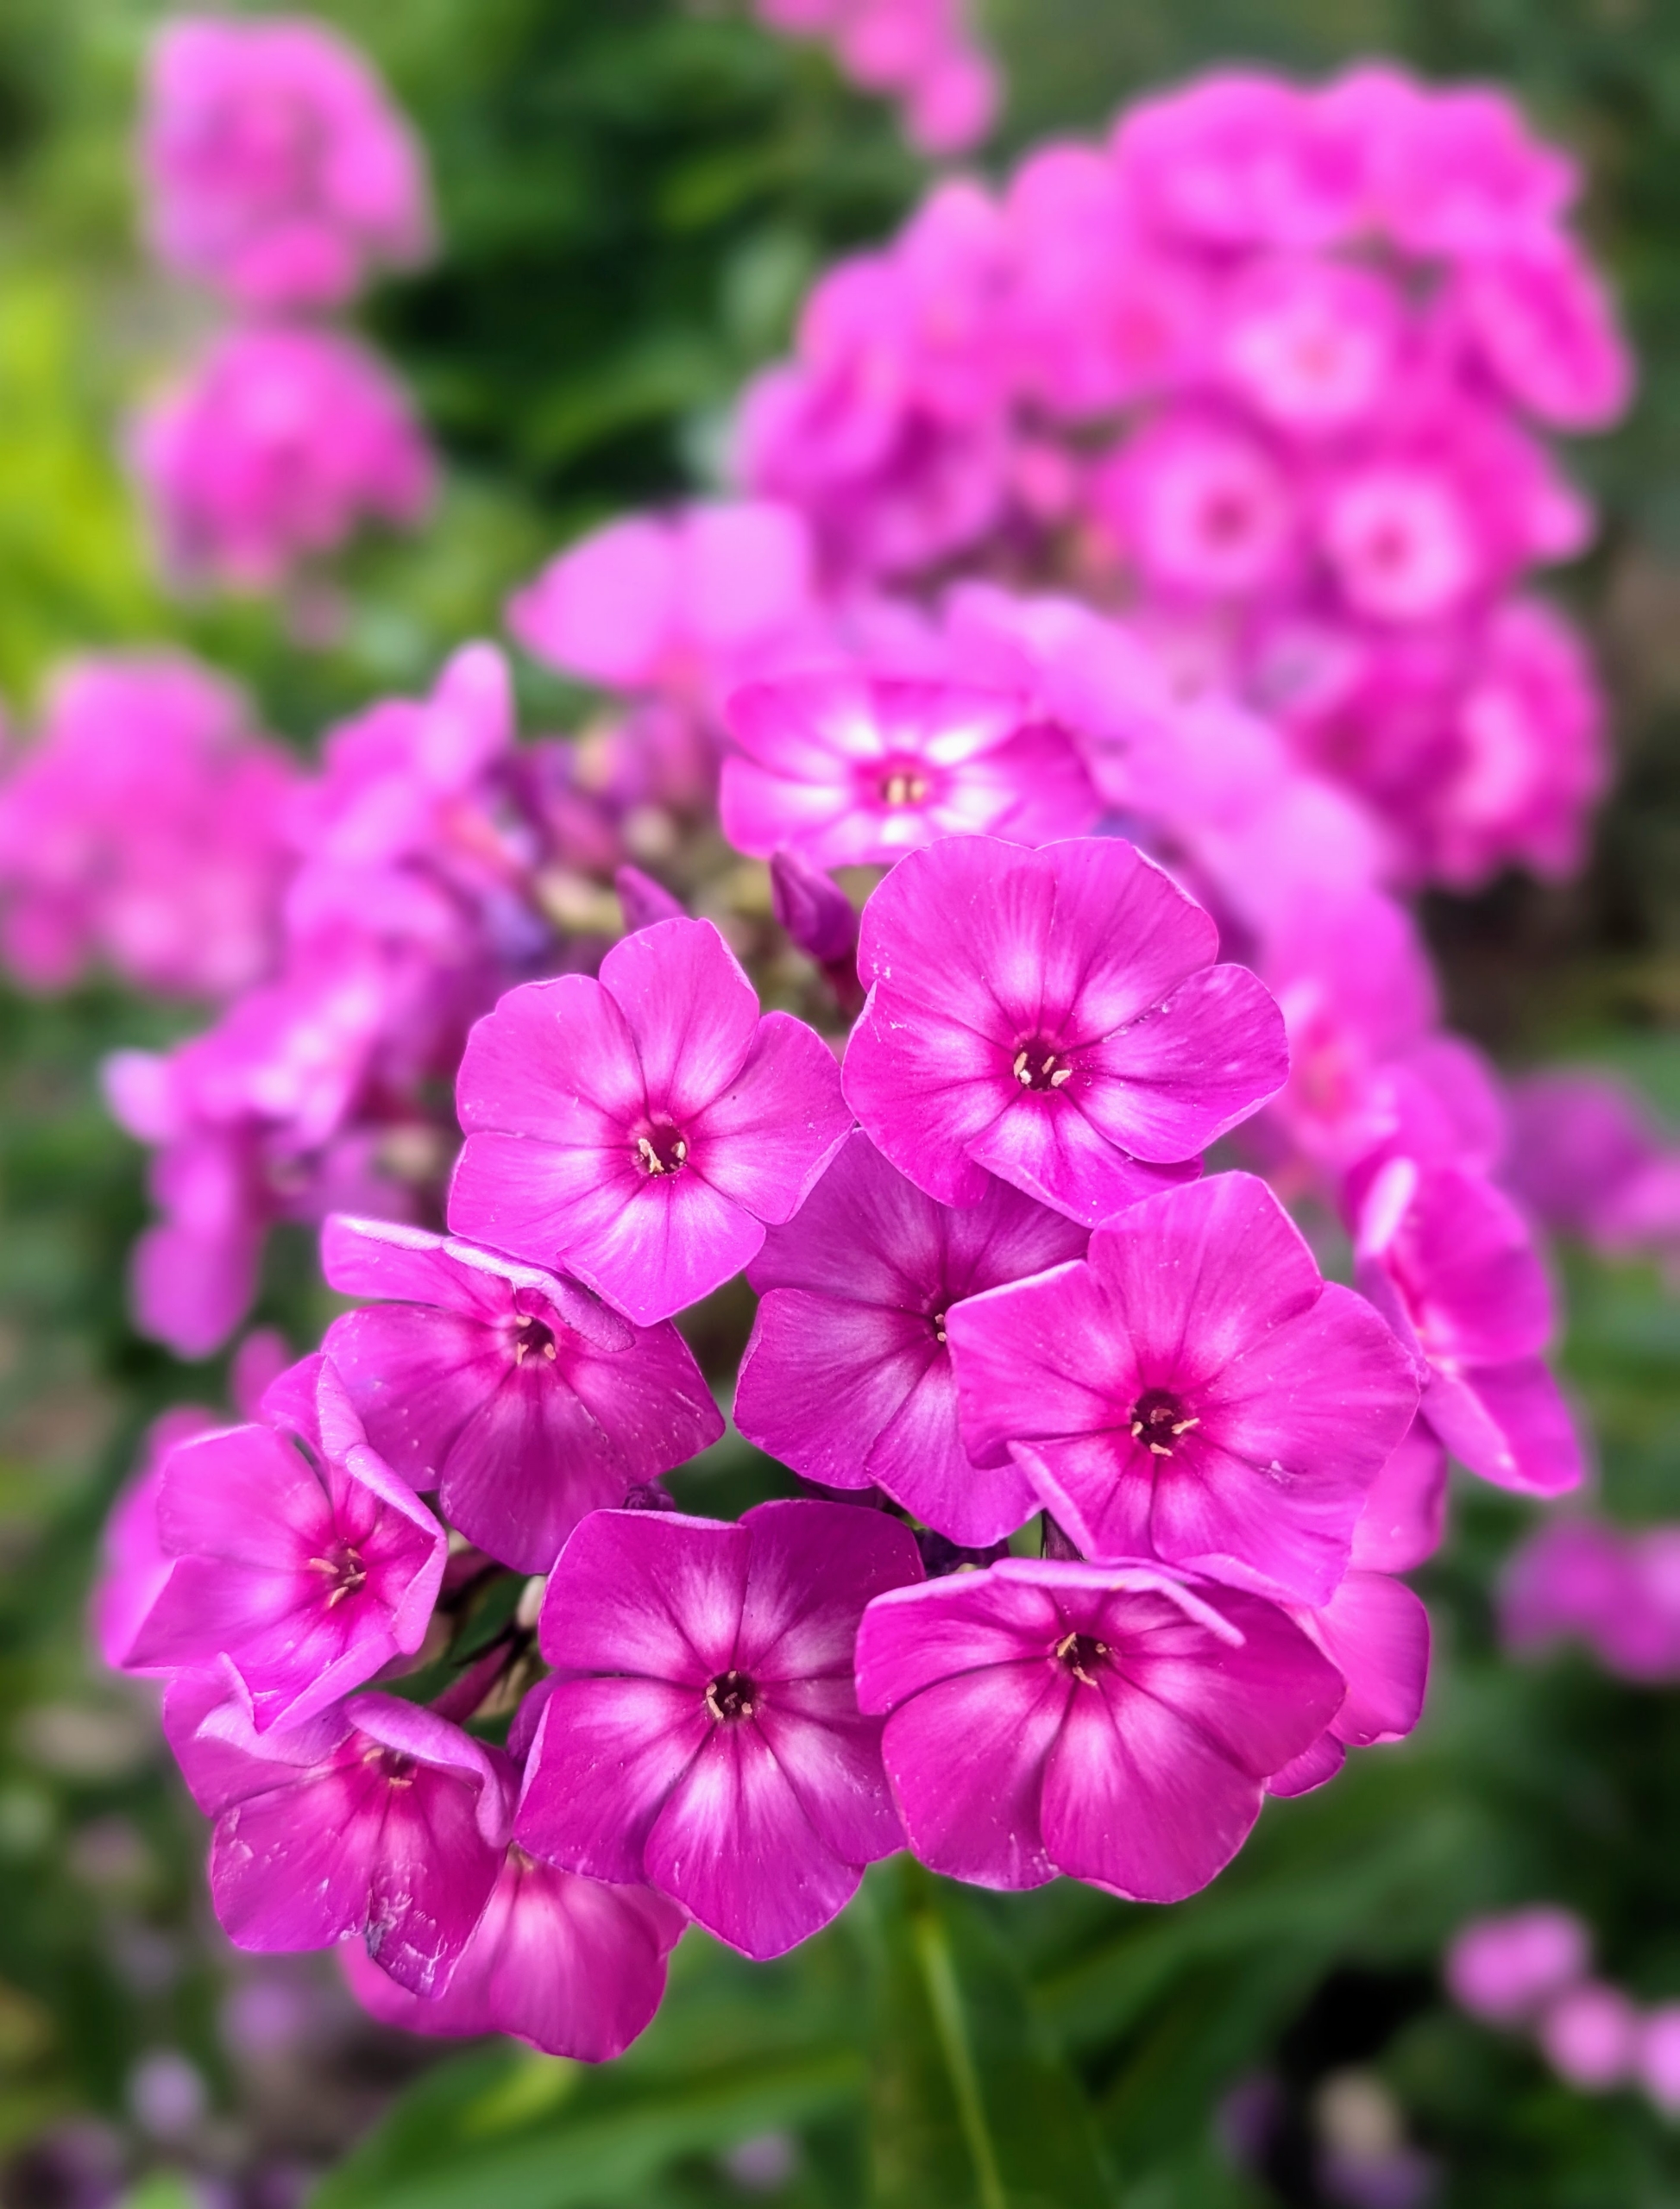
Phlox is thriving in another bed nearby. Phlox has superb heat and mildew resistance. It comes in a range of colors from pink to pure white to lavender to even red and grows happily in most parts of the country. If properly planted and sited, phlox is largely pest and disease free too – a perfect perennial.
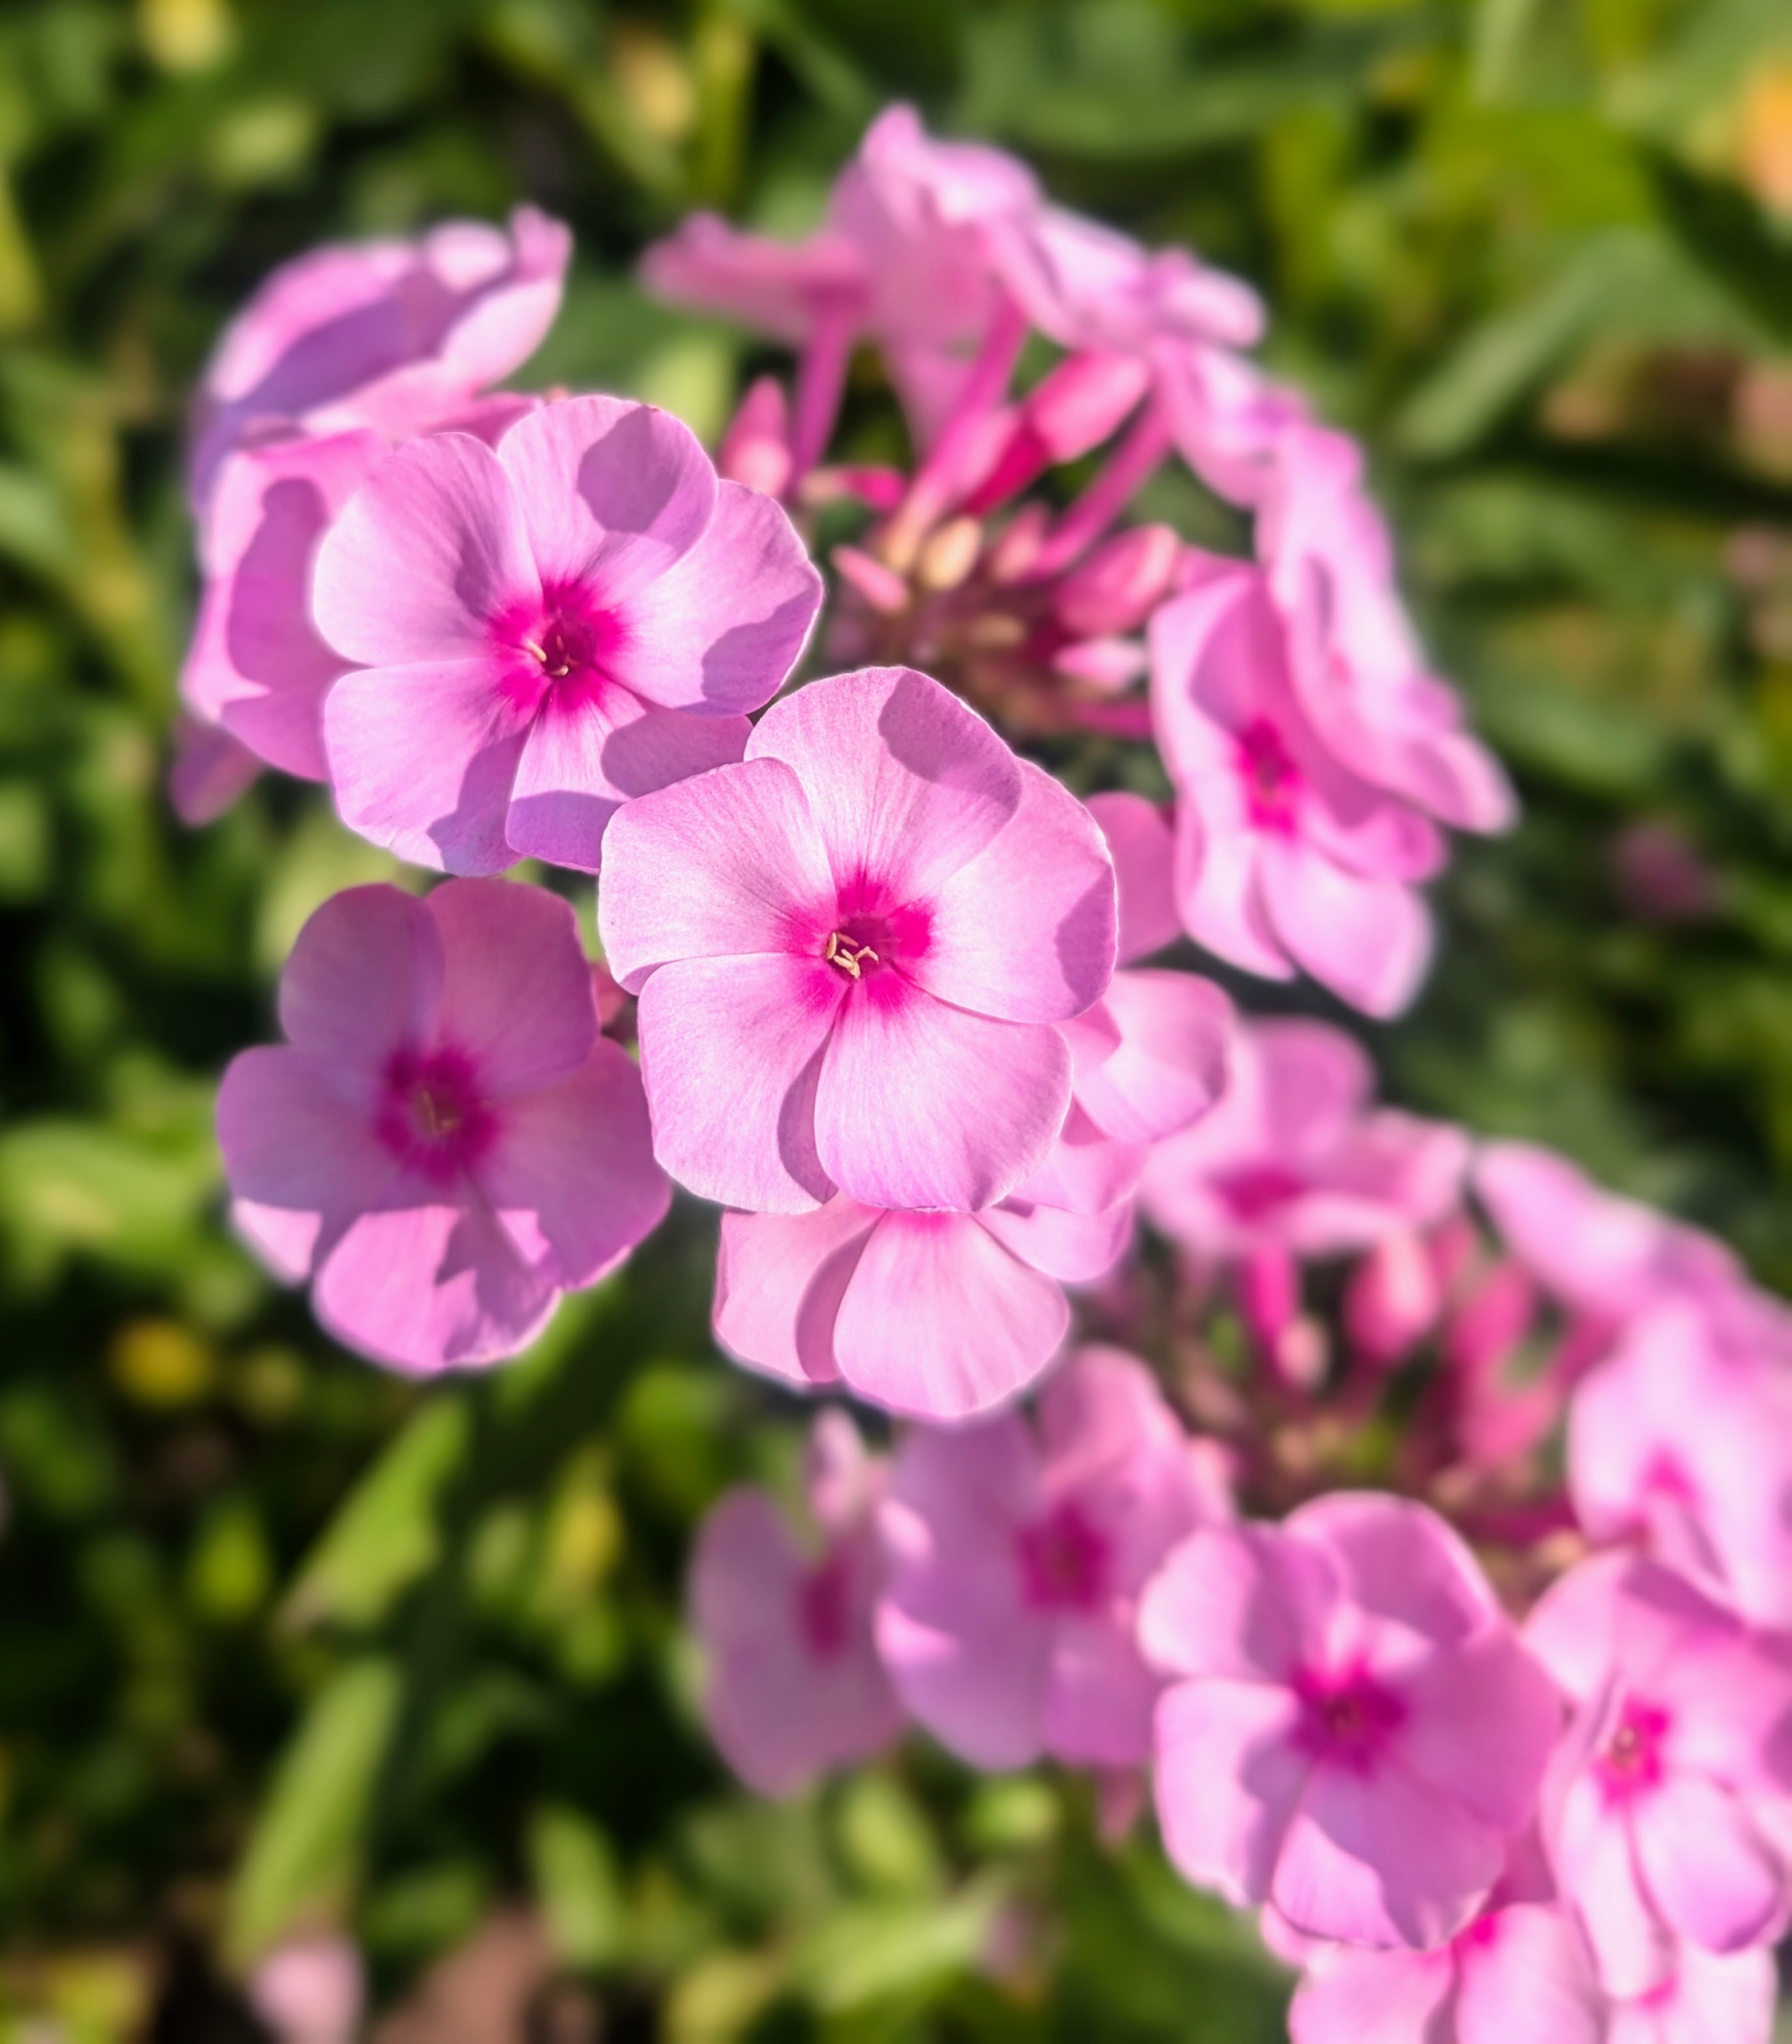
Here is phlox in a lighter pink.
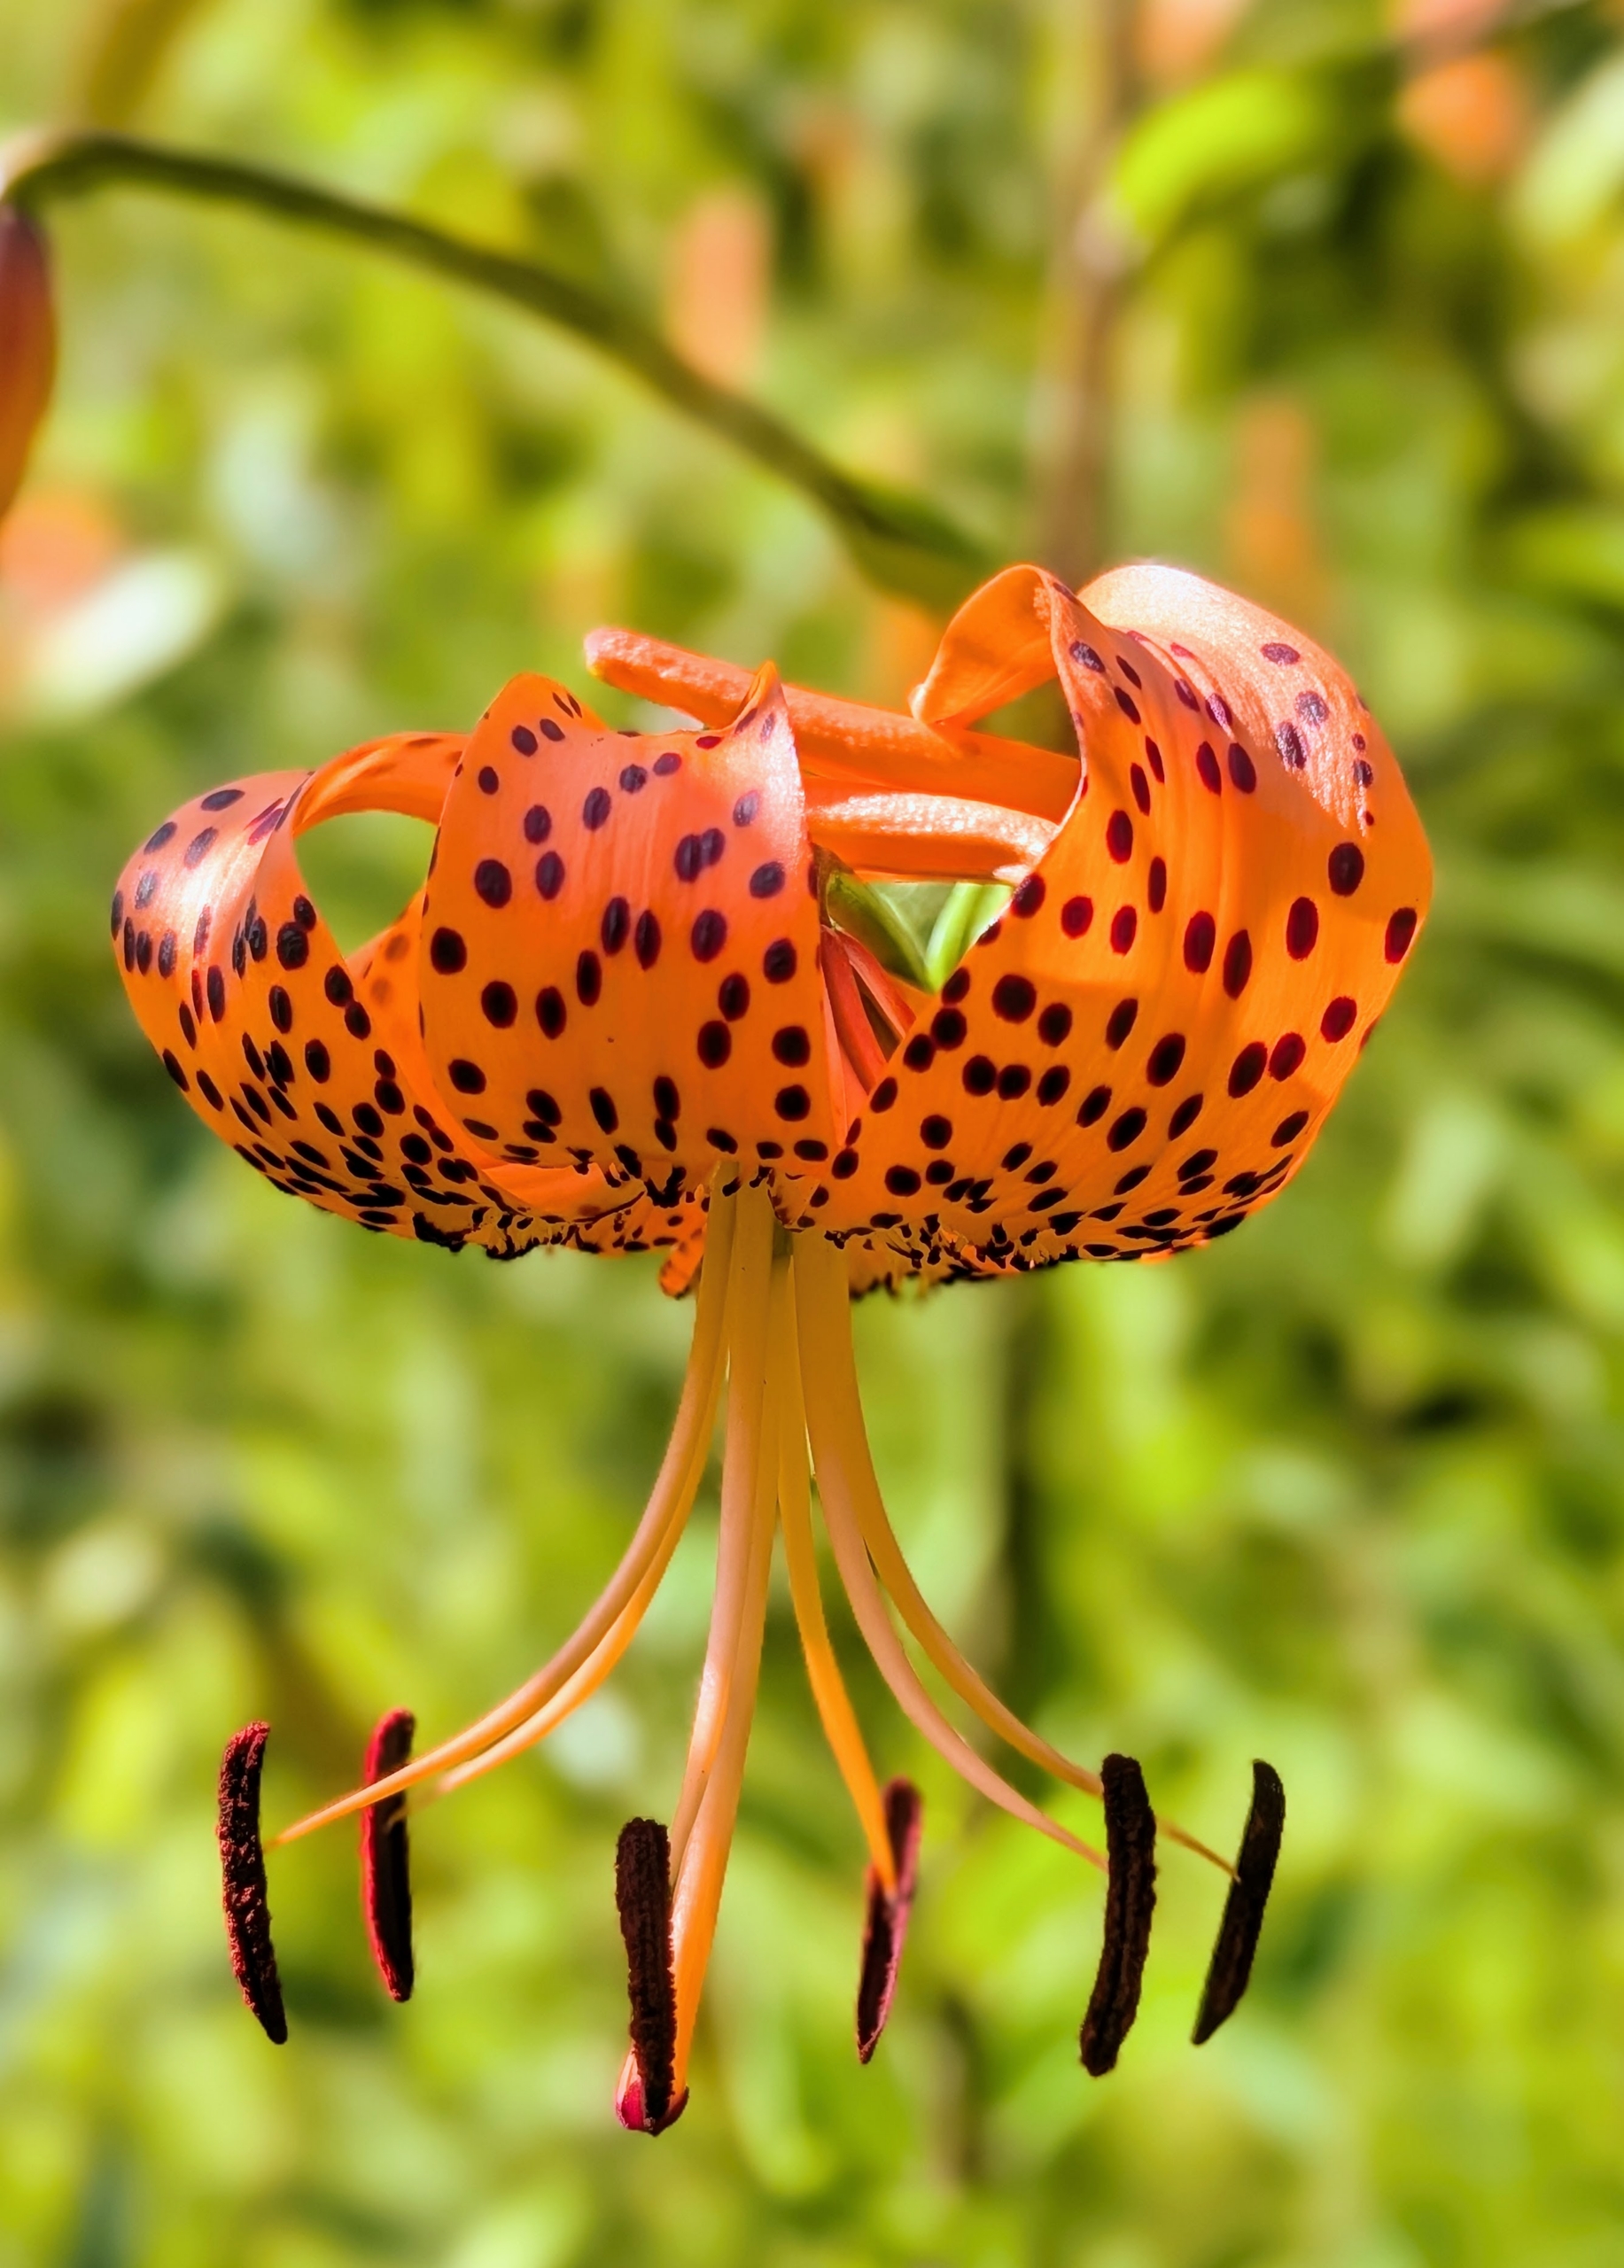
The tiger lilies are just beginning to bloom. Native to China and Japan, Tiger lilies, Lilium lancifolium, bloom in mid to late summer, are easy to grow and come back year after year. I also have them across the carriage road in this same bright and cheerful orange.
I'm so very proud of the organic mulch and nutrient-rich compost I produce right here on my farm.
Mulch is the protective layer spread over soil that helps to suppress weed growth, retain moisture, insulate the ground, and reduce erosion. Compost, also known in gardening as “black gold,” feeds the plants with essential nutrients. During the course of the year, my outdoor grounds crew amasses large amounts of organic debris - felled trees, branches, leaves, etc., but none of the material ever goes to waste. It is either repurposed quickly as milled lumber, or made into one of the two garden dressings.
Here are some photos.
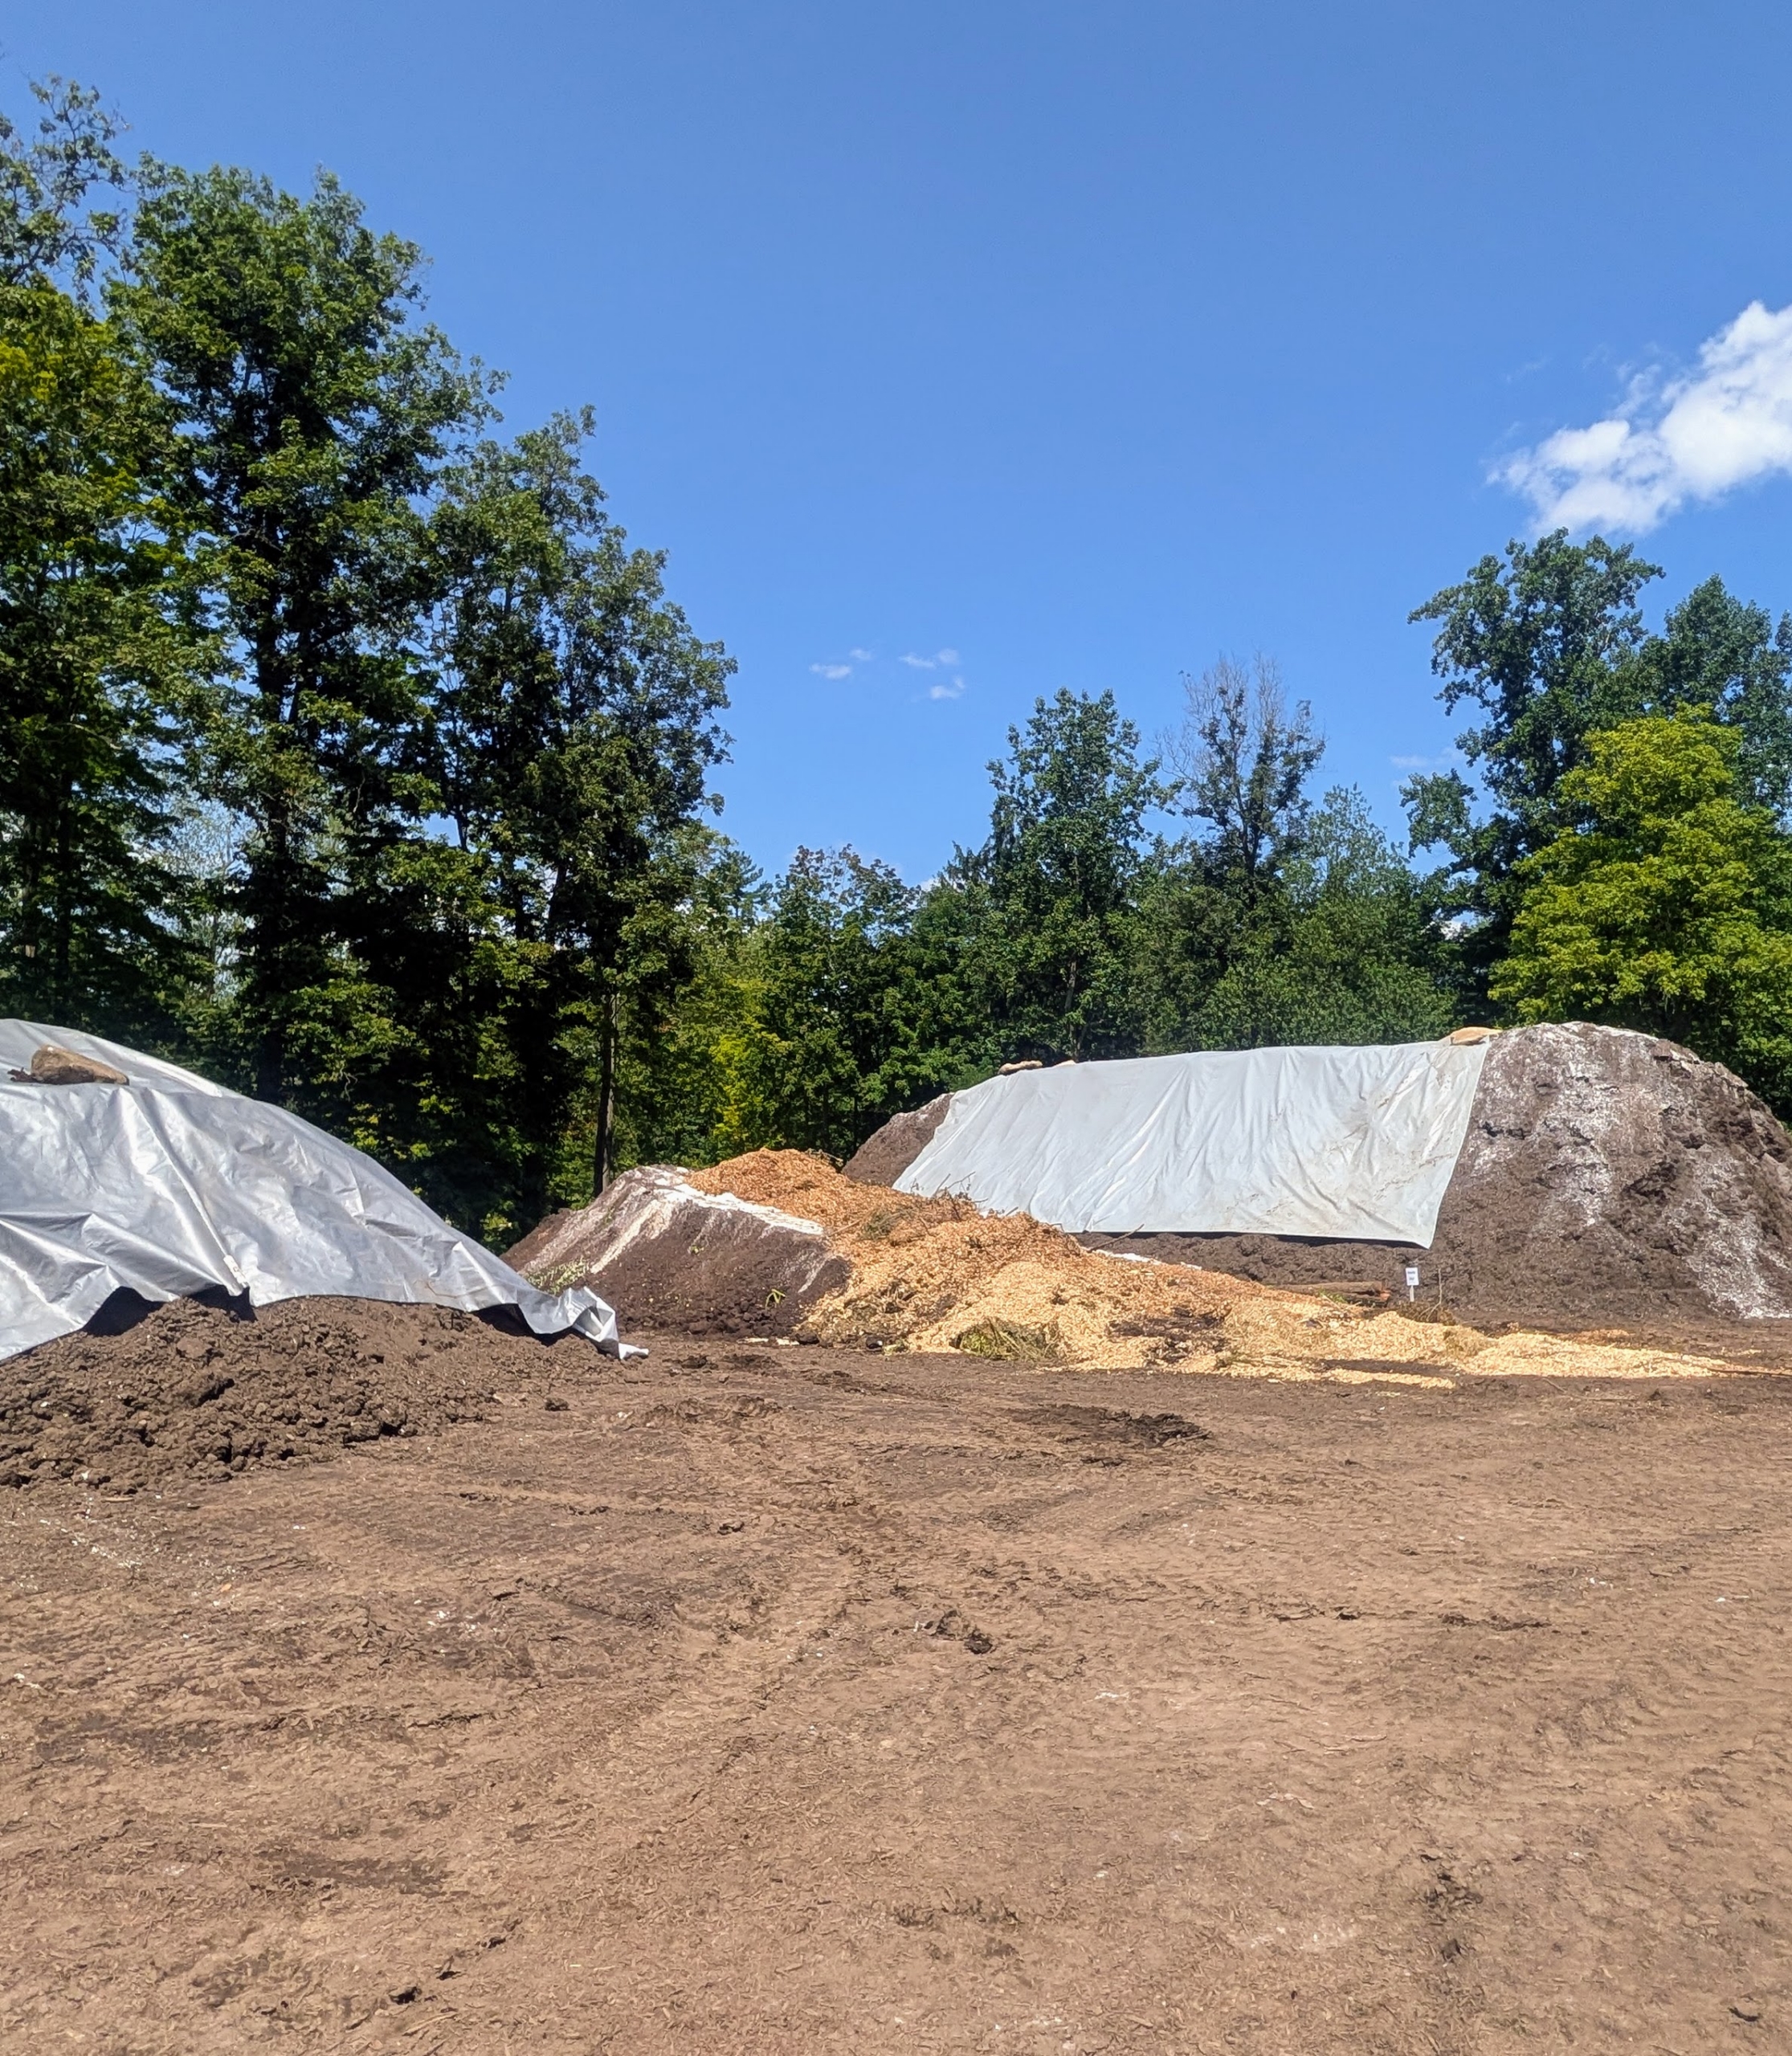
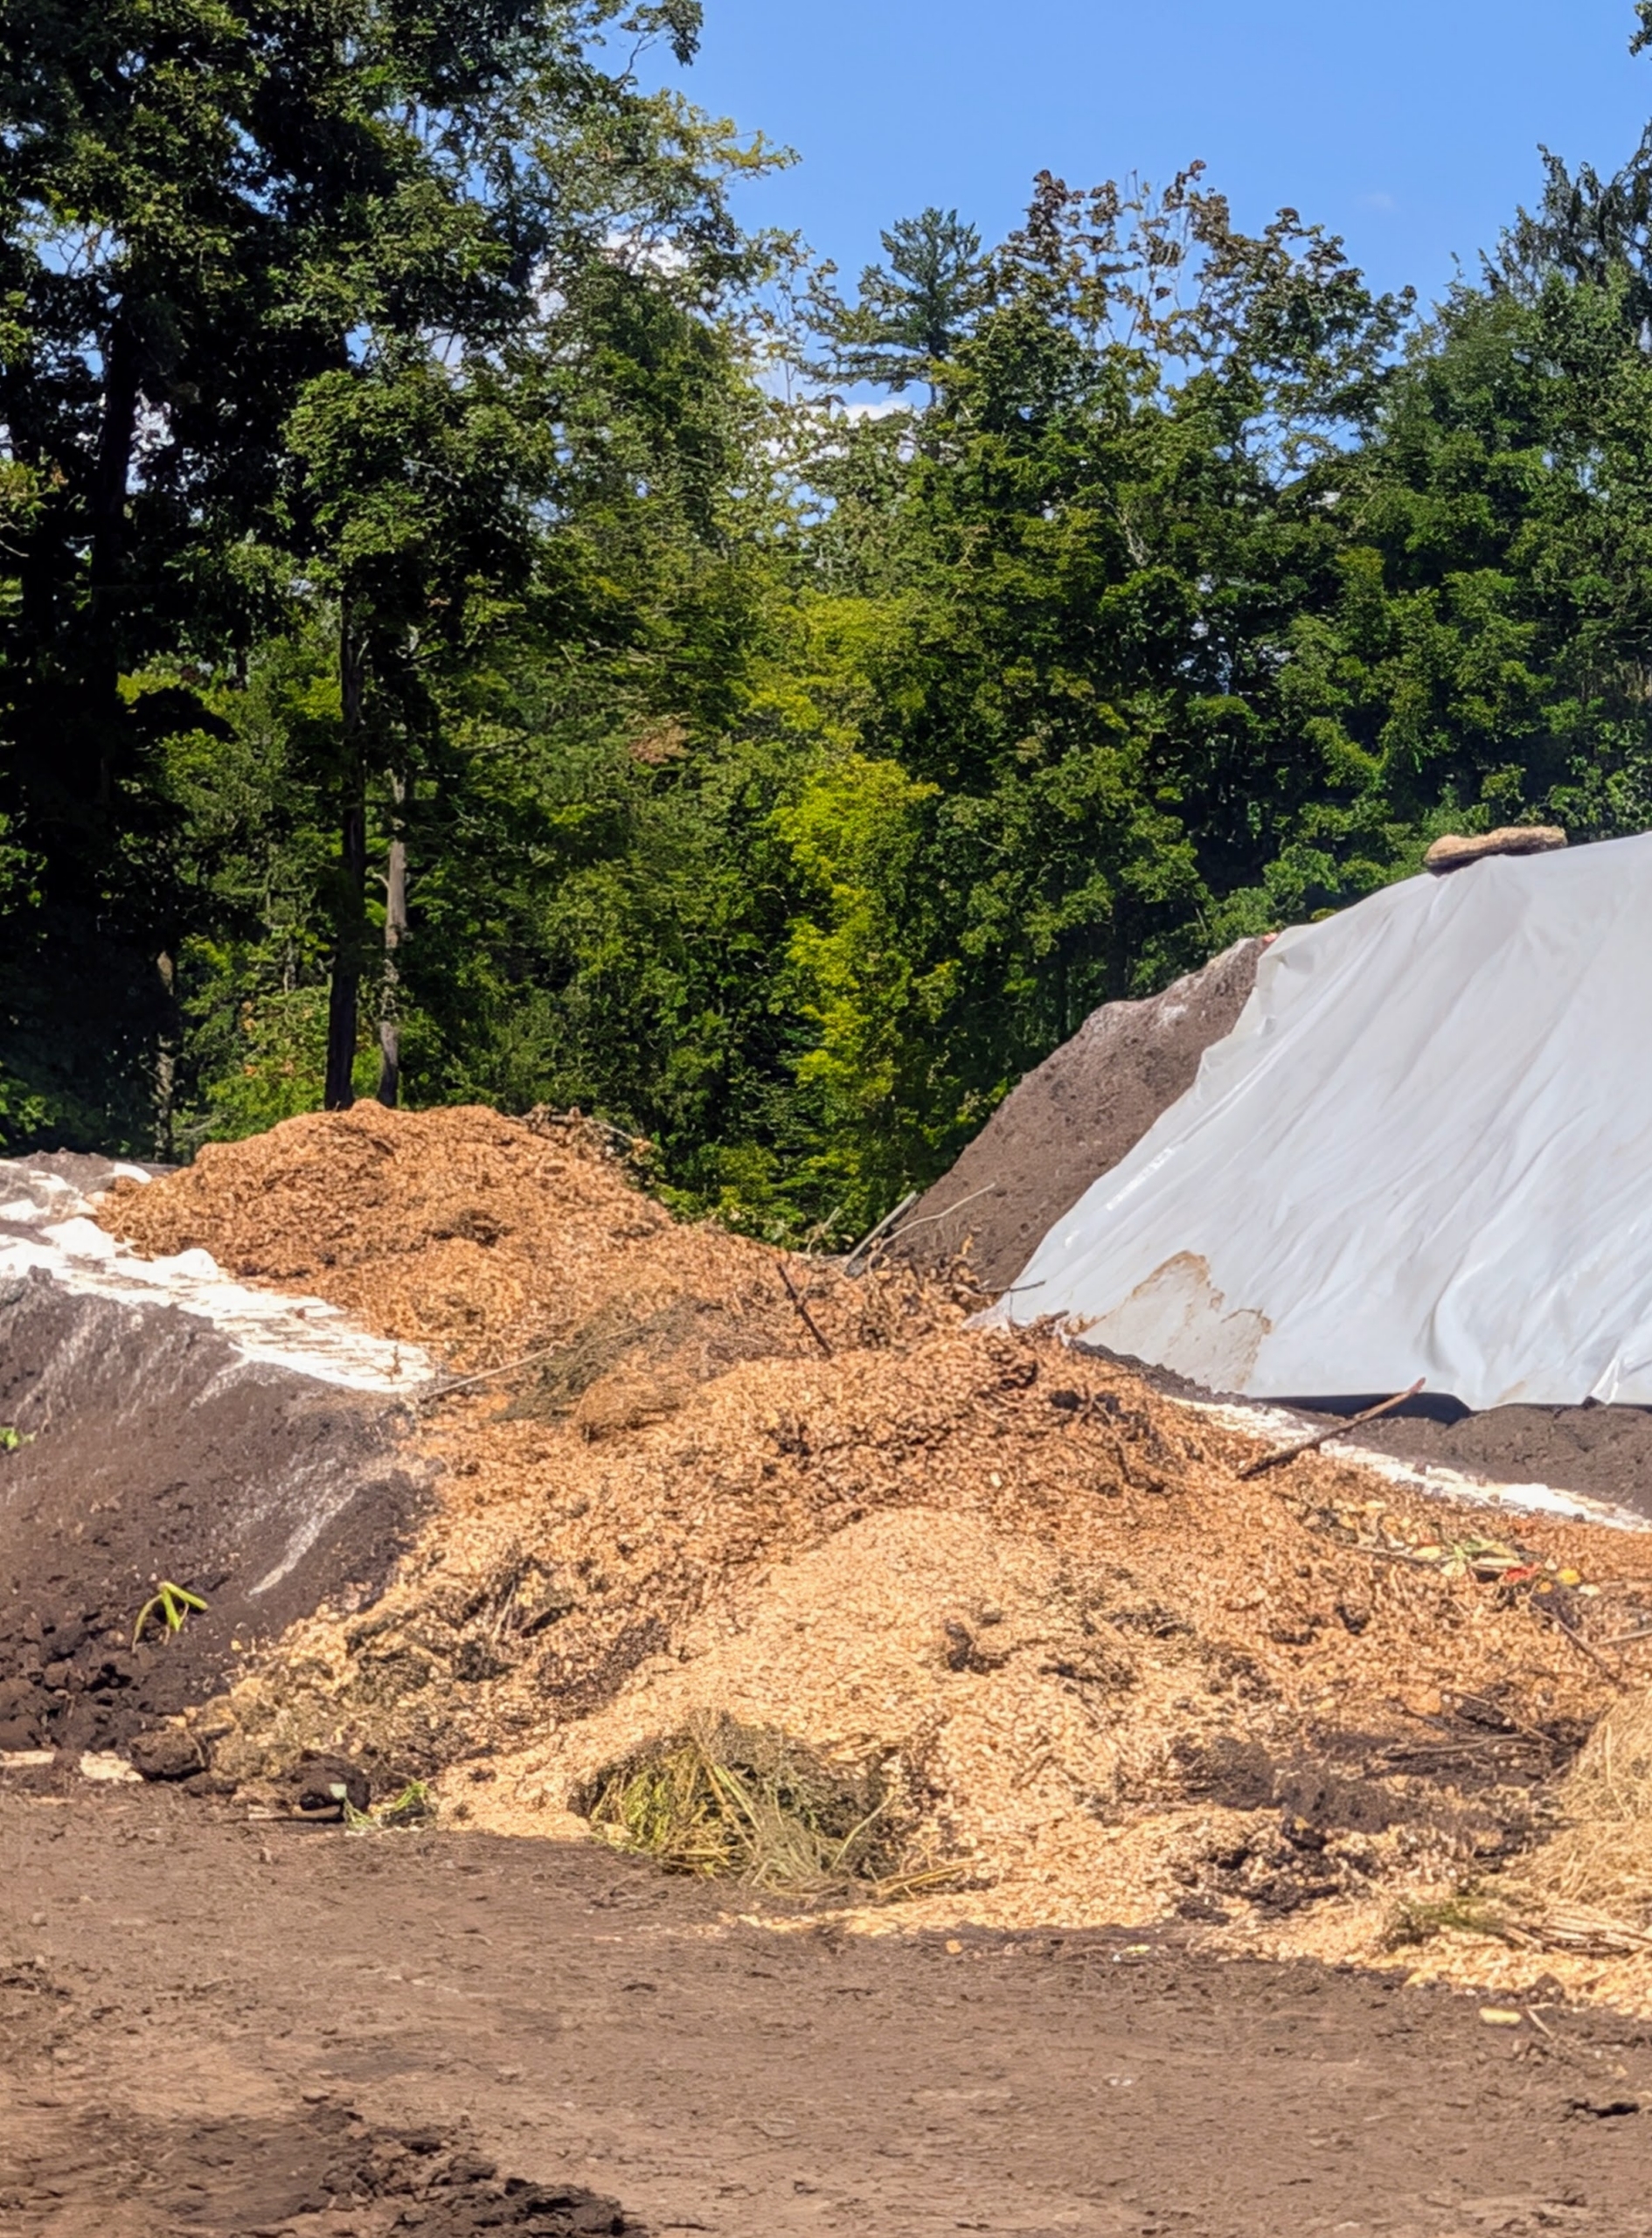
Located in a back field of the farm is my compost yard – one of the most important areas on the property. These compost and mulch piles are in various stages of decay.
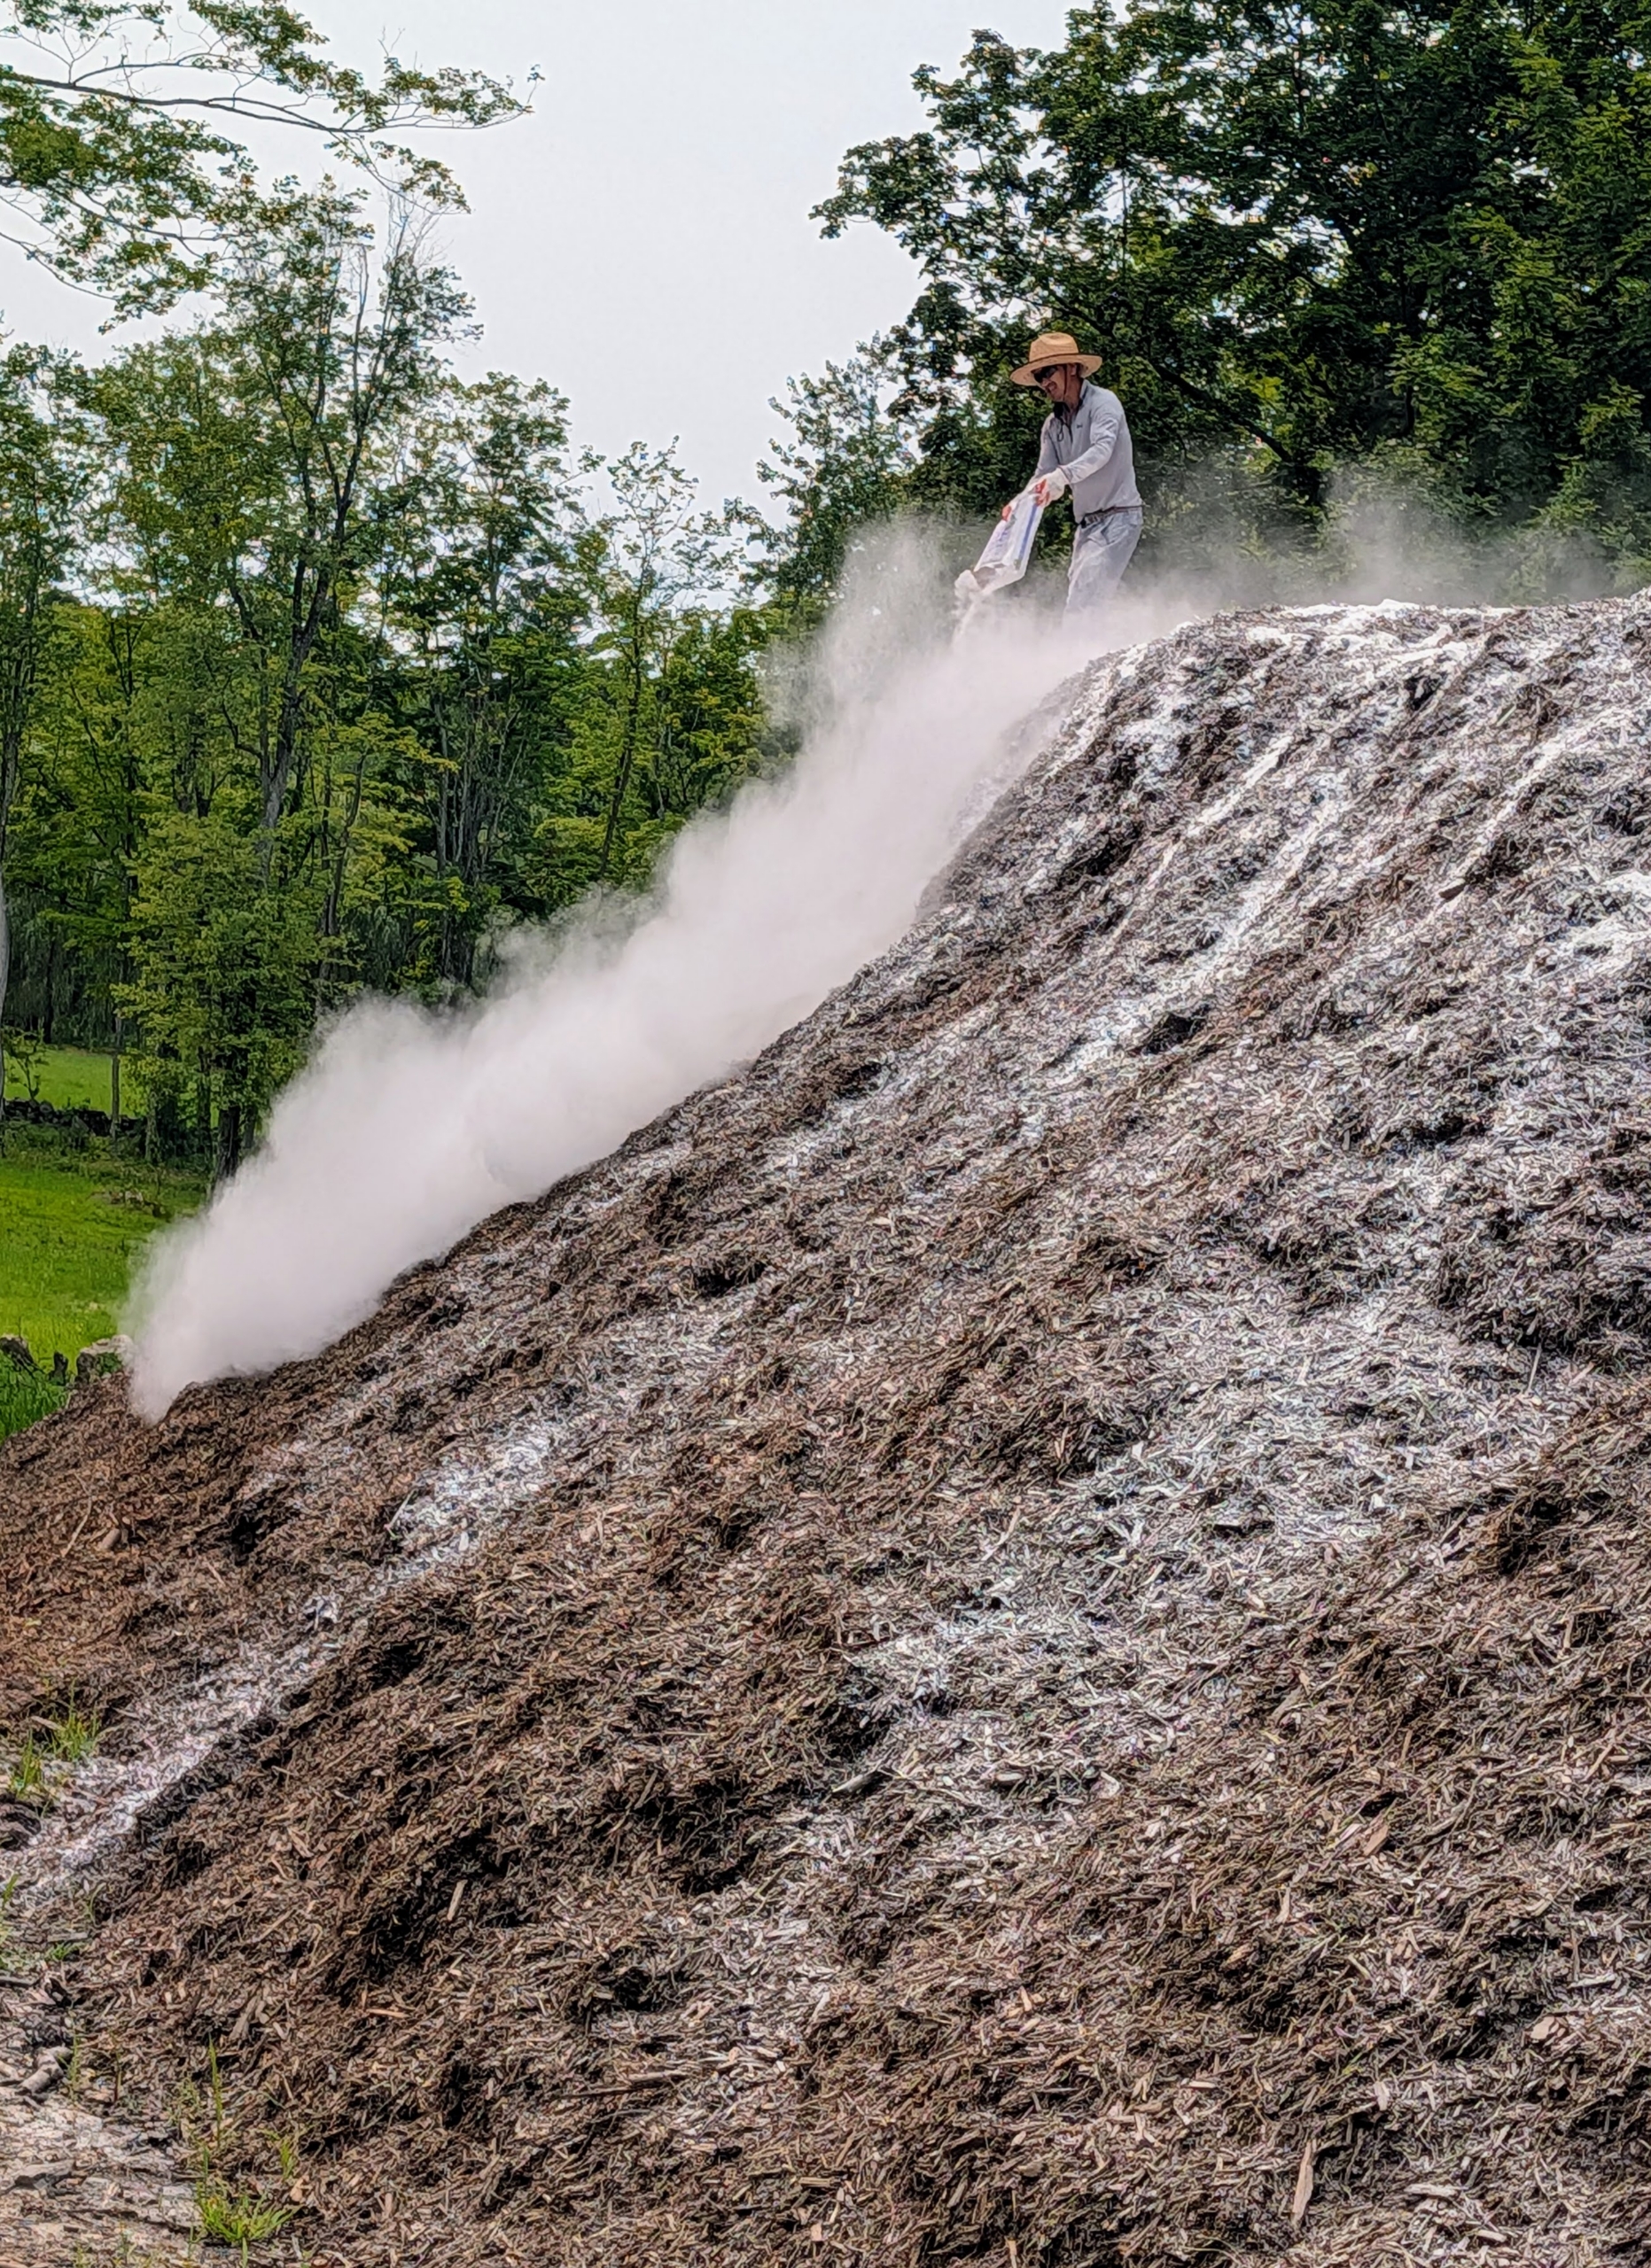
Last week, my outdoor grounds crew foreman, Chhiring Sherpa, covered all the piles with lime. Lime is applied once a year to reduce mold, stabilize pH, enhance nutrient uptake, and speed up decomposition.
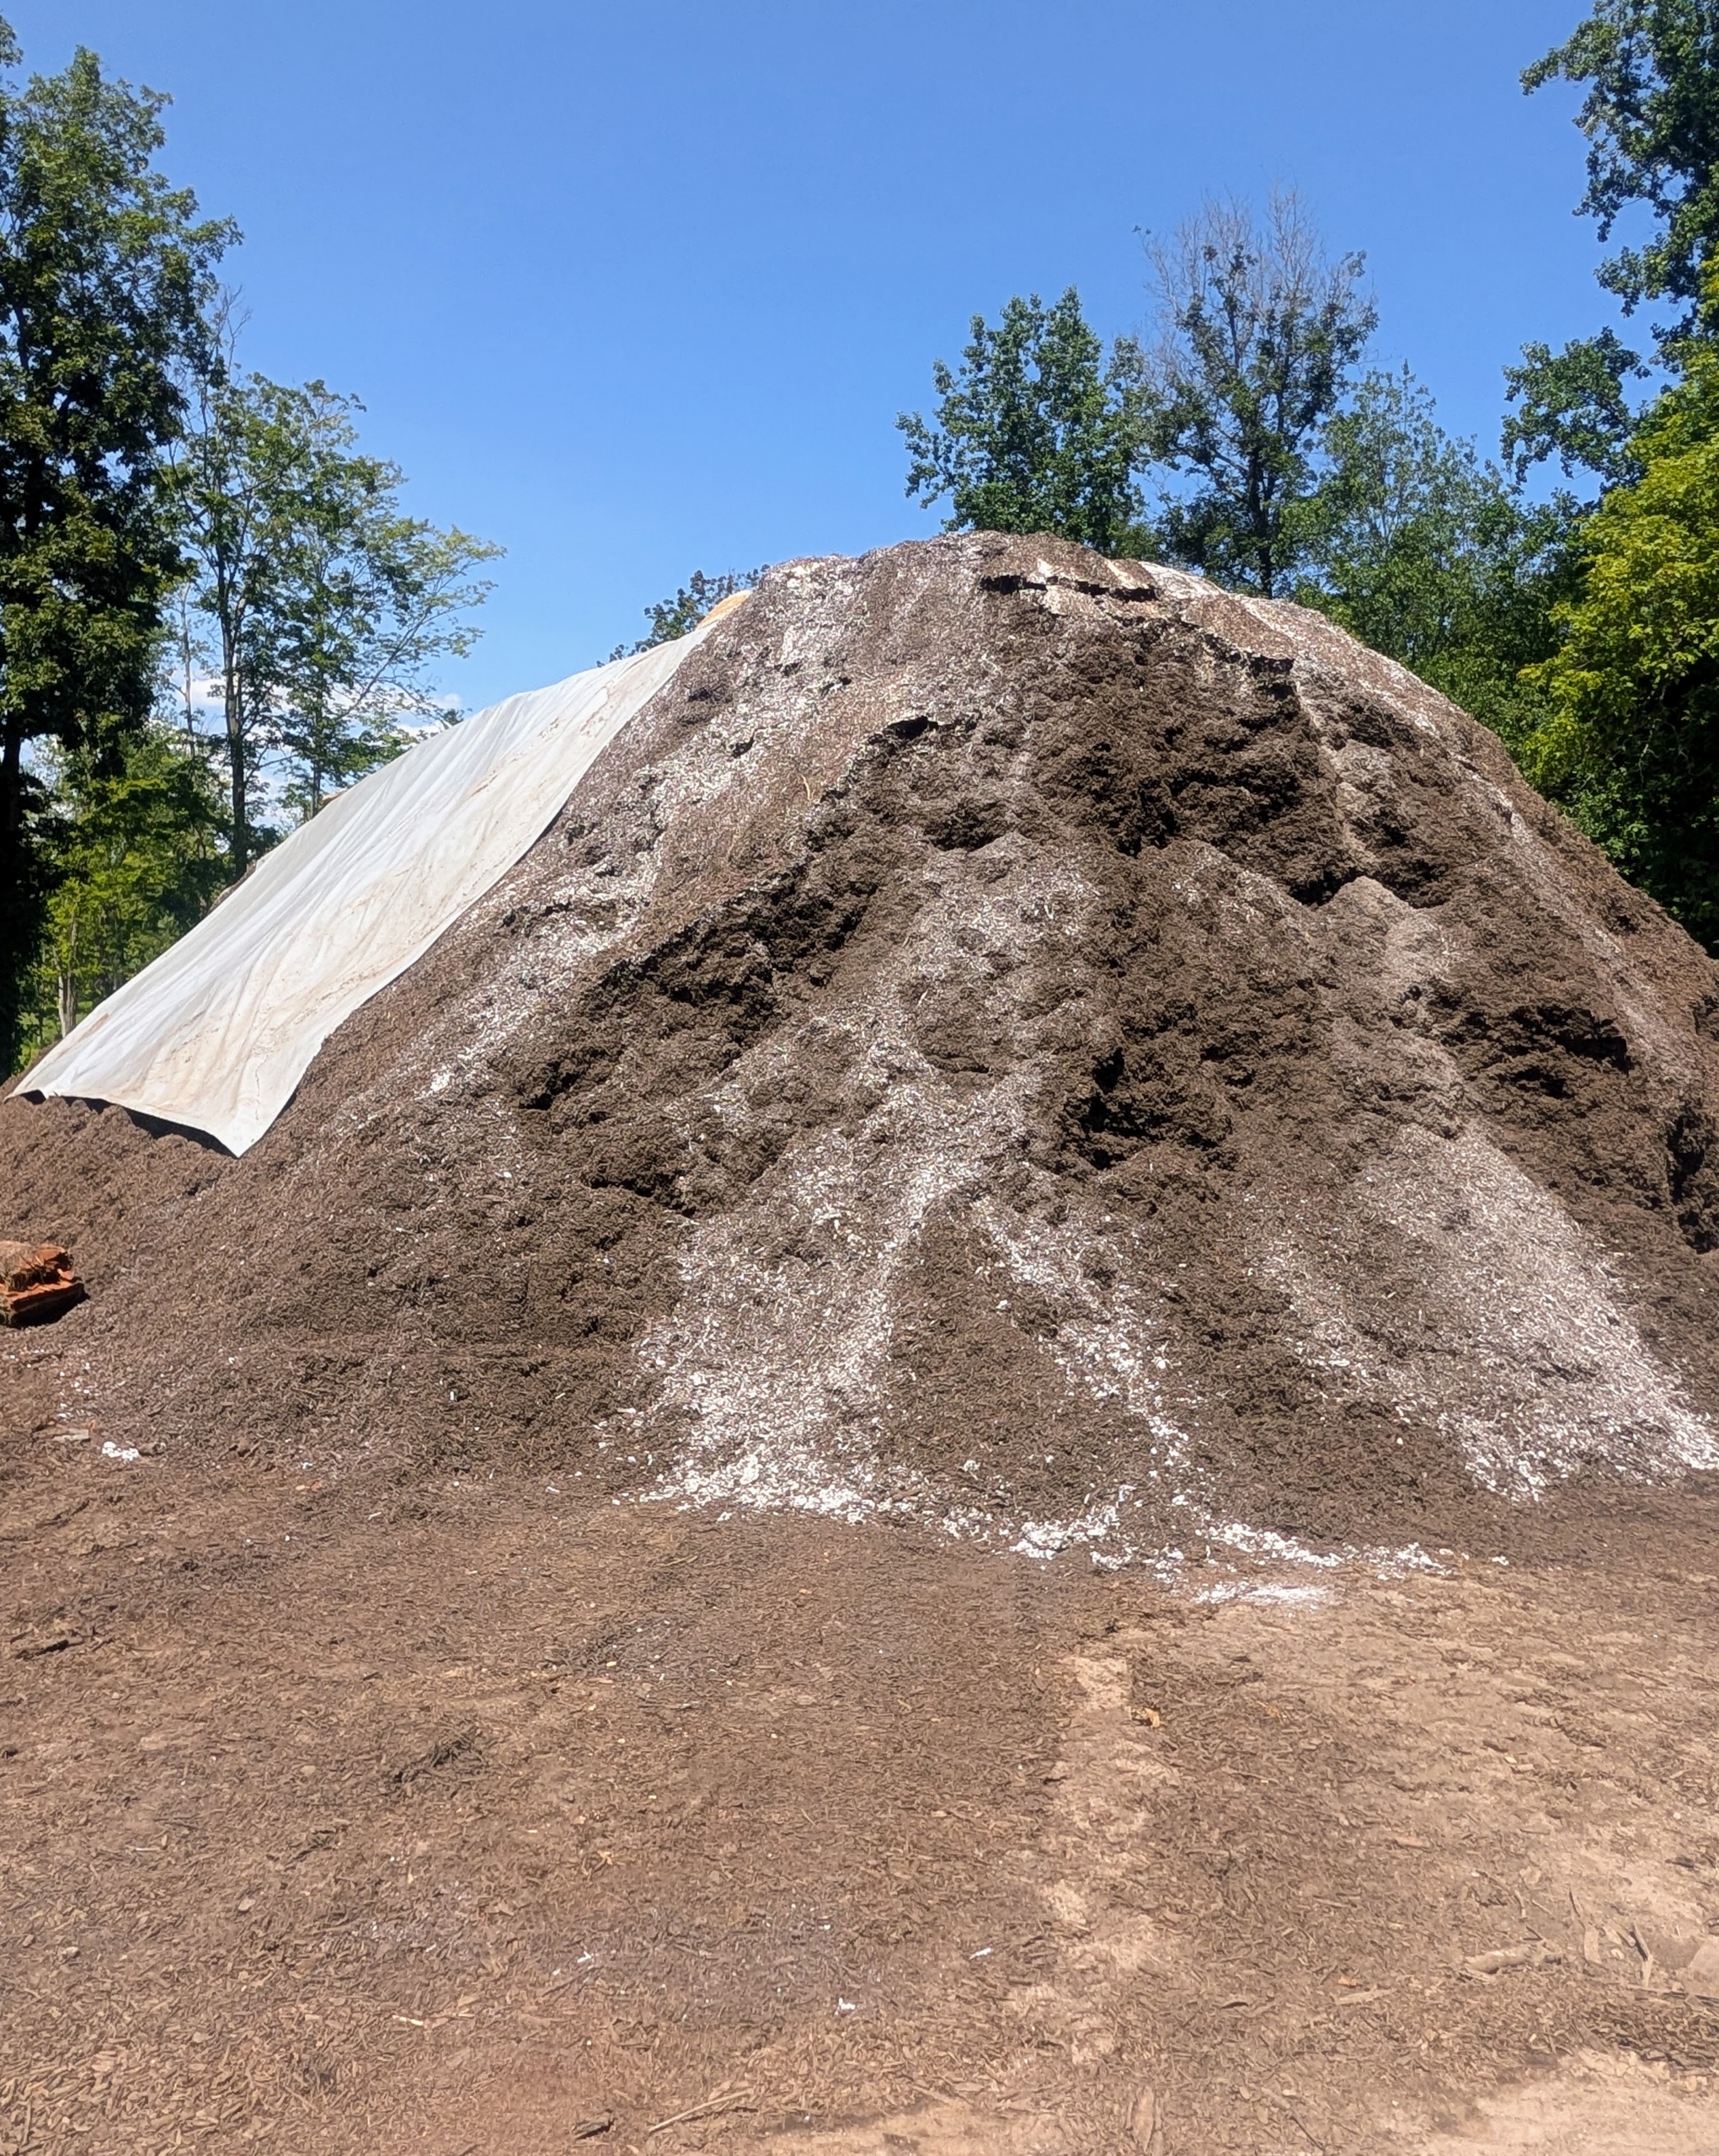
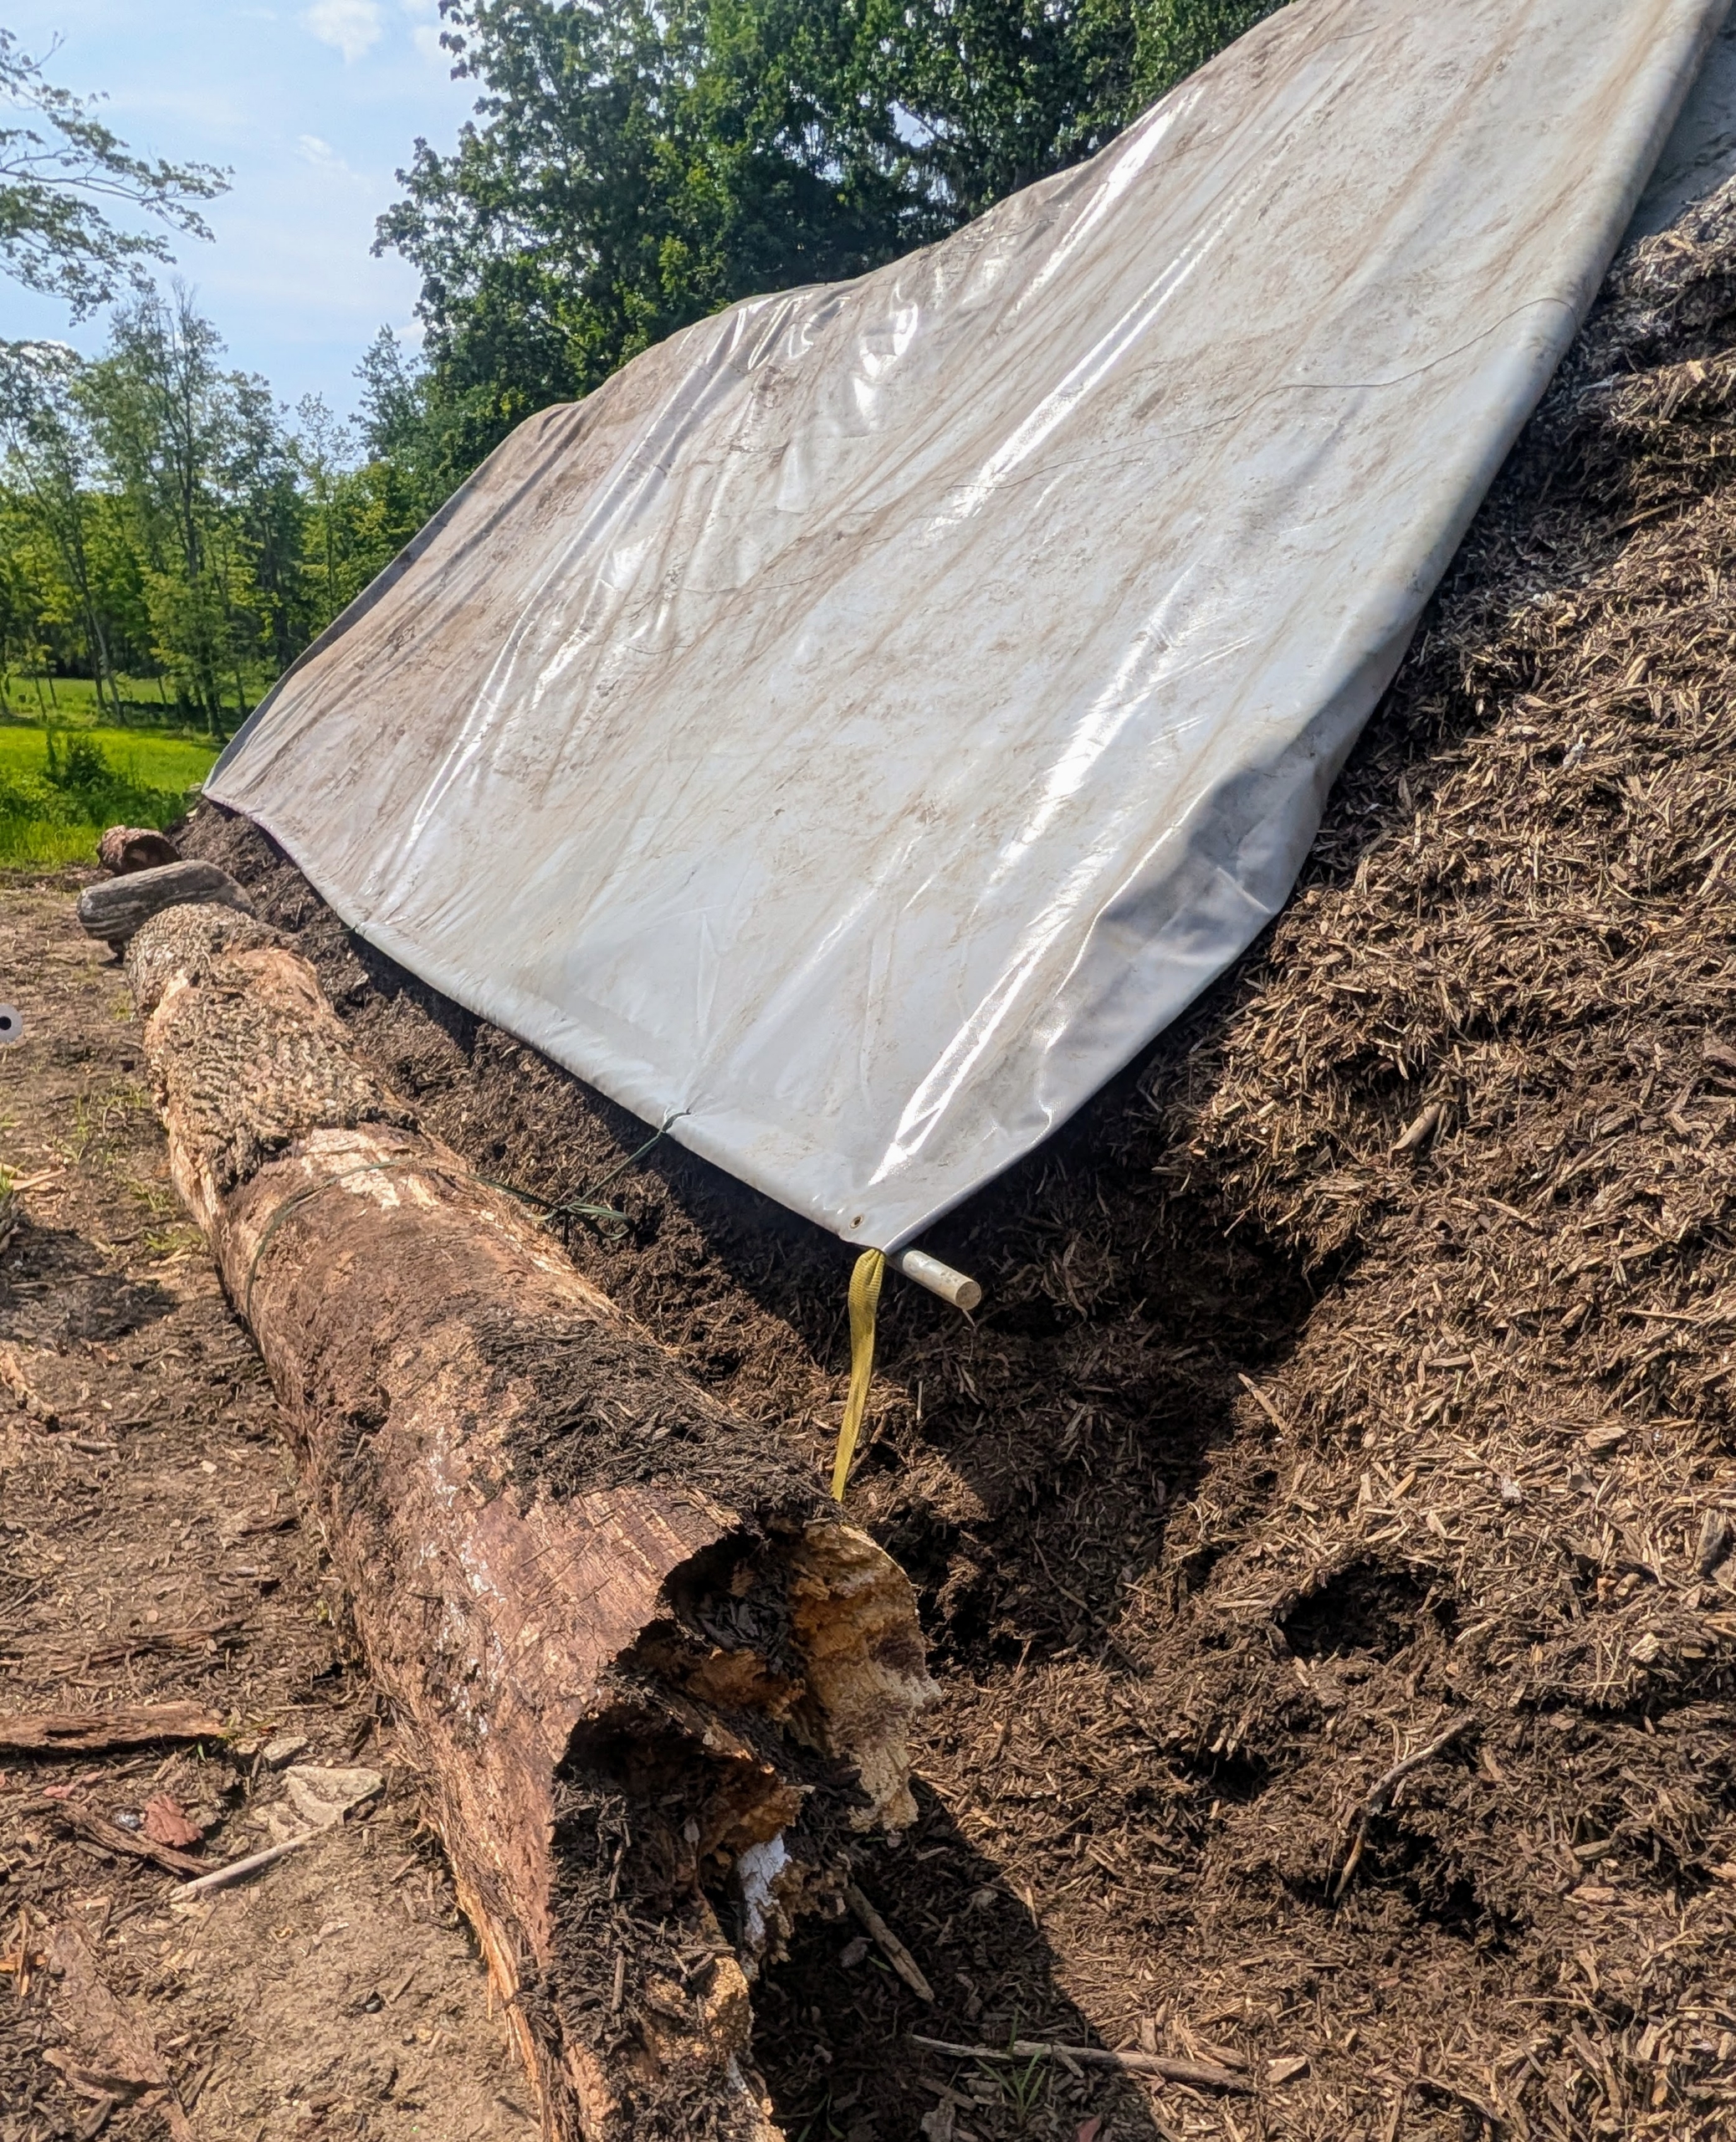
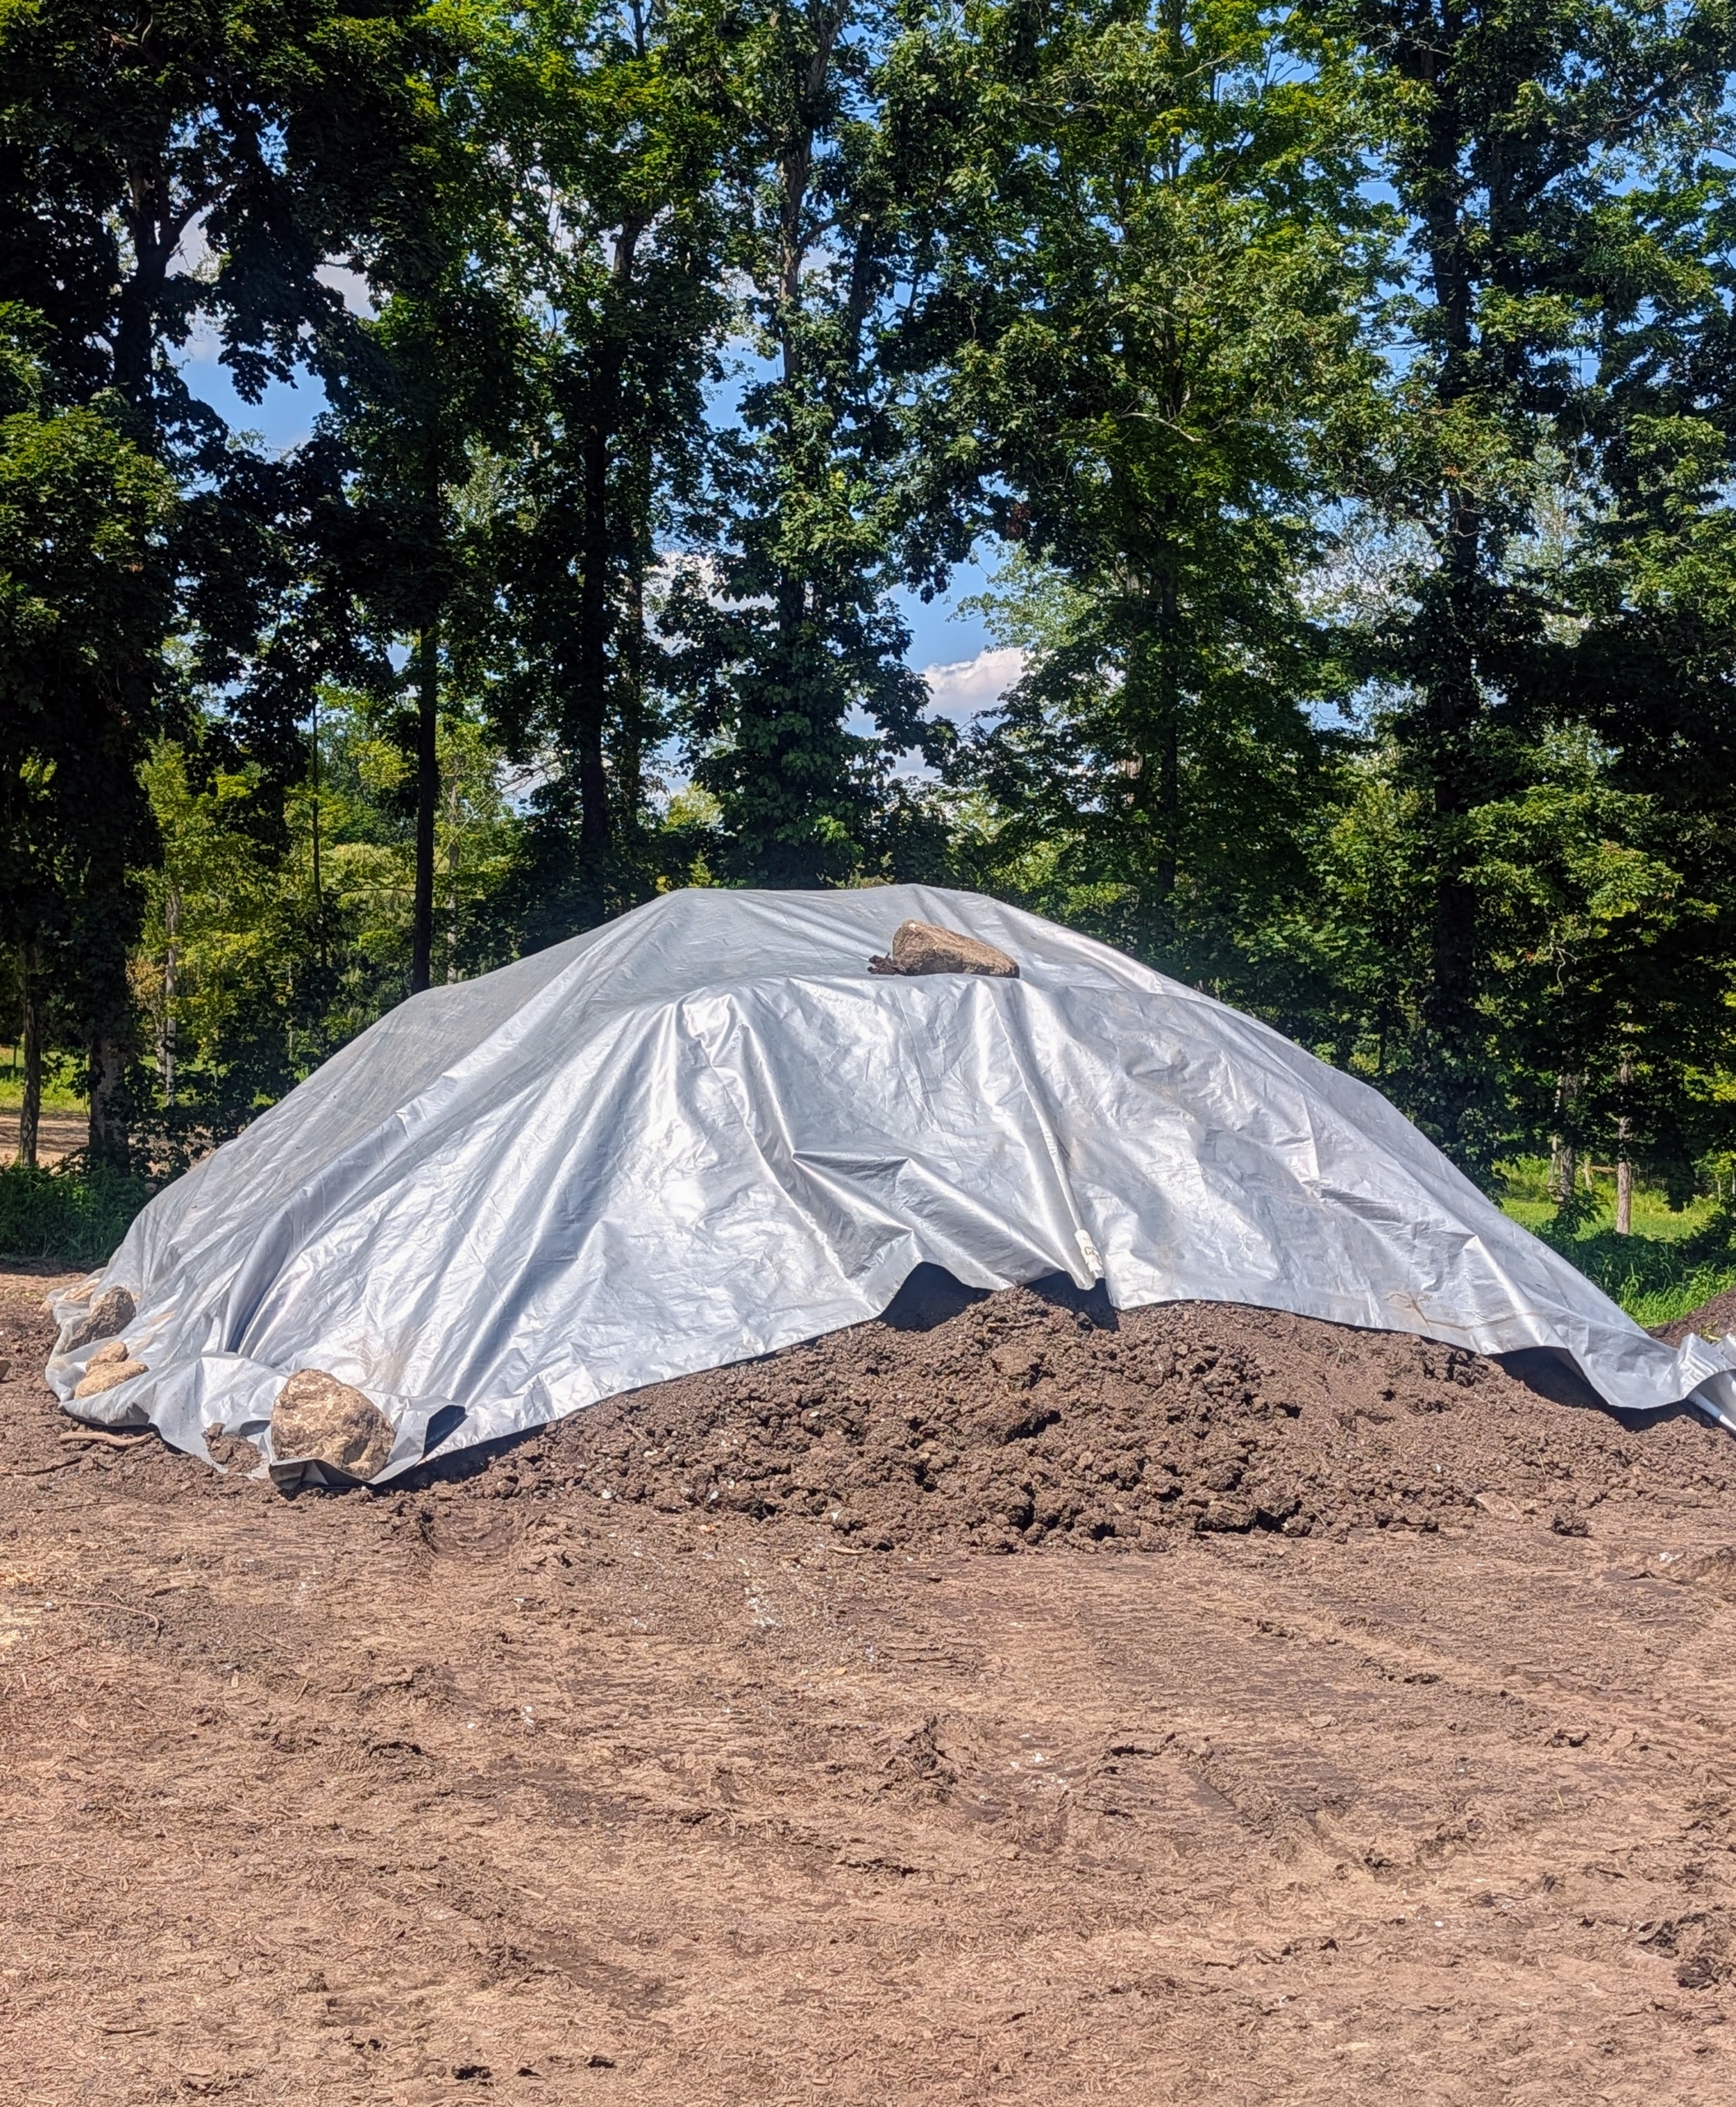
And then the piles are covered to help decompose the material faster and more efficiently, raising the temperatures up to 160-degrees Fahrenheit. This pile is two year old mulch. Mulch needs to age for at least six to 12 months before it is safe and beneficial for the gardens.
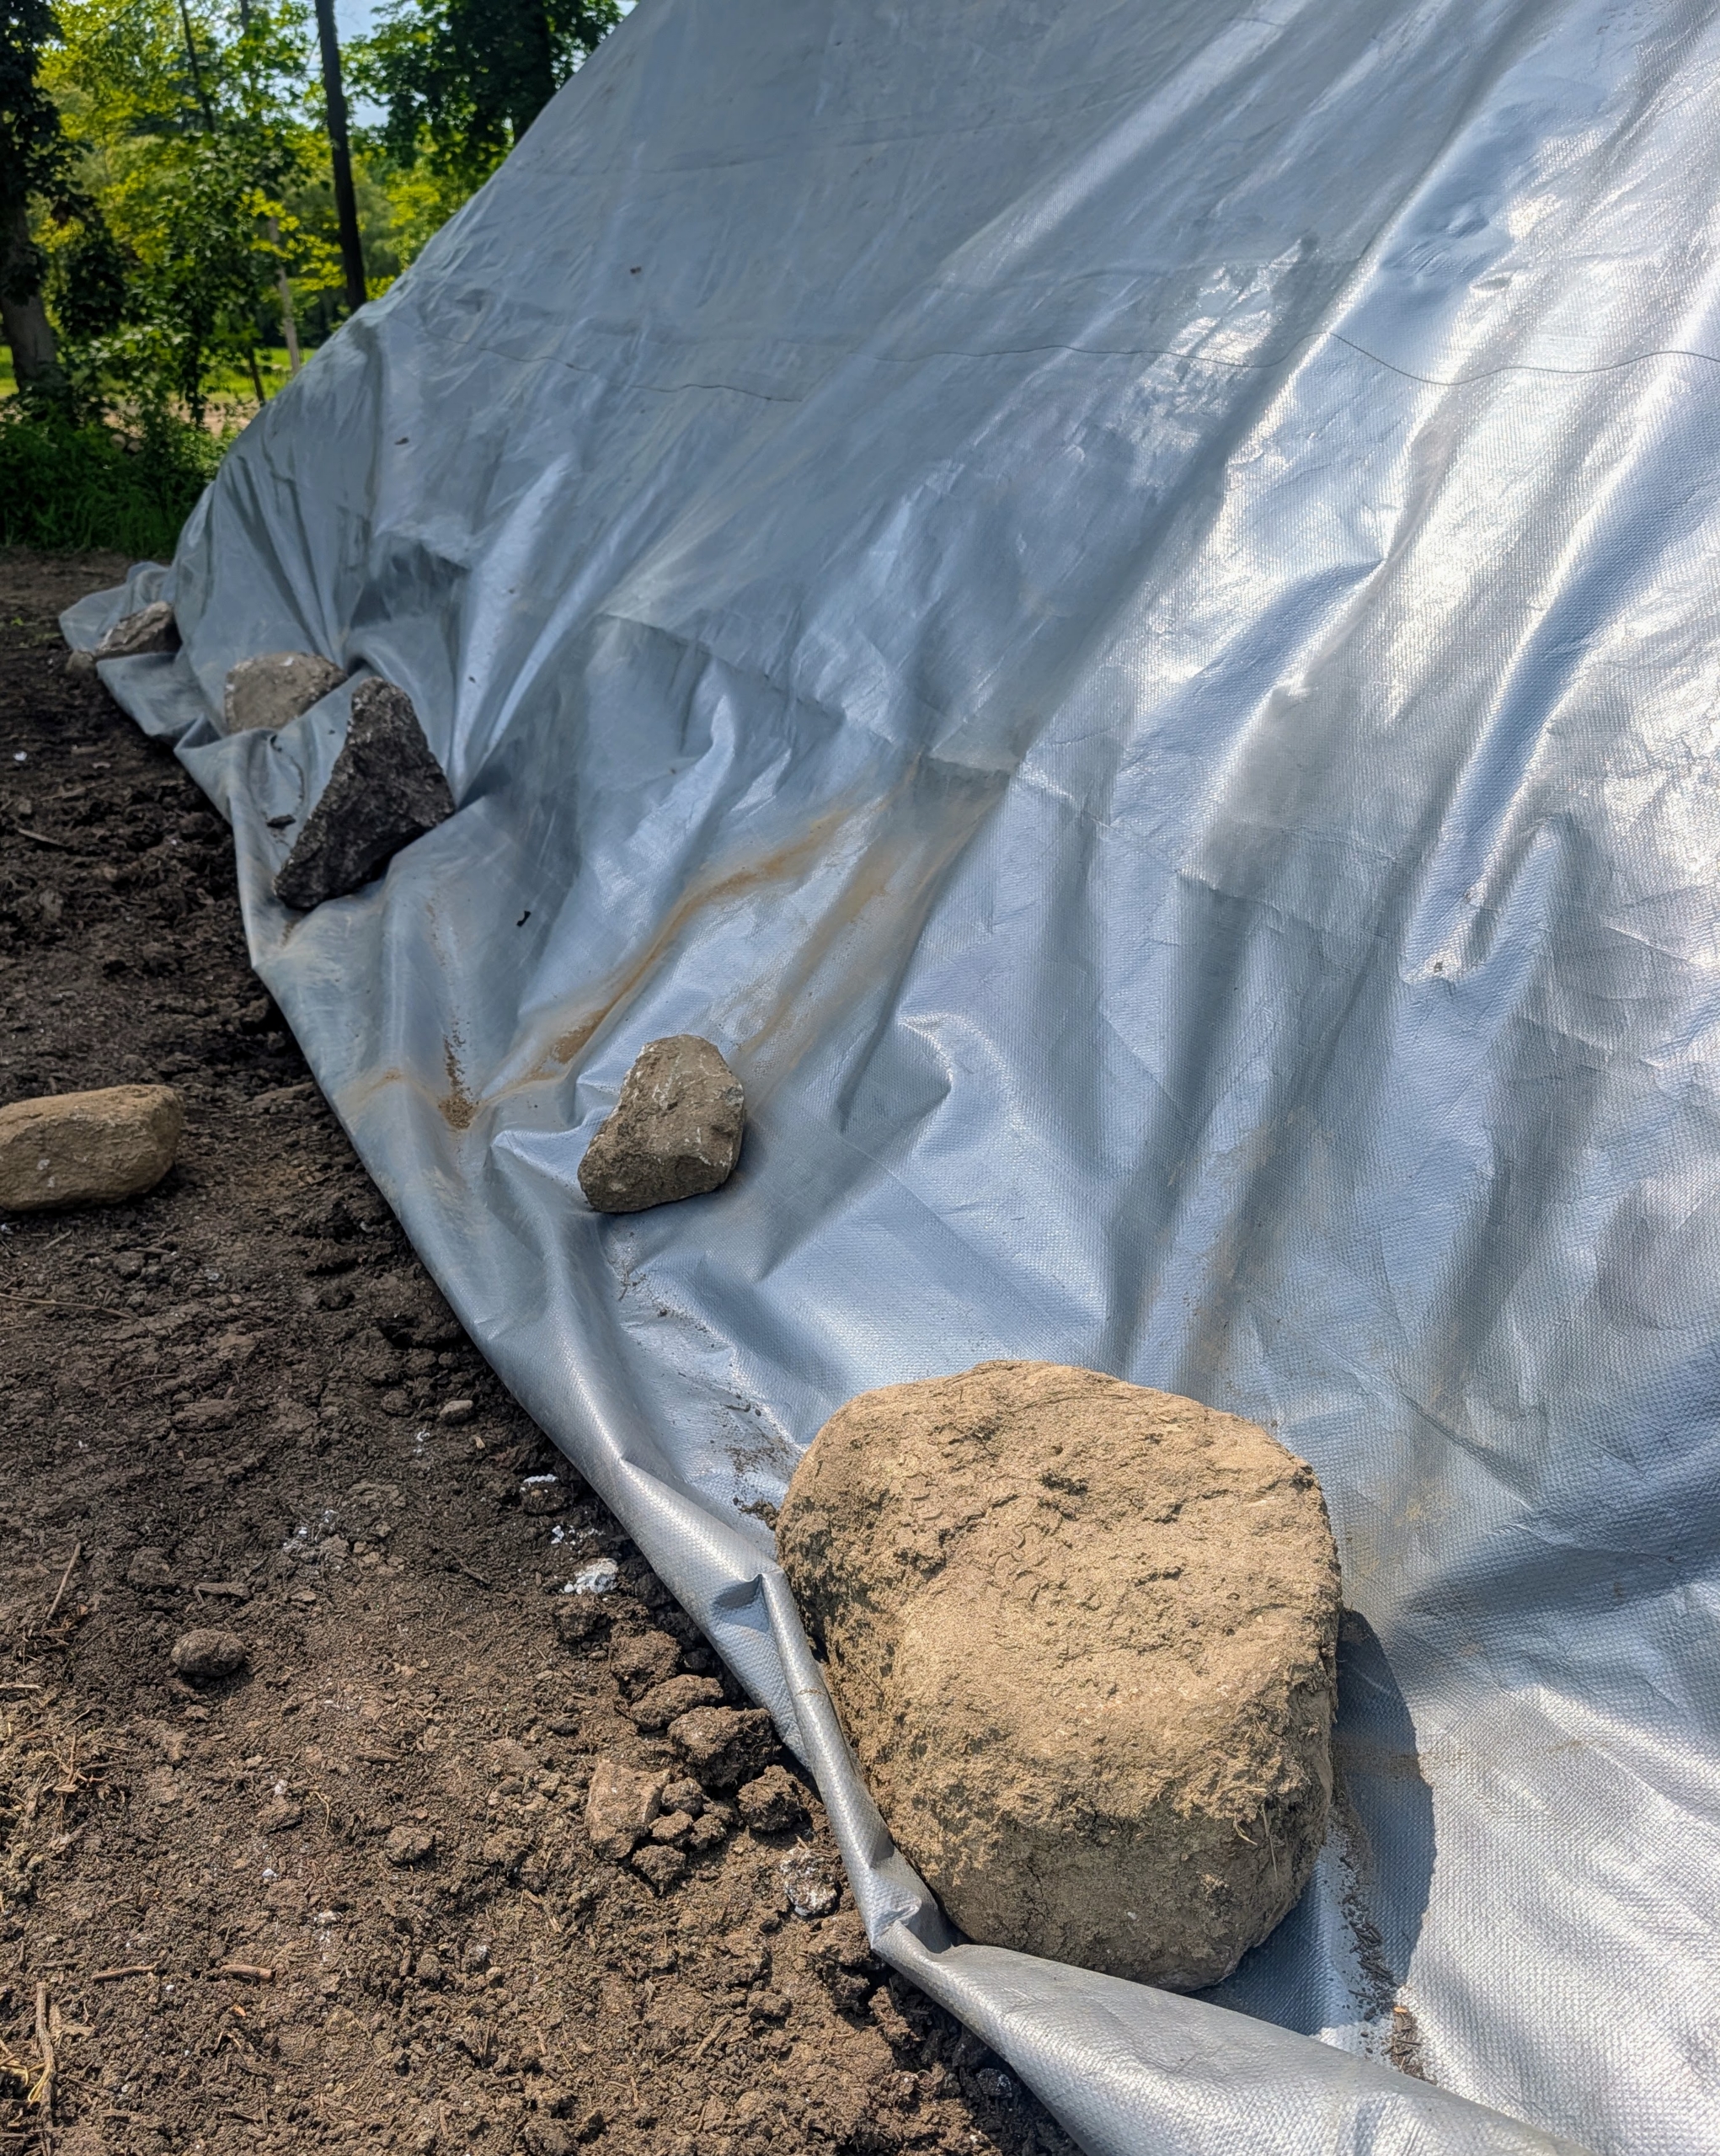
Once the a pile is covered, using our trusted Hi-Lo Chhiring places huge boulders on top to keep the tarps in place.
He also places boulders around the edges.
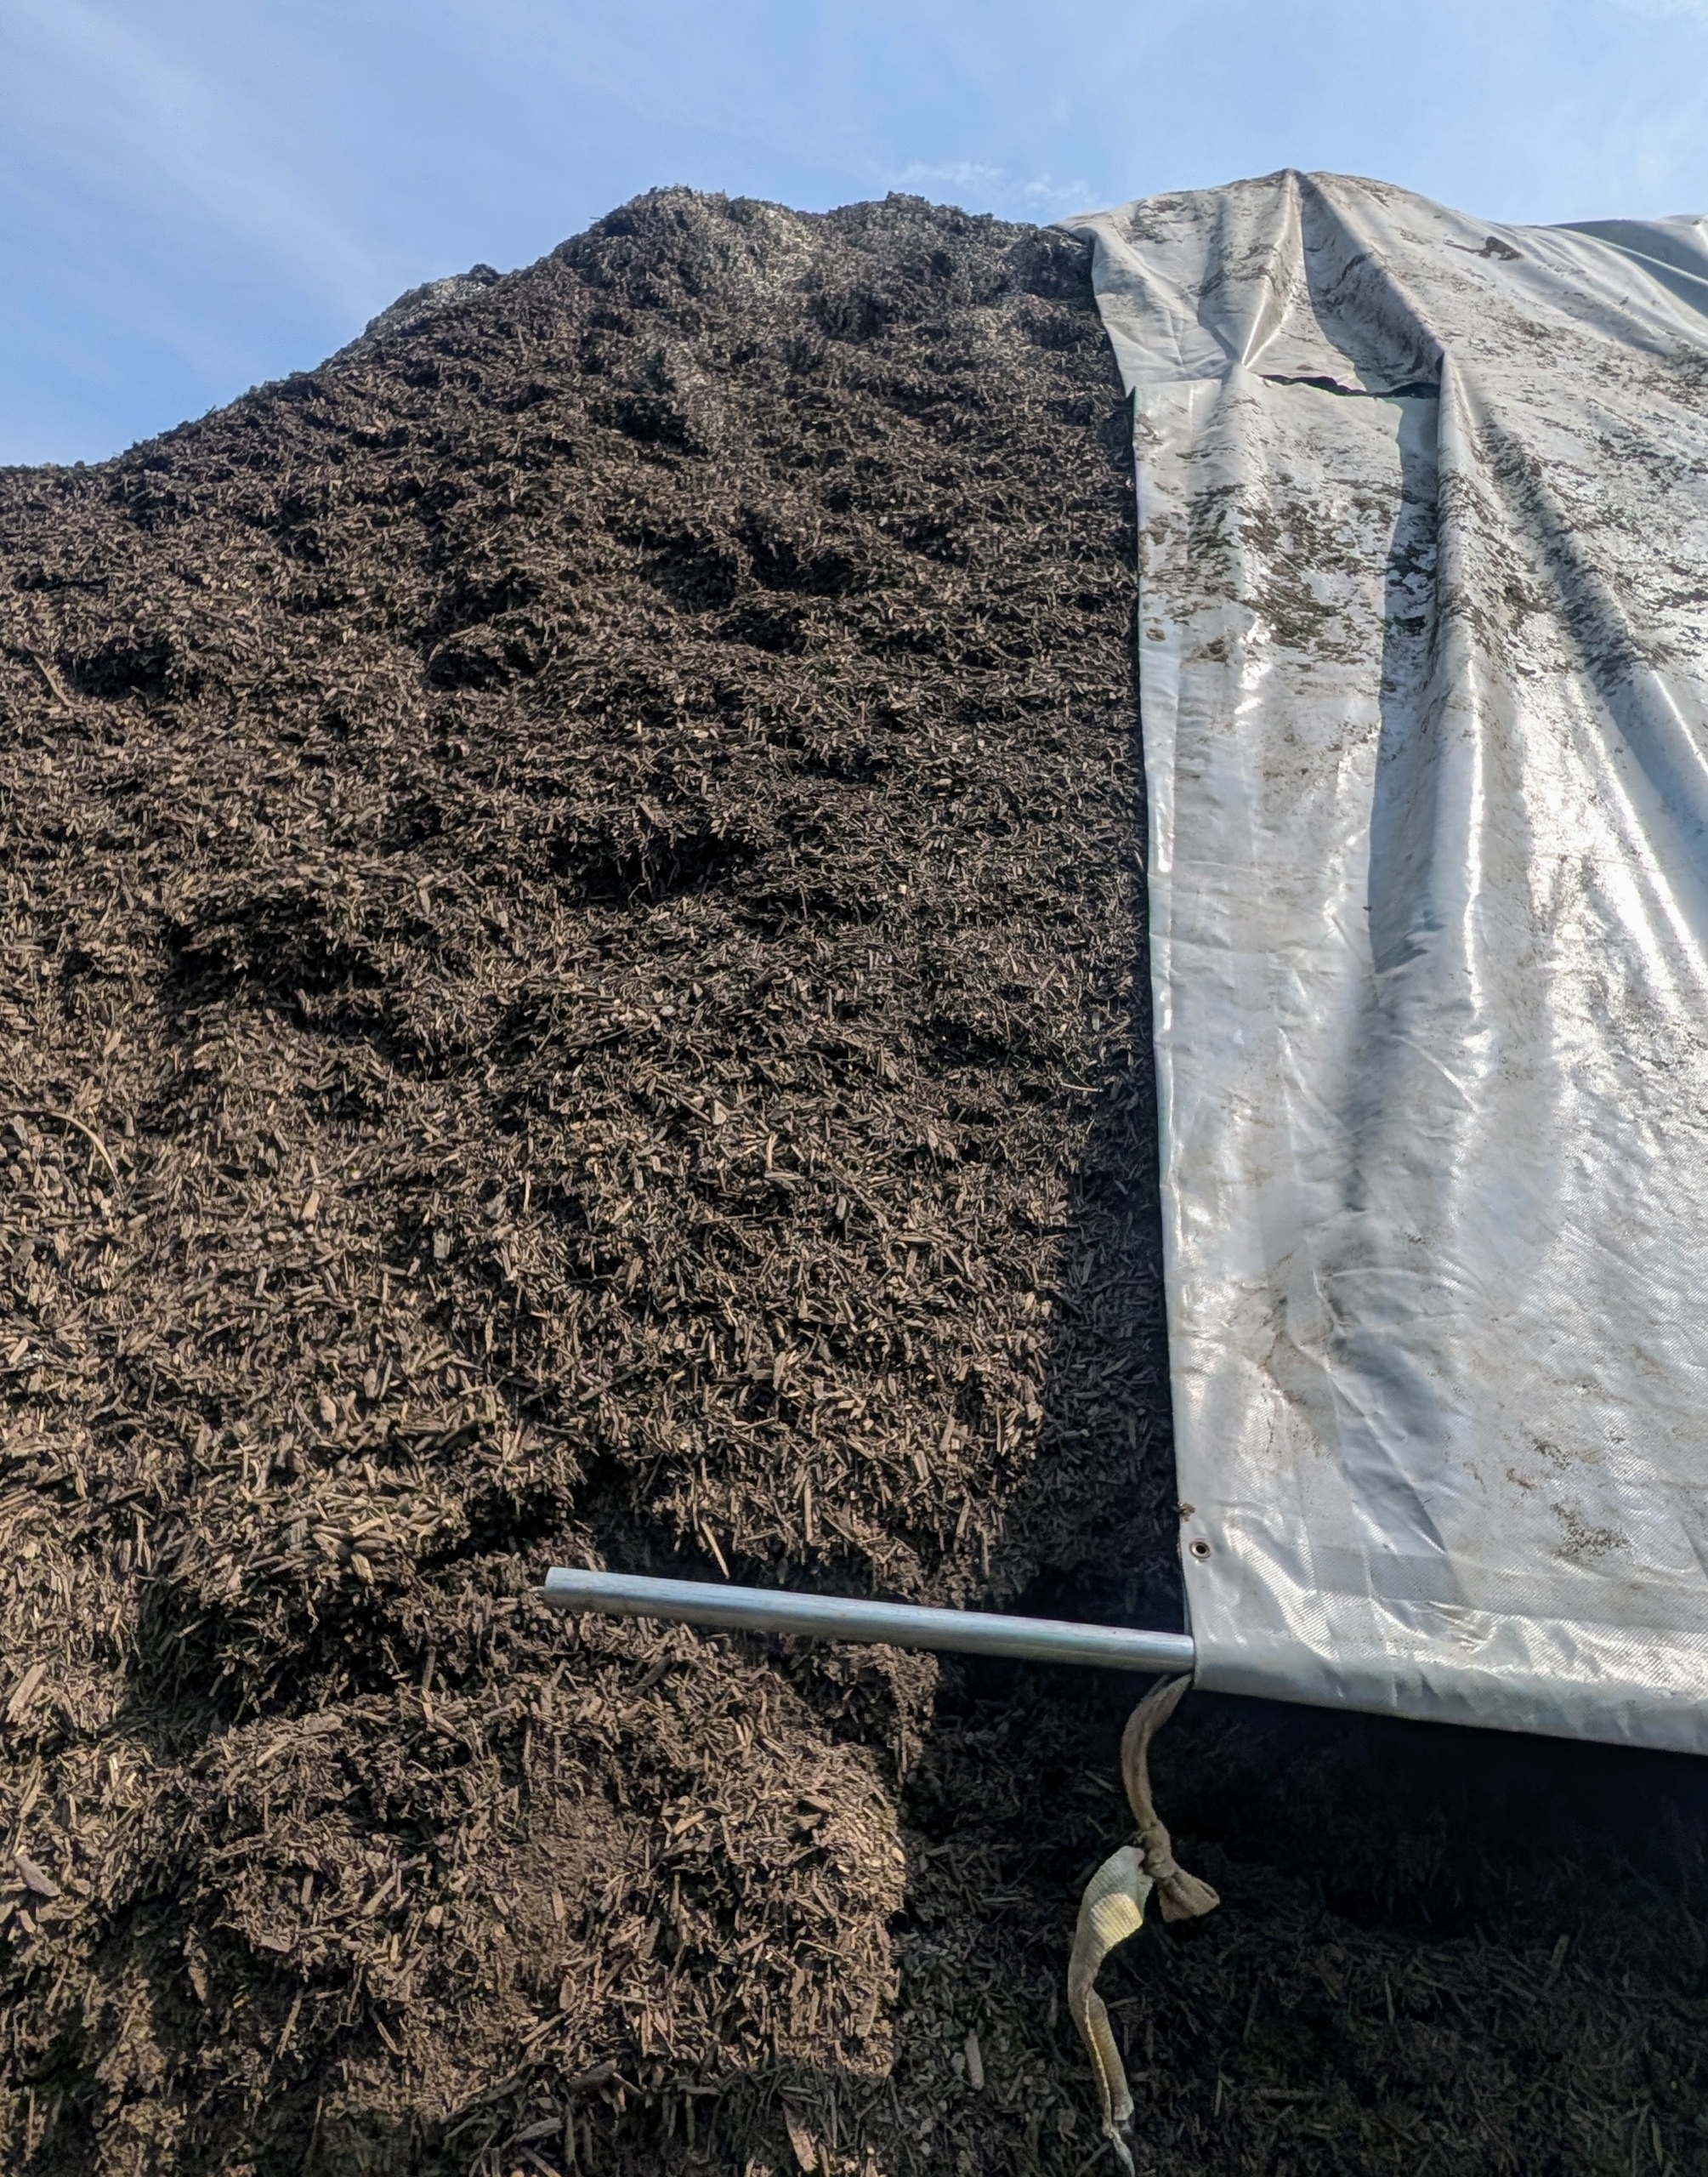
On this pile, Chhiring uses a long pipe and a large log to prevent the tarp from blowing away. I always encourage my crew to think about better ways to improve our work around the farm using items we already have. My team is very innovative.
Look at the rich, dark color of this clean and weed free mulch.
This is a pile of compost. I am so proud to be able to make both right here at my farm.
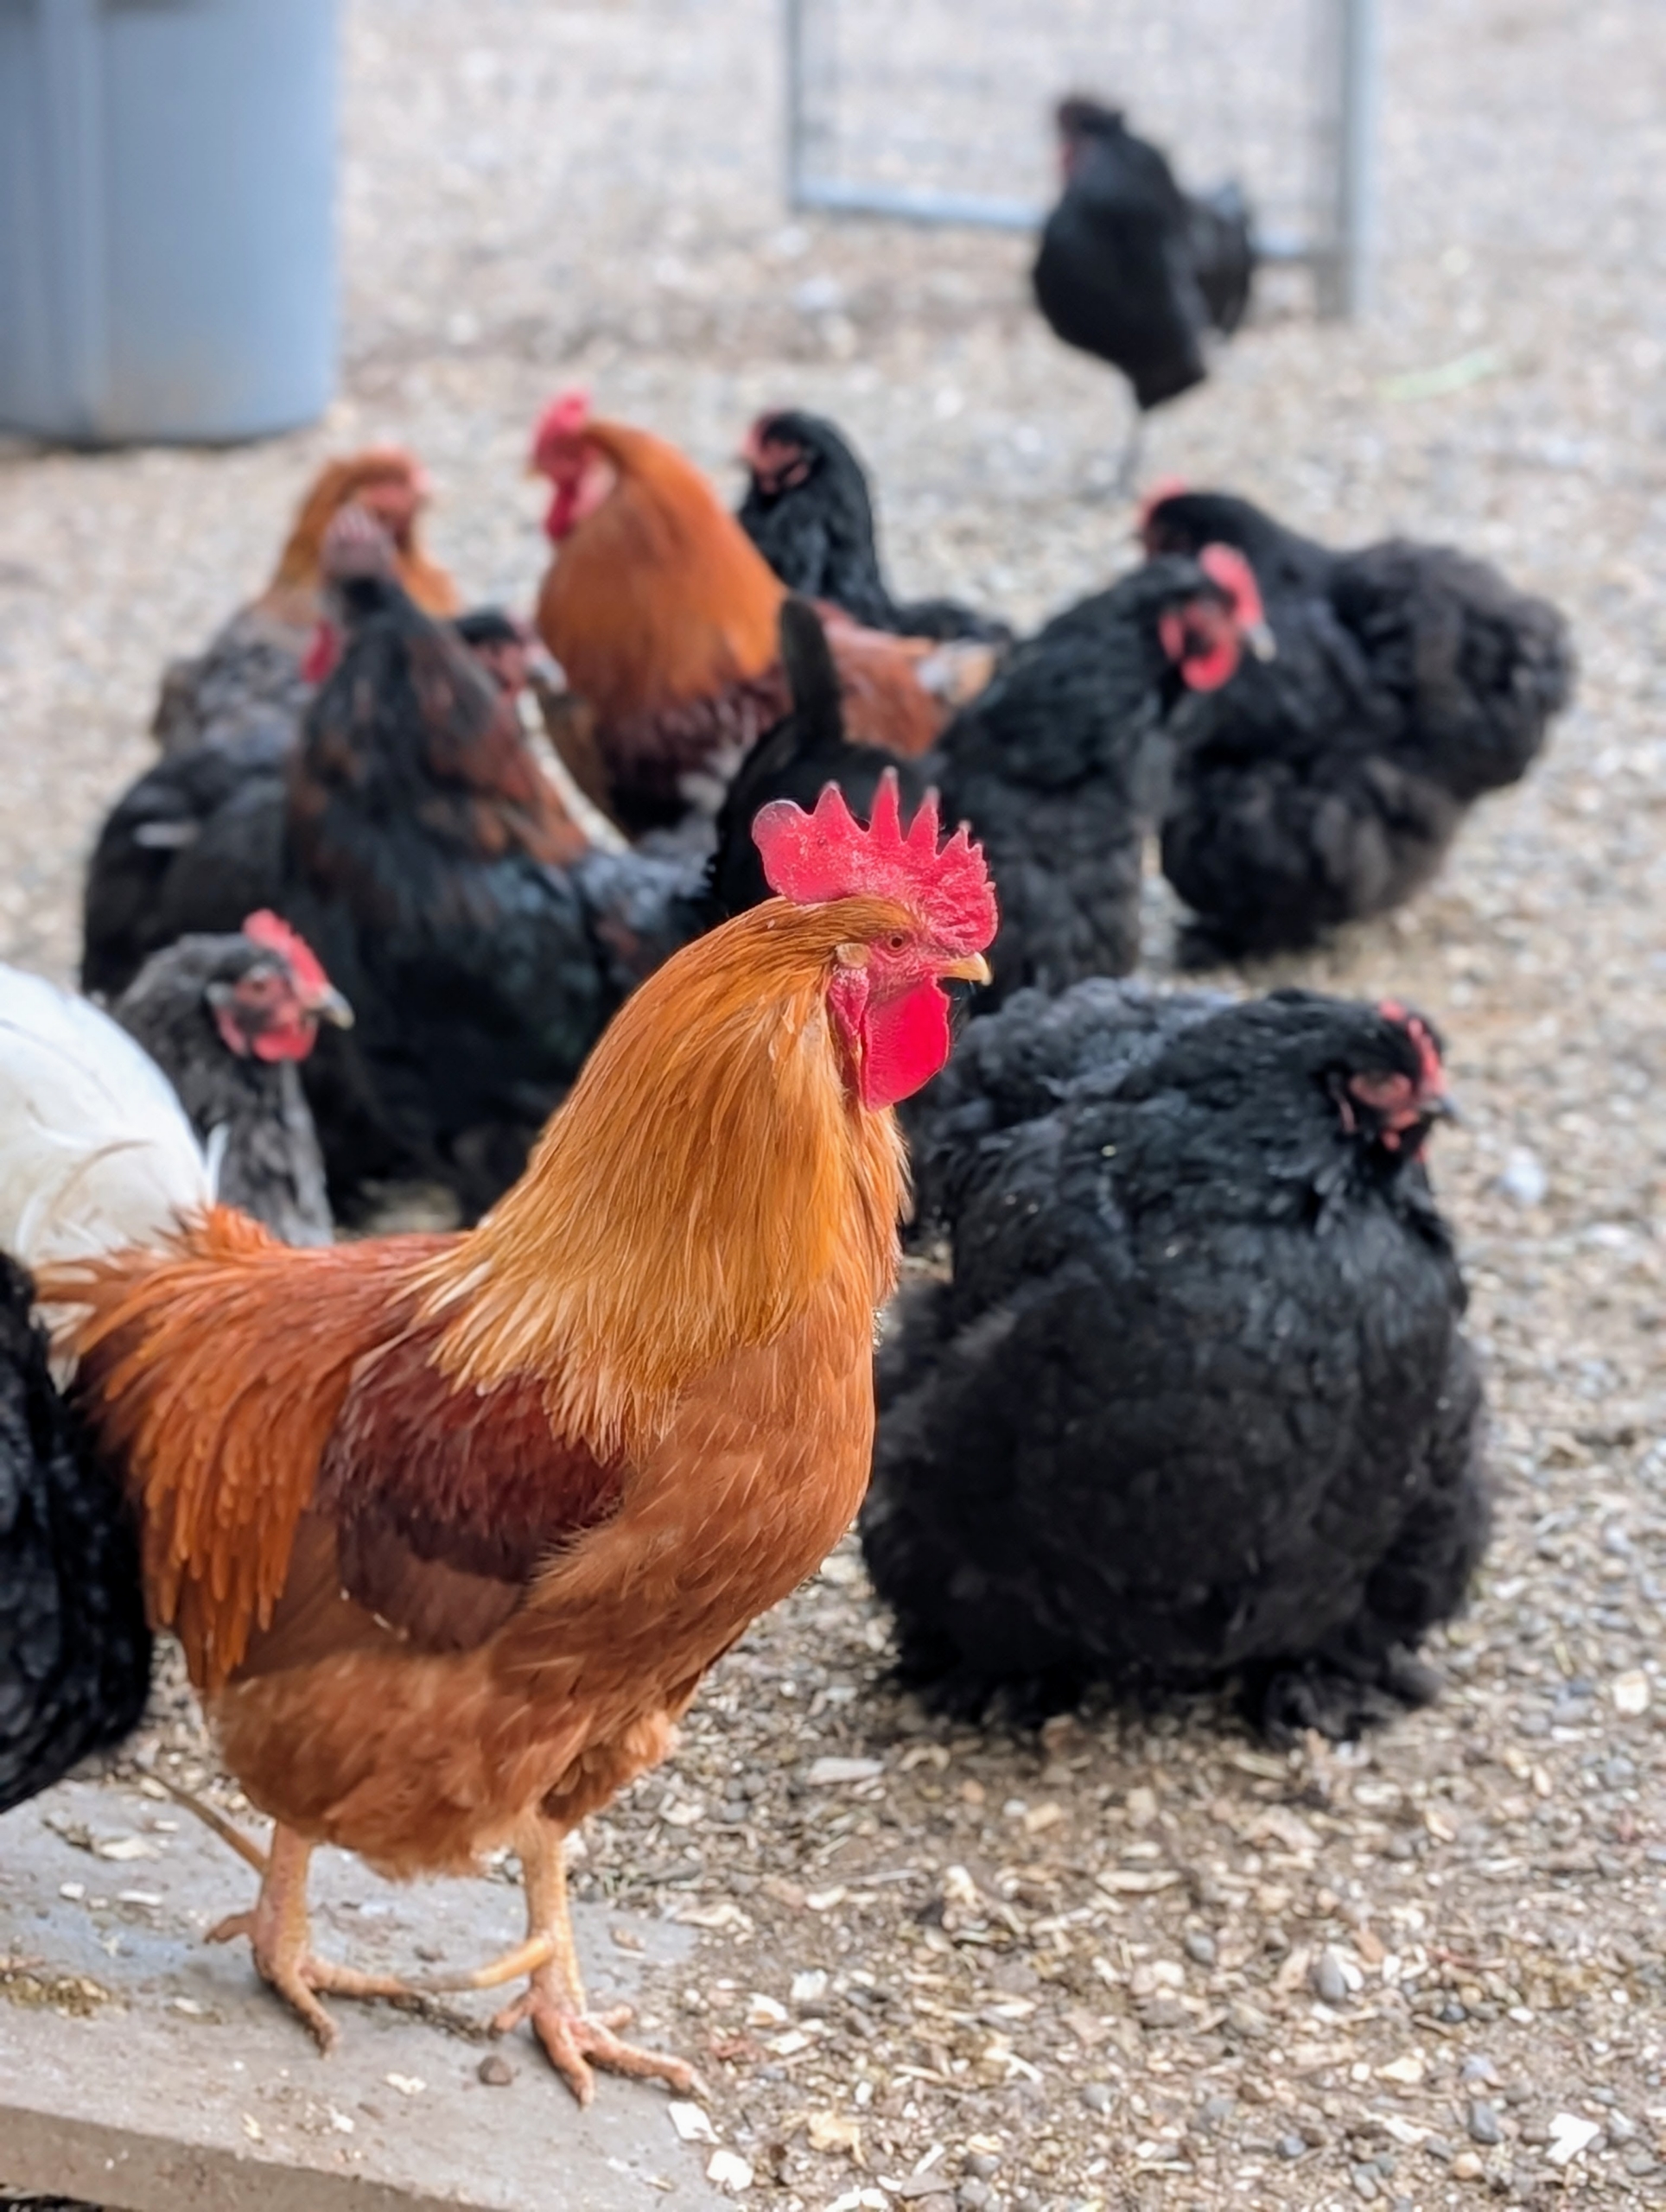
And much of it starts in my chicken yard. My roosters, hens, turkeys, geese, pheasants, quail, and peafowl all help to create my valuable compost.
… And so do my donkeys and horses.
Here is the animal waste and hay collected and piled in another area of the compost yard – ready for processing.
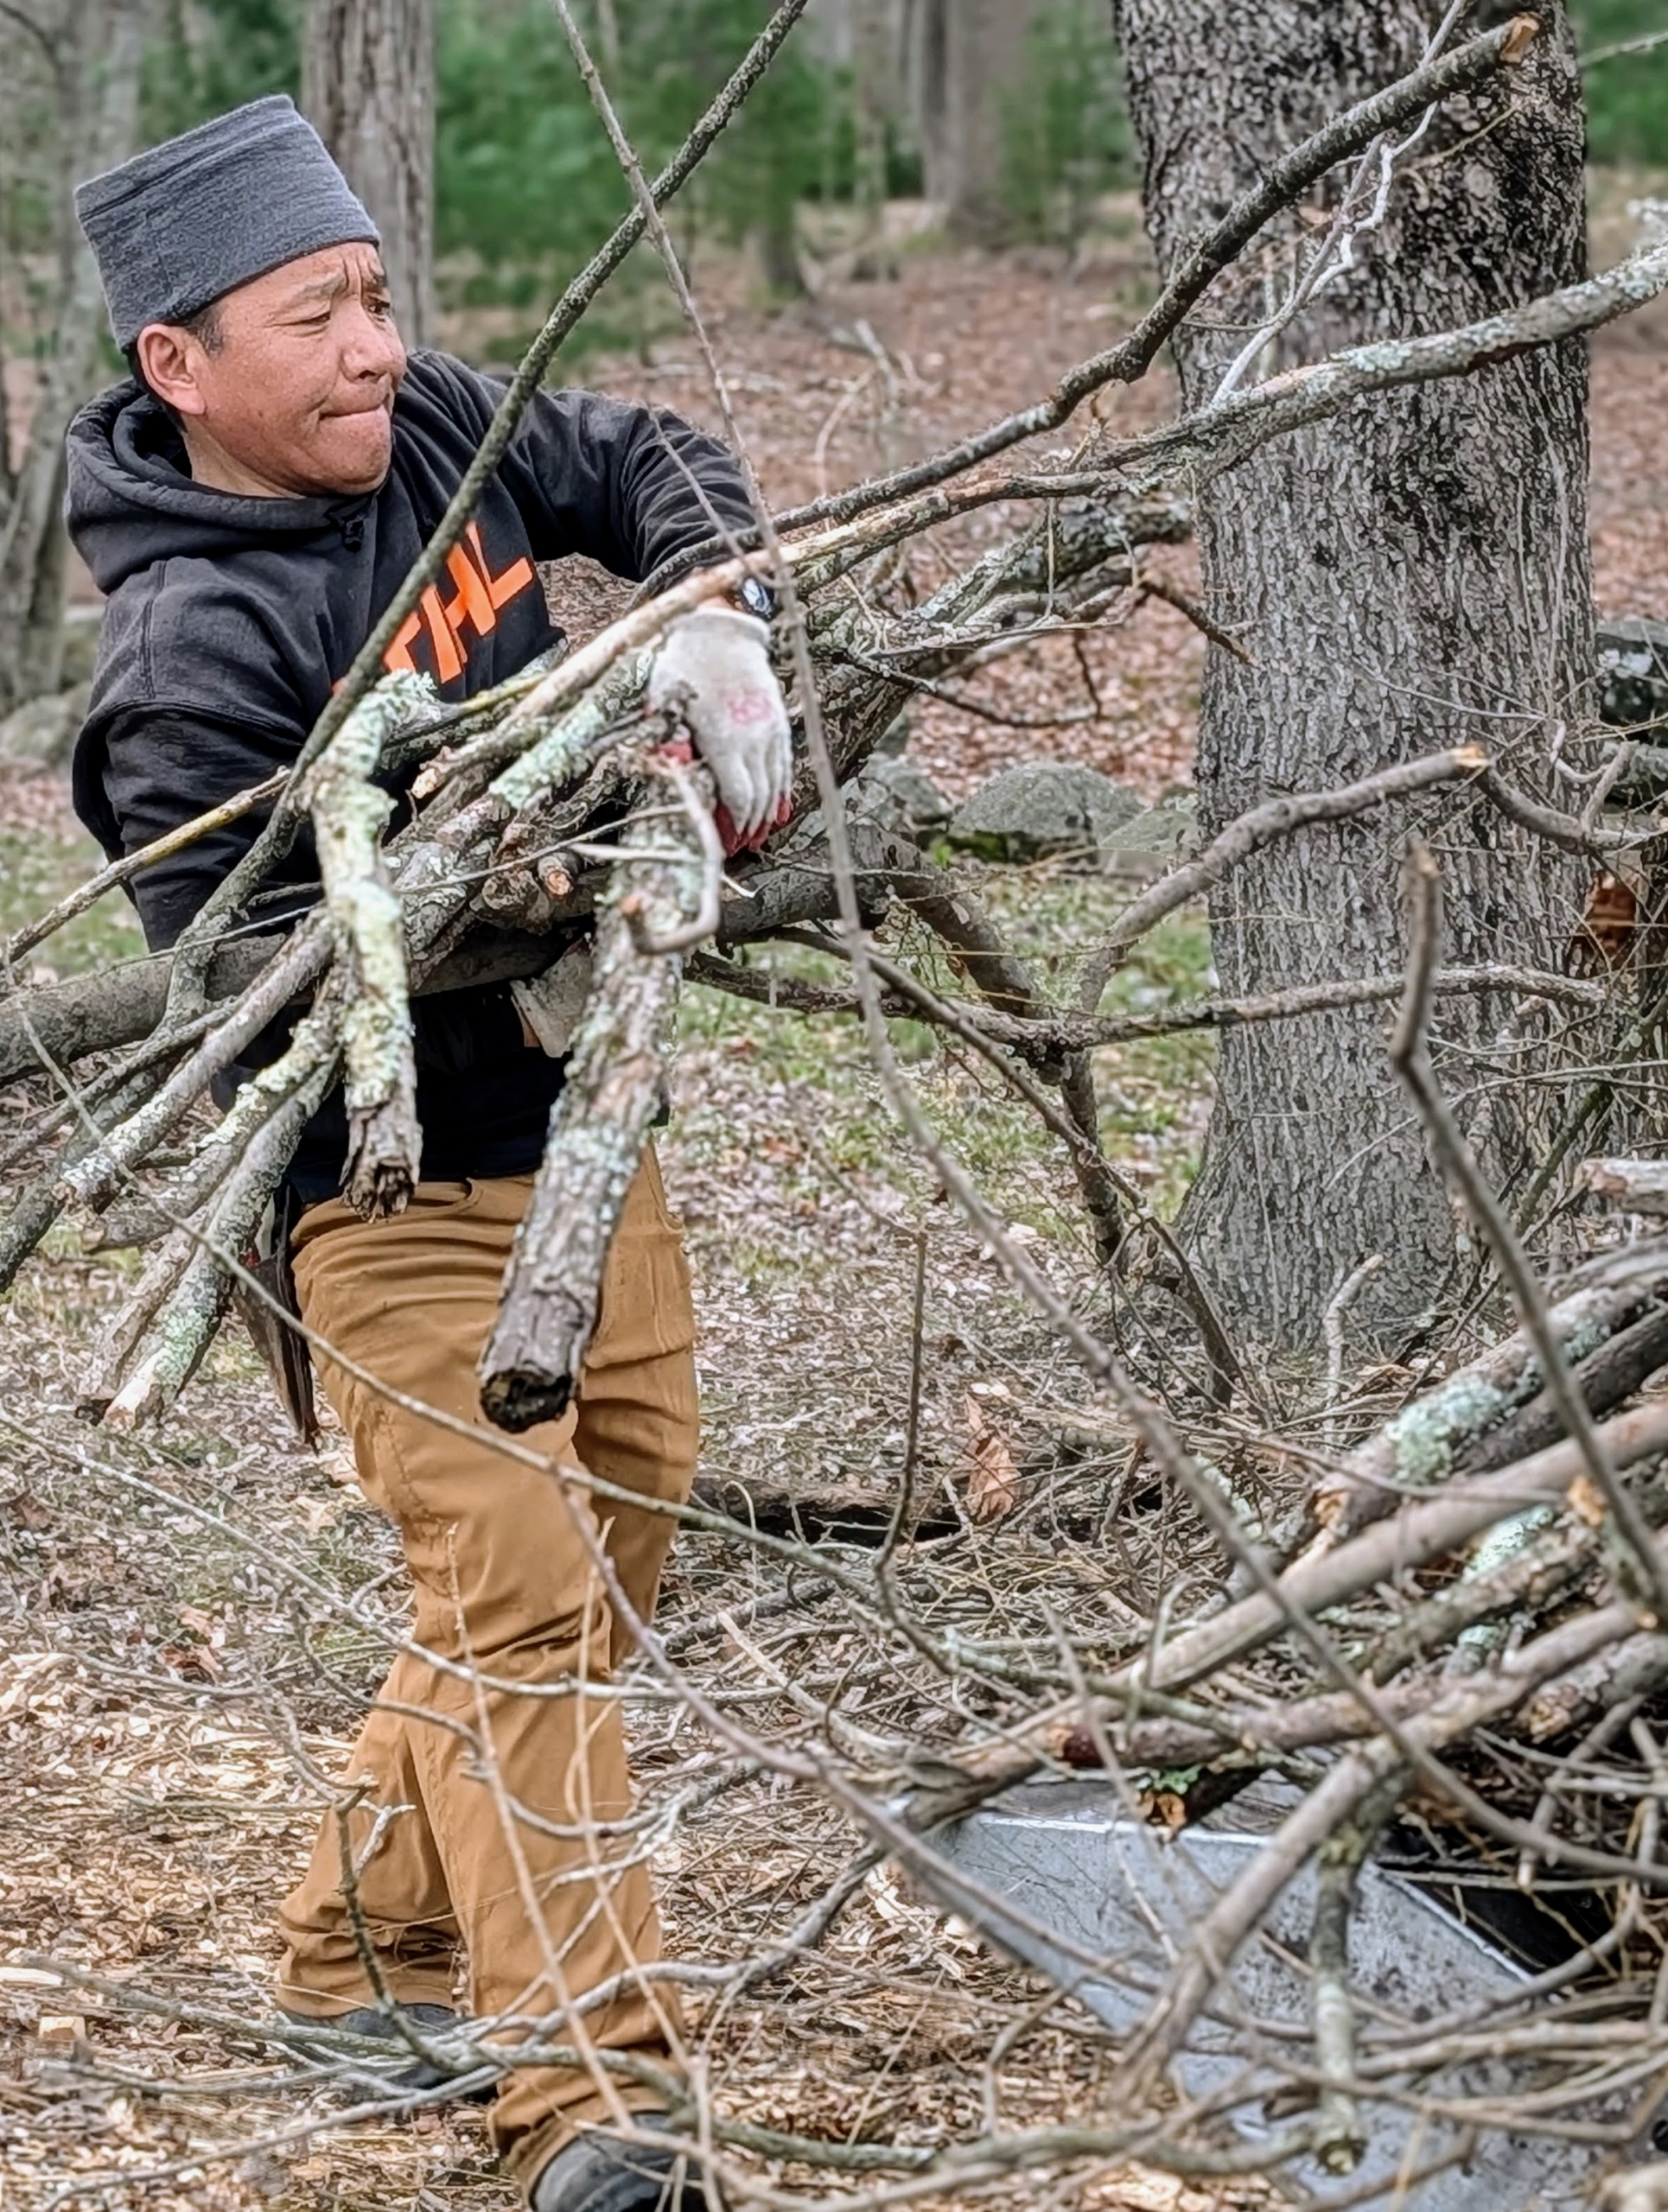
During the course of the year, felled tree limbs and branches are collected and stored neatly. When possible, it is either chipped and returned as dressing in the woods, or carted away and brought to the compost yard.
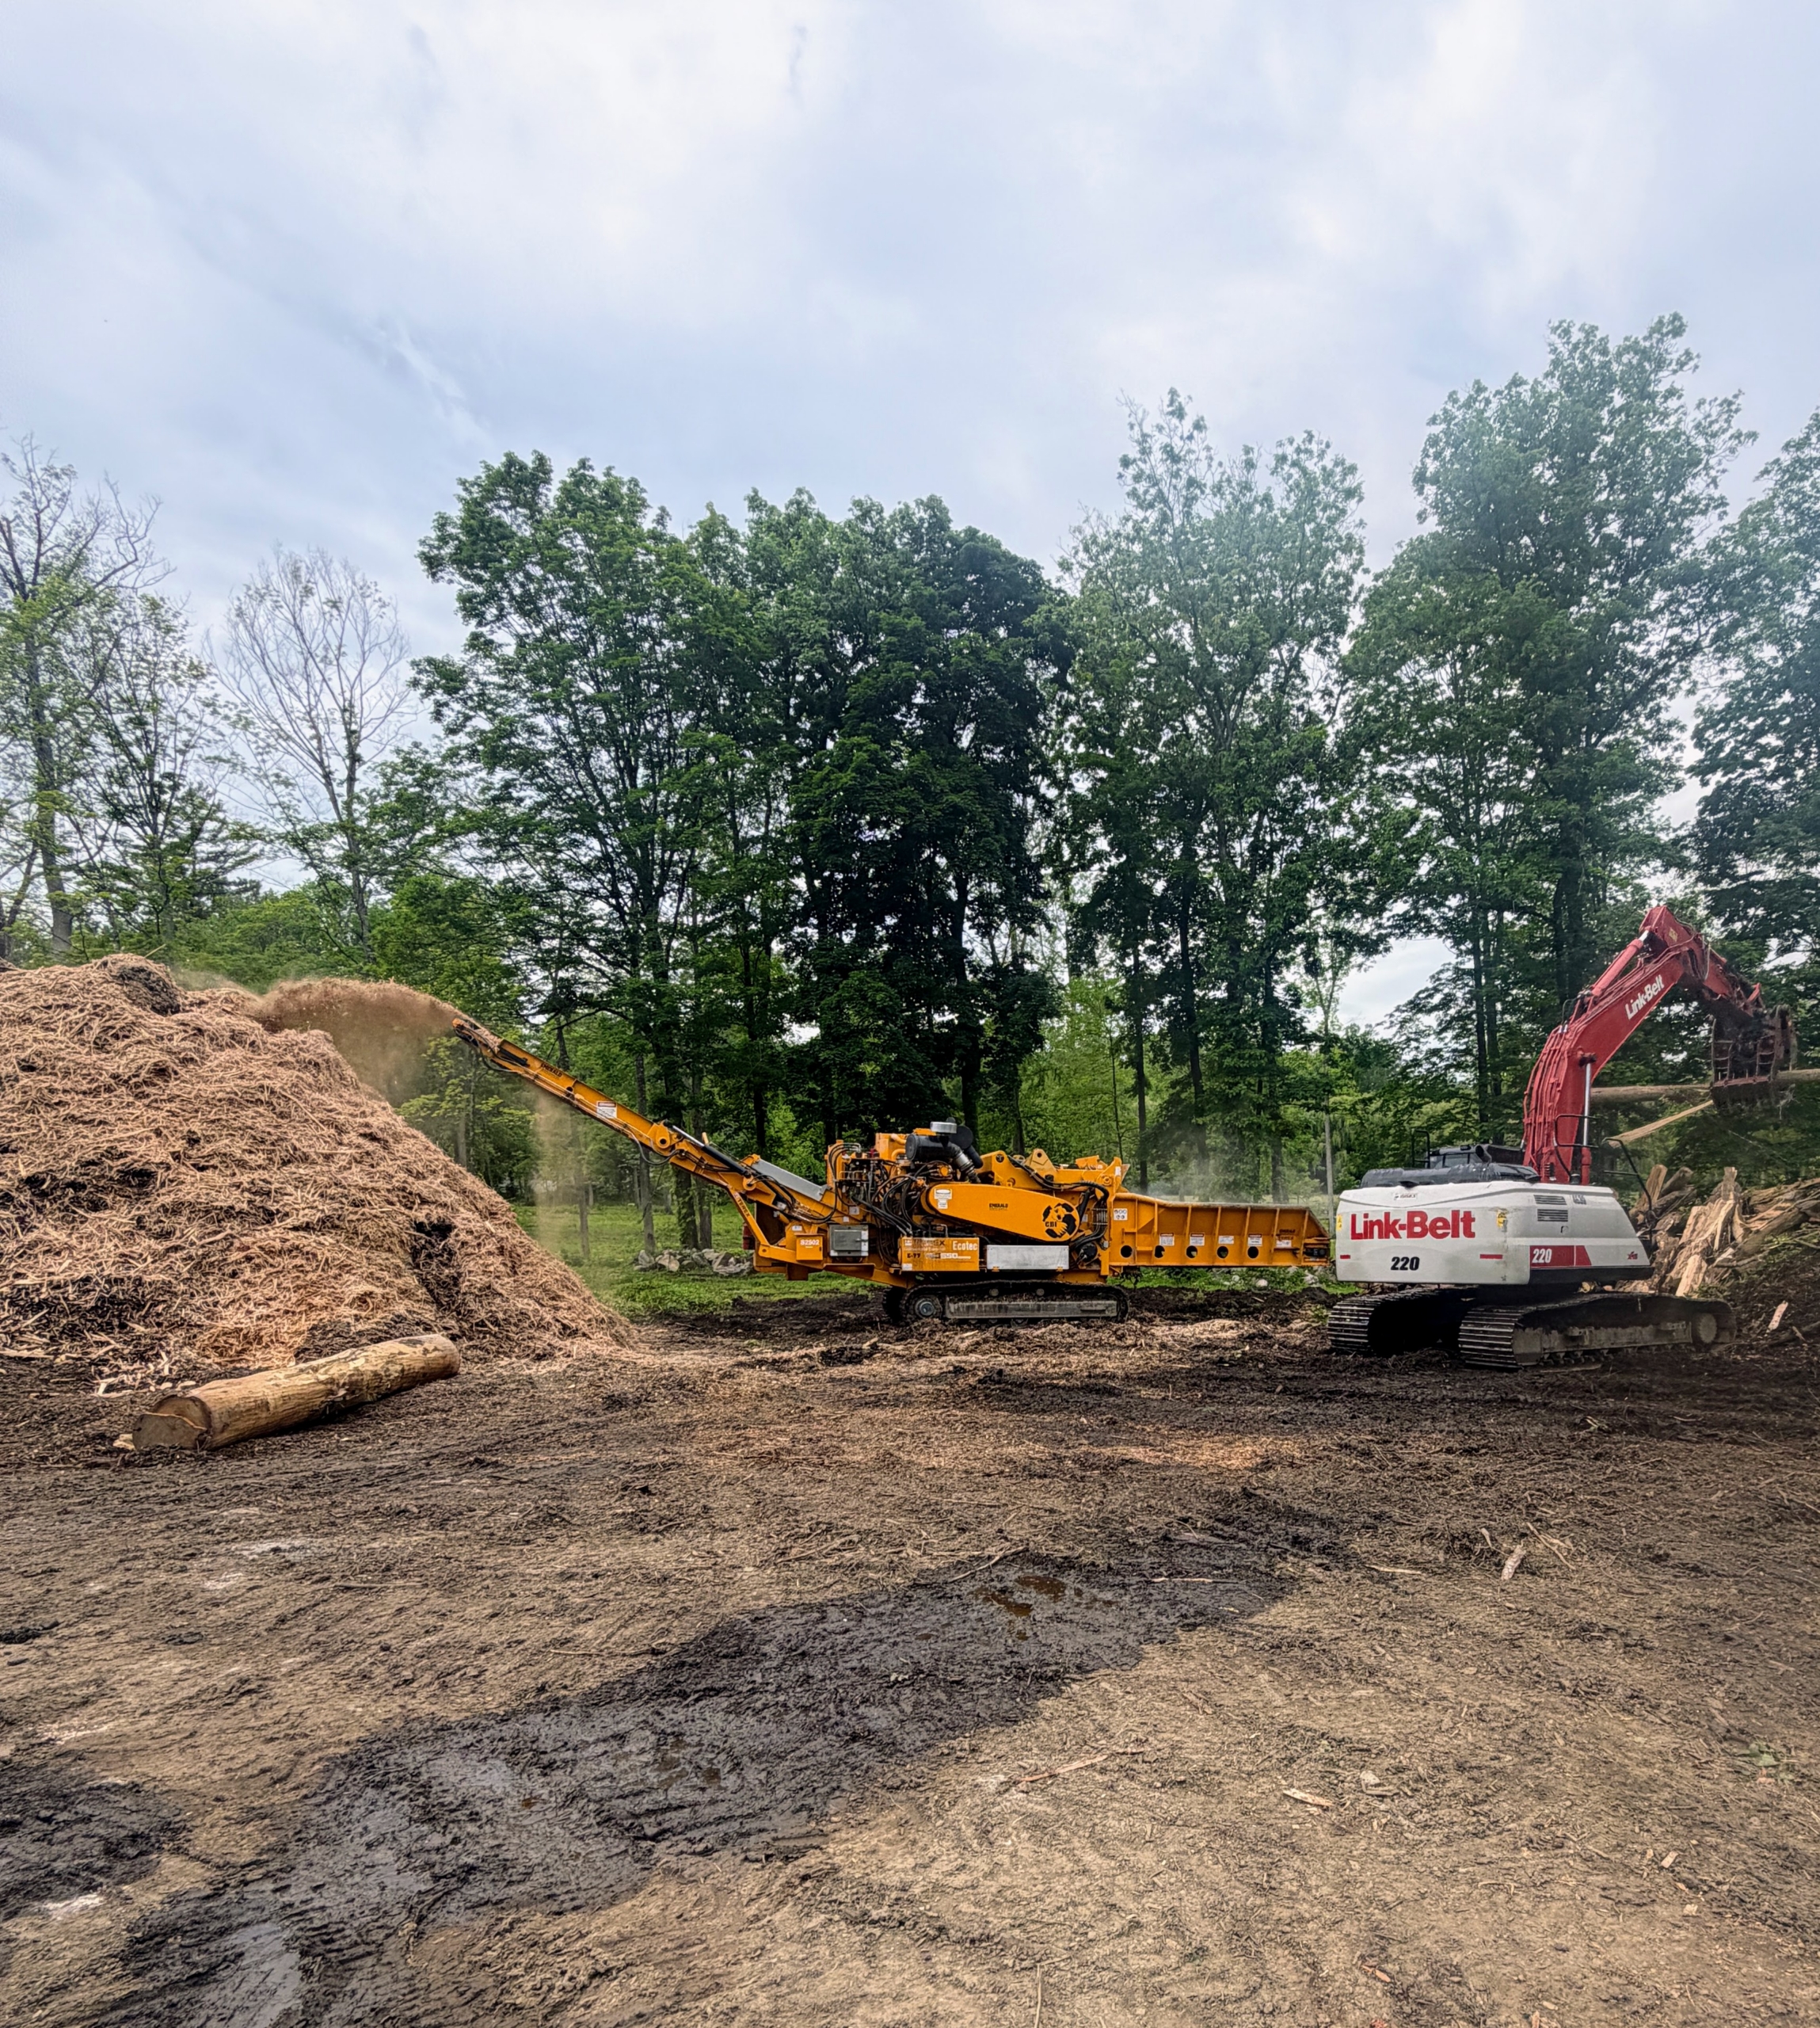
Once a year, I call in heavy machinery to process the materials. And then the compost and mulch are left to decay naturally.
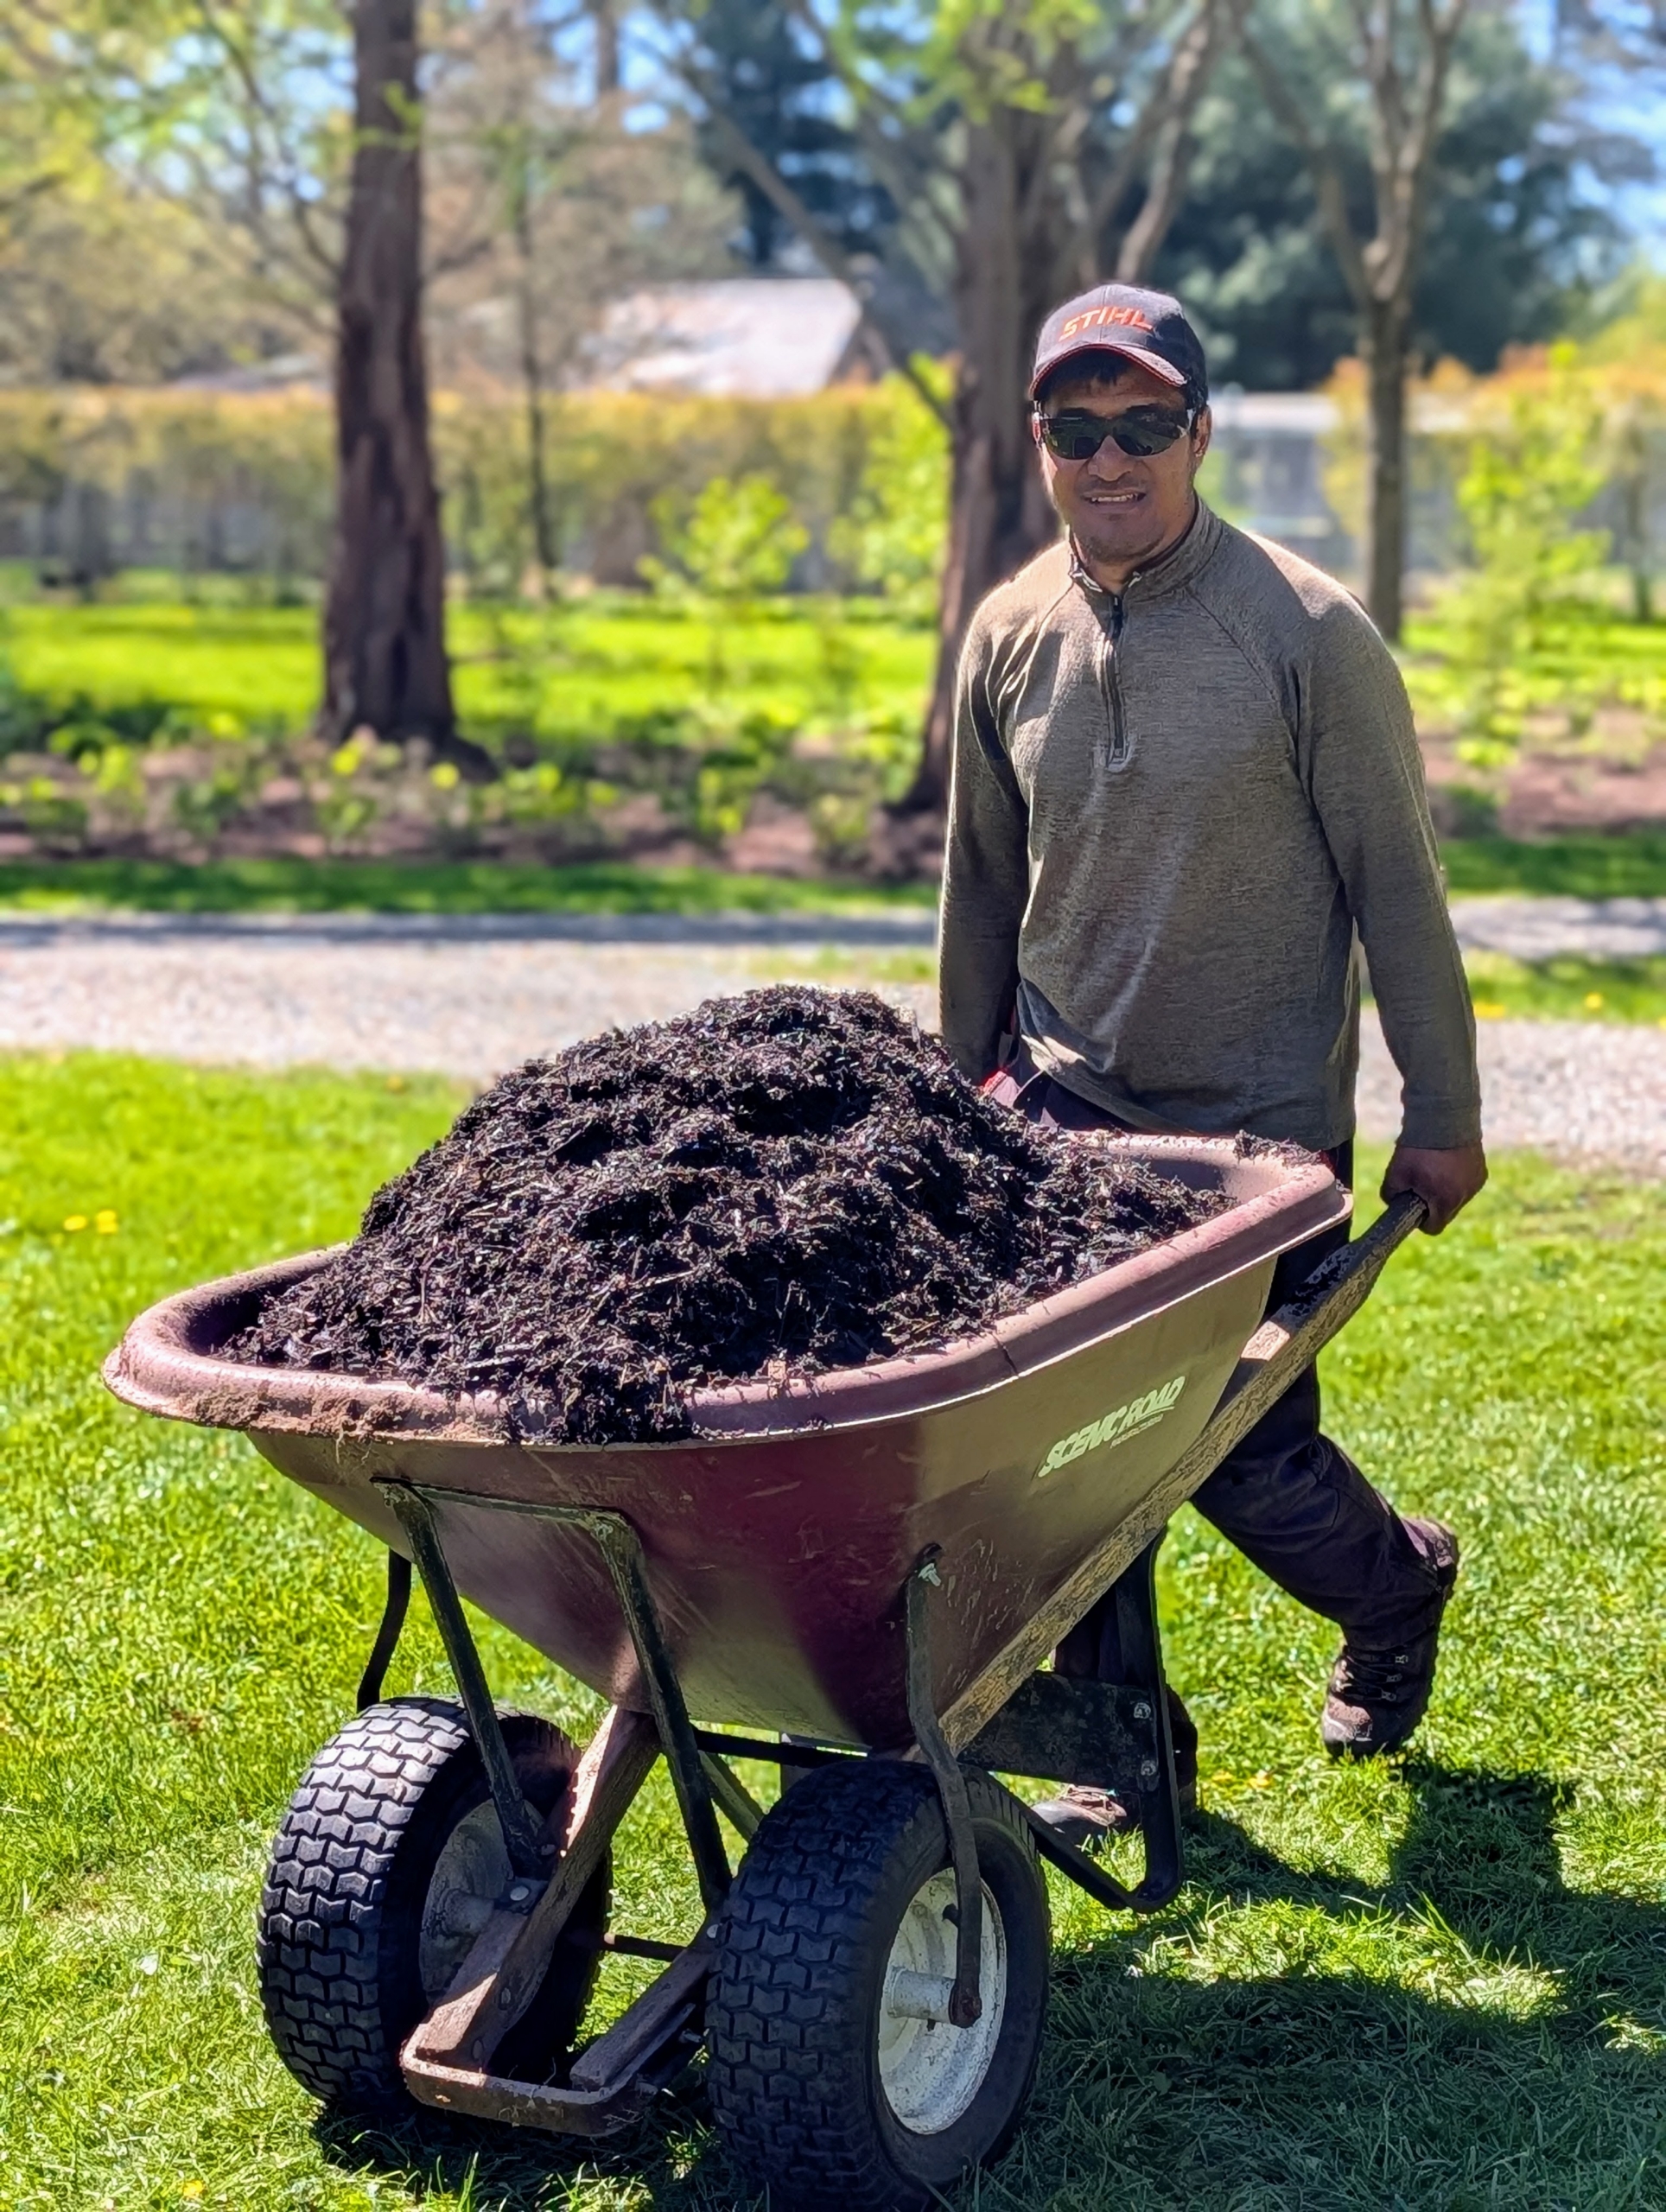
Finally, it is brought out into the gardens to feed and dress my beds. Here’s Pasang transporting a wheelbarrow of mulch to the new rose garden earlier this season.
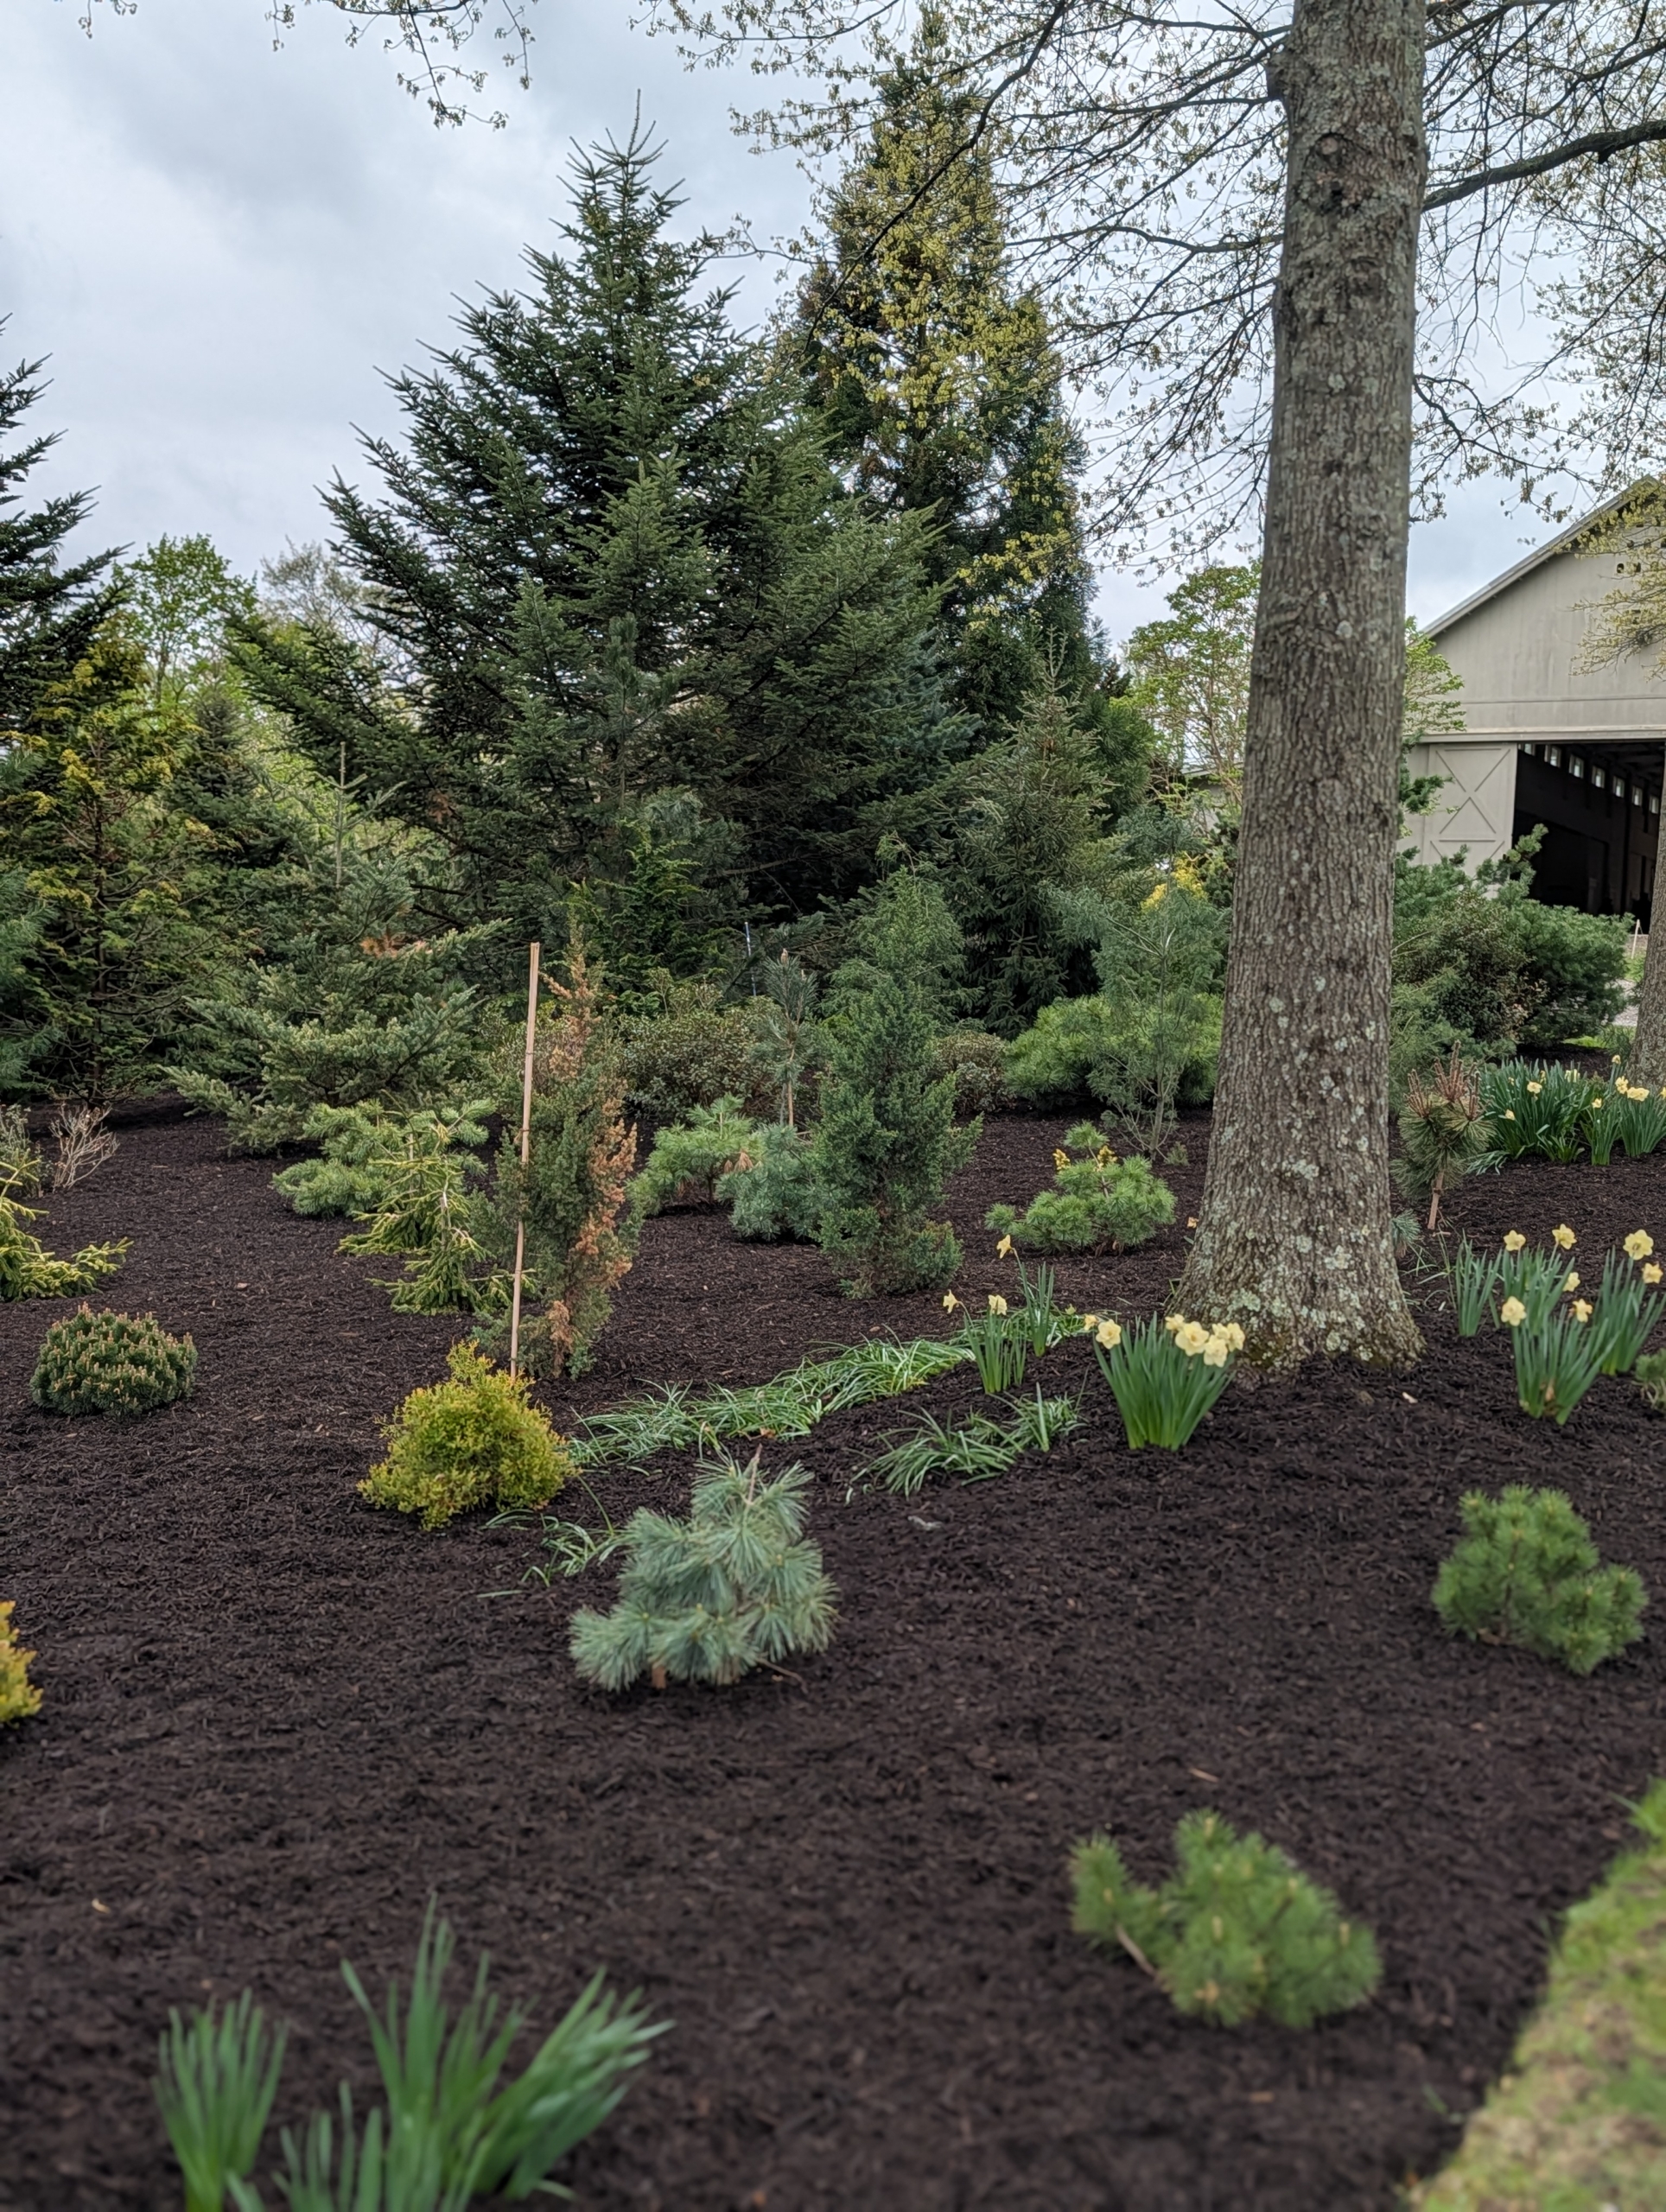
Here is my pinetum right after it was covered with mulch.
The pinetum looks tidy and well groomed.
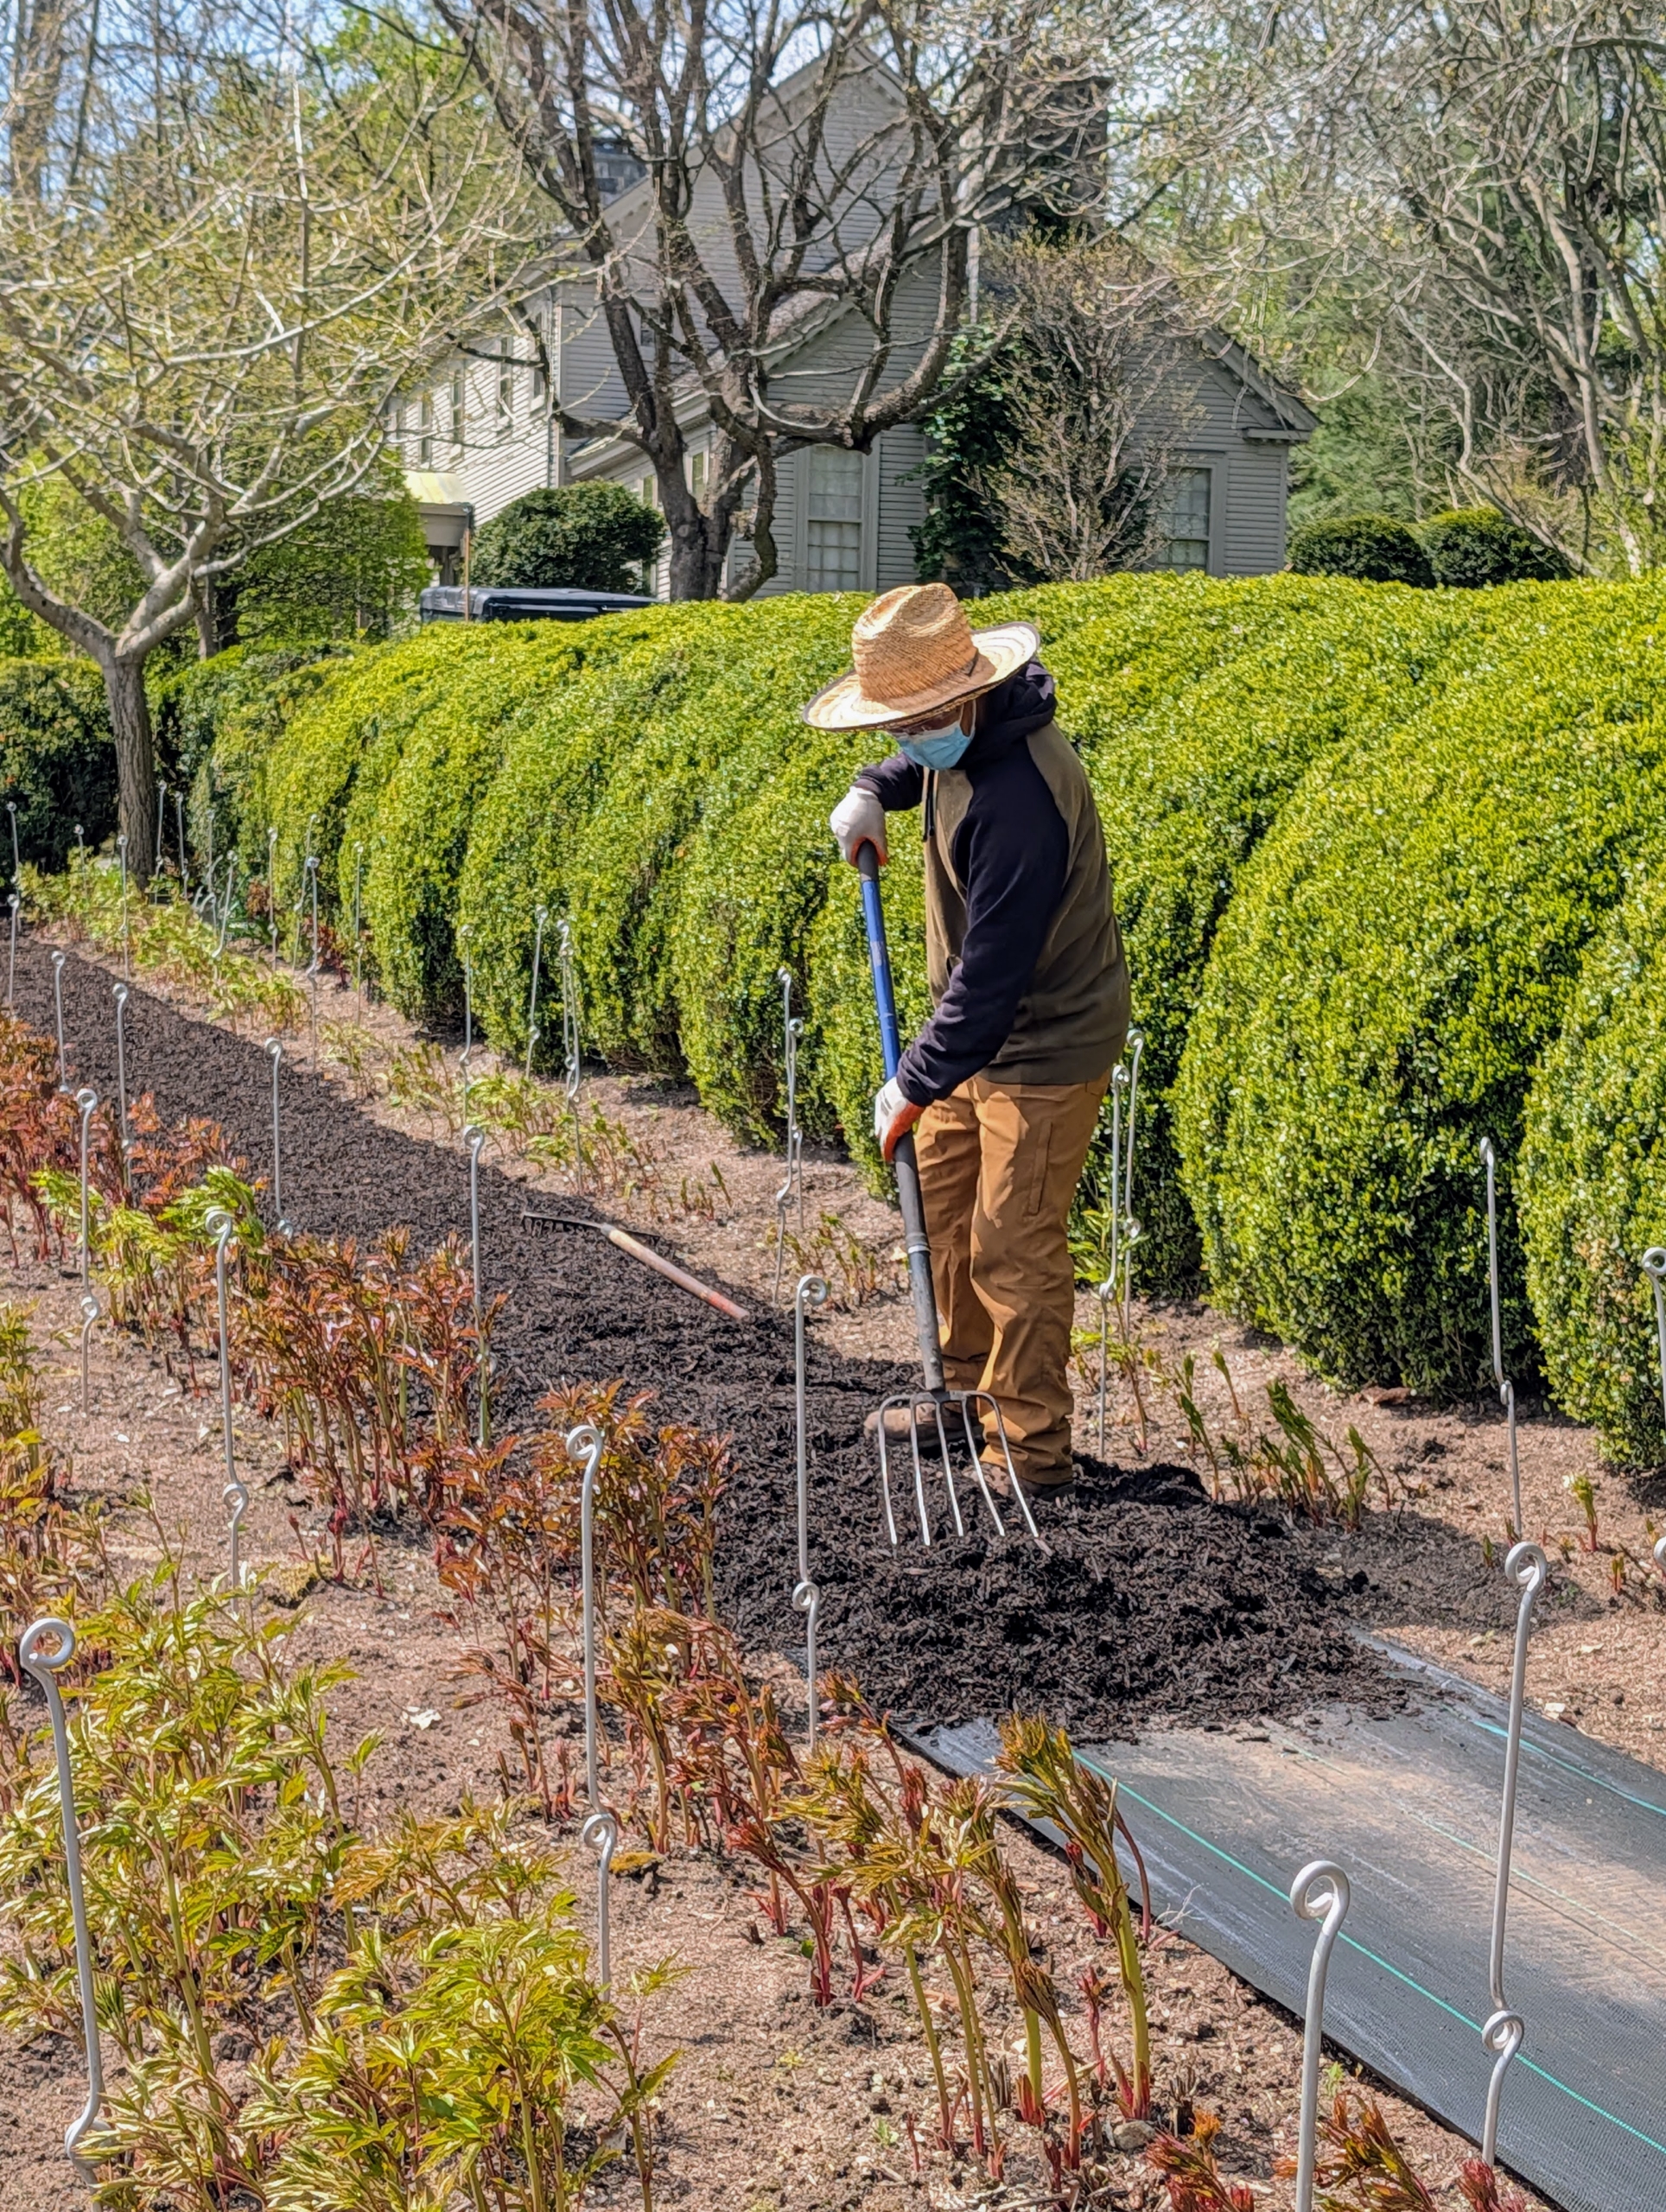
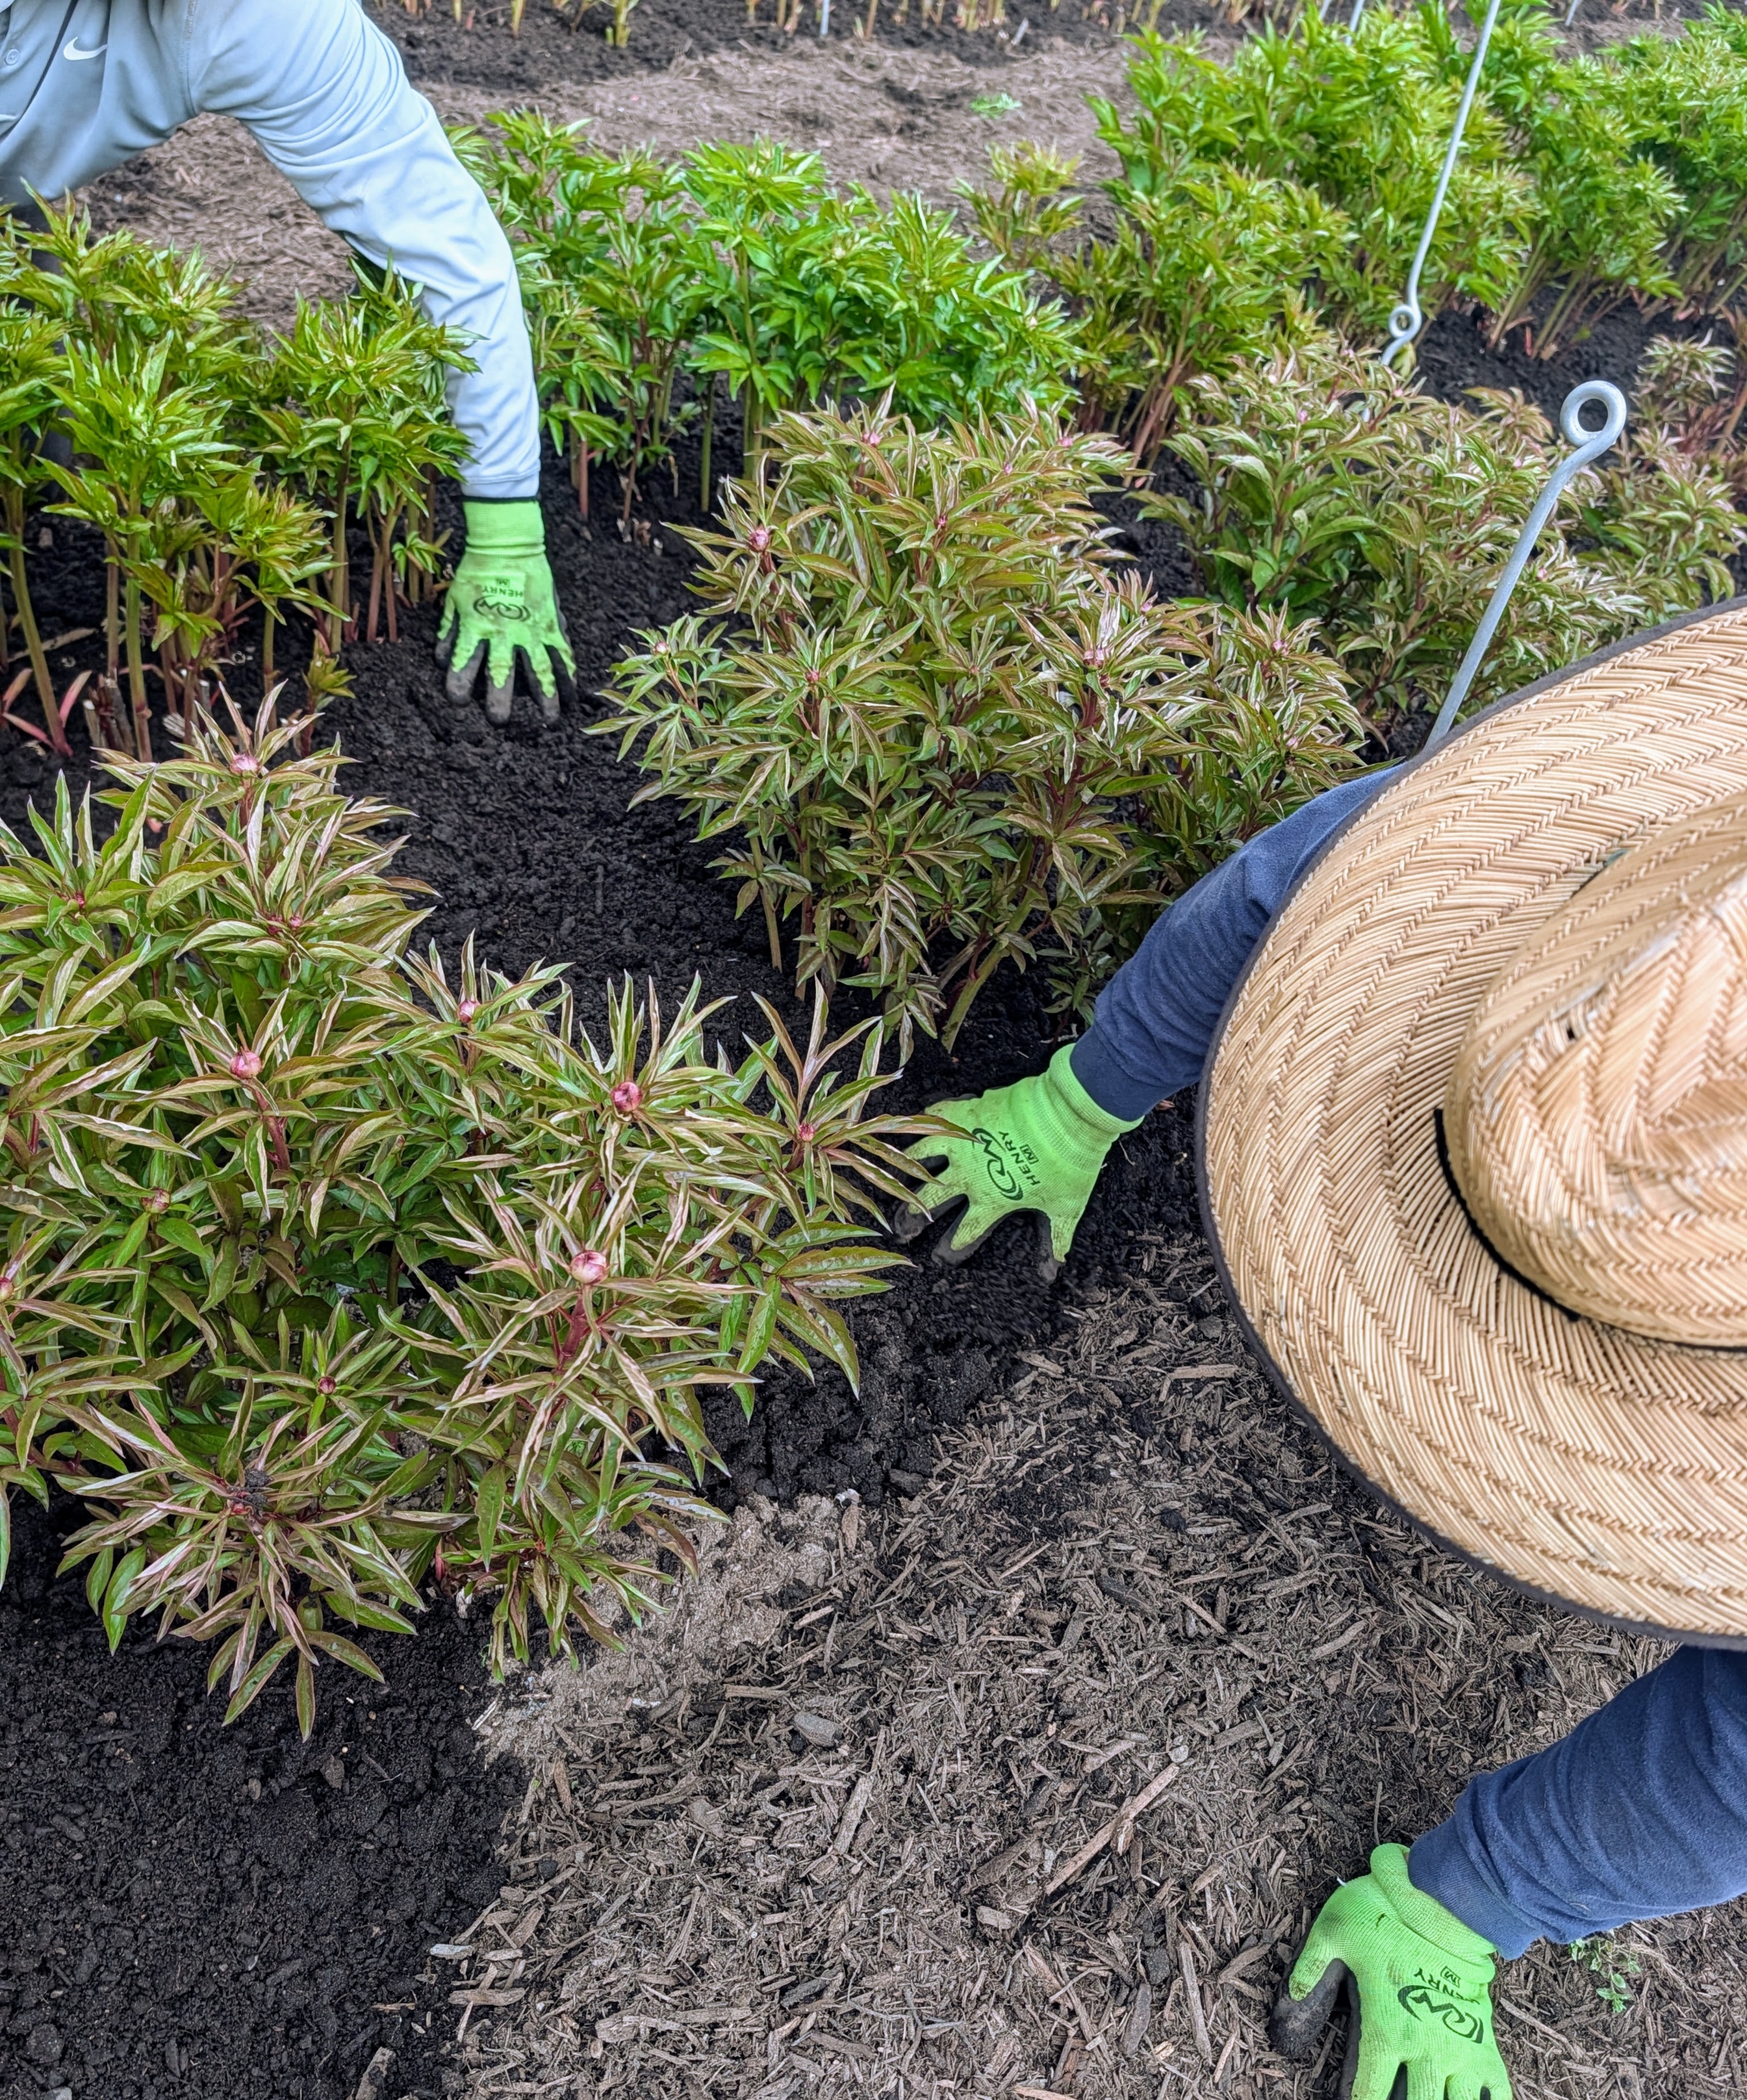
In my peony garden, mulch is spread over weed cloth in all the footpaths. High-quality mulch typically appears rich in color, has a uniform texture, and is free from weeds or debris.
Good compost is dark brown, crumbly, earthy-smelling, and free of any recognizable organic waste. Here it is spread around all the peony plants.
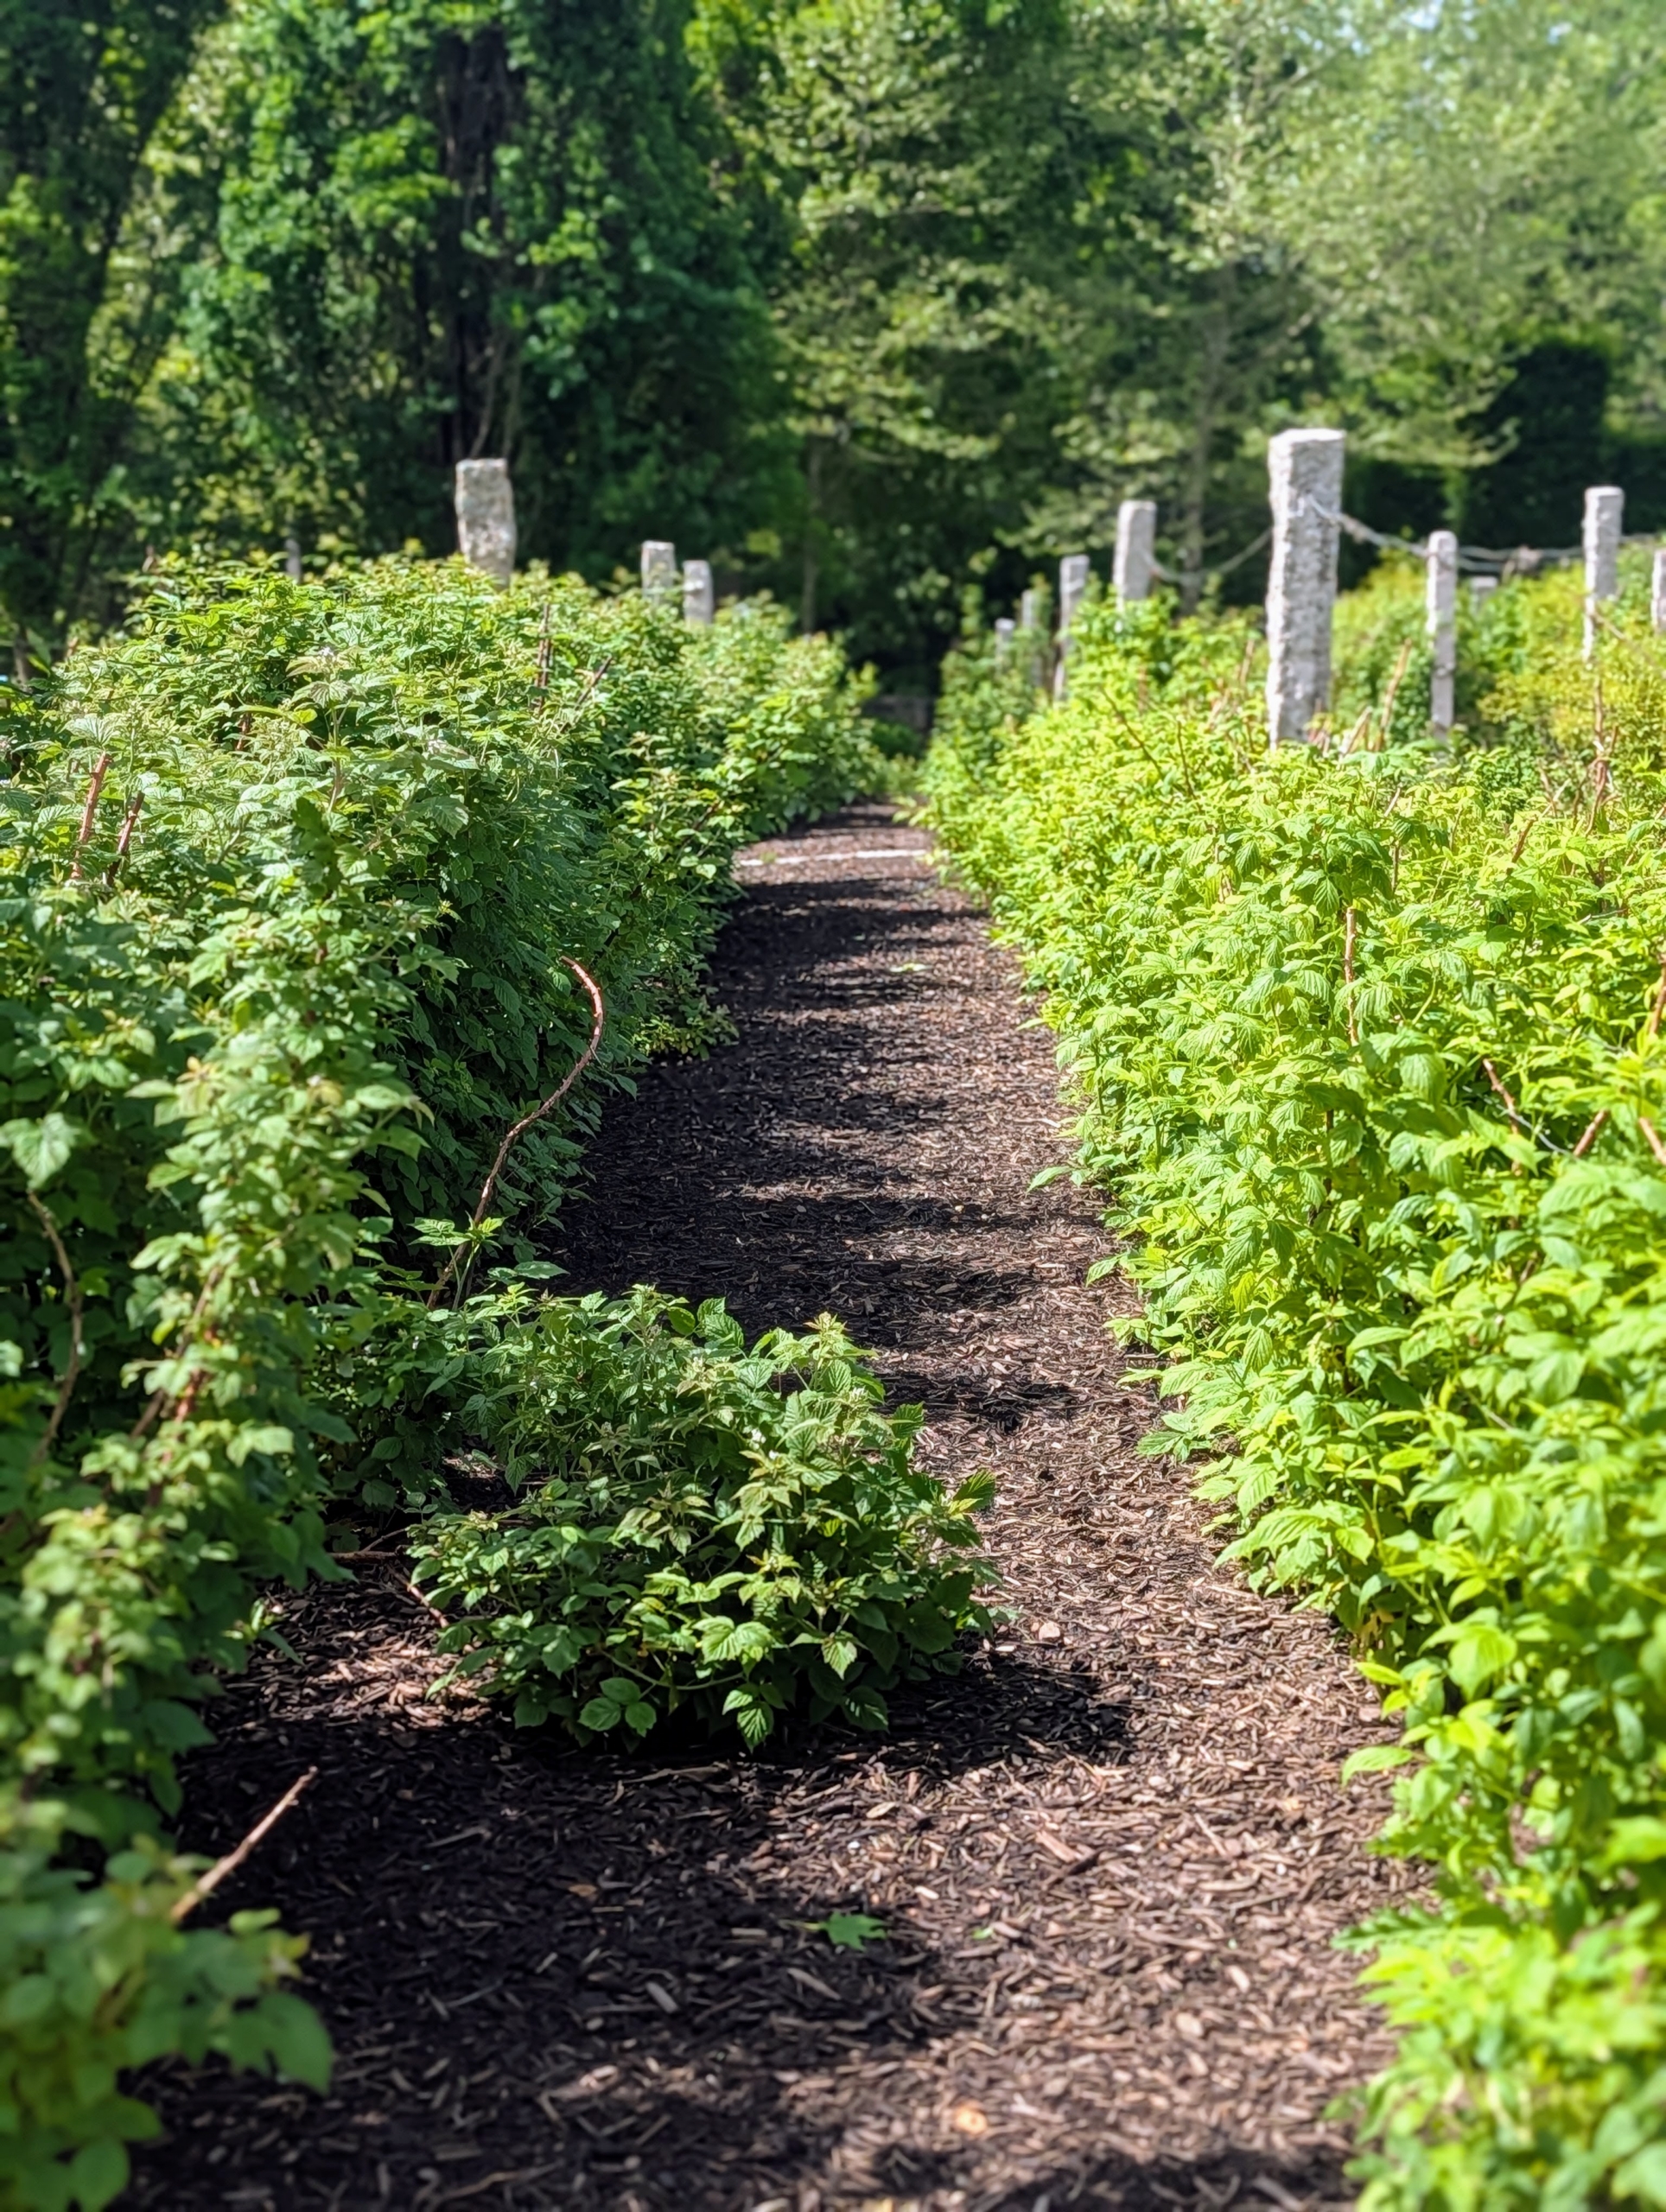
I also spread mulch between my raspberry bushes.
In this full sun berry patch, the mulch regulates the soil temperature and makes the area neat for pickers.
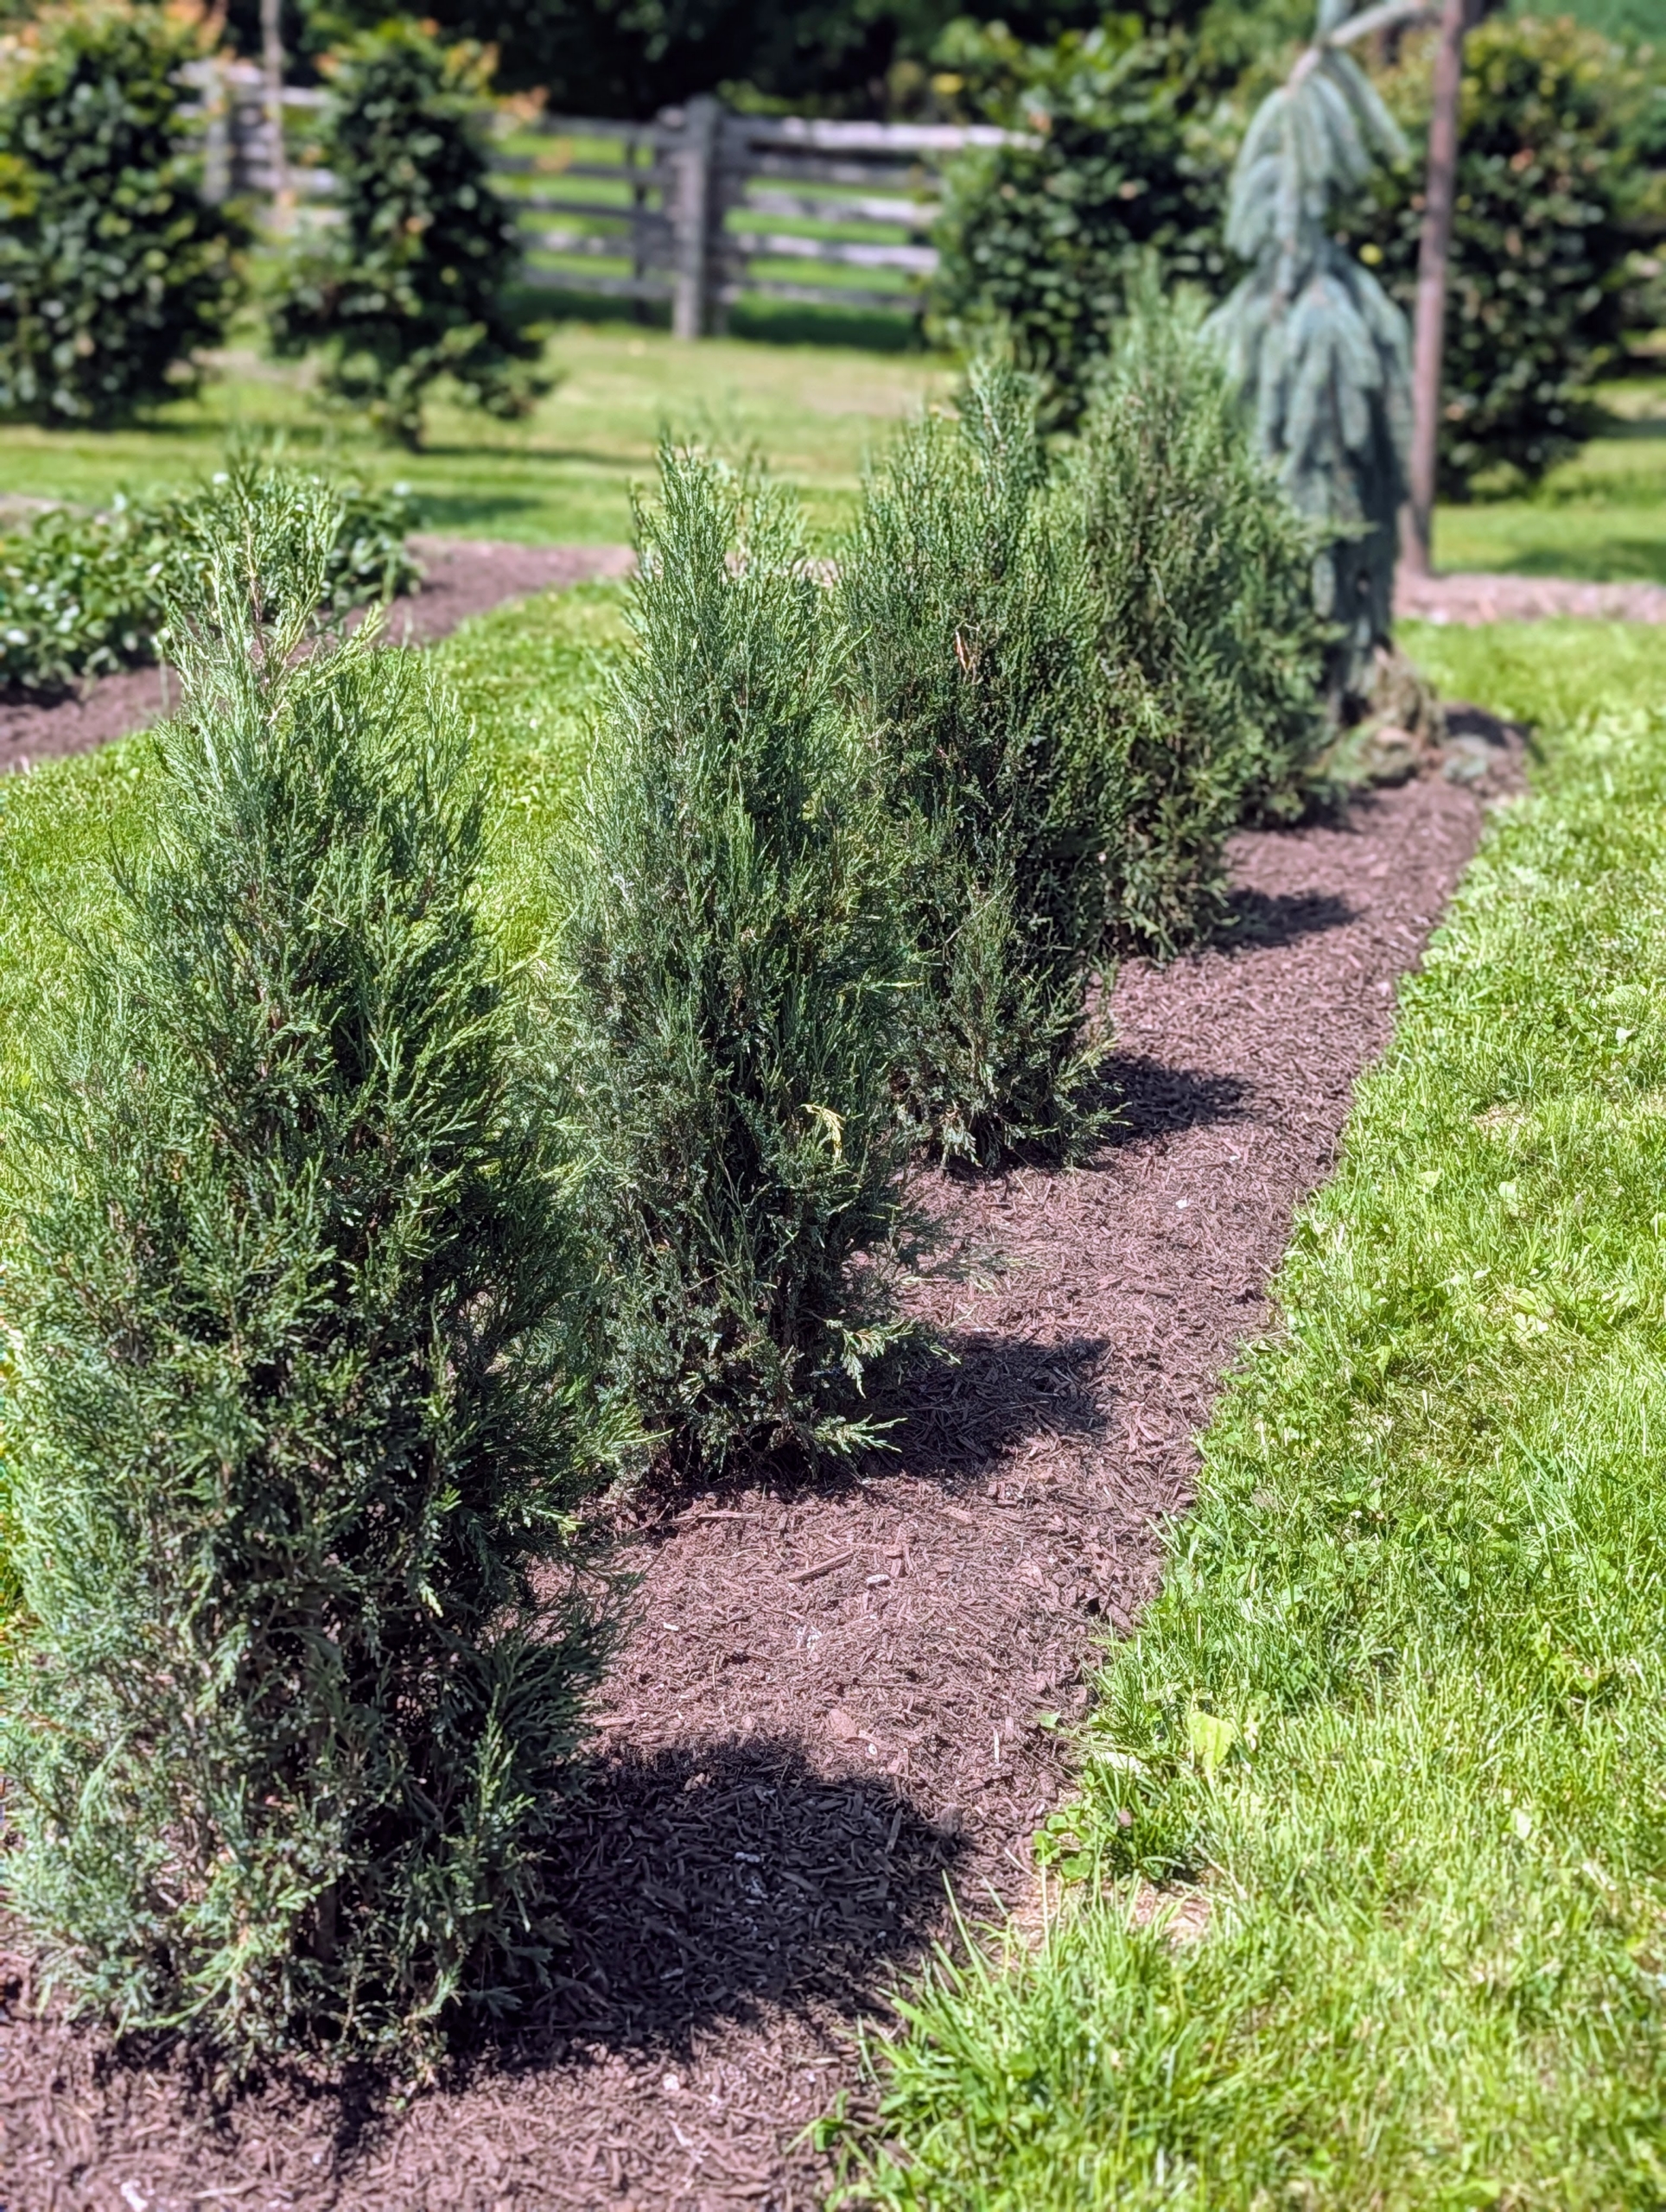
This week, my crew is mulching the maze. For most gardens, a two to four inch layer is sufficient. I mulch and compost my gardens once or twice a year. It’s a lot of work, but with compost to feed the soil from within, and mulch to protect it from above, any garden can flourish like mine.