Halloween is among my favorite occasions. I always decorate the front entrance to my farm in preparation for all the little ghosts and goblins that go trick or treating on All Hallows' Eve. This year, I added something even more exciting than candy to each of the children’s treat bags.
Enjoy these photos!
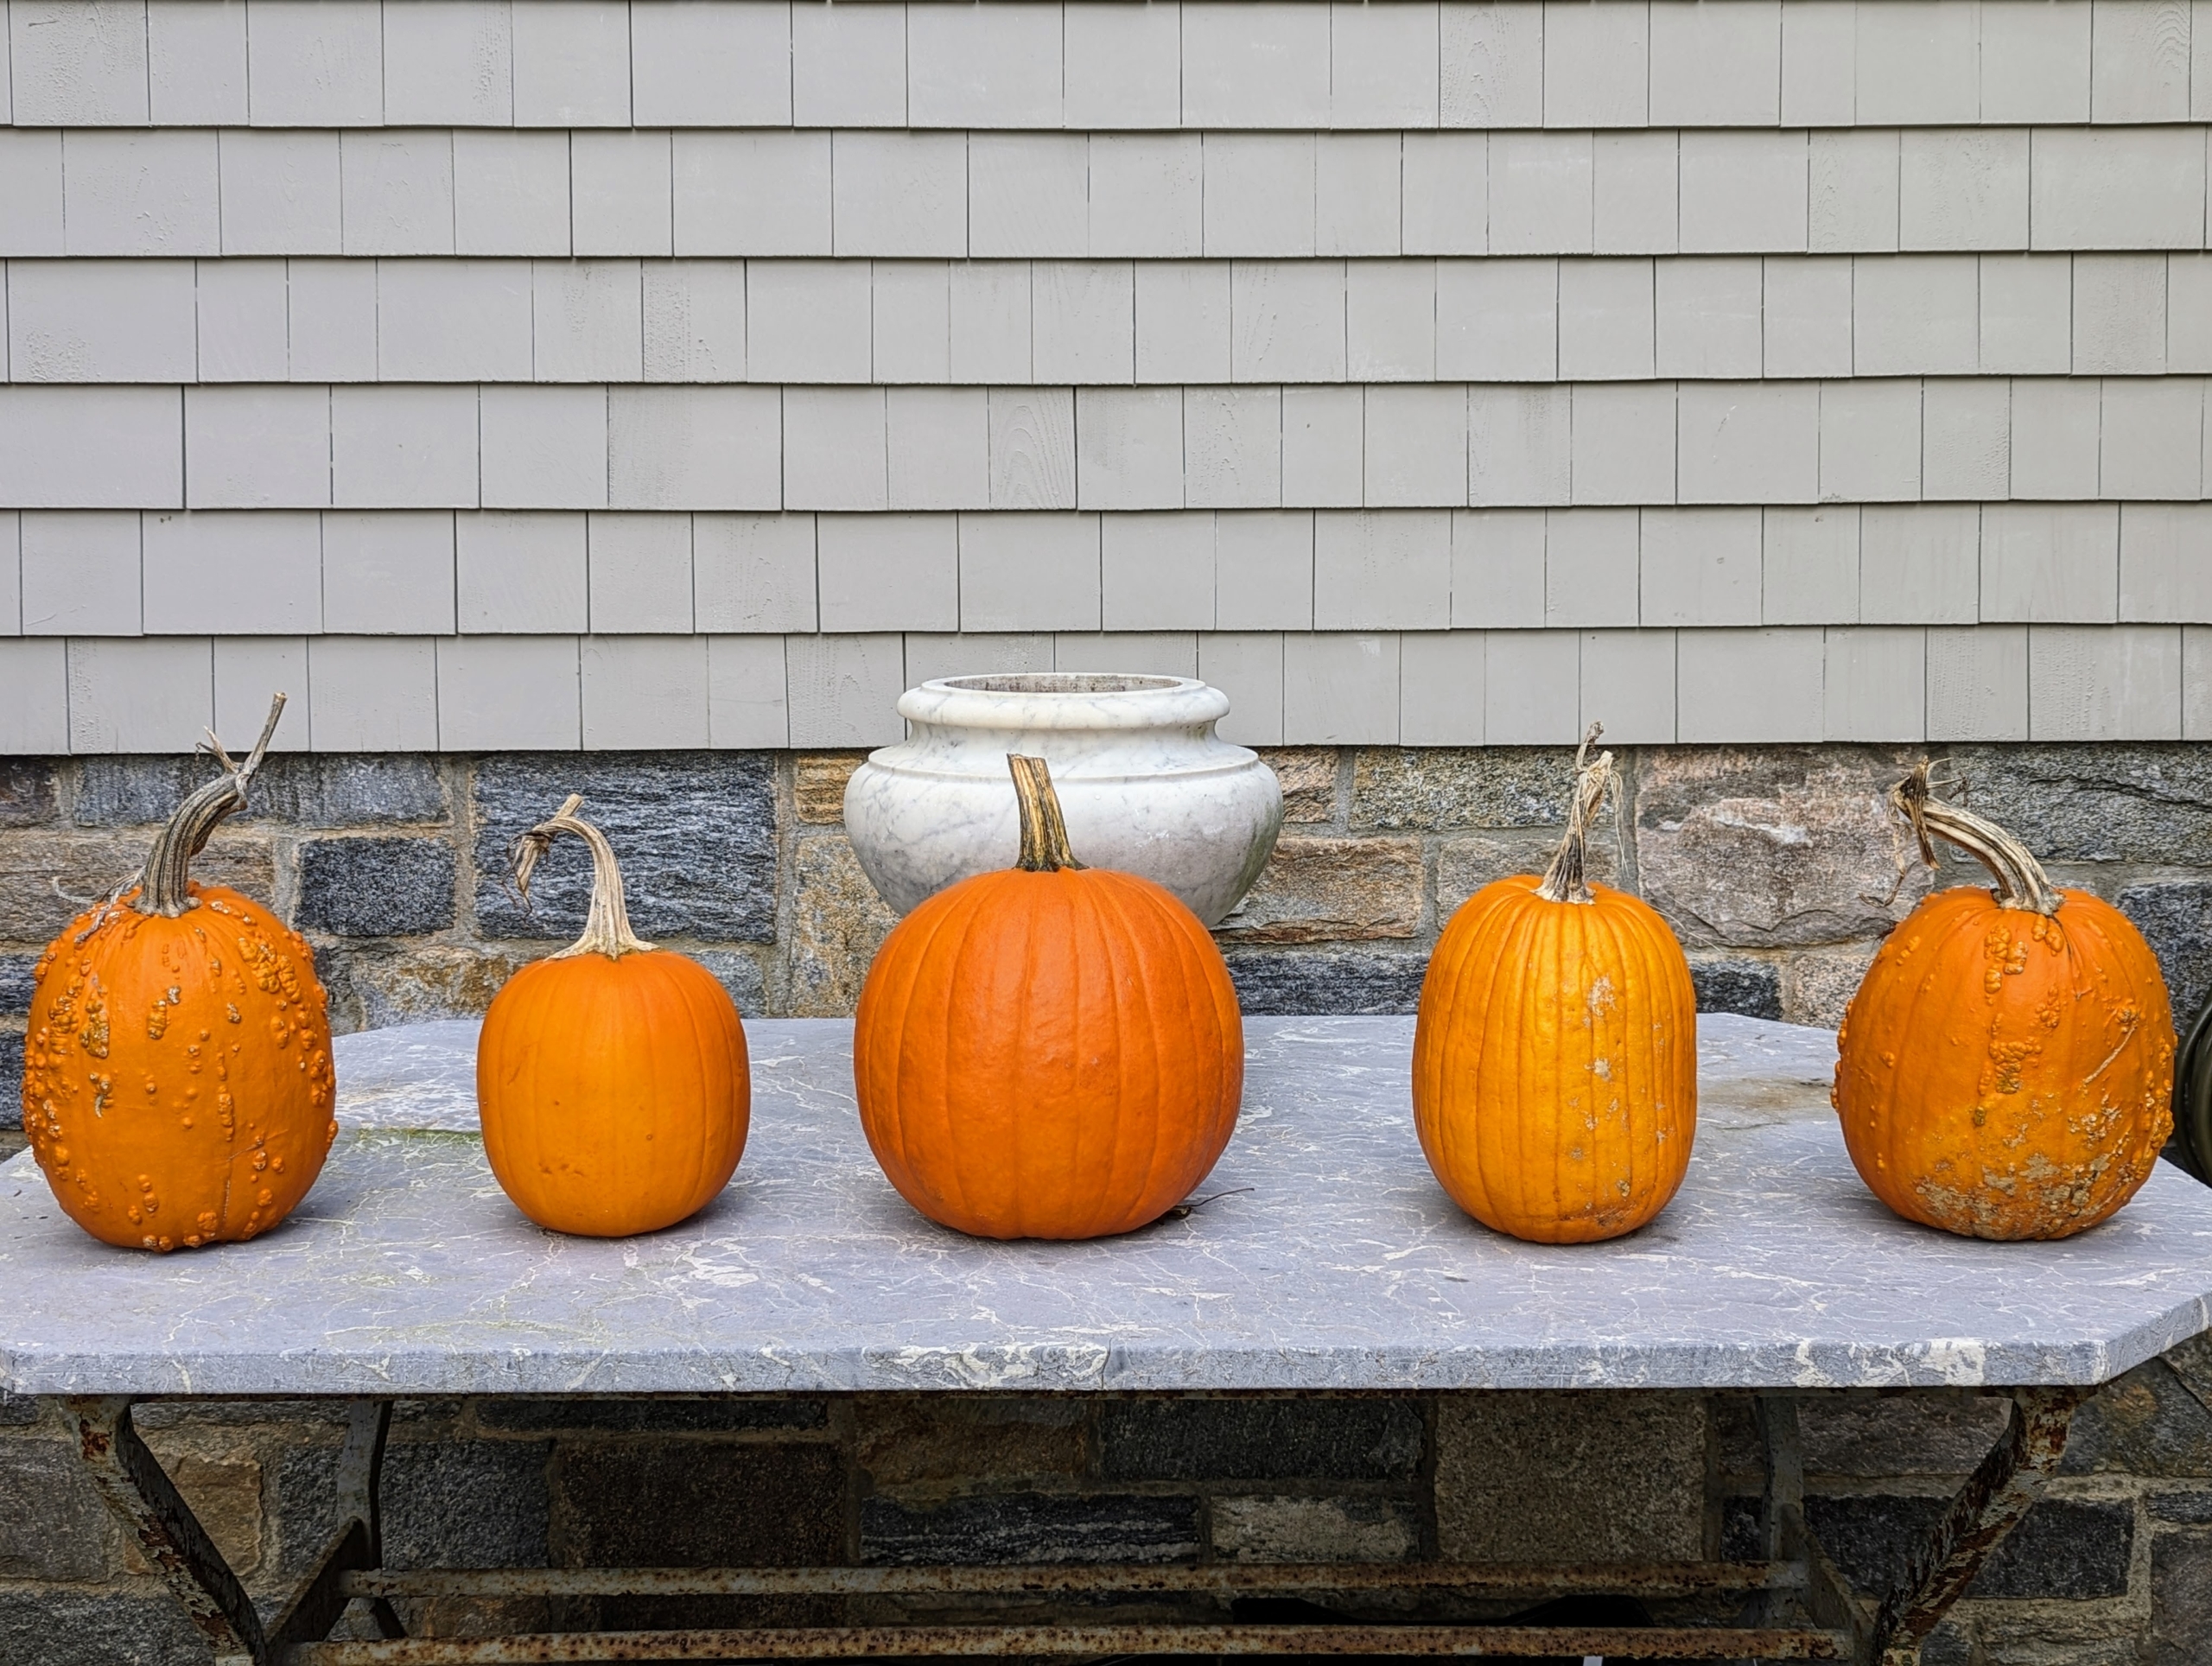
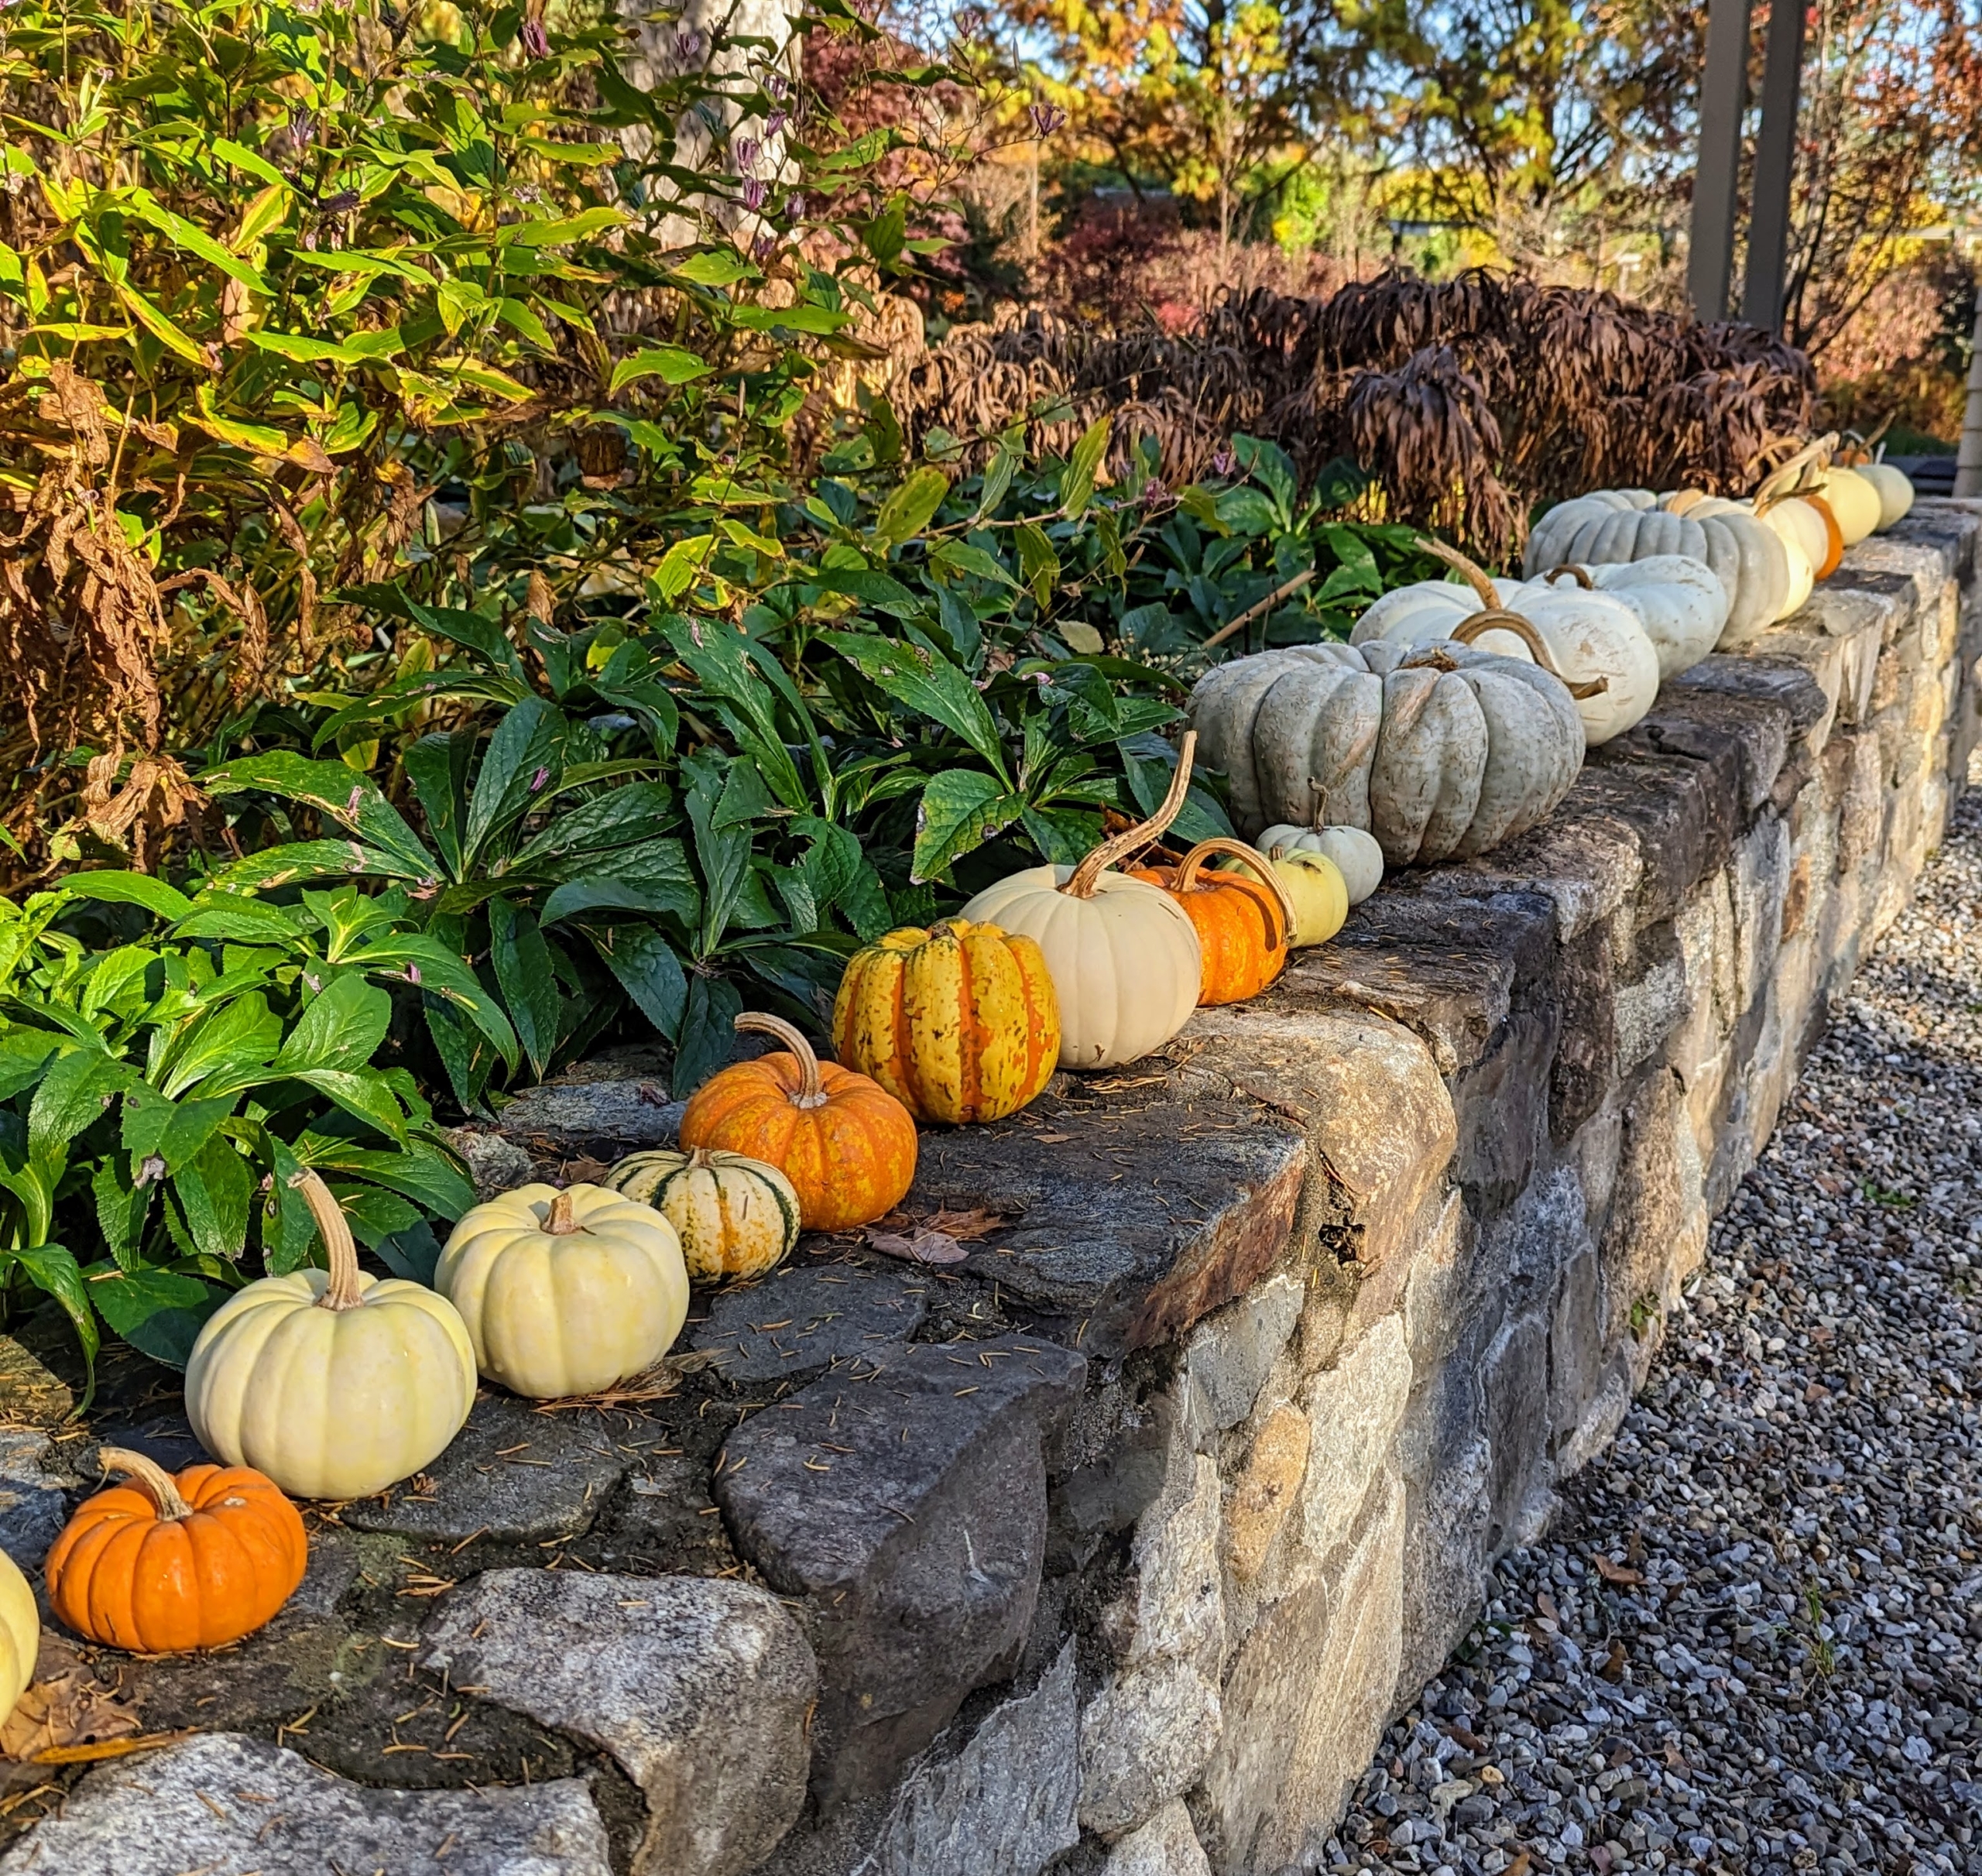
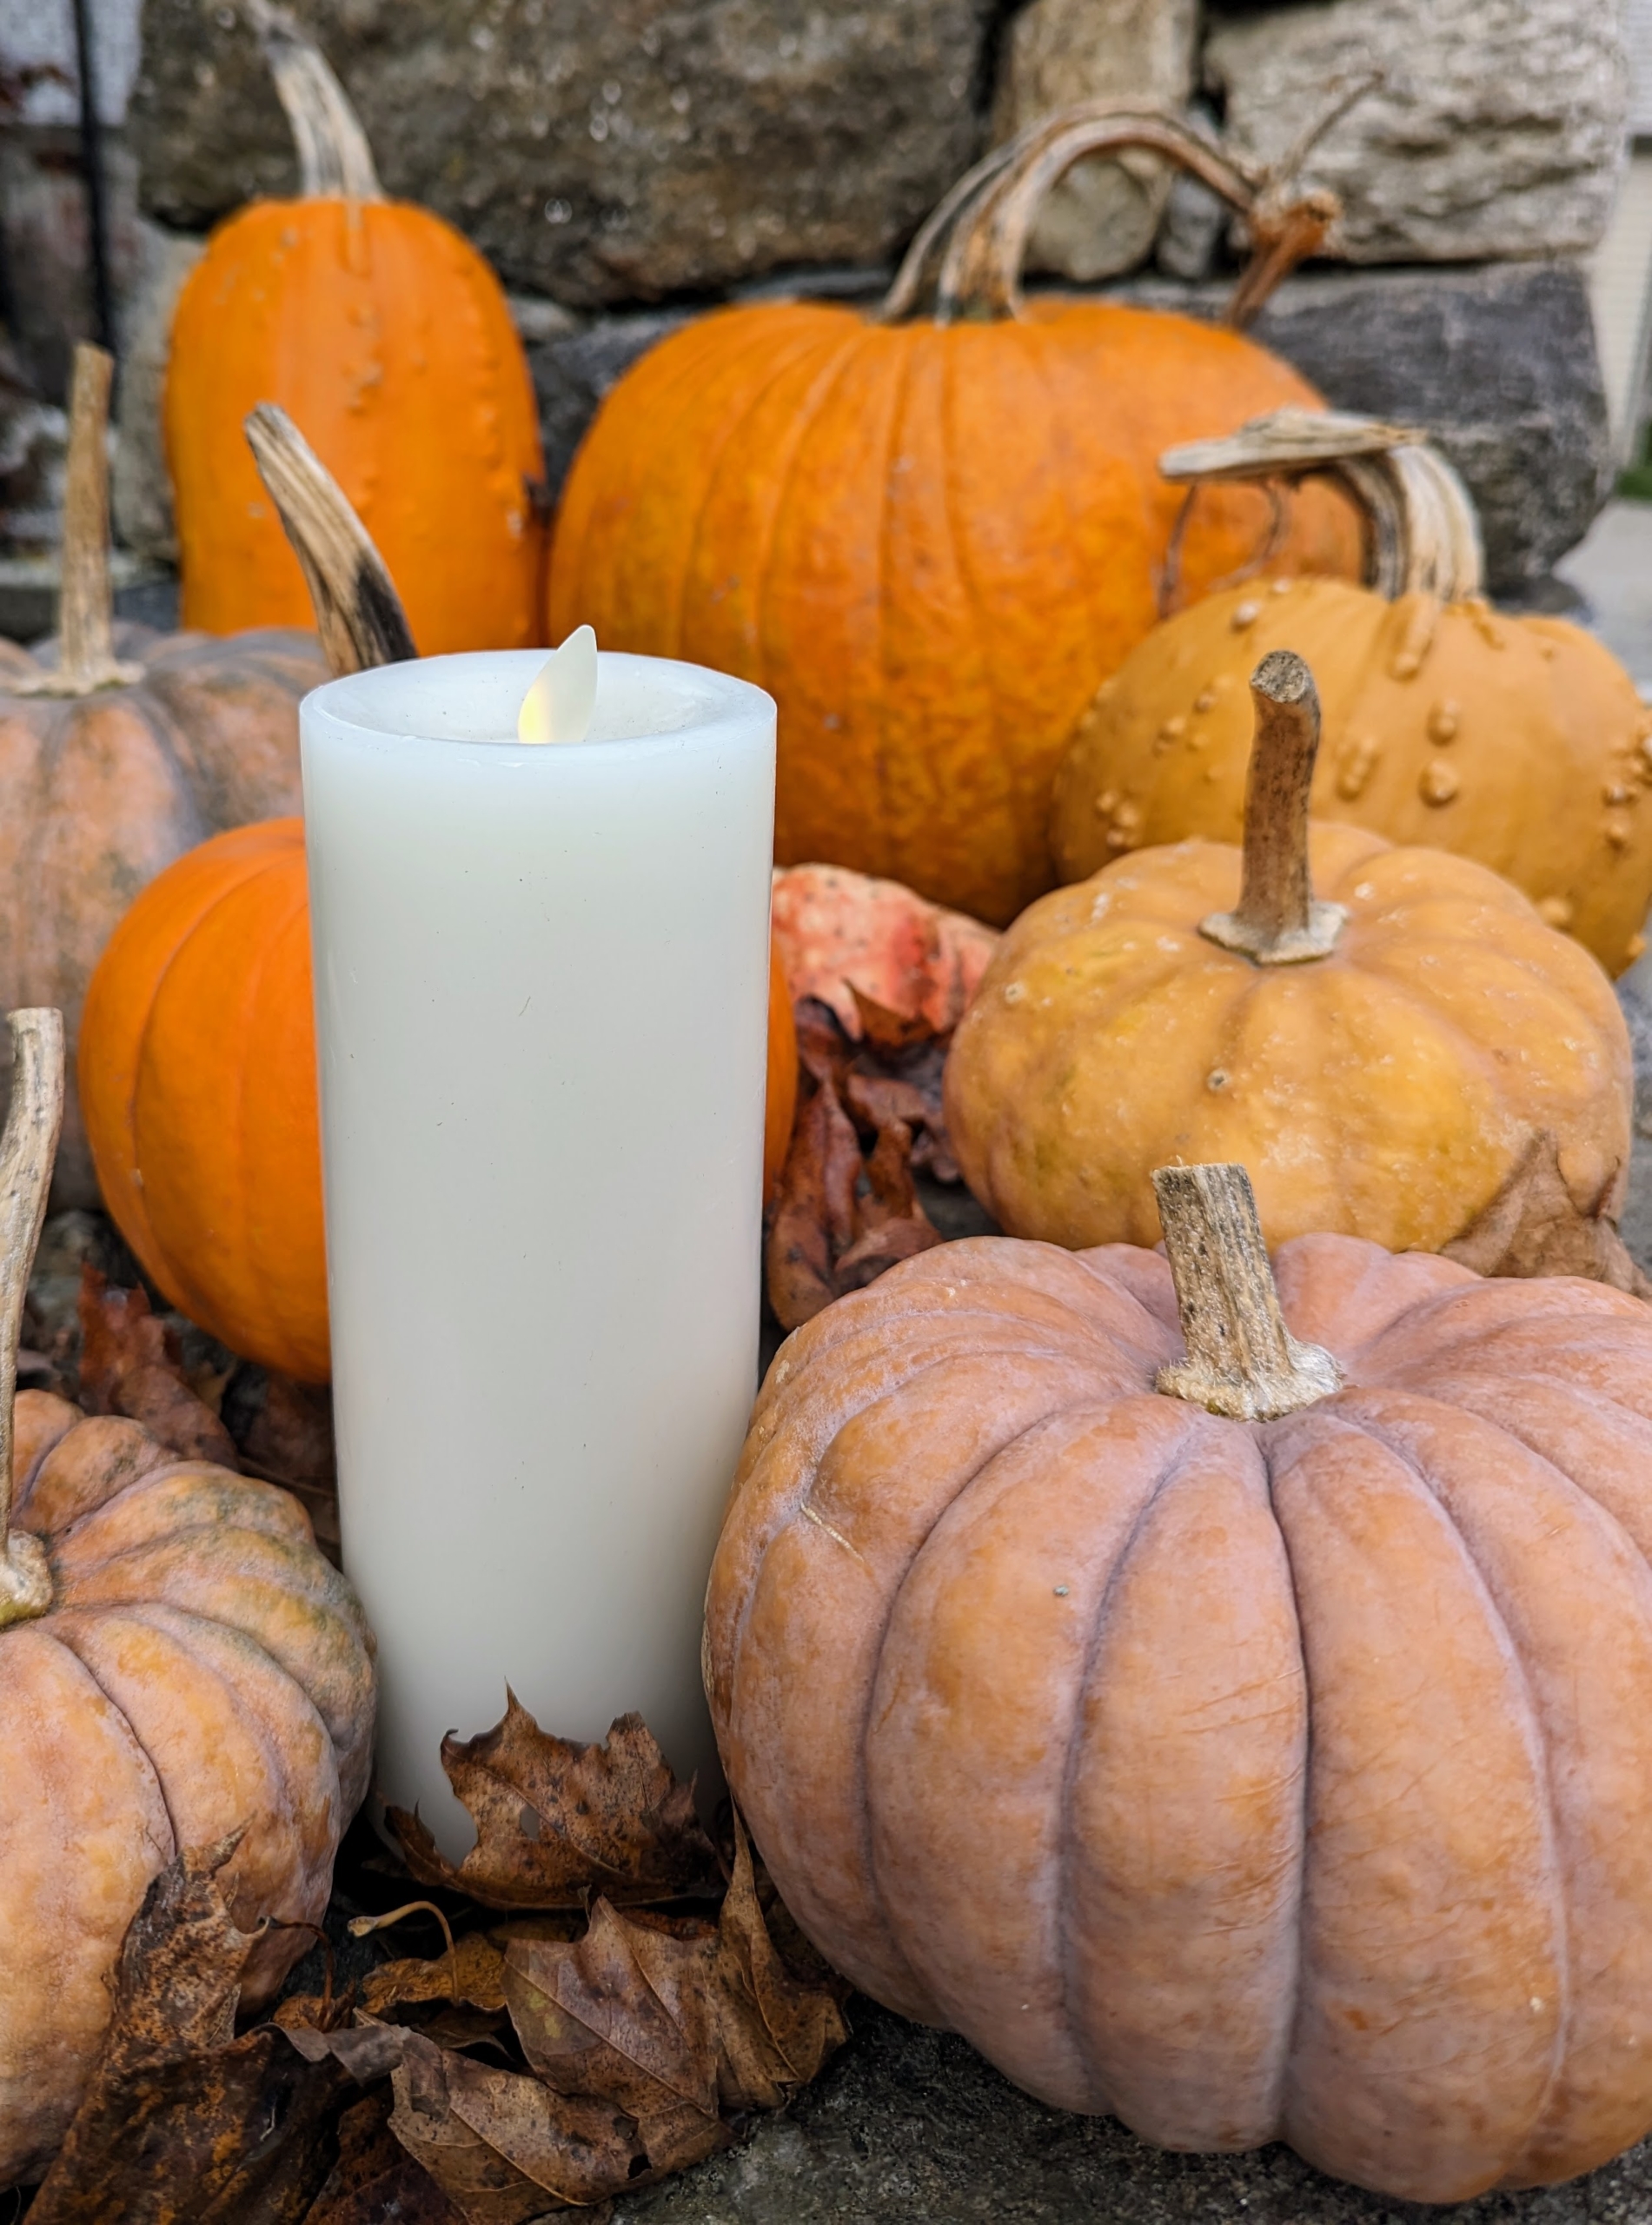
Autumn is a beautiful time of year. Around my home, I always display all the pumpkins we grew in the garden. This season, we harvested so many. This grouping of orange pumpkins is on a table outside my Winter House.
As you know, pumpkins are cucurbits, members of the Cucurbitaceae family, which also includes squash, gourds, cucumbers, watermelons, and cantaloupes.
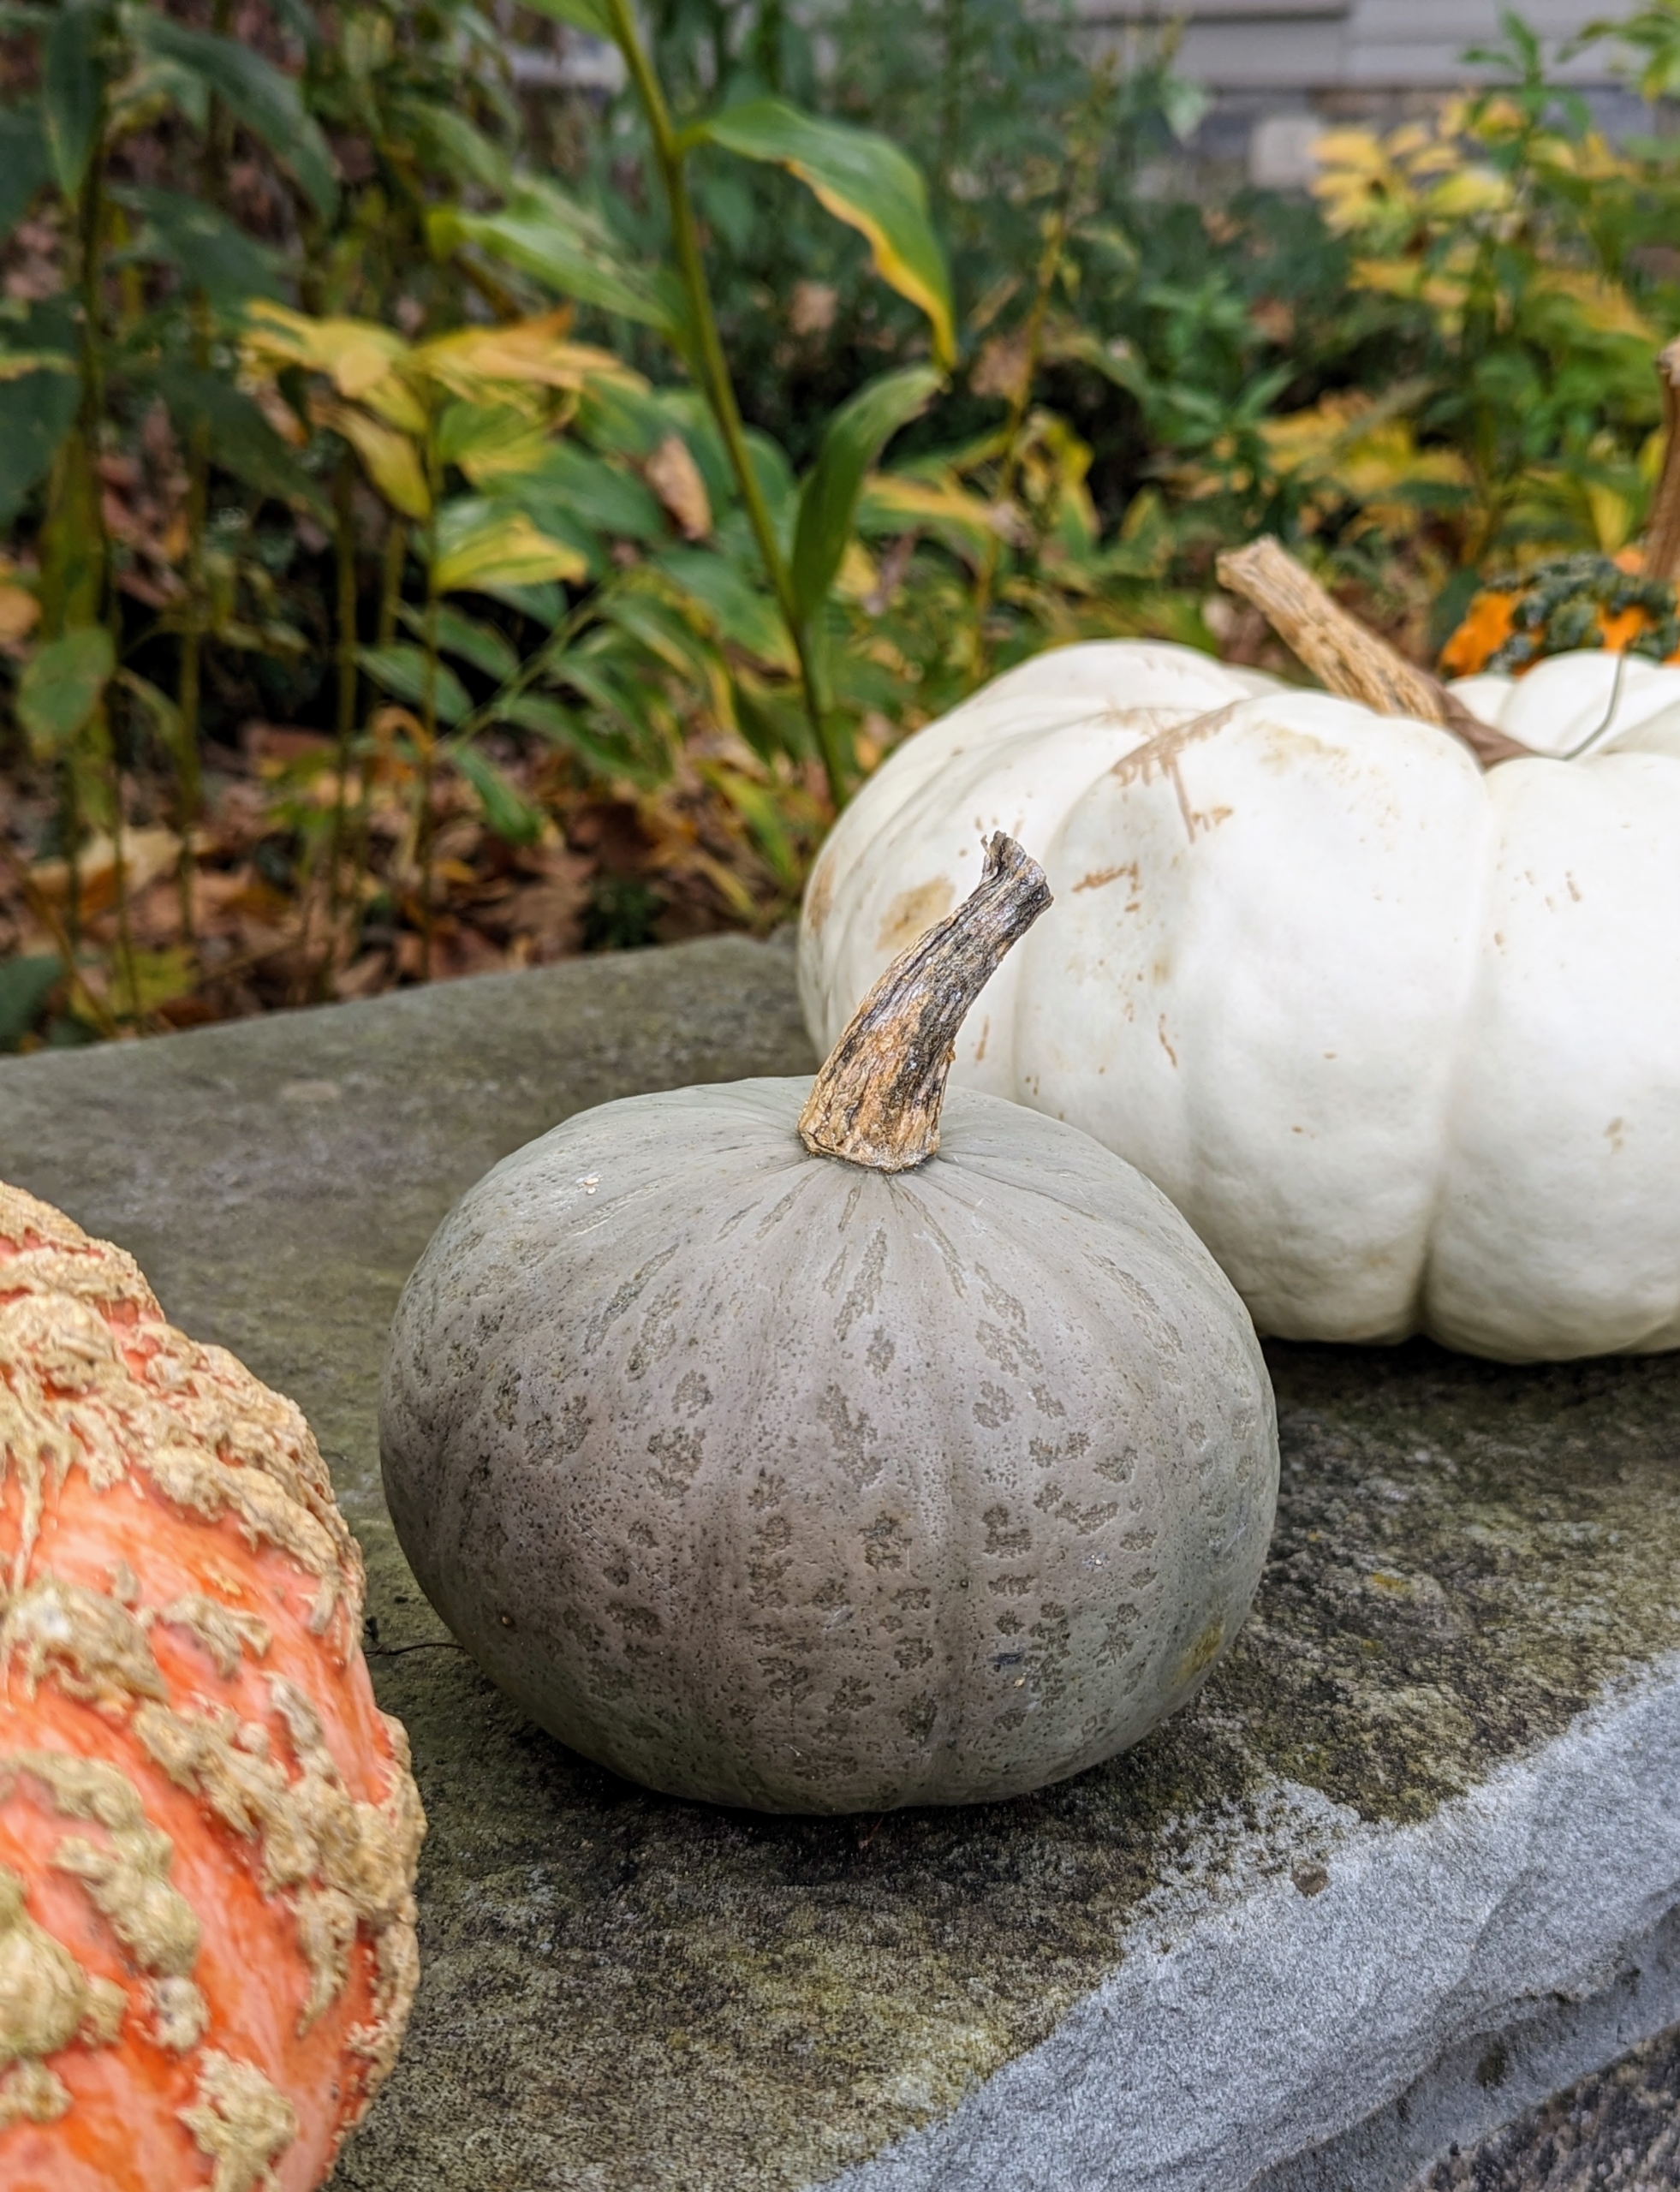
These pumpkins are on the low stone wall outside my home. The name pumpkin comes from the Greek word ‘pepon’ which means “large melon”.
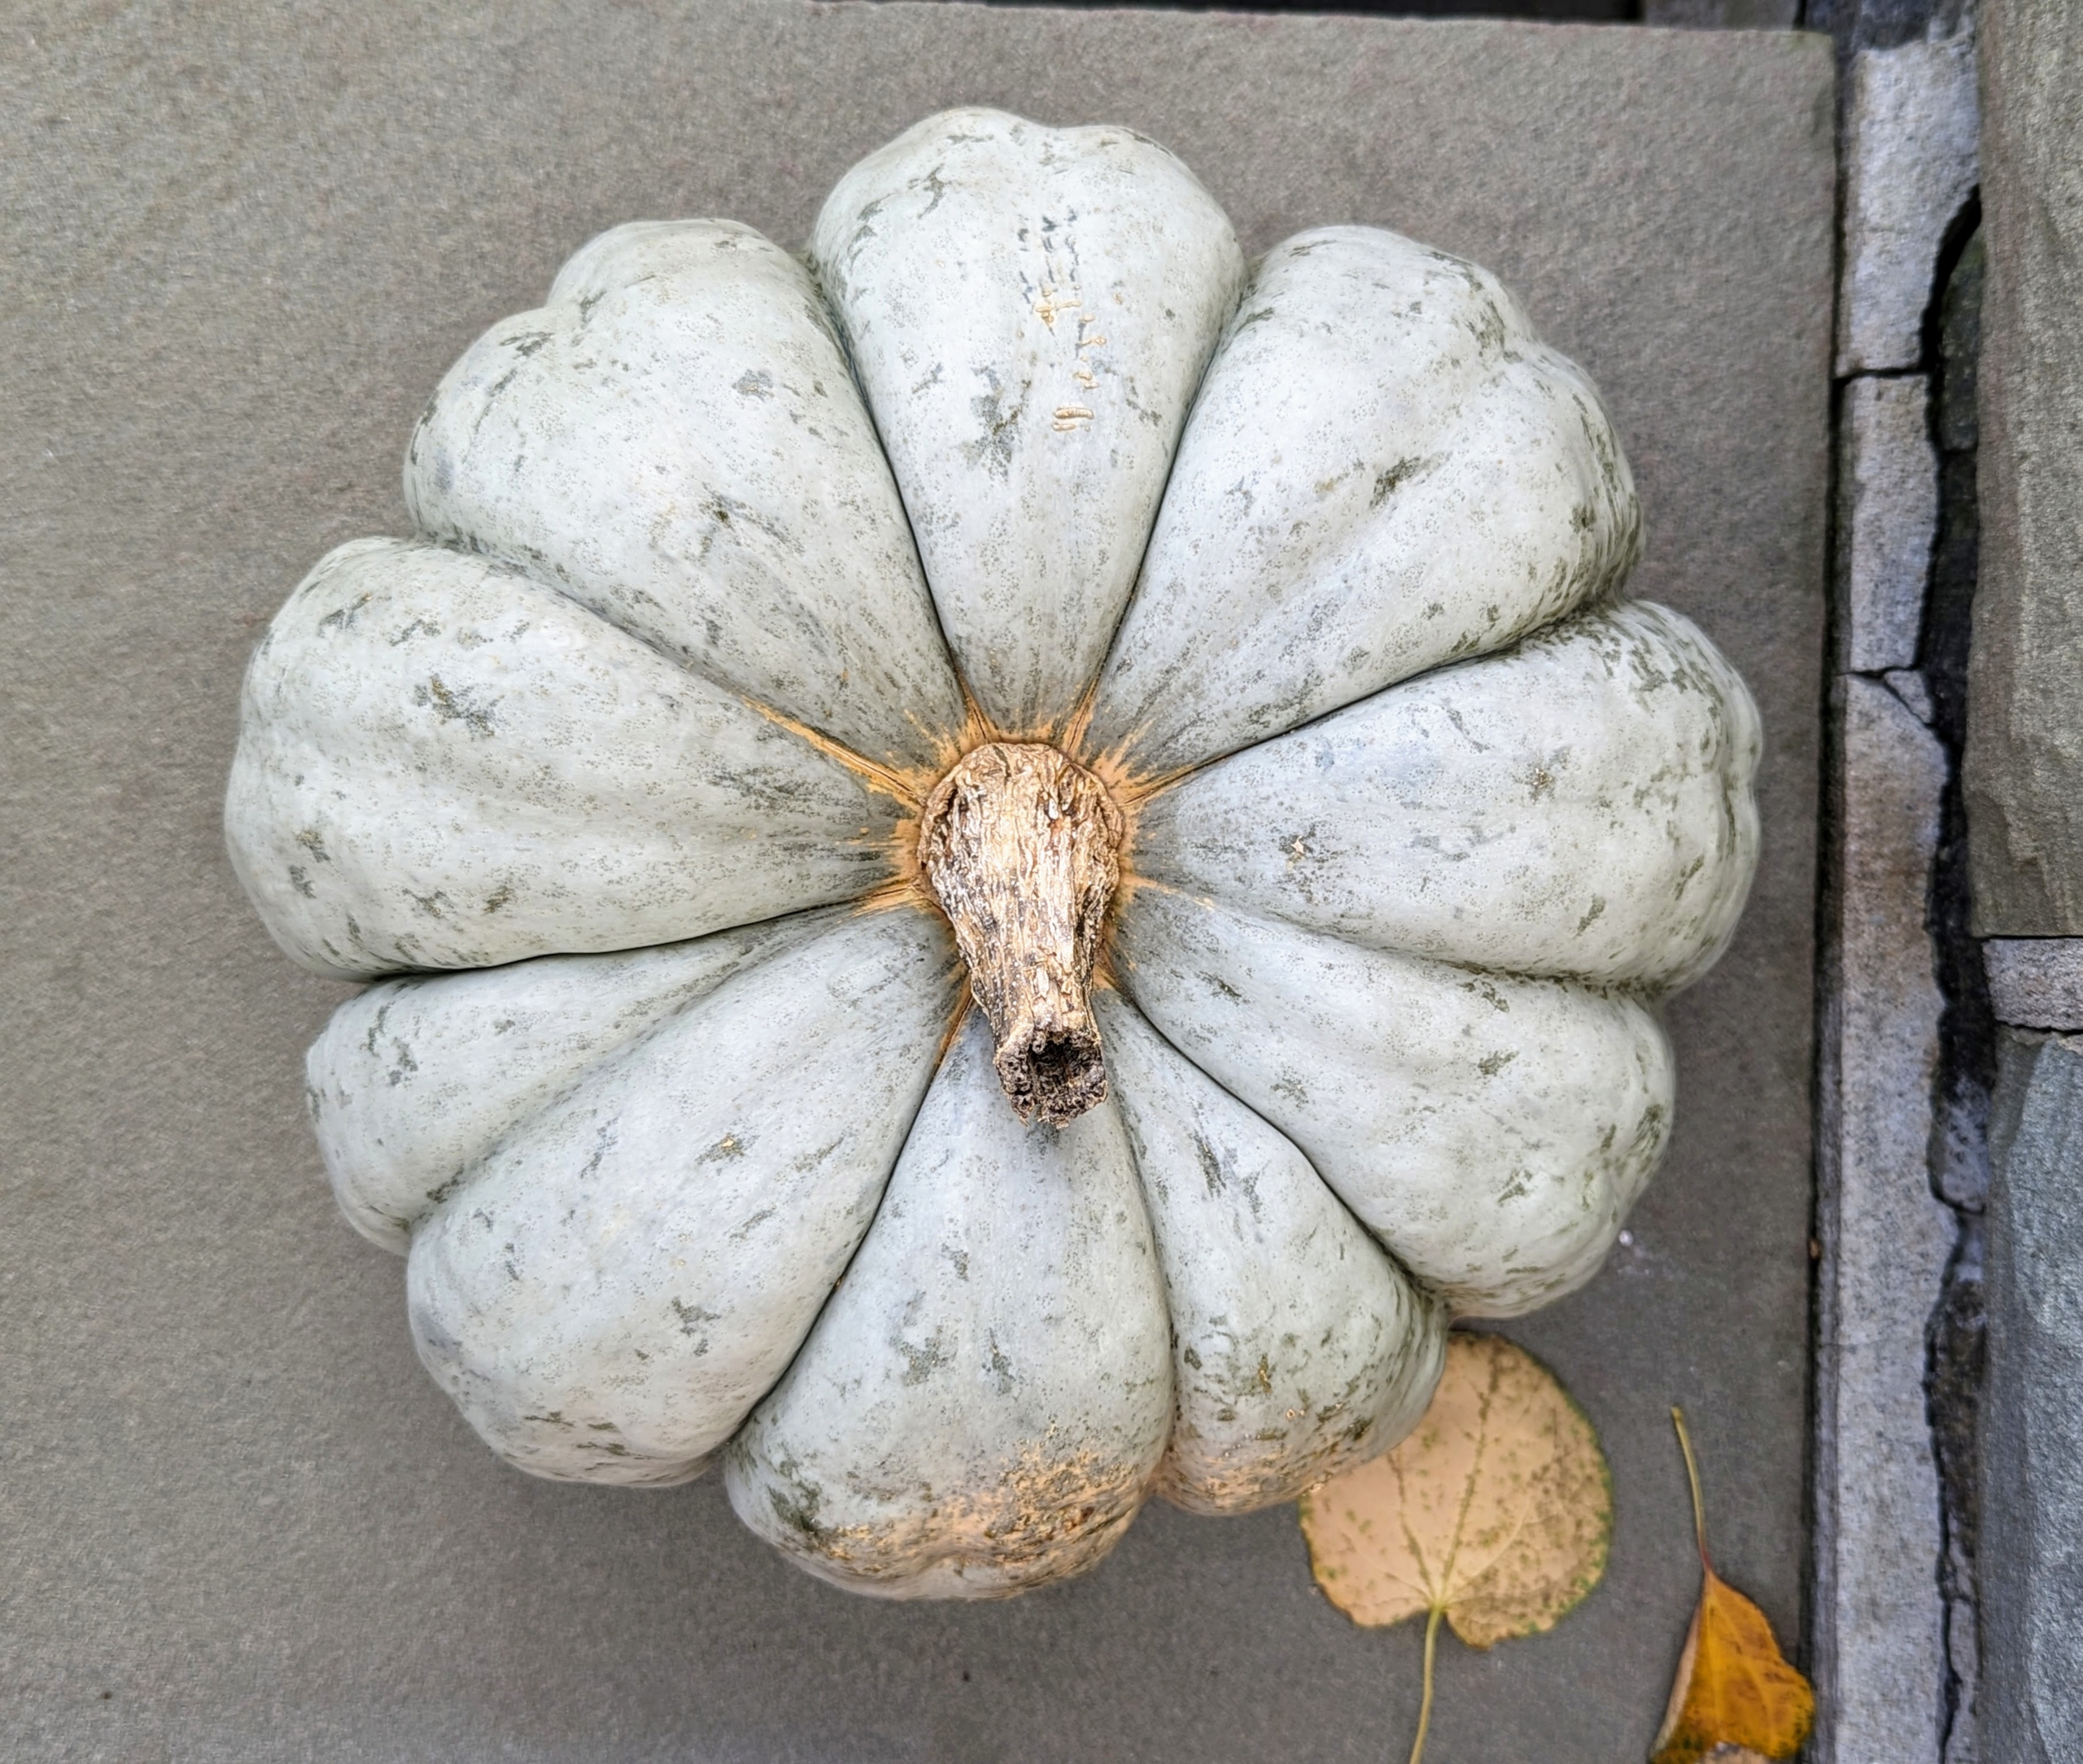
Some are even grown in a beautiful shade of gray.
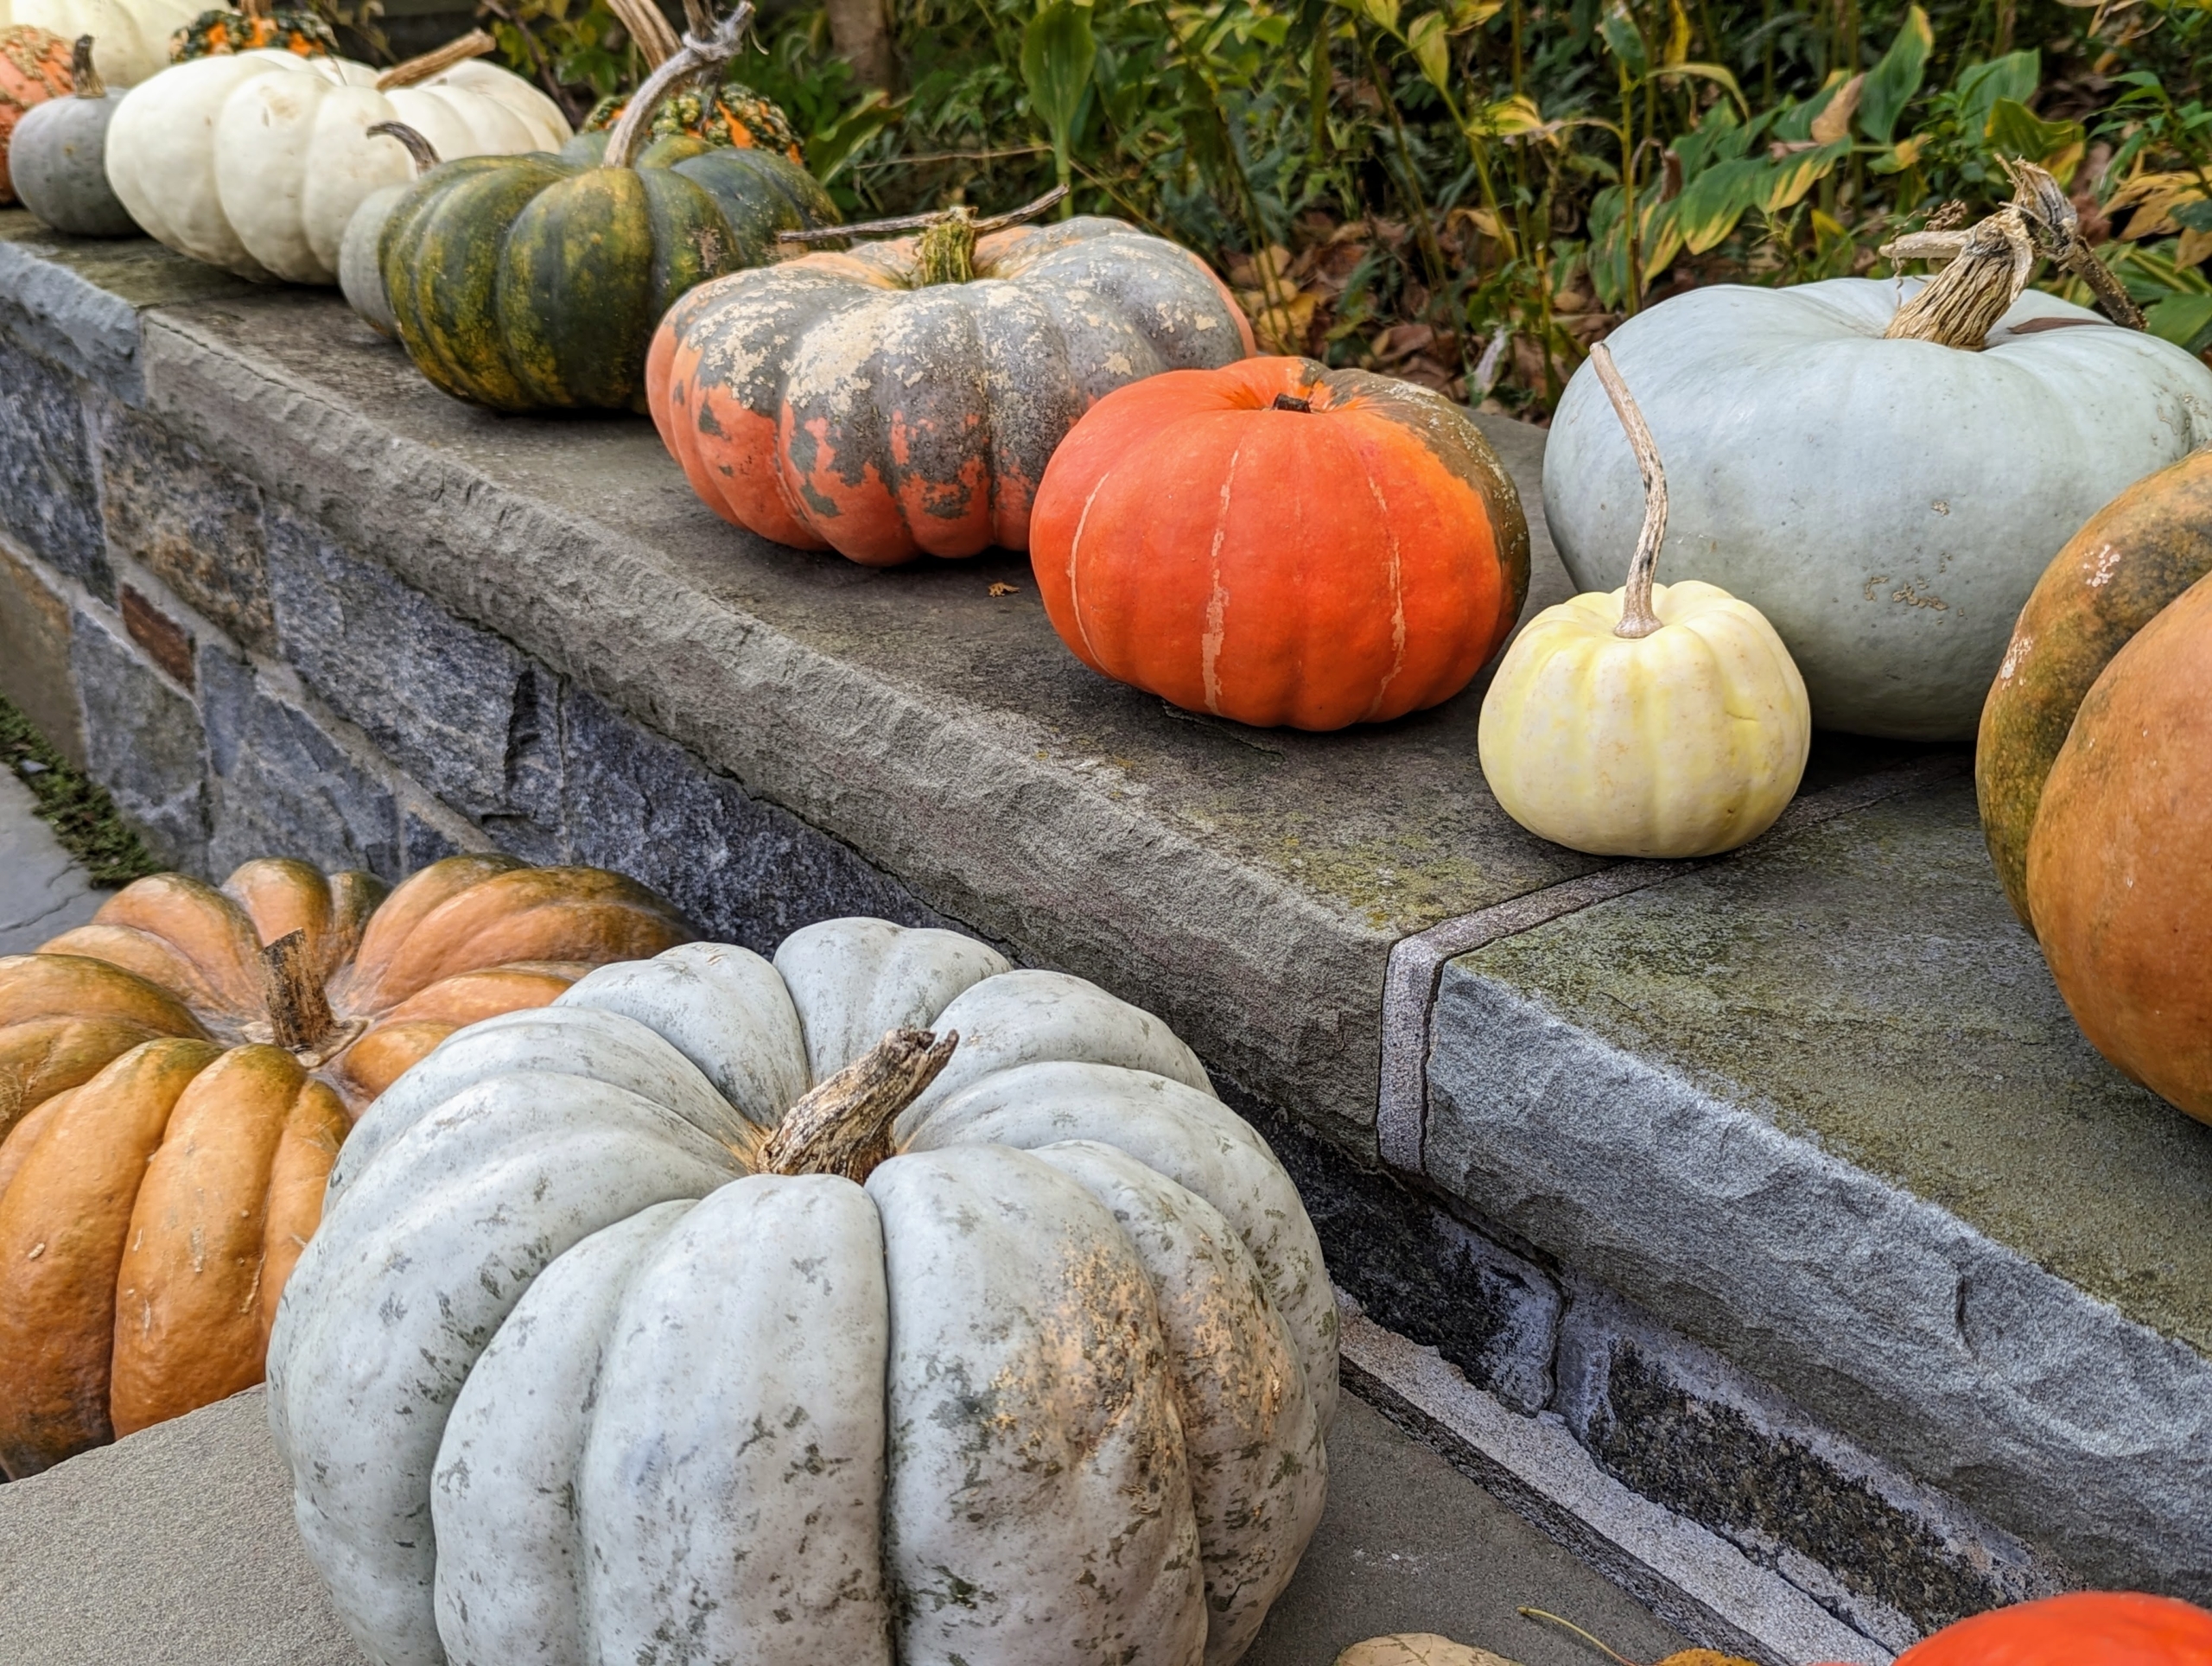
We lined dozens of pumpkins along the front stone wall also – I love this palette of fall colors.
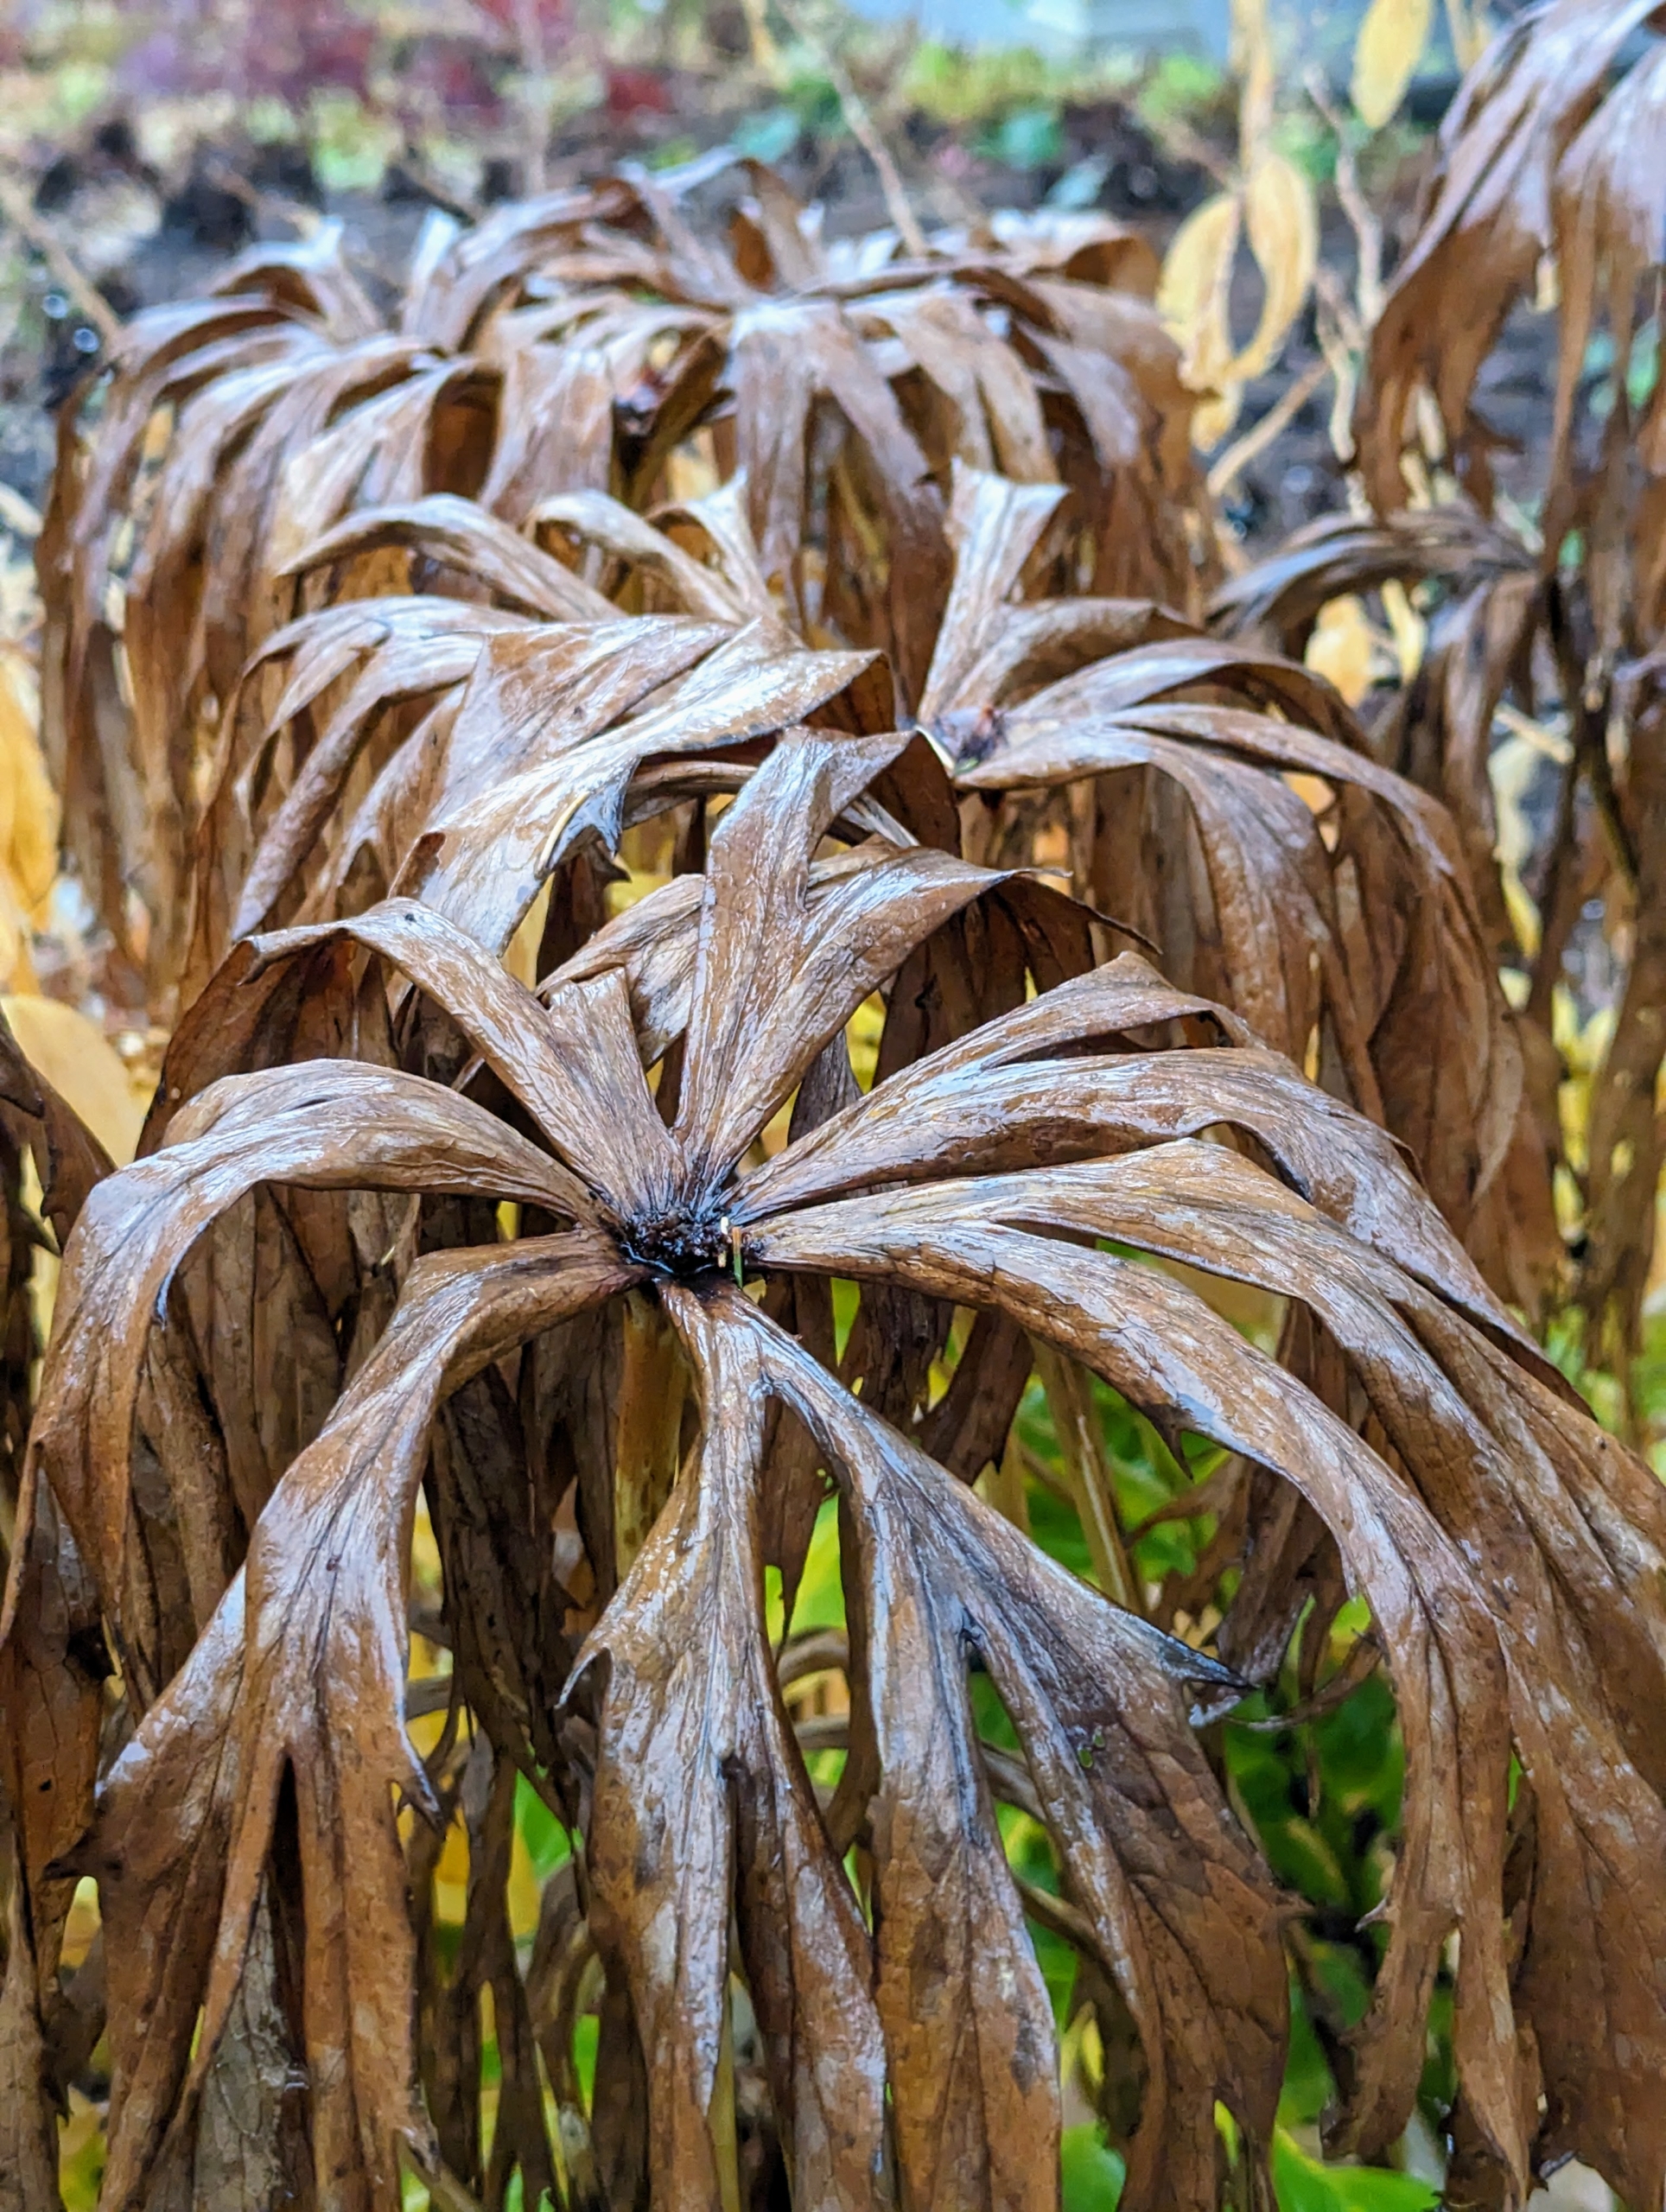
Some of the outdoor plants also look holiday appropriate. This is Syneilesis – a tough, drought-tolerant, easy-to-grow woodland garden perennial commonly called the shredded umbrella plant because of its narrow, dissected leaves that cascade downward like an umbrella.
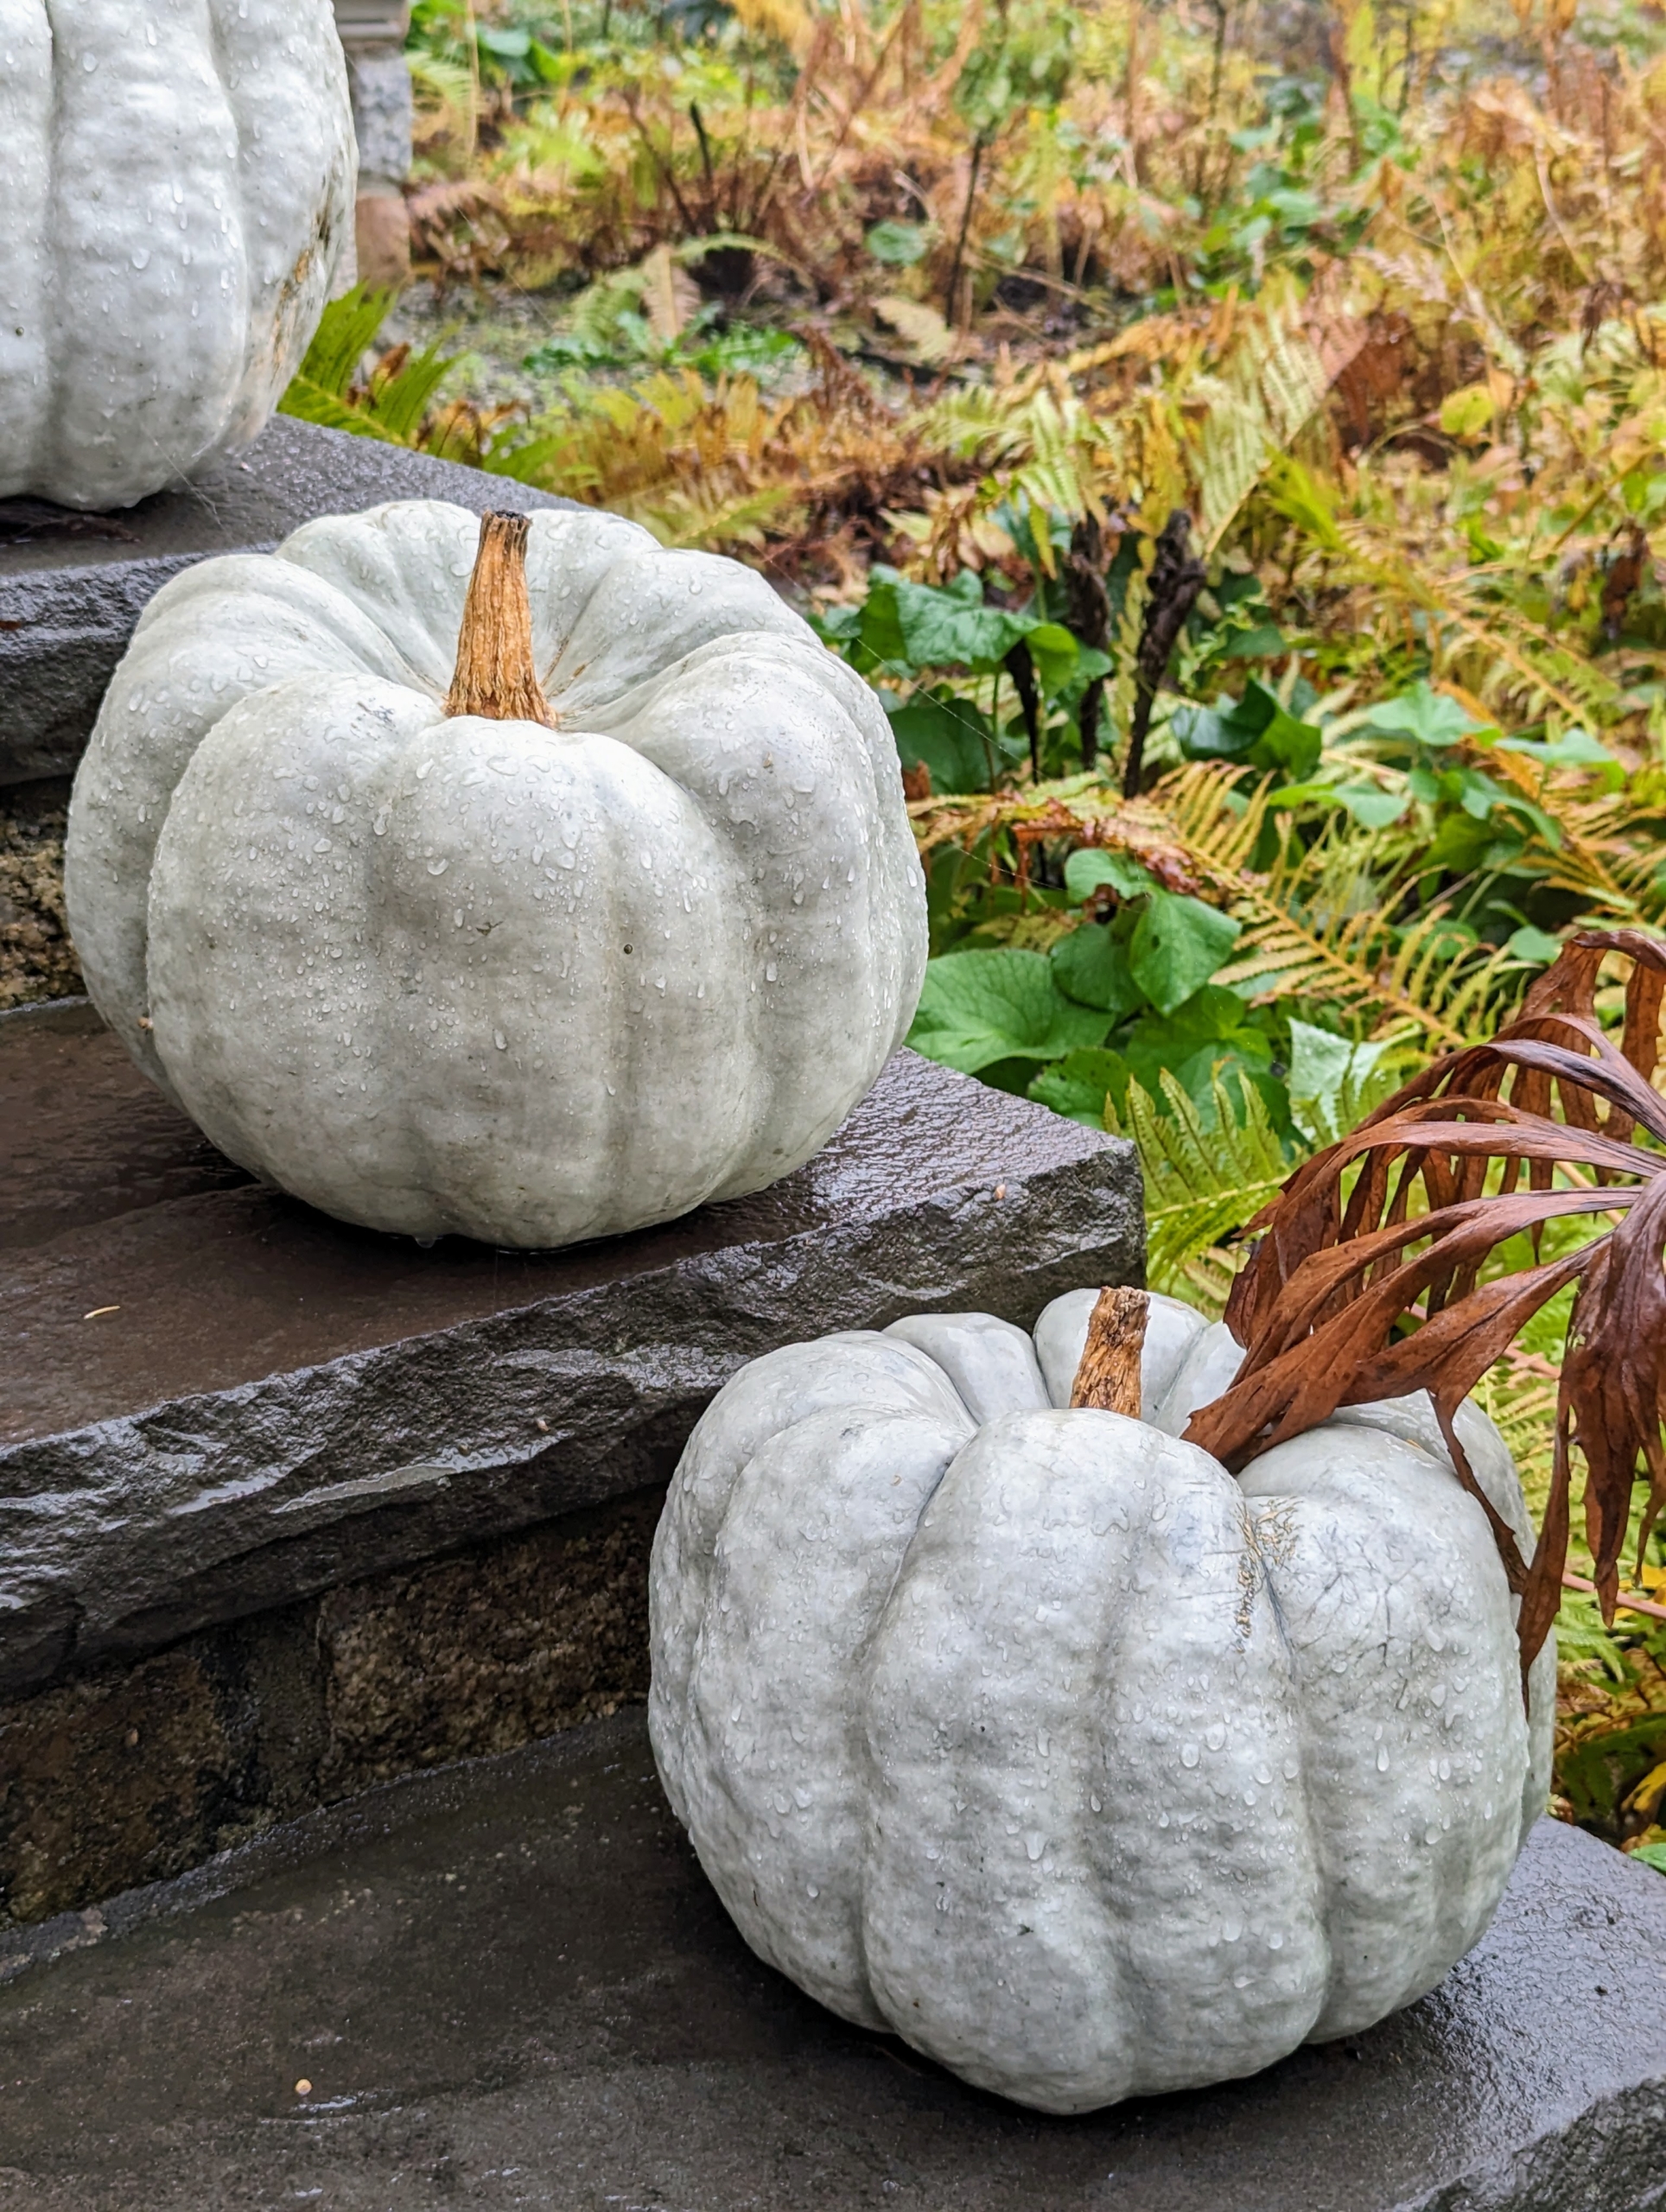
These pumpkins are on the steps of my Tenant House, where my daughter and grandchildren stay when they visit. After displaying the pumpkins in the fall, one can scoop out the large hull-less seeds, which are delicious roasted or save them for planting next year.
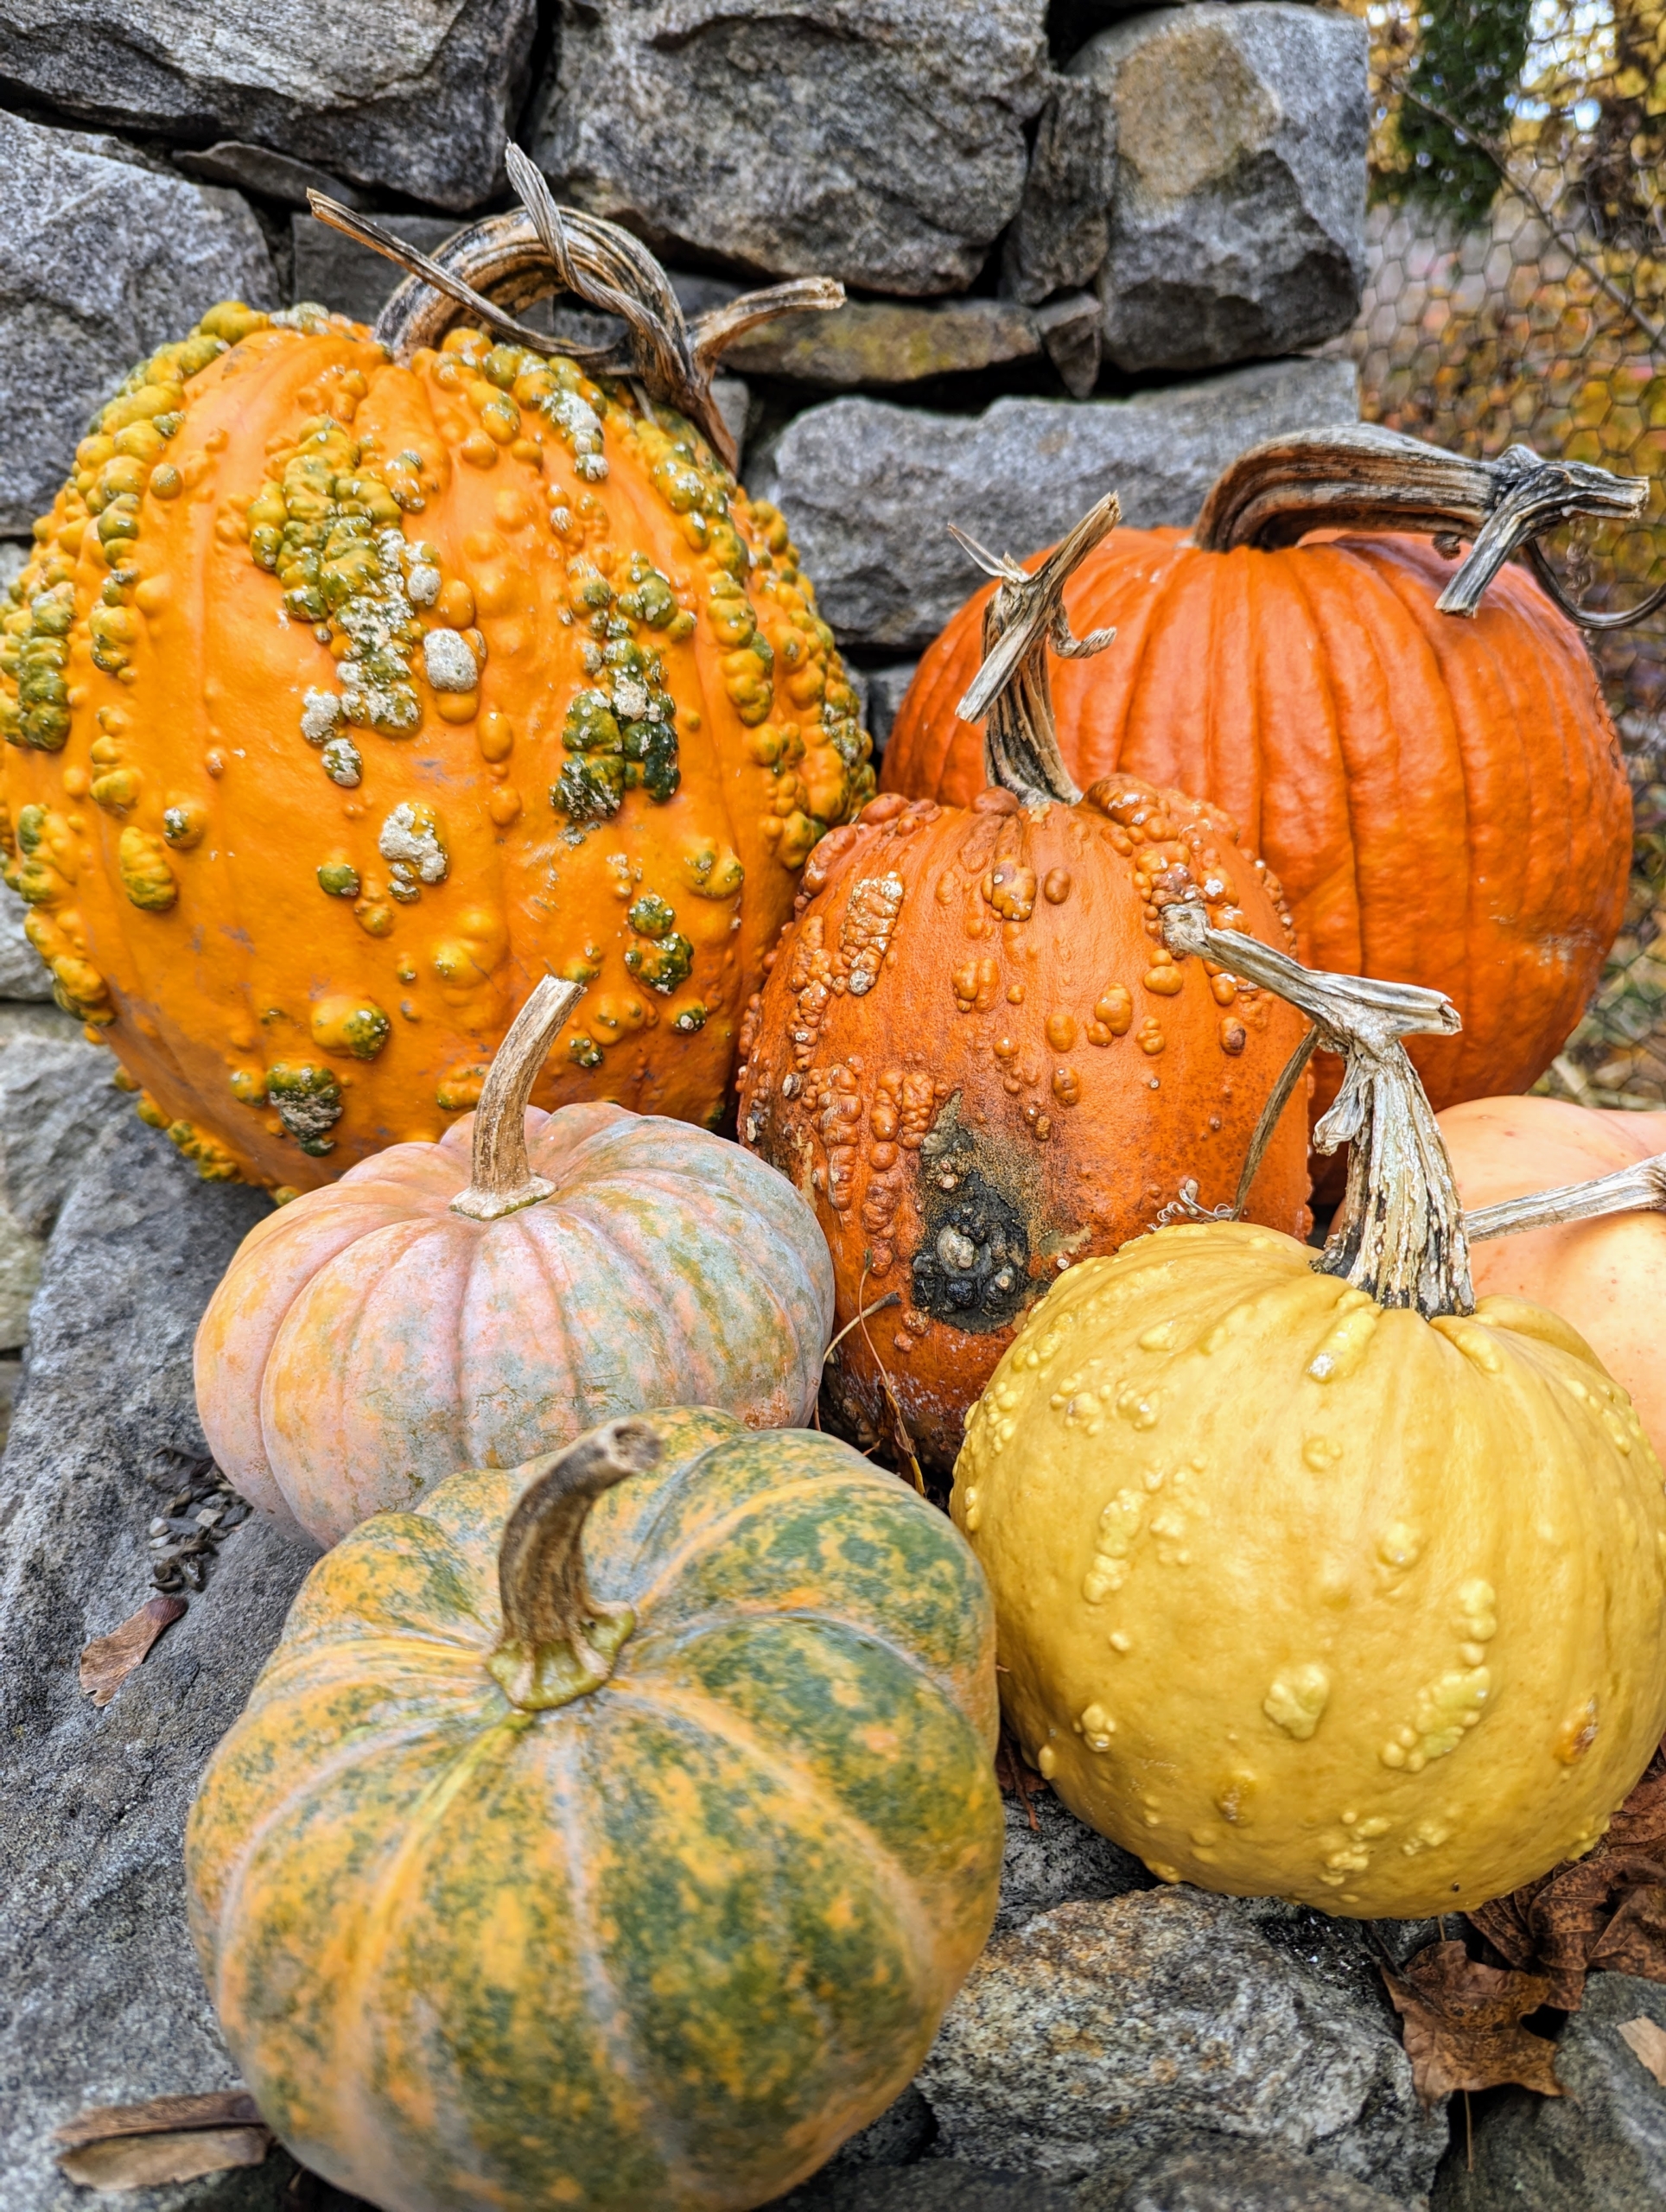
I am always trying to grow different and unusual specimens along with the more traditional varieties. Look at all the different colors and shapes. Many are cultivated for their witch and goblin-like appearances – the more warts the better.
This is one of my Martha Stewart Wire Spiders with LED Lights – from one of my previous Halloween collections on QVC.
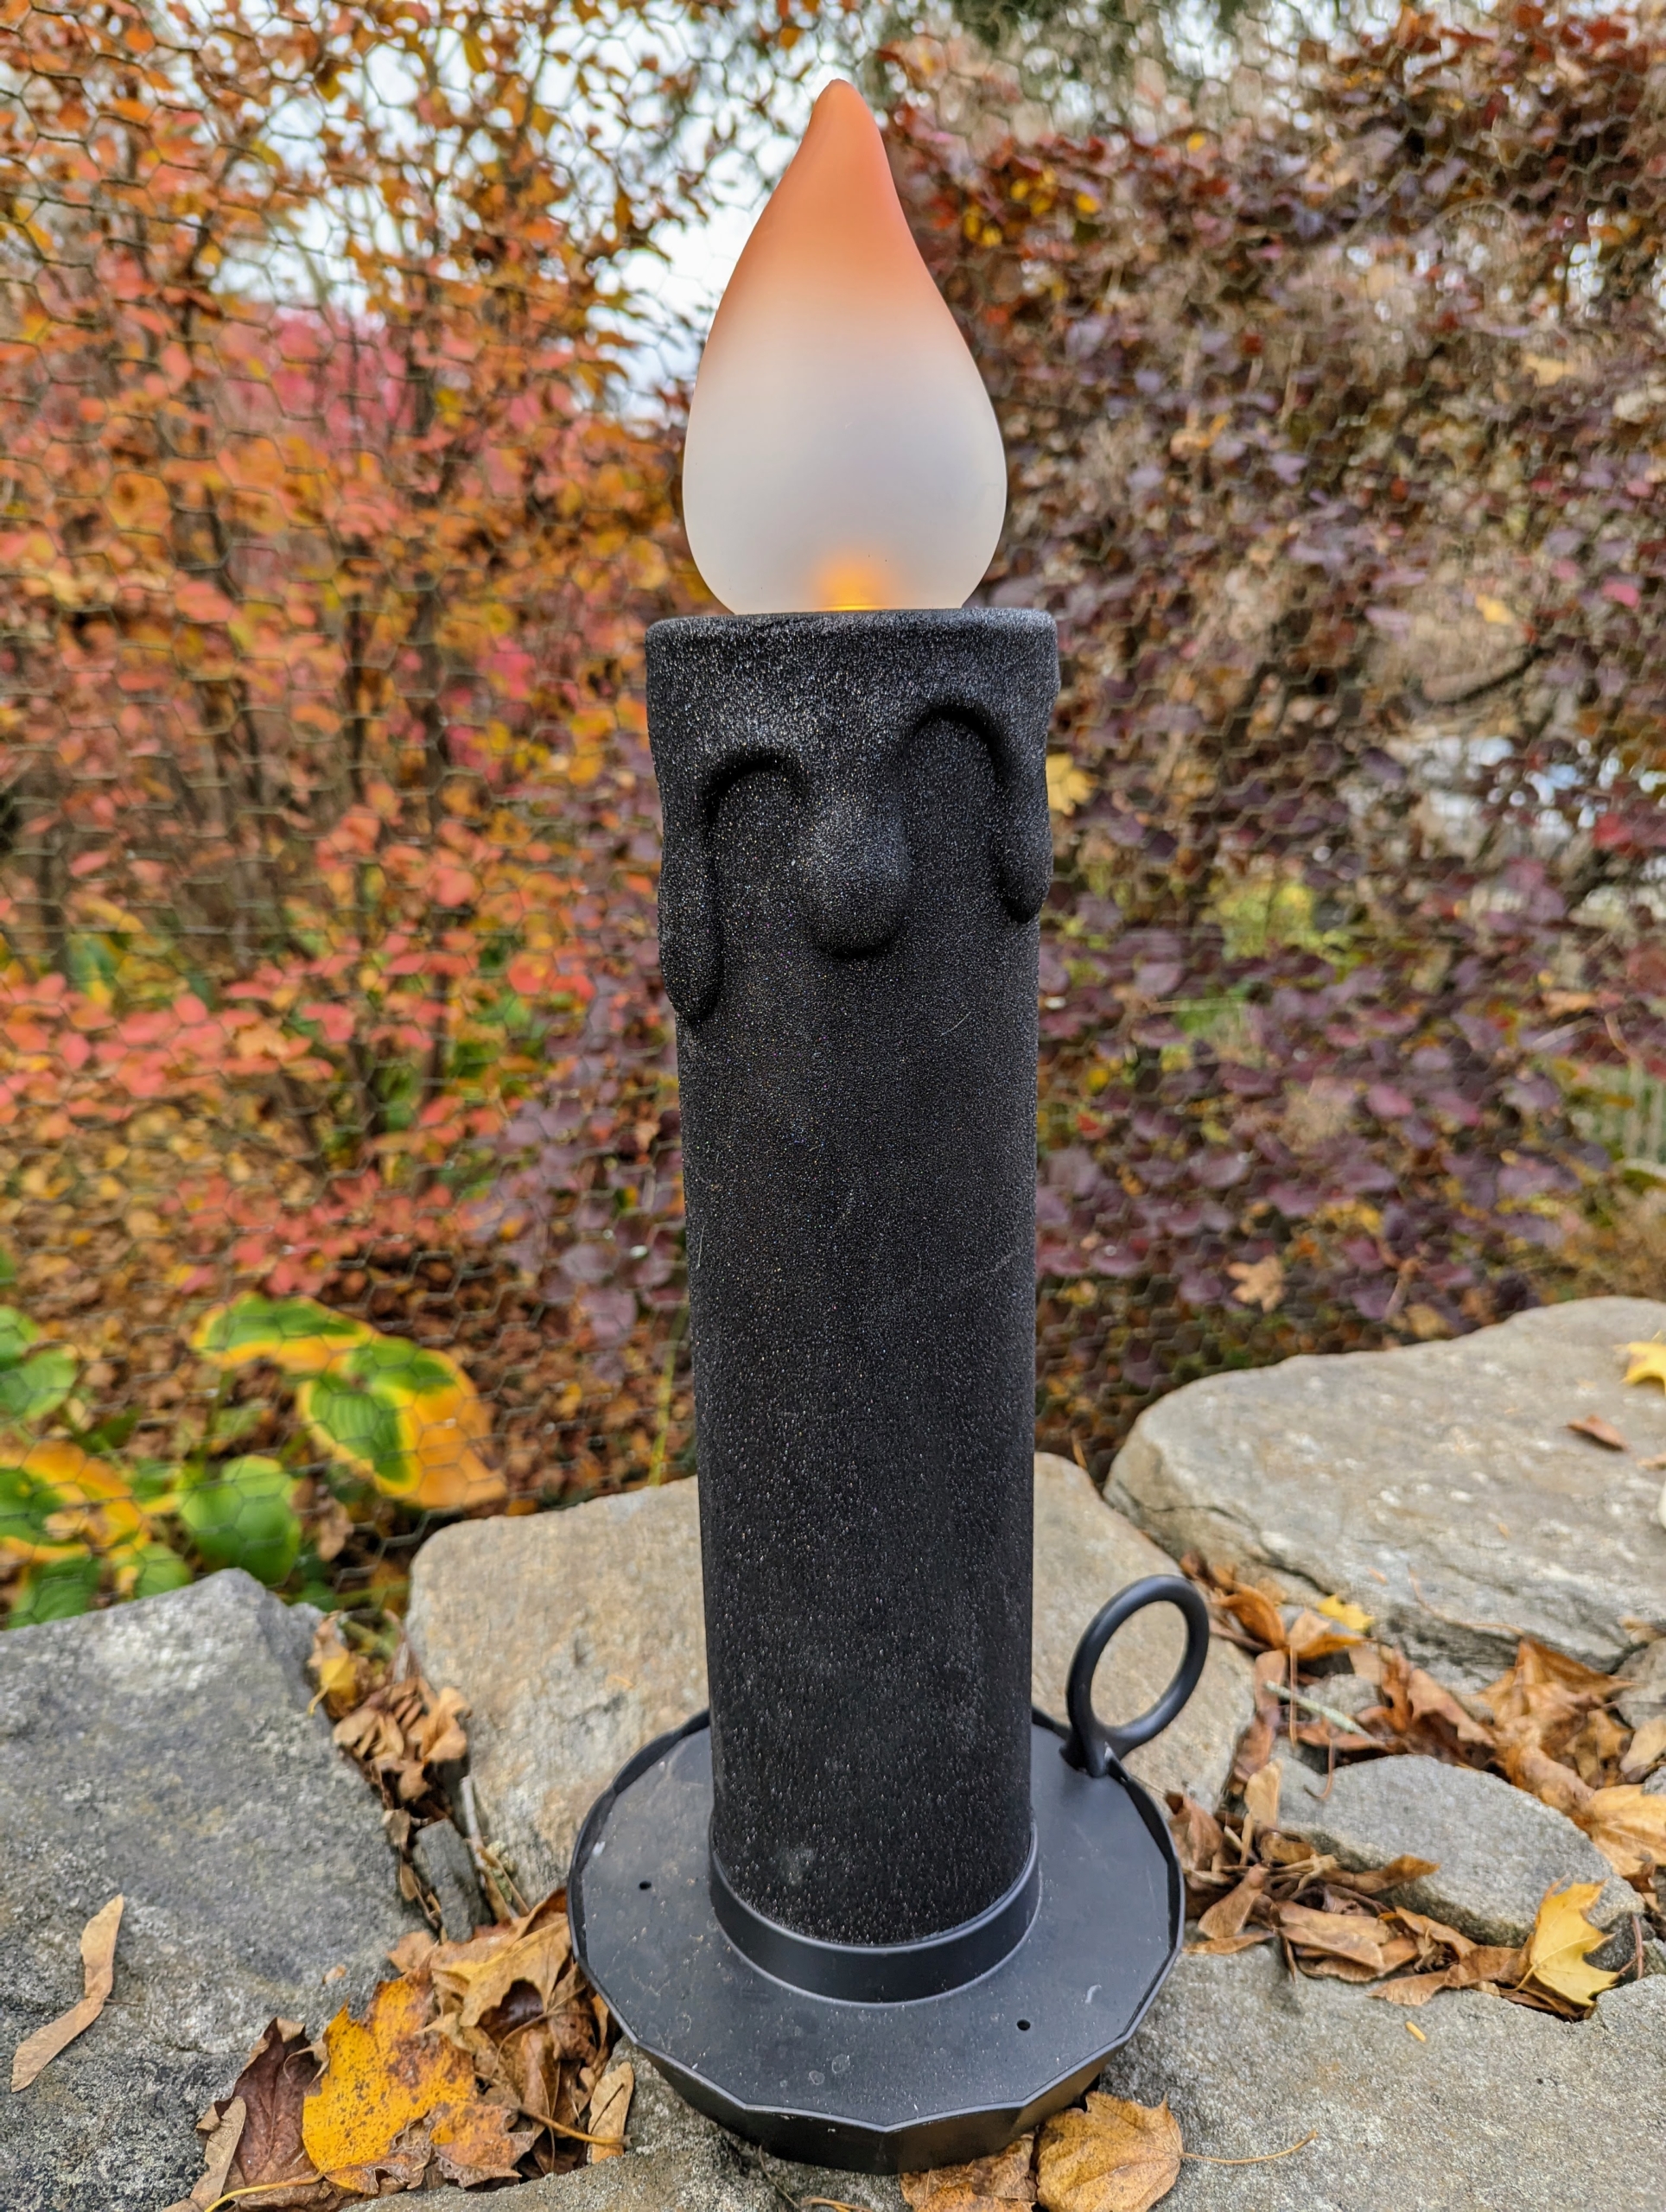
Another past collection item is this 22.5-inch Indoor/Outdoor Halloween Candle. I always try to make our display a little different every year.
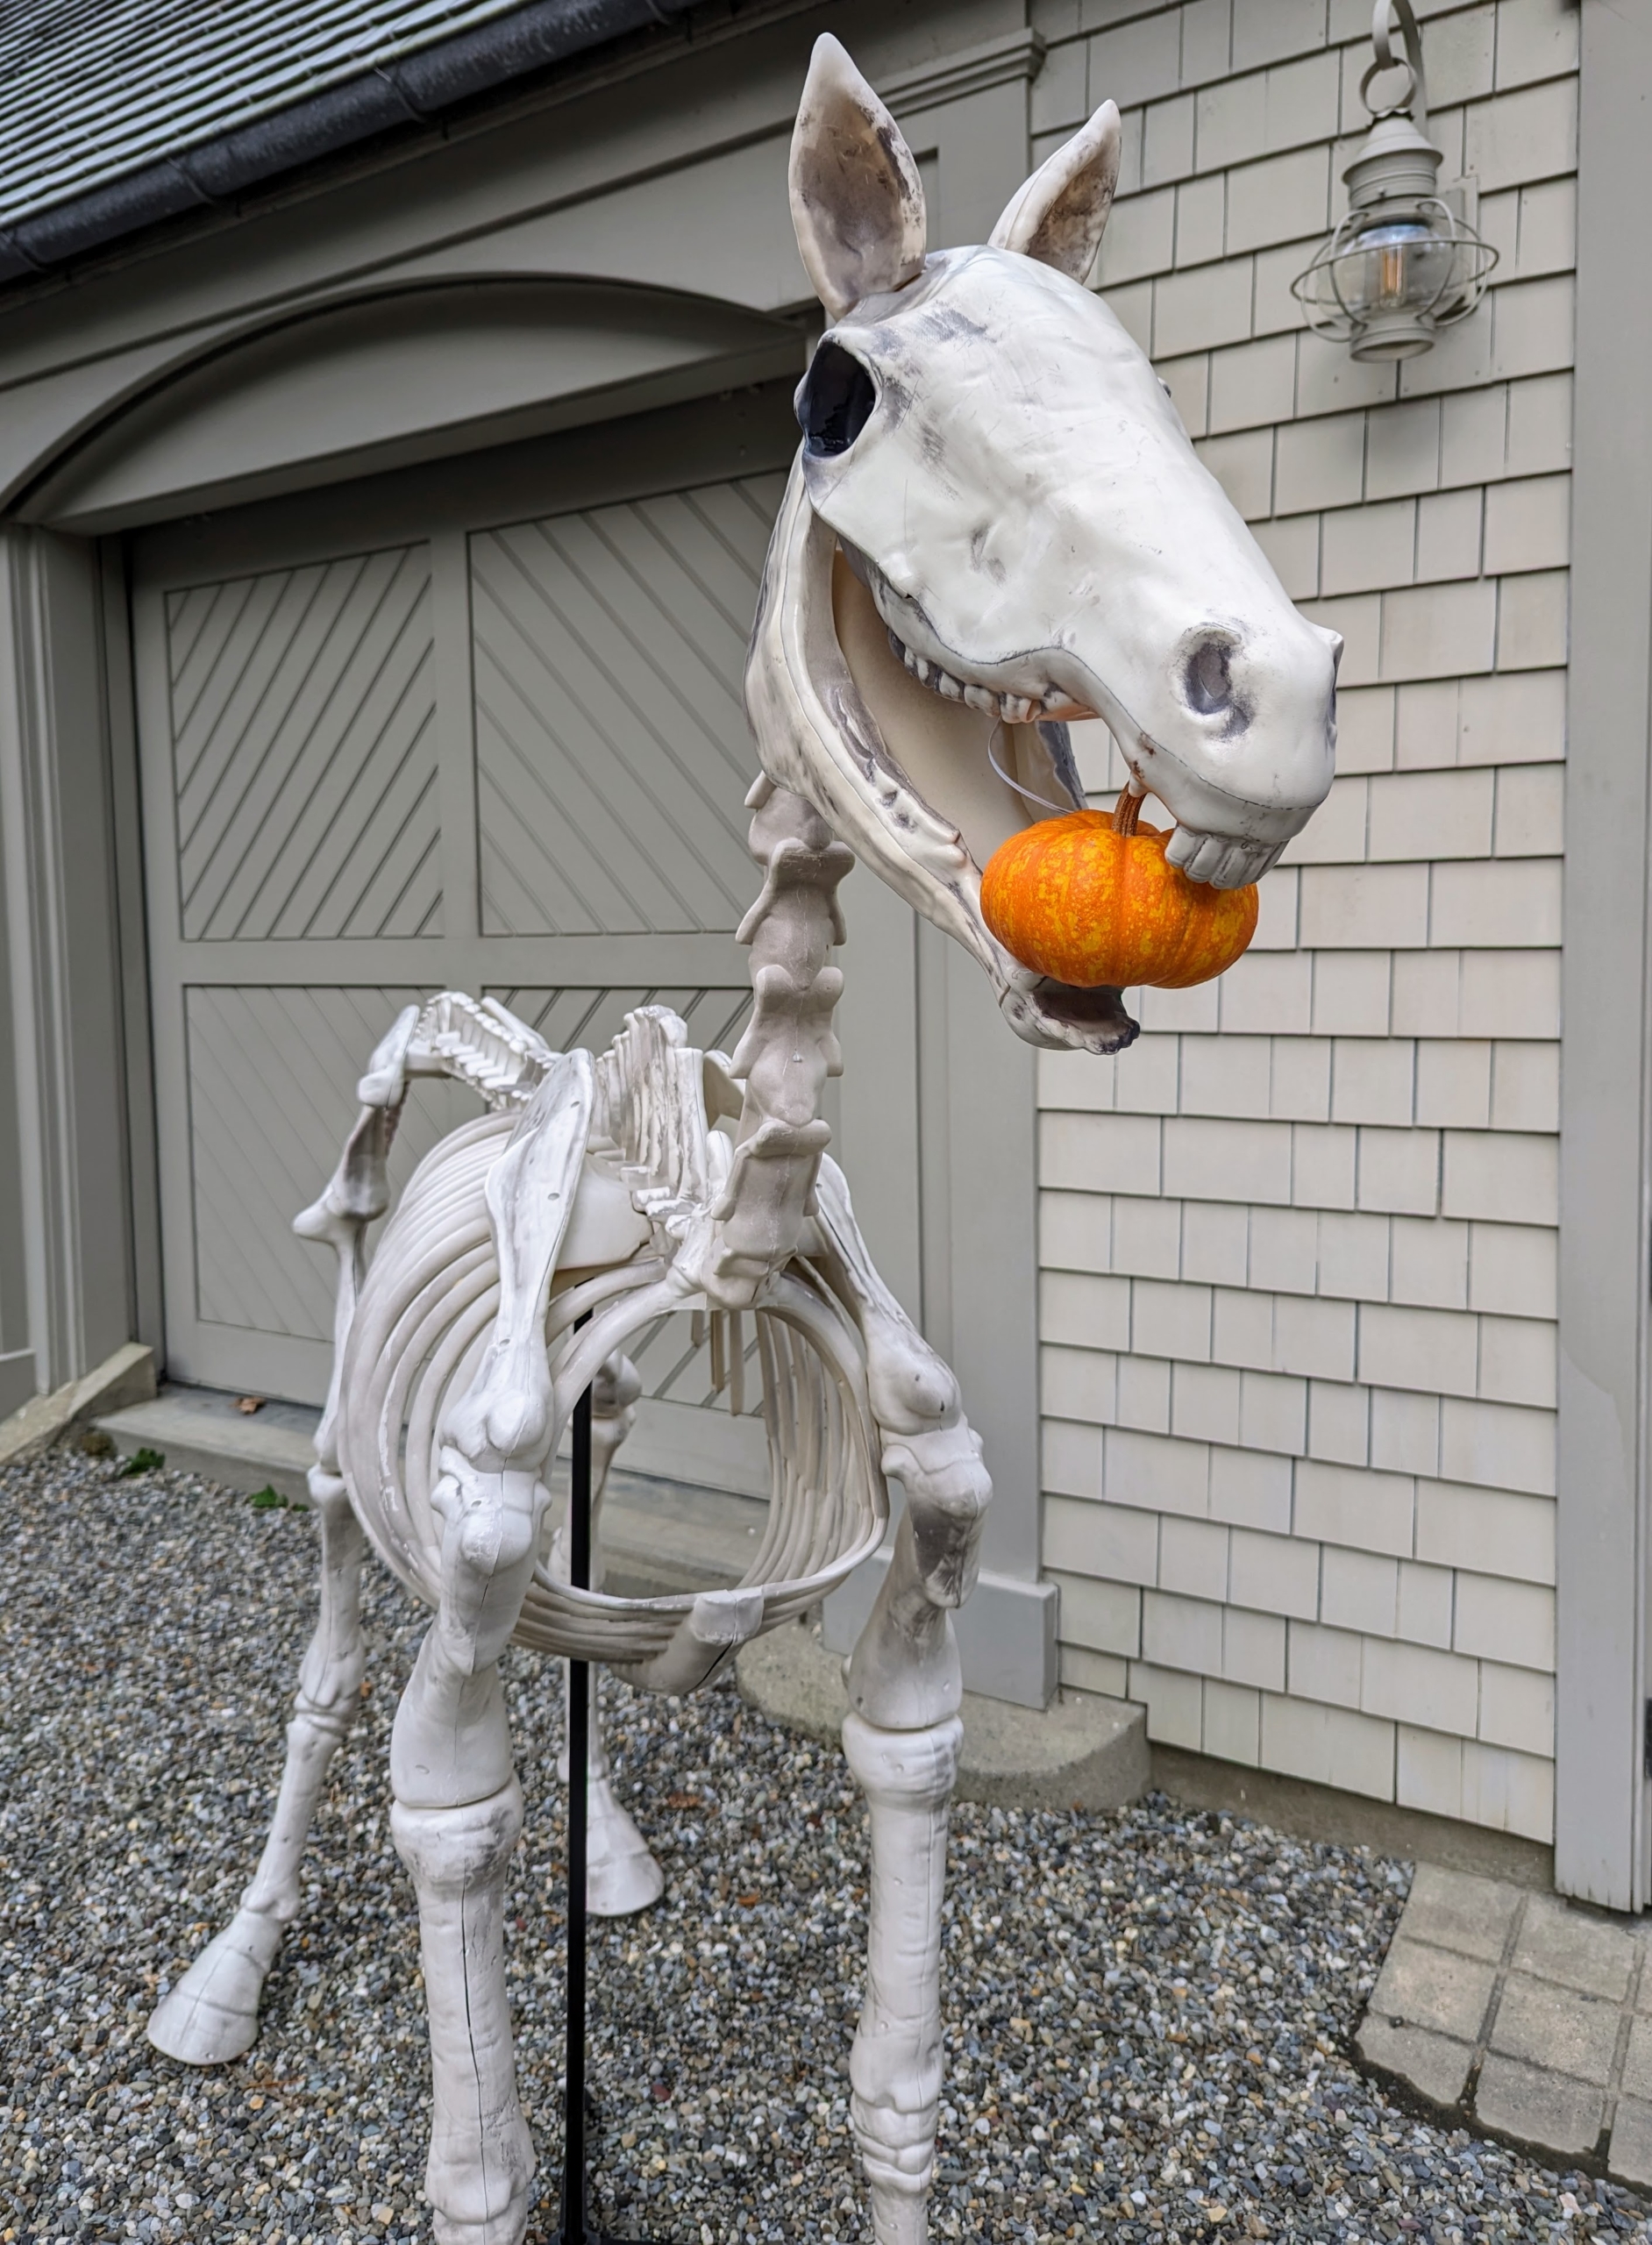
And, here is one of two menacing Halloween skeleton horses. This equine friend is 74-inches tall and has sound effects. I like to have this on the front driveway to greet all the children, and the adults who accompany them.
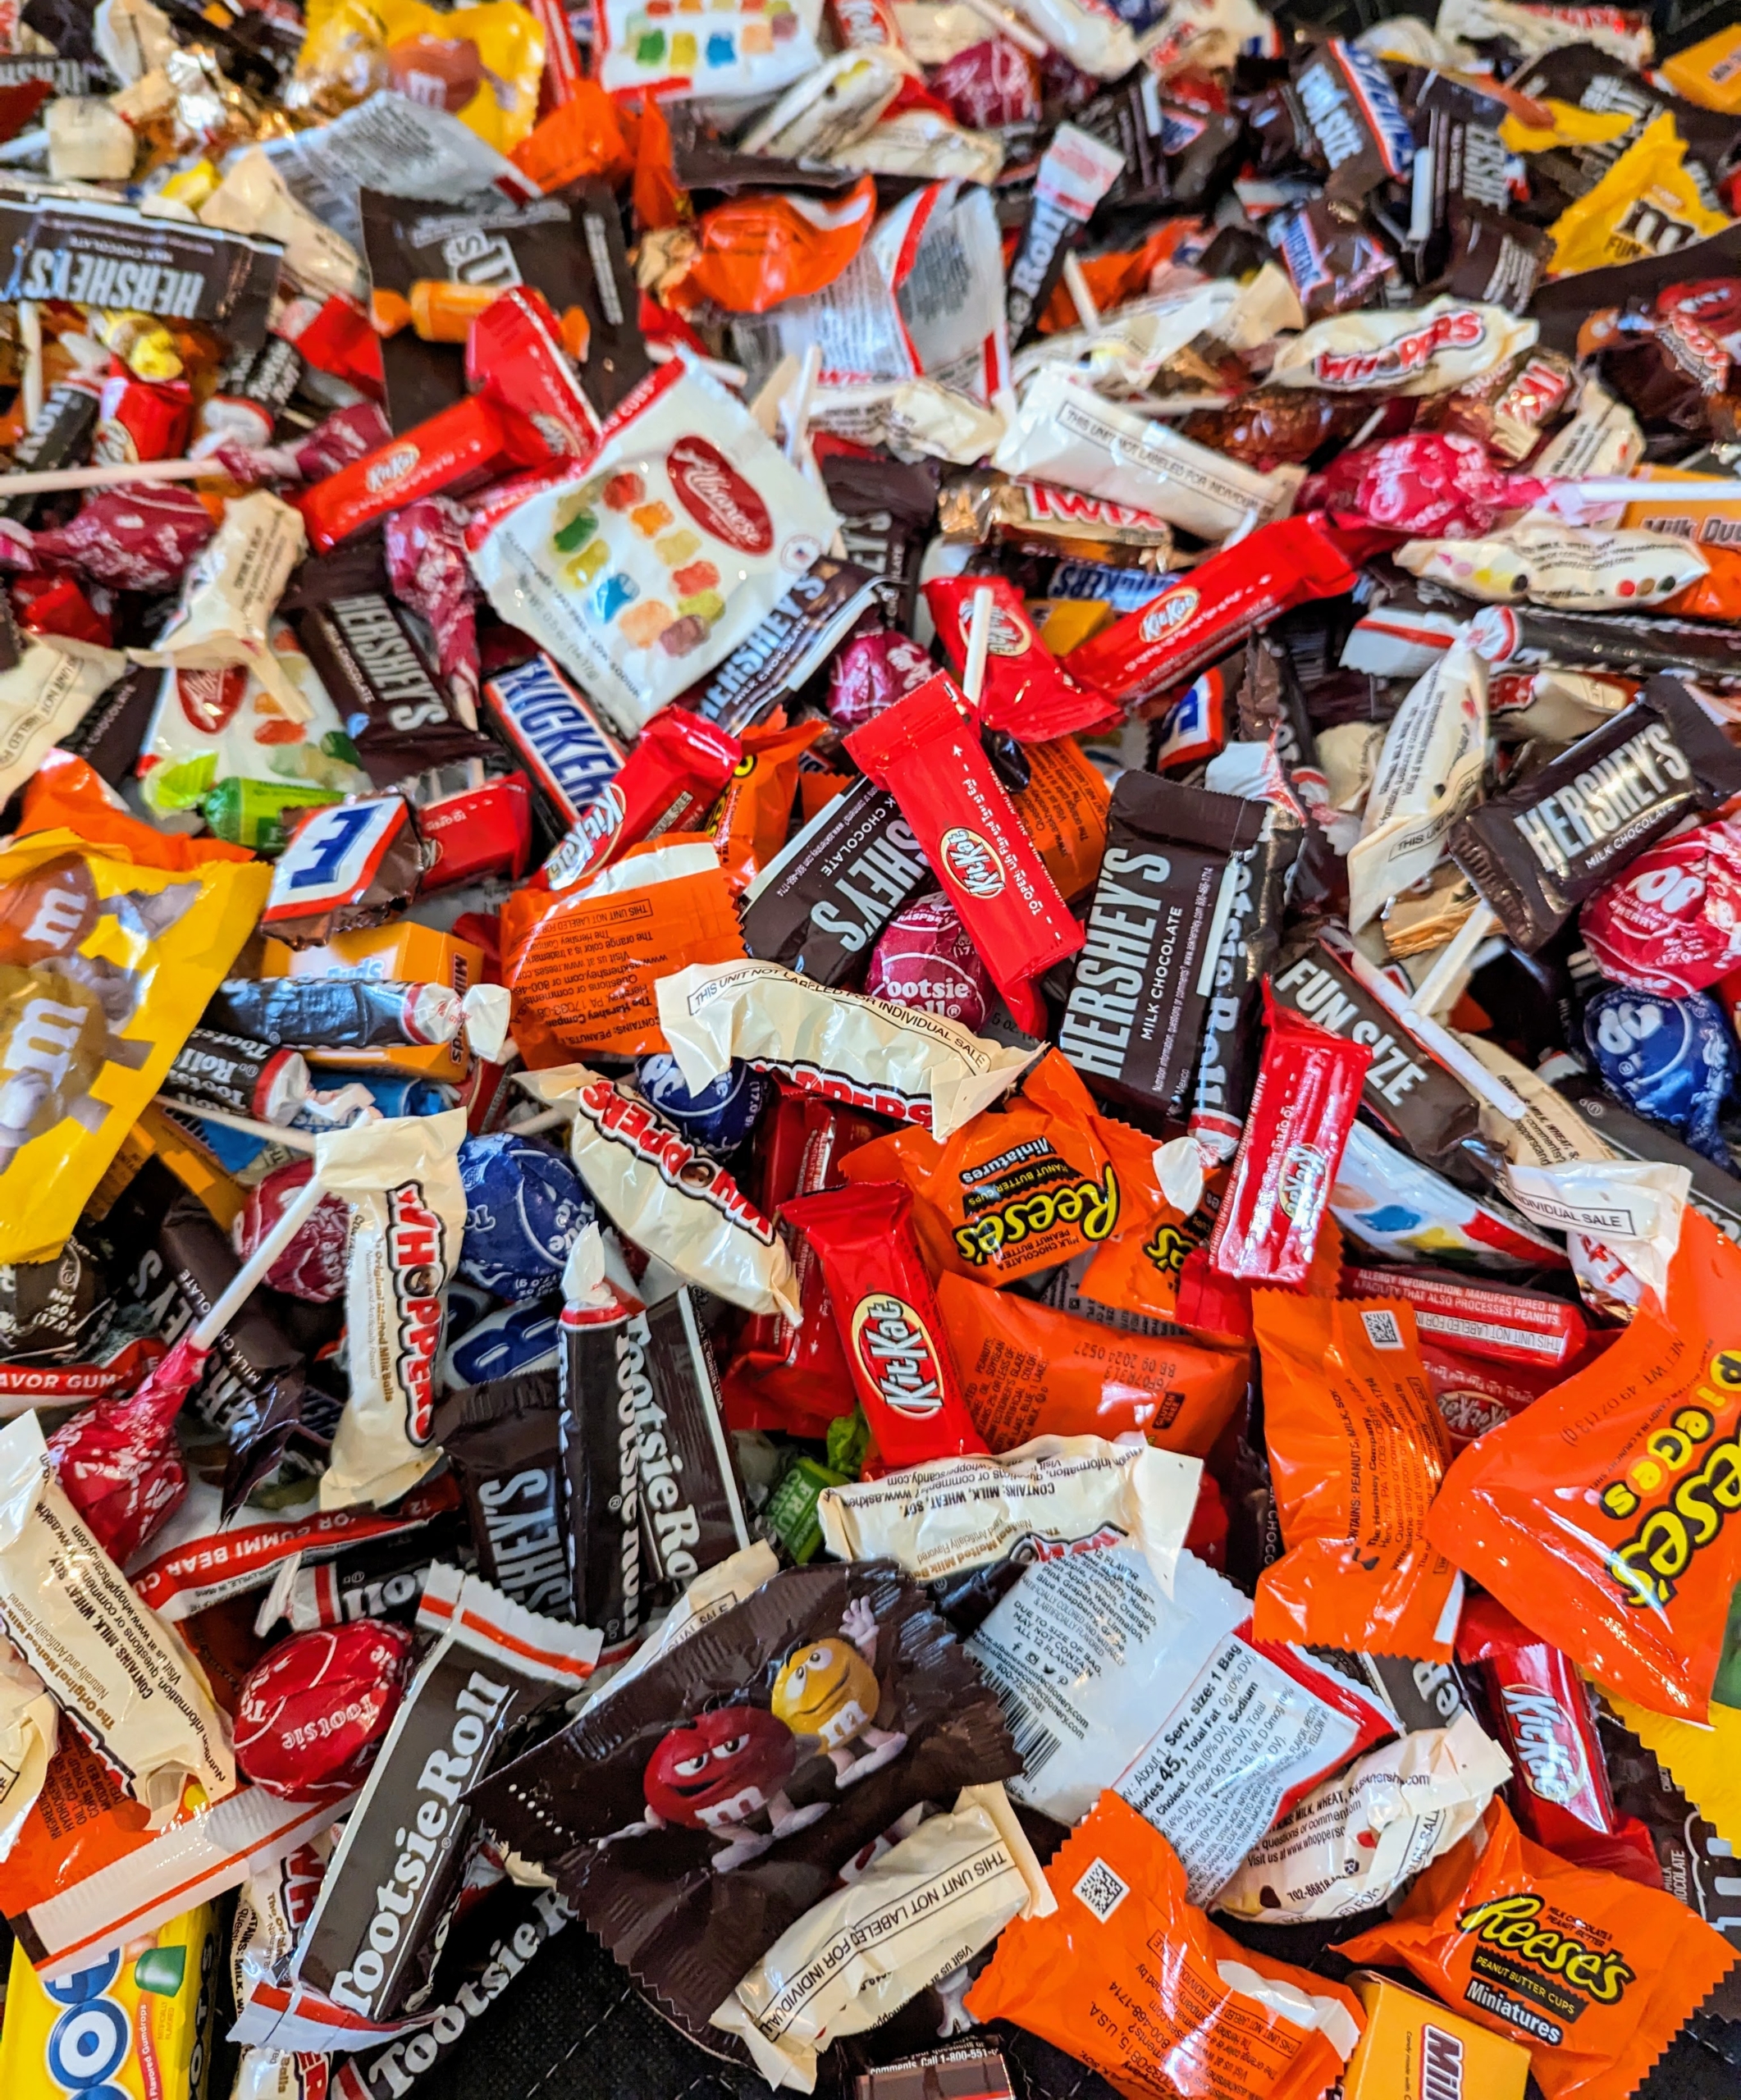
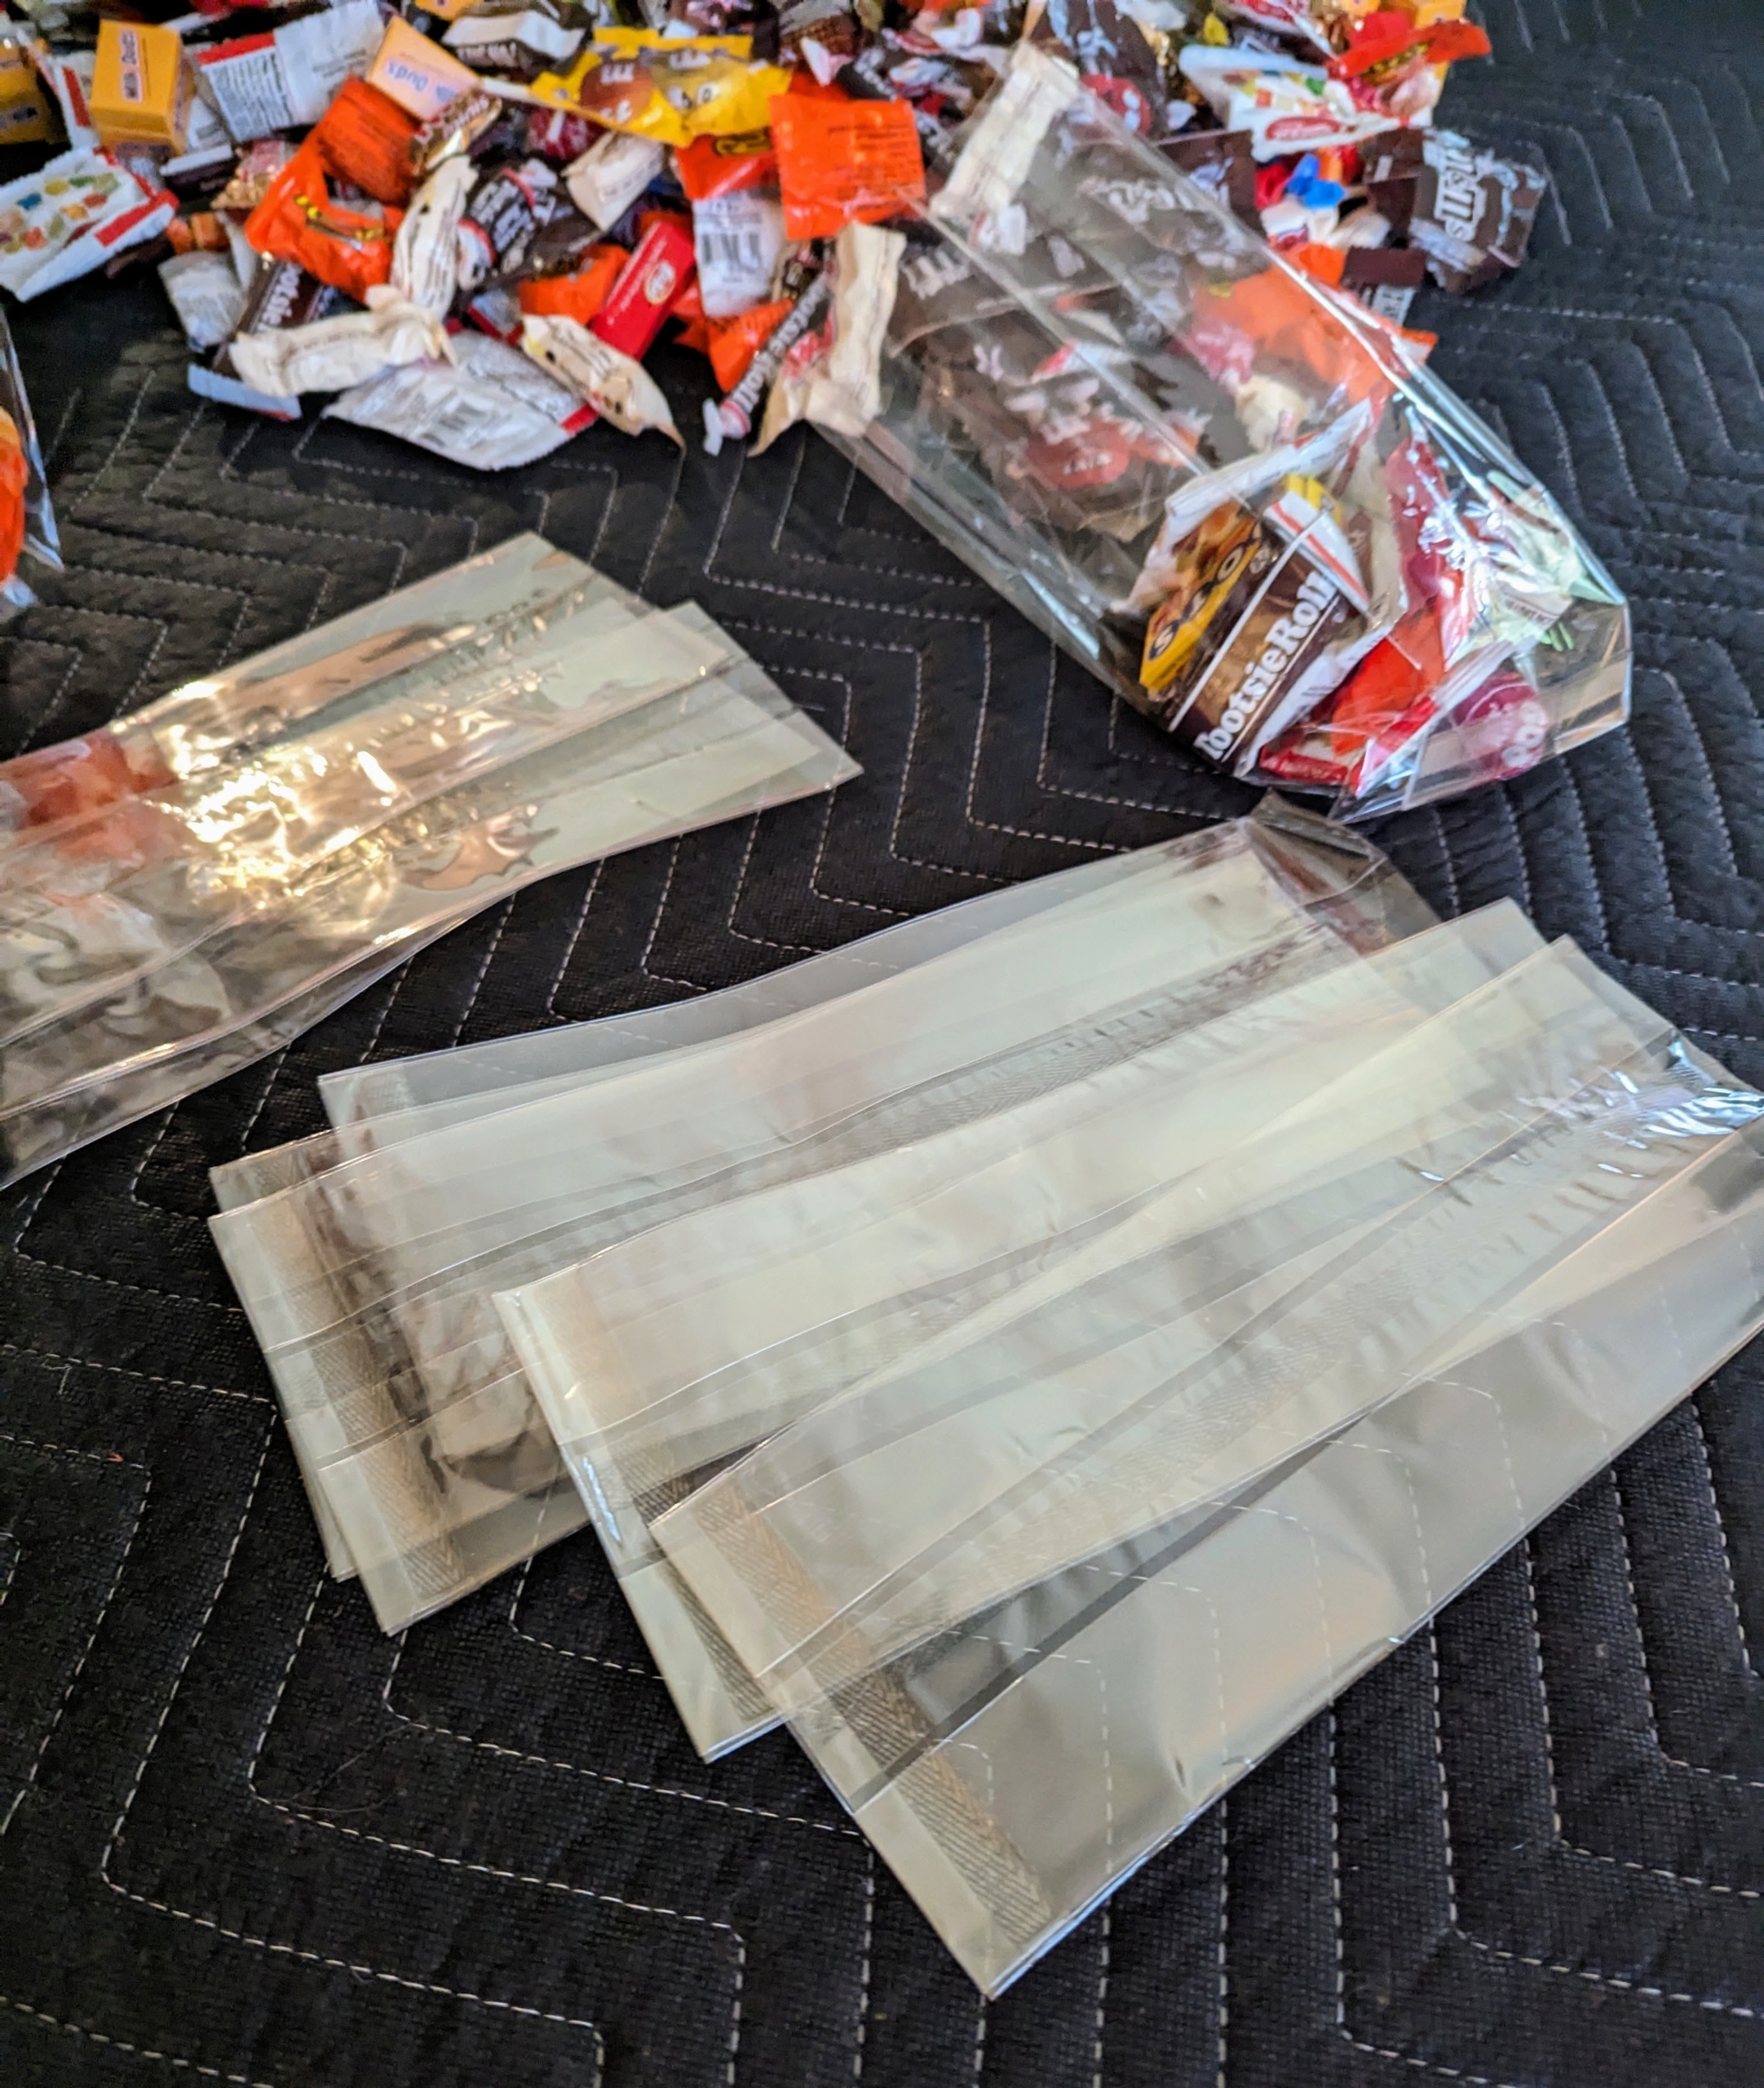
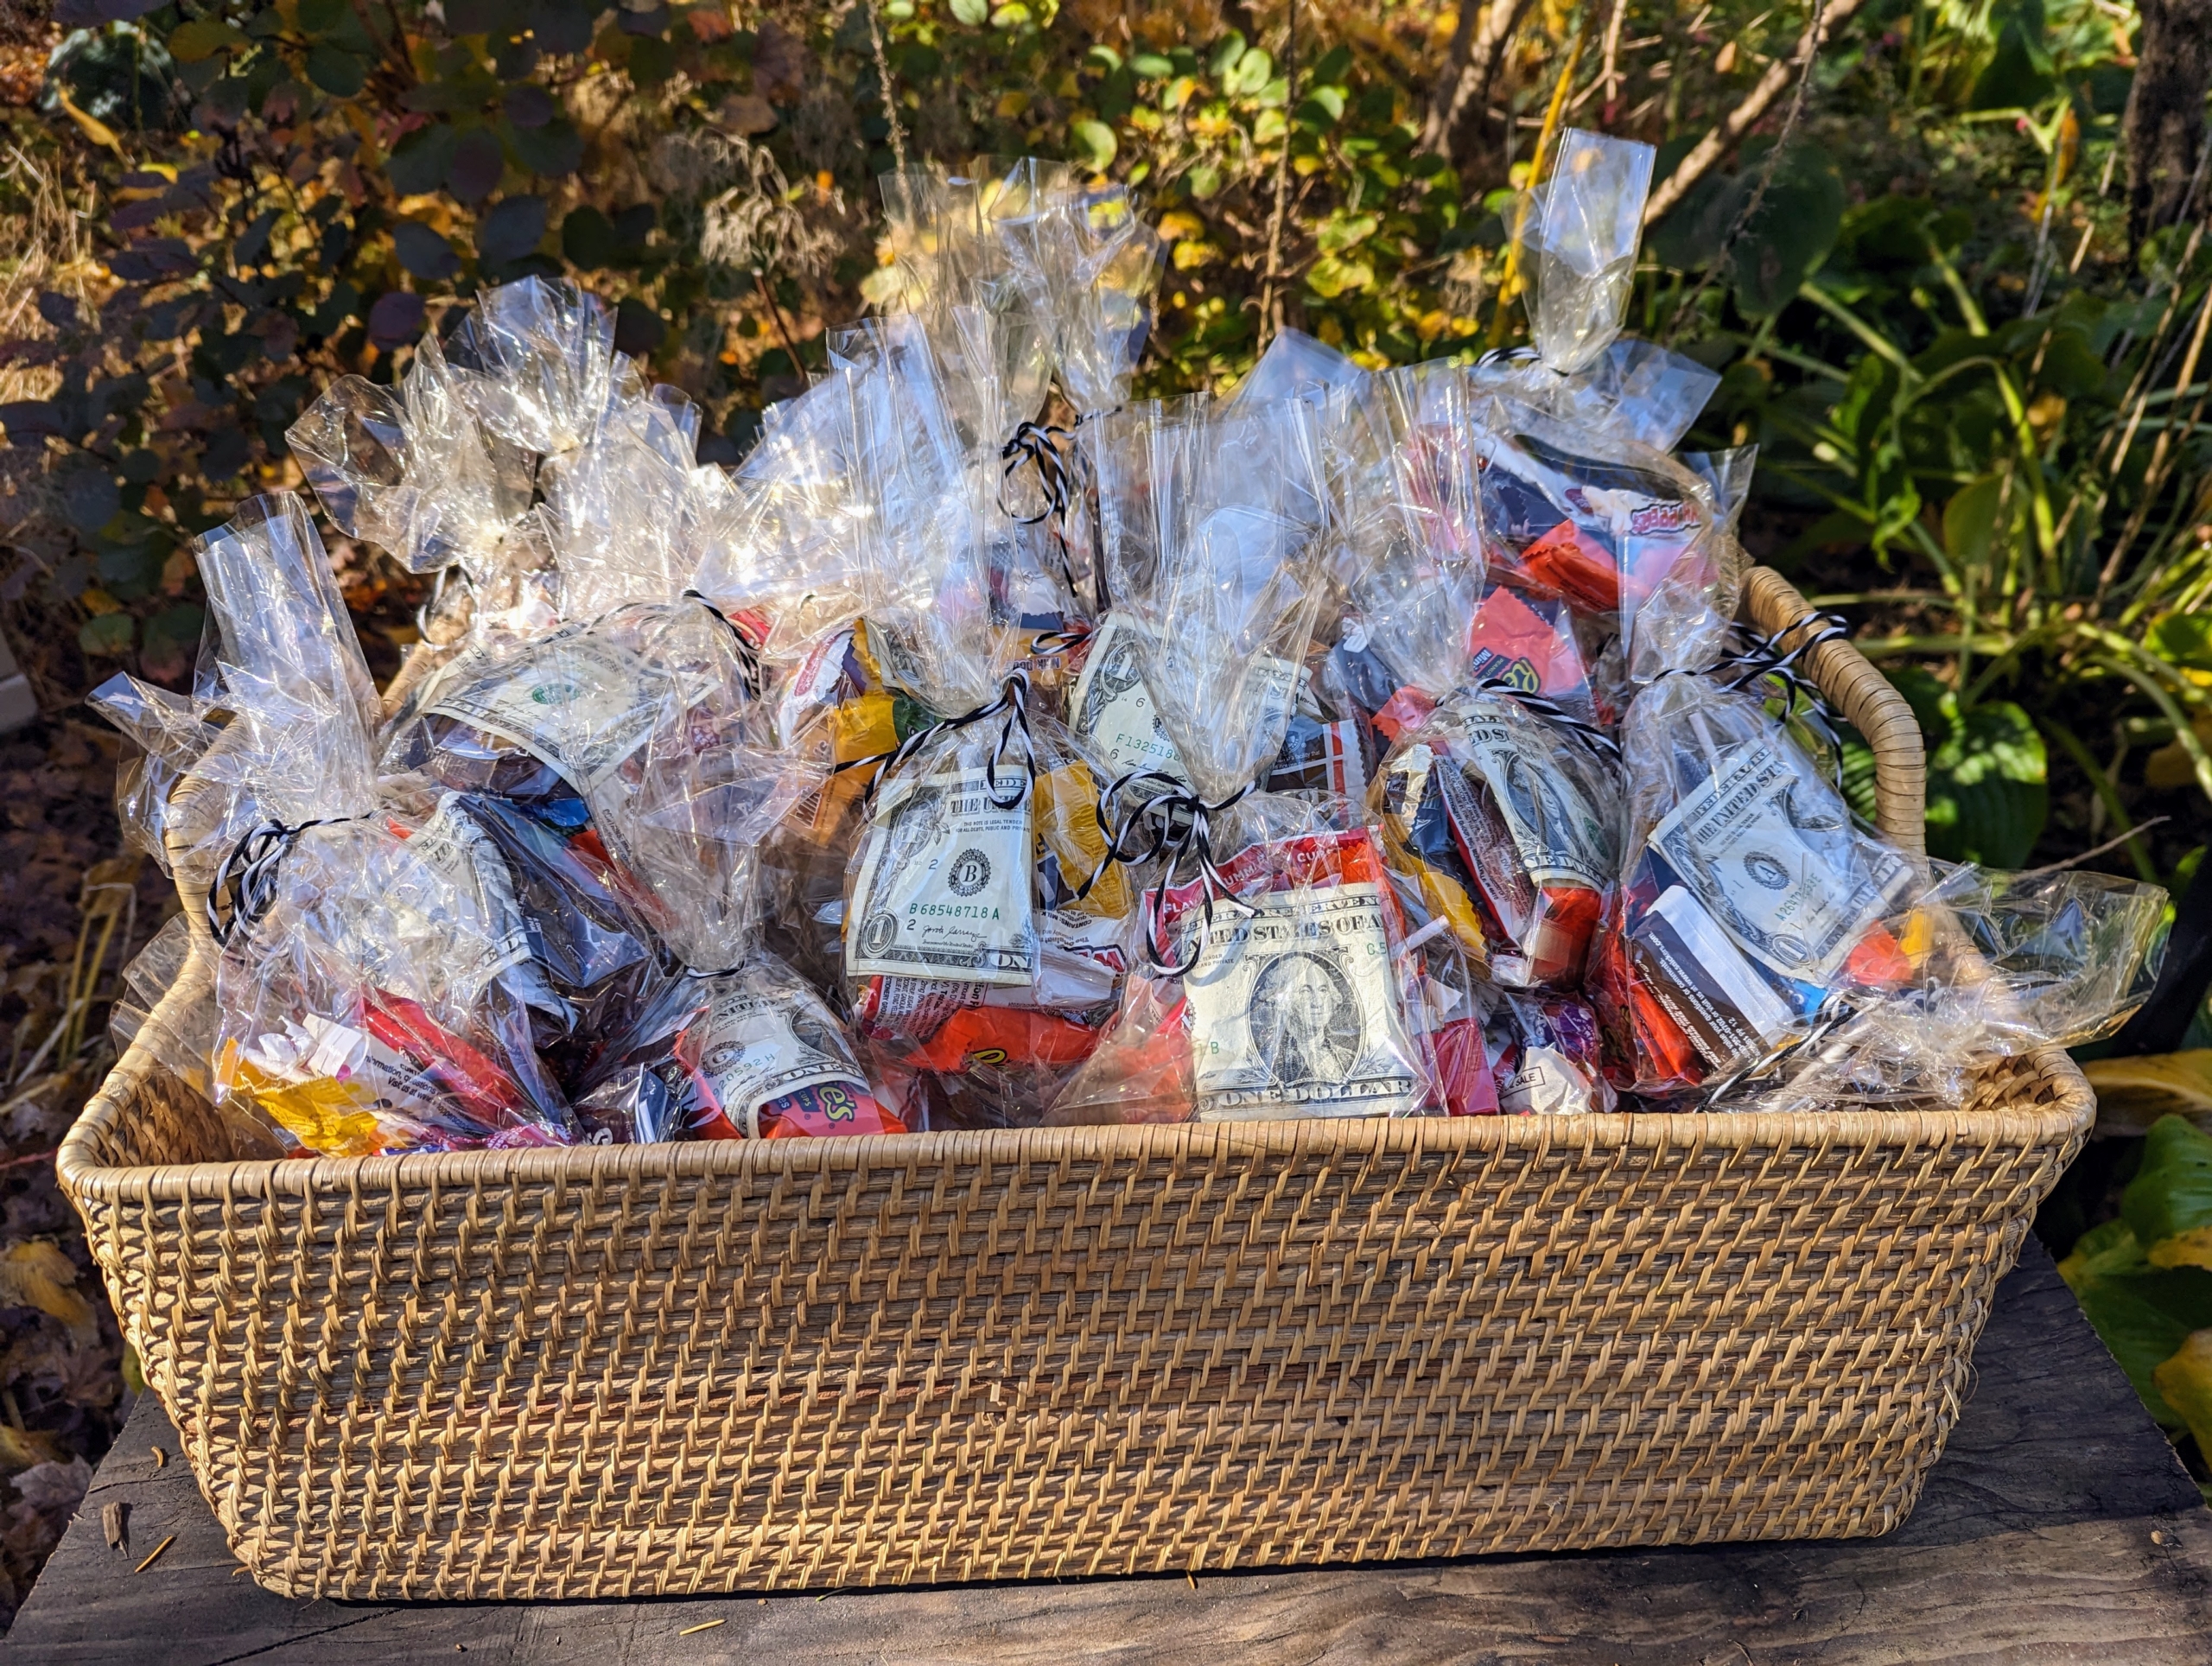
In my guest house cookbook library and studio, we bagged lots of candy for all the little revelers.
I like to group several candies together and place them in cellophane bags. These bags are available online and can be so helpful for gifting an array of small items.
Each bag contains about 10-pieces of candy. Just the perfect amount for our littles trick-or-treaters.
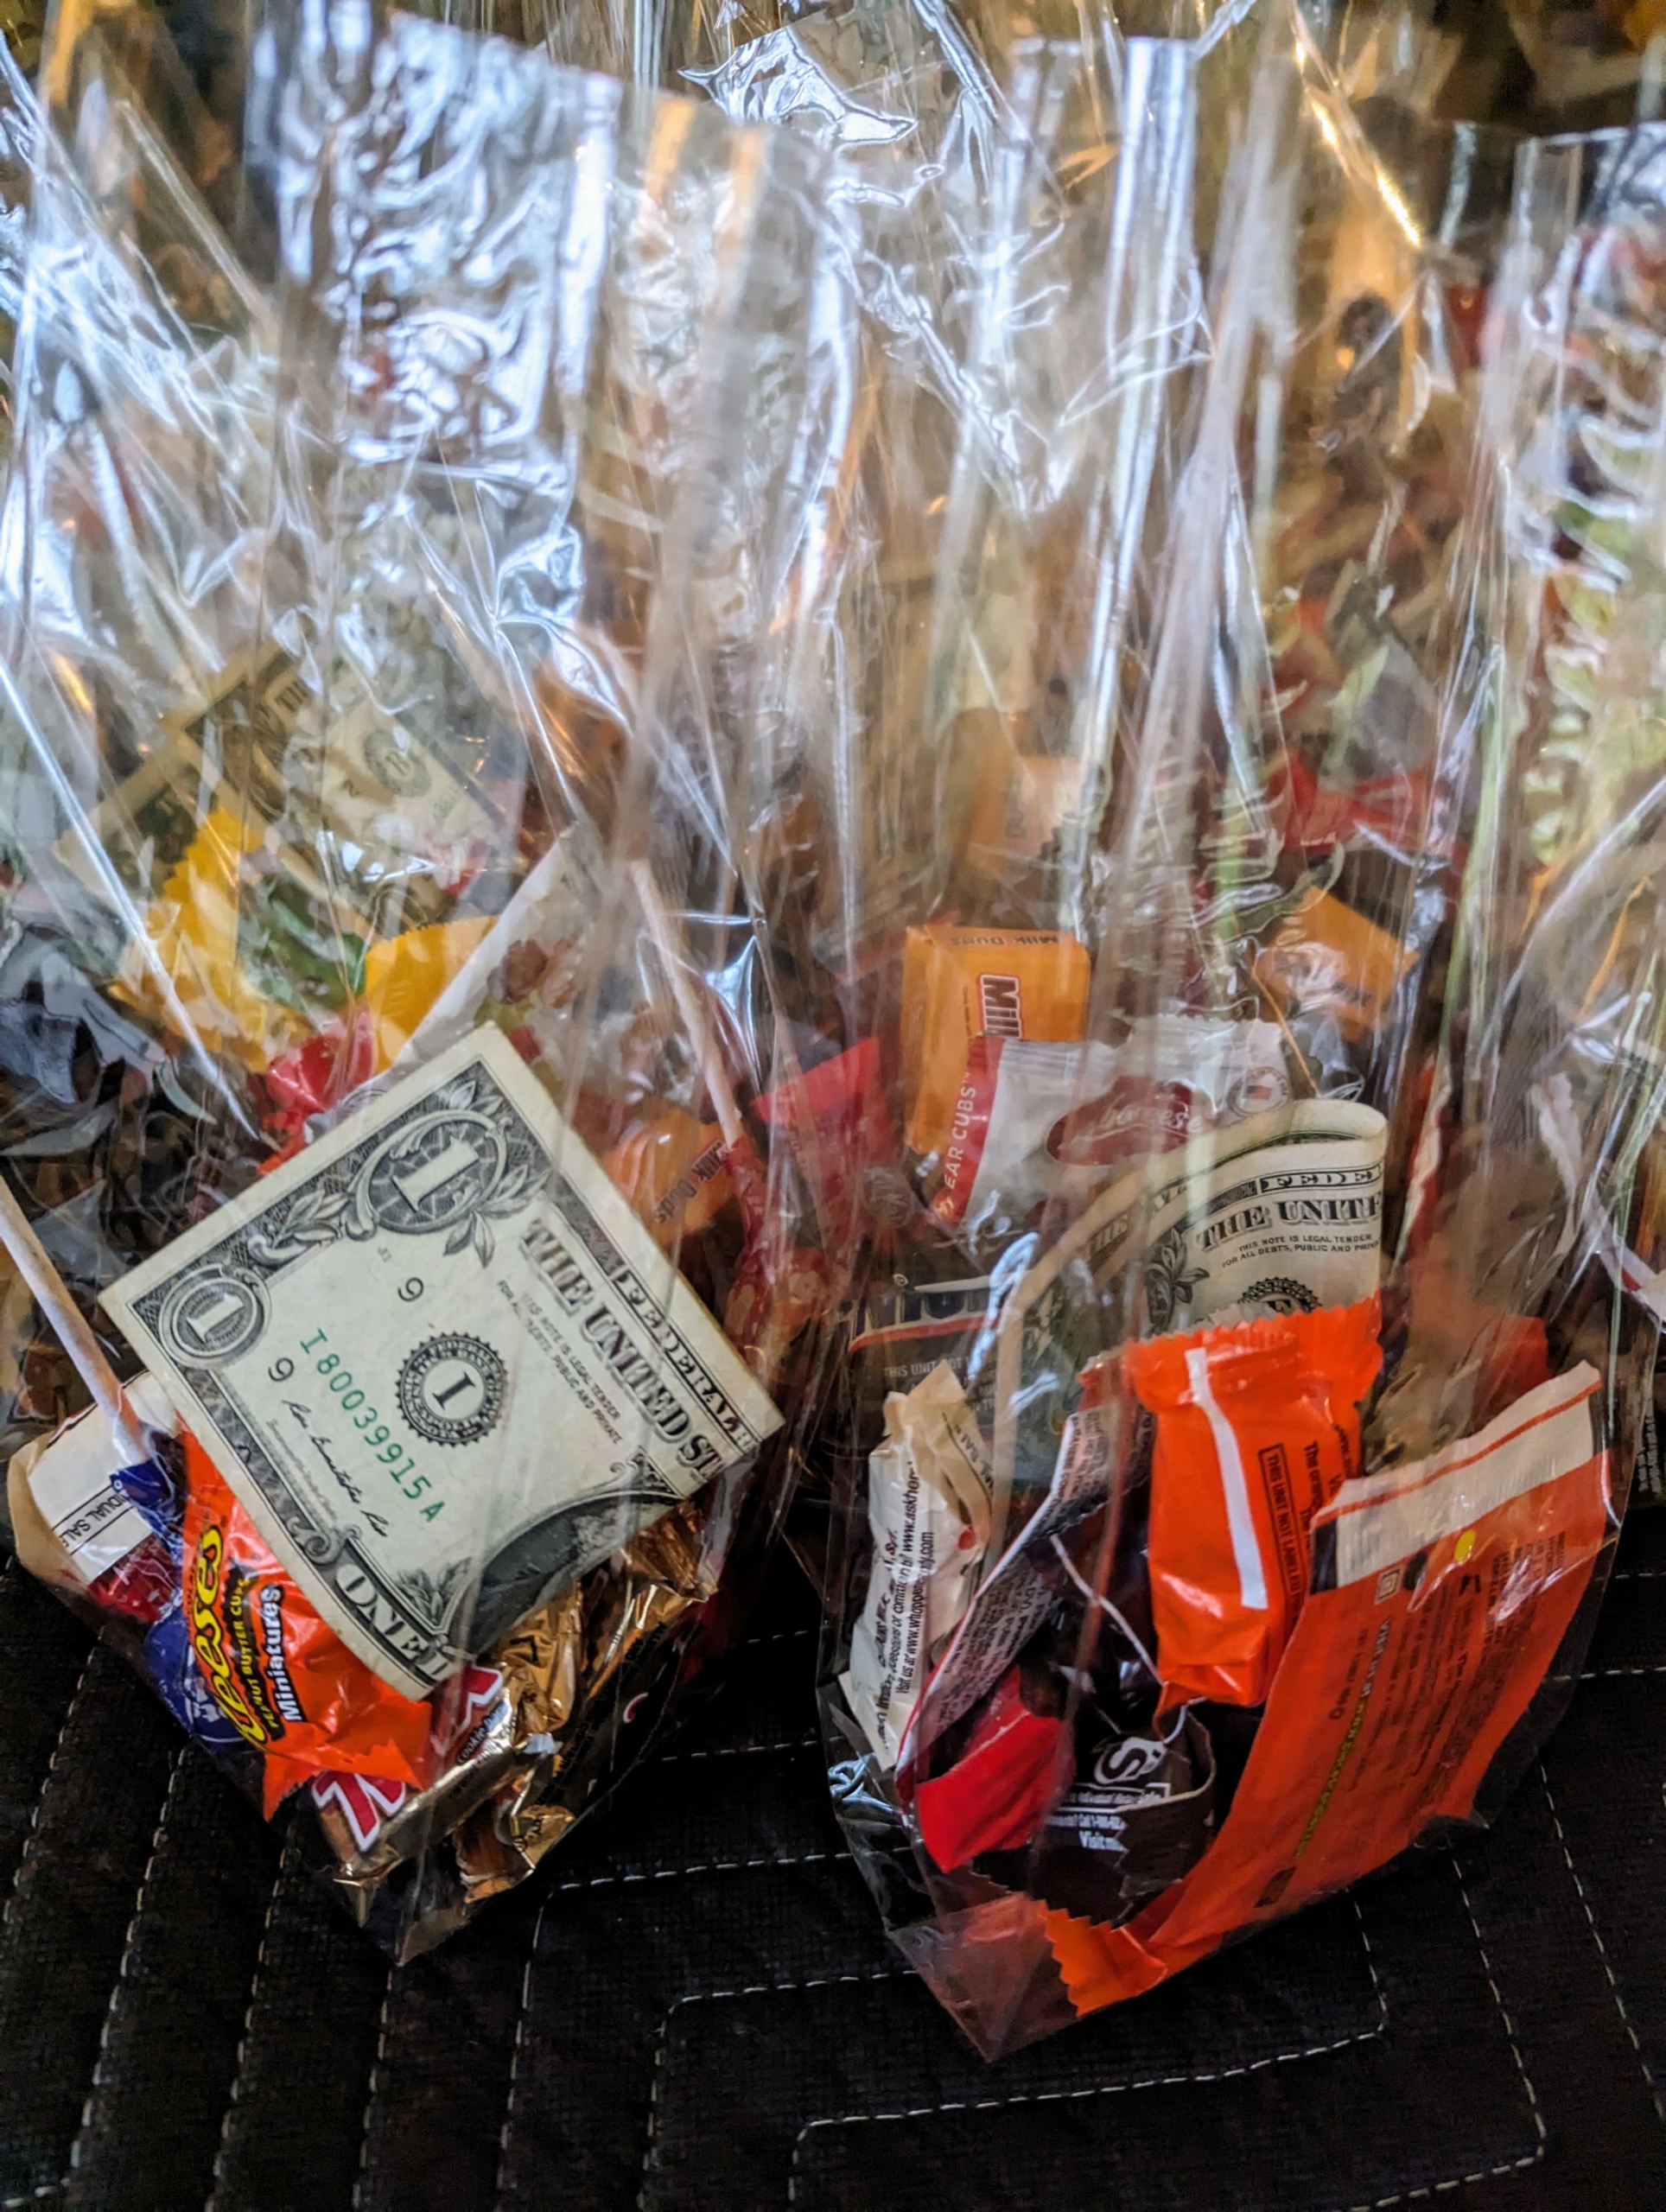
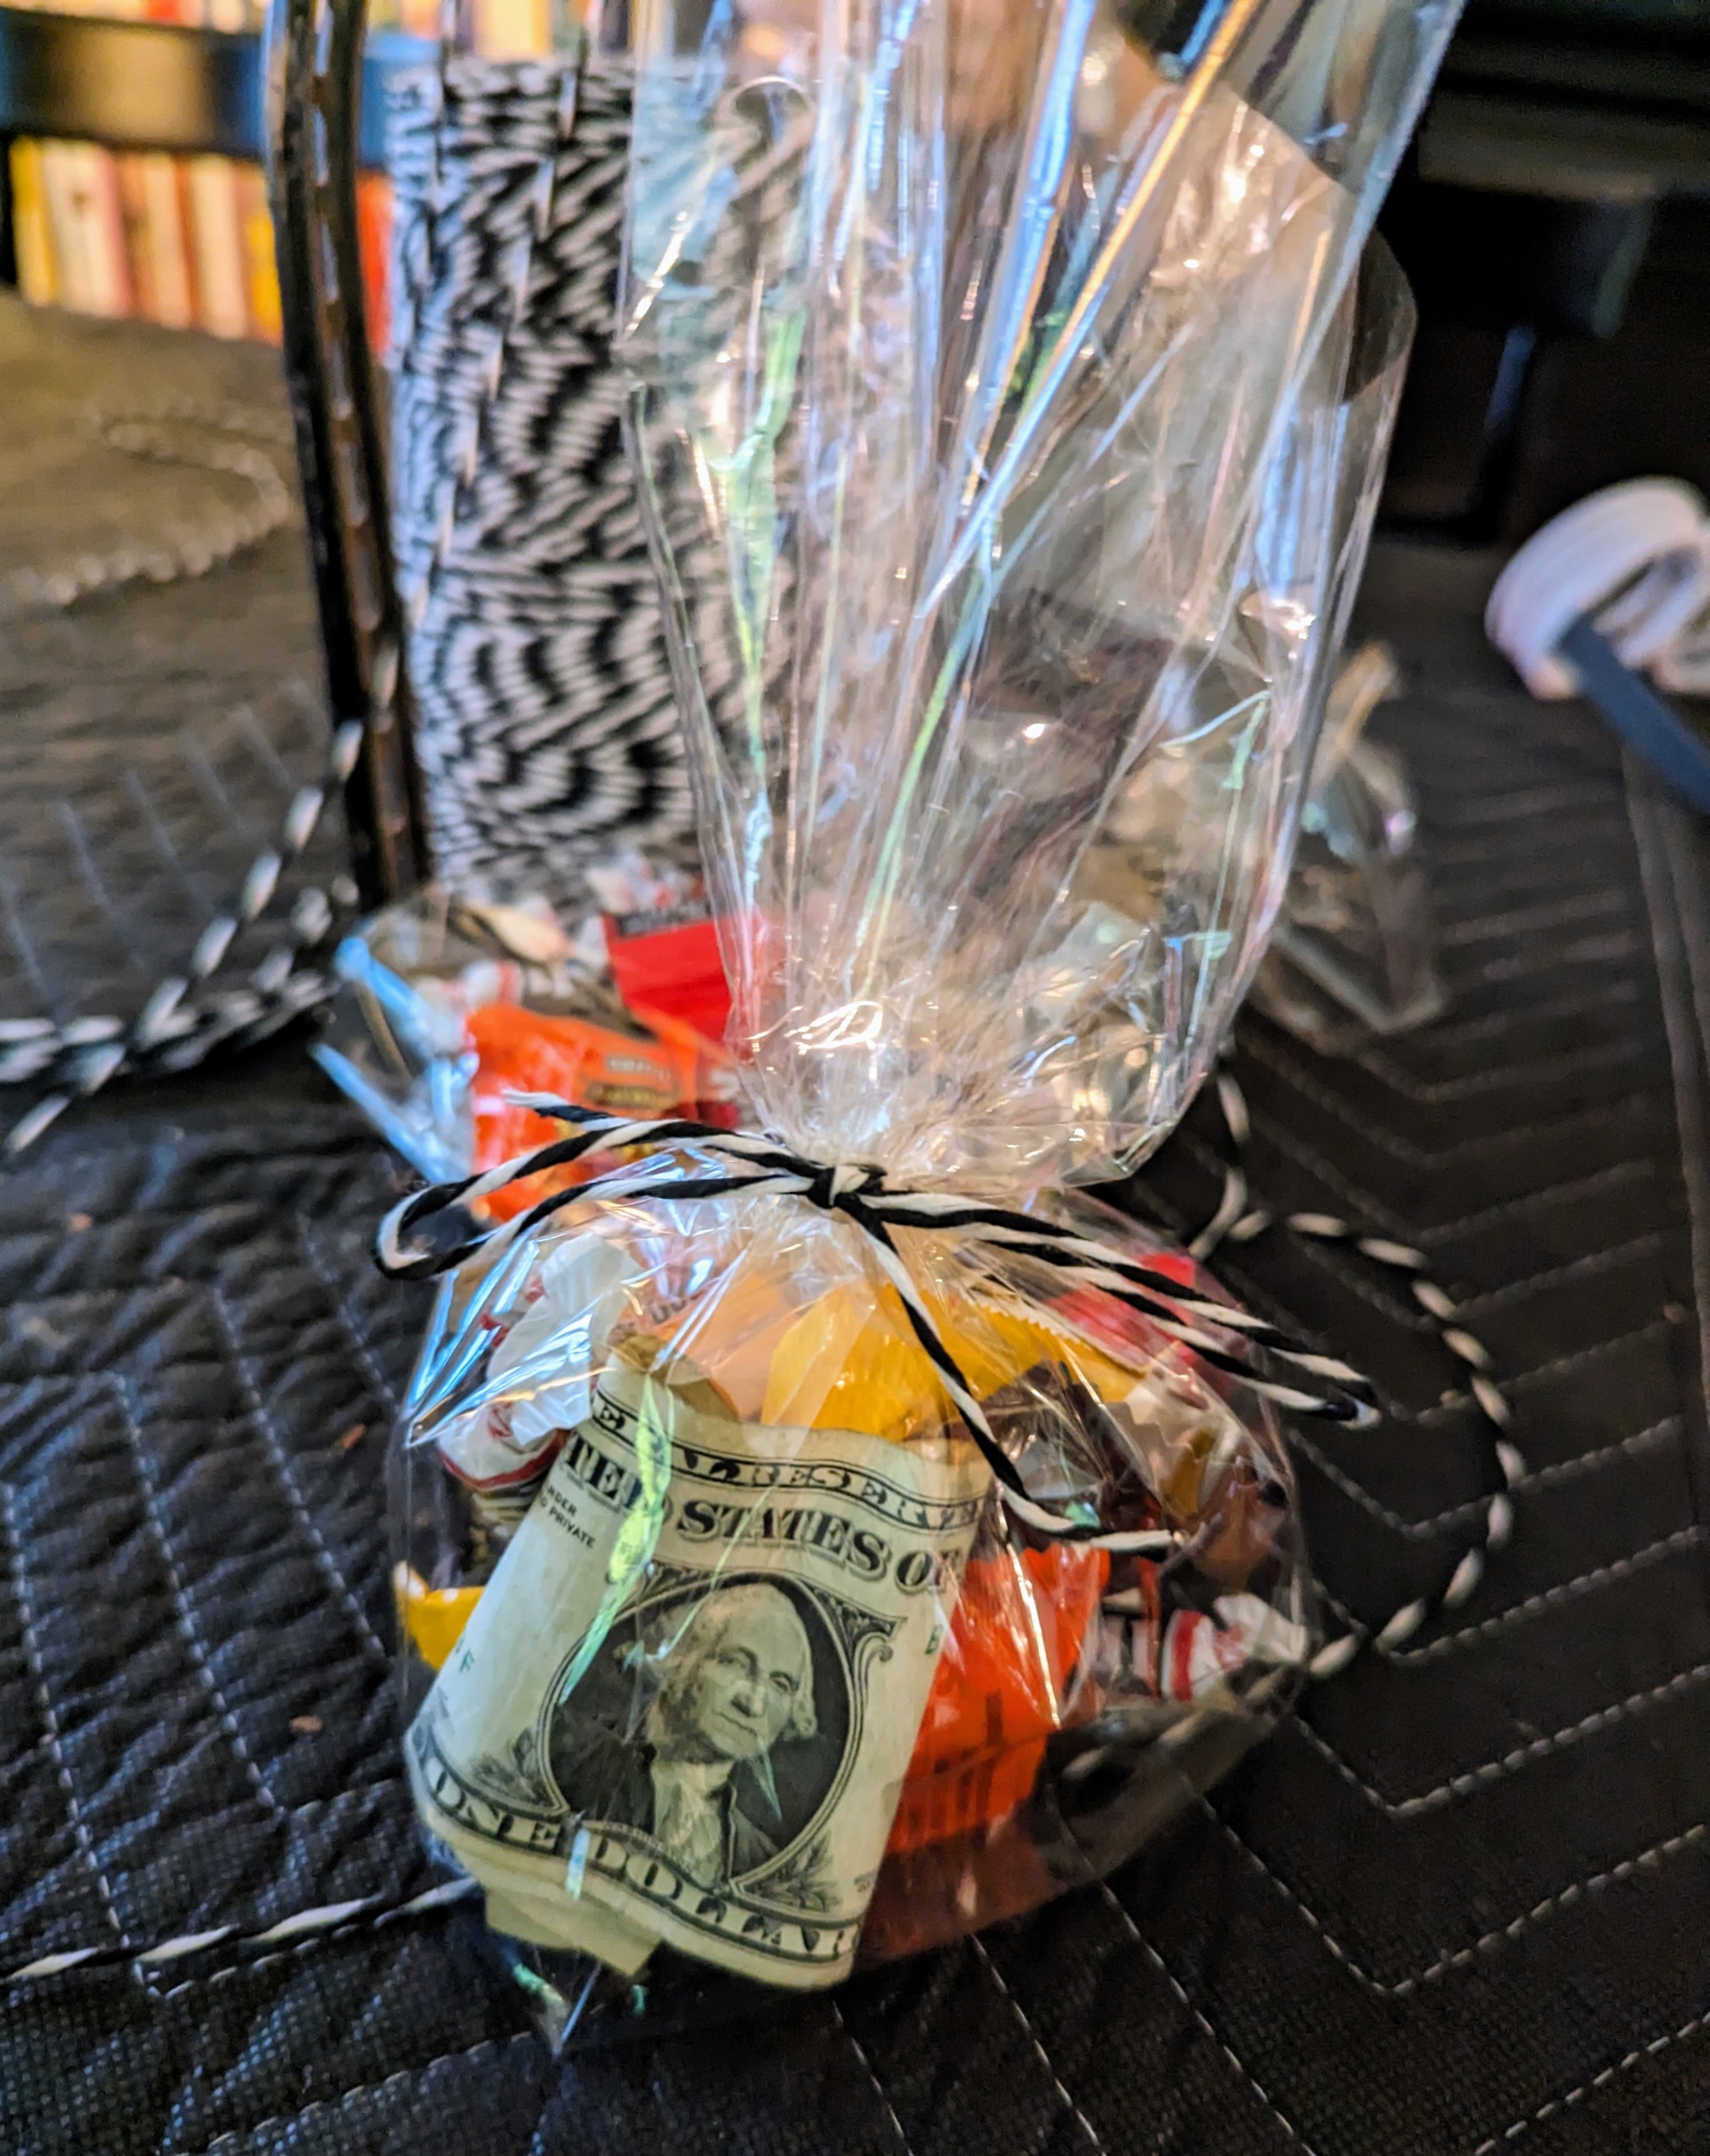
But look, I also added one dollar to each bag. One can also add some pennies – you know, the ones collected in jars and other vessels for that “rainy day.” It’s a great way to get rid of all those pennies, while offering something a bit more valuable than candy.
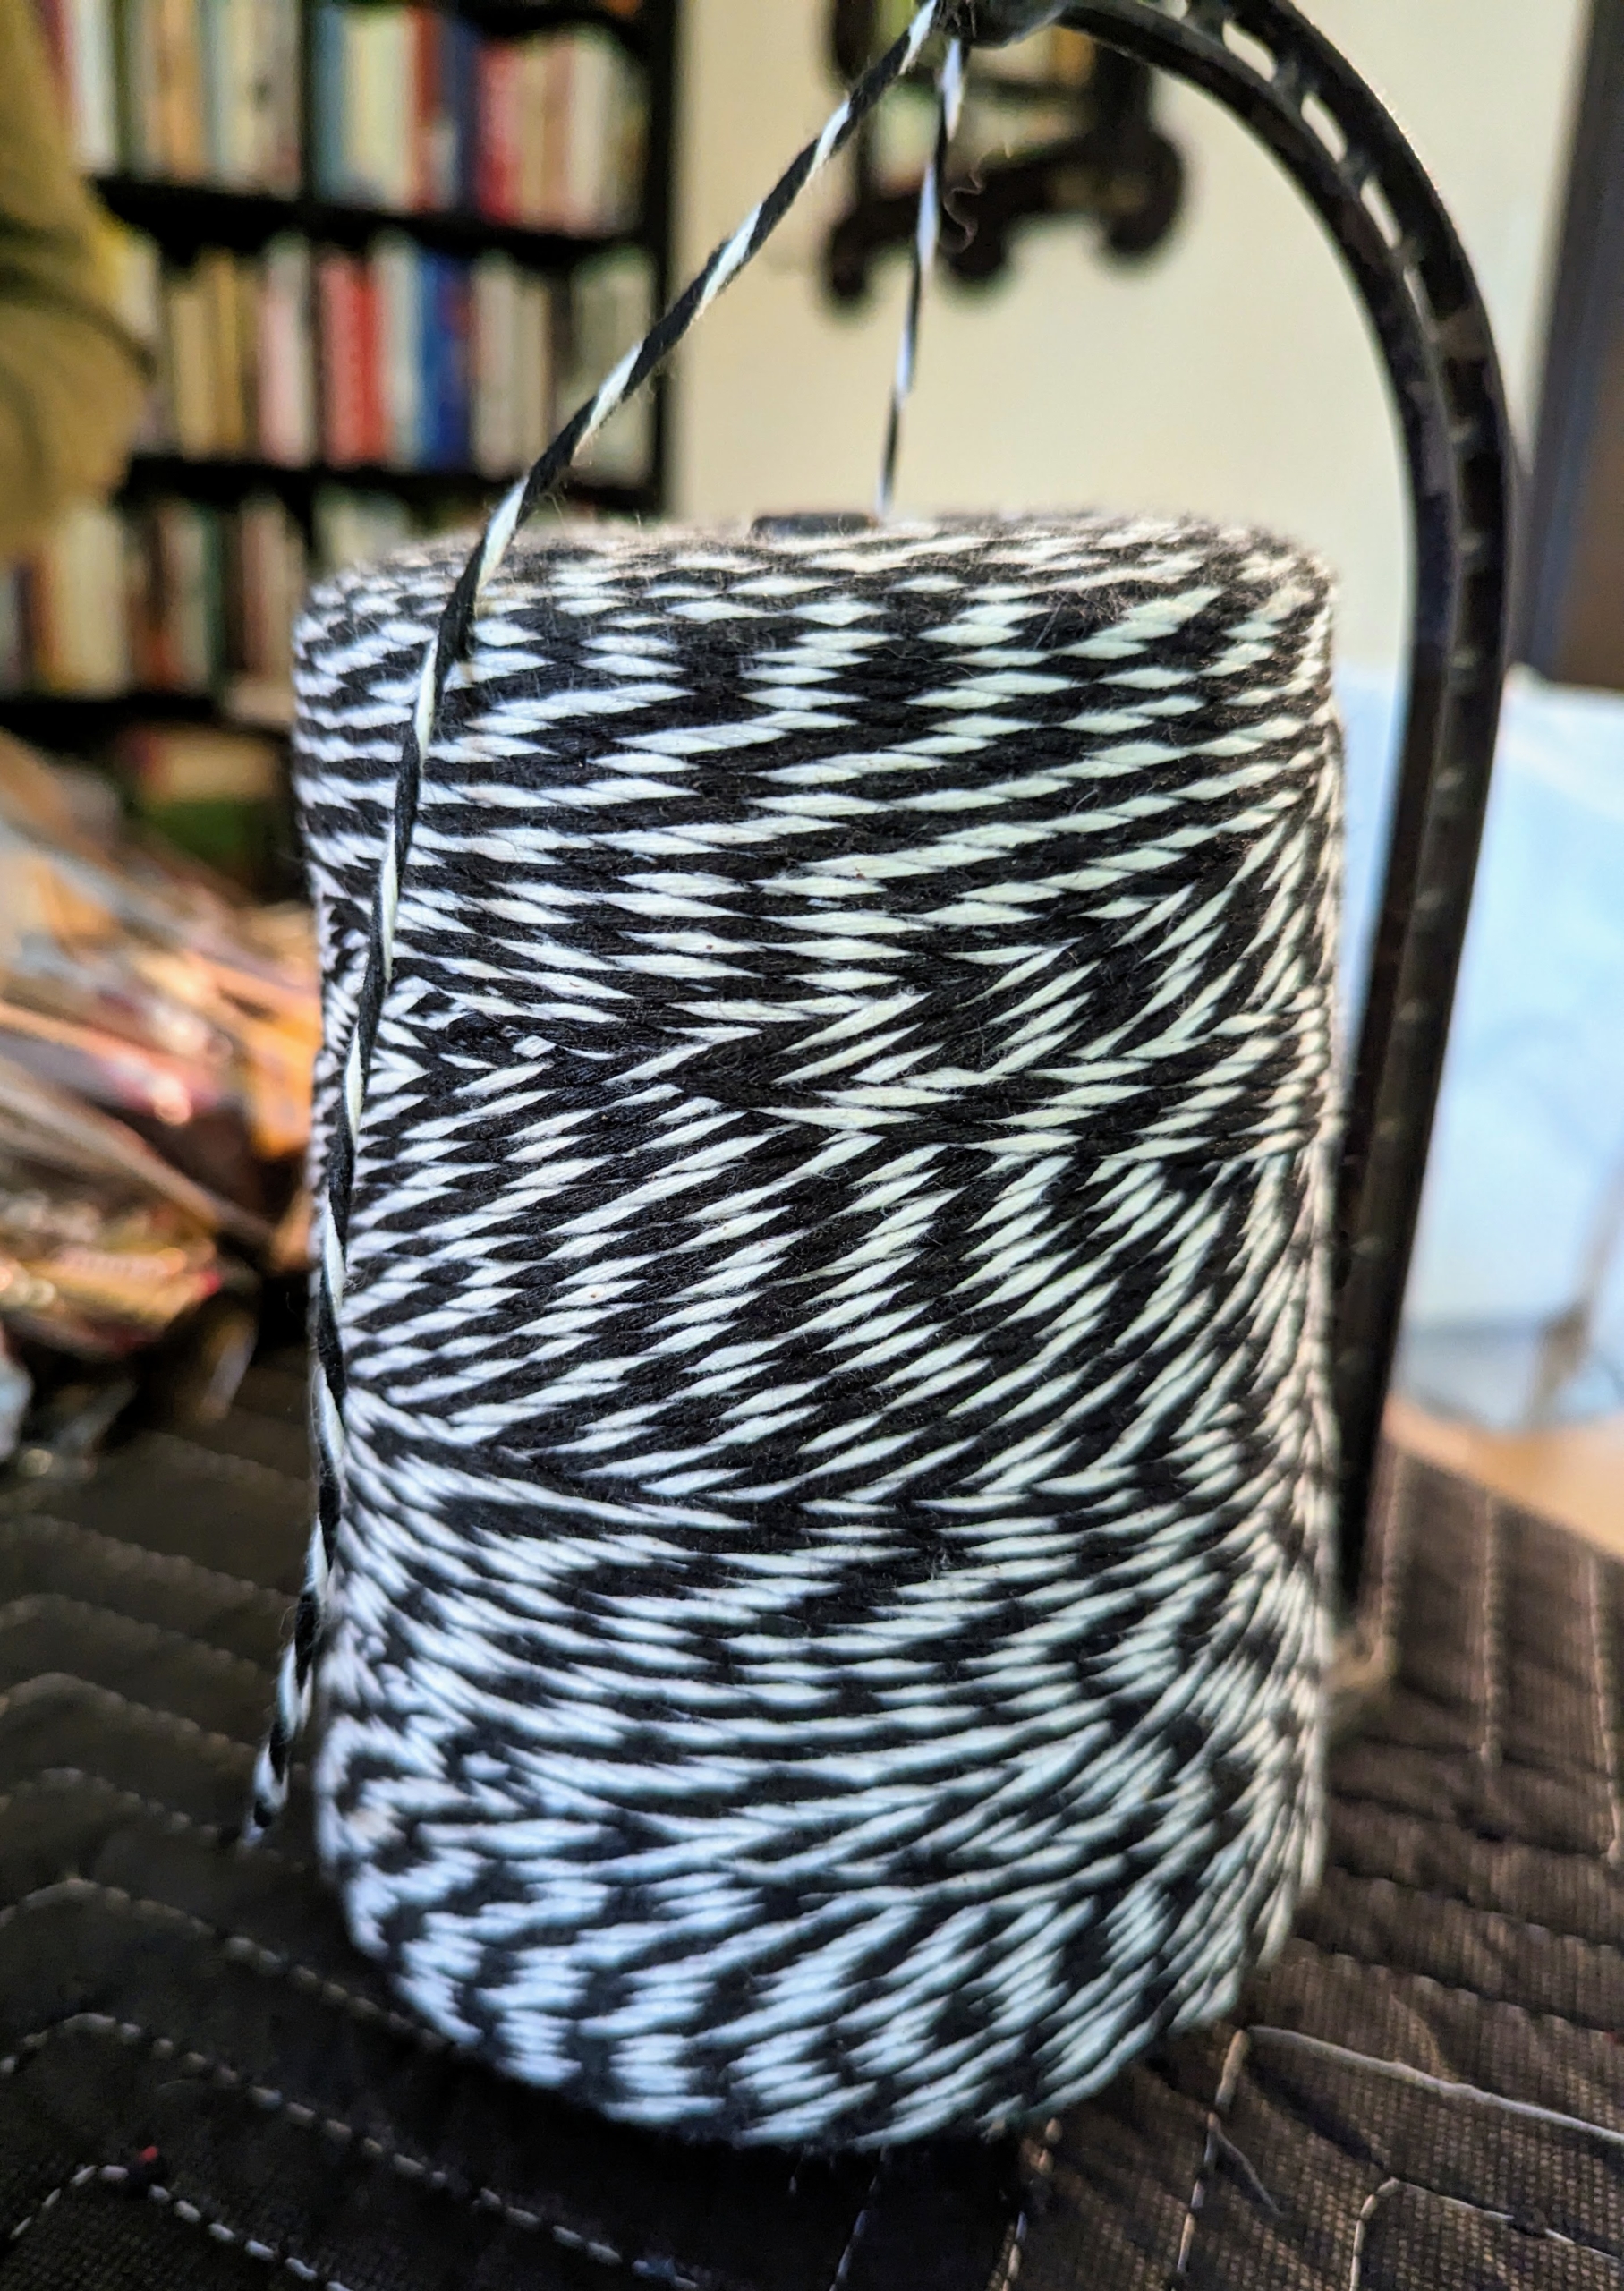
We tied each bag with black and white baker’s twine.
Every trick-or-treater will love their bag of goodies from Cantitoe Corners.
And, in production line process, as each bag is finished, it is placed into a large plastic bin ready to go out to the front gate.
Here is our basket of treats. Lots of children always comes to visit for Halloween. Any leftovers go to my hardworking staff here at the farm. Here in New York, the weather was mild – a perfect night for Halloween. I hope you enjoyed the night of fun and fright.
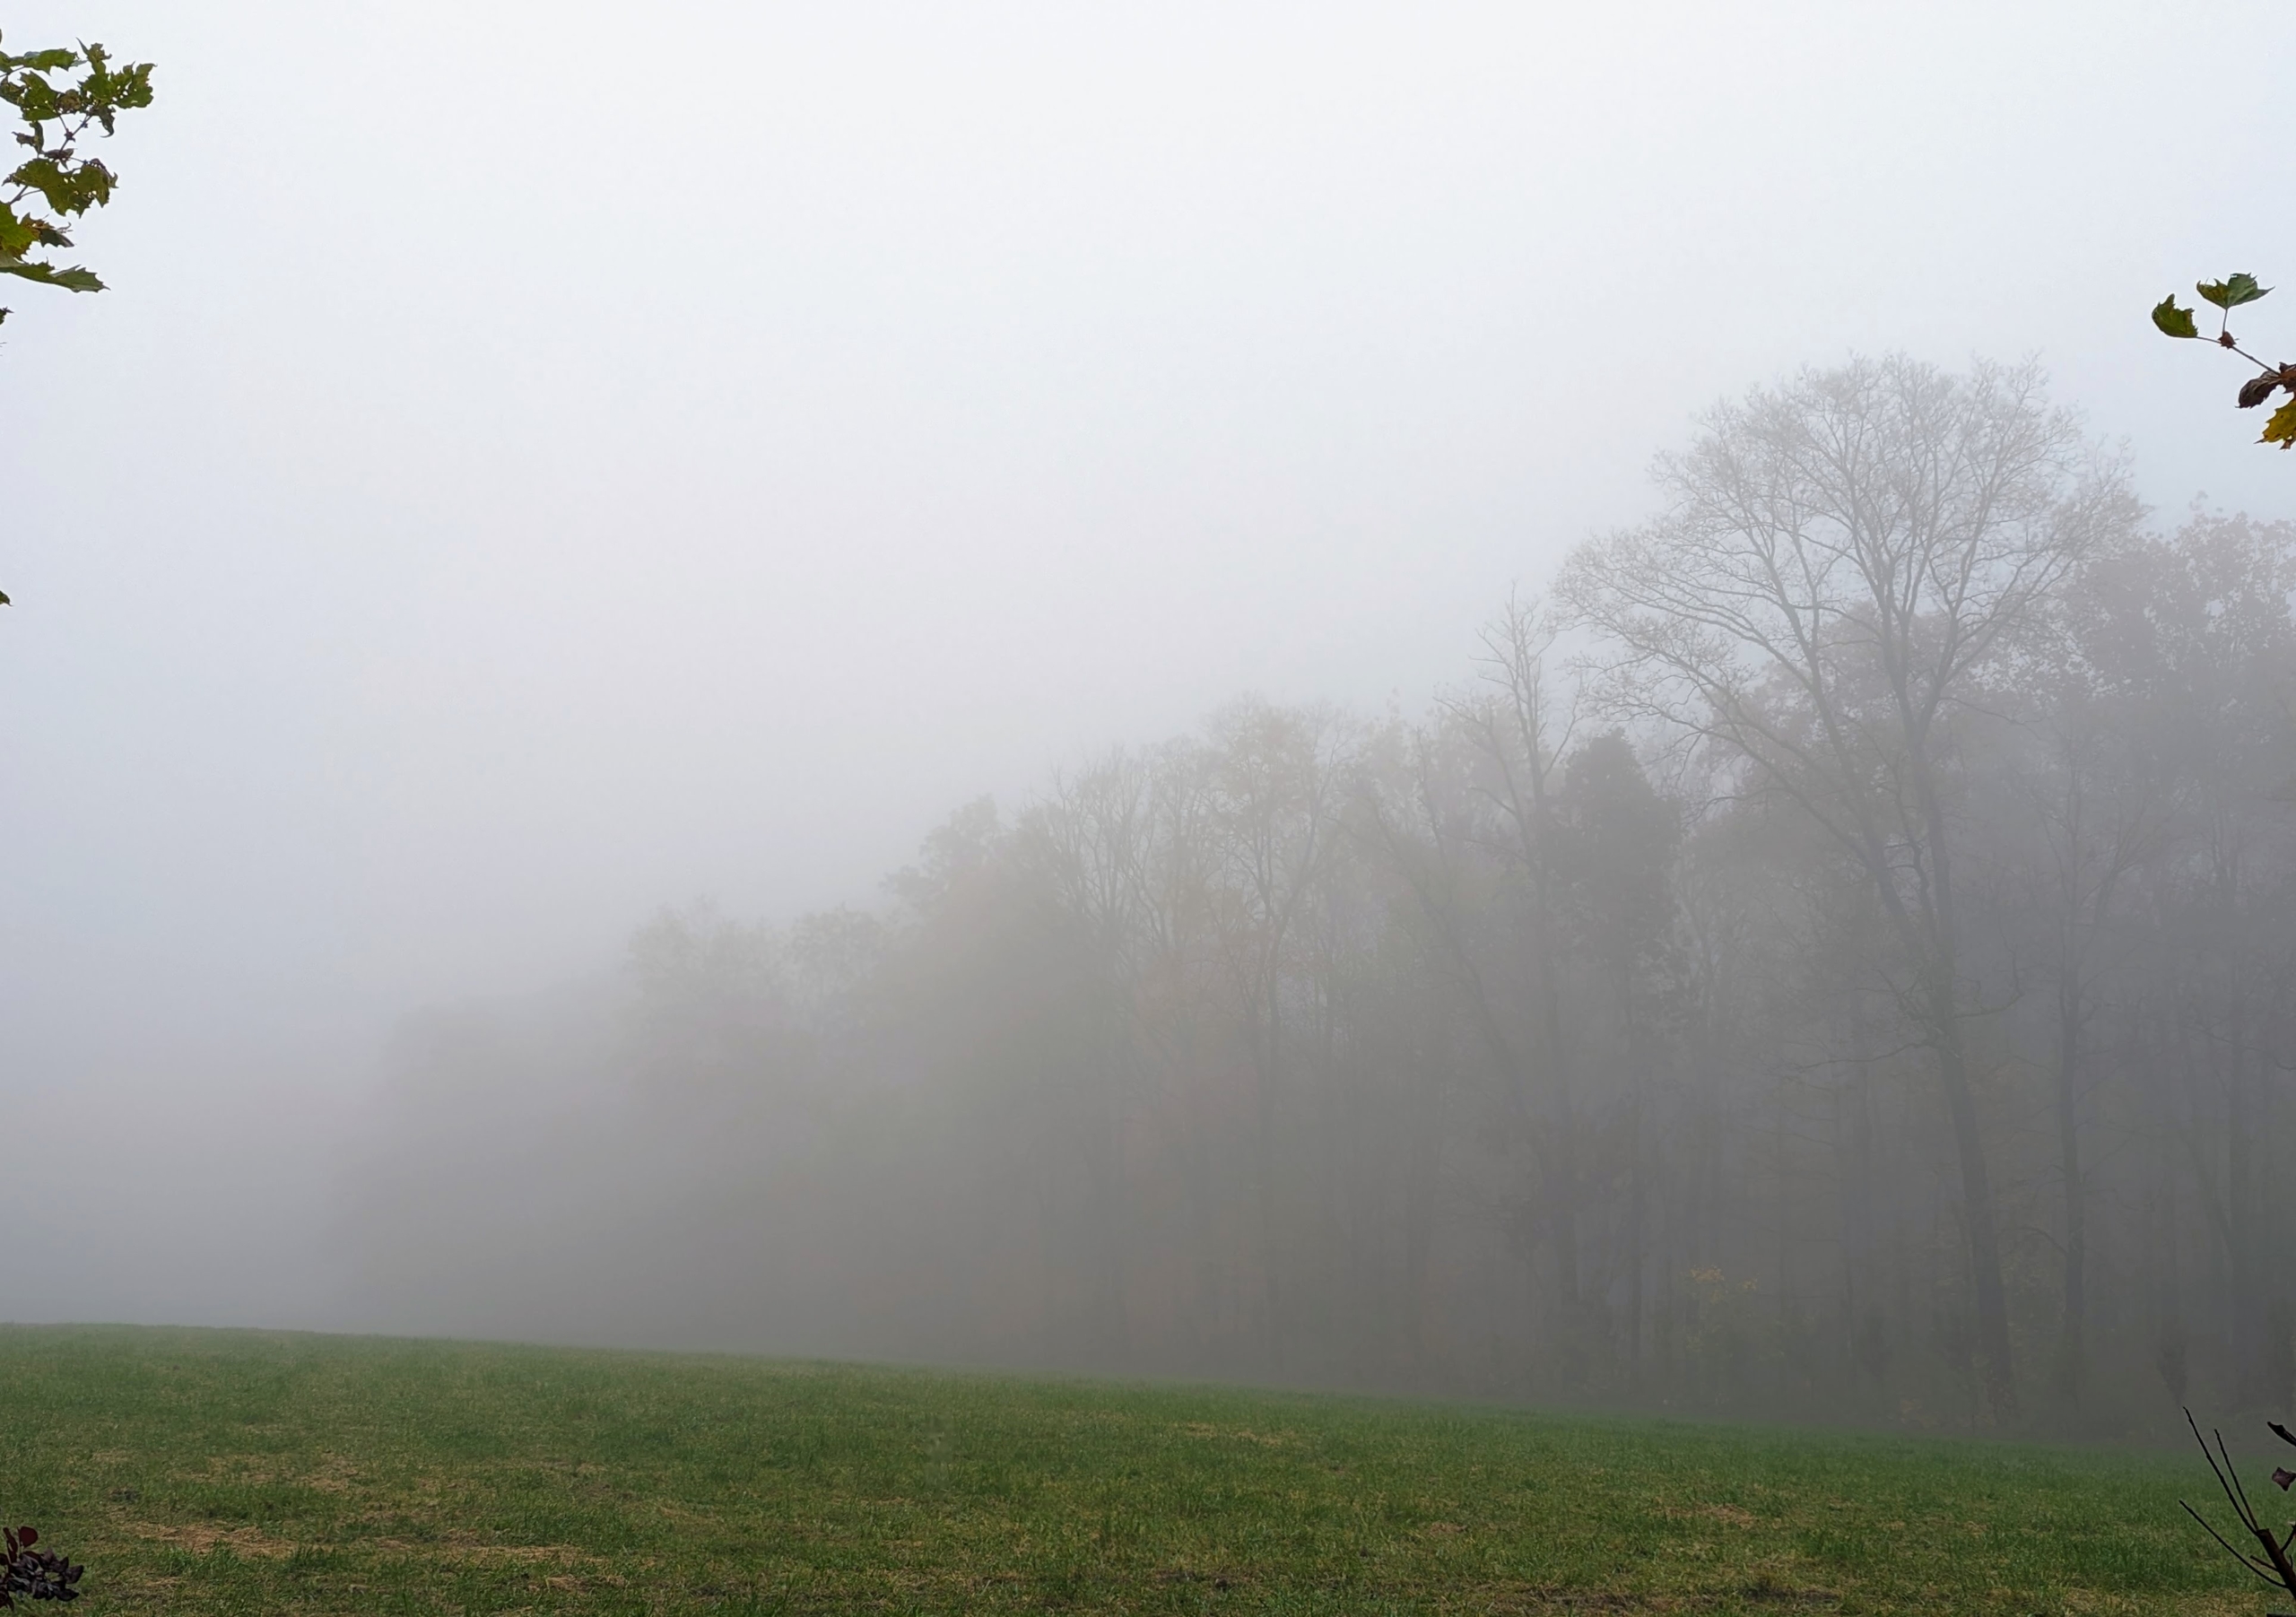
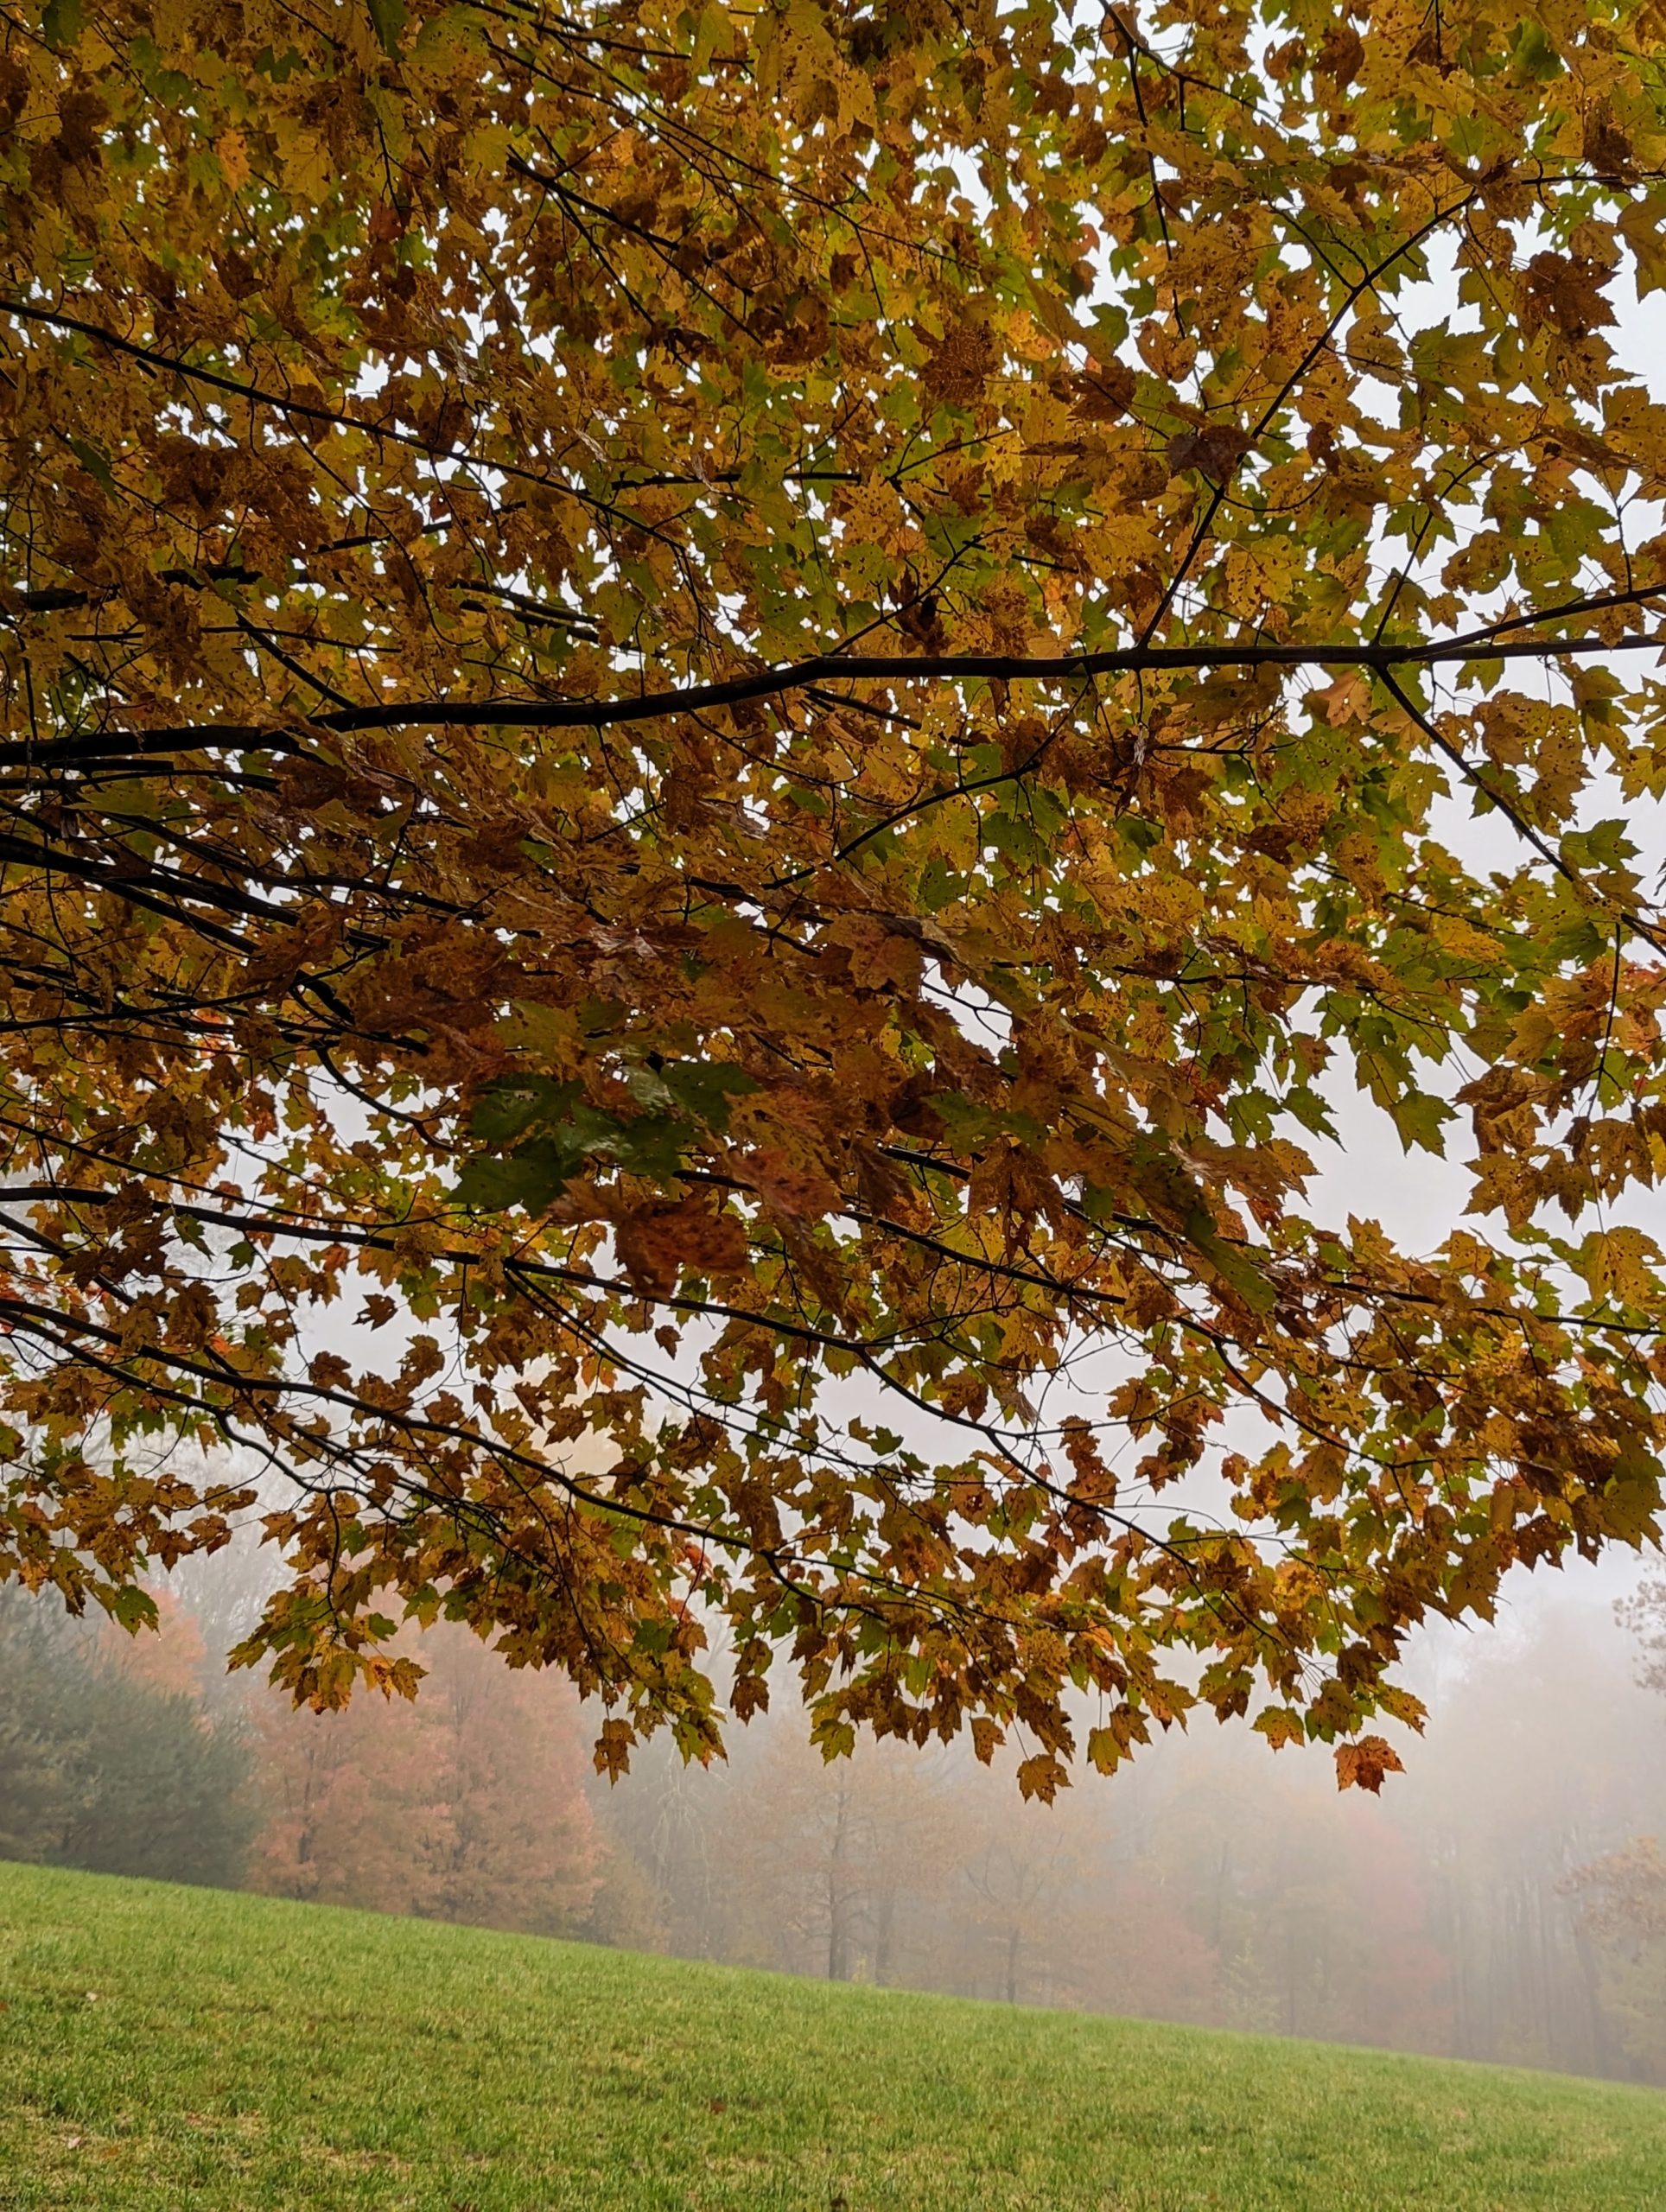
The landscape looks so mysterious shrouded in thick fog.
Do you get a lot of fog where you live? My Bedford, New York farm is in close proximity to a reservoir, where early patches of fog are quite common. Fog is essentially made up of condensed water droplets - a result of the air being cooled to the point where it can no longer hold all the water vapor it contains. It can be thin or thick - sometimes so thick it obscures the road and other objects ahead making it difficult for driving or even walking. There was a very very dense fog over my home and property yesterday morning. It was a great opportunity to capture some photos of this atmospheric phenomenon and perfect to post for Halloween.
Enjoy.
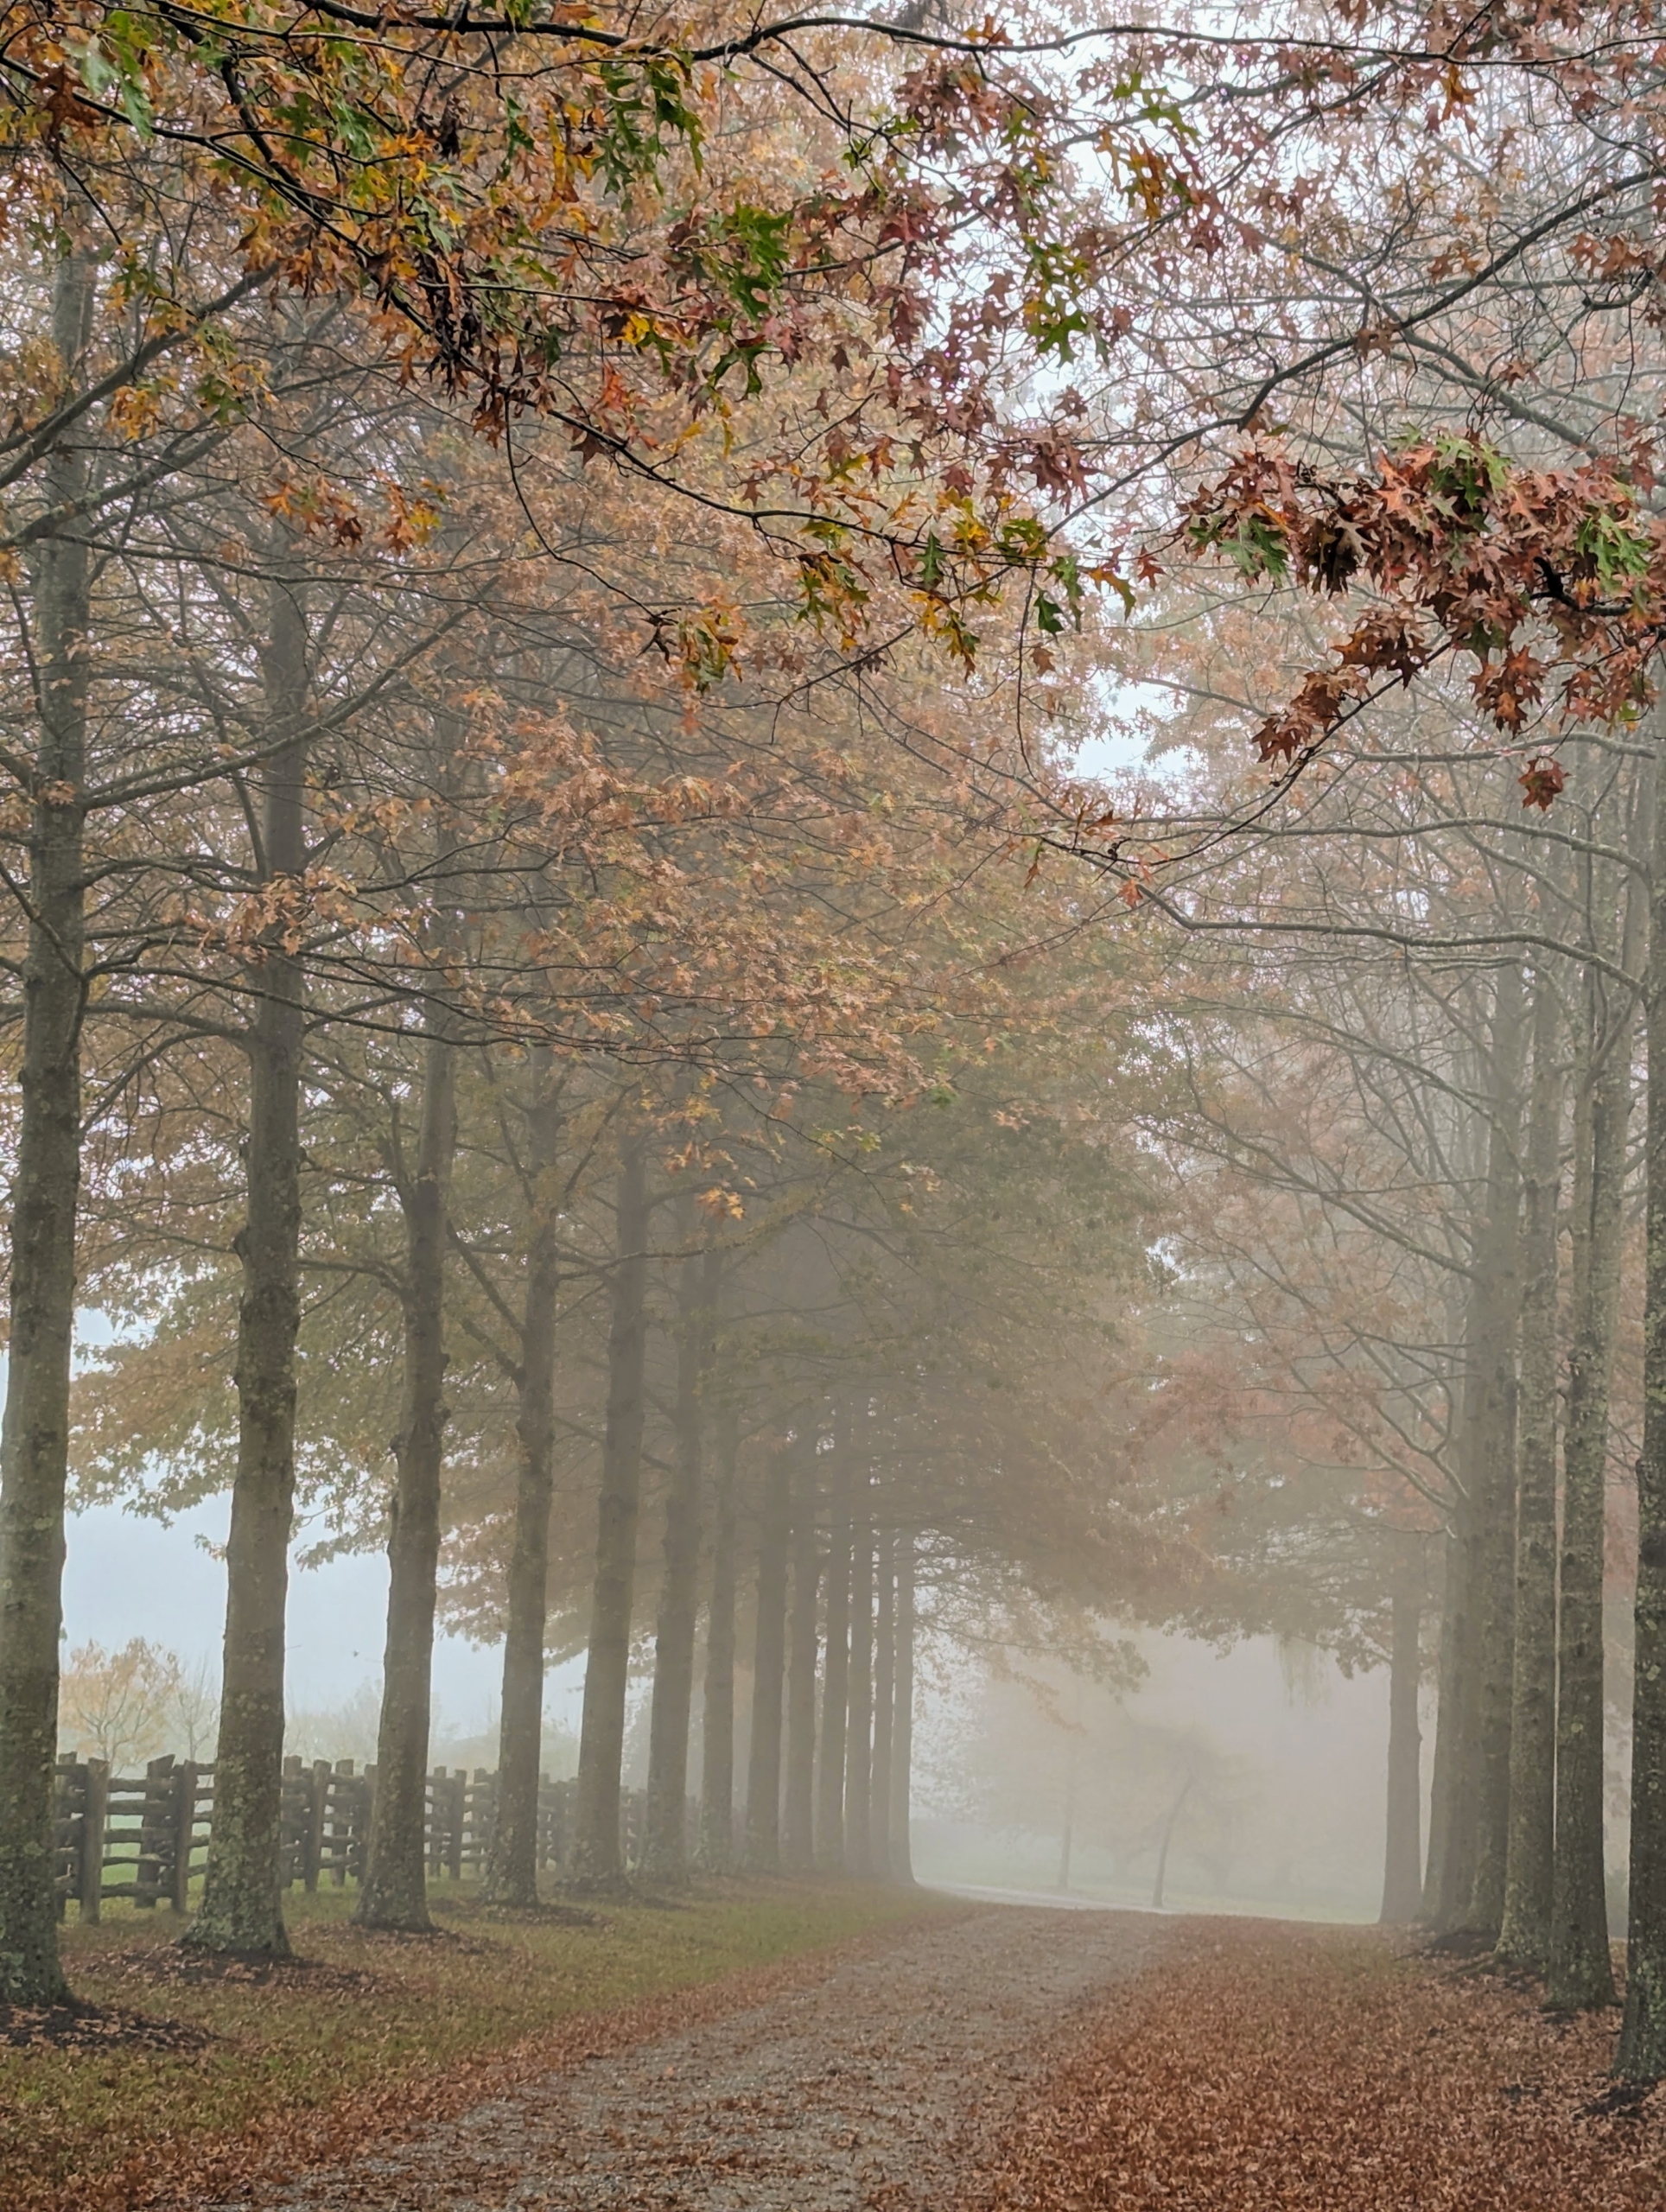
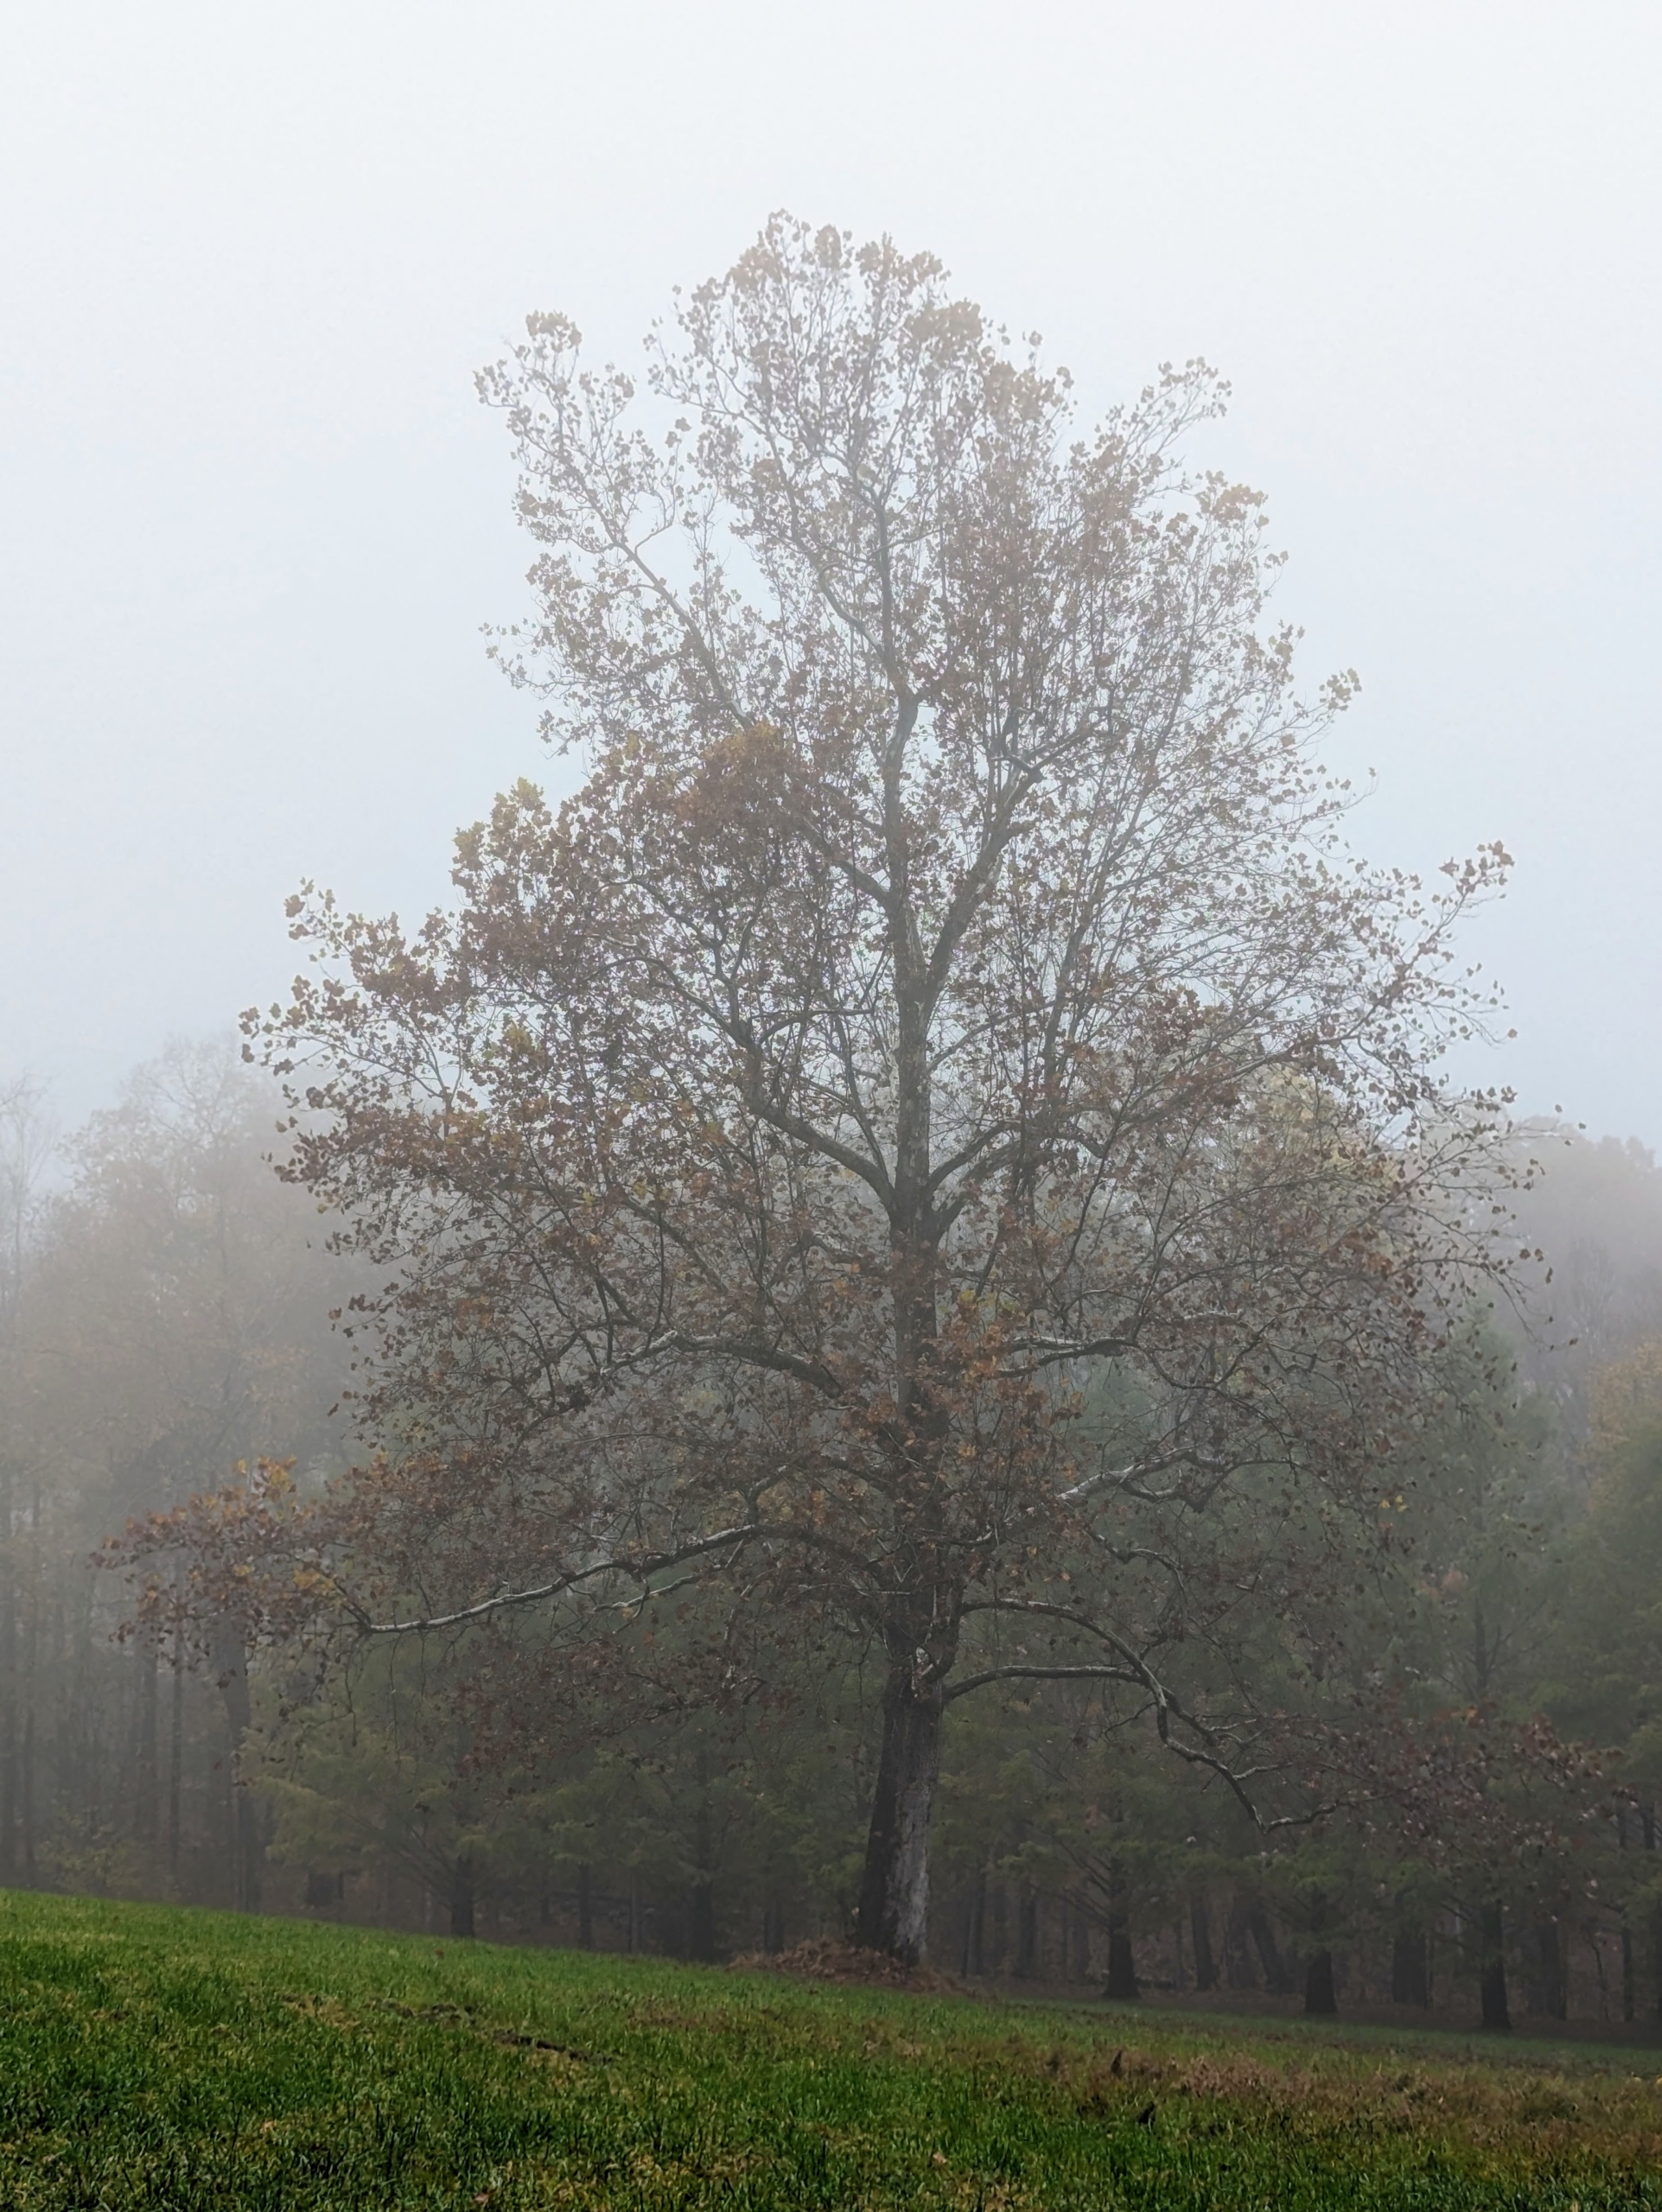
This is my allée of pin oaks – one of several allées here at the farm. These tall majestic trees look bewildering in the fog. At the end is a carriage road intersection, but the thick fog makes it nearly impossible to see.
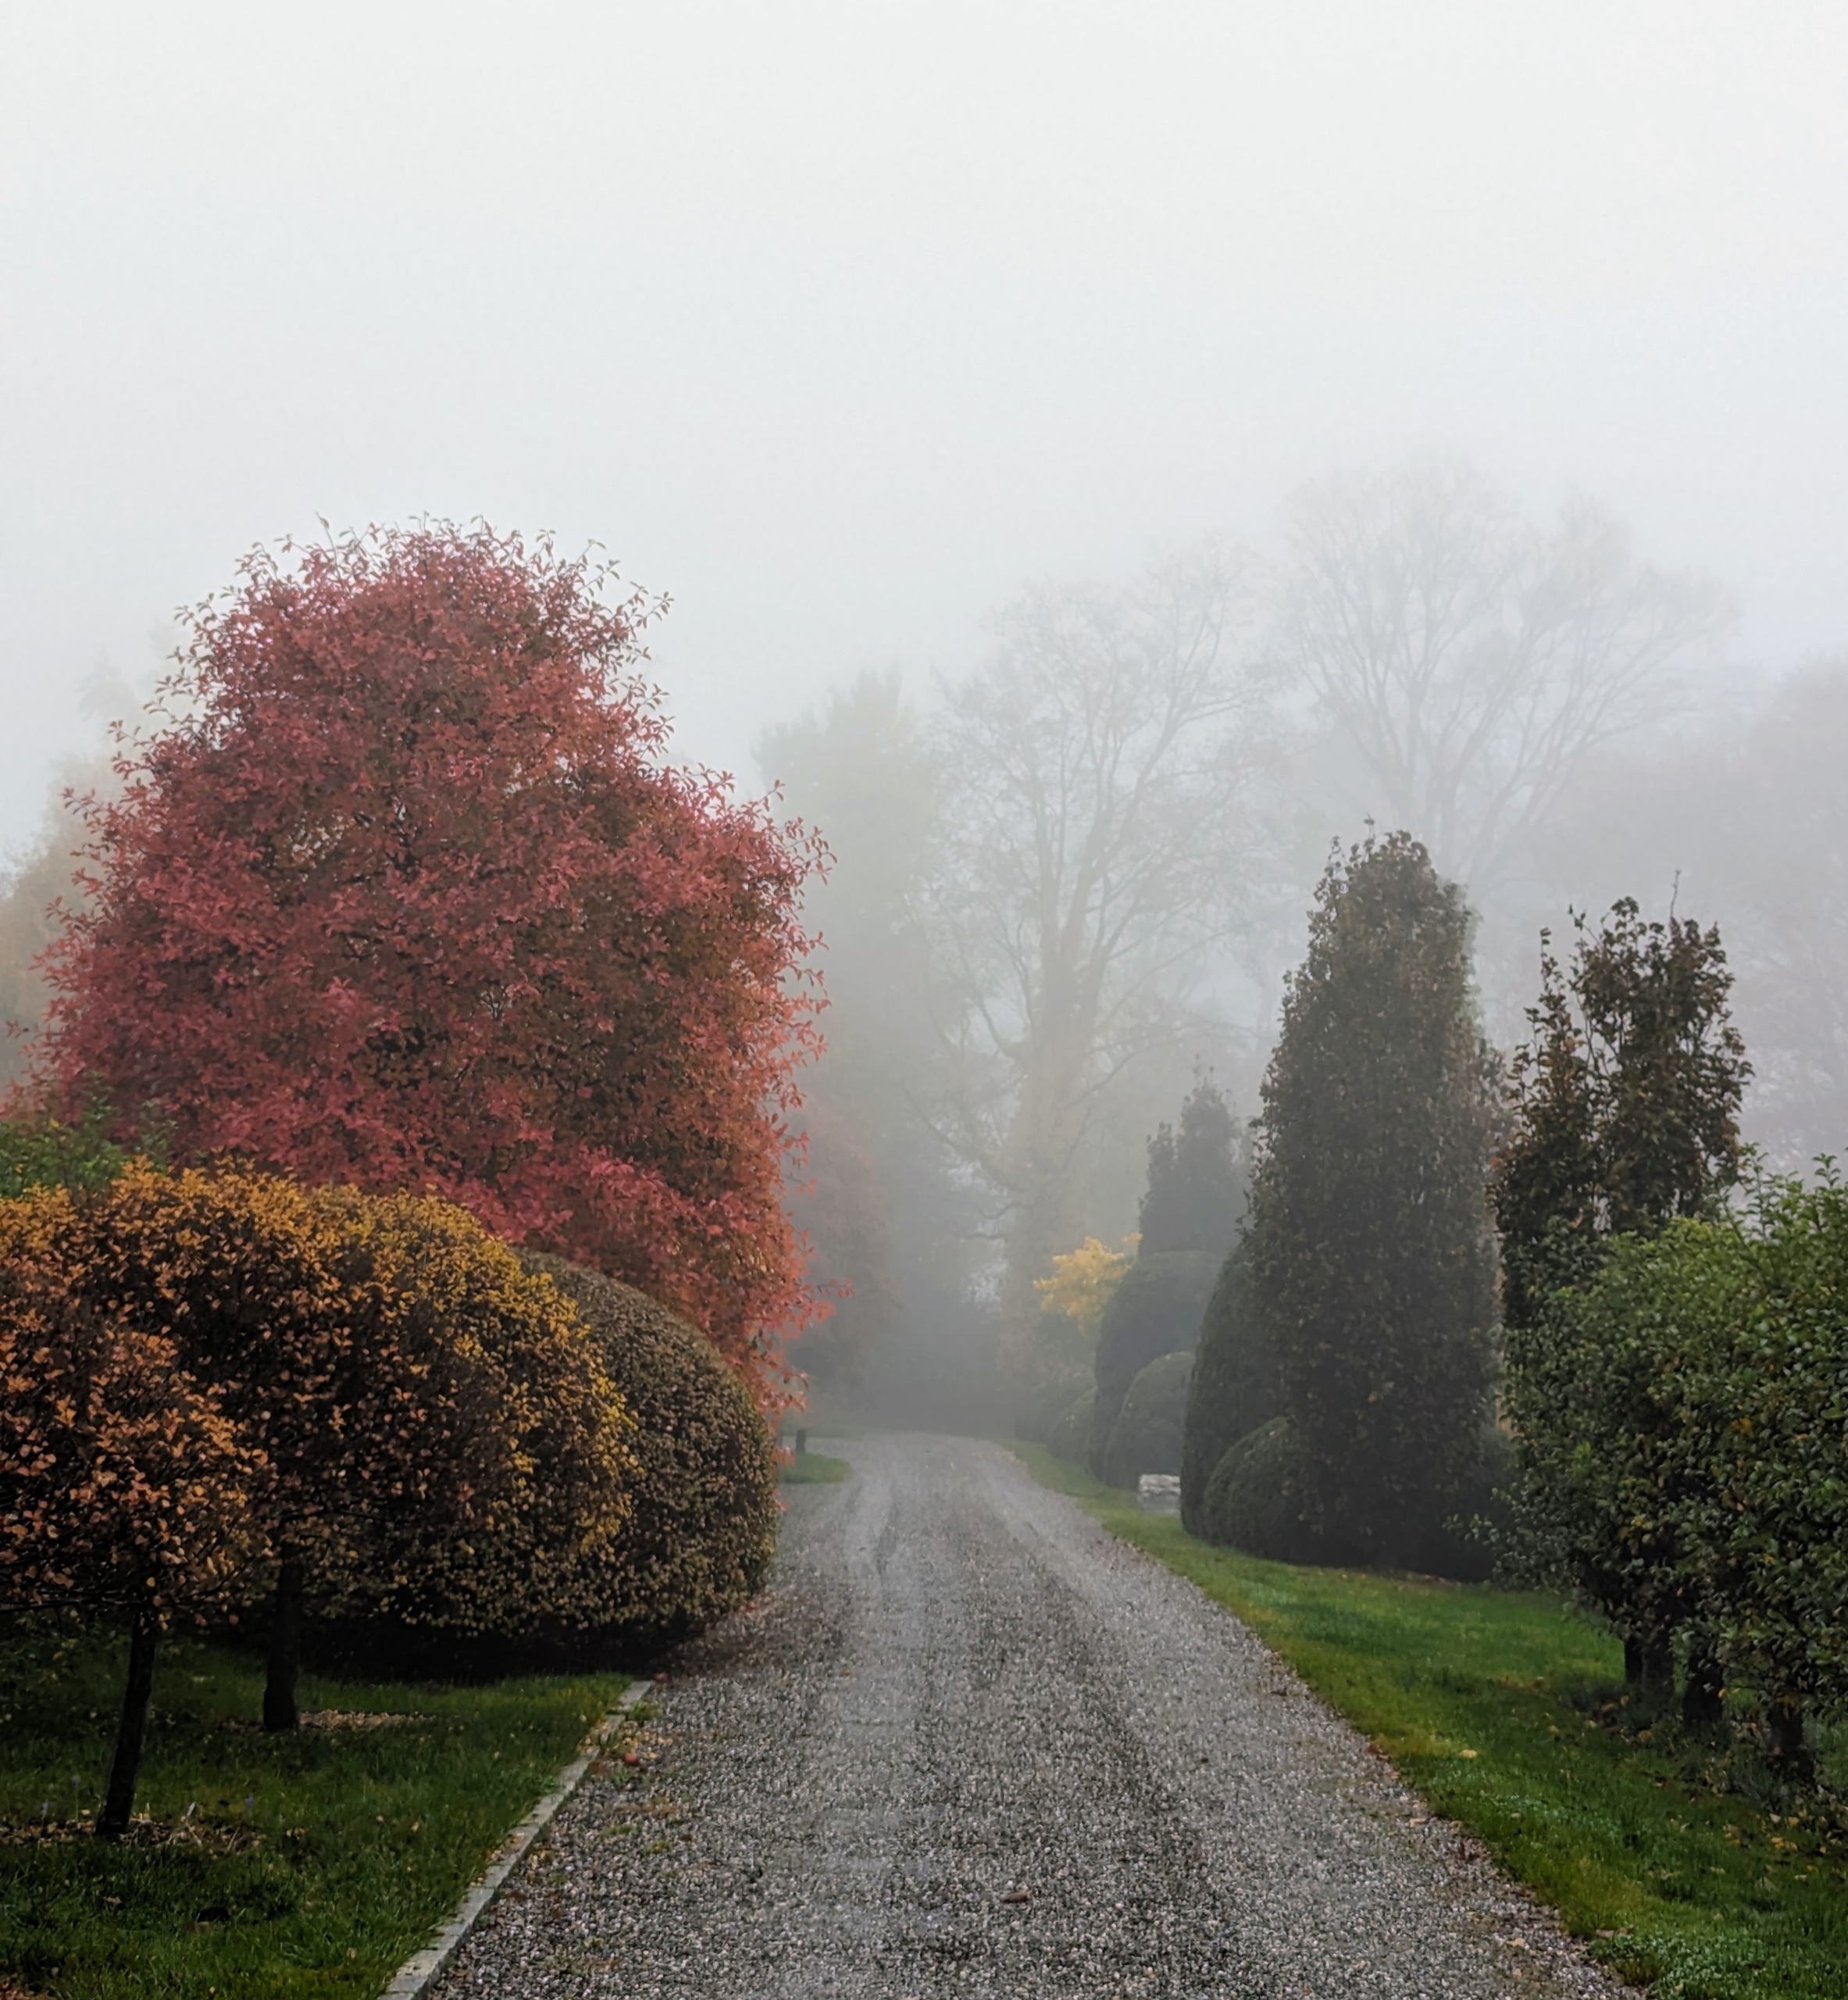
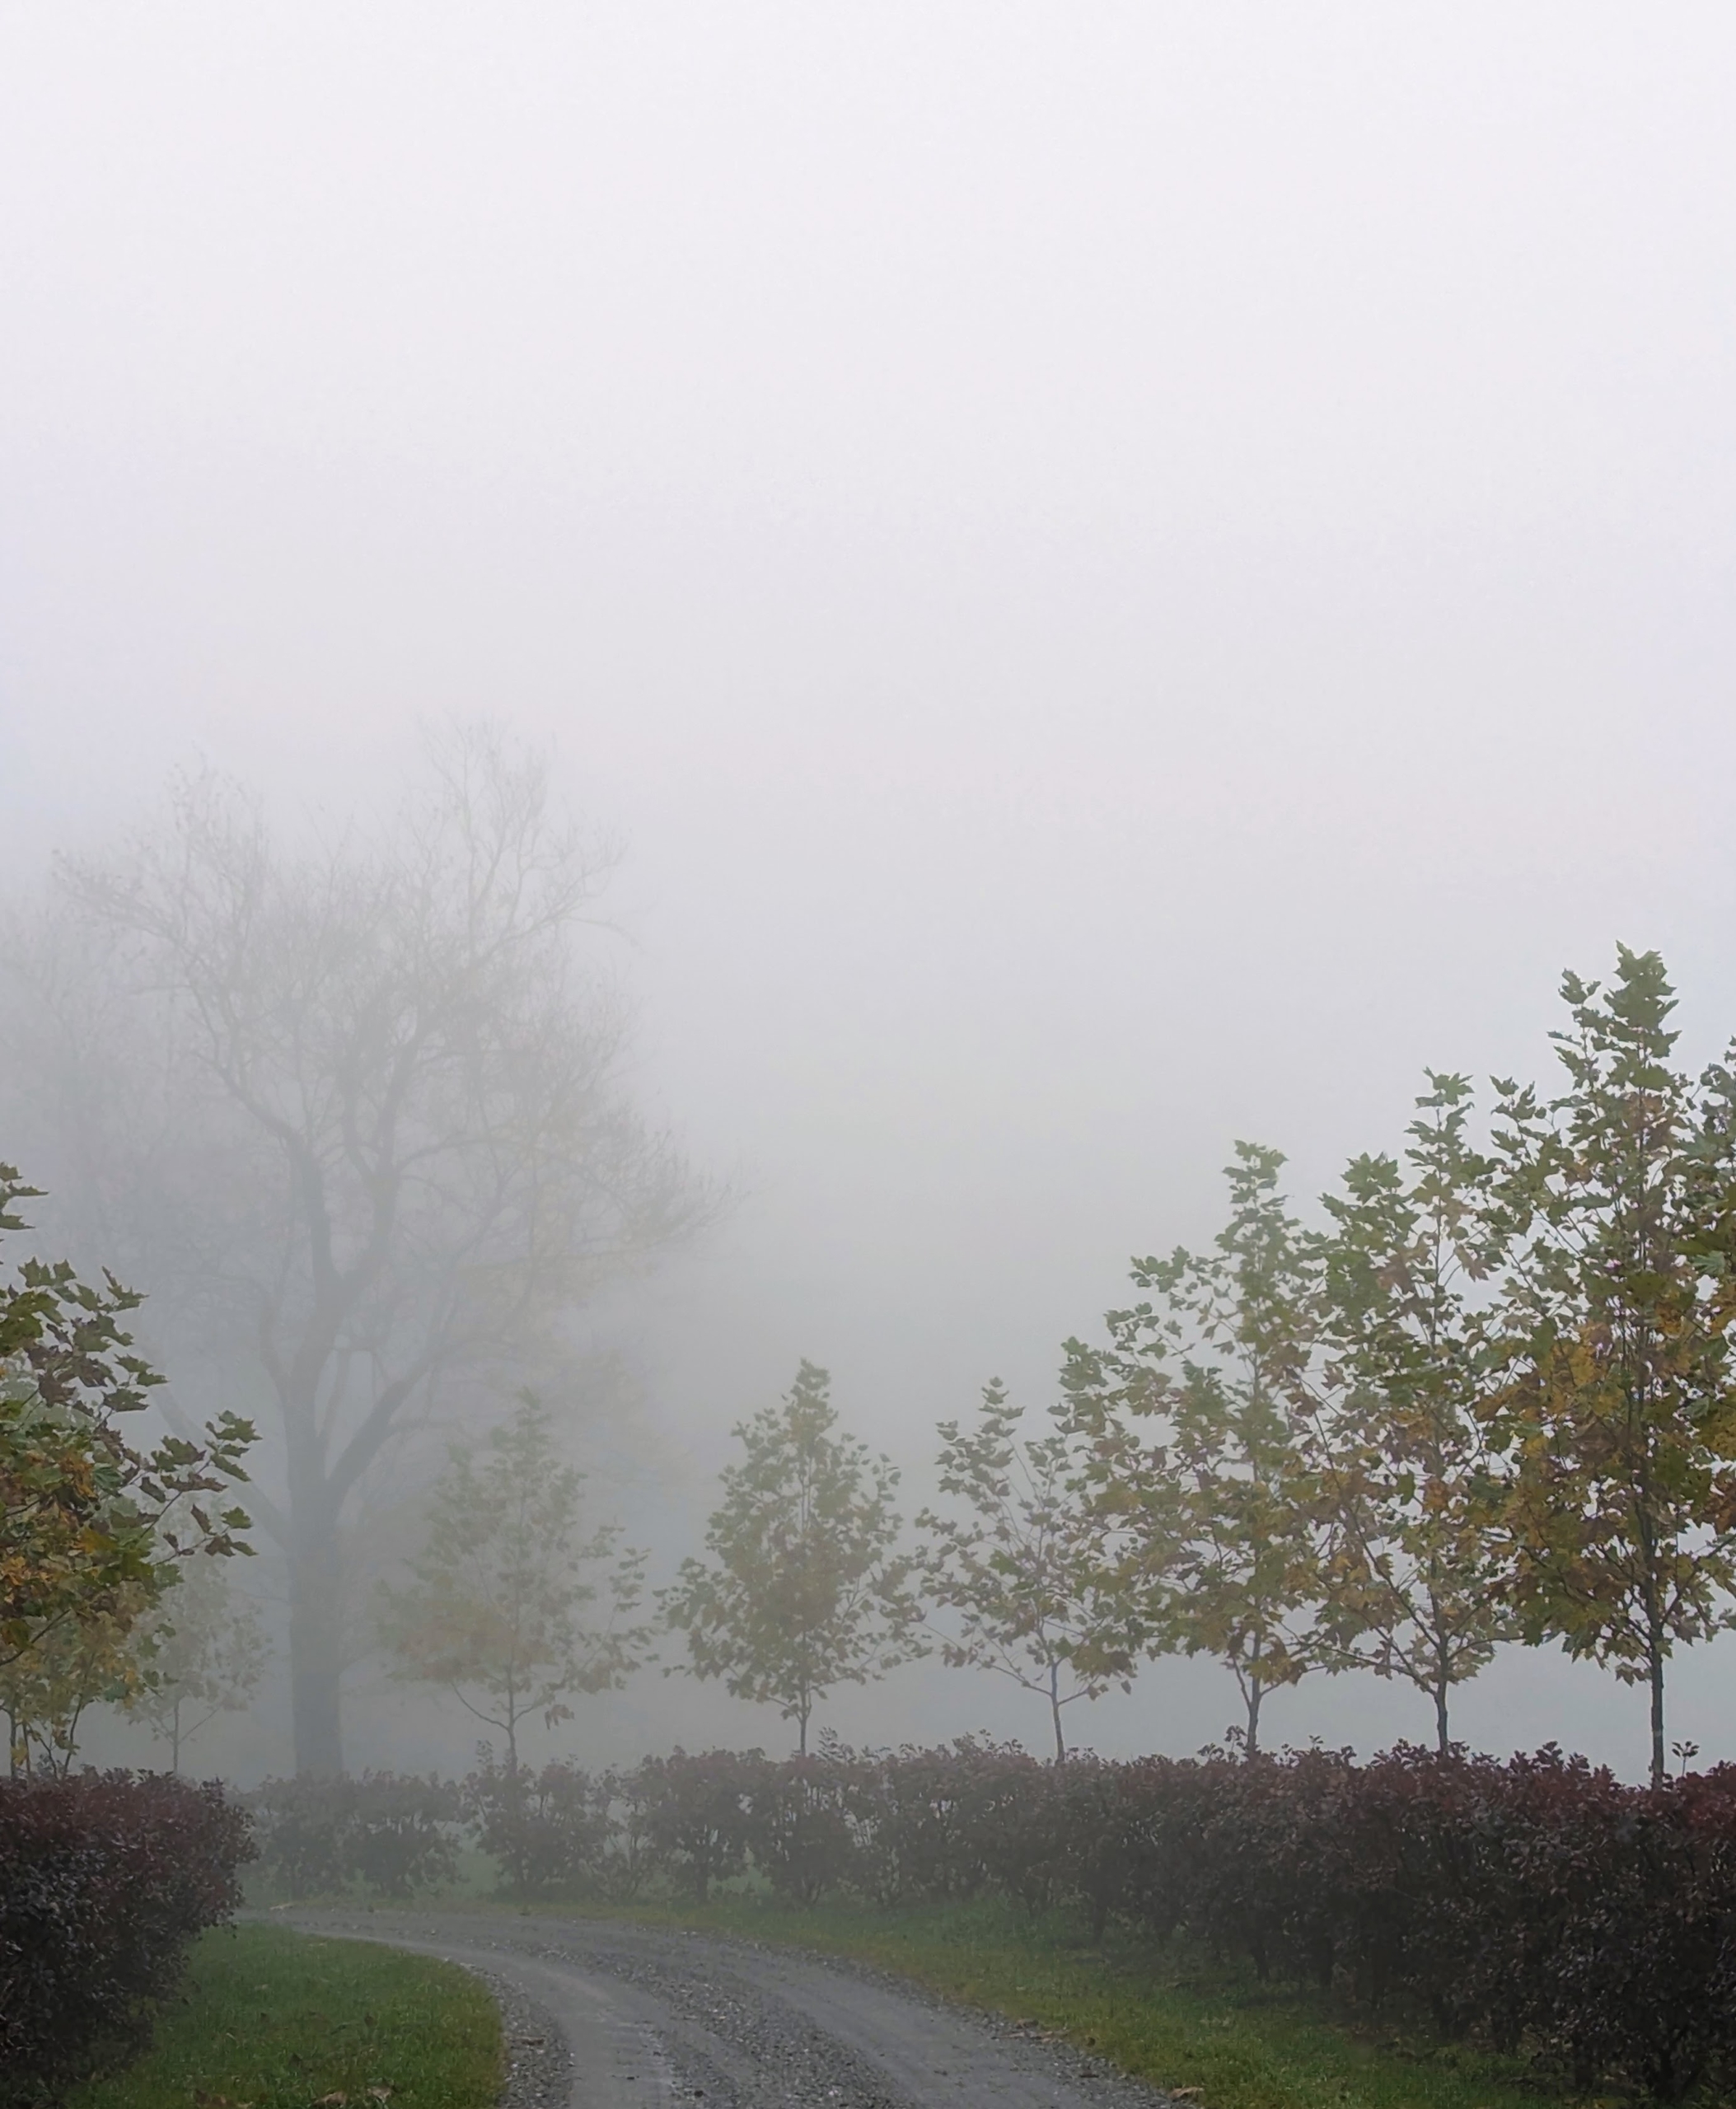
Do you know how fog forms? Fog can form in two ways: either by cooling the air to its dew point or by evaporation and mixing. This happens often when the earth radiates heat at night or in the early morning. This view is of the carriage road just outside my Winter House. The red tree on the left is Nyssa sylvatica, commonly known as tupelo, black tupelo, black gum or sour gum. It is a medium-sized deciduous tree that shows off beautiful, scarlet red leaves in fall and shiny, dark green leaves in summer.
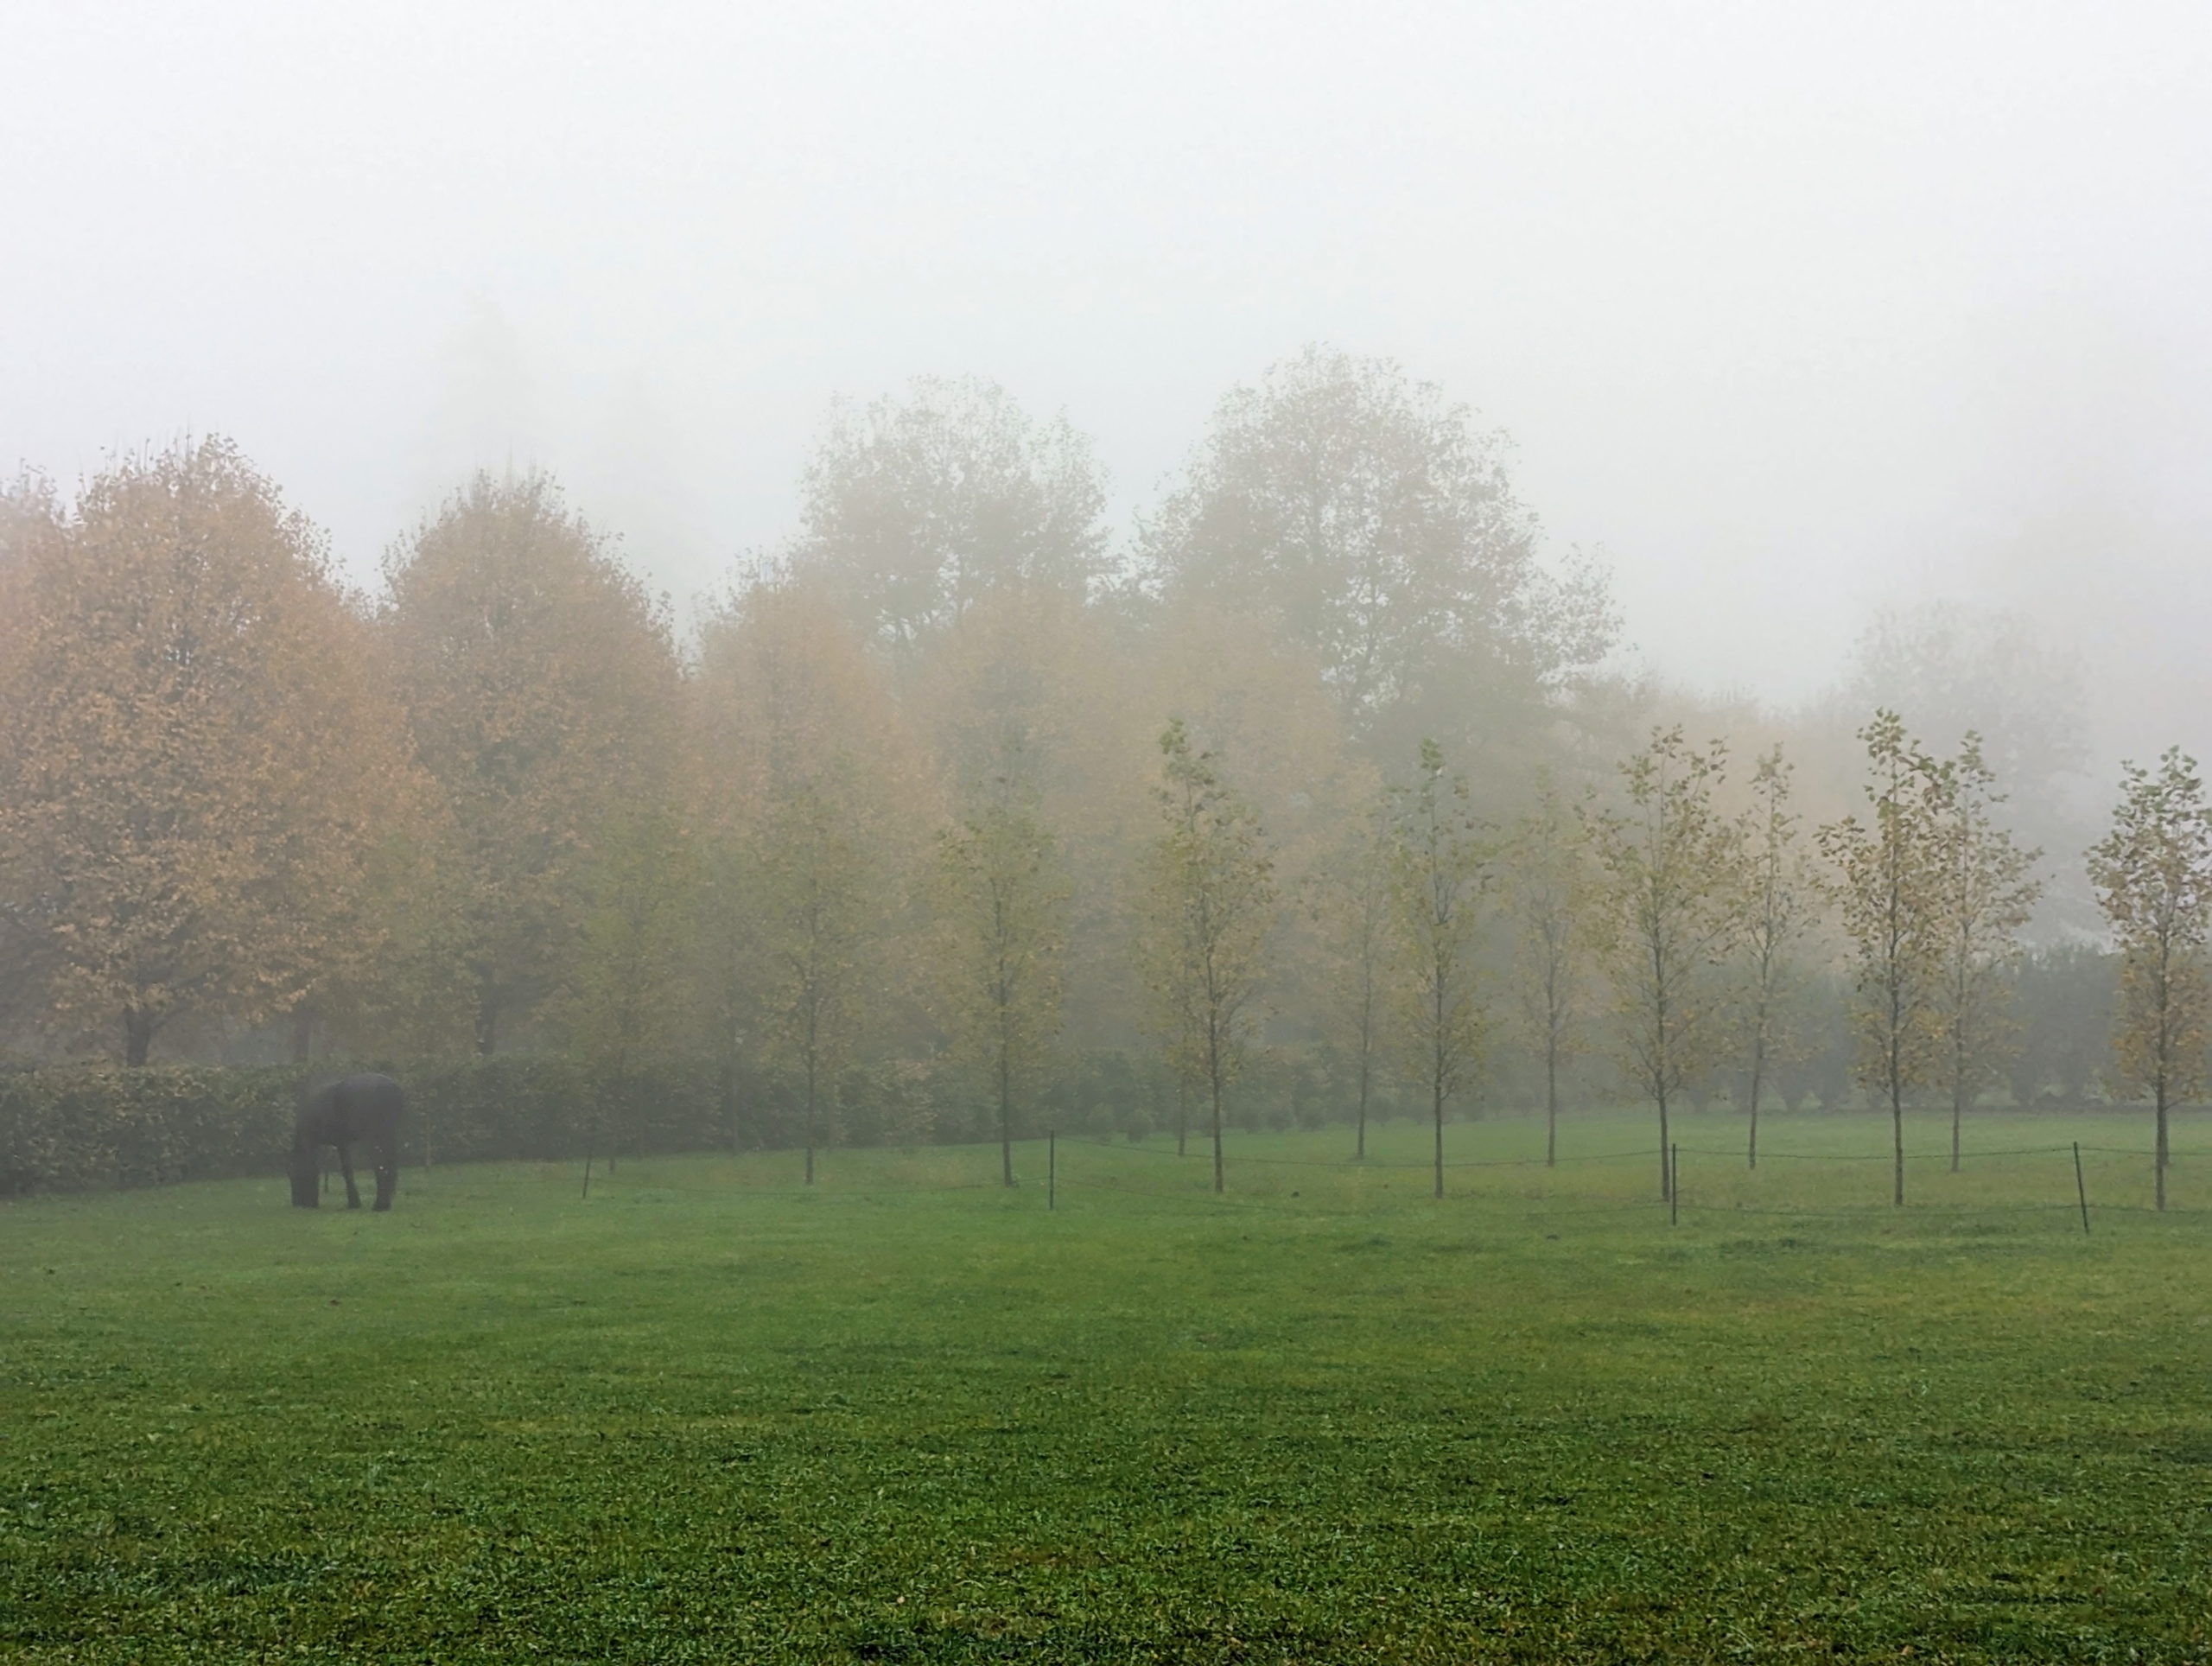
Fog happens when it is very humid. There has to be a lot of water vapor in the air for fog to form. Hard to see through the fog, but this photo shows London planetrees in my maze. And look carefully, my handsome Friesian Rinze is grazing on the left.
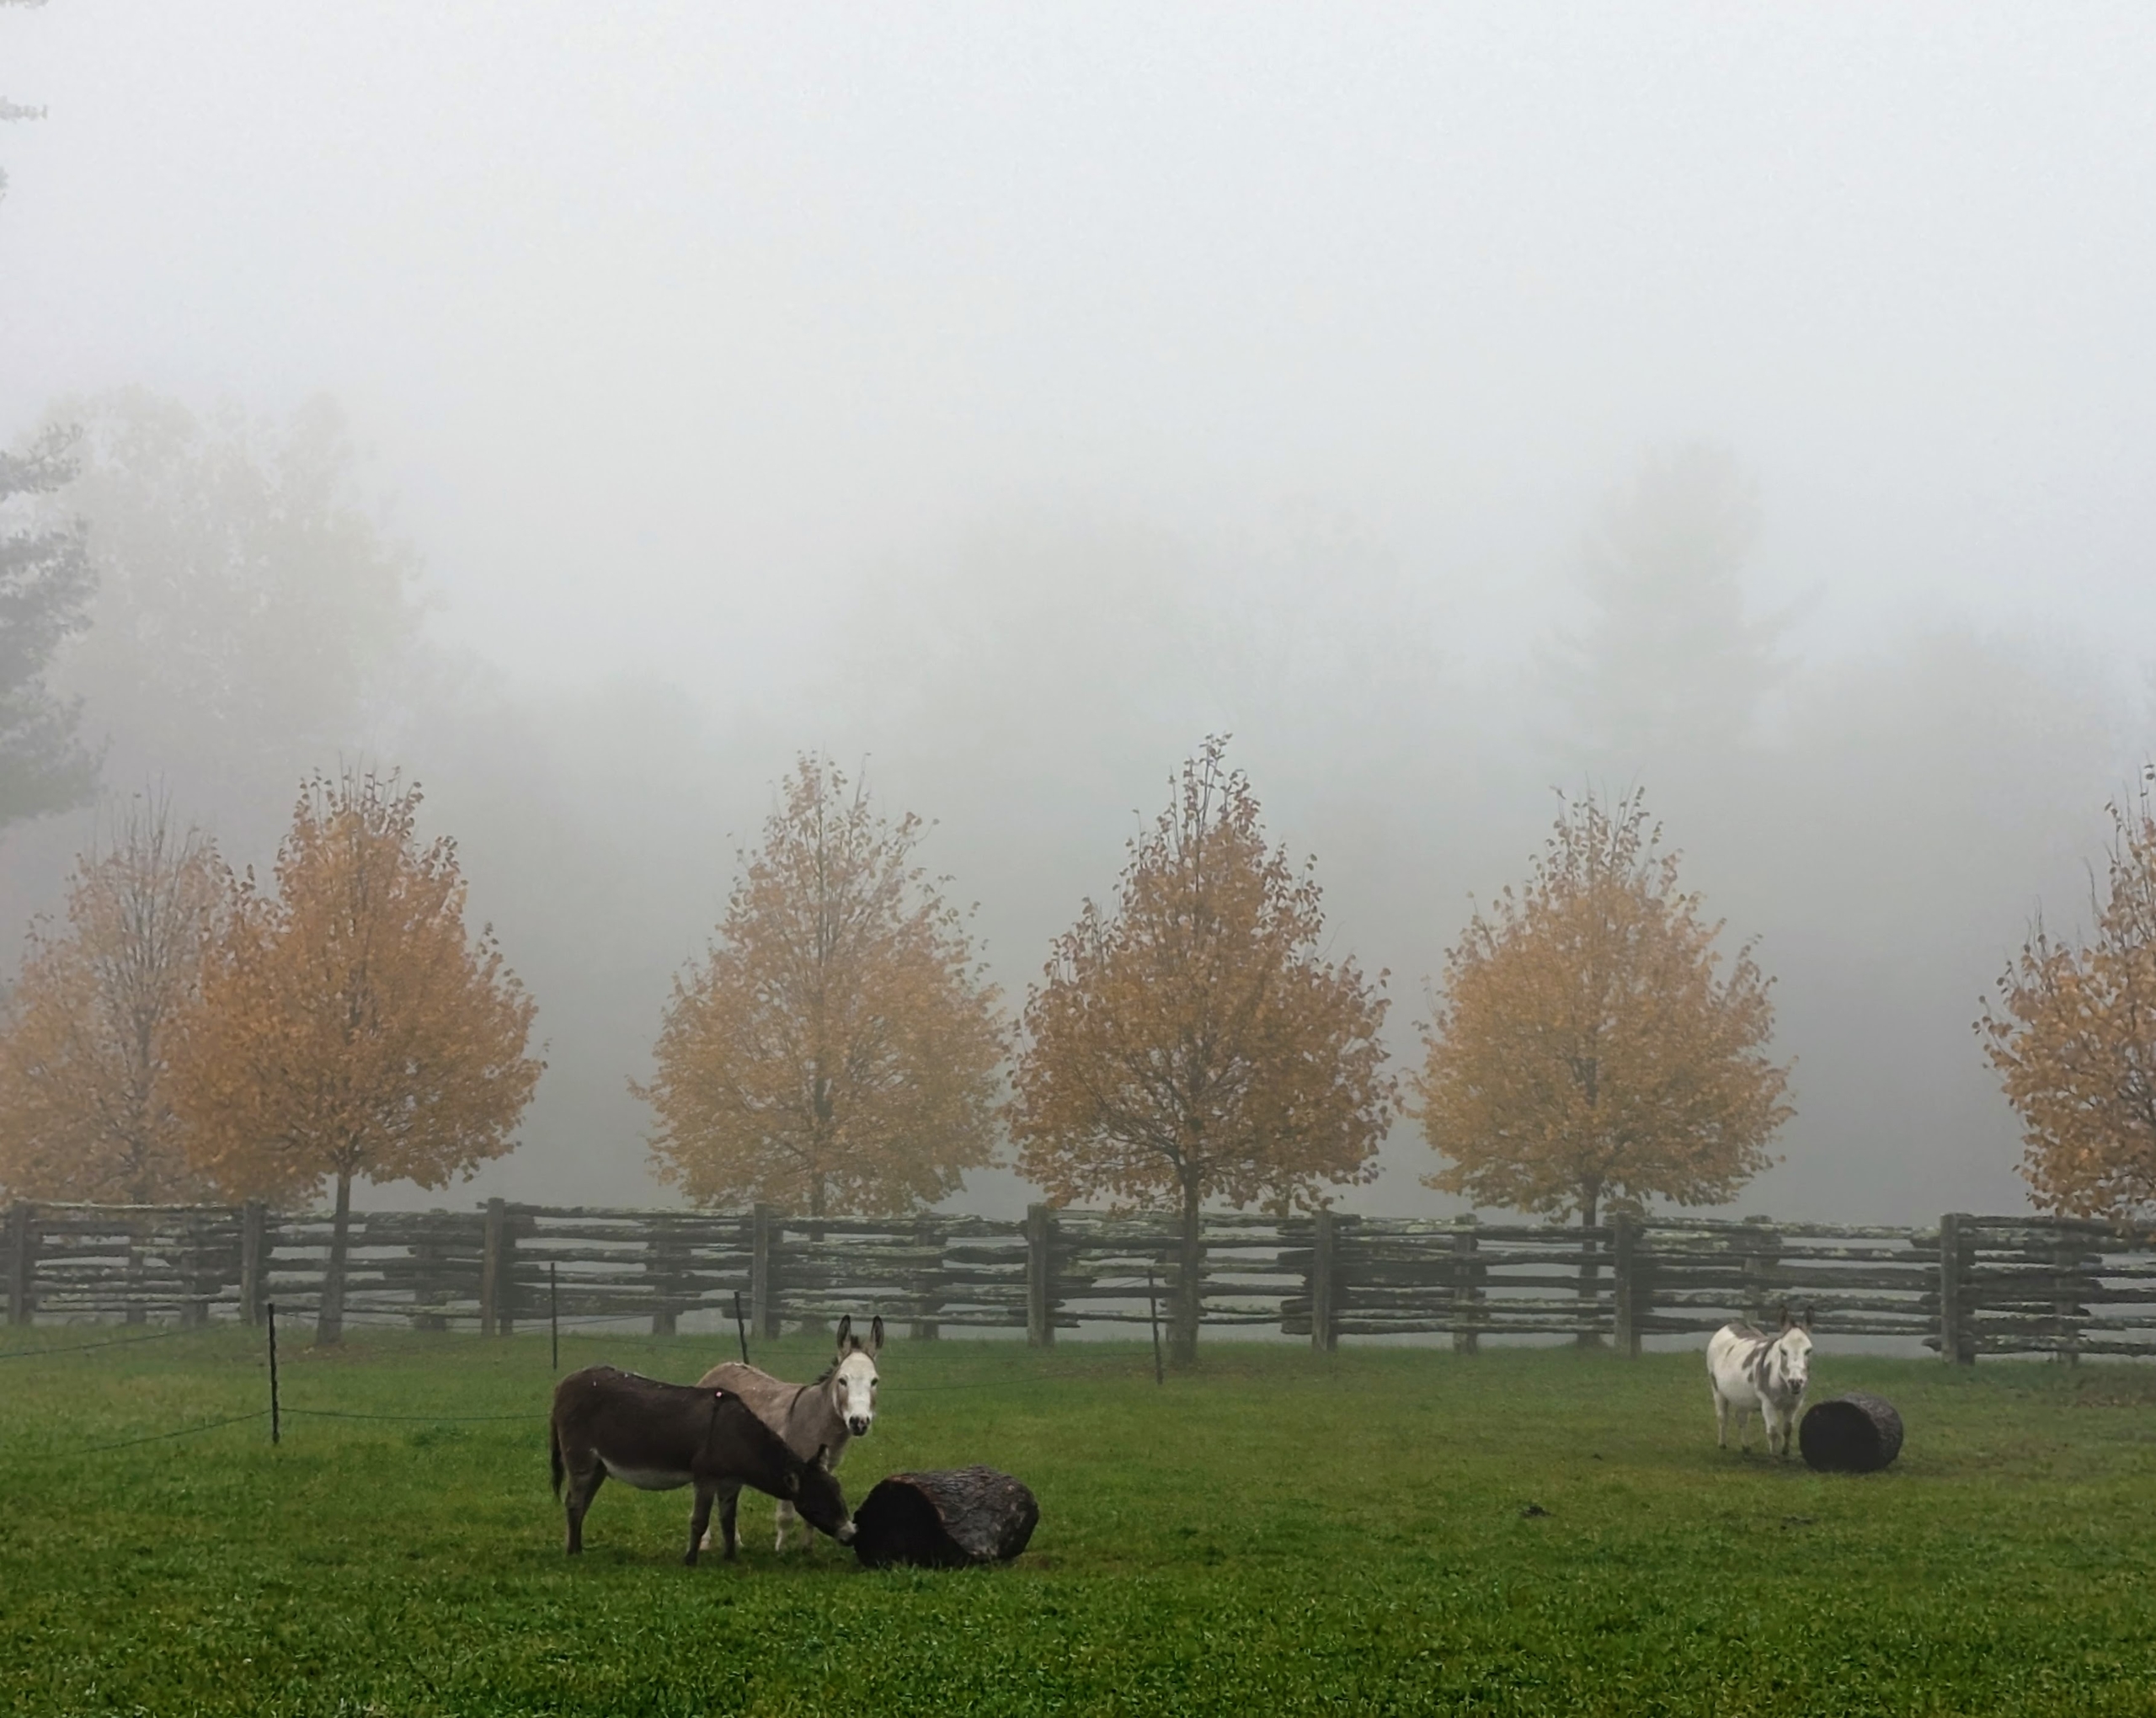
Here are three of my five donkeys in another pasture. Don’t confuse fog and mist. Fog is denser than mist. This means fog contains more water molecules in the same amount of space. Fog cuts visibility down to six-tenths of a mile while mist can reduce visibility to about one to 1.2 miles.
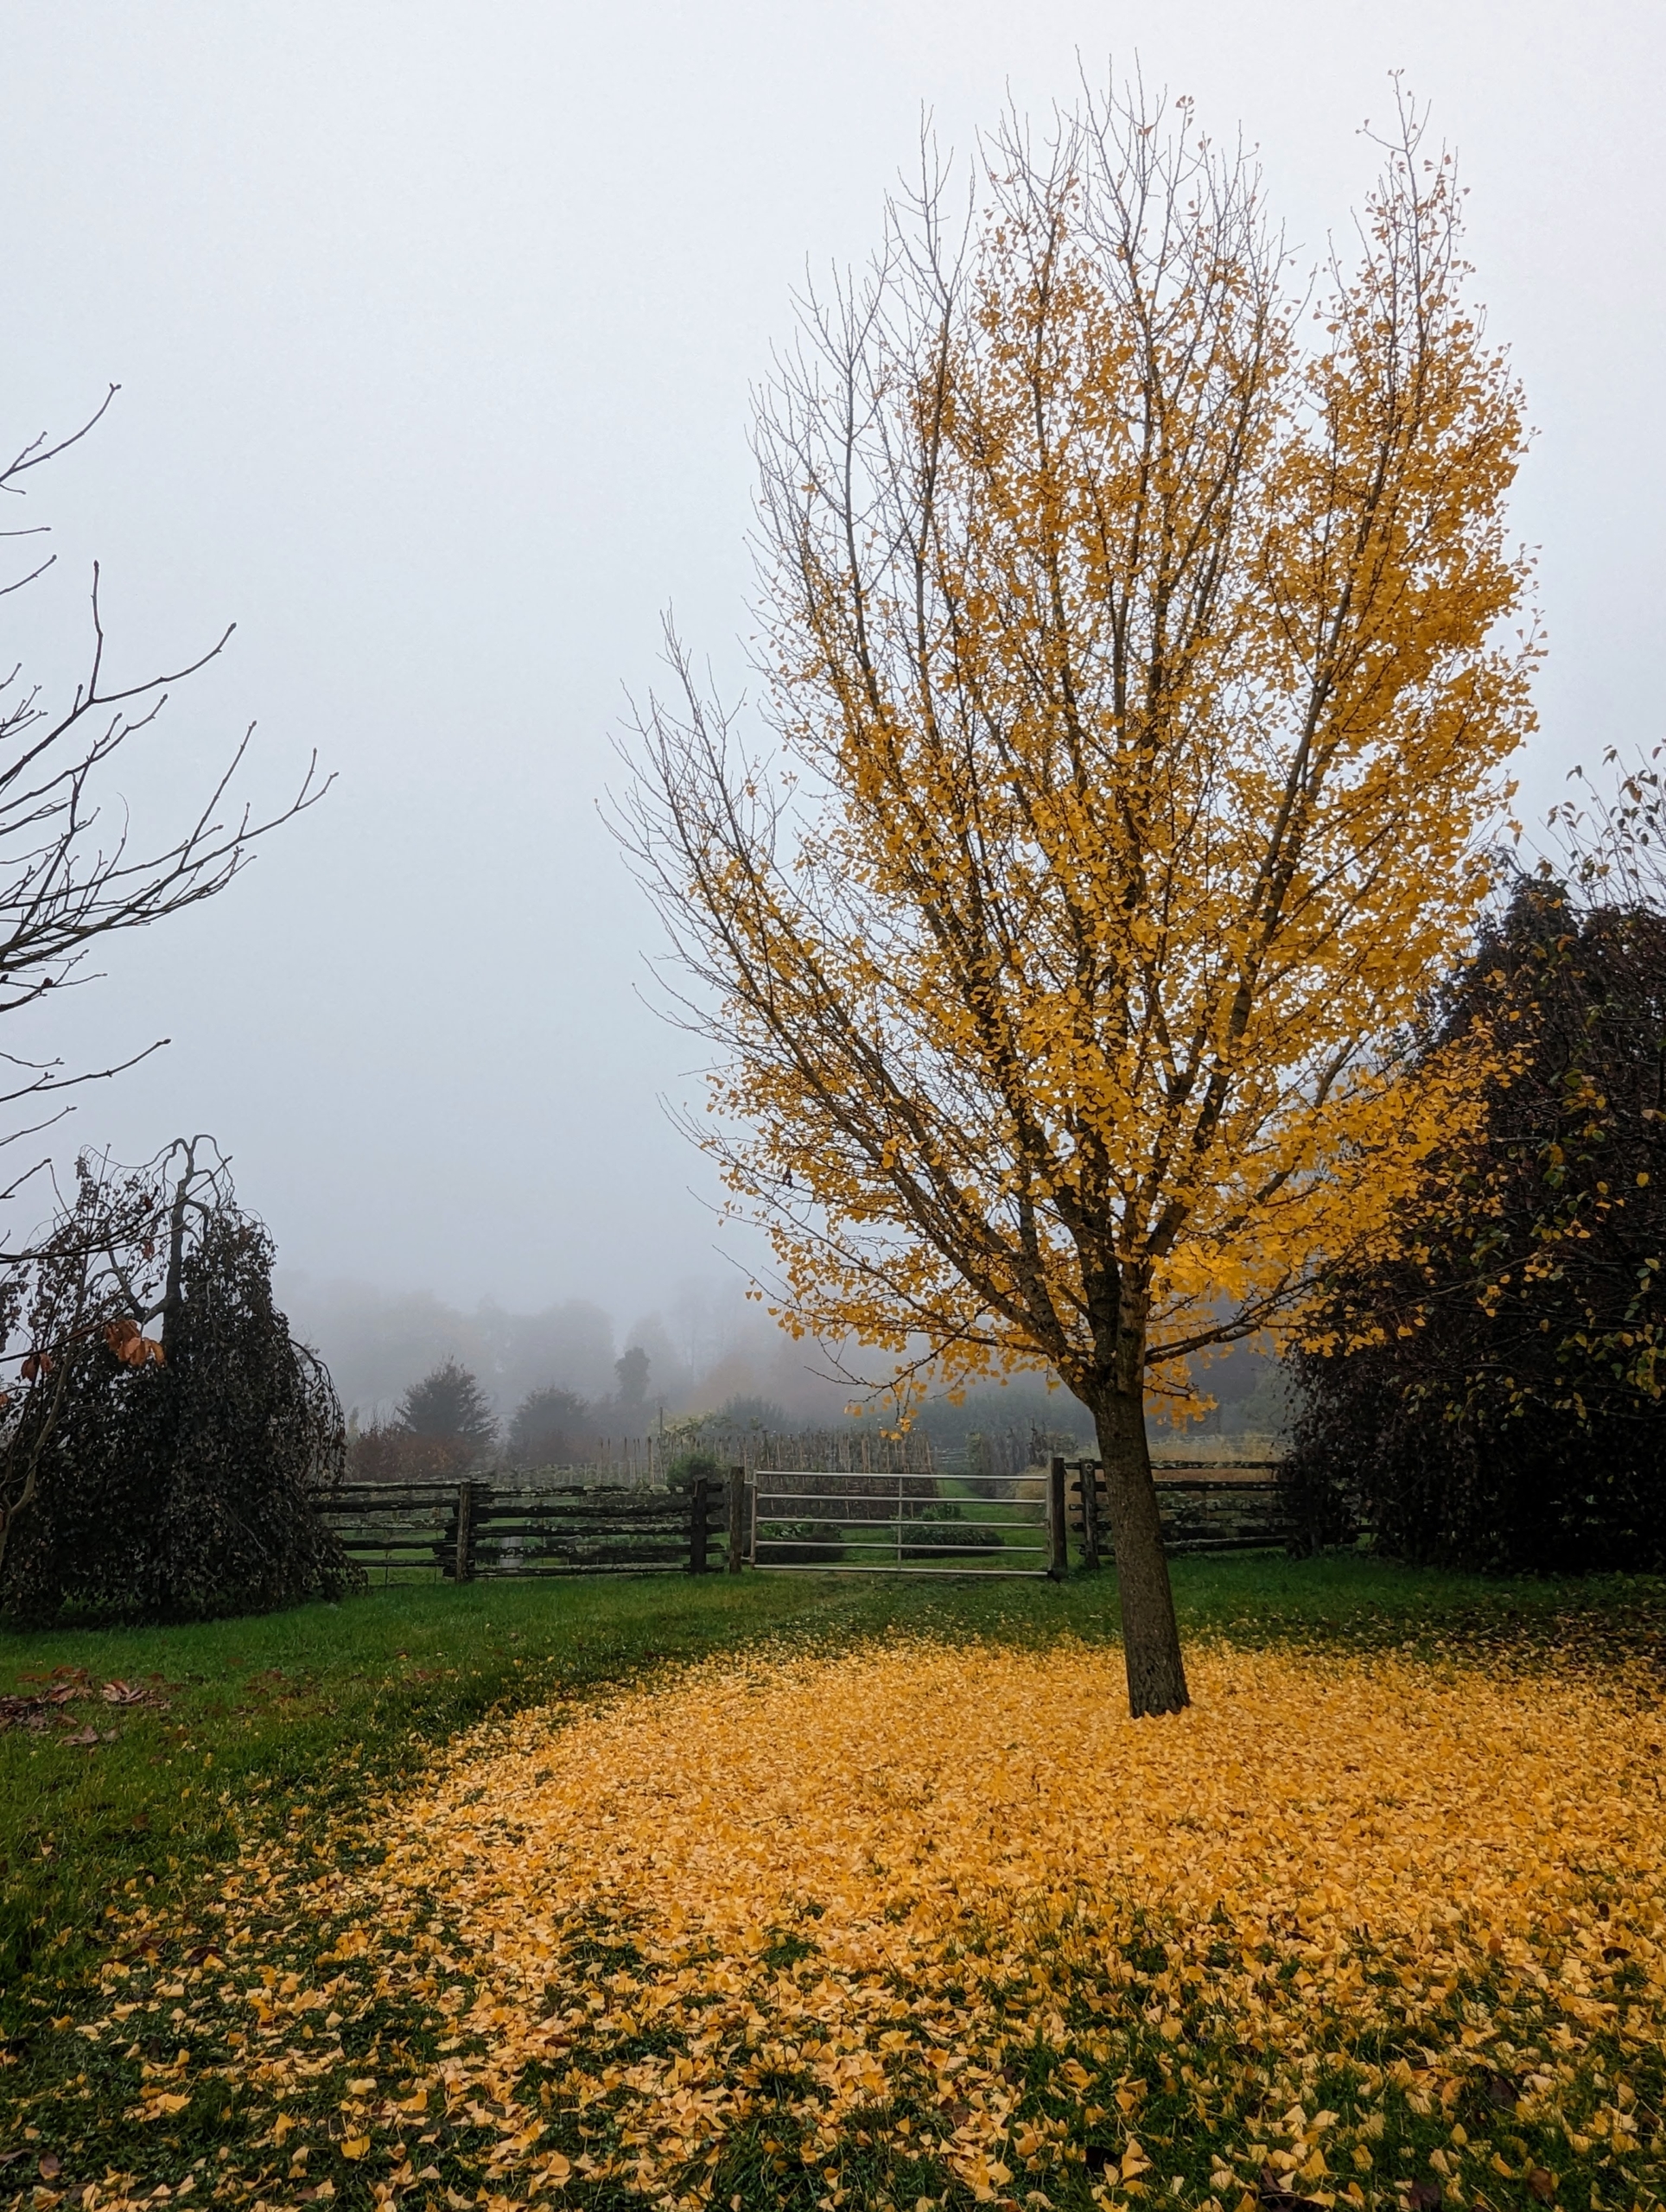
Some of the ginkgo trees have already lost their leaves but many tend to lose all their leaves at the same time. As the weather gets colder, the petioles get what’s called scars to protect the tree from disease after the leaves fall. After the hard frost sweeps down the east coast, this ginkgo, and others at the farm, will drop the rest of its leaves leaving an even larger carpet of color below.
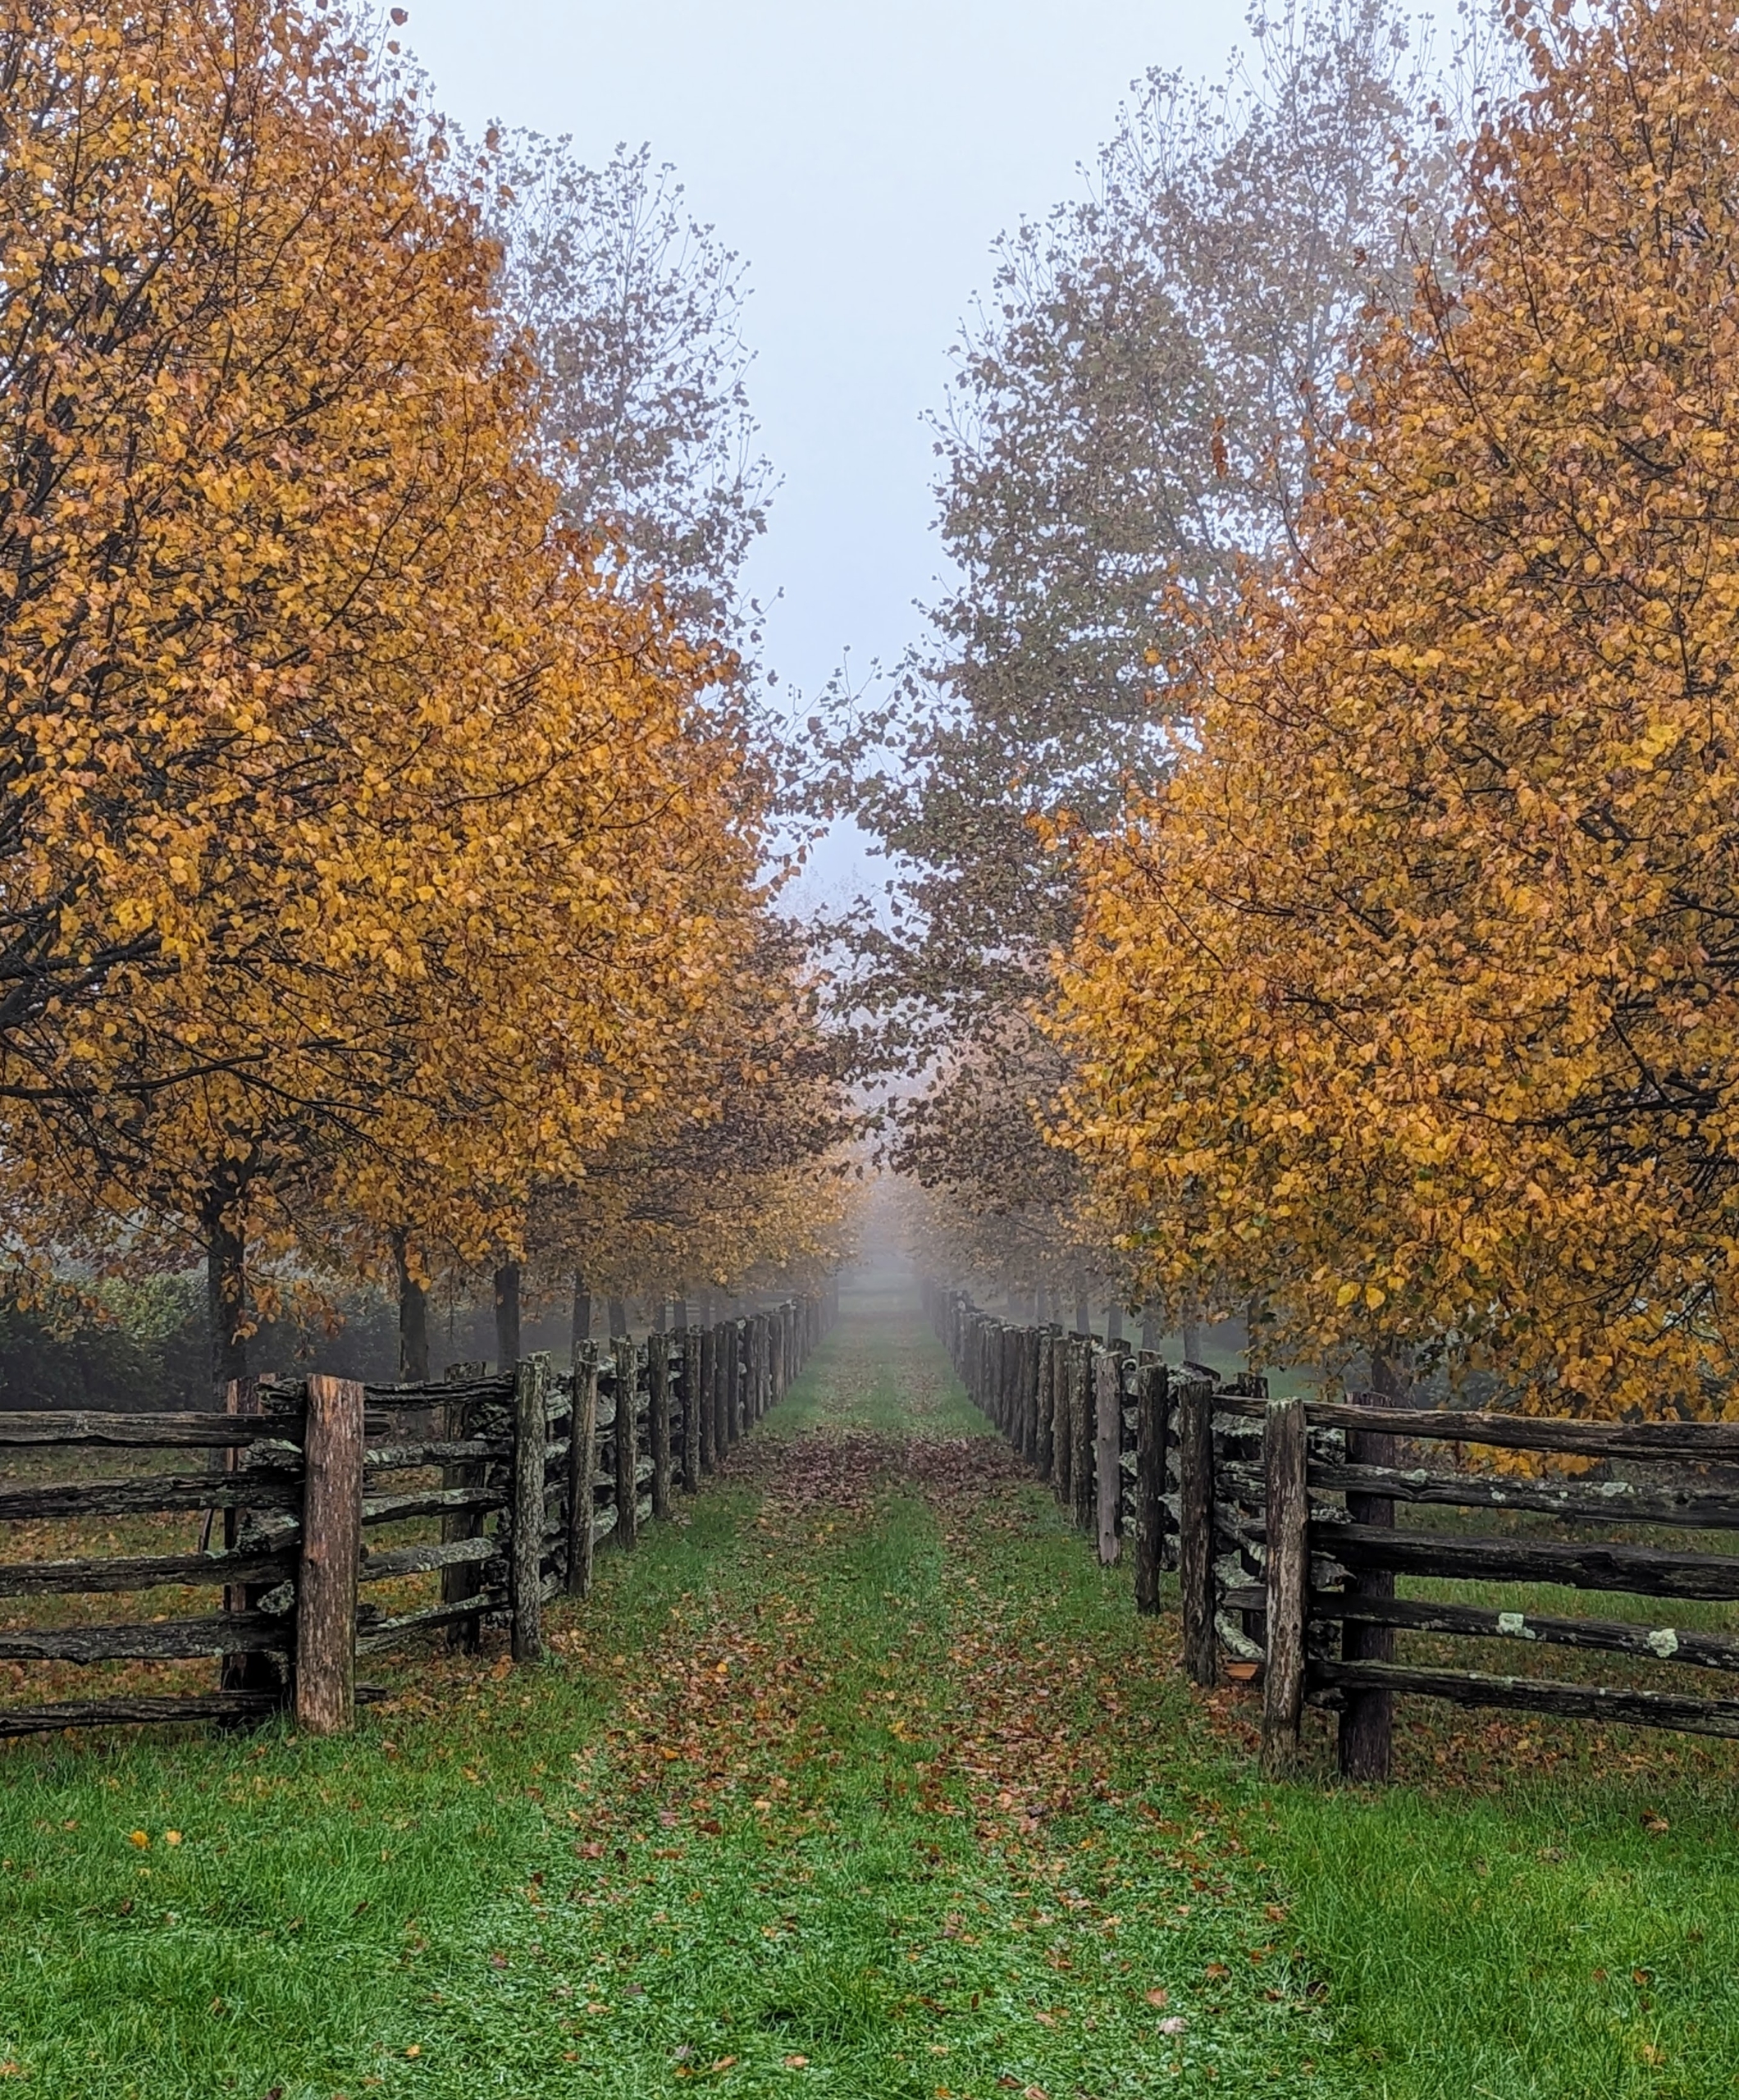
This is a view looking down a section of my Linden Tree Allée – one of two at the farm. At the end is the carriage road to my home – hard to see, but it’s there.
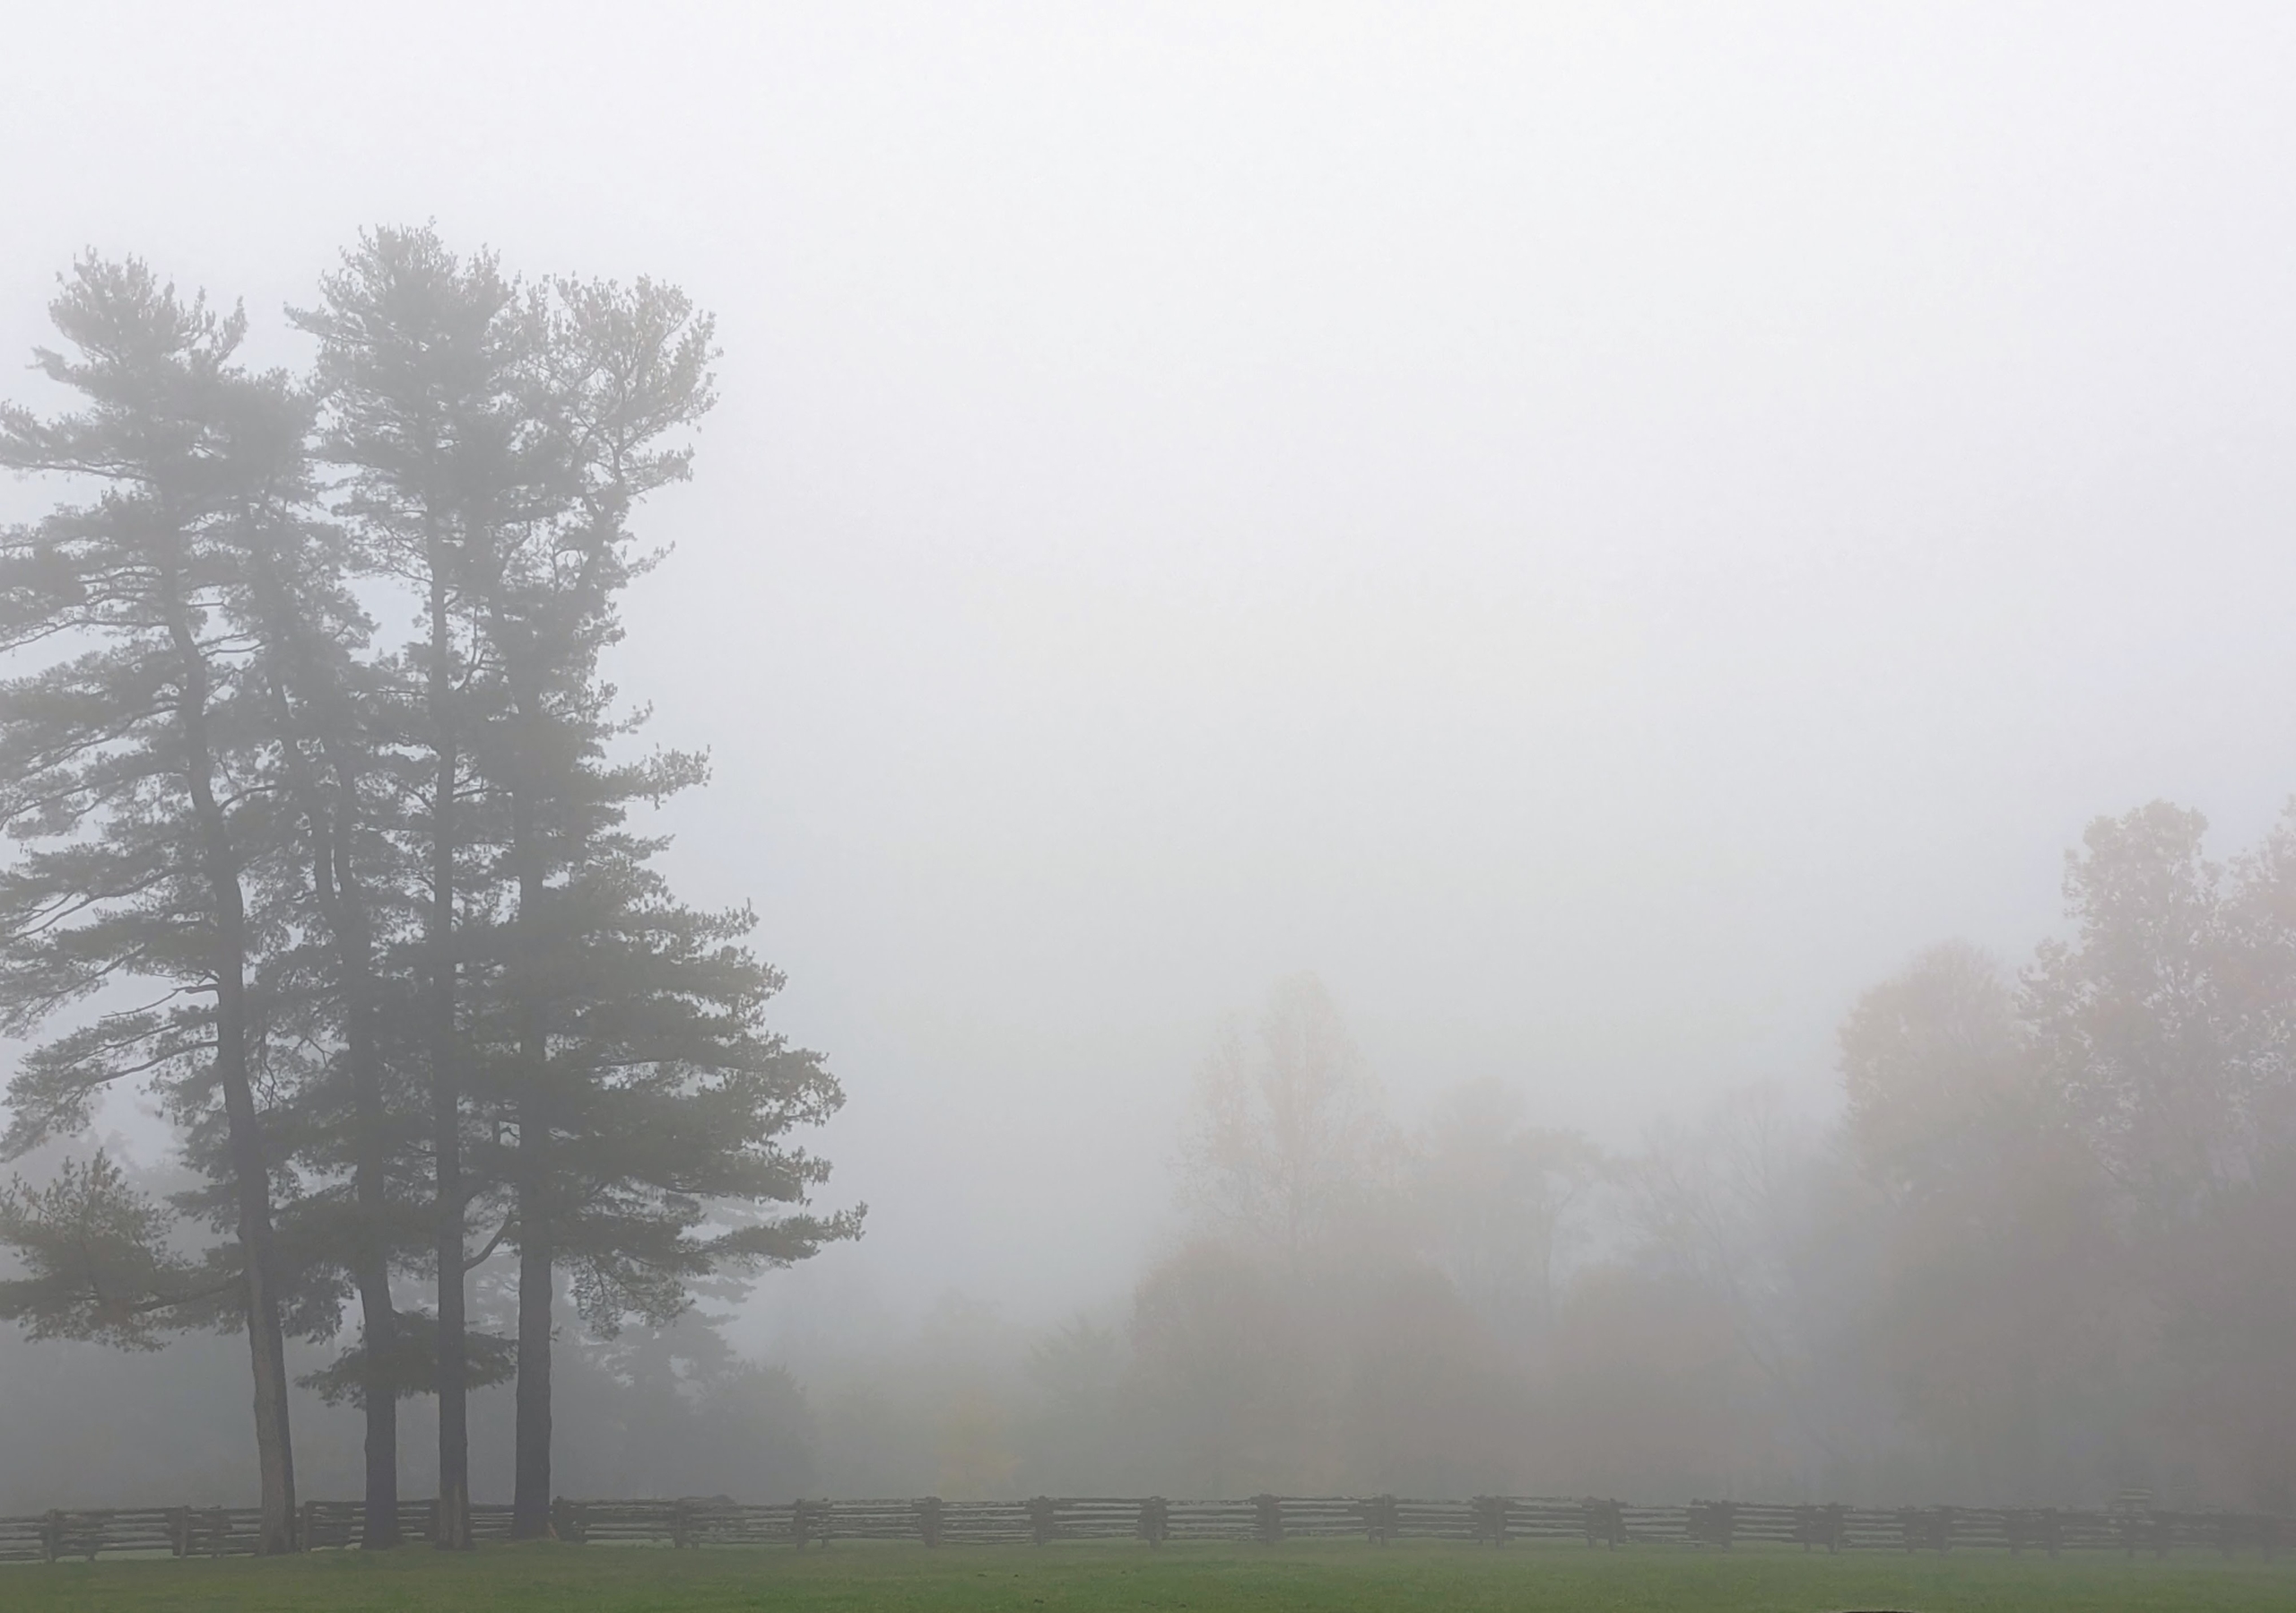
Here is what we call the “pine” paddock, with the great pine trees on the left. Hard to see their bold green color, or the gold, yellow, red and brown of the changing trees nearby.
The thicker the fog, the longer it takes to dissipate. This fog lasted several hours along with rain showers. This view shows my pool, now covered for the season. Antique staddle stones, originally used in the 17th and 18th centuries as support bases for granaries, hayricks, and game larders, are on the far side.
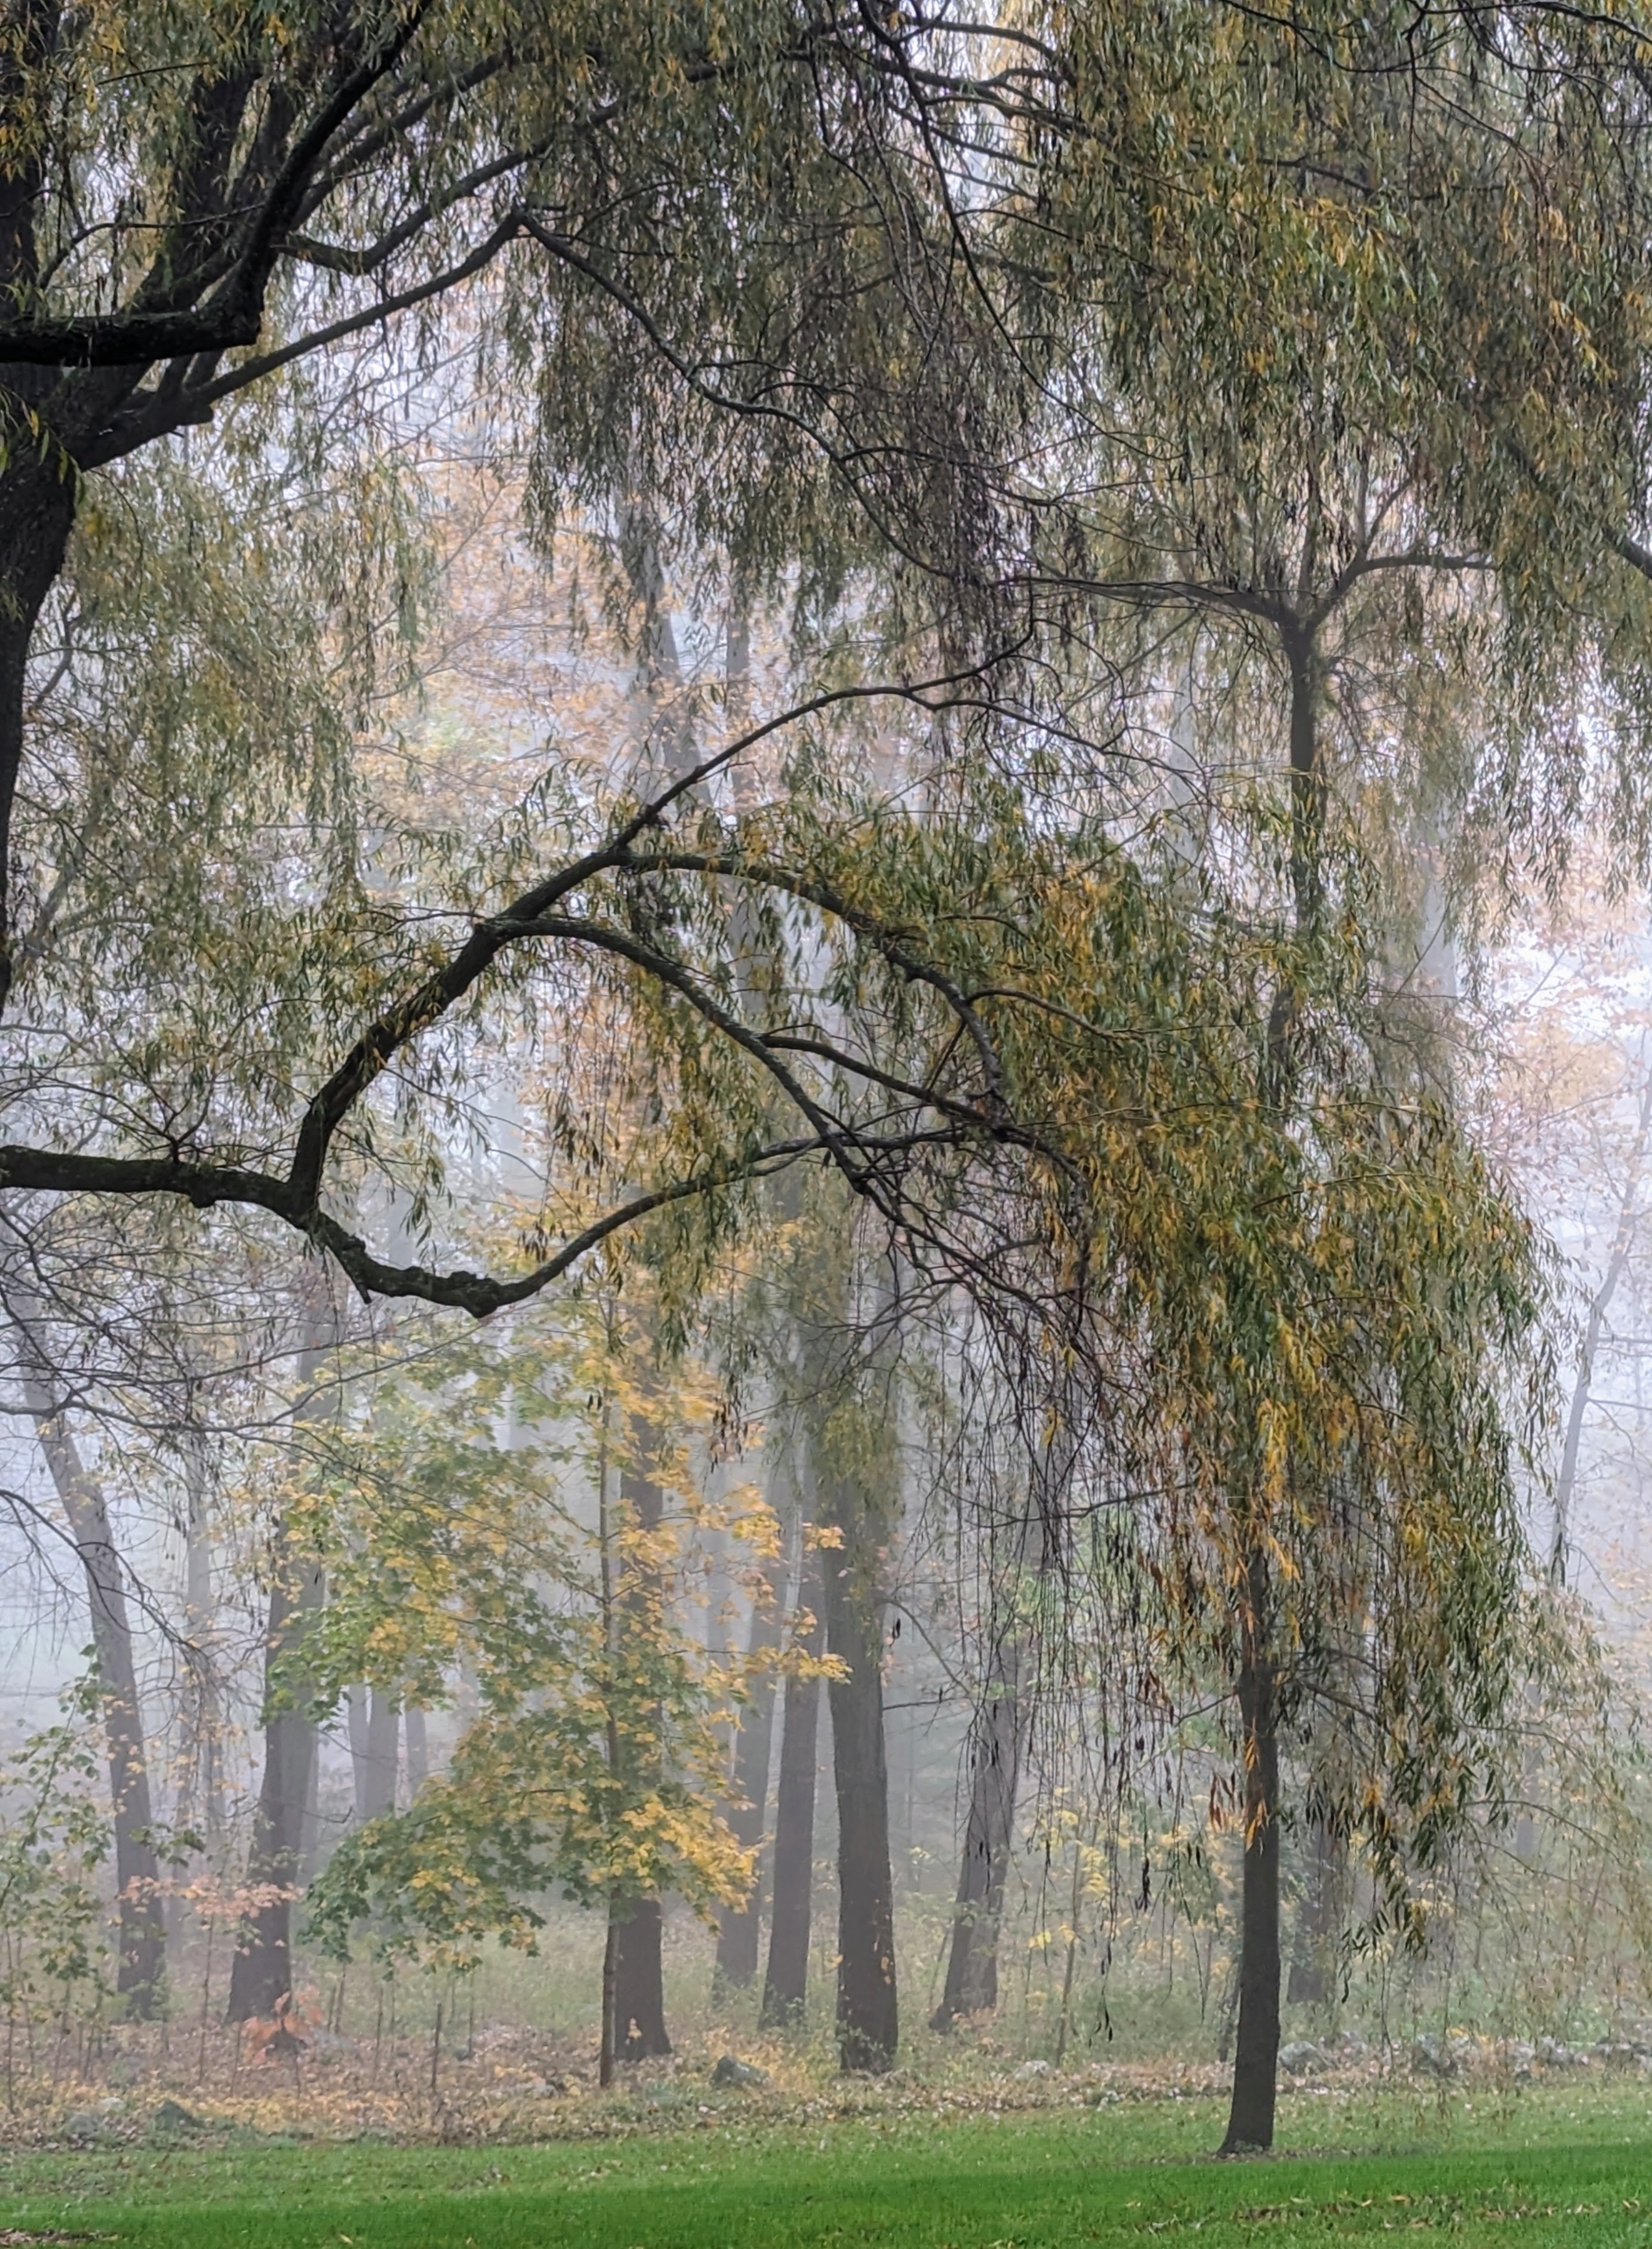
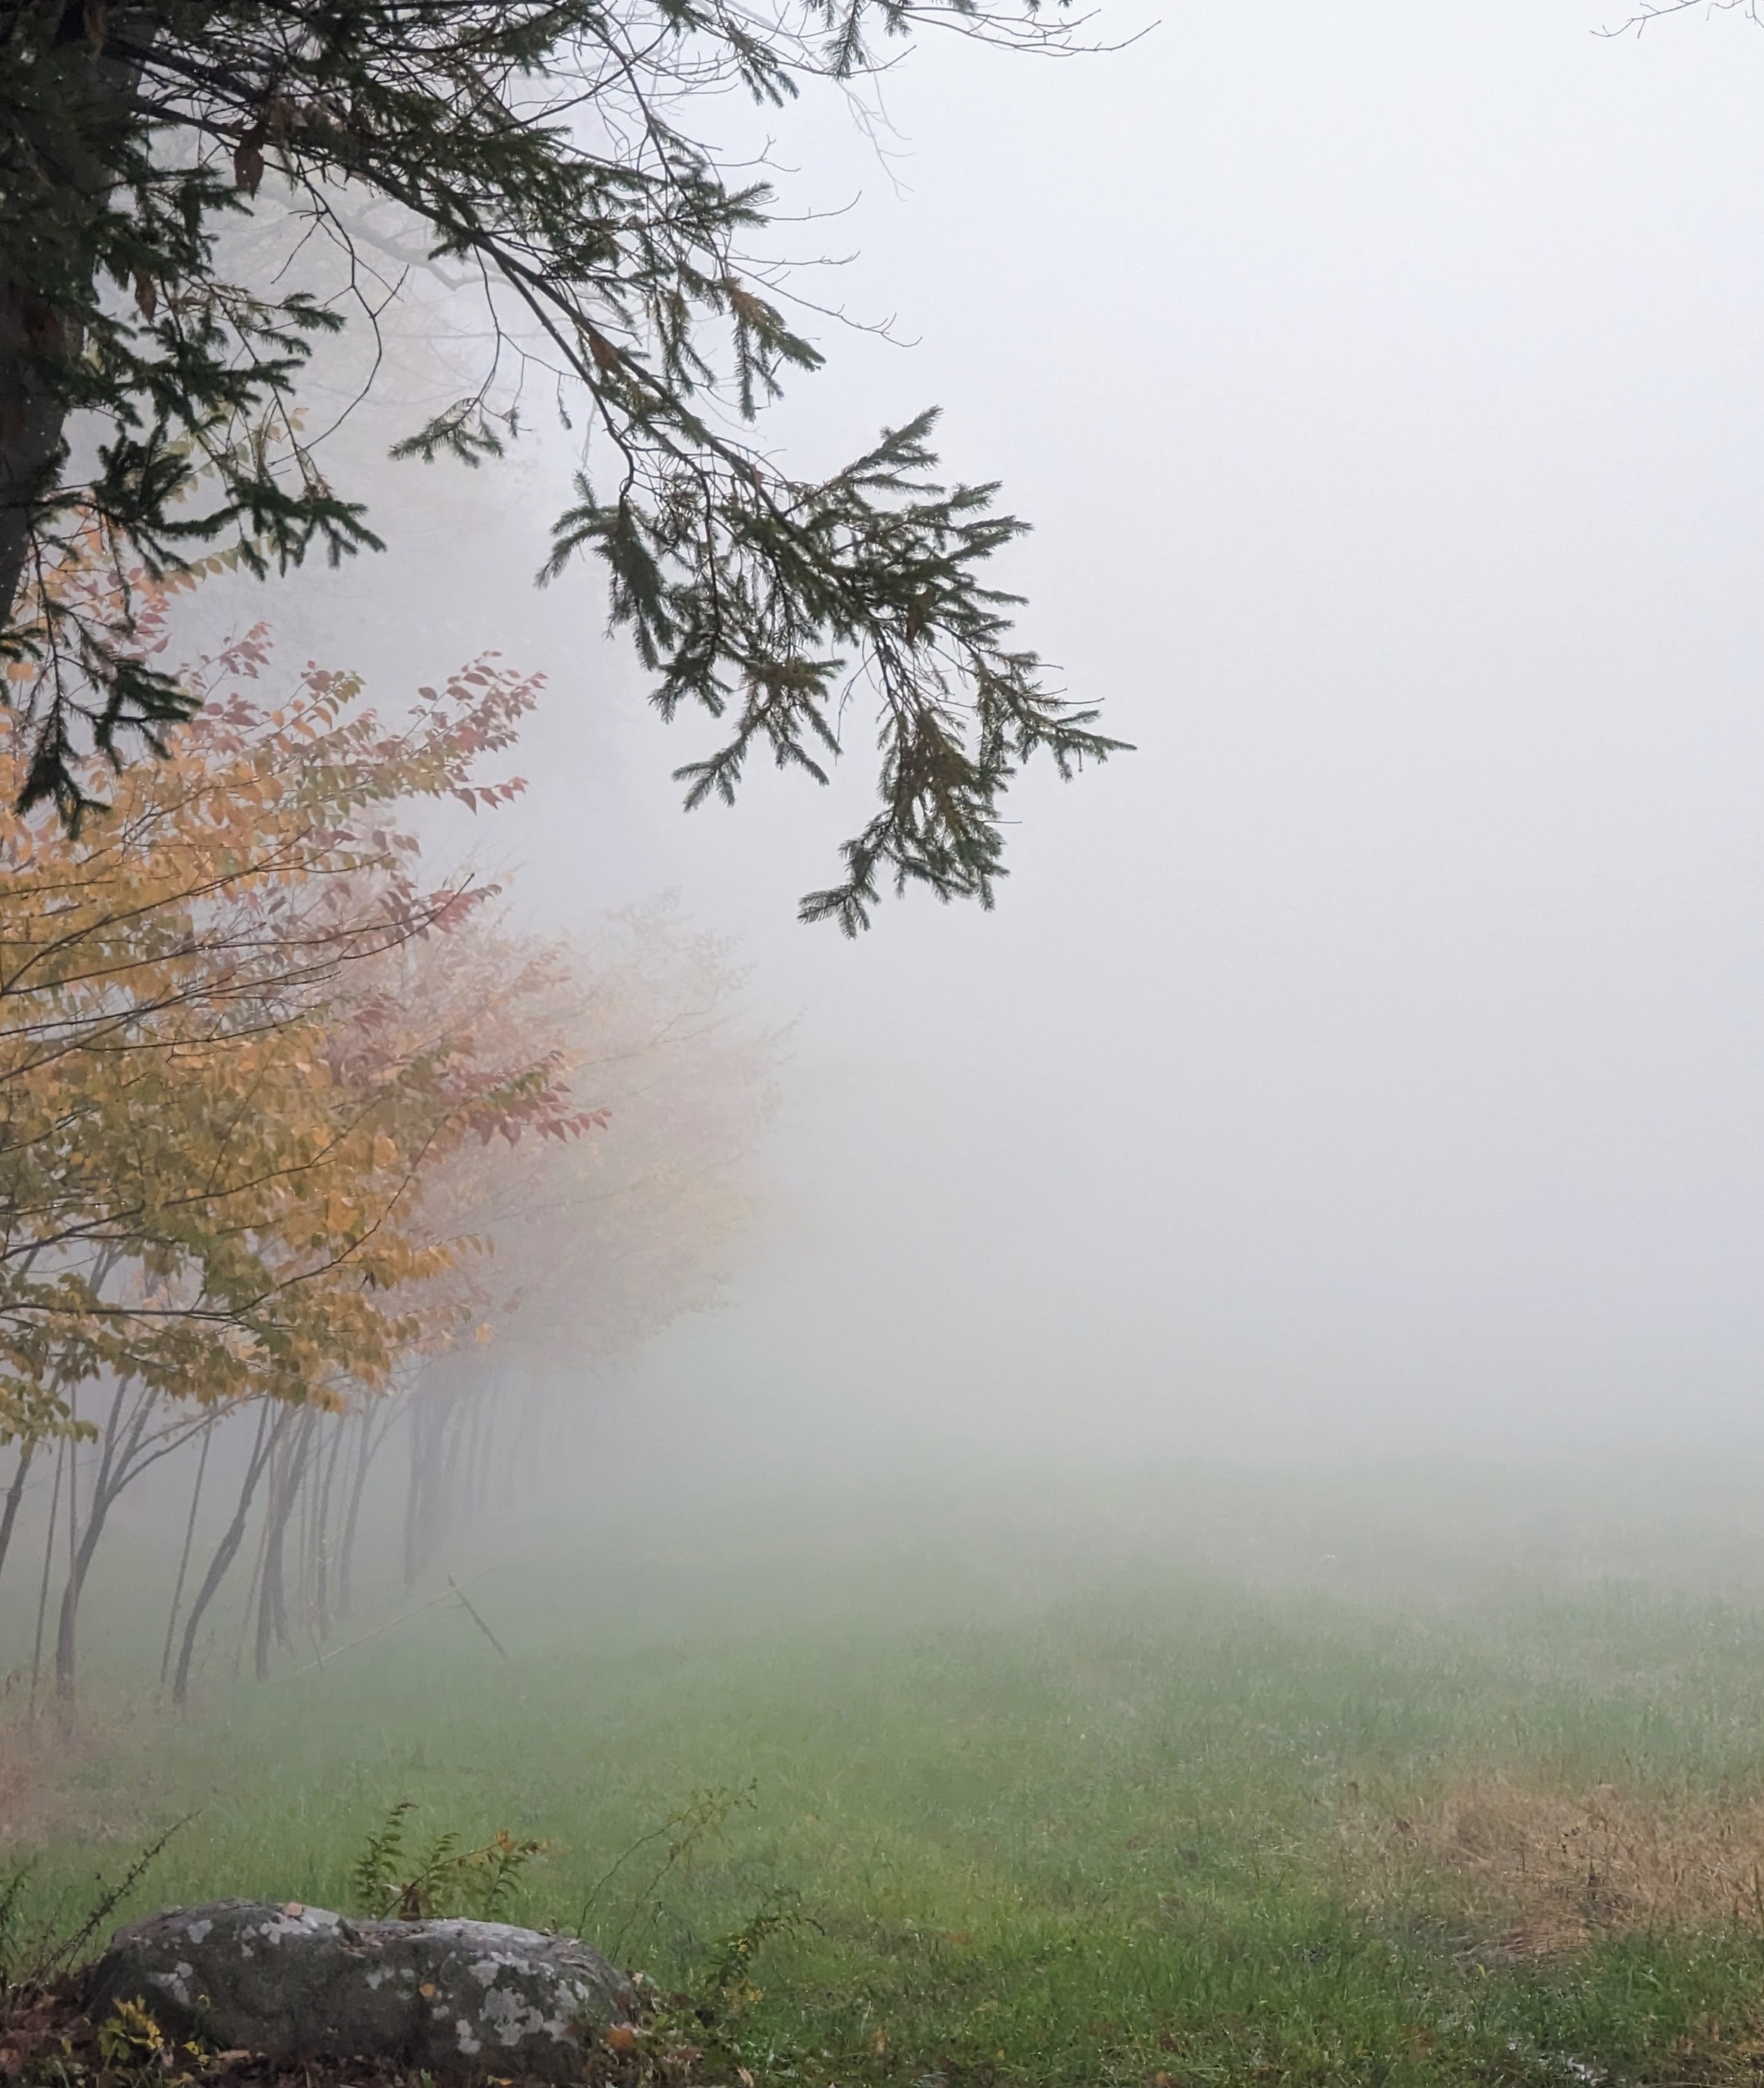
This photo shows the thick fog just past the weeping branches of the willow.
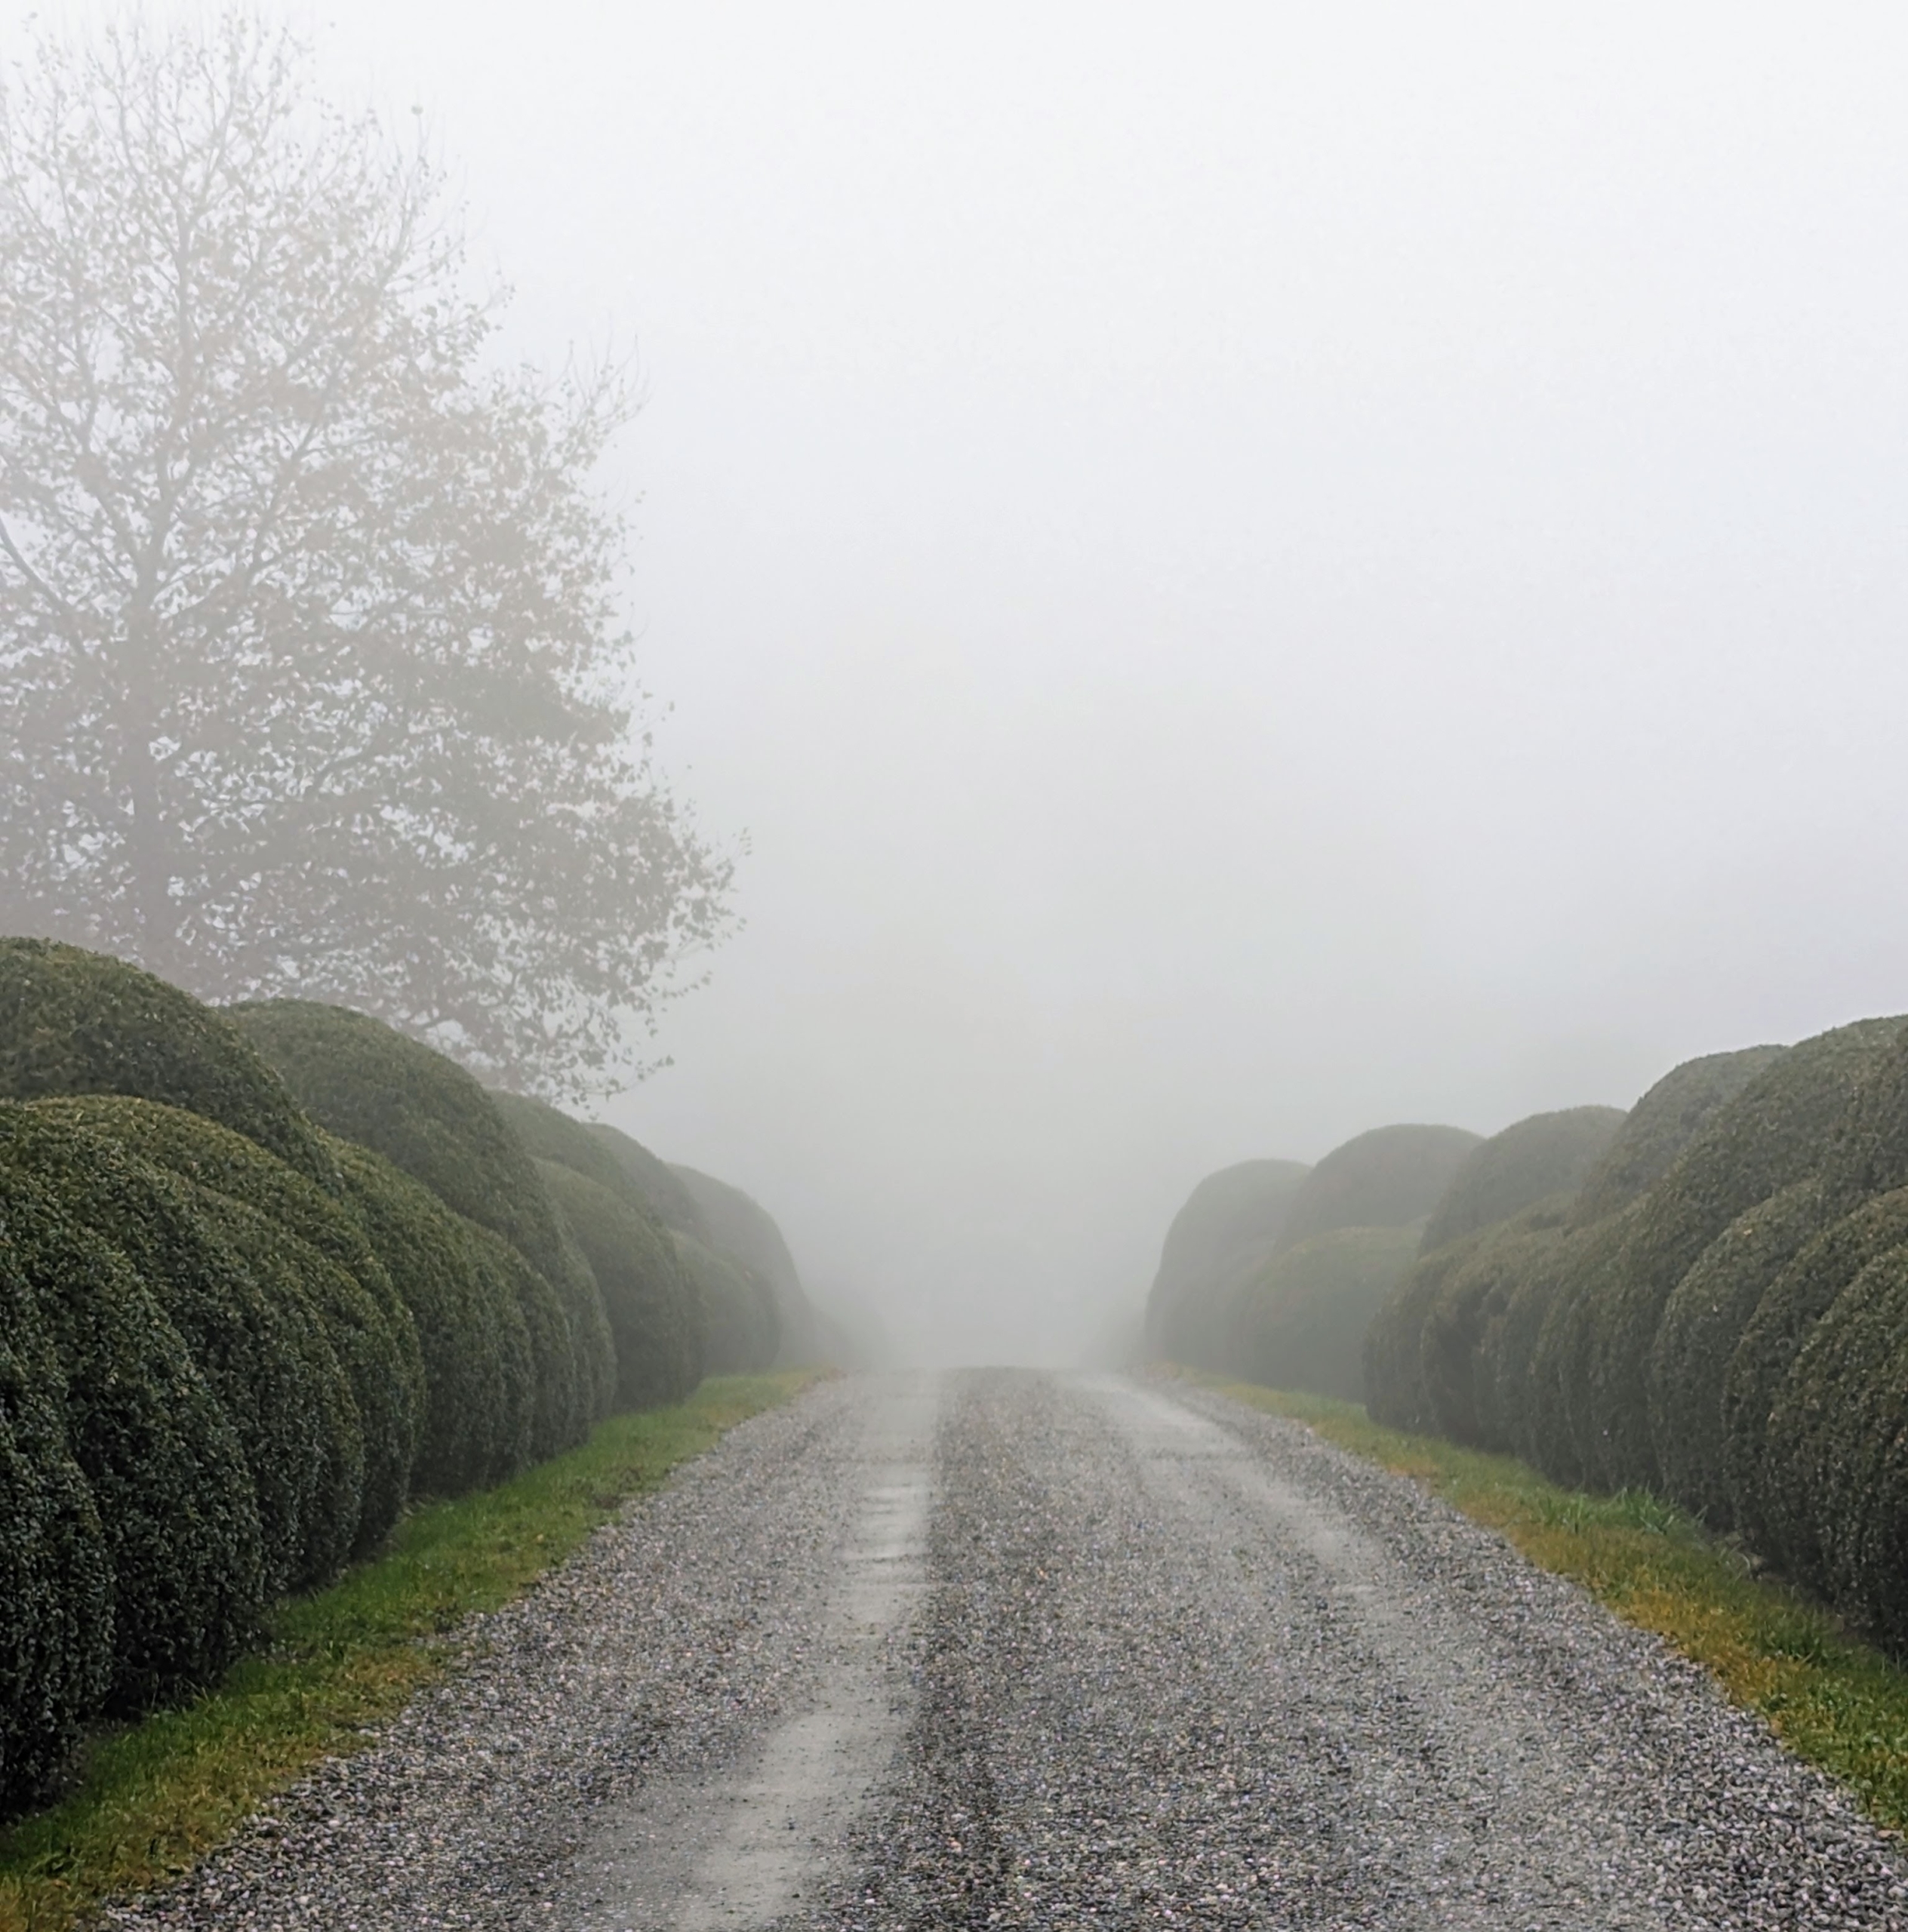
Do you know what’s ahead in this photo? This image was taken from my Boxwood Allée looking toward my stable at the end.
These are also linden trees – half of my long allée that starts at the carriage road to my Winter House and extends north between the fenced pastures all the way to my chicken coops. But, the foggiest place in the world is Grand Banks, off the island of Newfoundland, Canada. The cold Labrador current from the north and the warm Gulf Stream current from the east create just the right conditions for thick fog to form almost every day of the year.
This fog is seen in the middle hayfield. Beyond the trees is an expansive field where I grow lots of hay for my horses.
Here is another photo of the middle hayfield. Not long ago, we baled the second cut of hay from this area.
This photo shows the longest allée here at the farm – the one planted through the carriage road in the middle field where we have great London planetrees and Cotimus flanking the road. There are actually many different types of fog – radiation fog, sea fog, ground fog, advection fog, steam fog or evsporation fog, precipitation fog, upslope fog, valley fog, ice fog, freezing fog, and artificial fog.
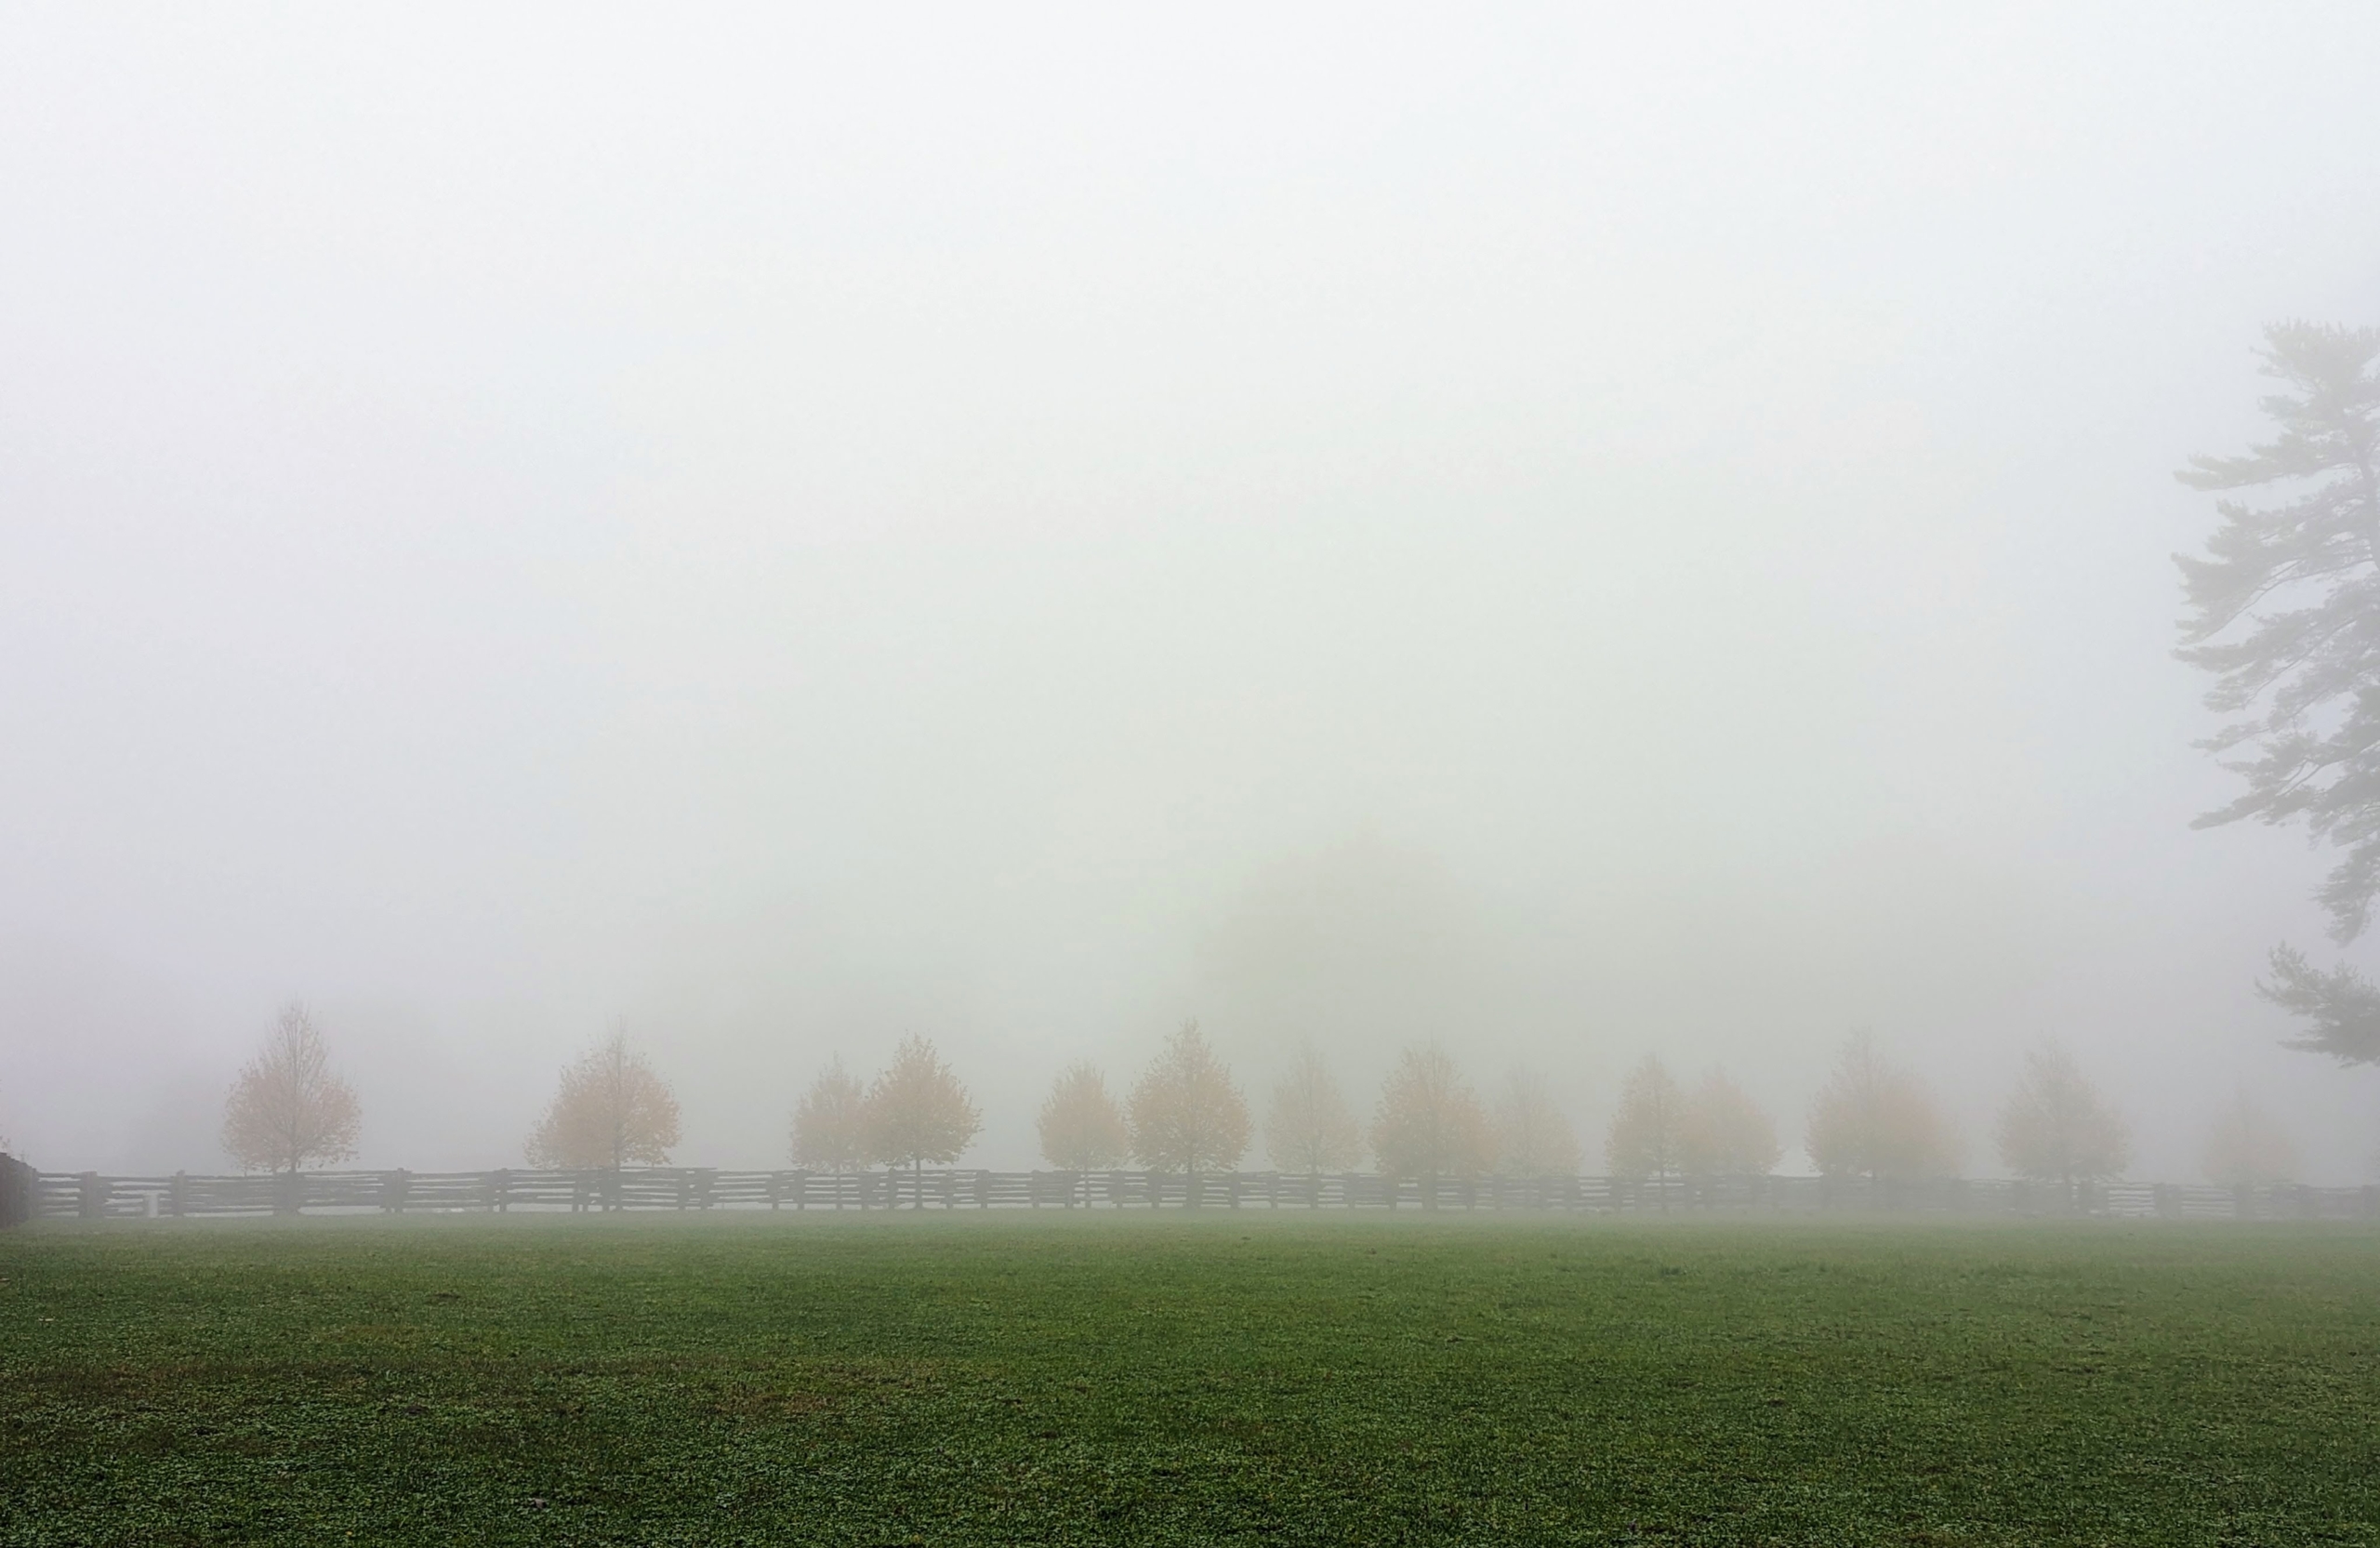
On the left, the gold leafed trees are Japanese zelkova trees, Zelkova serrata – a medium-sized deciduous tree that typically grows up to 100-feet tall with a spreading, upward-branching, vase-shaped crown. I planted this stand in 2019 and they’re all doing so well in this part of the field.
This view is from the opposite side of the hayfield. Ever wonder why it is called “fog?” One definition of fog from the 14th century refers to tall grasses. Many grasses use fog as part of their name such as Yorkshire fog grass. Fog was also the Danish word for mist or spray in the 16th century. It is thought that the two definitions may have merged when mist was noted over a field of grass.
This young Pin Oak Allée is down a long road leading to my Contemporary House, which is primarily used for storage. These young trees are thriving here beneath their taller neighbors – I am looking forward to seeing them at maturity.
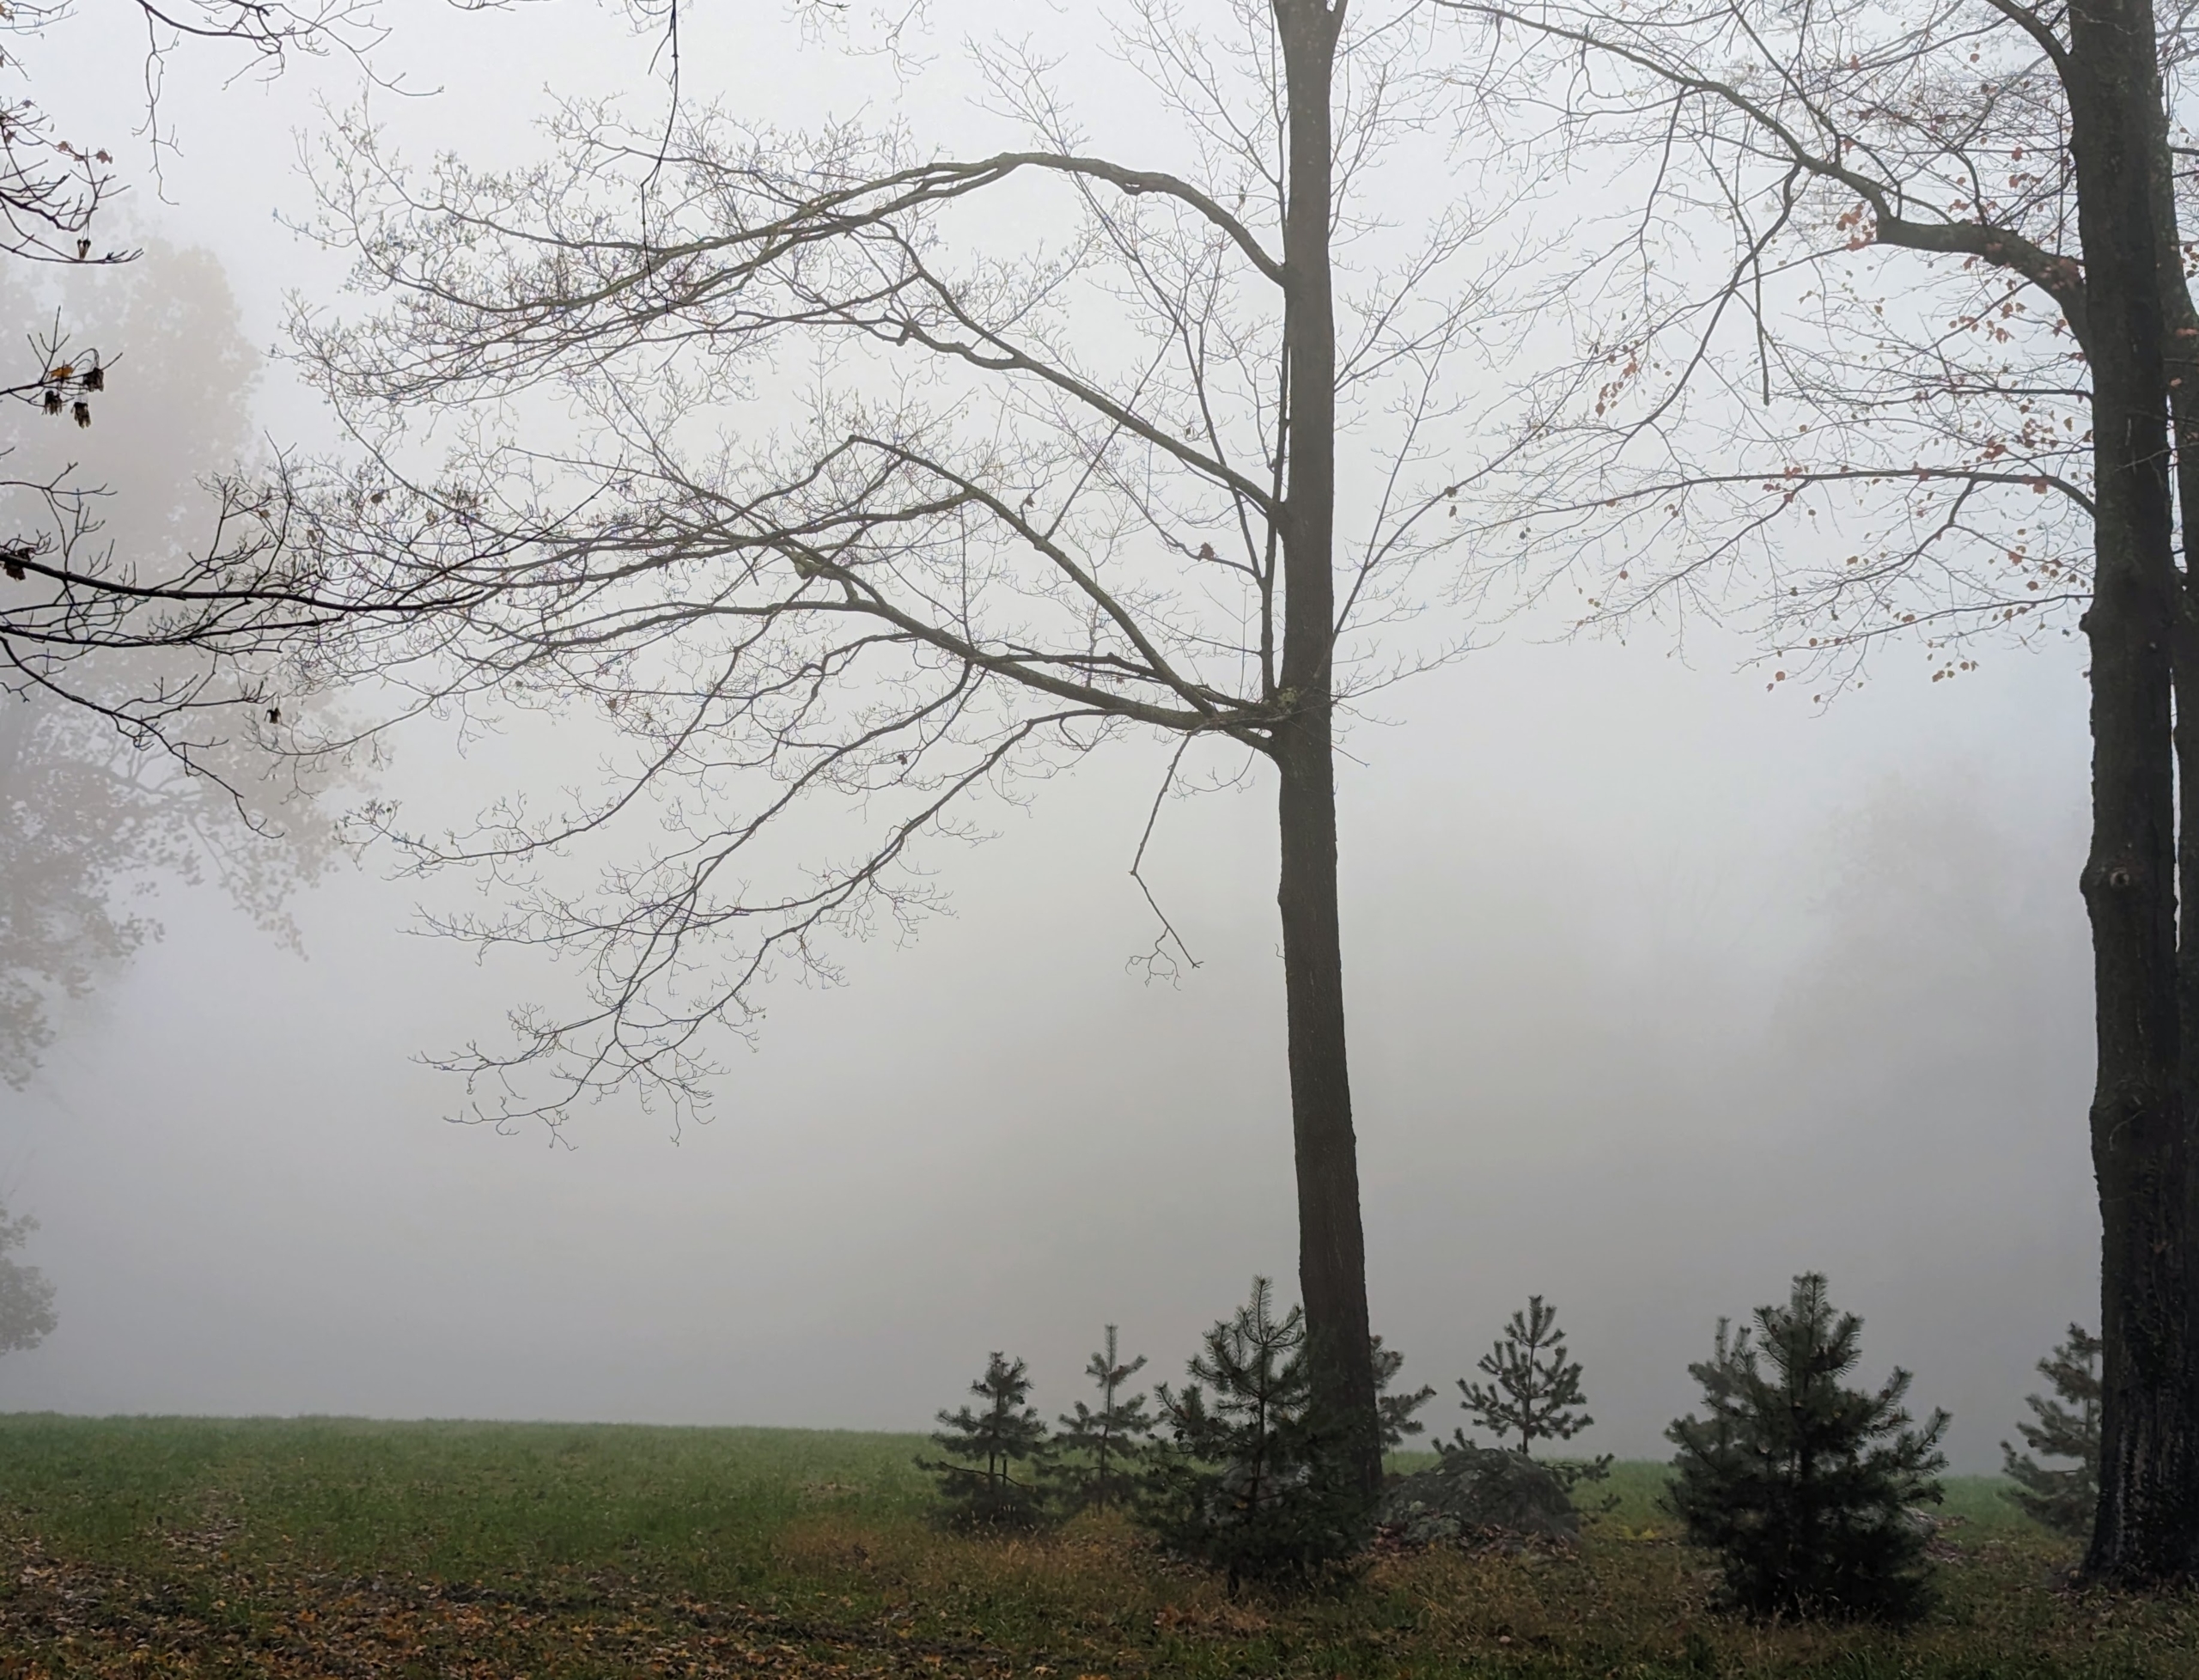
Edging the back hayfield on one side is a stand of red maples. Look at the photo long enough and you may just see them.
Here, one could see the leaves of a maple up close, with thick fog behind it. Another interesting story involving fog includes President George Washington. During the Battle of Long Island on August 27, 1776, George Washington and his troops were fighting a losing battle against the British. When a thick fog descended on the area, Washington took the opportunity to withdraw thousands of his troops into Manhattan. After the fog lifted, the British descended on the American positions, only to find they had left. The Americans’ miraculous retreat saved their lives.
At the far end of the back hayfield is my giant sycamore tree, the symbol of my farm. This tree is among the largest of the trees on the property.
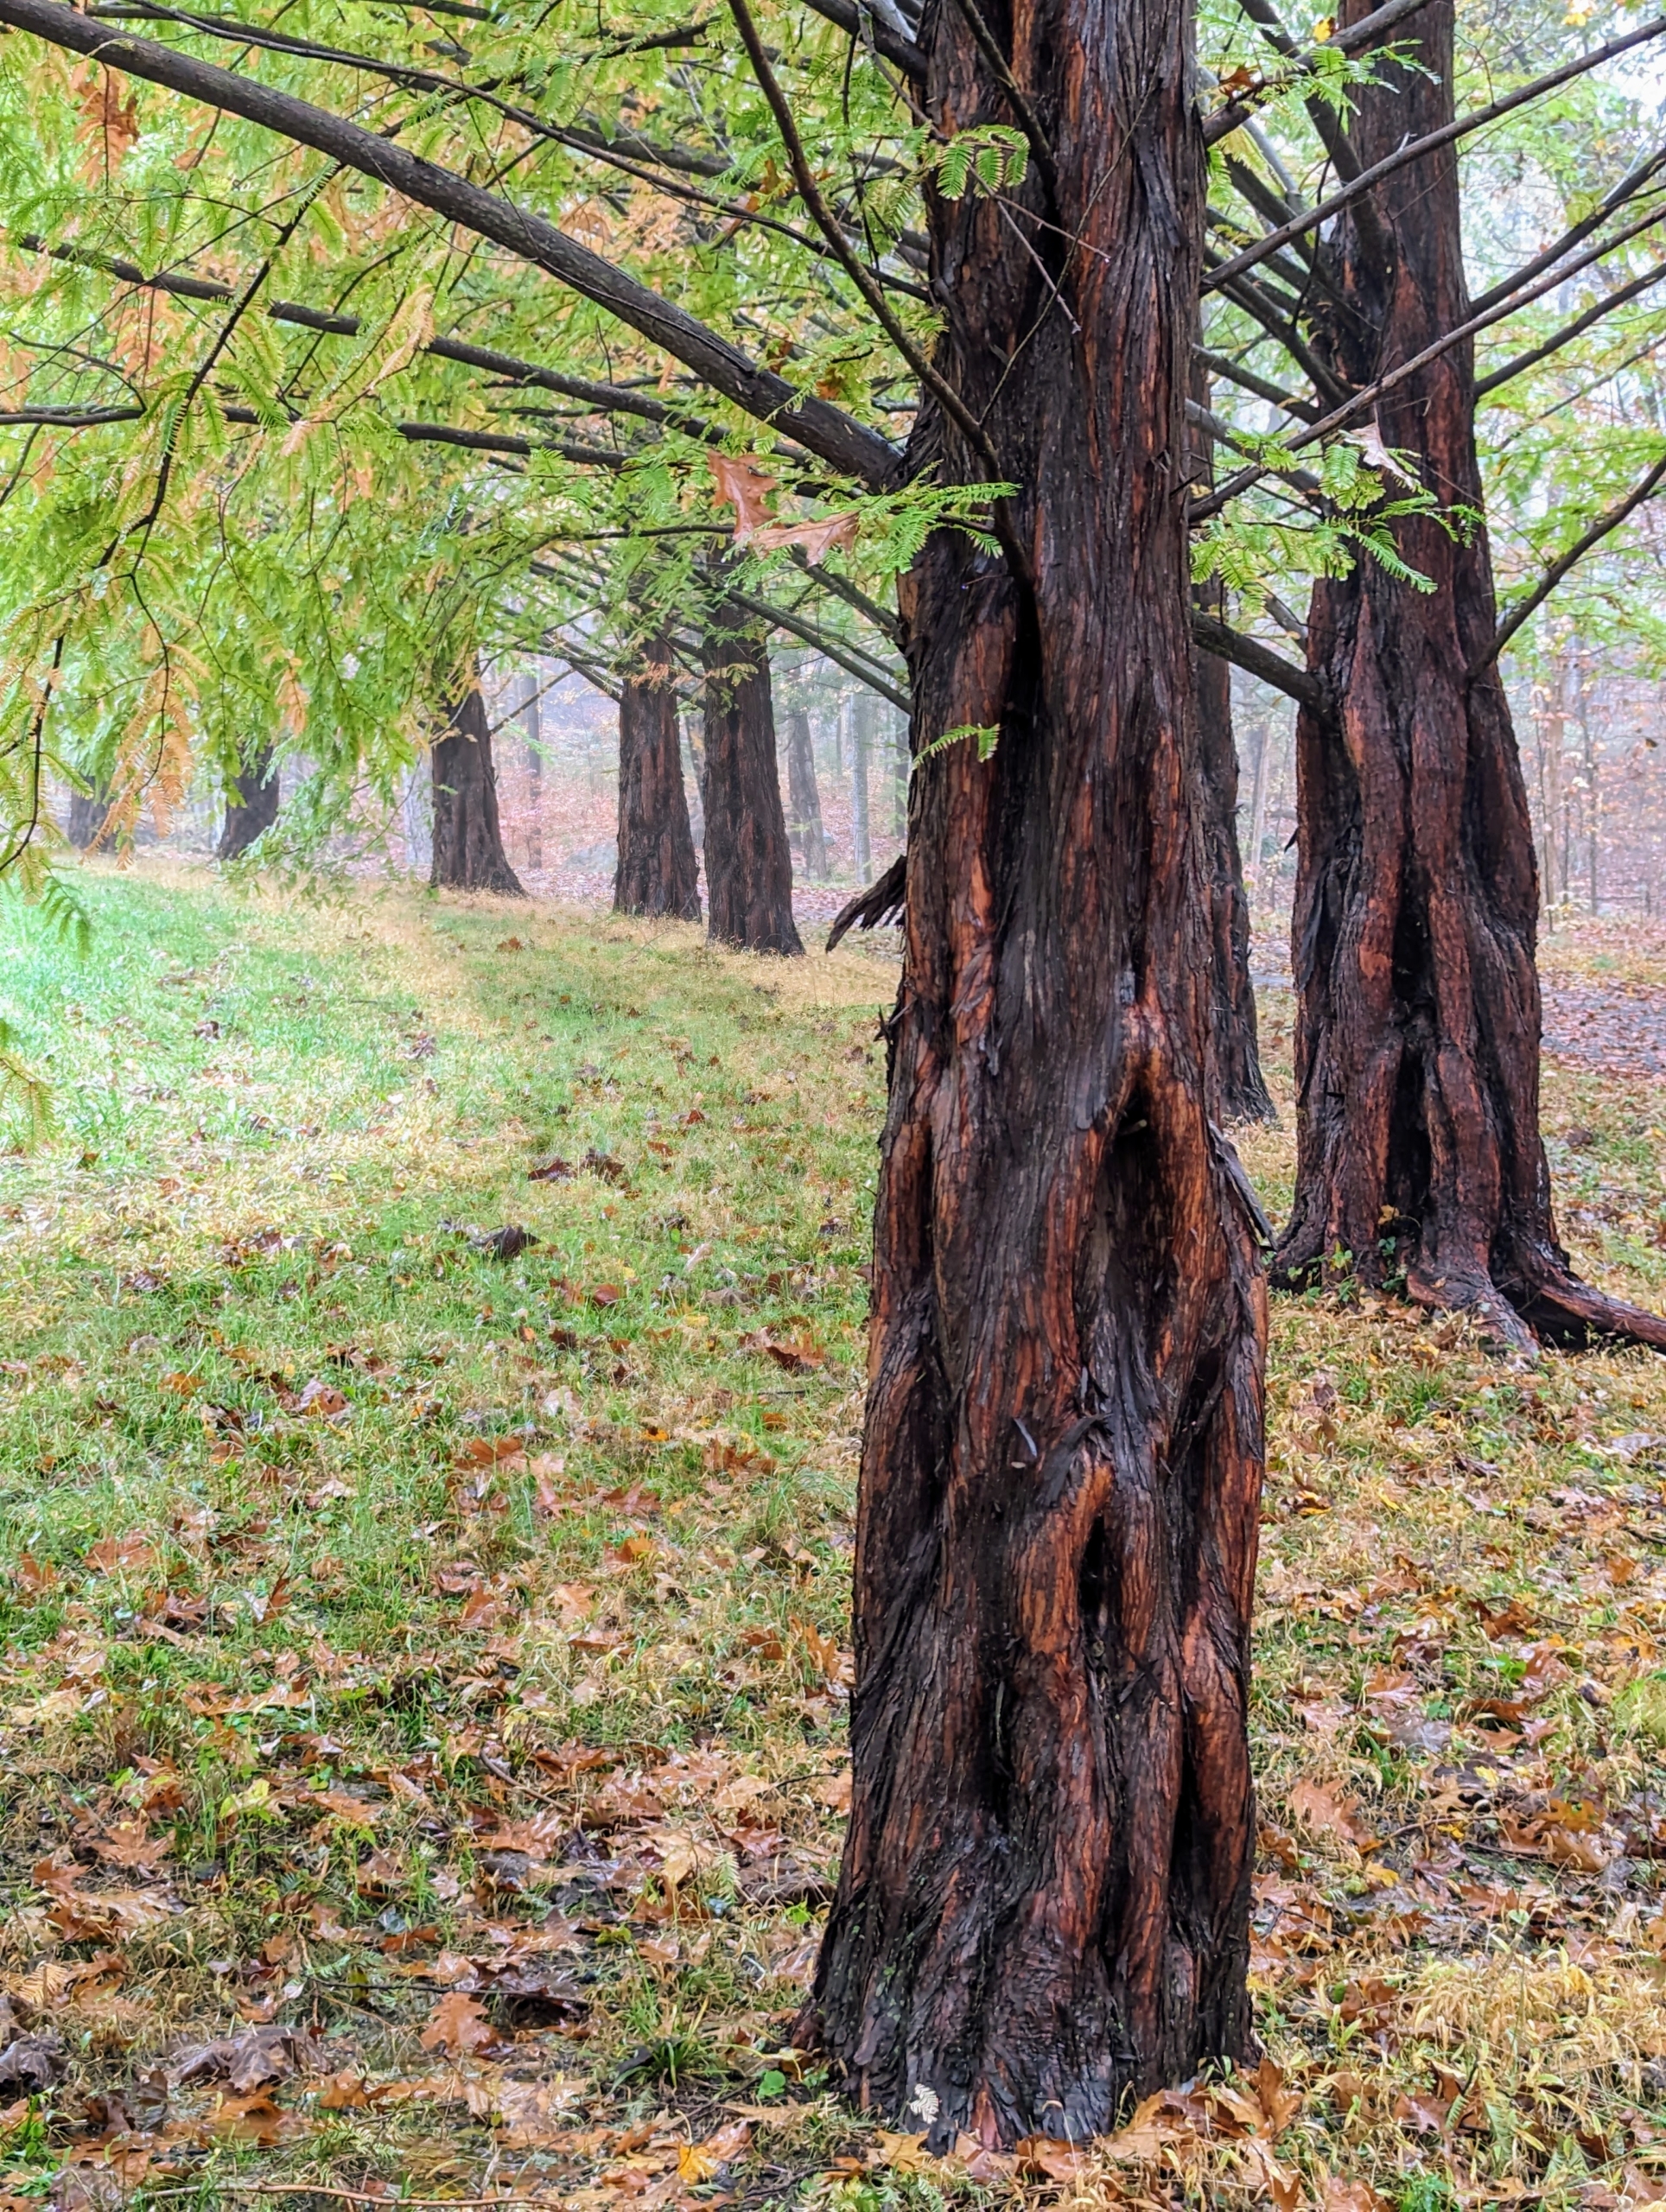
This is the view through this grove of dawn redwoods, Metasequoia. These are so pretty in fall. They have feathery, fine-textured needles that are approximately a half-inch long. And look at its bark. The bark of the dawn redwood becomes deeply fissured as the tree matures.
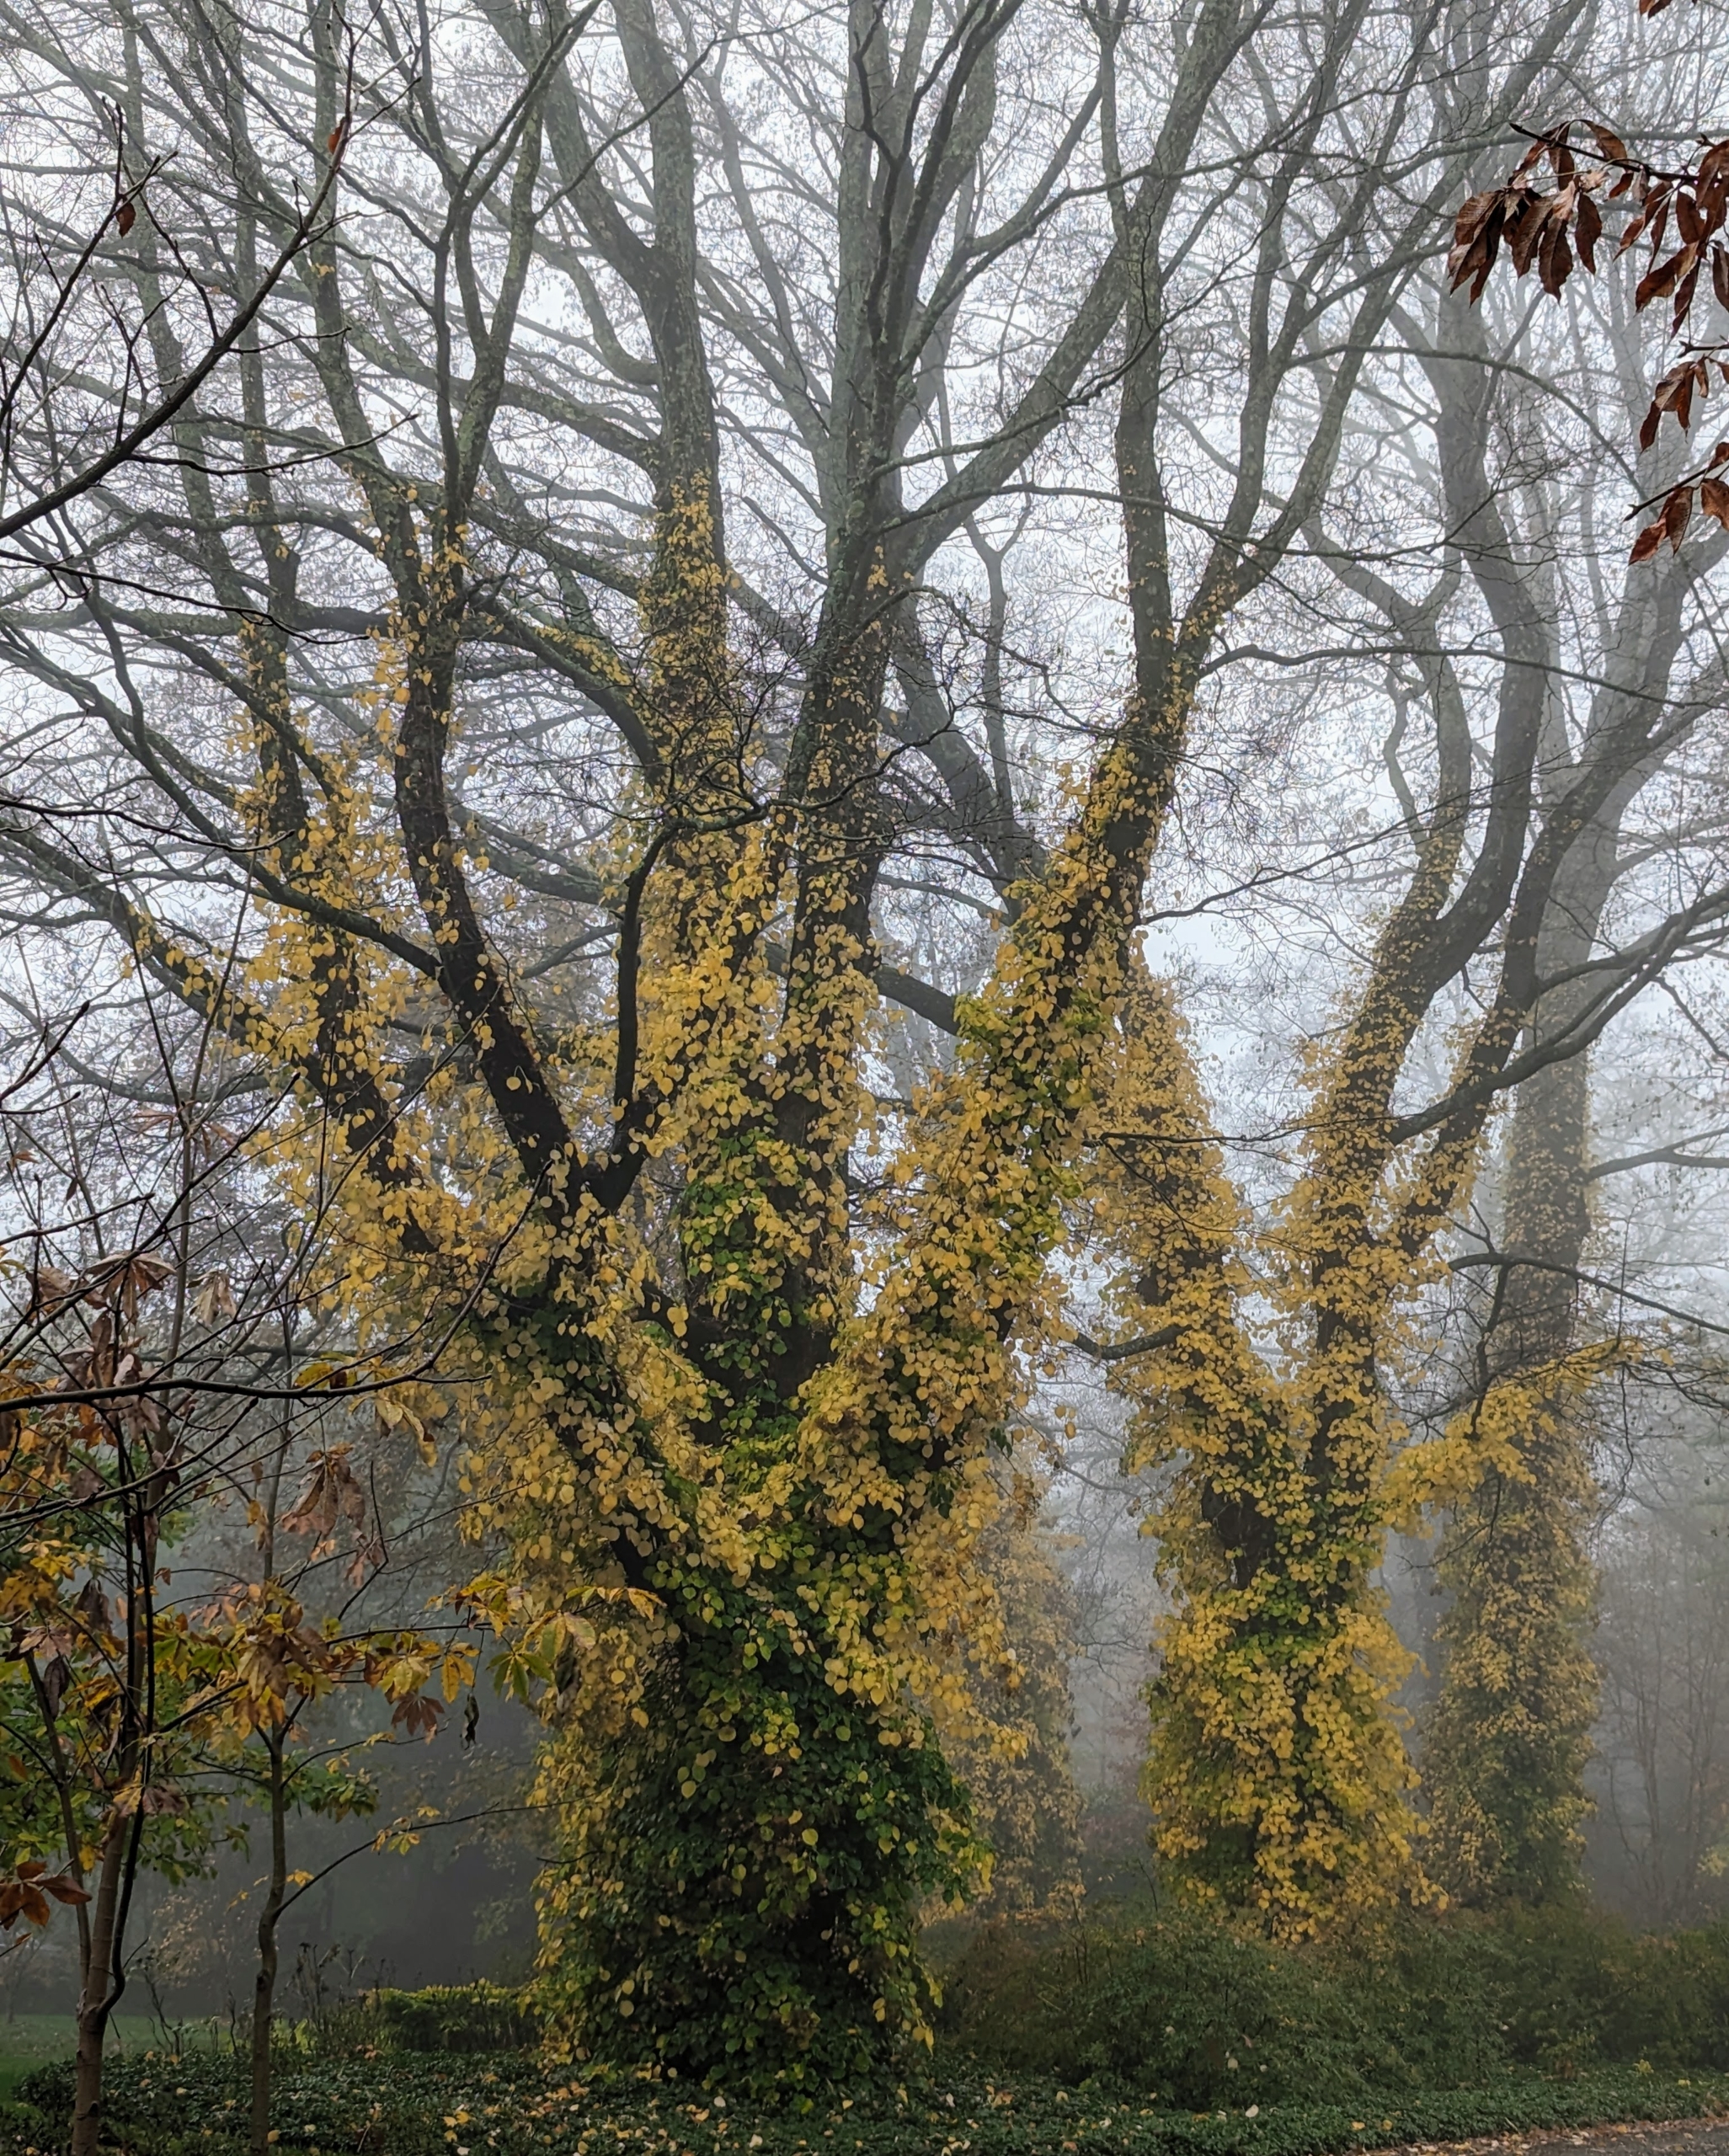
In the fog, the climbing hydrangea vines creeping up the trunks of these bare sugar maples look almost frightening.
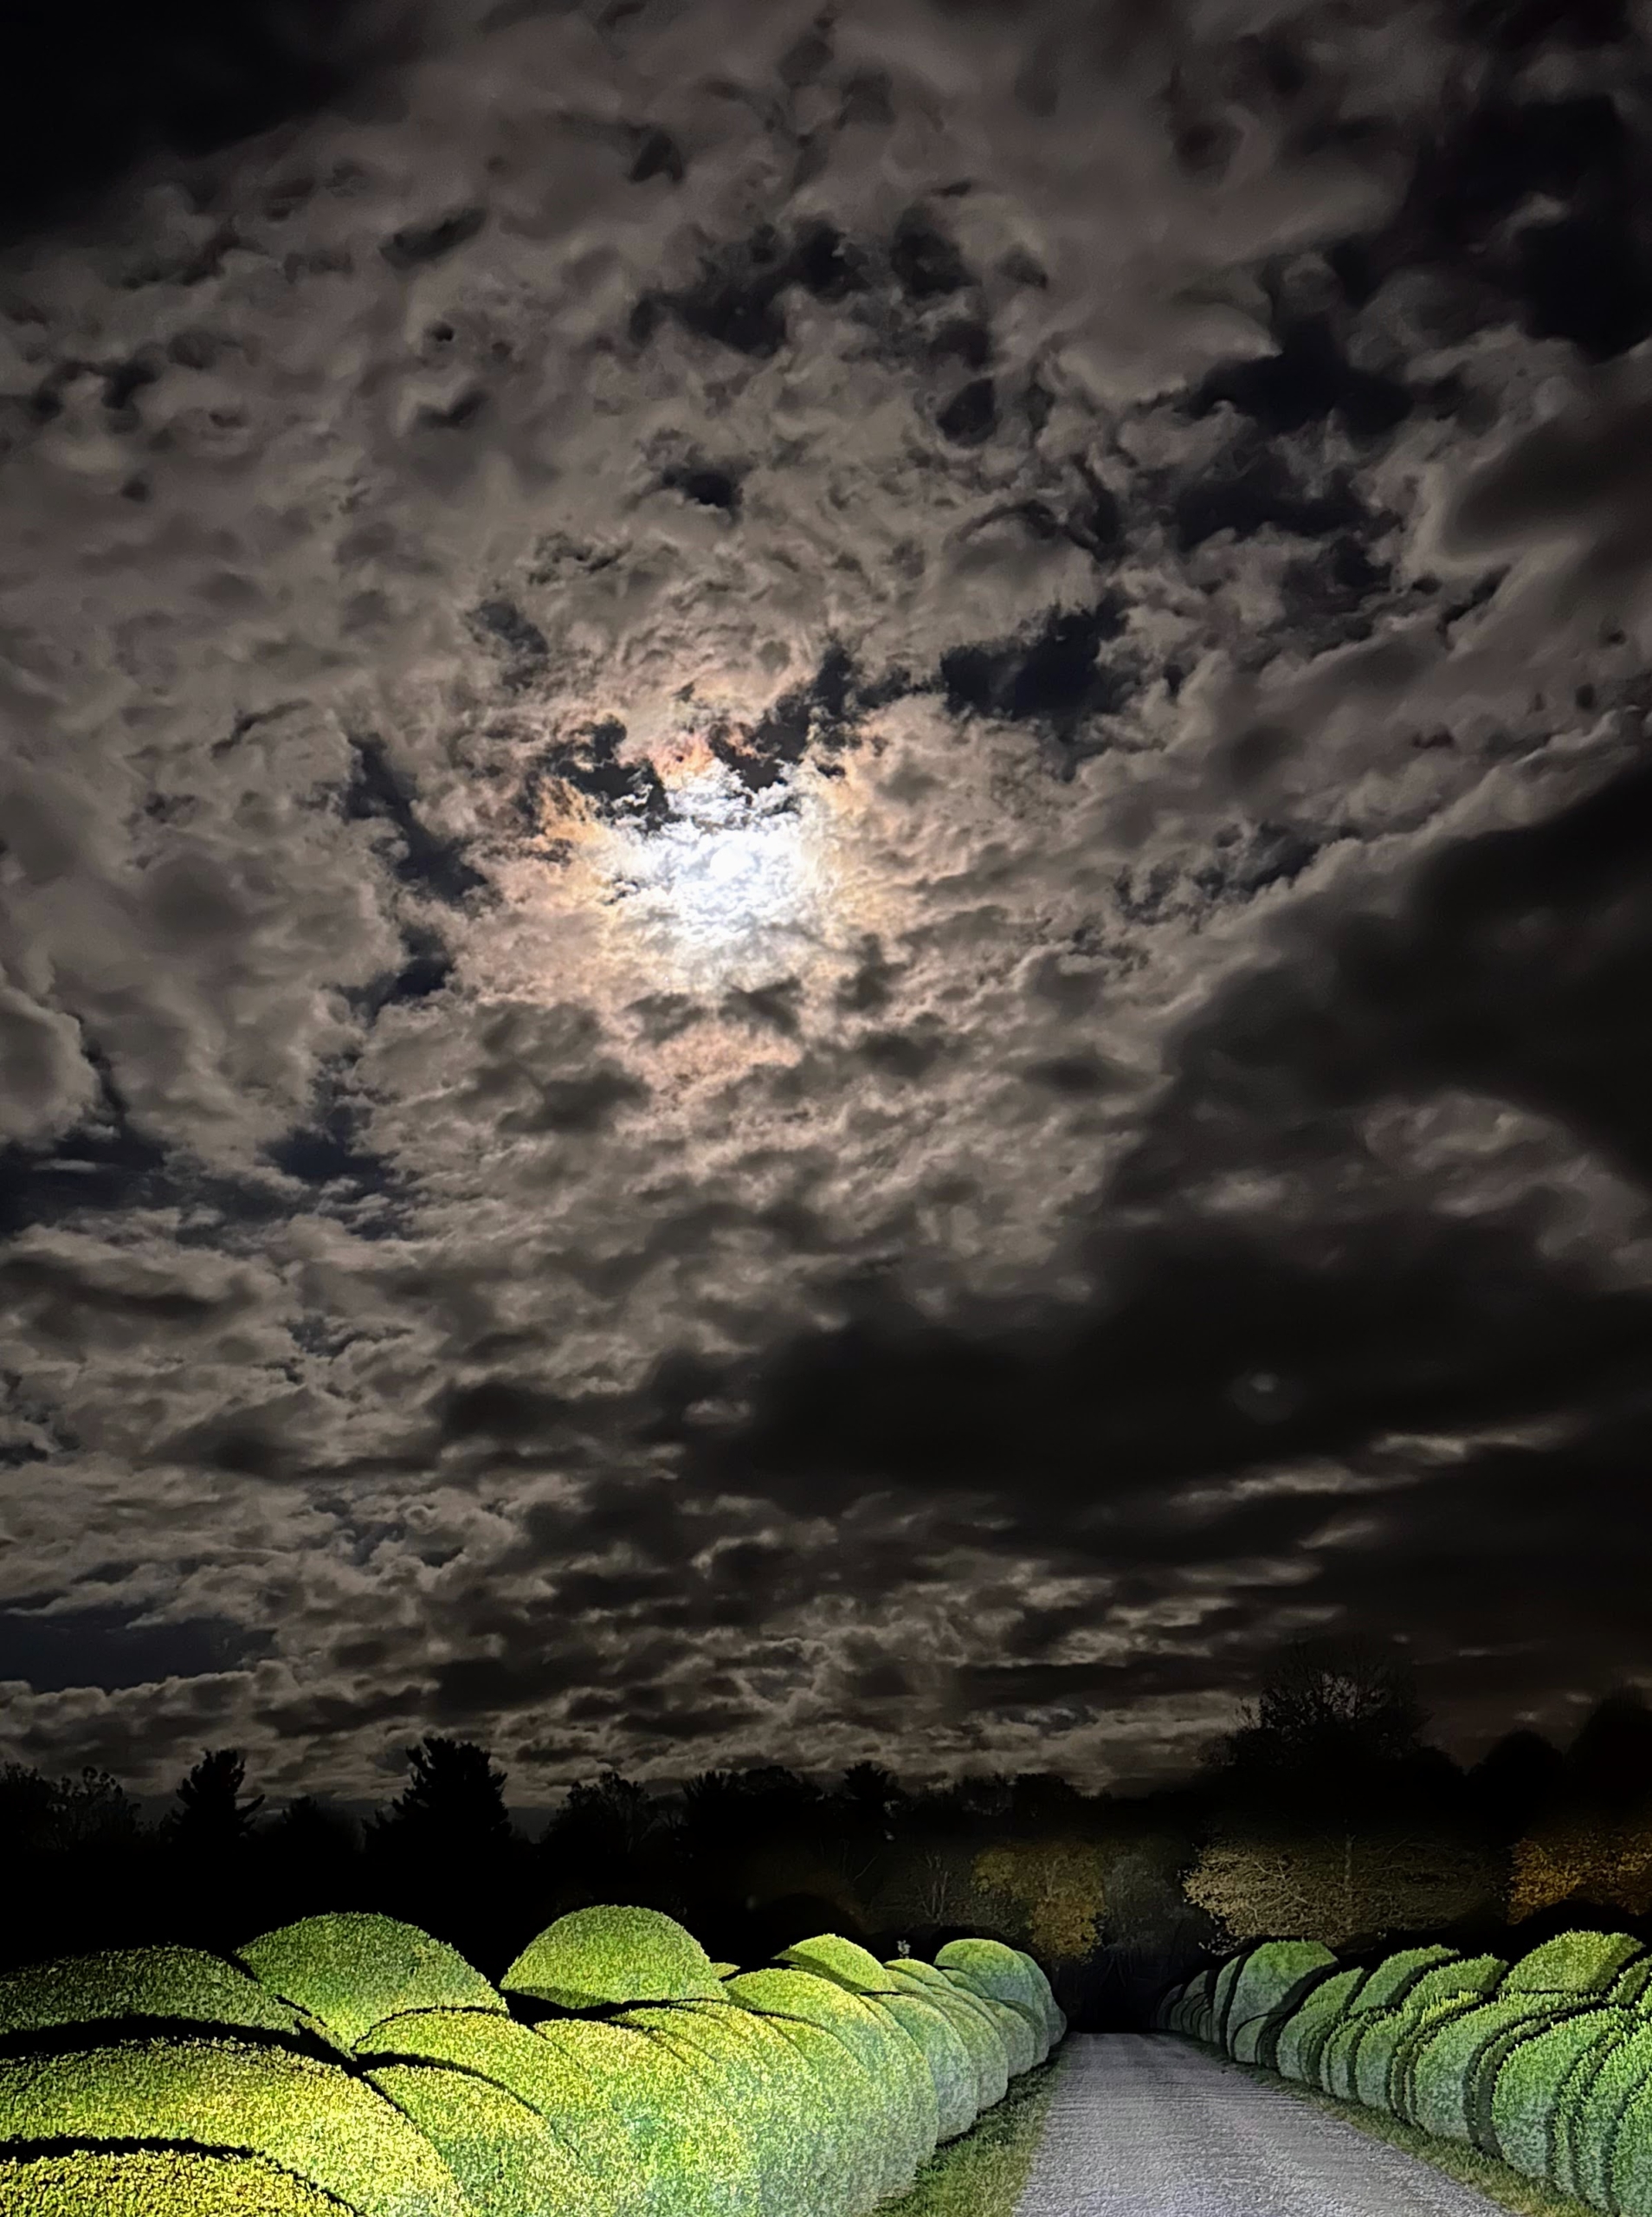
I hope you all have a very safe and frightfully fun Halloween. This is a photo taken by Mike Hester, a member of my security team, the night before the fog rolled in. It shows the eerie skies above my allée of boxwood. It almost appears as if there is a face in the clouds backlit by the moon.
It’s always busy at my Bedford, New York farm. My outdoor grounds crew is working hard to complete our long list of autumn tasks - including planting our next crop of garlic.
Although garlic can be planted in the spring as soon as the ground can be worked, fall planting is recommended for most gardeners. This allows extra time for the bulbs to grow and become more flavorful for the summer harvest. Every year, we plant a big crop of garlic from Keene Garlic, a family owned farm in Wisconsin that sells certified organic and naturally grown gourmet bulbs for both eating and planting. Garlic is great for cooking and very good for your health. It is well known to lower blood pressure and cholesterol, and carries many antioxidant properties. Knowing that I also grow the garlic myself makes it even more special.
Enjoy these photos.
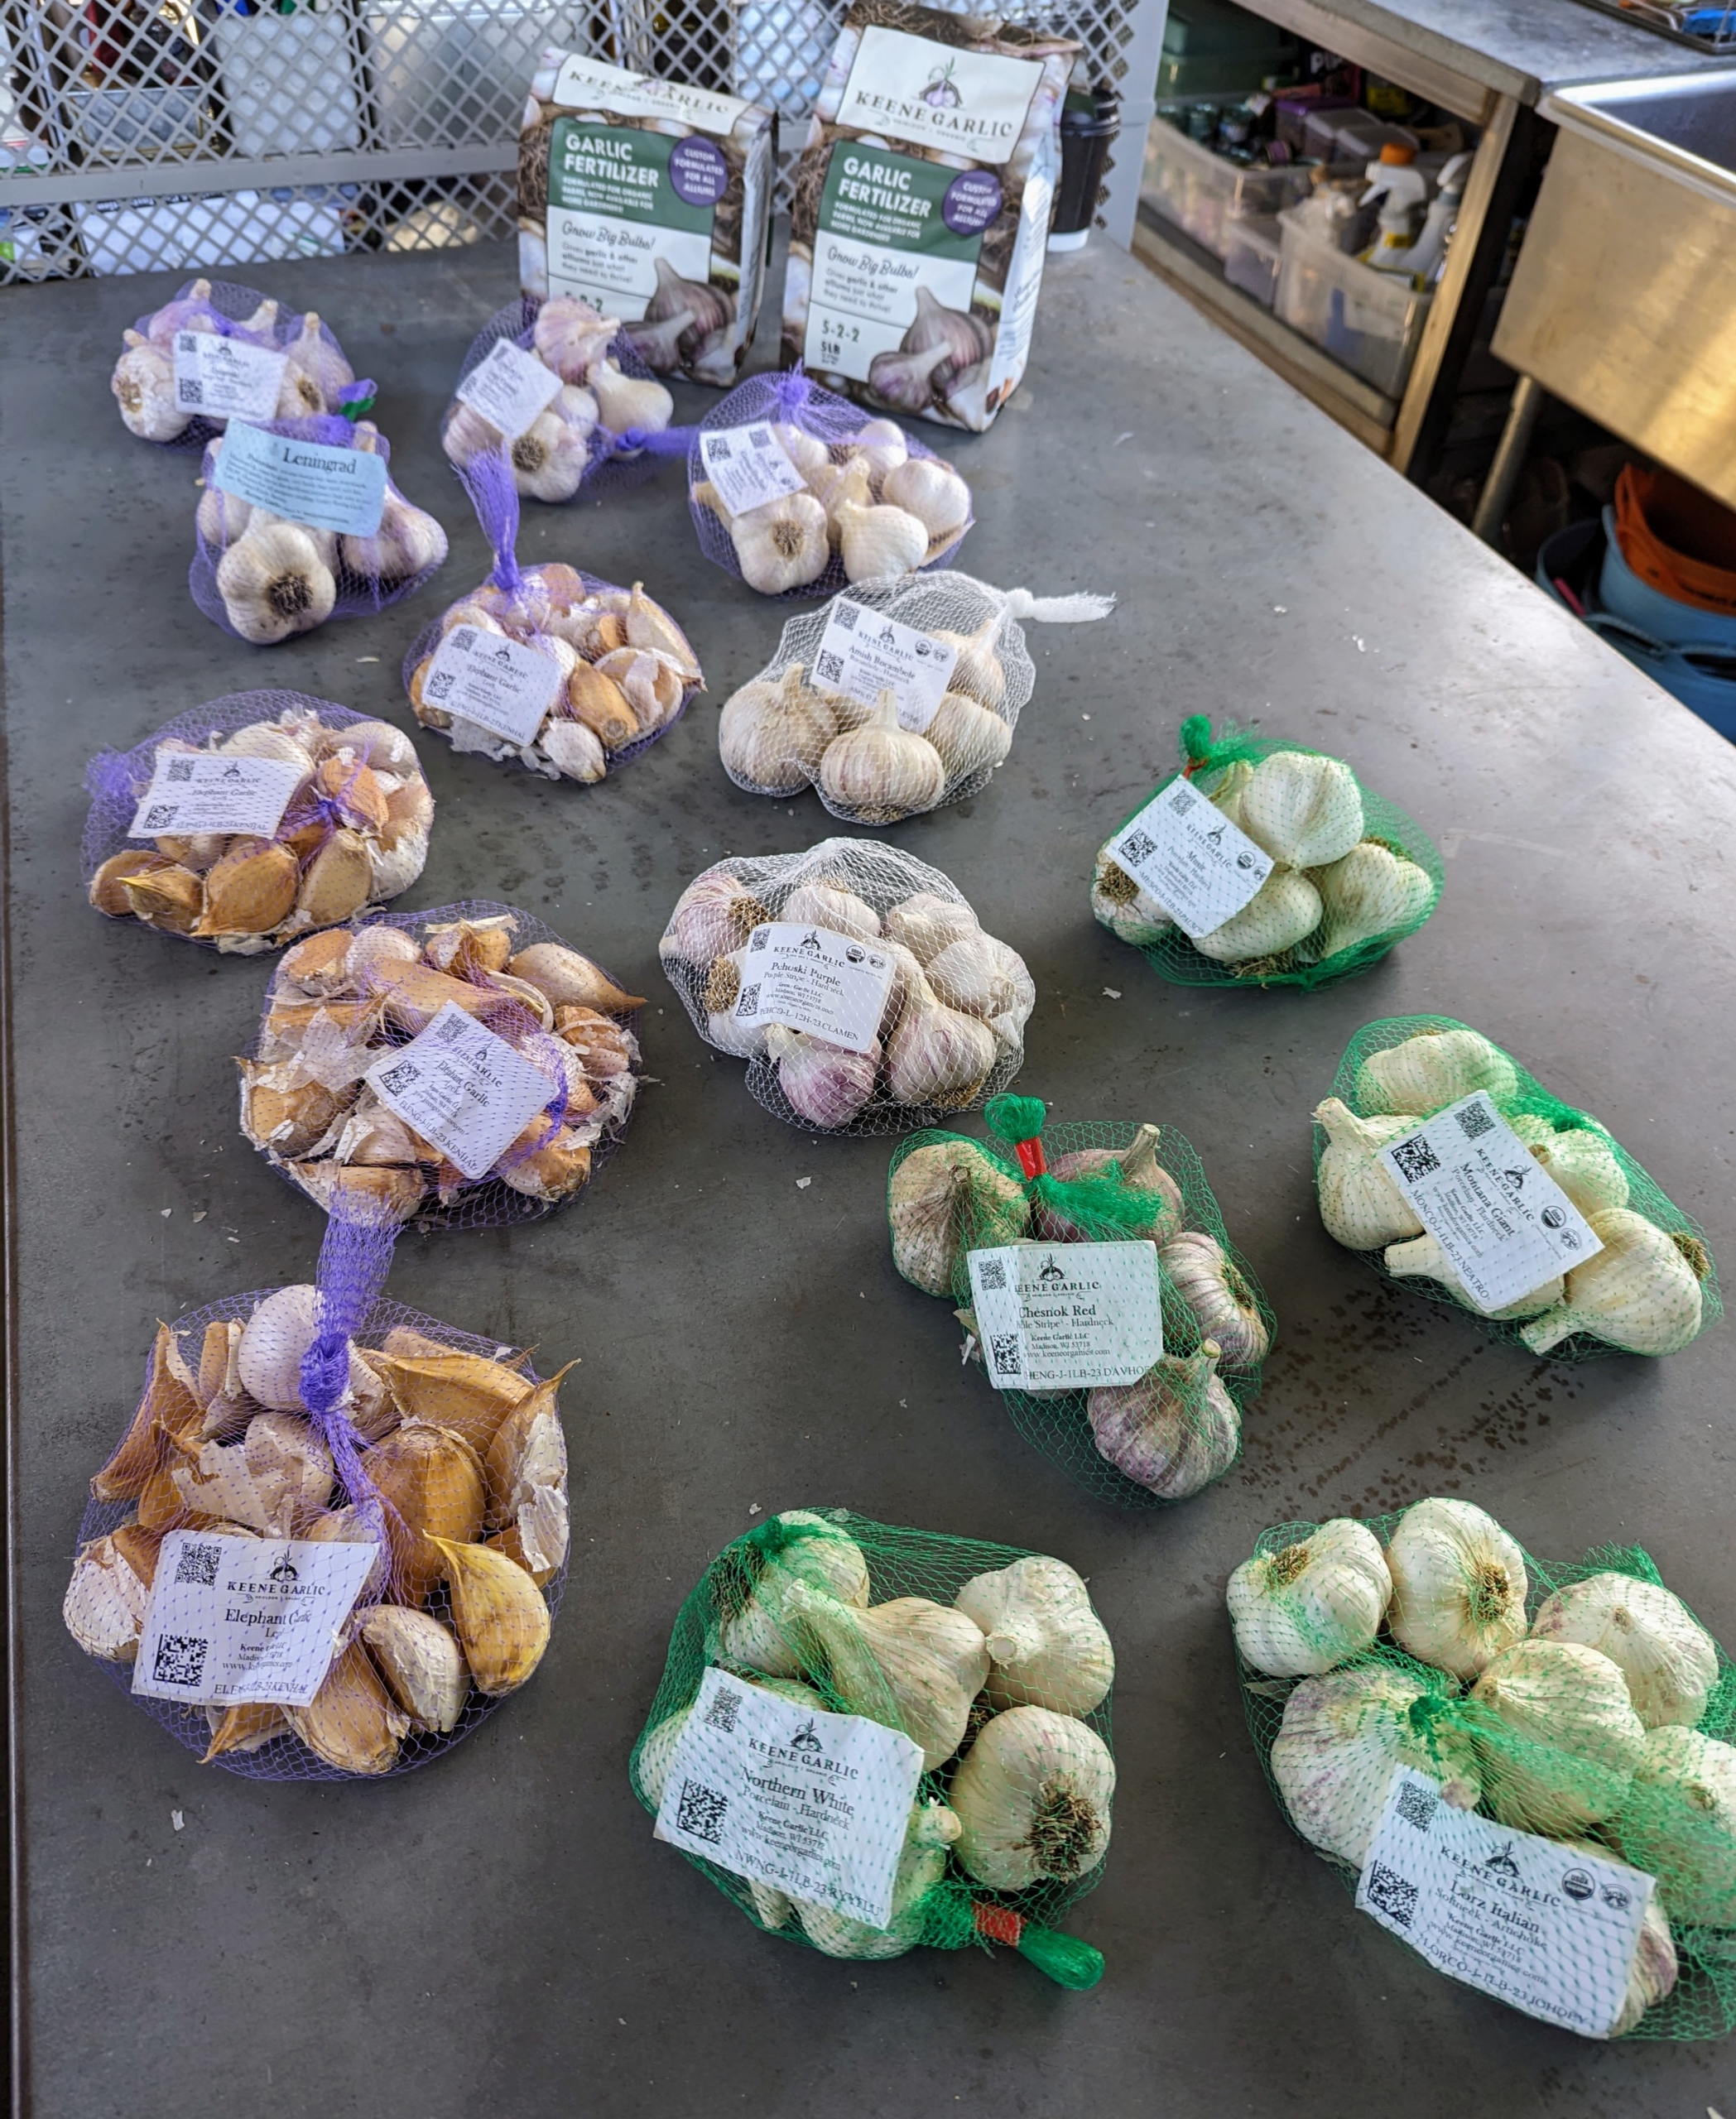
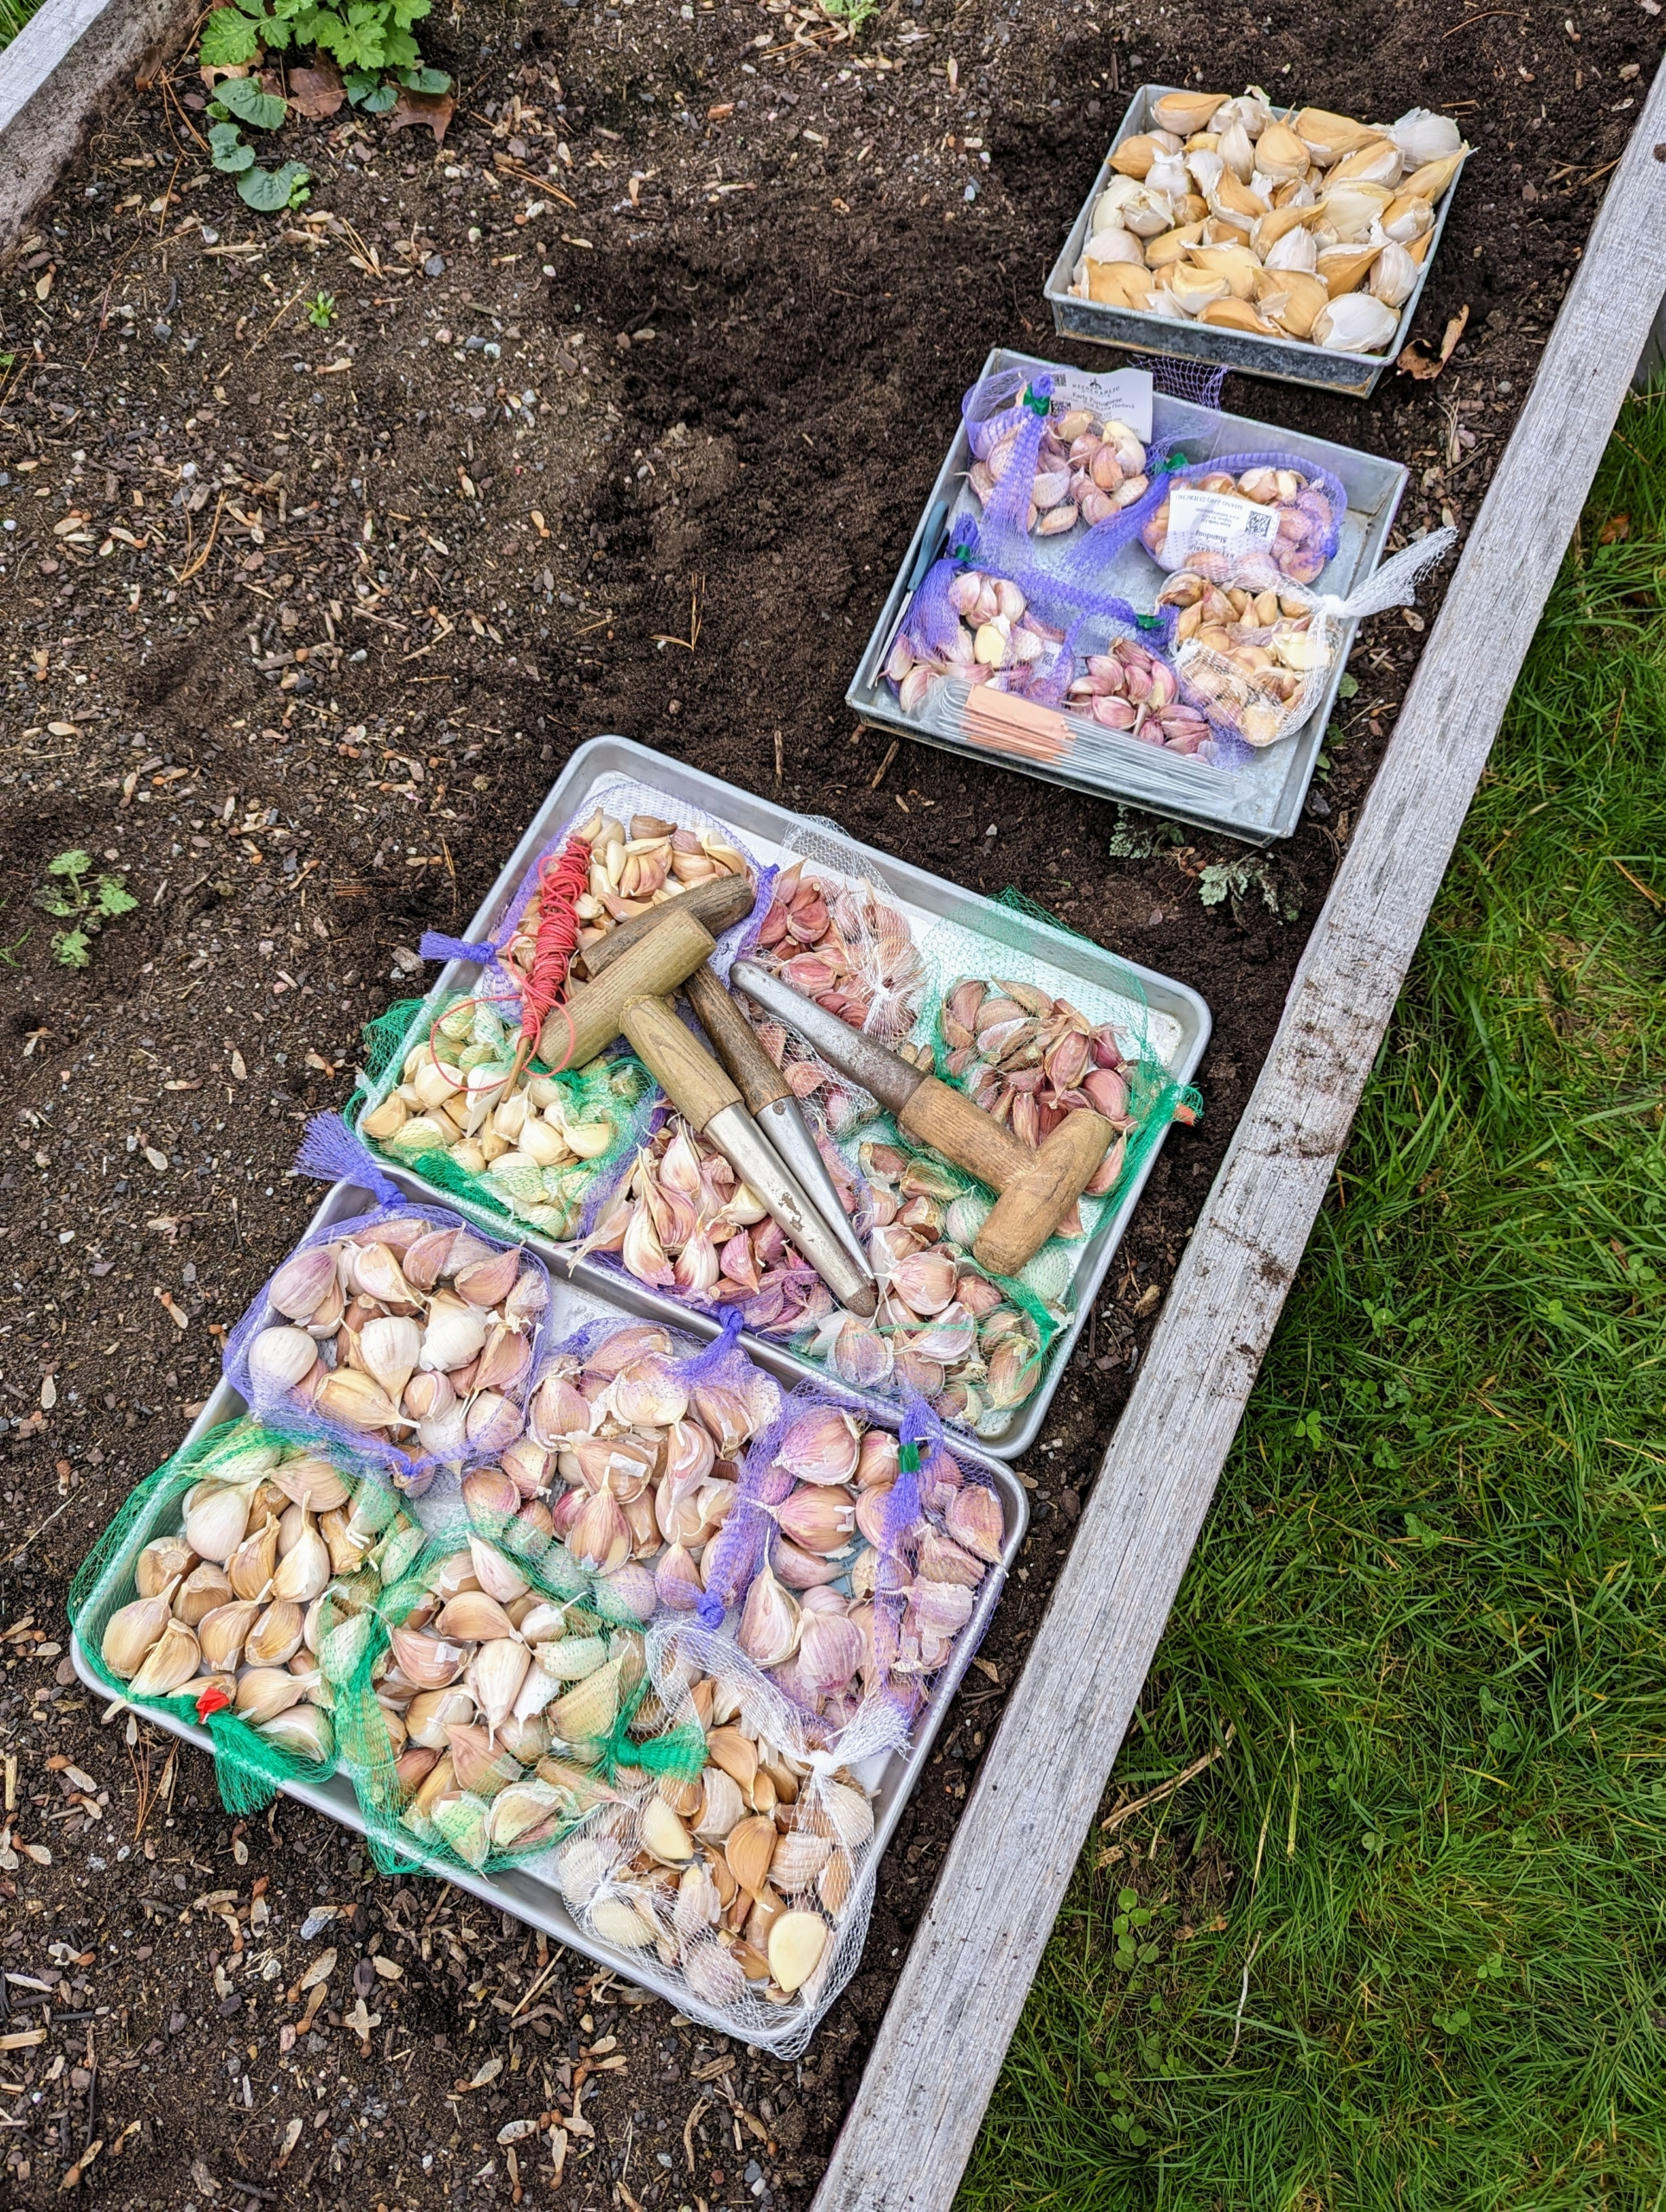
It’s always very exciting to get a delivery from Keene Garlic filled with a variety of garlic bulbs for my garden. I have been planting Keene Organics garlic for several years and am always so pleased with their growth and taste. Here are all the different varieties we are planting this year plus some new ones Keene wanted us to try.
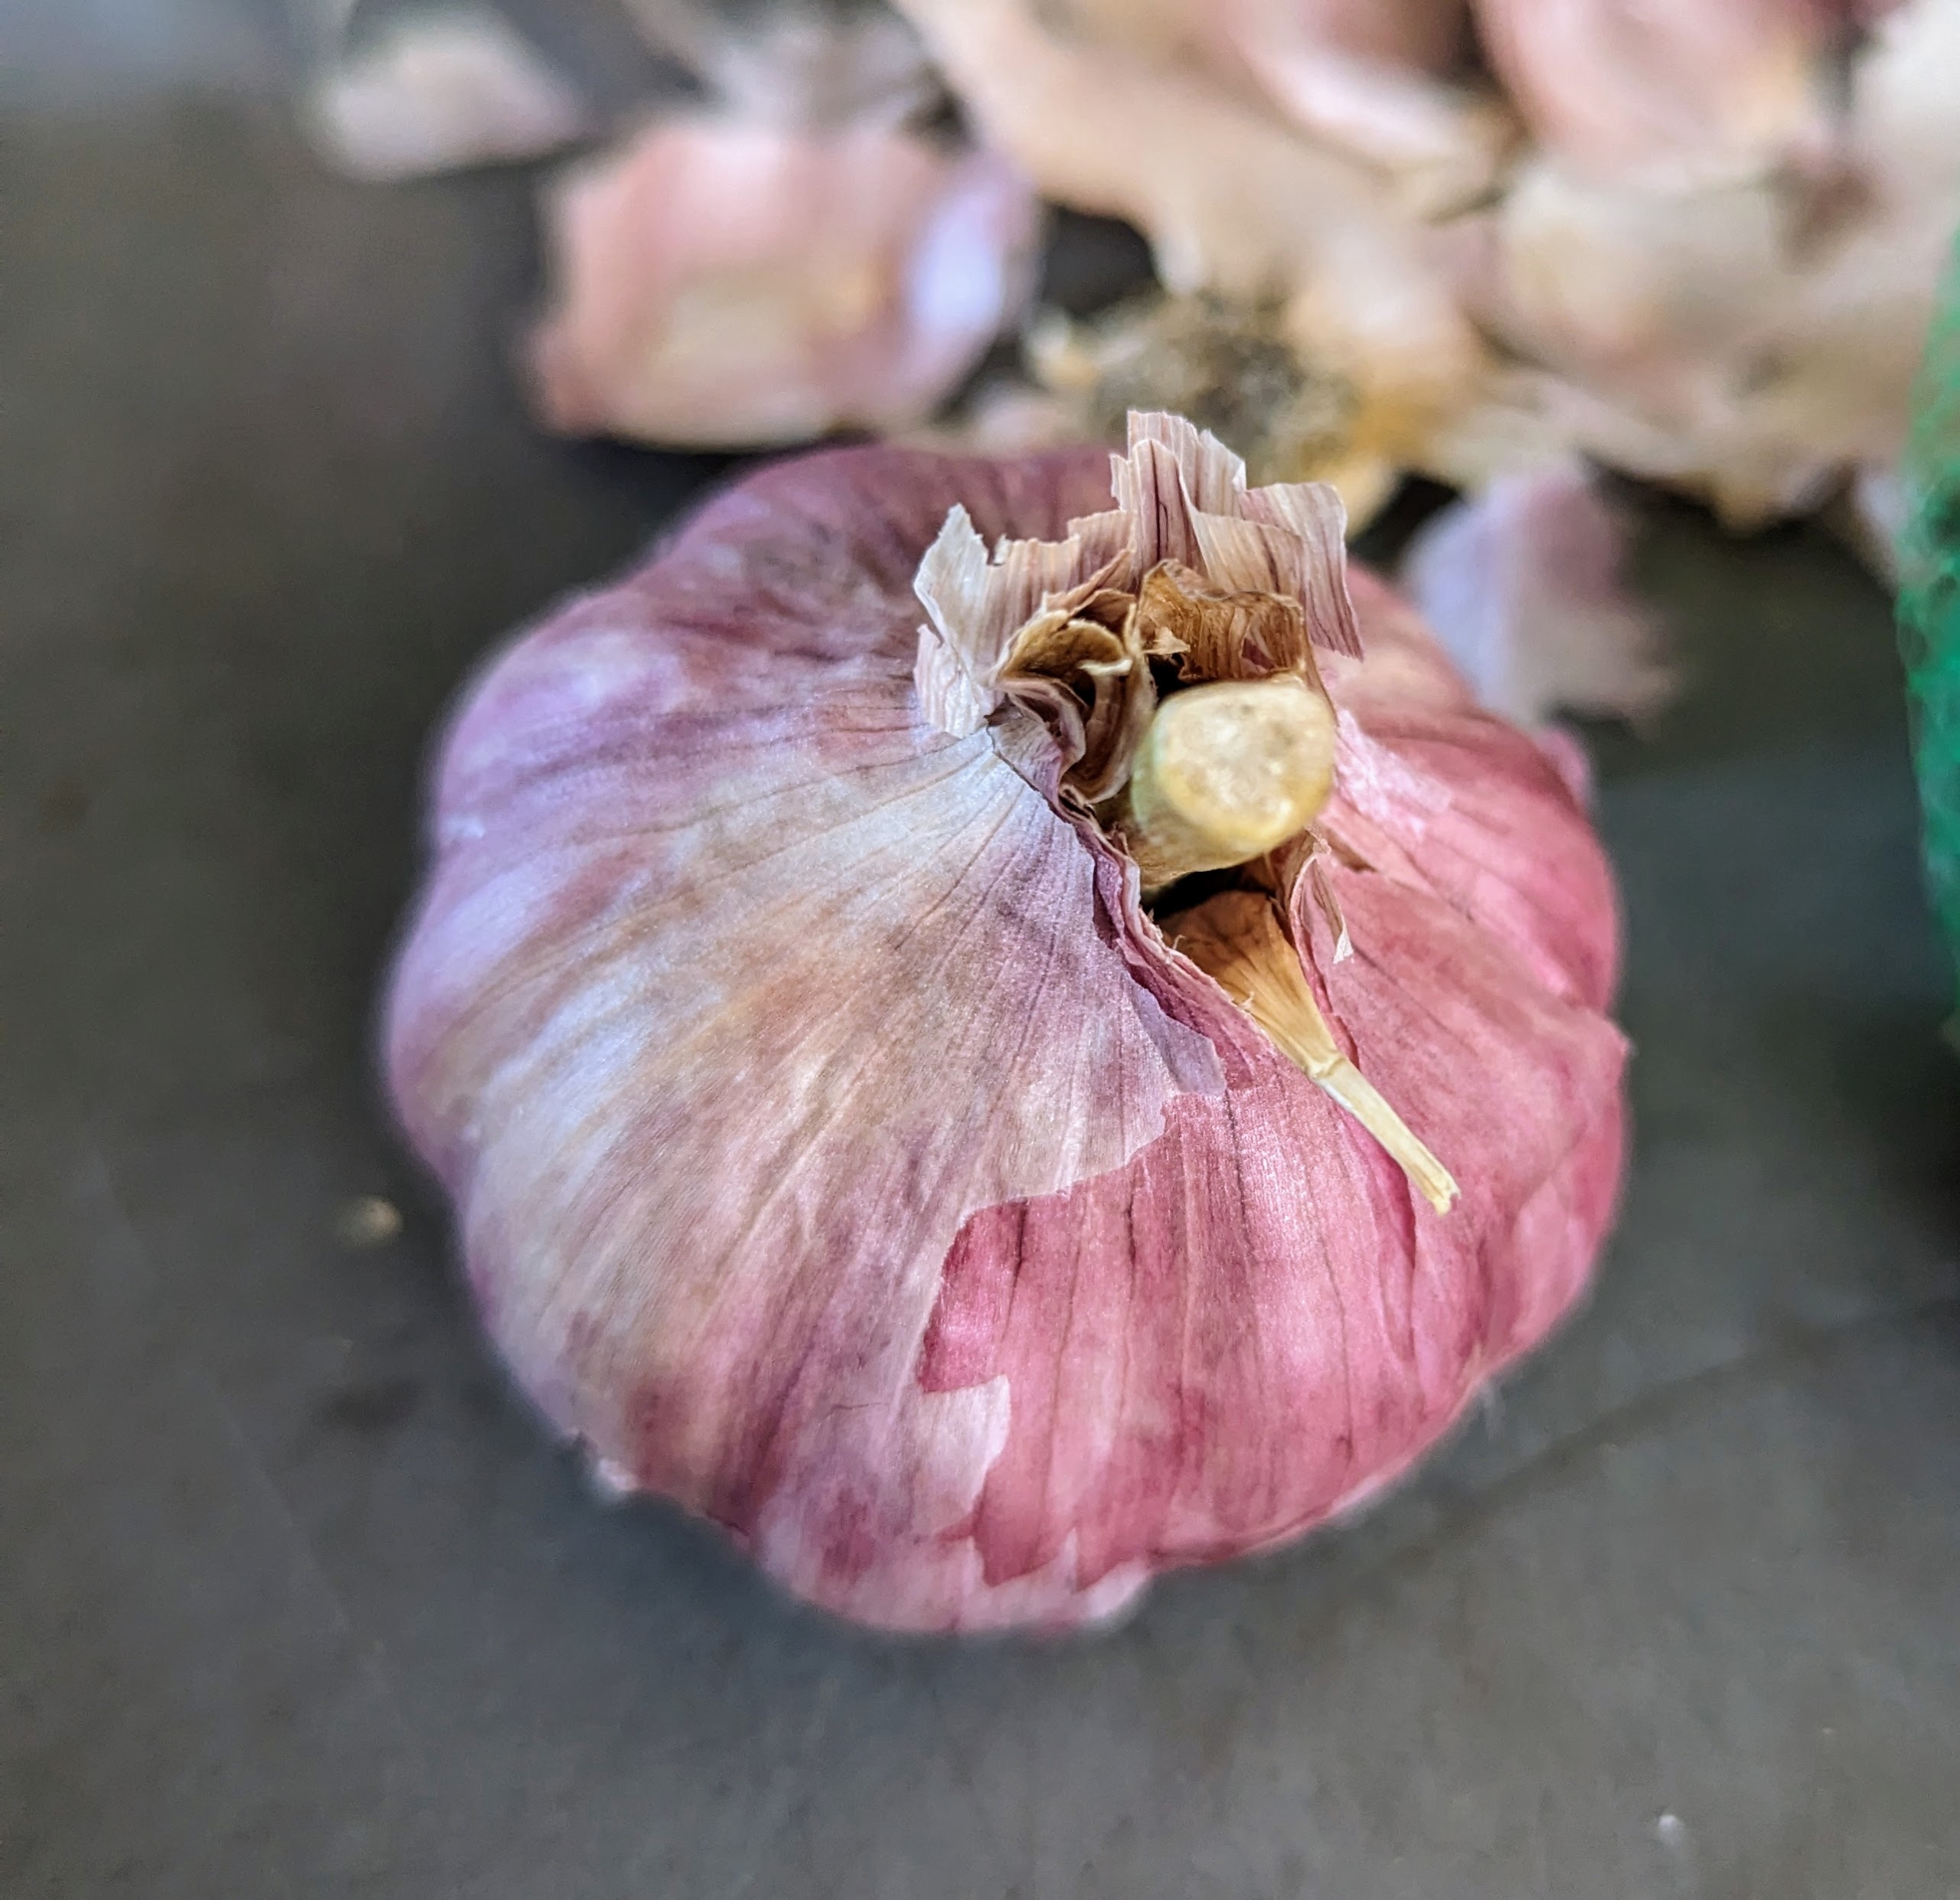
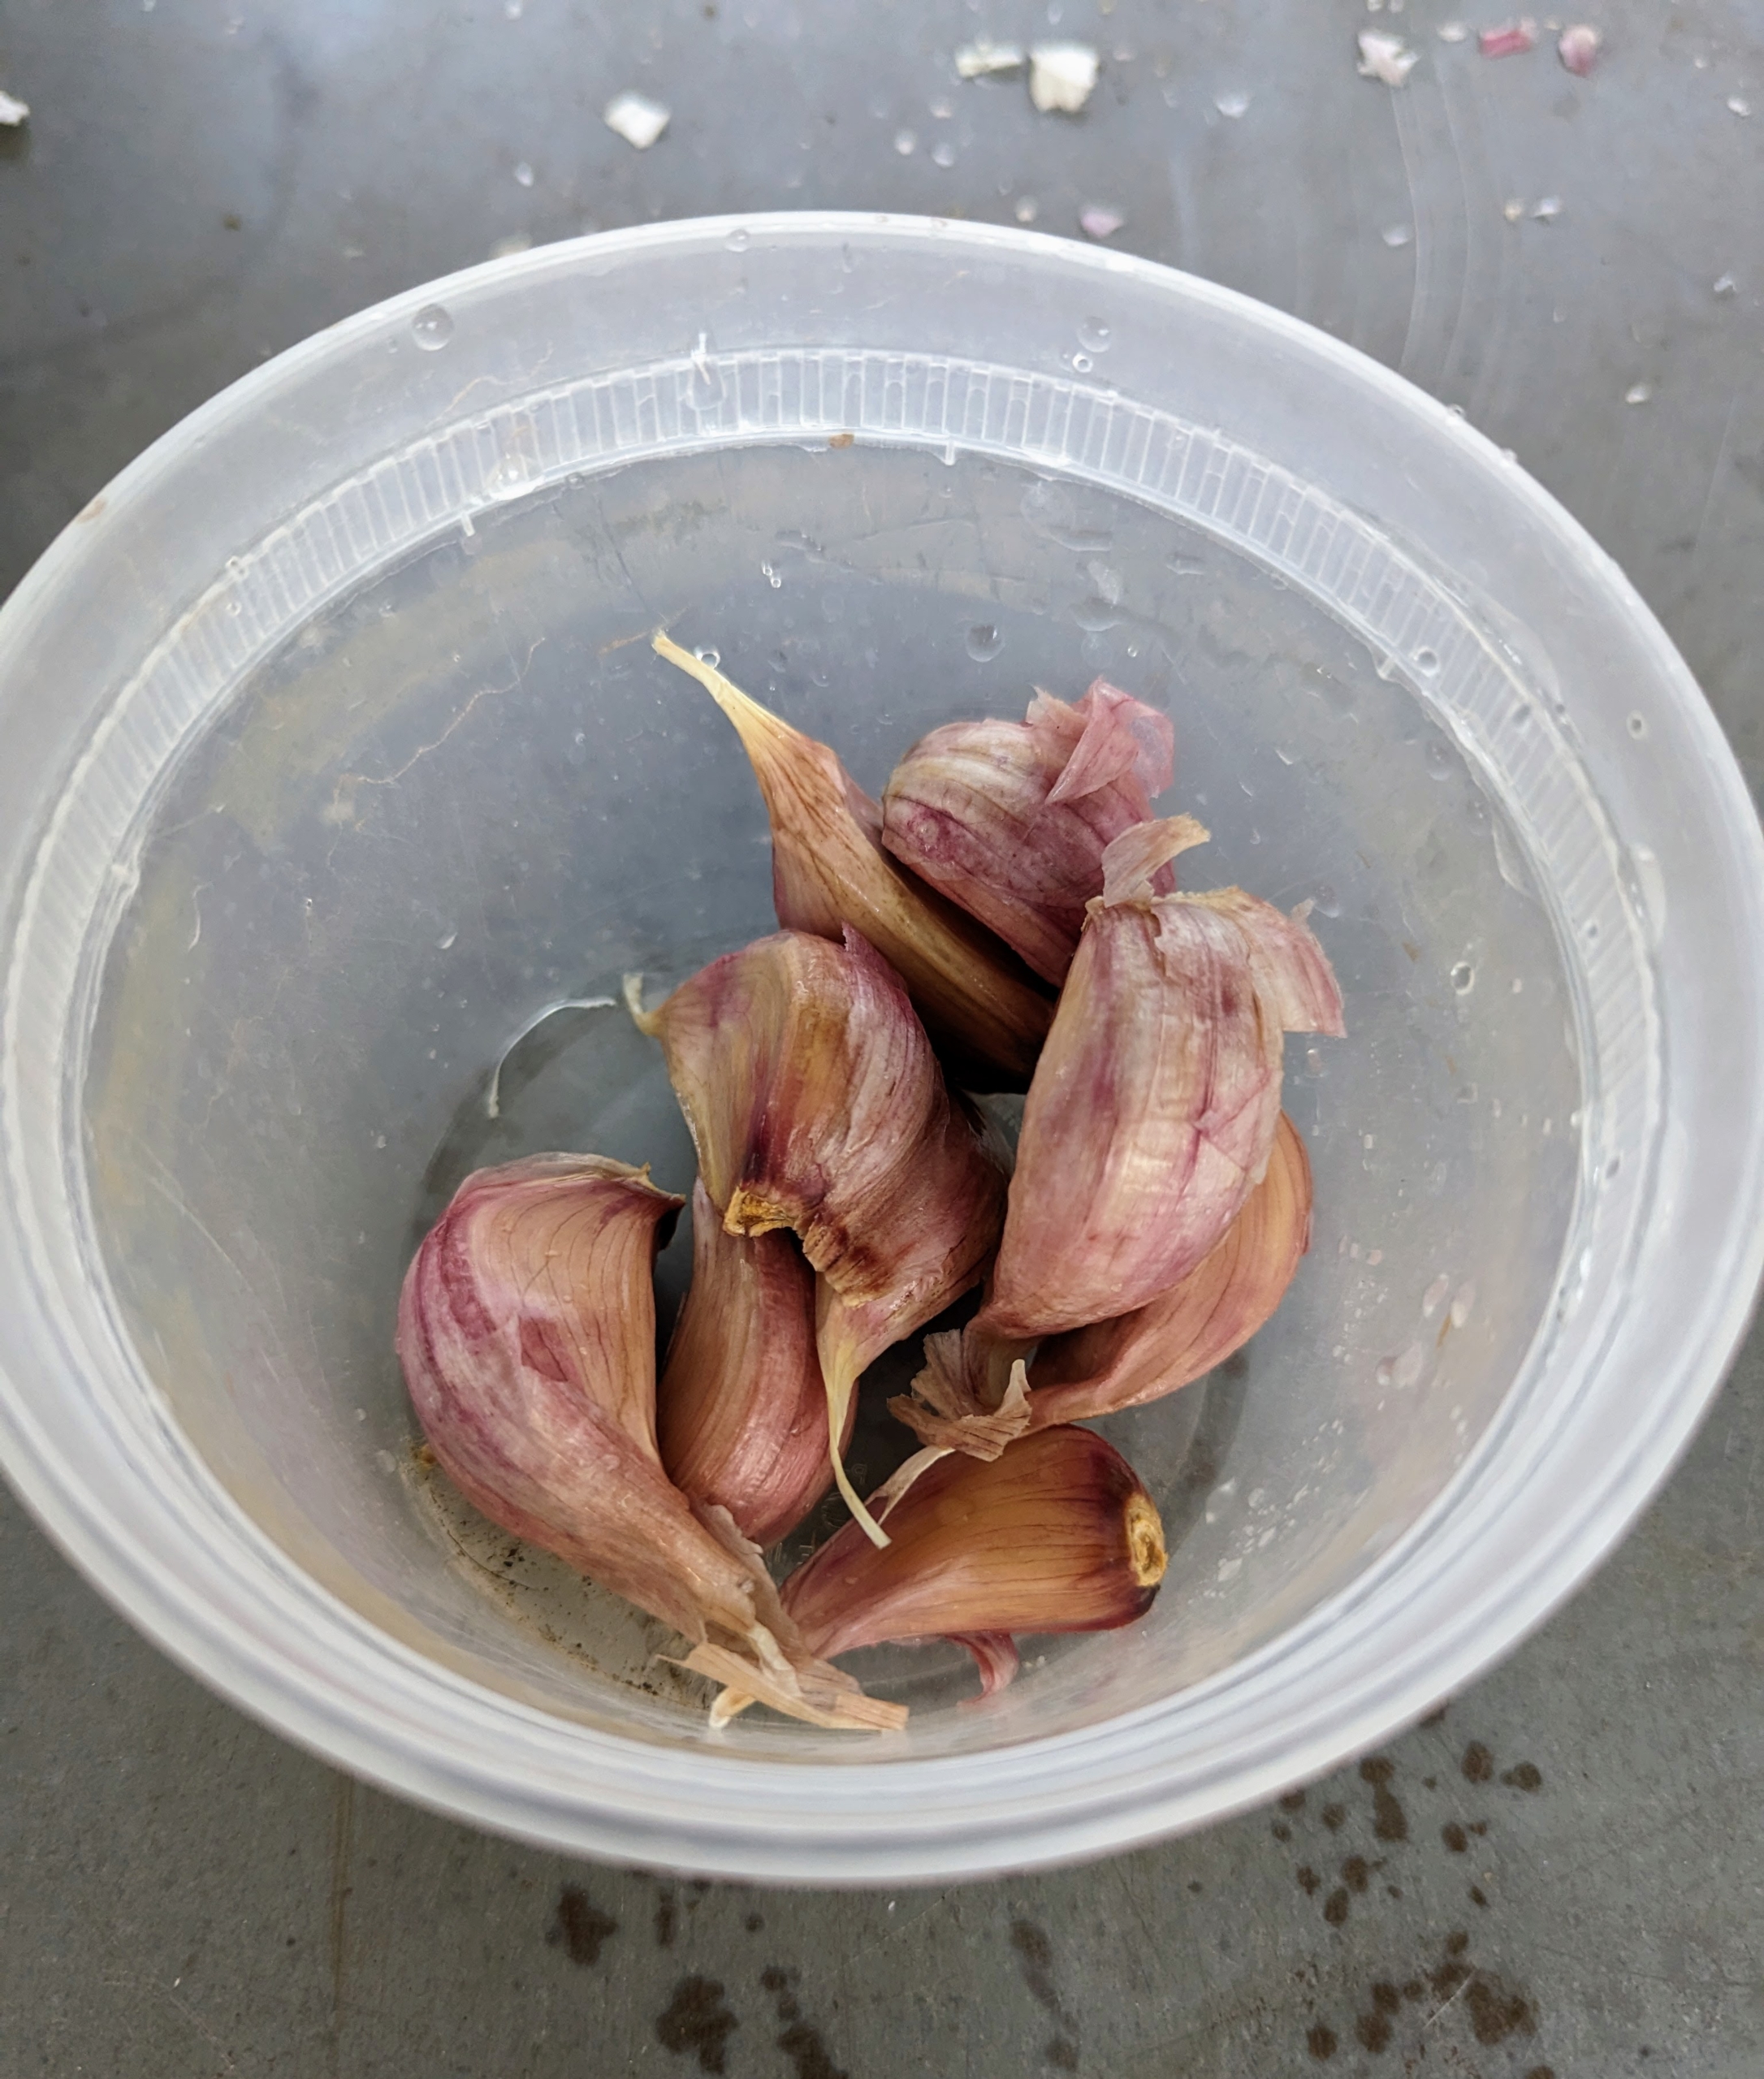
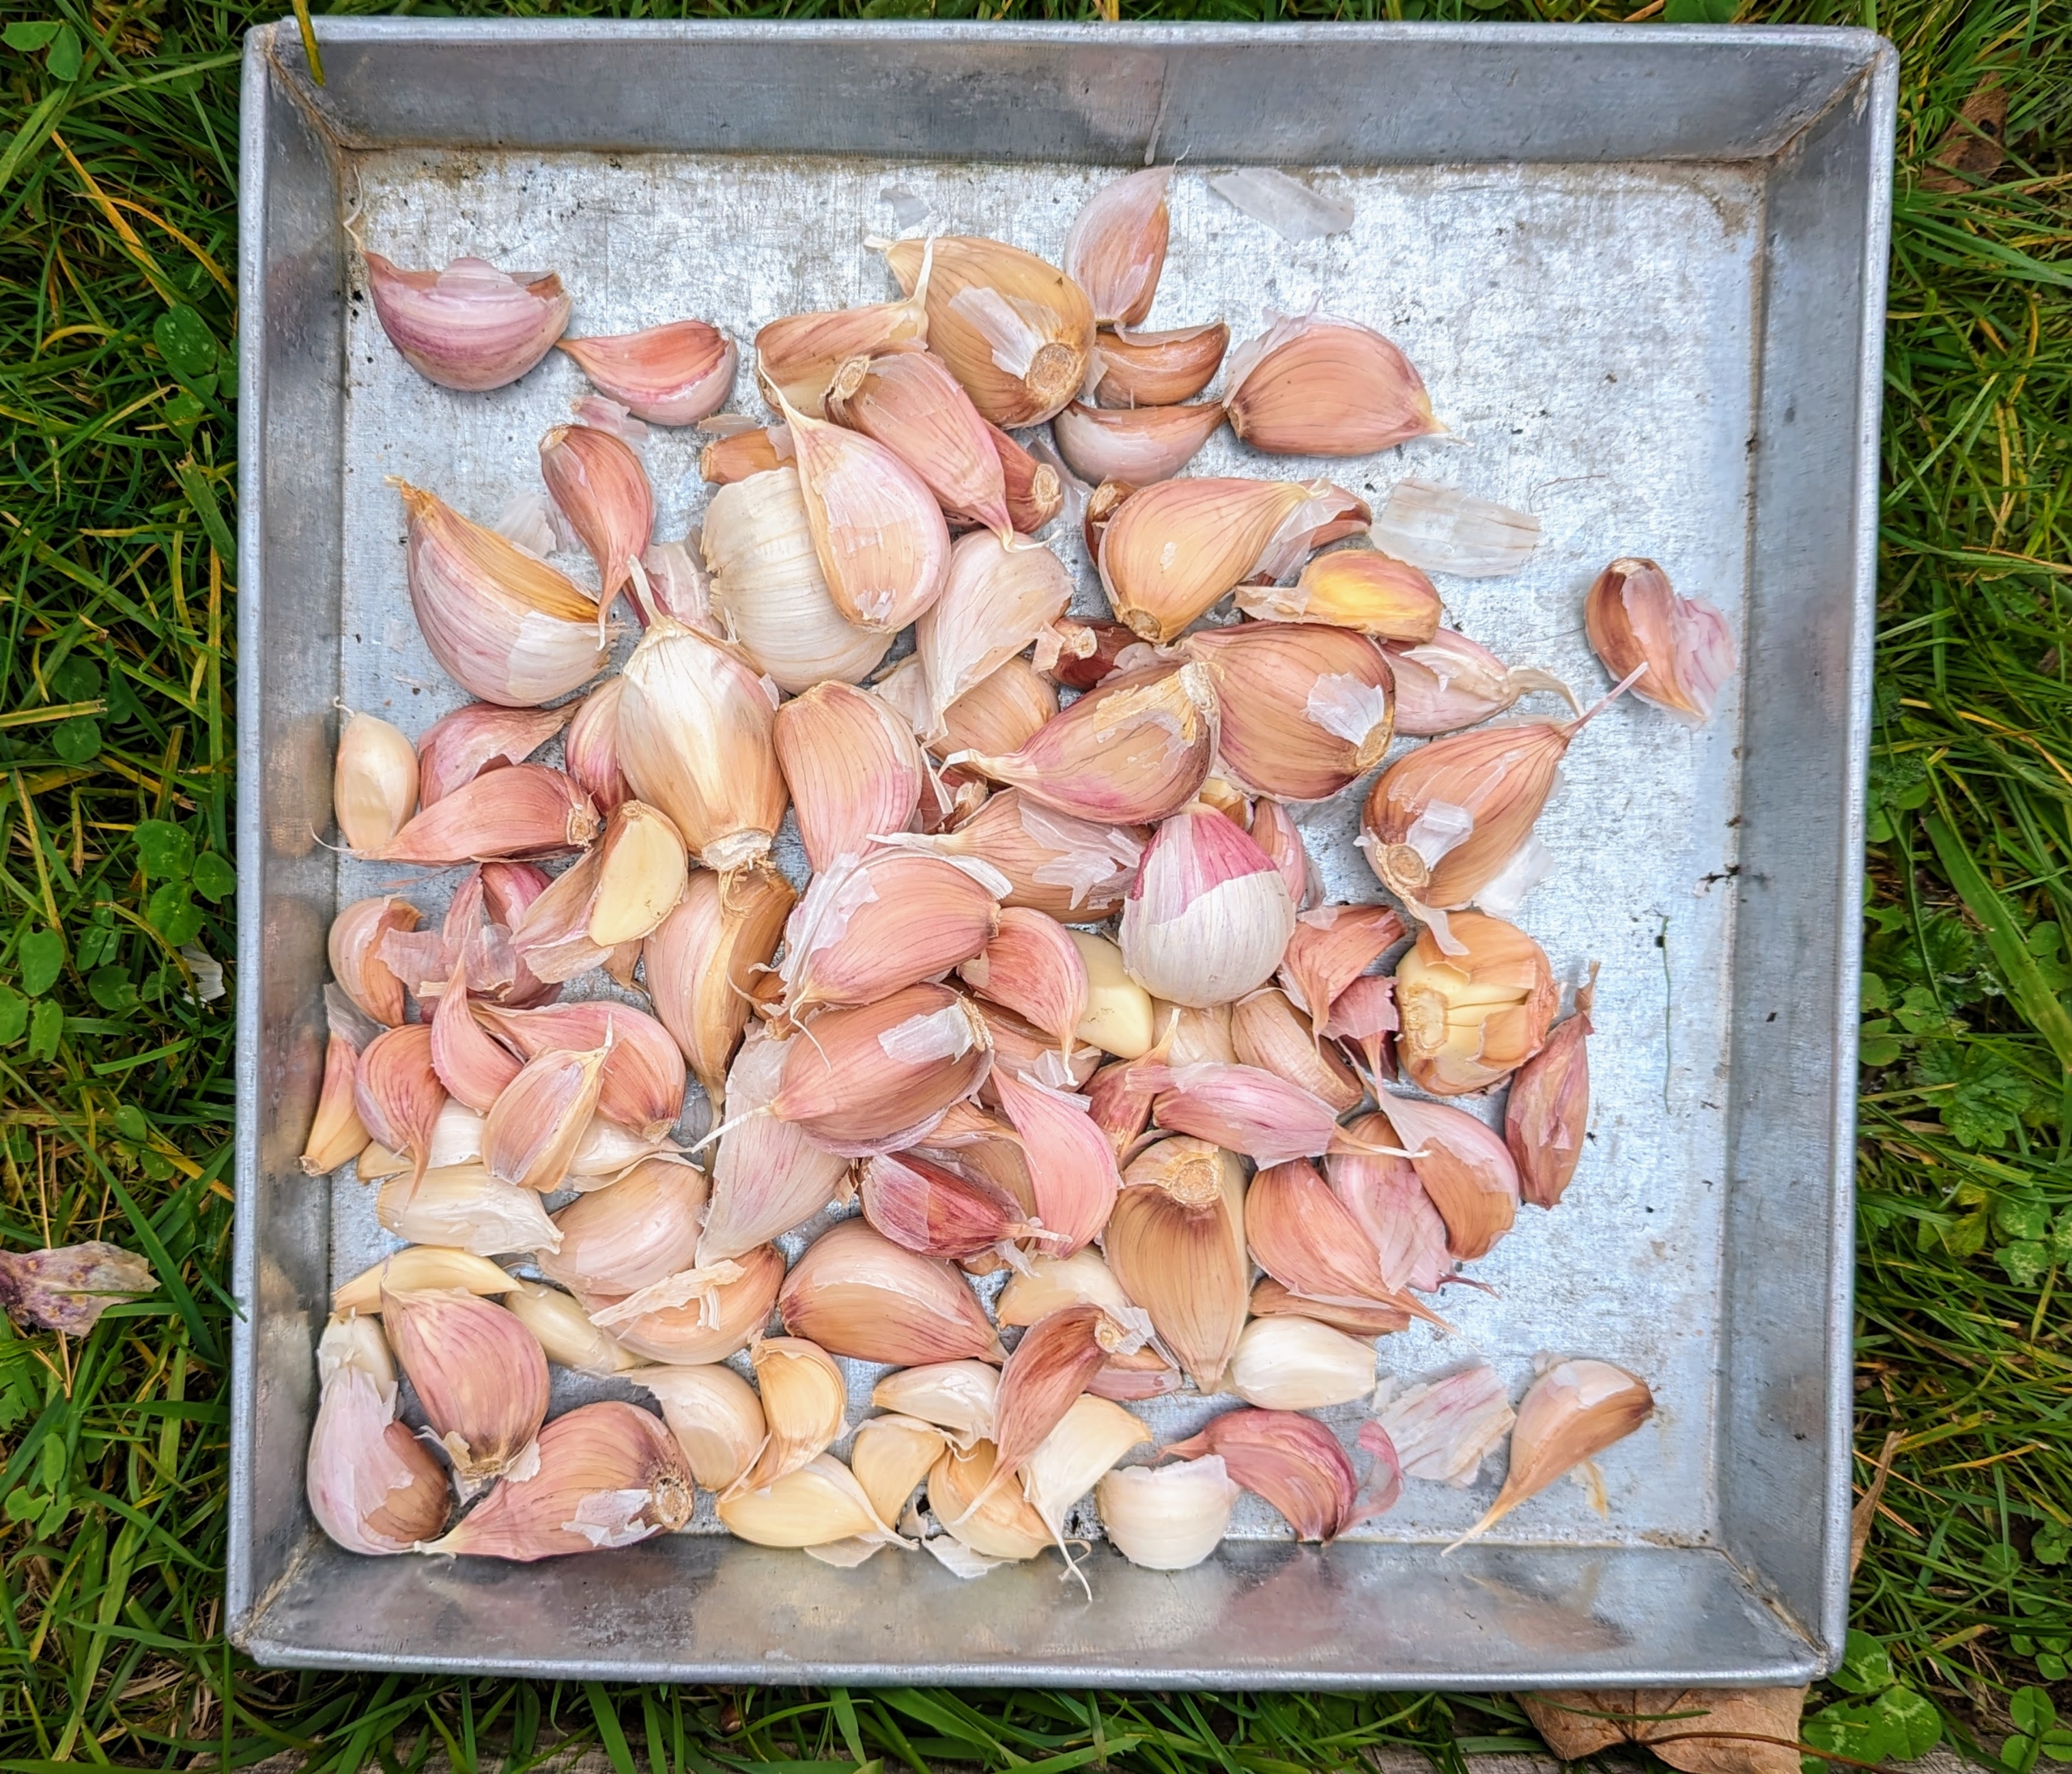
Ryan prepares the garlic for planting – each bulb is carefully broken to separate all the cloves. For the best results, plant the largest cloves from each bulb and save the smaller ones for eating.
When planting garlic, look for the largest most robust bulbs. There are always about three or four bulbs in each netted pack, and each bulb contains at least four to six cloves – some even more.
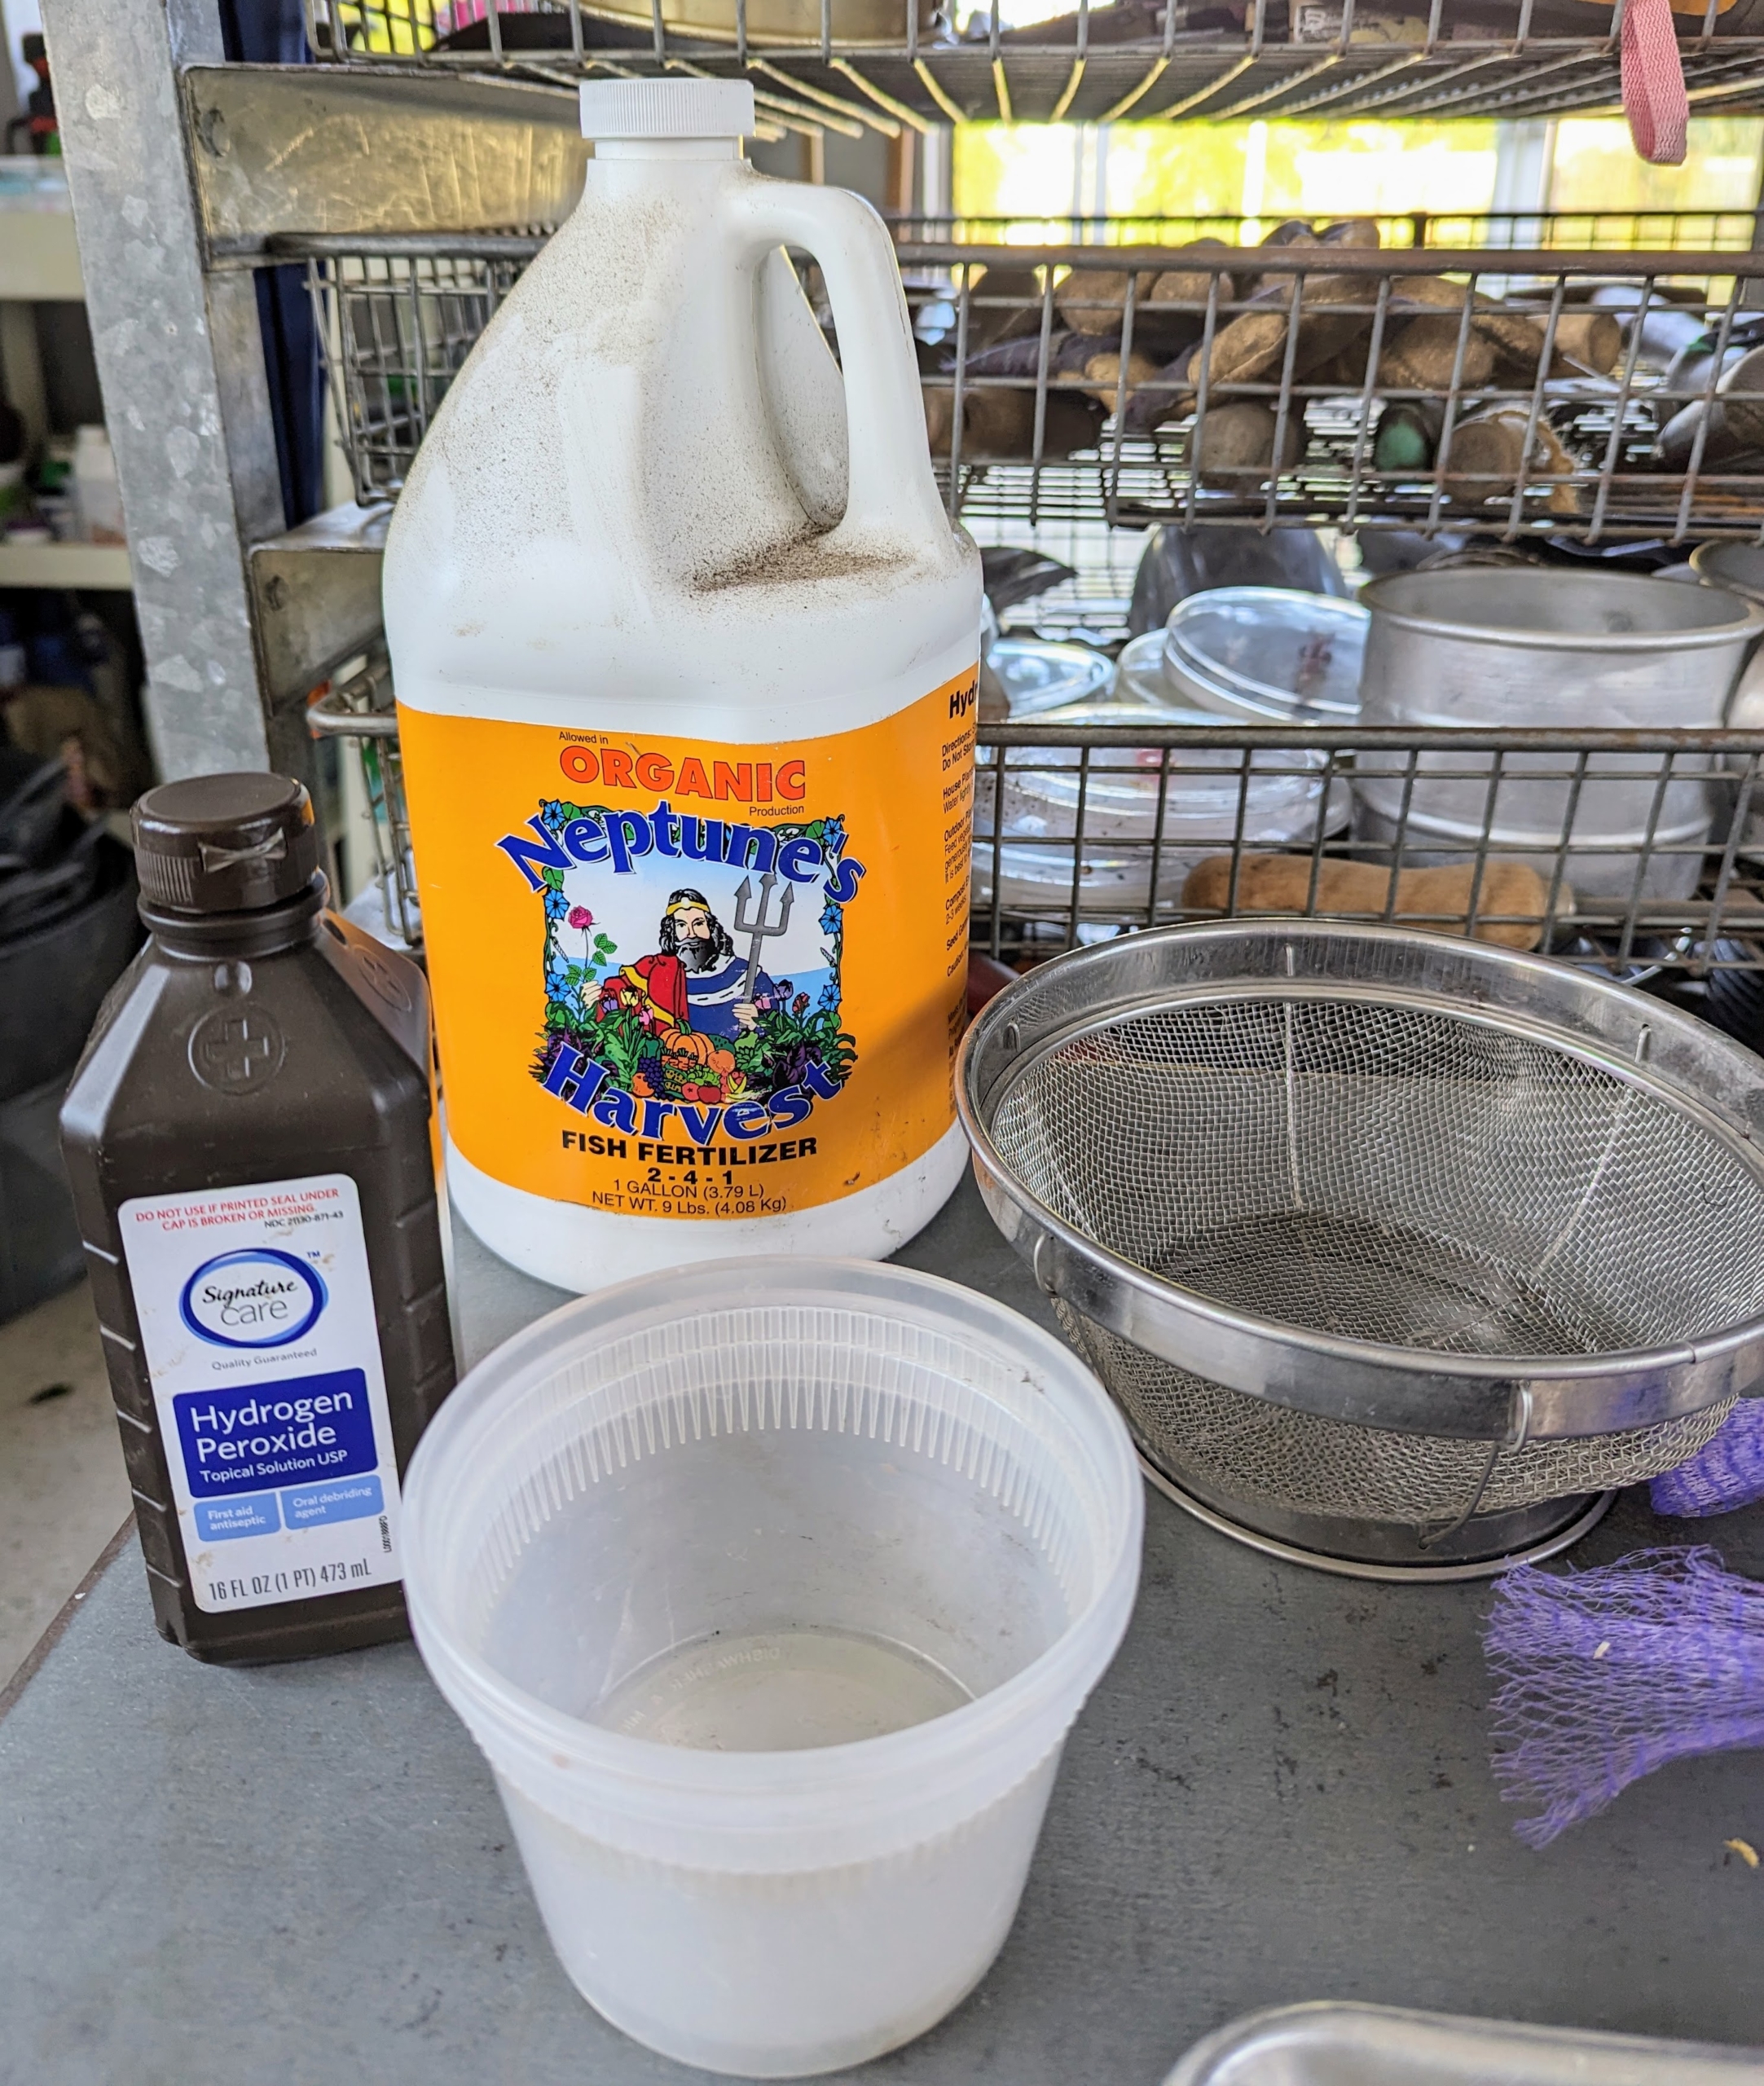
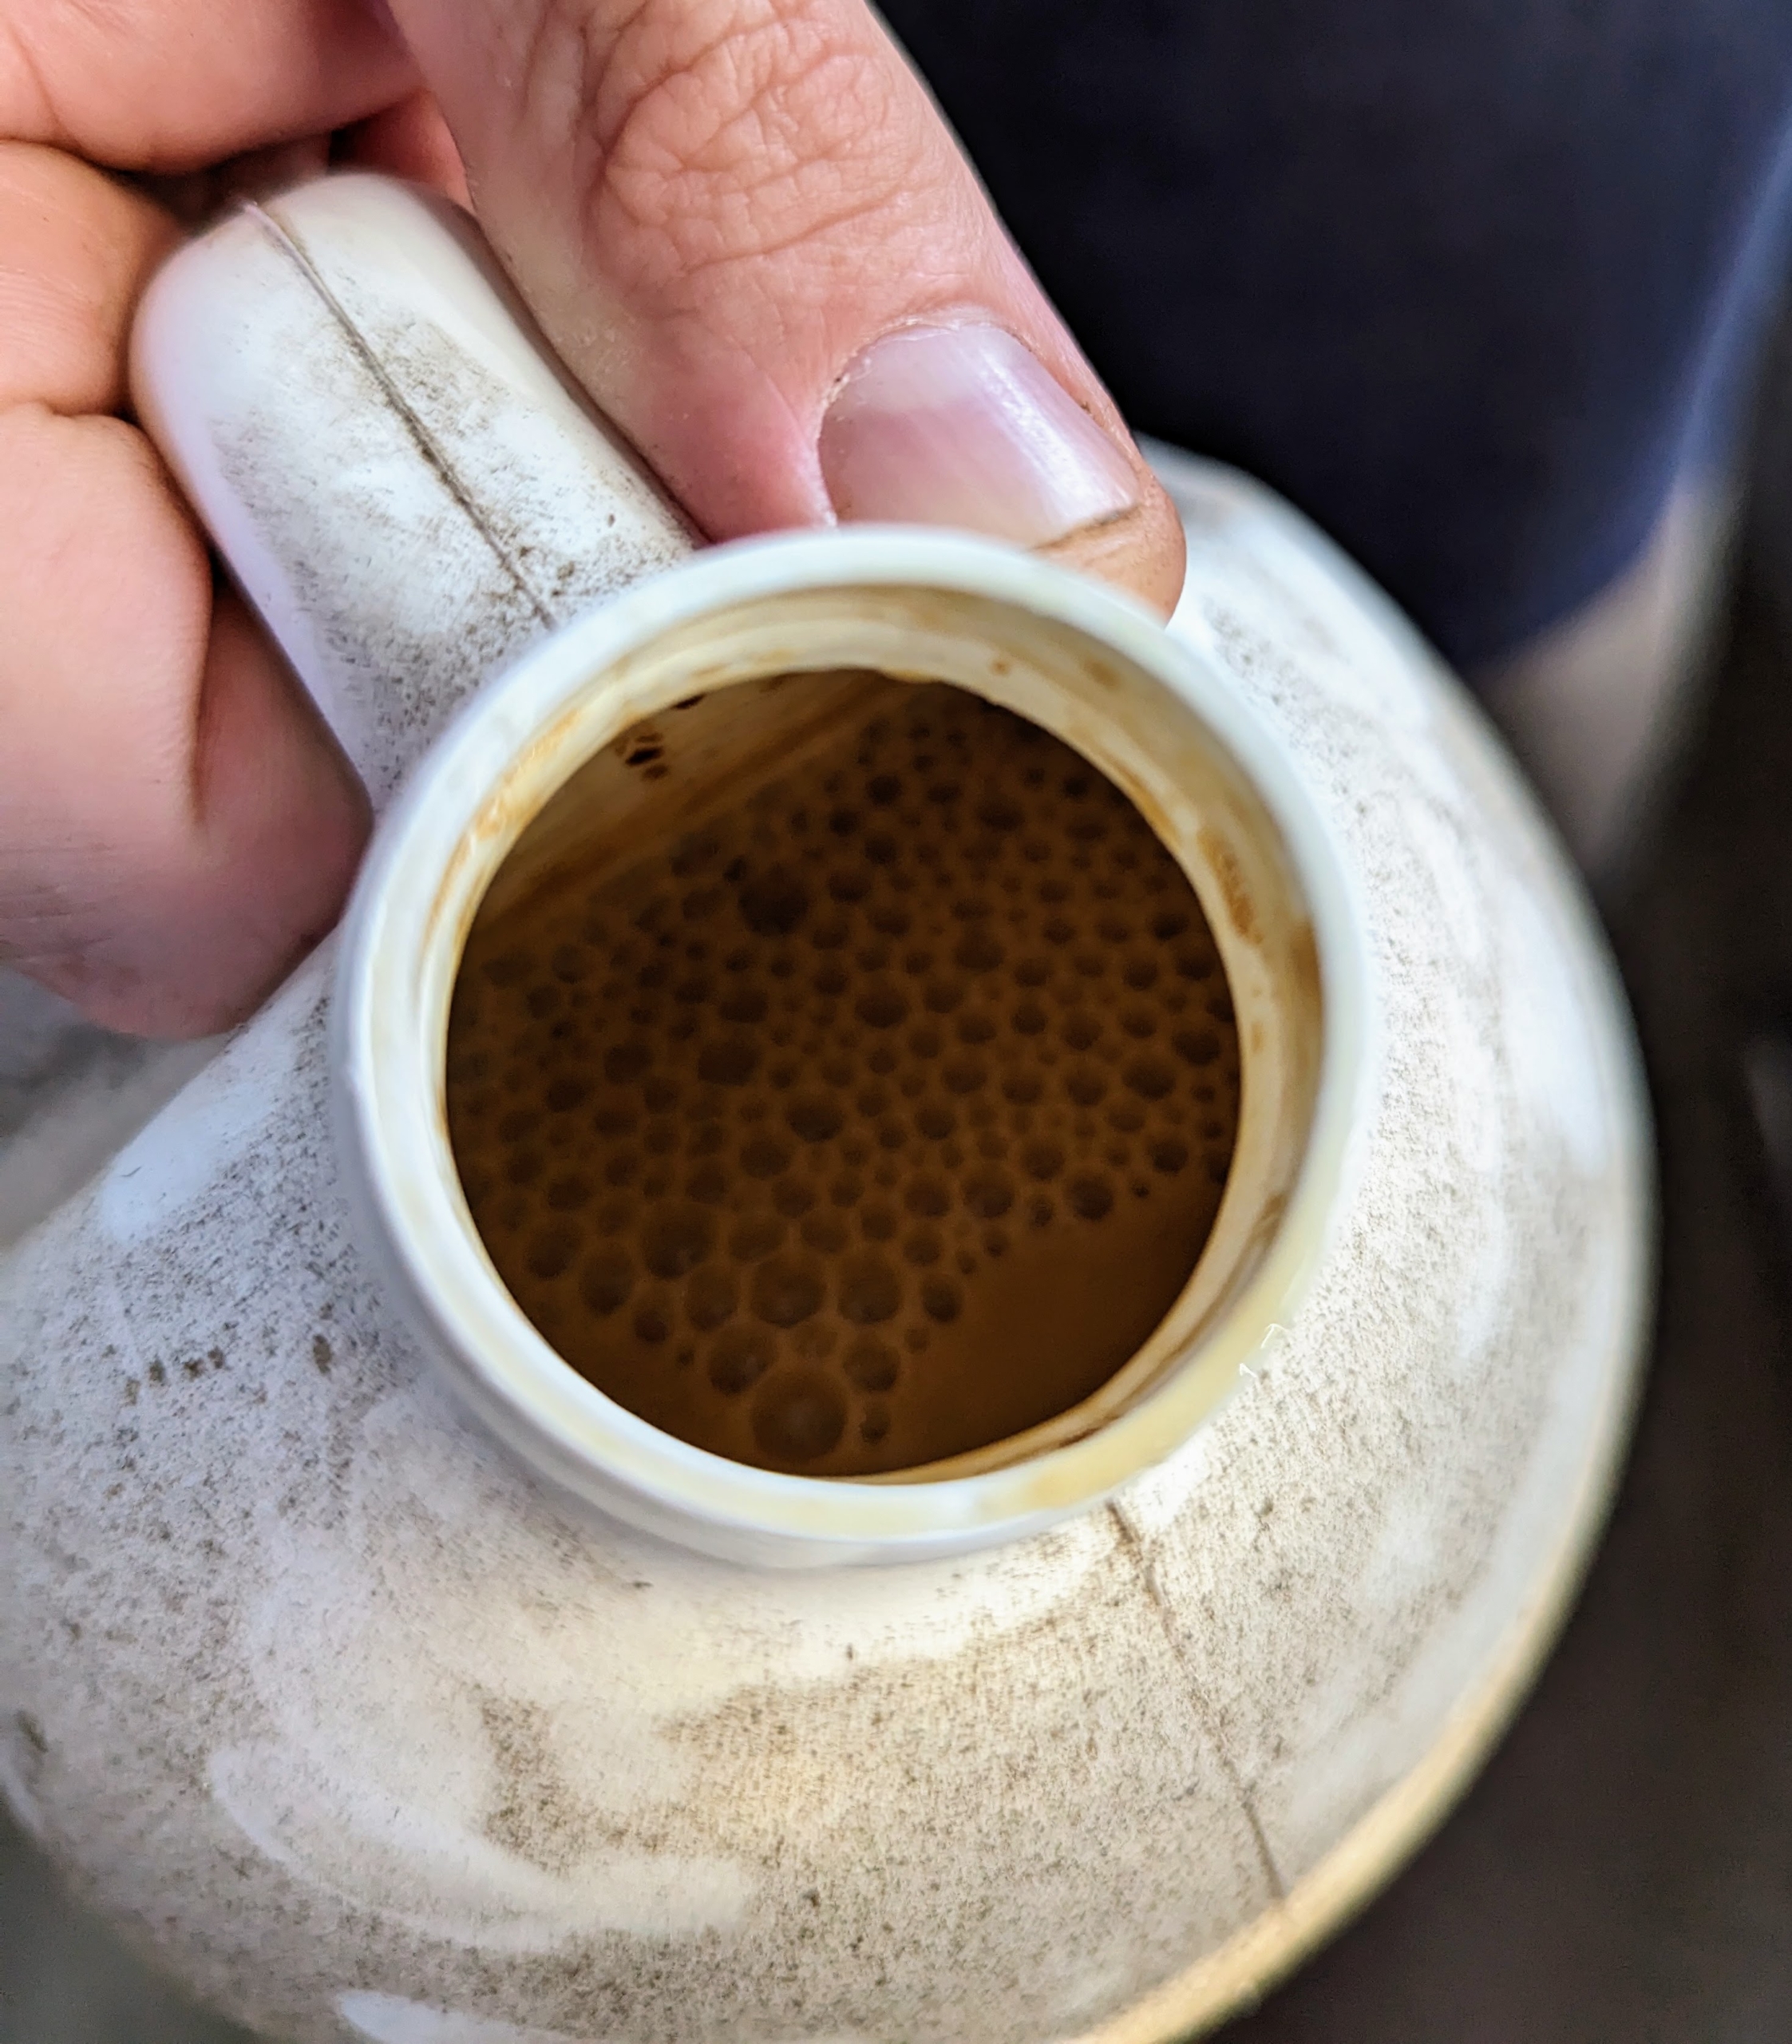
For the preparation process, Ryan gathers fish emulsion, isopropyl alcohol, a strainer and some plastic containers. Fish emulsion is an organic garden fertilizer that’s made from whole fish or parts of fish. It’s easy to find at garden centers or wherever gardening supplies and fertilizers are sold.
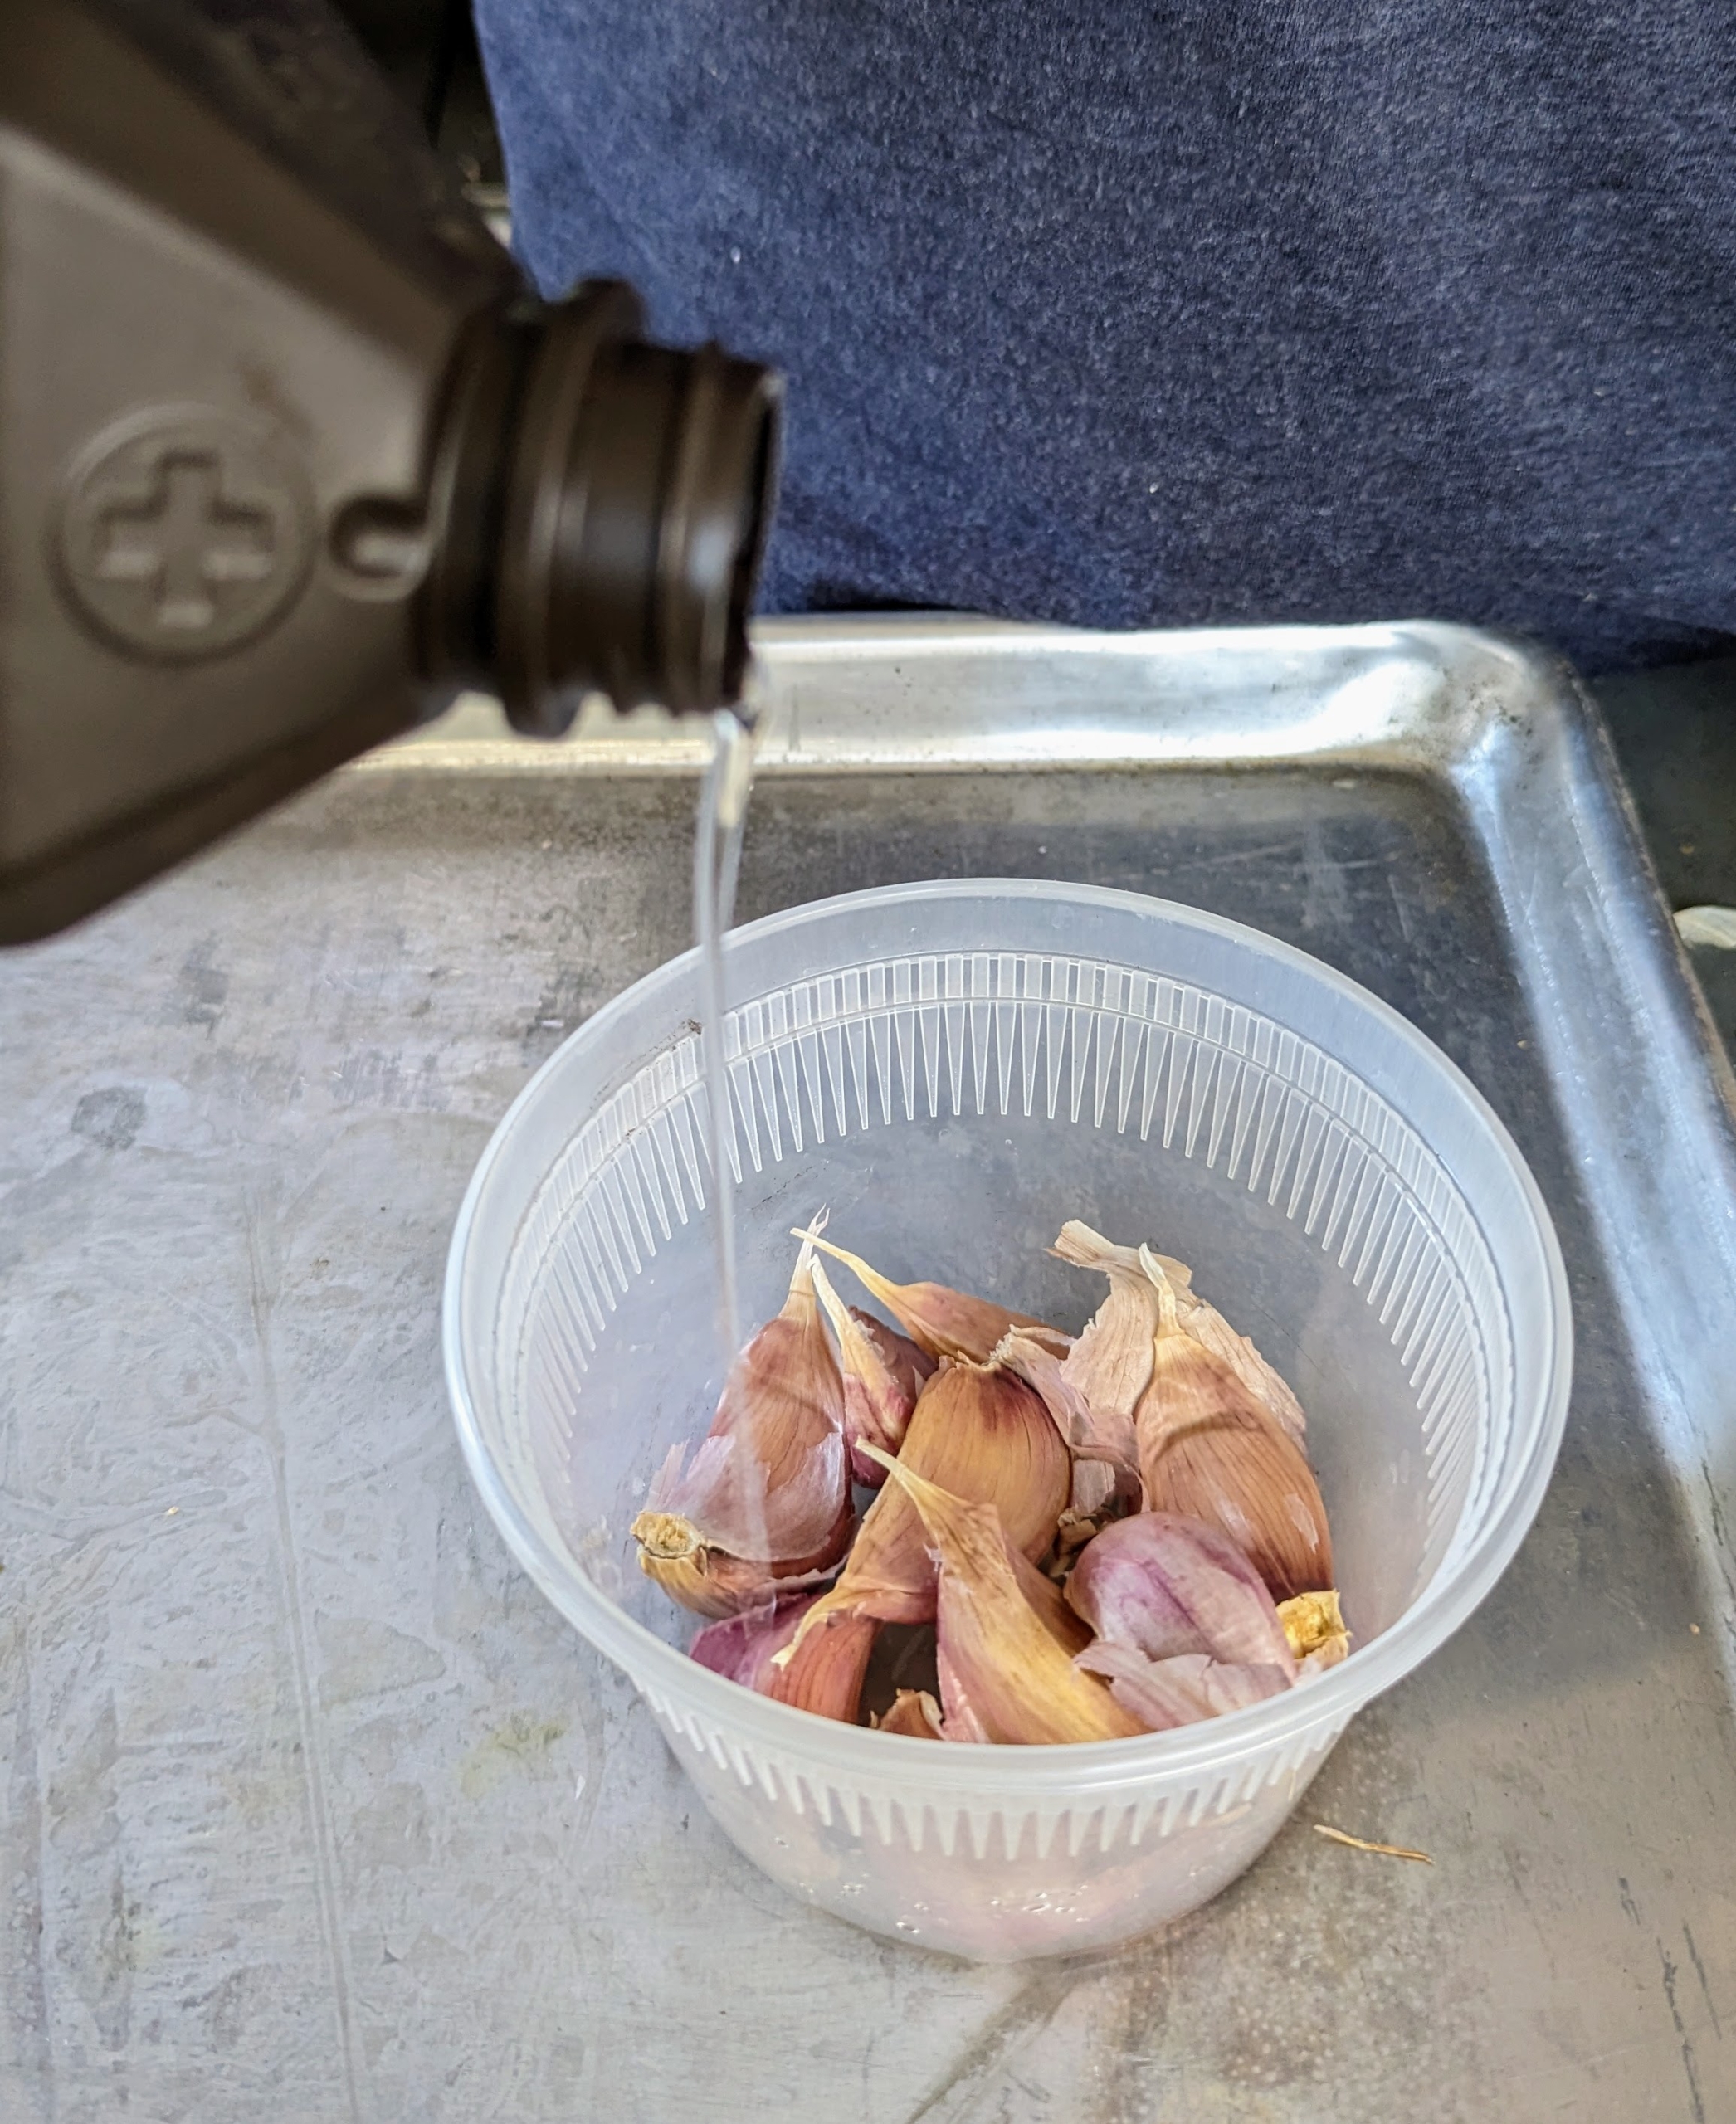
Ryan soaks the garlic in isopropyl or rubbing alcohol, for about 20-minutes. This helps to sterilize the cloves. If you don’t have alcohol, you can also use hydrogen peroxide or vodka.
After the garlic is soaked thoroughly in alcohol, Ryan uses the strainer to remove the liquid.
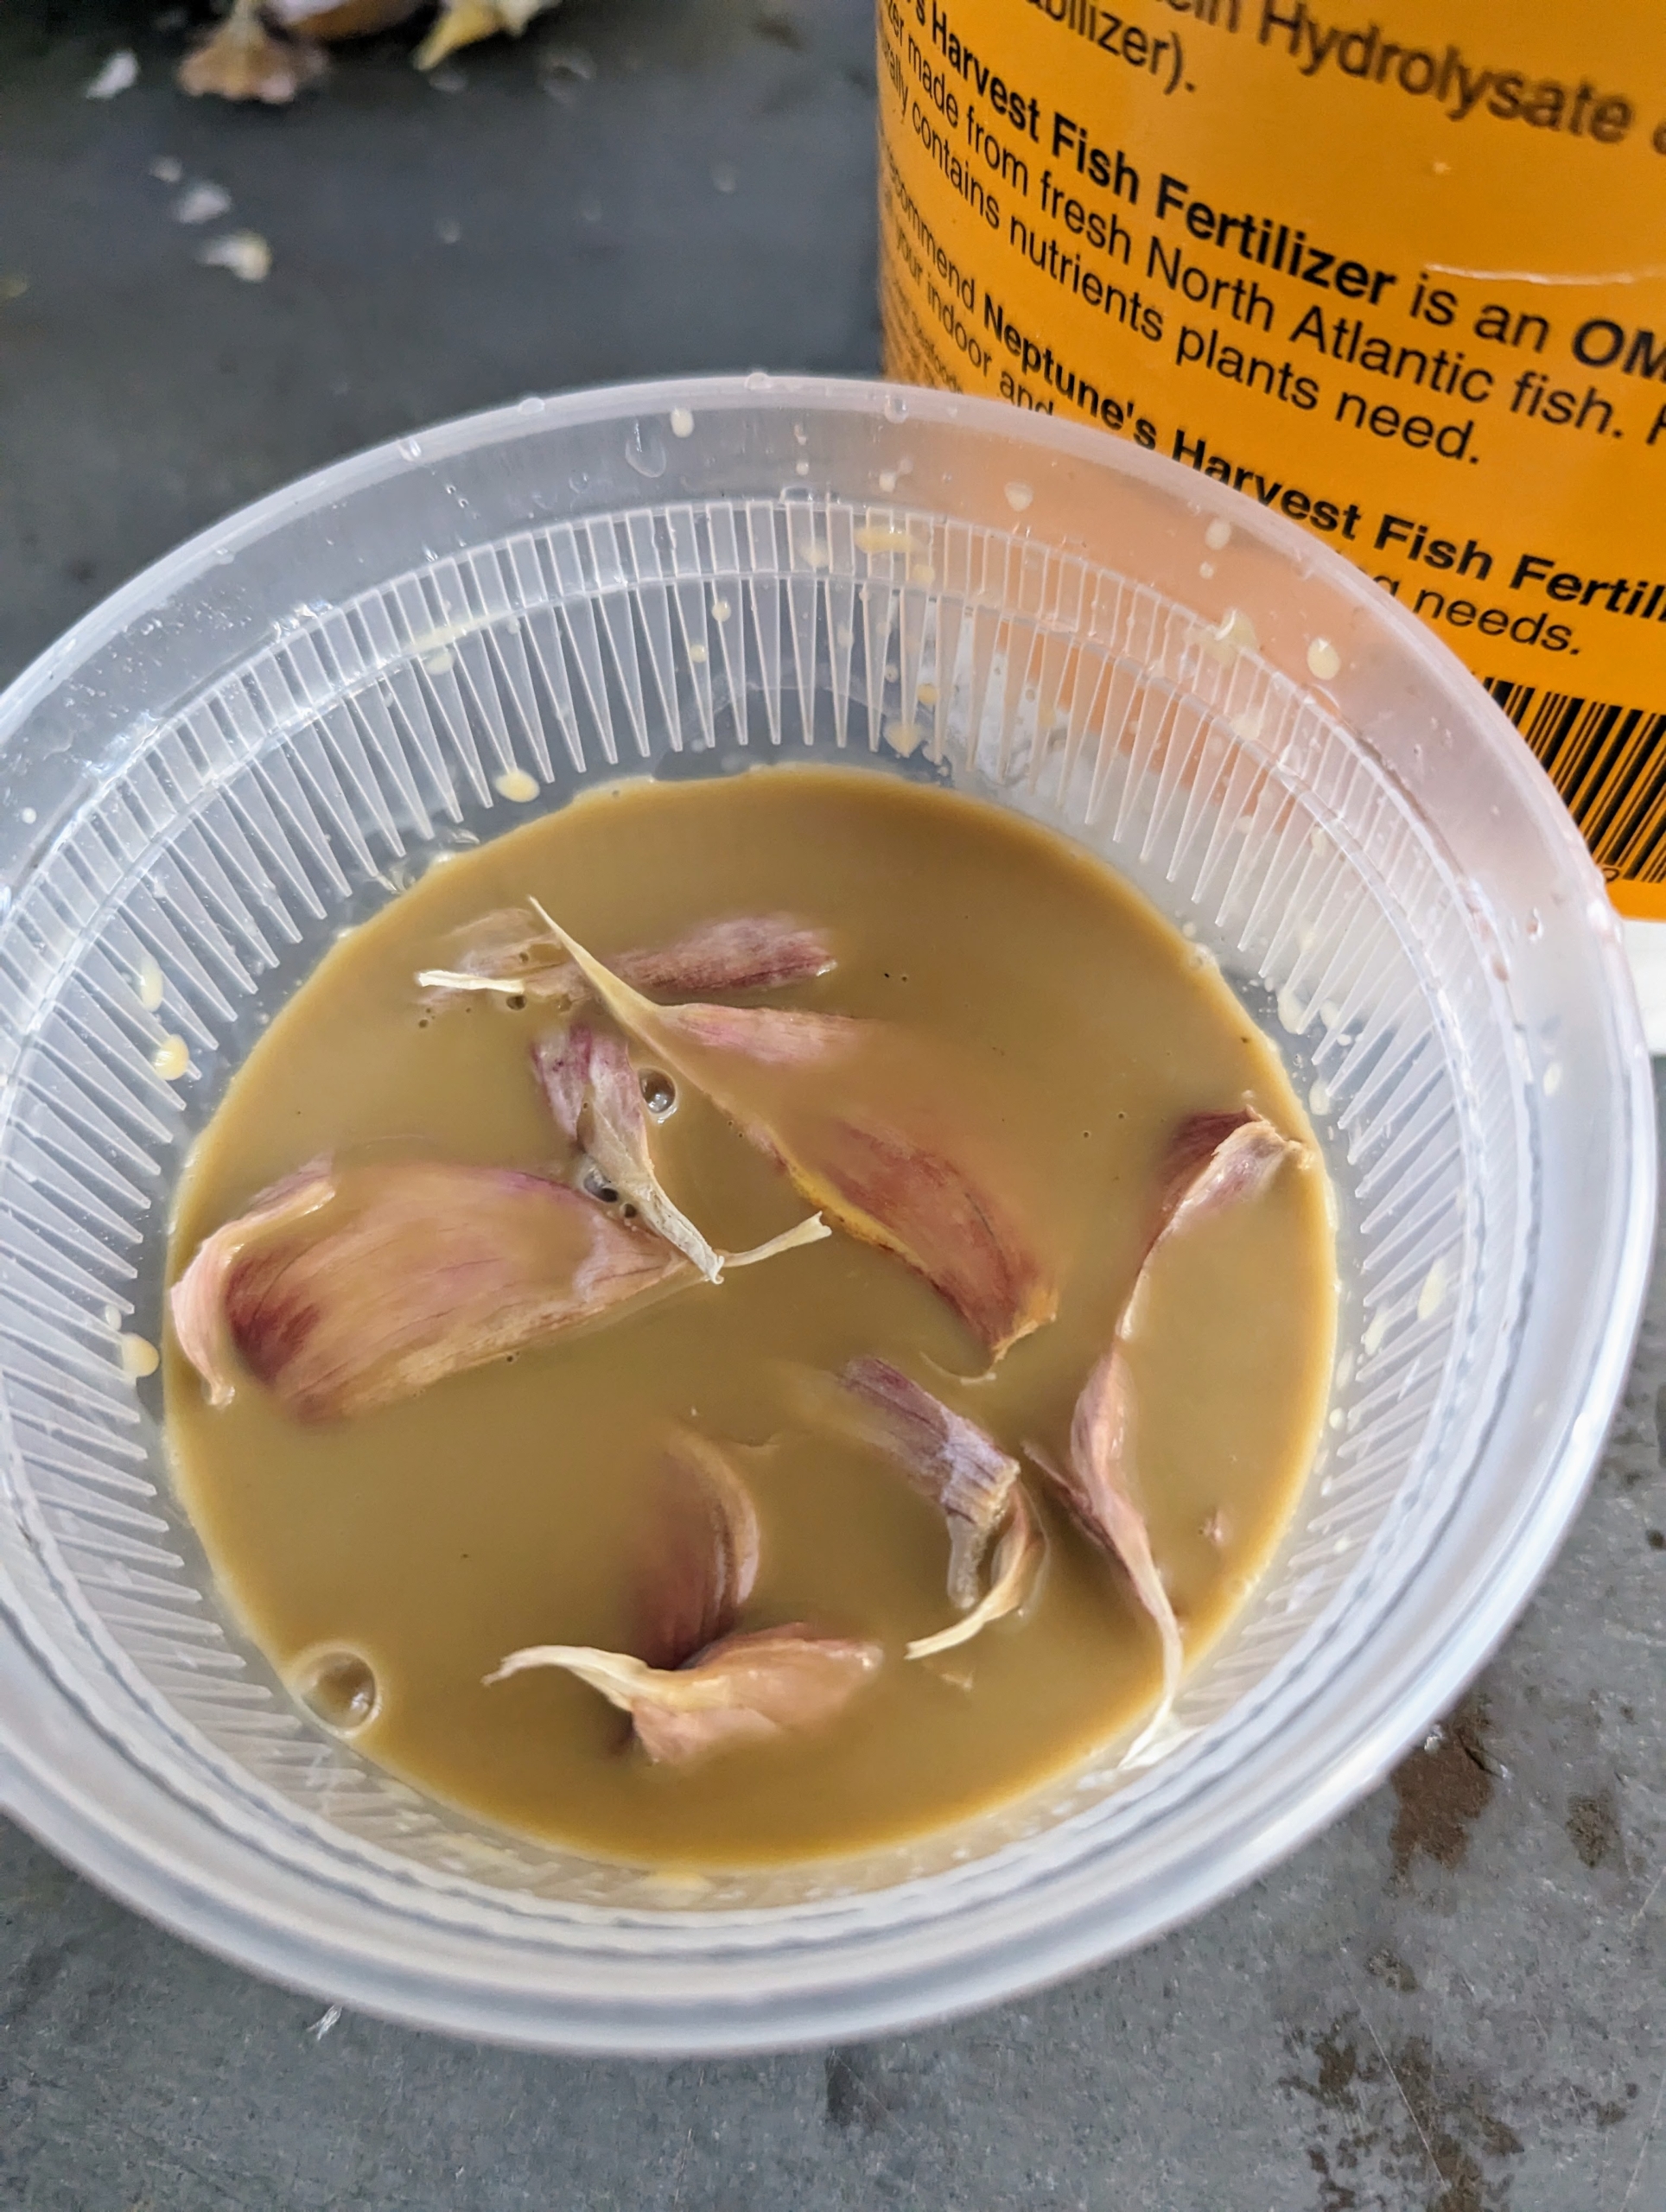
Next, he creates a solution of fish emulsion…
… and a bit of baking soda and water for each container.
Ryan fills the containers with the baking soda water to ensure all the garlic is covered. This will give the garlic a fertilizer boost and rid them of possible diseases, which could have been carried by the garlic. It increases bulb size. It also increases the size of the bulb by giving the plant food before putting it to bed for the winter.
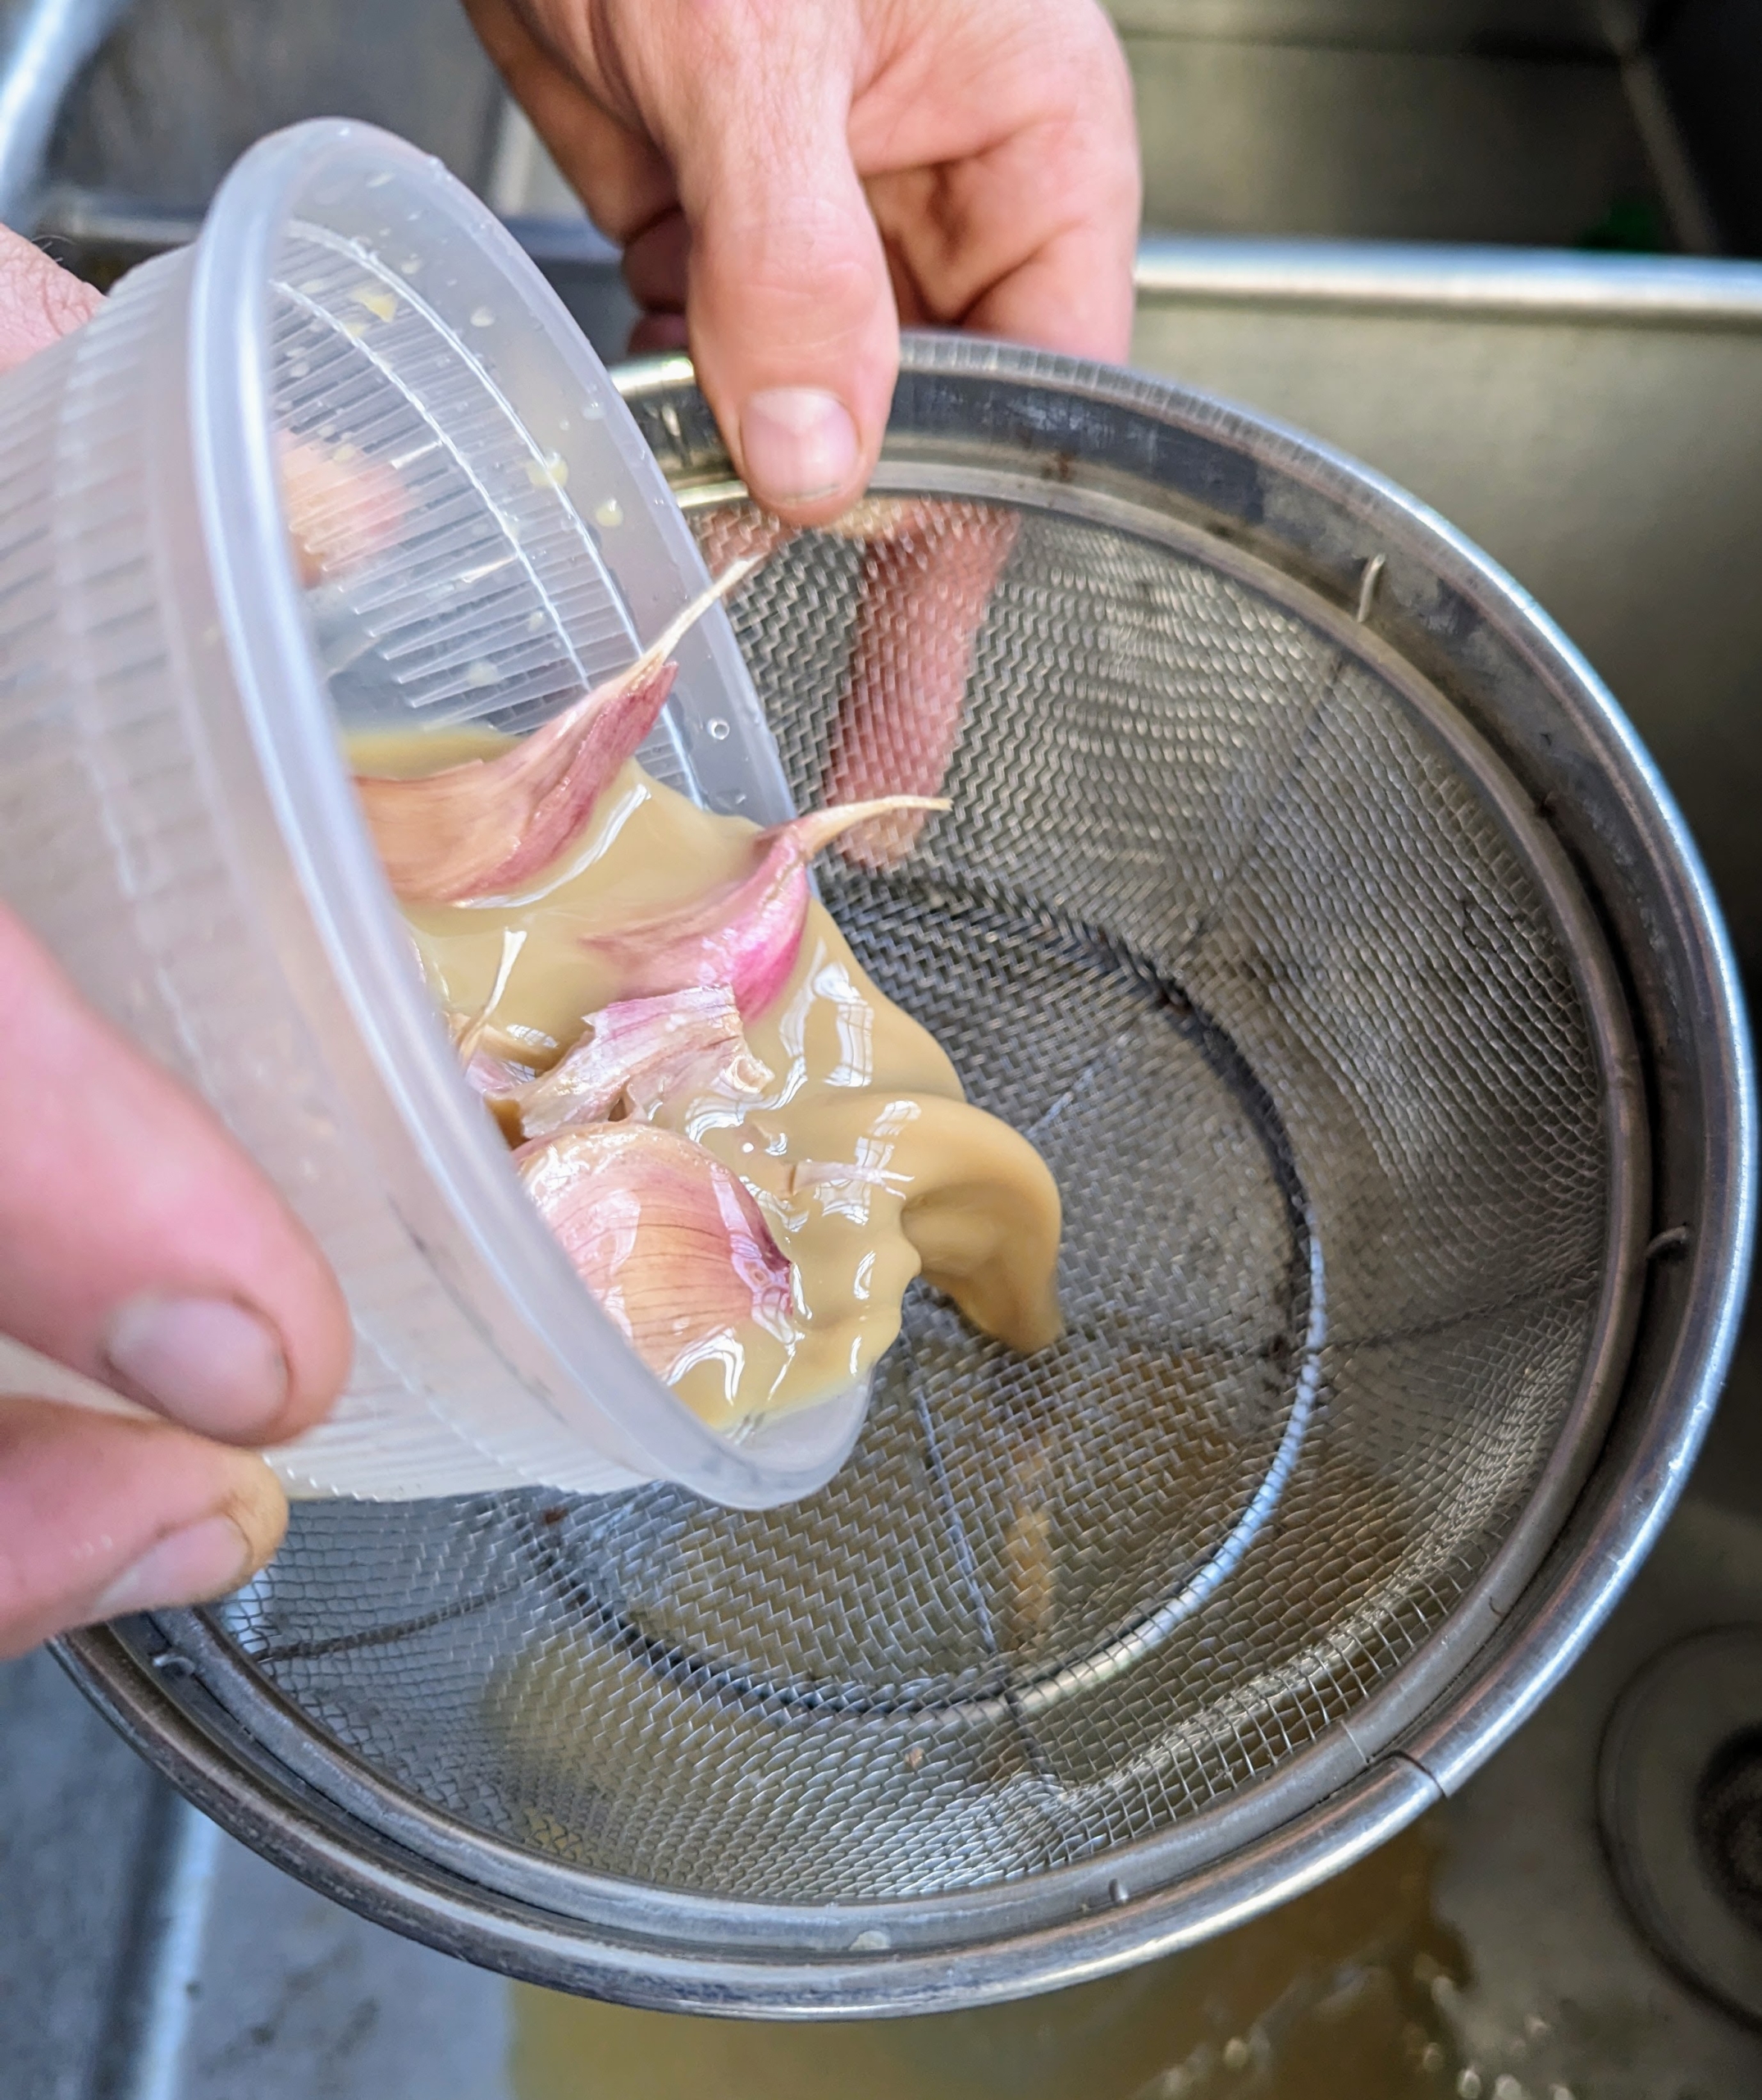
The cloves are all left to soak in the baking soda and fish emulsion mixture for at least 30-minutes or up to overnight. And then they are drained.
This happens to all the garlic and then they are left to dry thoroughly.
All the garlic is returned to their mesh bags for easy transport to the garden bed – this year located in the far southwest corner of the new vegetable garden.
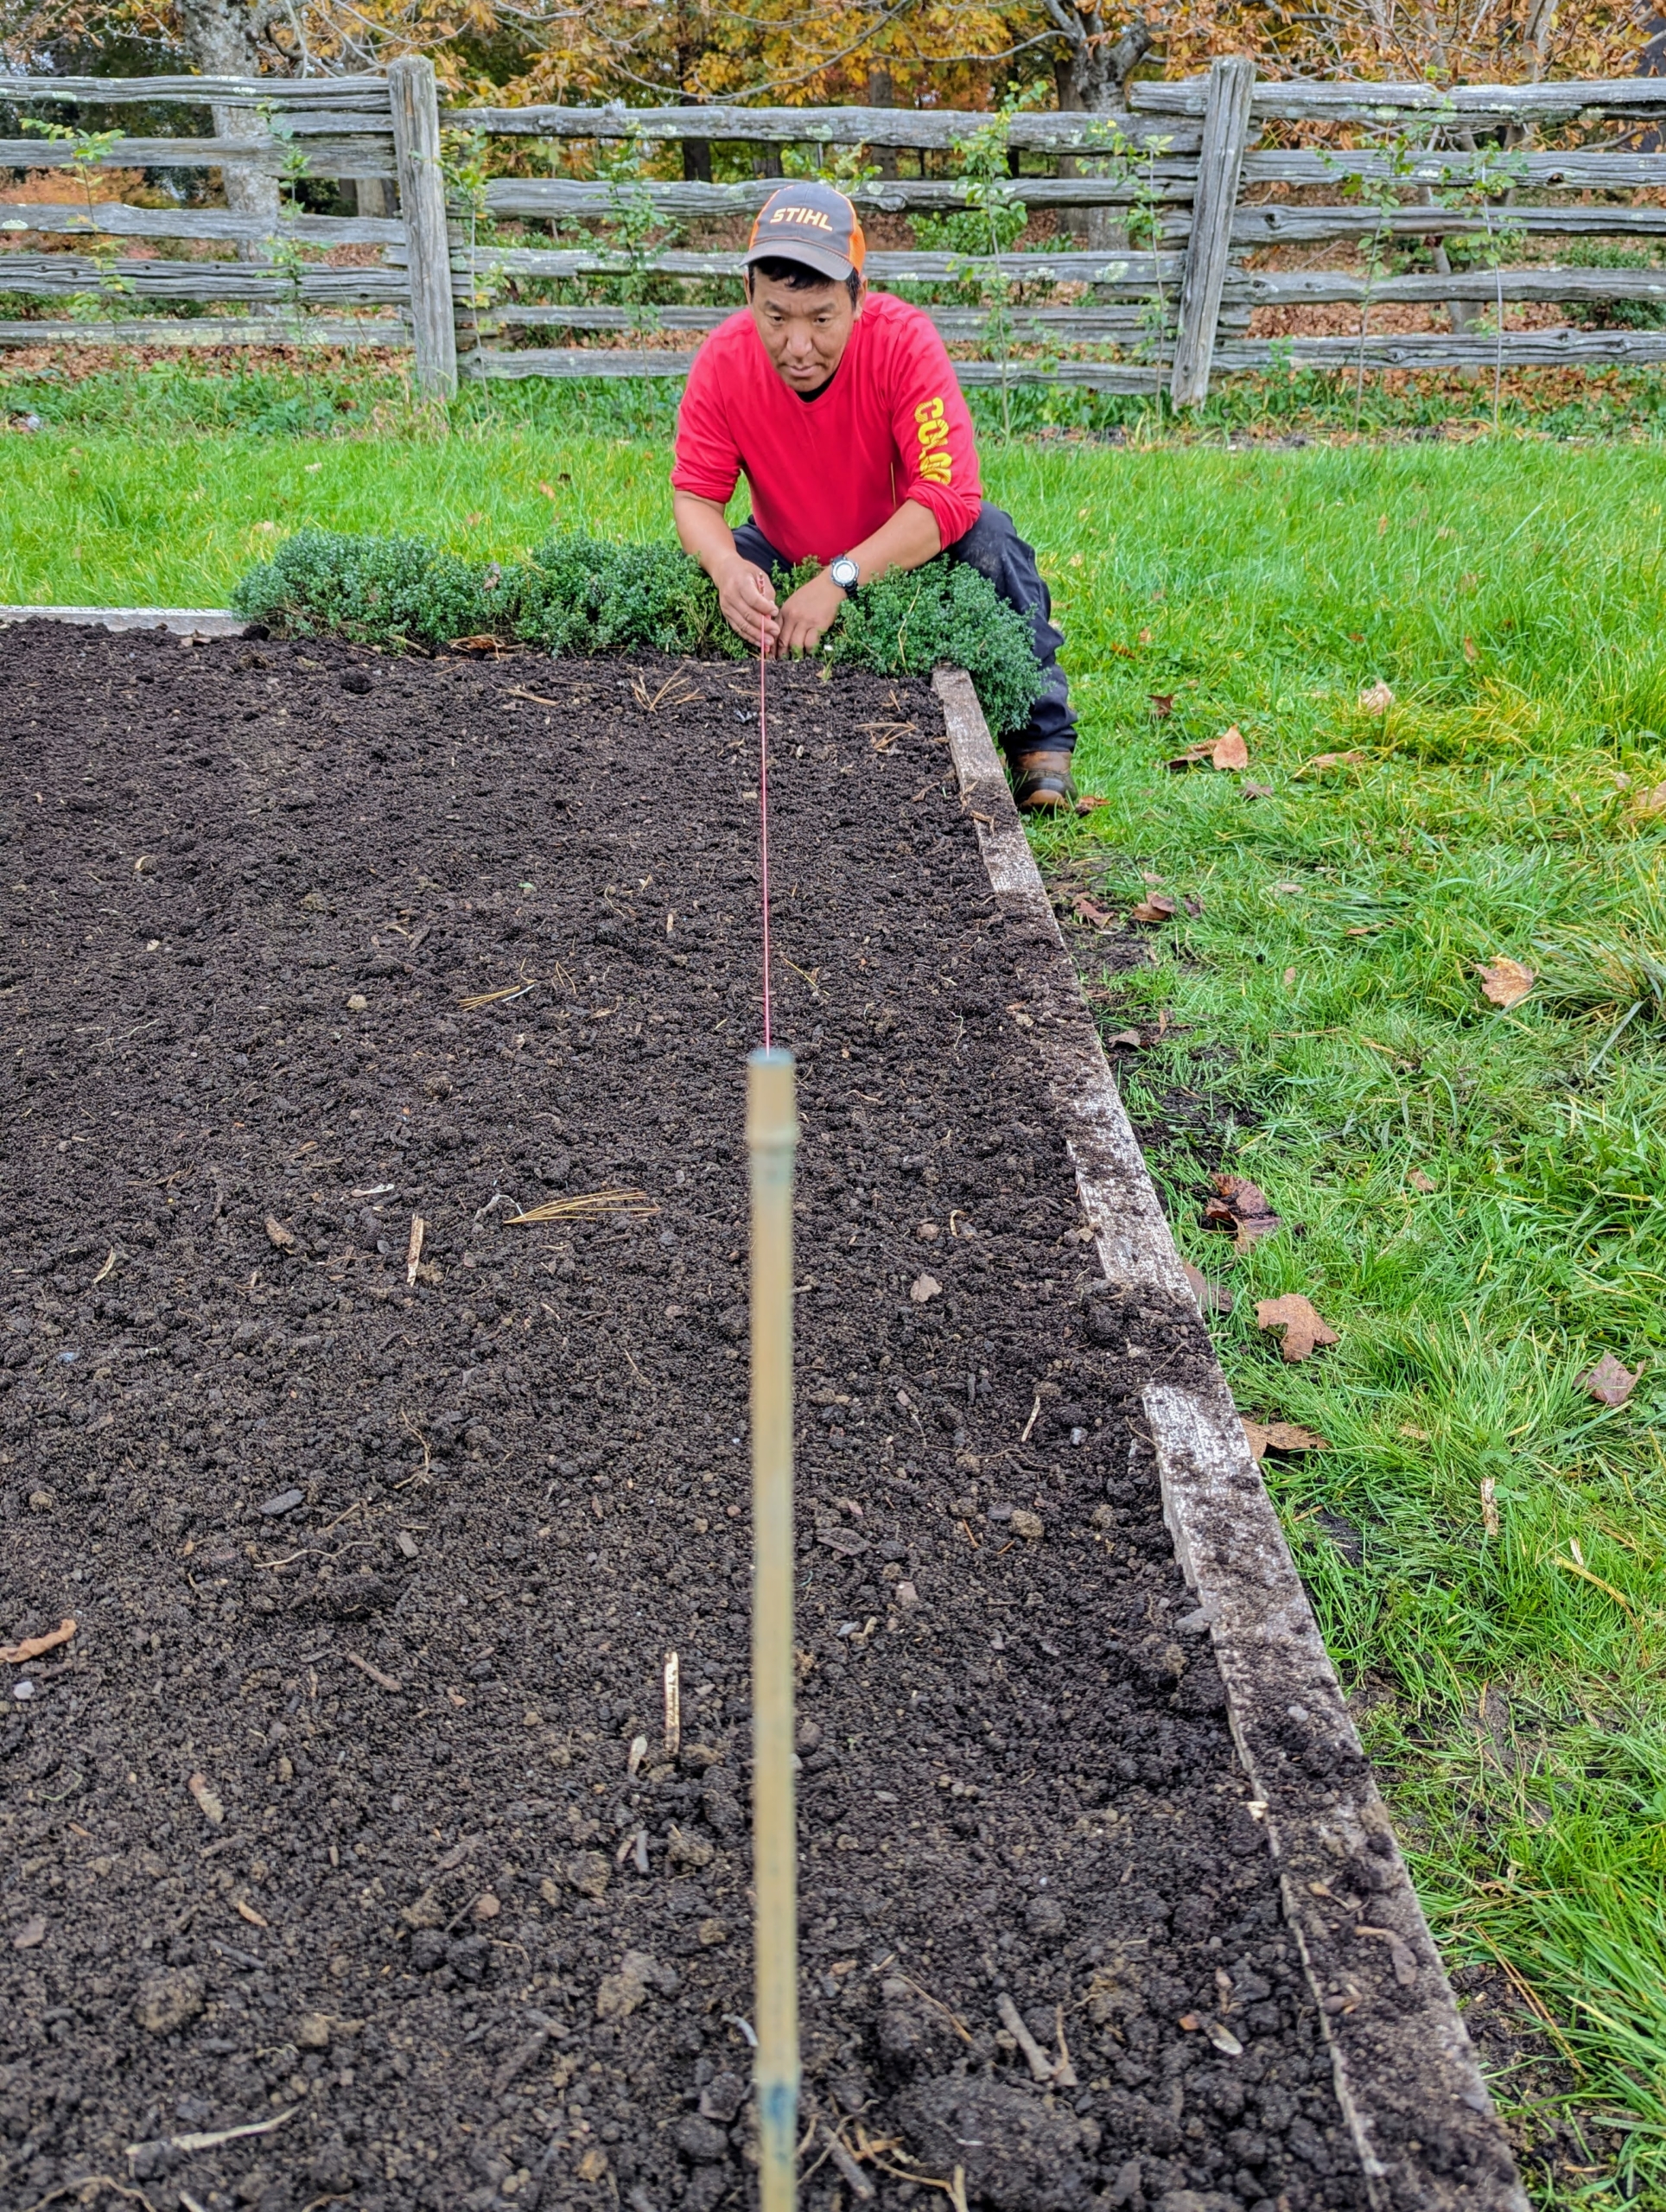
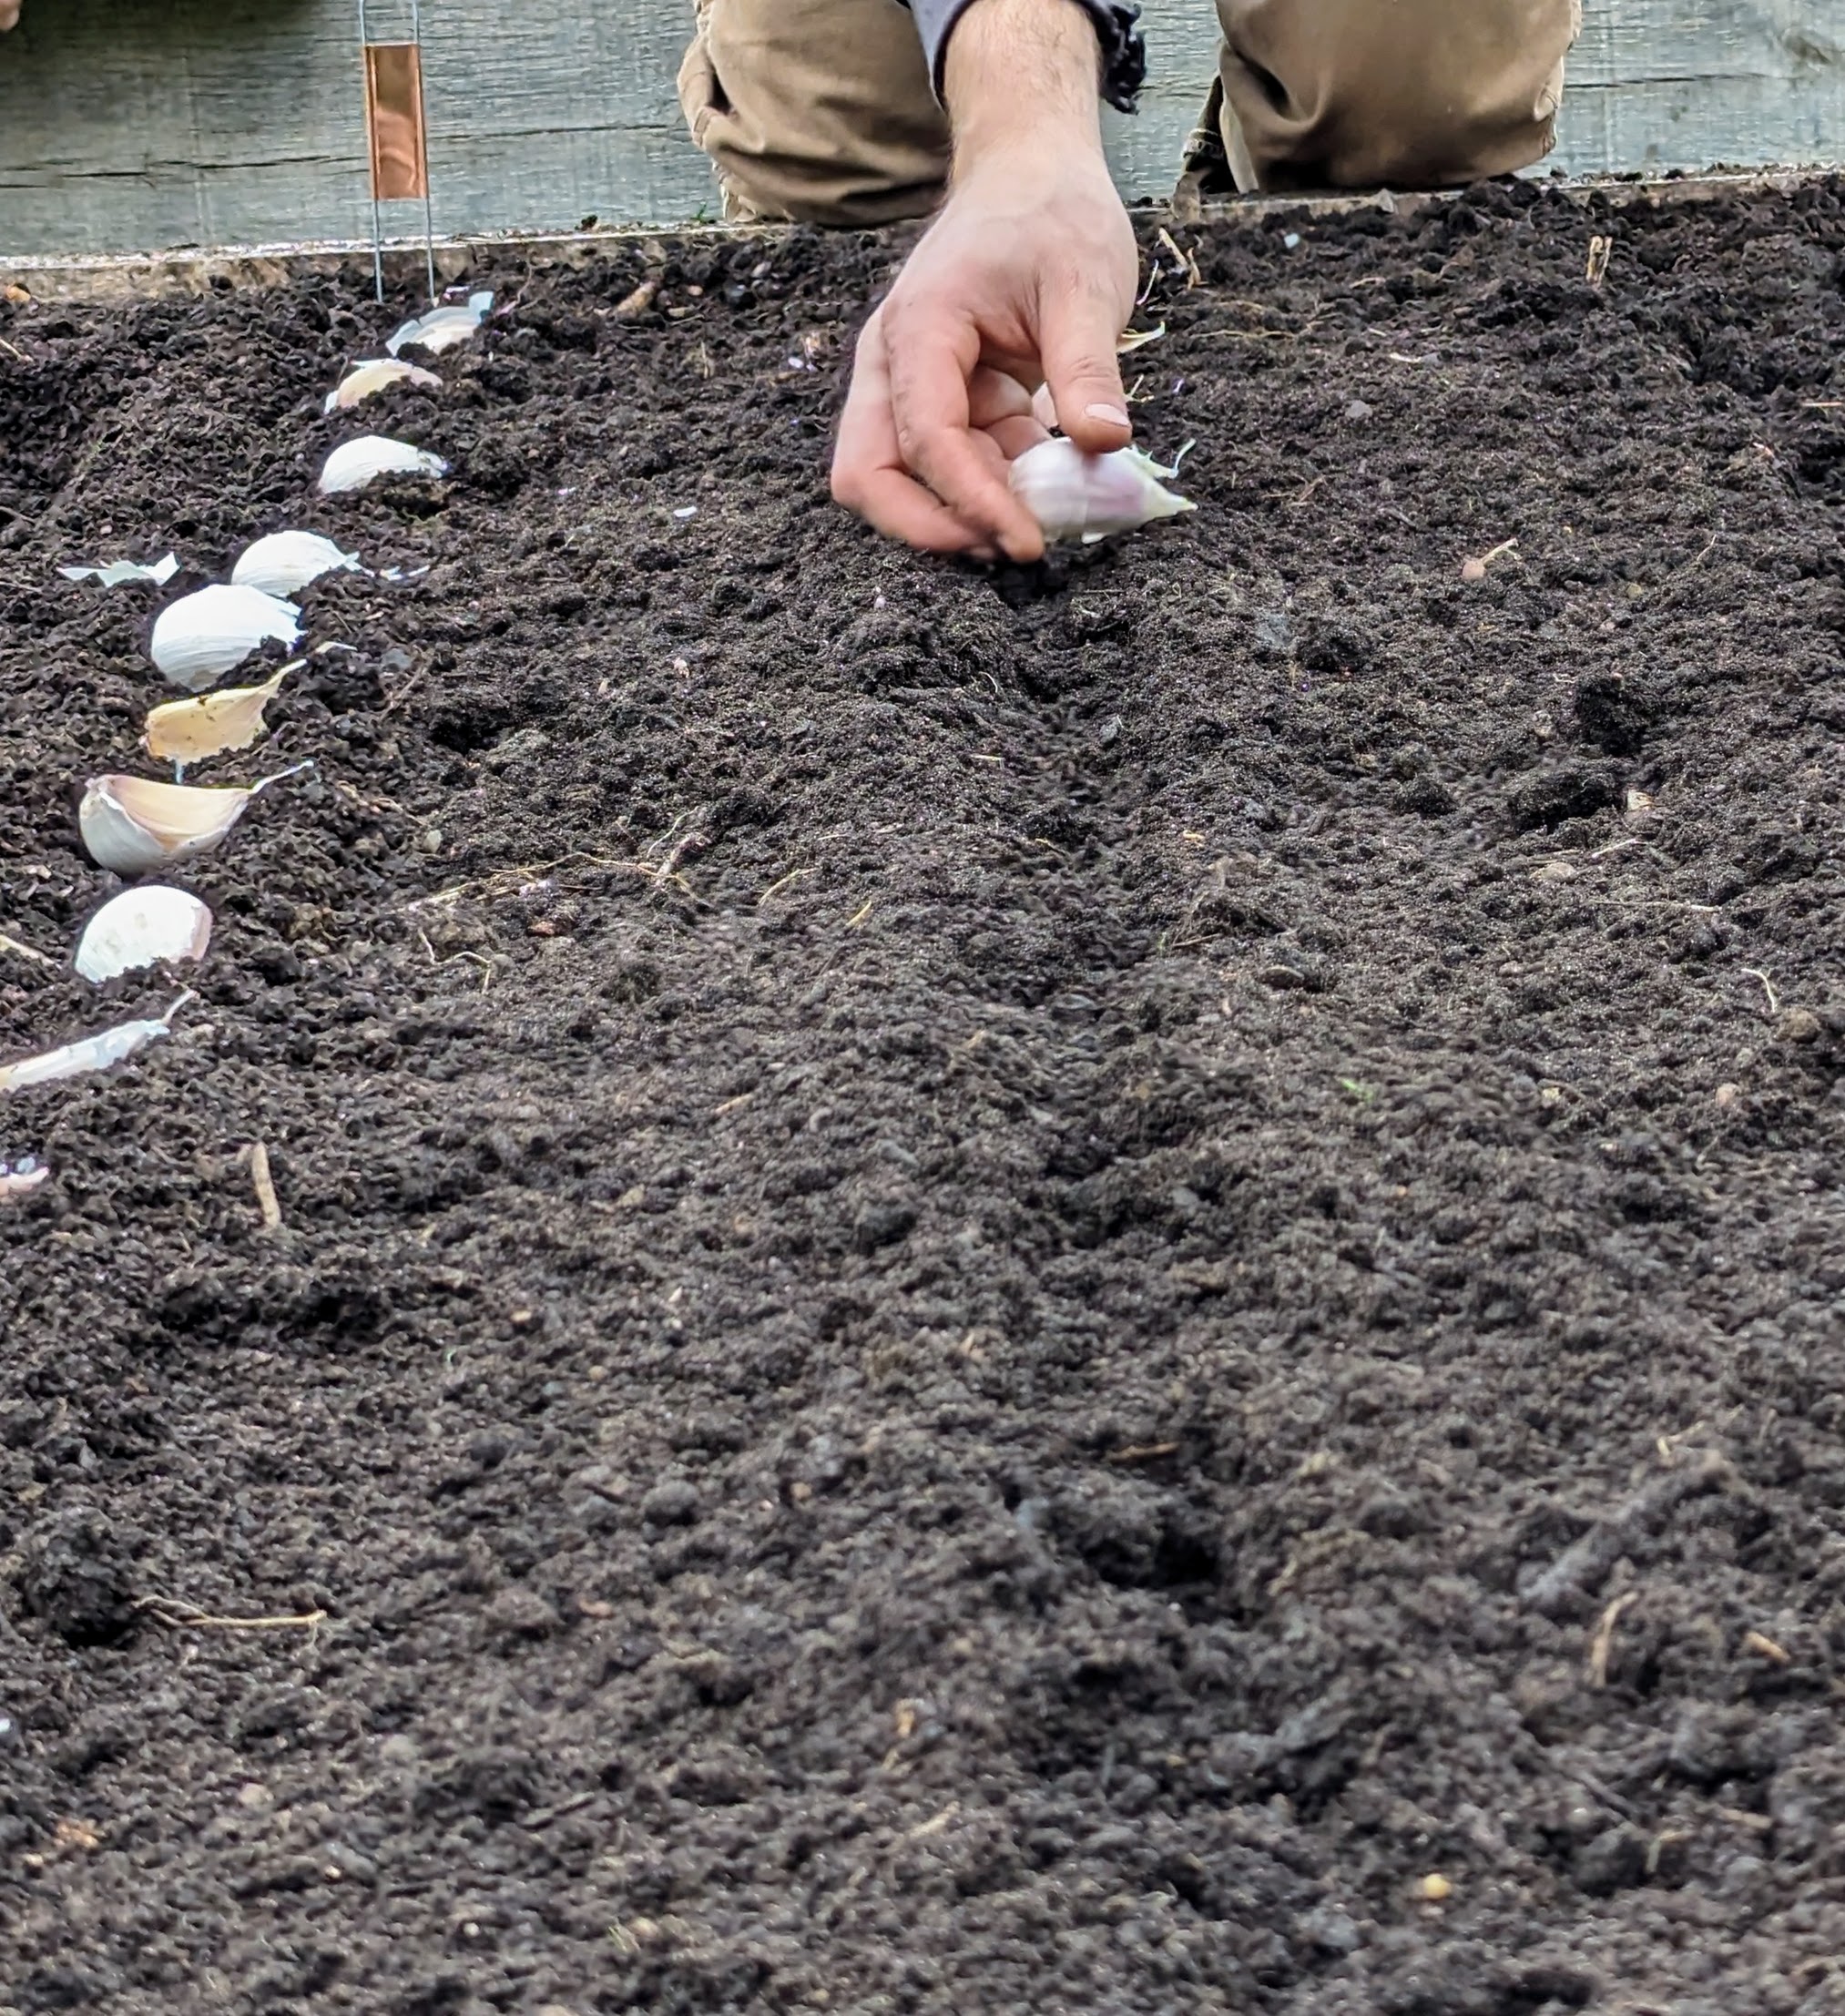
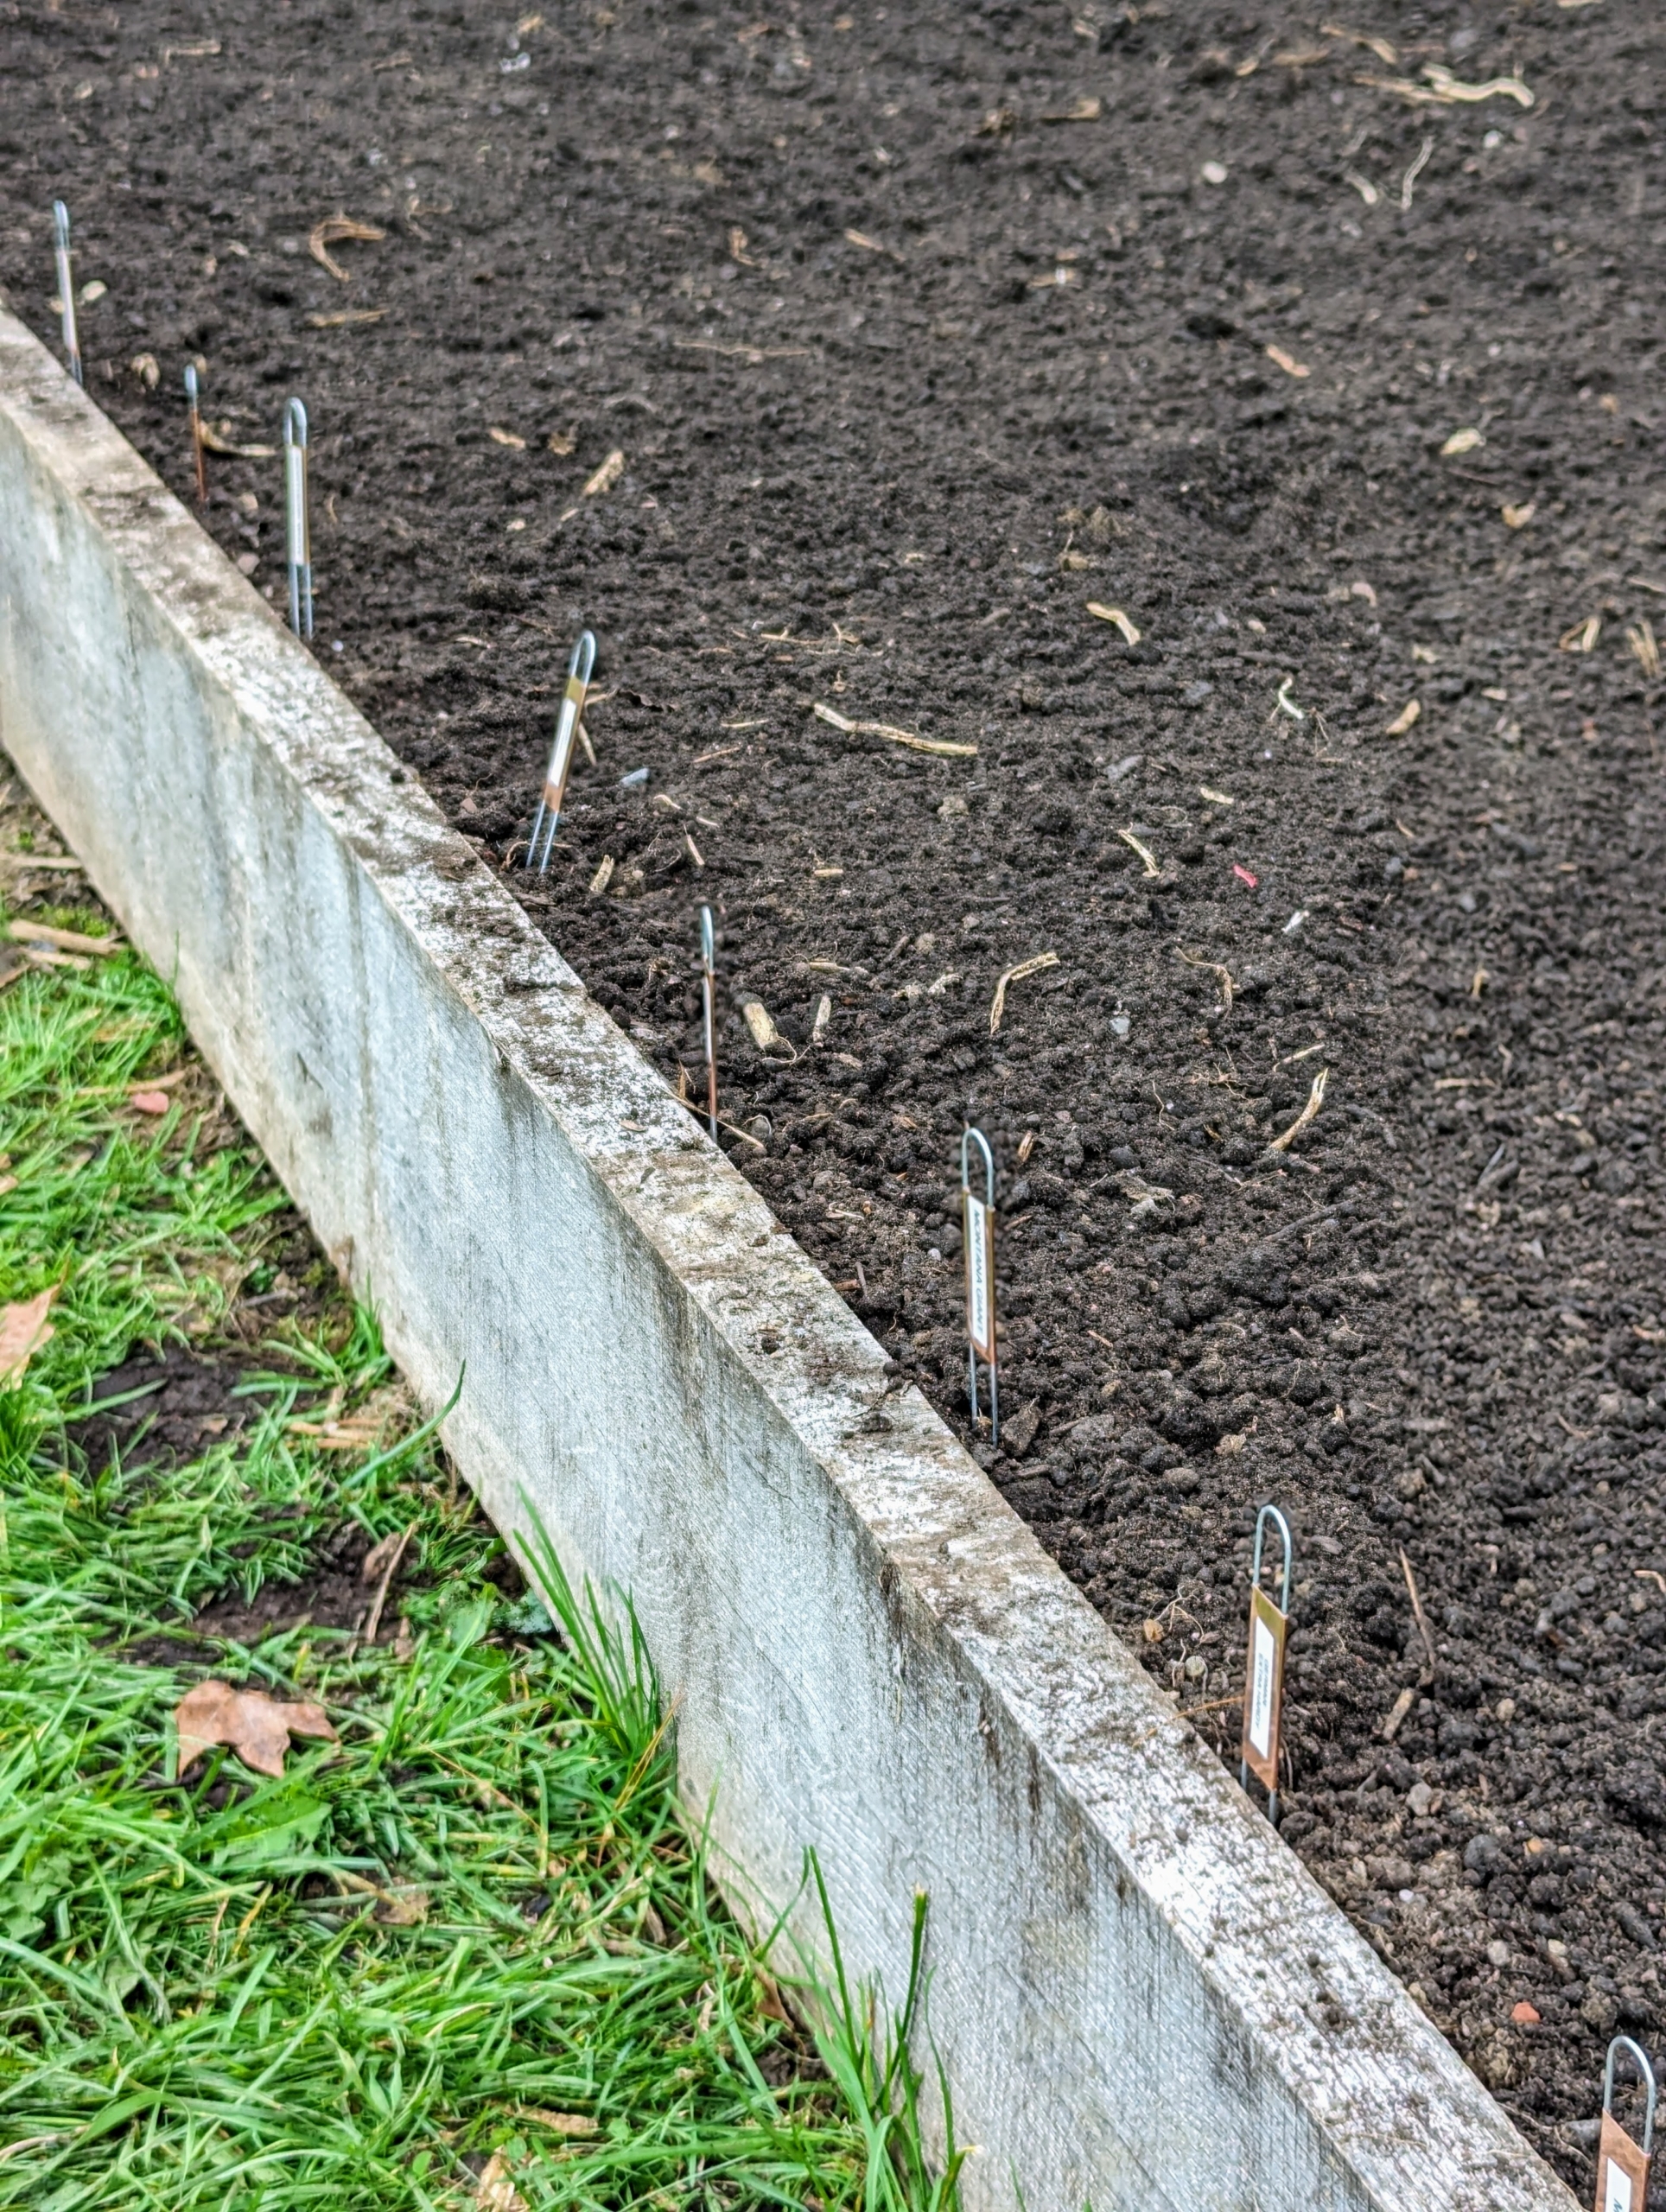
This bed was previously used for our potato crop, but it was completely cleaned, fed and cultivated before our garlic arrived. Cultivating accomplishes two things: removing any weeds from the garden bed and loosening the soil to optimize the retention and penetration of air, water and nutrients for the plants. Now, Phurba is measuring where the garlic will be planted. My head gardener, Ryan McCallister, already determined how many rows would fit in this bed and how many garlic cloves would be planted in each row.
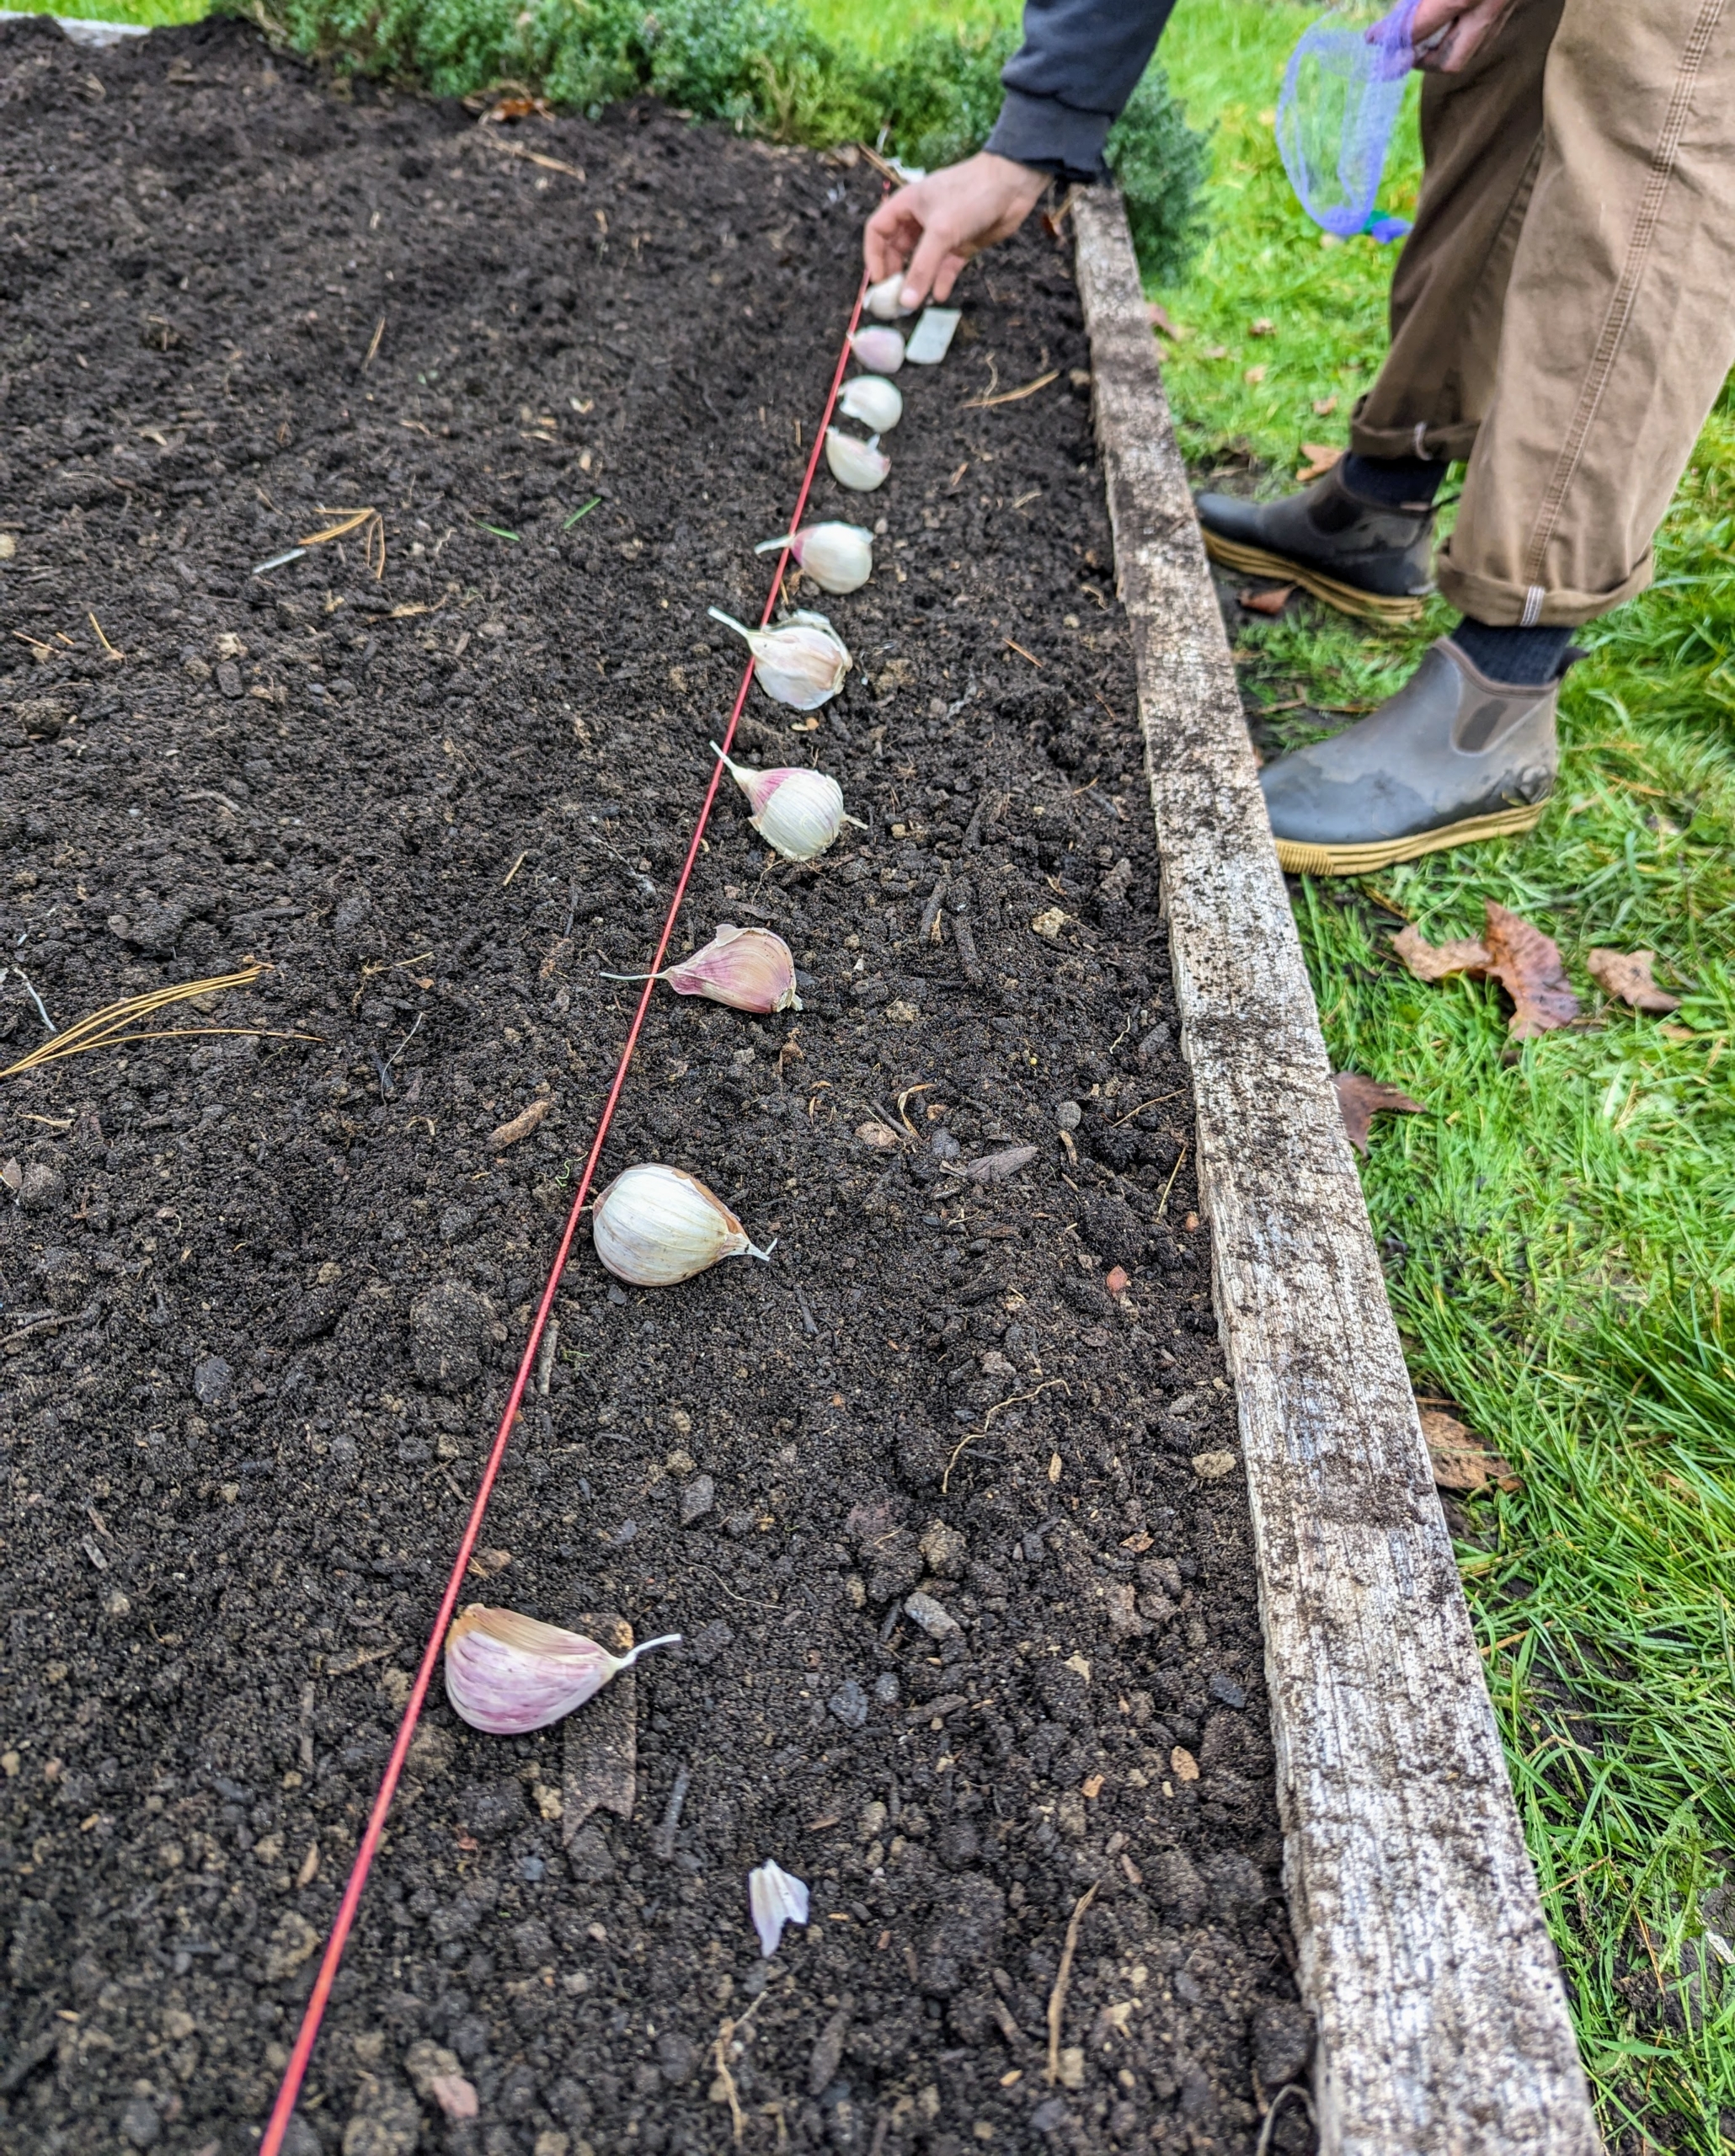
As the rows are made, Brian positions each clove. When planting multiple rows of garlic, be sure the rows are at least one-foot apart.
it is also important to give each clove enough room to grow and develop. They should be planted at least several inches from each other.
The majority of garlic in the US is planted from mid-October through November before the ground freezes. We have not yet had our first freeze, but maybe it will come this week.
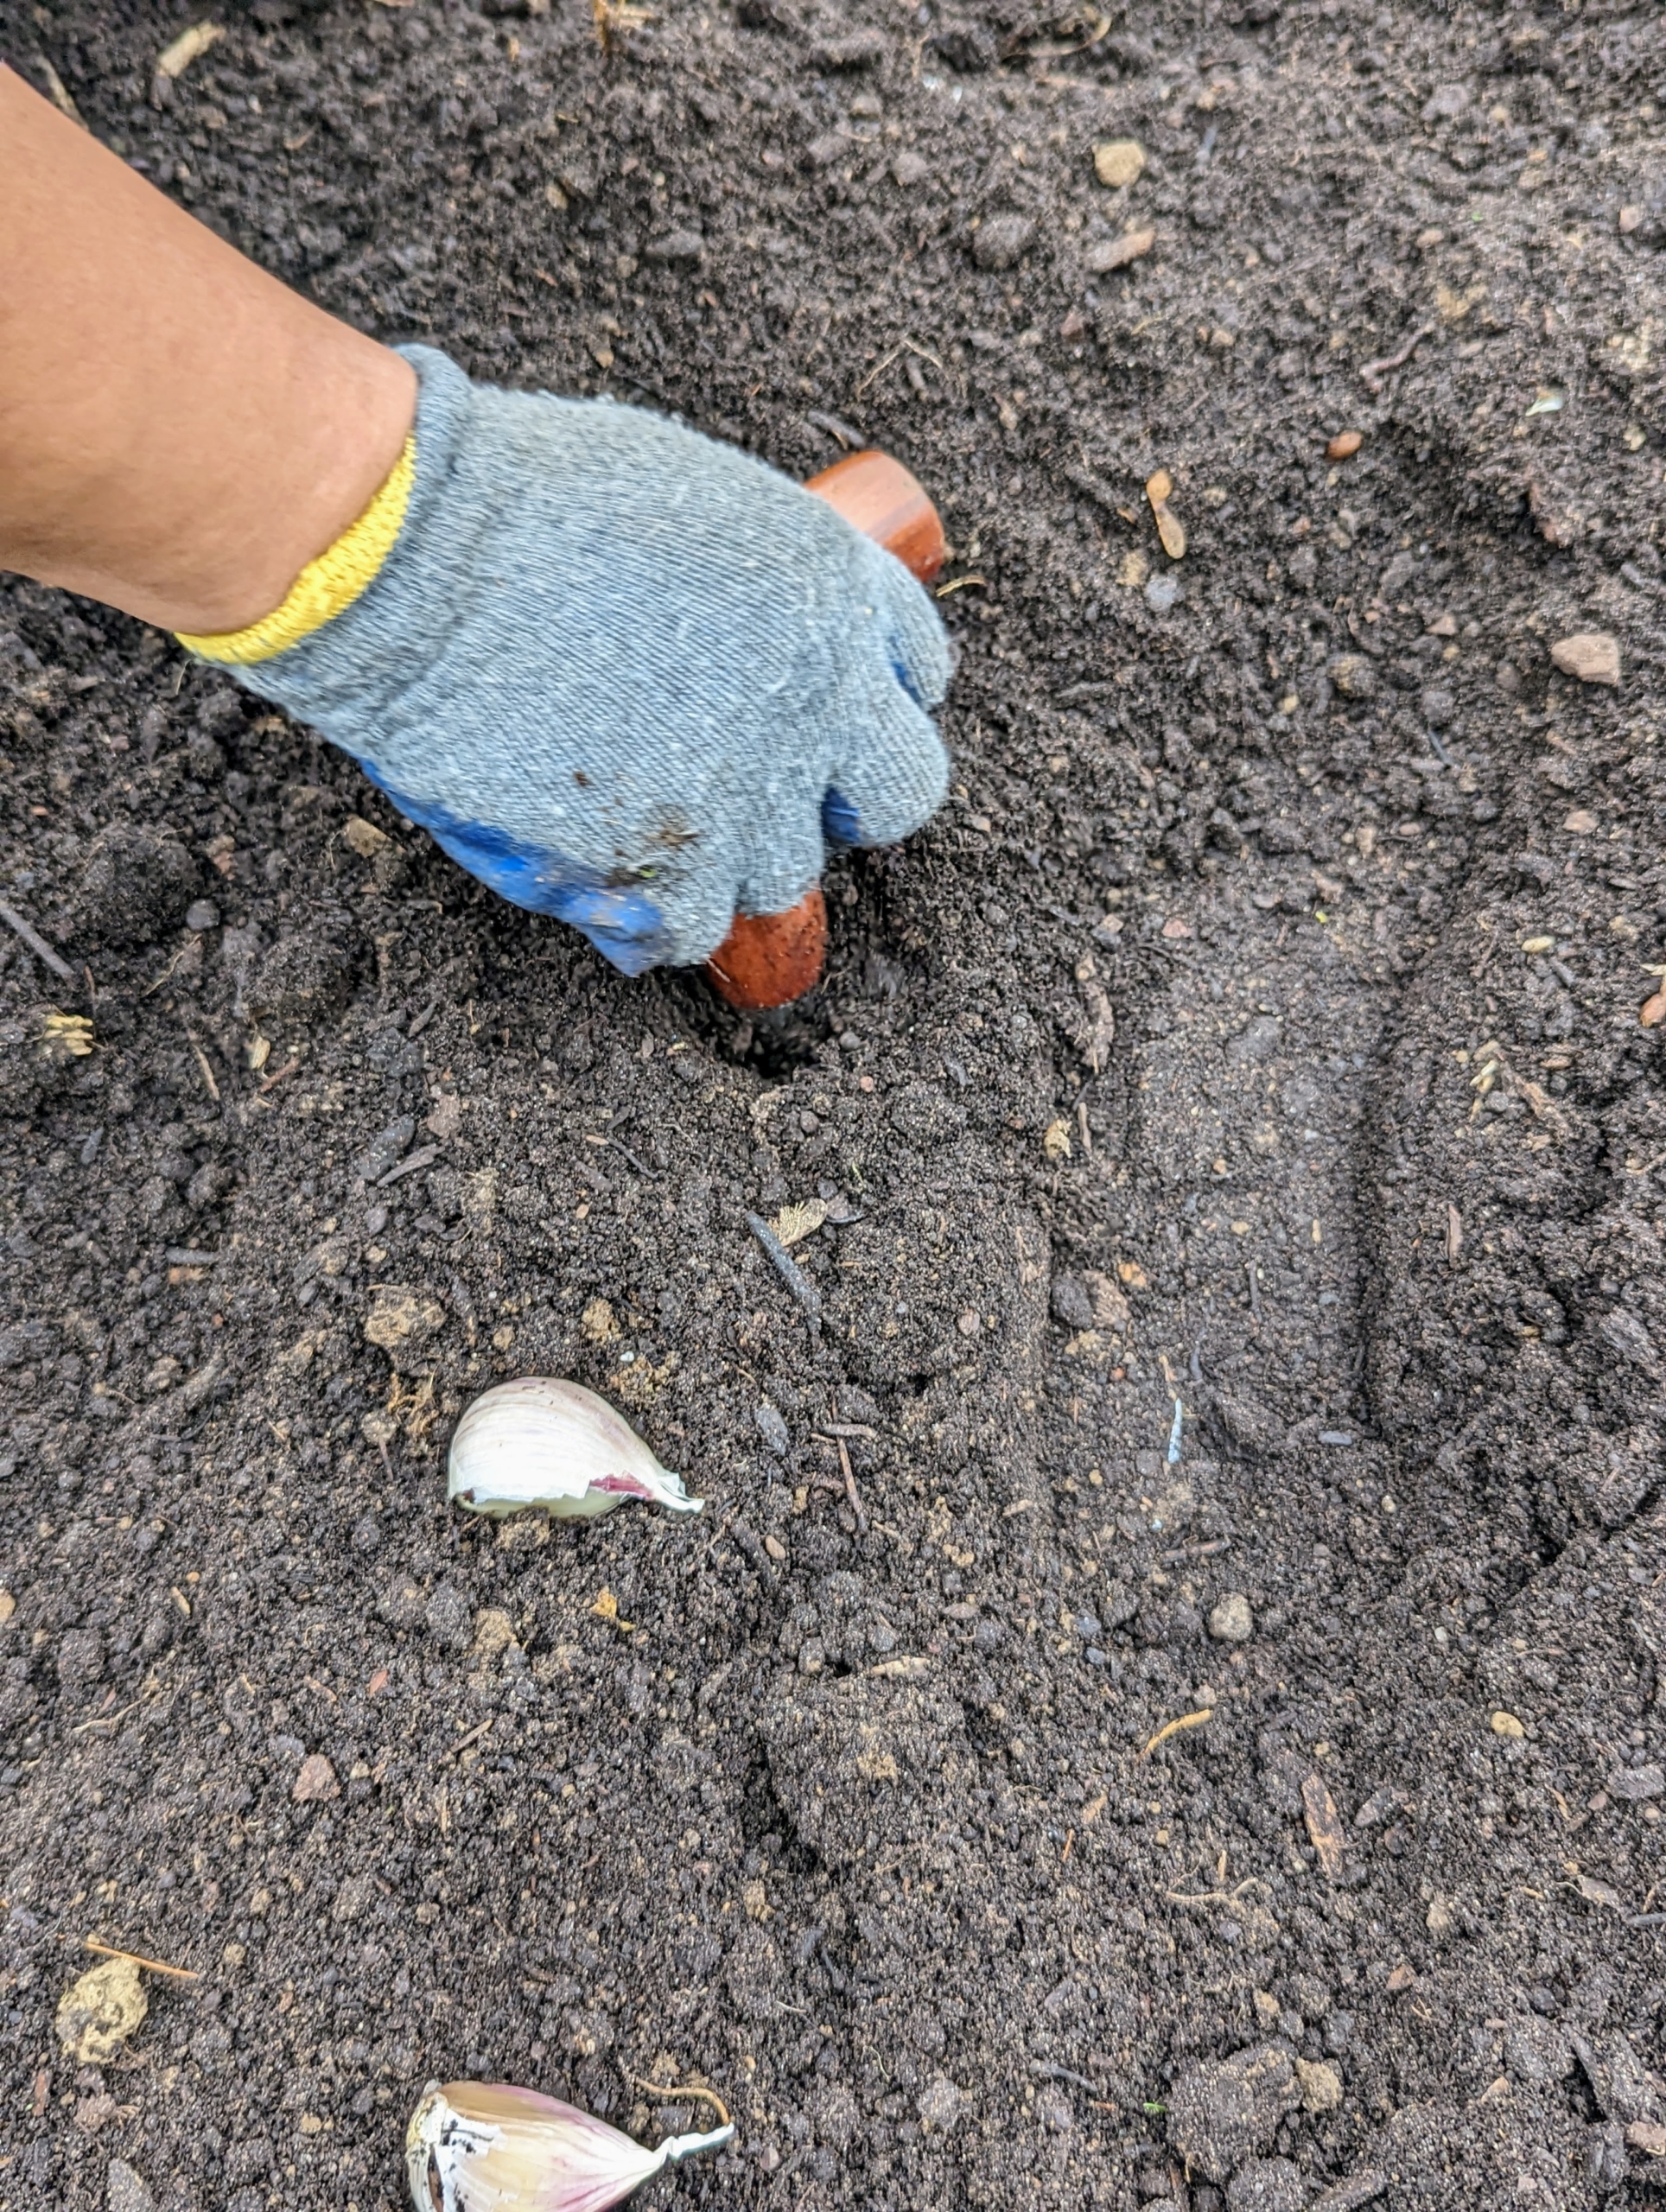
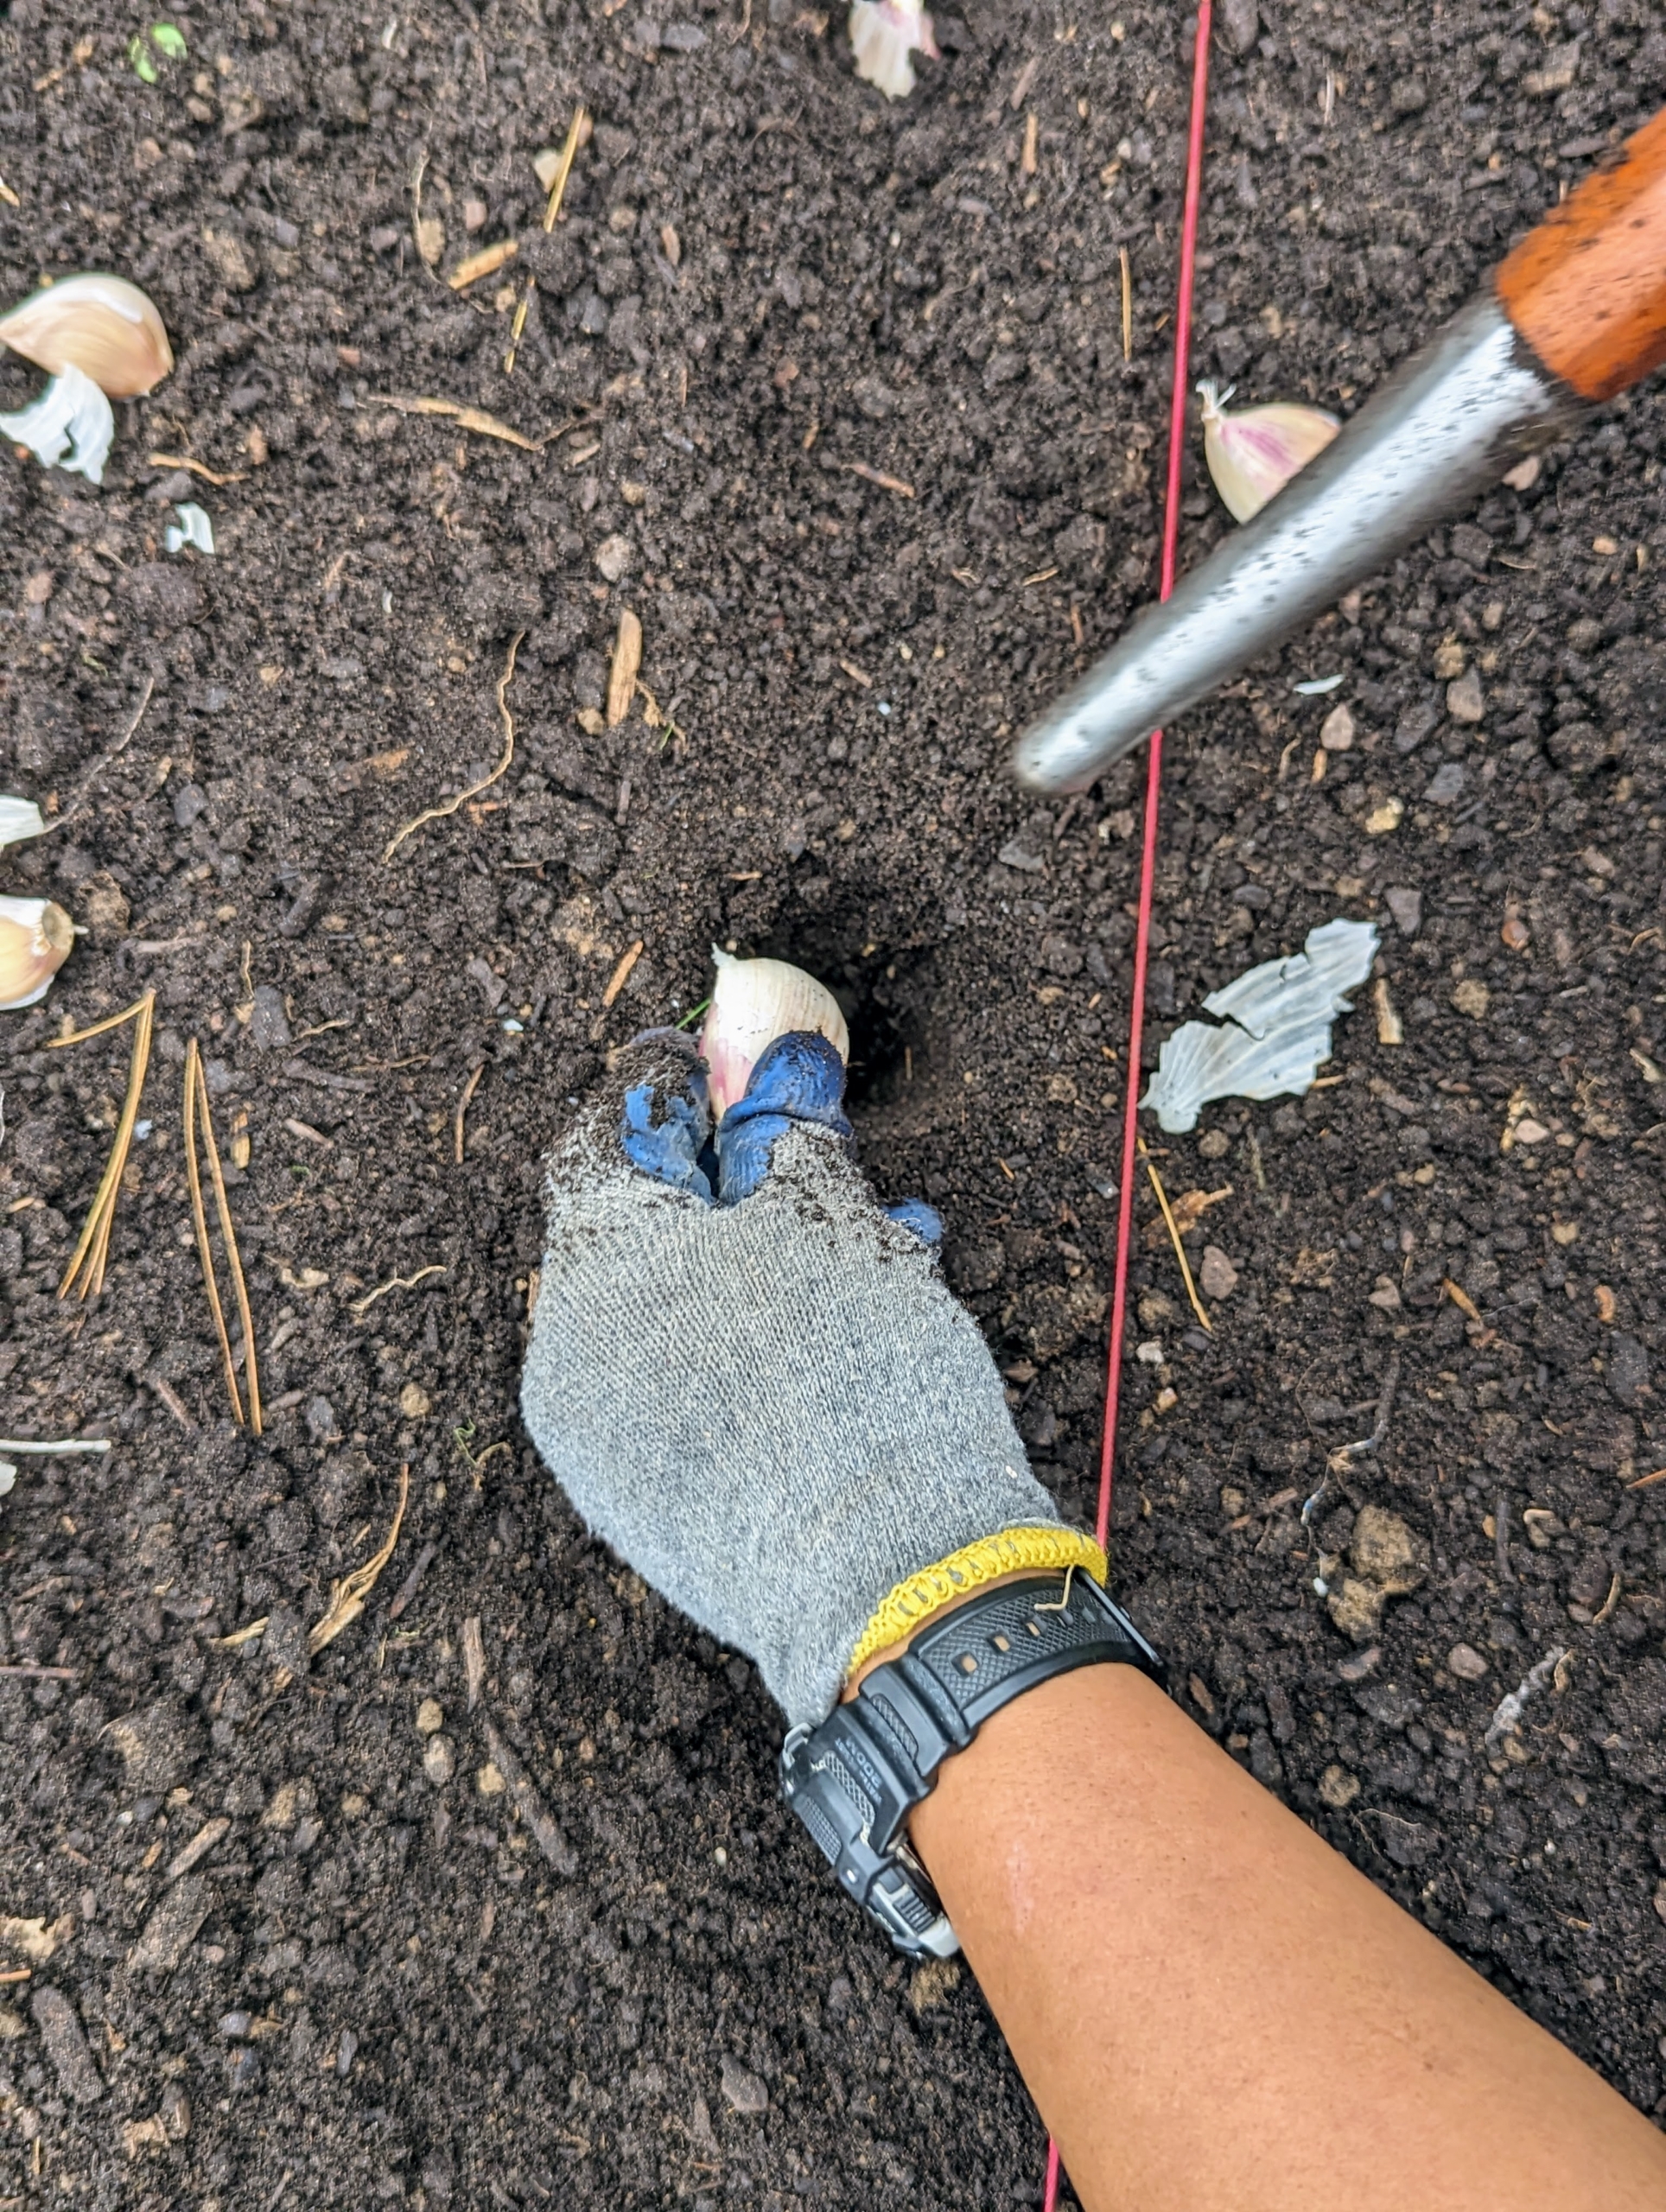
To make the holes for planting garlic, Phurba uses a dibble or a dibber.
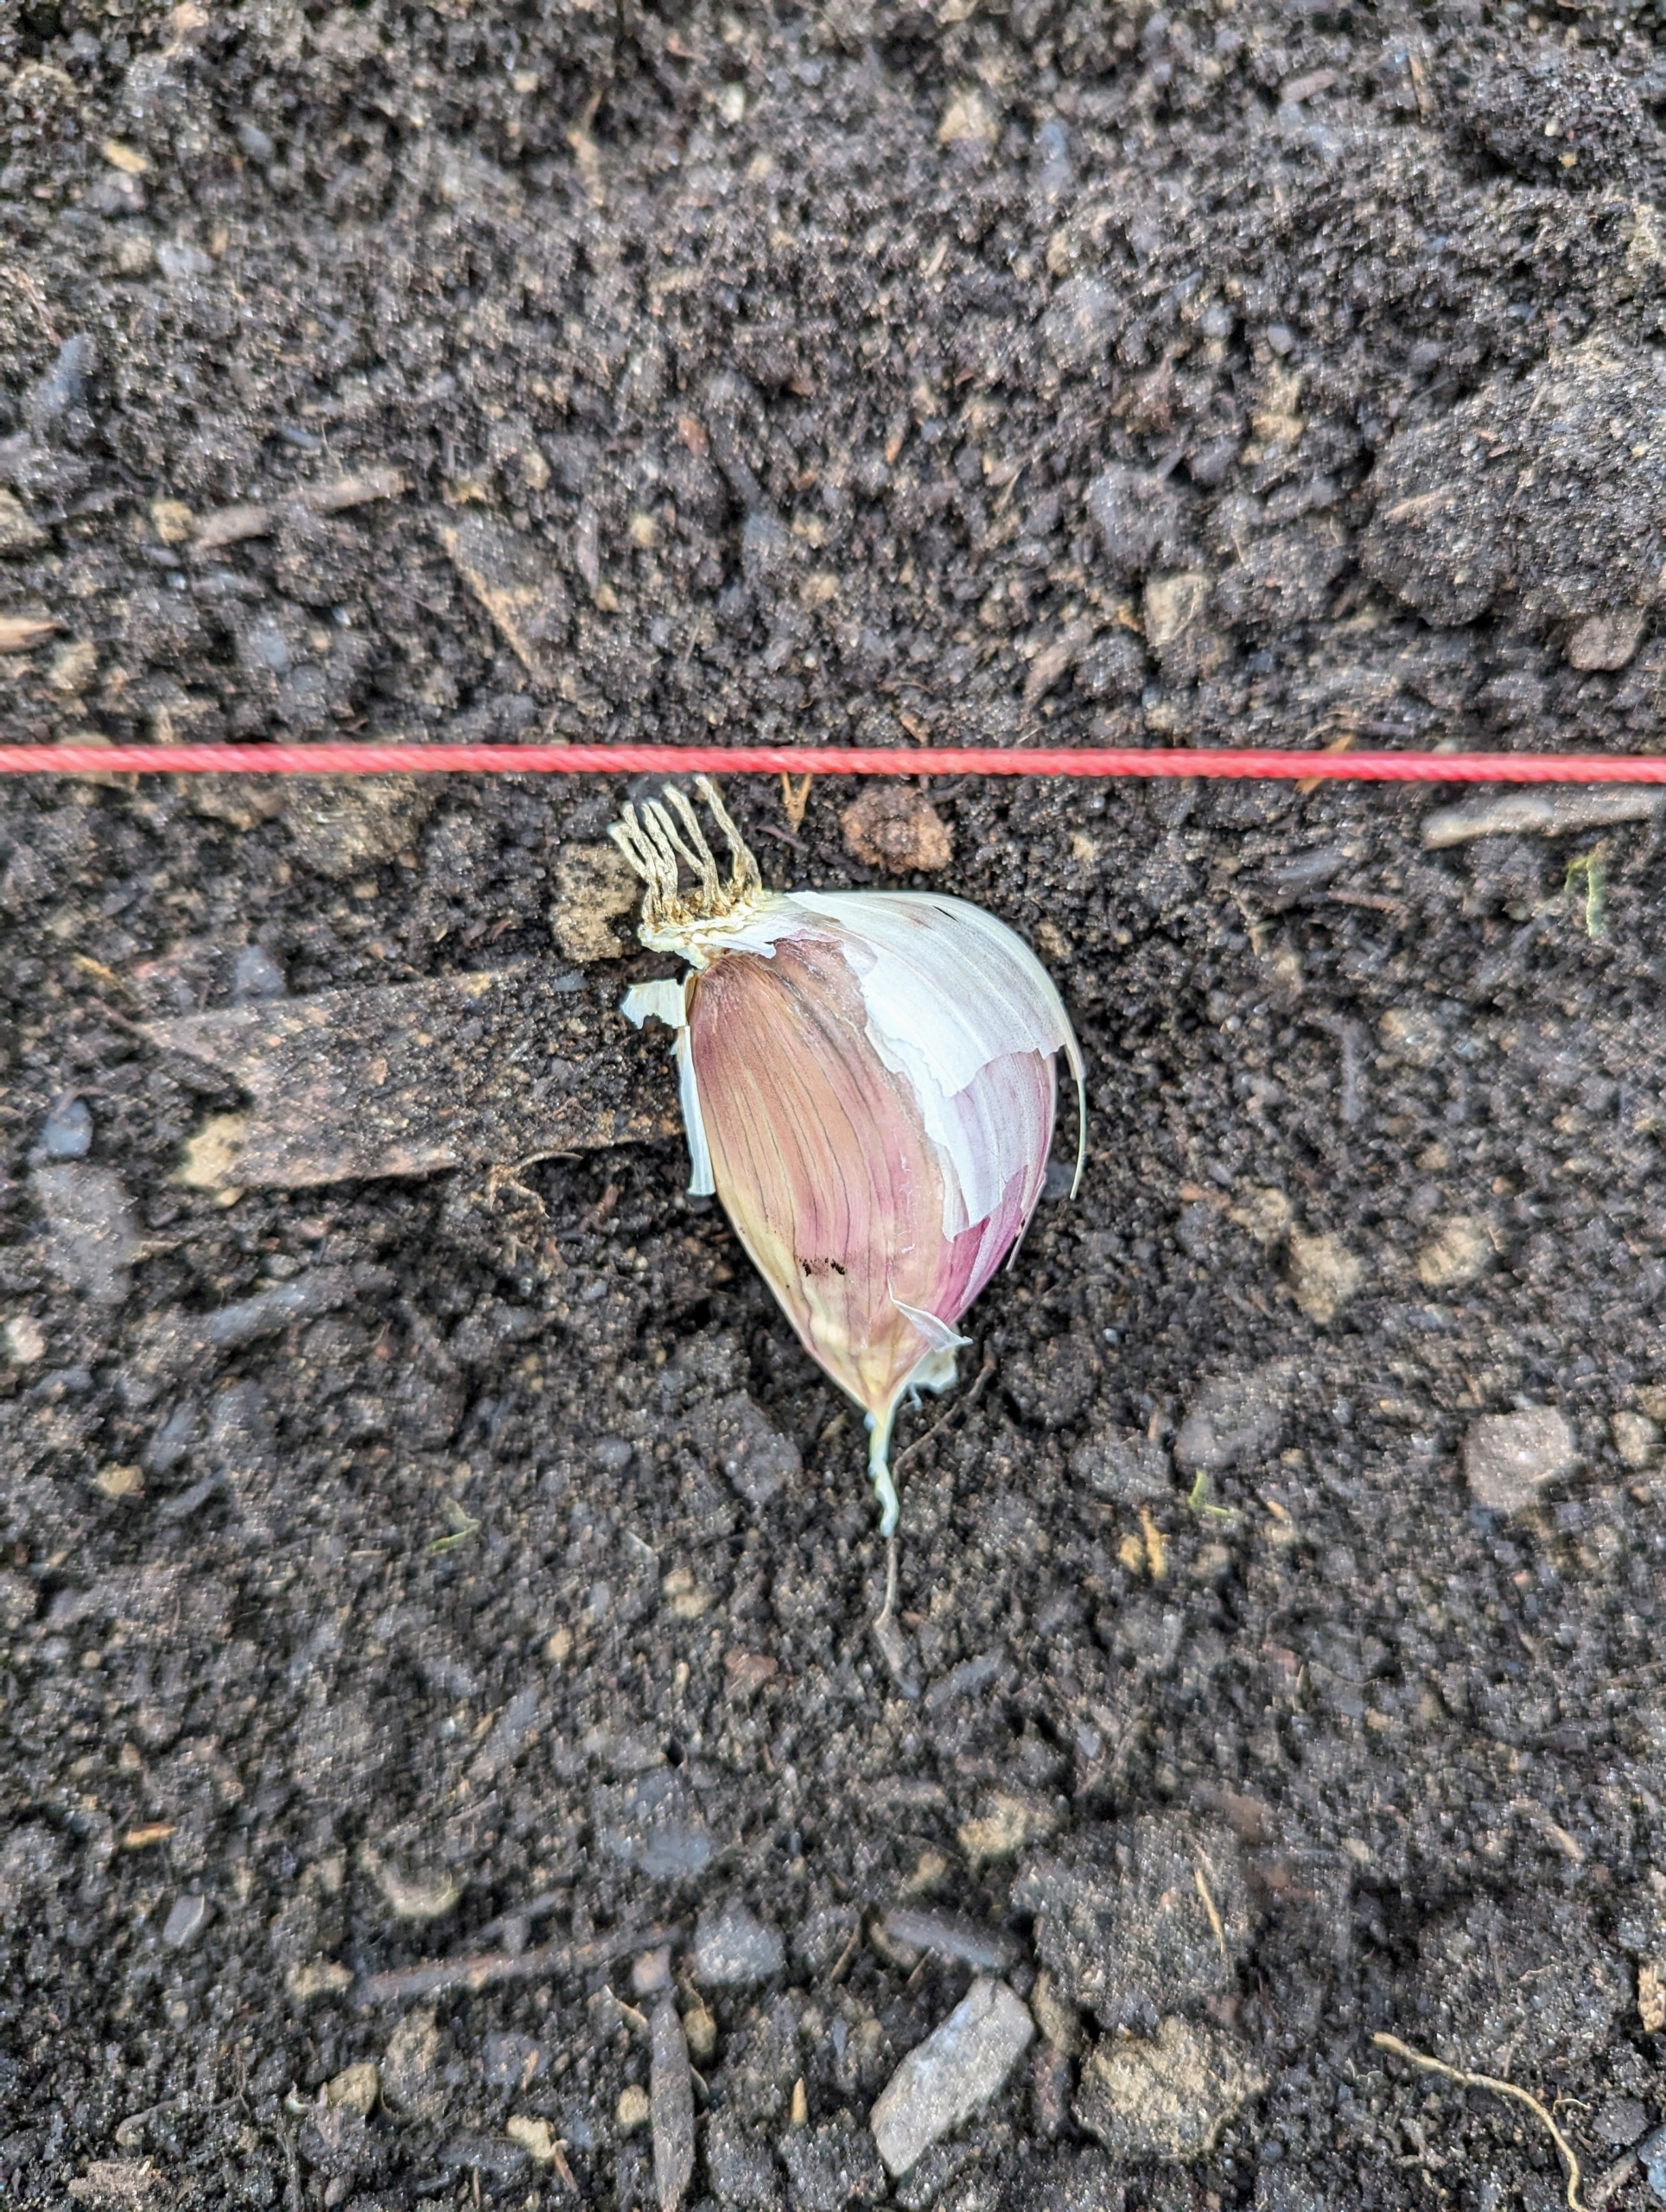
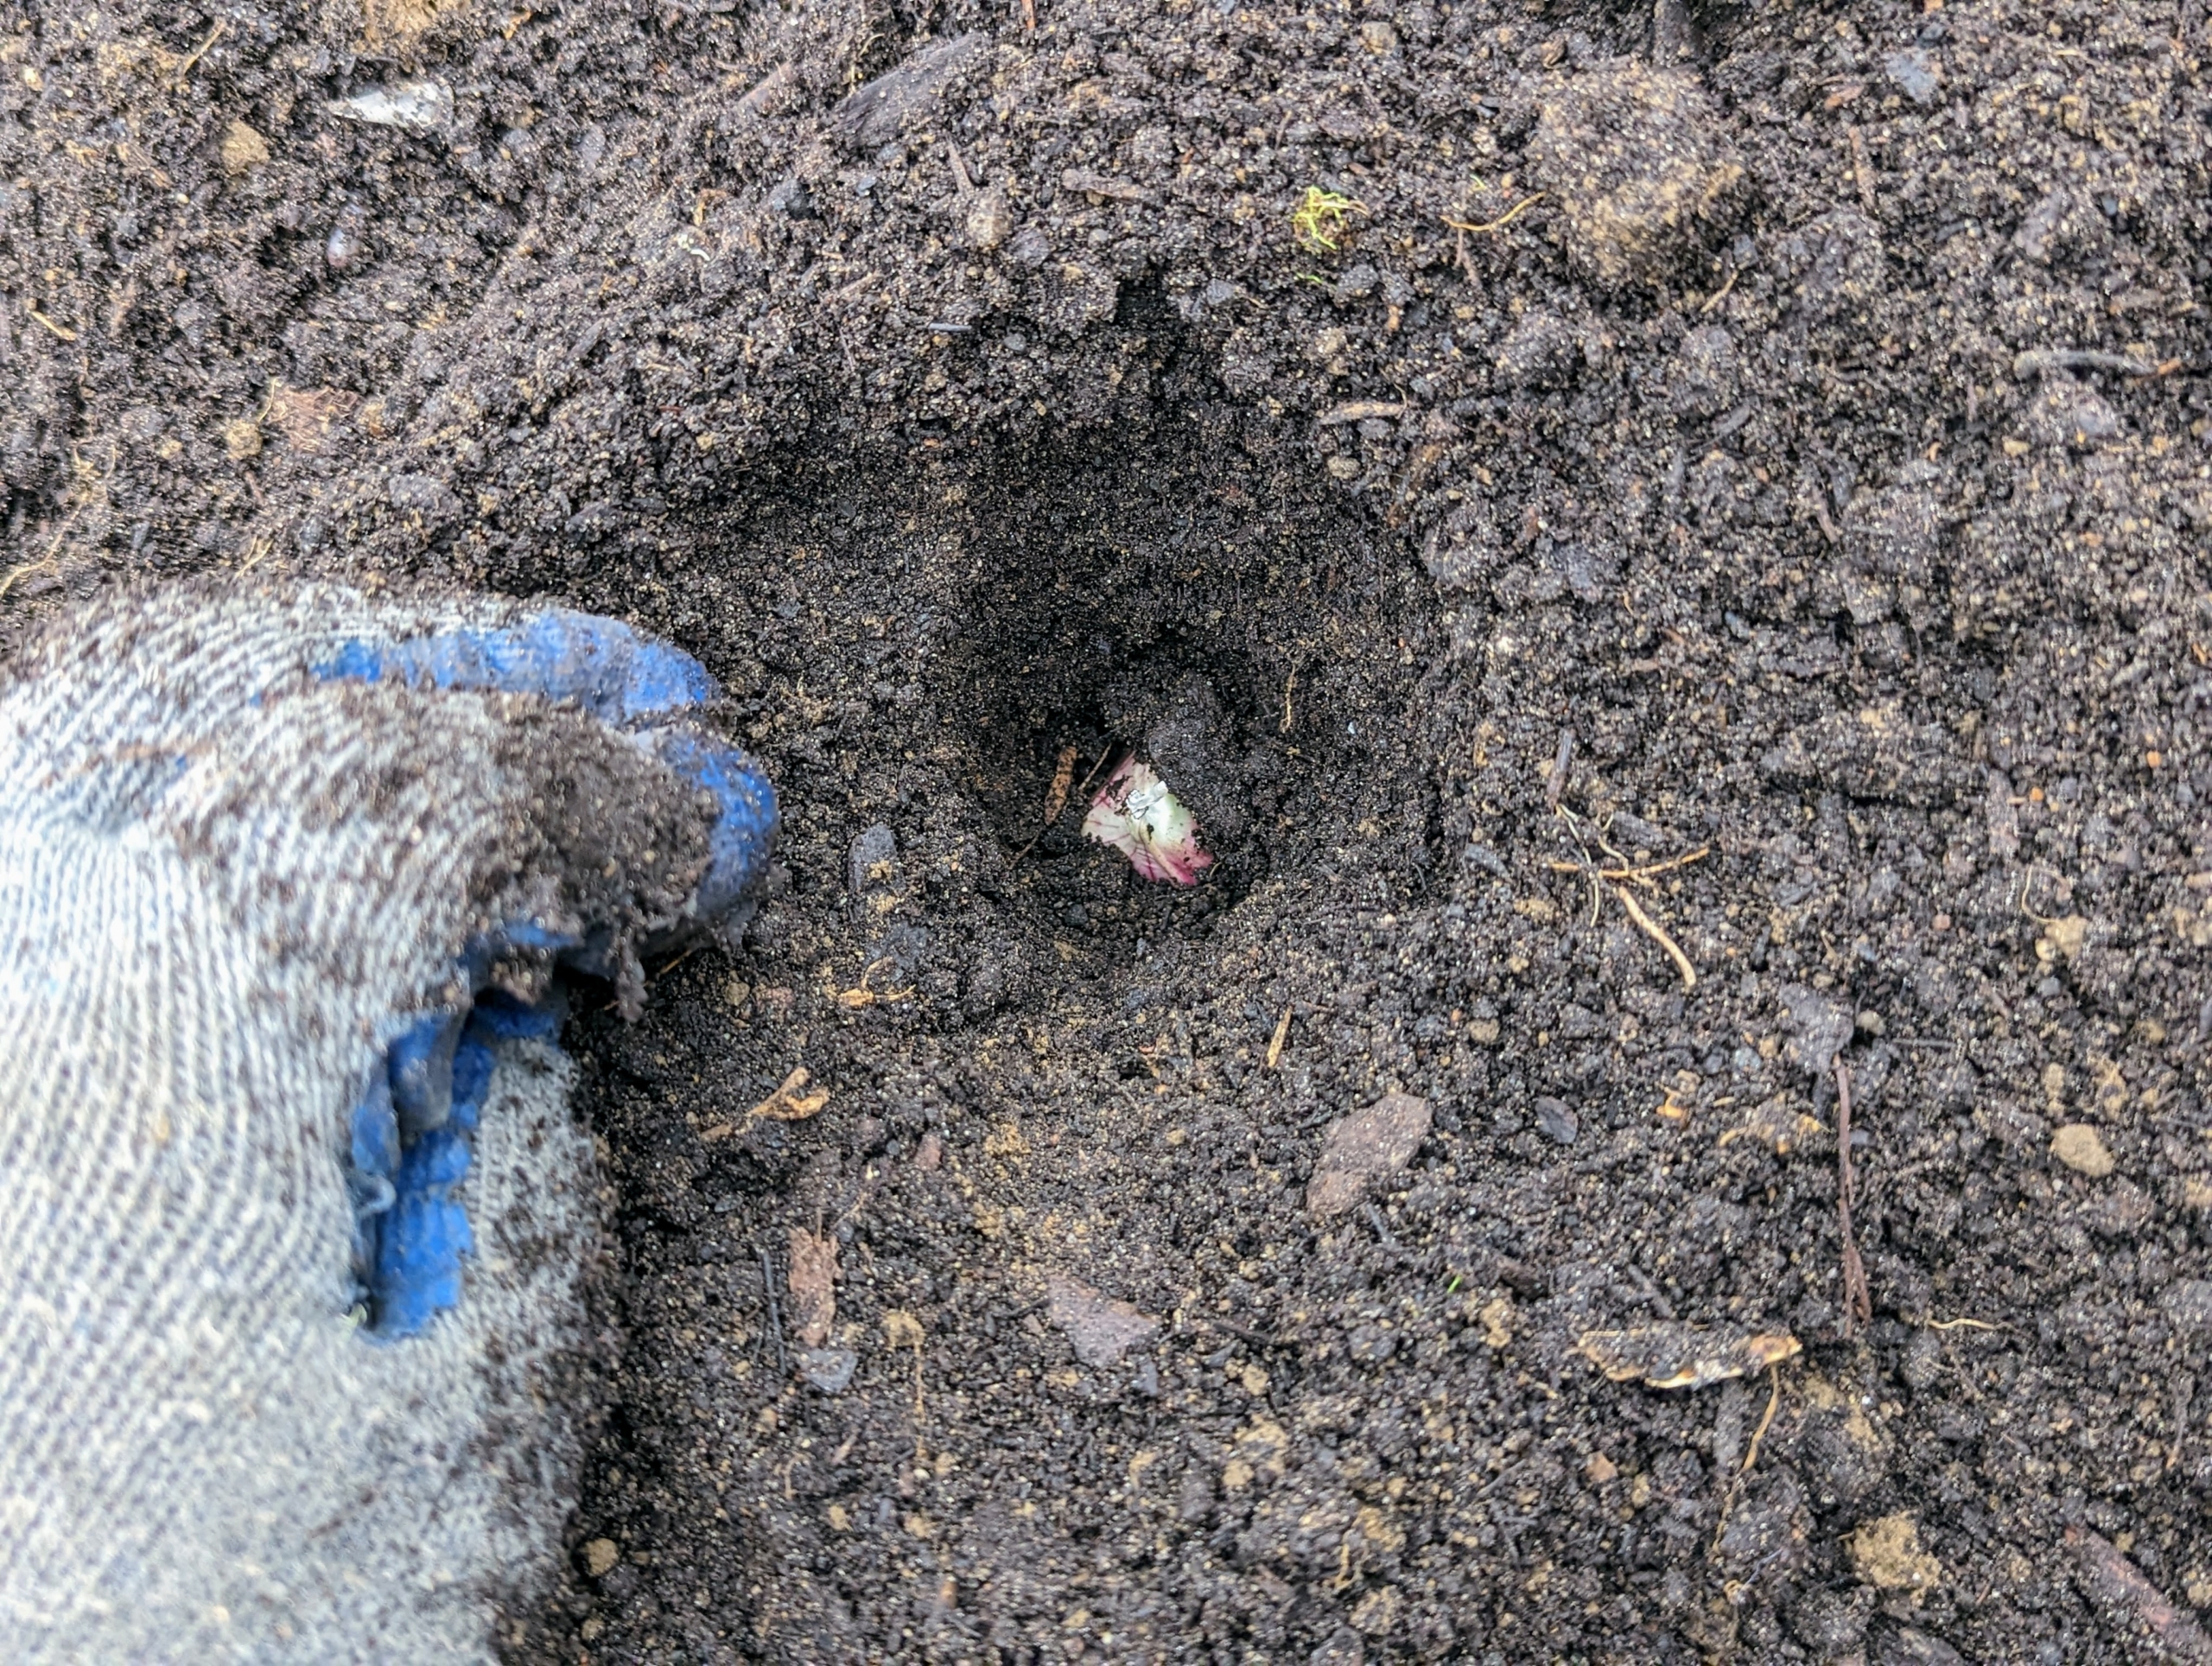
Cloves should be at least three inches deep. Be sure to plant the tip of the clove faced up, and the root side faced down.
If the soil is well cultivated, this should be a fast and easy process. Phurba is a very fast planter.
Here, one can see the garlic in the hole – just deep enough. Once the garlic clove is in the hole, simply back fill the hole.
The garlic crop will tolerate some shade but prefers full sun. This garlic will be ready to harvest mid-July to August. I can’t wait.
The same is done for the Elephant’s garlic. Elephant Garlic is actually a leek that resembles garlic in growing and in appearance. It has a very mild flavor.
Ryan positions all the Elephant’s garlic in a narrow bed next to all the other garlic.
And finally, the beds are raked and well-labeled, so we know what garlic is what. The bed is given and good drink of water and that’s it – we wait until next year to harvest. If you’ve never grown your own garlic, give it a try – it’s so easy and so rewarding. Go to the Keene Garlic web site to learn more!