It's the middle of winter here in the Northeast - spring is still more than eight weeks away, but it's never too early to start thinking about the garden.
As many of you know, I am a very serious and passionate gardener and am always interested in learning as much as possible about plants and trees. Yesterday, my head gardener, Ryan McCallister, and I joined fellow members of The Bedford Garden Club for a very special presentation by native plant expert, Uli Lorimer, author of "The Northeast Native Plant Primer: 235 Plants for an Earth-Friendly Garden." Uli talked about the importance of growing native plants to heal and enrich our landscapes, provide for beneficial insects and other wildlife, and lessen the amount of maintenance needed in our own backyards. If you don't already have it, I encourage you to pick up his book. It's a wonderful resource for planning a garden filled with native ferns, wildflowers, perennials, shrubs, trees, and other specimens.
Enjoy these photos.
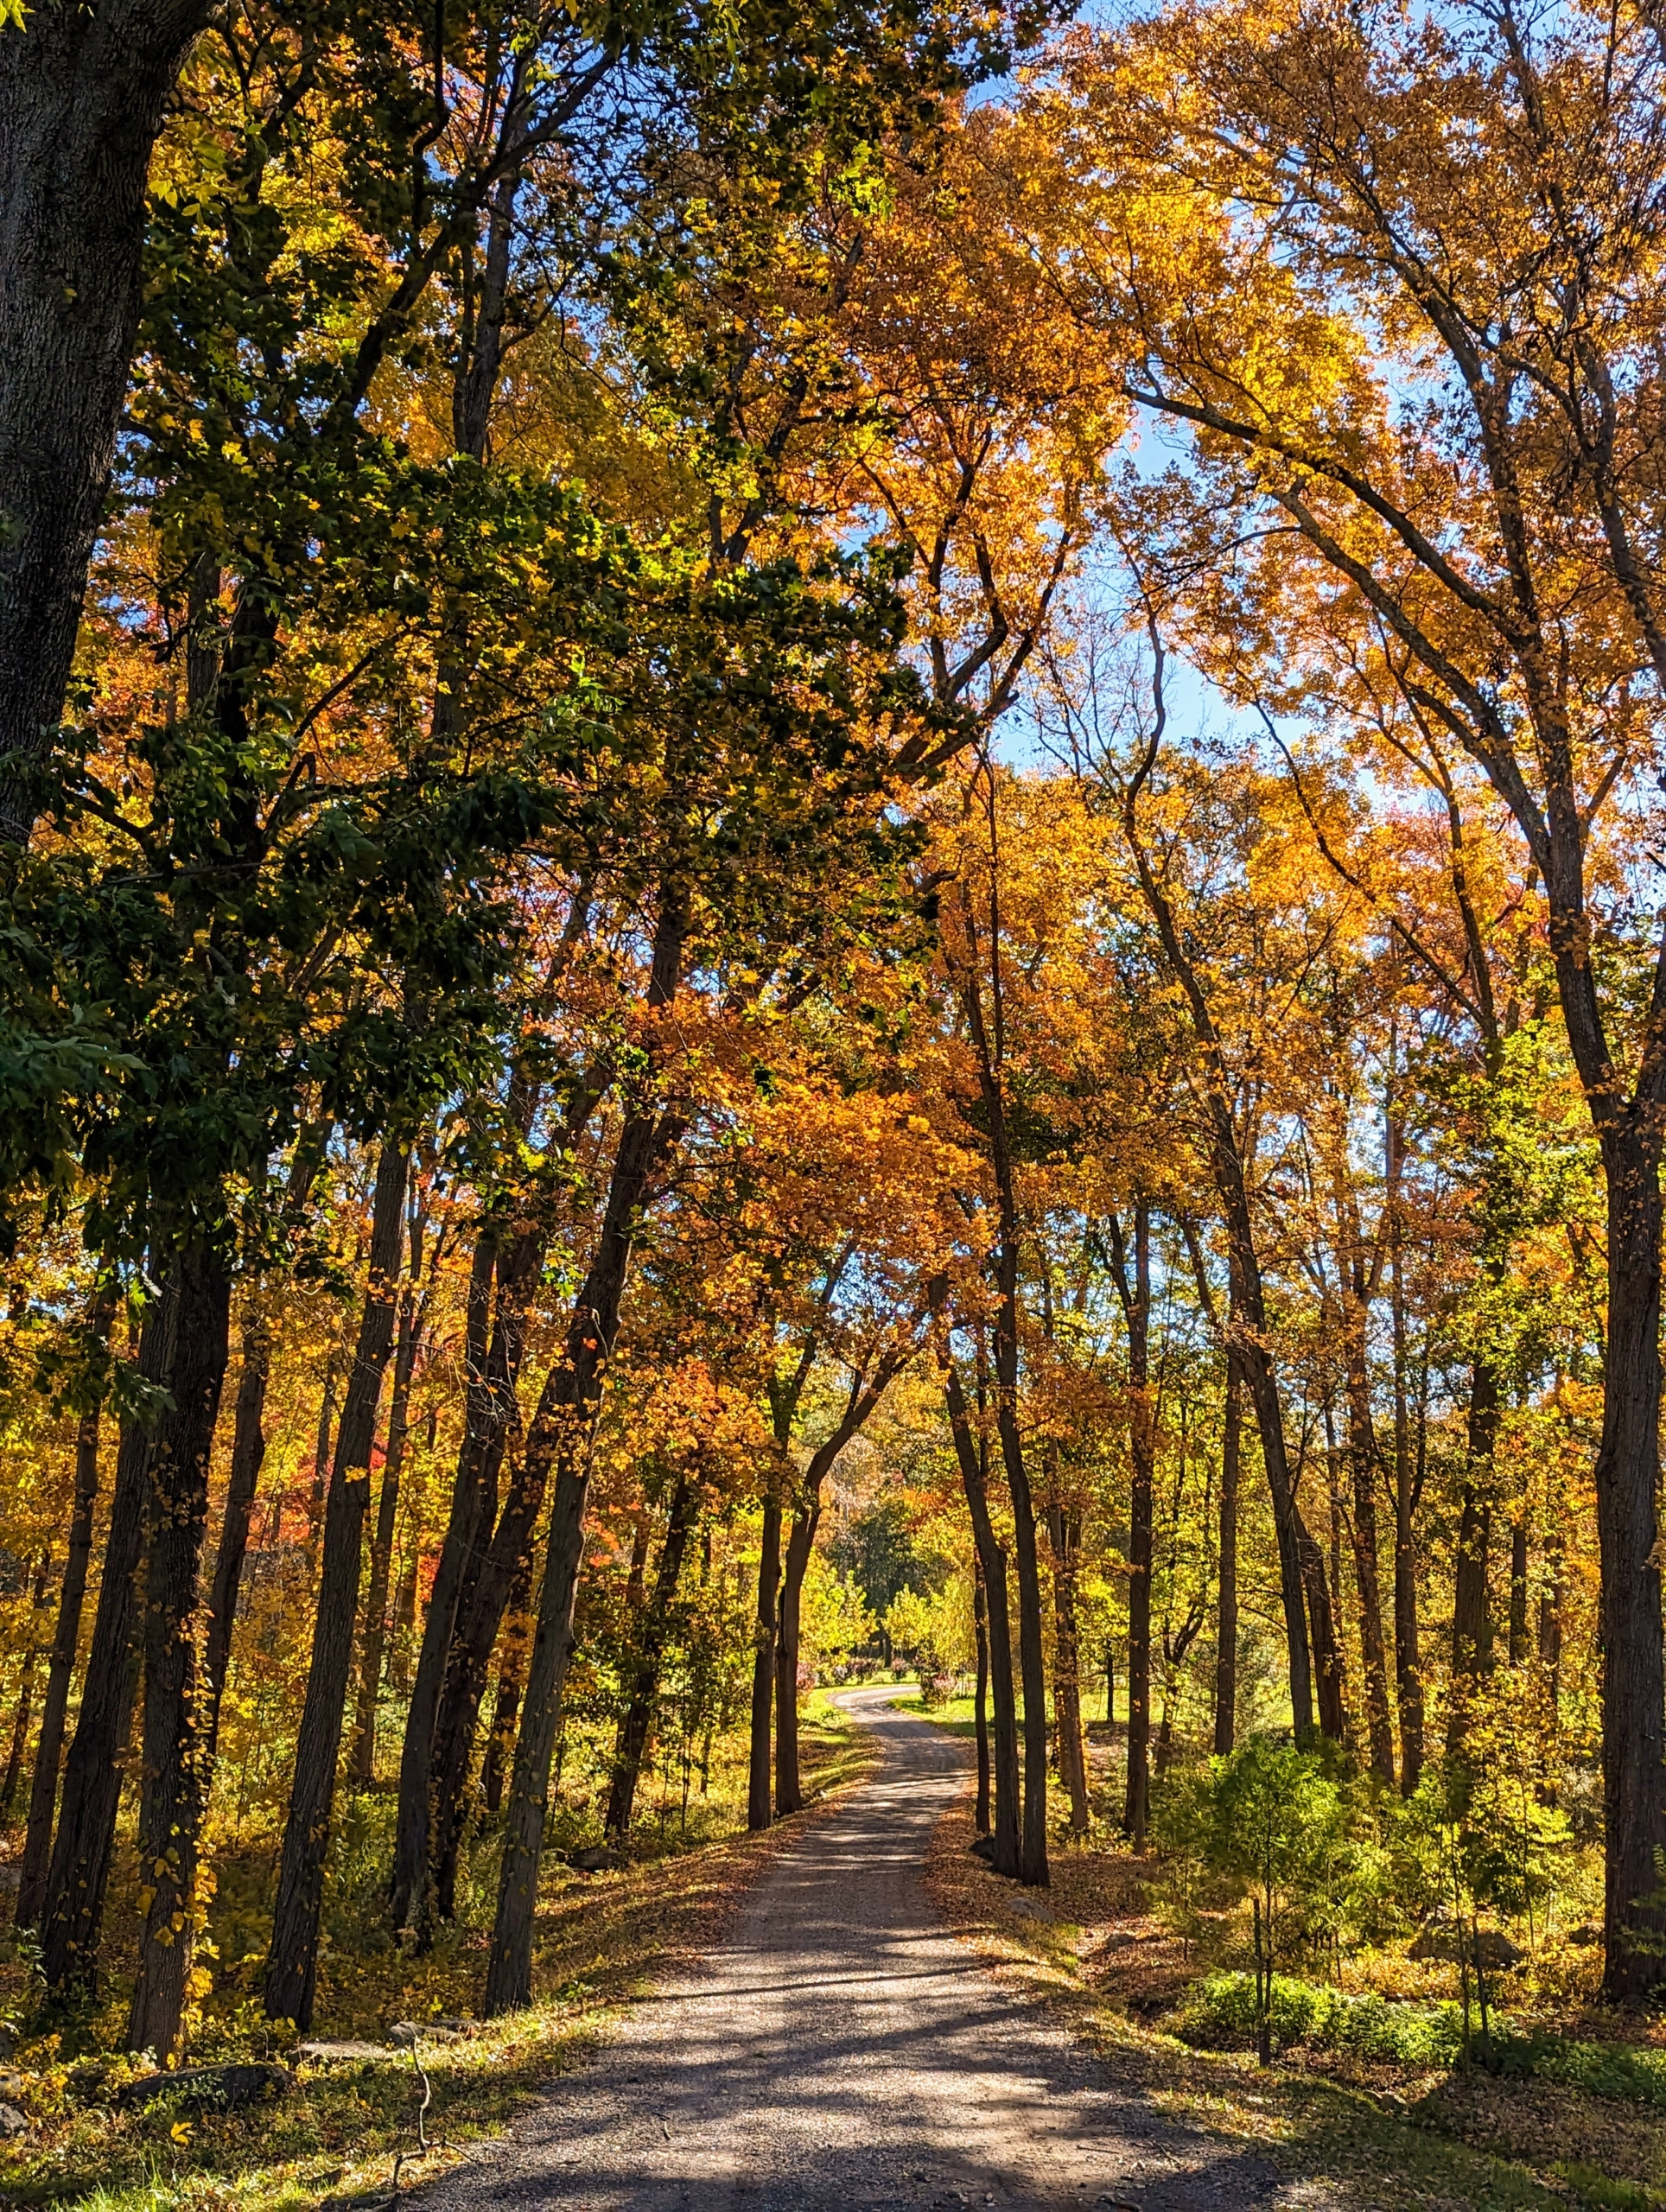
Here at my farm, I am always trying to improve the beauty of the landscape. My farm sits on 153 acres of lush pastures and woodlands. This is the carriage road leading to my hayfields, compost yard, and woods.
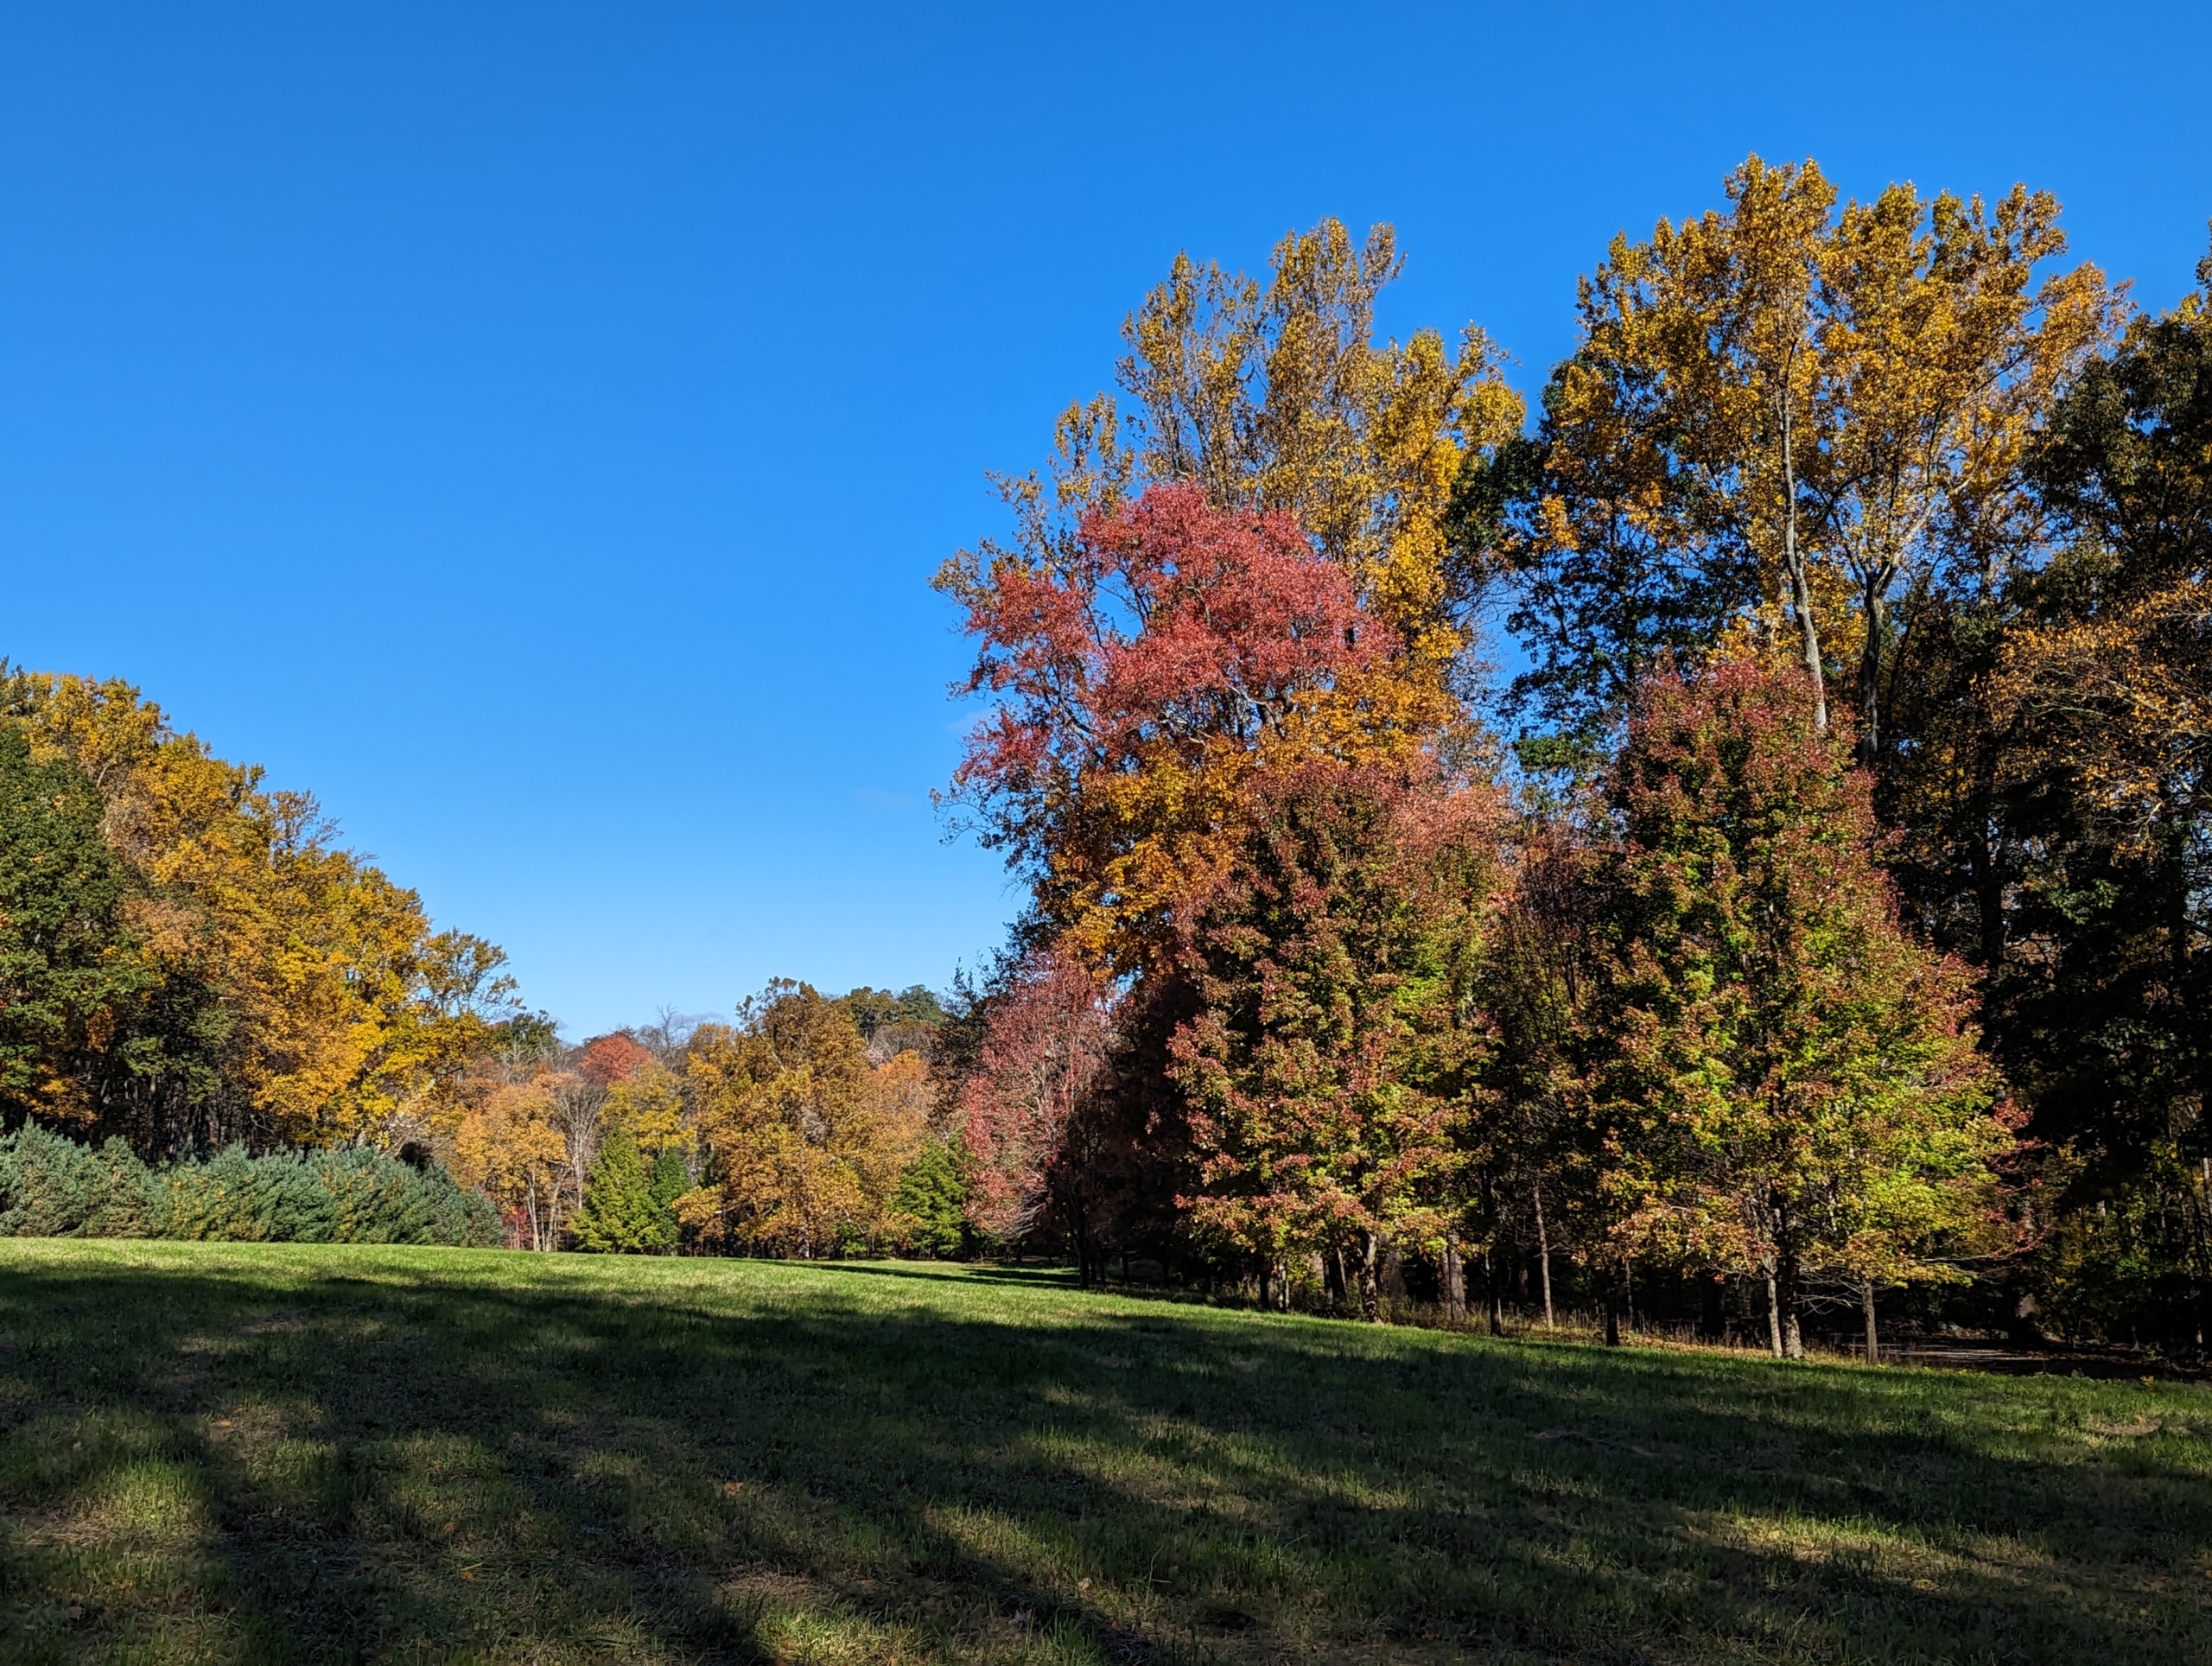
This is the back field, where there are many native trees – many I planted, but many that were here when I purchased the property.
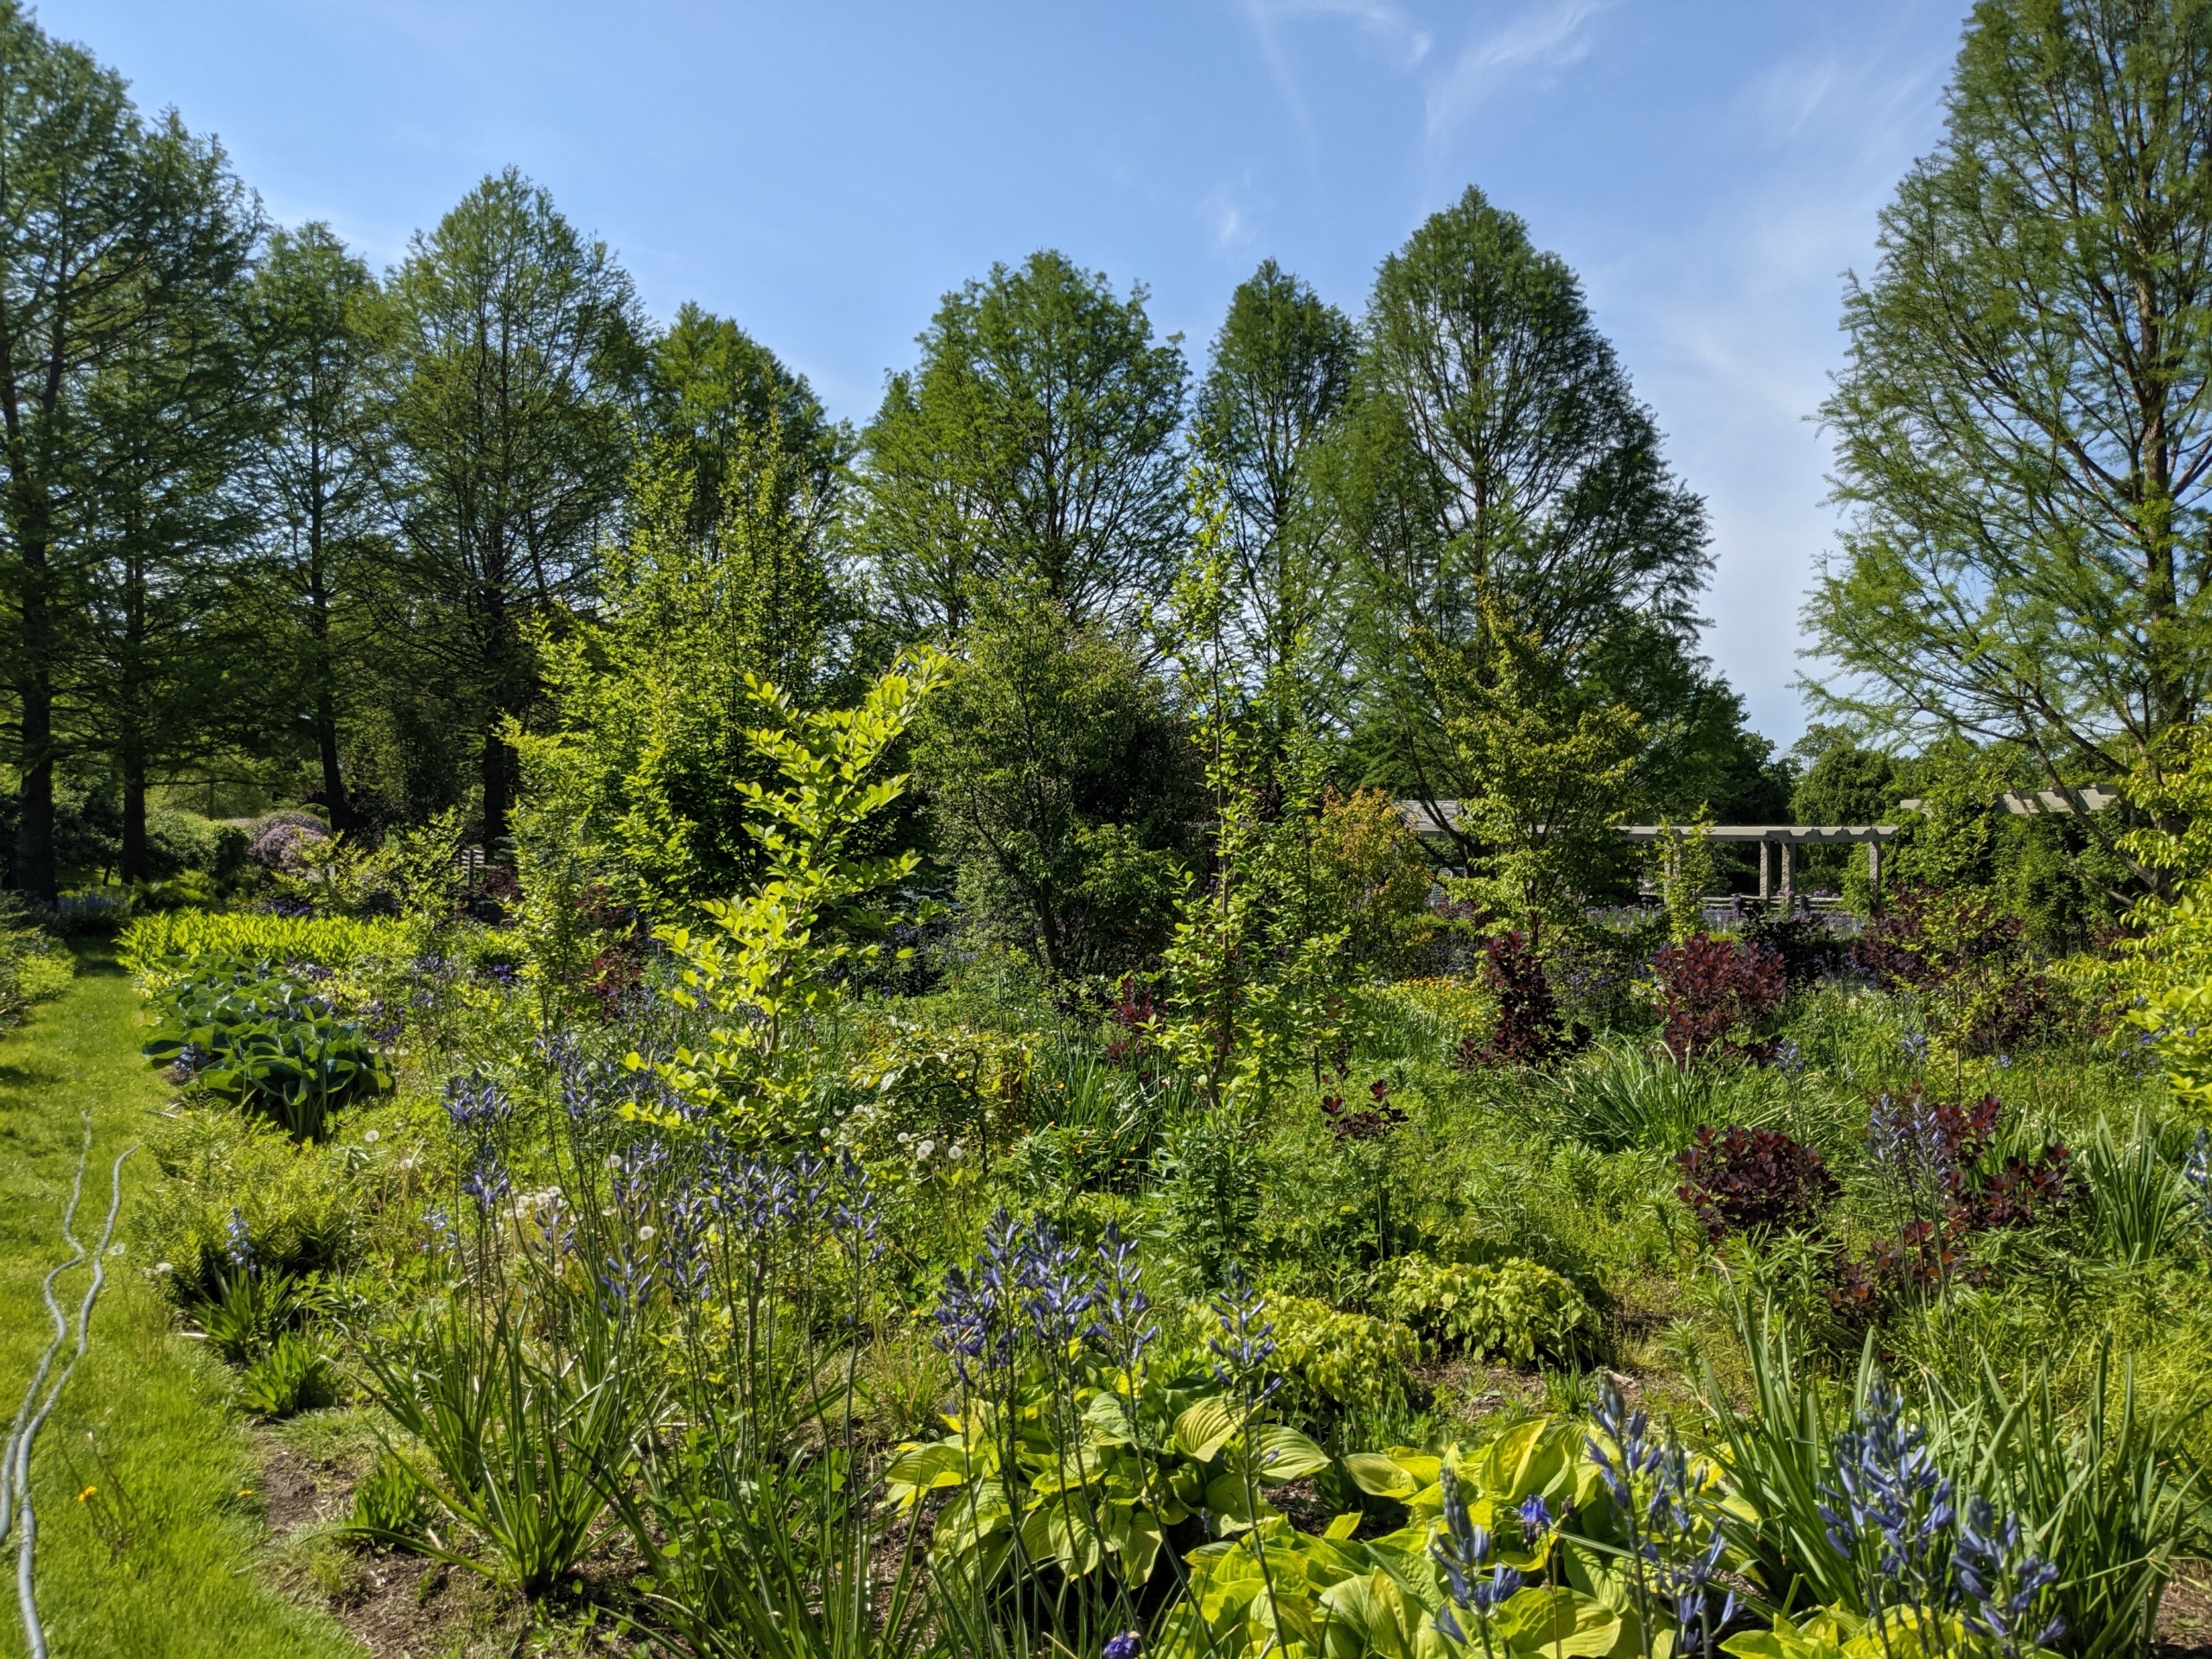
I also planted various garden spaces, and included a host of different, interesting, and native specimens.
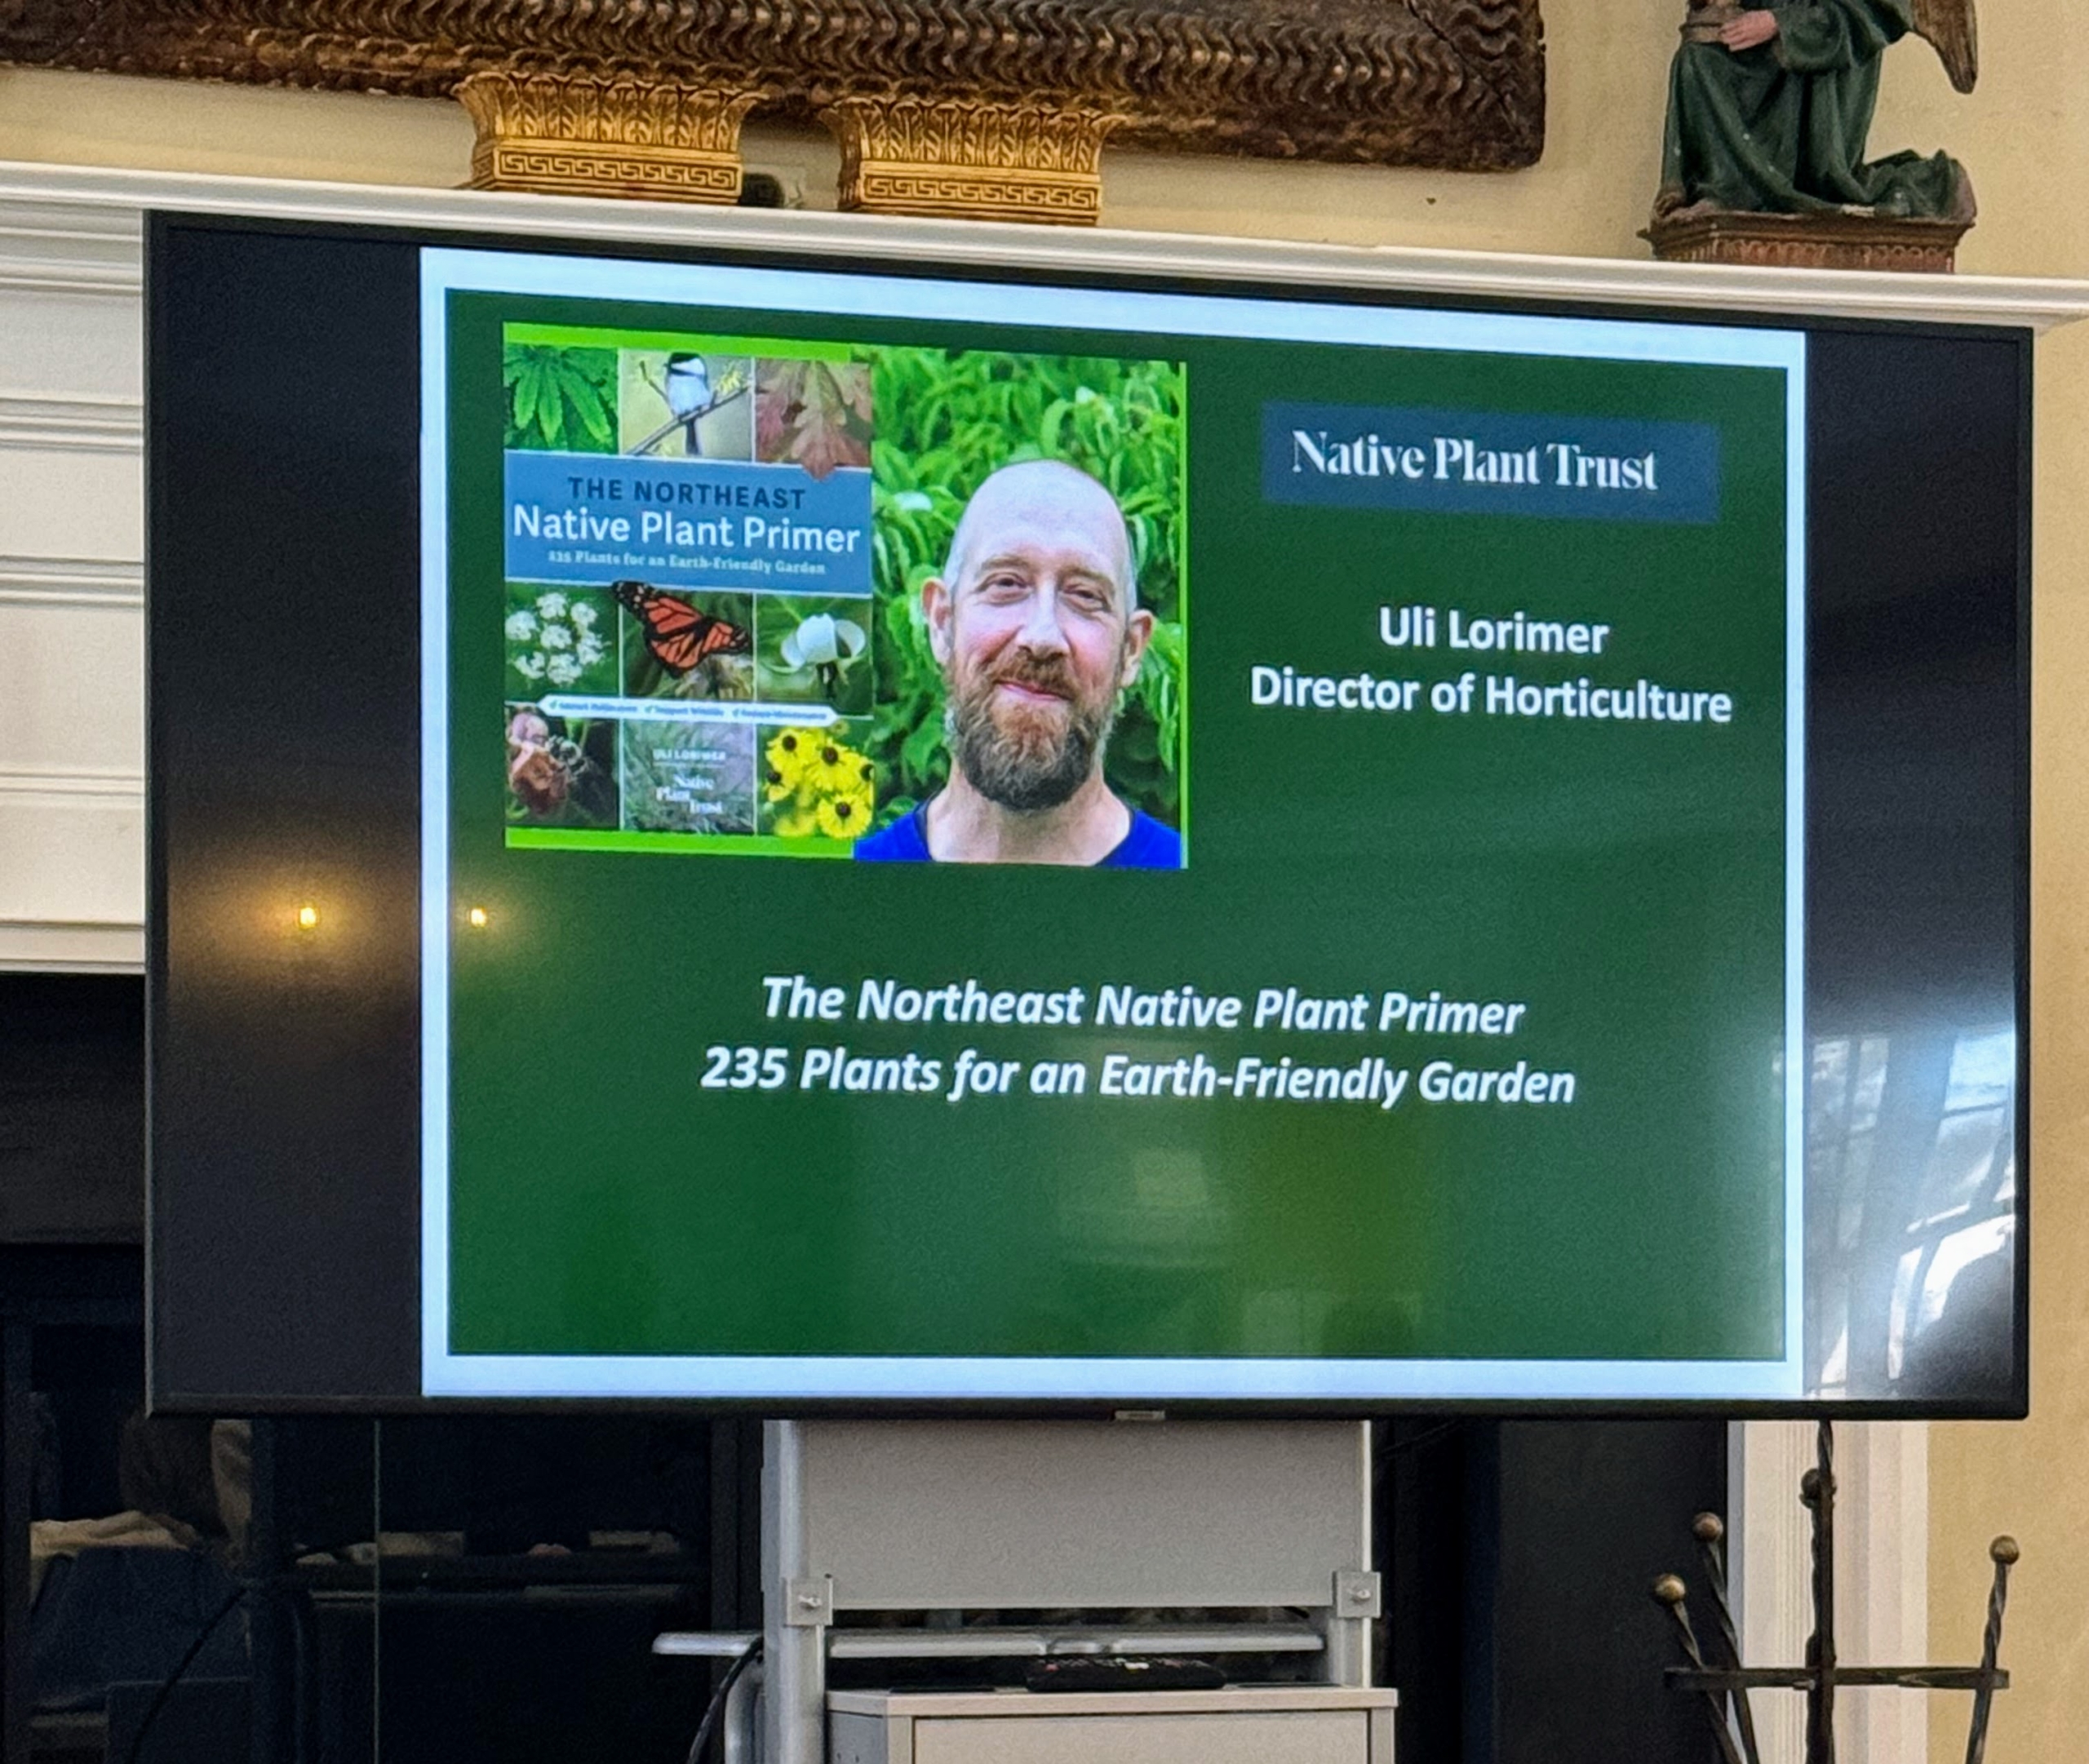
This is Native Plant Trust and Horticulture Director Uli Lorimer. Uli oversees the operations at both Garden in the Woods, Native Plant Trust’s botanic garden in Framingham, Massachusetts, and Nasami Farm in western Massachusetts, a nursery focused on propagation of and research about New England native plants.
His book, published by Timber Press, talks about the native plants of the Northeast and offers ideas for planning a garden filled with native species.
In his presentation, Uli explains that growing native plants is an important choice that removes carbon from the air, provides shelter and food for wildlife, and promotes biodiversity.
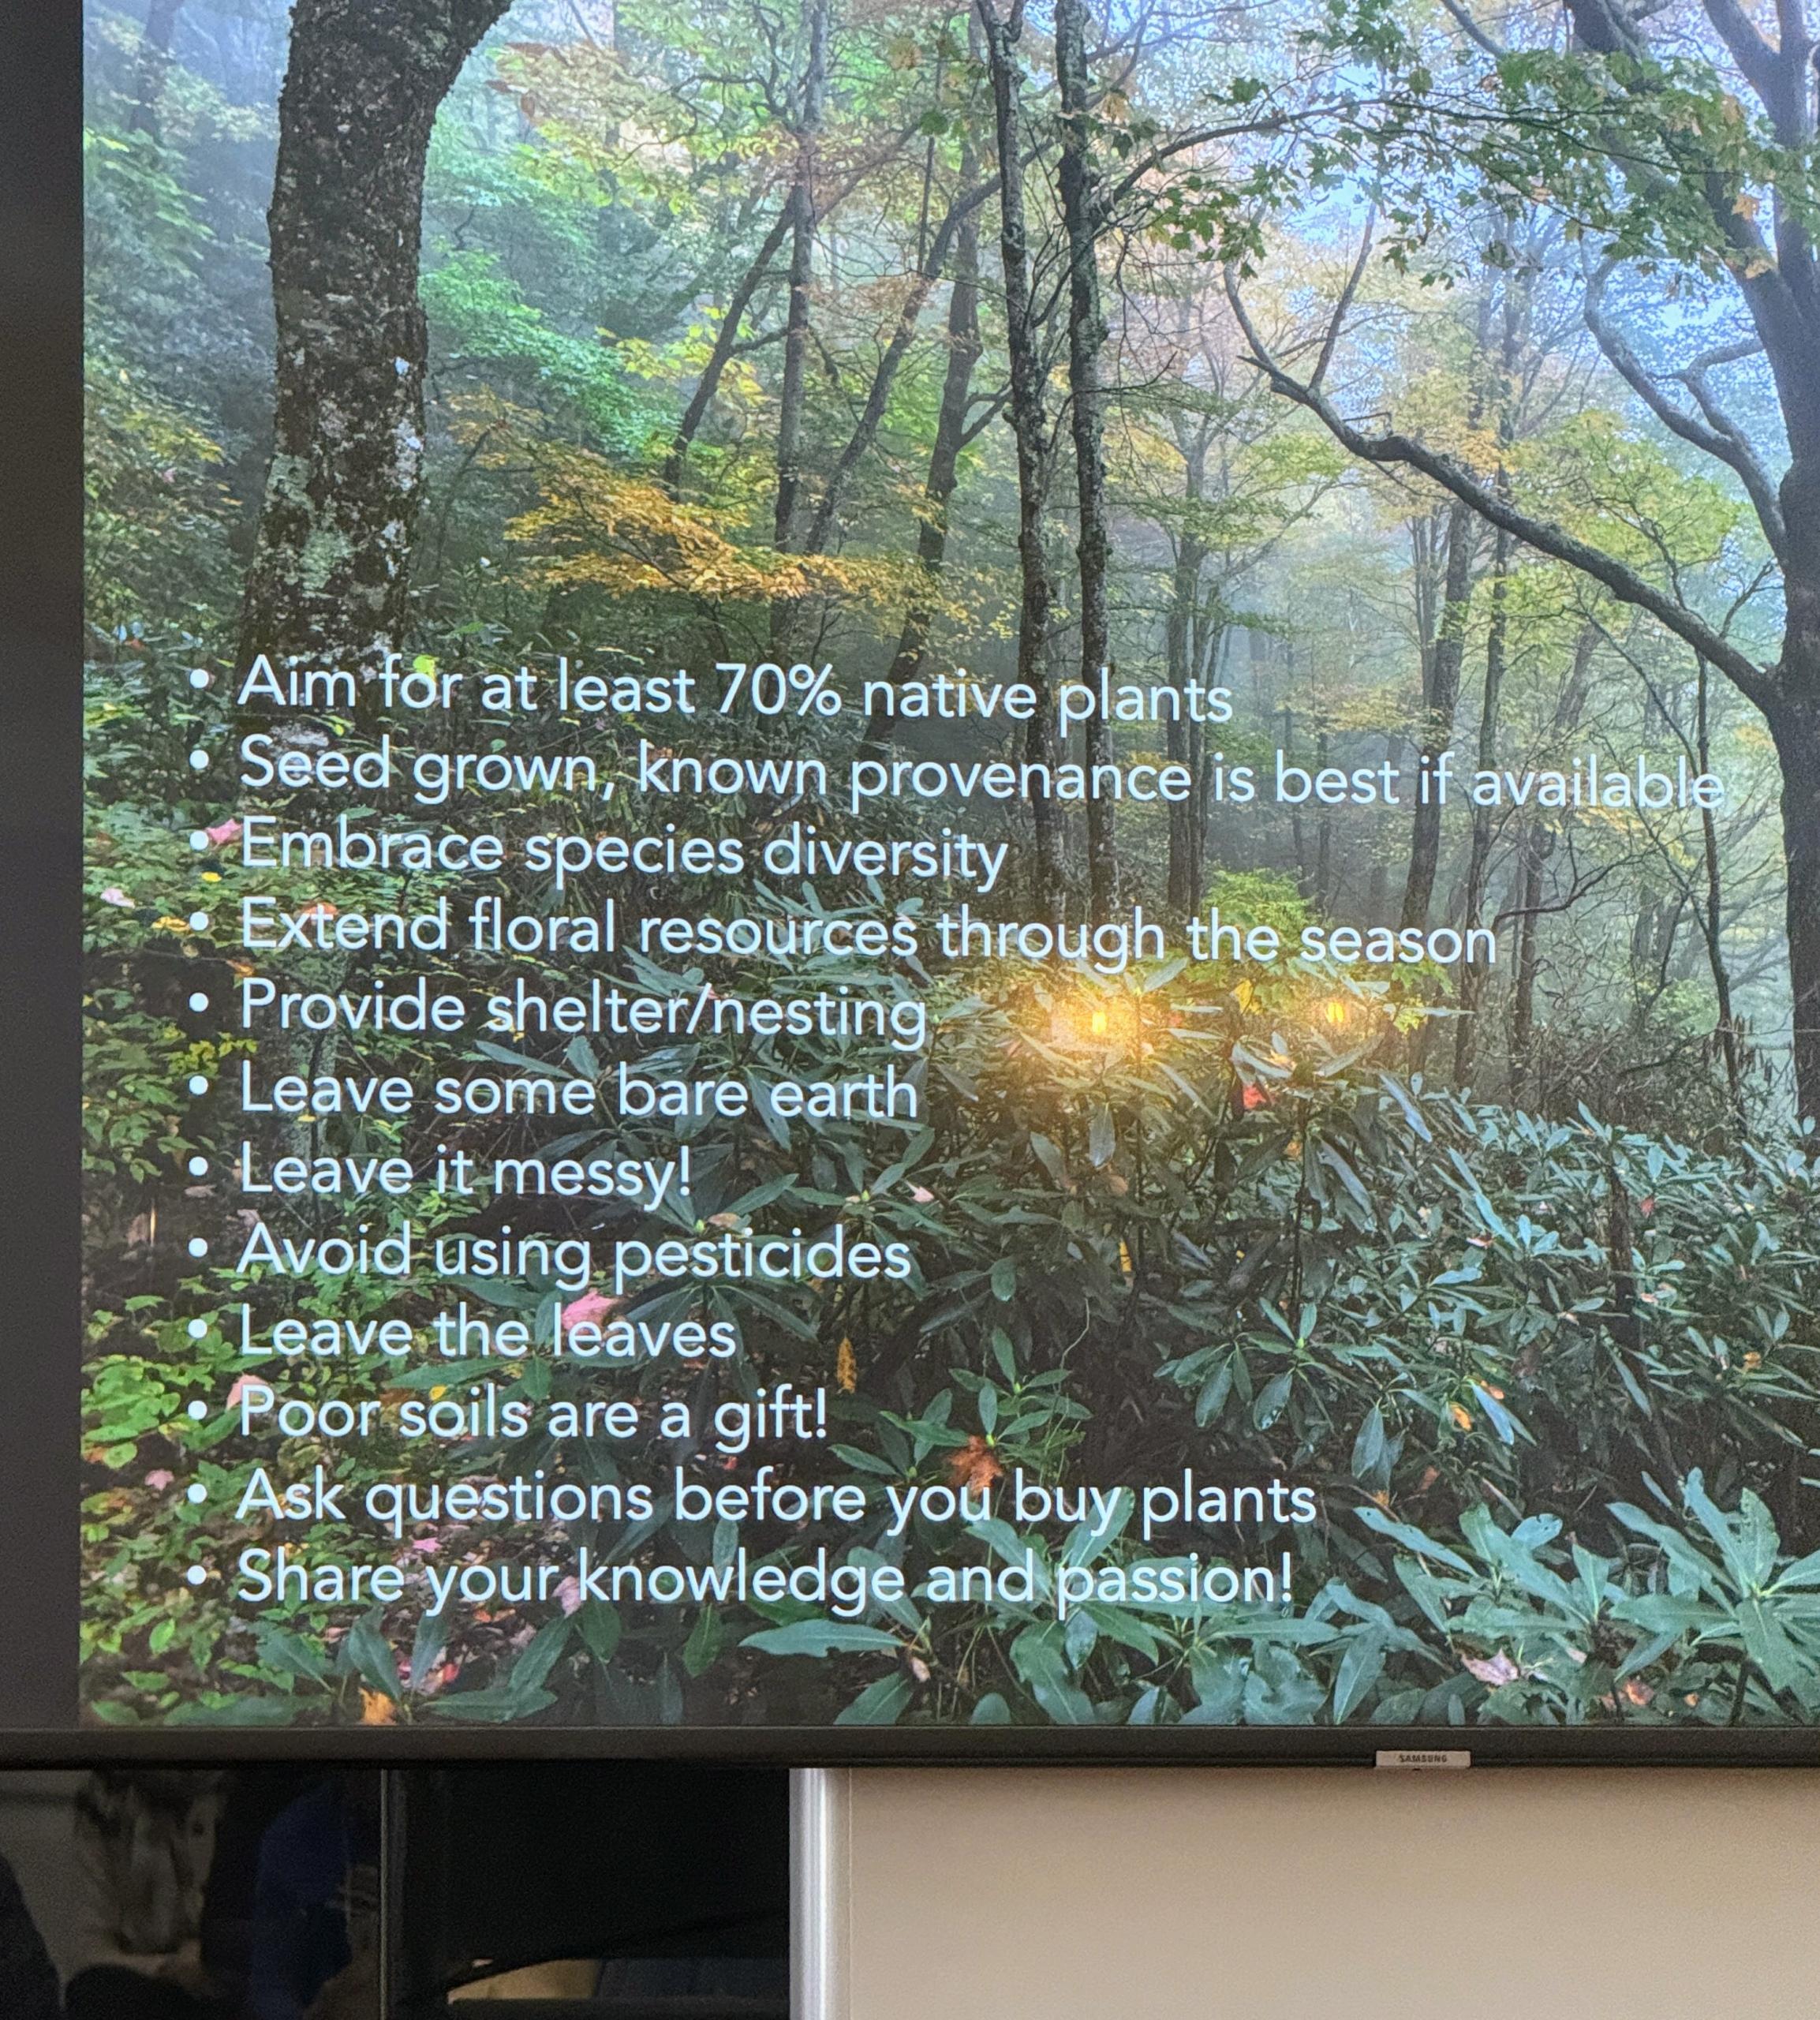
In this slide from Uli, he shares important points for creating the best native plants garden – aim for 70-percent native plants, leave some bare earth, and ask questions whenever visiting the local nursery.
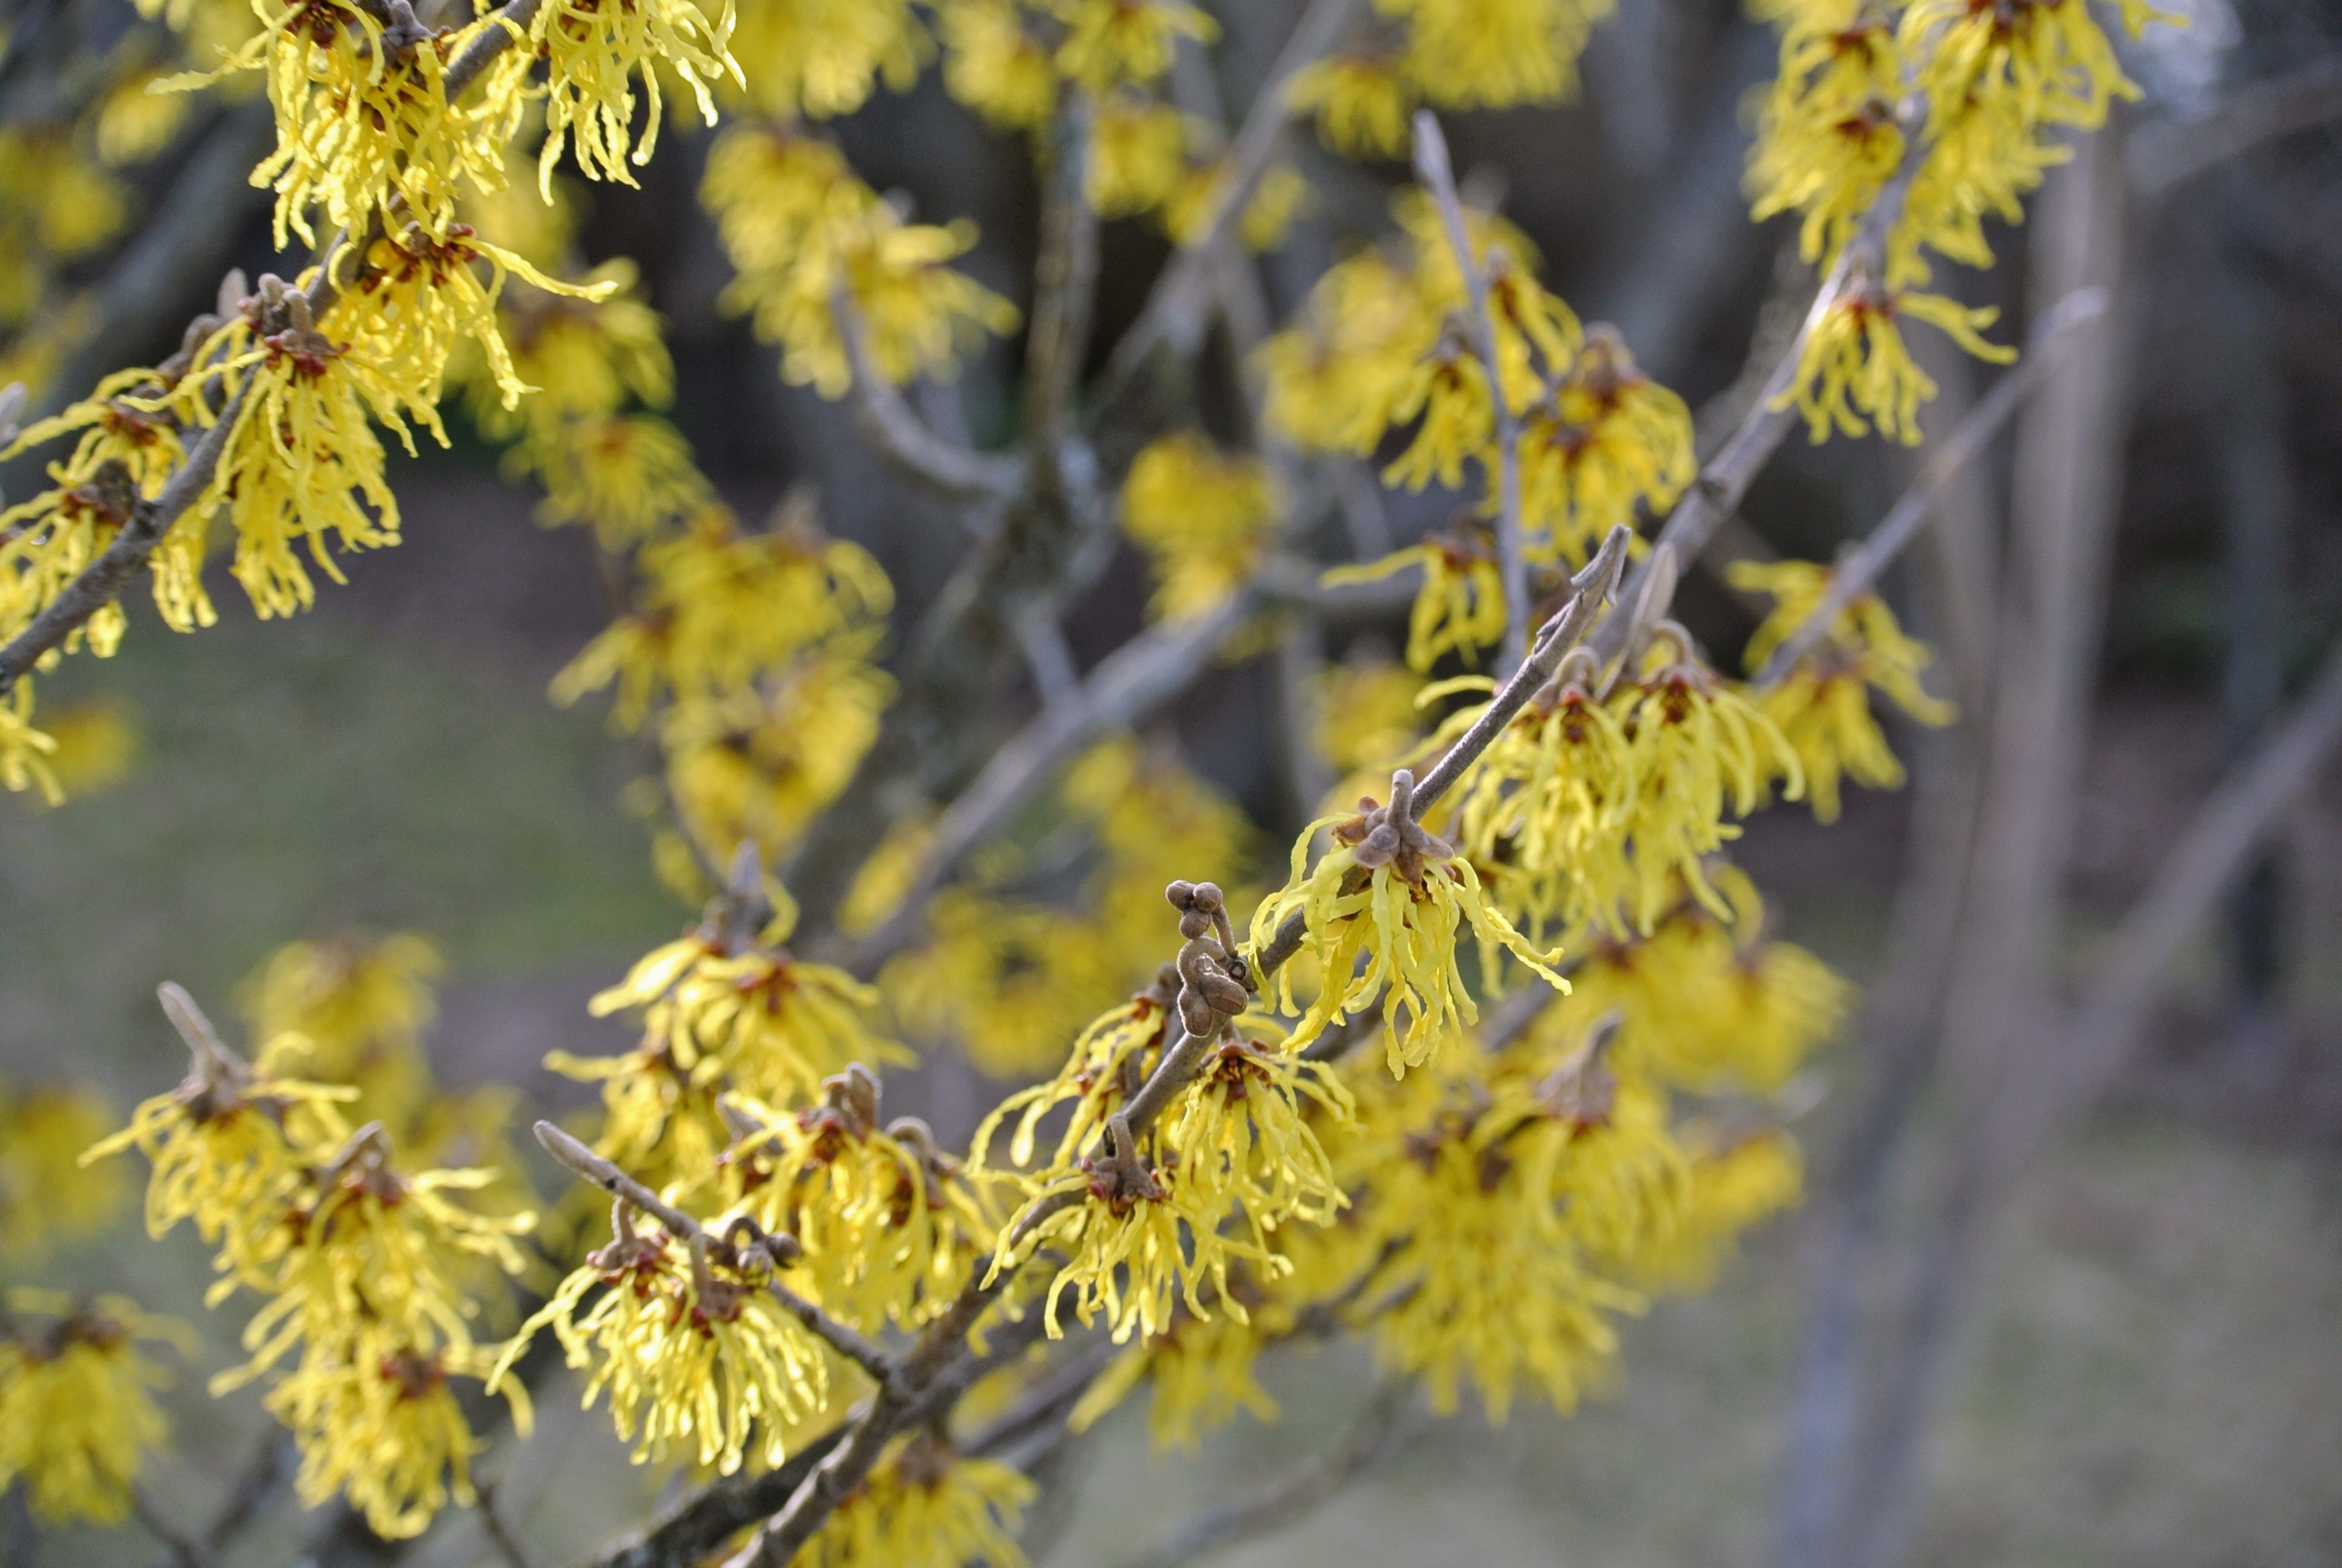
Uli talks about witch hazel, a native shrub. I have a lot of witch hazel at my farm. With their fragrant, butter yellow to orange and scarlet red flowers, witch hazels add a lovely spark of life to otherwise gray winter landscapes. Although witch hazel has many common names, its generic name means “together with fruit” – it is the only tree in North America to have flowers, ripe fruit, and next year’s leaf buds on its branches at the same time. Their diversity, beauty, and all-season appeal make them one of the most well-loved garden specimens.
He recommends Solomon’s Seal wildflowers with their graceful, arching stems and white fragrant blooms. This Solomon’s Seal is in the garden behind my Tenant House. In late summer, these plants show off small blue-green fruit that birds and other small animals love.
Another native is rudbeckia, also known as Black-Eyed Susan. These are popular and versatile flowers in the garden – and a big favorite for pollinators. In autumn, the seeds are eaten up by visiting birds.
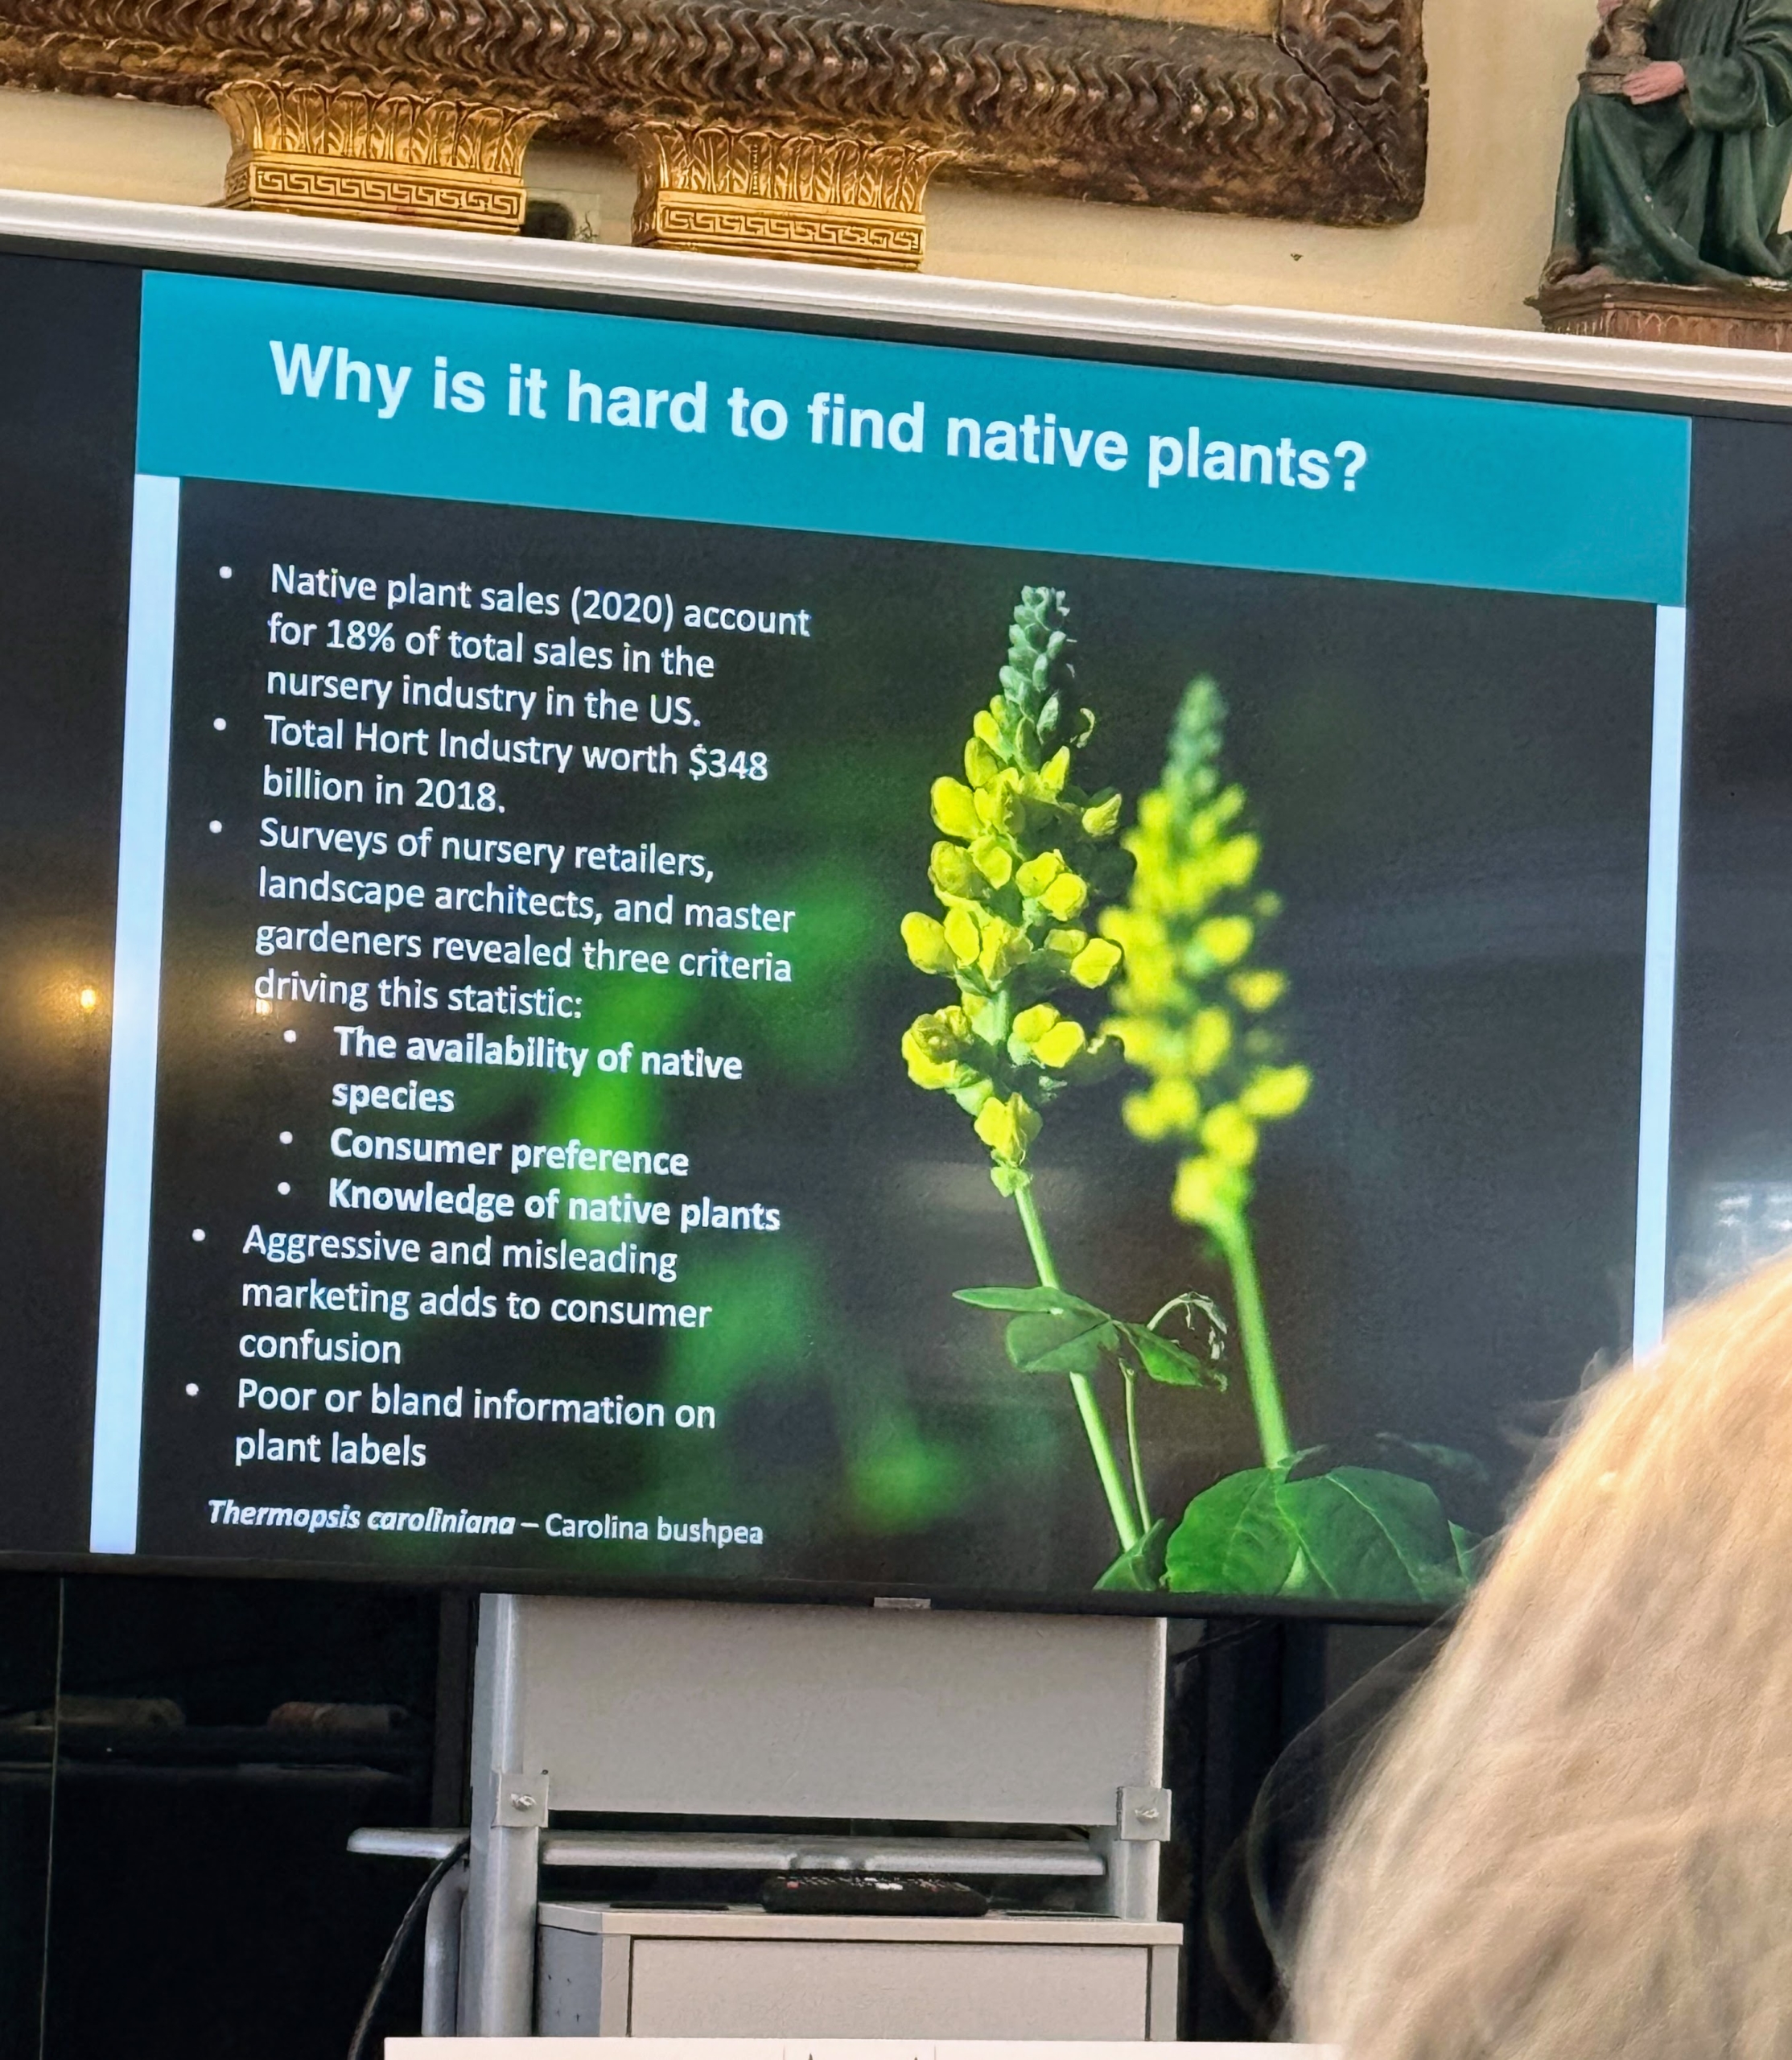
Uli also explains that it is sometimes challenging to find native plants. The important thing is to talk to reputable gardeners and landscape architects in one’s area.
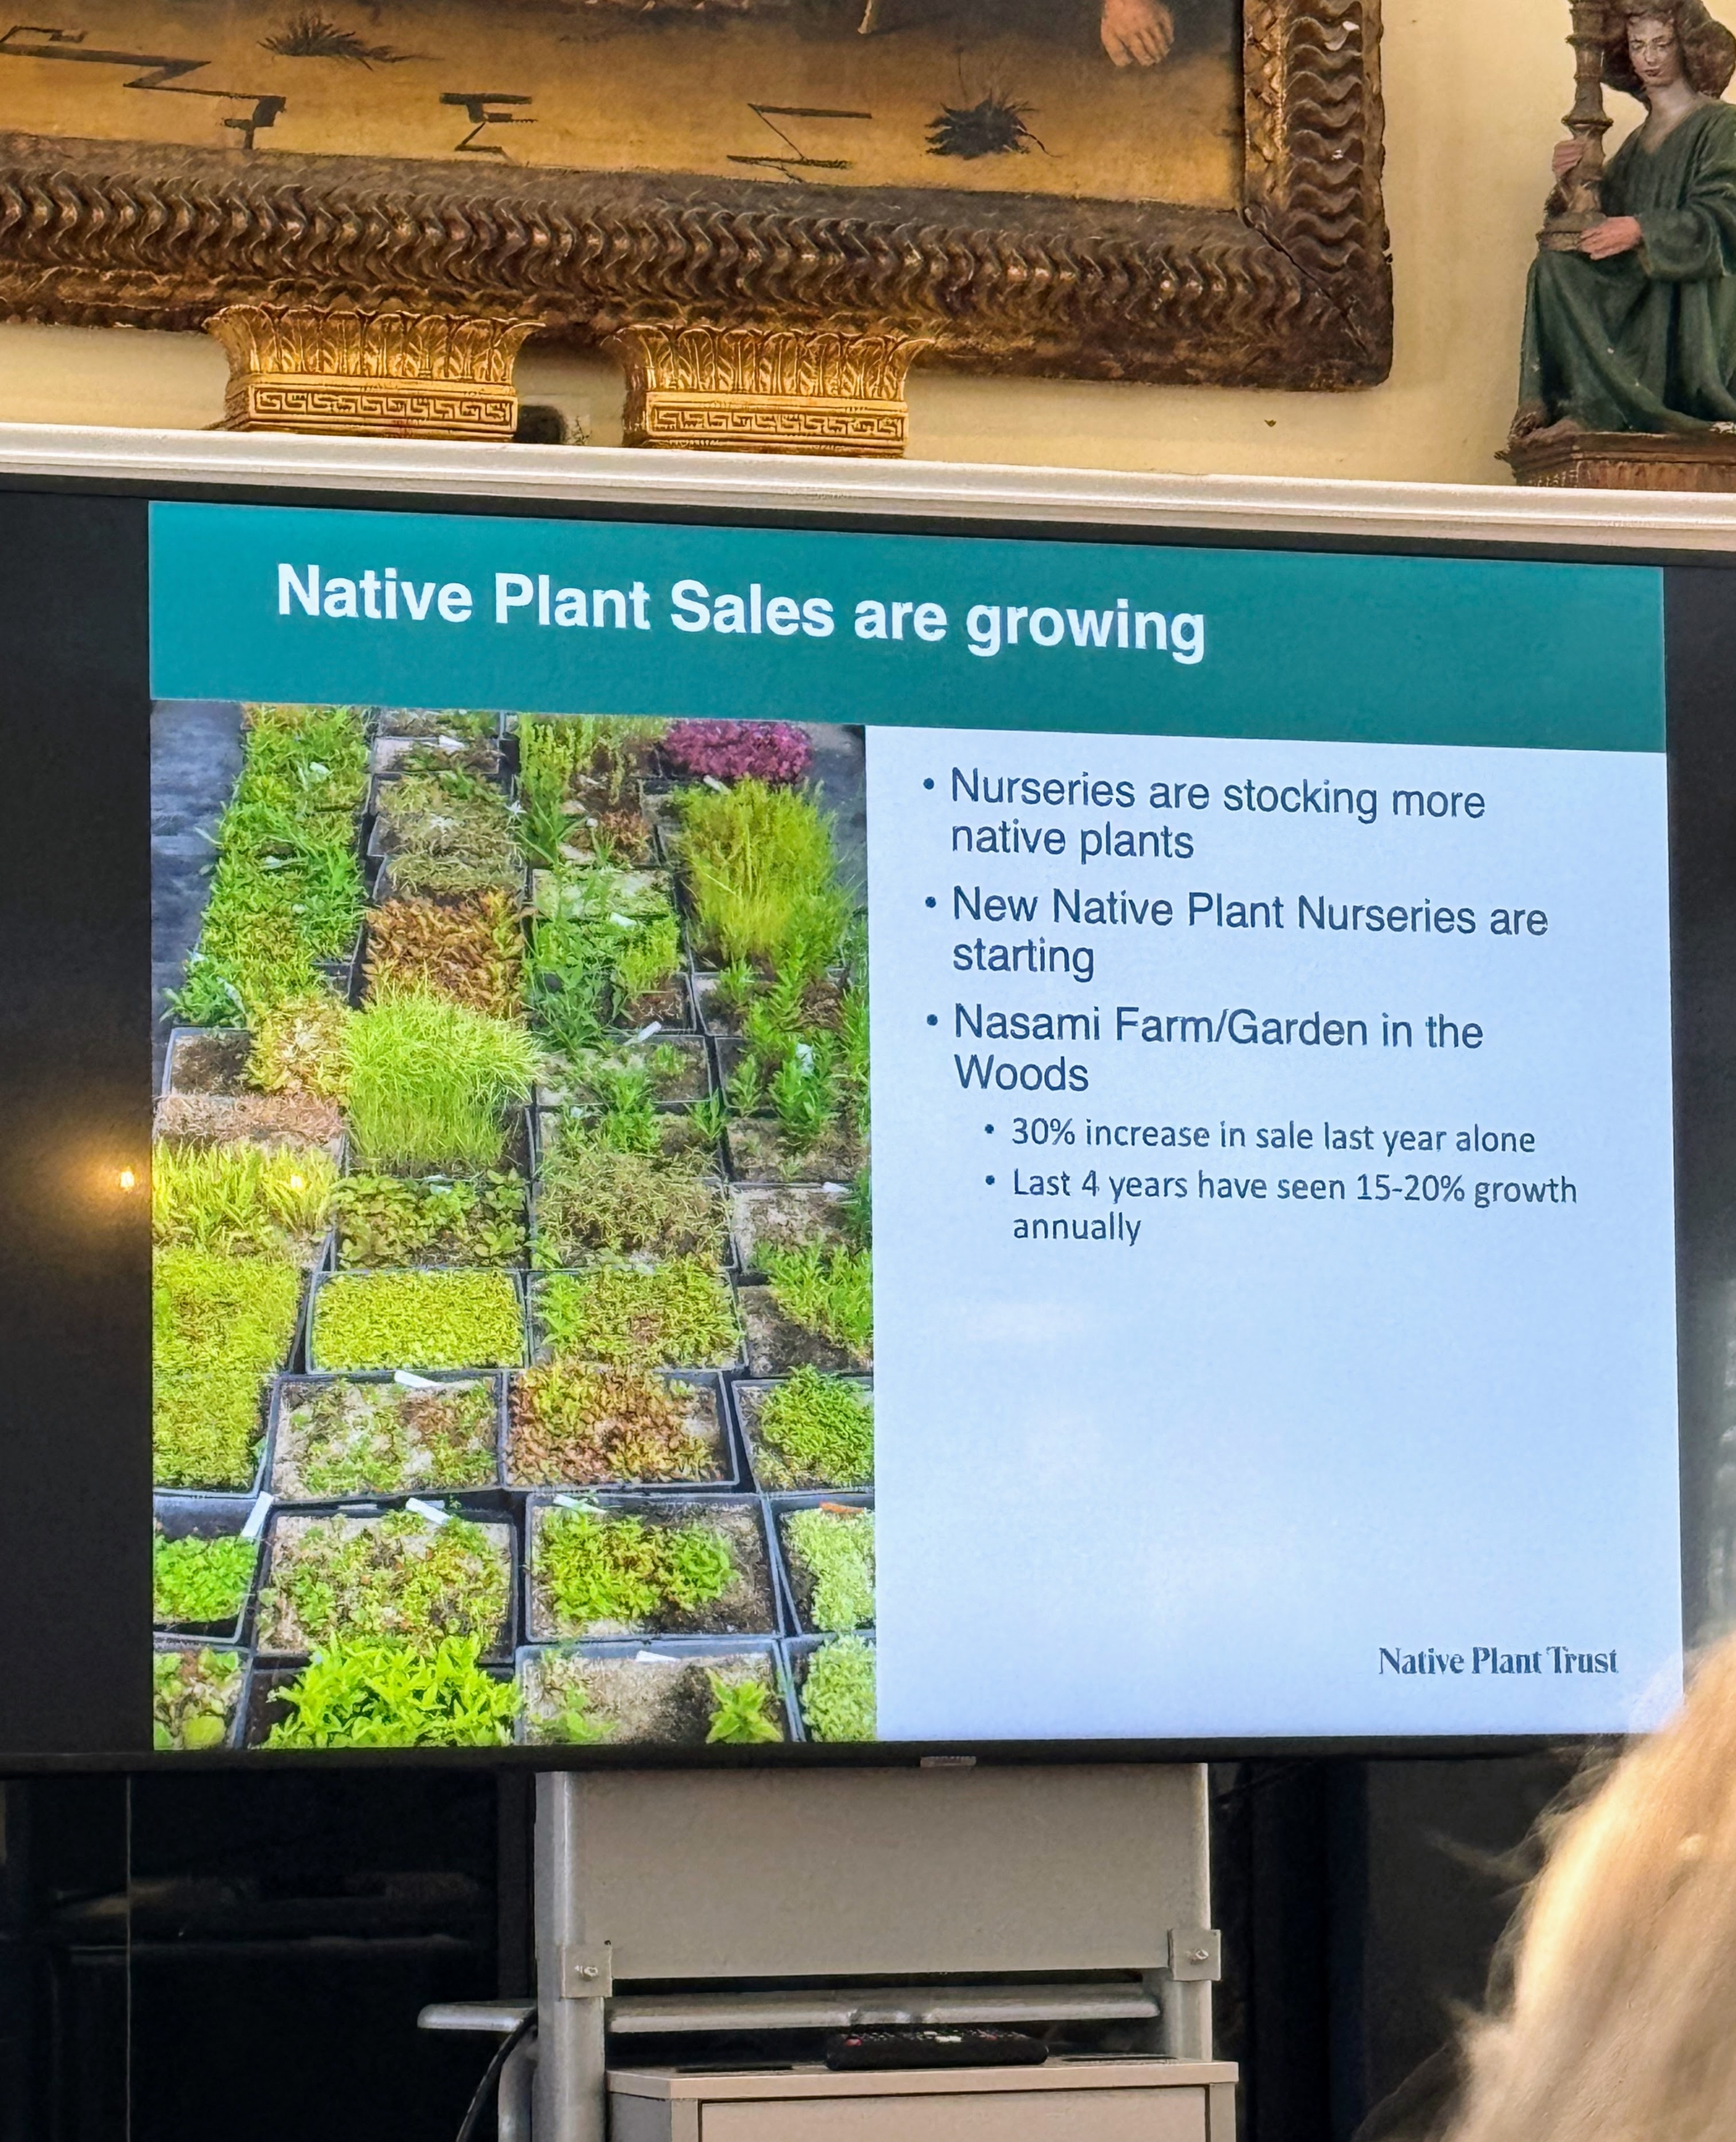
Fortunately, there is a lot of improvement. Nurseries are stocking more native plants and there has been a marked increase in availability and sales over the last few years.
Uli says the best way to start a native plant garden is to understand the conditions of one’s yard – what kind of light the space has, how much moisture is available, and what is the condition of the soil.
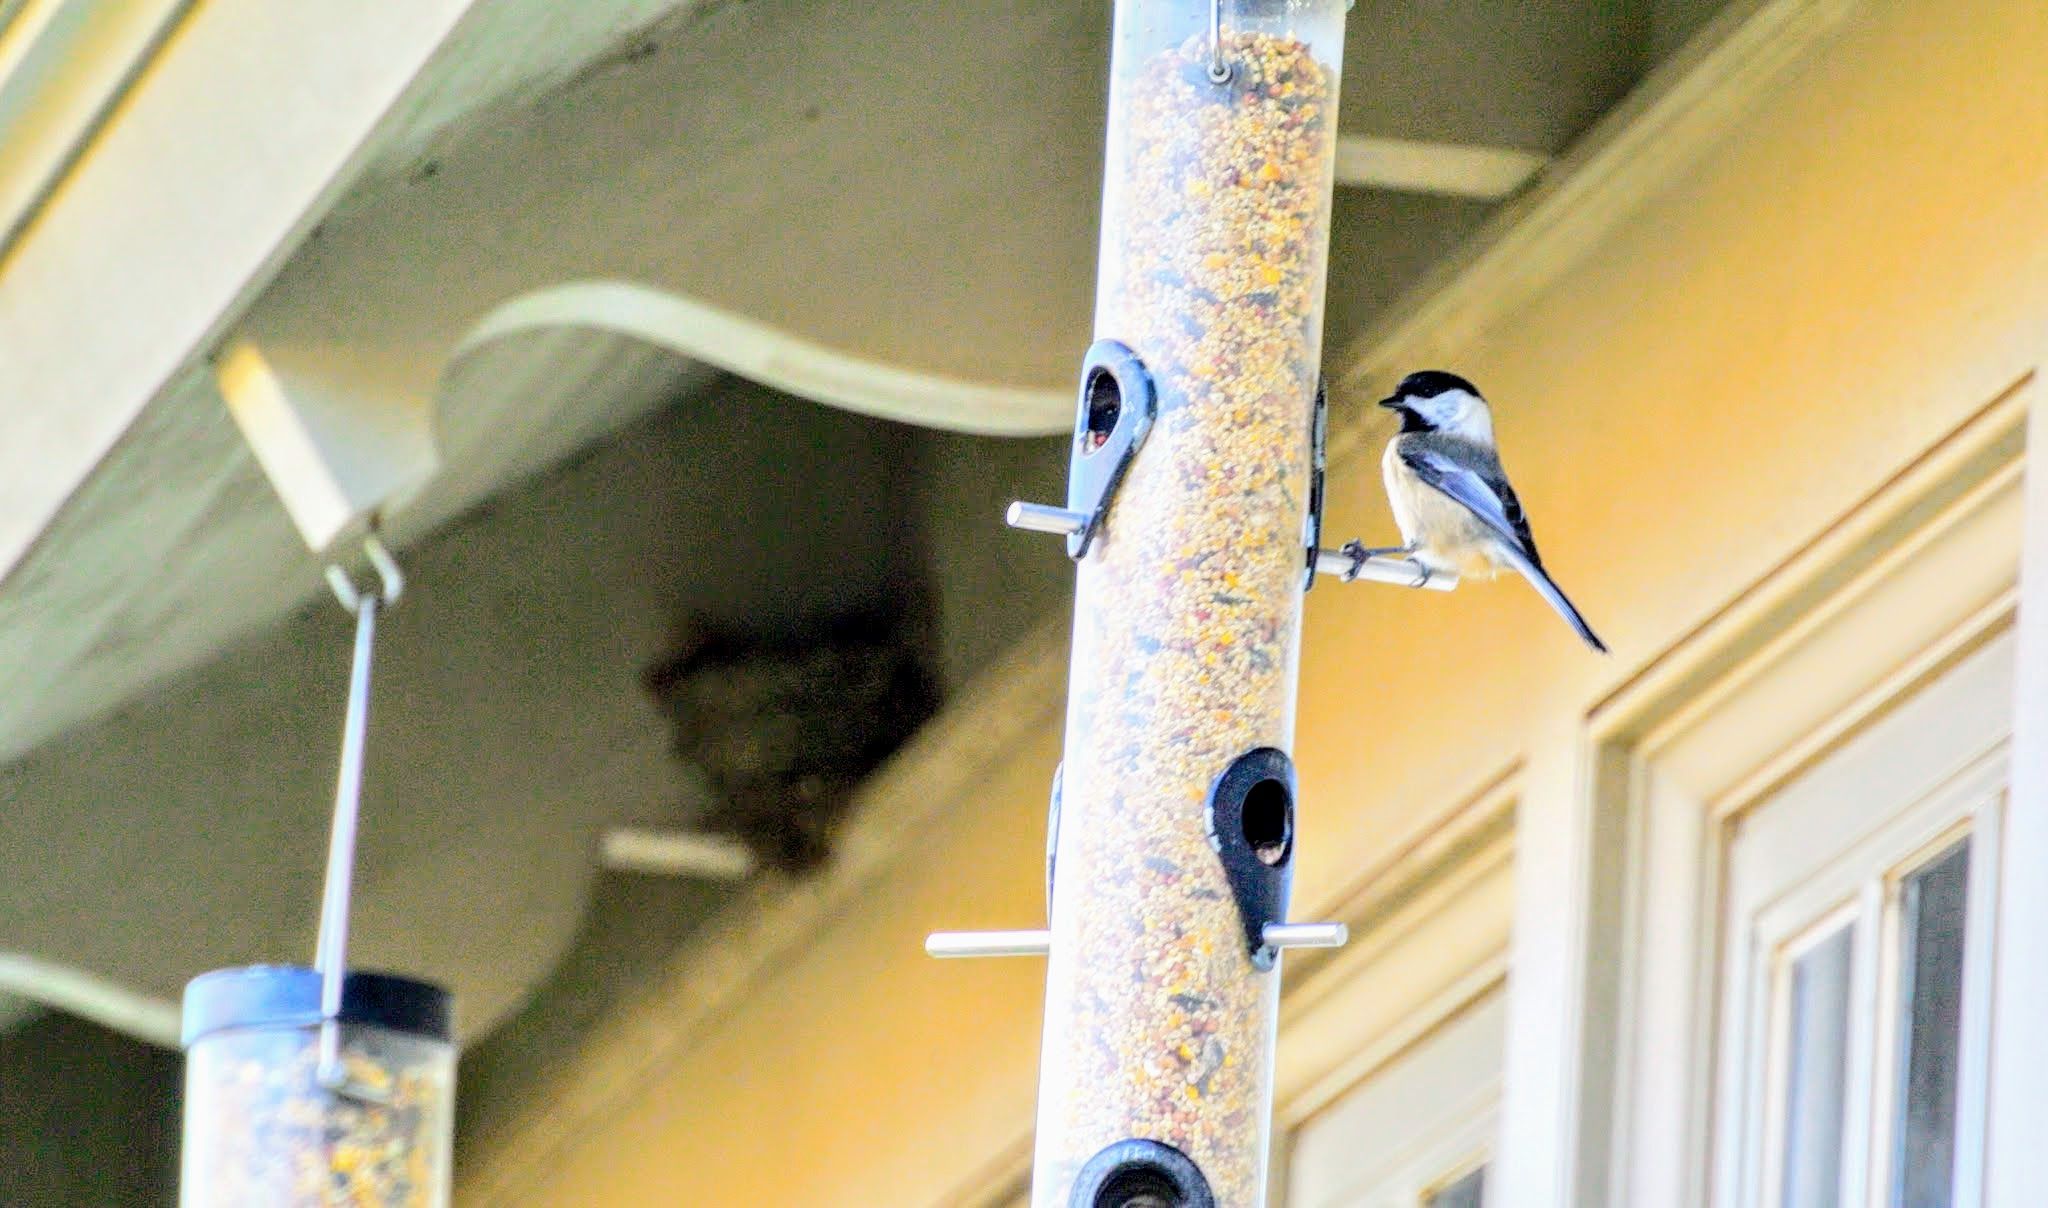
Birds depend largely on native plants for nesting. This is a Chickadee.
And this is a Chickadee at my farm. According to the Audubon Society, my farm welcomes more than 125-different species of wild birds. I feed them all year round.
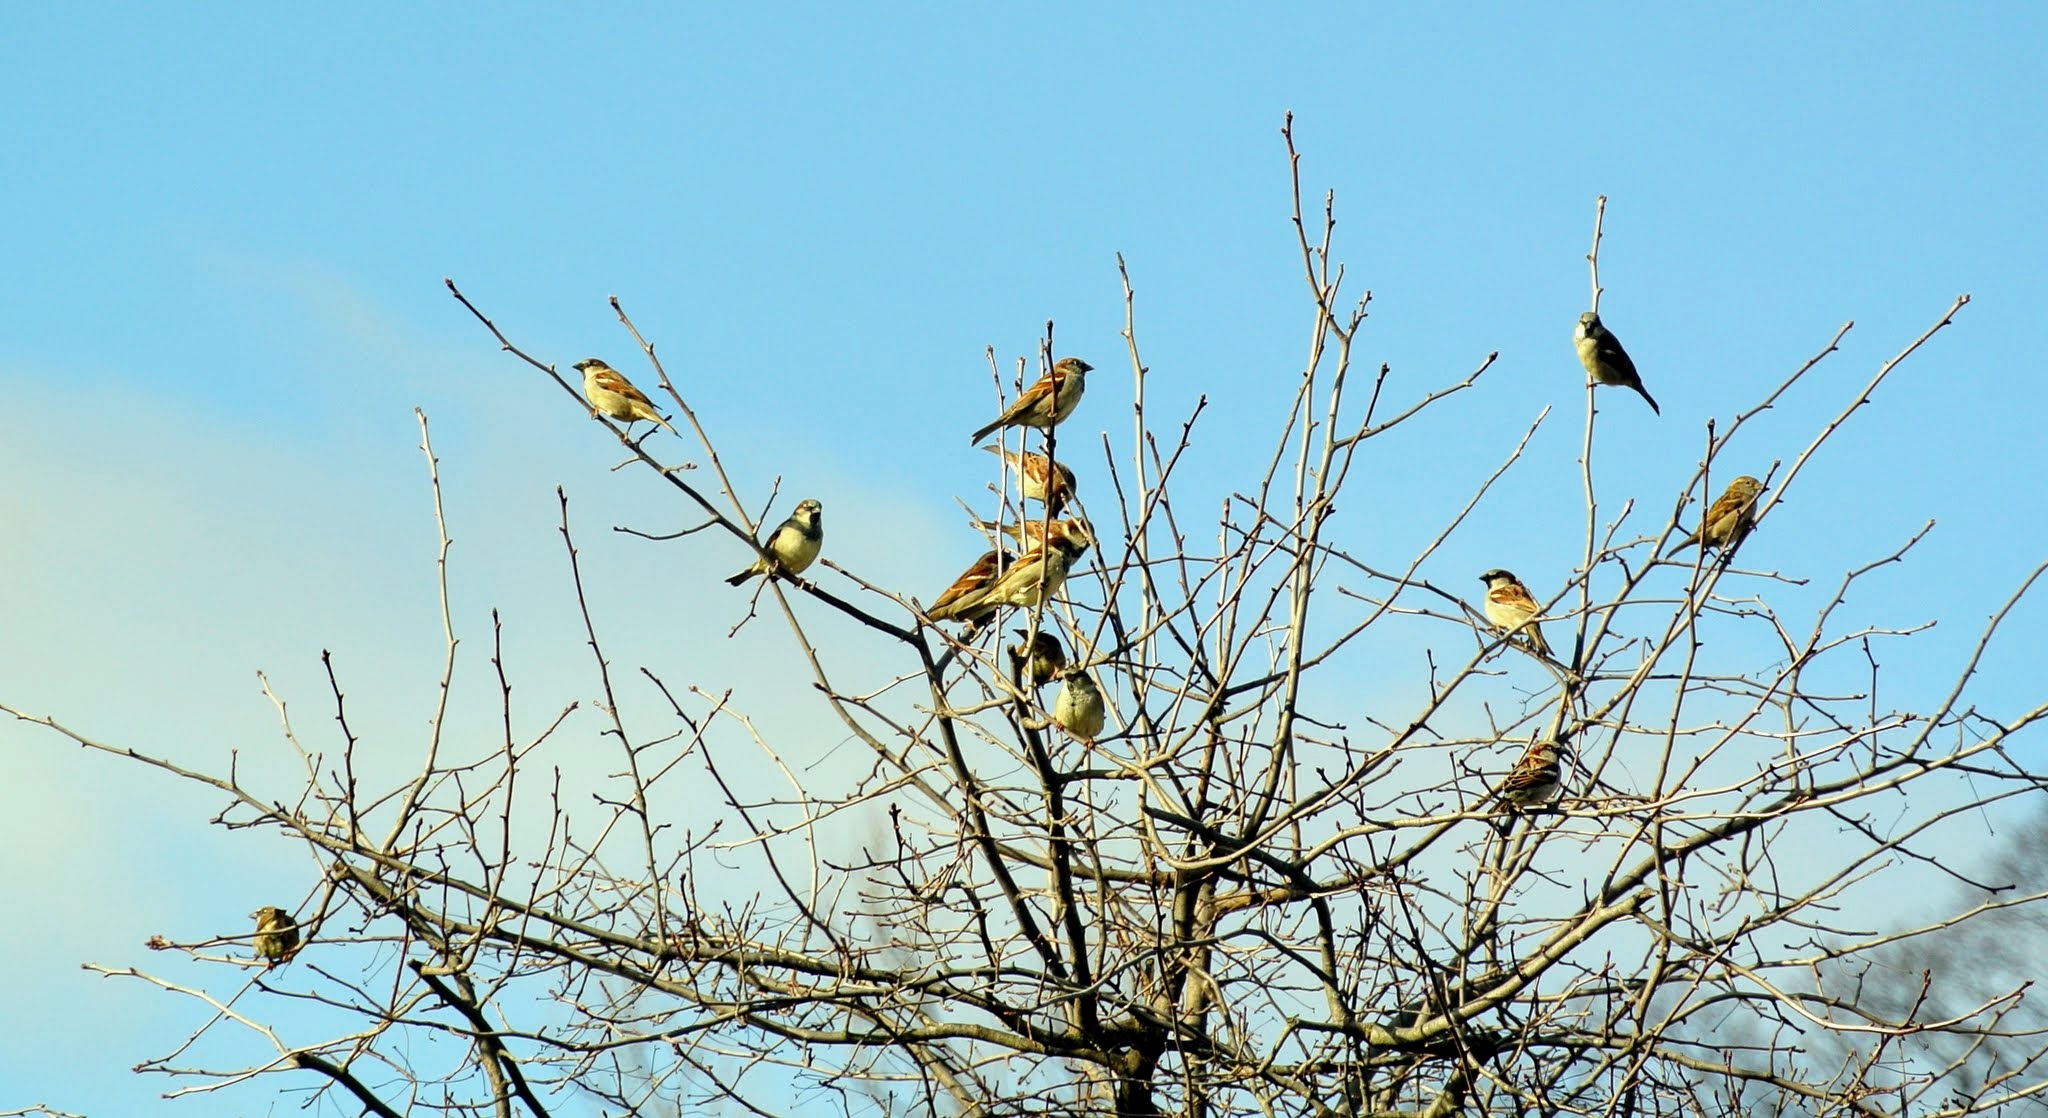
These birds are perched in a tree outside my Winter House kitchen and terrace, but there are so many birds all around because I offer them many trees and shrubs for nesting.
Pollinators need native plants in order to get sufficient amounts of nectar and pollen.
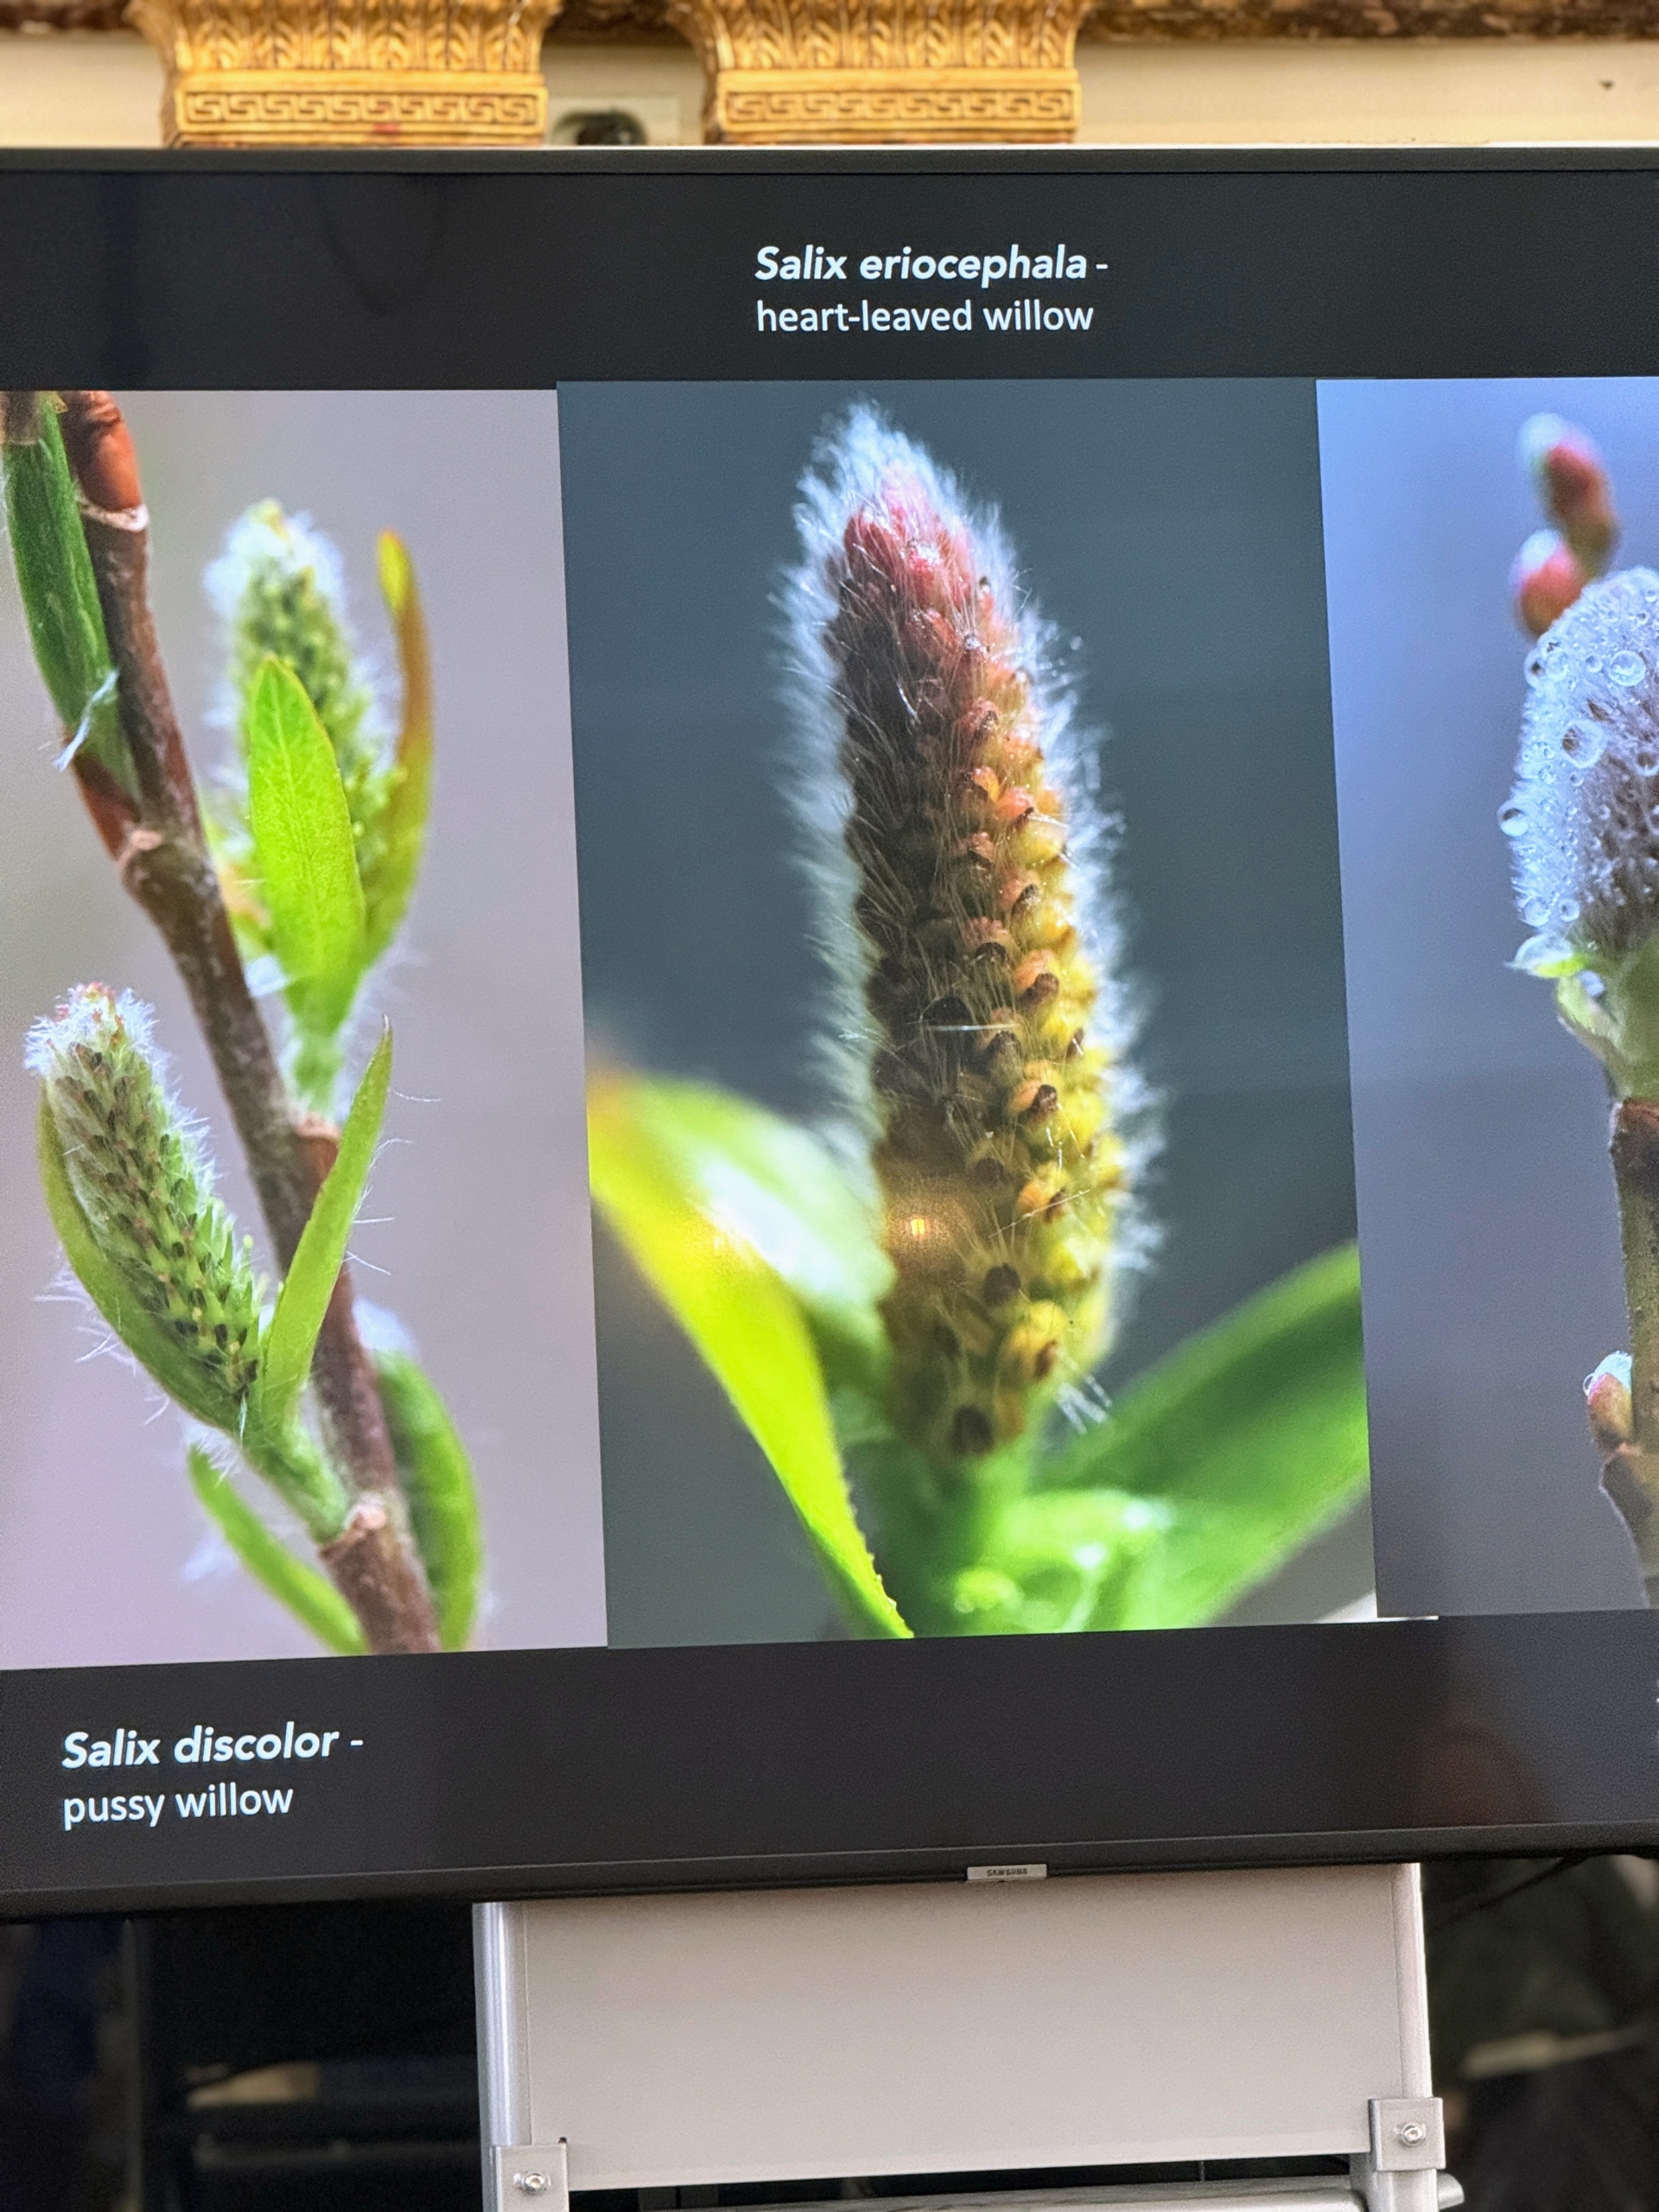
Here is a slide of salix, also known as pussy willow. I have an entire grove of pussy willows – also good for pollinators.
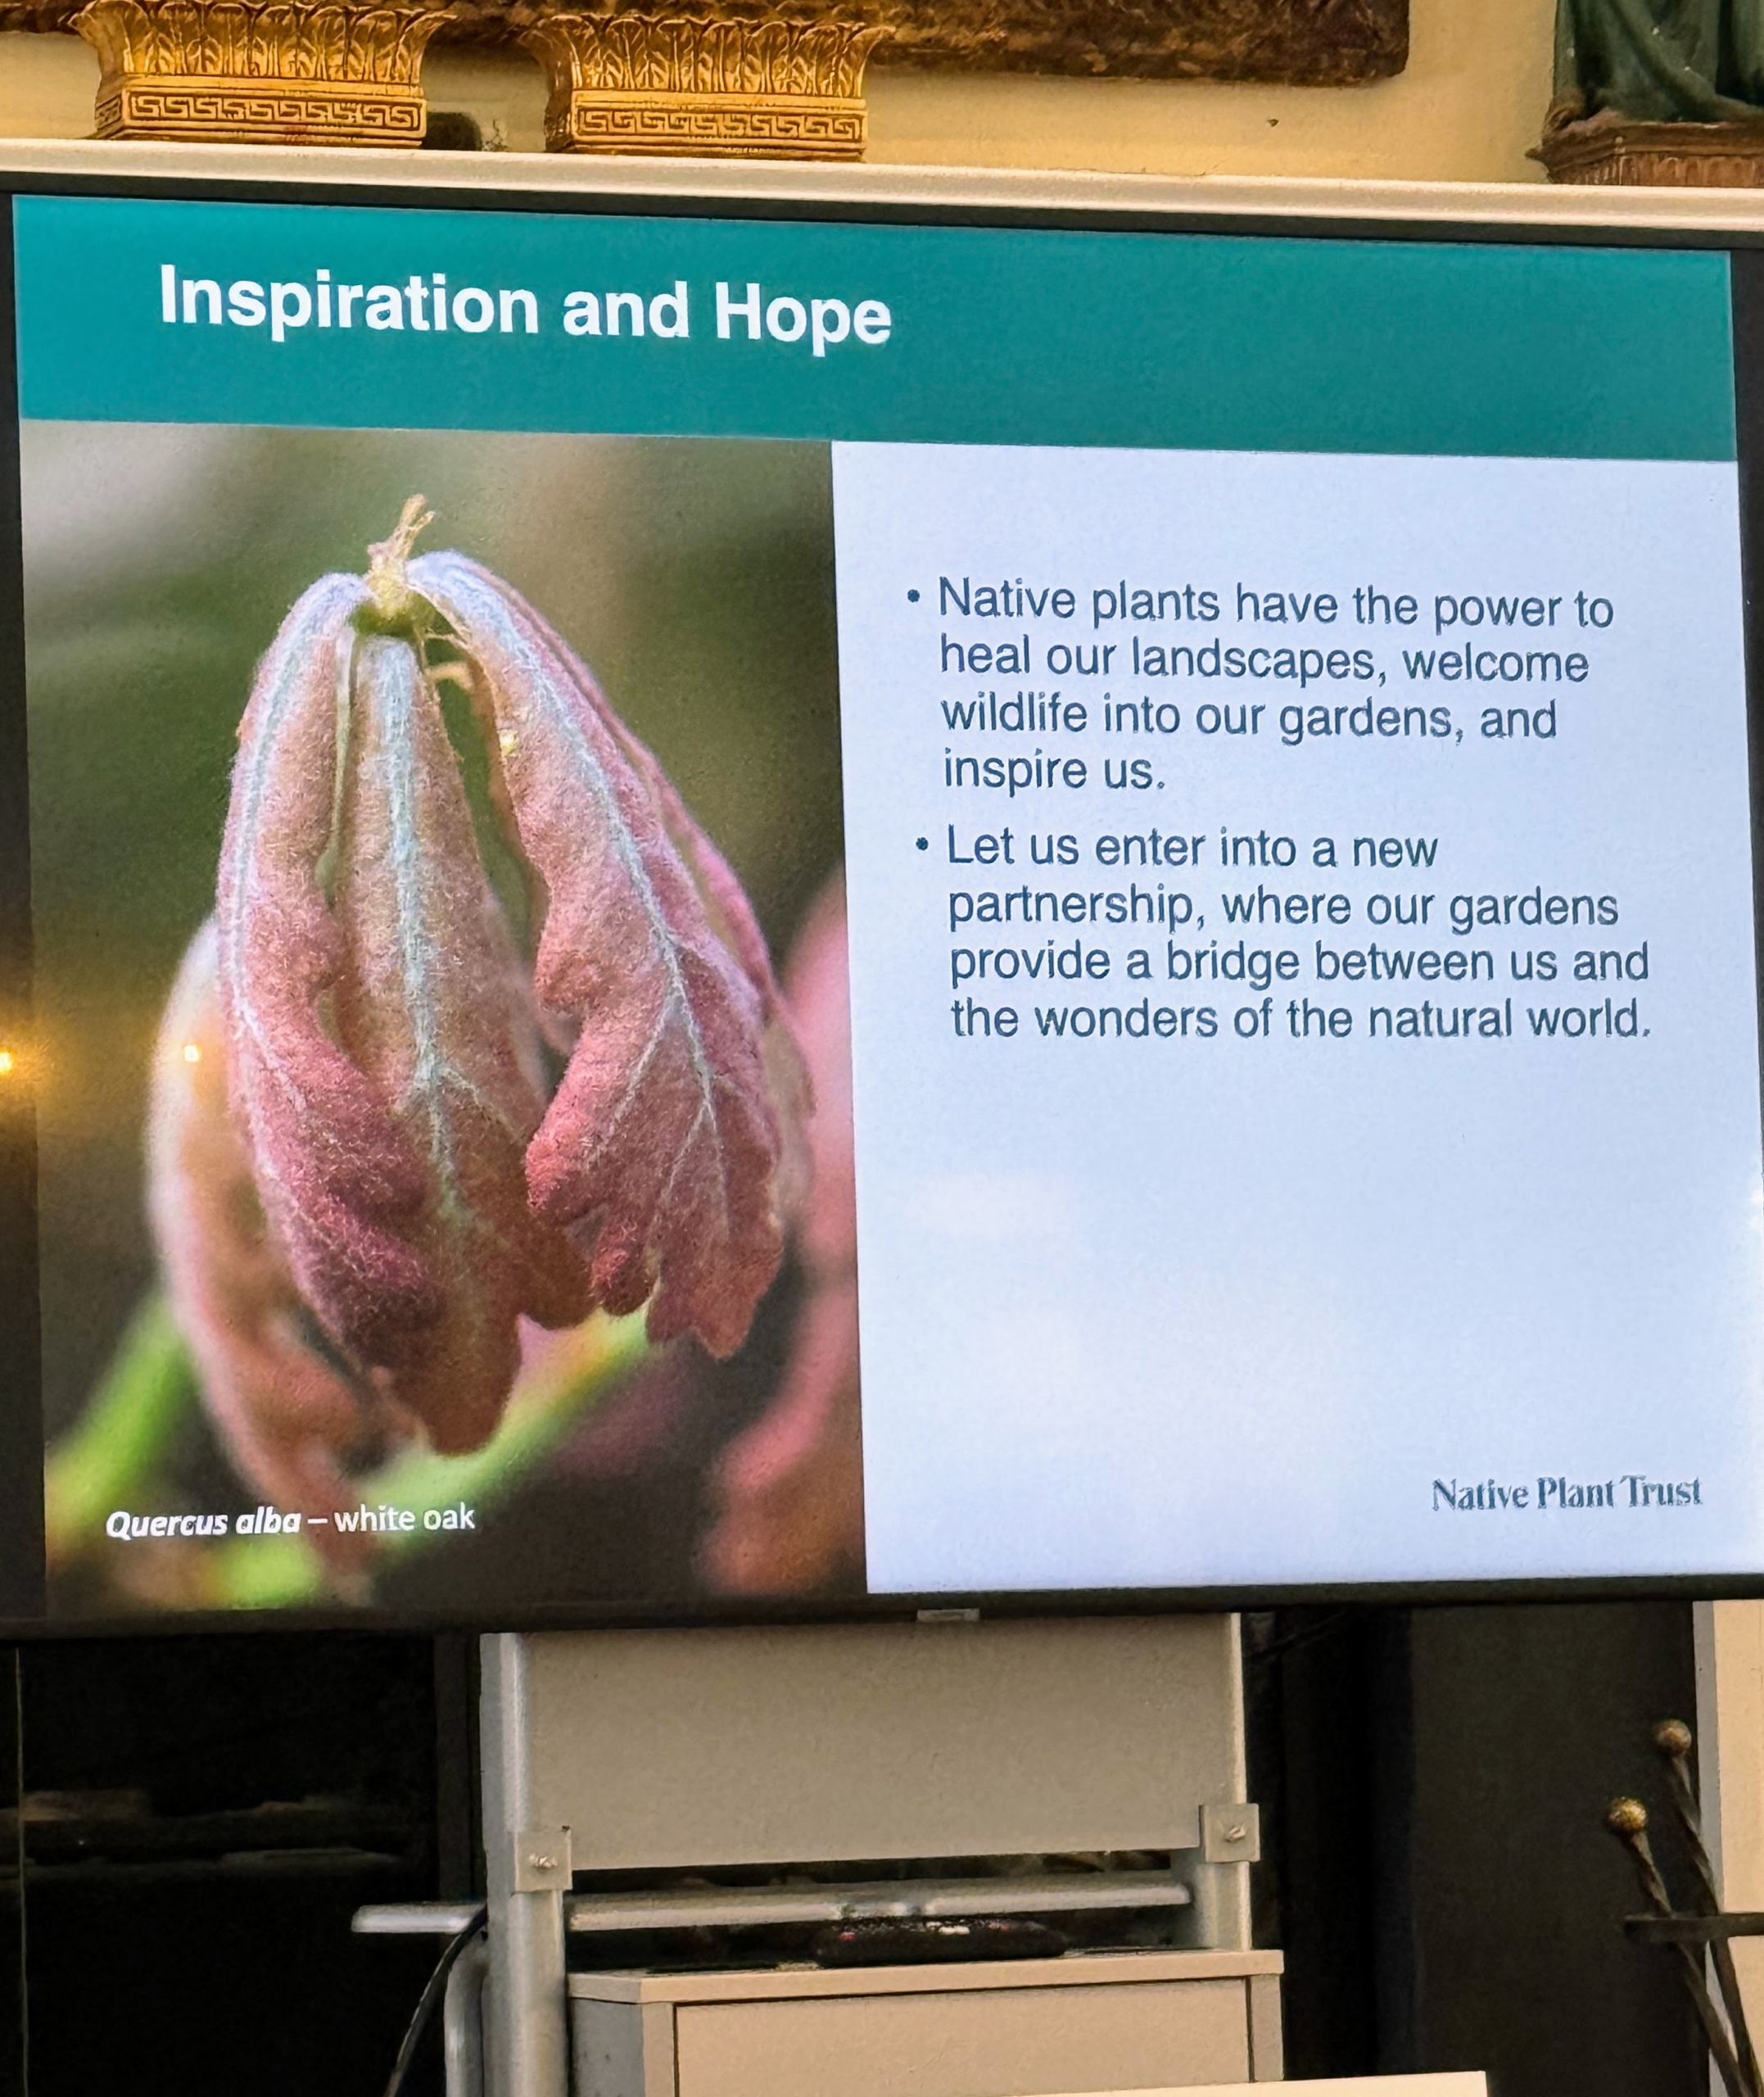
There are so many beautiful native plants one can add to the garden. I hope this inspires you to add native specimens to yours, and to learn more about how these plants can help the wildlife and the environment. Remember to pick up a copy of Uli Lorimer’s book, “The Northeast Native Plant Primer: 235 Plants for an Earth-Friendly Garden.” And get ready for spring – it’s only eight weeks and five days away!
Many gardening chores are best done in winter when the plants are dormant. Among them - pruning.
Here at my Bedford, New York farm, I grow a lot of berries - raspberries, blackberries, strawberries, gooseberries, currants, and of course, blueberries - those plump, juicy, sweet fruits that are low in fat, yet packed with vitamin-C and antioxidants. My blueberry bushes produce an abundance of fruit every summer, but they do need some maintenance to keep them productive. Not long ago, just before the season's first snow storms in the area, my gardener, Brian O'Kelly, pruned the blueberry bushes. Pruning produces larger berries in greater volumes, ensures good air circulation and light throughout the plants, and helps to control diseases that might otherwise spread through the patch.
Here are some photos, enjoy.
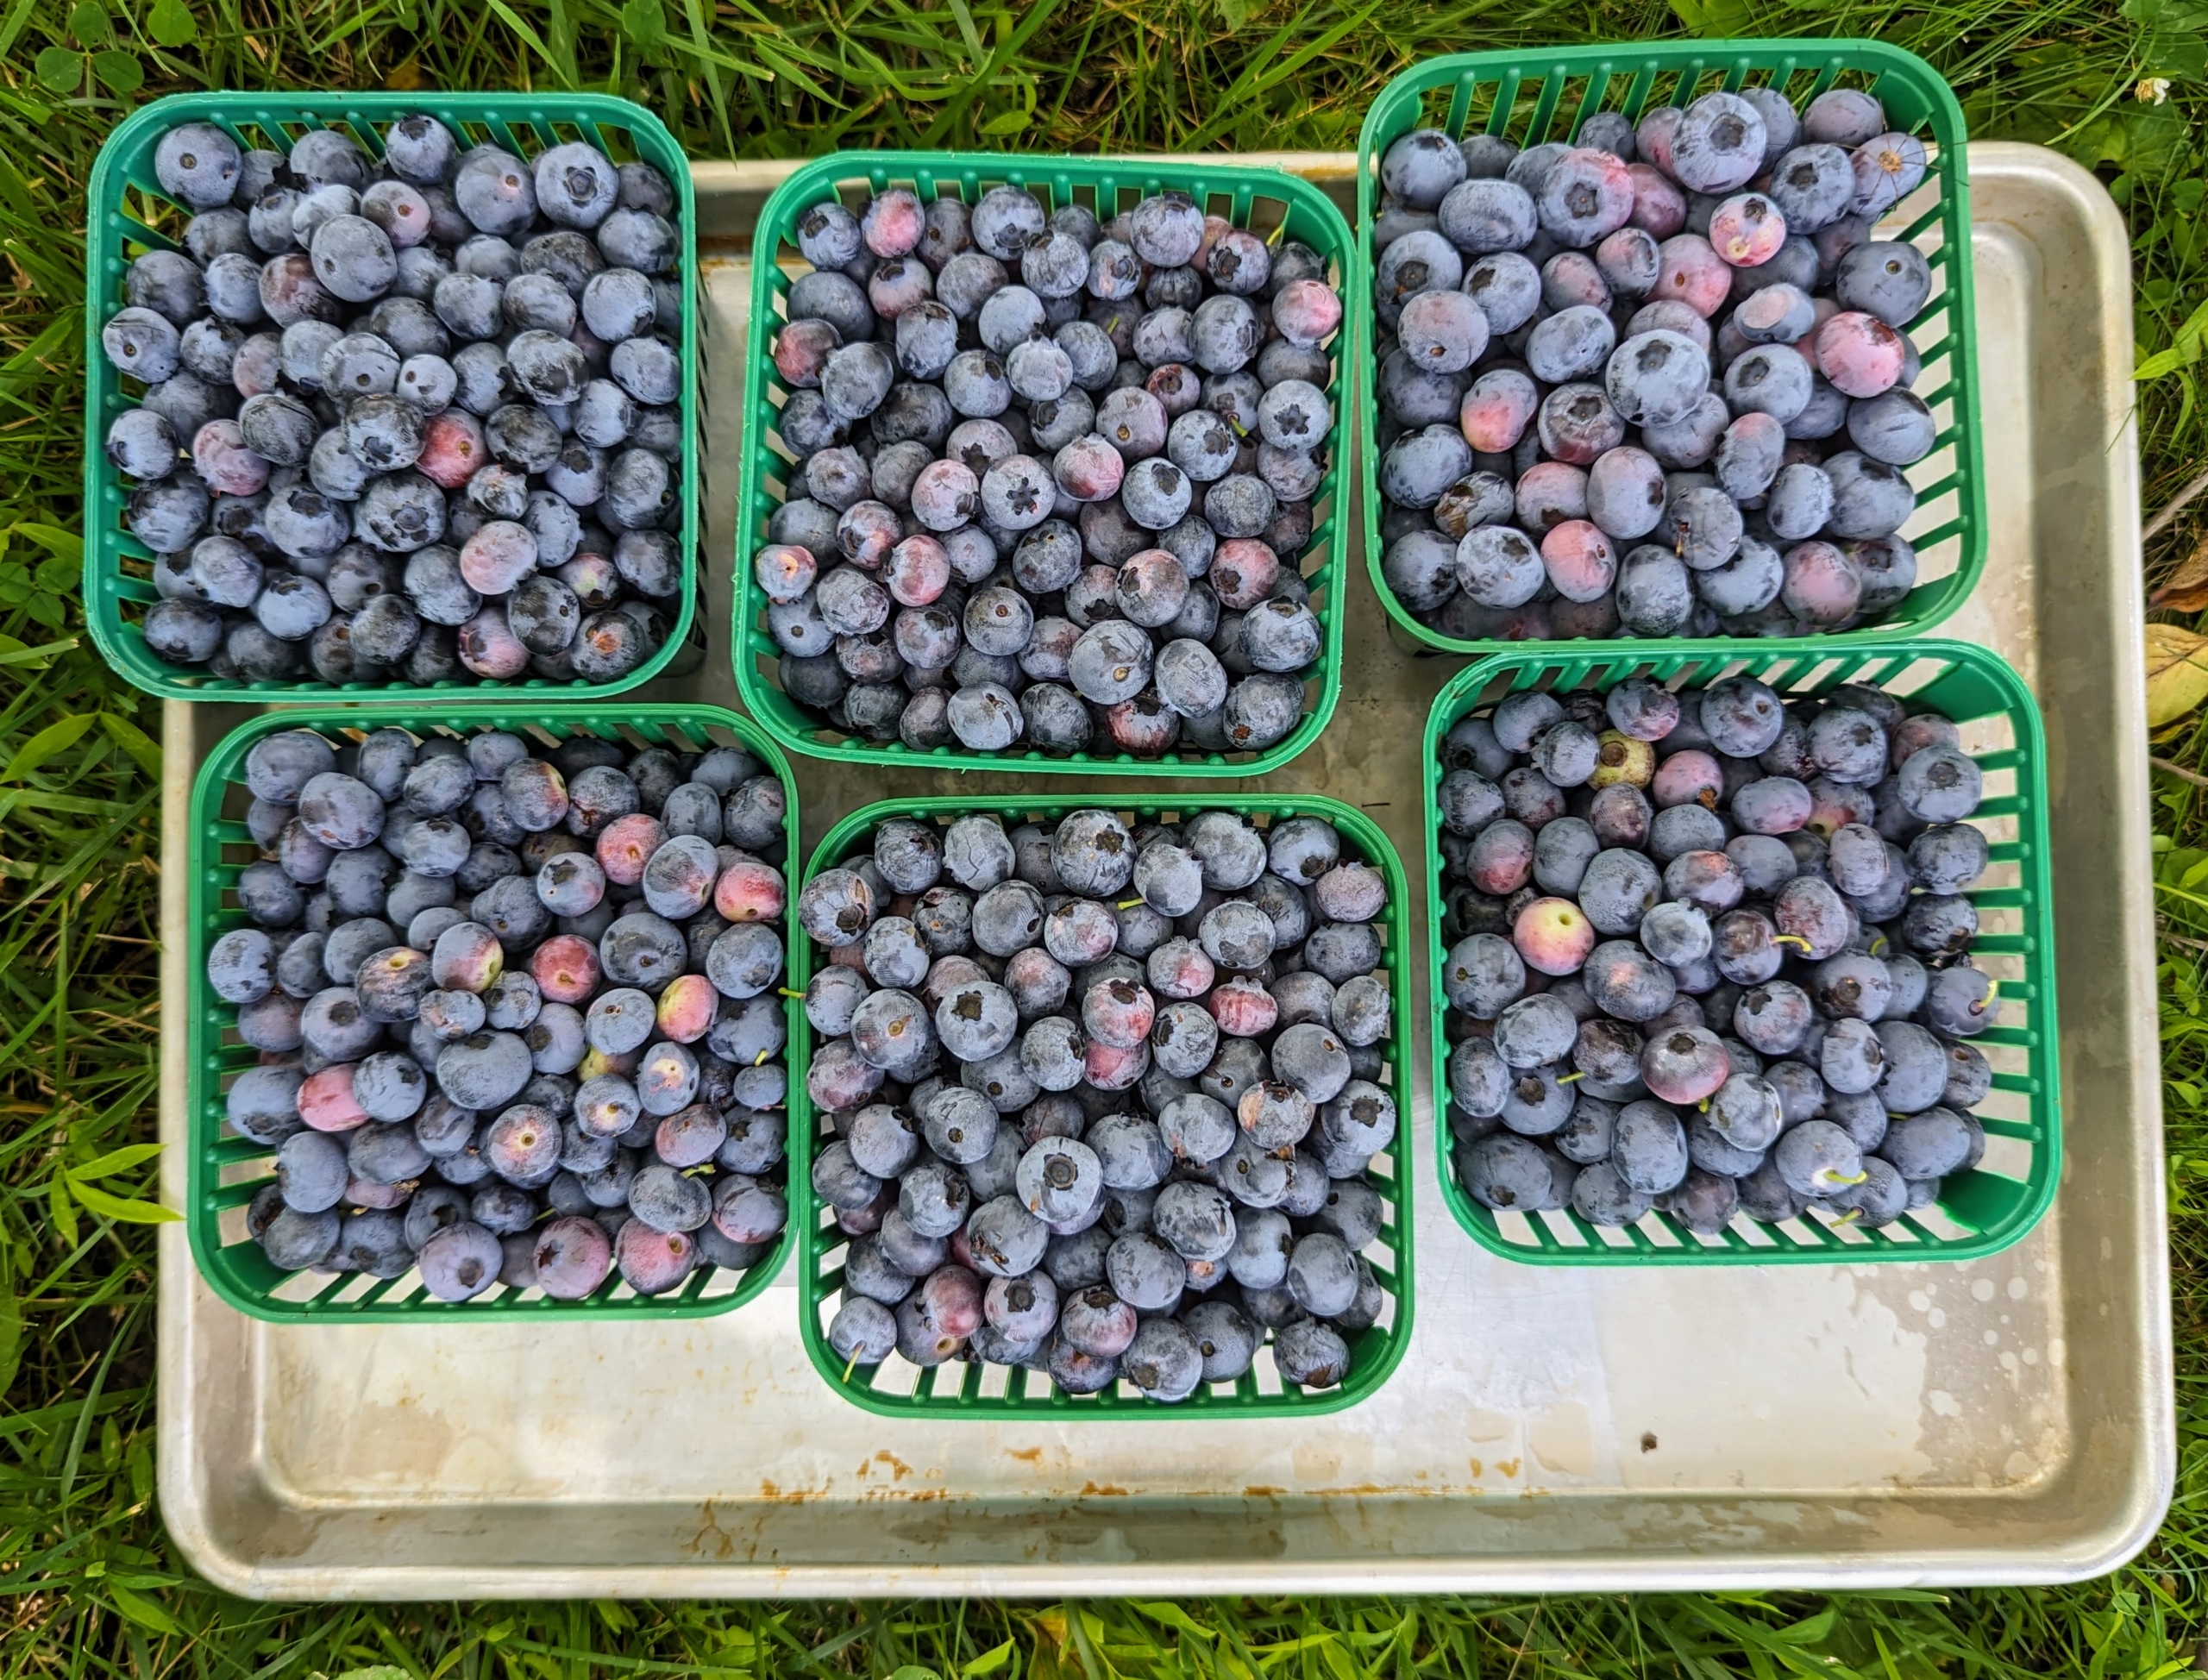
Blueberries are among the most popular berries for eating. Here in the United States, they are second only to strawberries. During summer, we pick boxes and boxes of these sweet, delicious fruits.
Blueberries produce from early summer through late fall. We eat some fresh, and then freeze the rest for use throughout the seasons.
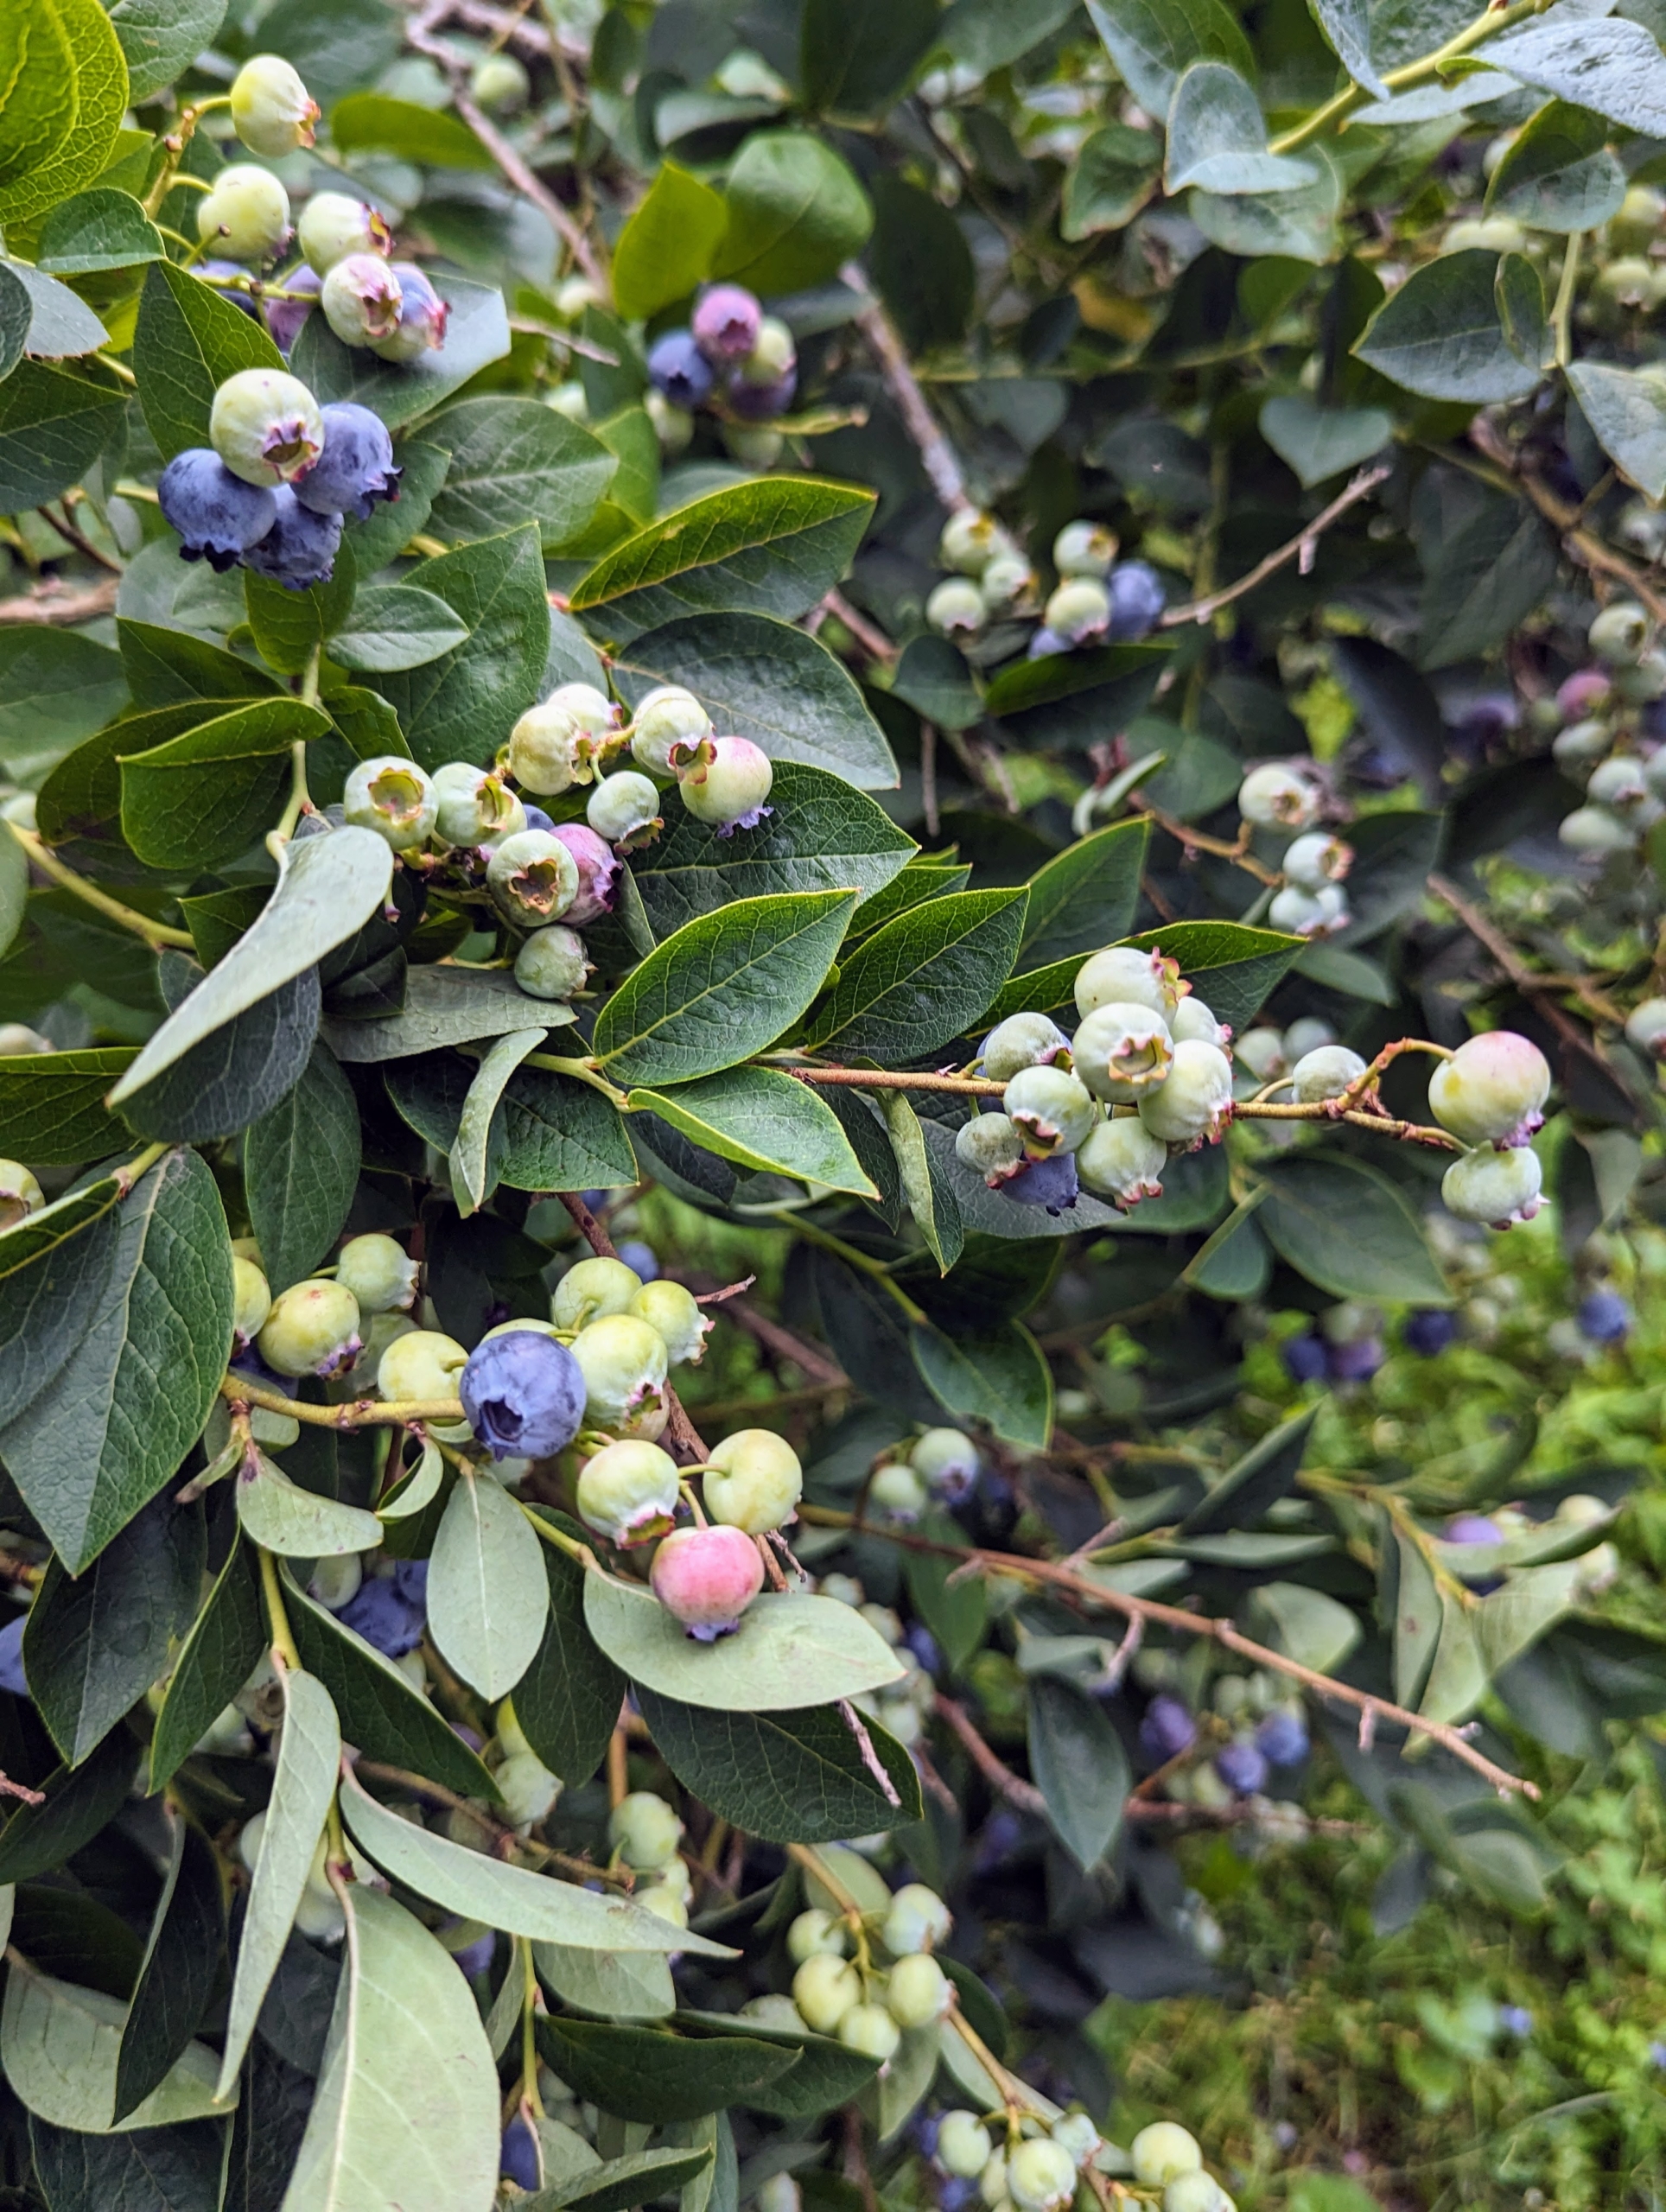
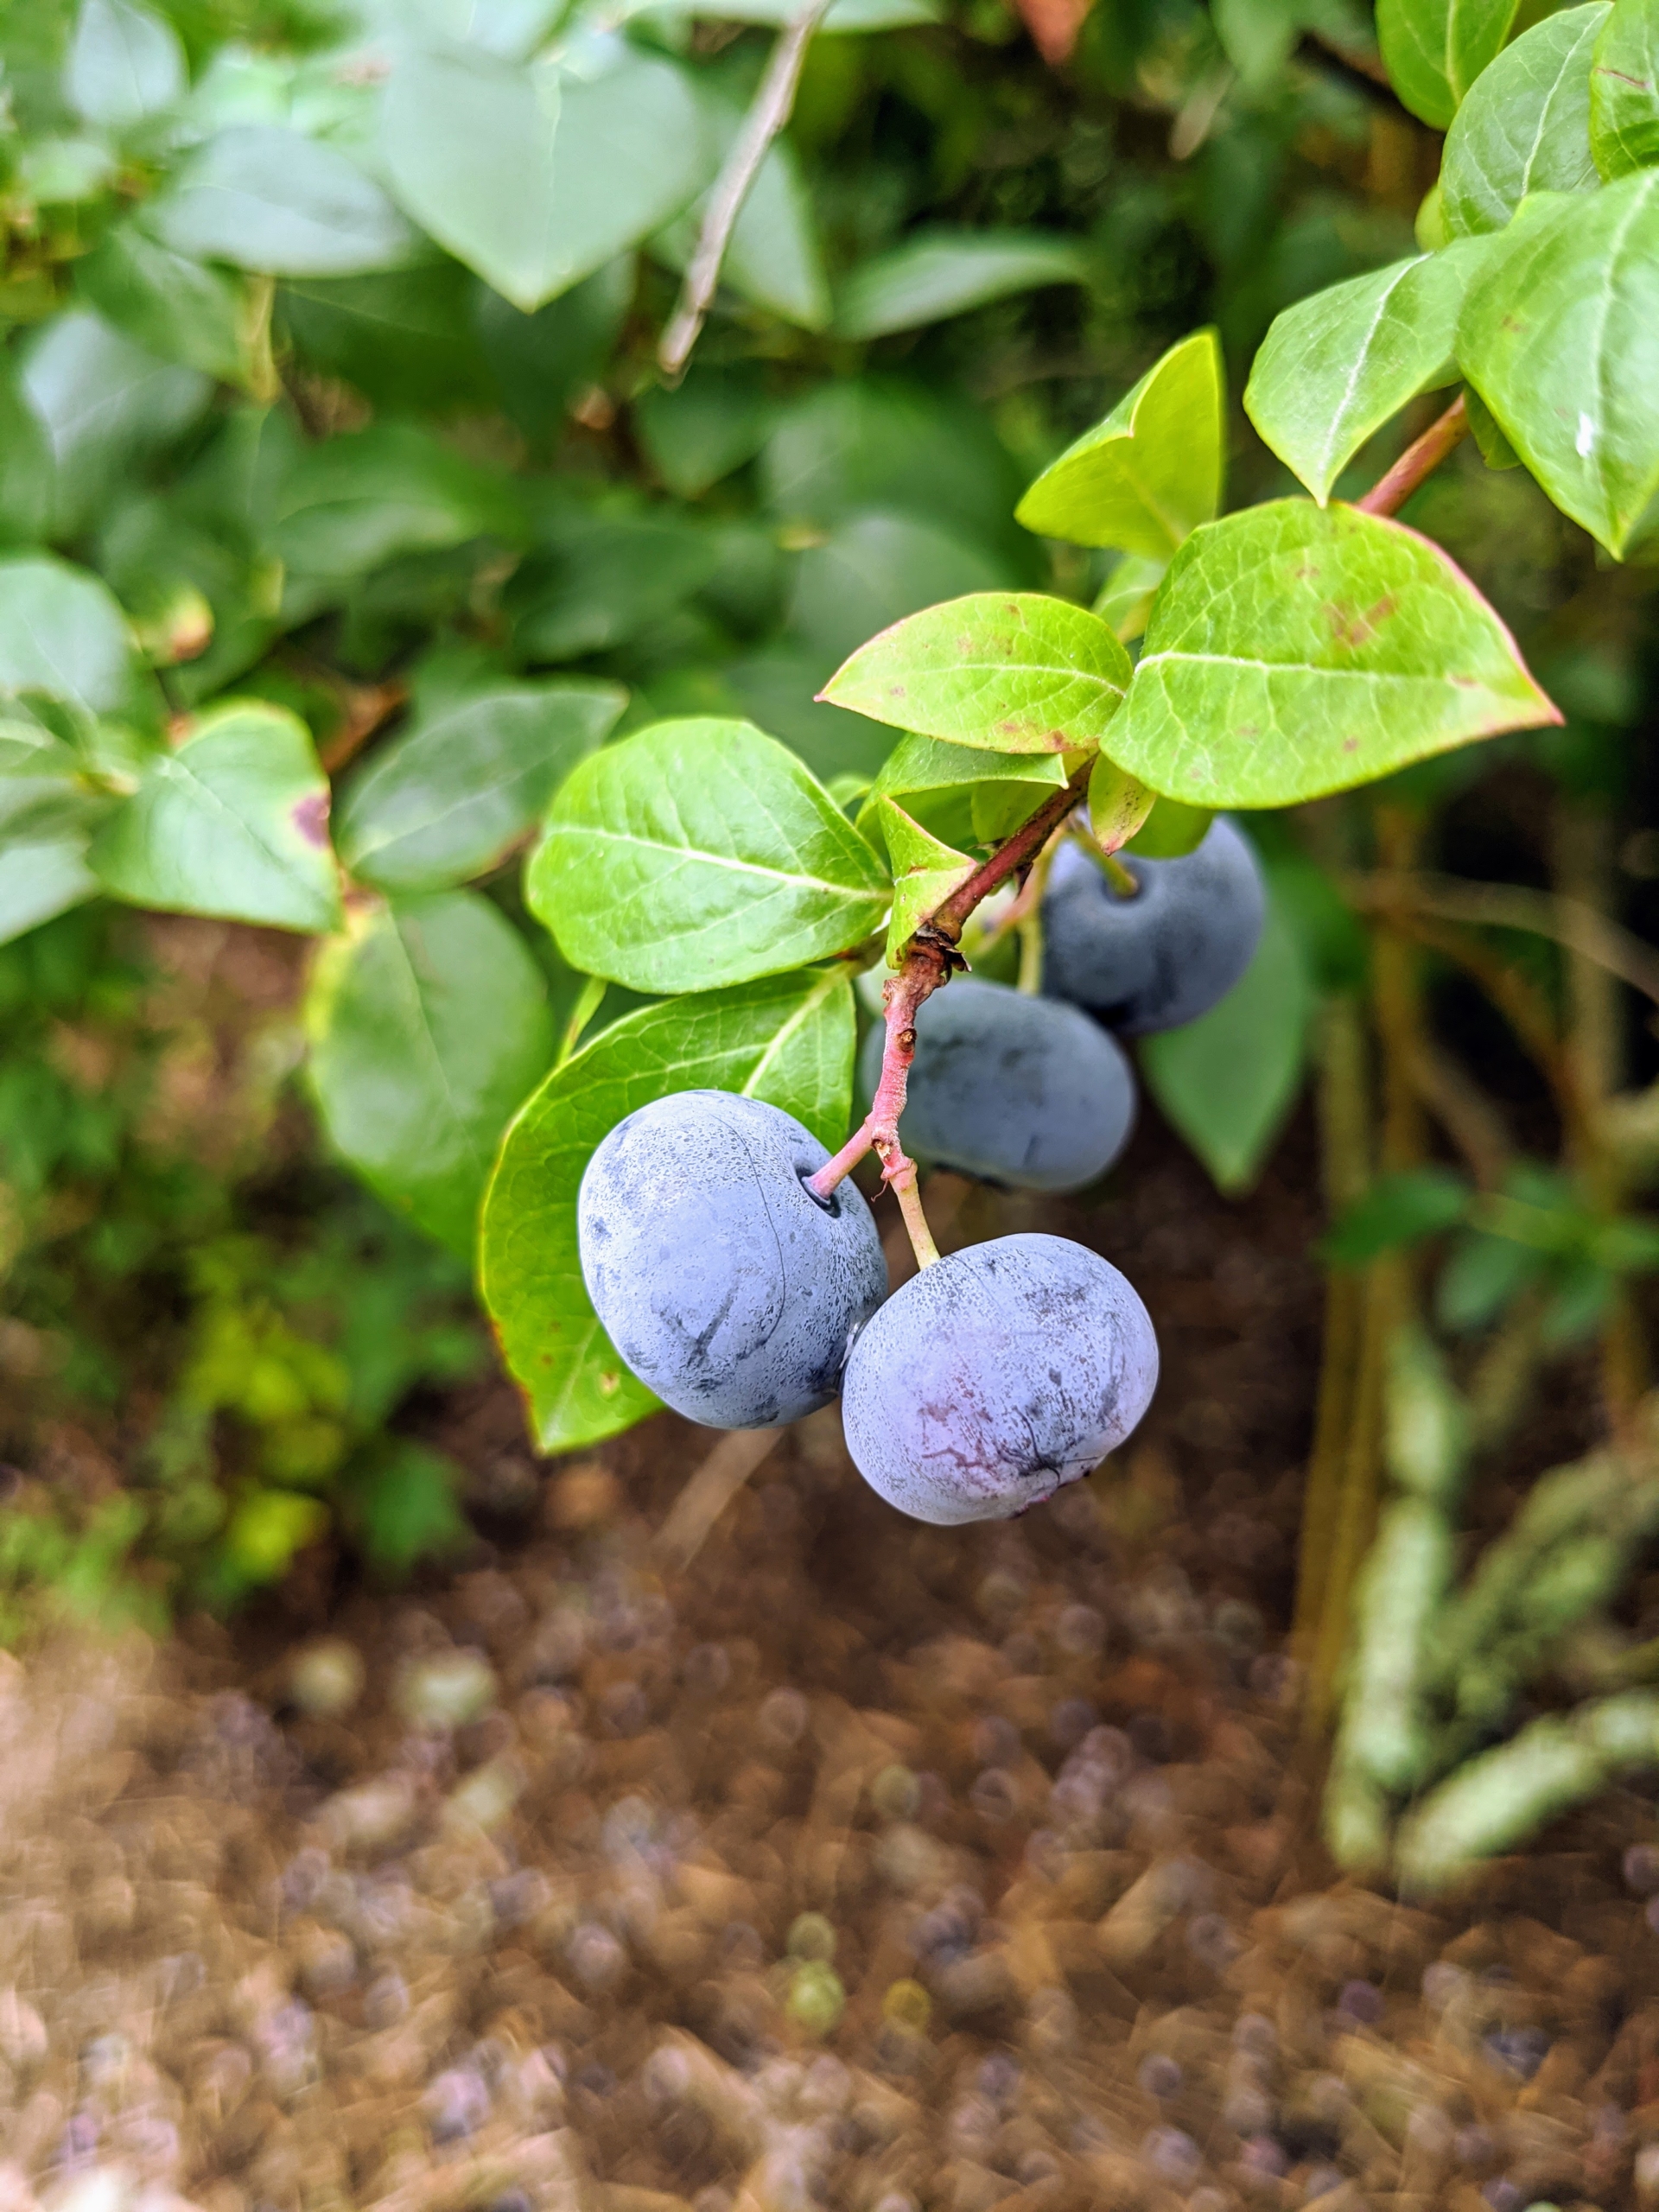
Blueberries are ready when they are completely blue. One may want to pick them as soon as they turn, but it’s actually best a few days later, when there are absolutely no hints of pink or green on the fruits.
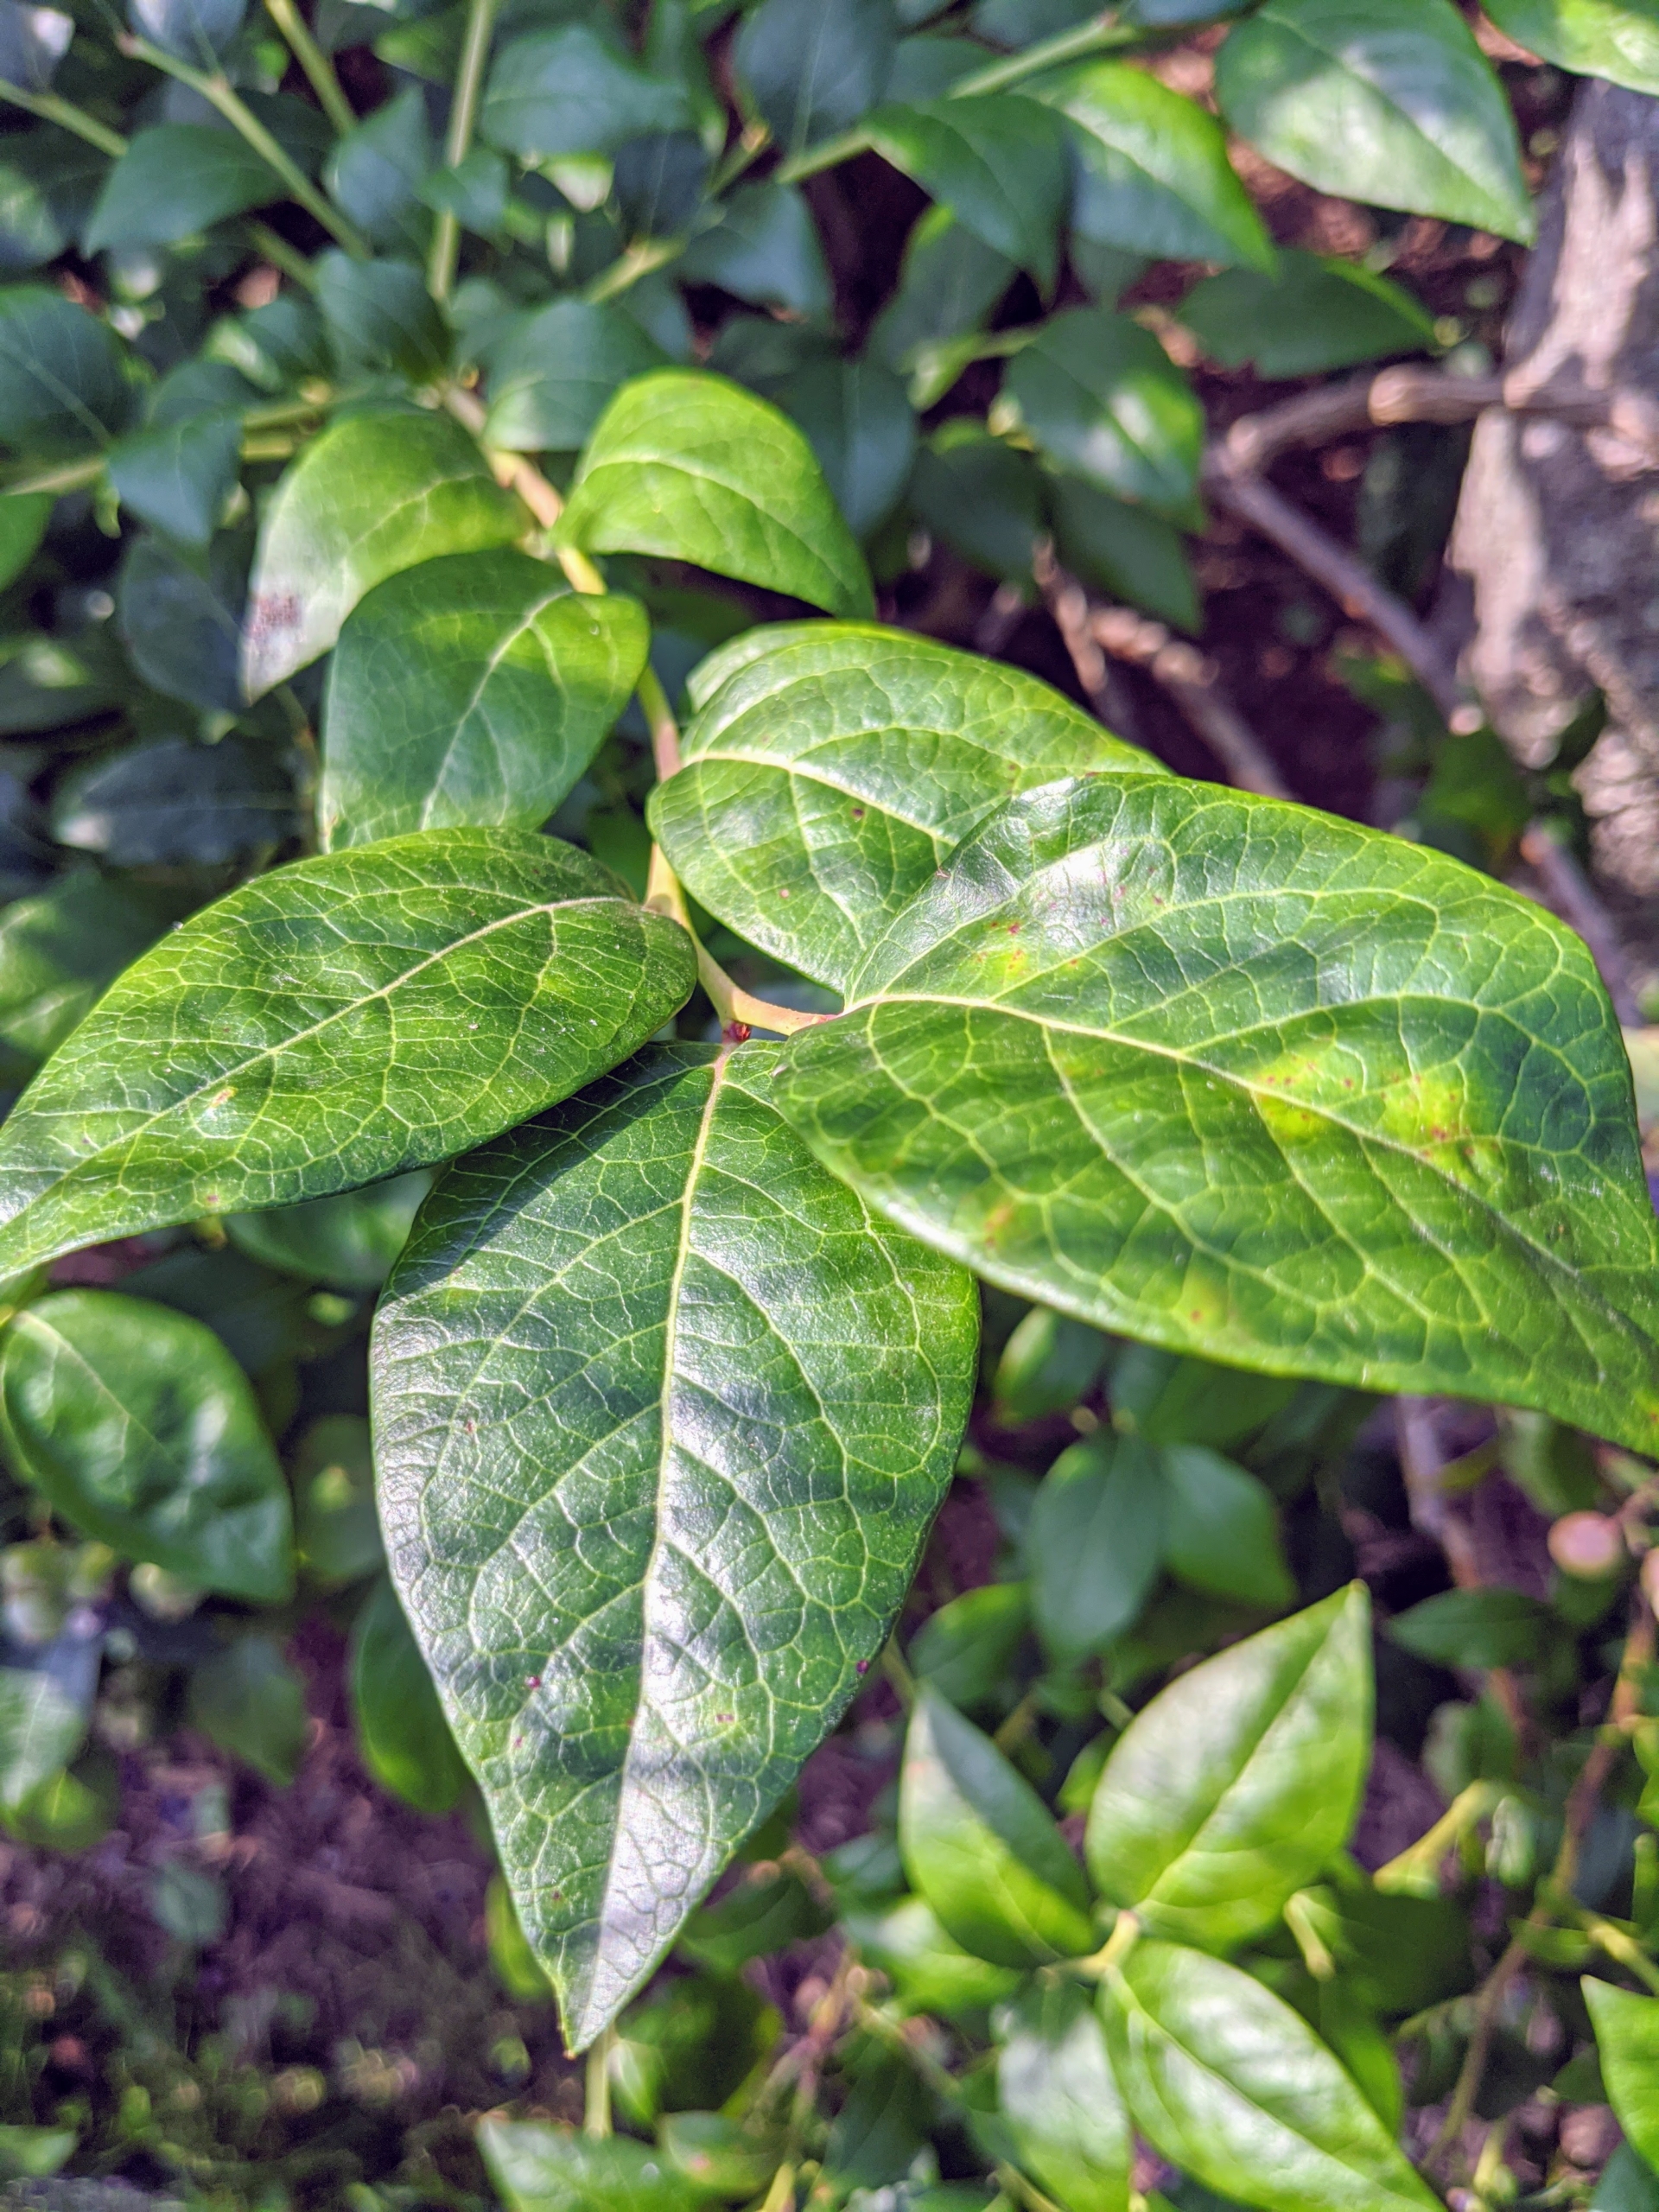
Blueberry bushes have glossy leaves that are green or bluish-green from spring through summer. The leaves are ovate, in an irregular oval or slightly egg shape that is wider at the bottom than the top.
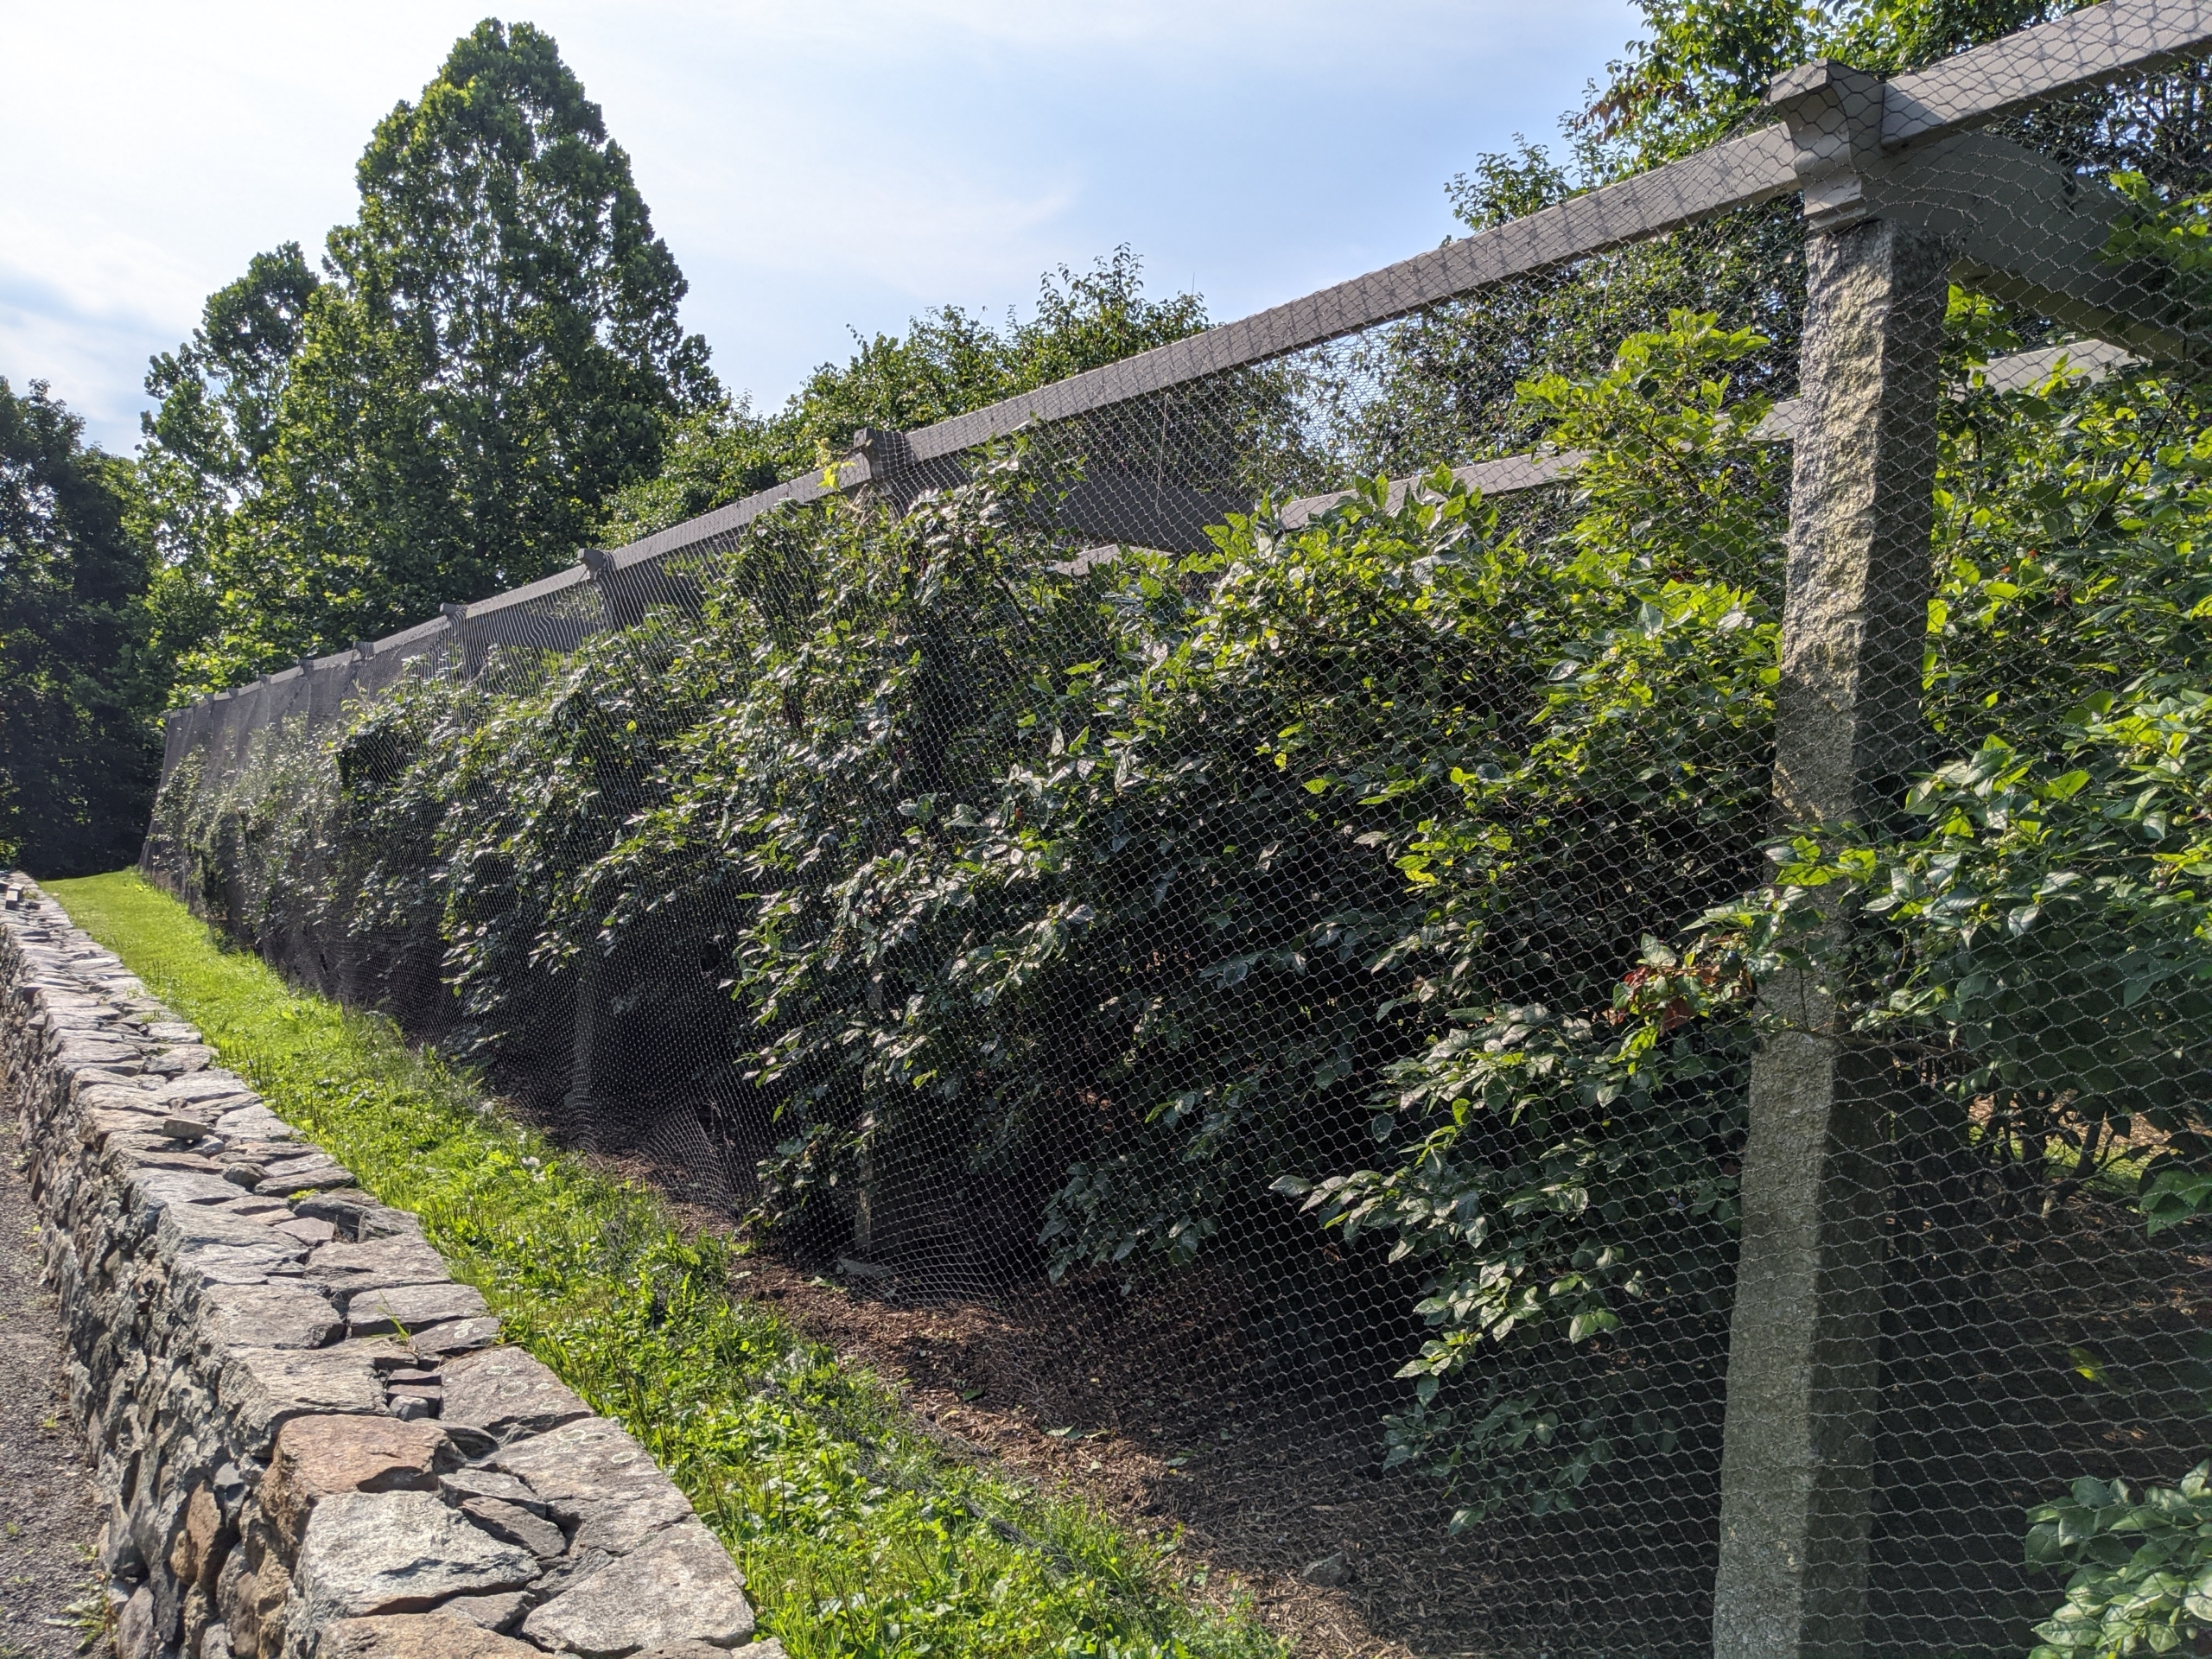
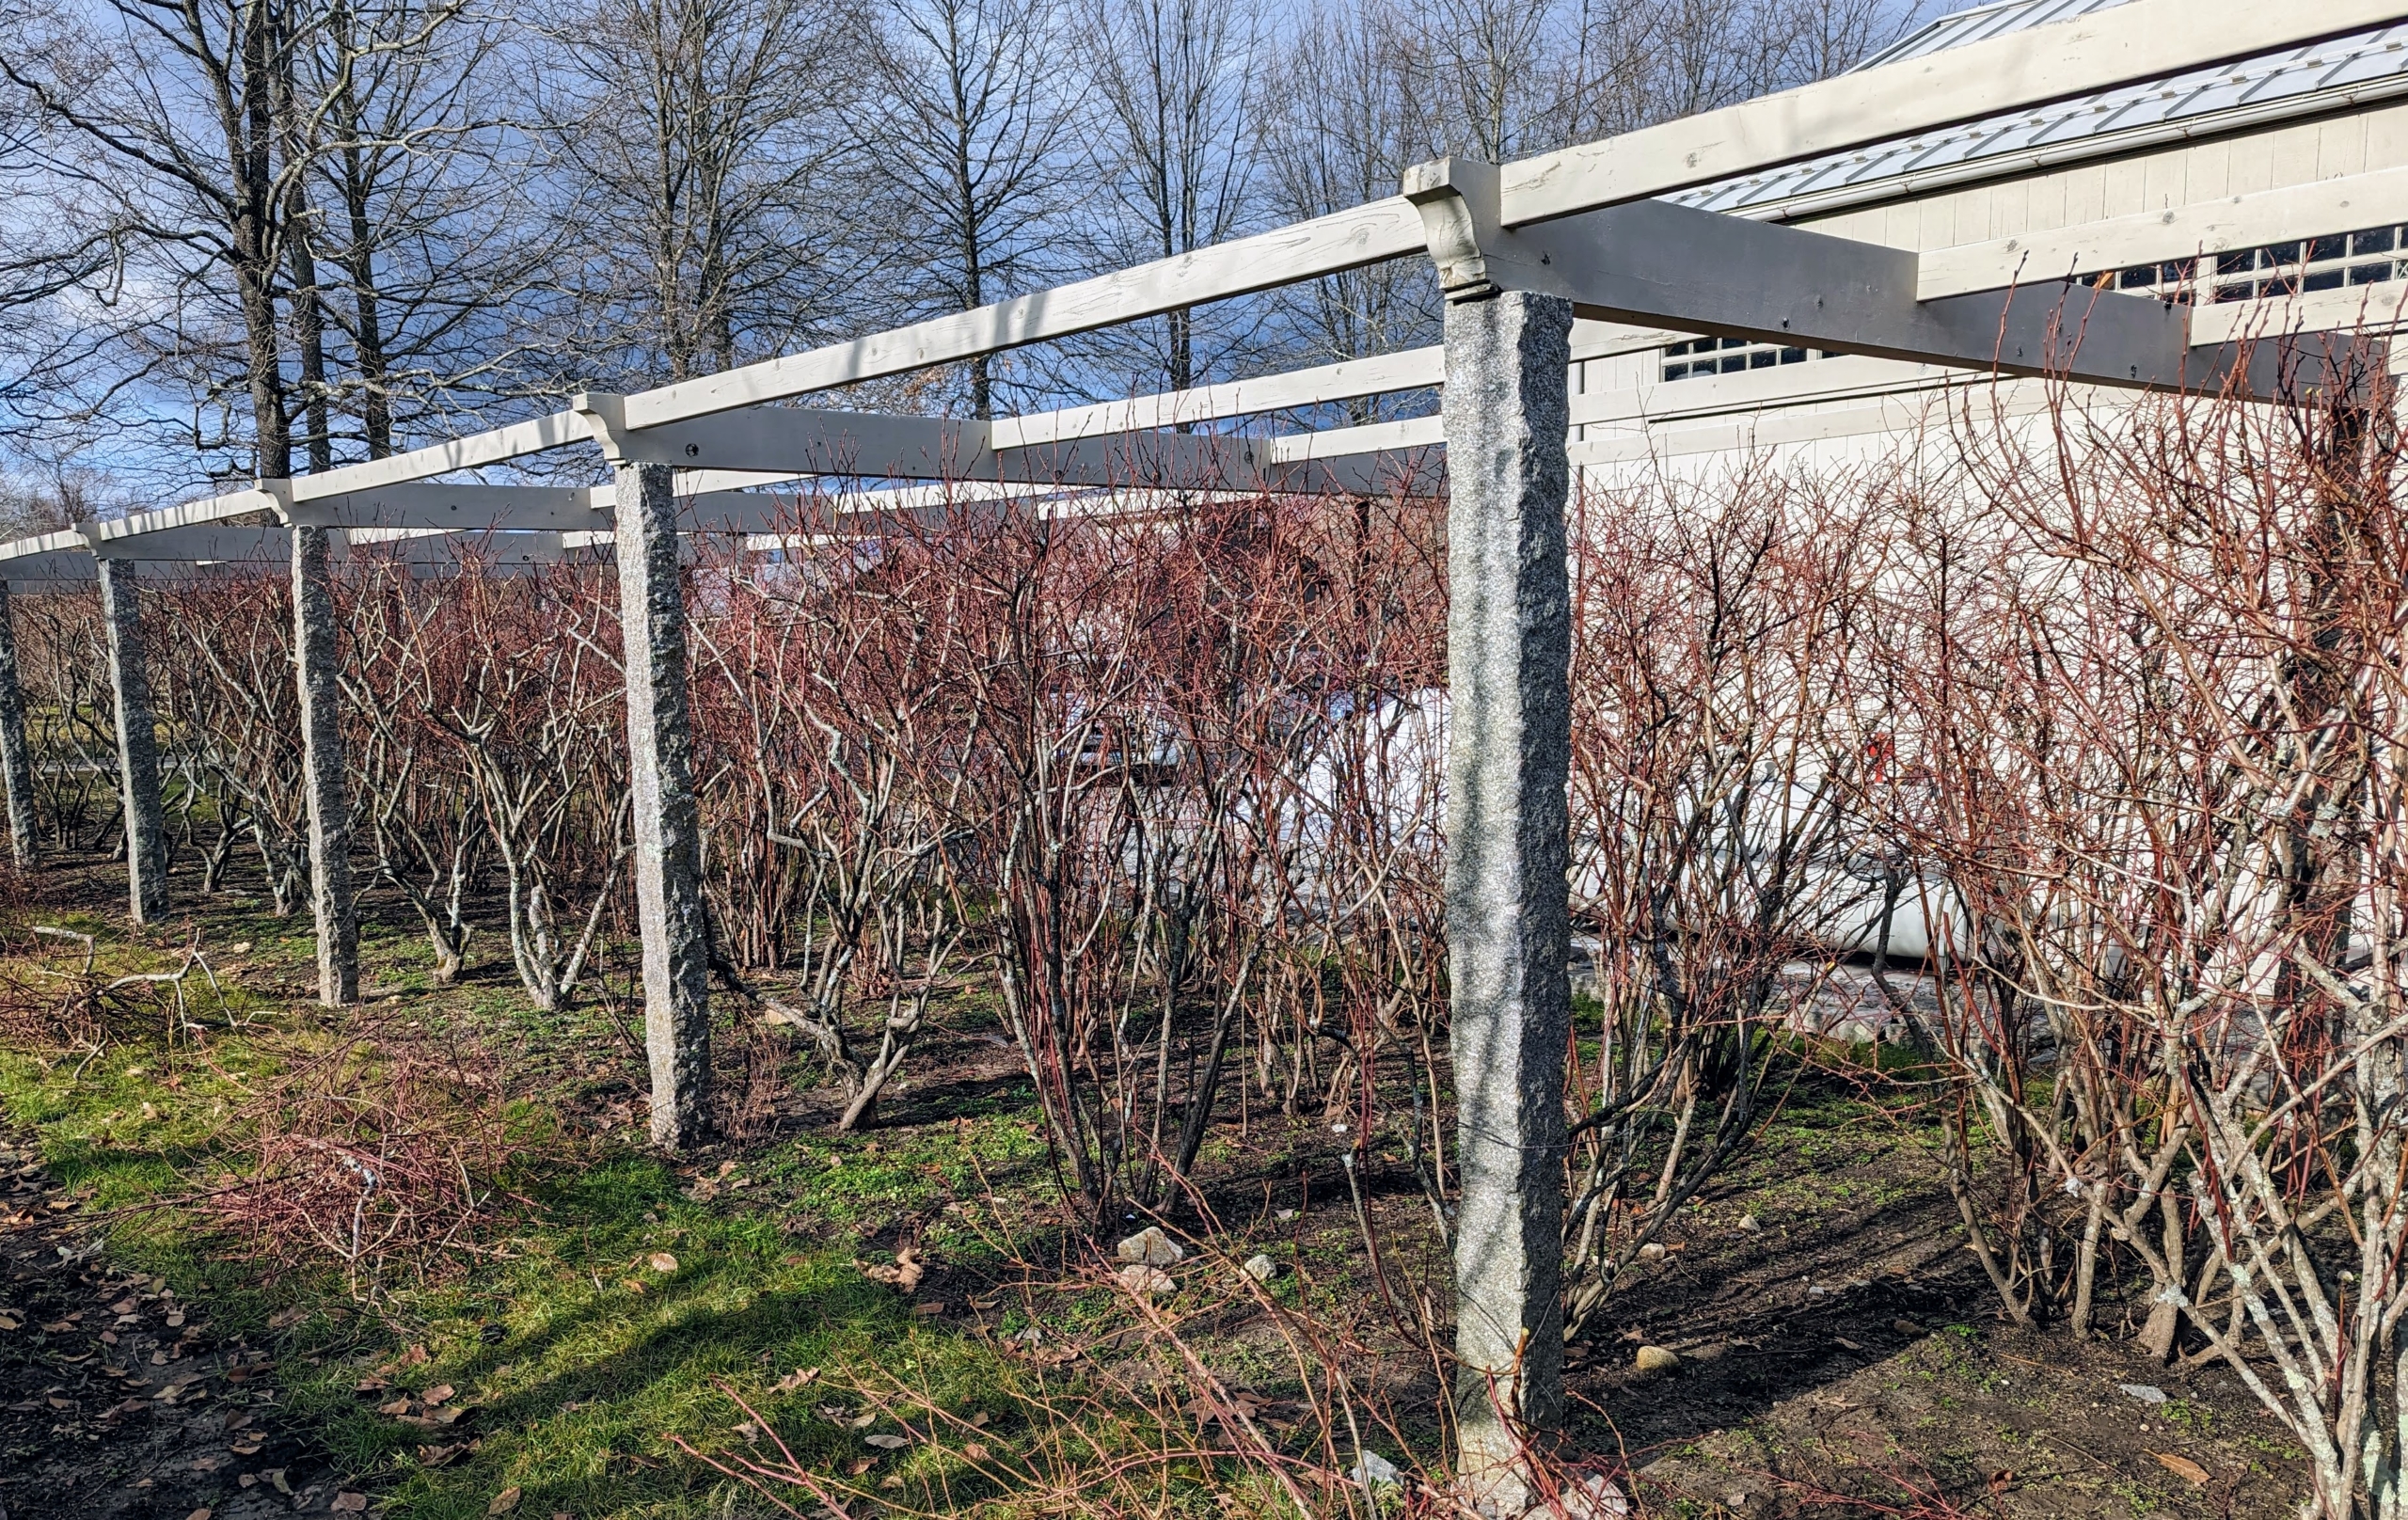
And just before these blueberry bushes are laden with fruits, we place a net over the pergola to protect the developing berries from all the birds. The netting covers the blueberry bushes on all sides and on the top.
I planted this blueberry patch more than 12-years ago. This is what the bushes look like in summer, when they are full of foliage and fruit. They grow very well here.
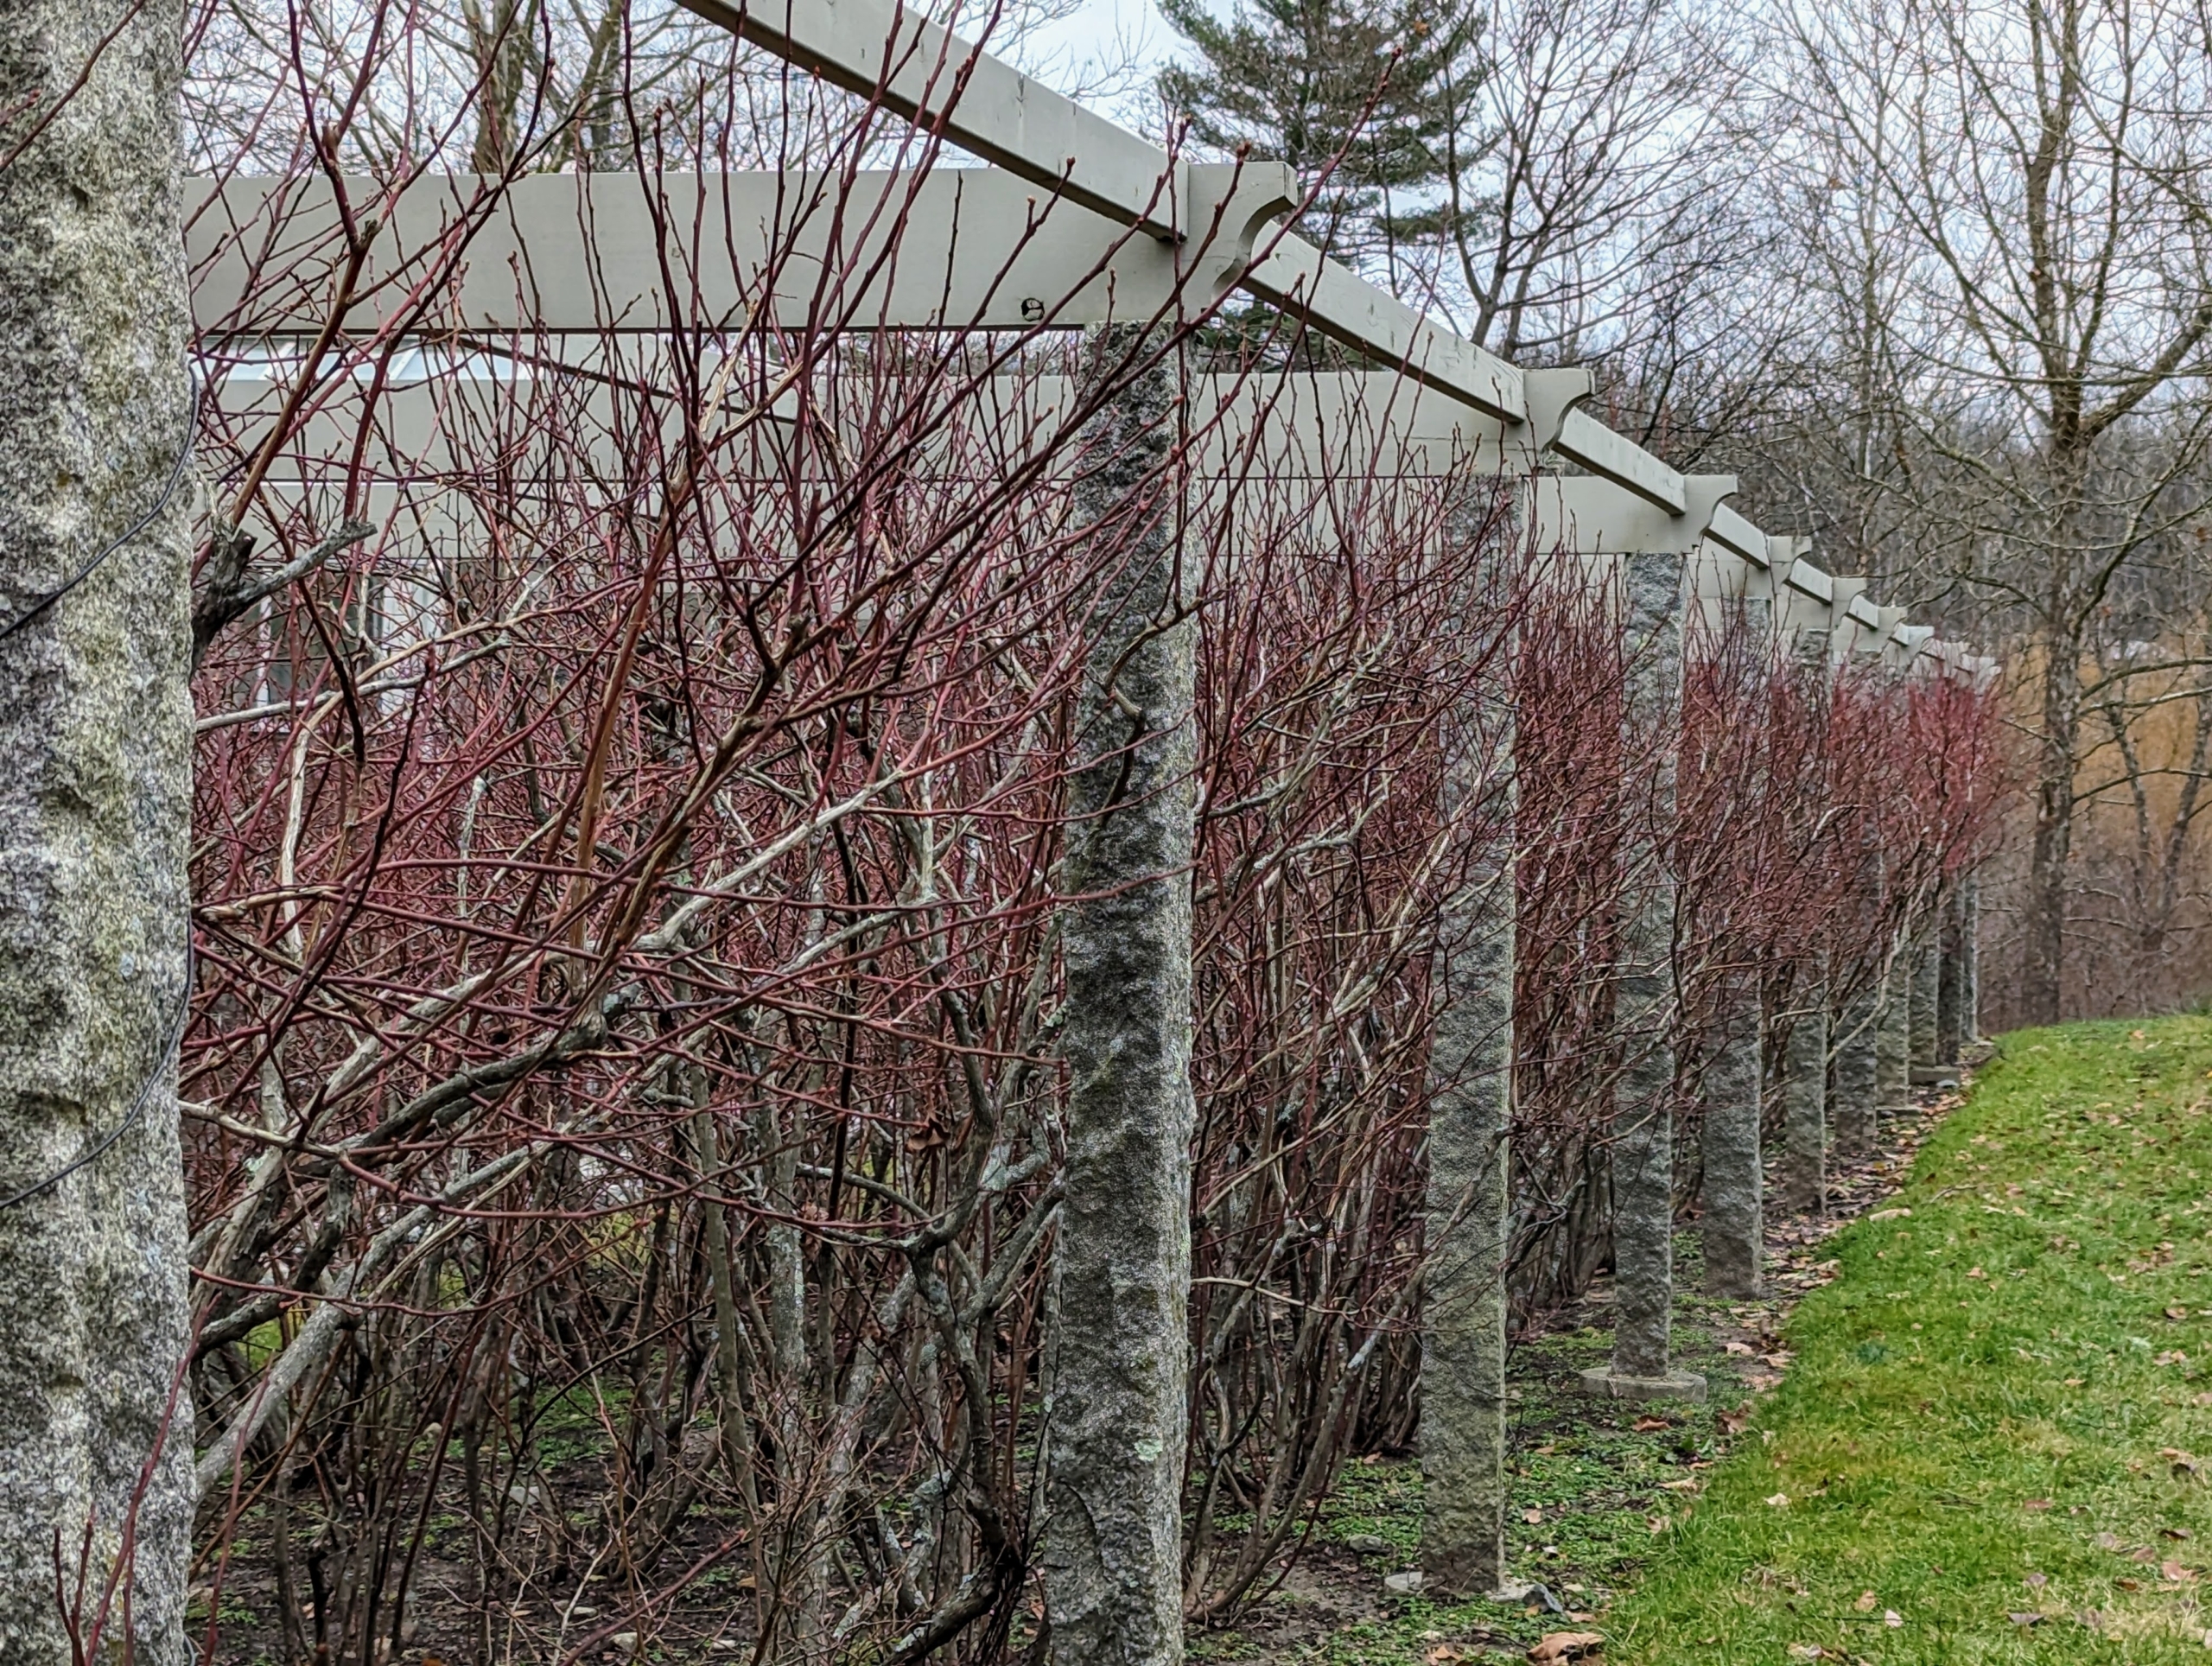
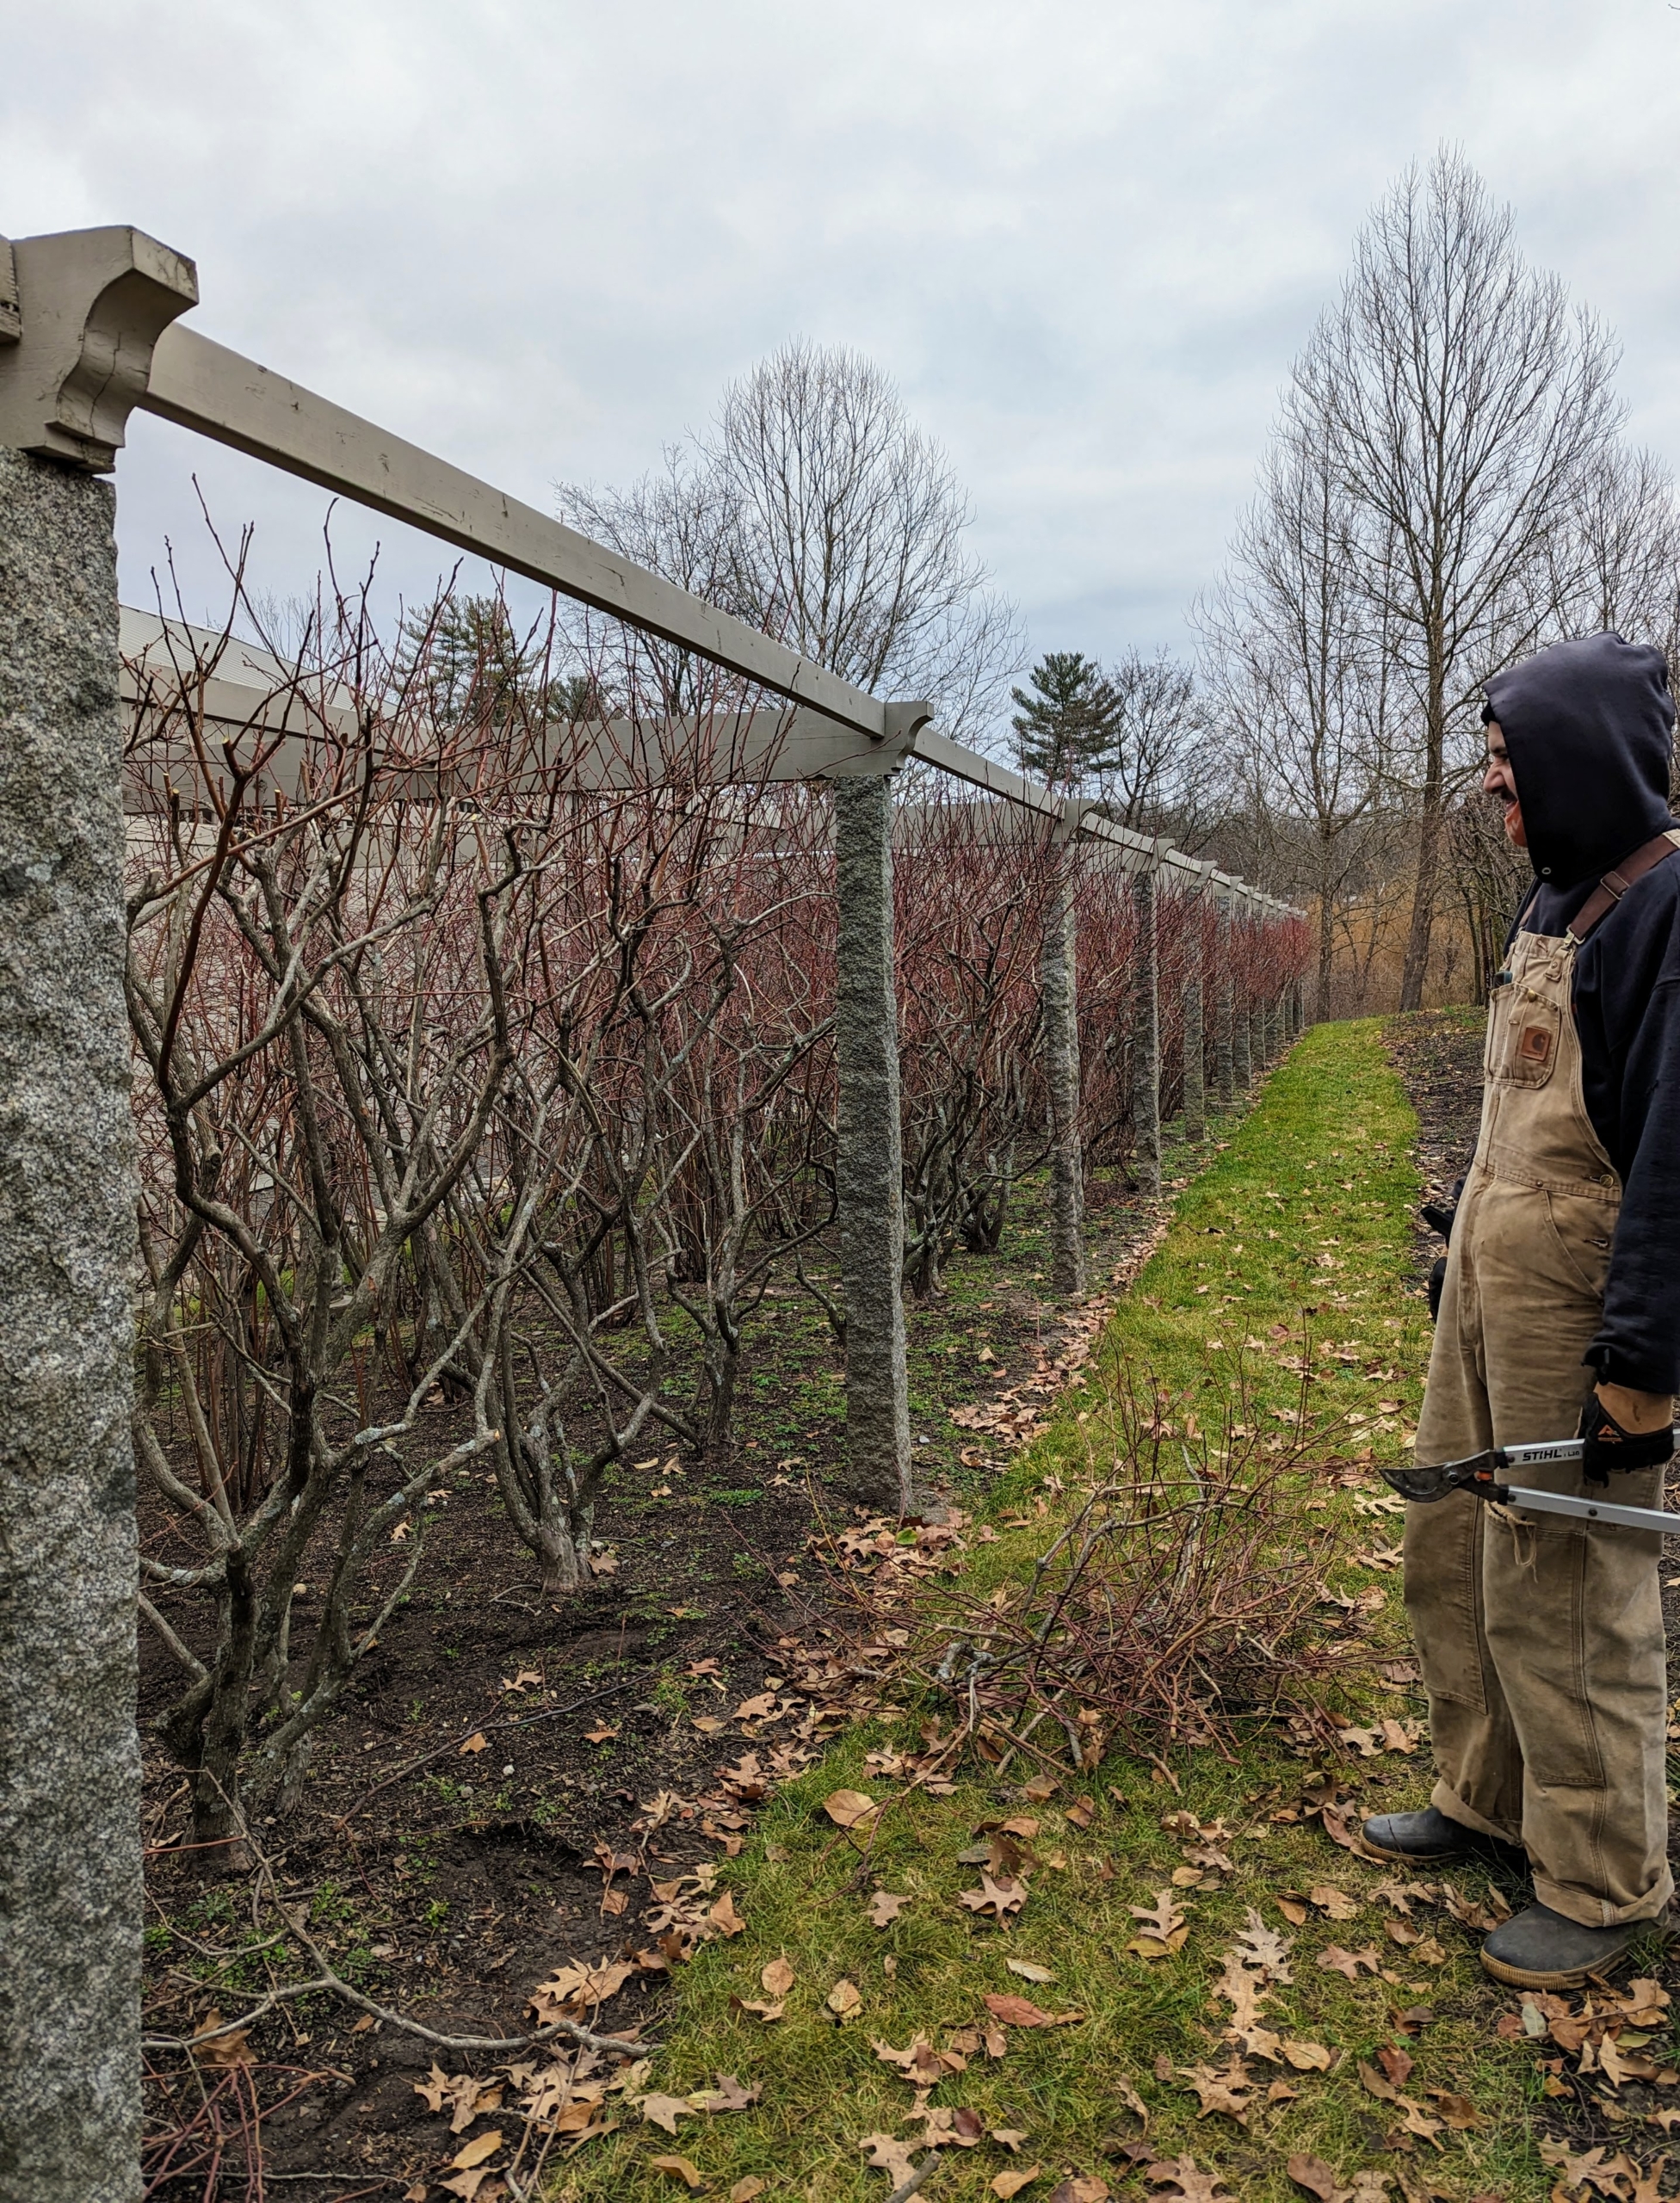
This is what they looked like before pruning. When pruning, we always make sure the outer rows are within the pergola posts. Here, it is easy to see how much growth has occurred.
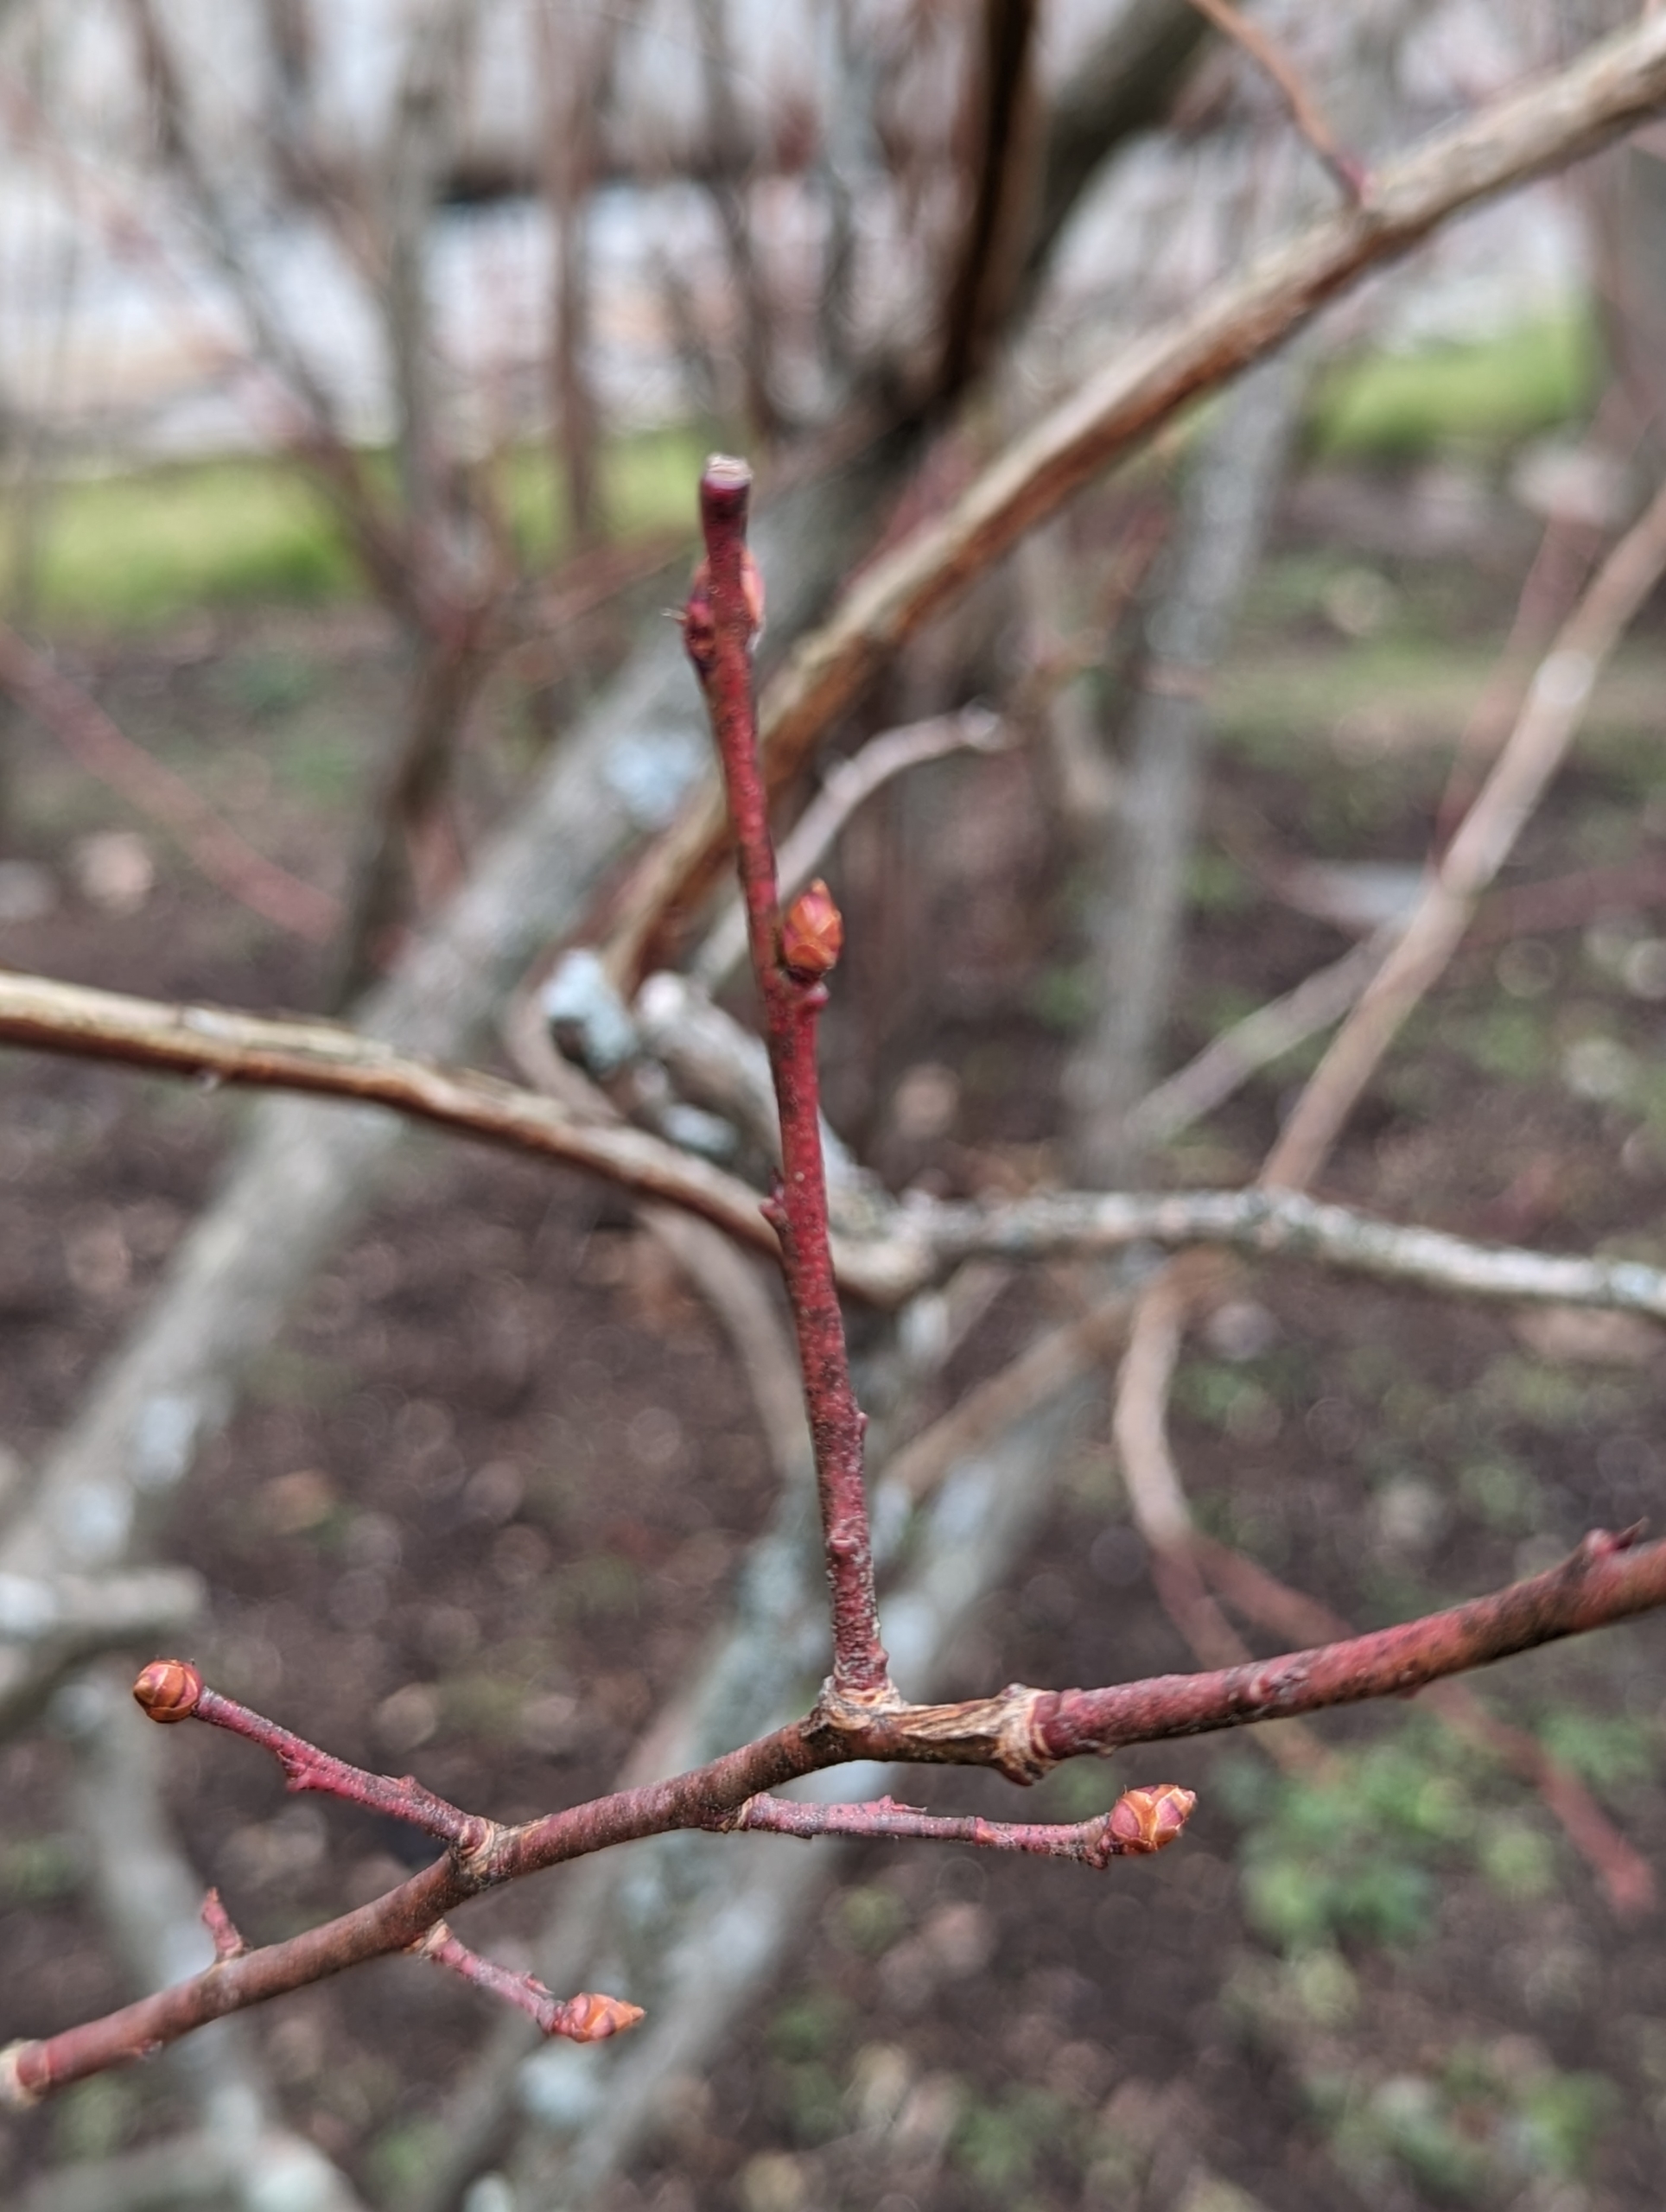
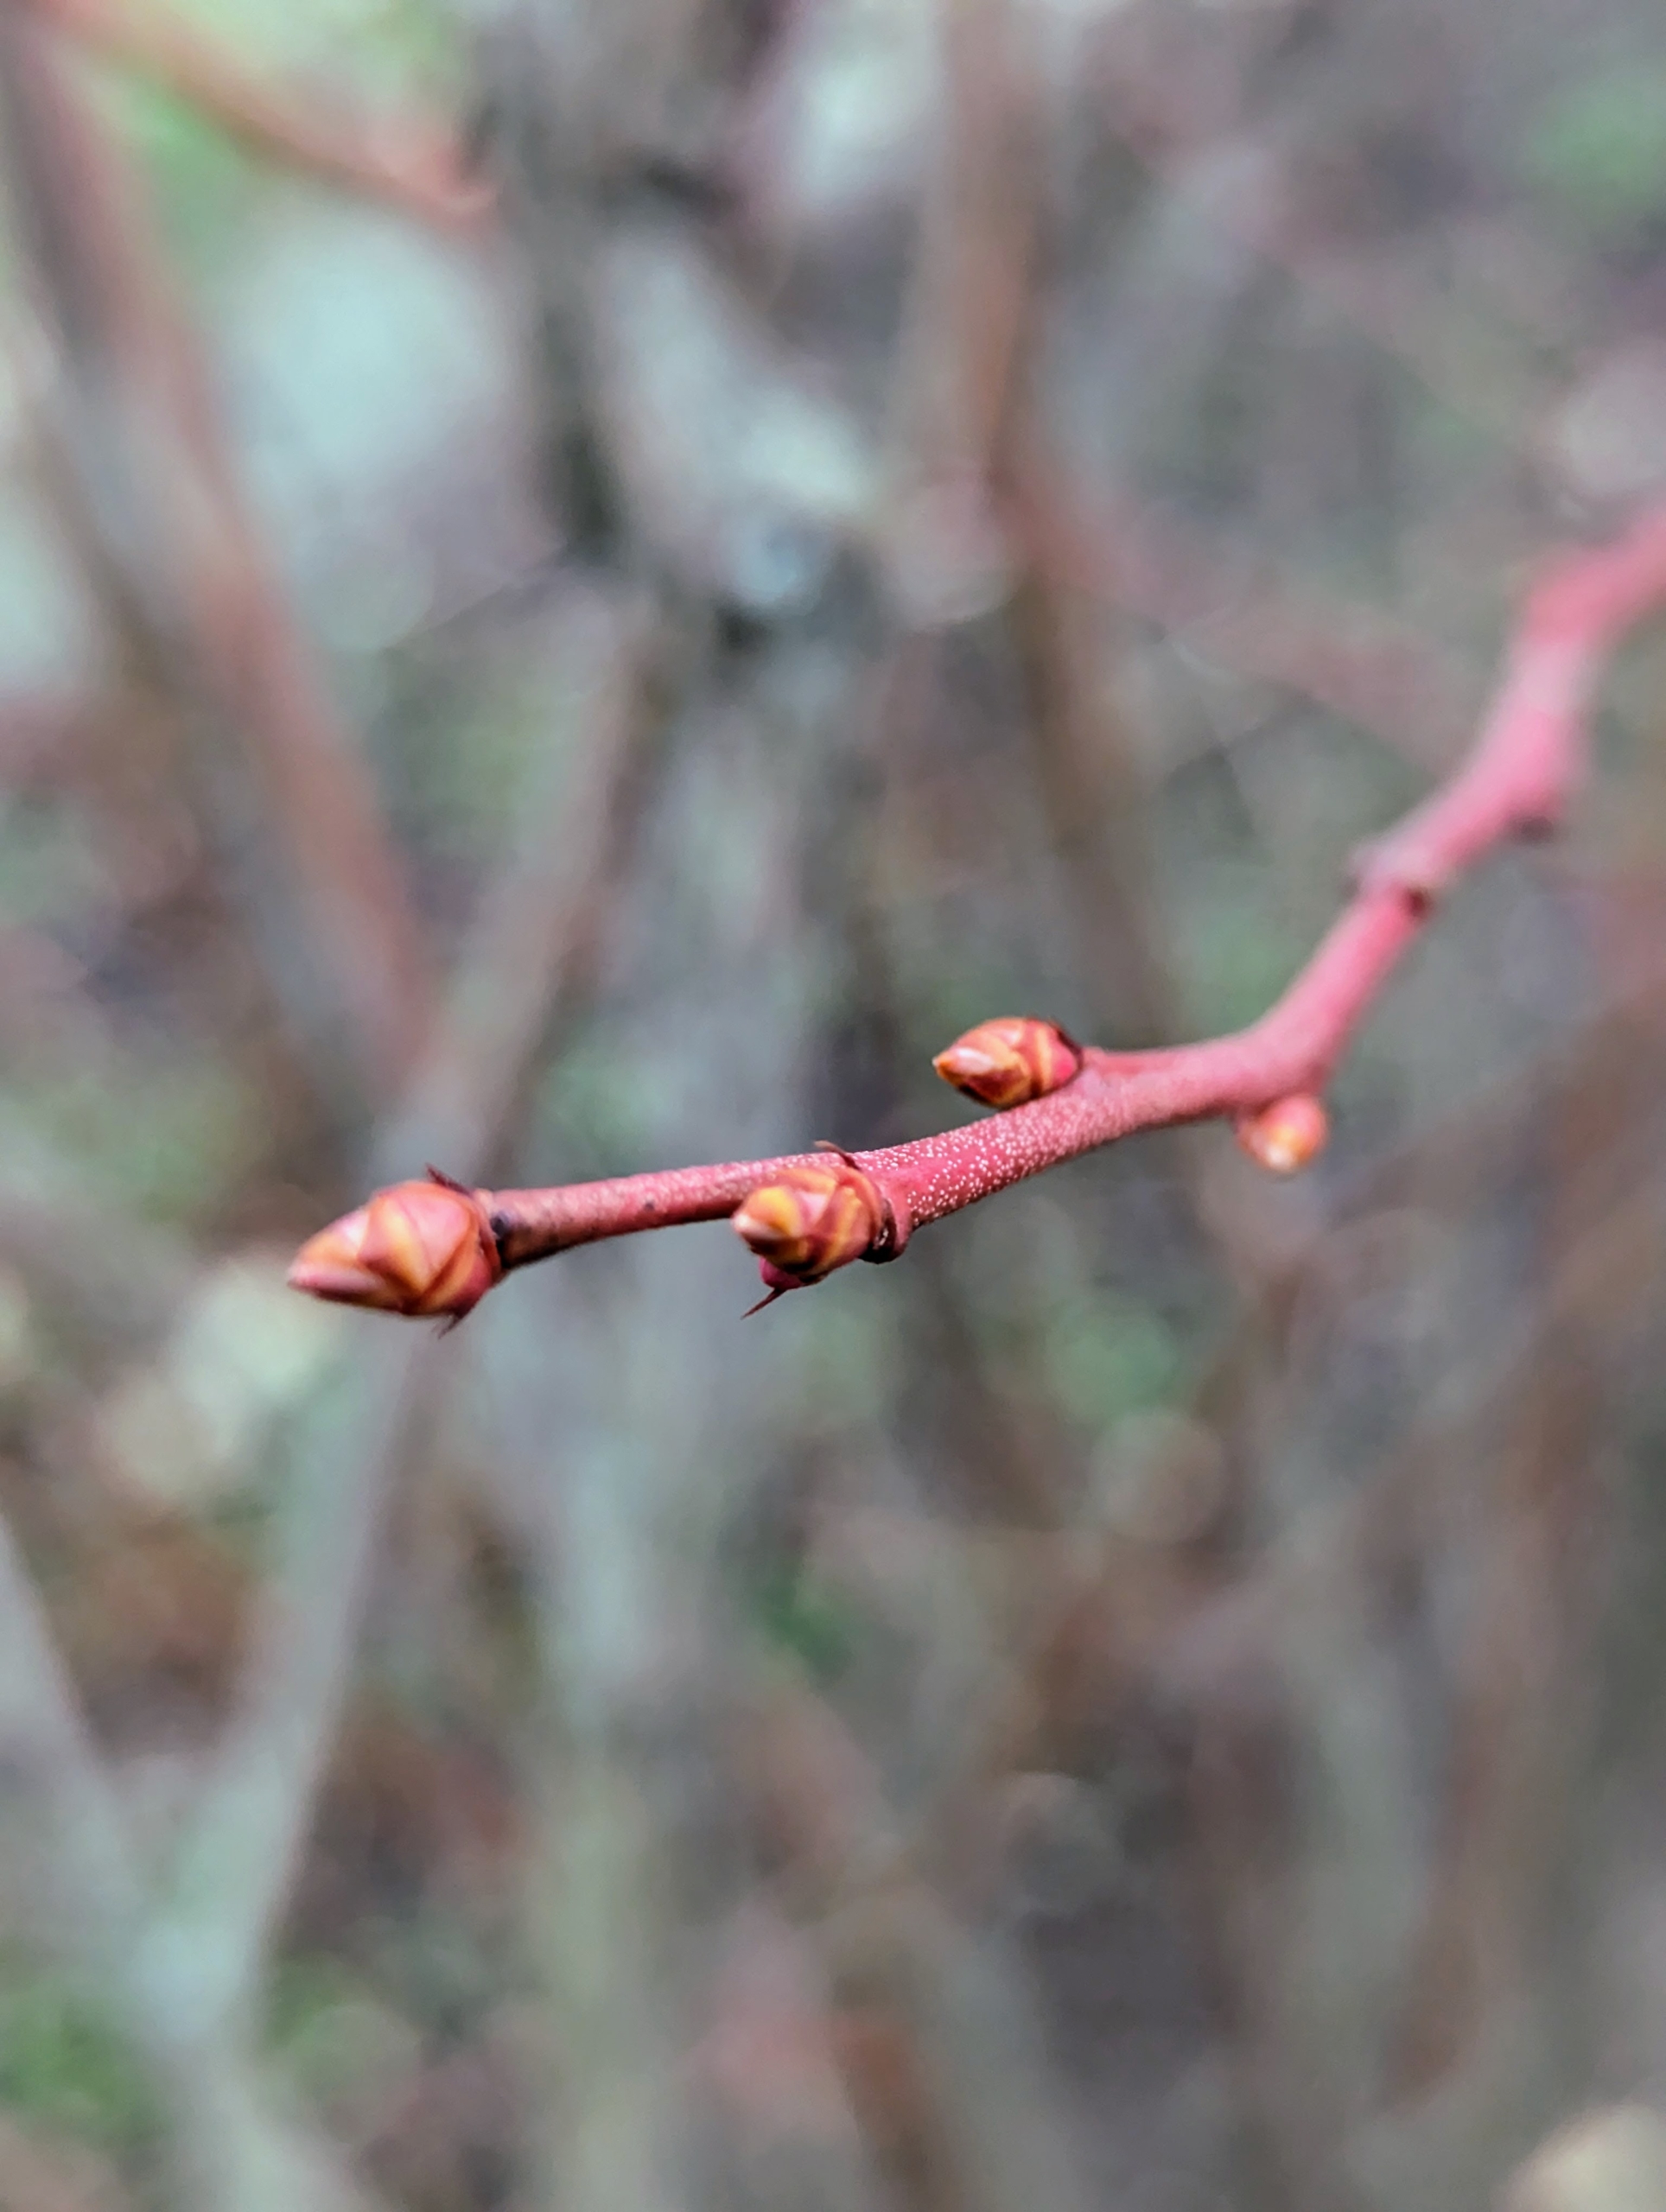
In winter, flower buds are easily visible on one-year-old wood and their numbers can be adjusted by pruning to regulate the crop load for the coming year.
New growth shows visible swelling of the flower buds. It also indicates good healthy plants. This stage can also tolerate cold temperatures.
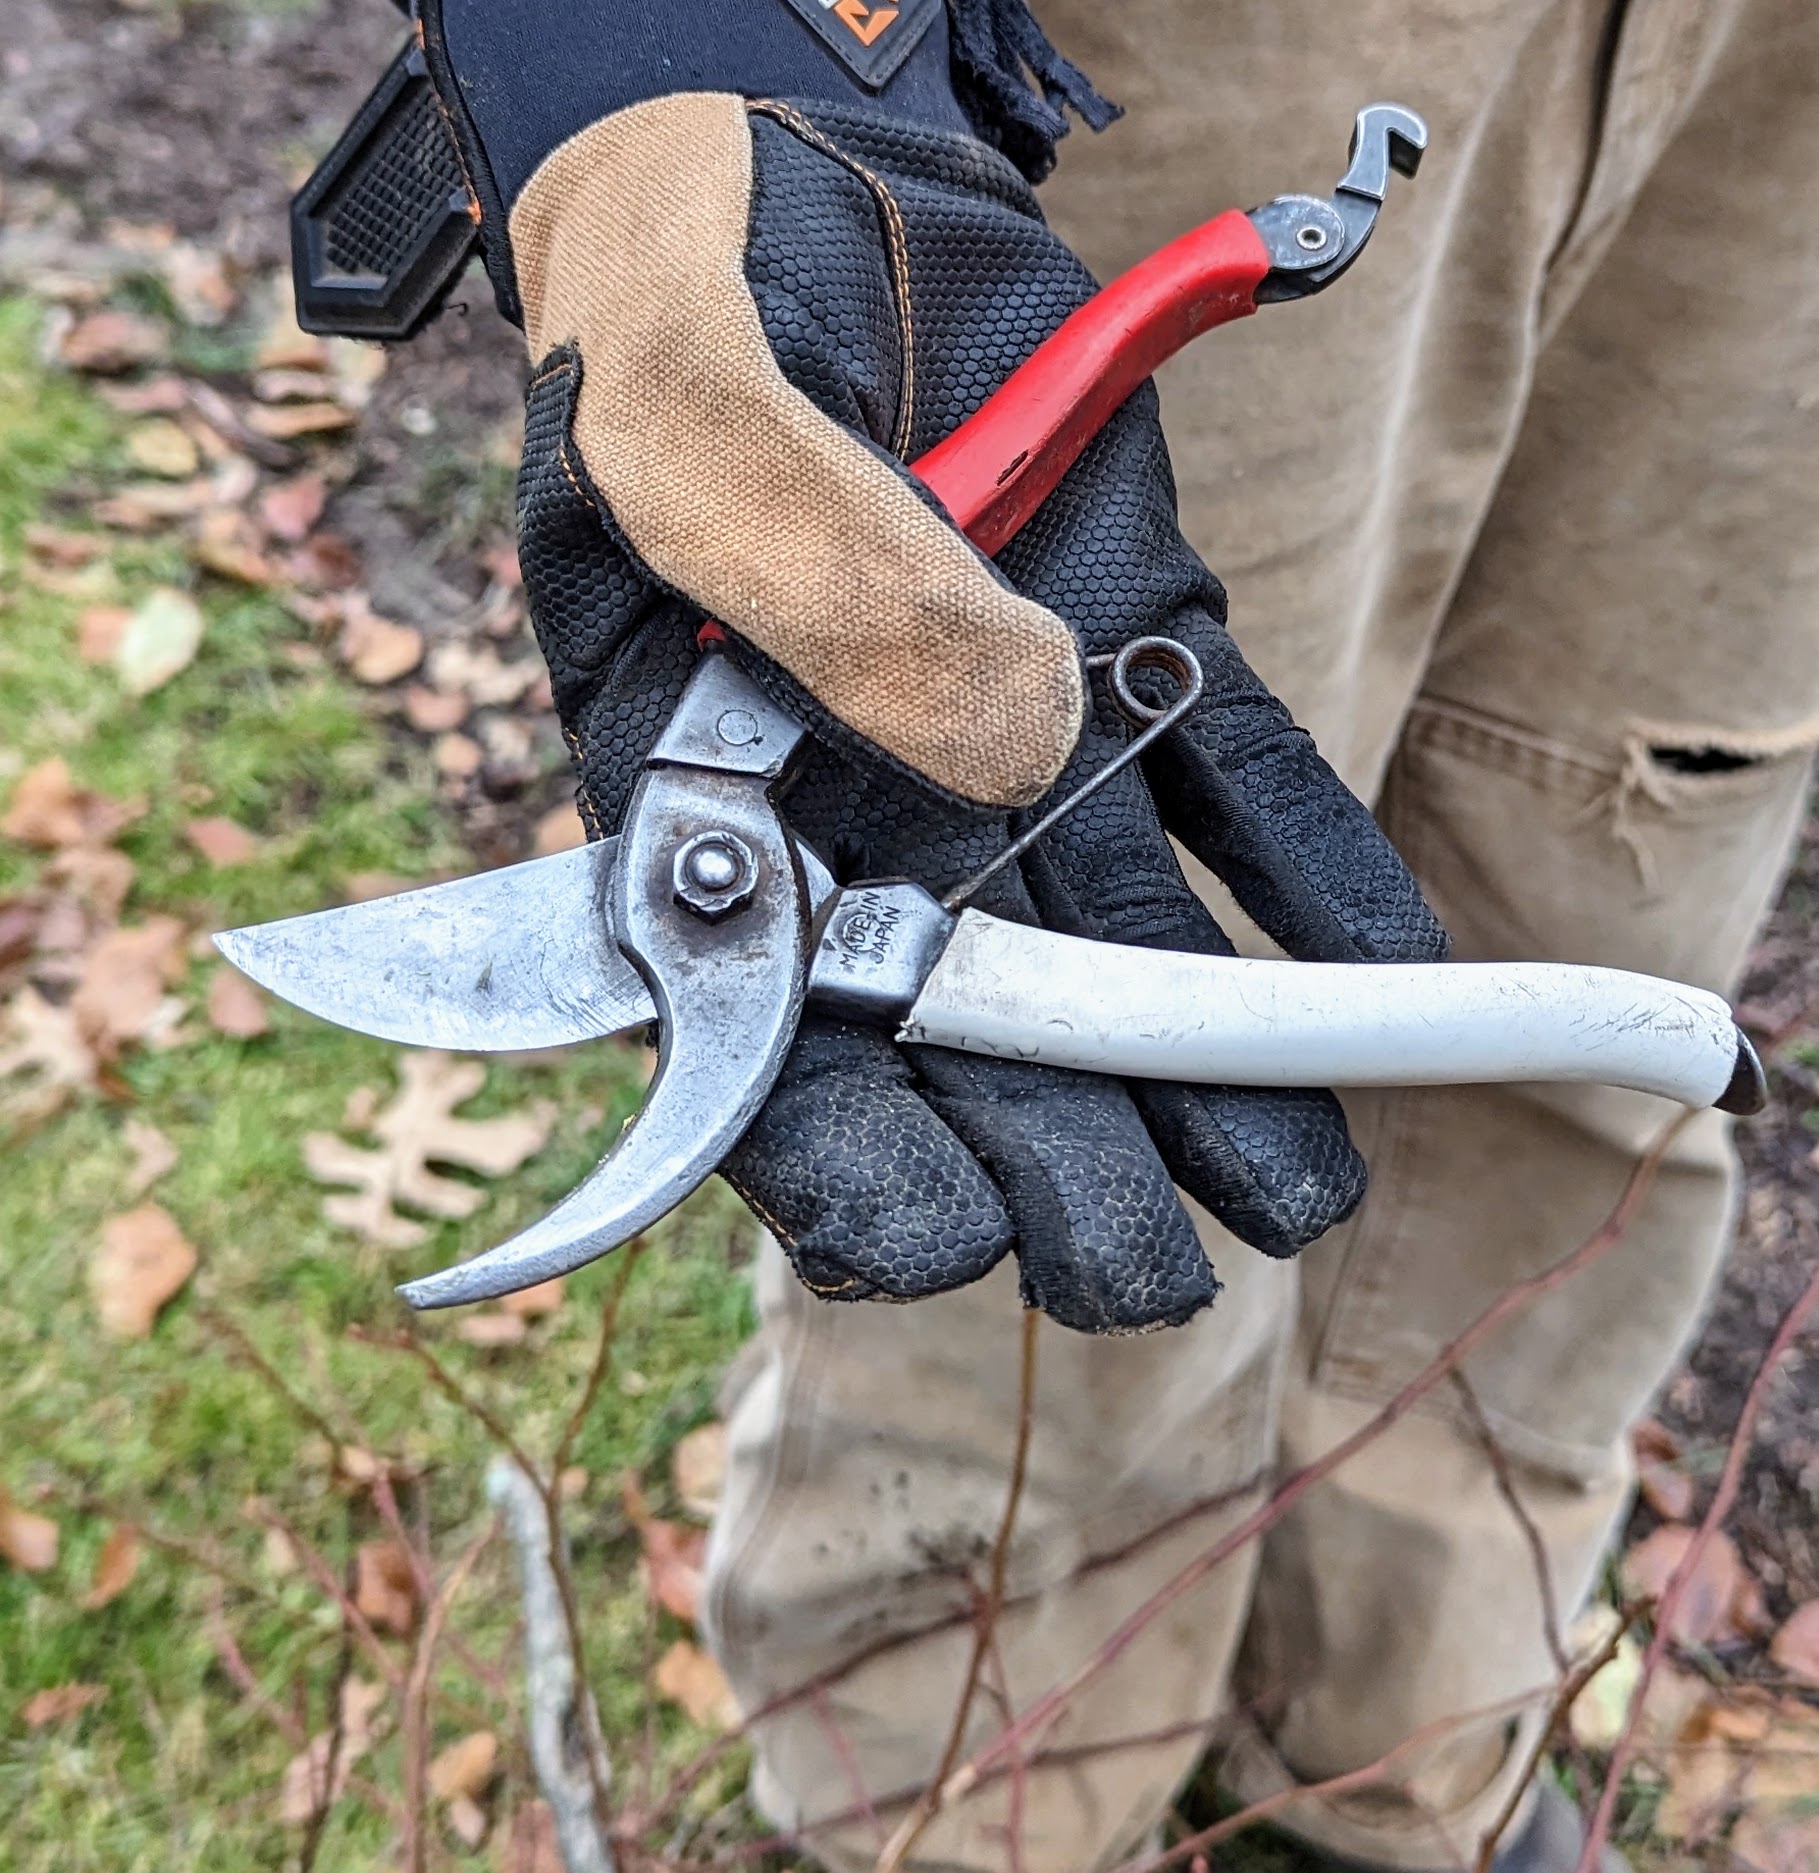
When pruning, Brian uses these Okatsune pruners – they are very dependable and long lasting. Everyone on my crew has a pair.
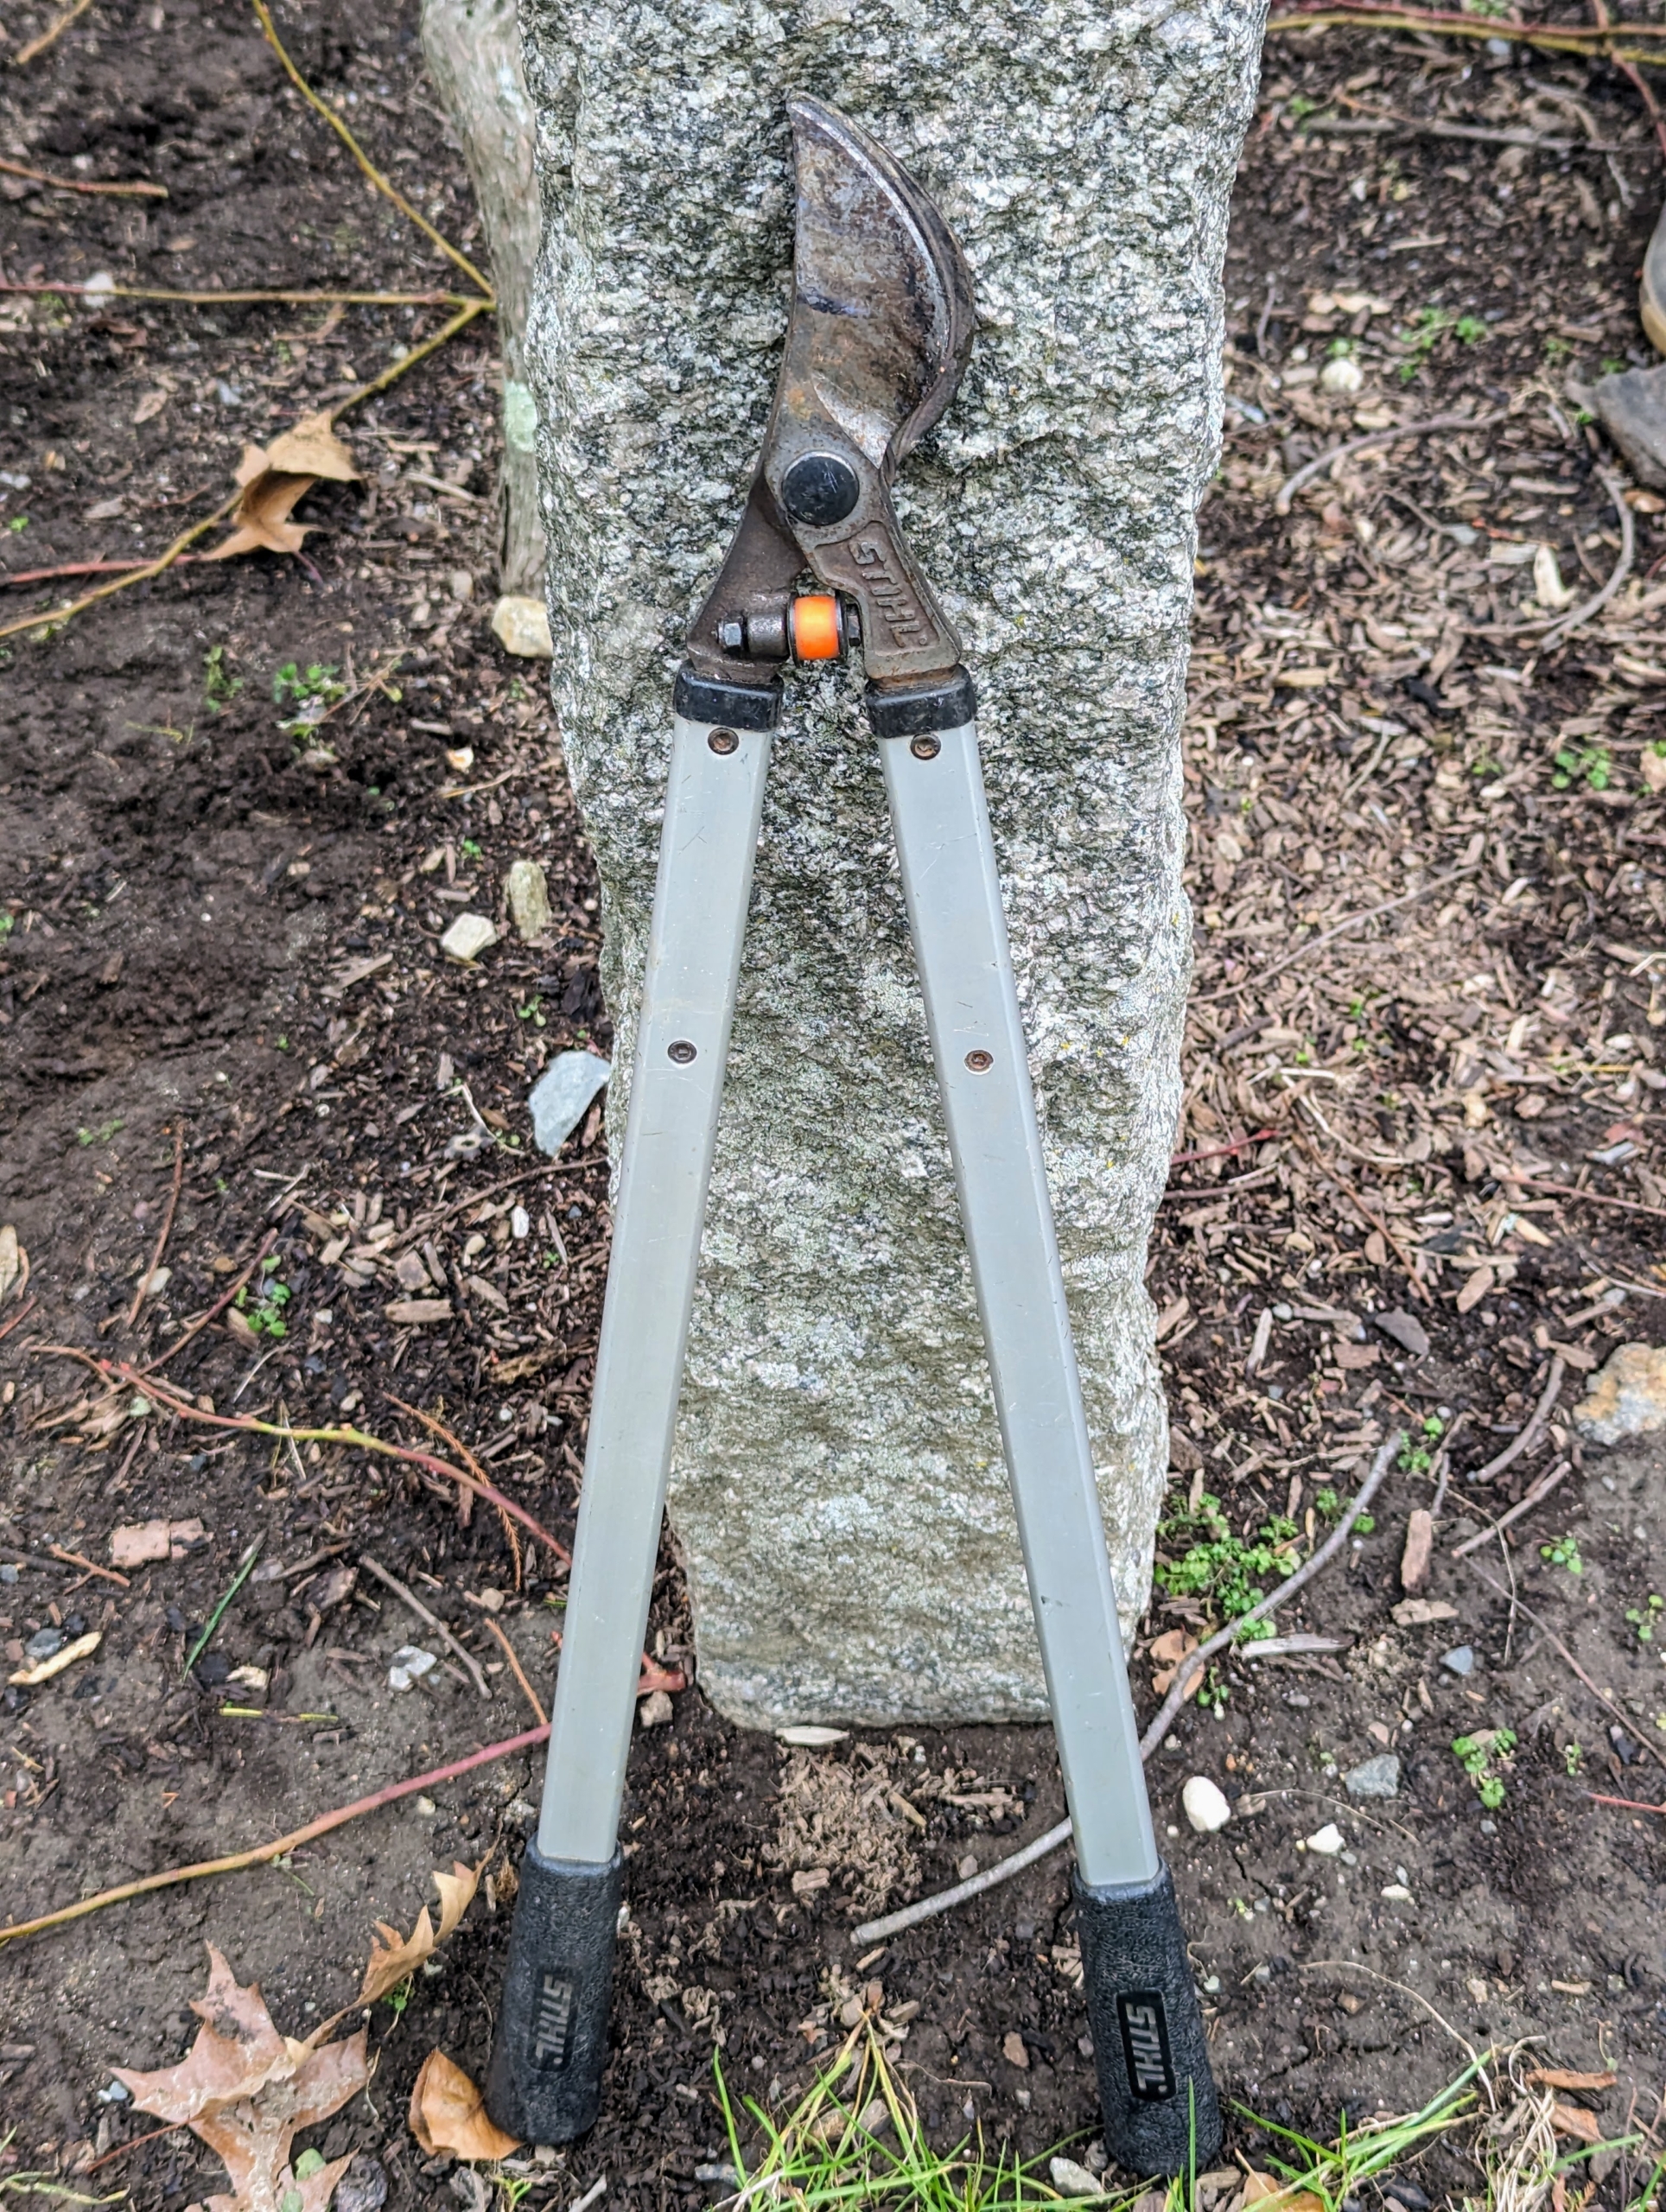
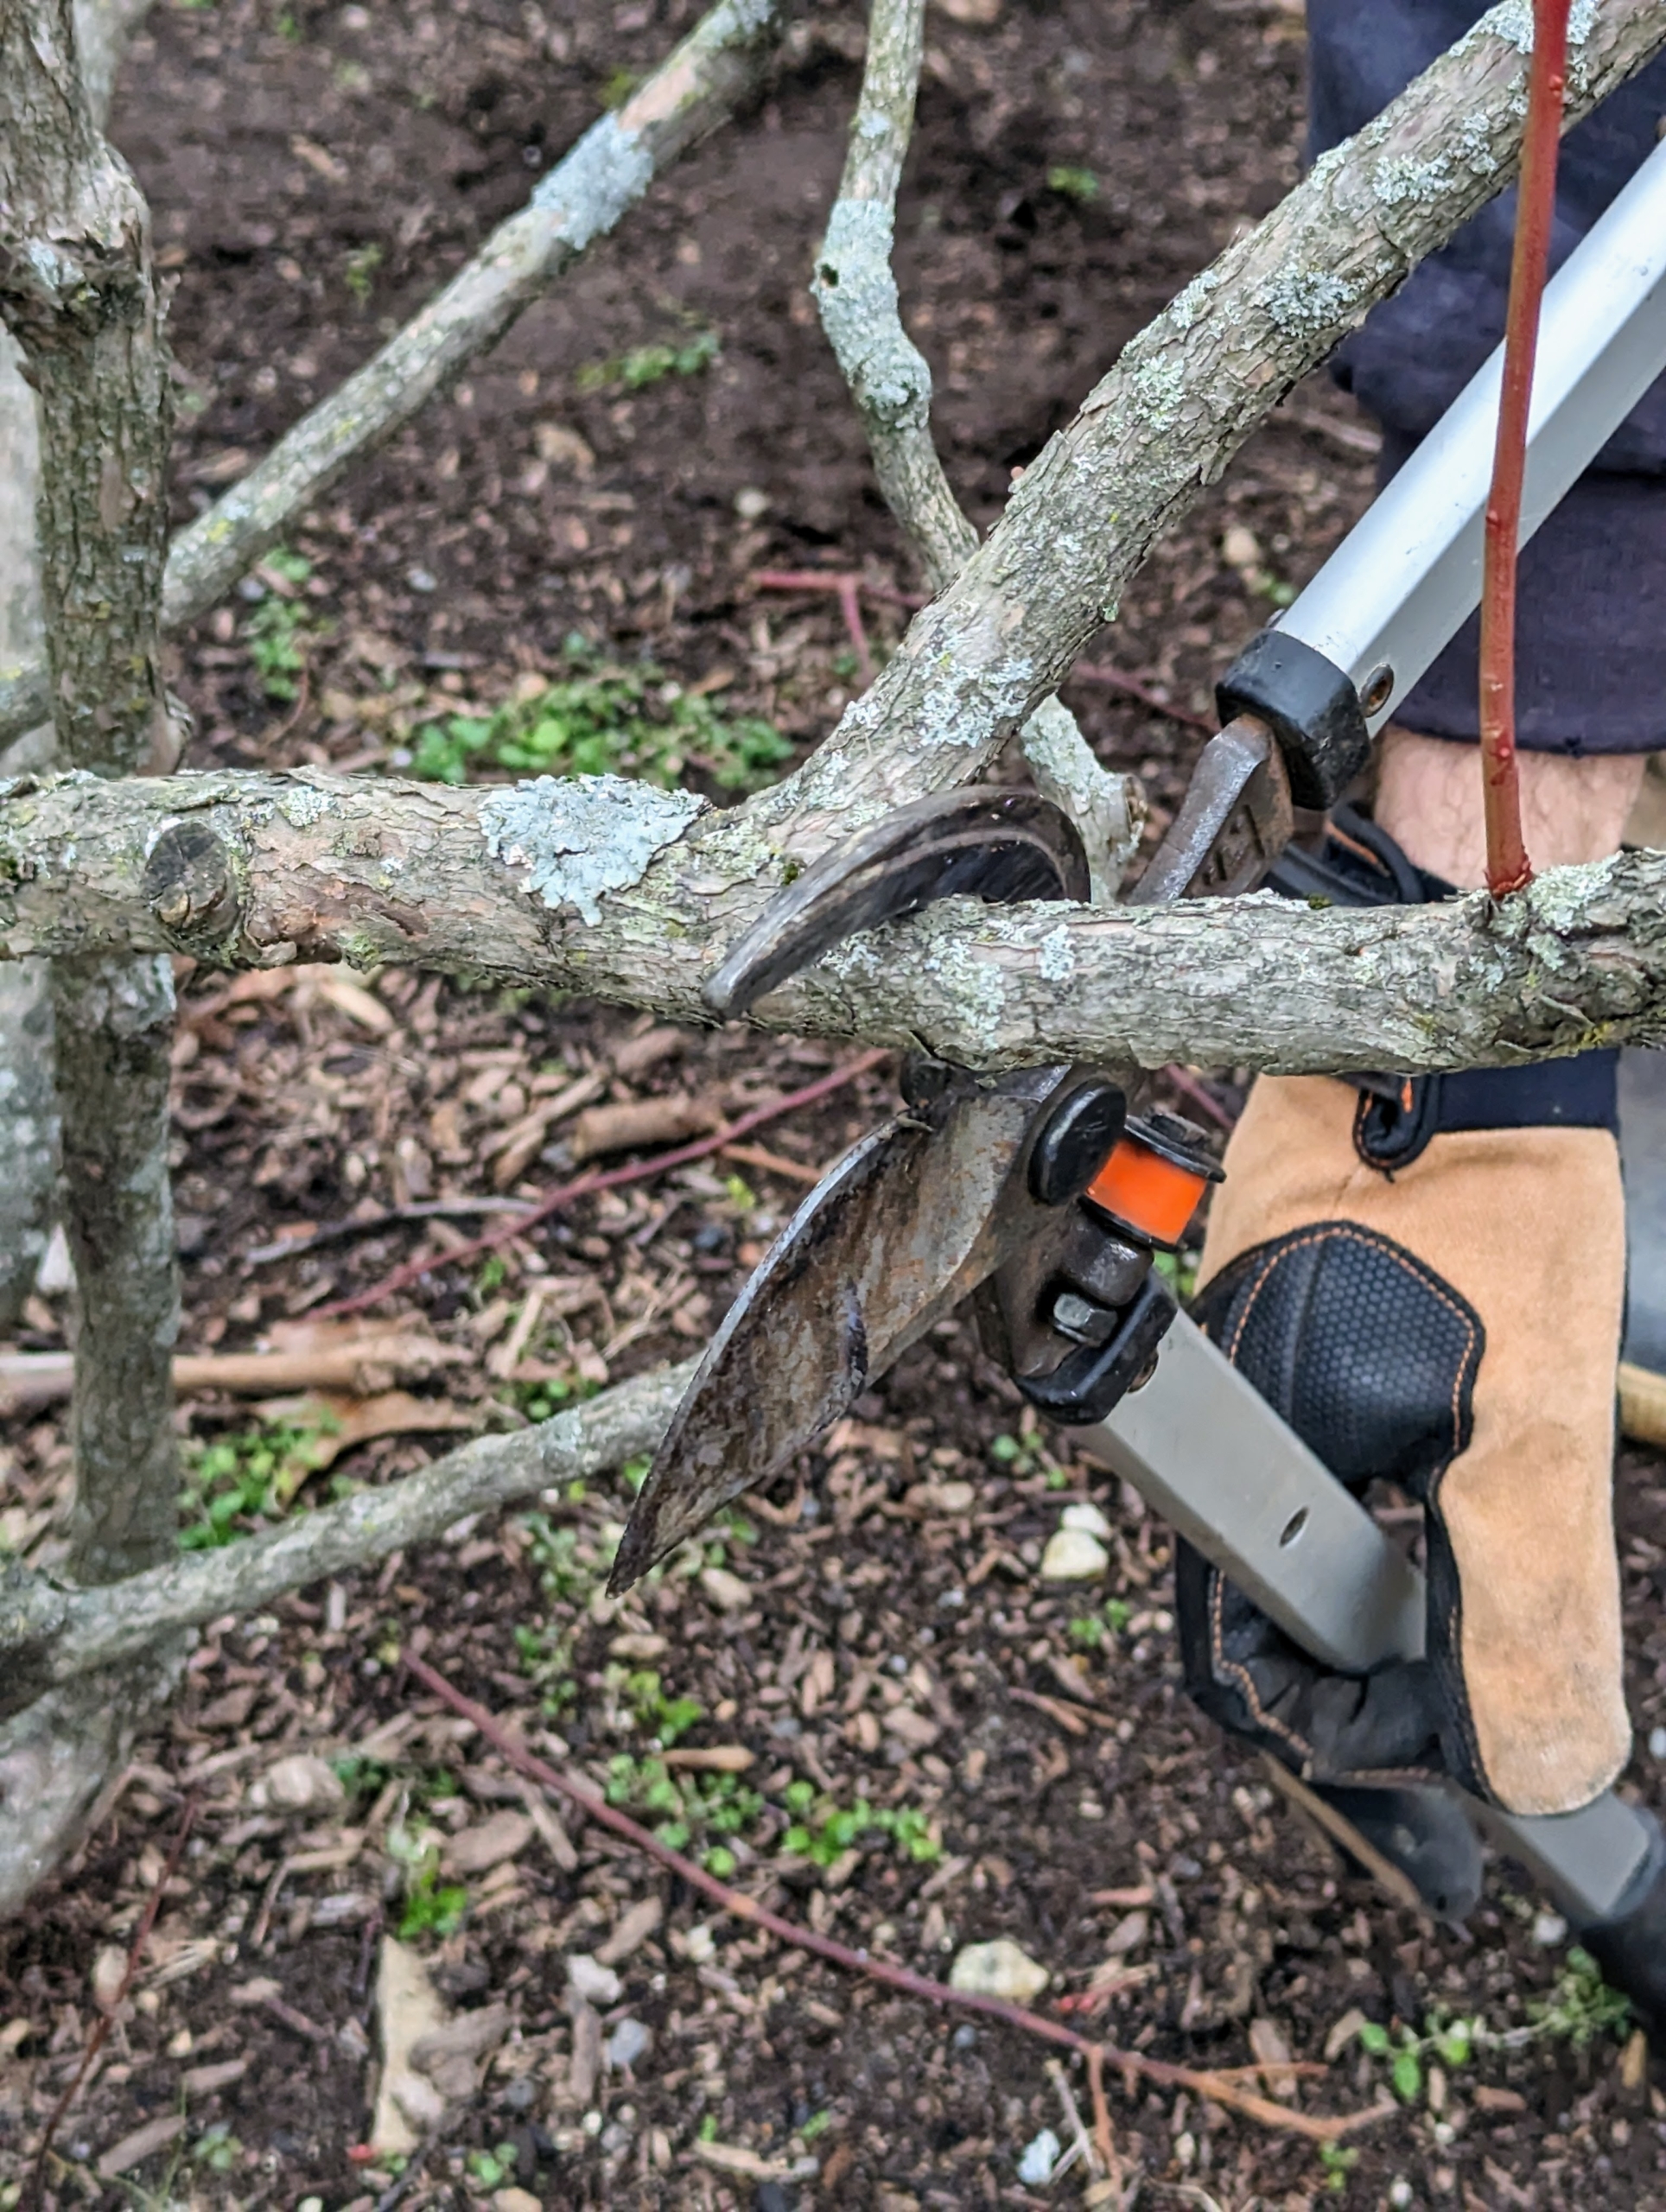
Flor slightly larger branches up to two-inches in diameter, Brian uses his trusted STIHL bypass loppers.
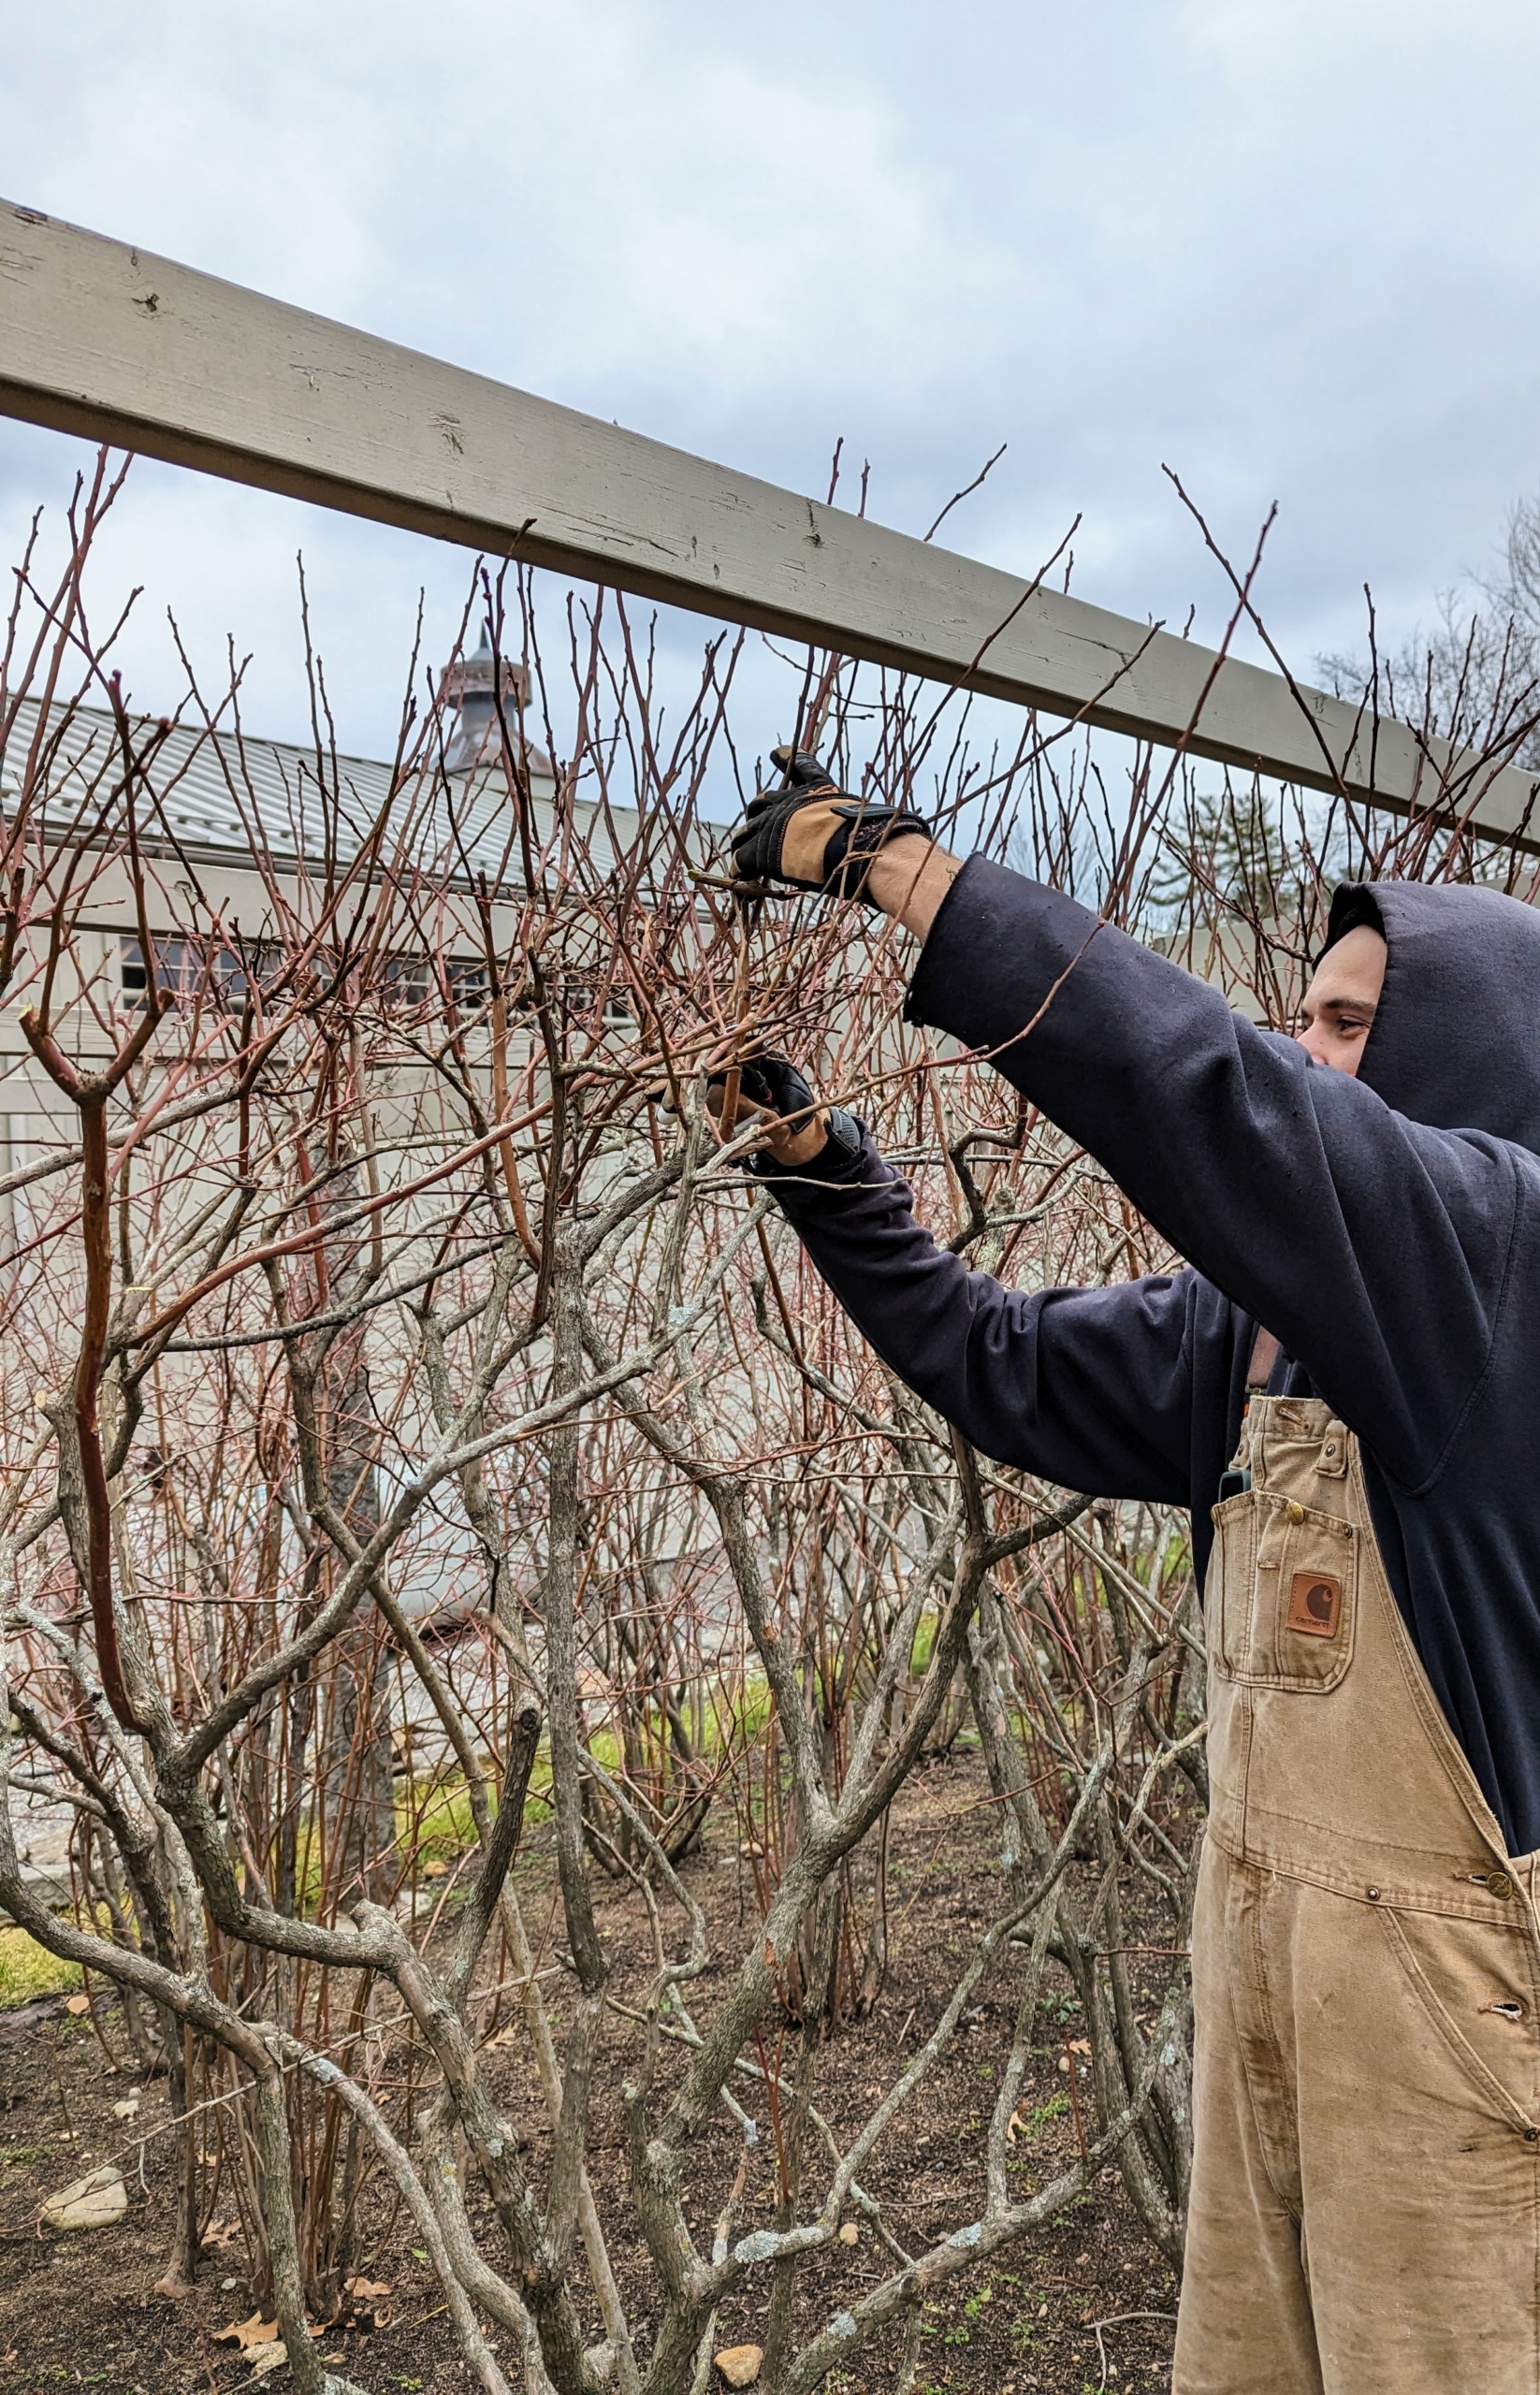
Pruning blueberries is an essential chore for several reasons. Proper pruning maintains an open growth habit, opens the center of the plant to sunlight, and reduces disease. Annual pruning also maintains productivity by encouraging the growth of new fruit-producing stems. Brian begins by cutting off any dead, diseased, or damaged branches.
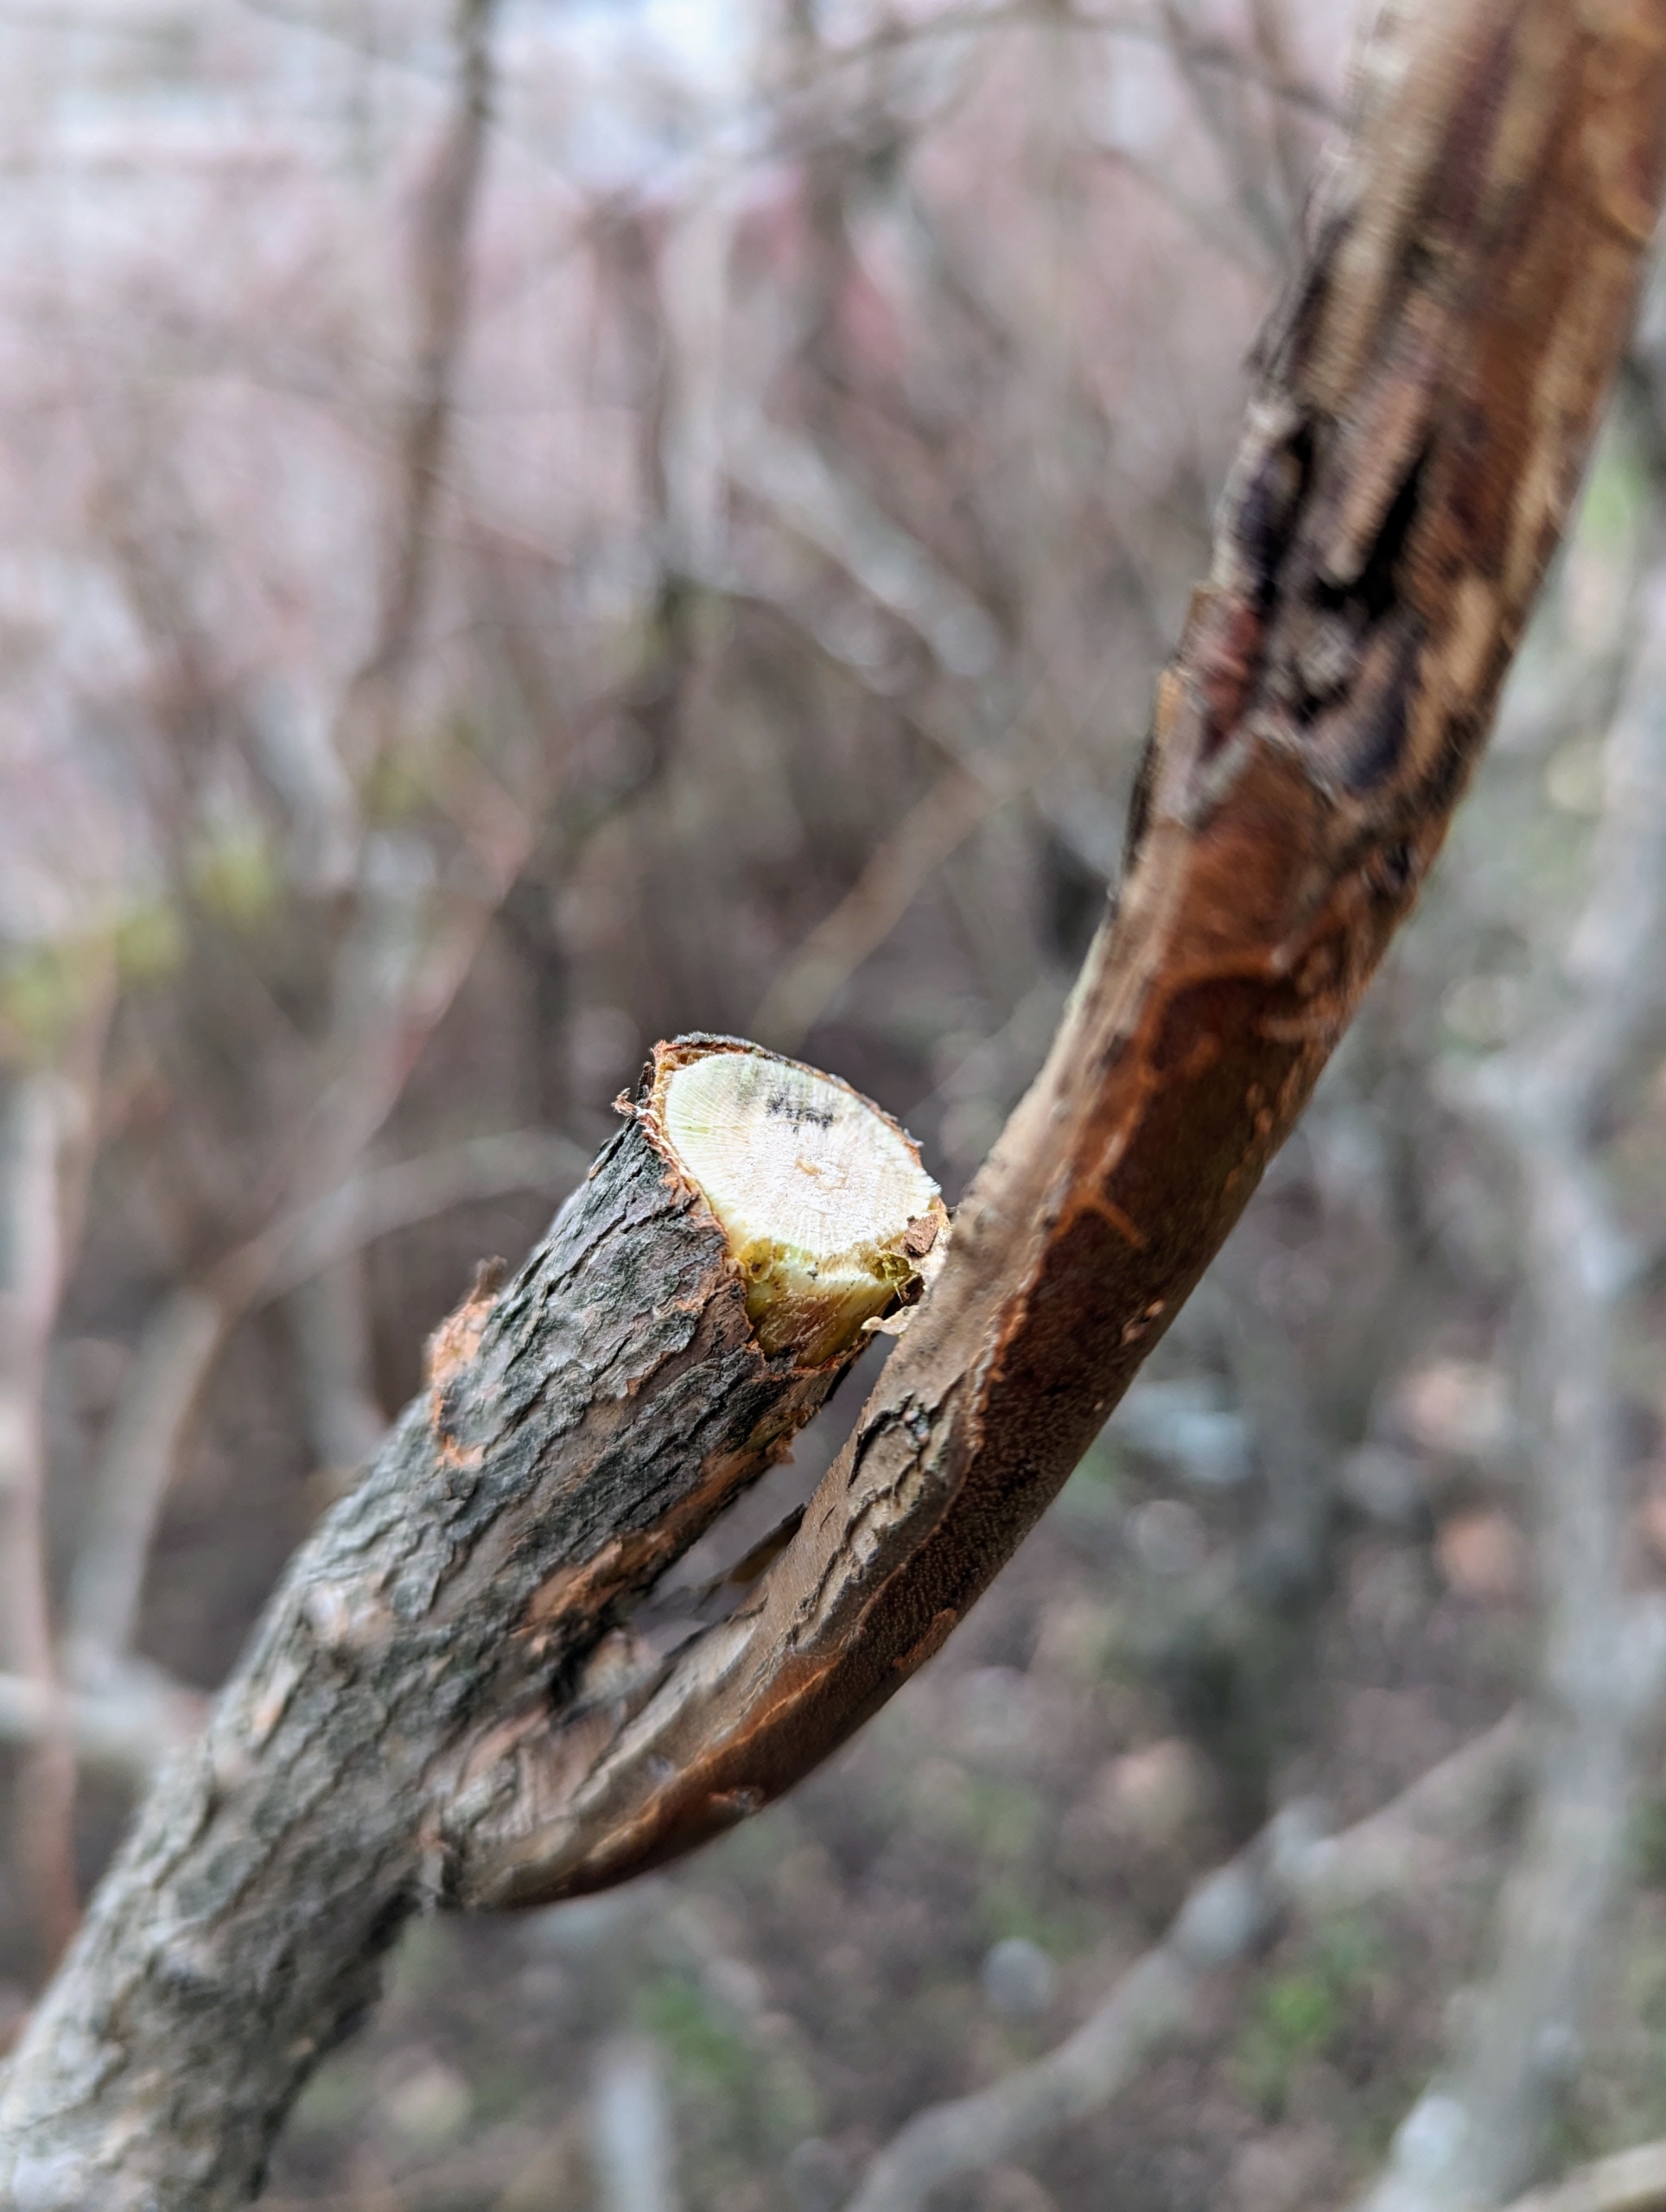
He cuts the stems off all the way back to where they join a thicker branch.
Brian also makes sure all his tools are extremely sharp, so they make clean cuts.
The goal of good blueberry pruning is to remove enough old growth to encourage the production of new.
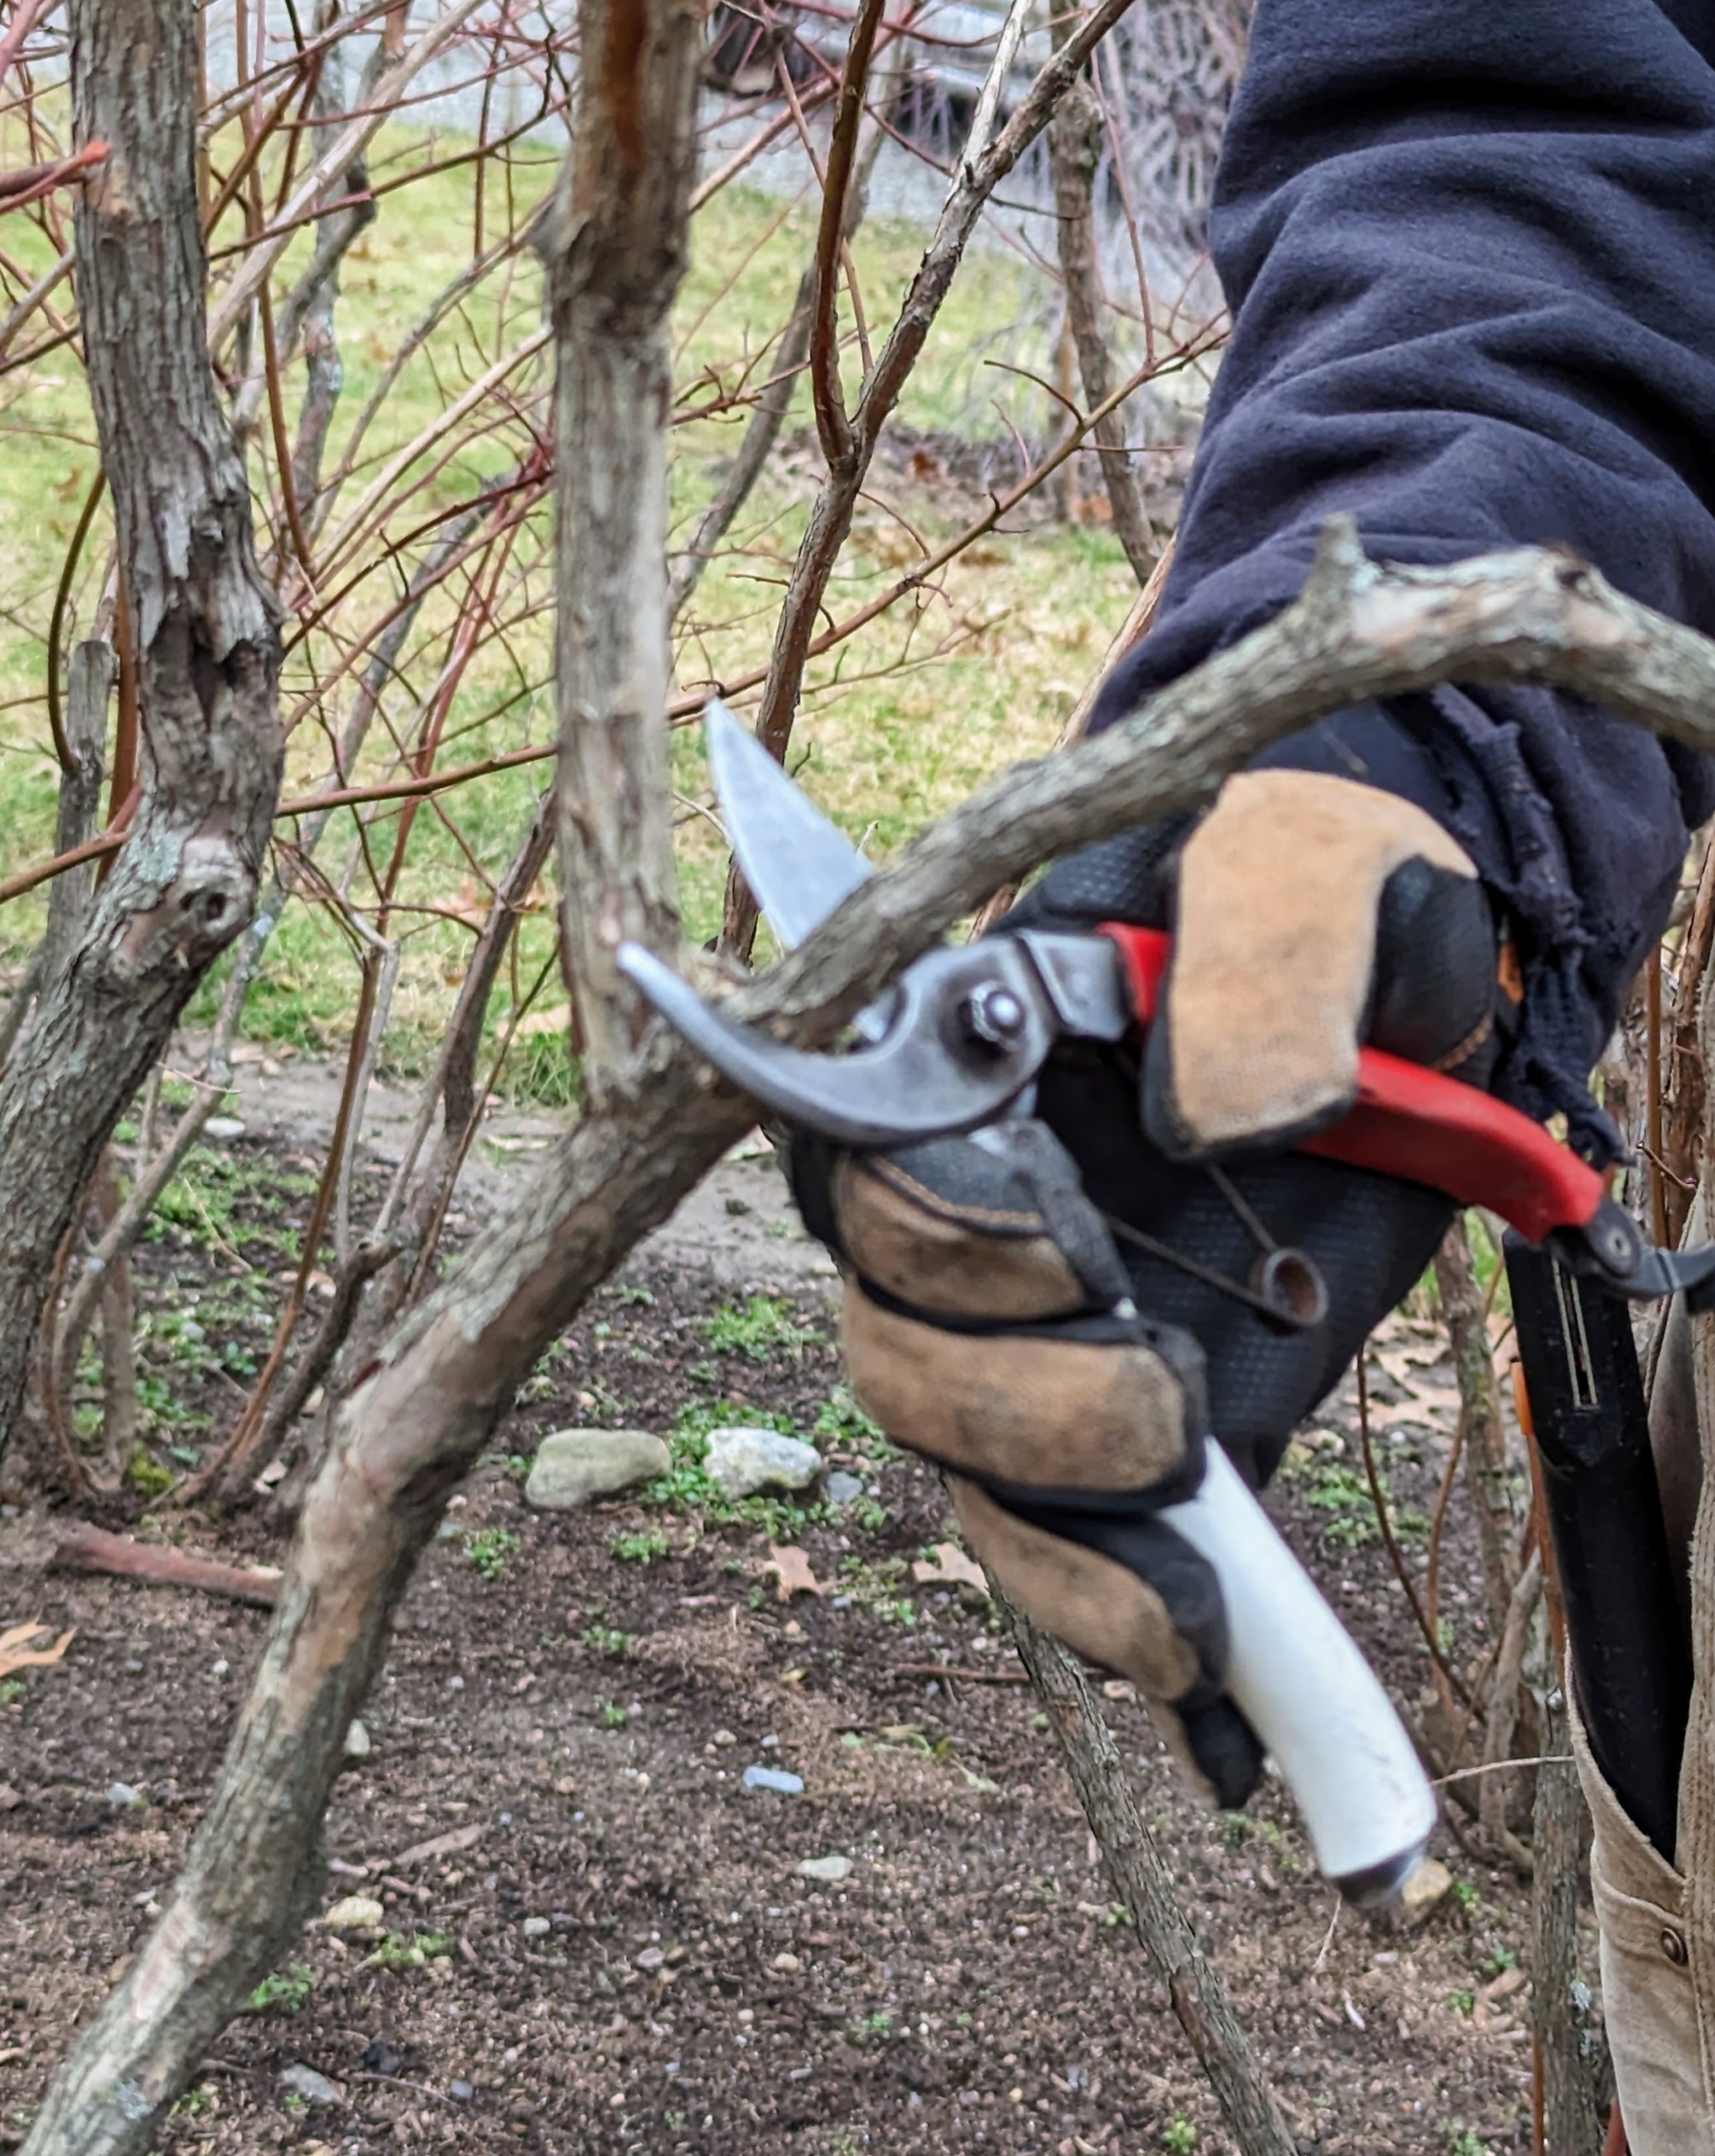
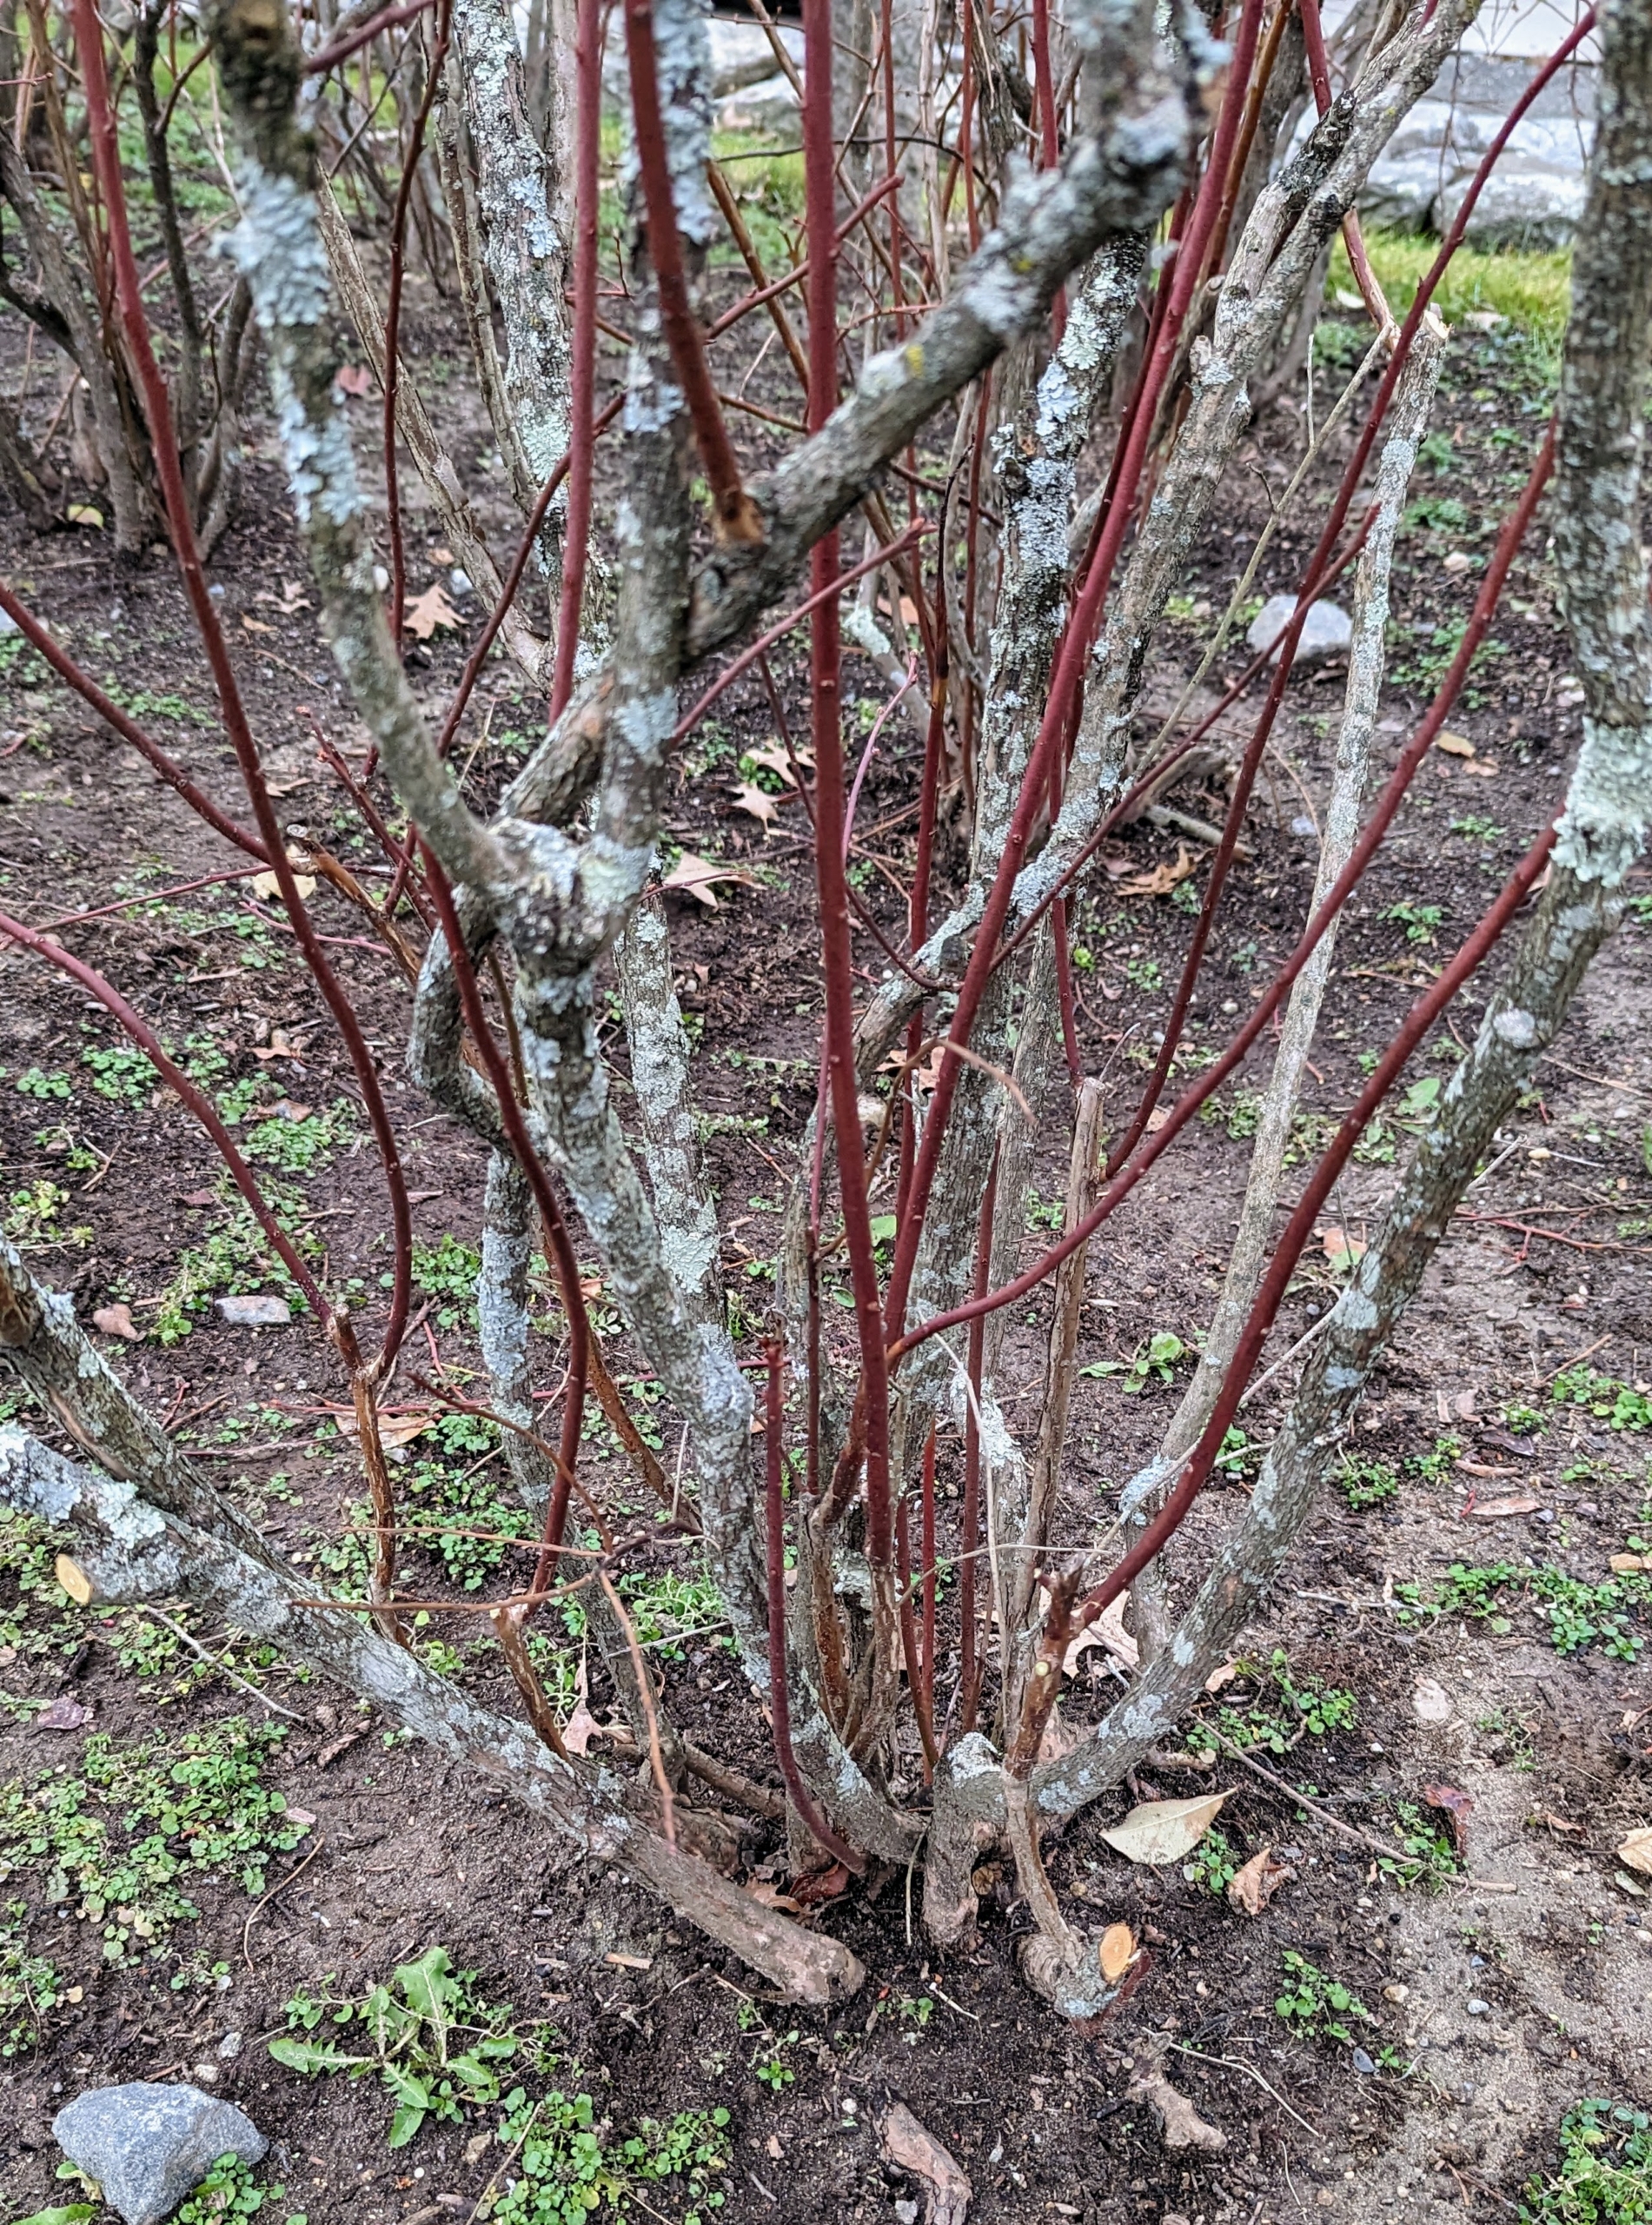
It’s easy to discern an old blueberry branch from a new one – the newer branches are pliable and dark in color, while the old branches are rough-barked and lighter in color. When pruning, cut about one-third of the branches all the way down to the ground to stimulate new stems to emerge from the roots.
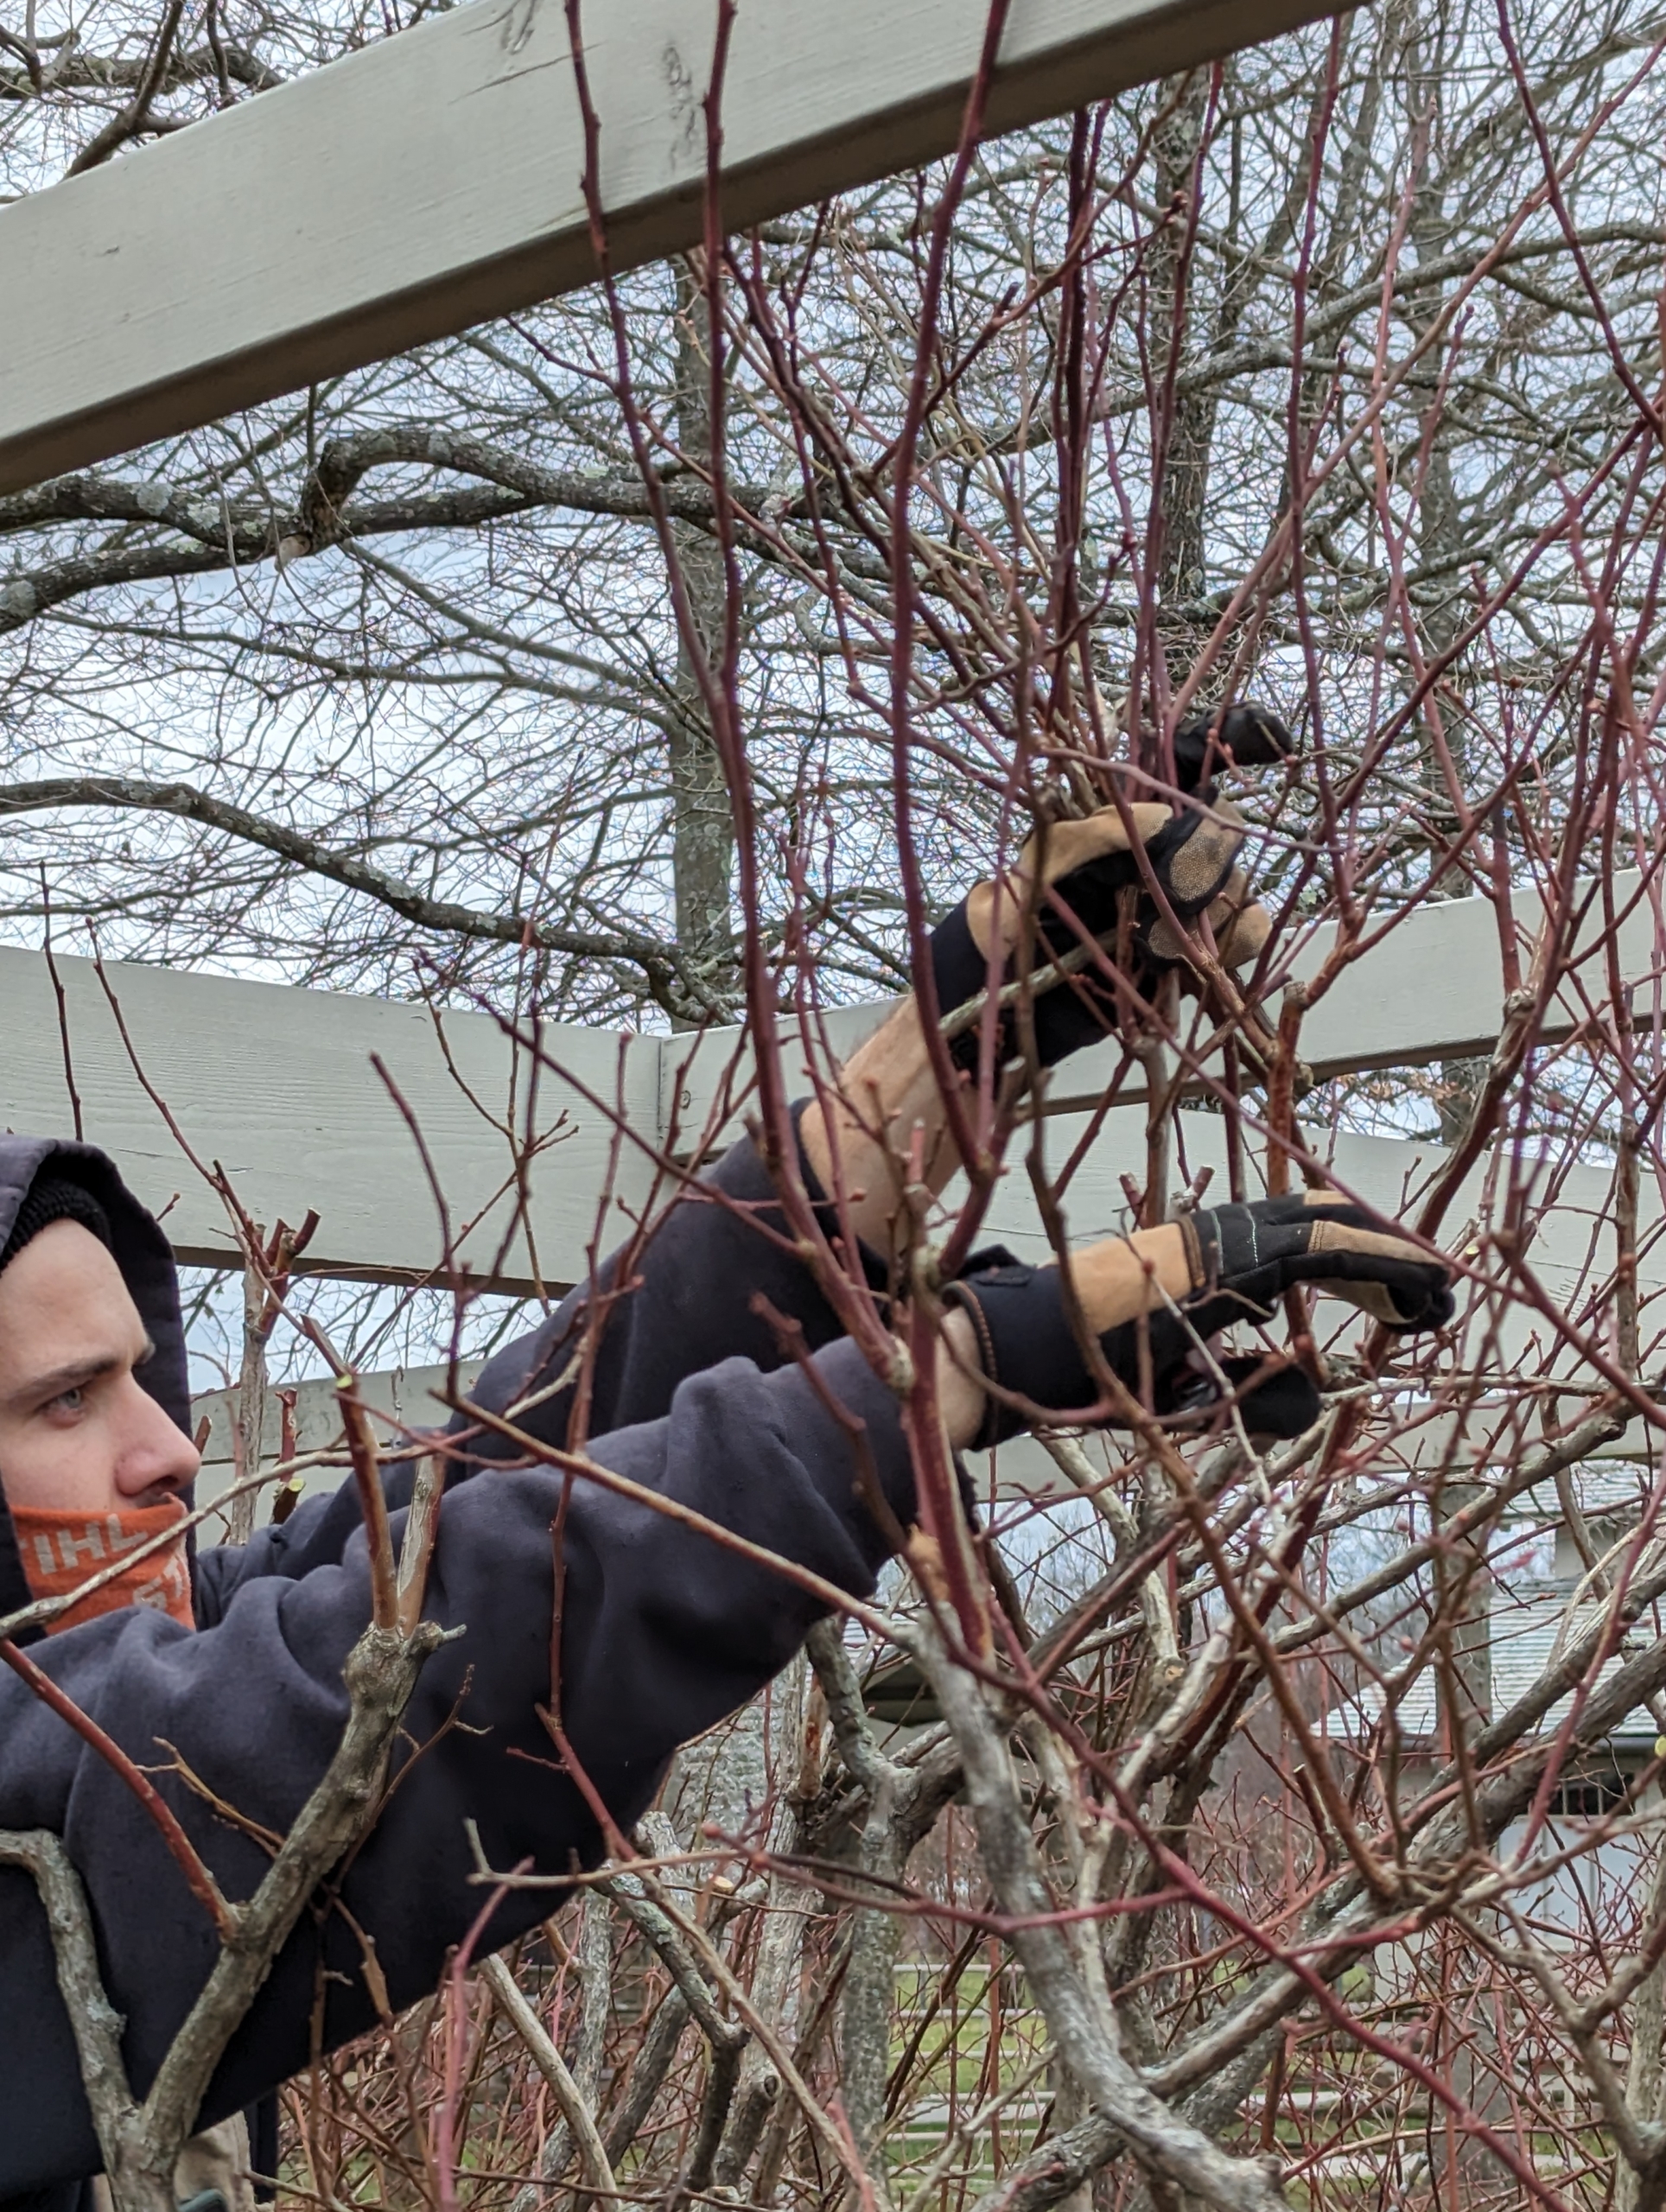
Brian also checks for any crisscrossed branches or ones that are rubbing. He goes through each bush carefully as he prunes.
These bushes look so much better already – no more overcrowding and all within the granite posts.
Blueberry shrubs are actually extremely hardy. Some varieties survive down to minus-35 degrees Fahrenheit. In fact, blueberries need a set number of hours below 45-degrees in order for their flower buds to open and produce berries. Without ample cold weather, blueberries do not produce fruit.
Every so often, Brian steps back to see the work he has done and to assess where he must trim next.
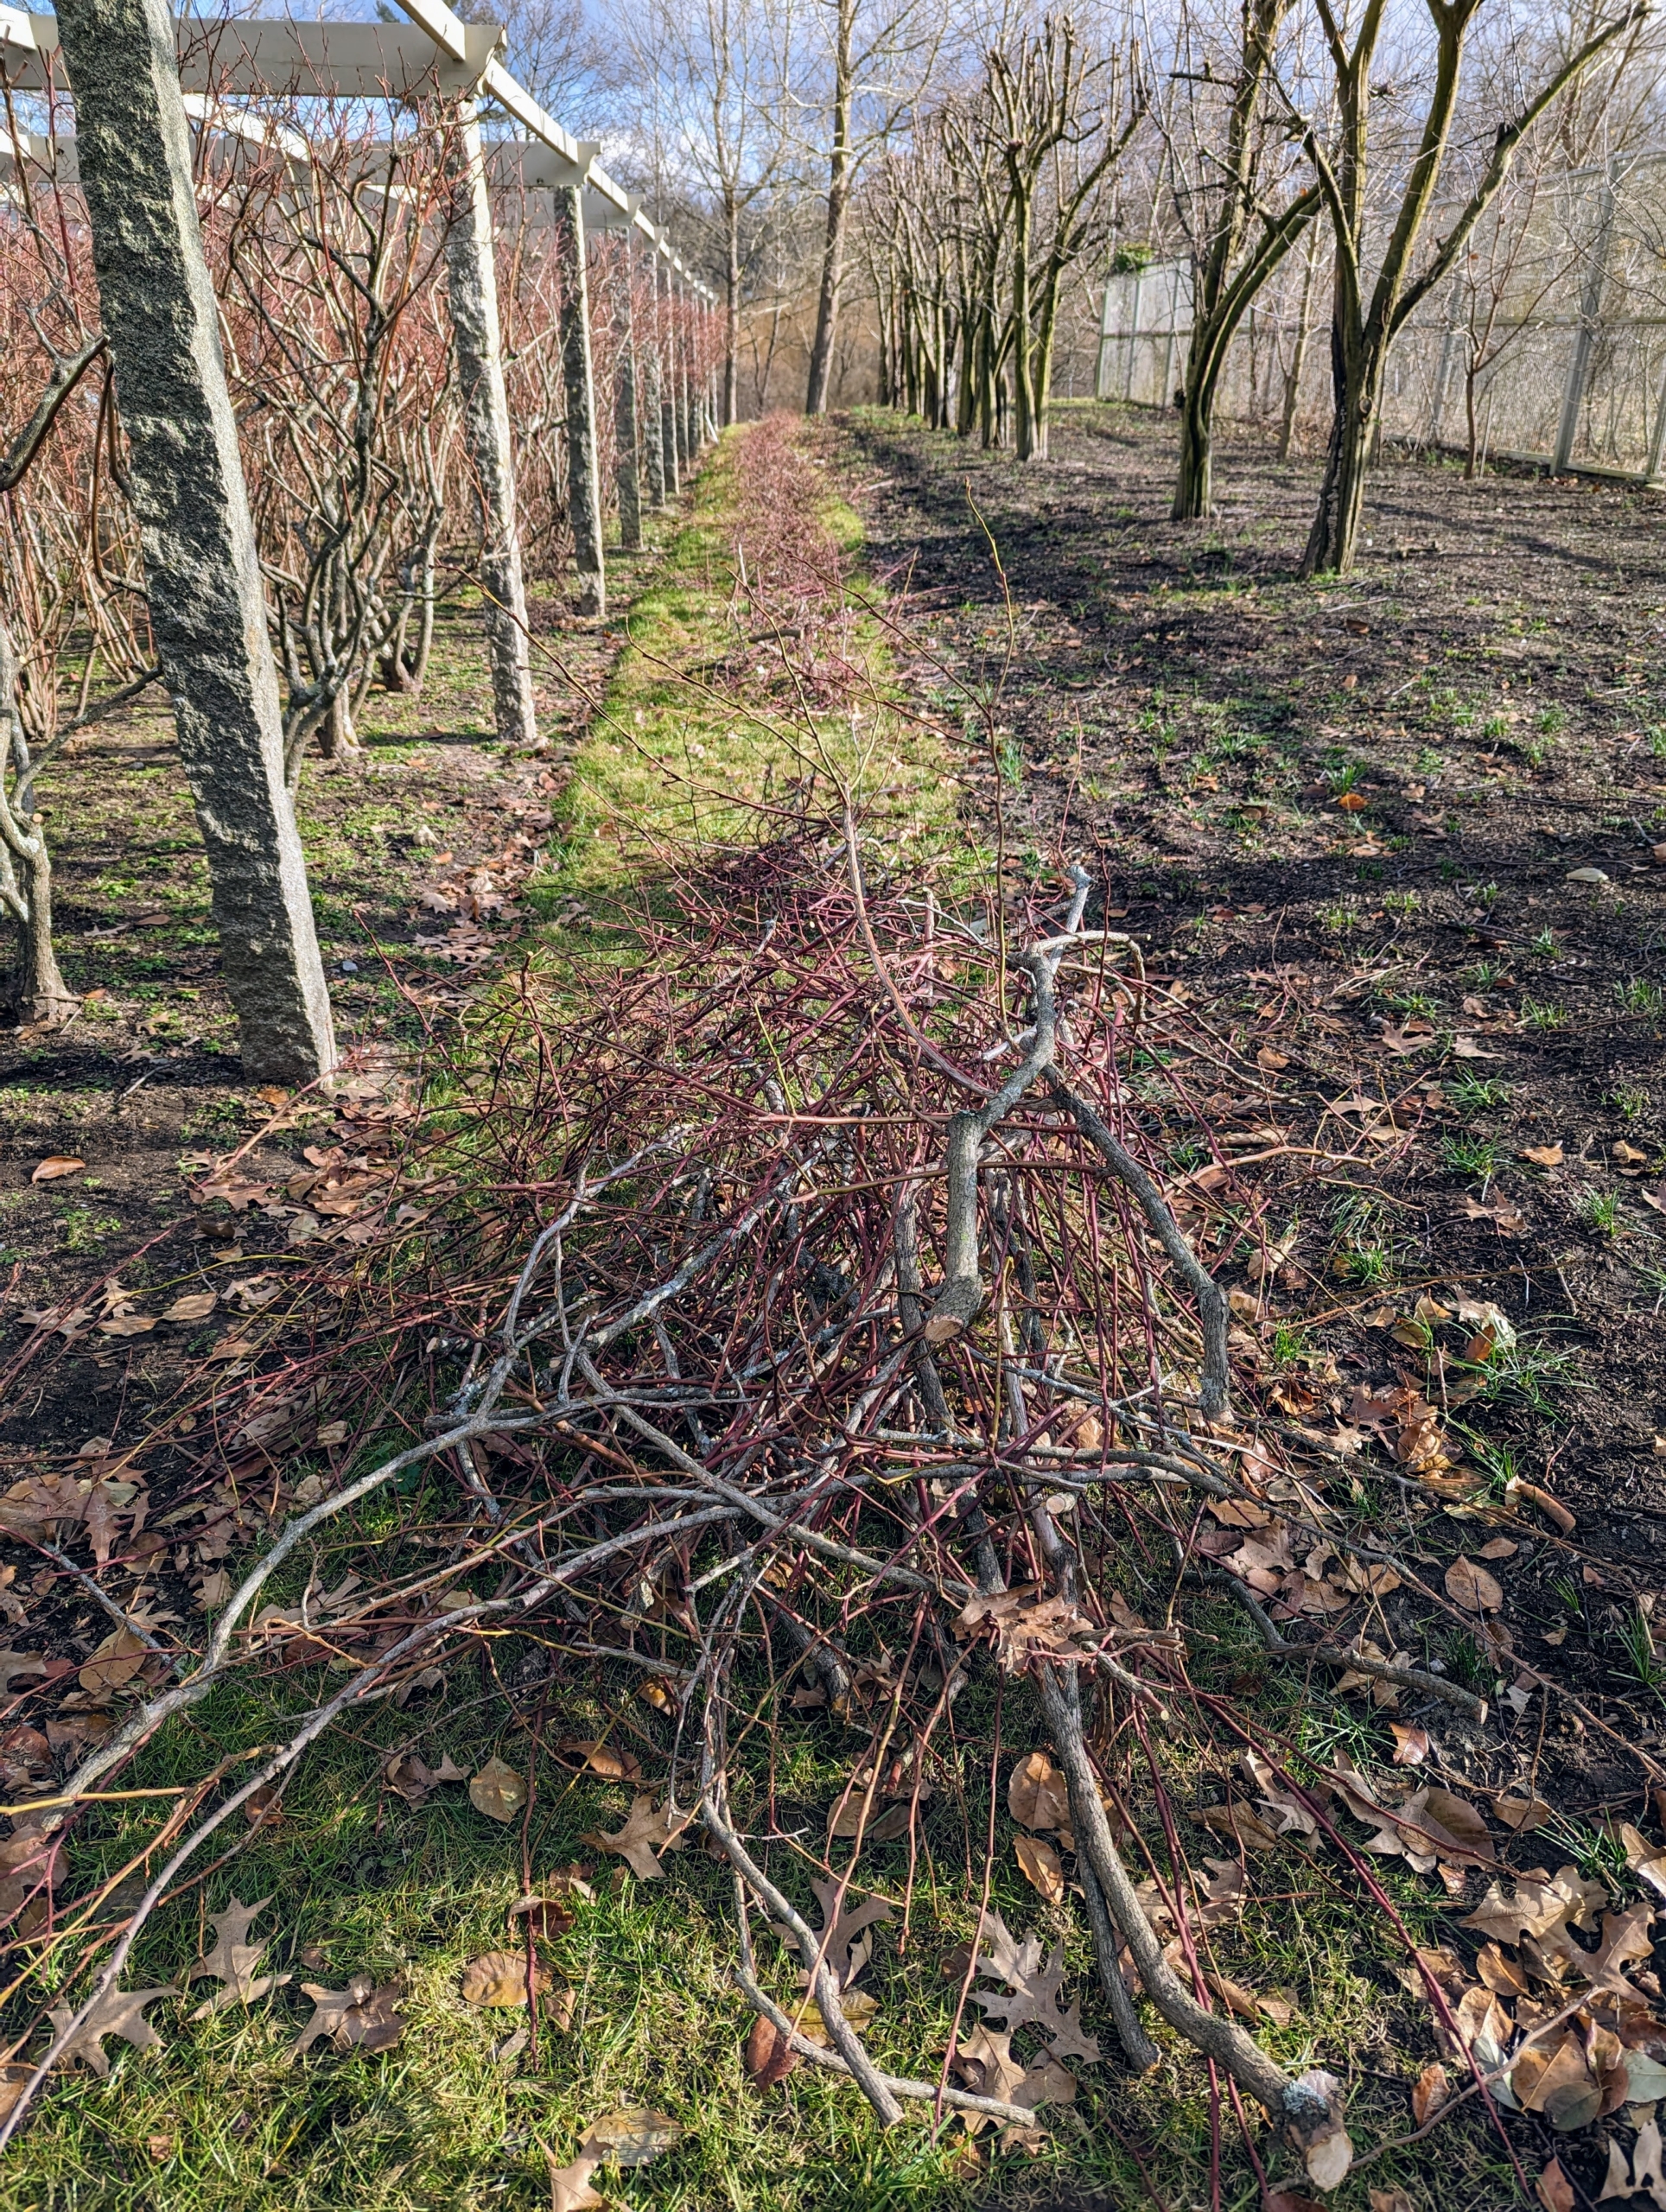
Here are pruned branches ready to be taken to our chipping pile. Pruning takes some time, but the benefits are great. With good, regular pruning and maintenance, our bushes are sure to produce a bounty of fruits year after year.
I always enjoy growing my own plants, but there’s something even more exciting and gratifying about propagating them - producing plants by dividing, grafting, or taking the cuttings from existing stems. It’s an interesting and very easy-to-follow process.
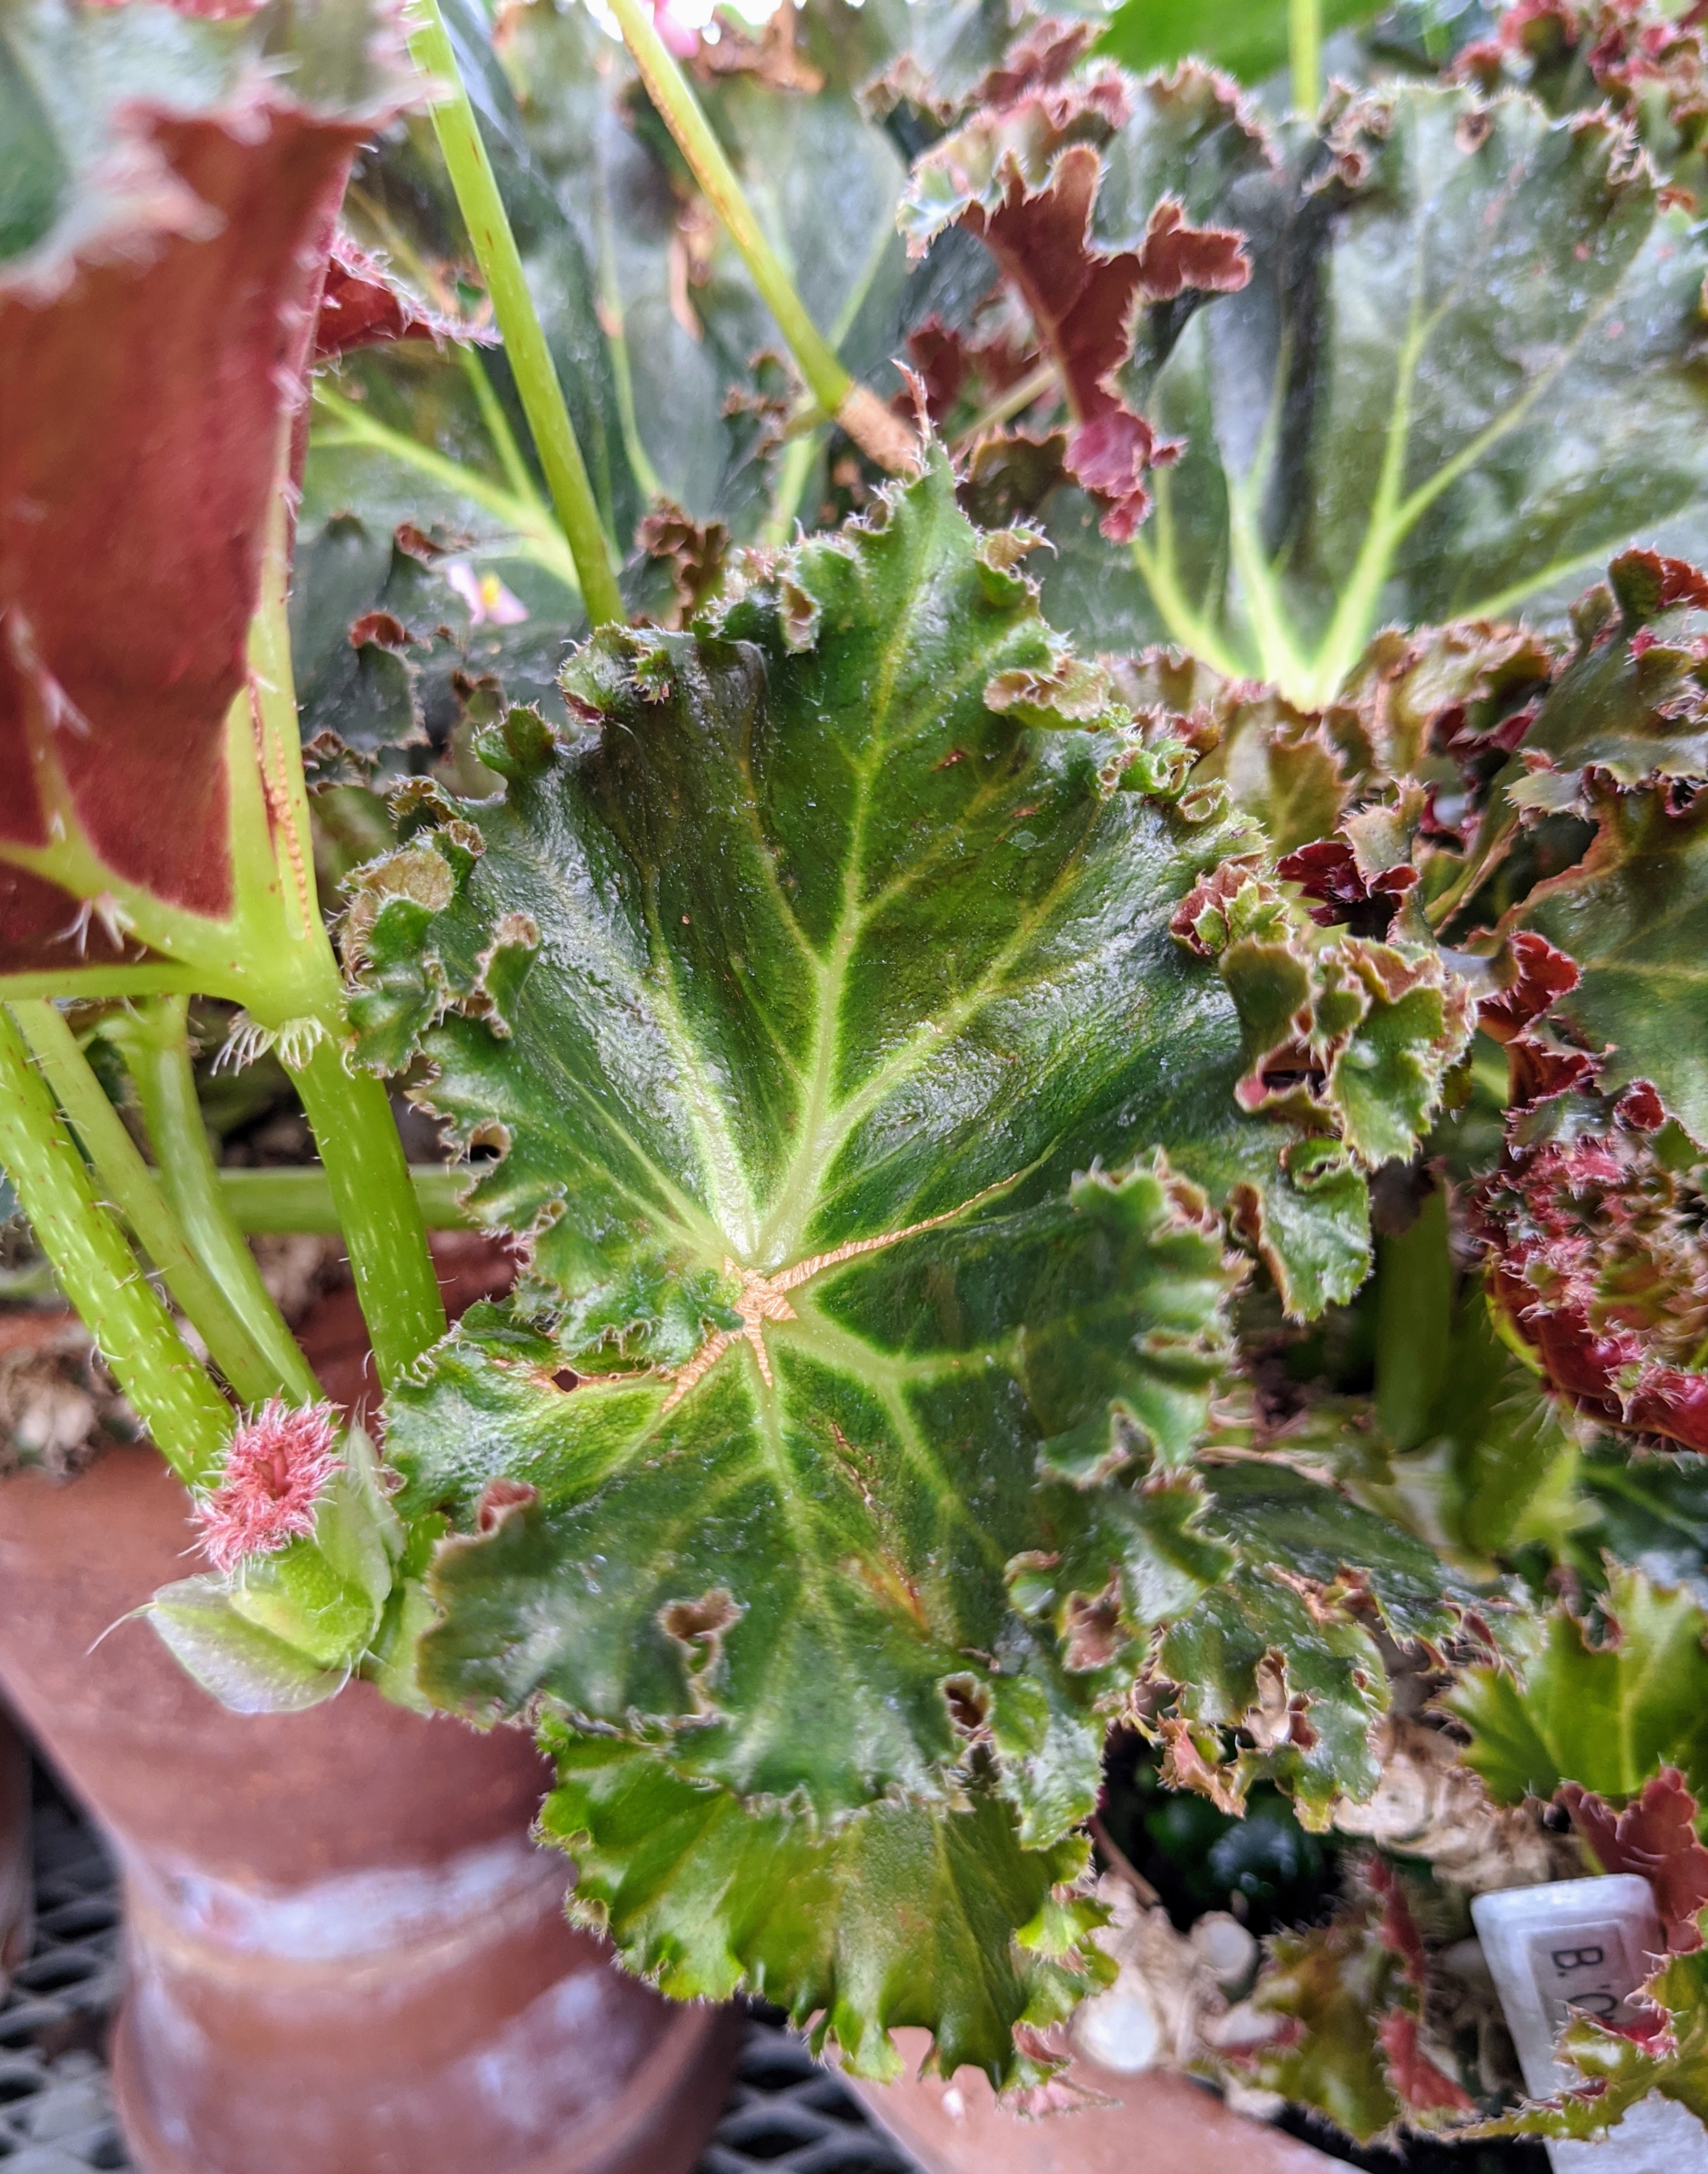
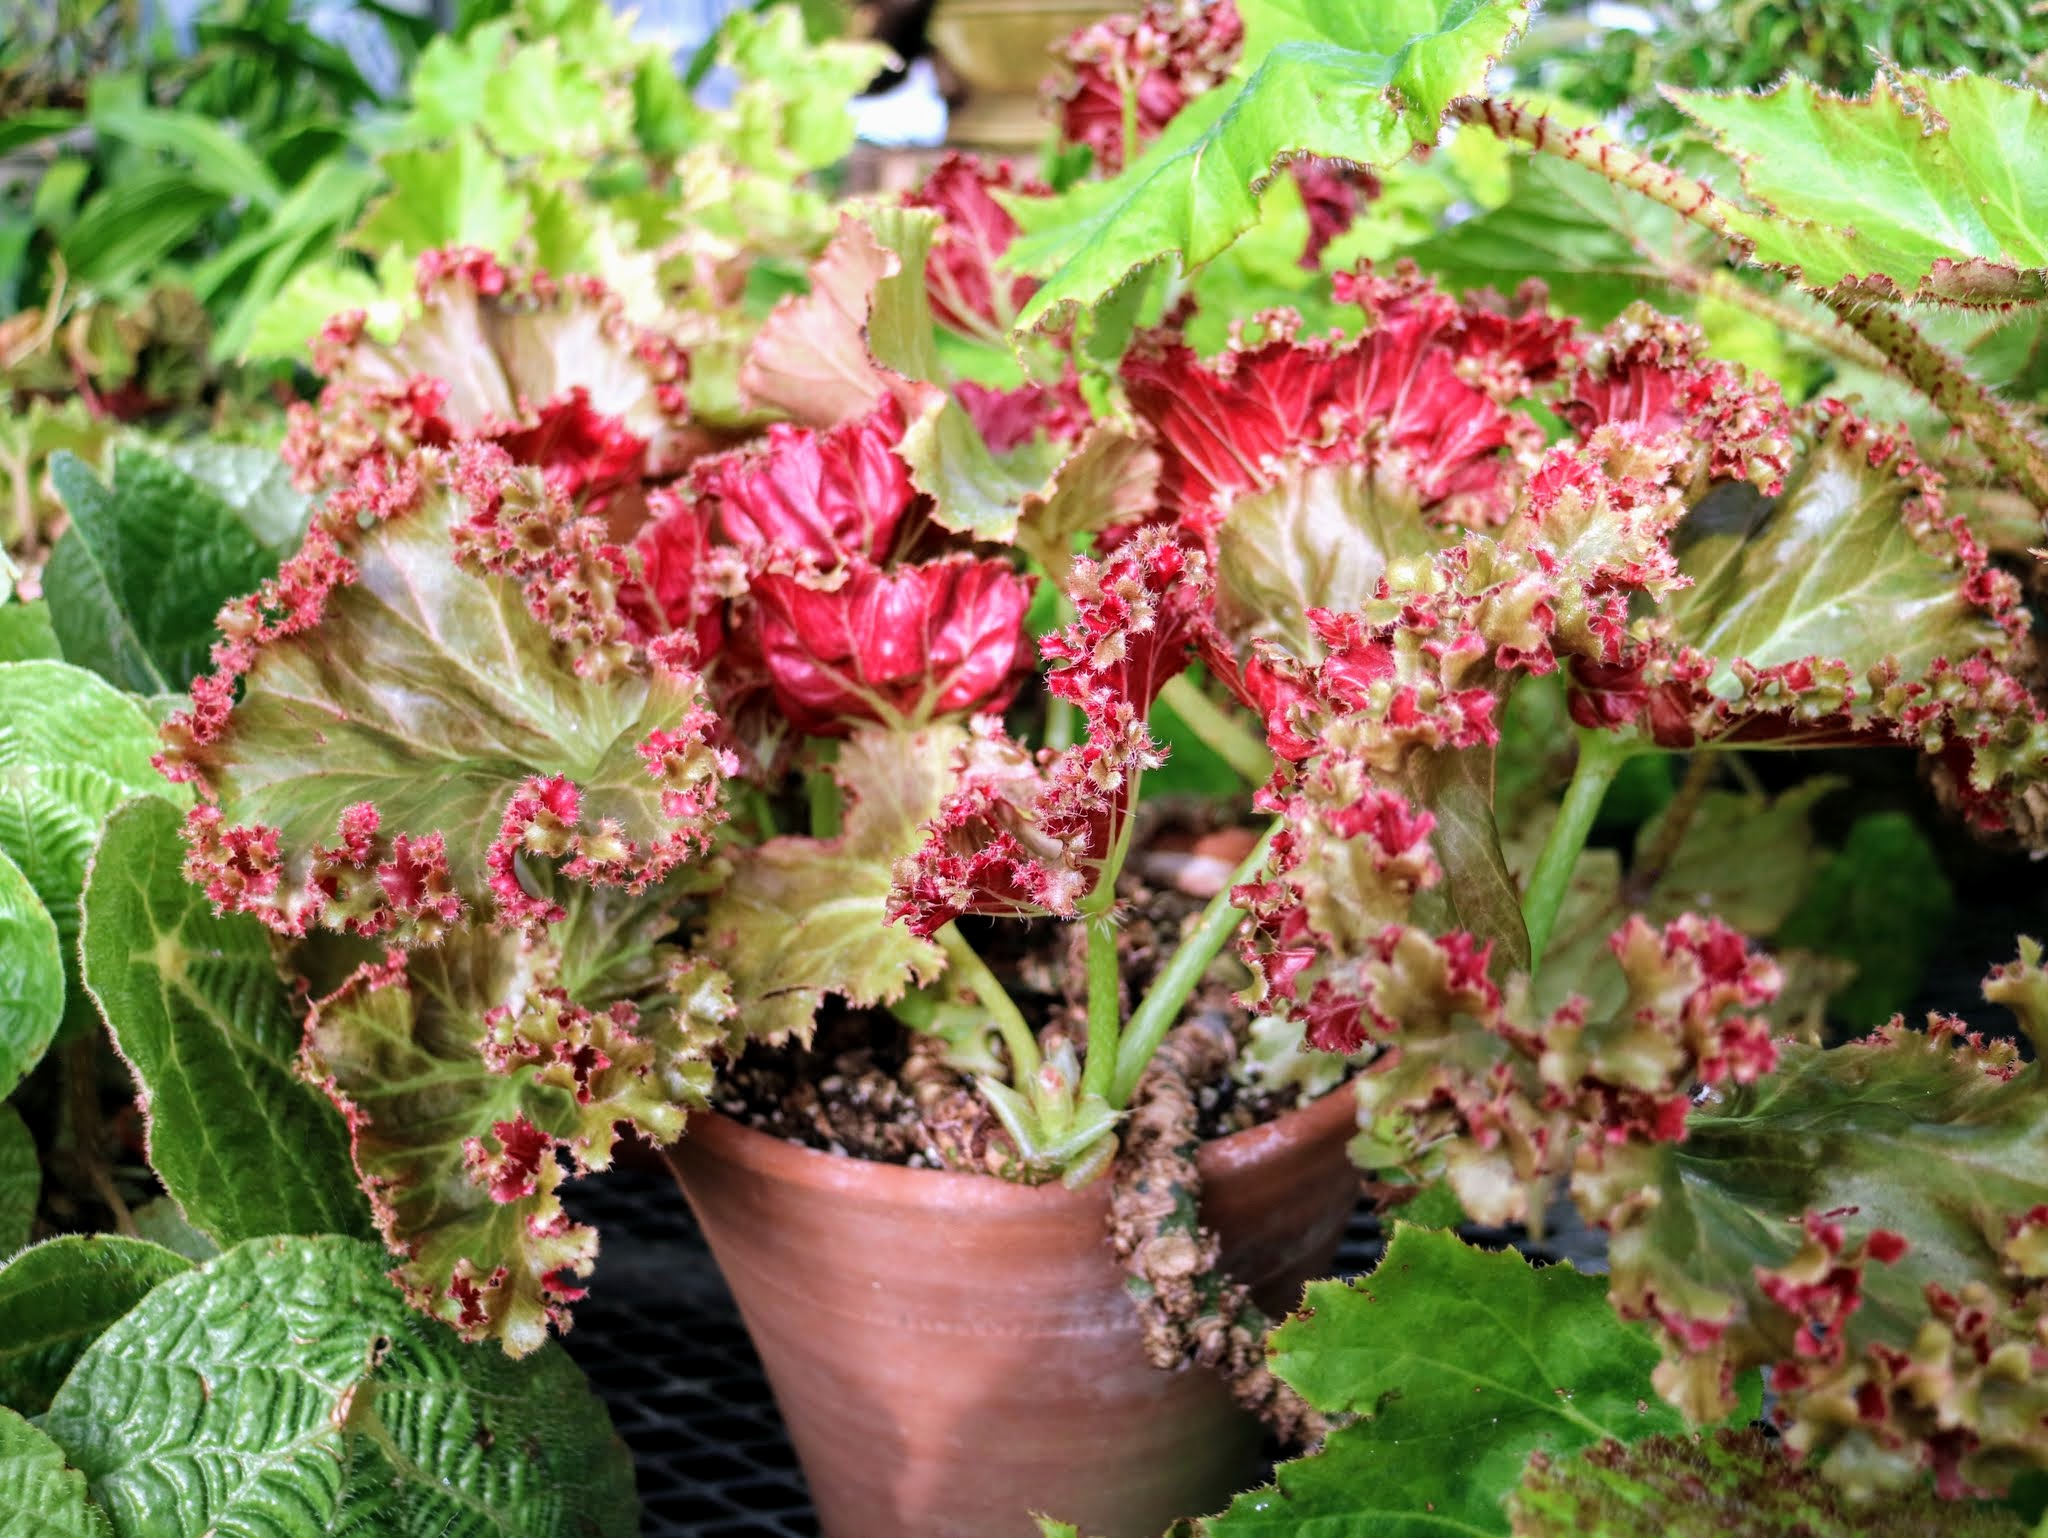
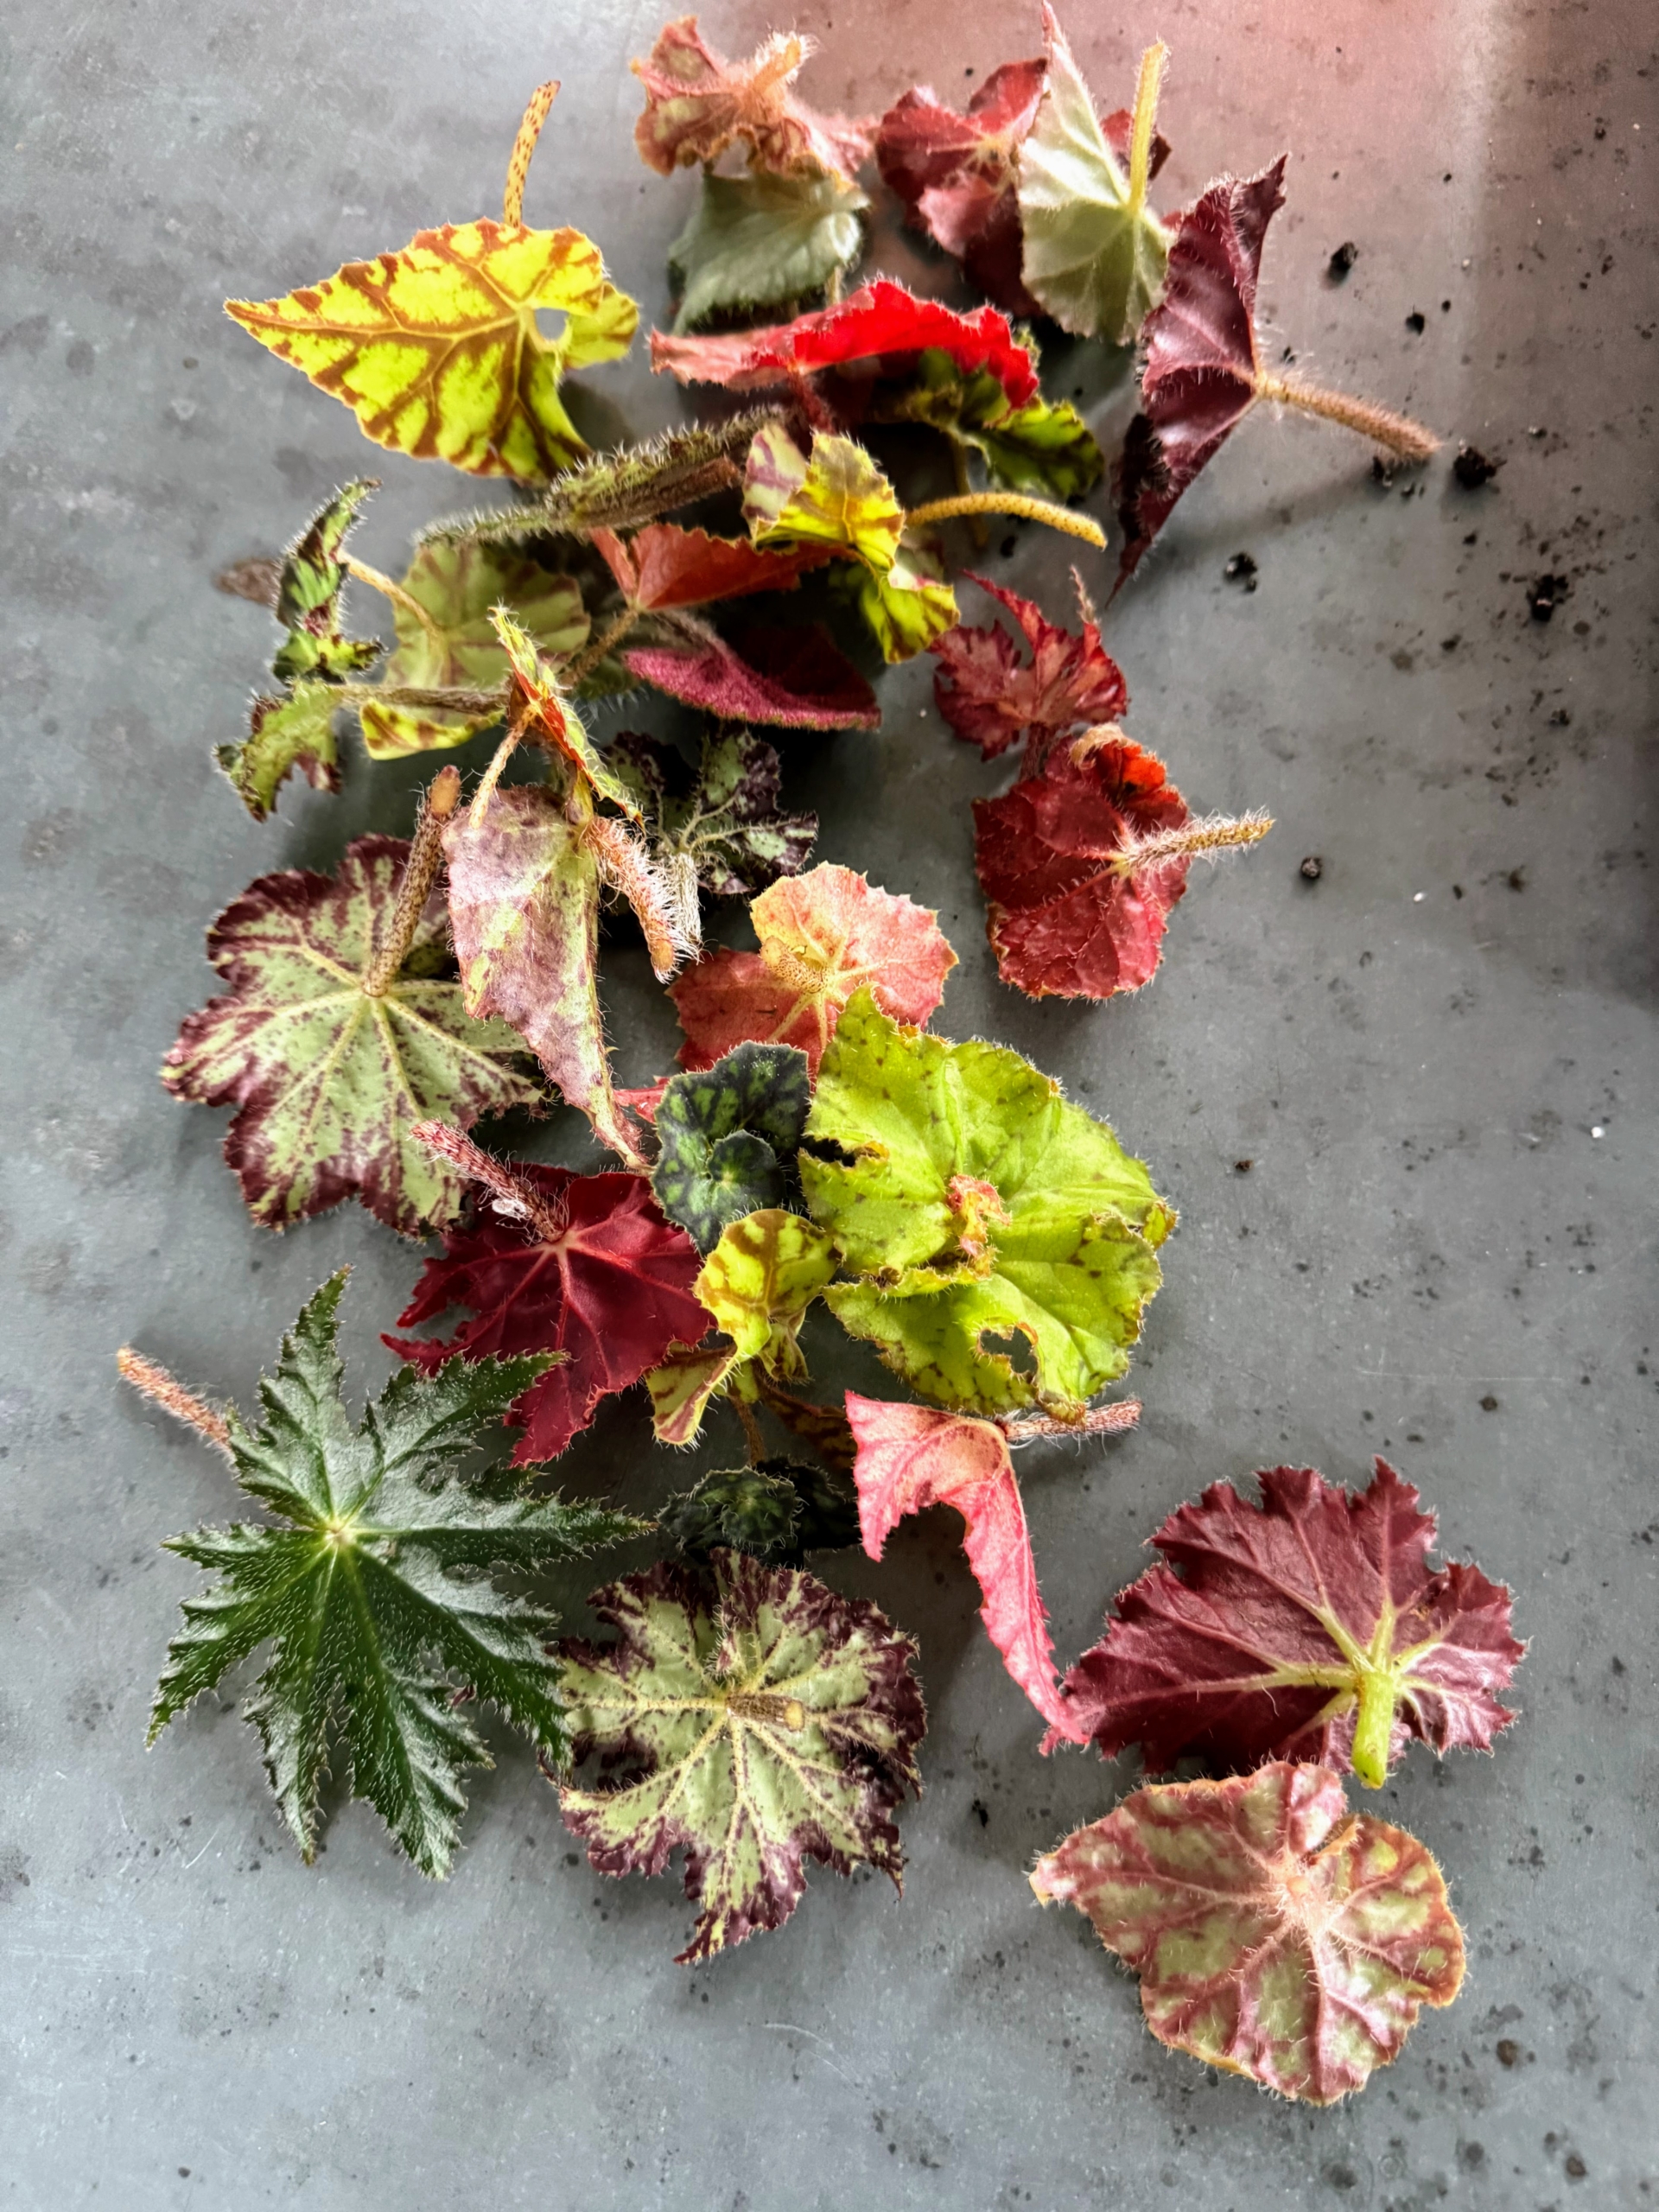
One of the easiest plants to propagate is the begonia. I have a large collection of beautiful begonias in my greenhouse. The genus begonia contains about 1500 different plant species and hundreds of hybrids. Rhizomatous begonias are grown for their interesting and spectacular leaves. They come in many sizes, colors and textures, and can be small or large, smooth or veiny, decorated in bold accents of red, copper and silver or subtle shades of green. Last week, my head gardener, Ryan McCallister, selected some varieties to root.
Enjoy these photos.
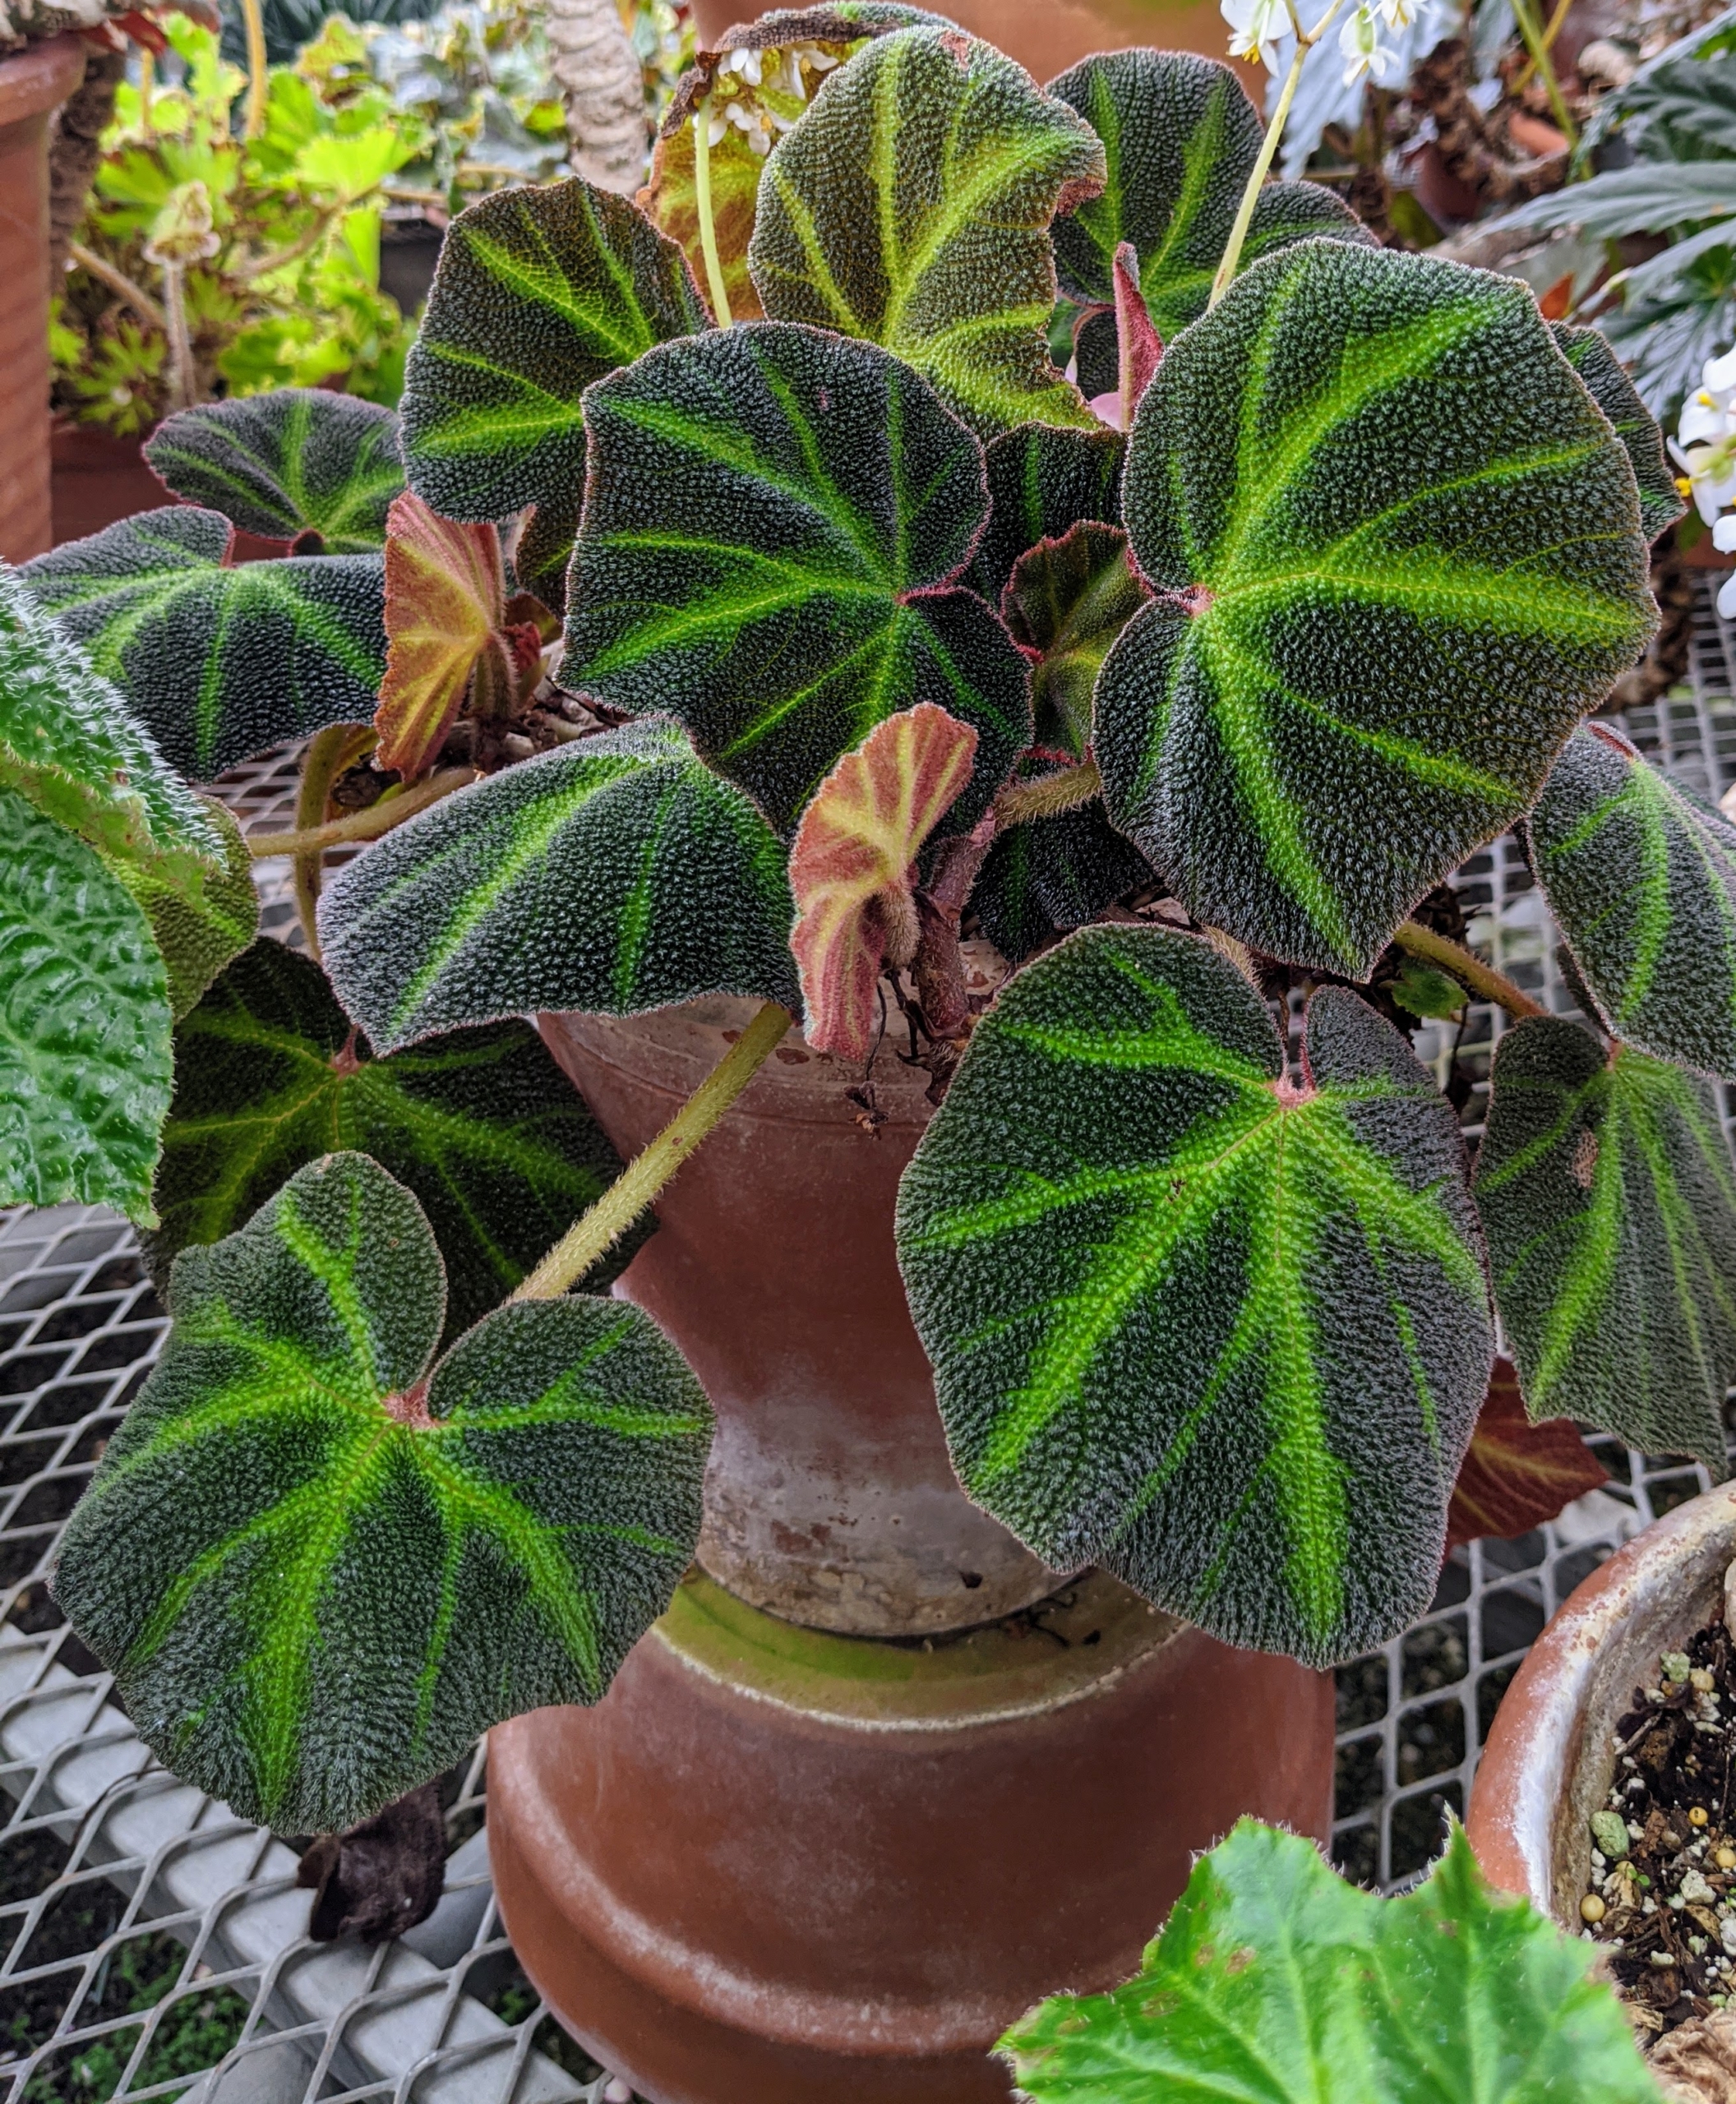
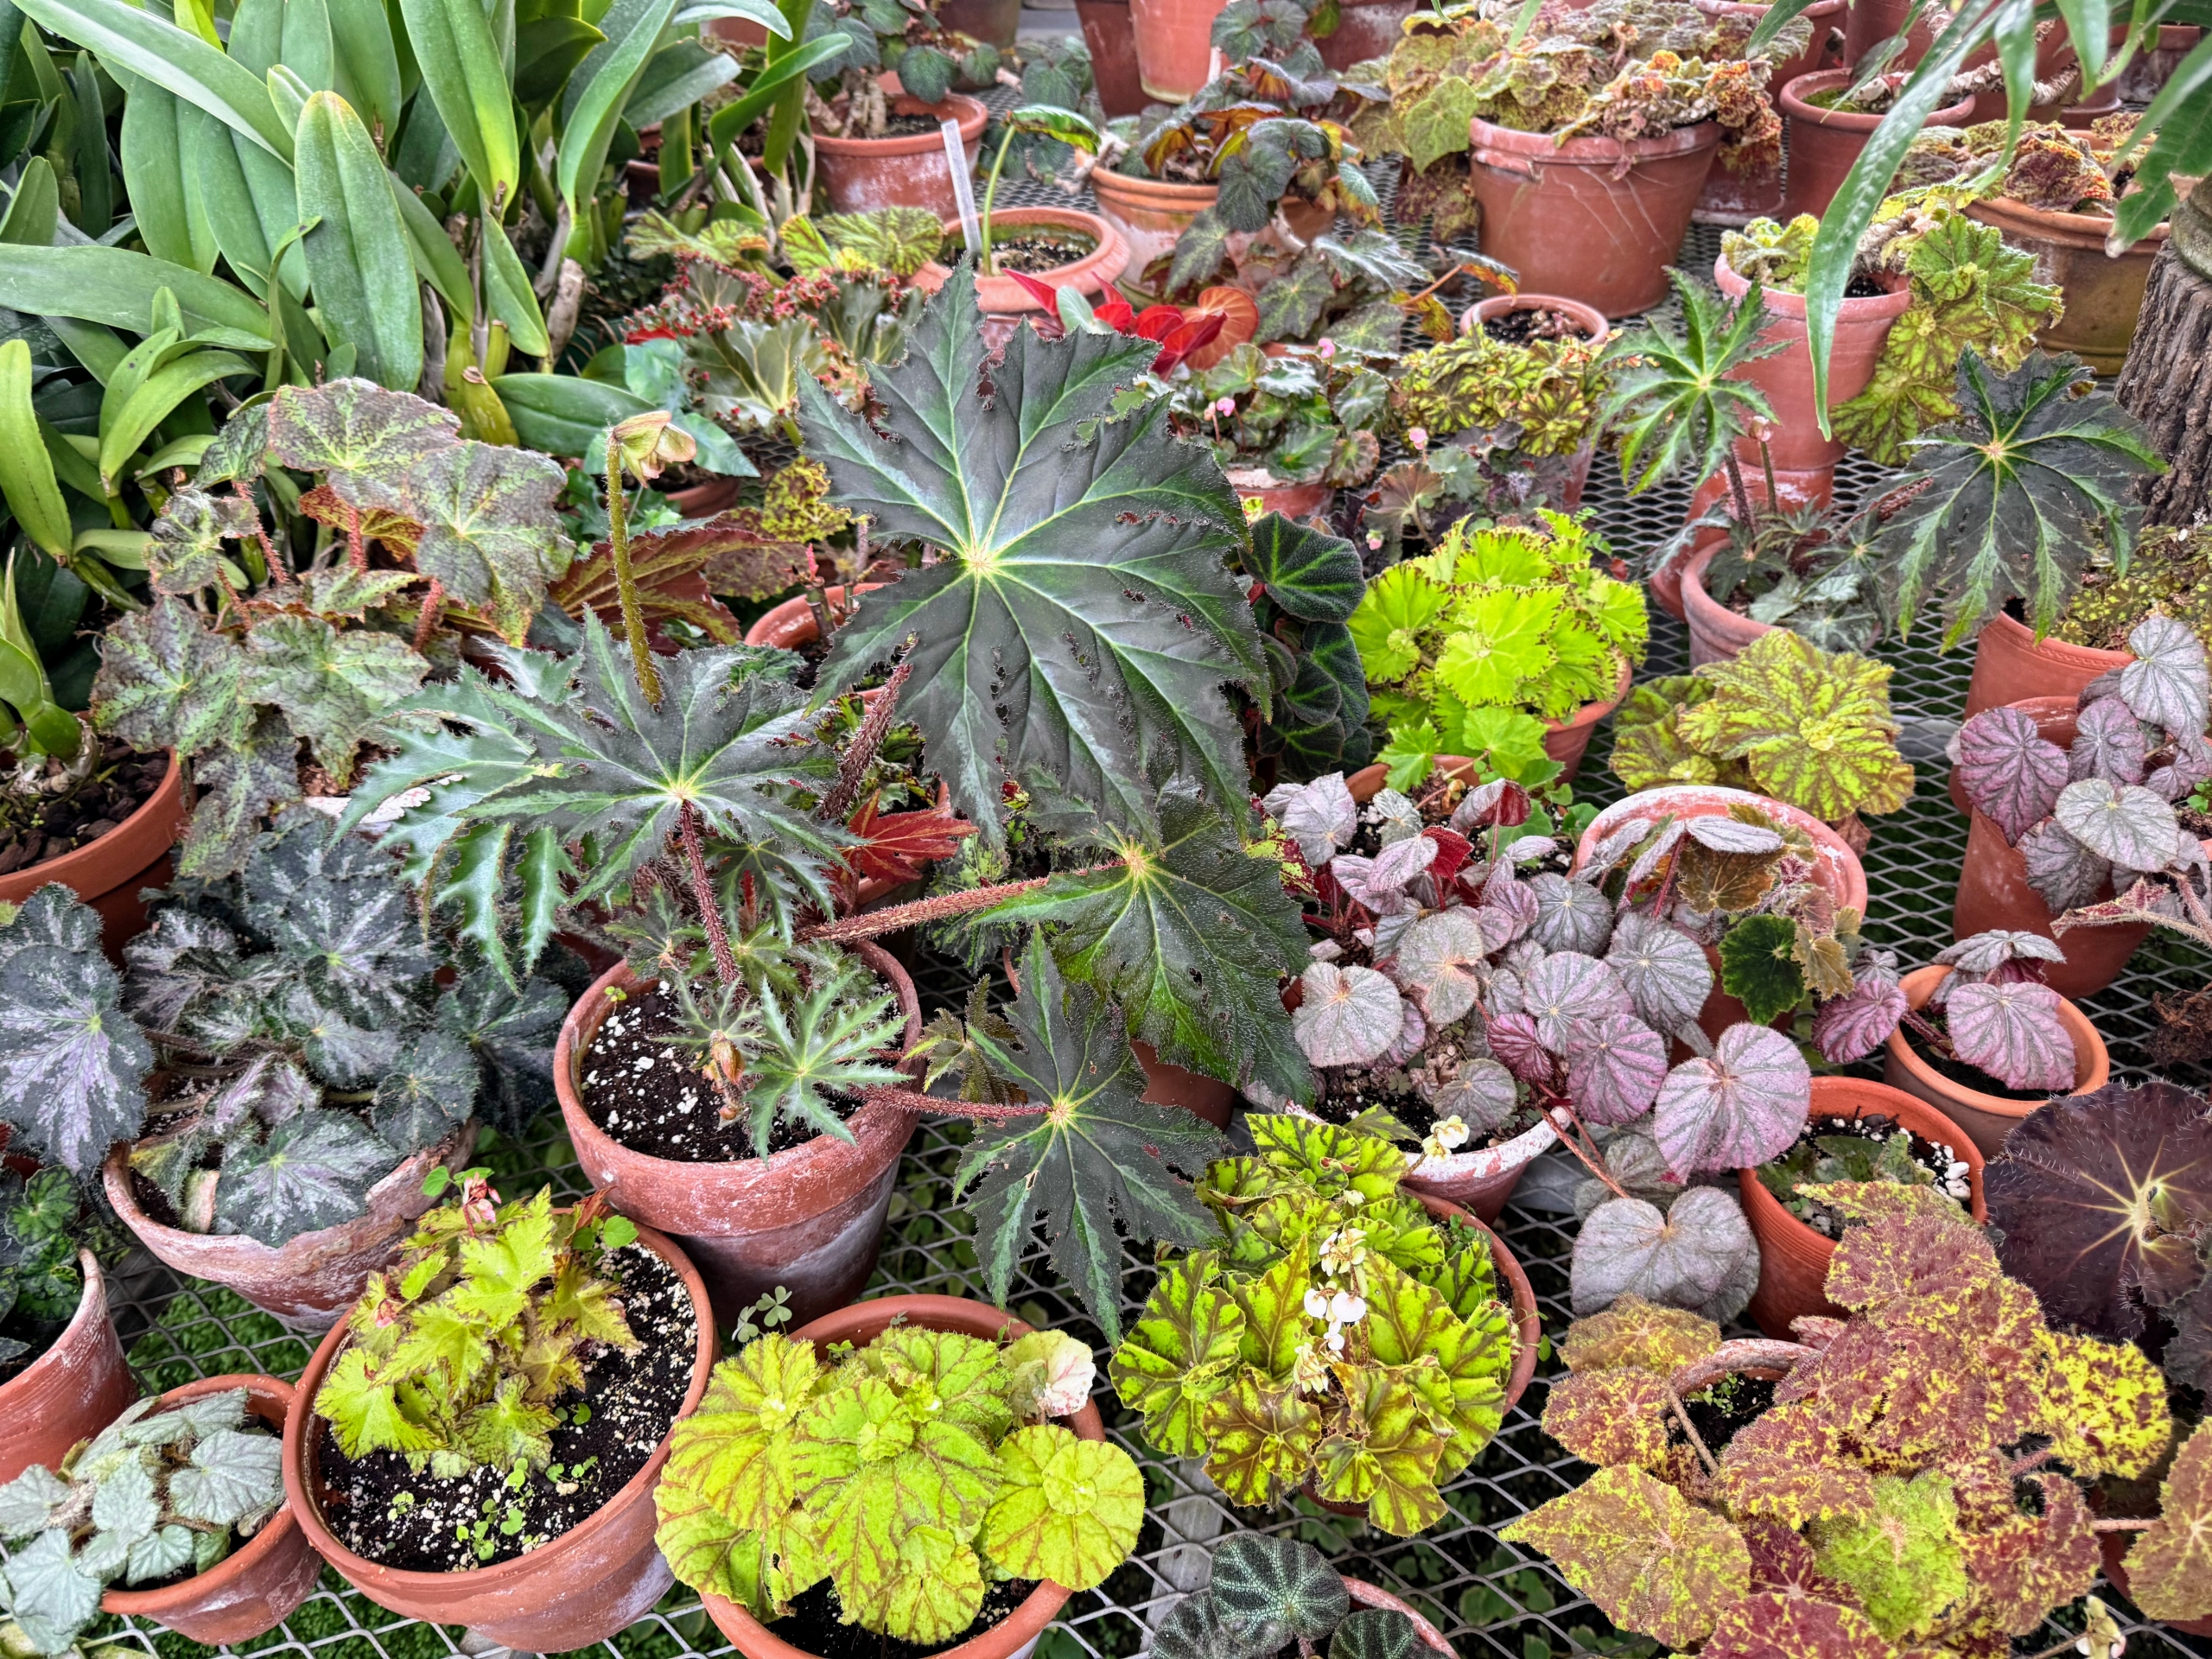
In my main greenhouse I have a large collection of begonias, many of which were grown from leaf and stem cuttings. I keep these begonia plants on a long, sliding table, where they can be watched closely and maintained in a temperature and humidity-controlled space.
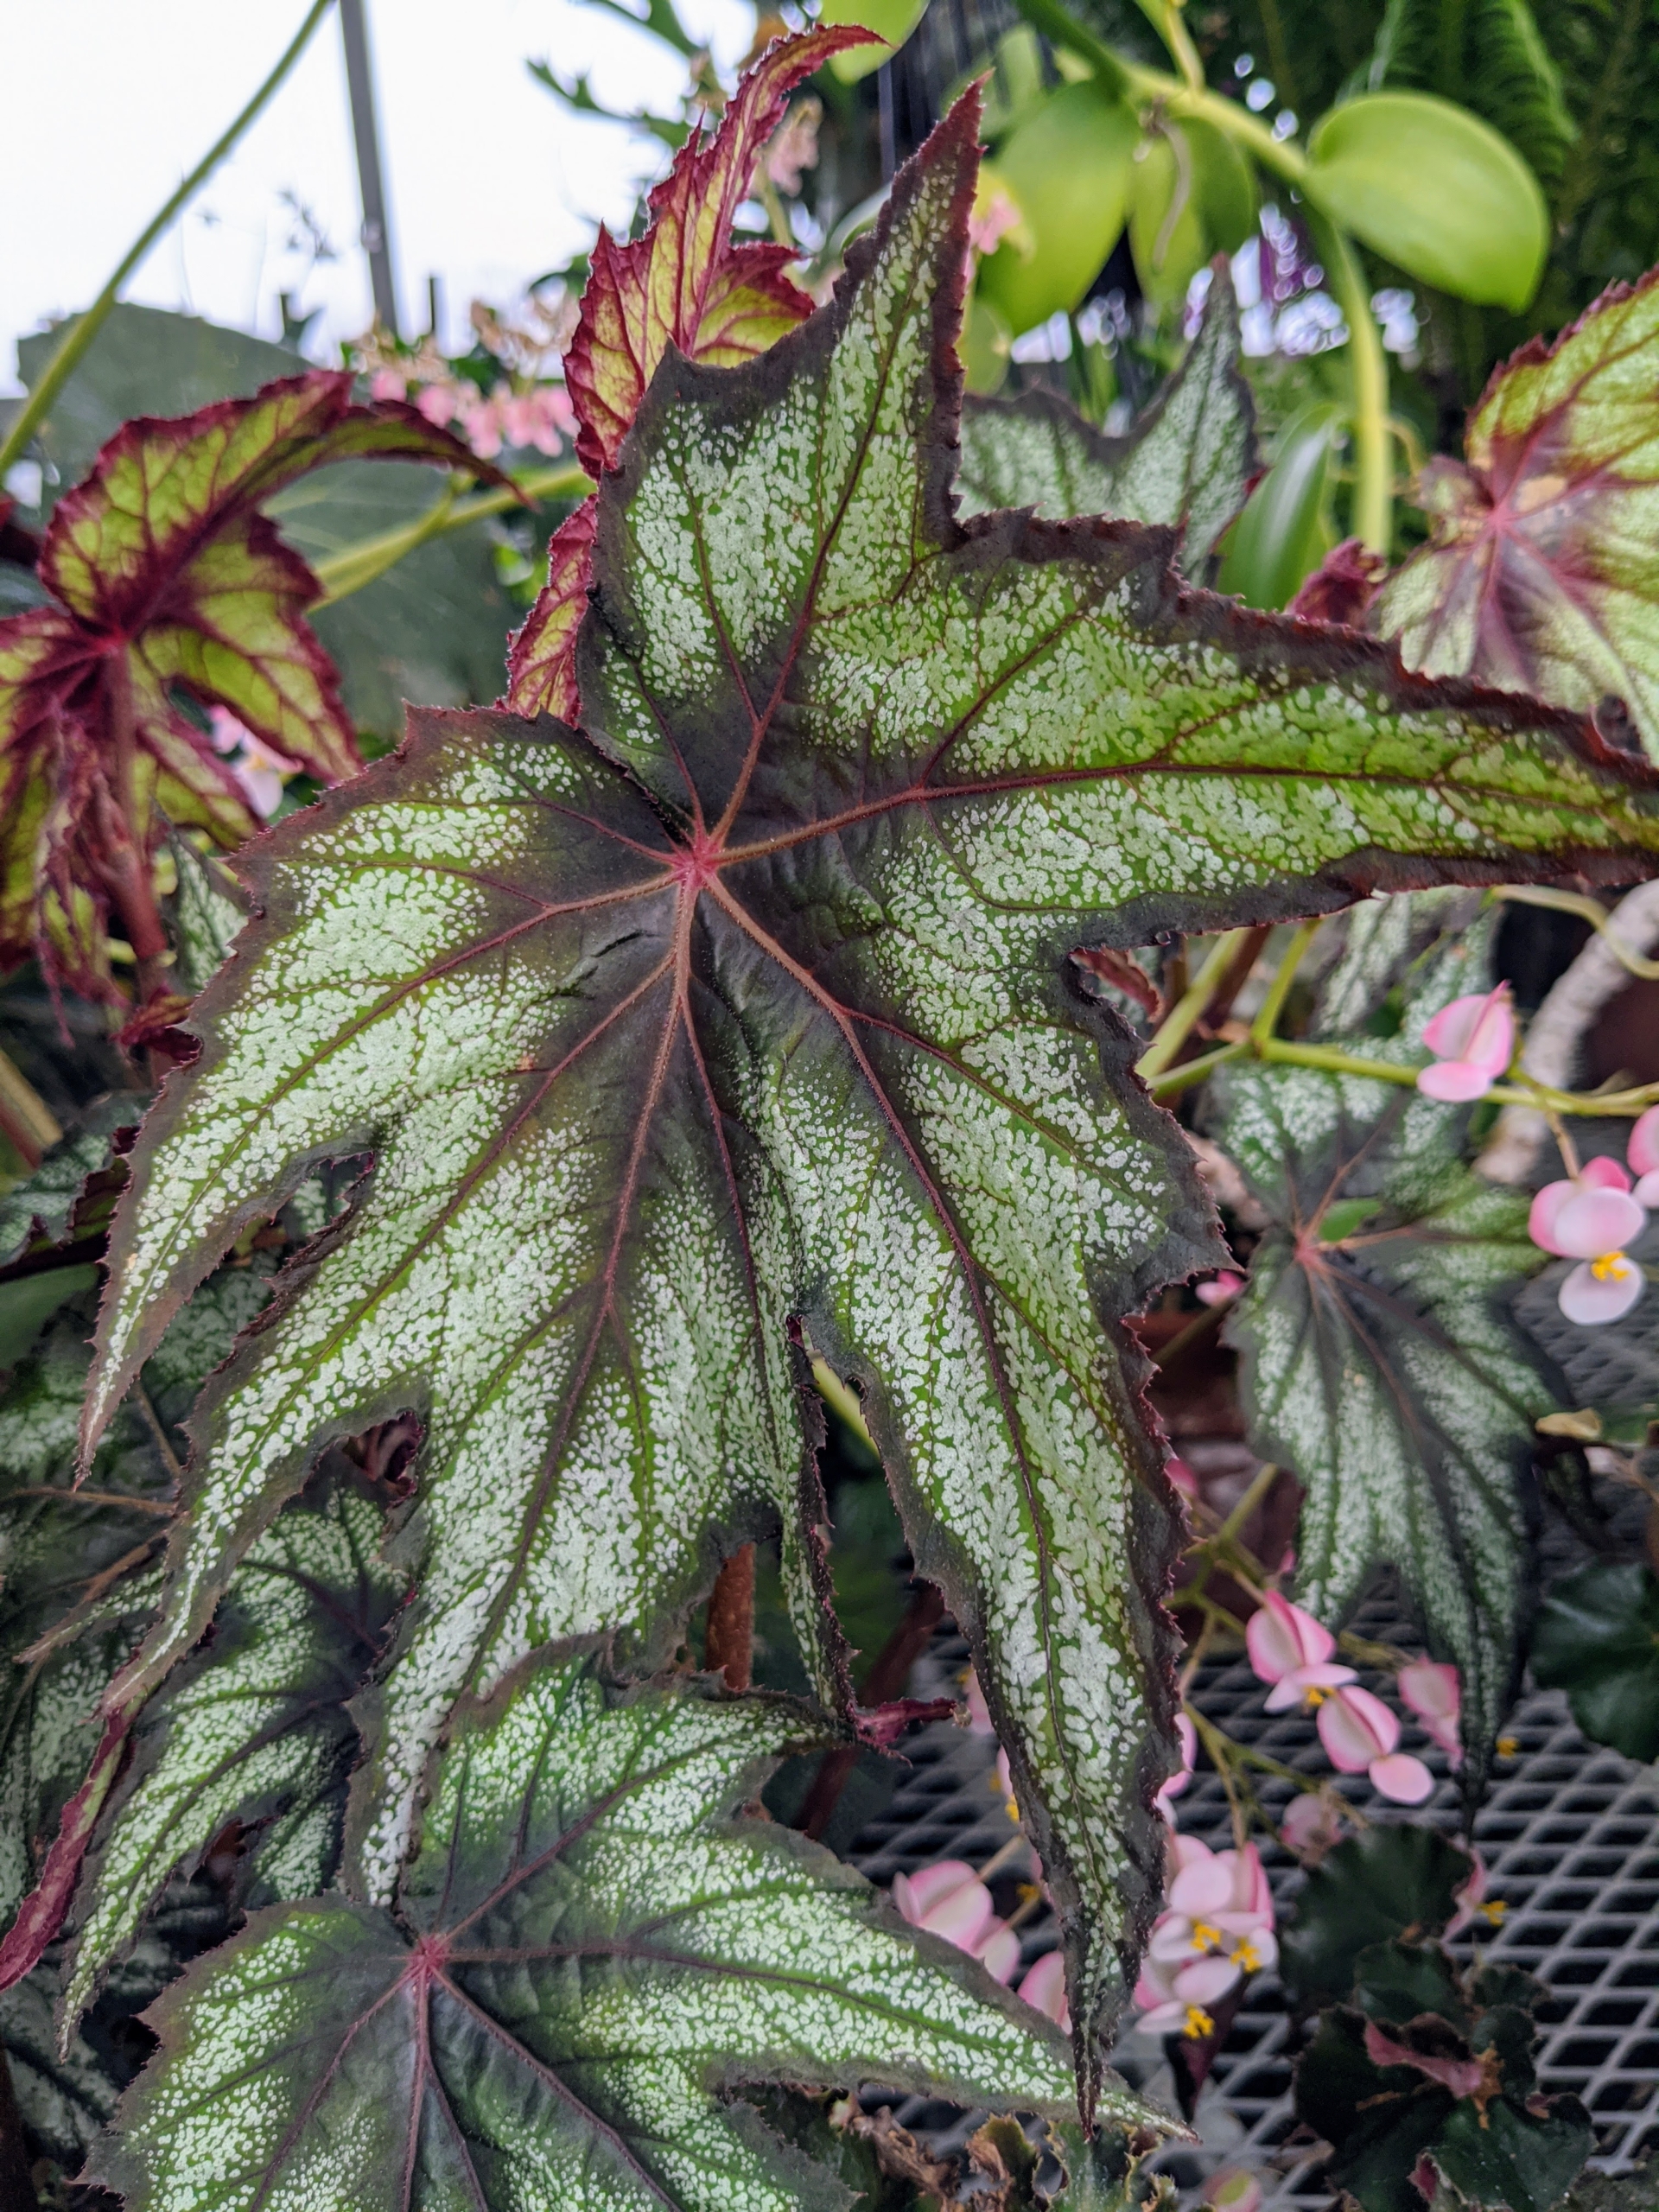
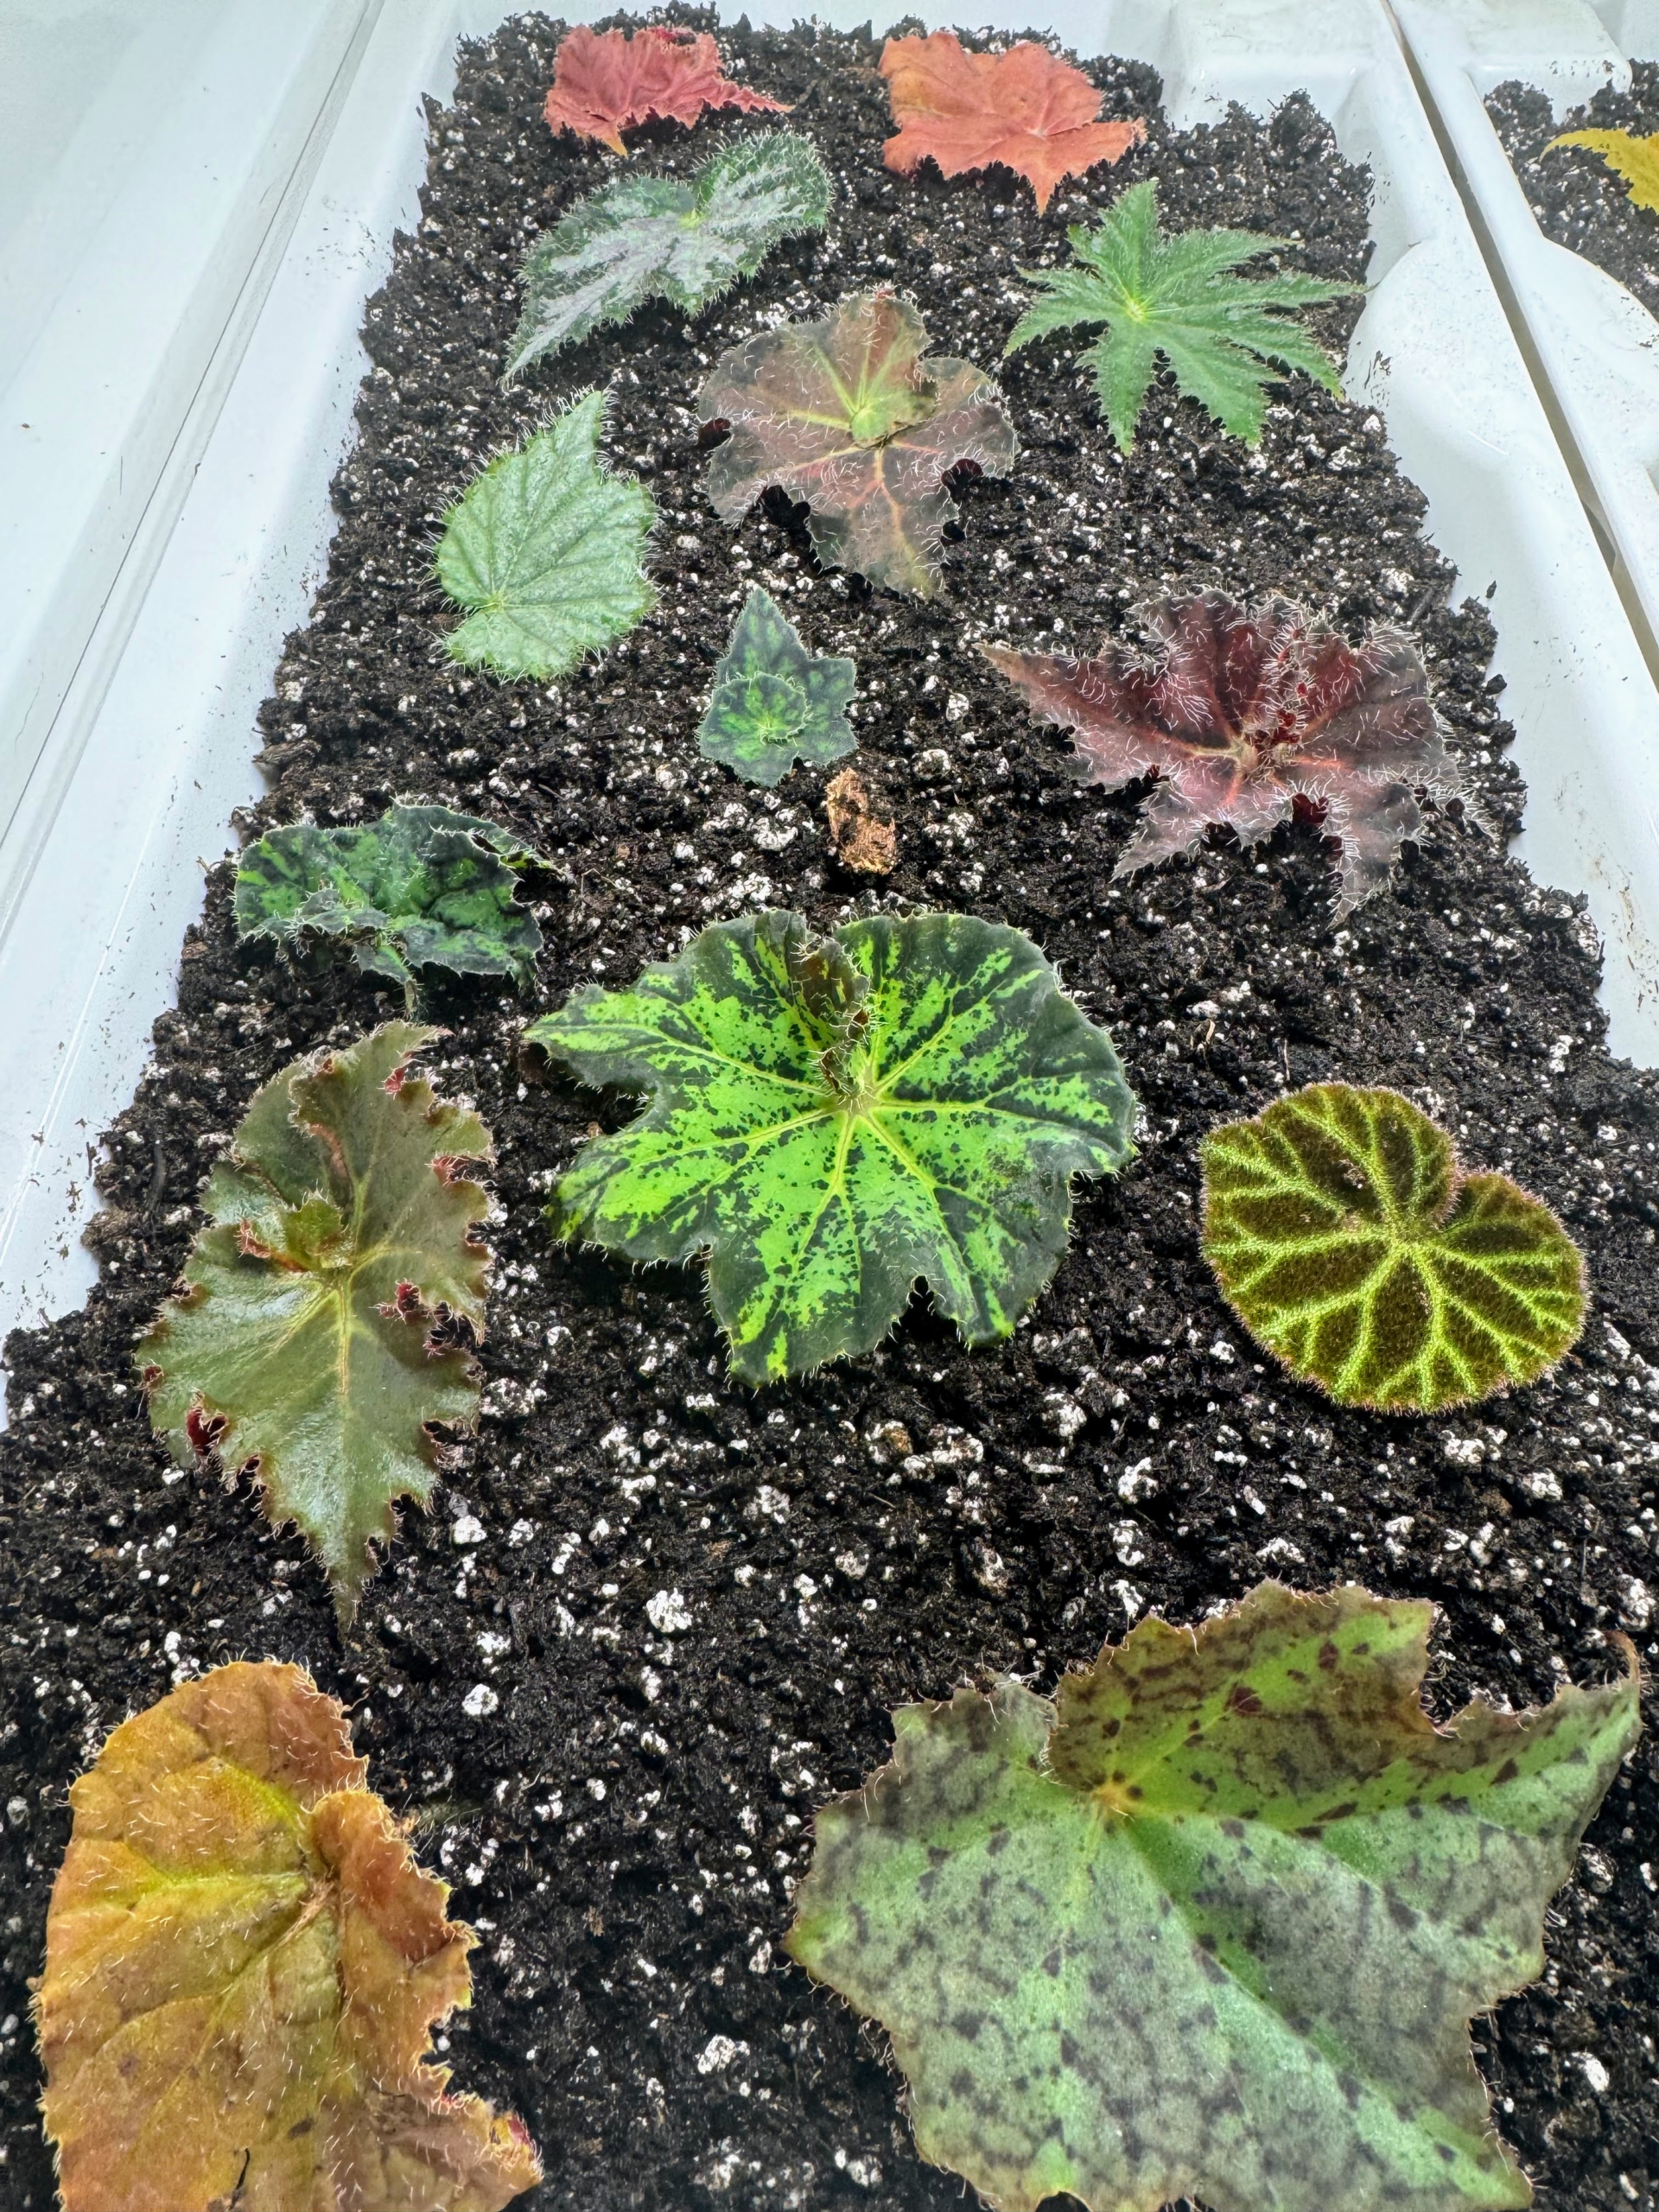
Rhizomatous begonias range from small, delicate plants with one-inch wide leaves to large, robust specimens with 12-inch leaves. There is no end to the variety of leaf shape, color, and texture in the begonia.
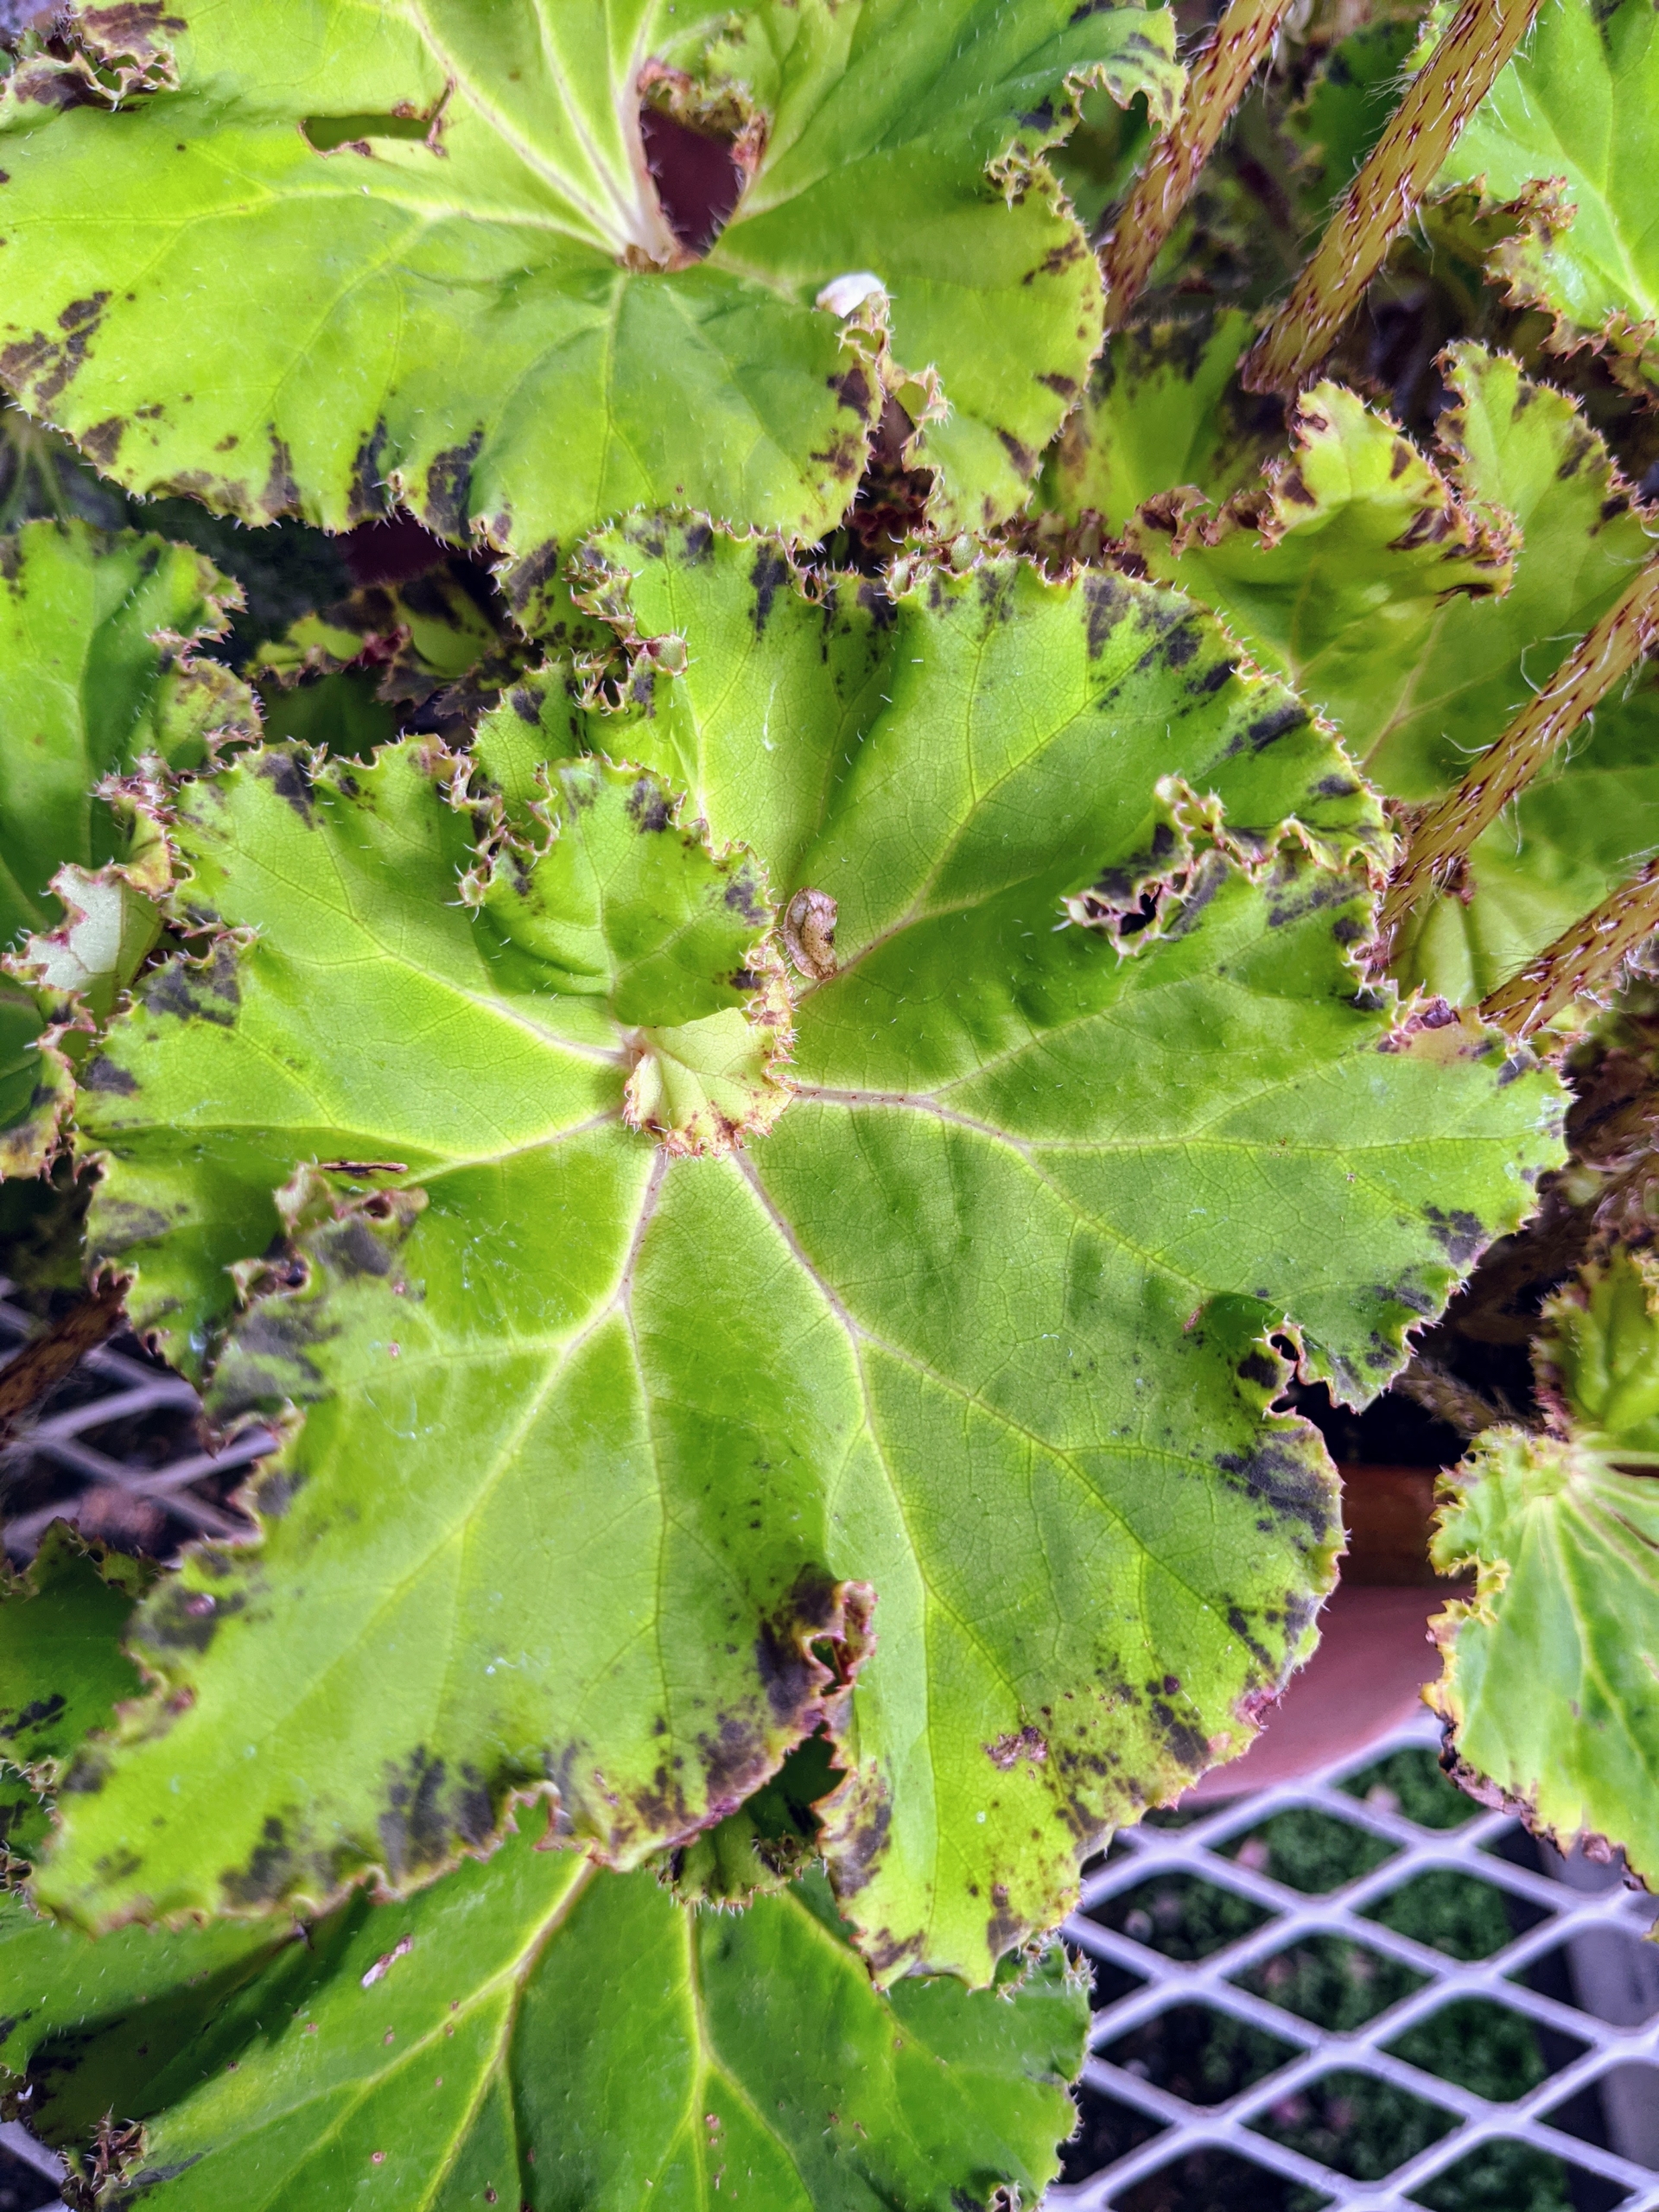
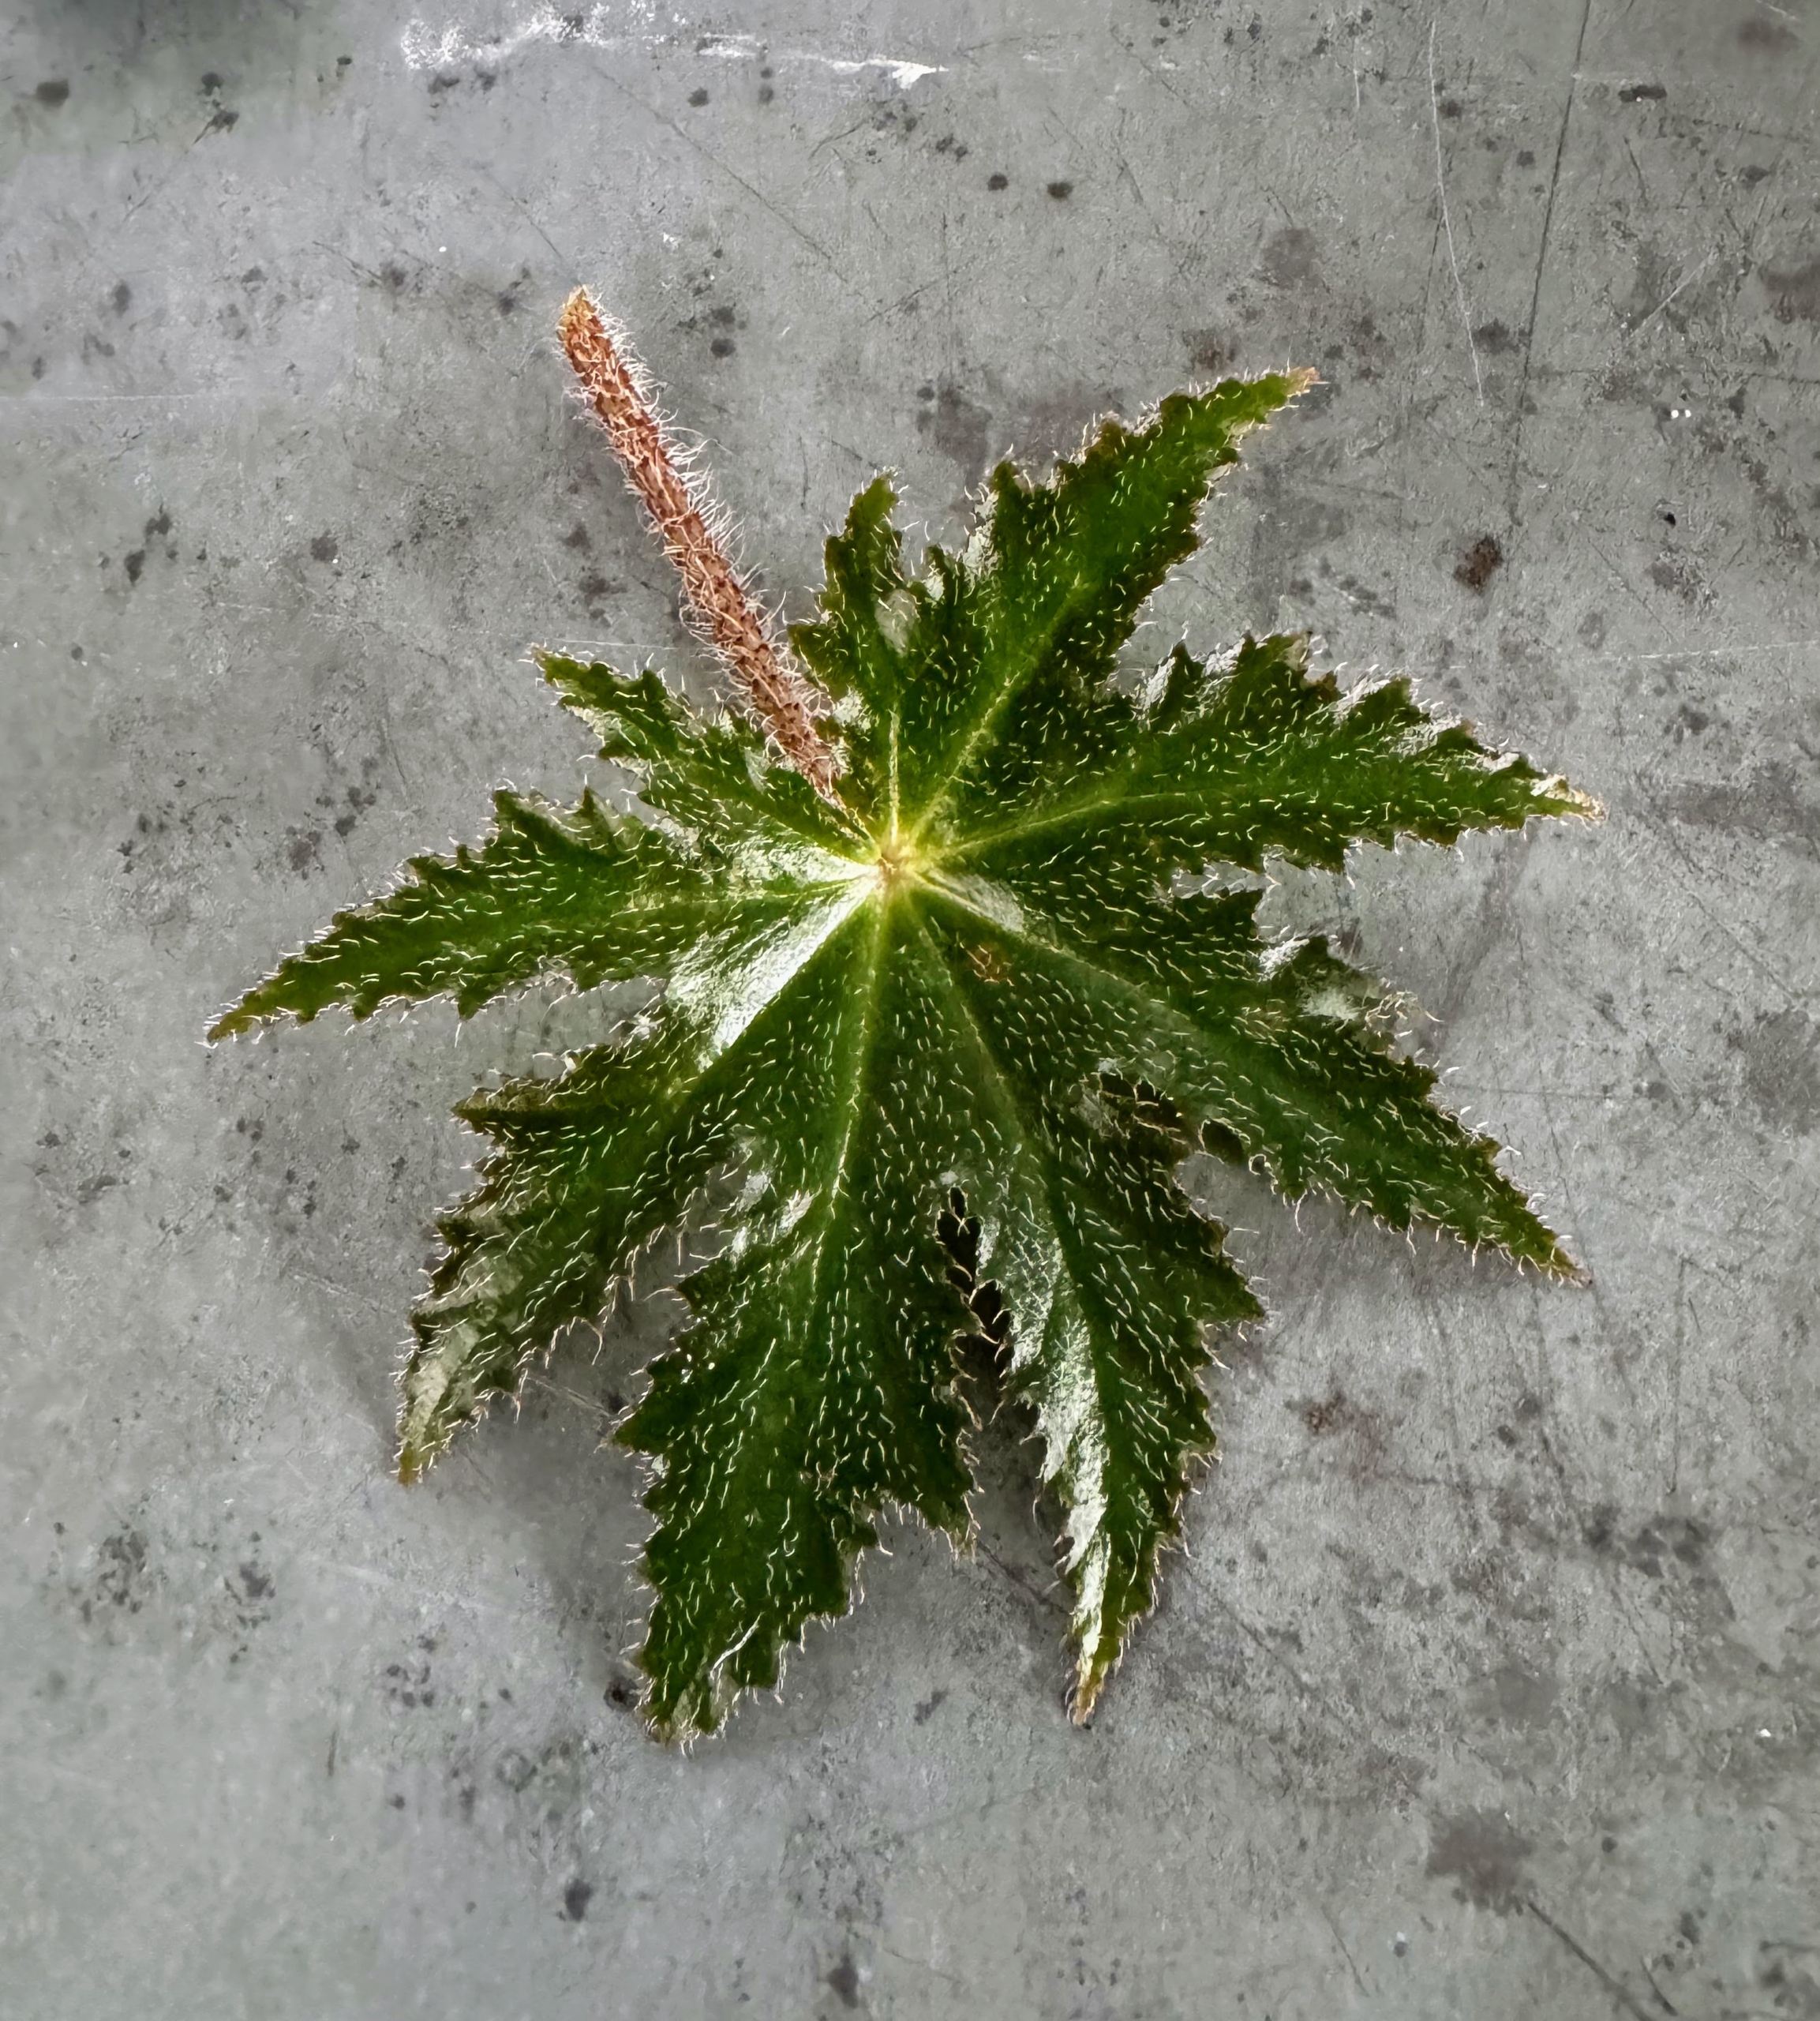
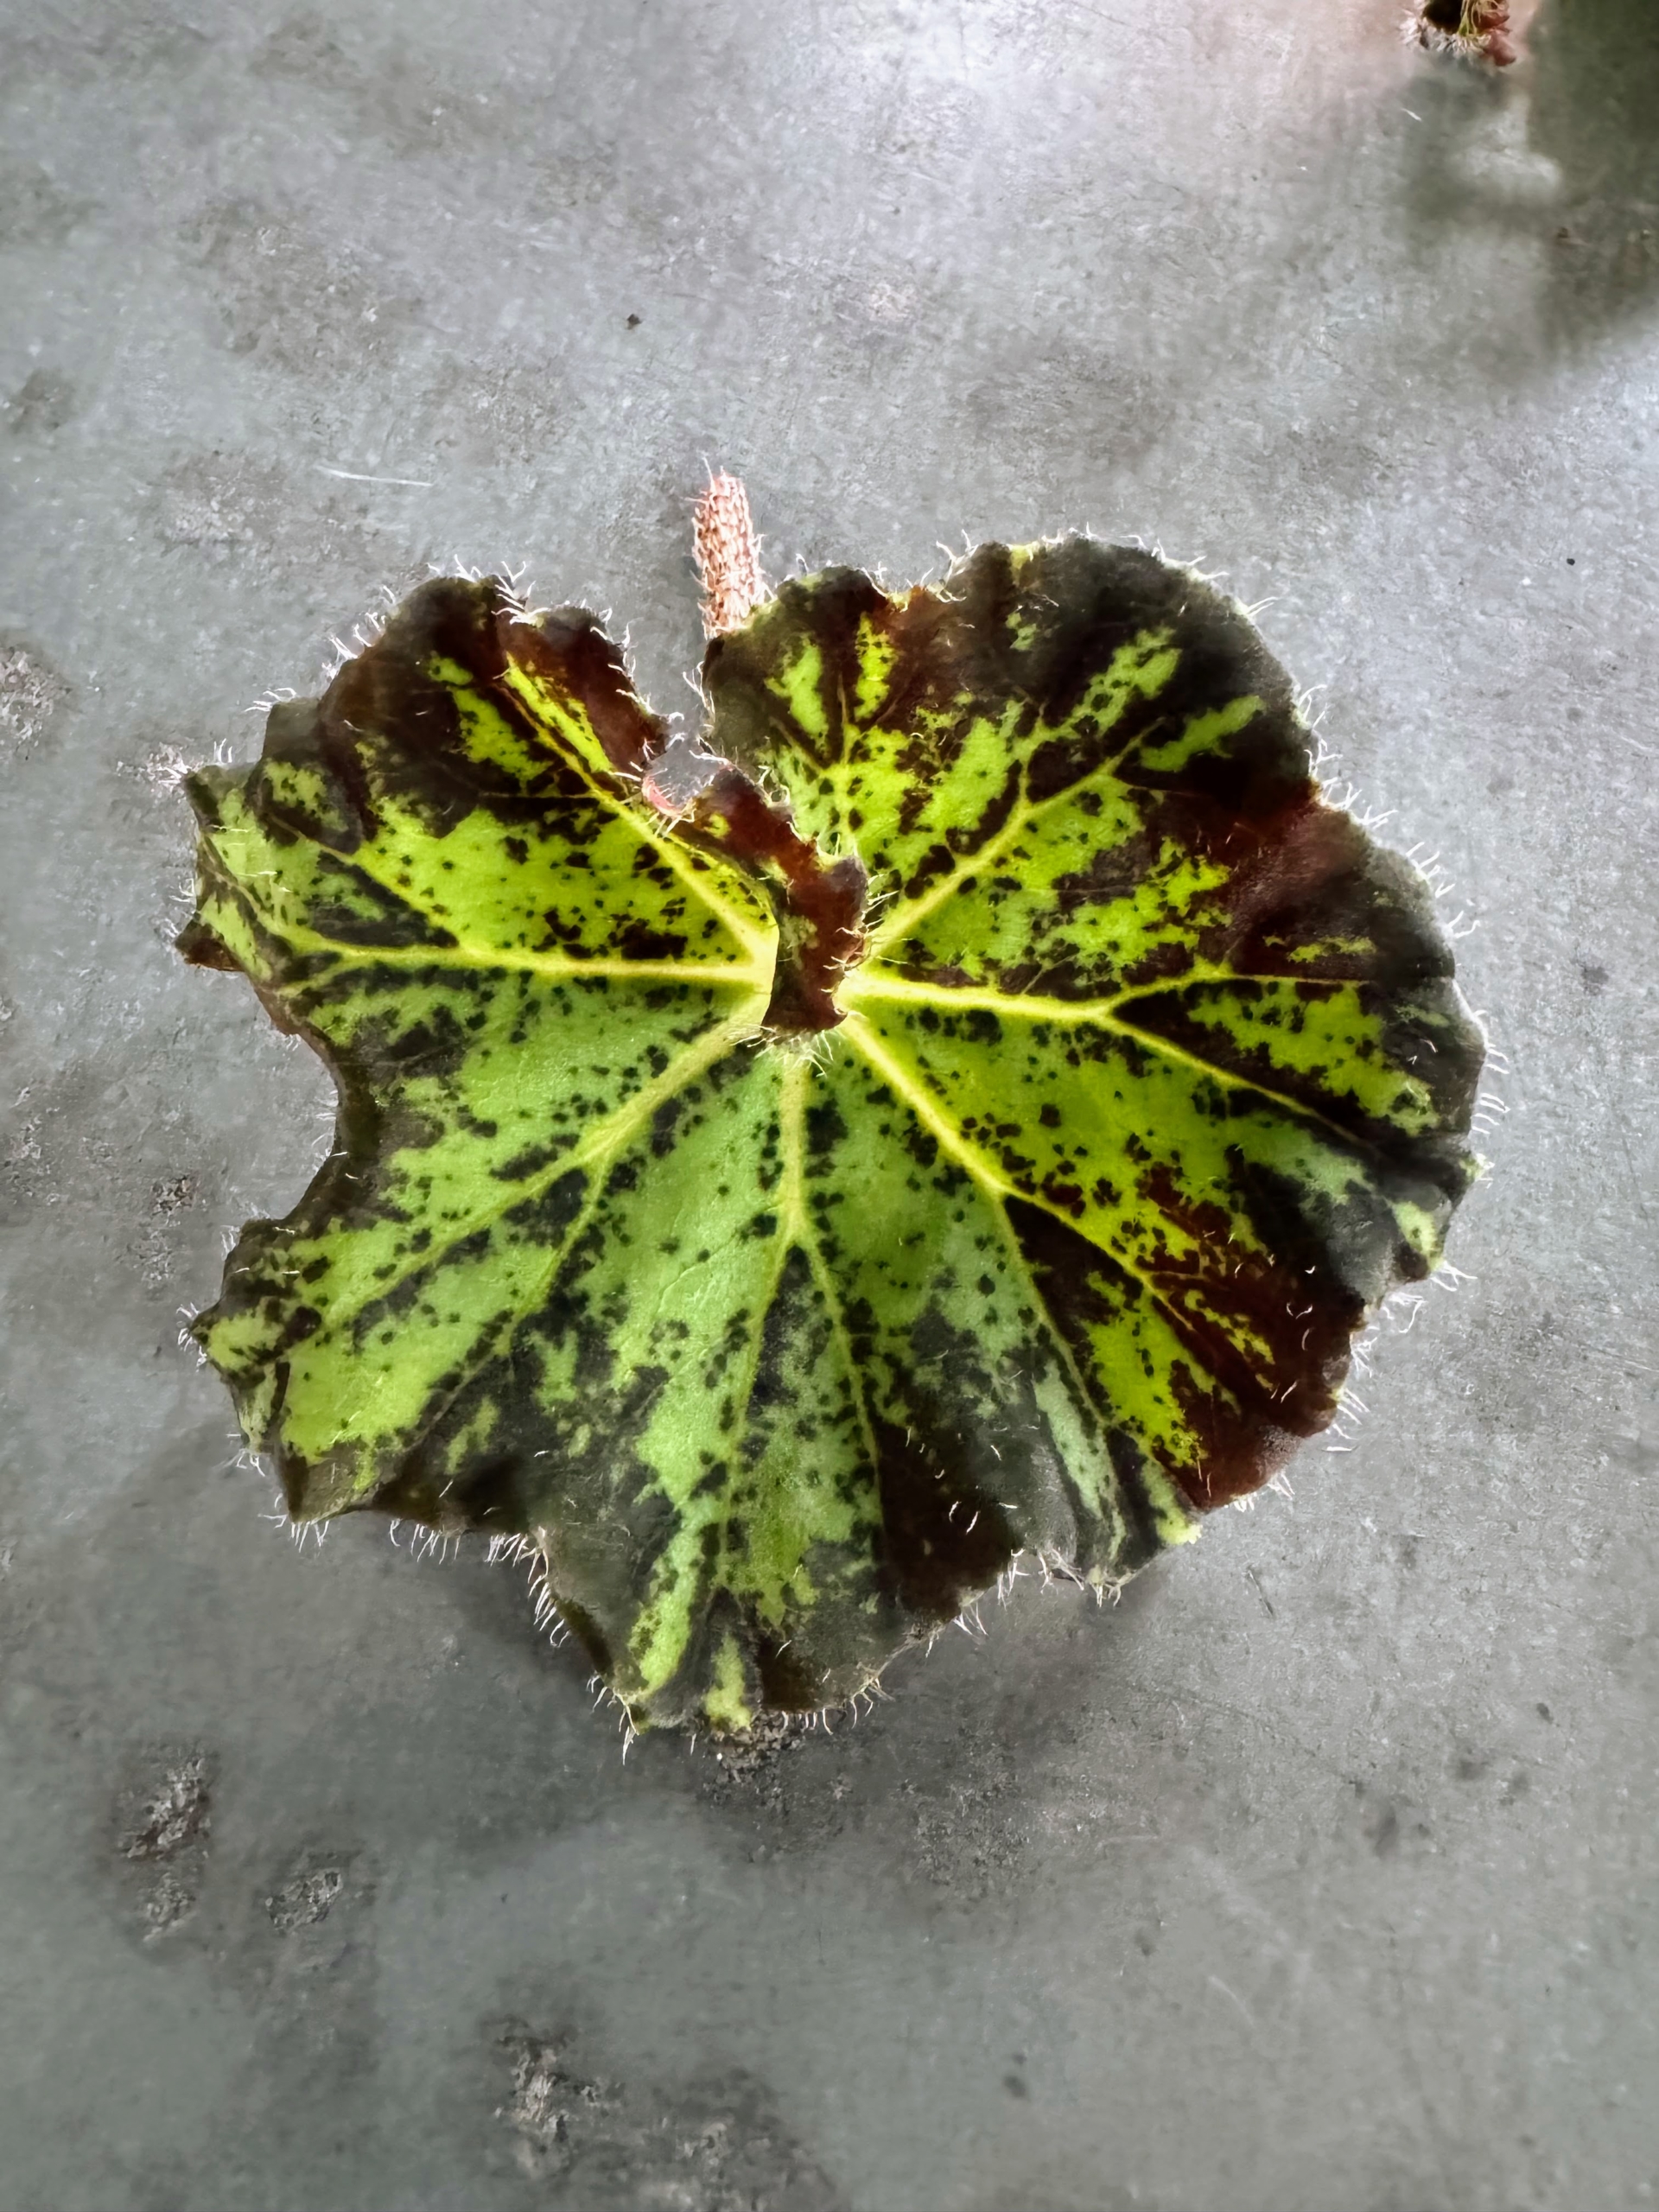
This variety has bright green leaves with dark veining.
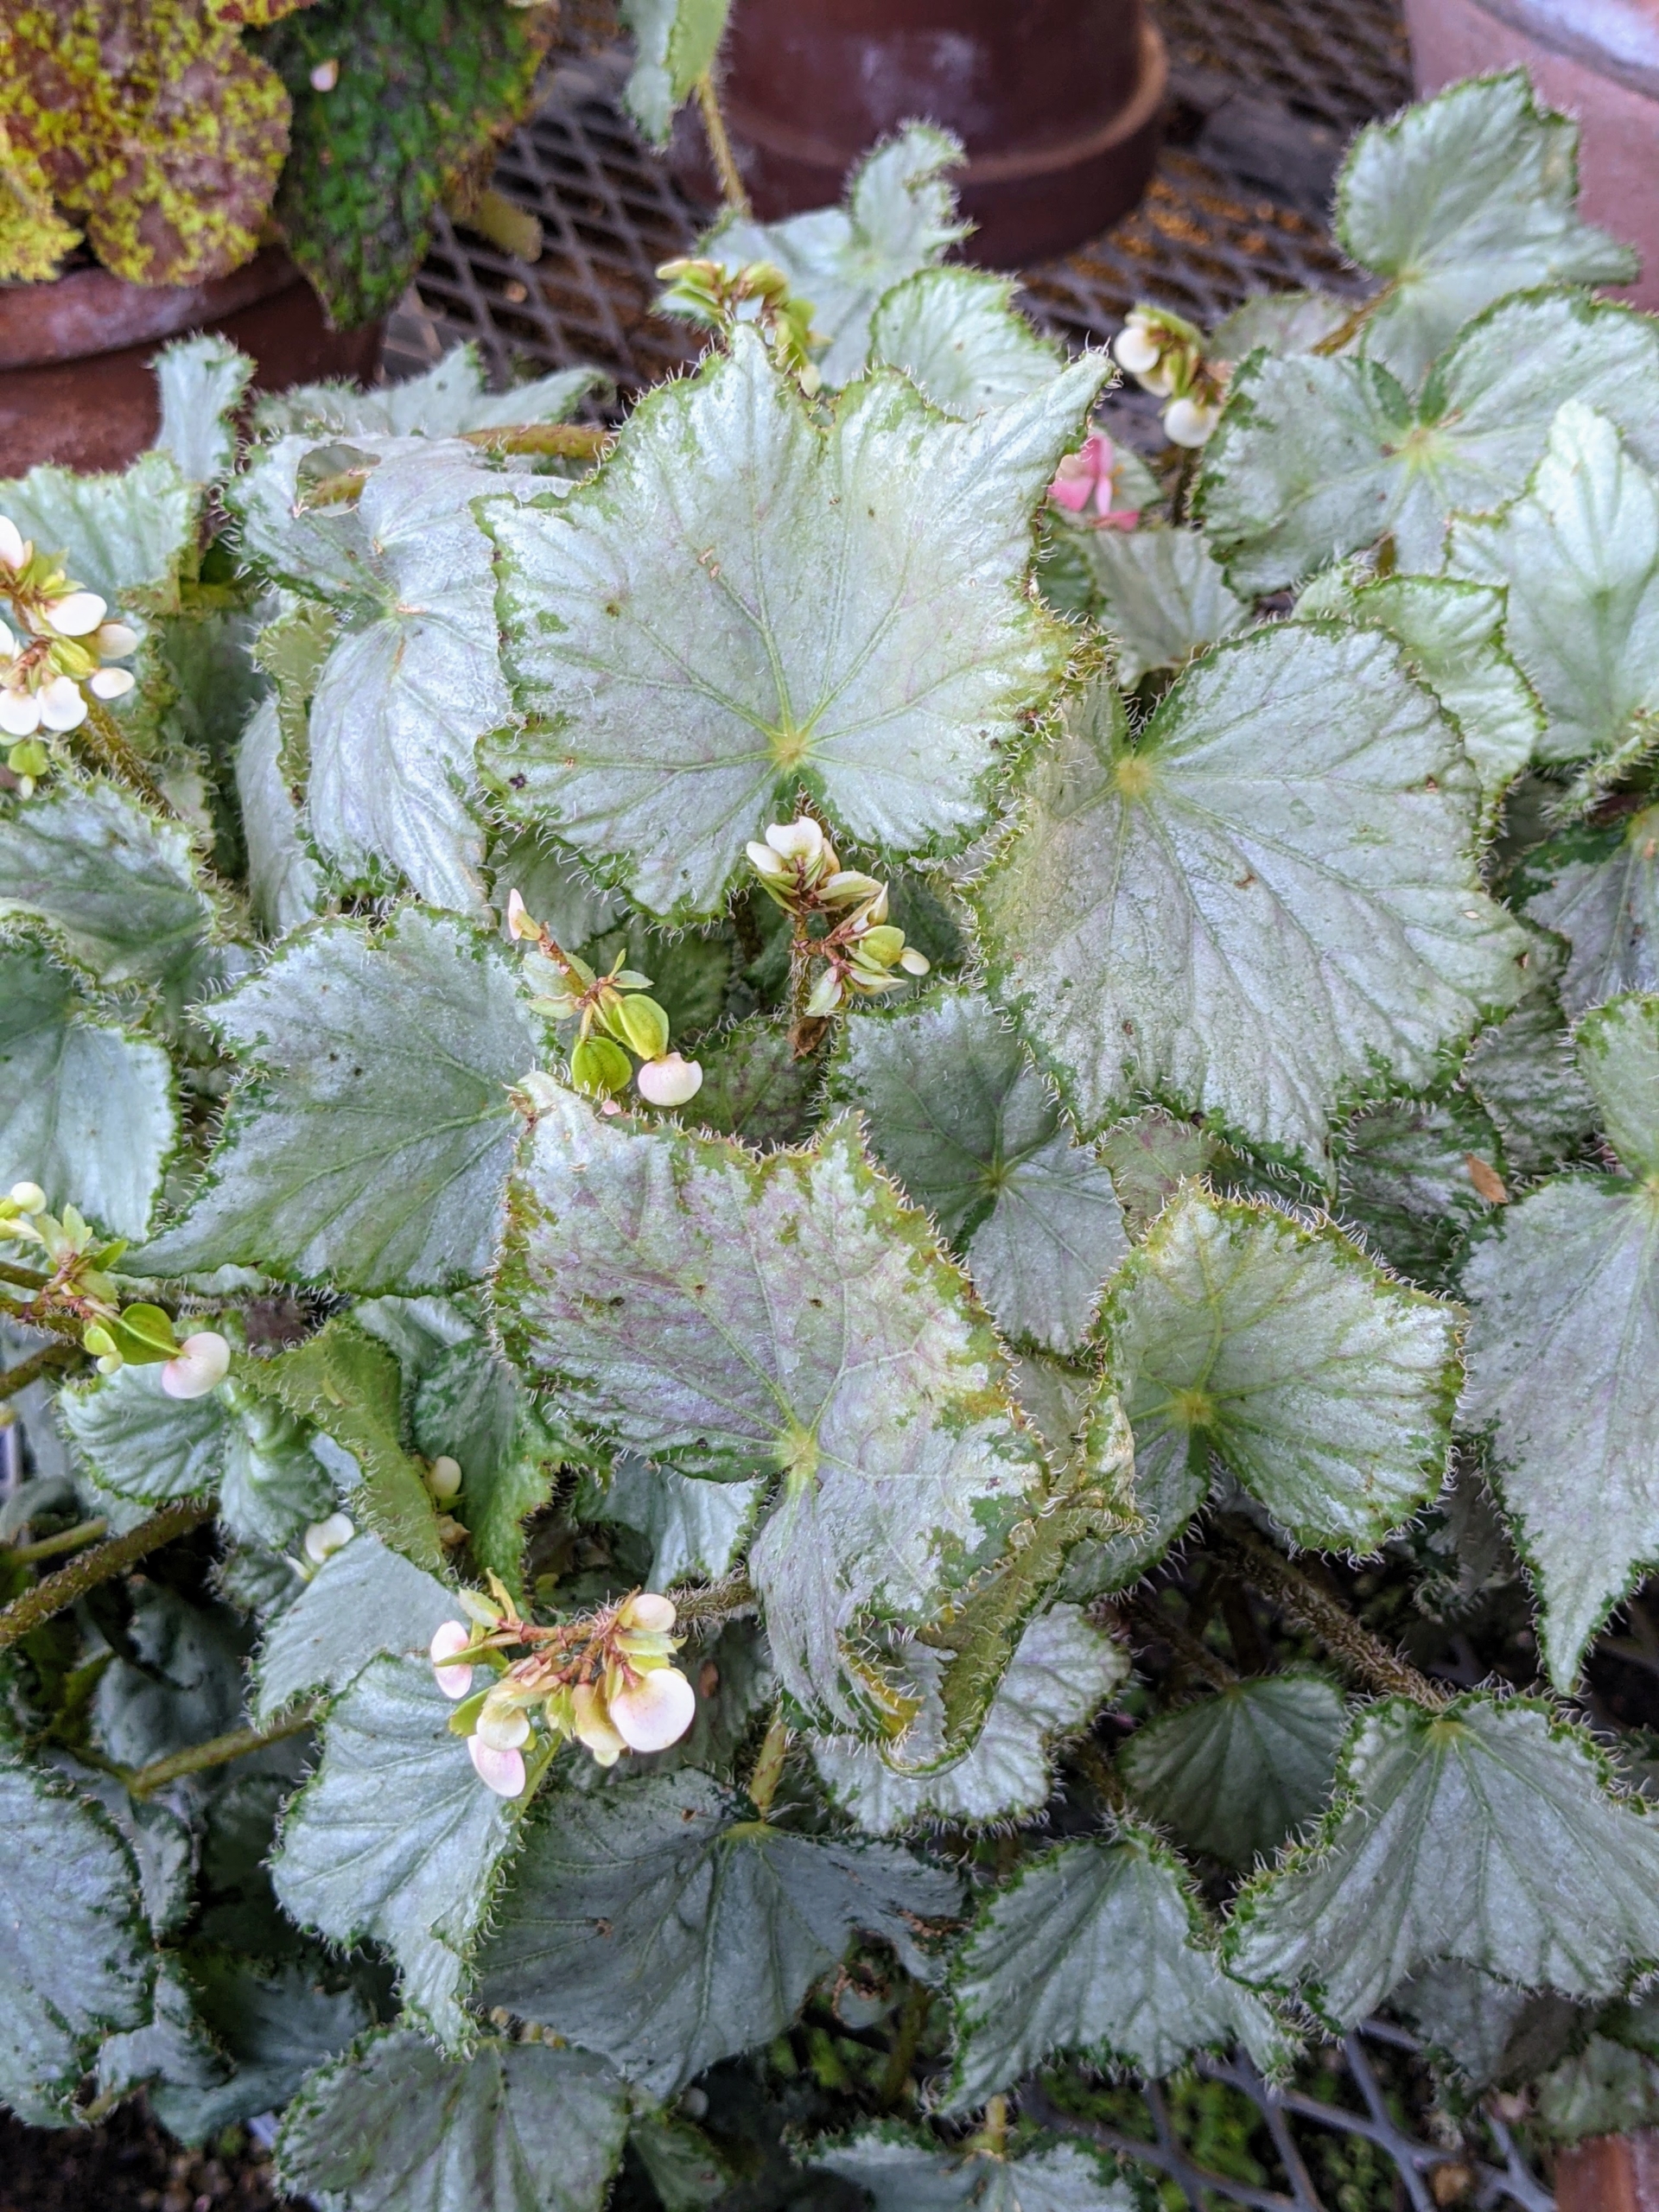
This one shows leaves that are silver-gray with green margins.
Begonias are considered cool temperature plants and do best in temperatures ranging from 58 to 72 degrees Fahrenheit. I am always on the lookout for rare and unusual varieties with interesting forms.
During the winter months, the plants flower, but they are mostly prized for their extravagant foliage.
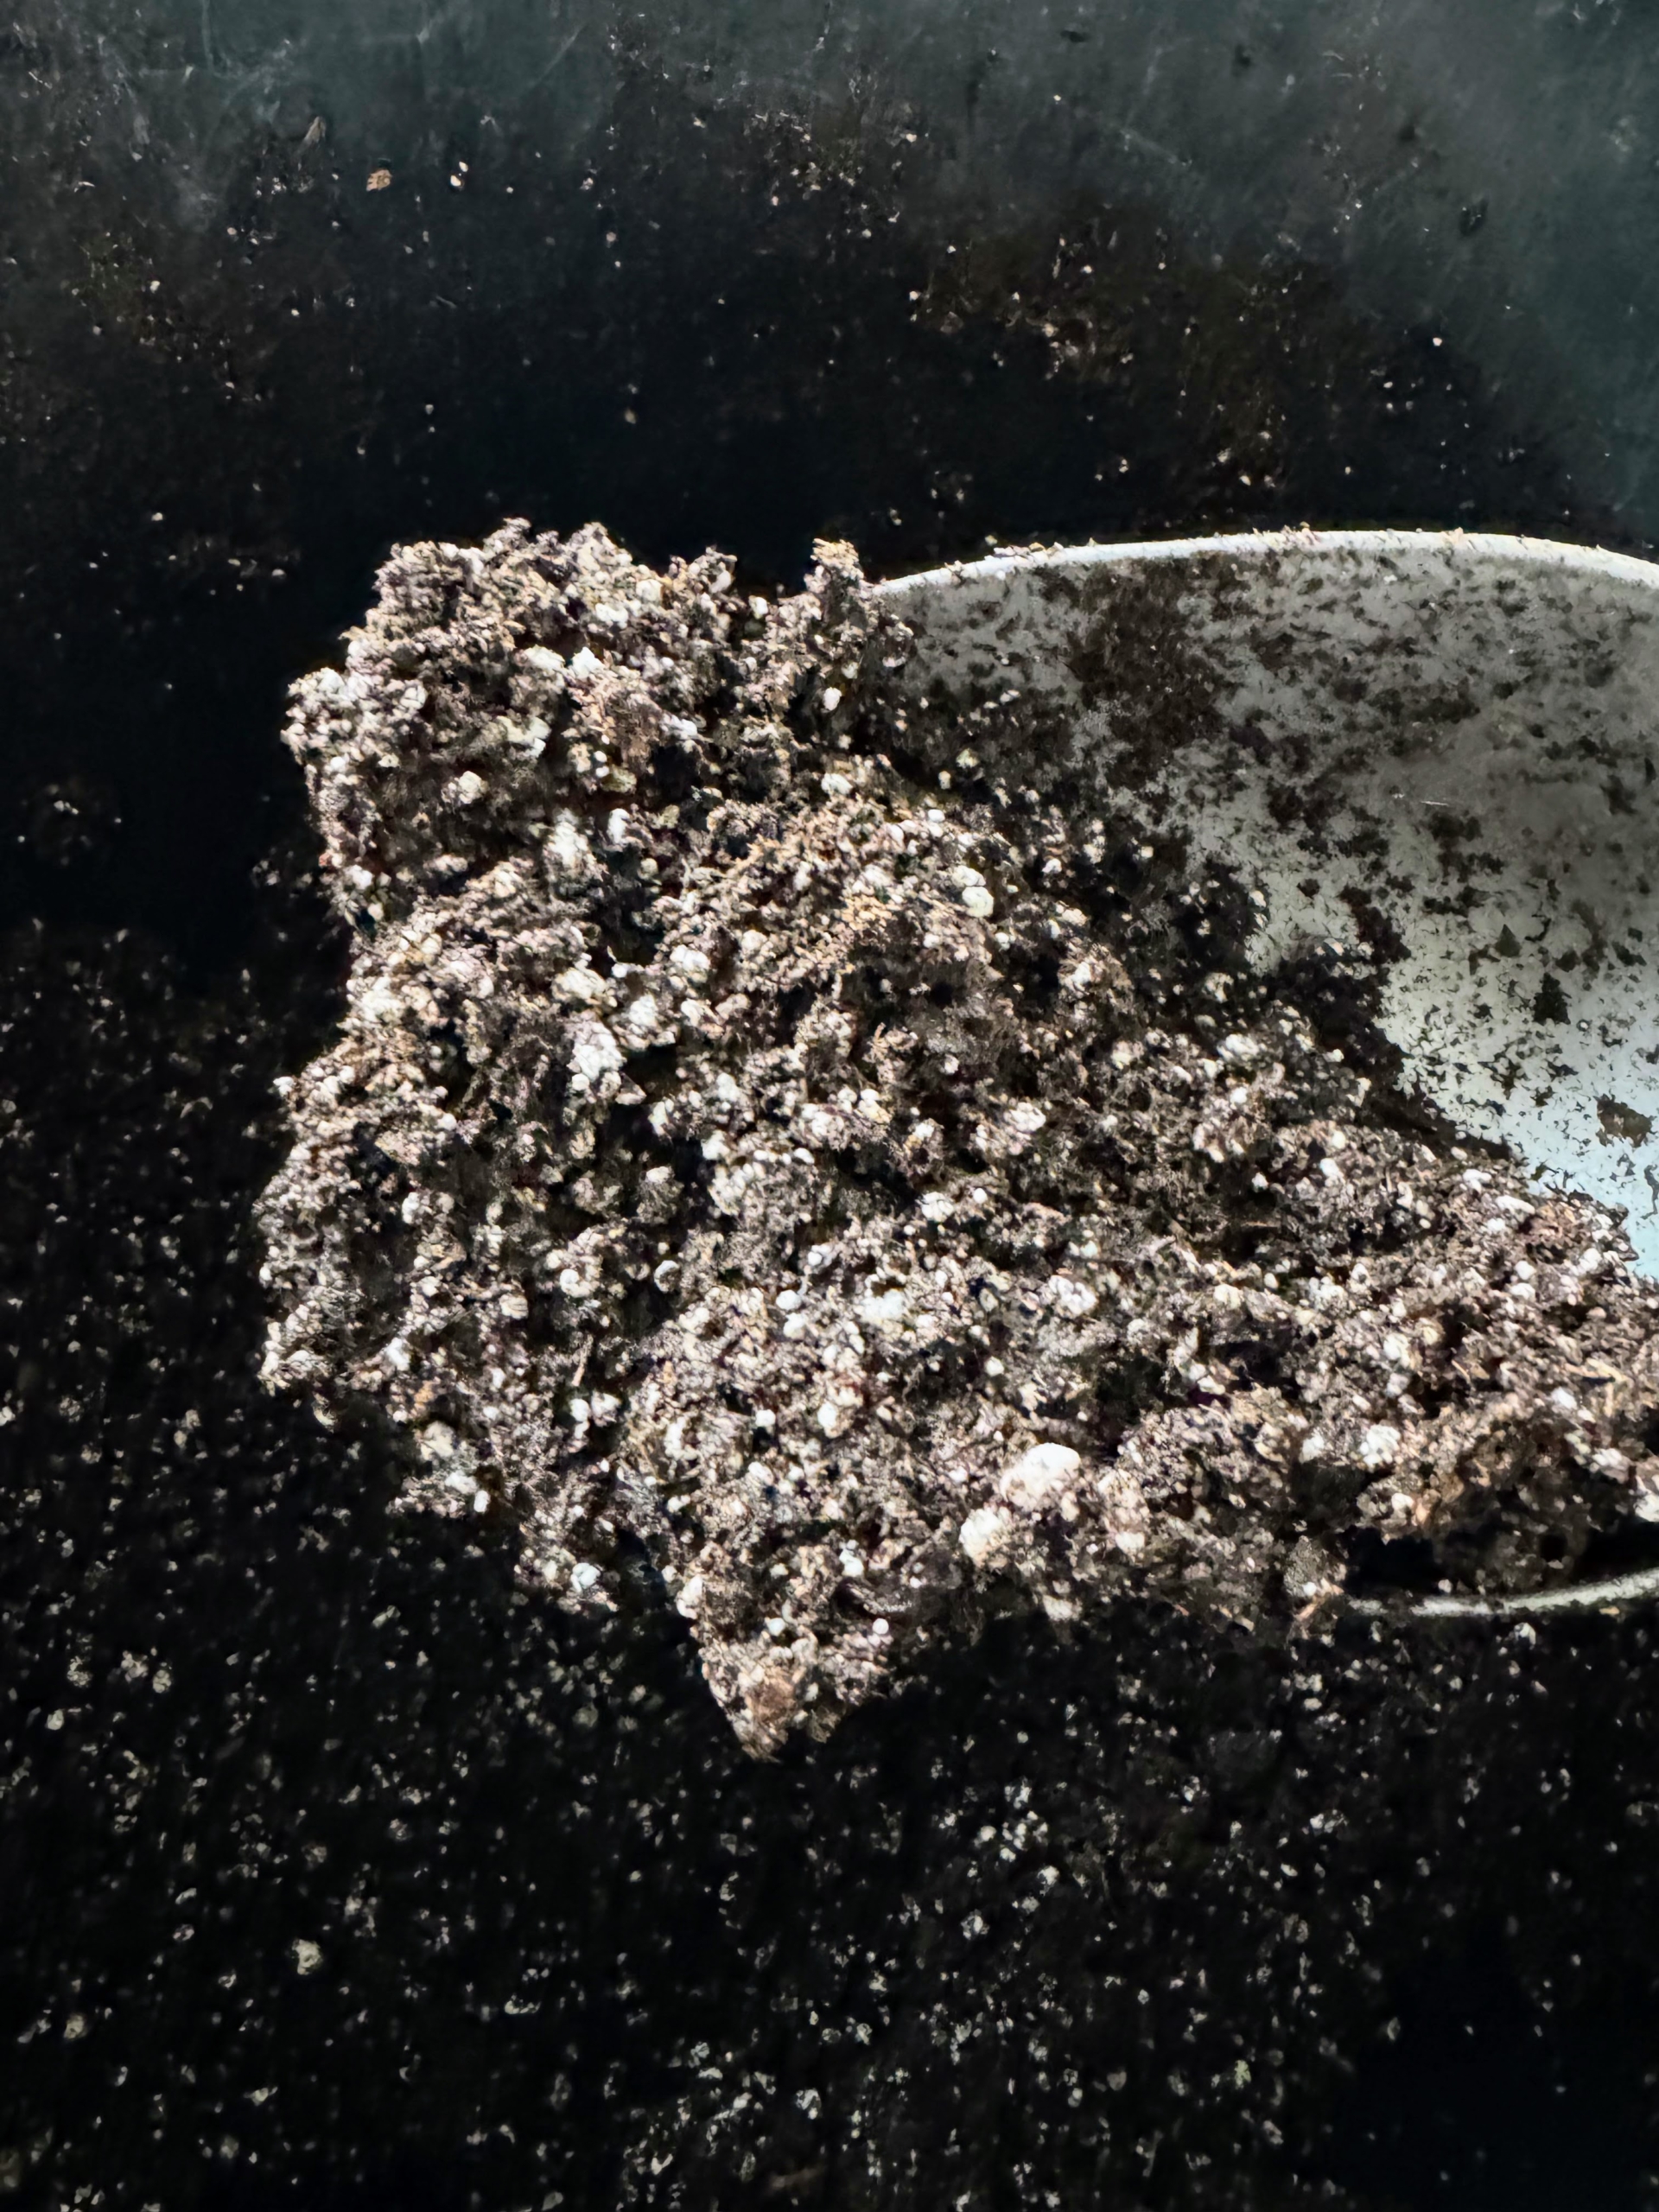
Begonias grow best in light, well-drained soil. It’s best to use a pre-made seed starting mix that contains the proper amounts of vermiculite, perlite and peat moss. Seed starting mixes are available at garden supply stores.
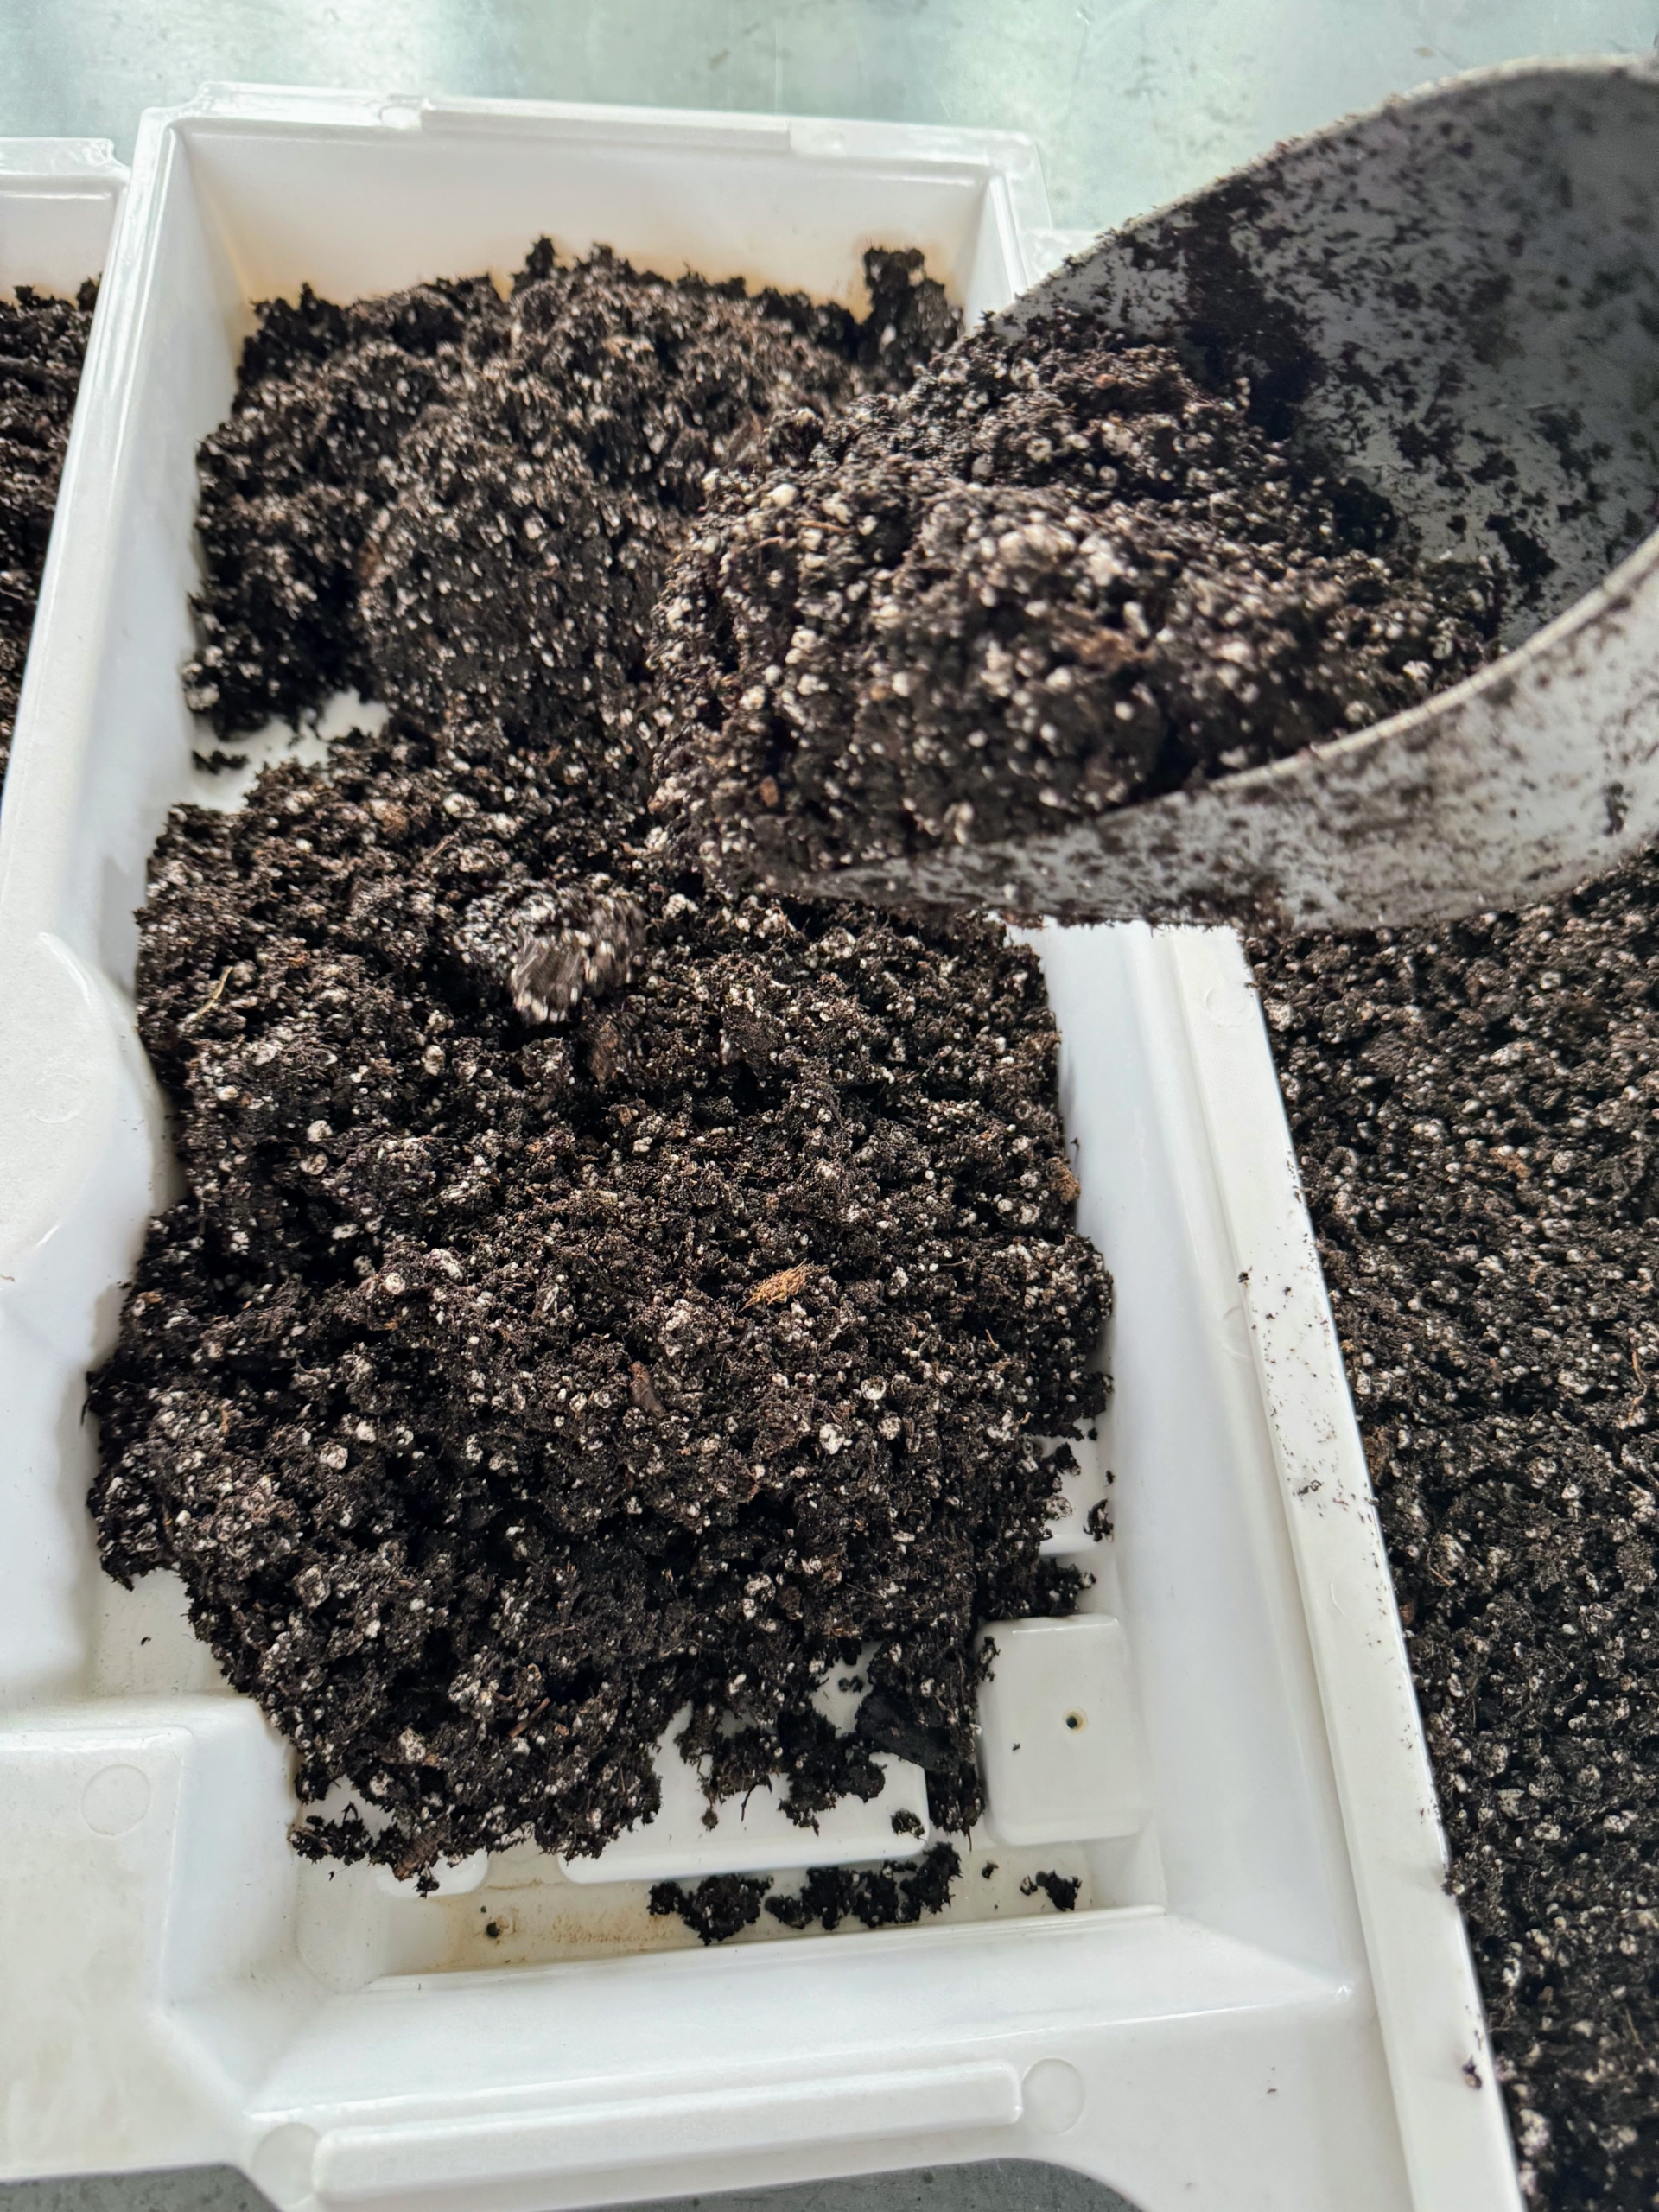
Ryan uses these plastic seedling trays made especially for our Urban Cultivator – an automated system that provides a self-contained growing environment with everything the plants need to thrive. These trays are made with indentations for adequate and equal water flow.
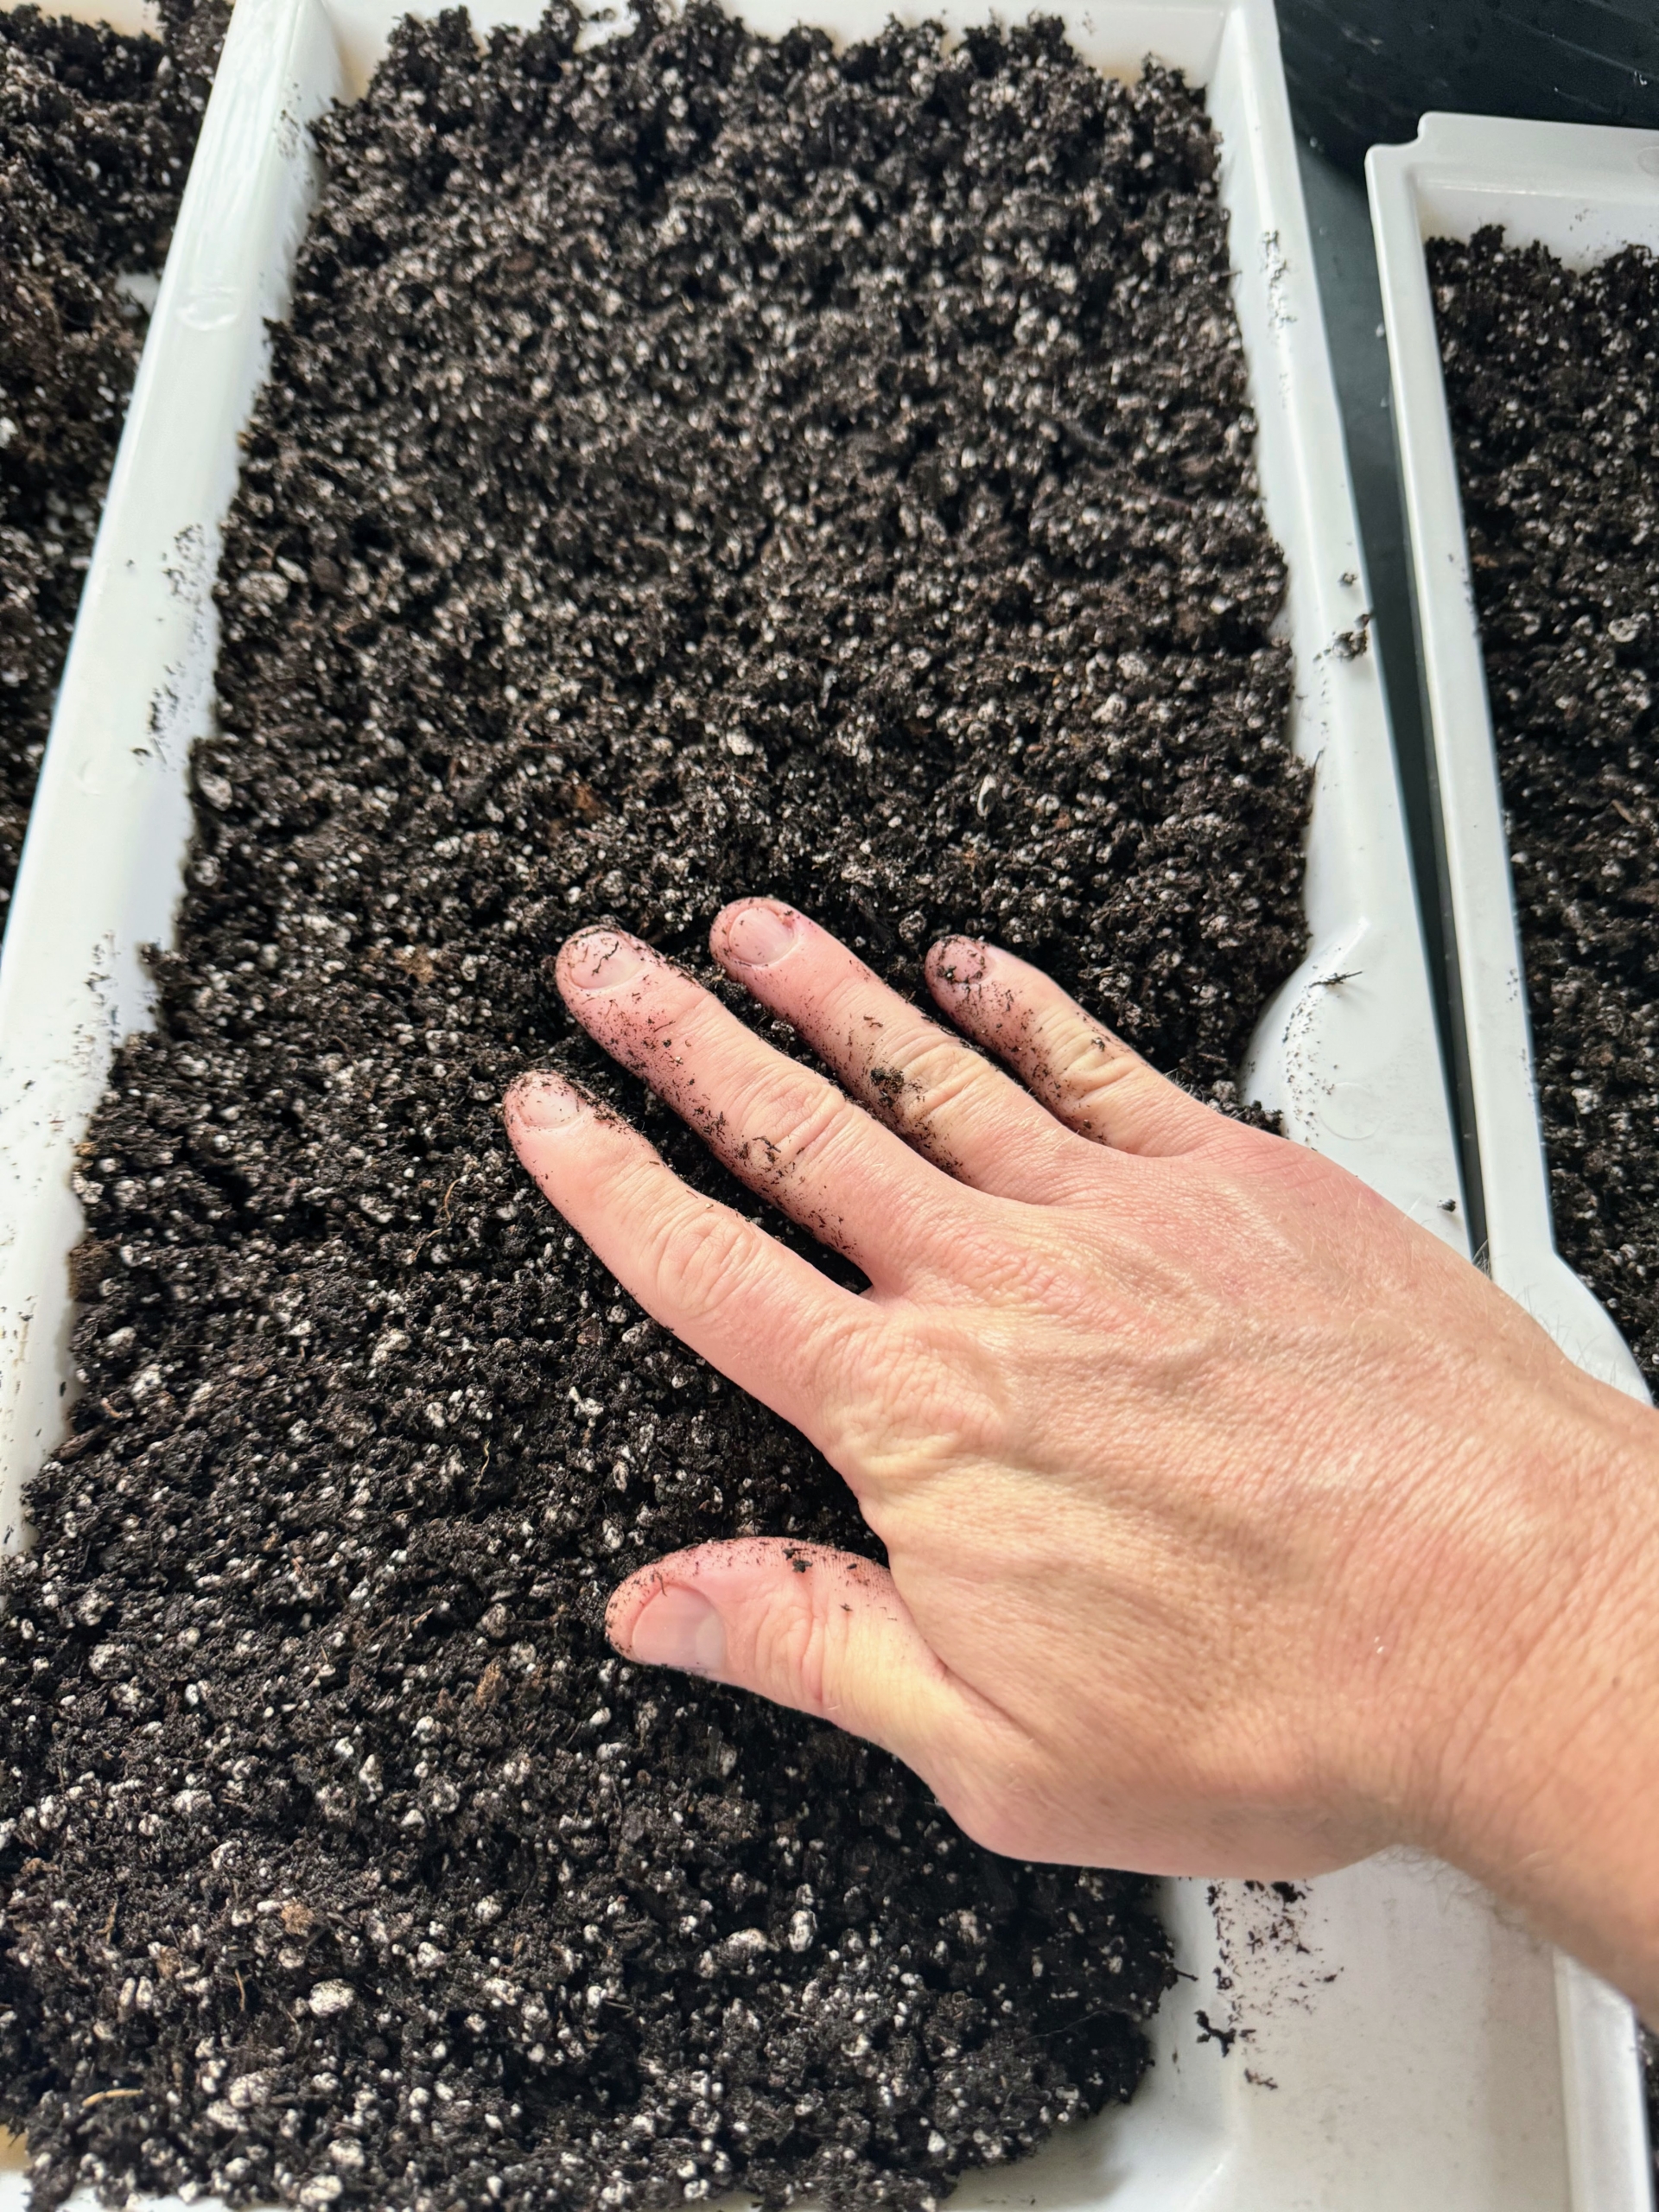
Ryan fills four trays with the light soil medium.
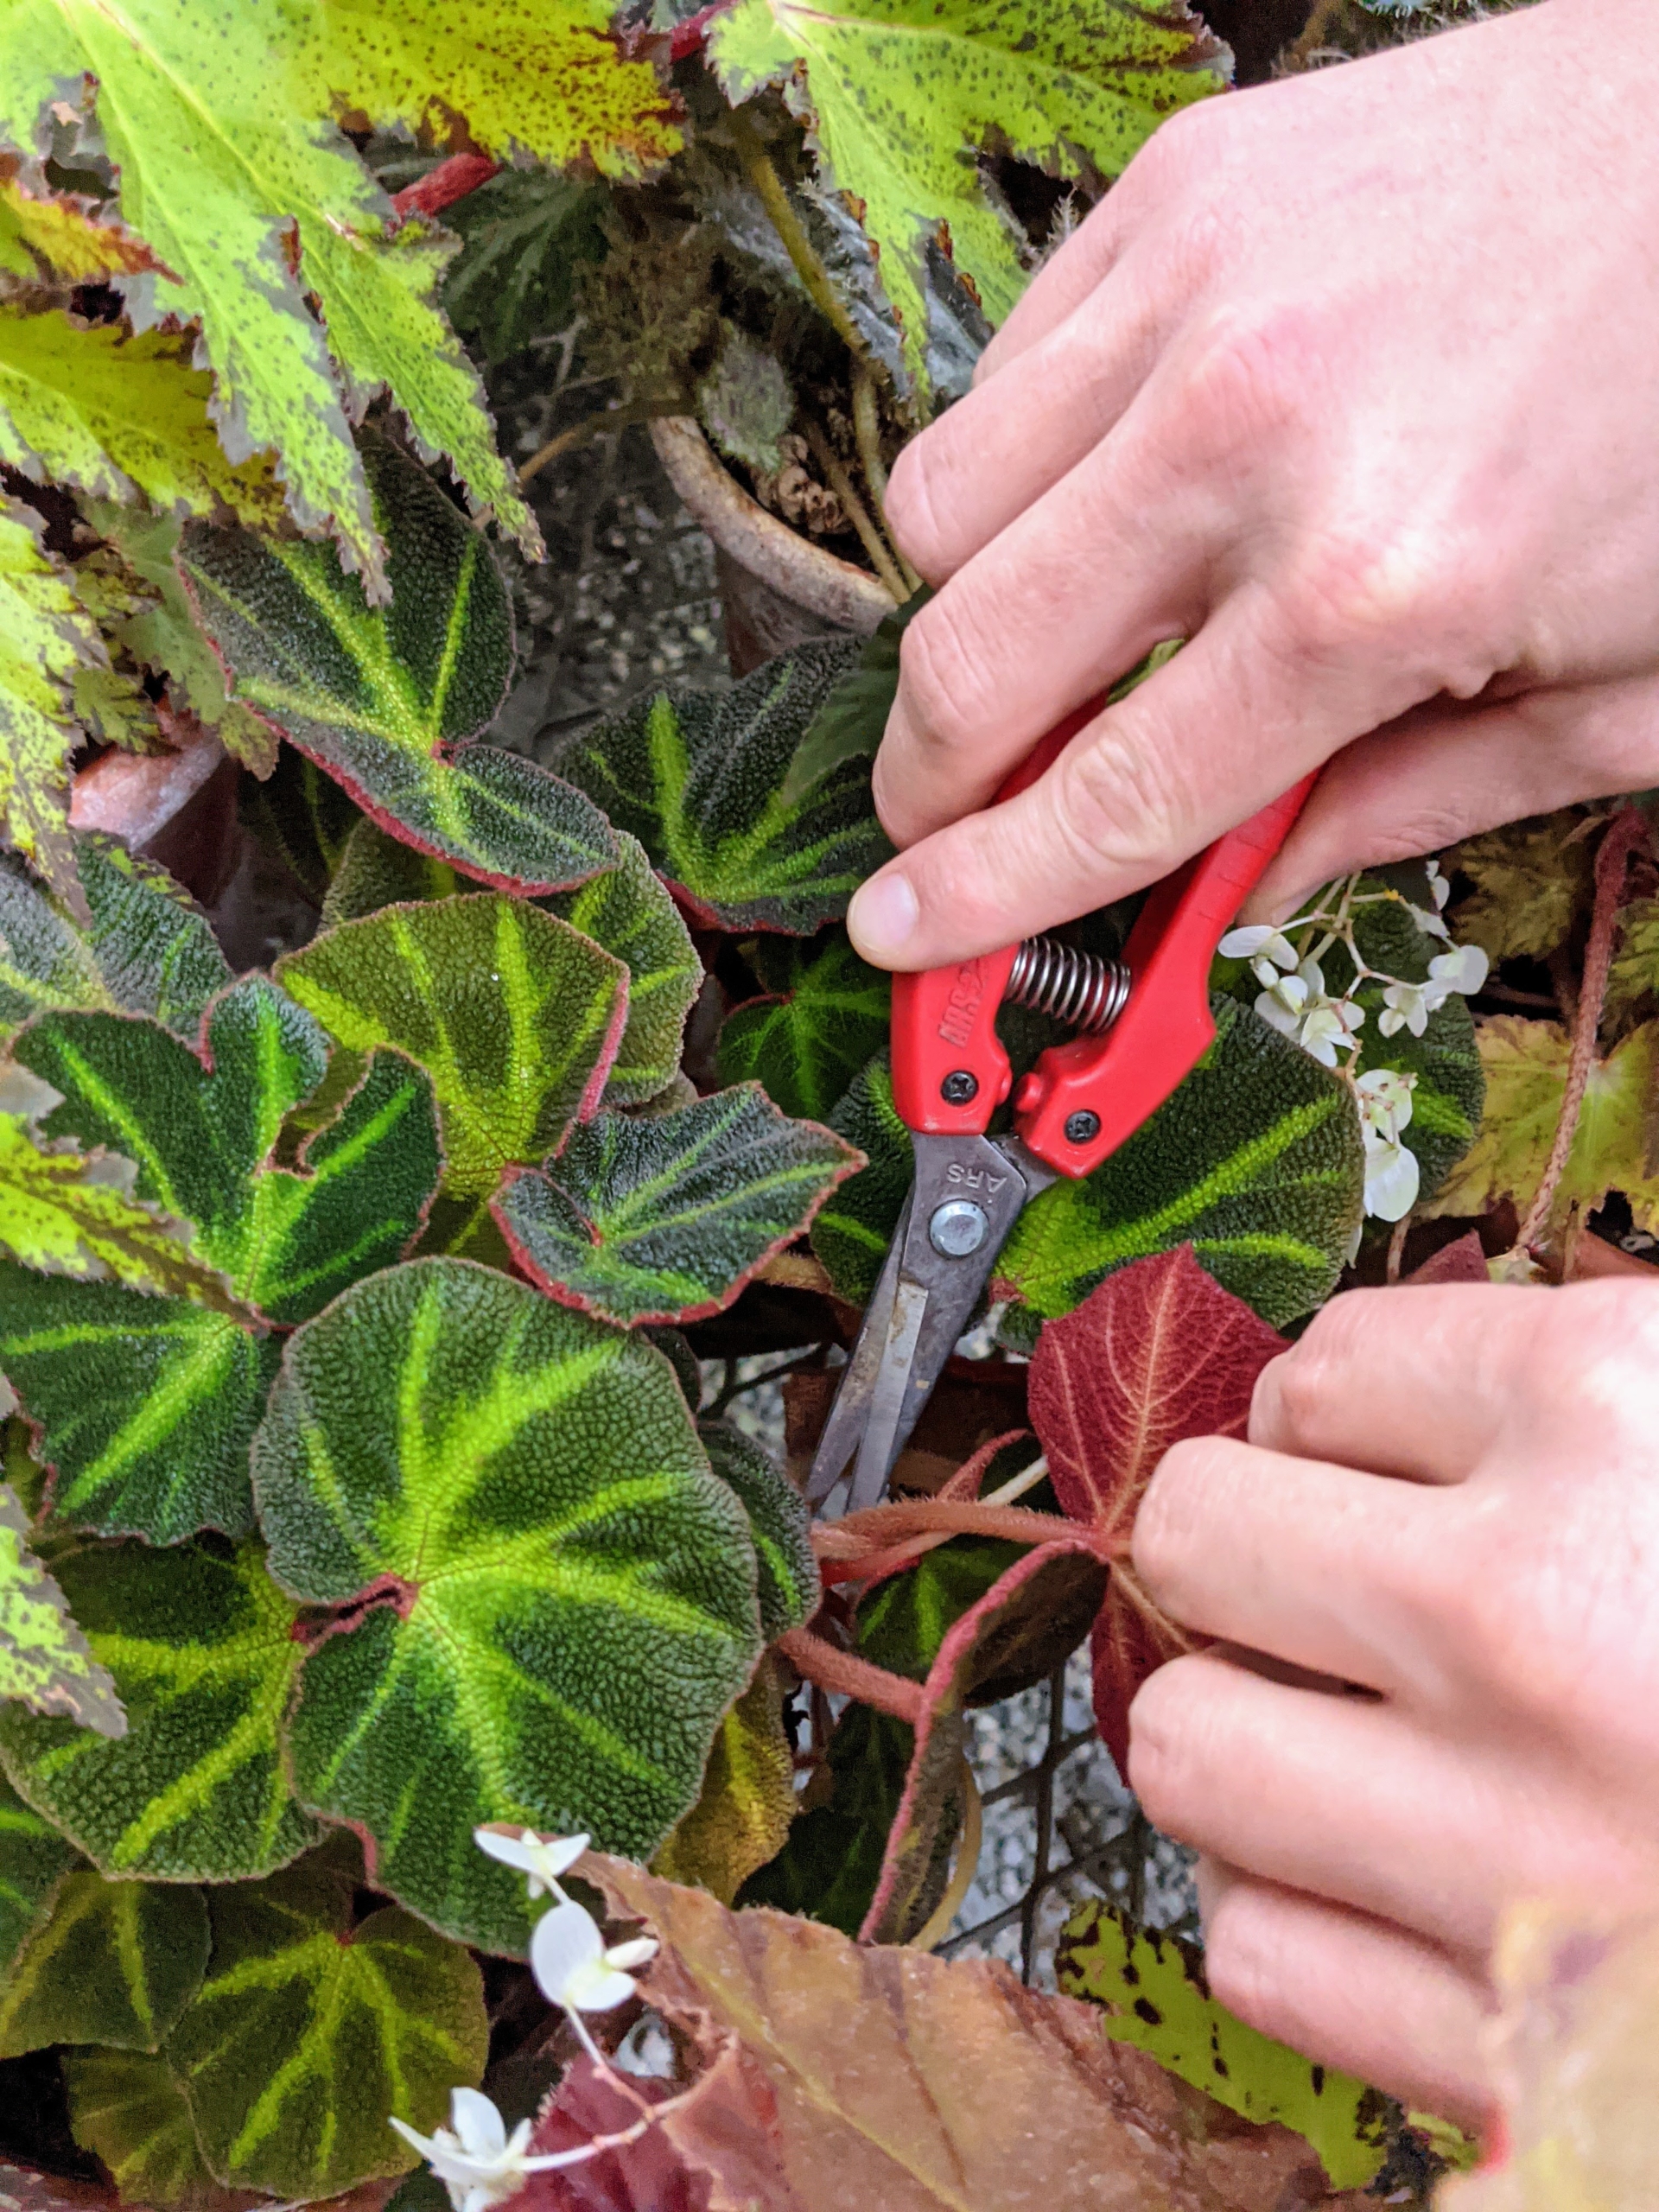
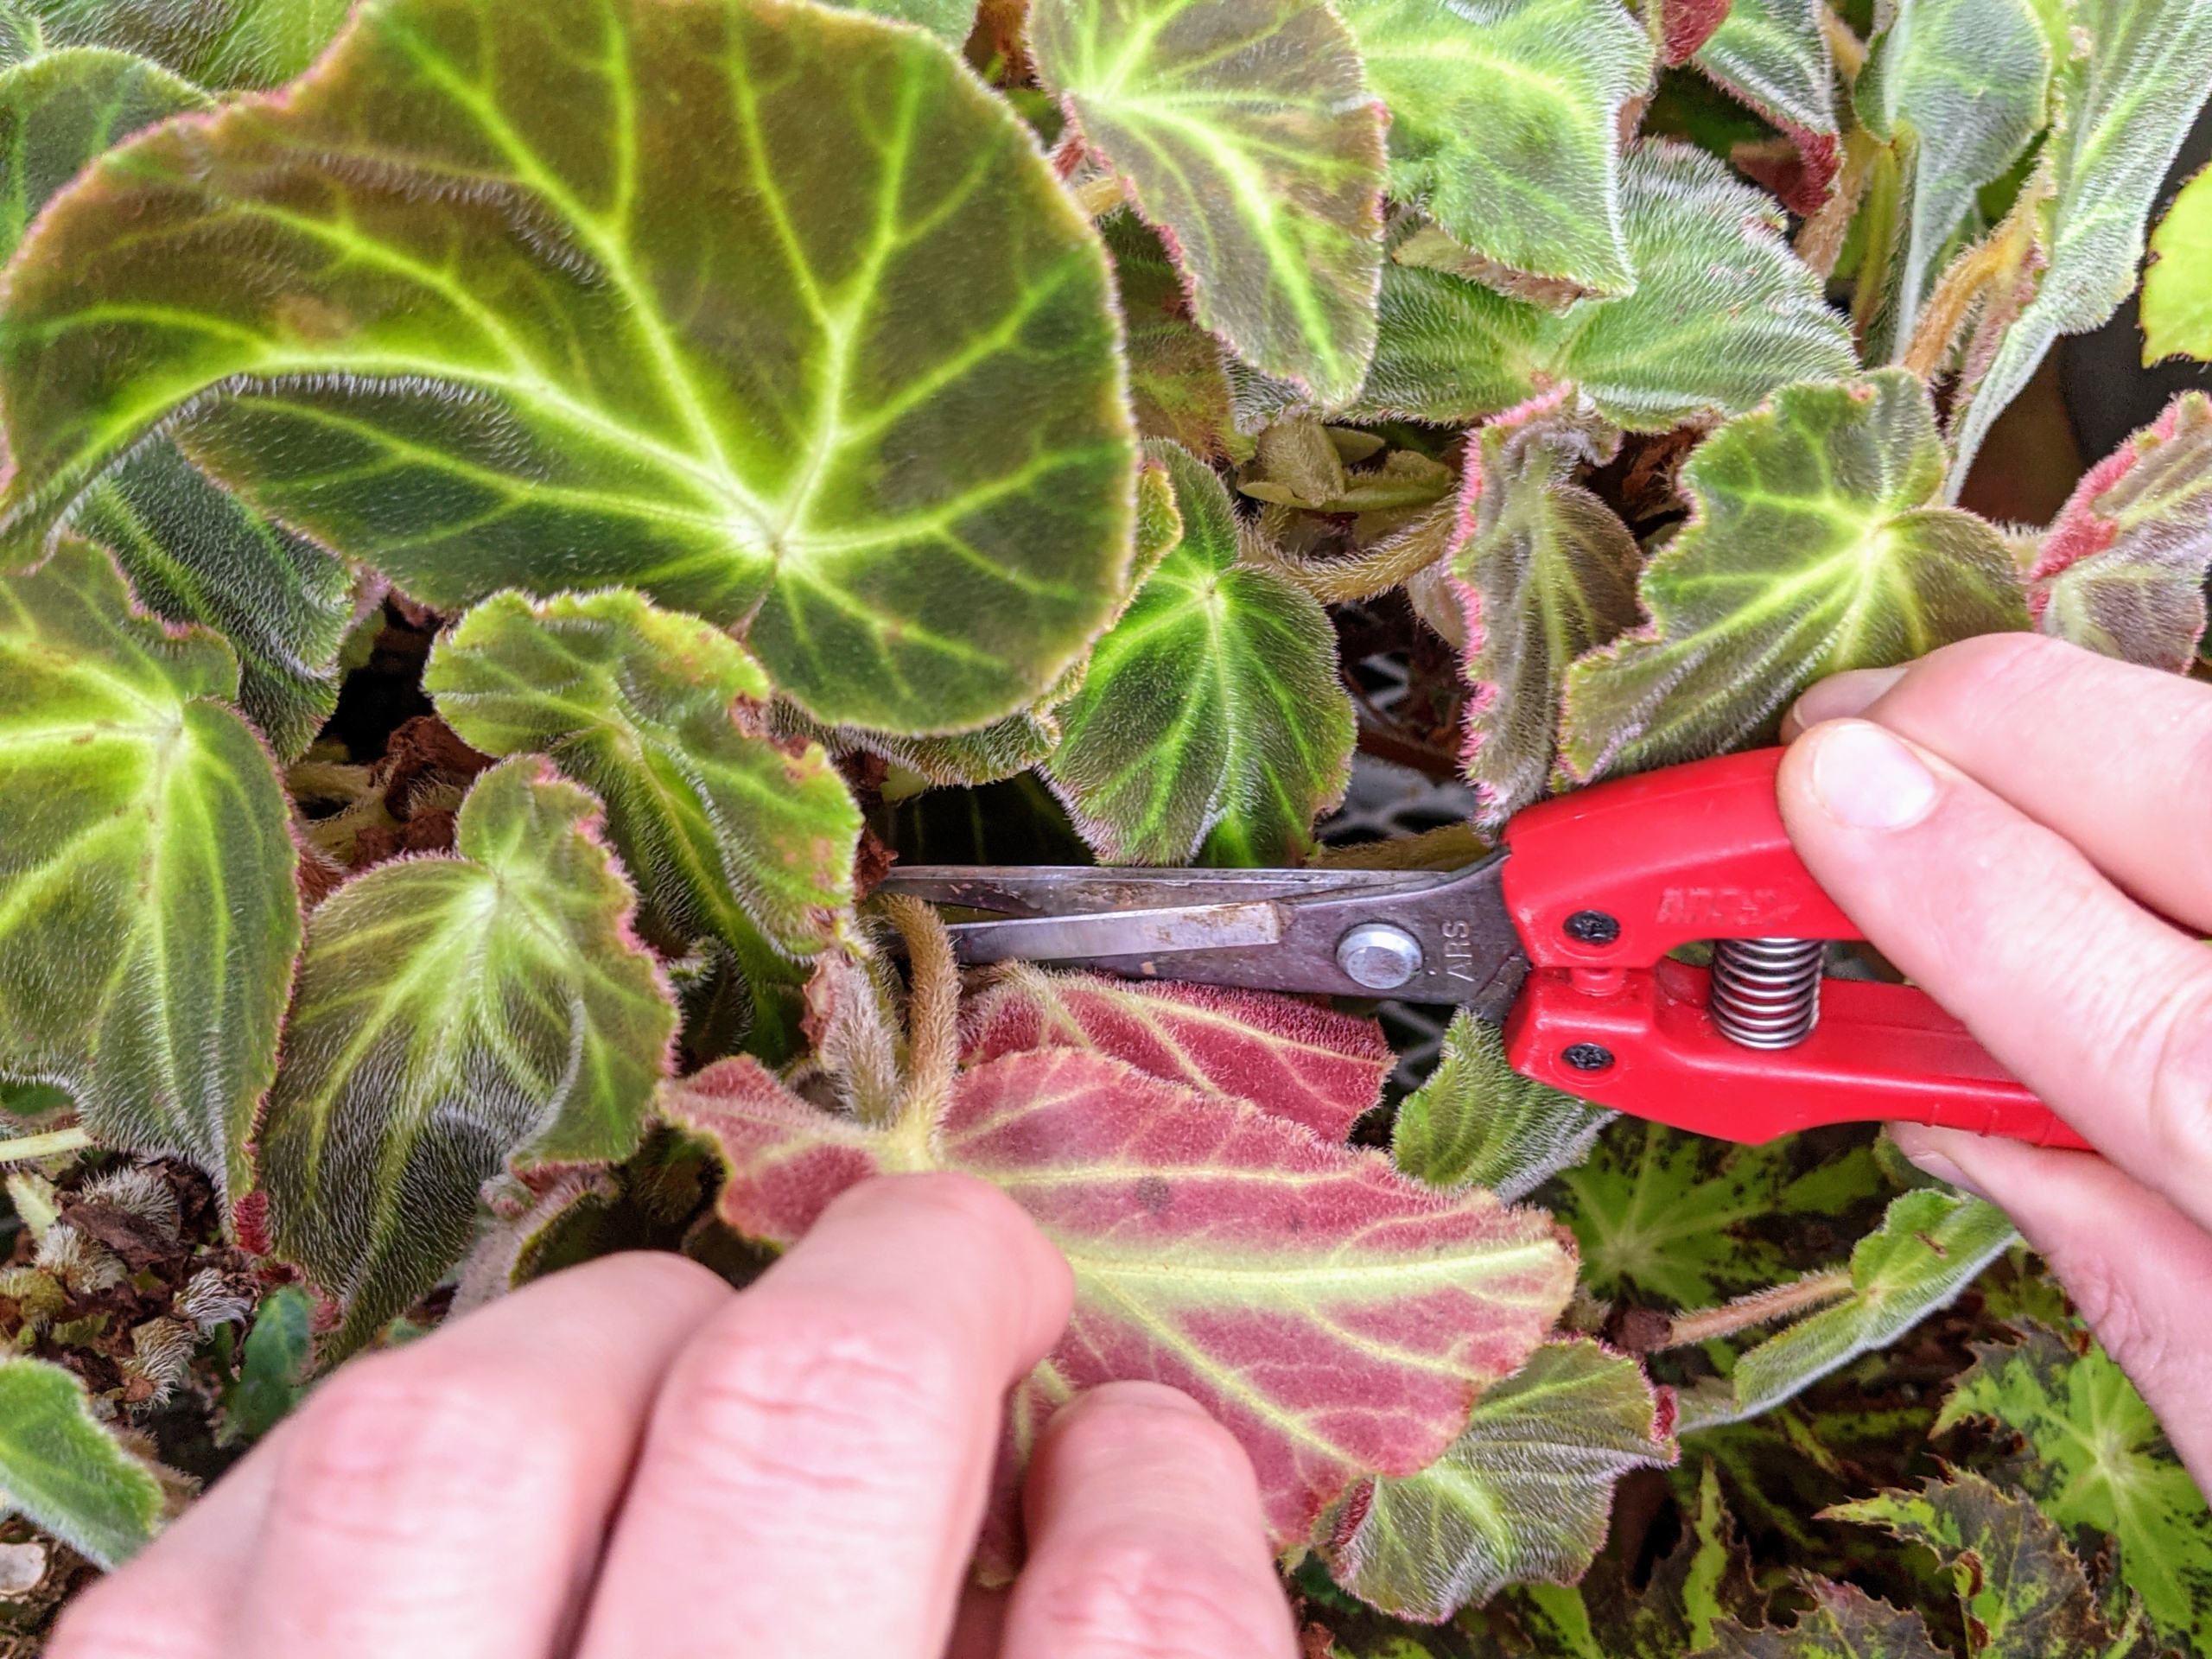
Then he carefully selects mature stems for cutting, but leave those that are old and have become fibrous or woody.
Any viable leaves that fall off during regular plant grooming or repotting can also be saved for rooting purposes. Begonias are remarkably resistant to pests primarily because their leaves are rich in oxalic acid – a natural insect repellent.
The stems do not have to be long. The cut should be just below the bottom node, because this is where they will root the best.
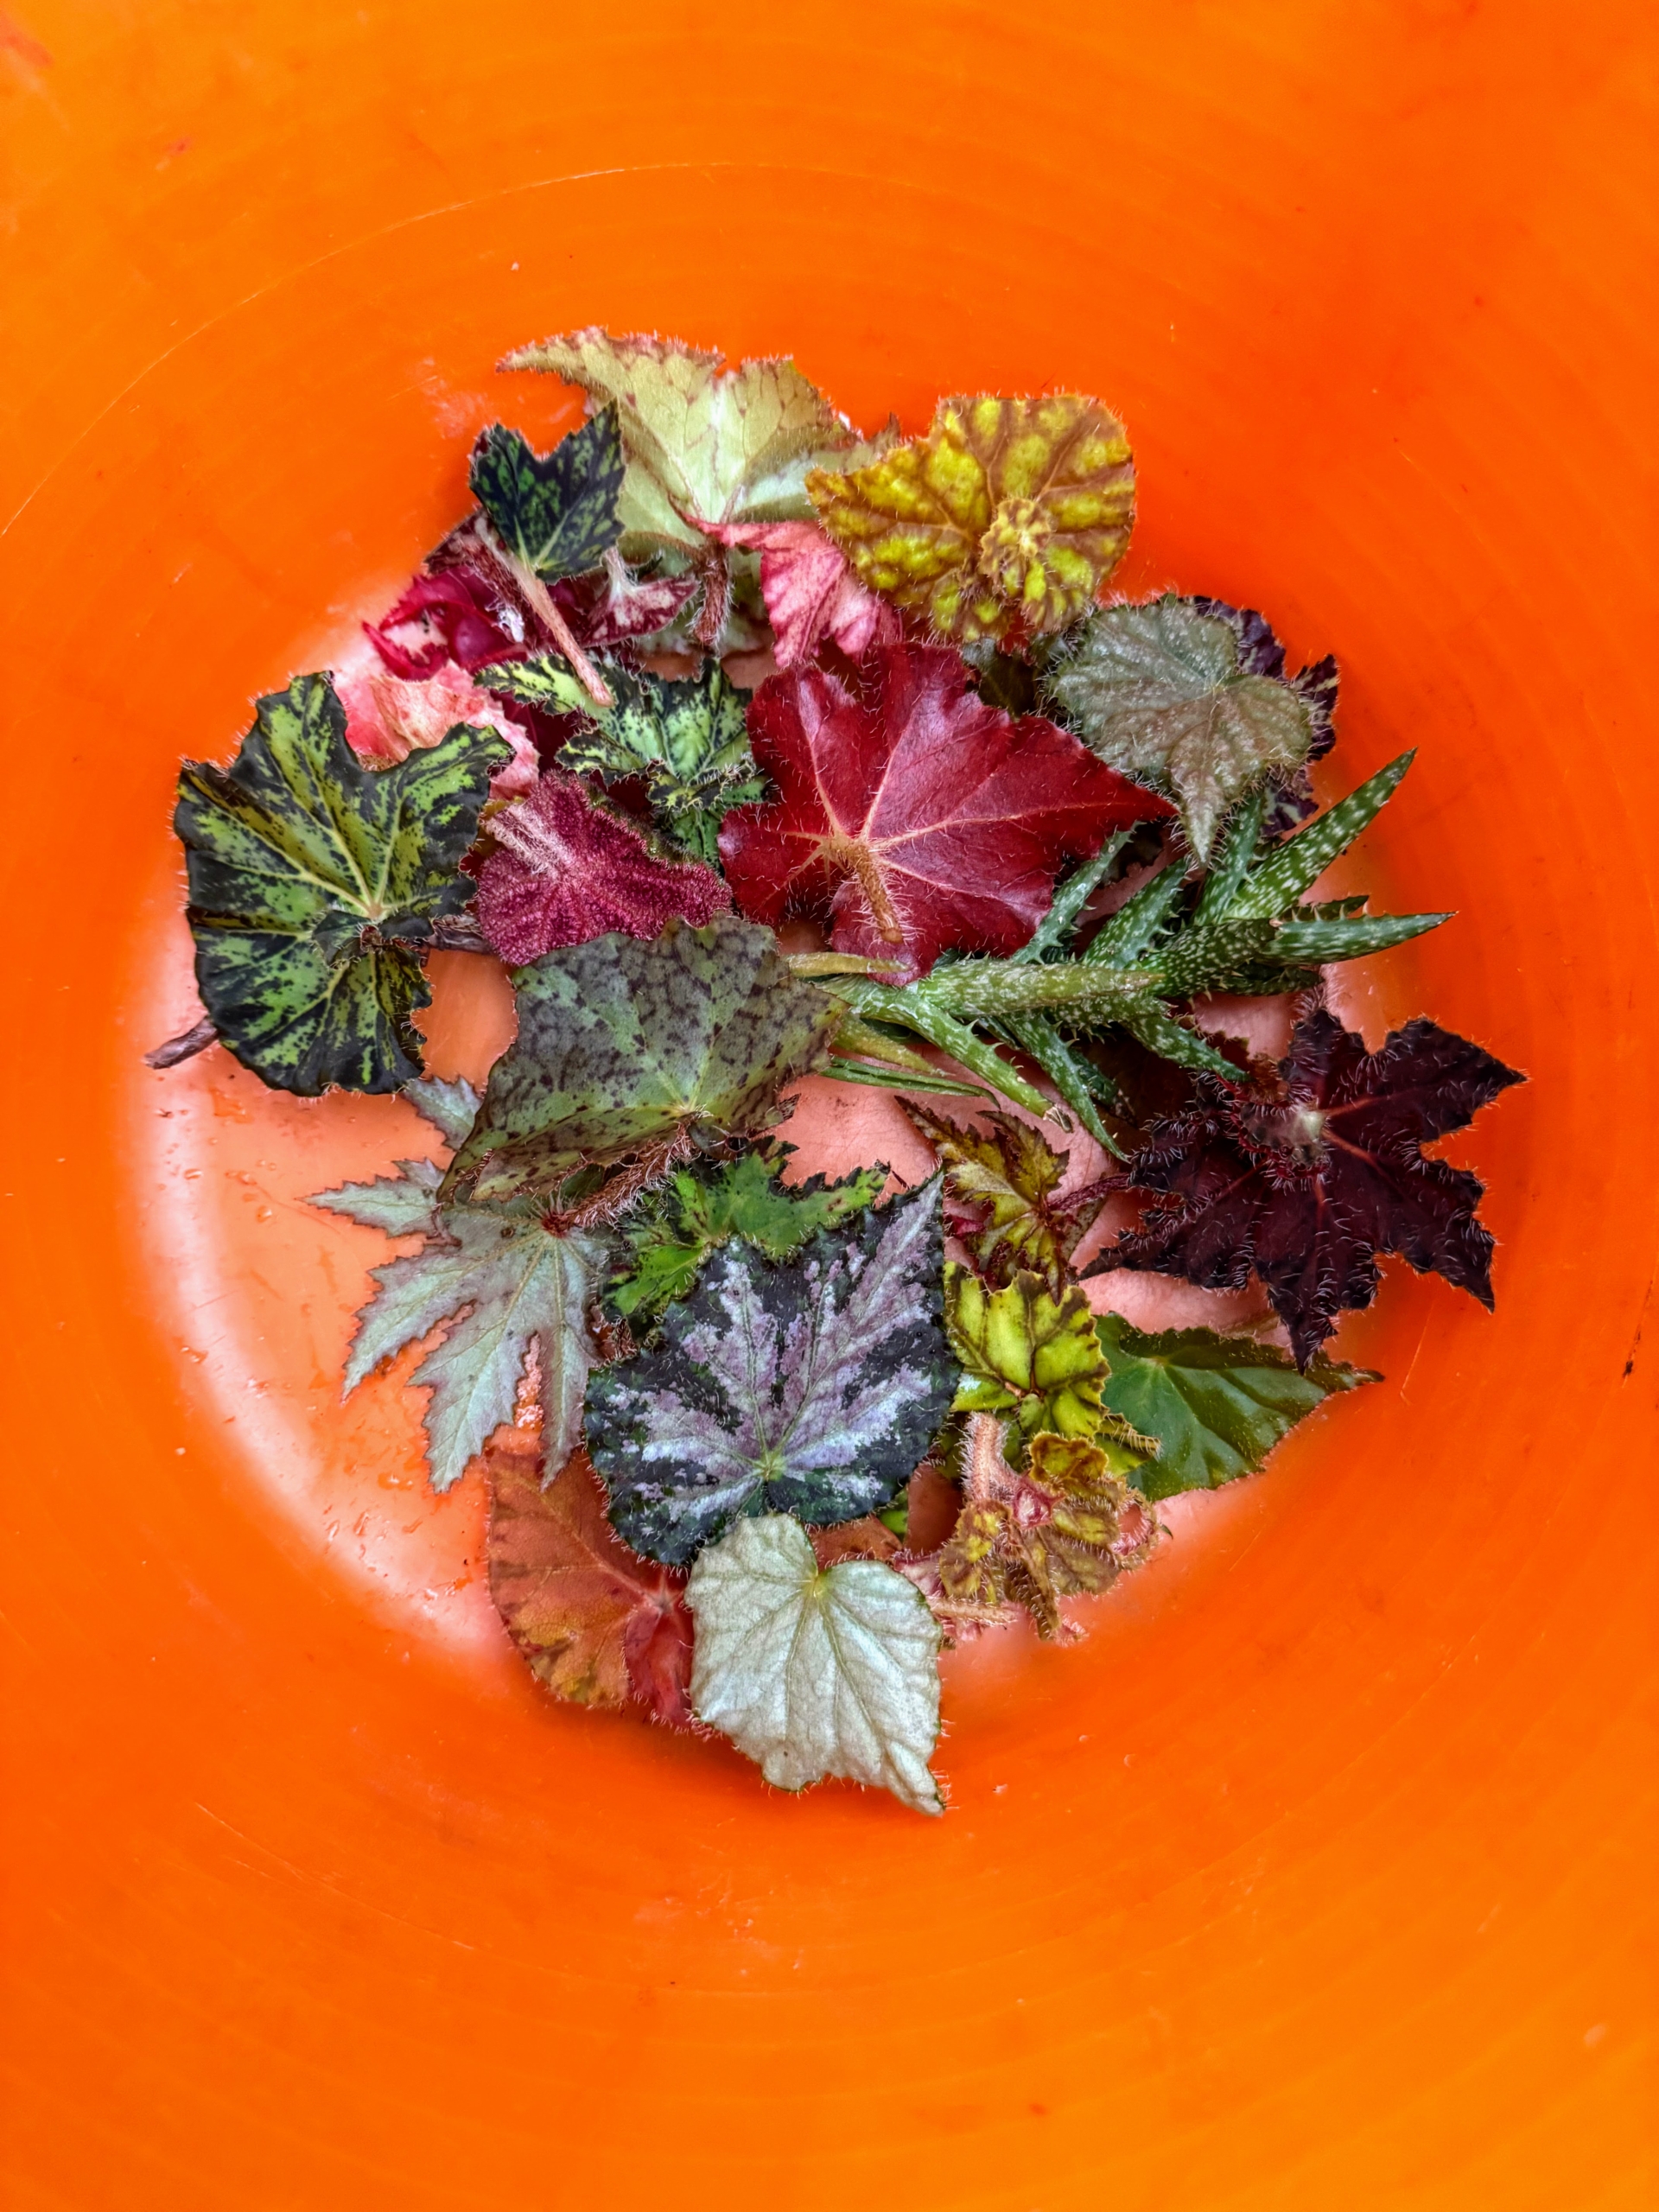
Here are the stem cuttings Ryan collected. Begonia leaves root easily. All one needs to do is snip a leaf, push its stem into potting soil, and keep it moist. After a few weeks new leaves emerge.
He places the cut leaves onto the table and carefully separates them.
Ryan inspects each cutting and trims the stem down to about one to one-and-a-half inches long.
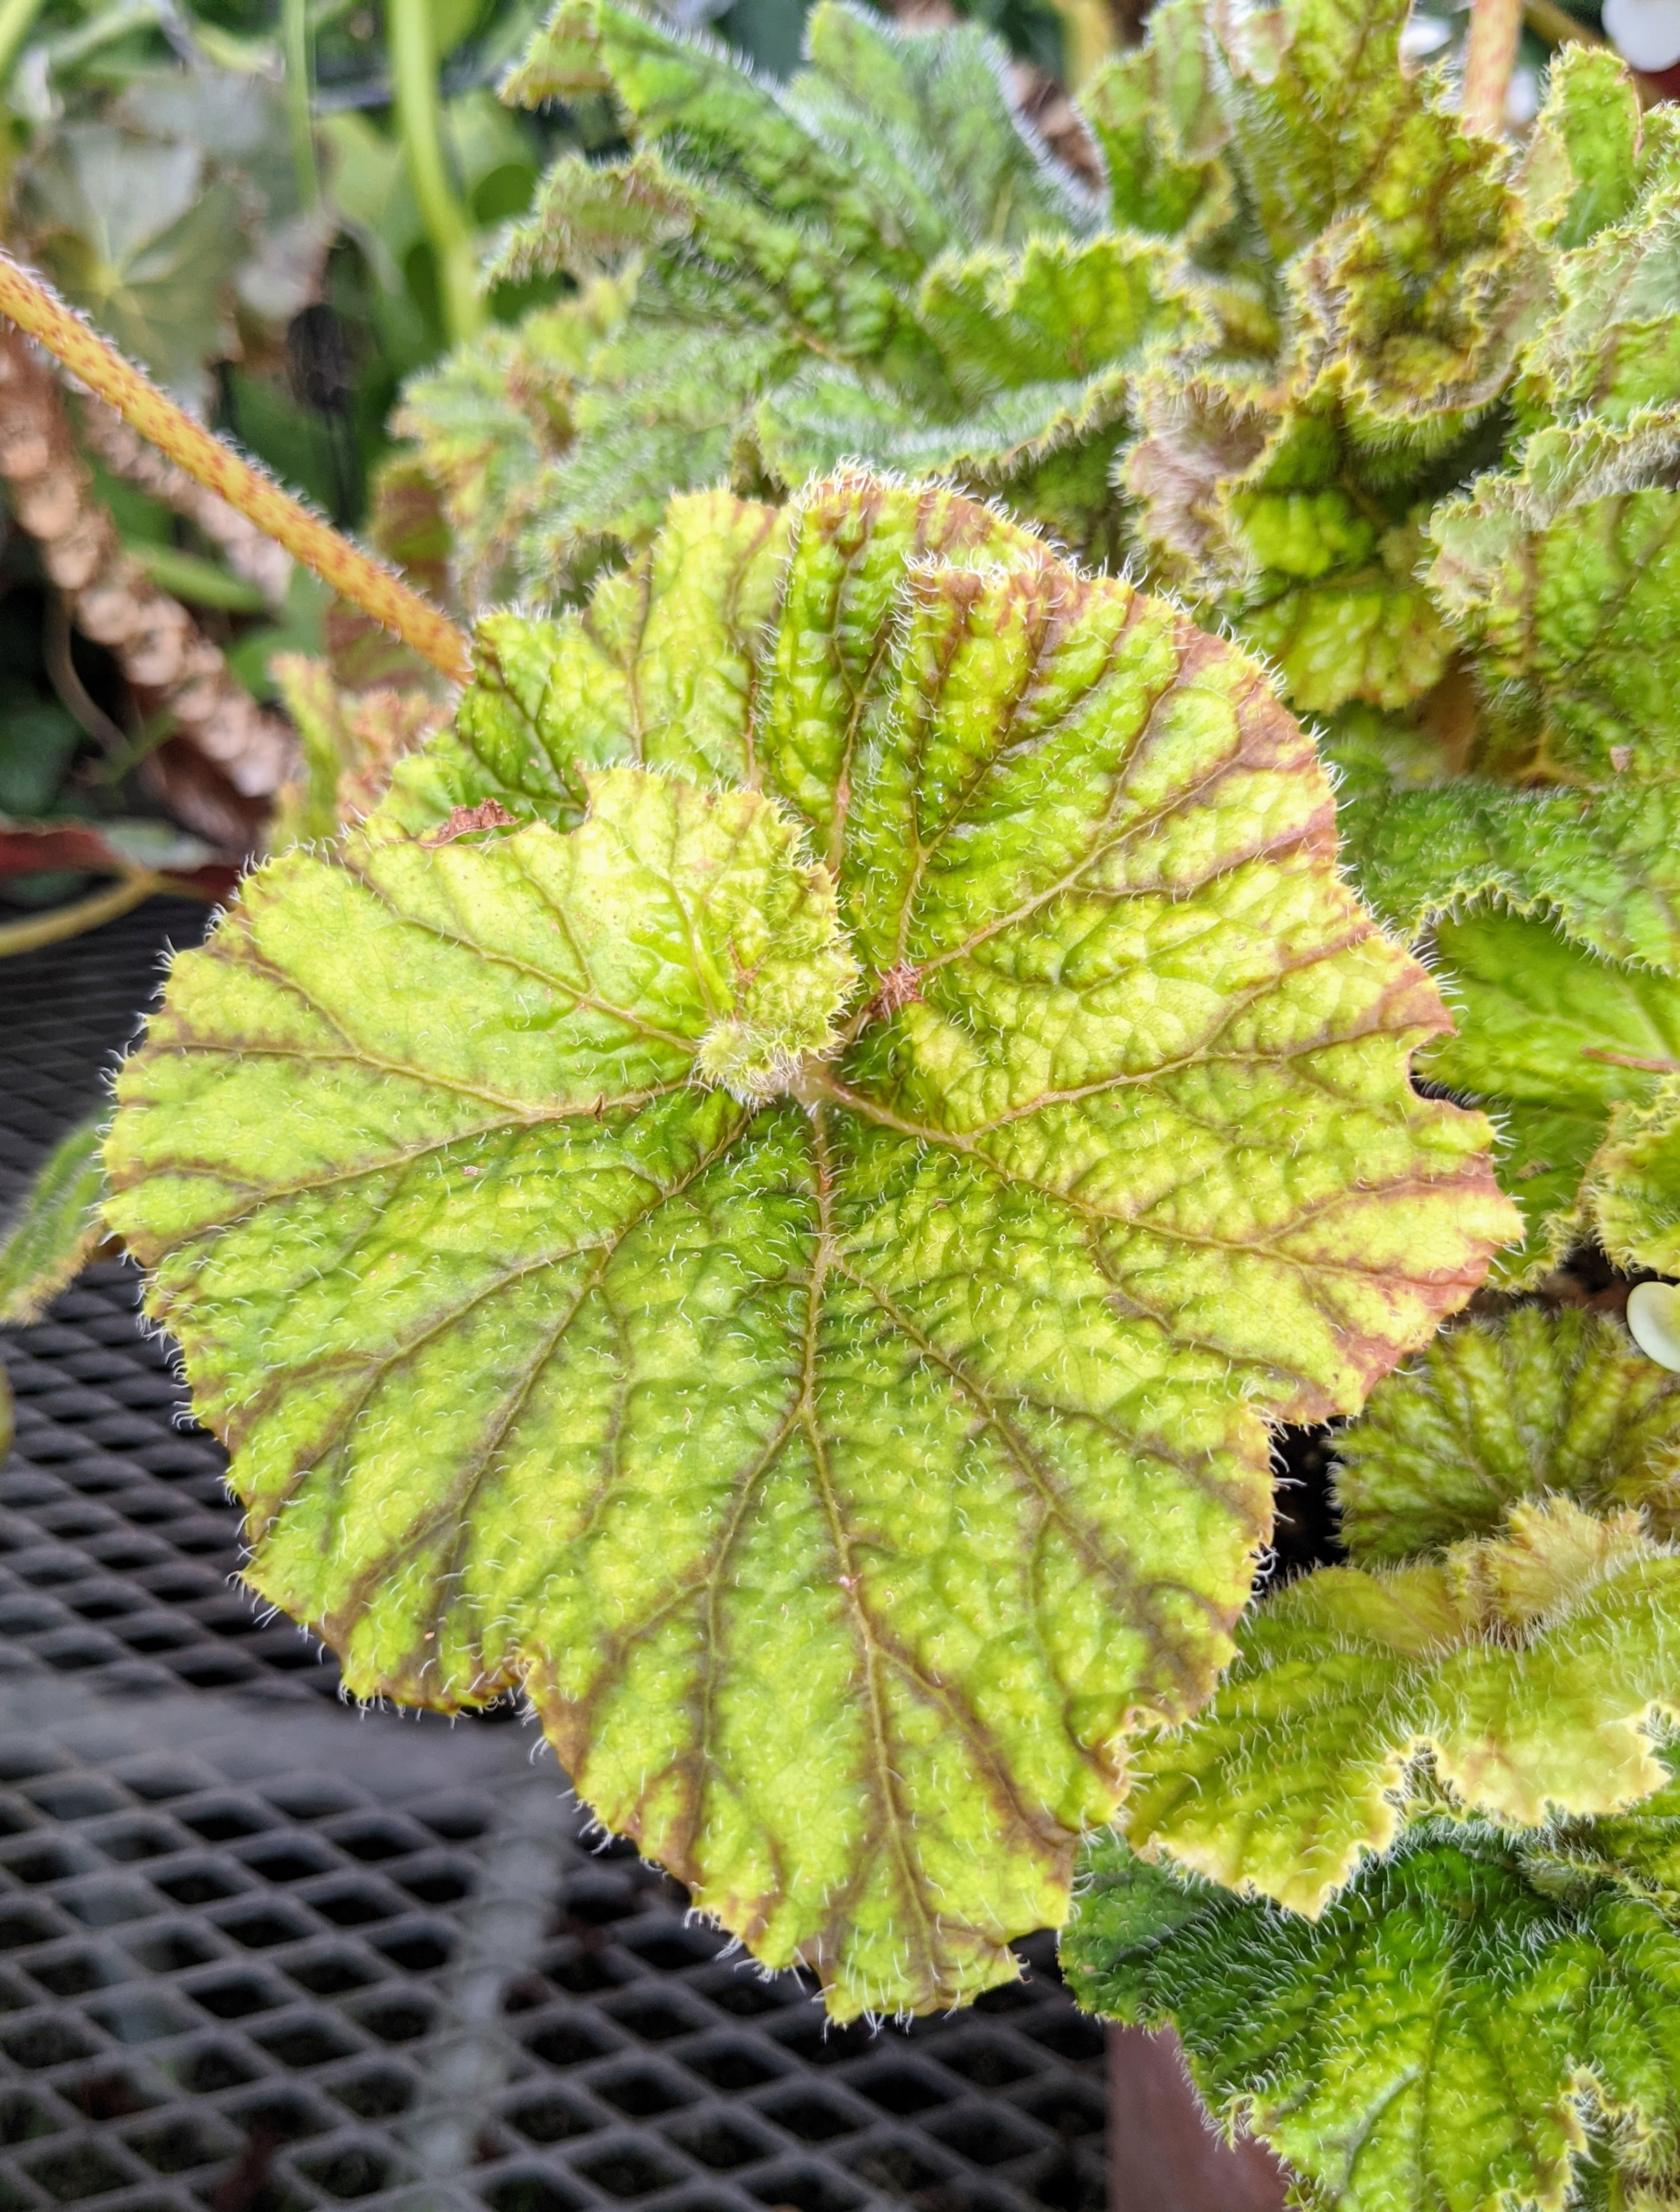
This one has attractive round bright leaves with dark margins.
And here is one that is reddish brown.
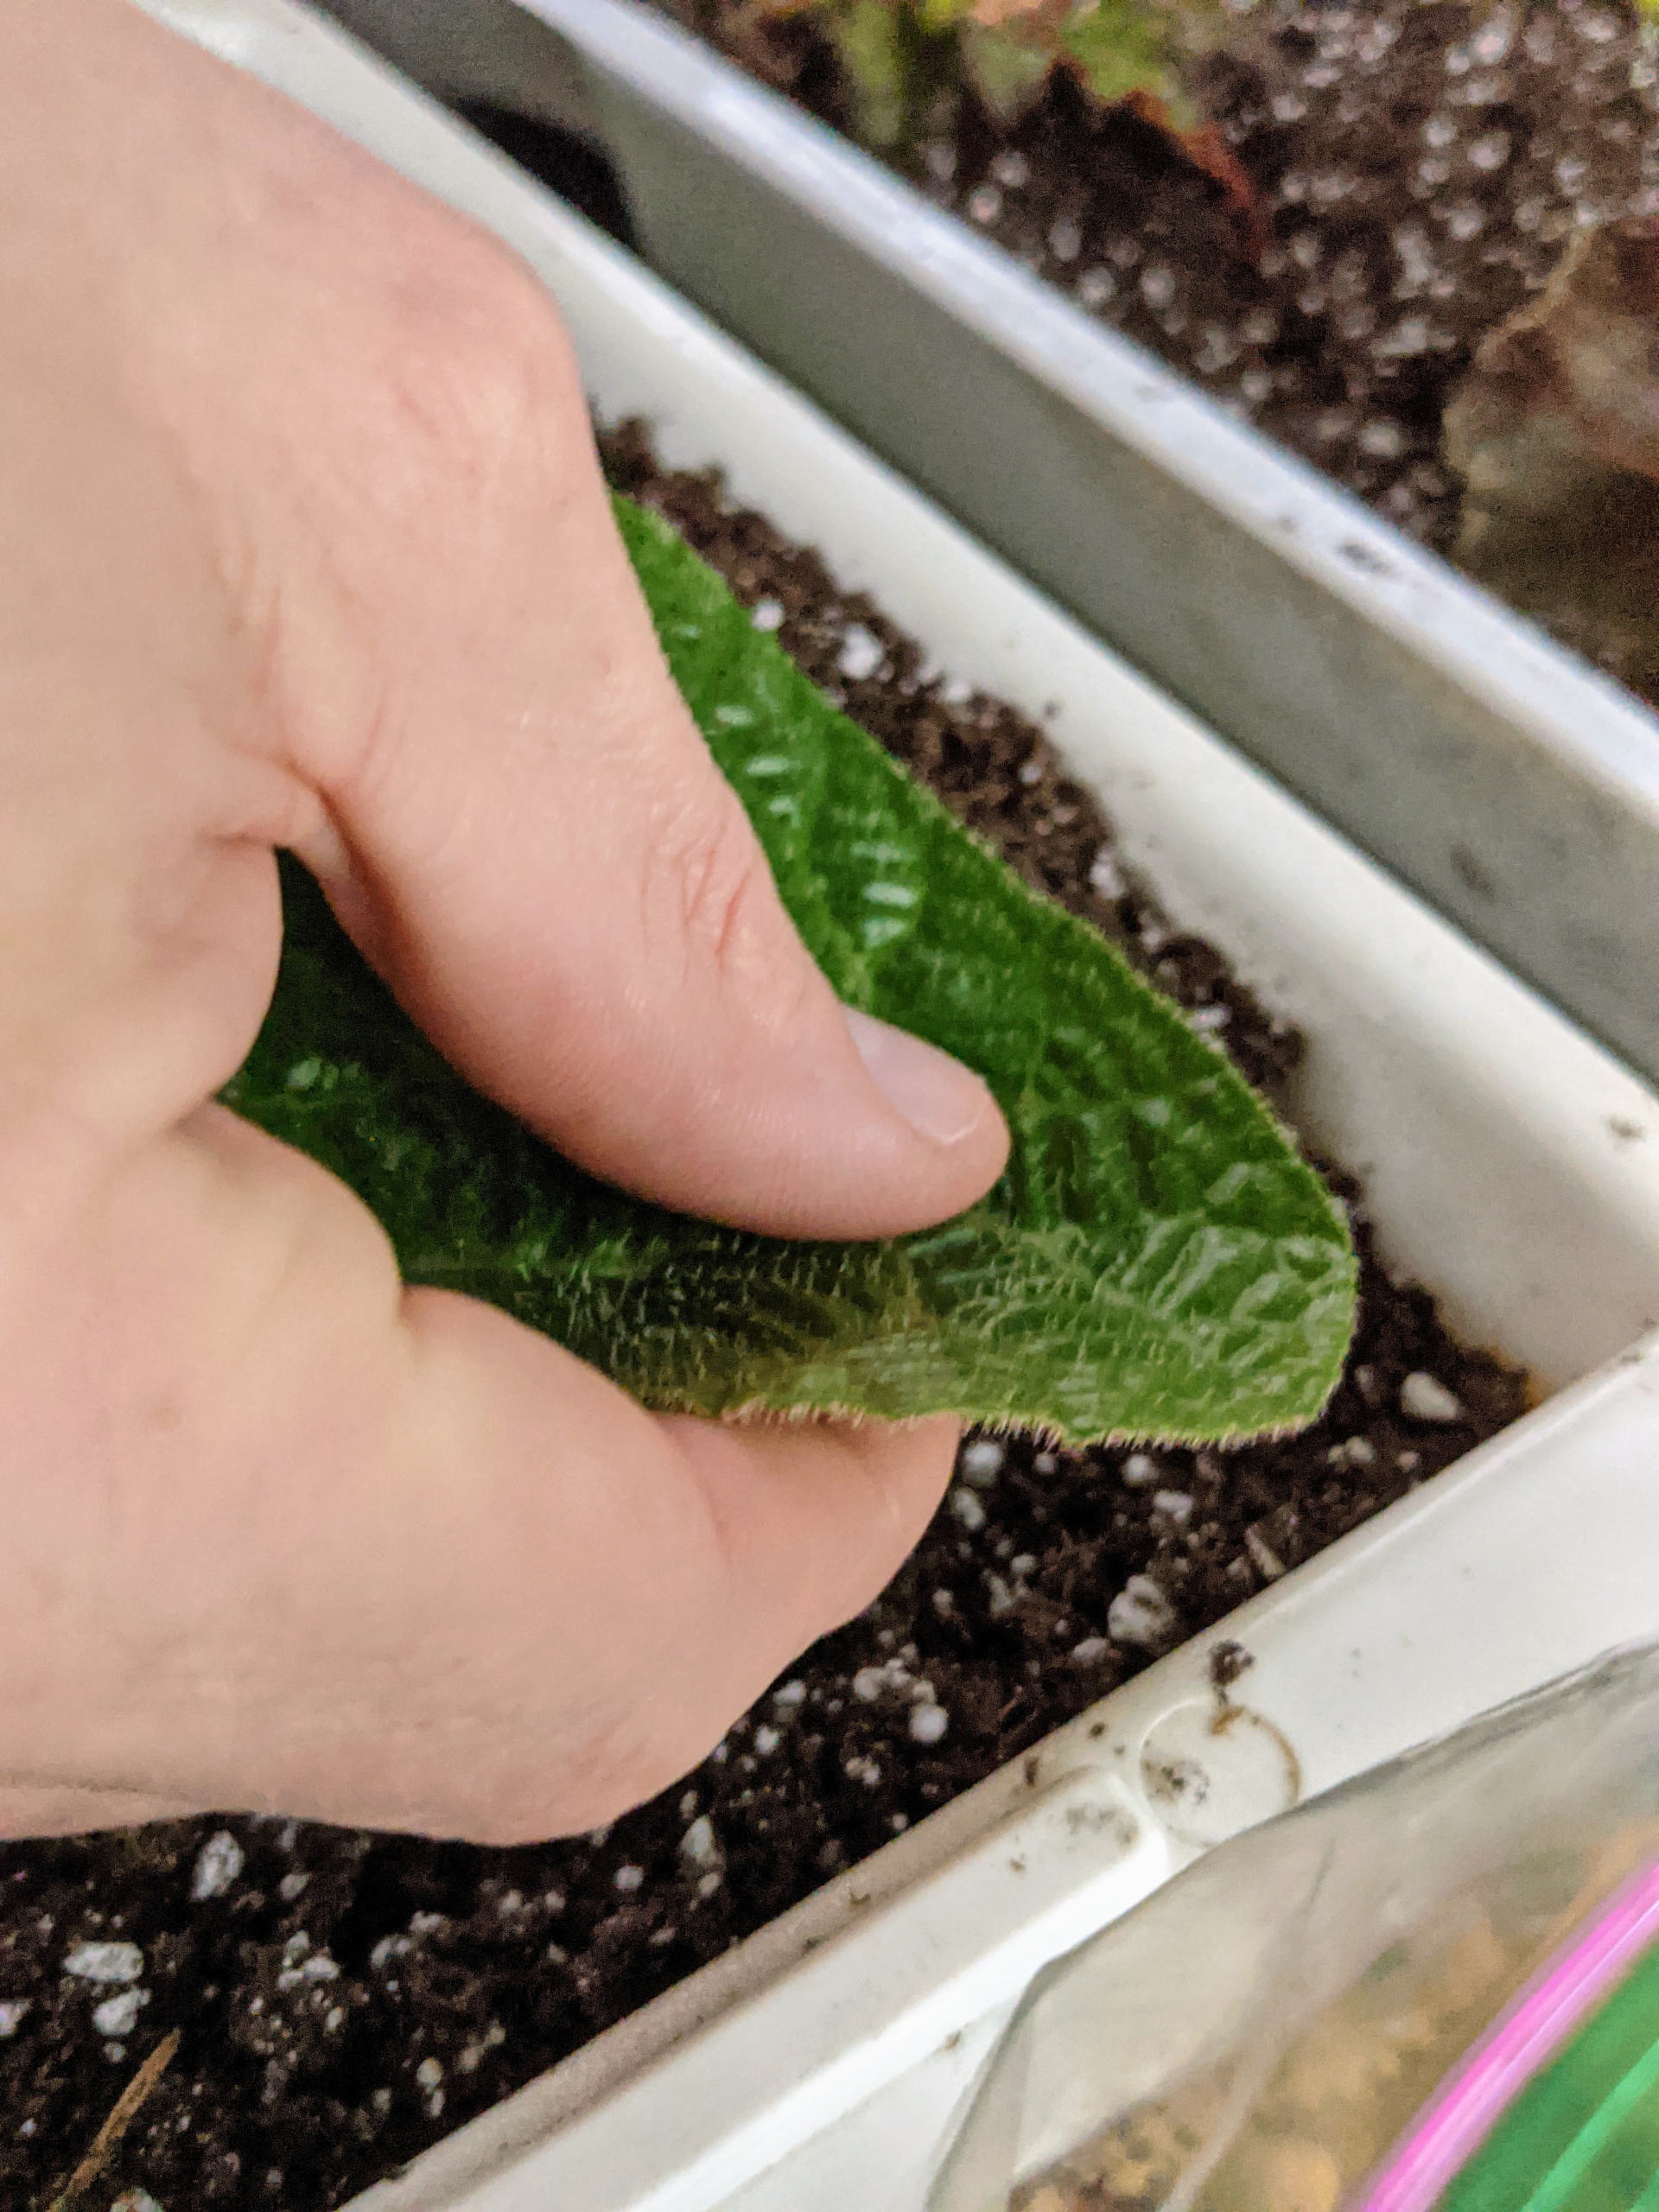
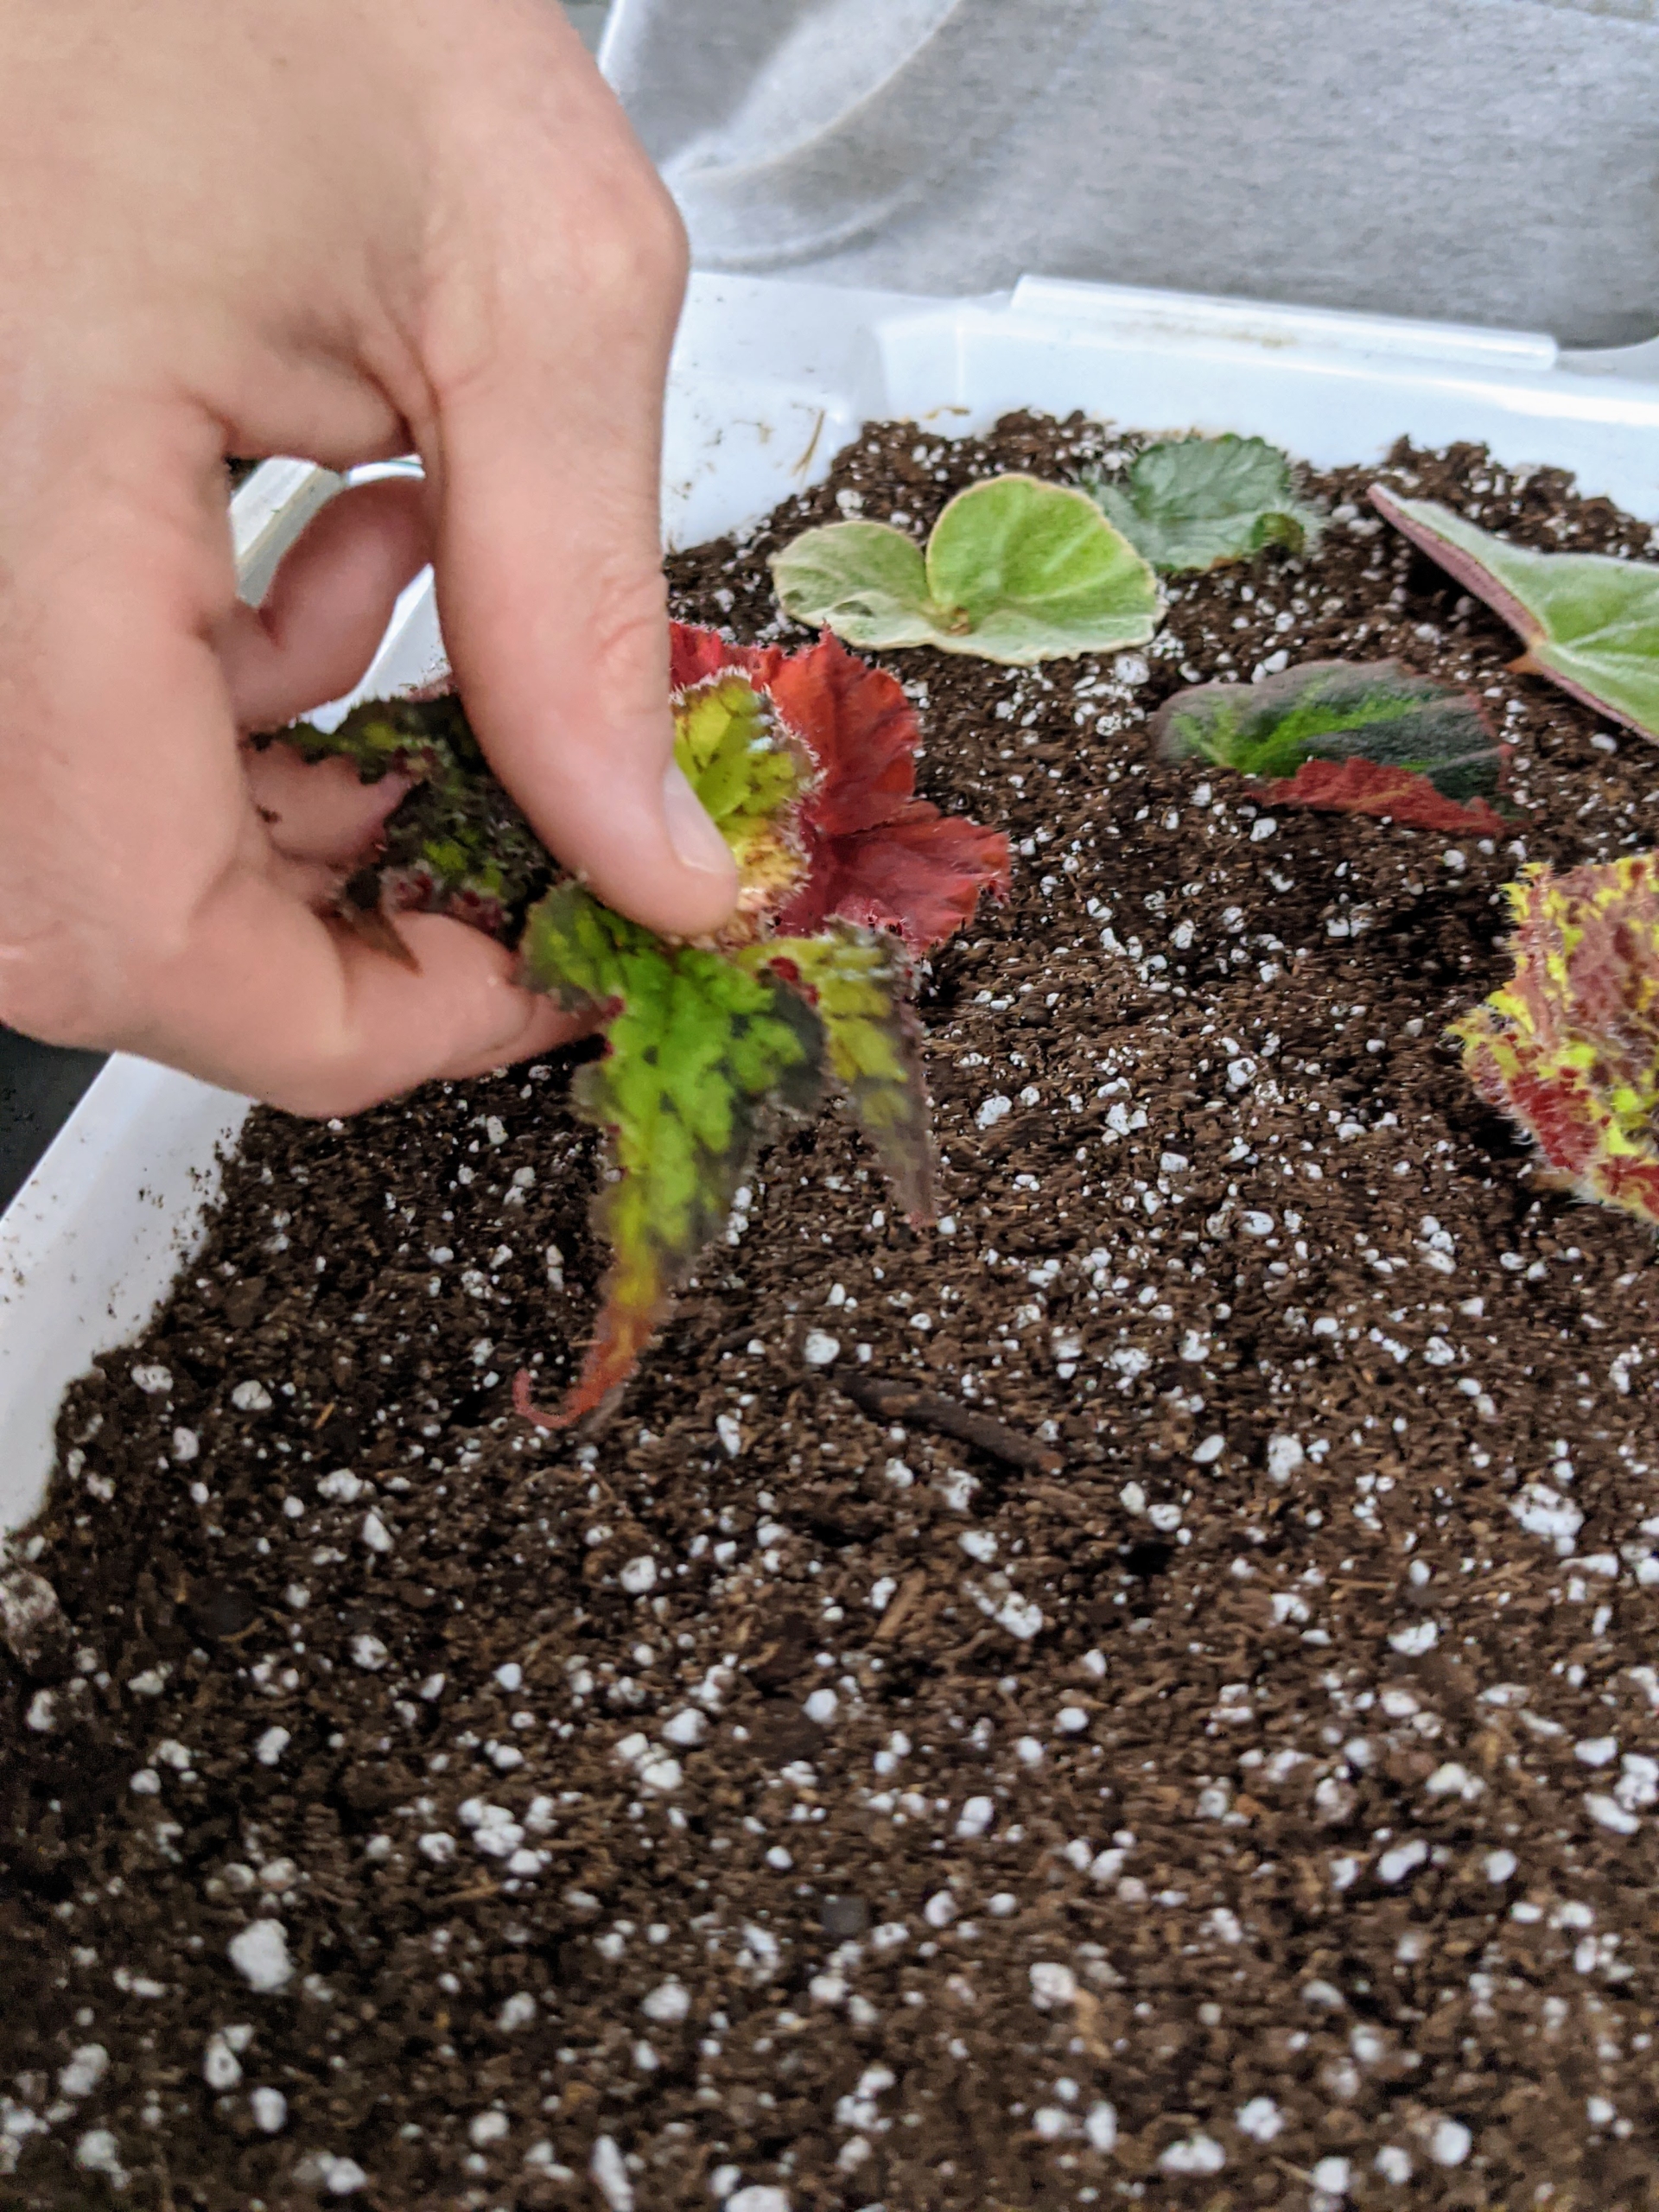
Here, Ryan sticks the leaf in the soil so that the petiole is covered but the rest isn’t. The petiole is the part where the leaf connects to its leaf stem.
It takes just minutes to set them into the tray of soil mix. Ryan plants each one the same way – gently positions the stem and tamps down the medium to hold the cutting upright.
All begonias can be propagated by rooting stem cuttings, sometimes called tip cuttings. The basic idea is that a plant will clone itself by sprouting roots on a piece of stem that is in a moist growing medium. Many begonias root easily, and one can use the similar technique of rooting them in water.
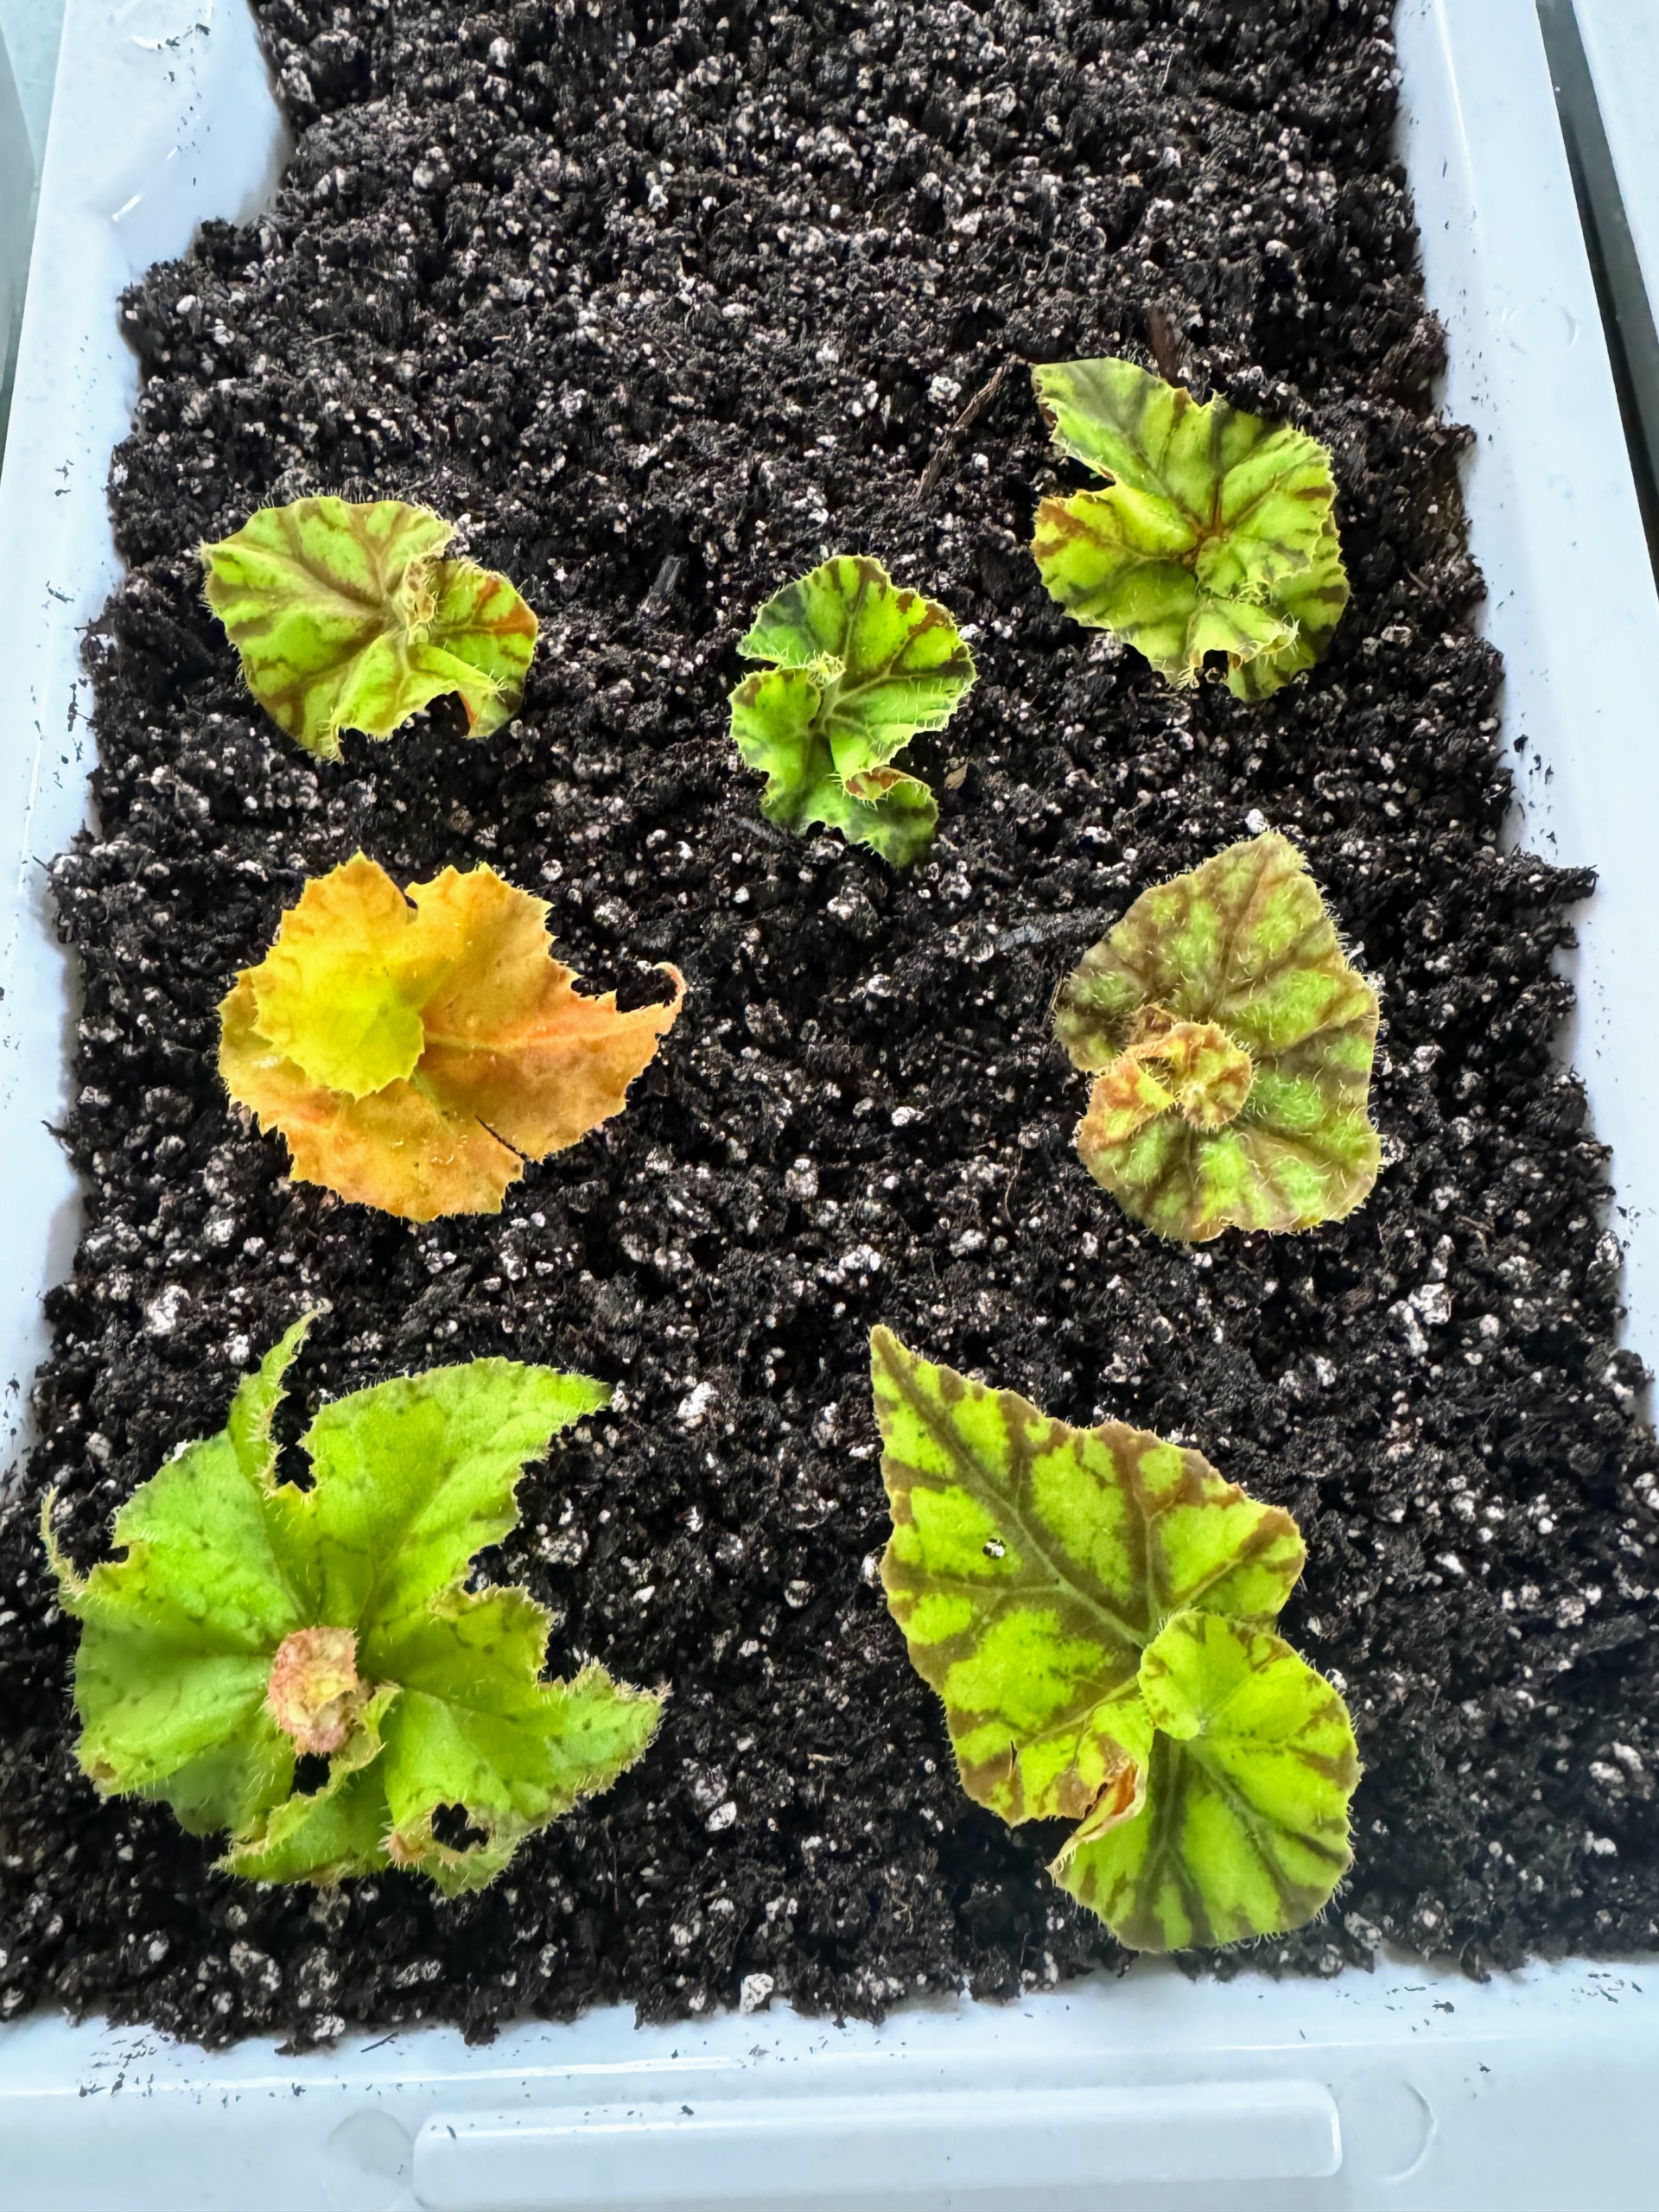
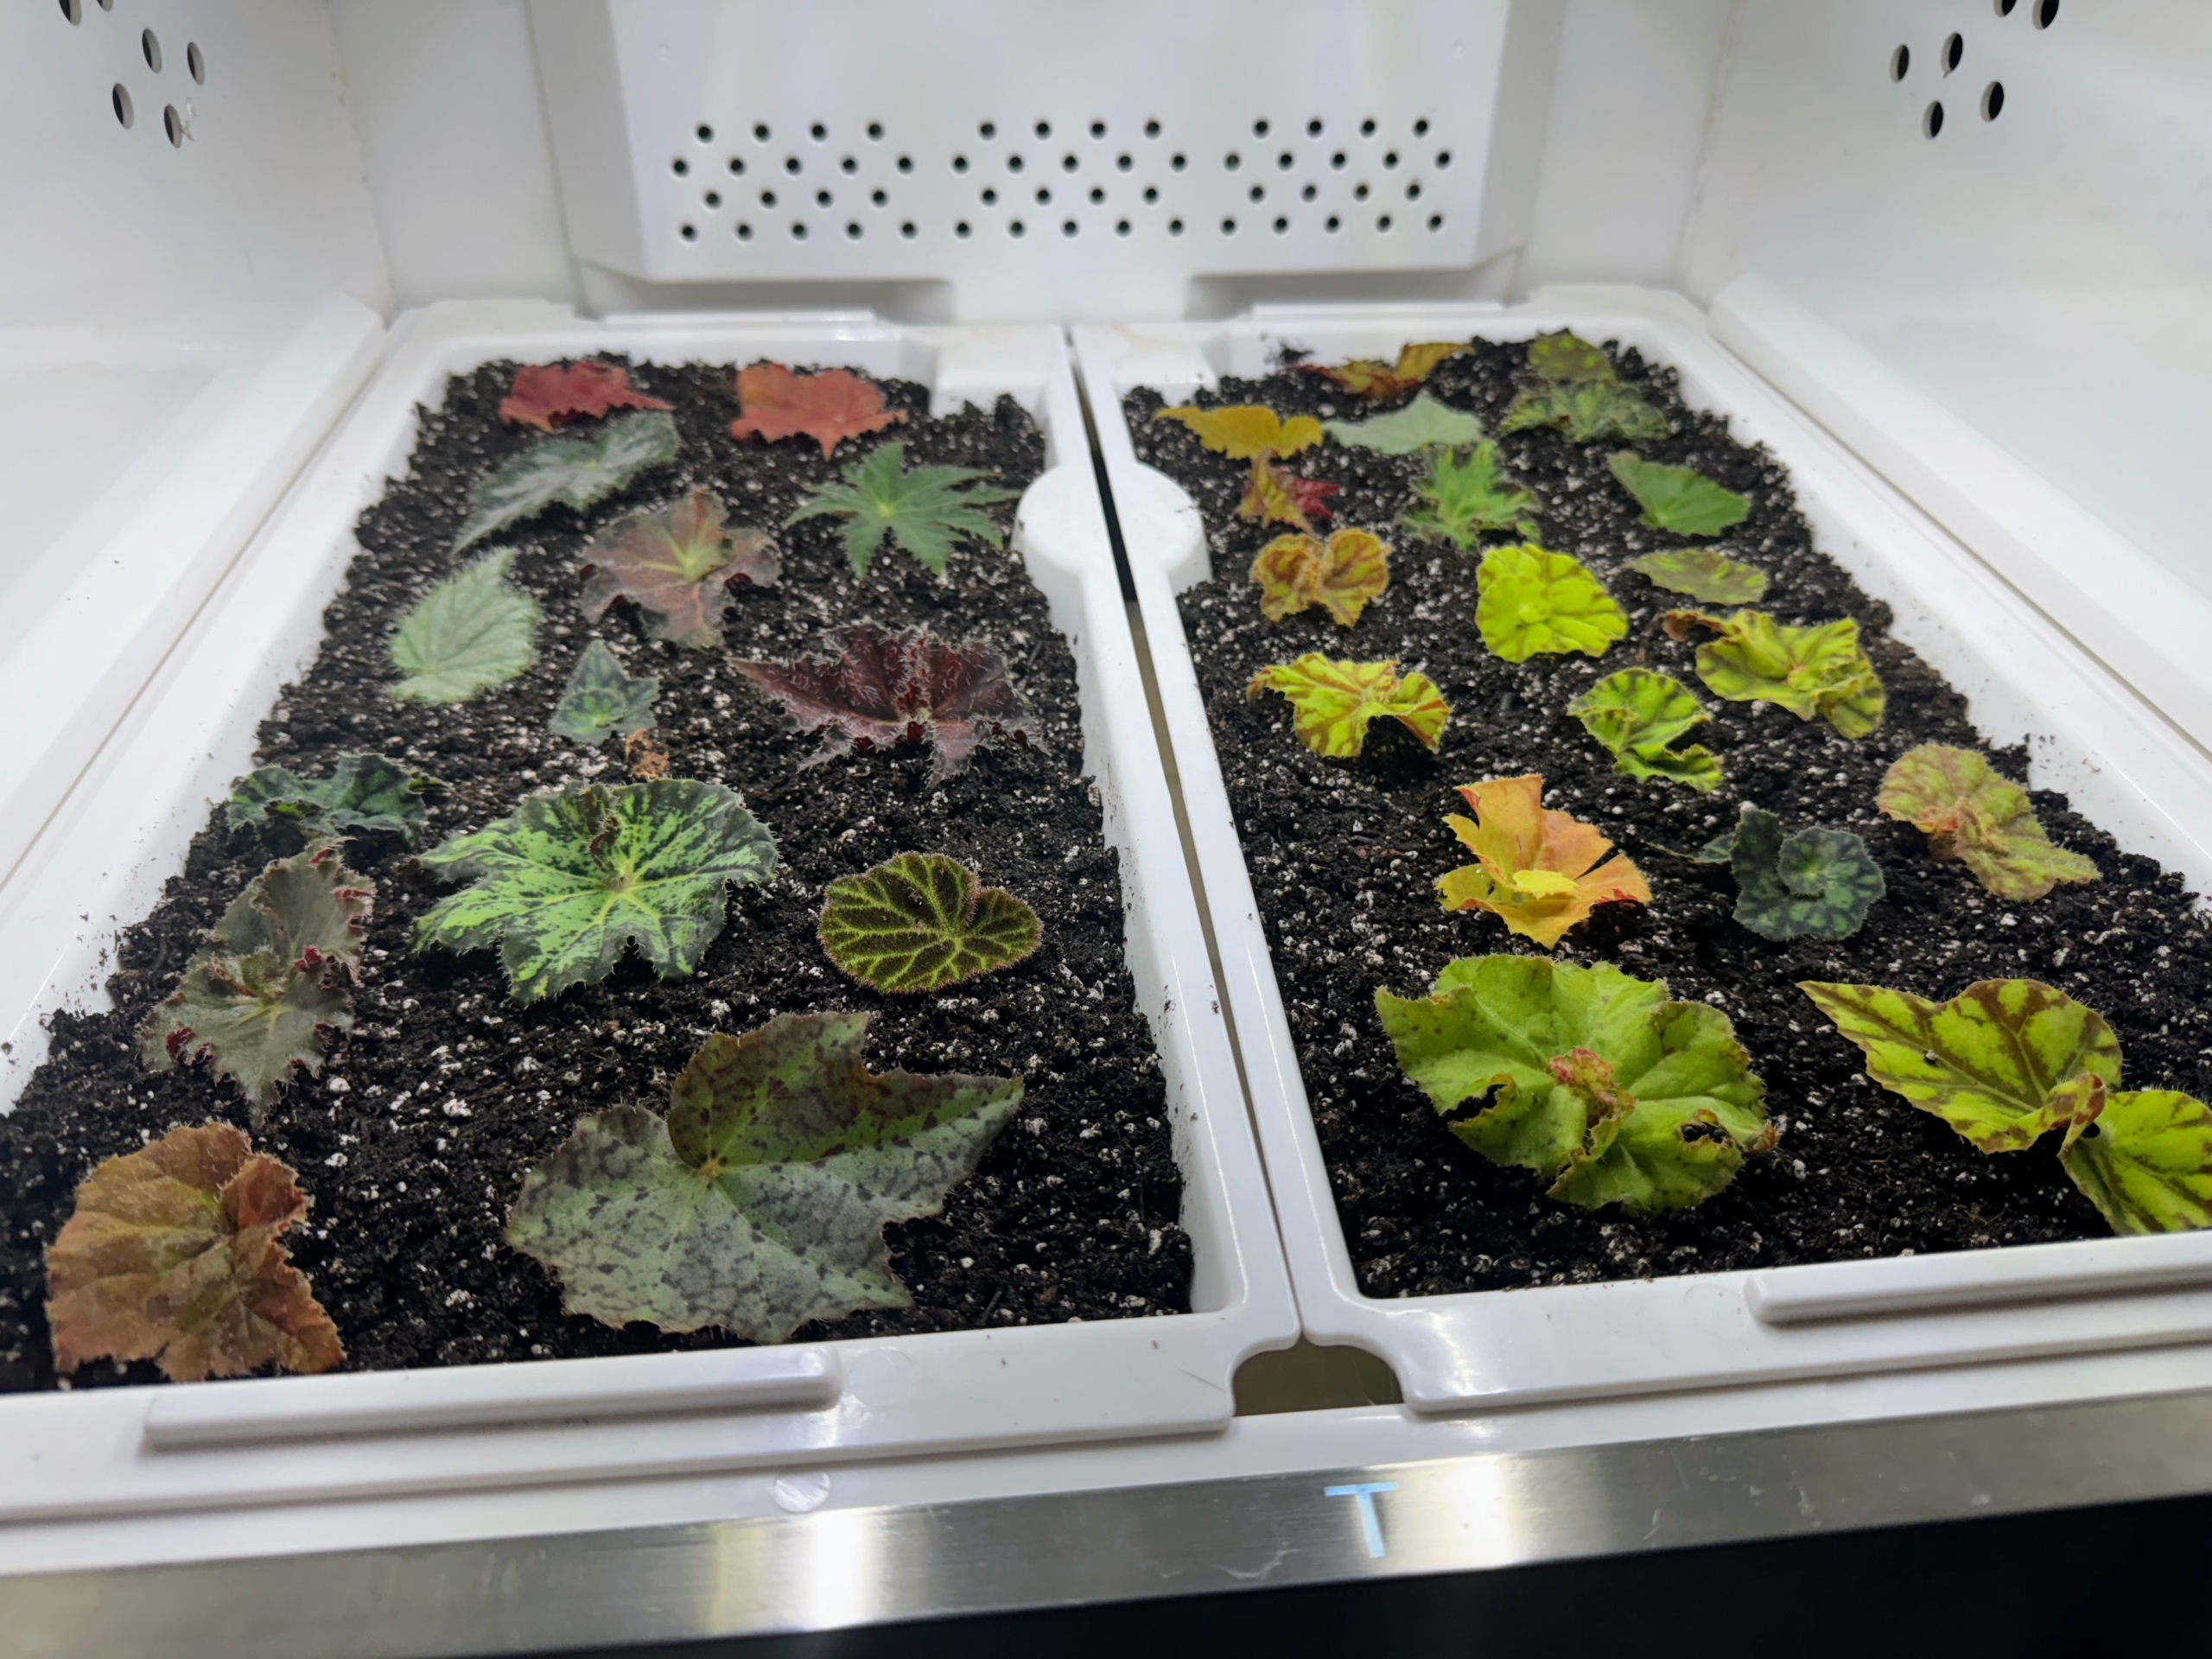
The leaves can be positioned closely together, but not touching. They are now ready to be placed into our Urban Cultivator.
Inside the head house, we have two smaller counter height Urban Cultivators. It takes up the same footprint as a dishwasher and is plumbed to water and electrical in the same way. Each residential machine has two grow shelves for the seed trays and pre-set control centers to ensure specimens get exactly the right amount of water, light, and humidity.
In about six to eight weeks, we’ll have baby “plantlets” ready to be transplanted into containers. It’s that easy. If doing this without an Urban Cultivator, keep it out of direct sunlight, but in a warm, well-lit spot. Mist the soil as needed, so the cuttings stay moist.
And then the young plants will join all these beauties that are thriving in my greenhouse.