The beginning of a new year is always a nice time to get everything in good order.
Here at my busy Bedford, New York farm, we try very hard to keep things clean and well-organized - in my kitchen, my office, my large Equipment Barn, my greenhouses, my hayloft, etc. Staying organized saves time, boosts productivity, and helps minimize stress. I am always looking for useful and attractive storage solutions that optimize space and control the clutter. From neat and tidy desk accessories to repurposed containers found at tag sales to commercial sized wheeled units, there are so many ways to keep "a place for everything and everything in its place."
Enjoy these photos.
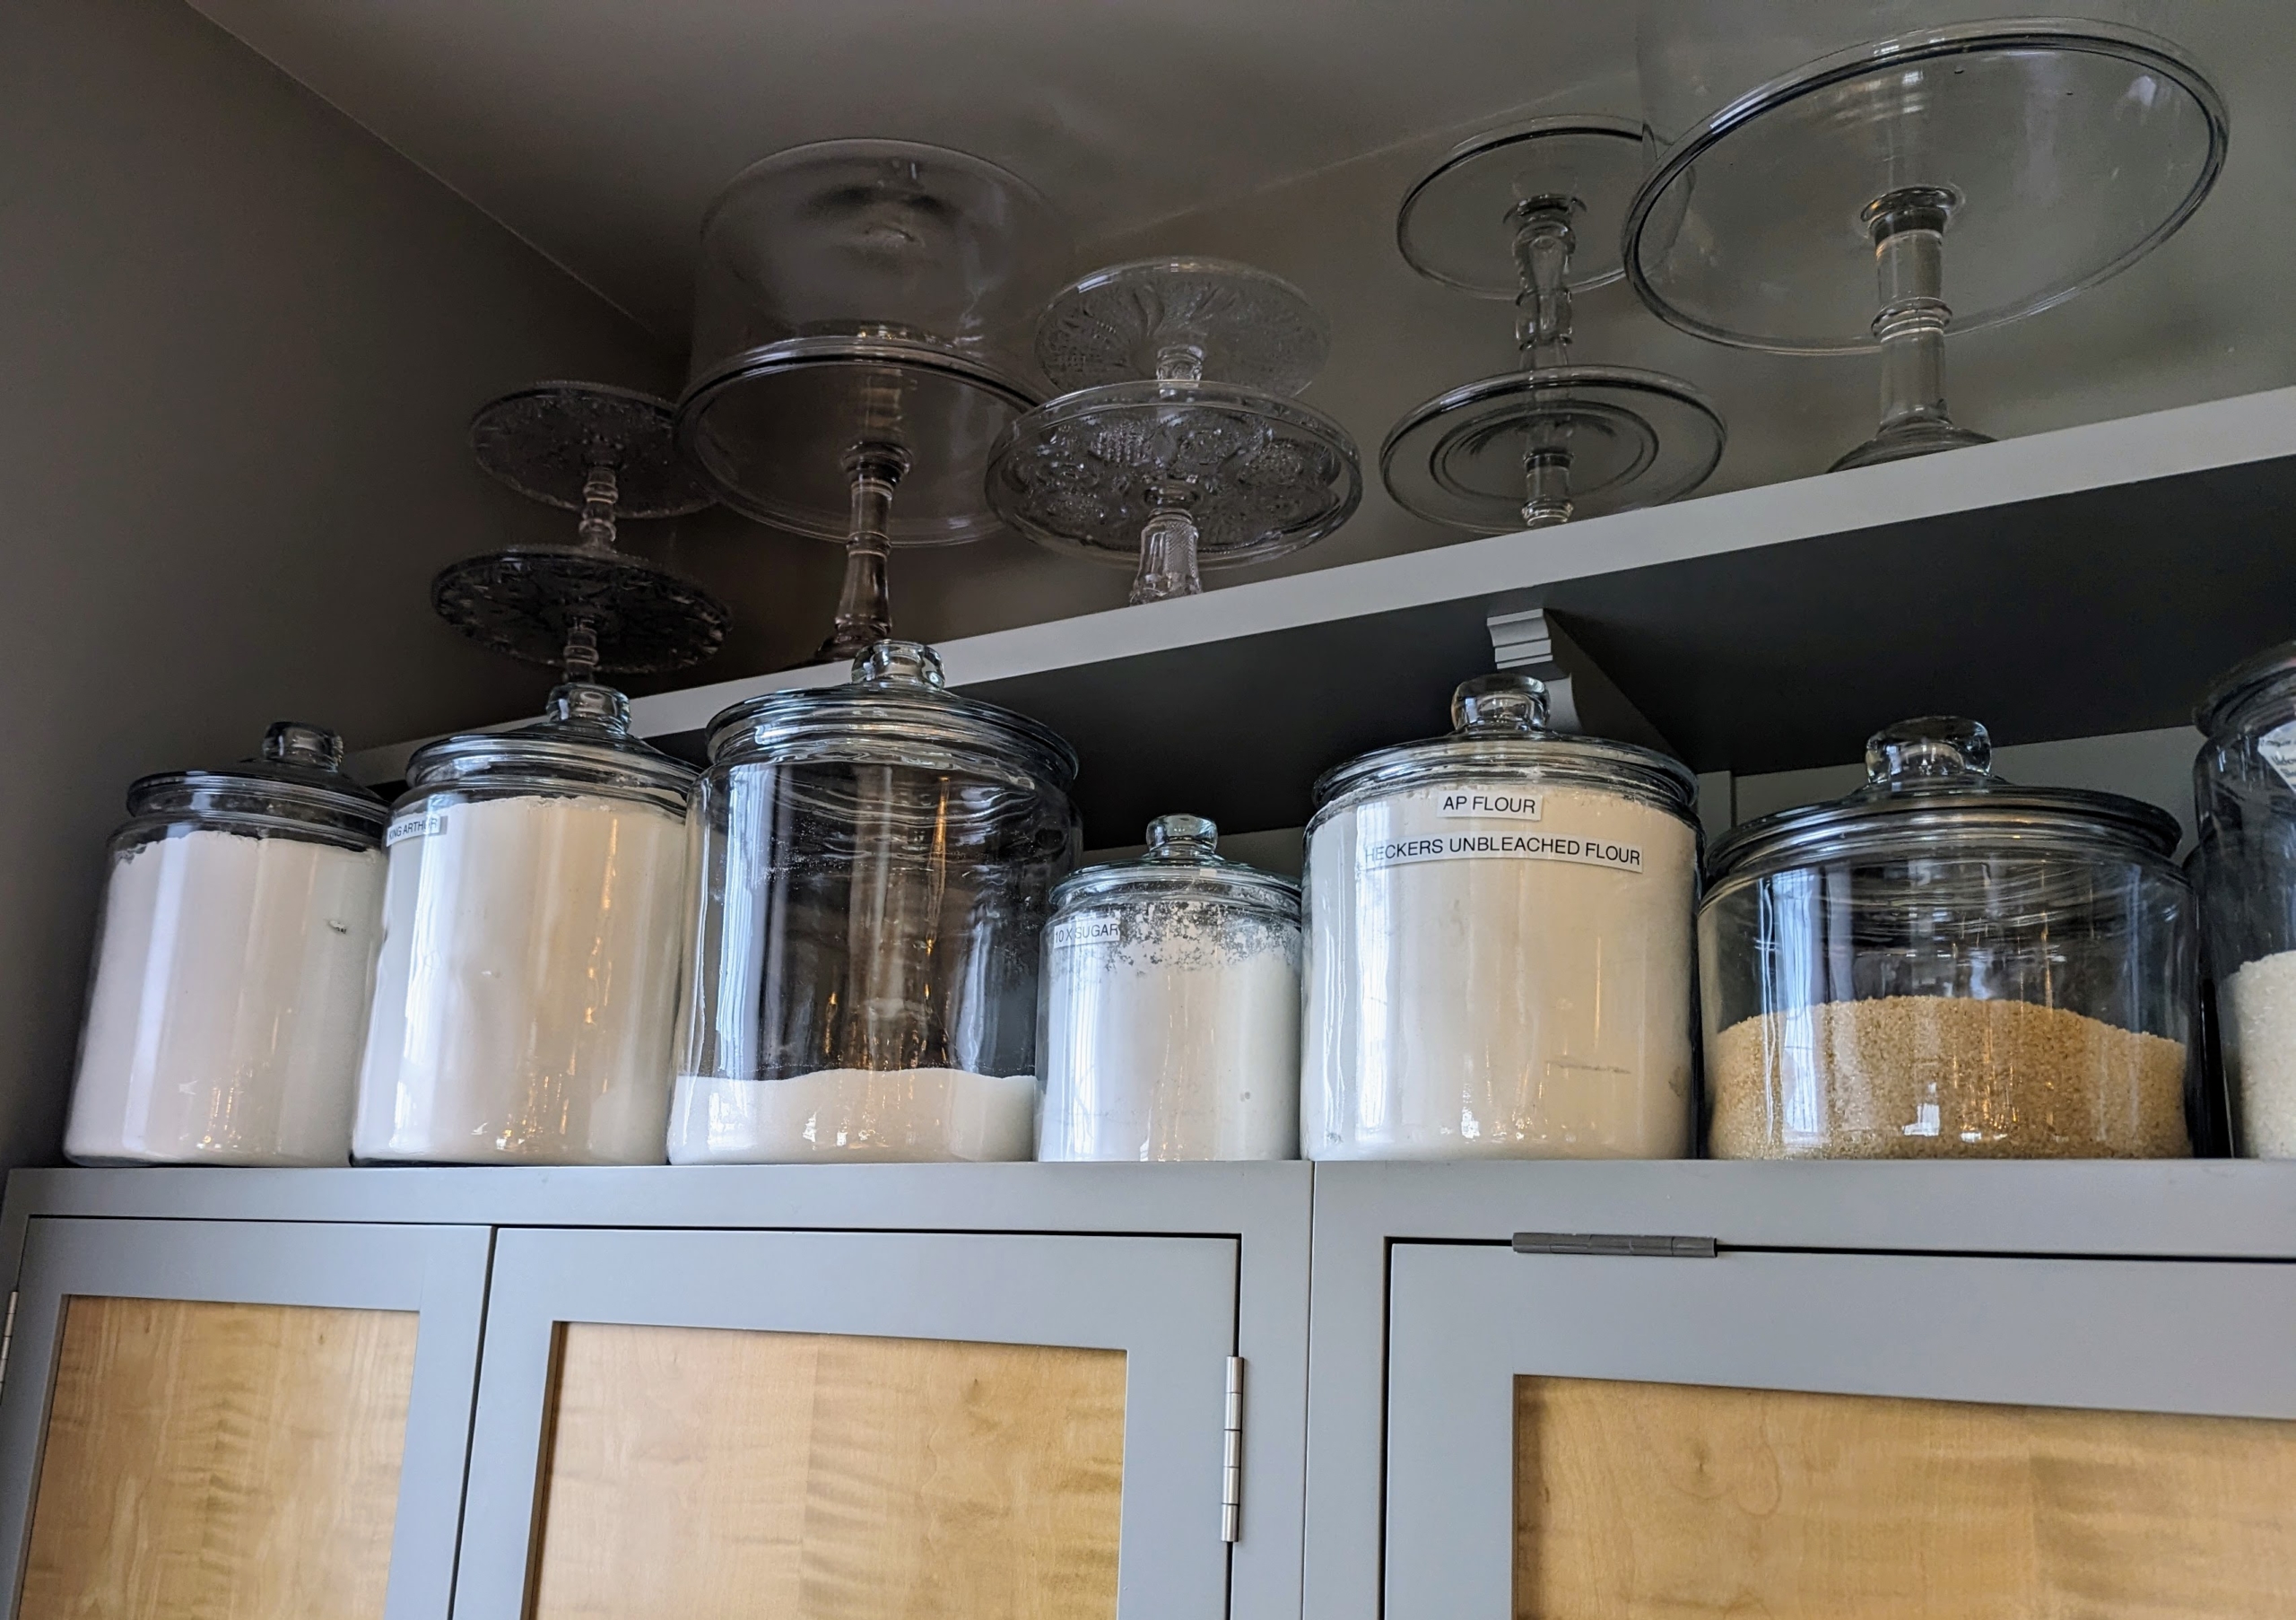
Storage solutions can be both functional and pretty. Here in my studio kitchen, we keep lots of flour, sugar, and grain in these large glass containers. Pantry vessels like these are so useful for so many items and can be kept on the countertop for easy access.
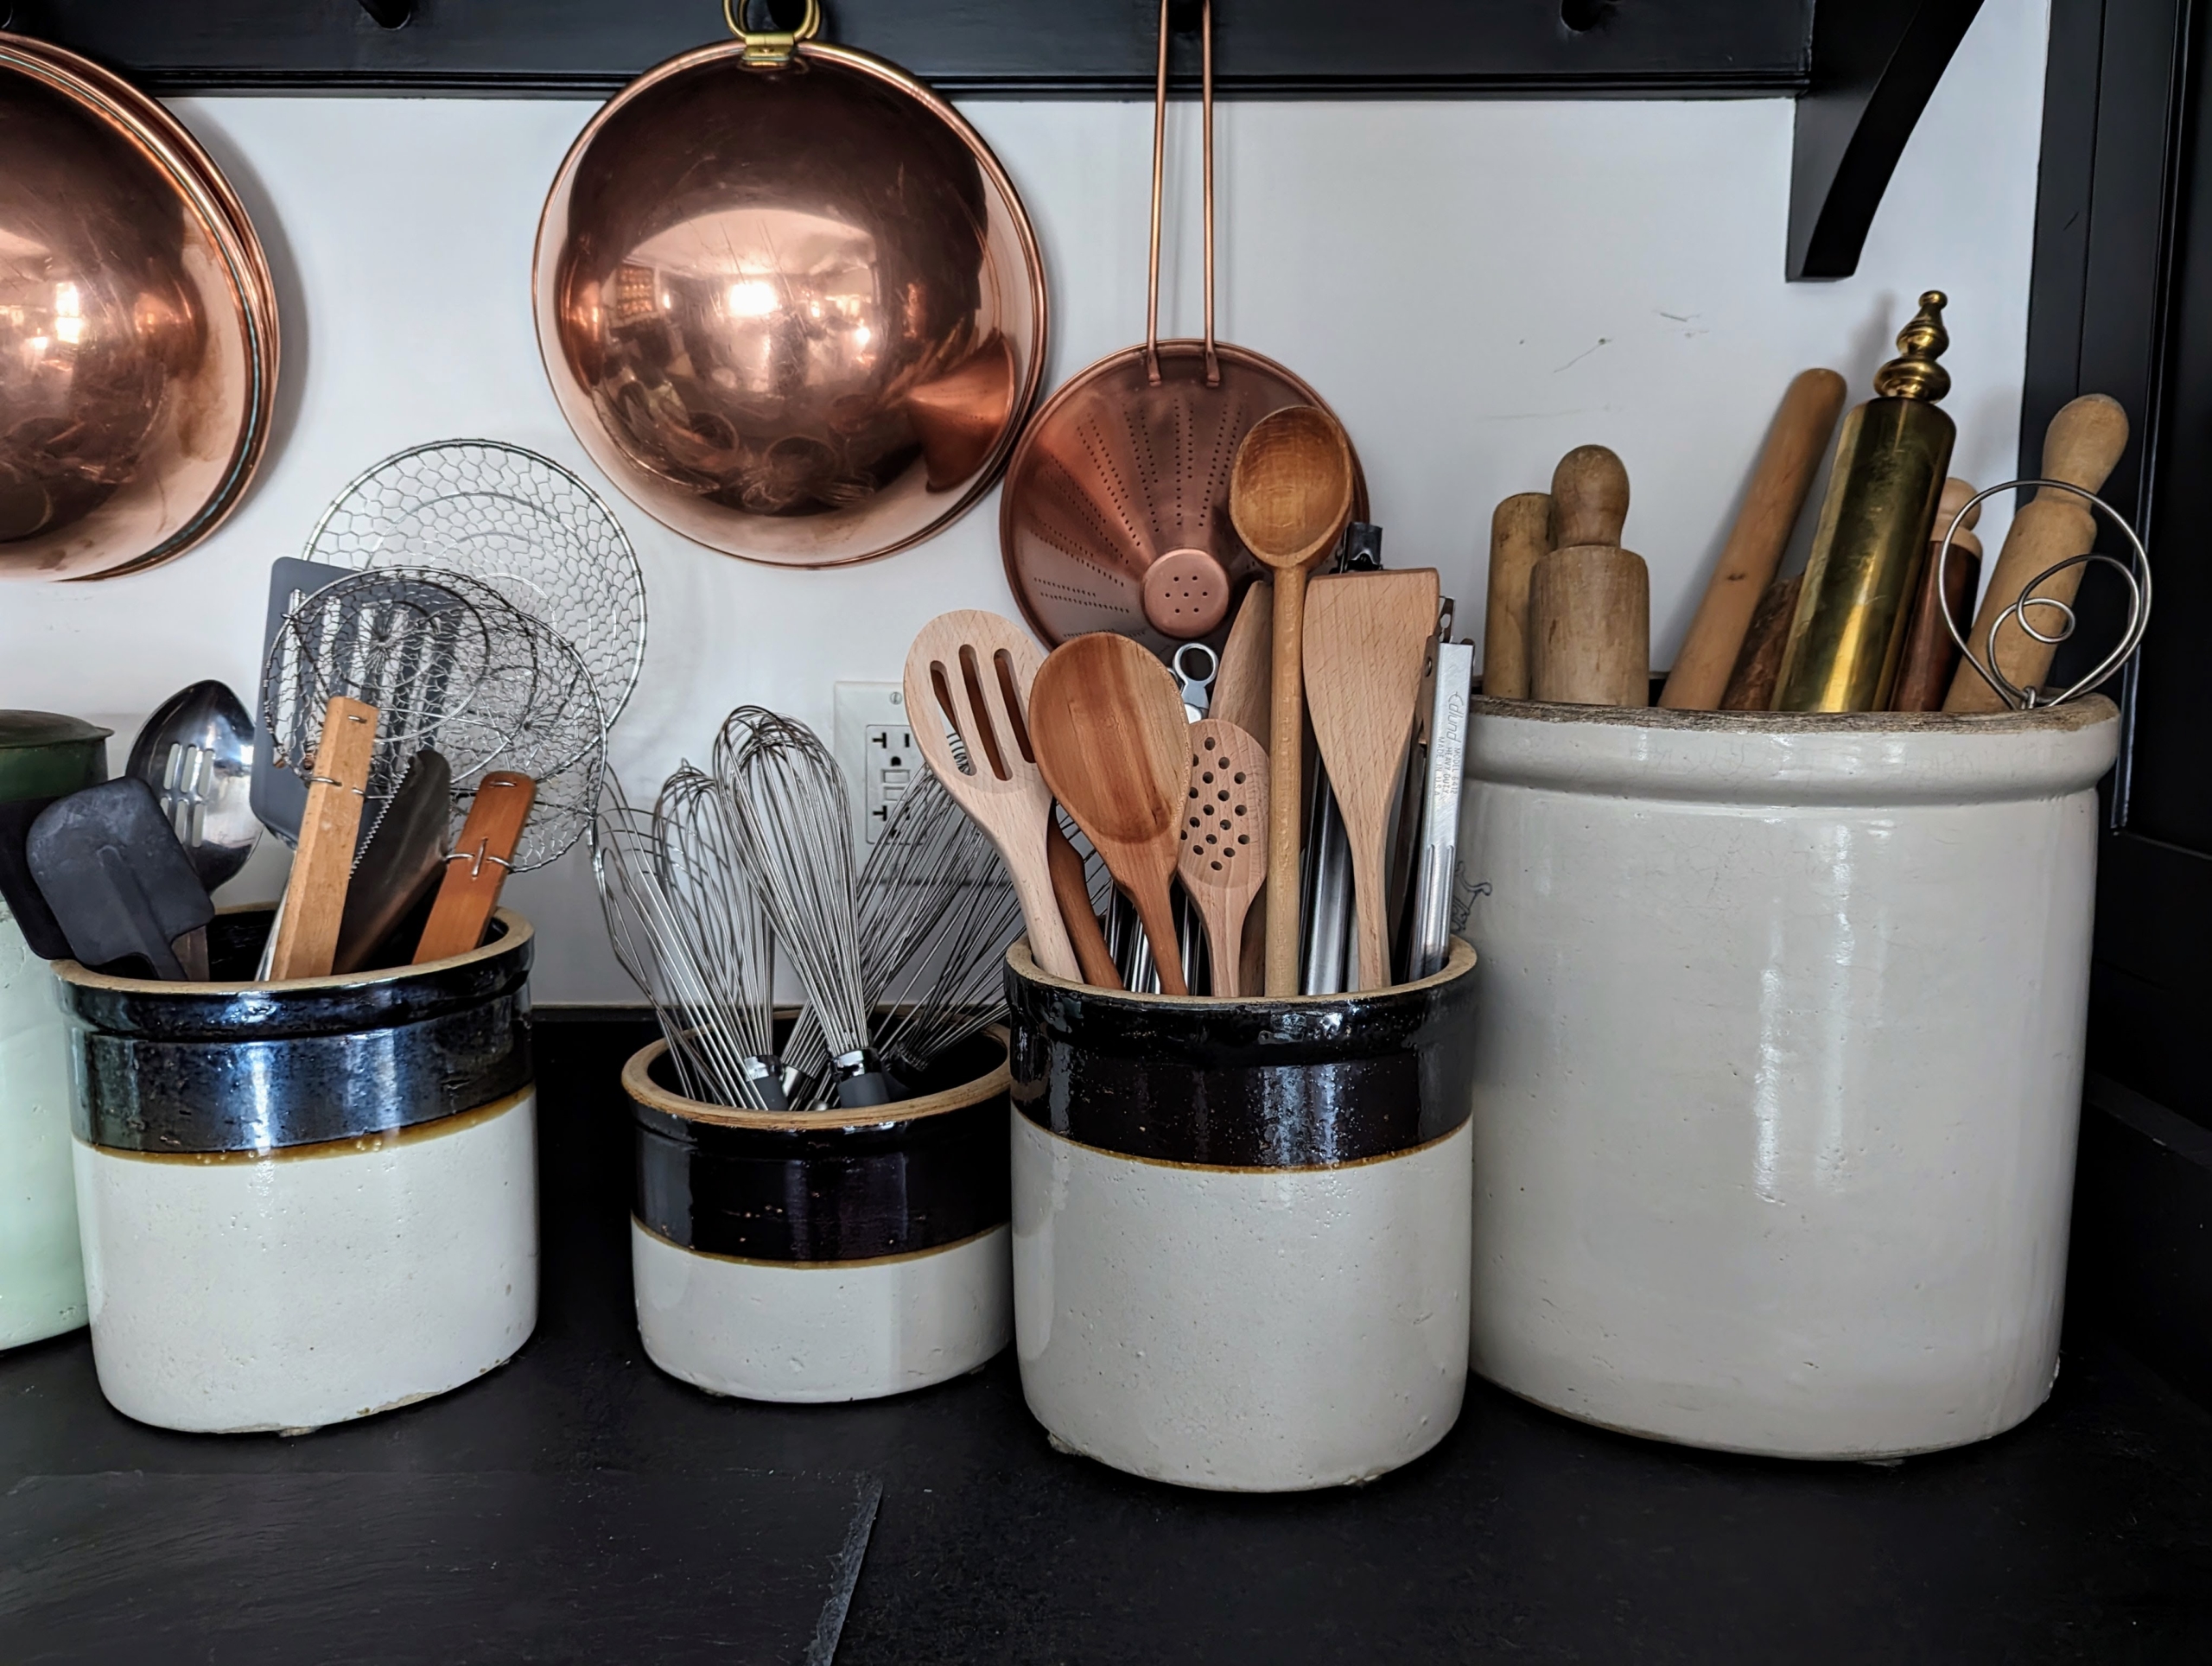
Vintage and antique crocks can be used to hold utensils on the counter. These strong, large jars are durable and easy to keep clean.
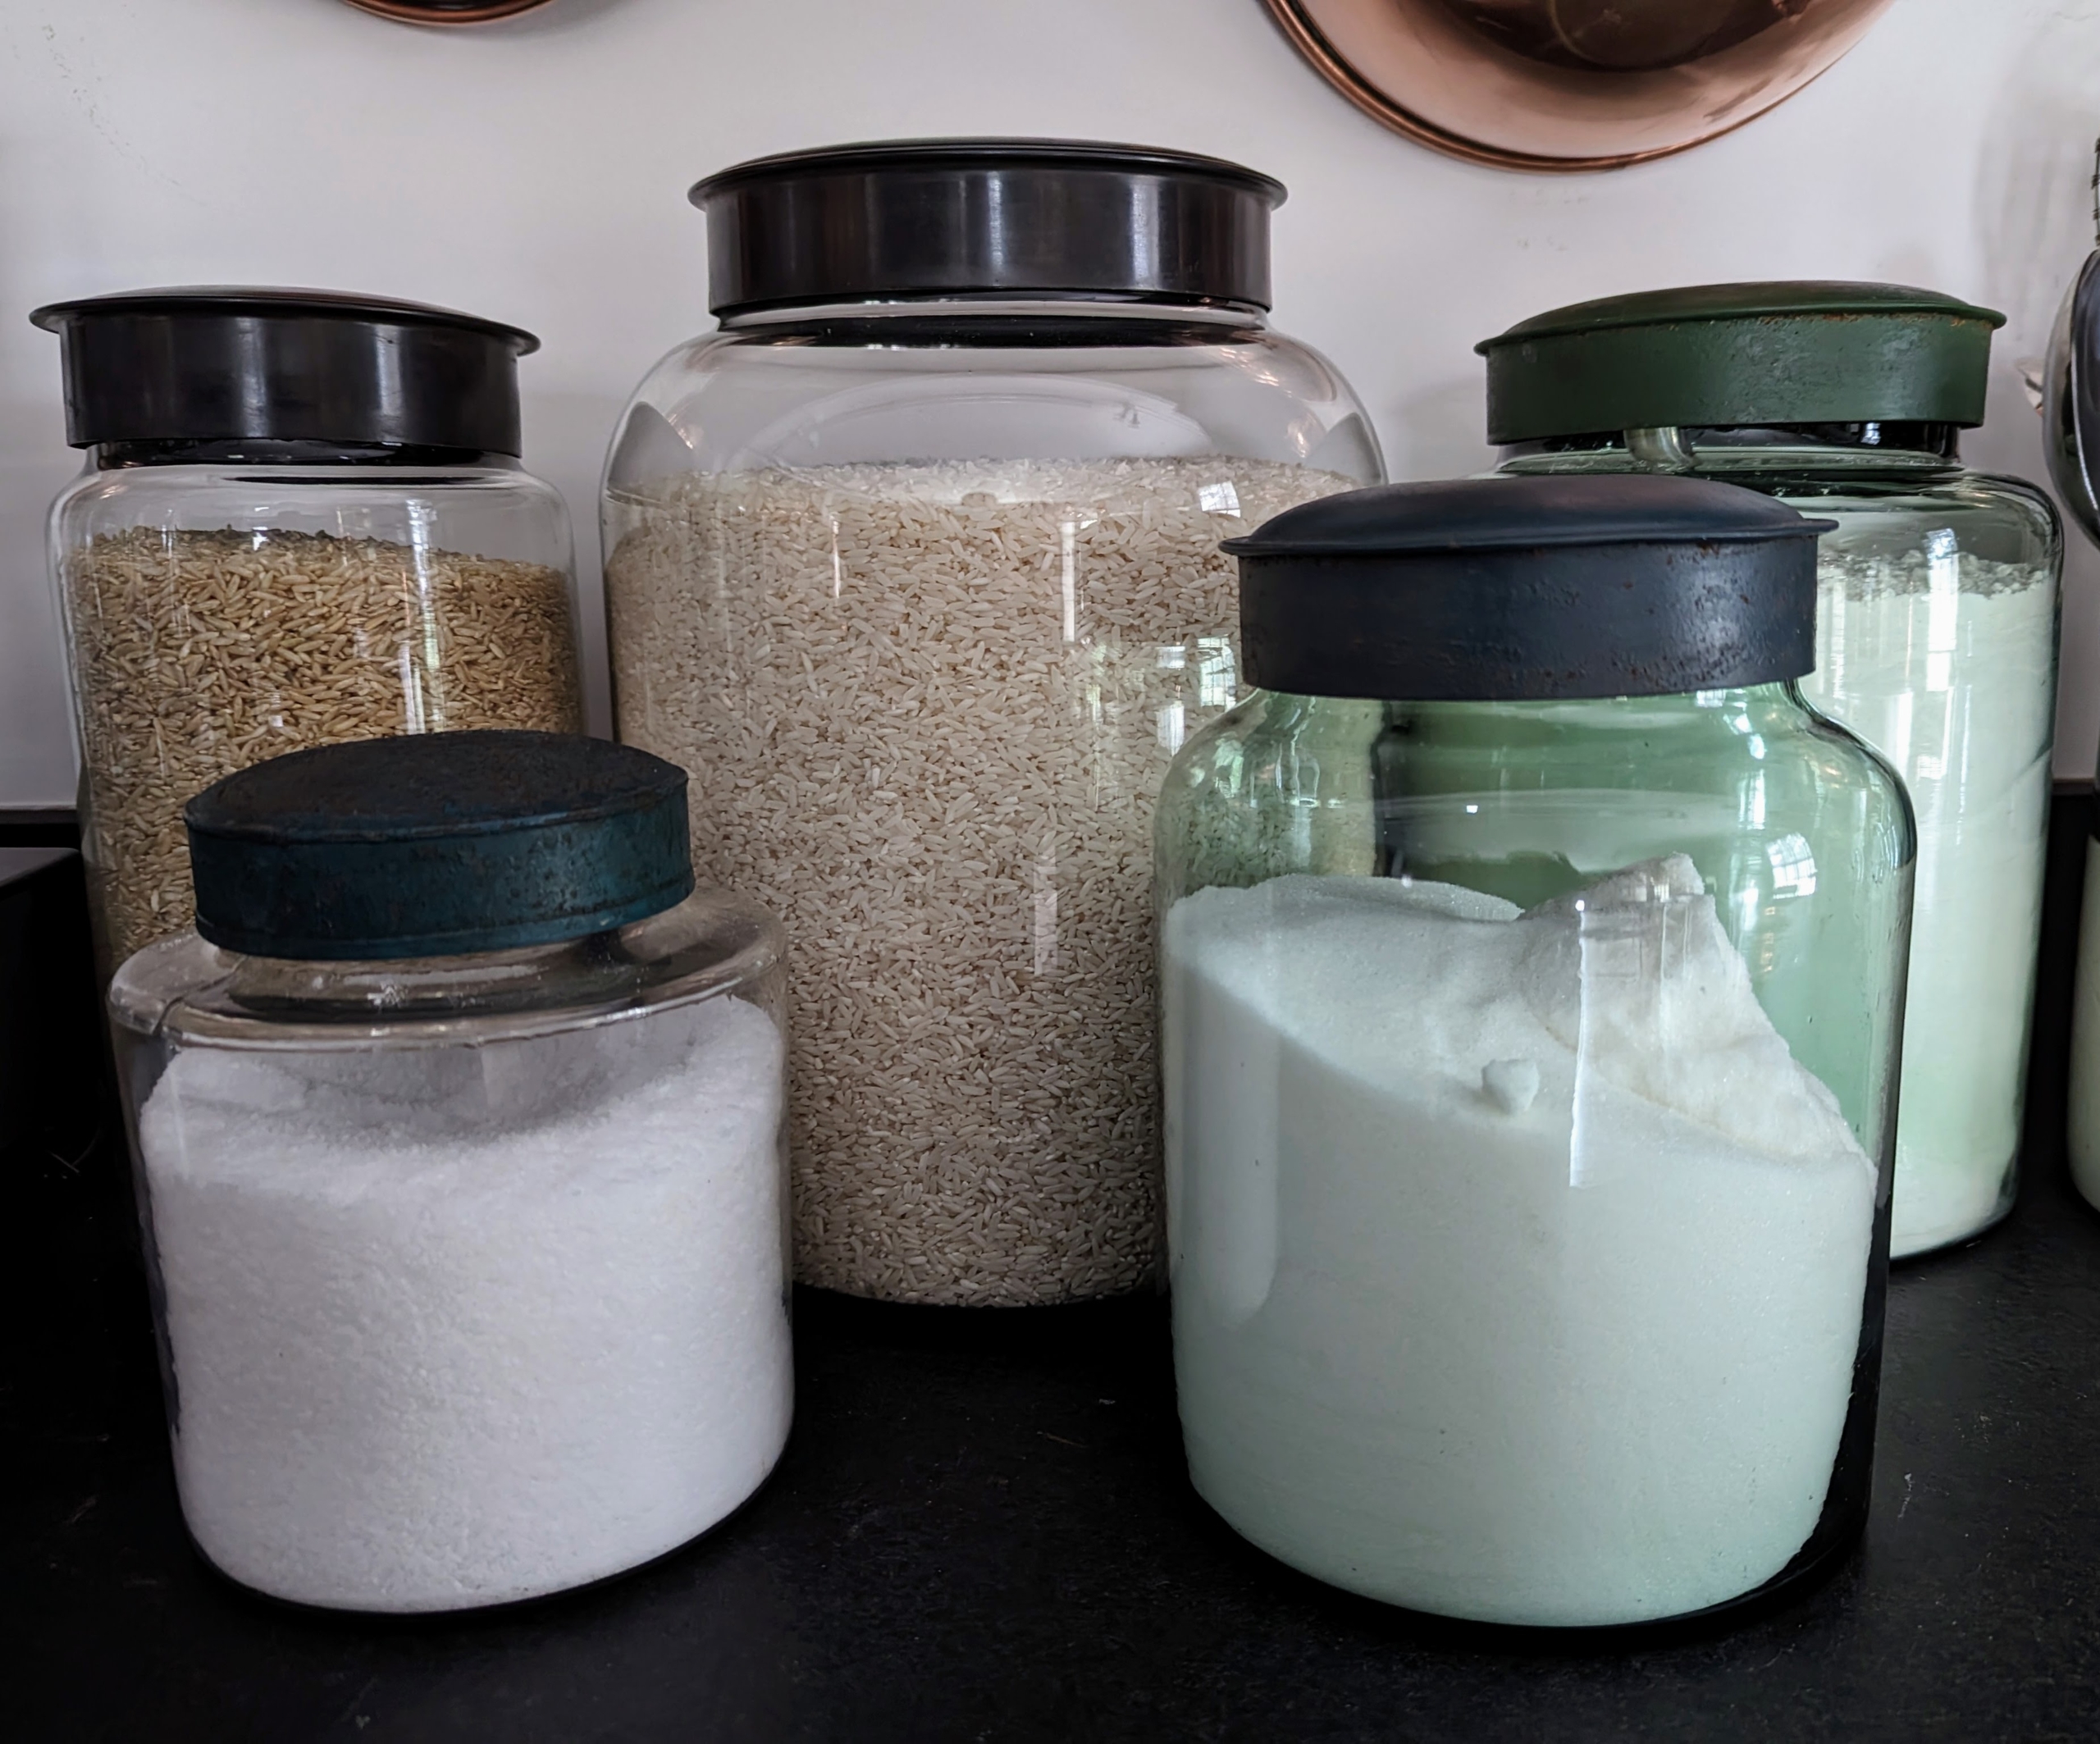
In my own Winter House kitchen, I keep flour and rice in these glass jars with wide mouths, so measuring cups and scoops can fit inside.
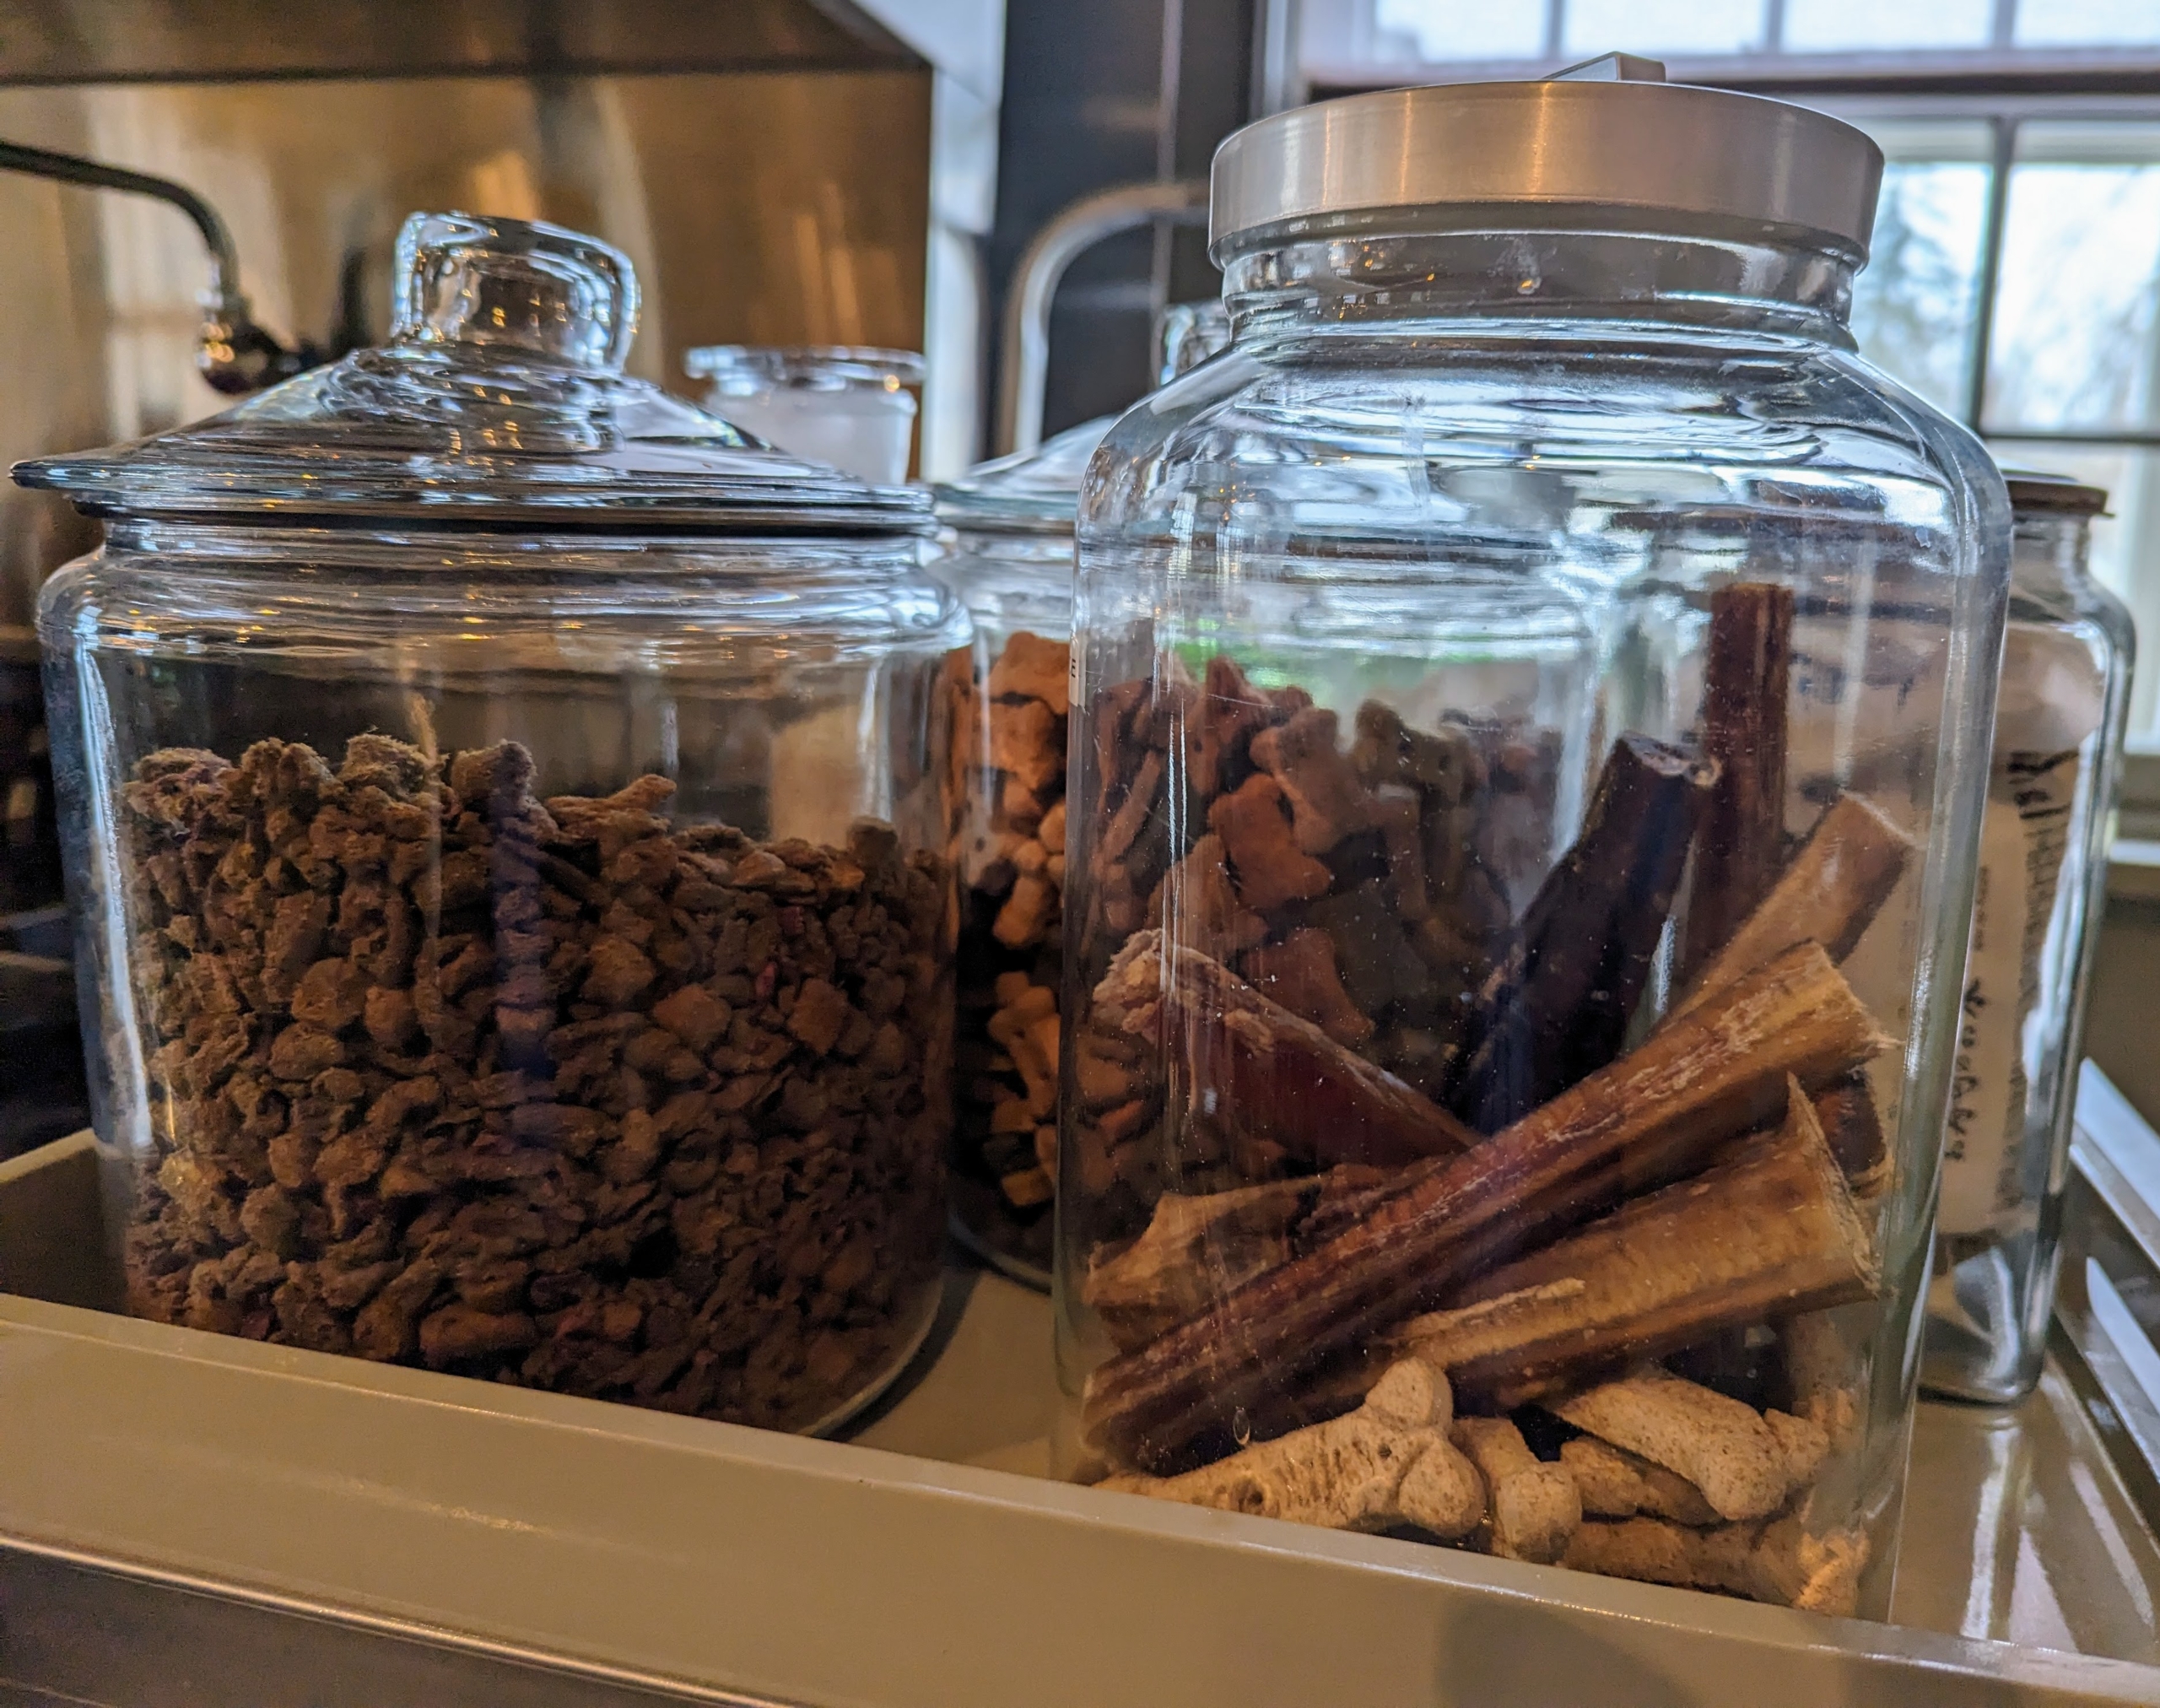
Dog treats are also good to keep in these glass canisters. They can be bought in multiples and used all around the home.
I also use and reuse these plastic containers for salts, peppers, and items that come in smaller amounts.
If you follow this blog regularly, you know I use the bigger quart sized containers for storing my homemade dog food. These can be used over and over and kept neatly stacked in the freezer.
I use a variety of small dipping bowls and salt cellars to store different types of salt where I can reach them easily.
On another counter, giant ironstone bowls for storing my eggs that are collected every afternoon.
On my kitchen desk, old silver plated julep cups serve as pen and pencil holders – so pretty in any office space.
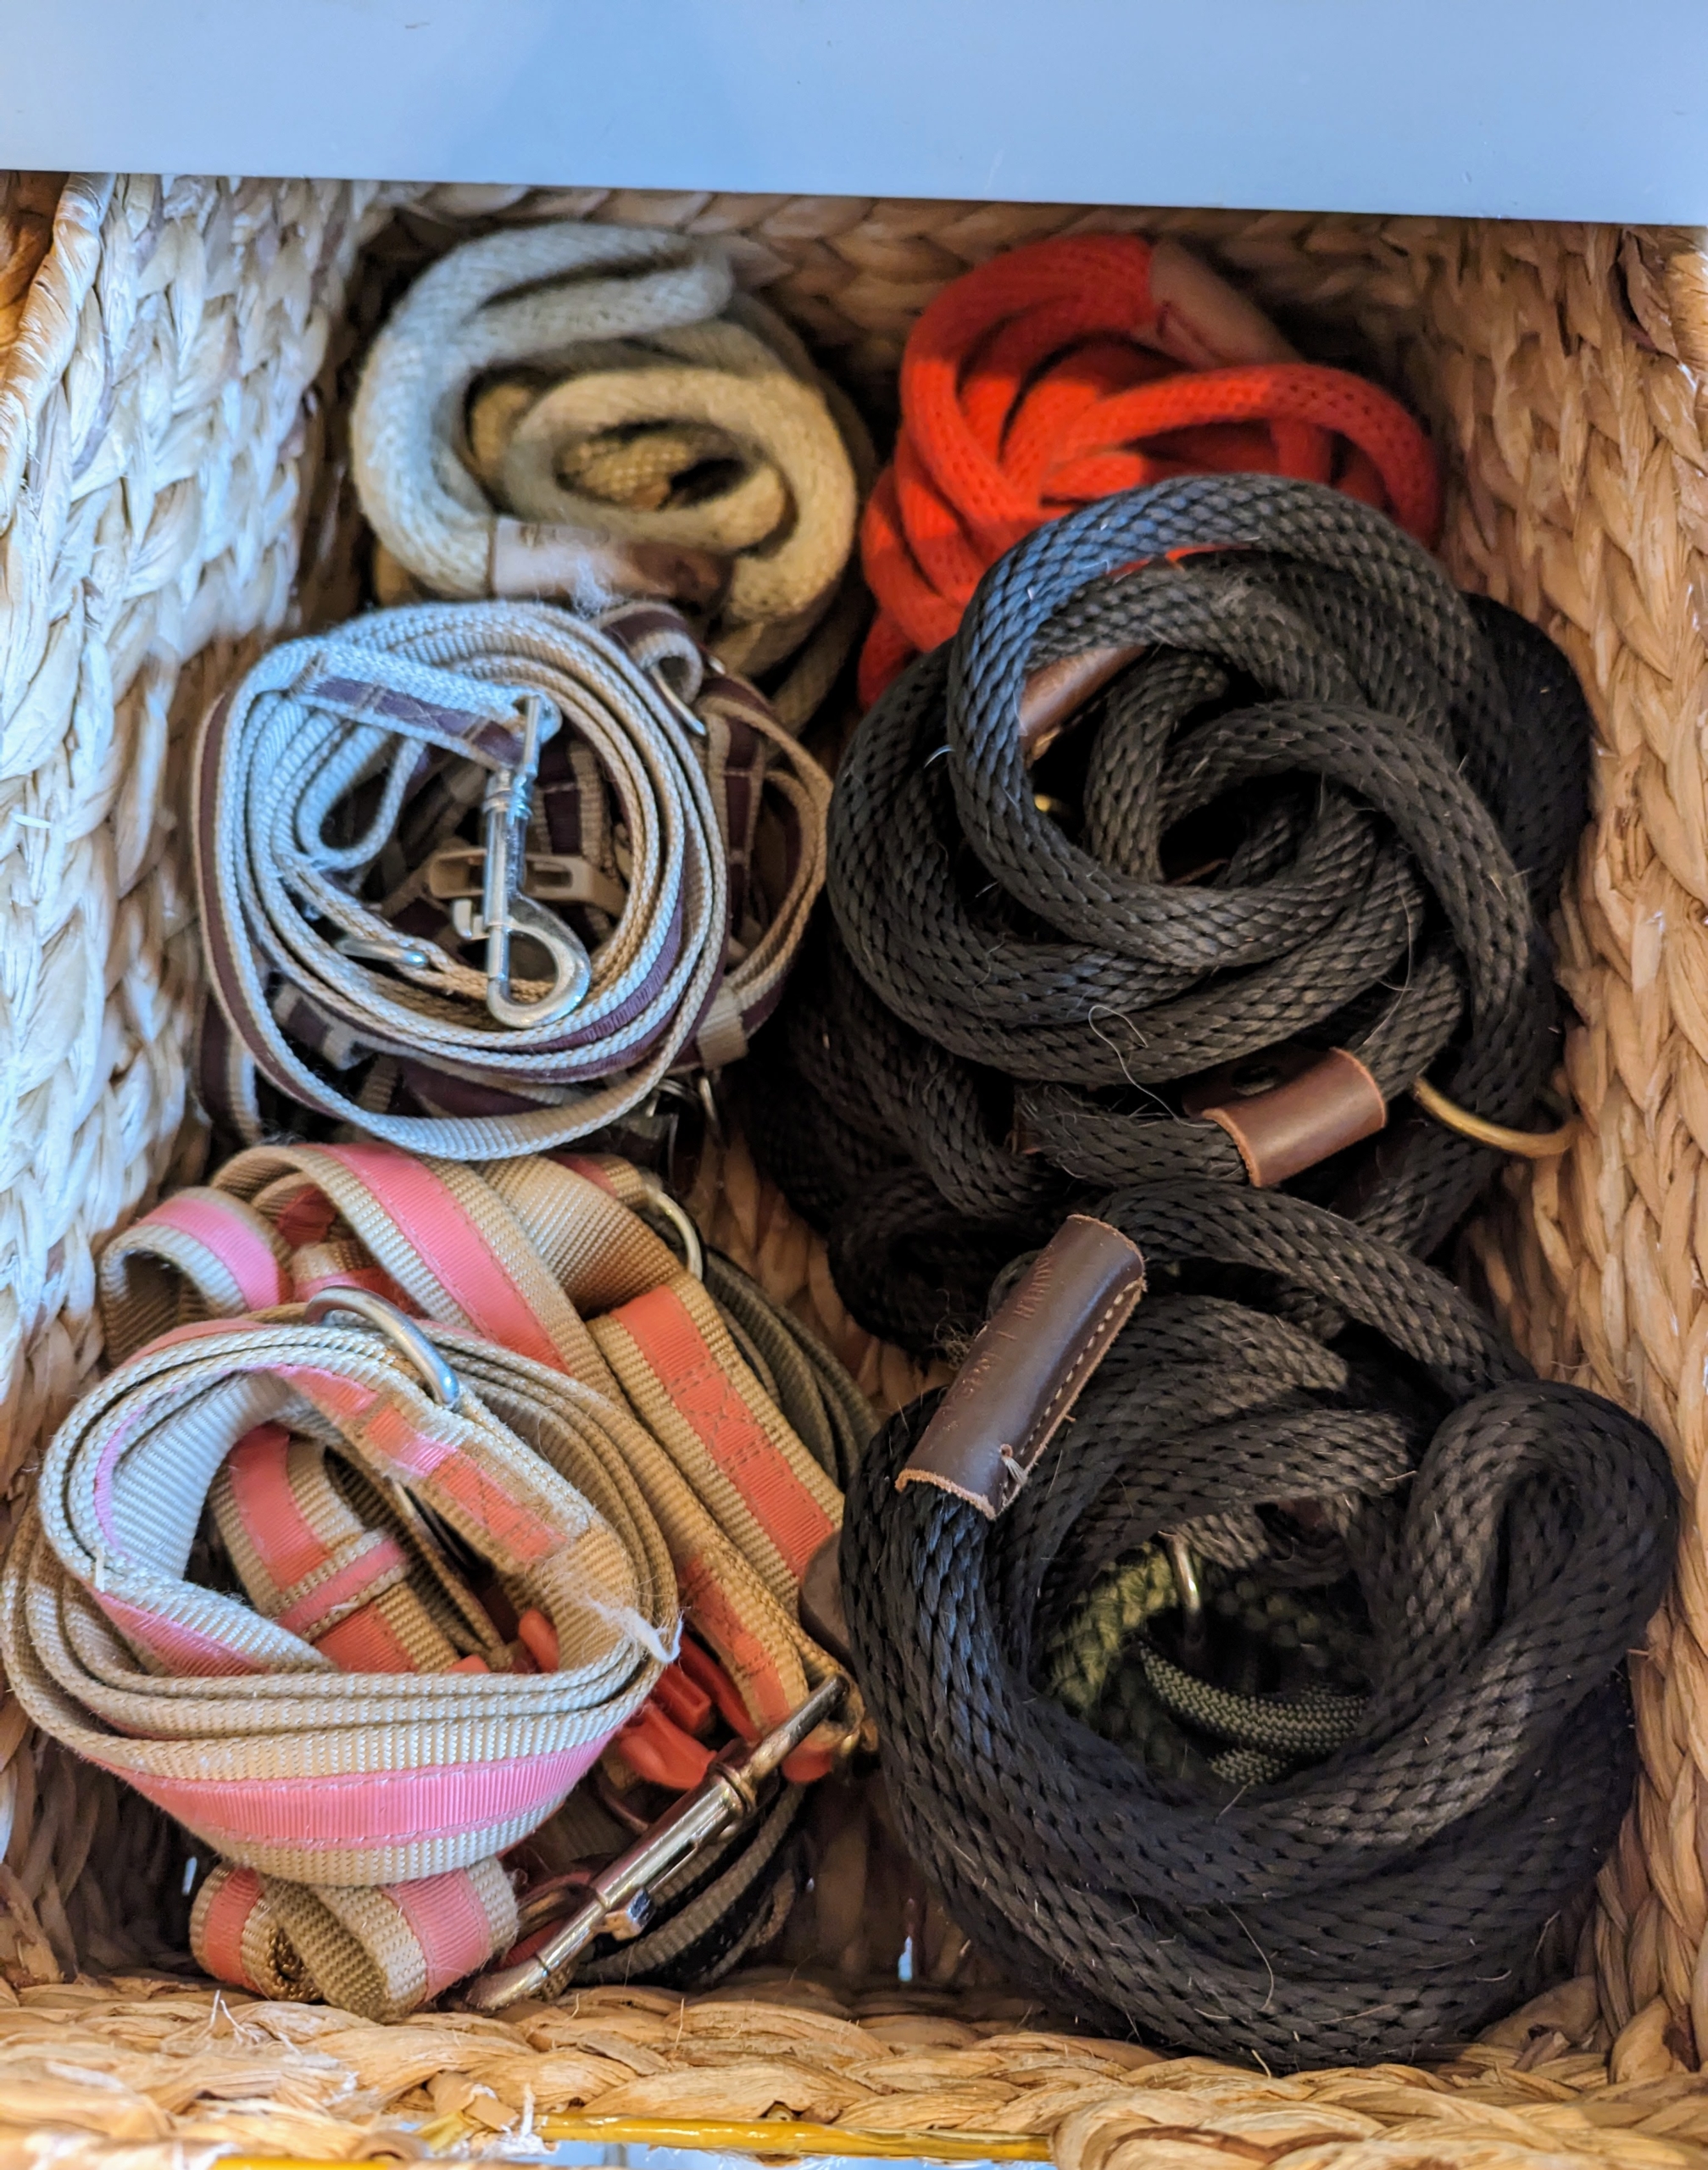
Underneath a counter, I house often-used pet supplies in these woven rattan boxes. Items inside are hidden from view, but can be accessed quickly when needed.
Inside one – leashes, harnesses, and slip leads for everyday use.
In my servery, which is a service room from which meals are served, I use these lucite airtight containers for cat food. I always offer my cats a “buffet” of foods, so clear containers allow me to see what is in what vessel.
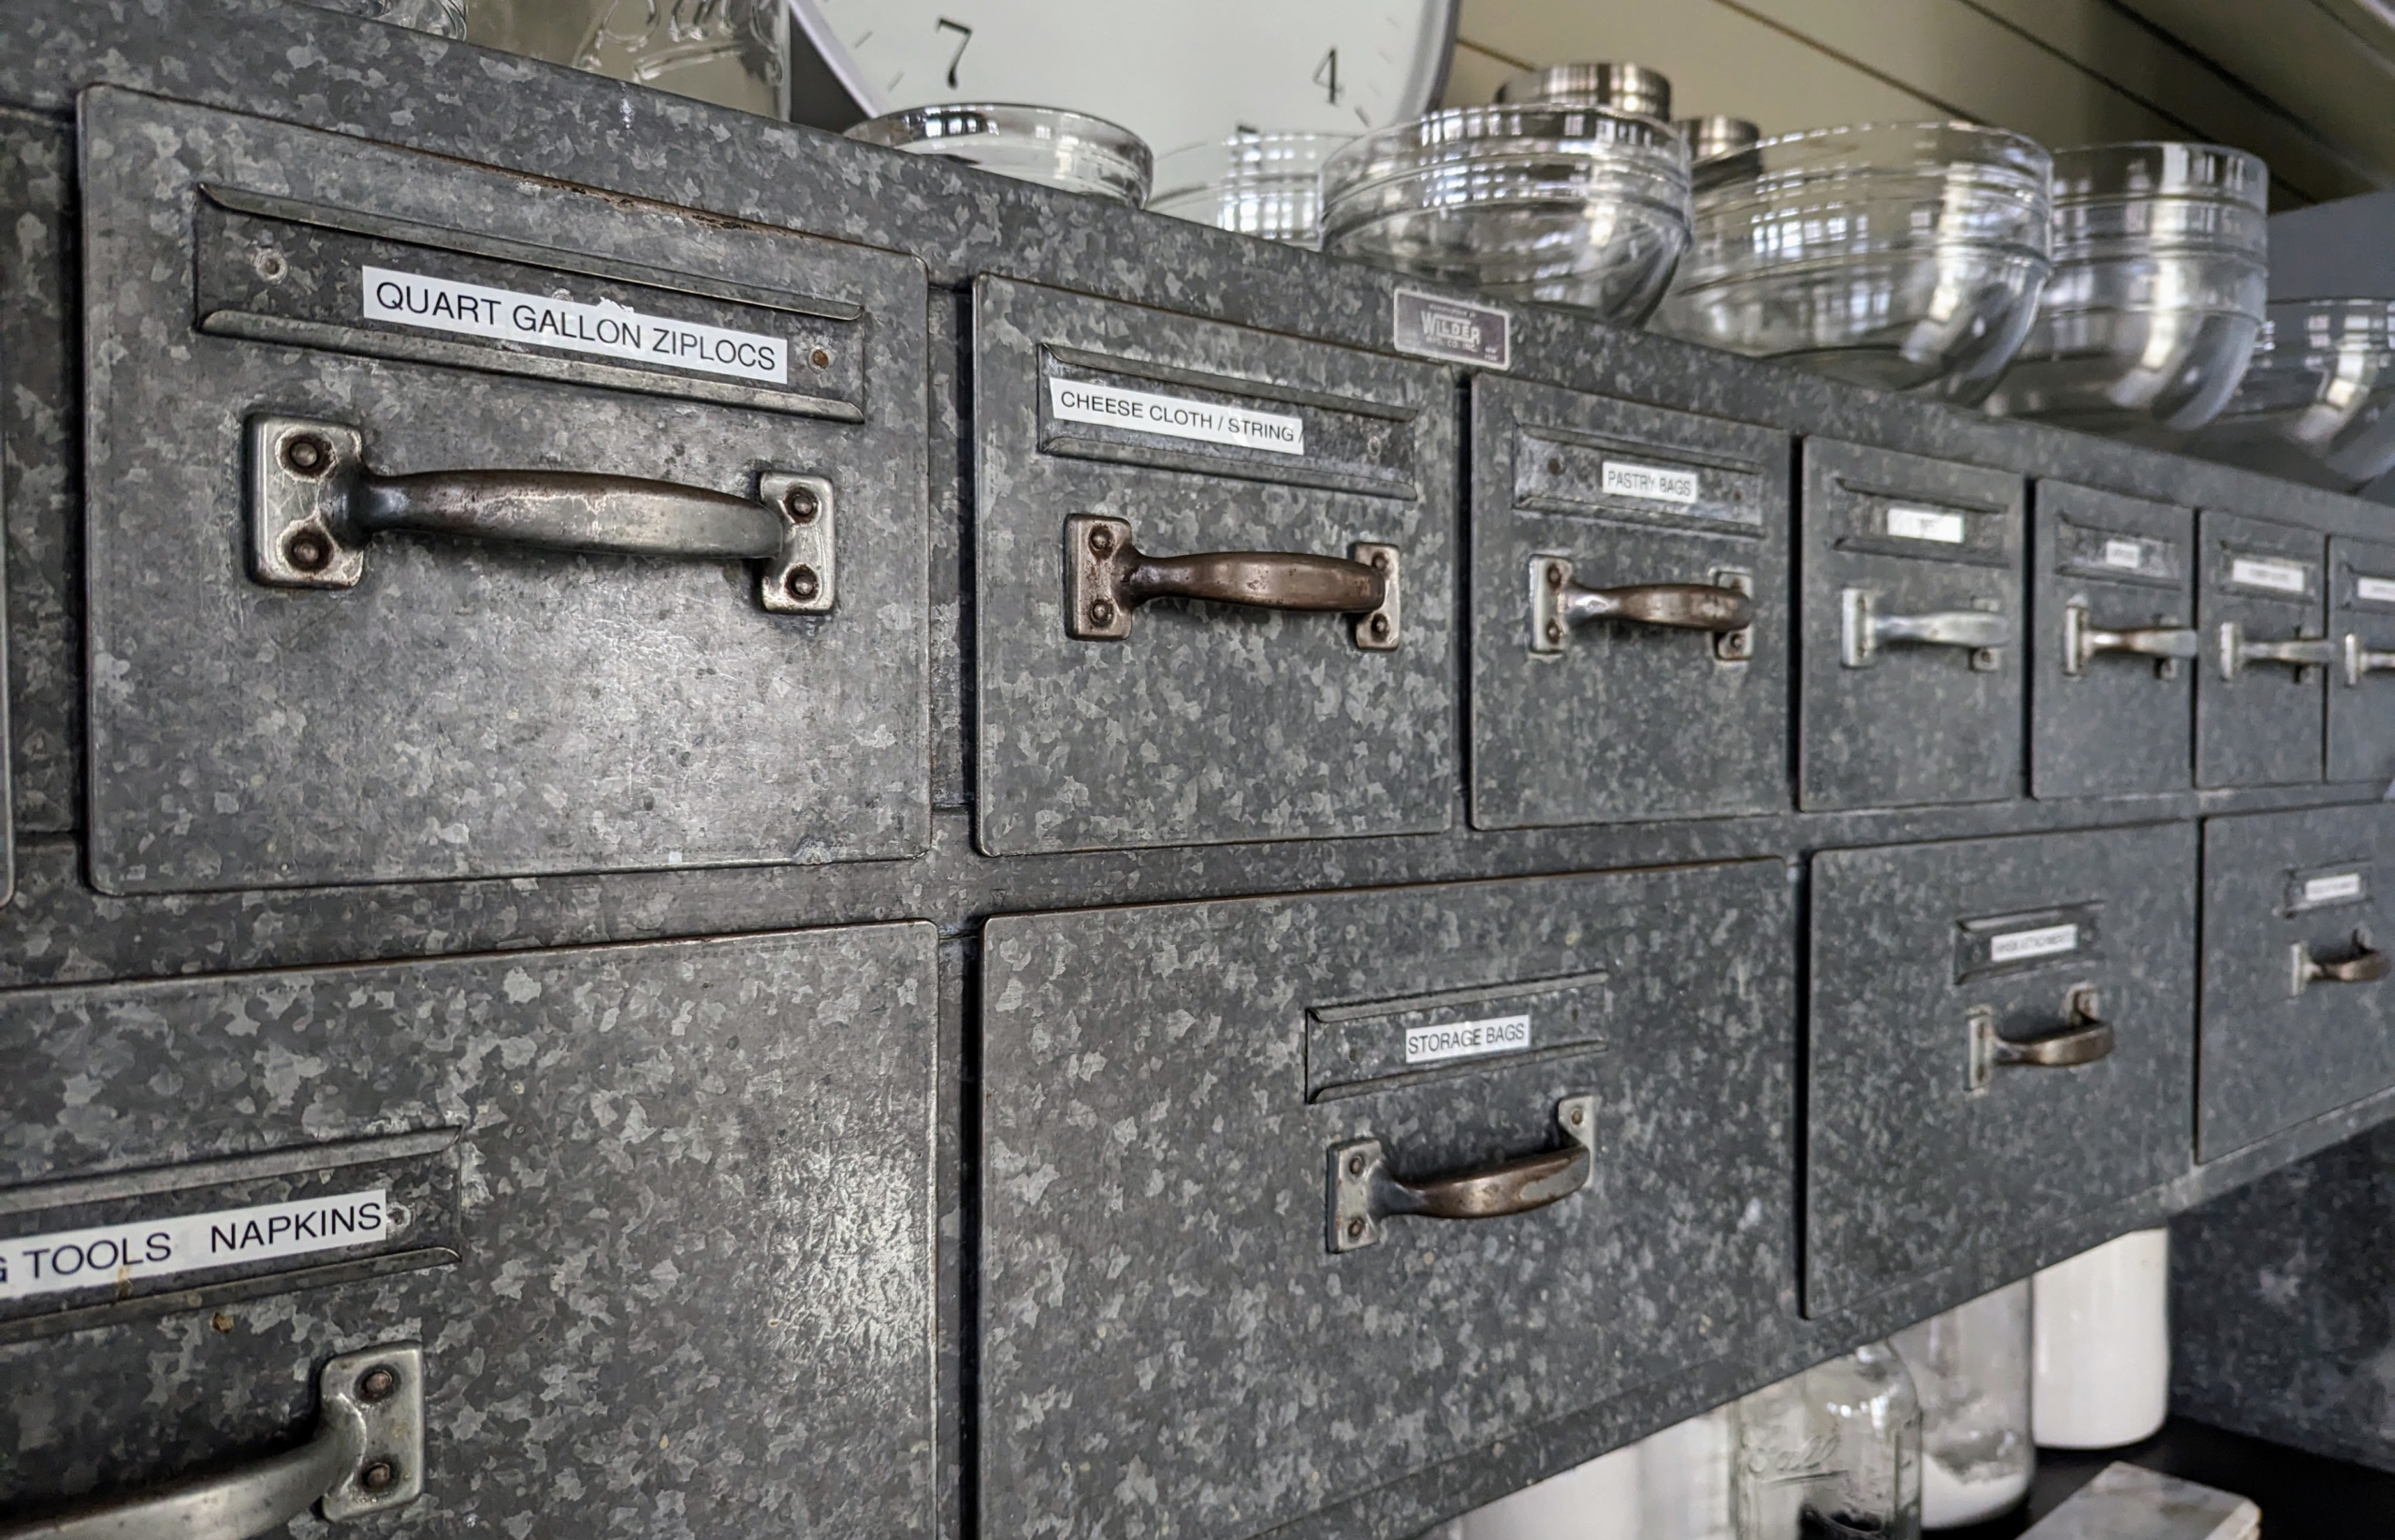
This metal cabinet in my Flower Room was from an old bakery in Maine. It fits perfectly in the space and is used to store various kitchen supplies.
Every drawer is well labeled and always stocked.
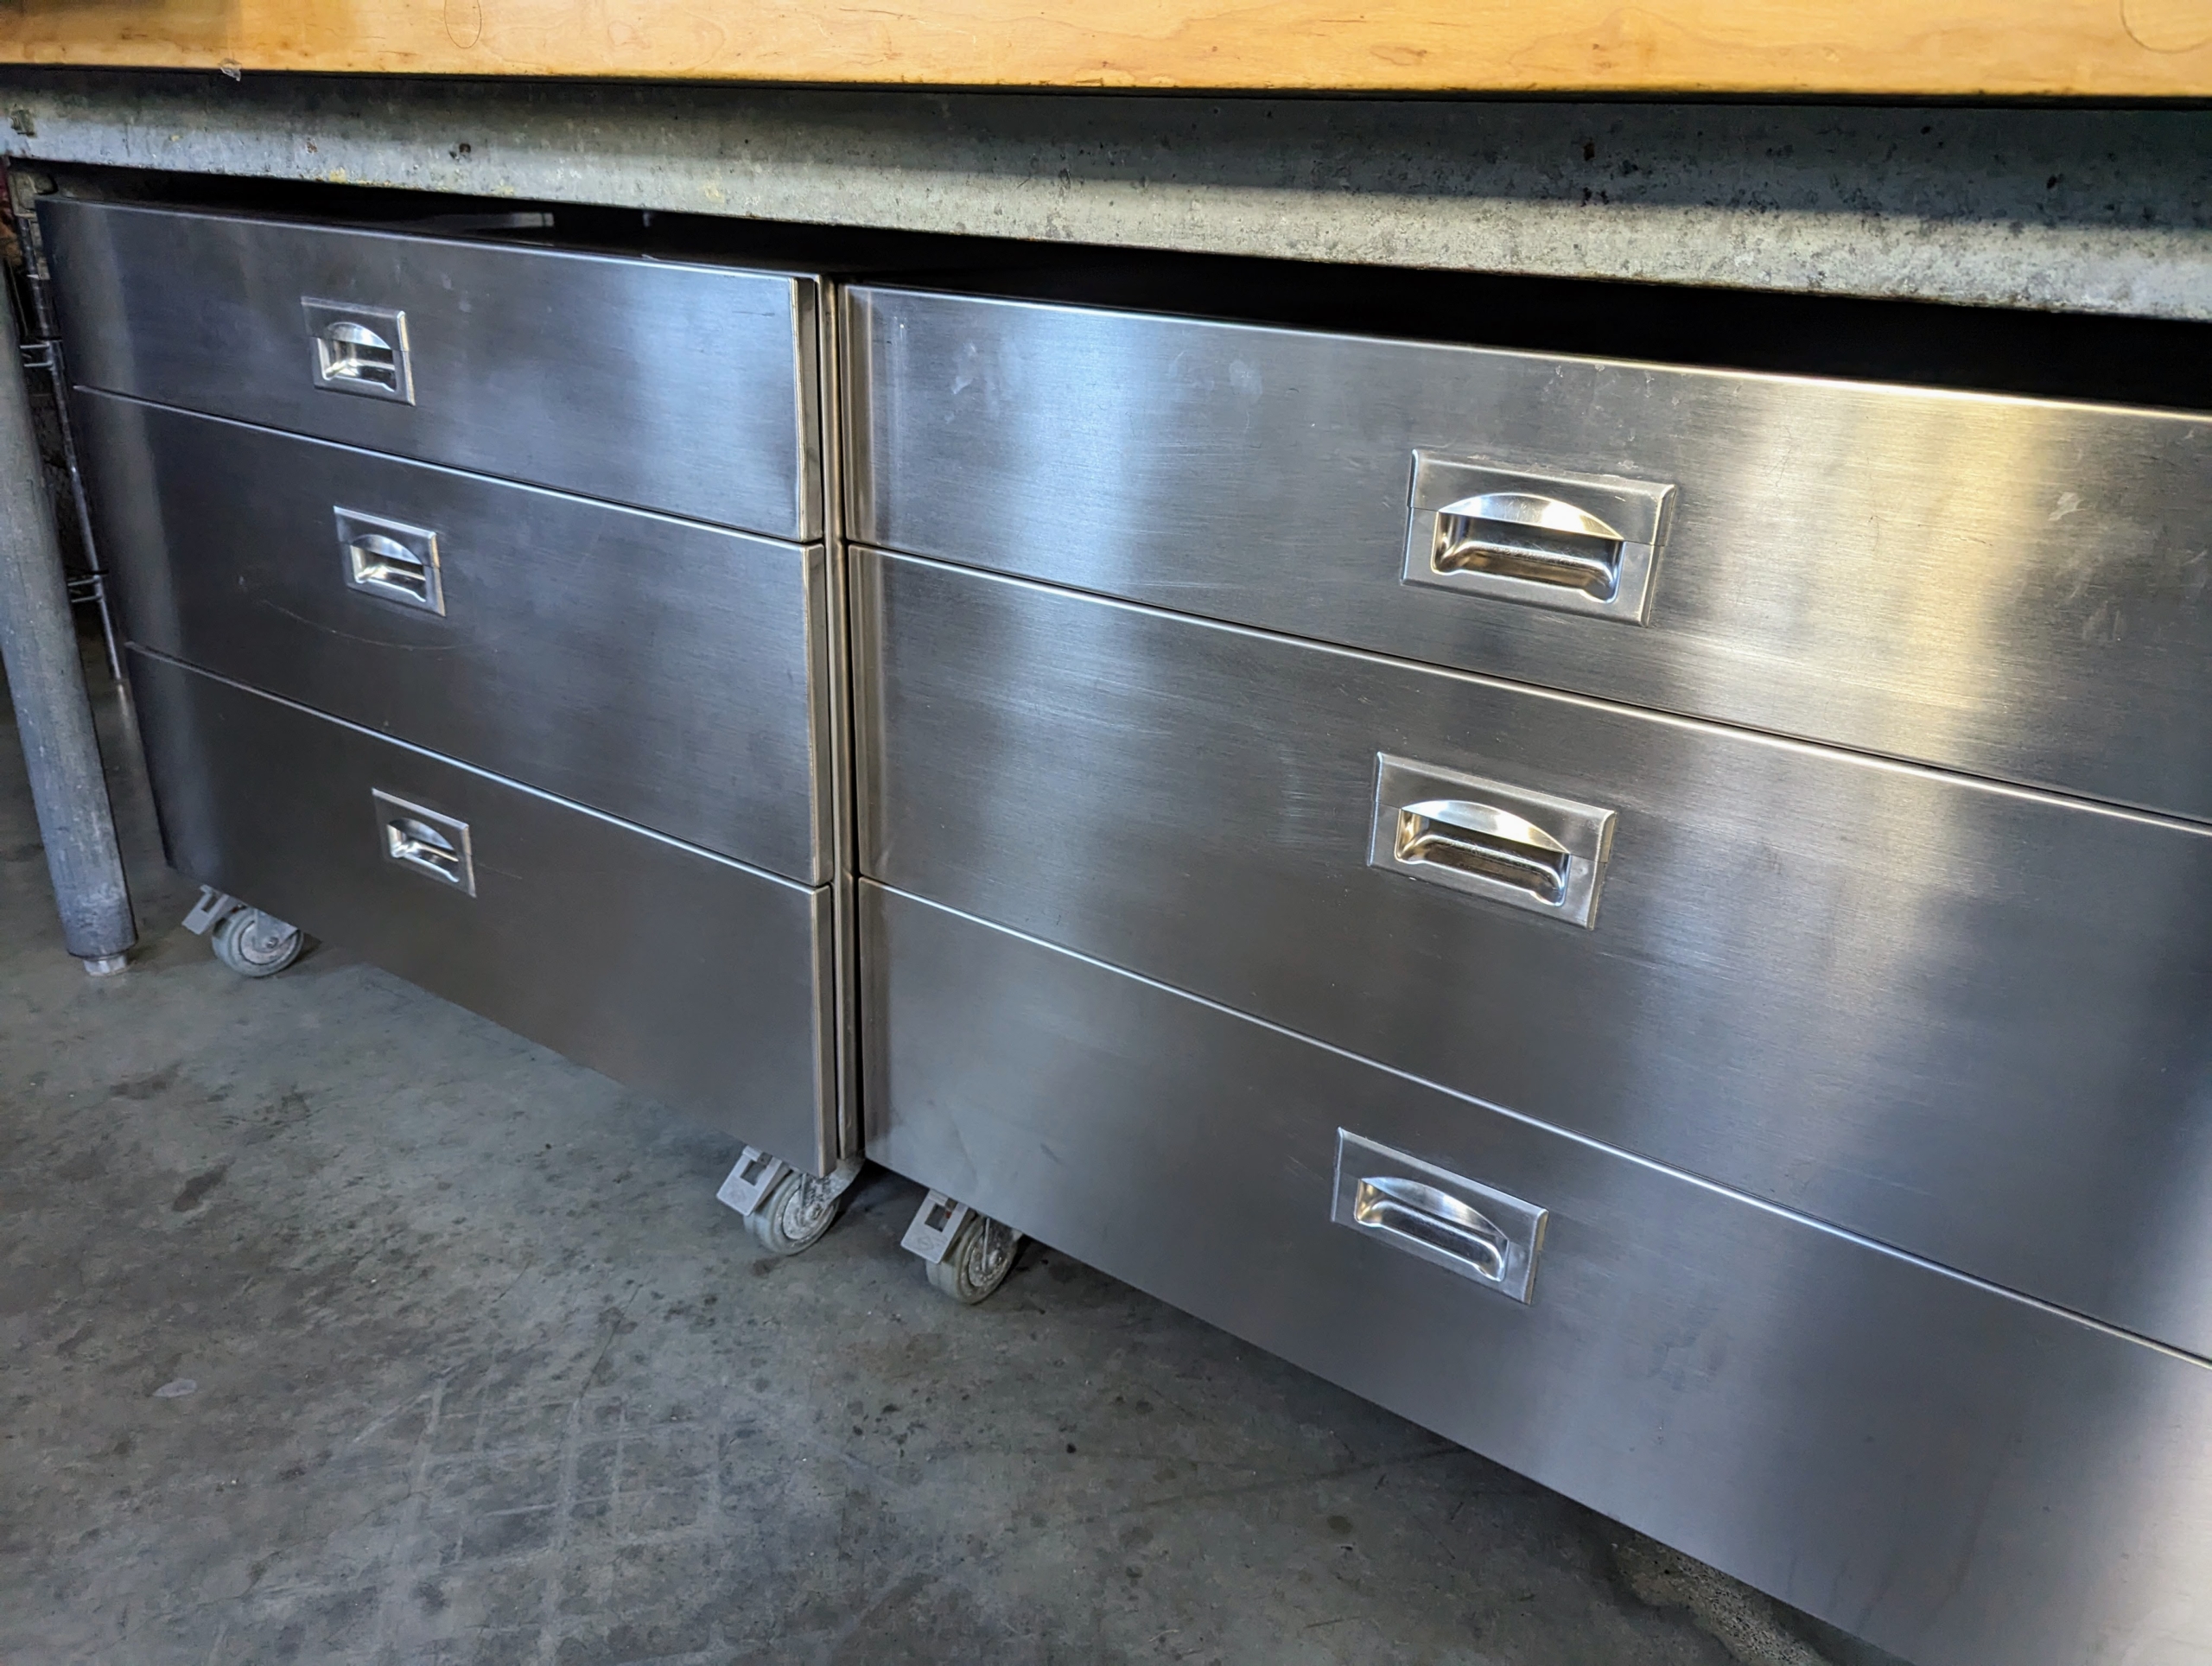
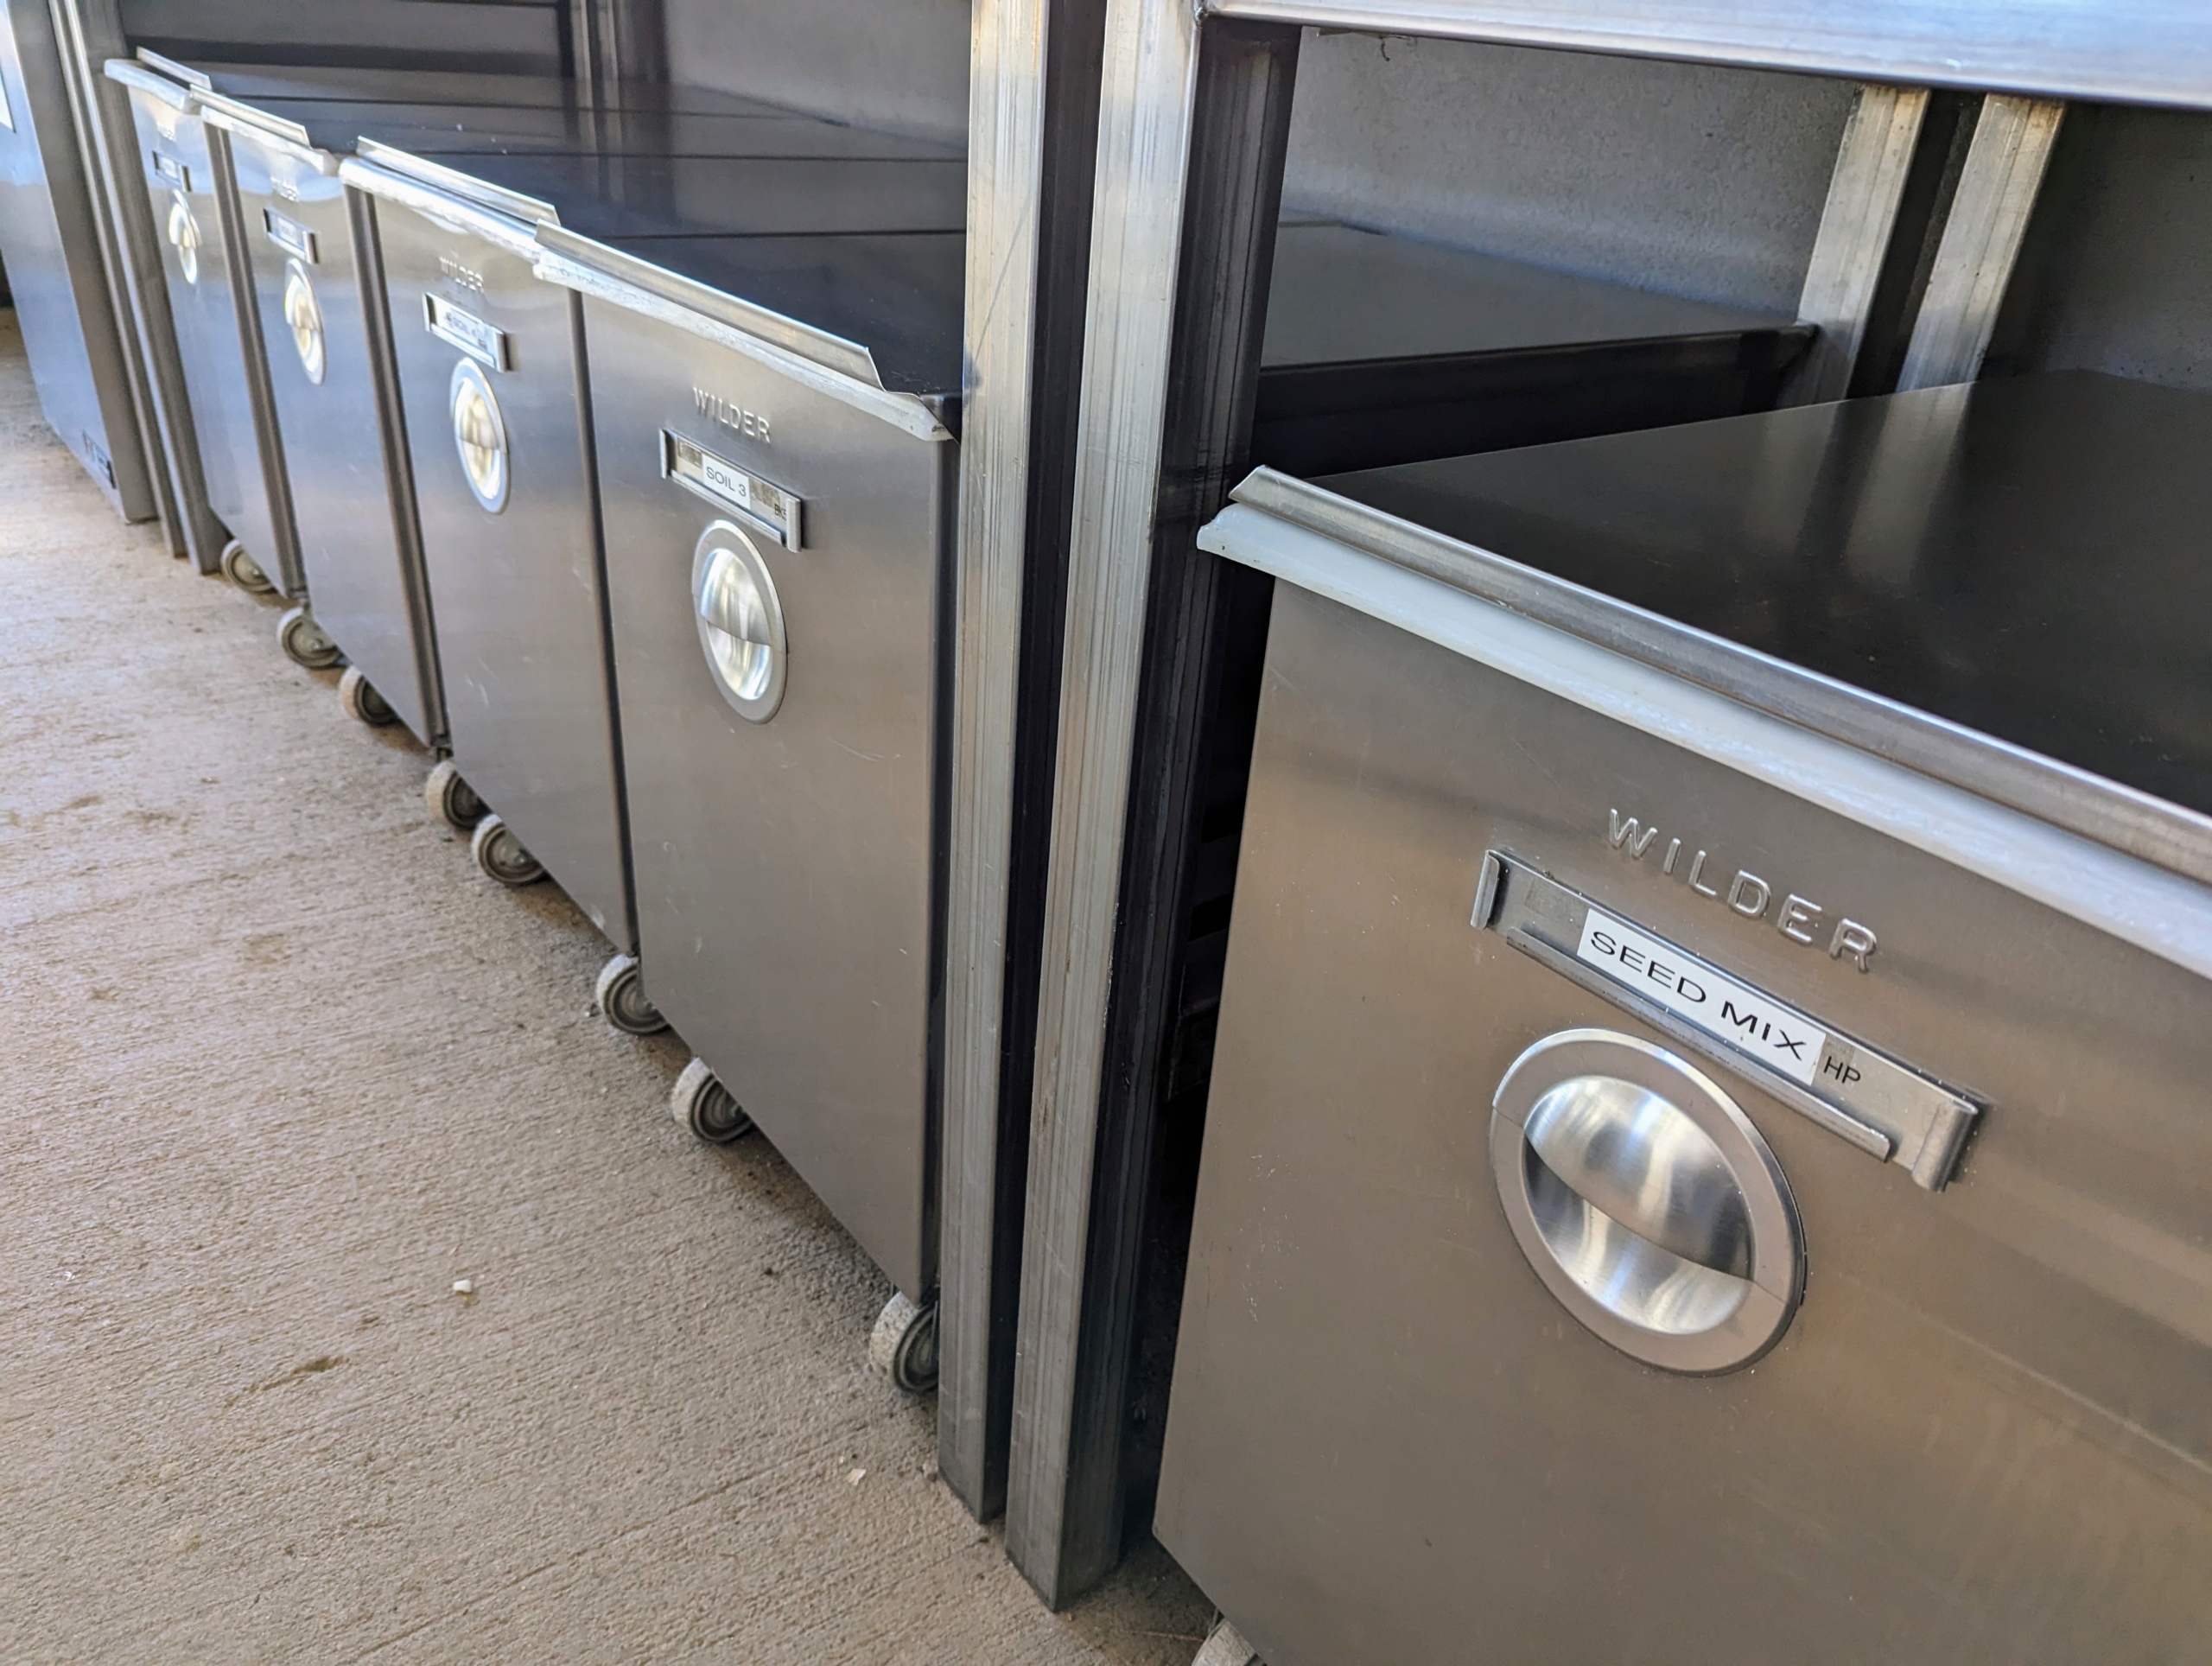
Industrial rolling restaurant storage units made in stainless steel are easy to keep clean. The Flower Room is also an outdoor kitchen which we often use for cooking when I entertain. These drawers store utensils and other tools, so the counters can be used for food preparation.
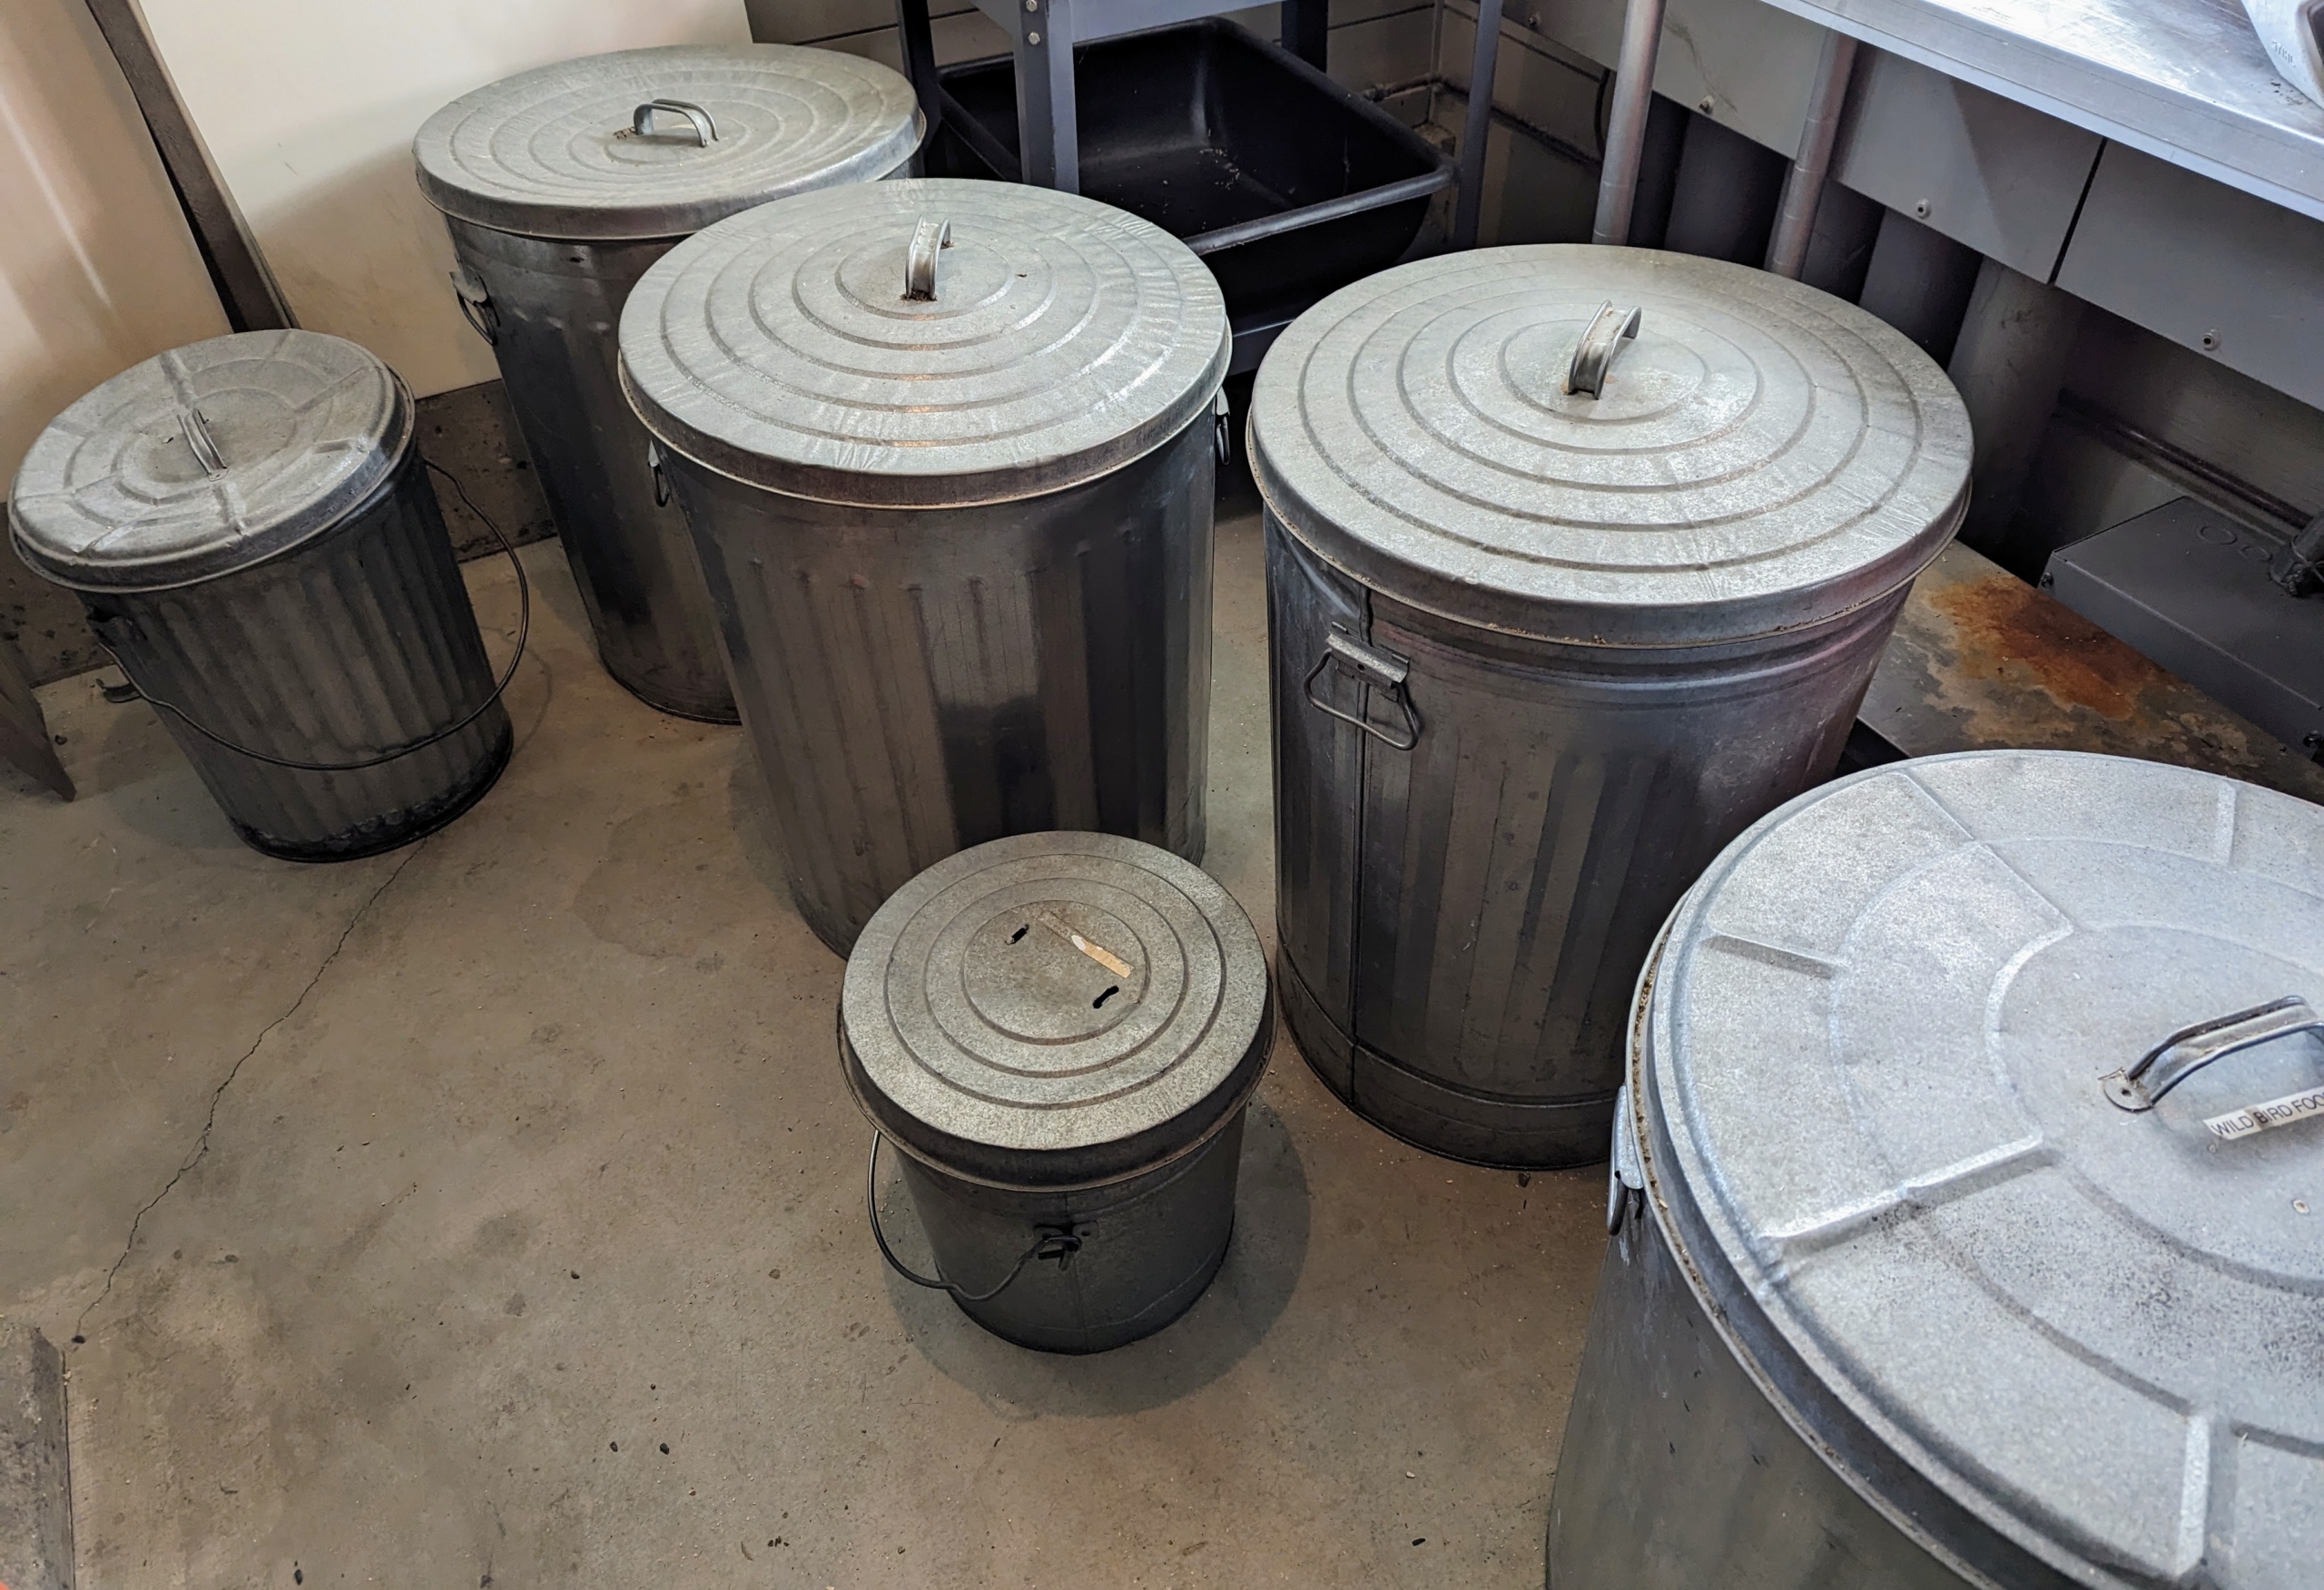
In my generator room, I use these metal garbage bins to store the wild birdseed. Look for storage solutions that are durable and long-lasting. These receptacles are inexpensive and easy to find at hardware stores and home improvement shops.
Do you know what this is? I had these cases specially made to store screen doors and windows so they are well protected during the off-season. Screens should be stored either by laying flat or standing upright, in a dry area where the temperature is kept fairly constant.
A big favorite for storage in my greenhouse and stable are these commercial food ingredient bins – also very common in bakeries to hold flour. Here in the head house, we use several, each one storing a different soil mix.
Inside, the bin can hold a good amount of mix that’s easy to reach when seeding trays and repotting plants.
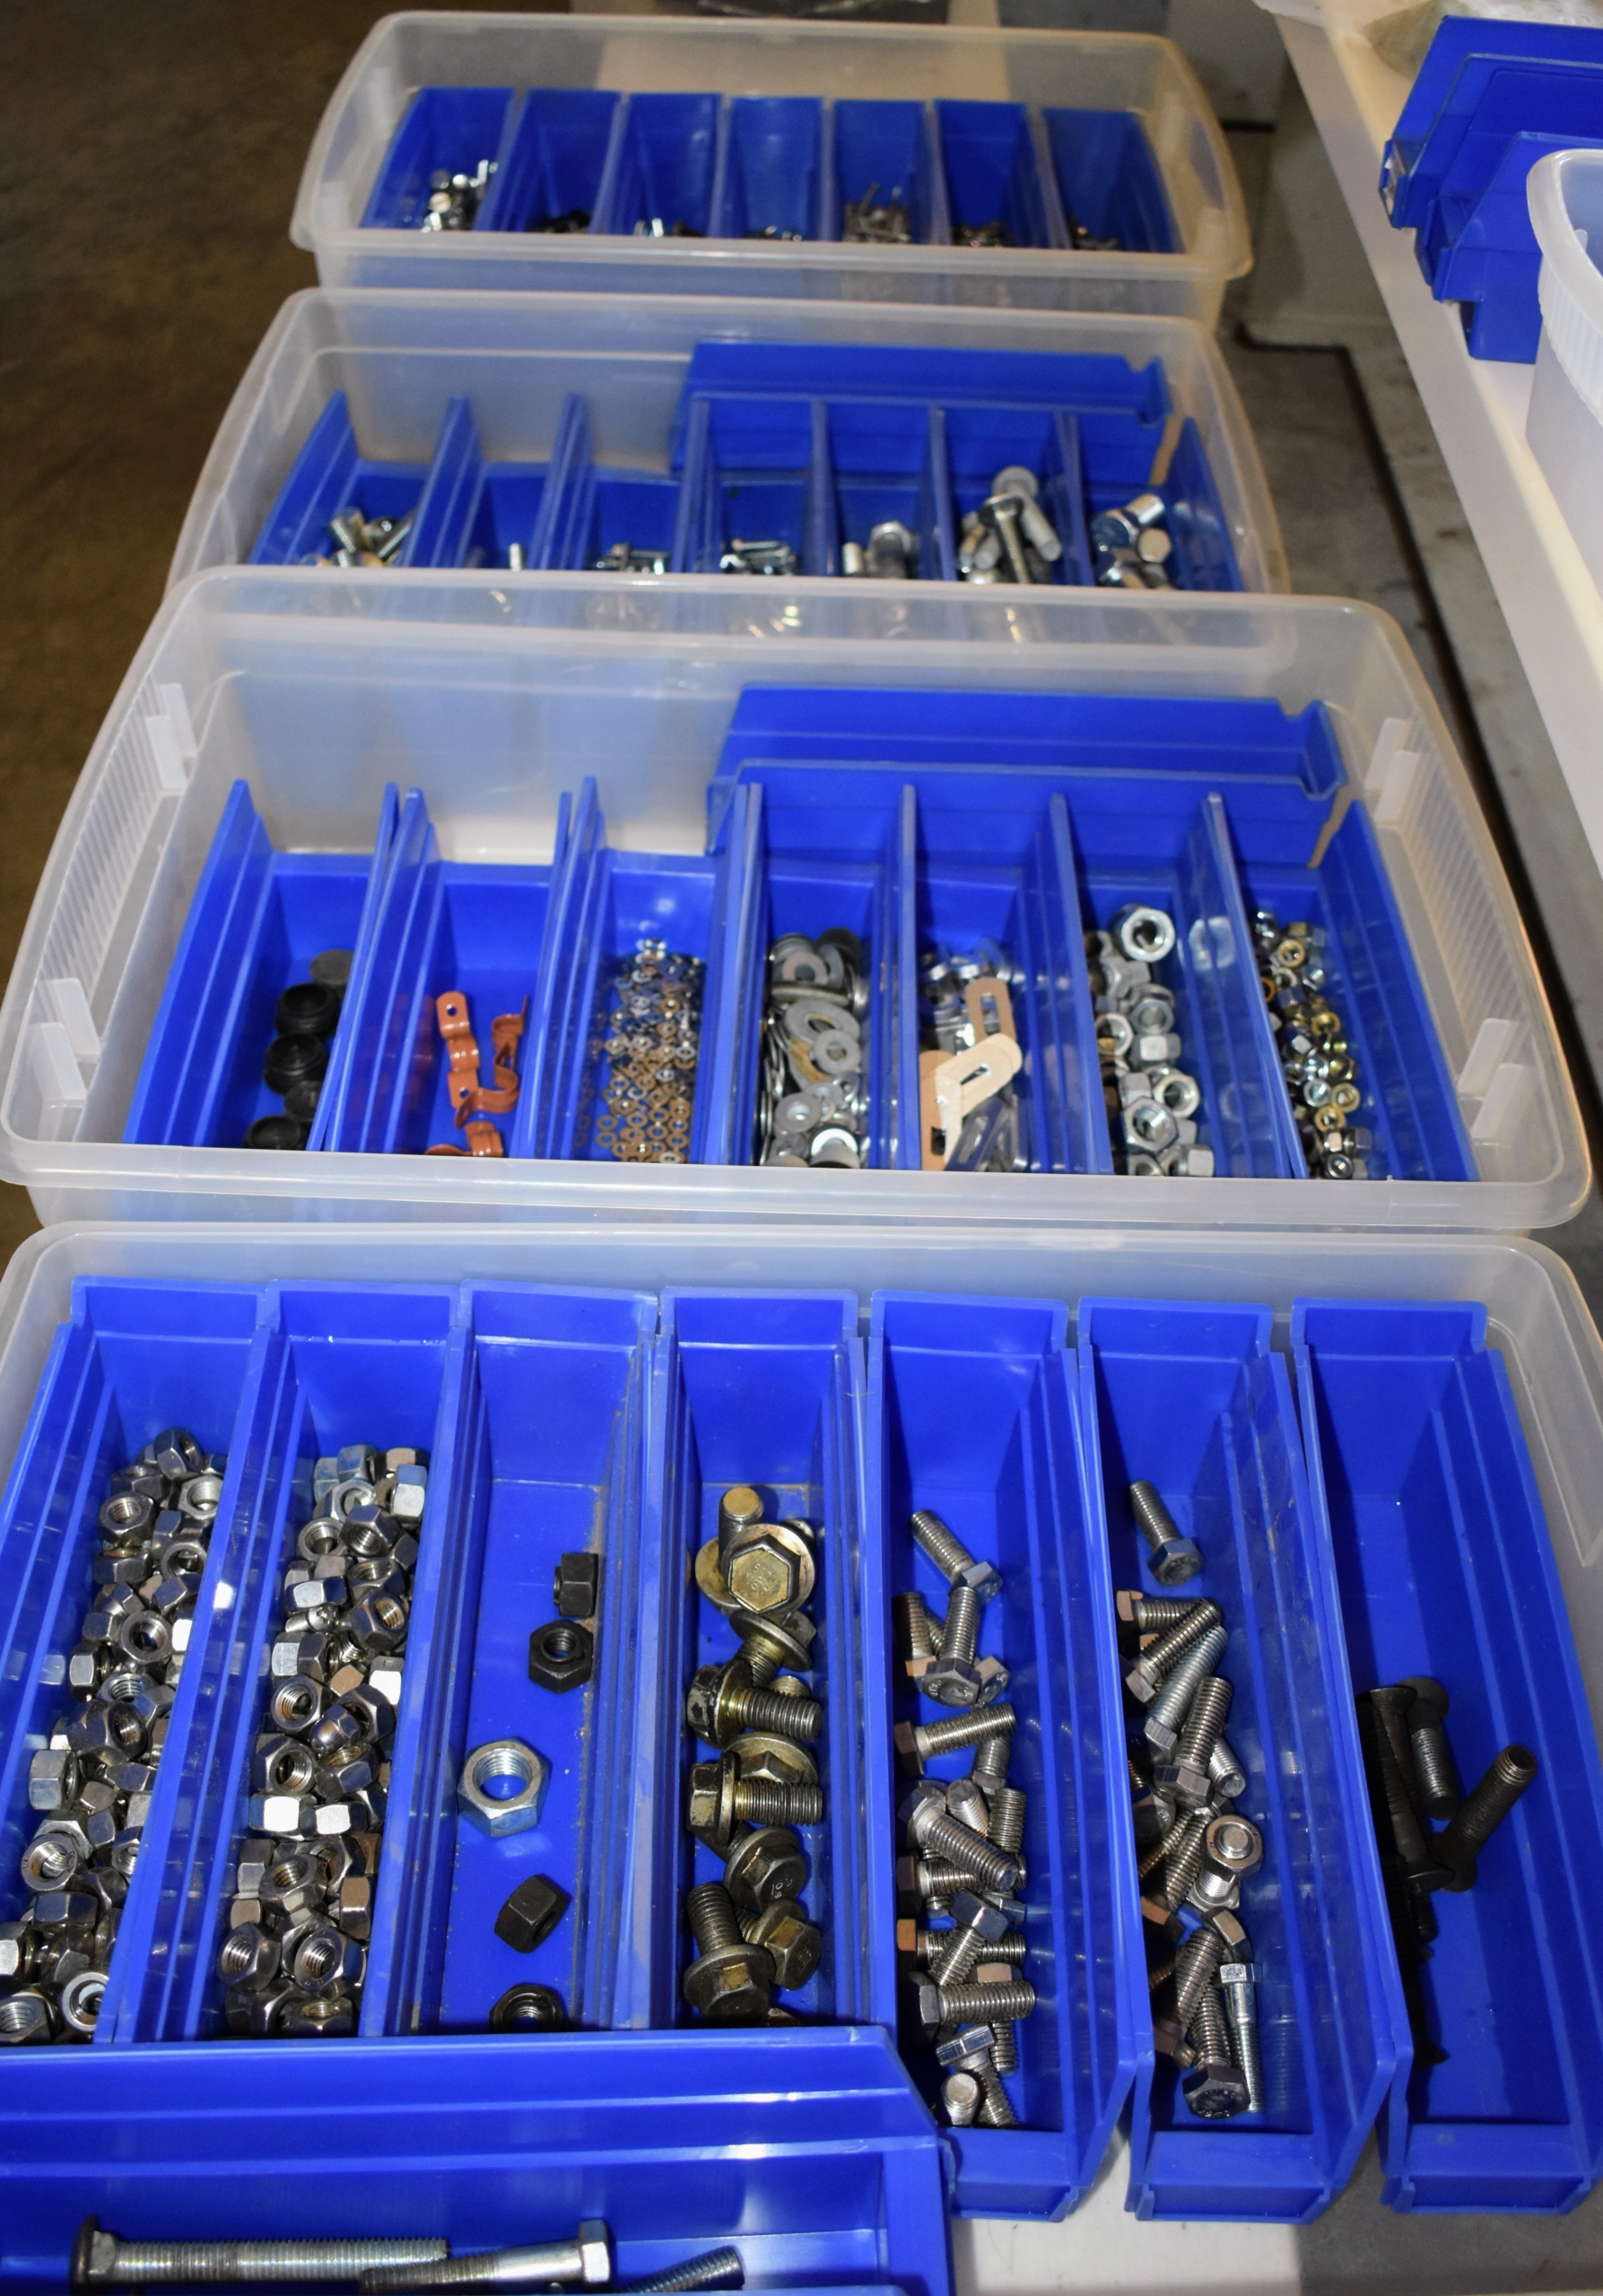
In my Equipment Barn closet, we keep washers, nuts, and bolts carefully stored in these trays and then in large plastic bins – always organized by type.
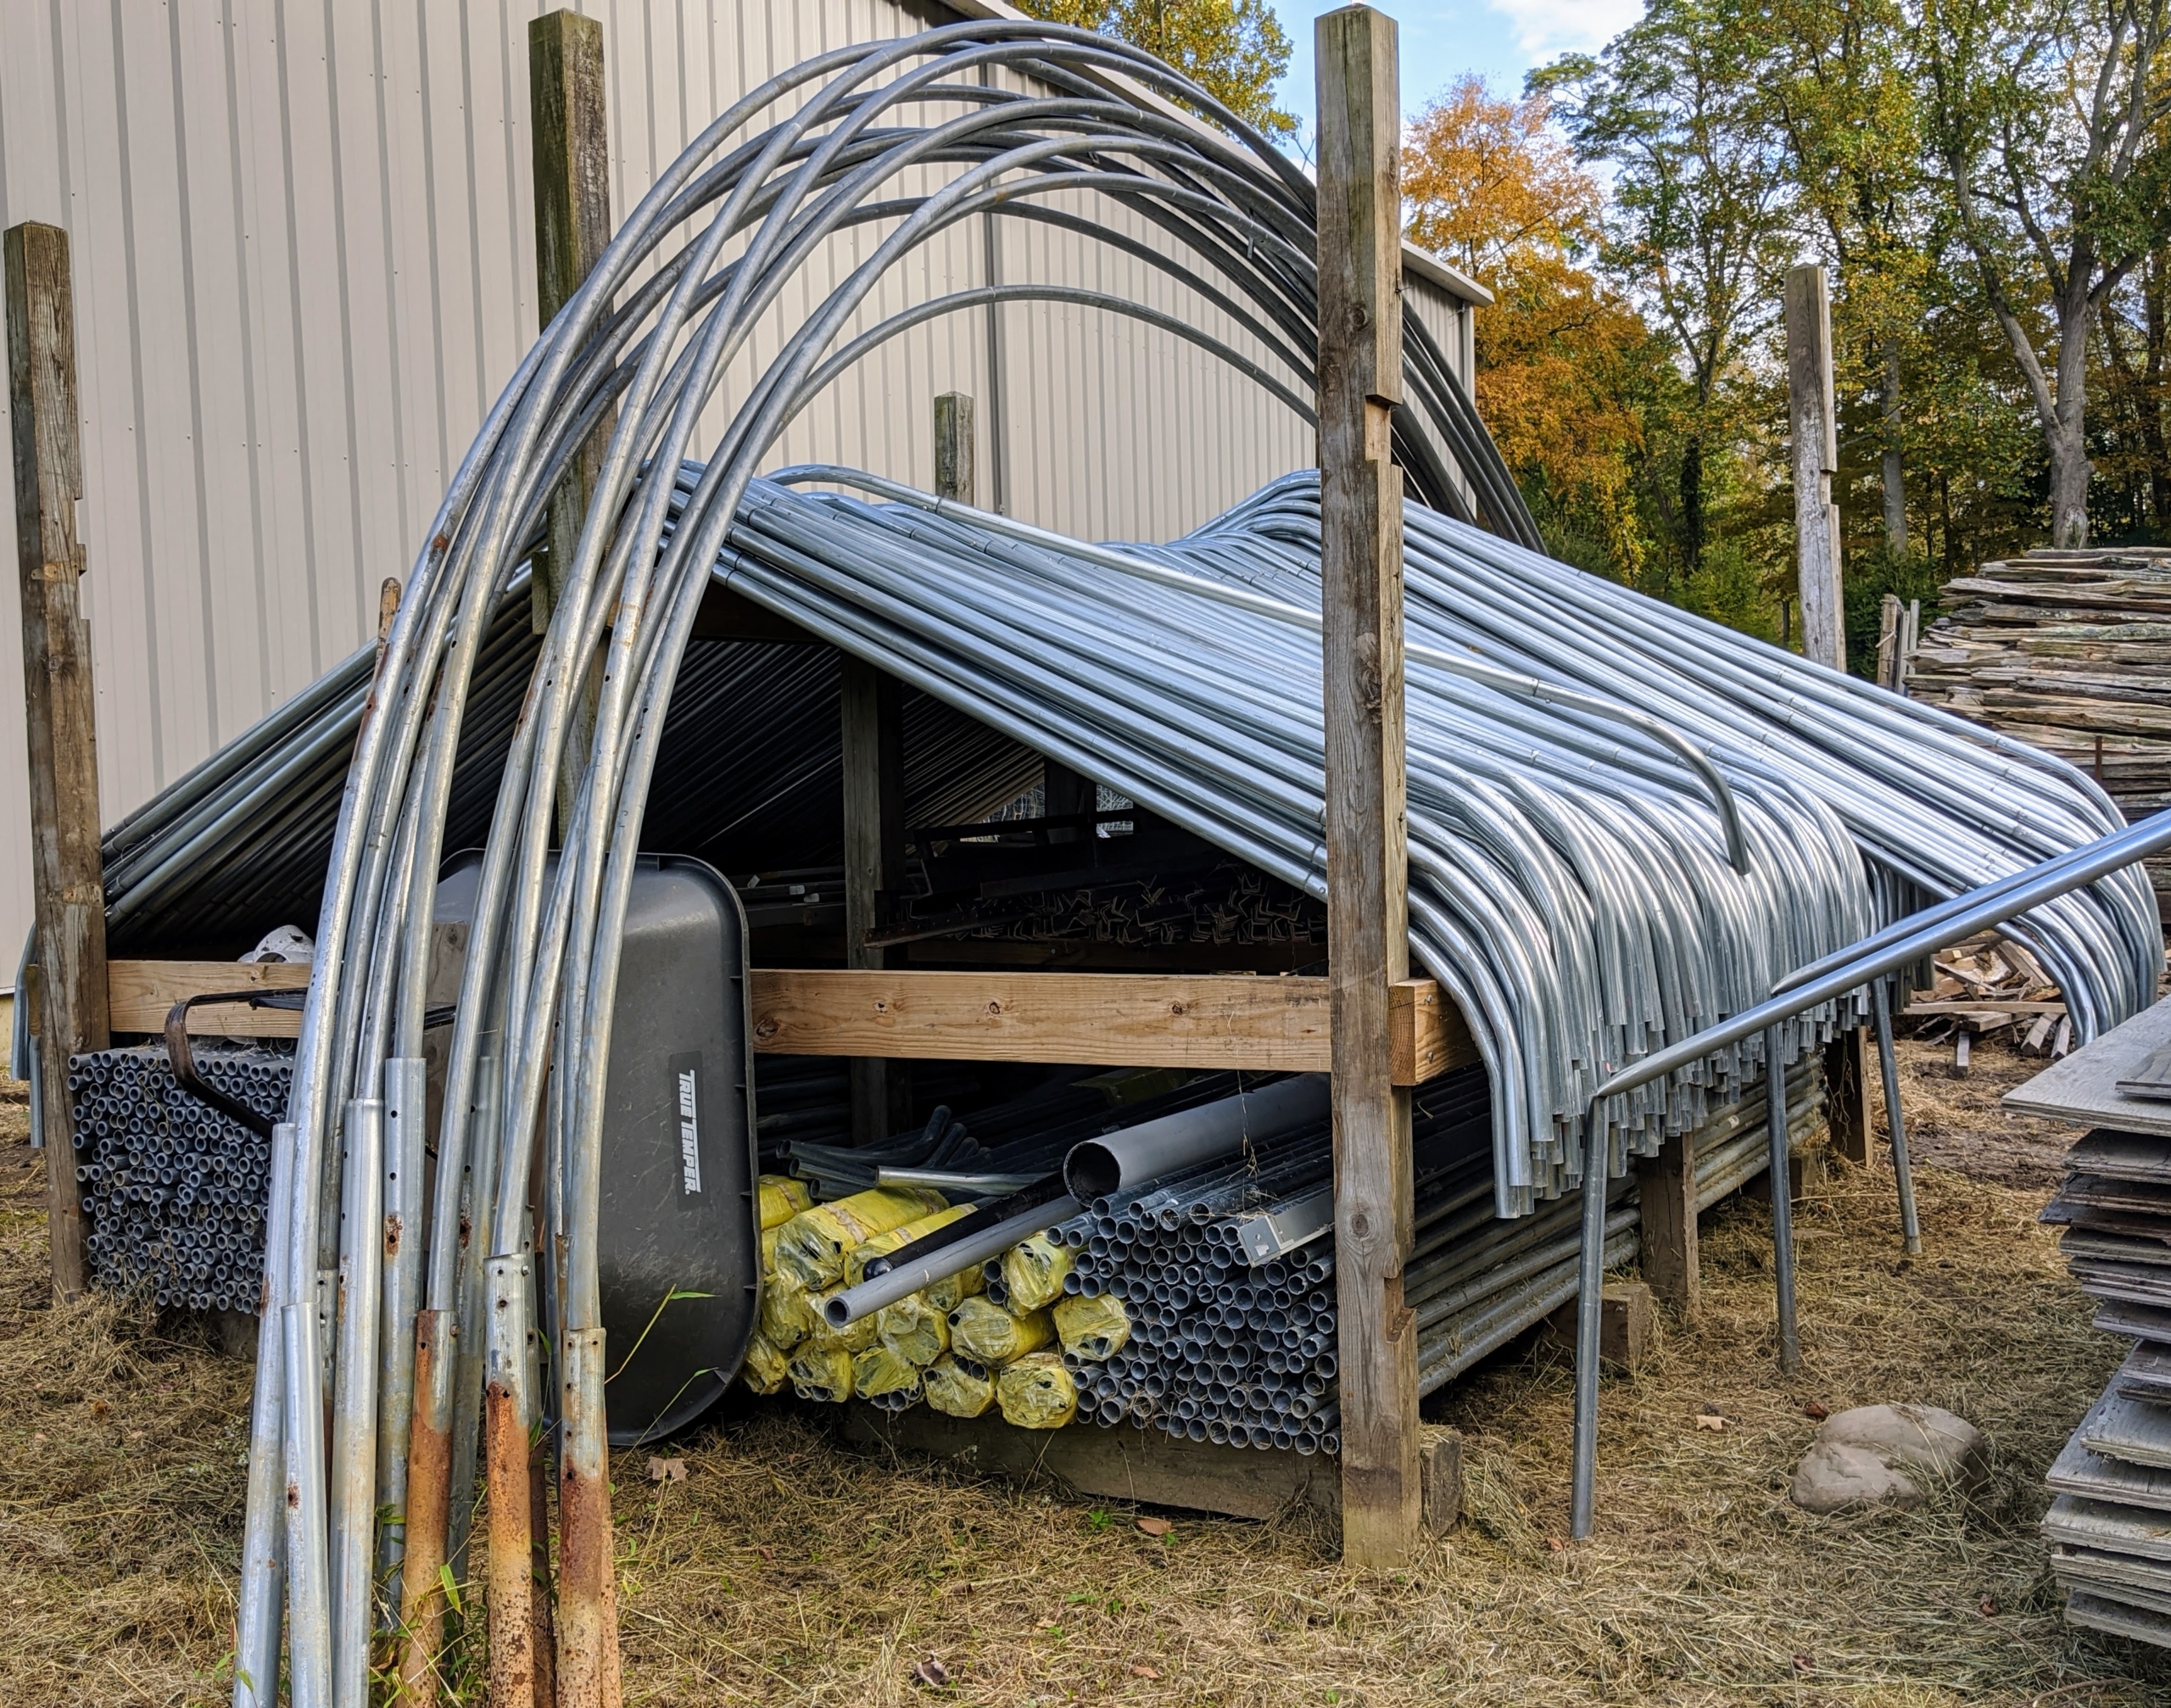
A custom made rack holds the hoop house piping we use as frames for the burlap that covers all my boxwood in winter. Storing items properly keeps valuable supplies and items in good condition.
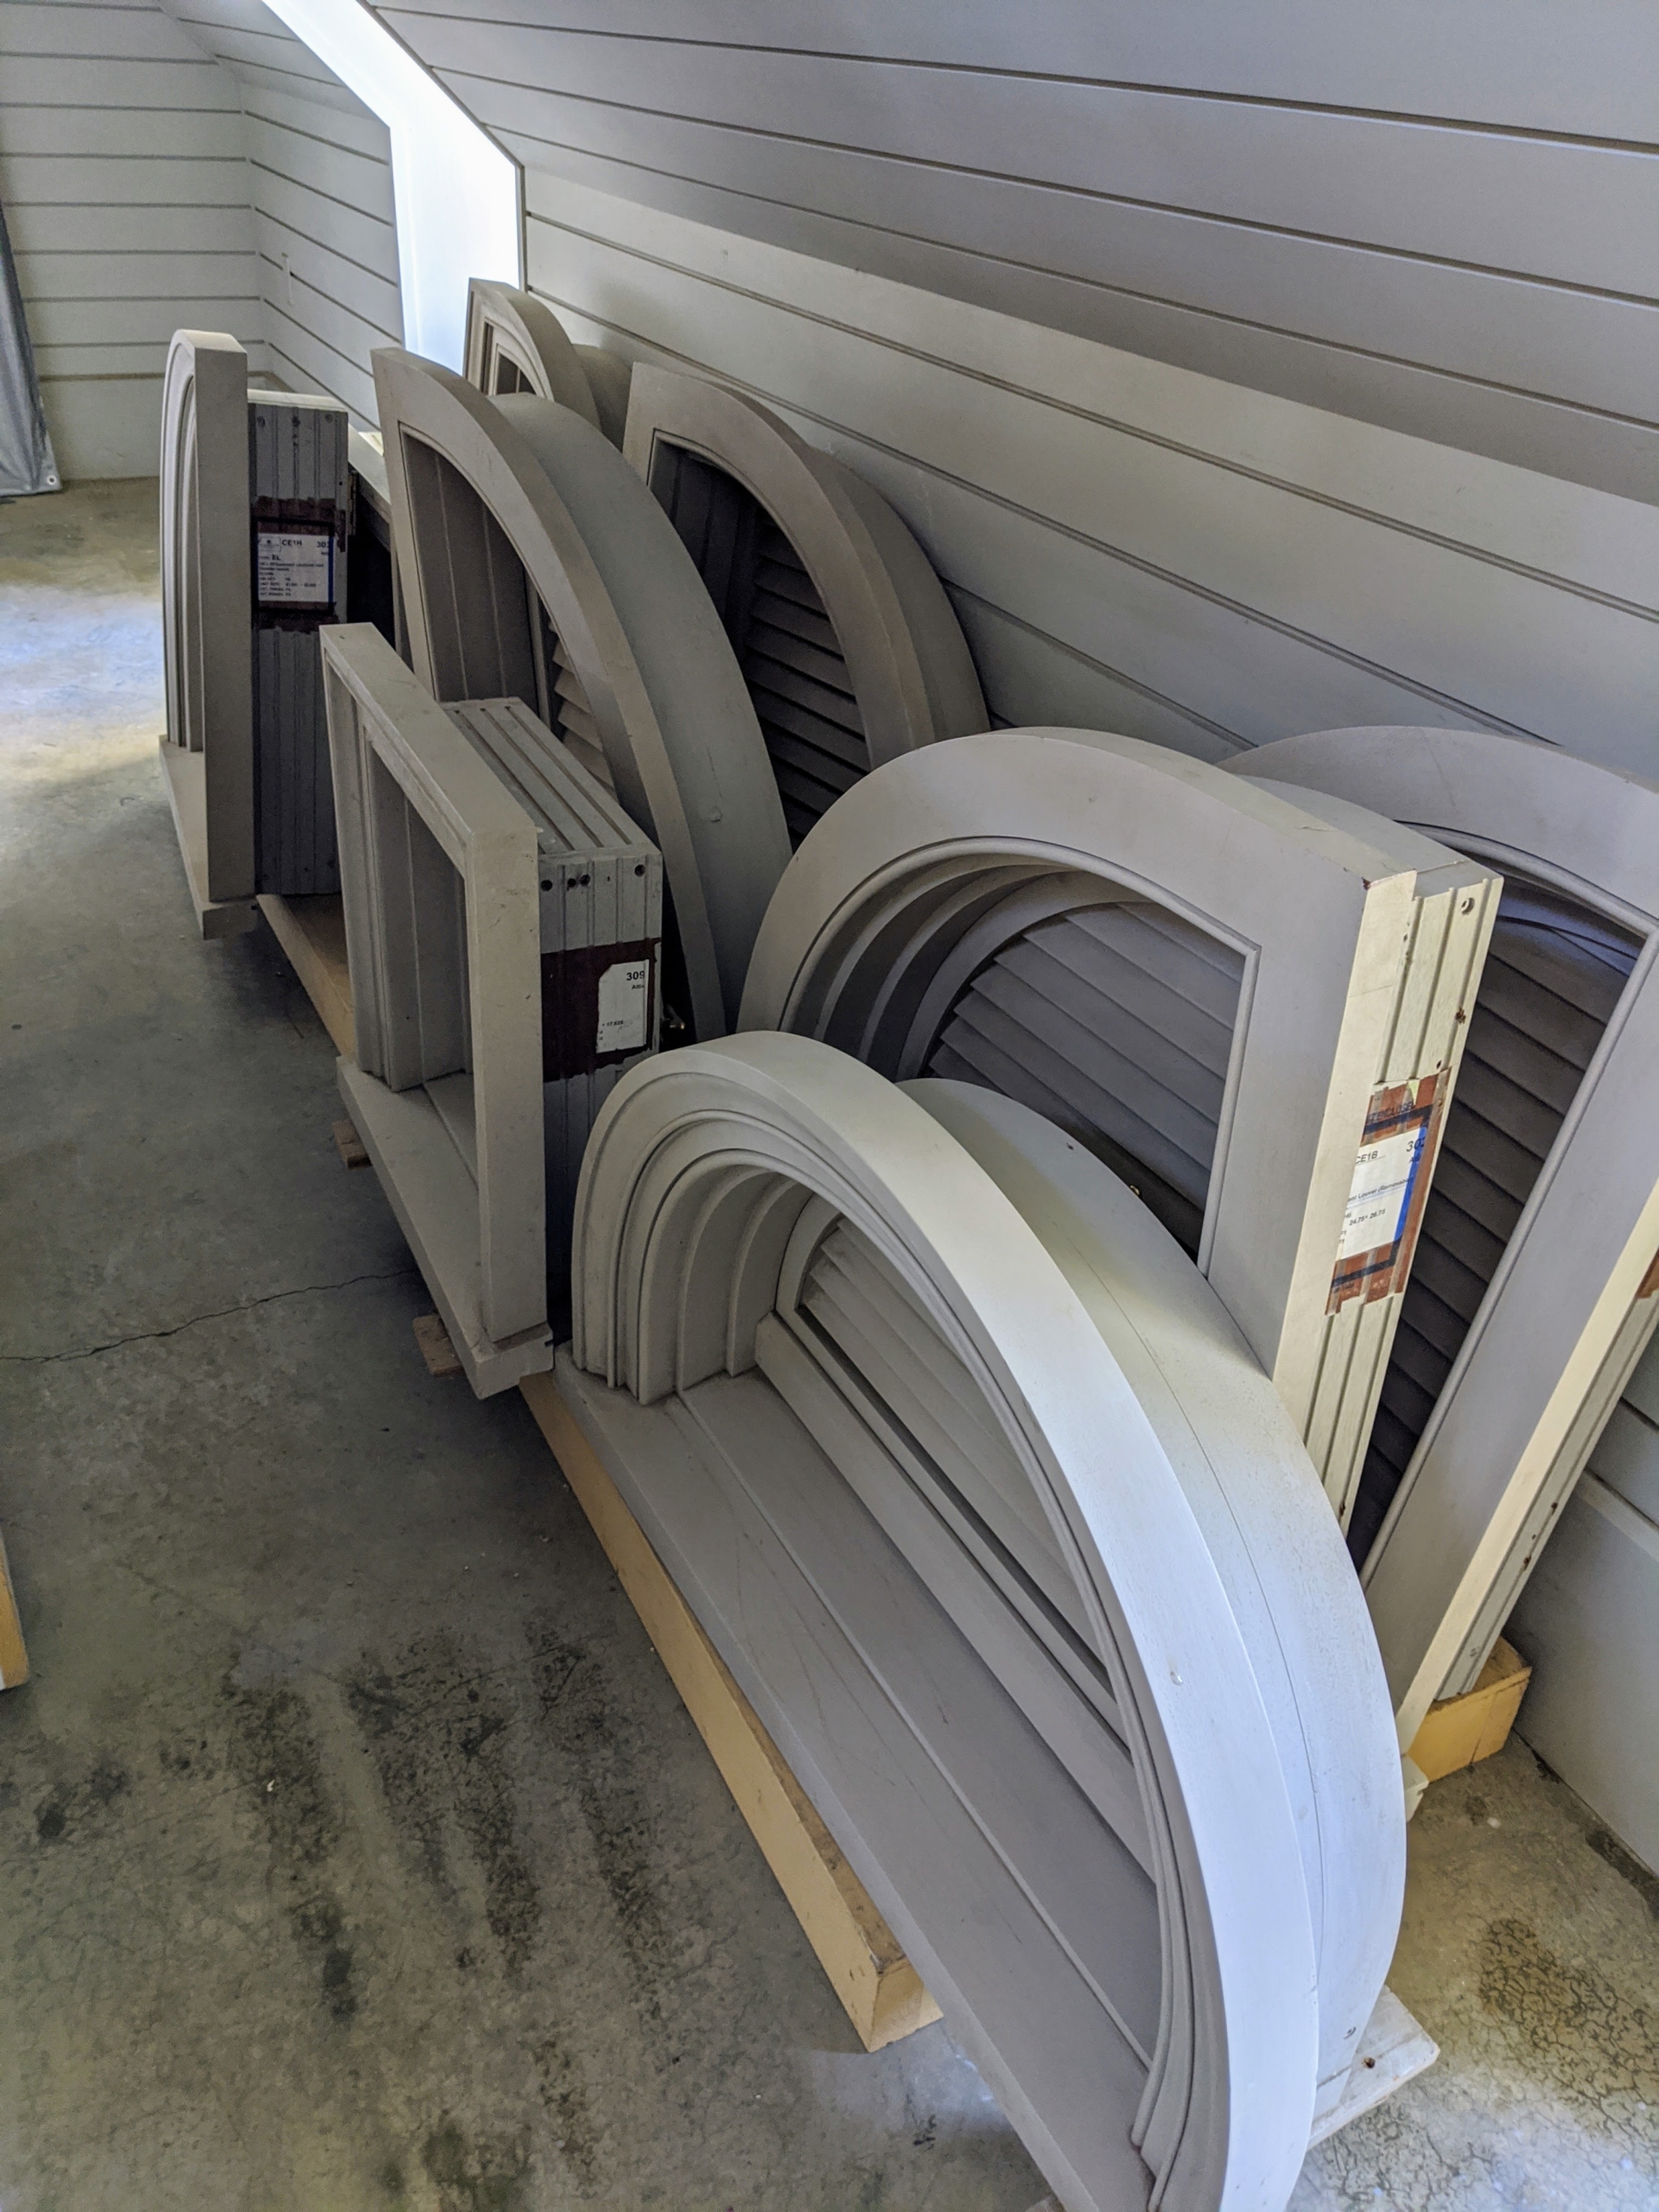
In my stable hayloft, I store various moldings, window casings, etc. All the moldings are kept on these shelves and stacked according to length and type. I keep the moldings stacked horizontally to keep them from bowing.
Everything is kept off the floor. These window casings, already painted in my signature Bedford Gray, are sitting on a wood base. It is crucial that any stored wood be kept free from dampness.
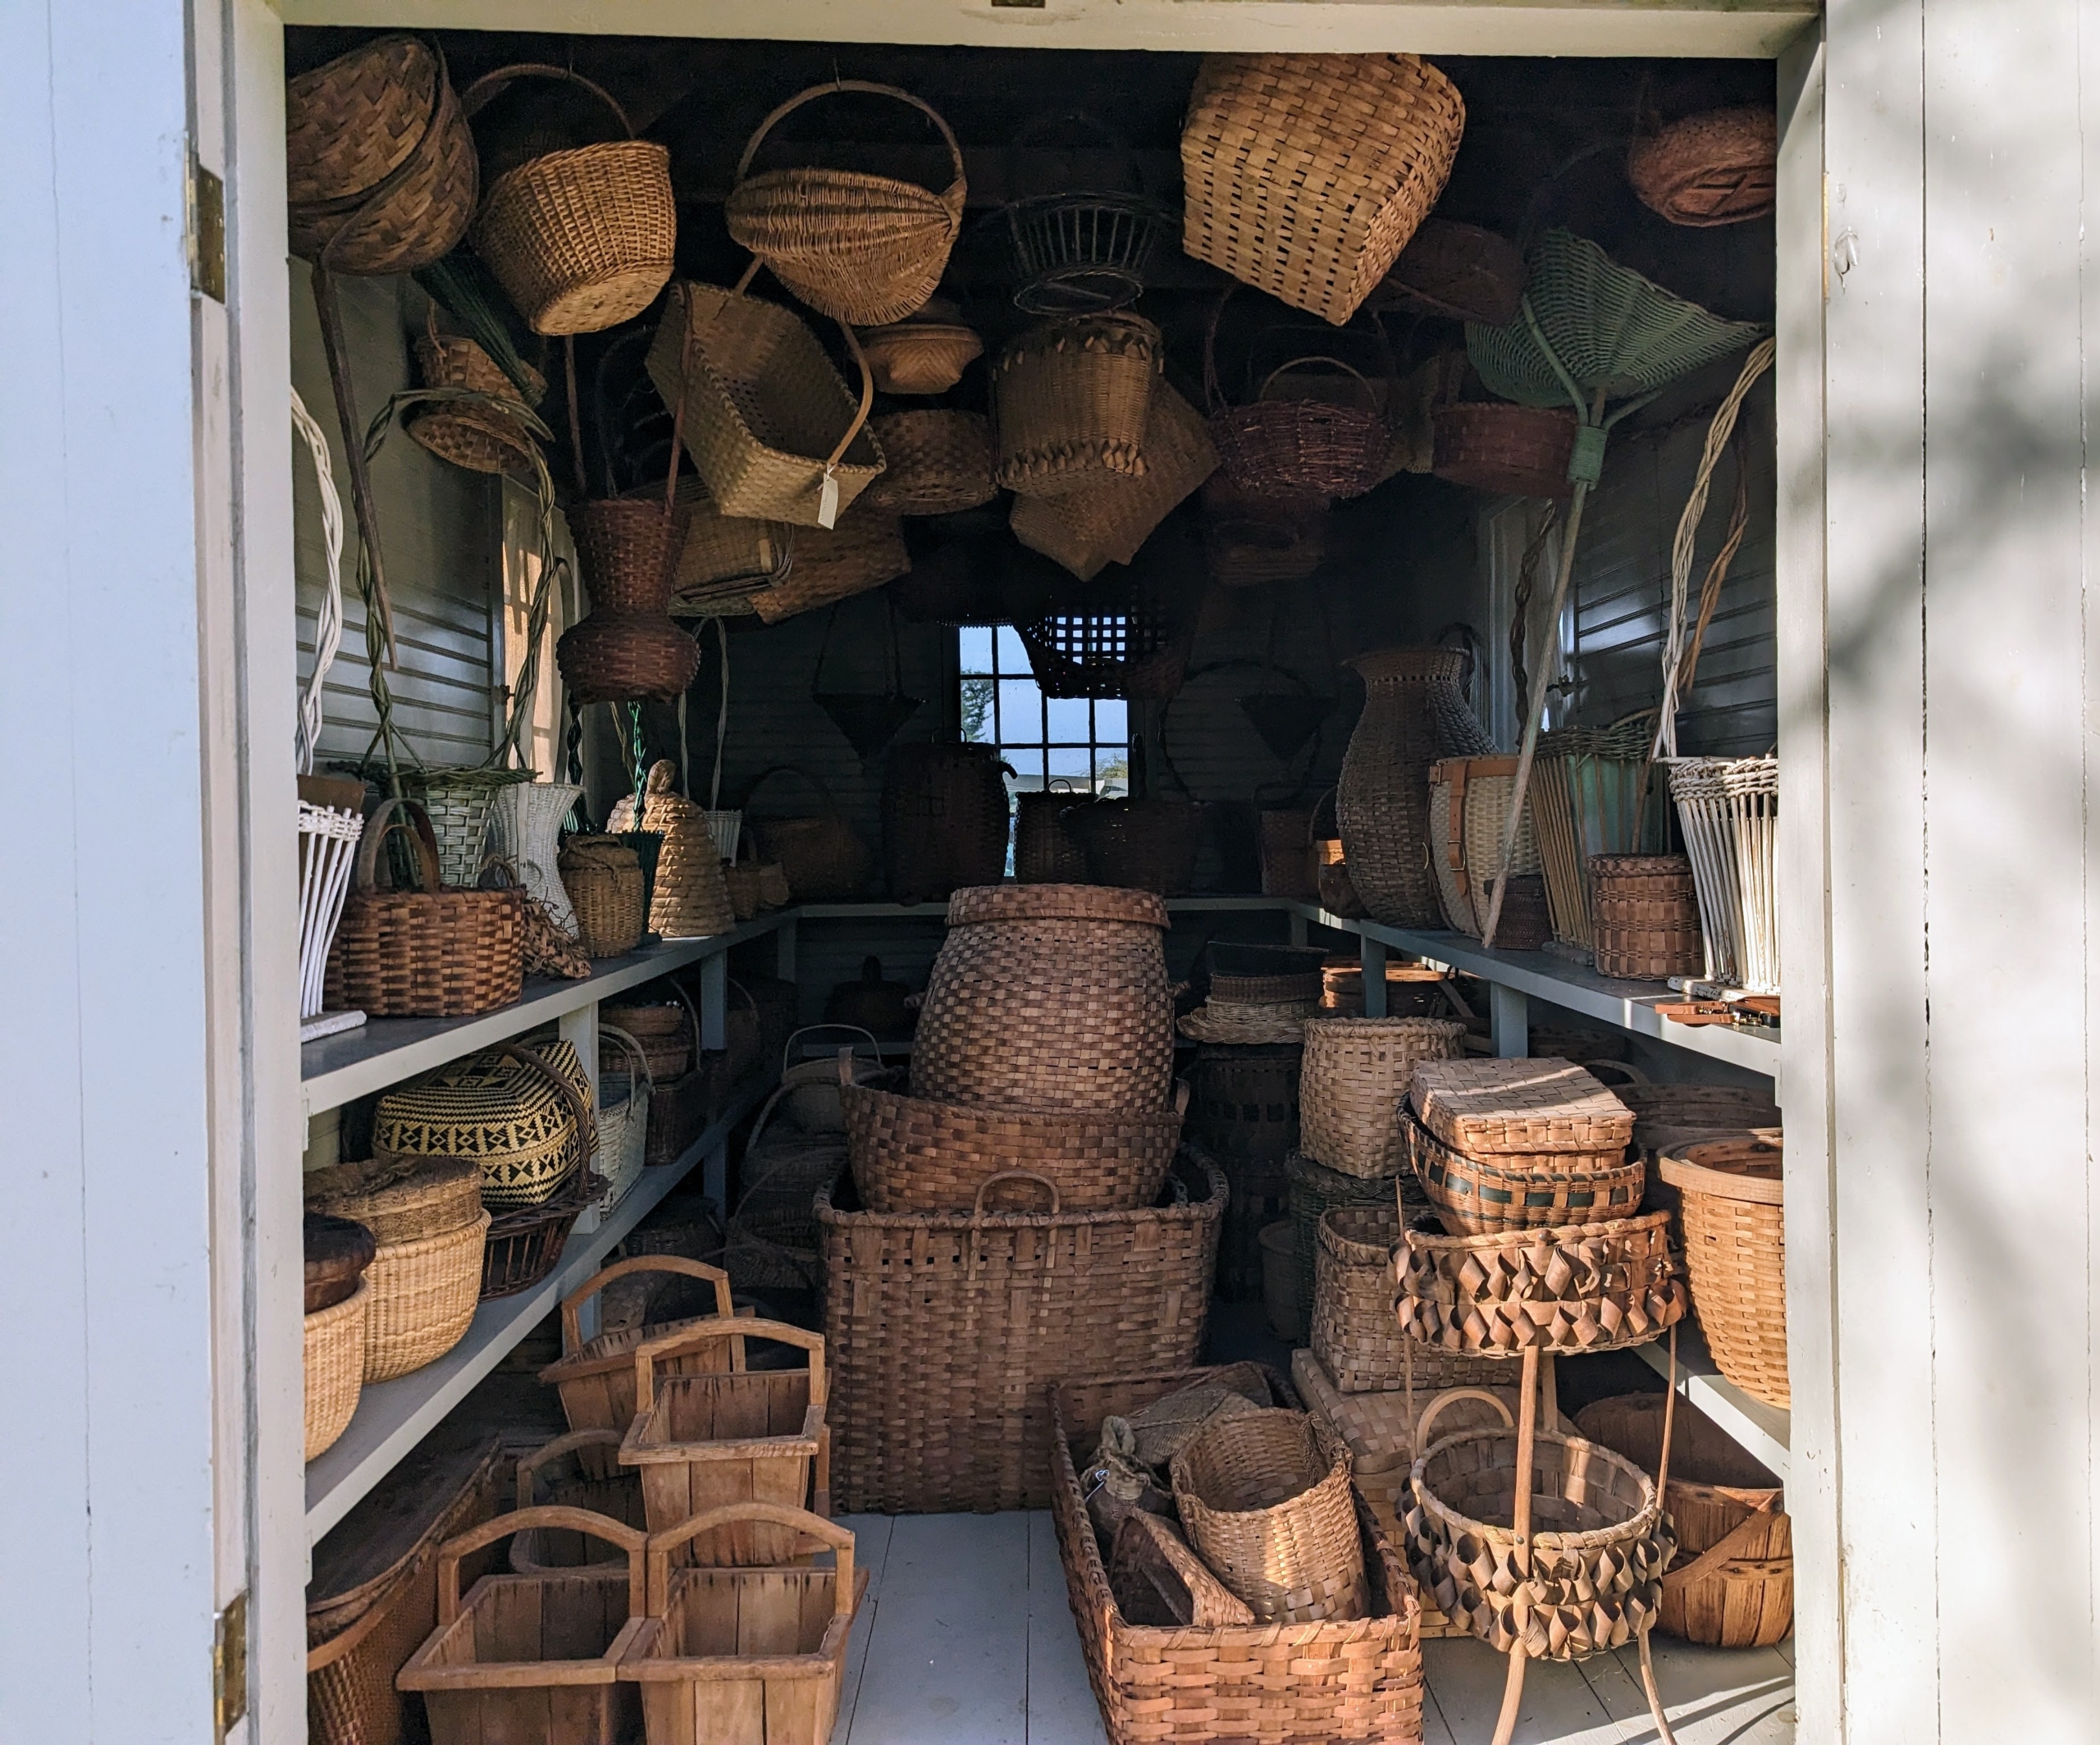
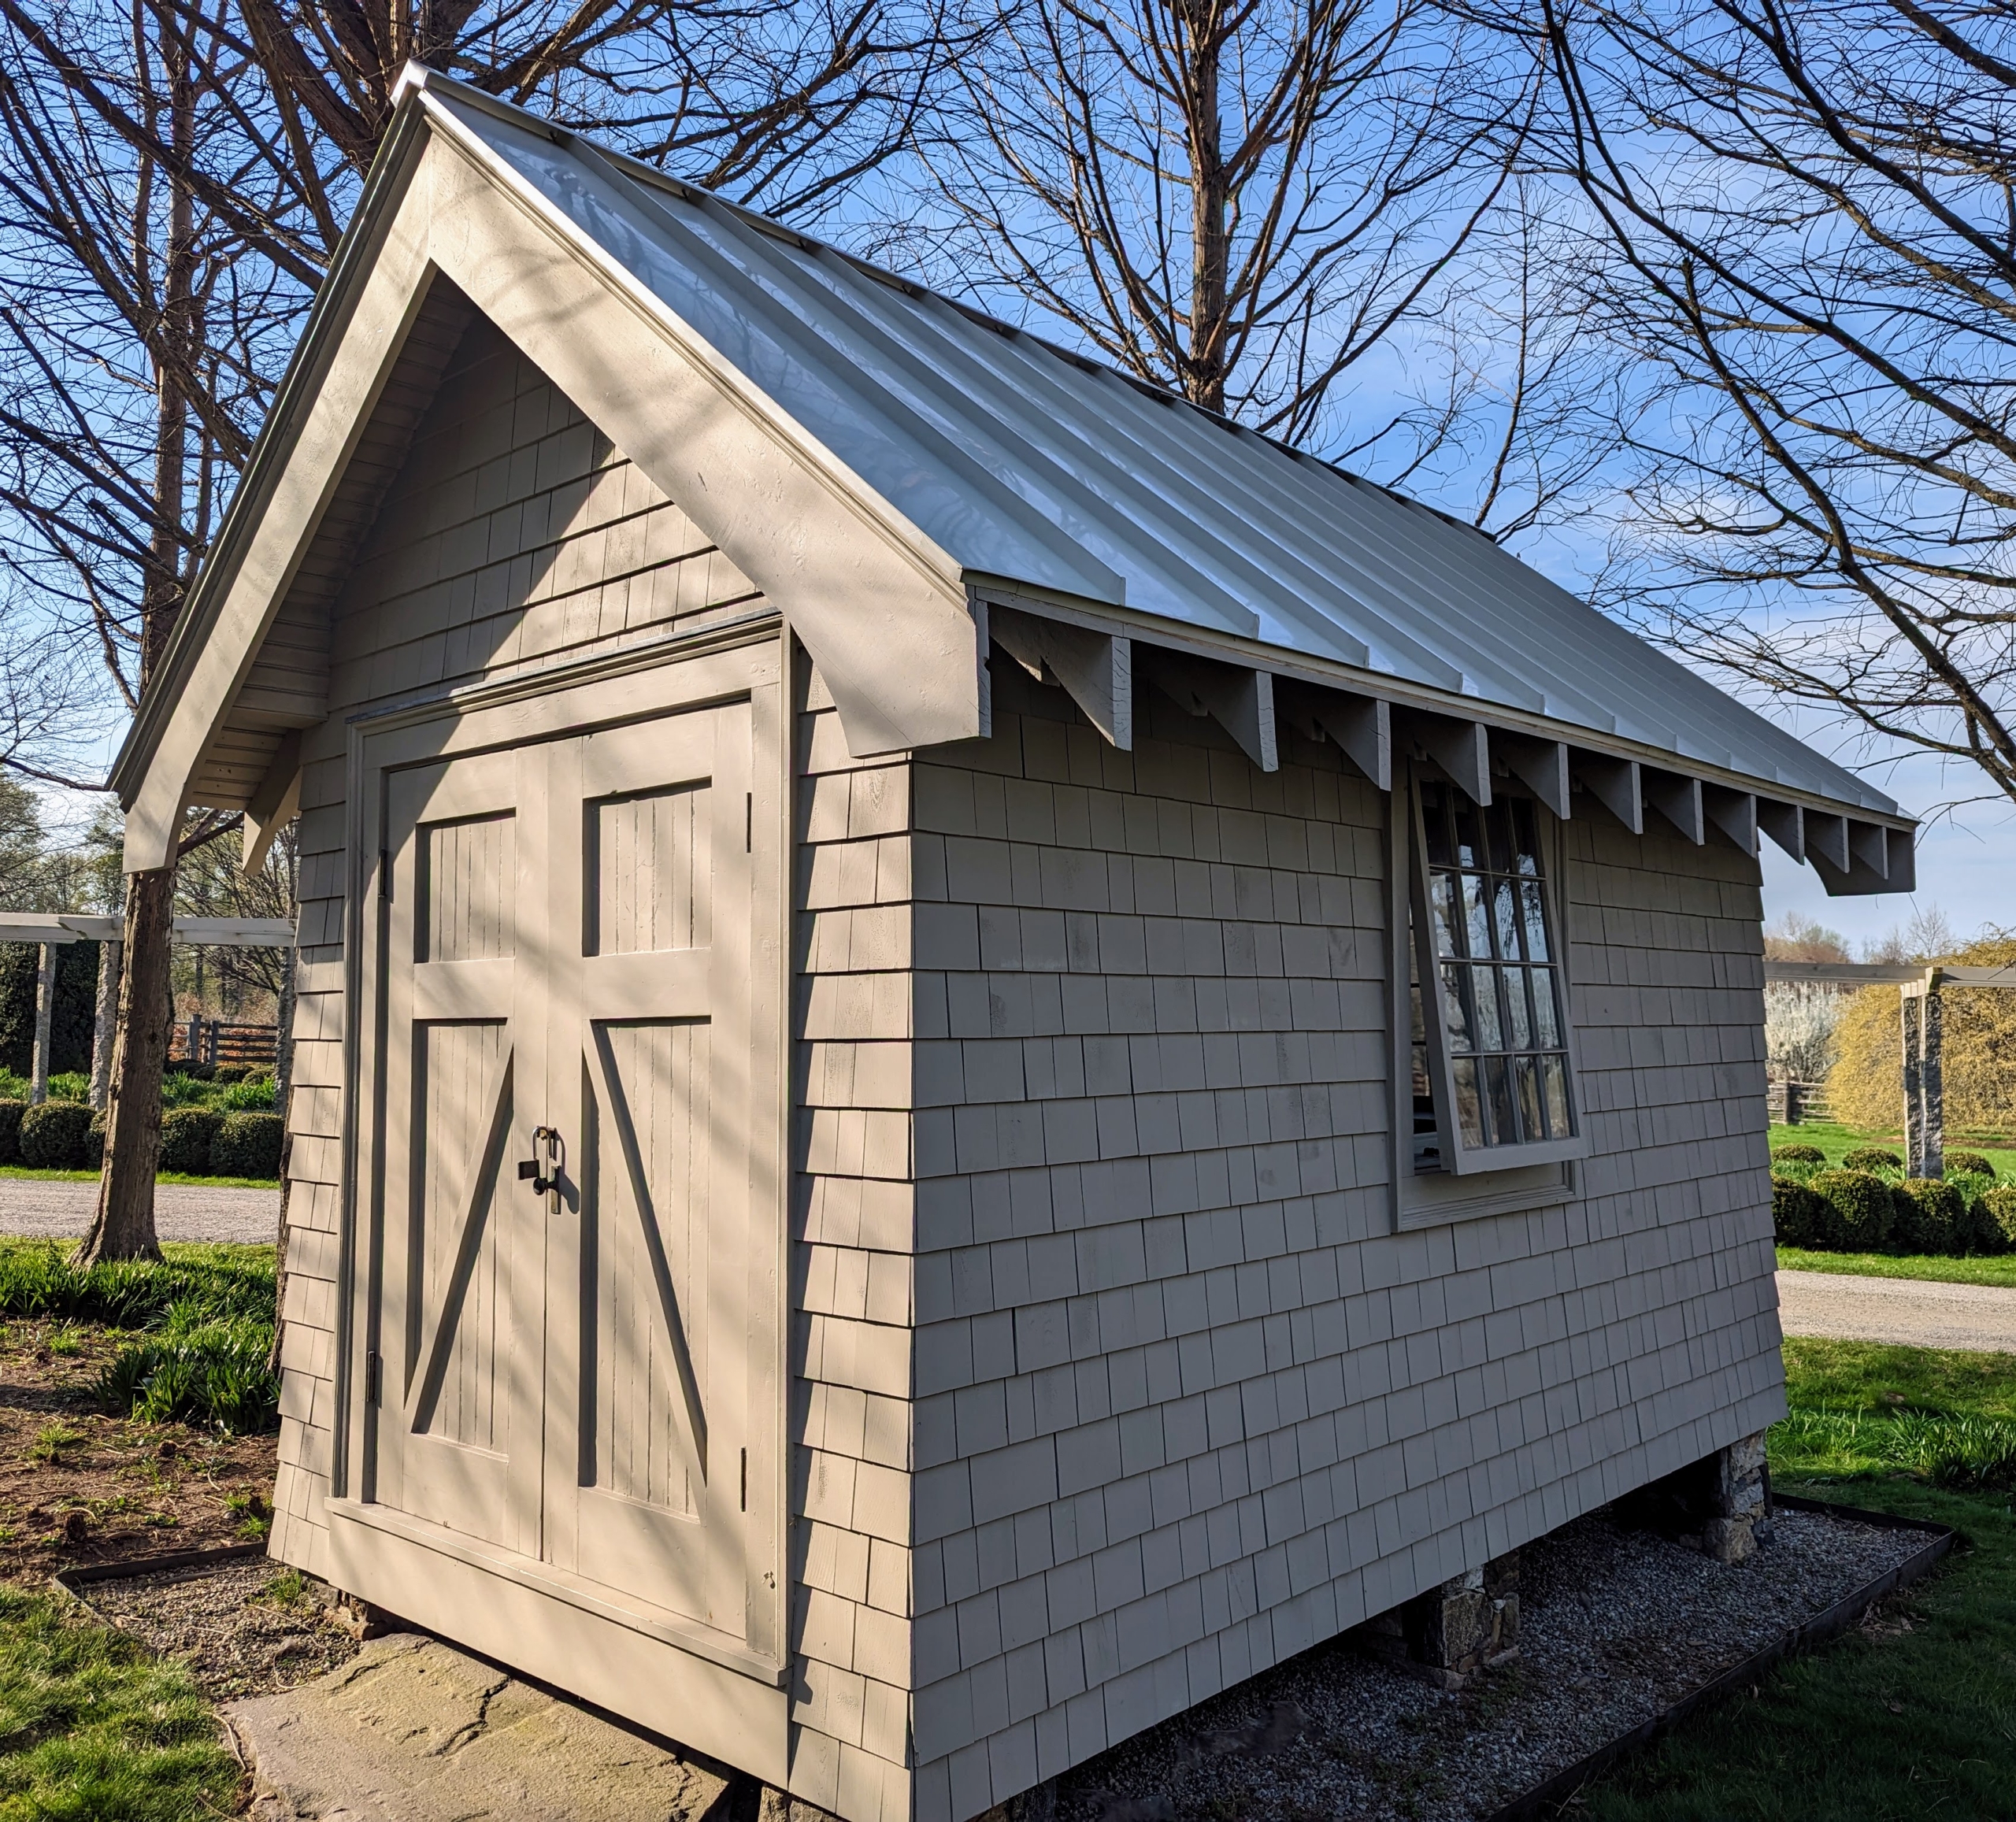
And many of you will recognize this storage unit where I keep all my beautiful baskets. I have hundreds of baskets in my collection – some are rare and antique, some are vintage, and some are more contemporary. A good number of these baskets were used during my catering days.
My Basket House is located near my grove of bald cypress trees across from my clematis pergola. I will share more of my storage solutions in future blogs. What are your favorite organizing strategies at home? Share yours with me.
Maintaining a healthy landscape sometimes means cutting down trees.
I love trees and always feel bad when trees are cut down. Trees are crucial to our environment - they provide breathable oxygen, they absorb carbon dioxide and potentially harmful gasses, and they help create an ecosystem of food for birds and other animals. However, occasionally trees need to be removed. In the back hayfield just off the carriage road is a grove of spruce trees. At some point, we had planted a few crabapple trees in the same area, but after years of growth, they began to block out light, killing various branches from the neighboring spruce. Yesterday, I instructed my crew to take the crabapple trees down. The cut tree wood will be added to the pile for the tub grinder, and be turned into usable nutrient-rich mulch.
Here are some photos, enjoy.
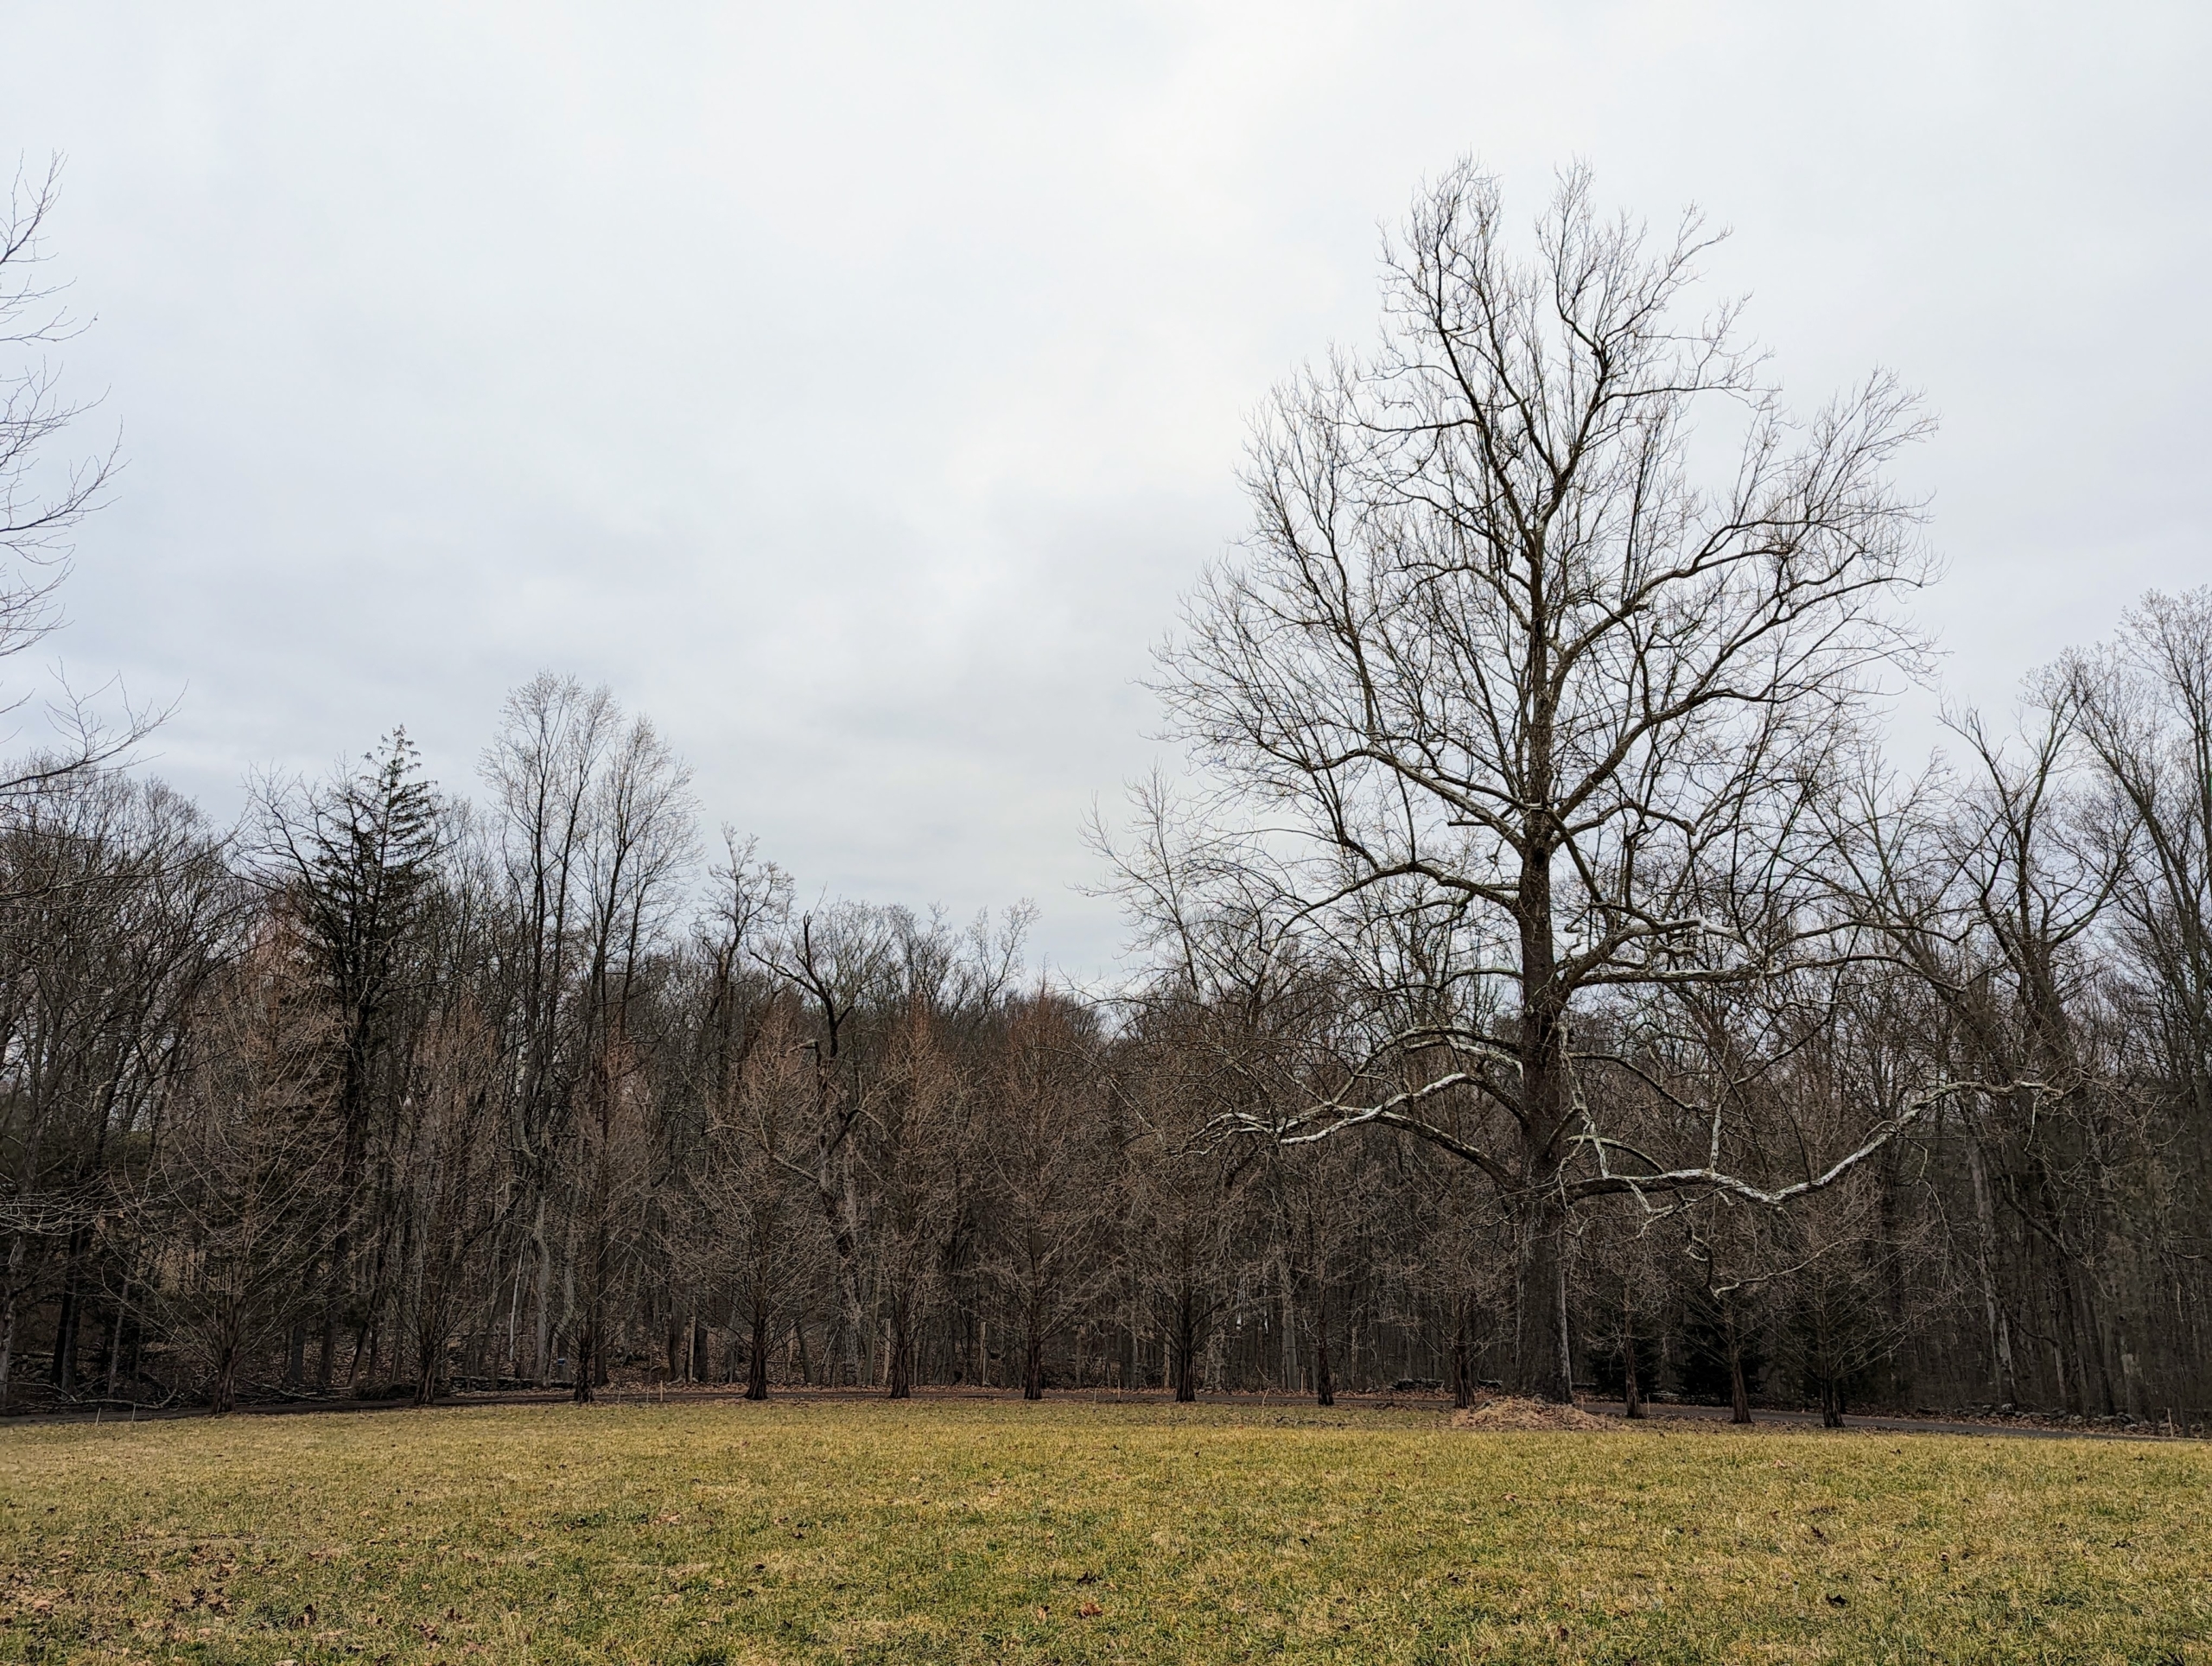
This is the back hayfield at my Bedford, NewYork farm. On the right is the giant sycamore tree – the symbol of Cantitoe Corners. this tree is the biggest tree on the property and one of my favorites.
The sycamore sits on one end of this large field, where we grow lots of hay every year for my horses, Fell pony and donkeys. It is surrounded by a carriage road and many beautiful trees – some I planted and others that are original to the farm.
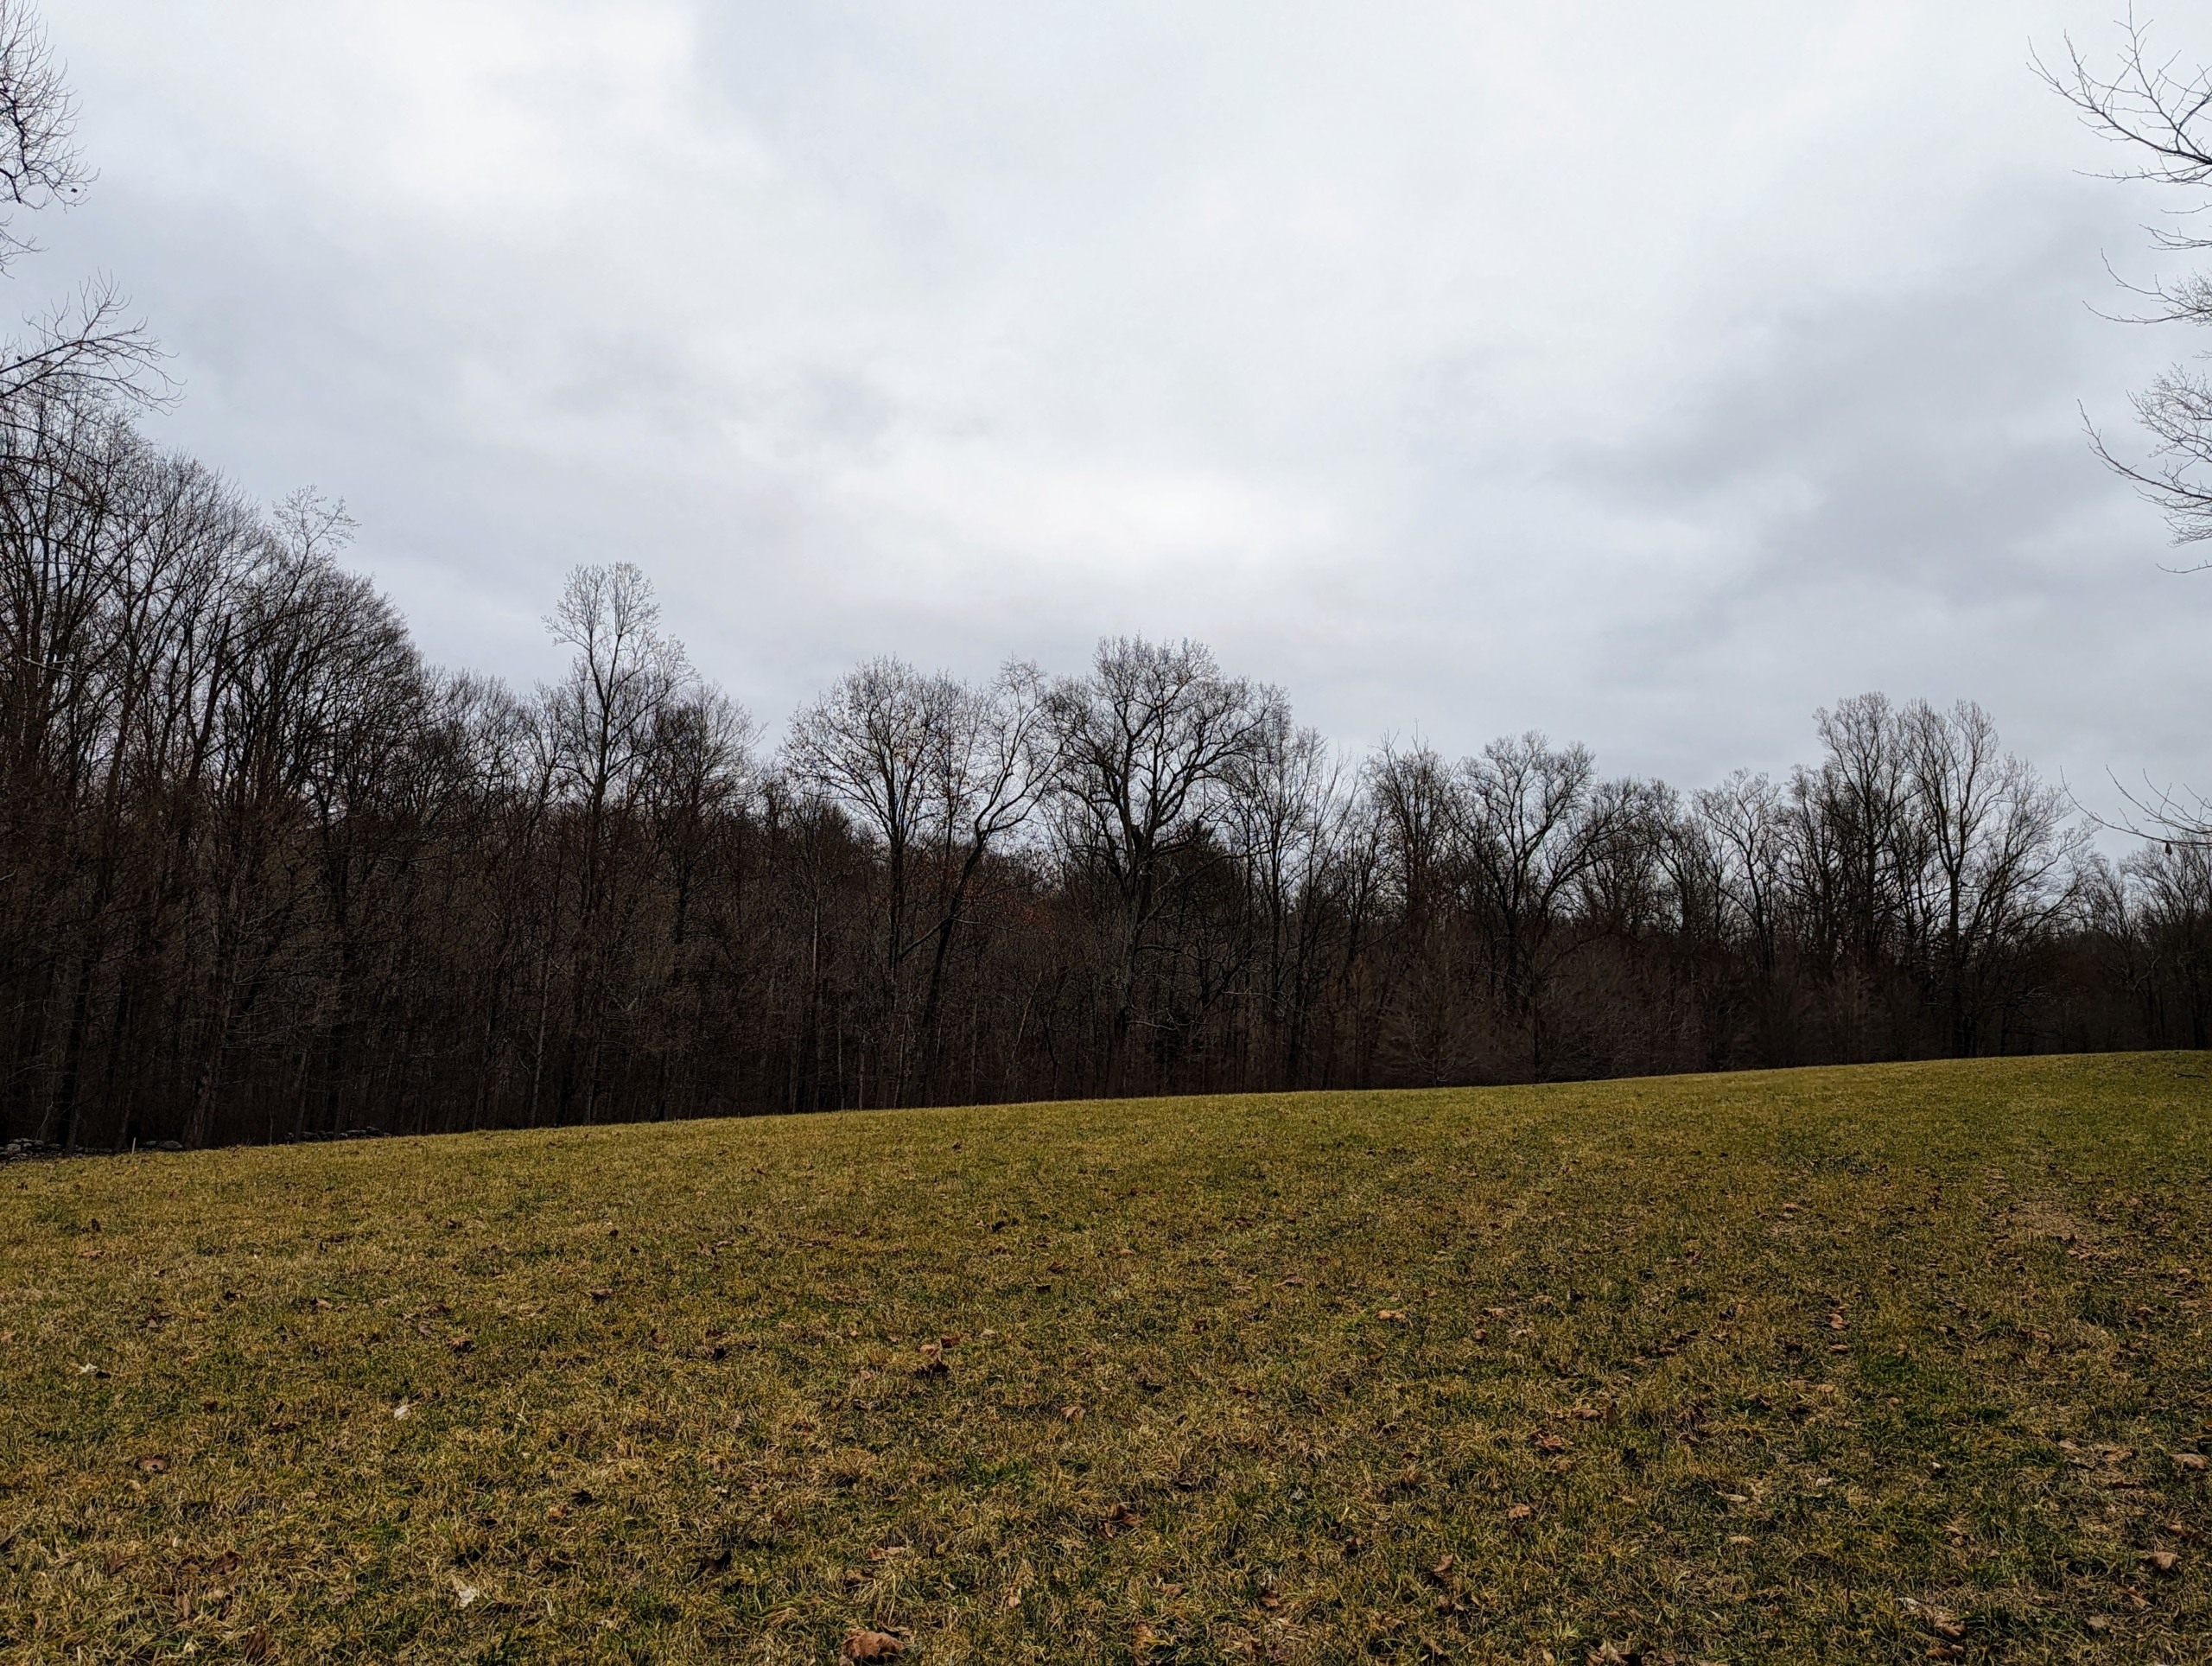
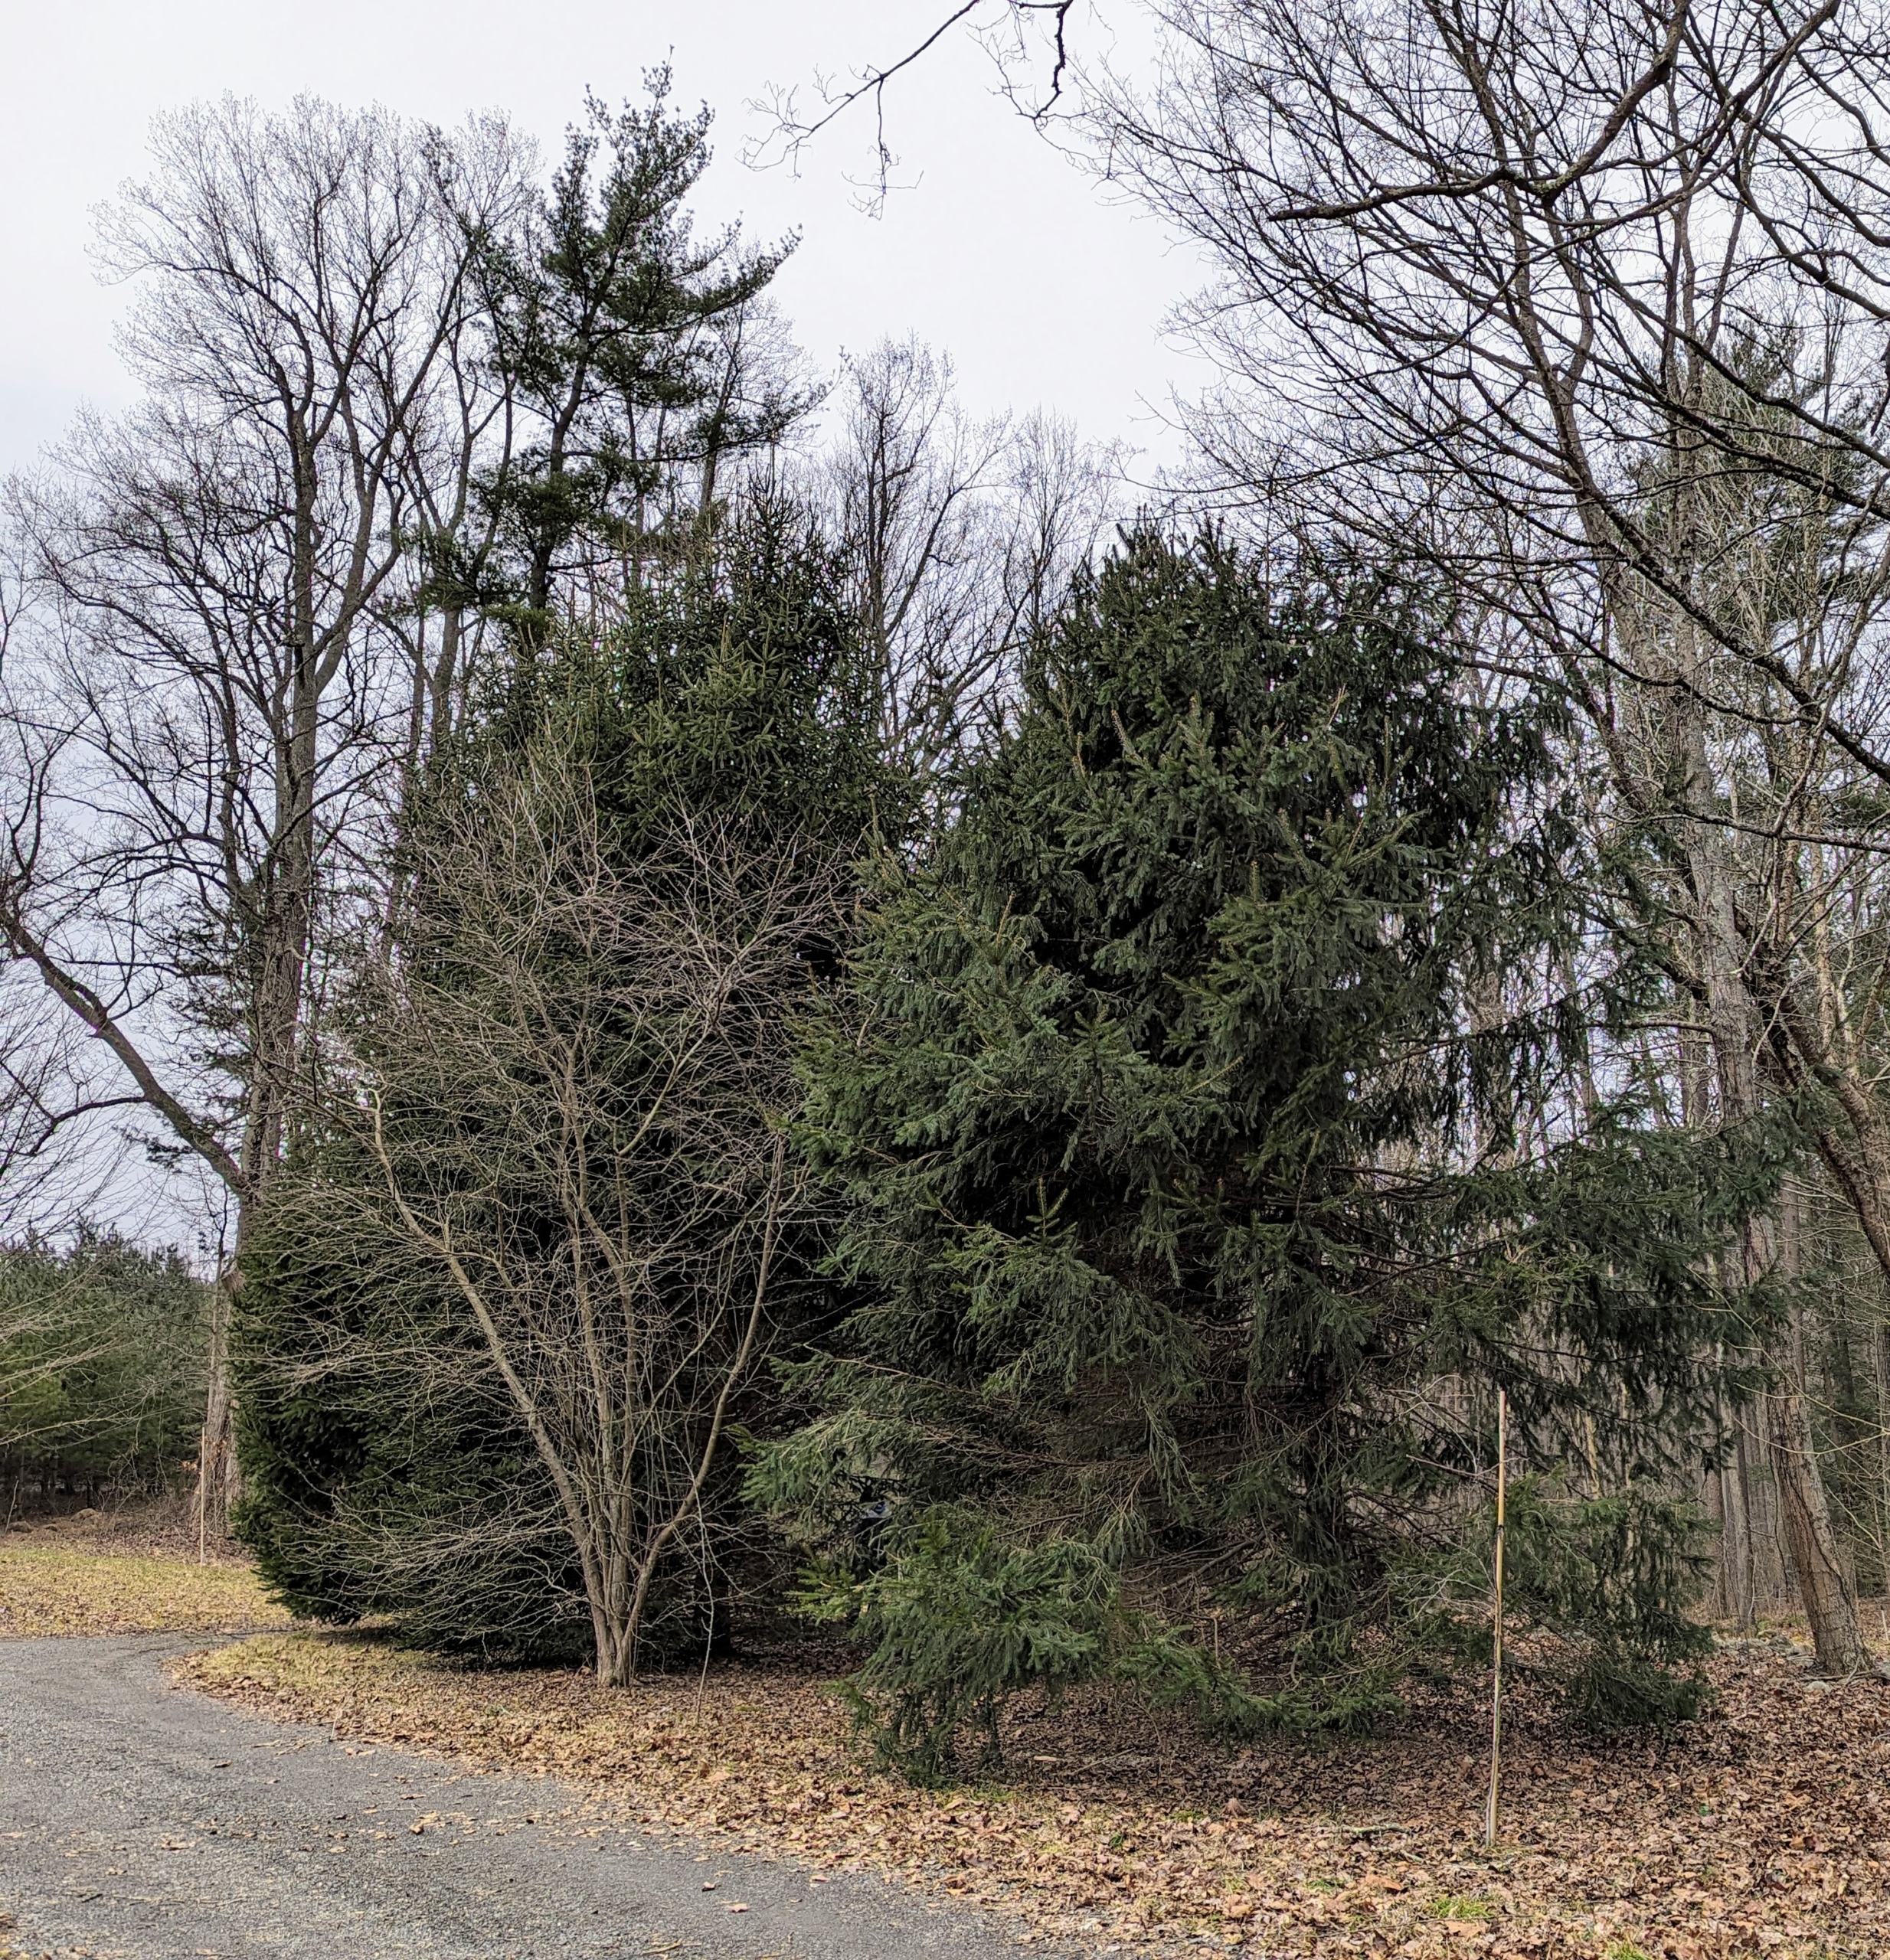
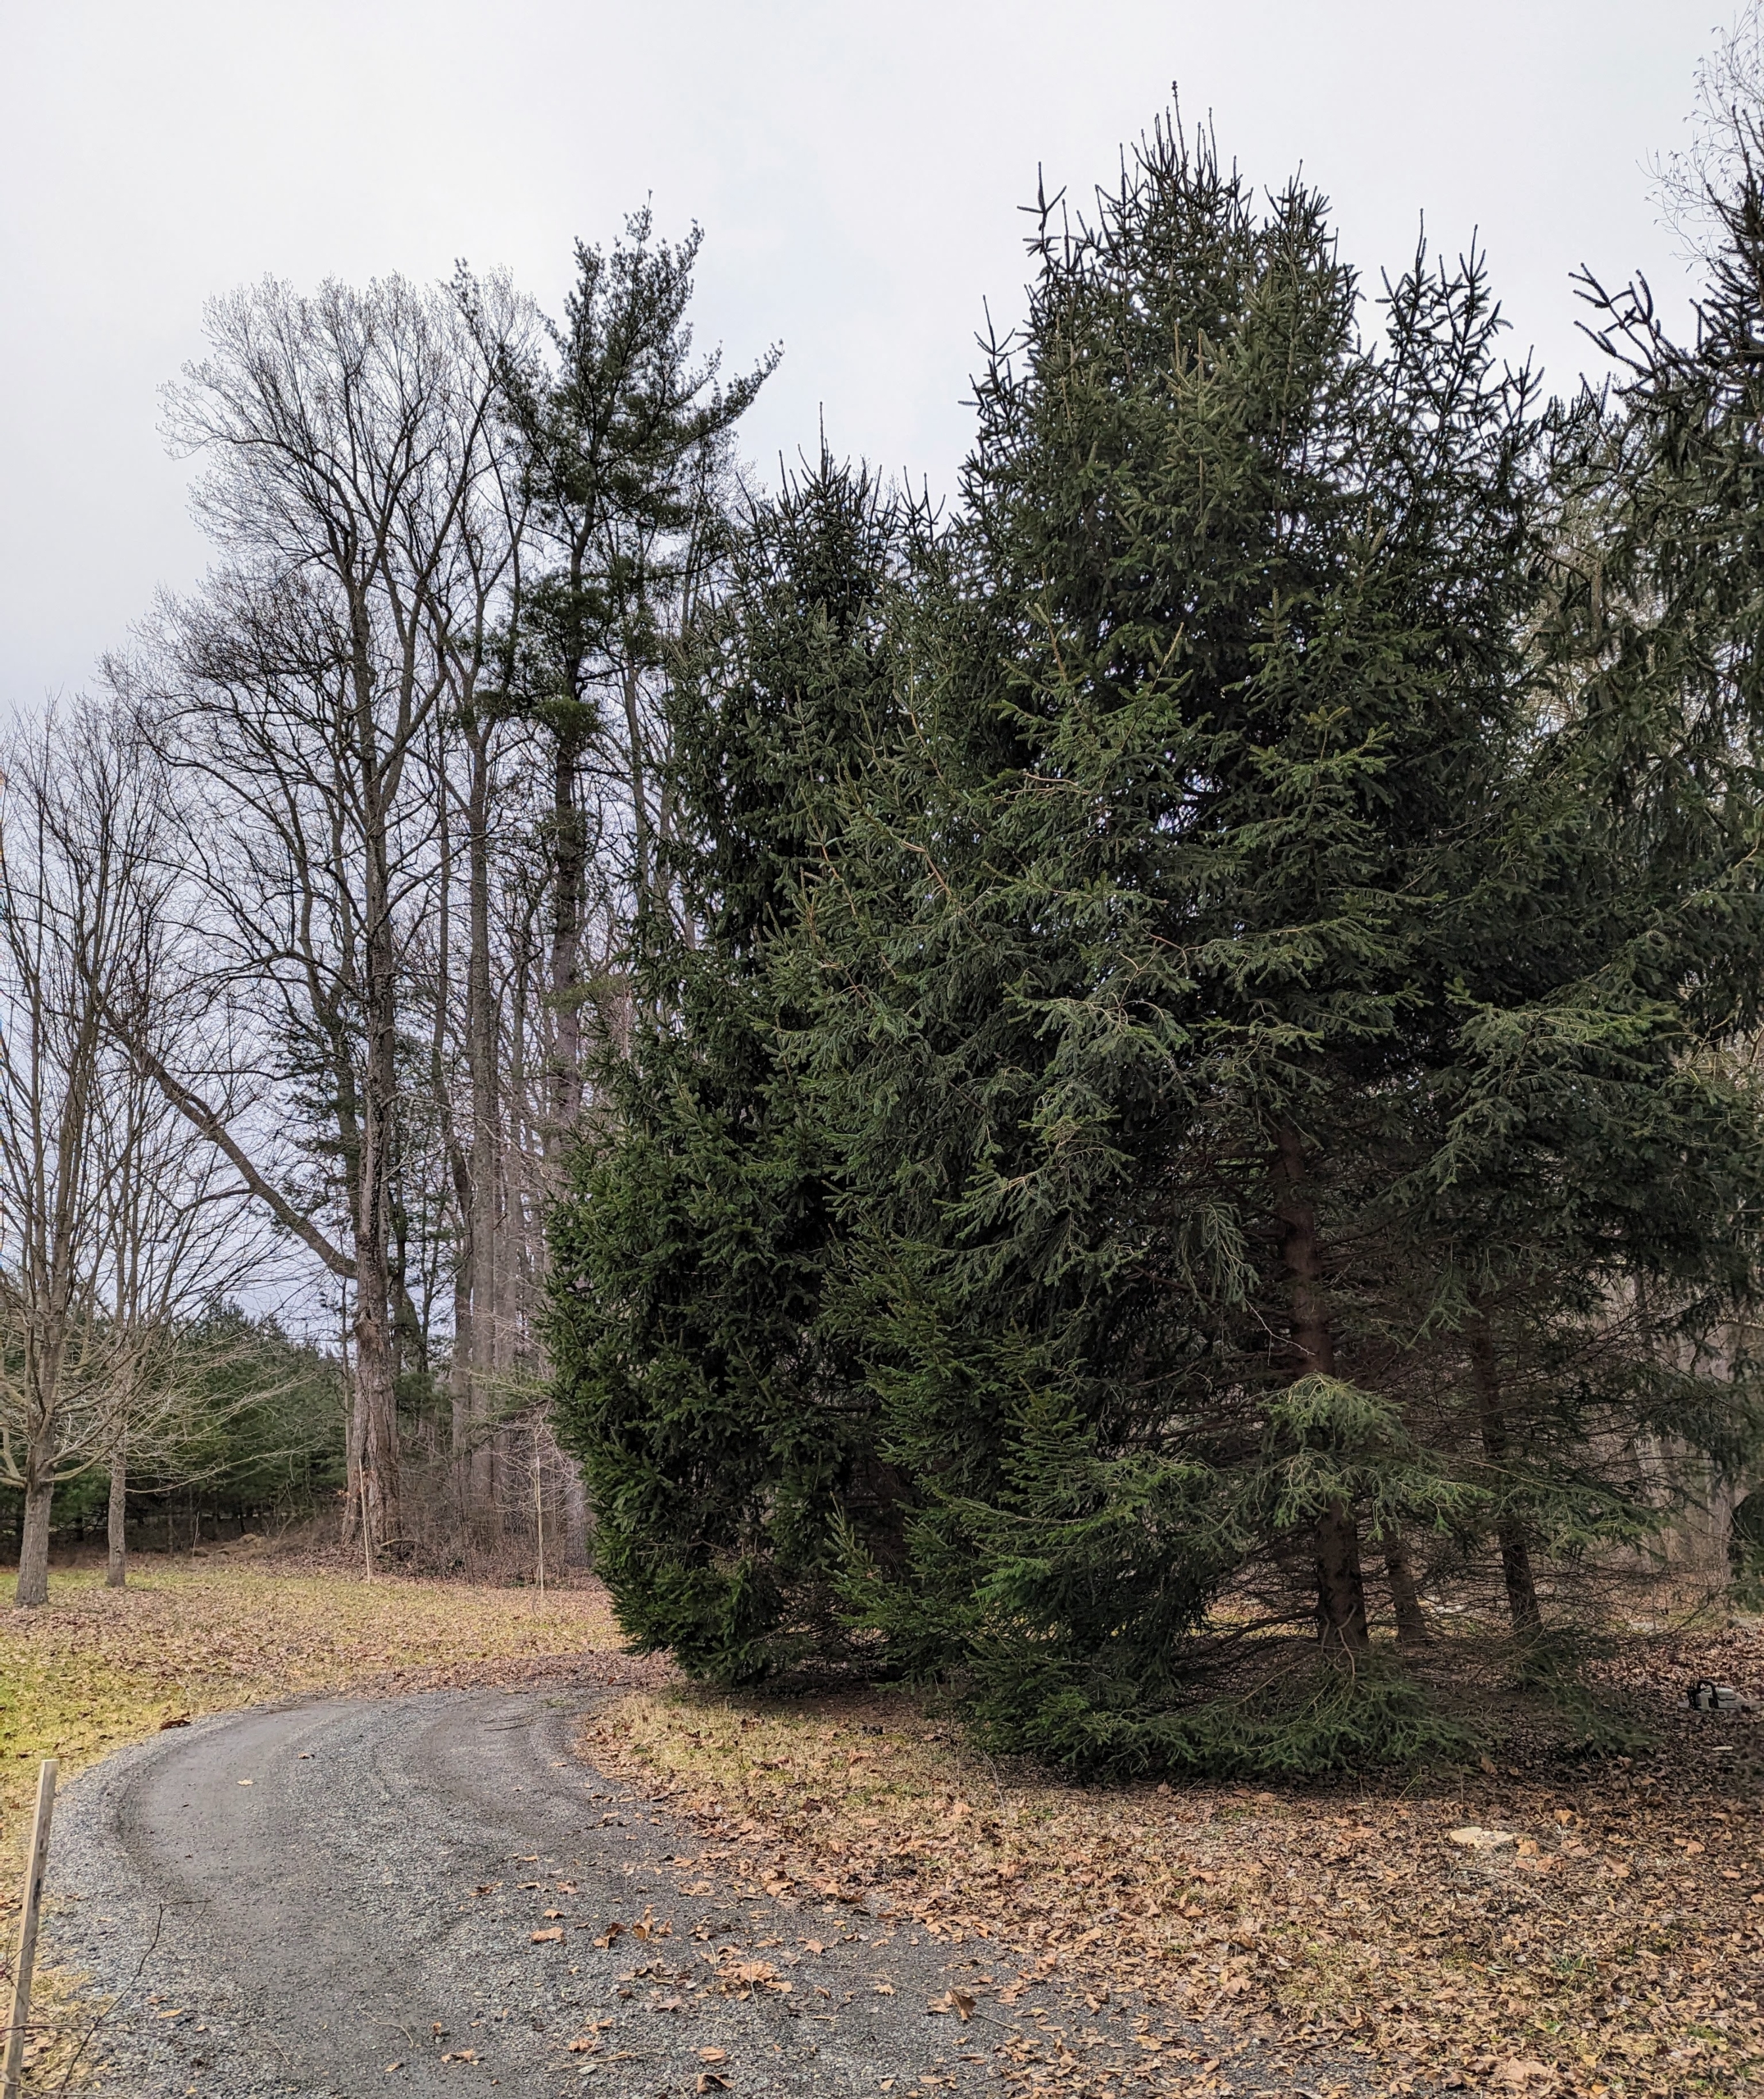
At this curve in the road not far from what I call my run-in paddock is this grove of evergreen spruce and deciduous crabapple trees.
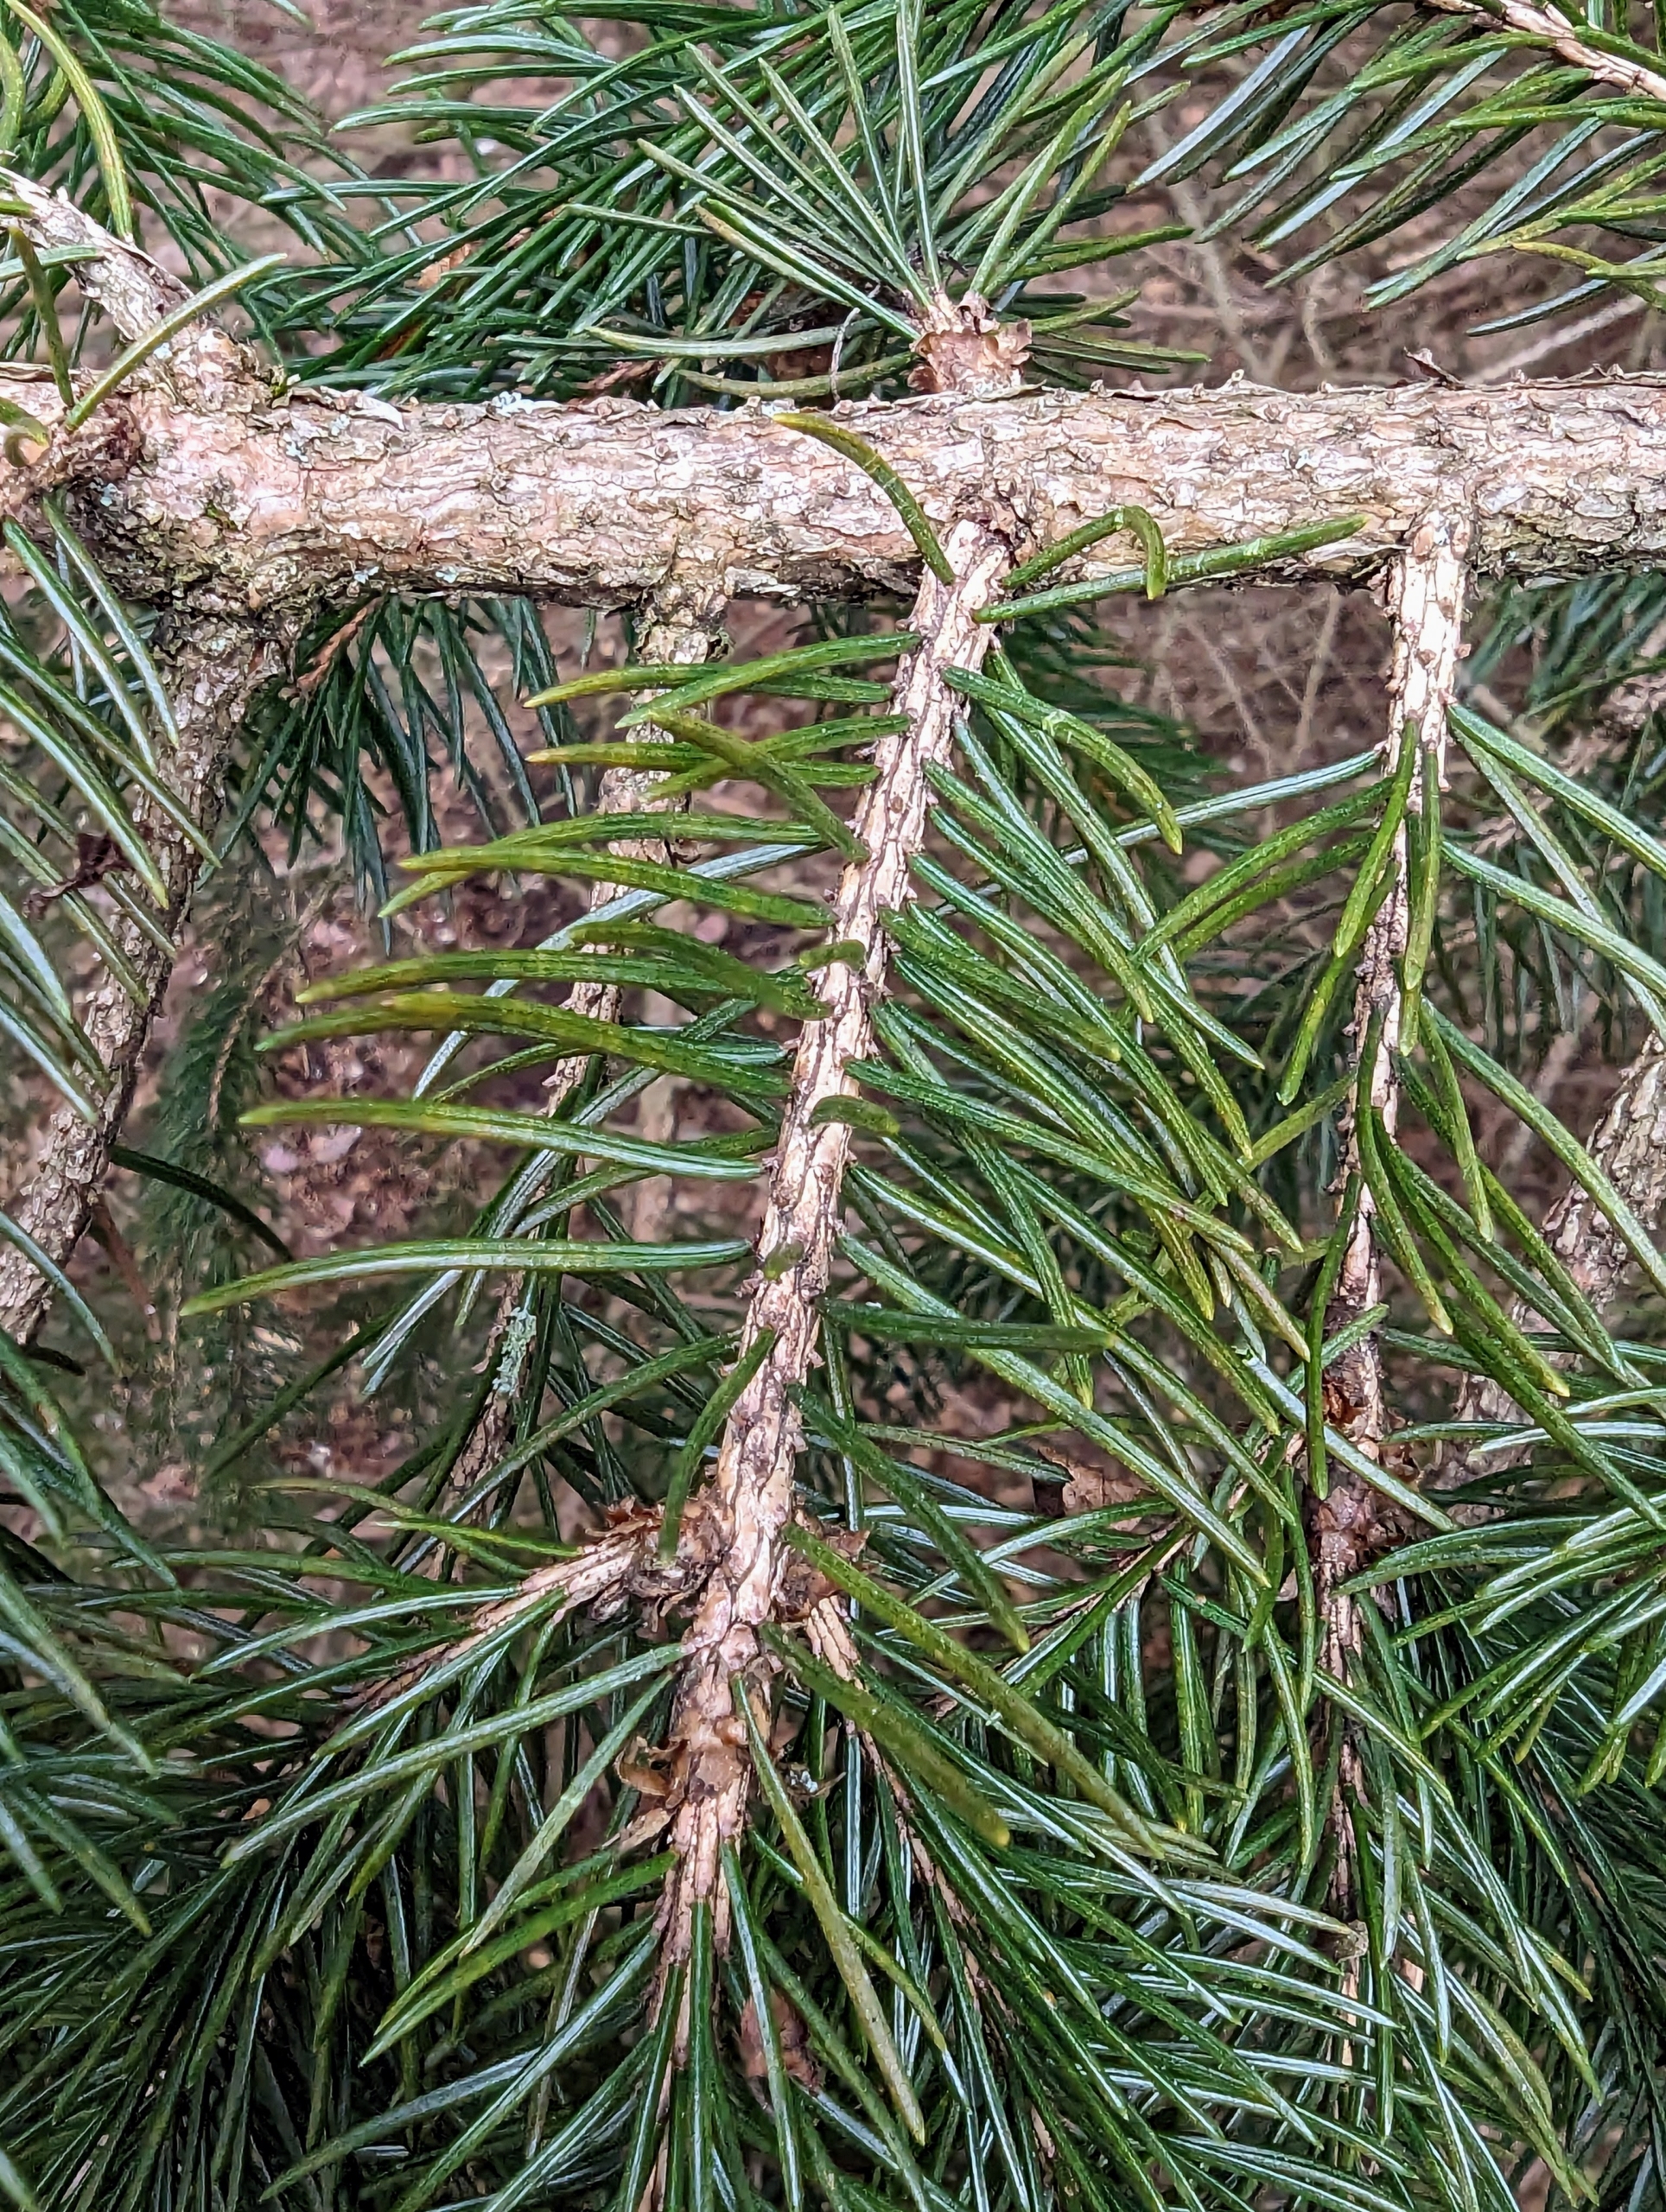
Do you know how to tell a spruce from a pine? One easy tip to remember: on pine trees, needles are attached to the branches in clusters; however, on spruce trees such as this one, needles are attached individually to the branch.
Over the years as the crabapples grew, they also blocked important light from reaching the spruce trees. They also crowded them and blocked good air circulation, so I decided they should be felled. Here is one of the crabapples planned for removal.
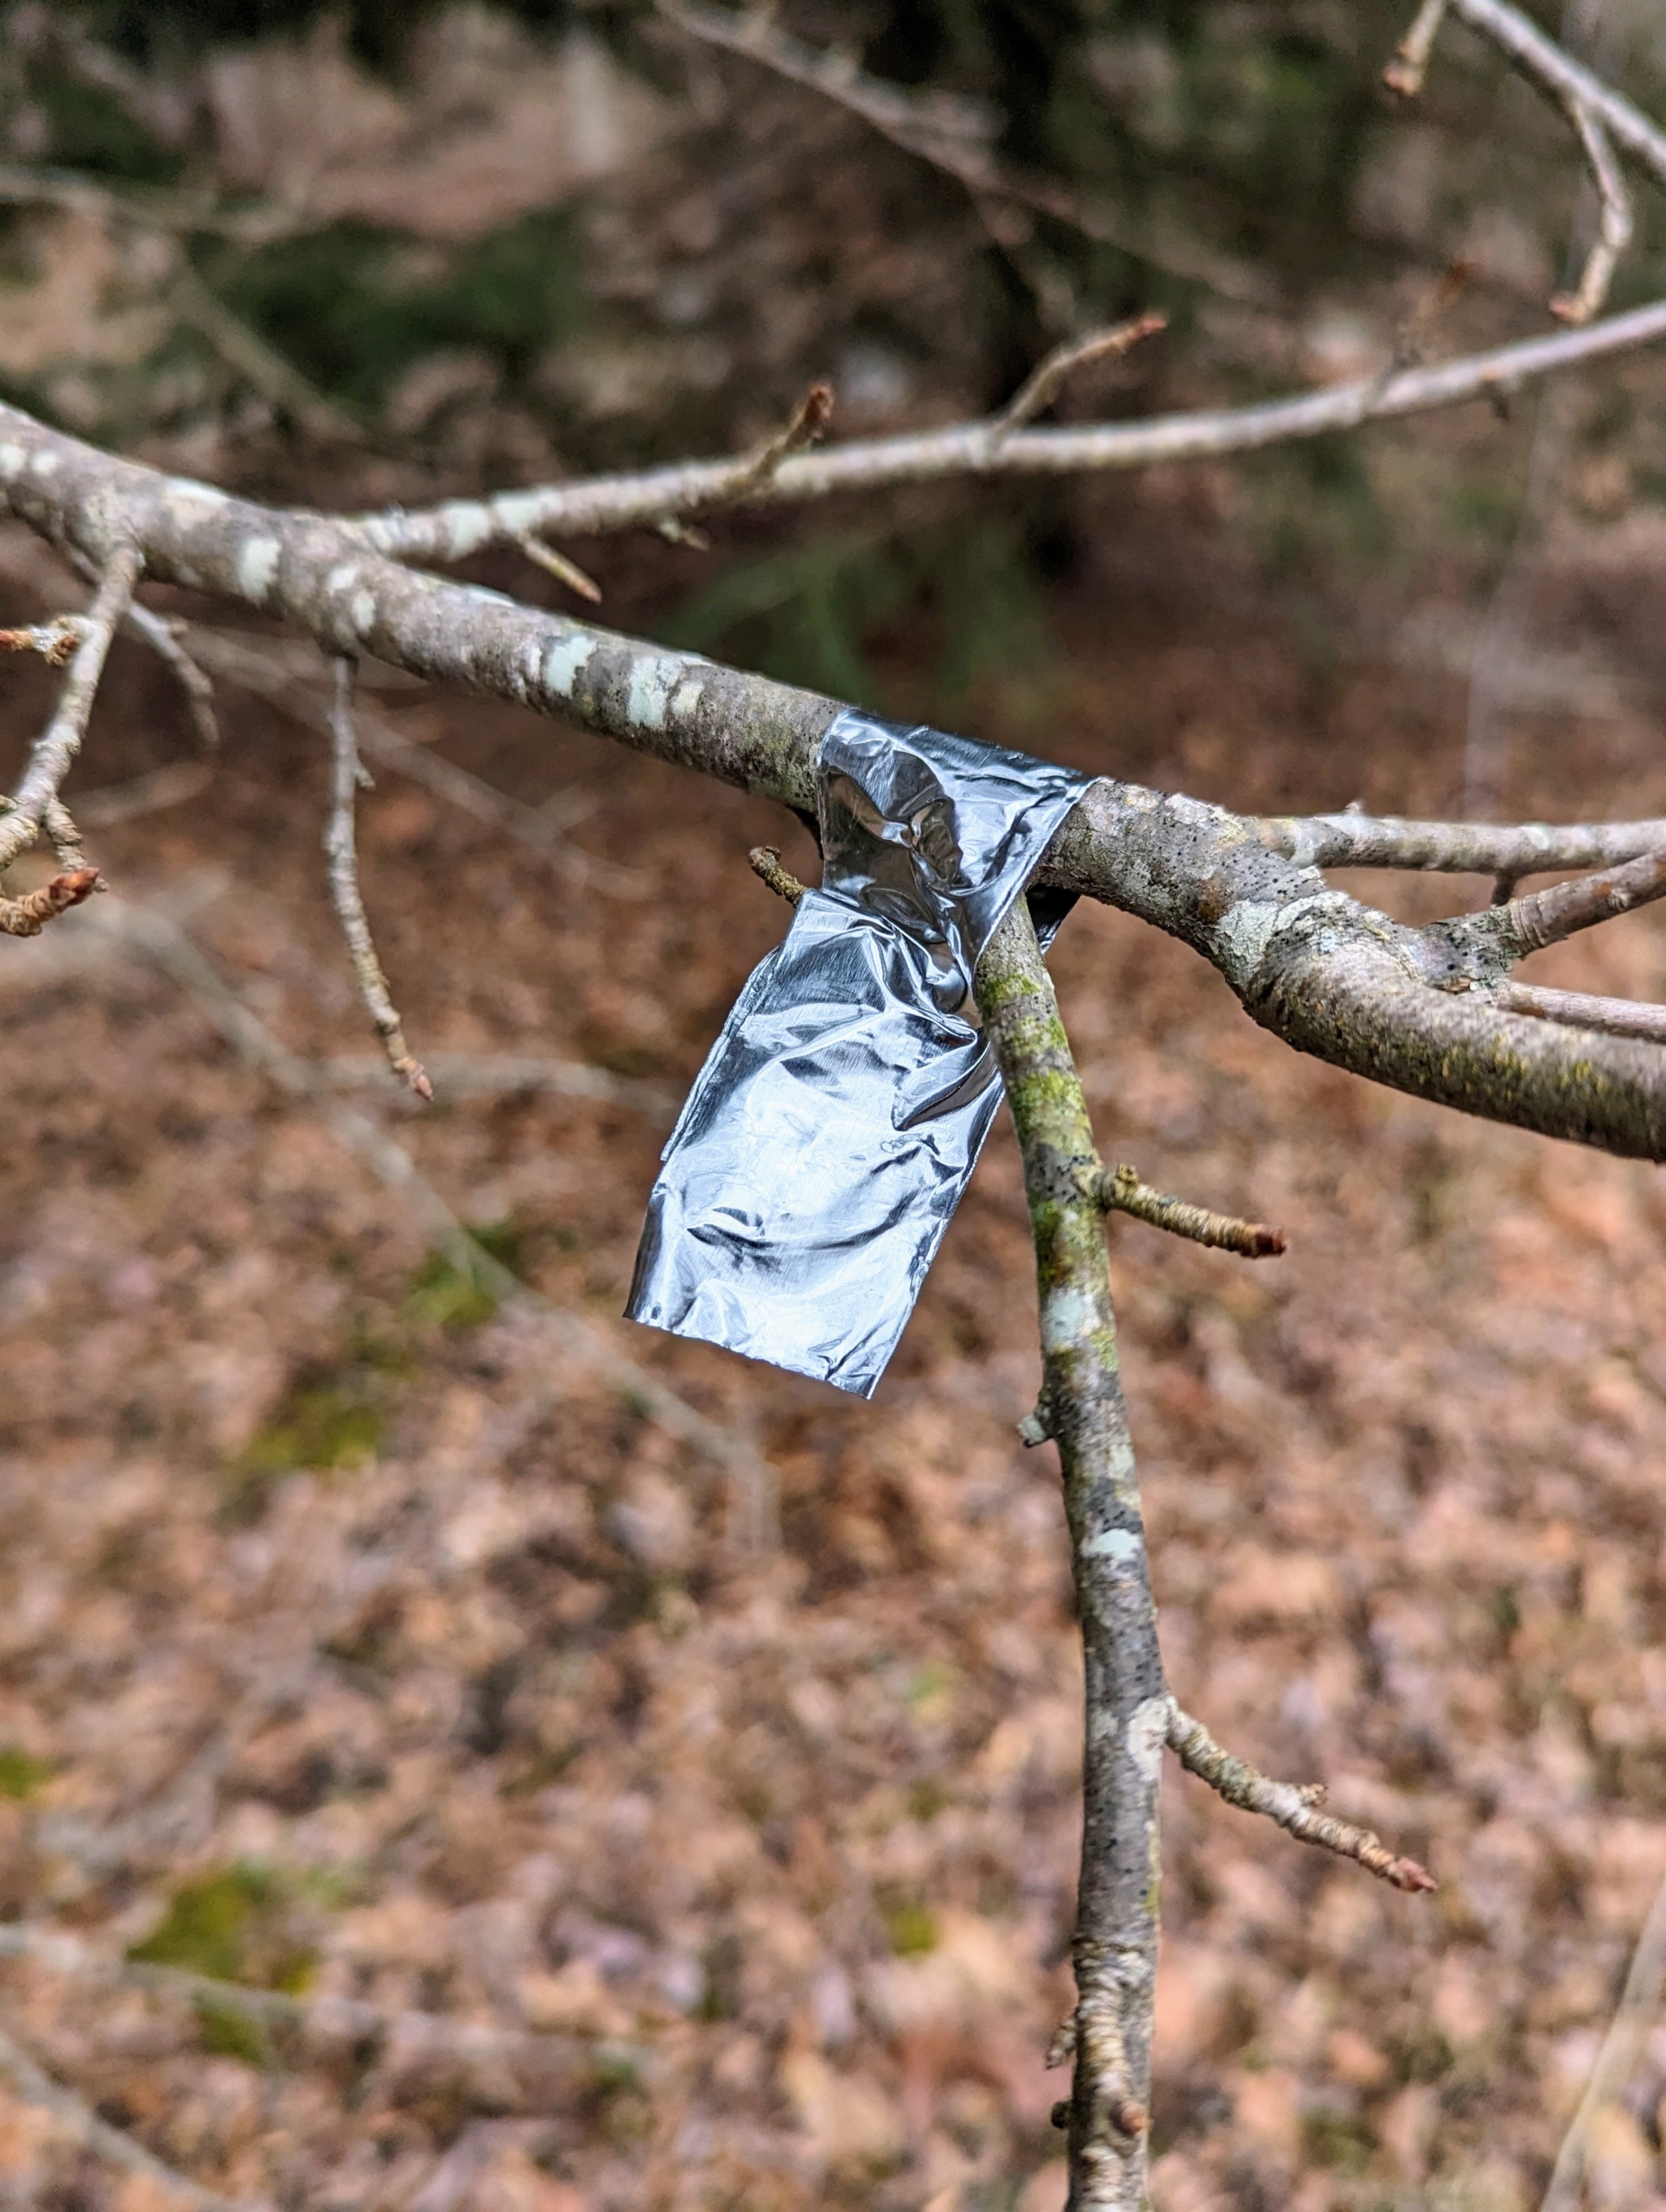
Not long ago, I tagged the trees with metal tape to indicate which specimens should be cut down. There was absolutely no confusion.
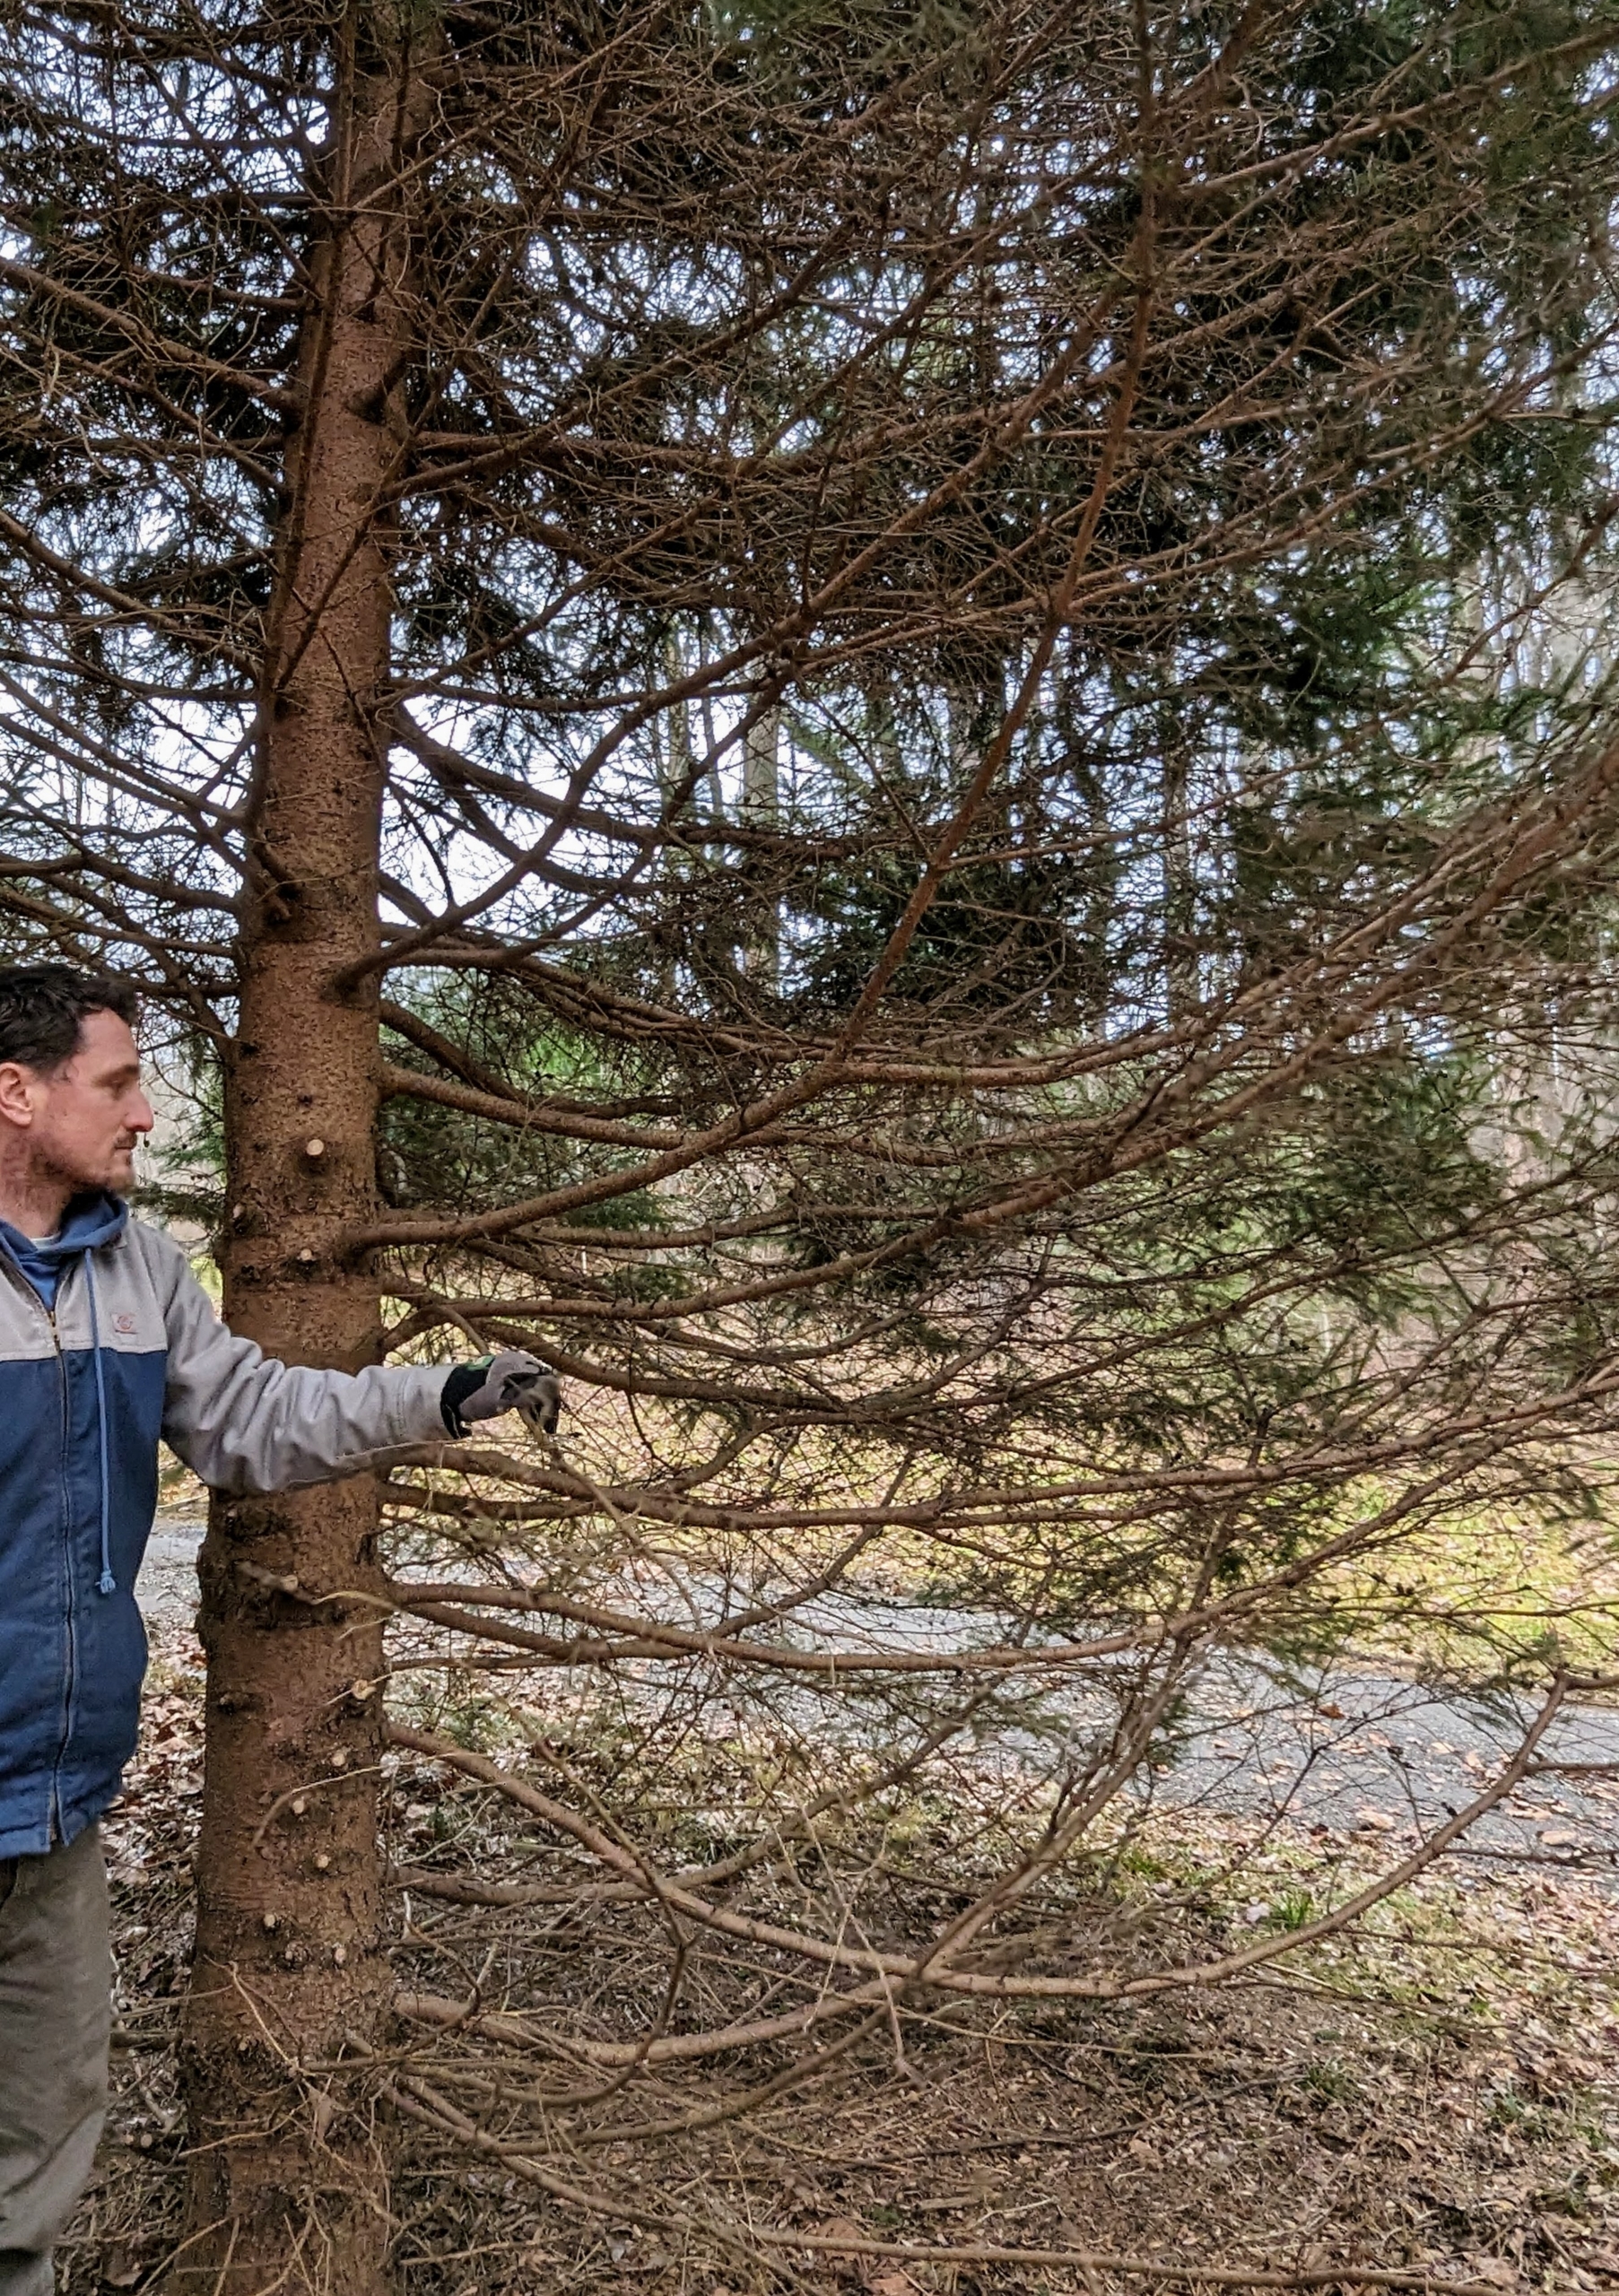
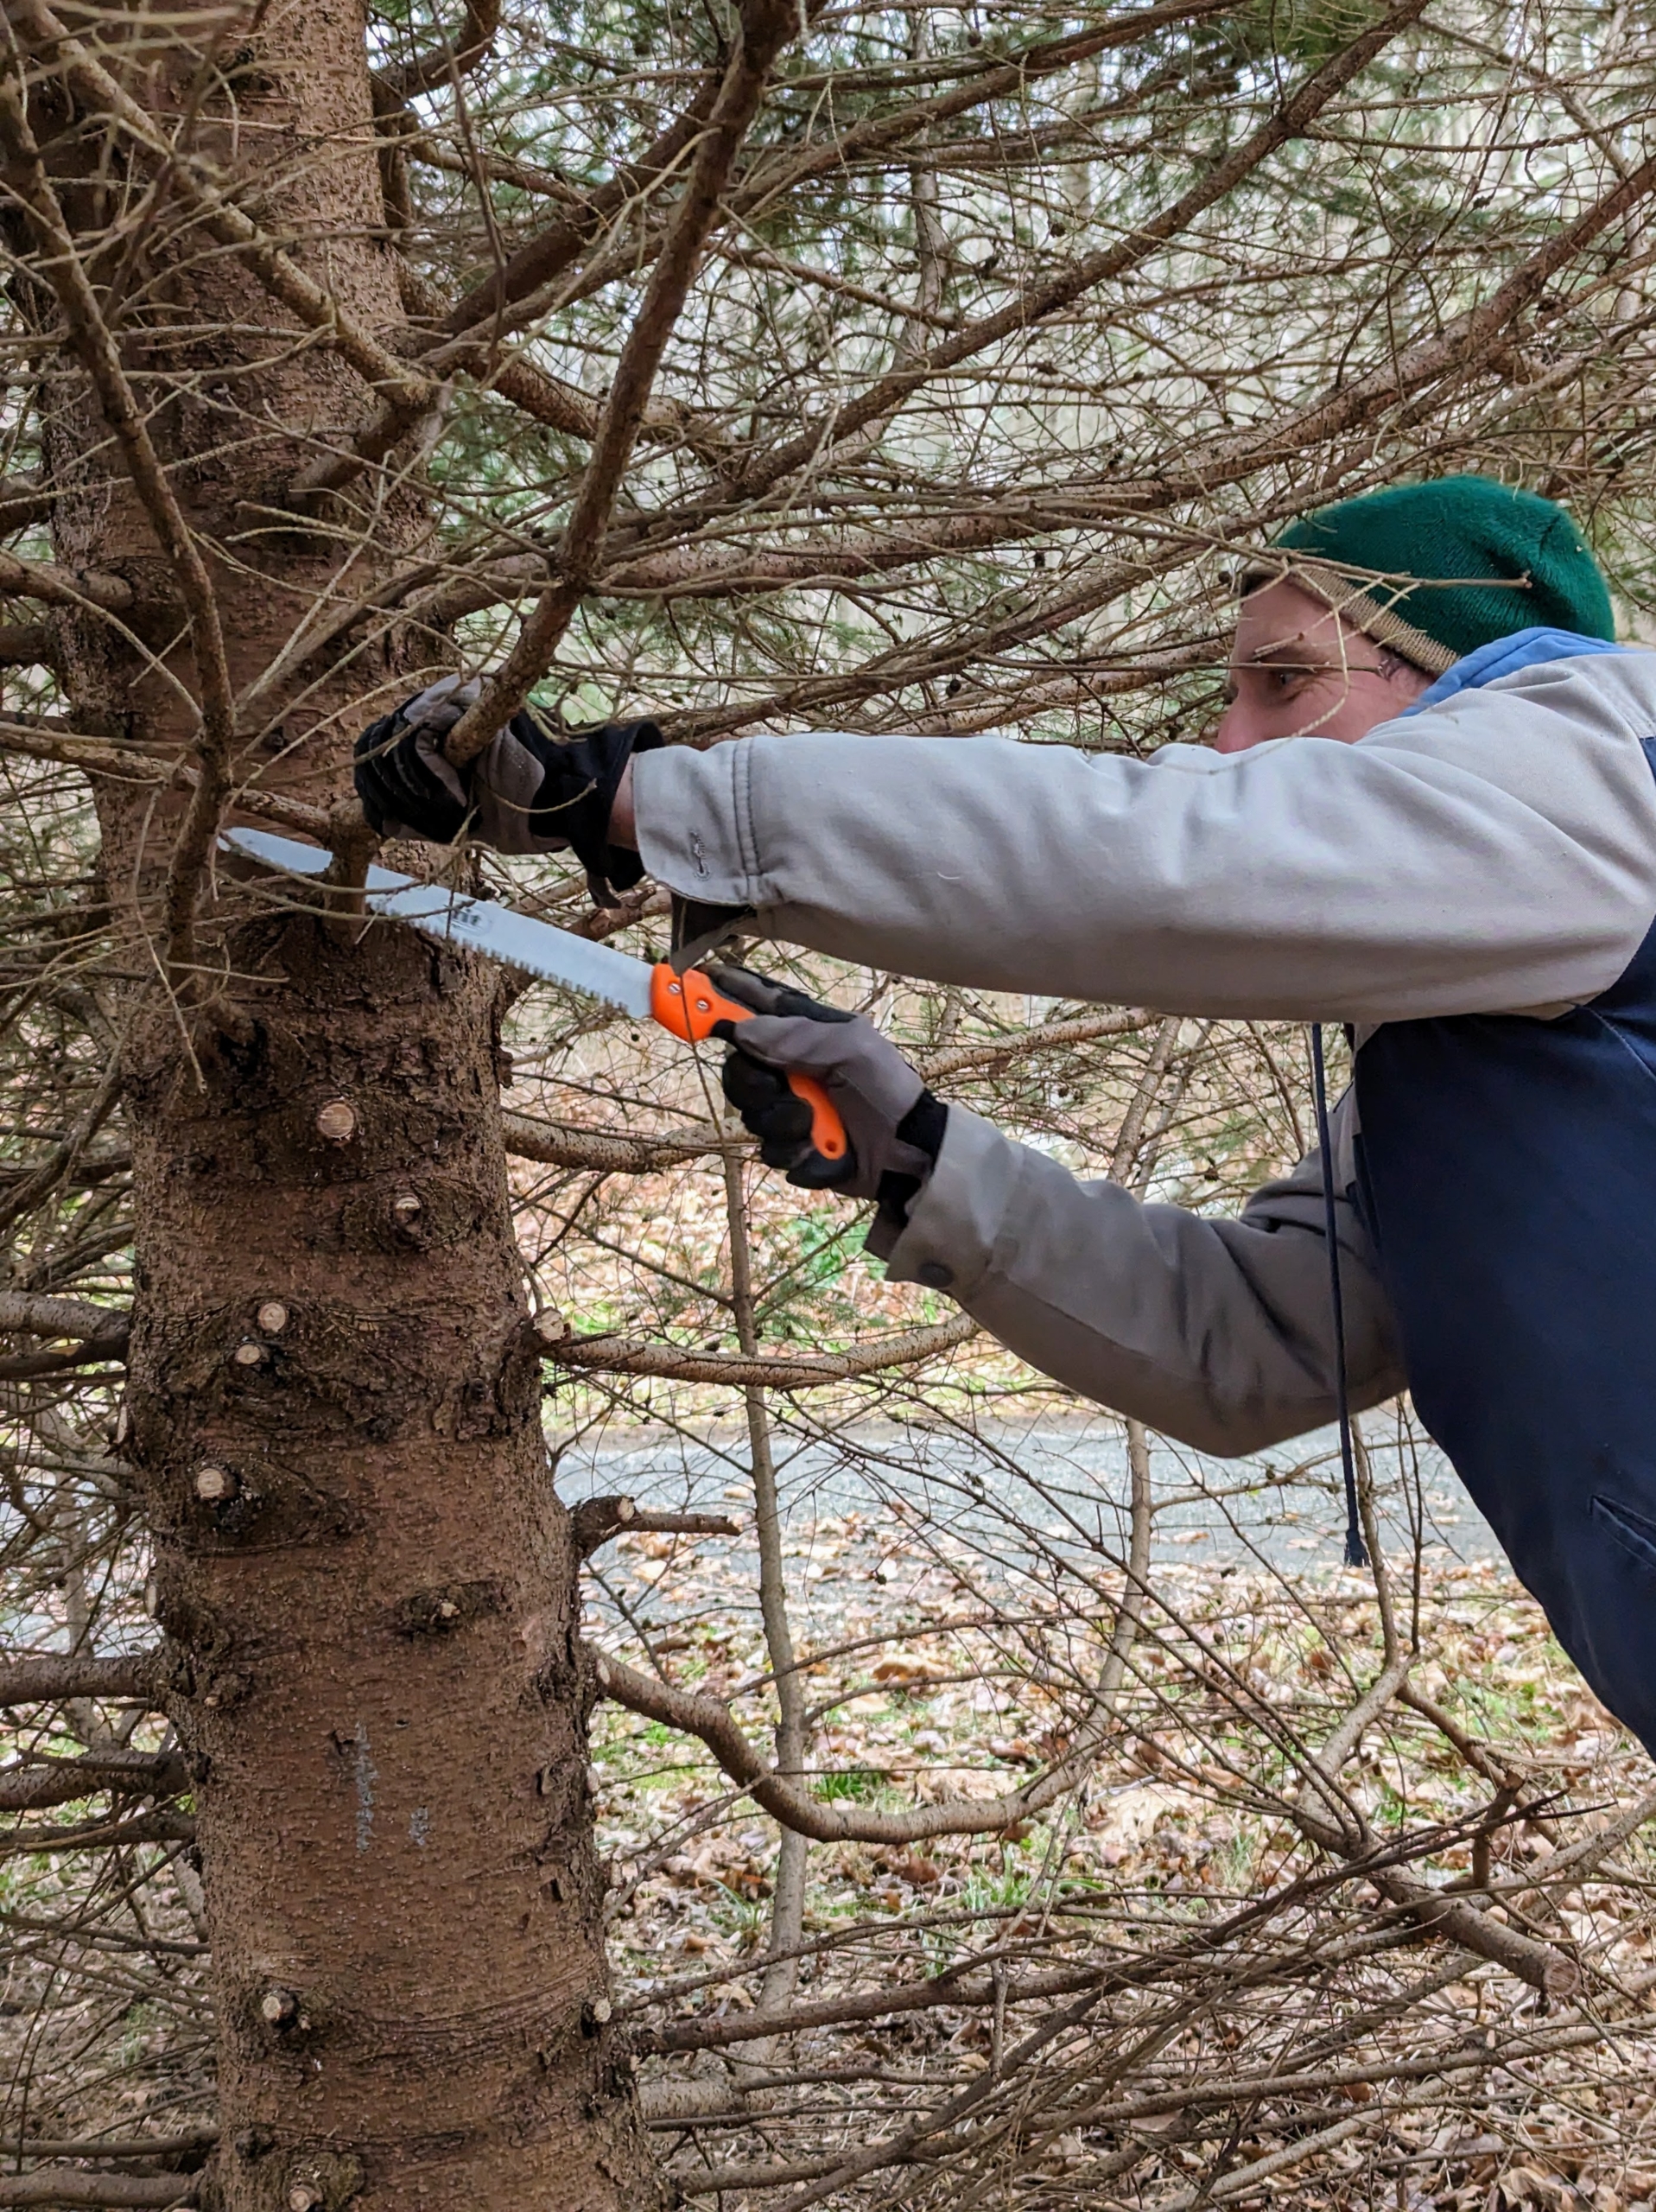
Here, Ryan assesses the back side of one of the spruce trees – many of the branches died because they were blocked from the light.
Ryan prunes the dead branches. Dead limbs won’t regrow, so they should be cut off. This can be done at any time of year.
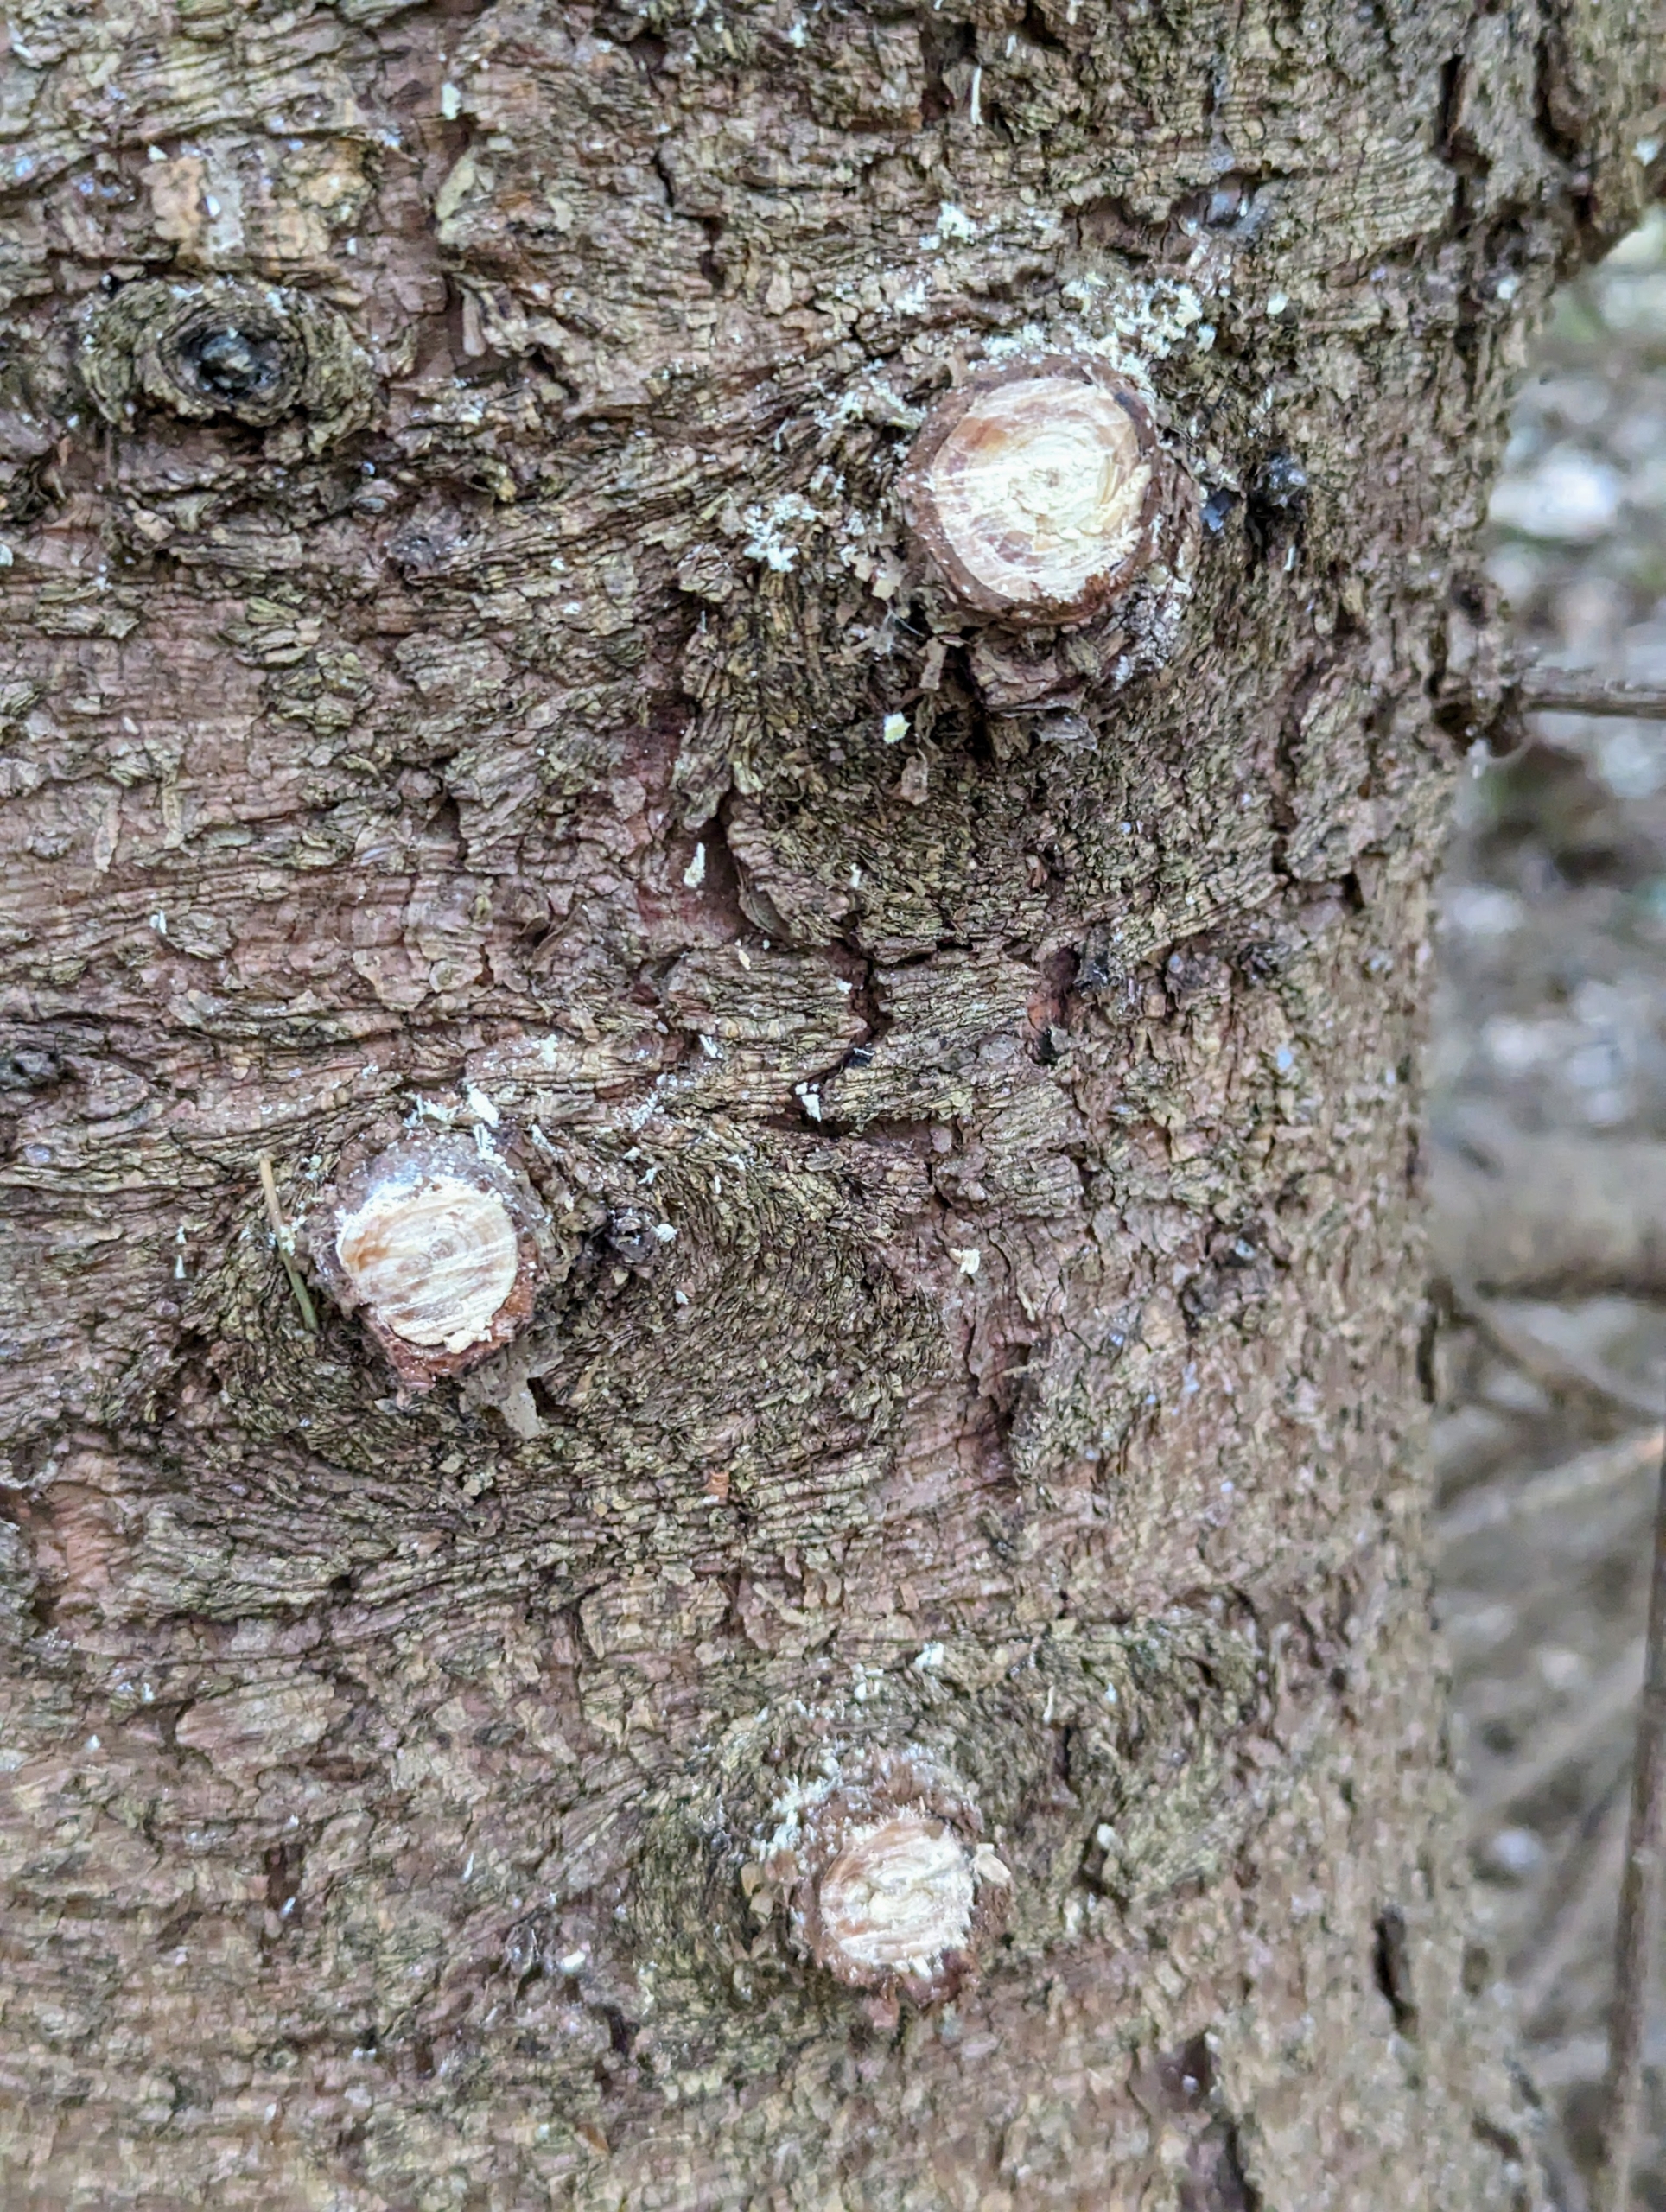
Ryan’s cuts begin just outside the branch bark ridge and angles down away from the stem of the tree, avoiding injury to the branch collar.
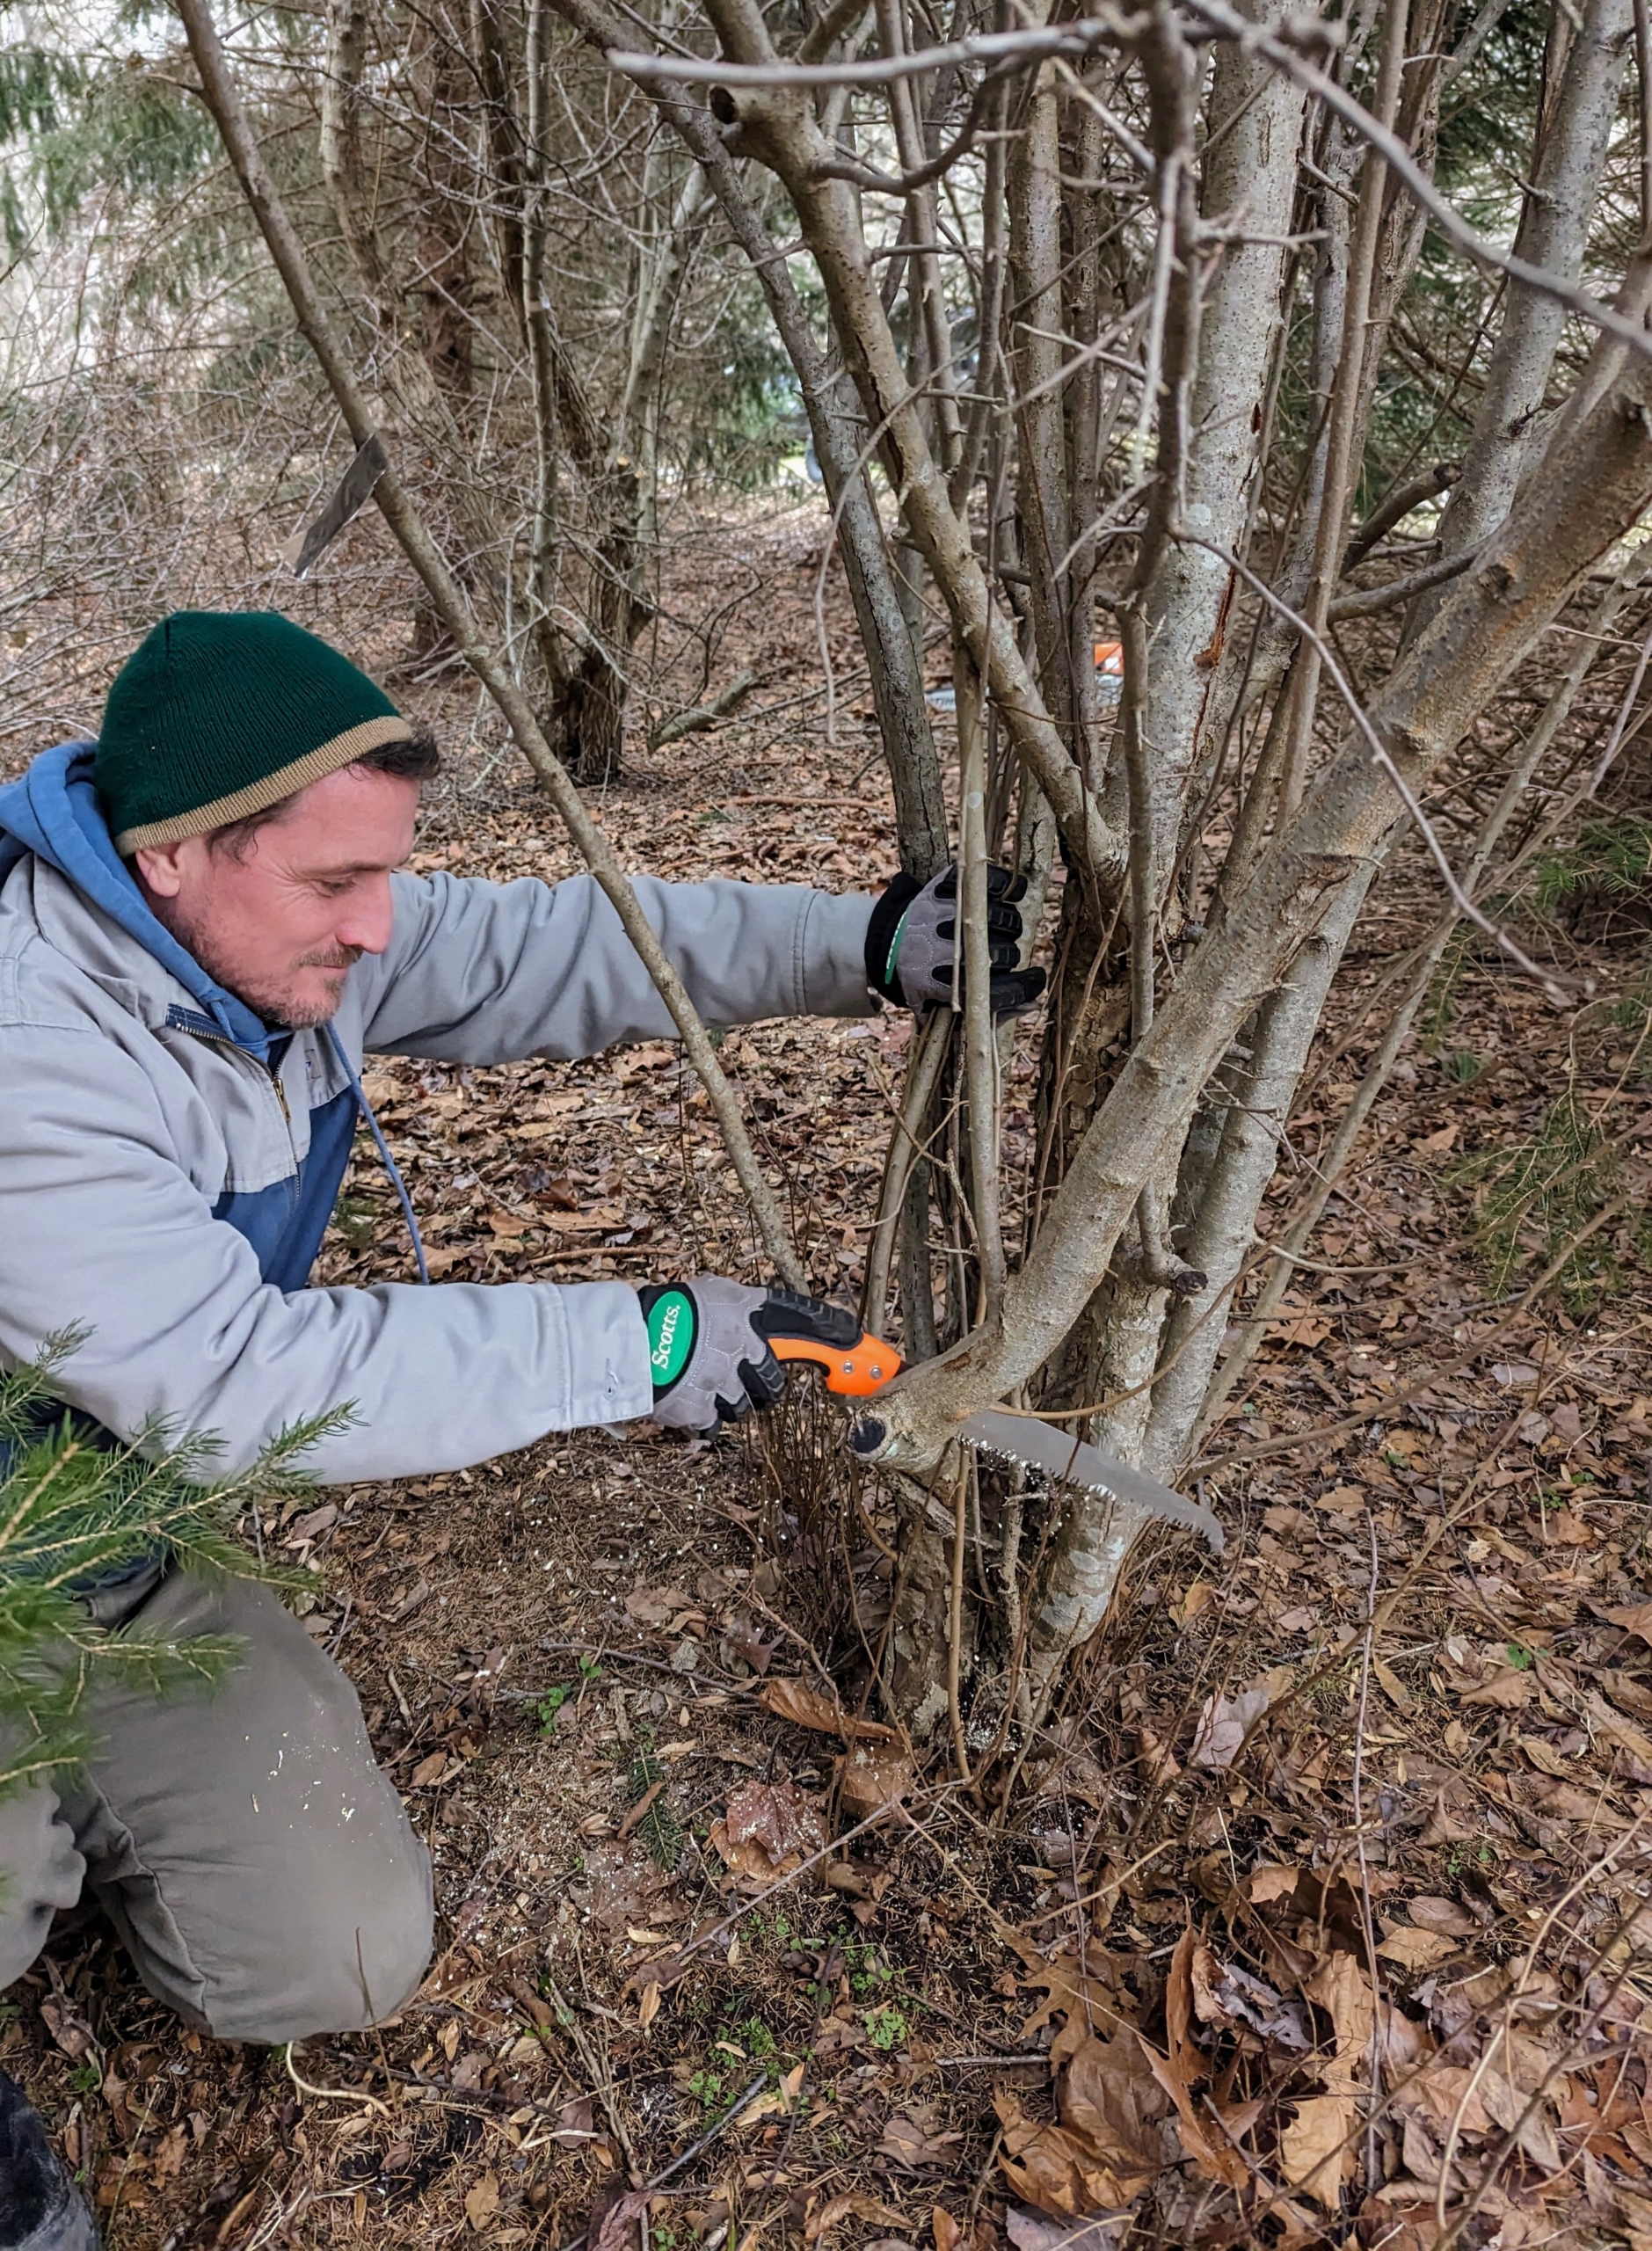
Here, Ryan also cuts some of the crabapple branches, so it is easier for the main tree stem to be cut down.
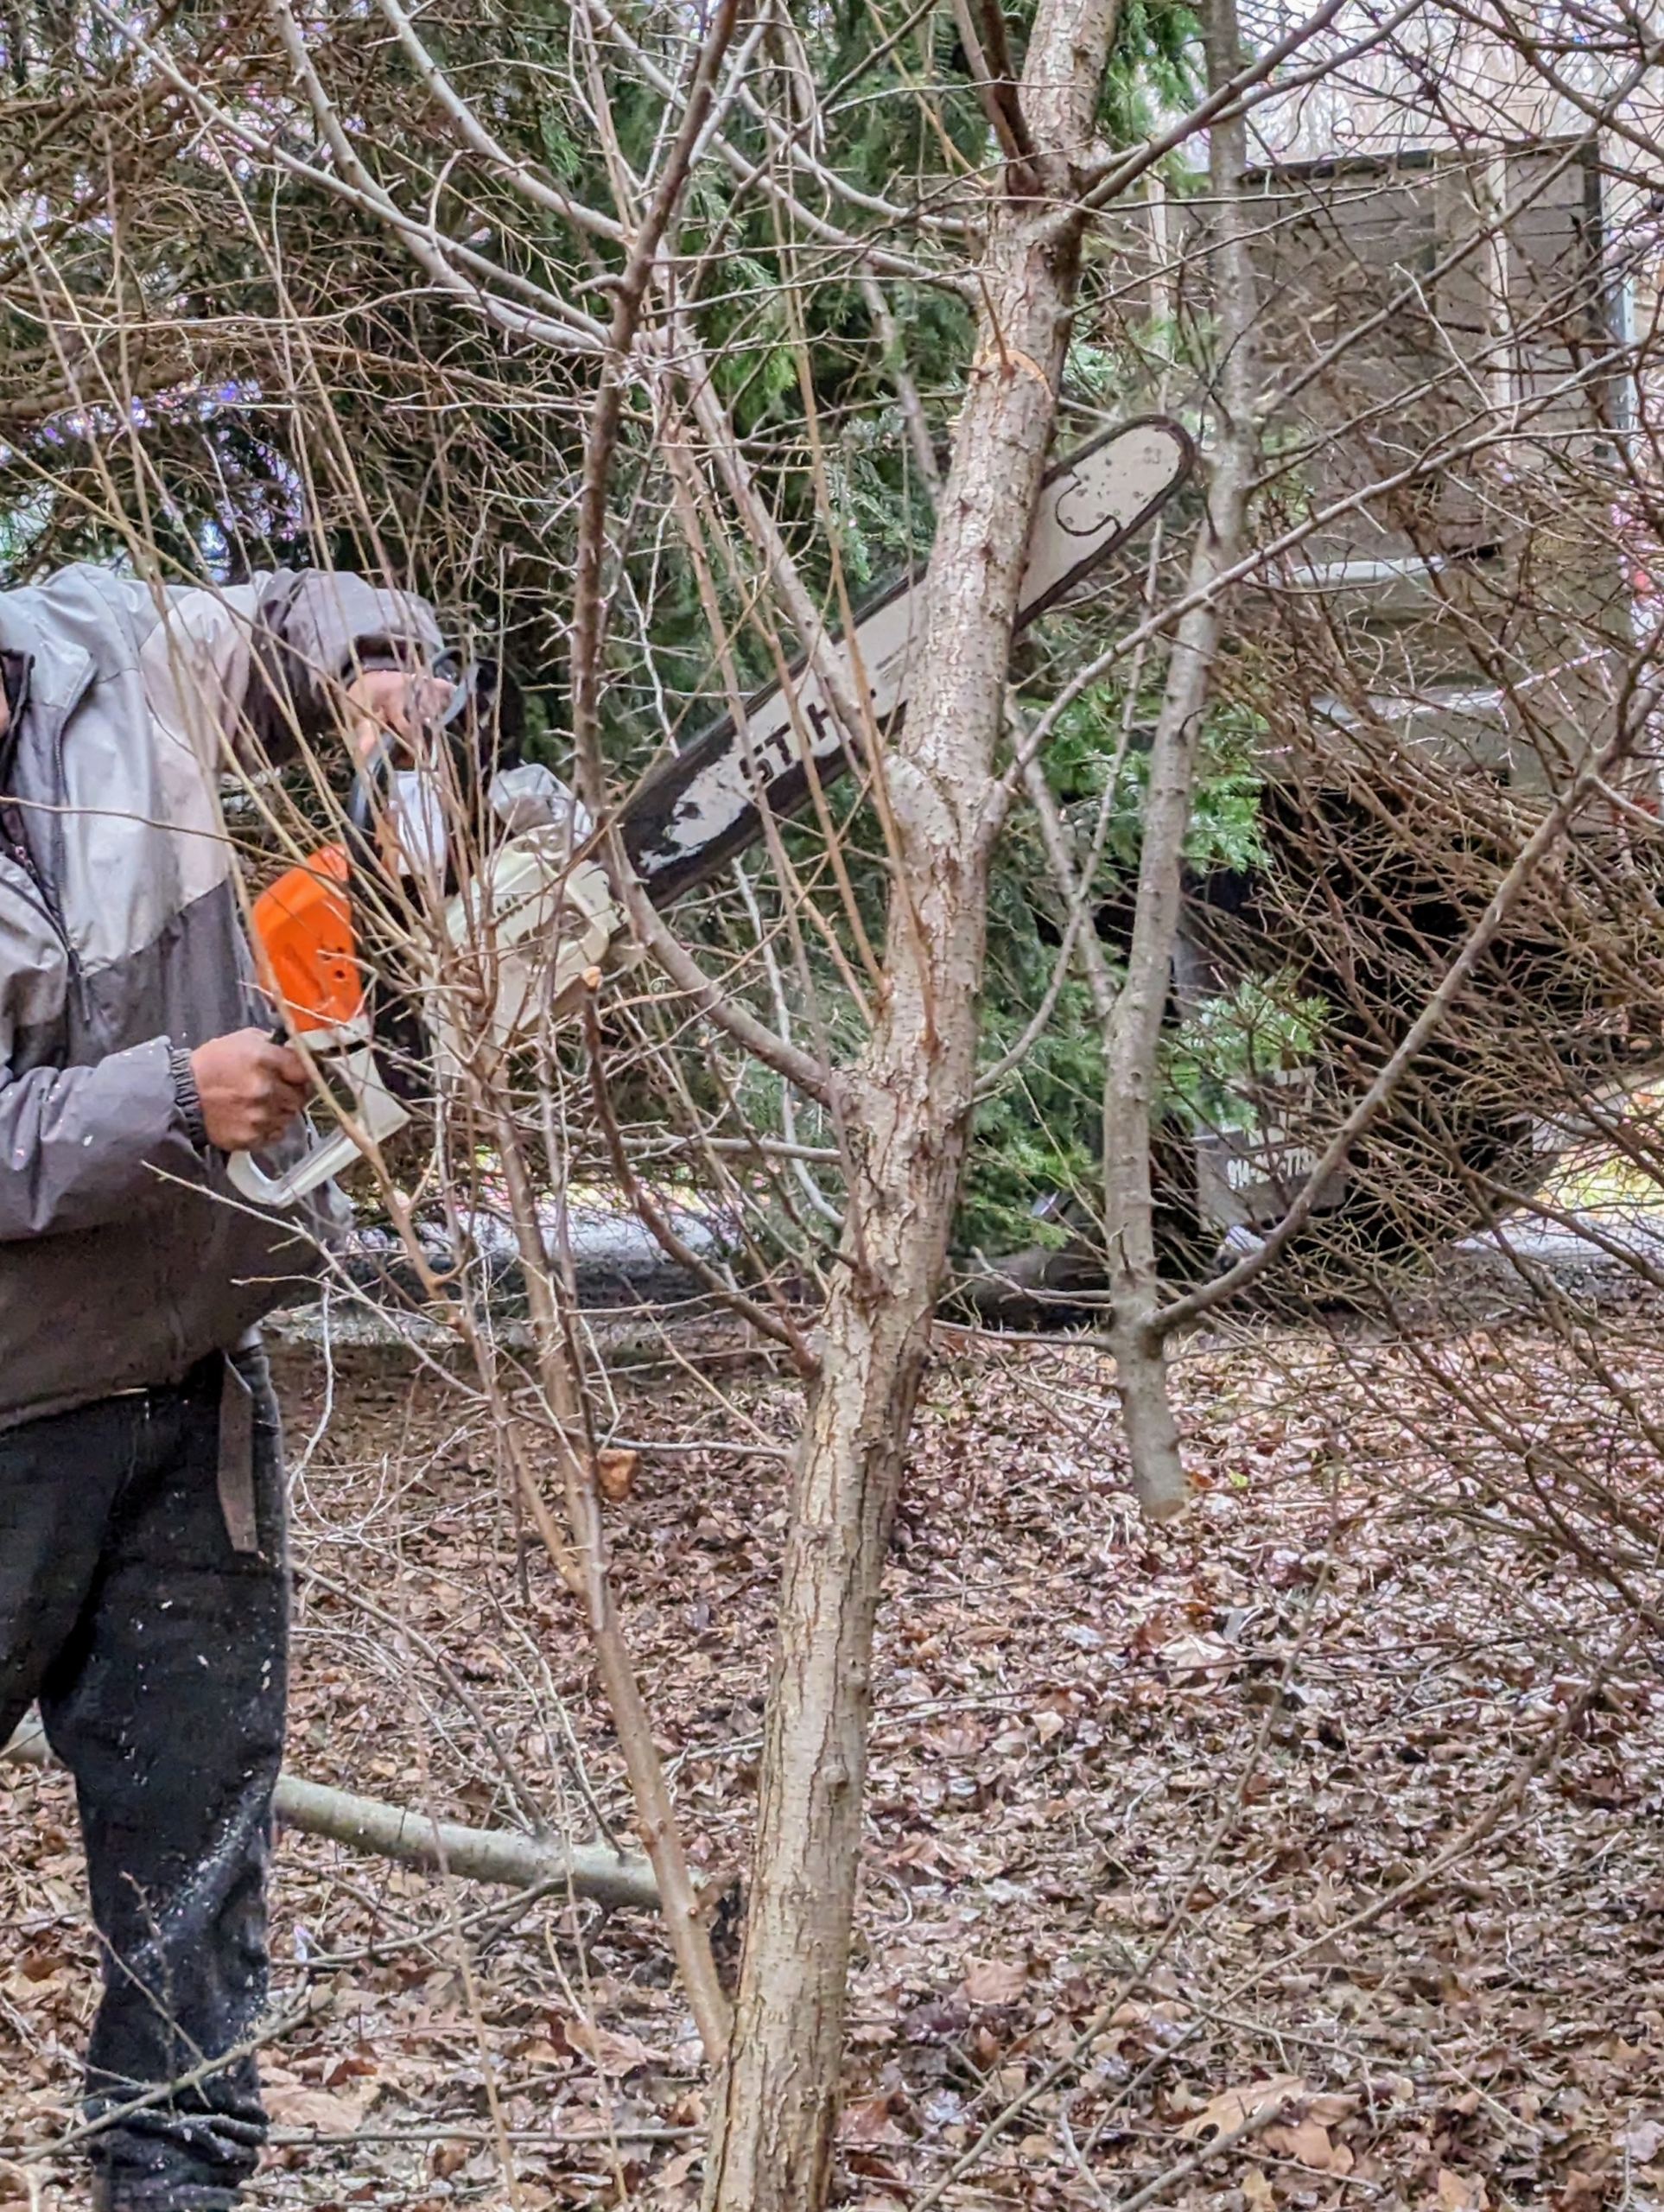
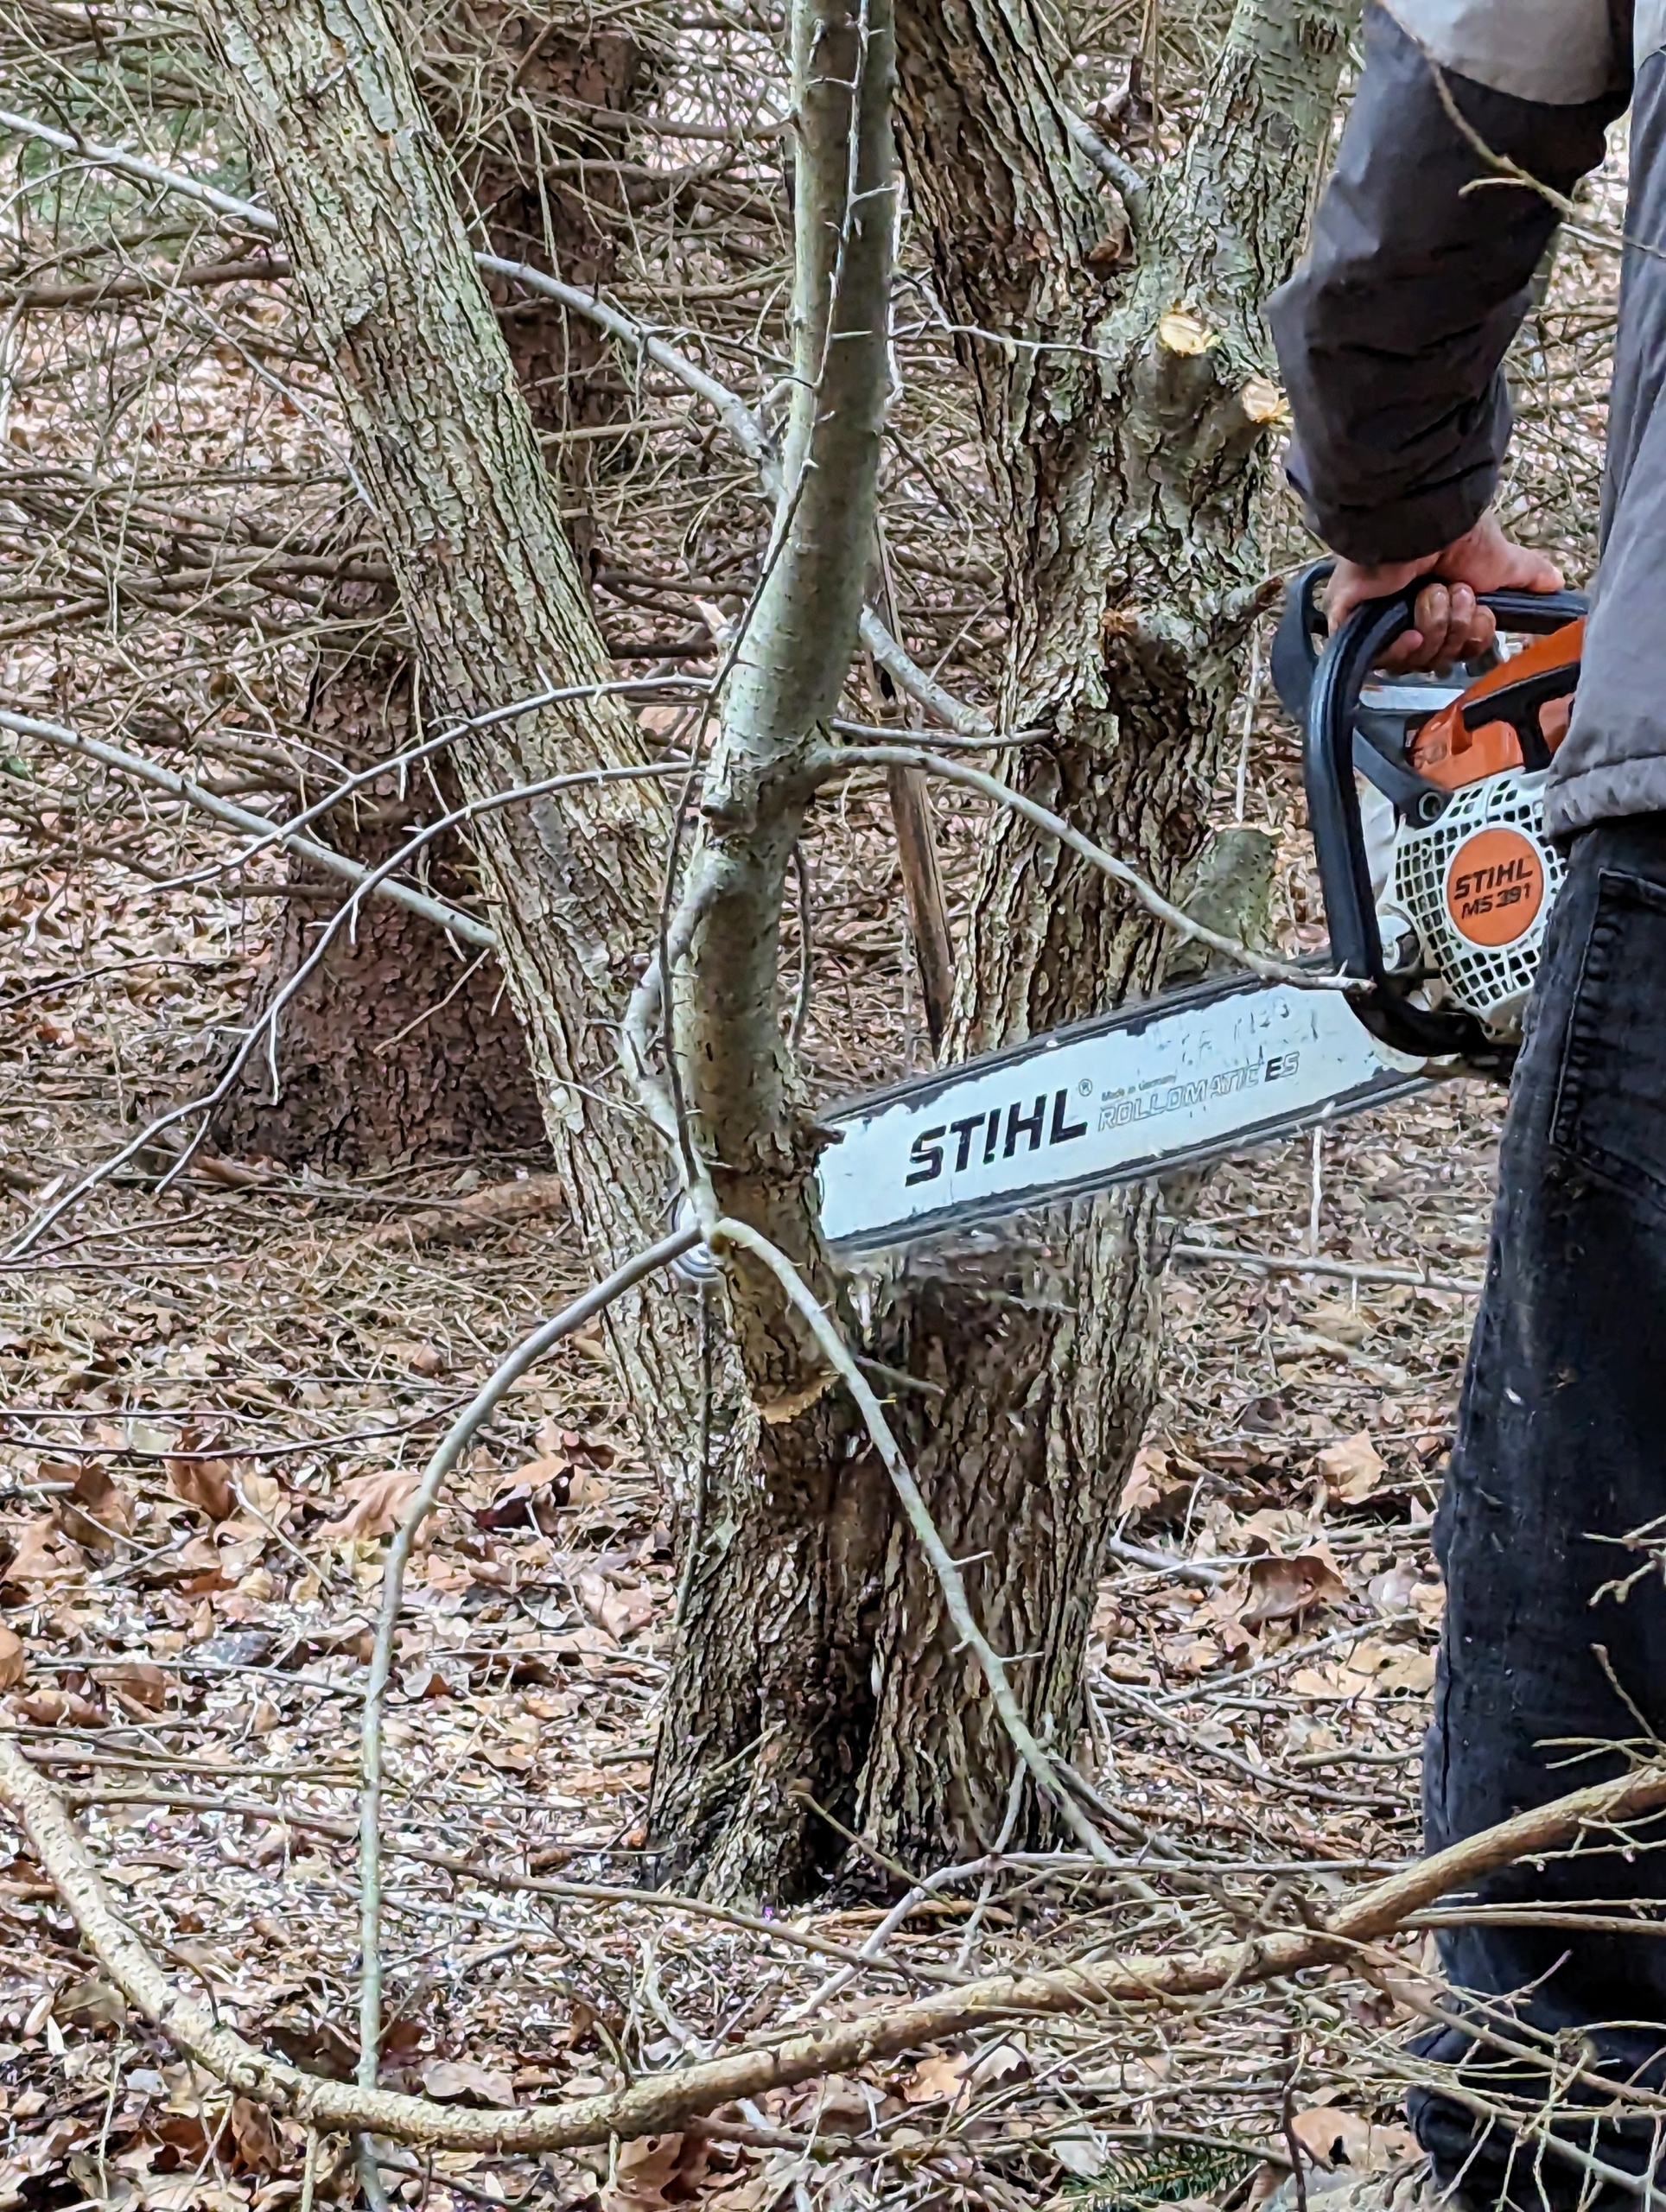
Pete is next. He removes the rest of the tree using one of our trusted STIHL chainsaws.
Our crew is very skilled at operating these tools. We’ve been using STIHL equipment for many years. A chainsaw can substantially reduce the time and effort required to chop, shape, and cut wood.
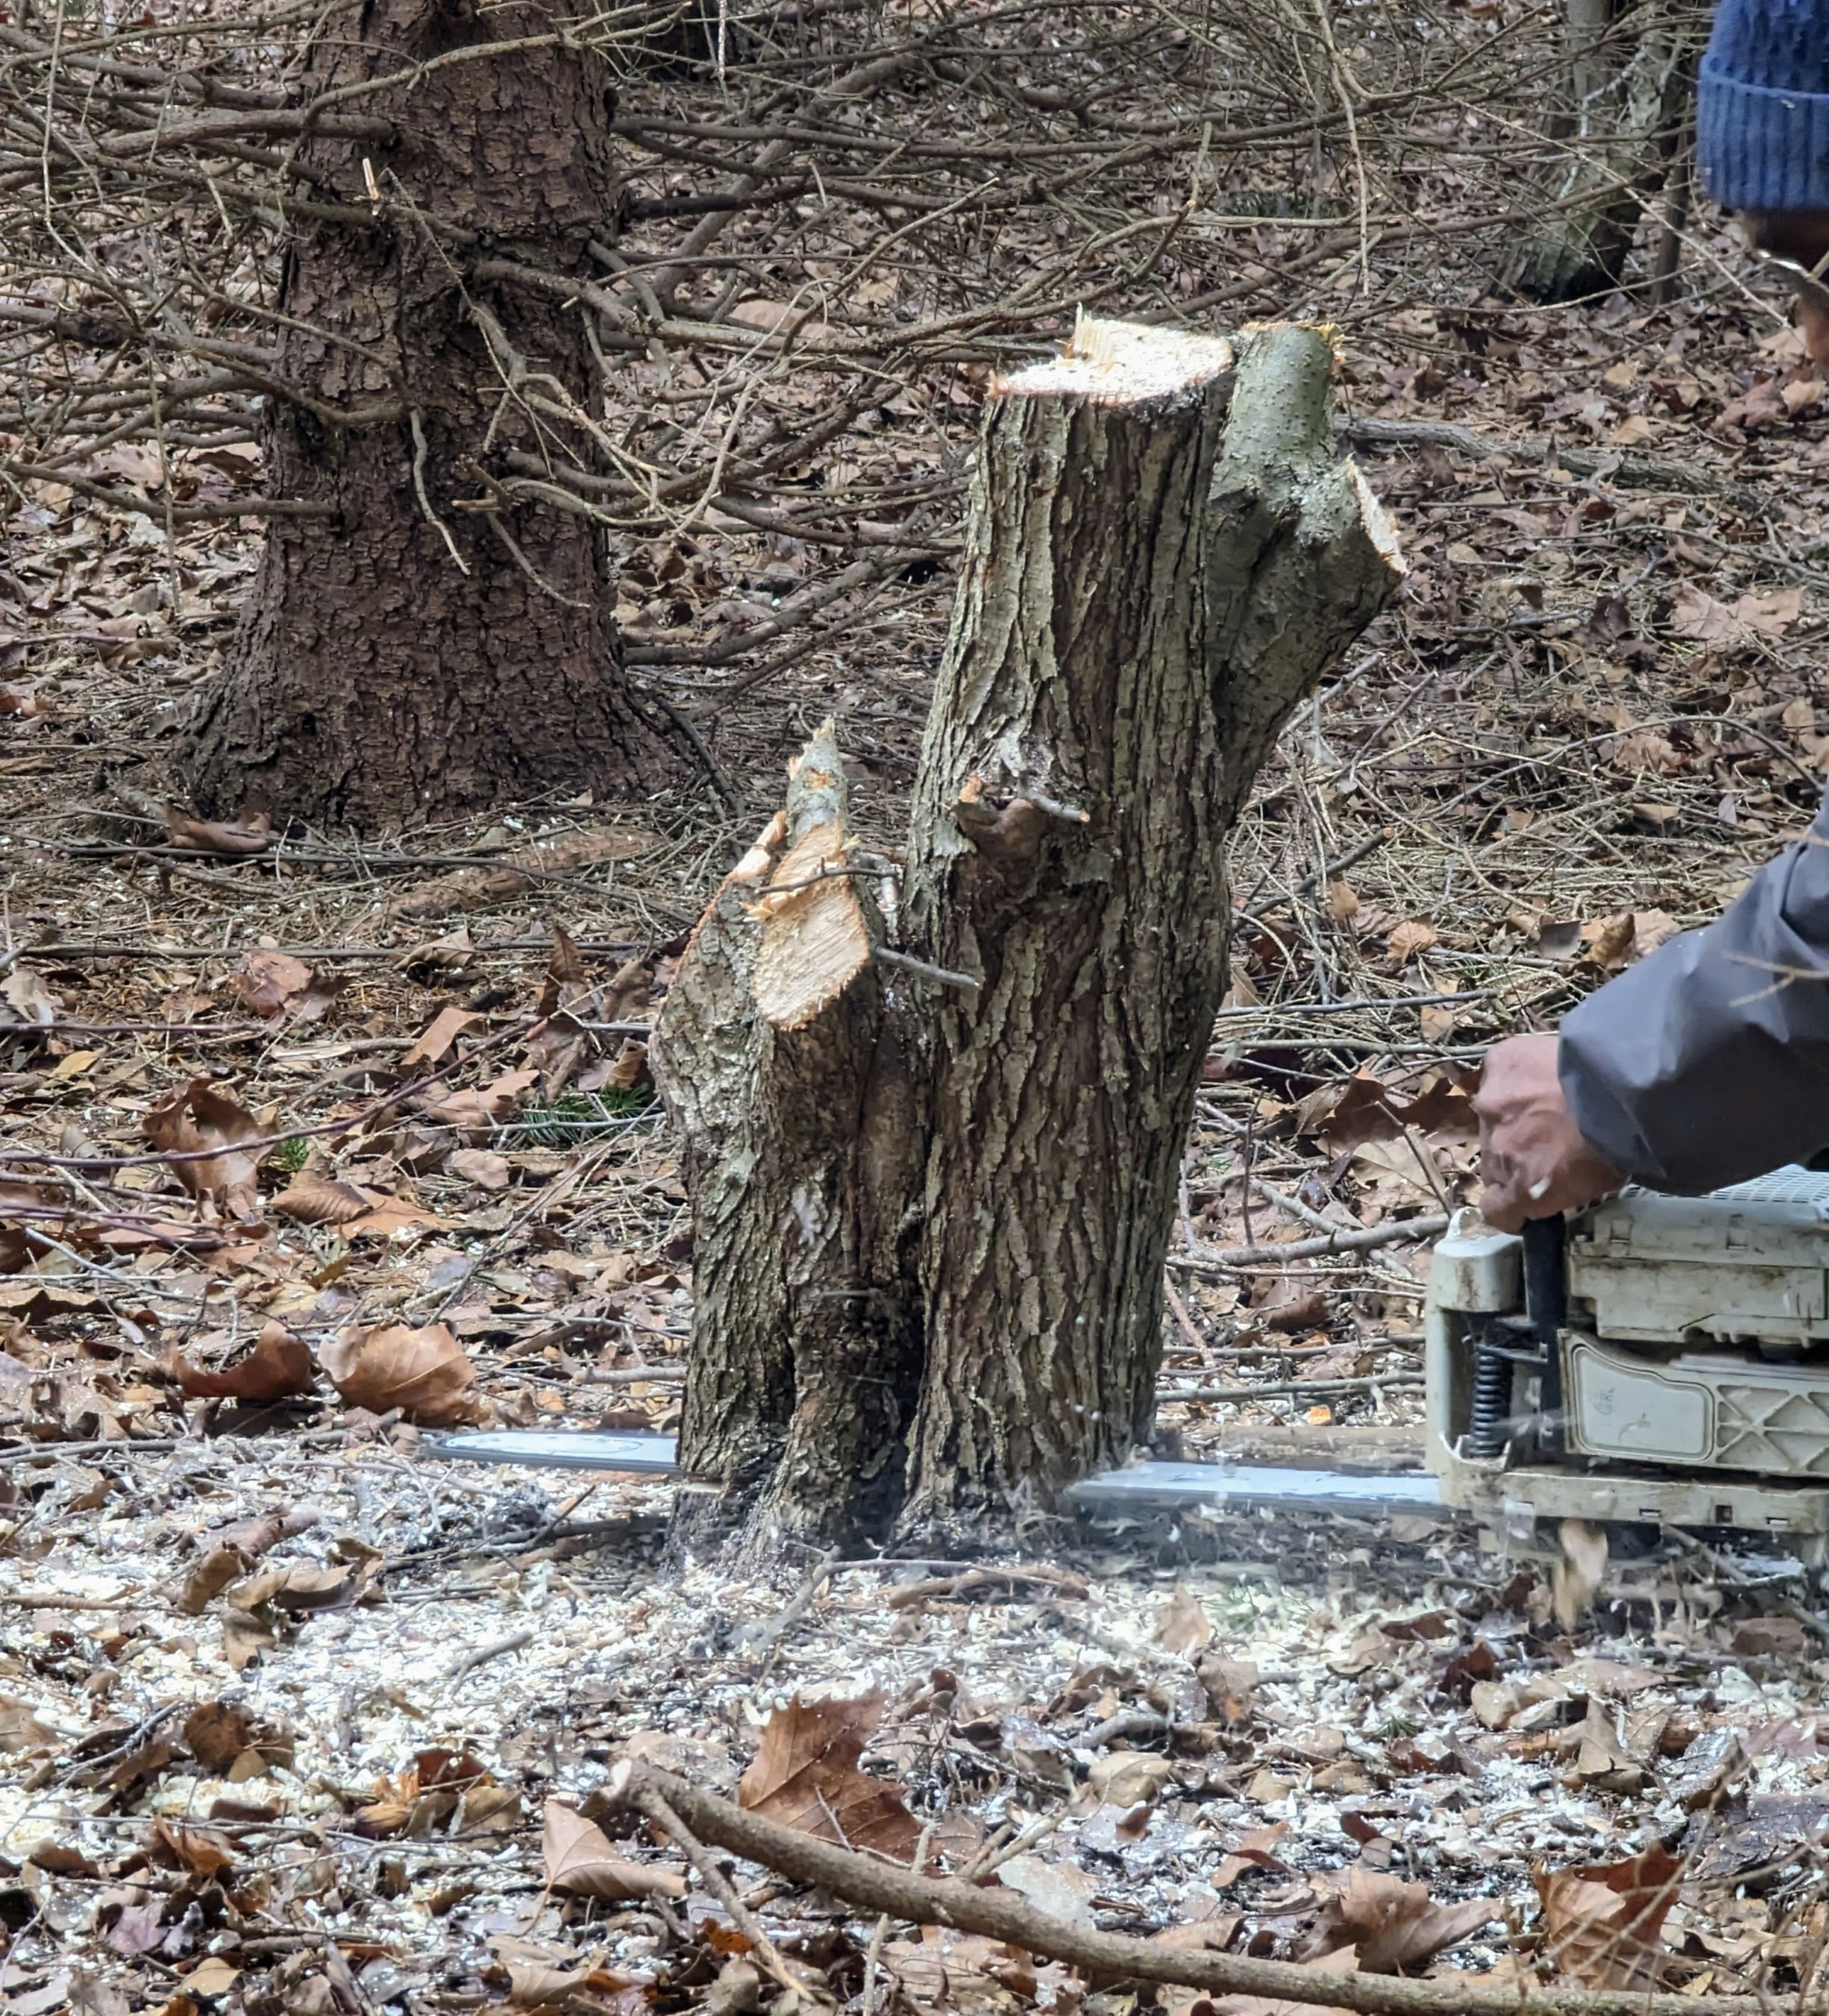
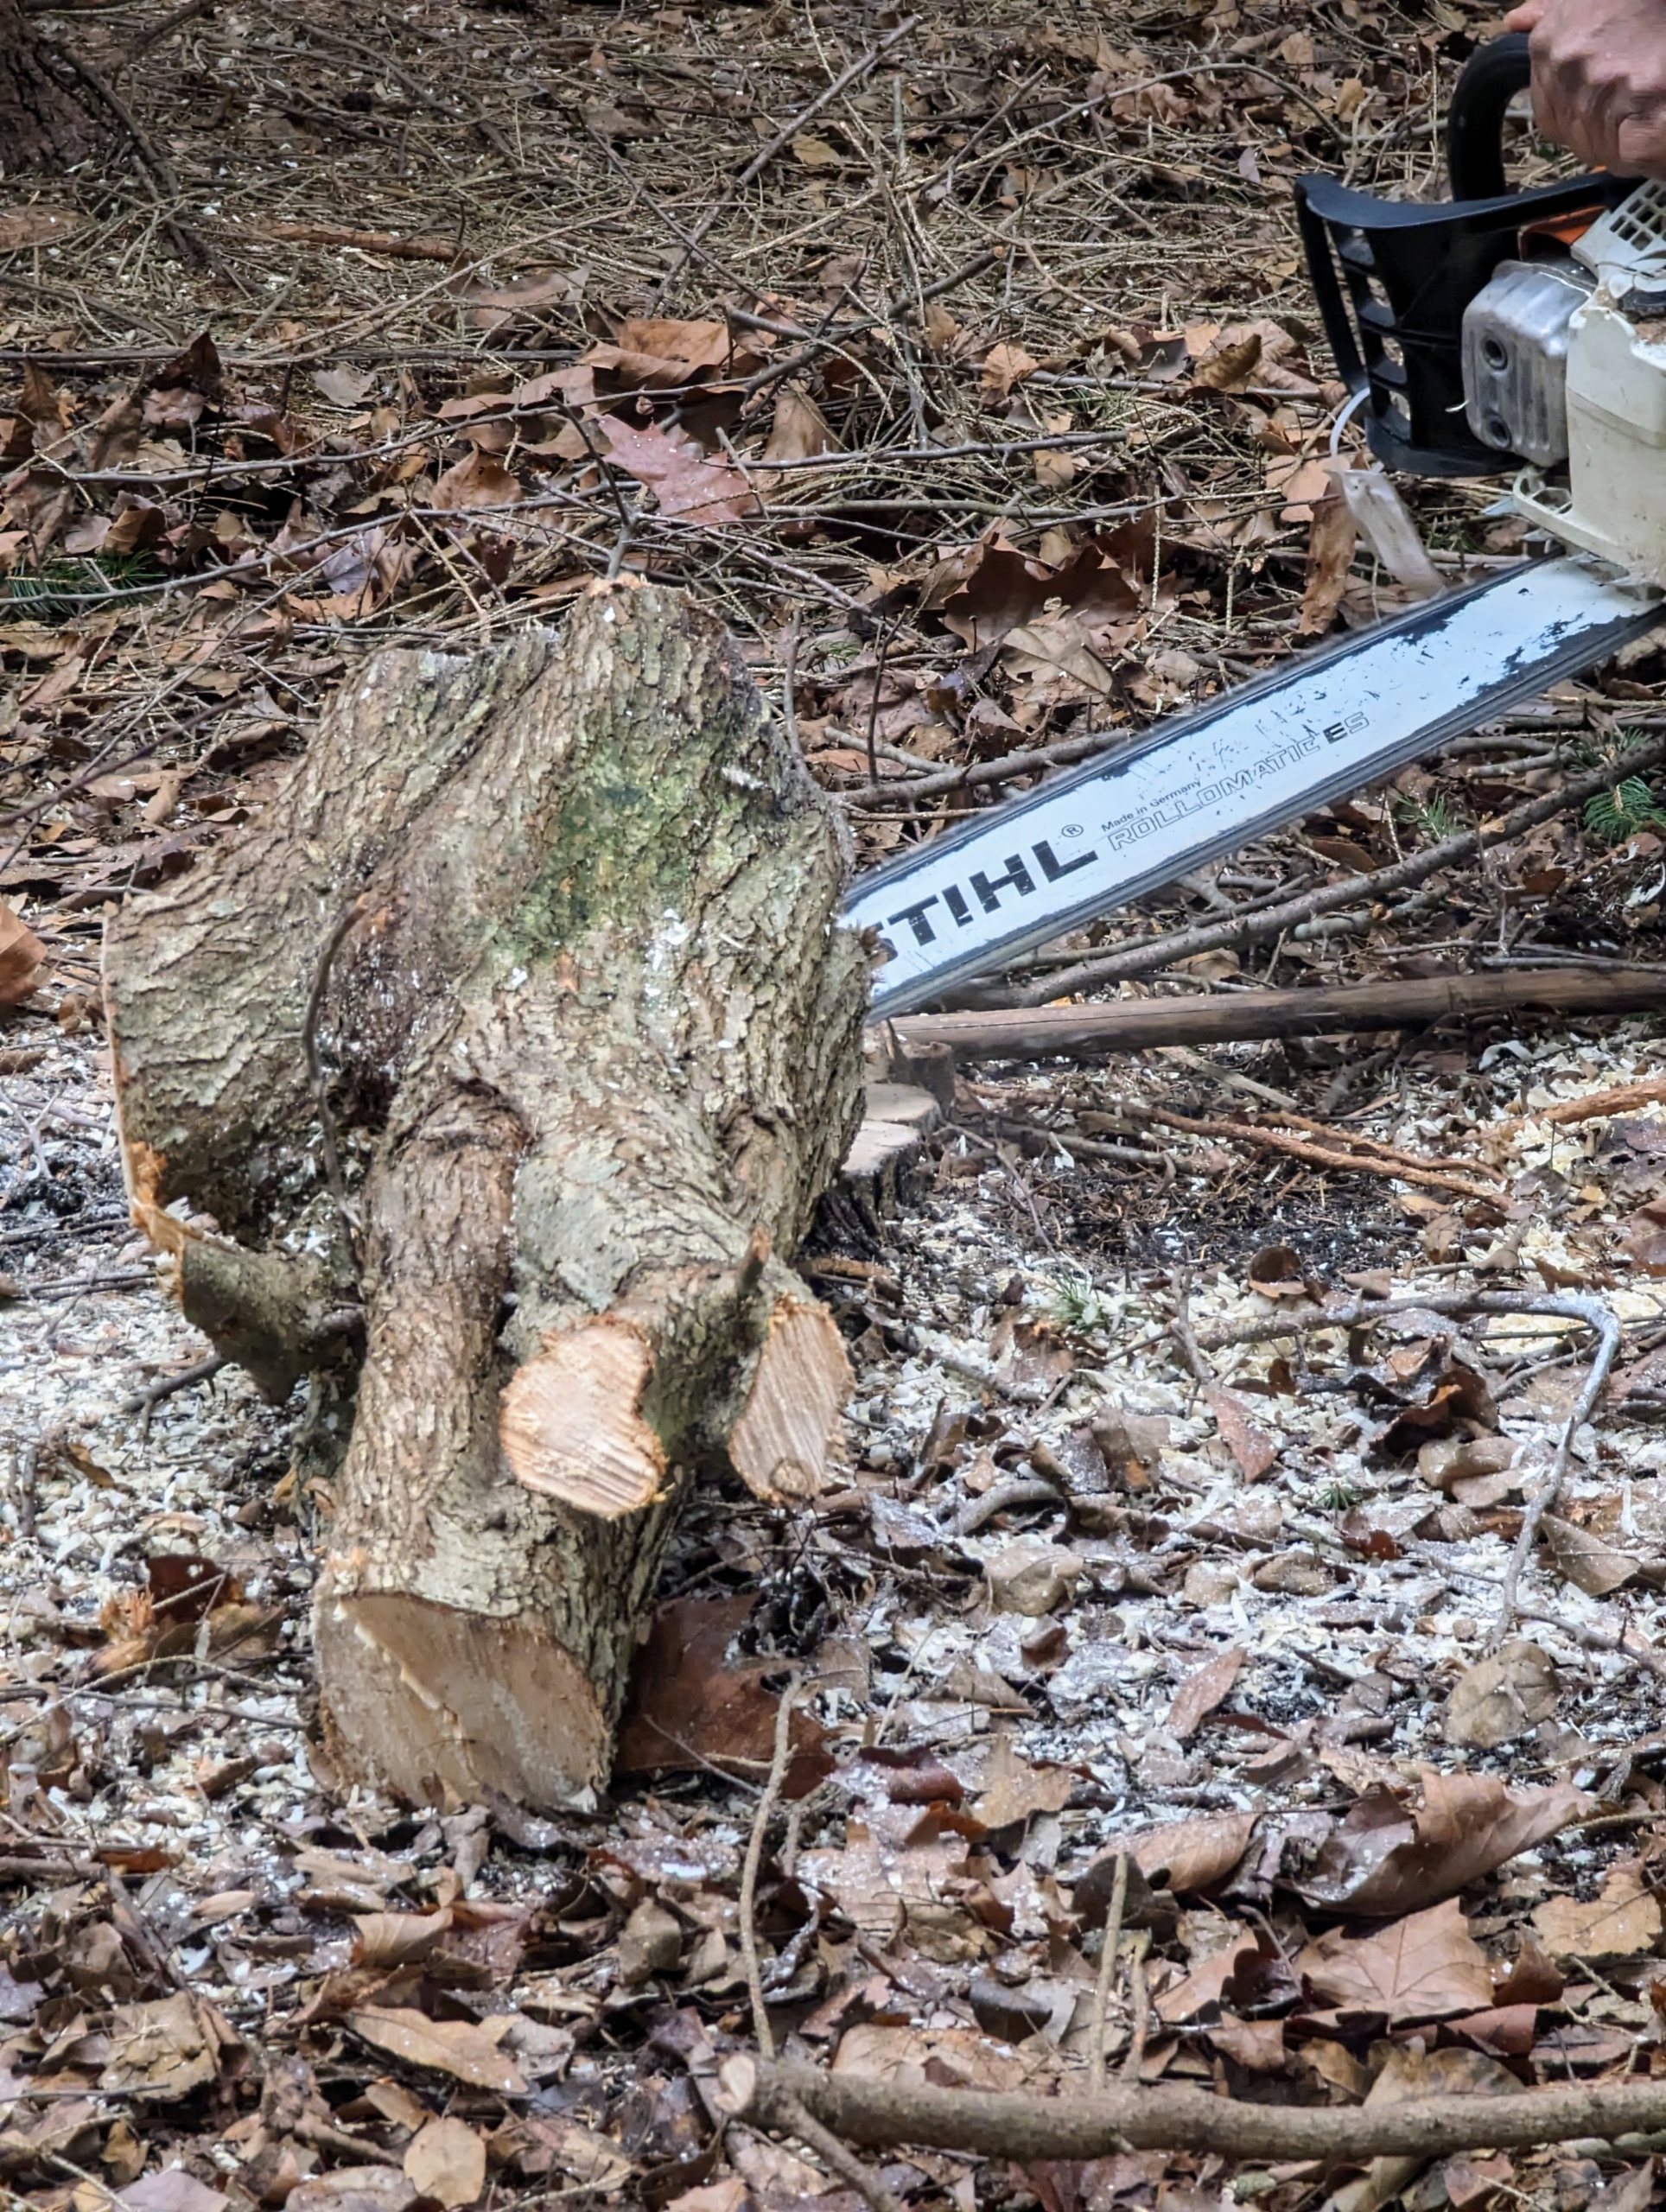
Slowly, the tree is smaller and more manageable. Pete cuts it in sections, so it is easier to carry pieces away.
Here he makes the final cut, leaving only a stump in its place.
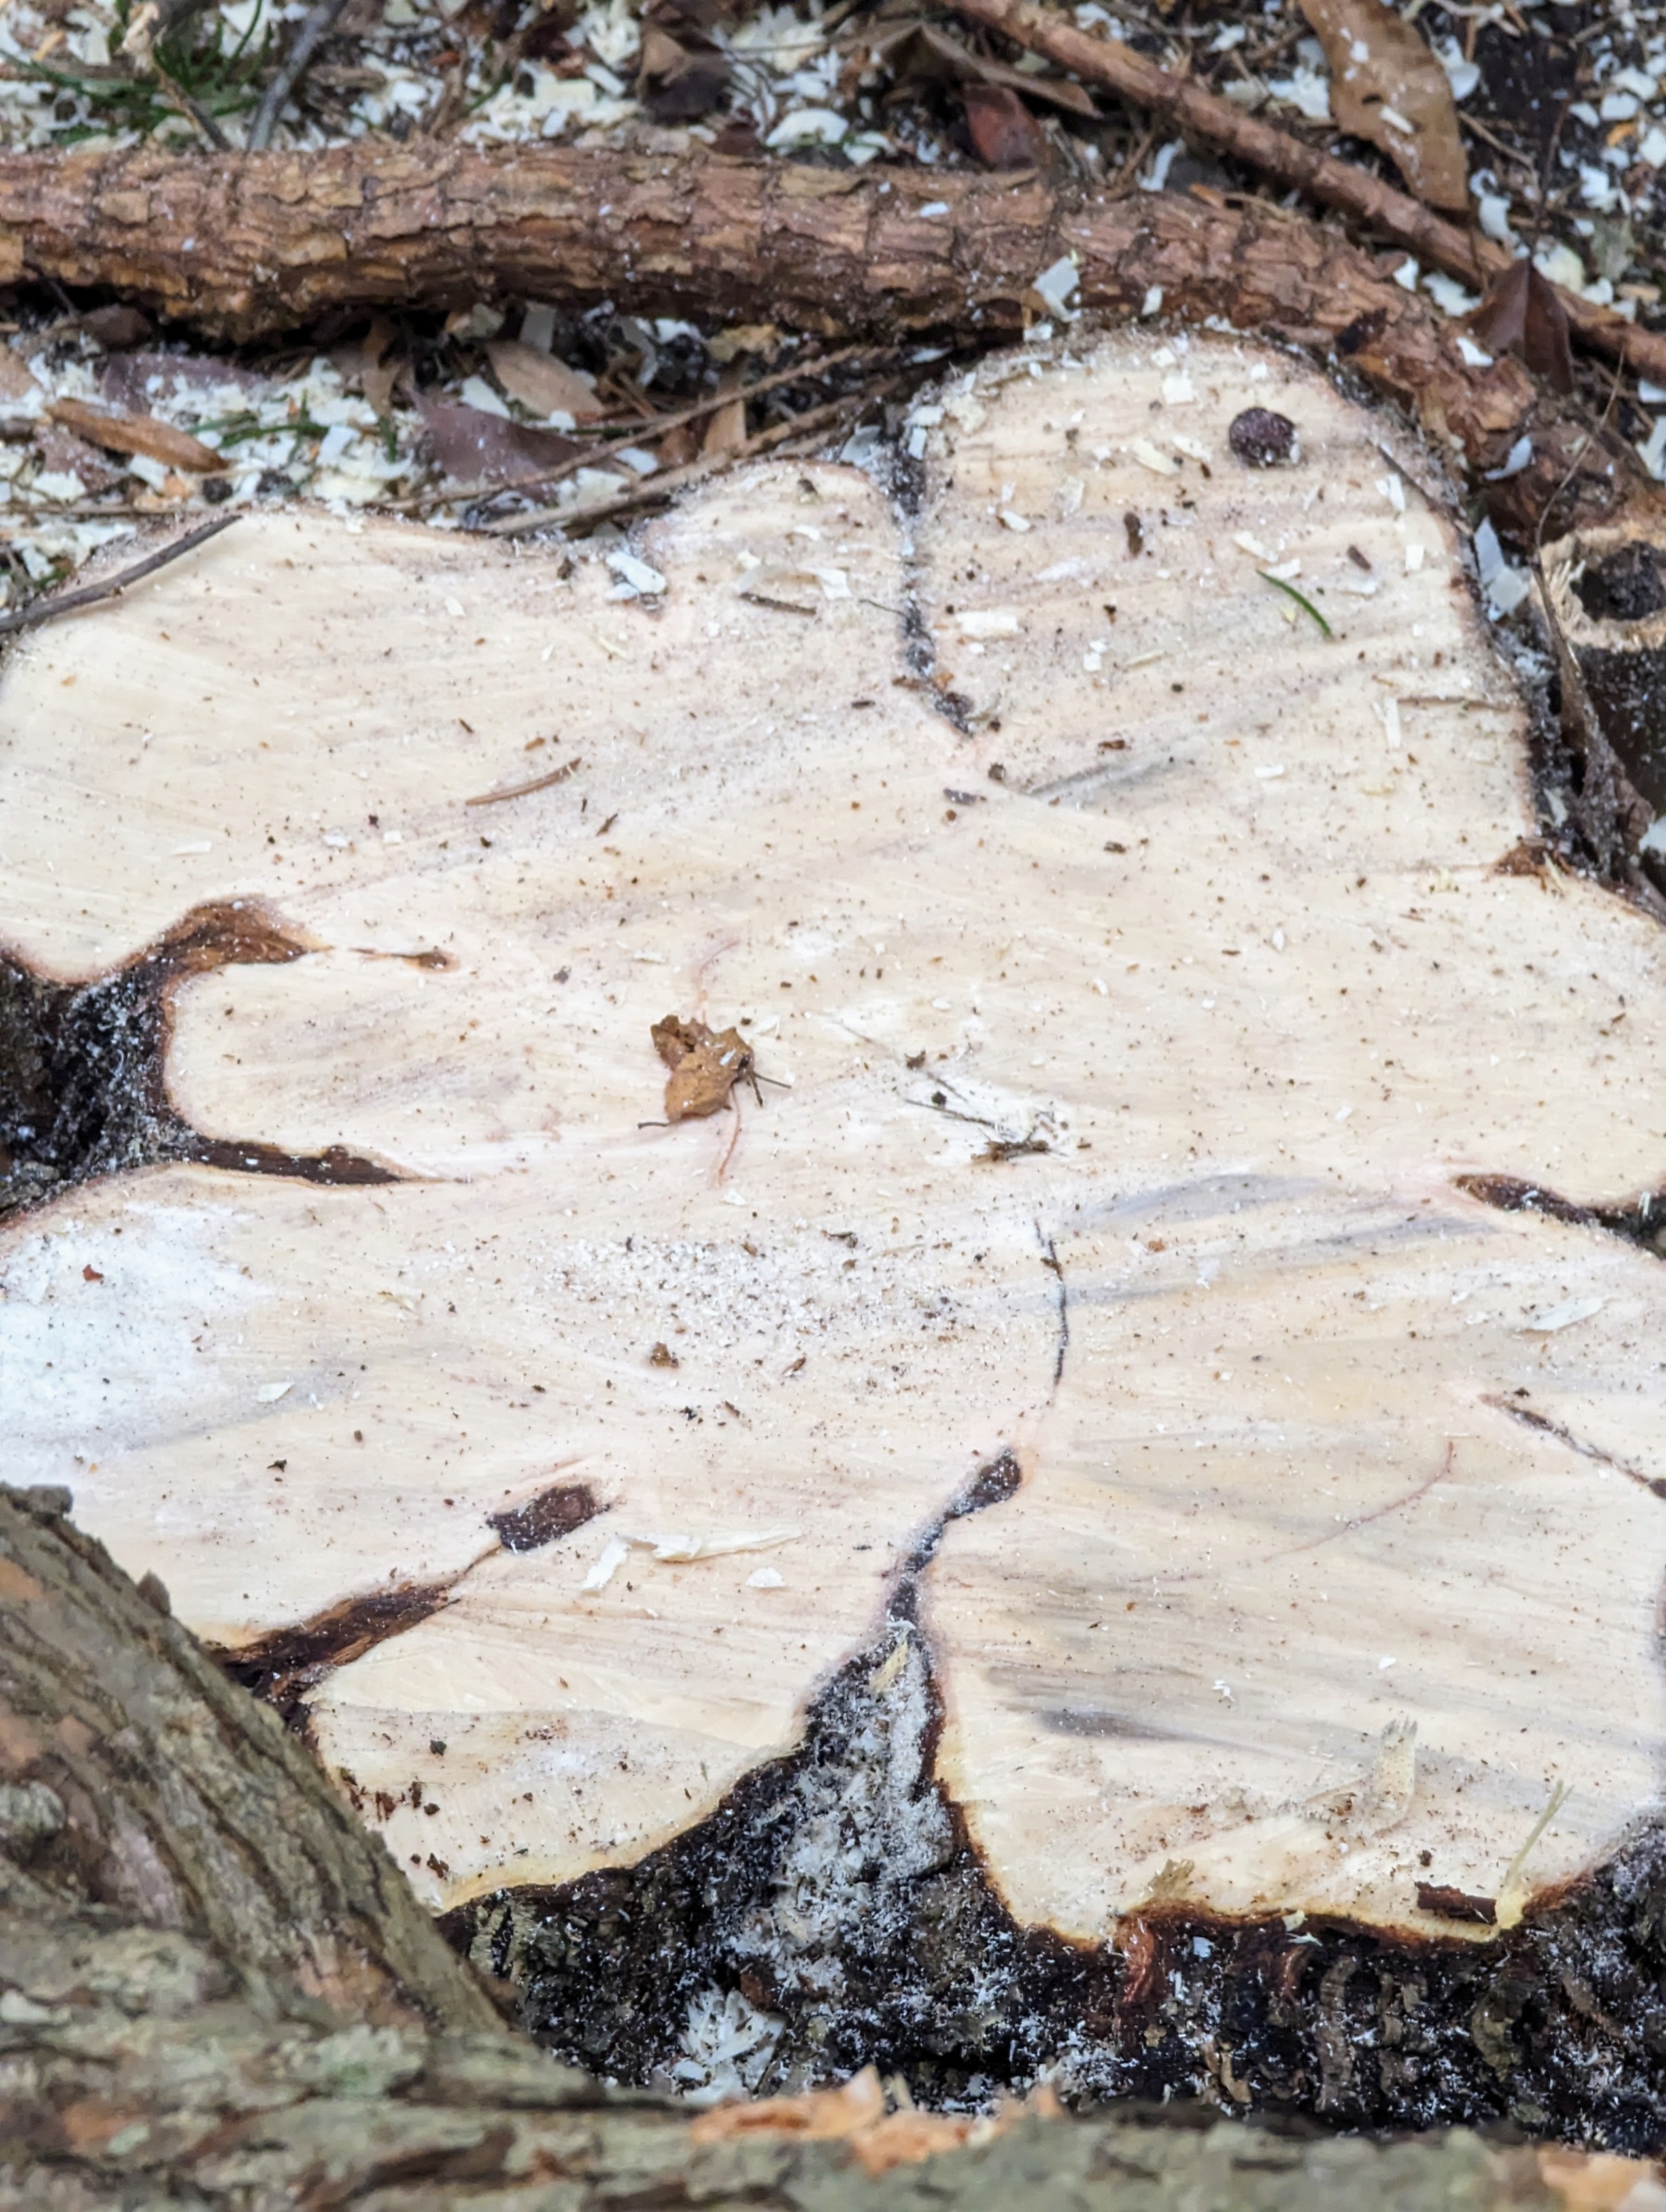
I am fortunate to be able to reuse, recycle, and repurpose trees here at the farm. Once trees are cut down, they are either repurposed as milled lumber, wood chips, or ground and left to decay and made into garden dressings, such as mulch and compost.
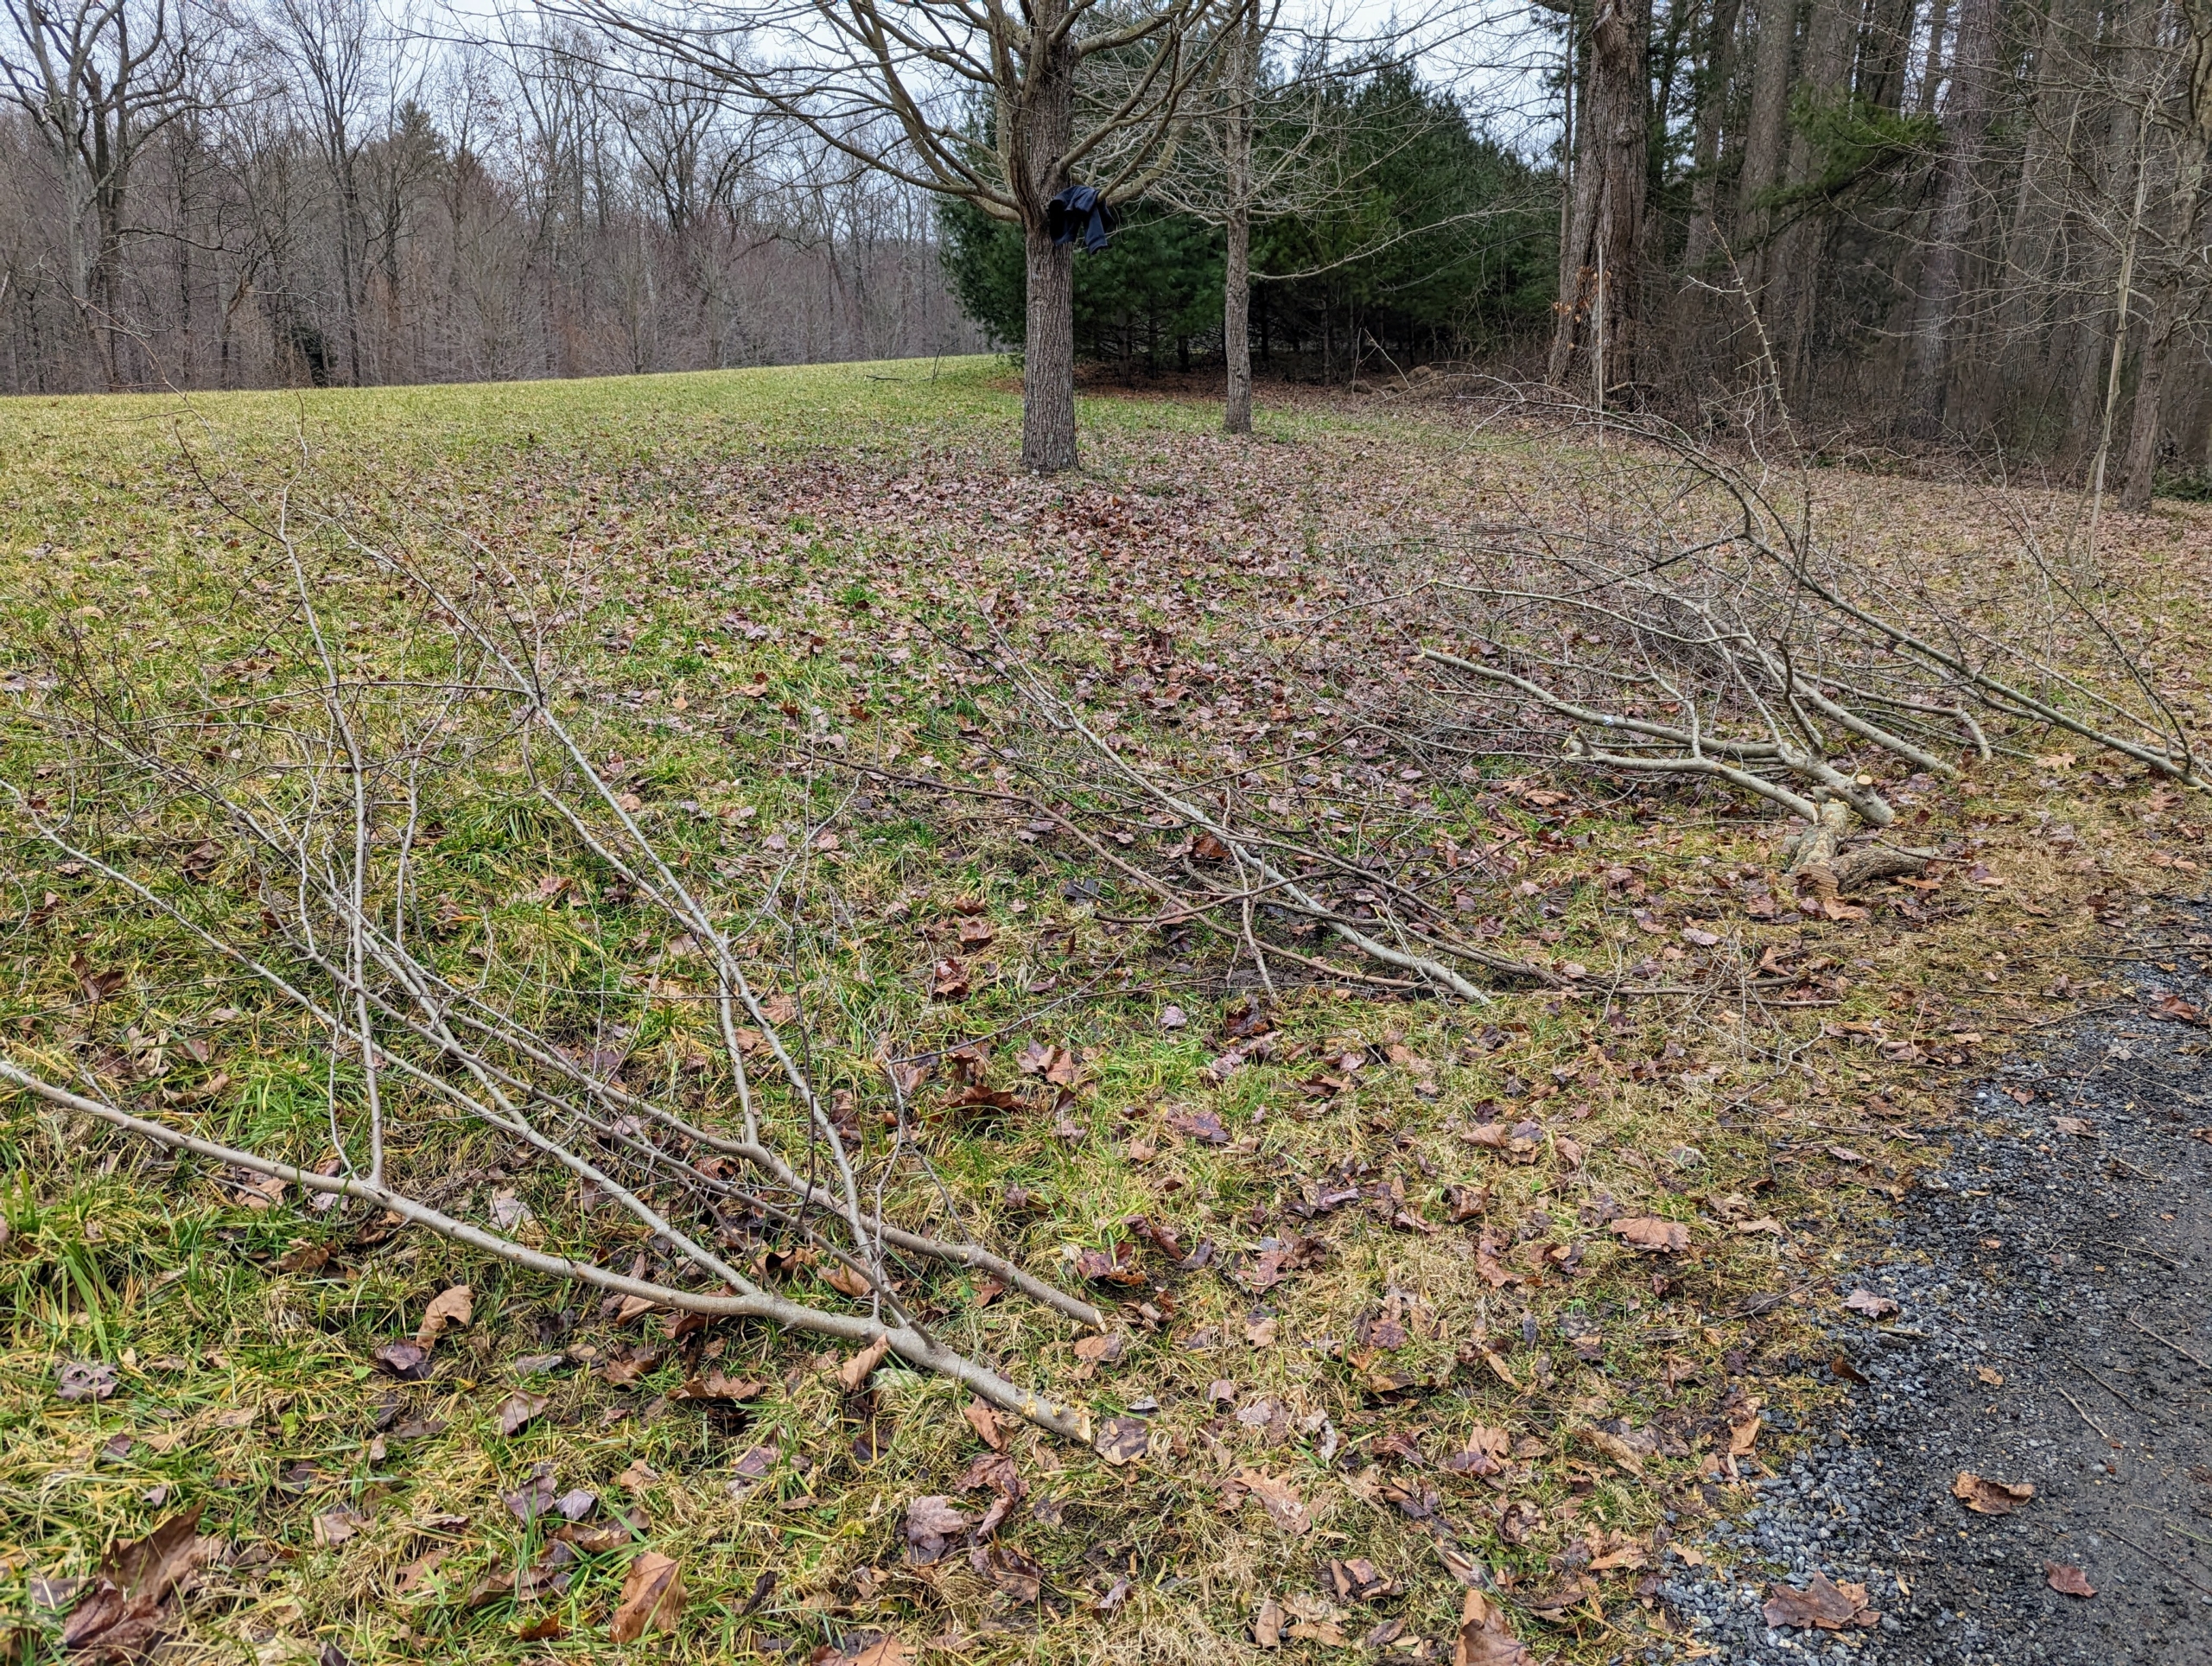
This is a very busy time of year for my outdoor grounds crew. As the trees are cut and the woods “cleaned,” branches are piled neatly to one side so they are easy to collect and take to the compost yard.
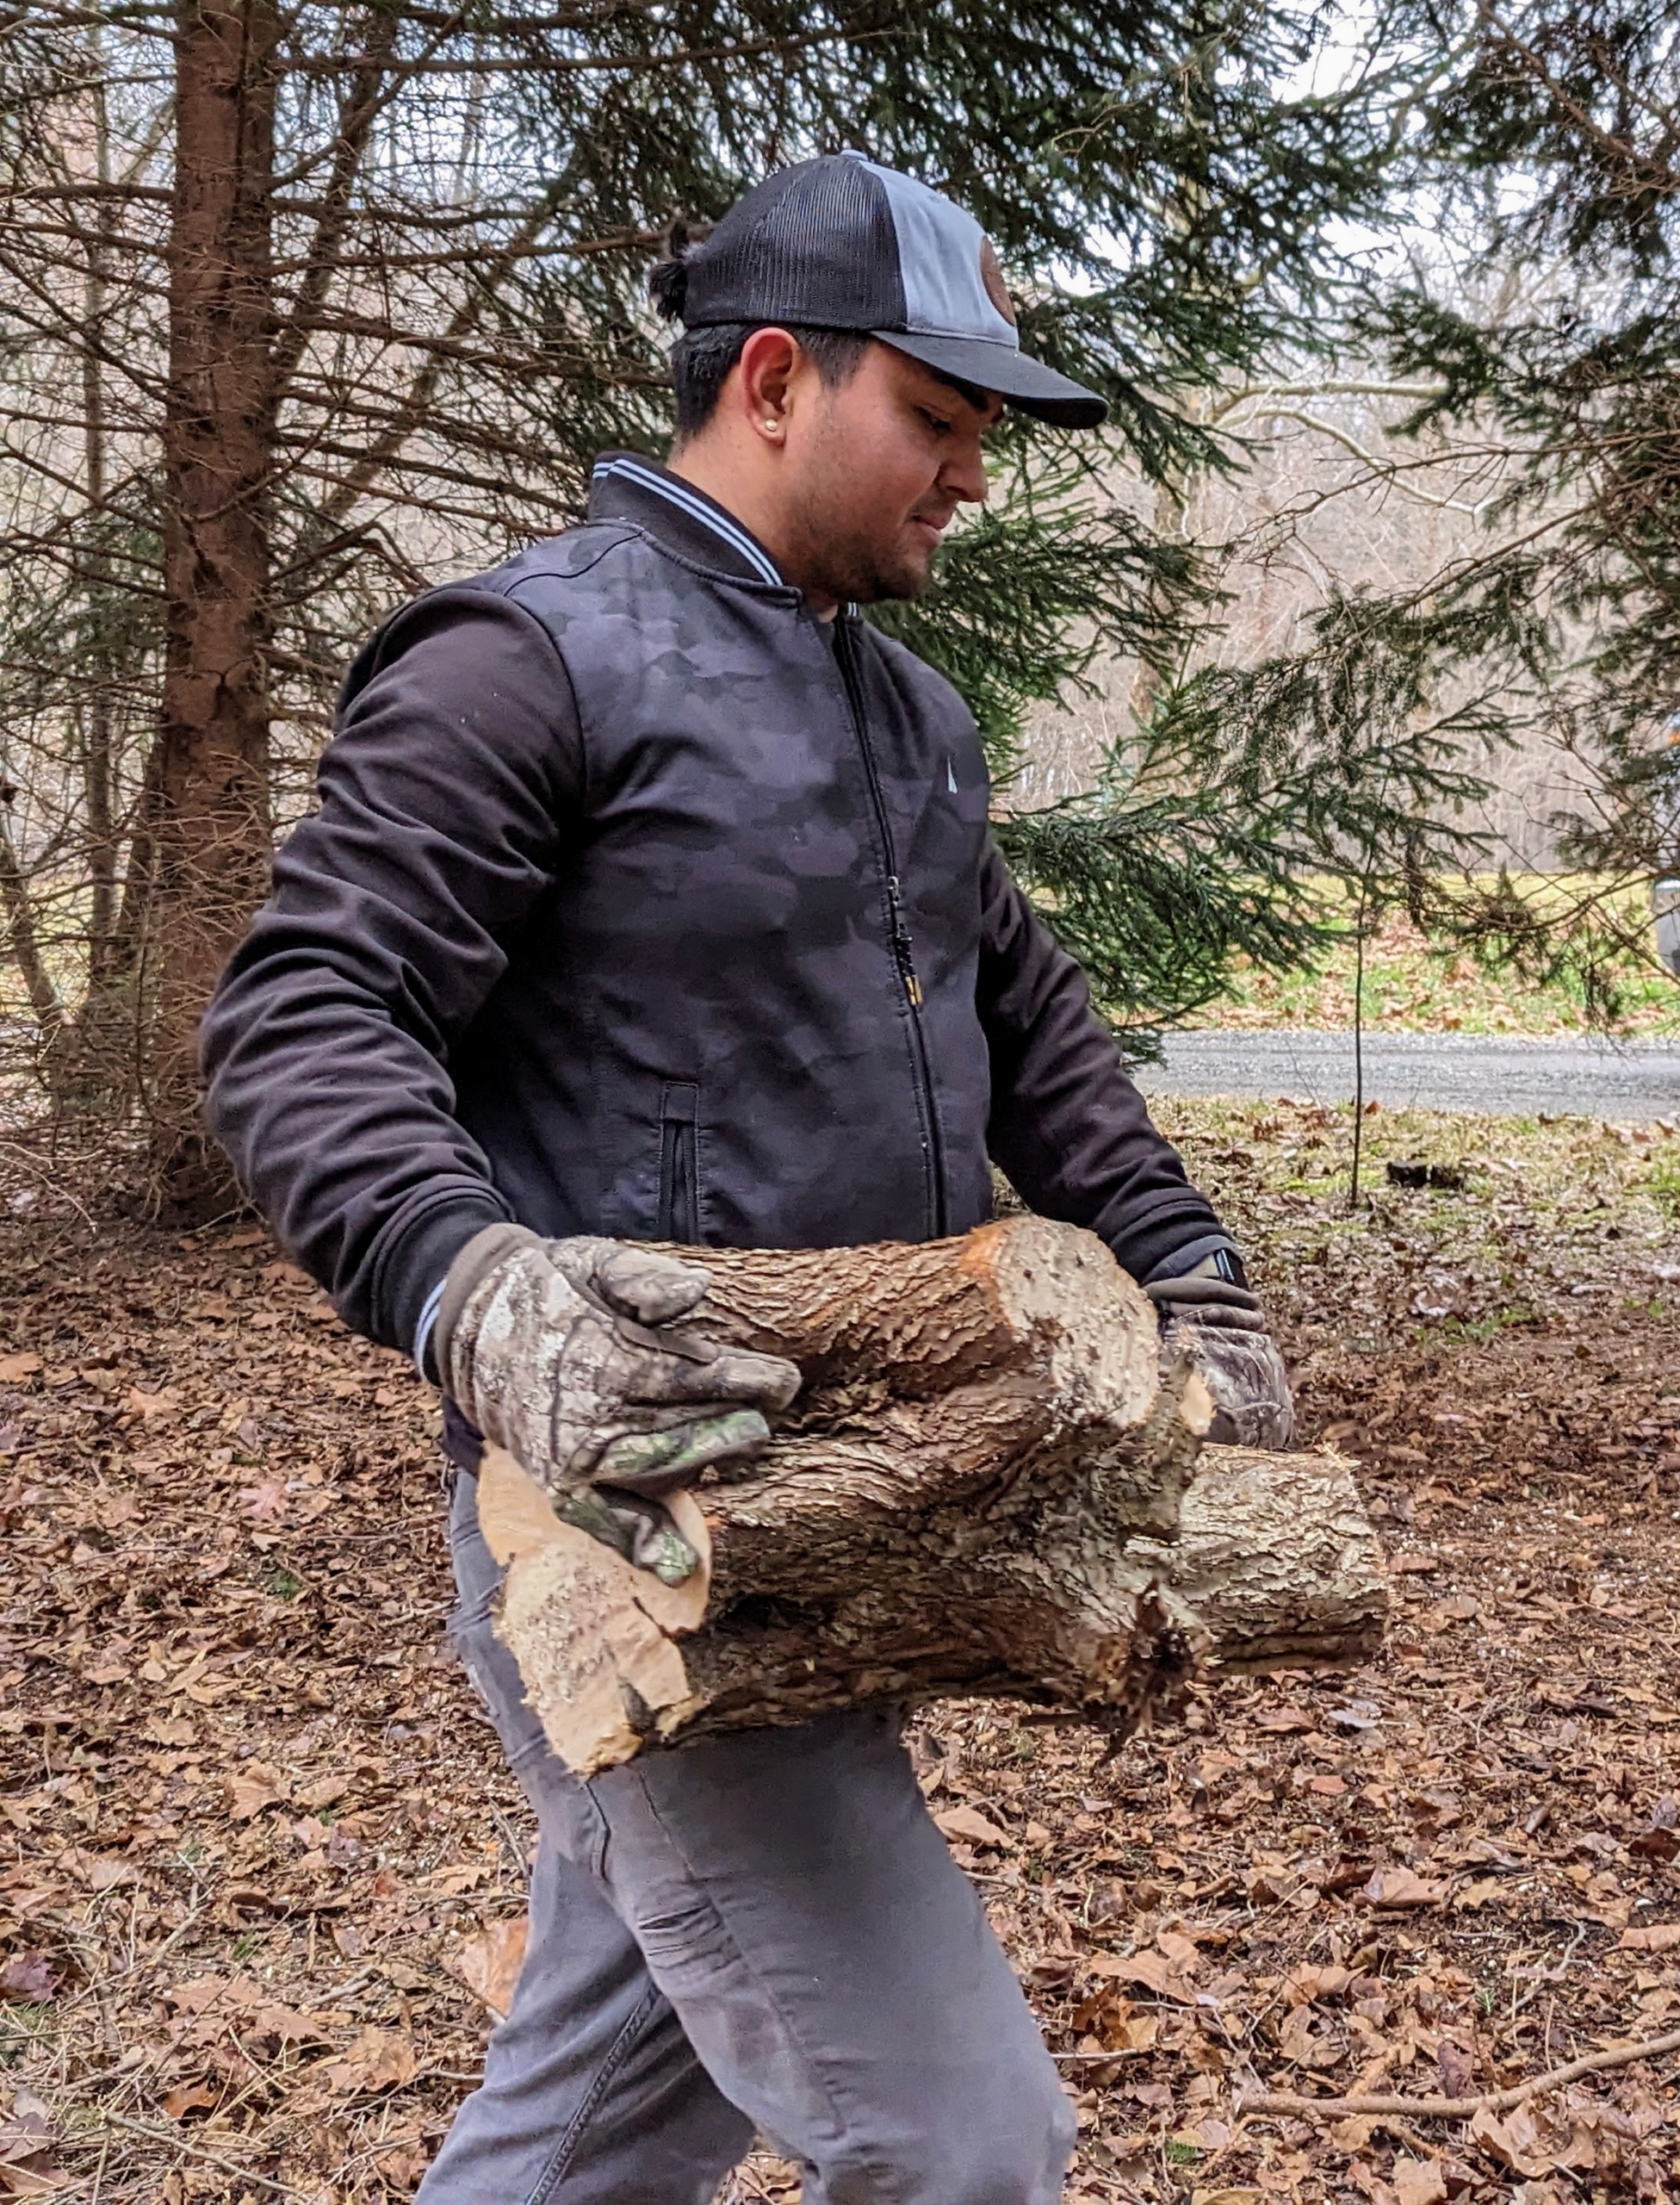
Here is Jimmy retrieving a section of the just-cut crabapple.
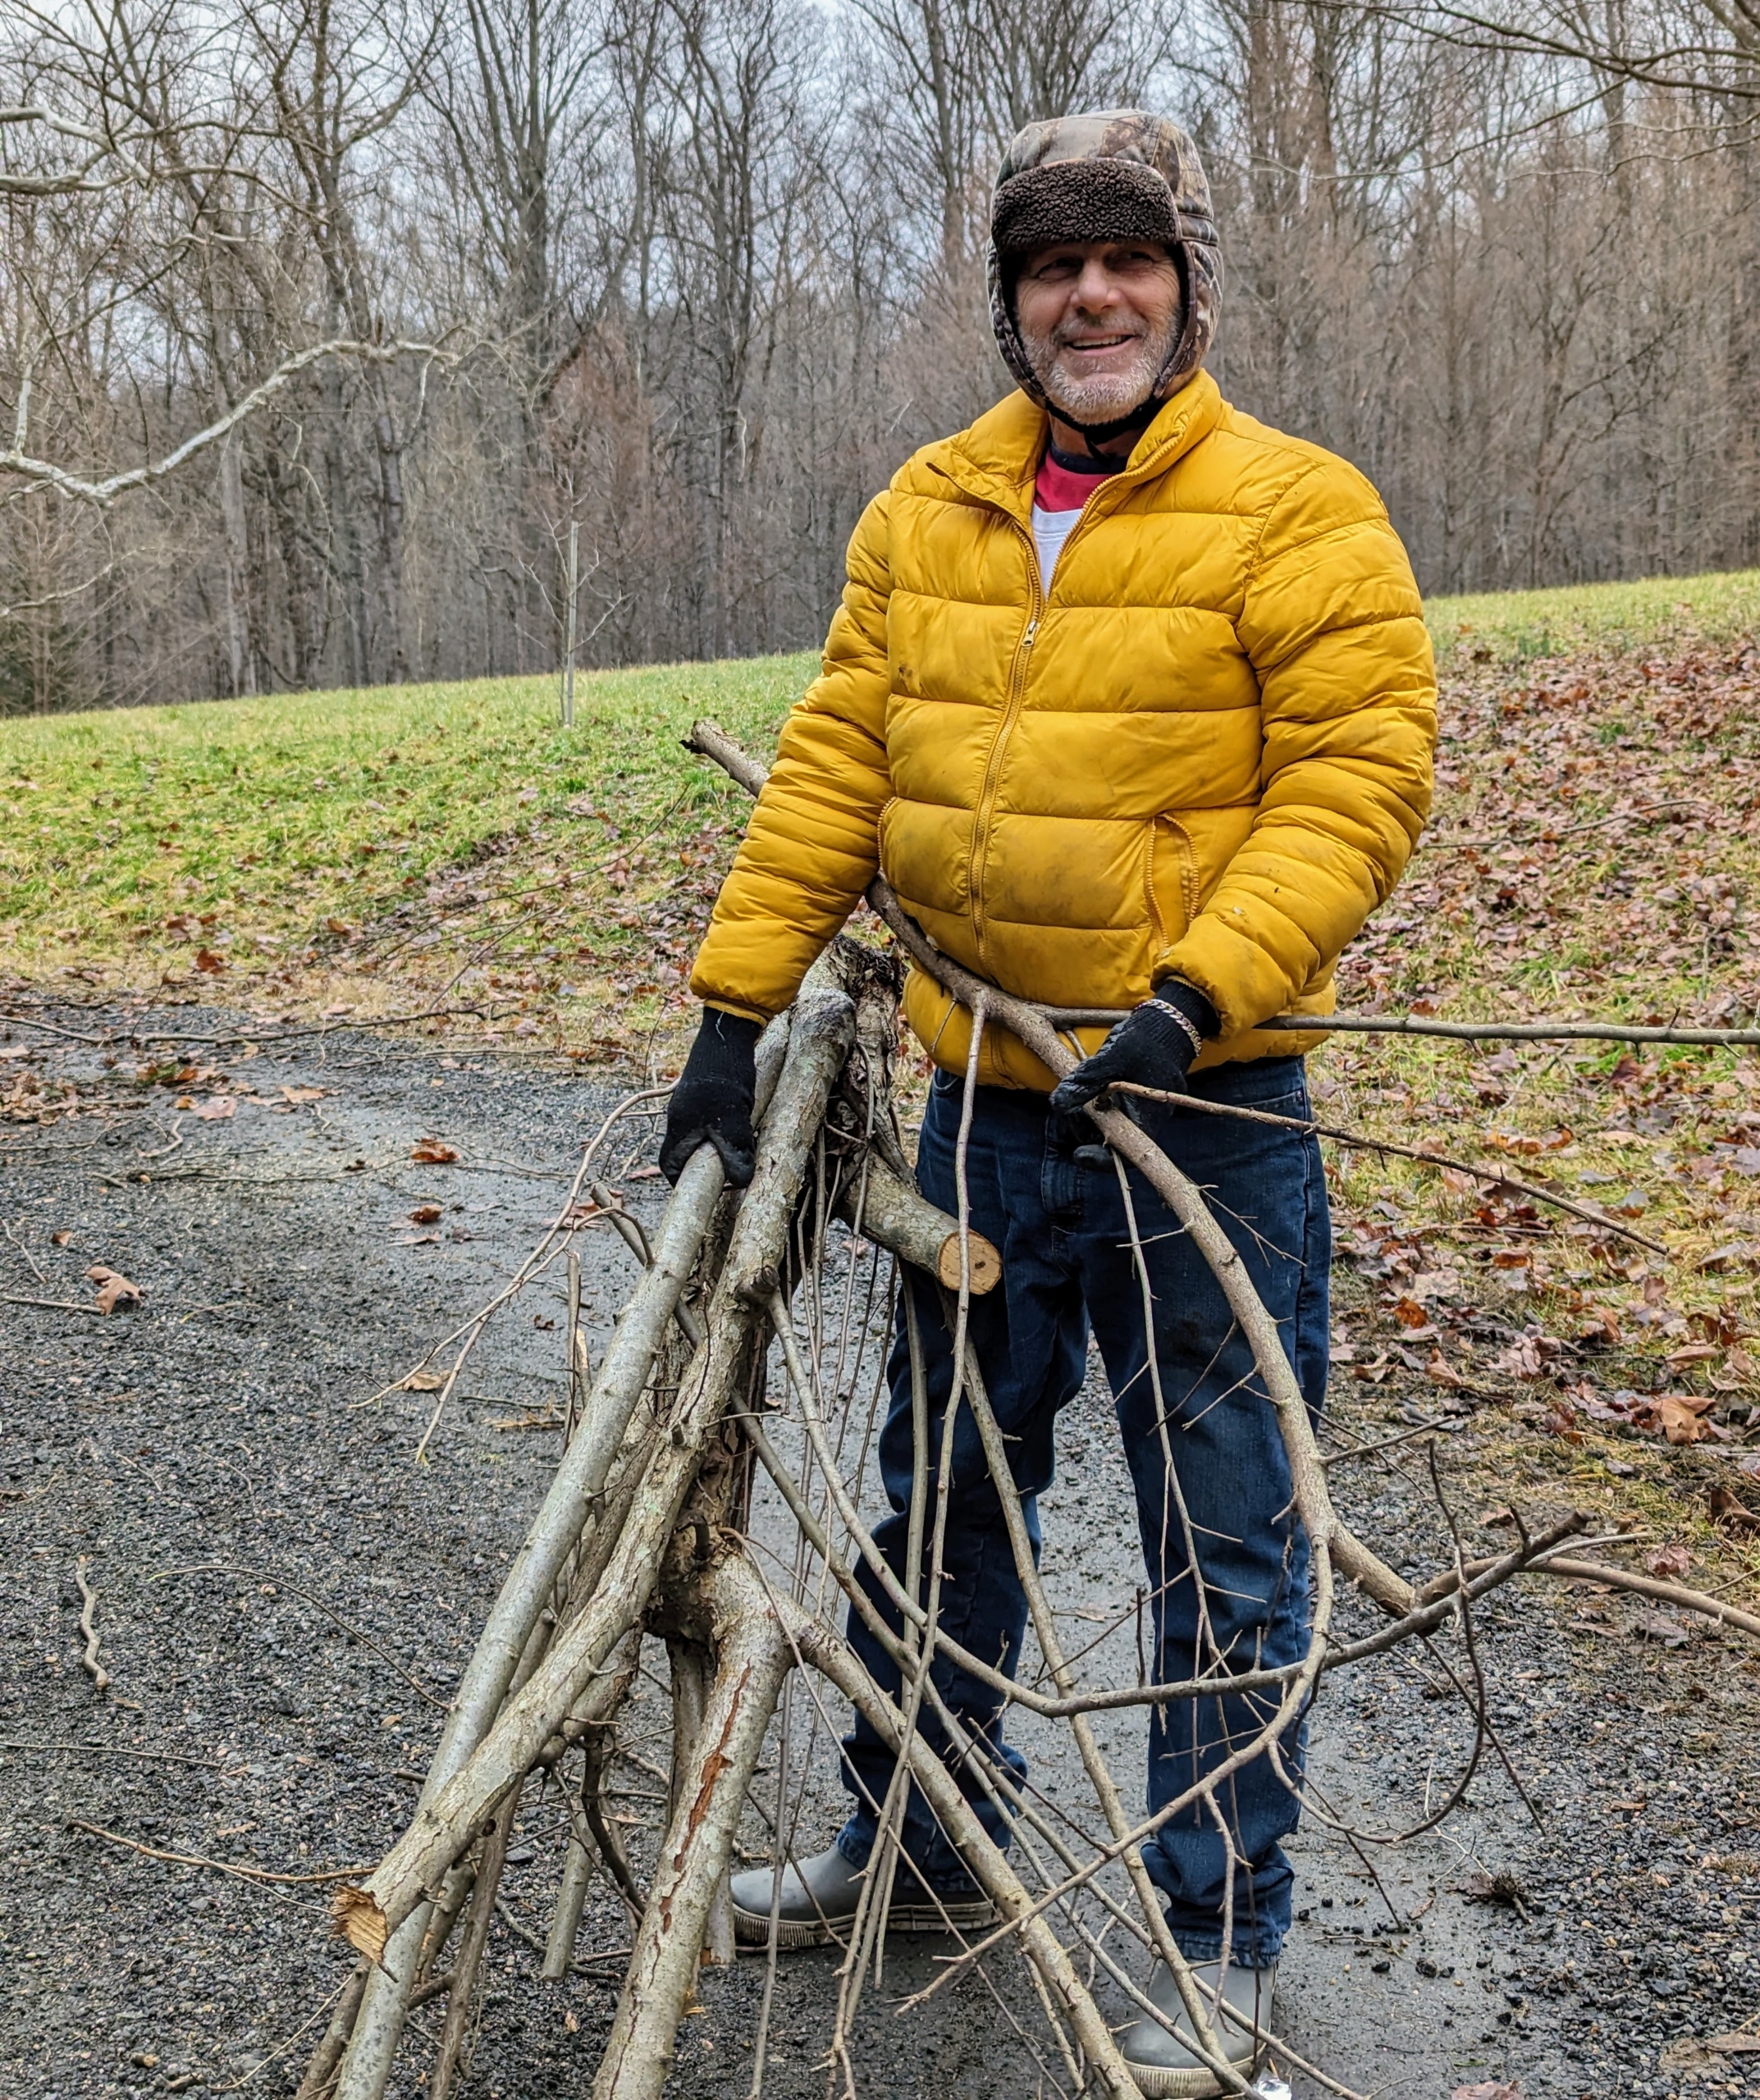
And here is Fernando hauling away some of the branches. Fernando has been working with me for 30-years and helps in so many different ways here at the farm.
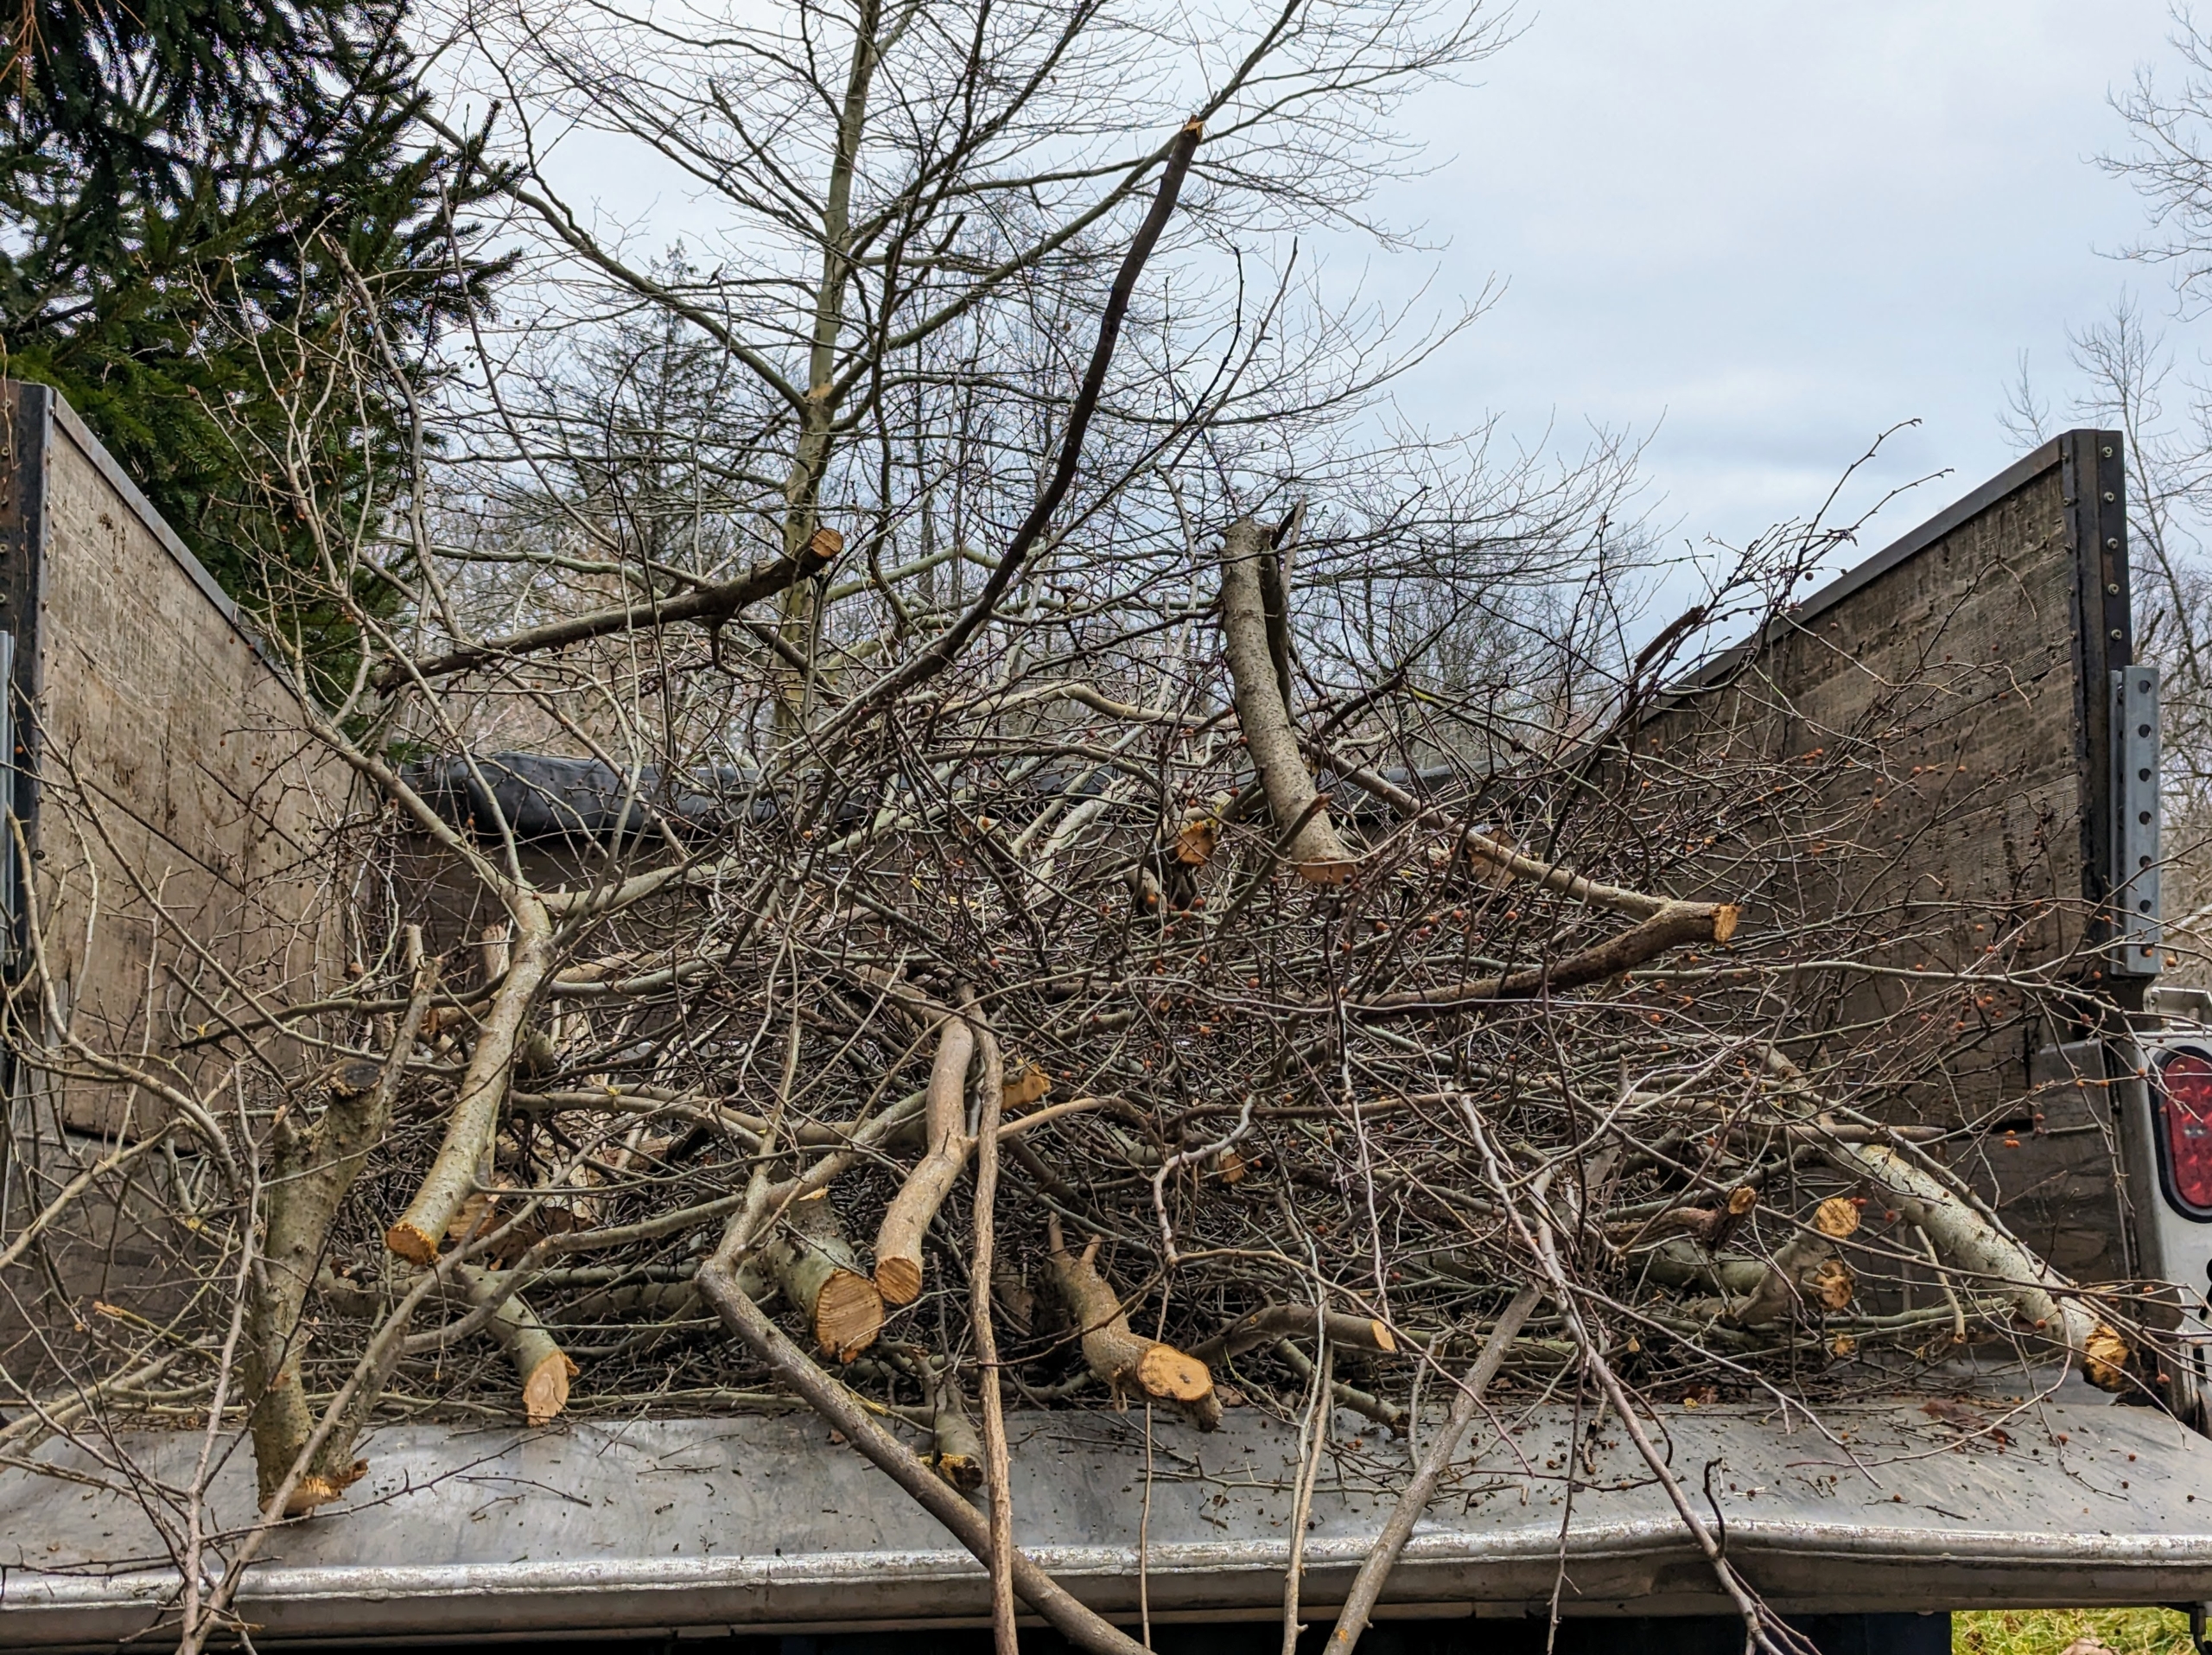
And here is just one load of many ready to be taken to the compost yard and tub grinder.
Here is the grove – it looks so much better. It’s not hard to tell when an area is overcrowded. When the branches of adjoining trees touch, the trees need some thinning to ensure good air movement and necessary light. I am glad these evergreens now have more room to grow and thrive. They will soon look much better and be much healthier. We’re getting so much woodland “cleaning” done, but there is still so much more to do.
As a serious and passionate gardener, whenever I have the time I always enjoy visiting area nurseries in search of new and unusual houseplants to add to my collection.
During a recent business day trip to Northeastern Connecticut, I made a stop at Logee’s Plants for Home & Garden in Danielson - one of my favorite sources for tropical specimens. Logee’s was founded in 1892 by William D. Logee. He started the business as a cut-flower shop and then expanded into begonias and tropical container plants. Today, Logee’s is owned and operated by Williams’s grandson, Byron Martin, and his business partner, Laurelynn Martin. Logee’s offers more than 1500 plant cultivars - most of which are all propagated right in its greenhouses. I have been going to Logee's for many years, and Byron has been a guest on both my television and radio shows. On this trip, I was excited to bring home several new plants to add to my growing collection - Begonias, Anthuriums, two Staghorn ferns, and a hanging citrus.
Enjoy these photos.
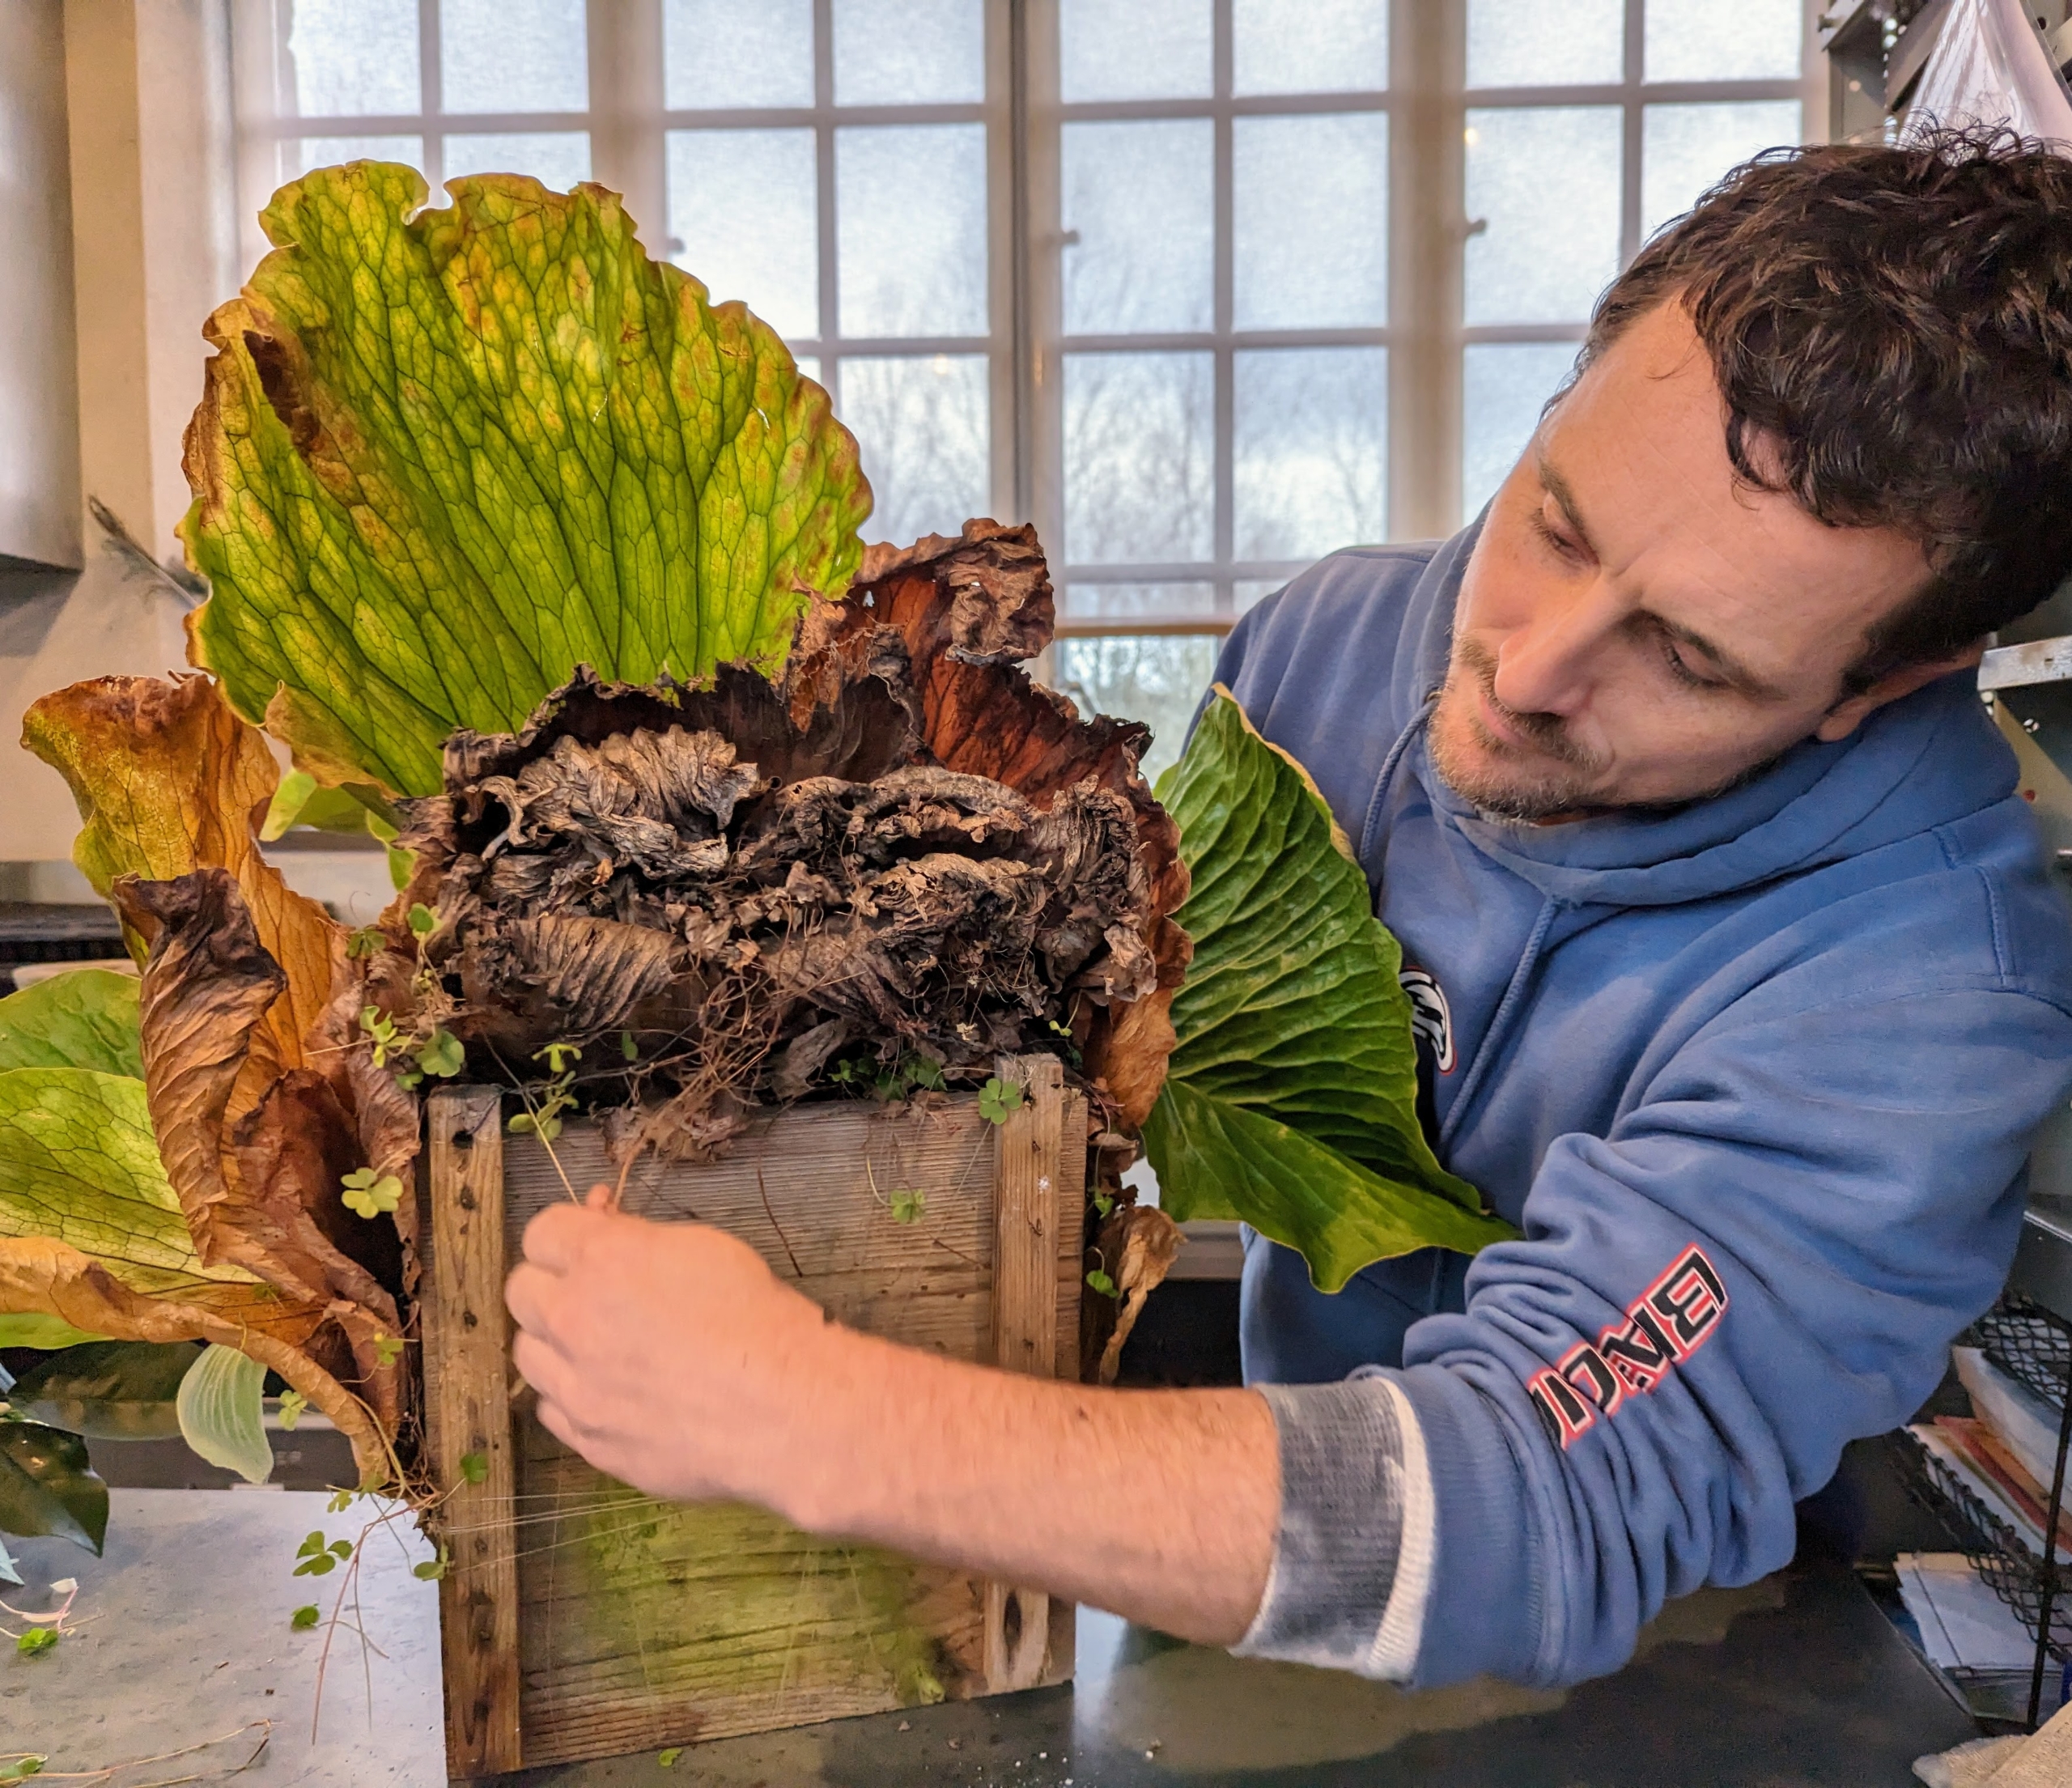
It is always so much fun to visit Logee’s – I never come home empty handed. Once I get the specimens home, I bring them into my main greenhouse, so they can be repotted, fed, and watered.
Here is one of two staghorn ferns I purchased. These plants are mounted on wooden boards. Staghorn ferns are epiphytes, which means they are air plants. They gladly grow on a wall mount, which lets air circulate around them.
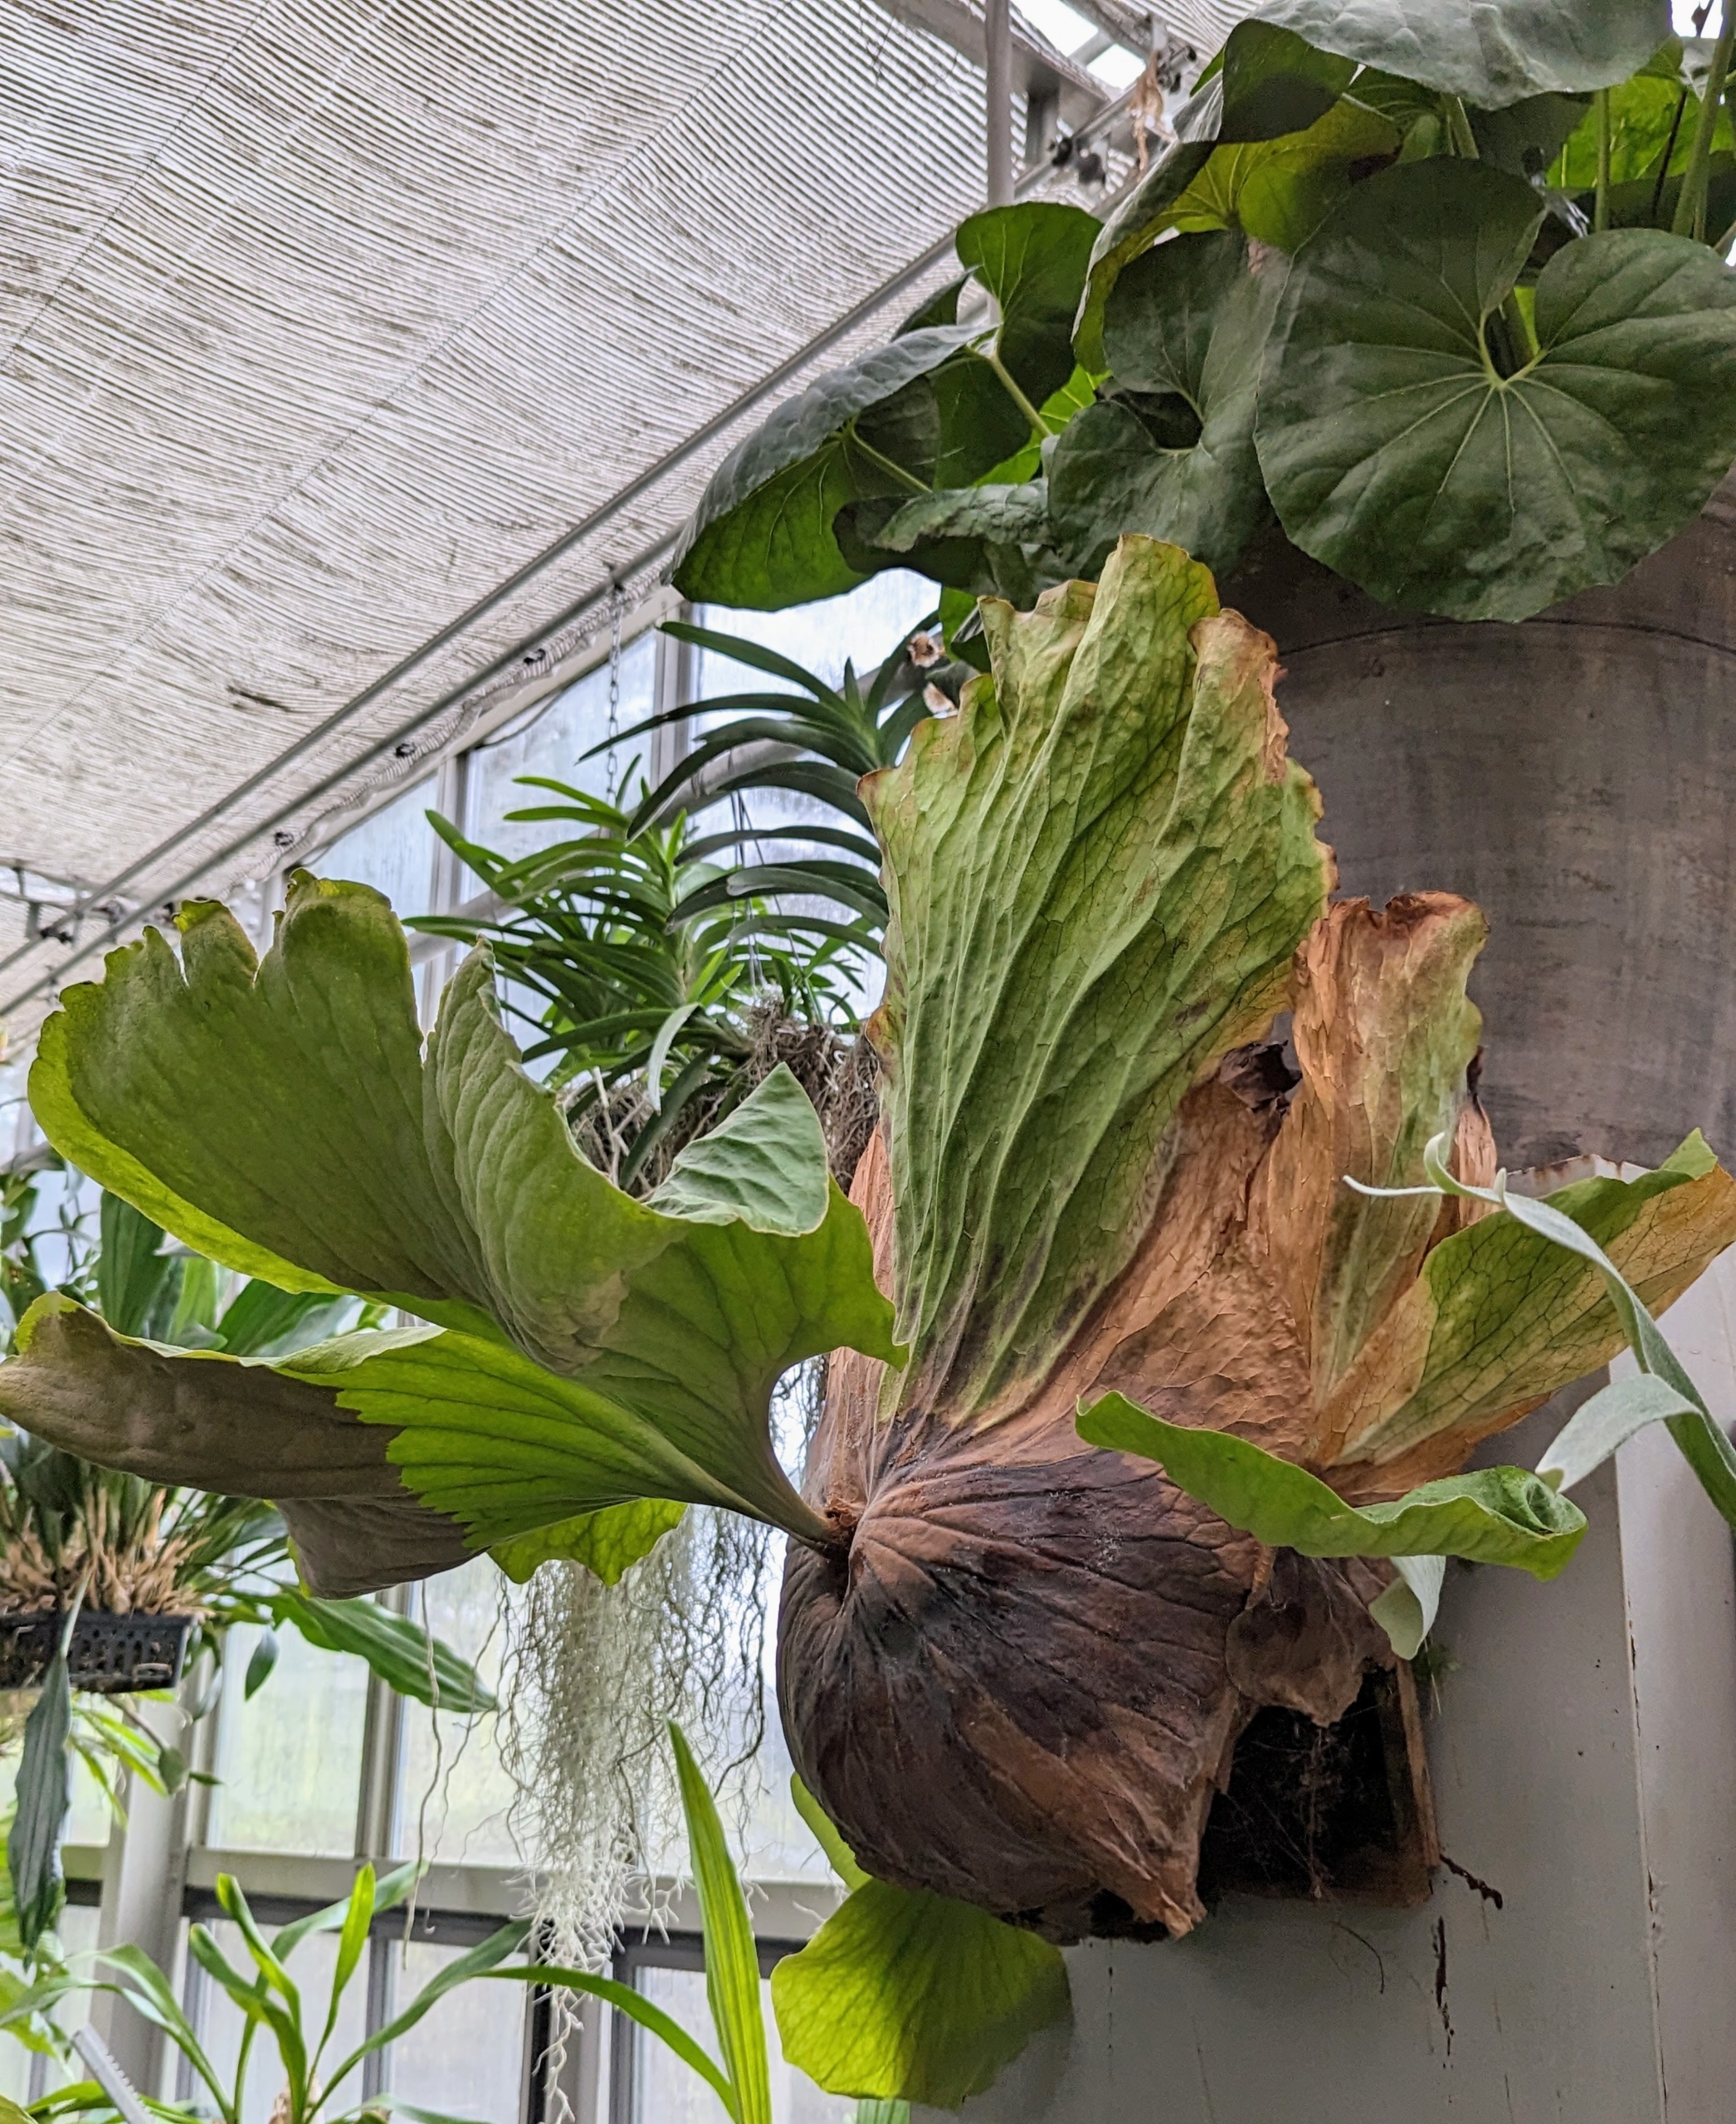
Ryan chose to hang the staghorns on two upright pillars in the greenhouse. Staghorn ferns are very interesting plants. Fern leaves are actually called fronds, and staghorn ferns have two types. The first is the “antler” frond – these are the large leaves that shoot out of the center of the plant, and from which staghorn ferns get their names, since they resemble the antlers of deer or moose. The second type of staghorn fern frond is called the shield frond. These are the round, hard plate-like leaves that surround the base of the plant. Their function is to protect the plant roots, and take up water and nutrients.
Here is the other staghorn fern hanging nearby. I adore staghorns and over the years have collected quite a few of these magnificent specimens.
Next, Ryan pulls several pots for my new begonias and anthuriums. As a general rule, choose a pot that is one to two inches larger than its current container, and be sure there are holes in the bottom for good drainage.
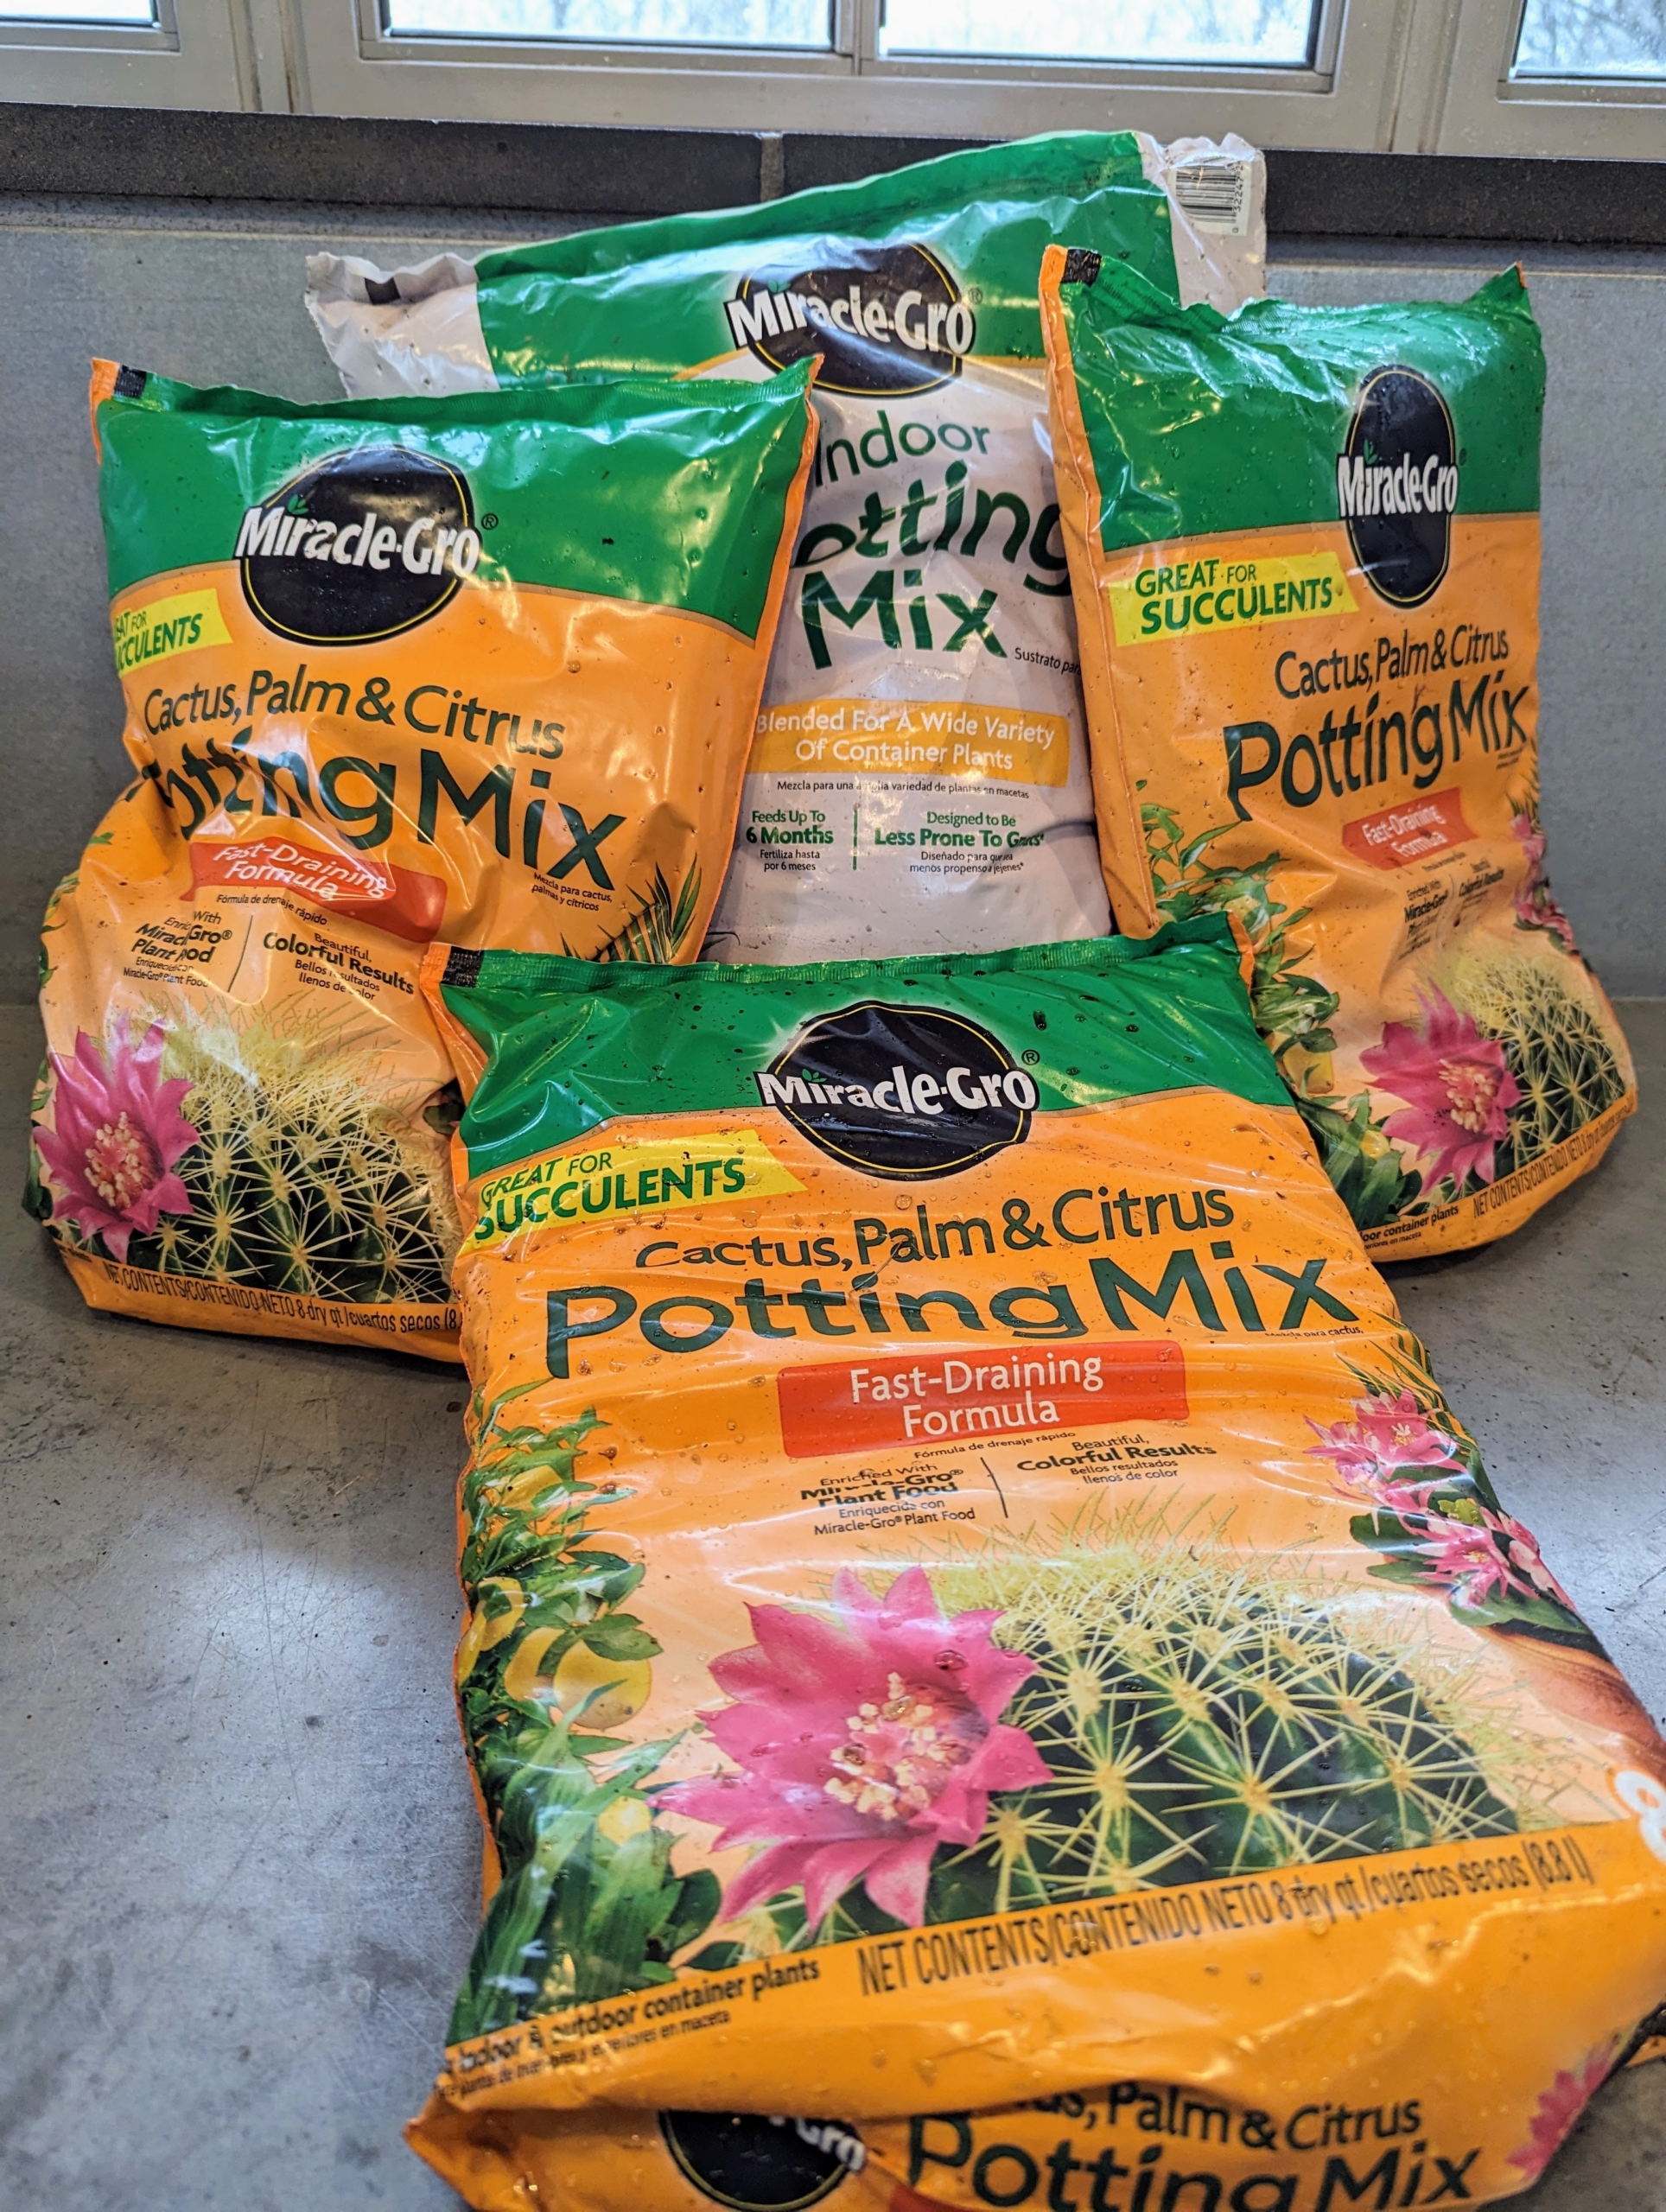
Ryan is using Scott’s Potting Mix. This formula is fast-draining and includes sand and perlite to help create an optimal growing environment. The mix is also fortified with iron and plant food.
A clay shard is placed over the hole to help with drainage. We always save shards from broken pots – it’s a great way to repurpose those pieces.
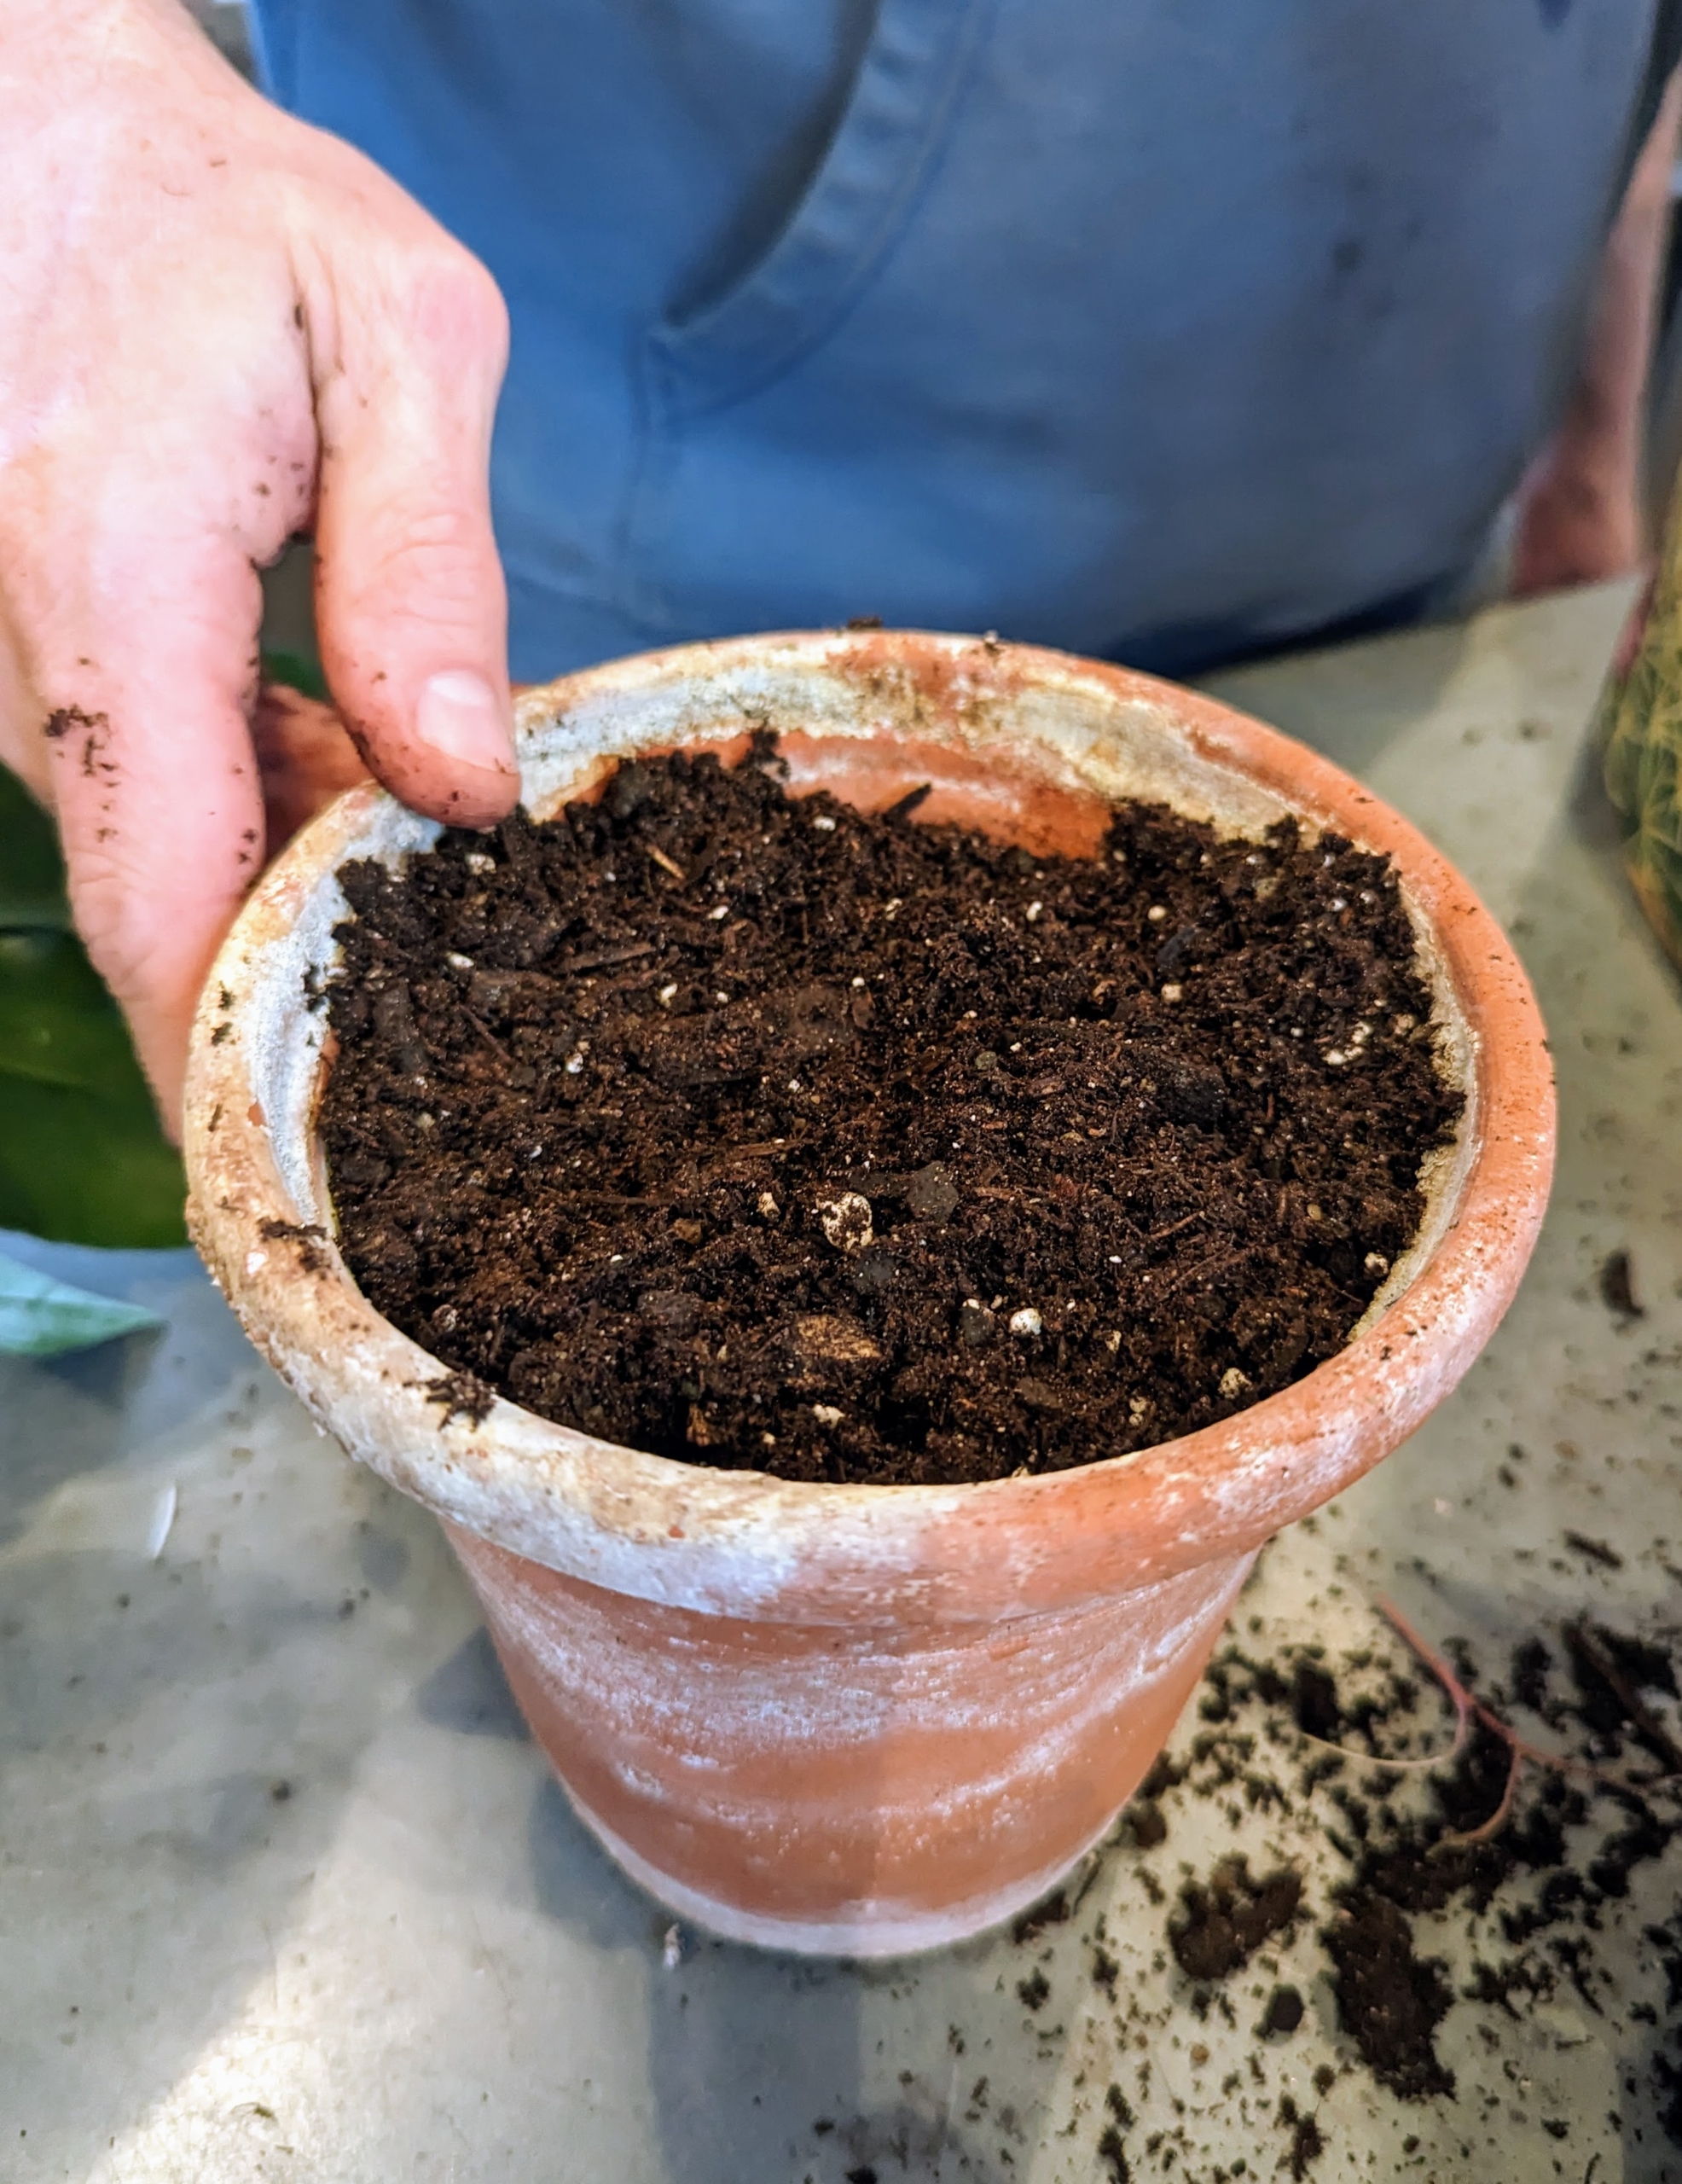
Ryan fills the pot with mix to just under the rim of the container.
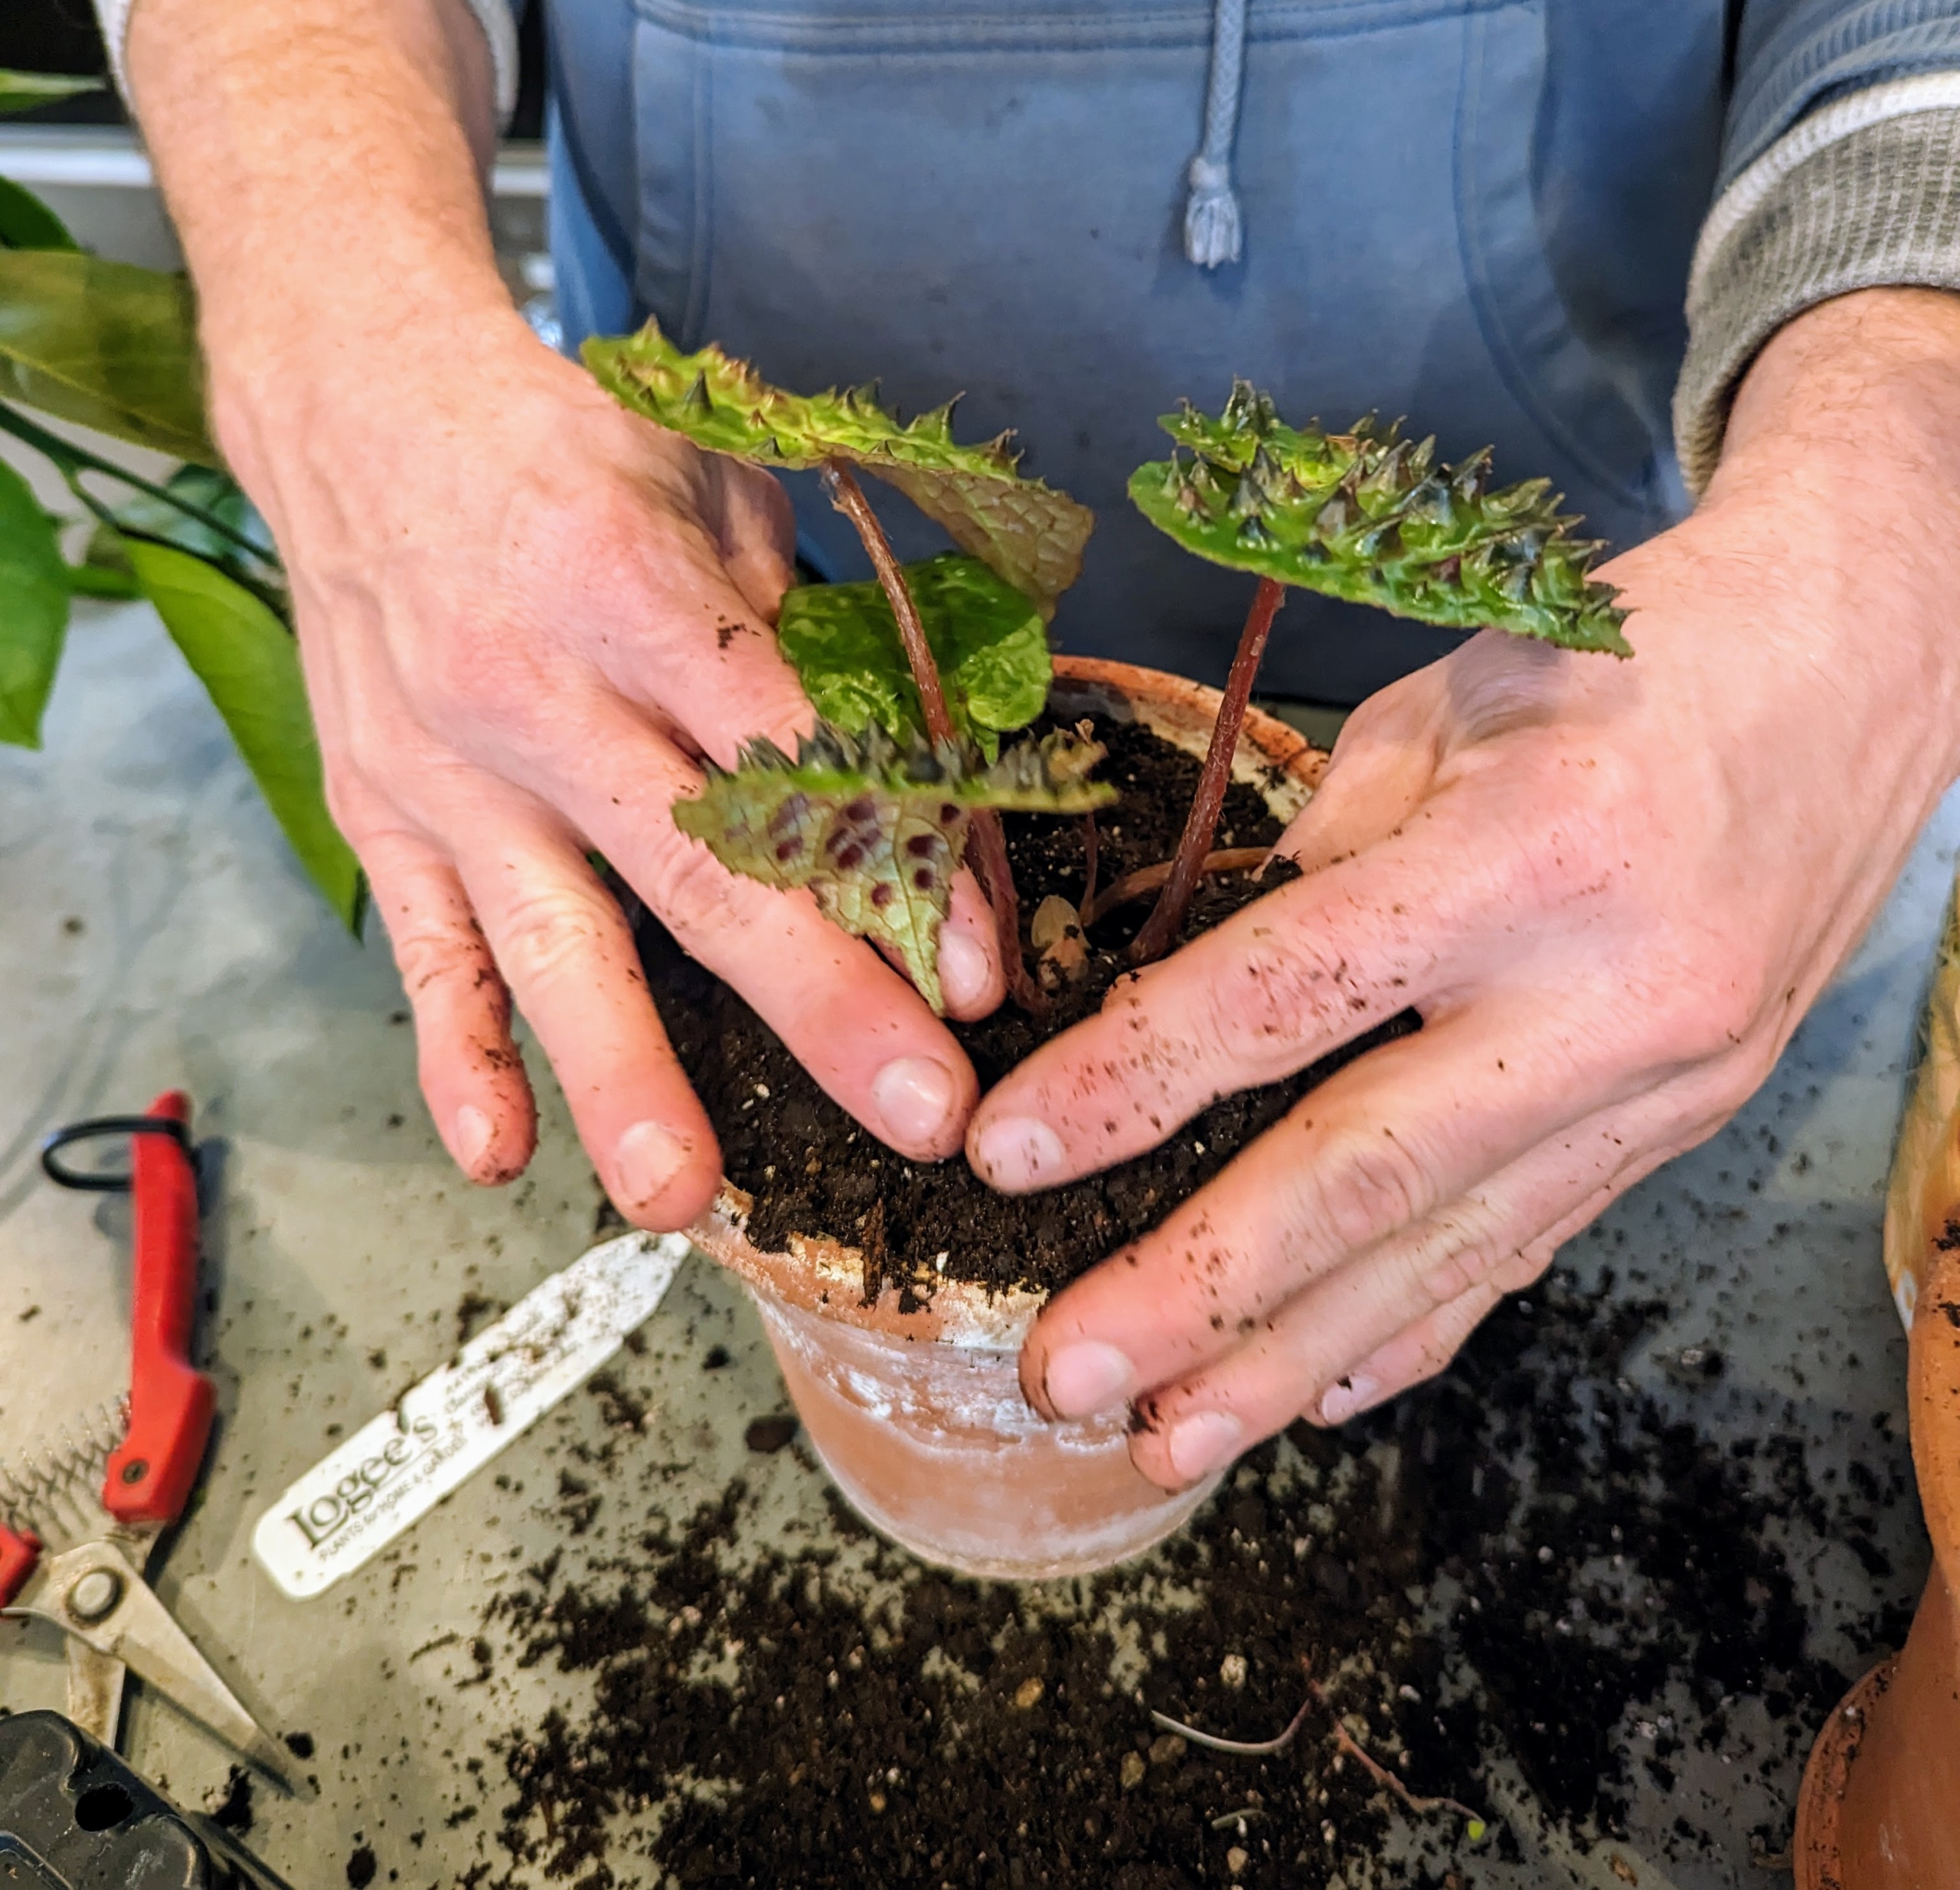
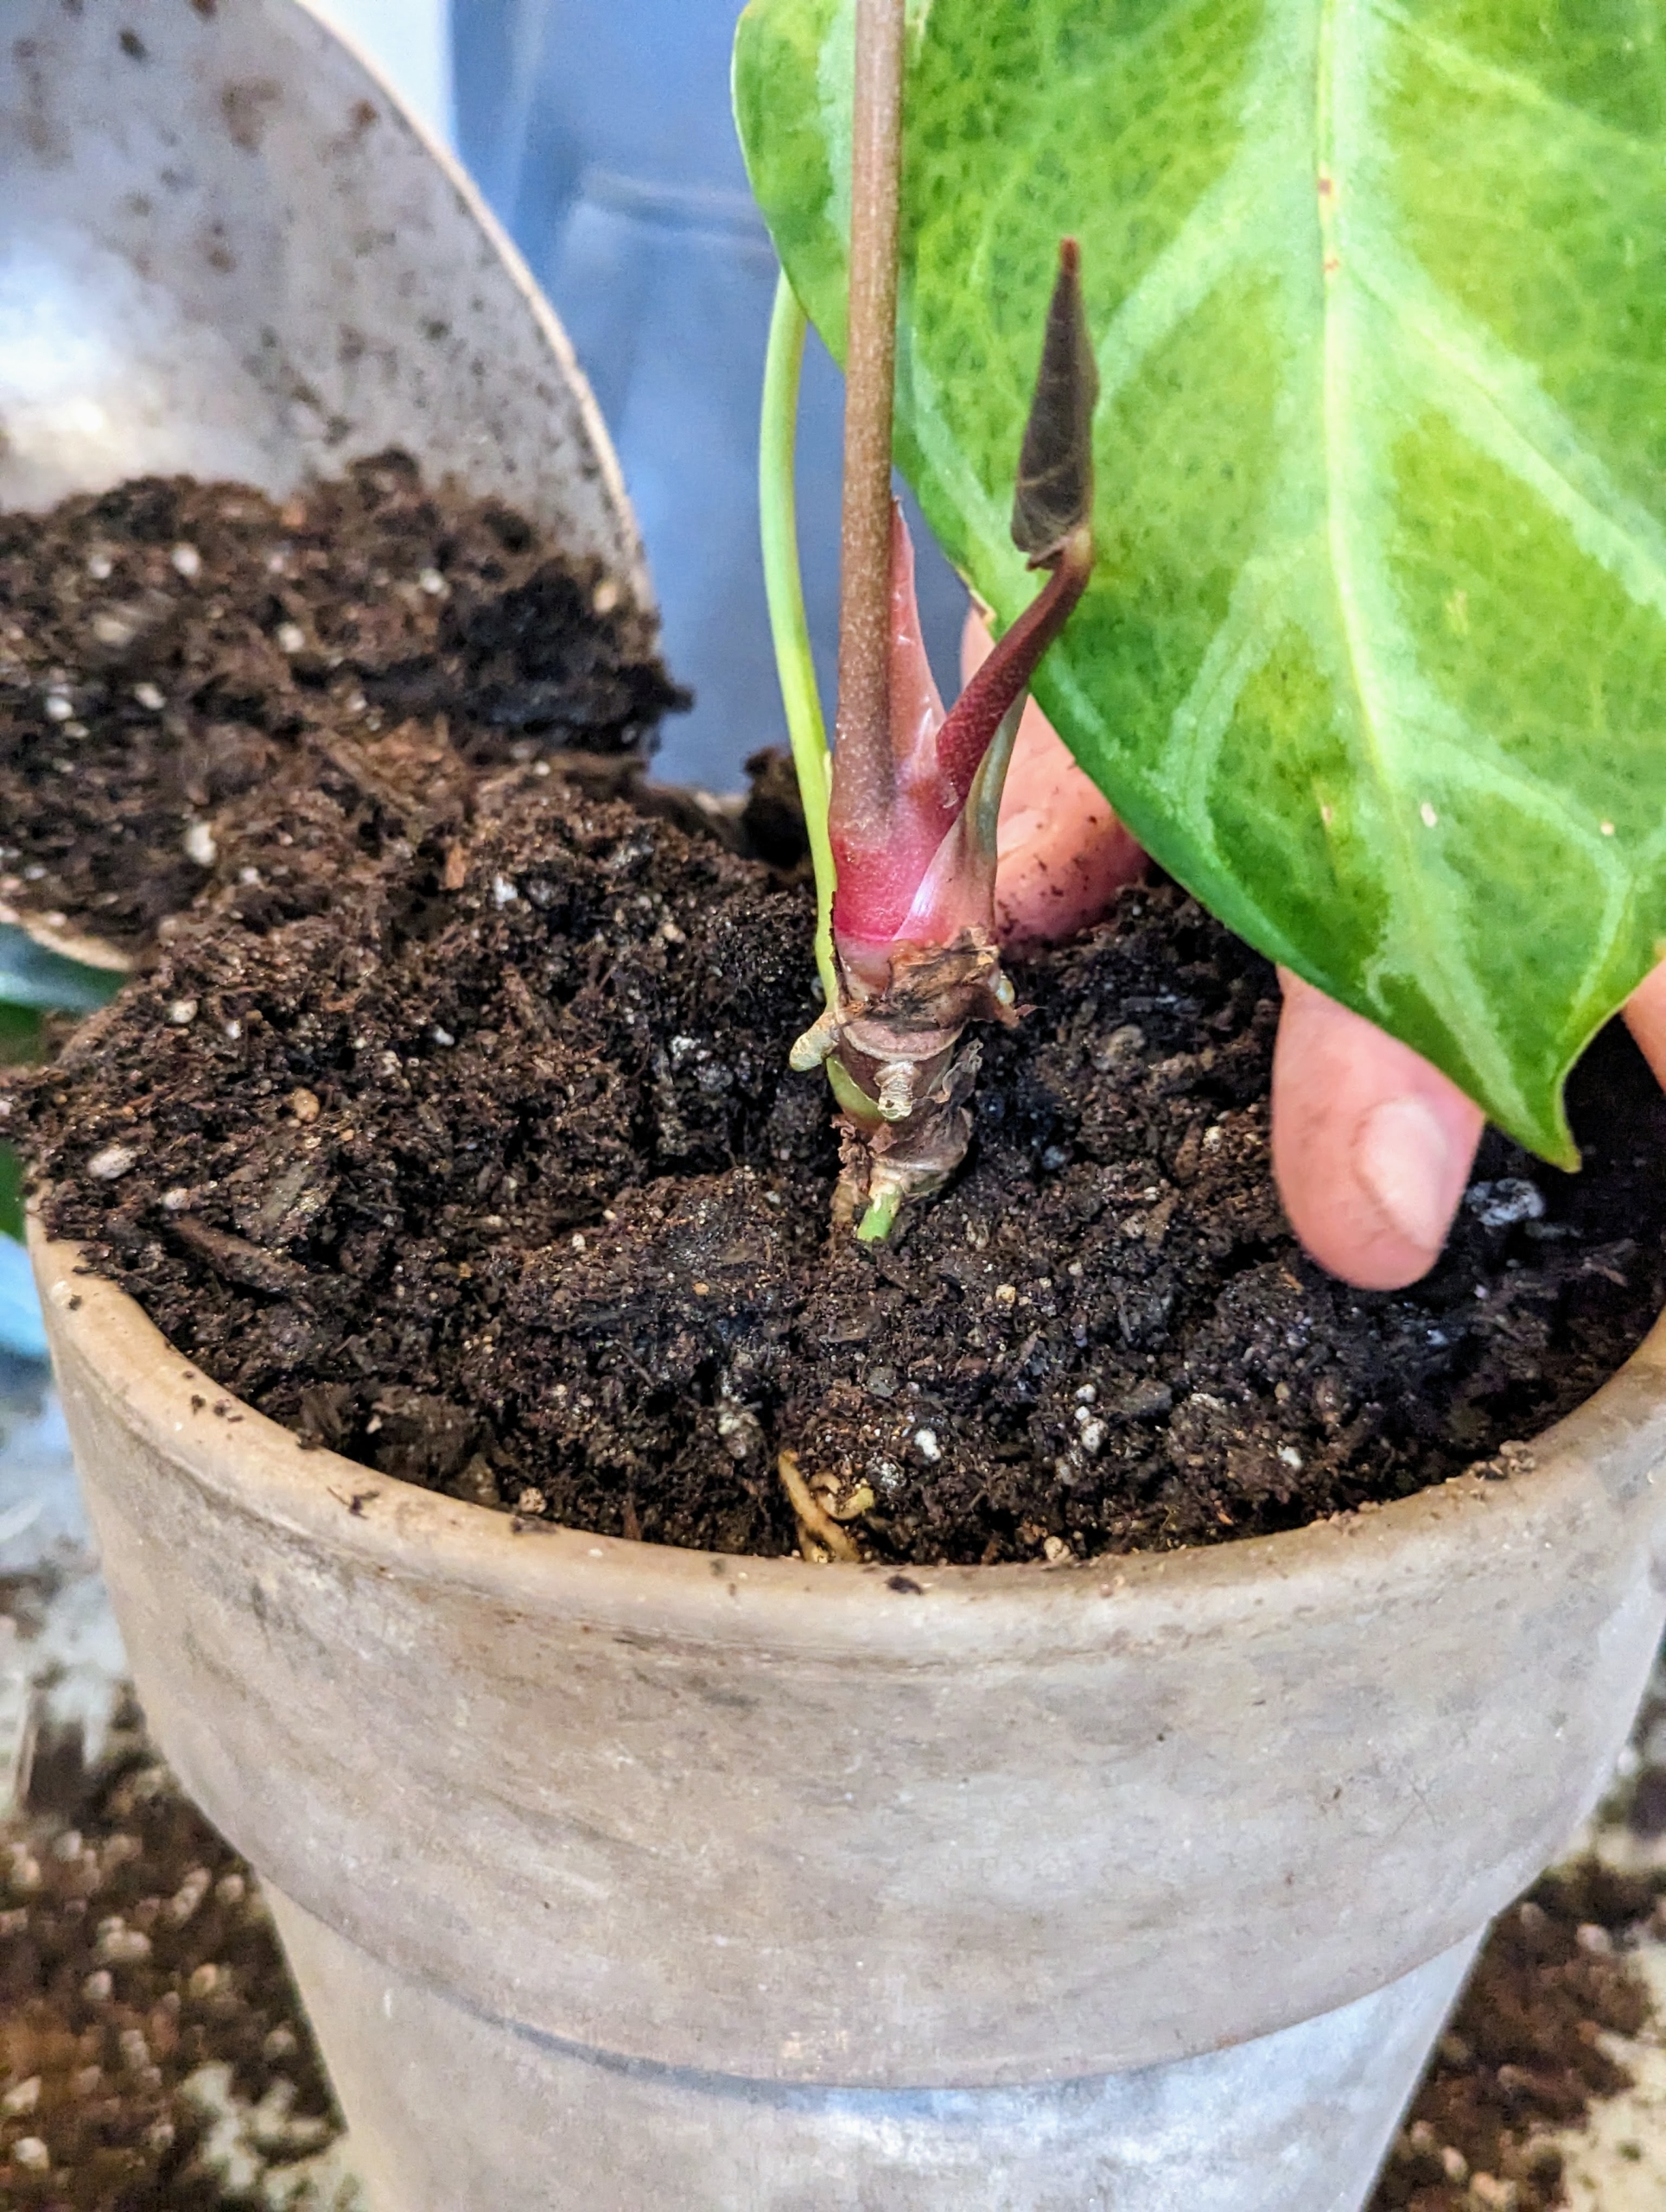
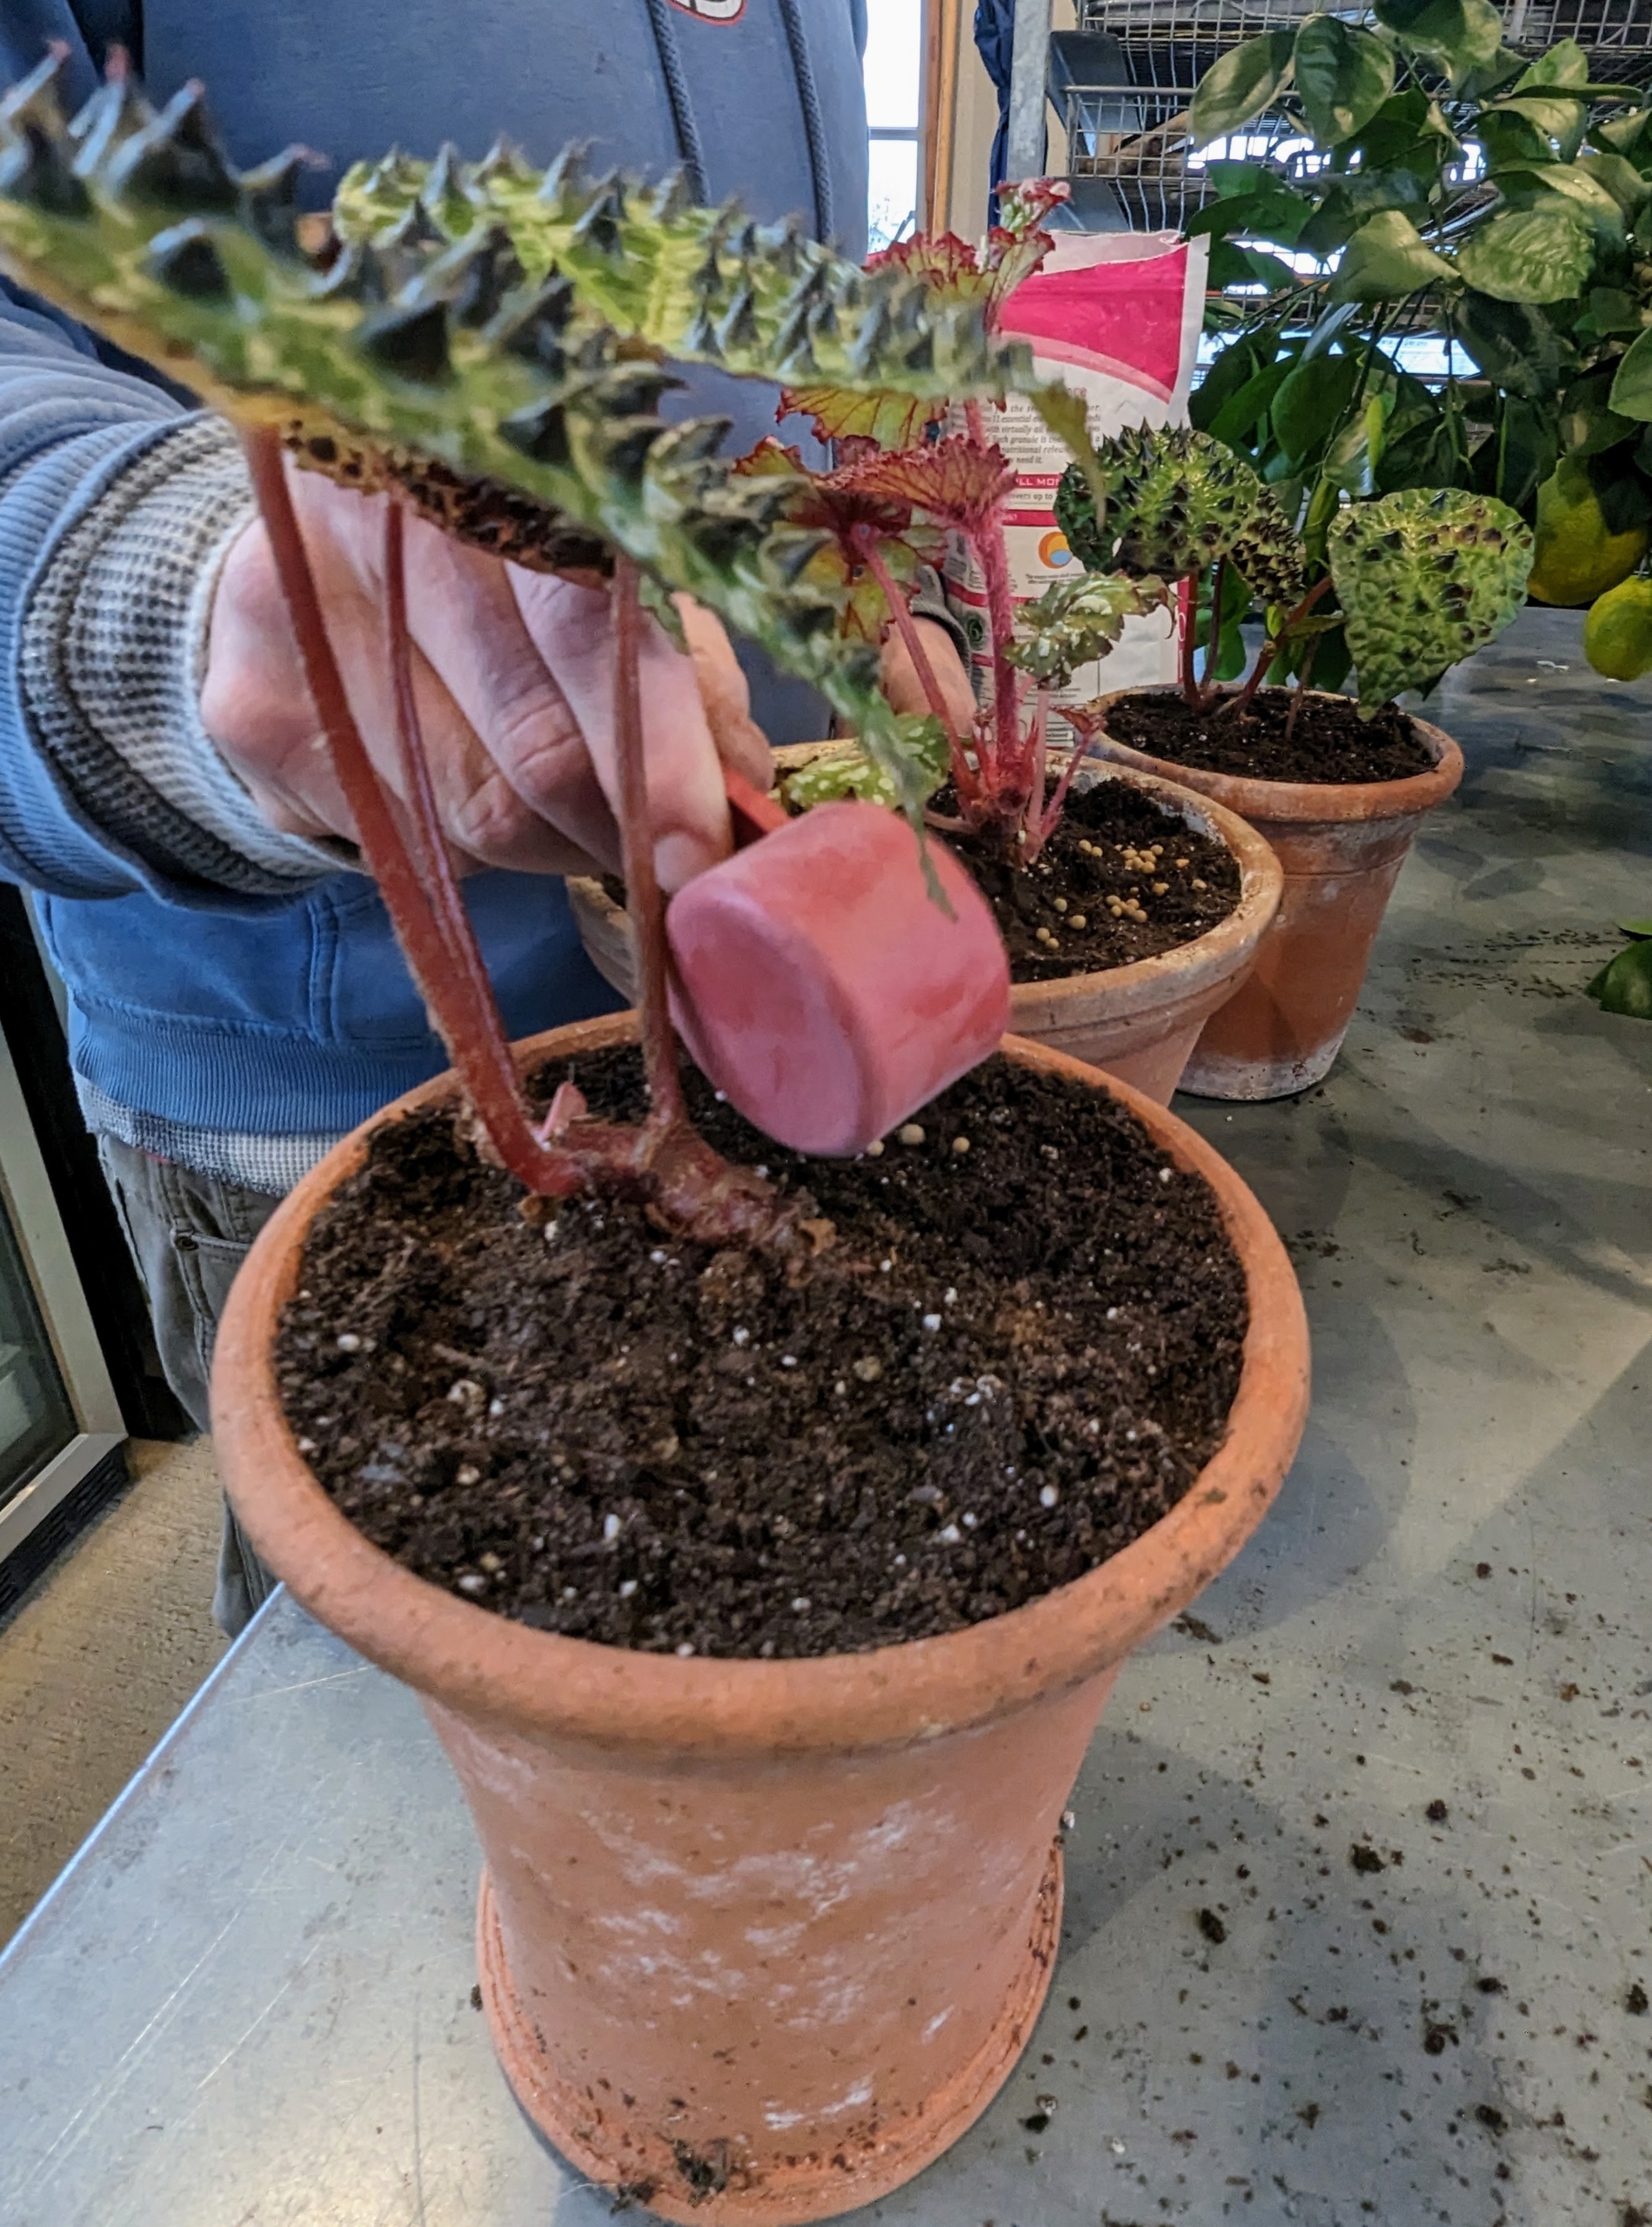
And then gently places it into the new pot – planting it slightly deeper than it was before. If needed, a little more potting mix is added around the plant and patted down, so there is good contact between the plant and the soil.
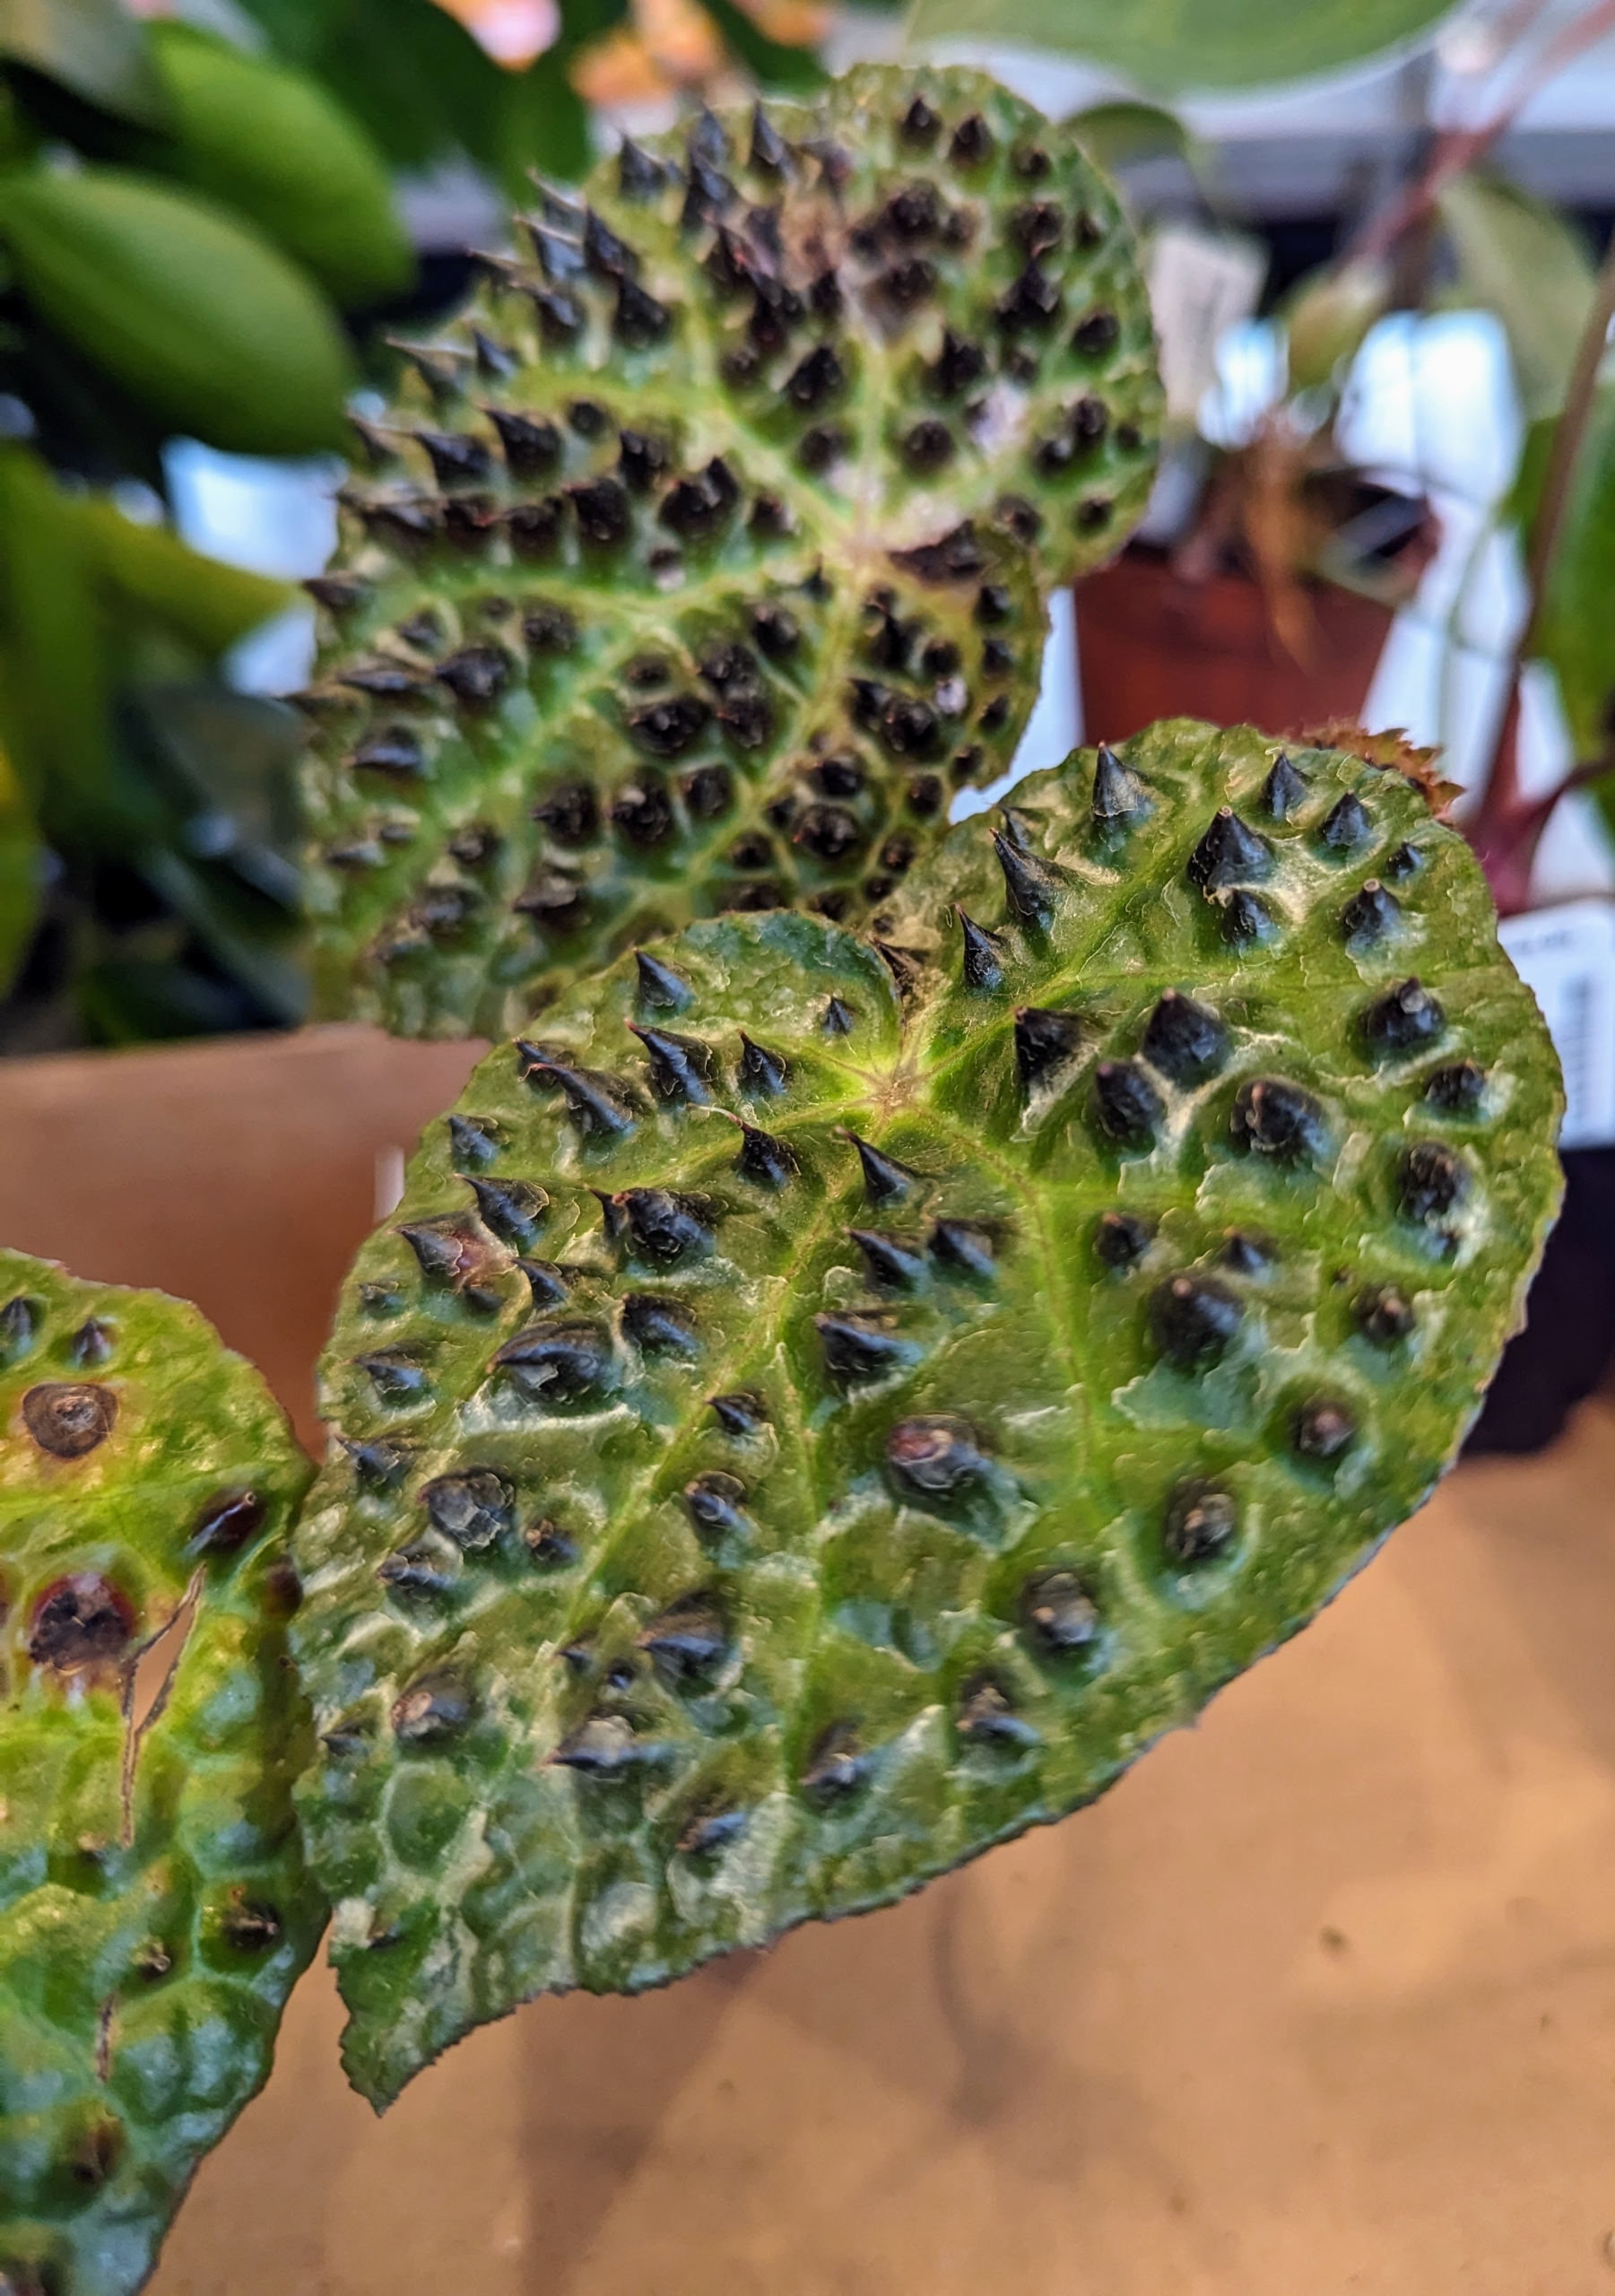
This is Begonia ferox, a species of flowering plant in the family Begoniaceae. It is a rhizomatous begonia endemic to Guangxi, China. Look closely – it is particularly striking because as it matures, it develops raised black cones on its leaves.
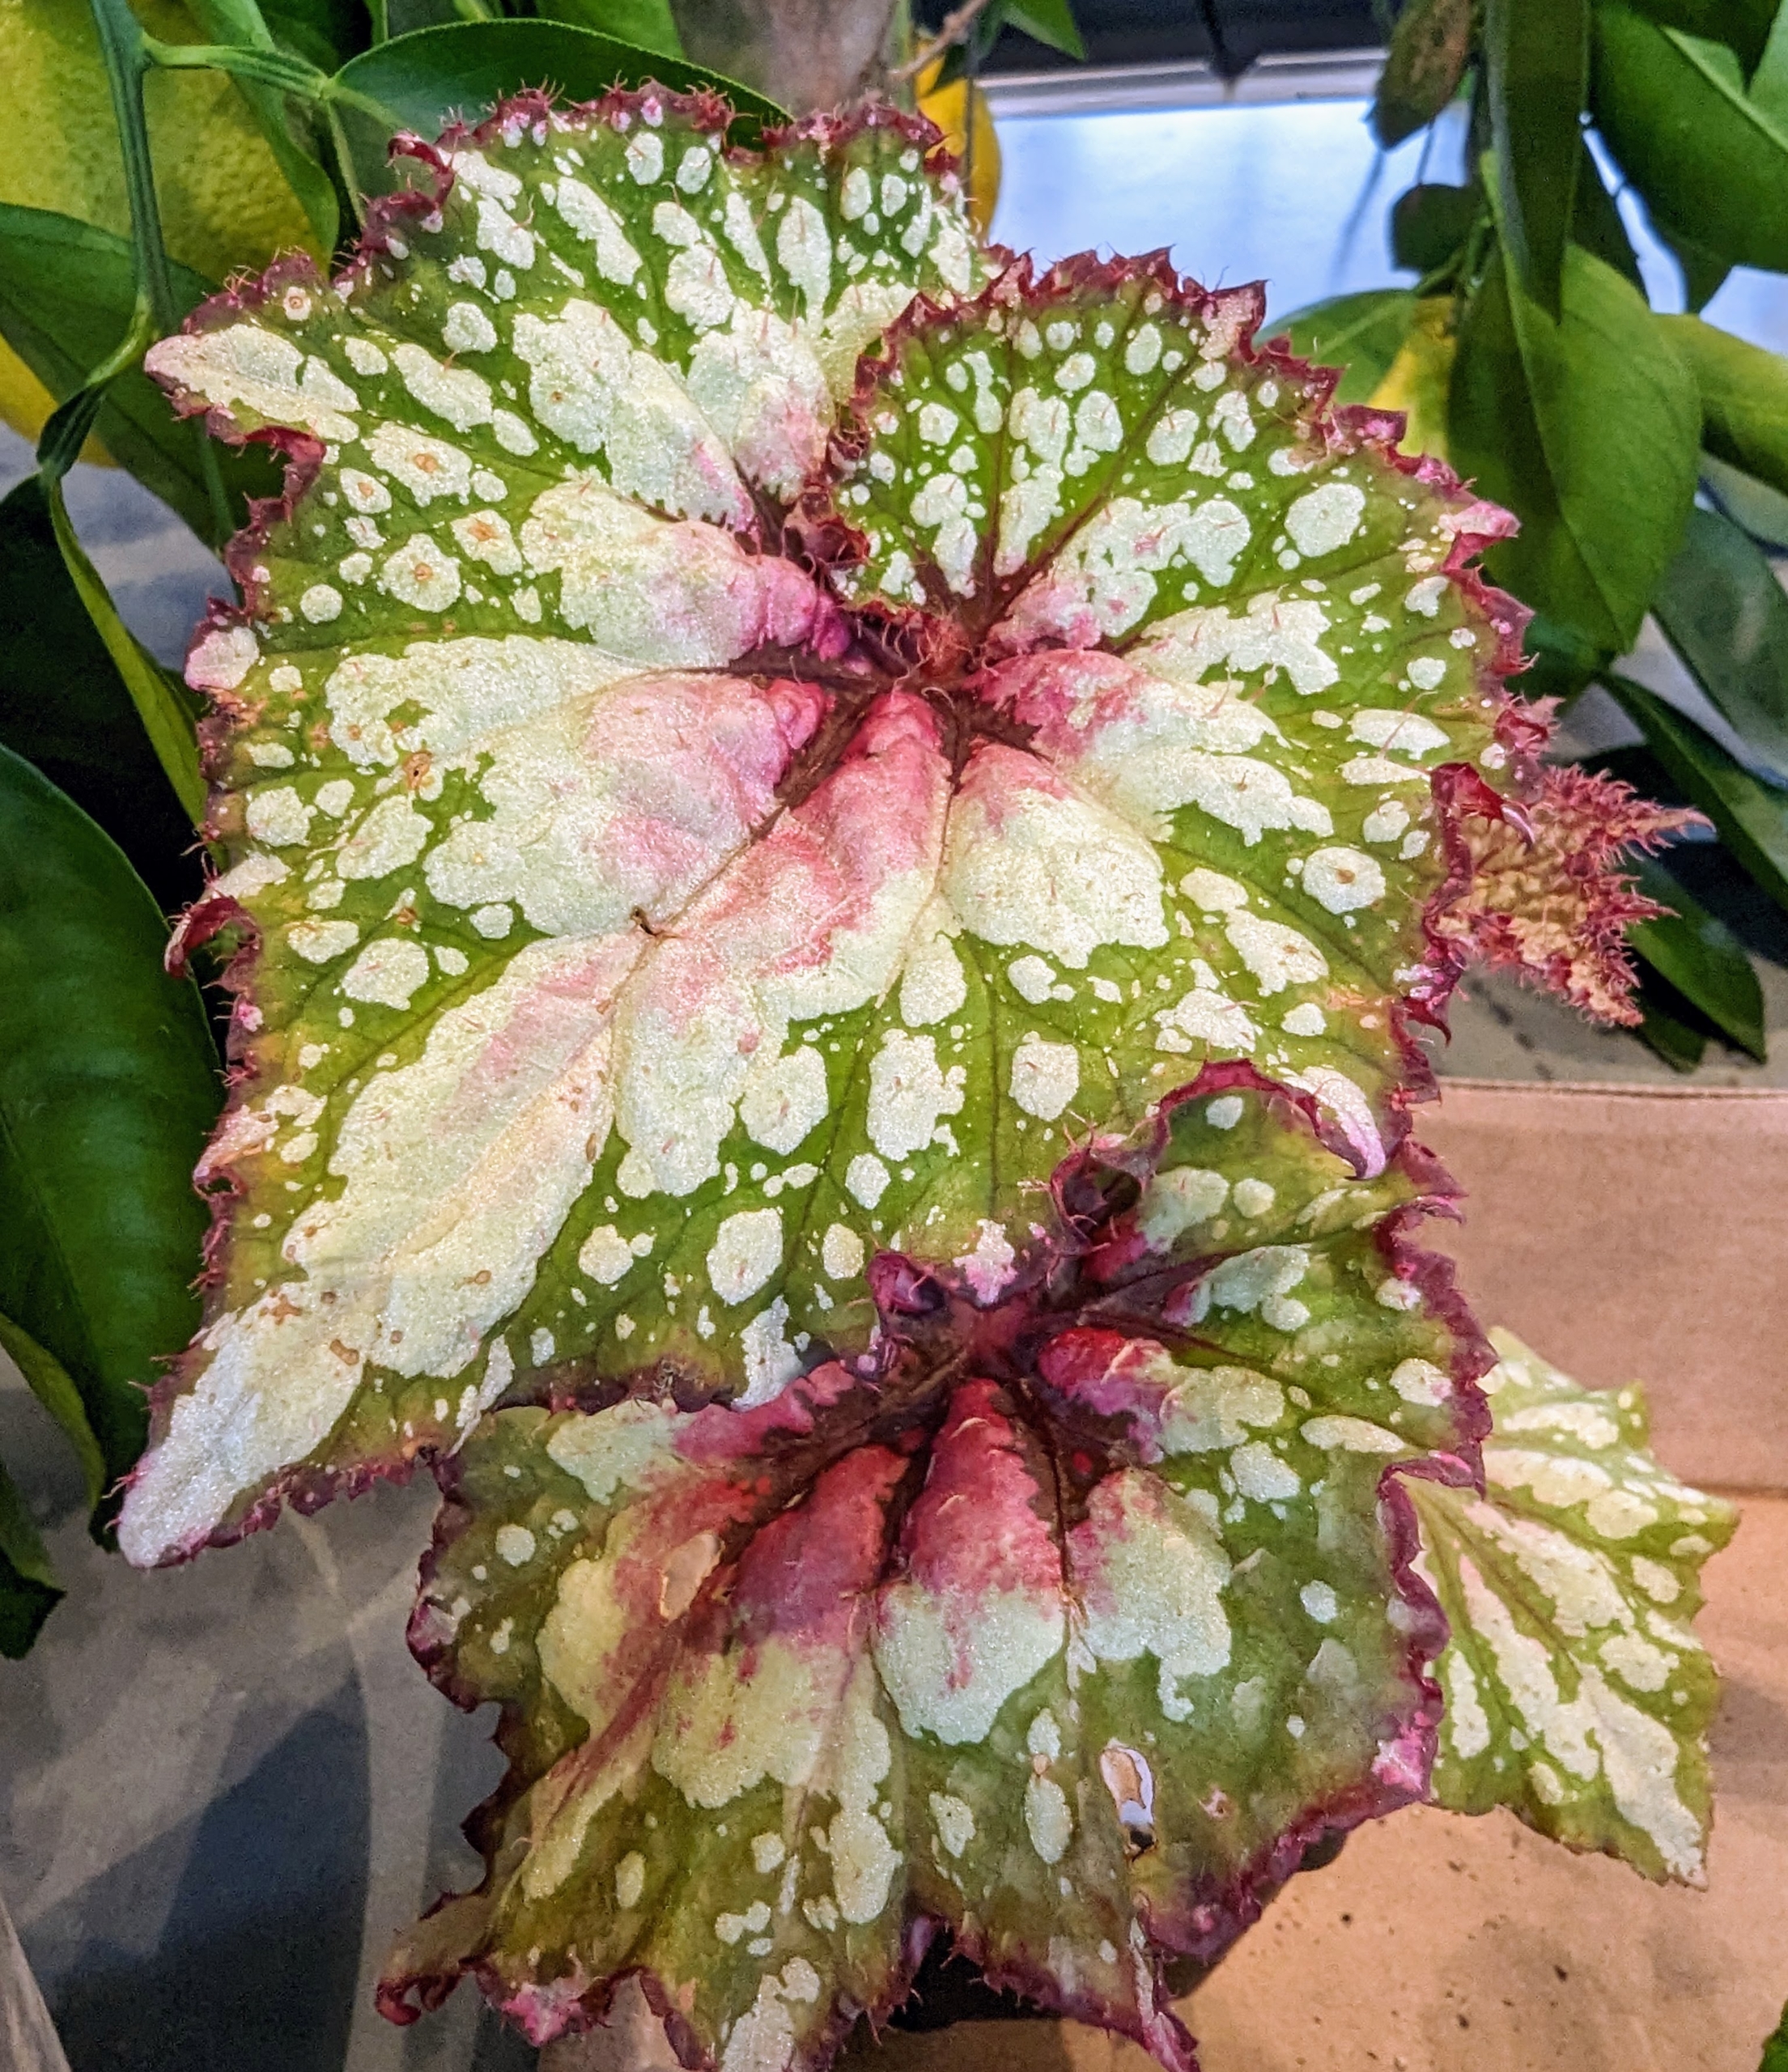
This is Begonia Joy’s Jubilee. It is a colorful and beautiful begonia with stunning white dots on deep green outer banding that transitions to a rich magenta center. This plant also has ruffled-edged leaves. It is a Byron Martin hybrid. Logee’s has been hybridizing begonias for a long time.
Here is a closer look at the leaf center. This begonia thrives in bright to medium indirect light, so it’s best kept near an east or west facing window.
Because begonias store water in the rhizomes, which are its thick, fuzzy stems, it is important not to overwater them. Only water these plants when the top one-inch of soil feels dry.
These are the roots of a very healthy Anthurium magnificum. Here, Ryan points out the new root growth. Anthurium is a genus of about 1,000 species of flowering plants, the largest genus of the arum family, Araceae. Other common names include tailflower, flamingo flower, and laceleaf.
The leaves of Anthurium magnificum can become quite massive, up to 18 to 24-inches long by 20-inches wide when fully mature. The leaves appear leathery with age and feature a lush dark green color with contrasting bright white veining.
Ryan pots it up as he does the others – into a vessel that is about one to two inches larger in diameter than its original container.
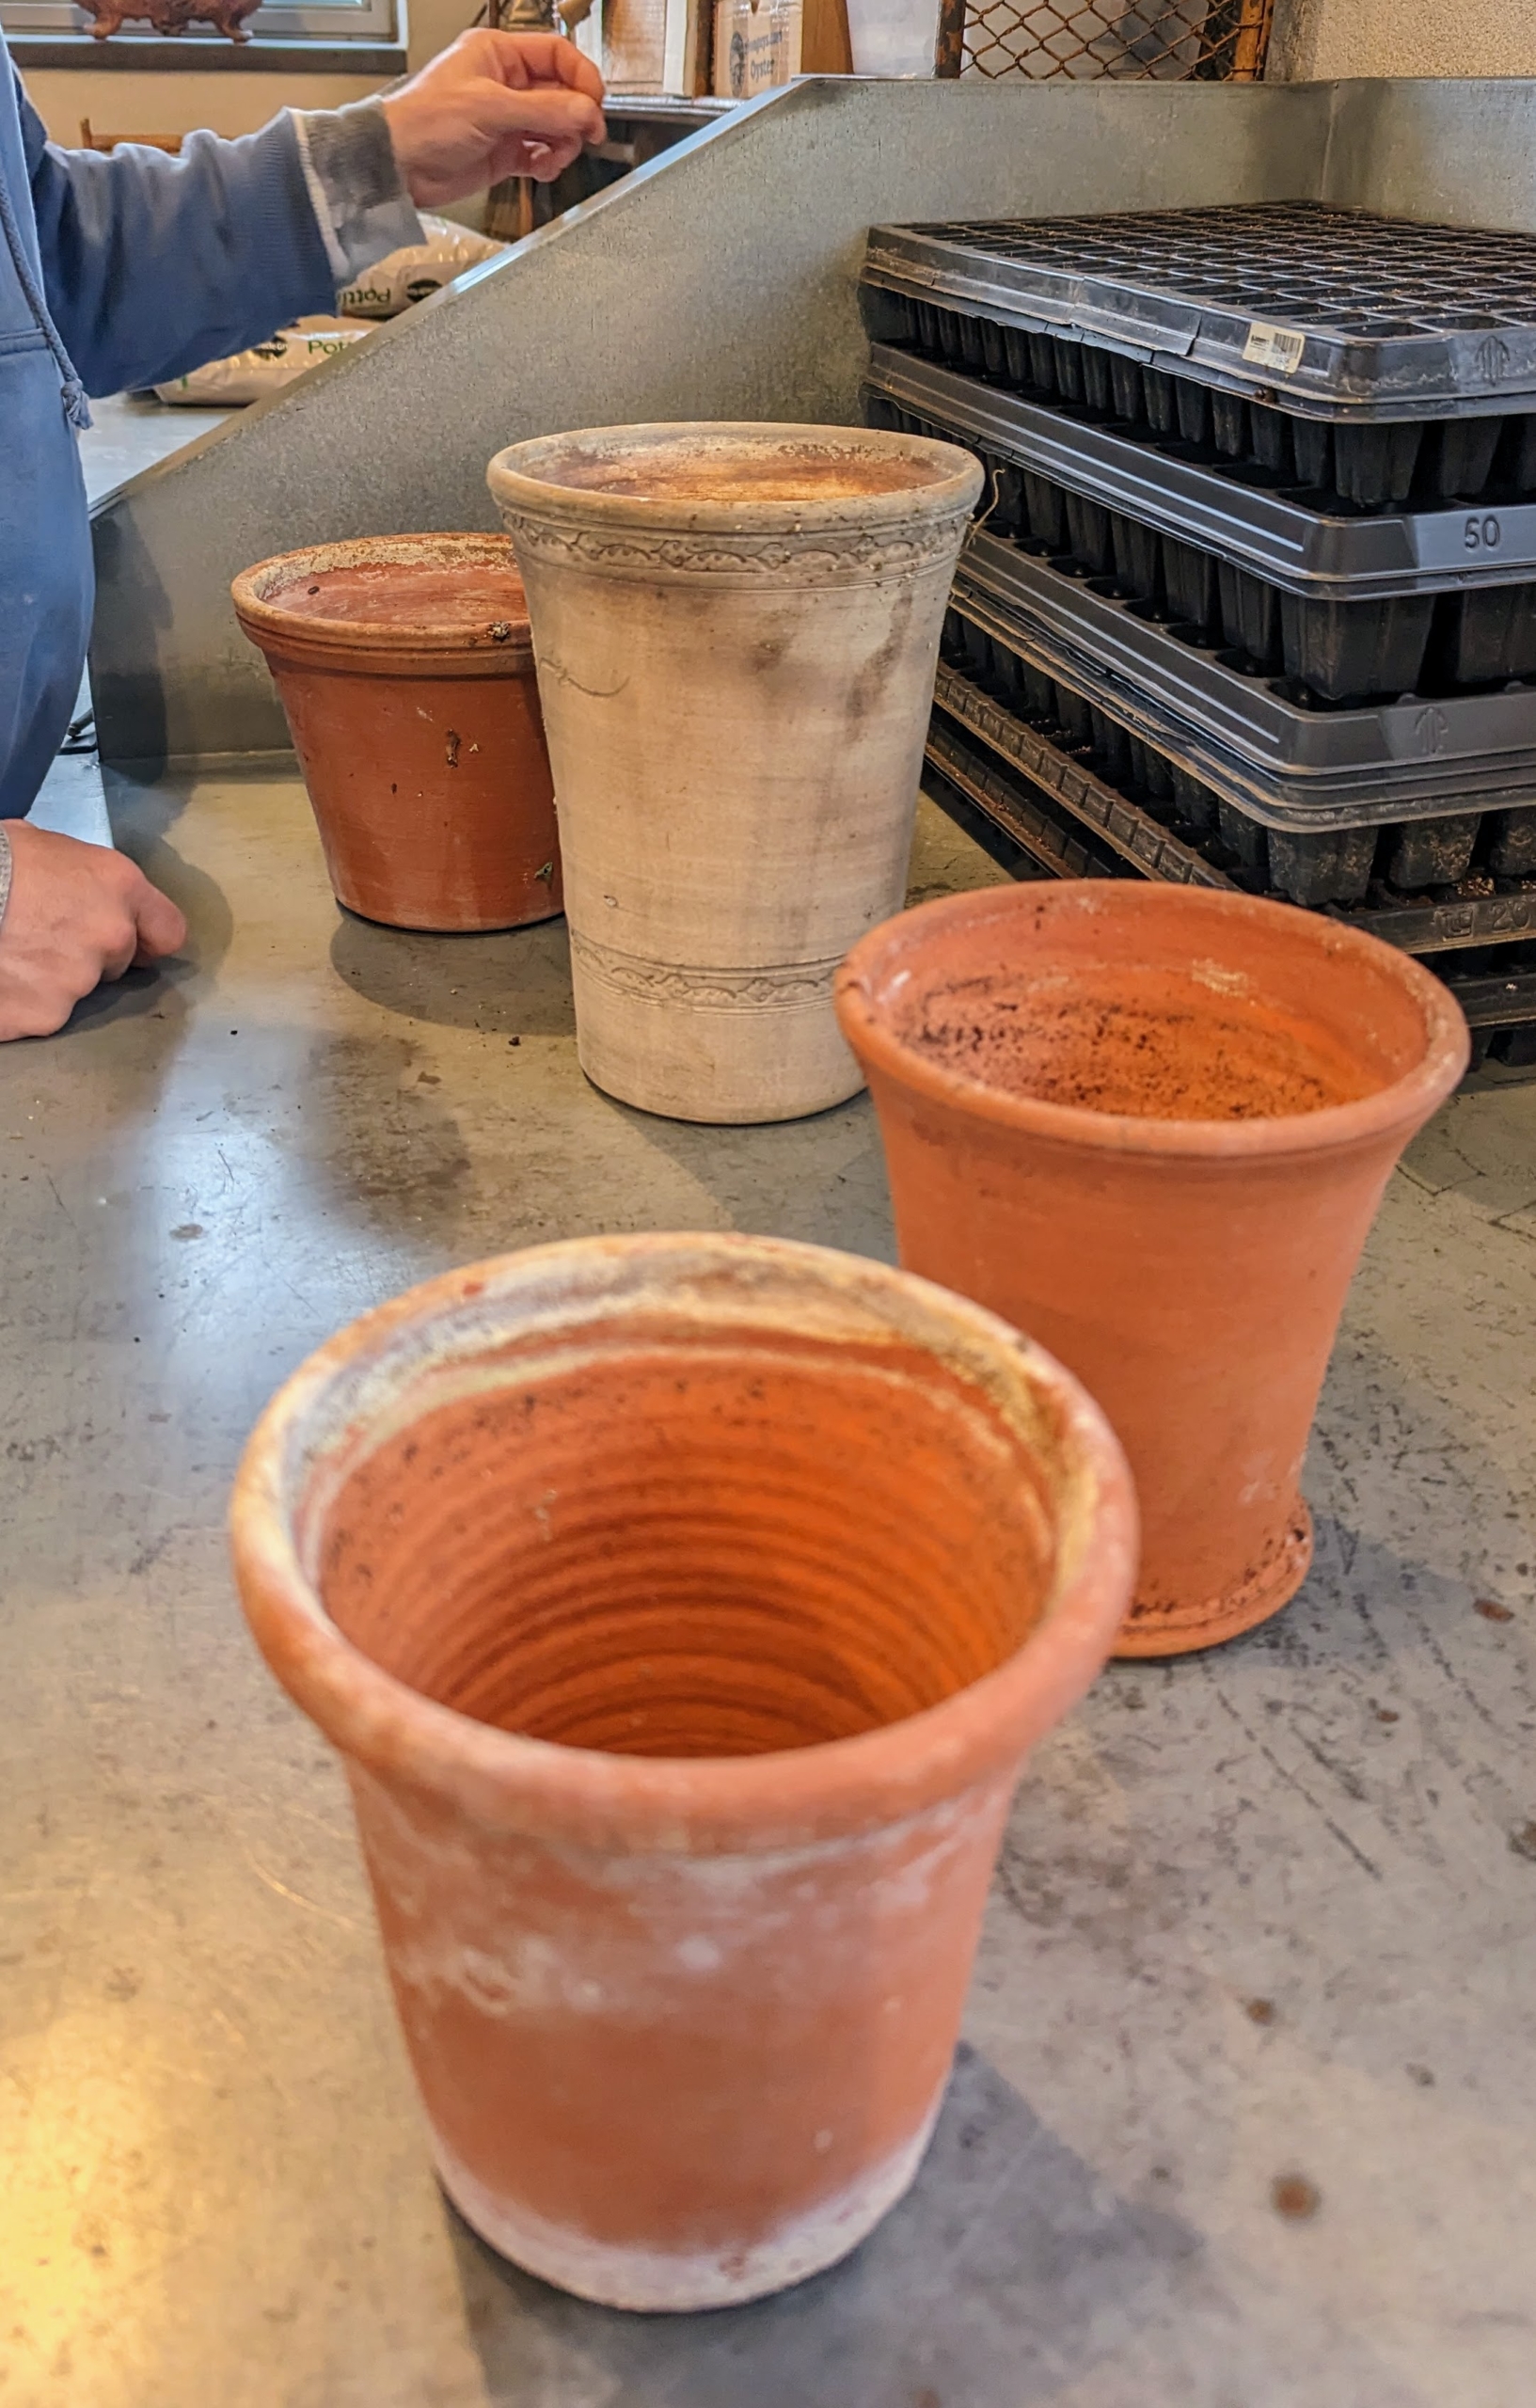
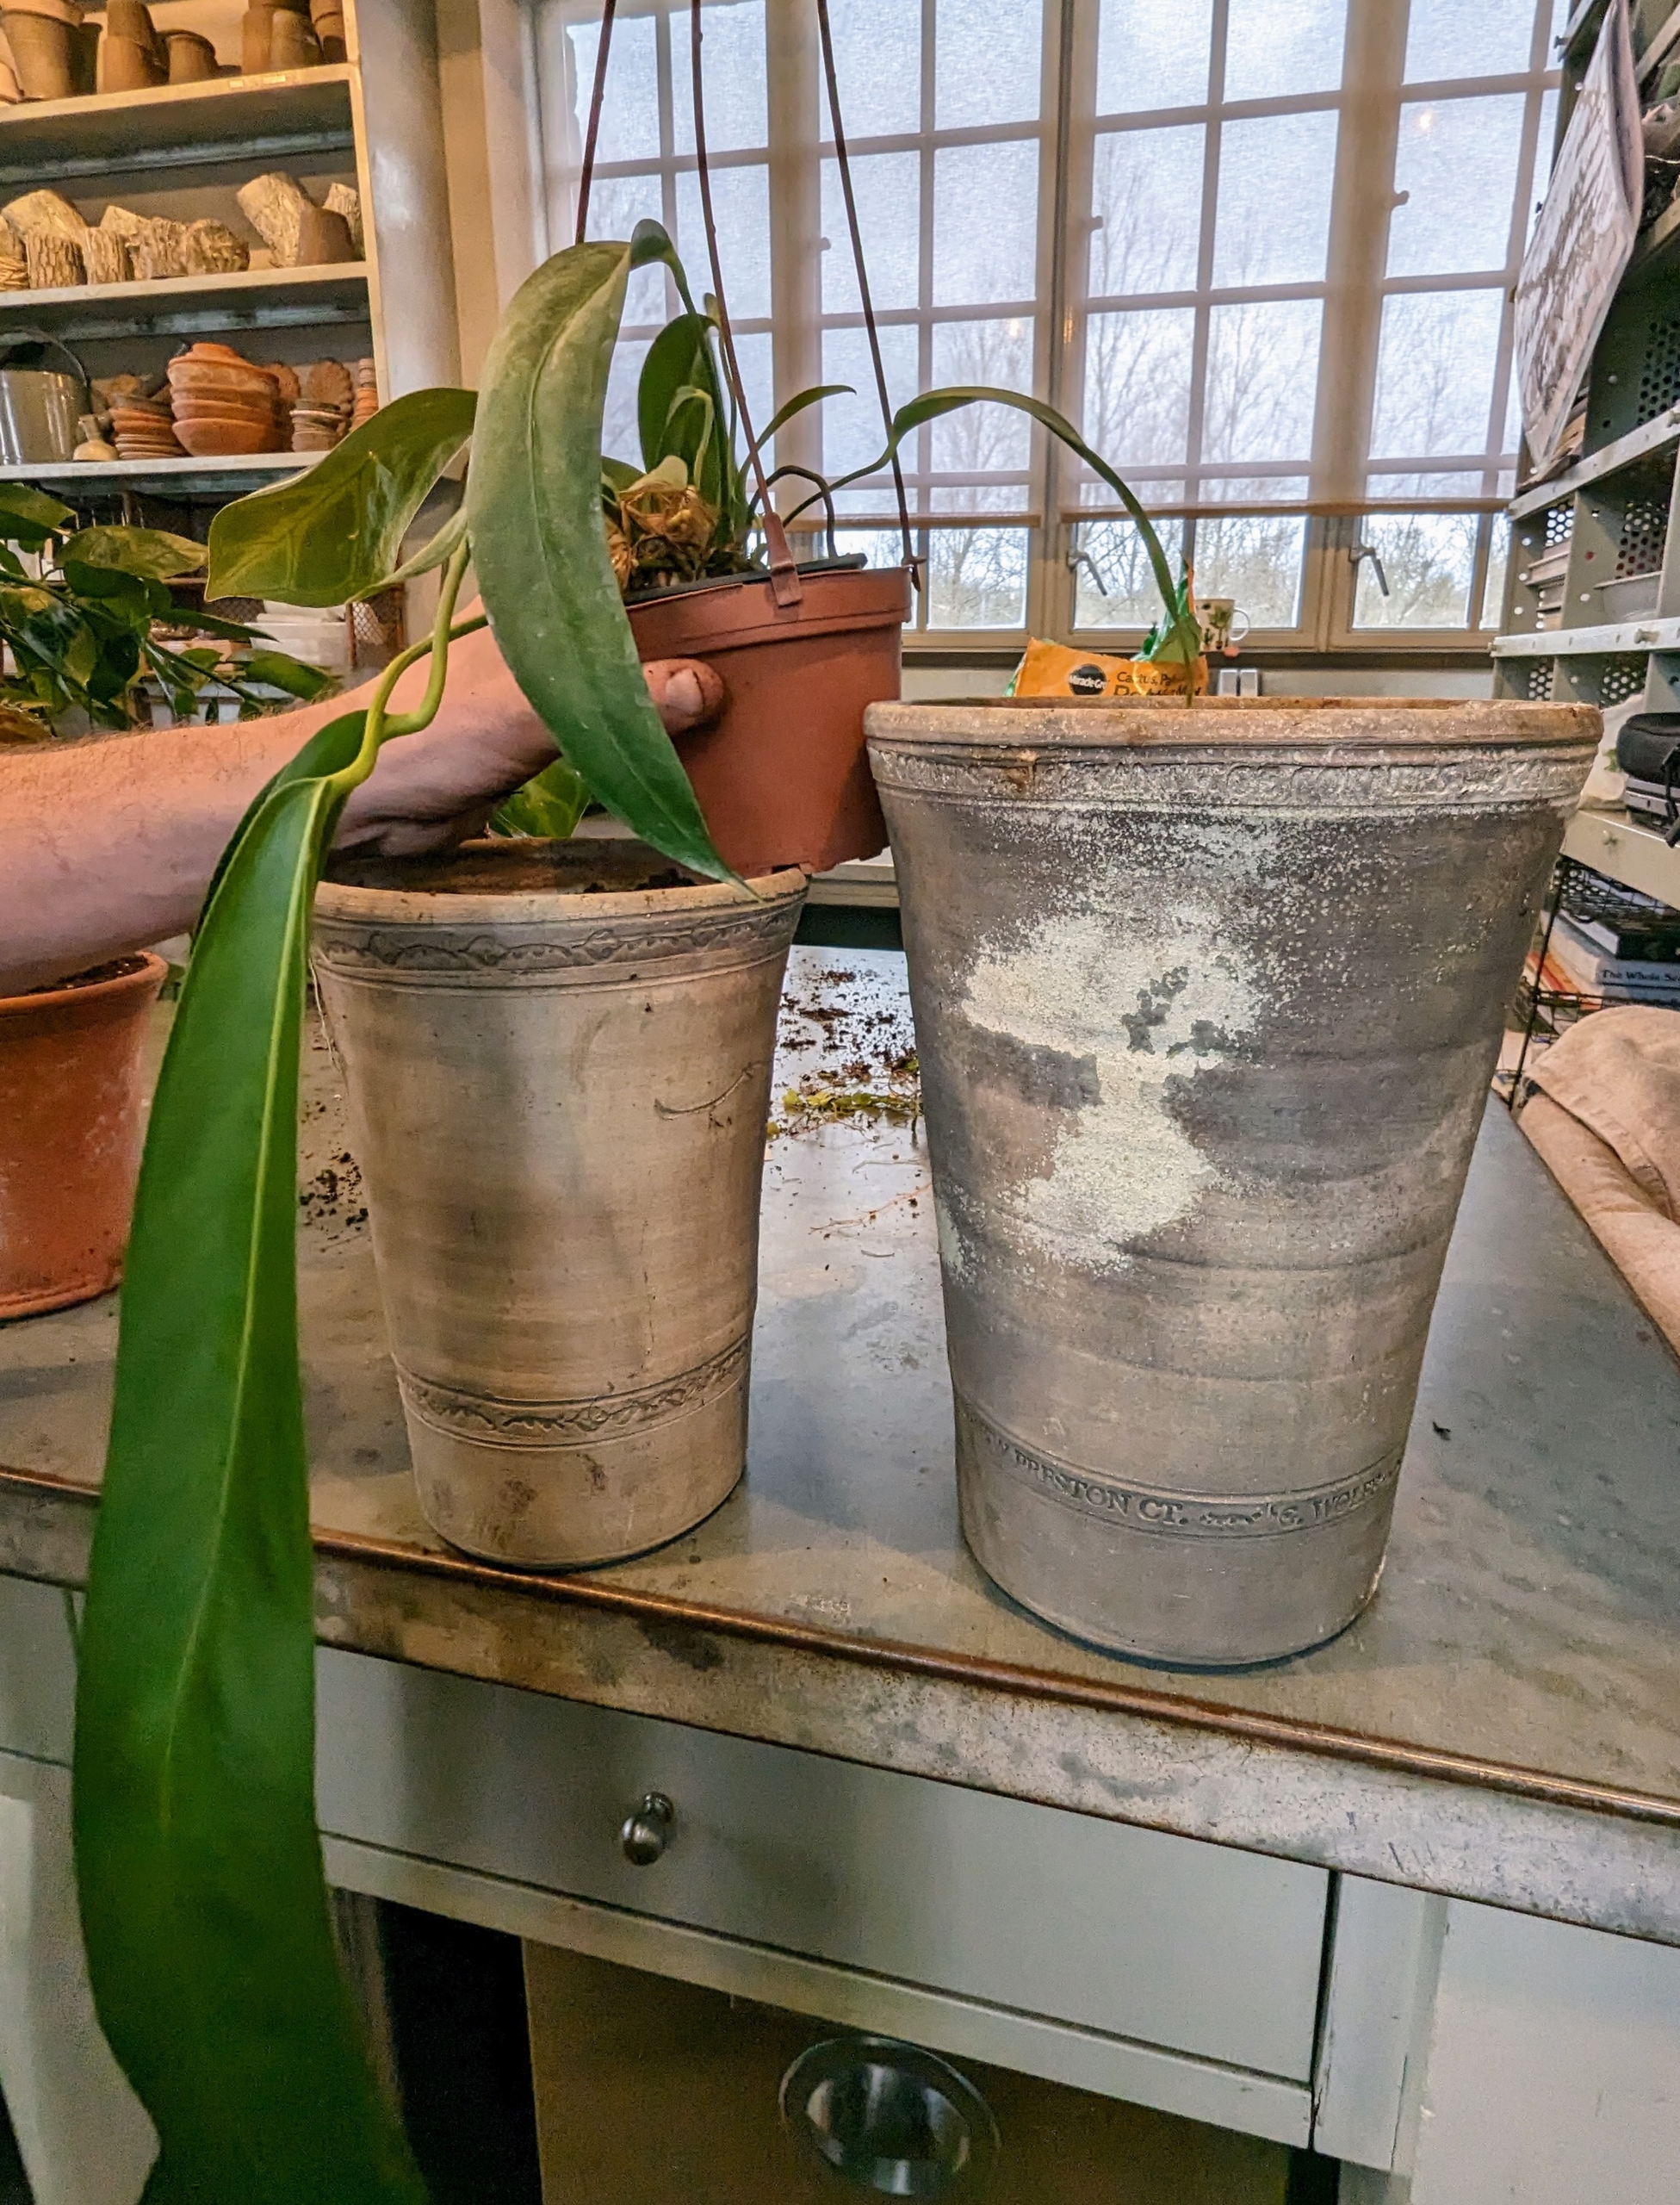
Here he is ready to pot up another Anthurium. Which pot is best? The leaves of this Anthurium variety are long, so taller, narrow pots are good to use, but Anthuriums do not like to sit in wet soil, so the right pot should definitely be fast draining. Both these pots are made by master potter, Guy Wolff. He says I have the largest single collection of his handmade clay vessels. All my plants look so wonderful displayed in the historical shapes that Guy and his son, Ben, create.
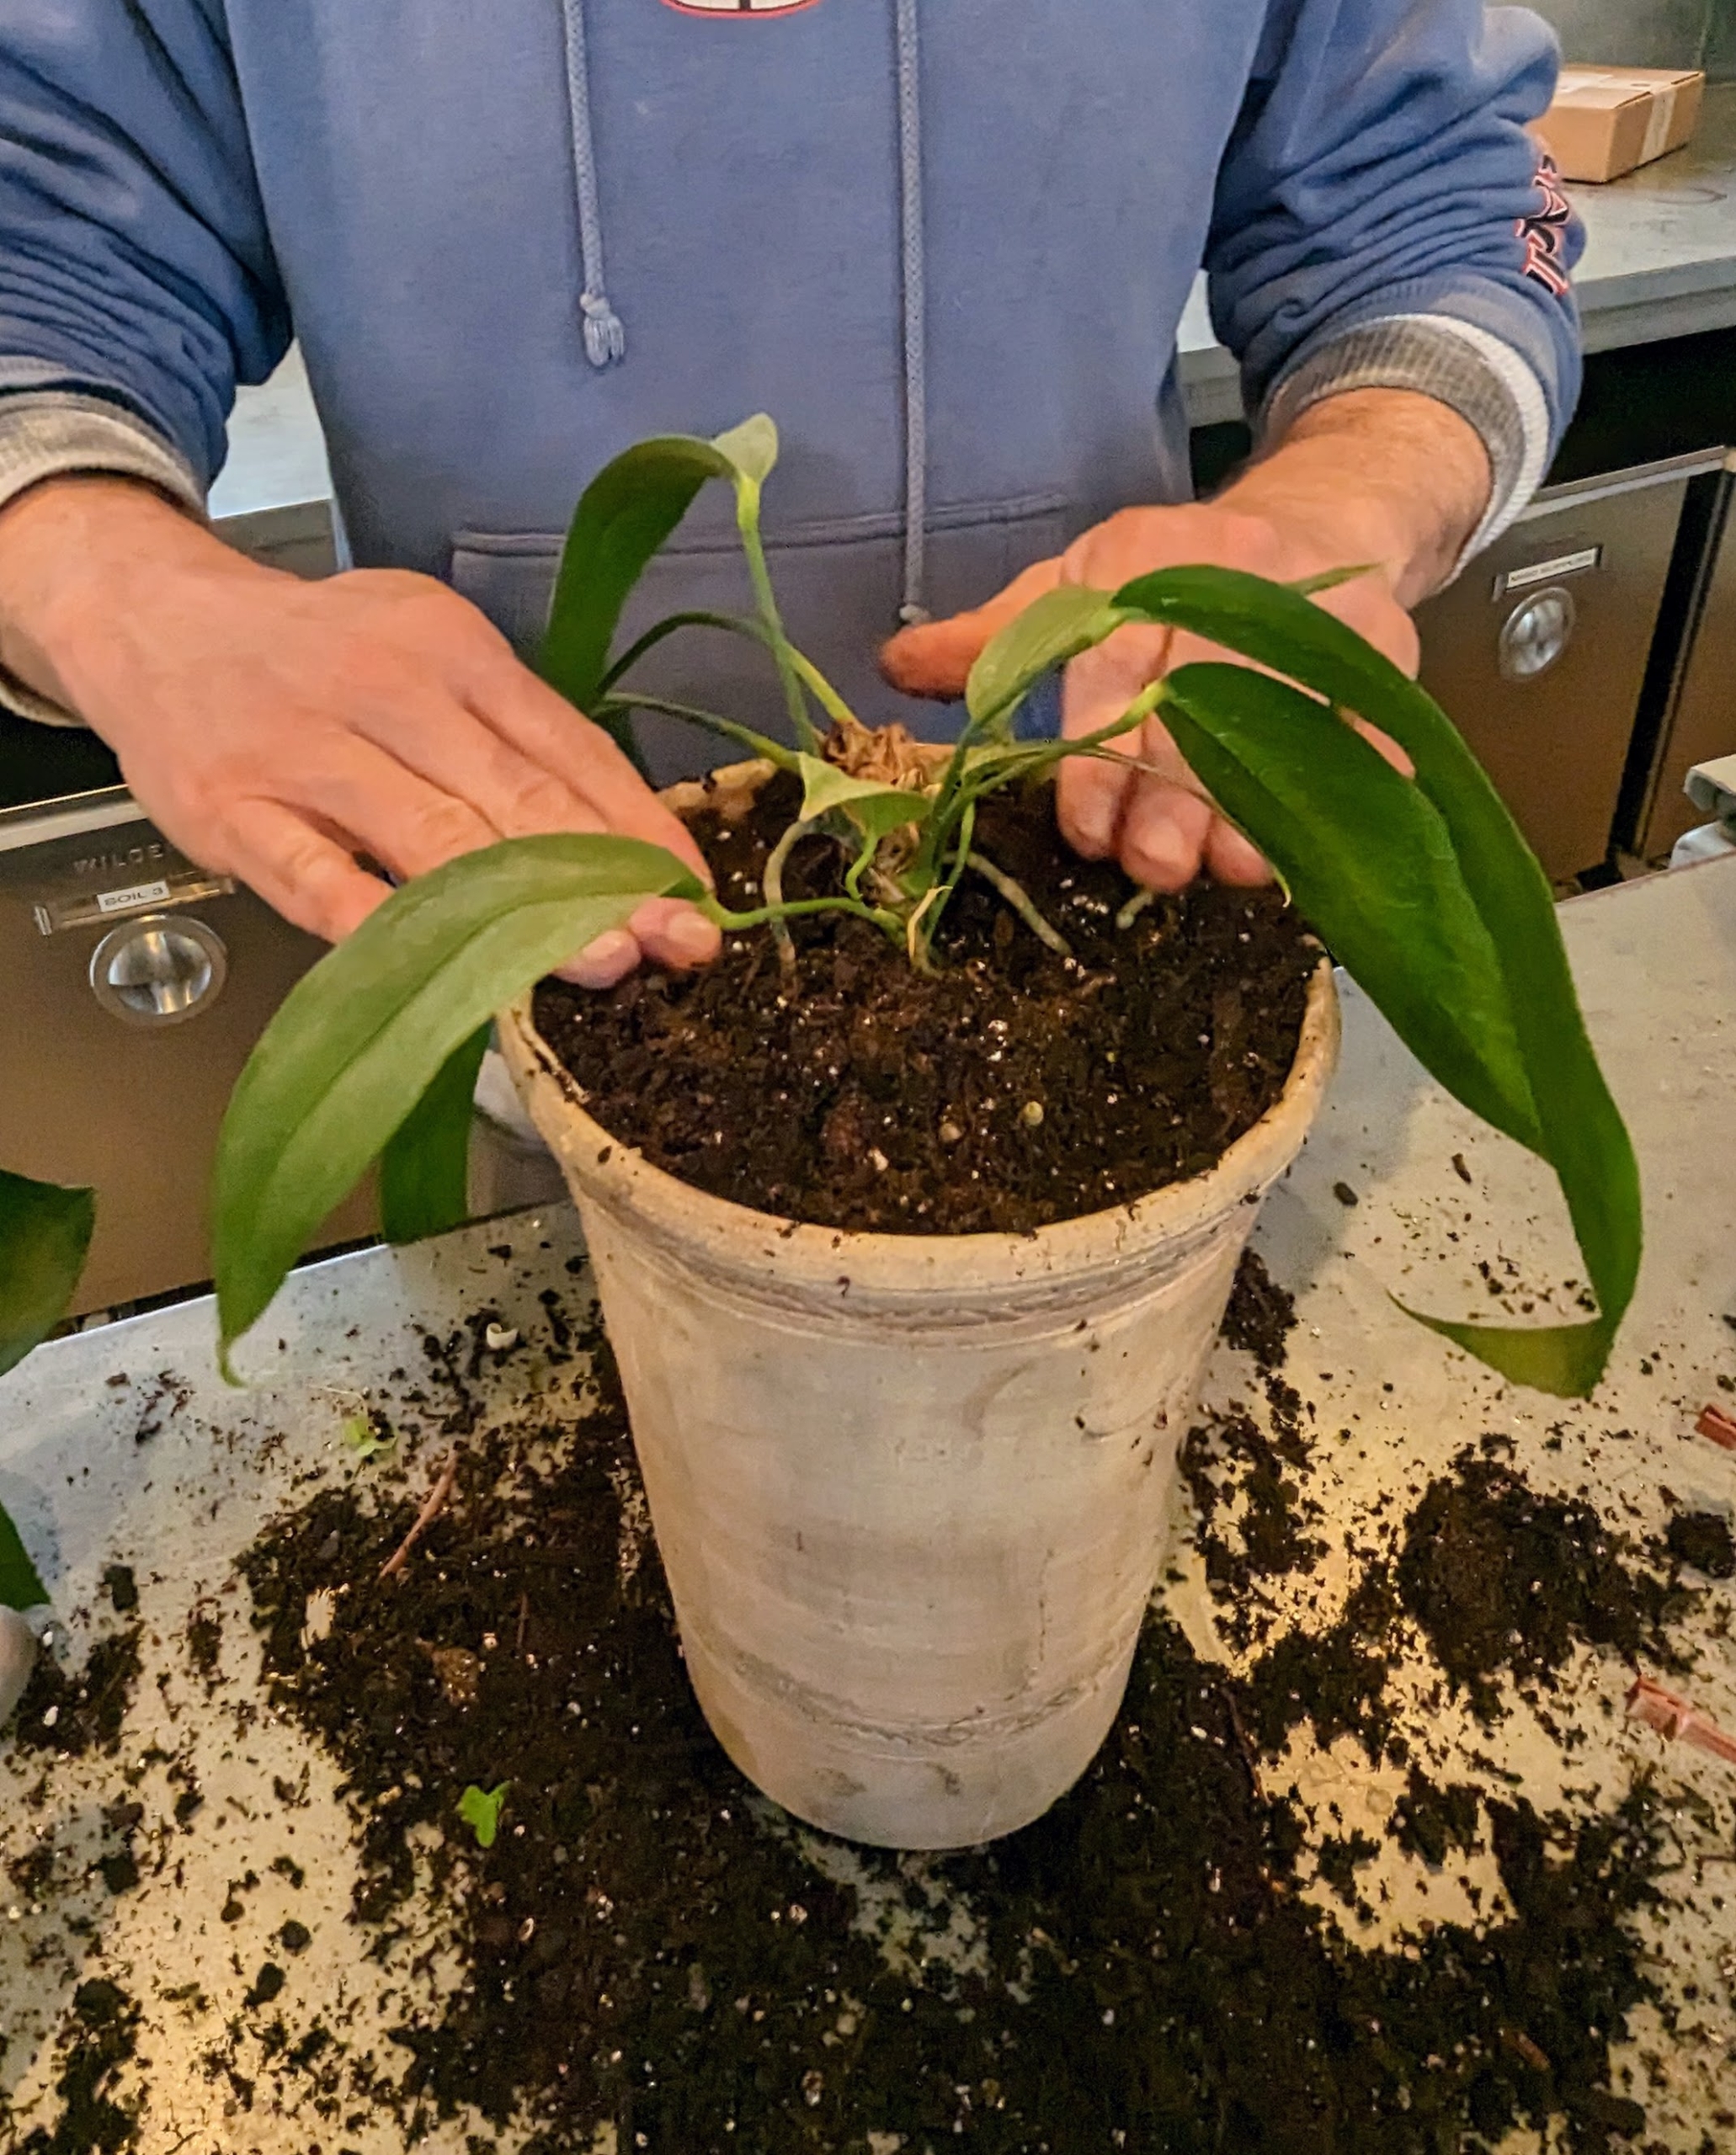
Ryan selected the smaller of the two. It will grow in this vessel and then eventually move to the larger one. For this Anthurium, Ryan uses an even faster draining soil mix.
Ryan sprinkles fertilizer over the soil of all the newly potted plants…
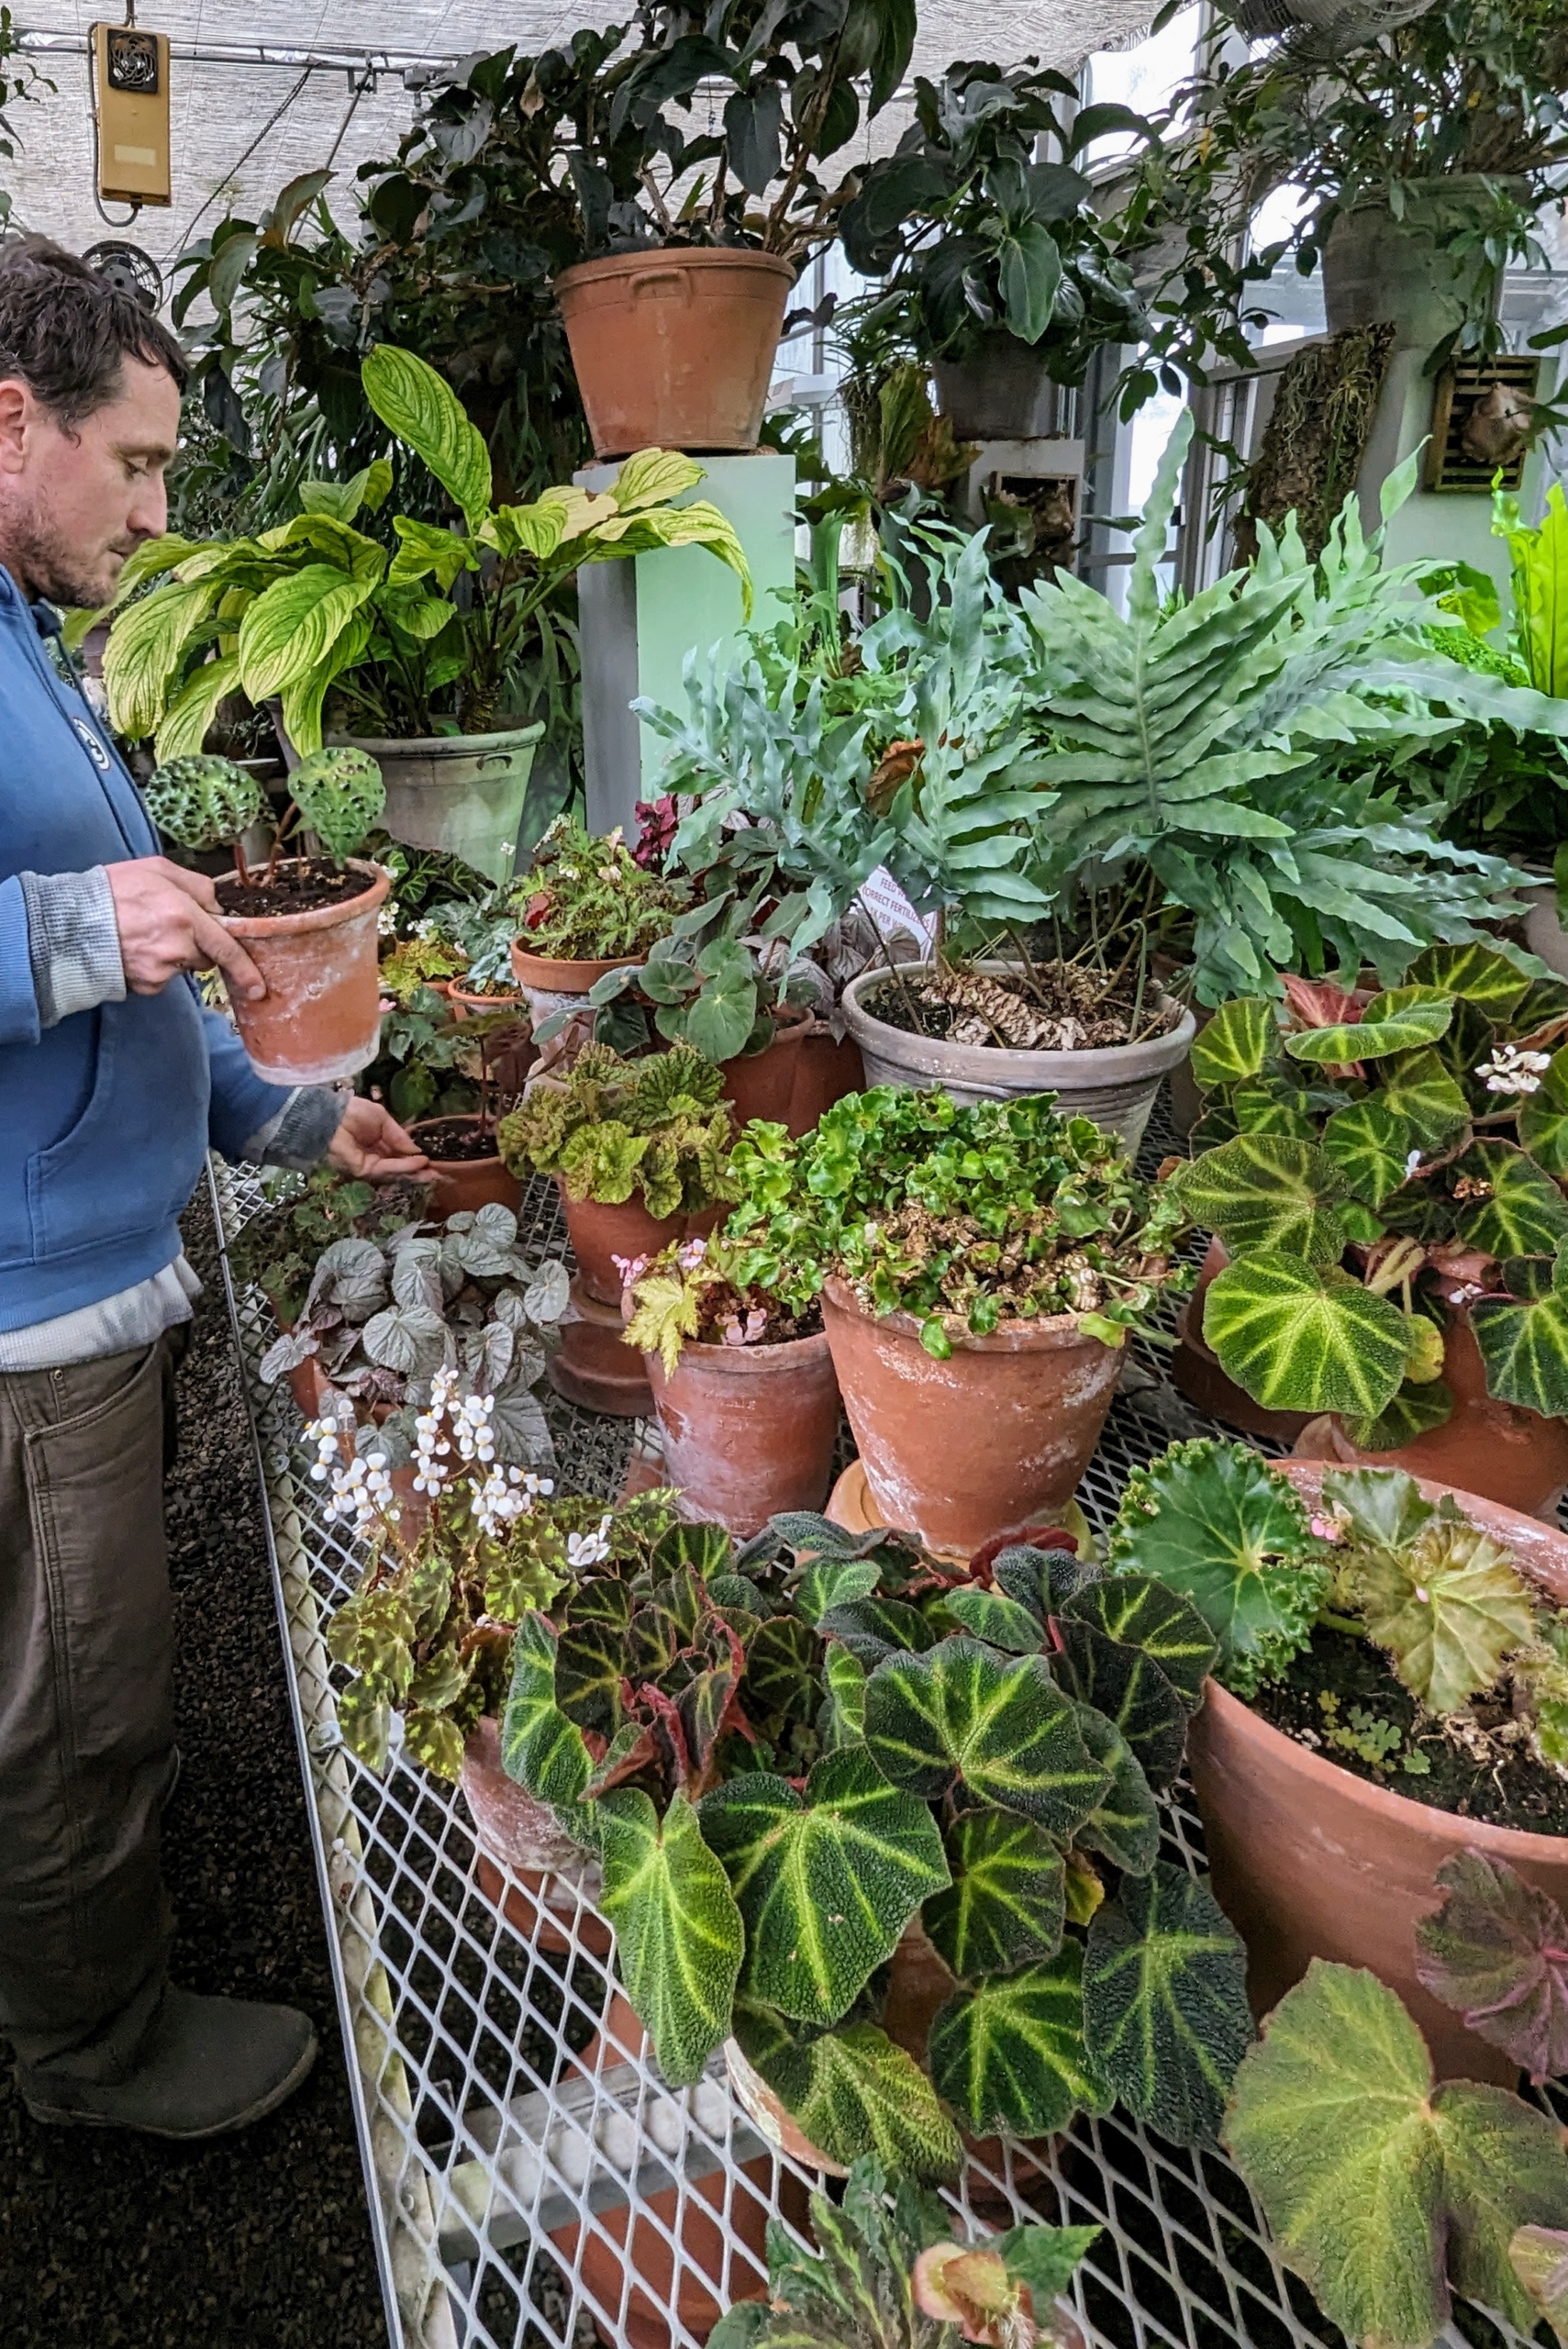
… And then takes the plants out to the greenhouse. This area is filled with all my begonias.
Ryan places the Anthurium on the other side, where I have a few other similar plants. The long leaves of this specimen will grow nicely here at the edge where they cannot be disturbed.
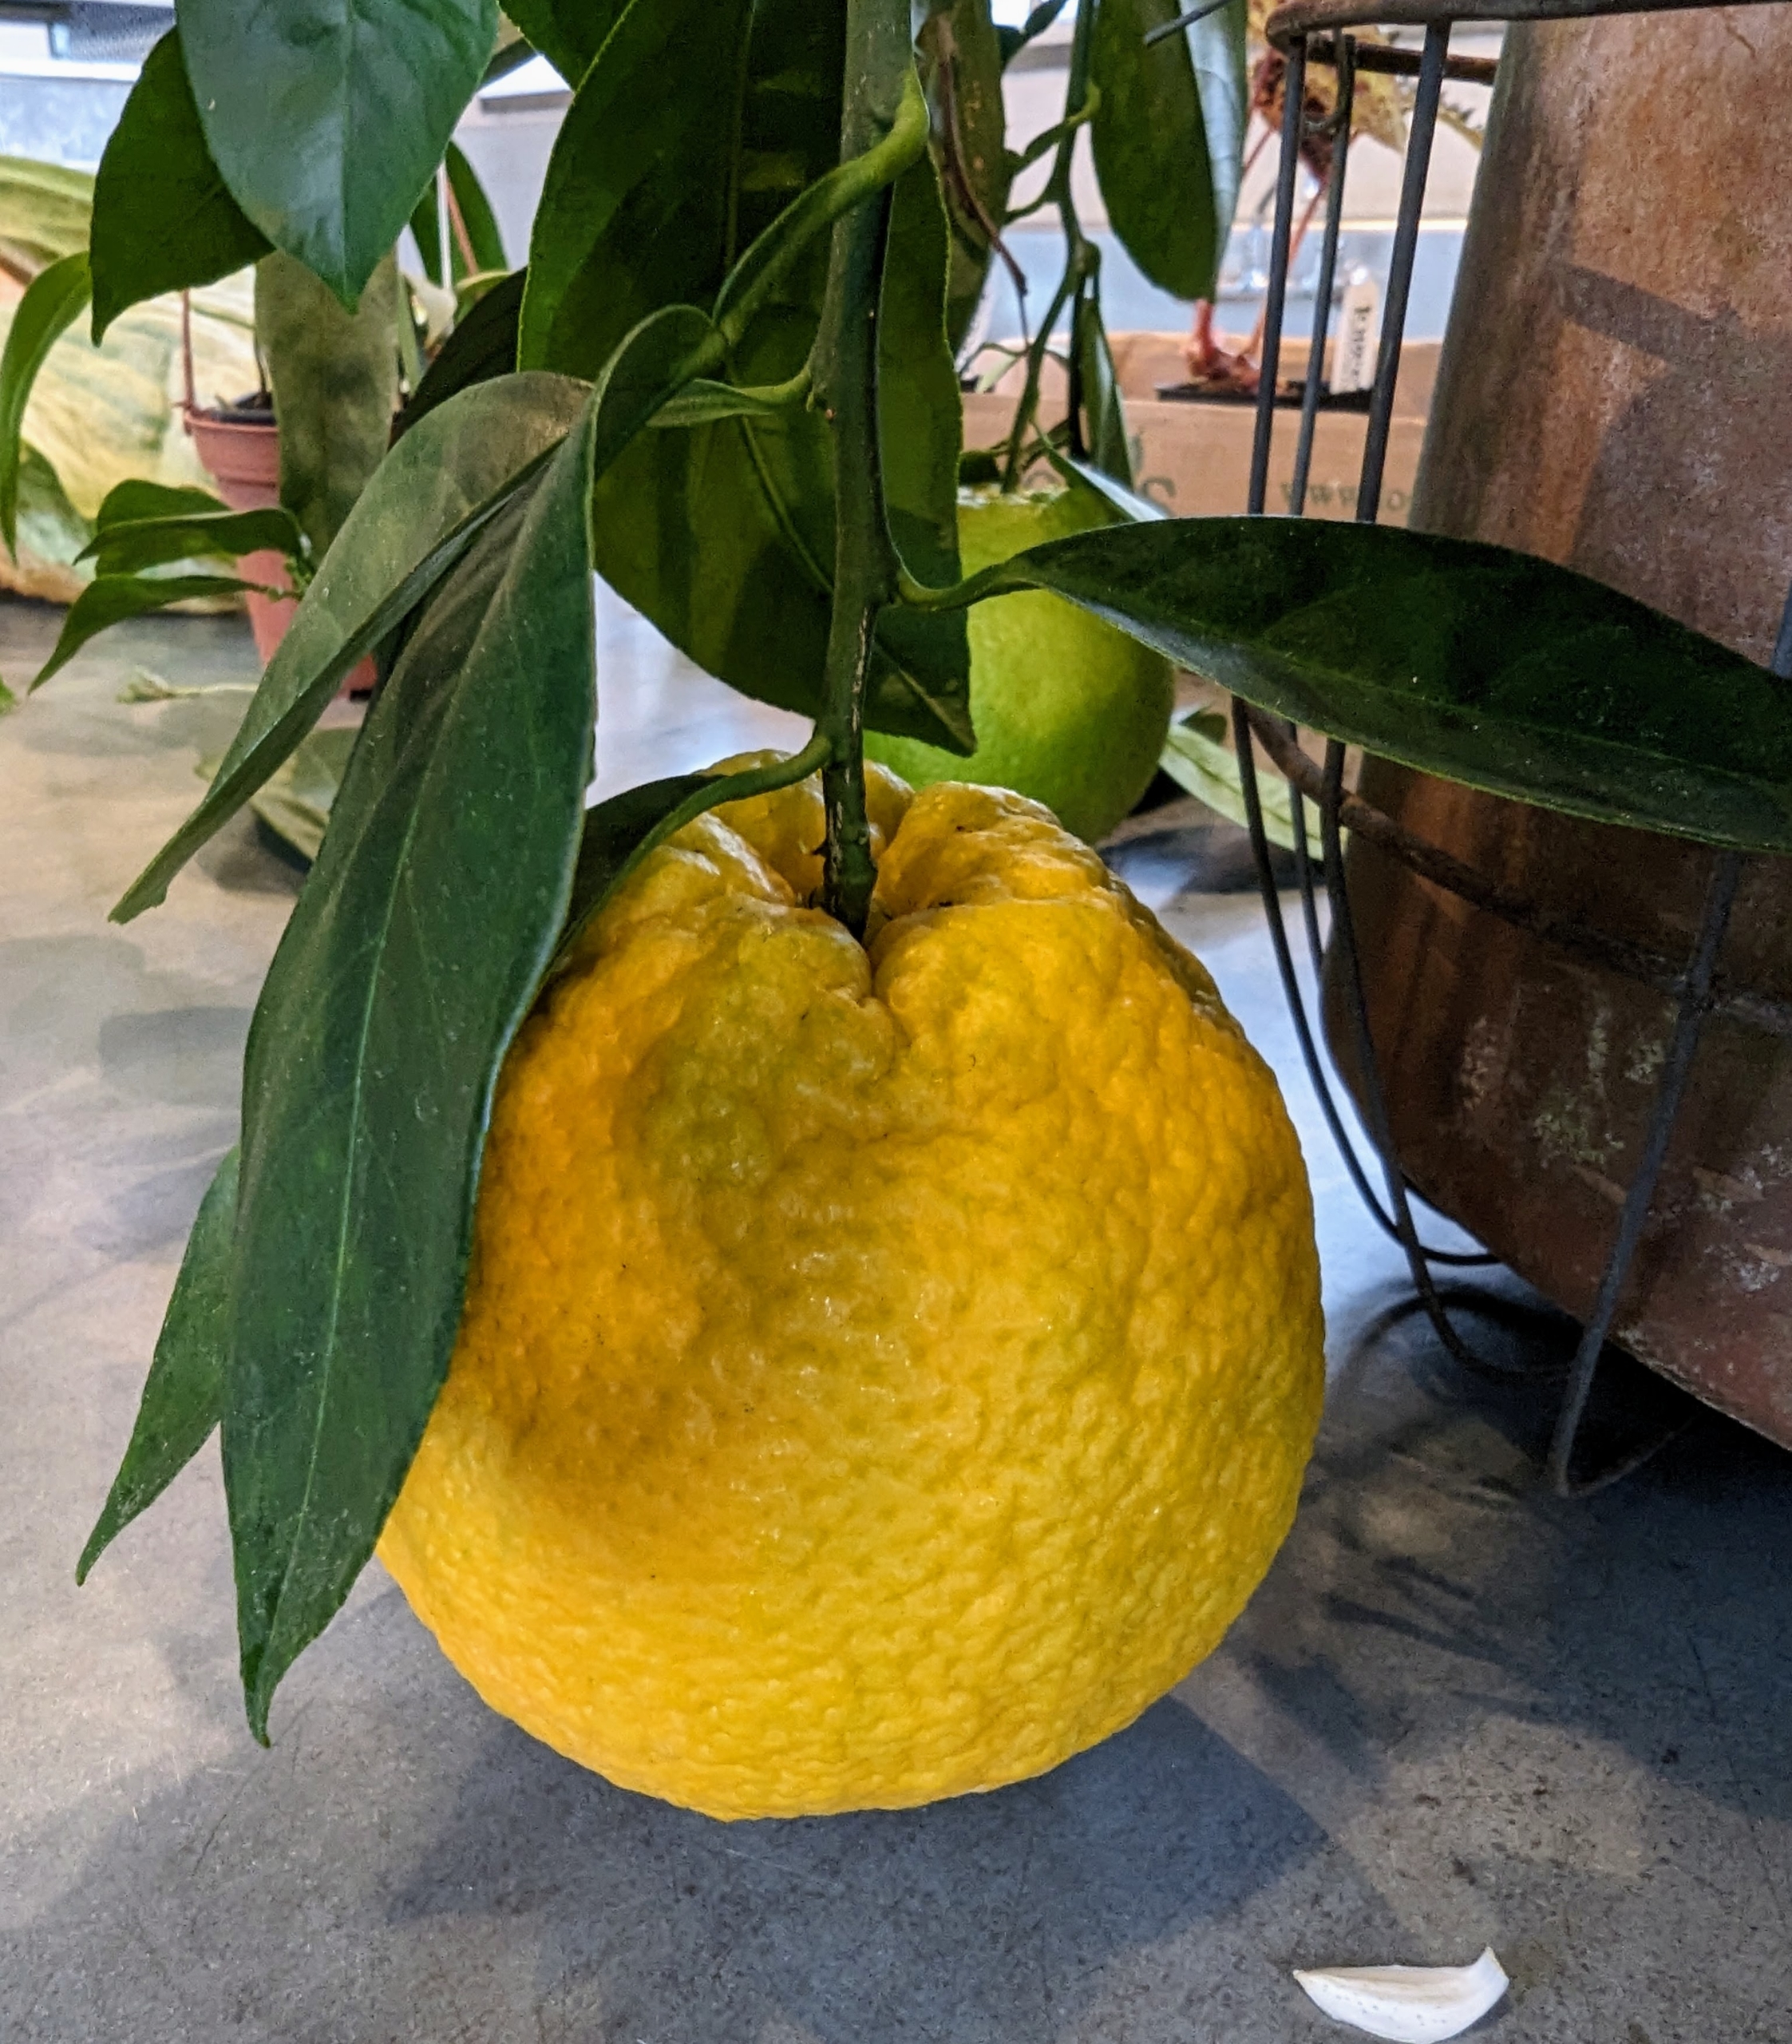
And look at this citrus fruit growing on my newest specimen. I am so excited to try it.
This hanging citrus will be brought down to my citrus hoop house where it will be stored with all my other dwarf citrus fruit trees. I am so very pleased with these additions to my greenhouse. I am looking forward to seeing them mature and thrive.