The garden beds at my Bedford, New York farm continue to evolve.
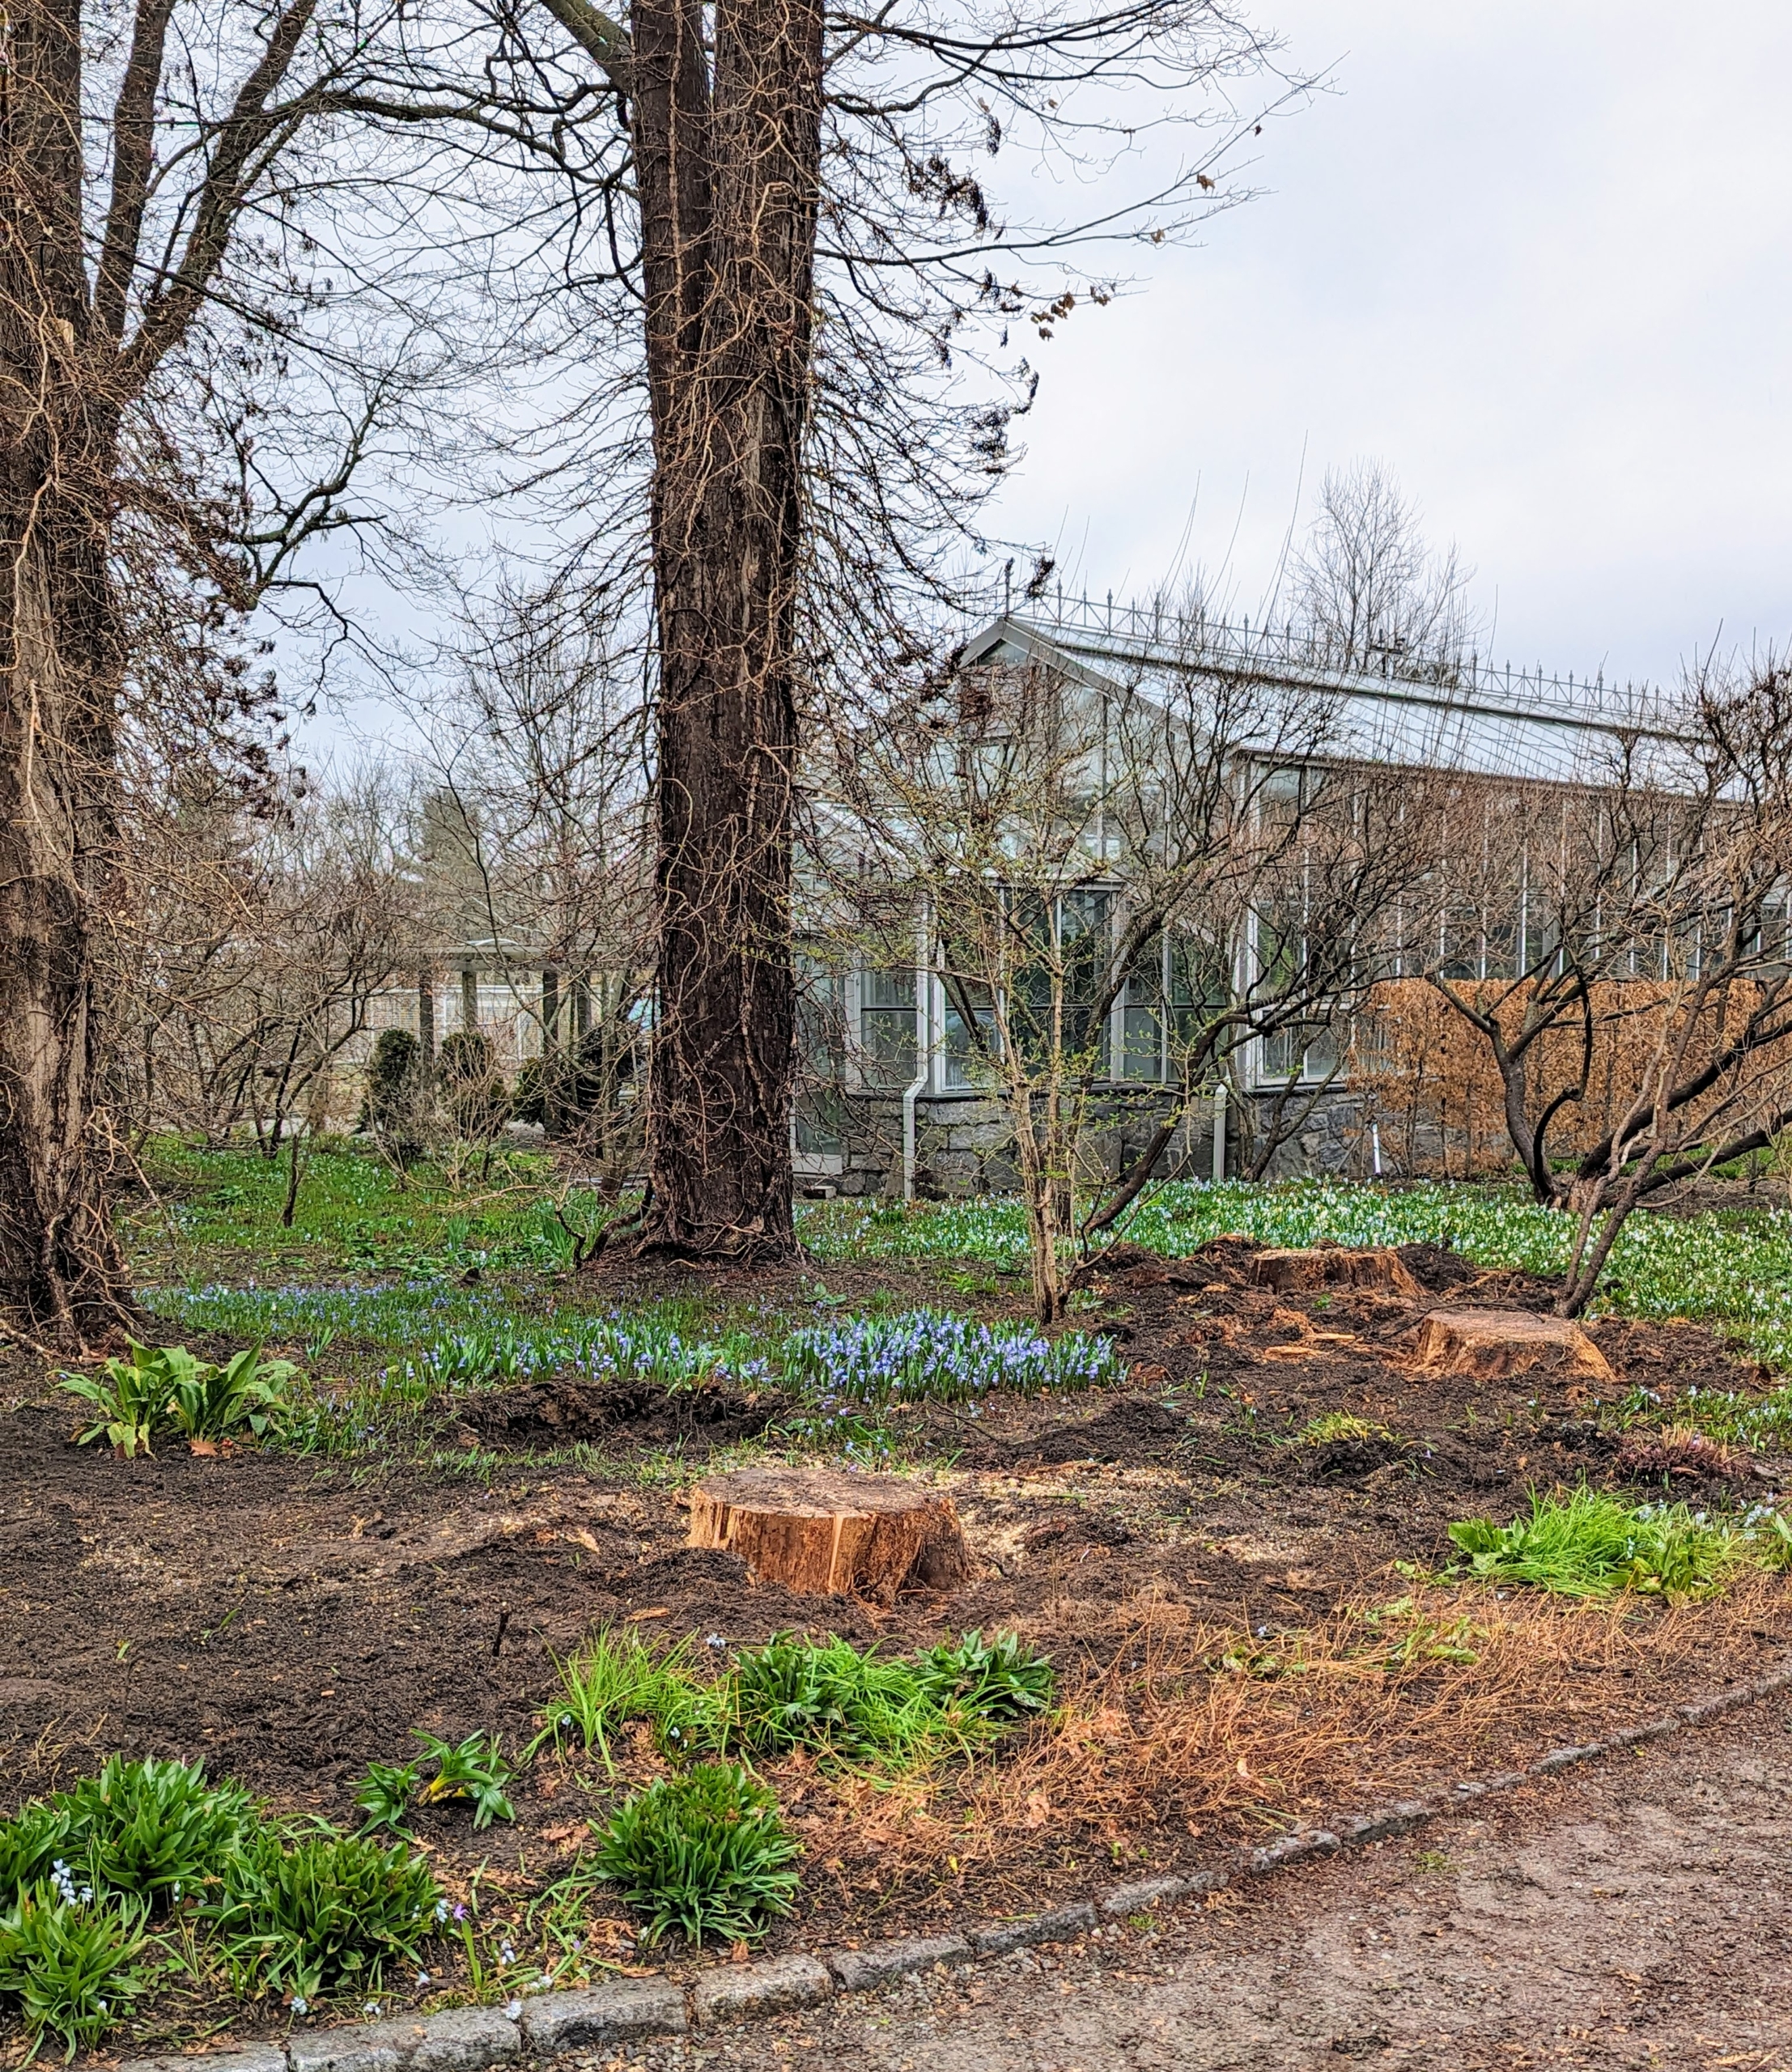
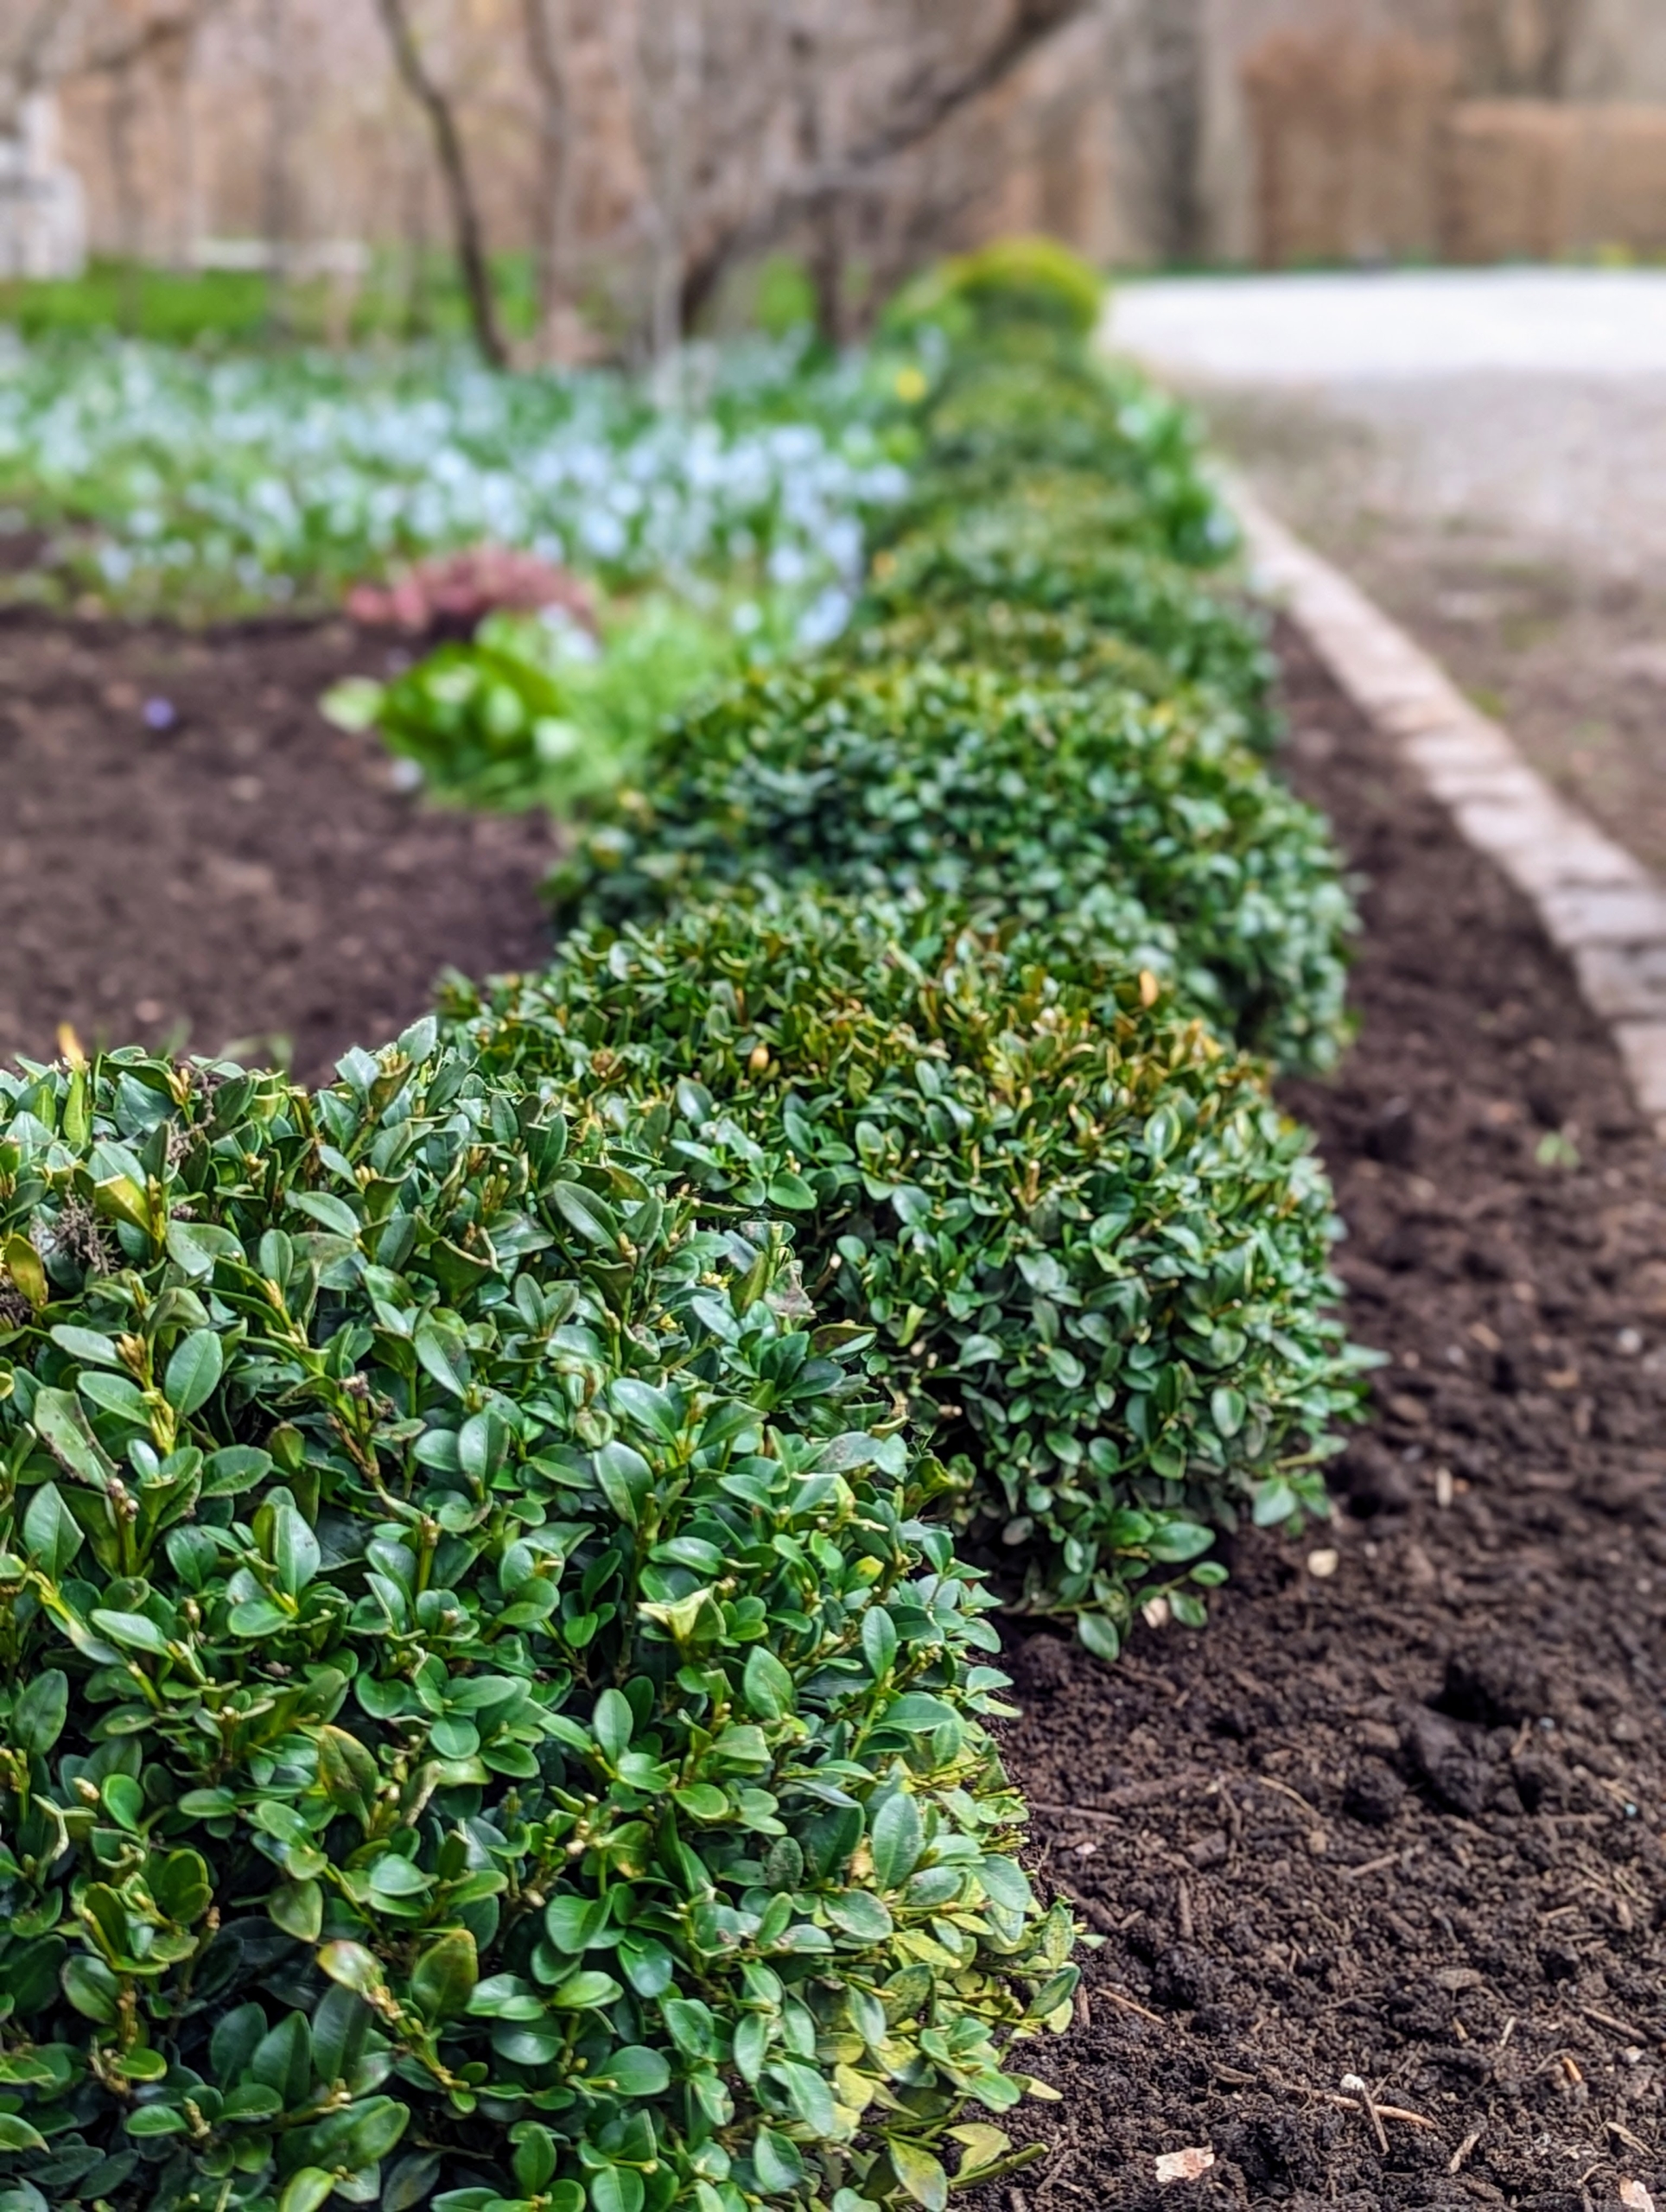
I'm always looking for ways to improve my gardens. I love planting interesting and rare specimens that add texture, growth and beauty at different times throughout the year. I also enjoy arranging large groups of certain plantings to create borders and appealing displays. Recently, I decided to make some changes to the garden bed near my front gate. I finally removed the remaining trunks of a stand of white pines that were battered by Super Storm Sandy in 2012. I will plant something beautiful in their place, but in the meantime, my gardeners and outdoor grounds crew planted a row of lovely boxwood along the edge of the bed.
Here are some photos, enjoy.
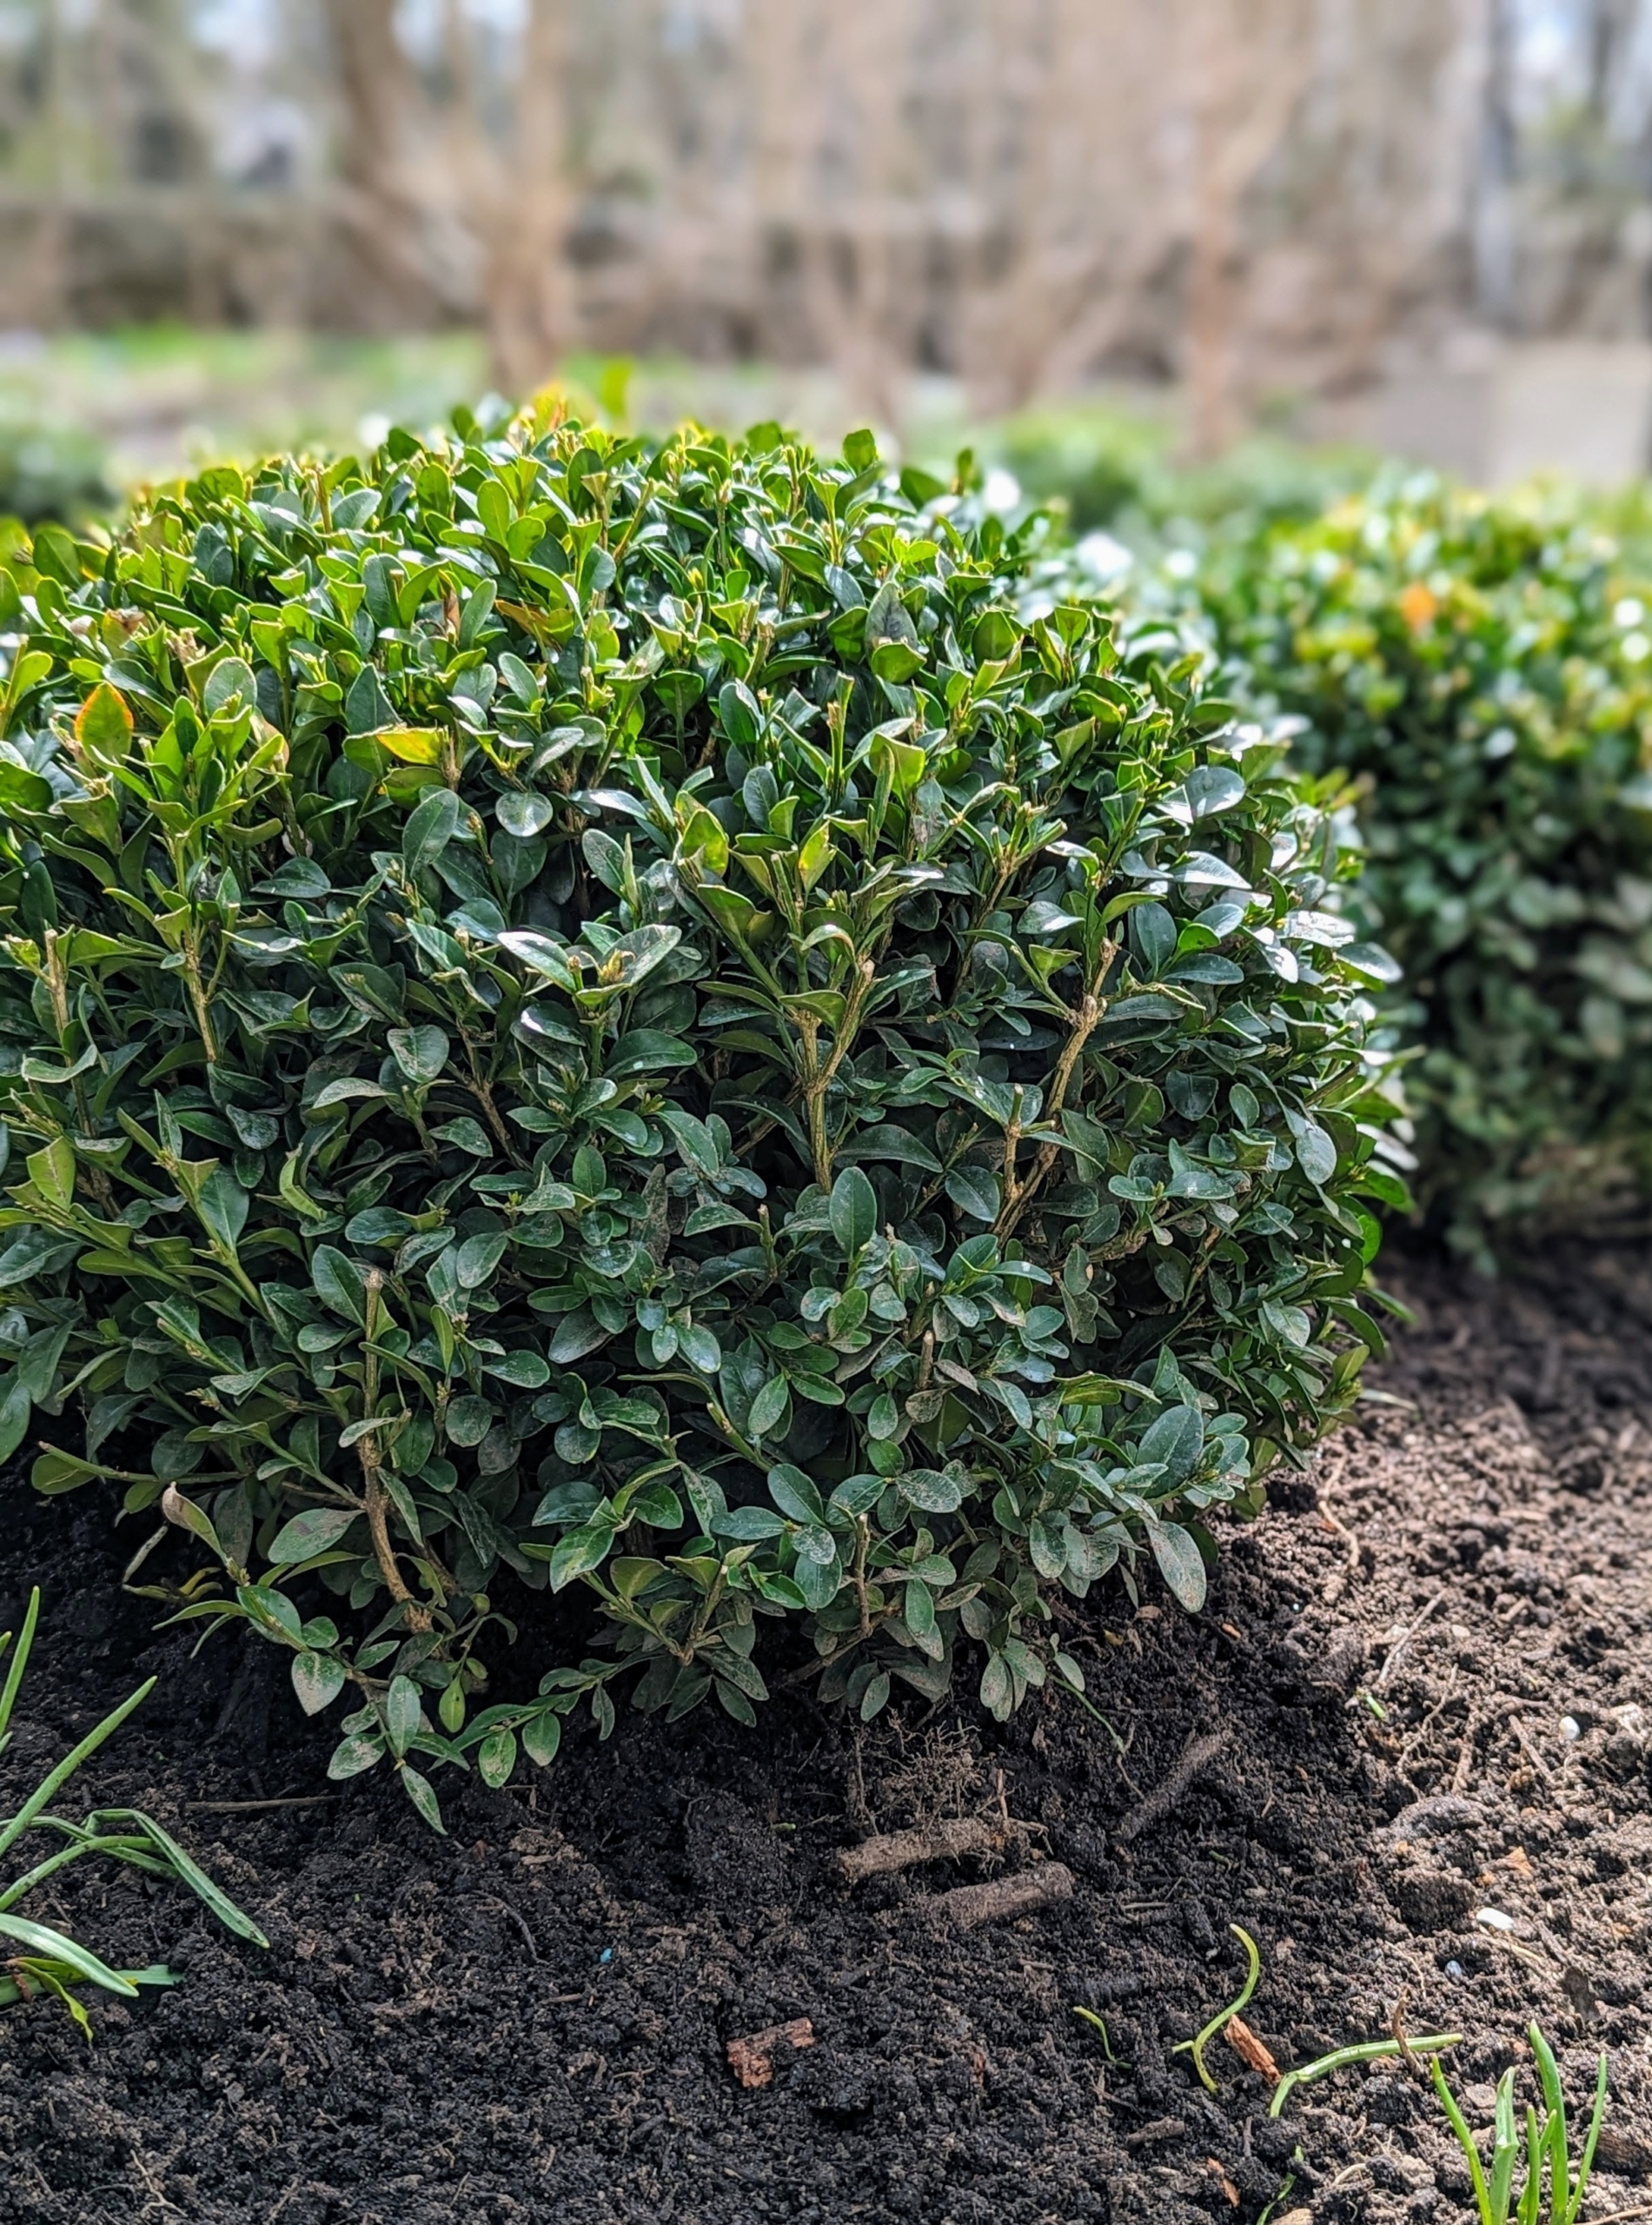
I love boxwood, Buxus, and have hundreds of these bold green shrubs growing all over my Bedford, New York farm. I take very special care of these specimens – they are regularly pruned and groomed, and in winter they are covered in a layer of protective burlap. It’s so nice to see them thrive in the gardens.
Down near my chicken coops I set up a boxwood “nursery” where we plant bare-root cuttings and nurture them for several years before they are planted around the farm. Here, Phurba is grooming some of the more developed young shrubs. This is easier to do before they are moved. These shrubs will be perfect for our newest project.
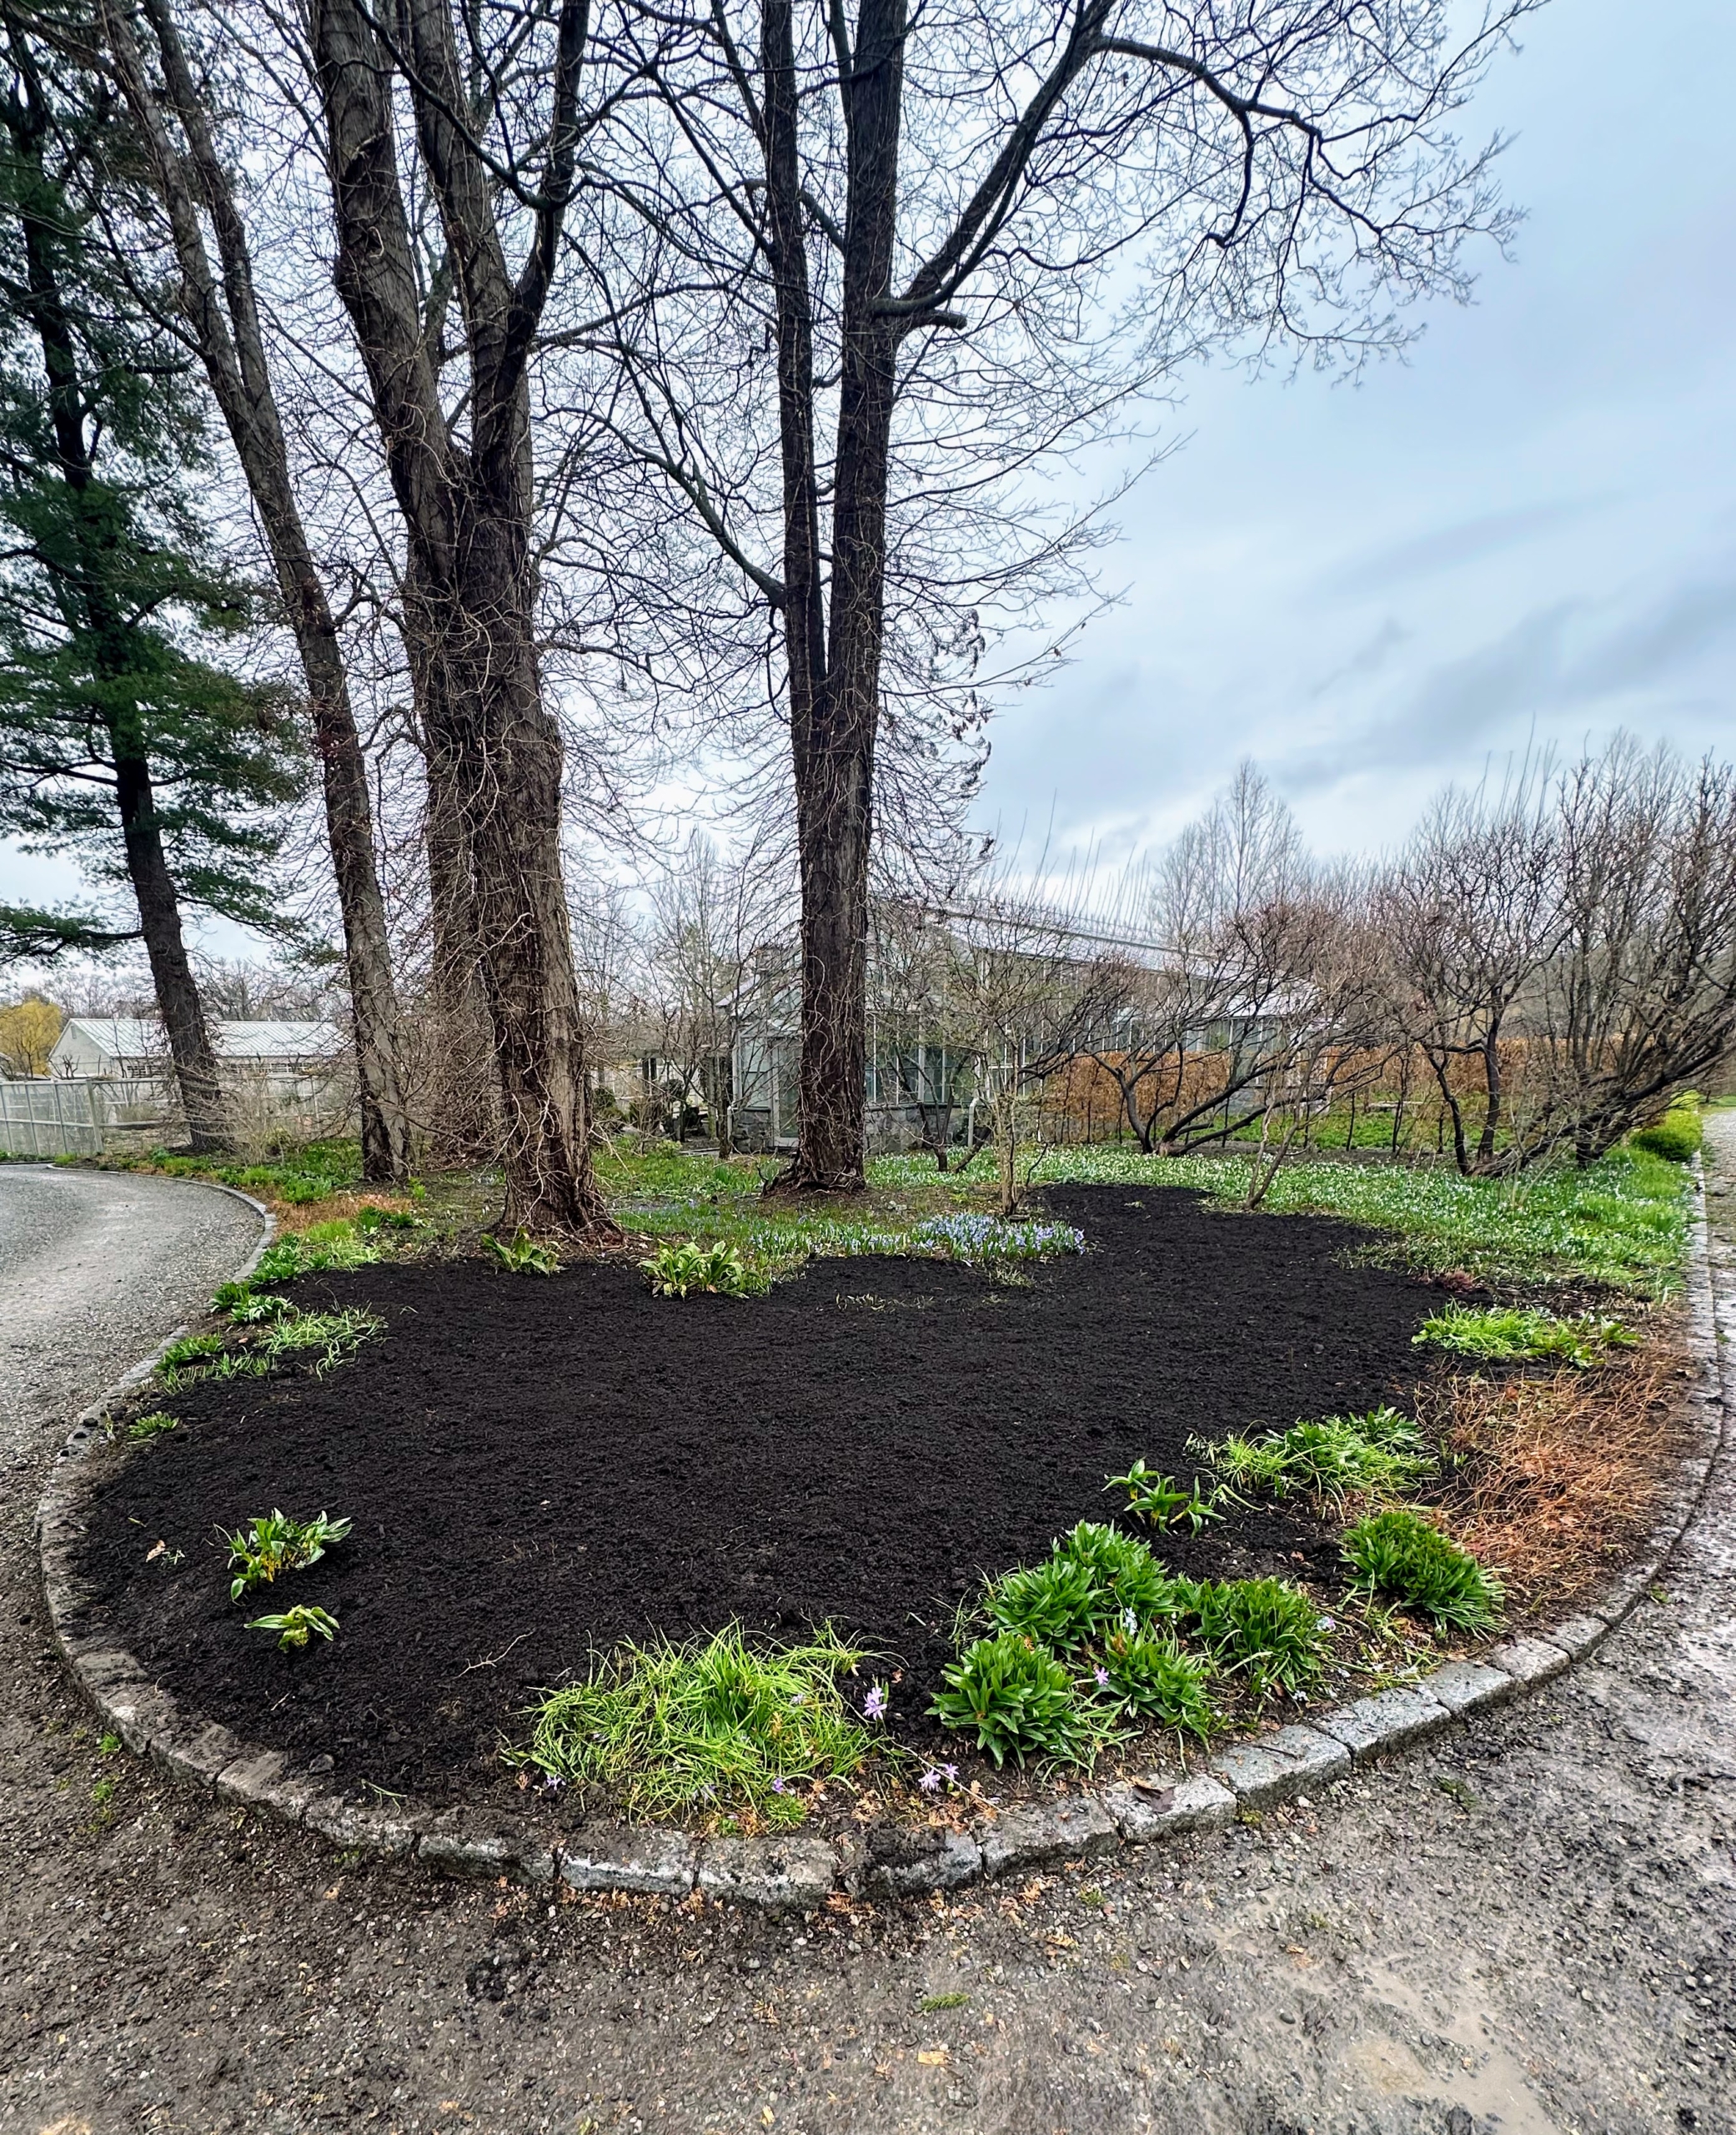
Outside my main greenhouse, one can see where the trunks had been removed. The space looks so different already.
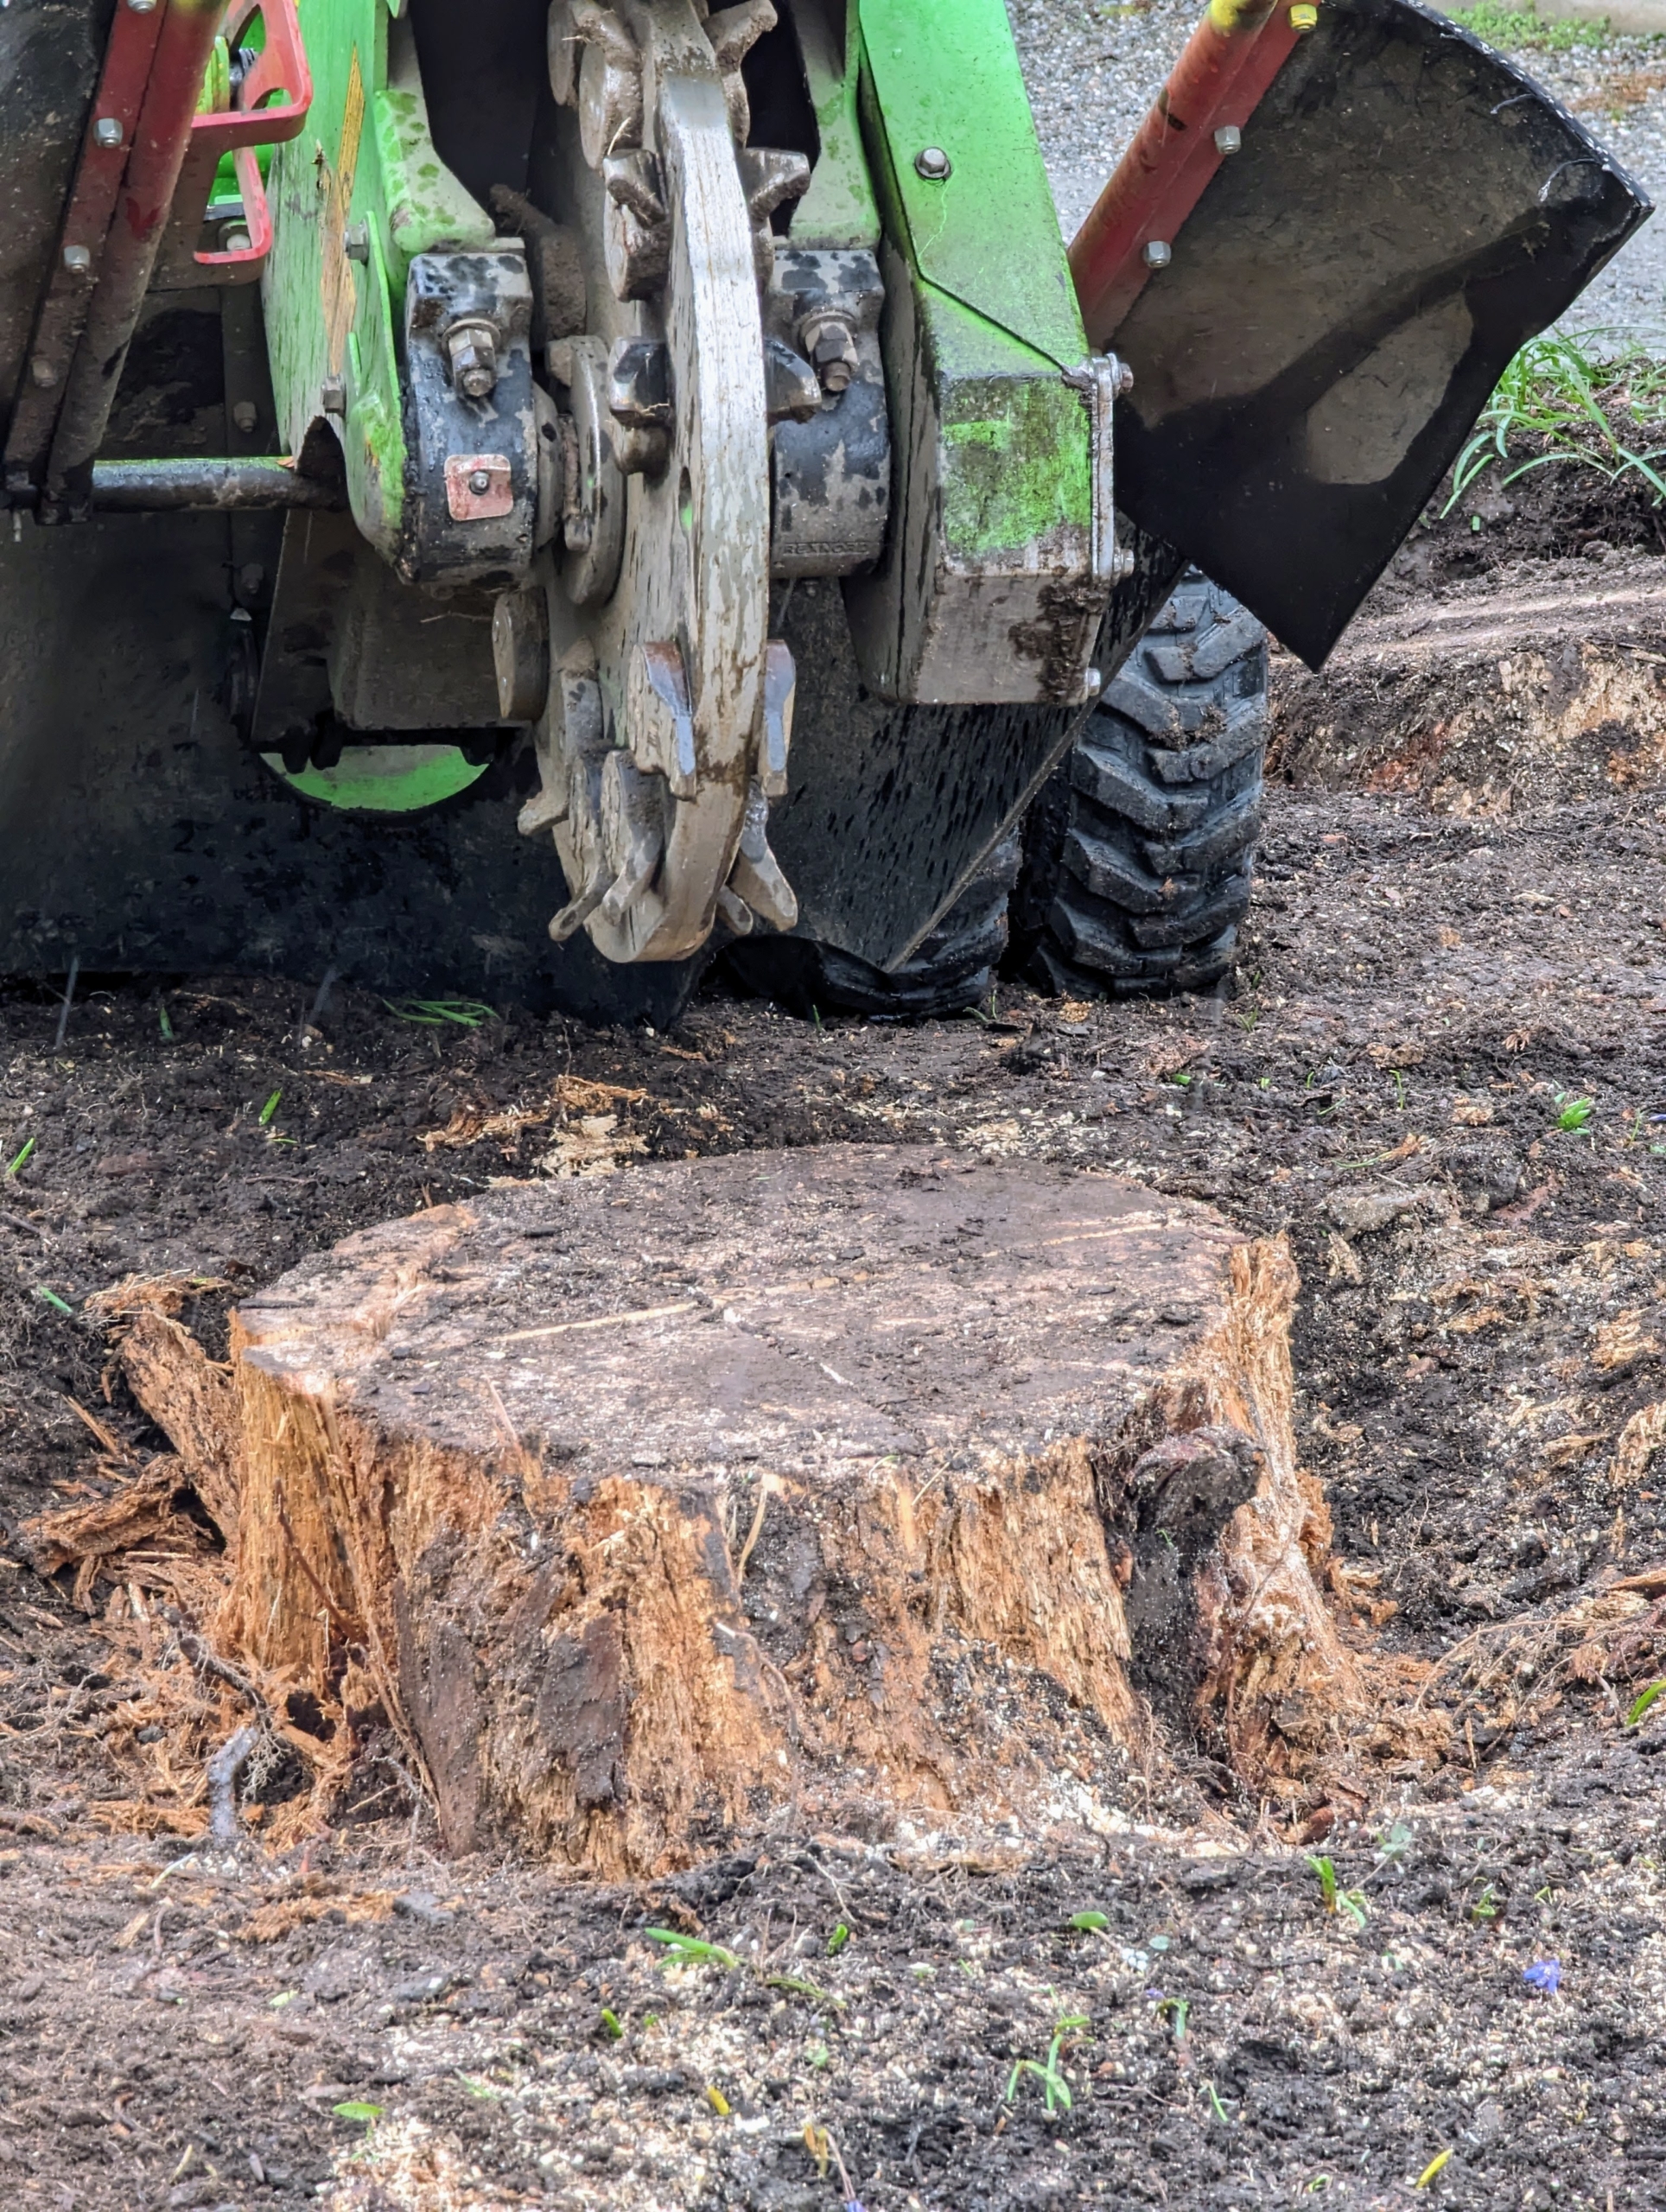
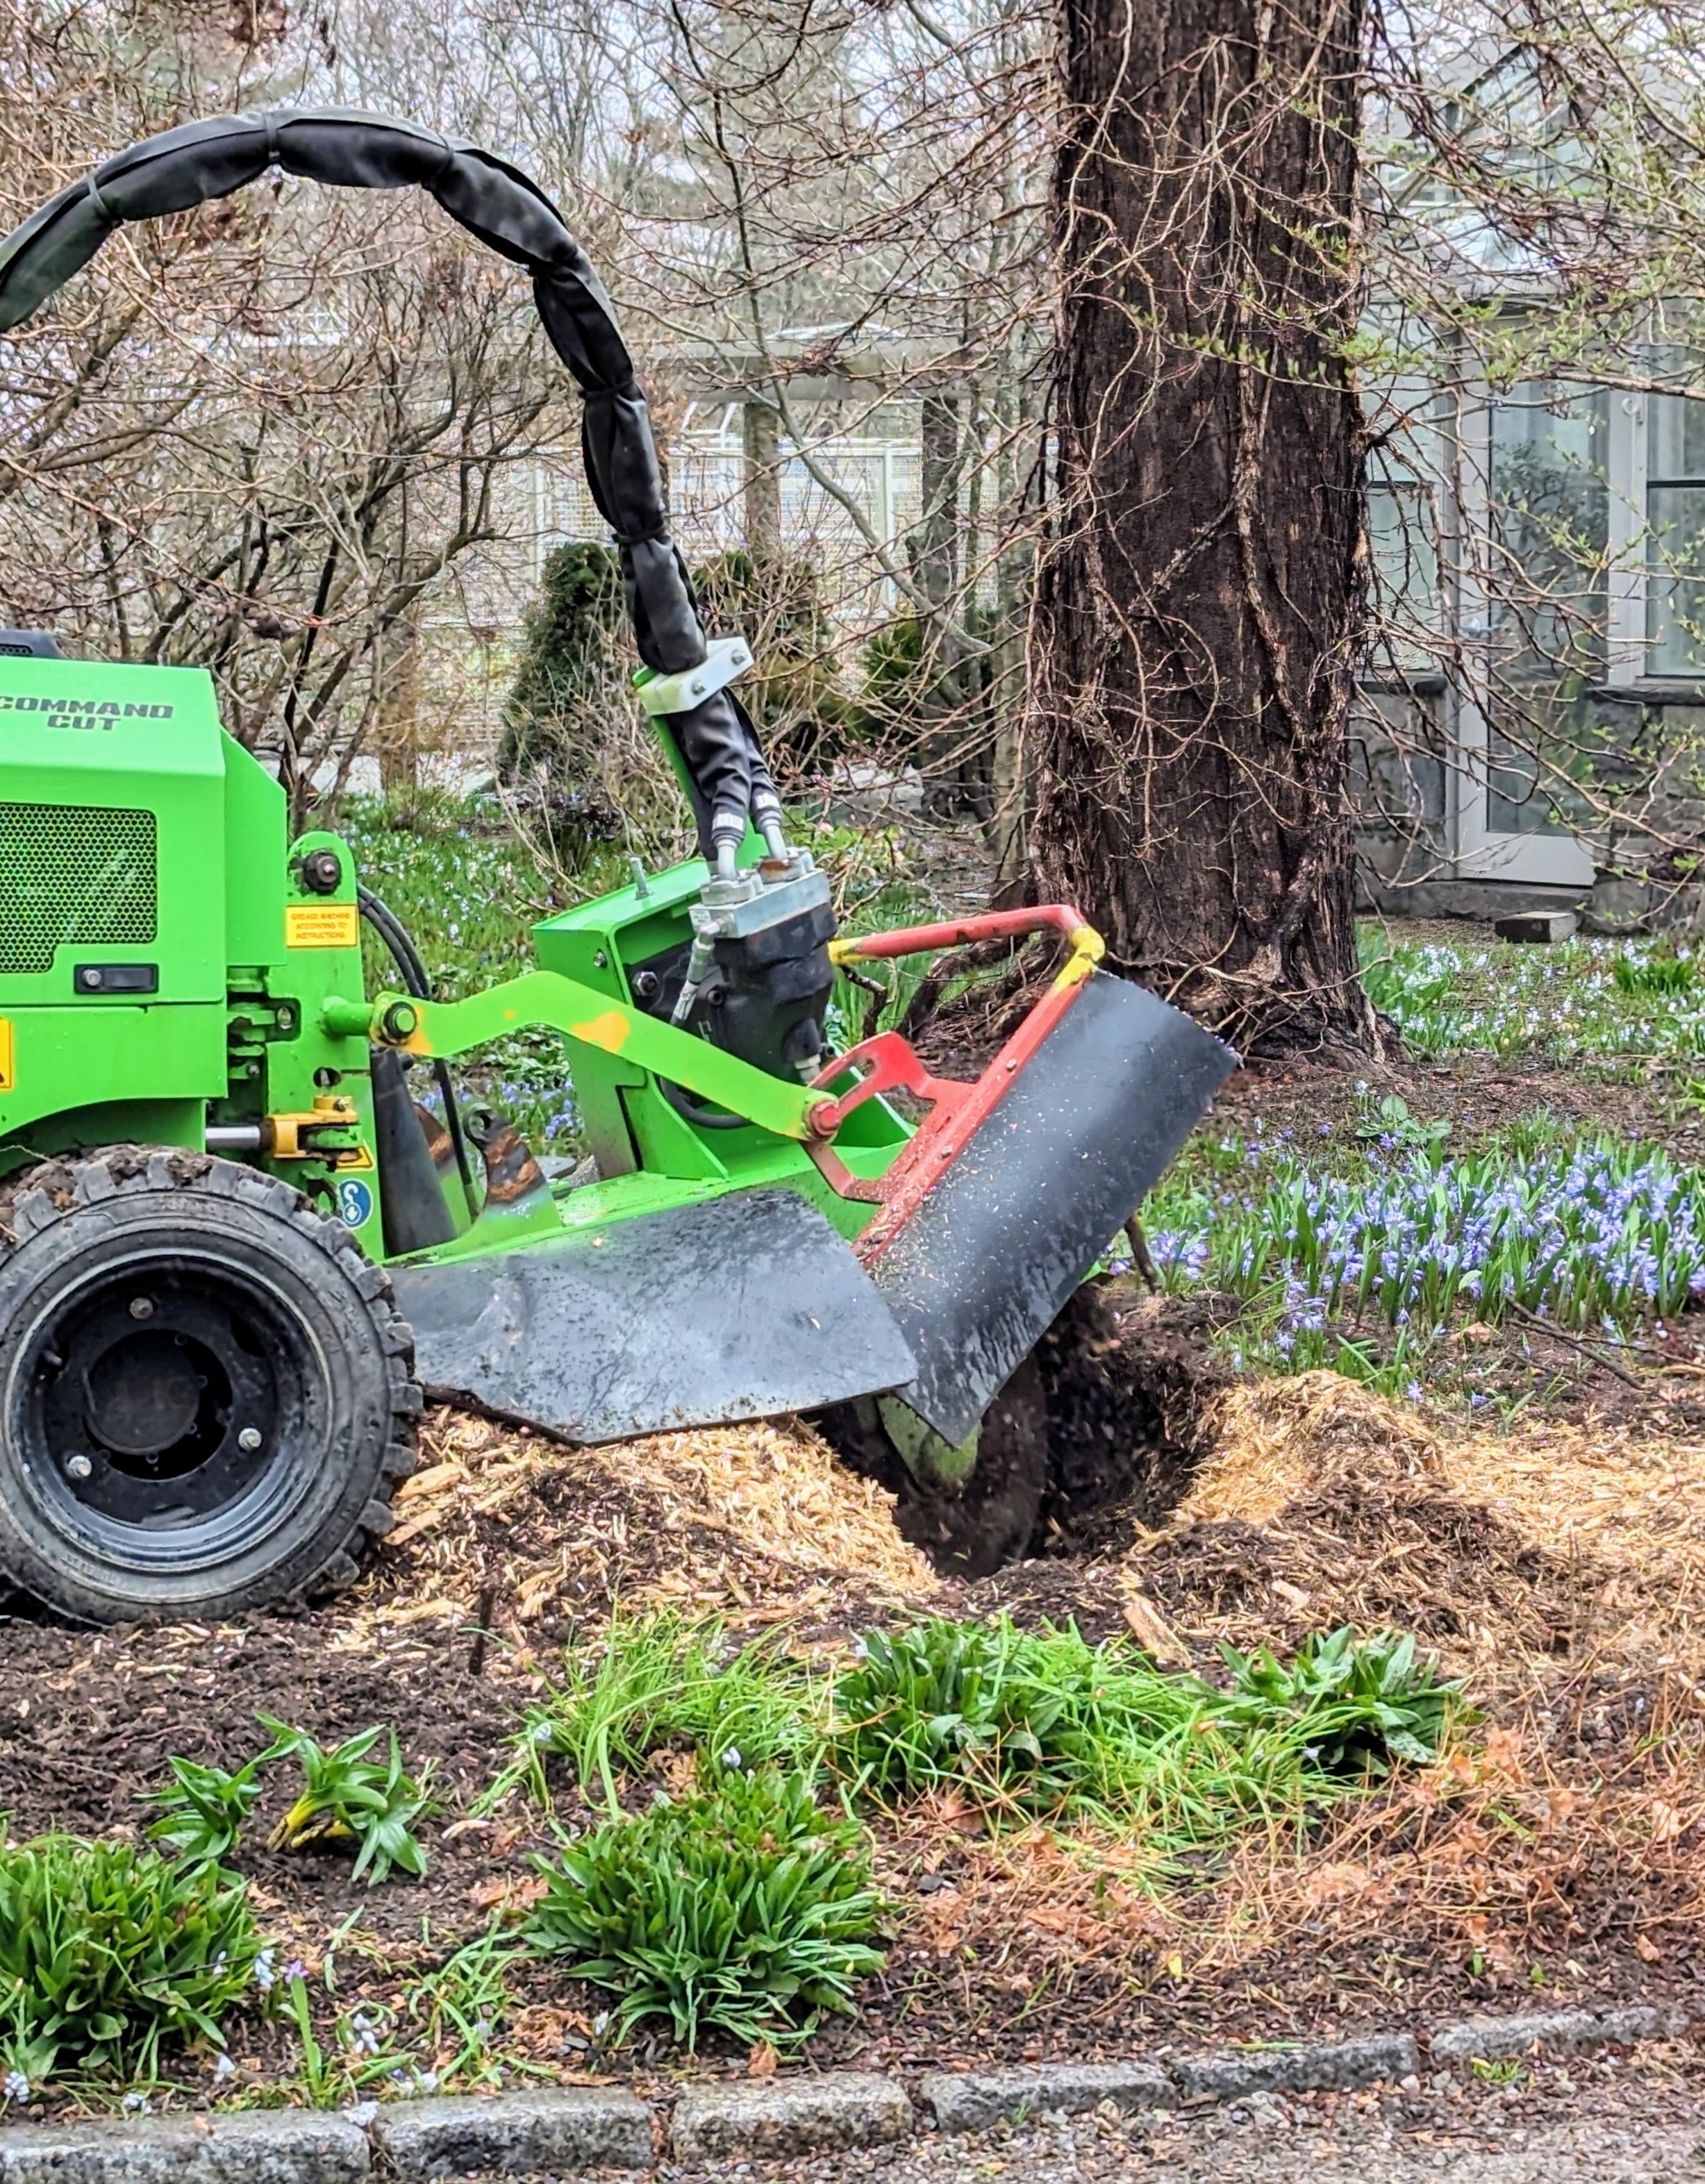
I called in the professionals to grind up the stumps. The grinder has discs that spin at high speeds gradually cutting further down the stump until there is nothing left.
This machine is controlled remotely from a handheld unit. In just minutes, the stump is reduced to wood chips and shavings. Any old roots will eventually decay into the soil.
Here is the bed after the stumps are completely gone – a top dressing of composted mulch covers the entire space.
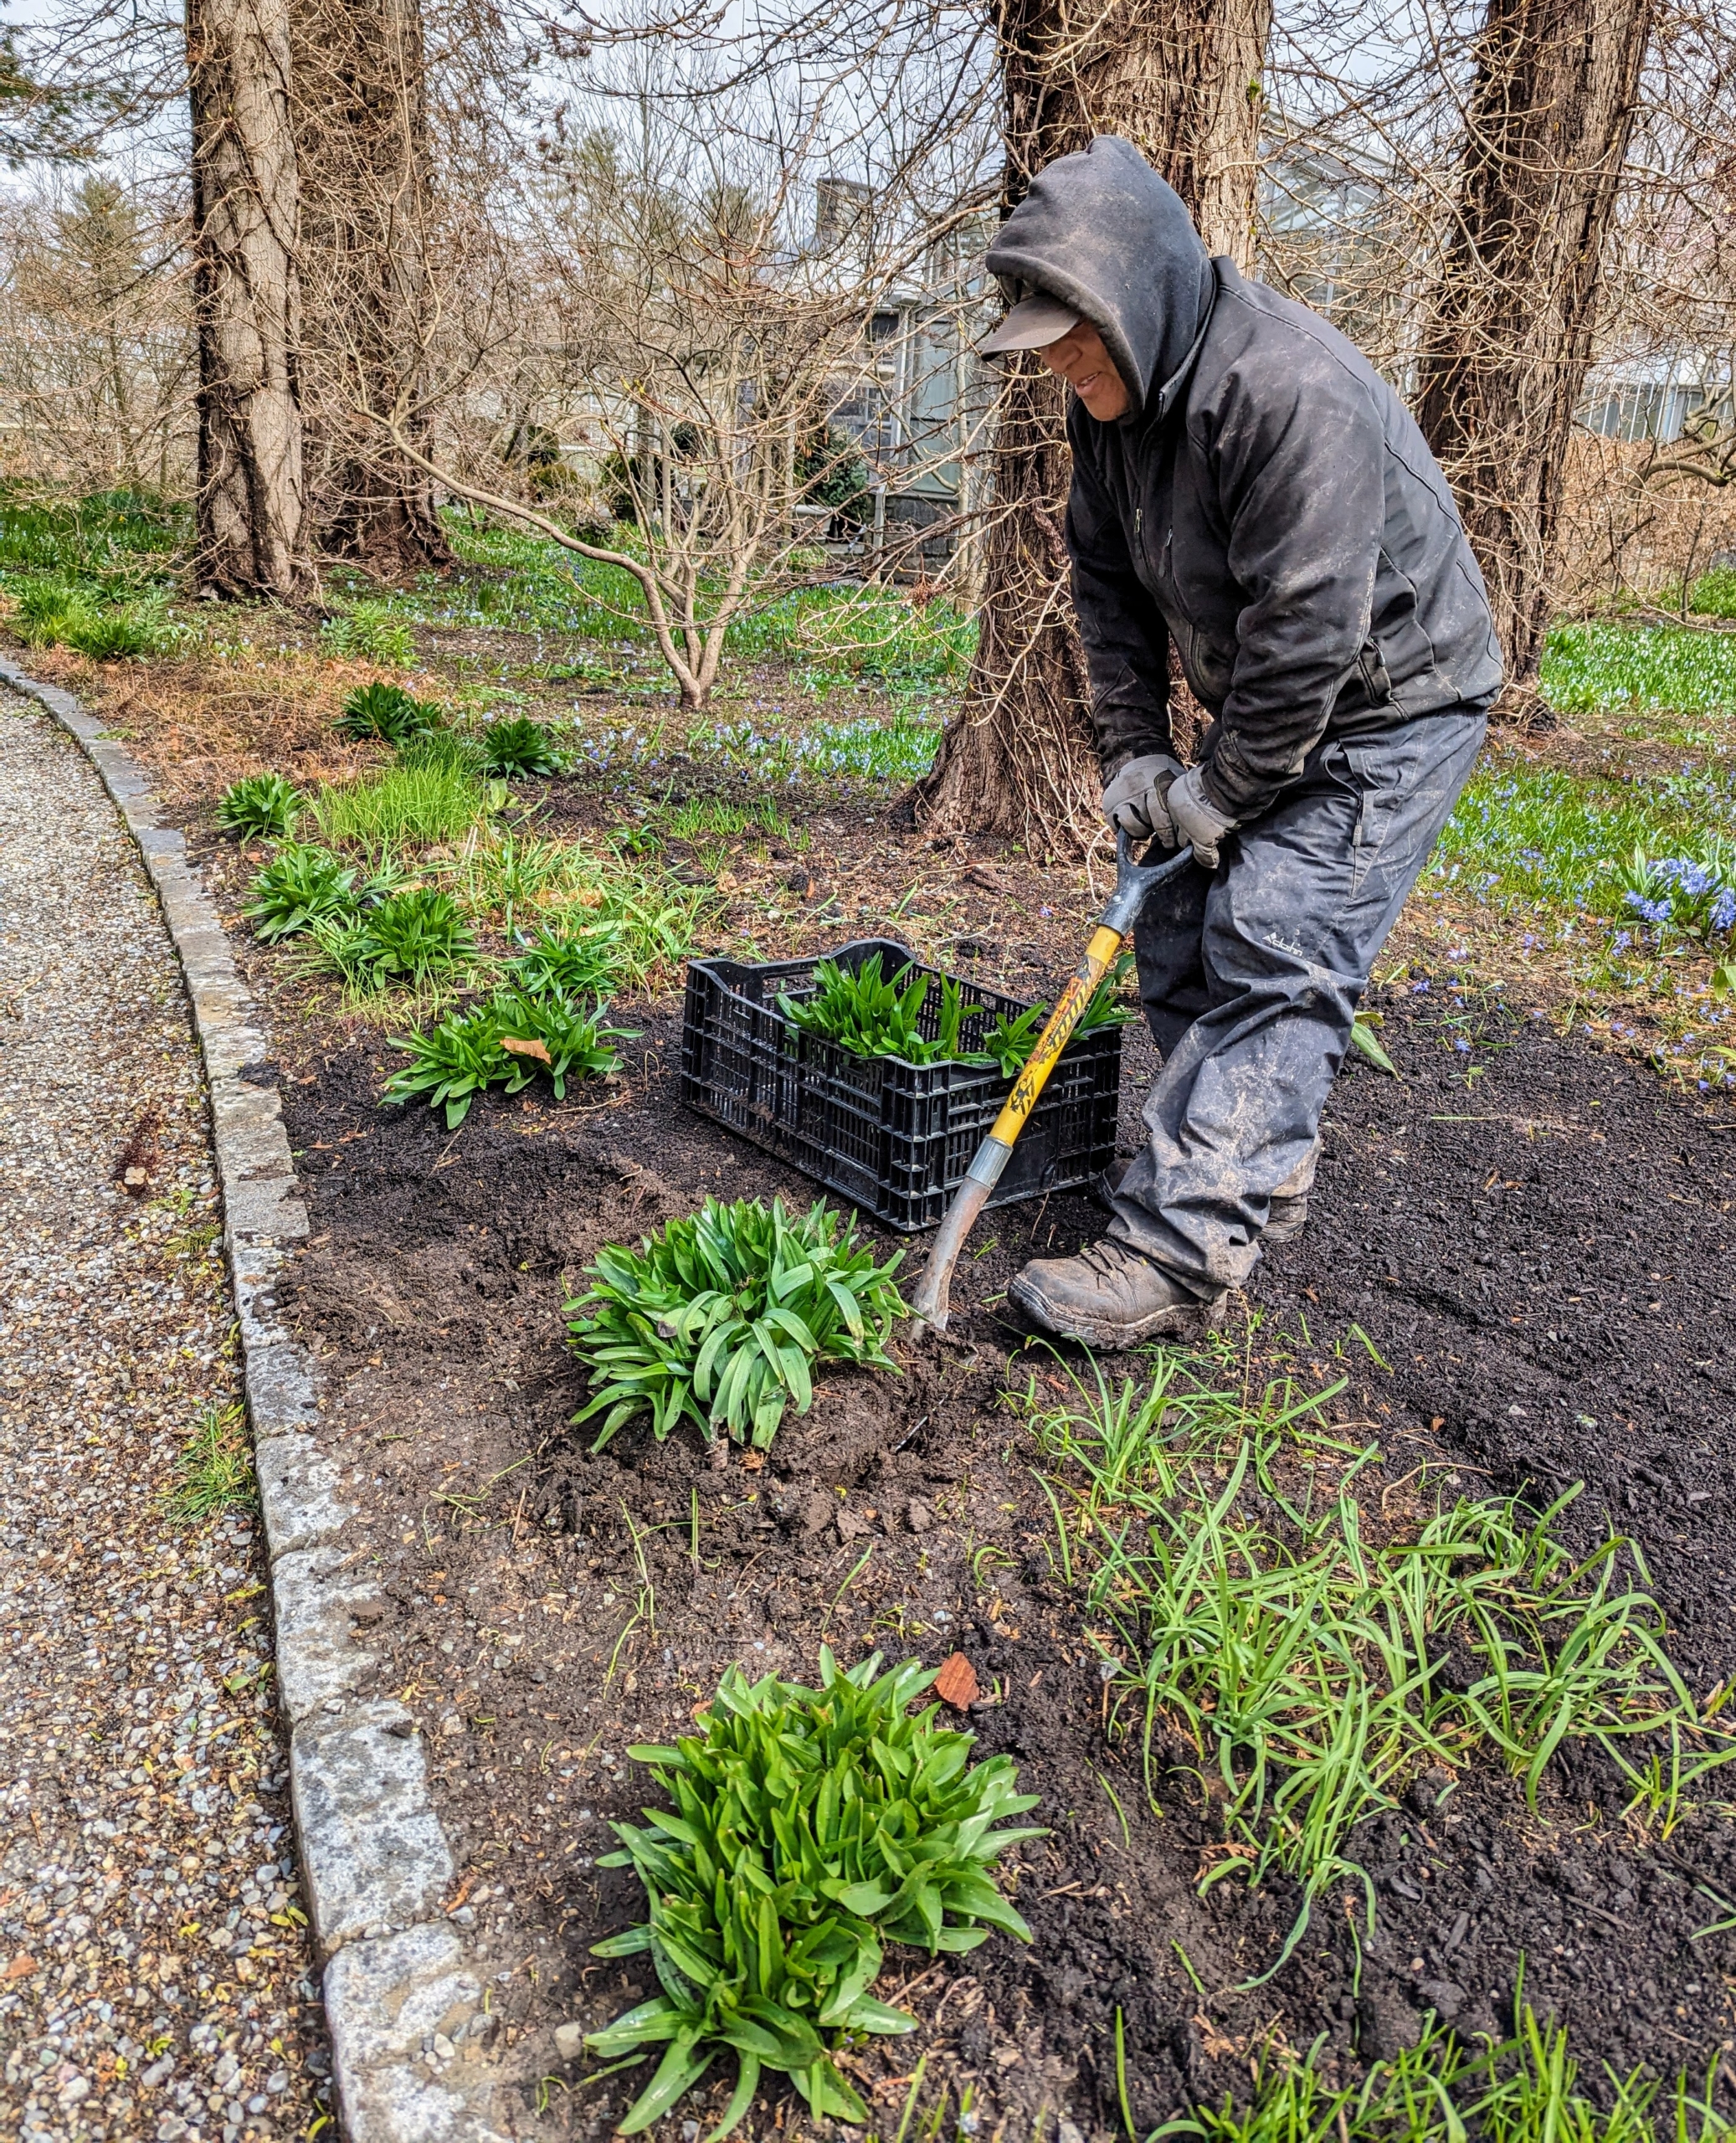
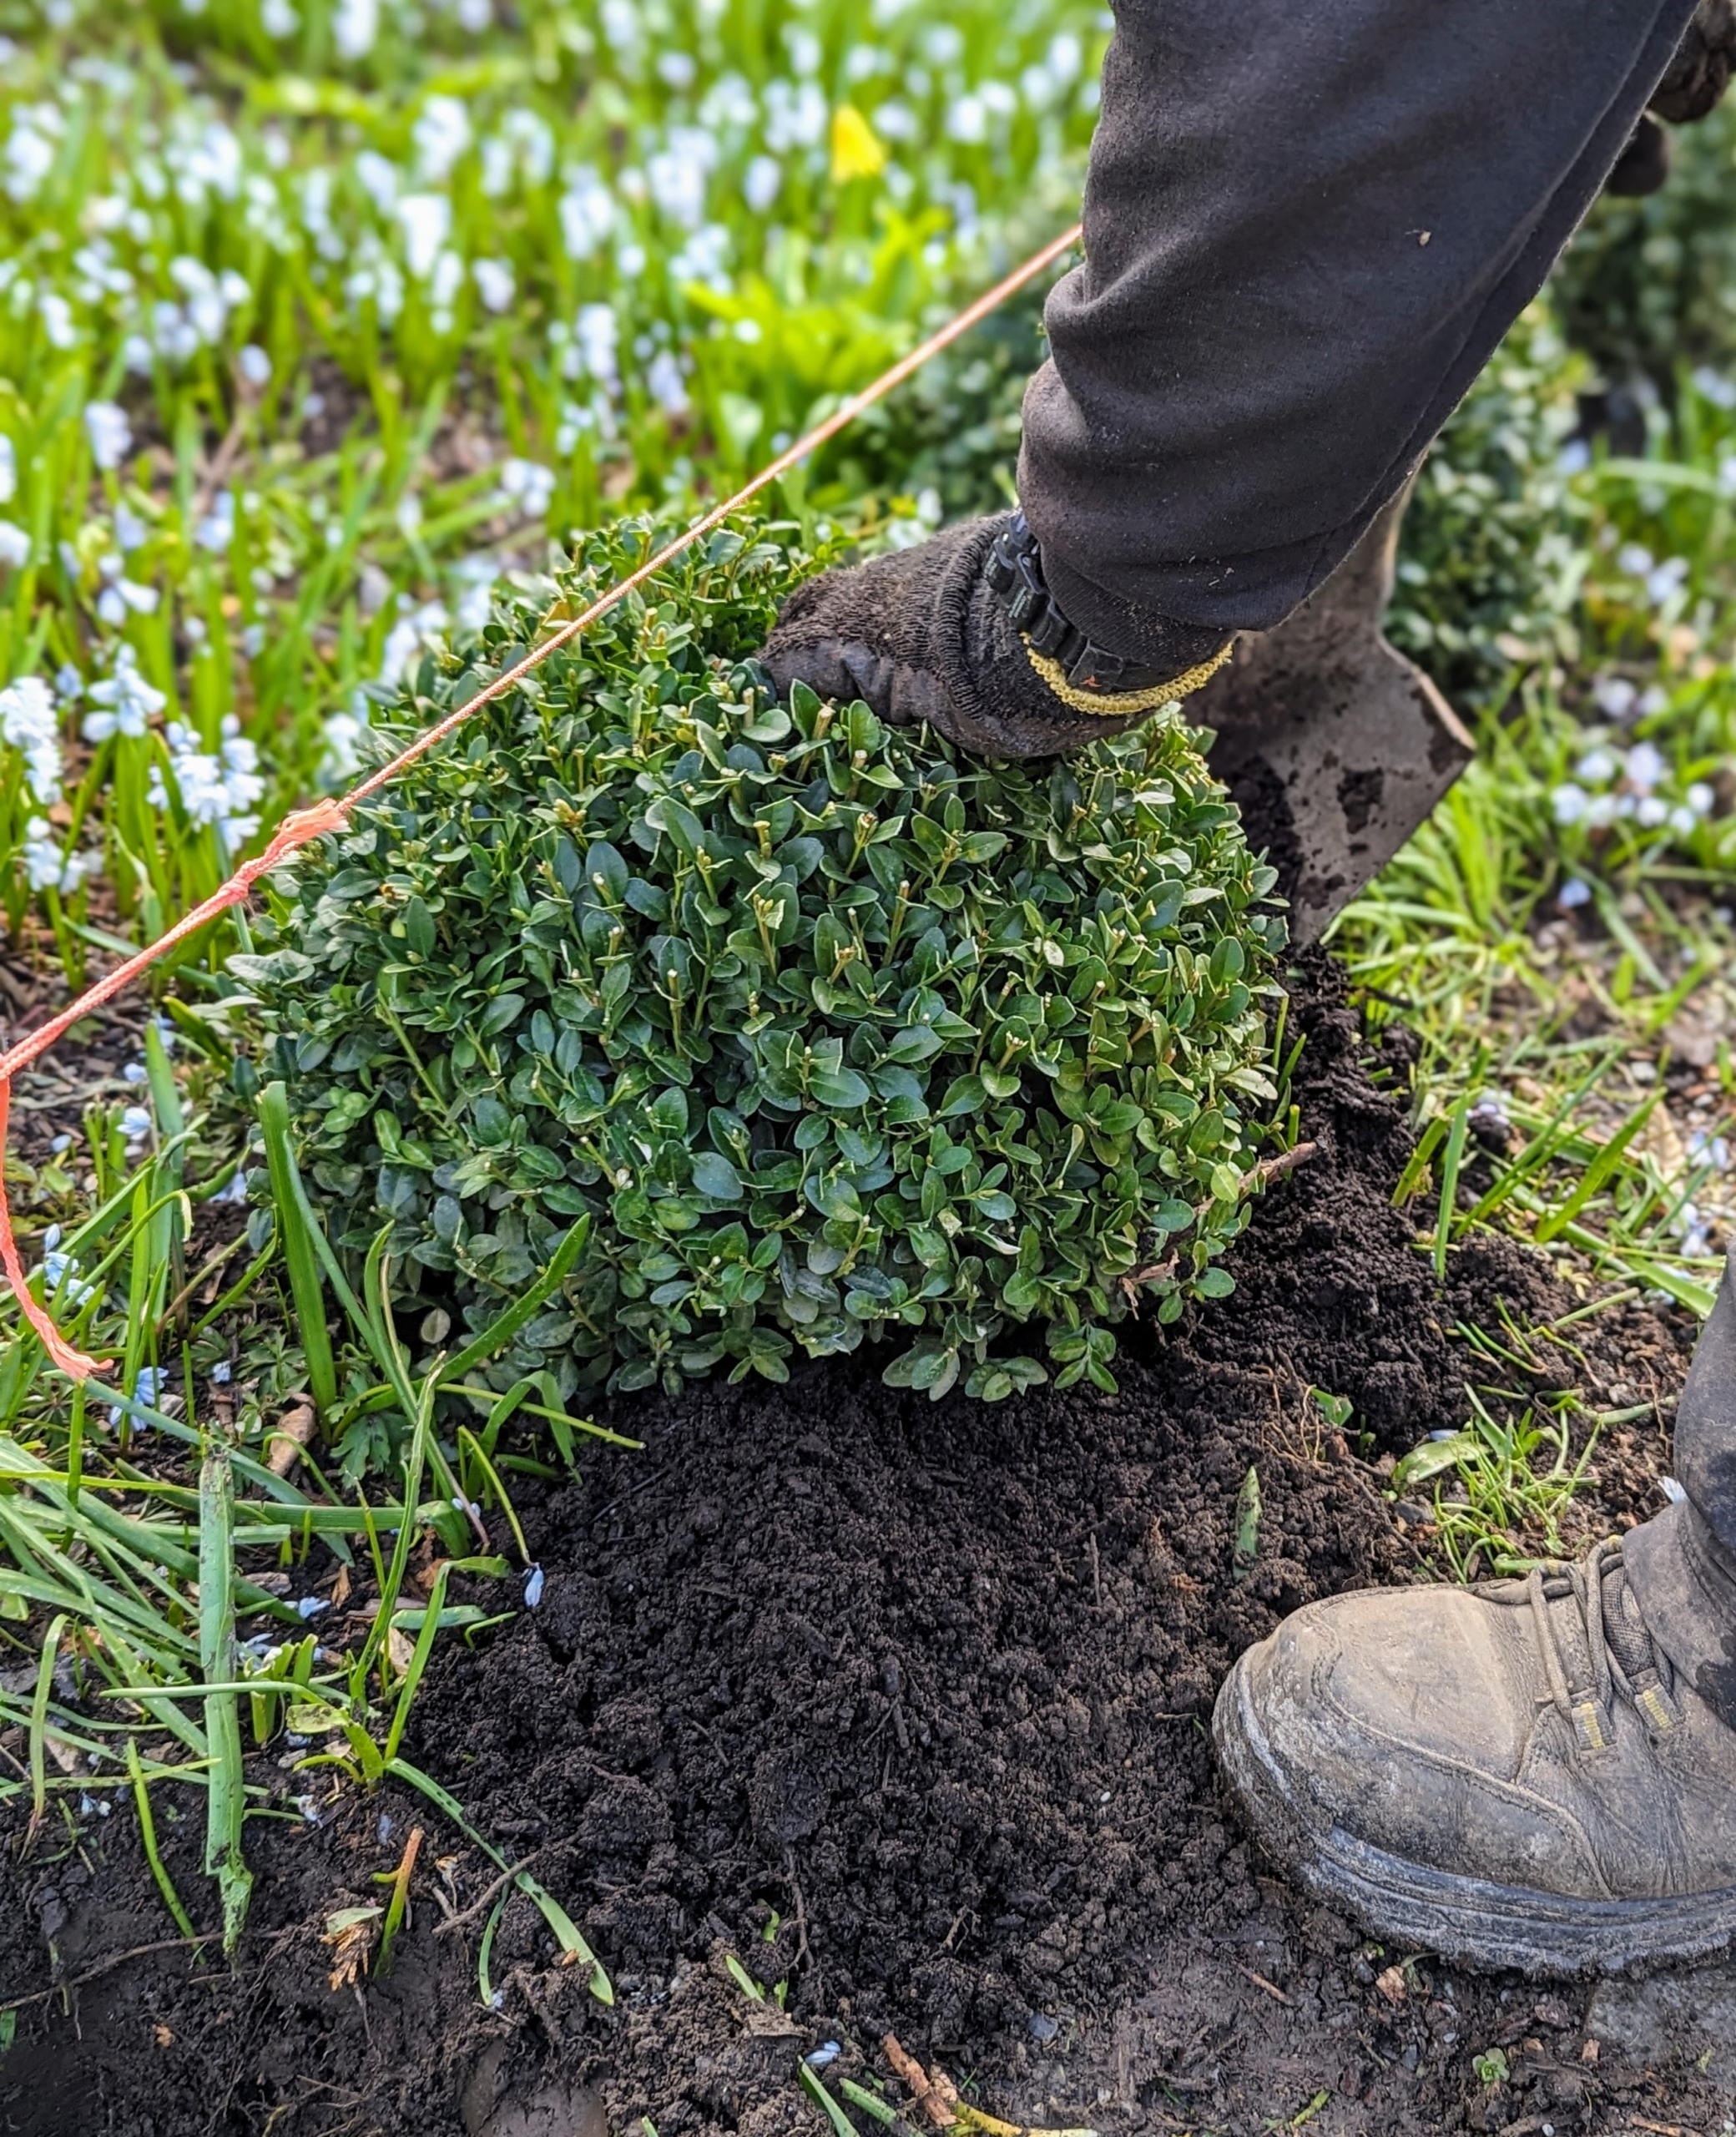
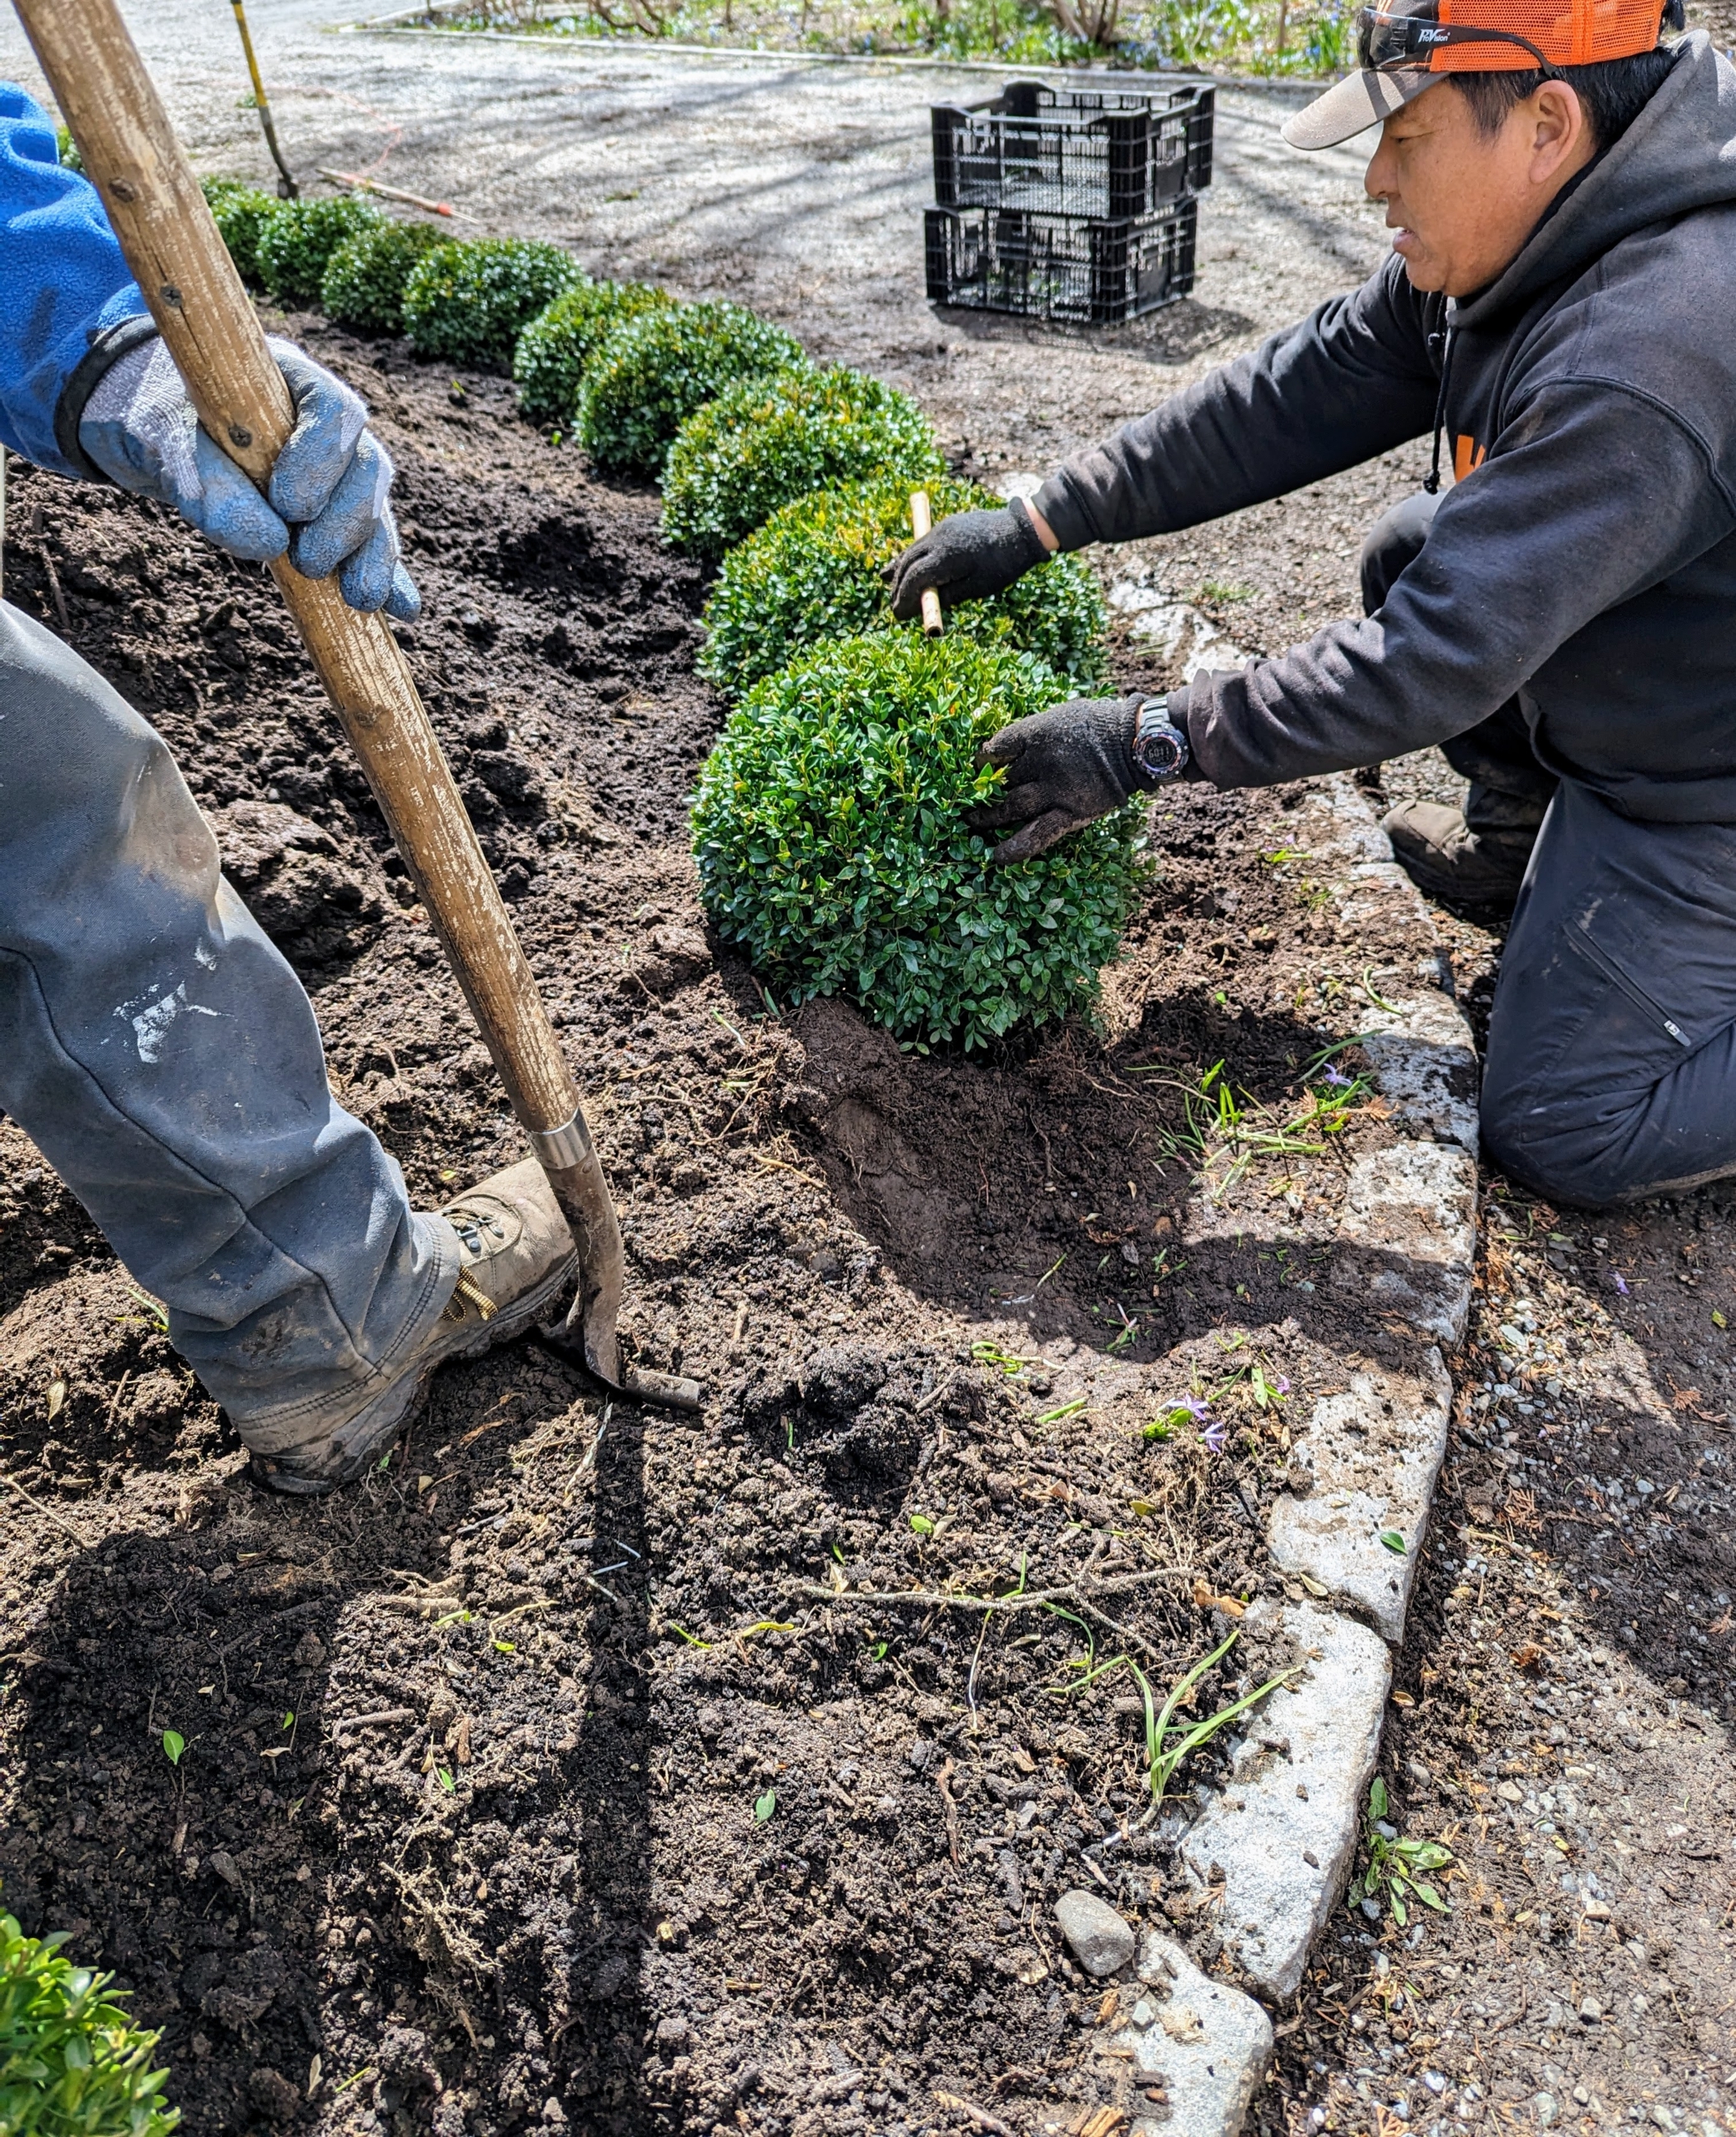
On another day, Phurba begins removing some of the plantings where the boxwood will be placed. These will be saved and replanted.
Holes are dug twice as wide as the boxwood root balls, but no deeper. Once in the hole, the top of the root ball should be a half-inch higher than the soil surface. We’ve had a lot of rain lately, so the soil is quite moist and soft.
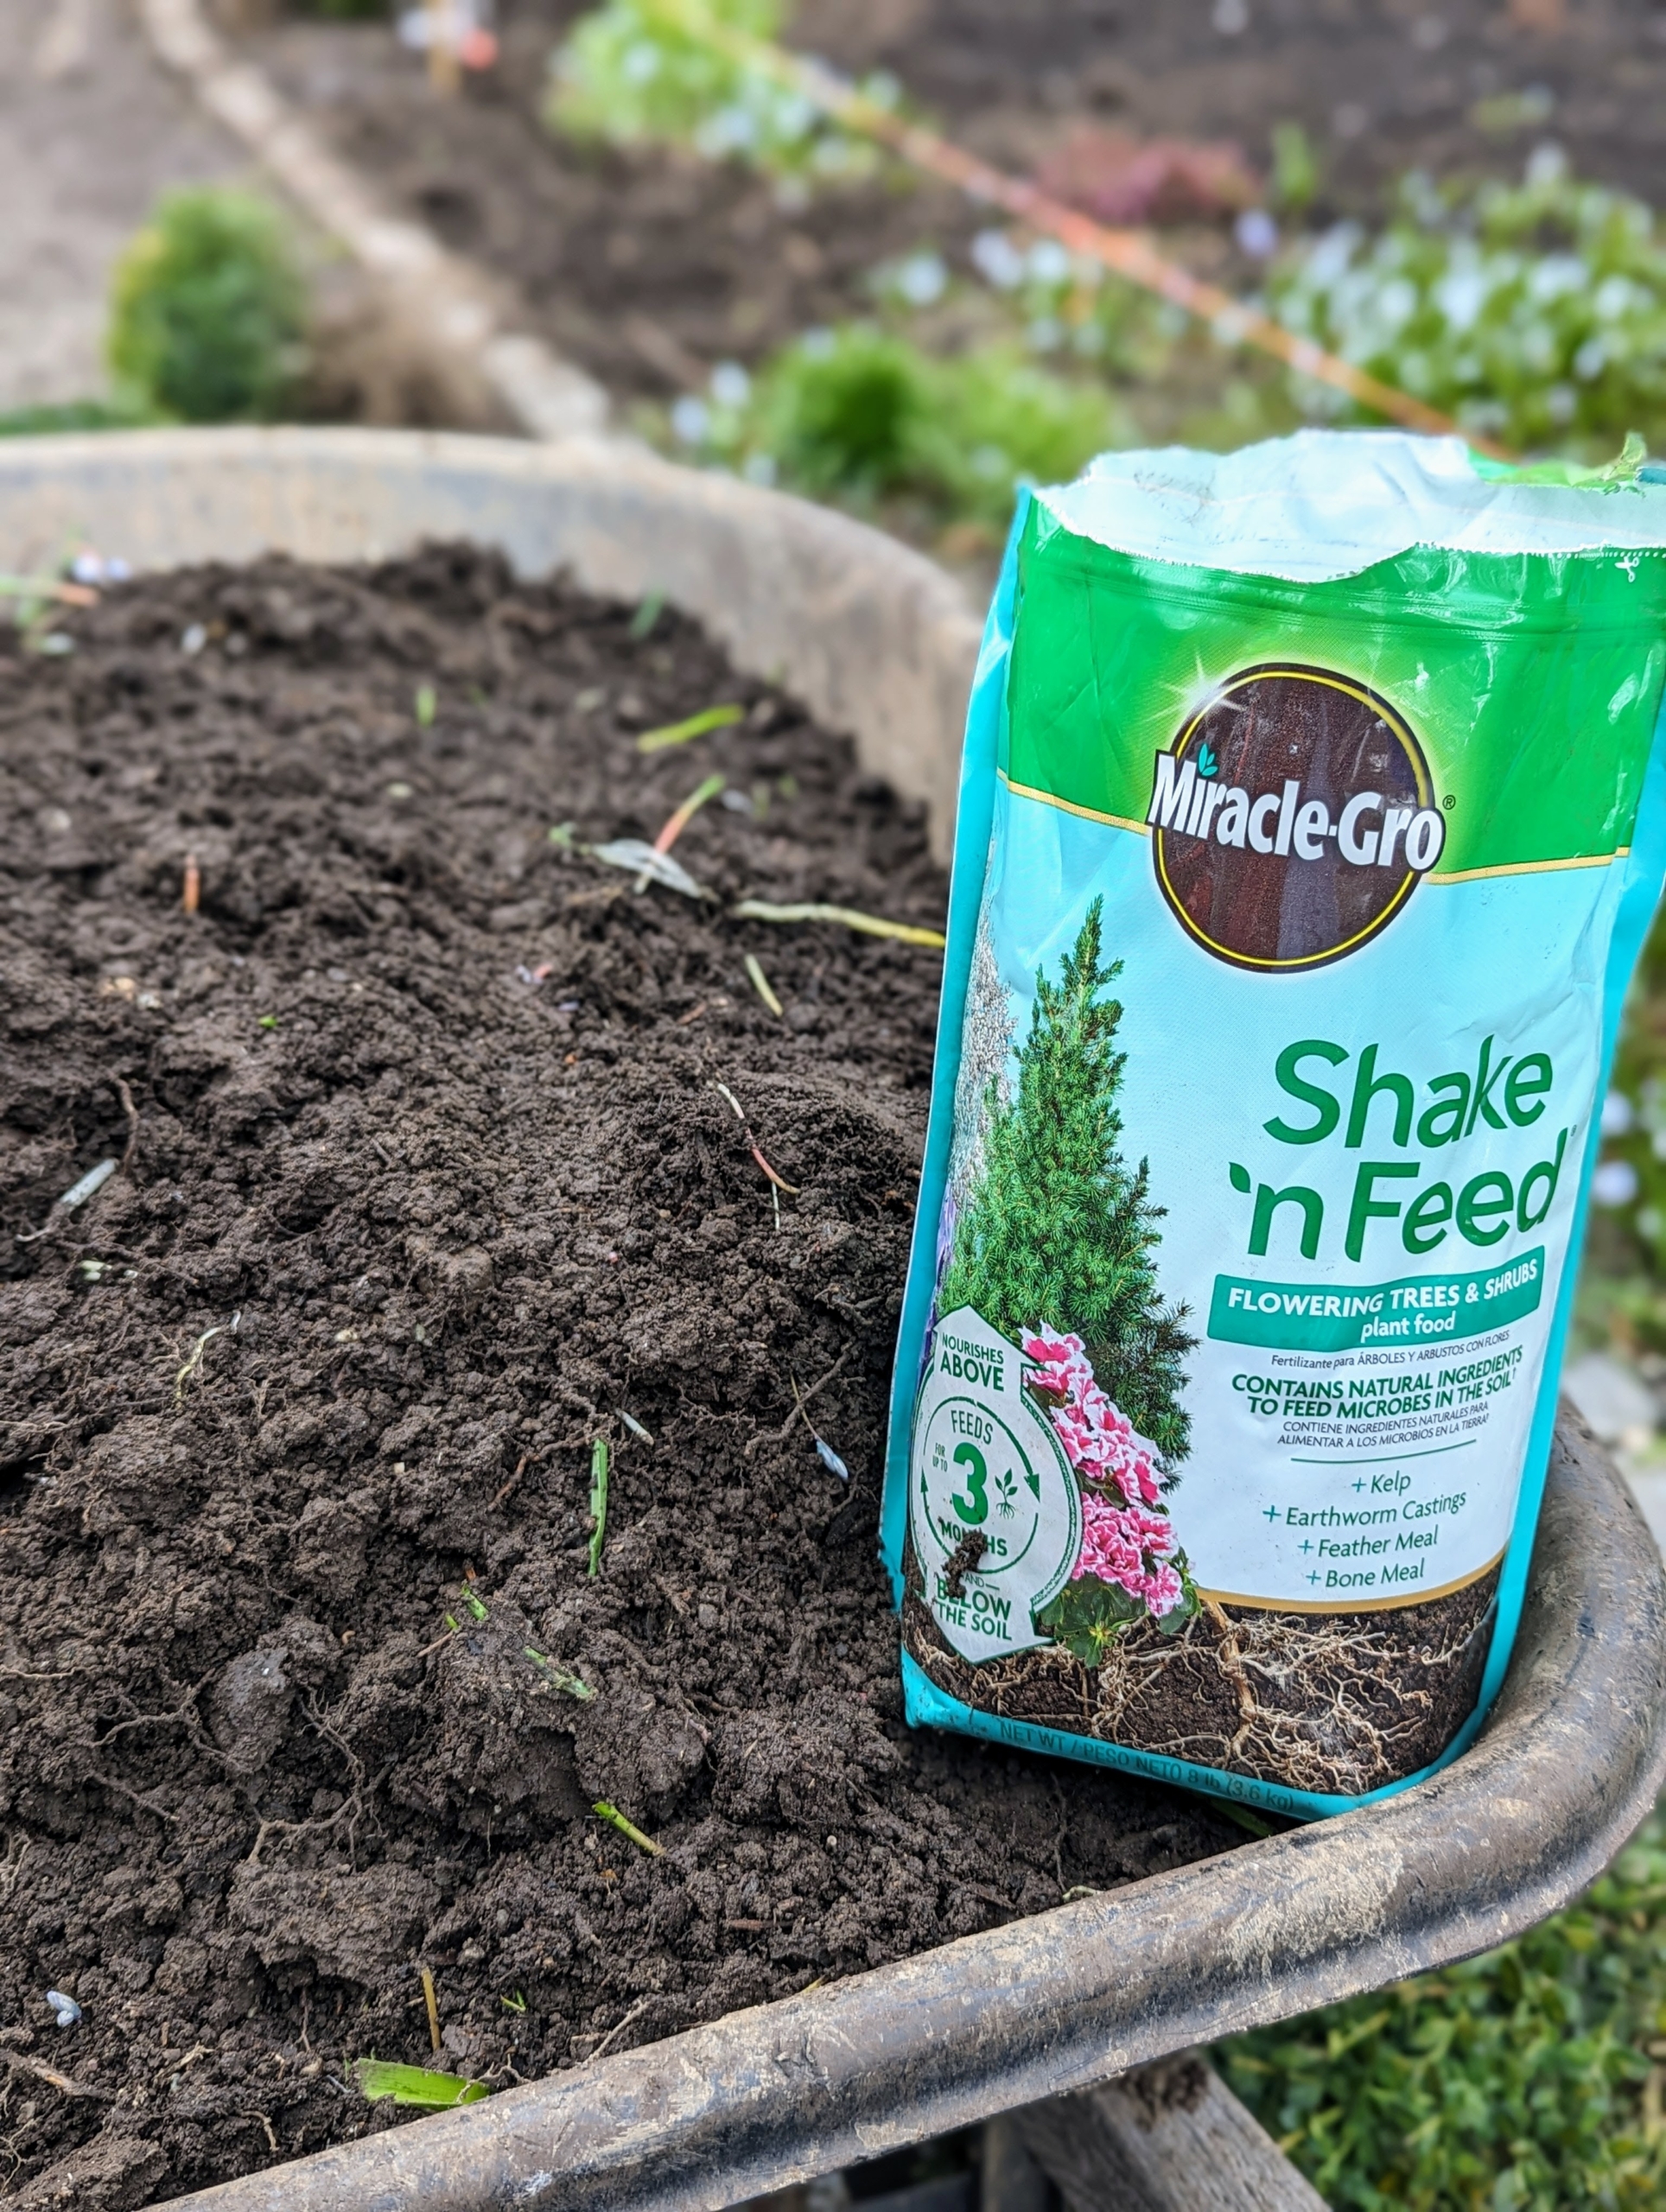
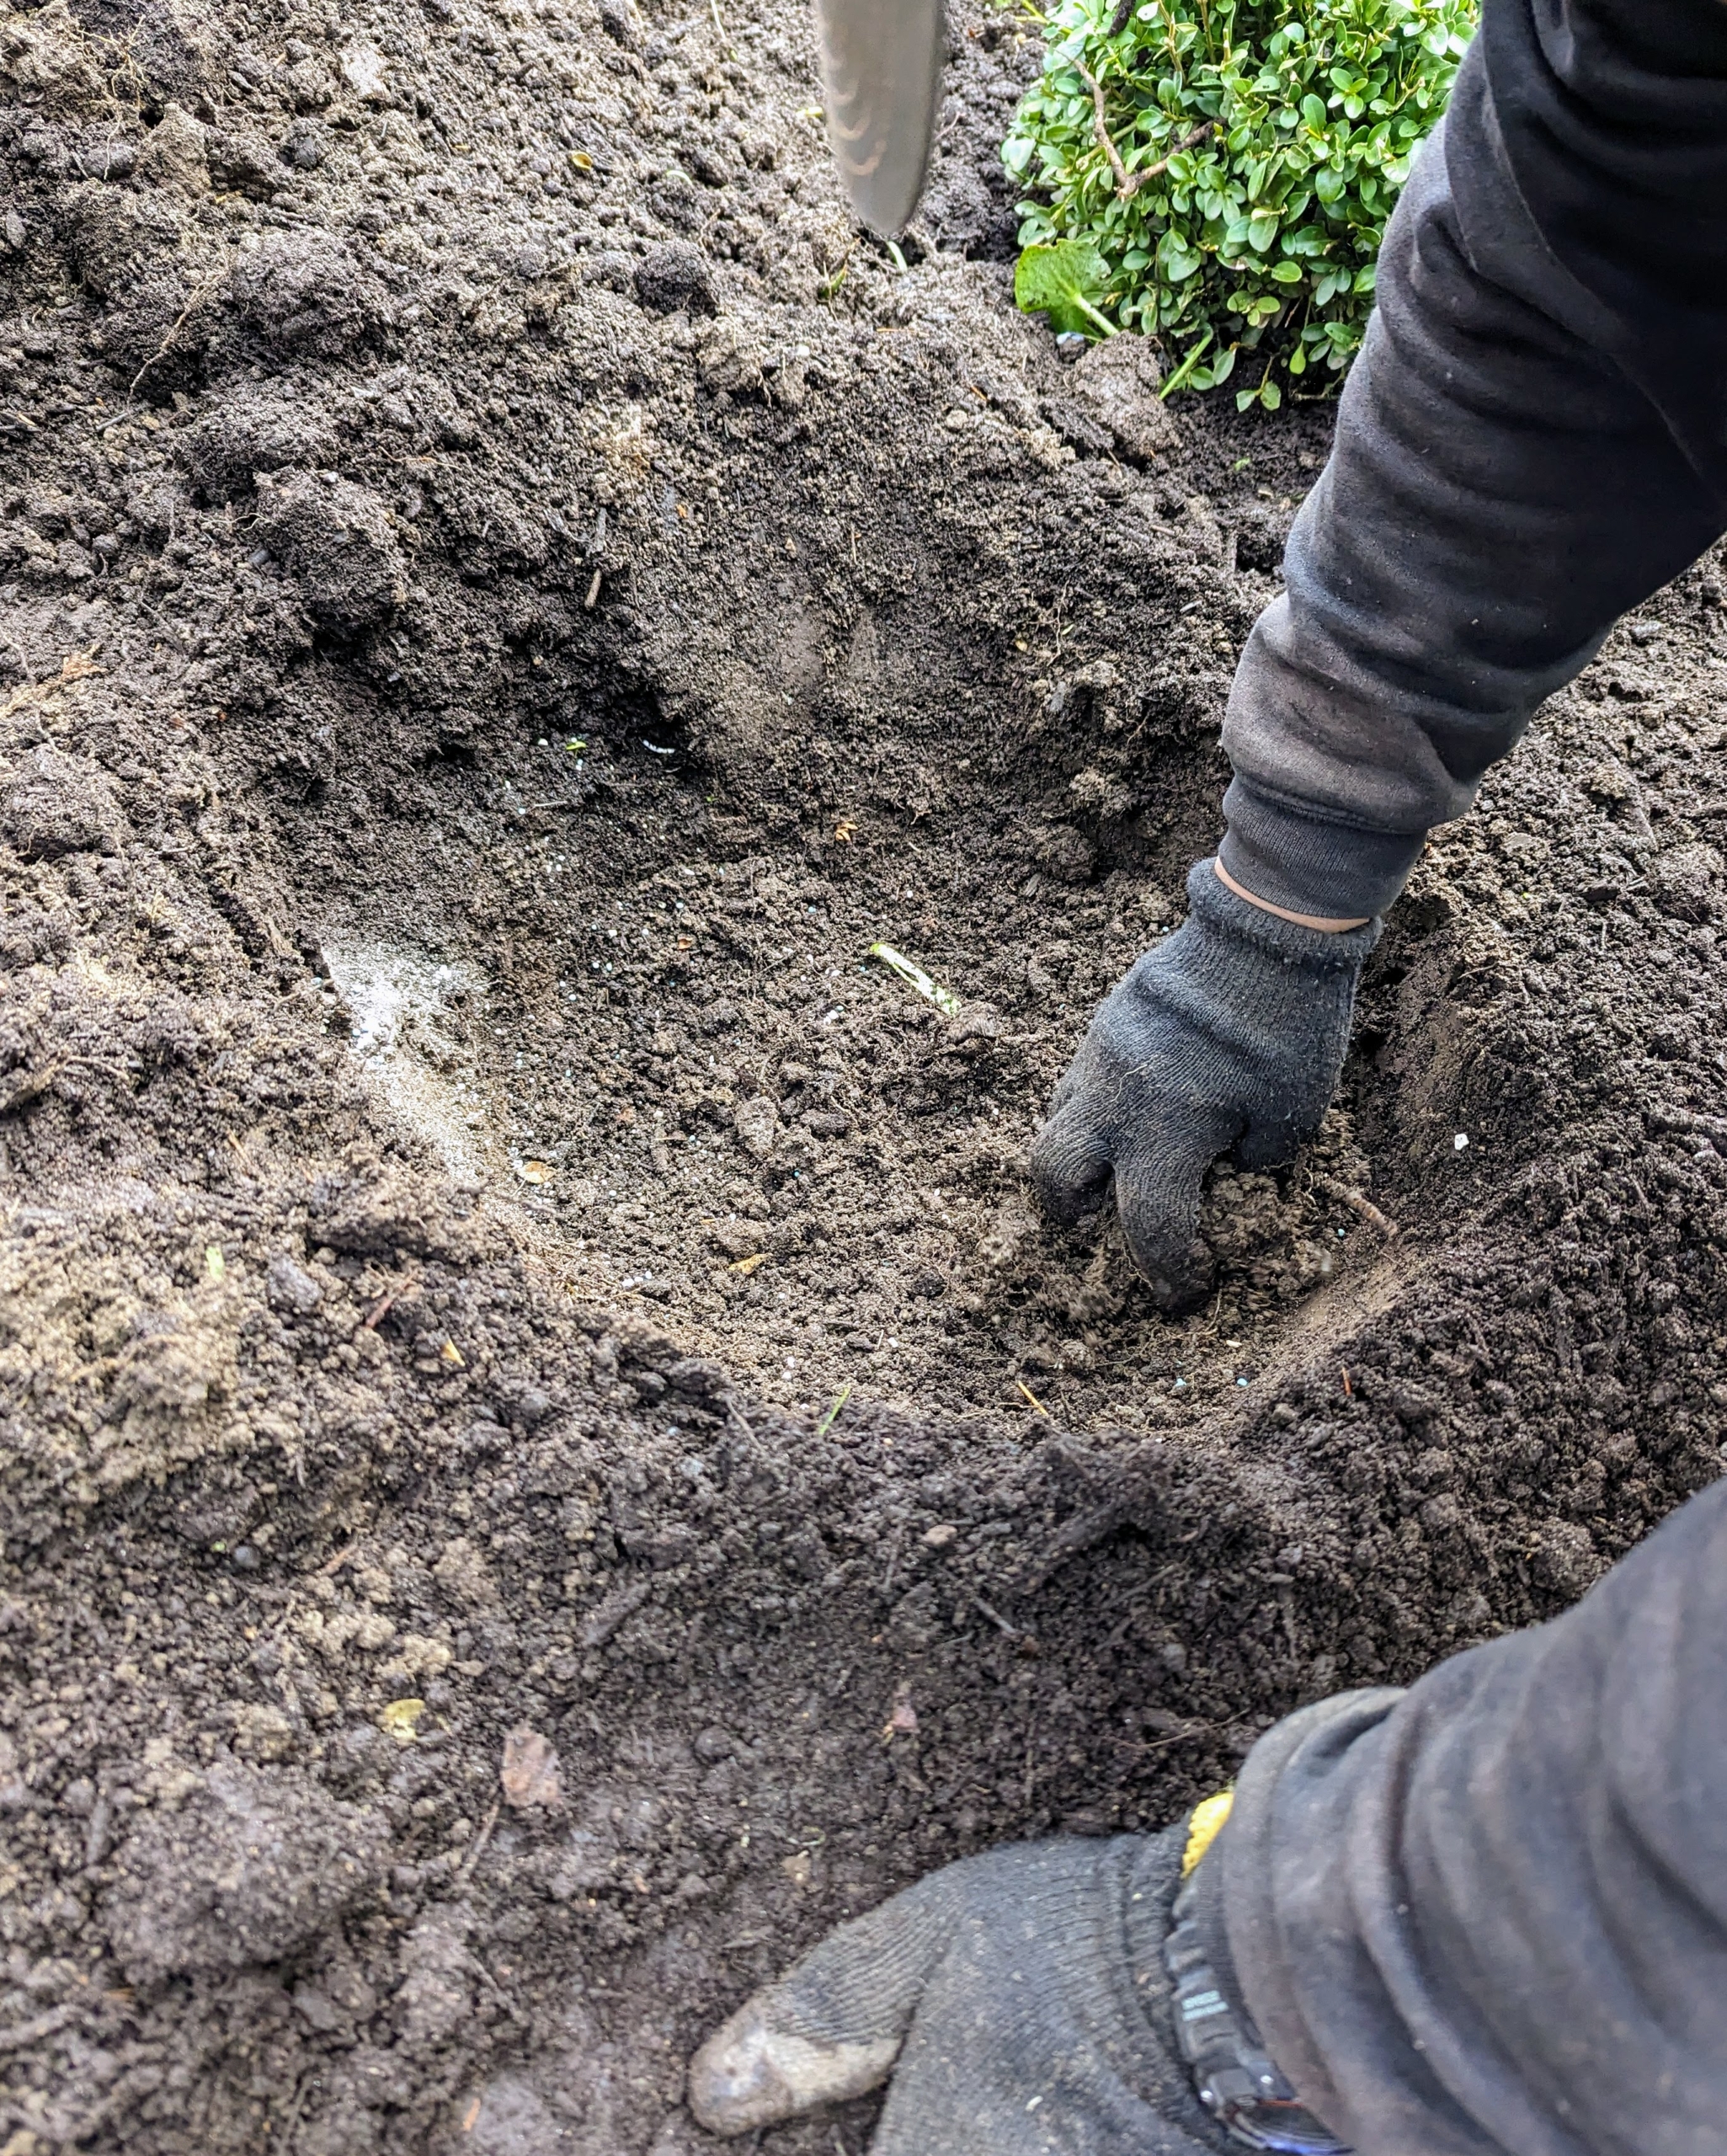
Remember what I always say, “if you eat, so should your plants.” We’re using Miracle-Gro Shake ‘N Feed Flowering Trees and Shrubs Plant Food. It contains natural ingredients to feed microbes in the soil and provide continuous release feeding to maintain deep, lush green foliage.
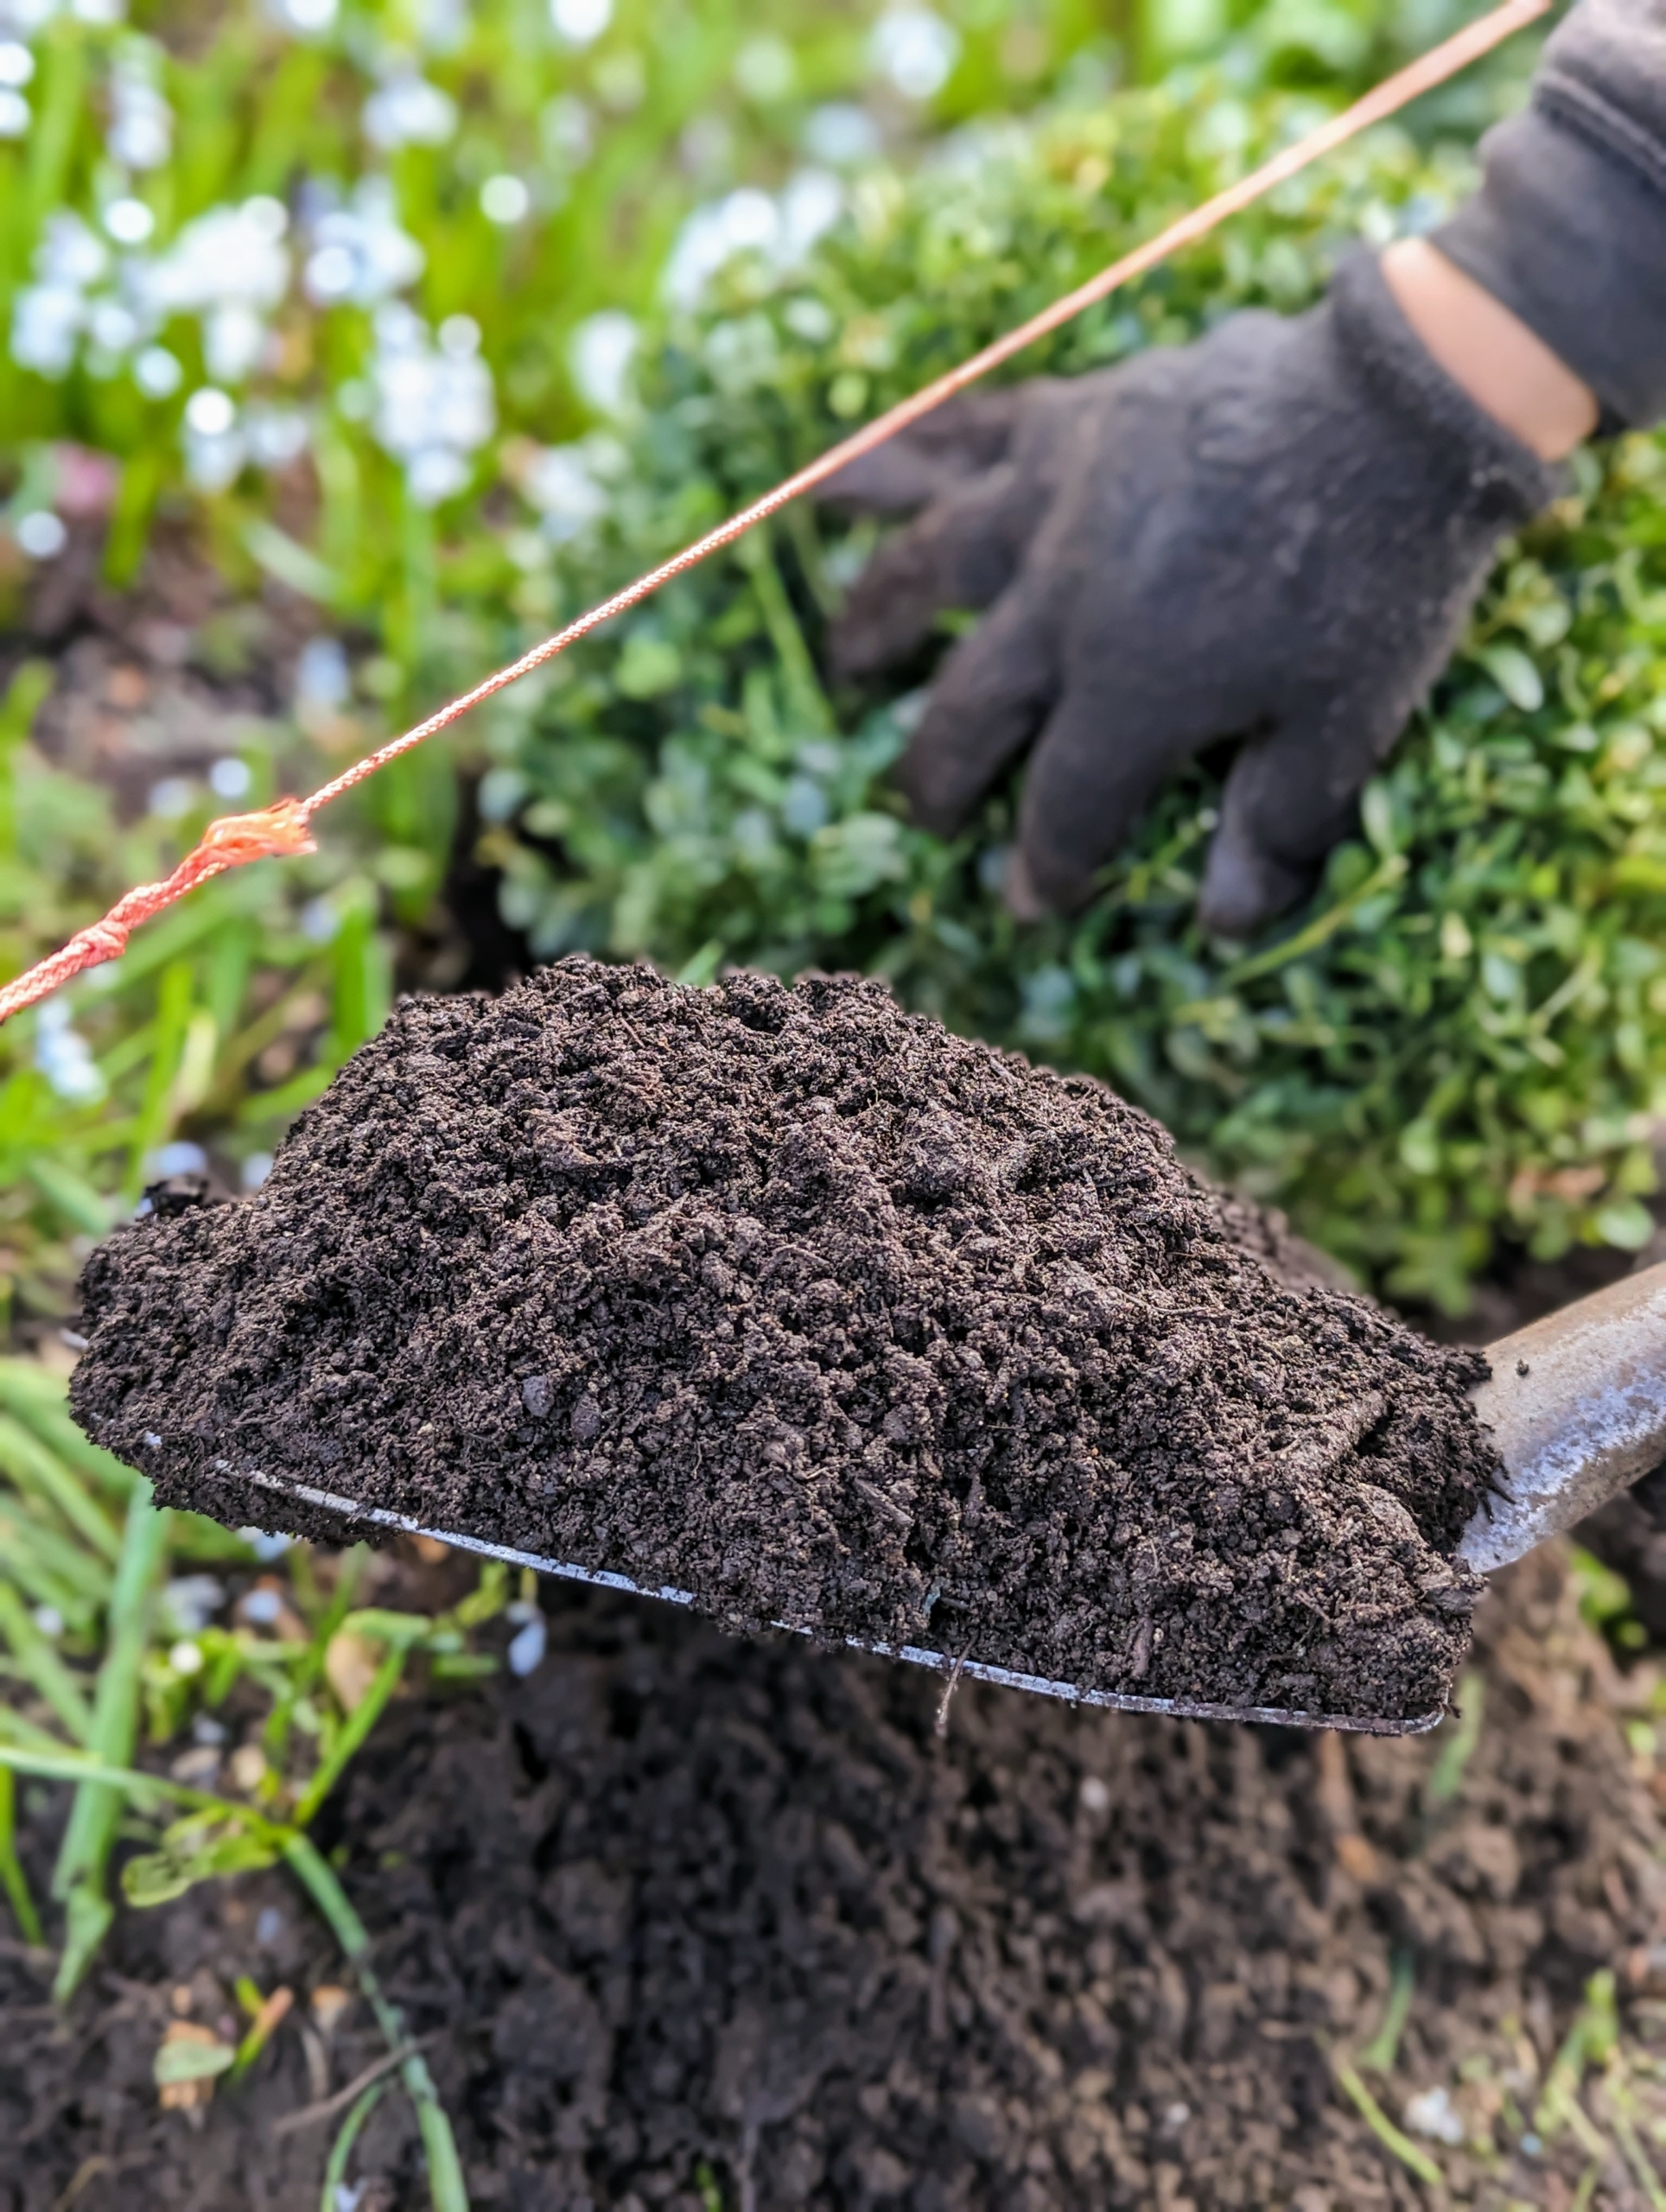
Once a hole is dug, Phurba thoroughly mixes the fertilizer with the soil. This is important, so the fertilizer does not have too much direct contact with the roots, which could burn them.
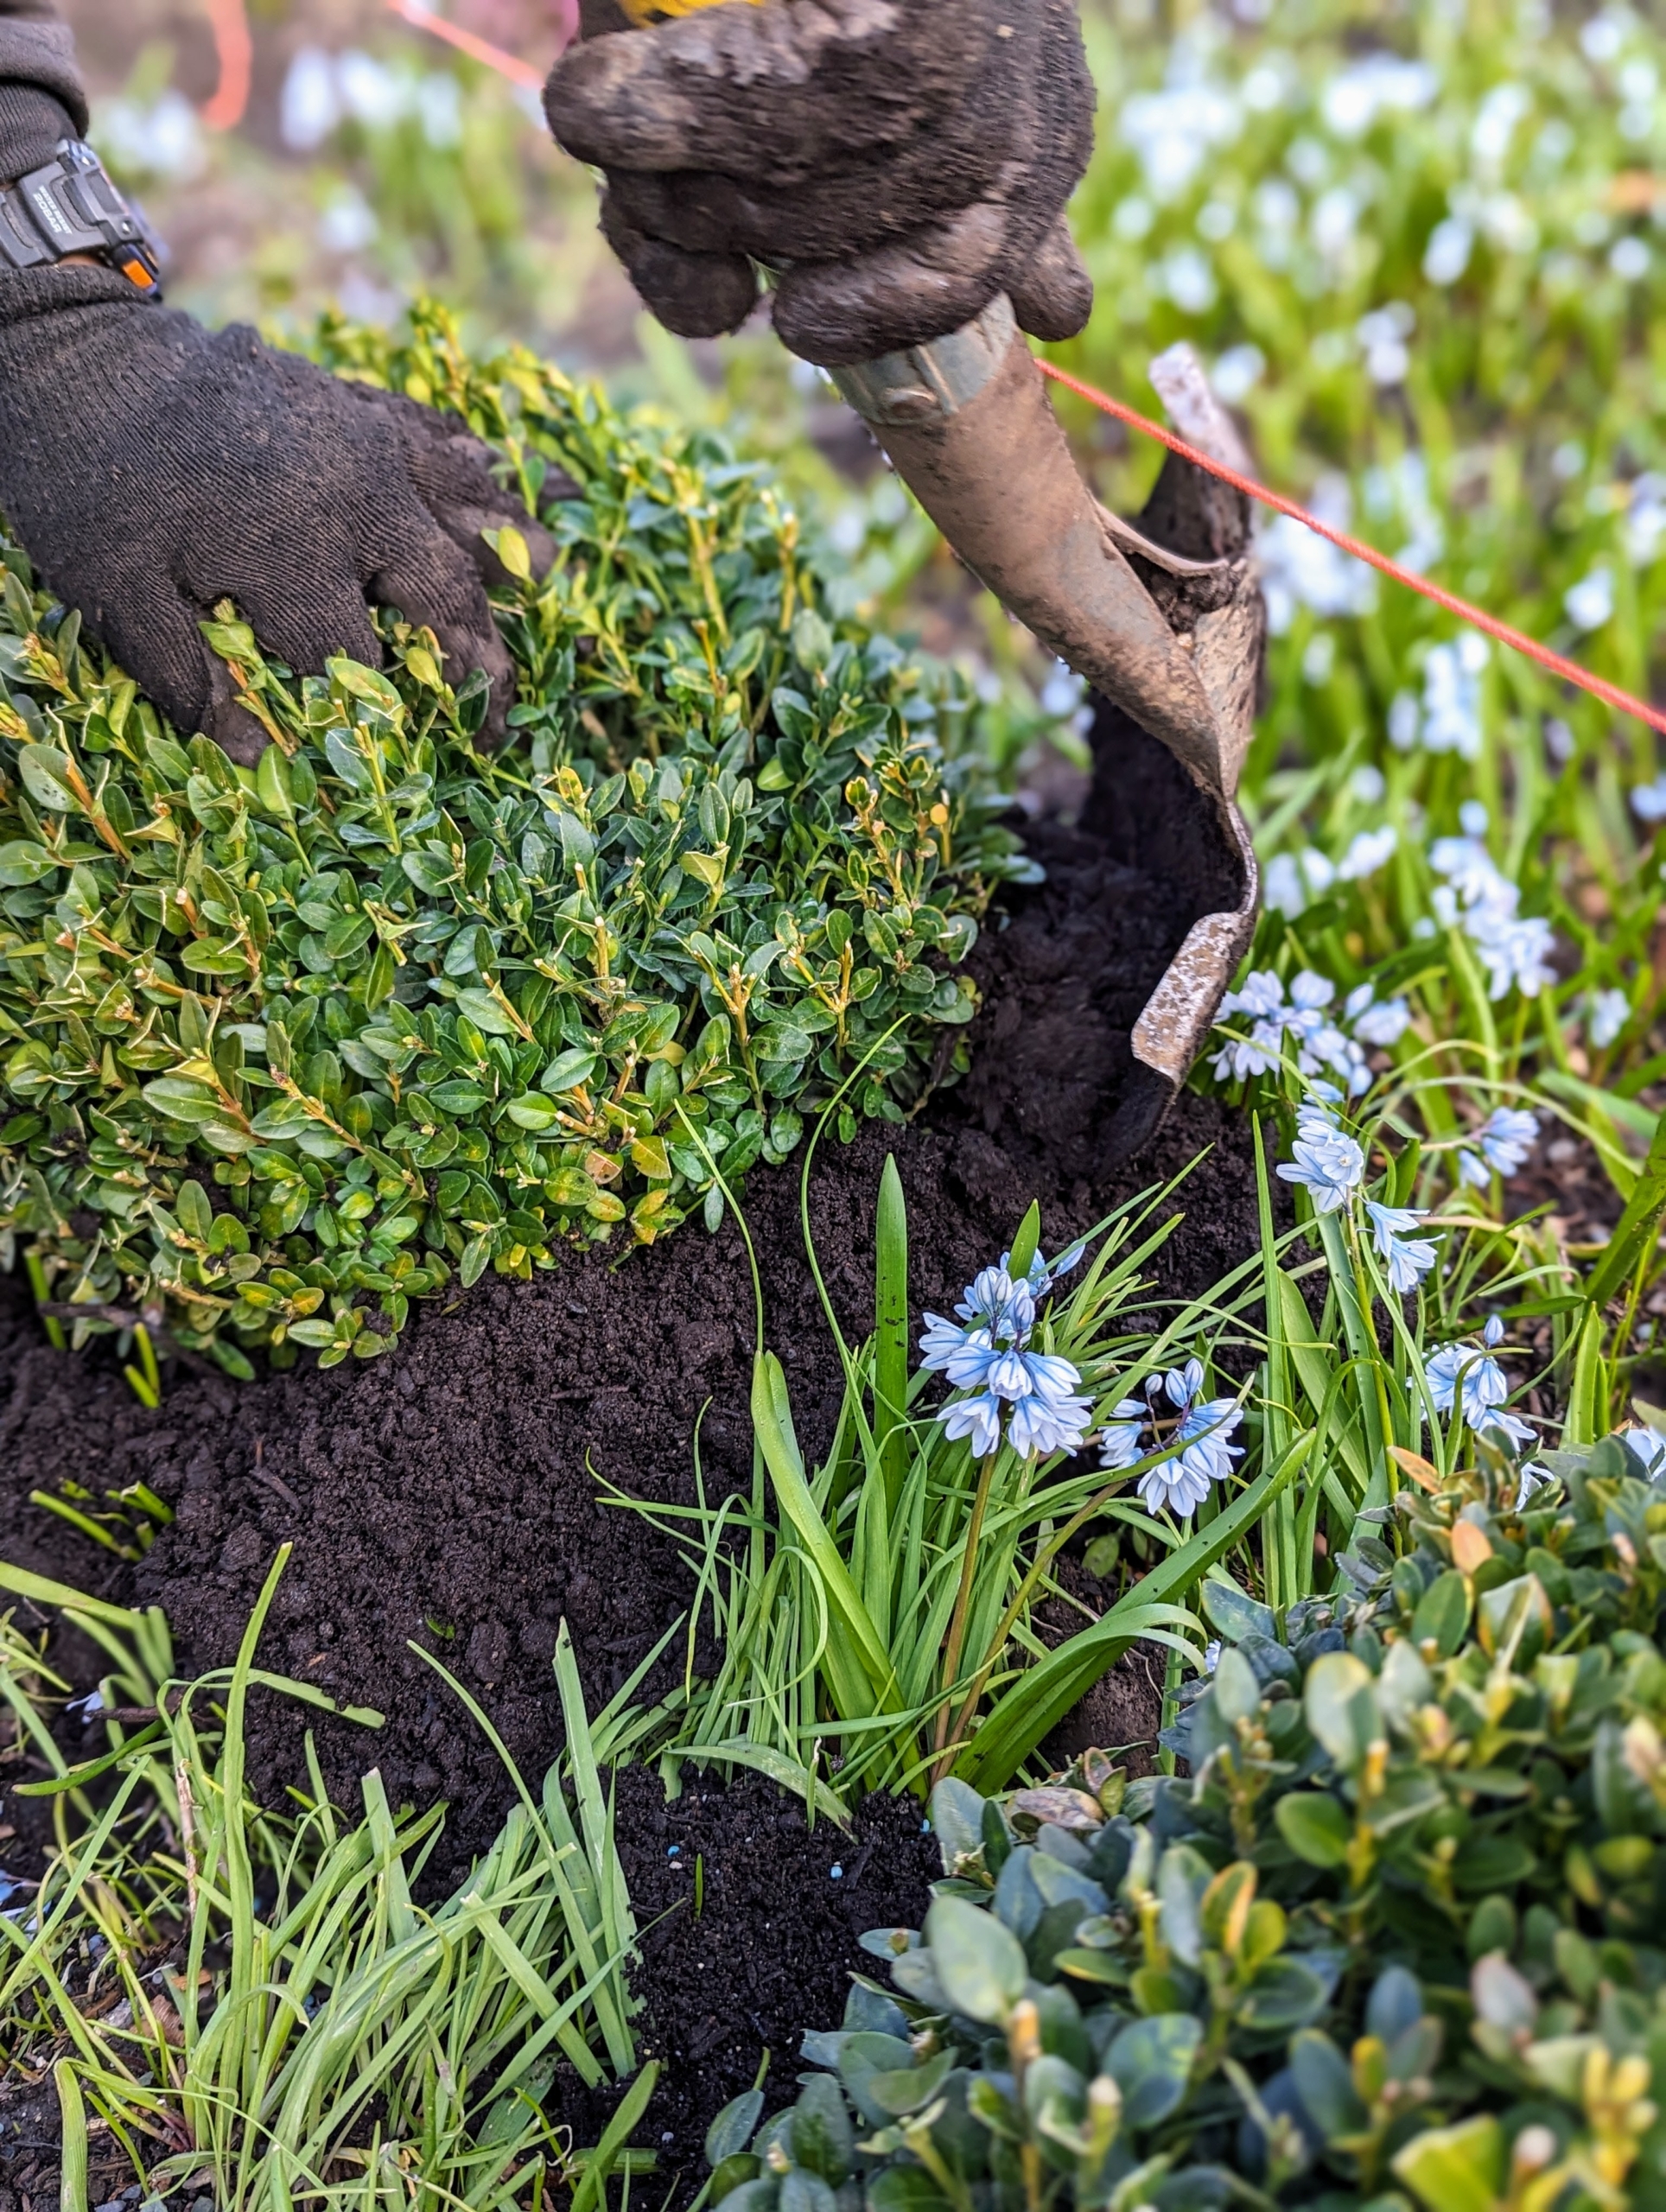
The boxwood is planted right away in the spot. Landscape twine is also positioned to ensure the shrubs are lined up perfectly where the bed is straight.
Phurba backfills wherever necessary. Boxwood shrubs have shallow root systems, so proper mulching after they are planted will help retain moisture and keep the roots cool.
Boxwood prefers well-drained soil with a lot of organic matter. Loamy soil or sandy conditions are best. Most boxwoods like some shade, but some varieties handle full sun exposure better than others.
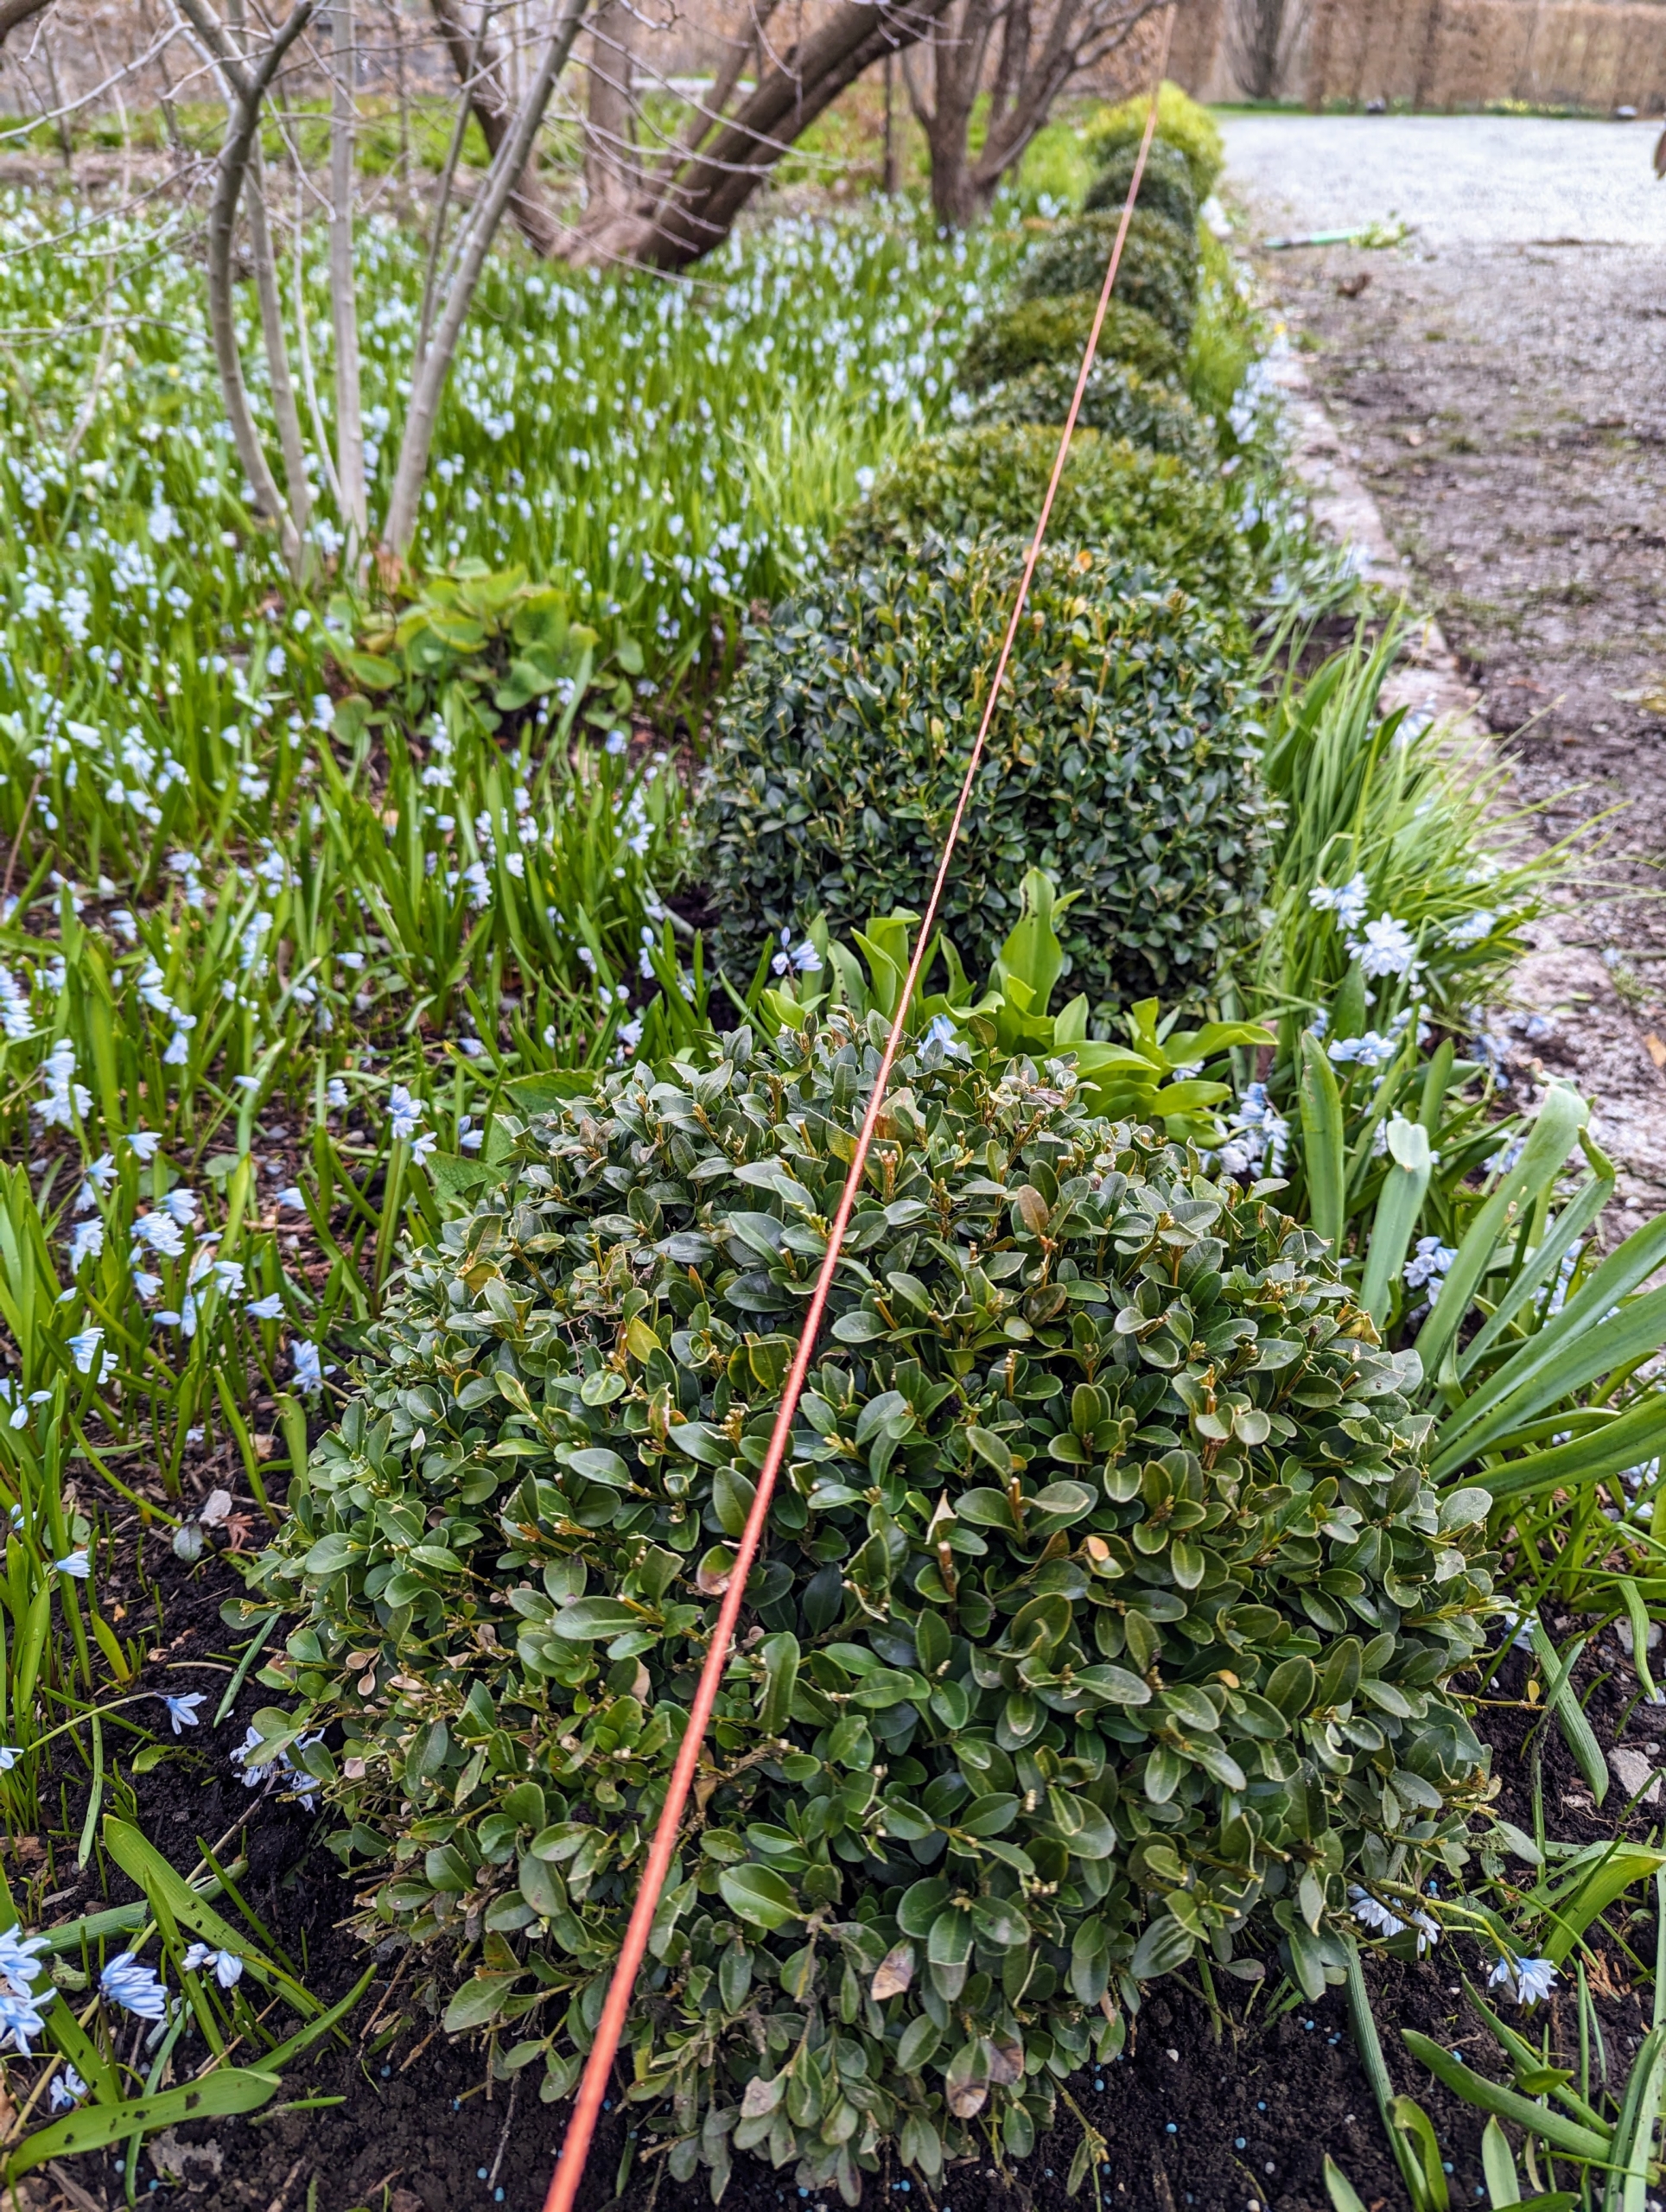
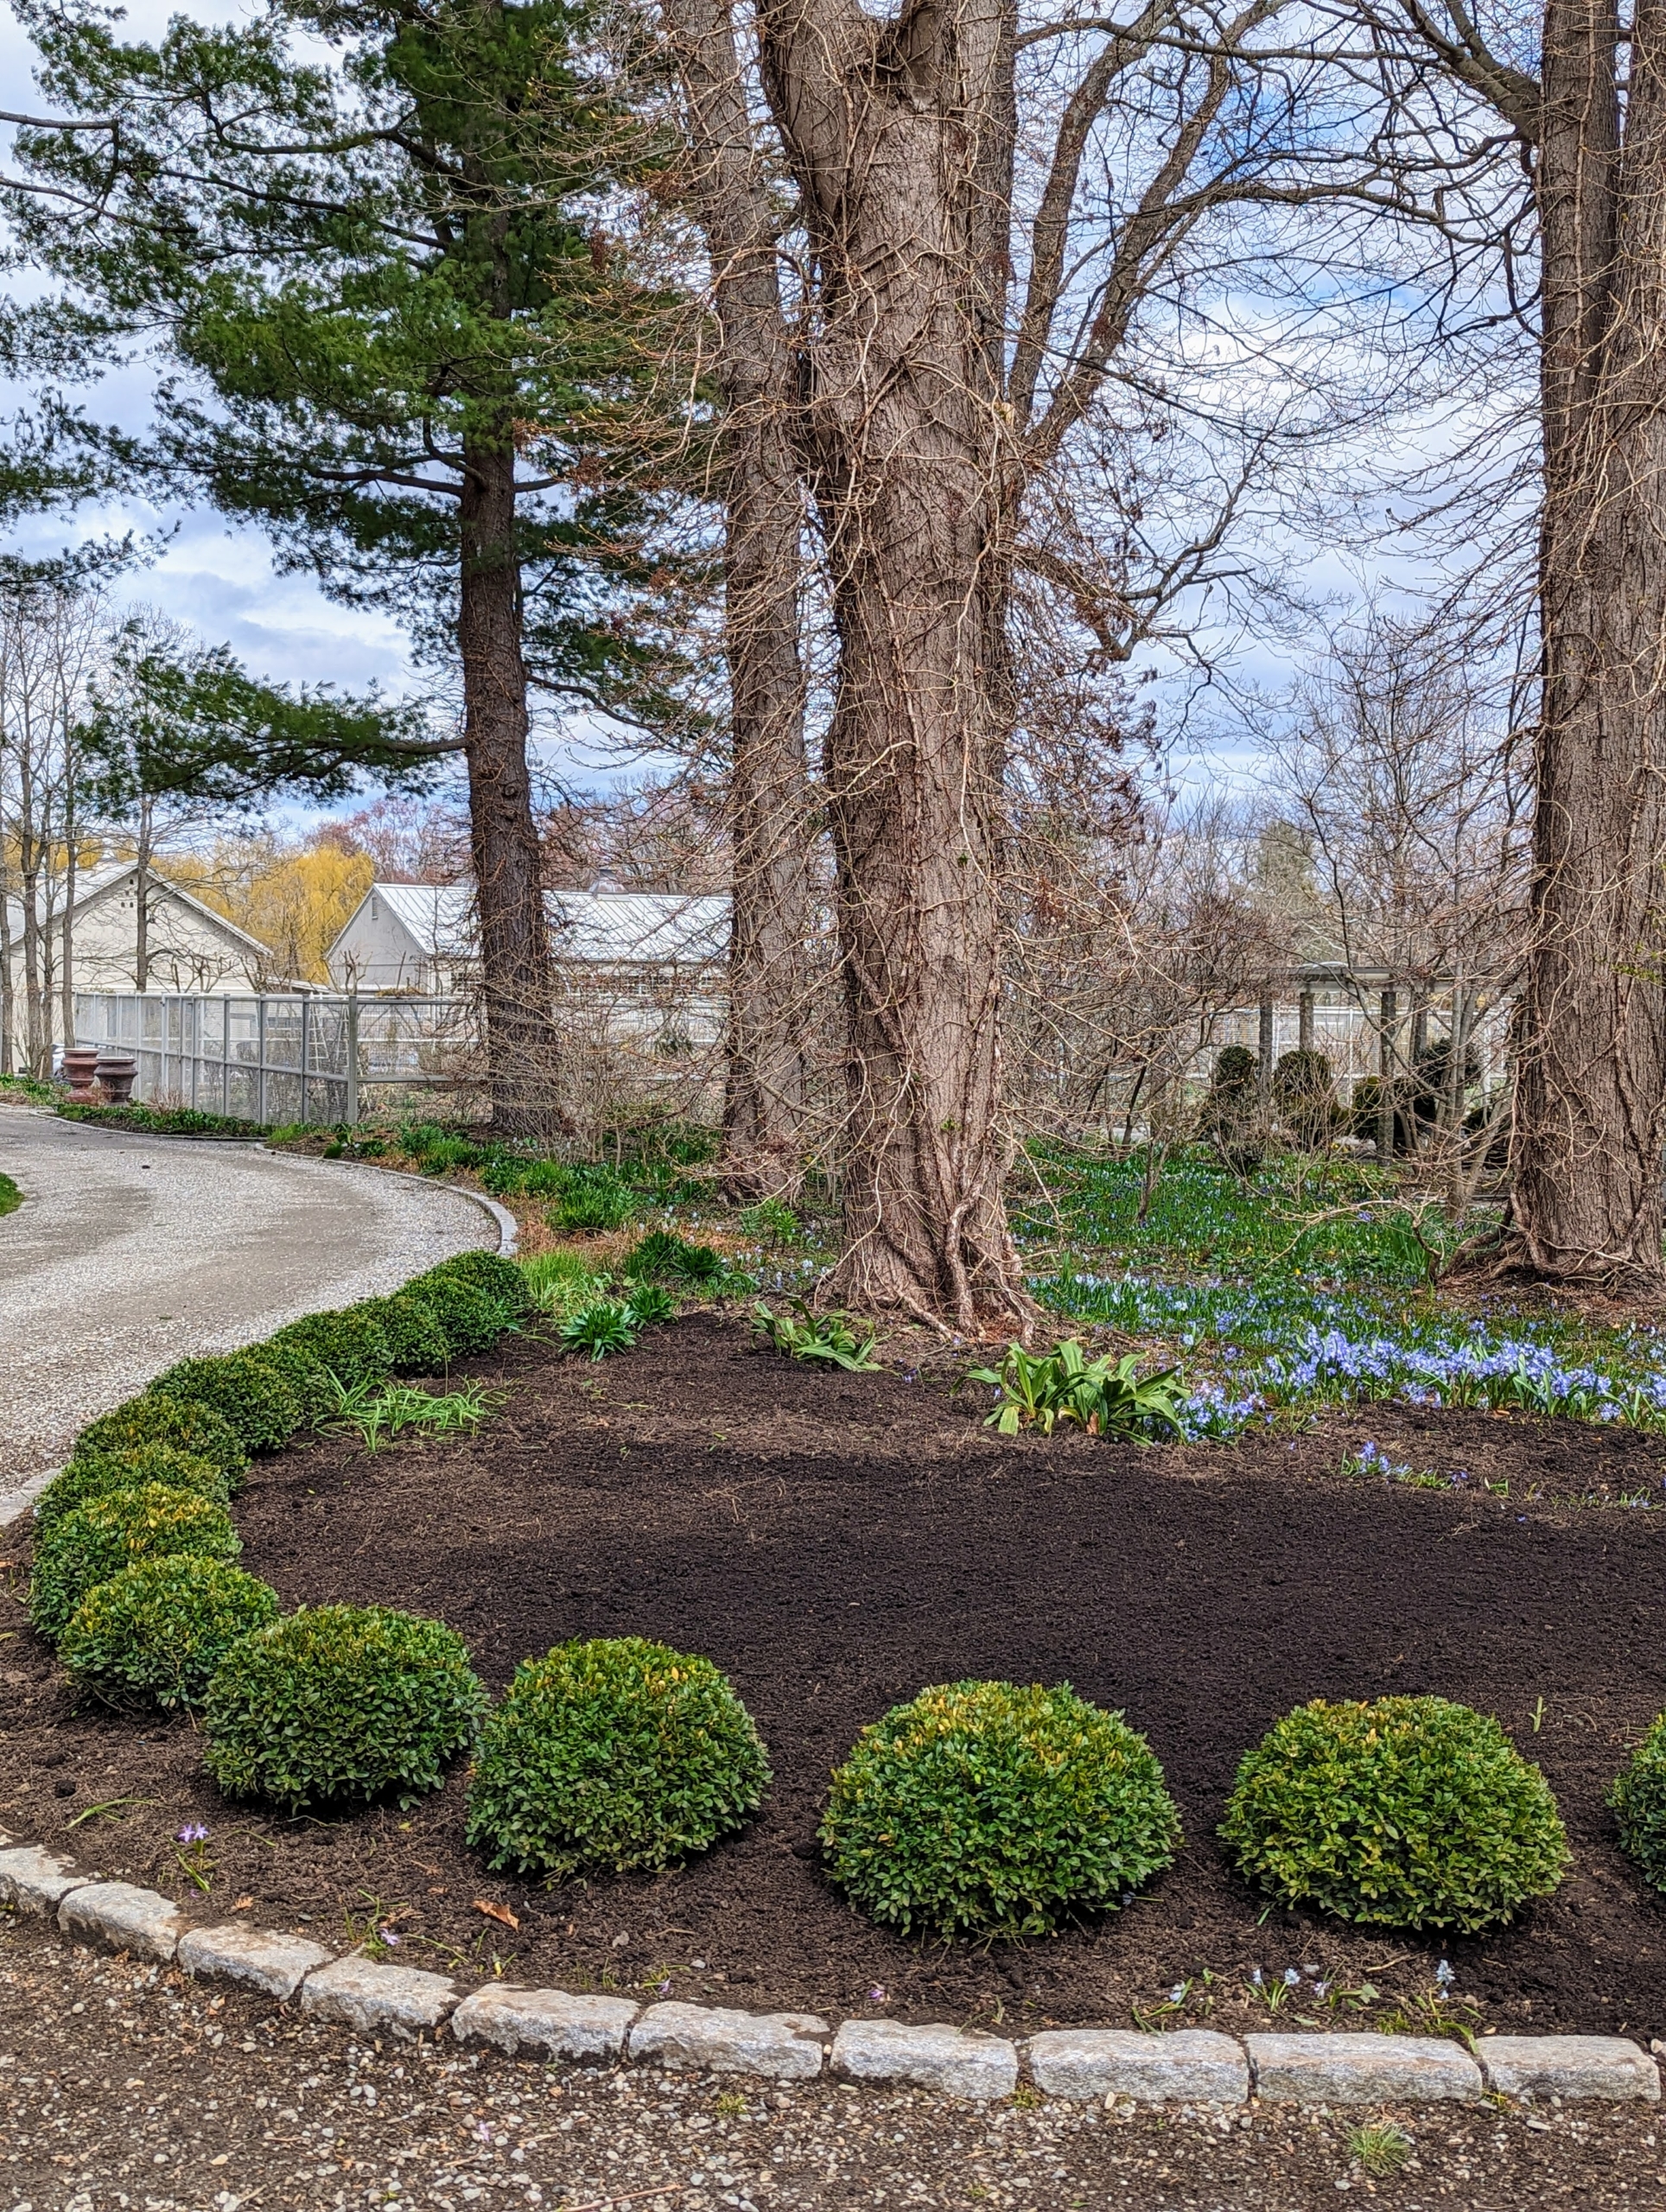
Here is the border so far. It starts in front of my main greenhouse and will extend around a corner along the carriage road.
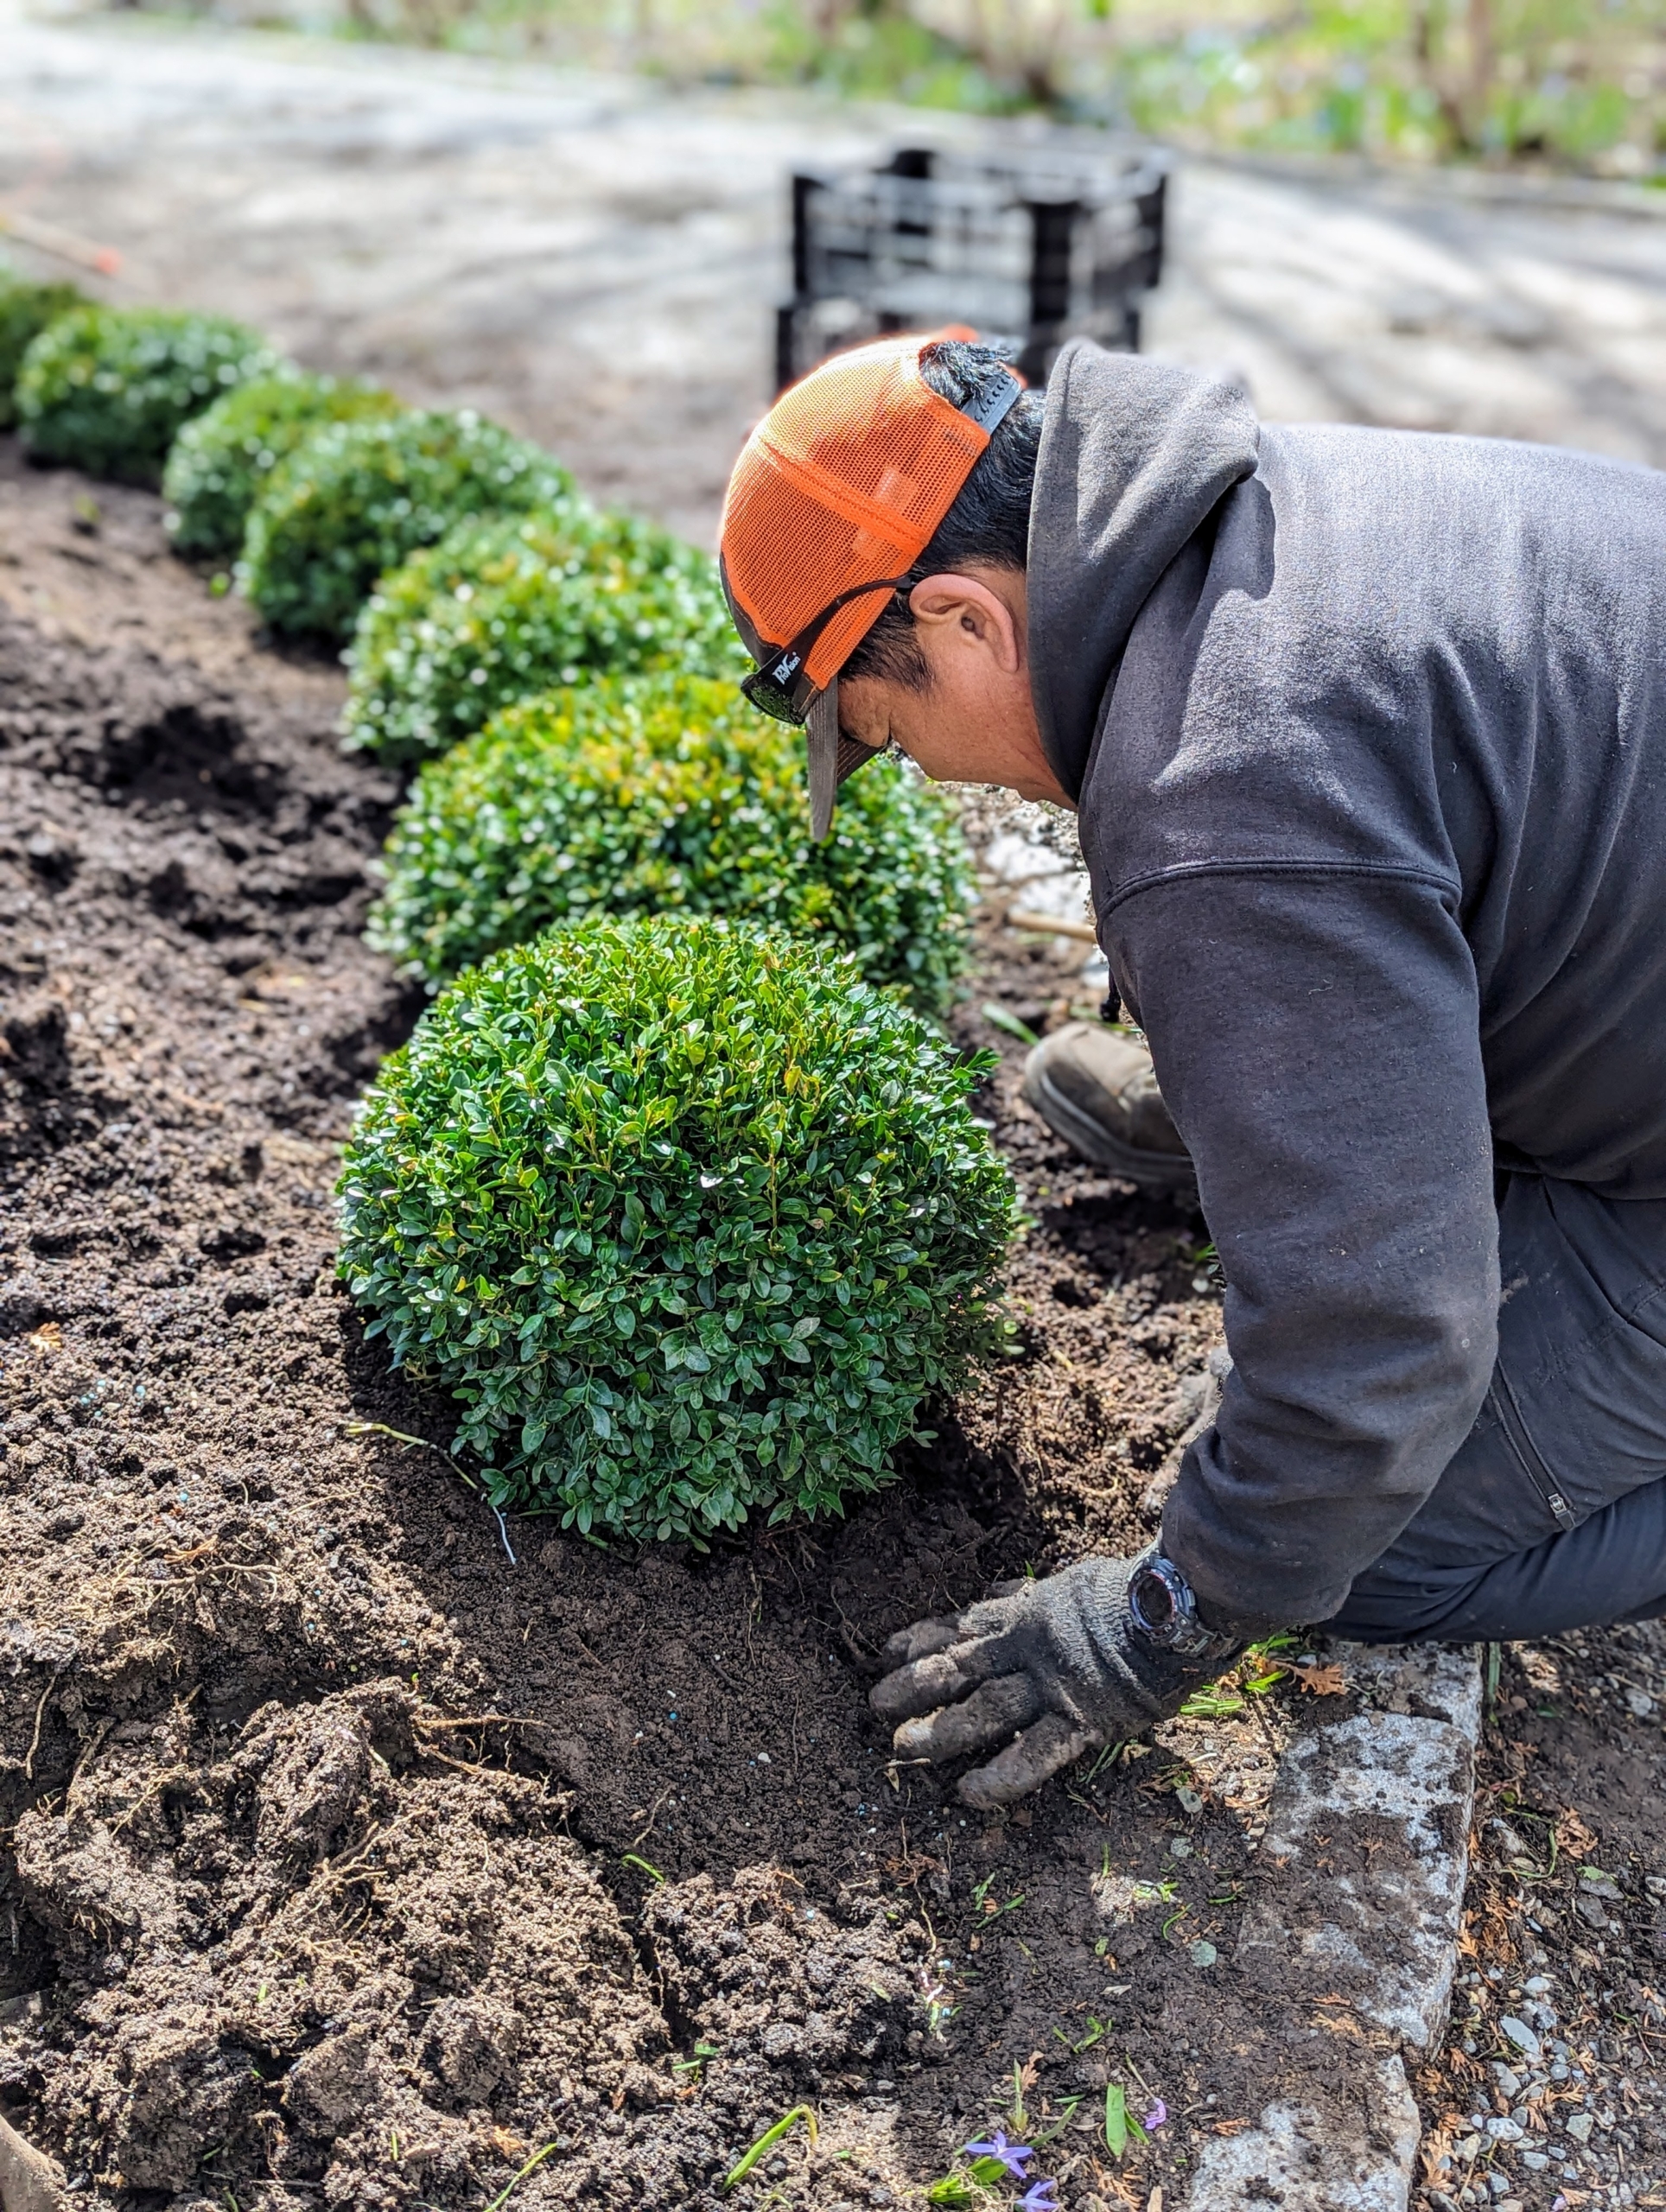
Each hole is dug carefully, especially as the bed curves. Phurba makes sure every shrub is positioned properly.
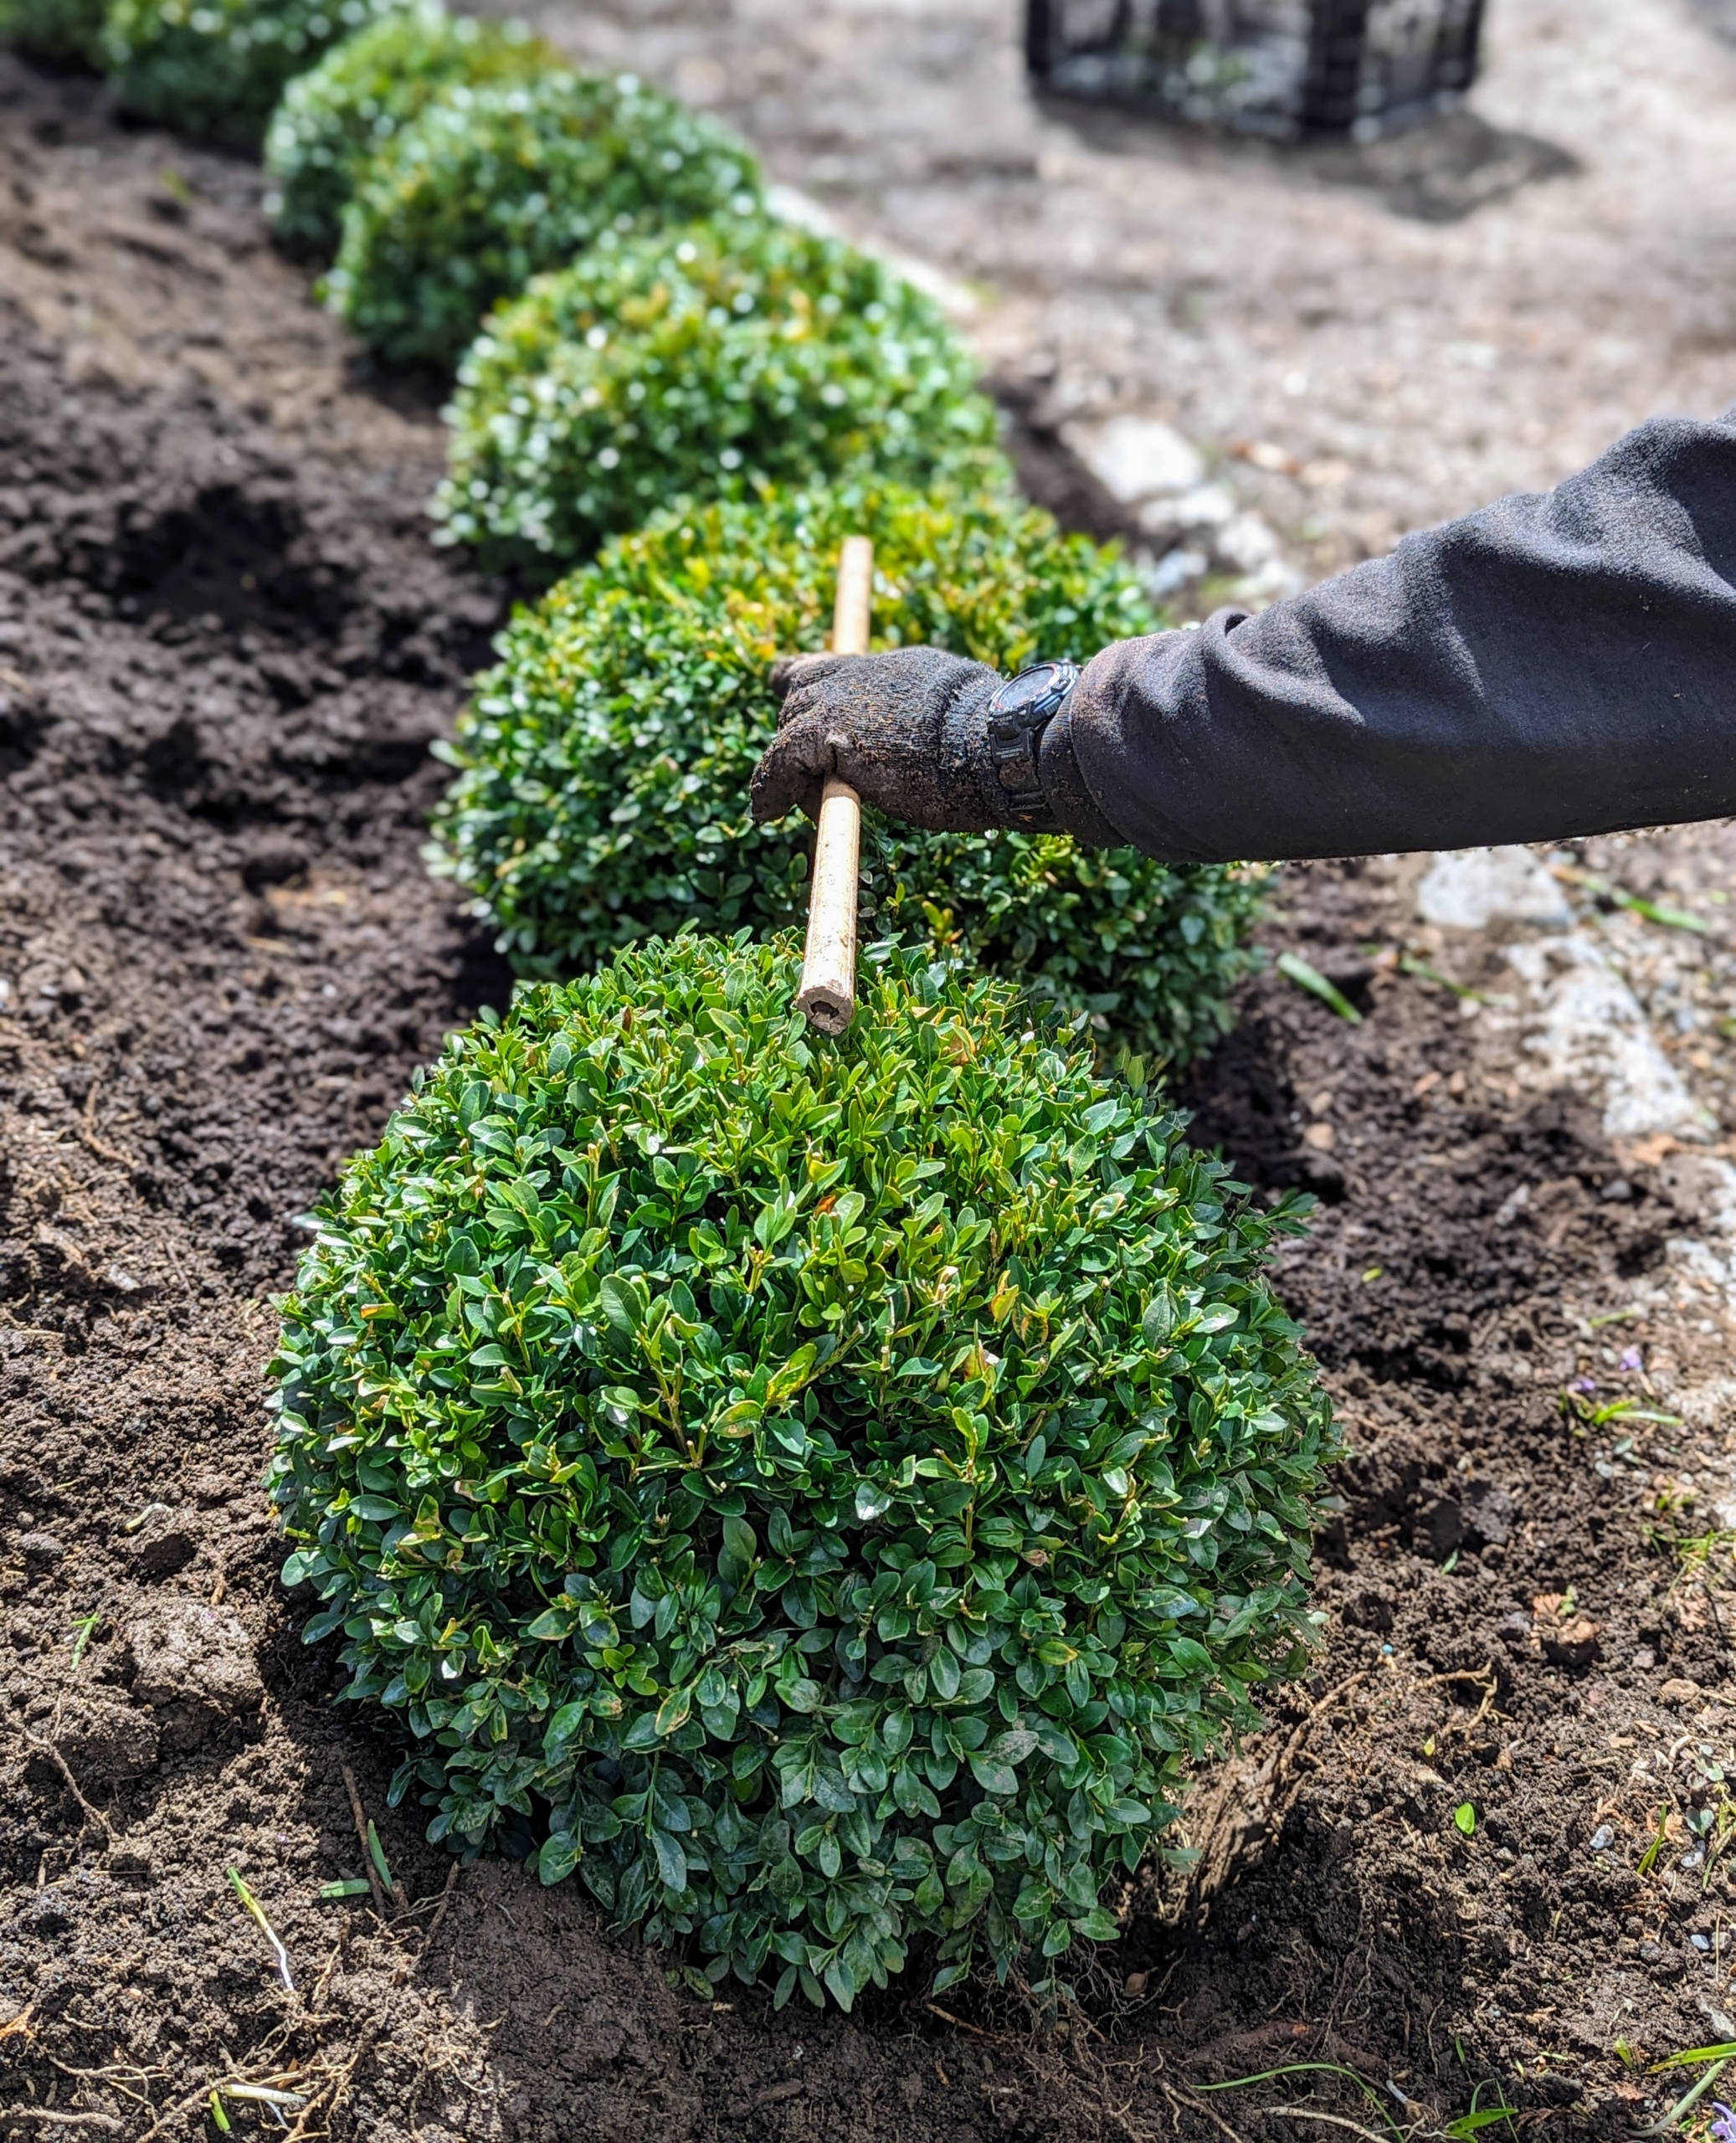
The outdoor grounds crew cut a piece of bamboo to help space the plants as they’re planted.
The shrubs are planted exactly two-feet apart and one foot from the edge – better to measure repeatedly to avoid any replanting later.
Phurba tamps down around each specimen to establish good contact with the soil.
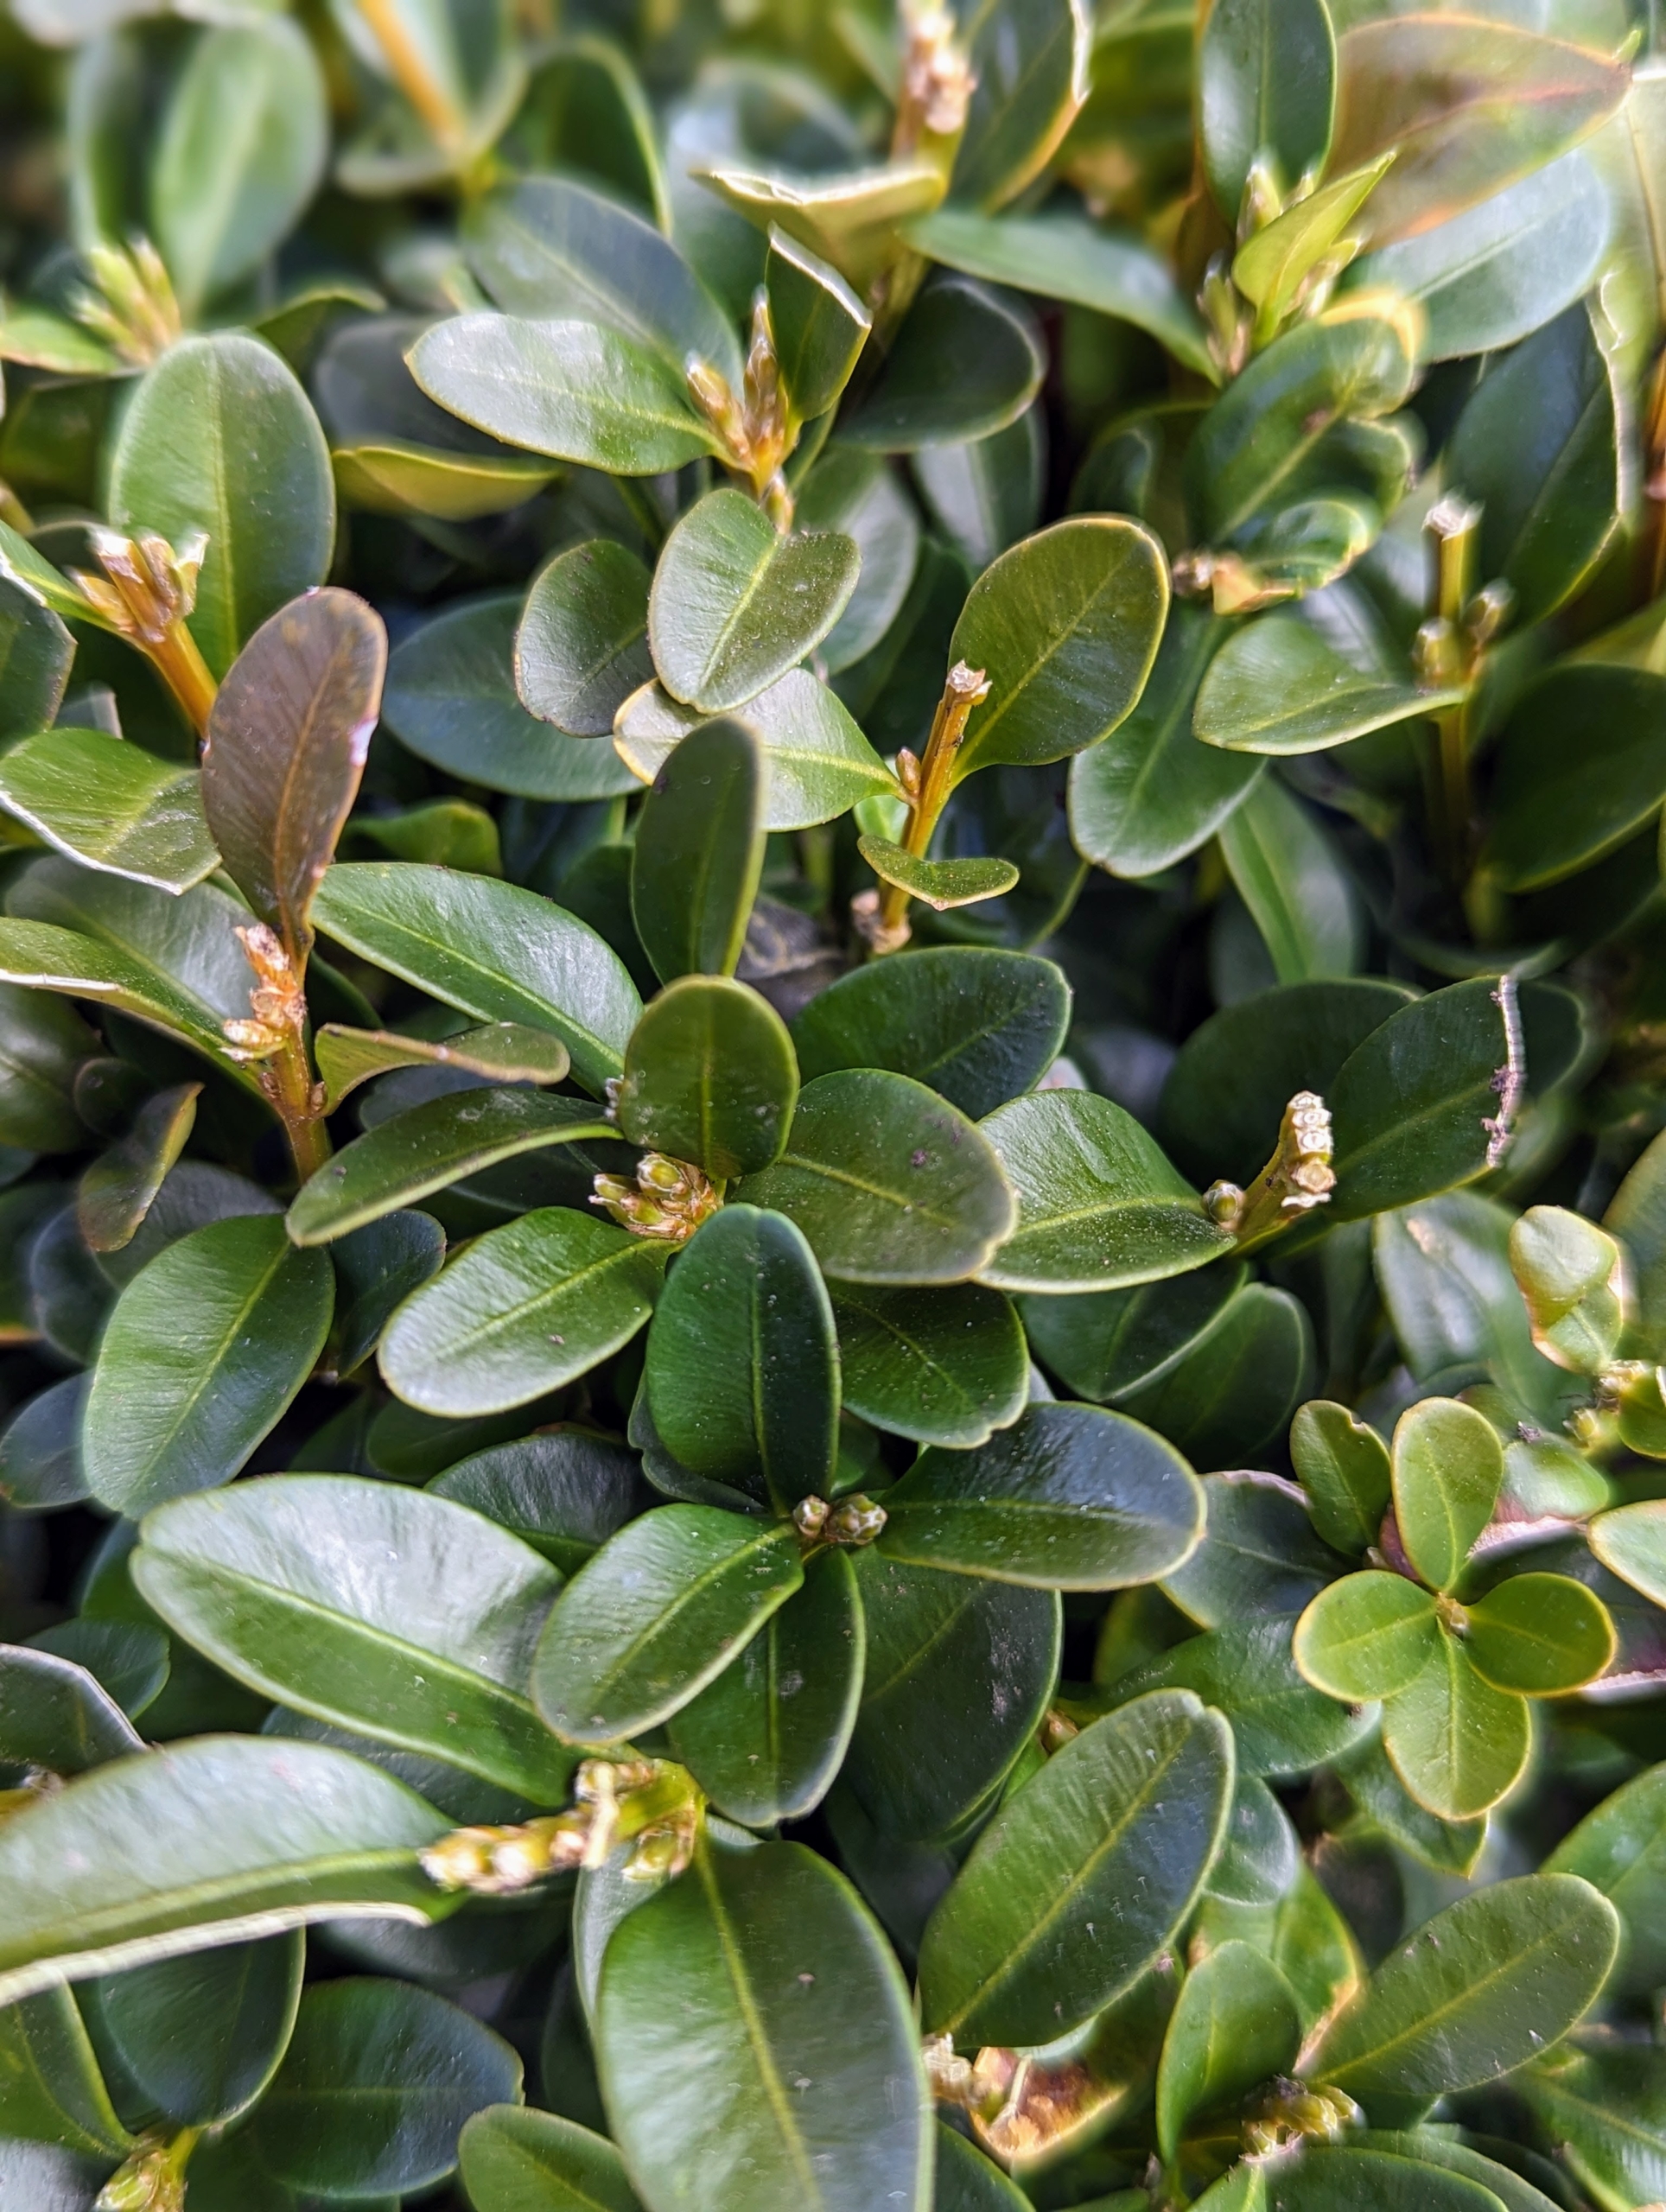
Buxus is a genus of about 70 species in the family Buxaceae. Common names include box or boxwood. The boxes are native to western and southern Europe, southwest, southern and eastern Asia, Africa, Madagascar, northernmost South America, Central America, Mexico, and the Caribbean. Boxwood shrubs are slow-growing with dark green glossy leaves arranged opposite from each other, making pairs. Leaf shape depends on the variety; some are round while others are elliptical. This is Buxus ‘Green Mountain.’
Known as “man’s oldest garden ornamental” according to the American Boxwood Society, ancient Egyptians used boxwoods as decorative plants as early as 4000 B.C. Here is one side all done.
Boxwood has upright, naturally cone-shaped habits making them excellent candidates for planting free-form or for a sculpted hedge or border.
I am even more excited to see how this border develops over the next couple of years. And wait until you see what’s planned for the center of the bed. What do you think?
There's still time to order your garden seeds! The process of ordering through seed catalogs can be daunting, but it also provides many advantages, such as being able to choose seeds based on how they are grown and how they are treated.
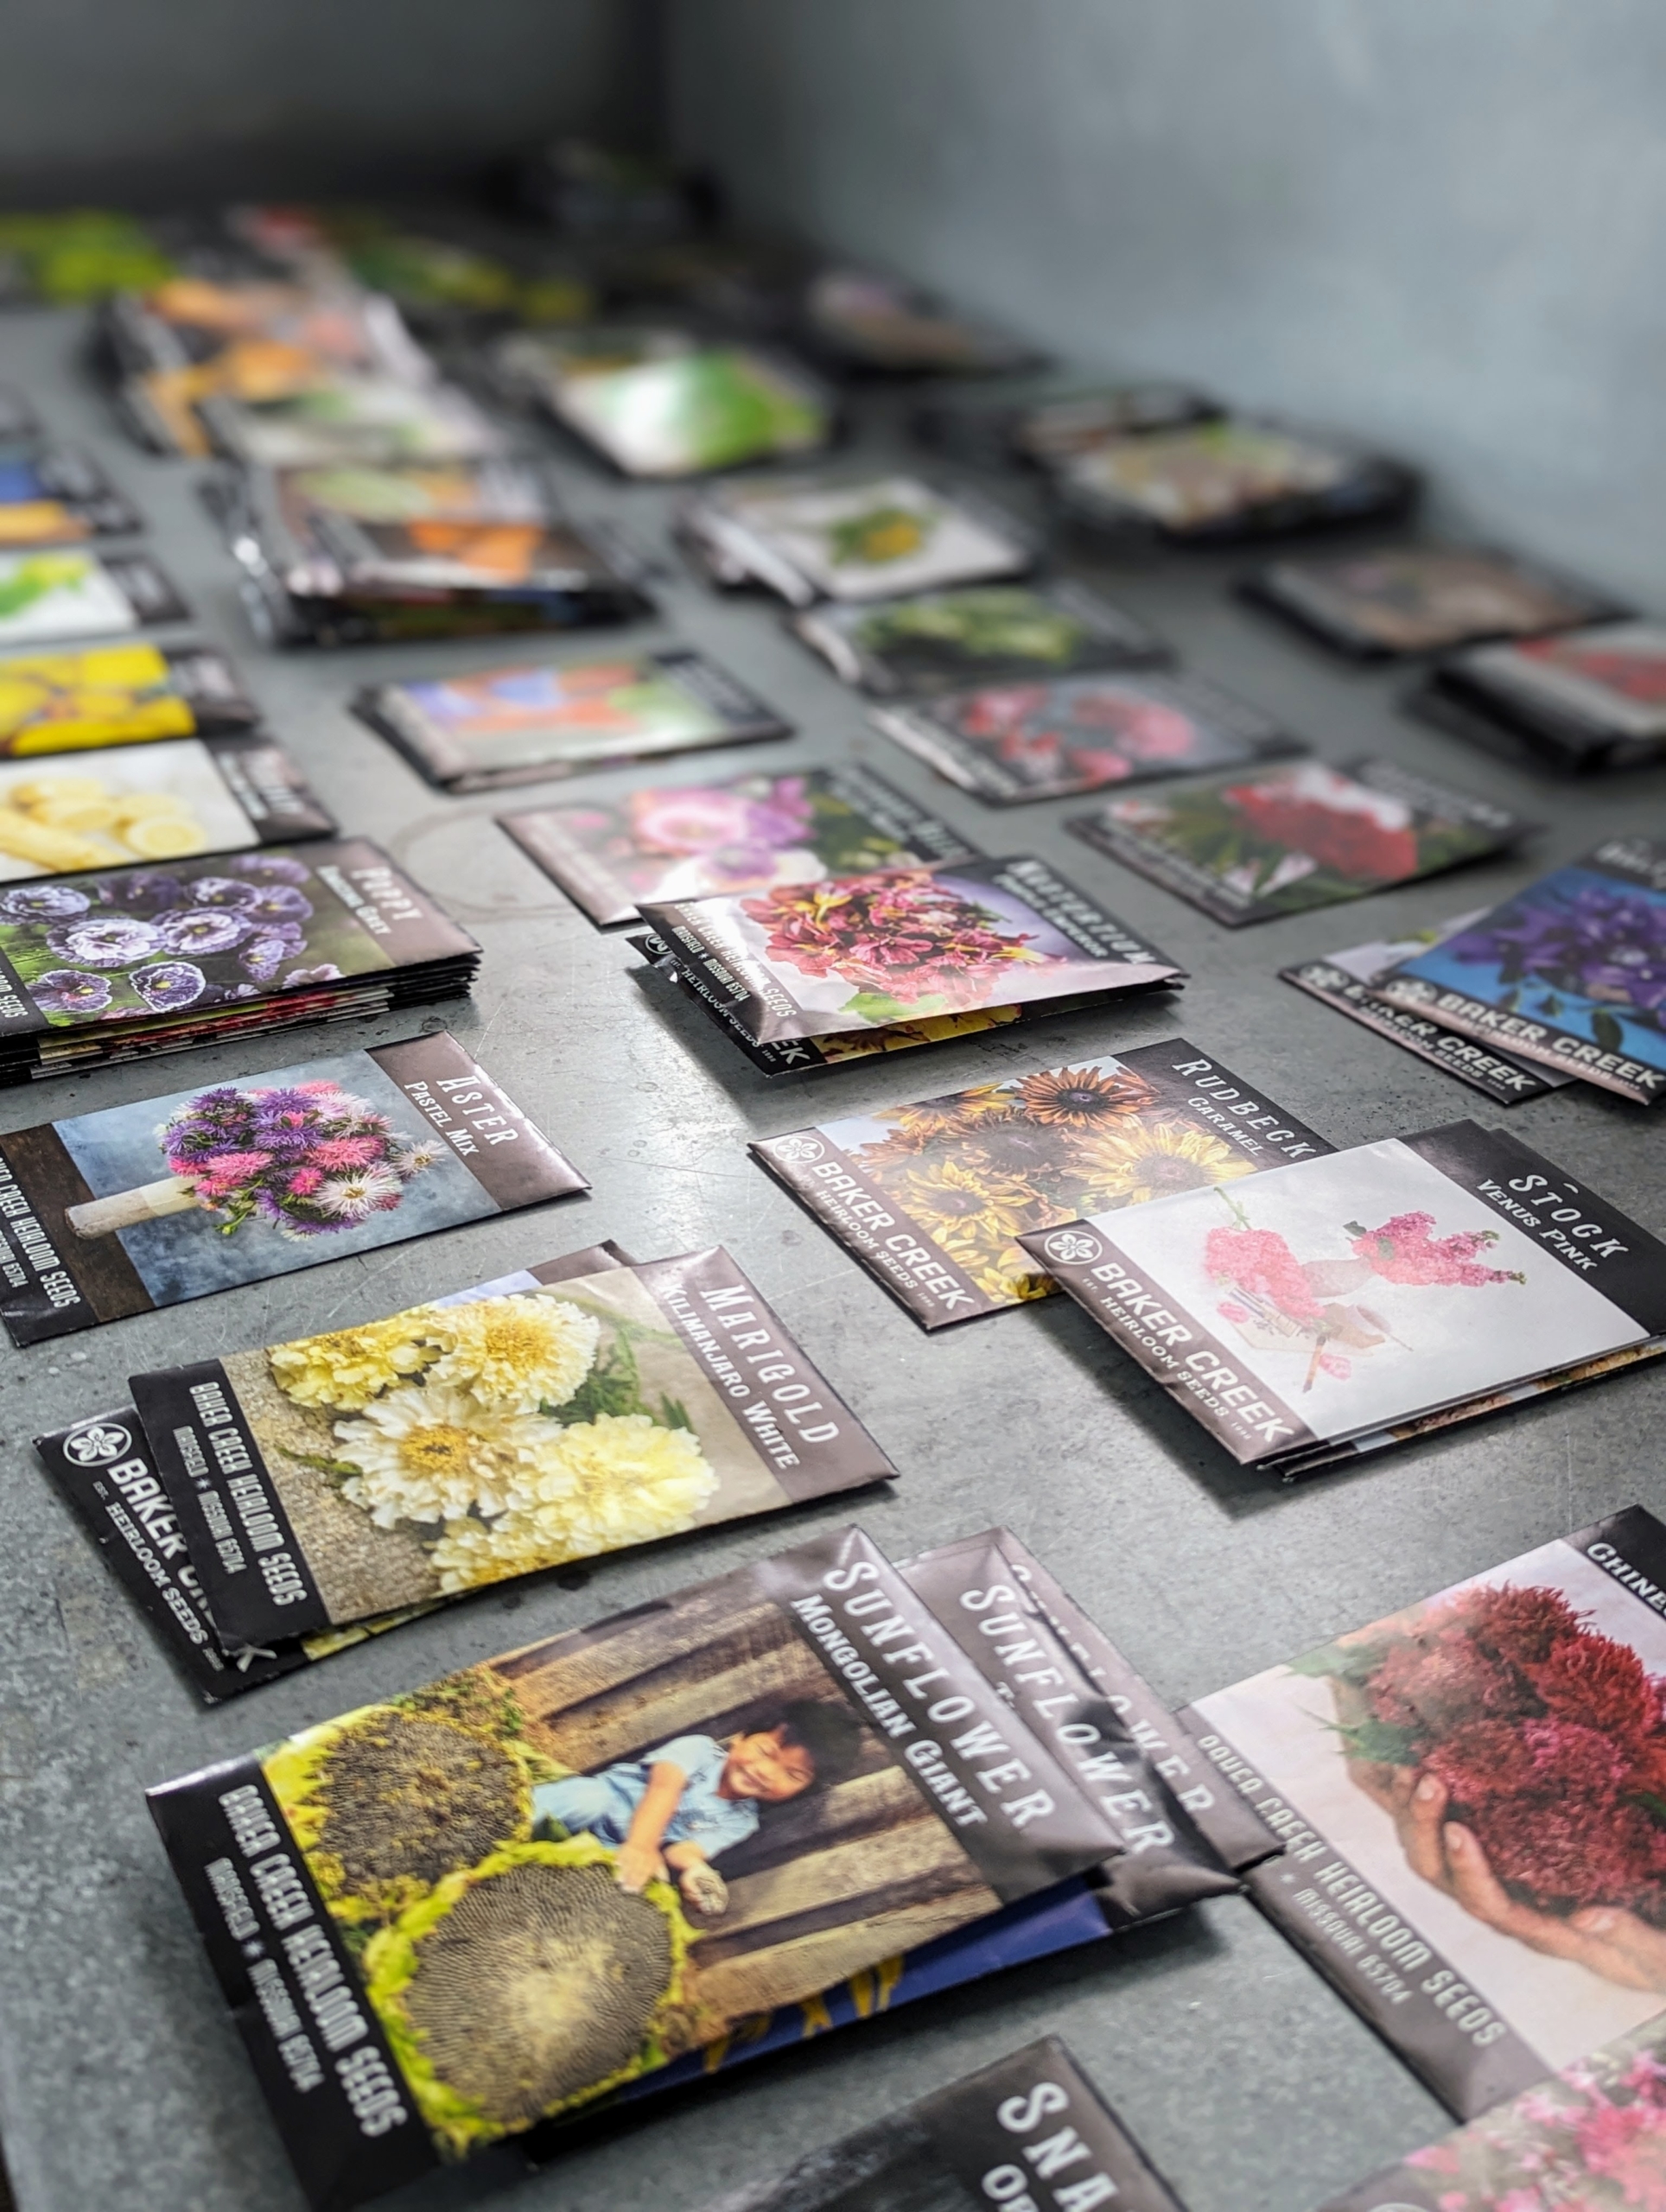
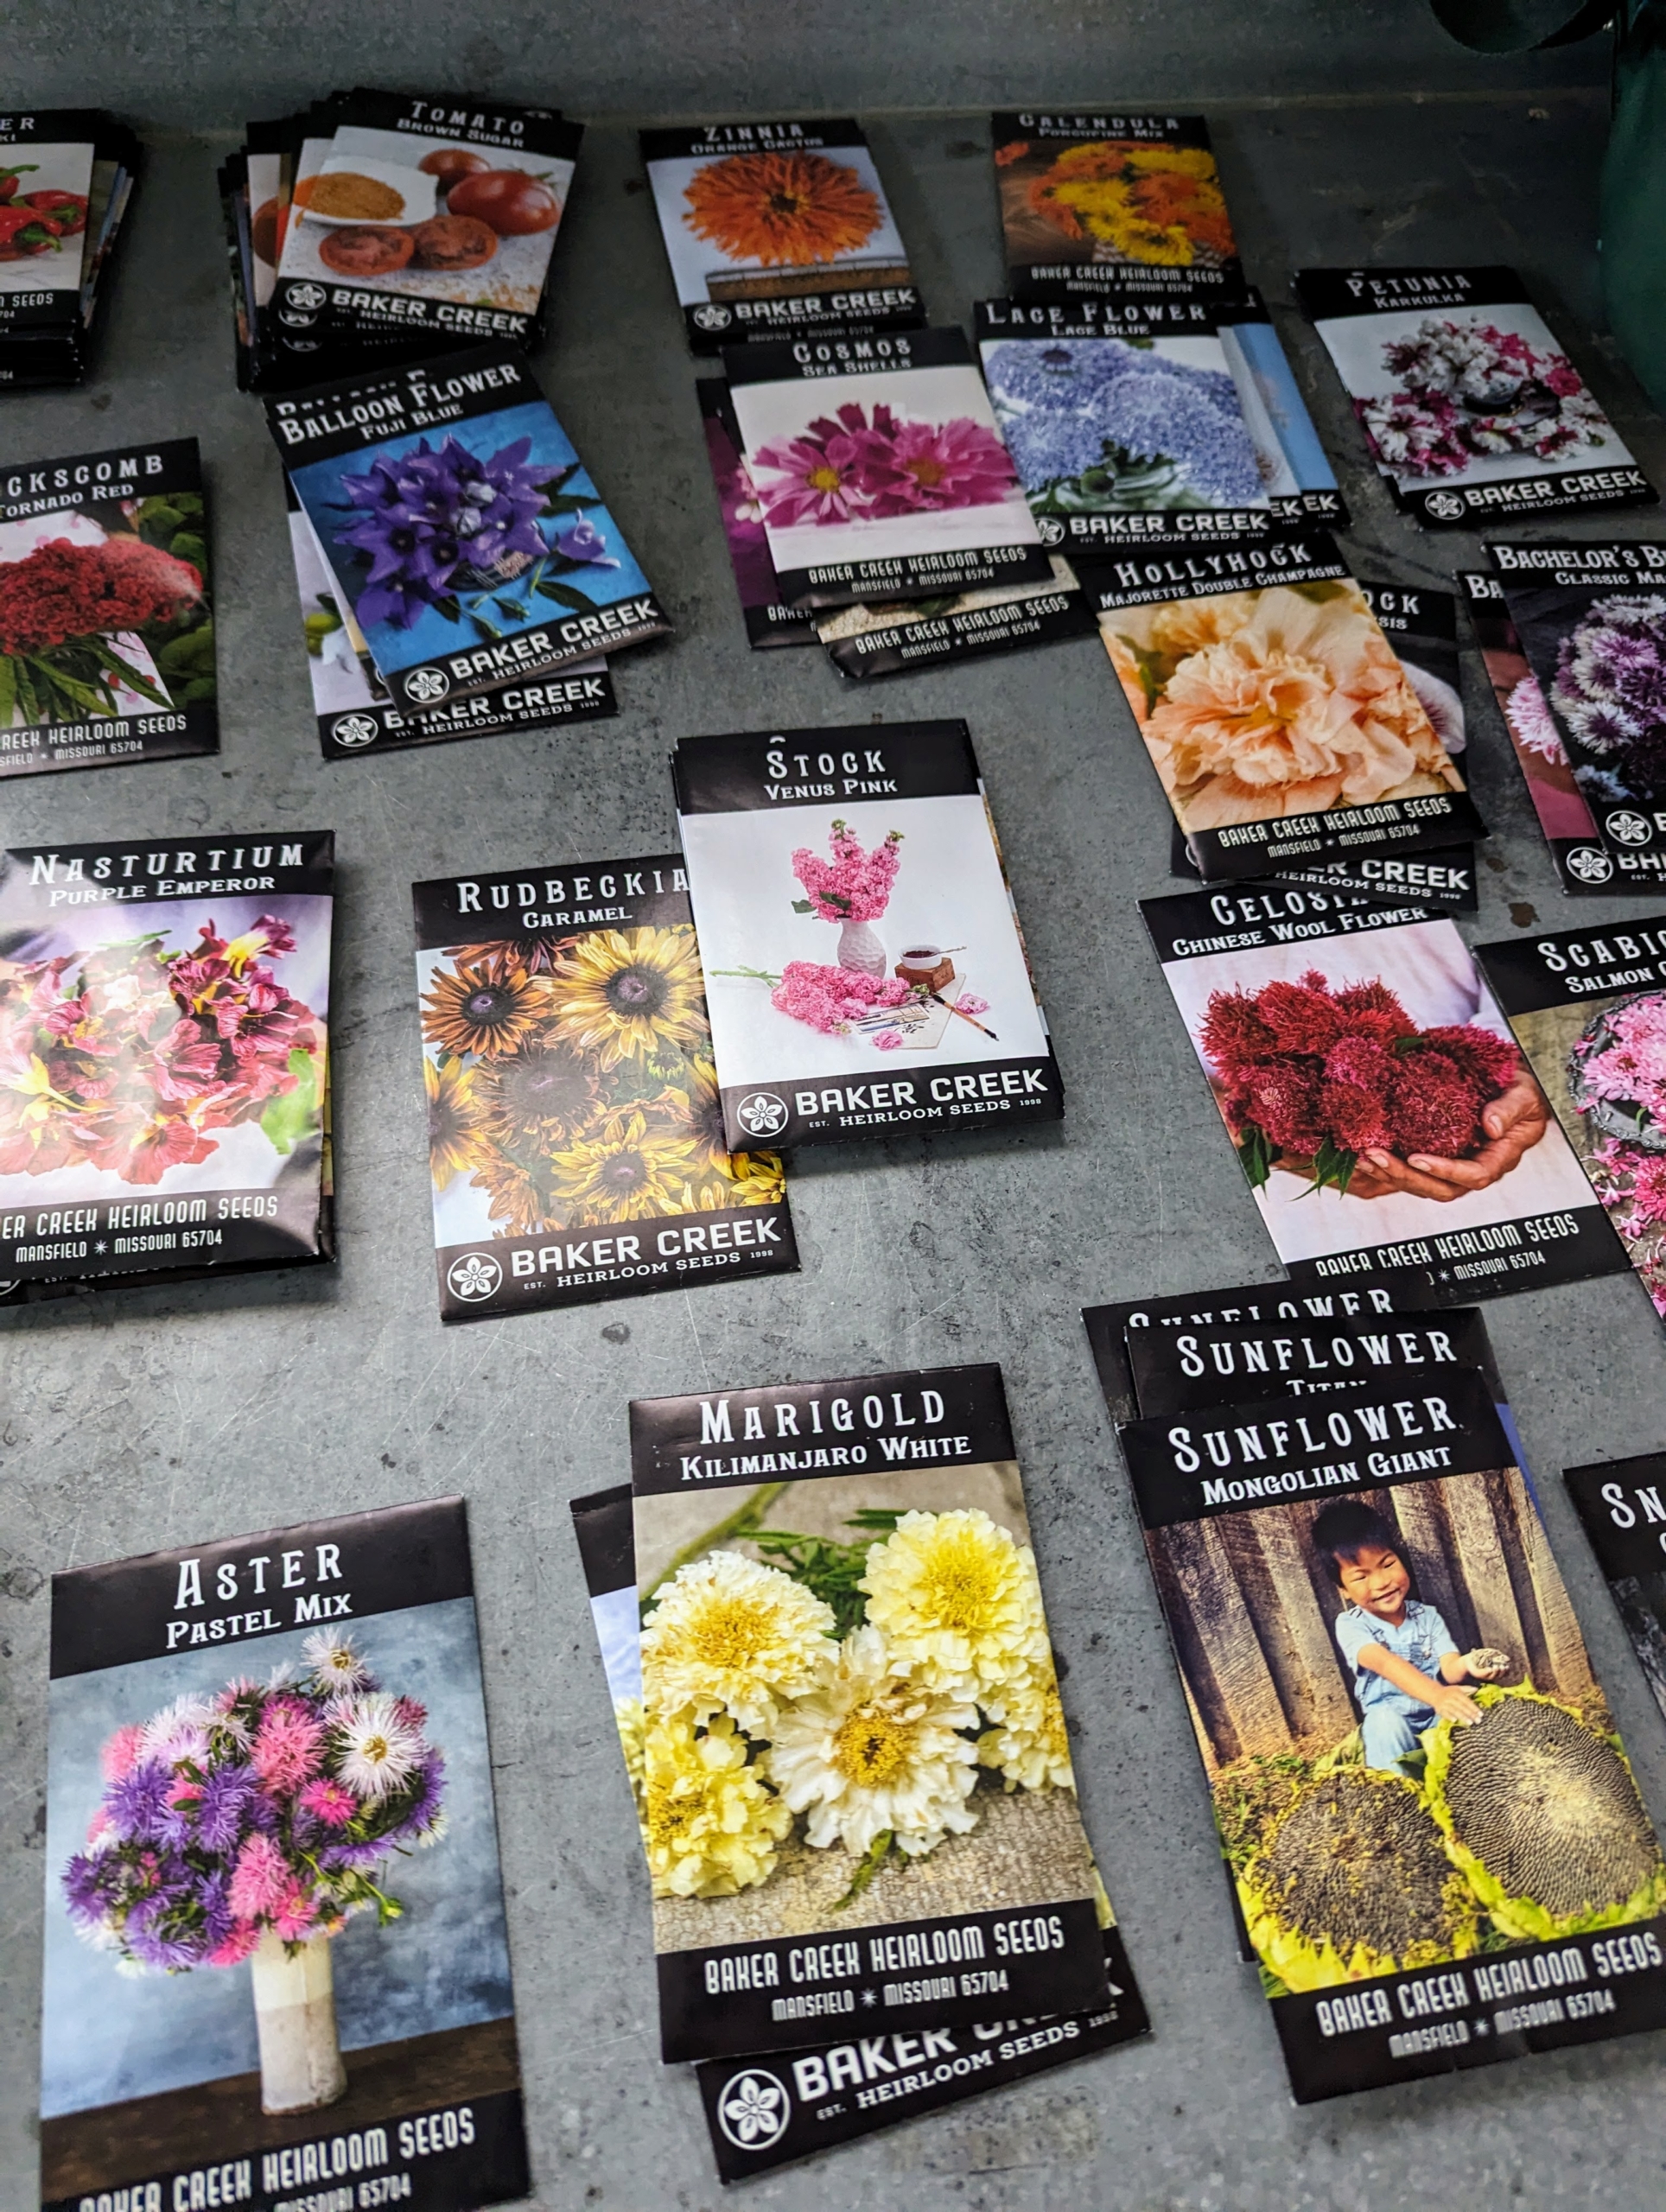
Here at my farm, we start sowing seeds indoors soon after the New Year. This week, we're planting trays of flower seeds from Baker Creek Heirloom Seed Company - one of our favorite sources. Started in 1998 as a hobby, it has since grown into North America’s largest heirloom seed establishment.
Here are some photos, enjoy. And be sure to follow this blog on Instagram @marthastewartblog - we're having so much fun posting on our new page!
Baker Creek in Mansfield, Missouri, offers one of the largest selections of 19th century heirloom seeds from Europe and Asia, and now features more than 1,000 different seeds in its catalog.
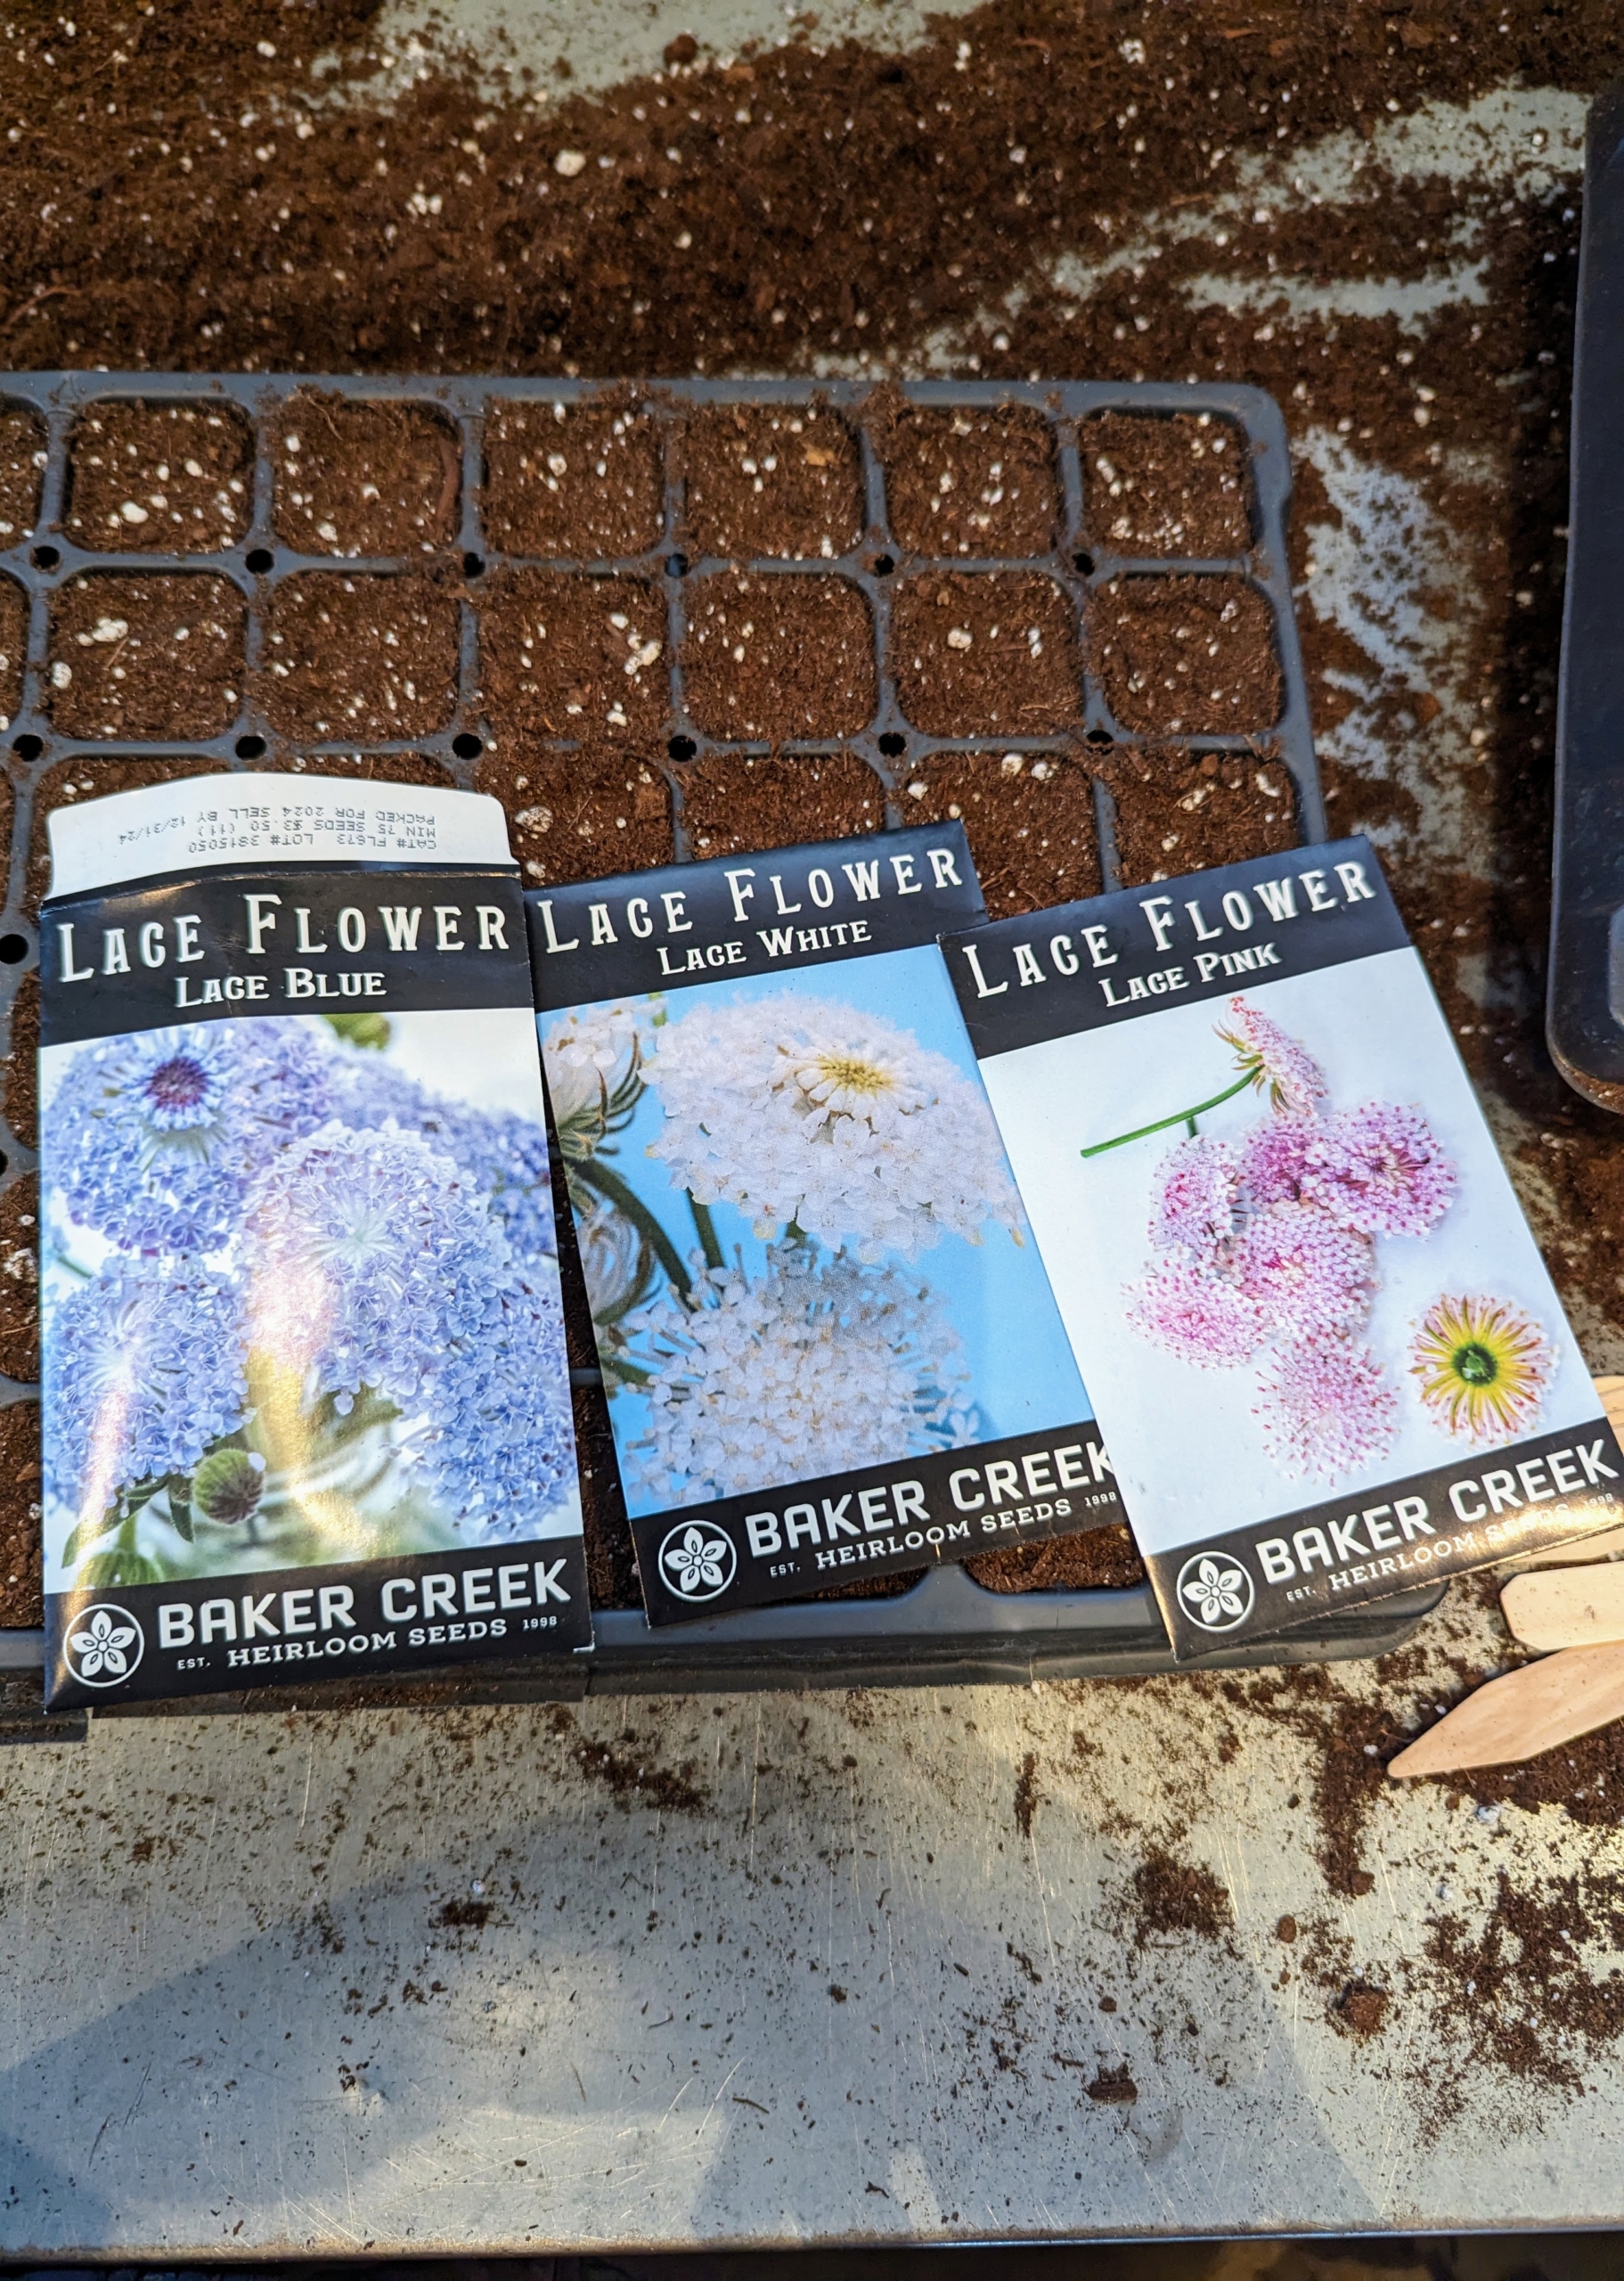
We plant many Baker Creek seeds every year and love how they grow. Each of the colorful packets shows how the flowers look when in bloom or how the vegetables look when mature and ready to harvest.
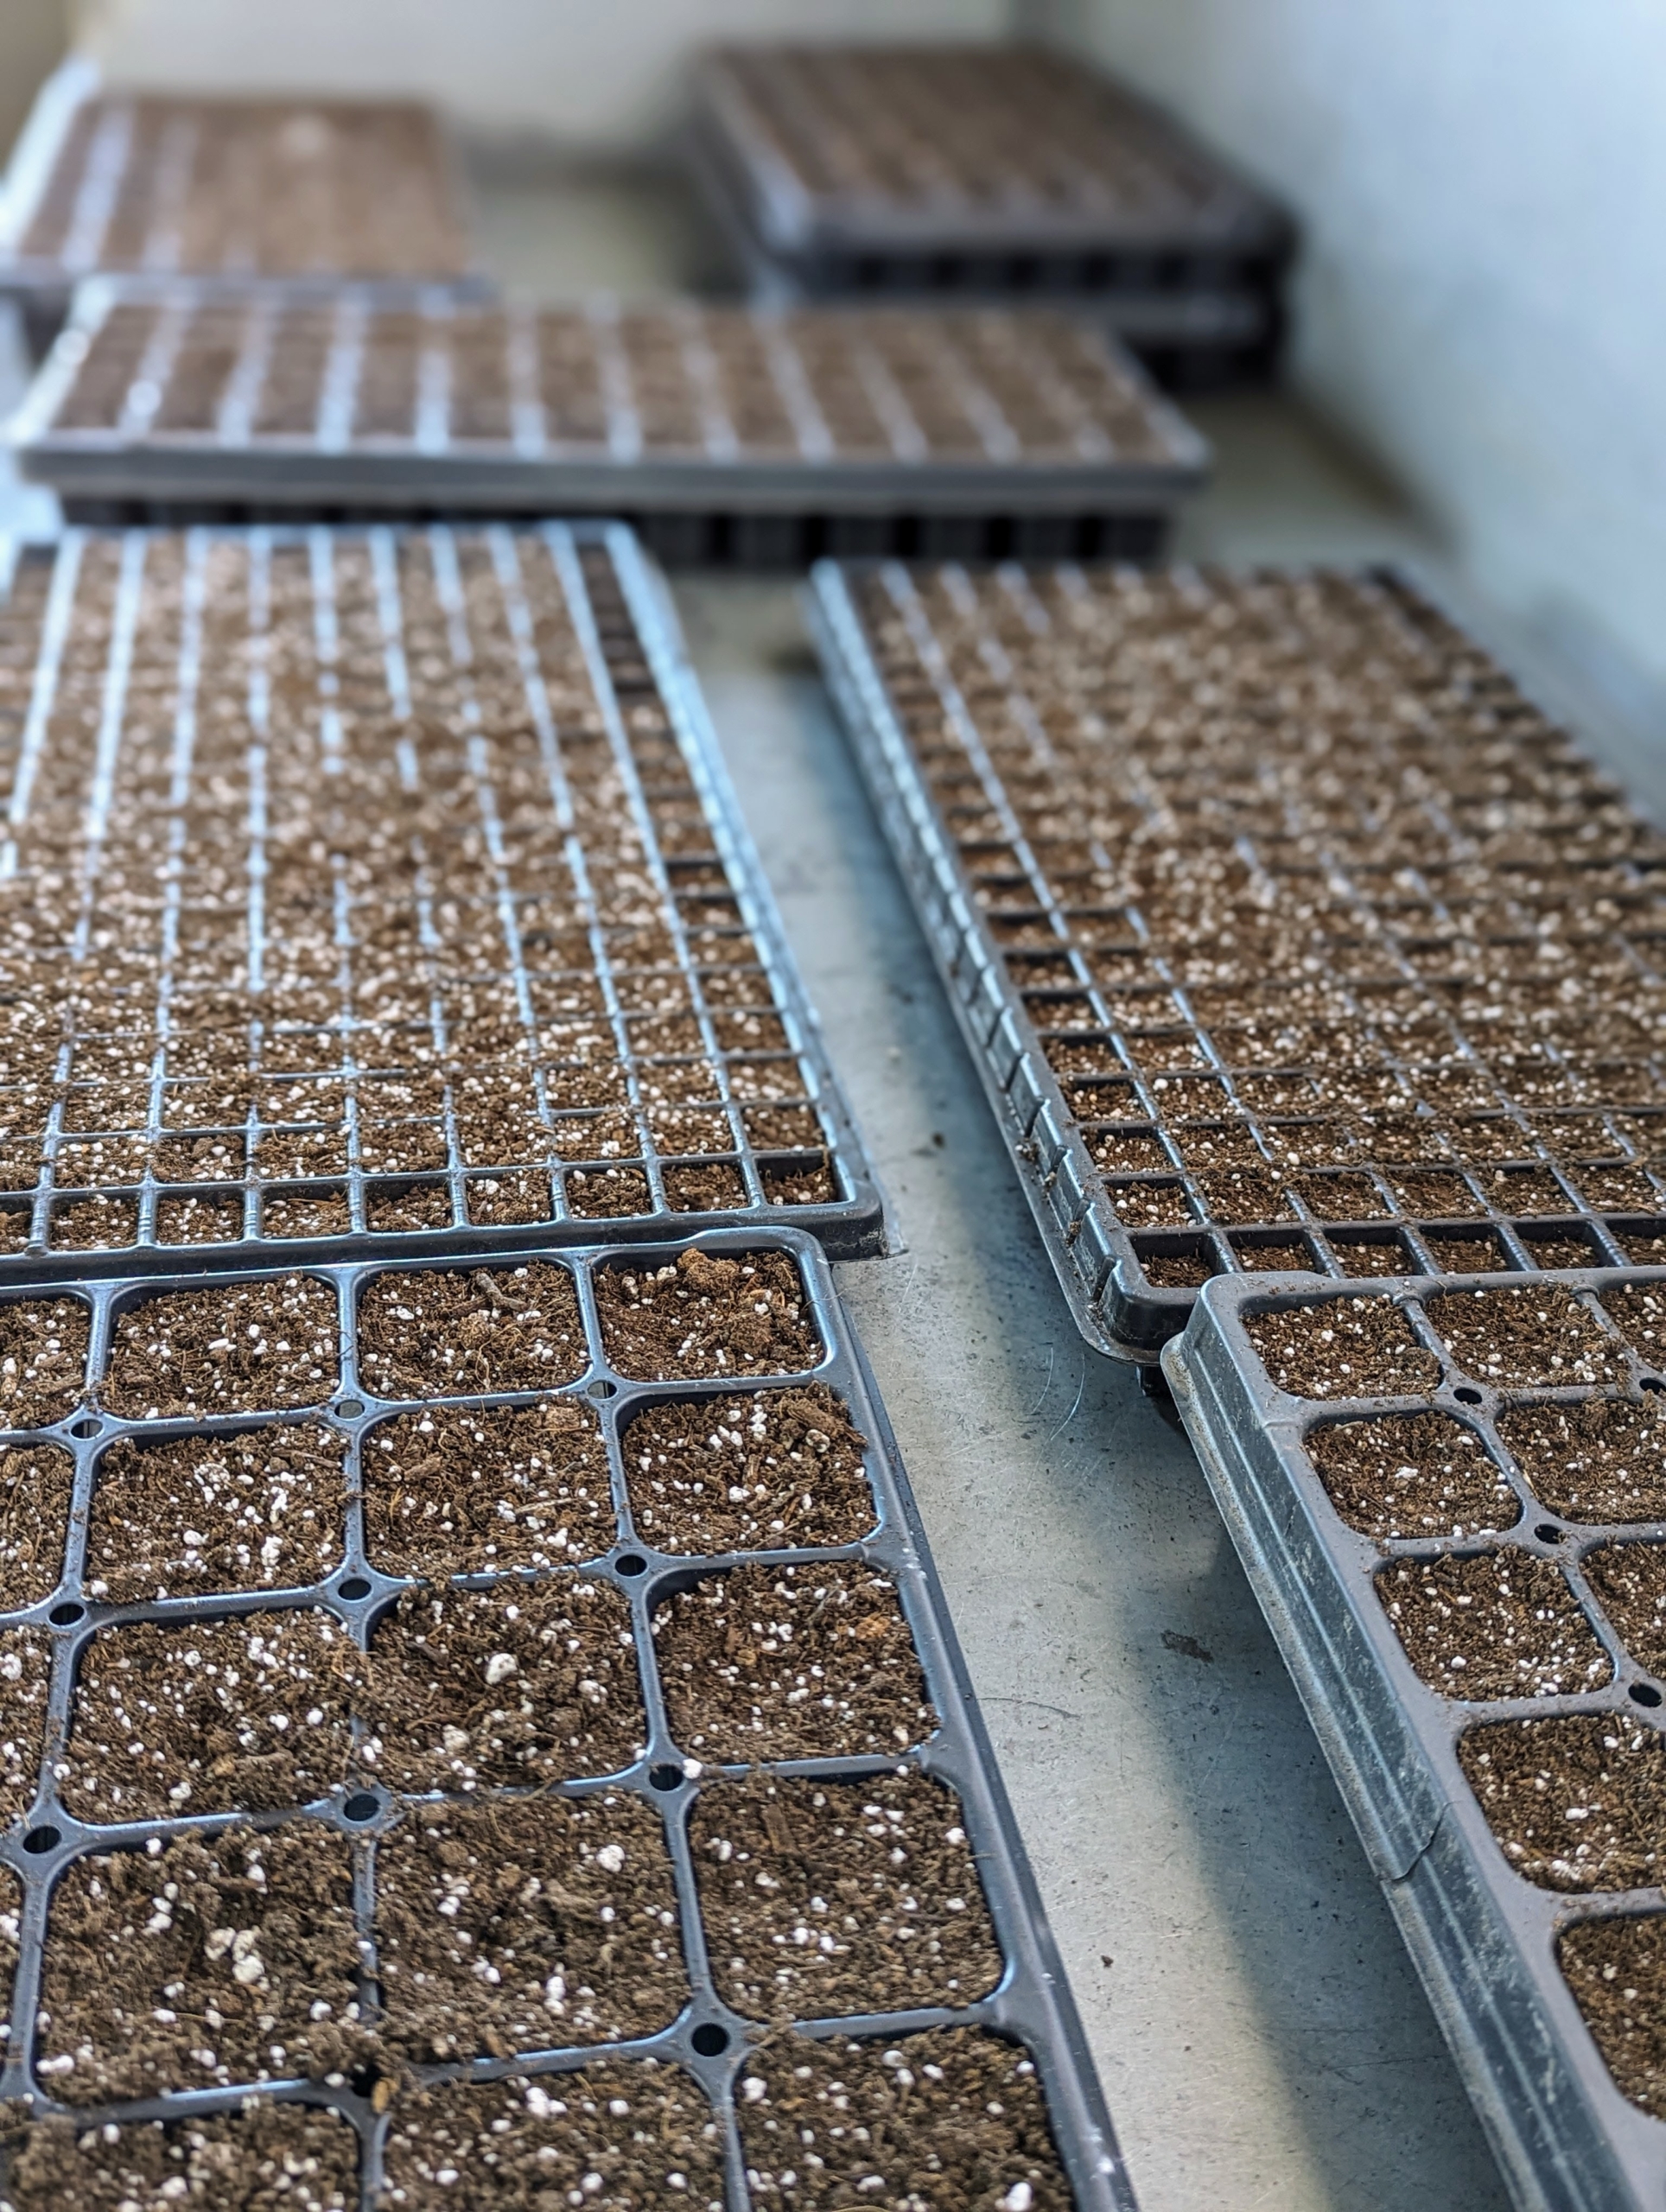
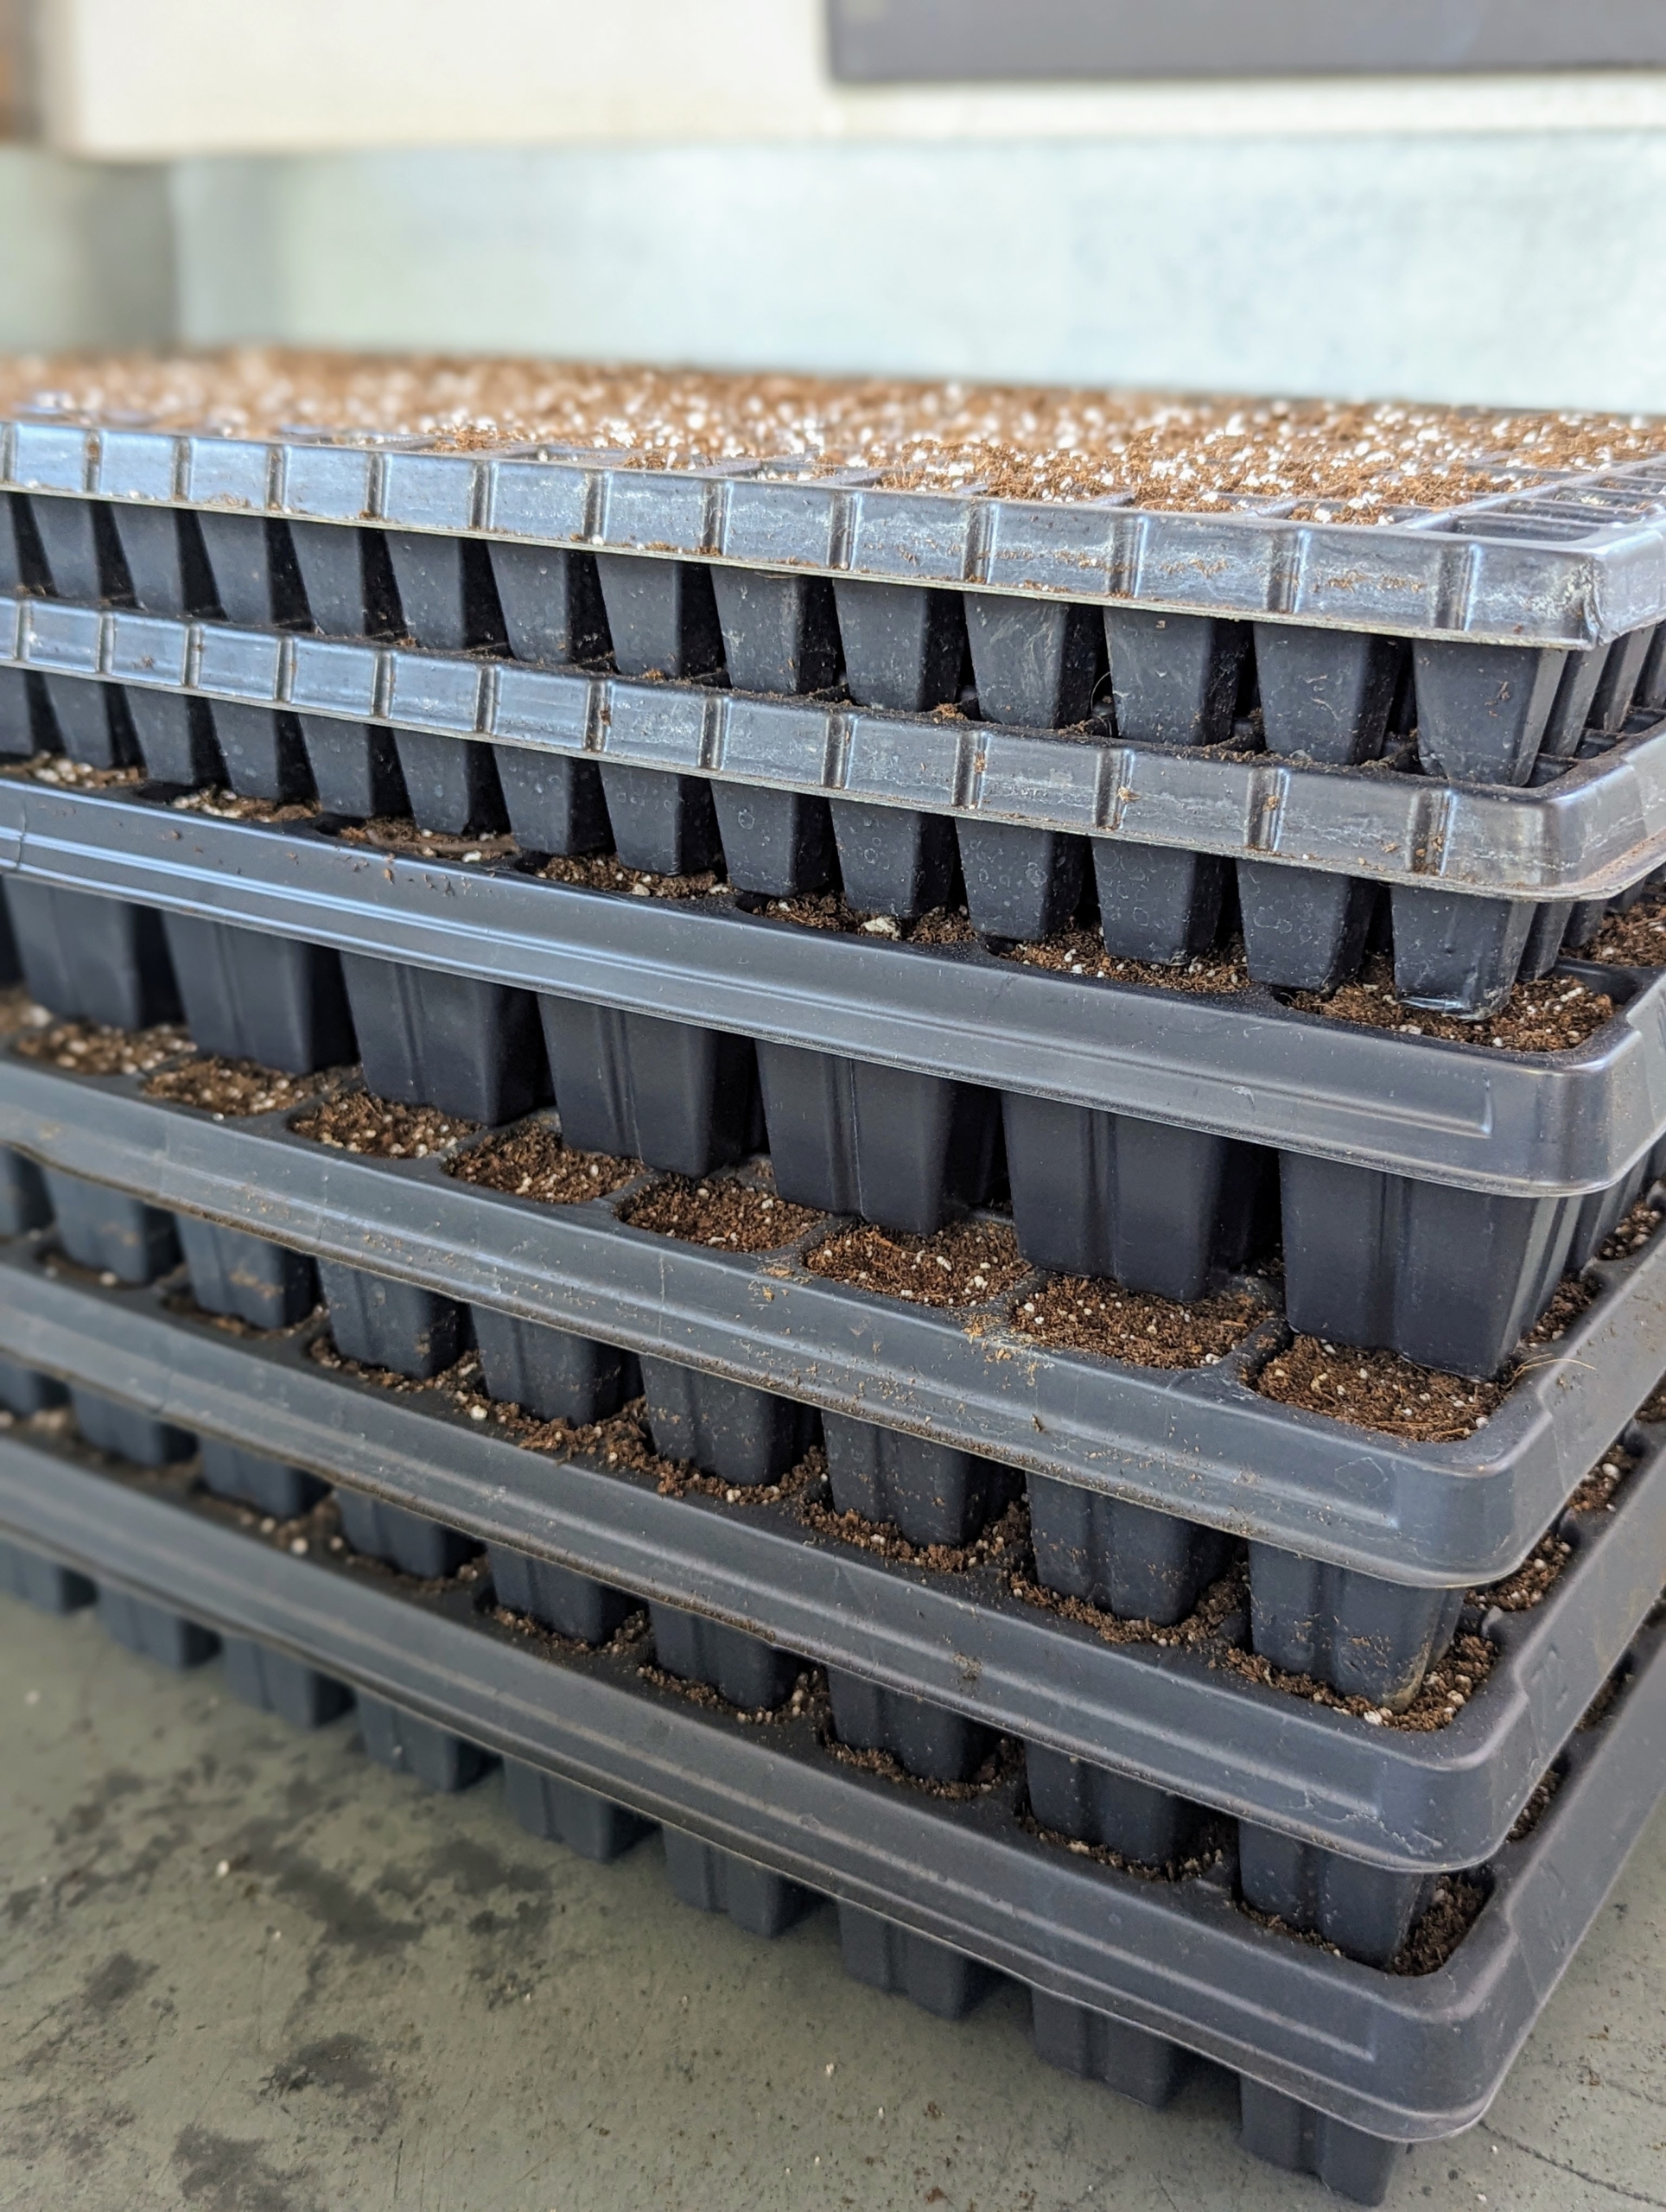
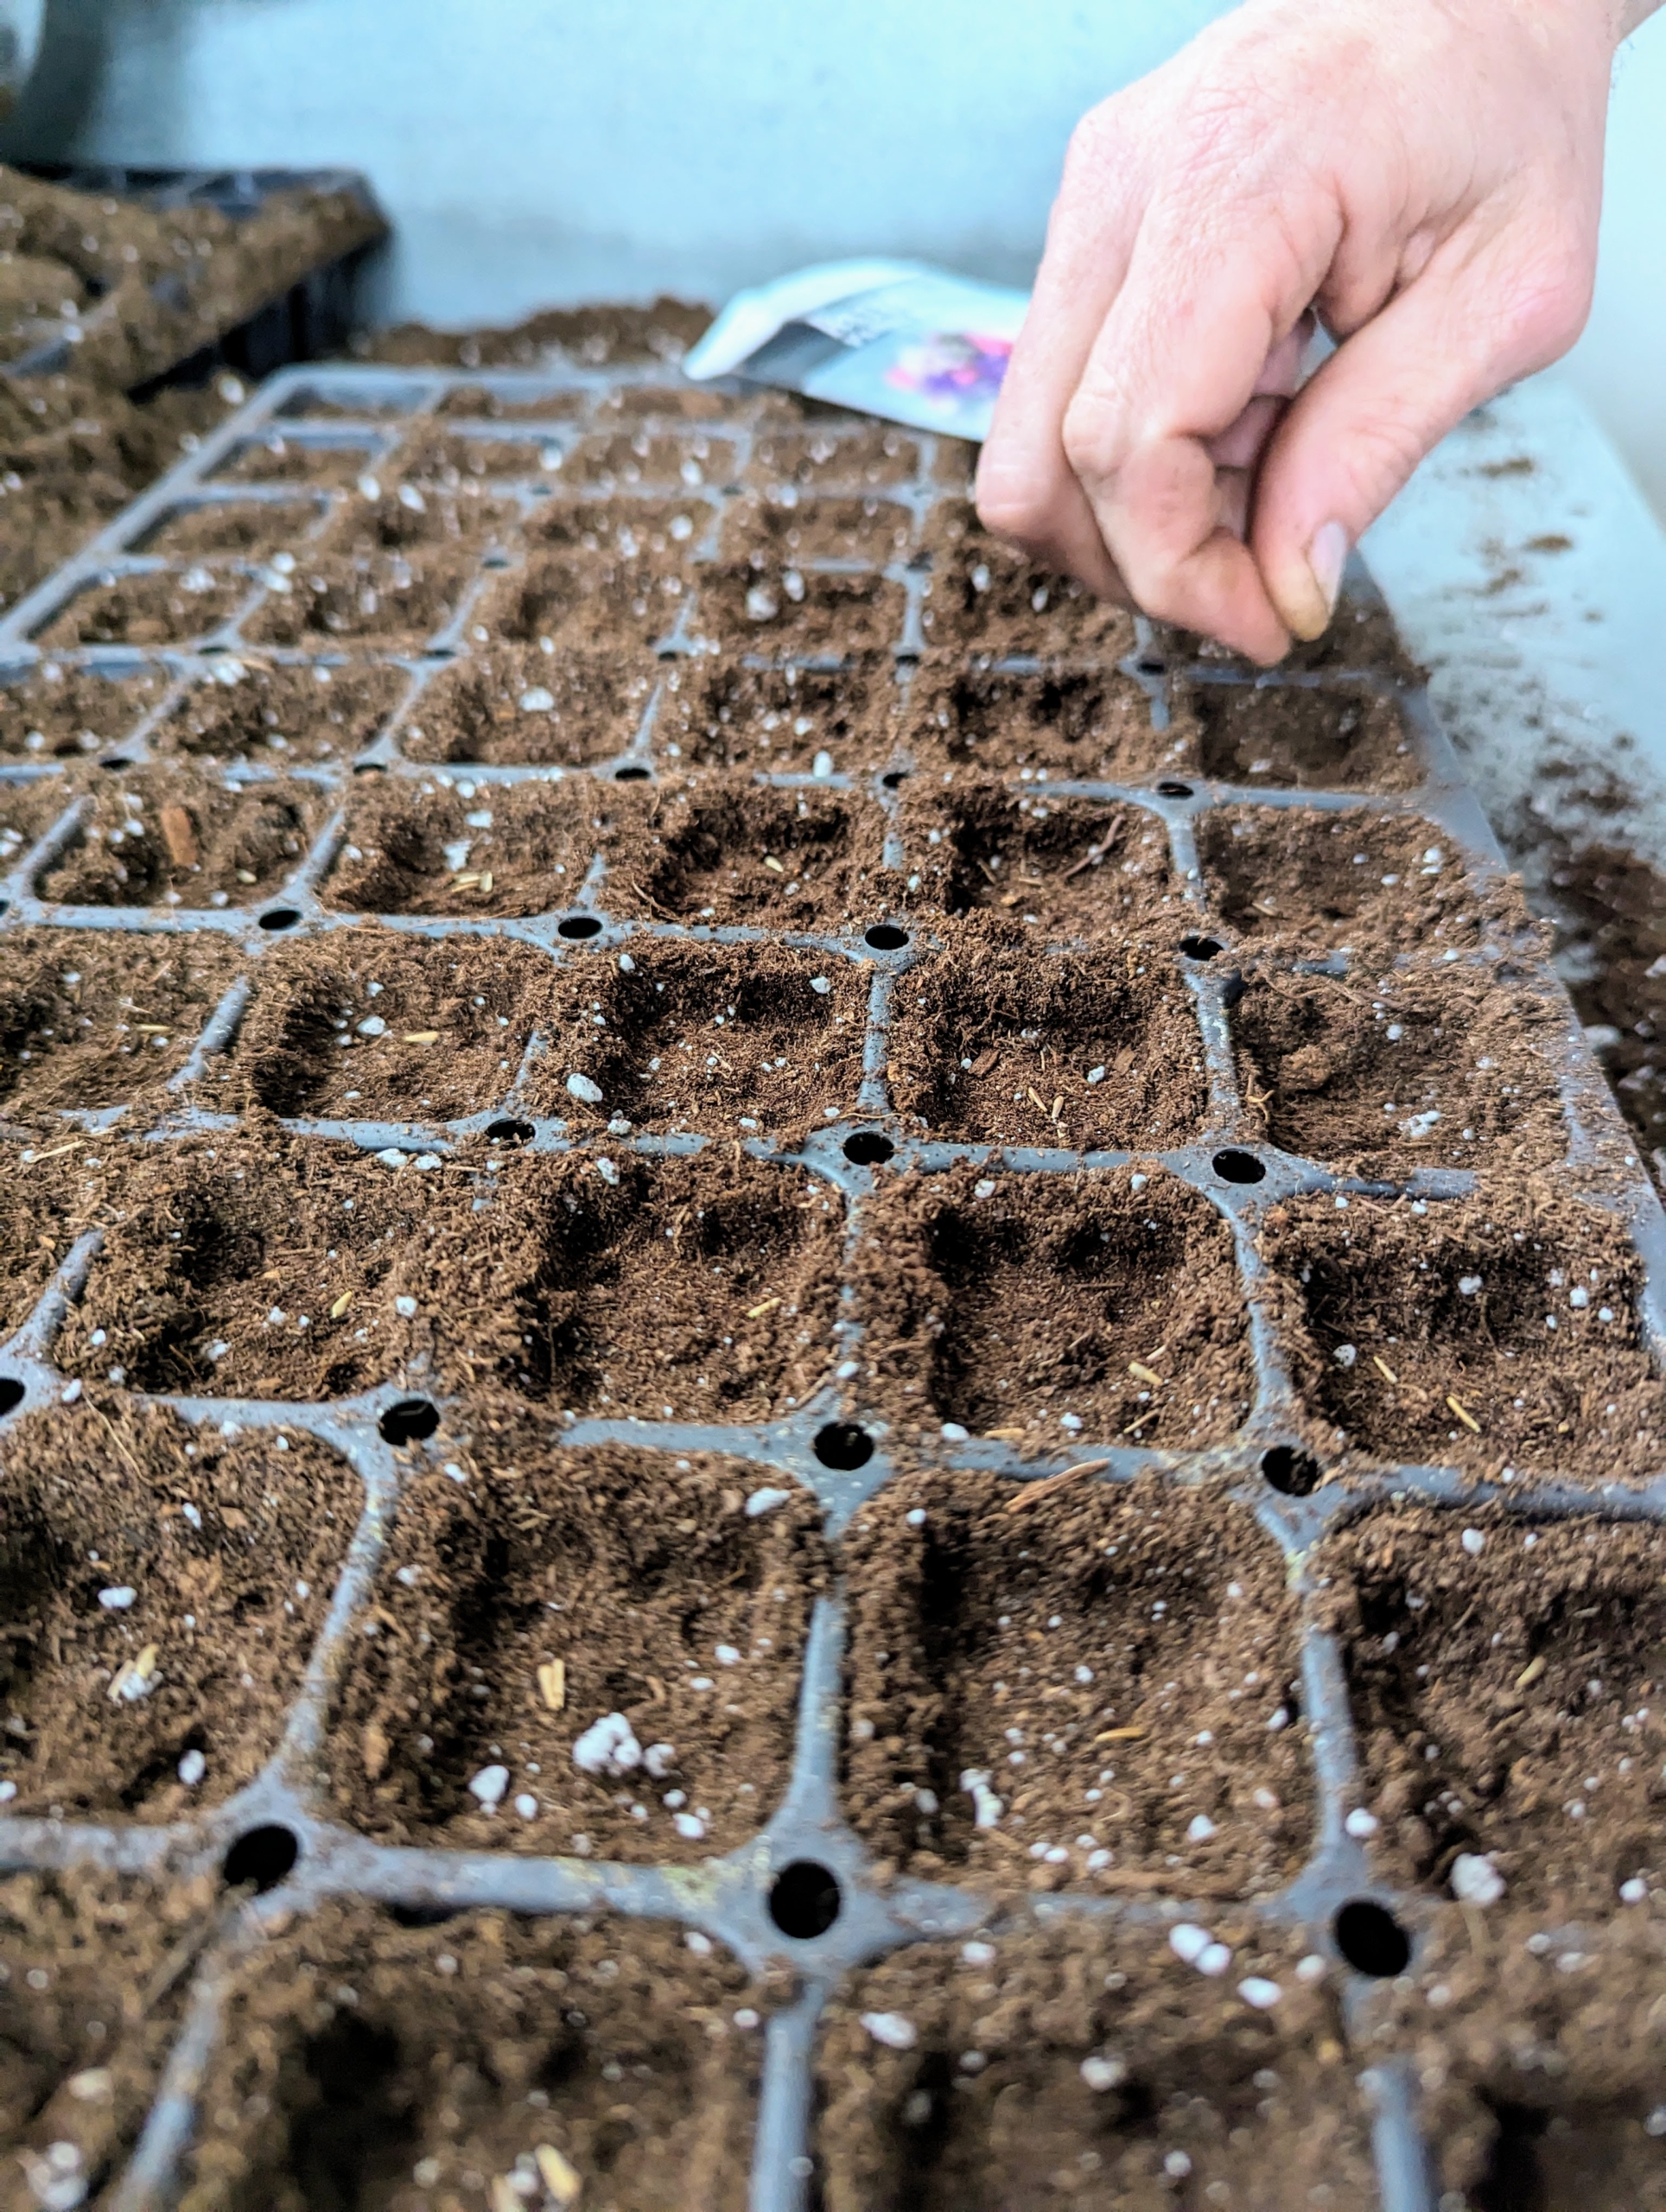
Inside my head house, Ryan chooses all the necessary seed starting trays. These can be saved from year to year, so don’t throw them away after the season. Seed starting trays are available in all sizes and formations. It’s best to use a pre-made seed starting mix that contains the proper amounts of vermiculite, perlite and peat moss.
Ryan fills several trays at once in a production line process. Select the right kind of tray based on the size of the seeds. The containers should be at least two-inches deep and have adequate drainage holes.
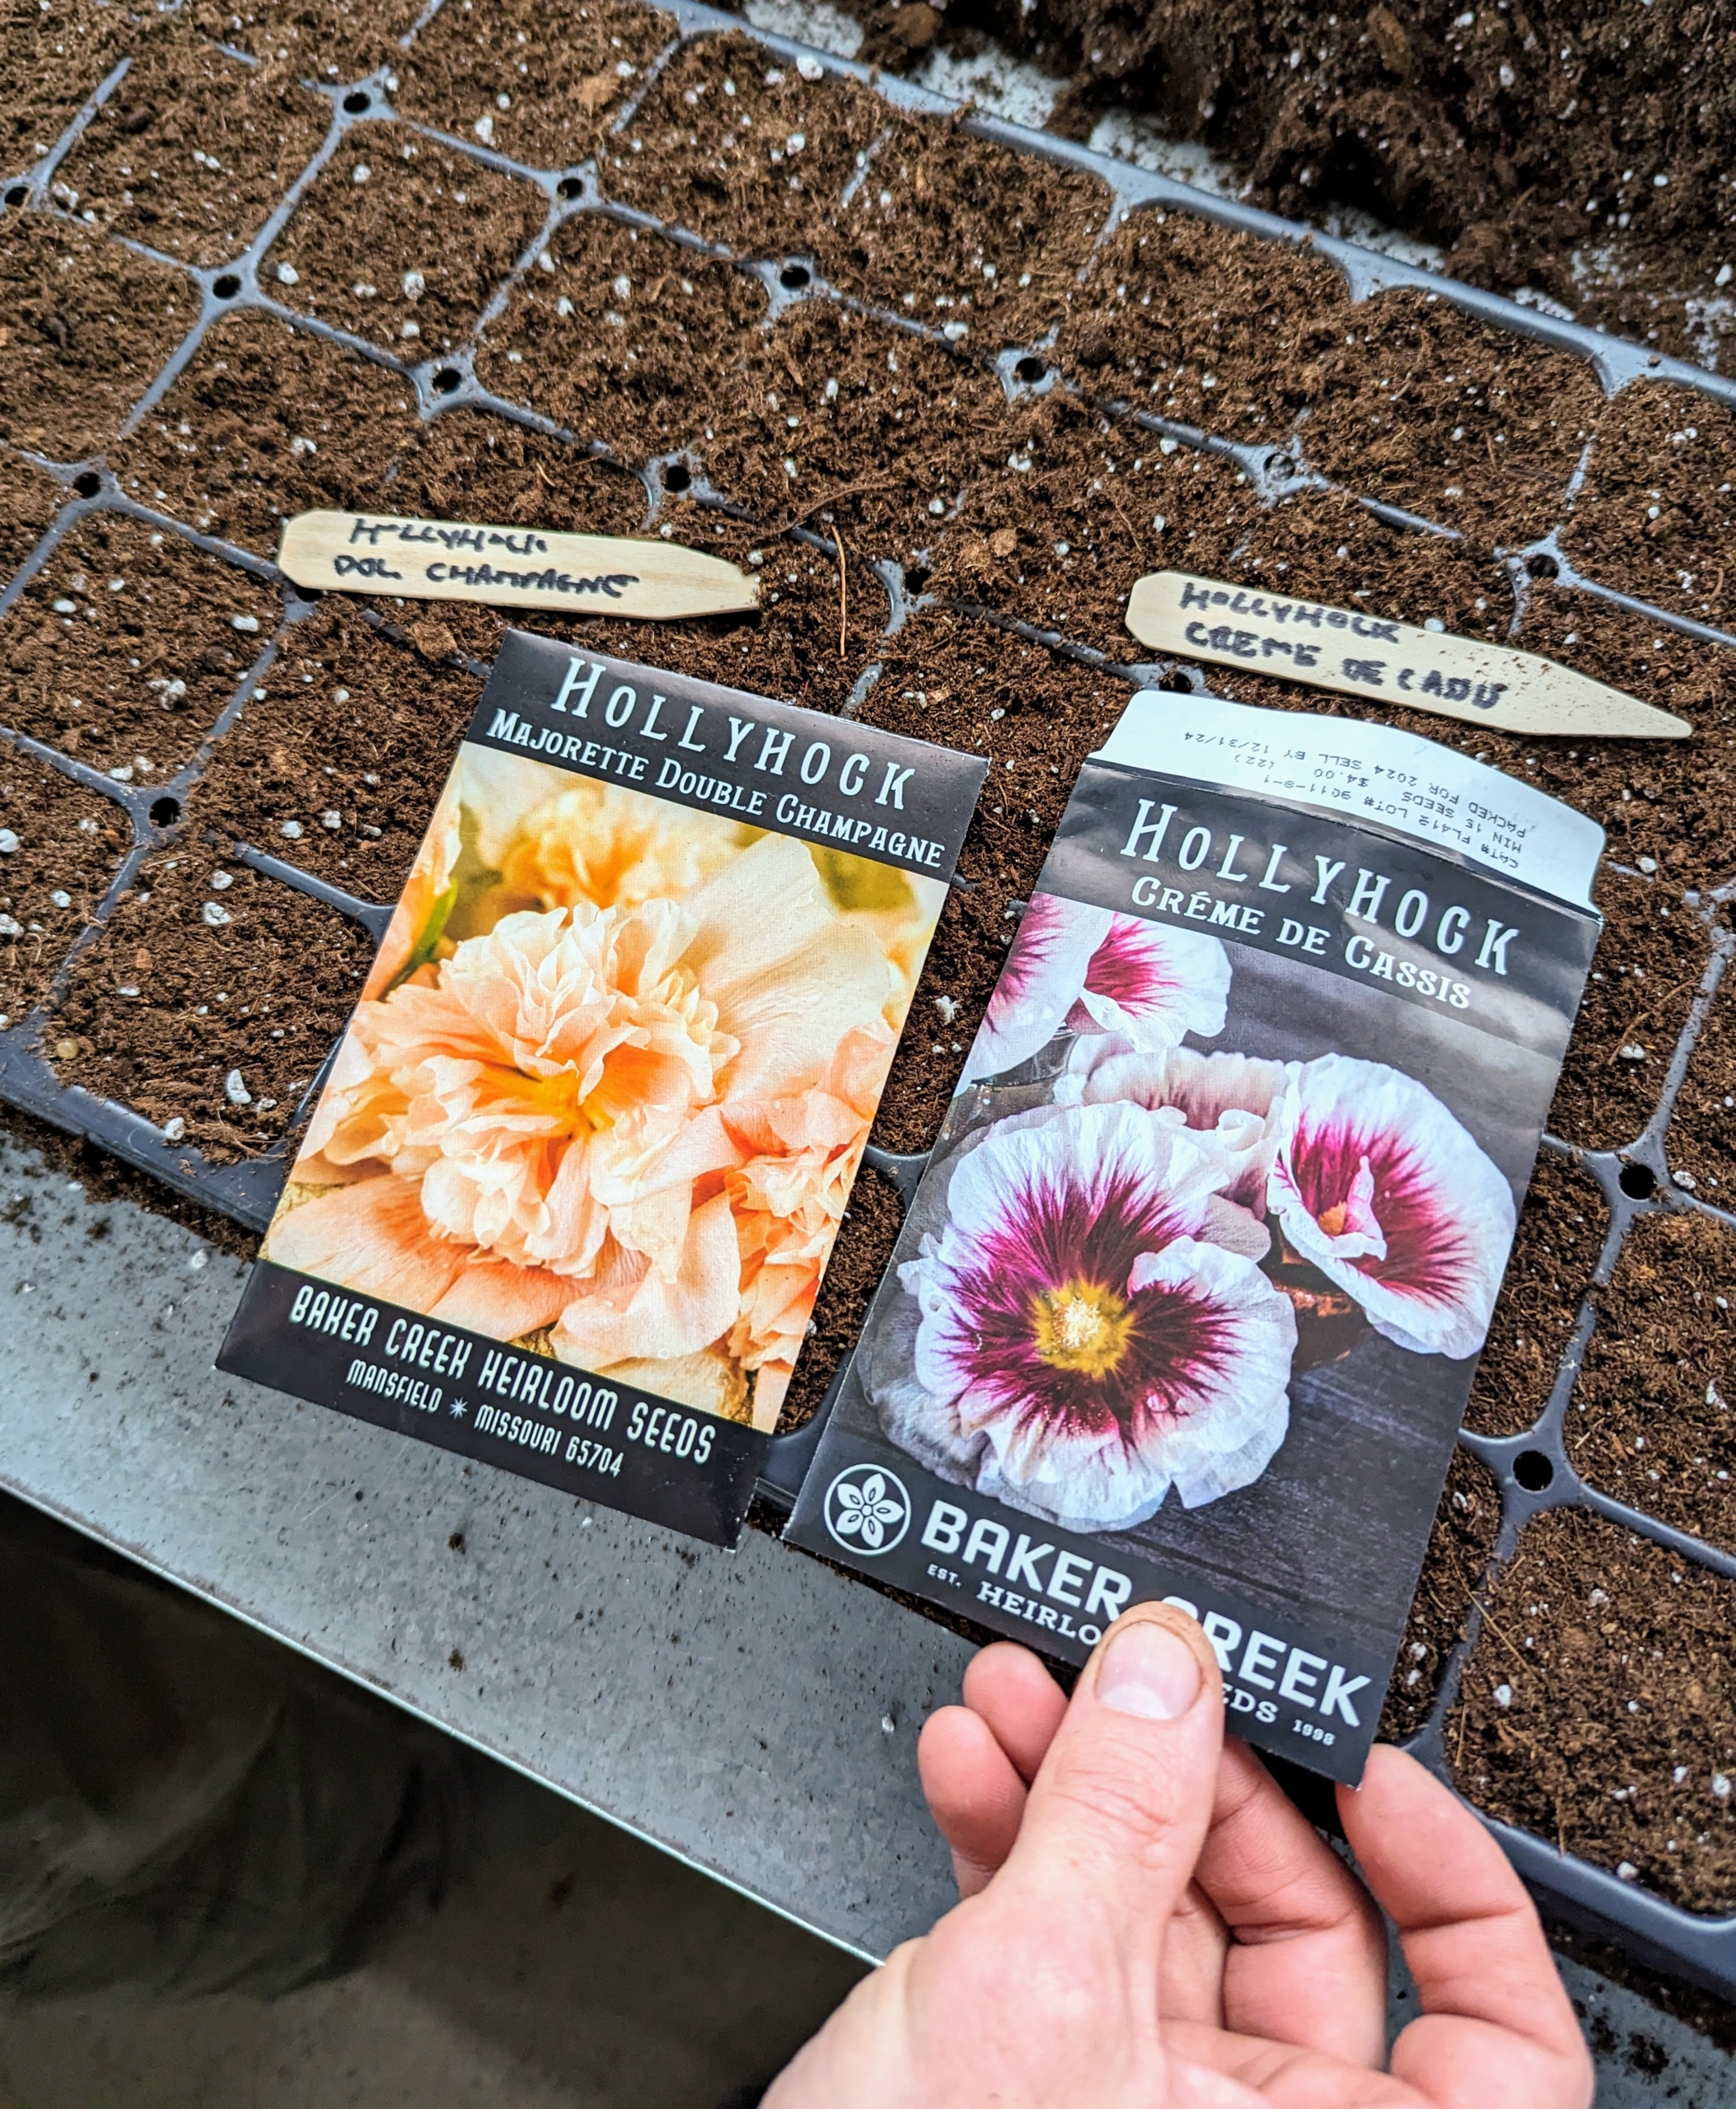
Here are two packets of seeds with their corresponding markers. Hollyhocks, Alcea rosea, can reach five to eight-feet tall and up to about four feet across. The flowers come in an array of colors, from white, red, pink, yellow, and even black.
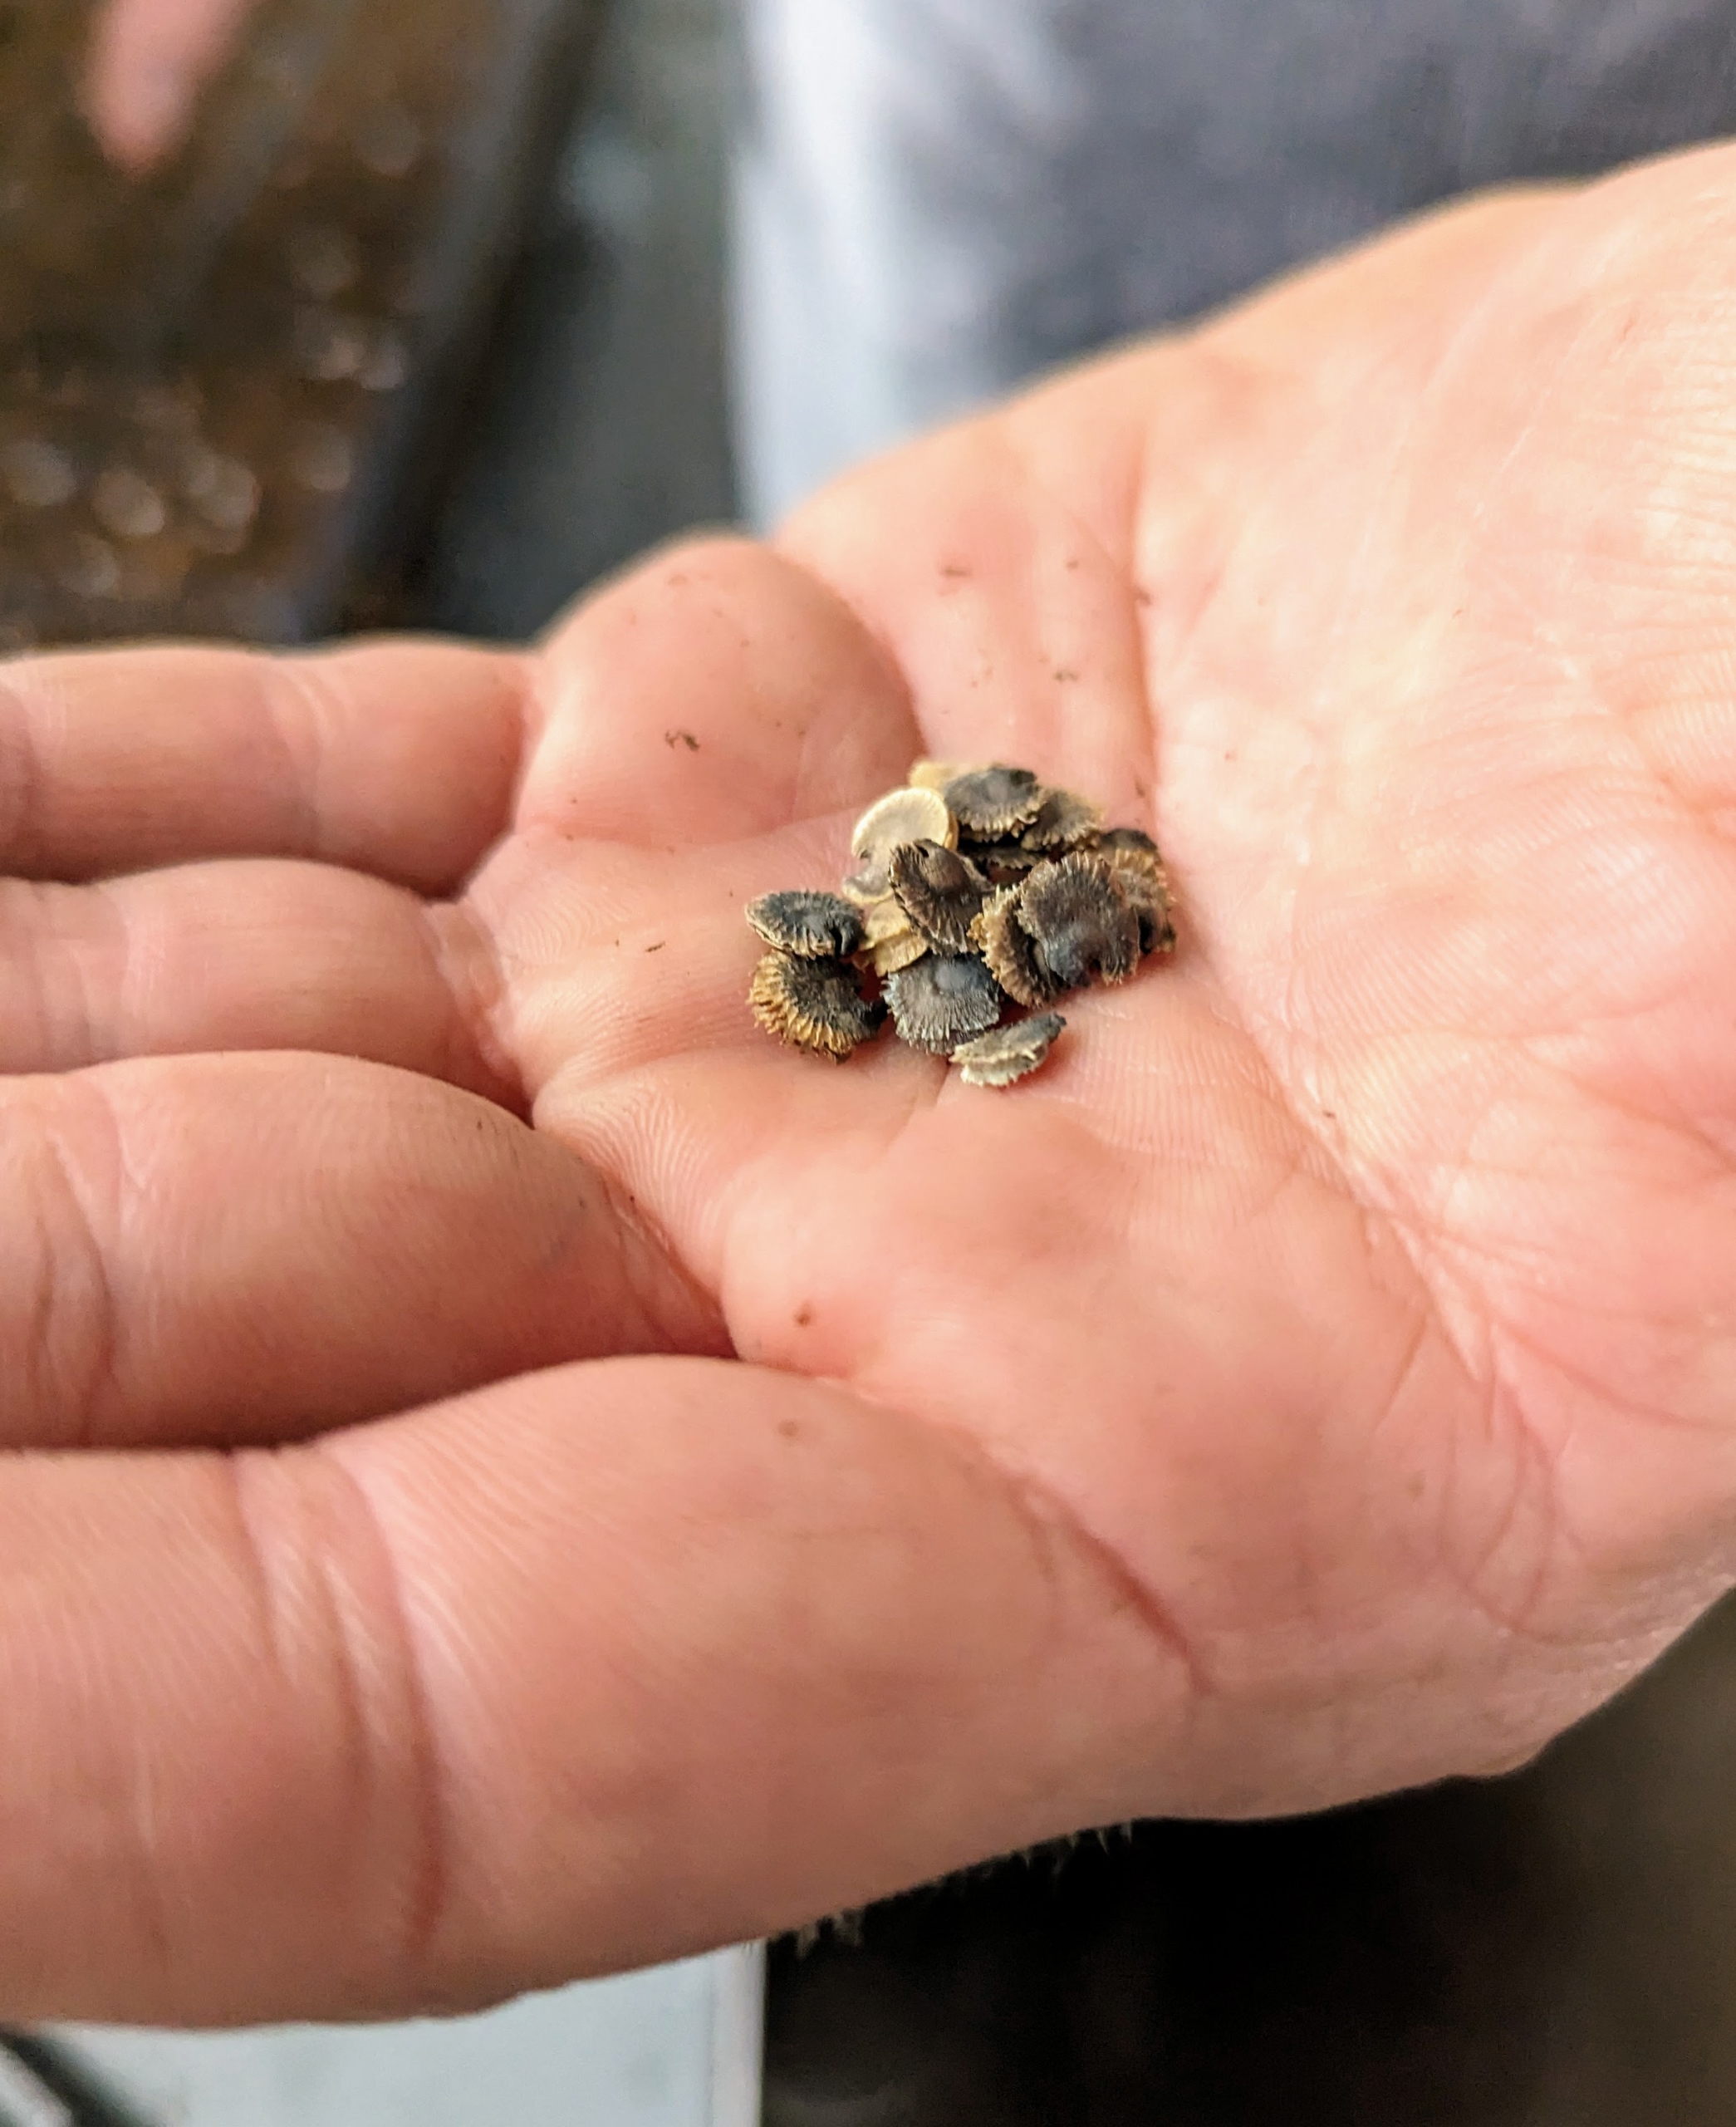
Hollyhock seeds are brown and quite large in comparison to other flower seeds. They form in brown seed pods on the Hollyhock stems during late summer and early autumn.
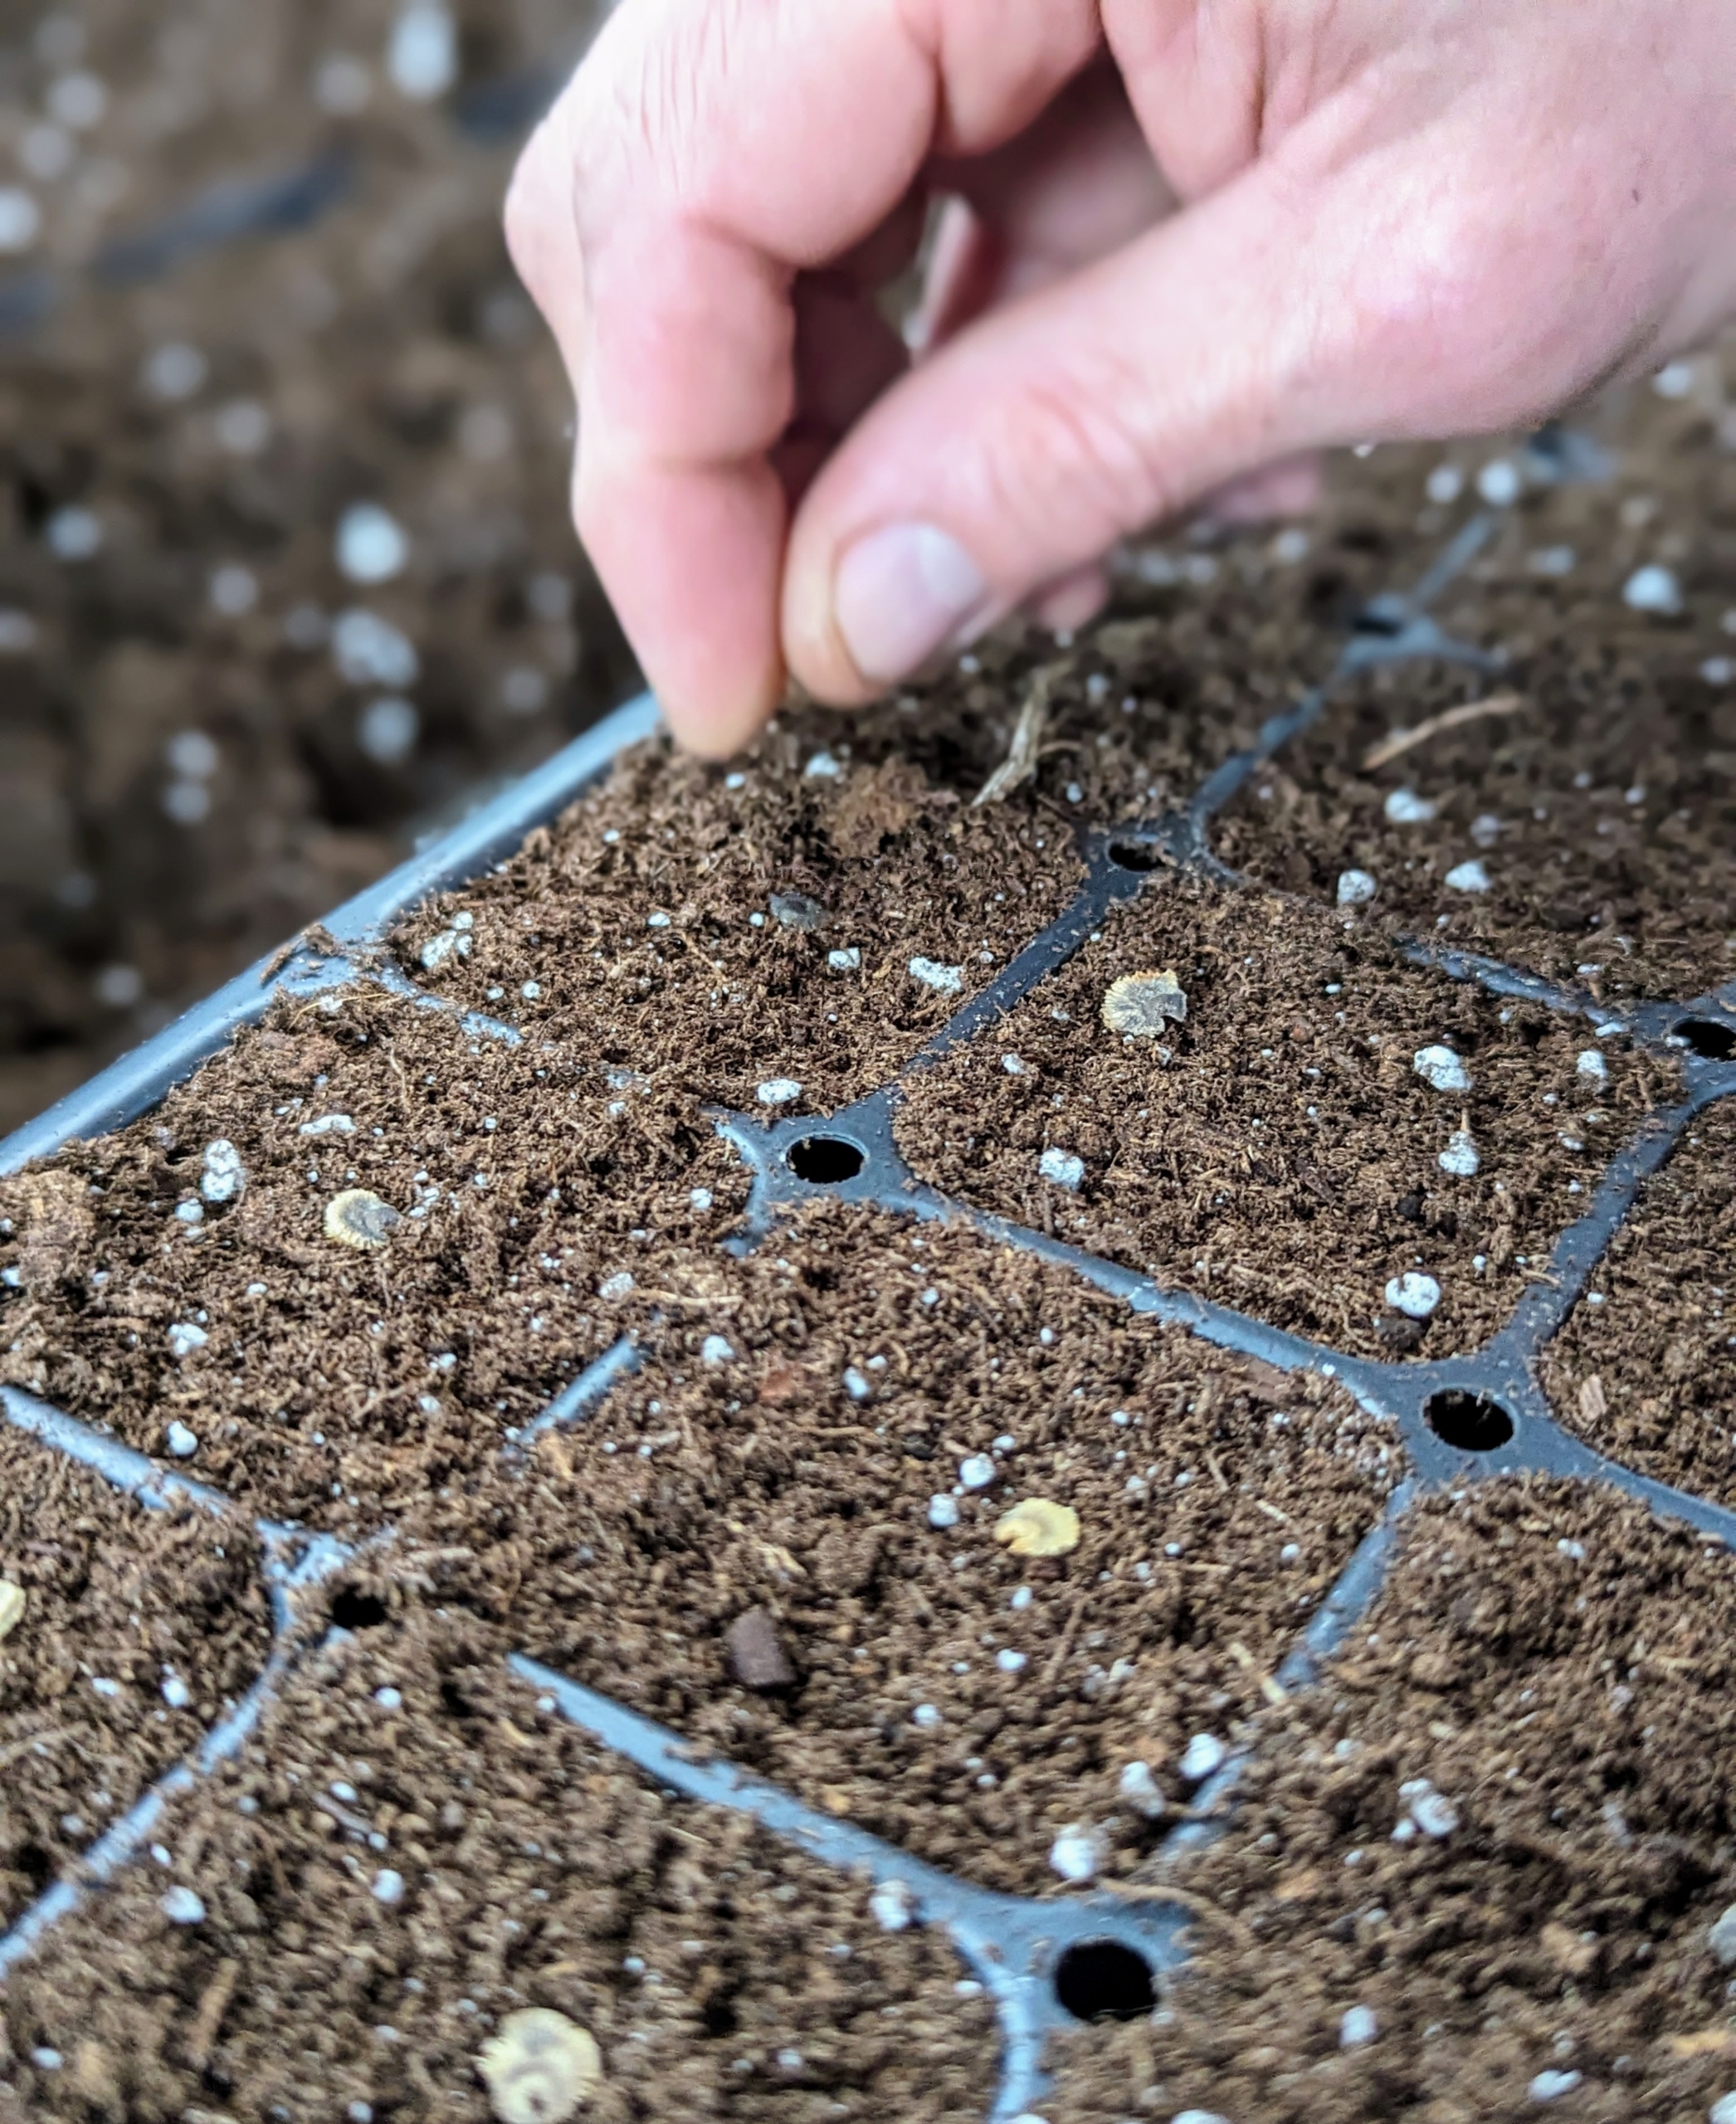
Ryan drops one to three seeds into each cell. It’s always a good idea to keep a record of when seeds are sown, when they germinate, and when they are transplanted. These observations will help organize a schedule for the following year.
He gently presses down on each seed so it is fully covered with soil.
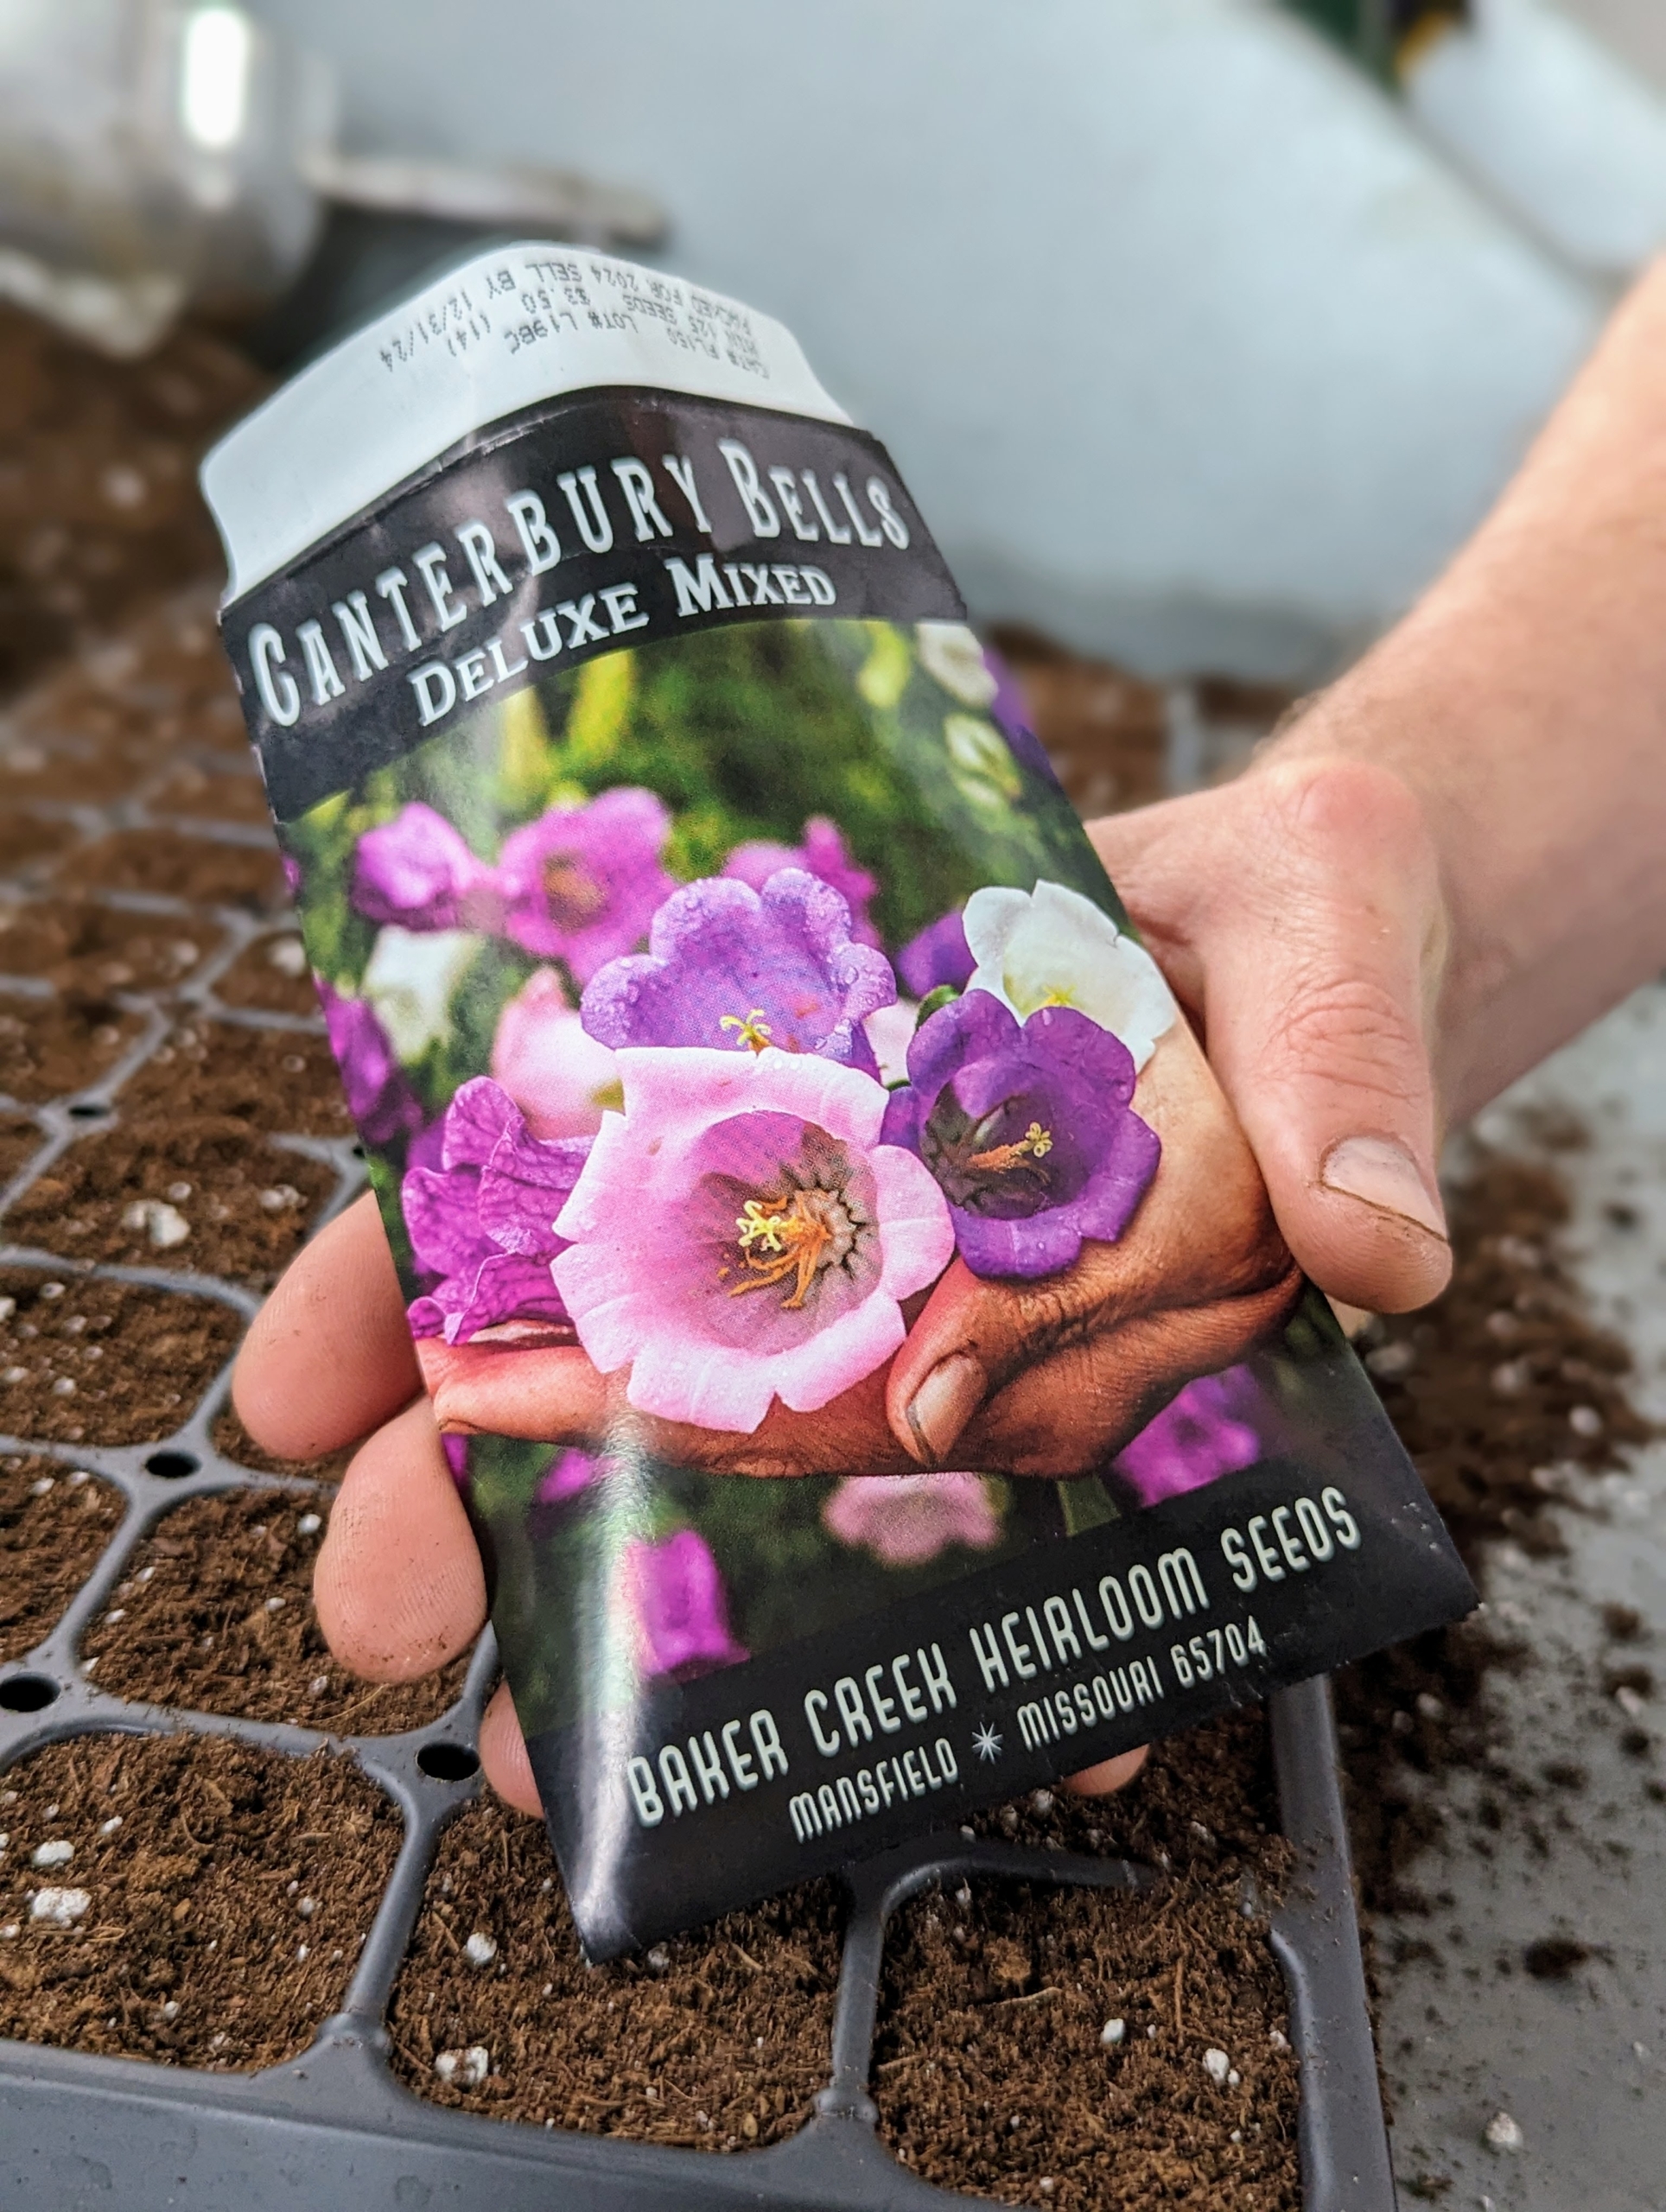
Canterbury bells, Campanula medium, are elegant, graceful, and delicate flowers native to southern Europe. They have long been enjoyed in landscapes and cut flower arrangements. Canterbury Bells are biennial plants, meaning that the large, showy blooms appear in the plant’s second year.
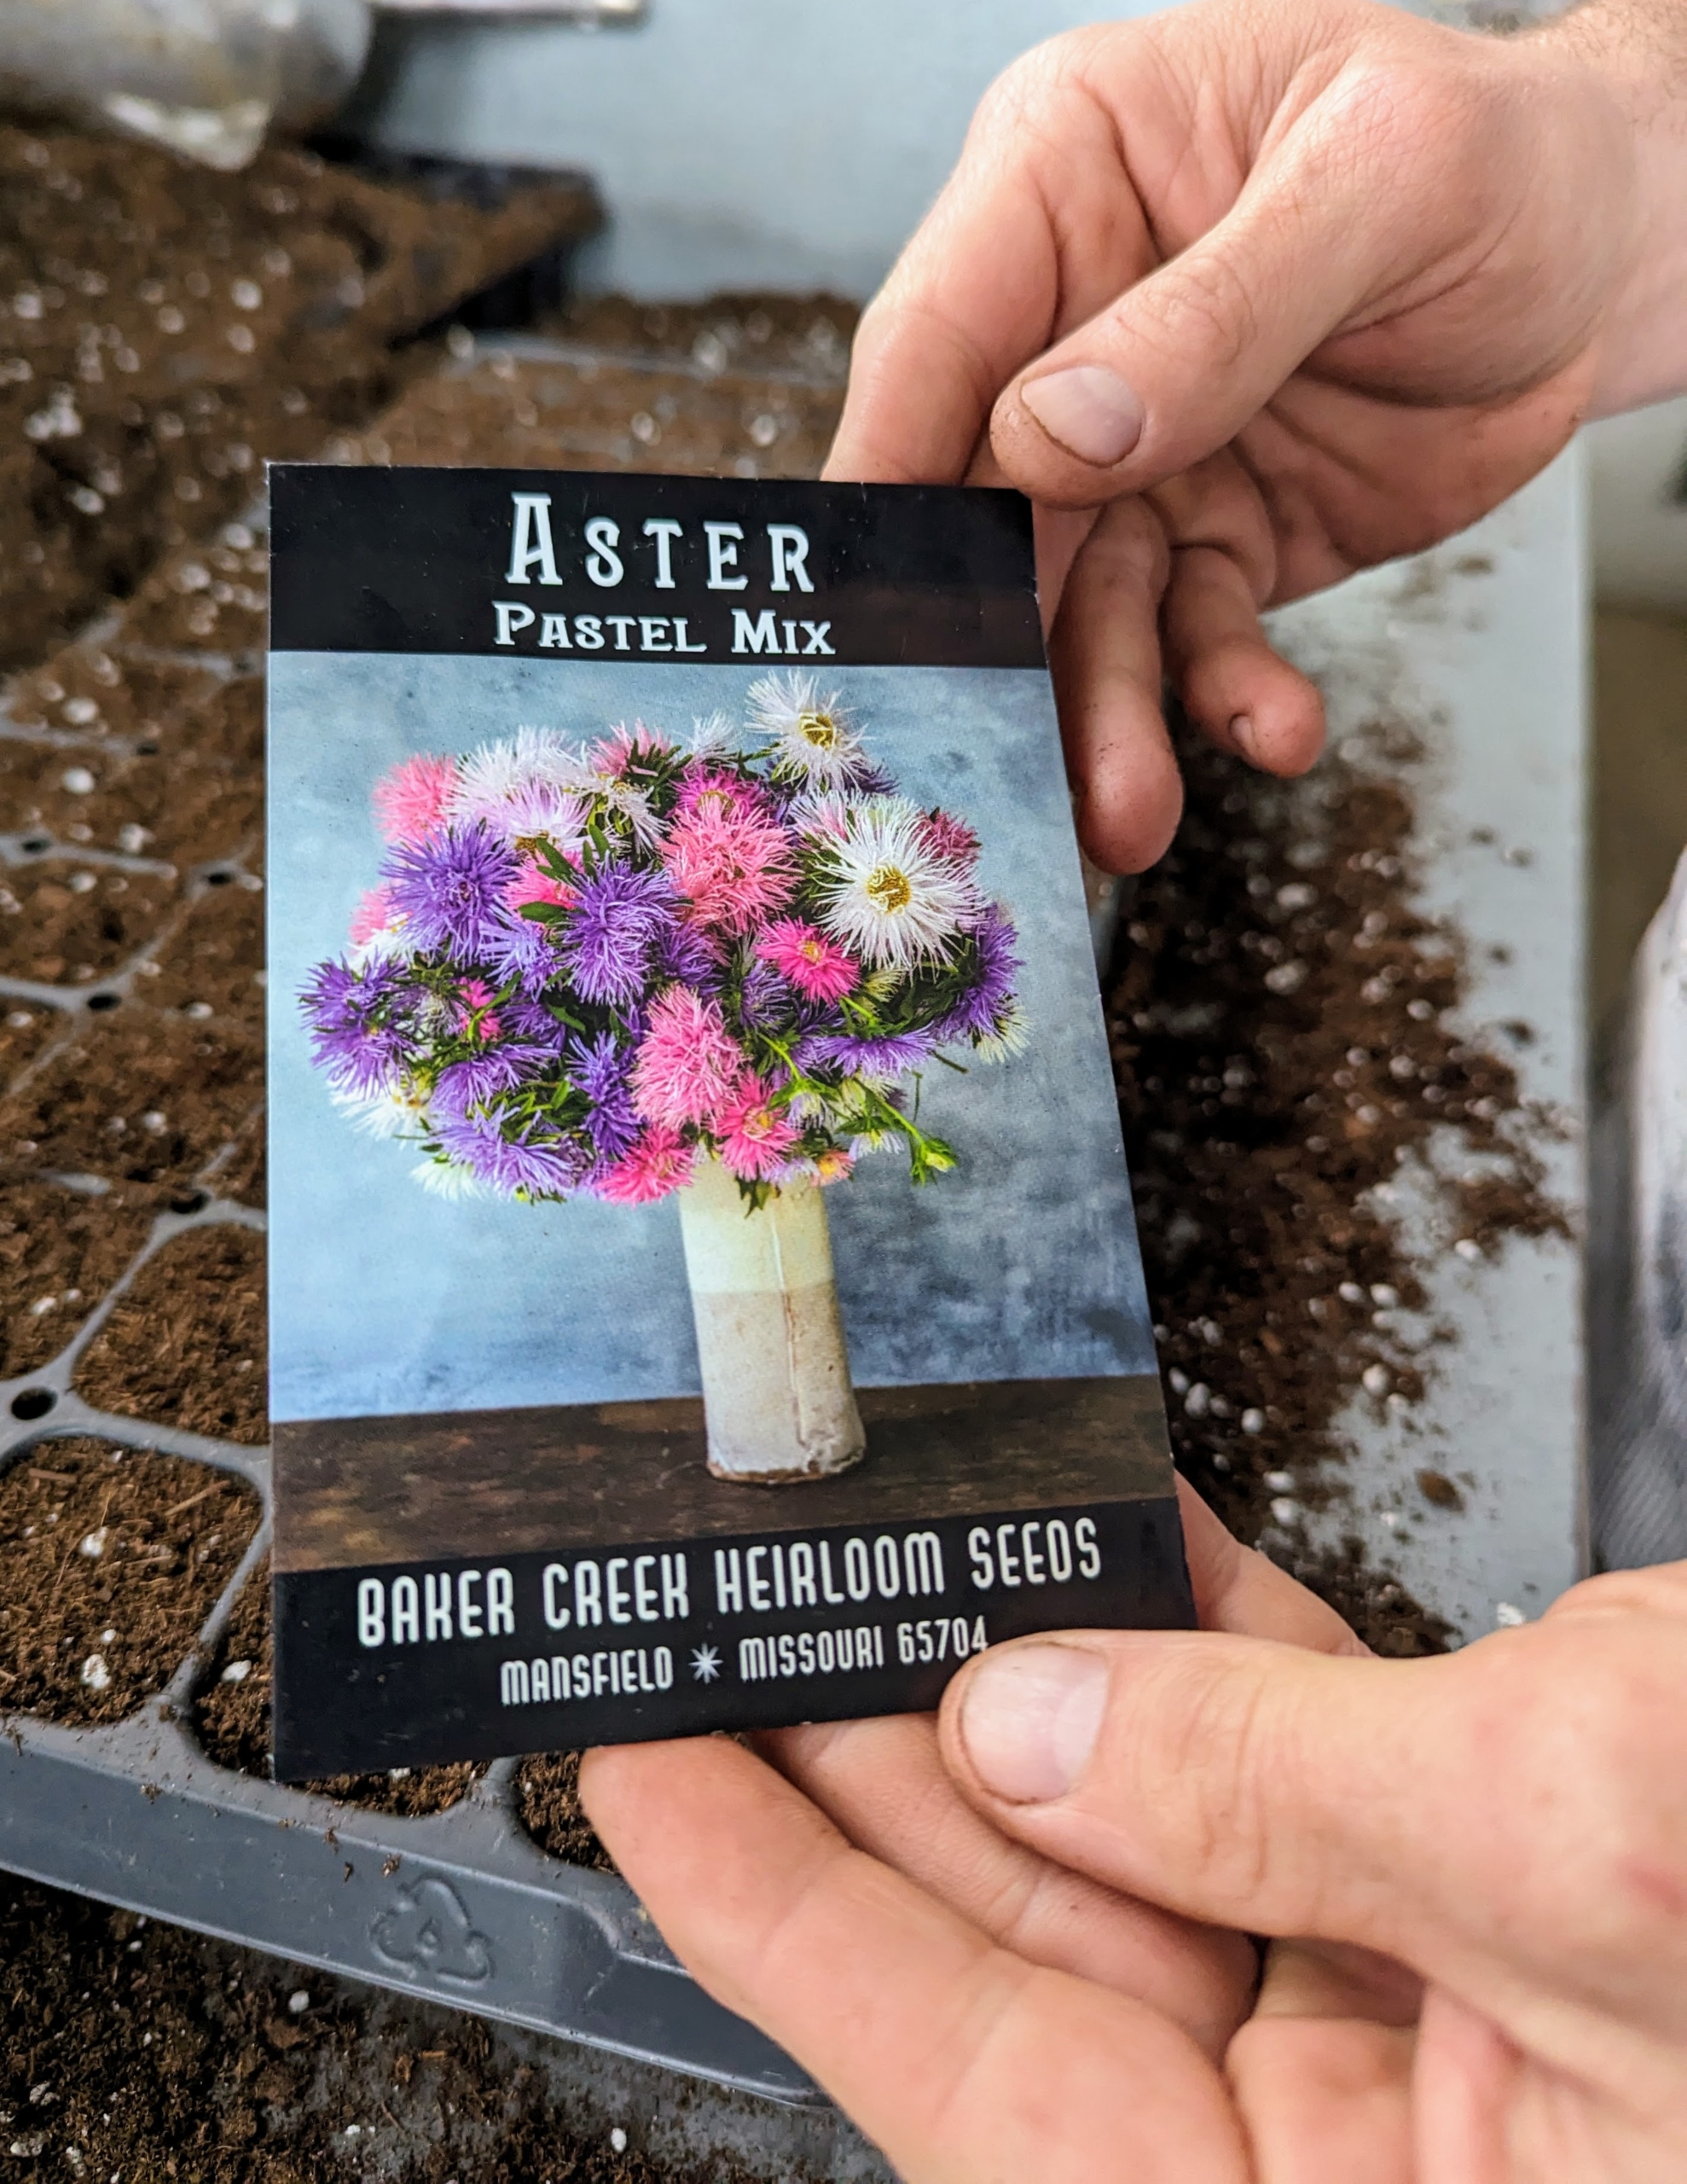
Ryan also planted some Asters. This mix produces clusters of large, glistening sea urchin shaped blooms in pastel colors in pink, white, and lavender.
Aster seeds range from light to dark brown, and are long with pointed ends. They’re also fairly large and easy to see and handle.
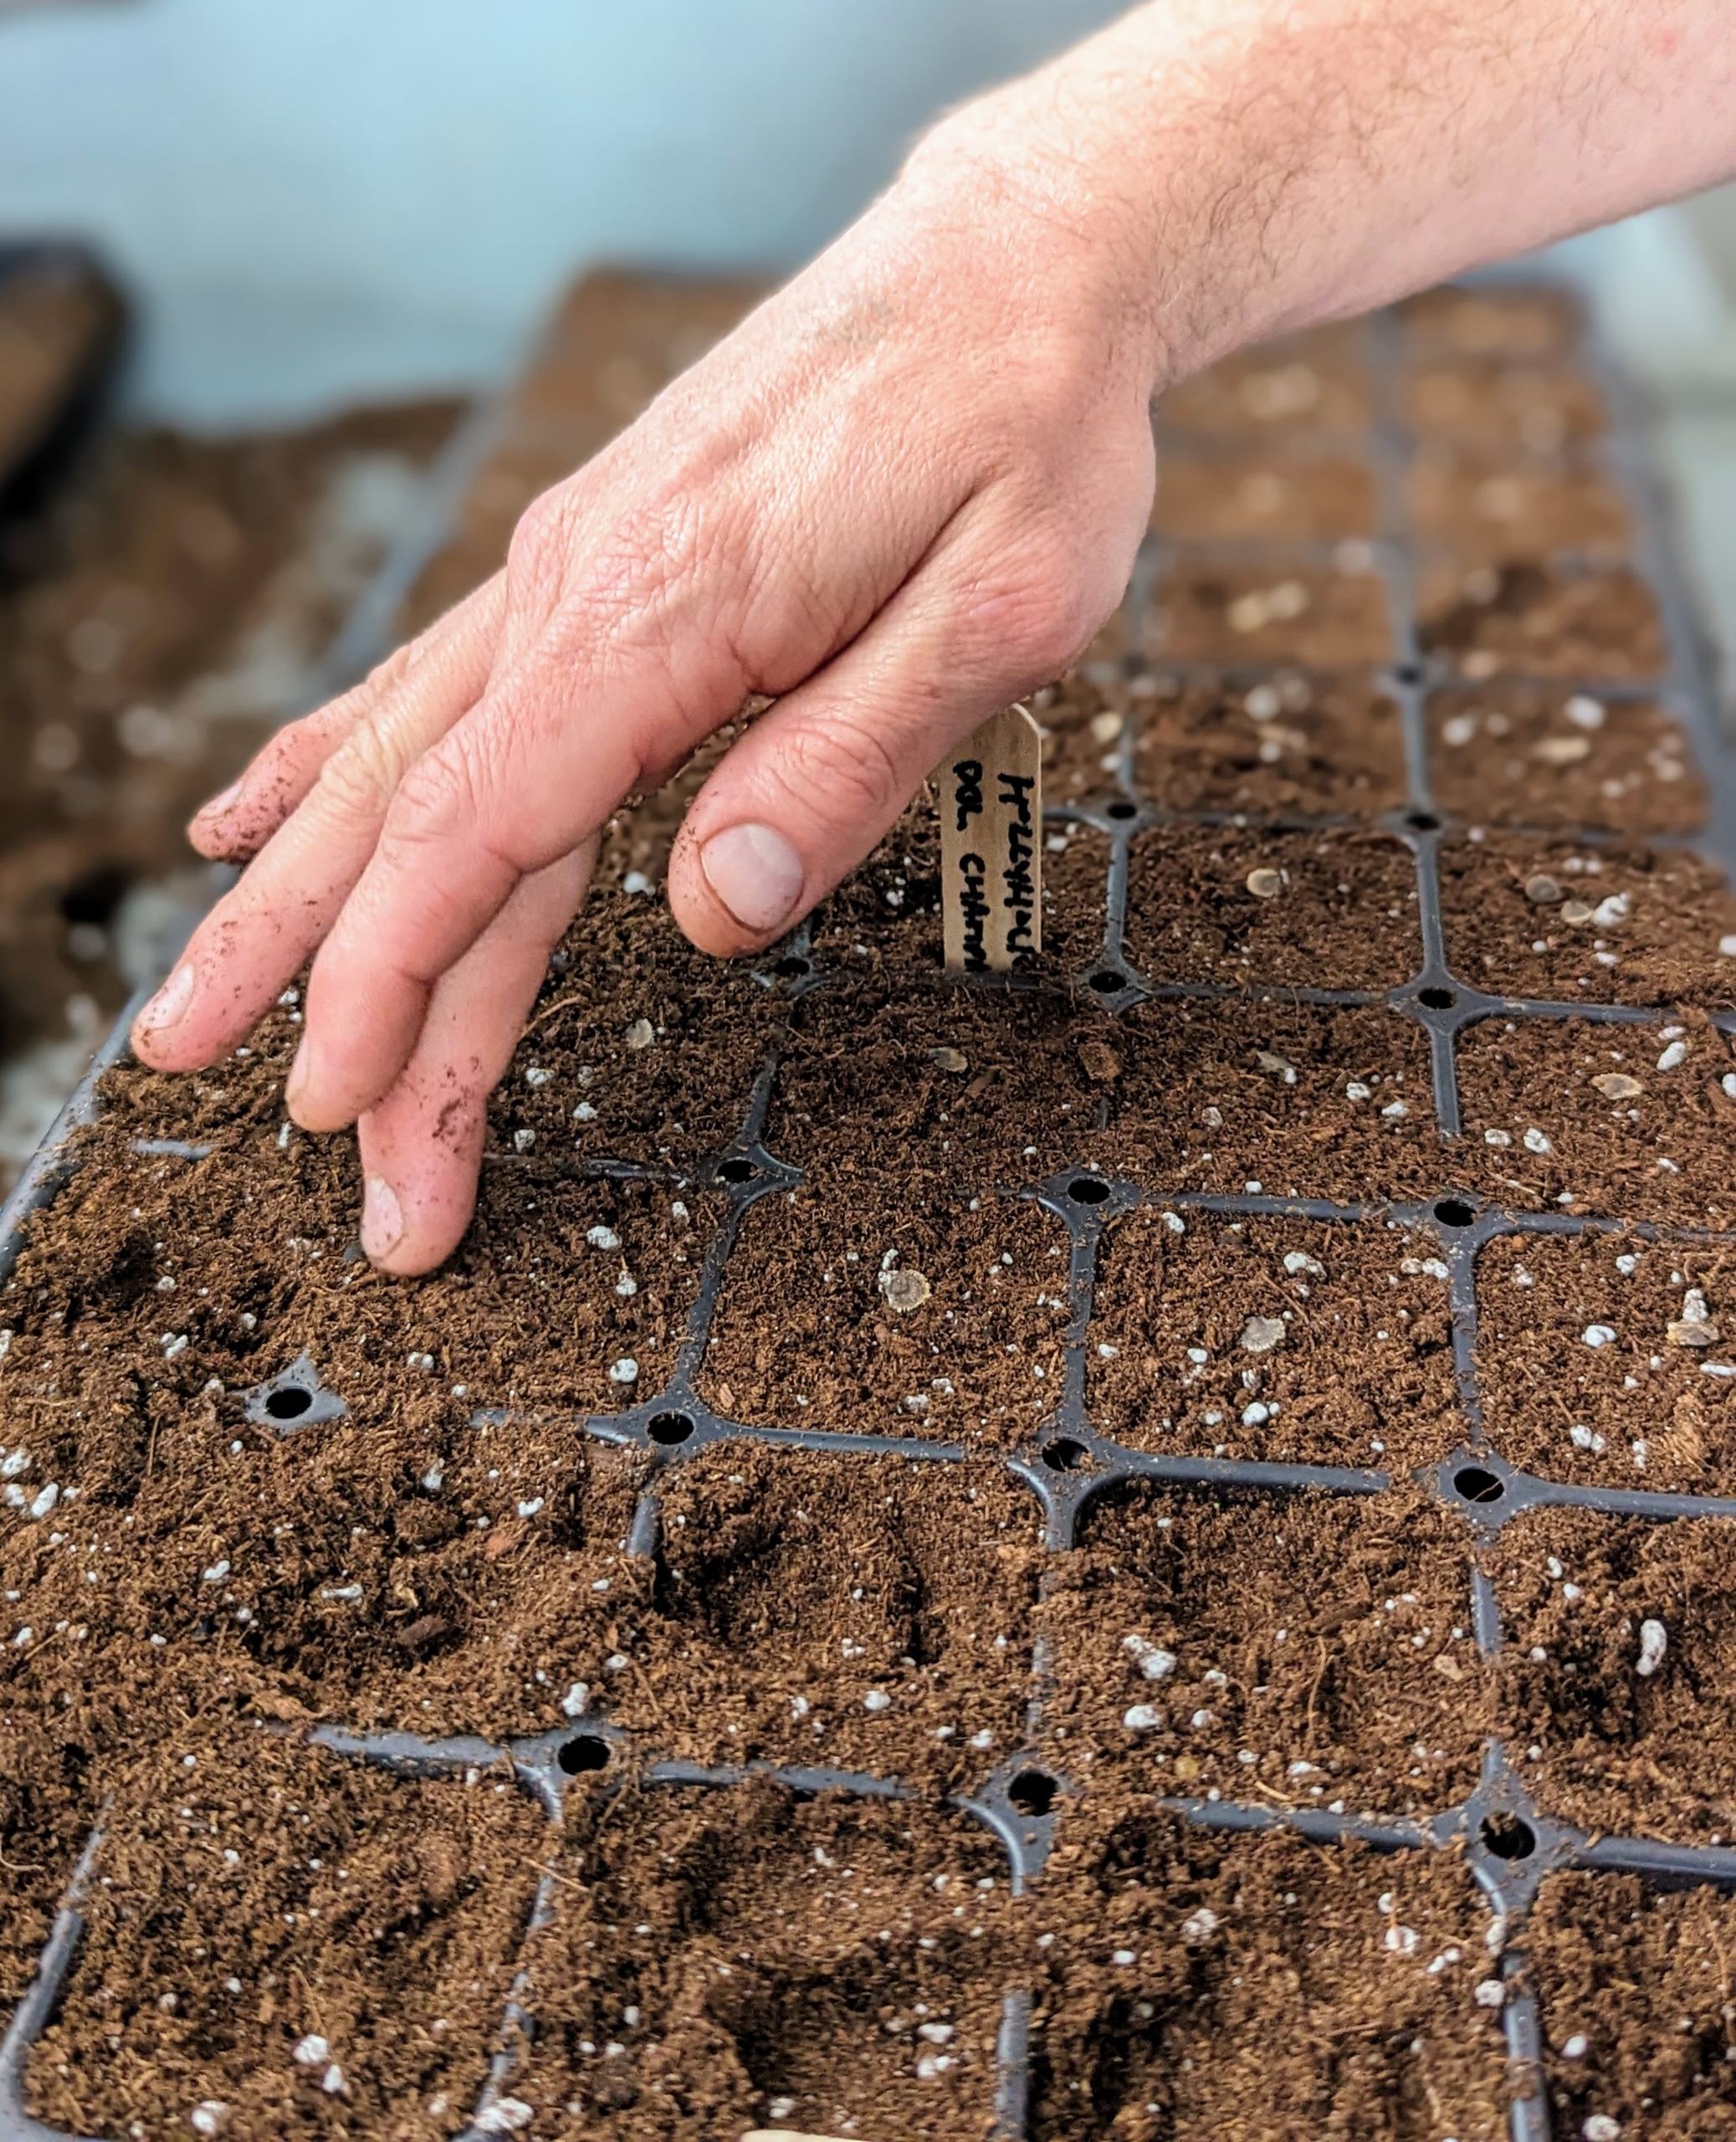
Look closely and one can see the seeds in the cell. These seeds will be selectively thinned in a few weeks. The process eliminates the weaker sprout and prevents overcrowding, so seedlings don’t have any competition for soil nutrients or room to mature.
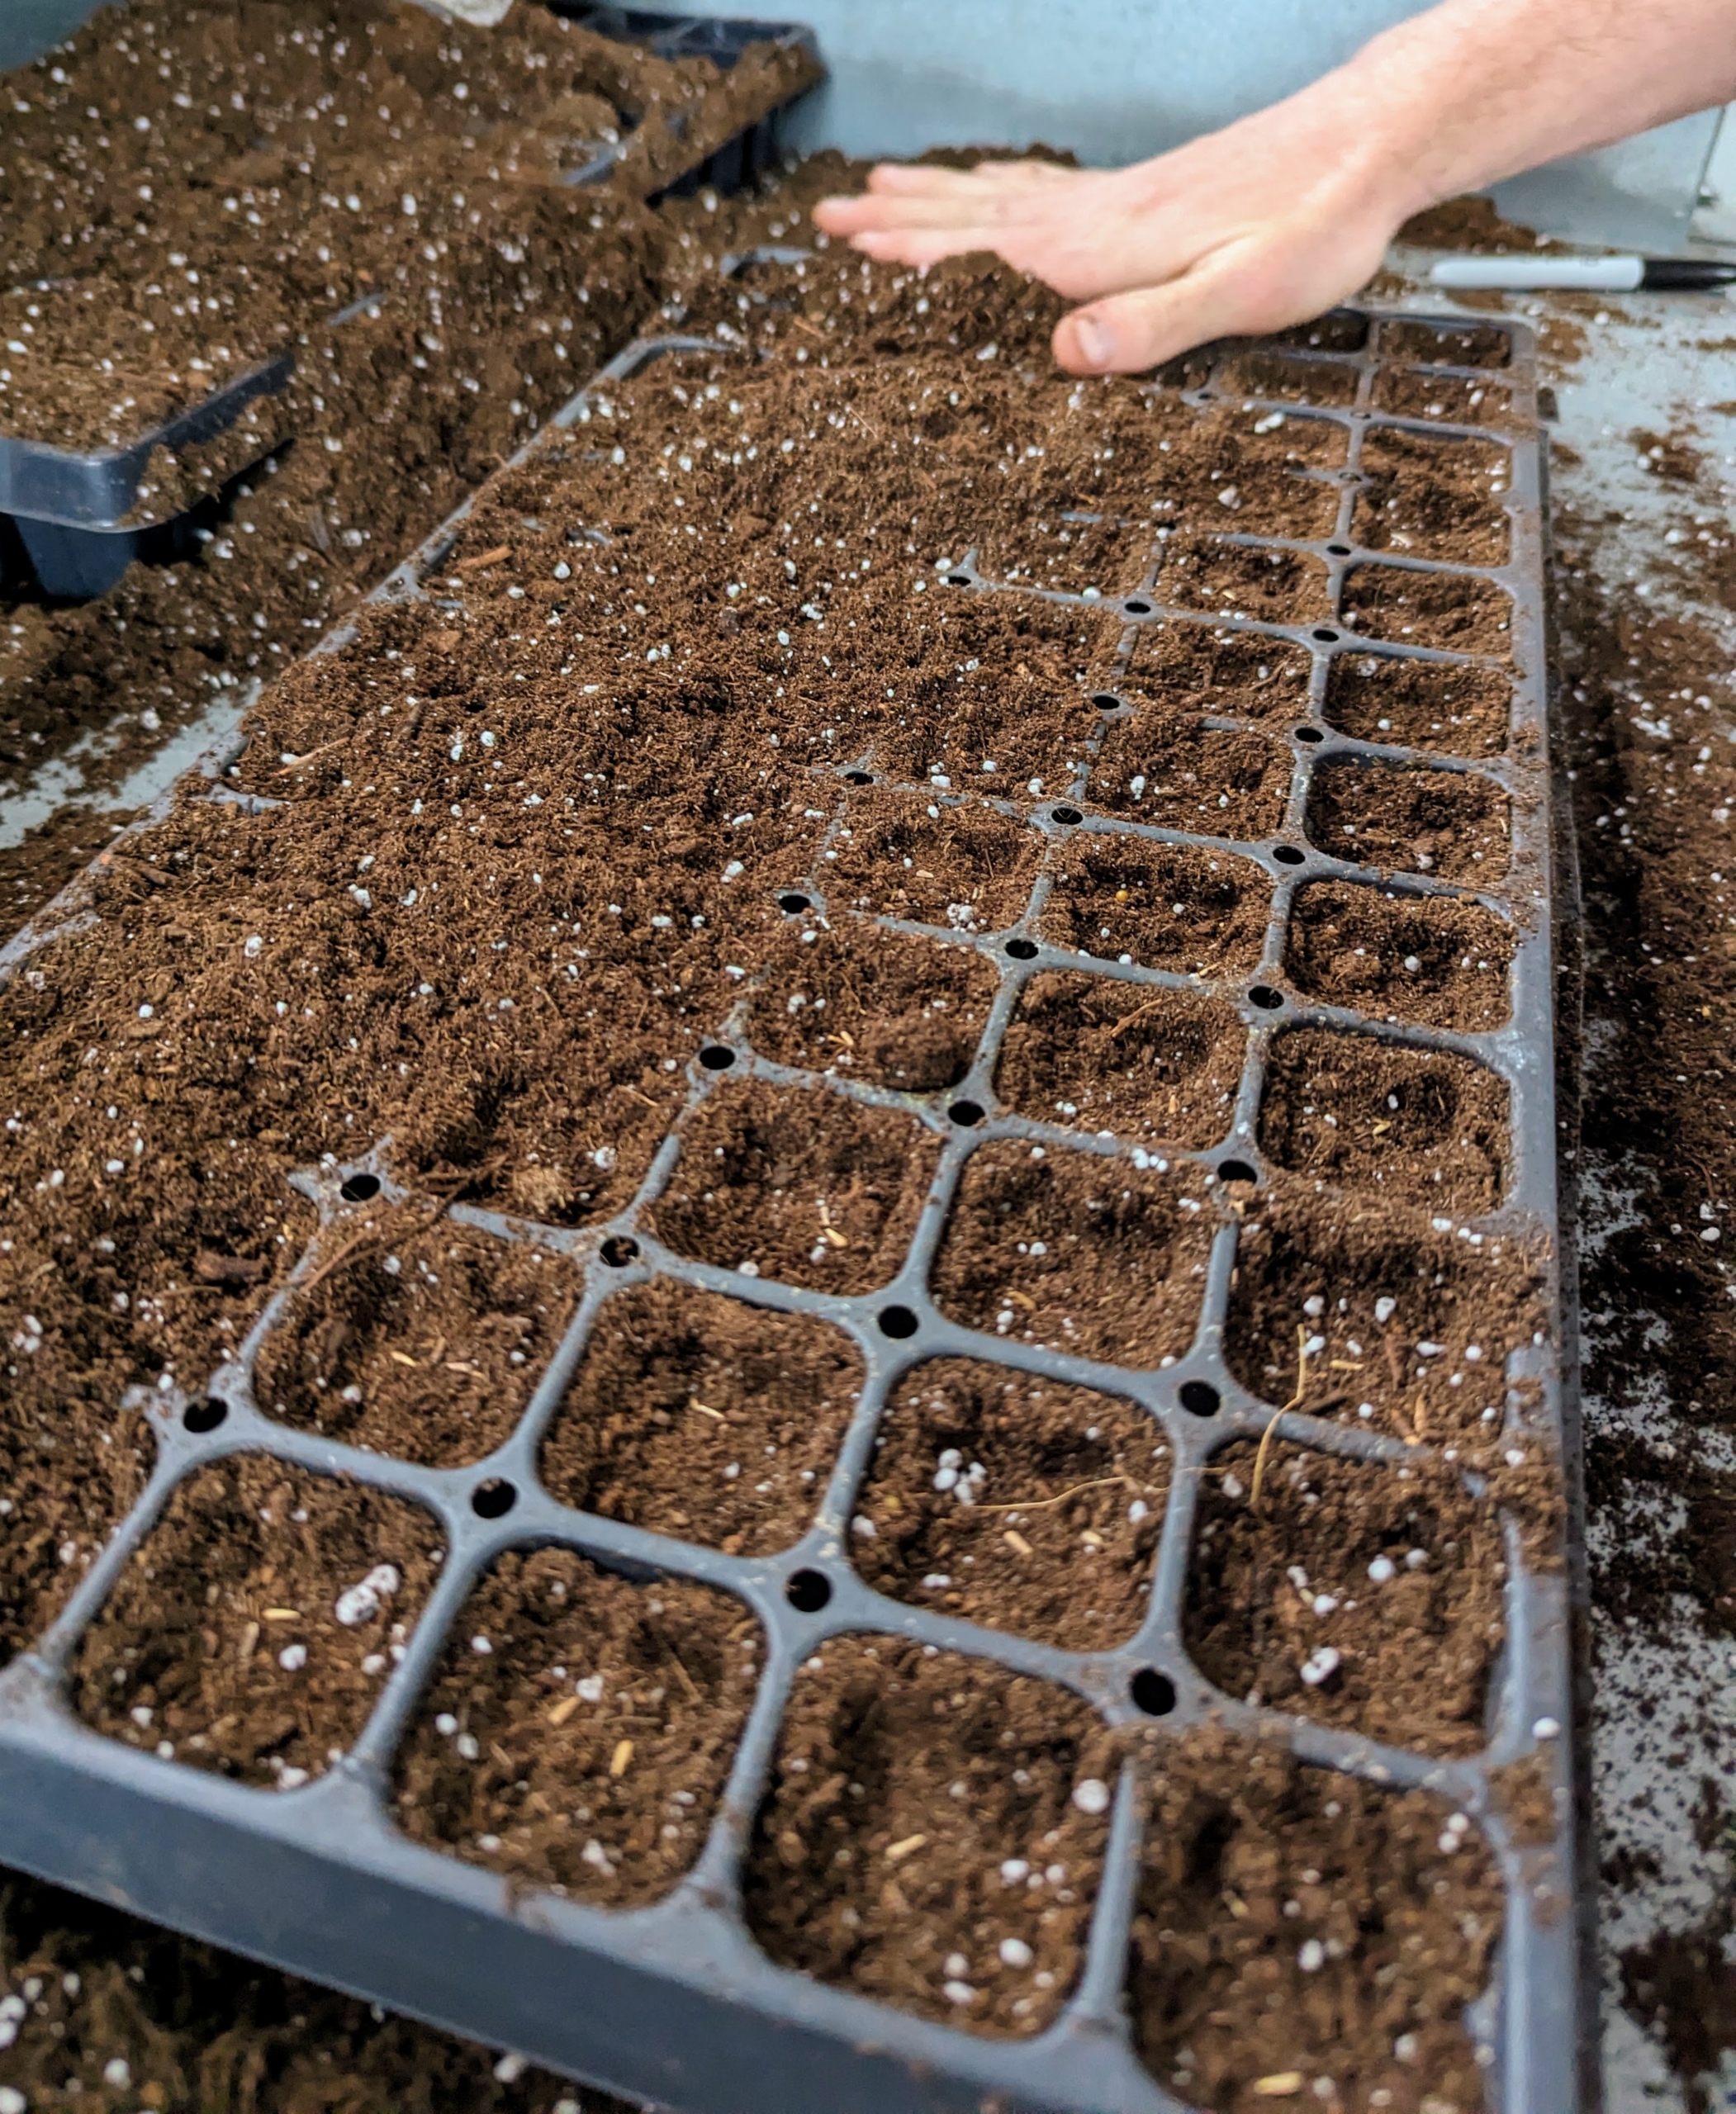
After each tray is seeded, Ryan covers them by leveling the soil and filling the tray holes back in with the medium.
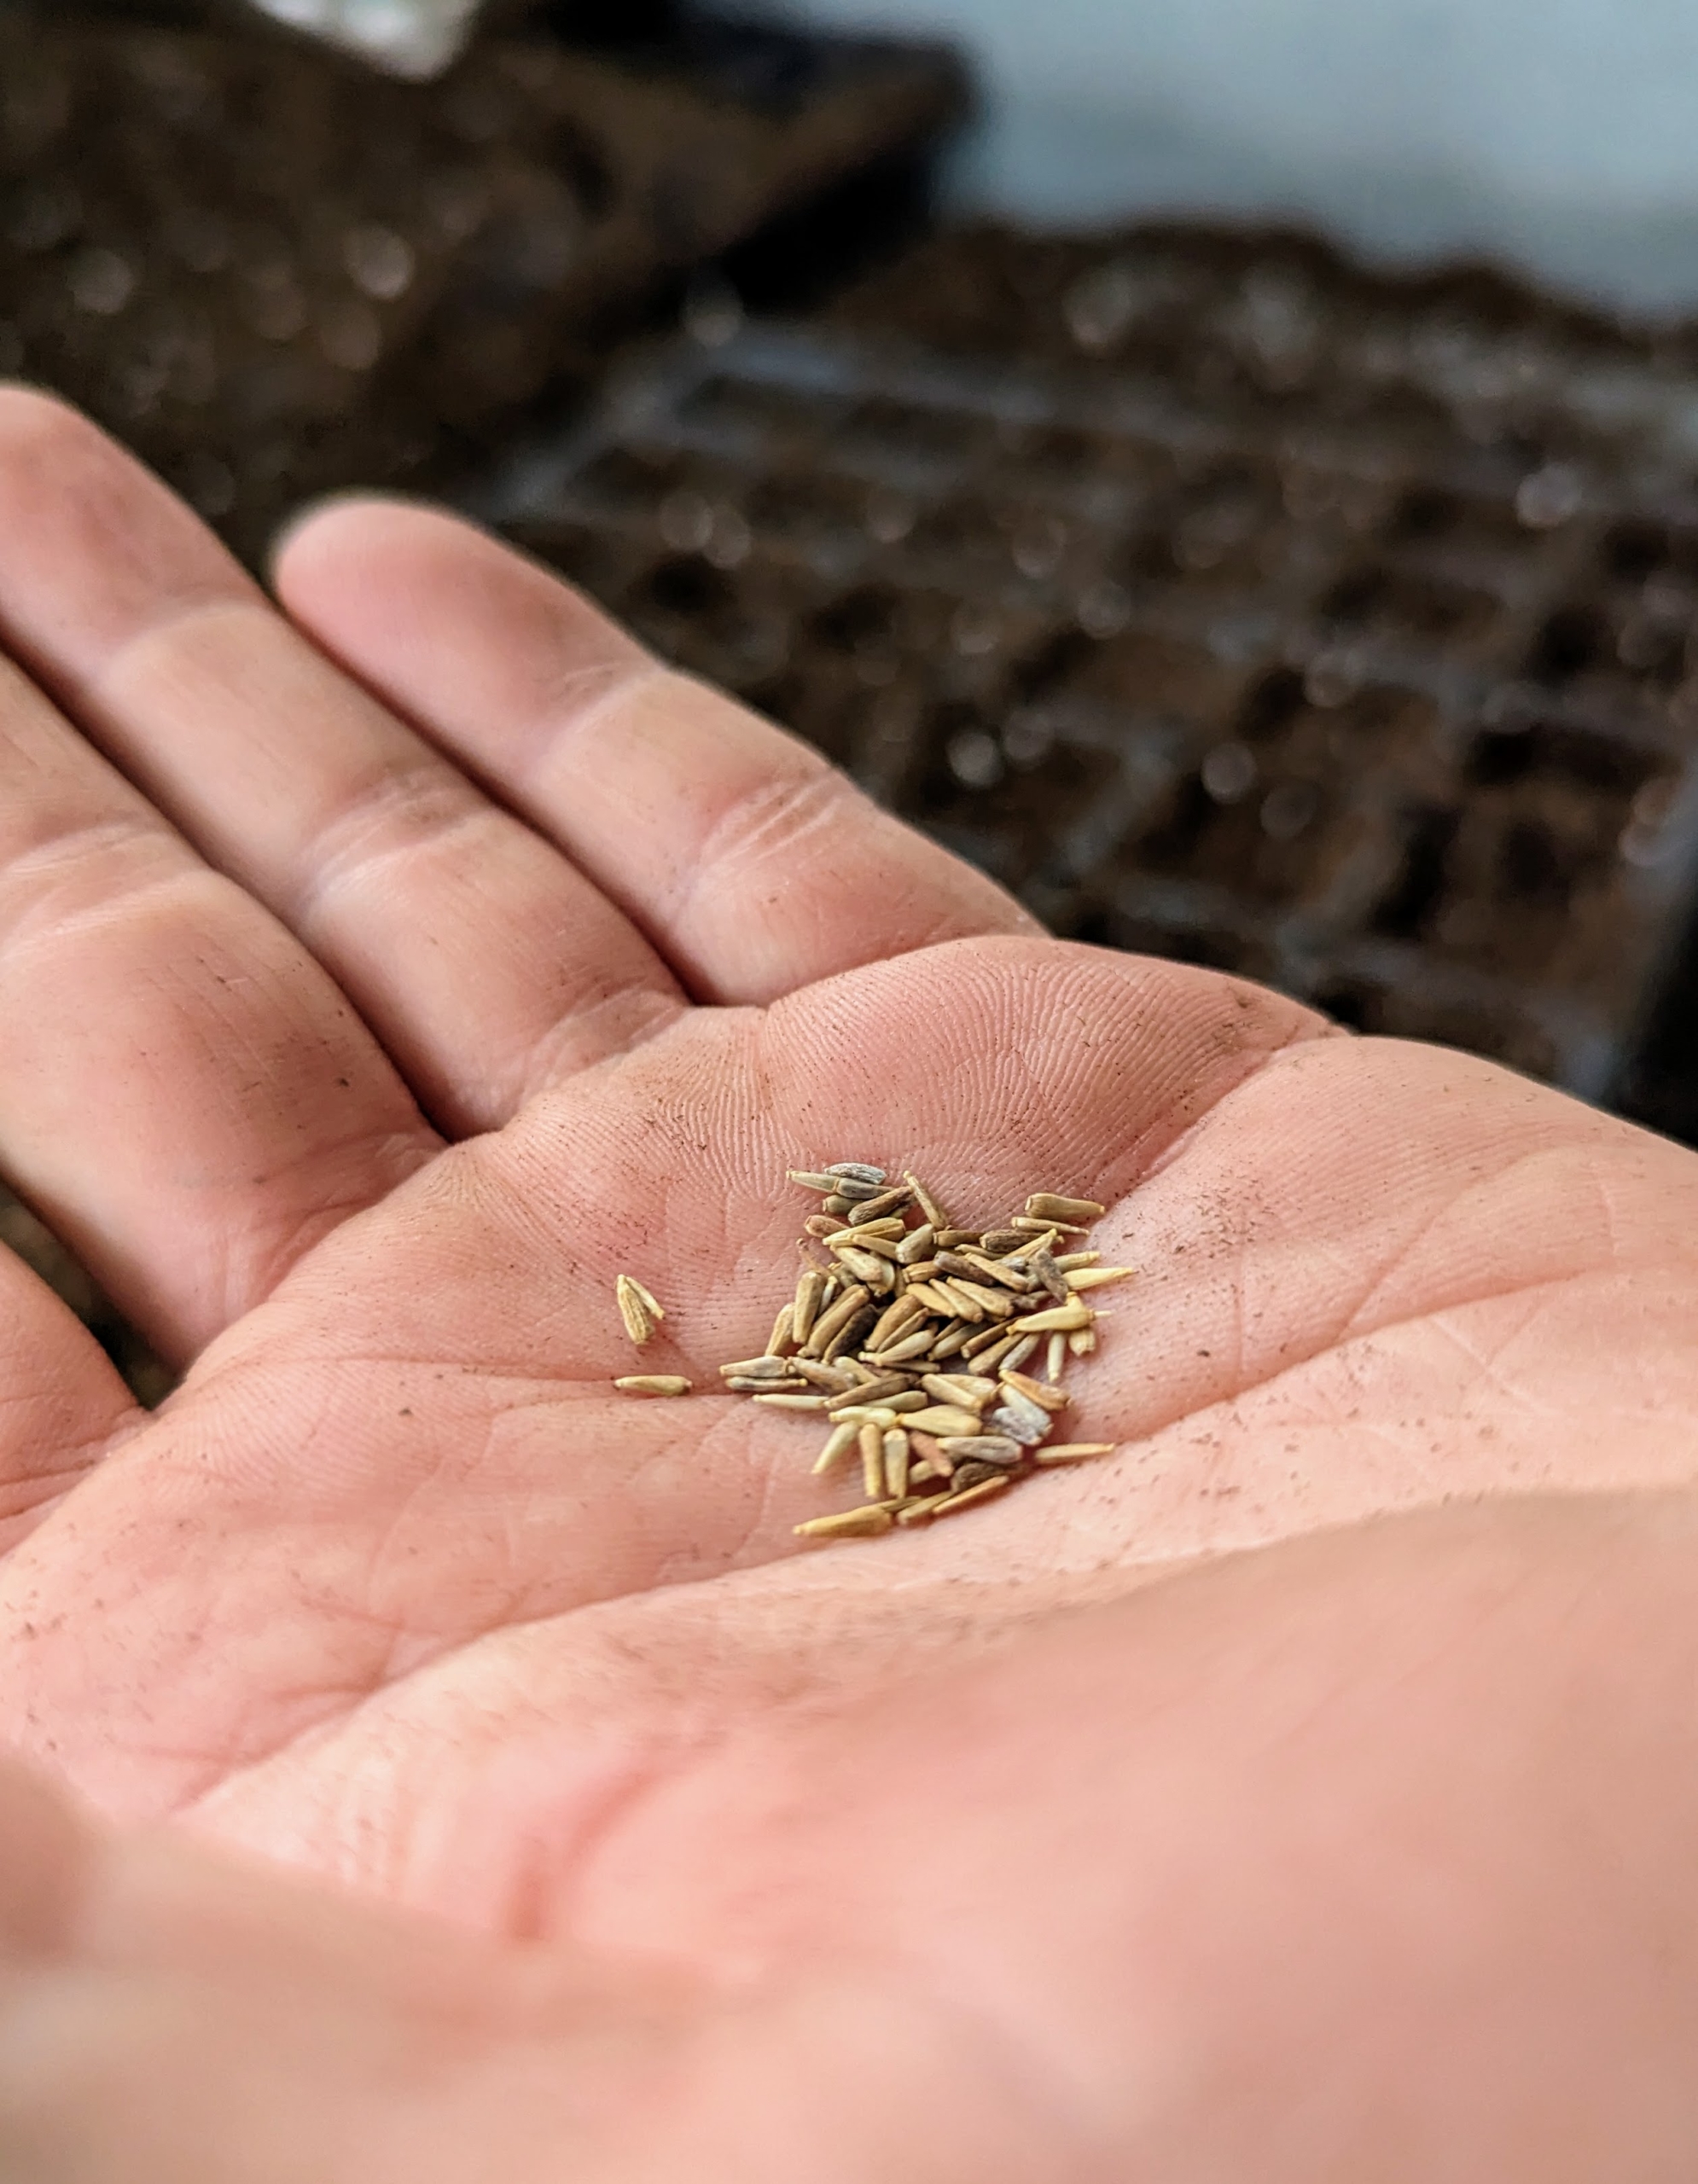
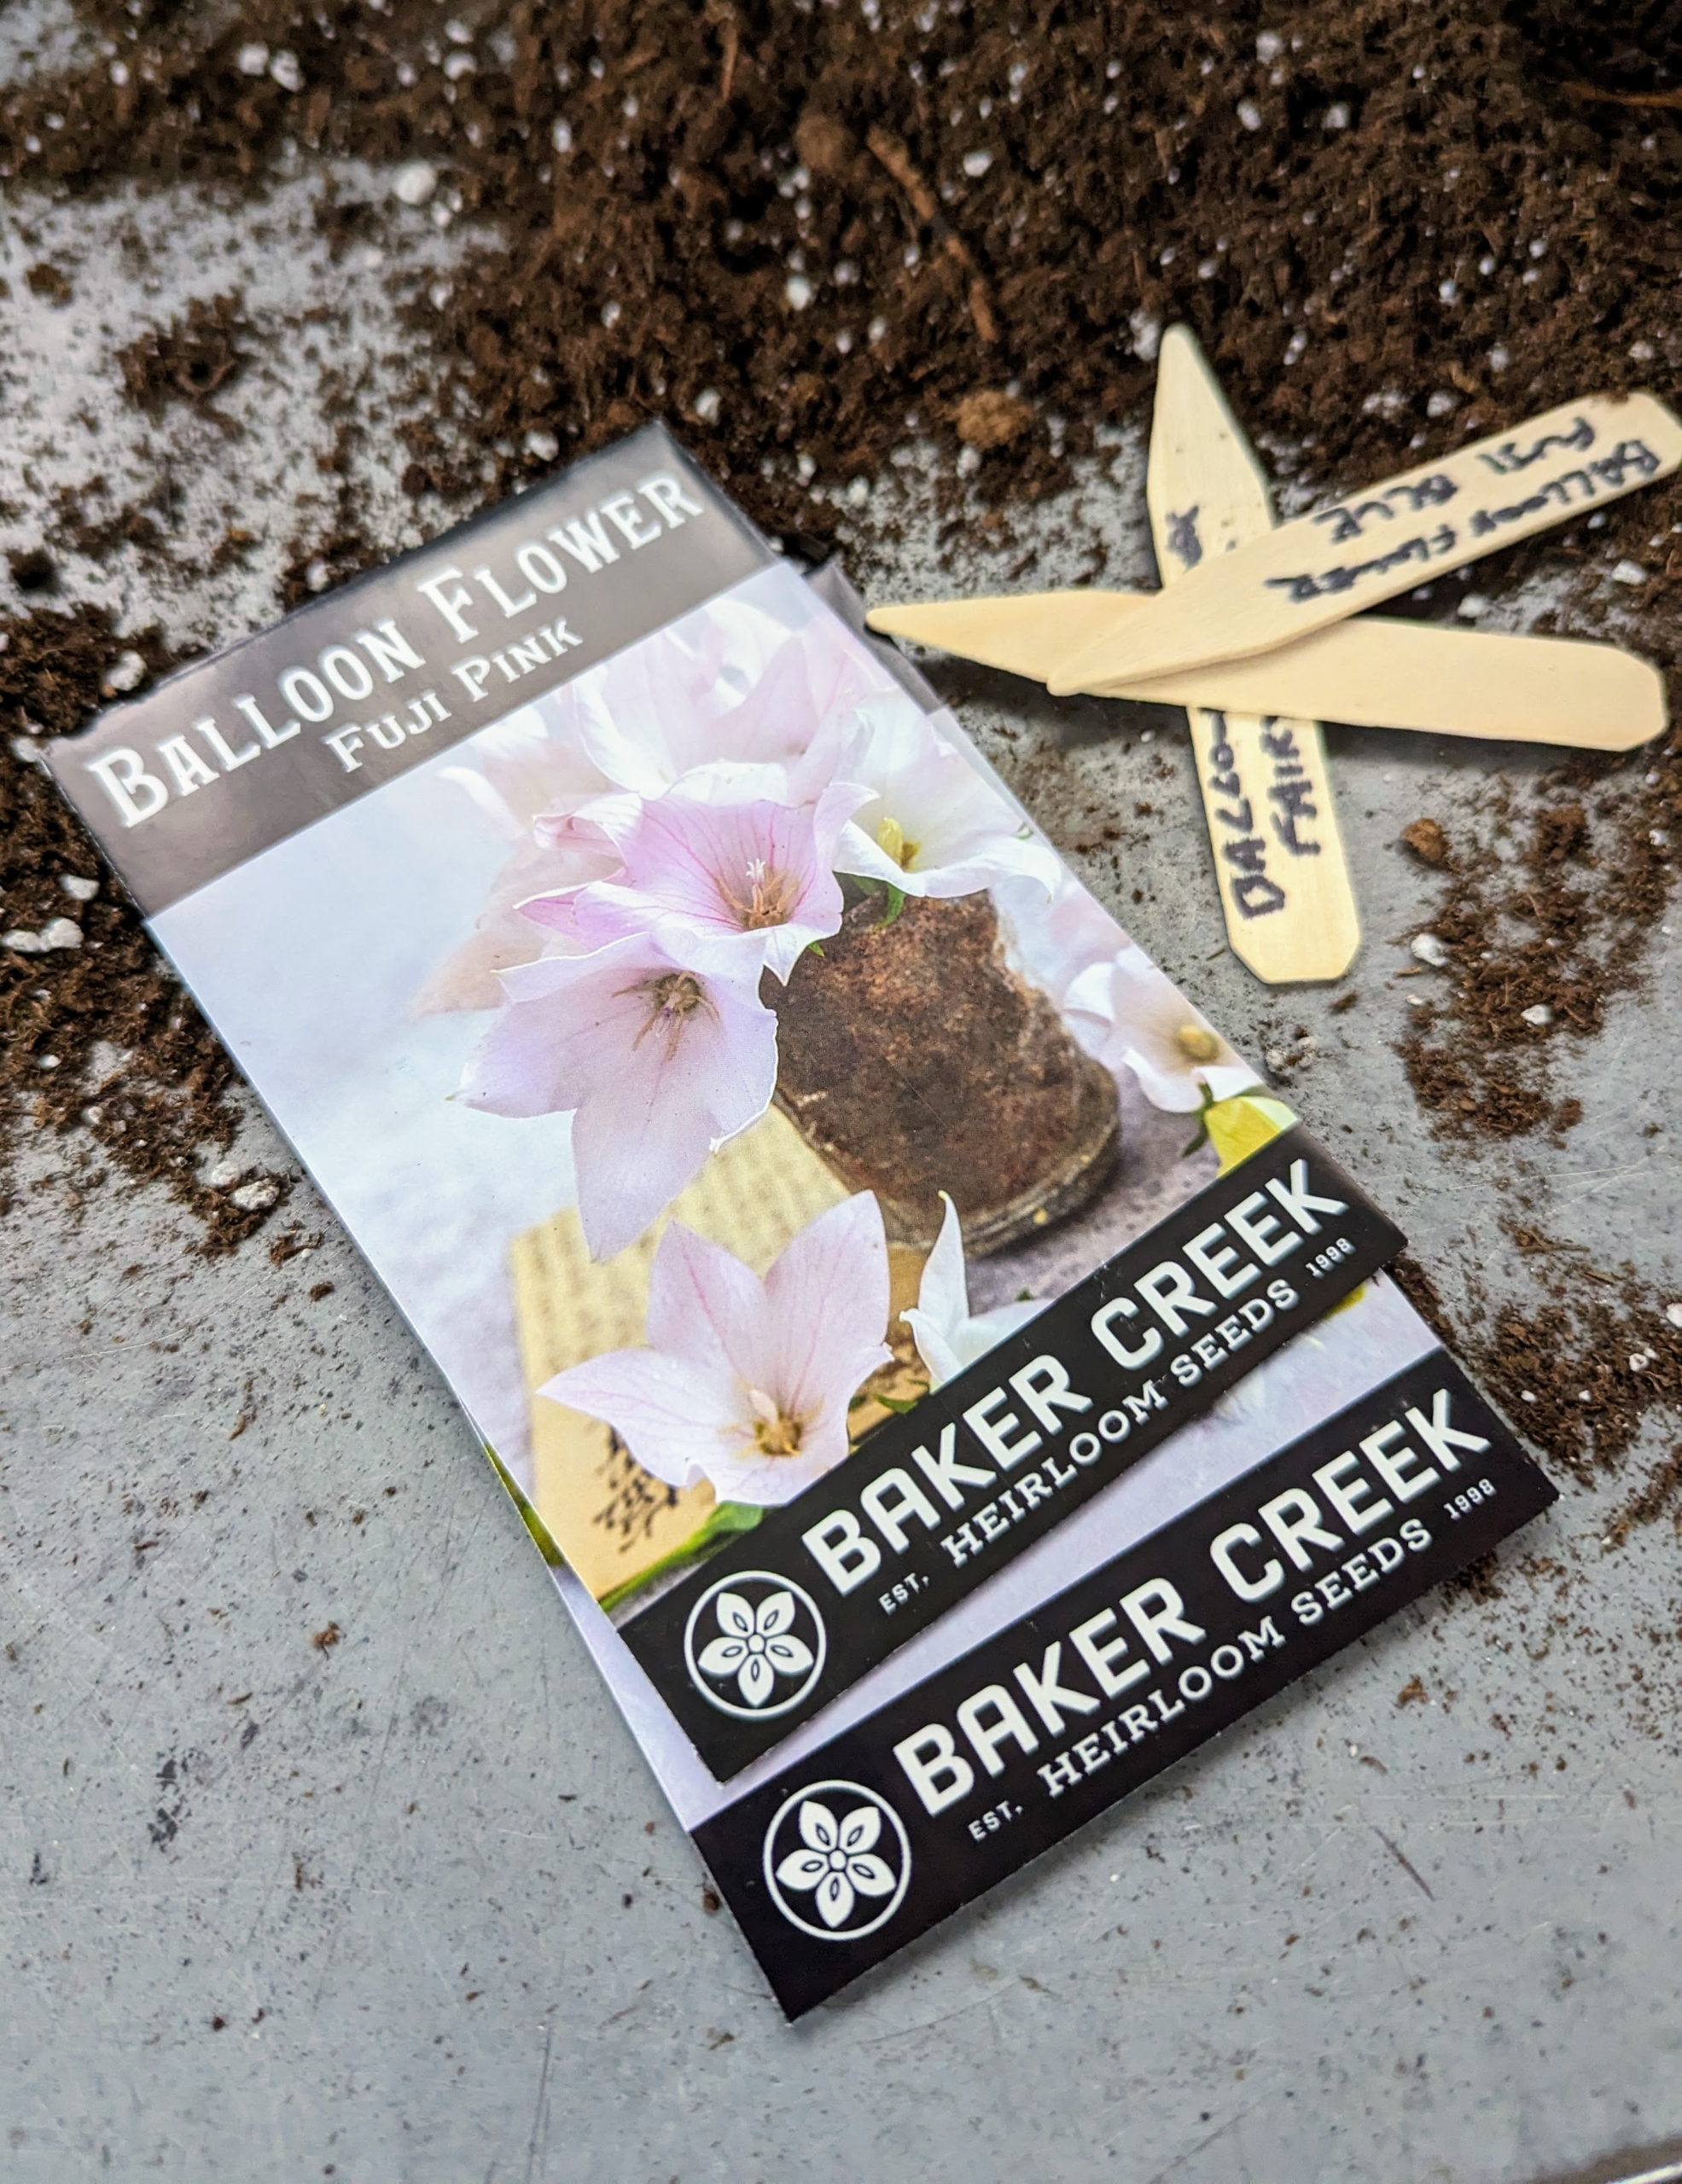
This packet contains Balloon flower seeds, Platycodon grandiflorus, a species of herbaceous flowering perennial plant of the family Campanulaceae, and the only member of the genus Platycodon. It is native to East Asia and is also known as the Chinese bellflower or platycodon. The balloon-shaped blossoms open to a unique star shape, these in soft pink.
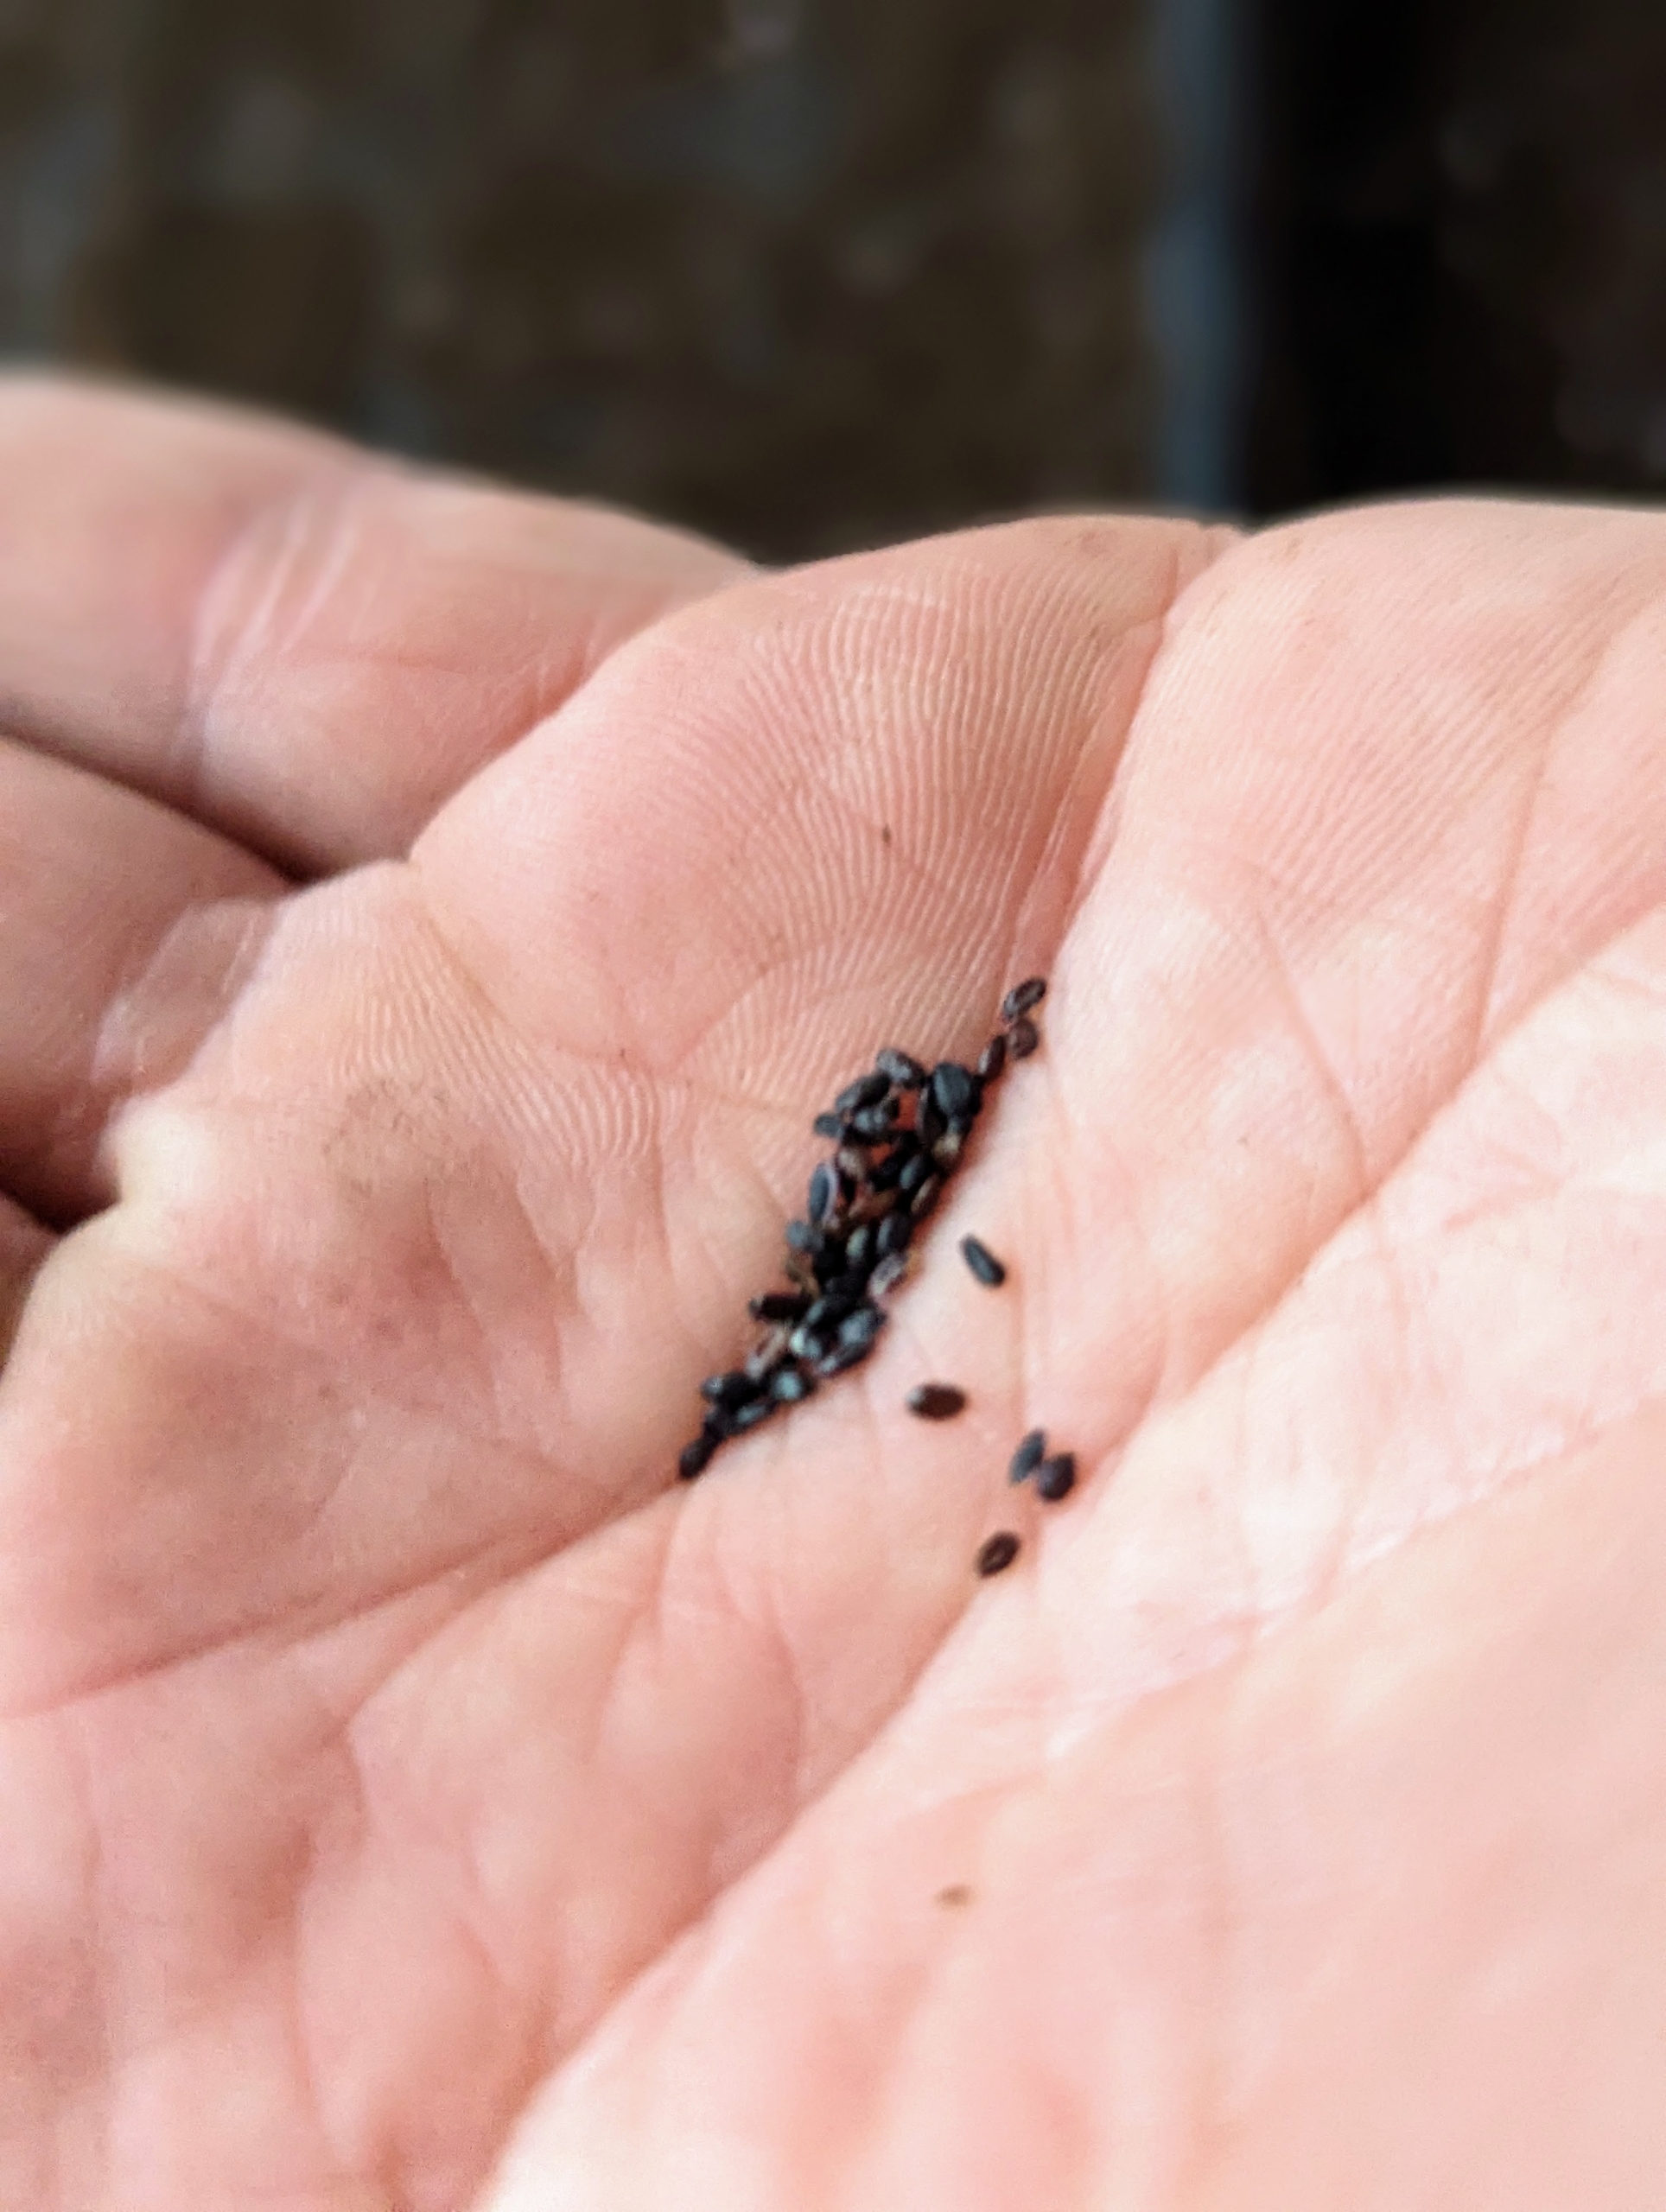
Some seeds are very small – be very careful when pouring them out of the packet. Balloon flowers have tiny, brown seeds that look almost like miniature grains of brown rice.
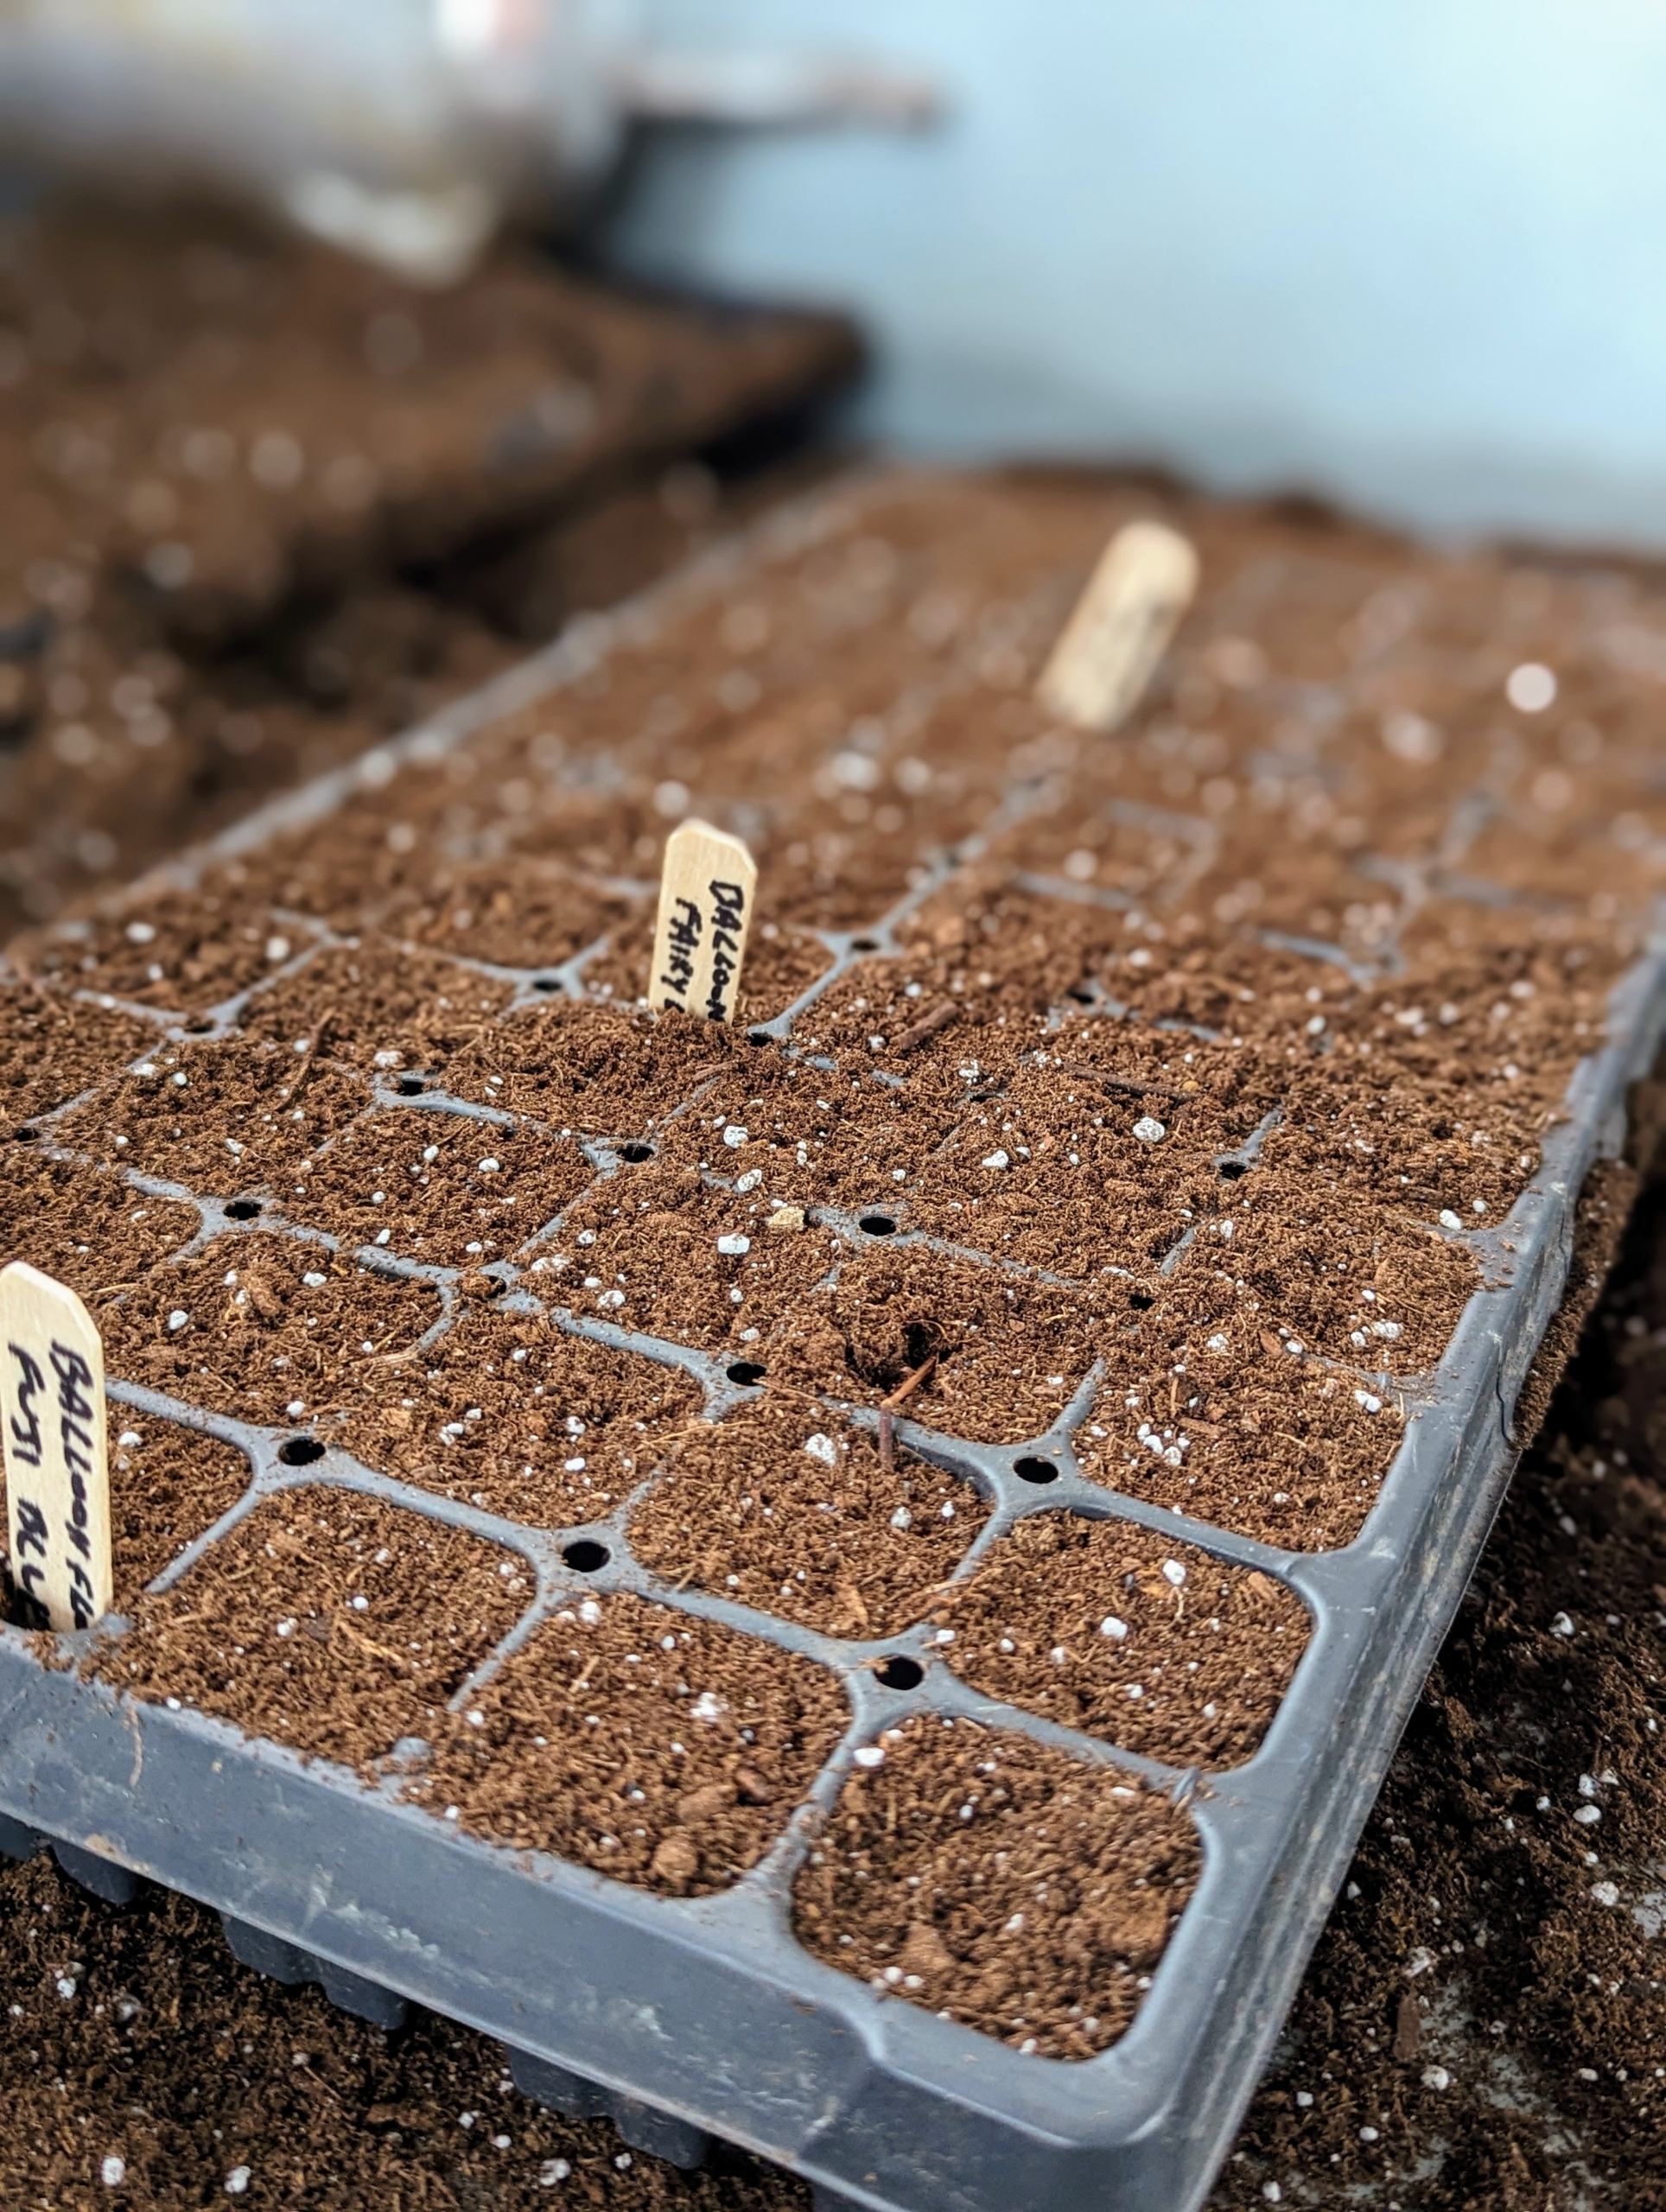
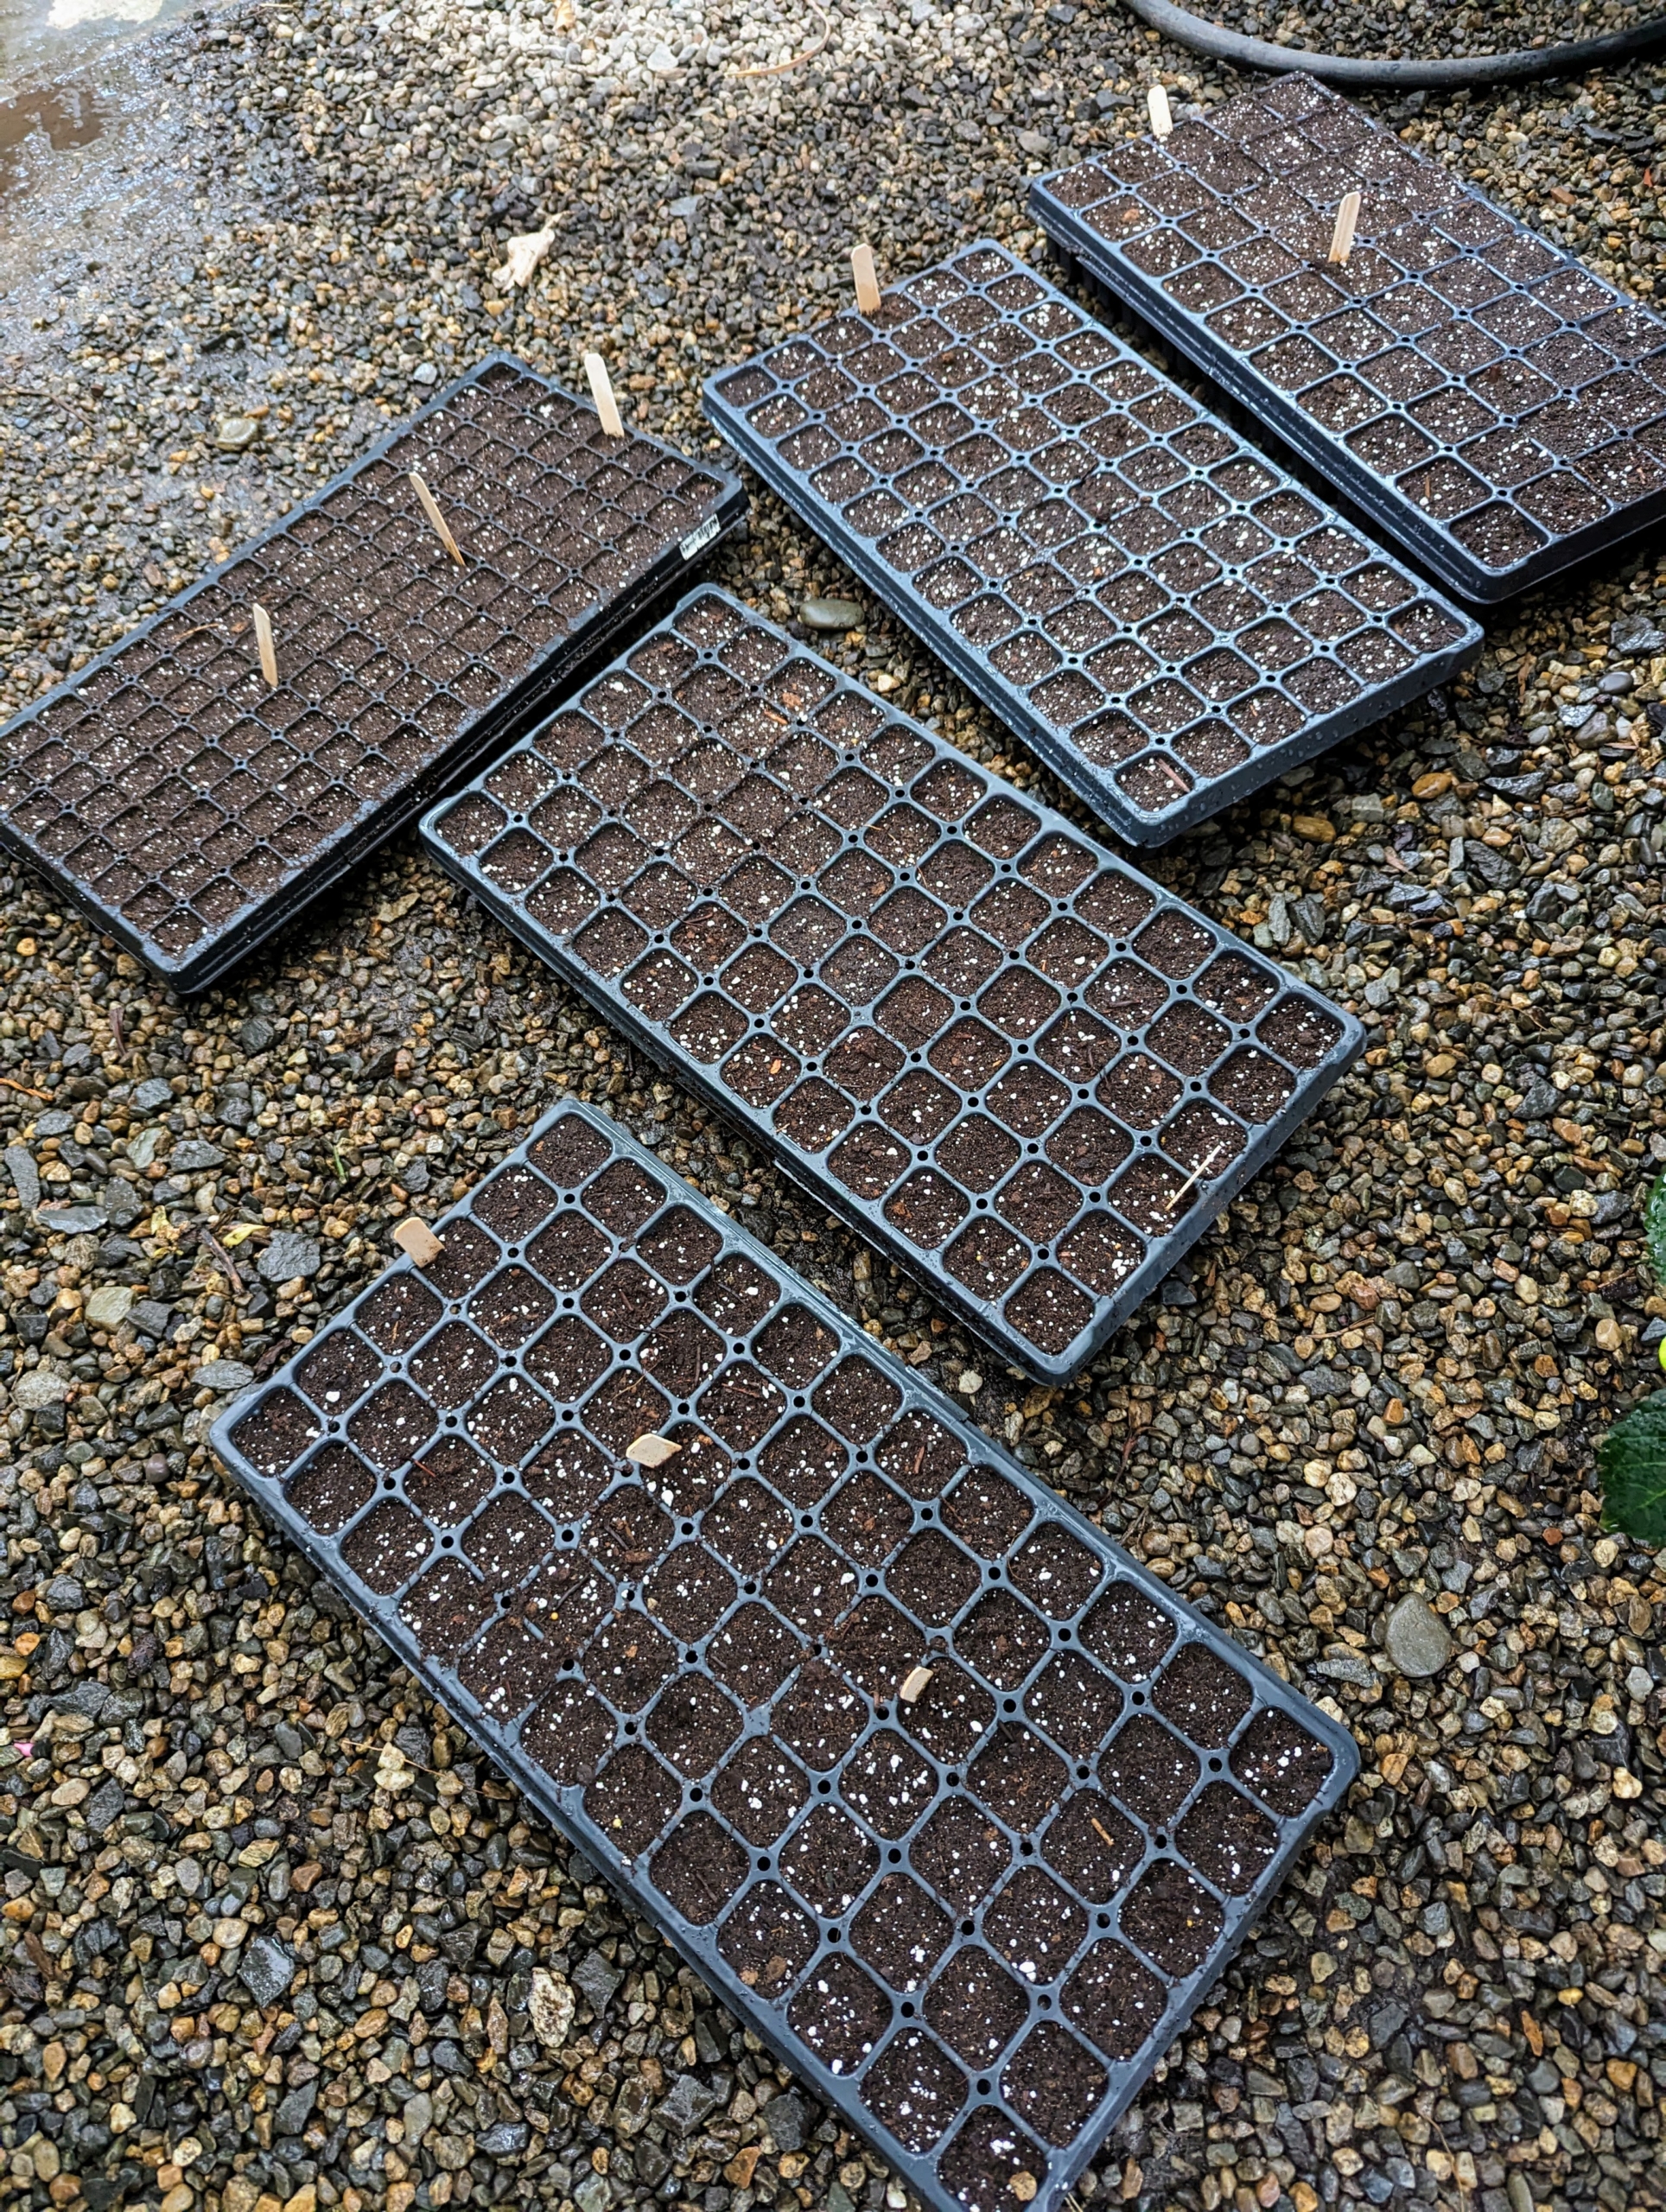
Every tray is well-marked. Ryan places a label at one end of each row indicating the variety of seeds that are planted. In some cases, one variety gets three or four rows.
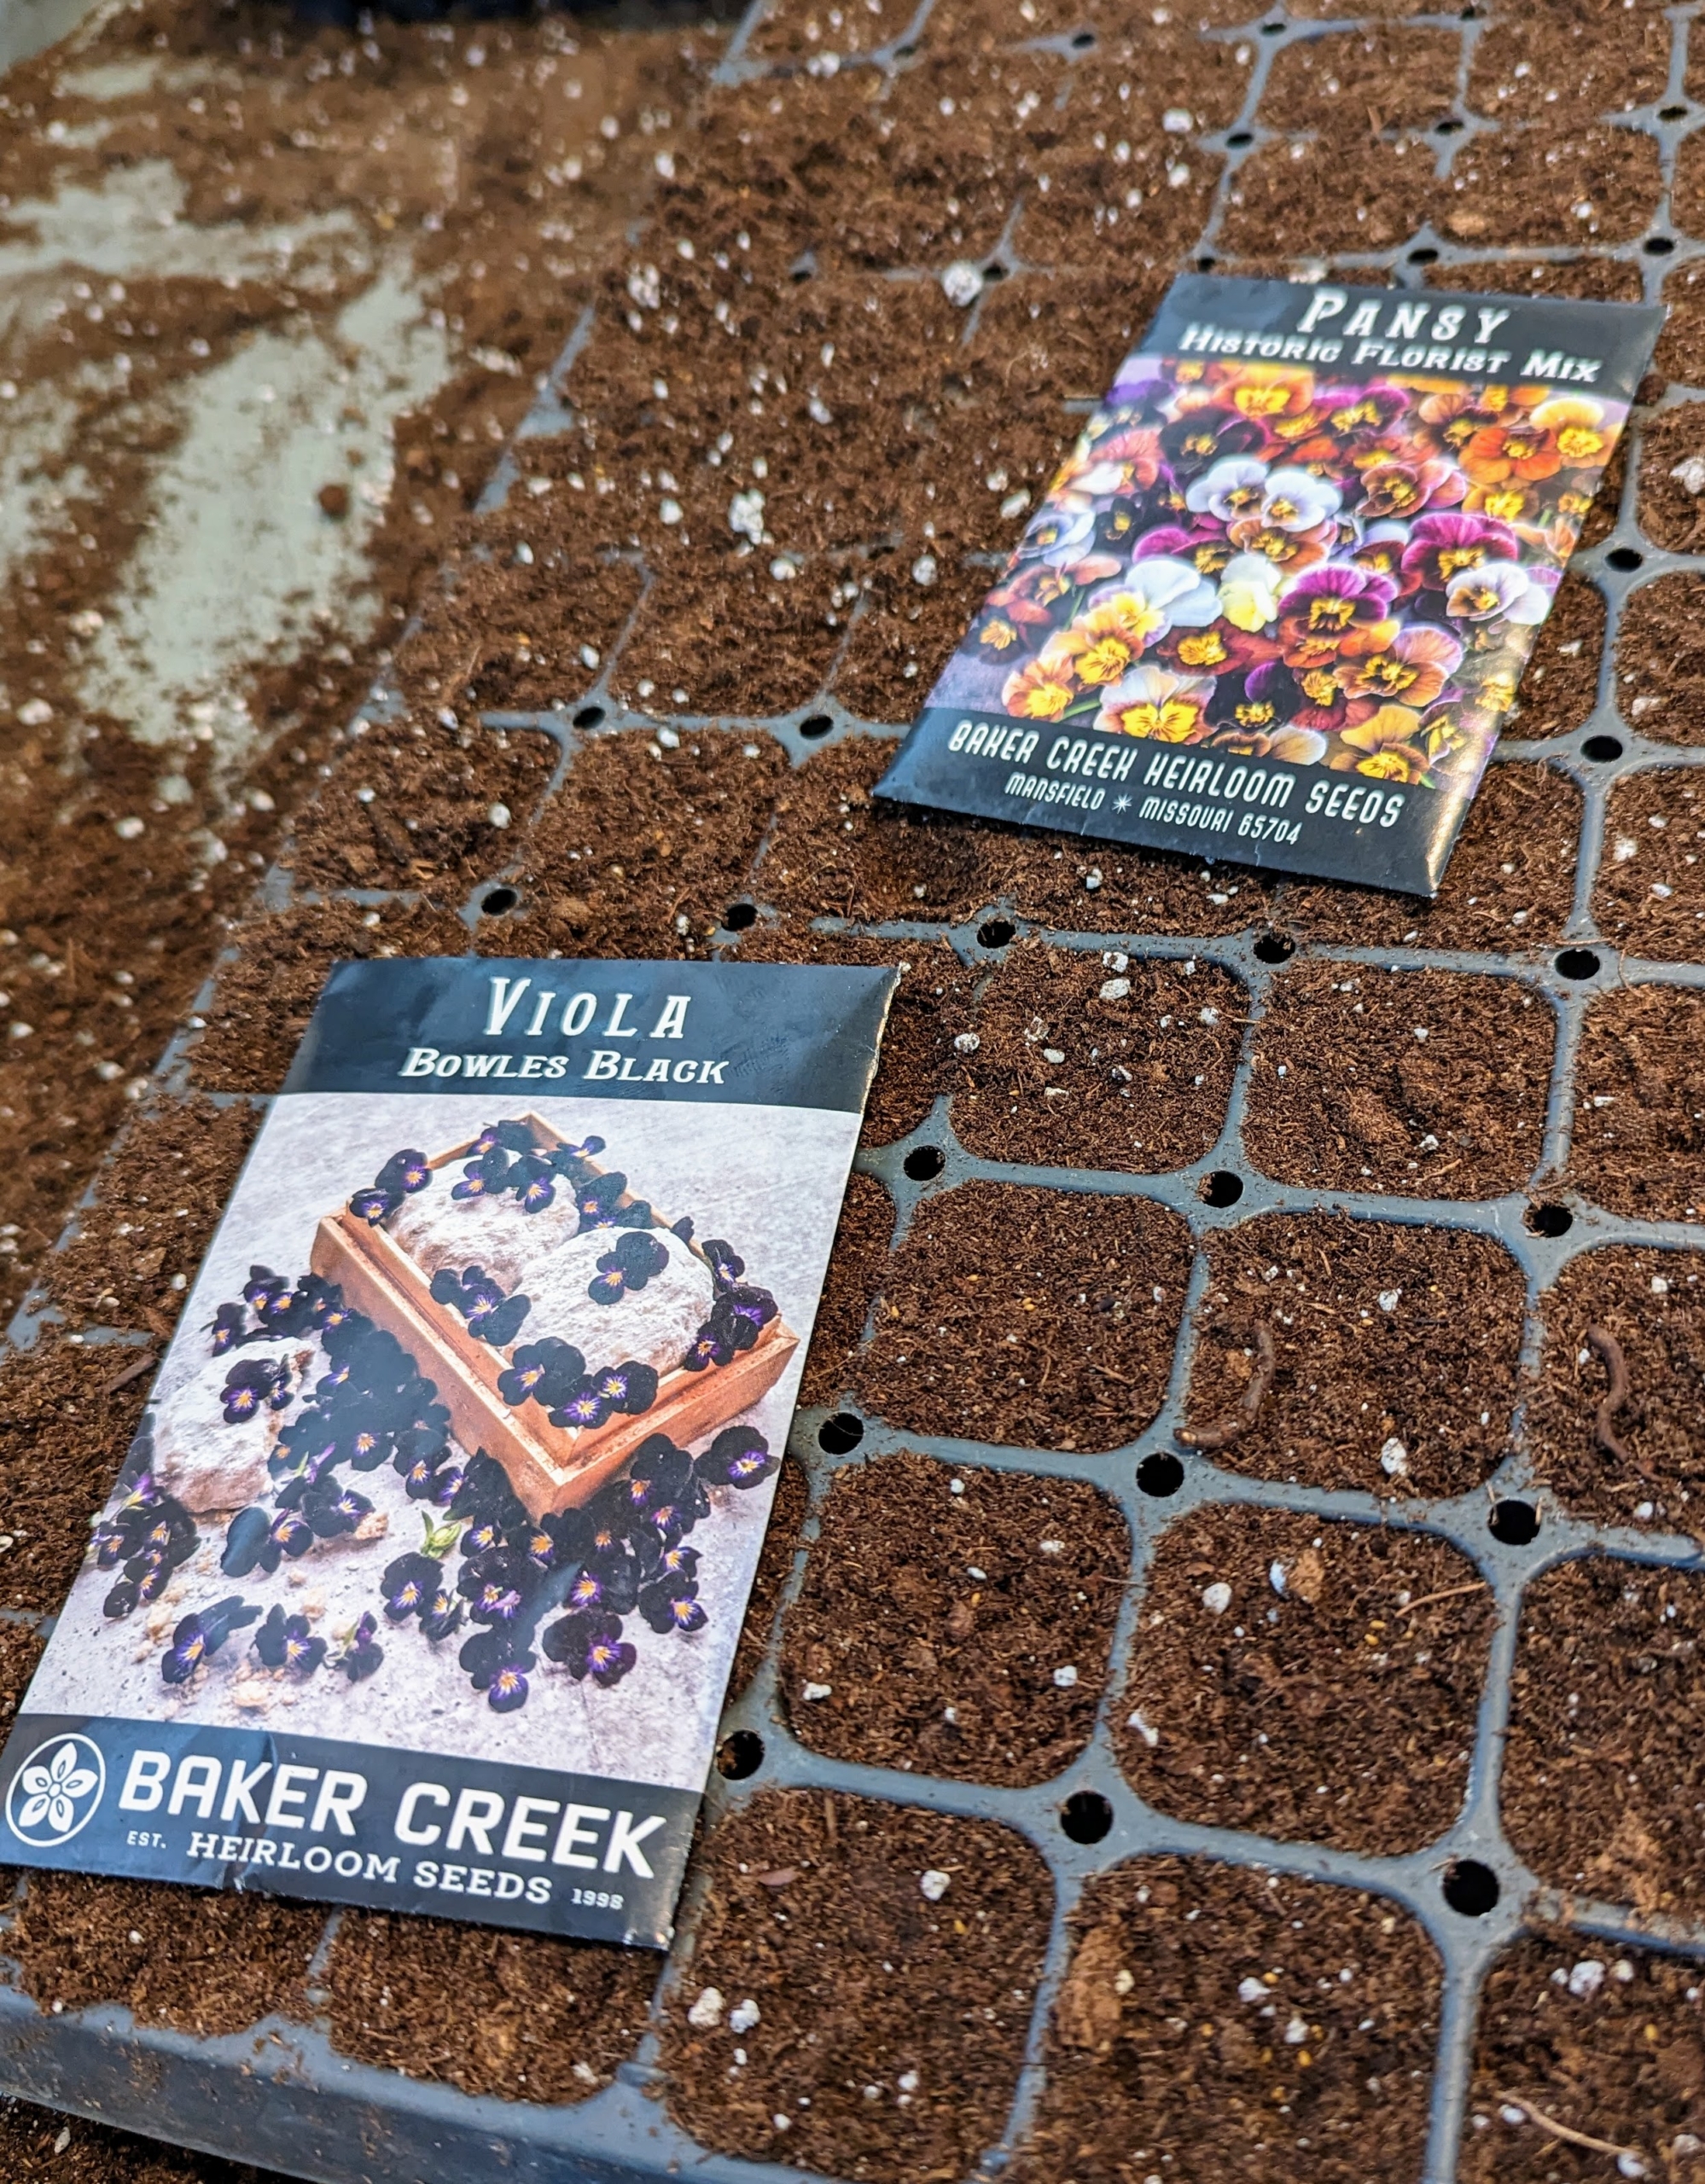
These Black Bowle viola seeds are deep purple to inky black – a charming variety popularized by E.A. Bowles, a prominent horticulturist of the late 19th and early 20th century. The Historic Flower Pansy Mix includes an assortment of shades from plum to to bronze with canary yellow centers.
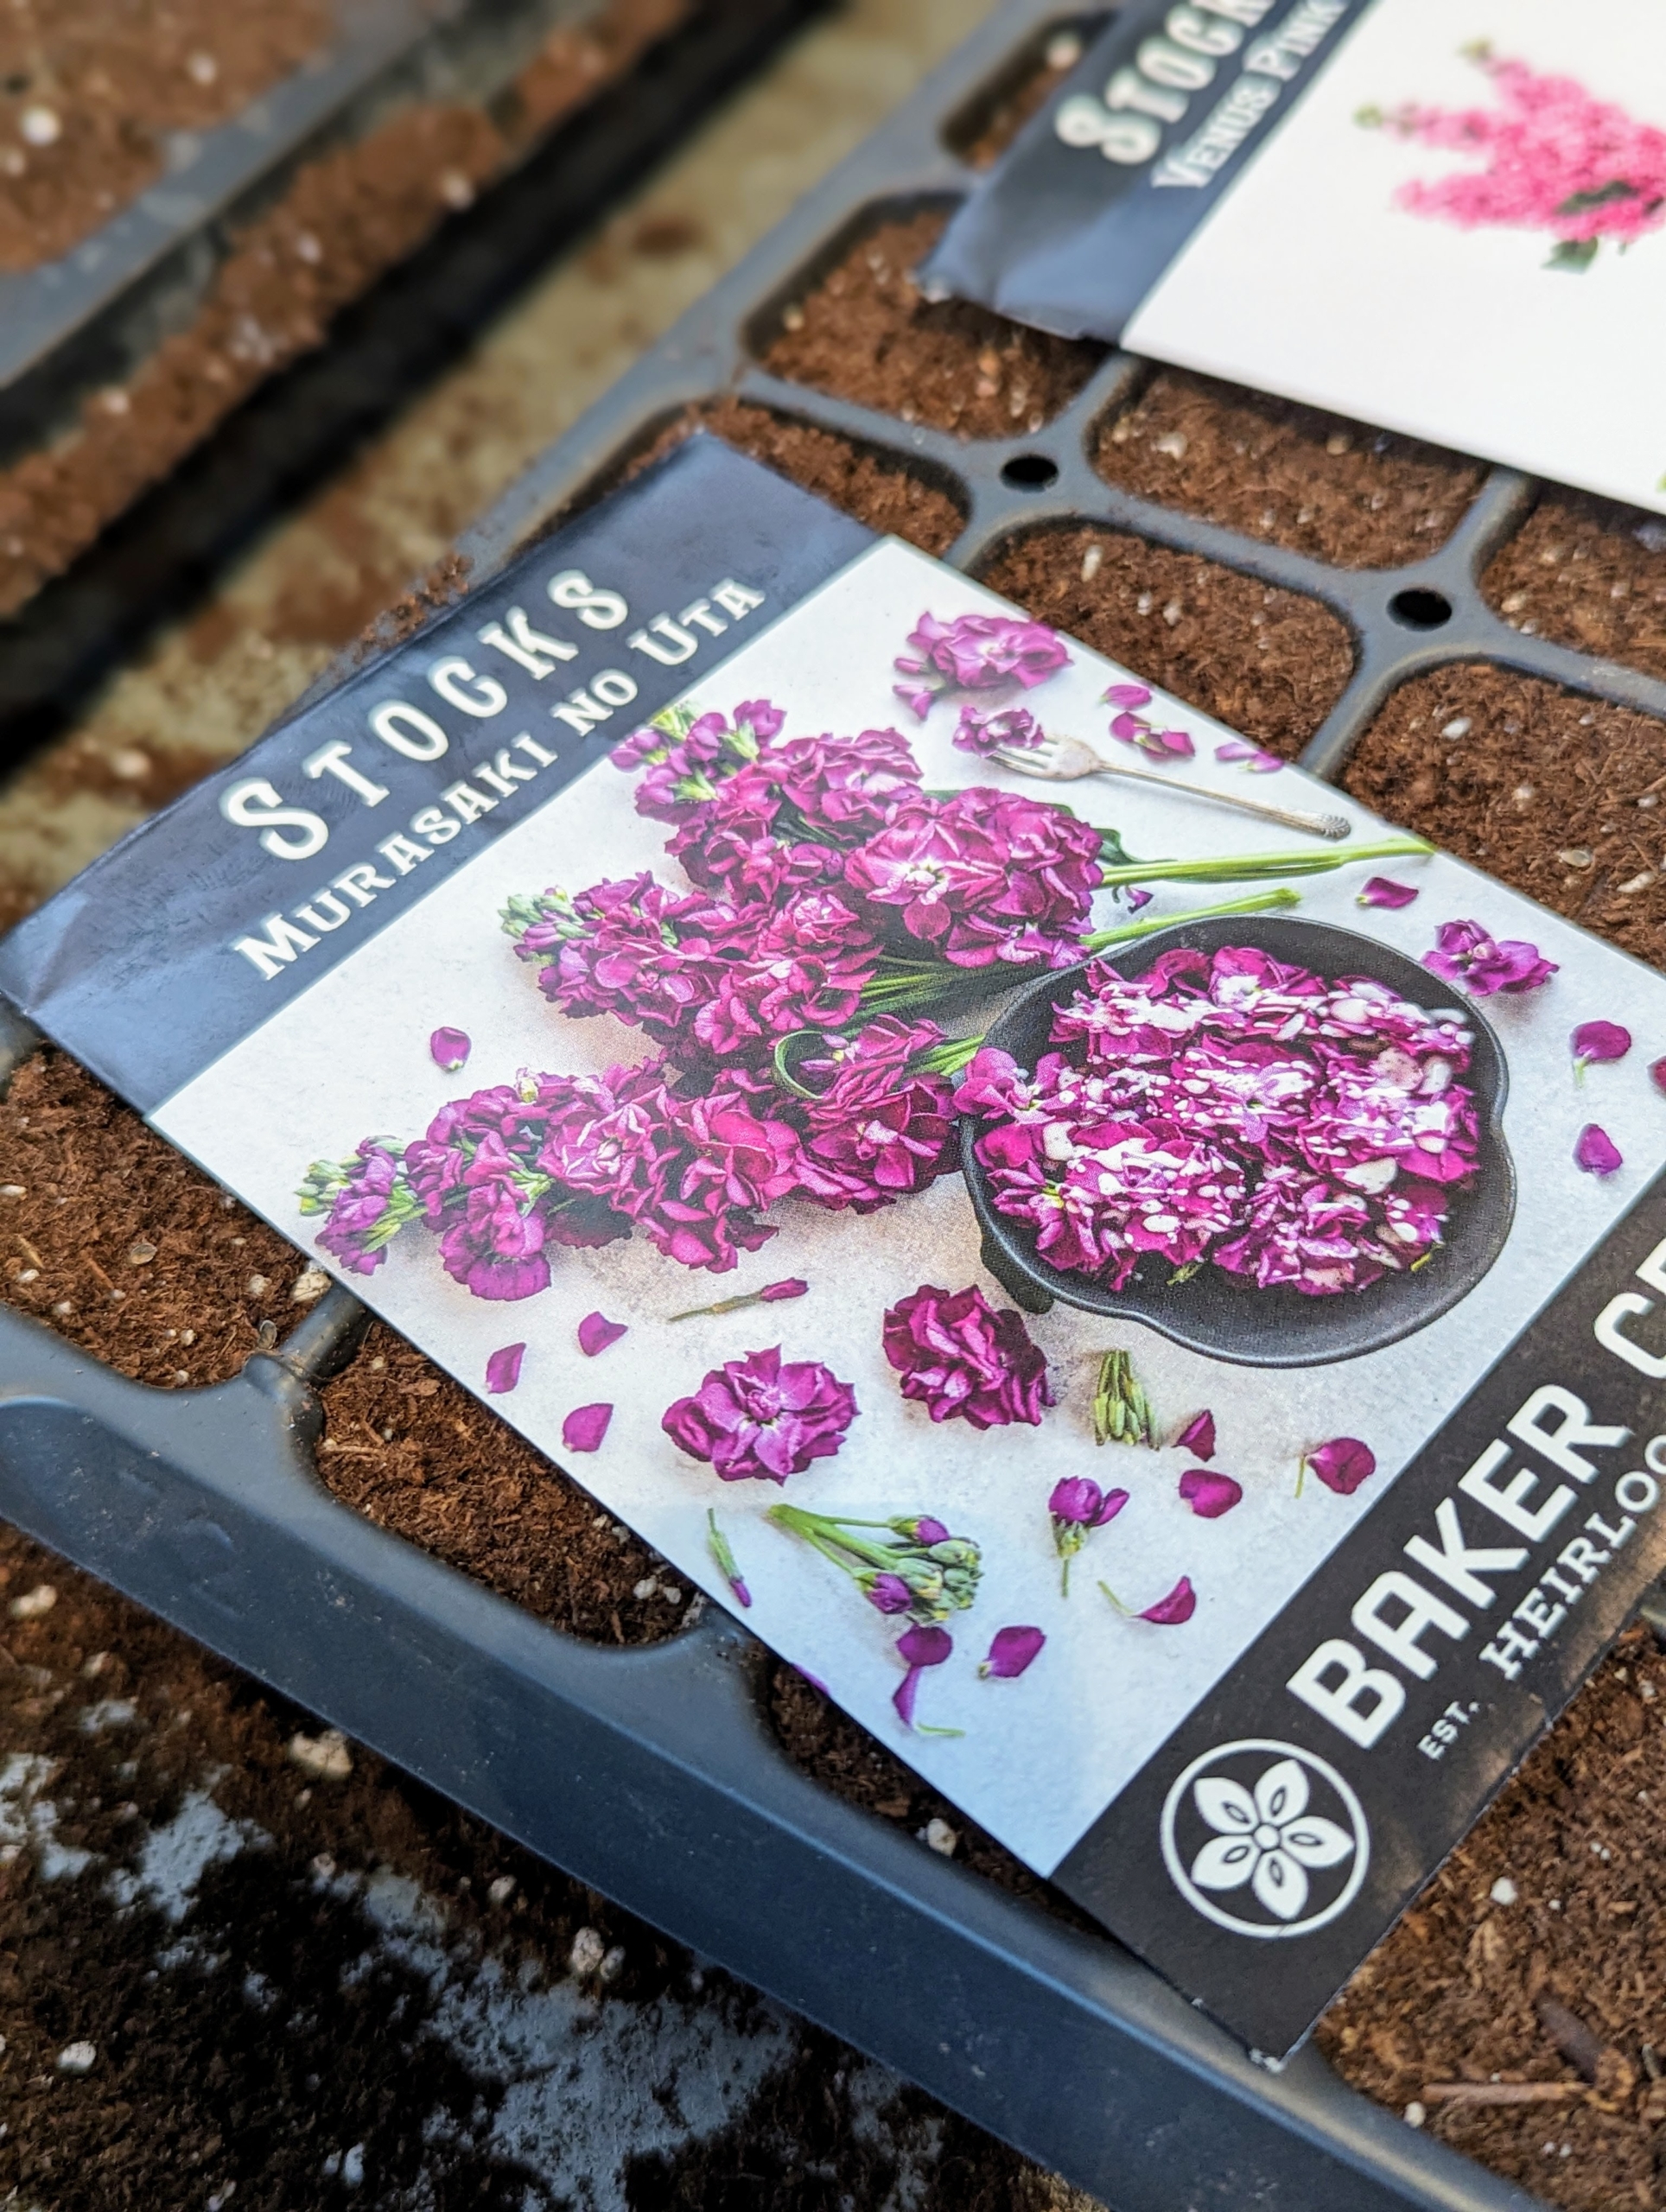
Have you ever grown stocks? These are Murasaki No Uta – a royal purple, single-stemmed variety that is fragrant and resplendent in the garden and in a vase. Averaging 34 to 40 inches tall, each plant produces a robust stalk topped with colorful ruffled blooms.
Lace flowers are delicate, light colored blooms that gracefully sway atop wiry but sturdy stems. Plants reach up to three-feet tall and blooms average about two-and-a-half-inches across, with a subtle, sweet fragrance.
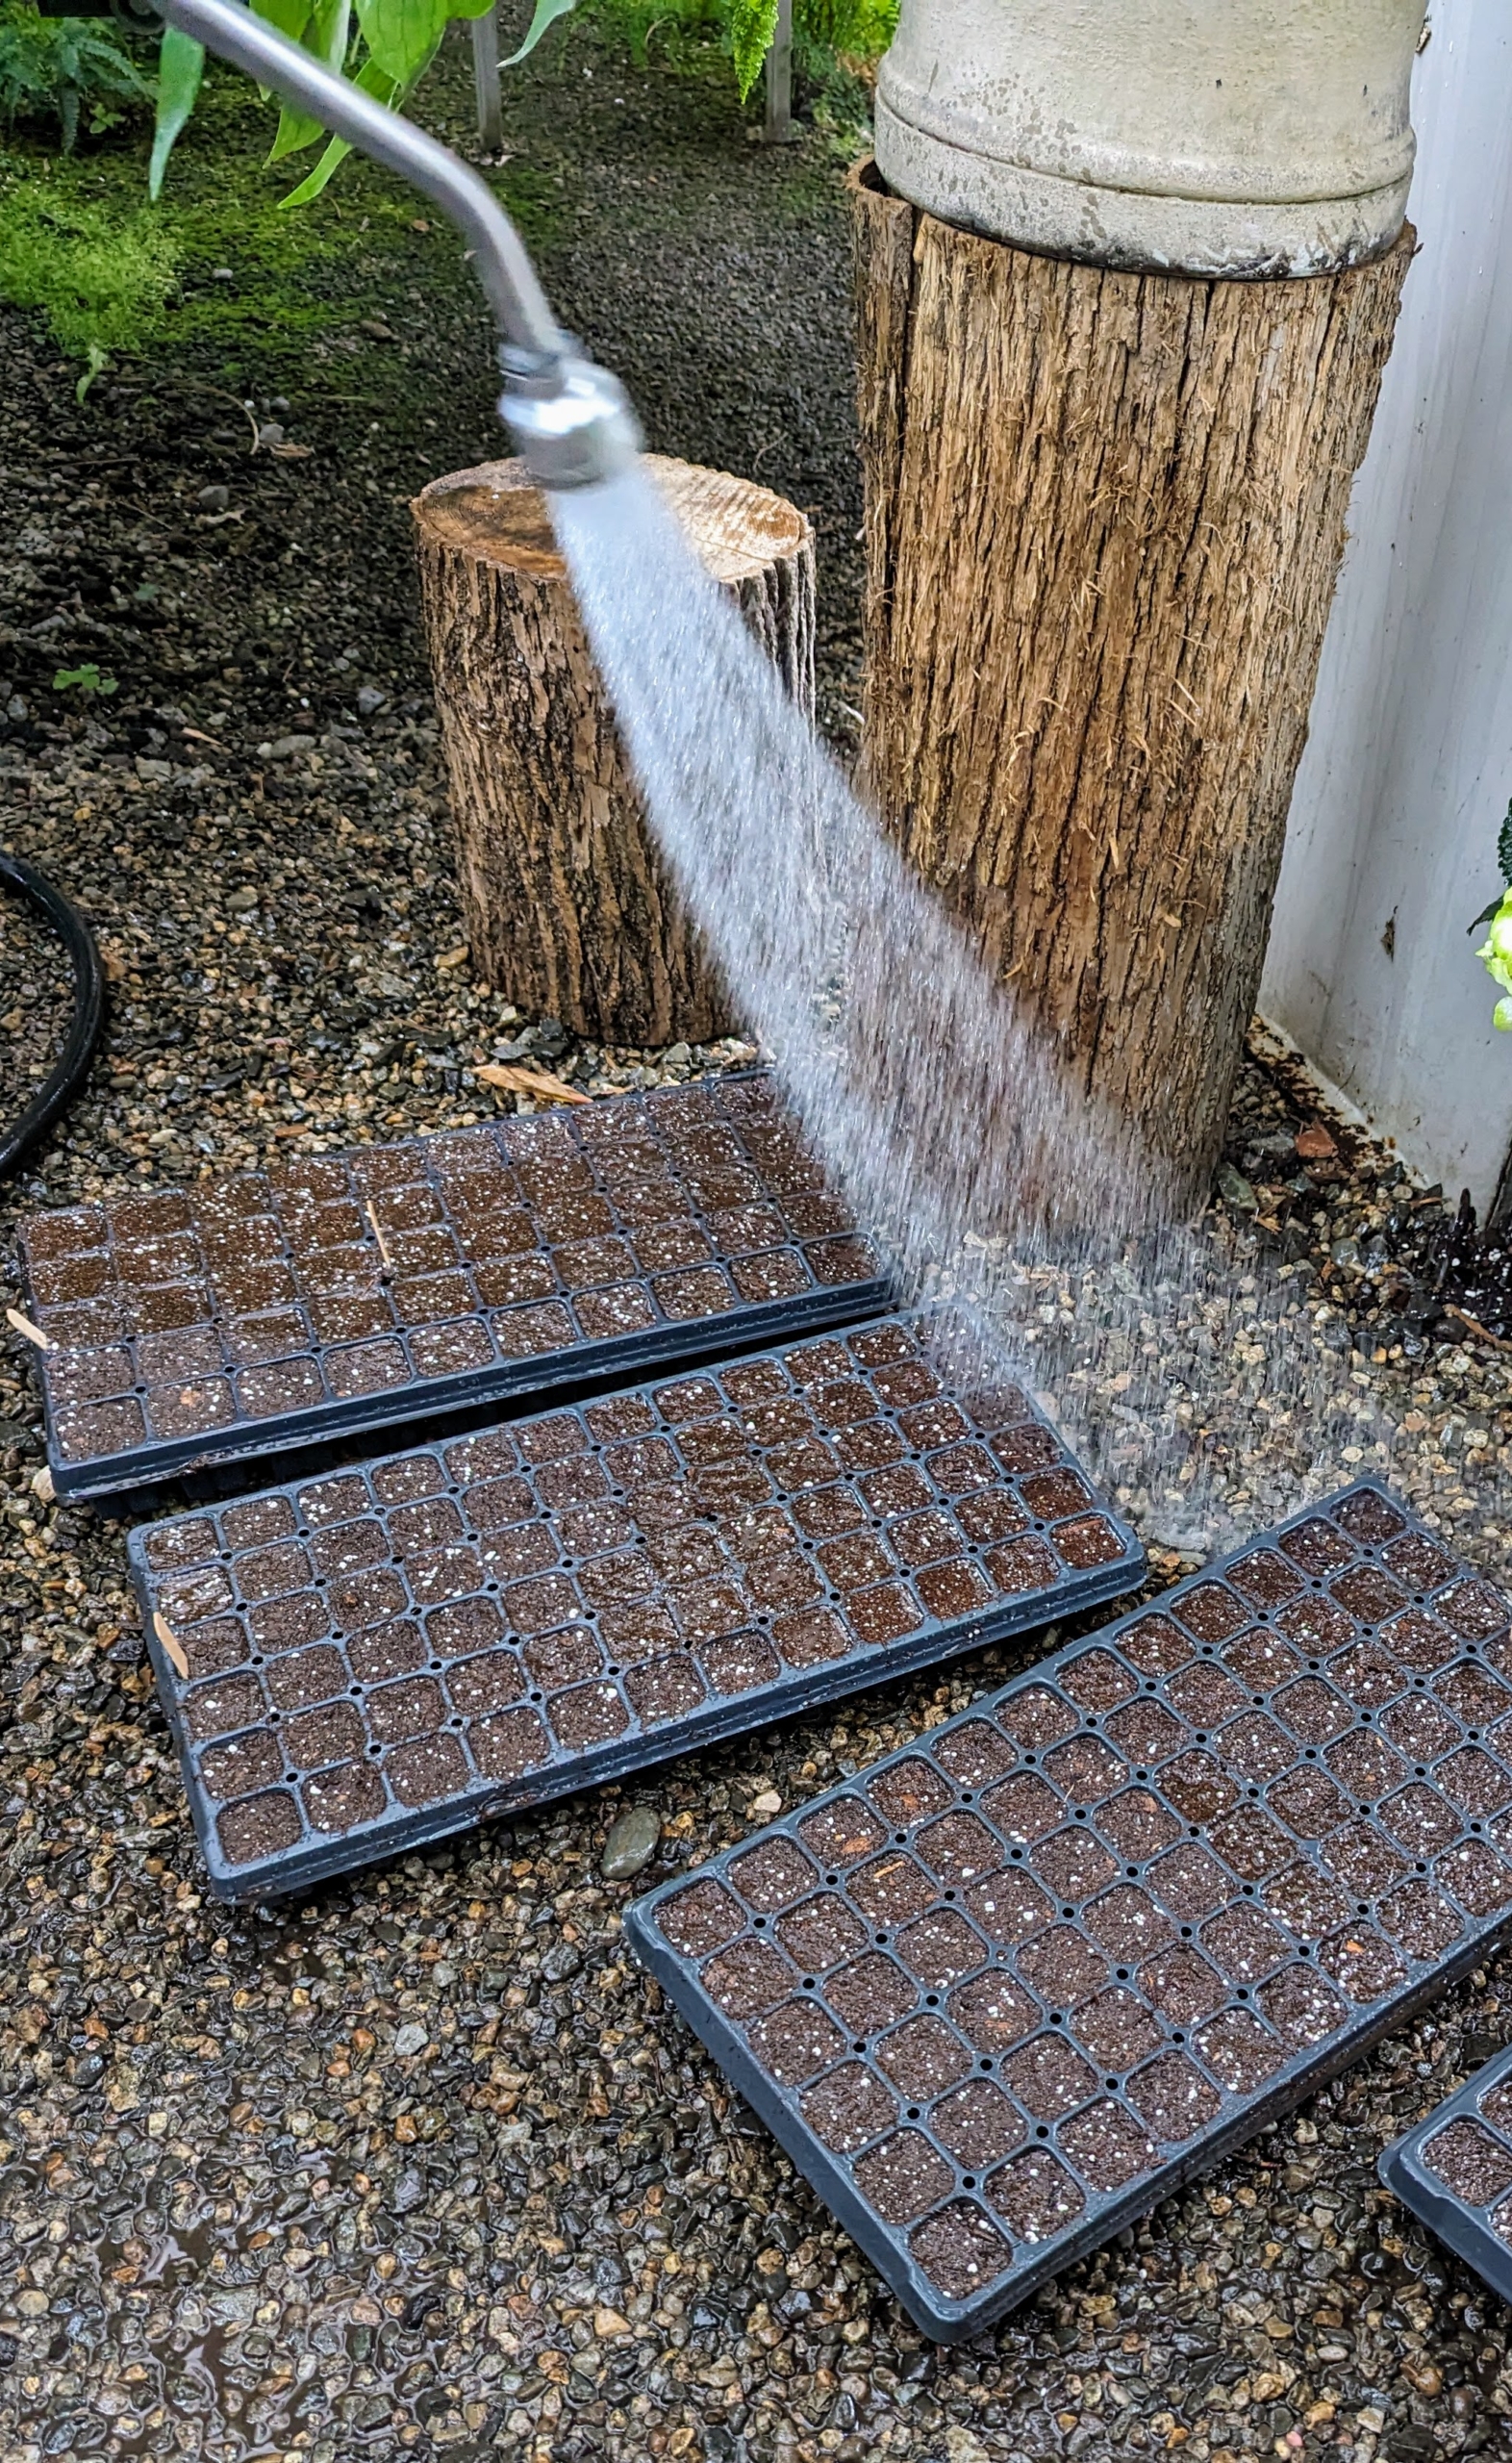
Ryan takes all the trays into the greenhouse where they can get a good drink.
On average, it takes at least a week or two for flowers seeds to germinate and then at least 50 to 60 days until flowers appear – some up to 100-days, but we’re sure to have many gorgeous blooms this summer. I can’t wait. Follow my blog and see!
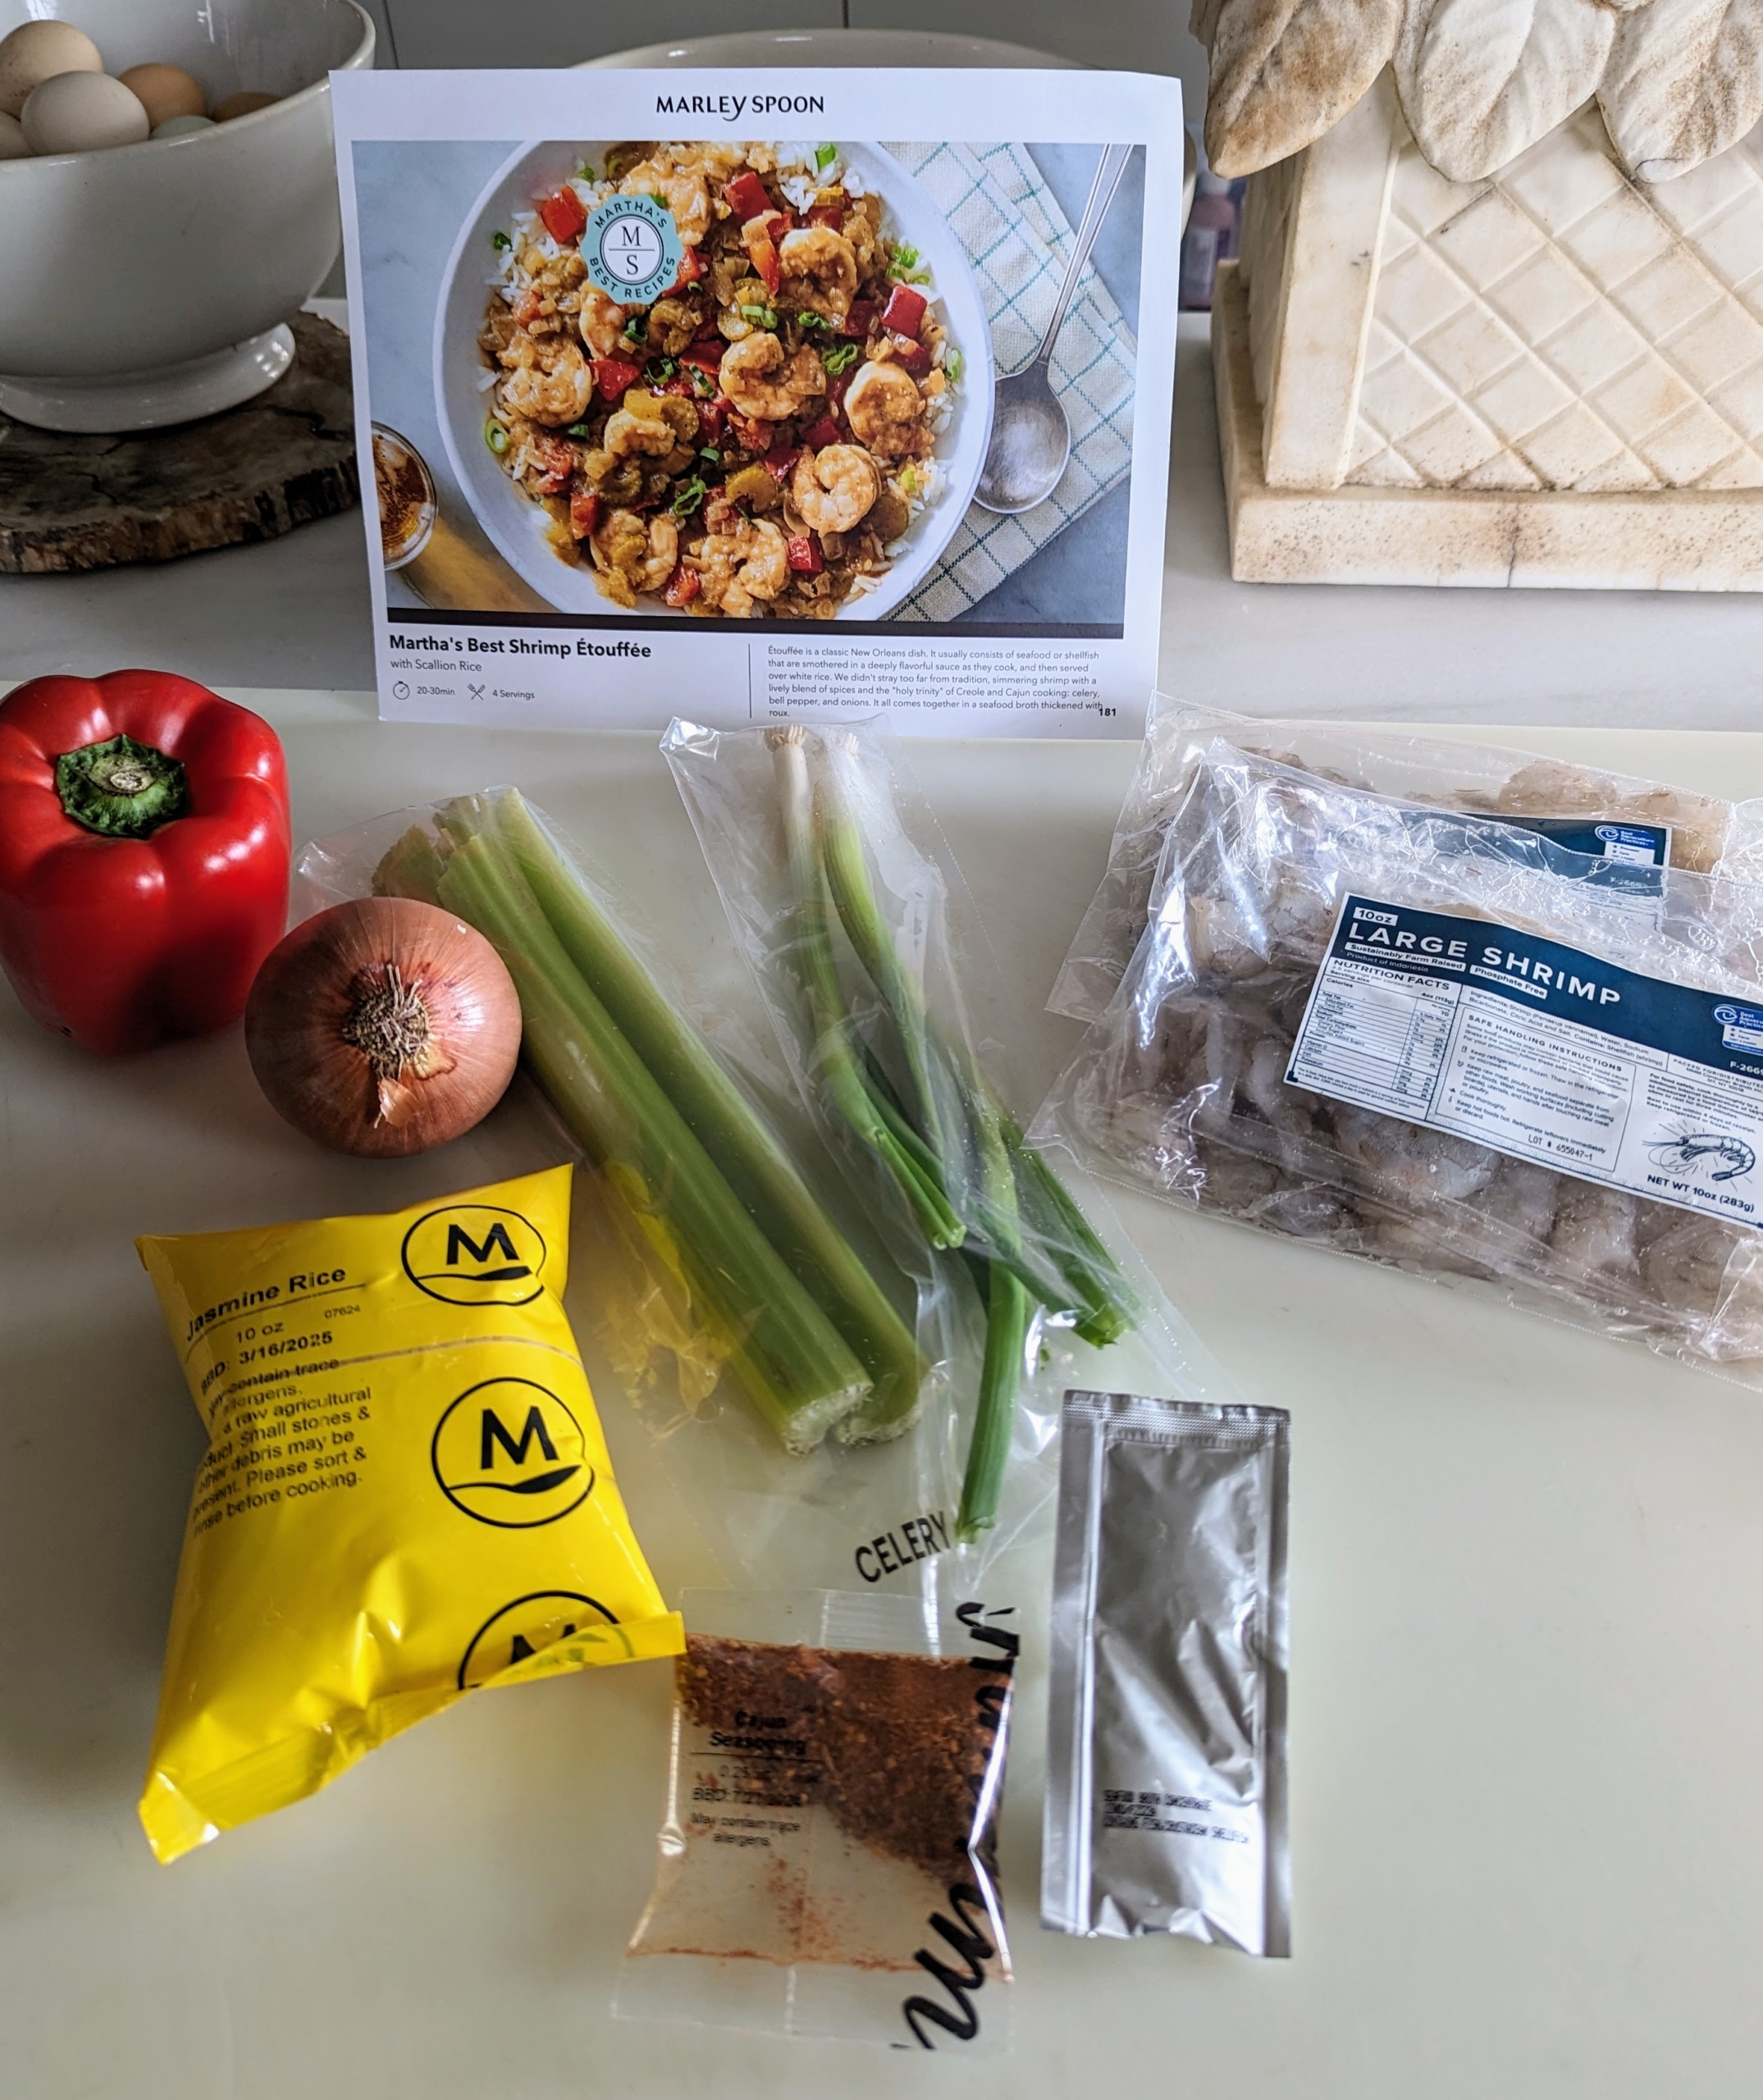
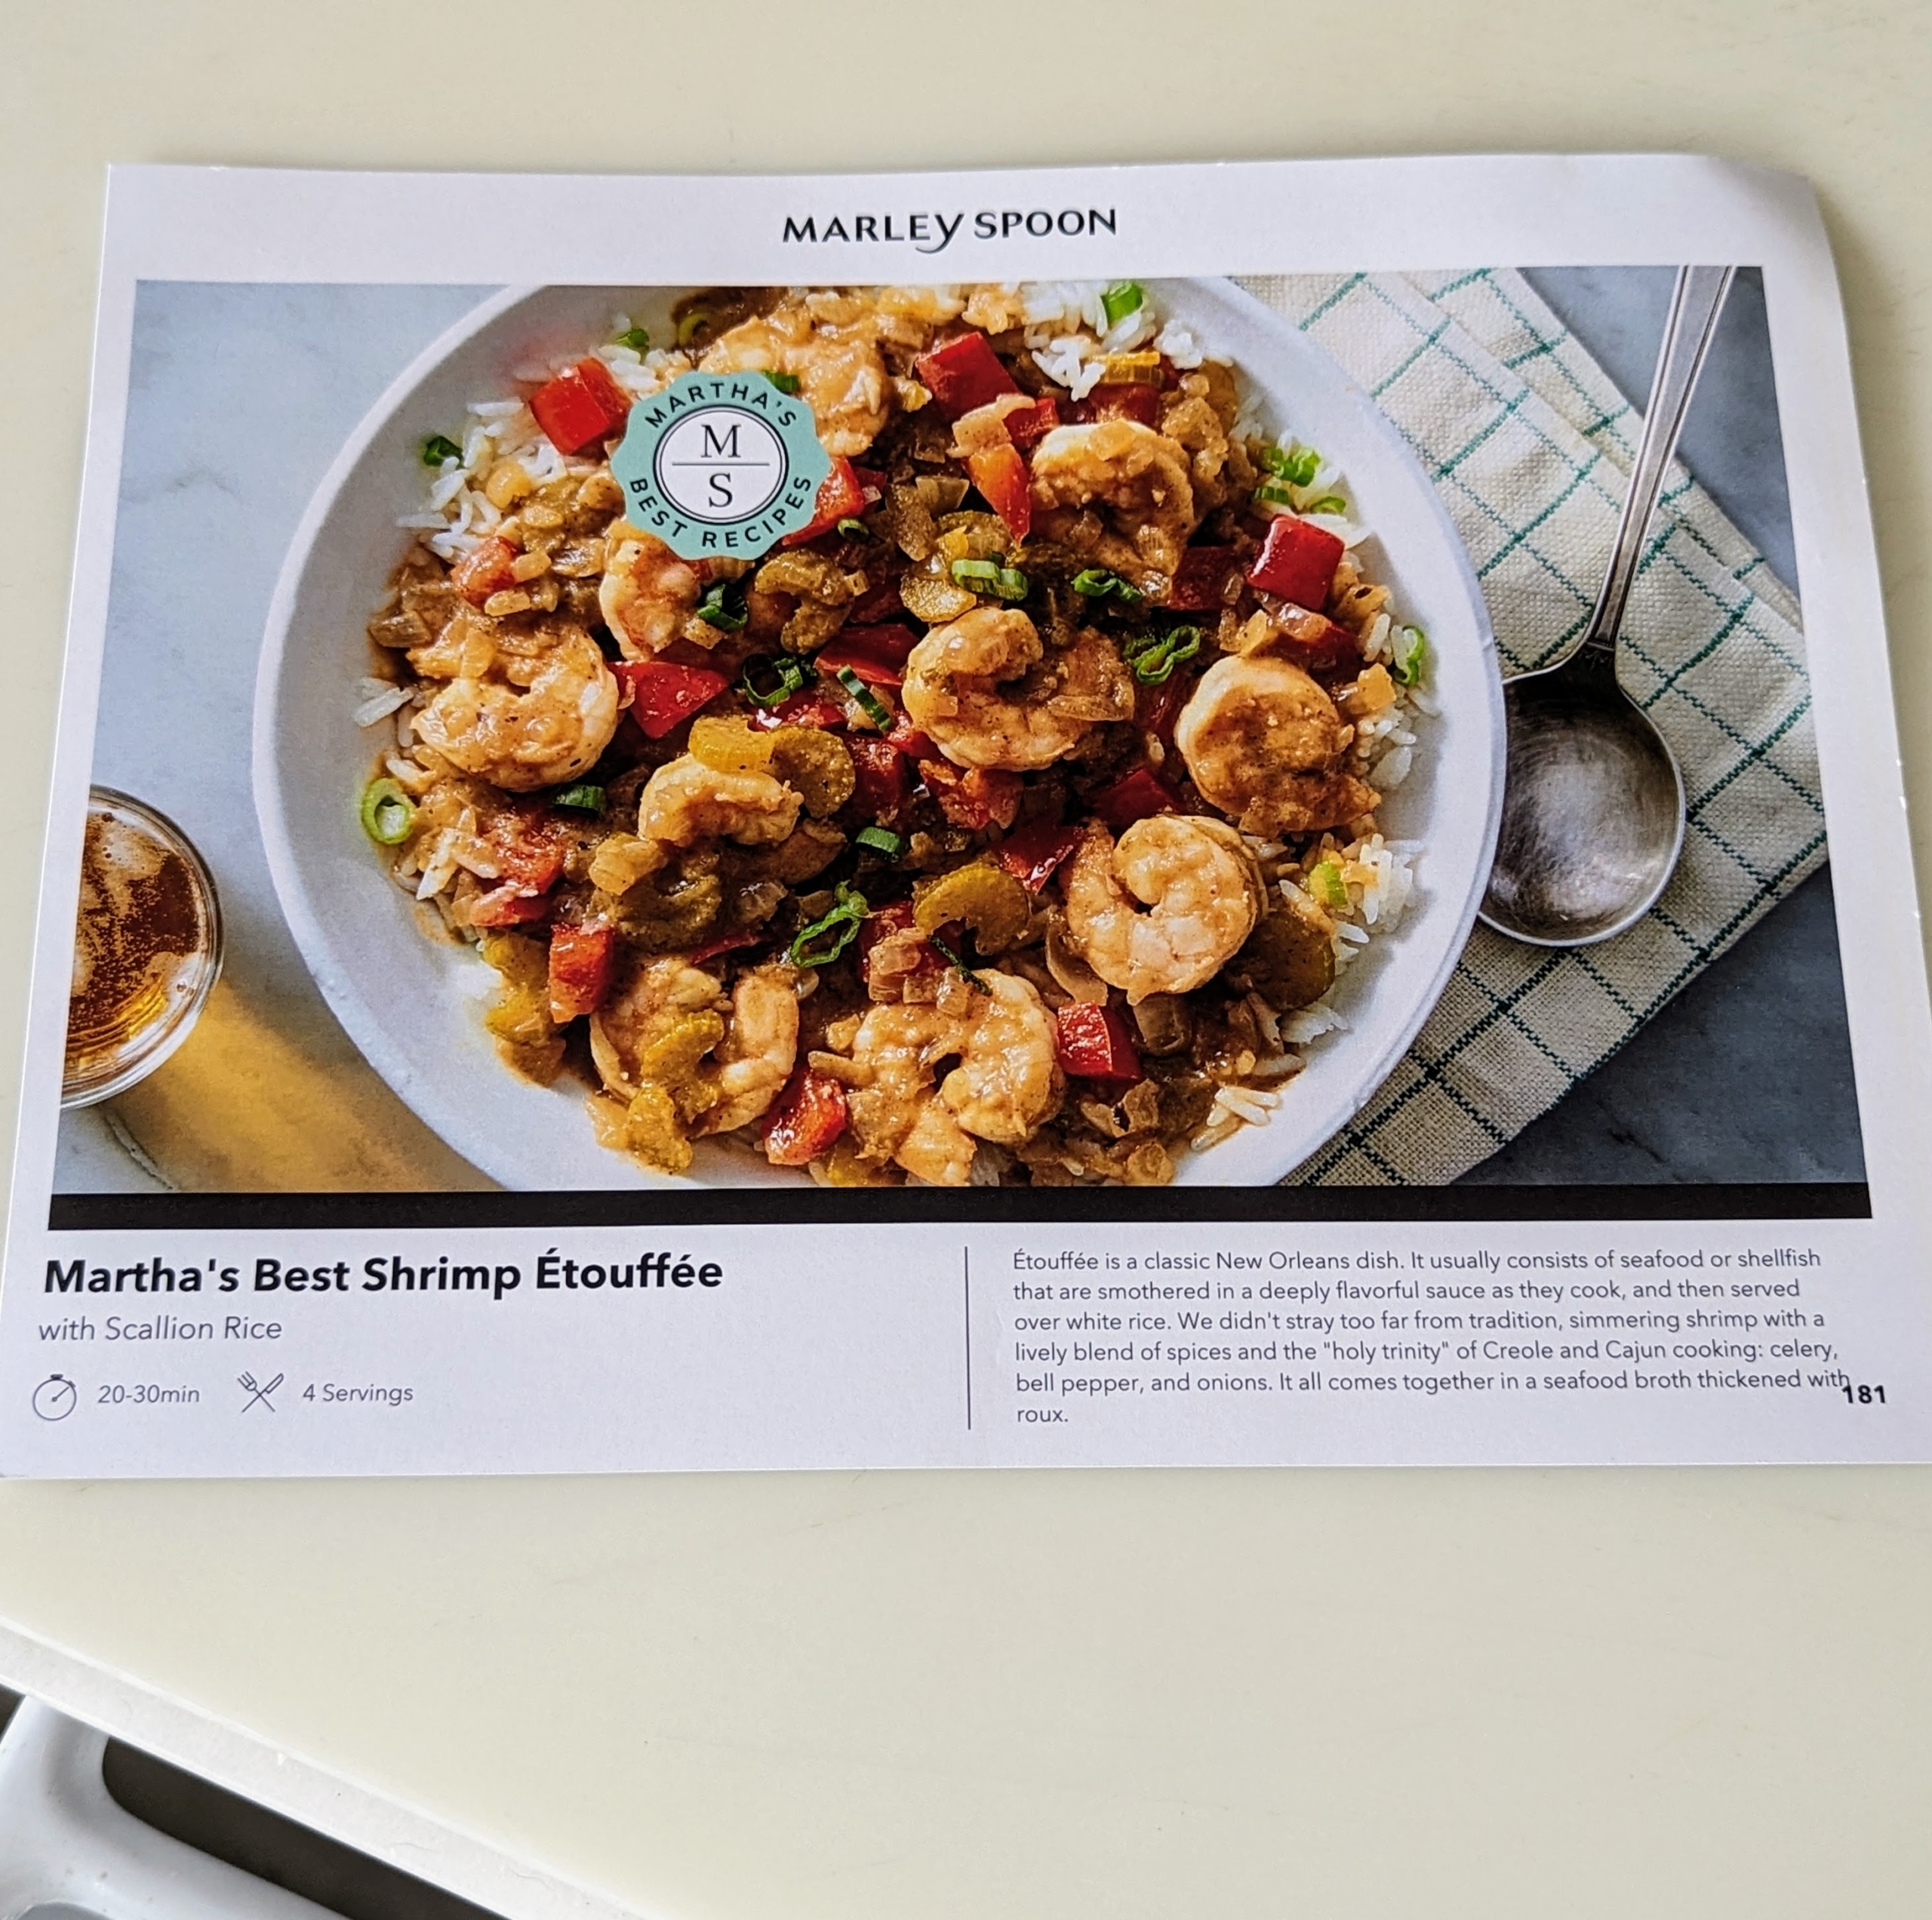
Have you ever tried étouffée? The classic dish is found in both Cajun and Creole cuisine and served with shellfish that is smothered in a flavorful sauce and served over rice. My recipe for this delicious meal is just one of the many offerings from Marley Spoon.
Every week, I order several Marley Spoon meal kits to enjoy at my farm. Recently, my housekeeper Elvira Rojas cooked up Martha's Best Shrimp Étouffée with Scallion Rice. It was excellent and the perfect size for four. Plus, just as promised on the recipe card, the entire dish was done in 20-30 minutes. This delivery meal service features so many inspiring recipes and cooking ideas, and you can customize the menu and choose the recipes that best fit your busy lifestyle. To order your Marley Spoon meal kits, please go to the web site or click on this highlighted link.
Here are some photos.
The Marley Spoon meal kit process is so easy to follow. One can choose from more than 100-weekly recipes that include some of my own best dishes and then all the ingredients are delivered on a selected day – fresh, pre-portioned and ready to cook.
Every dish also comes with this large recipe card with a photo of the finished meal on one side…
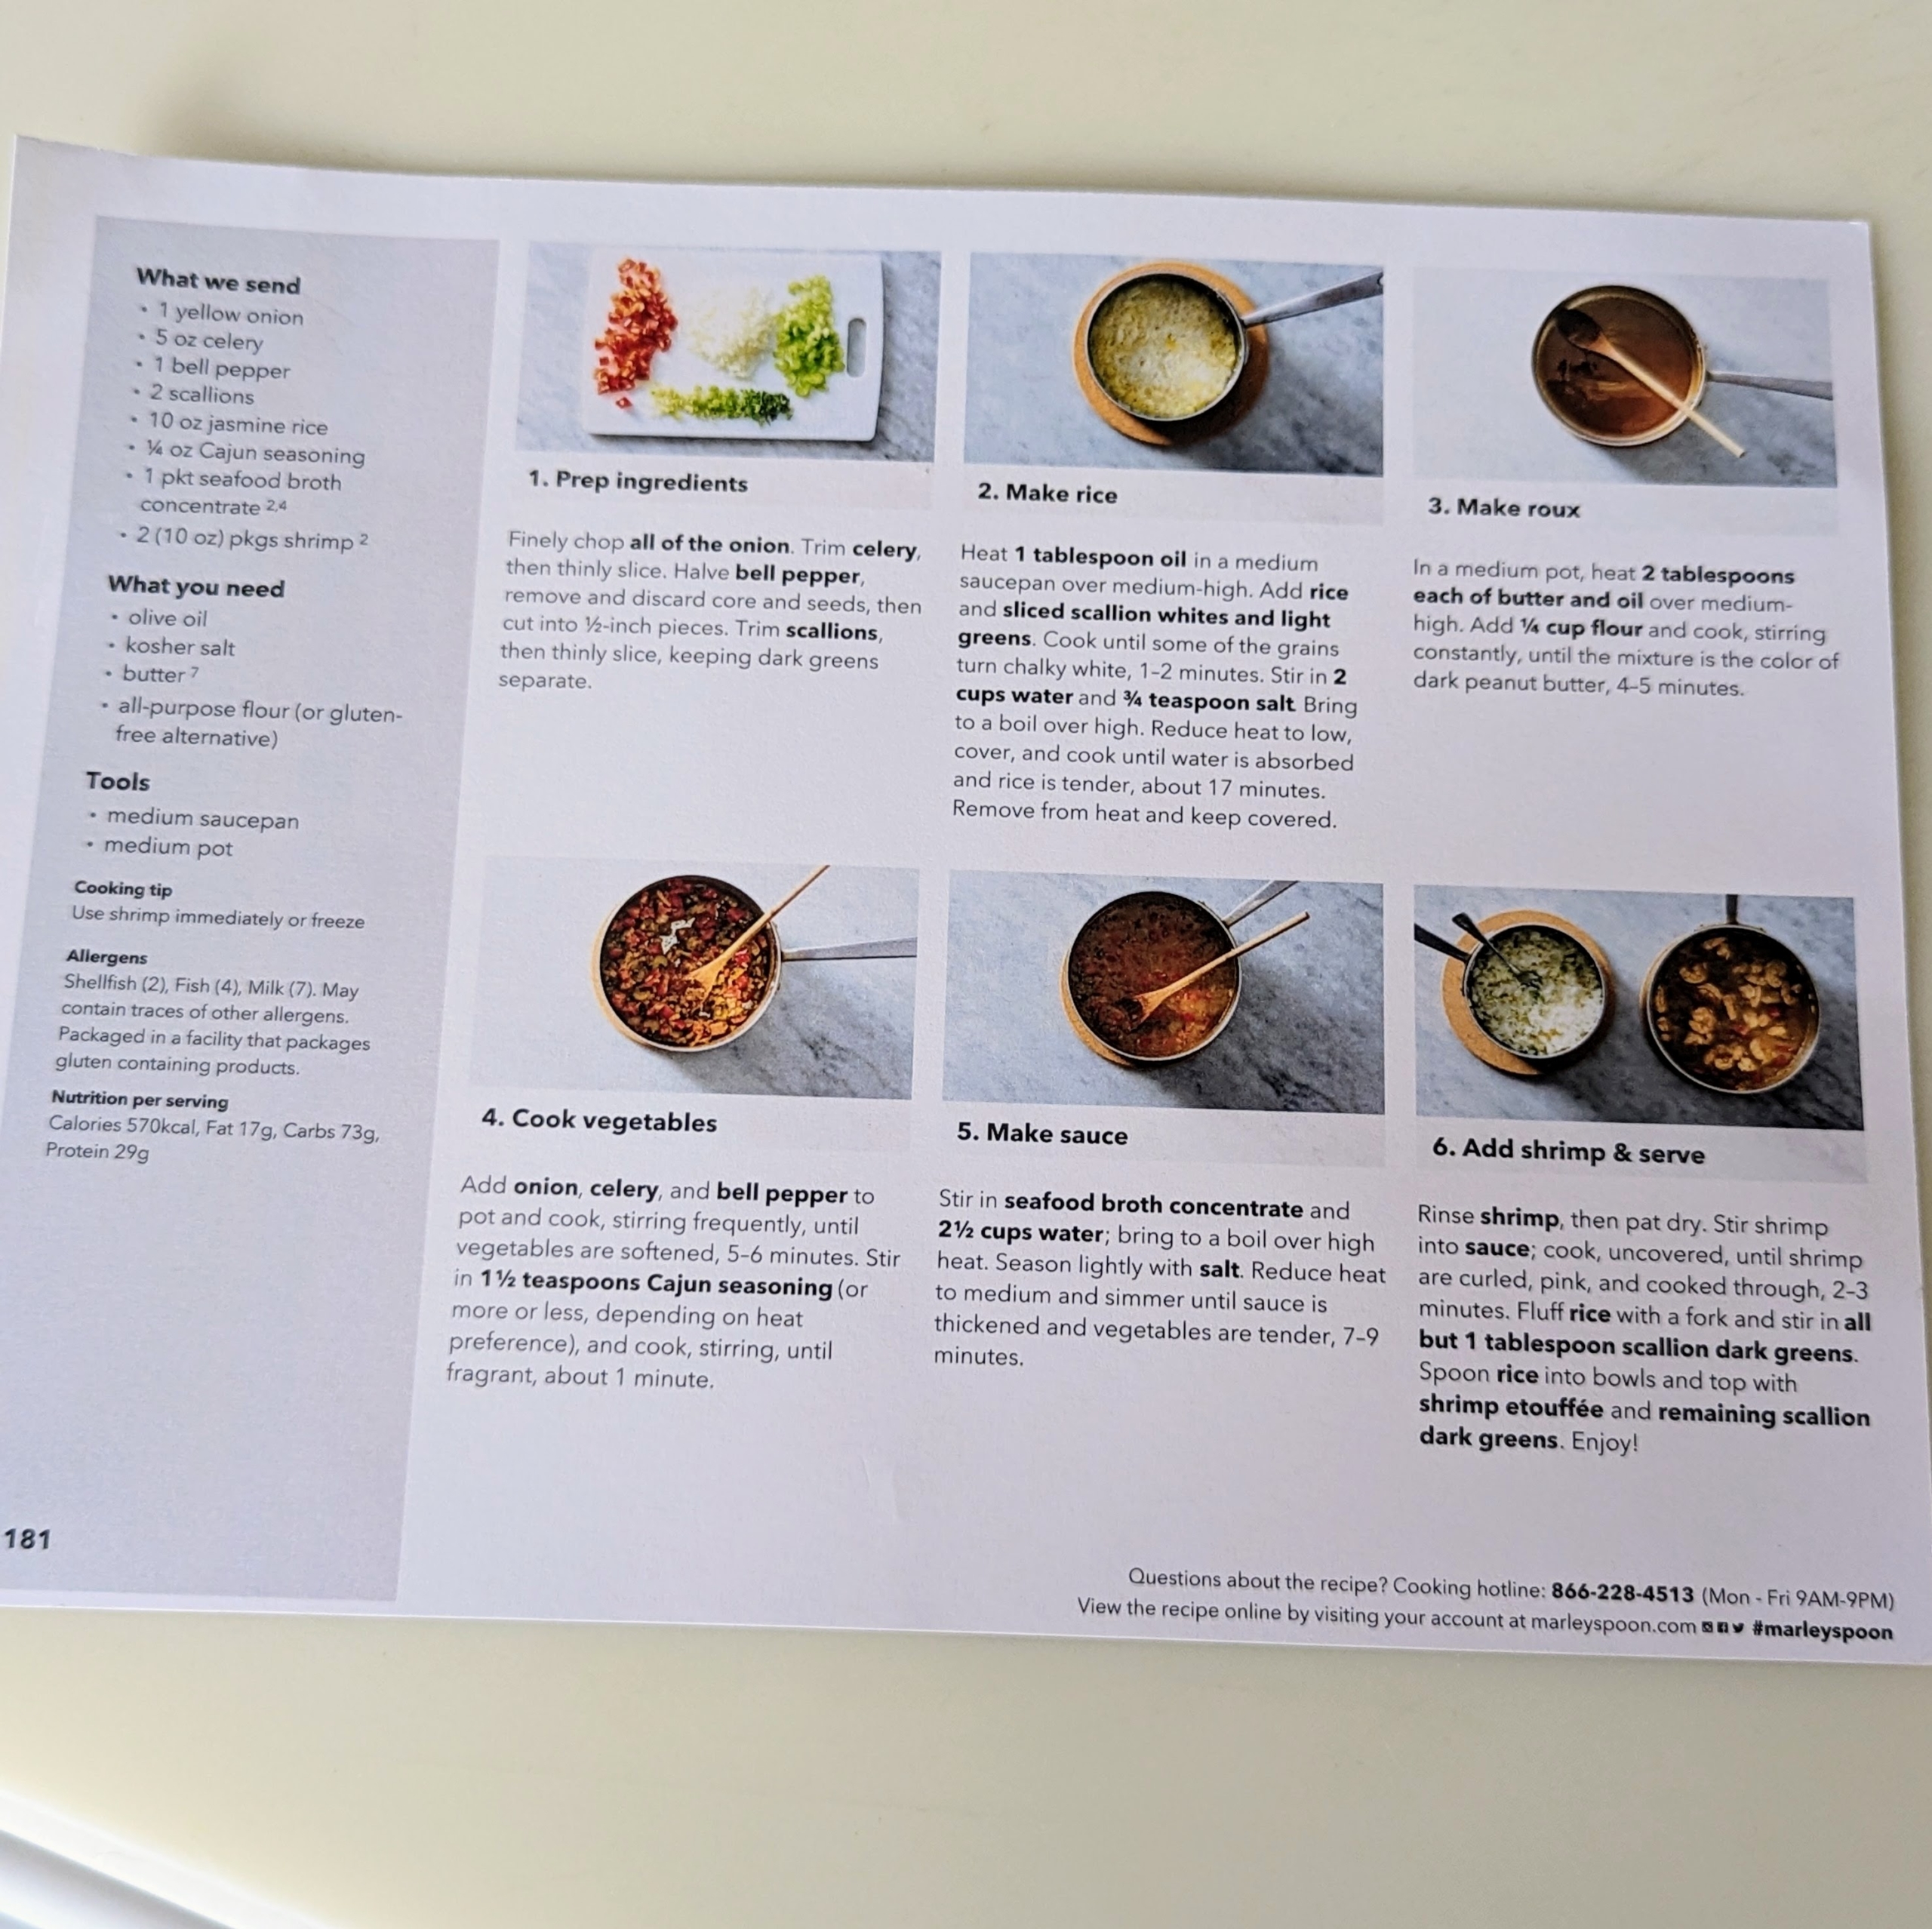
… and the step-by-step instructions on the other. My Shrimp Étouffée with Scallion Rice recipe calls for a medium pot and a medium saucepan.
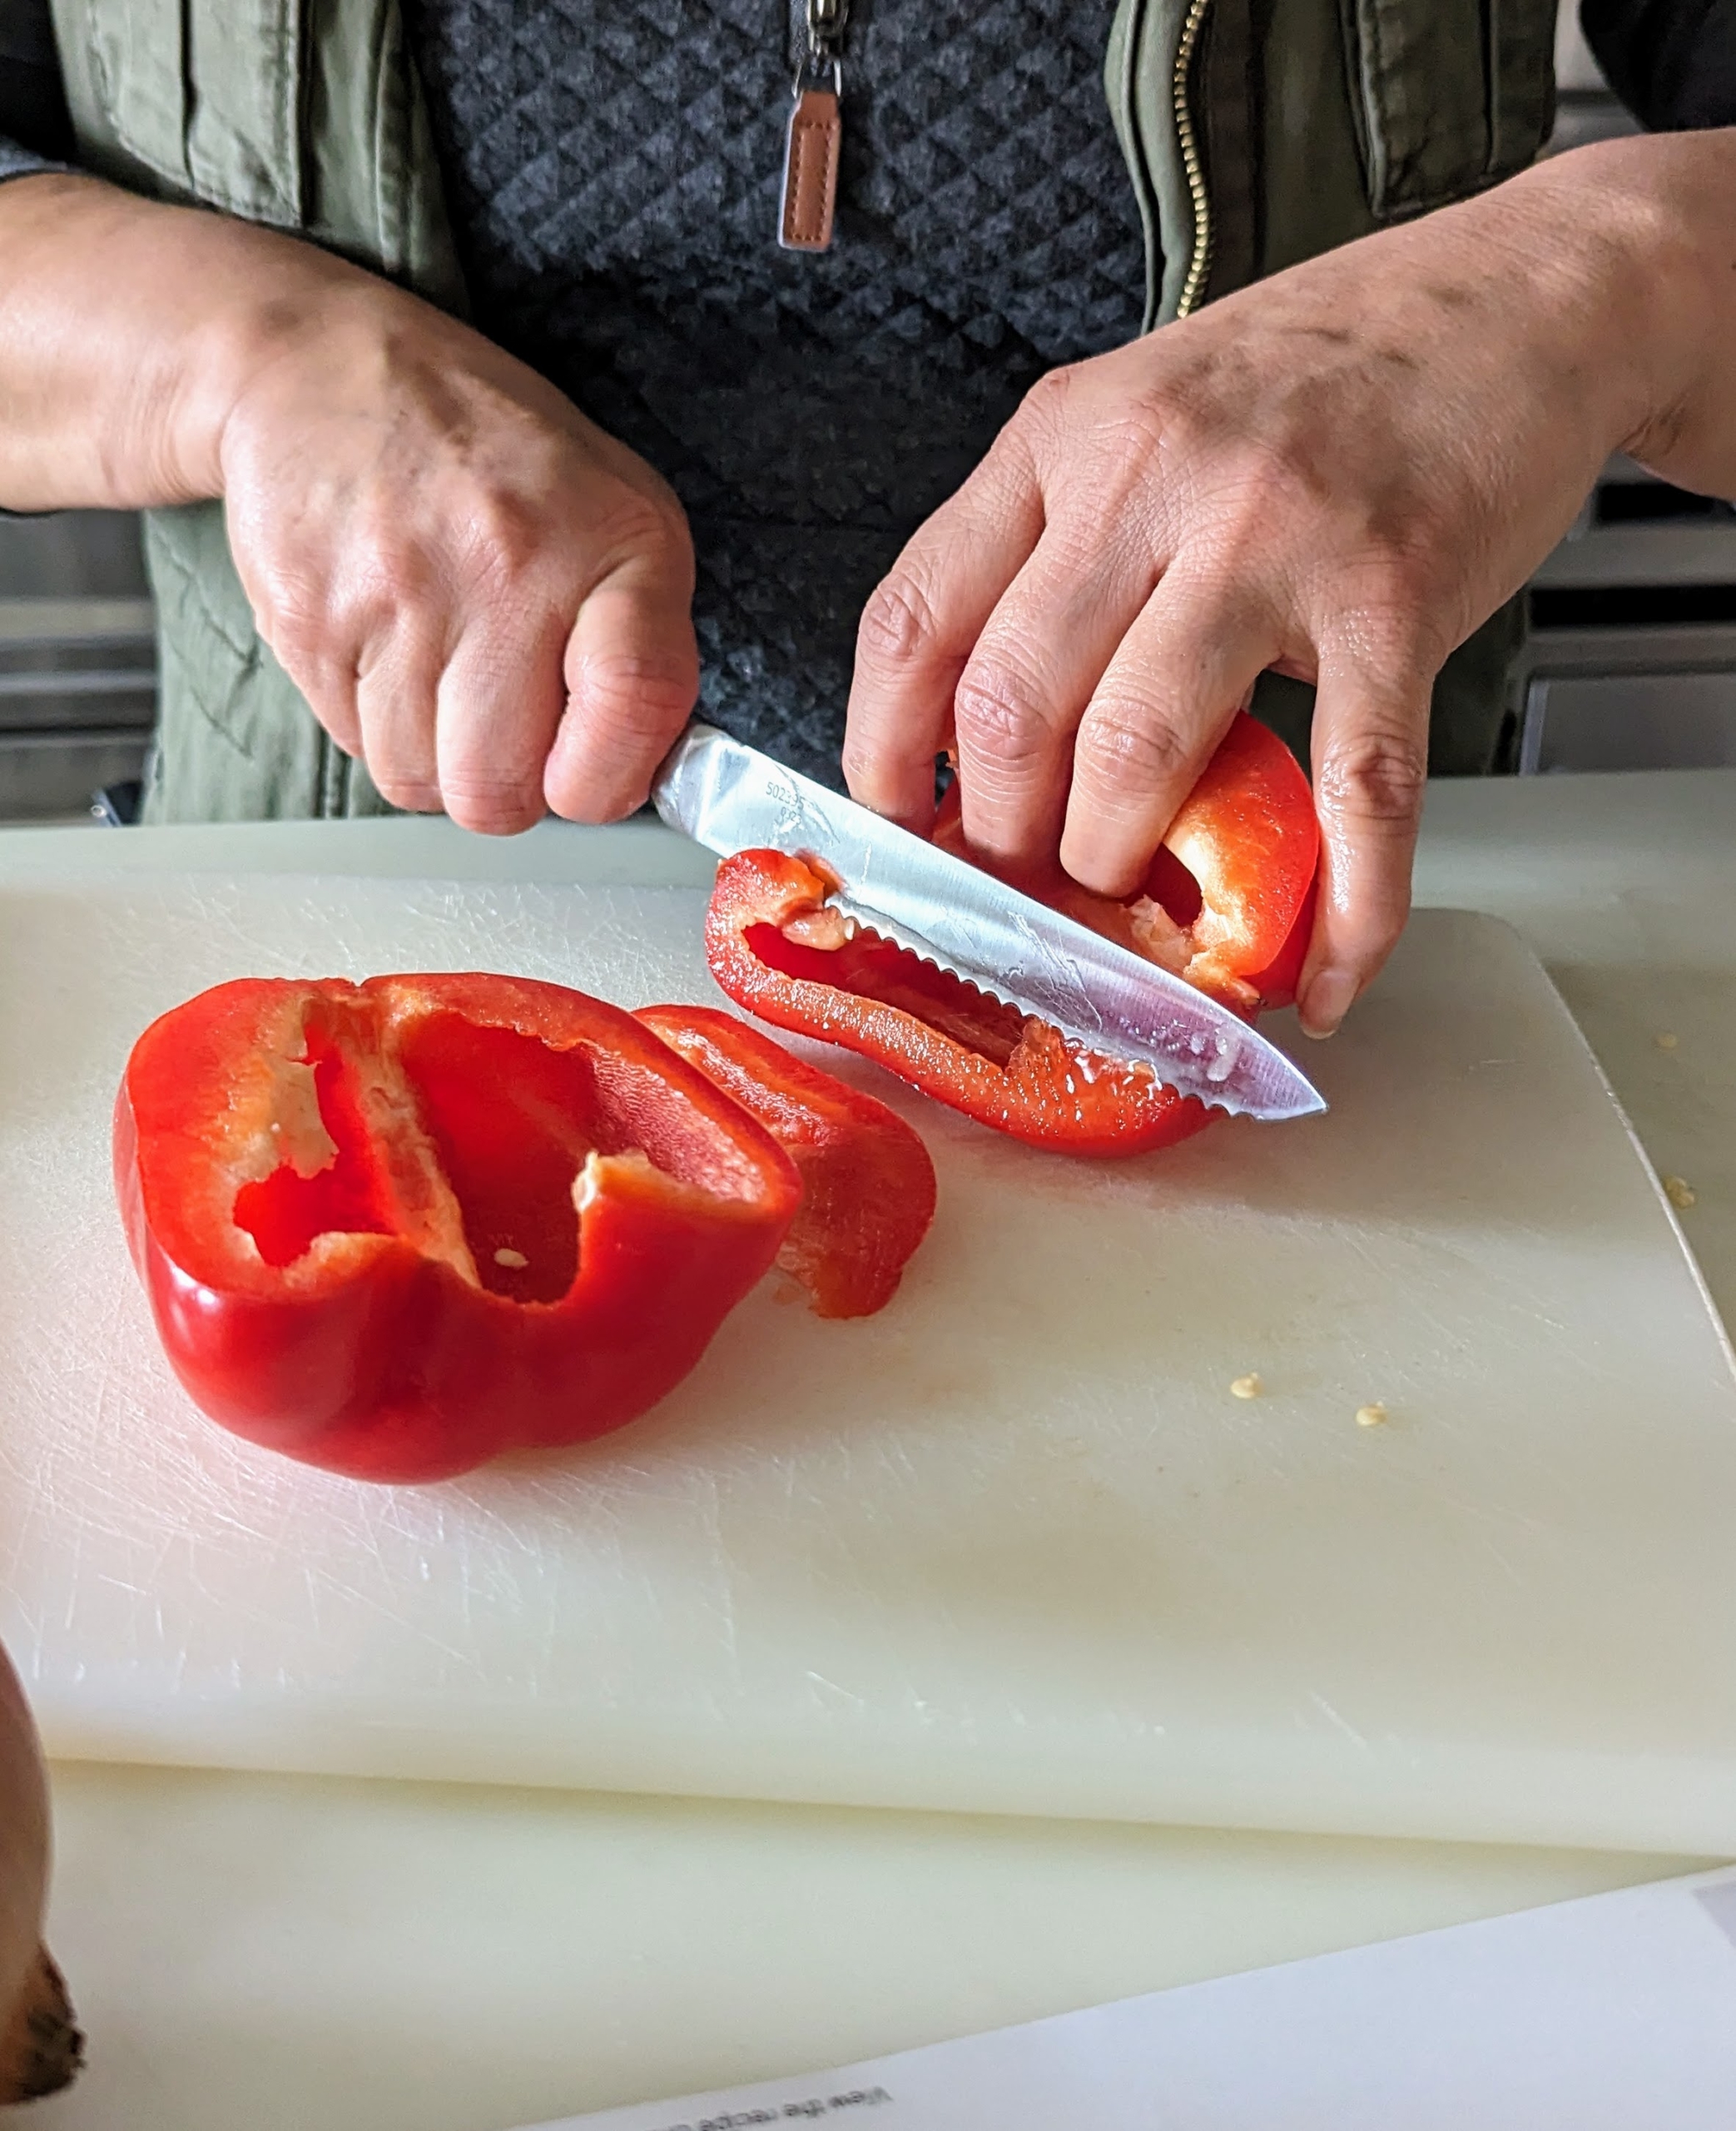
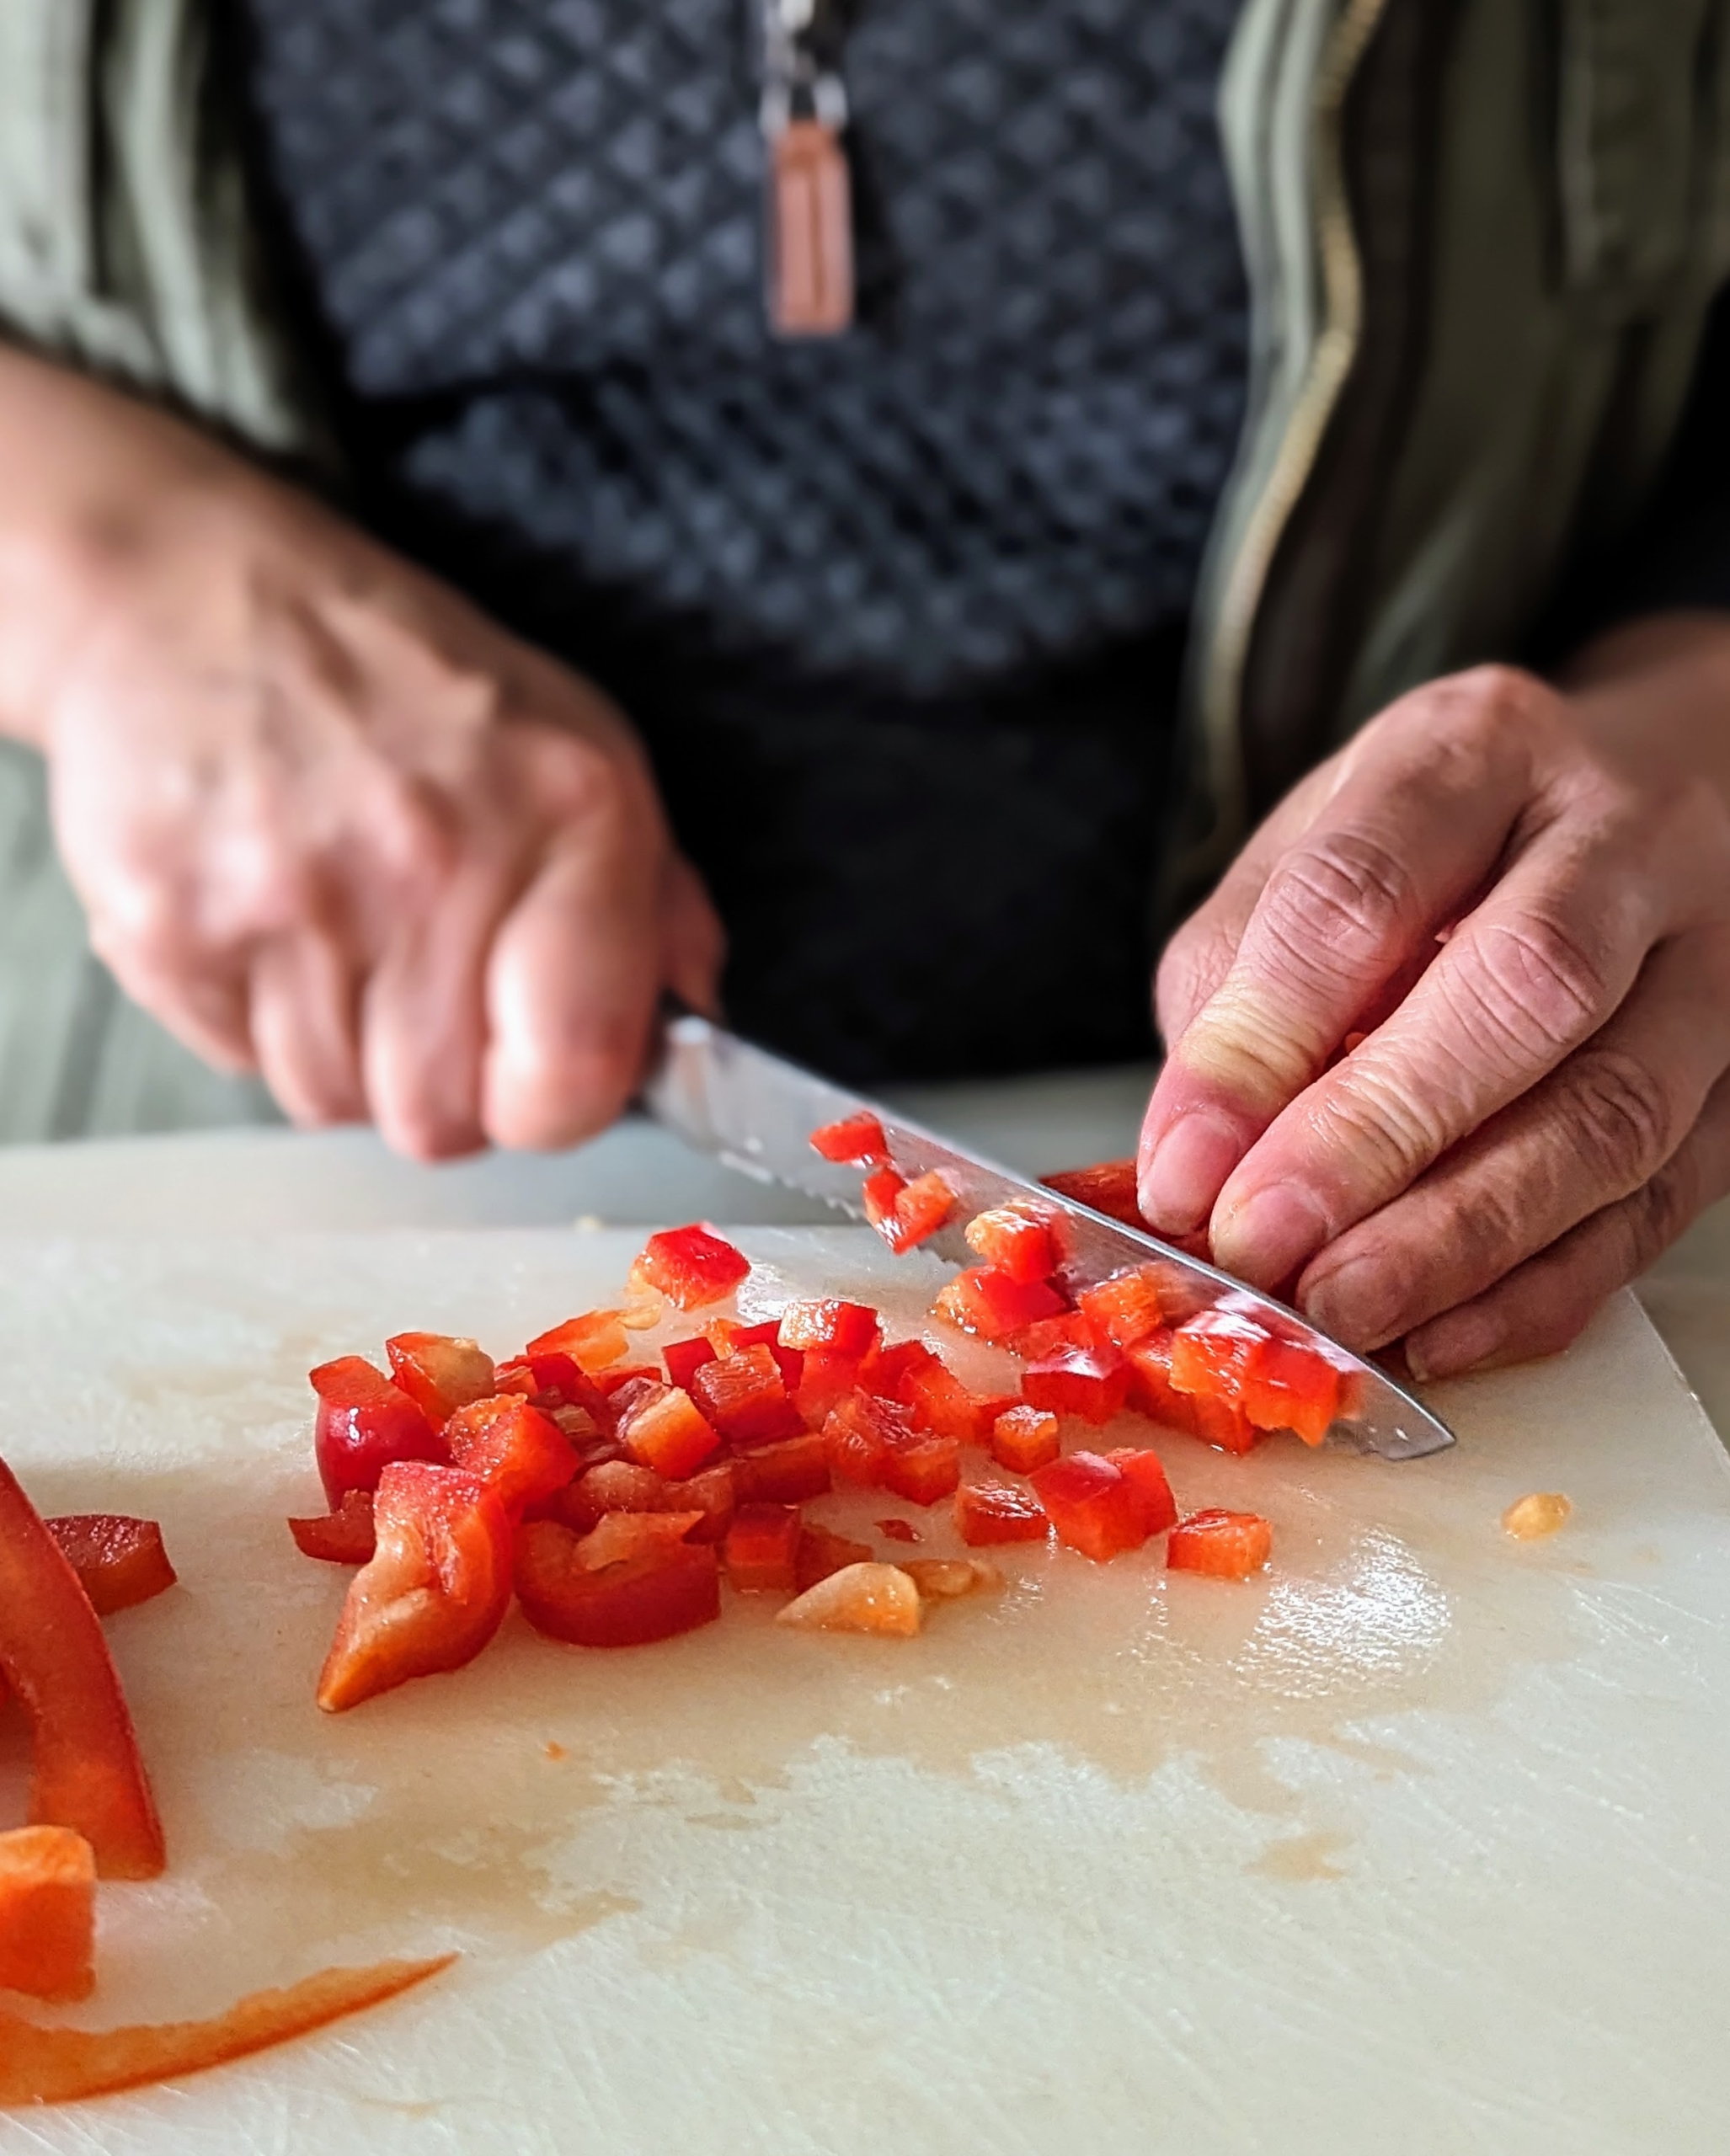
The first step is to prep the ingredients, or mis en place, a French culinary phrase which means “putting in place” or “gather”. It refers to any setup needed before cooking. Here, Elvira removes the core and seeds from the bell pepper and cuts first in half, then into smaller pieces…
… and finally into half-inch cubes.
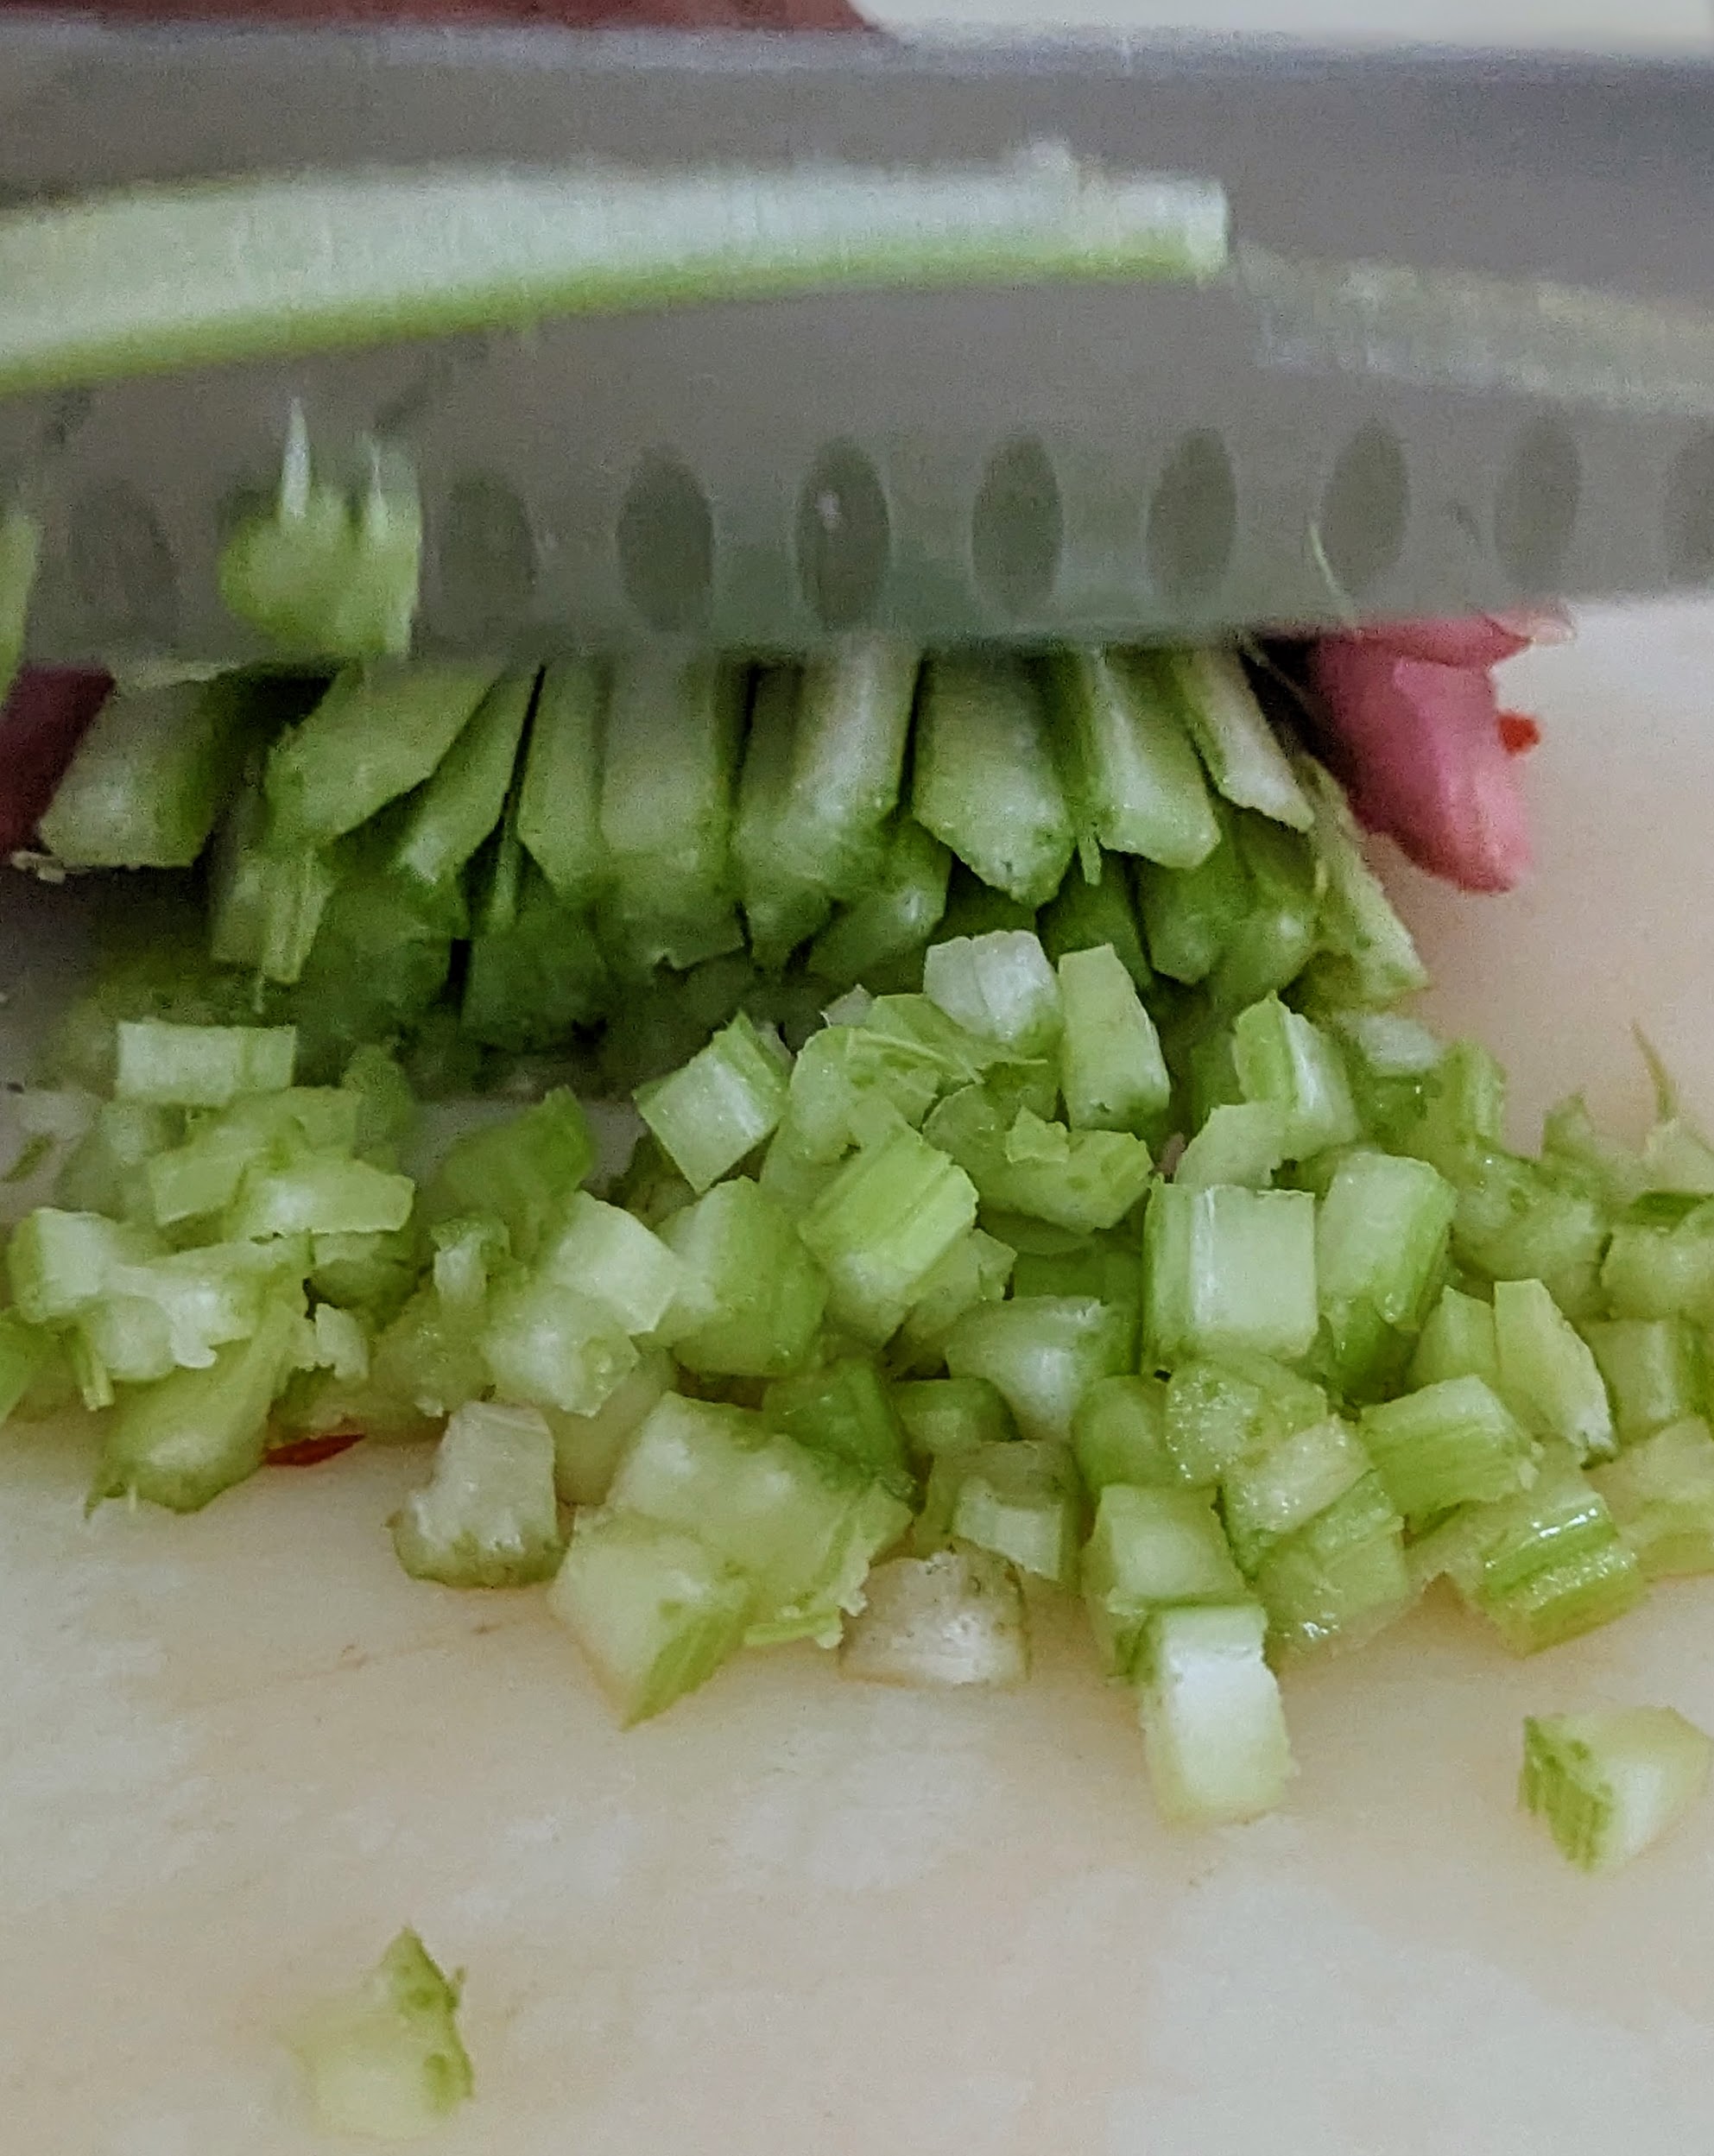
Elvira also trims and slices the celery…
… And then chops the slices into smaller pieces as well.
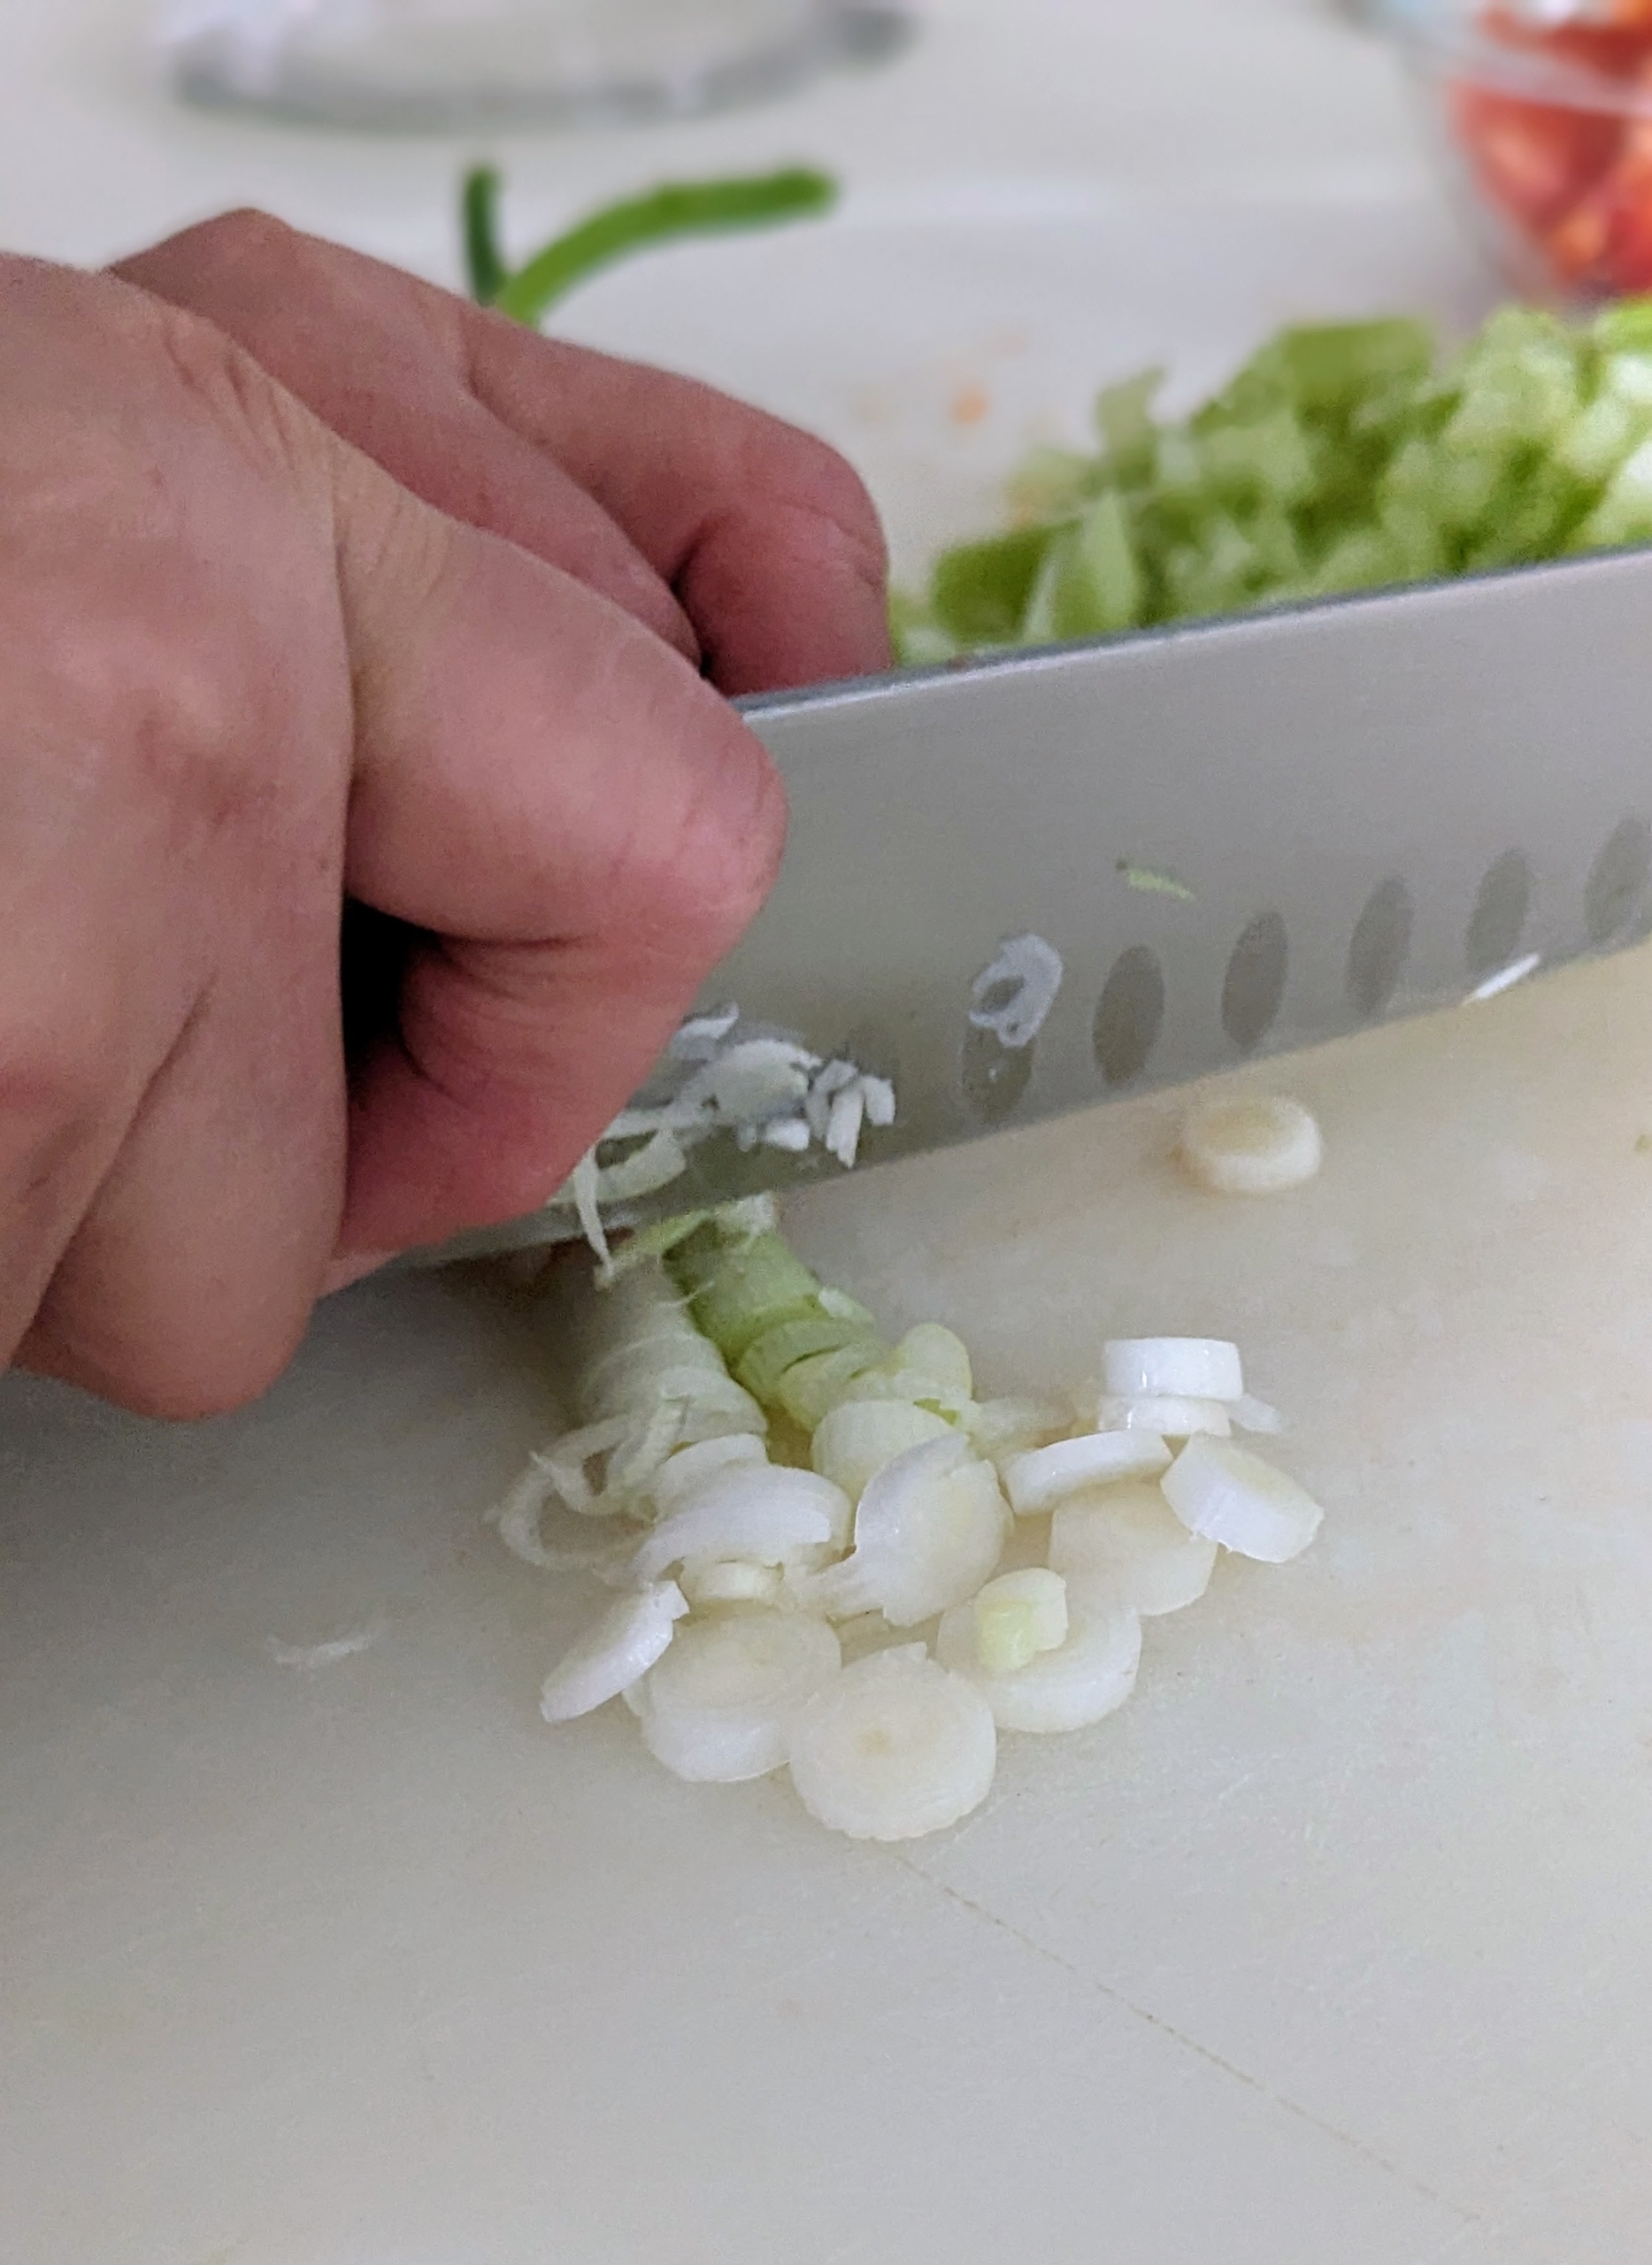
Next are the scallions. Elvira cuts them, separating the white from the green. Scallions add a subtle onion flavor. Both the whites and greens can be eaten, although the whites are a bit more abrasive in flavor.
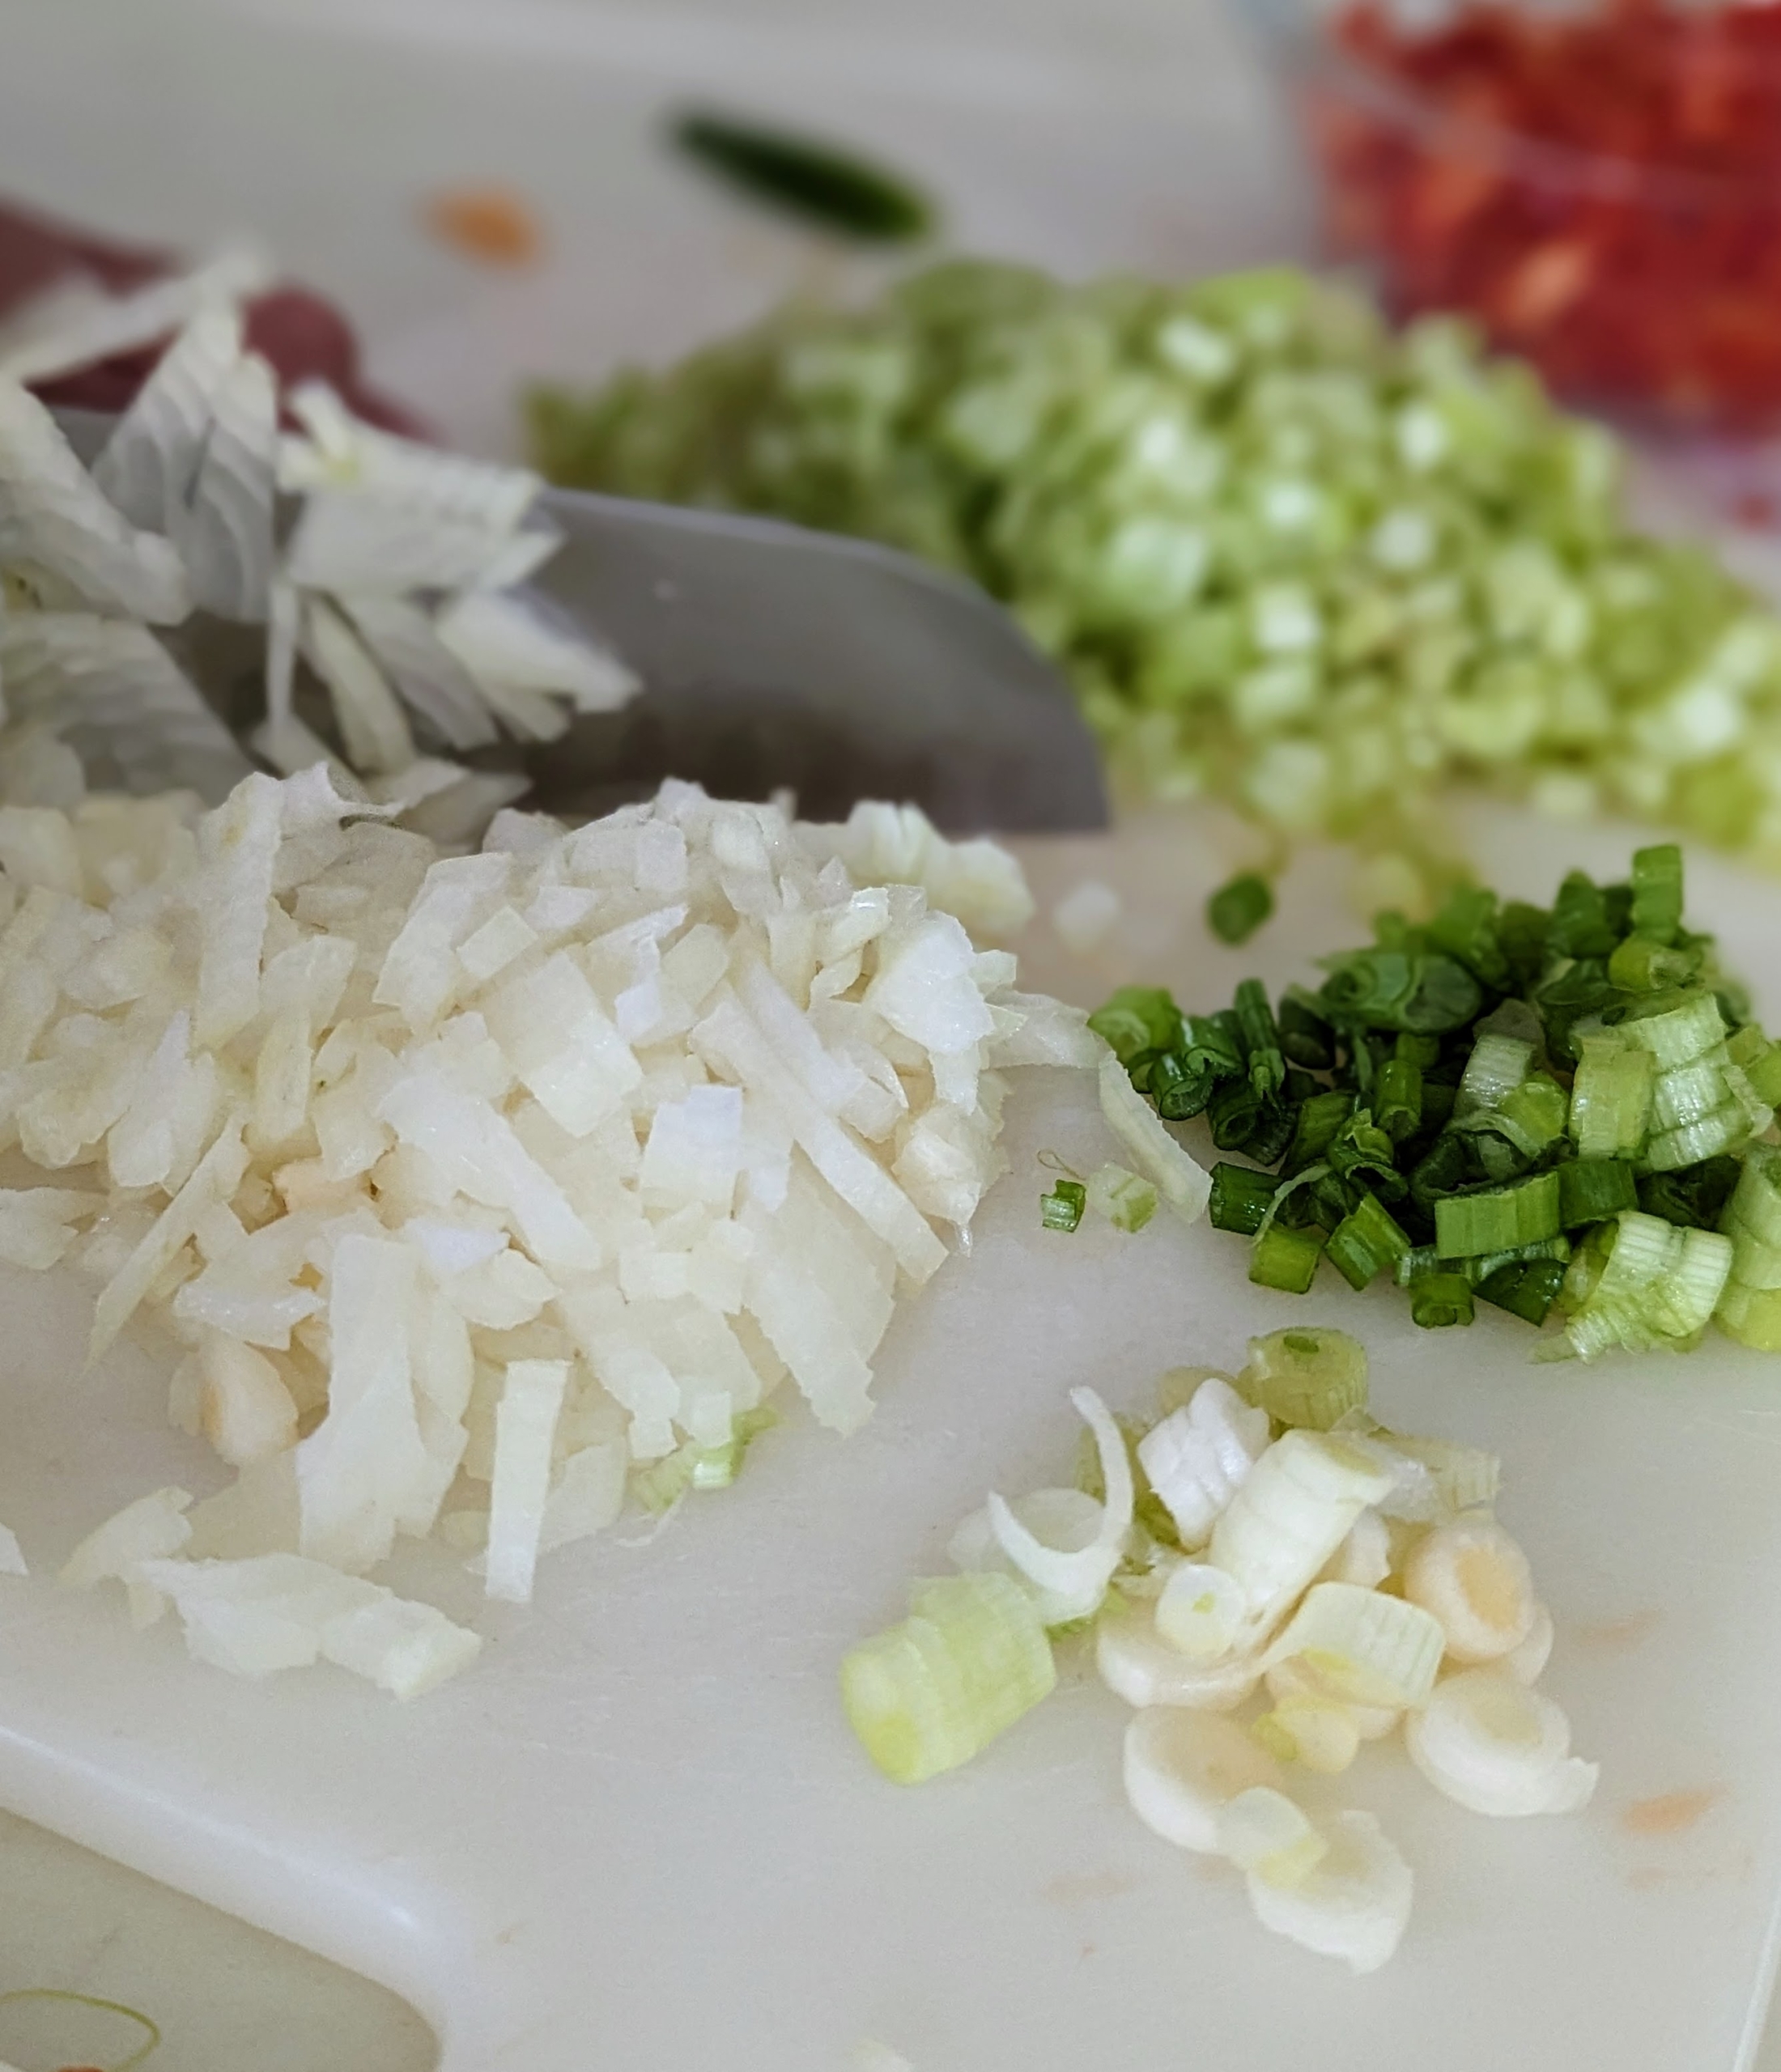
Here, Elvira chops the white onion. All these ingredients are included in the box. What is not included – olive oil, salt, butter and flour – items one likely already has at home.
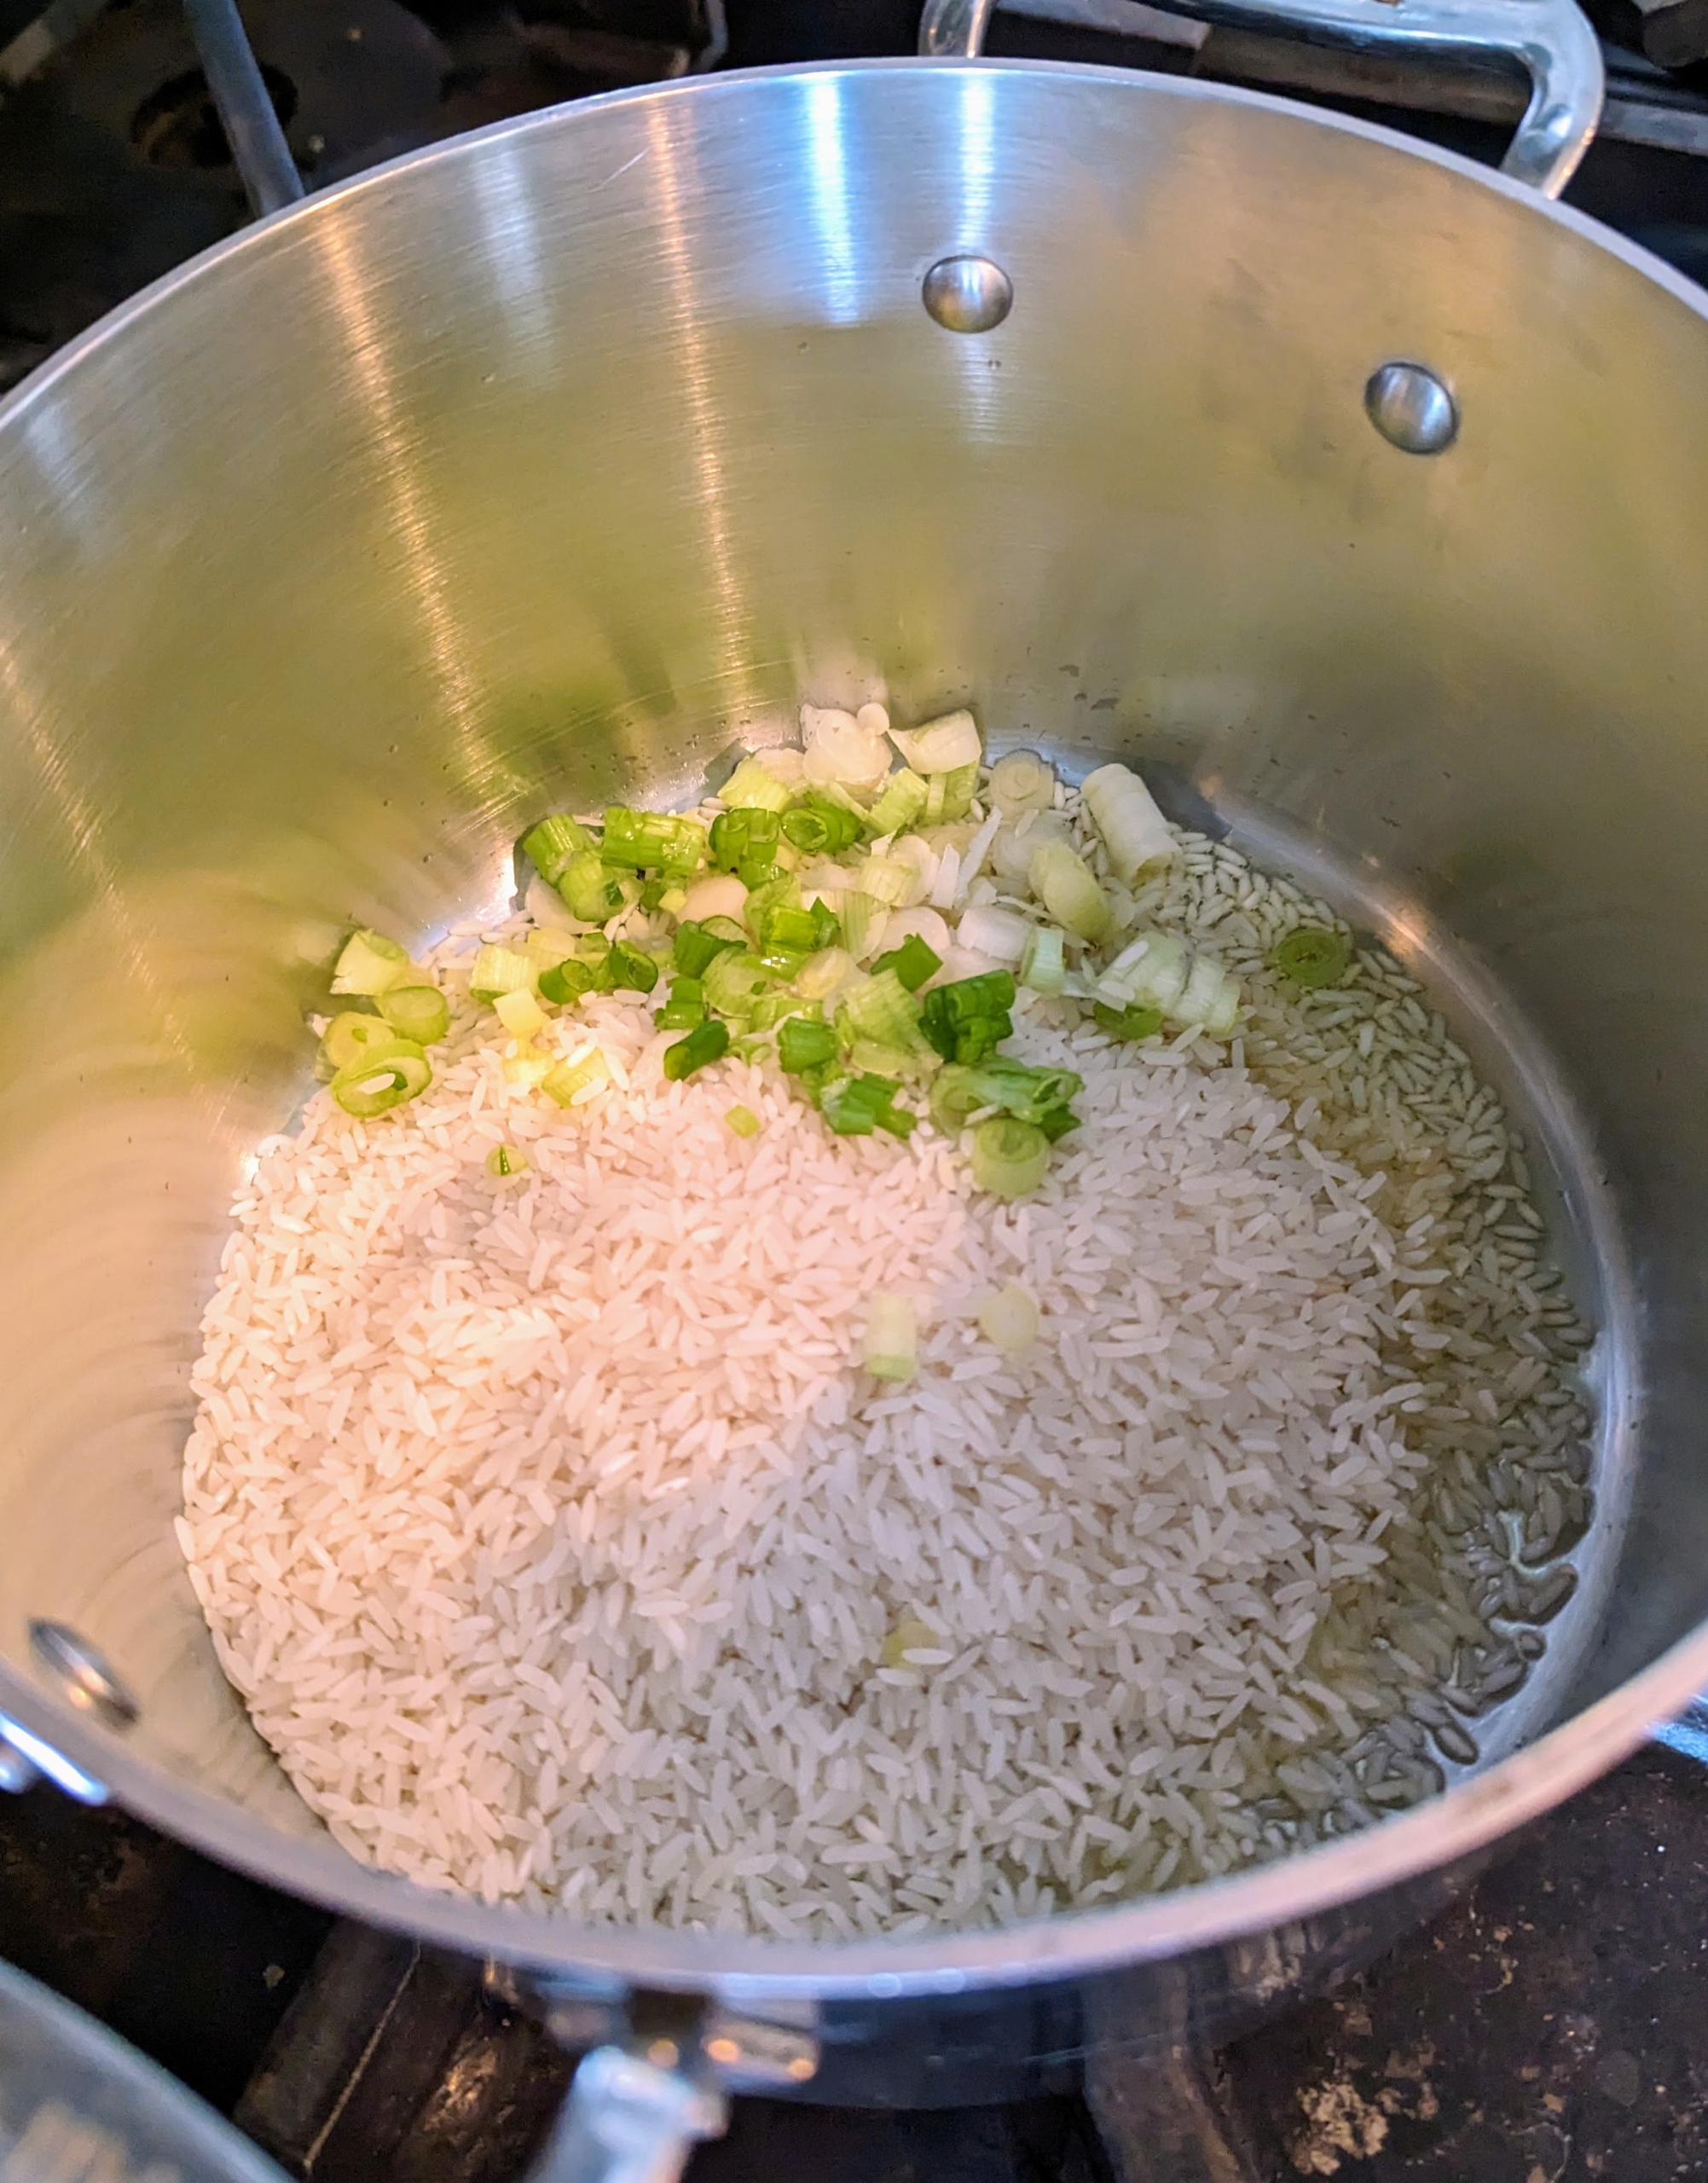
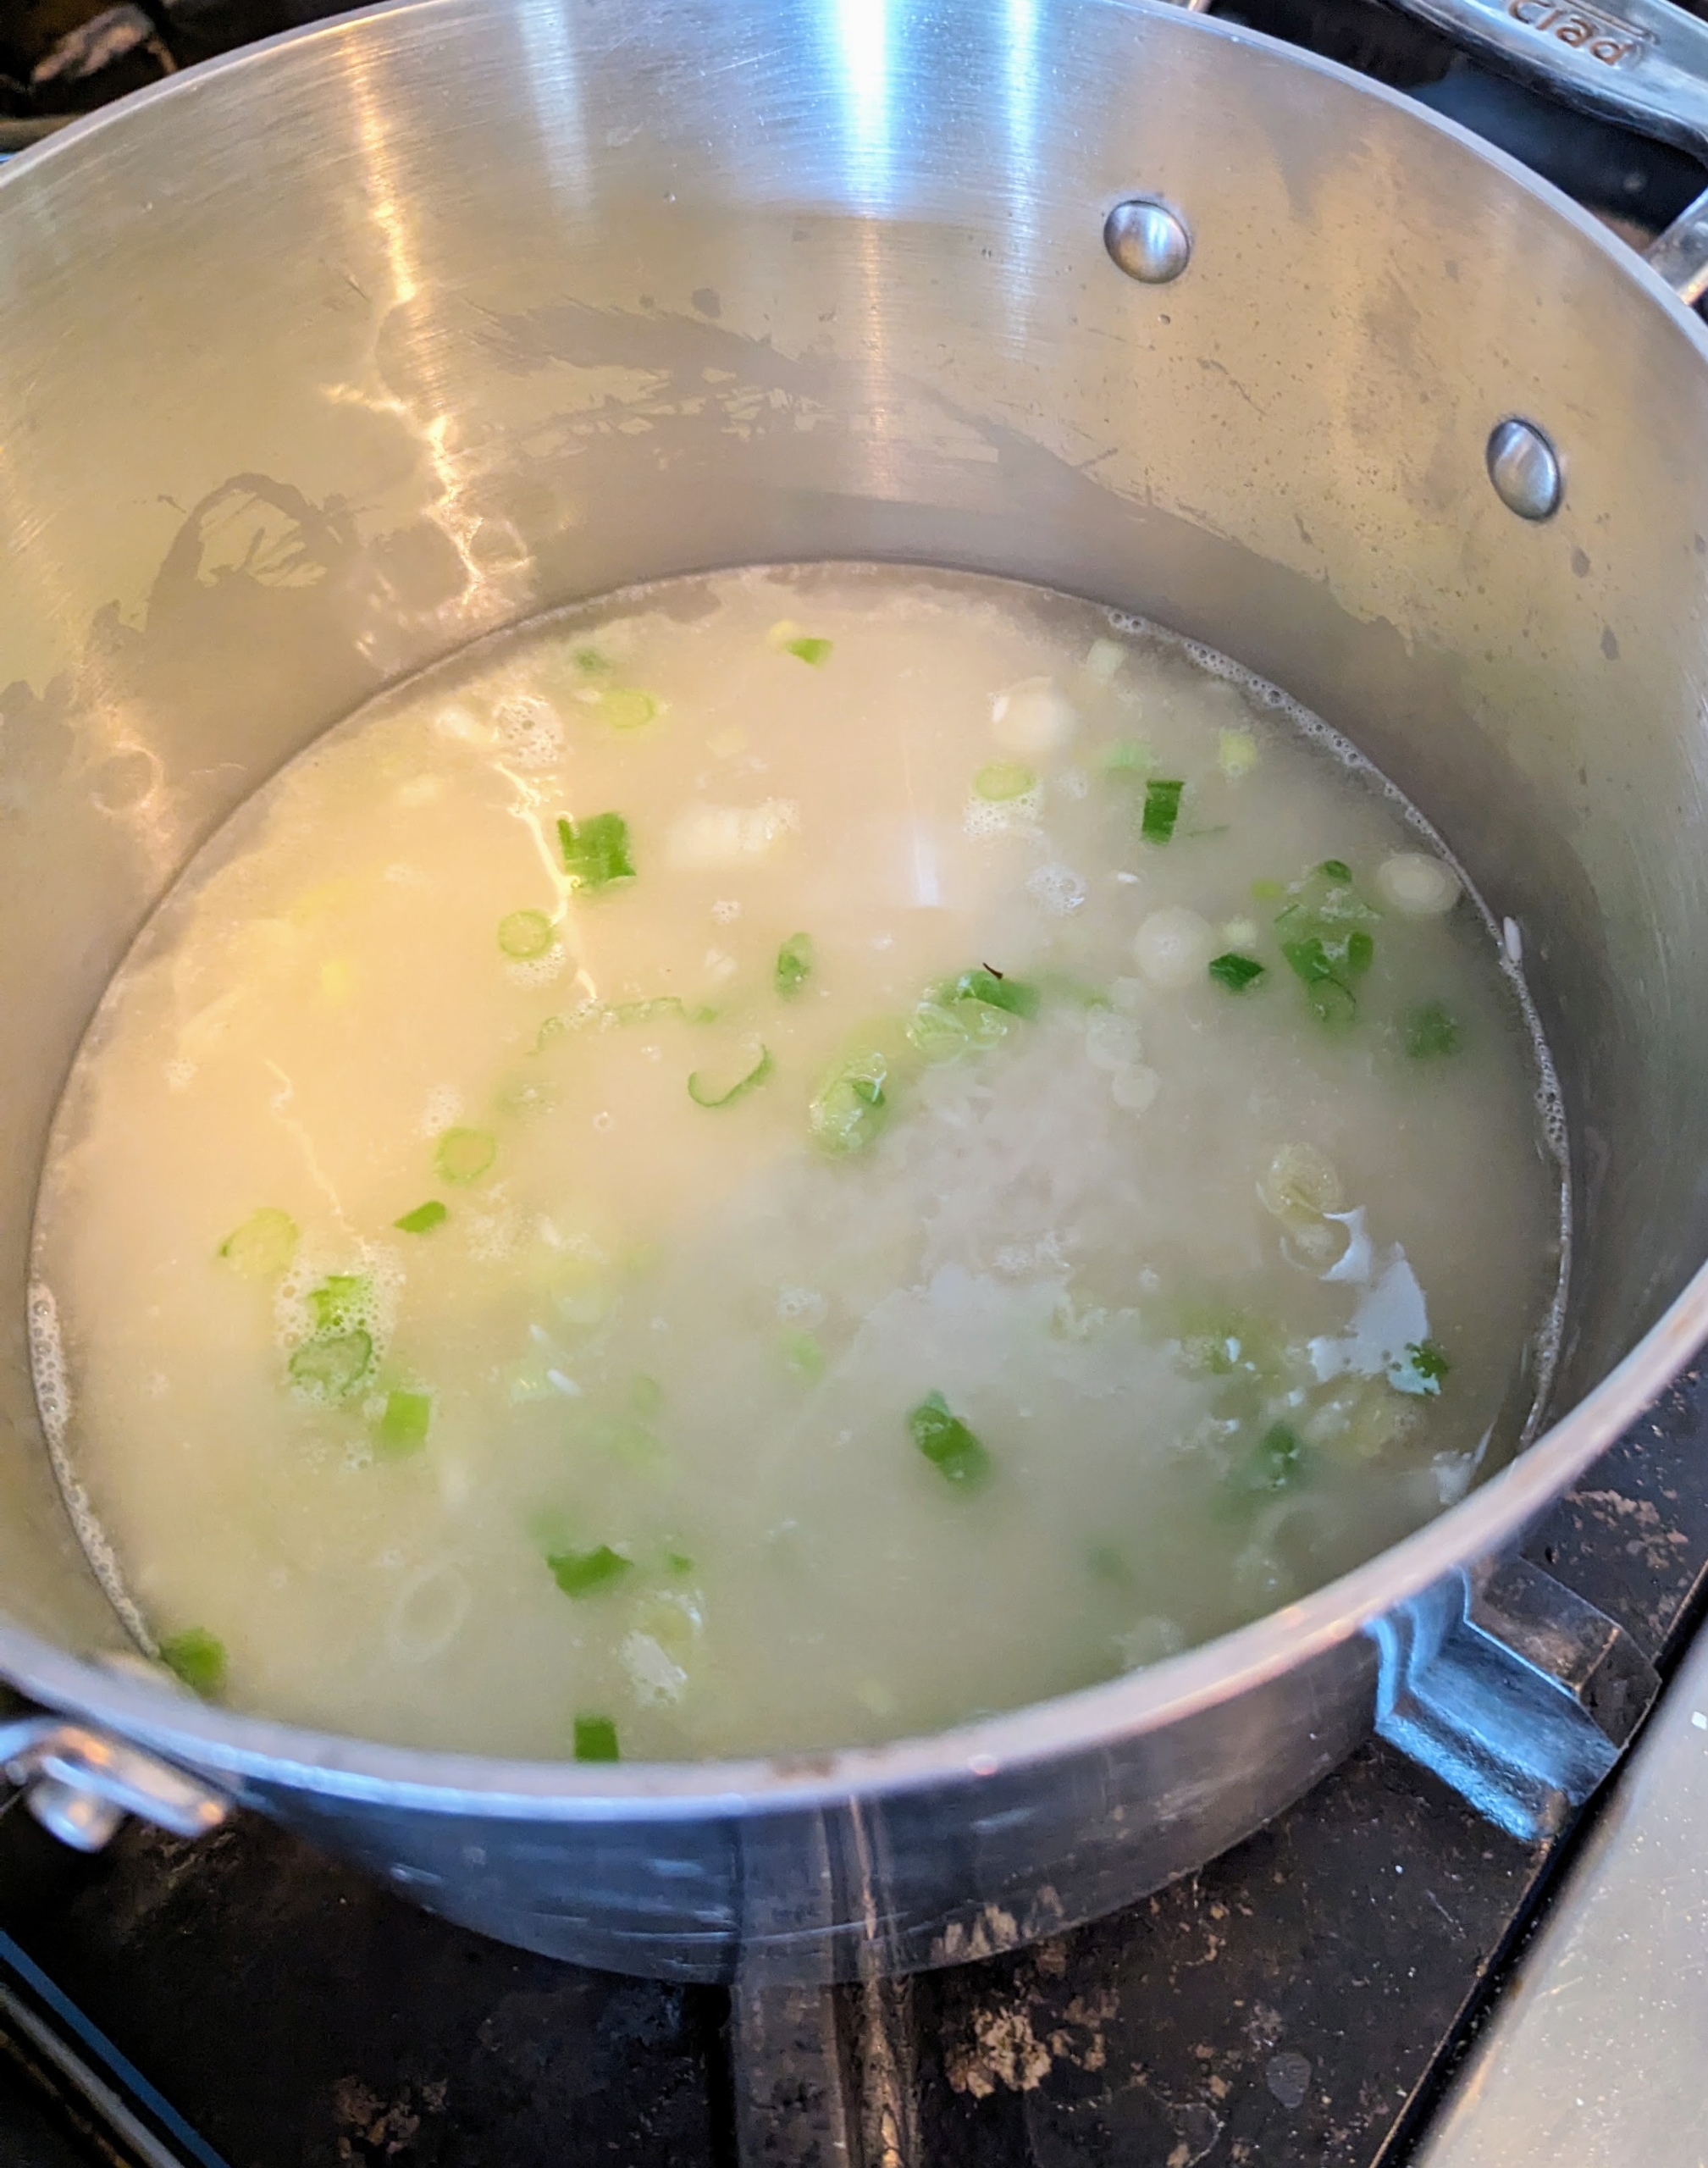
The rice and scallions are heated in a medium saucepan over medium-high heat with a tablespoon of olive oil.
Two cups of water are added once the rice turns chalky-white. The rice is brought to a boil and then left to simmer until tender.
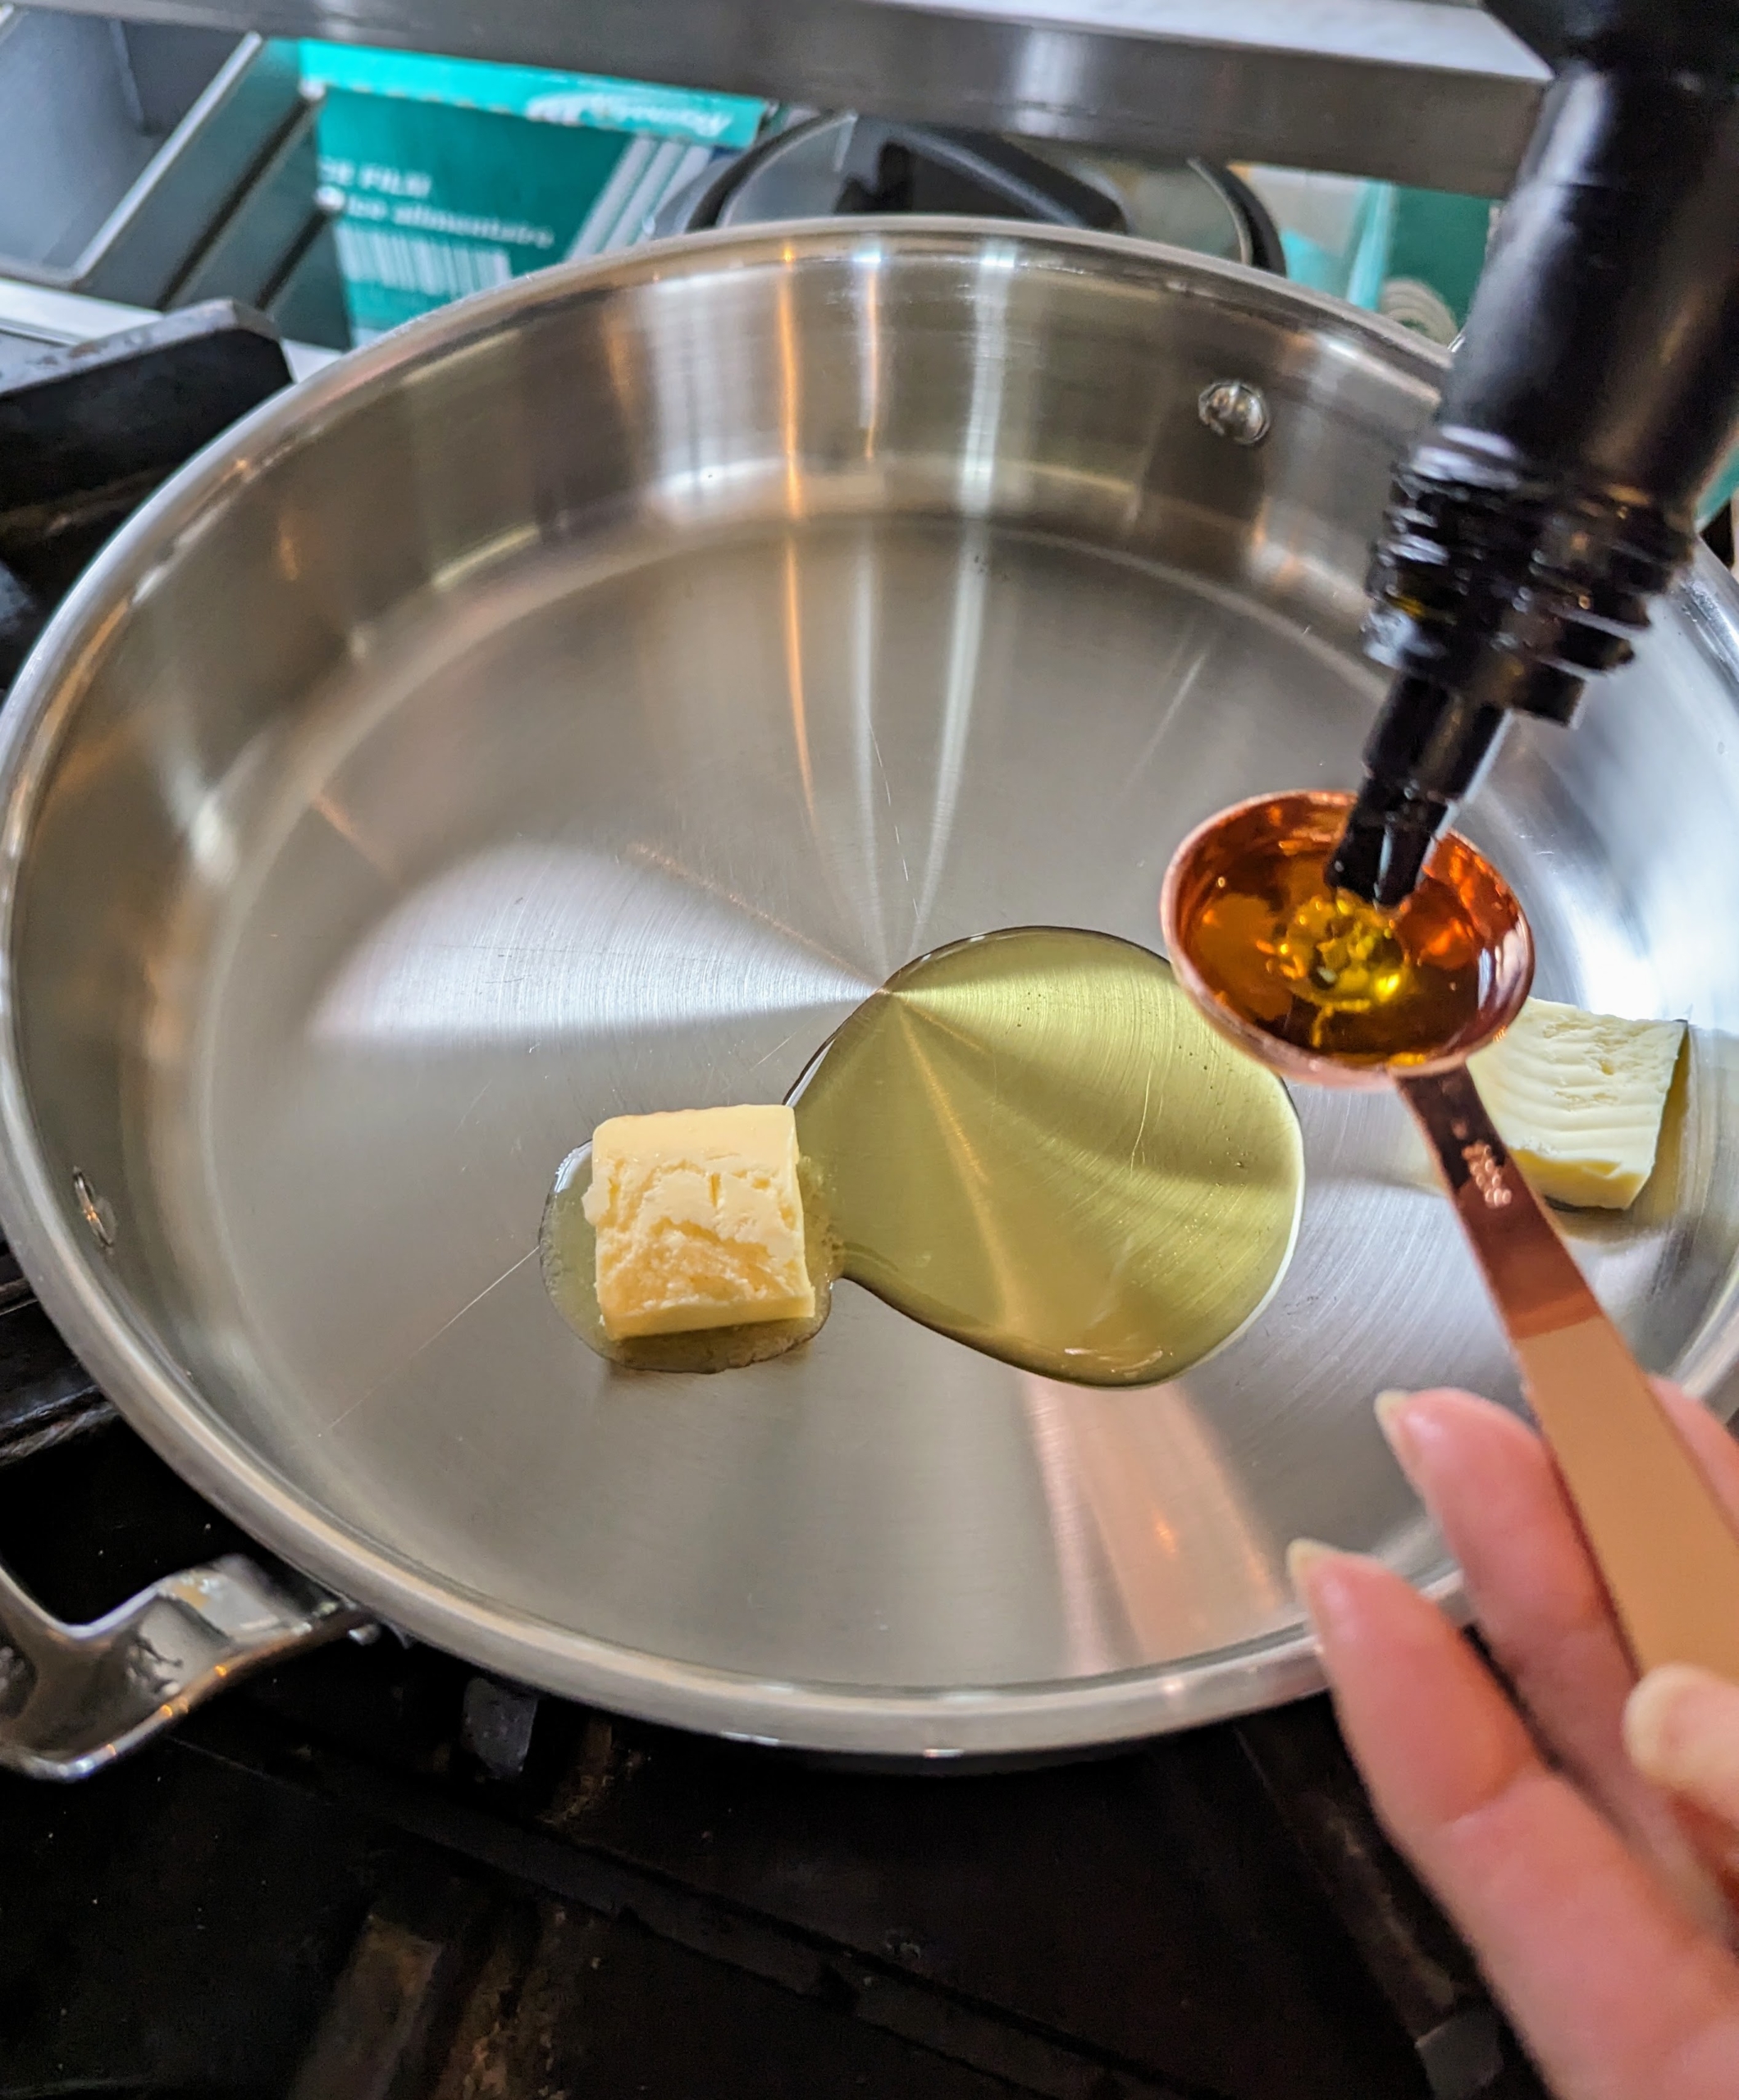
Meanwhile, Elvira heats up two tablespoons each of butter and oil in the saucepan and added 1/4-cup flour. This is for the roux, a mixture of roughly equal volumes of a starch and a liquid fat that are cooked together and used as a thickener for soups, stews, and sauces.
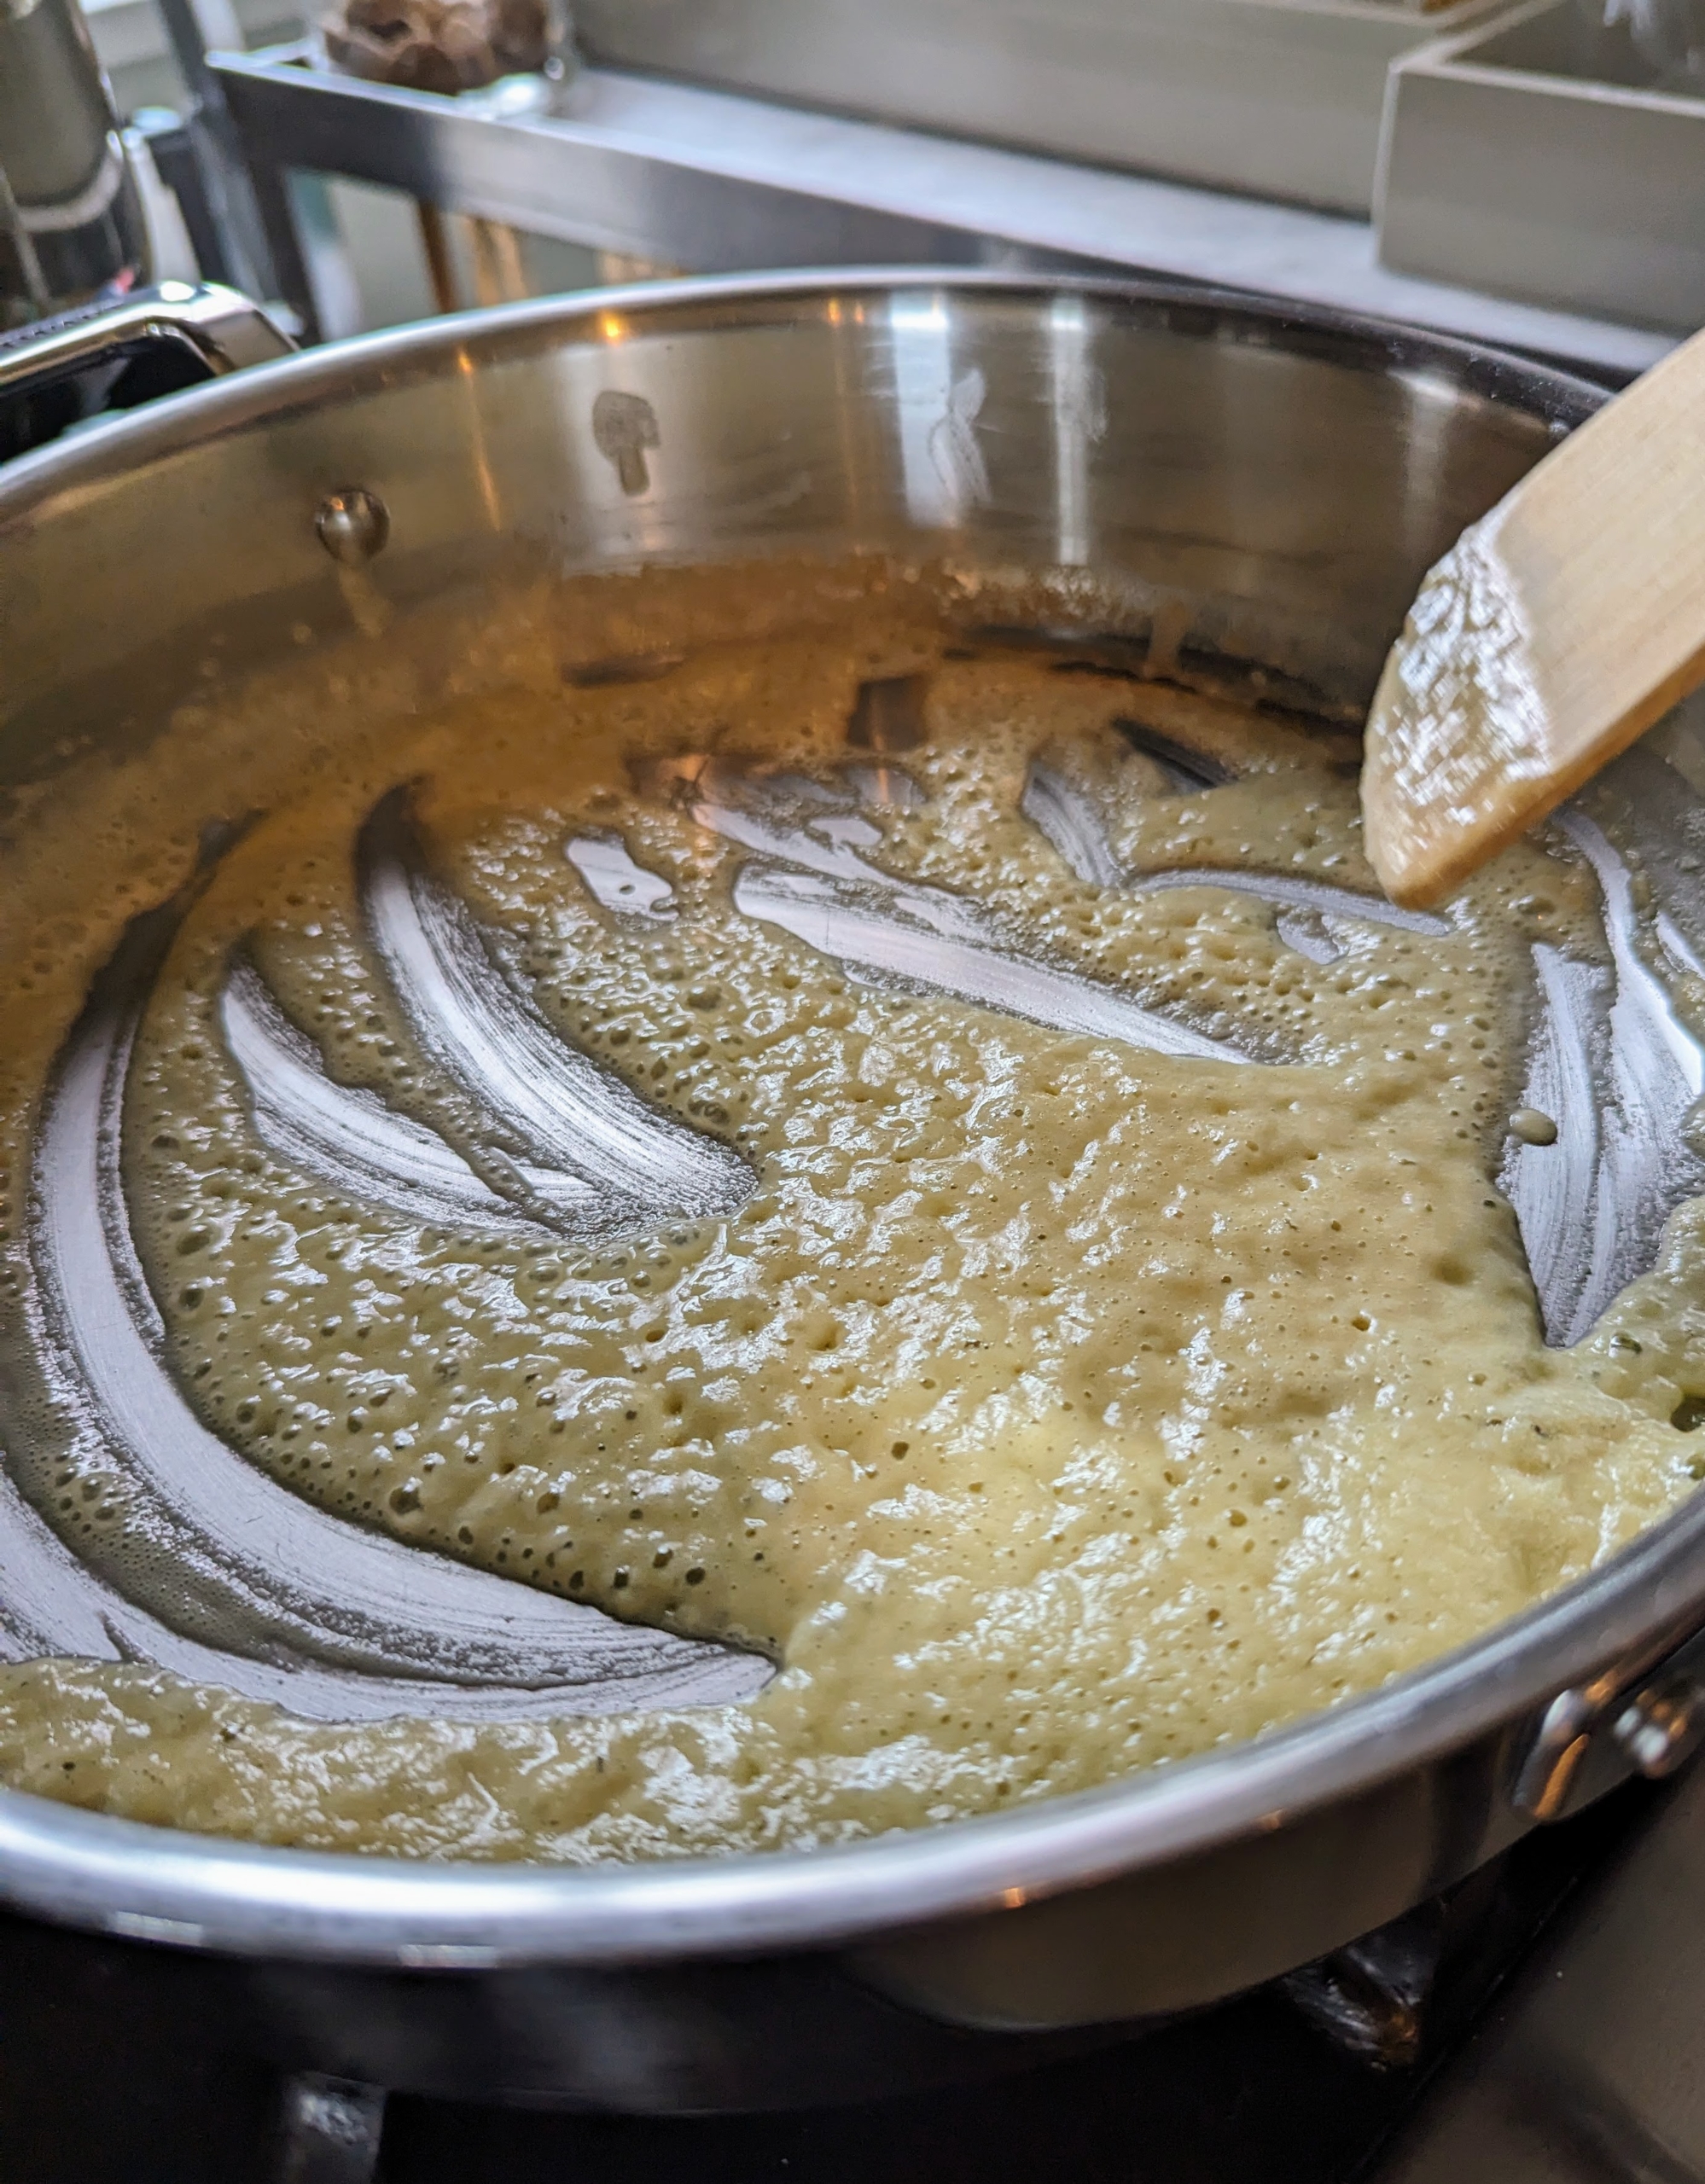
The mixture is stirred constantly until it becomes the color of dark peanut butter, about five-minutes.
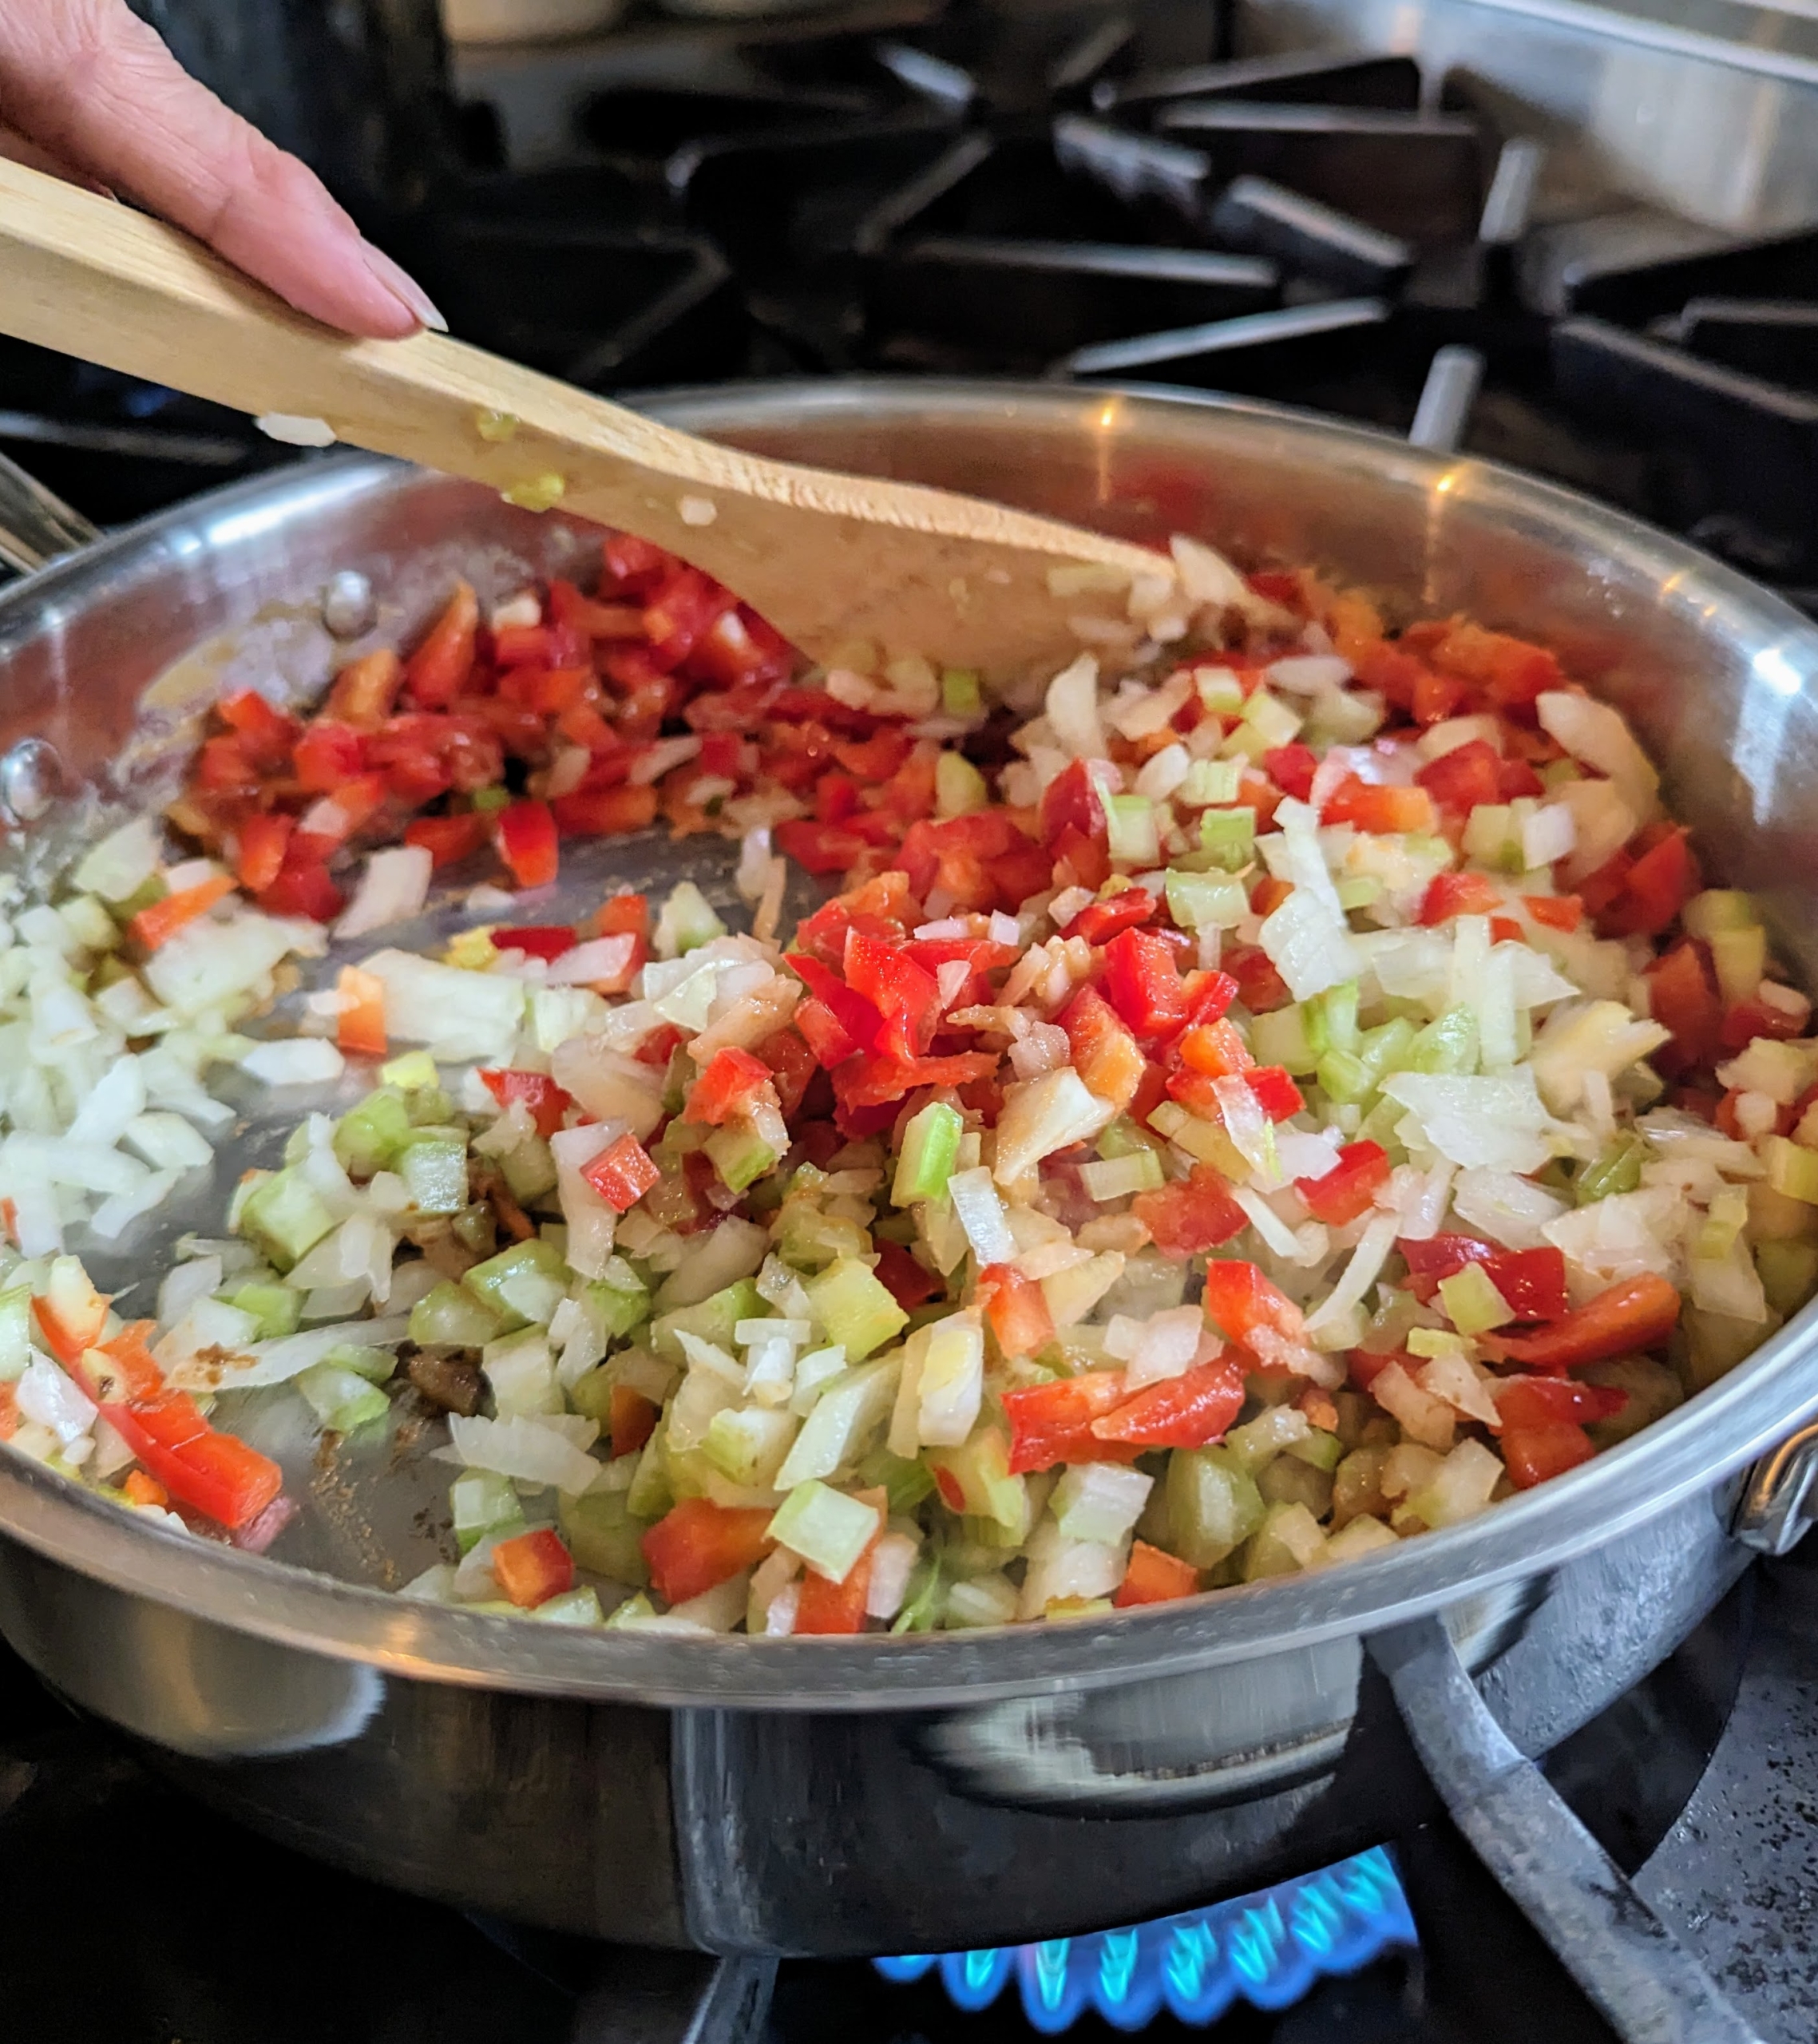
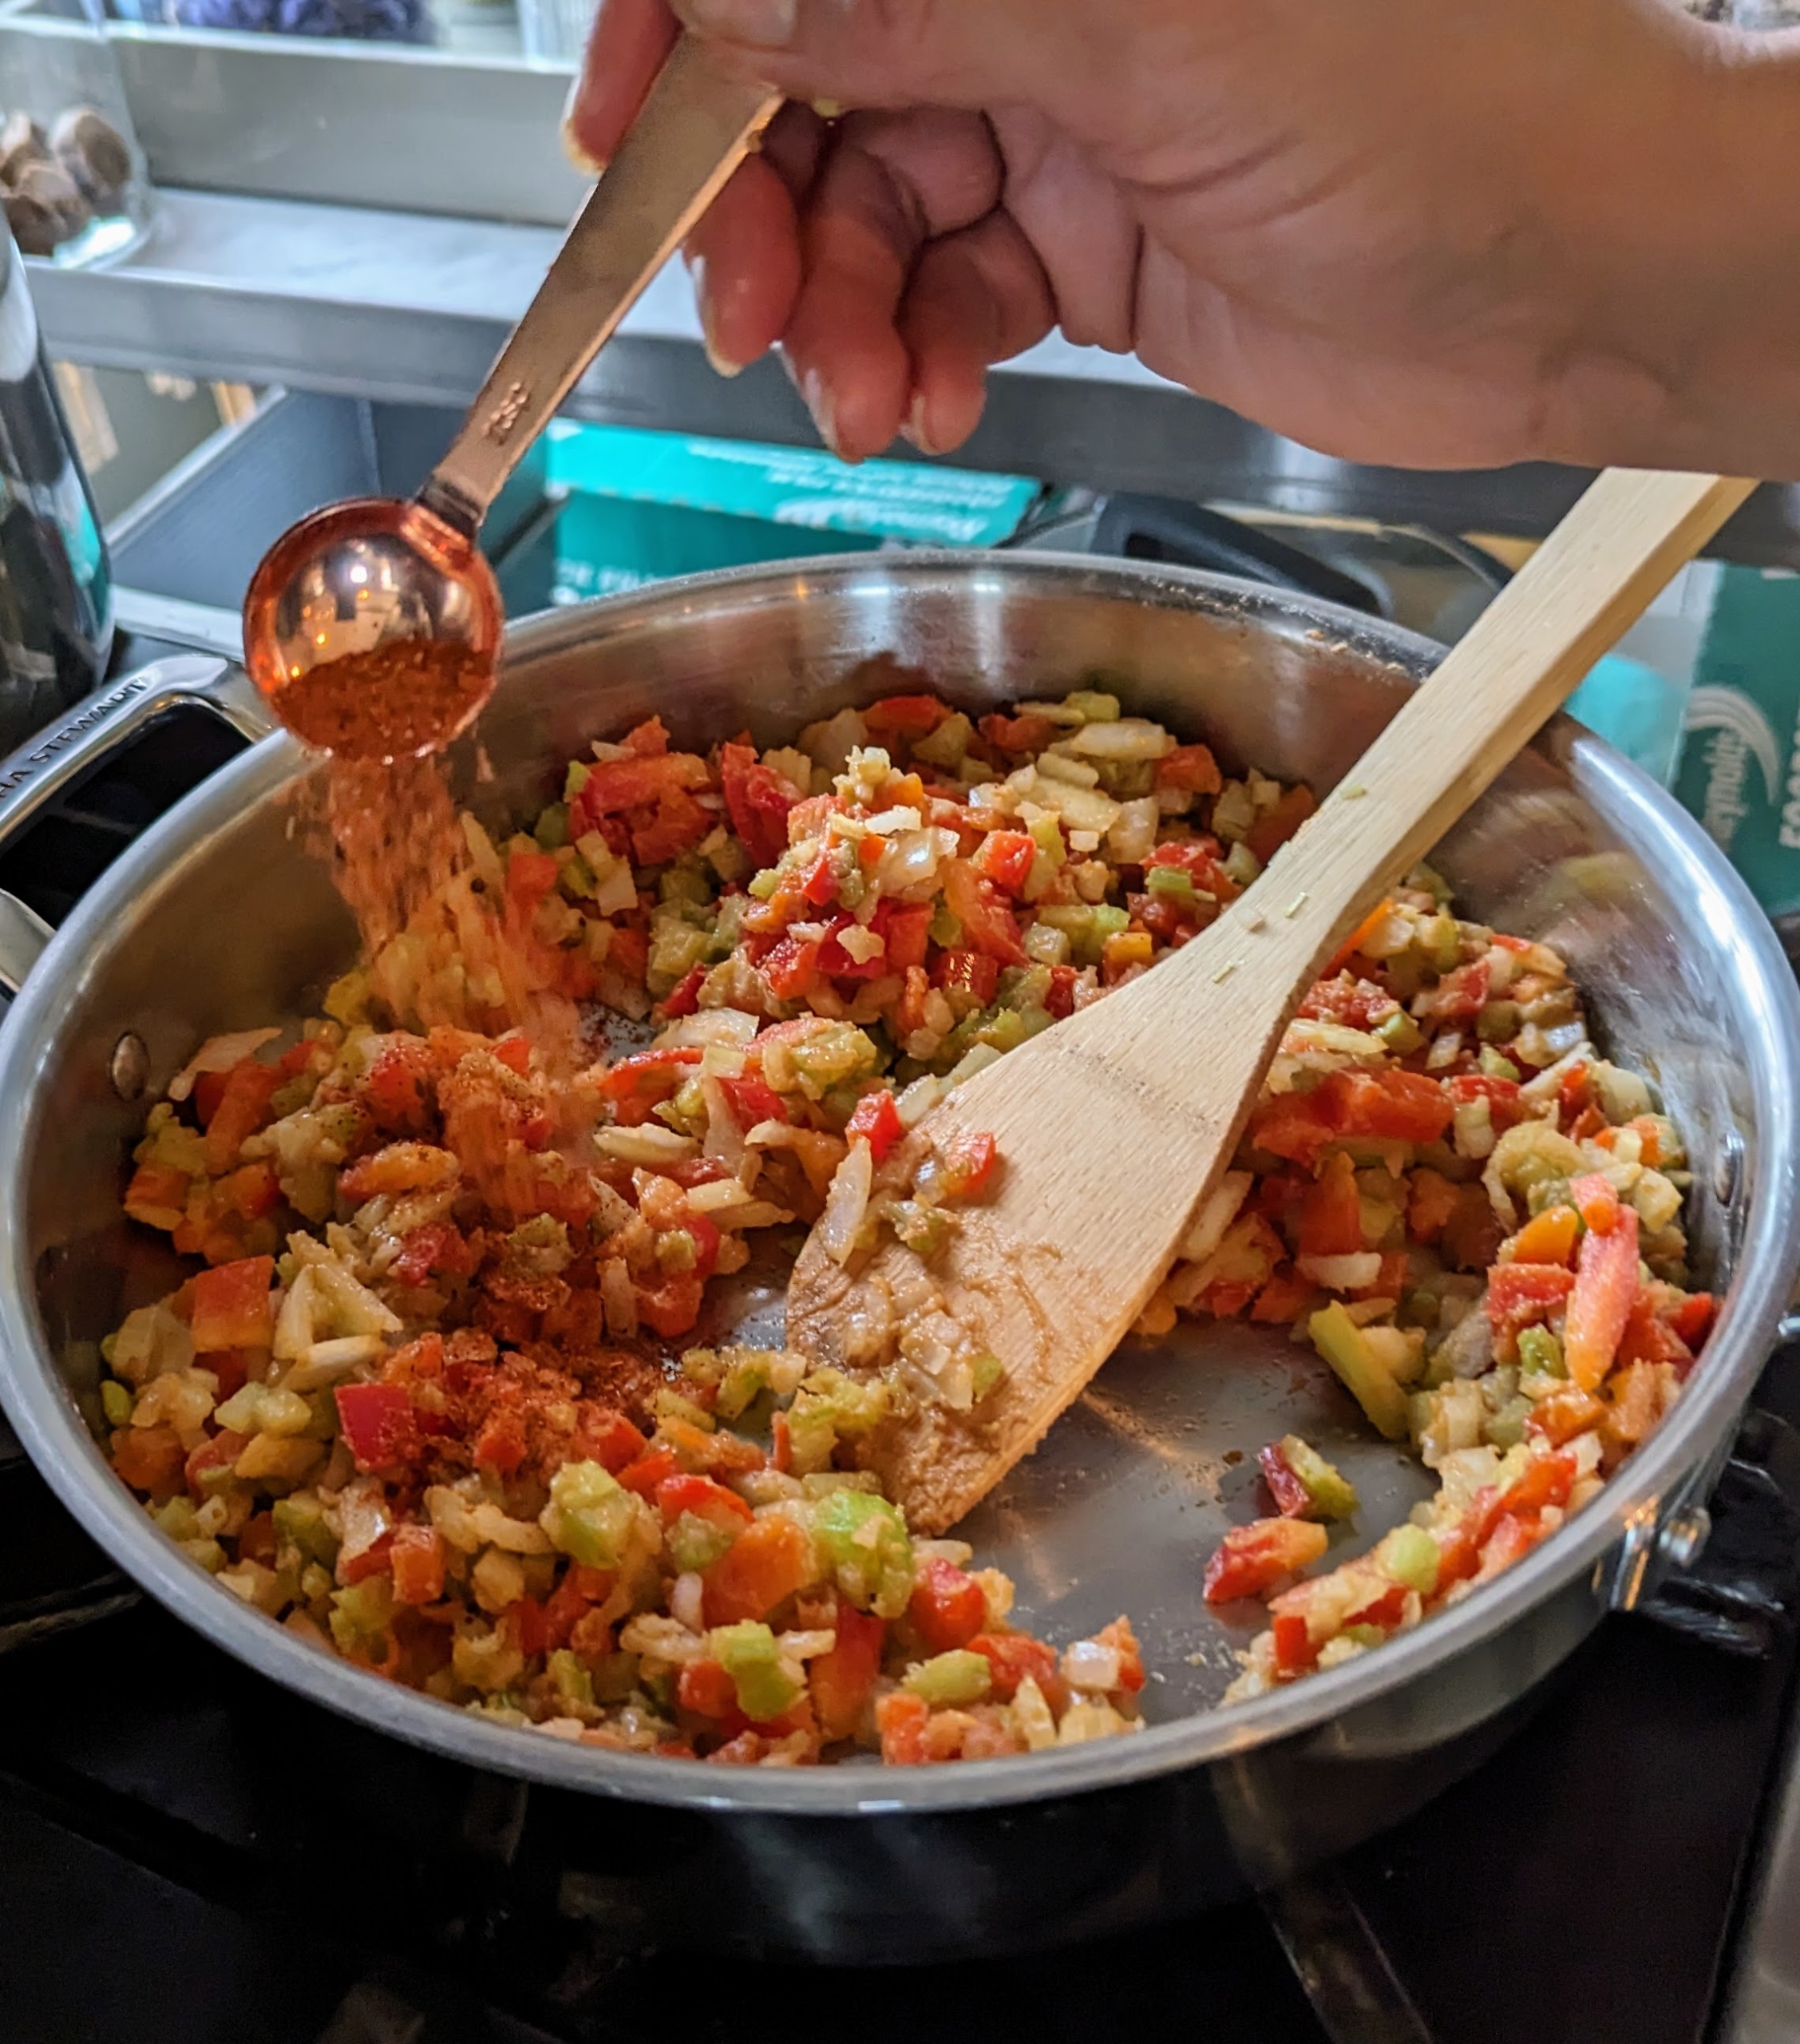
Once the roux is ready, the bell pepper, onion, and celery are added and stirred until softened.
This takes about five or six minutes. The Marley Spoon kits come with just the right amount of ingredients needed for the dish, so everything is is used.
The recipe calls for one-and-a-half teaspoons of cajun seasoning, but one can add as much or as little as desired.
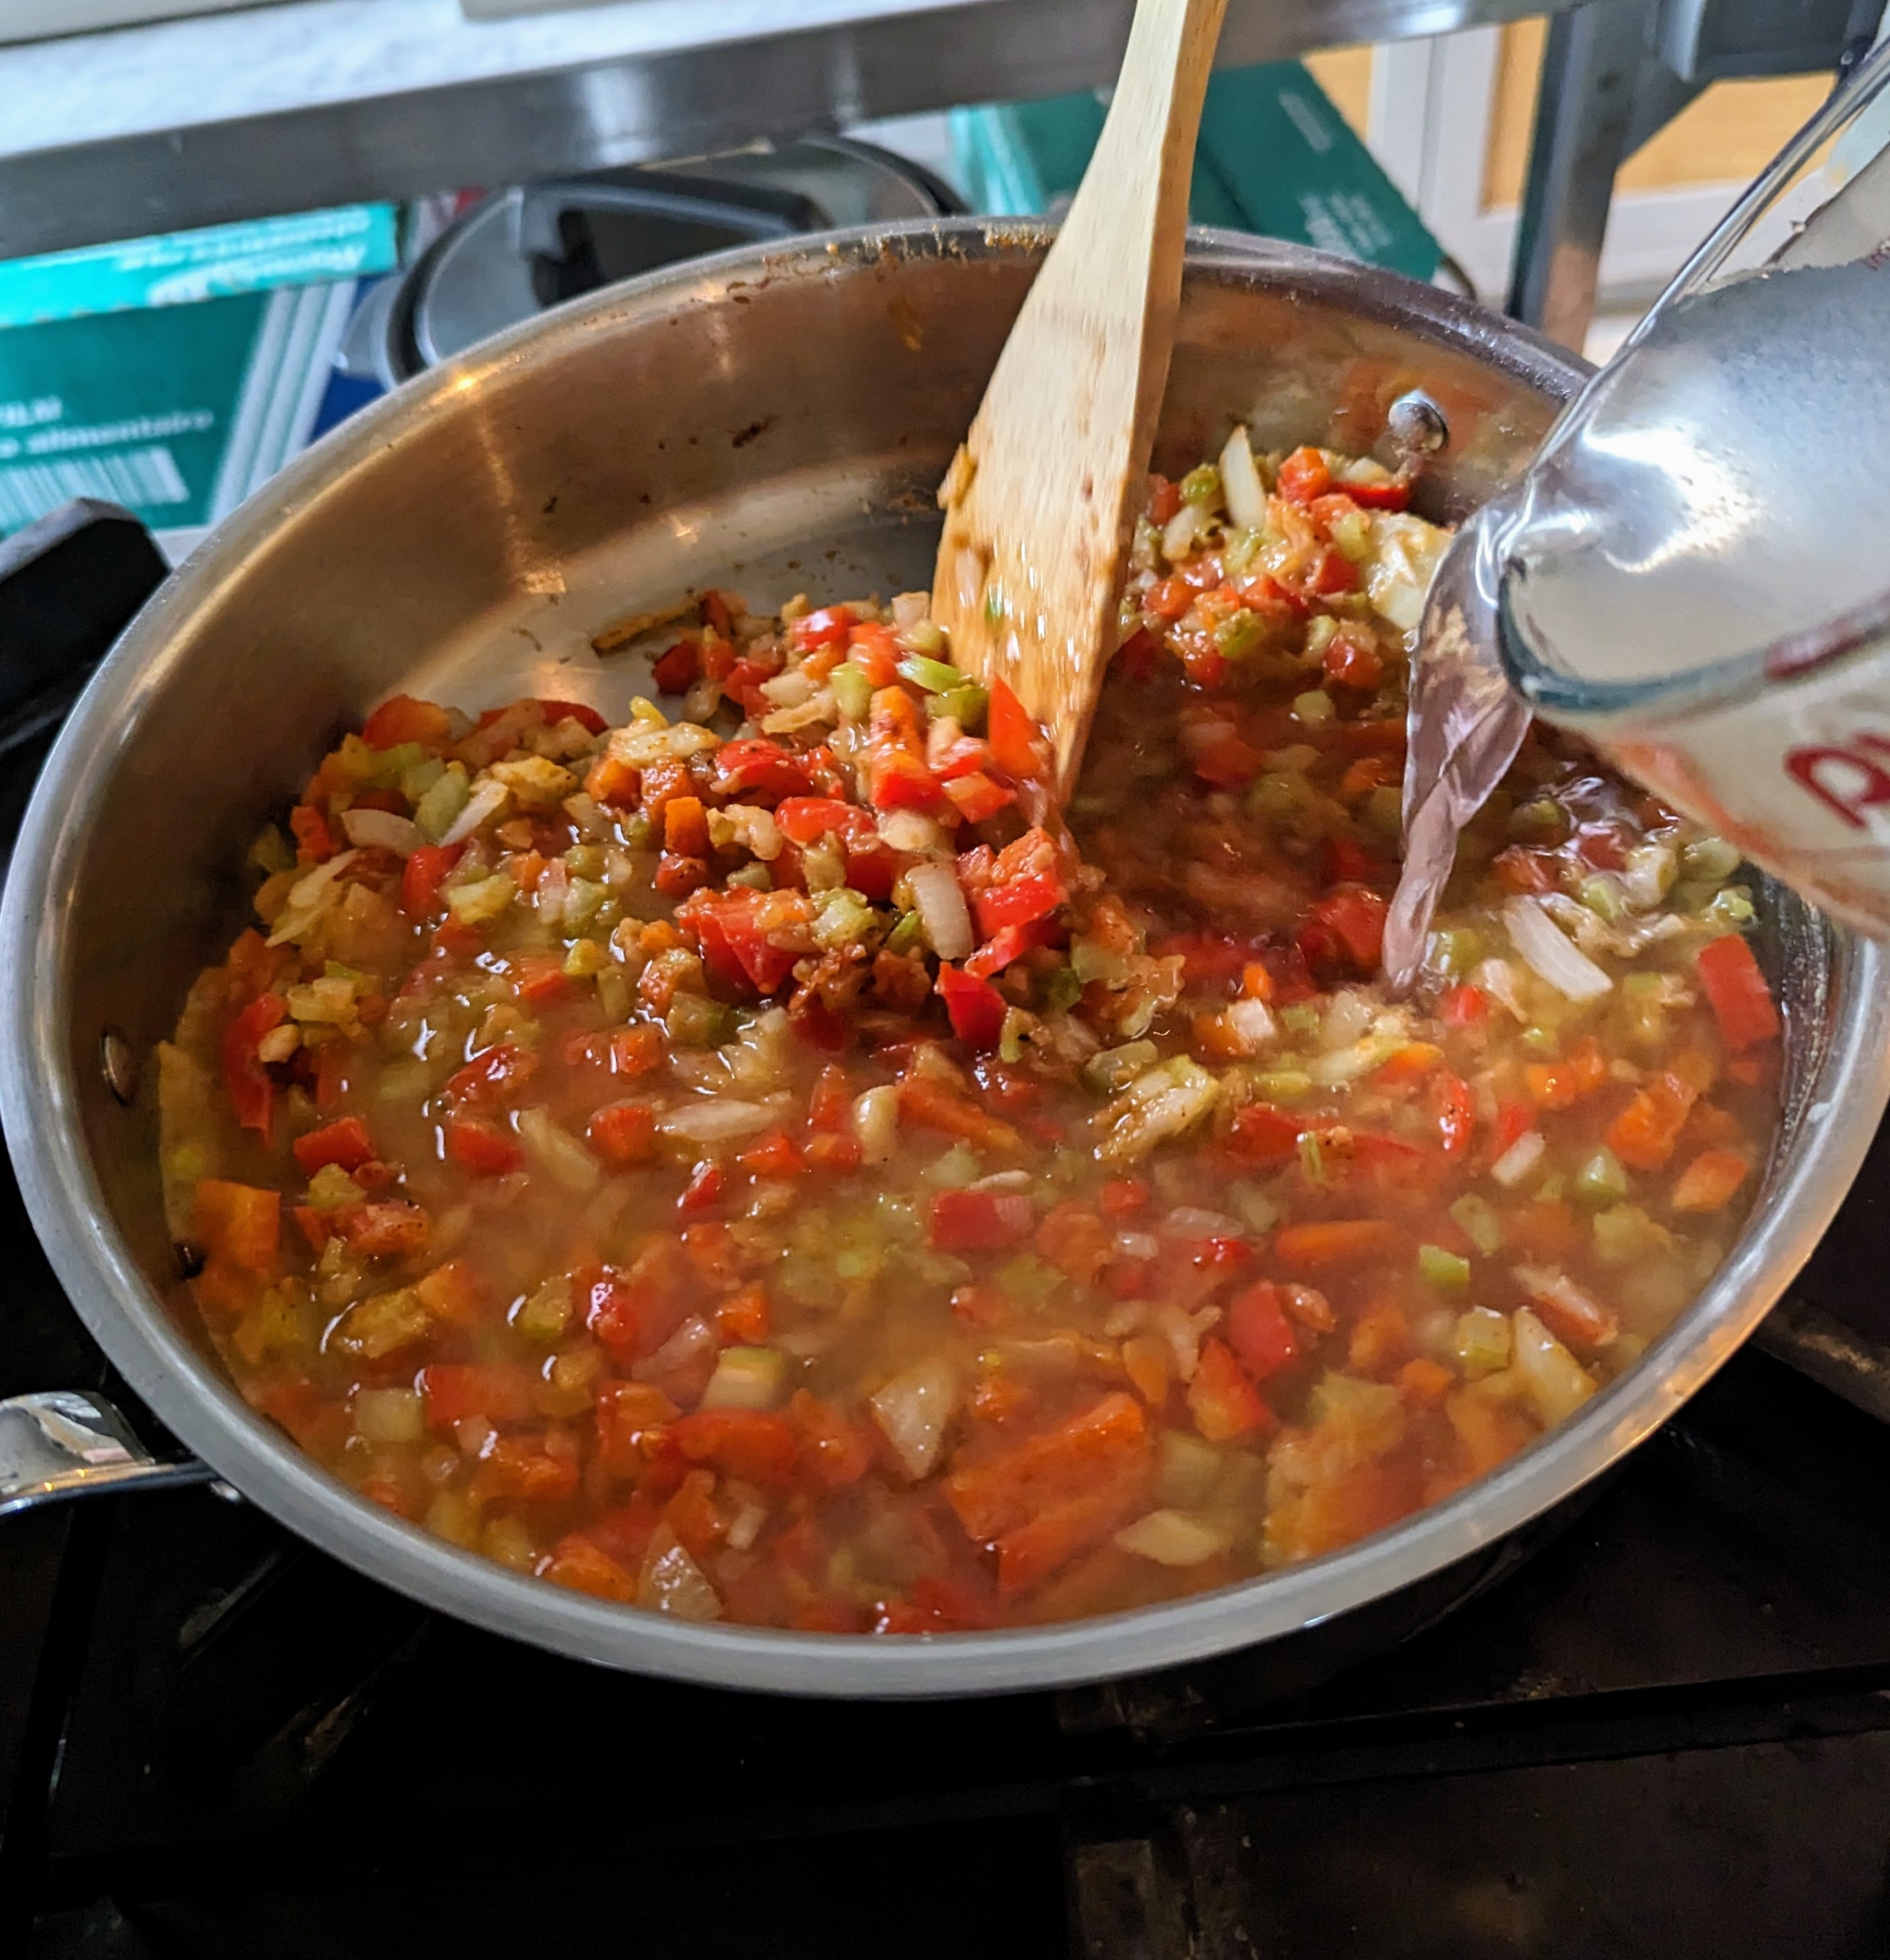
Next, two cups of water and the seafood broth concentrate are also are poured into the pan and brought to a boil.
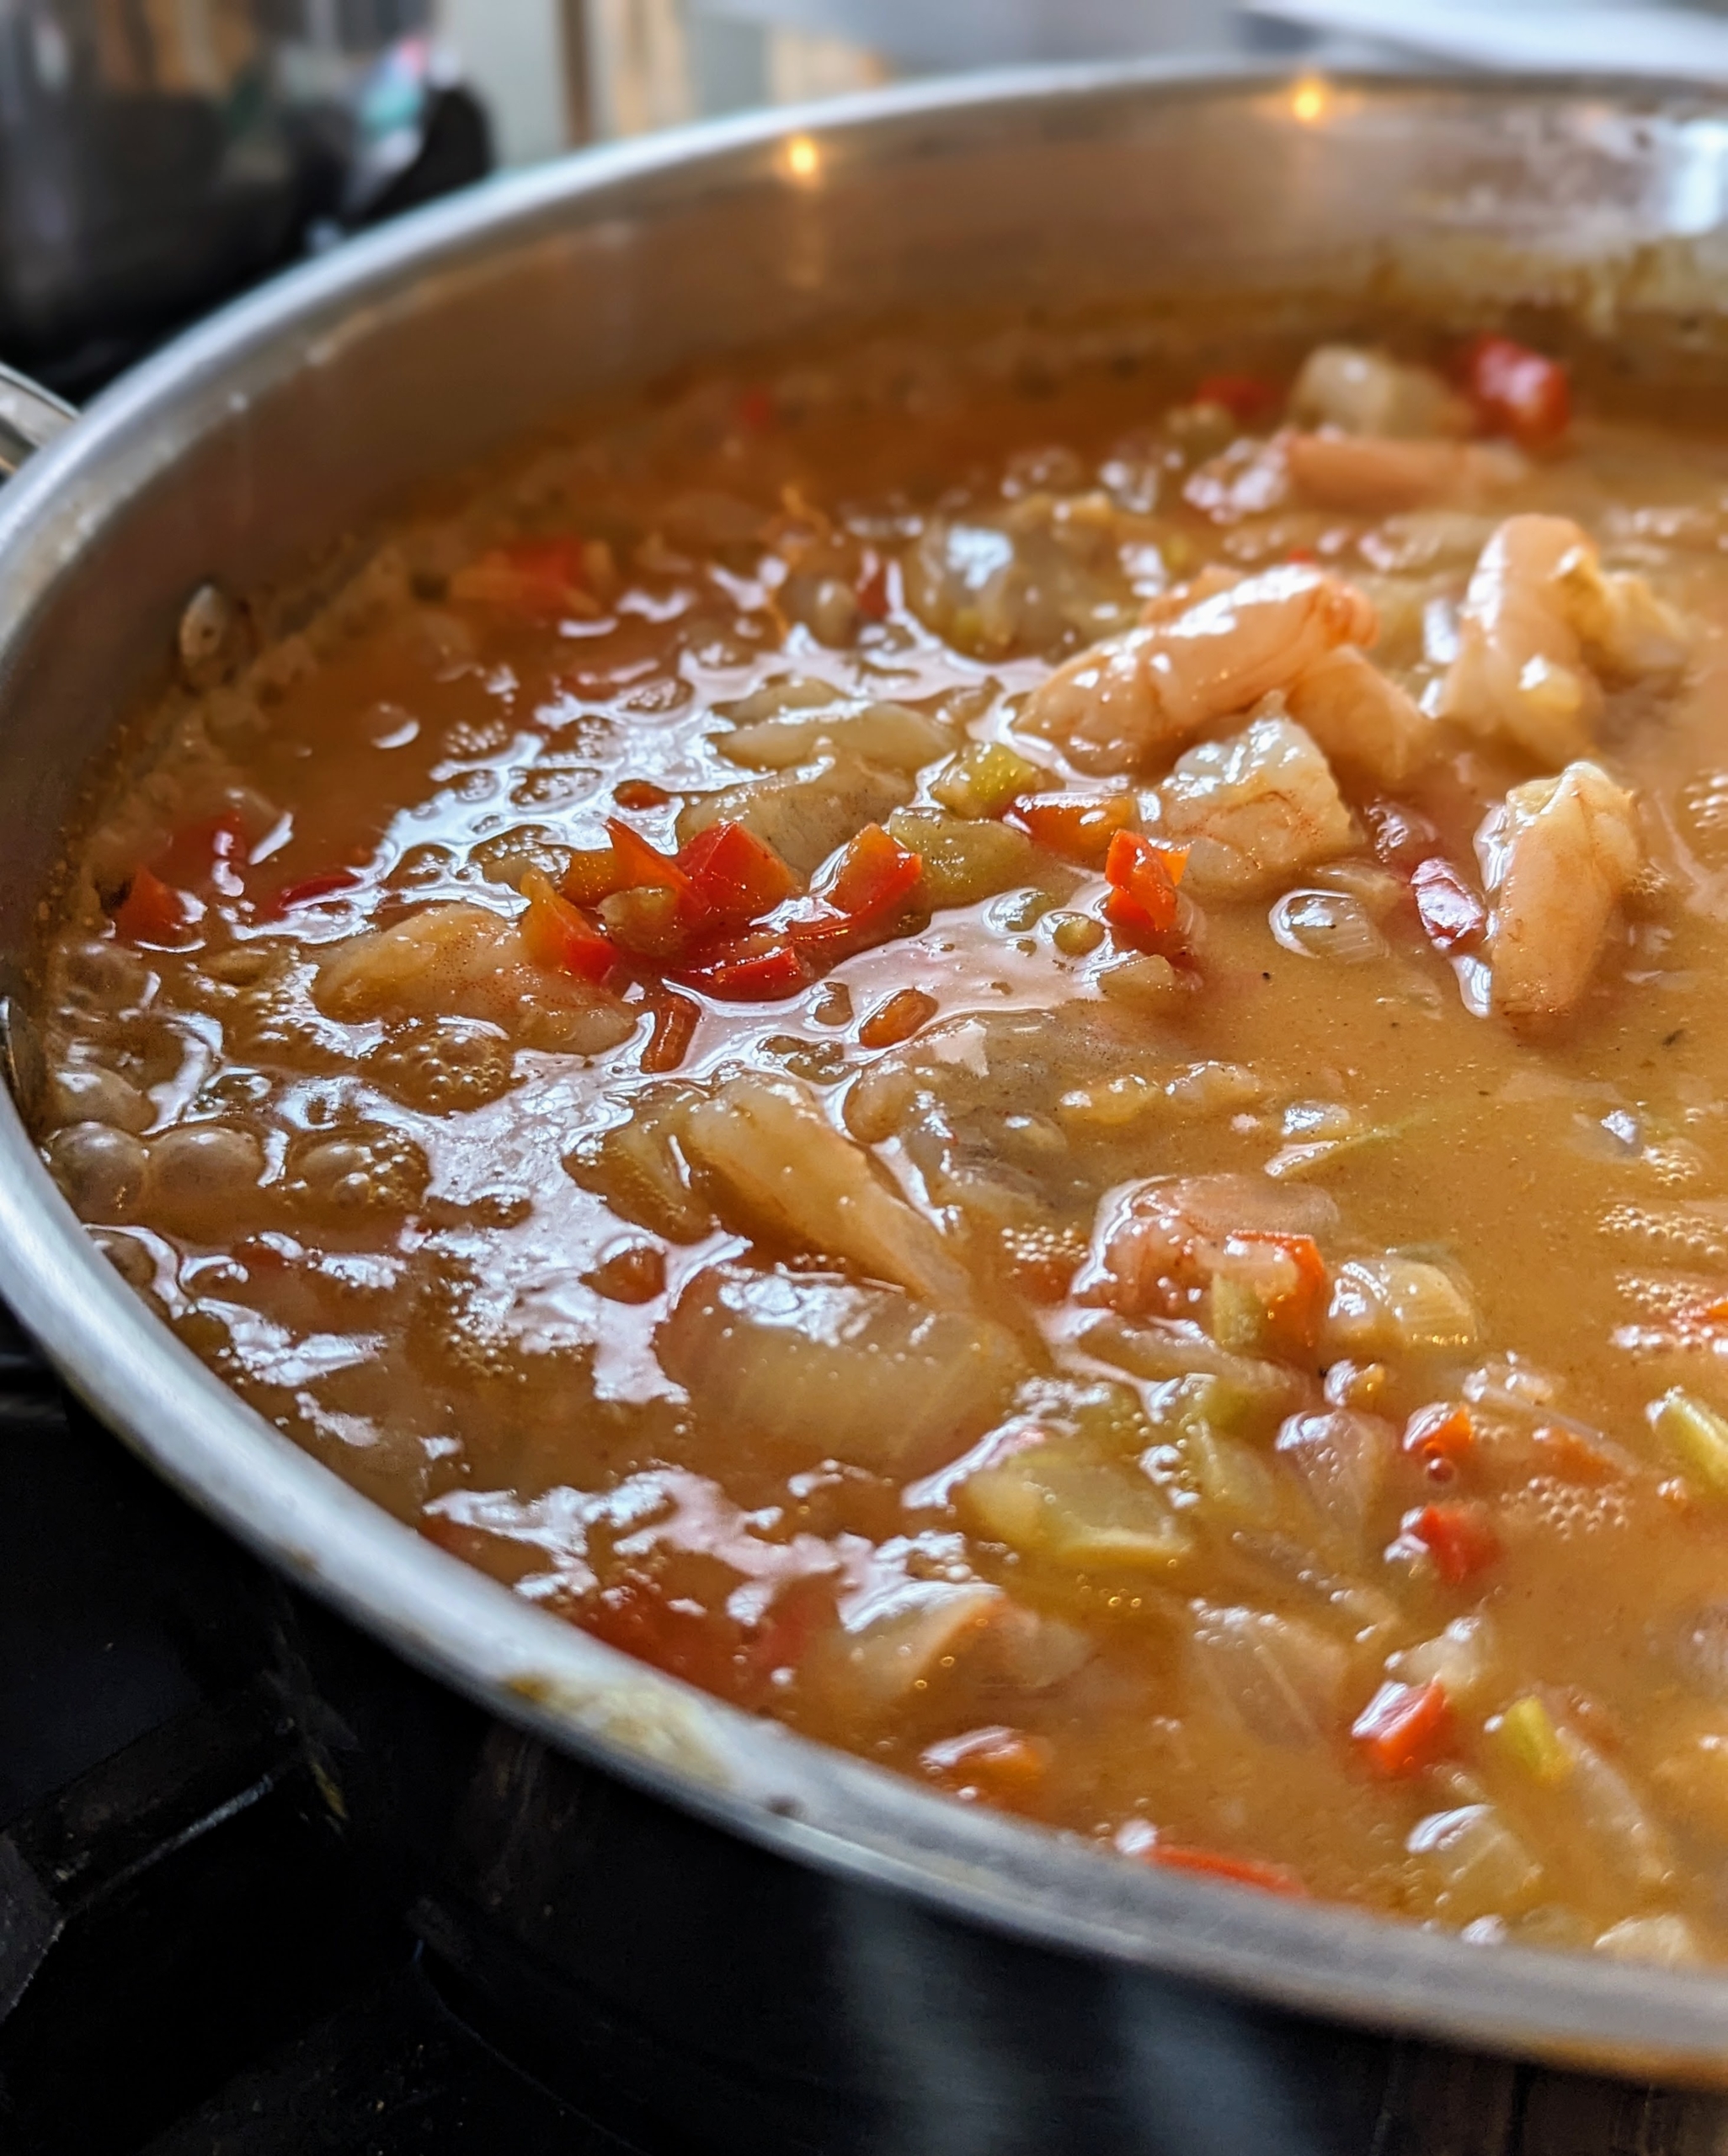
The shrimp are rinsed, patted dry, and added once the sauce is thickened and the vegetables are tender. The shrimp are cooked when they are curled and pink.
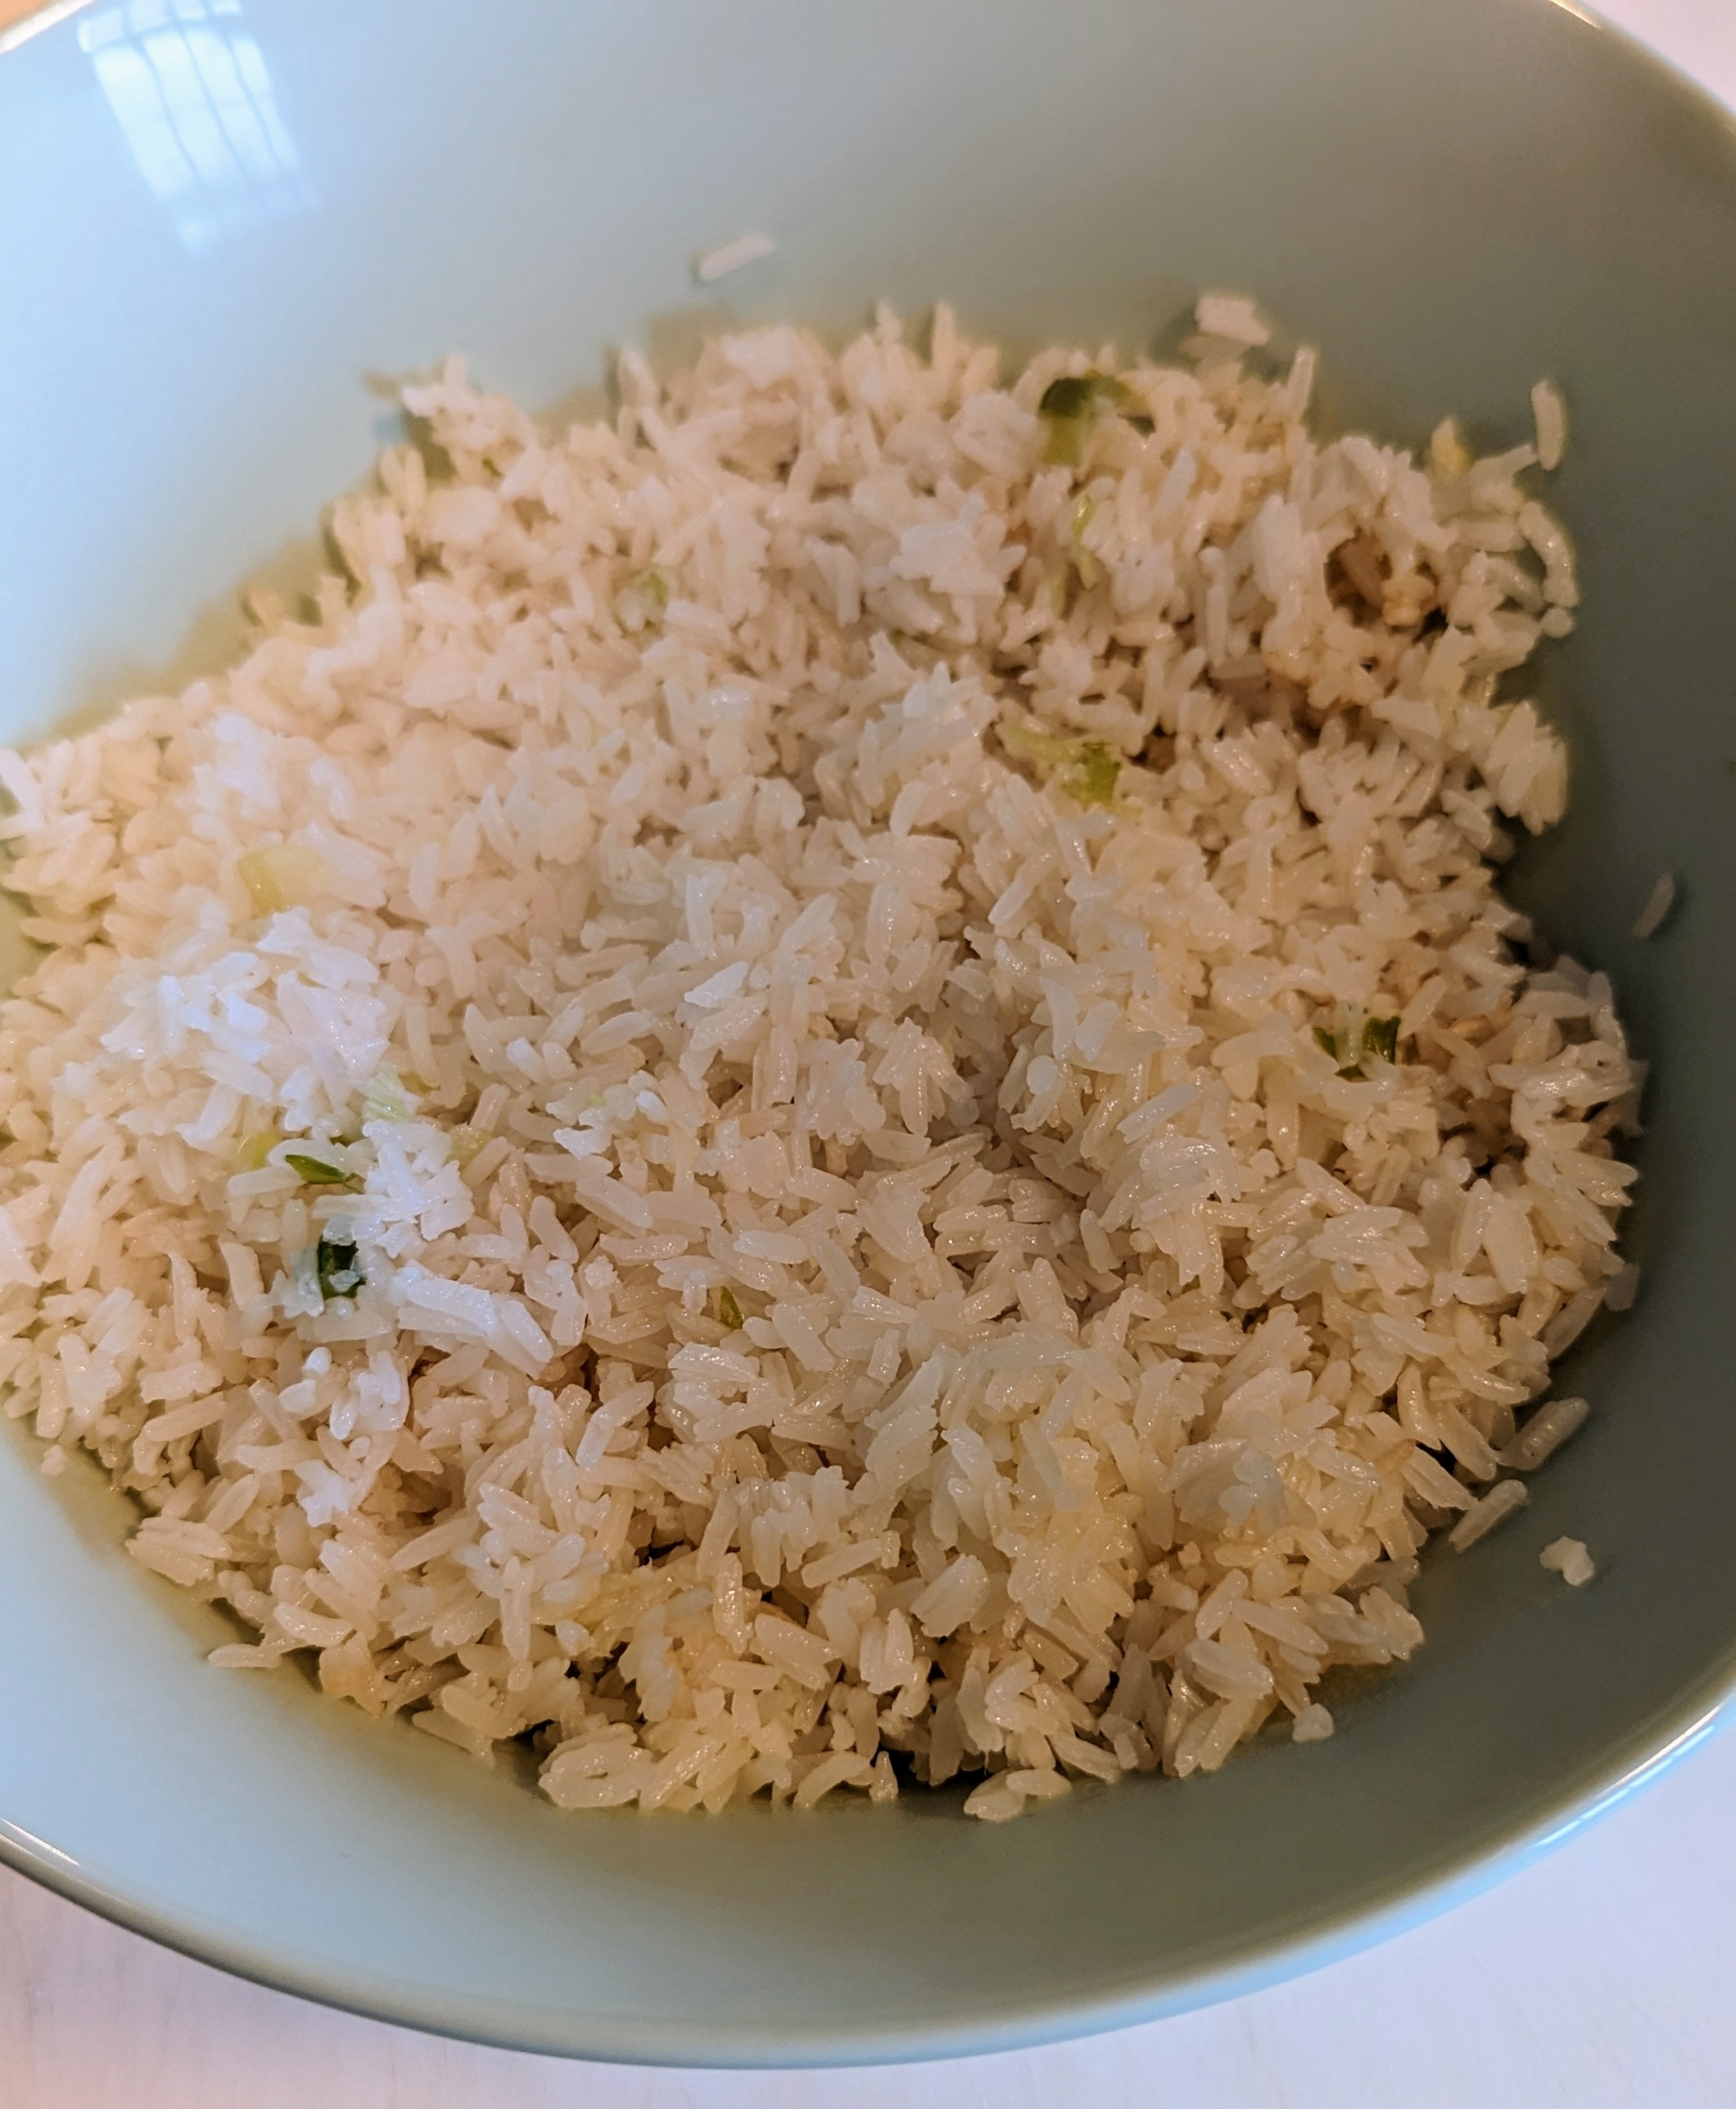
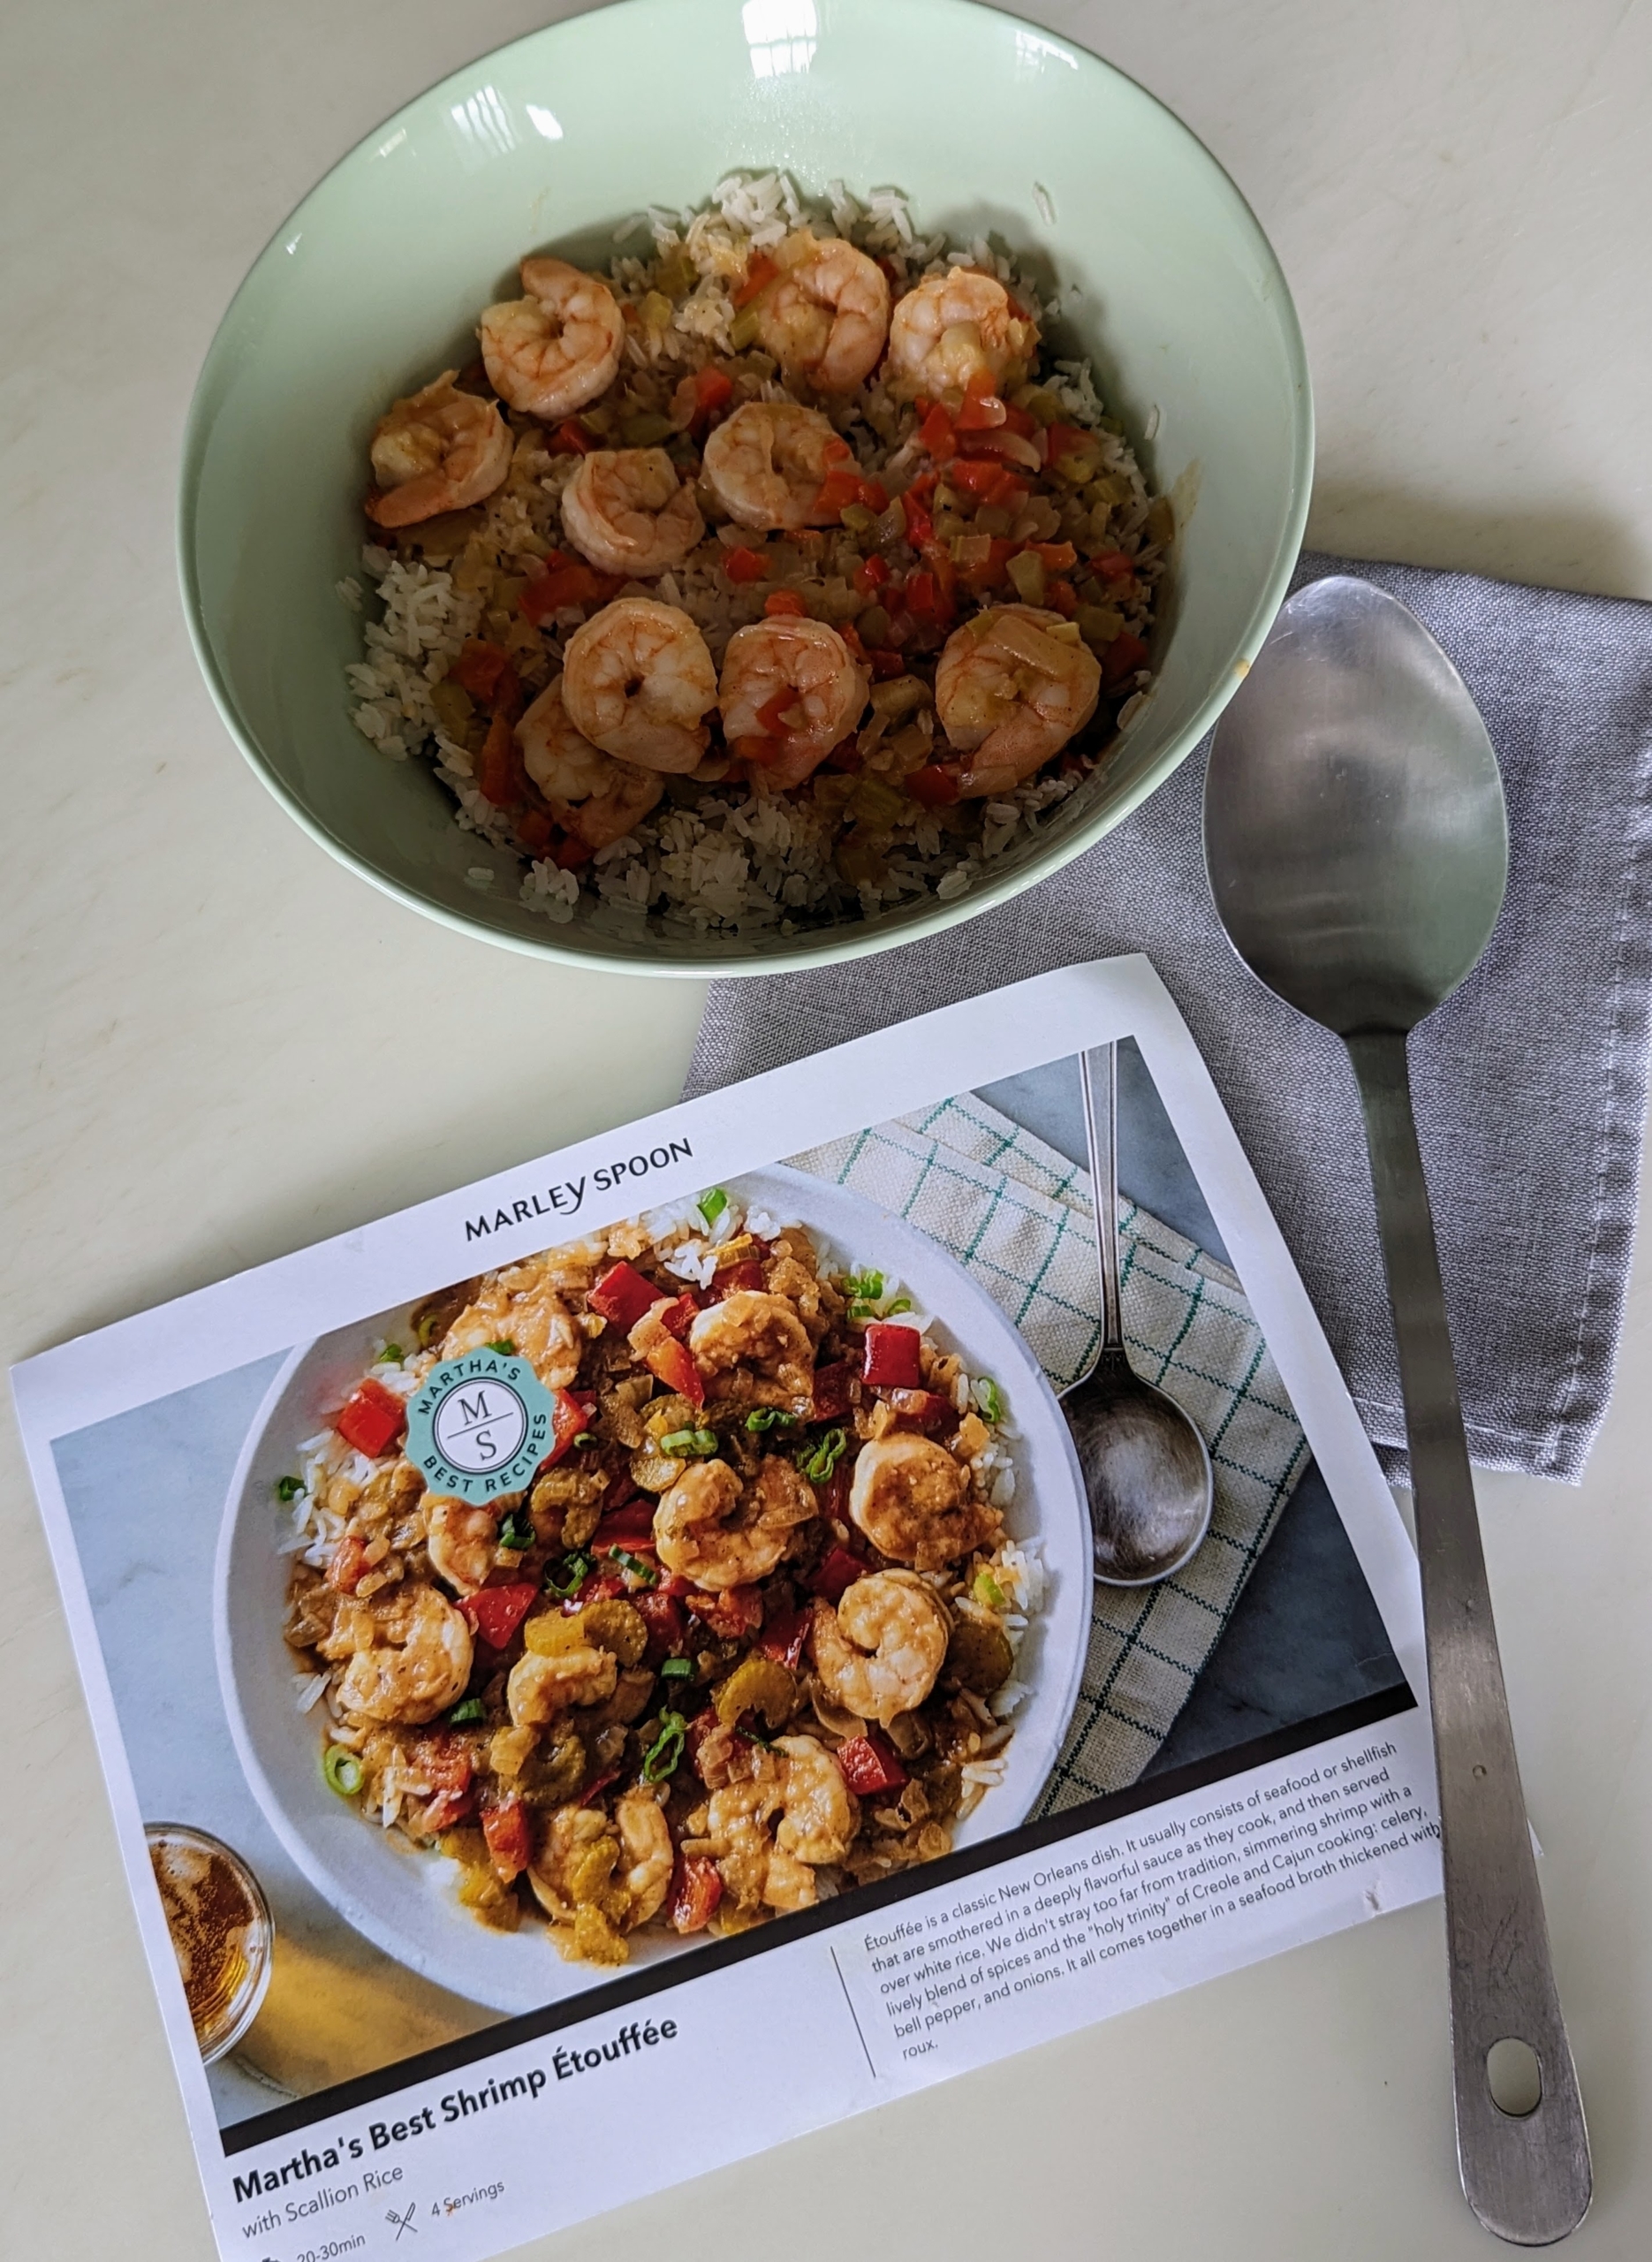
Once the rice is done, it is fluffed and spooned into a bowl.
… And then topped with the étouffée. It’s that easy, and that delicious. If you haven’t already, be sure to visit Marley Spoon today and sign up! You’ll enjoy every meal.