What DIY tasks are you taking on this weekend? Quick, easy-to-do projects around the garden can totally transform a space.
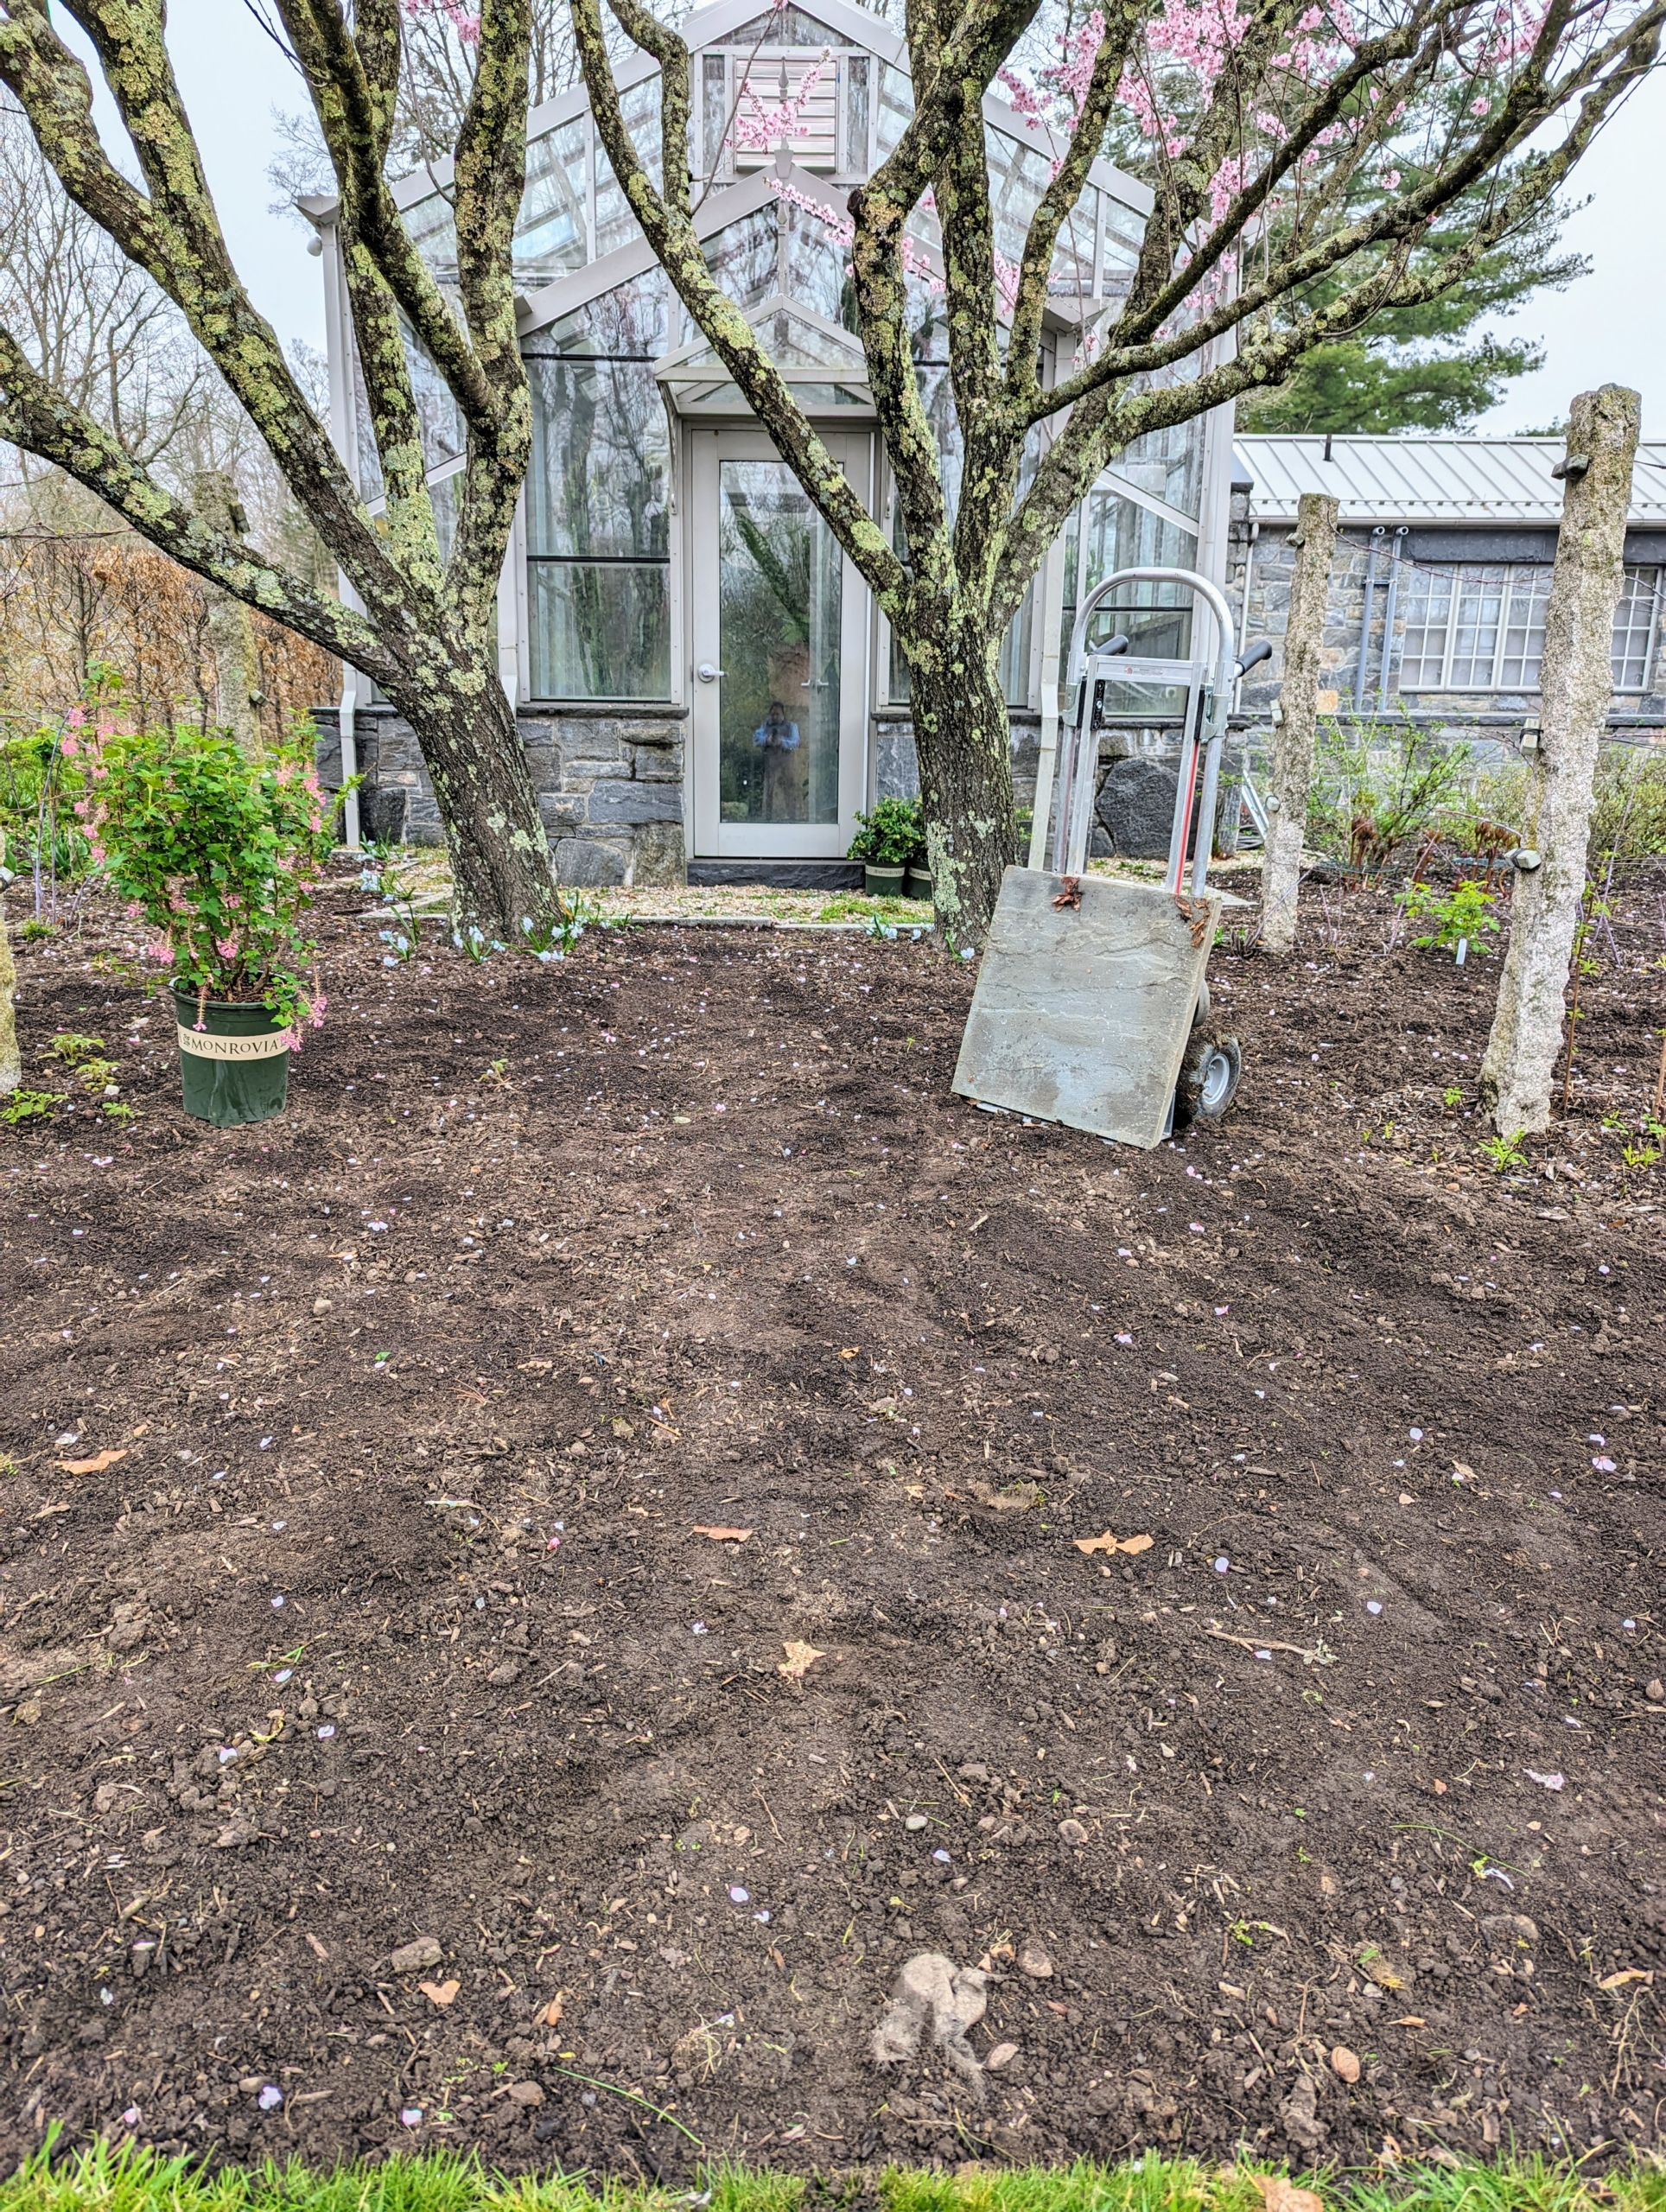
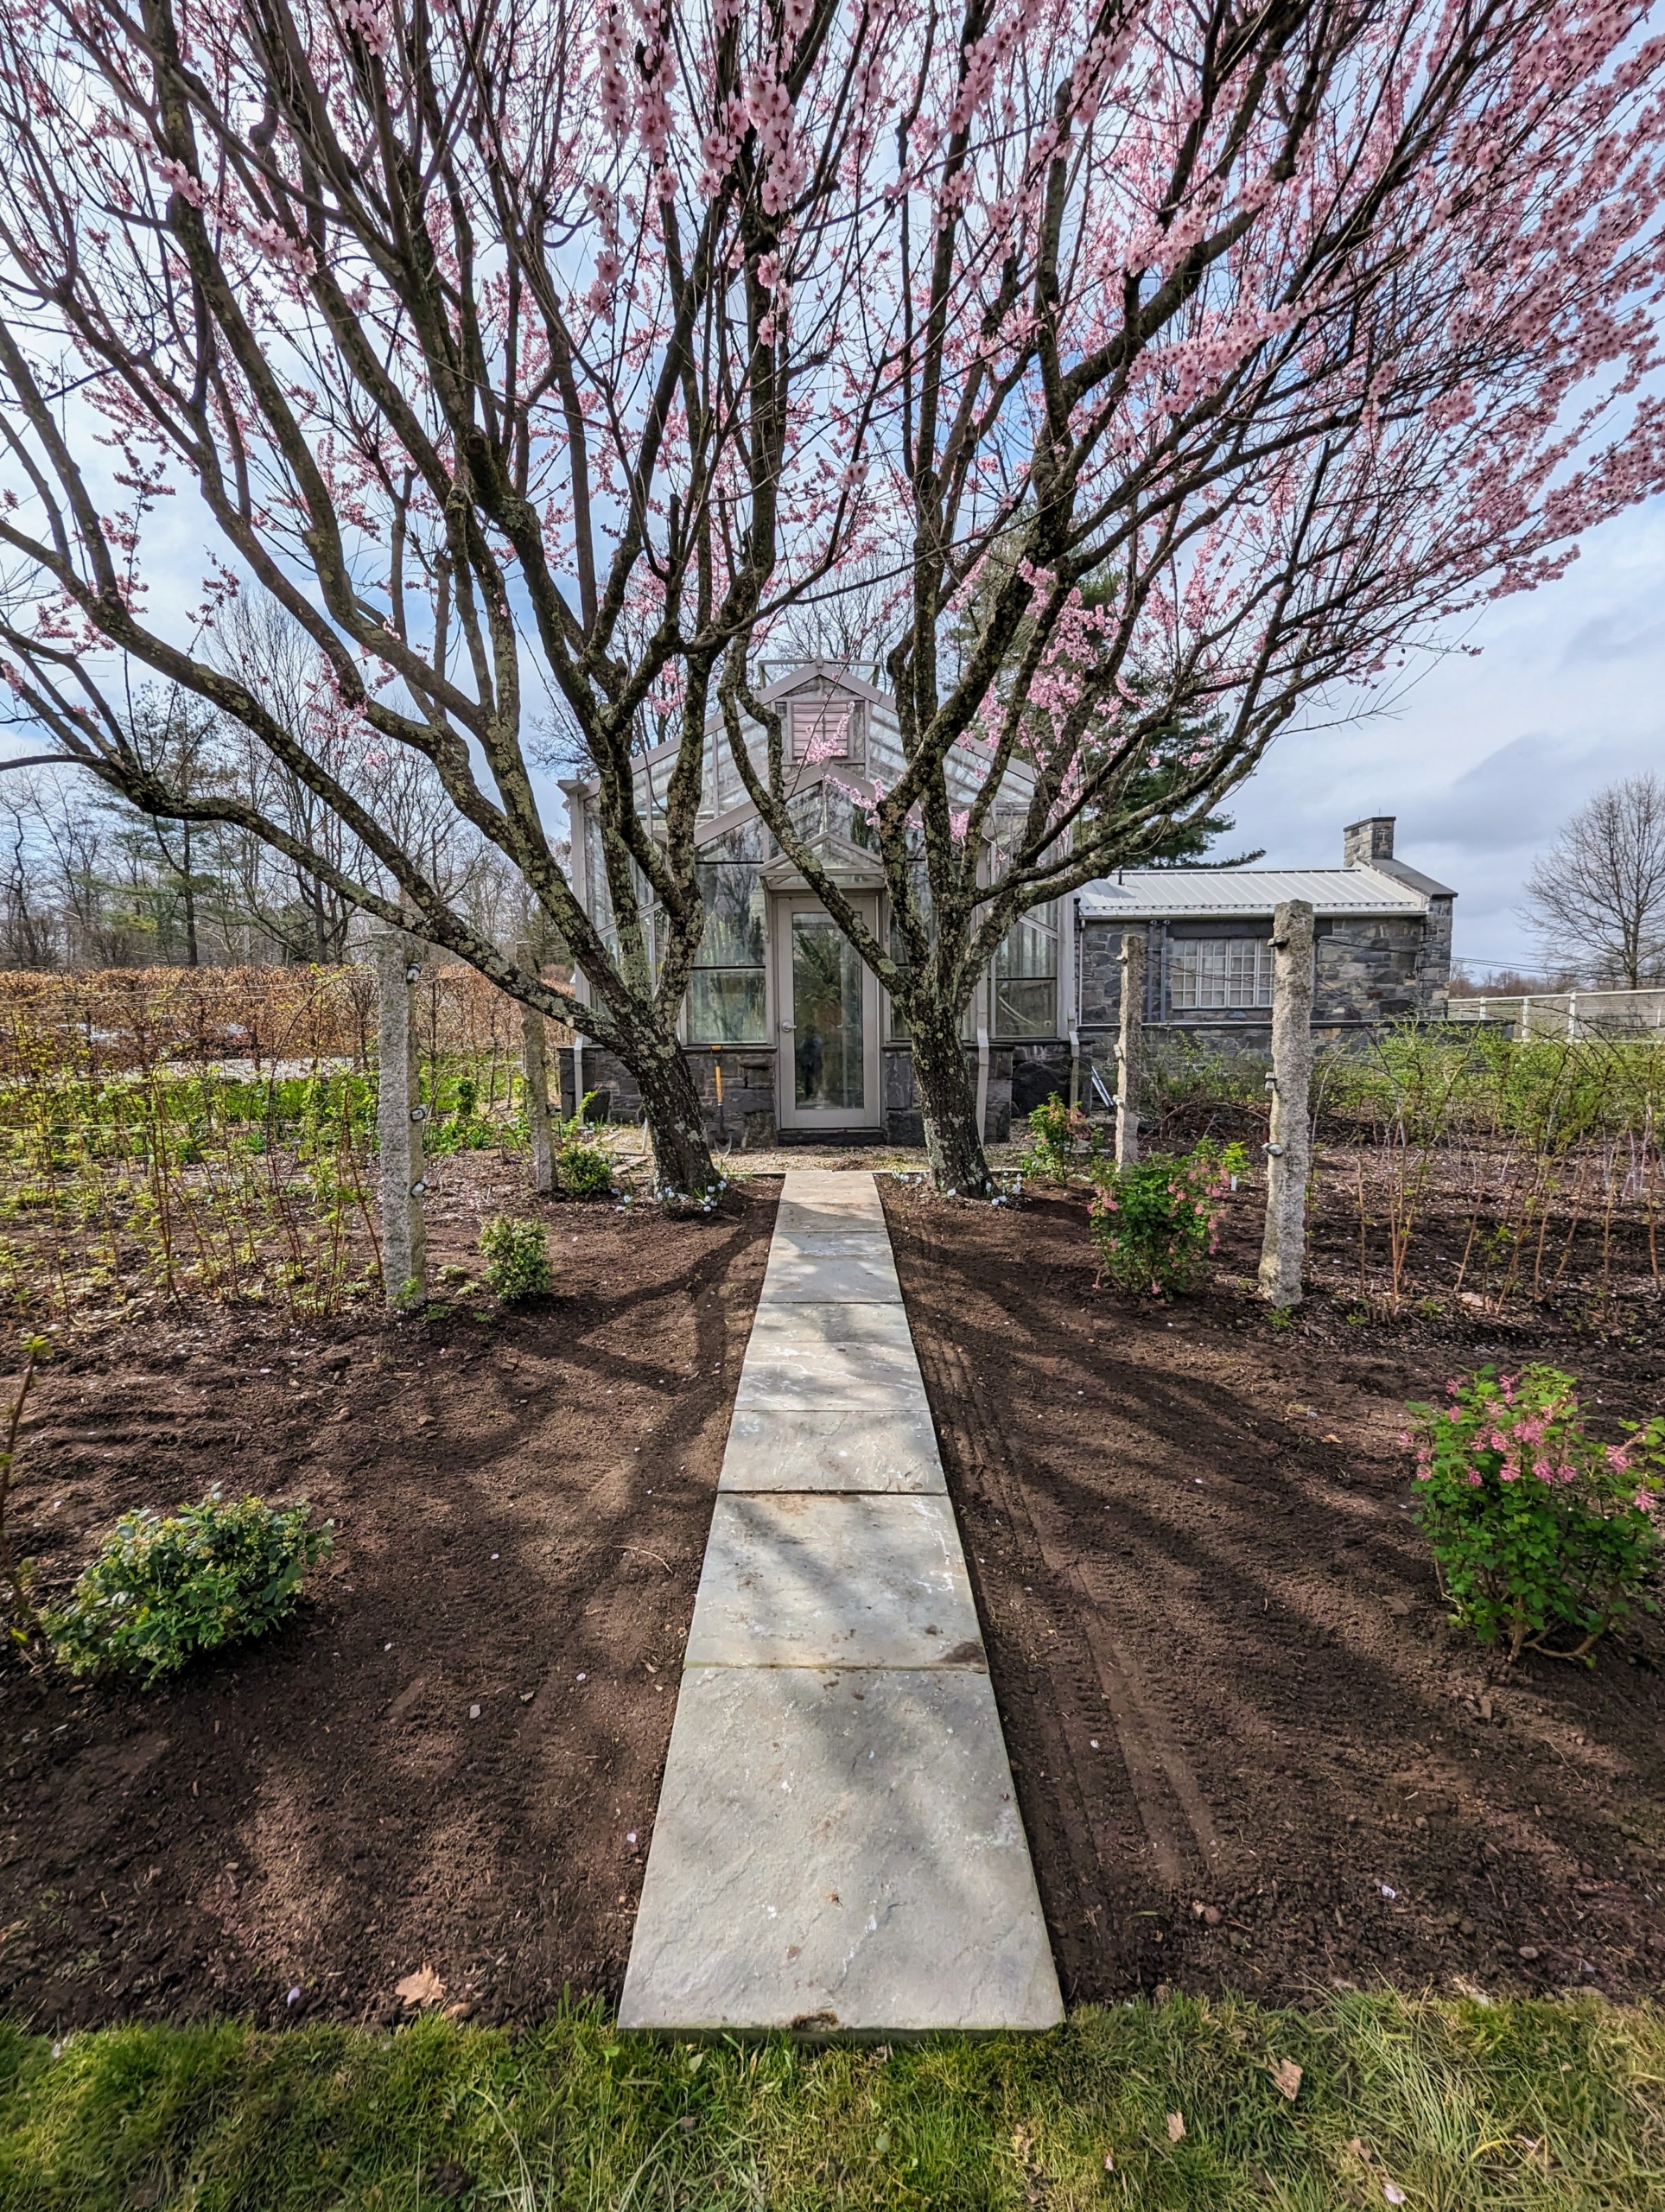
Just outside my main greenhouse, where I grow many of my sweet summer berries, is an area that needed a little attention. I decided it would look so much better with a stone footpath leading to the gardens, and a few plantings to give it a more finished look. As part of a delivery of plants from the wholesale nursery, Monrovia, I received three flowering currants - fragrant, spring-blooming shrubs native to the northwest United States. These specimens feature bold crimson flower clusters that are a favorite nectar source for hummingbirds and other pollinators. They were planted along with three blueberry bushes also from Monrovia.
Here are some photos, enjoy.
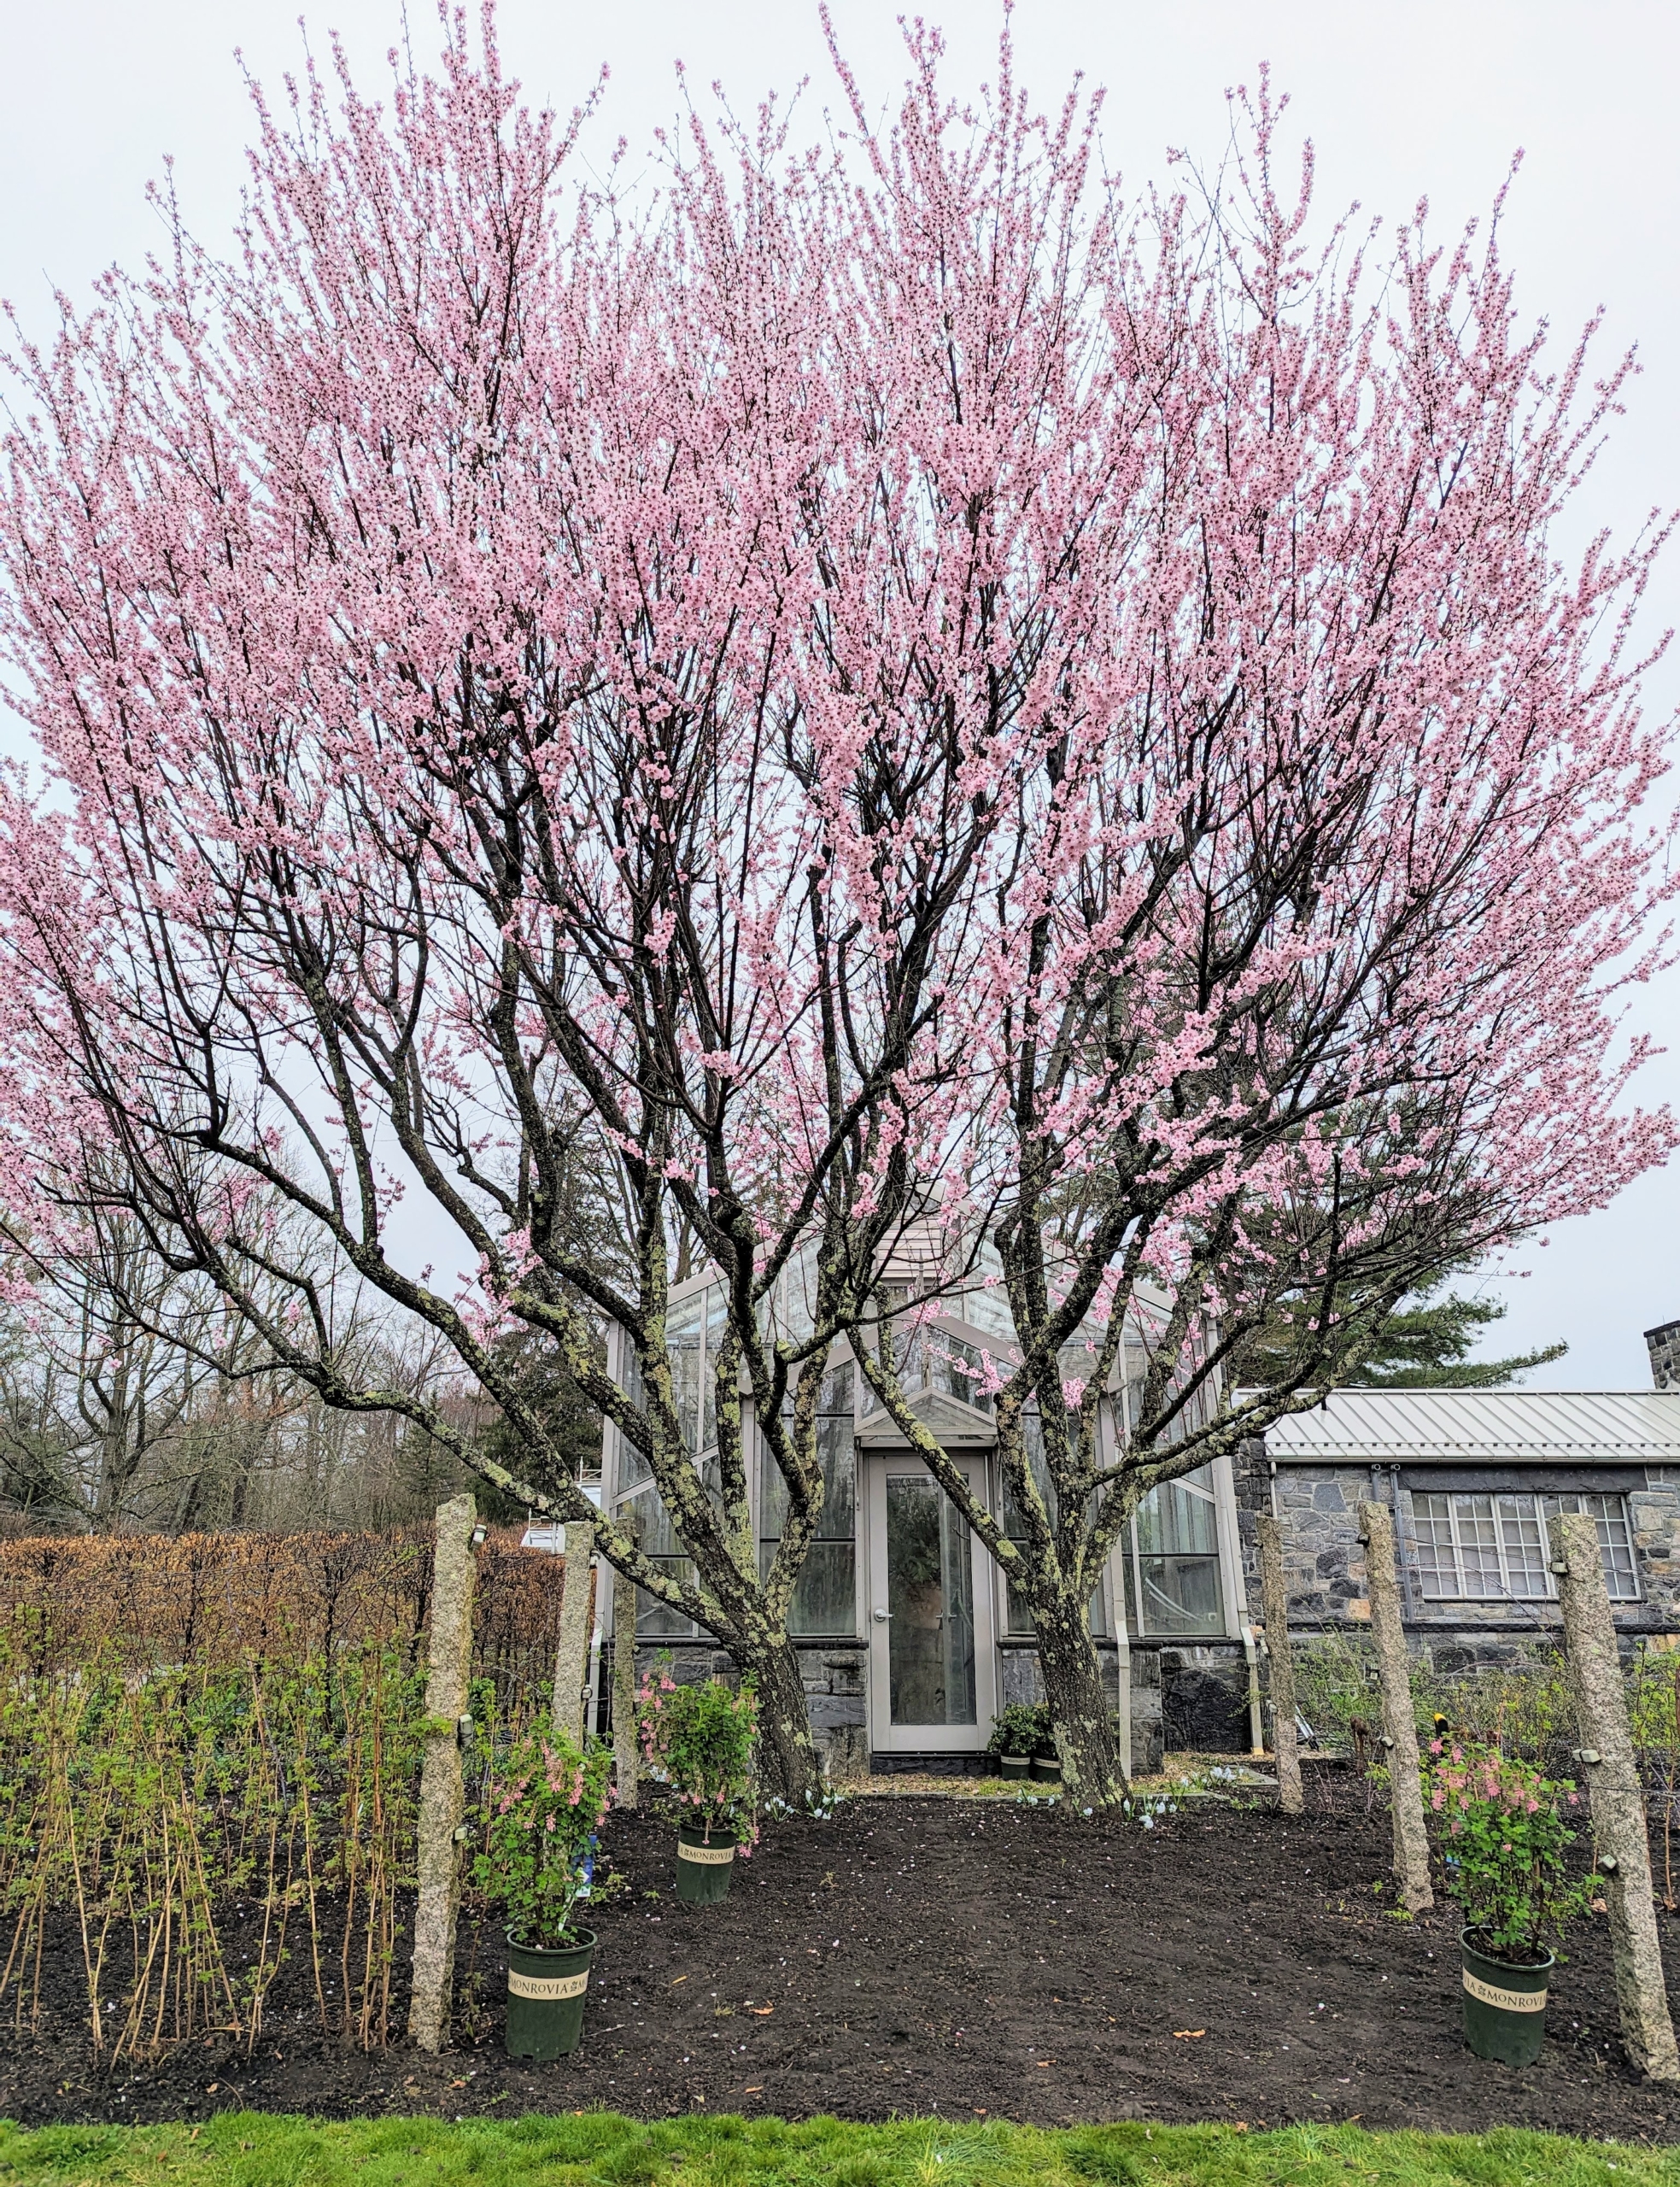
My large glass greenhouse has several entryways. Planted outside this door are two very productive almond trees. The almond is a species of small tree from the genus Prunus, cultivated worldwide for its seed – those delicious and nutritious nuts.
The almond trees are between several rows of raspberry bushes and not far from my strawberries, gooseberries, and currants.
Our most recent order from Monrovia includes several more berries and flowering currants. Ryan and I work together to place all these plants in their permanent locations around the farm.
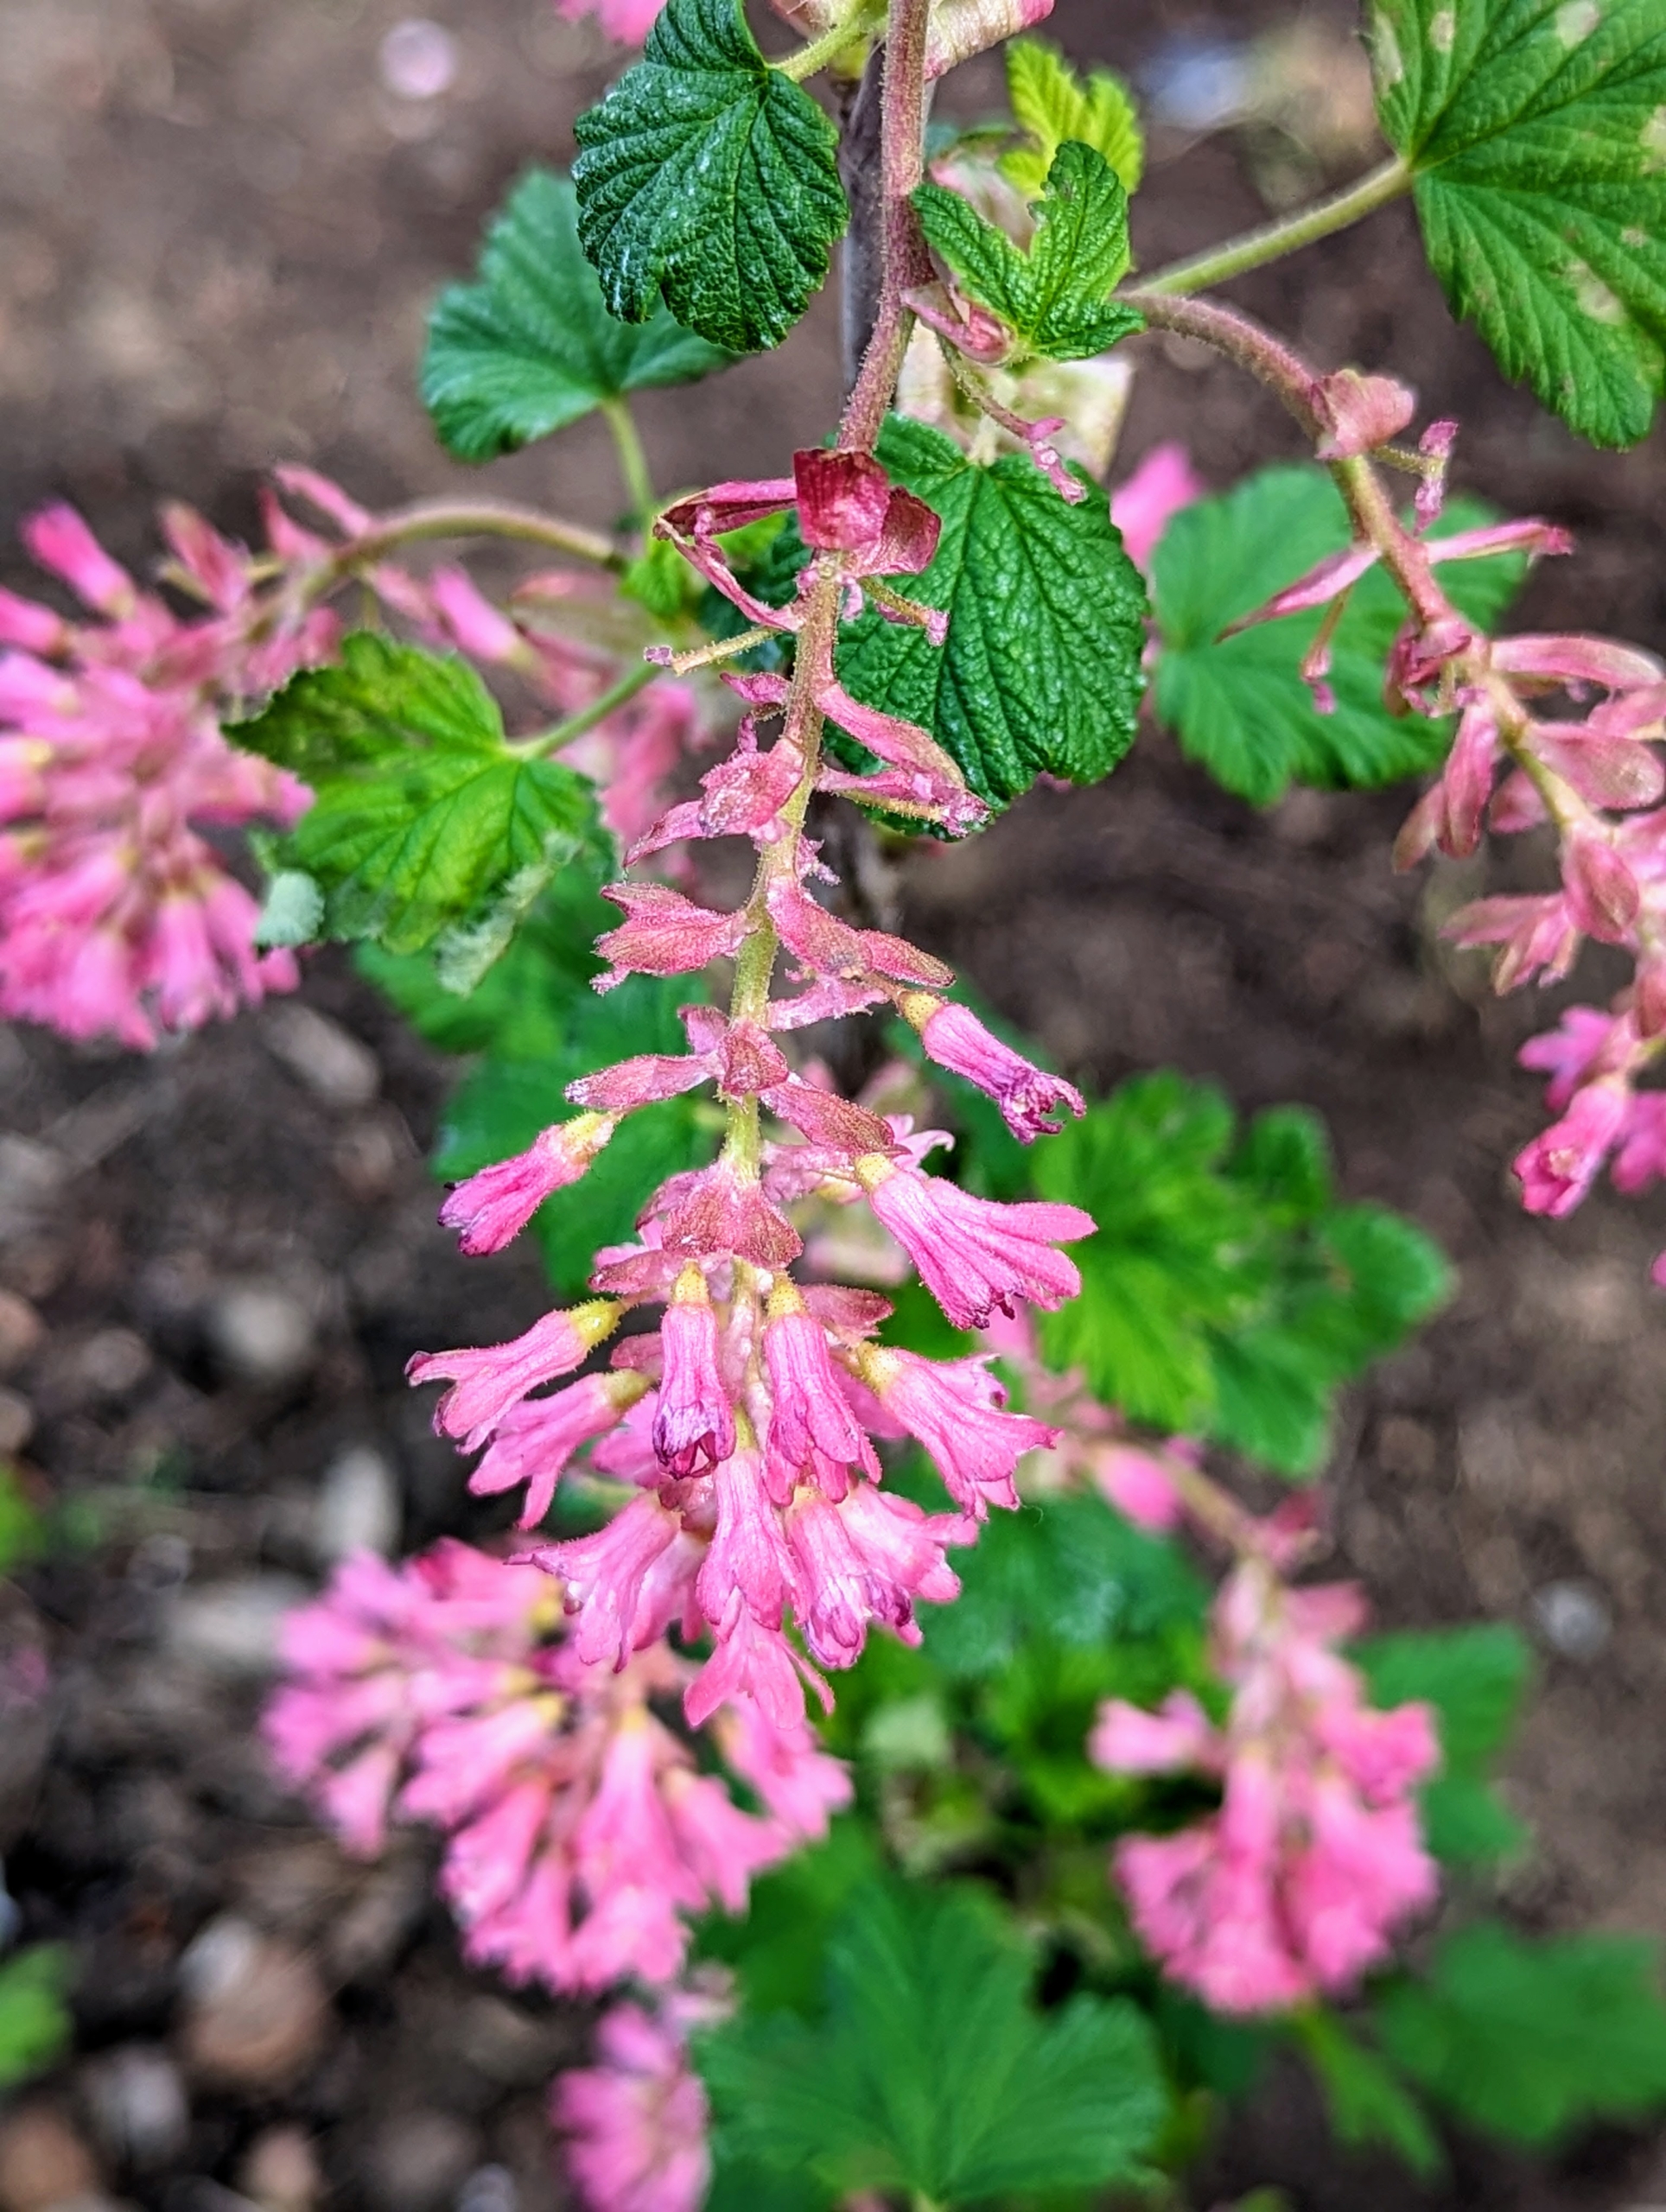
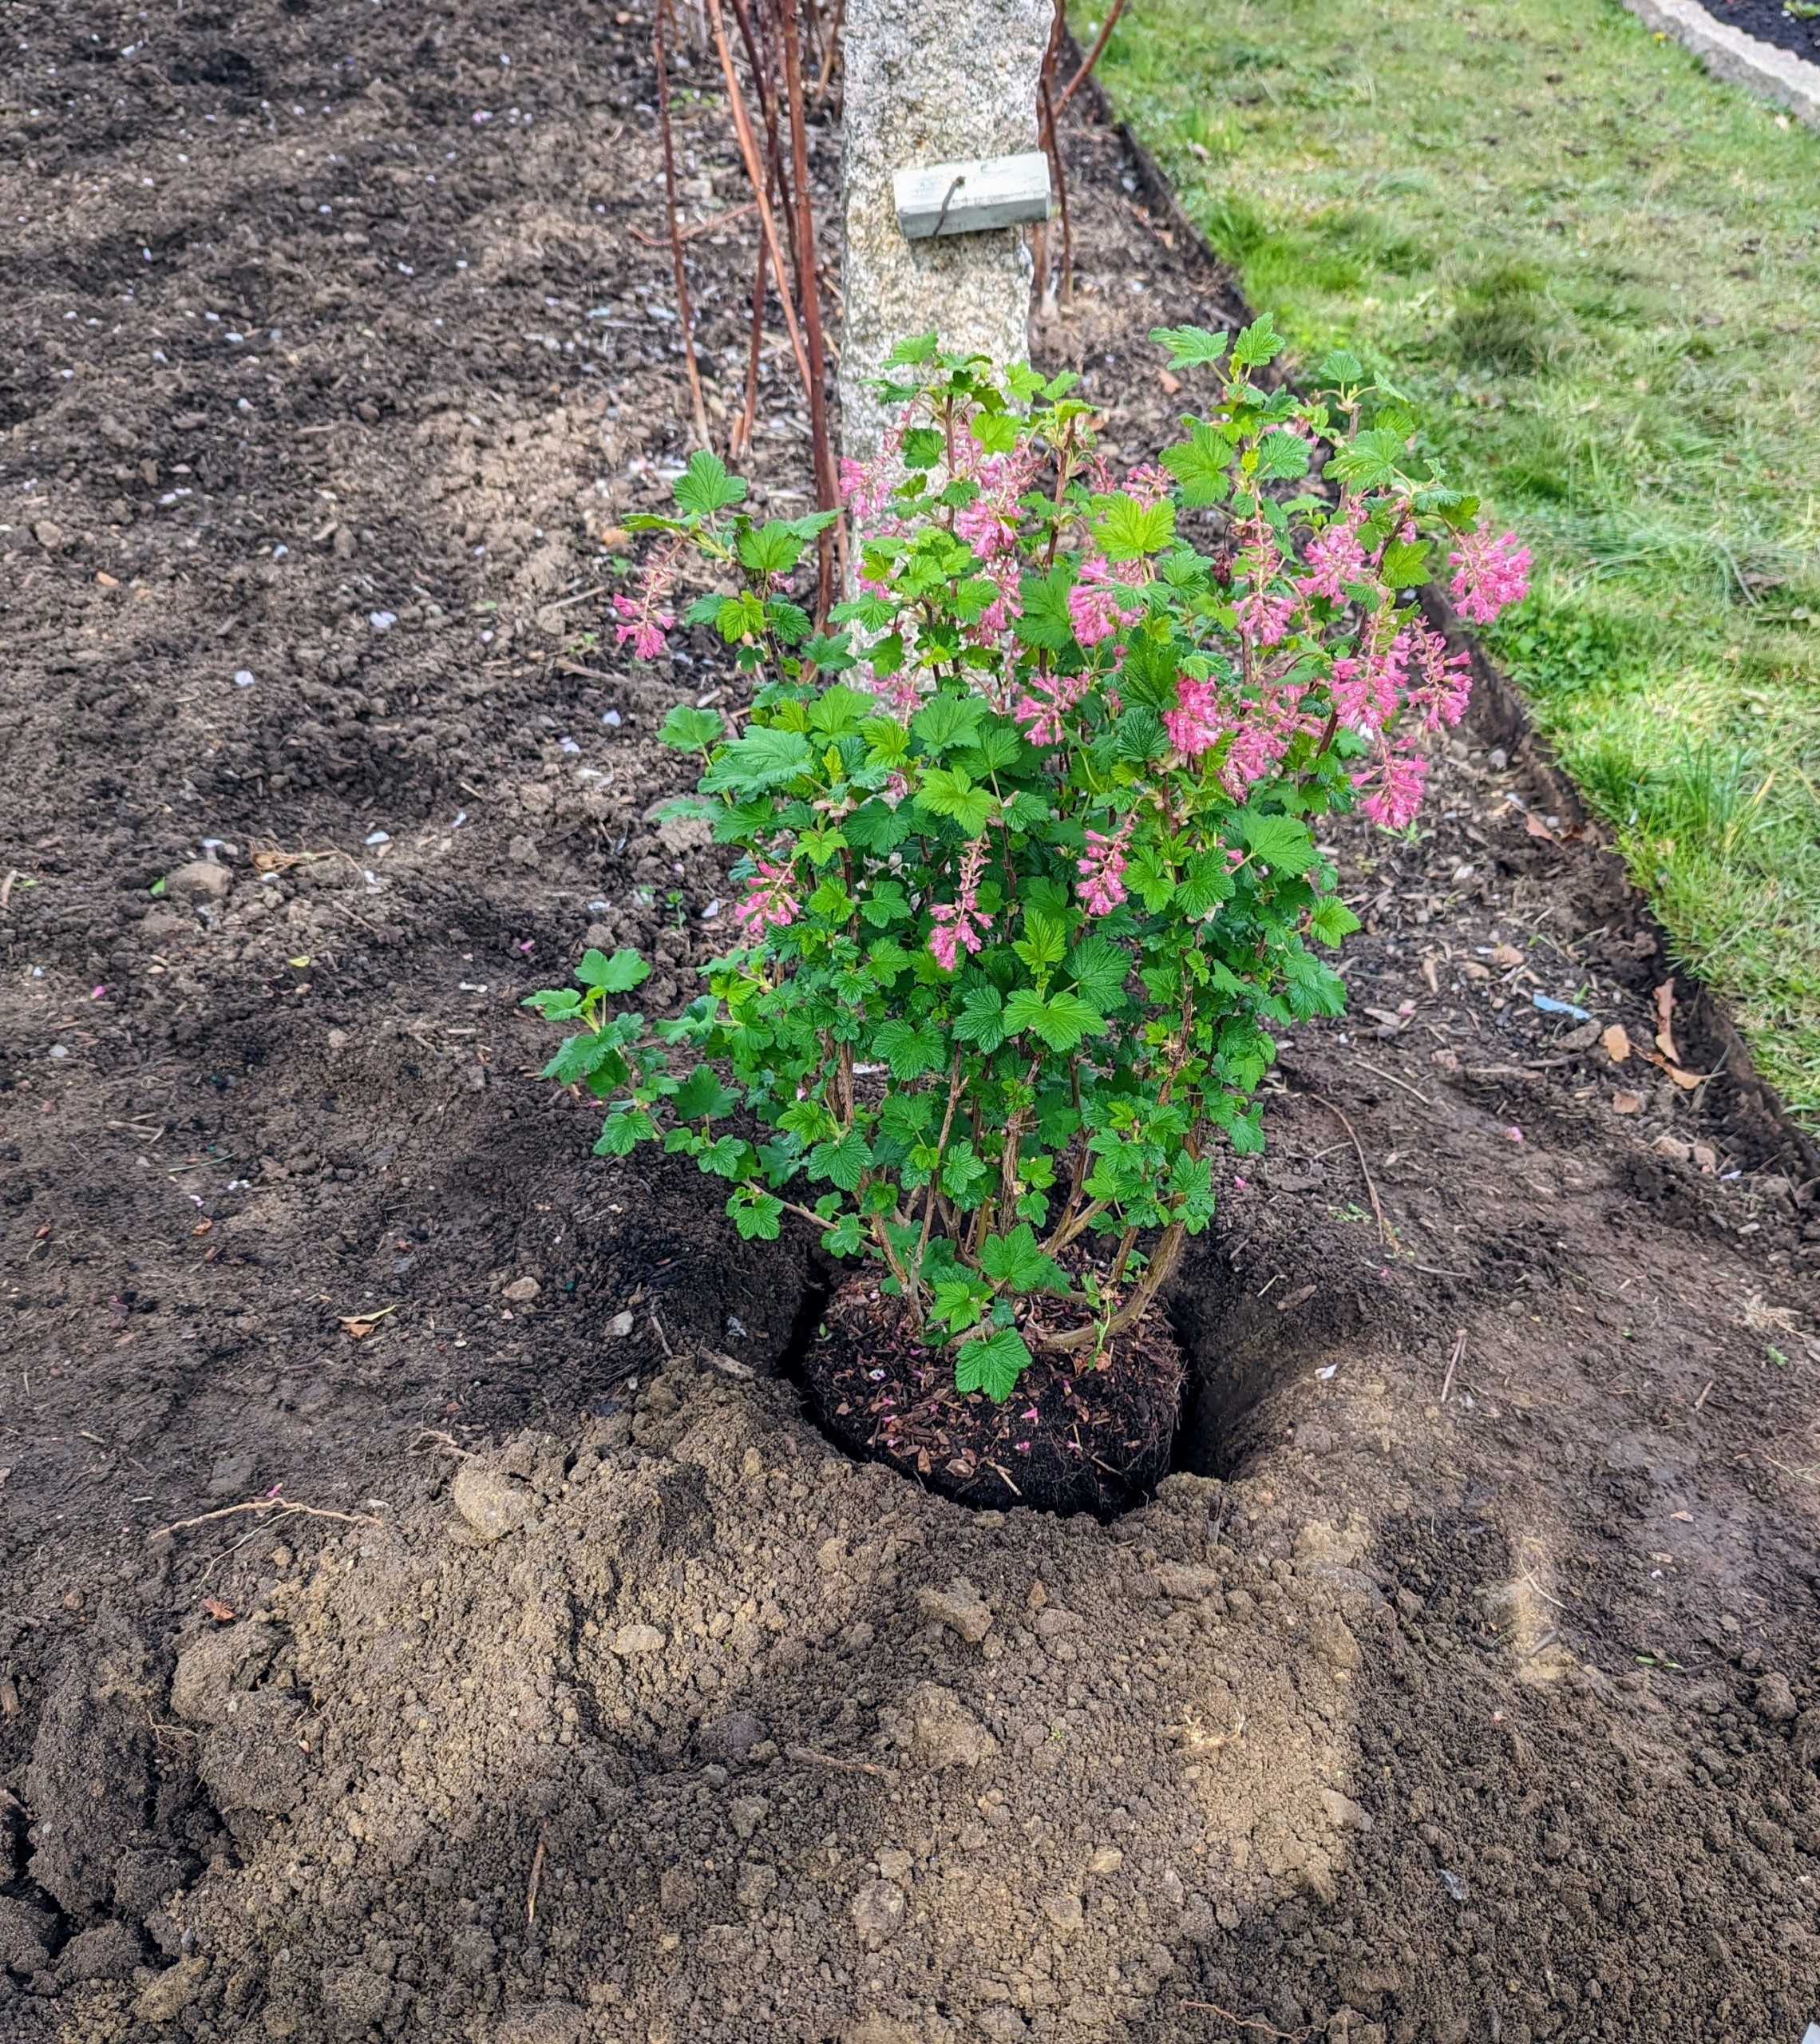
‘King Edward VII’ Flowering Currant, Ribes sanguineum, is a compact grower with a rich color of pendulous bloom clusters. It is a slow grower and only reaches about three to six feet tall.
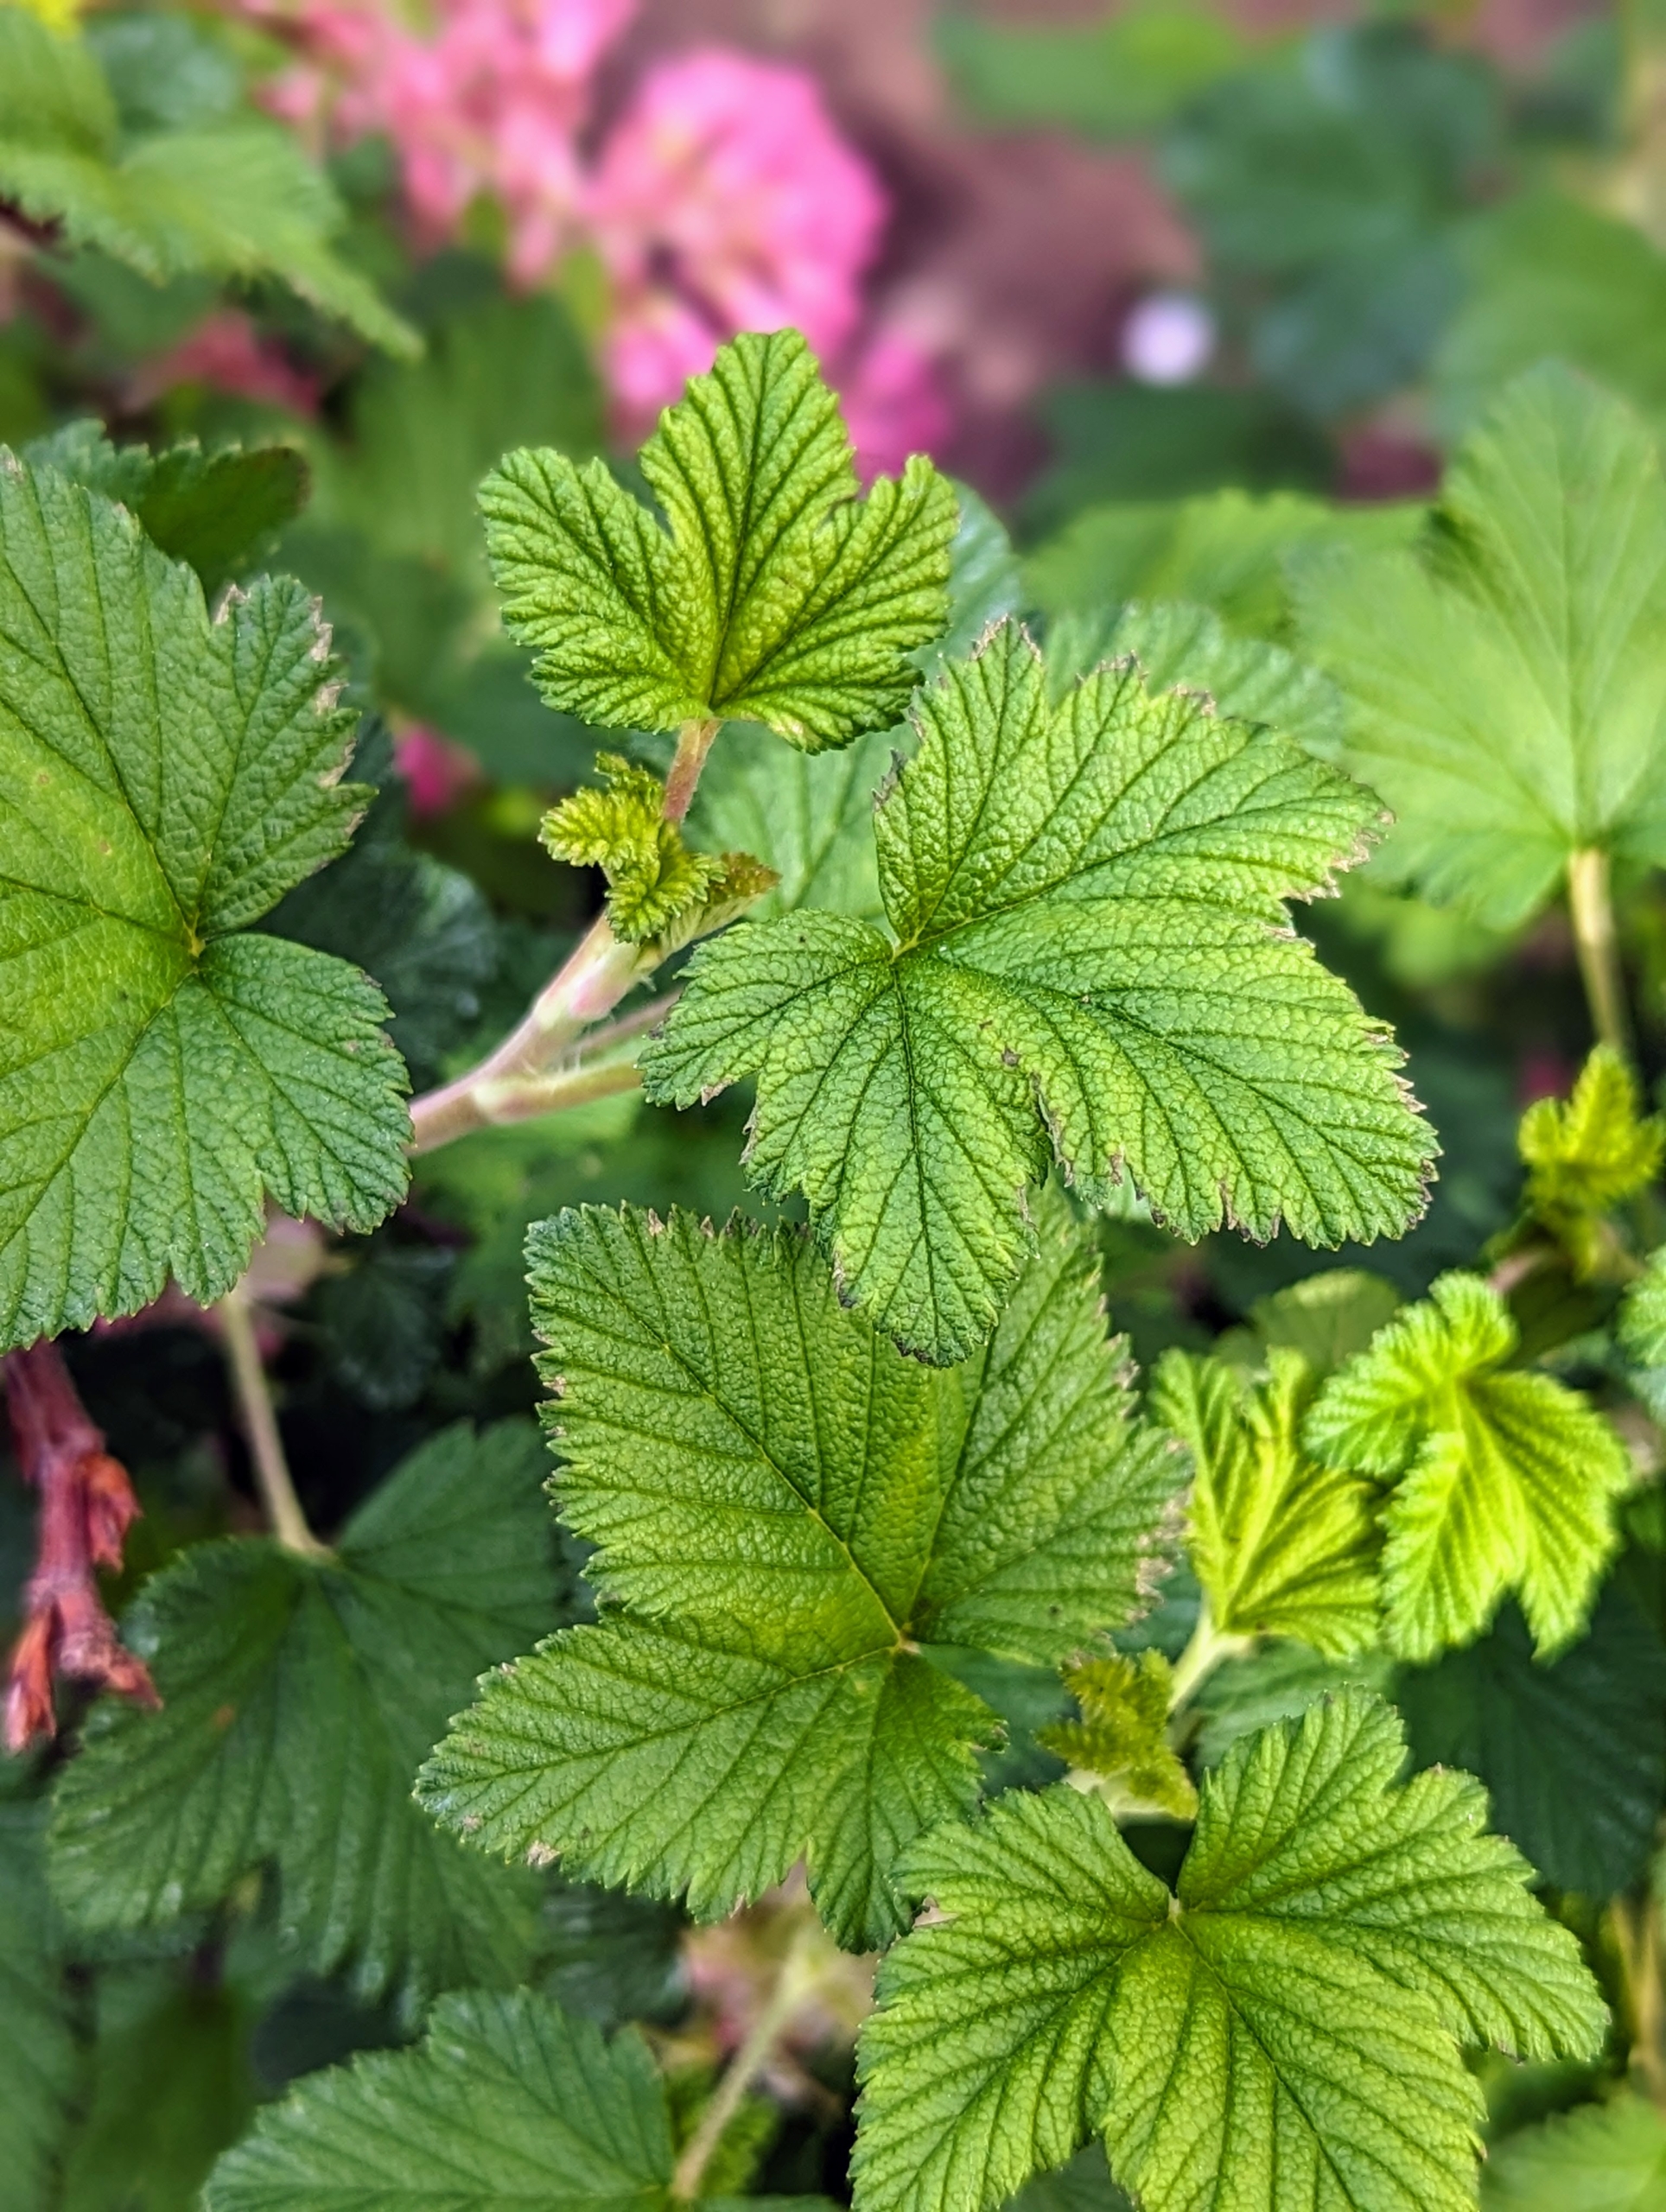
The leaves of the flowering currant are alternate and rounded with three to five shallow lobes and deep veins. The plants prefer well-drained soils and sun.
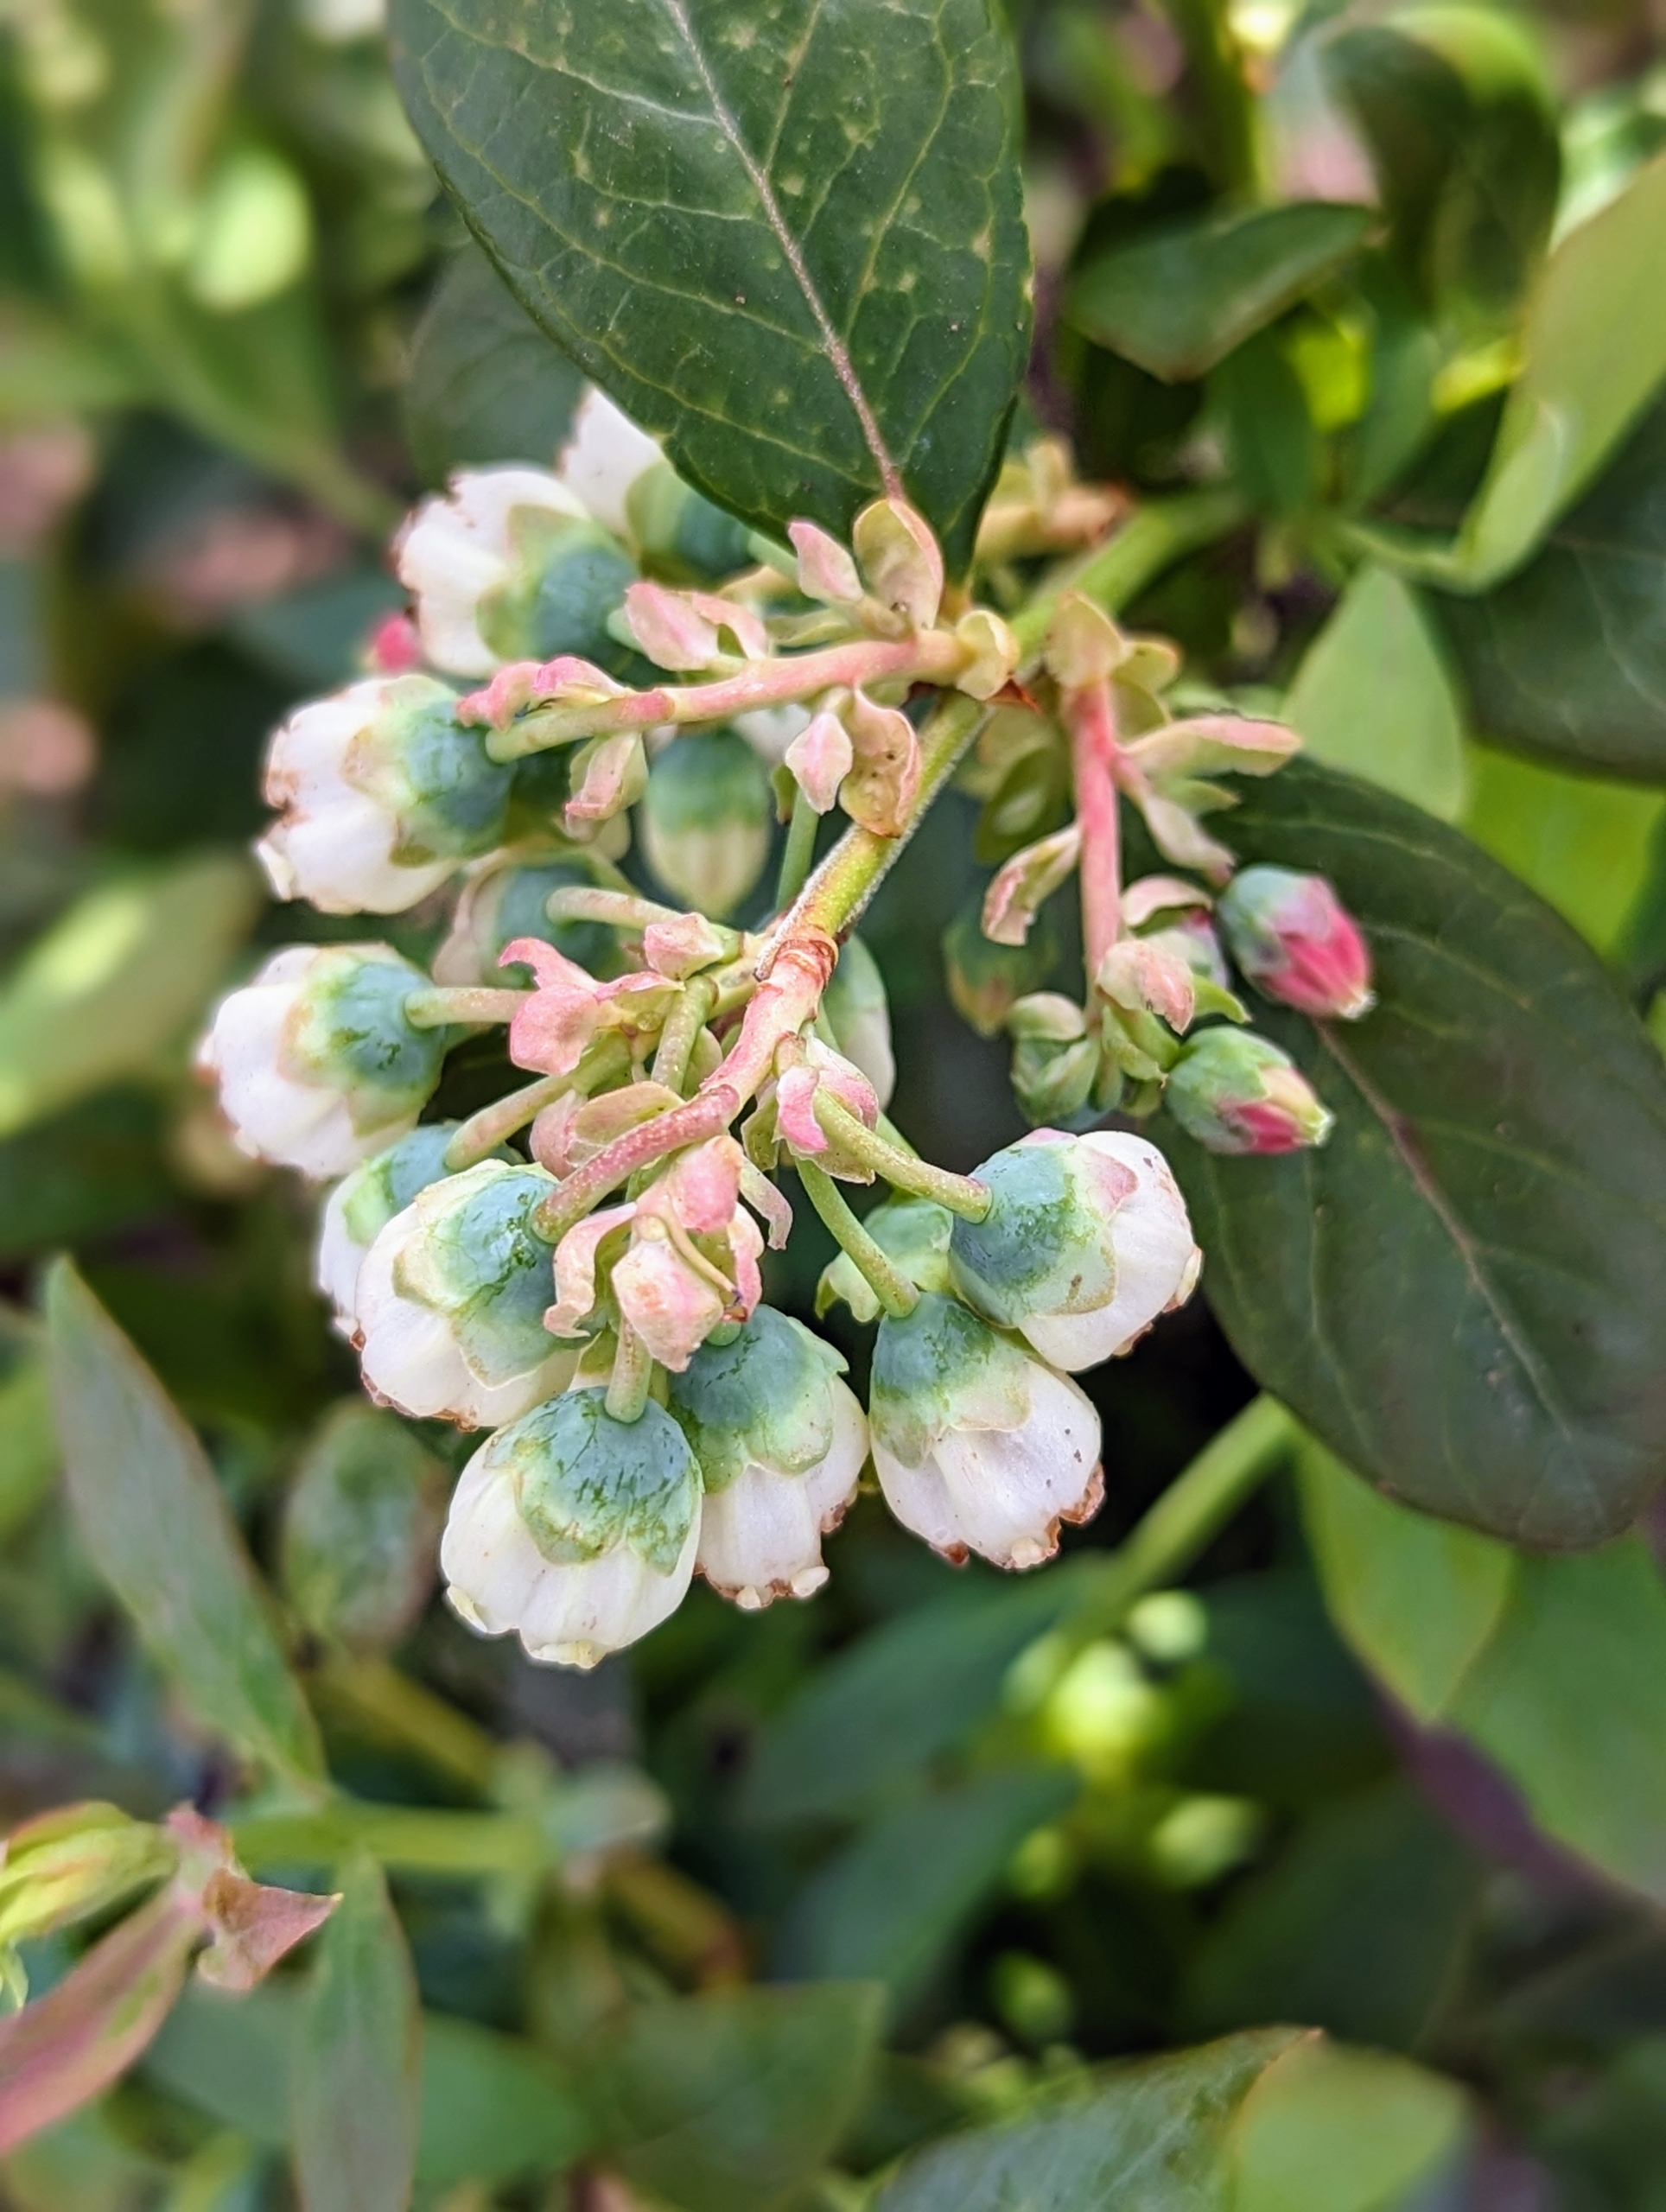
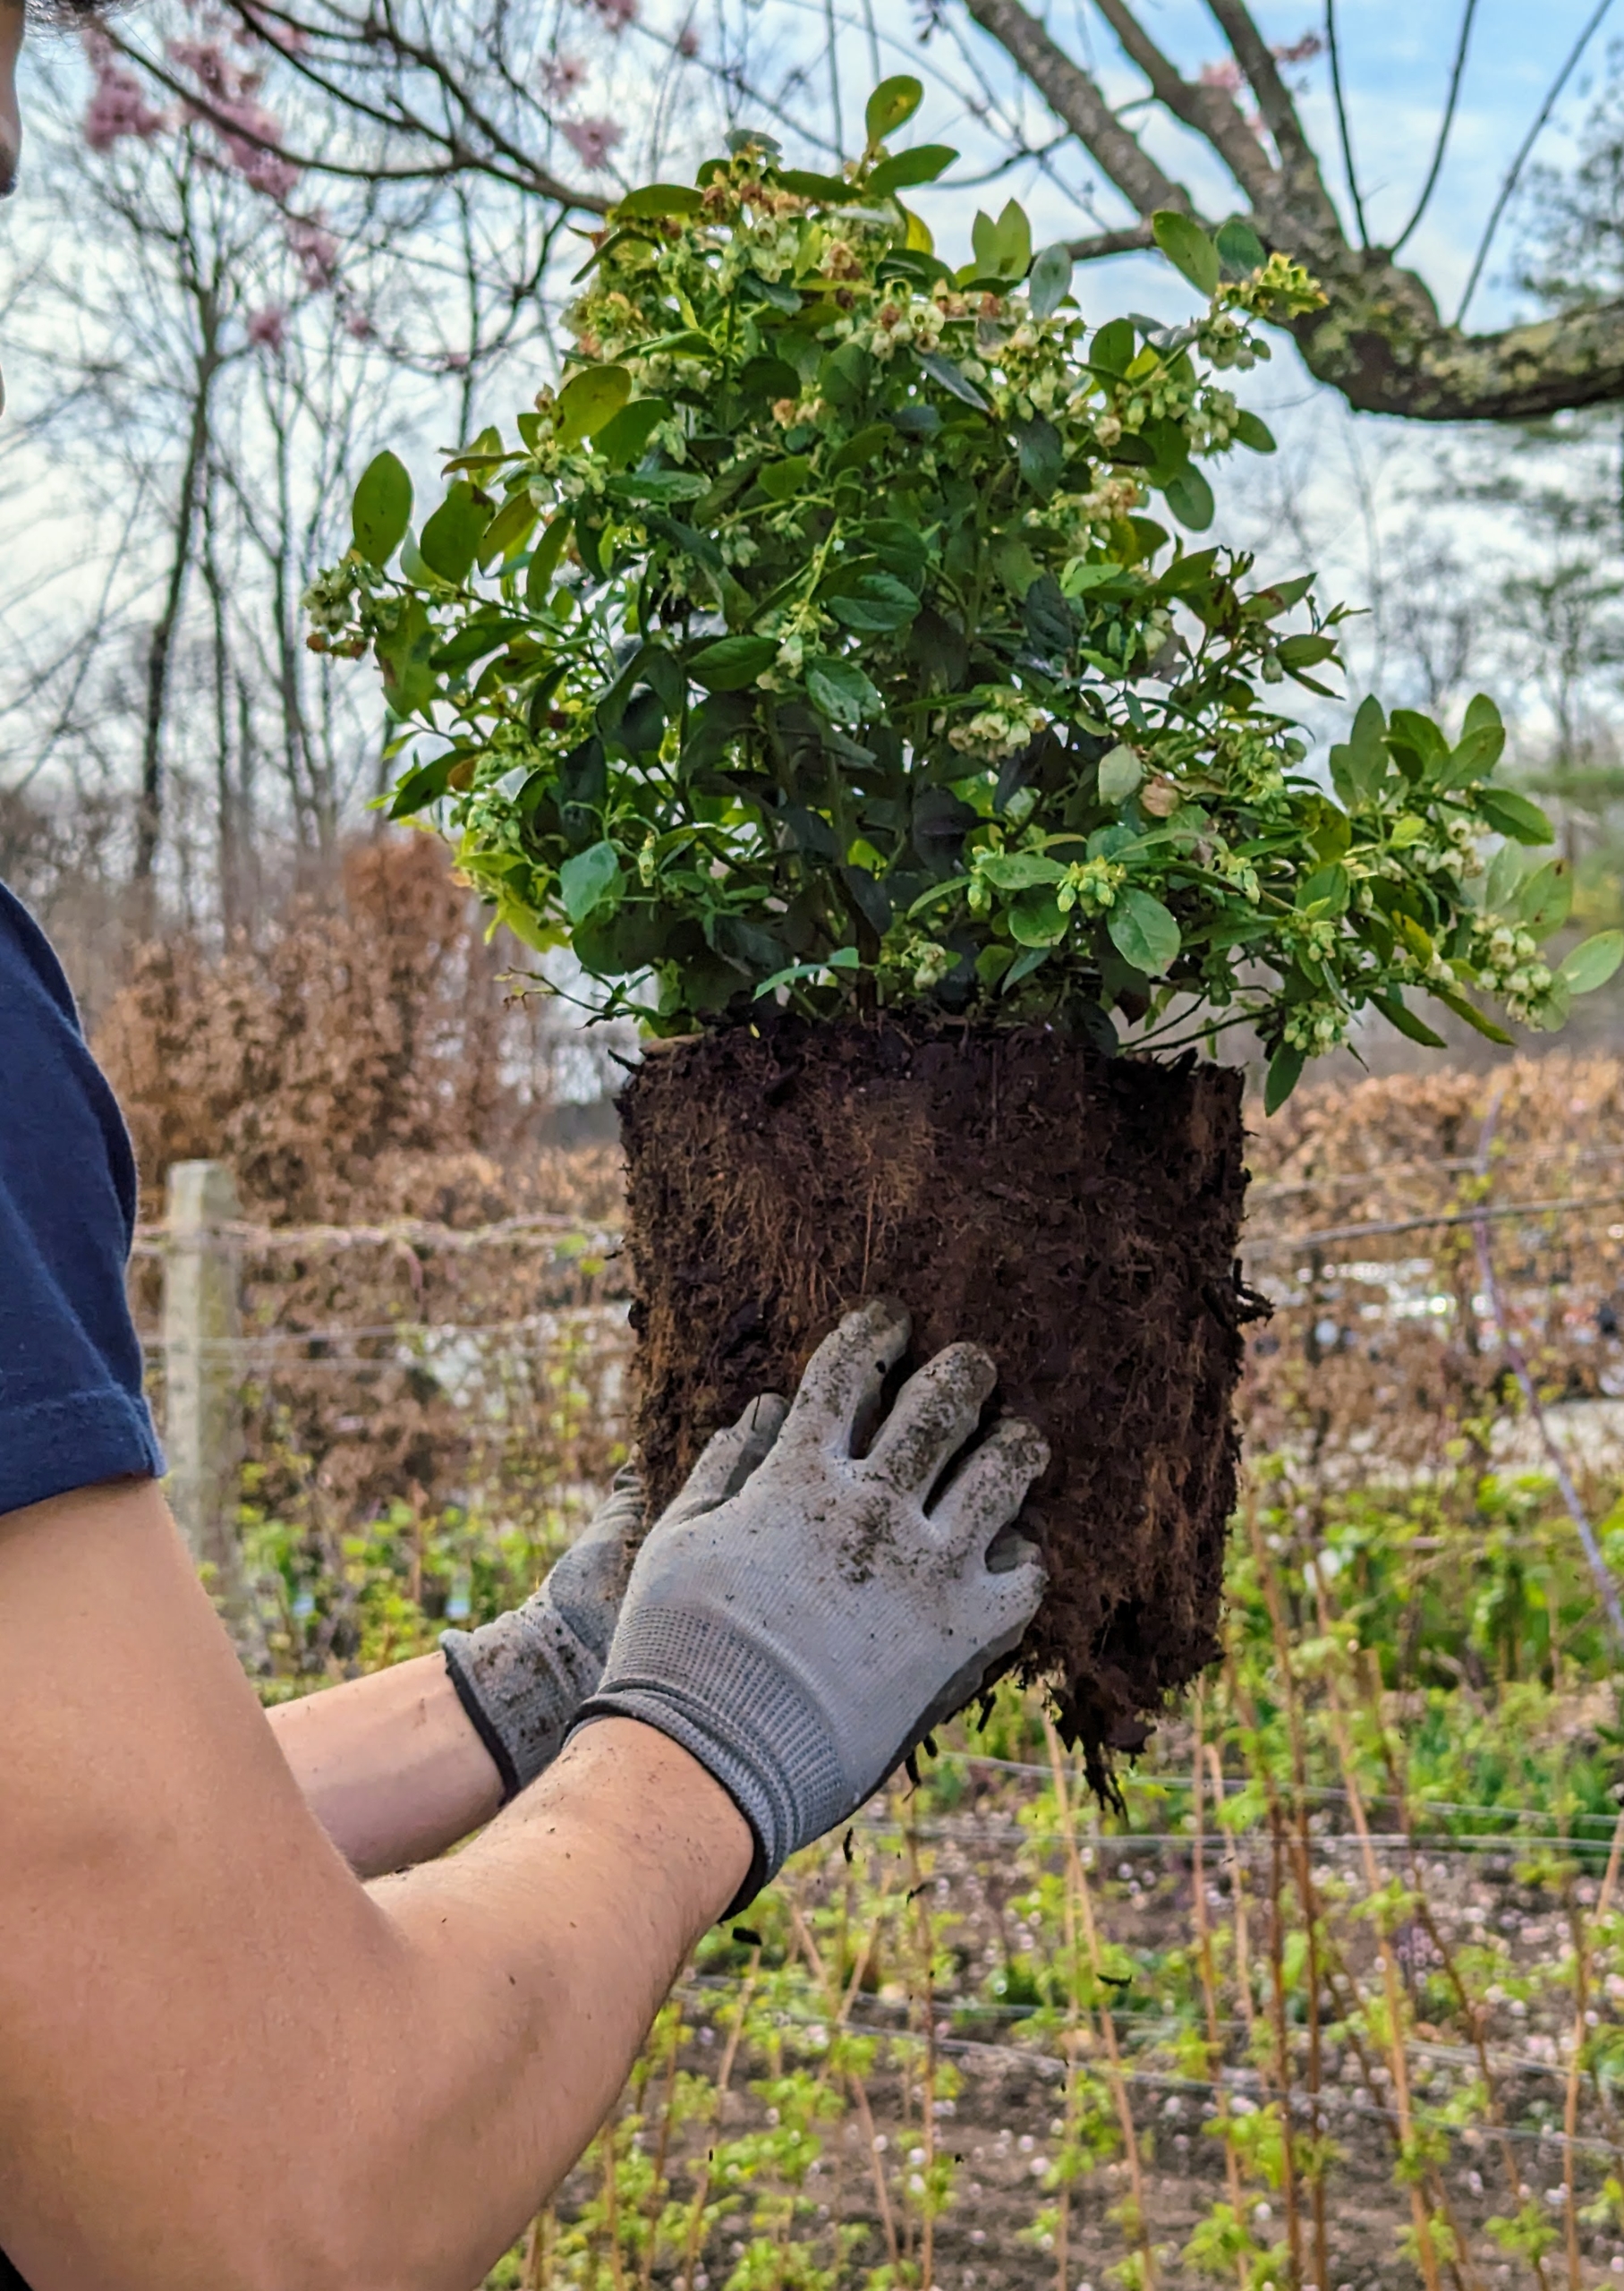
I also decided to plant three blueberry bushes in this area. These are the buds of Bountiful Blue® Blueberry, also from Monrovia. Its pink-blush flowers produce large, sweet and juicy fruits.
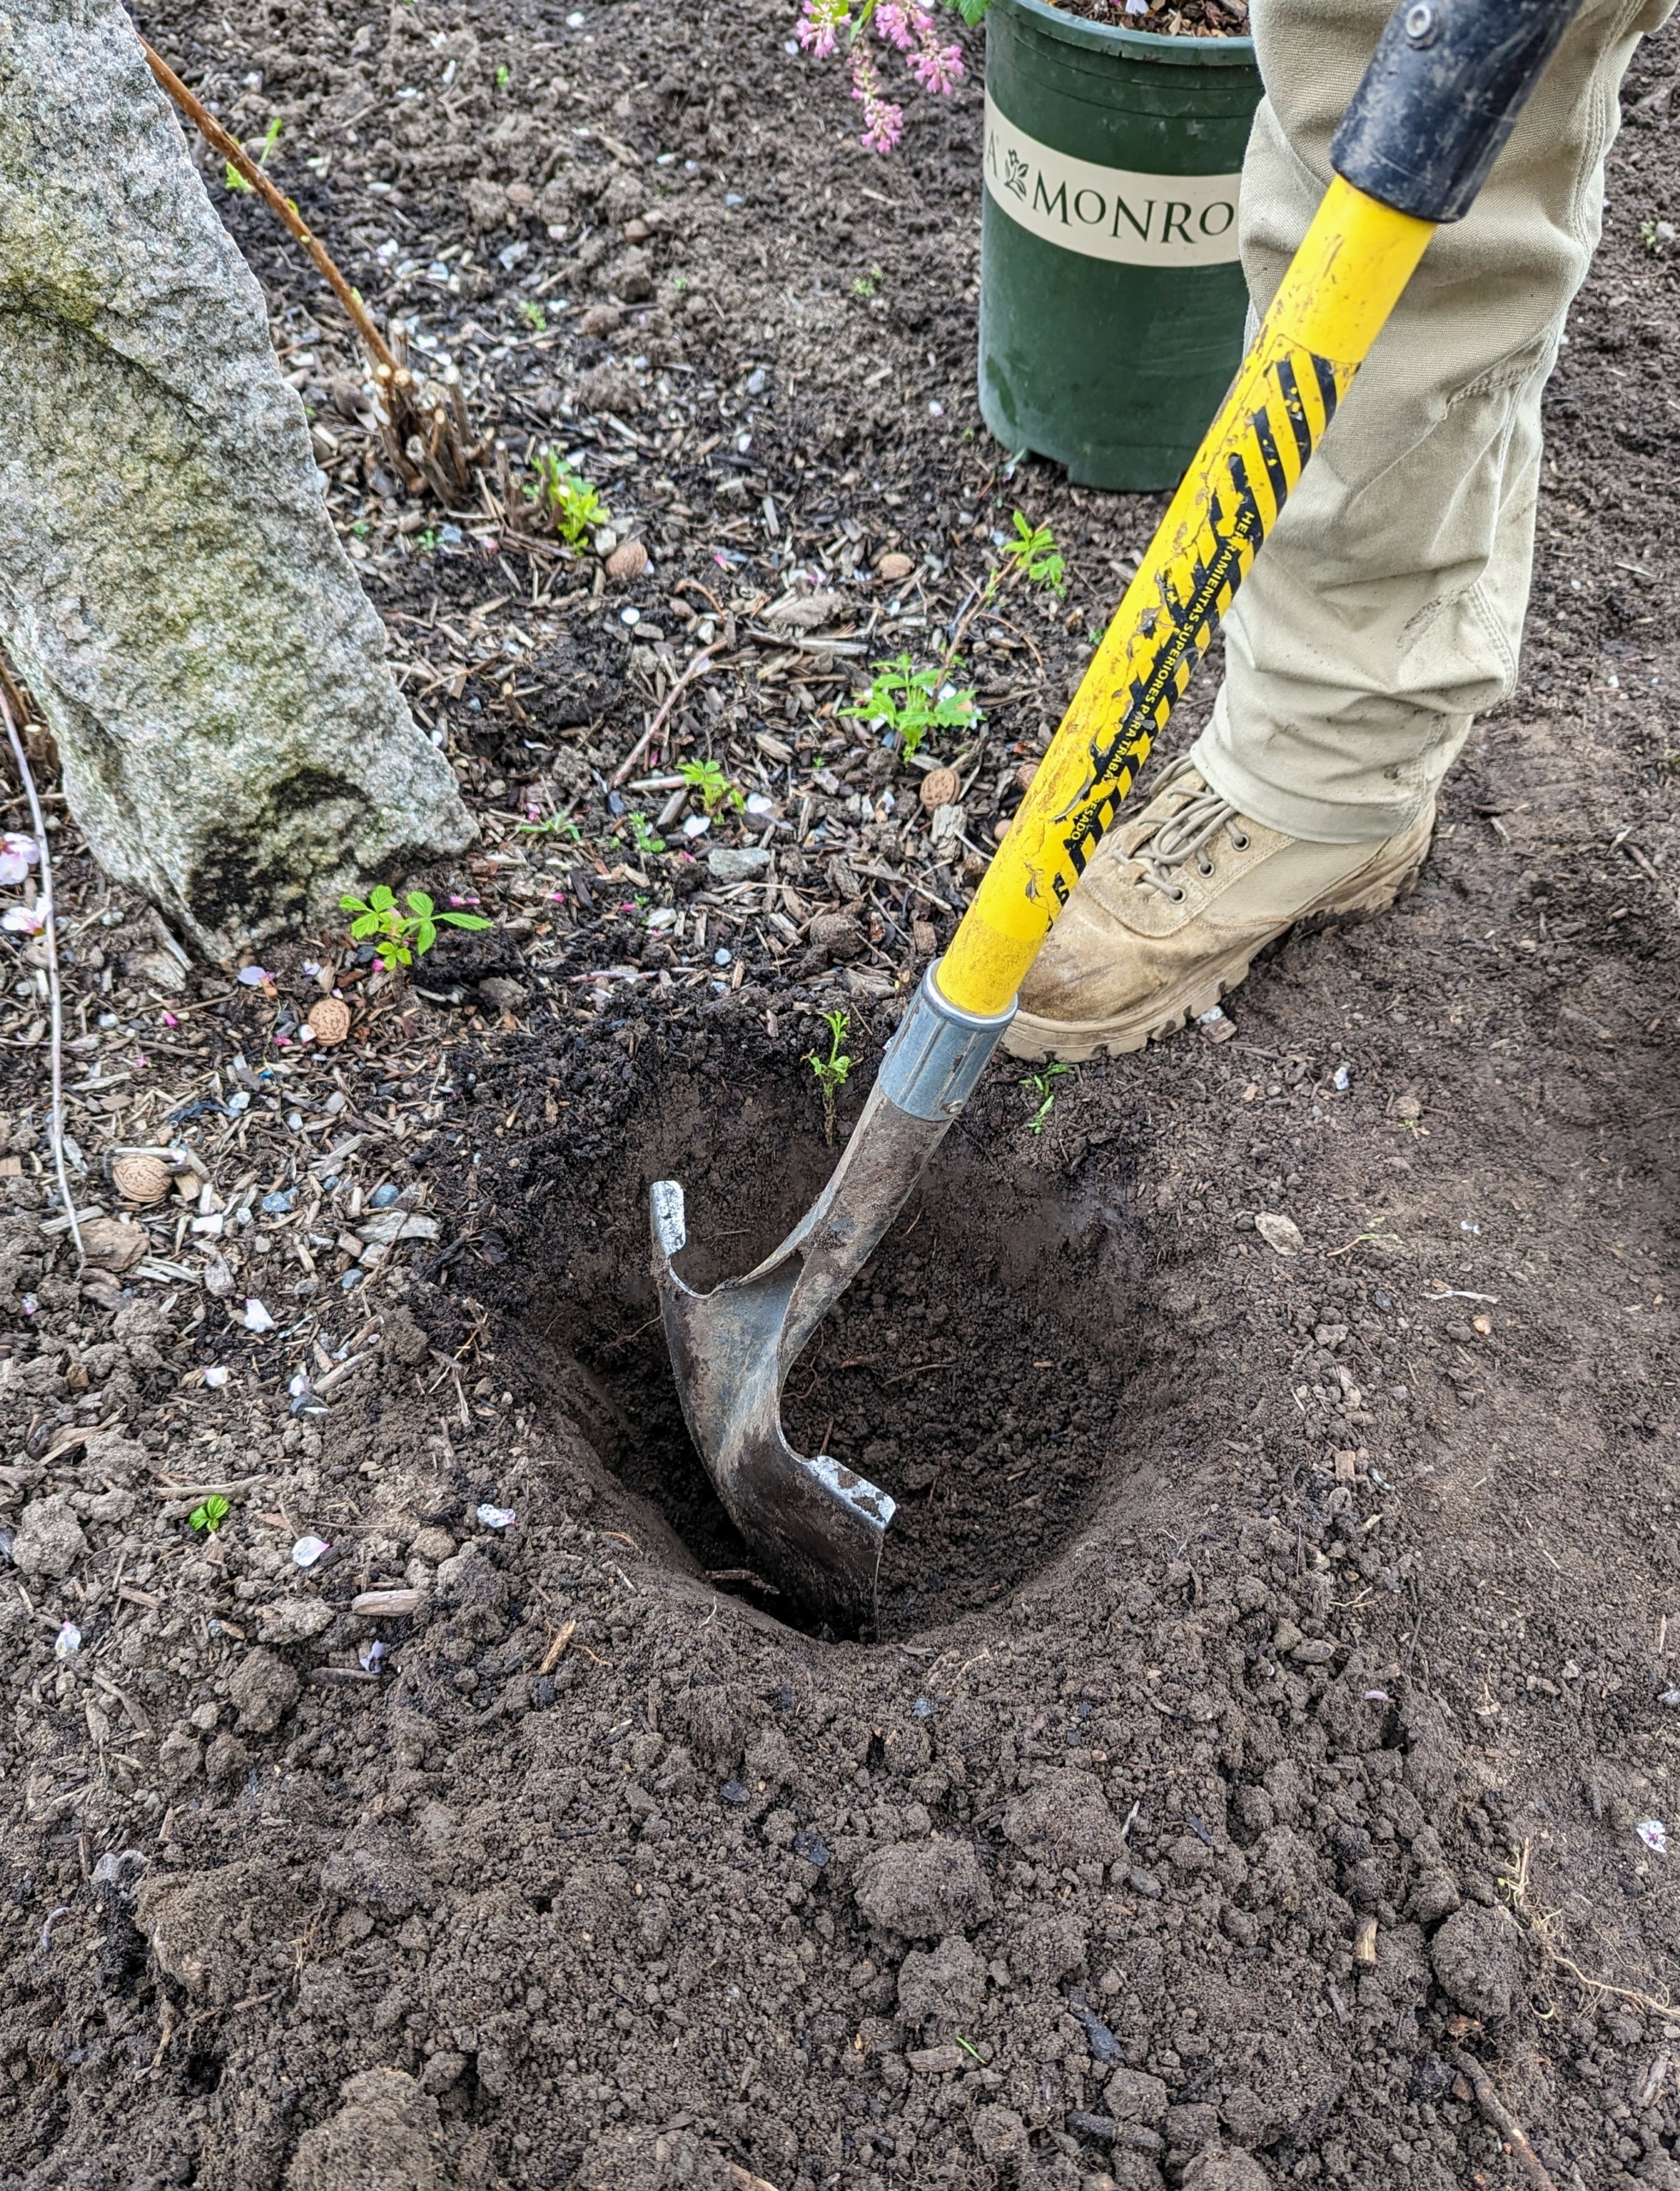
Planting six small shrubs does not take long. Remember the rule of thumb – dig a hole that is two to three times wider than the root ball, but only as deep as the height of the root ball.
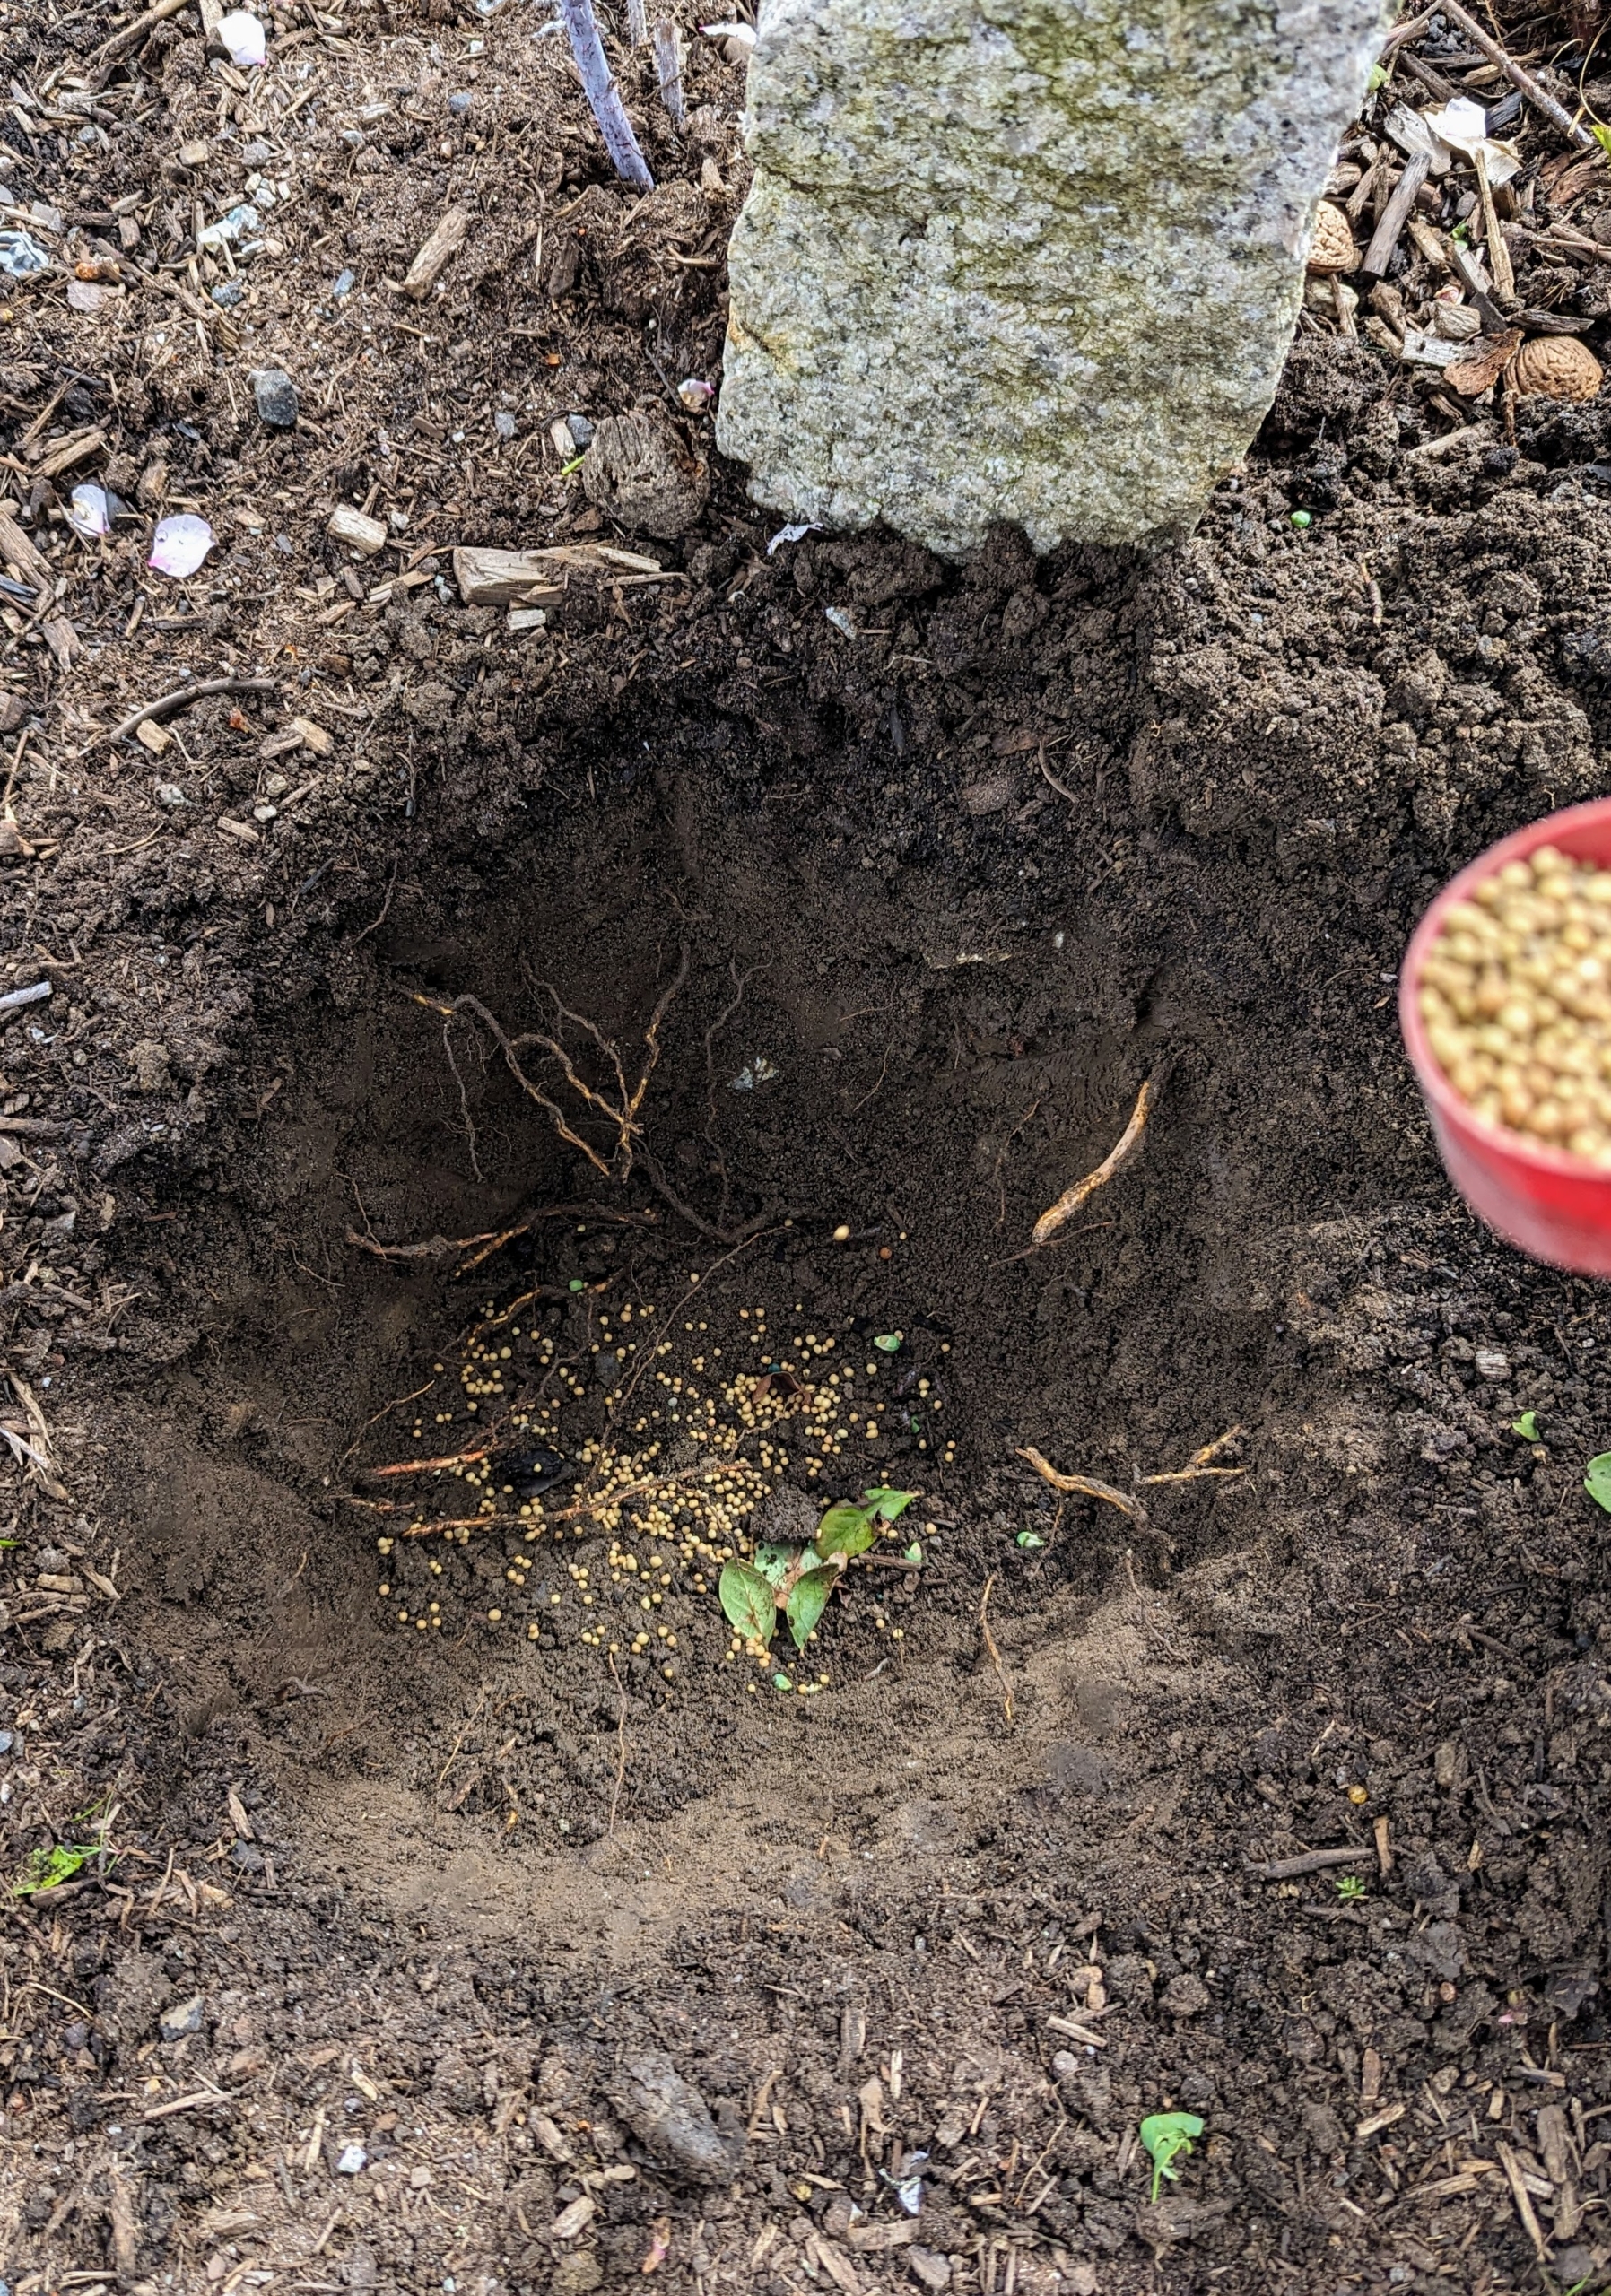
It is very important to feed the plants. I always say, “if you eat, so should your plants.” Proper fertilizing will help the plant establish strong roots and encourage new growth.
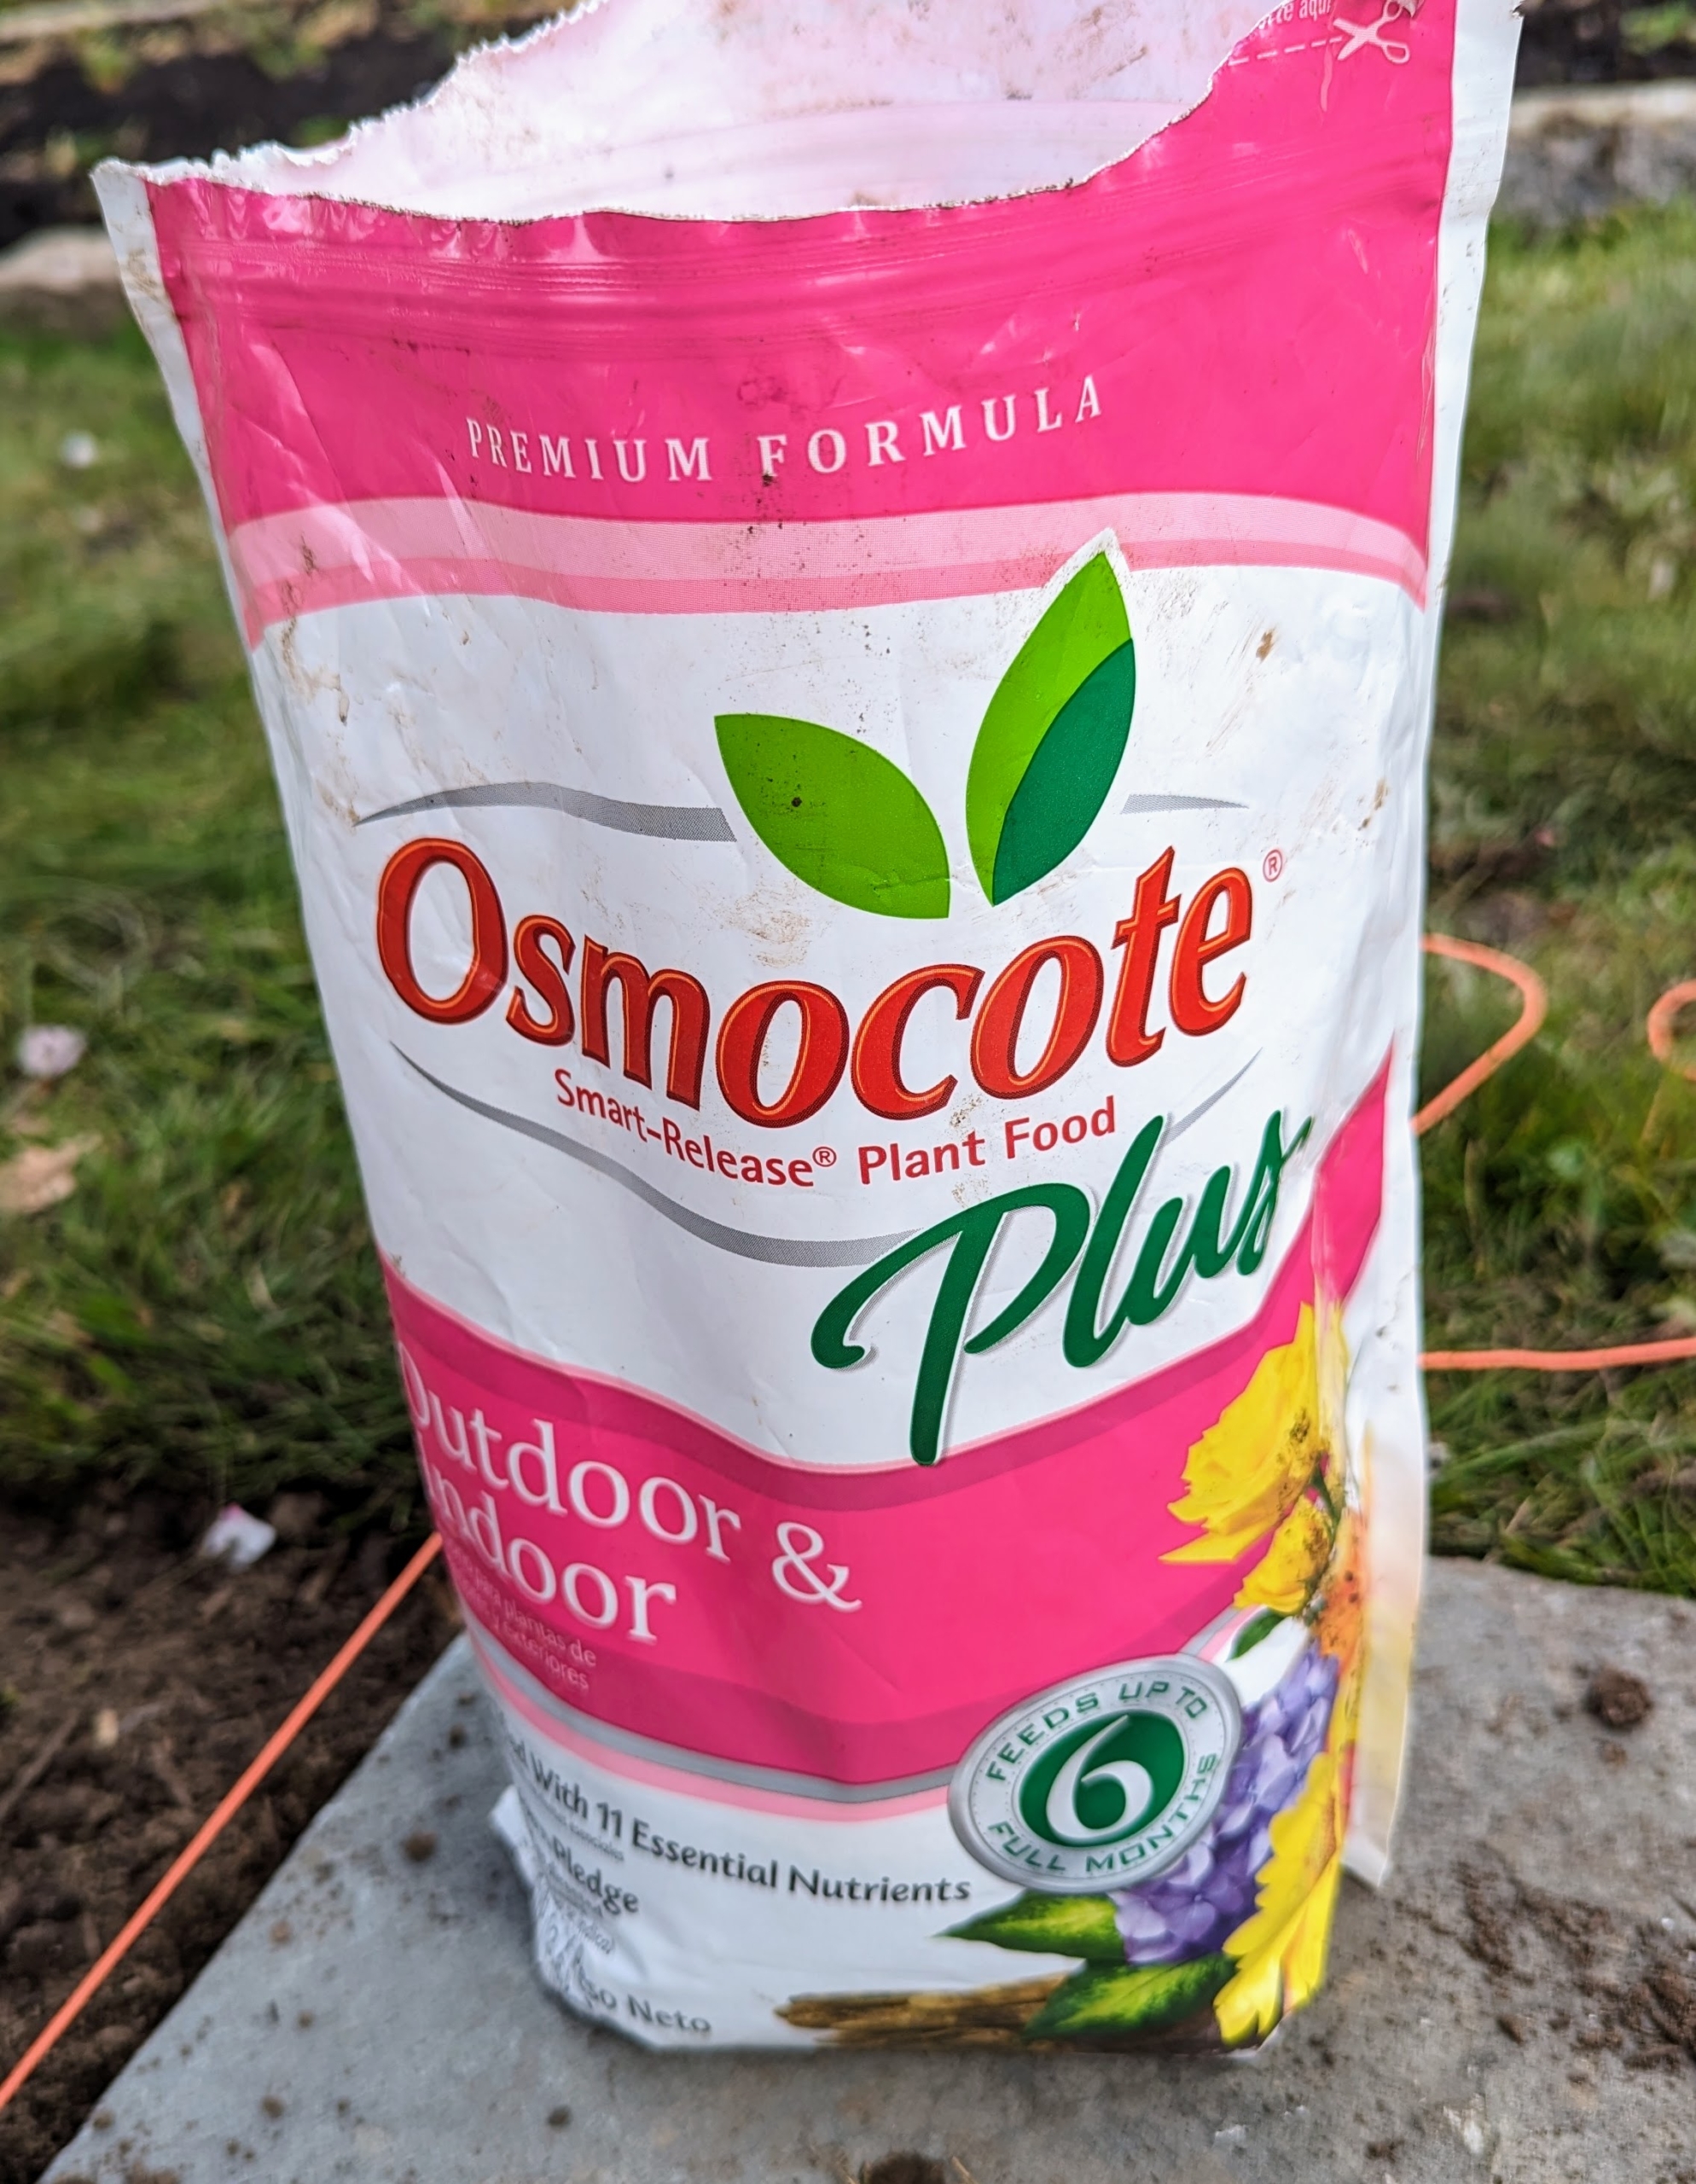
We use Osmocote® Smart Release® Plant Food Plus Outdoor and Indoor, which is a slow-release fertilizer fortified with 11-essential nutrients for all plants in all conditions.
Whenever planting, always scarify first. This means to manually scratch up the sides and bottom of the rootball to loosen the roots and stimulate growth.
Once the plant is placed into the hole, be sure to have its best side facing out. Each plant is positioned at the end of a row on one side of a granite stake.
Next, the hole is carefully backfilled. Only backfill until the “flare” – where the main stem meets the roots.
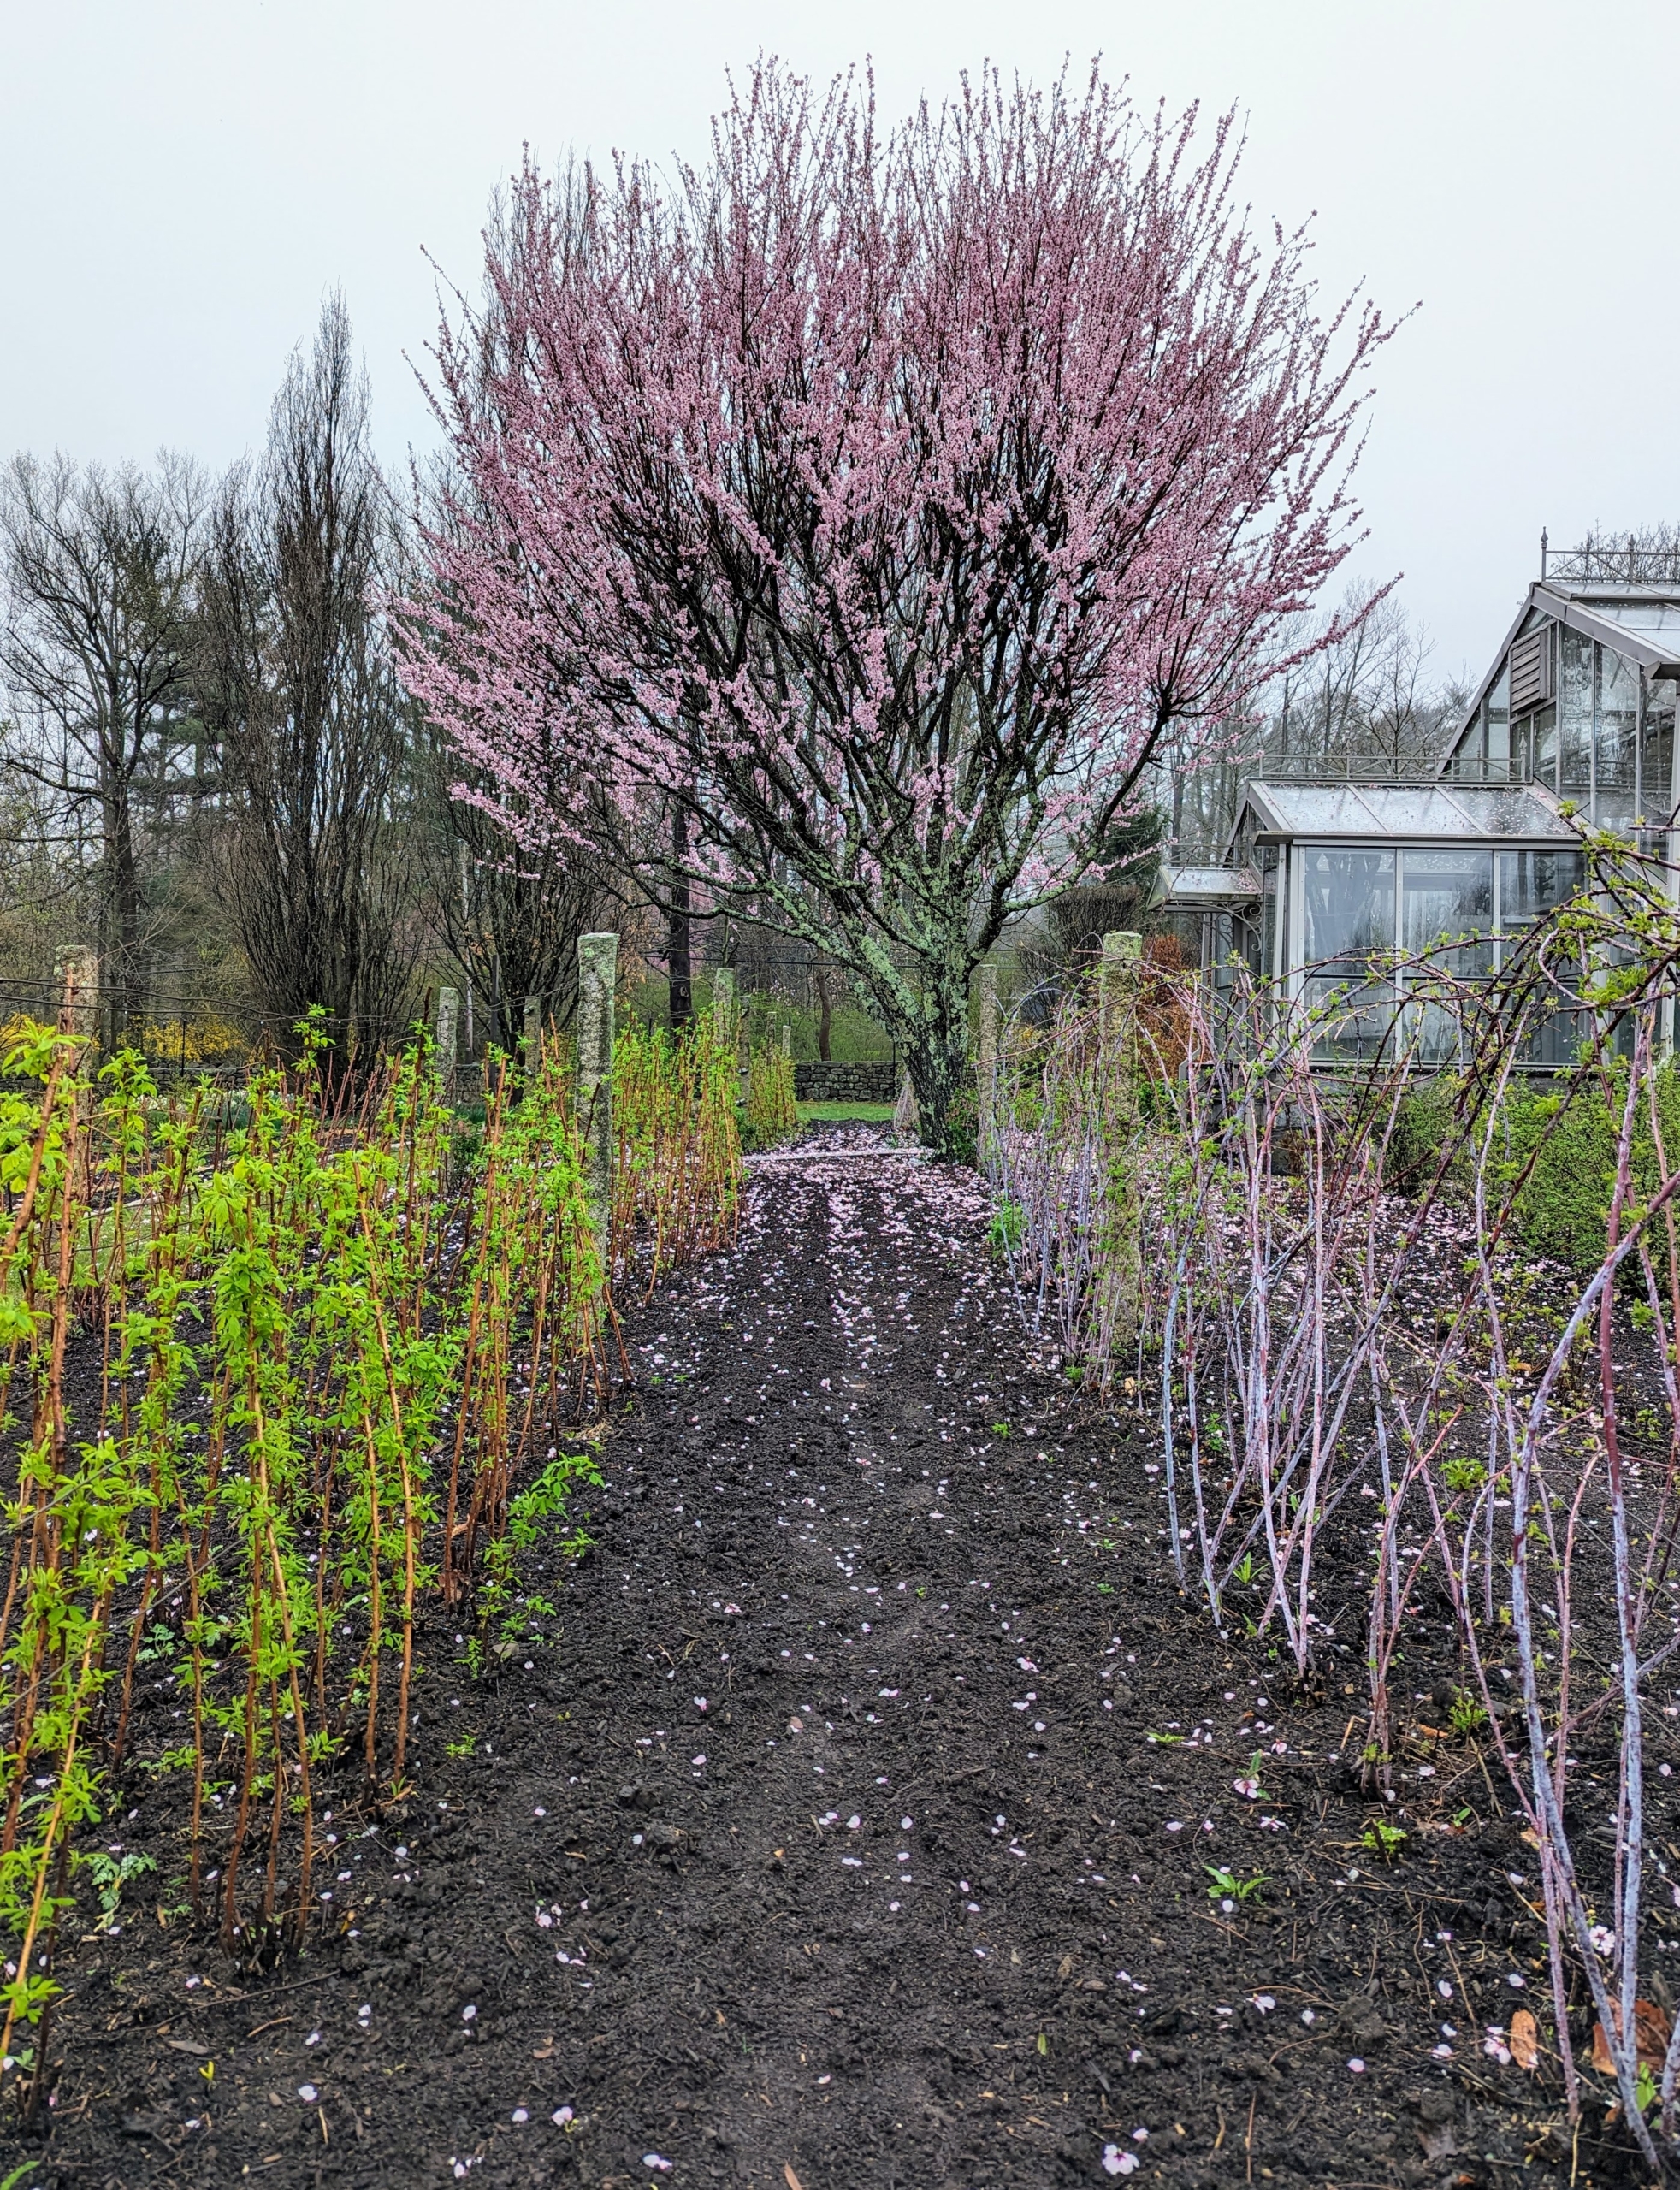
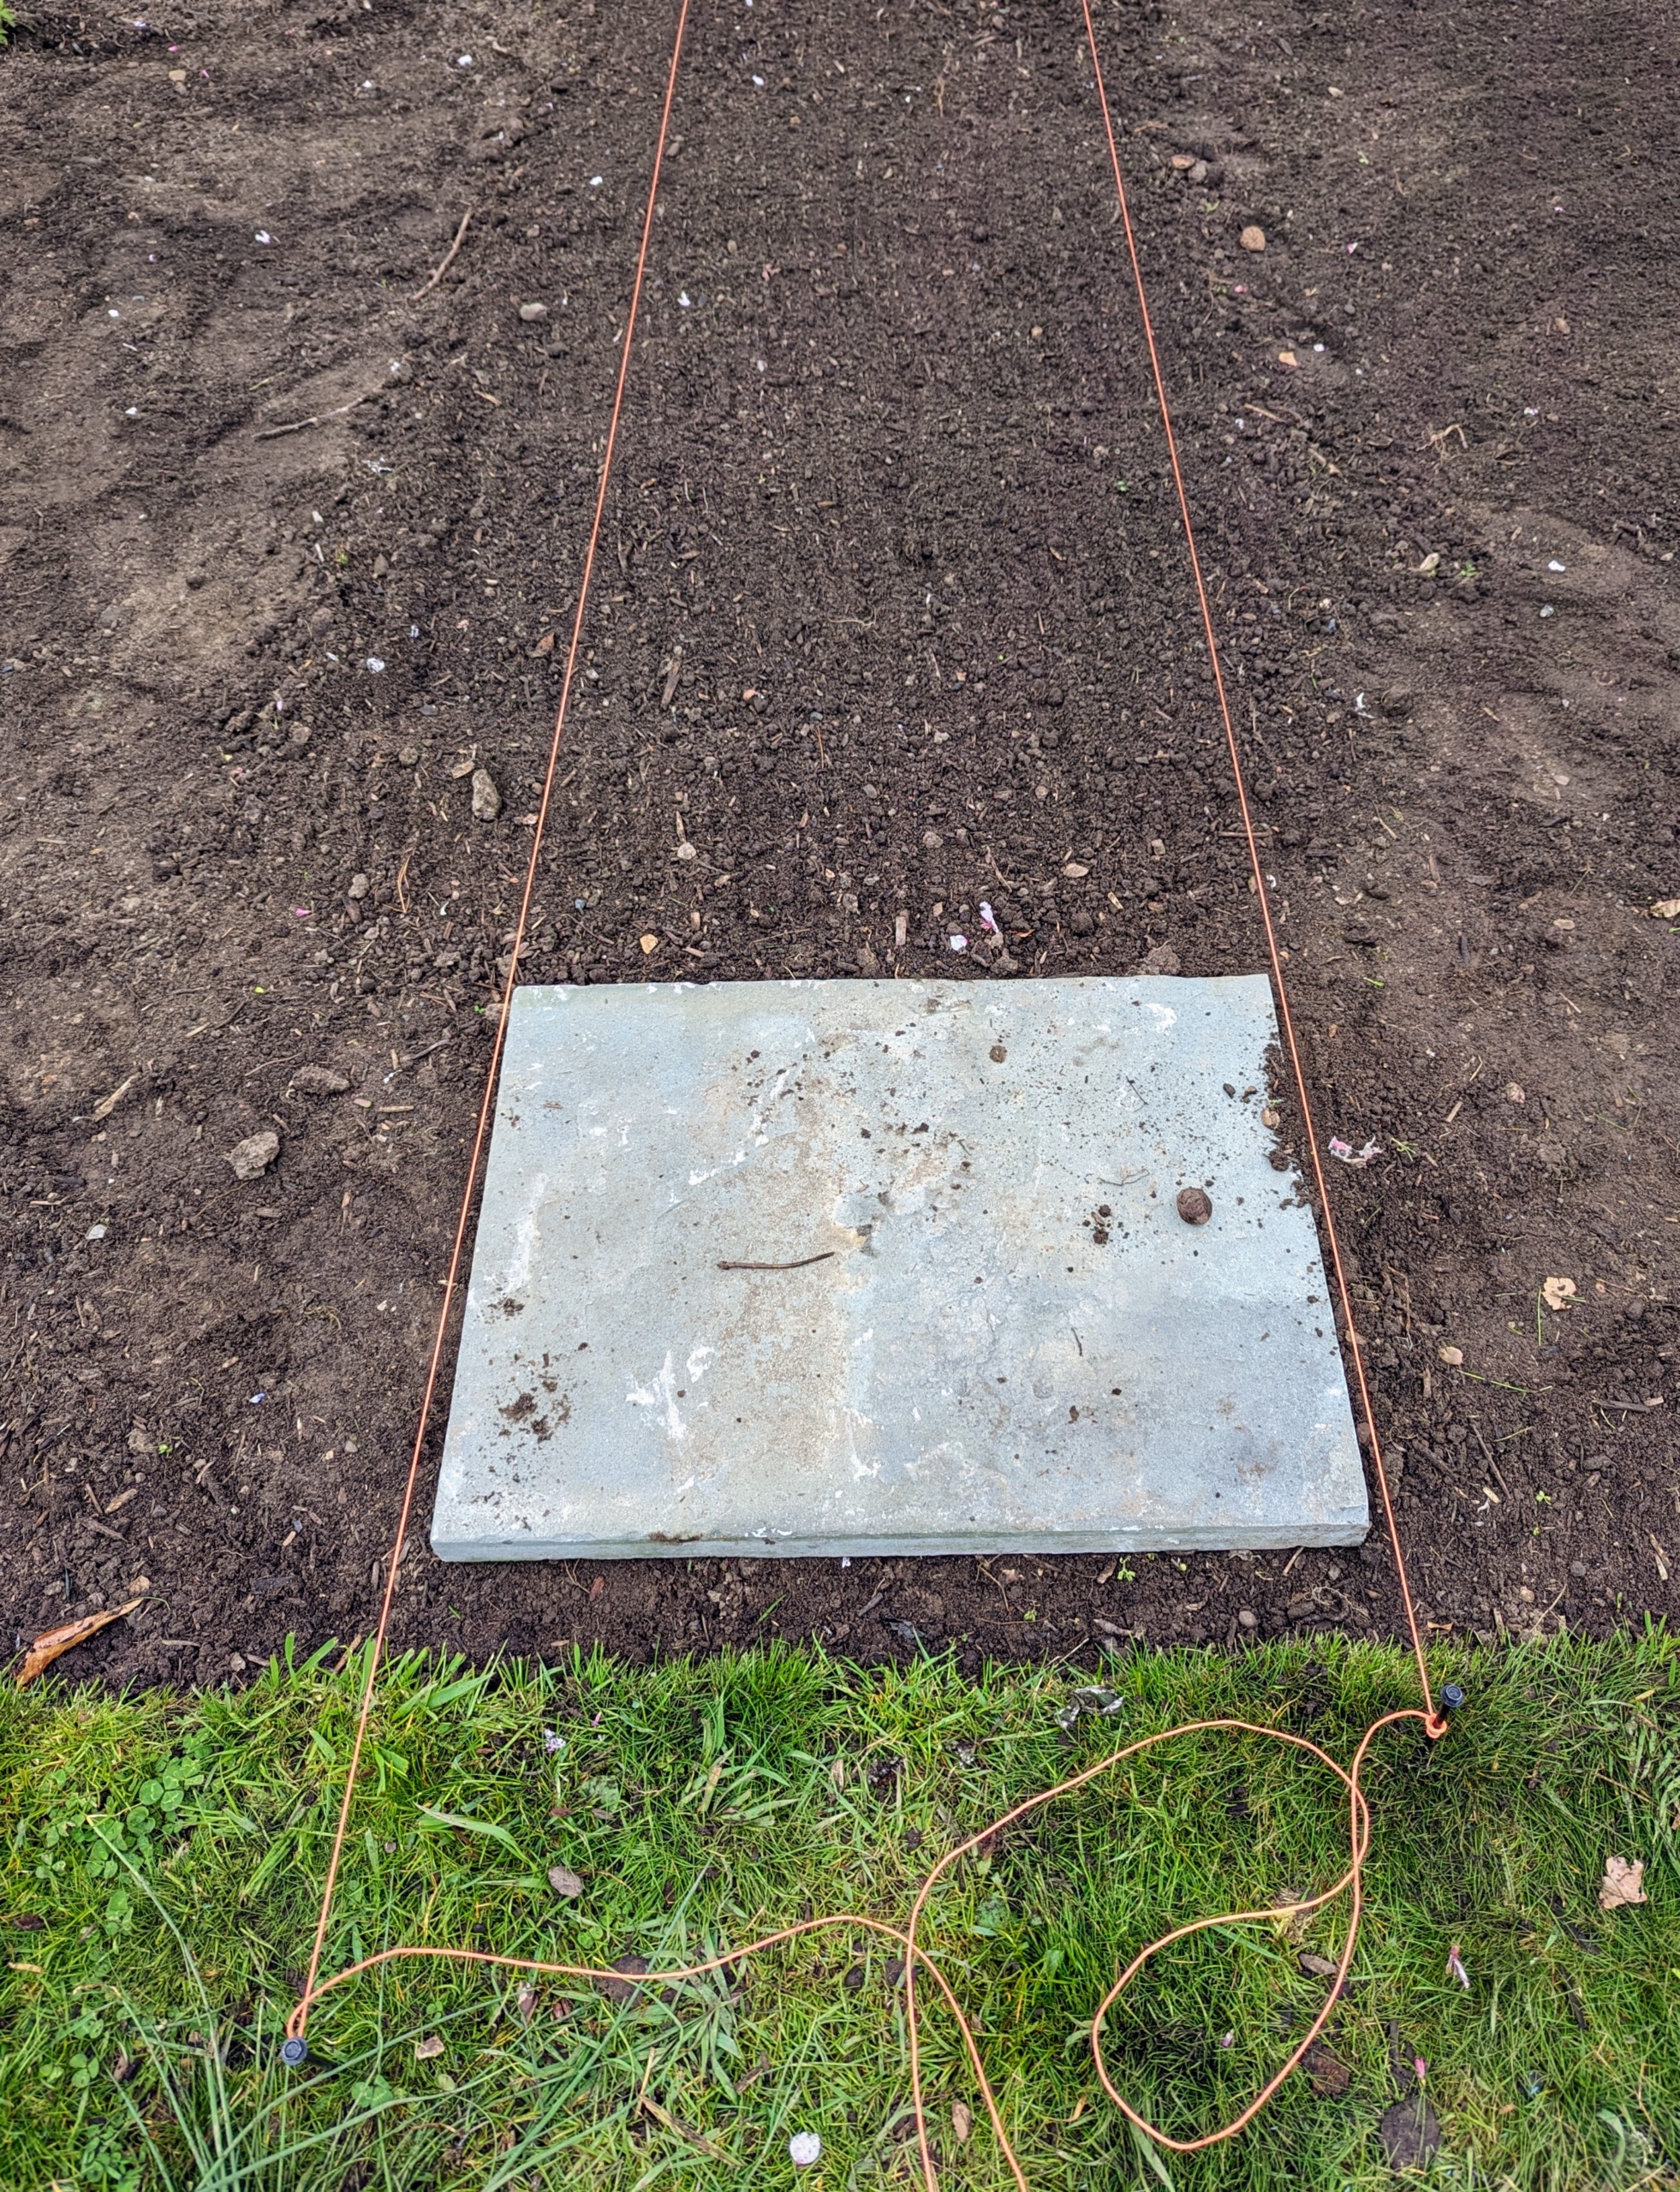
Meanwhile, Pete prepares to create a short bluestone path leading from the greenhouse door and across the soil to the lawn.
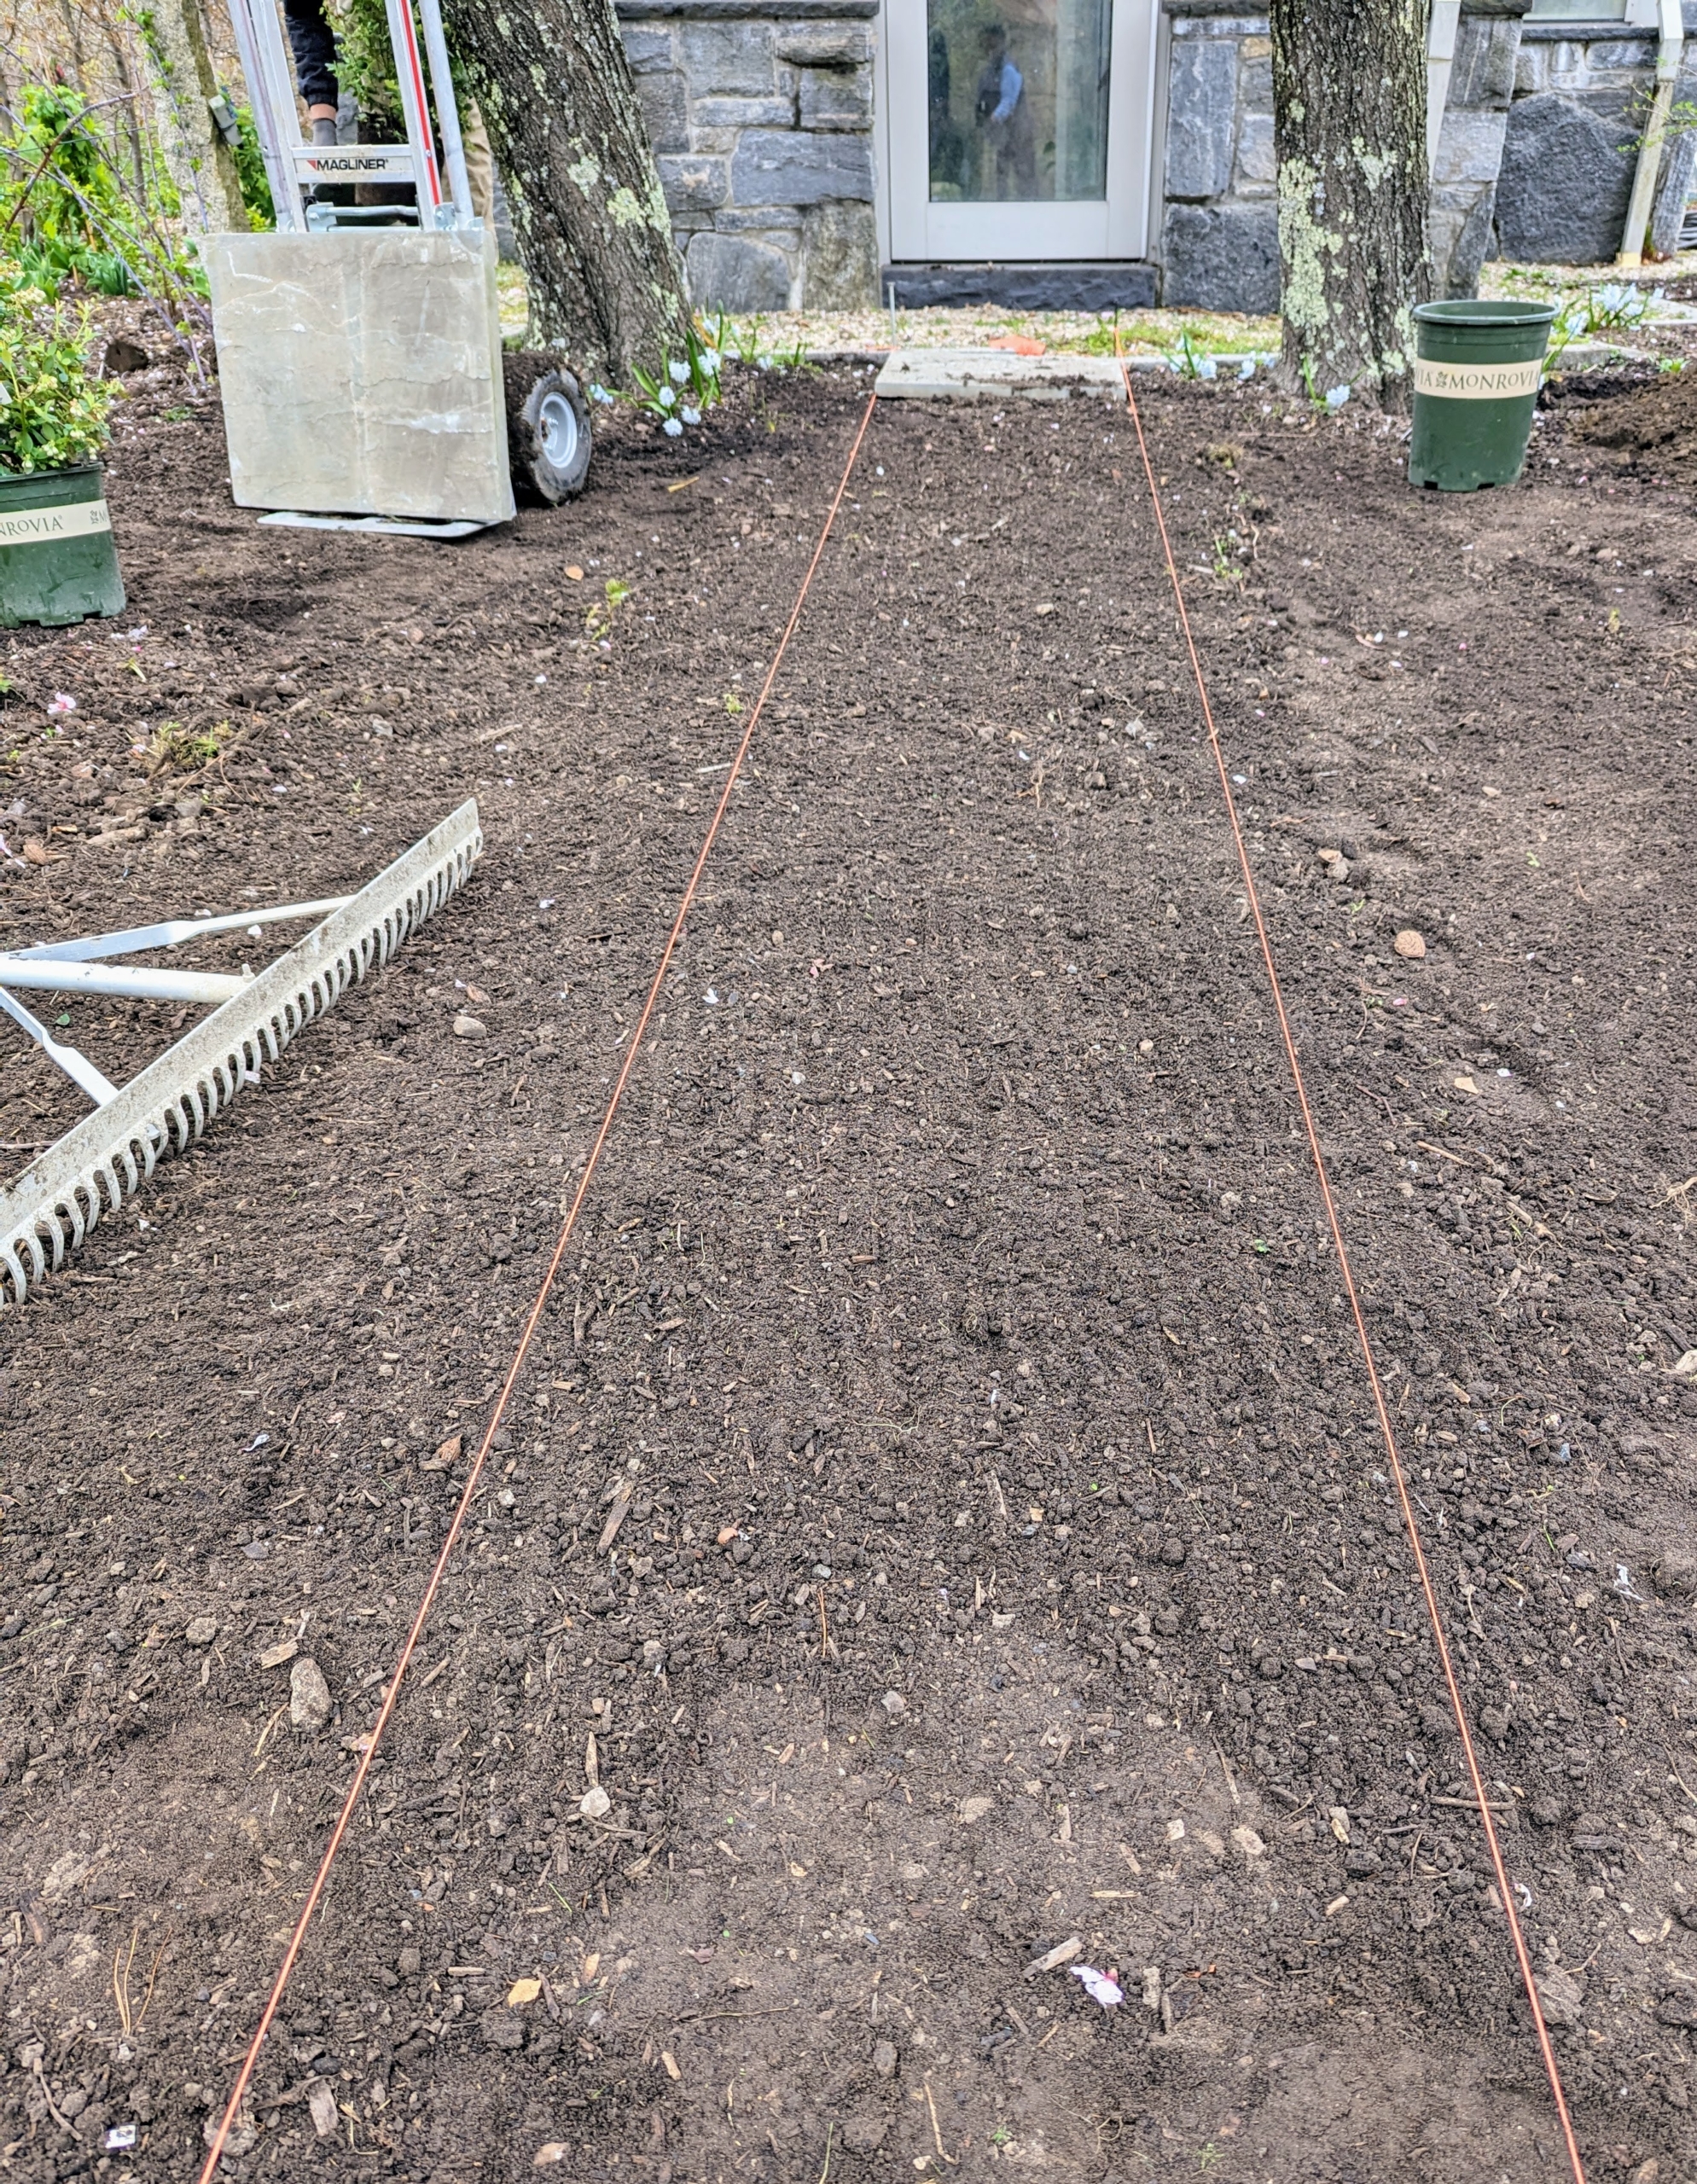
Pete rakes the space and removes any weeds, rocks, and old almond hulls. Then he puts up the landscape twine to guide the placement of the pavers. When using twine remember not to cut it – keep it spooled at one end, so it can be used over and over.
The first paver is positioned – this one next to the grass.
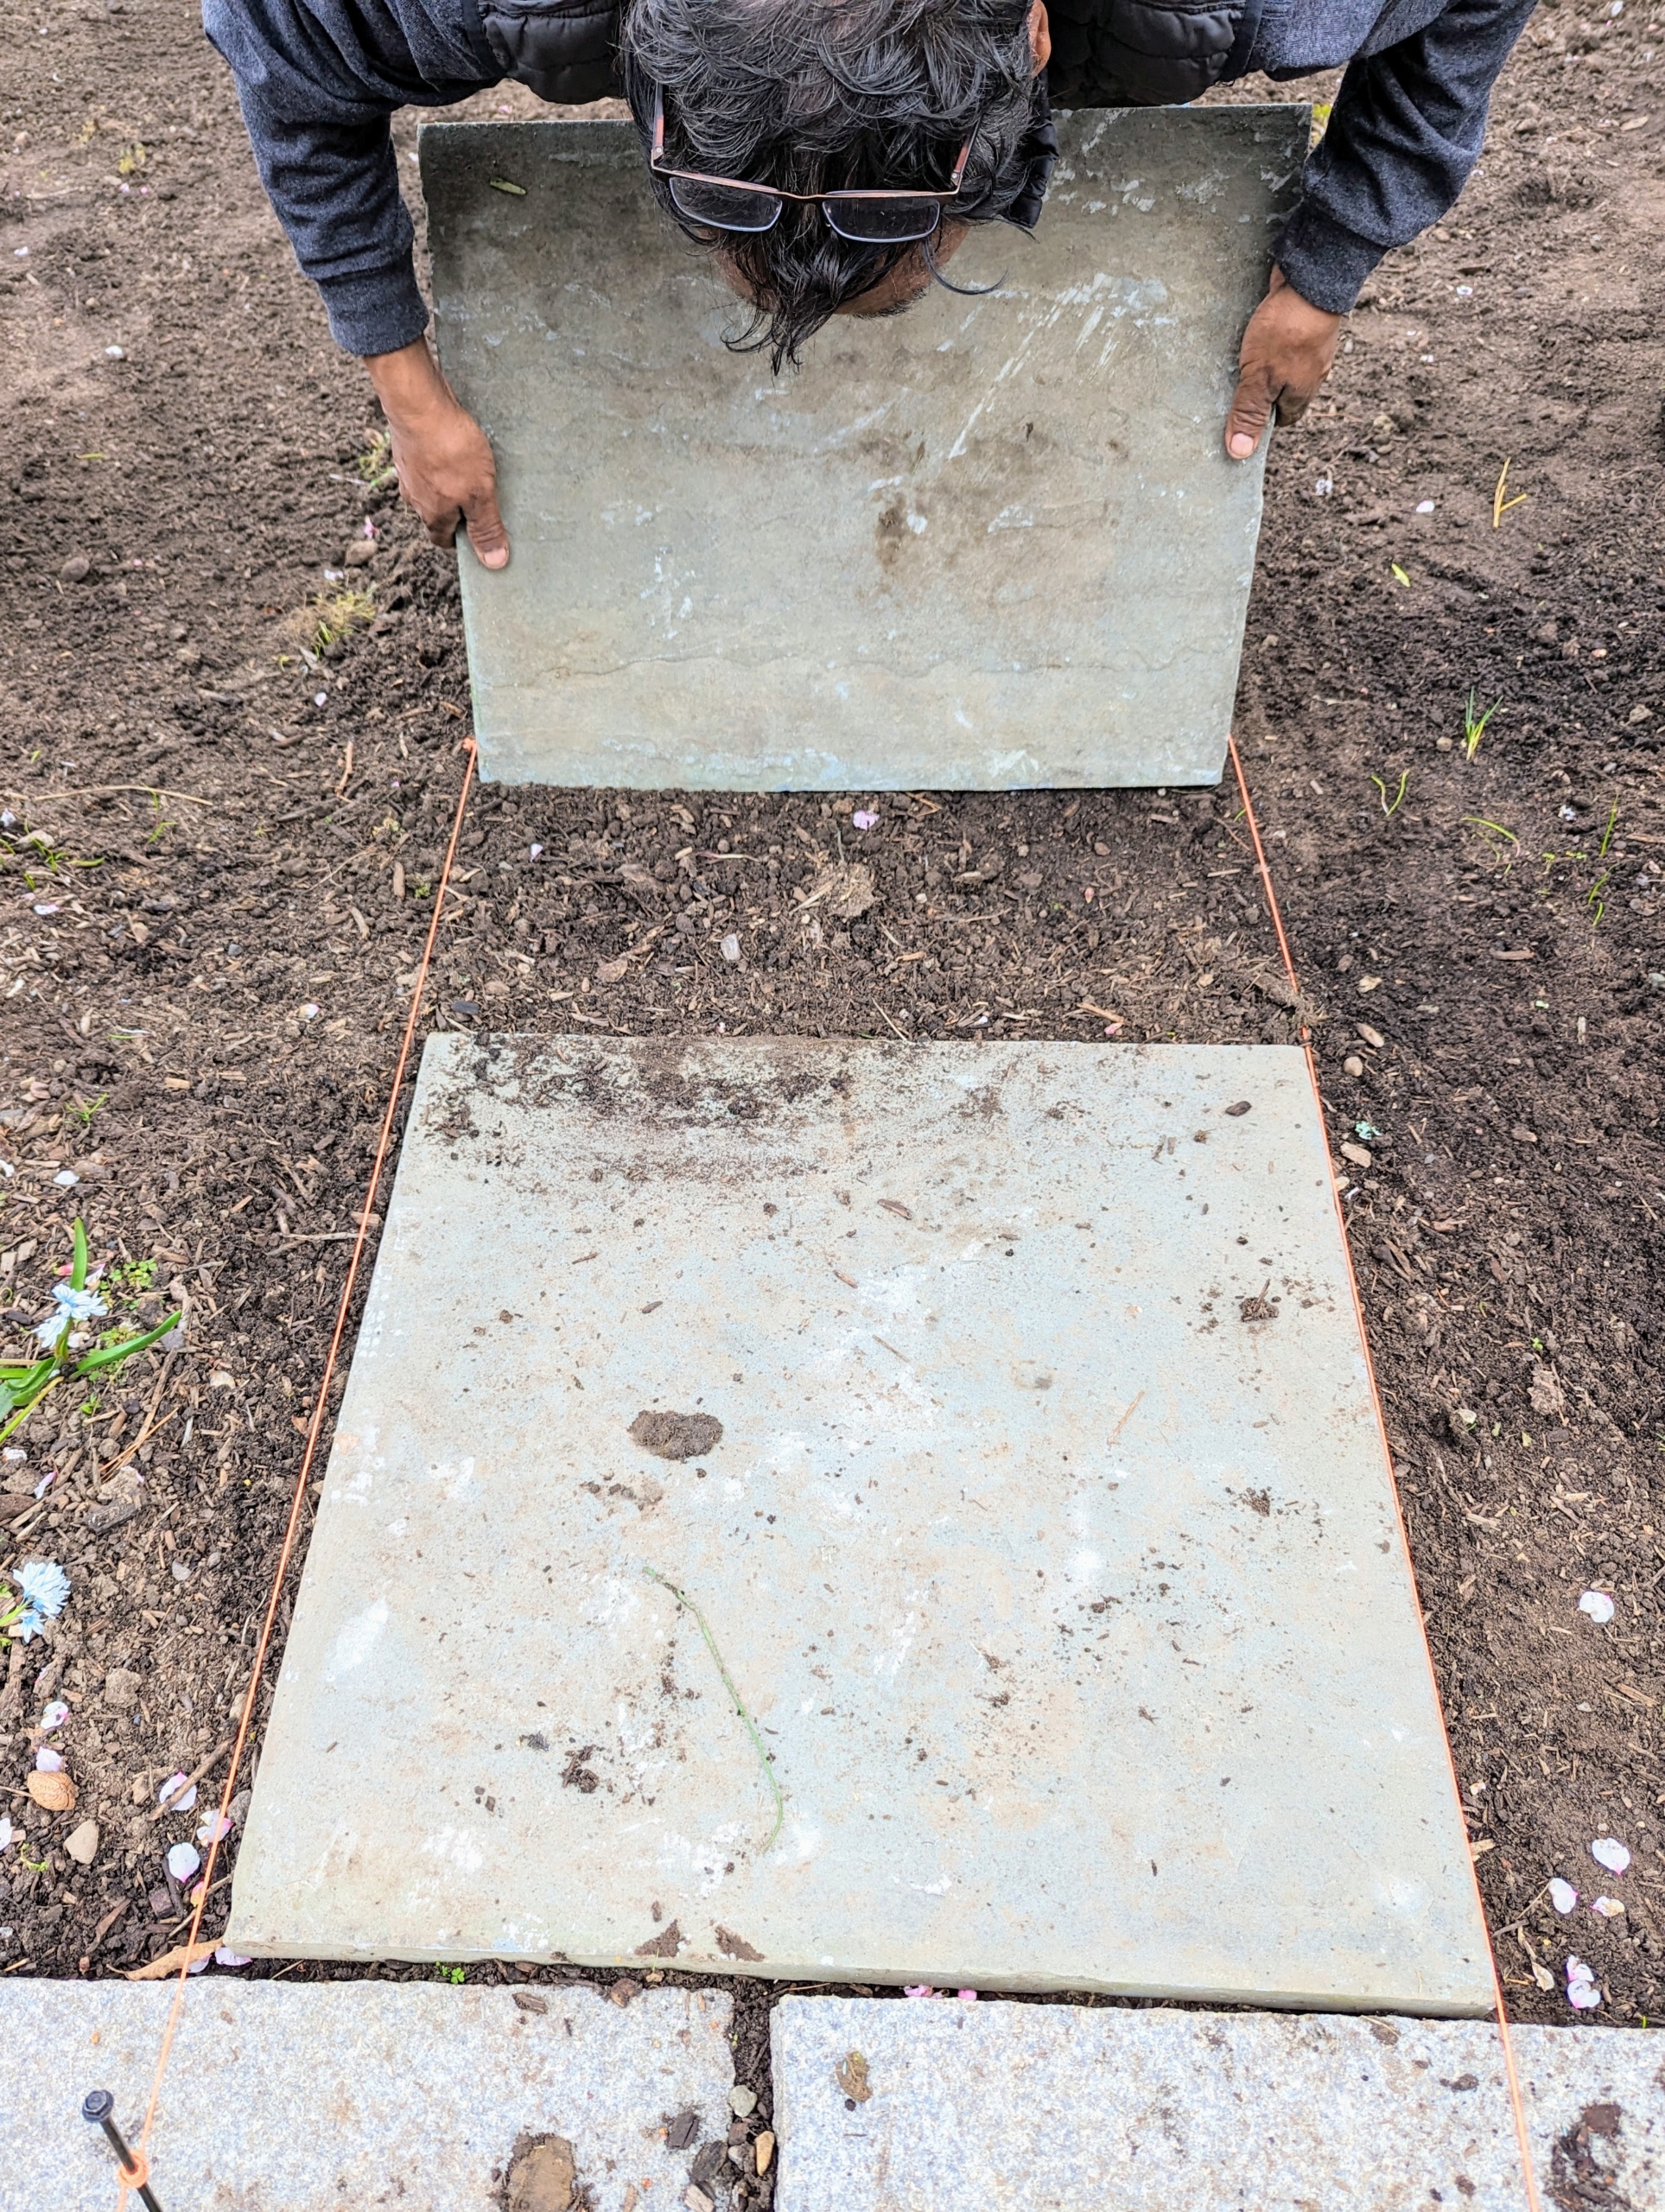
These bluestone pavers once covered the terrace at my former East Hampton home. I am glad I brought them all back here to my farm where they can be repurposed.
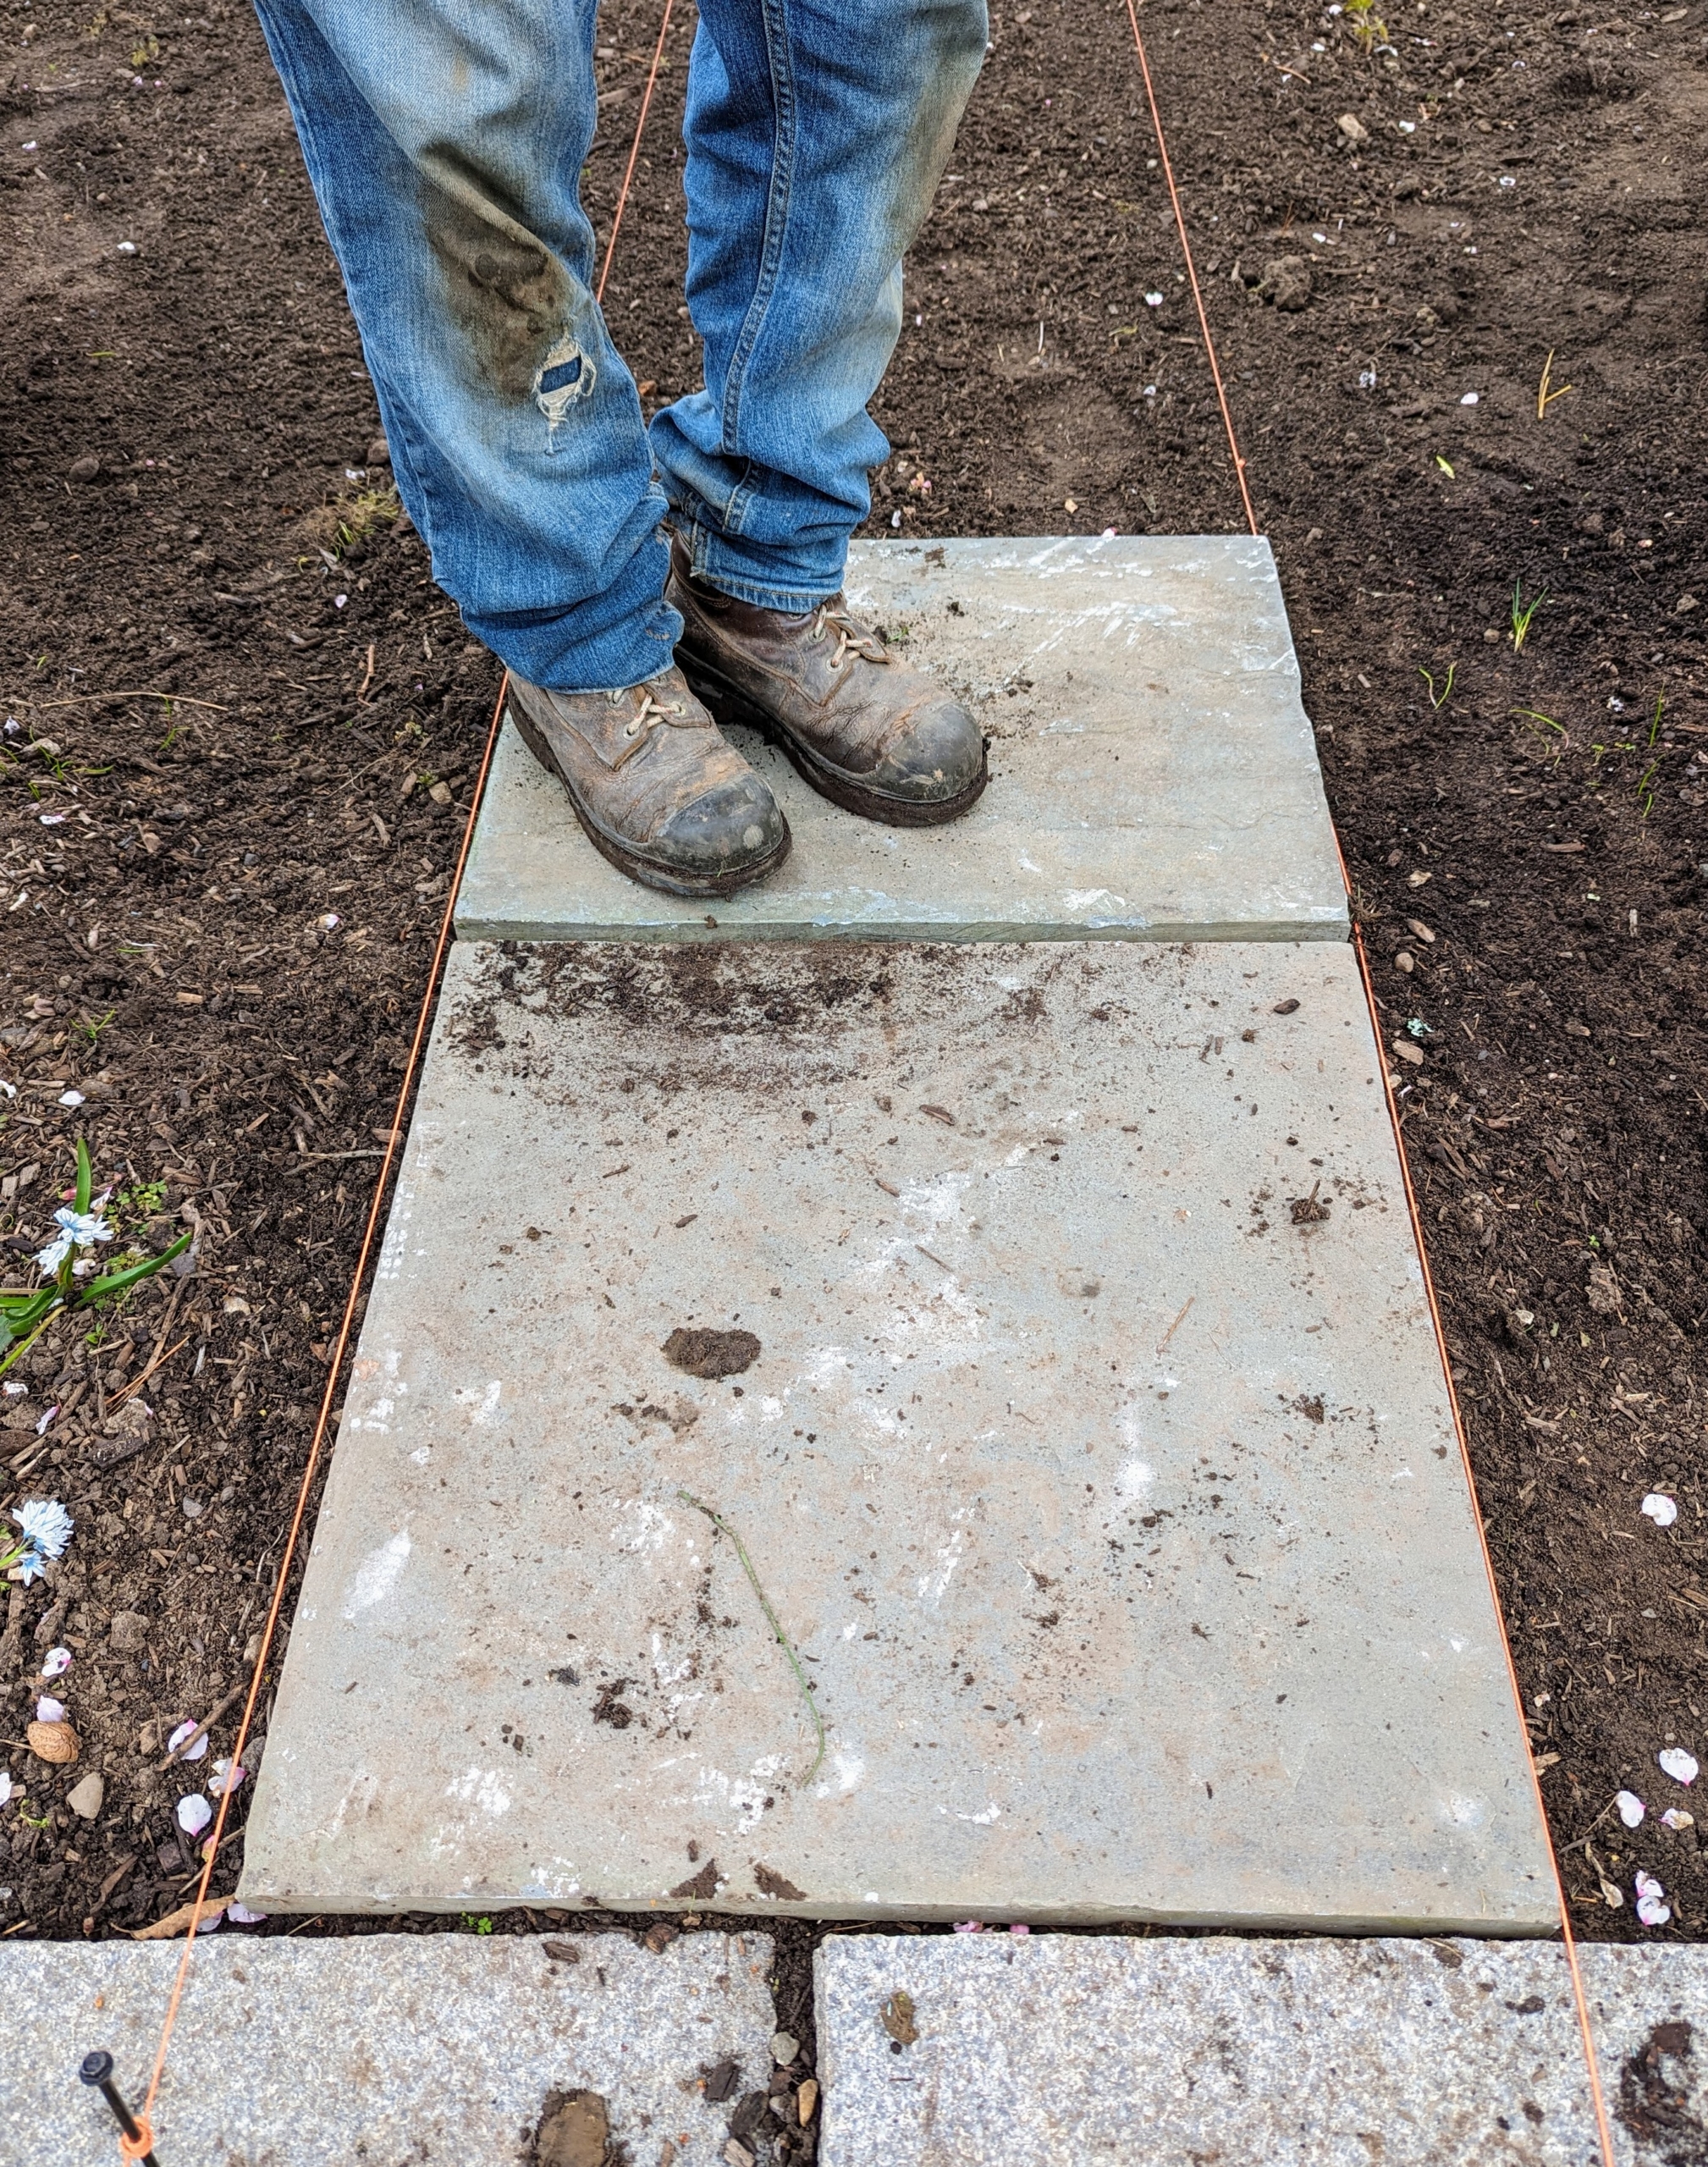
As he goes, Pete steps on the stone to ensure it does not move or wobble.
One by one, Pete carefully positions each piece.
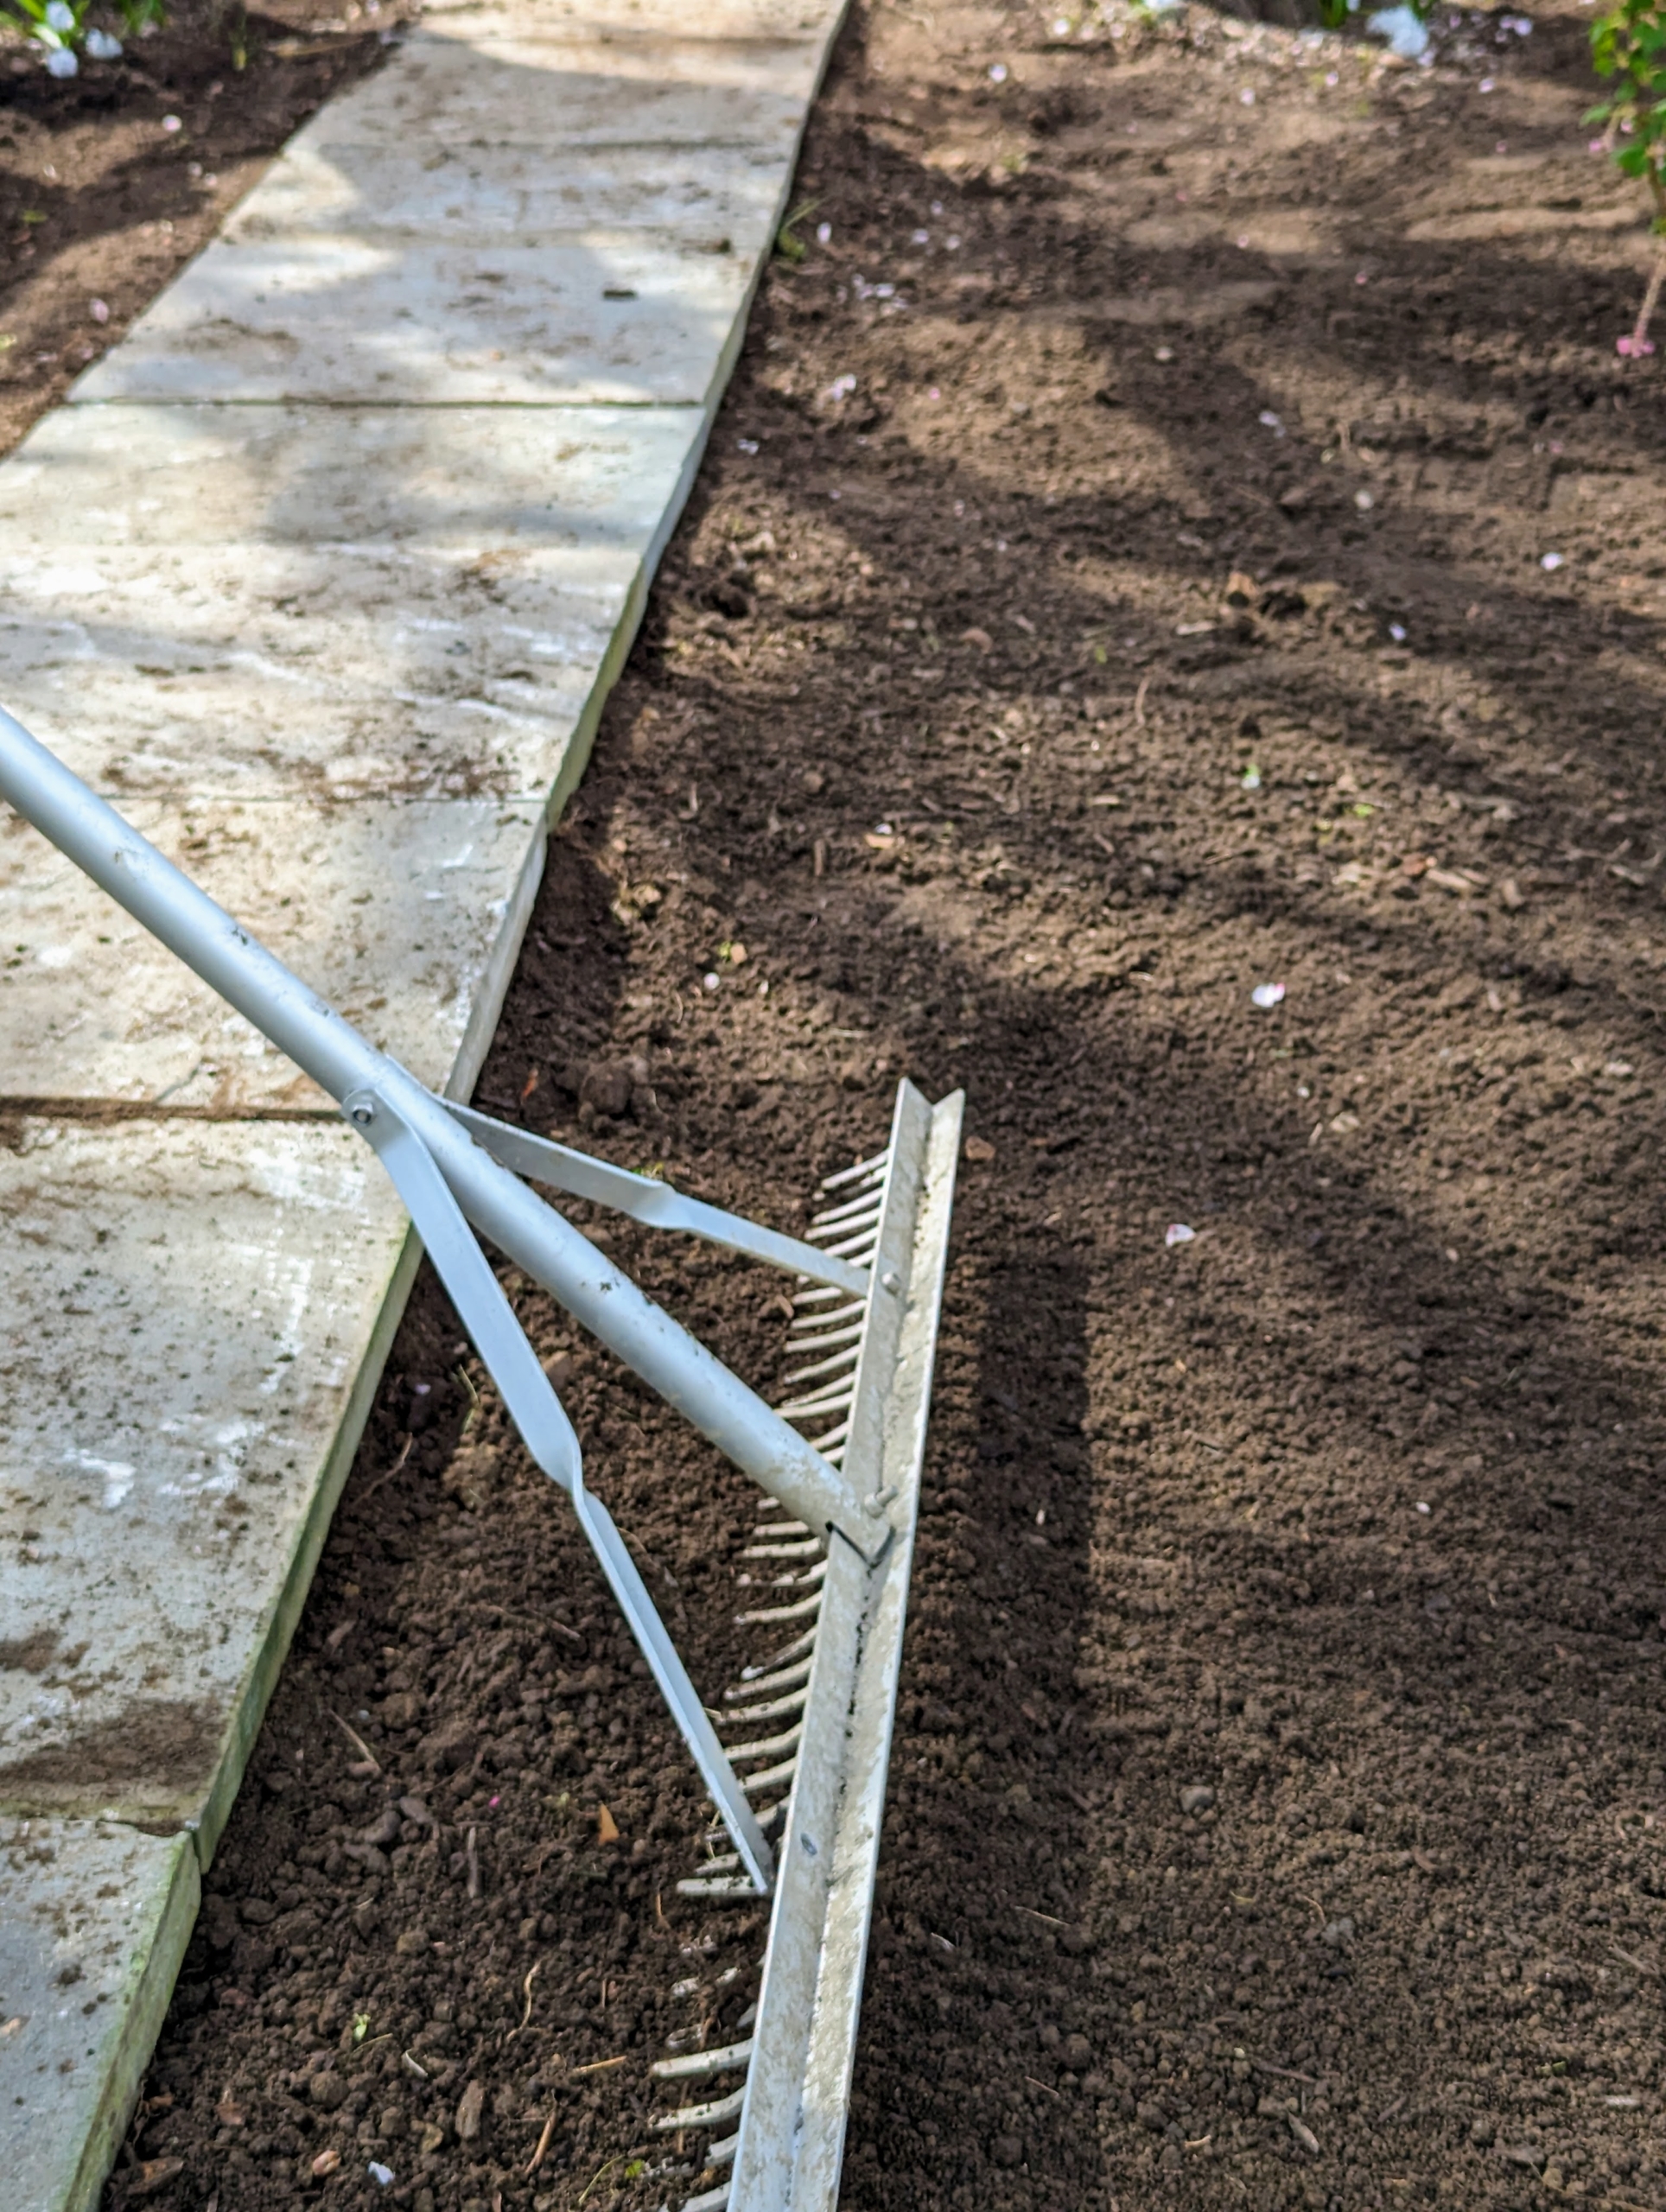
After all of them are in place, soil on both sides of the path is raked smooth.
And here it is all finished. In under an hour, this entire area has transformed and it looks terrific! I hope this inspires you to take on a project at your home this weekend!
I love trees, and every year I plant hundreds, sometimes thousands, here at my farm.
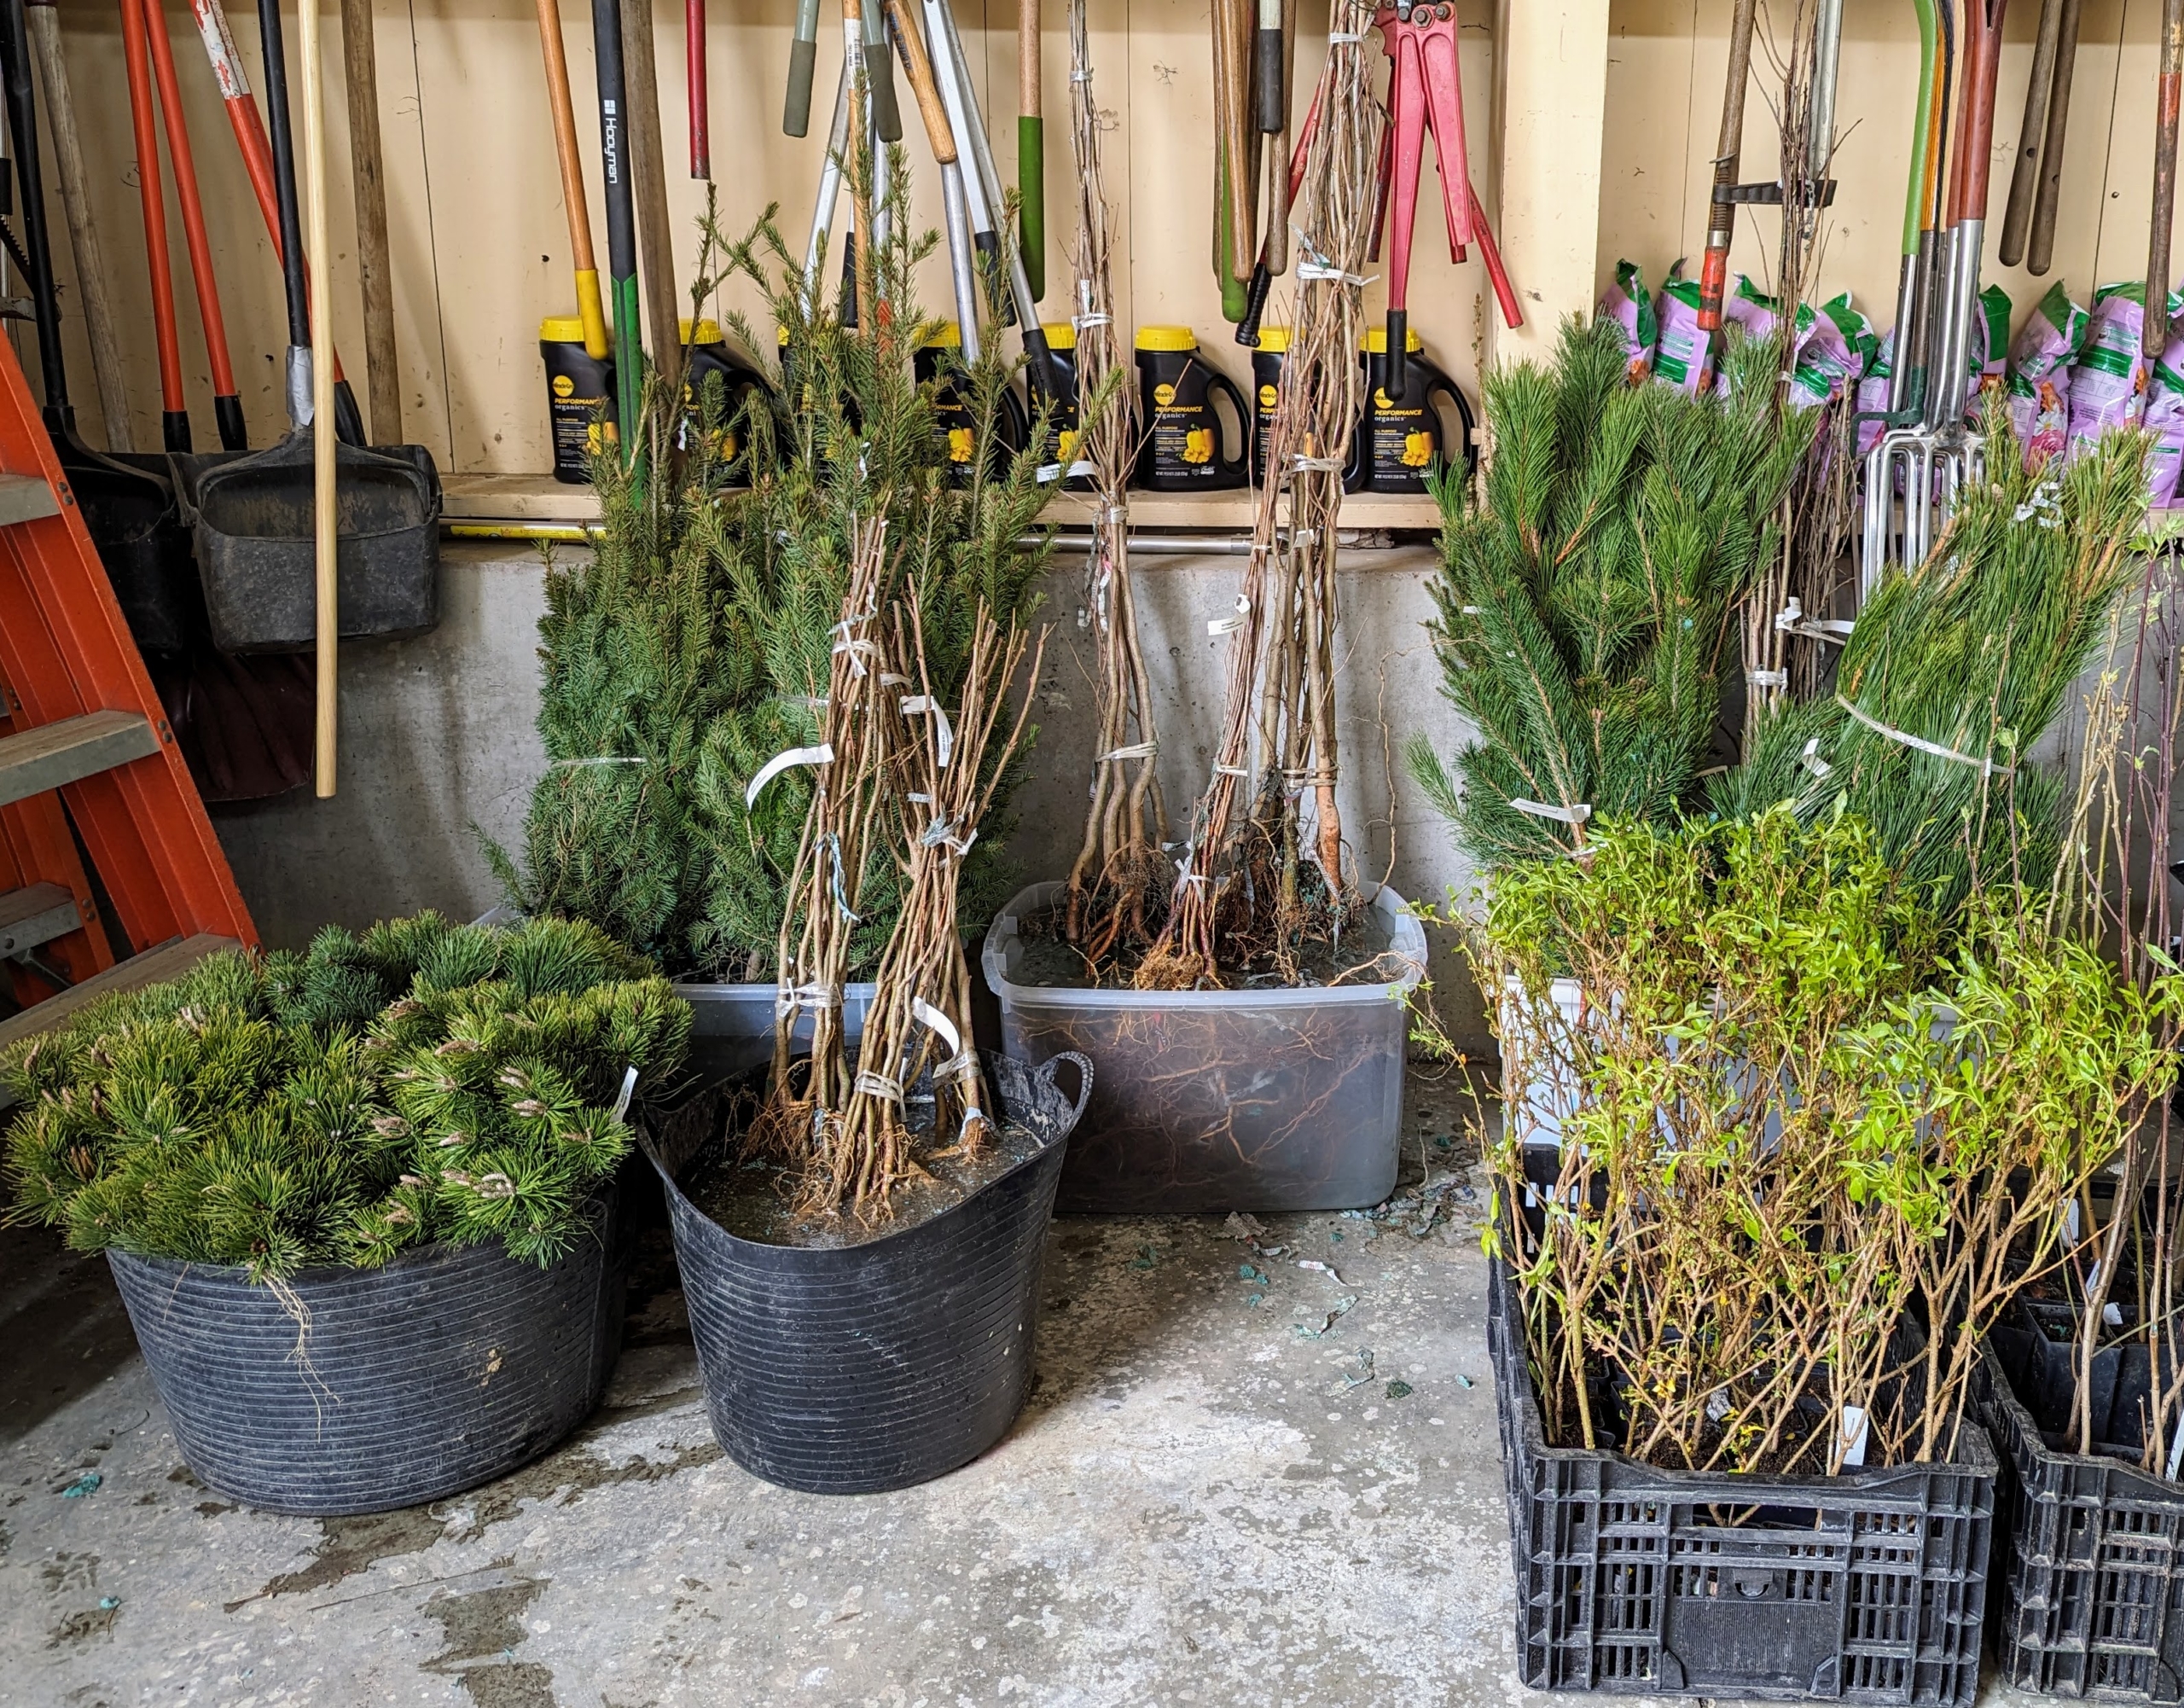
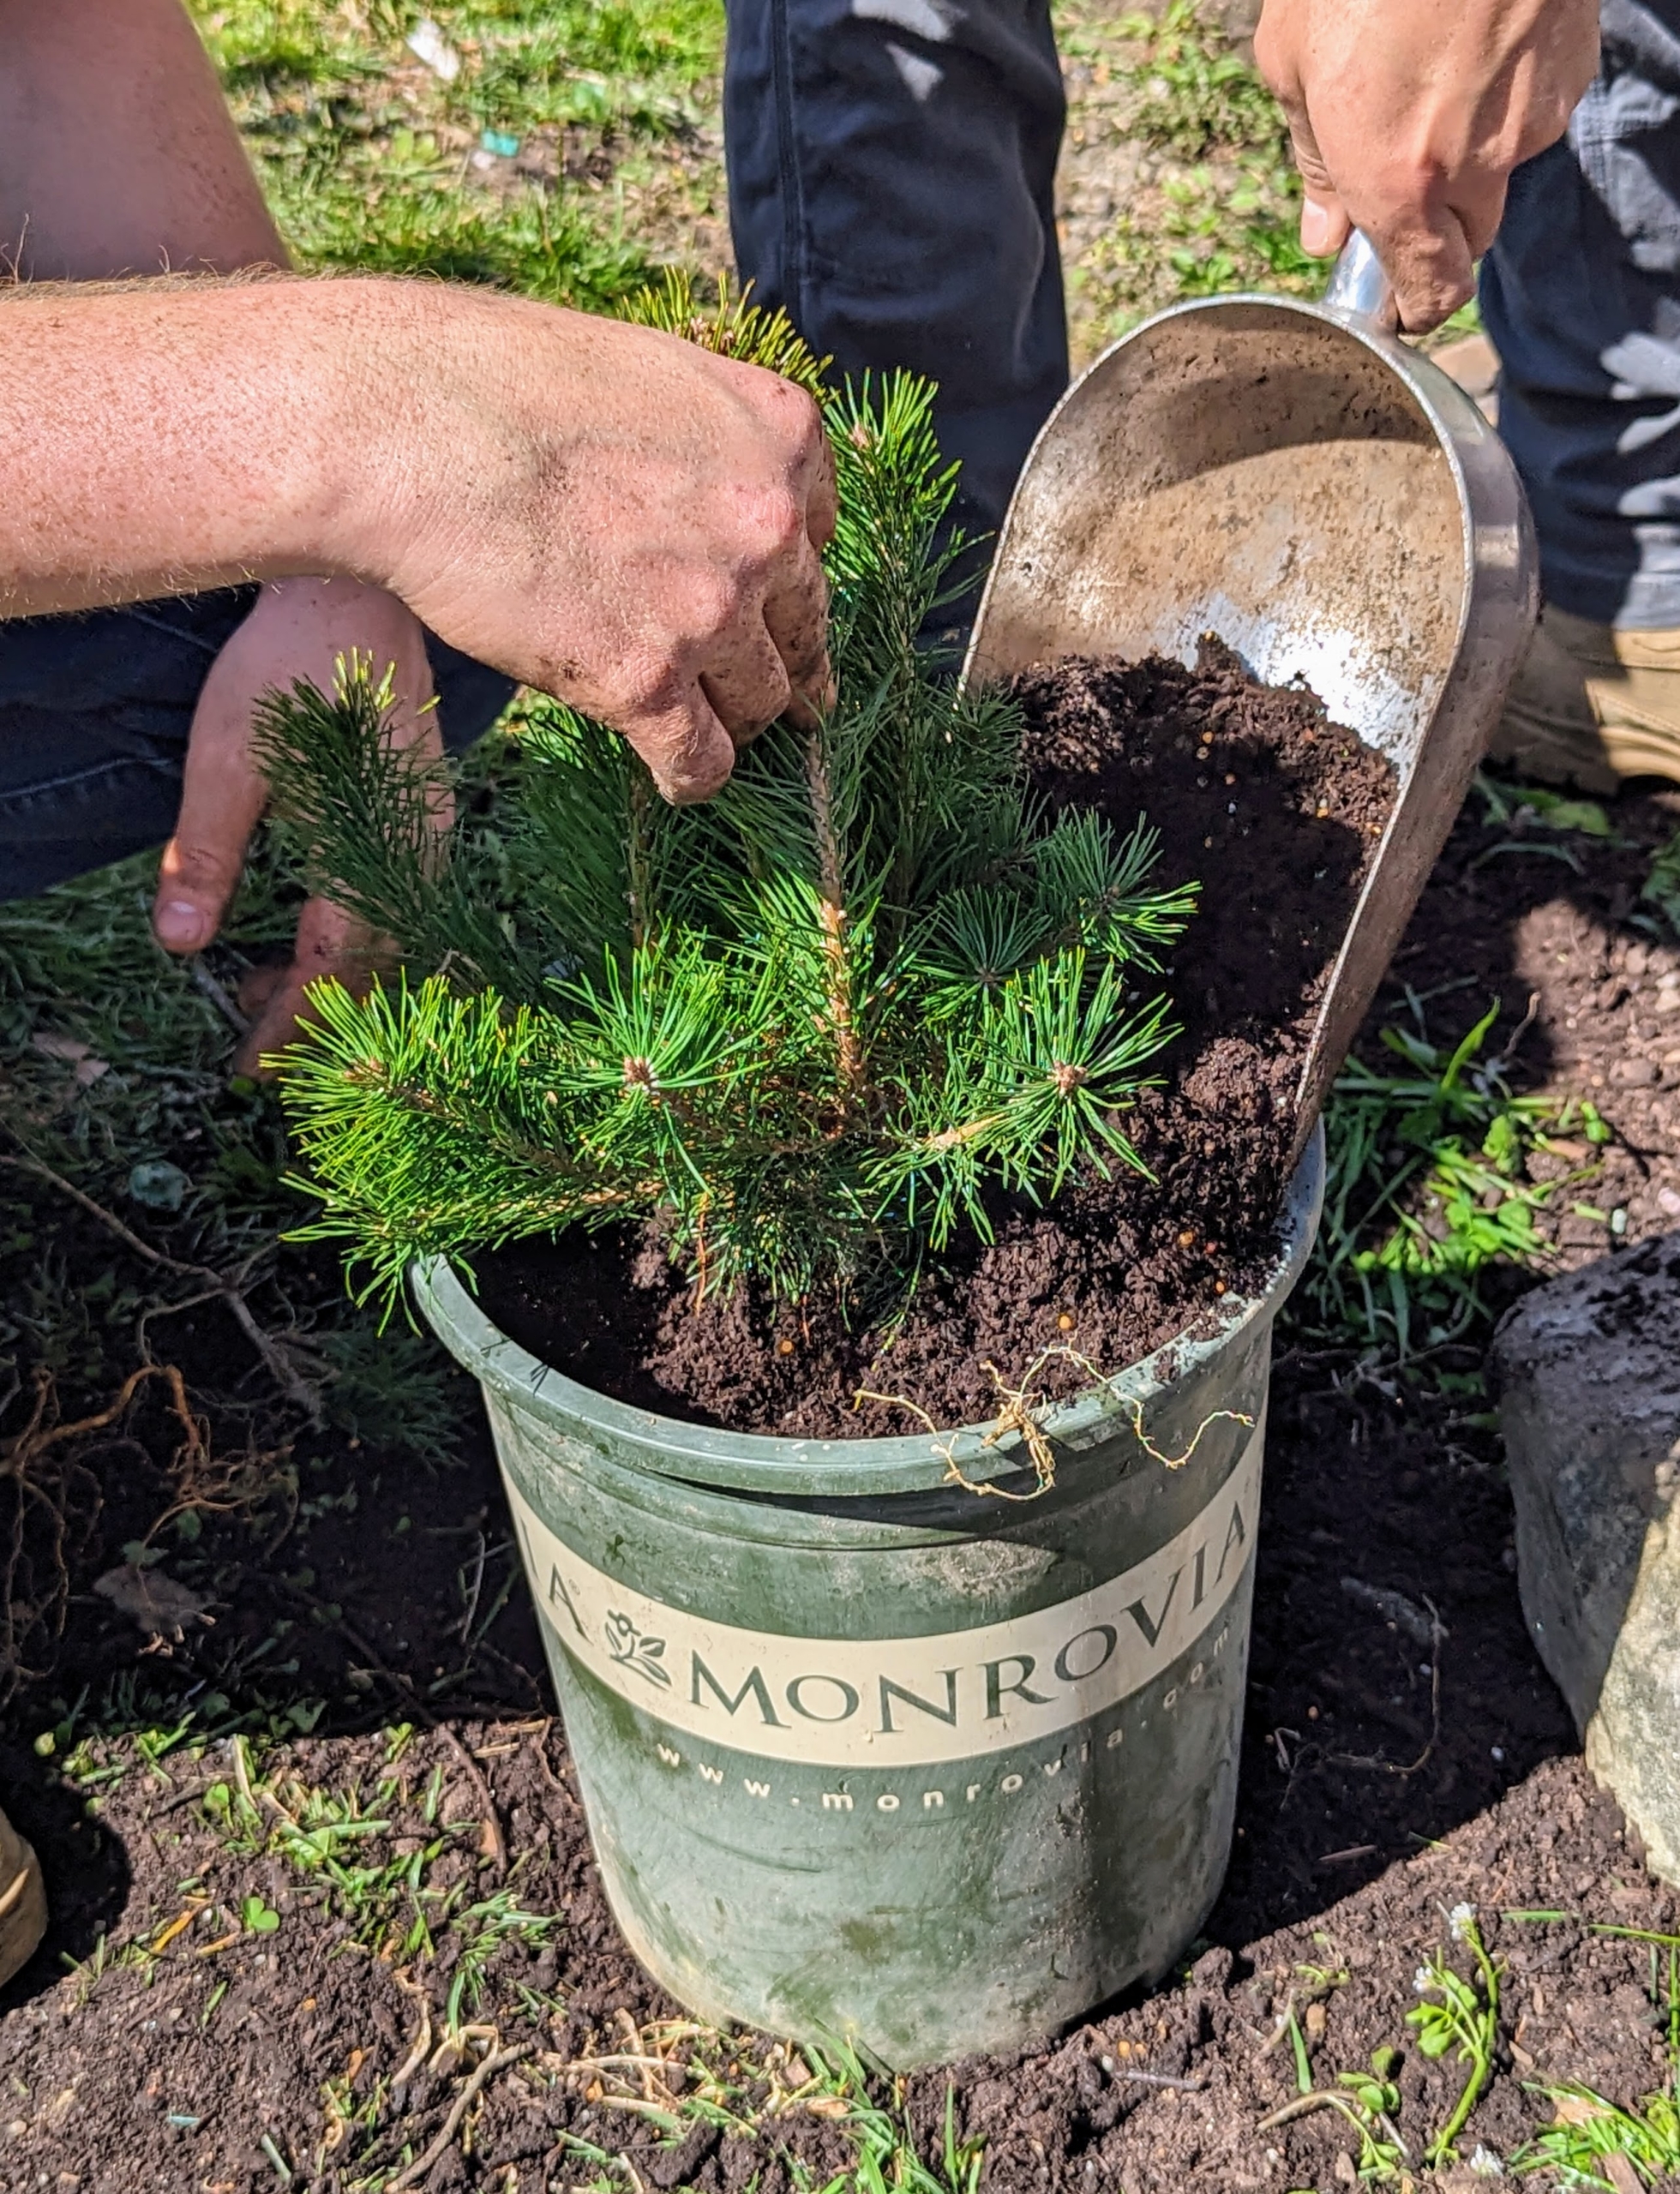
Trees are crucial. They are the world’s single largest source of breathable oxygen, they absorb carbon dioxide and potentially harmful gasses, and they create an ecosystem to provide needed habitat and food for birds and other animals. Recently, we received a shipment of bare-root tree cuttings and other young shrubs from Musser Forests, Inc., a Pennsylvania-based company specializing in conifer and hardwood seedlings and transplants. Once the young specimens arrived, my gardeners placed them in buckets and tubs to soak overnight and then hurried to pot them up, so their root systems can strengthen and develop before they're planted in more permanent locations.
Here are some photos, enjoy.
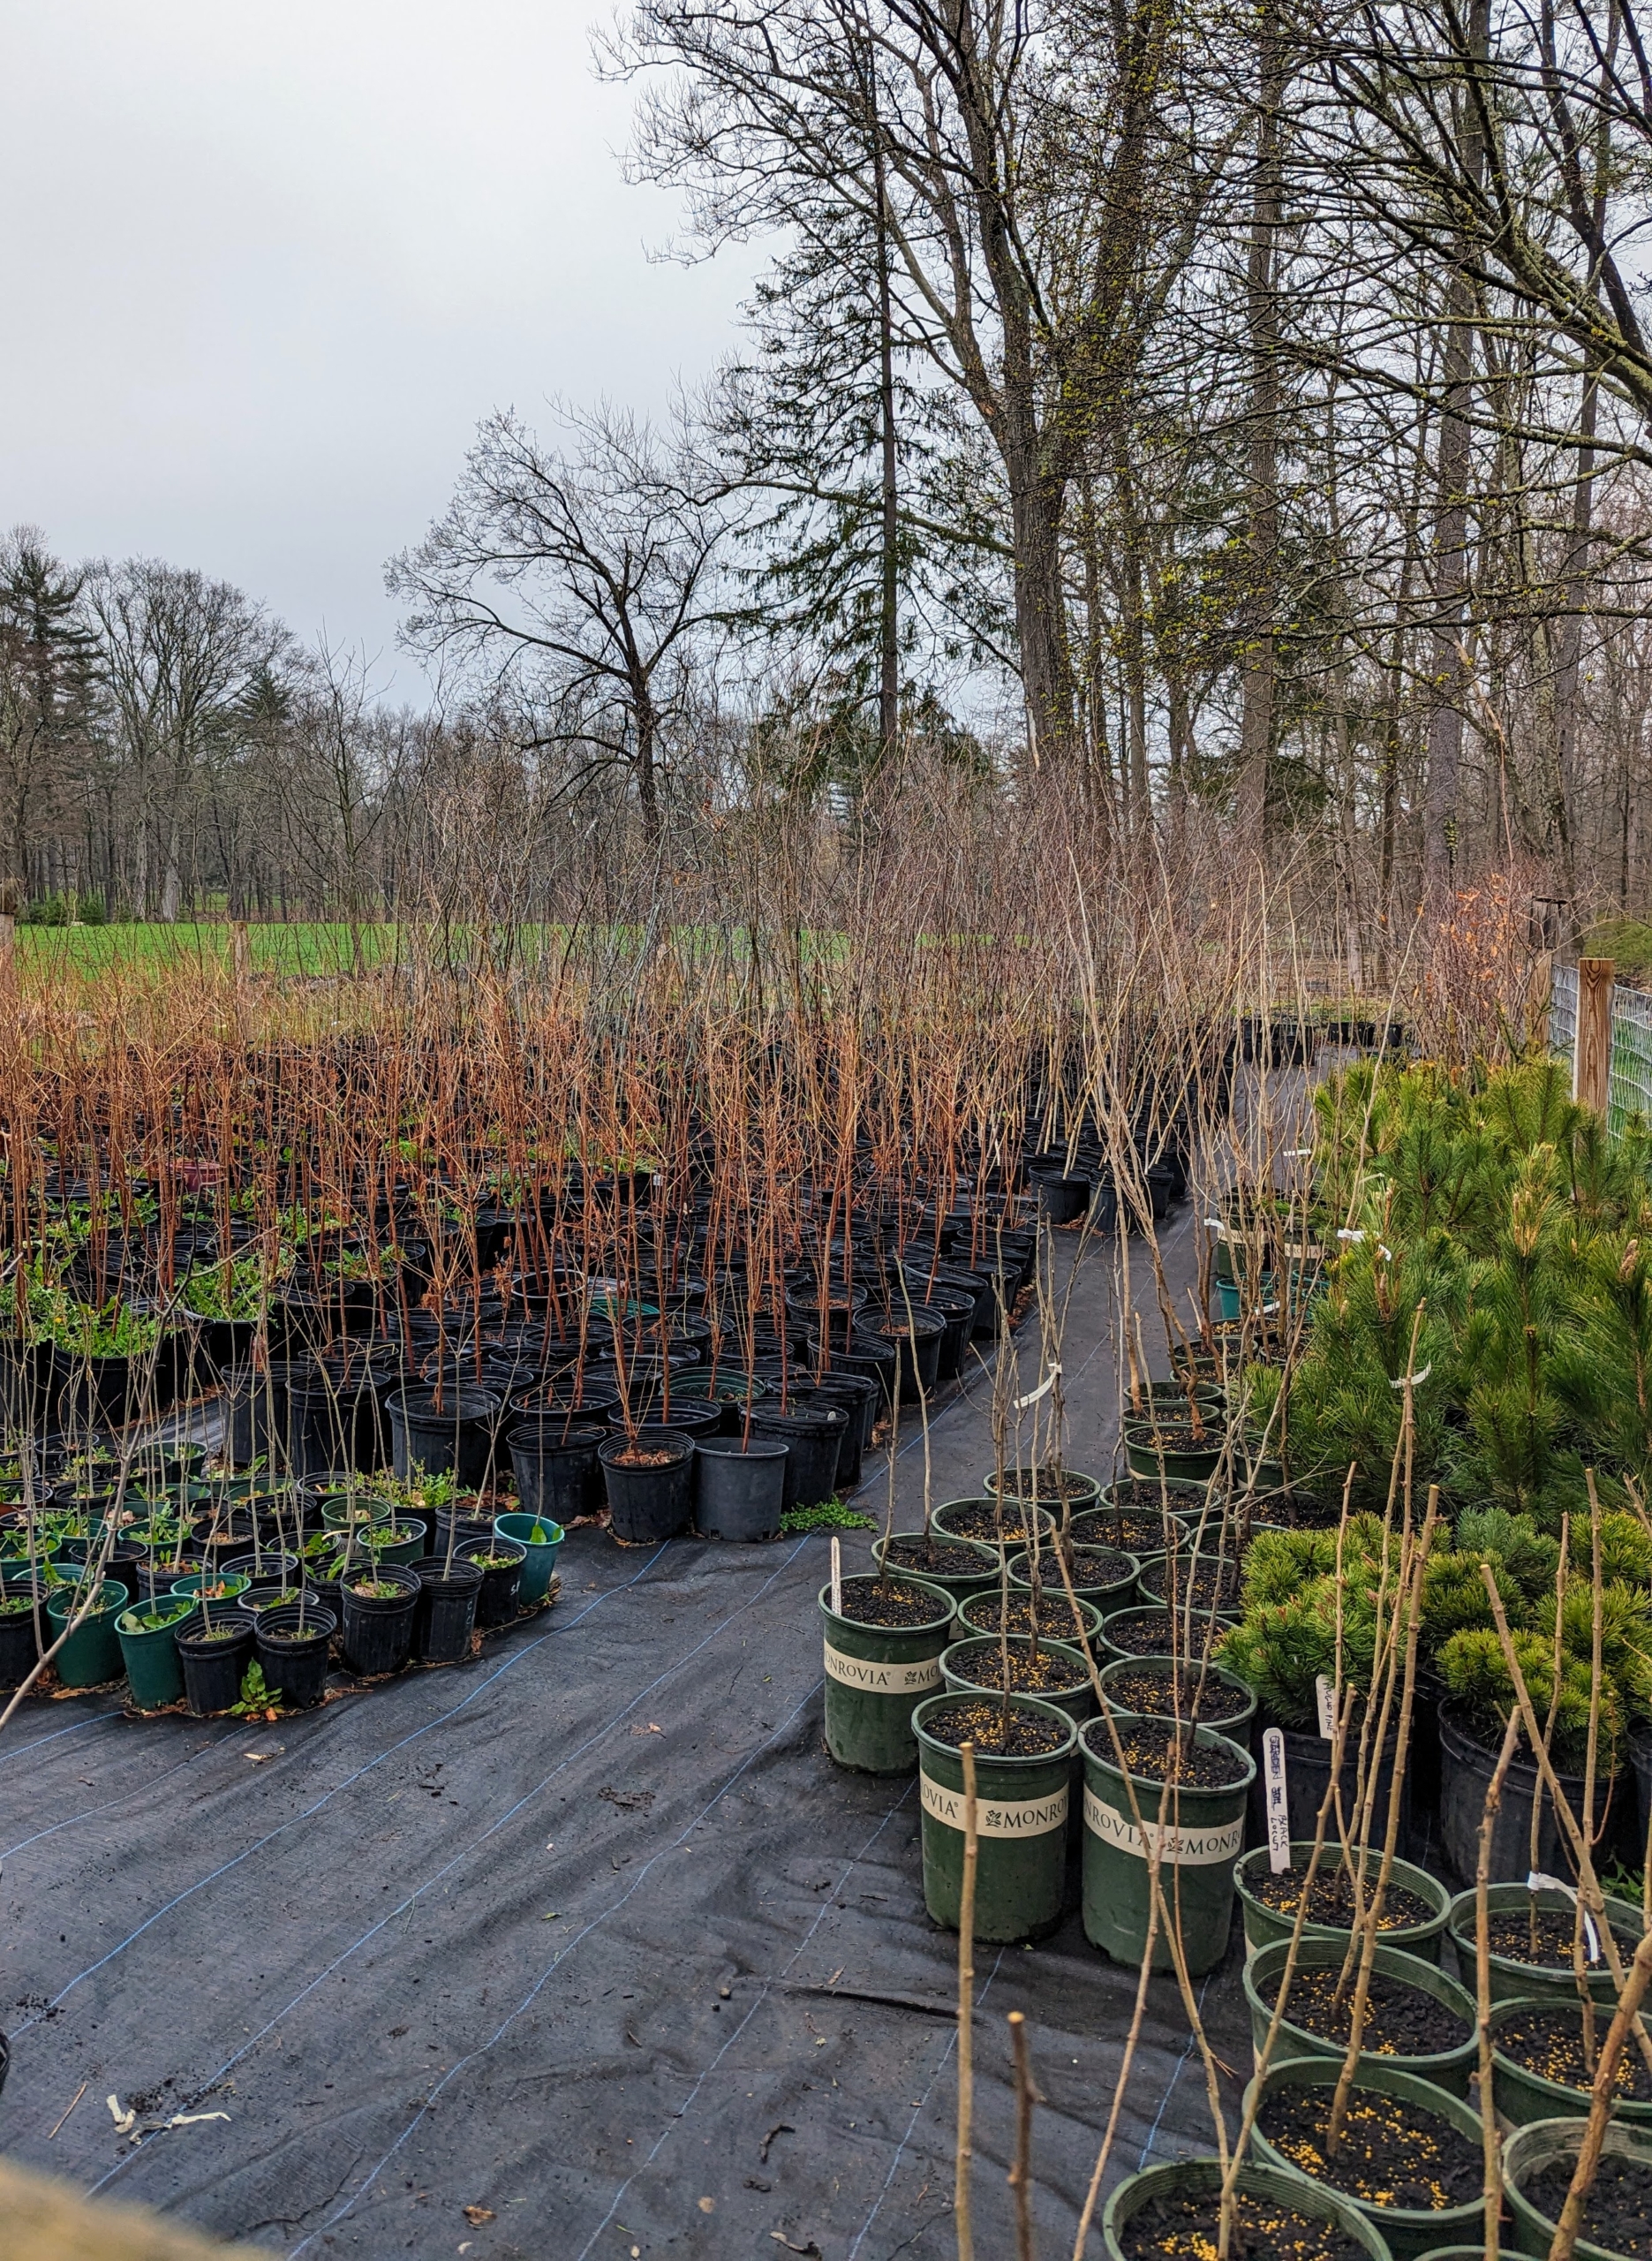
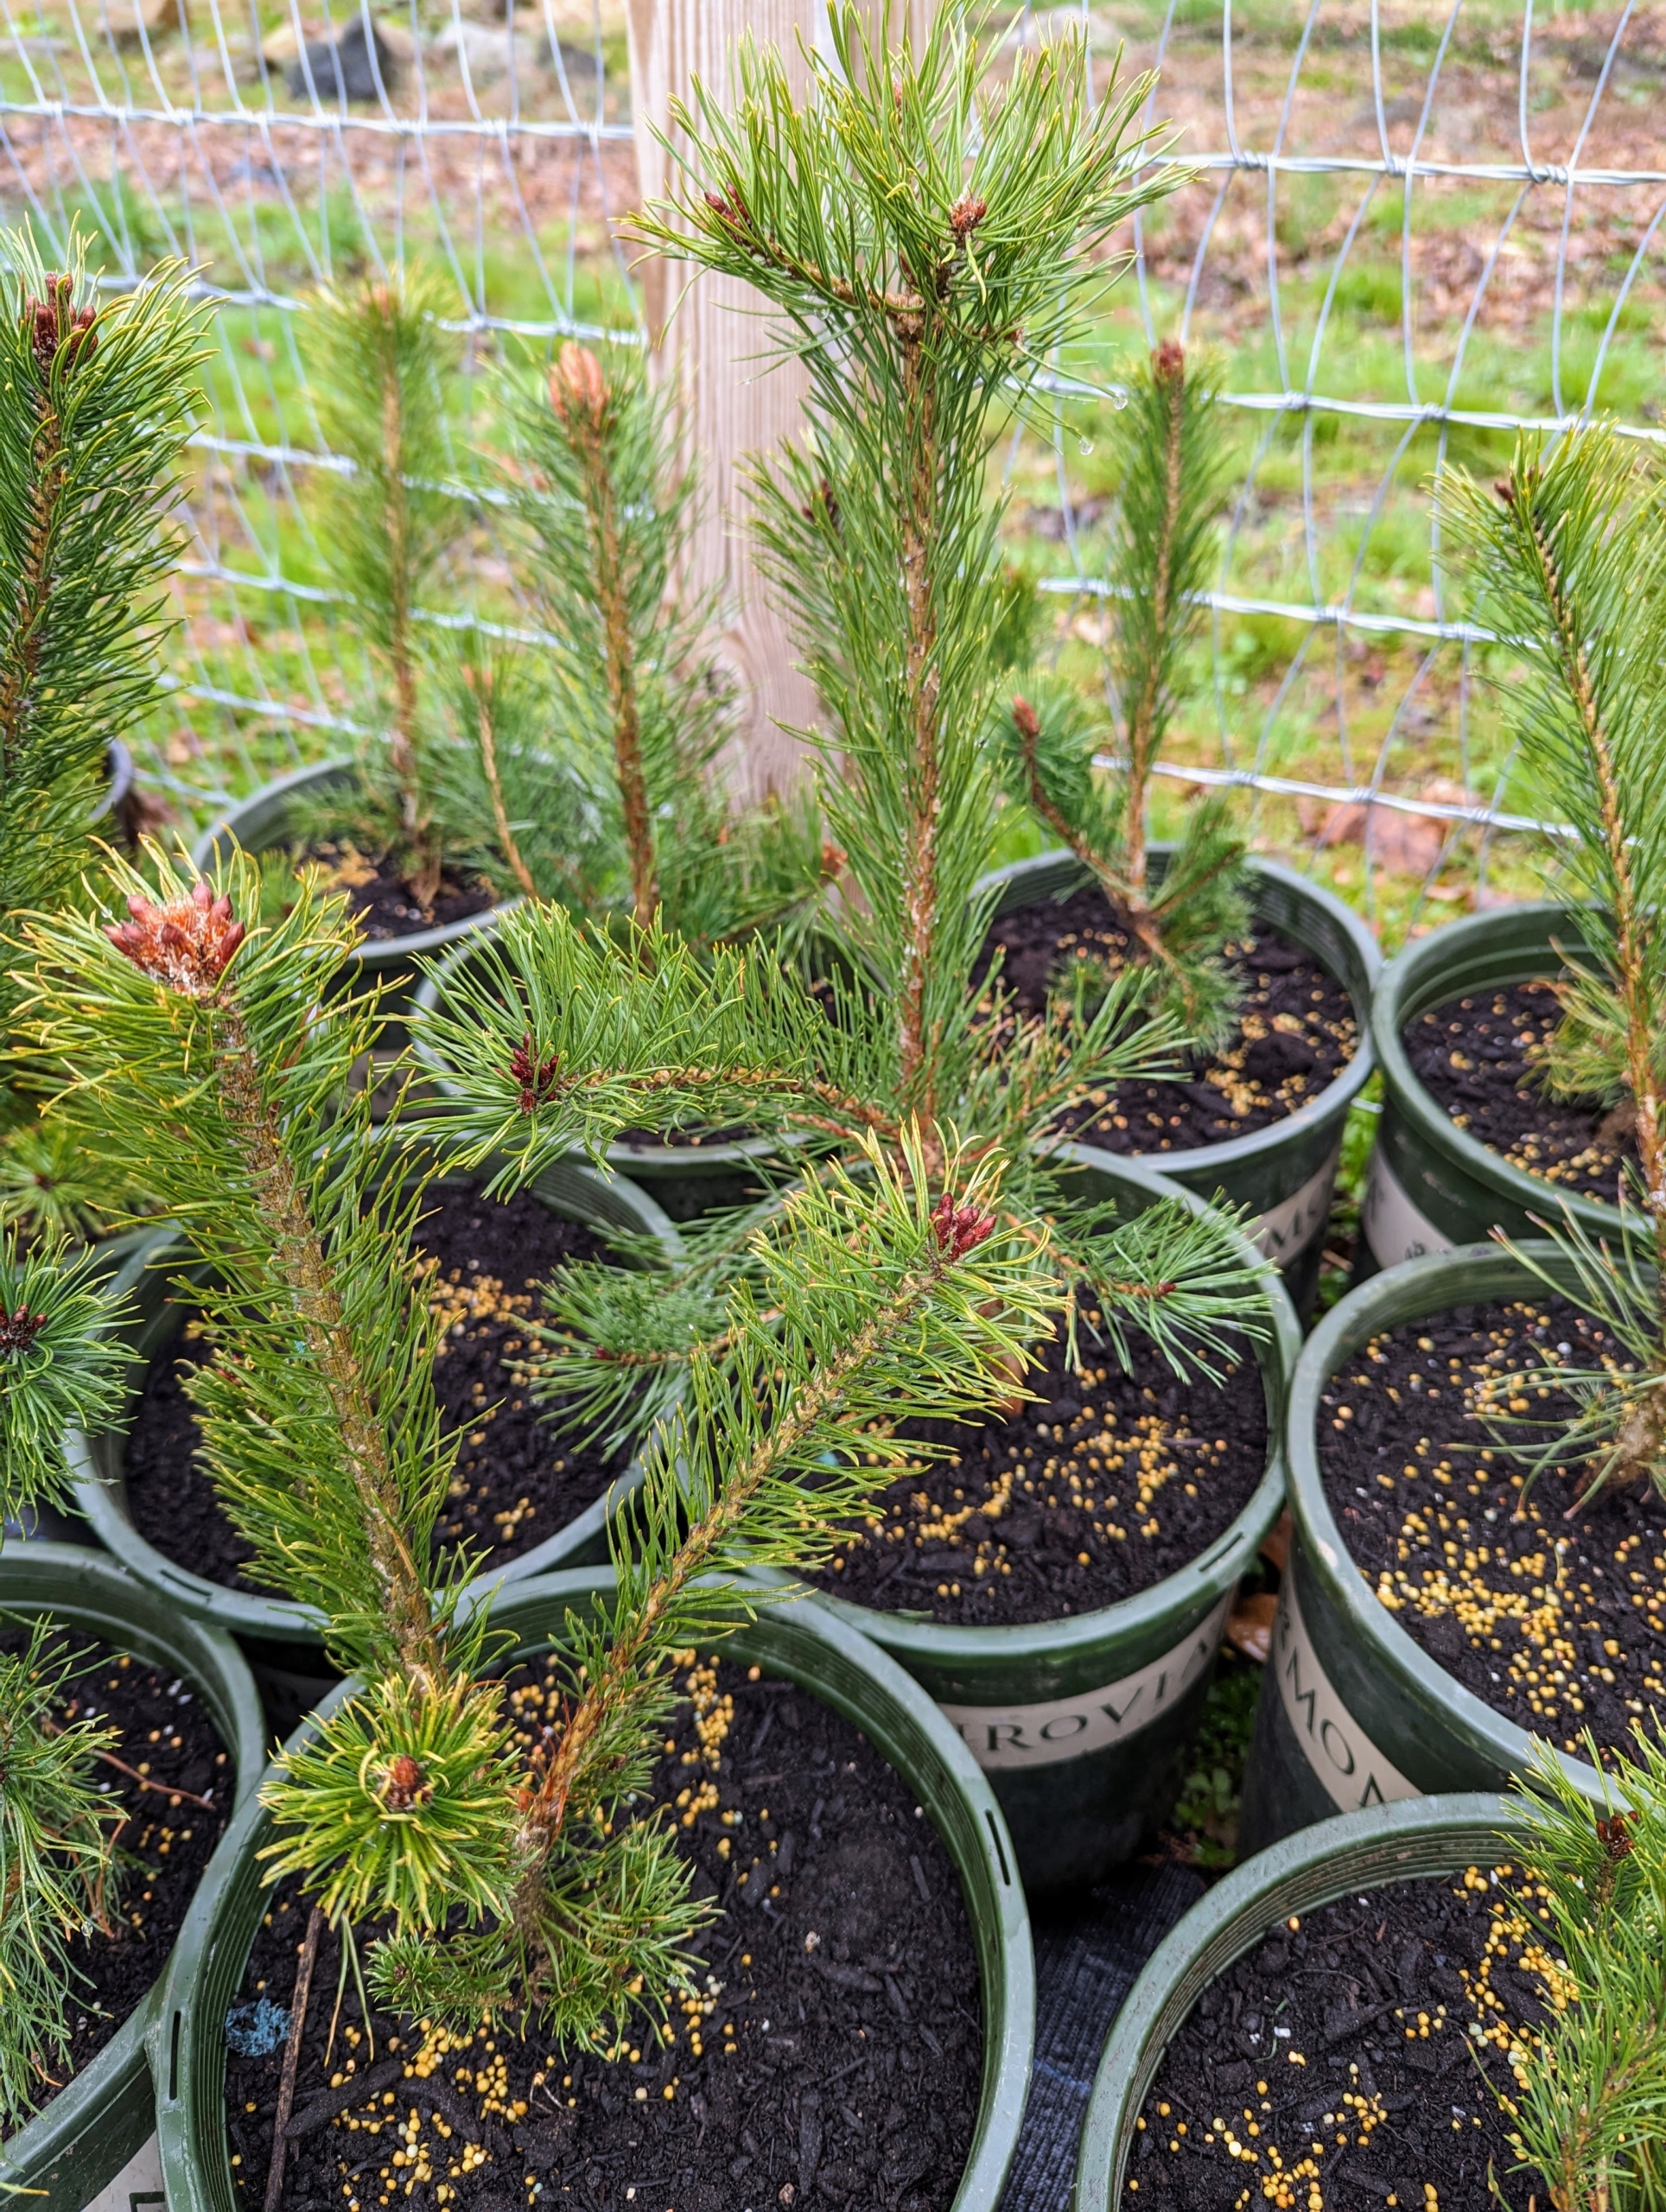
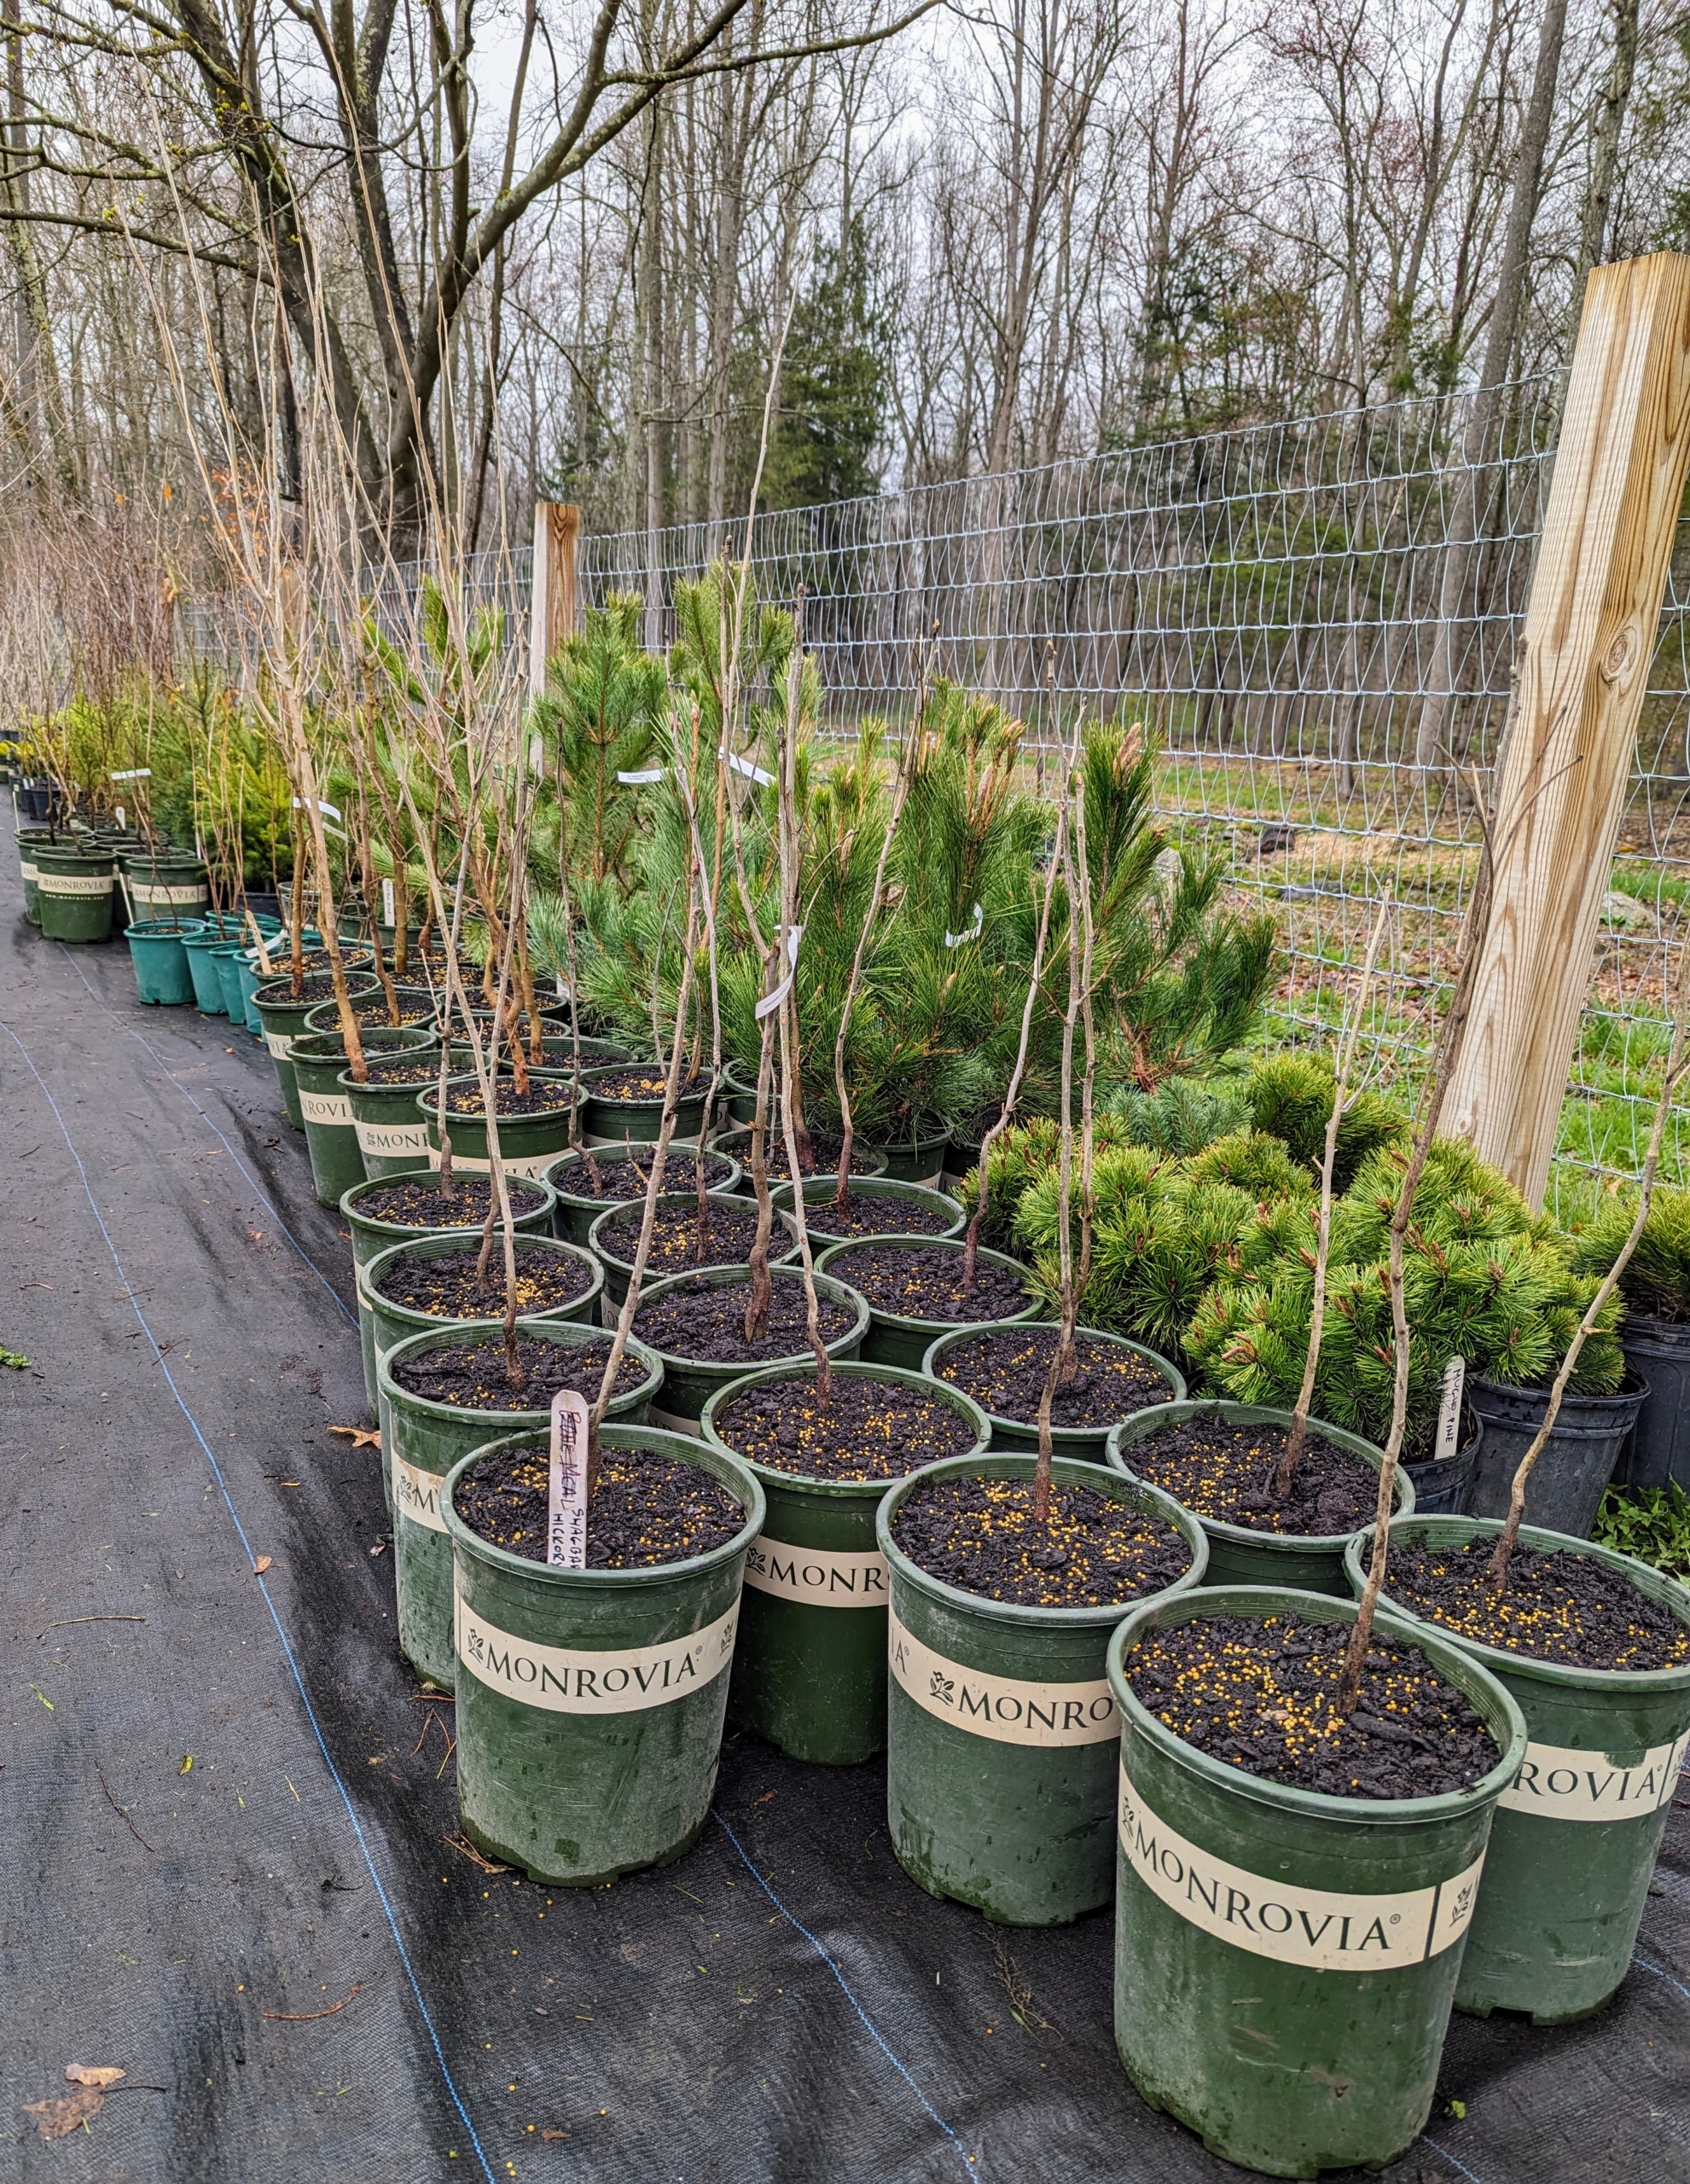
This fenced in area at one end of my middle field was once used as a pumpkin patch, but it is now where we store and nurture hundreds of young potted seedlings.
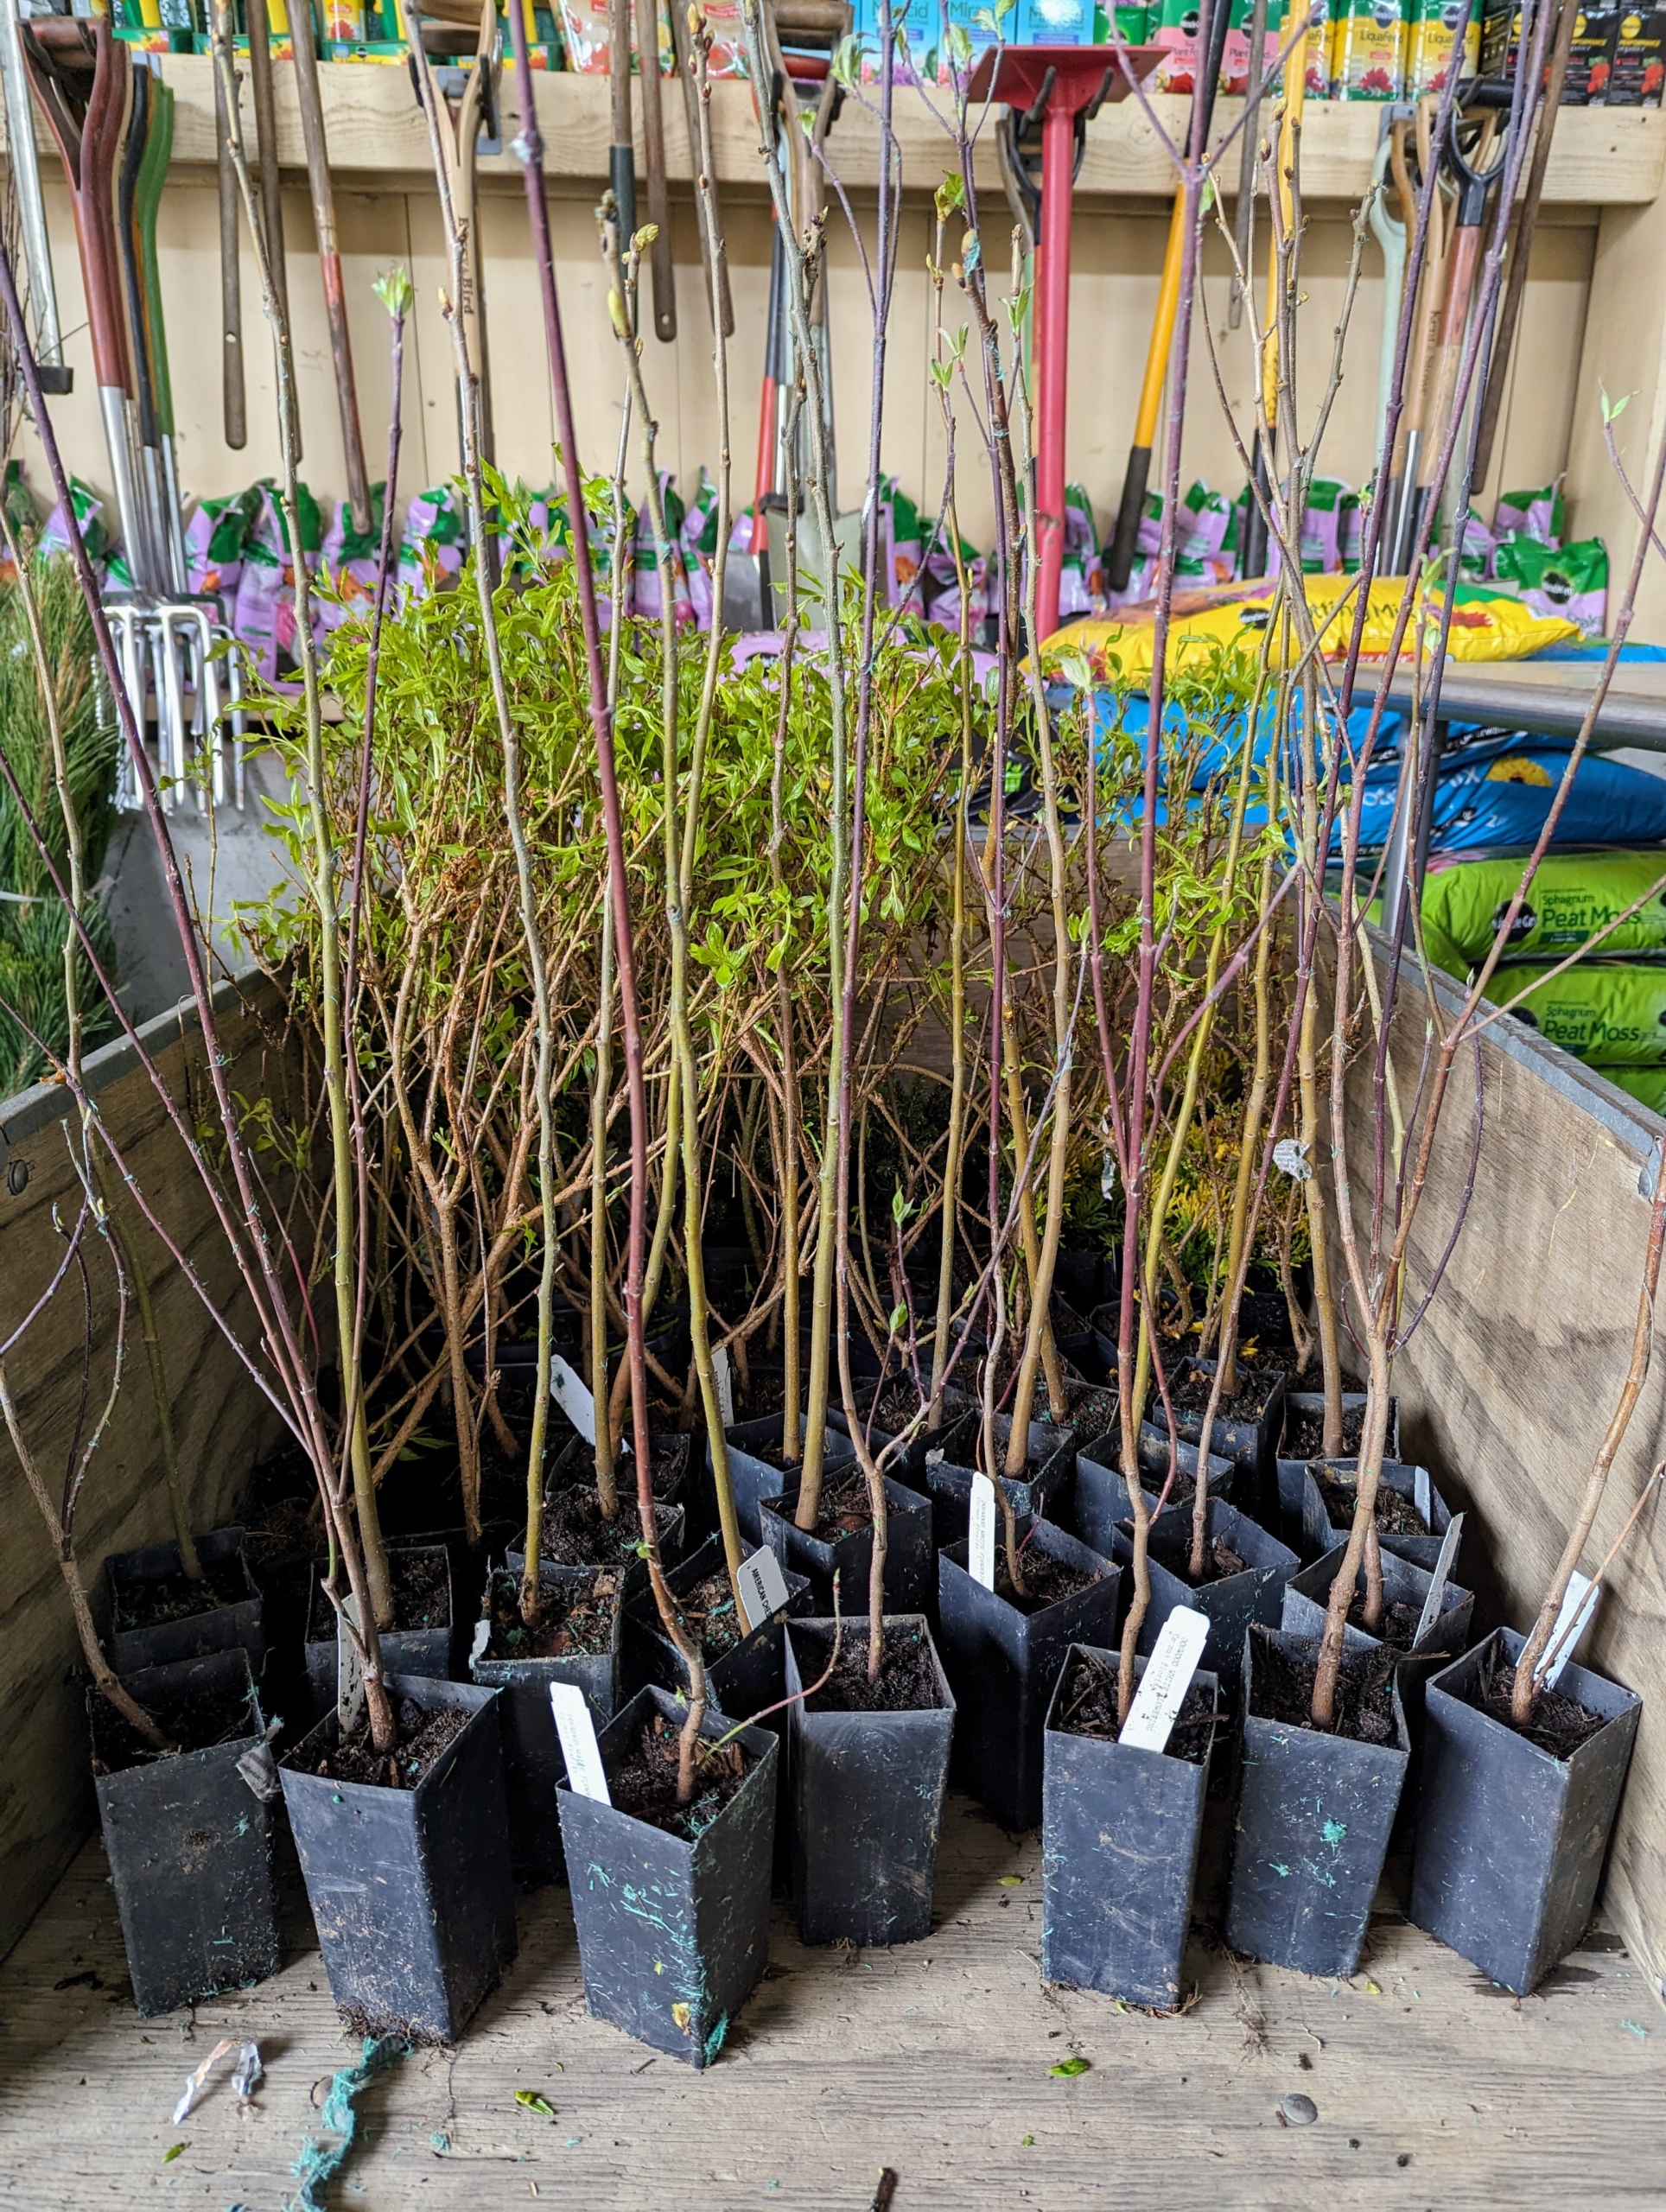
Here is our latest order from Musser. I’ve bought many trees from Musser Forests Inc. over the years and have always been very pleased with their specimens. Bare-root trees are so named because the plants are dug from the ground while dormant and stored without any soil surrounding their roots. Soaking the roots right away gives them all a strong start.
Musser Forests, Inc. was established in 1928. Every year, Musser produces more than 35-million conifer and hardwood seedlings and transplants – plus, ground covers, landscaping shrubs, perennials, and ornamental grasses. They offer one of the broadest selections of plant material available from one nursery.
All the plants are either shipped in bare-root bundles, or smaller pots like these – always in great condition.
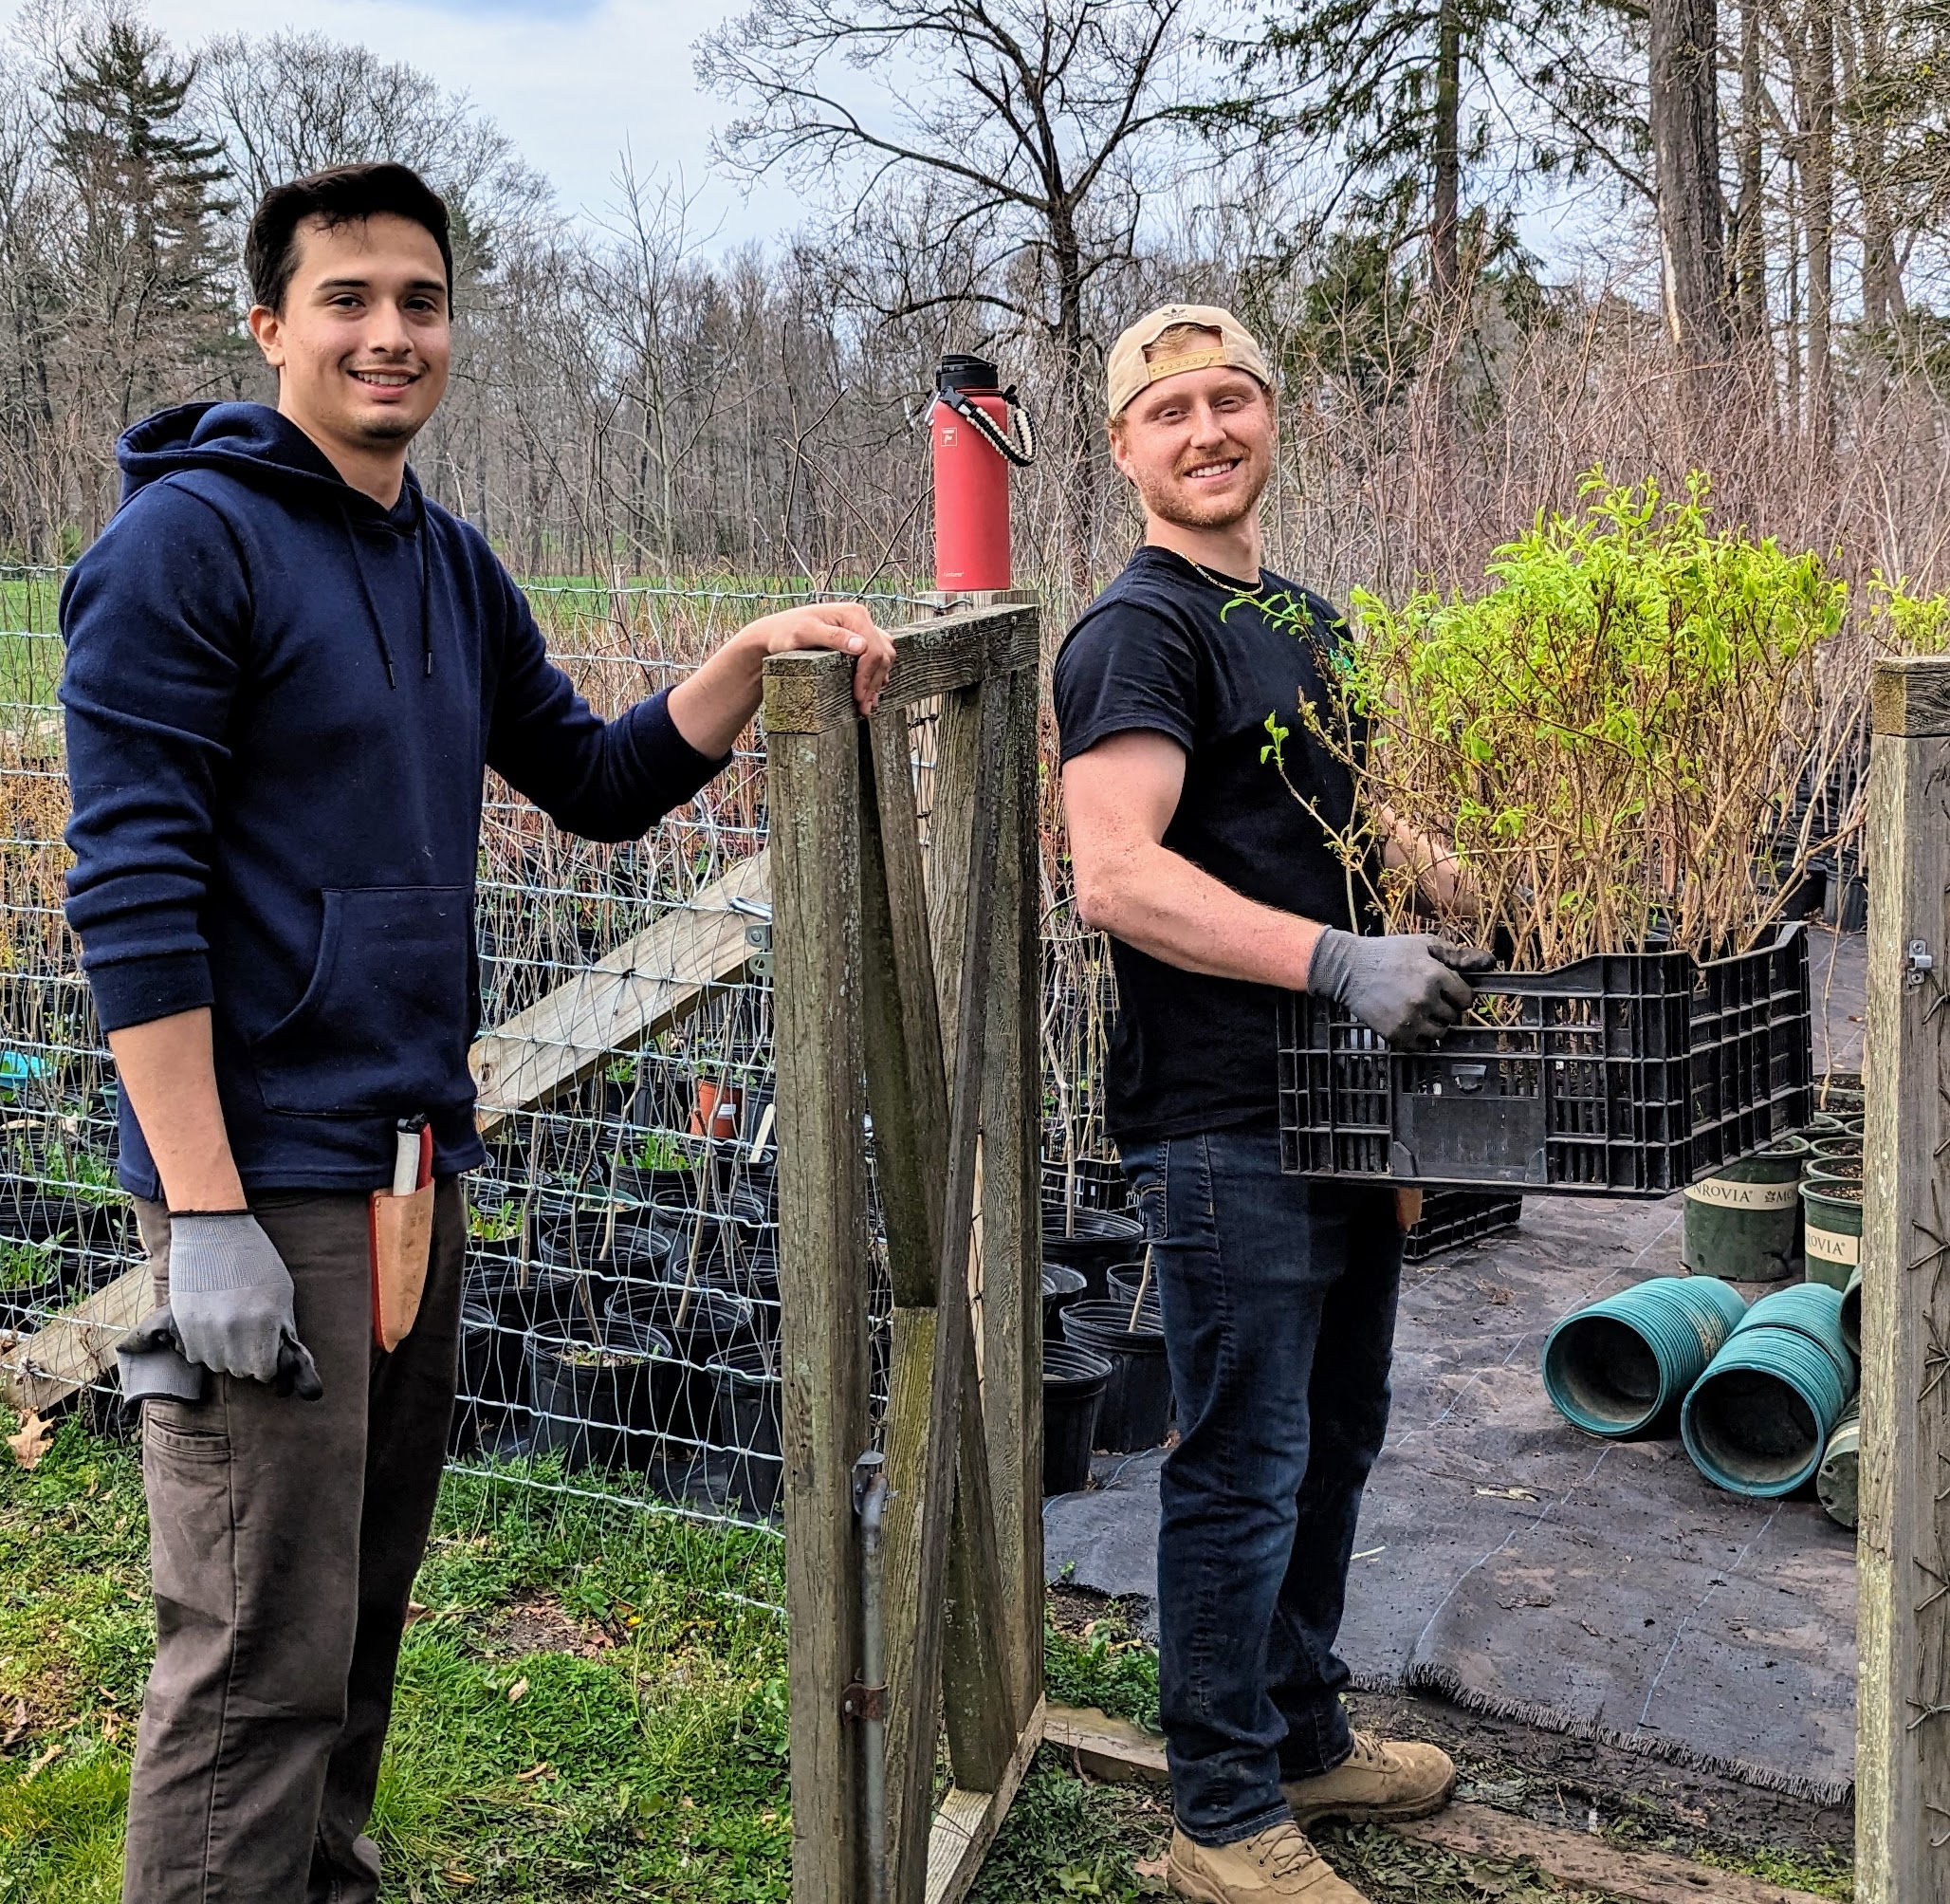
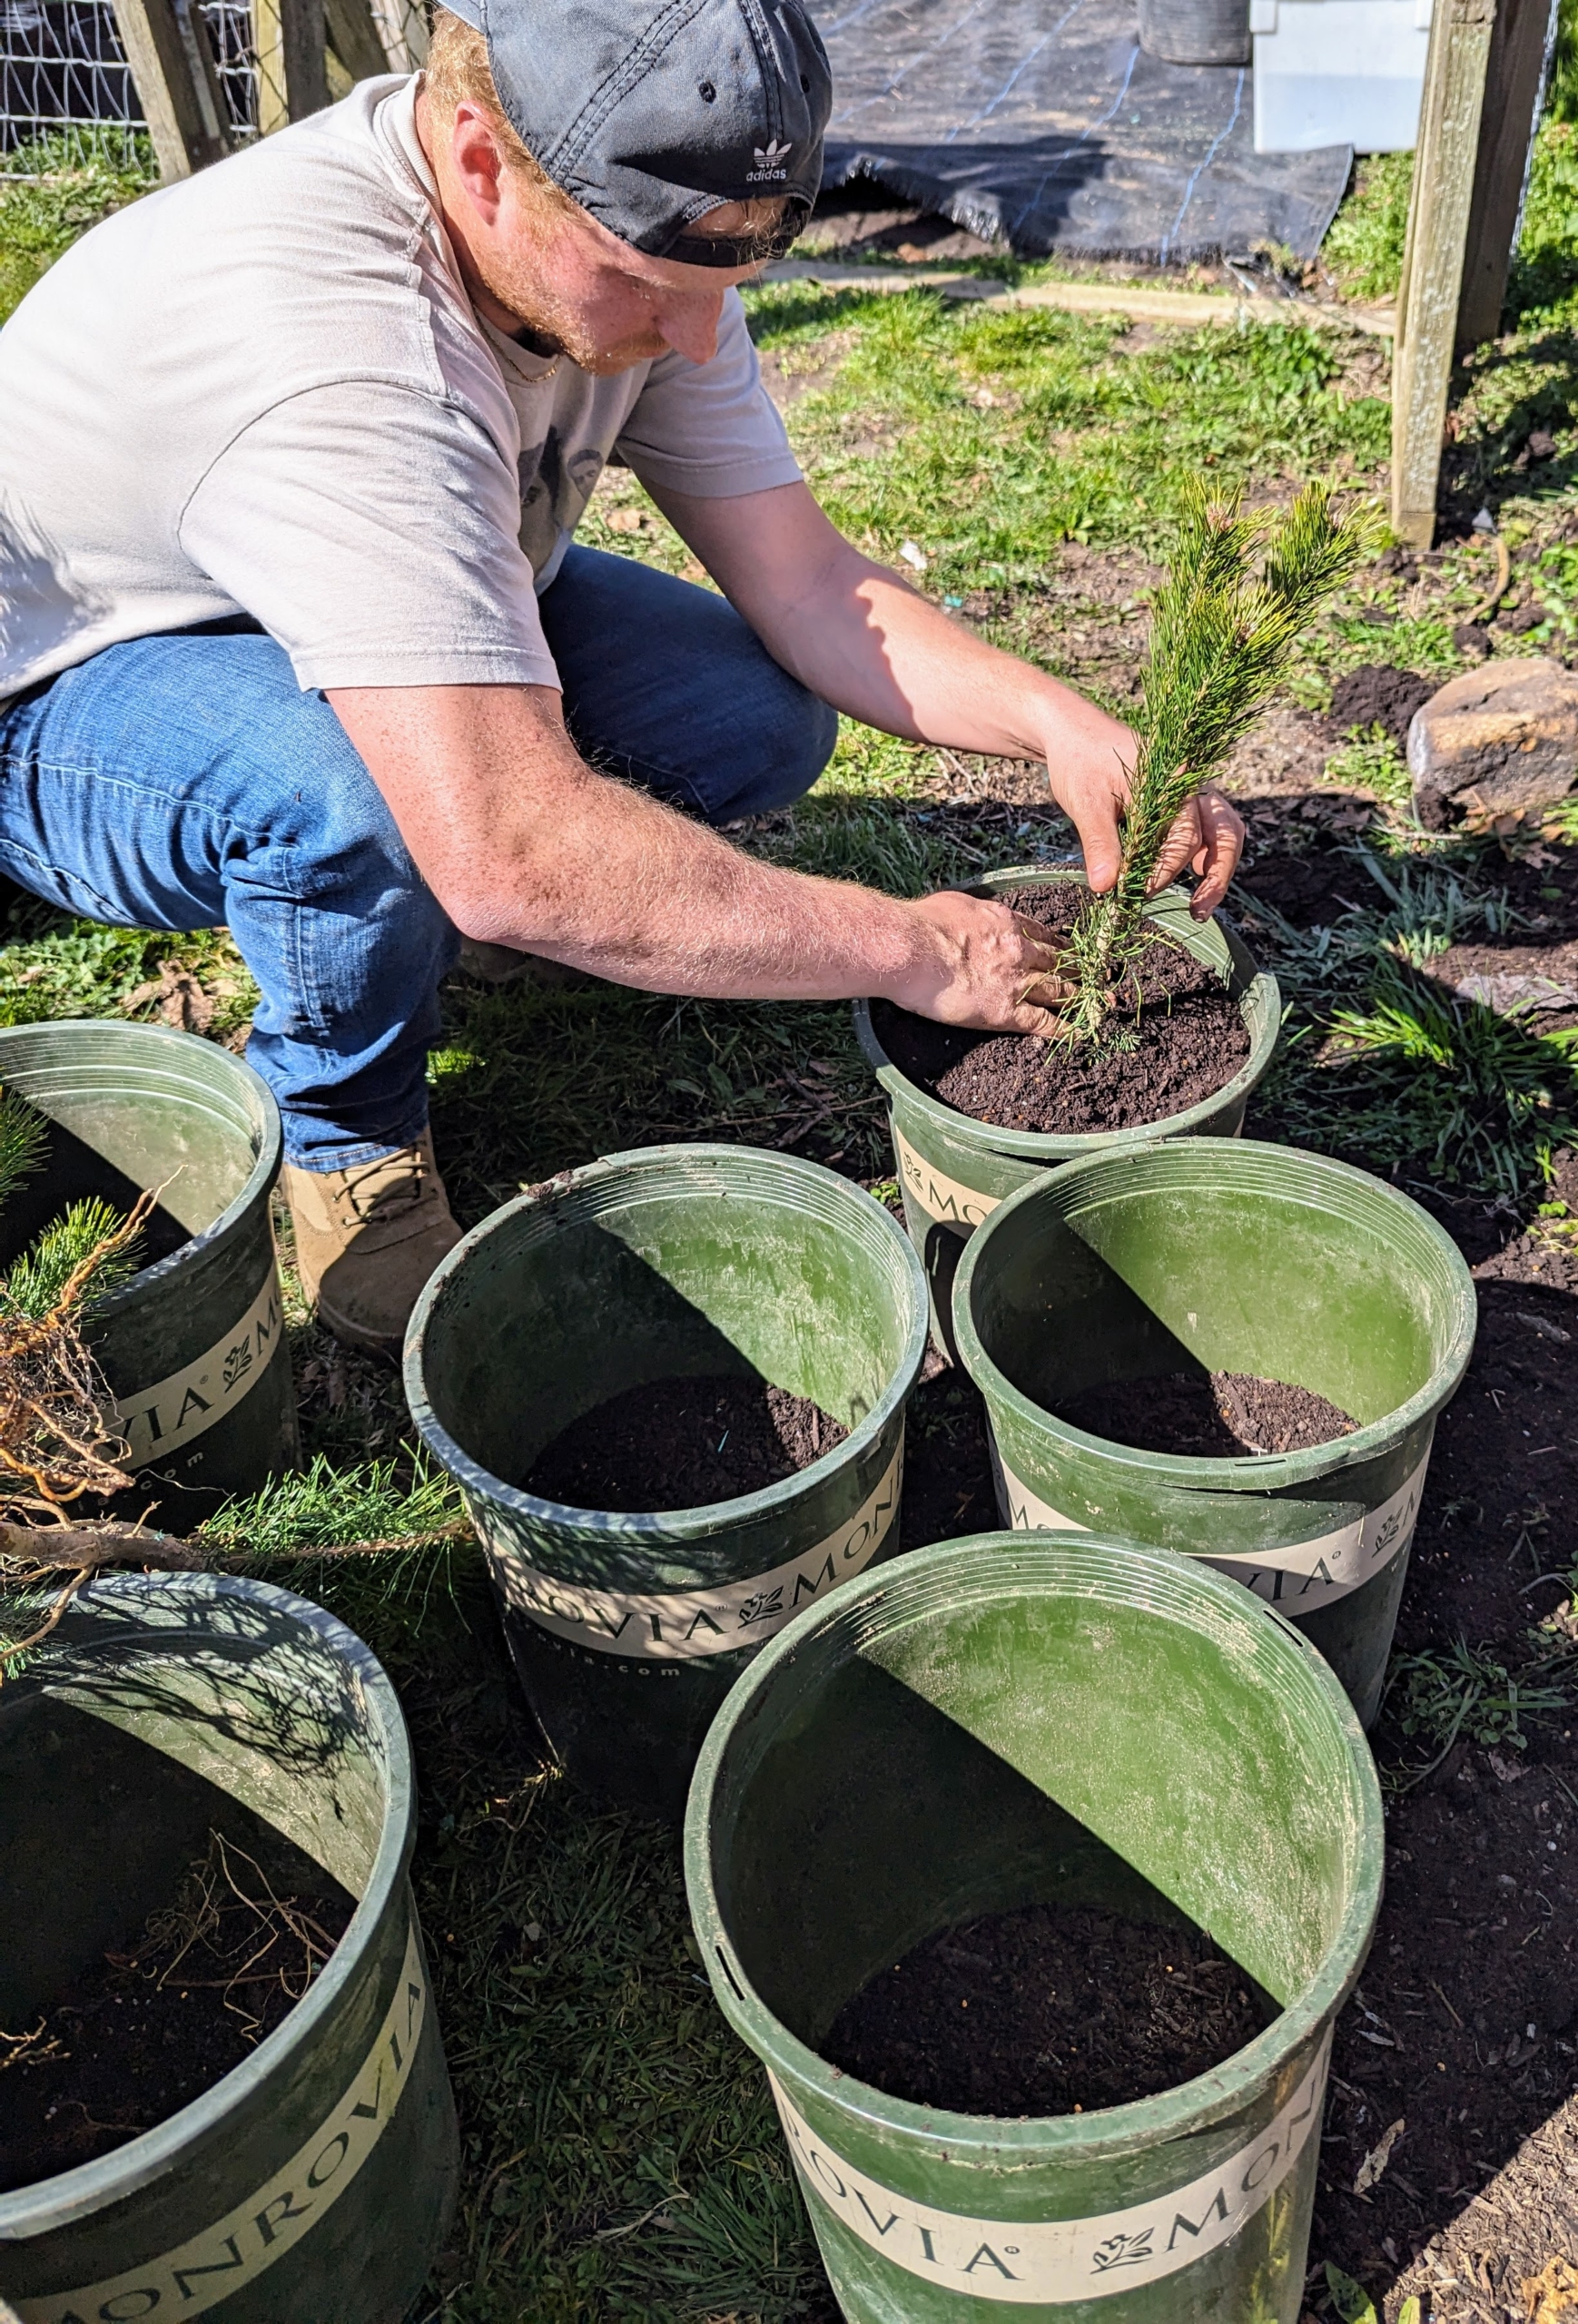
Our NYBG intern, Matthew Orego, and new gardener Josh Casalli, are tasked with potting up all the new specimens – 1000 of them. The trees will only remain in these pots temporarily – eventually, they will be transplanted in various locations around the farm.
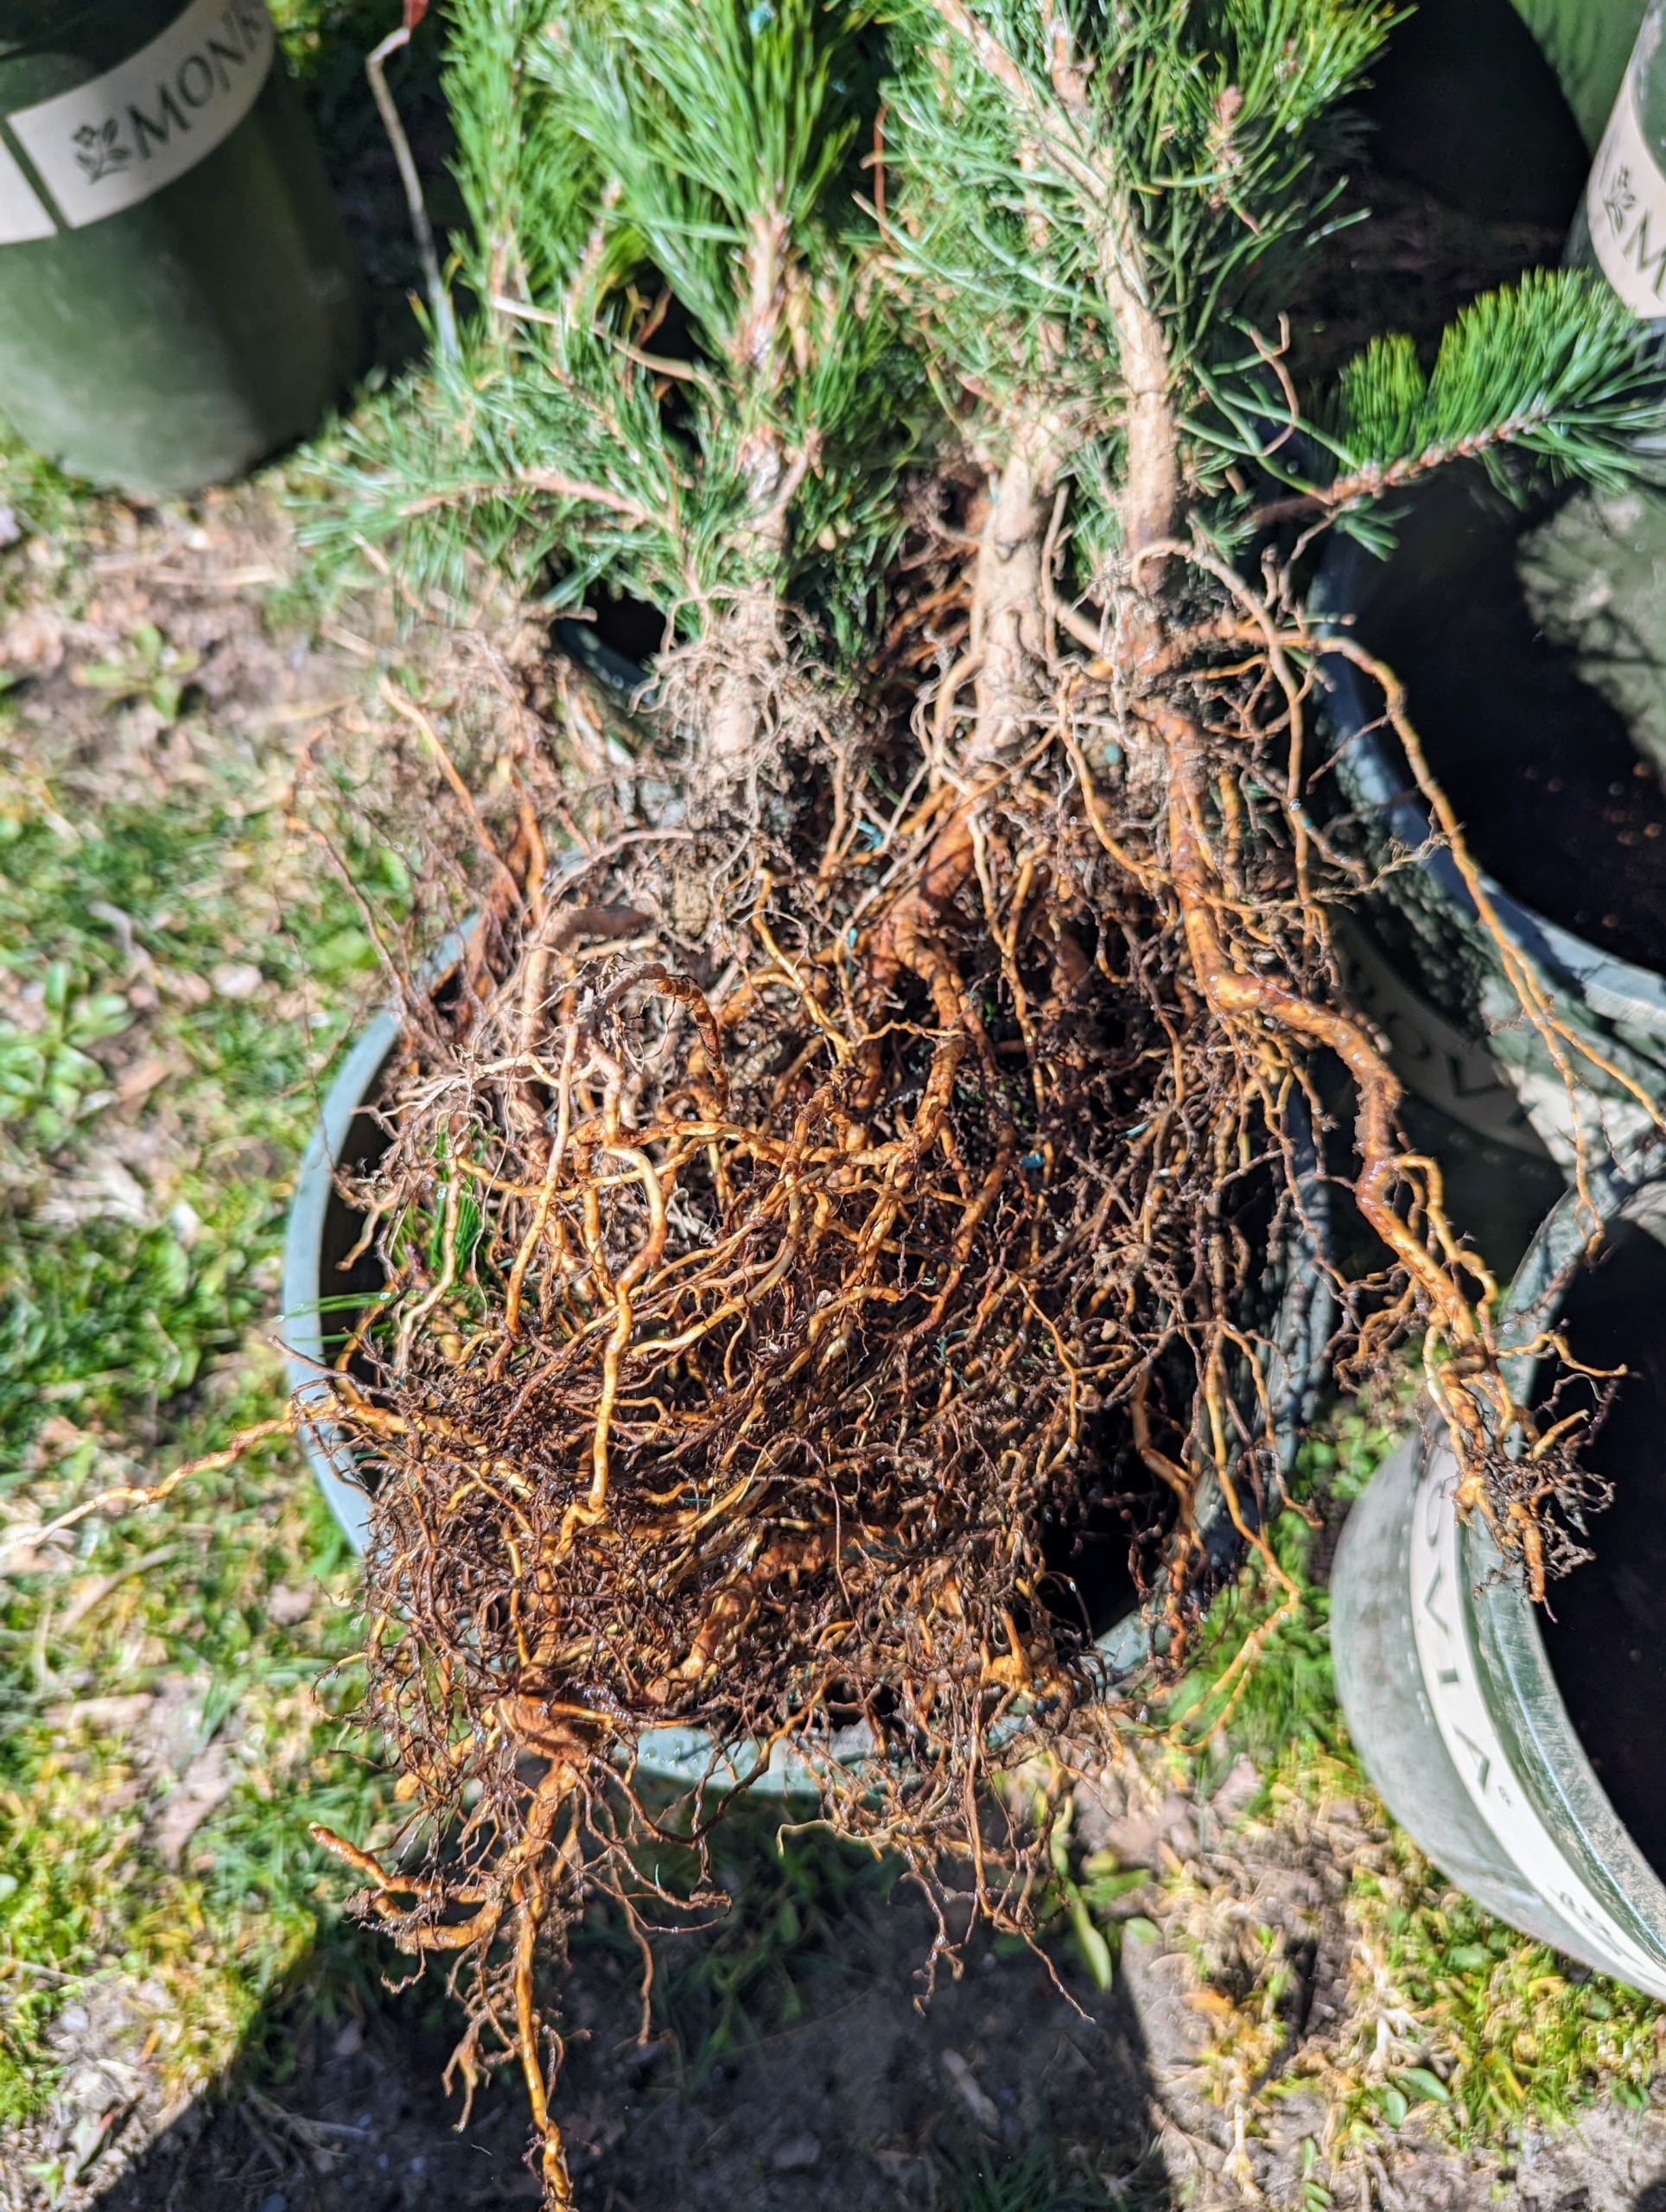
Healthy bare-root cuttings should not have any mold or mildew on the plants or on the packaging.
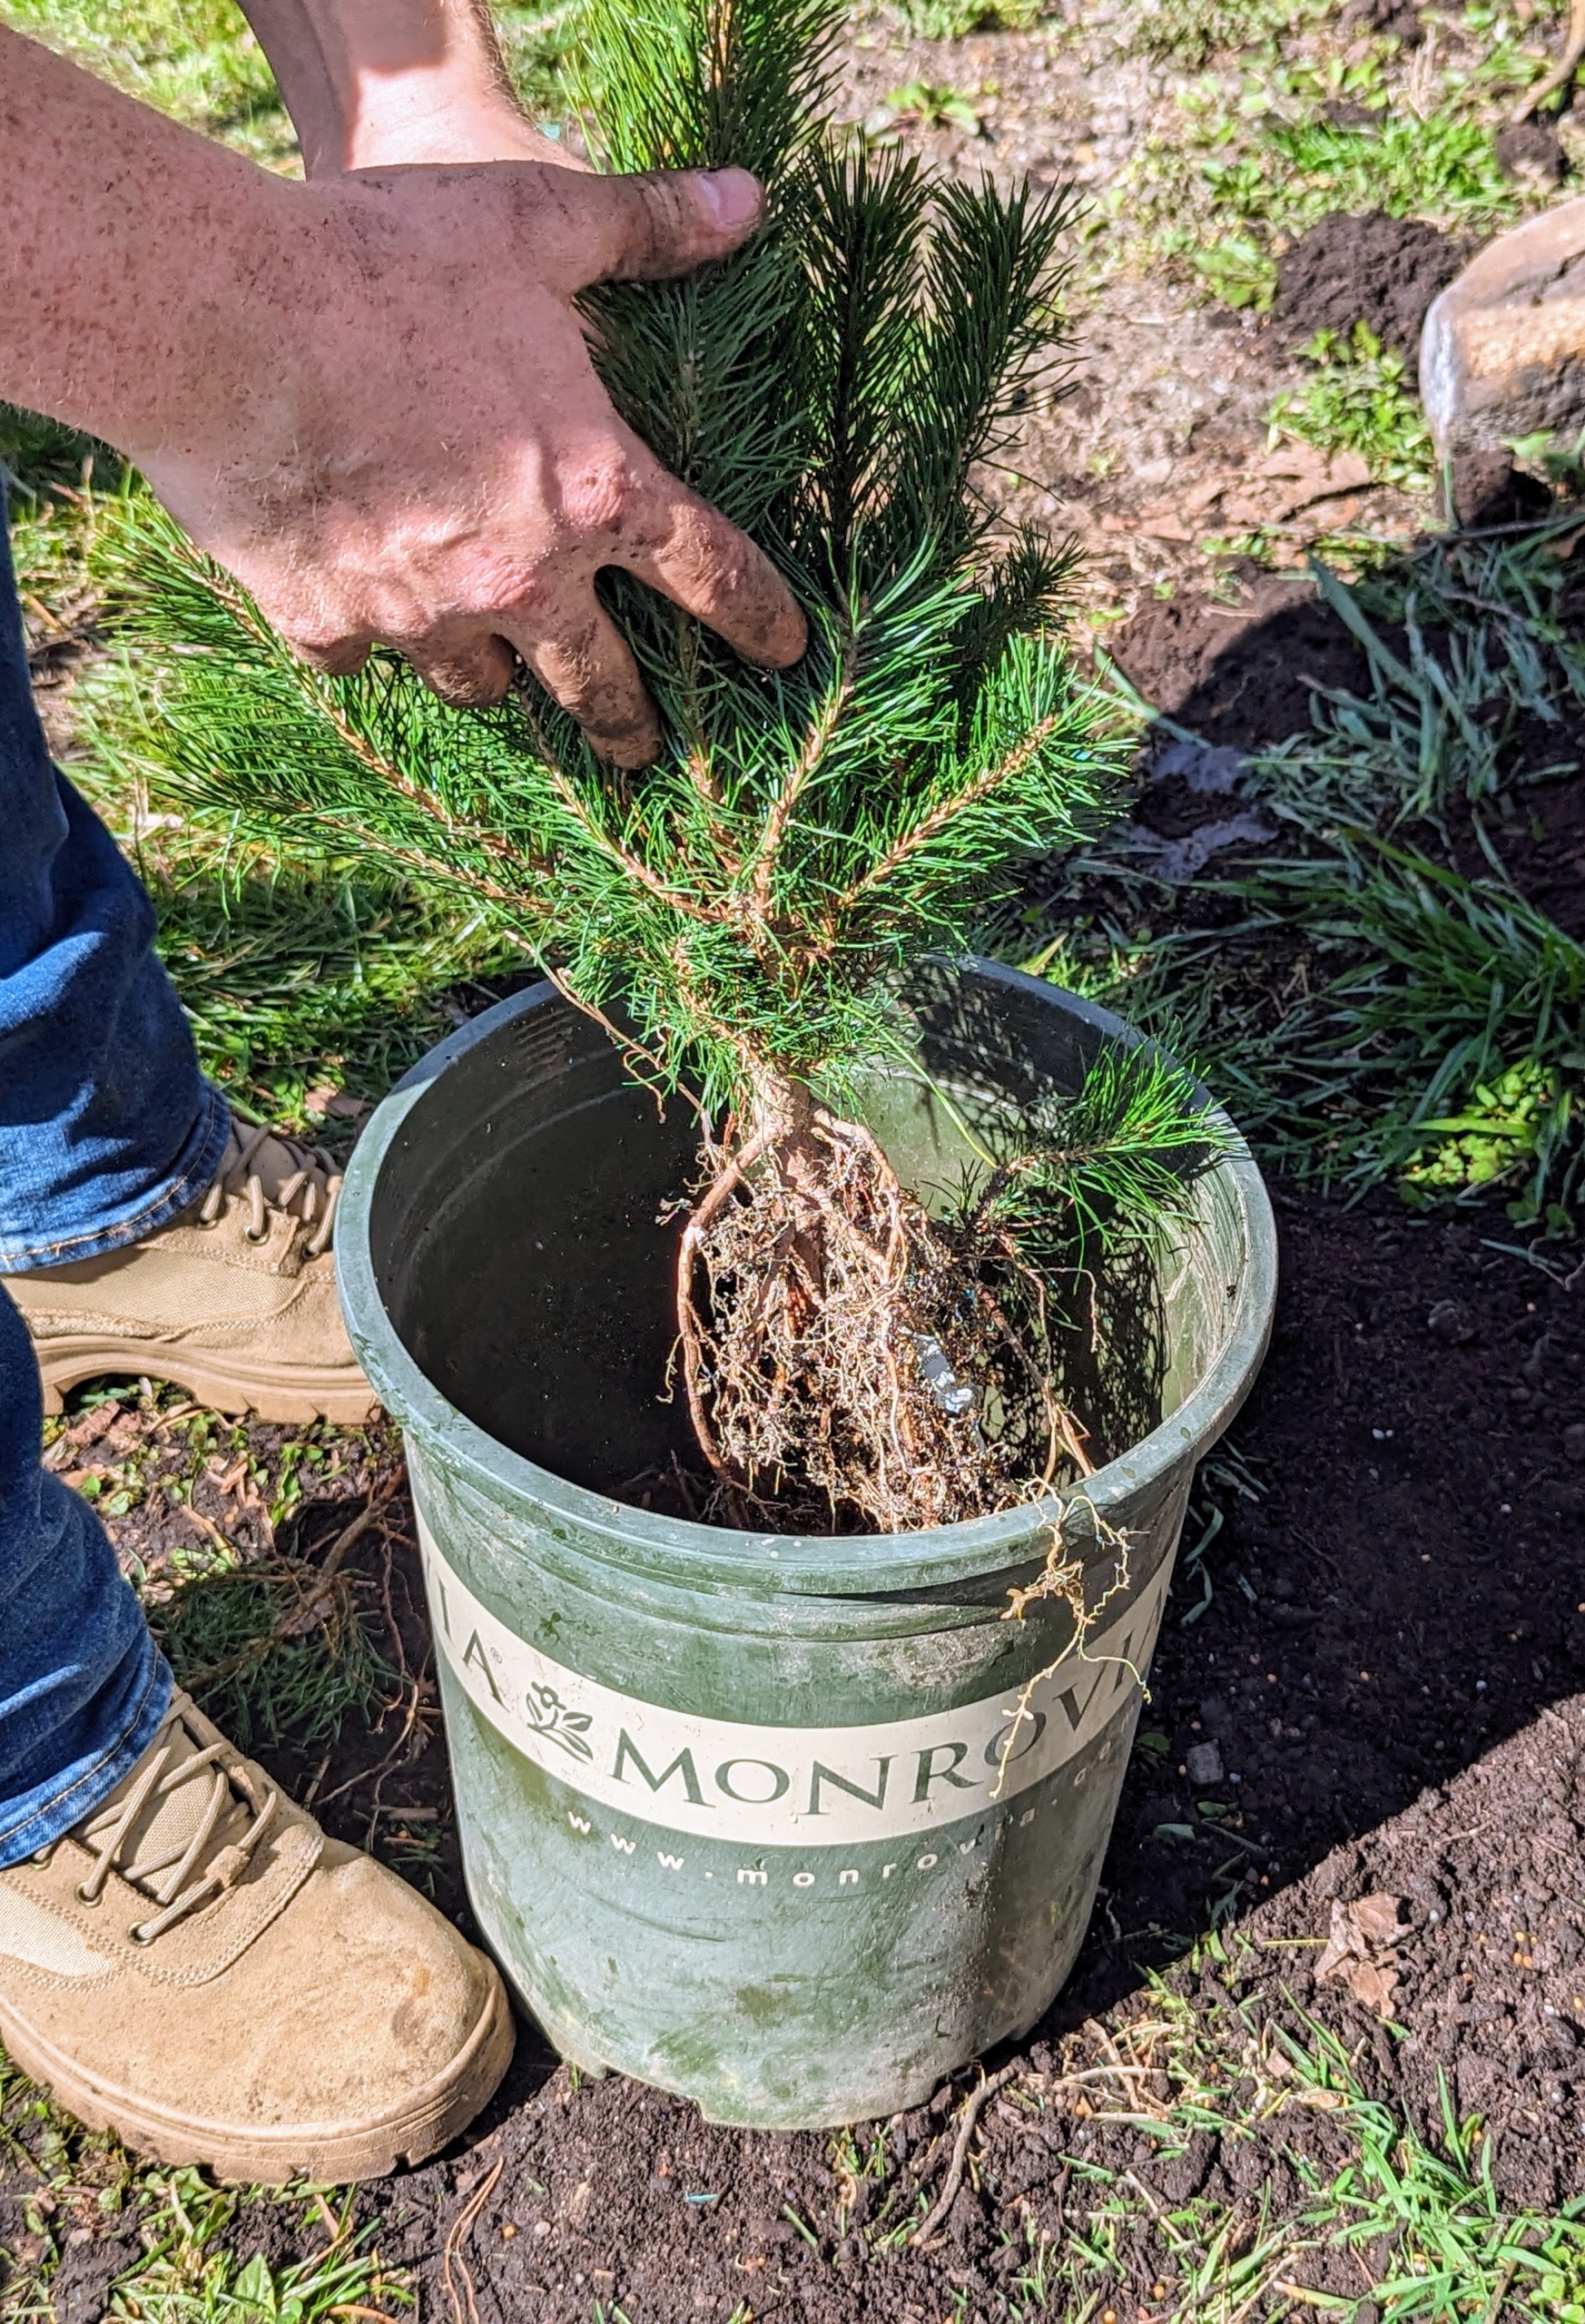
The branches should be mostly unbroken, and roots, rhizomes, and other parts should feel heavy – not light and dried out. Each bare-root cutting is placed into an appropriately sized pot. The root section should fit into the pot without bing crowded at the bottom.
Josh plants each specimen carefully, so it is straight and centered in the container, with soil filling it up to where the roots start and the top shoots begin.
We save pots whenever we can – they always come in handy for projects like this, and I always encourage the crew to reuse supplies whenever possible. In an assembly line process, each pot is prepared with a small layer of soil ready for the tree and backfill.
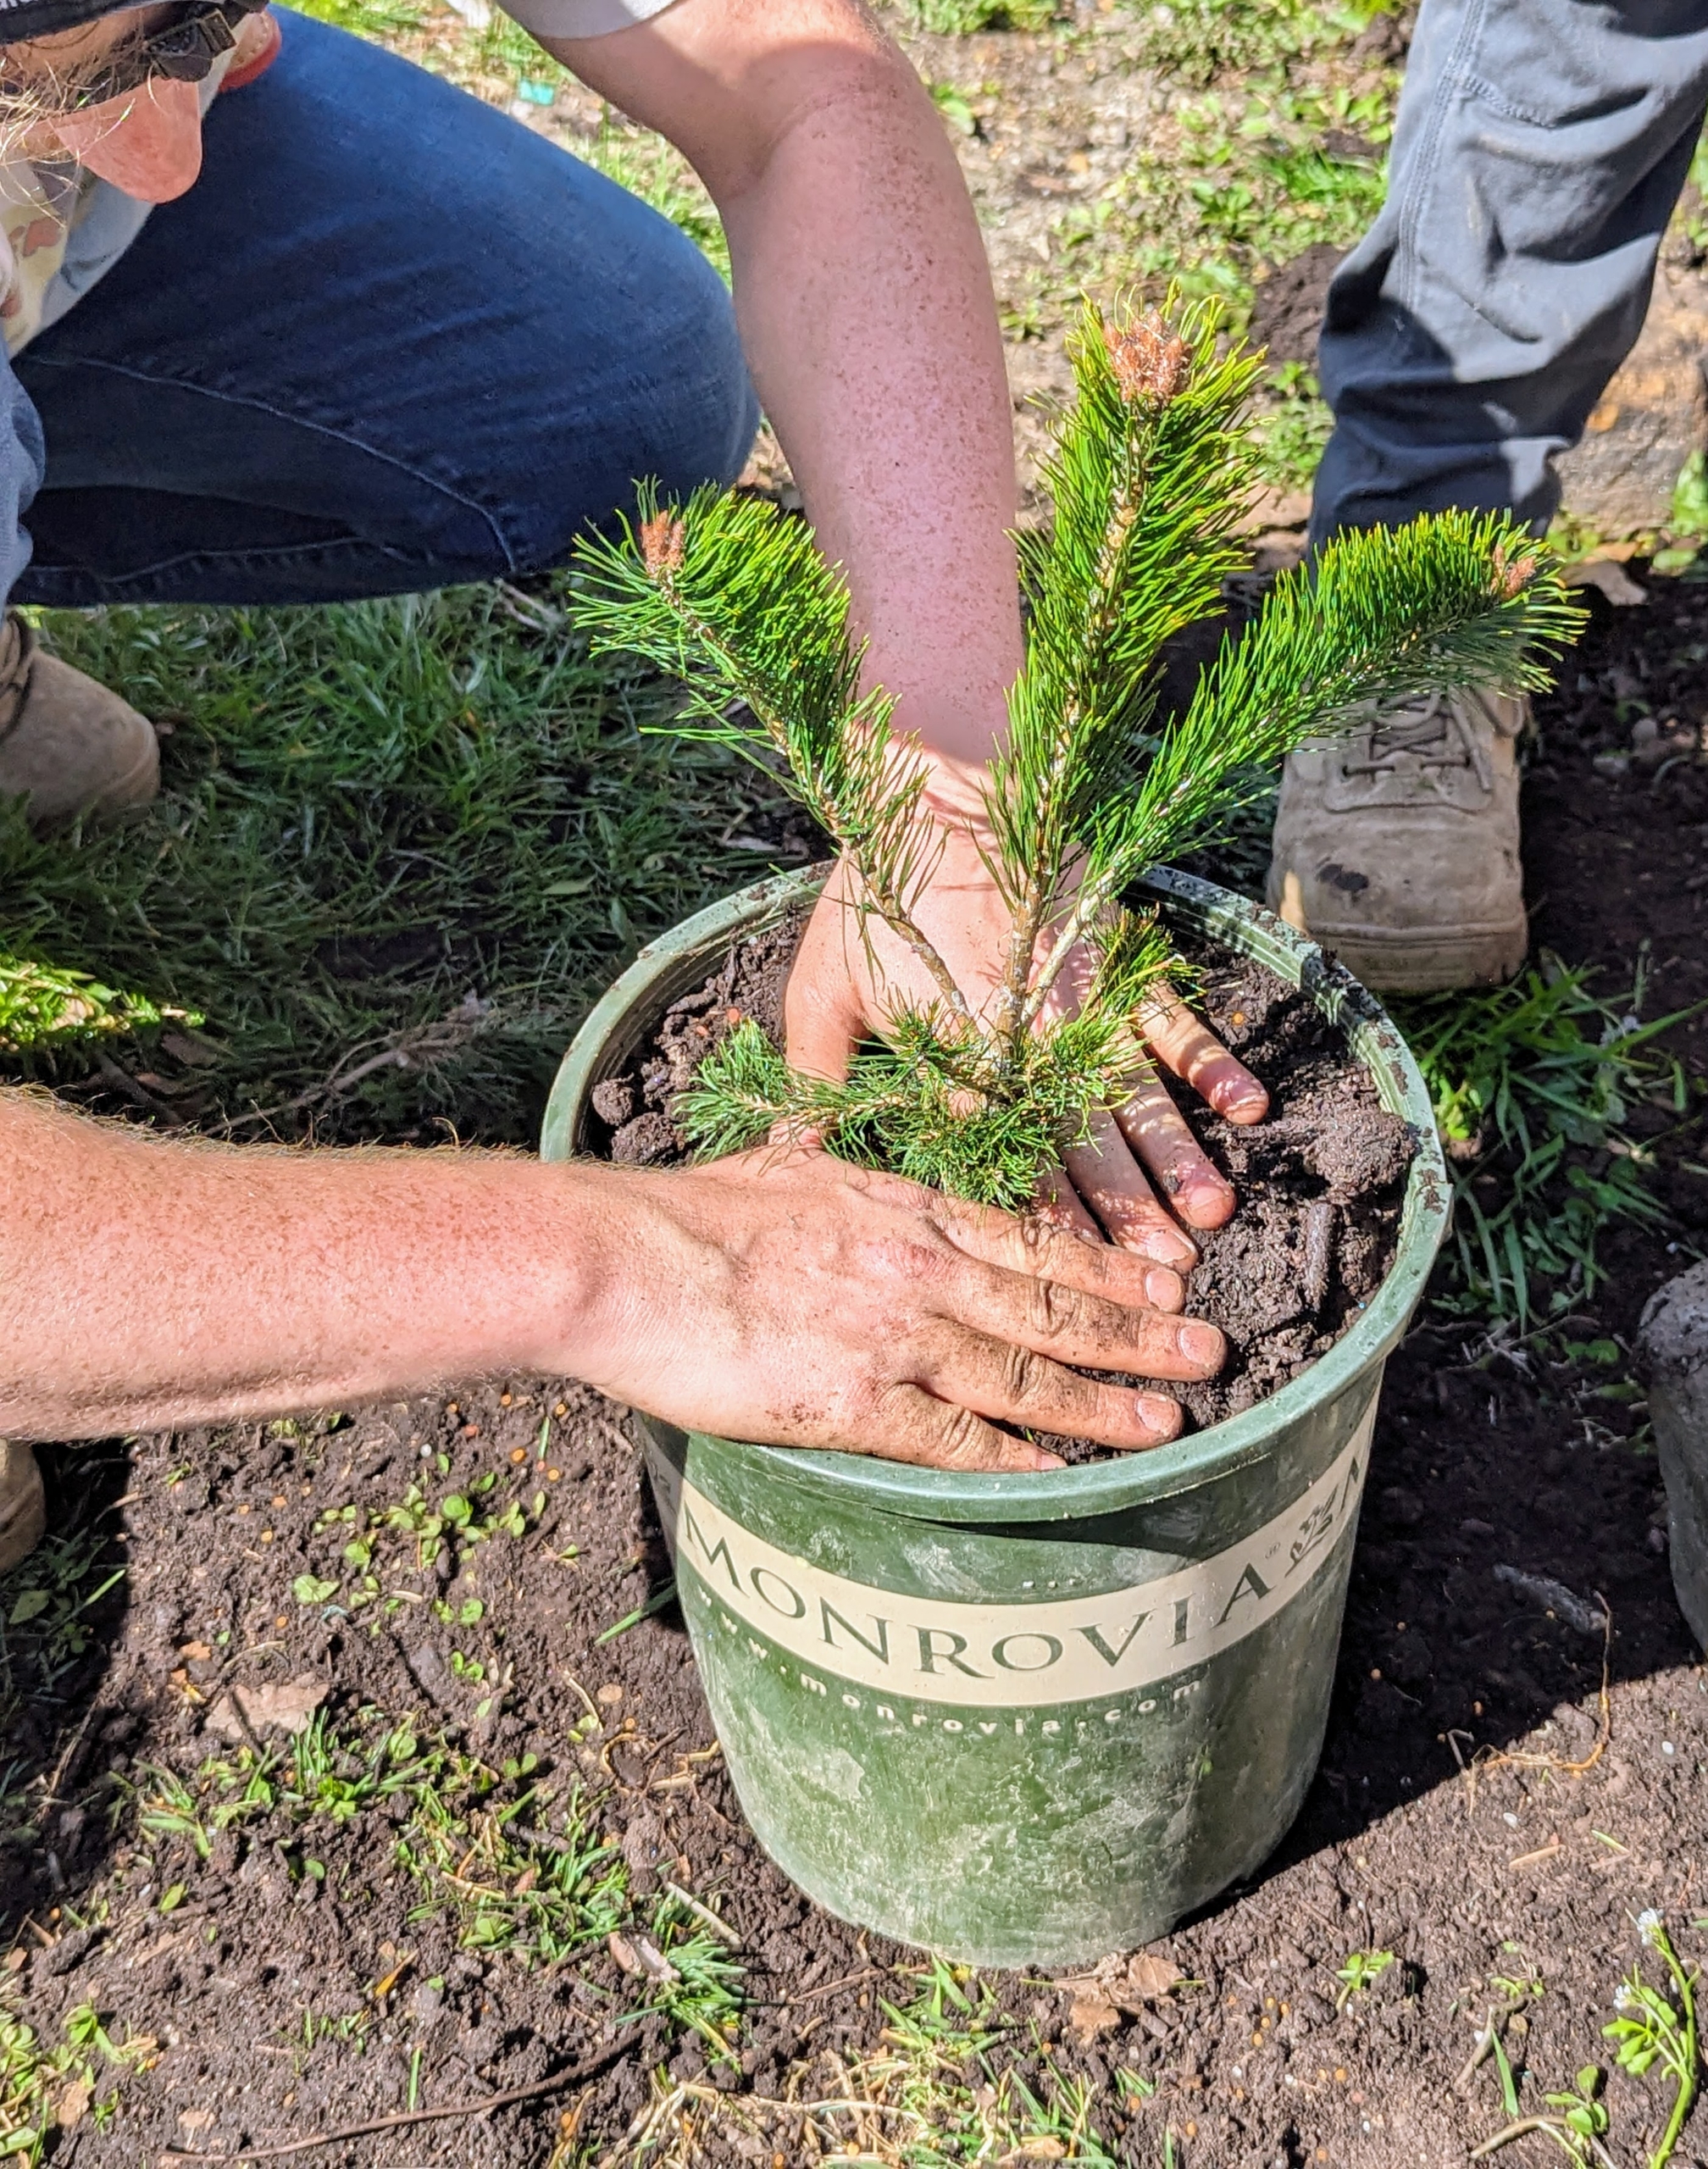
Once filled it is tamped down lightly so there is good contact between the tree roots and the surrounding soil.
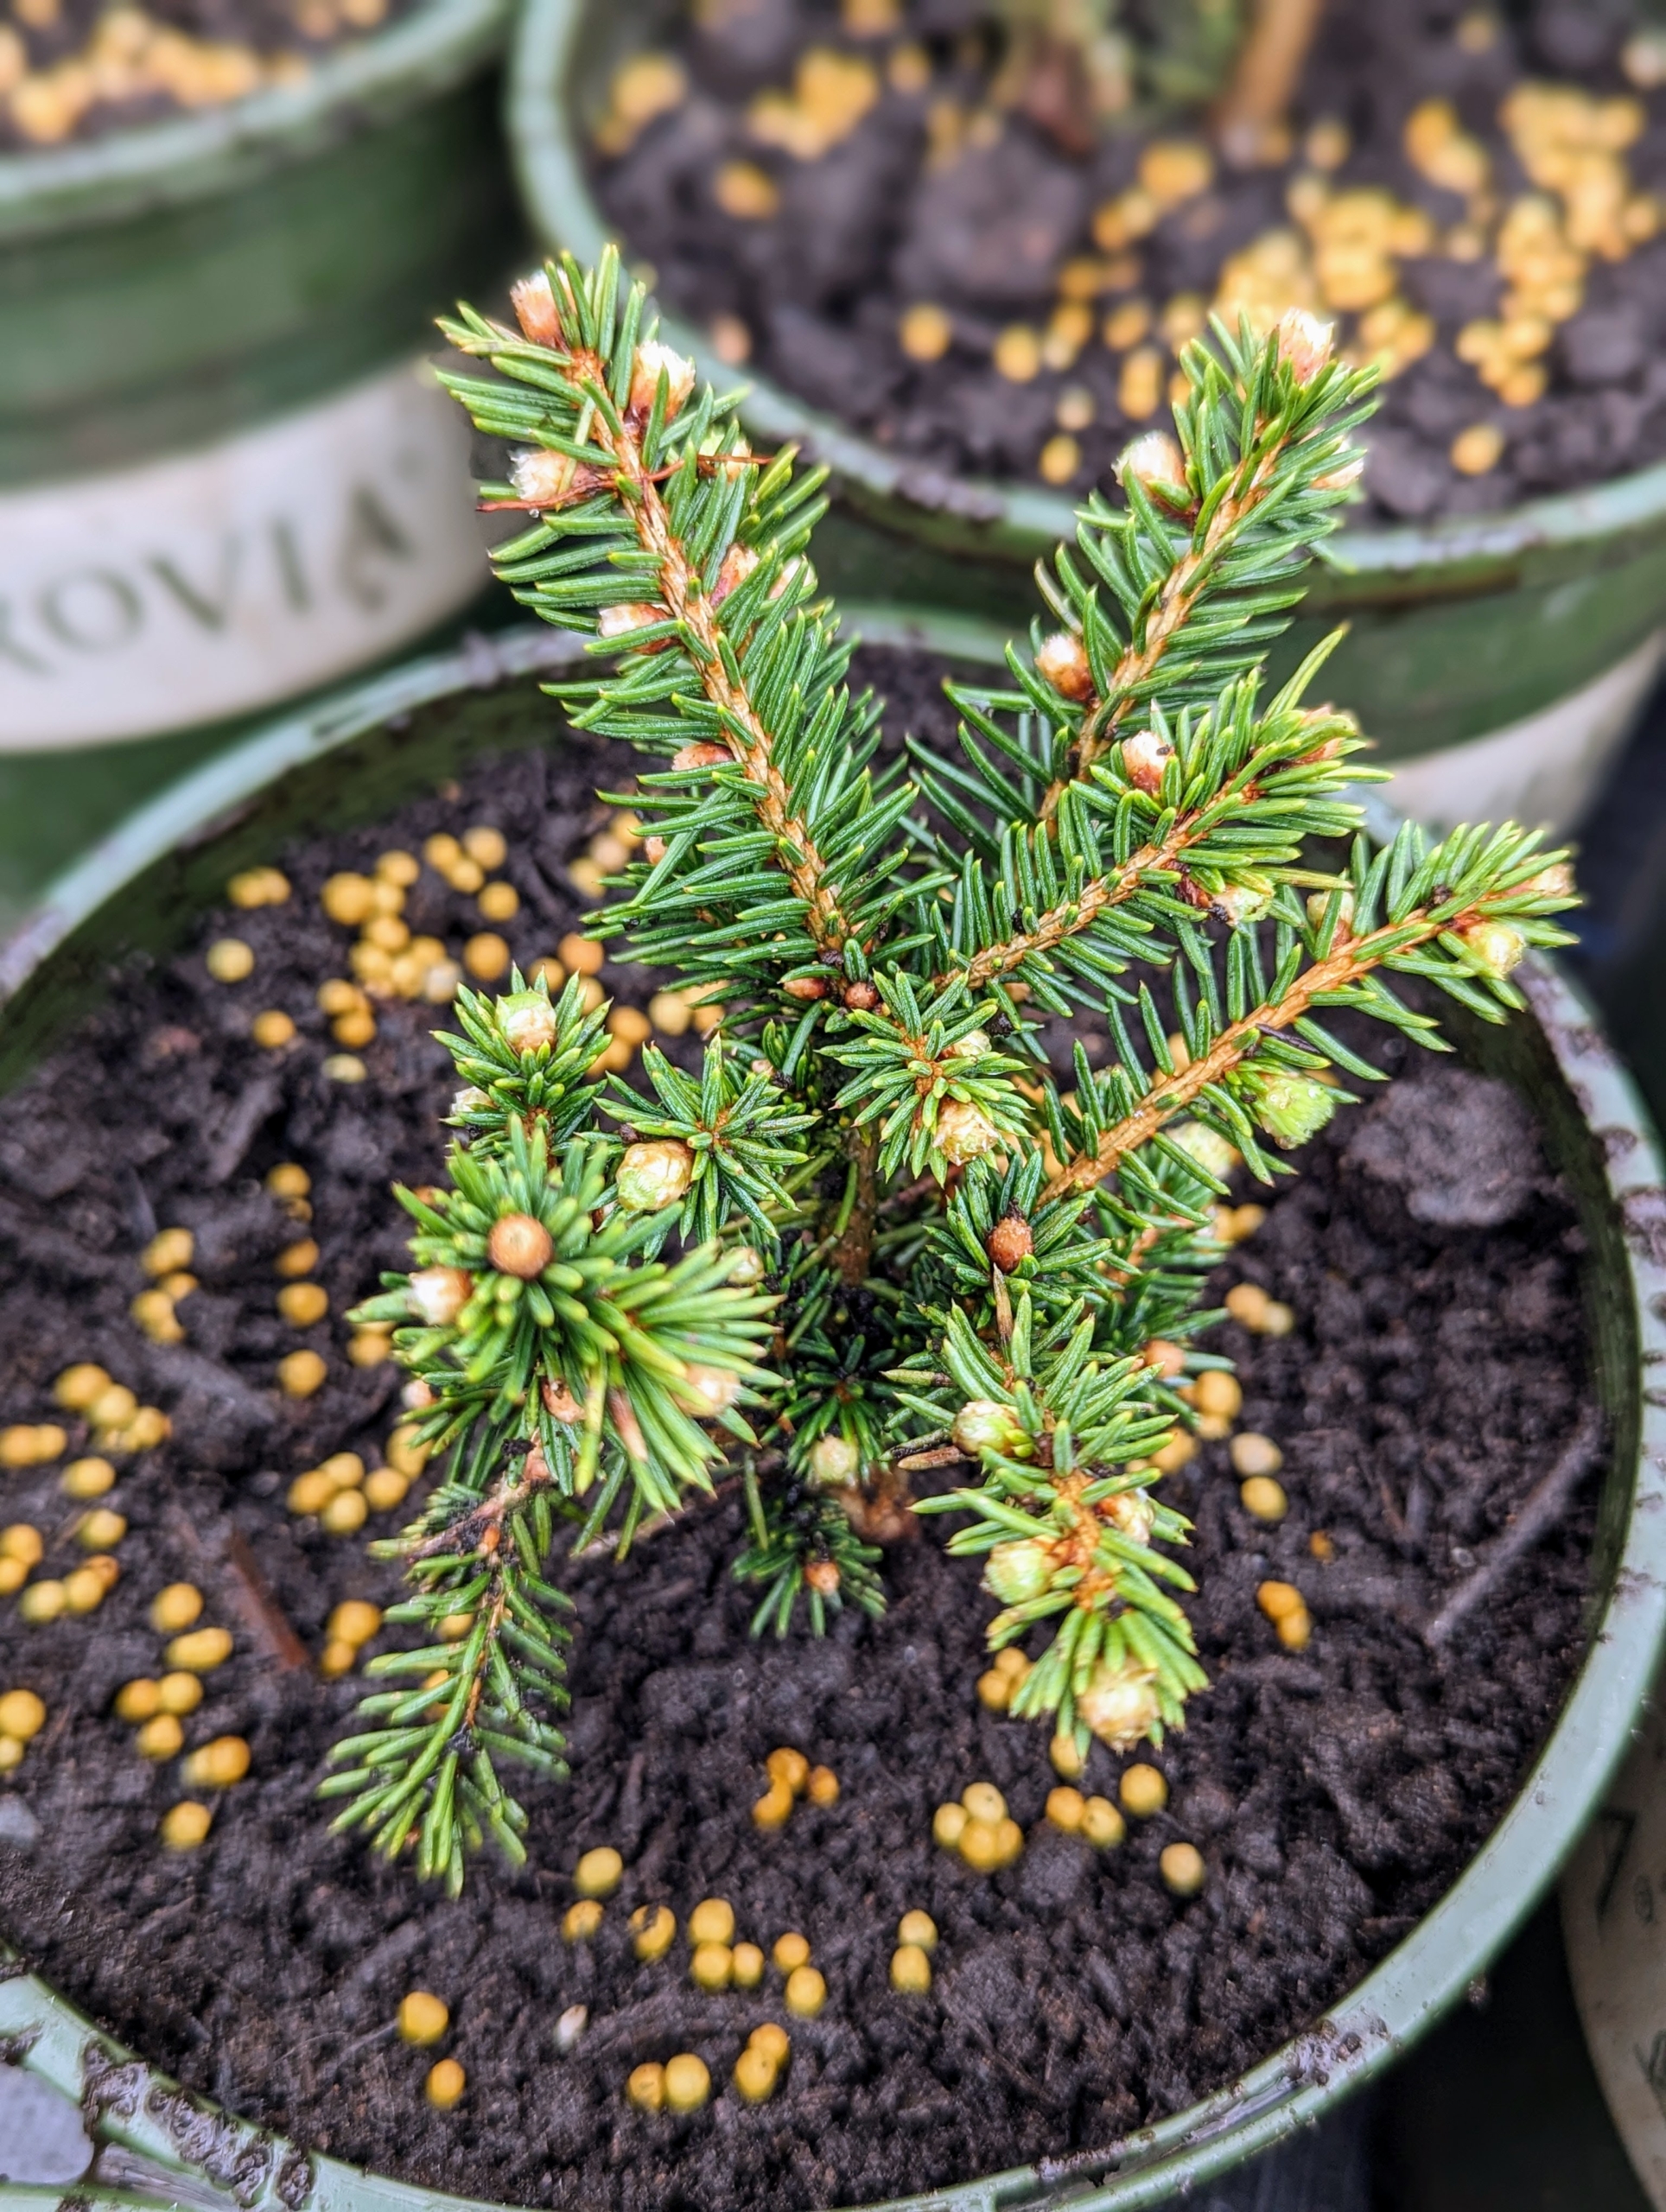
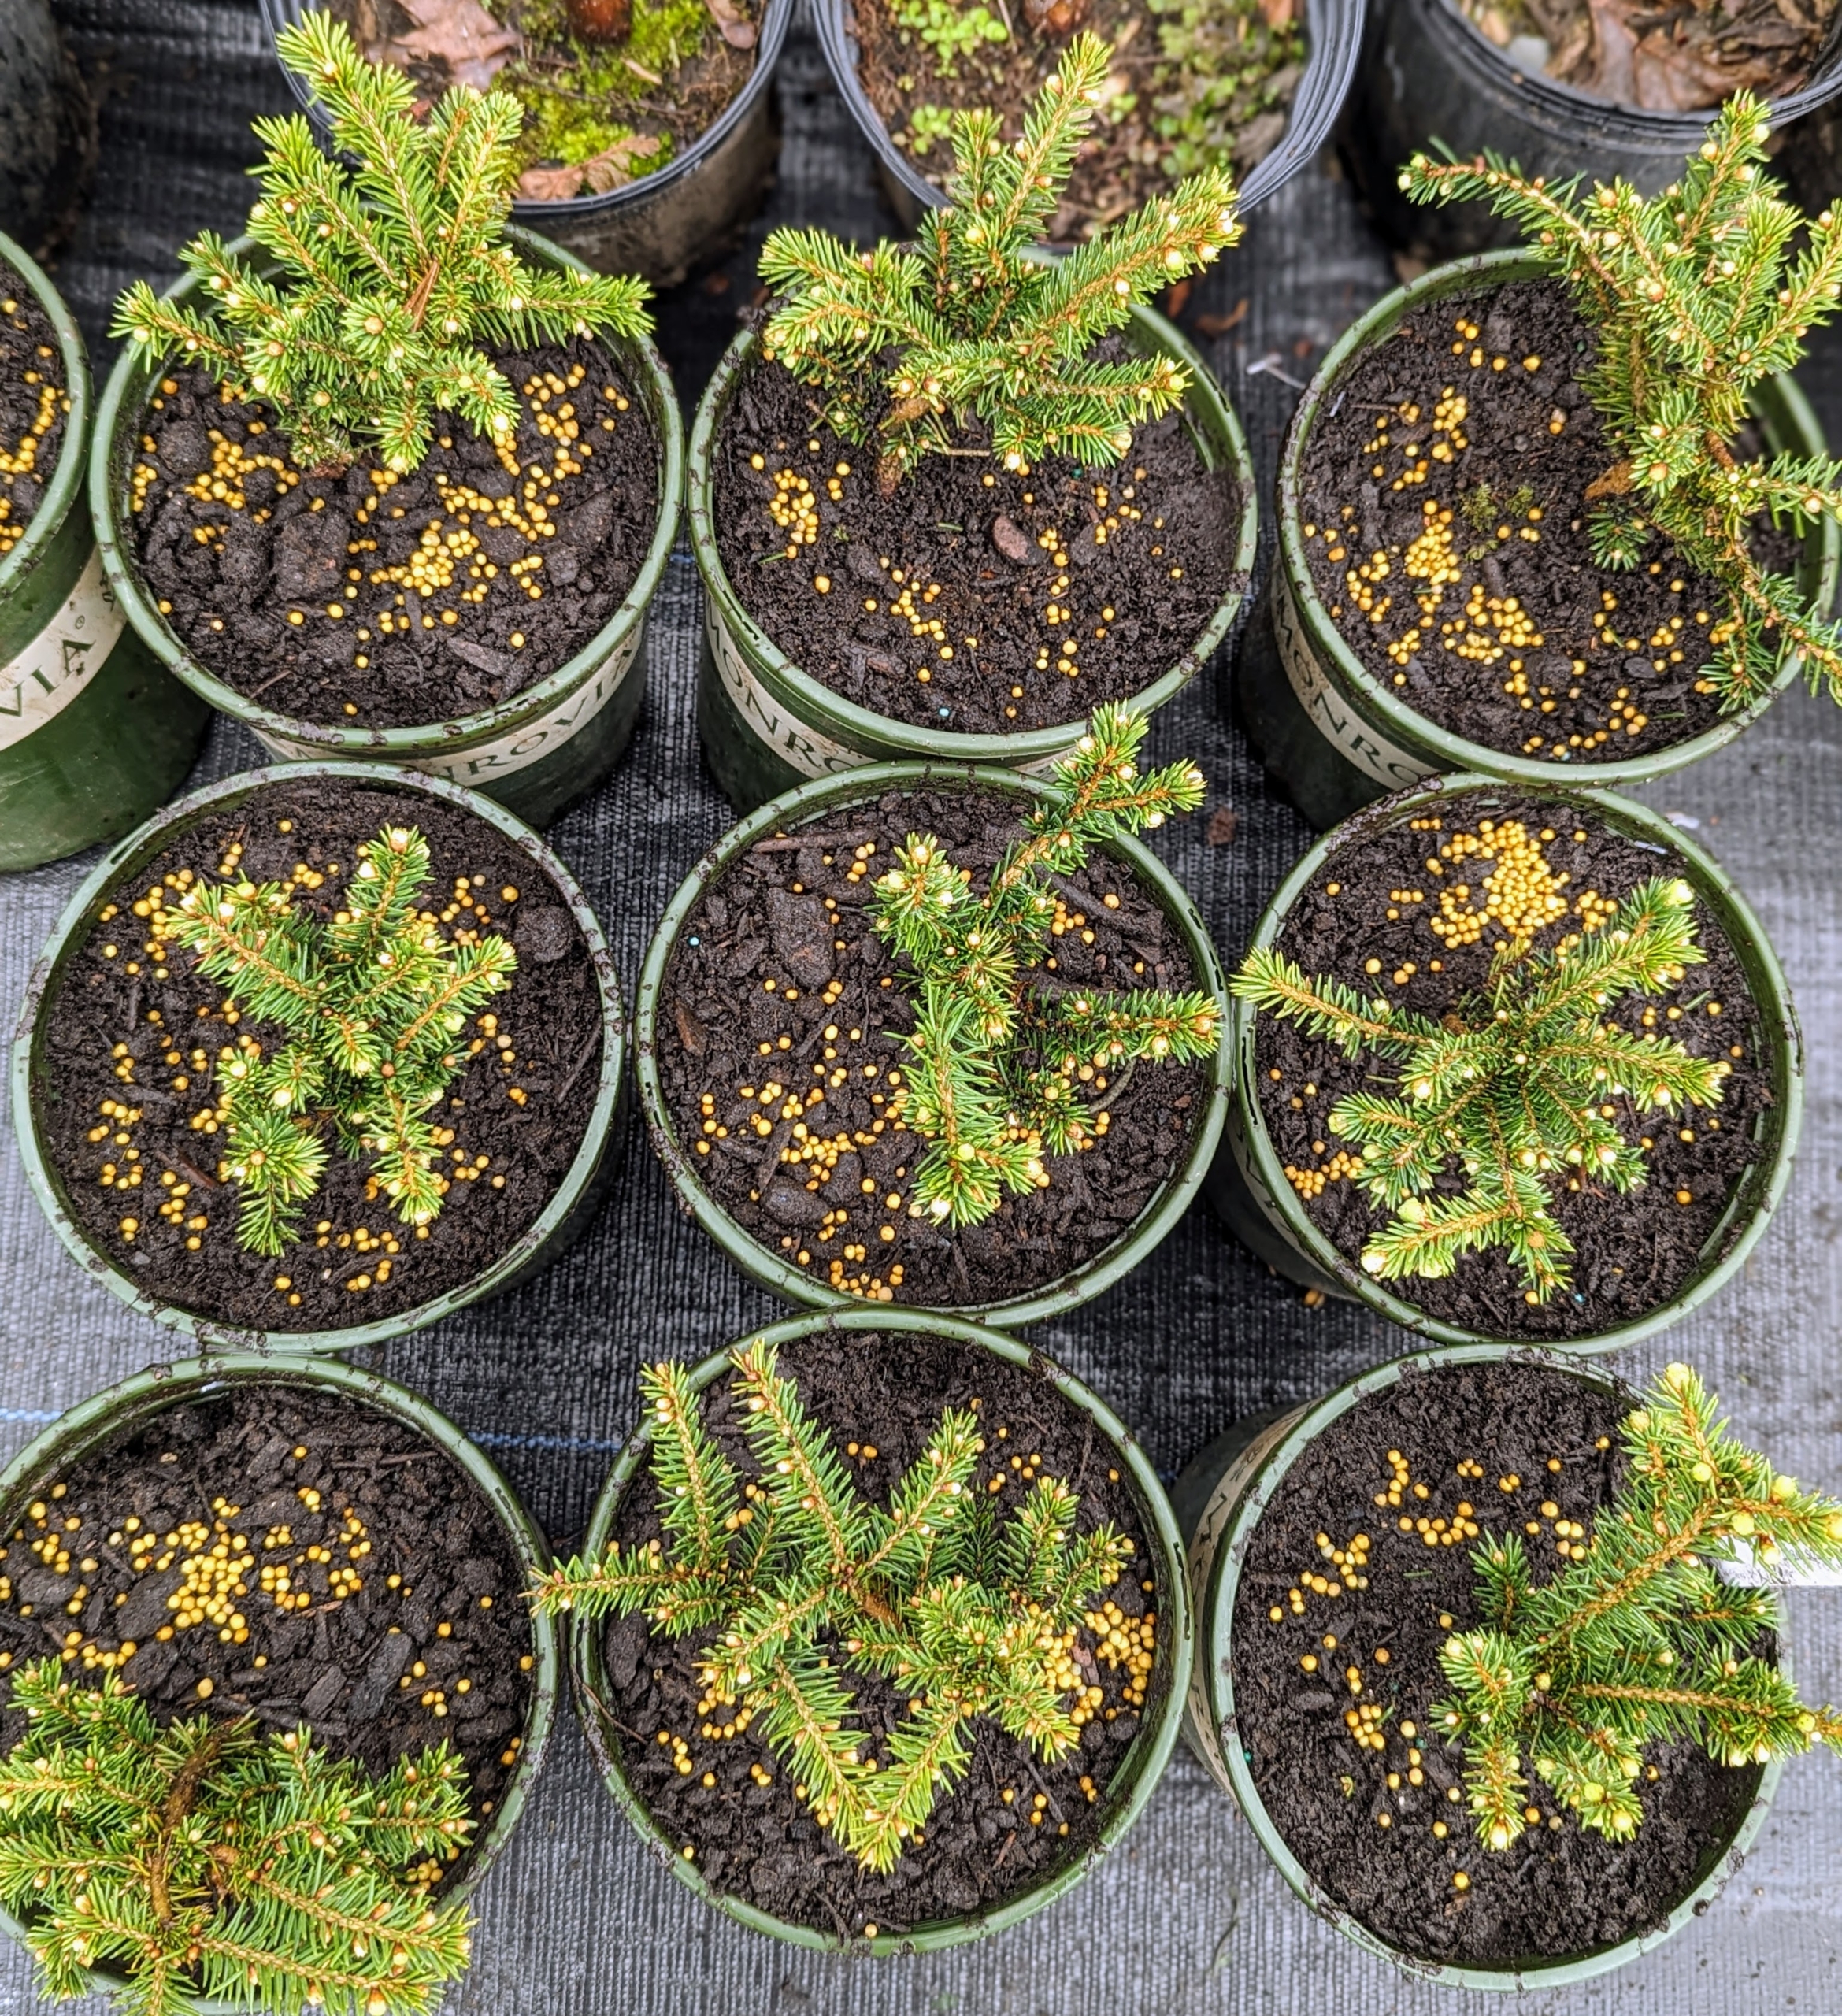
Then each potted specimen is sprinkled with fertilizer. Not too much – just a sprinkling for each pot.
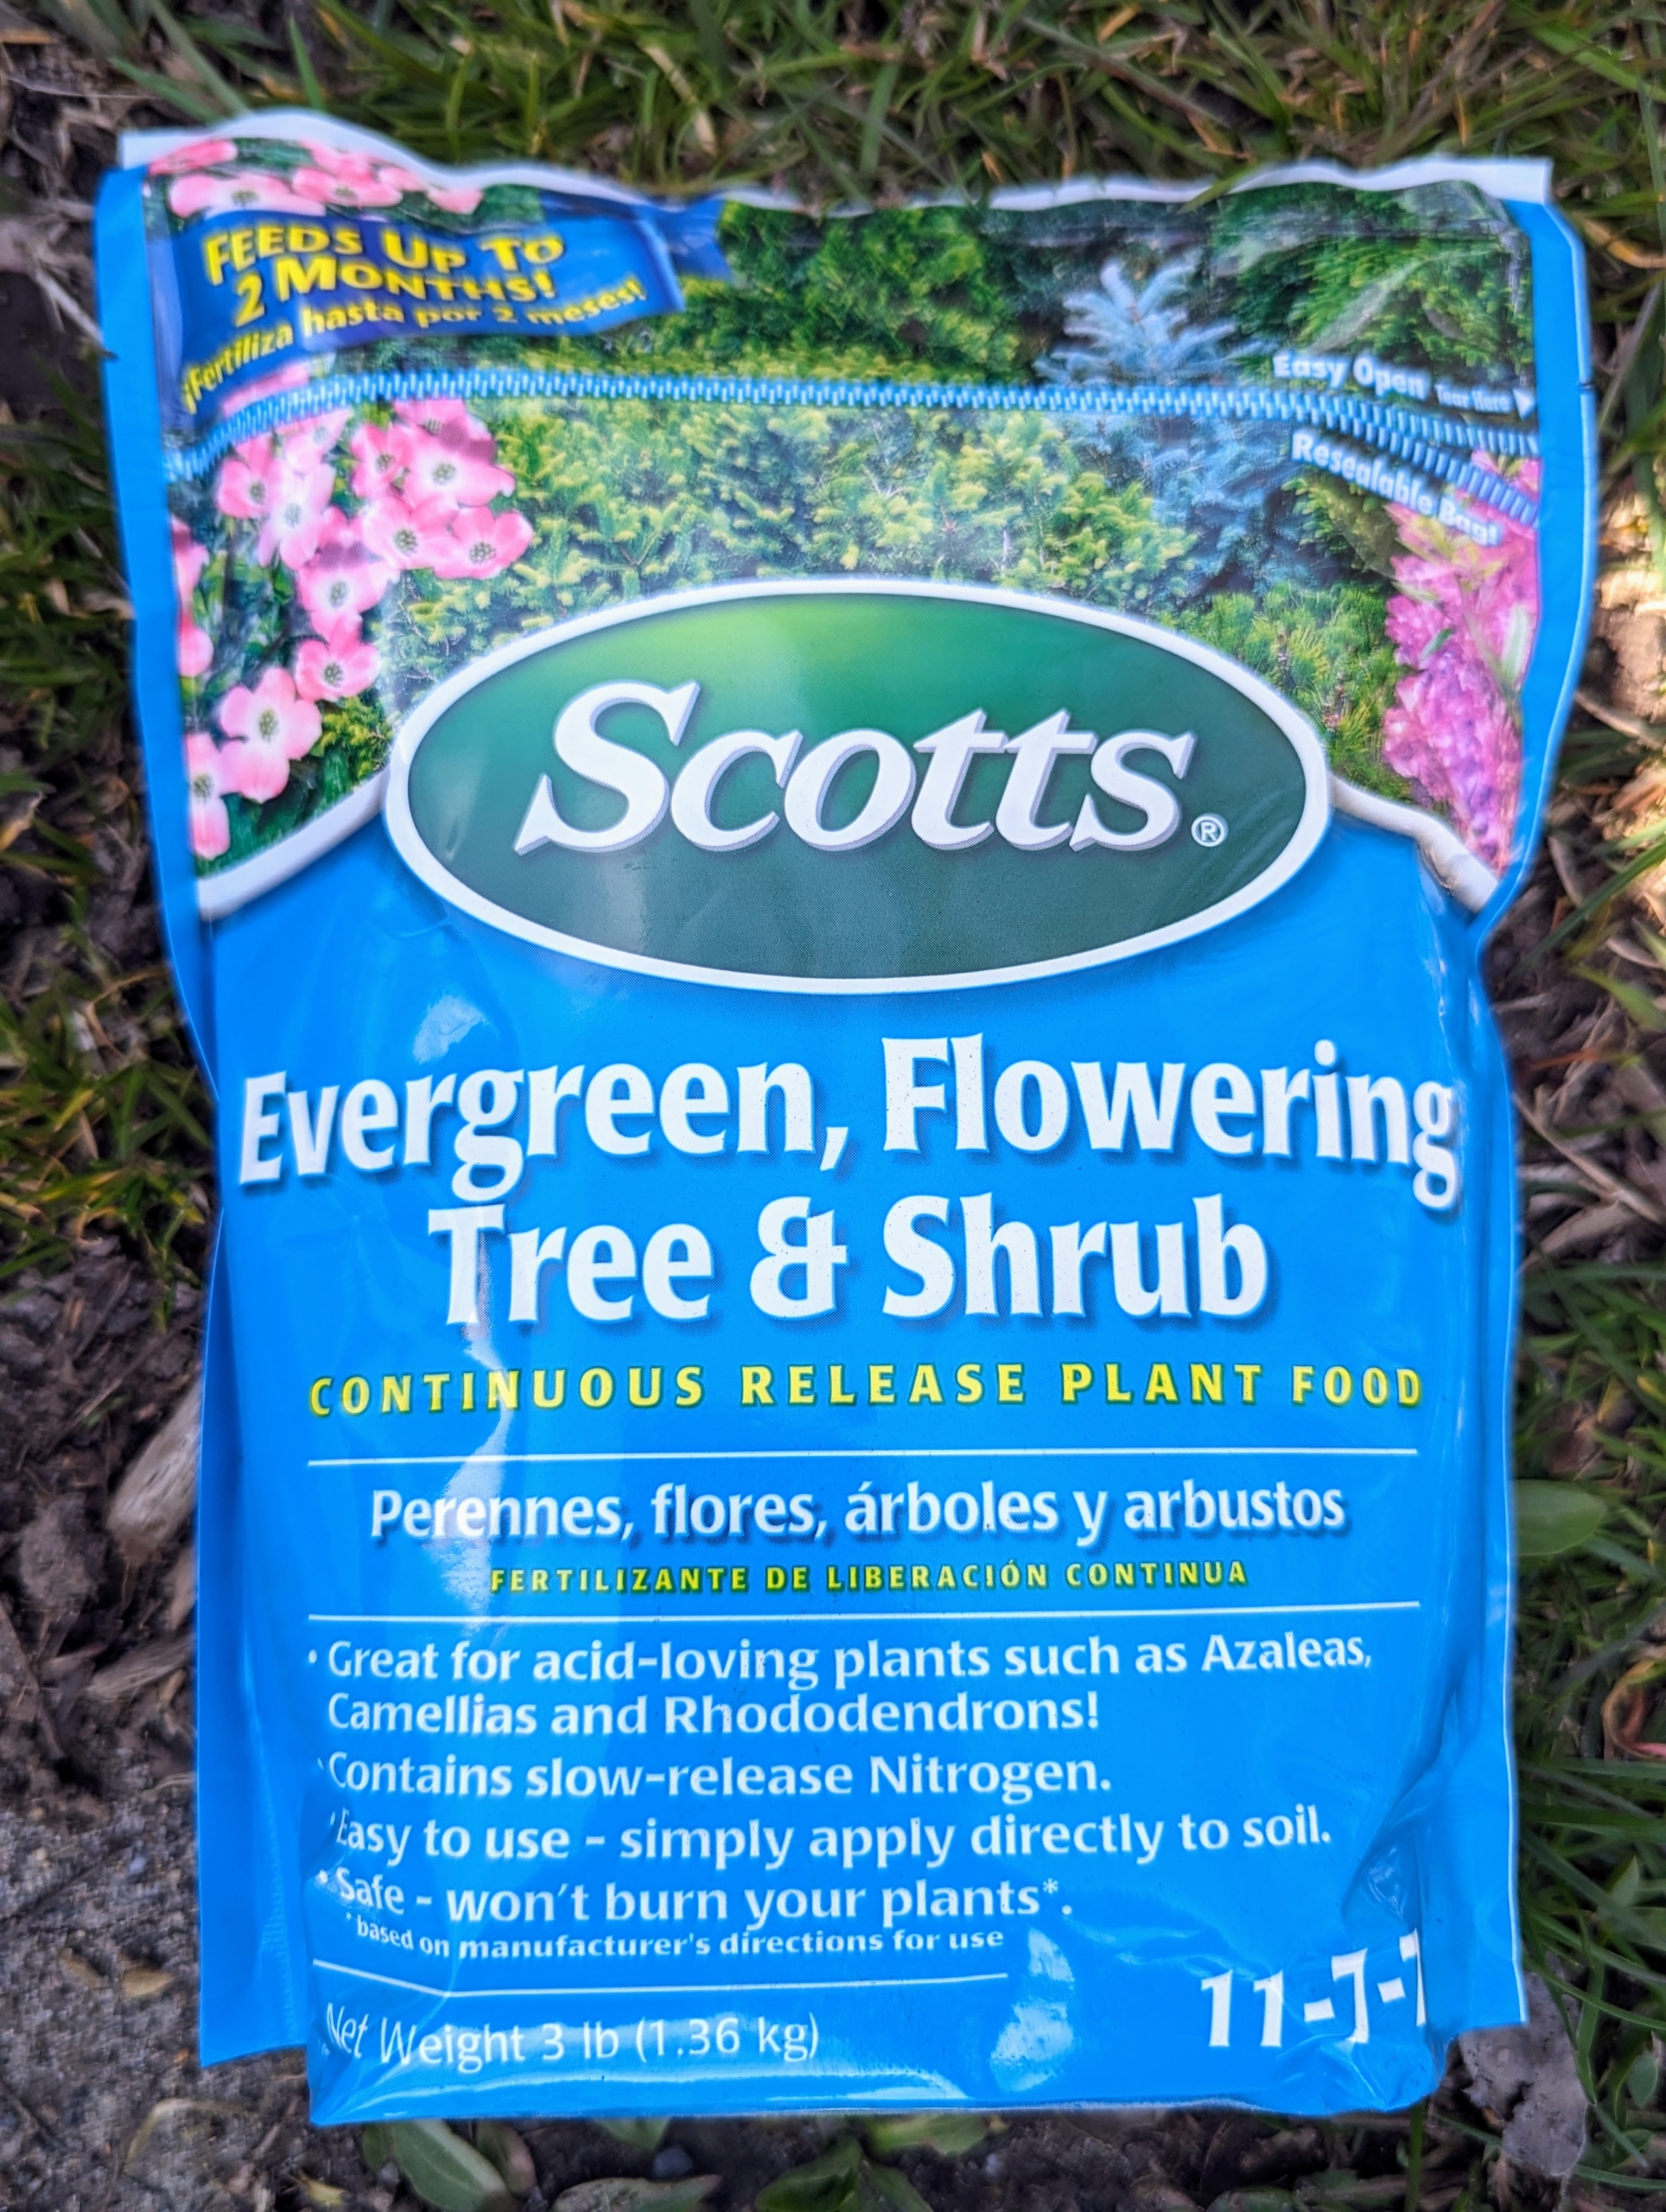
We use Scotts Evergreen, Flowering Tree & Shrub fertilizer – an 11-7-7 formula that’s great for evergreens and many other acid-loving trees and shrubs.
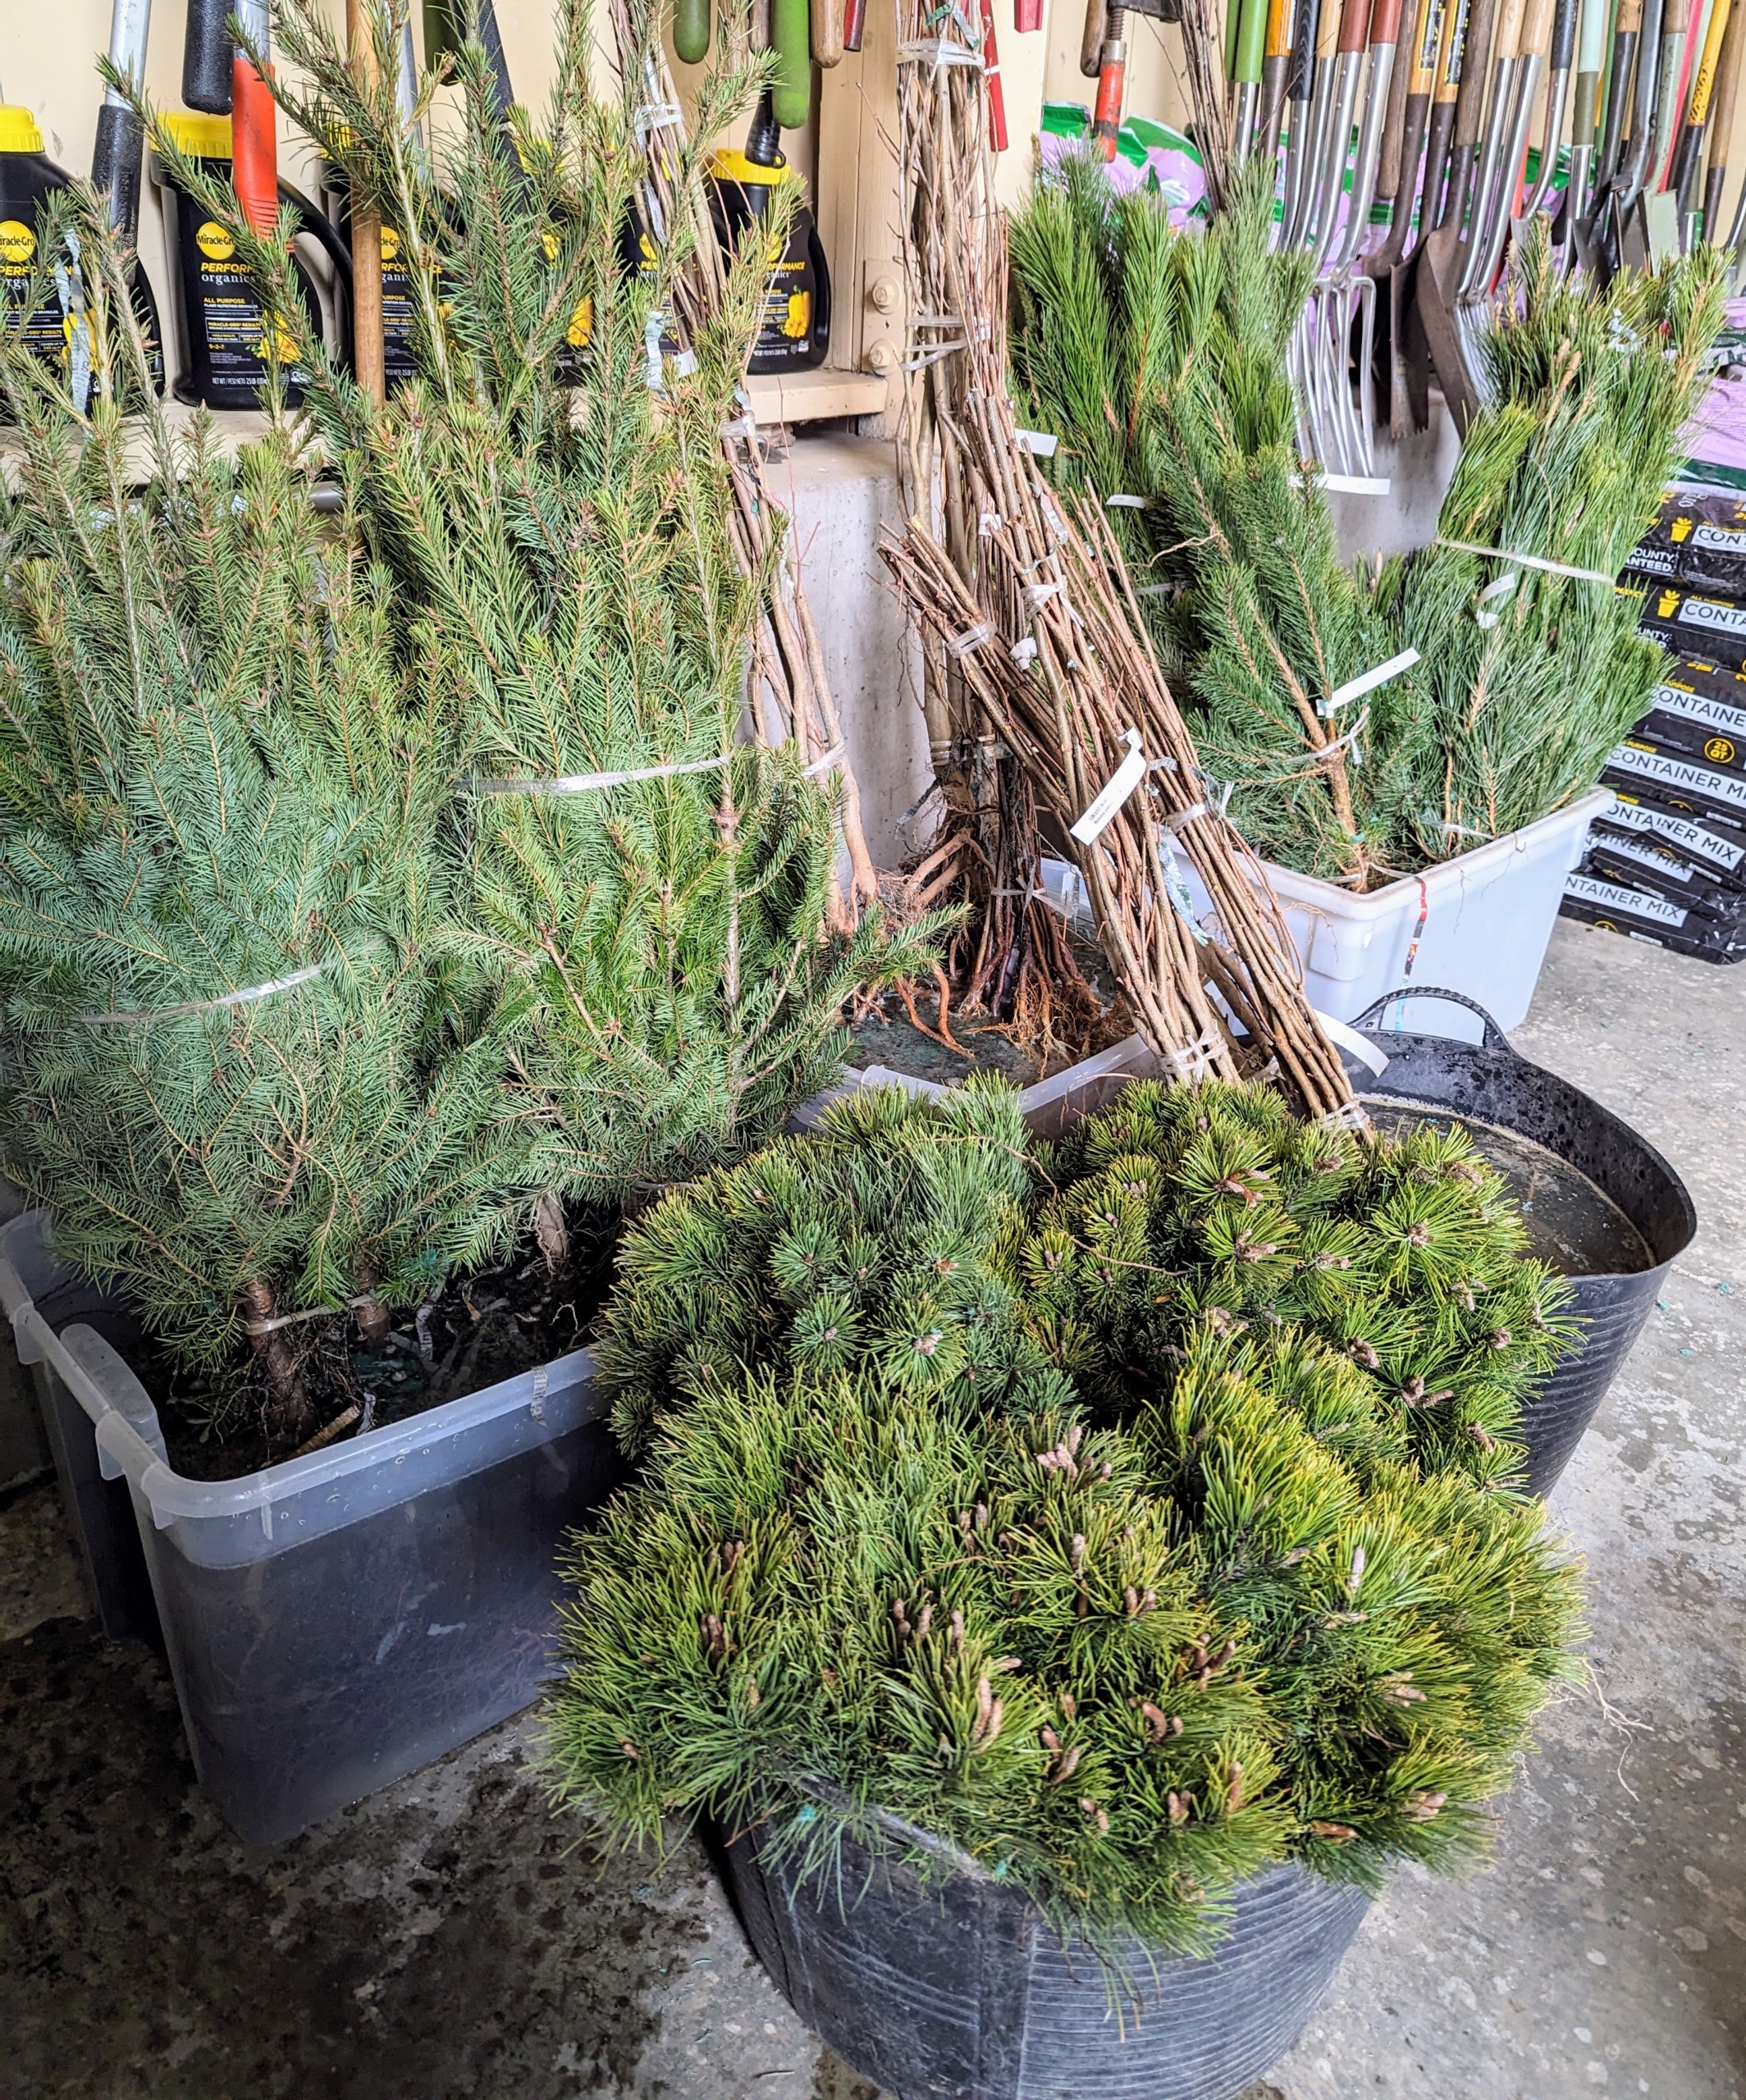
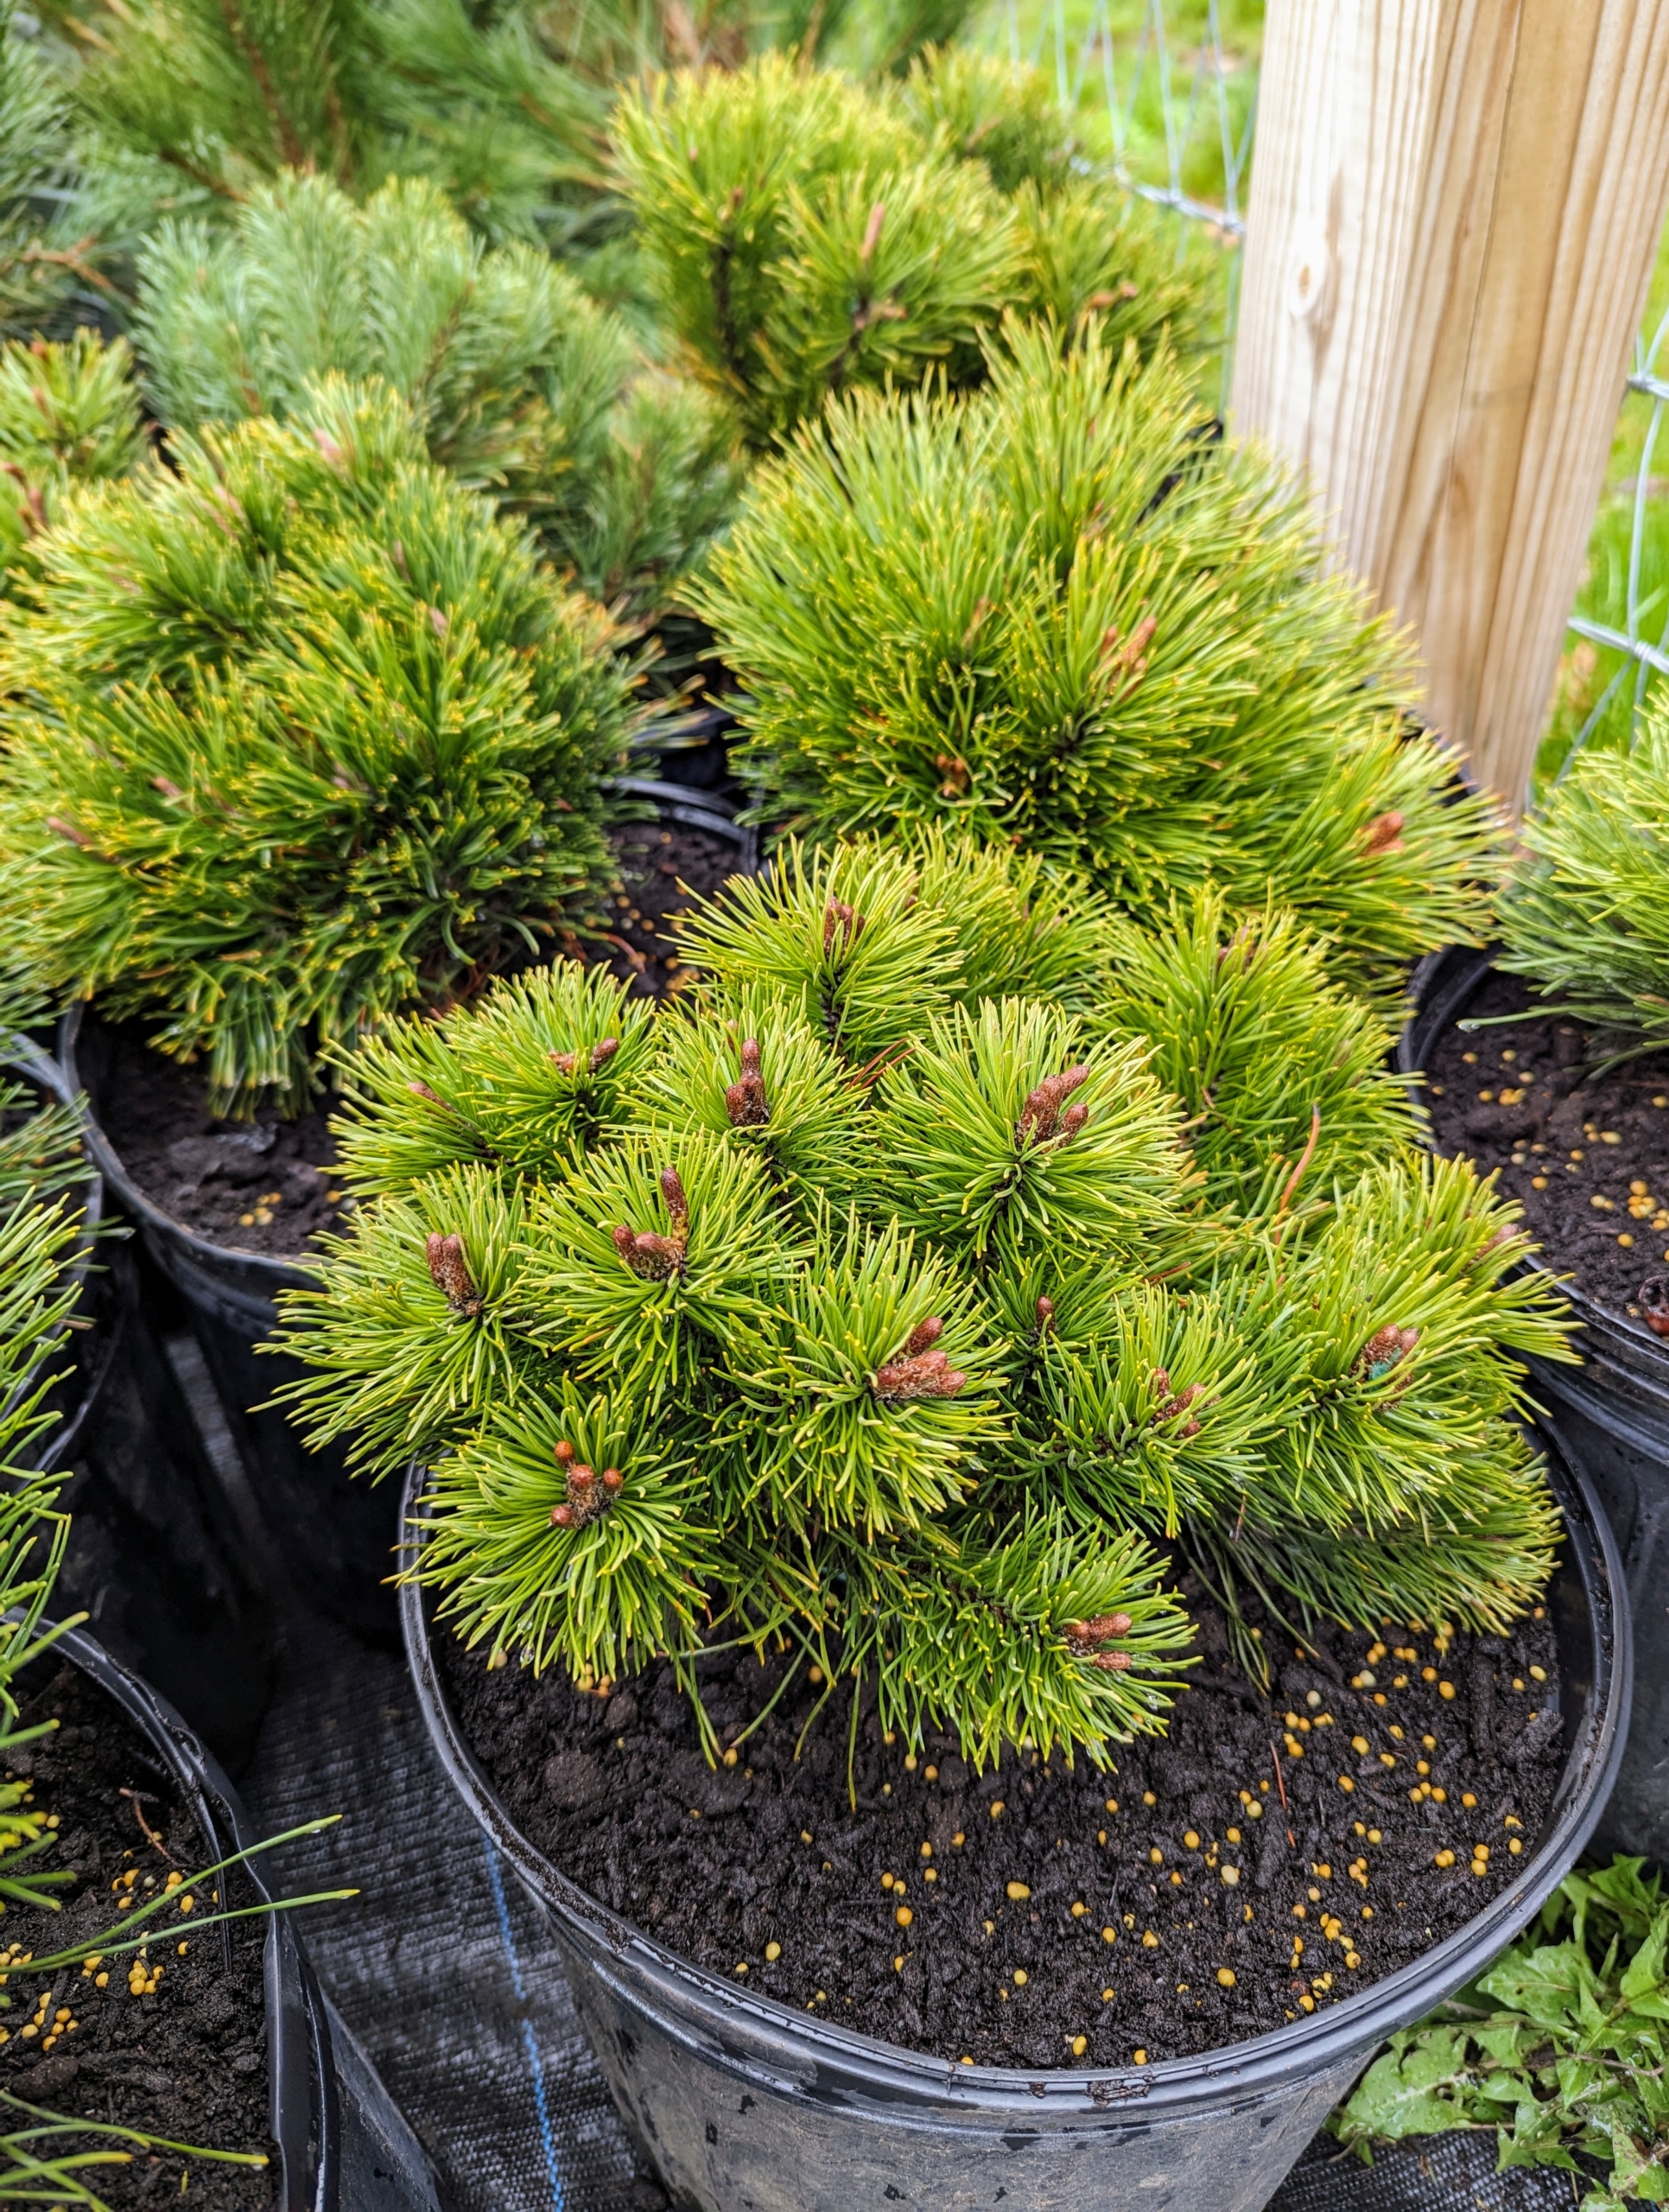
Some of the evergreens include Mugho pines, Pinus mugo pumilio, also known as Swiss Mountain Pine. It’s a dwarf, low growing spreading pine with dark green, stiff needles.
Pinus thunbergii, the black pine, Japanese black pine, or Japanese pine, is native to coastal areas of Japan and South Korea. It is called gomsol in Korean and kuromatsu in Japanese. It grows 20- to 60-feet tall and 12- to 20-feet wide and features a flat-topped pyramidal form.
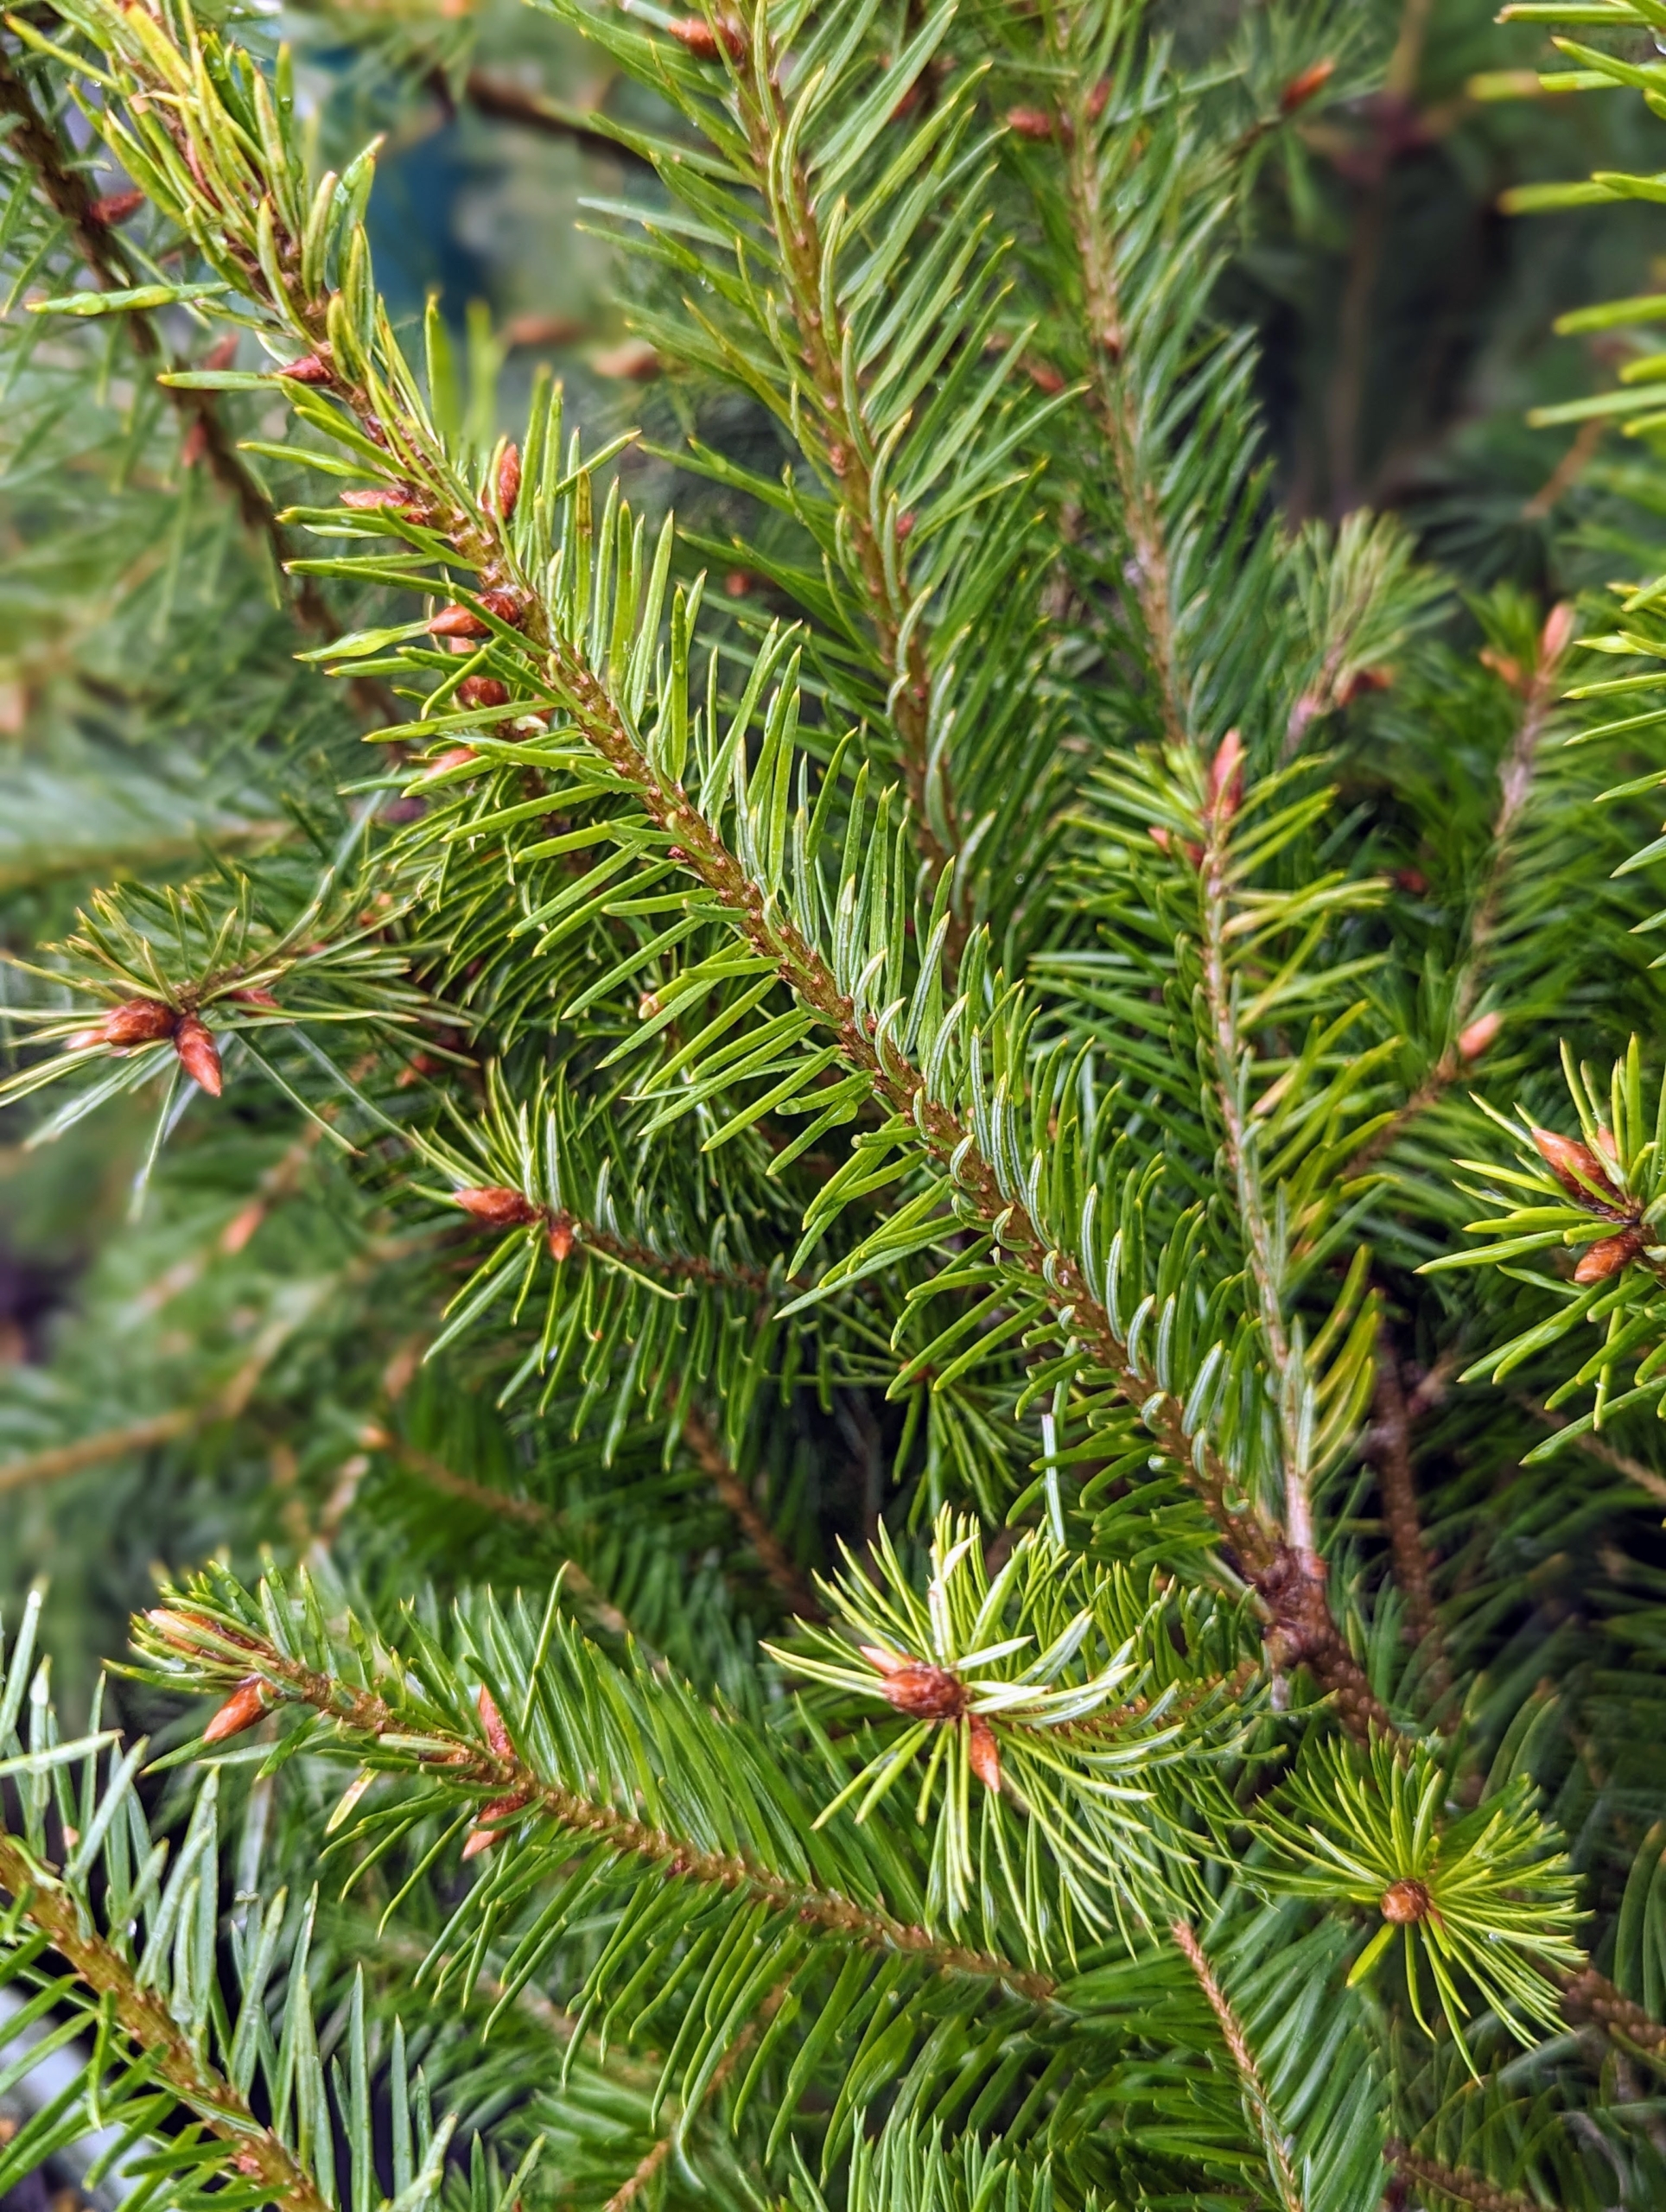
Picea abies ‘Nidiformis’ is the Bird’s Nest Spruce, a dwarf, needled evergreen shrub in the Pinaceae family. This shrub is called the Bird’s Nest Spruce because of the depression or “nest” in the middle of its compact, mounded habit once mature. It has light green or gray green foliage and grows up to eight feet tall and 12-feet wide over 30-years.
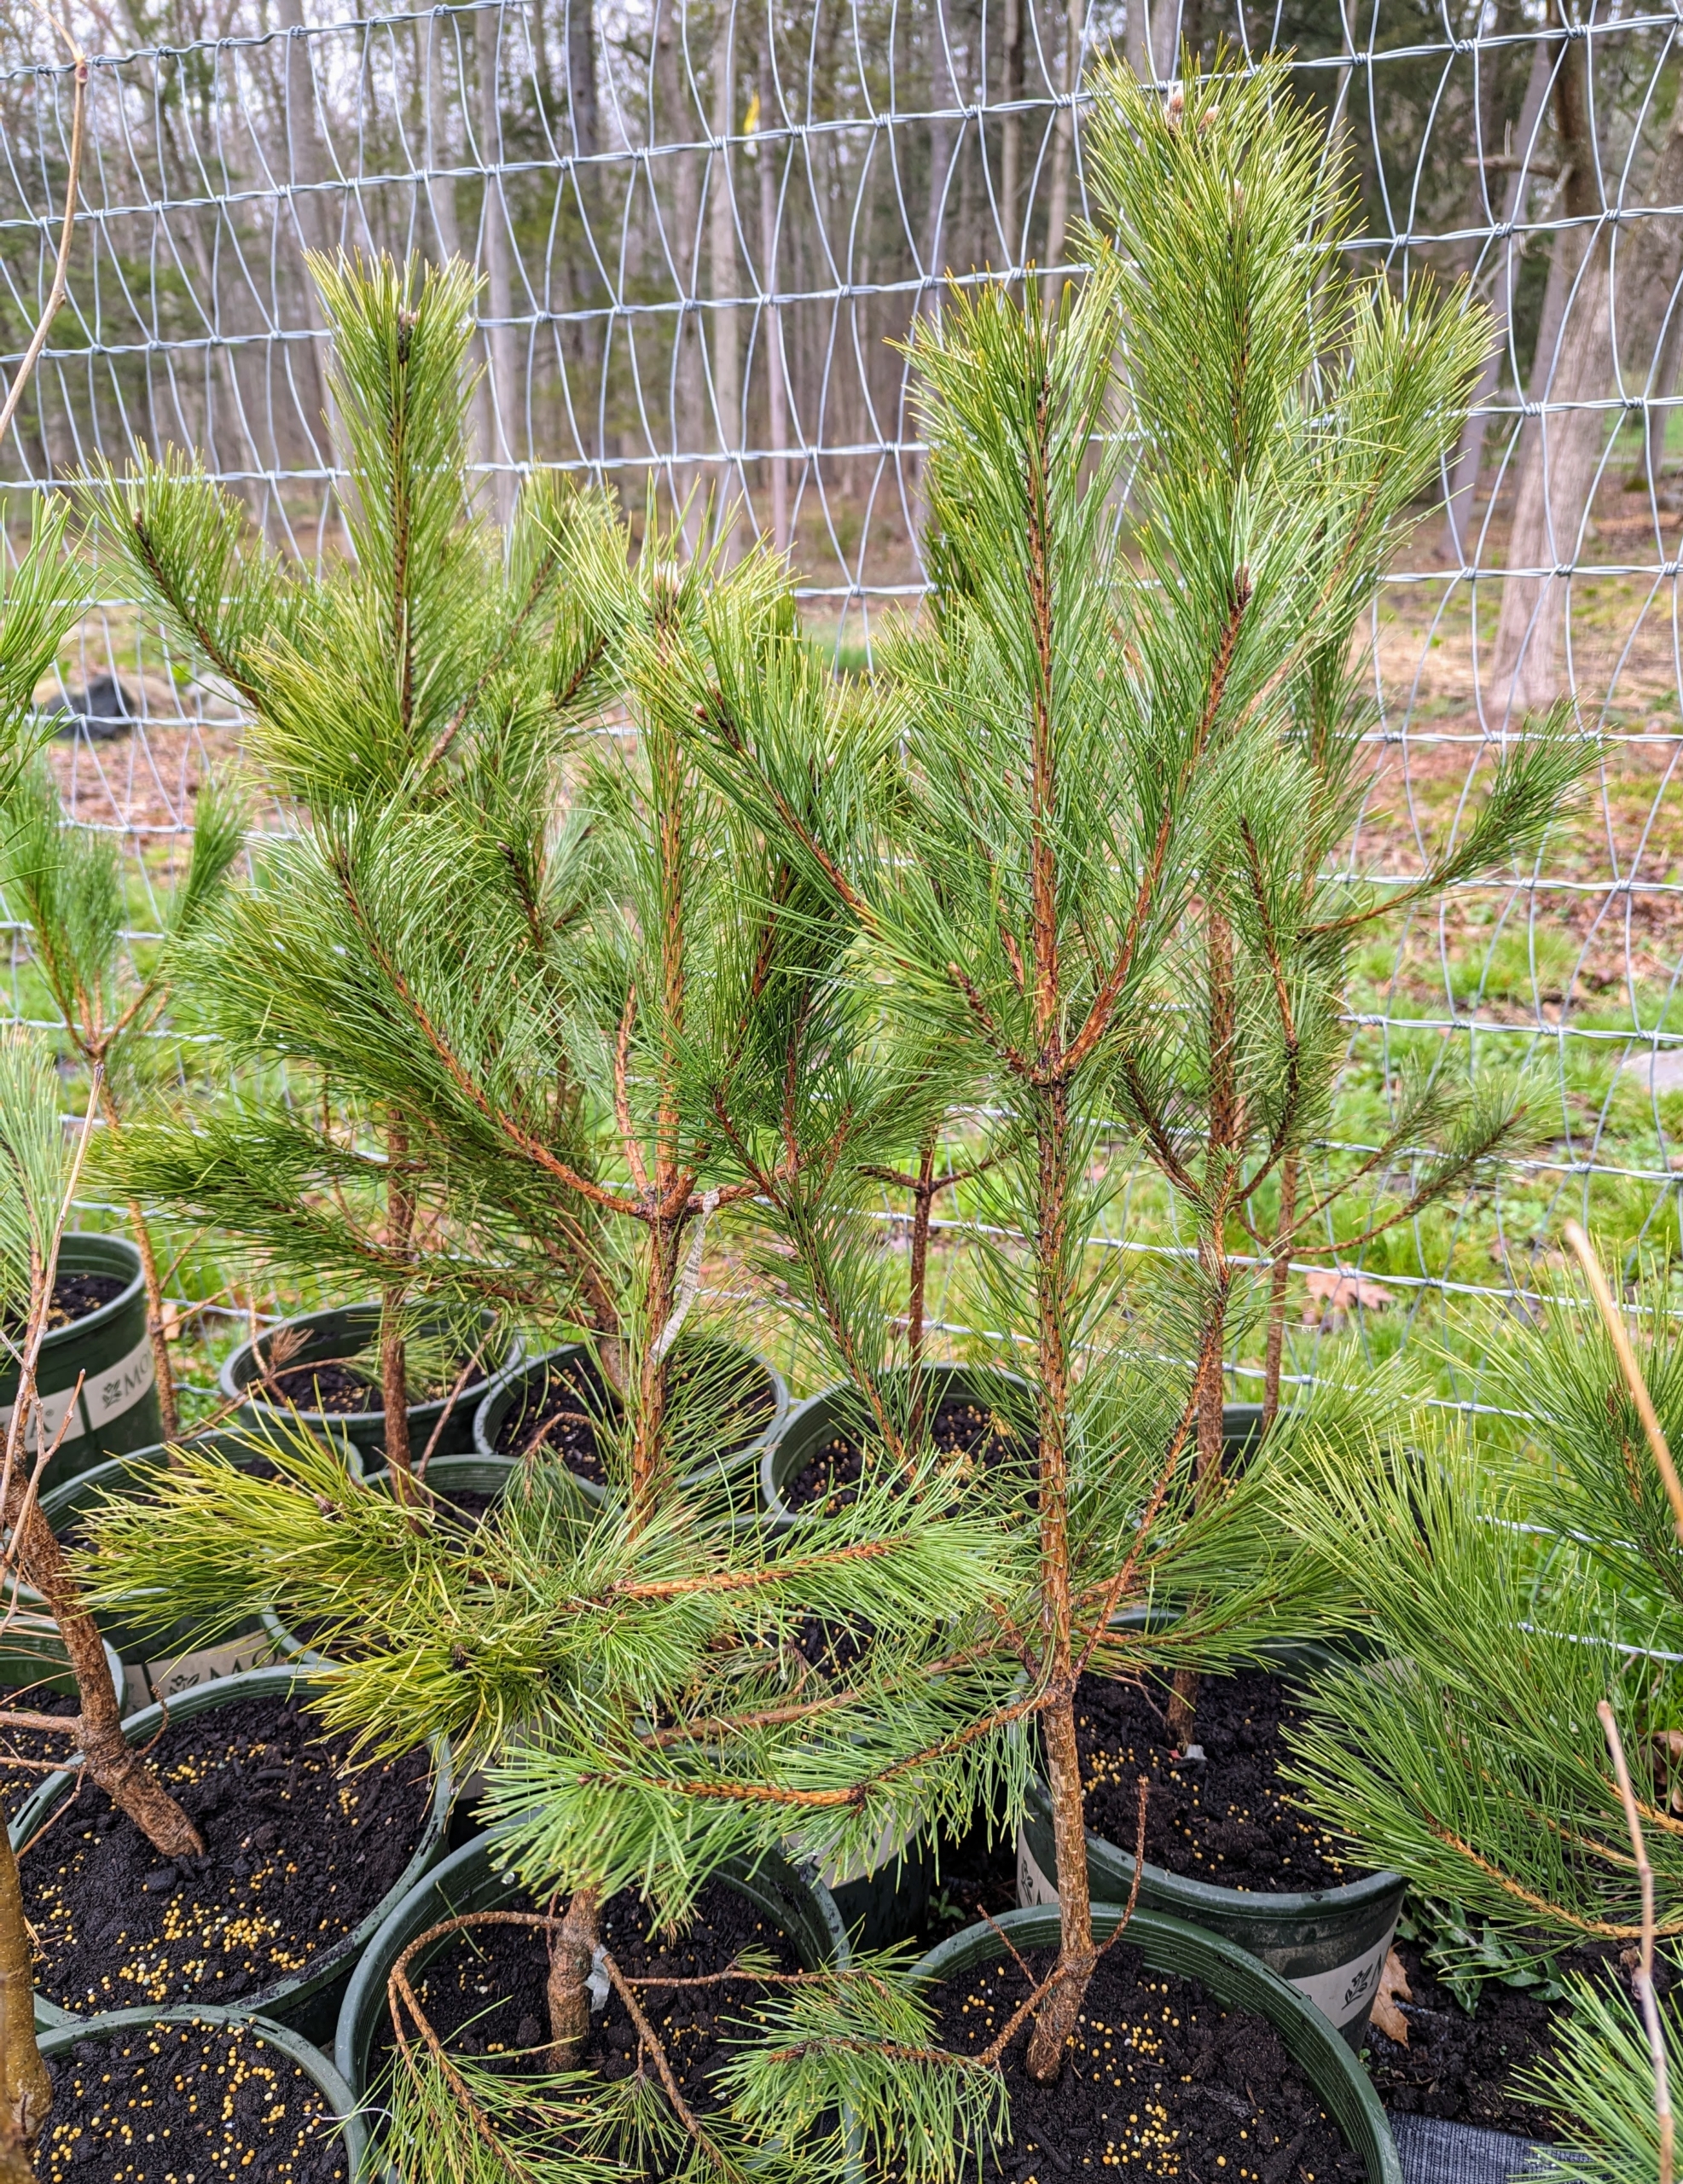
These trees are Austrian pines, Pinus nigra, or black pine, a medium to large-sized evergreen conifer that grows 40- to 60-feet tall and 20- to 40-feet wide. The dark green needles are longer than most – about four-inches in length.
This French strain of Scotch pine grows to 70-feet with a 15-foot spread. It’s a hardy tree with blue-green needles.
The Douglas fir is among the nation’s most important lumber species, making up half of all Christmas trees grown in the United States. It is a handsome tree with bluish-green needles.
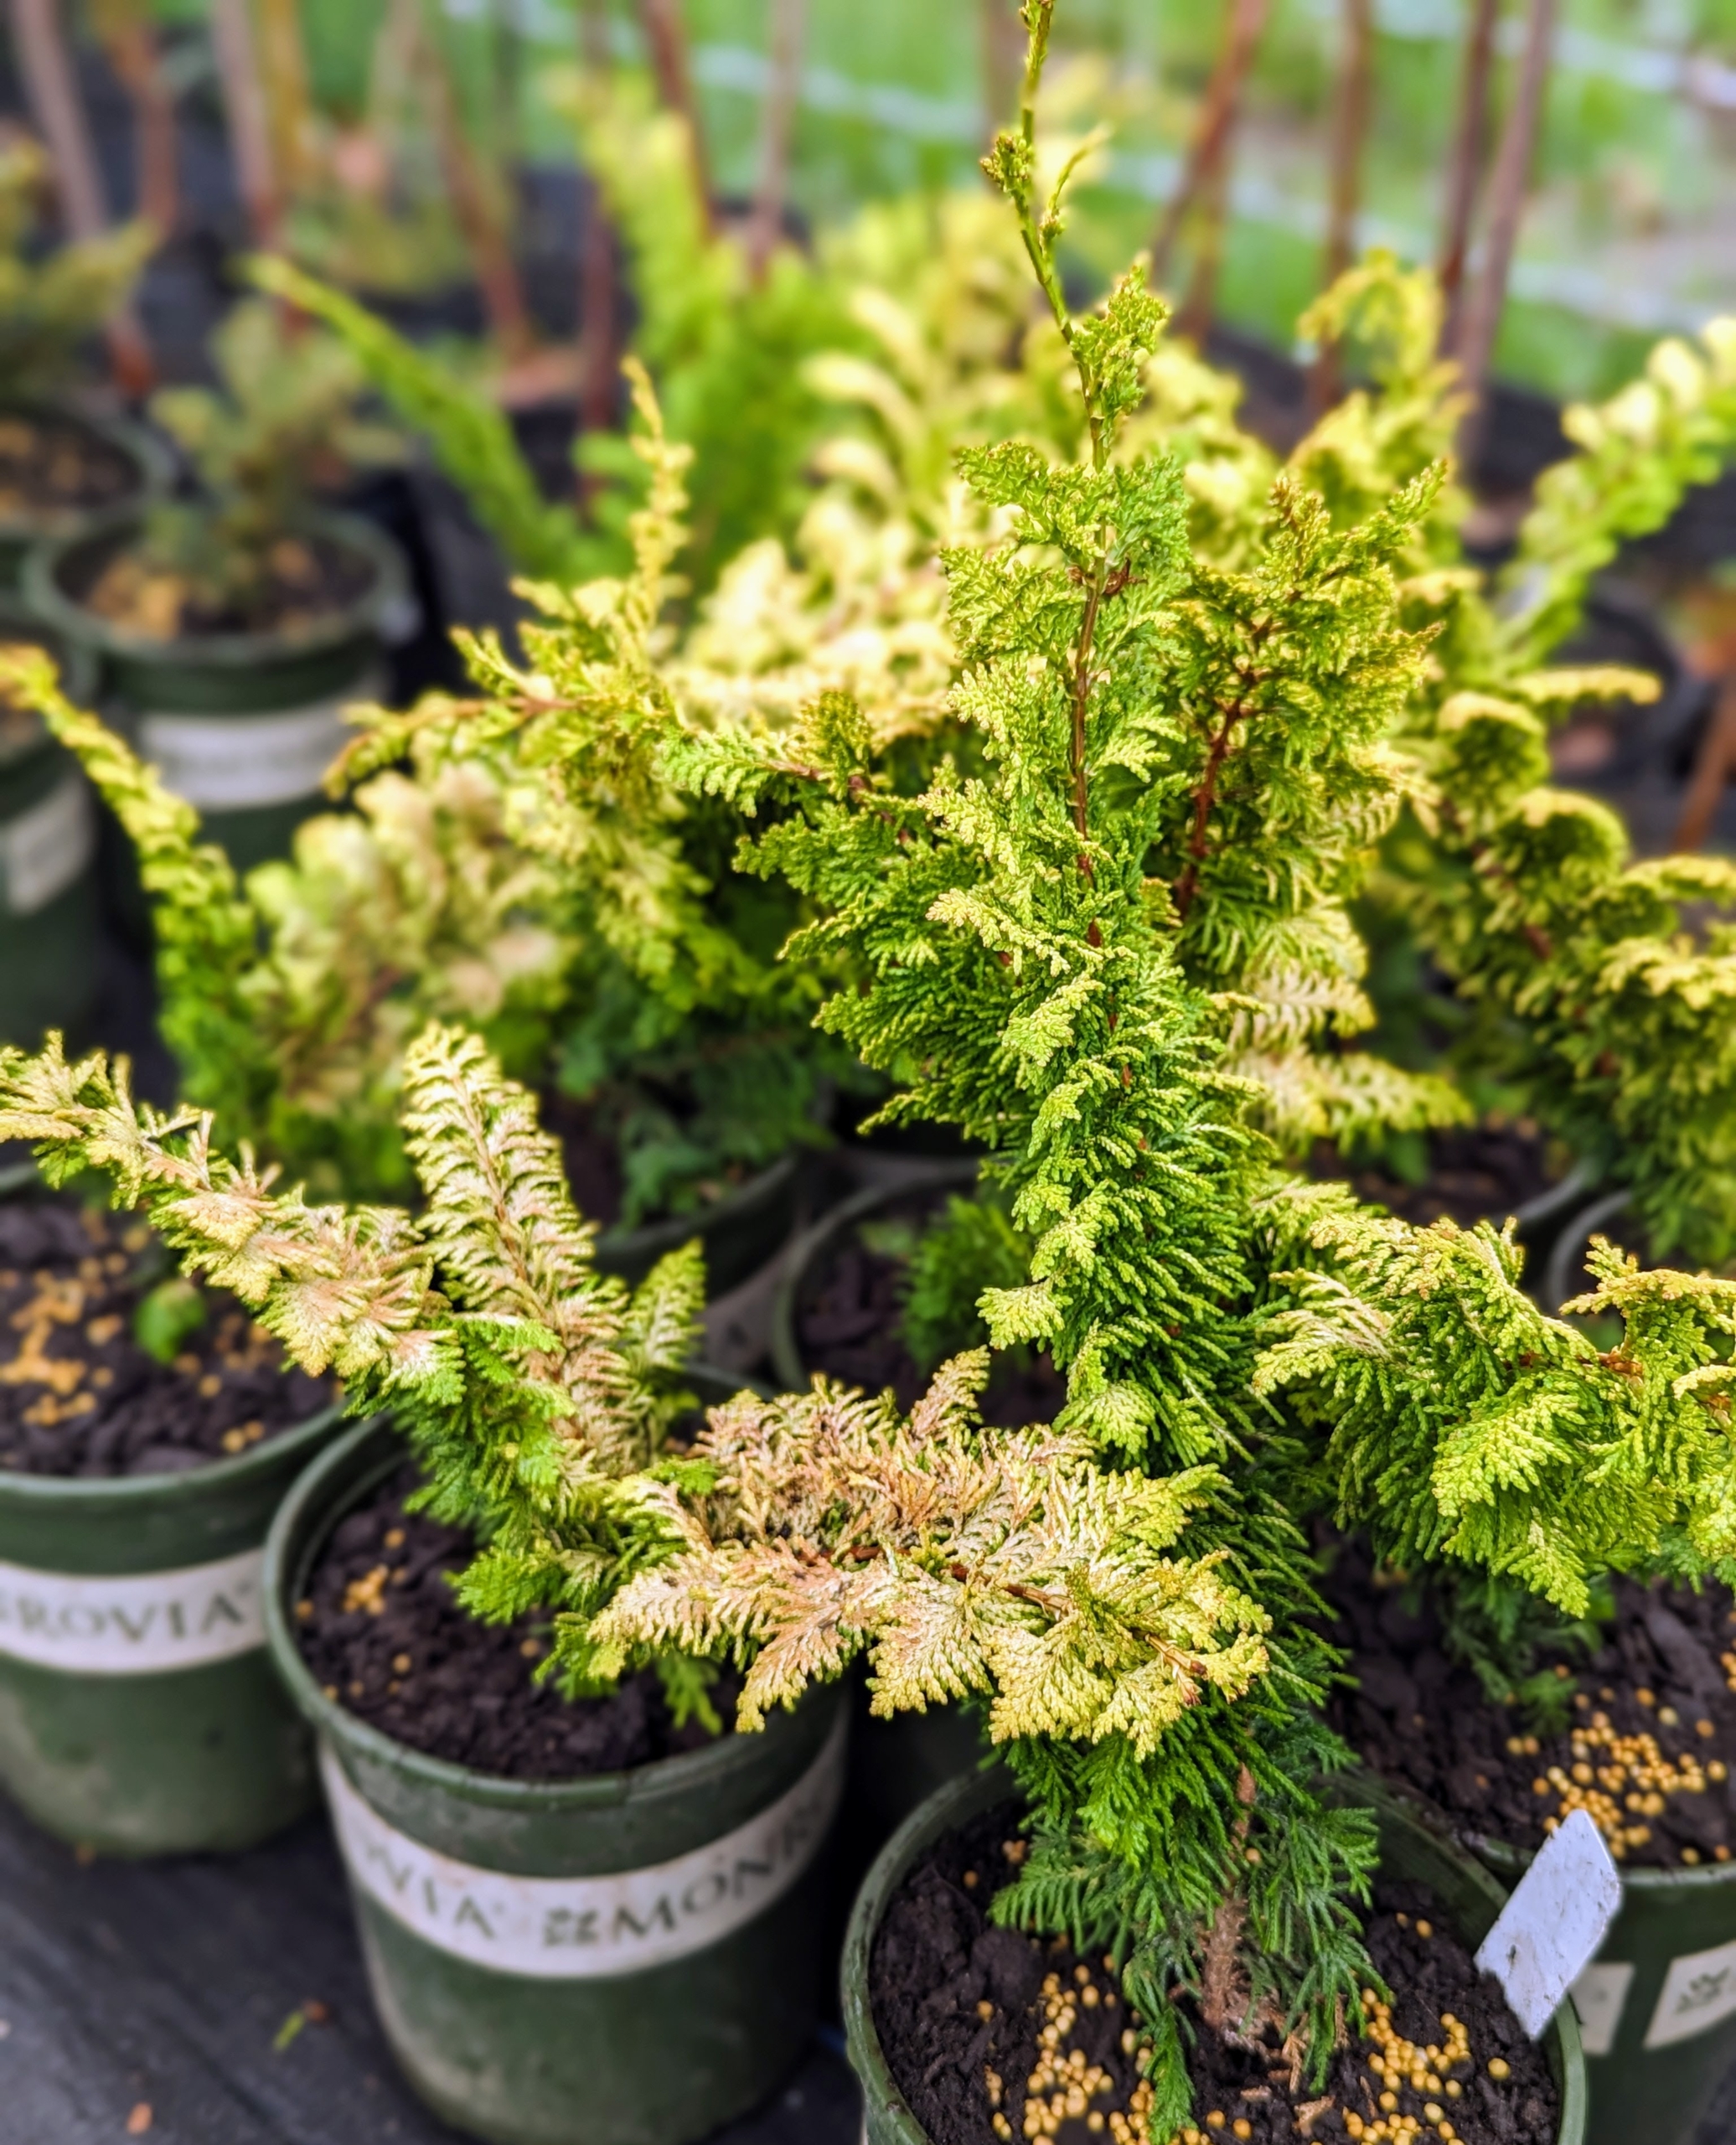
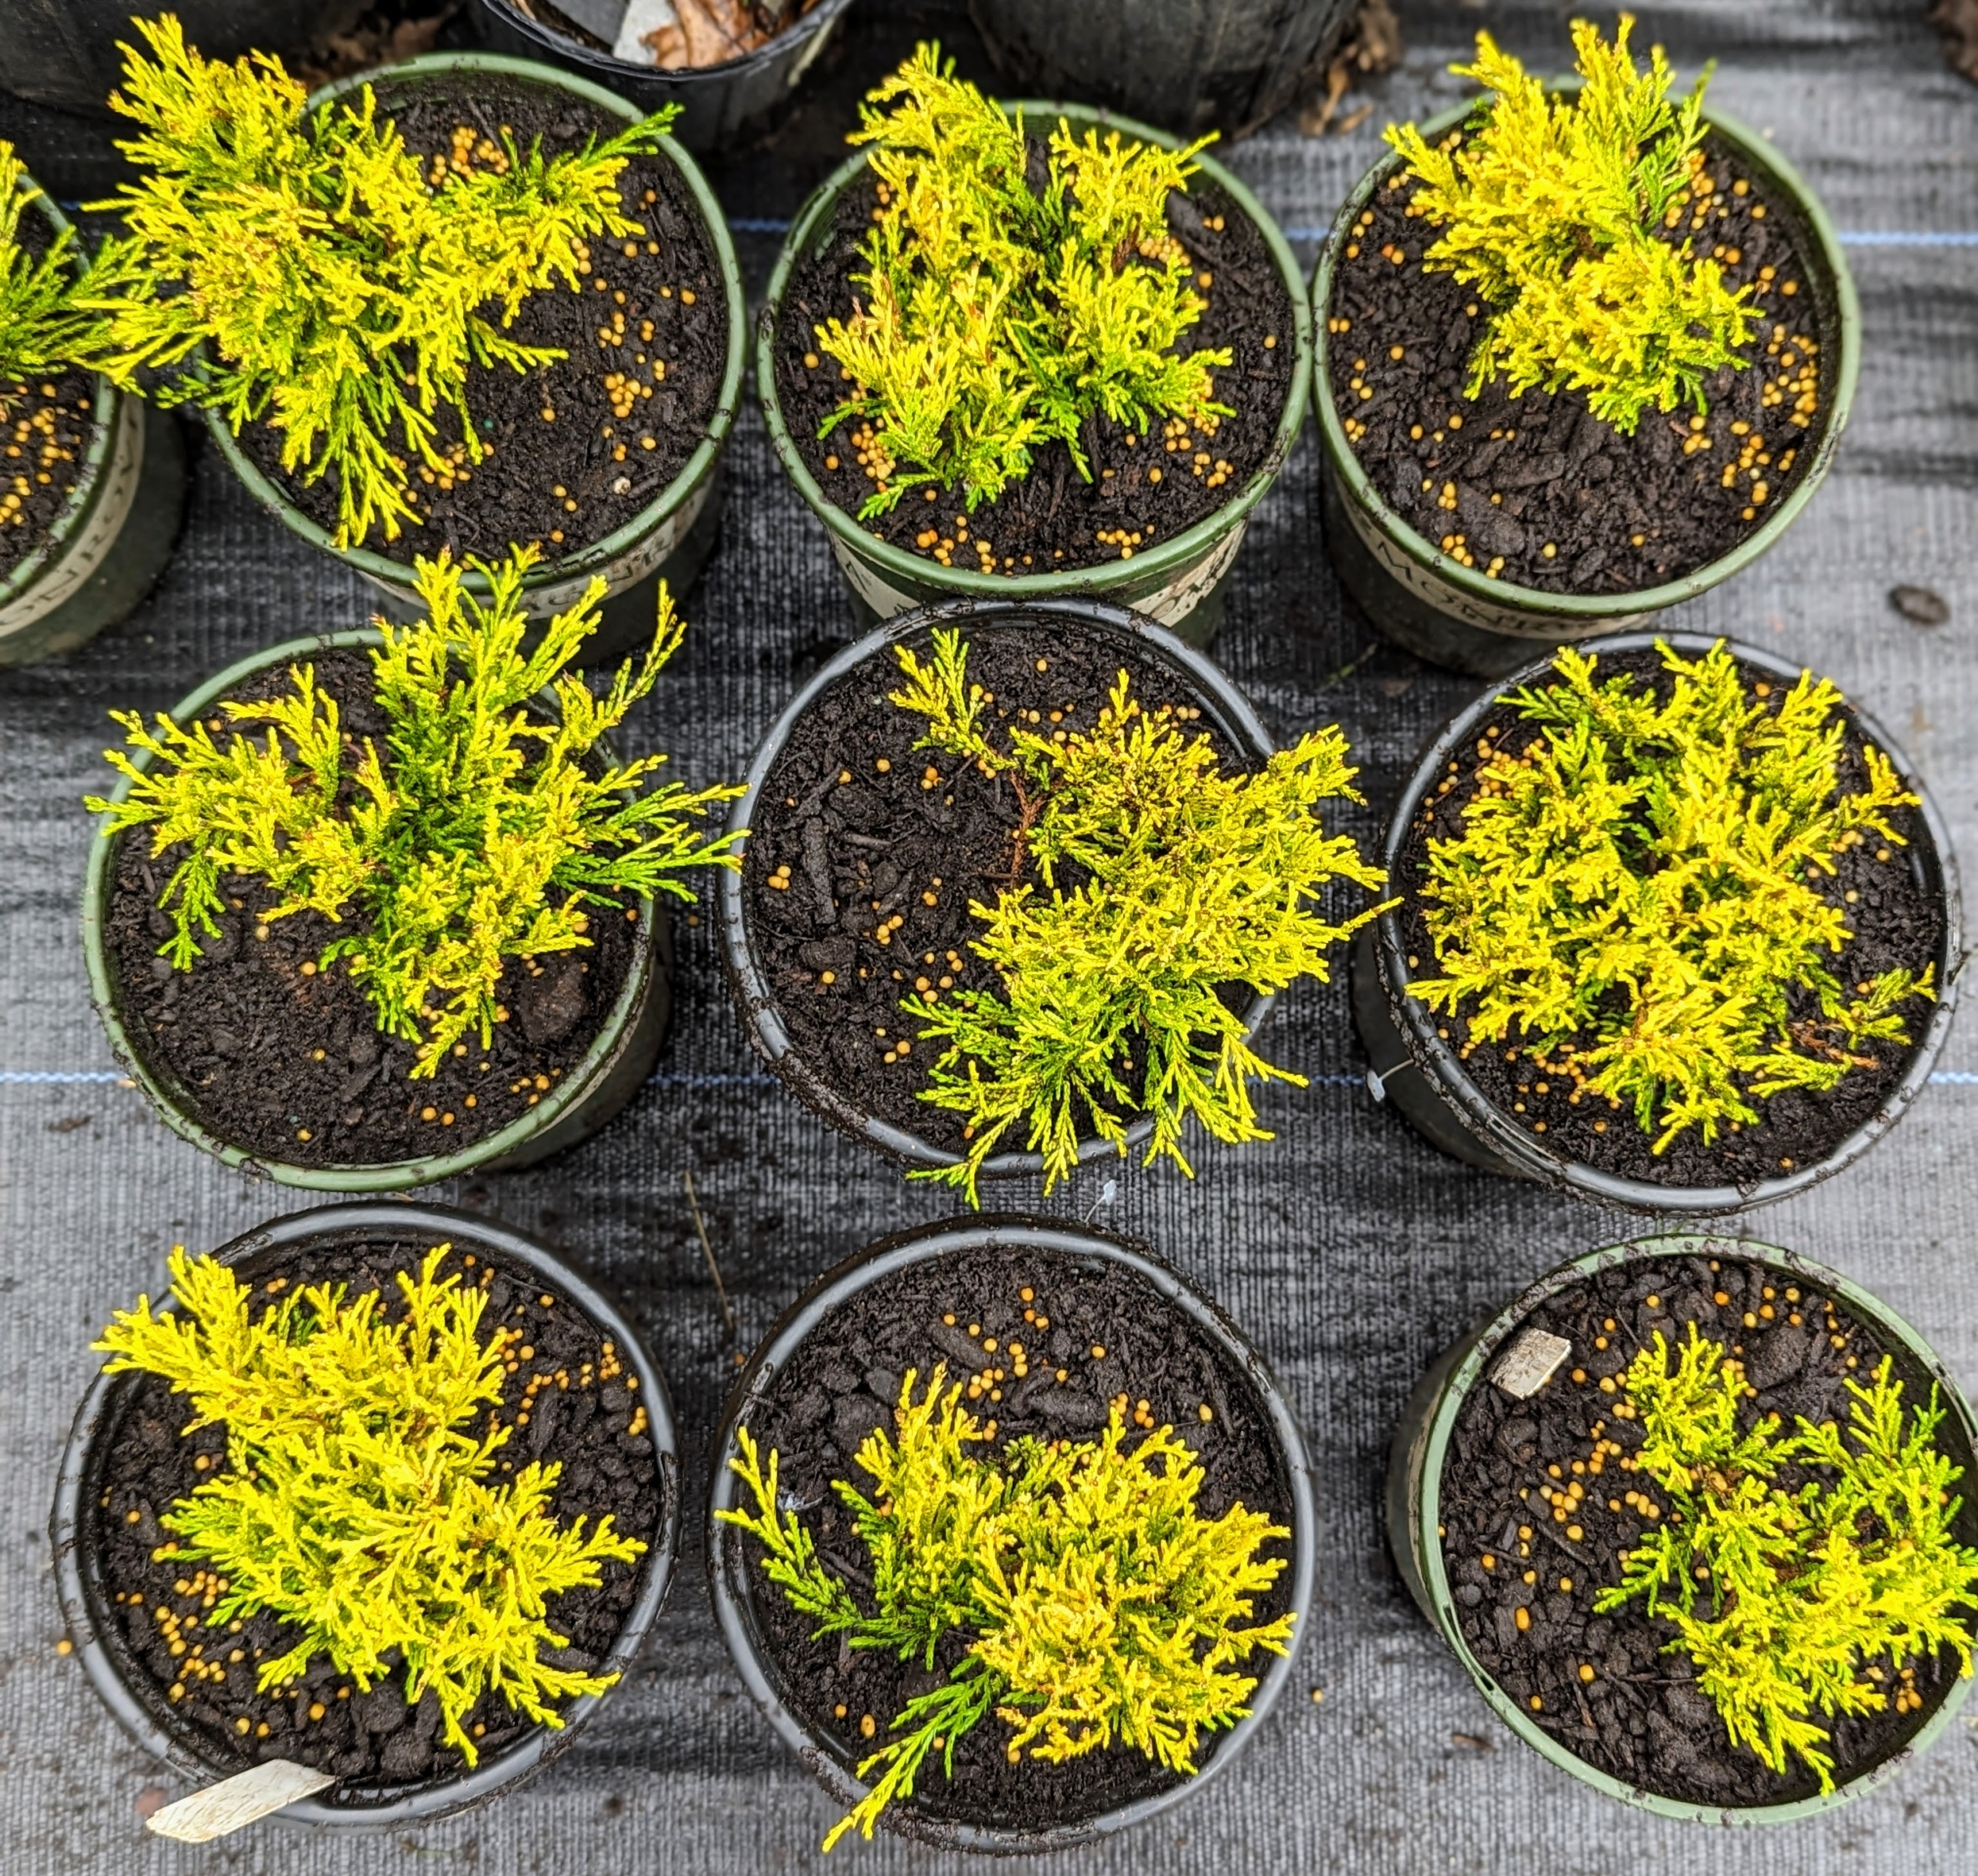
These are the branches of the Golden Fernleaf False Cypress, a dense evergreen conifer with rich, textured foliage that is golden-yellow to bold green.
And these are Gold Thread Cypress shrubs, which will mature to large pyramidal evergreen conifers with fine textured medium green needles.
Many of the bare-root trees do not have leaves, so they are difficult to identify at this time. It is important to keep them separated by cultivar and always properly marked. These newest specimens will remain here for about a year until they are planted into the ground. Earth Day is coming up April 22nd. I hope you’ll consider planting a tree to celebrate.
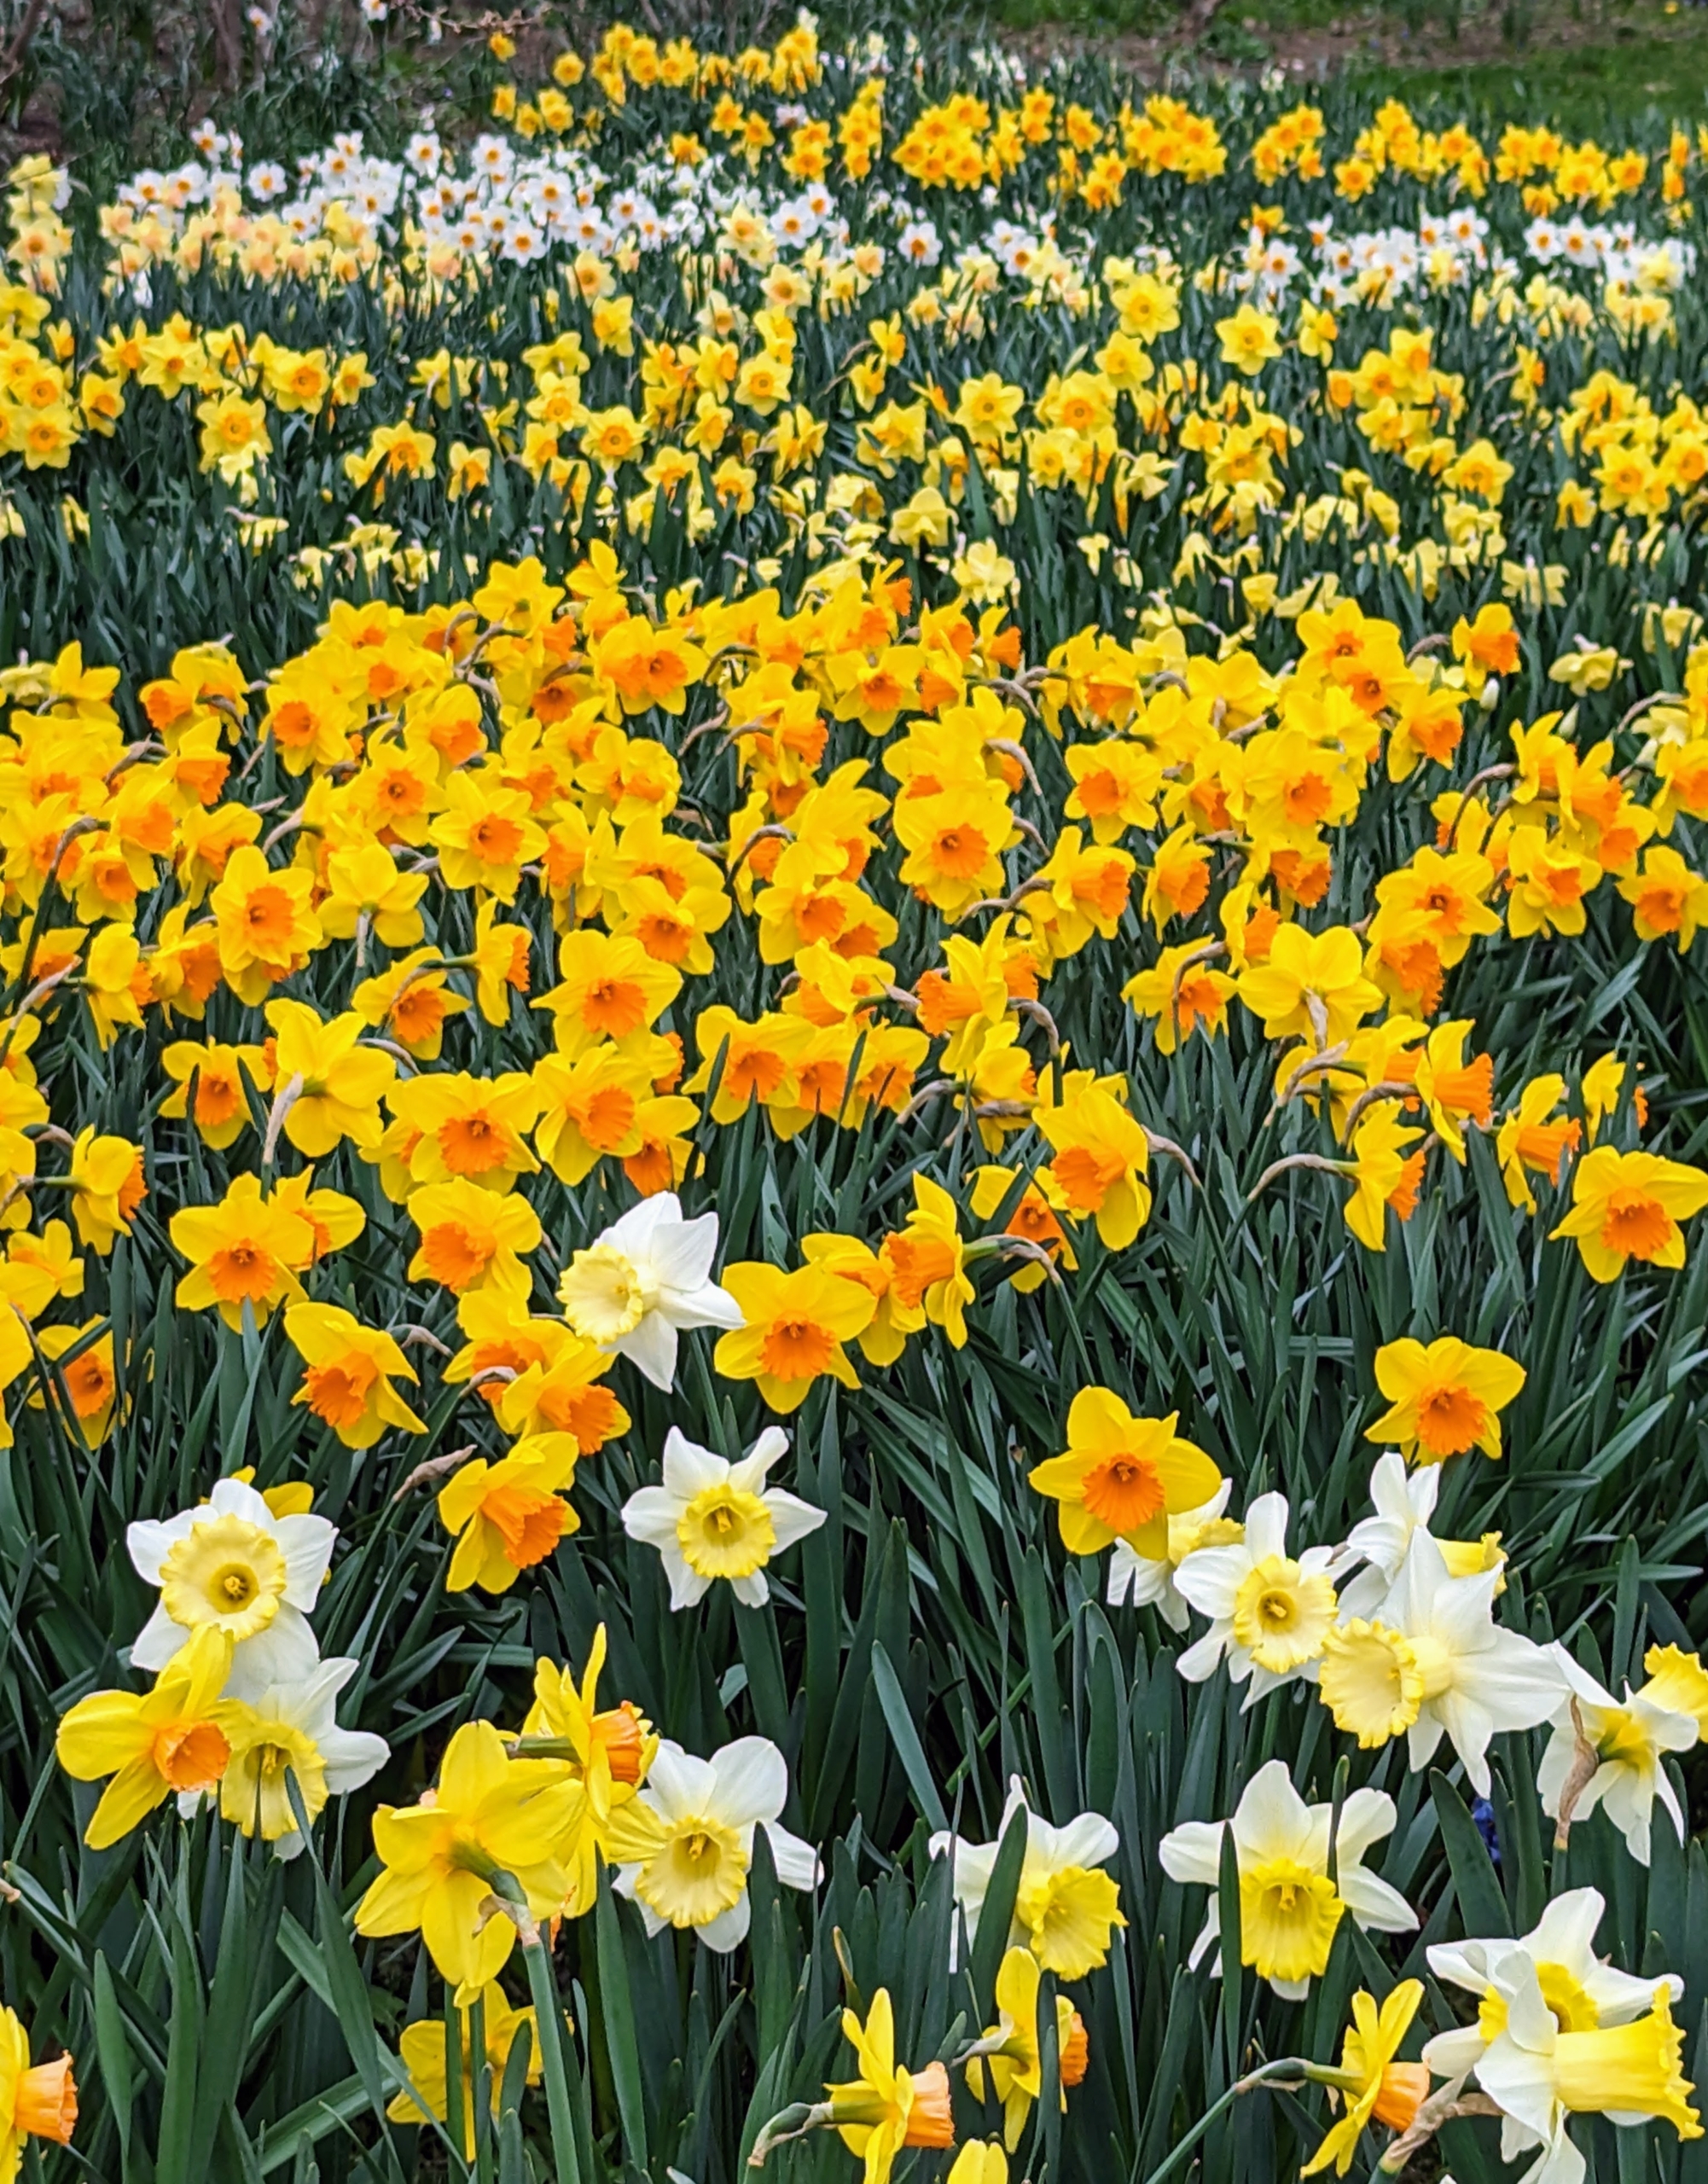
So many brightly colored daffodils are blooming at my farm - different forms of white, yellow, cream, and orange Narcissi. It's quite a sight to see.
When I moved to my farm, I knew I wanted to grow a continuous swath of daffodils. After lots of planning and planting over the years, I now have a border that extends the length of one side of my property from my Summer House, past the stable, and down to the Japanese maple grove. Over time, some have faded away and are being replaced with other varieties, while others continue to flourish. I’ve also planted daffodils in the garden beds outside my Tenant House, across from my chicken coops, near my main greenhouse, in patches through the woodland, and in various tree pits around my home, including those underneath the majestic allée of pin oaks where I planted a variety of Narcissi named after me, Narcissus ‘Martha Stewart.'
Enjoy these photos.
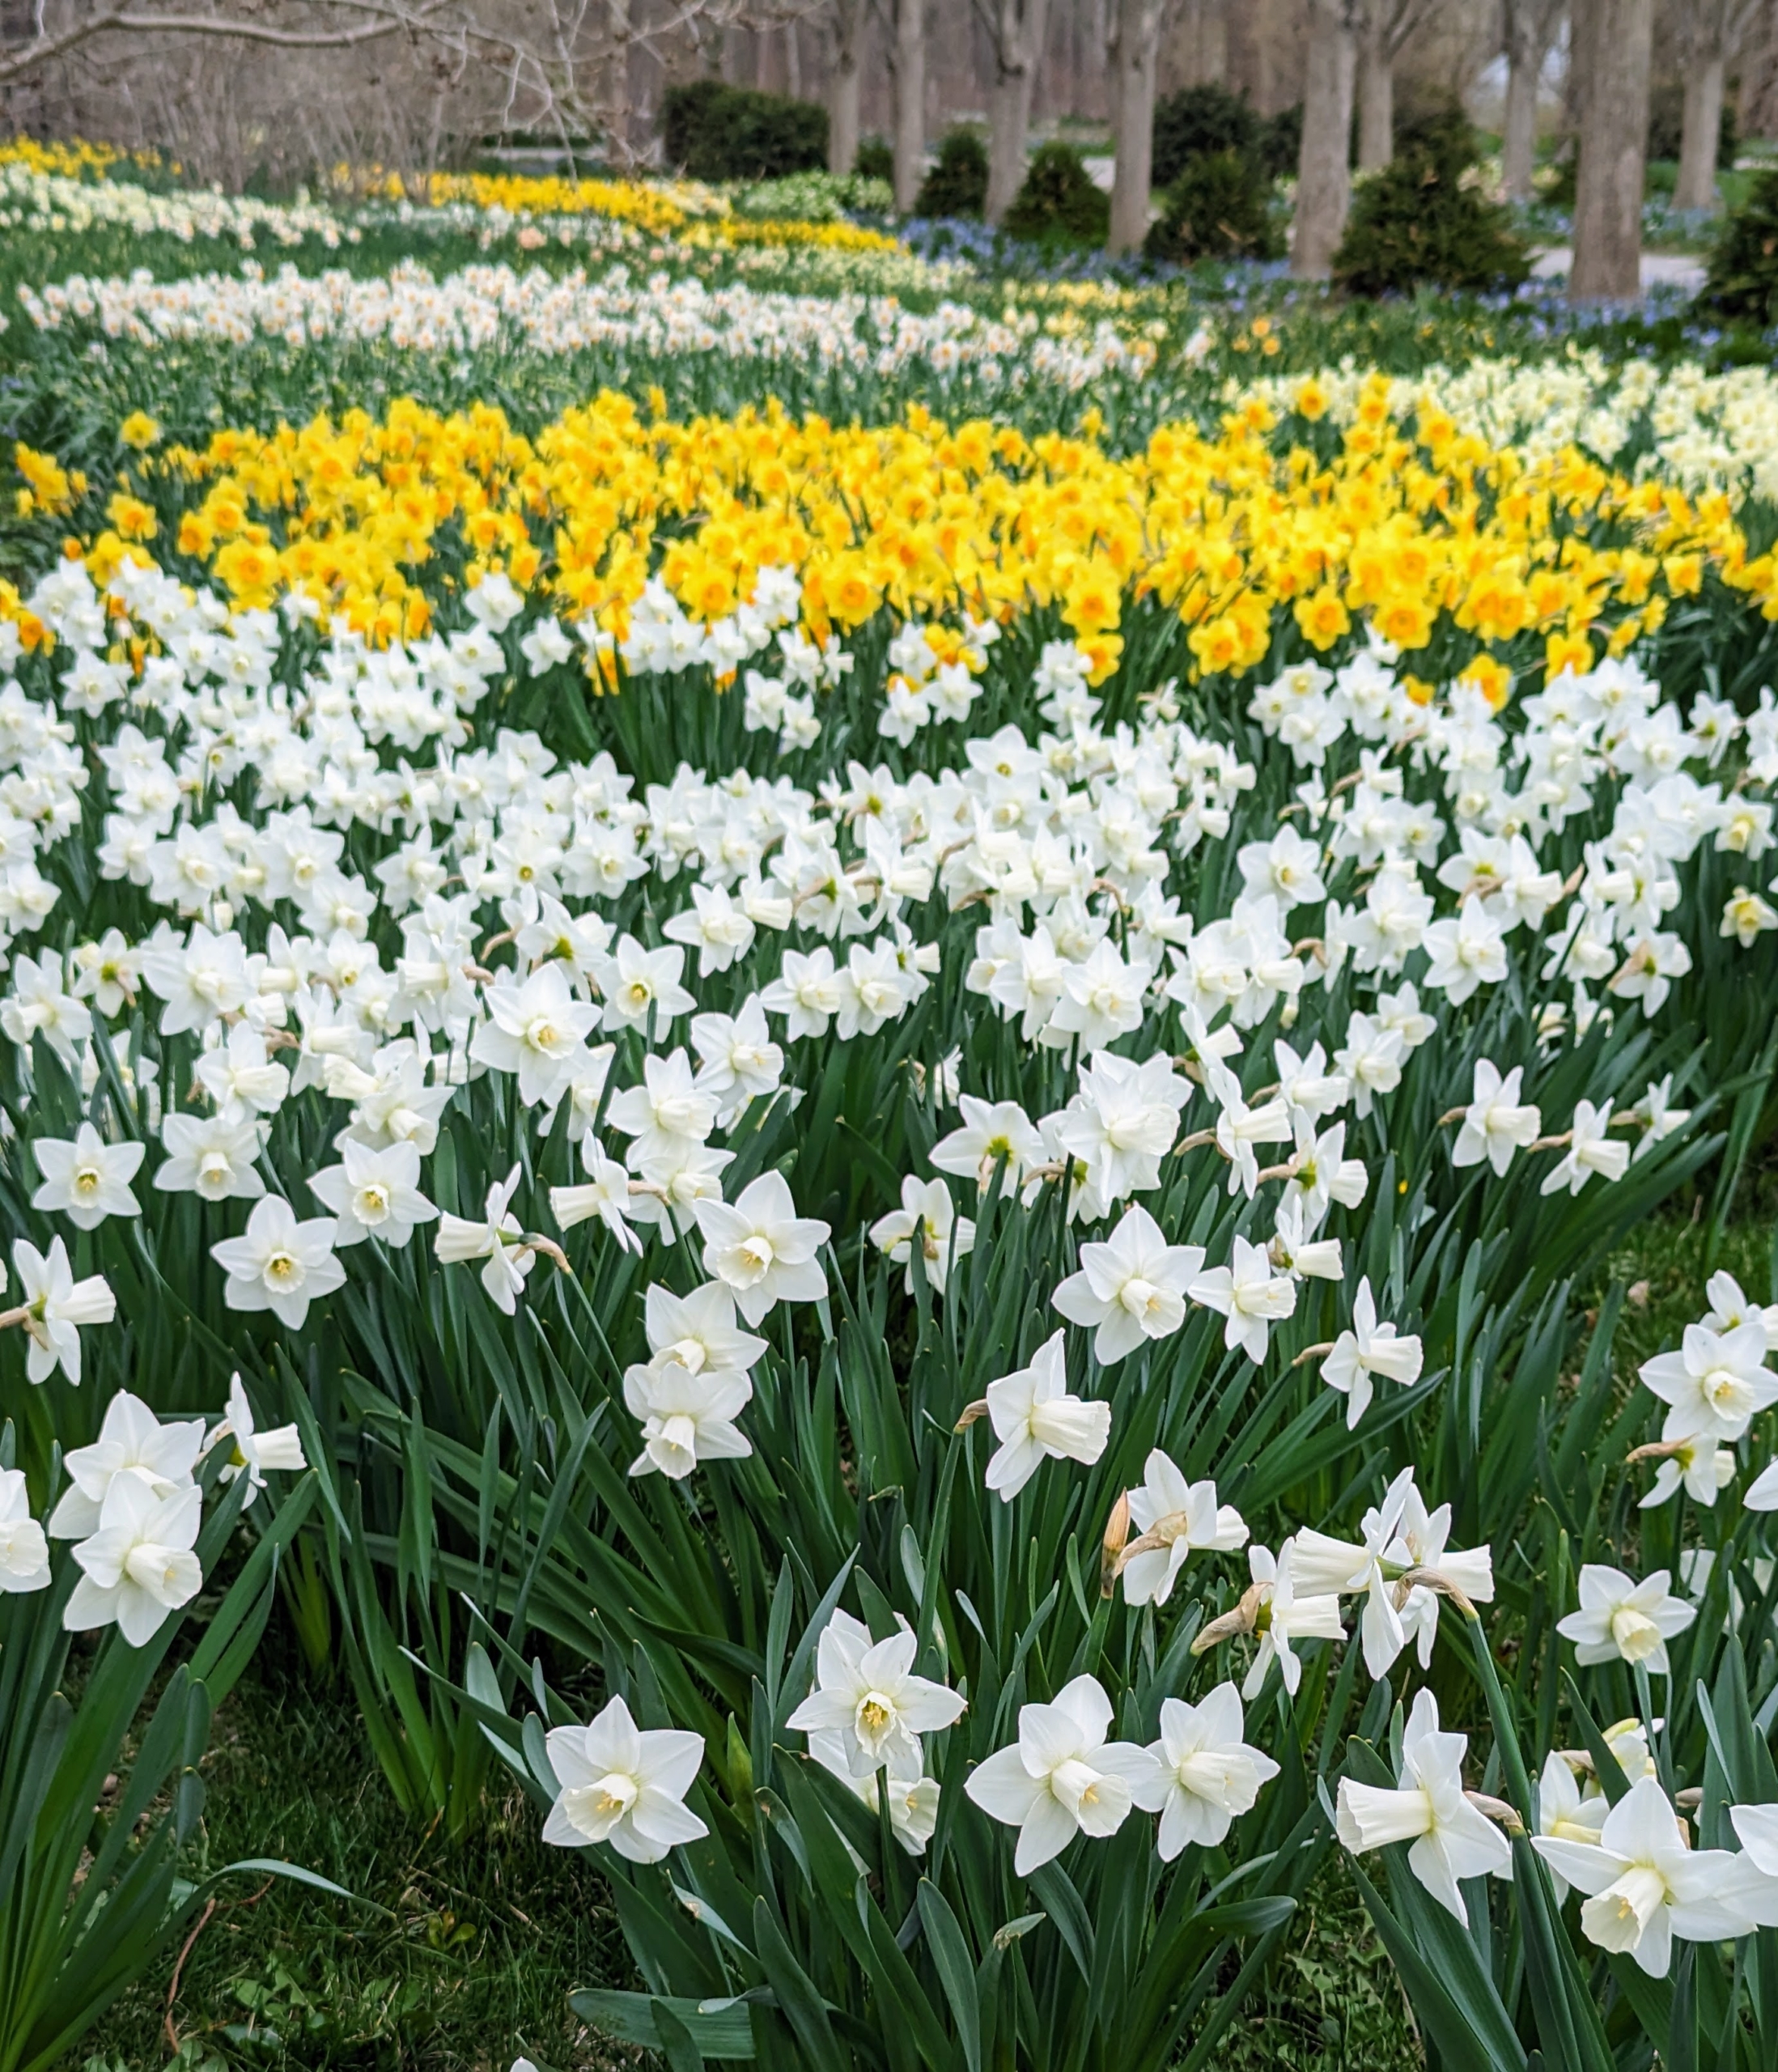
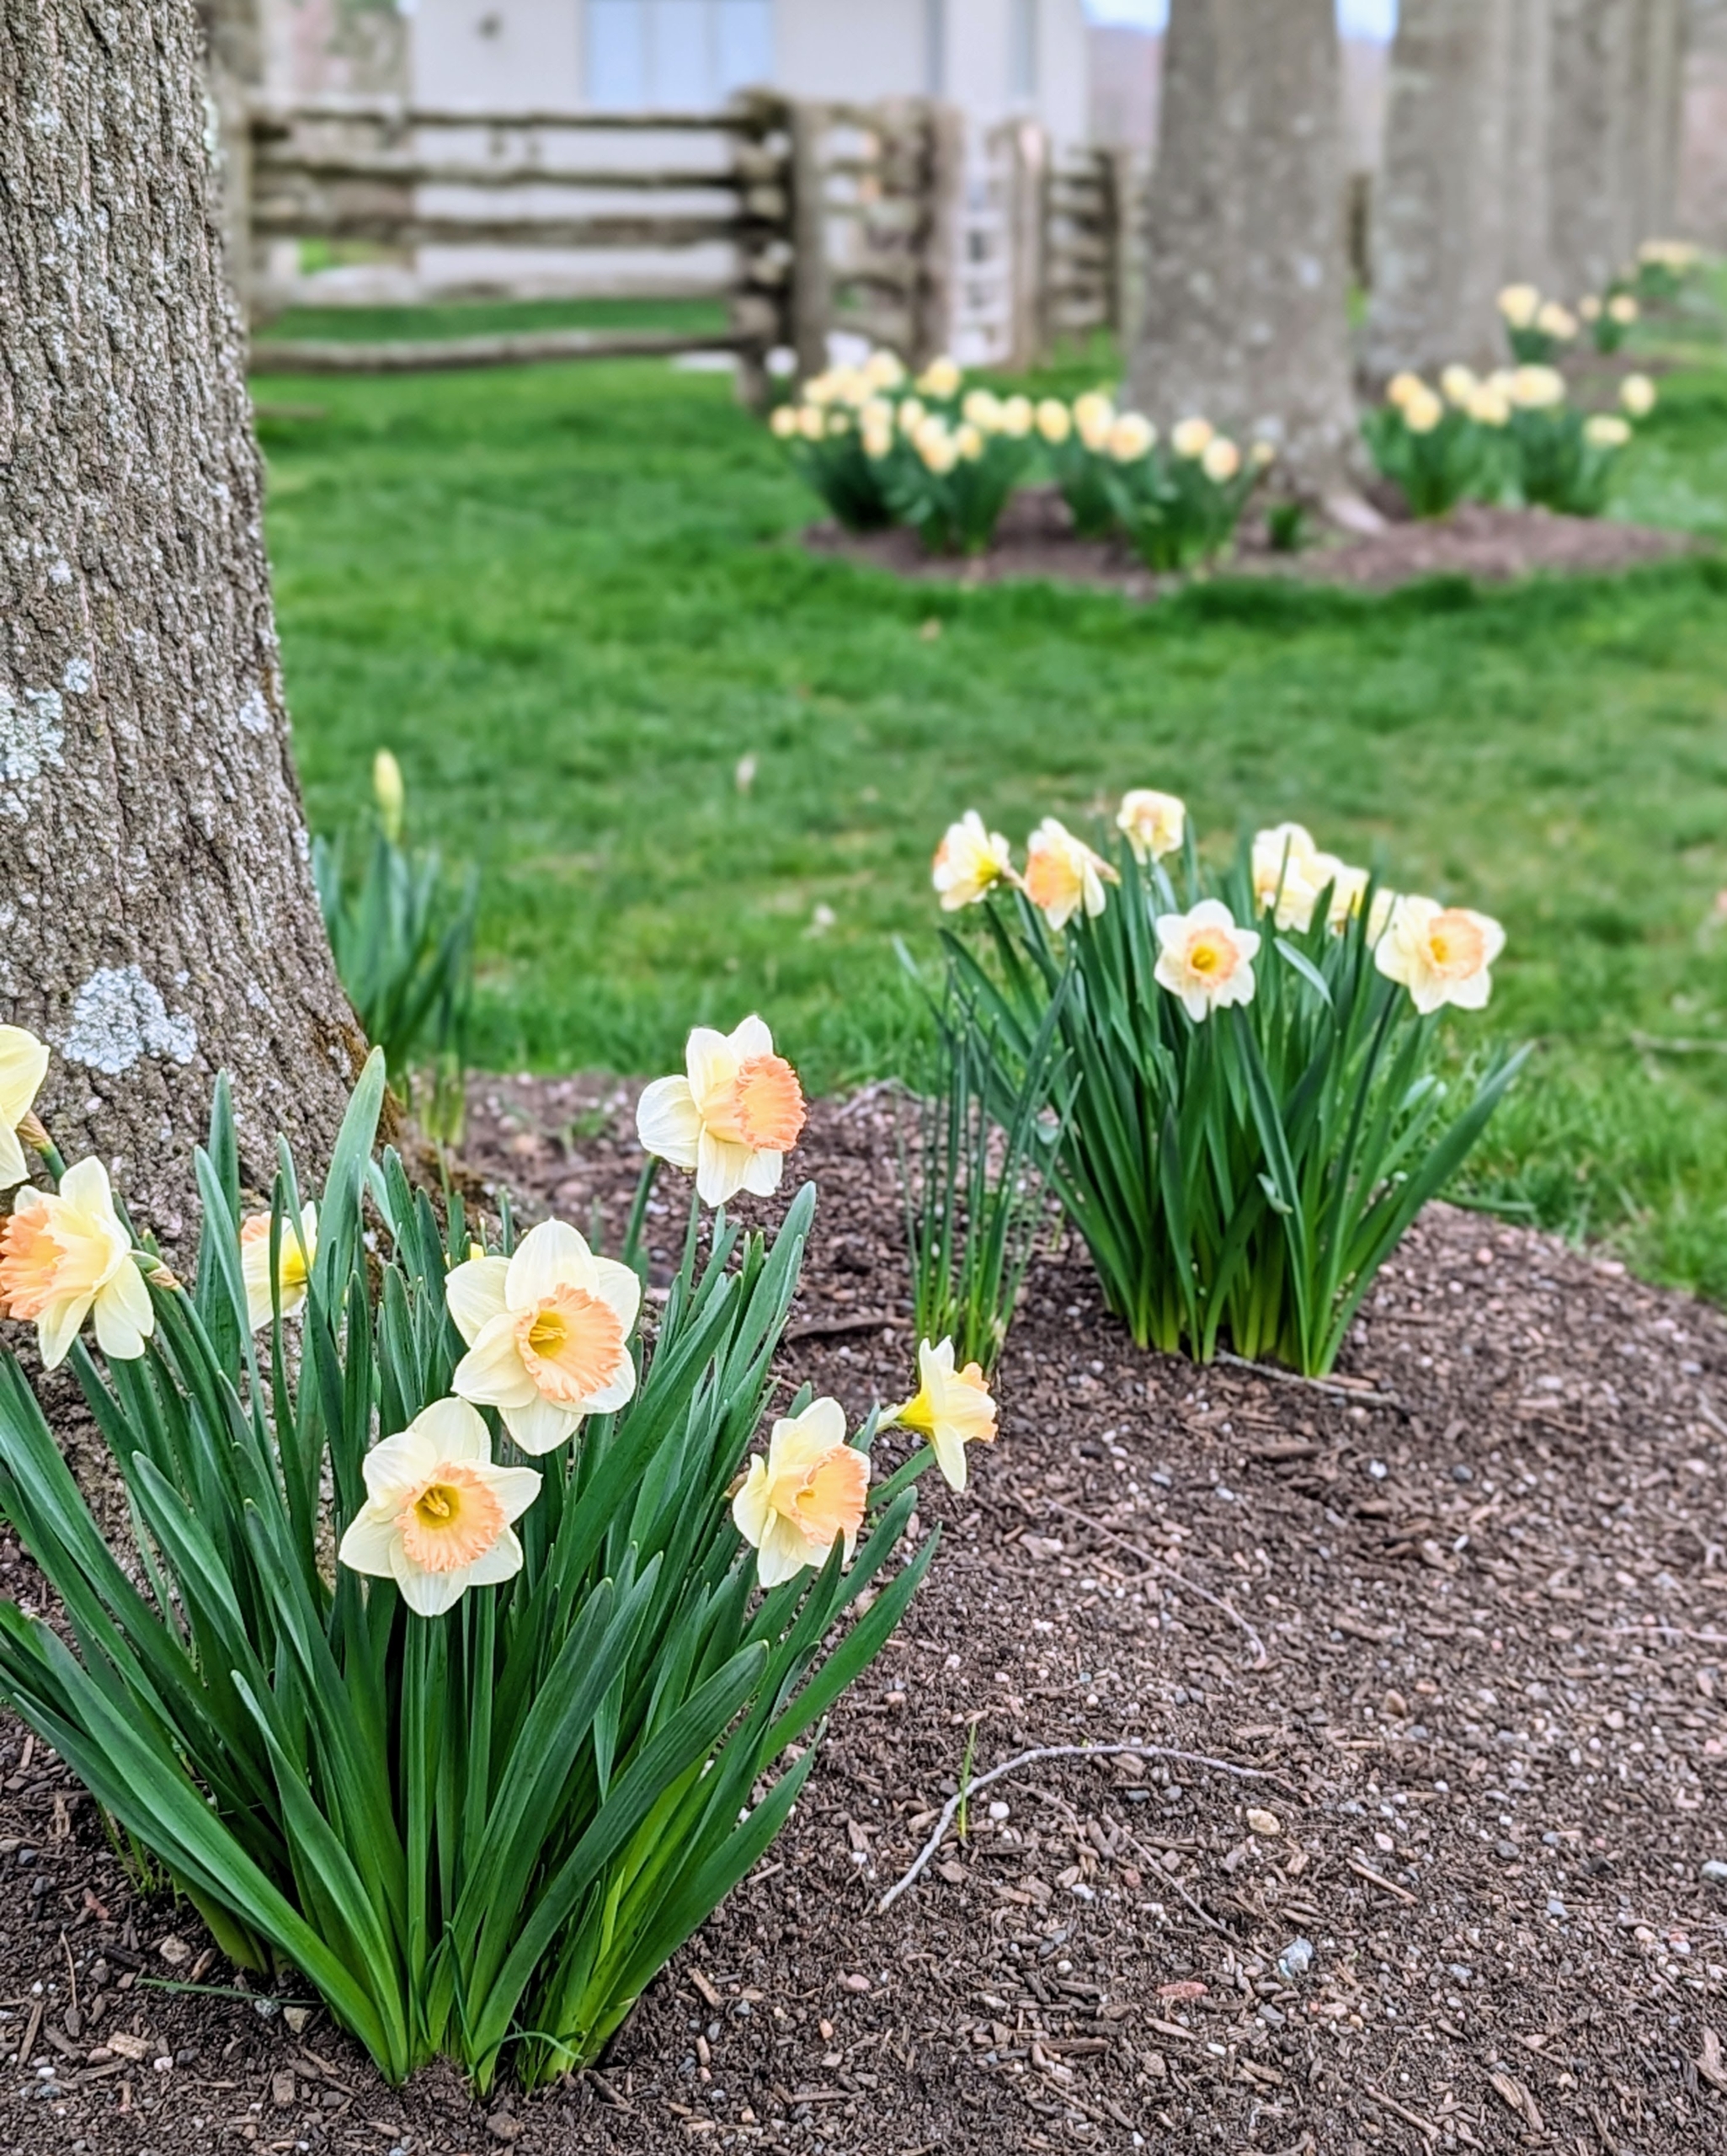
My long daffodil border is broken up into various groupings – different varieties, different shapes and sizes, and different blooming times. This provides a longer splash of color through the season. This view is from one end of my allée of lindens. We planted this section in 2019 and the flowers continue to blooms profusely every year.
Narcissus is a genus of spring perennials in the Amaryllidaceae family. They’re known by the common name daffodil.
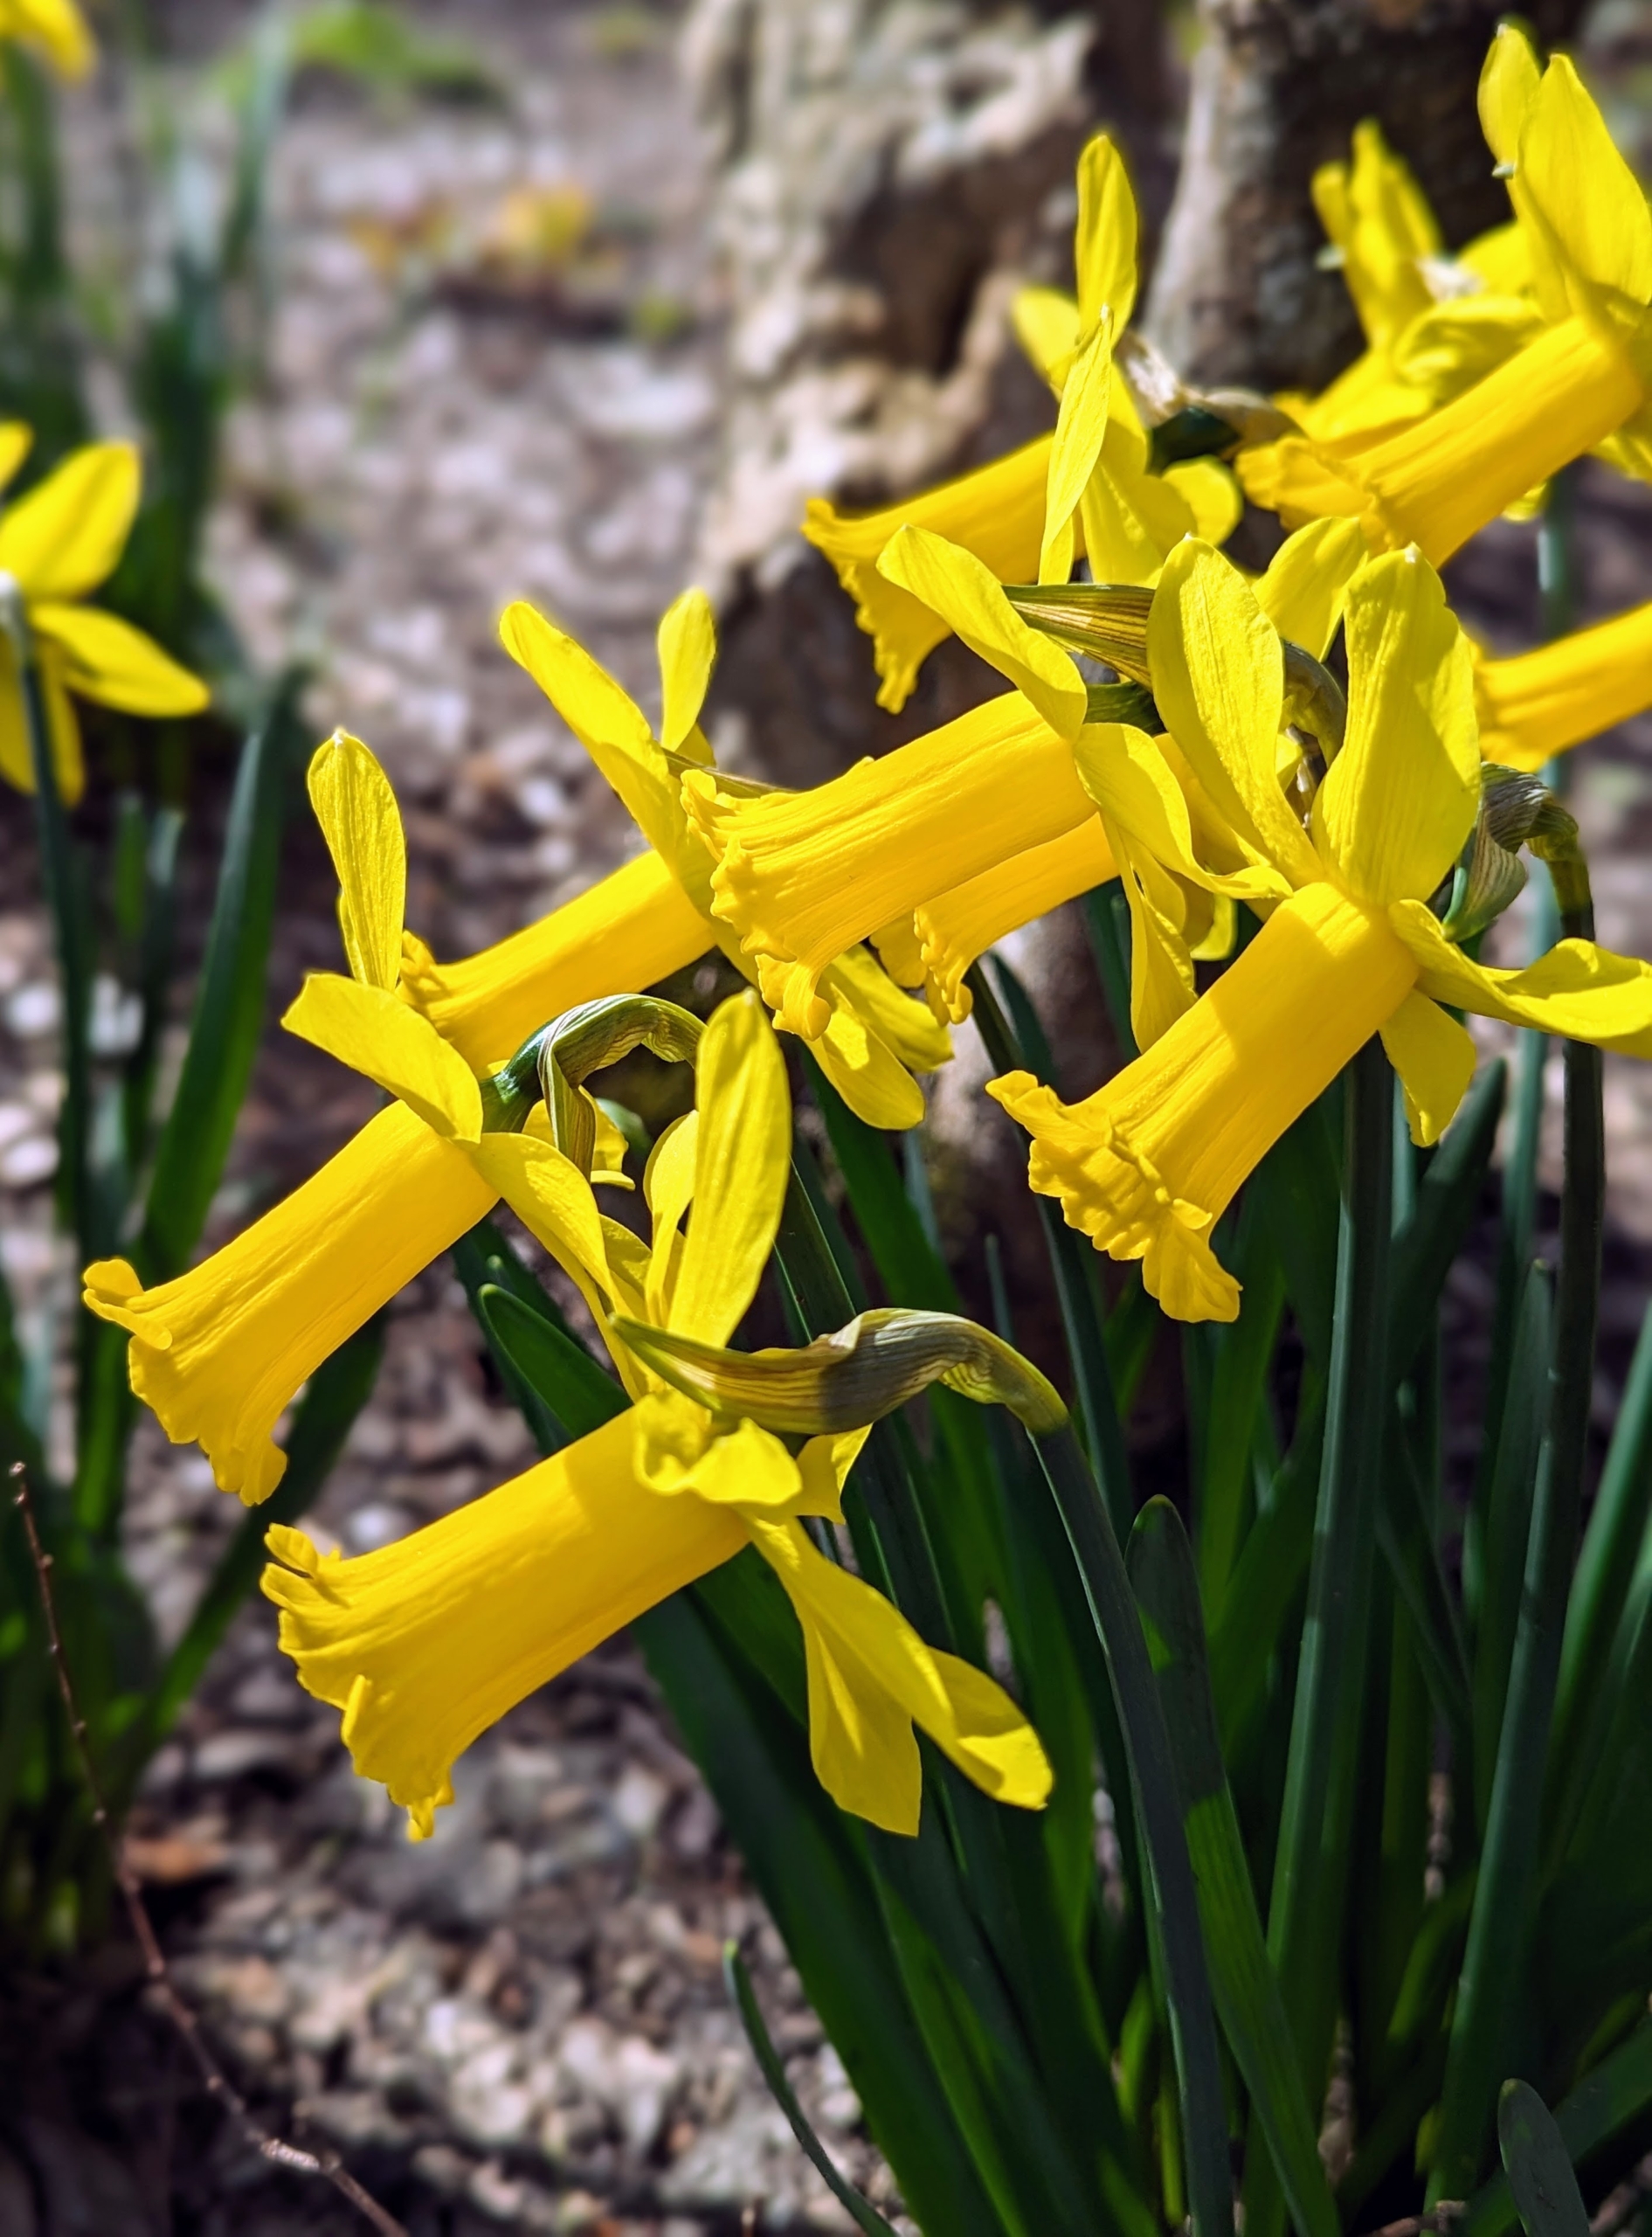
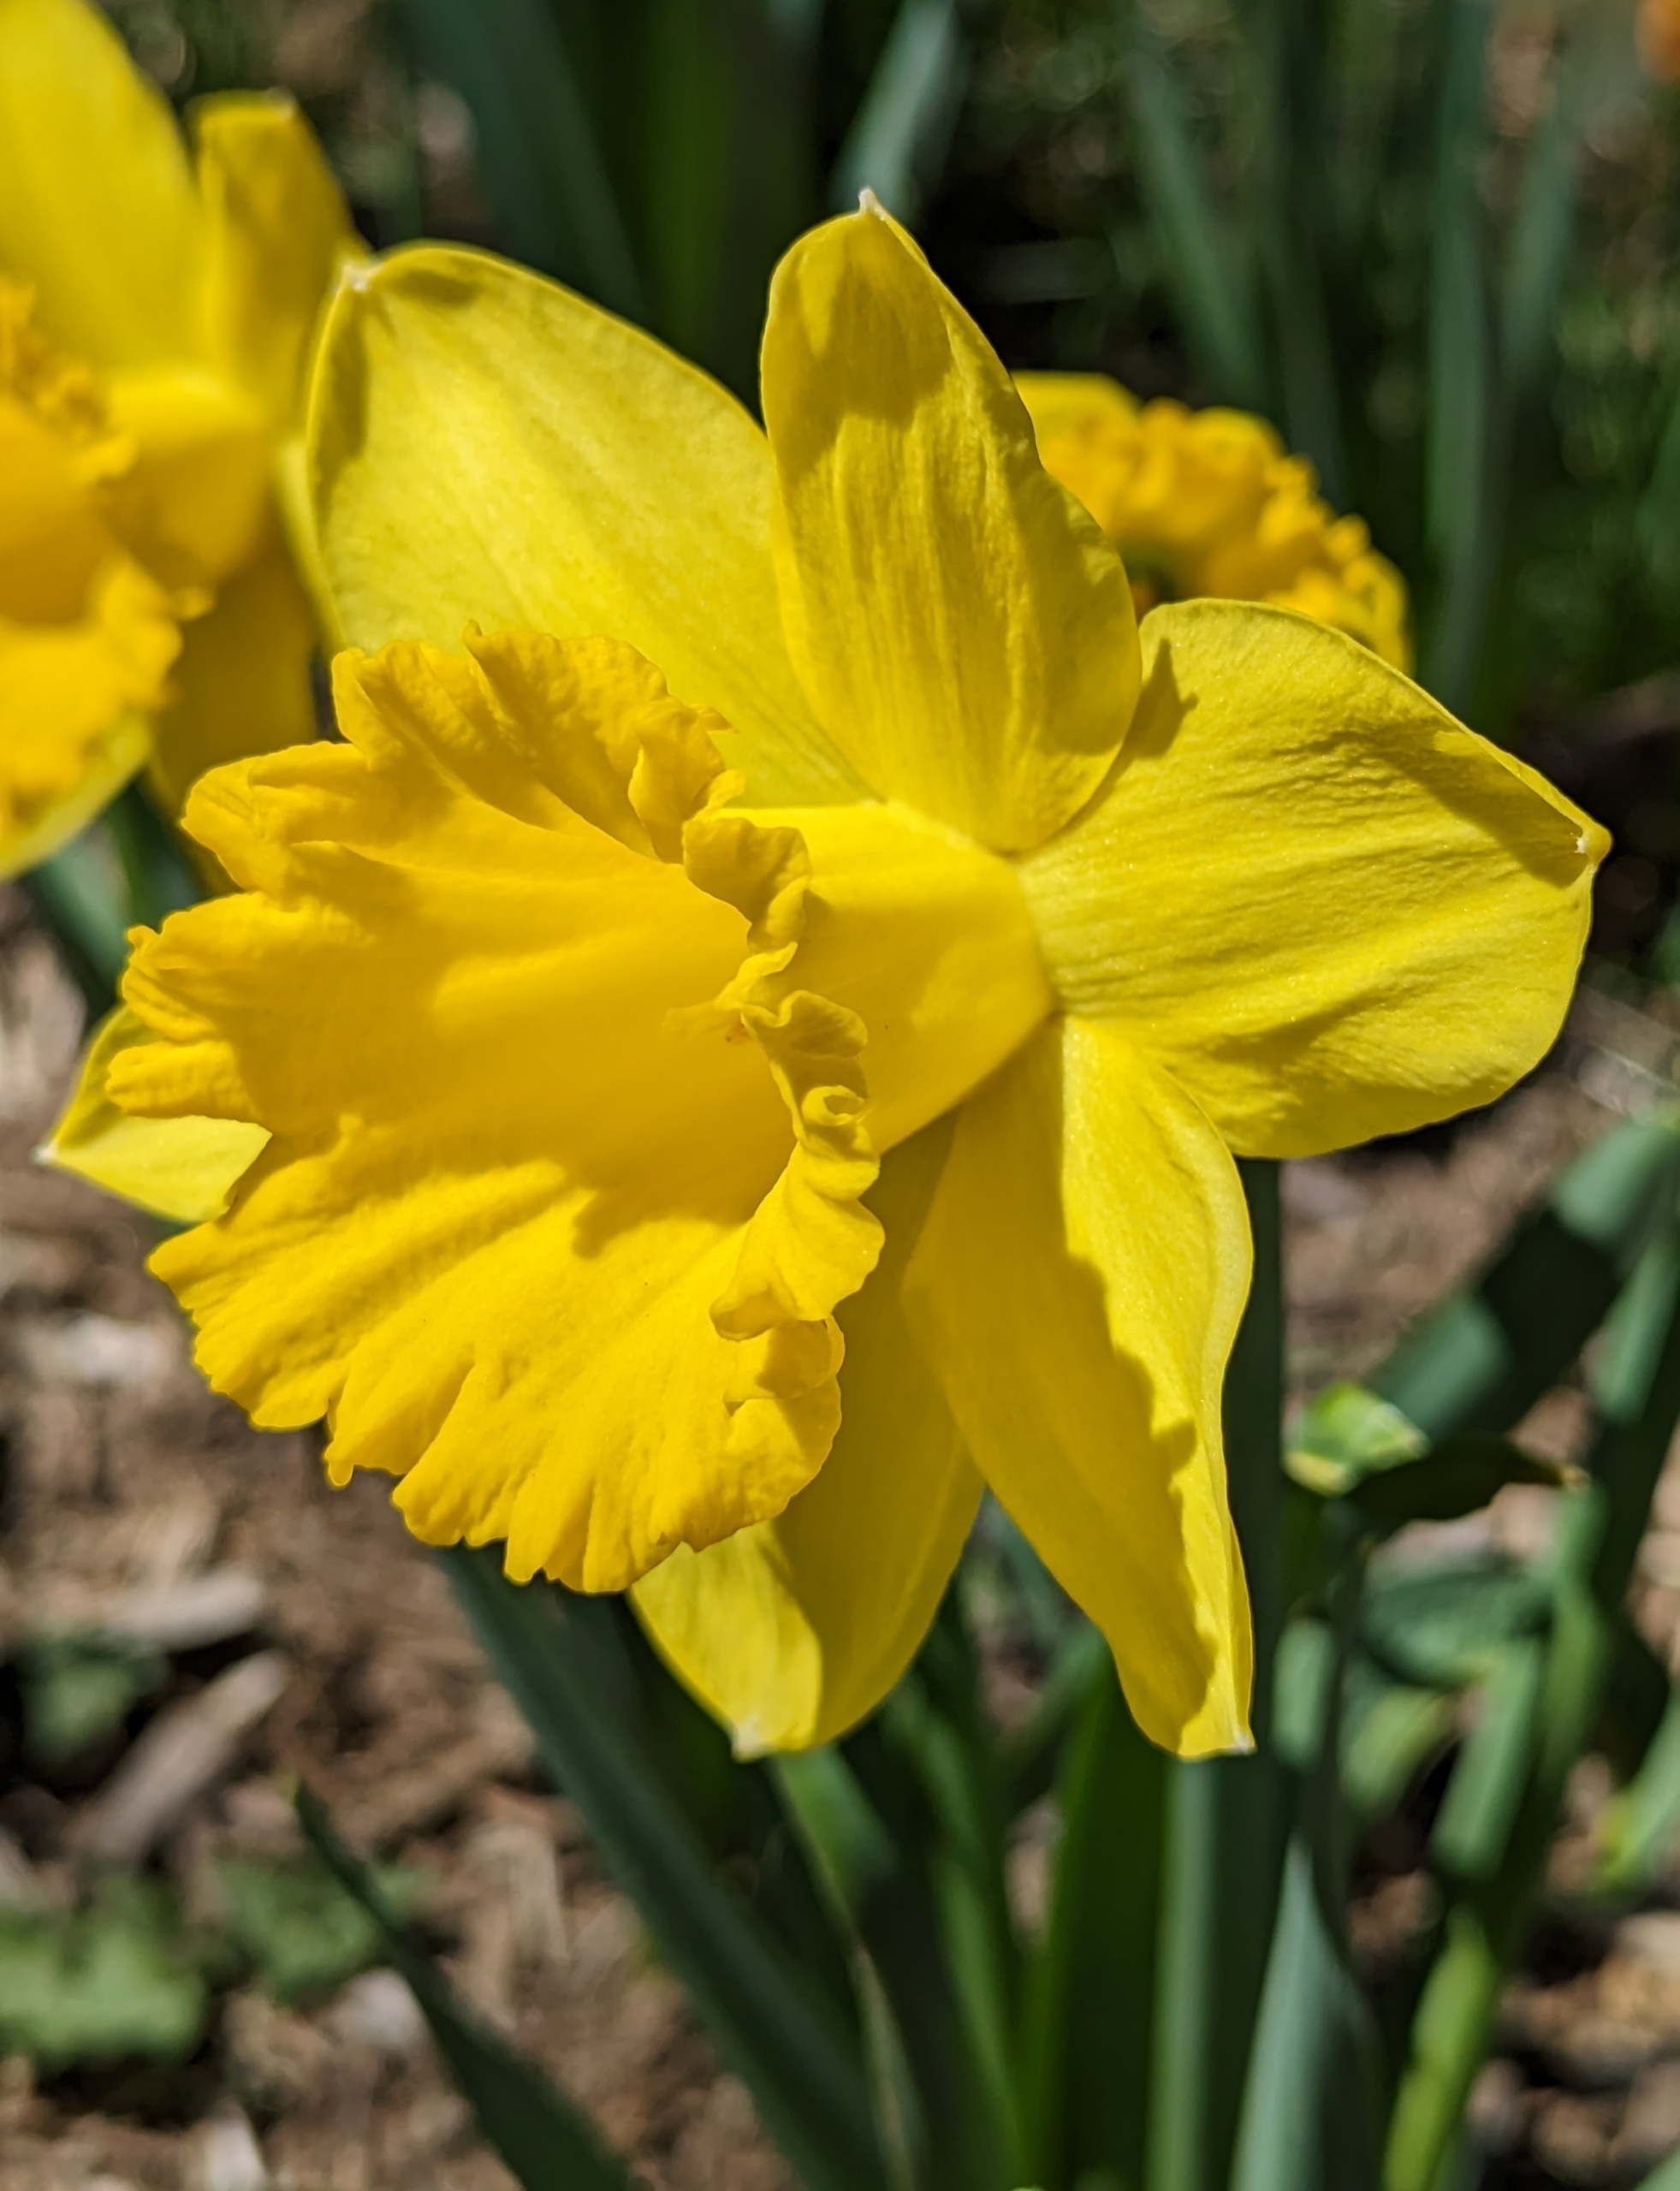
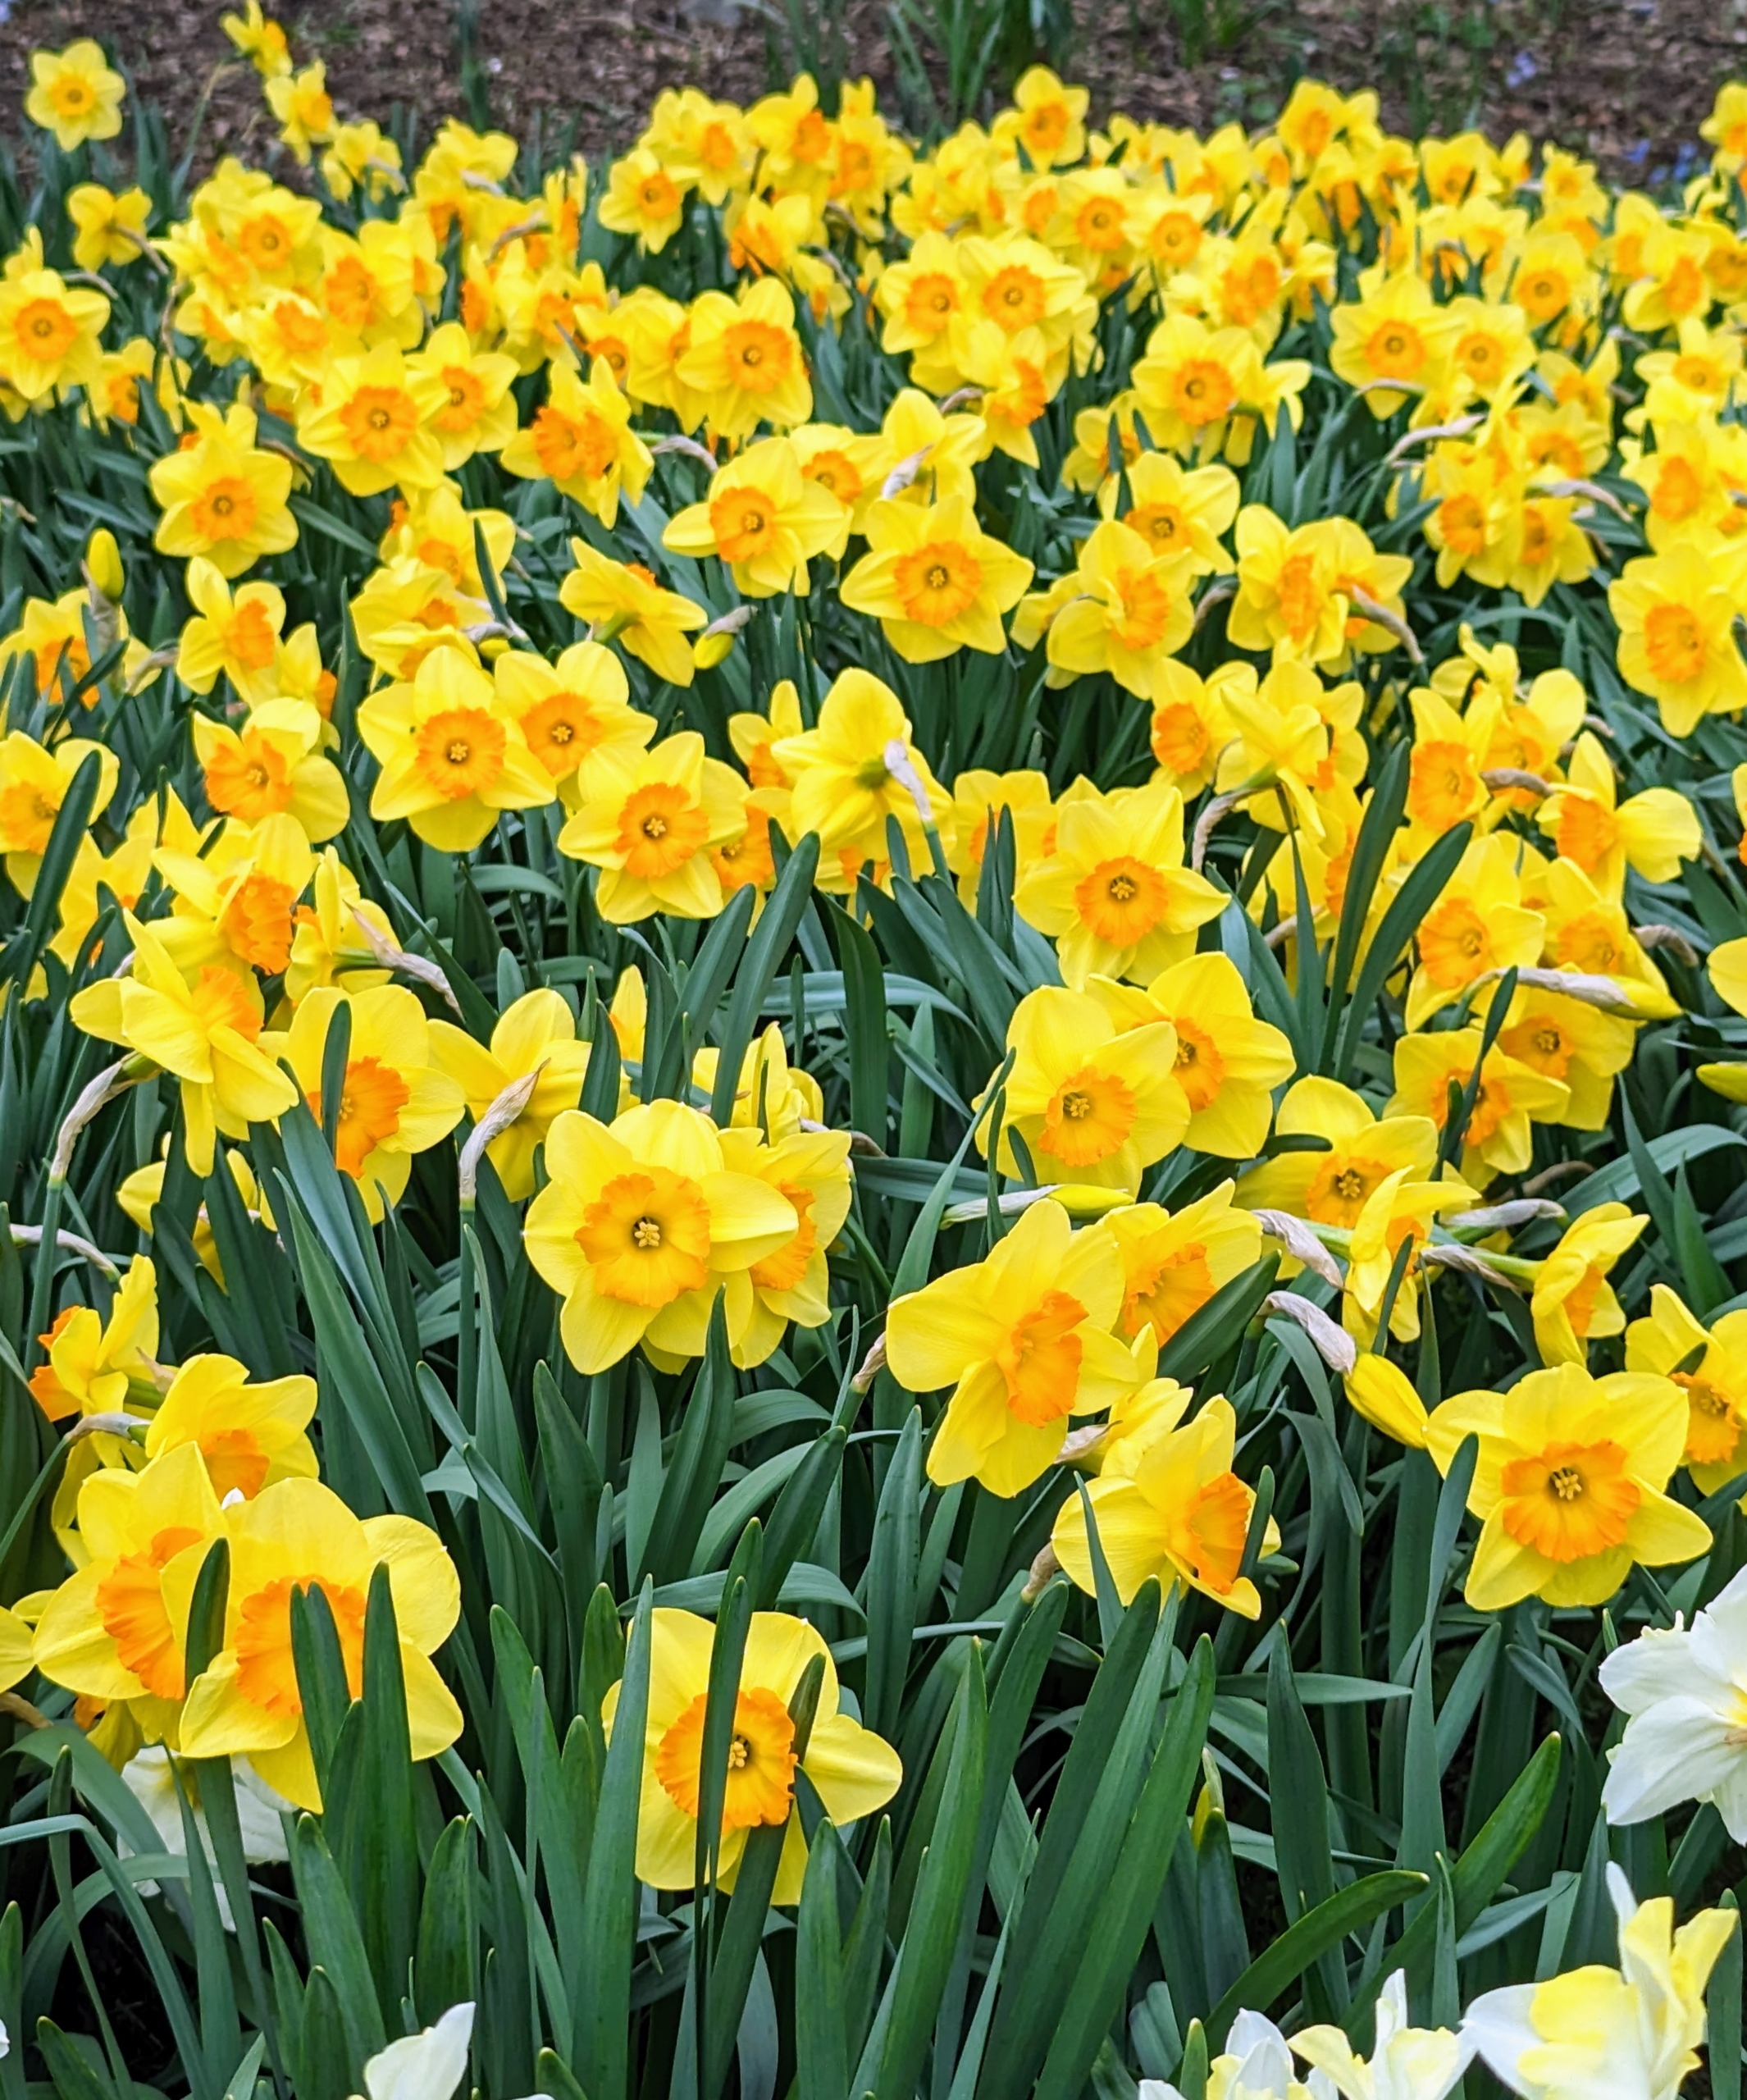
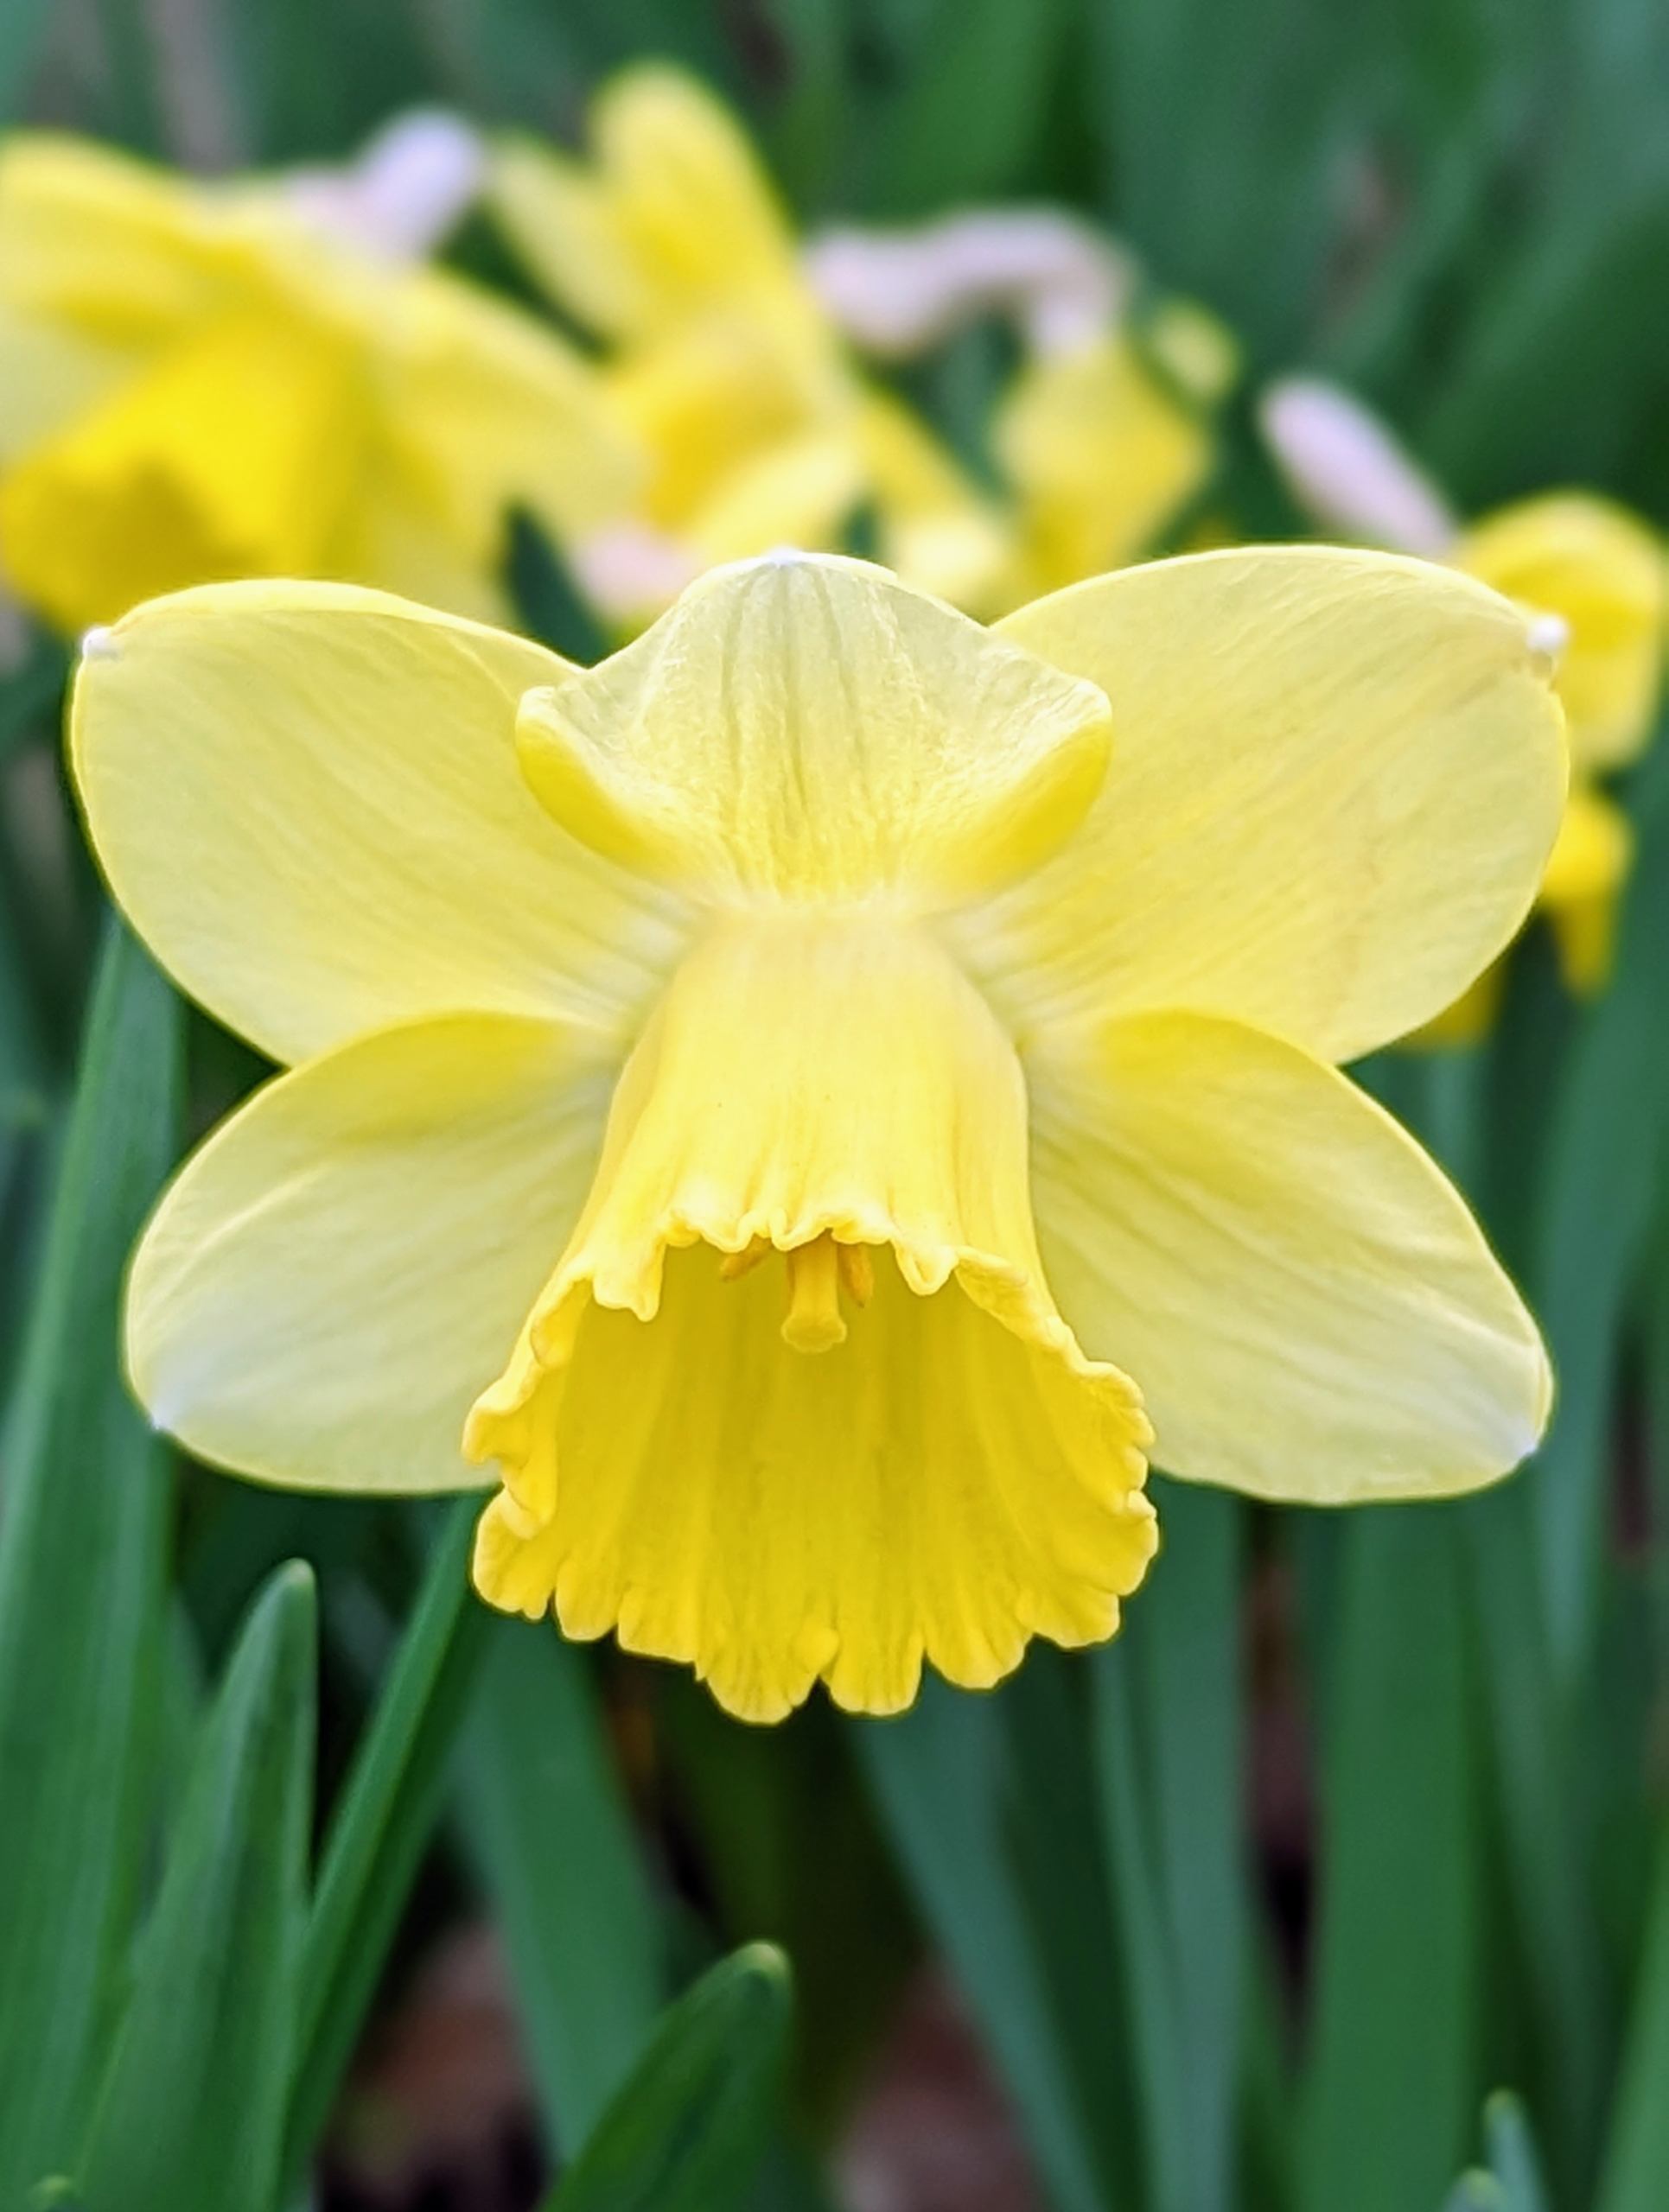
These are some of the first daffodils to bloom at the farm. Daffodil species are native to meadows and woods in southwest Europe and North Africa. They tend to be long lived bulbs and are popular ornamental plants in public and private gardens.
There are up to 40-species of daffodils, and more than 27-thousand registered daffodil hybrids.
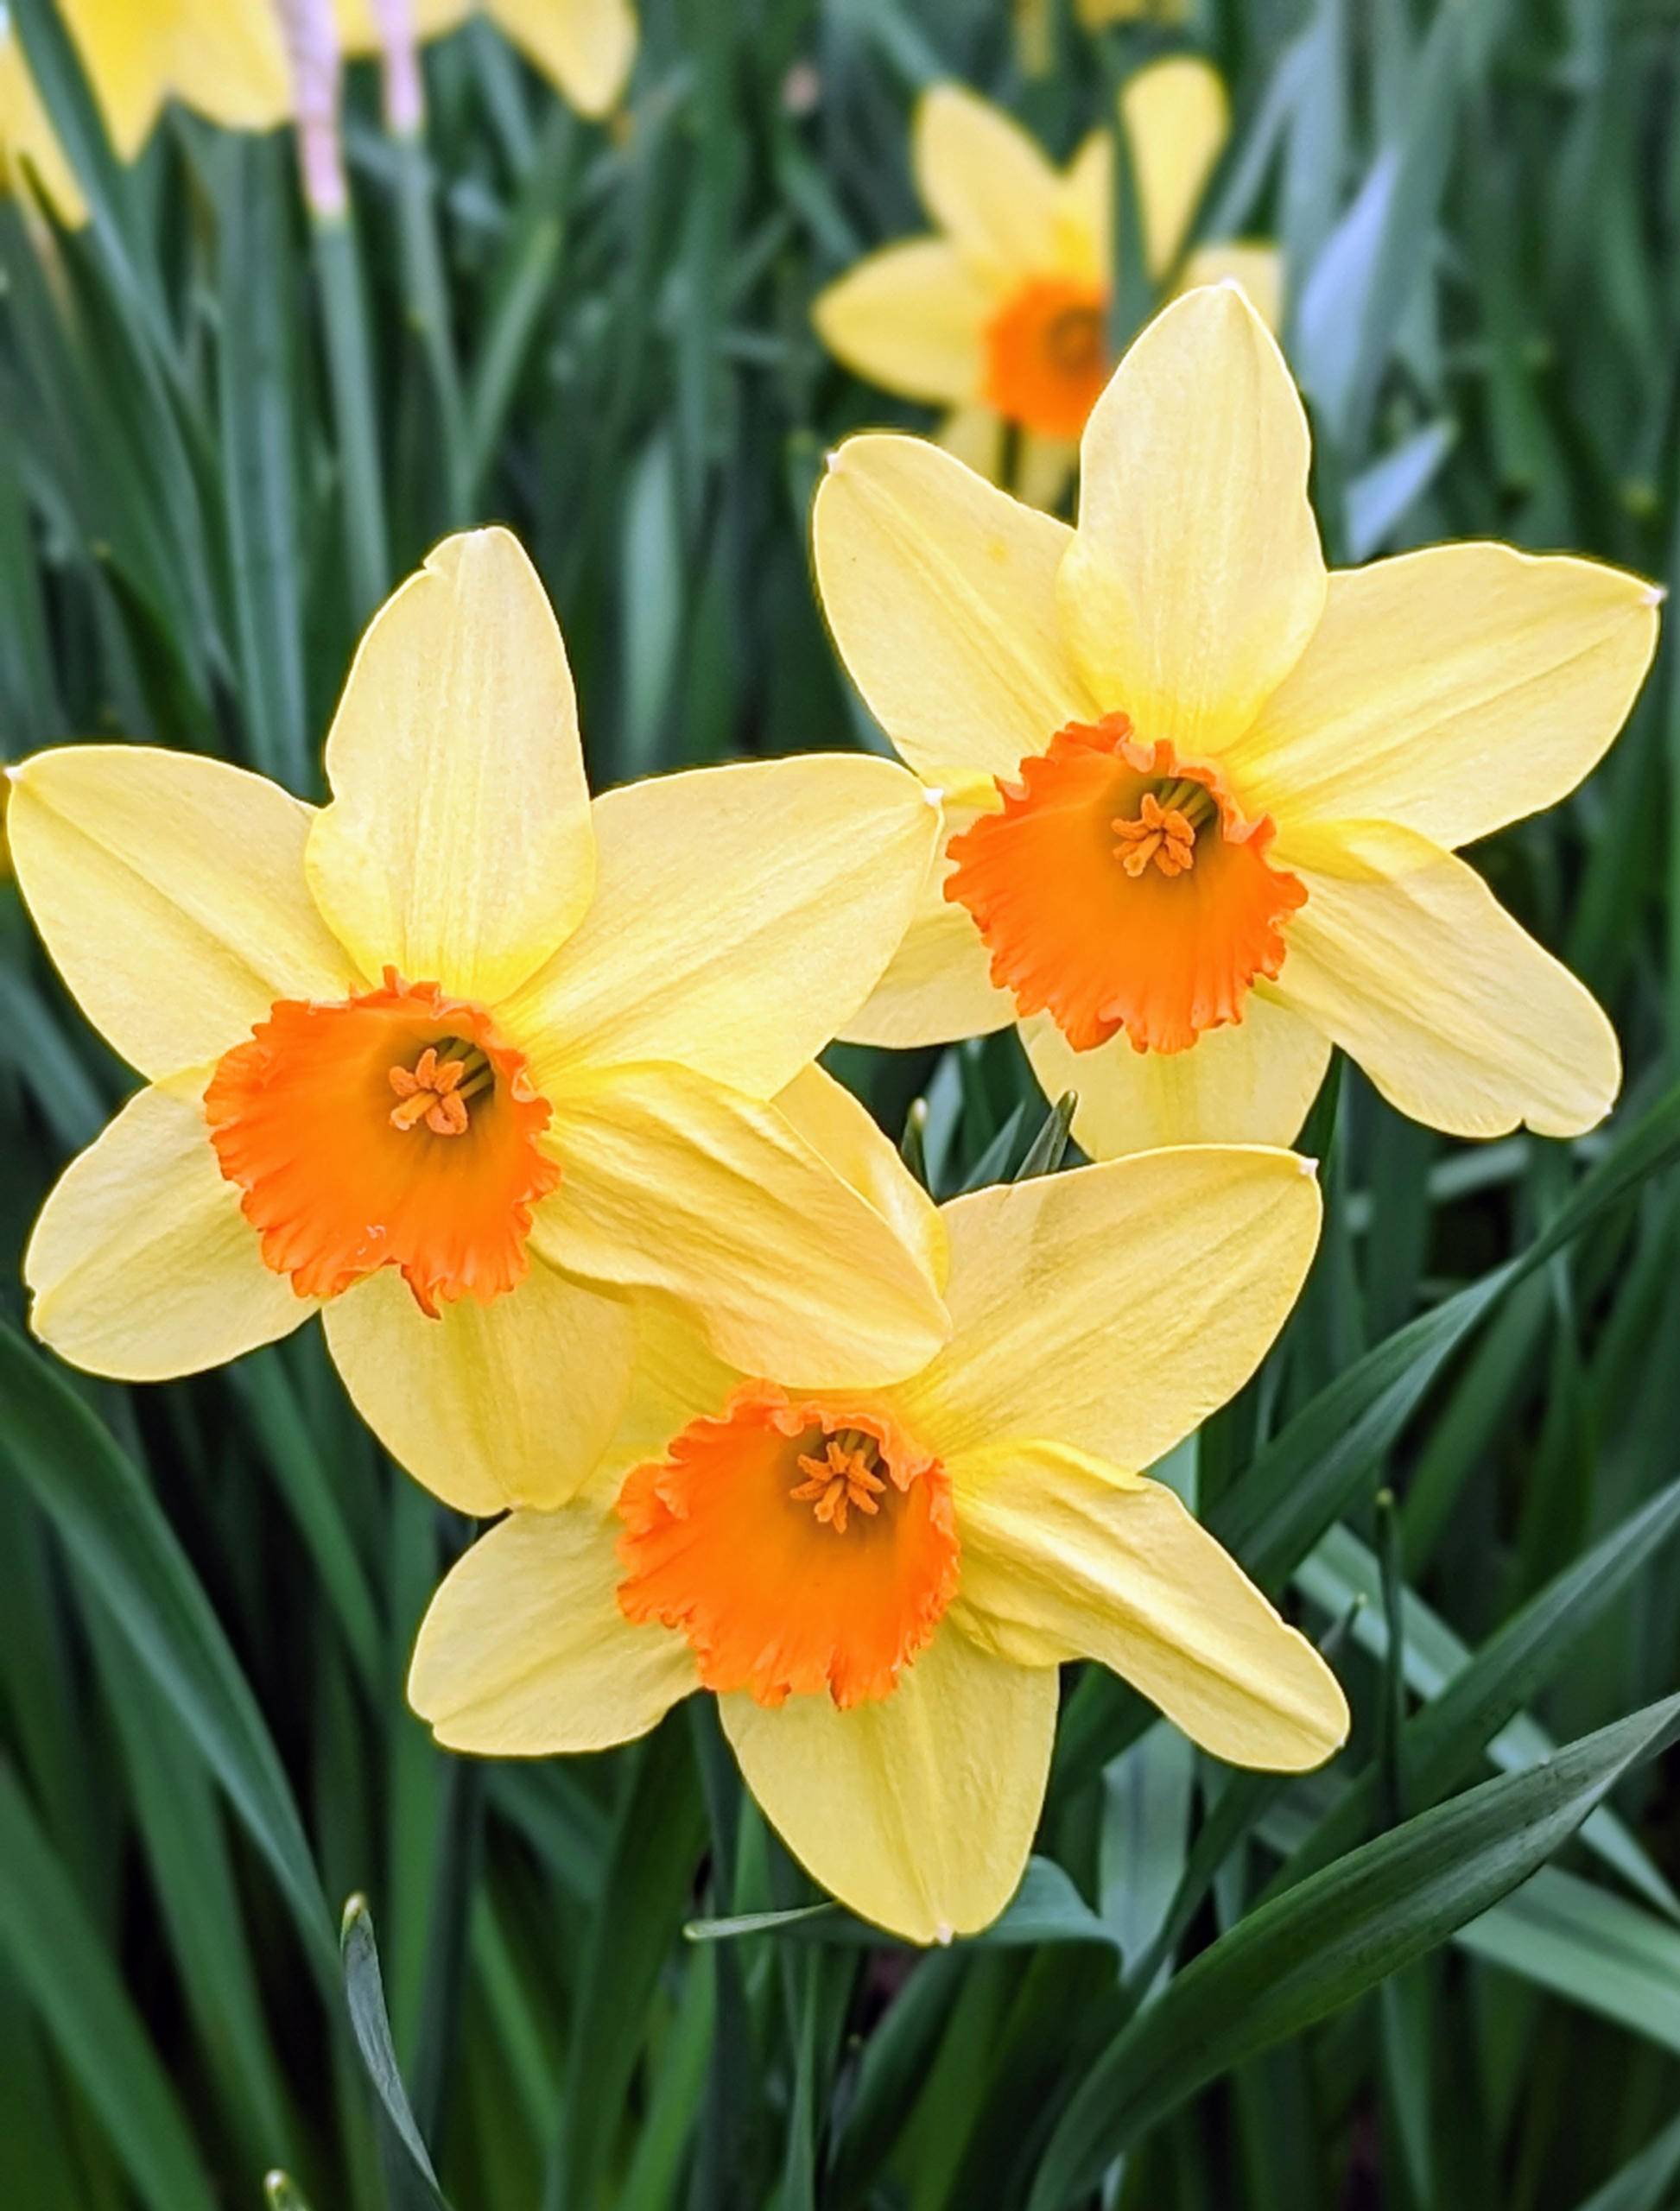
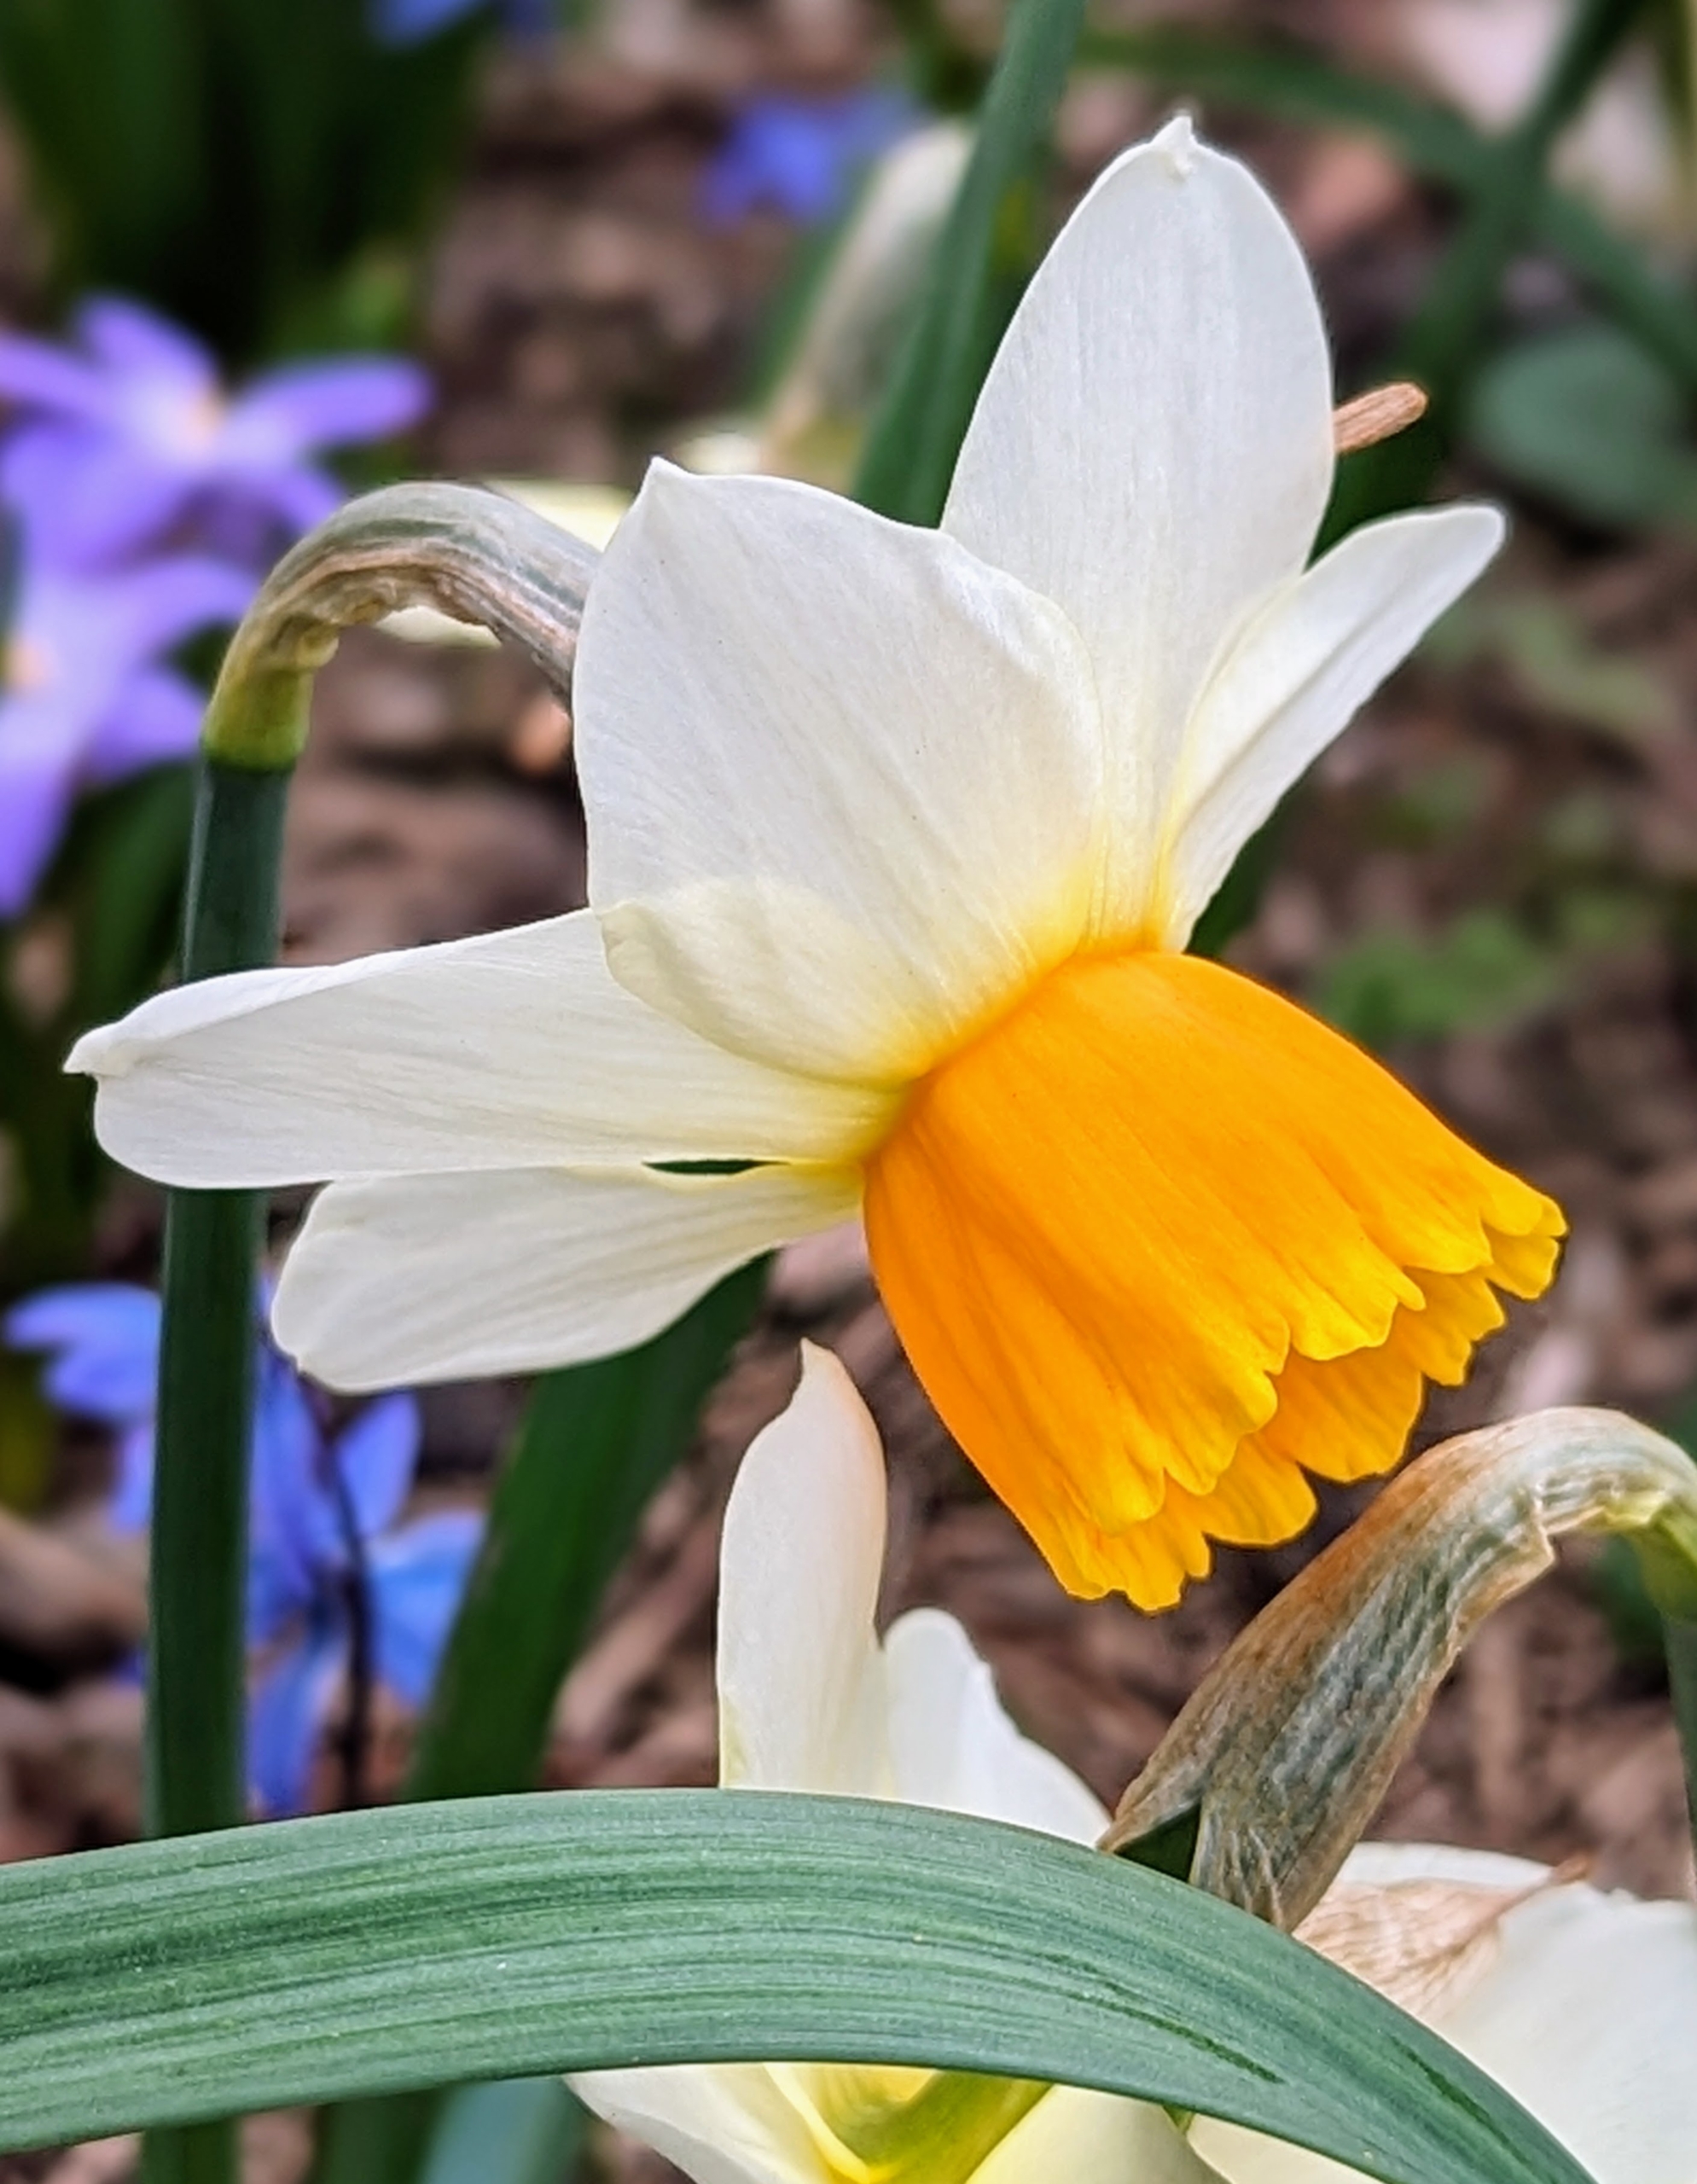
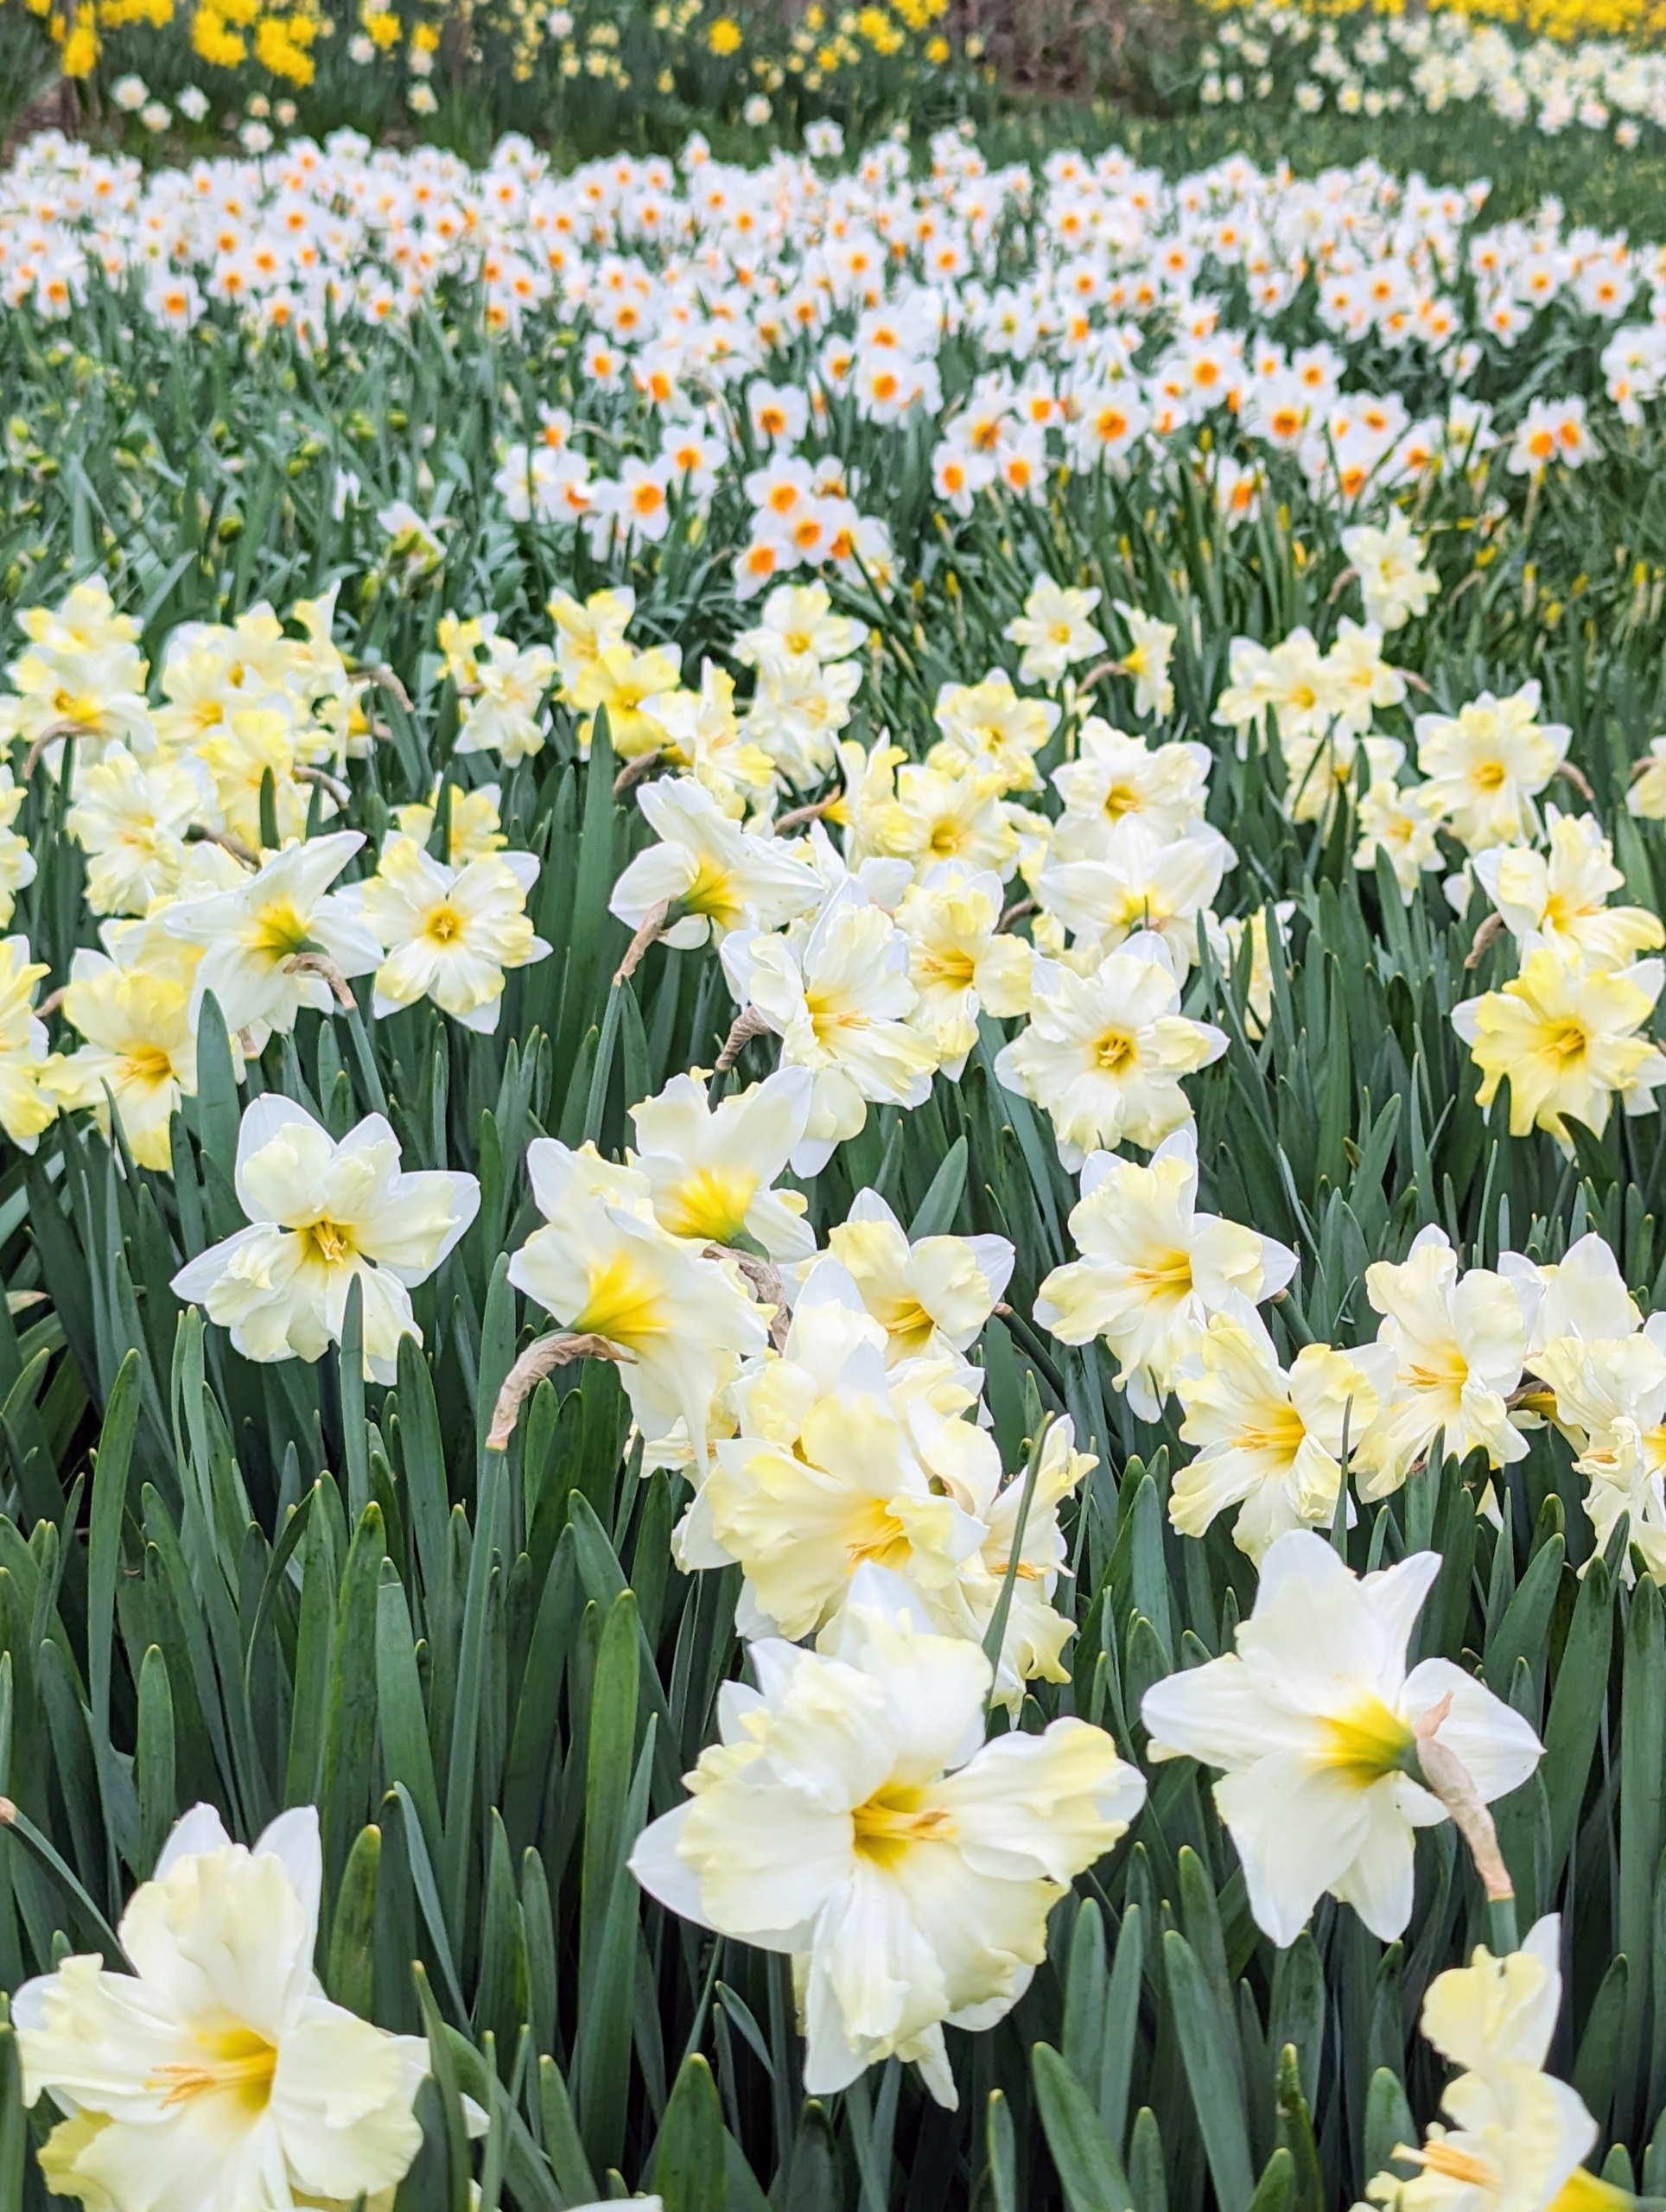
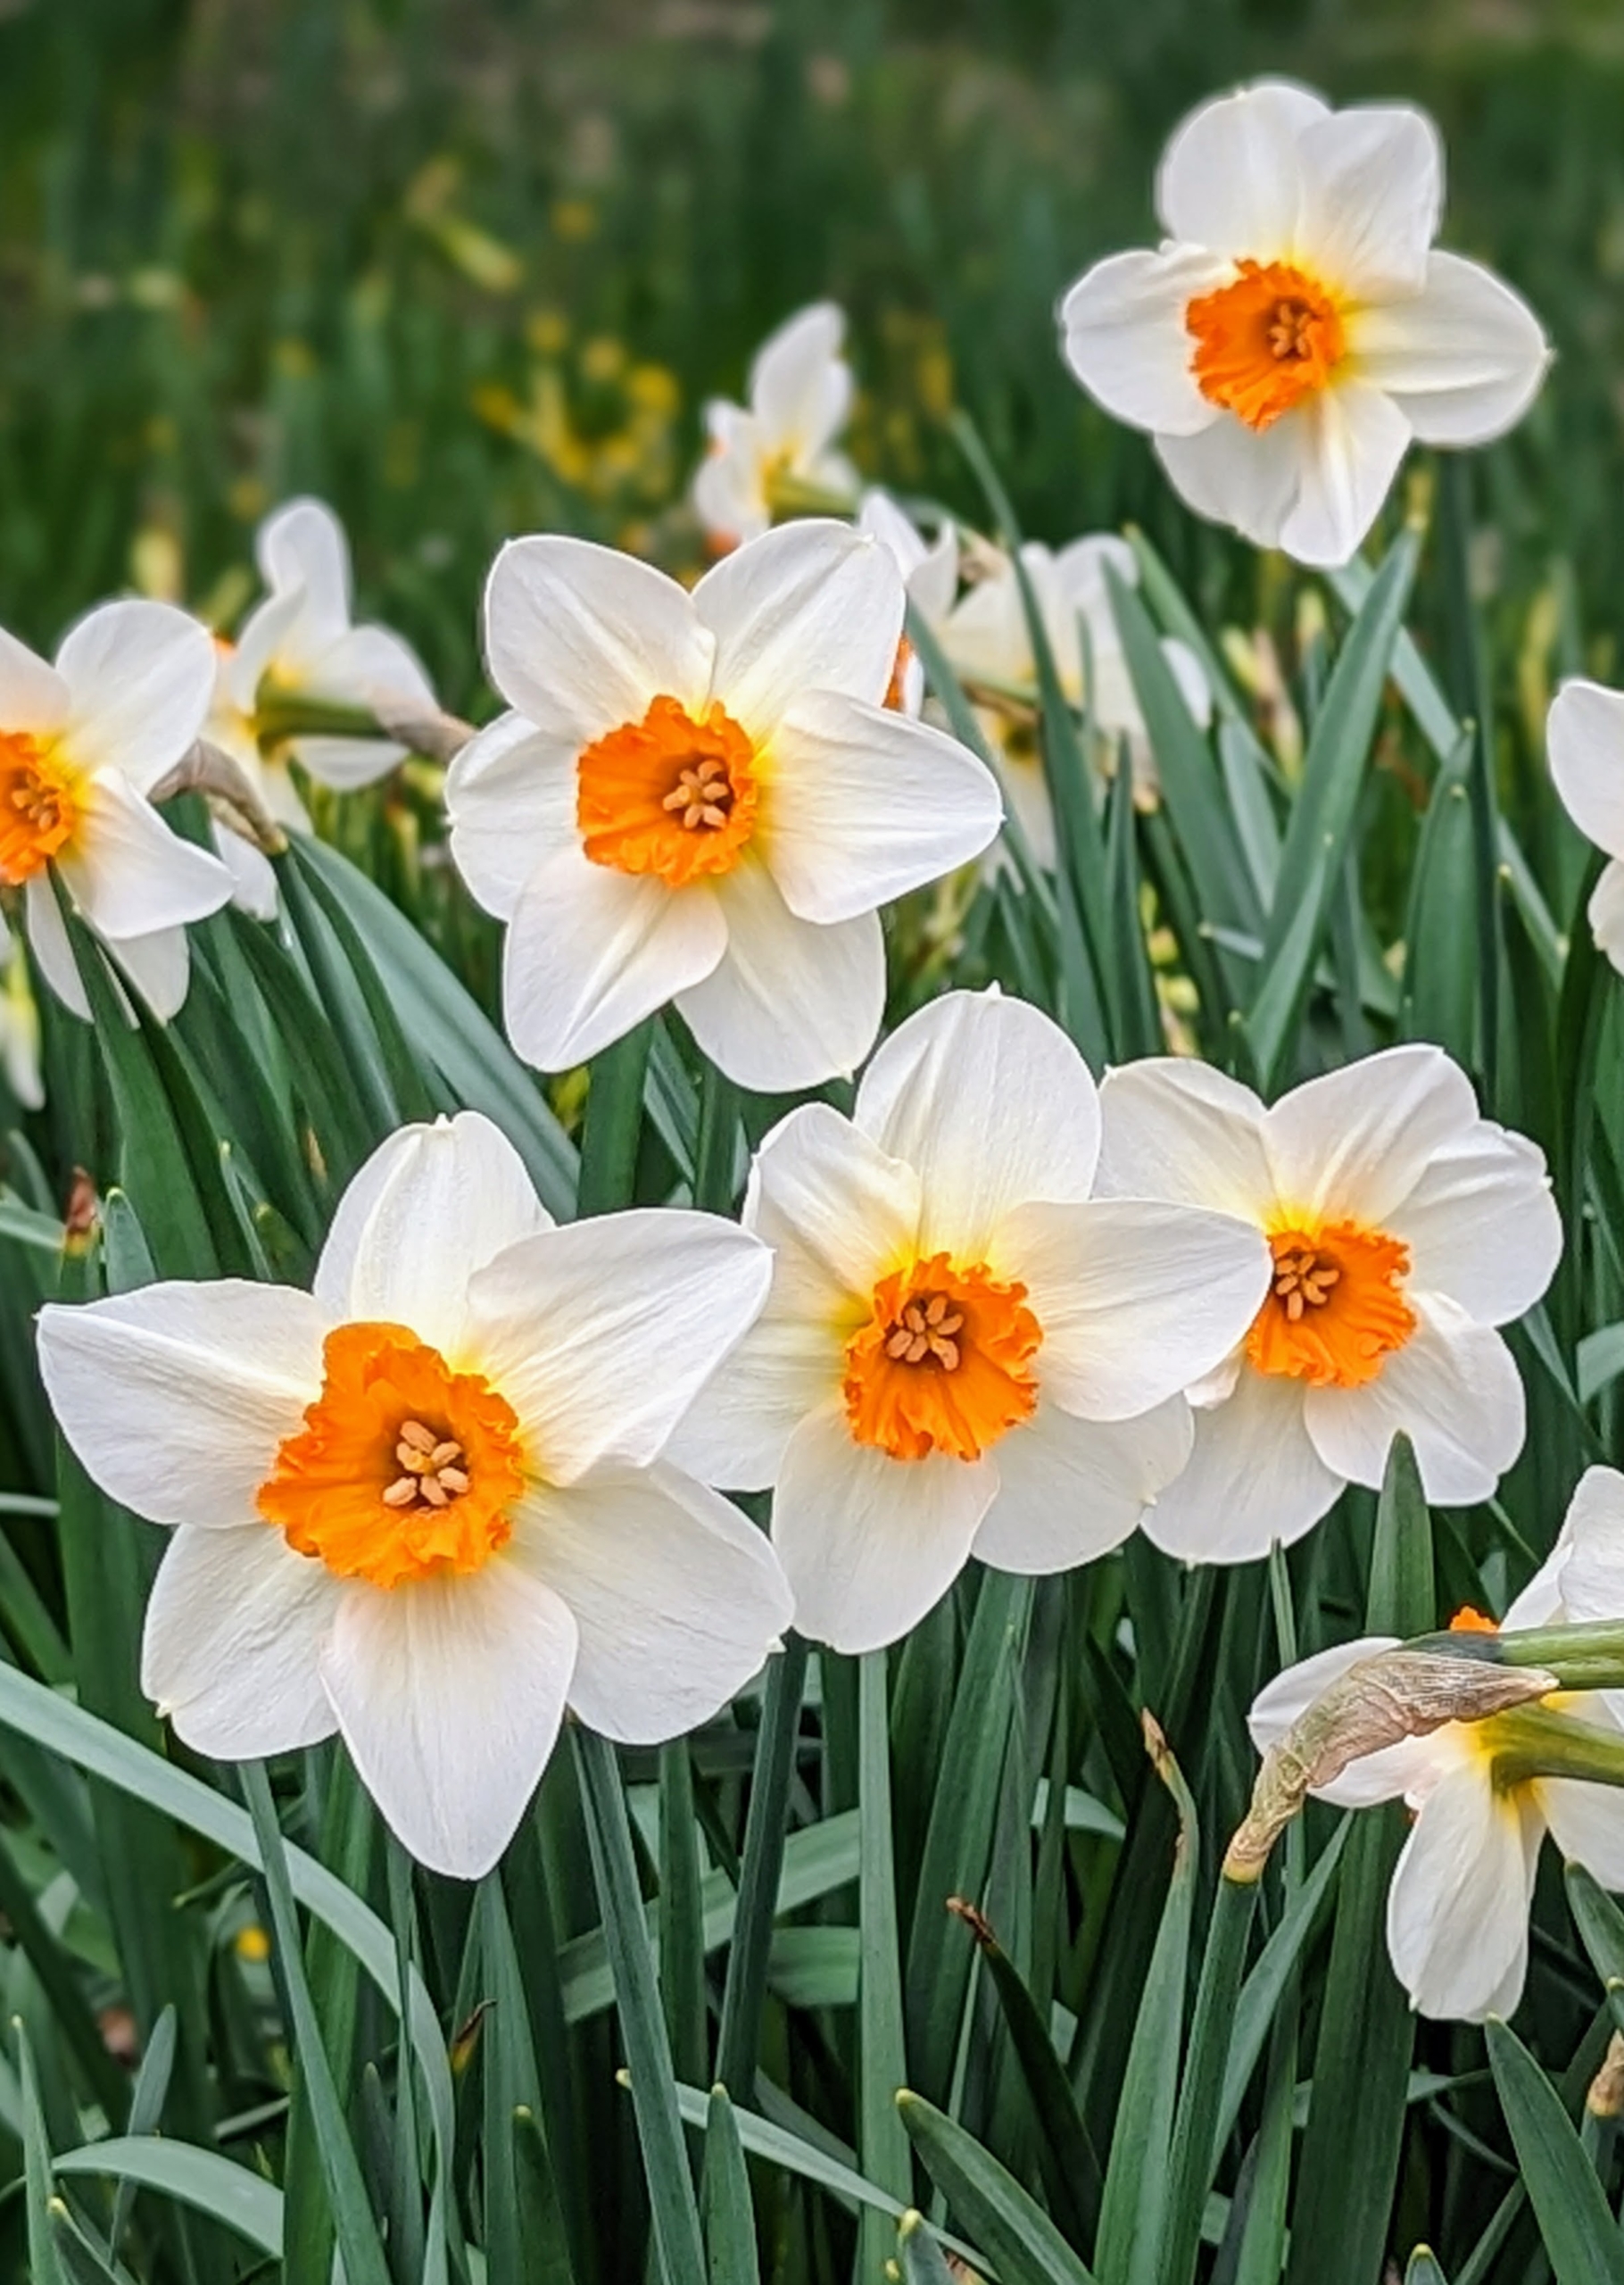
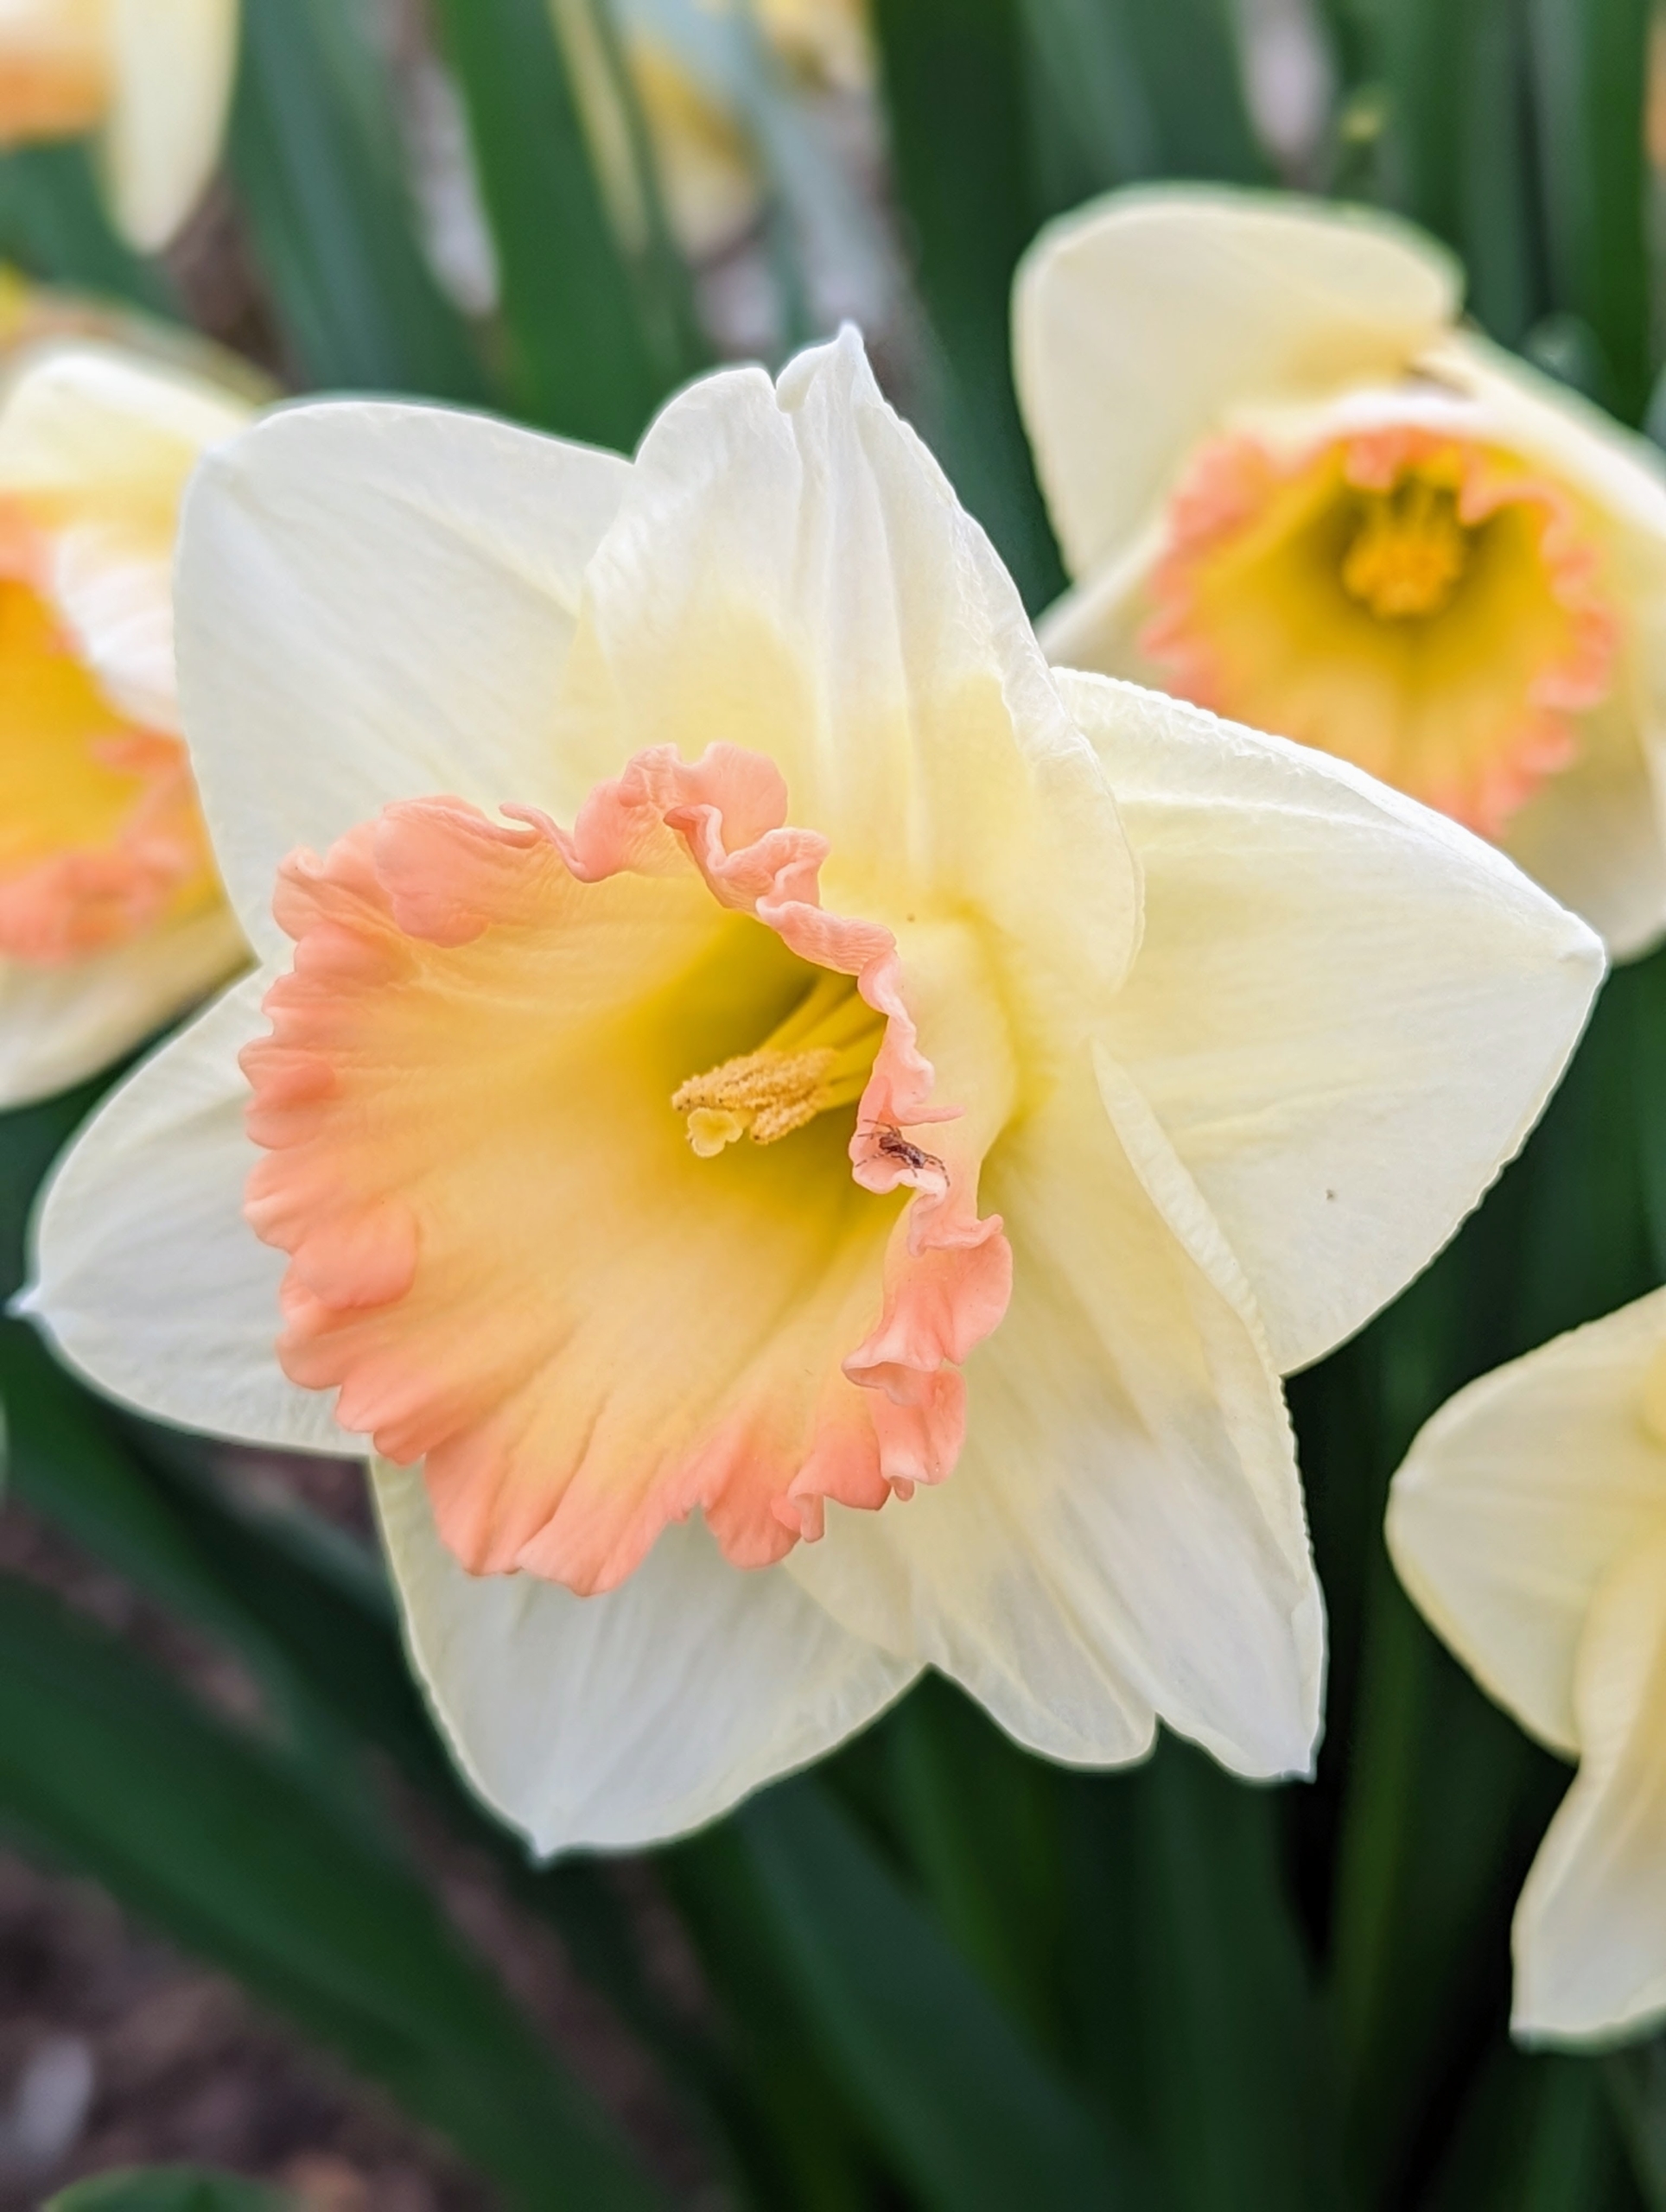
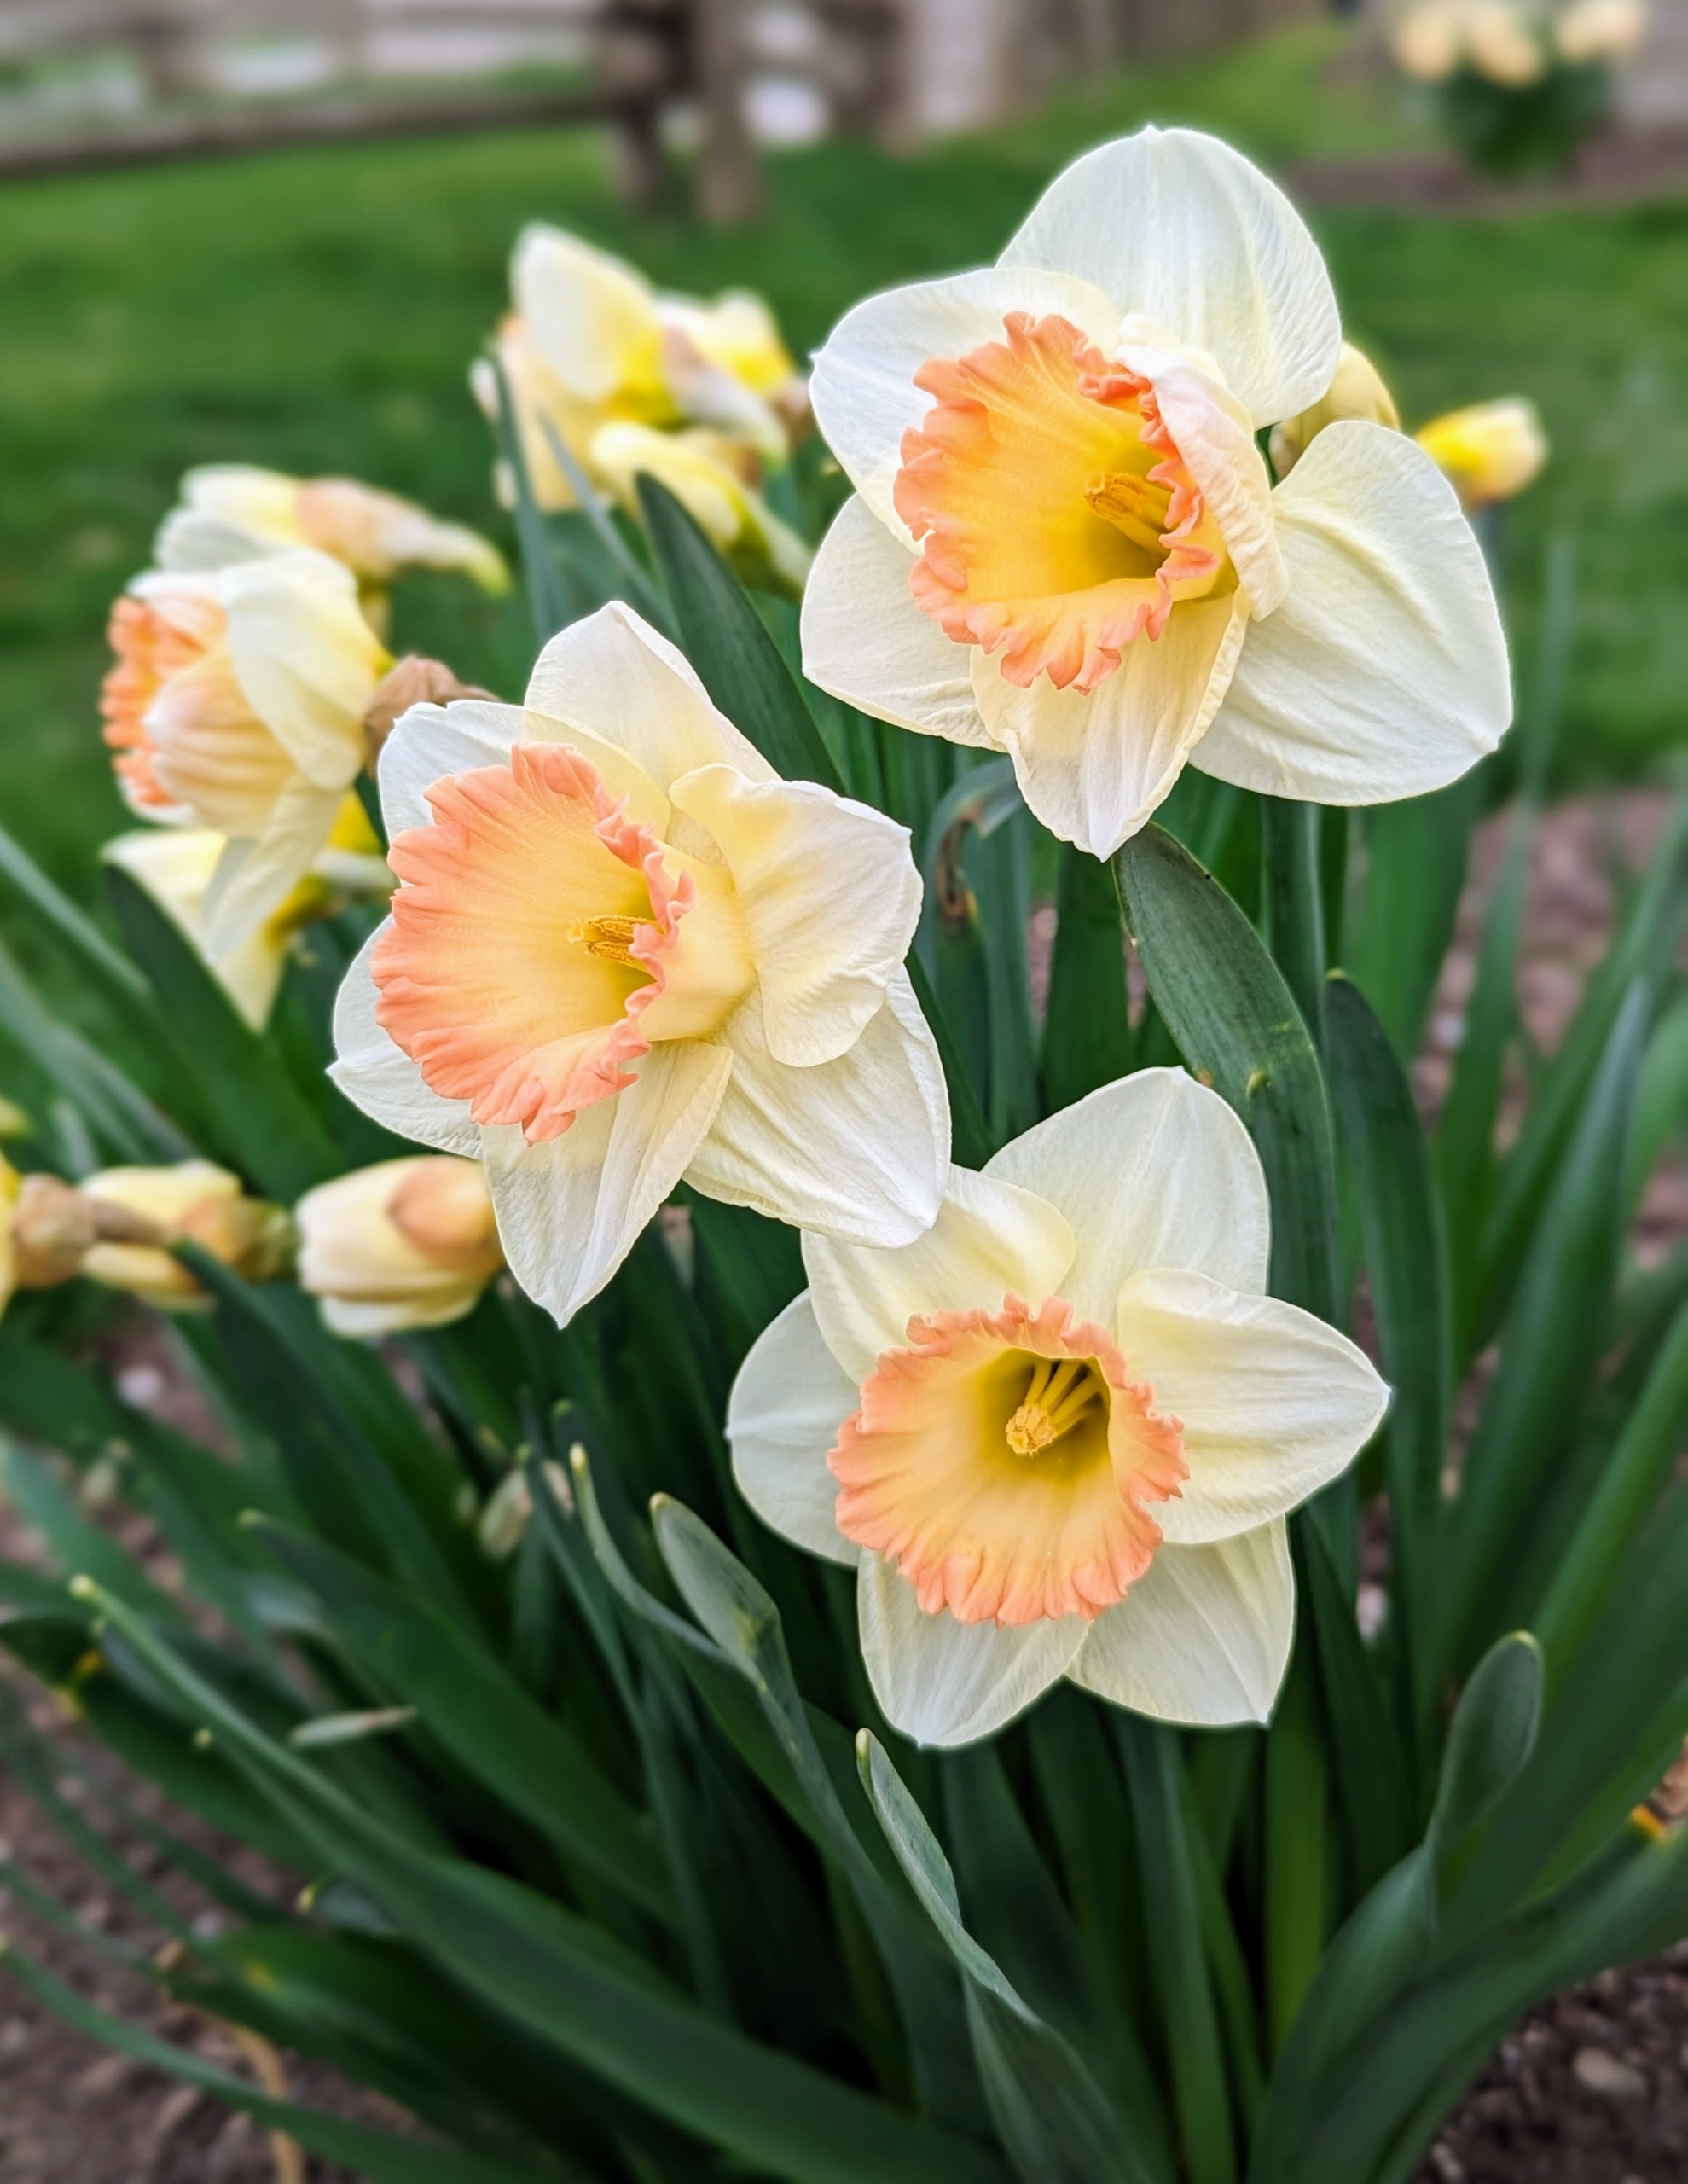
The flowers are generally white or yellow with either uniform or contrasting colored tepals and coronas. This white daffodil has a bold contrasting orange center.
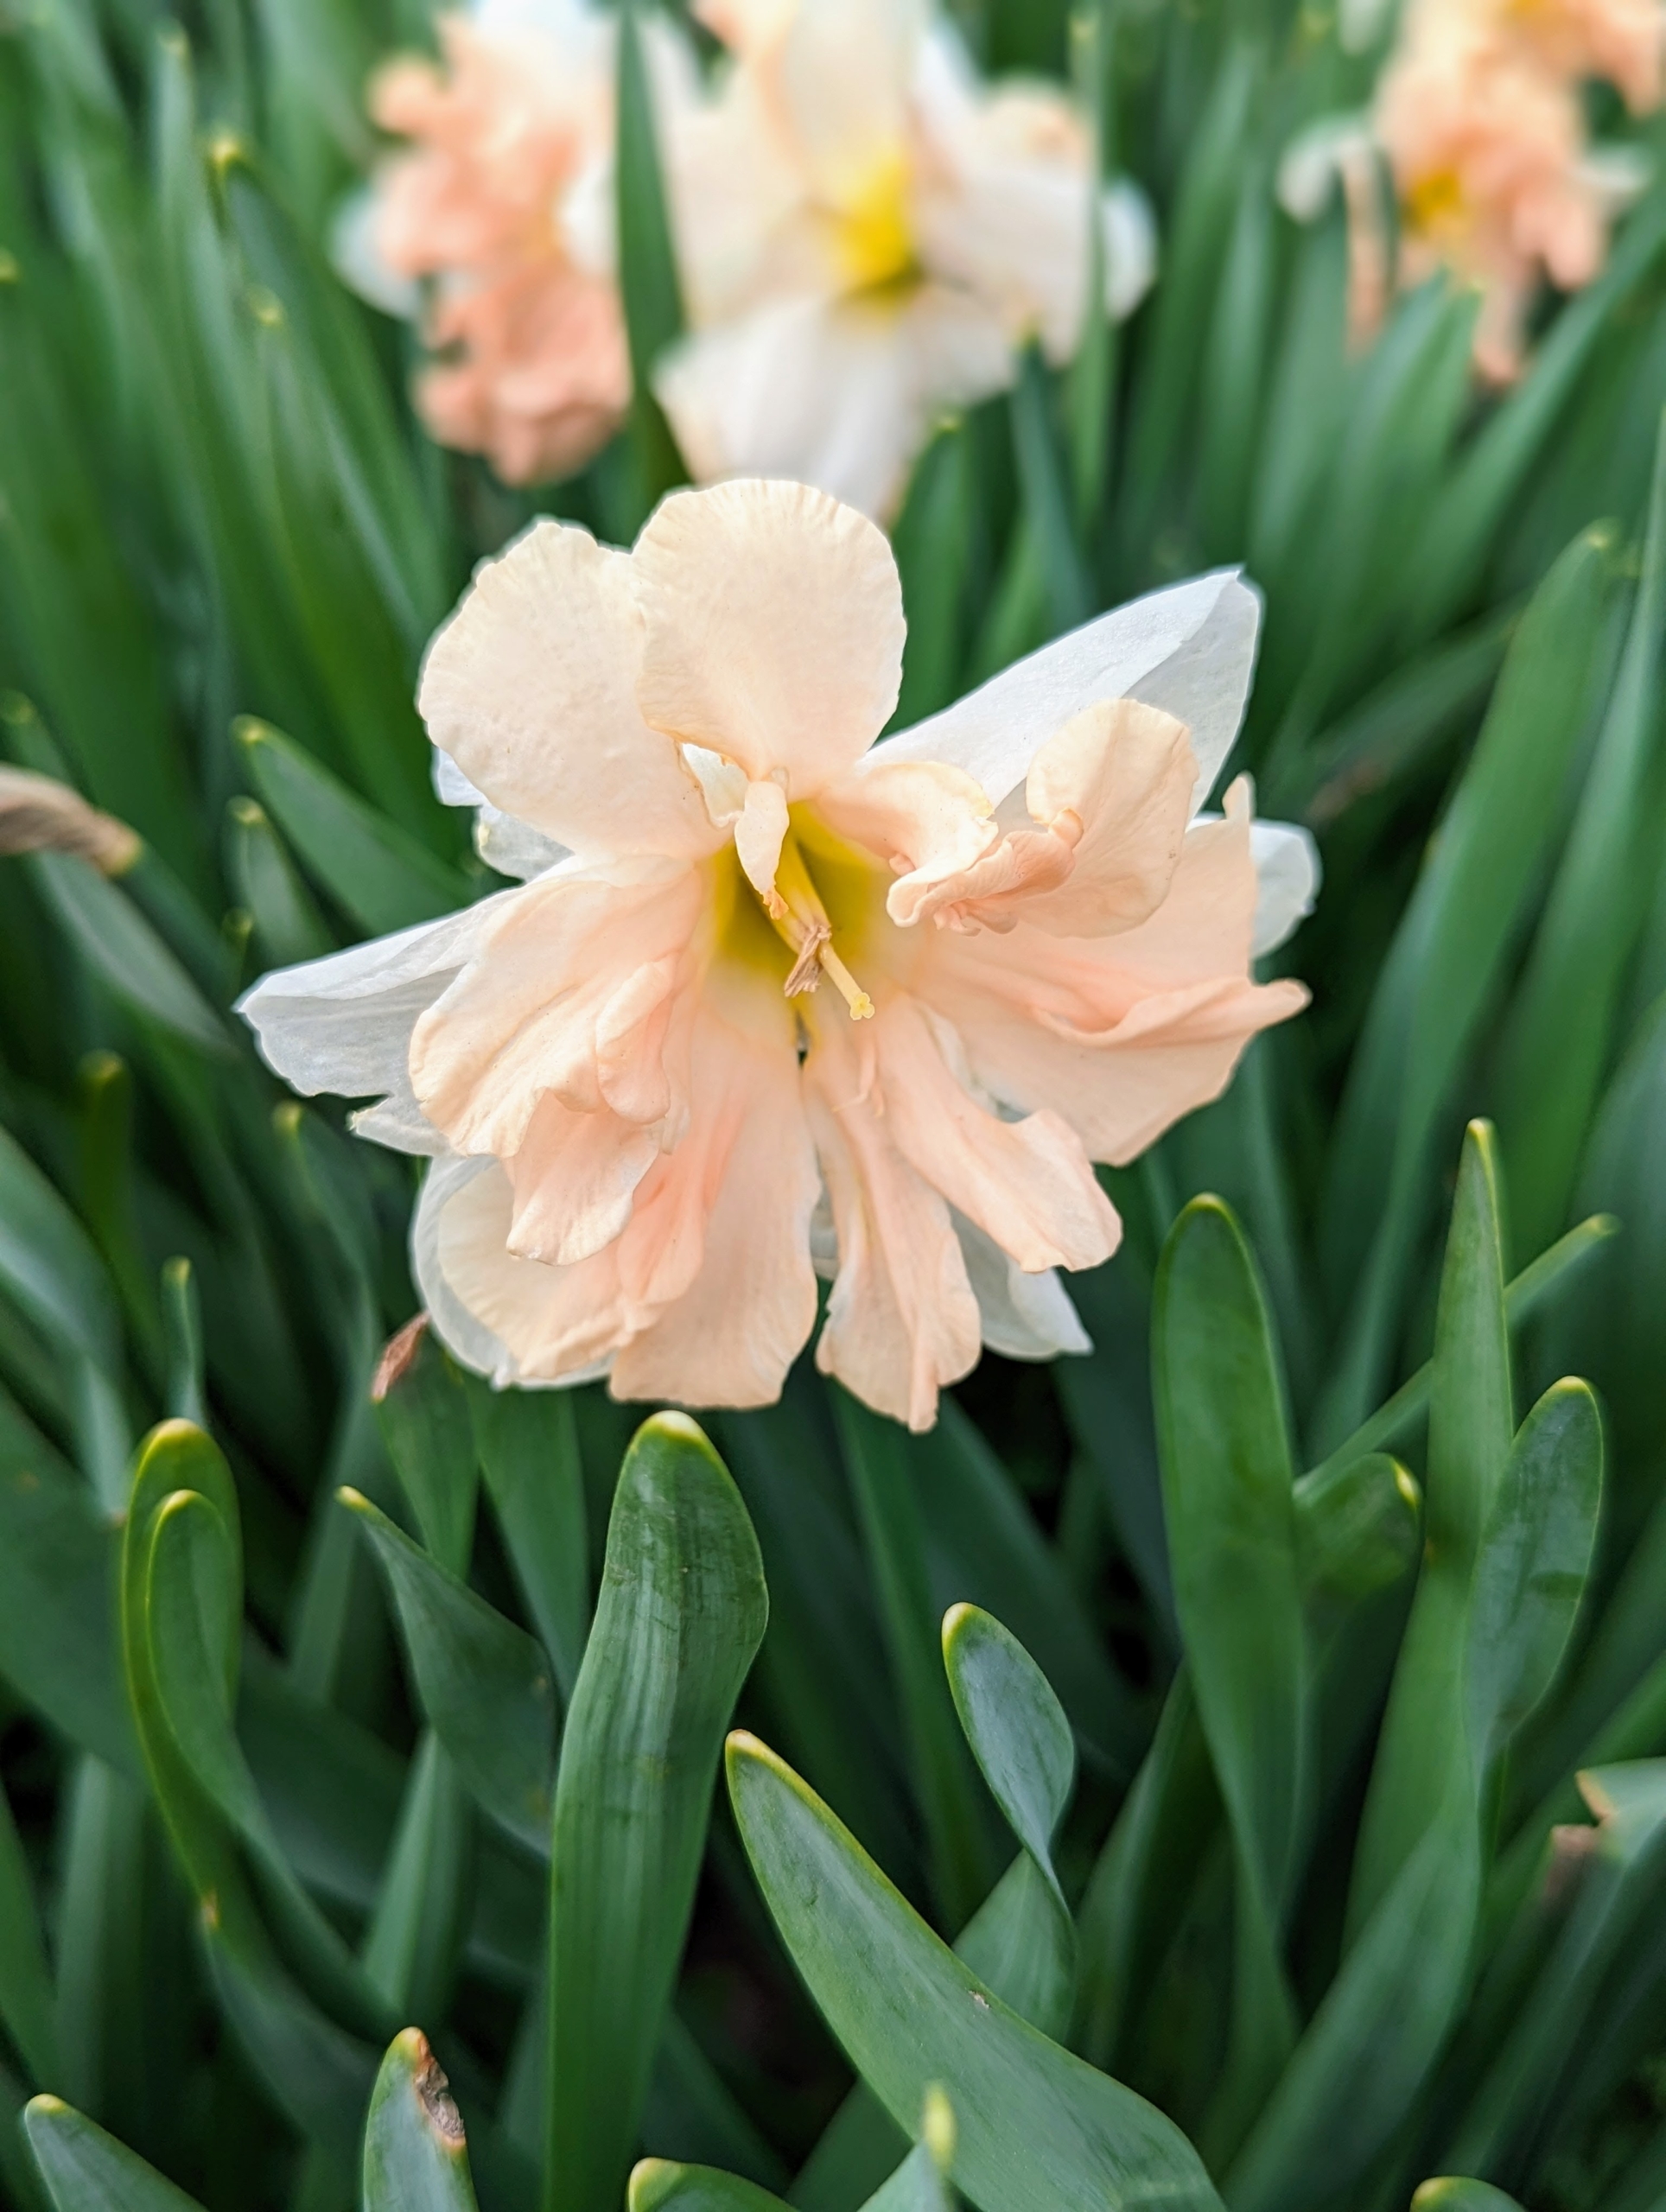
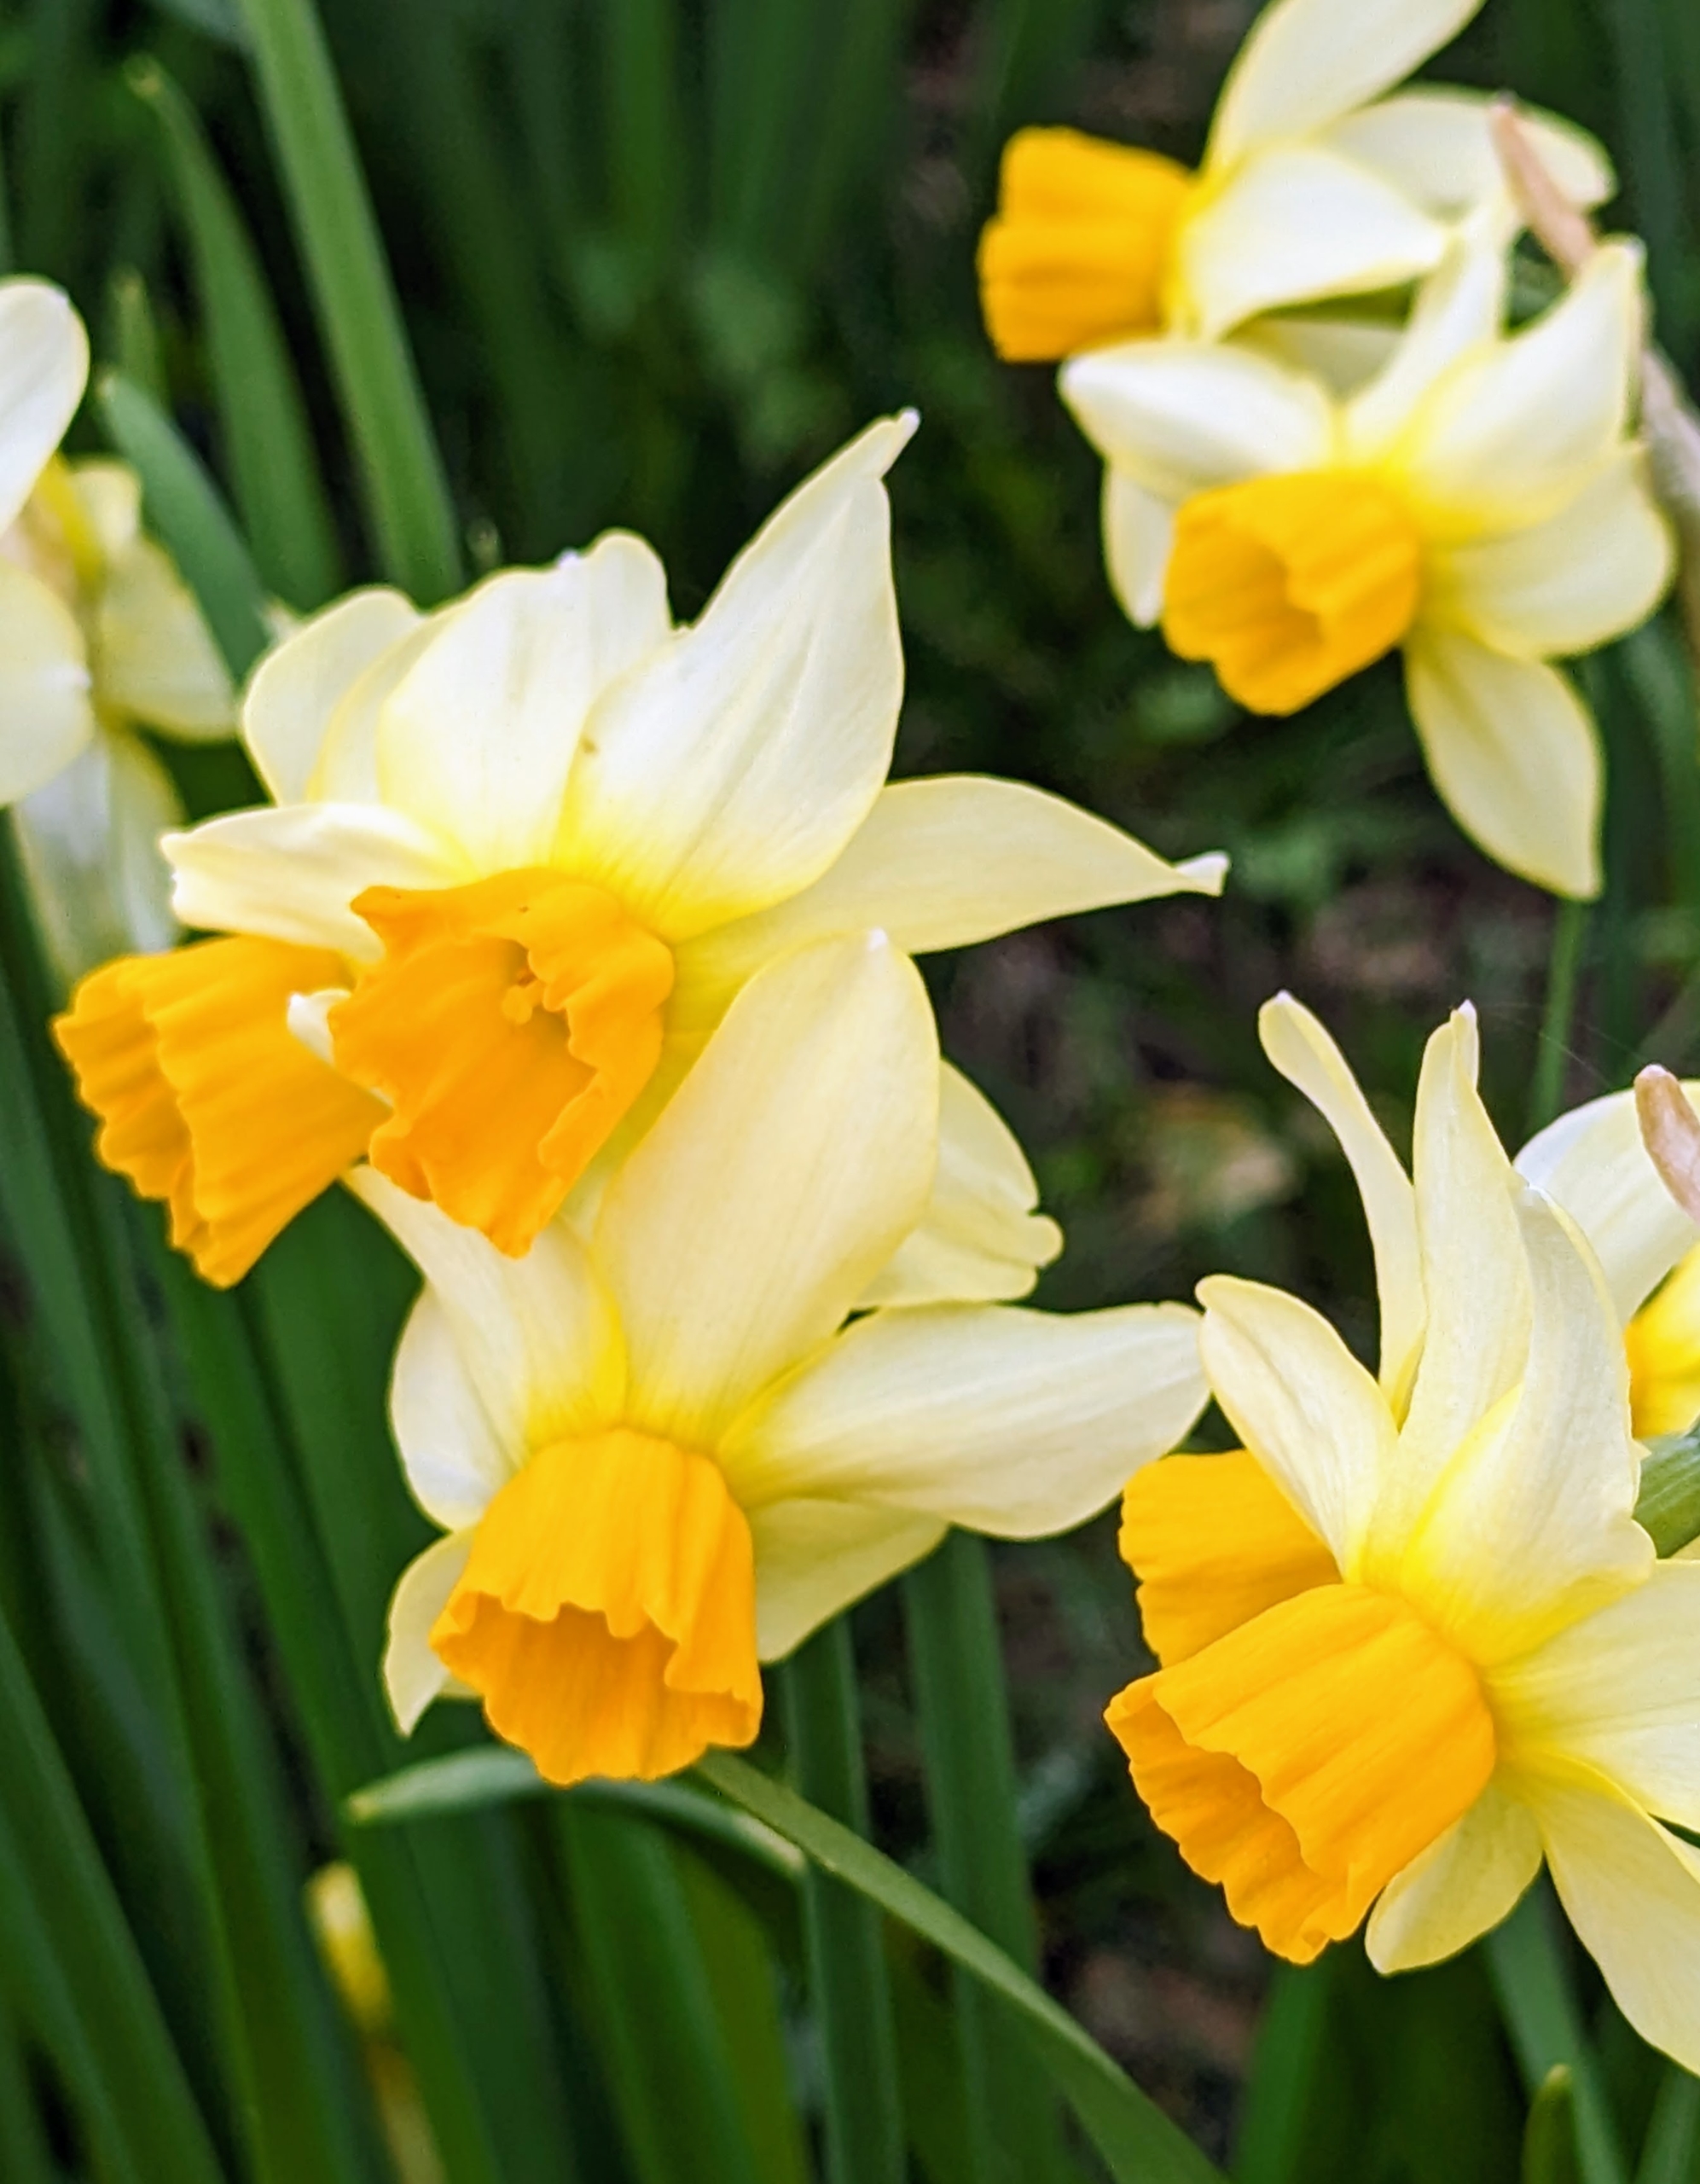
Yellow is the most common color for daffodils, but they also bloom in white, cream, orange and even pink. They also come in a variety of flower forms, including trumpets, doubles, split-cups, large-cups, and jonquils.
Daffodil plants prefer a neutral to slightly acidic soil. When planting, be sure there is room for them to spread, but not where the soil is water-logged.
Planted in clusters instead of rows will provide a fuller, more natural look.
Normal rainfall will typically take care of any watering requirements during the spring flowering season. The most important care tip is to provide daffodils with rich, well-drained soil.
I take stock of my daffodils every year to see what is growing well and what is not, so I can learn what to remove, where to add more, and what to plant next.
When choosing where to plant daffodils, select an area that gets at least half a day of sun. Hillsides and raised beds do nicely.
Cultivars with bold colored cups generally retain better color when planted in a little shade to protect them from the hot afternoon rays.
And remember what I always say about all plants and flowers – if you eat, so should your plants. Fertilize daffodils with extra phosphorous to encourage good root development, especially when they’re young.
Few pests bother daffodils. The bulbs are actually quite unappetizing to most insects and animals, including deer and voles.
After daffodils bloom in the spring, allow the plants to continue growing until they die off on their own. They need the time after blooming to store energy in their bulbs for next year.
When cutting daffodils, they should be kept alone in the vase as their stems secrete a fluid that promotes wilting in other flowers. If you need to combine flowers, soak them alone first and then add them to the arrangements last.
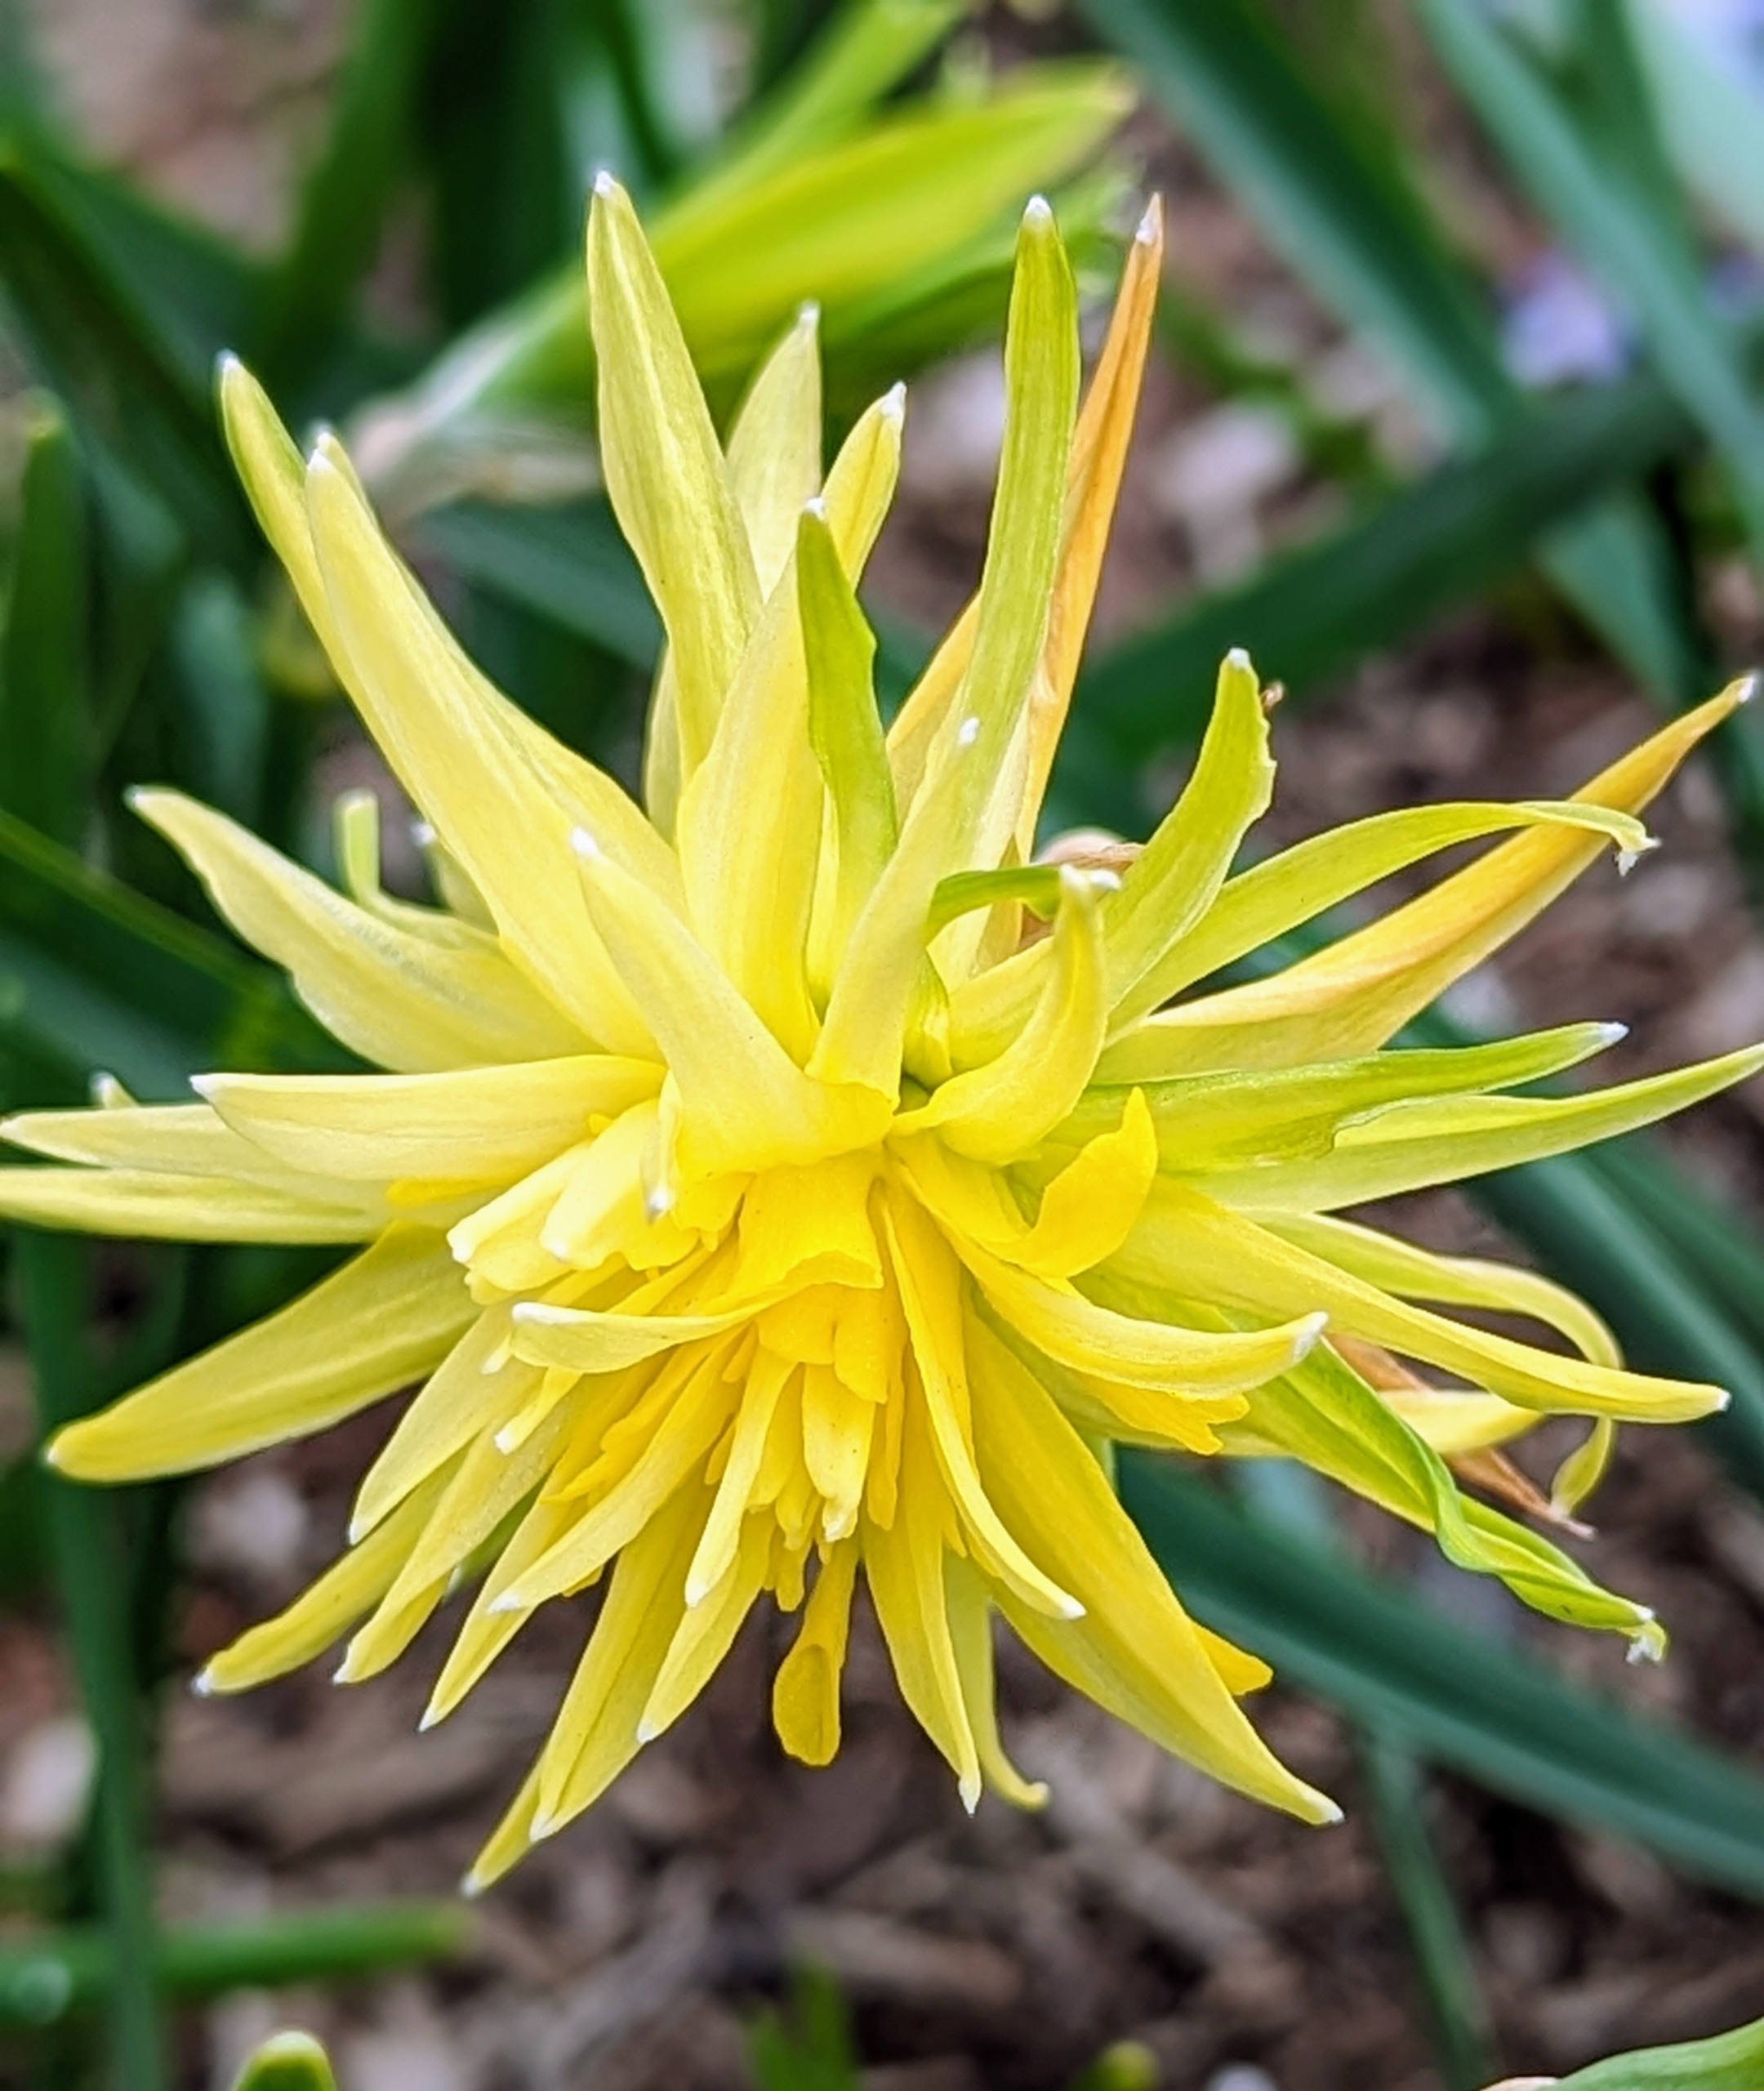
One of the more interesting daffodils blooming right now is this Narcissus ‘Rip van Winkle’, an heirloom double daffodil dating before 1884 with whorls of narrow, pale greenish yellow petals, some with a slight twist.
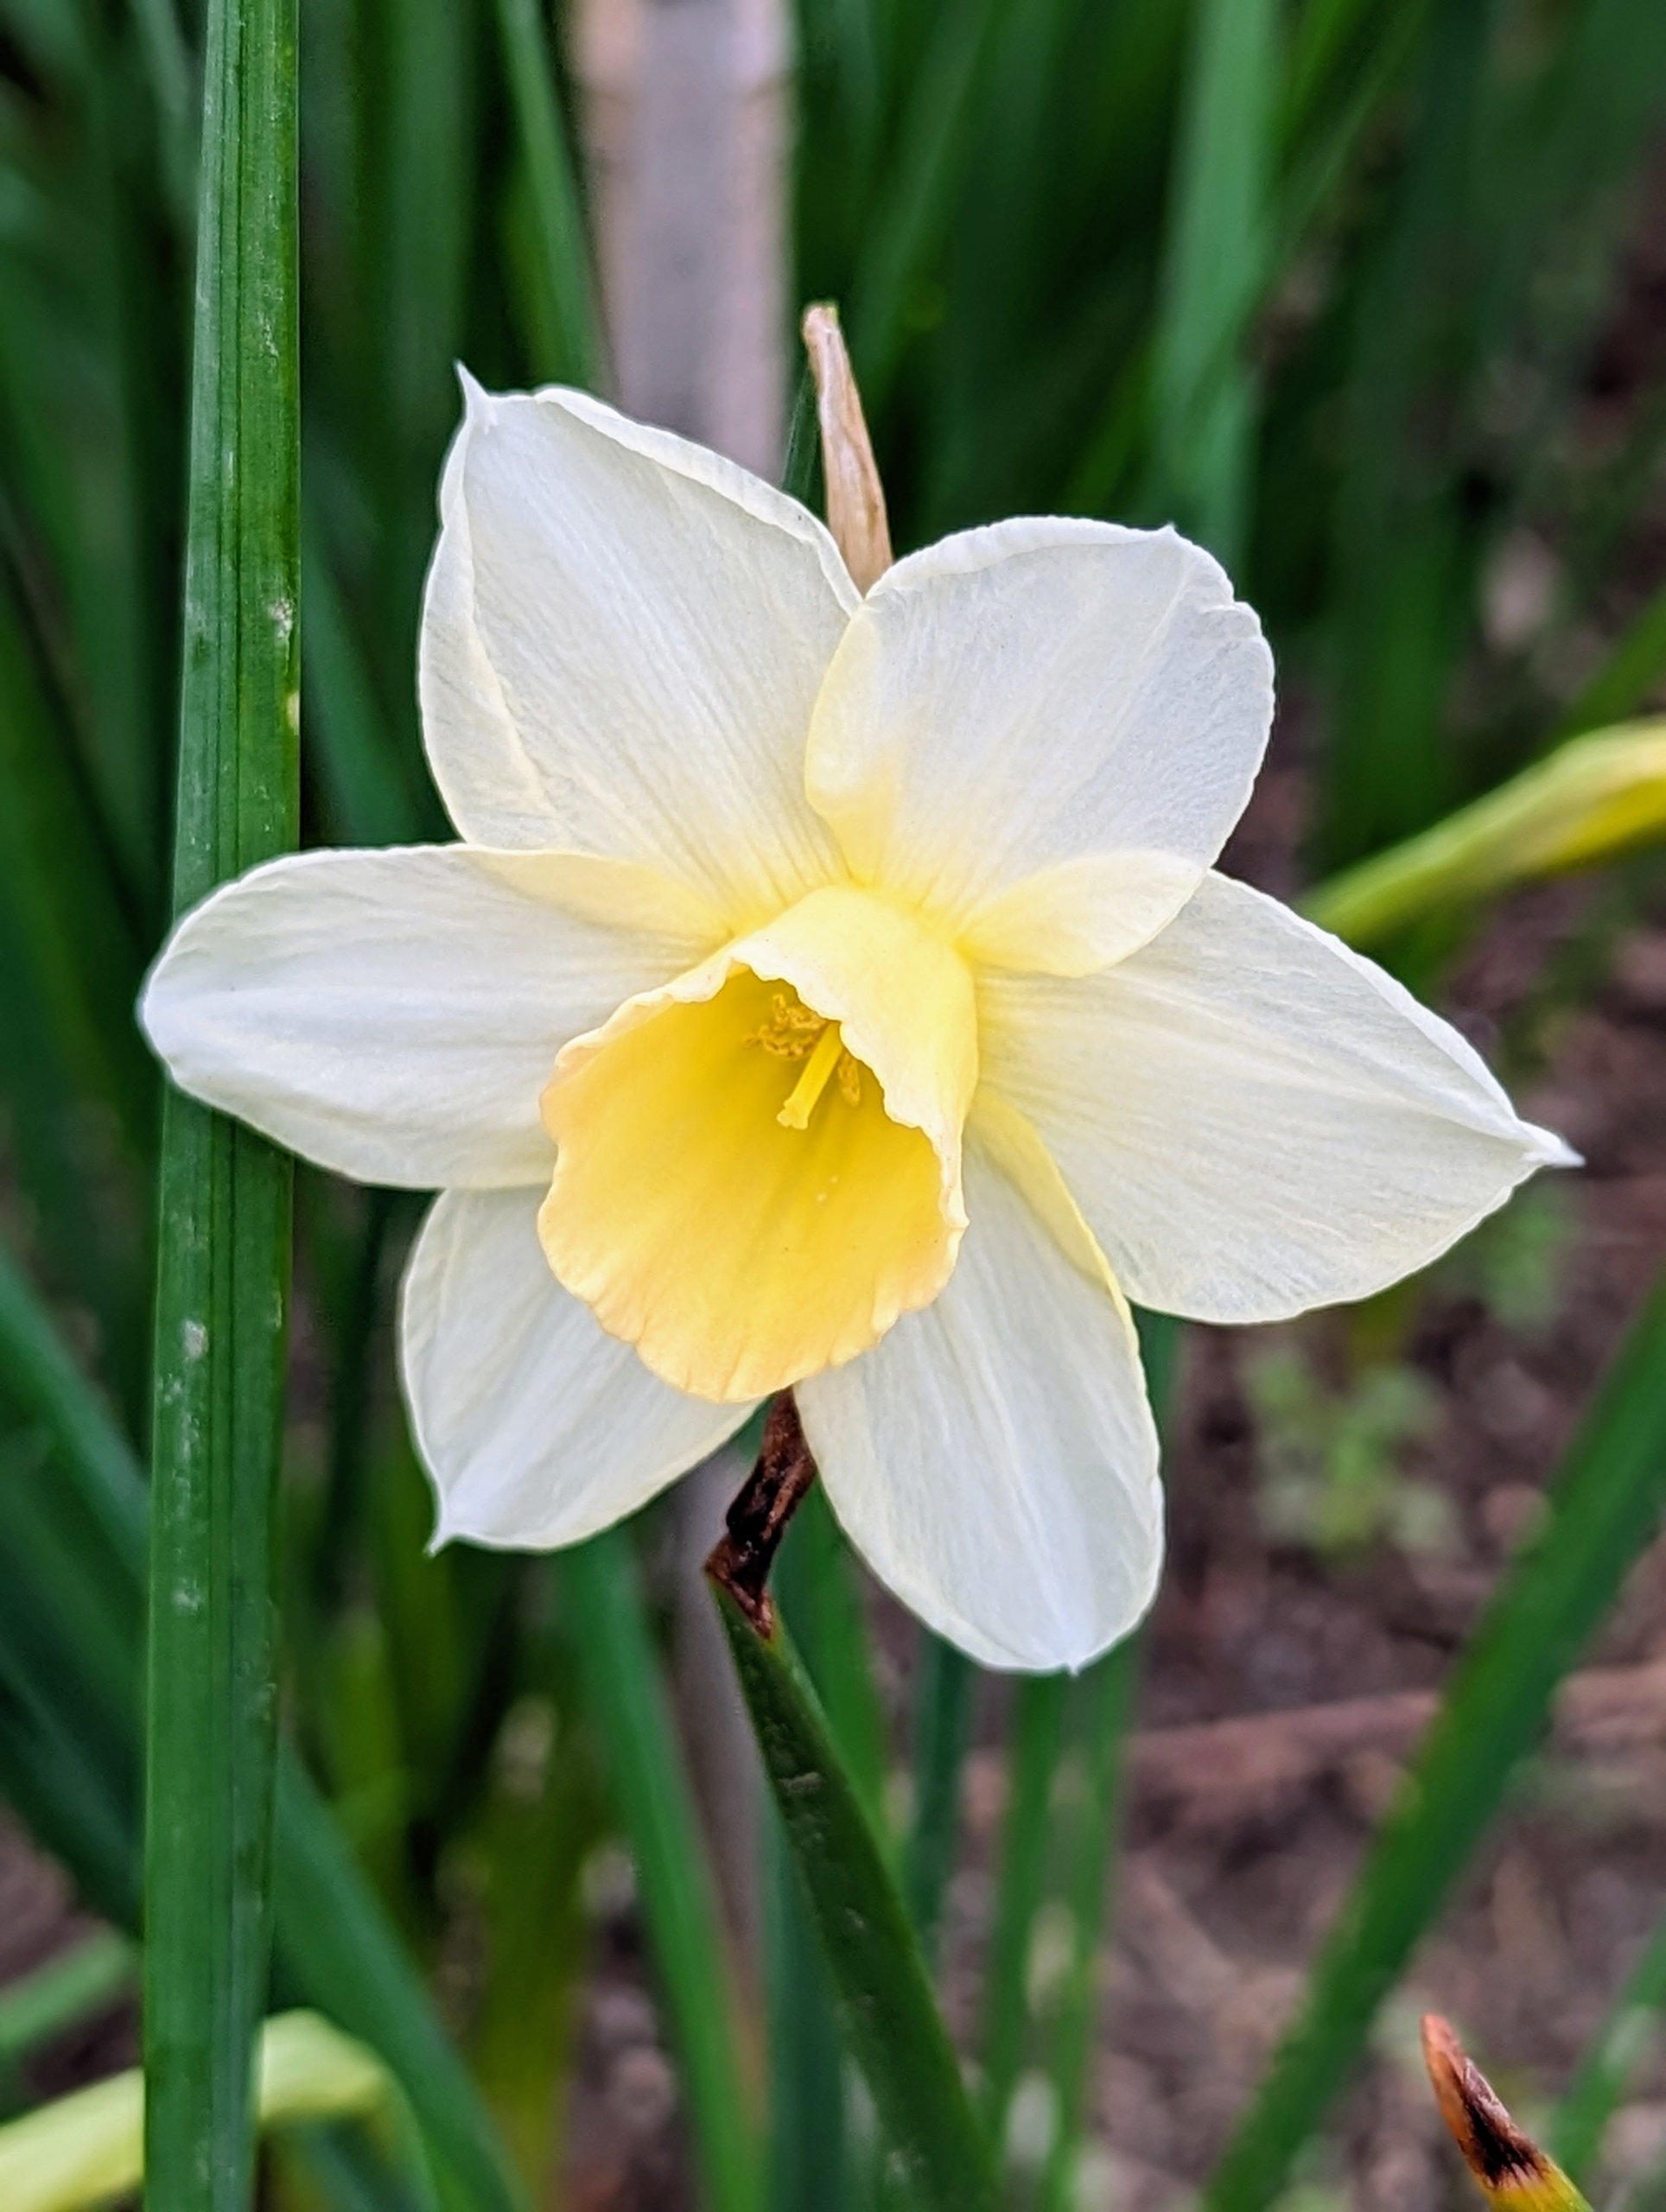
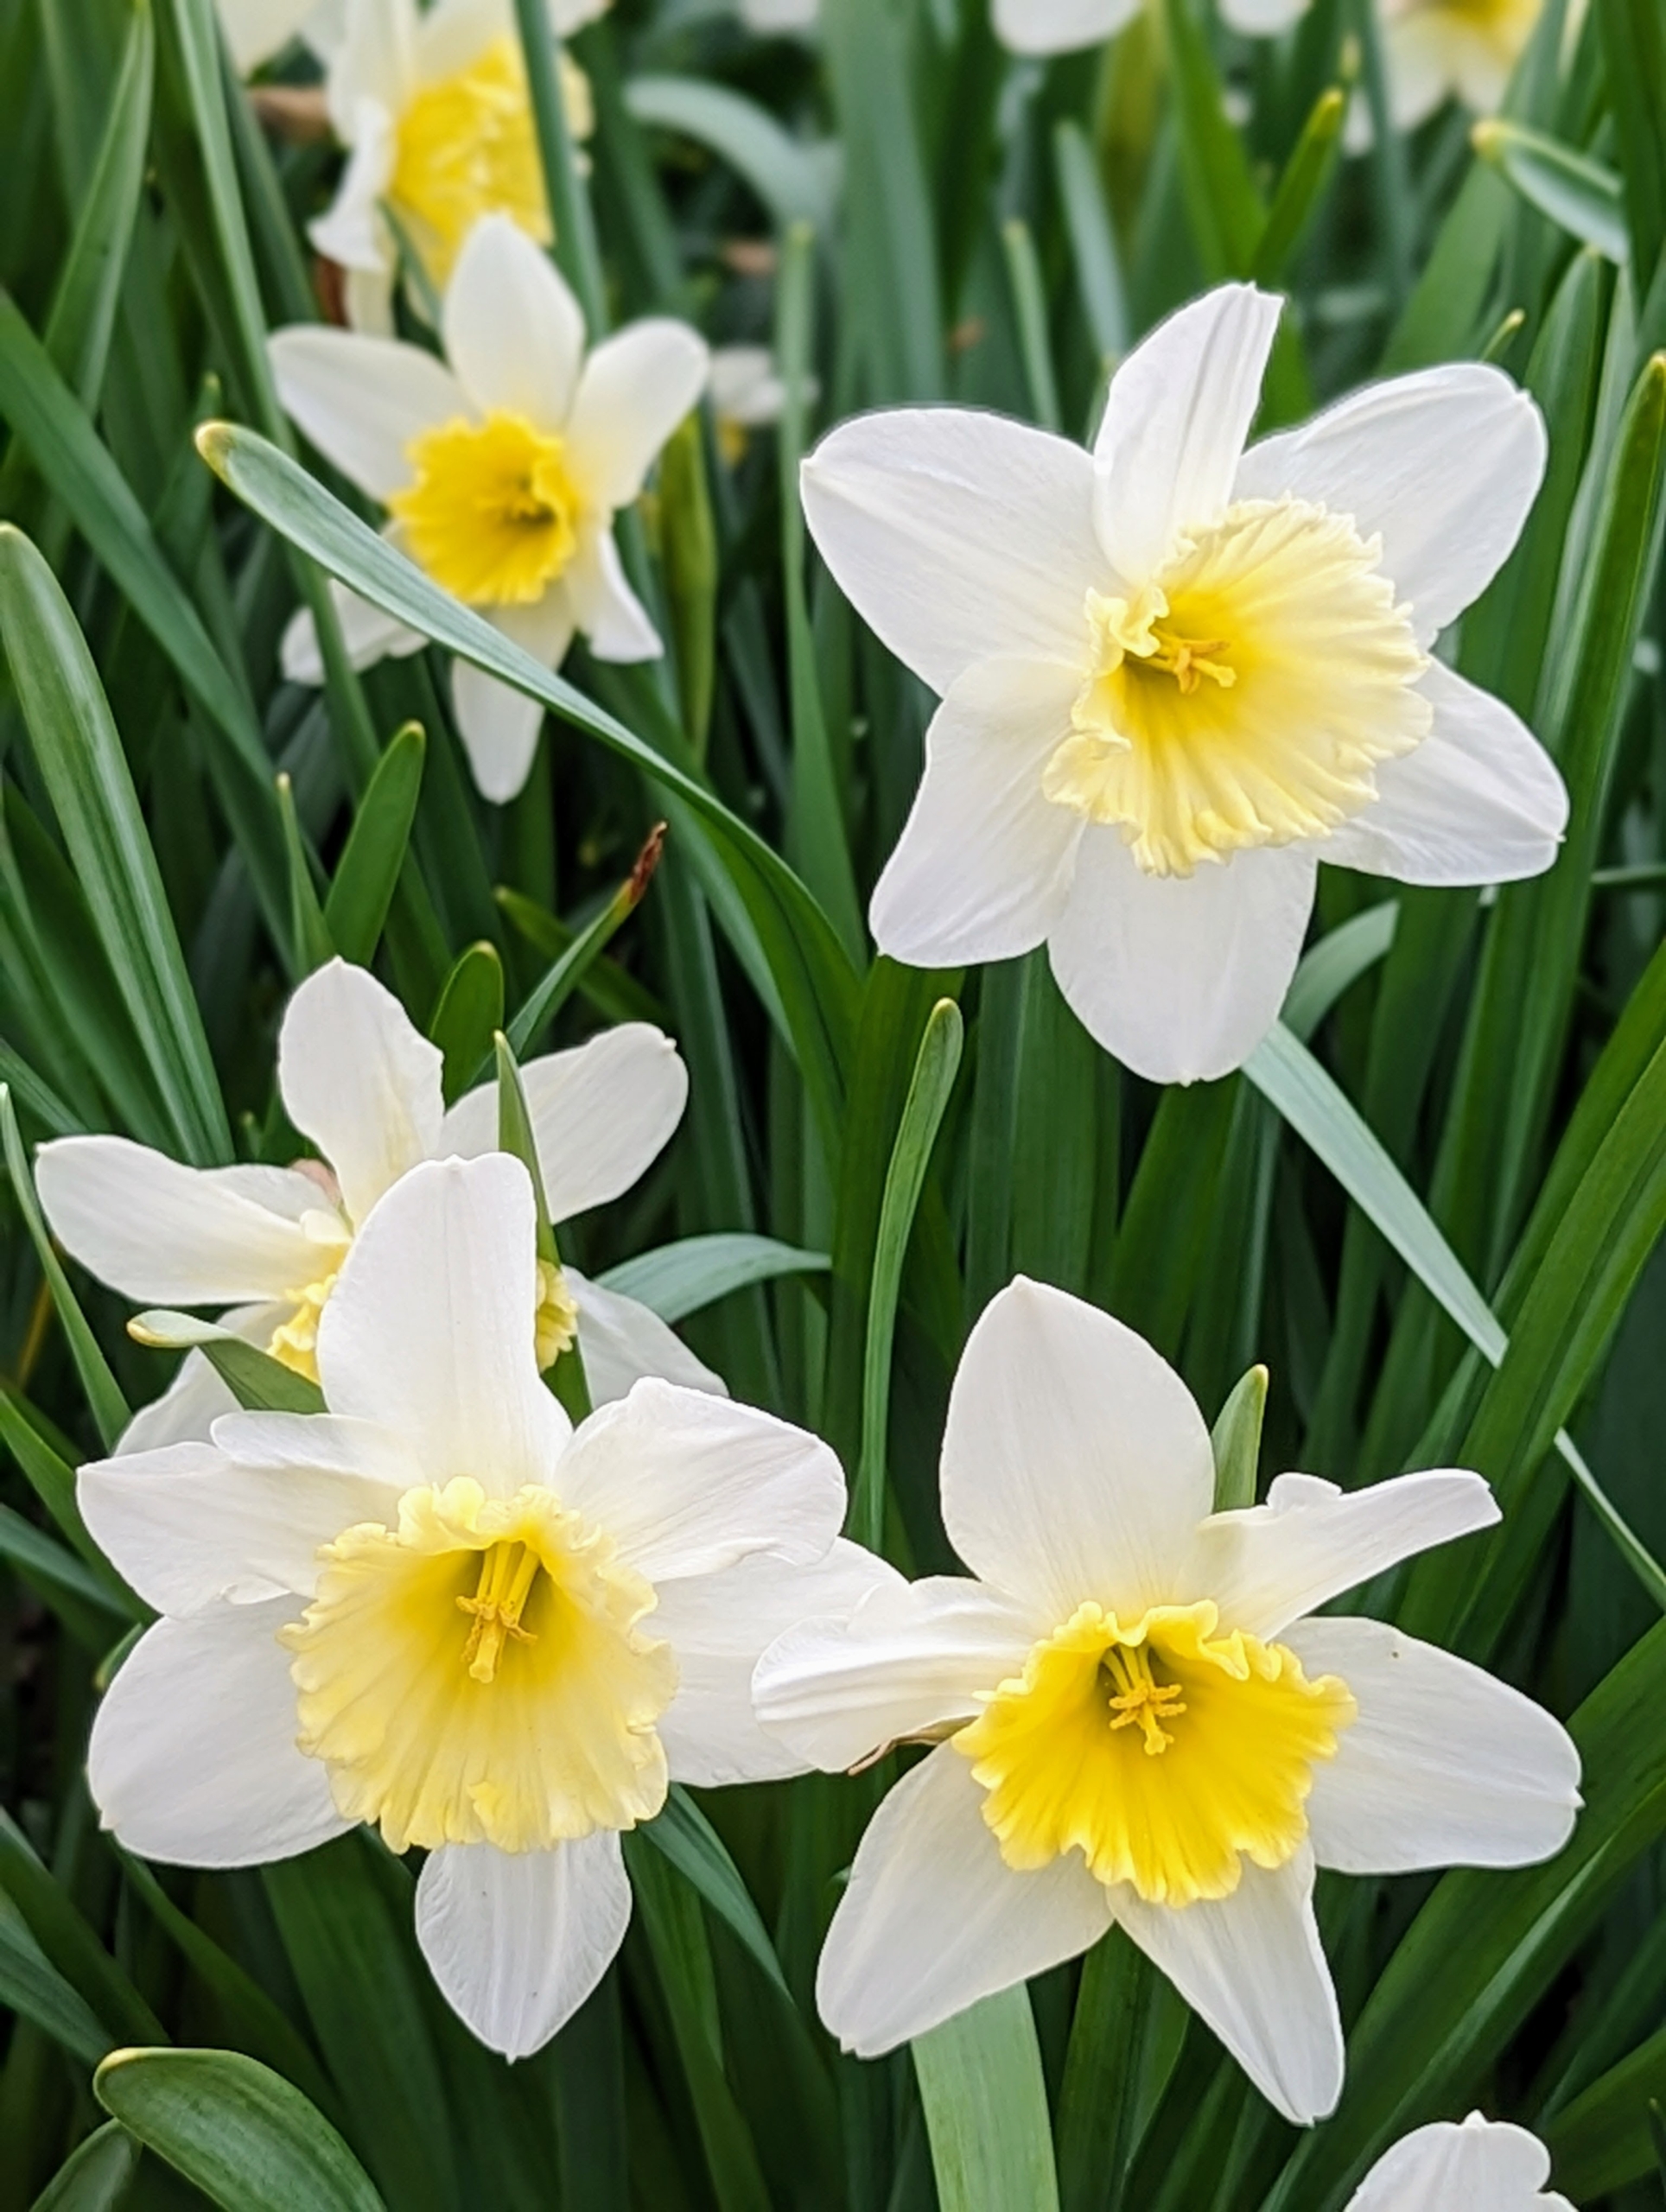
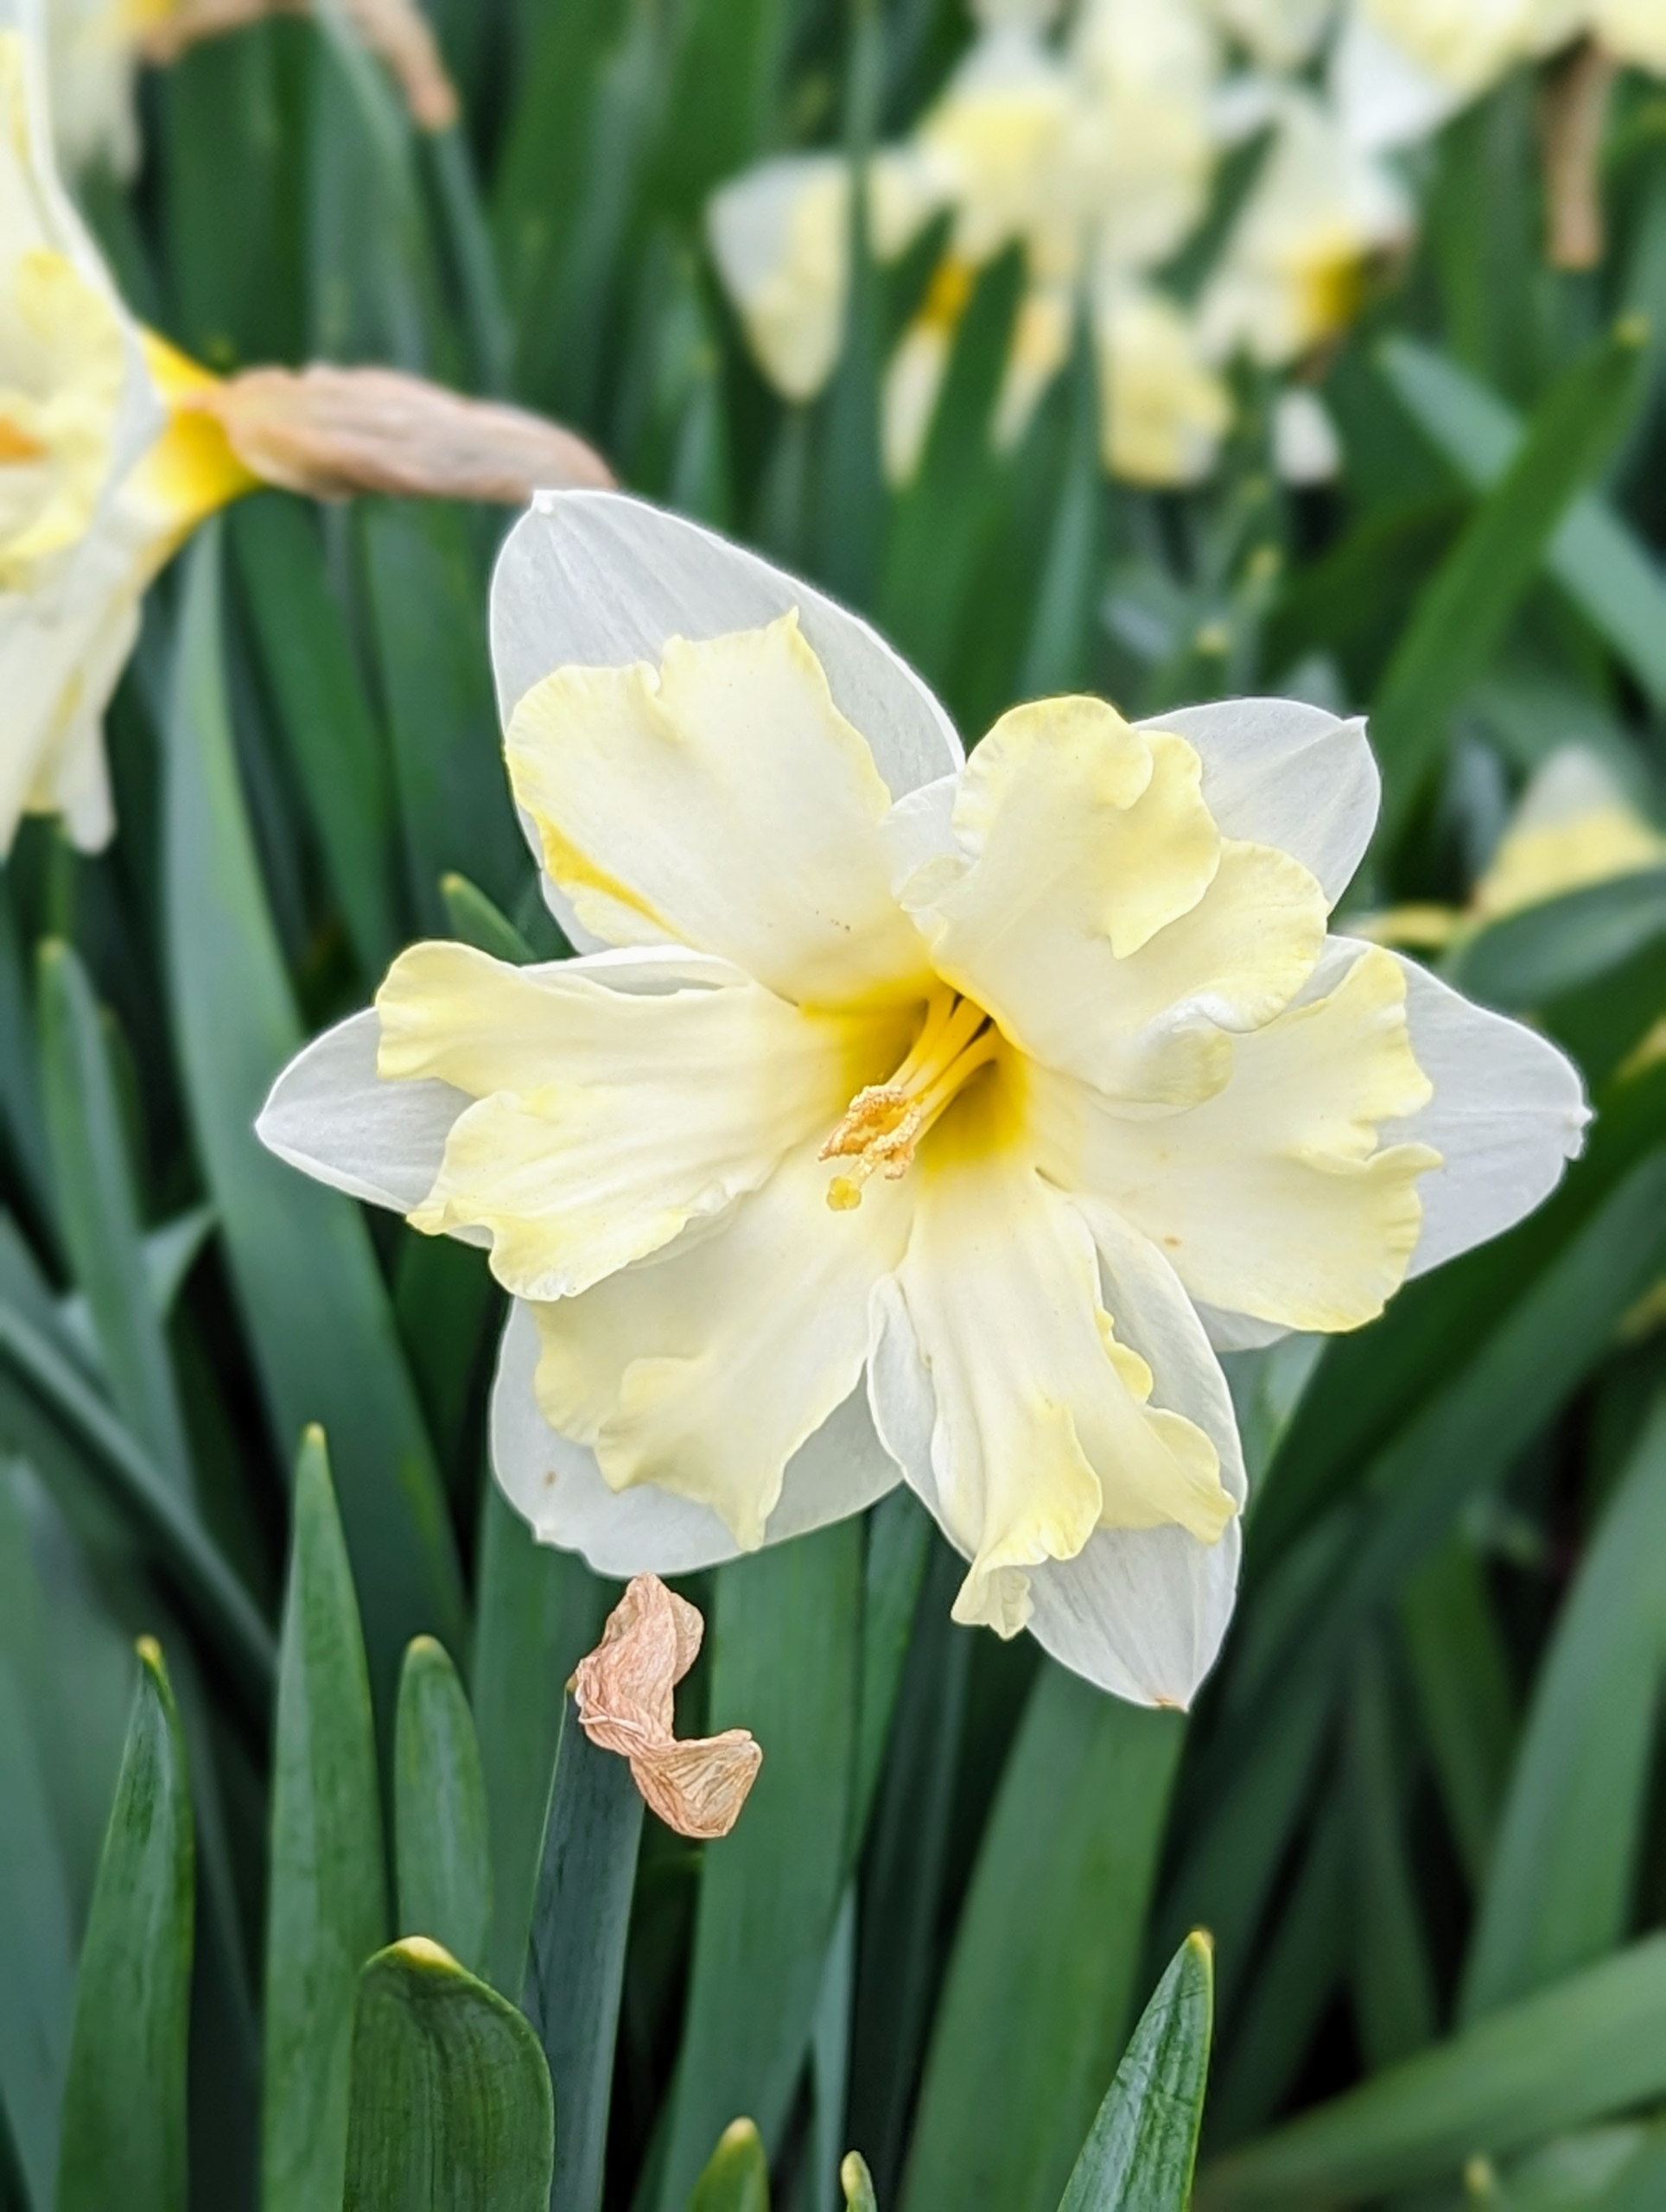
Narcissus ‘Martha Stewart’ is a Karel van der Veek hybrid with a three-inch white perianth surrounding a pale yellow cup. These flowers are reliable bloomers and can continue to produce each spring for decades.
In full bloom, these flowers grow up to about 16 to 18 inches tall. Daffodil season is a great time of year, and there are many more beautiful blooms to come…