A four-year-old Doberman Pinscher named "Penny," is this year's top dog after winning "Best in Show" at the 150th Westminster Kennel Club Dog Show.
This week, more than 3000 dogs representing more than 200 breeds and varieties competed for the coveted title. The annual show runs for three days. It kicks off with the Masters Agility Championship, where performance dogs climb, jump, weave, and sprint their way through a series of course obstacles. And then two days are dedicated to breed competitions. Dogs are exhibited in seven different groups, organized by the original work that each breed was developed to do. The groups include Herding, Sporting, Non-Sporting, Working, Hounds, Terriers, and Toy breeds.
Here are more photos, enjoy.
One of my favorite breeds is the Chow Chow, which originated from Northern China where it was used for guarding and hunting. It is known for its lion-like mane, dense double coat, and dignified manner. My own champion Chow Chows did not compete at Westminster this year, but my dogs have been entered in years past and have shown wonderfully.
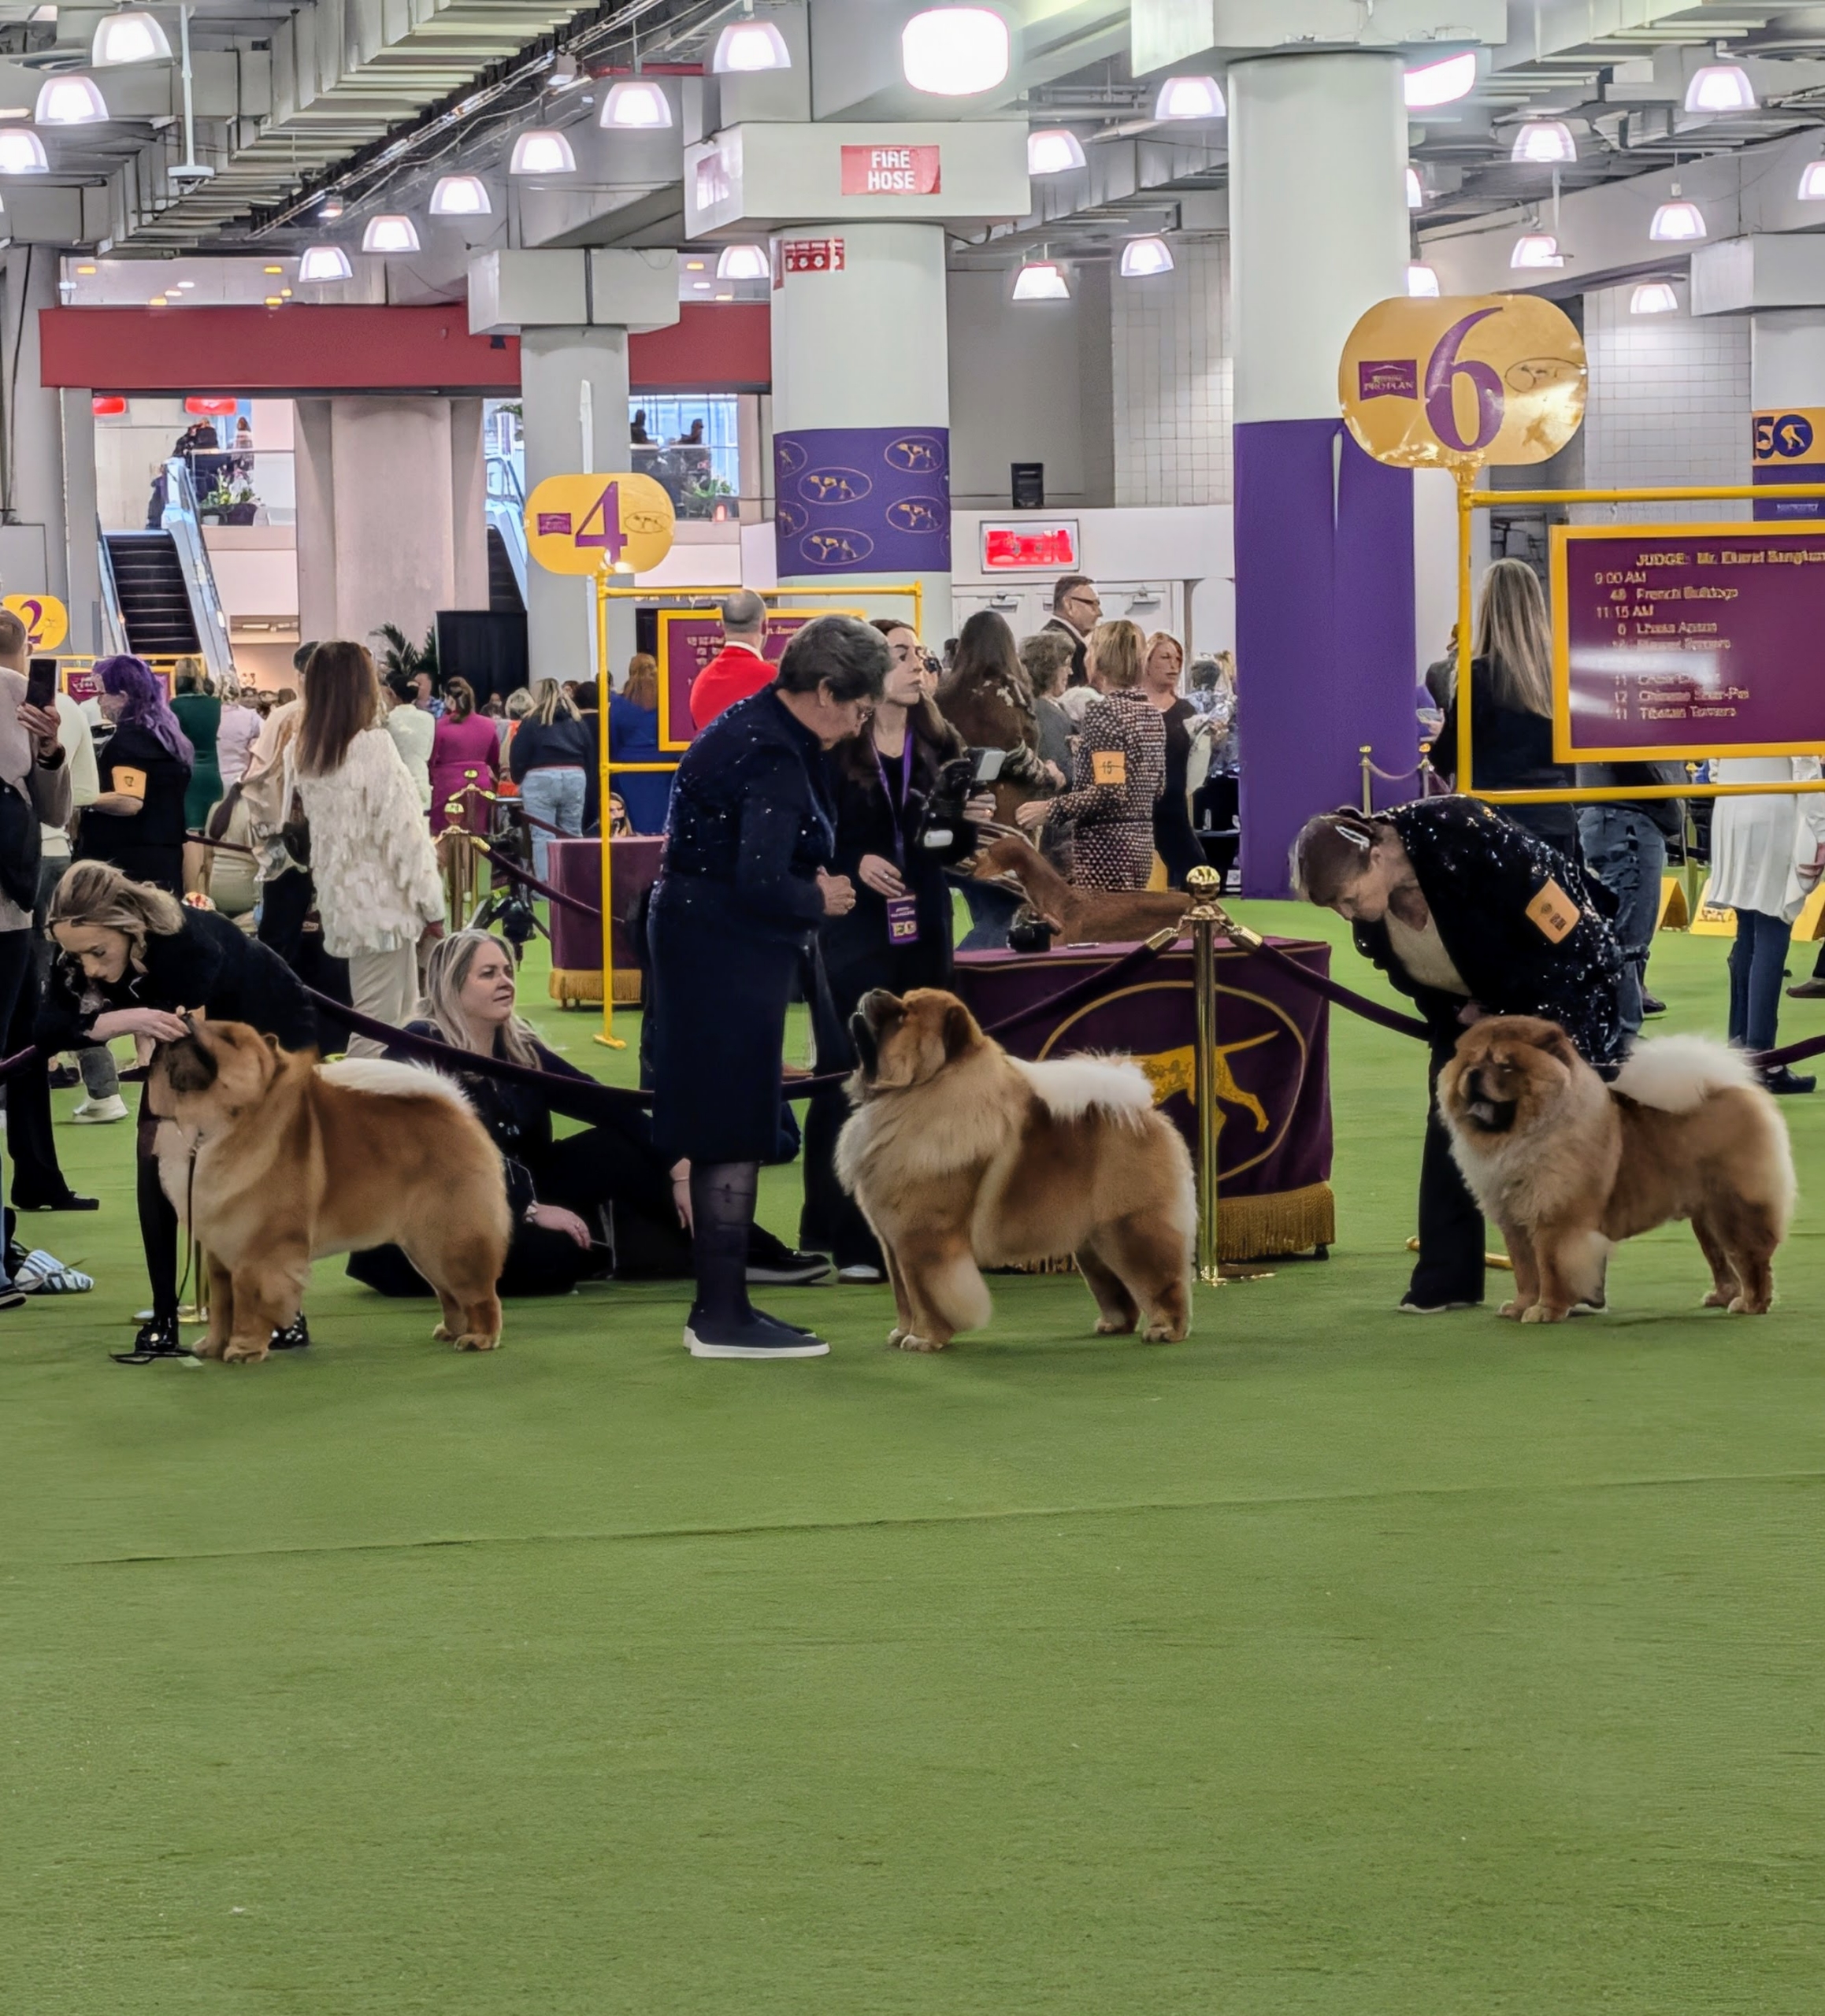
Here are three of the eight that competed. Chows Chows are excellent performers and this breed loves to compete.
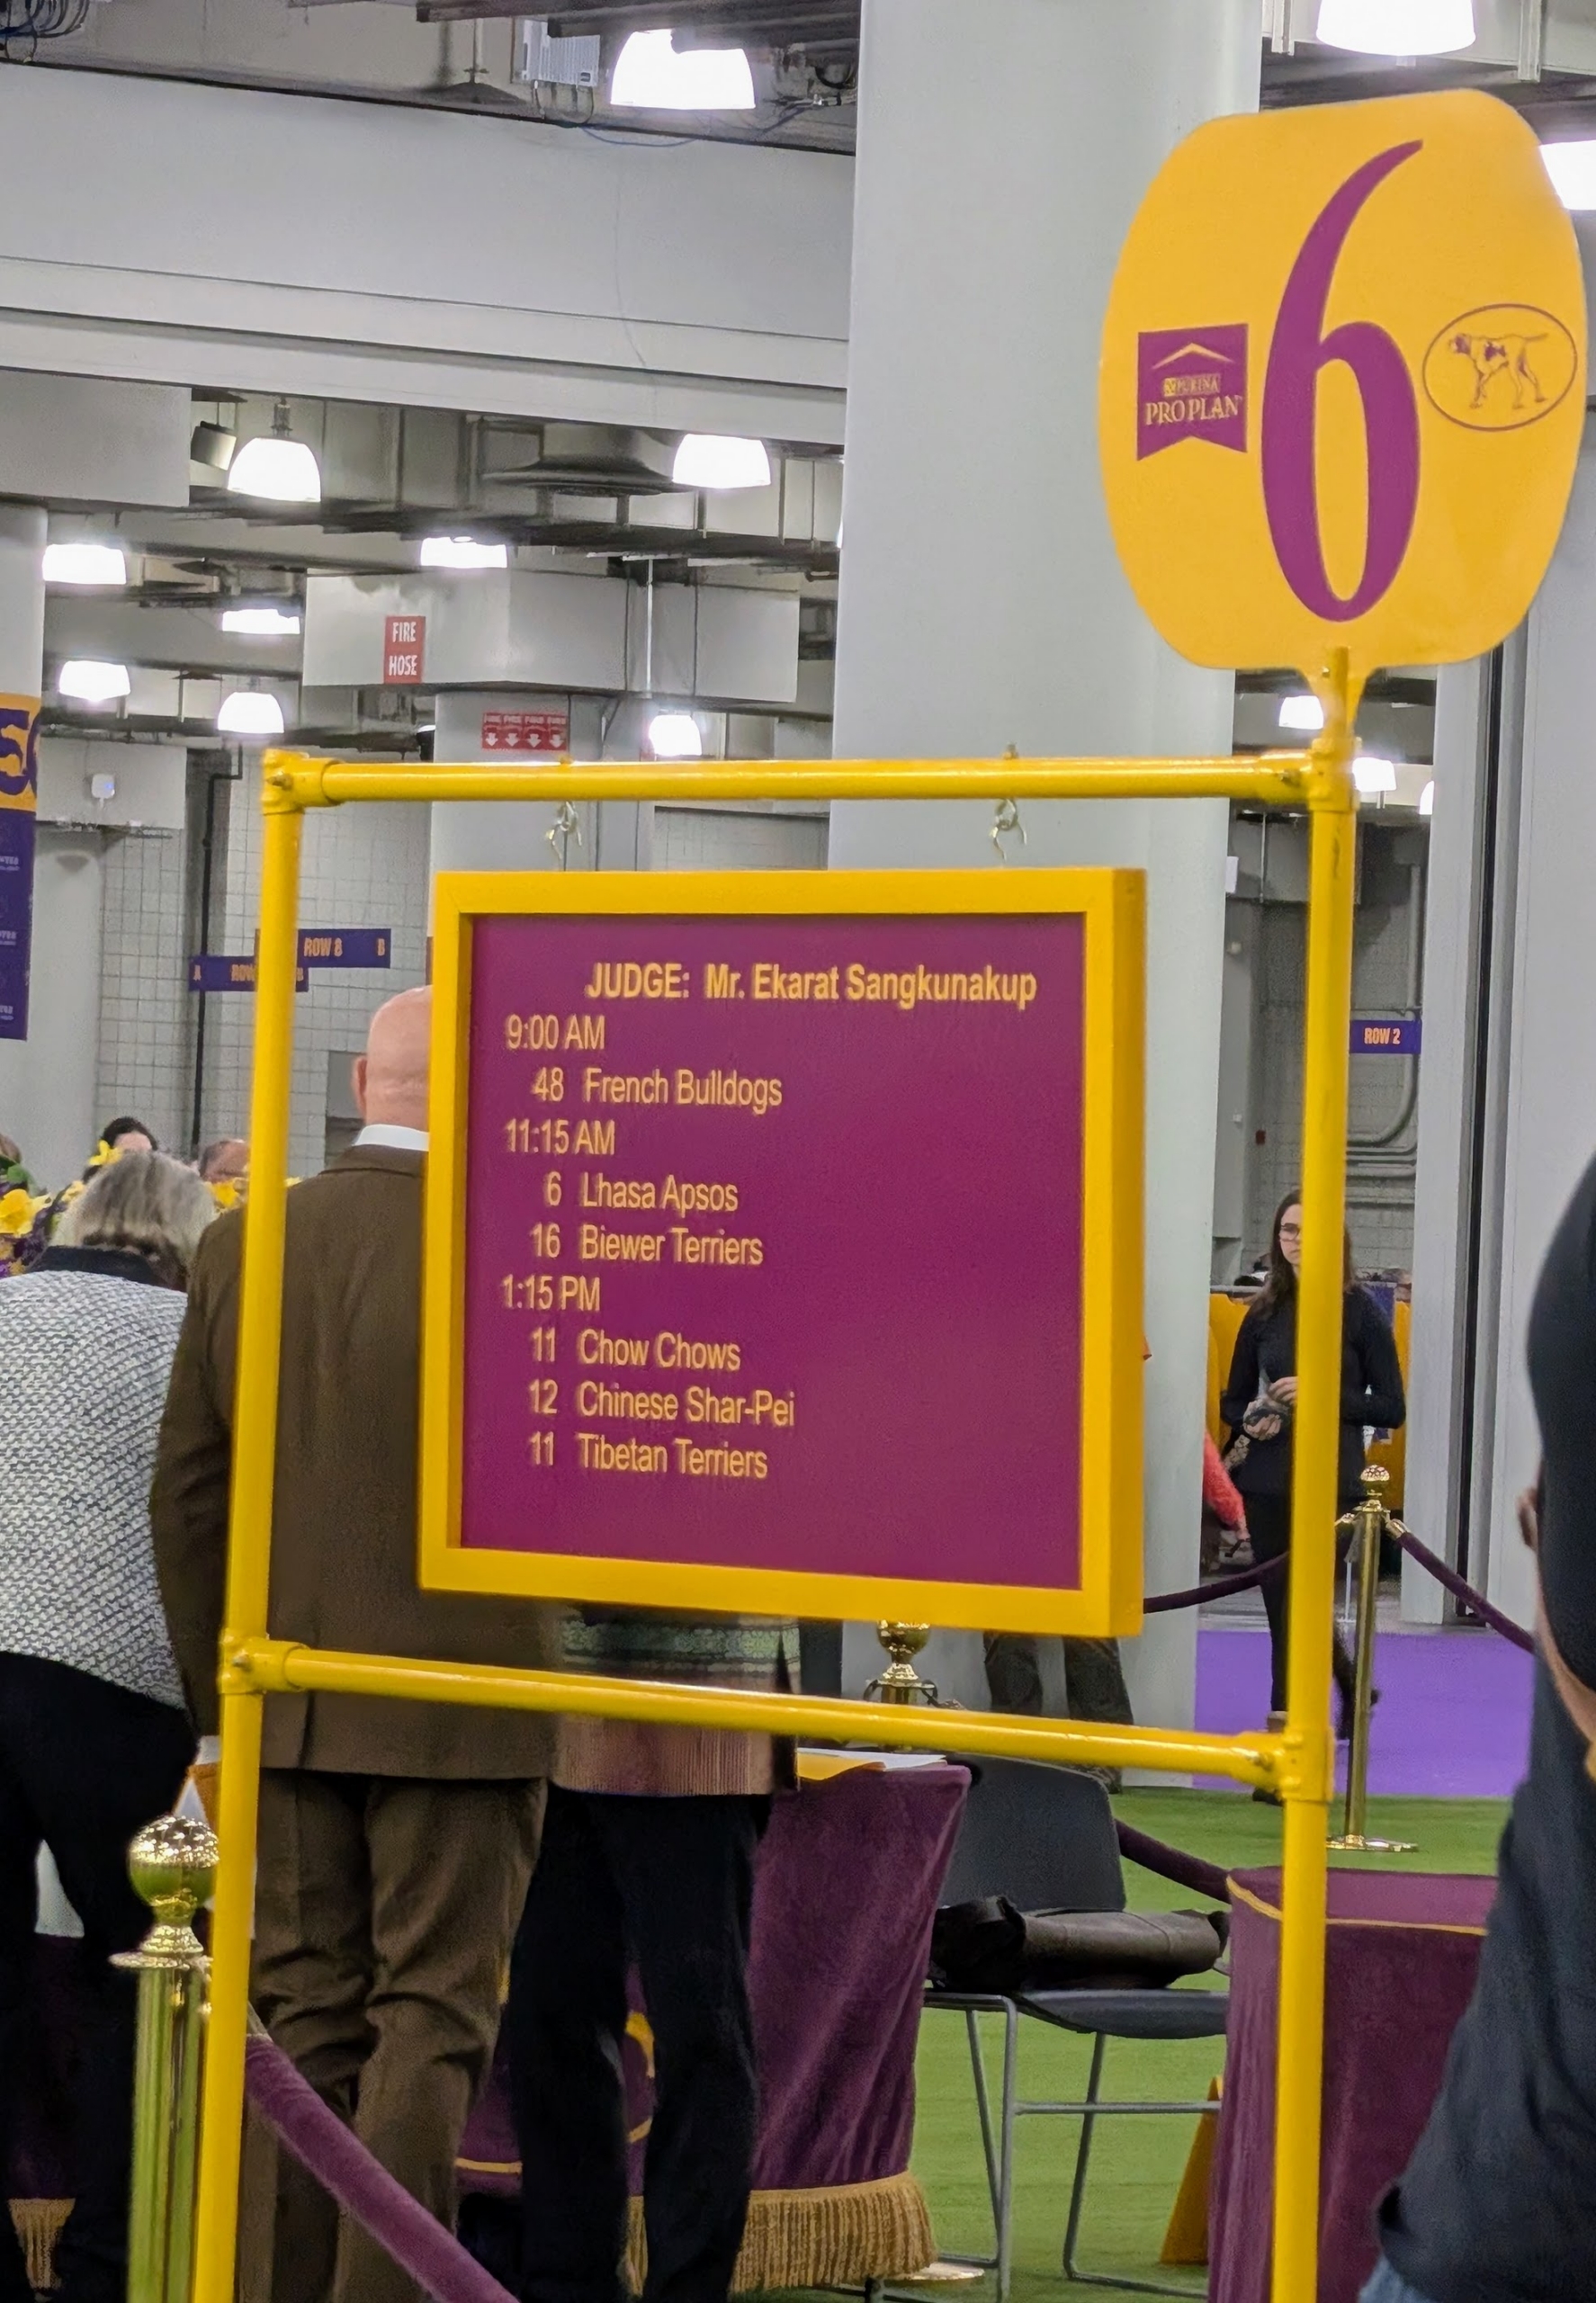
The Chow Chows showed in the same ring as the French Bulldogs did earlier in the day, also under Judge Ekarat Sangkunakup.
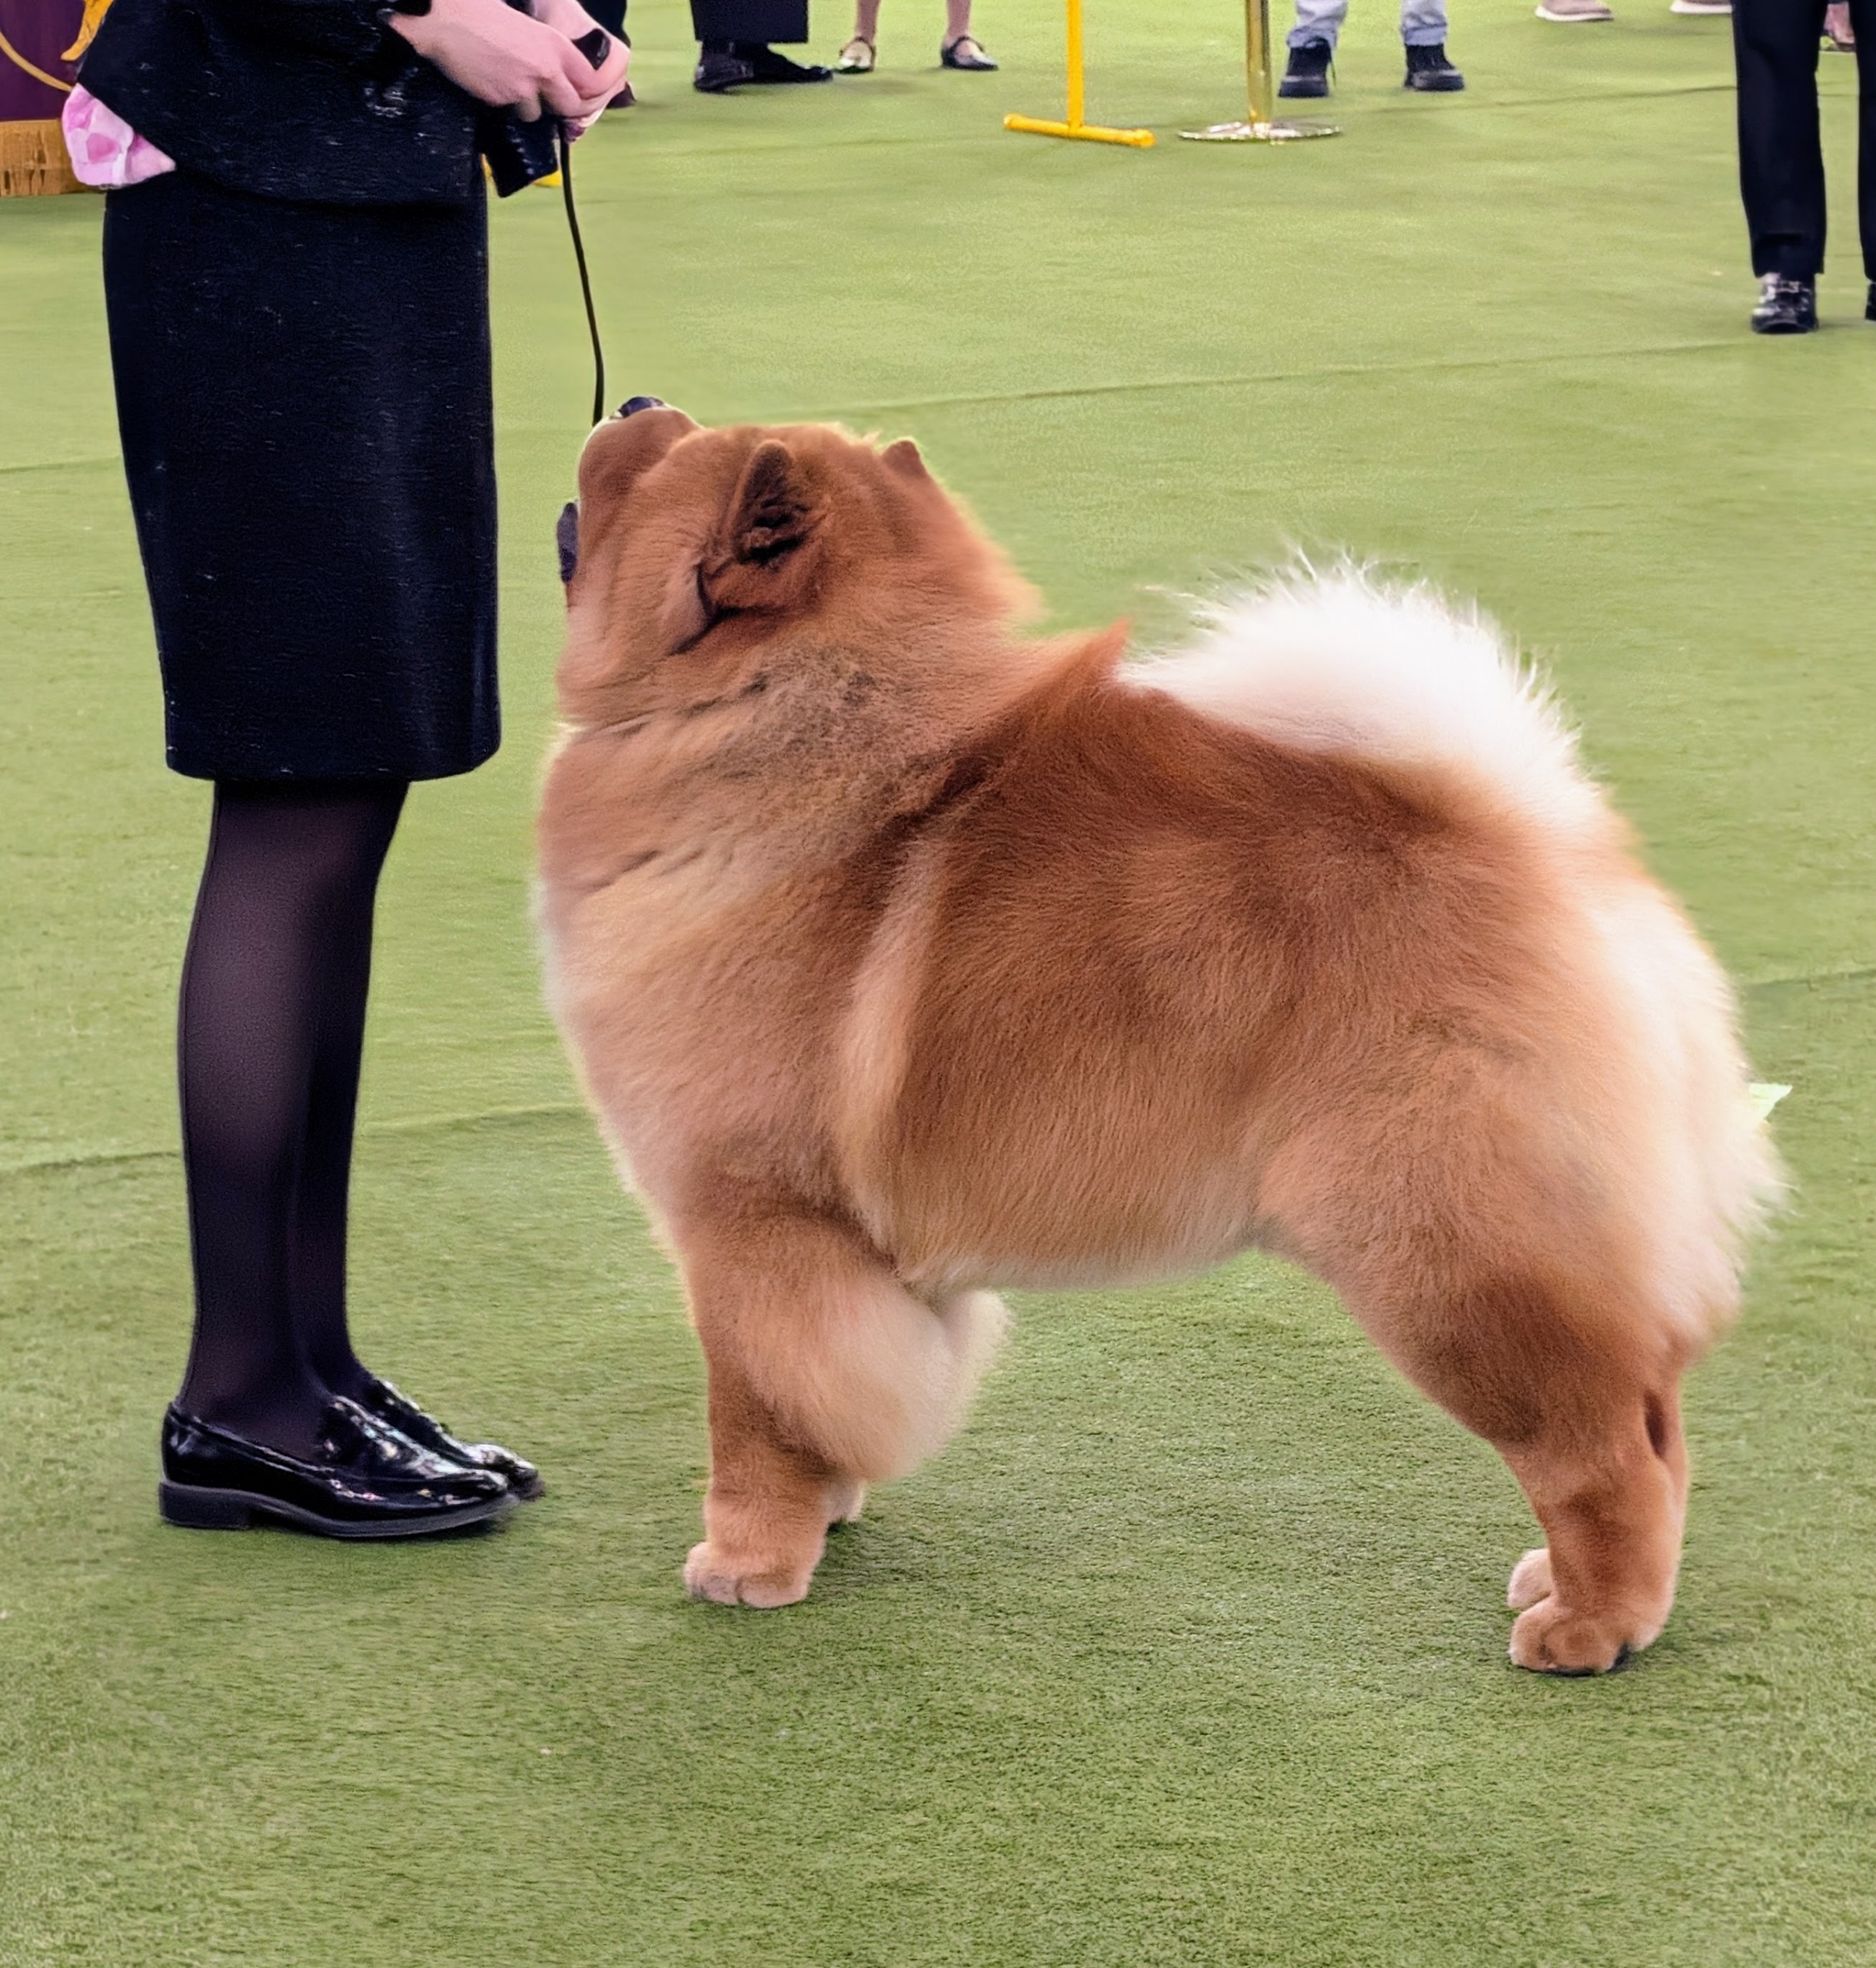
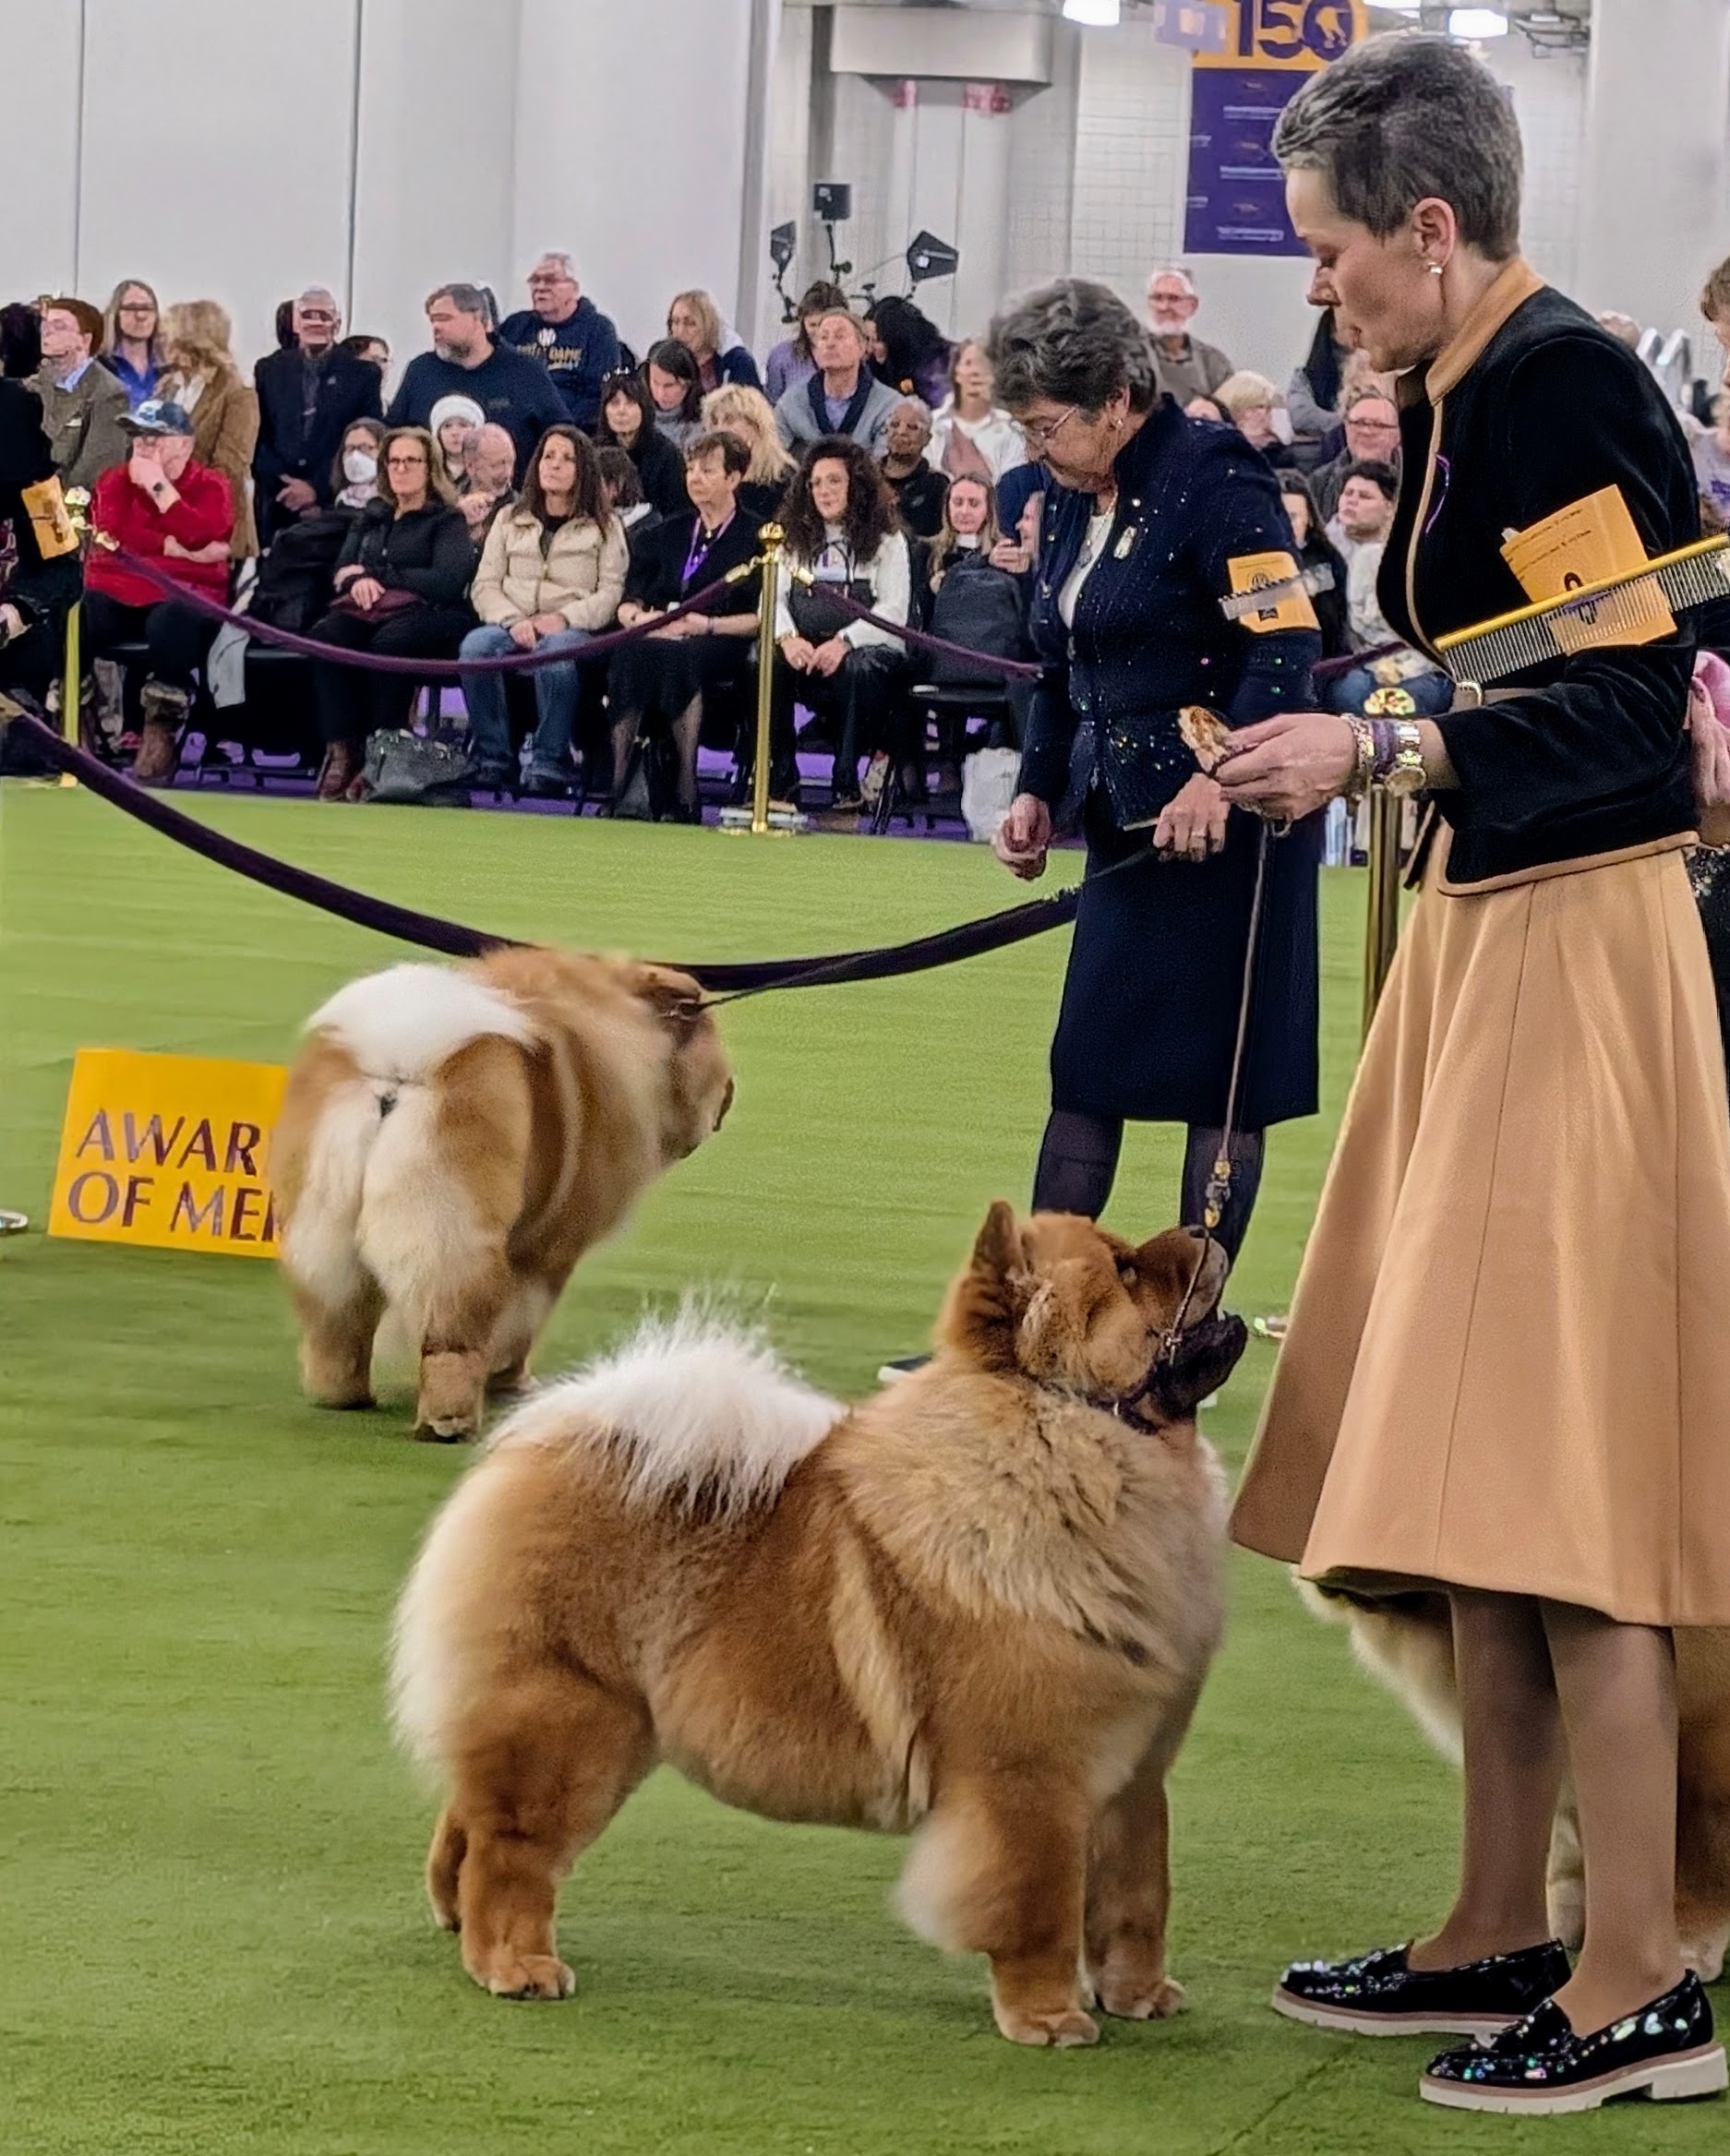
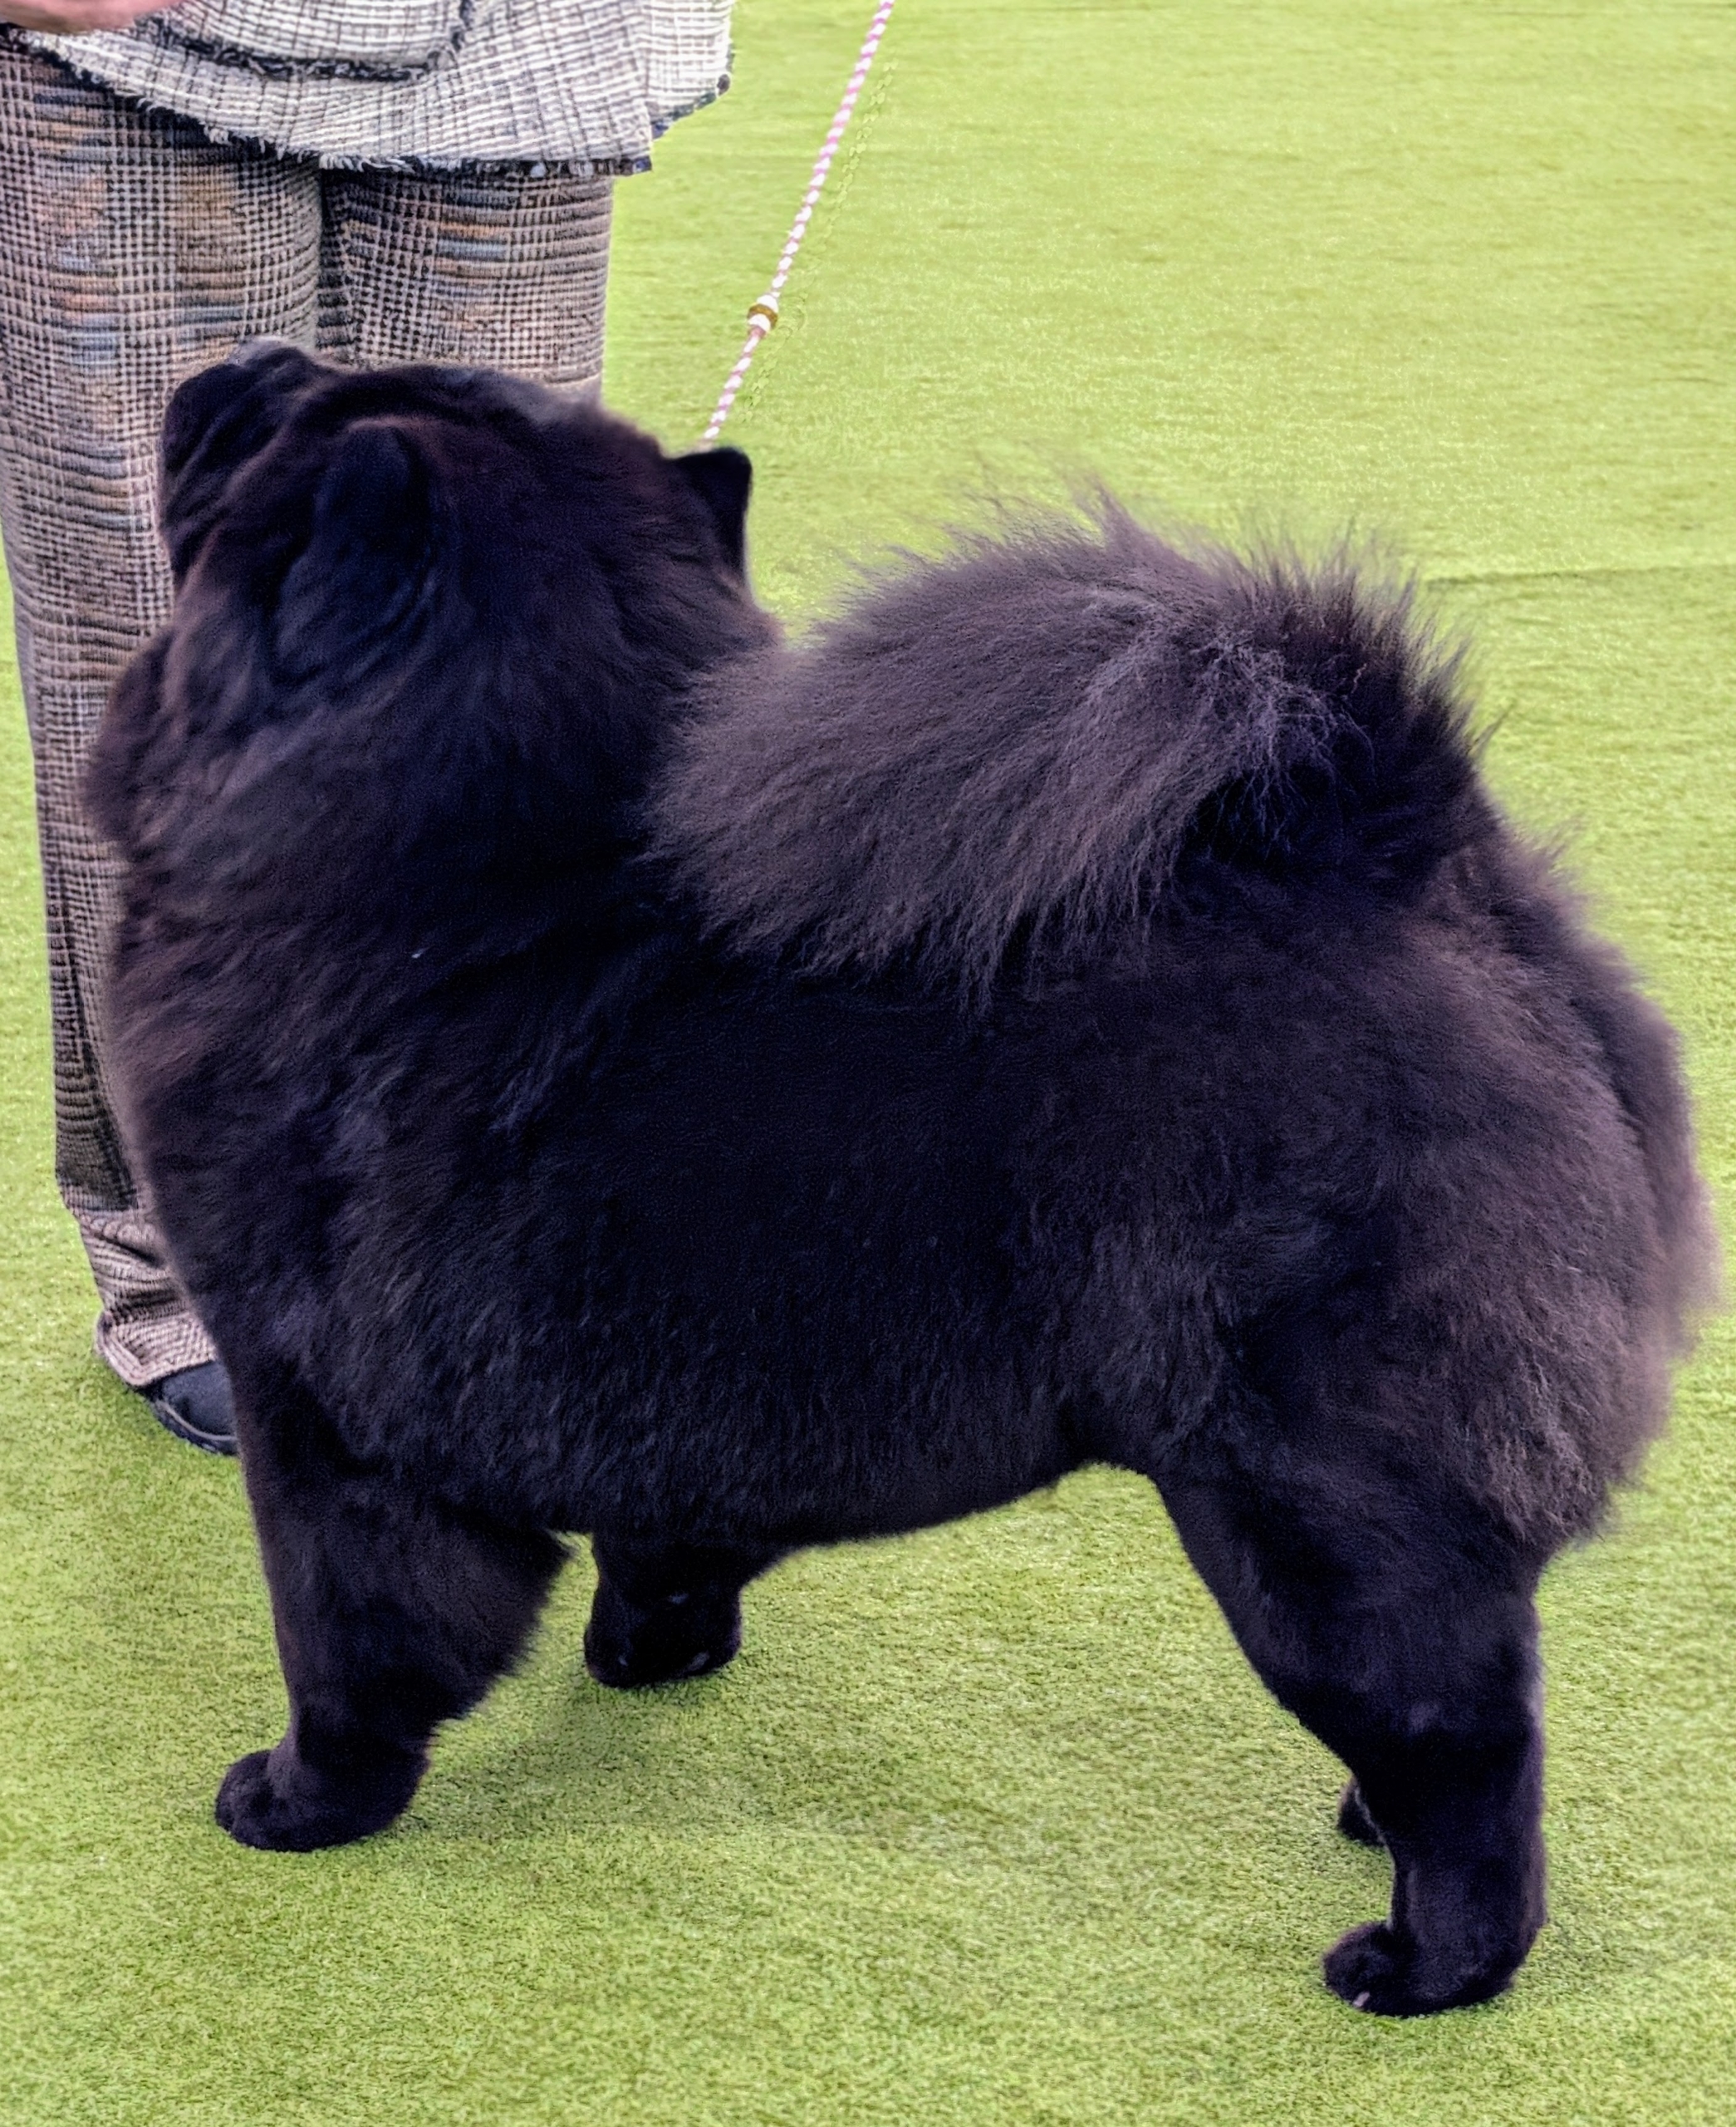
This dog is shown in a stack, which refers to the technique of positioning the dog’s body and legs to highlight its physical structure, balance, and attributes.
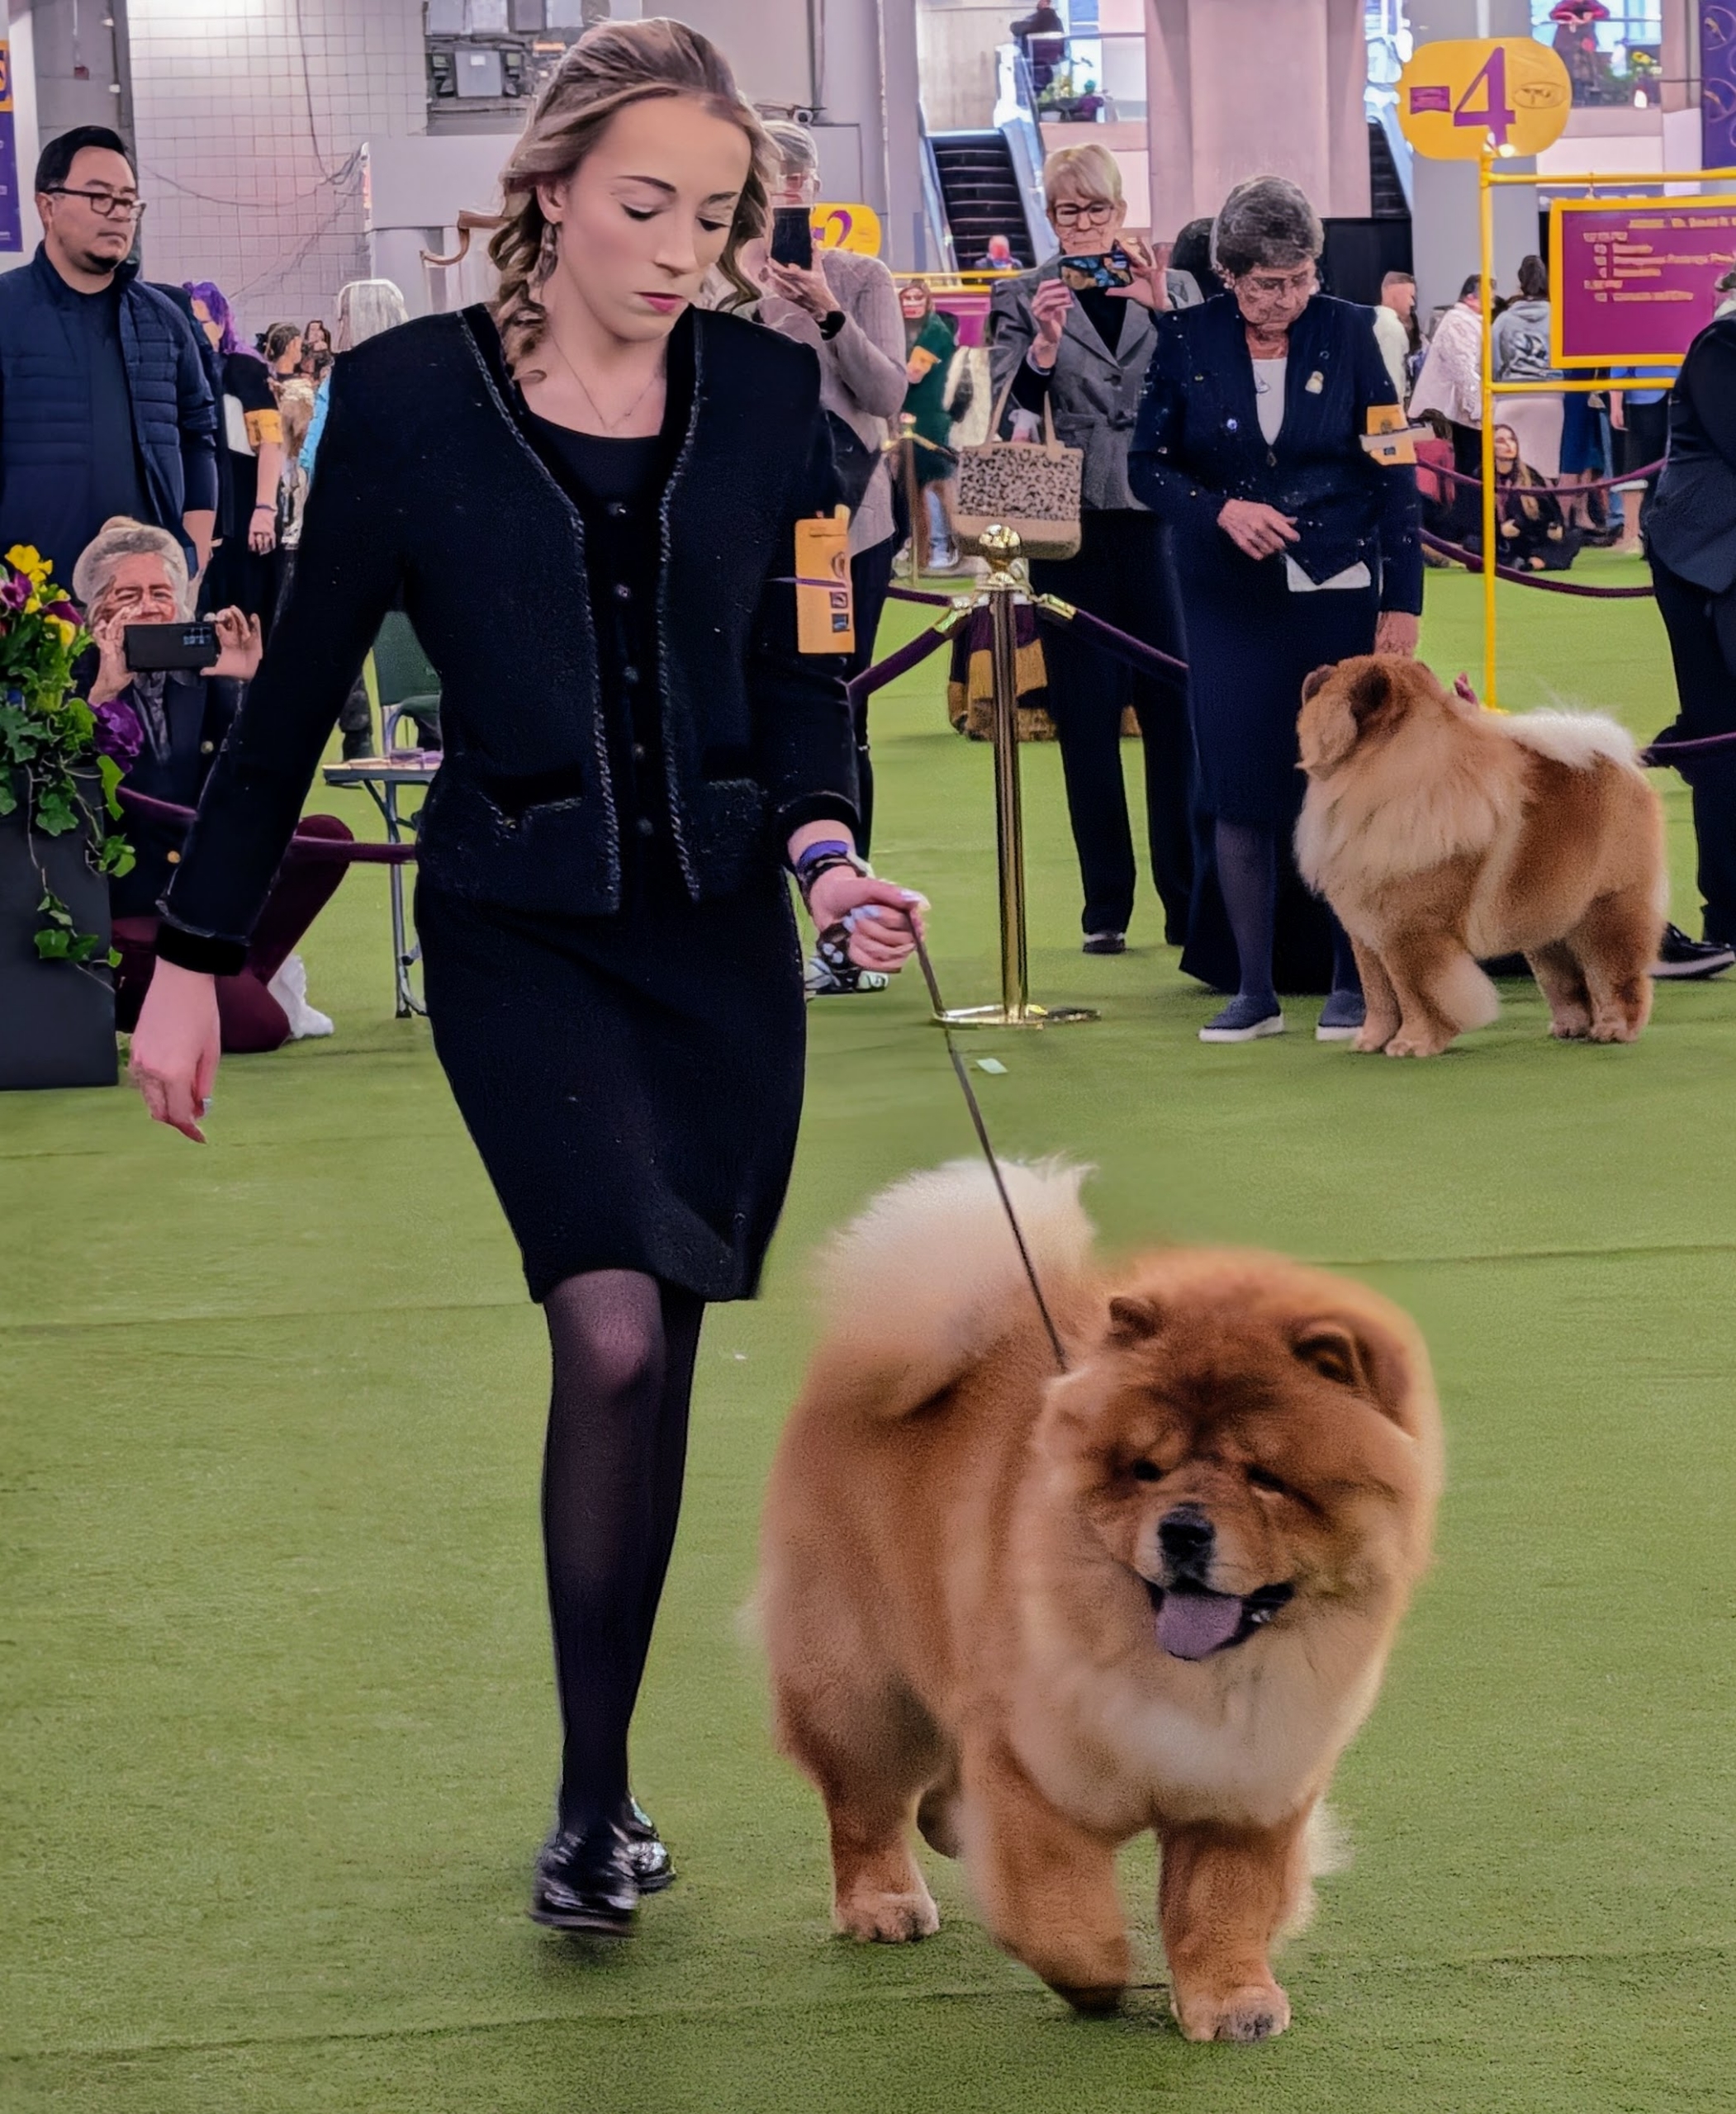
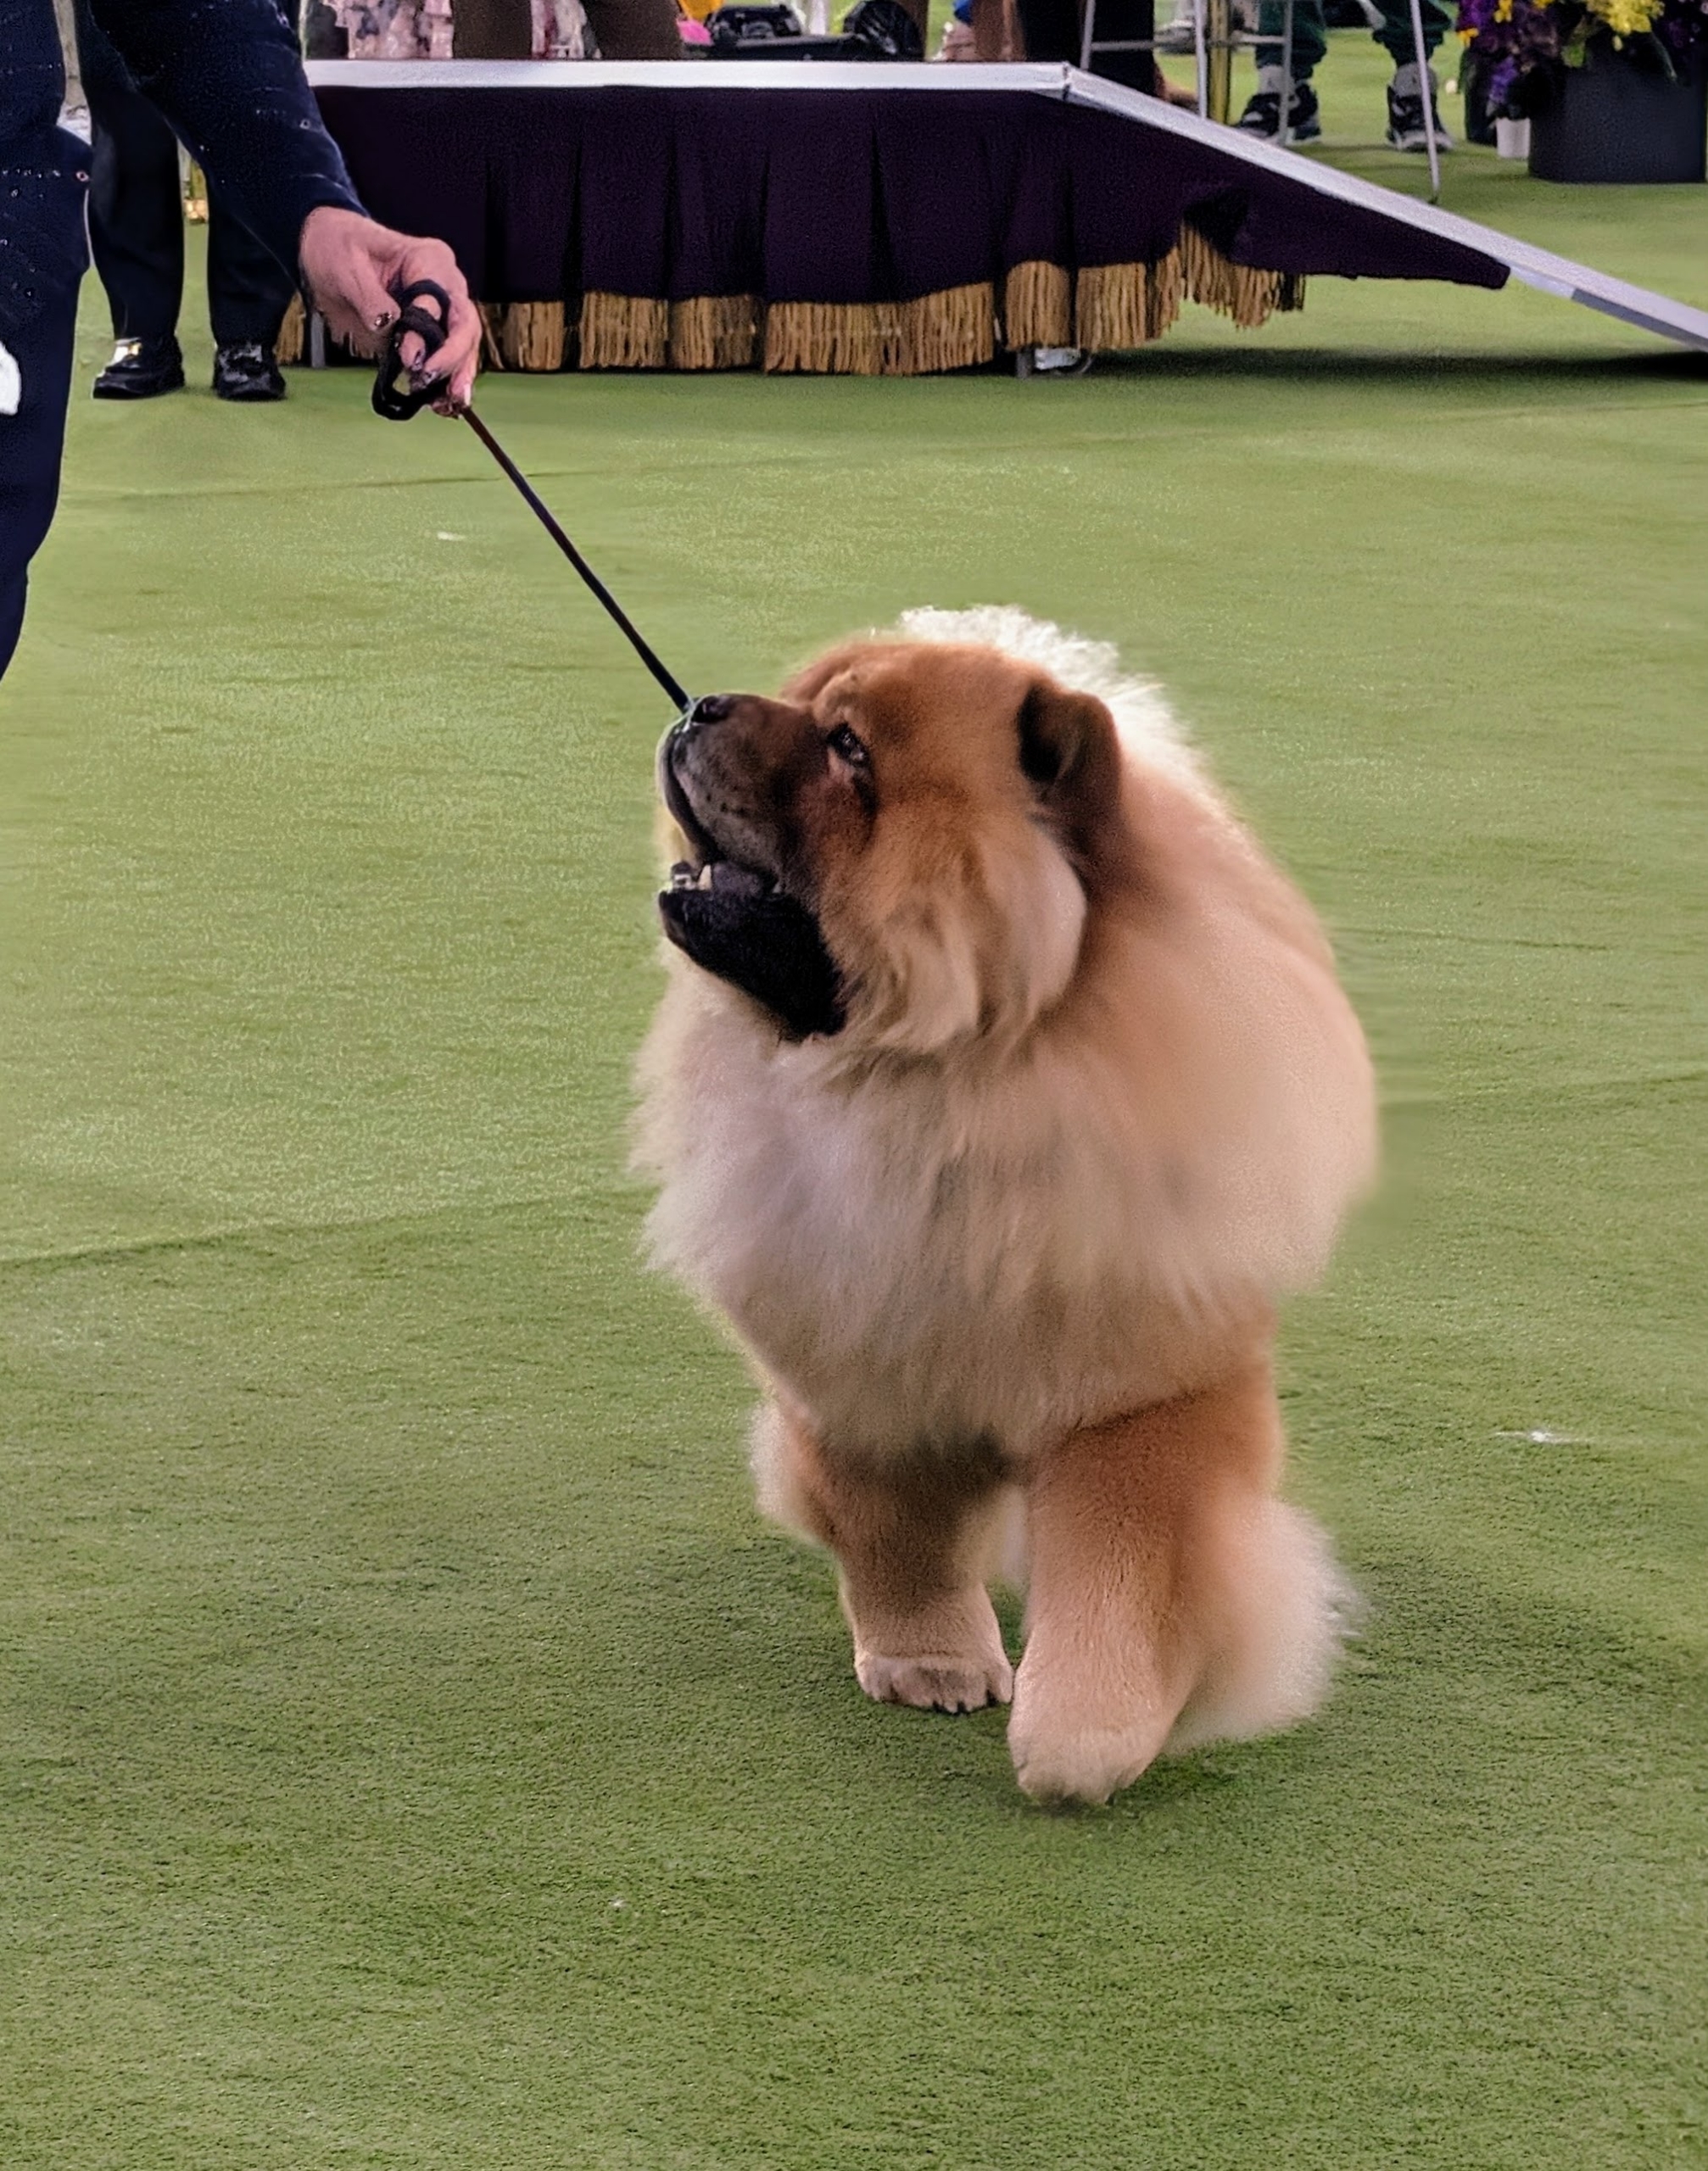
Dogs are walked around the ring to show its overall gait and movement.
A dog’s gait is crucial in conformation competition. The dog’s back feet must move in proper synch with its front, with its head well balanced as it moves.
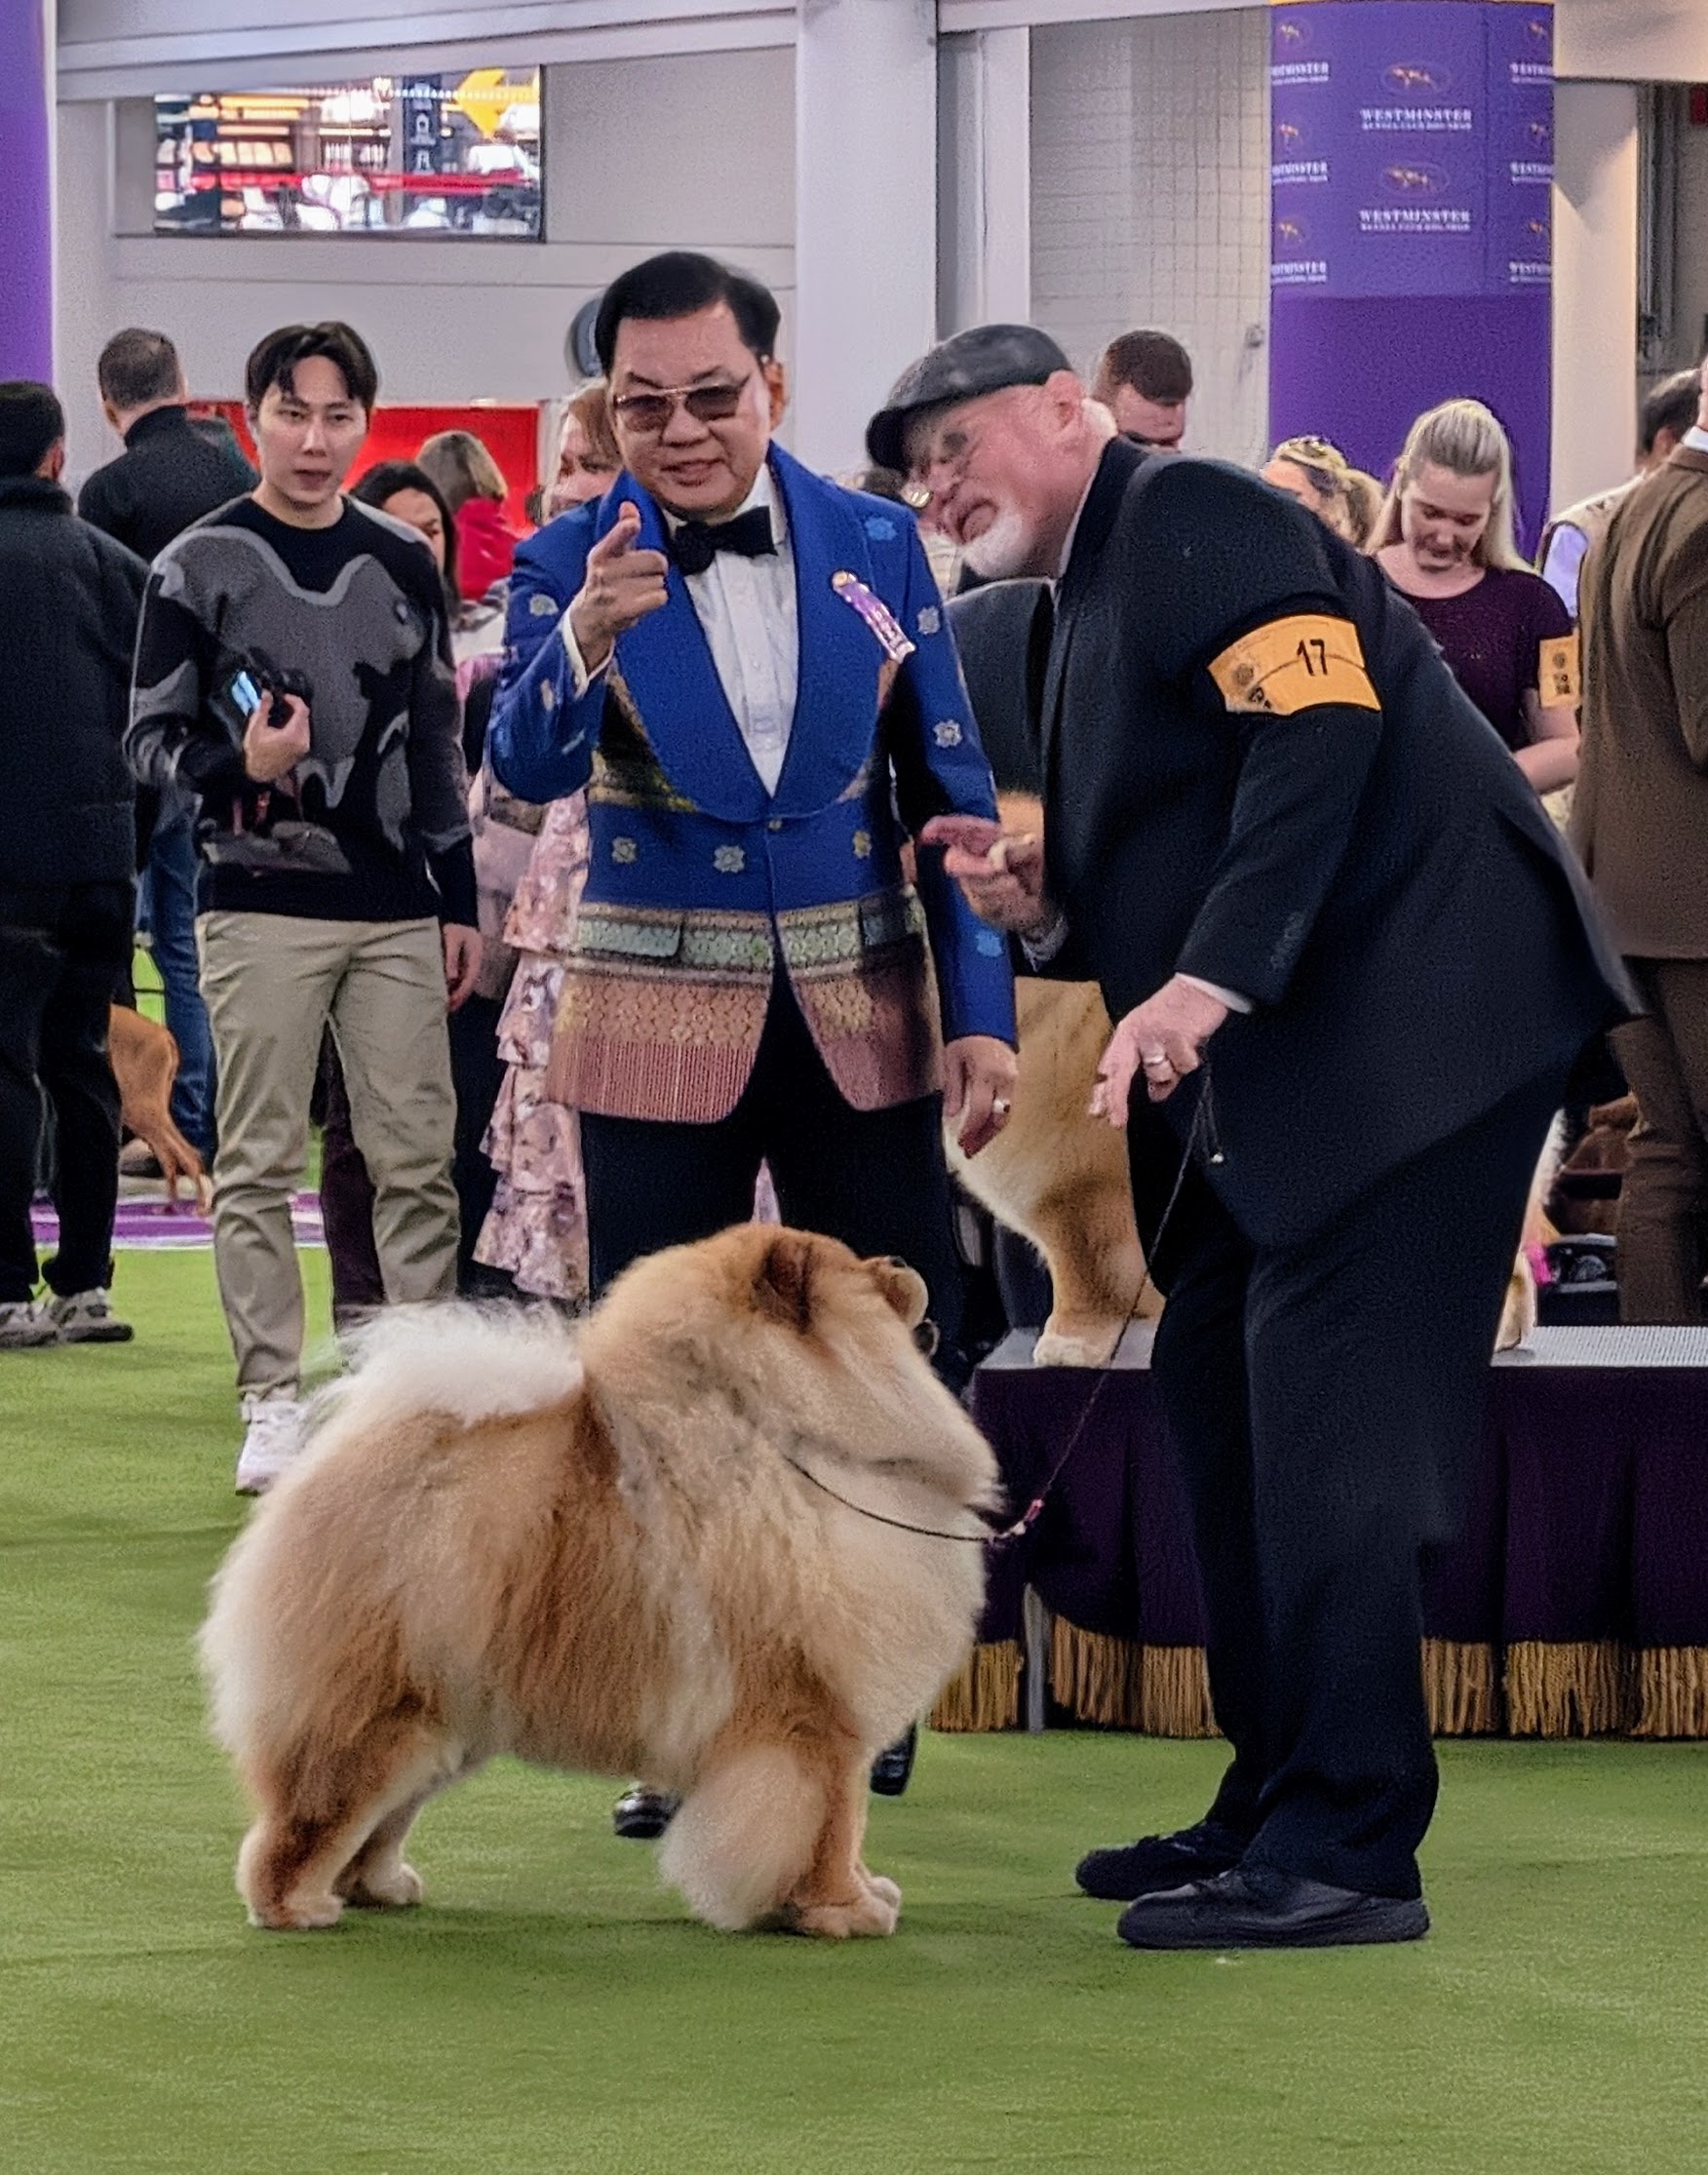
Here, the judge is giving the handler a direction to take his dog, so he can see its gait from the front and the back.
Chow Chows can come in several colors, including red, black, cream, blue, and fawn.
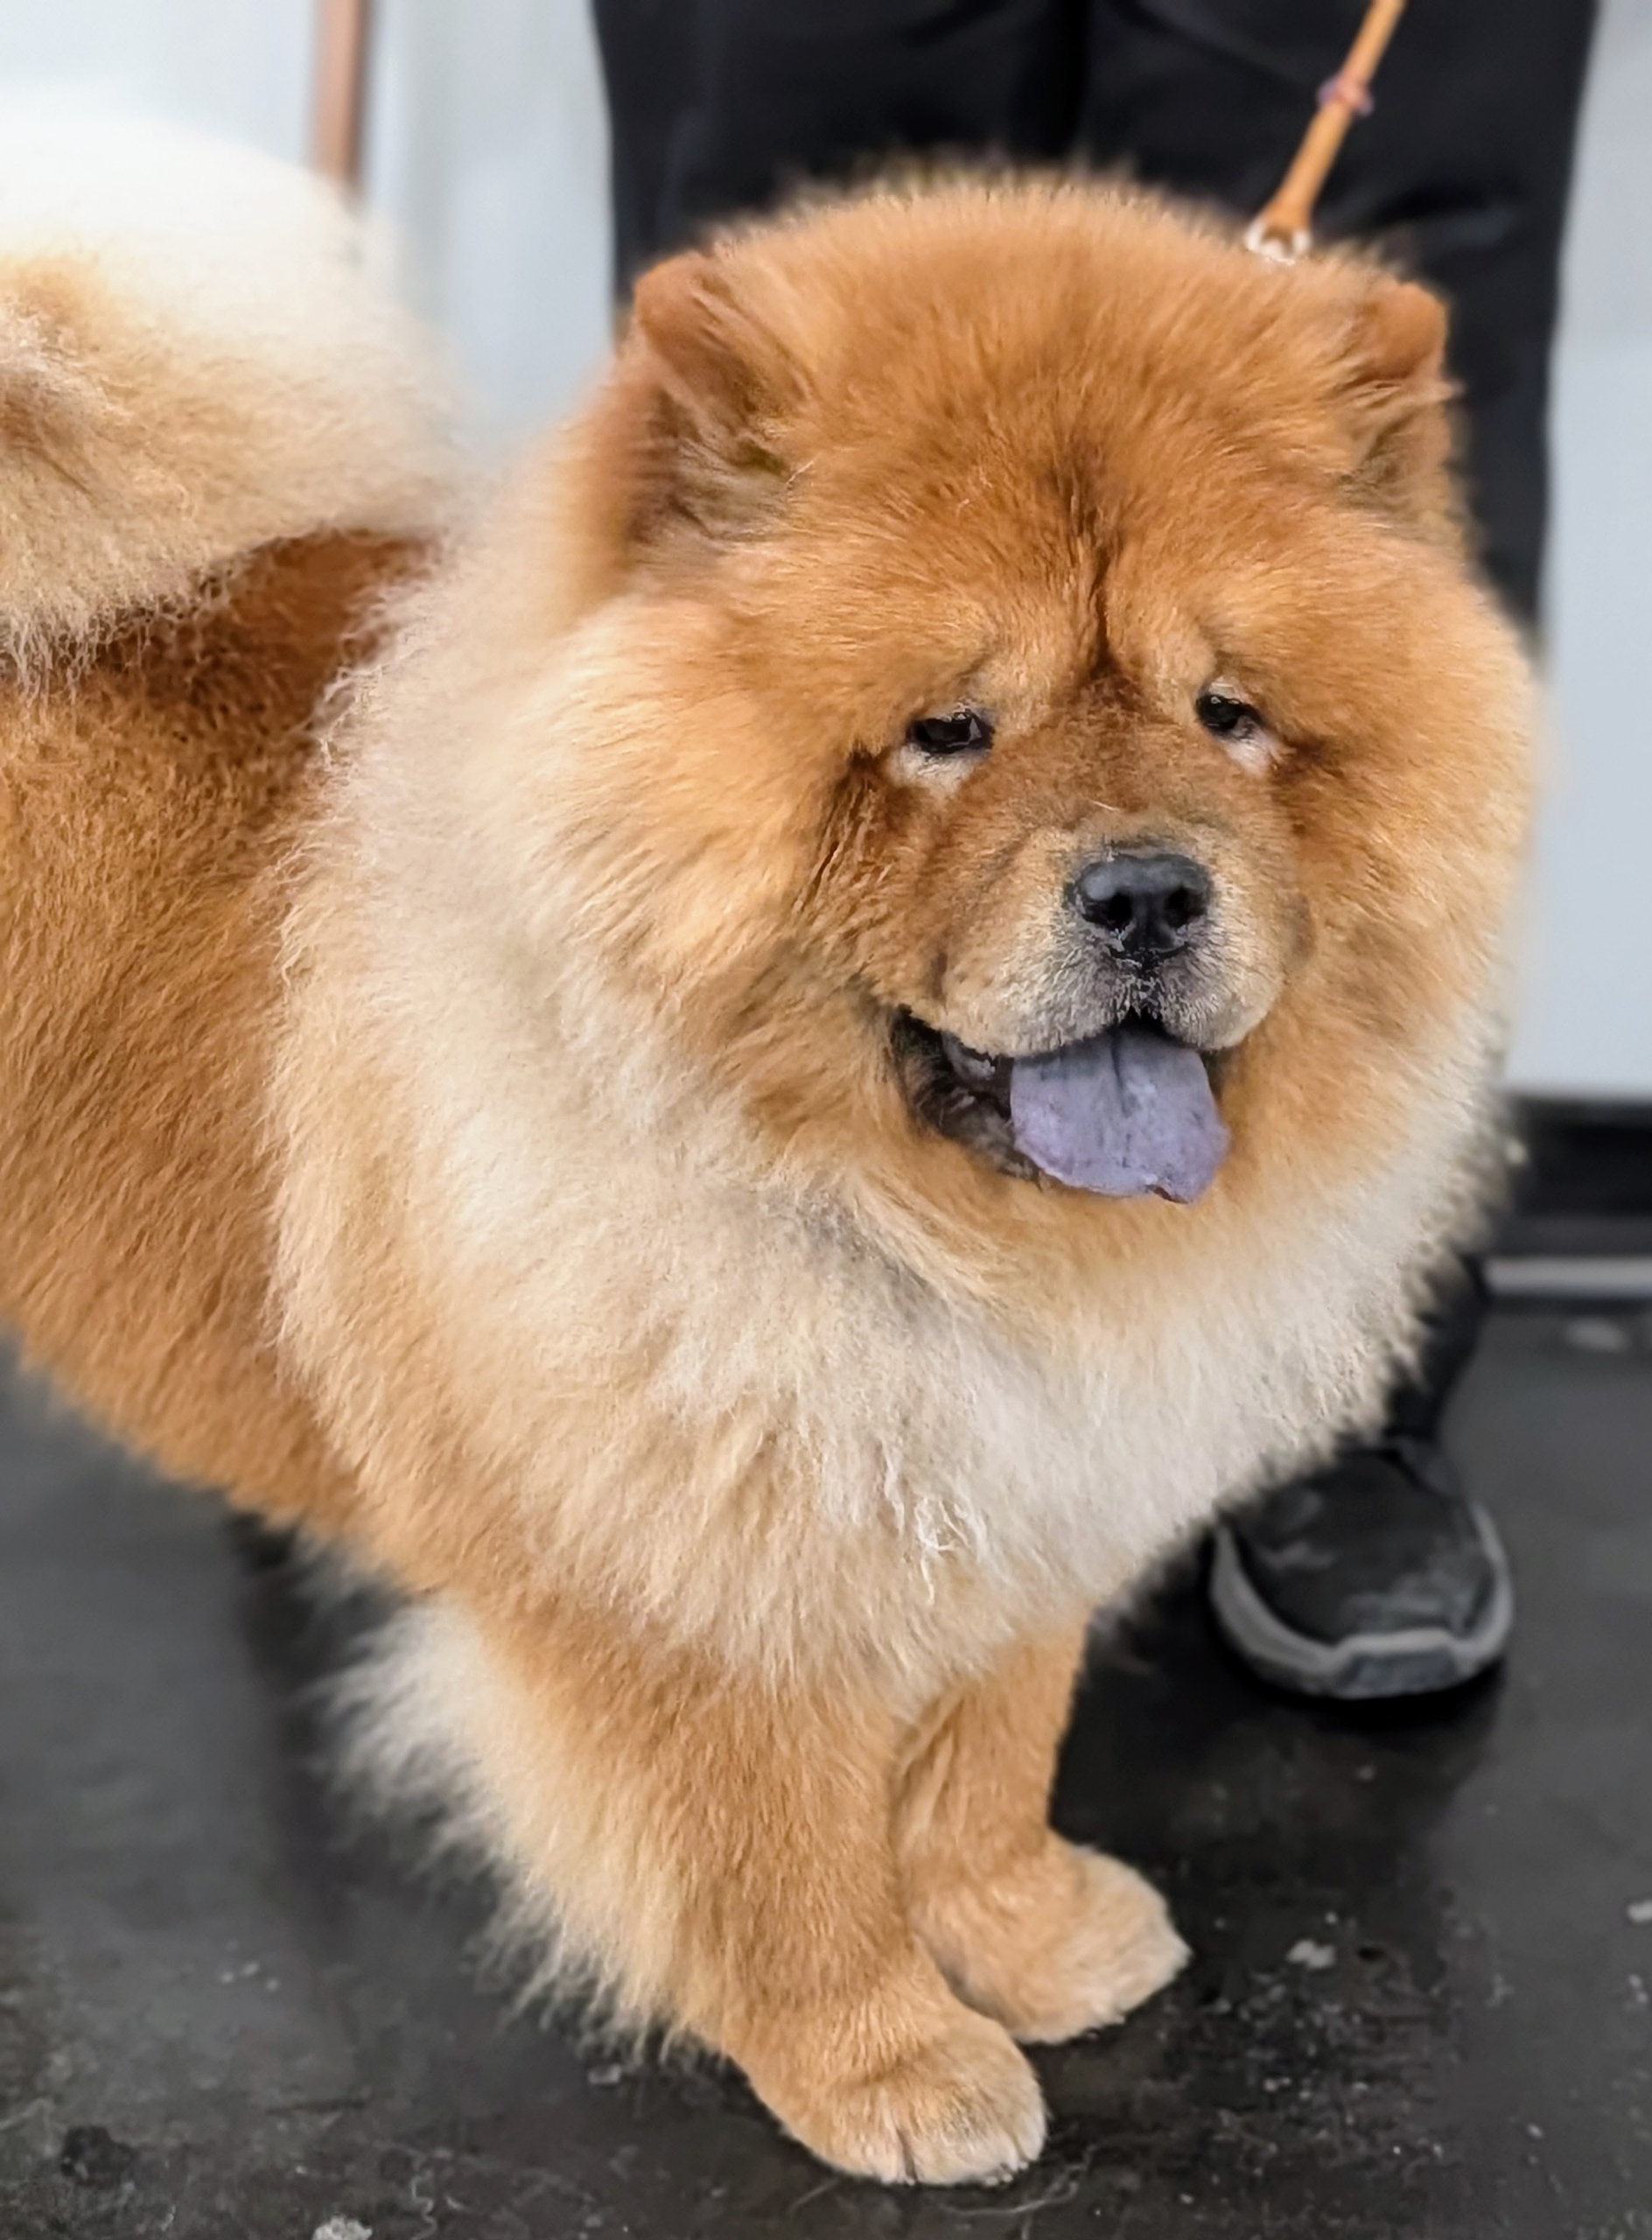
Chow Chows are also known for the distinctive blue-black tongue. This trait is caused by high levels of melanin, the pigment responsible for the color variations in skin, hair, and eyes.
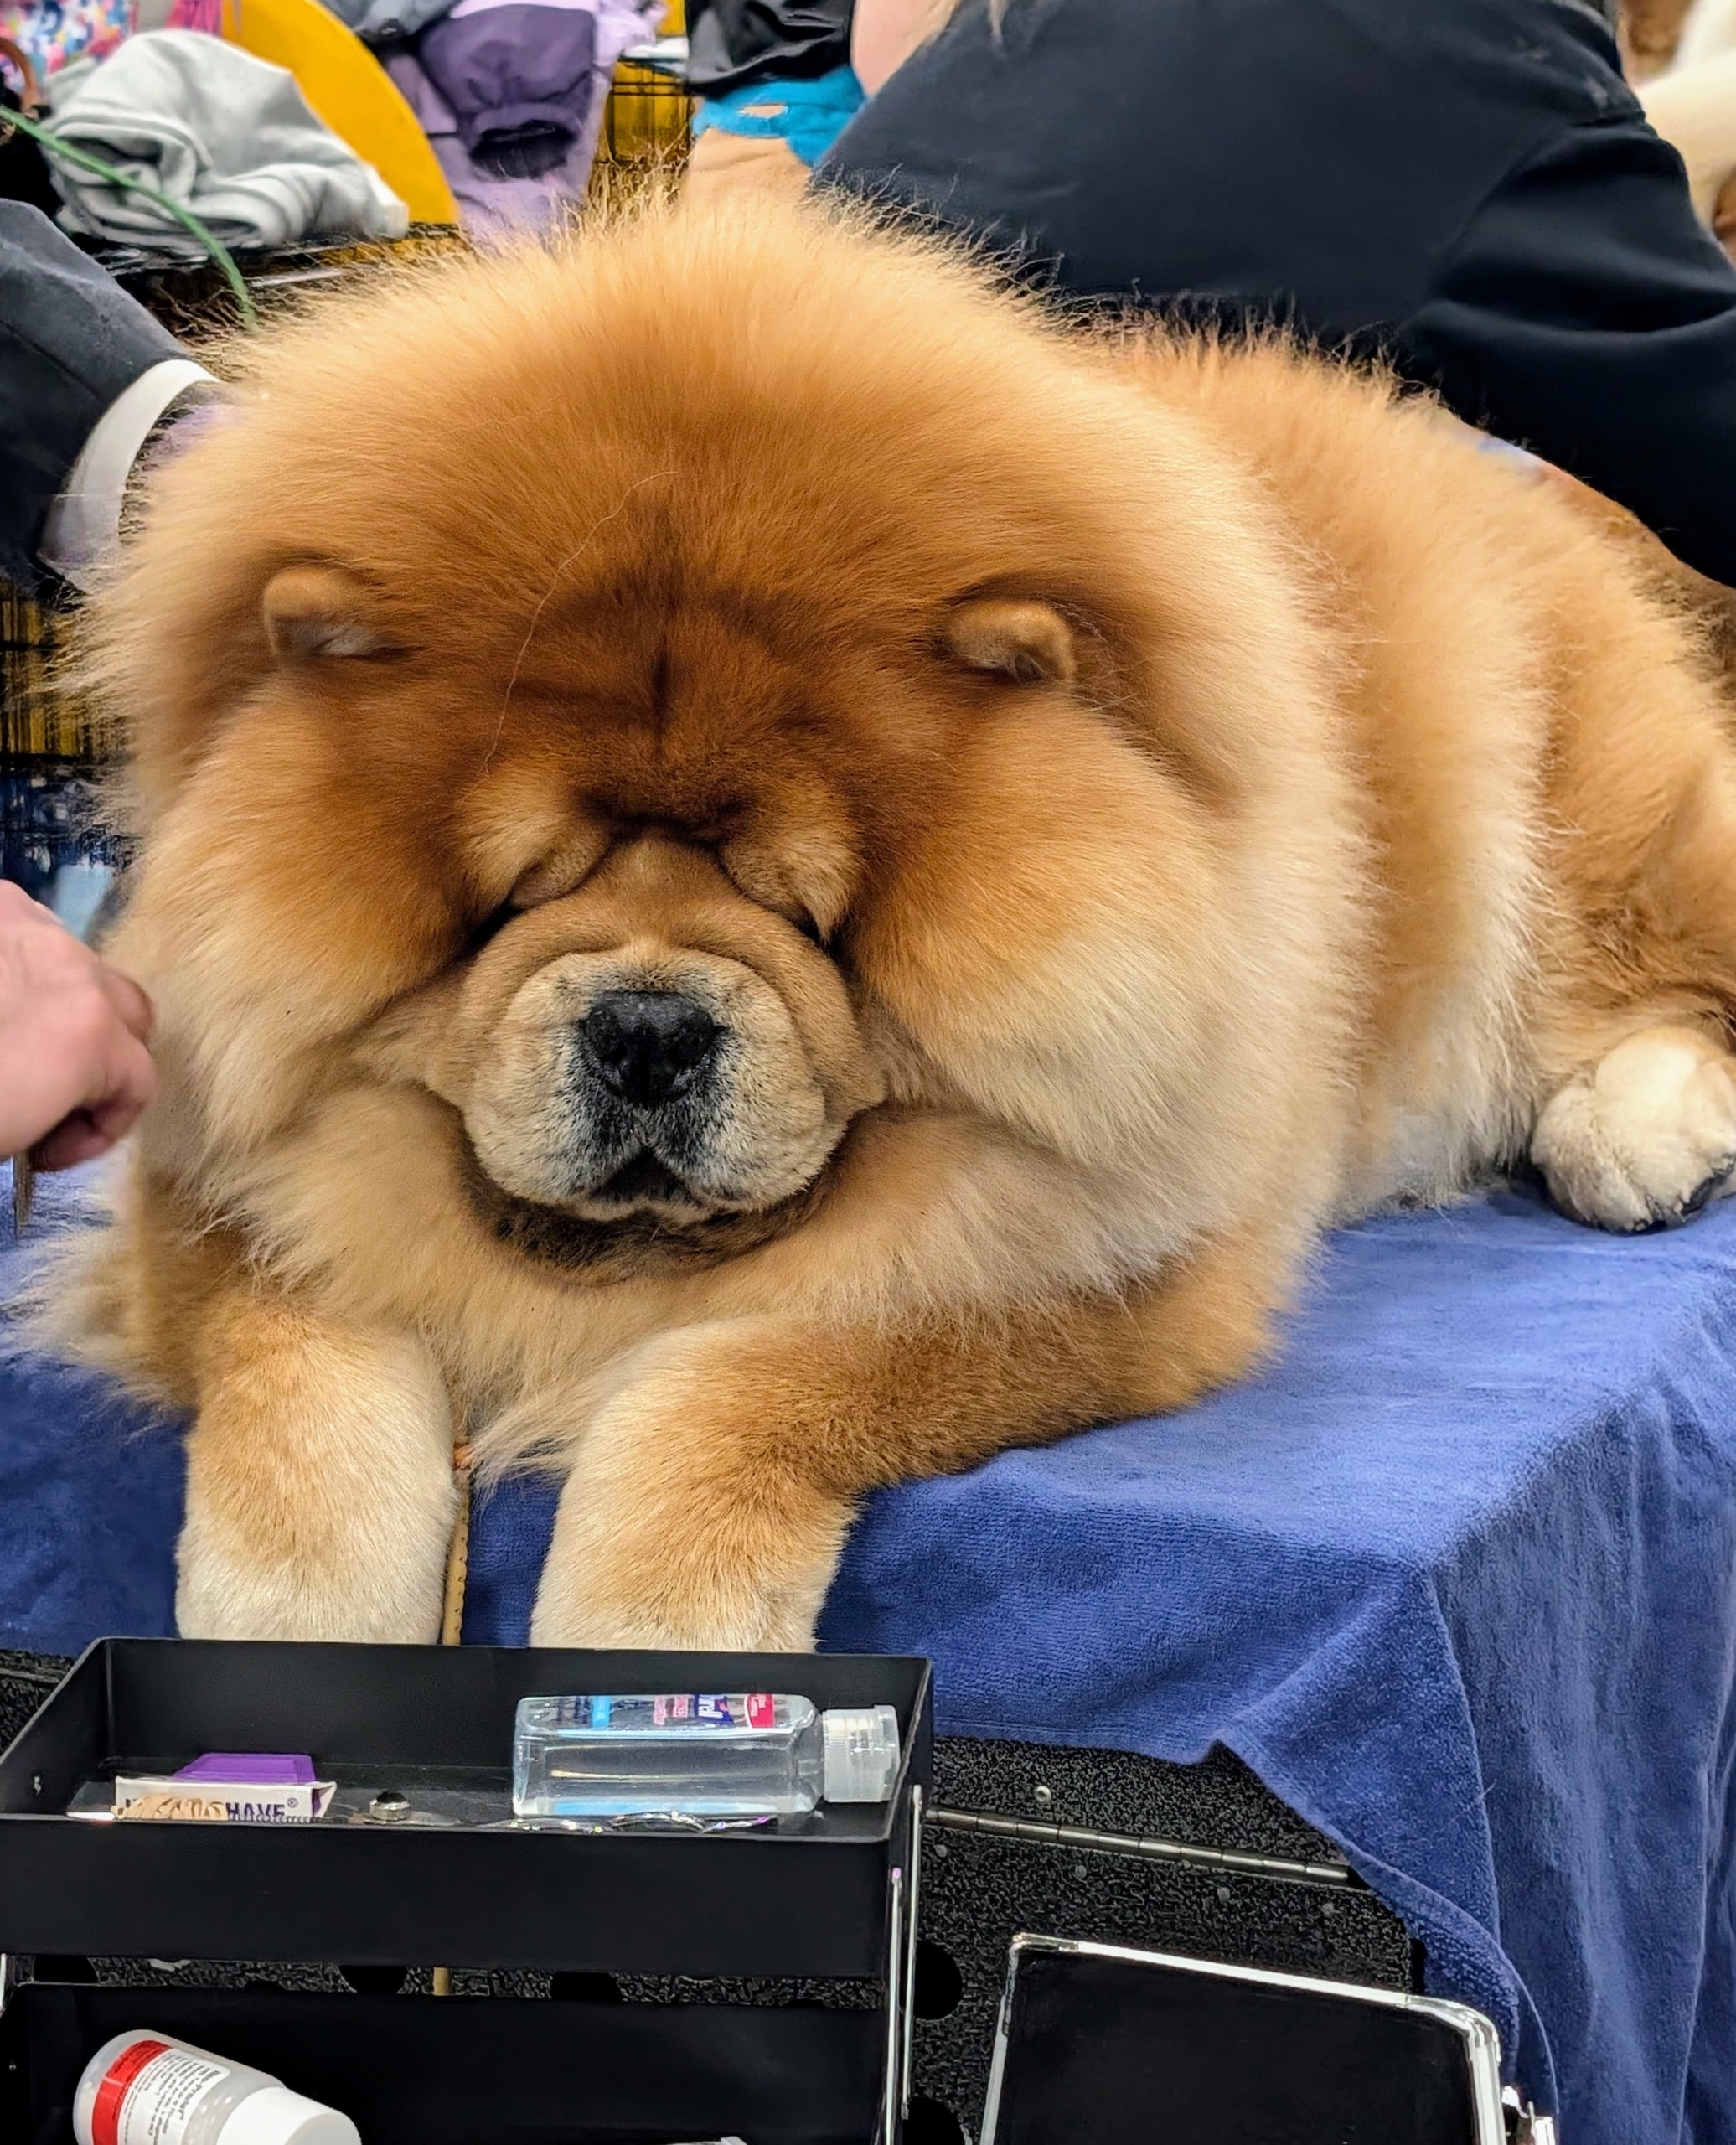
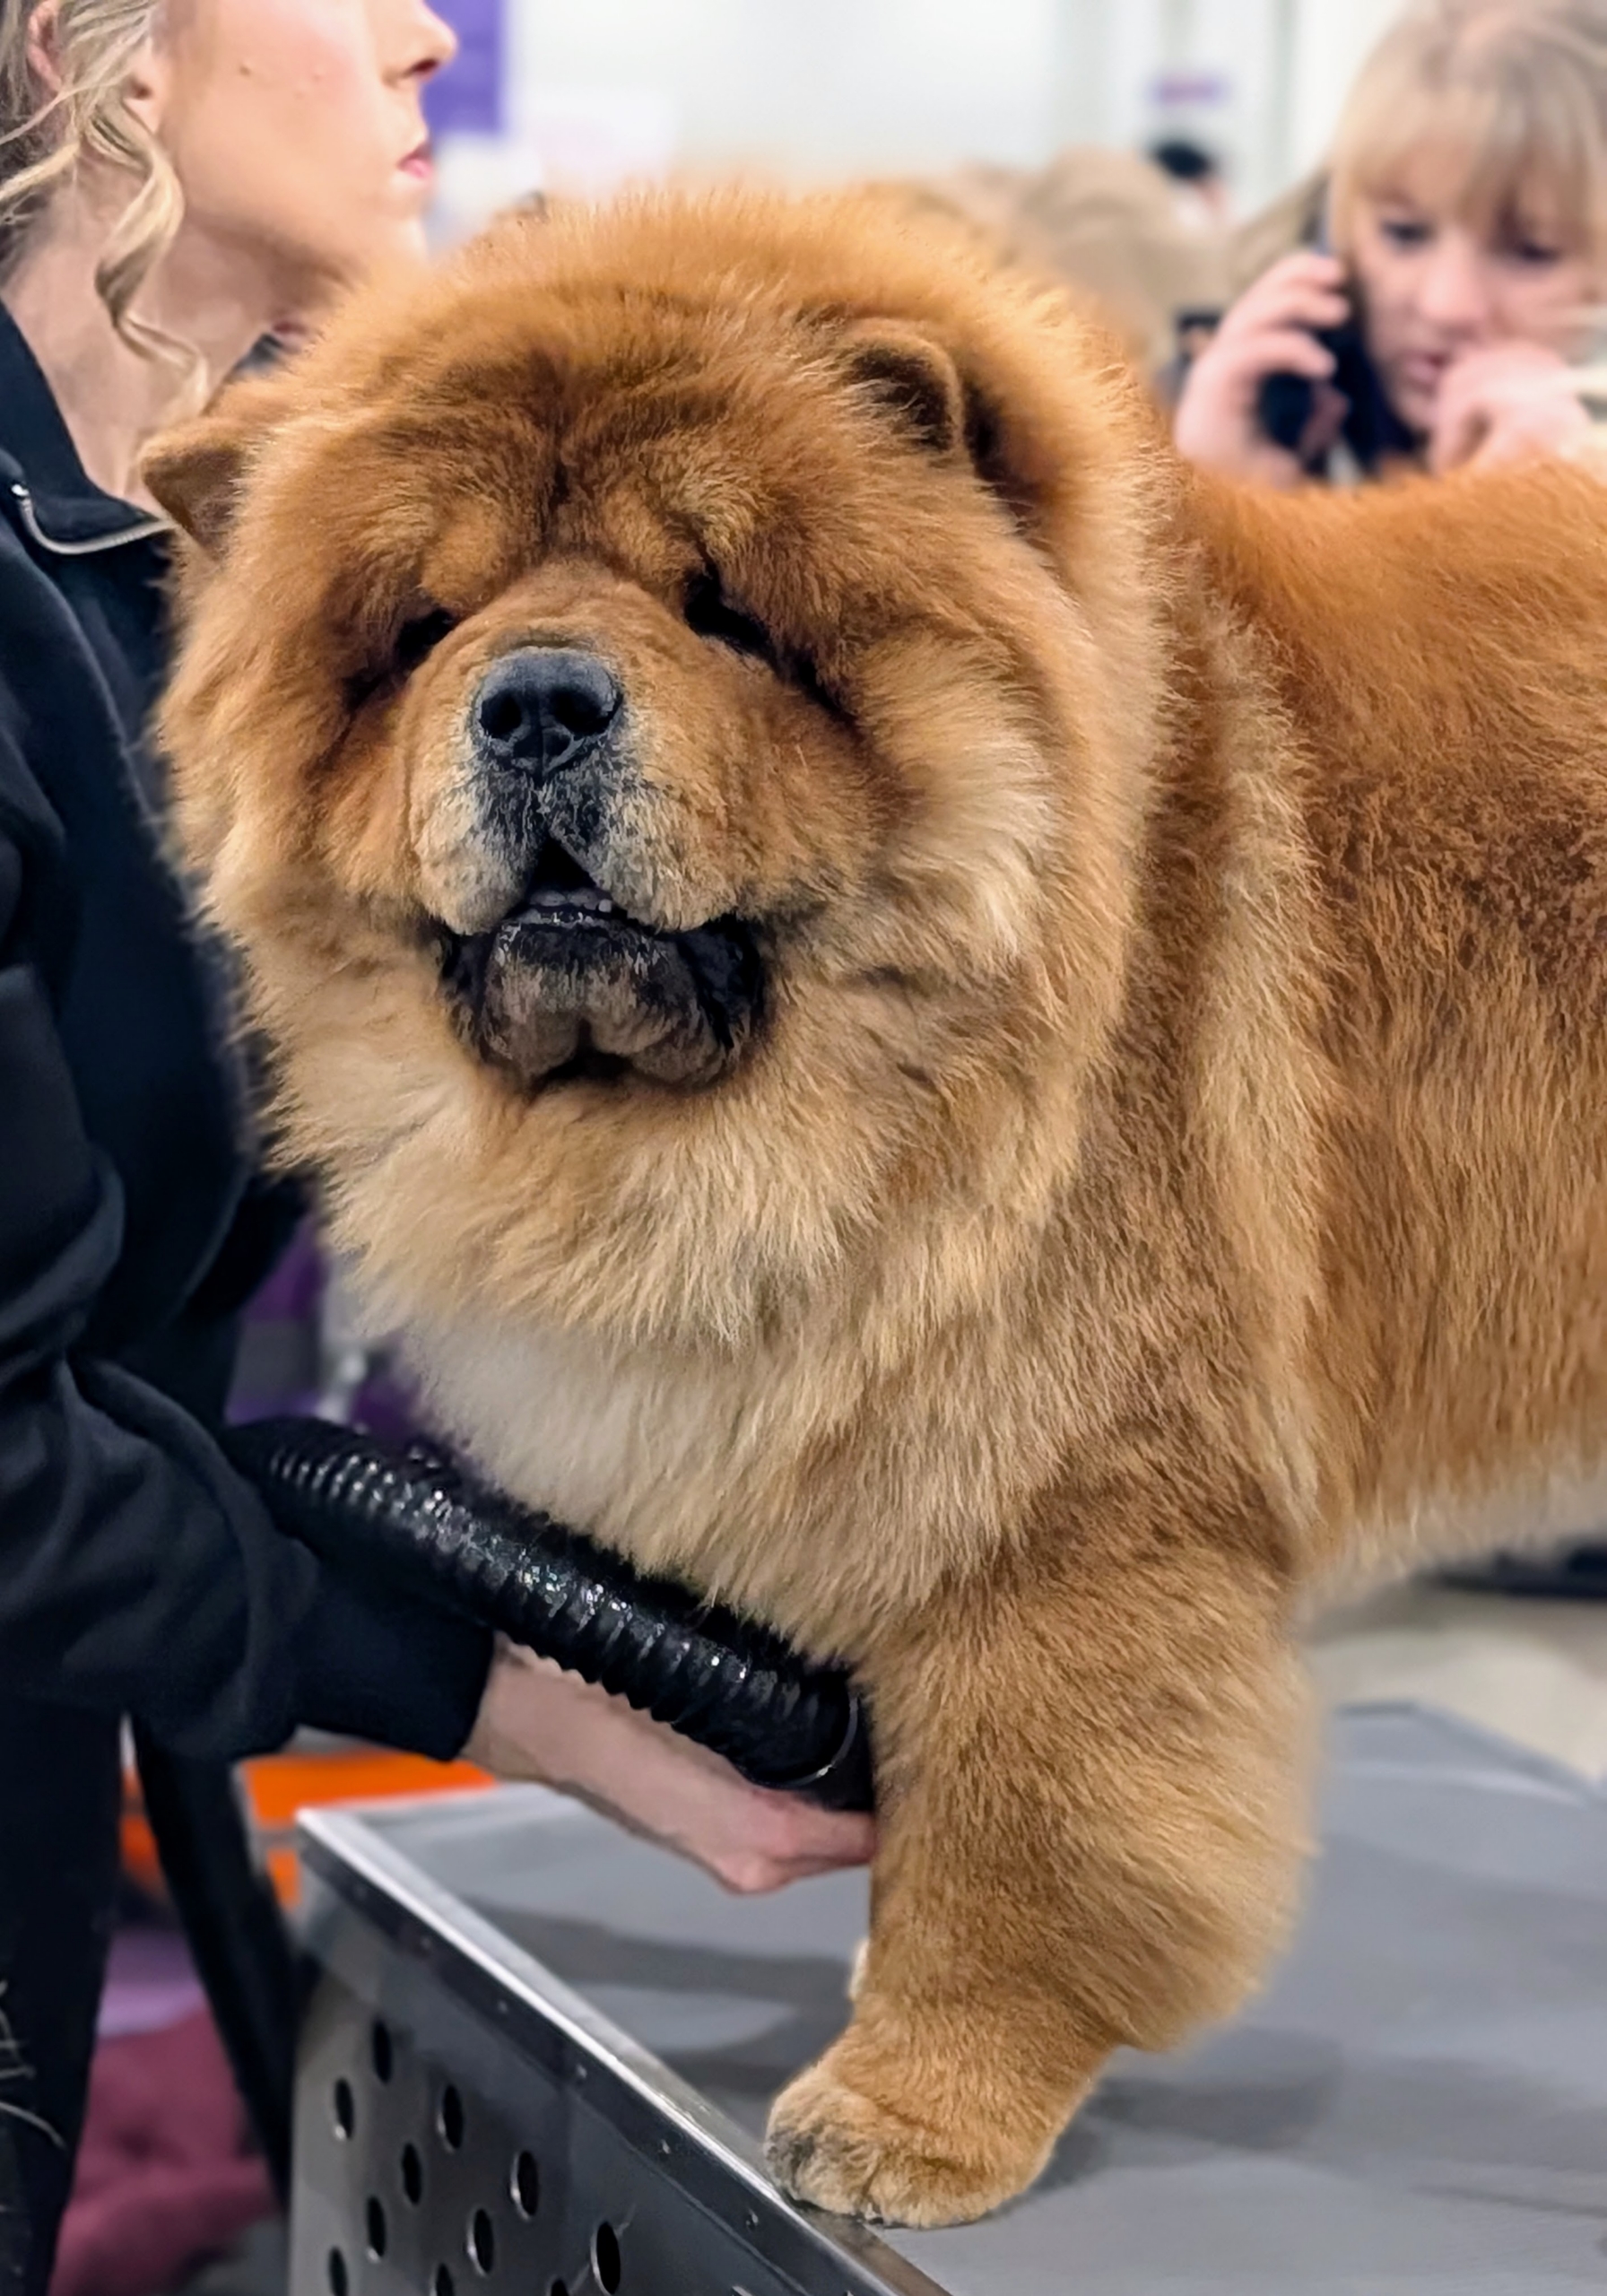
Here’s a Chow relaxing in the bench area. This breed is generally very calm and stable when socialized properly.
And while they may be cautious with strangers, these dogs form strong bonds with their owners and families. They are loyal and intelligent.
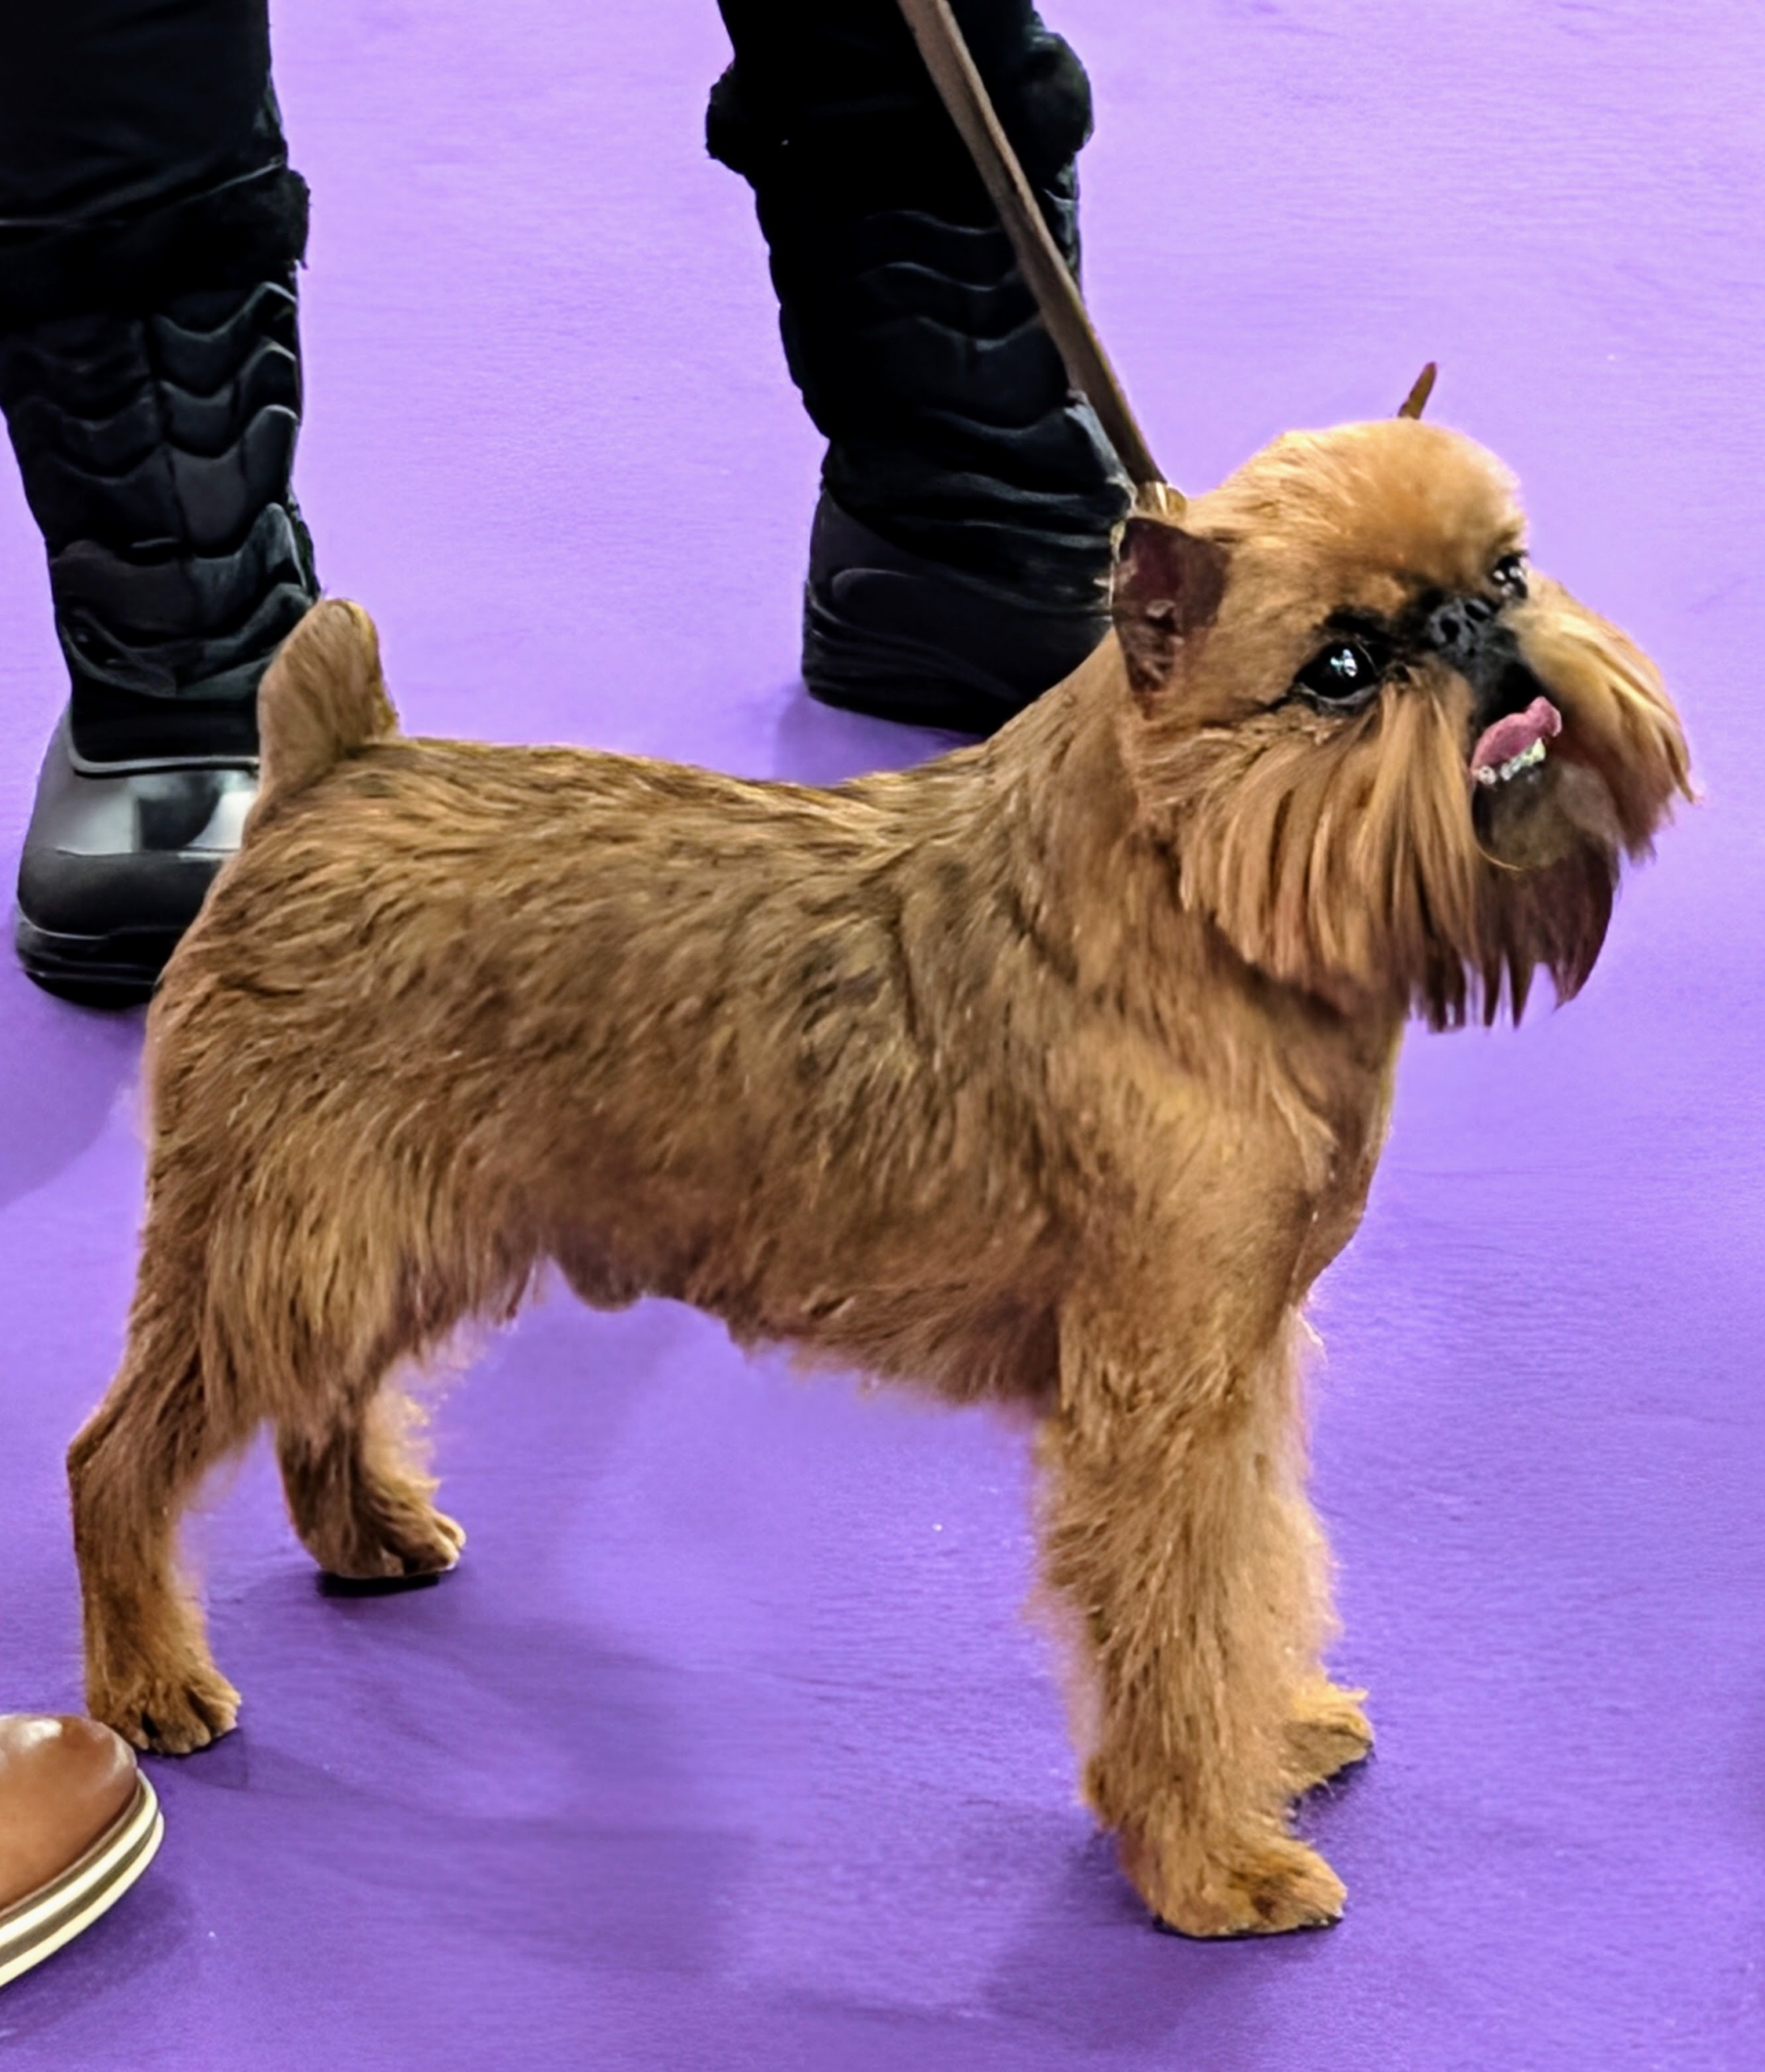
Other breeds showing at Westminster include this Brussels Griffon, a small, smart, and affectionate breed of dog in the Toy Group.
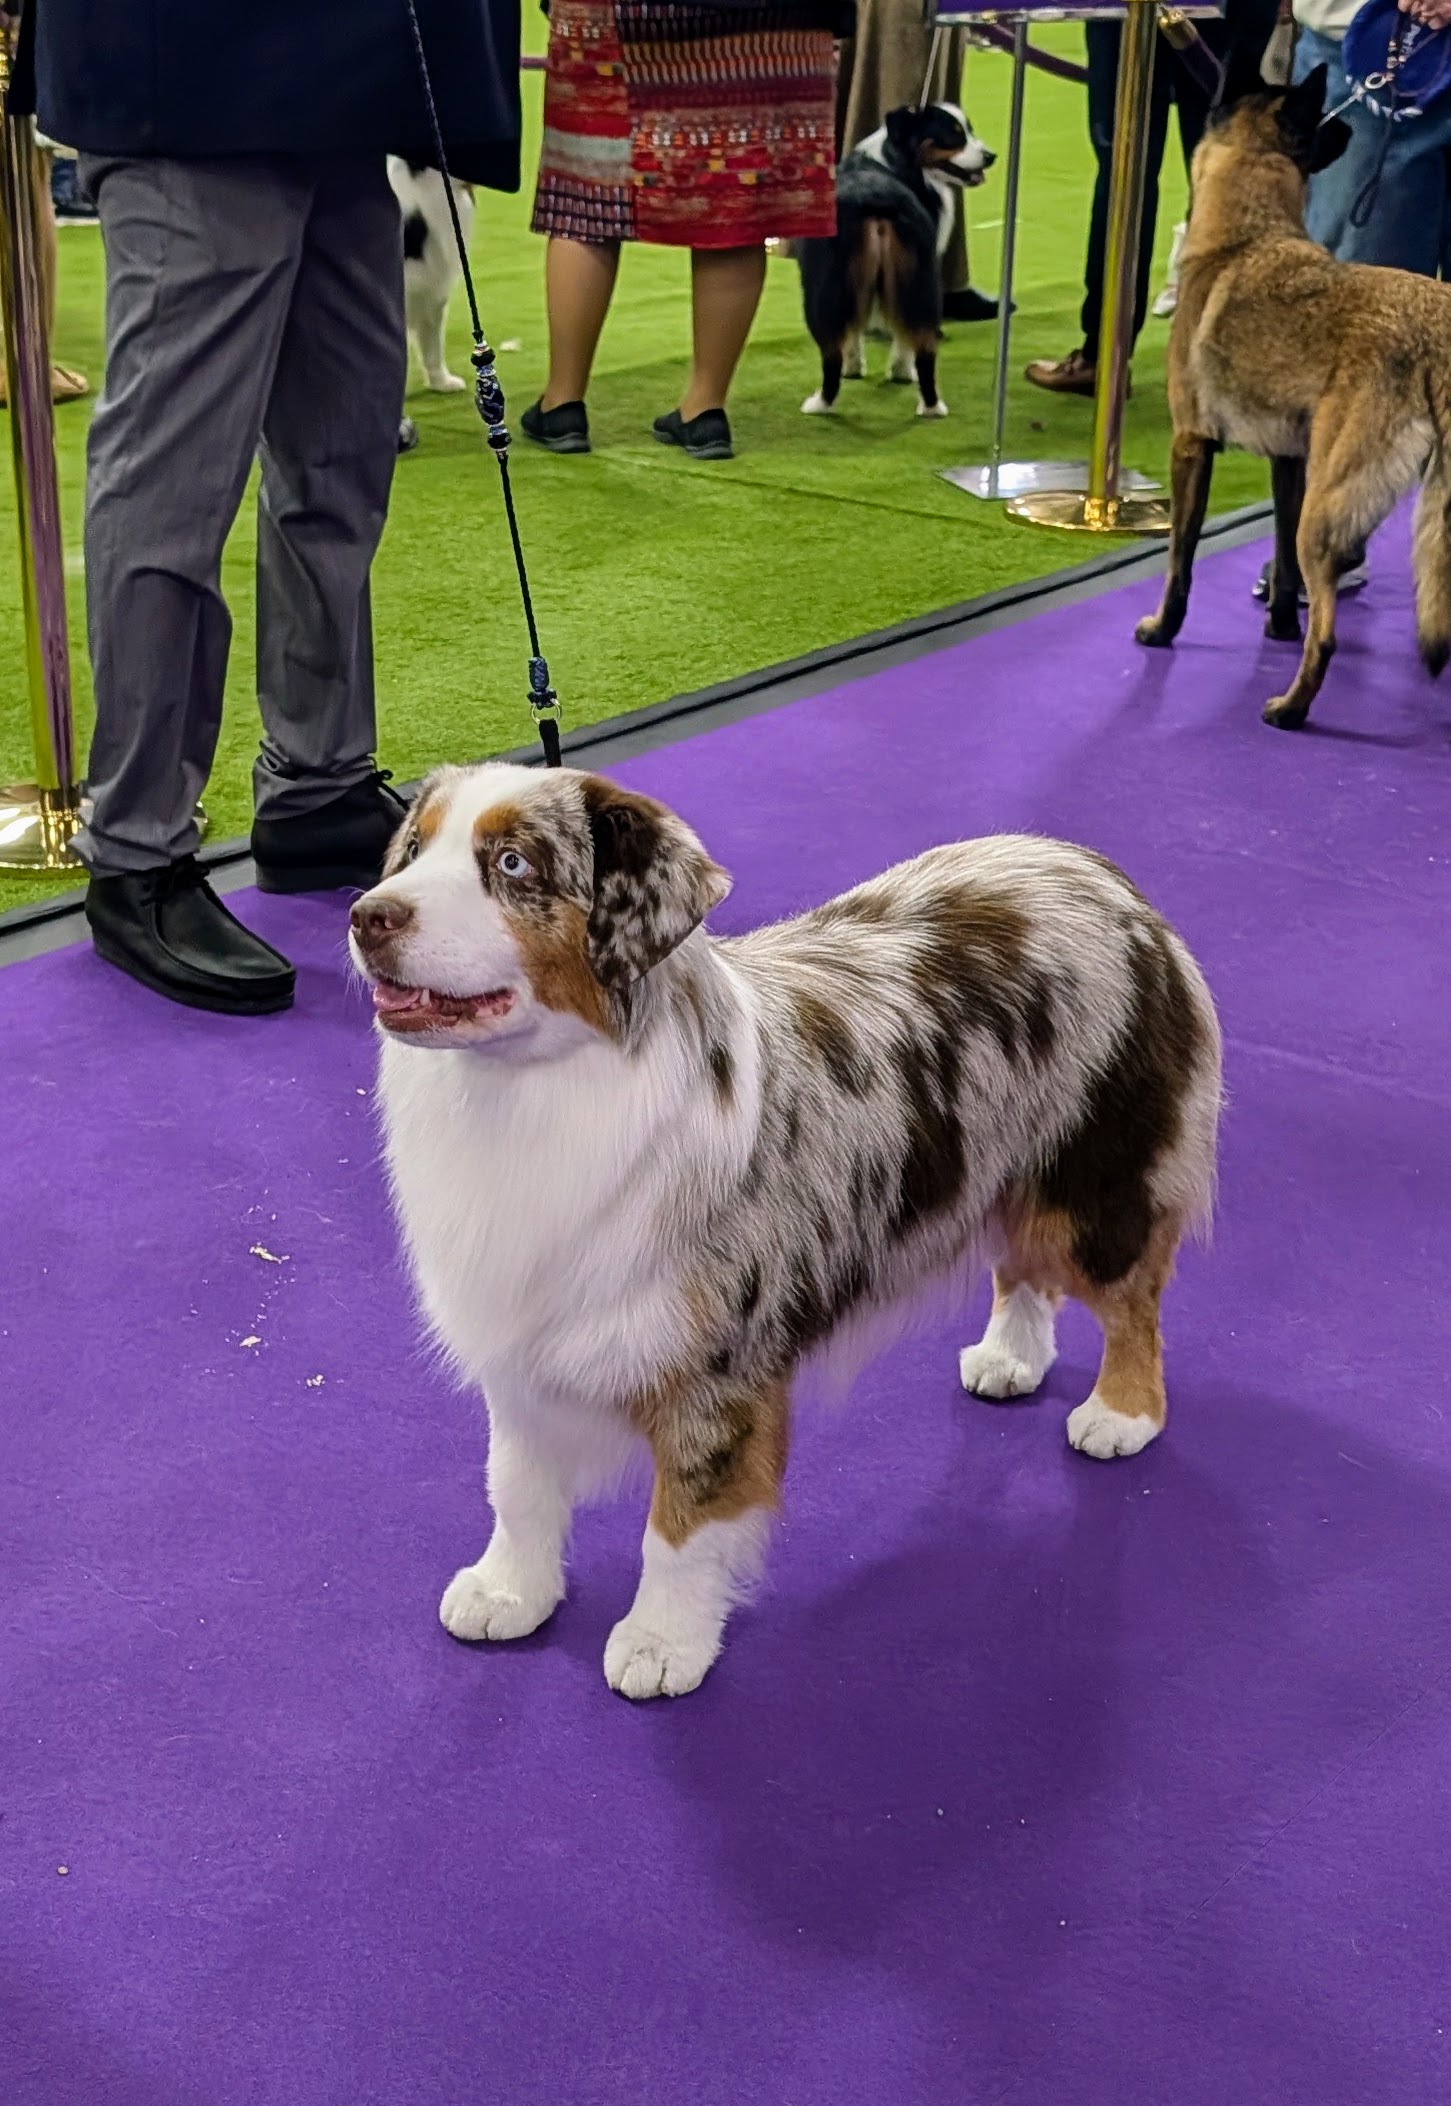
The Australian Shepherd, often called an “Aussie,” is a medium sized herding dog known for its high activity, intelligence, and loyalty. And do you know… despite its name, it was actually developed on the West Coast of the United States.
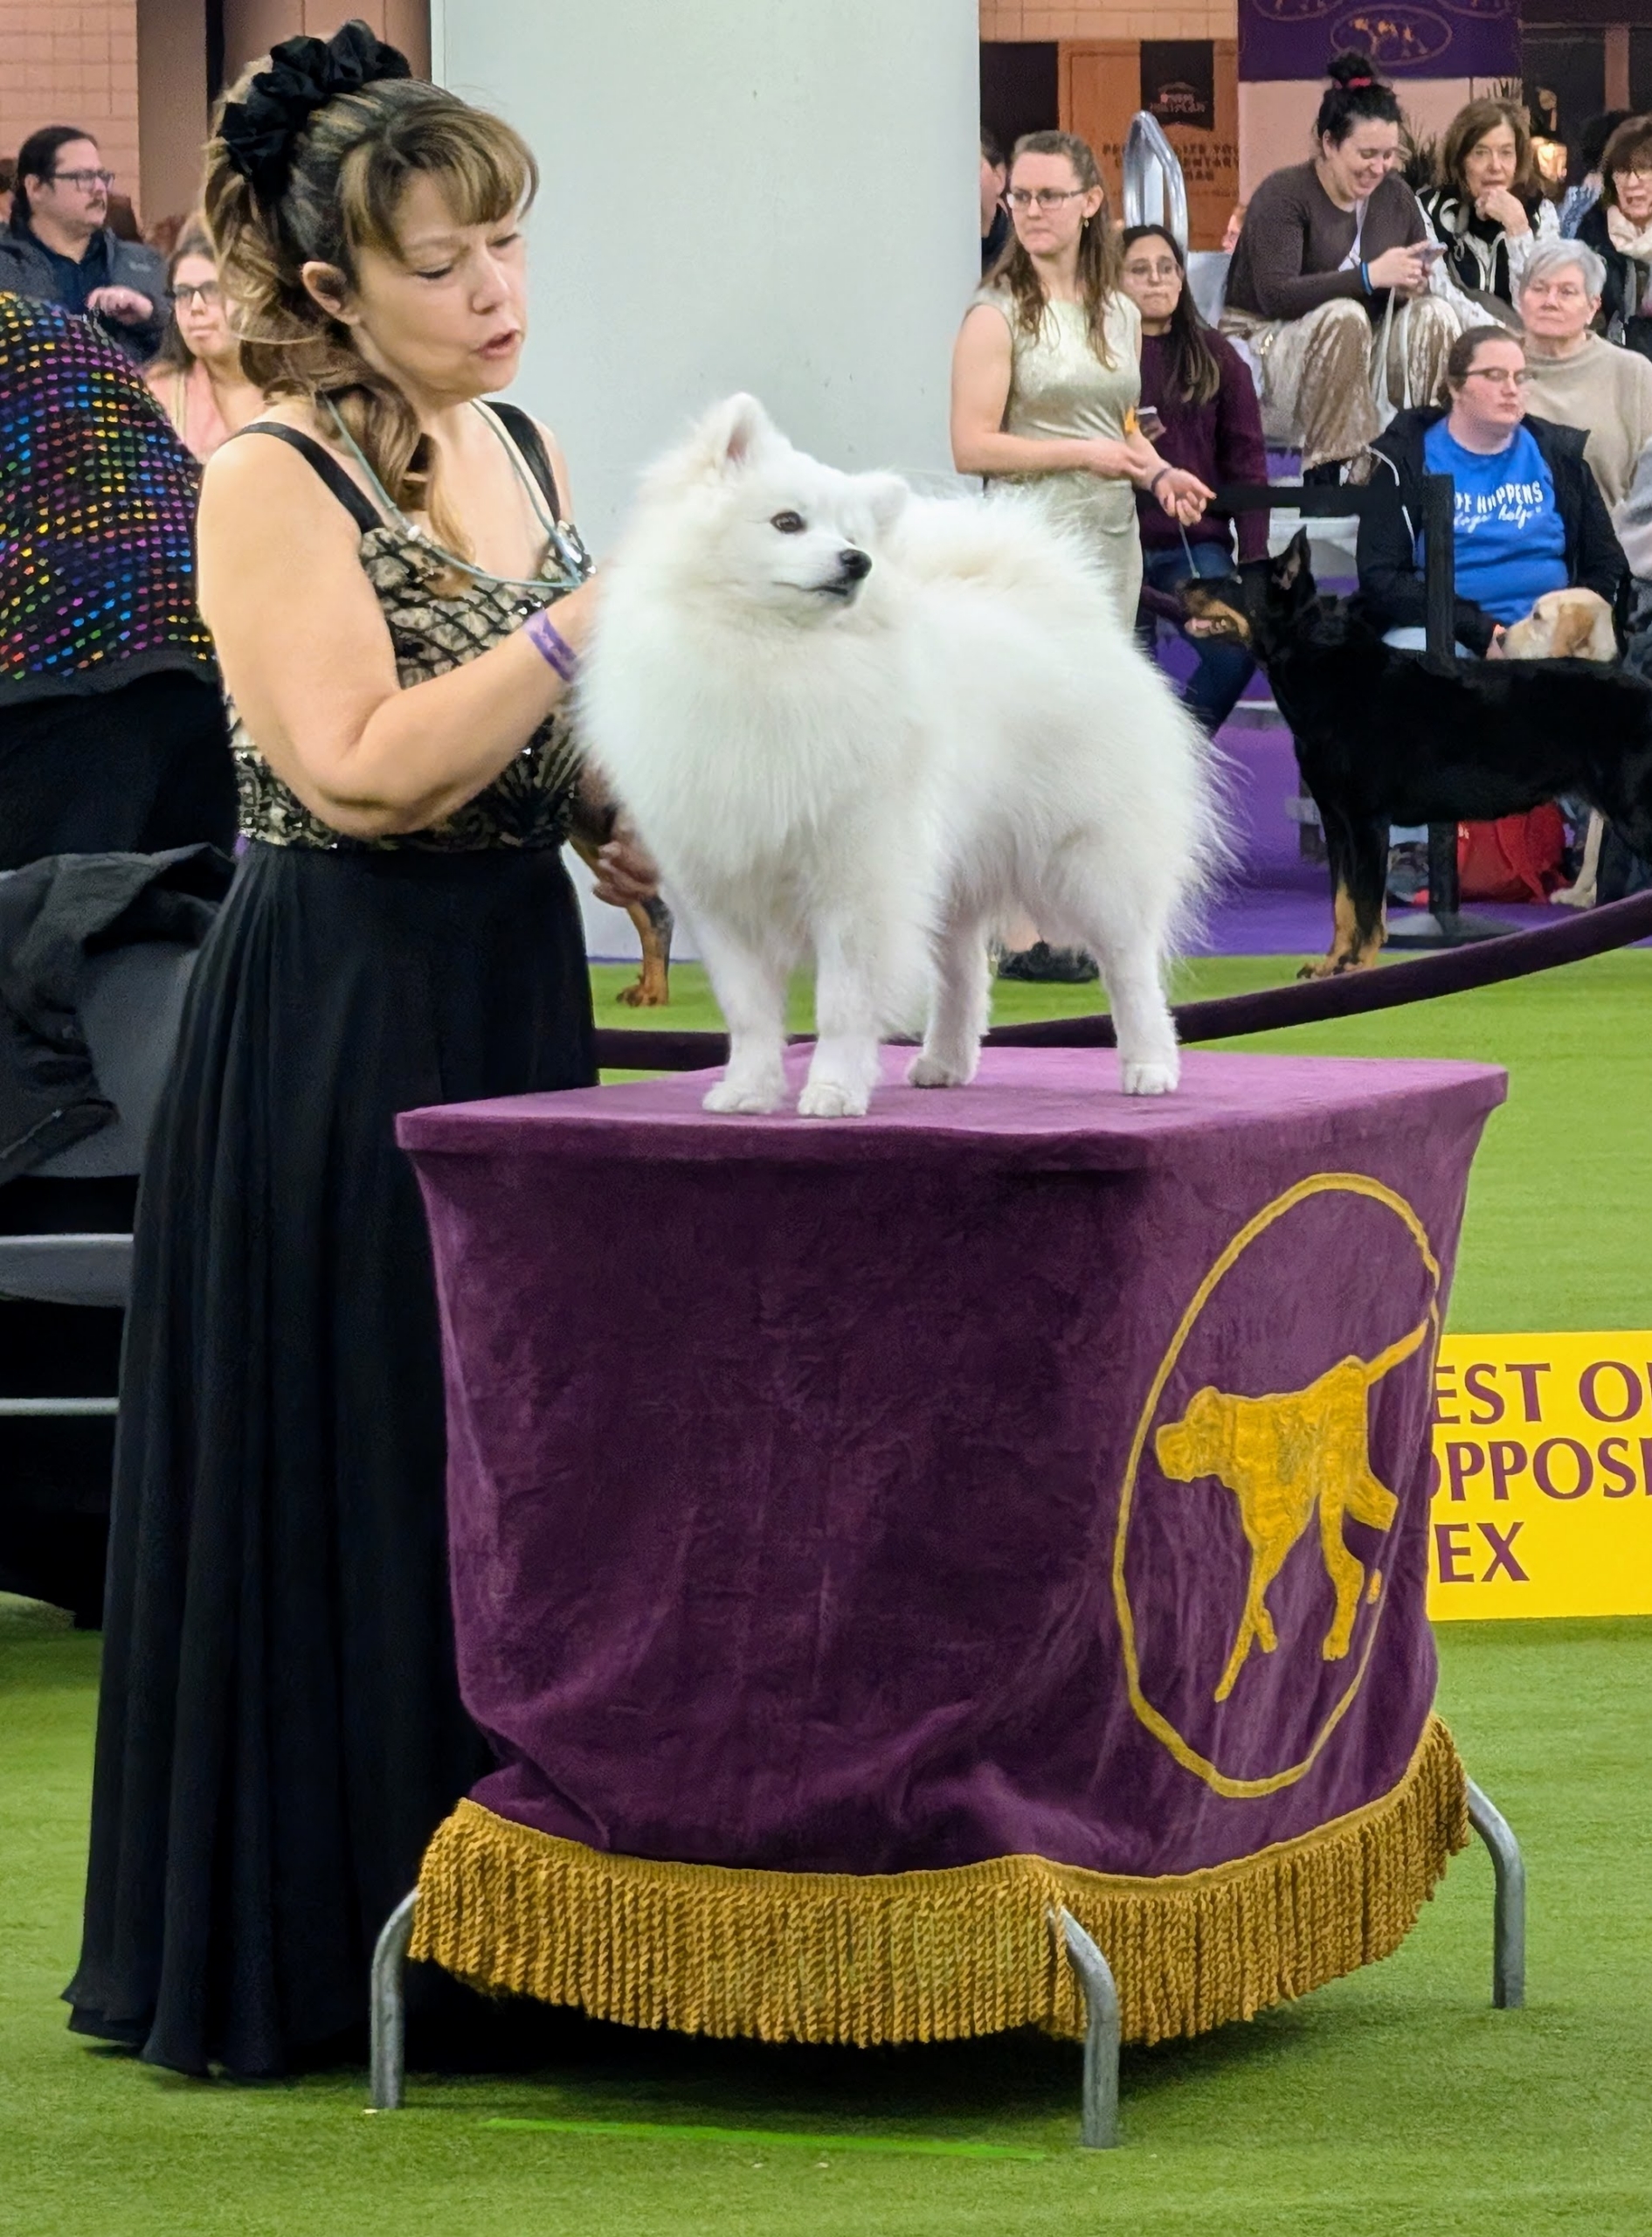
The American Eskimo Dog is a double white coated breed that is friendly and playful and comes in toy, miniature and standard sizes.
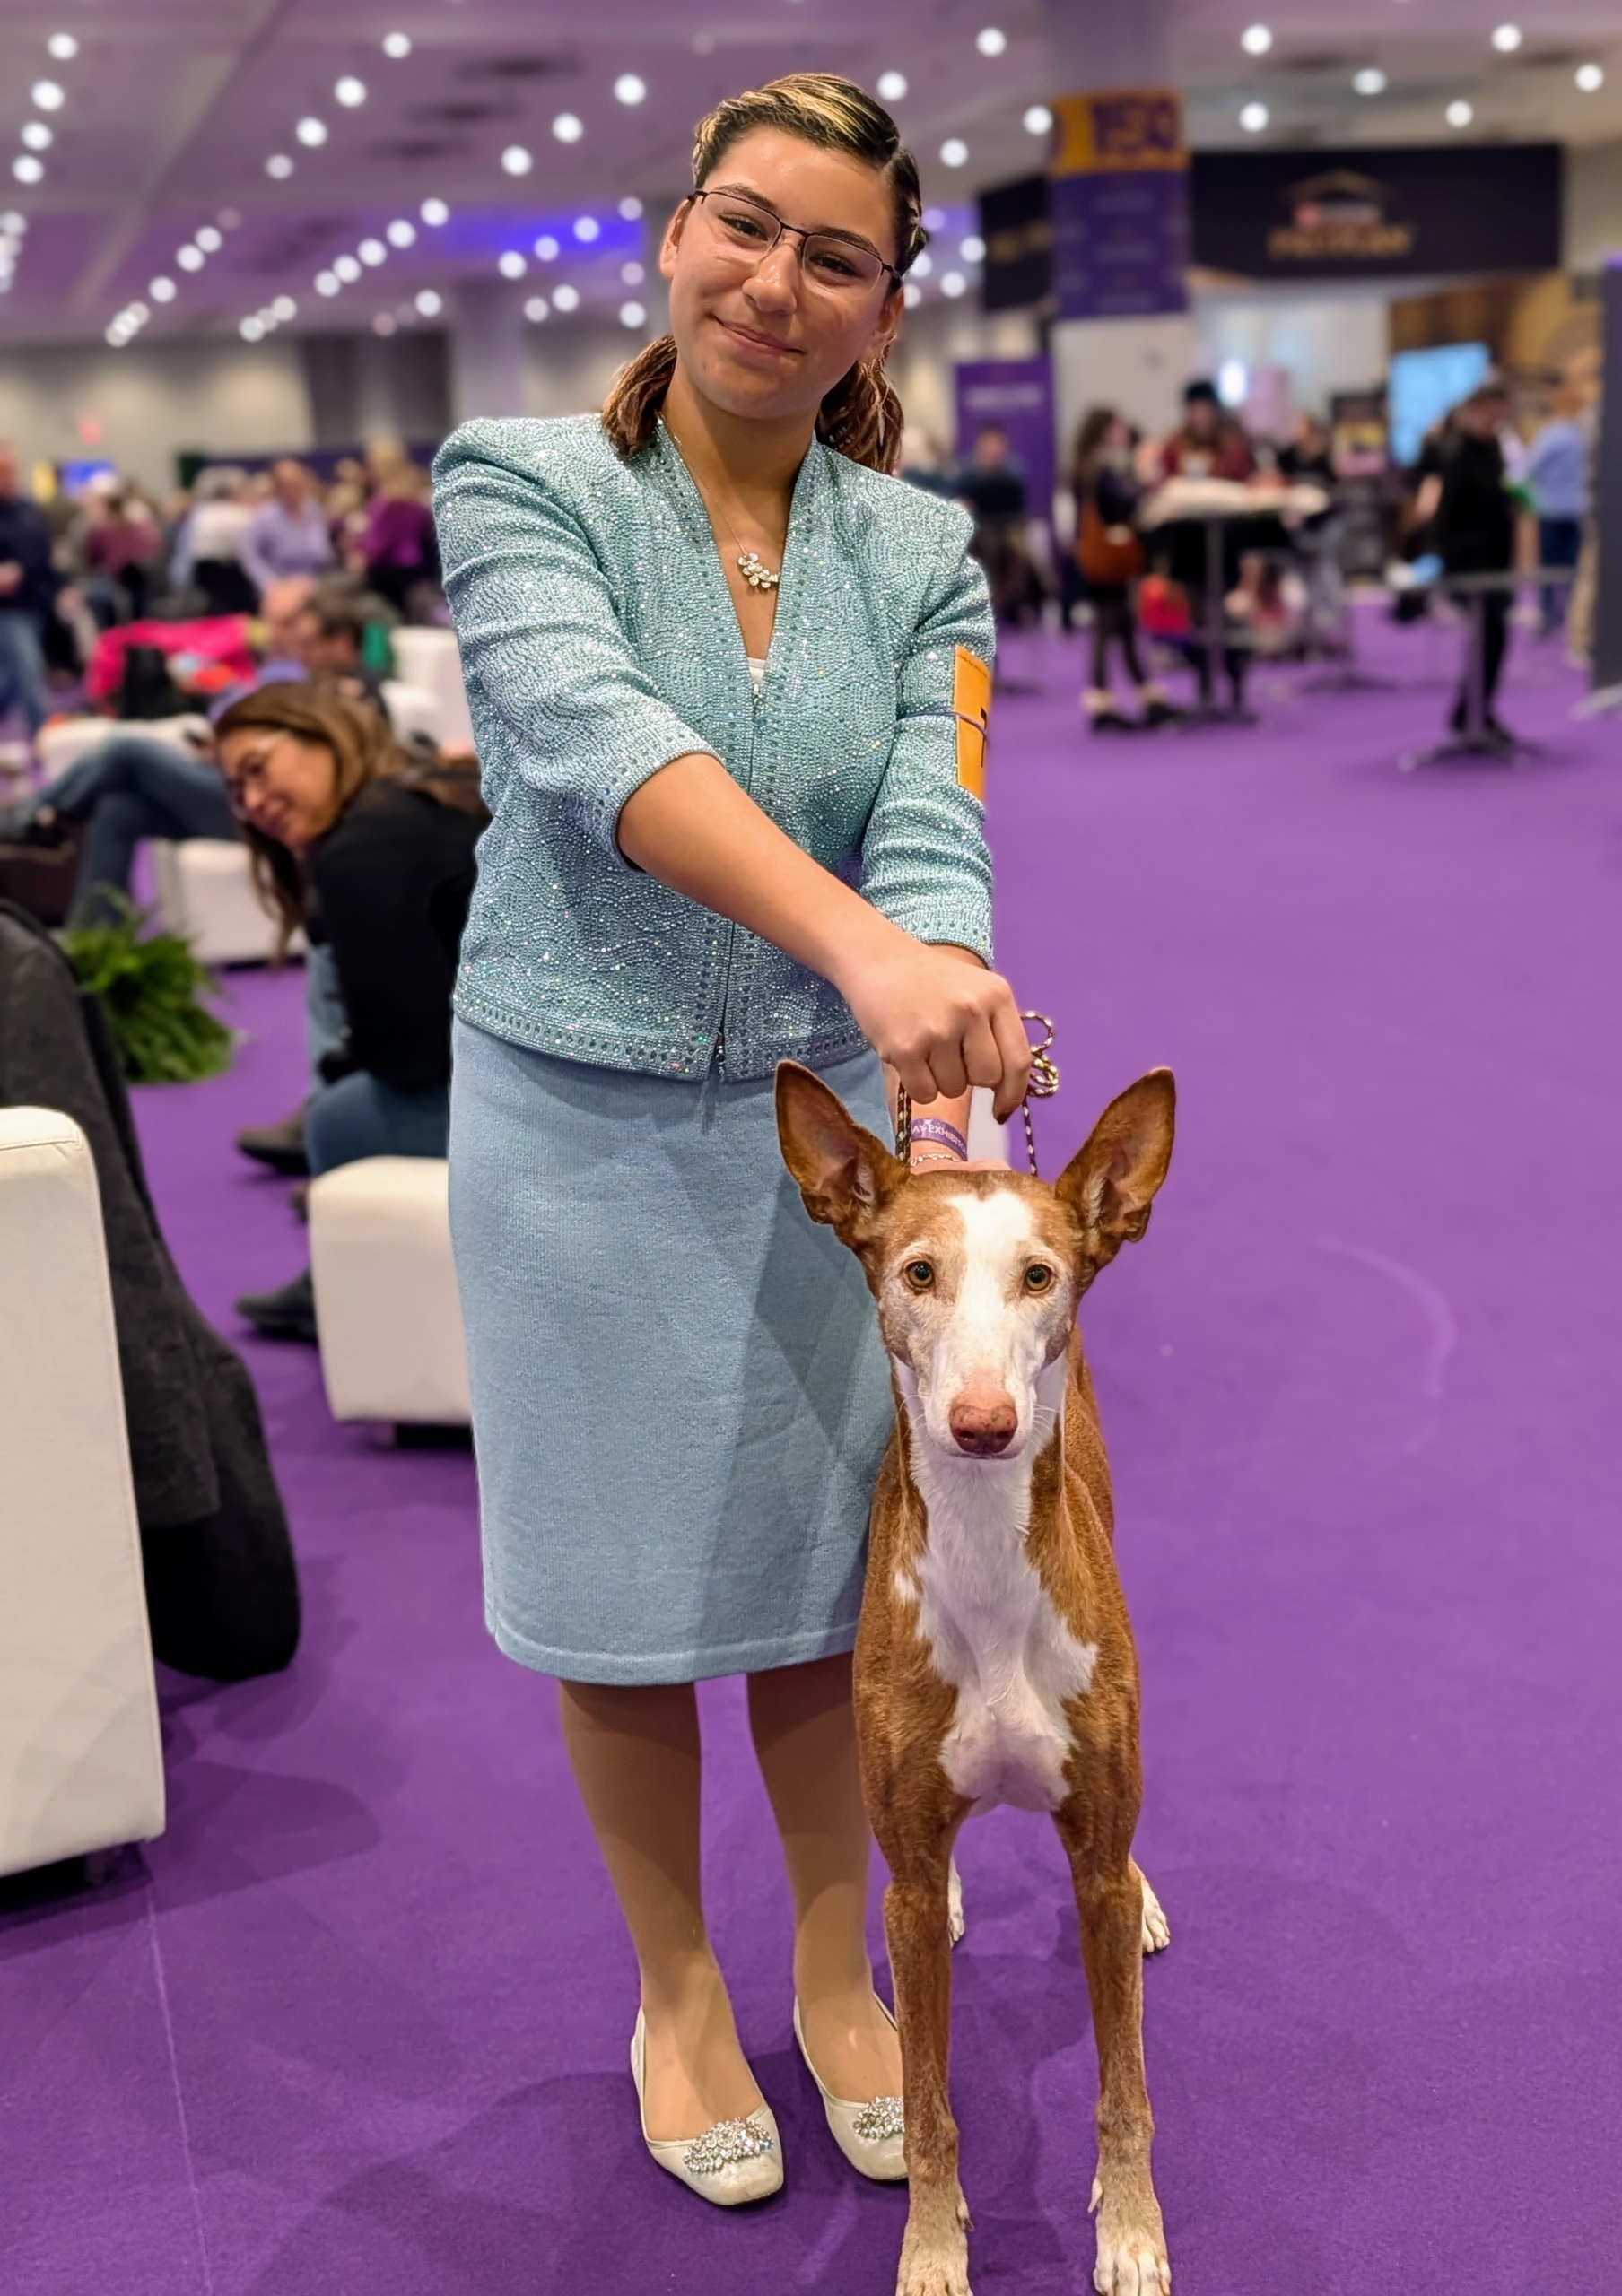
In dog showing, there is also a category for junior handling. Children nine to 18 years old learn basic handling abilities, and how to care for, and present, different breeds in a competition. While Juniors are judged by an official AKC Judge, it’s the quality of their presentation that is judged, not the dog. This junior handler is showing her Ibizan Hound.
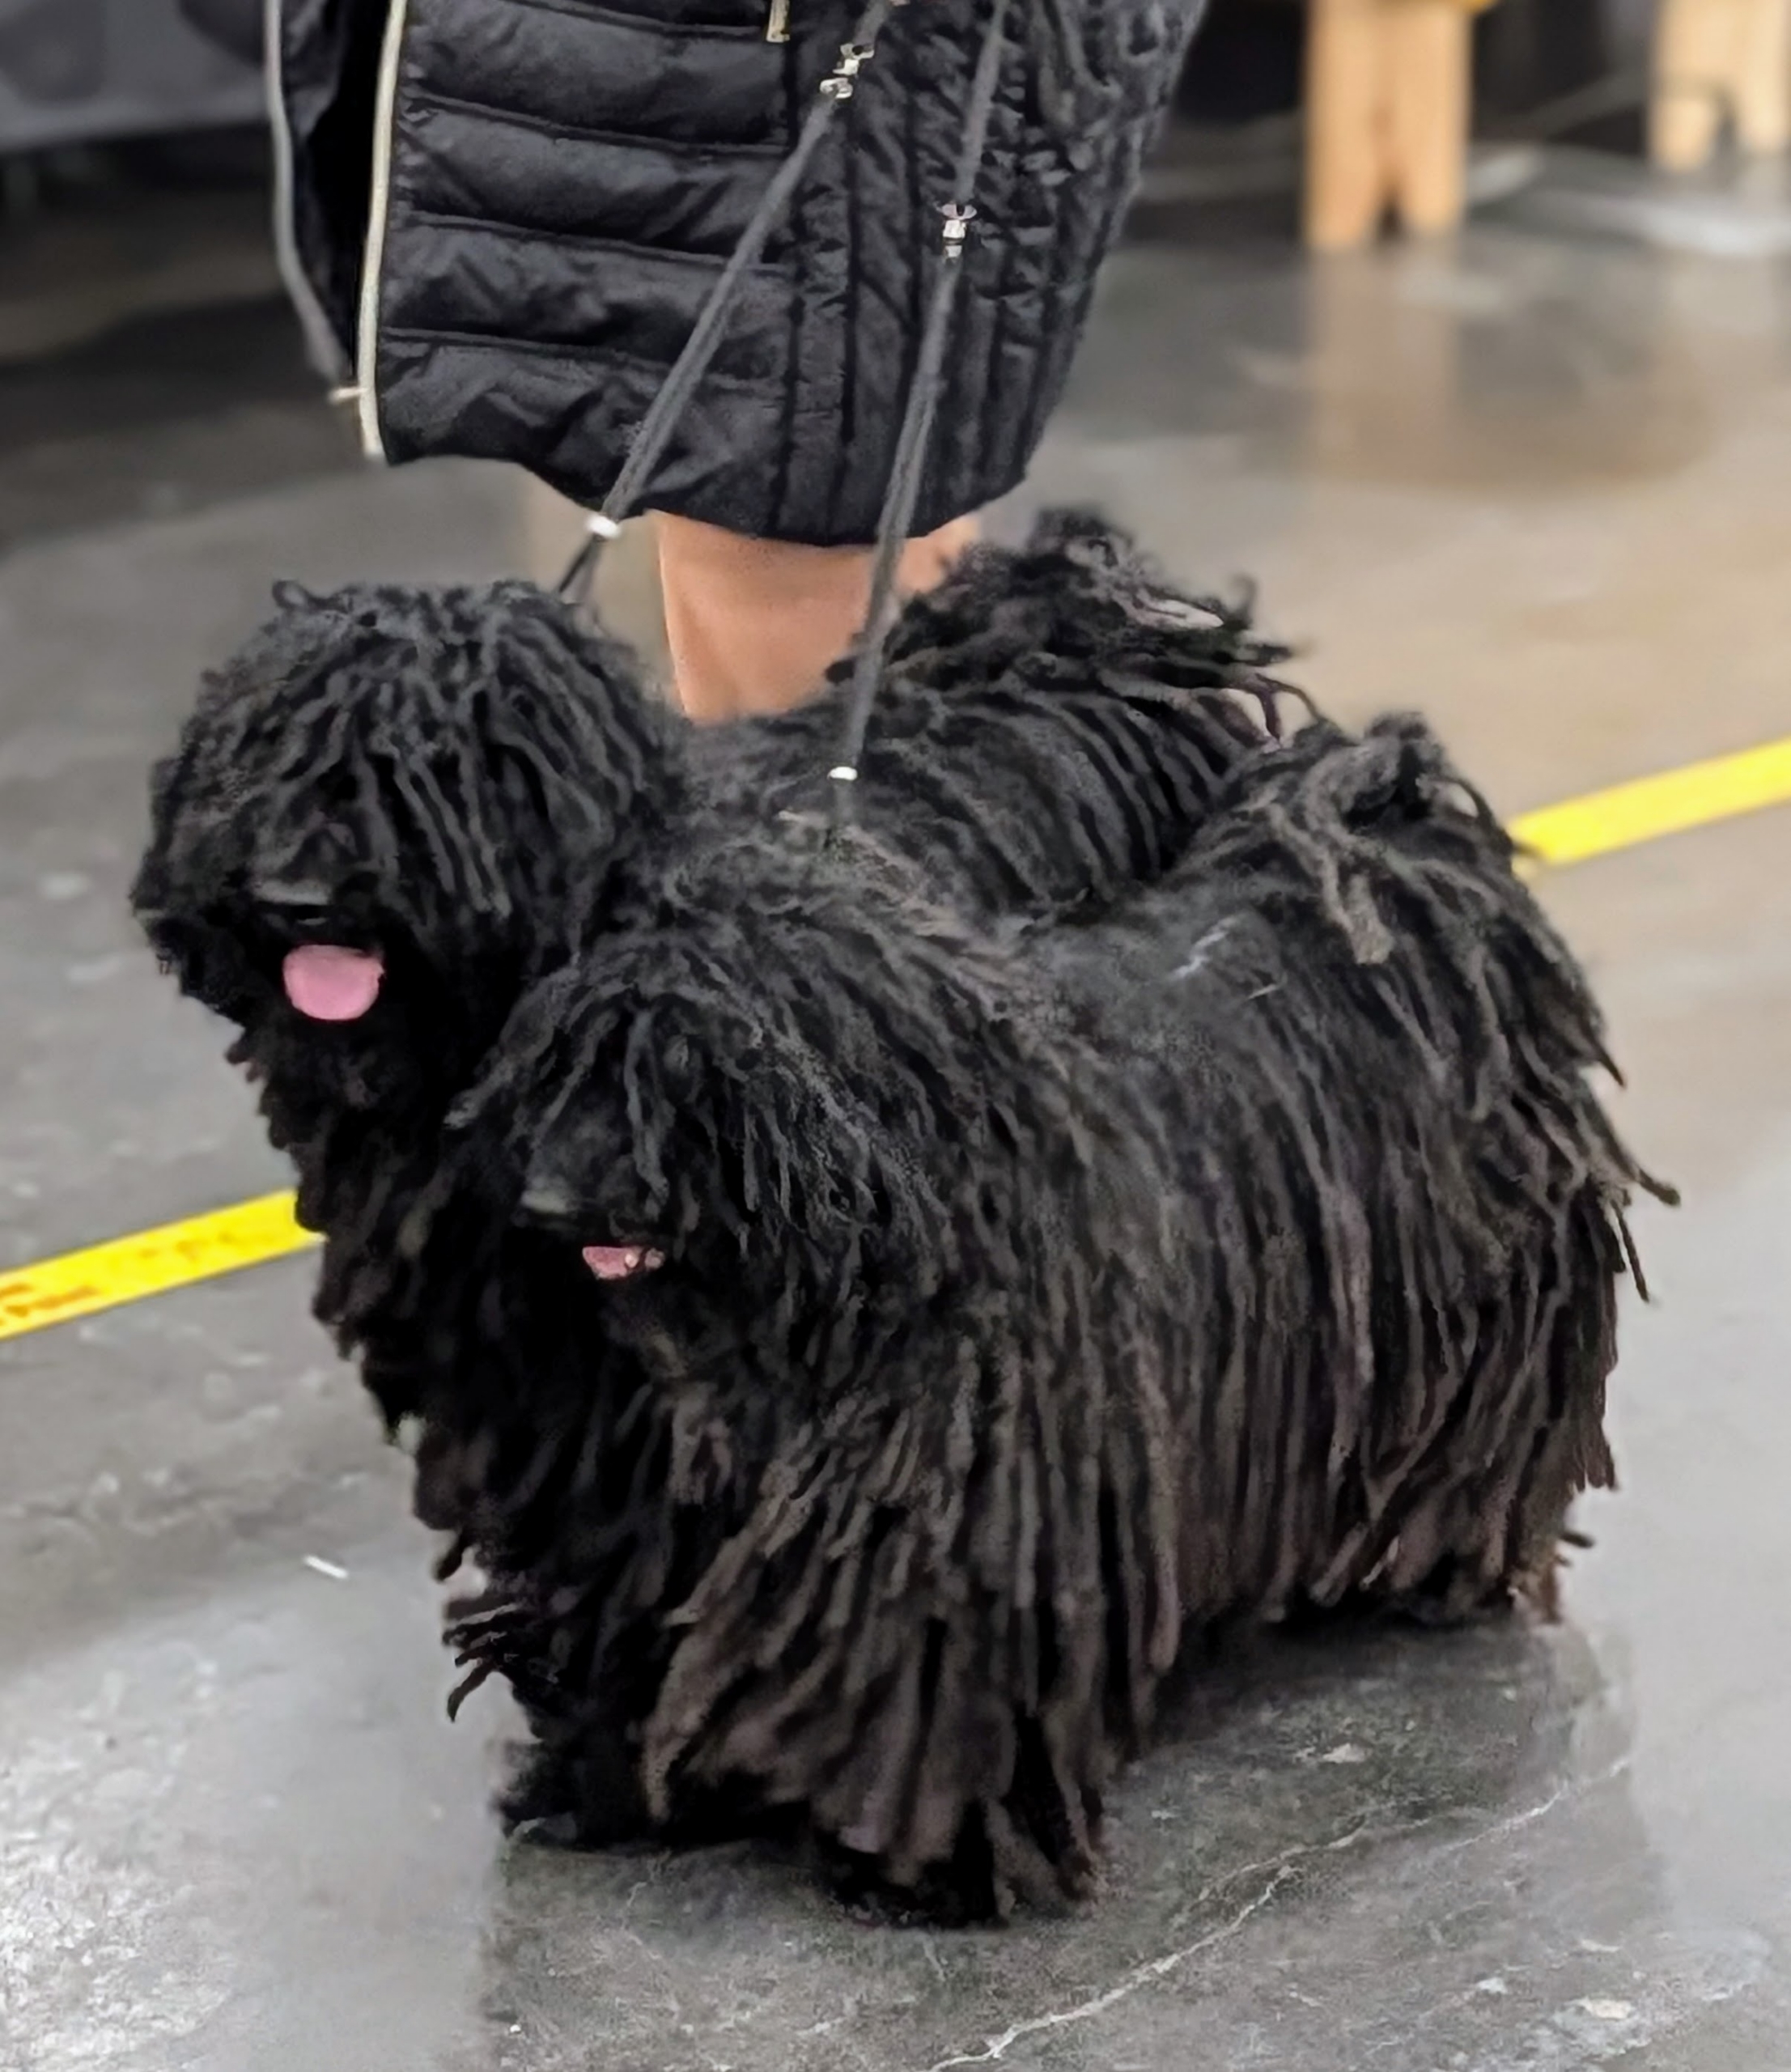
These Pulis are heading to their ring. The Puli is a small to medium sized Hungarian herding breed known for its long, corded coat. The curls are similar to dreadlocks.
The Beauceron is a large herding breed. It is known for its strength, versatility, and intelligence.
The Irish Wolfhound is one of the tallest dog breeds and loved for its gentle and calm demeanor. Males can stand nearly three-feet tall.
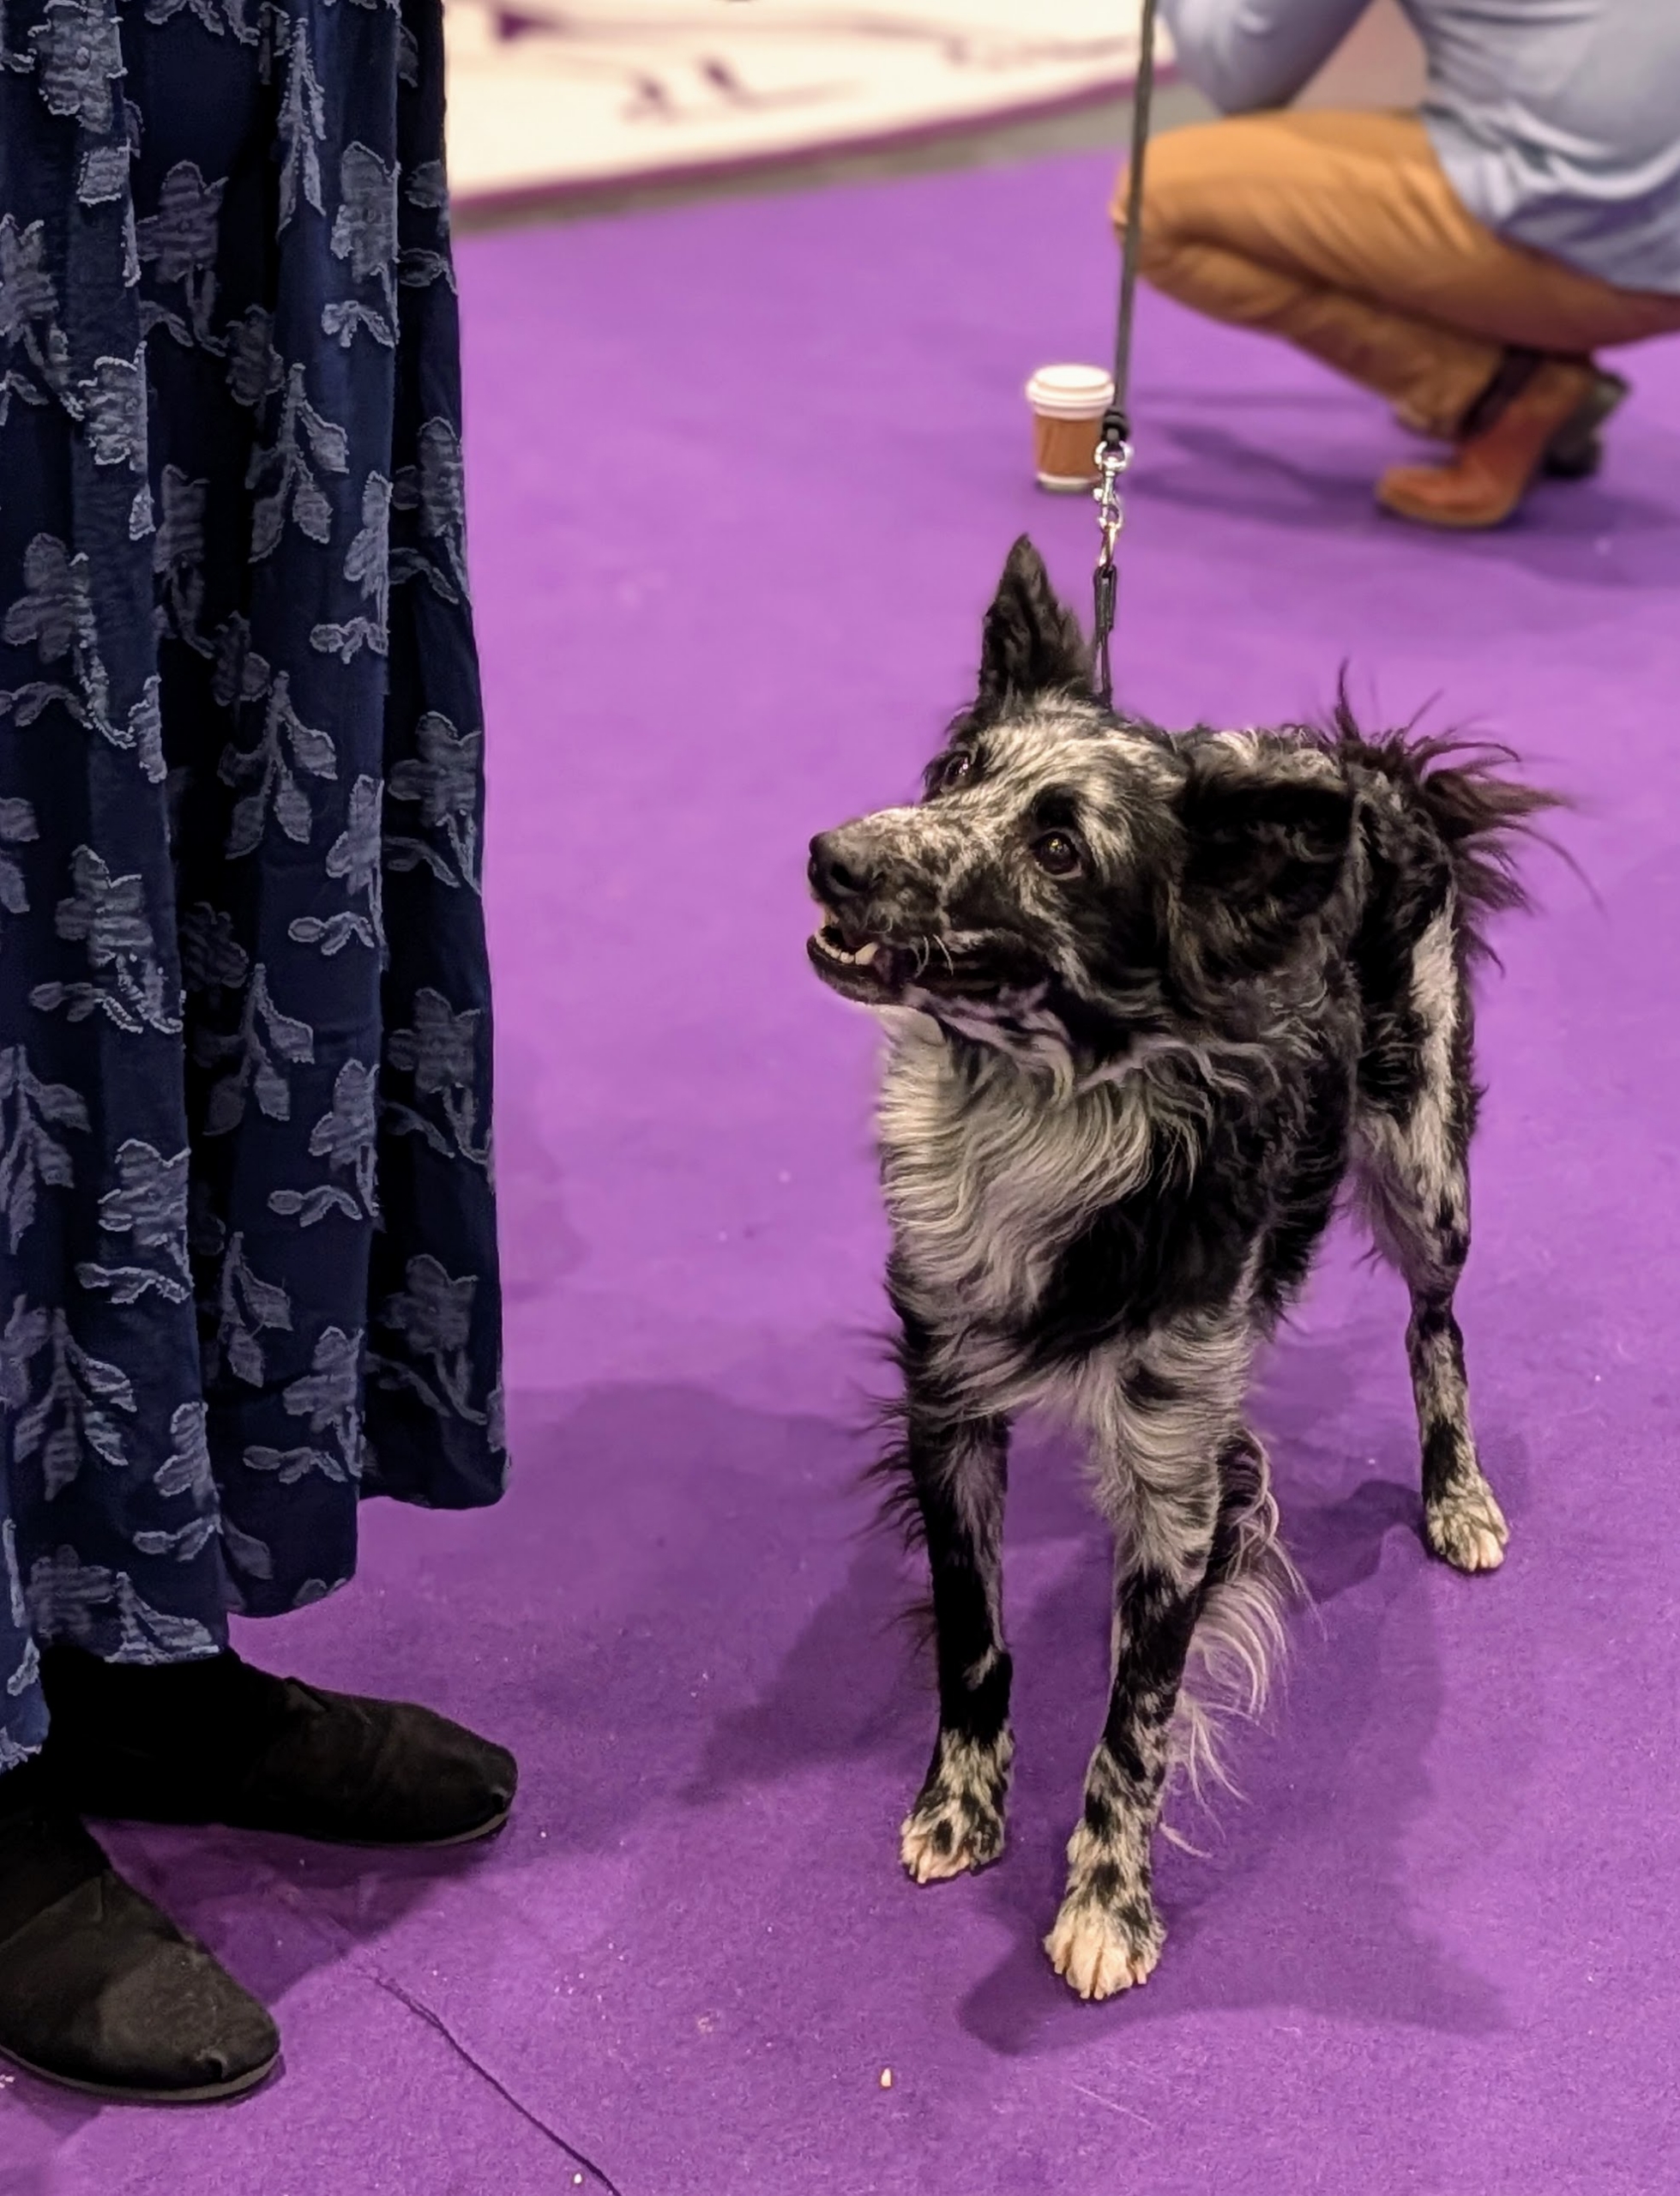
This medium sized dog is called a Mudi. It can have a wavy or smooth coat and is very spirited, energetic, and highly trainable.
If you’re ever in New York City this time of year, be sure to check out the Westminster Kennel Club Dog Show – it is informational and so much fun for the entire family. Congratulations to all the dogs that competed this year.
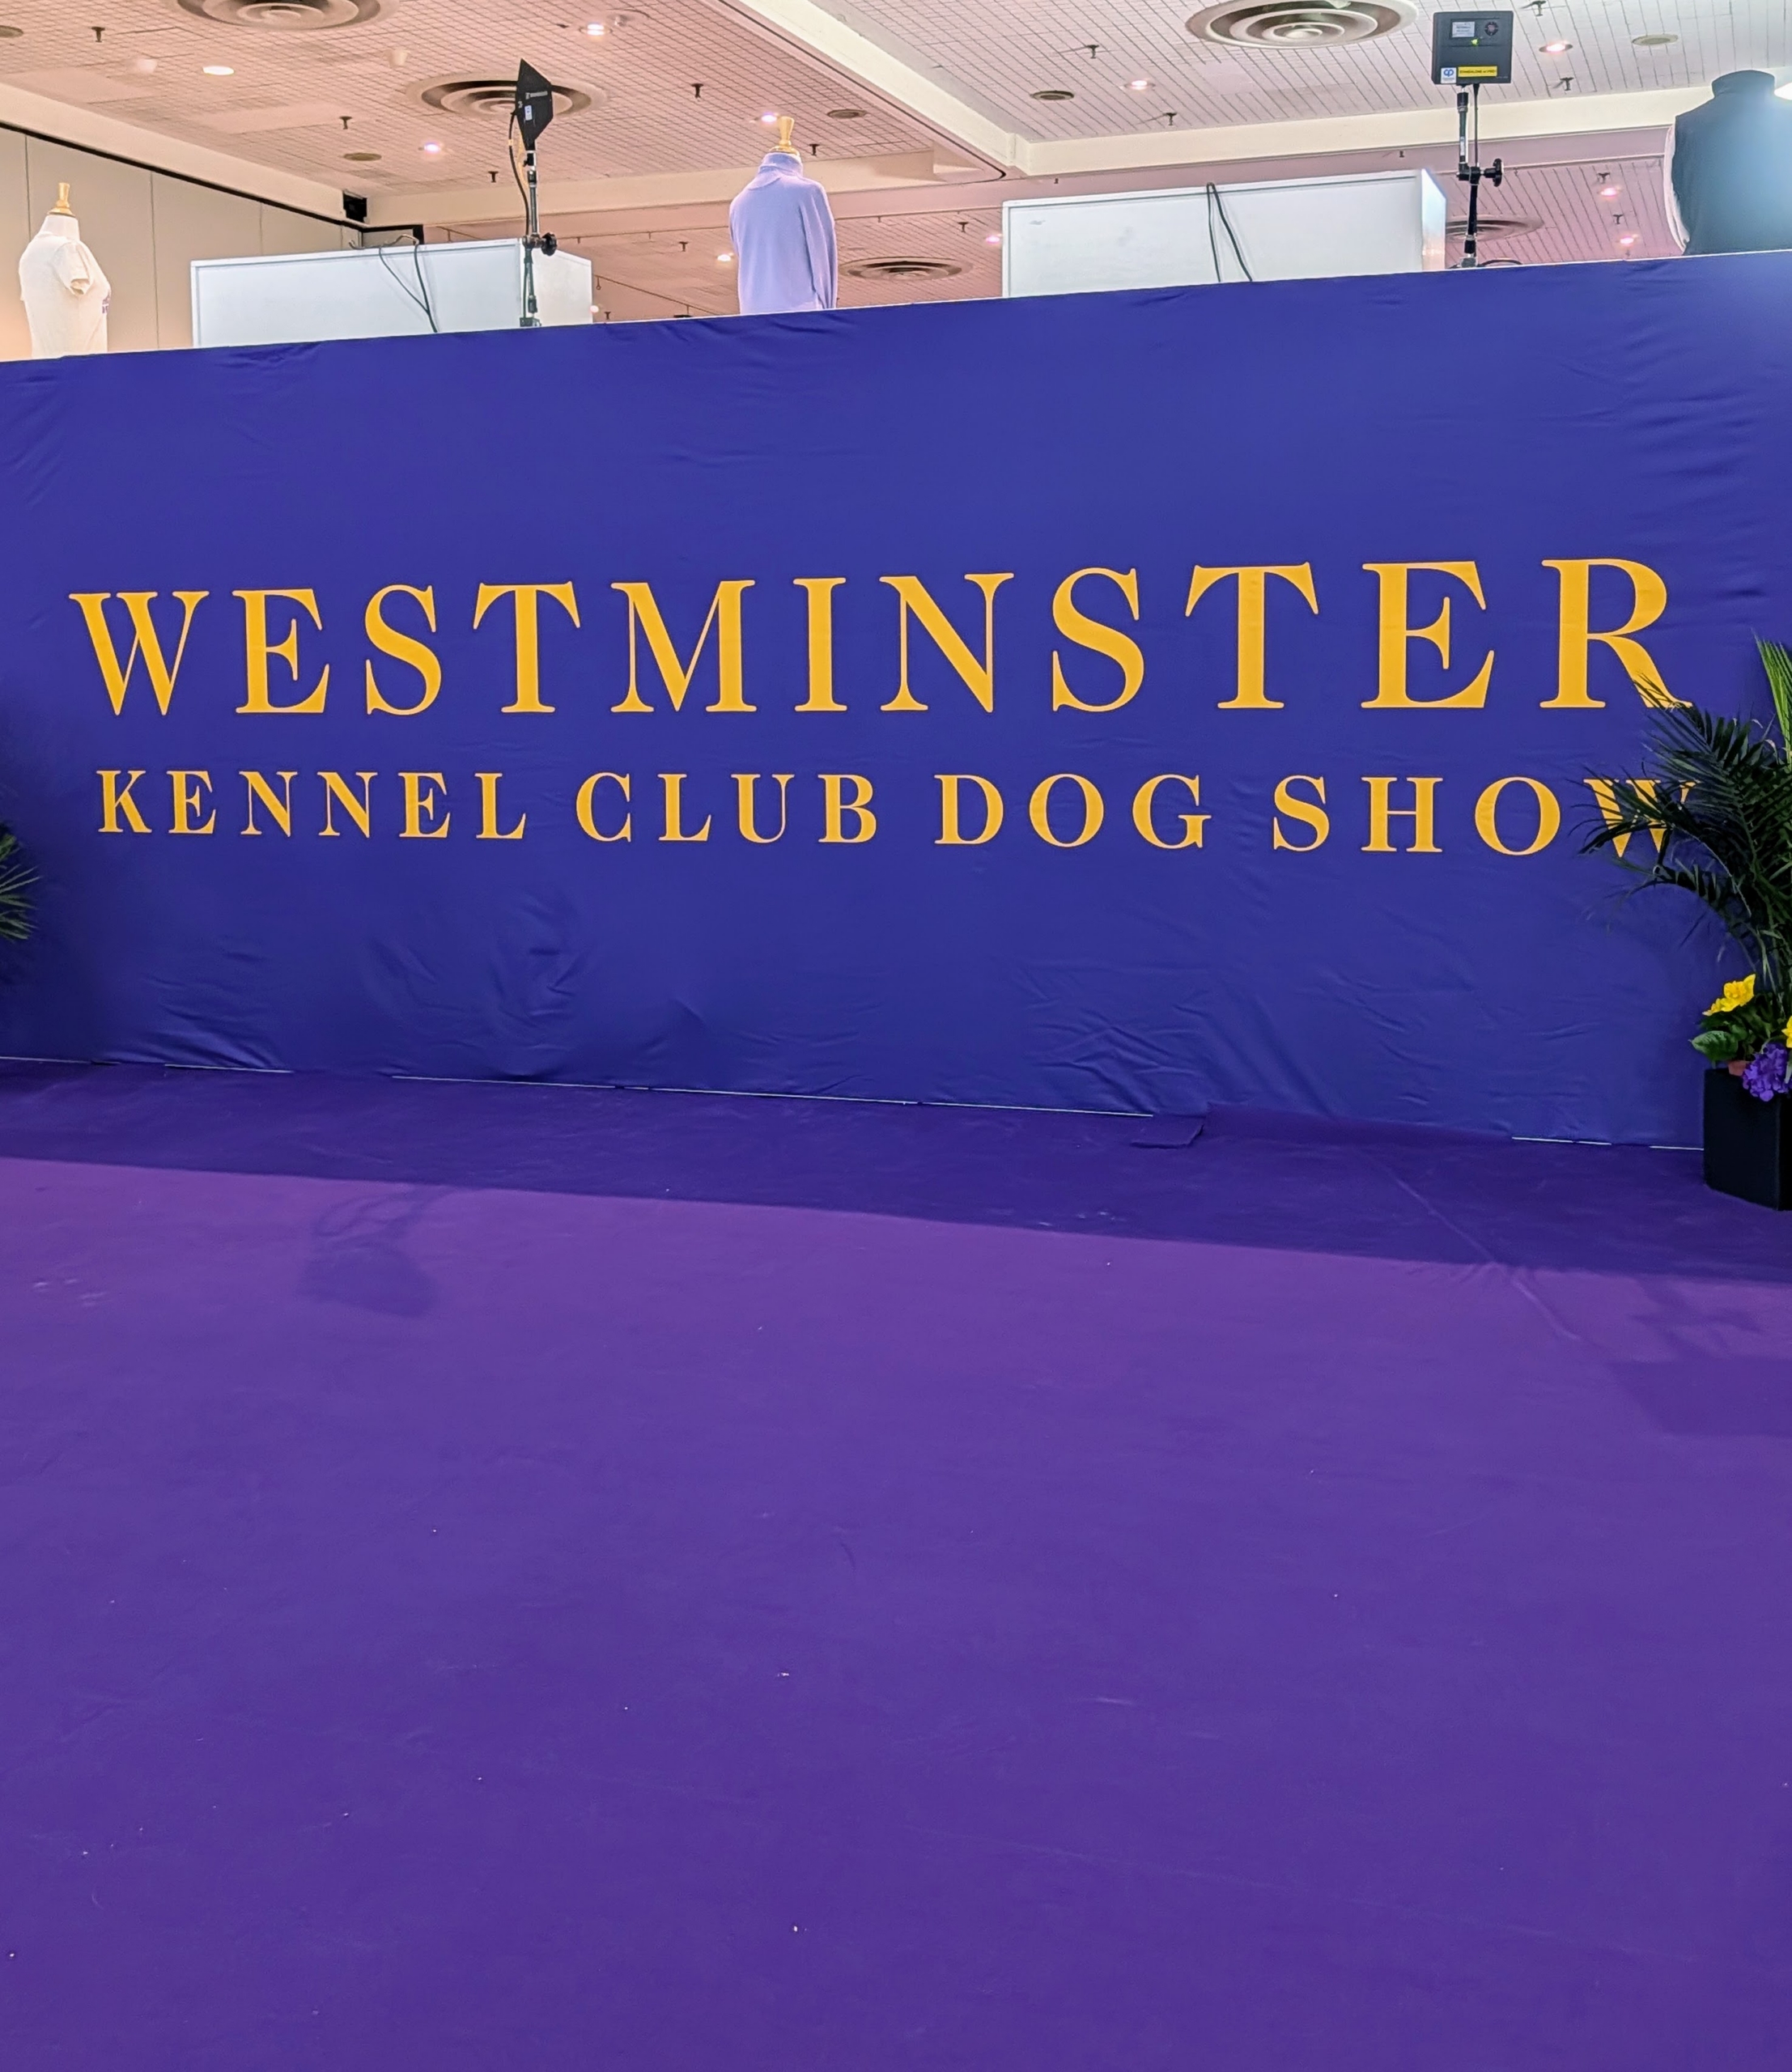
If you’re in New York City today, head to the west side Jacob K. Javits Convention Center for this year’s Westminster Kennel Club Dog Show. This is the 150th year of the show, with more than 3000 dogs from all 50 states, plus the District of Columbia, Puerto Rico, and 17 additional countries competing for top honors.
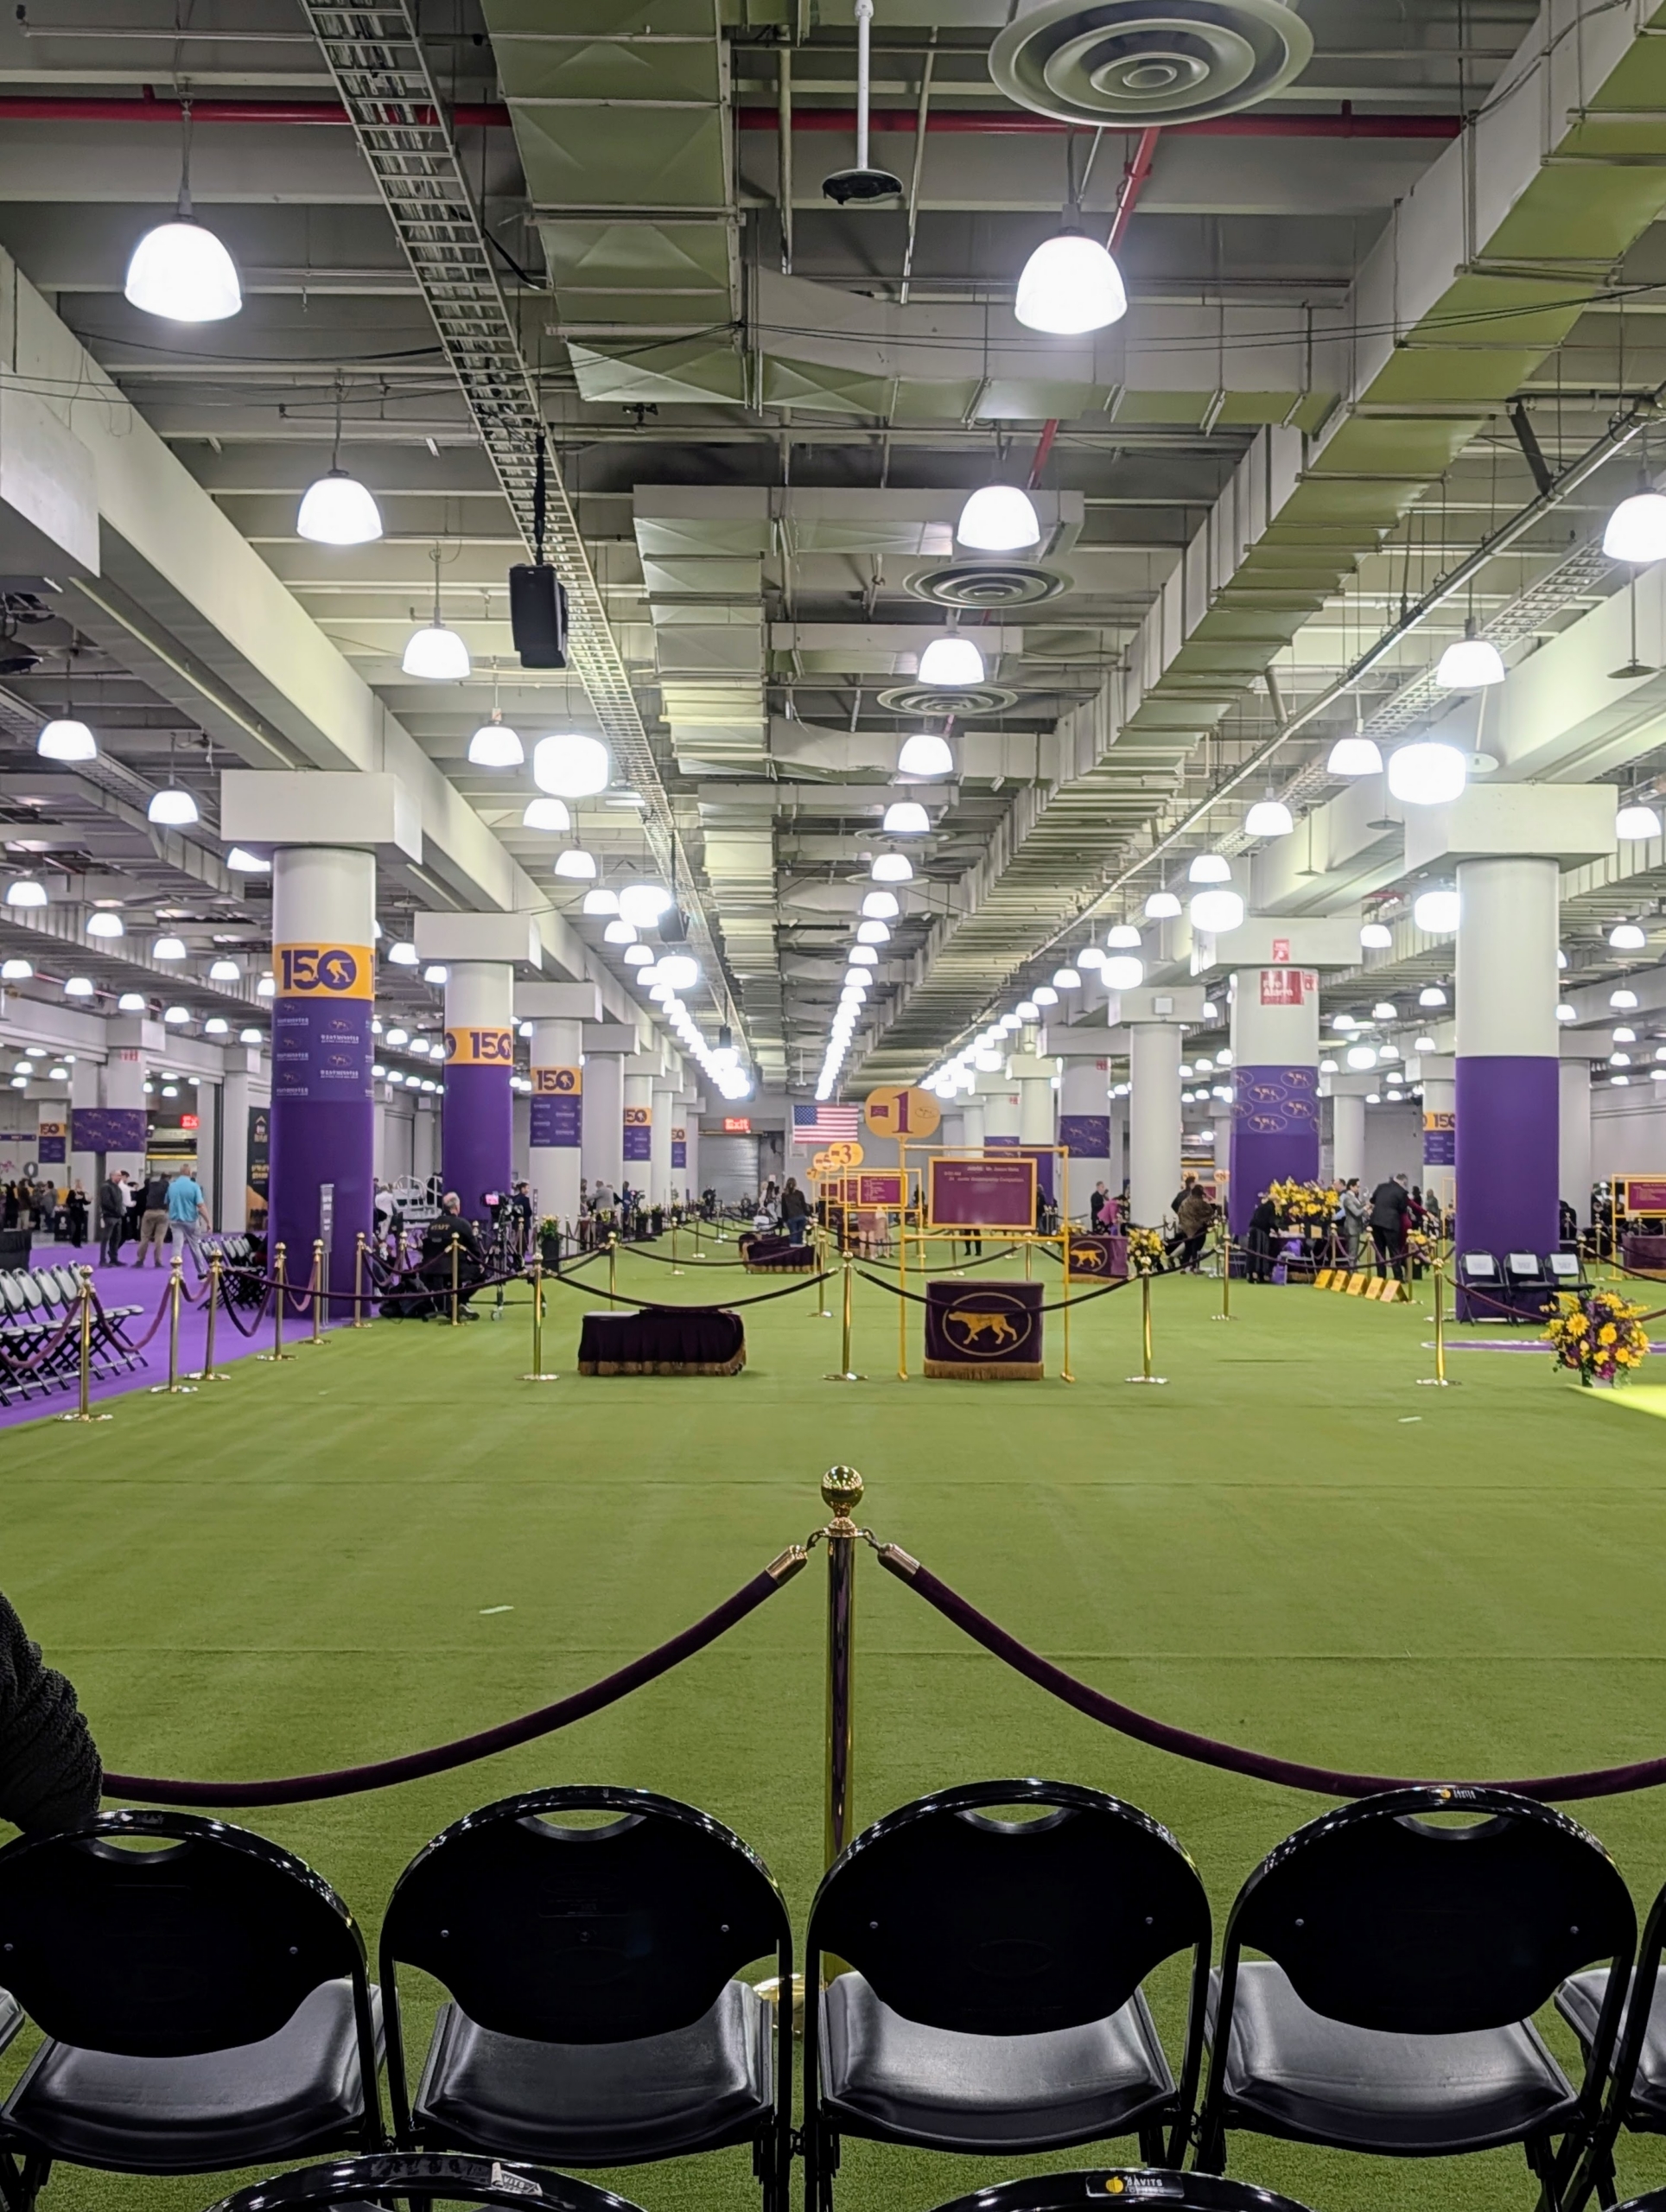
The Westminster Kennel Club Dog Show is one of the few “benched” shows in this country - entered dogs are required to remain in assigned areas when not in the ring, so spectators could meet the breeds and talk to their owners - it's a wonderful way to learn about the many different types of dogs and their temperaments, as well as their feeding and grooming requirements.
The “Best In Show” competition takes place tonight at New York’s famous Madison Square Garden.
Enjoy these photos.
The Westminster Kennel Club Dog Show launched in 1877, and is now one of the longest continuously running American sporting events, second only to the Kentucky Derby.
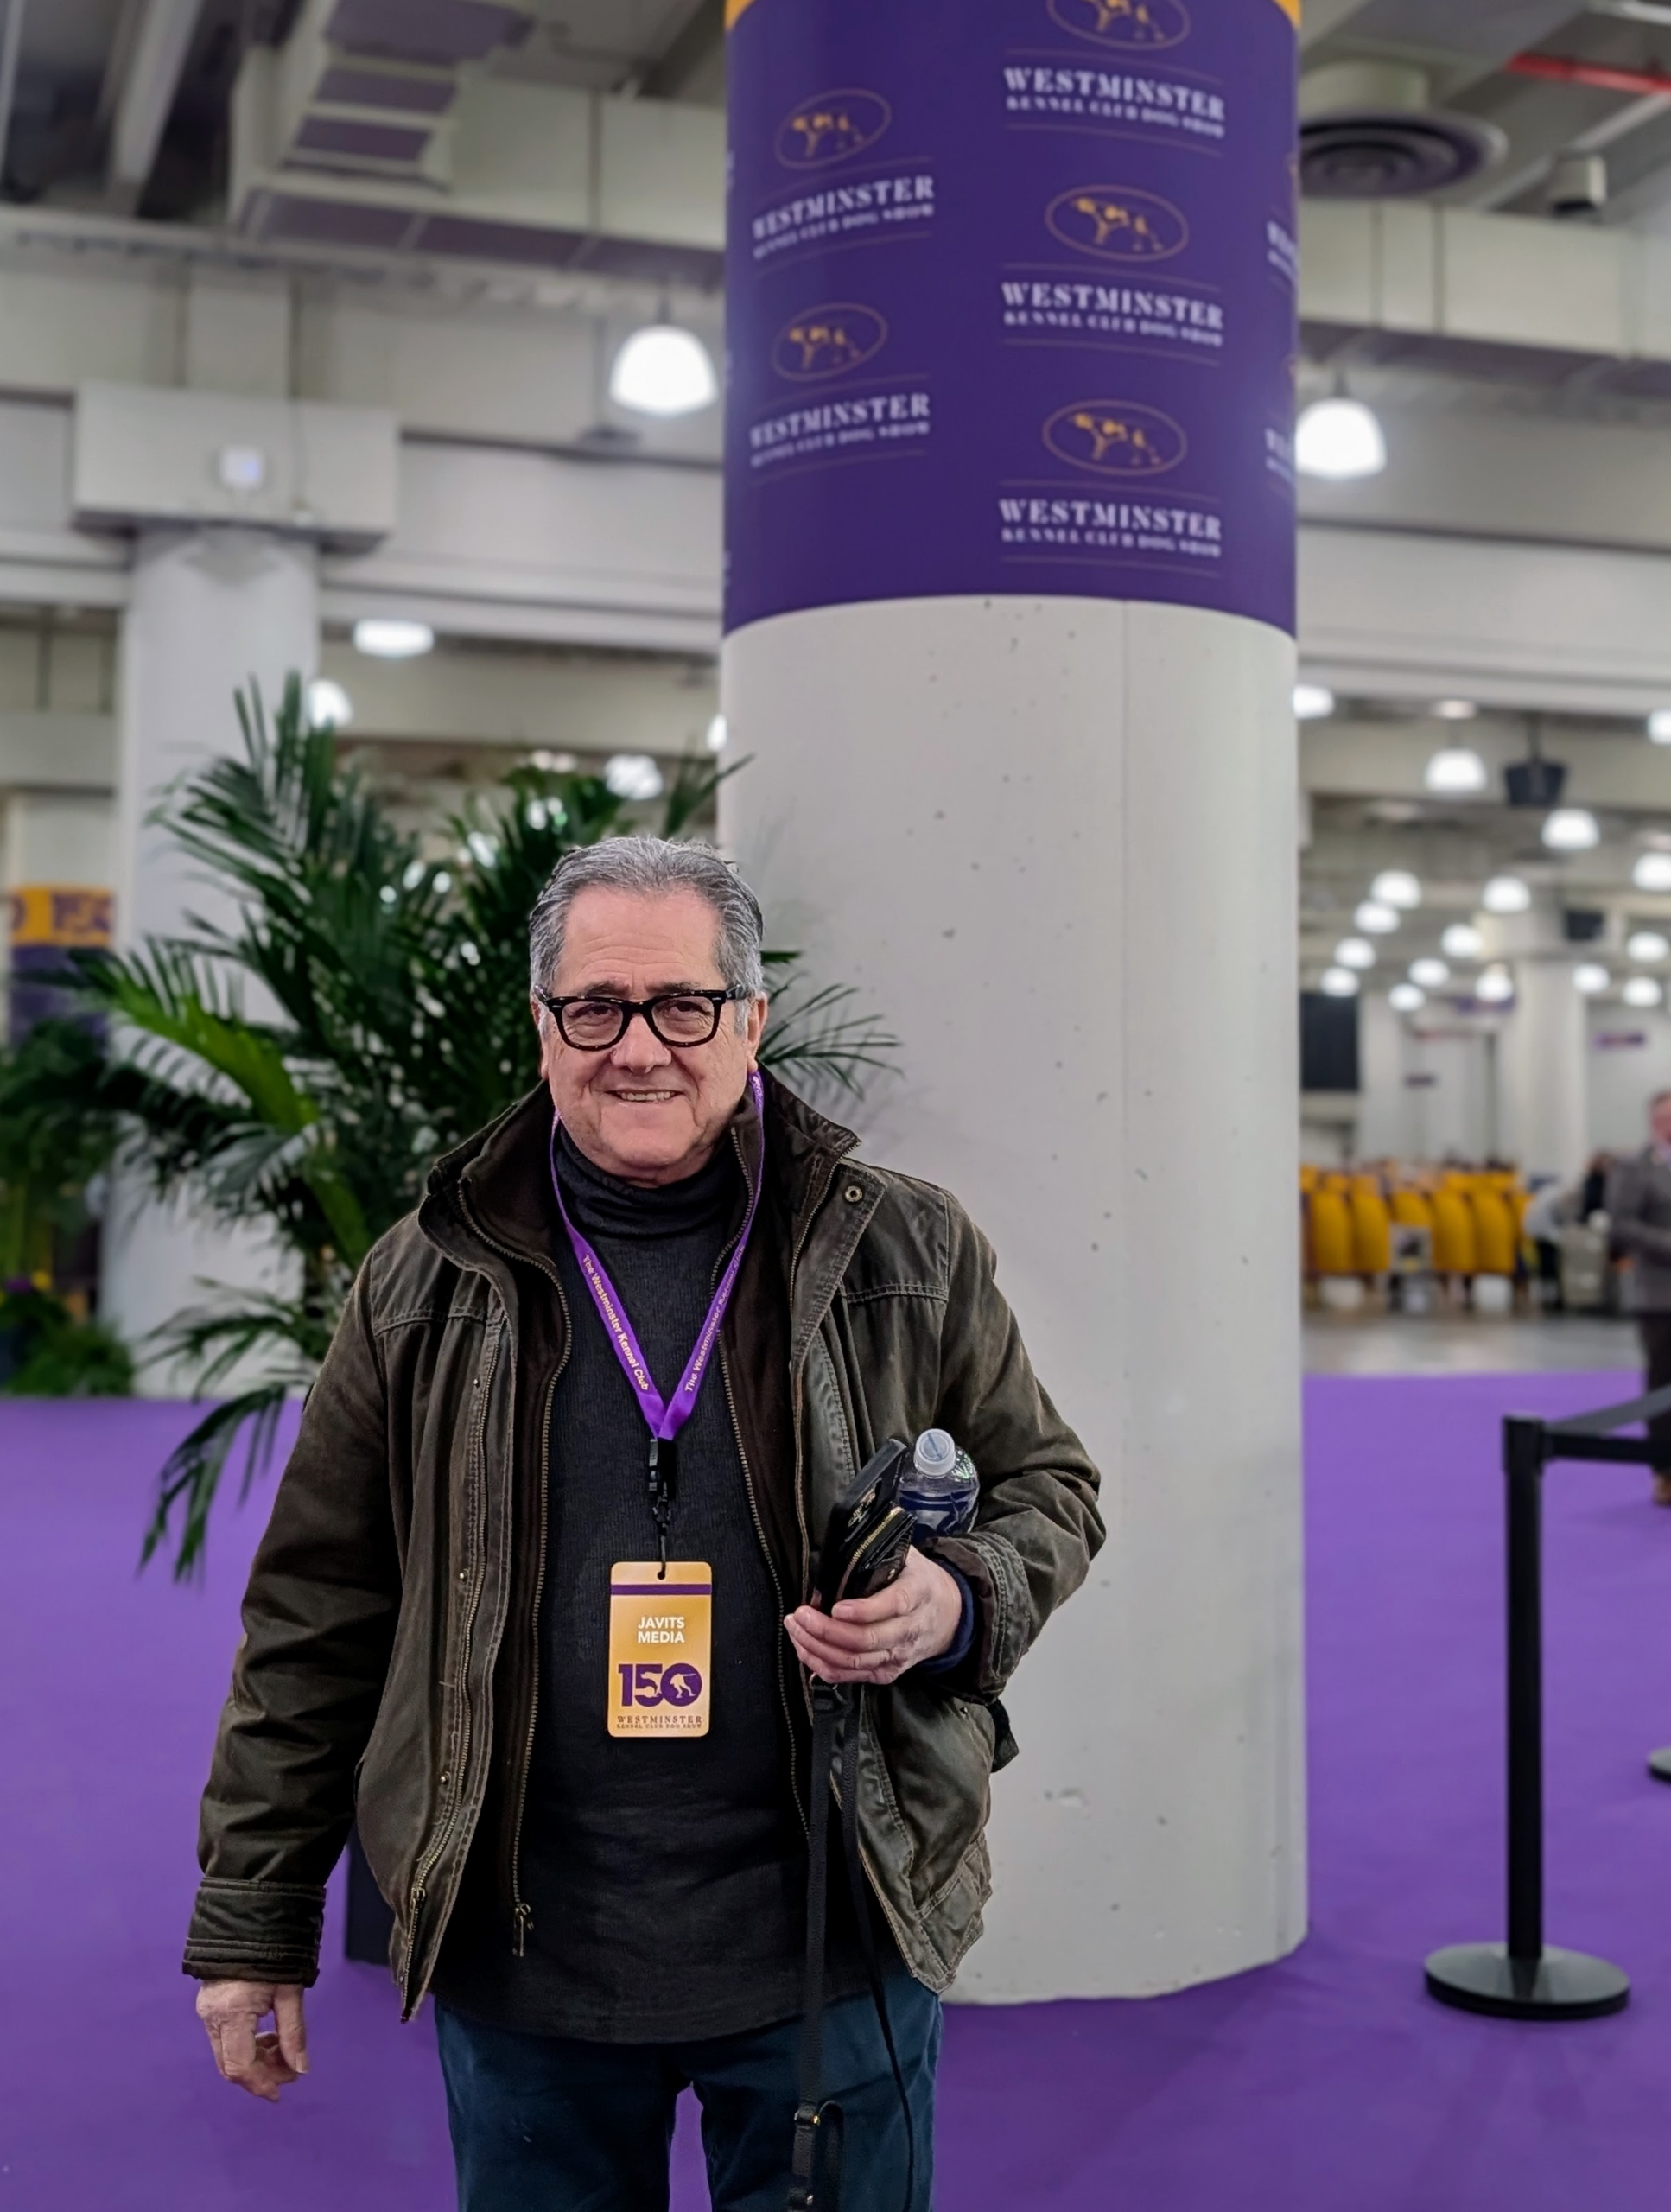
My longtime driver, Carlos Villamil, attended the show yesterday as I was away traveling for business. The event runs over three days with individual breed judging Monday and Tuesday.
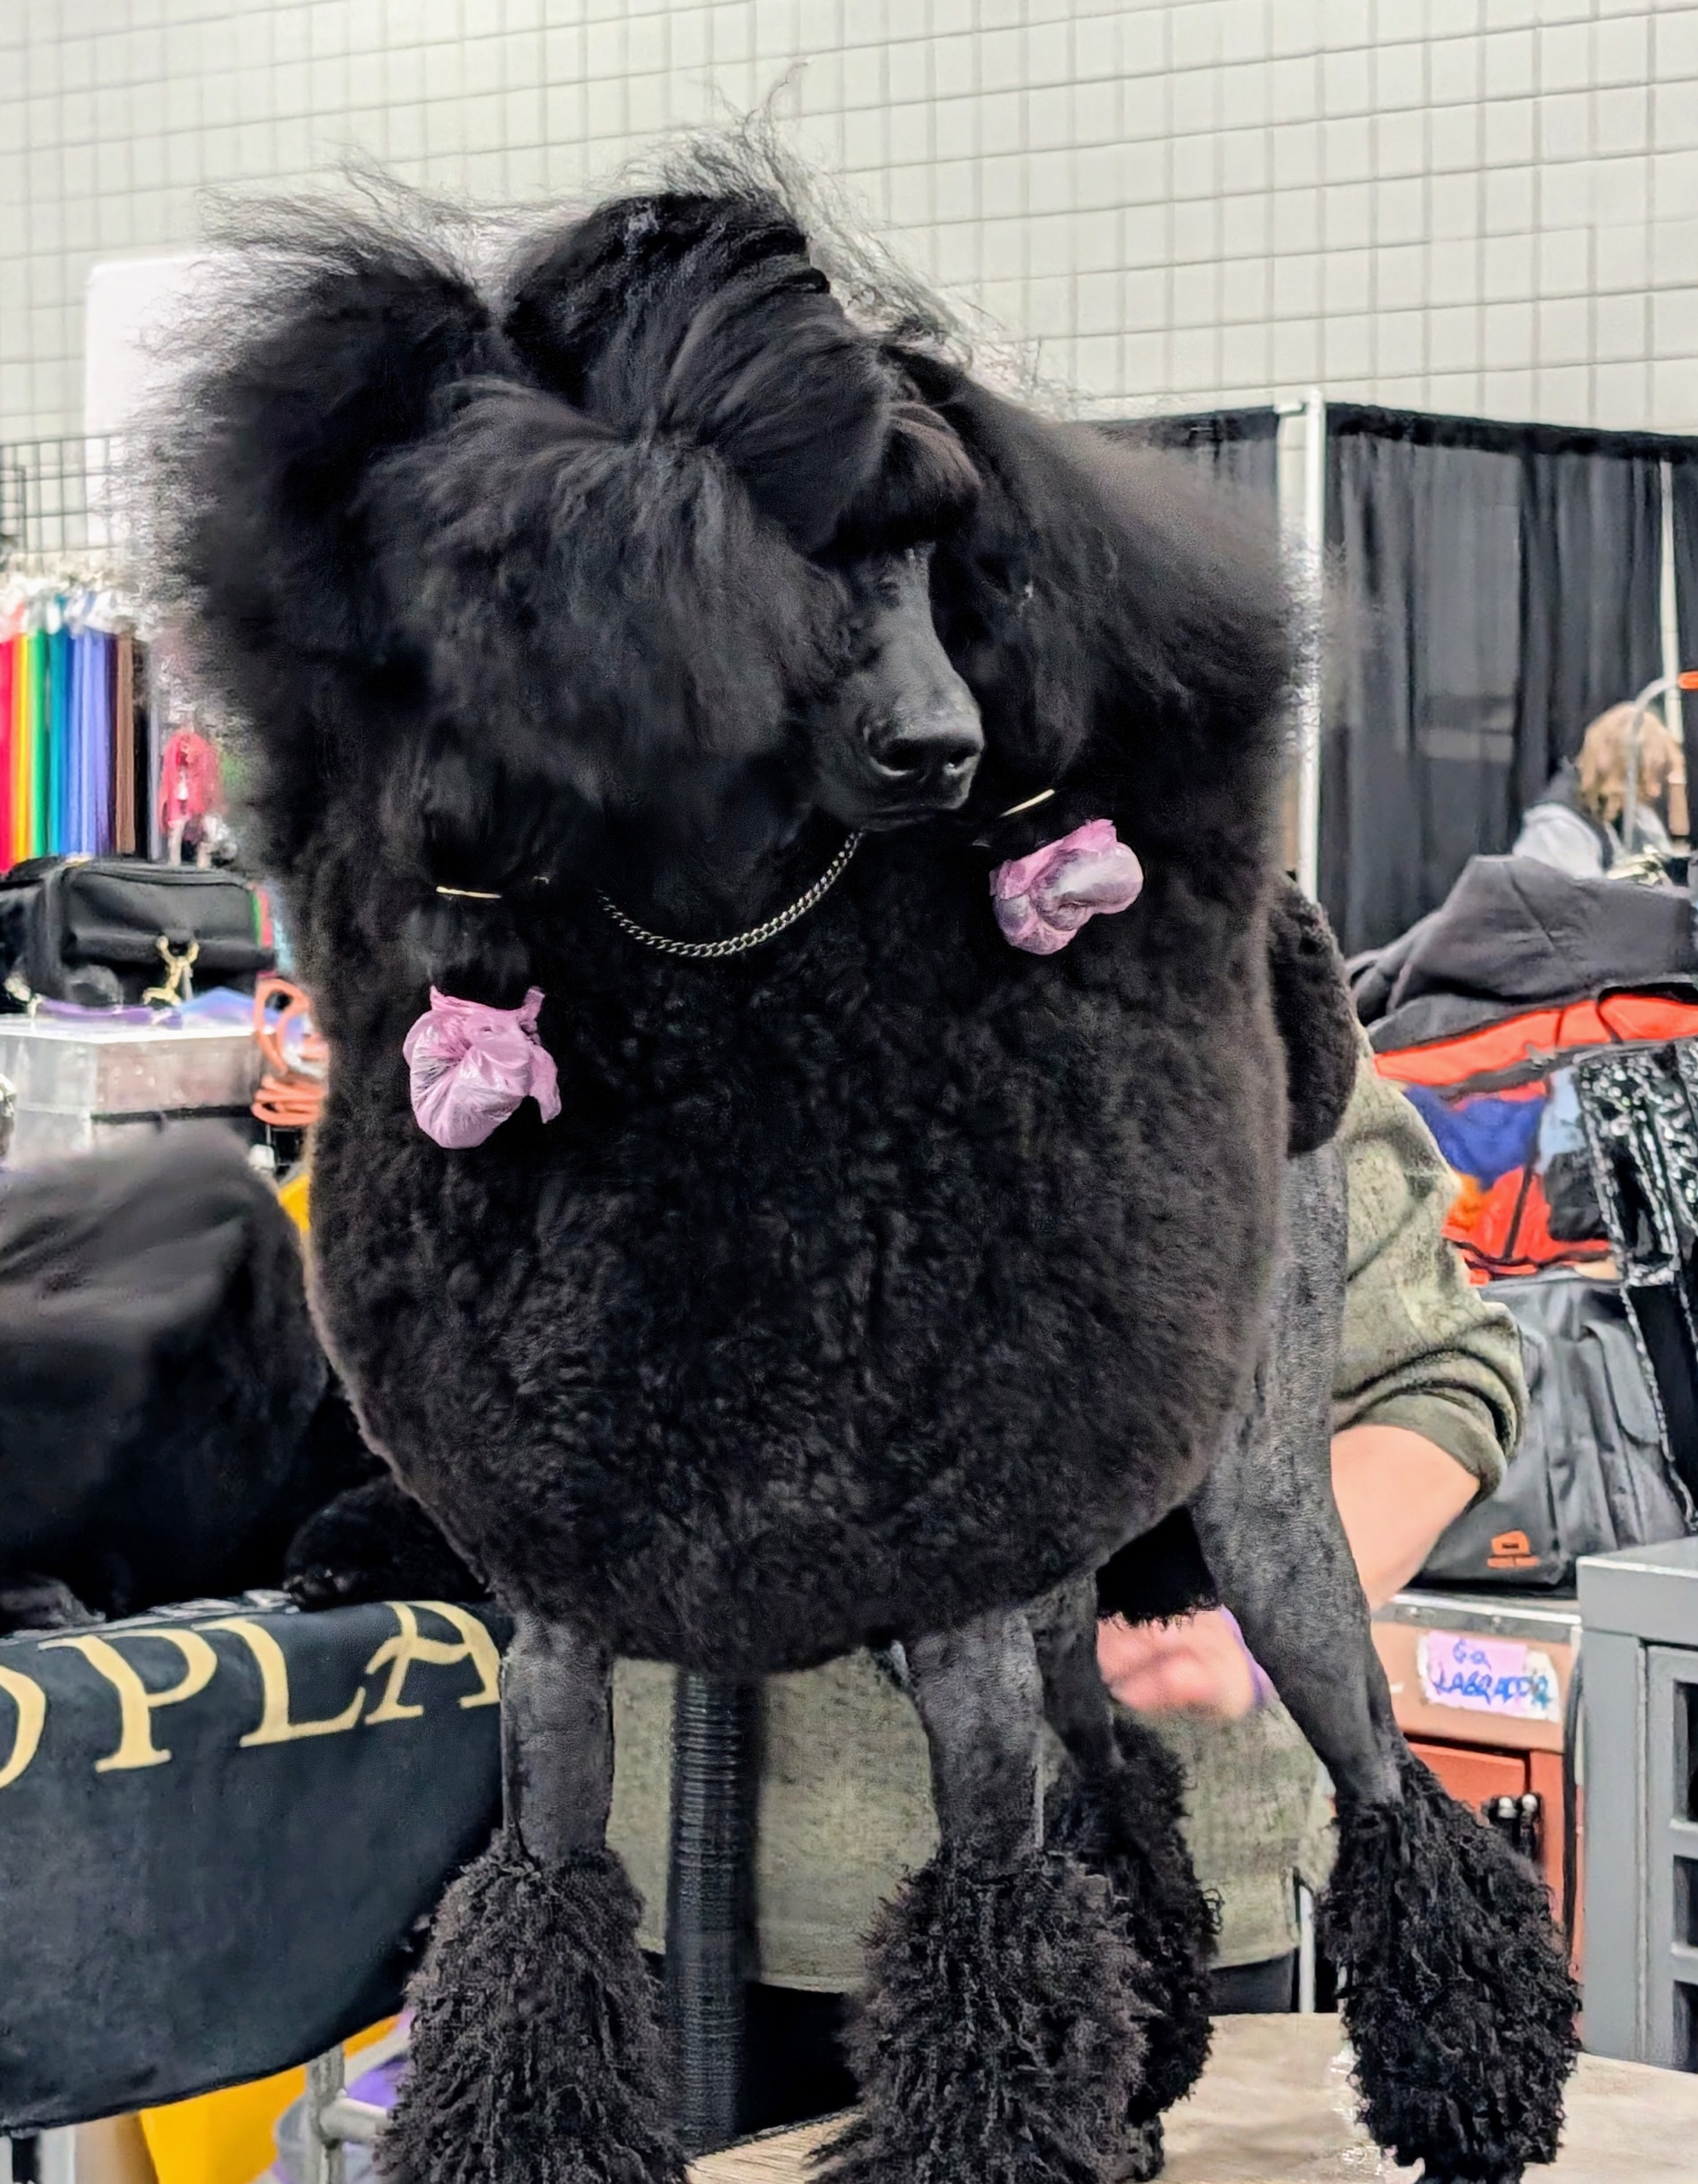
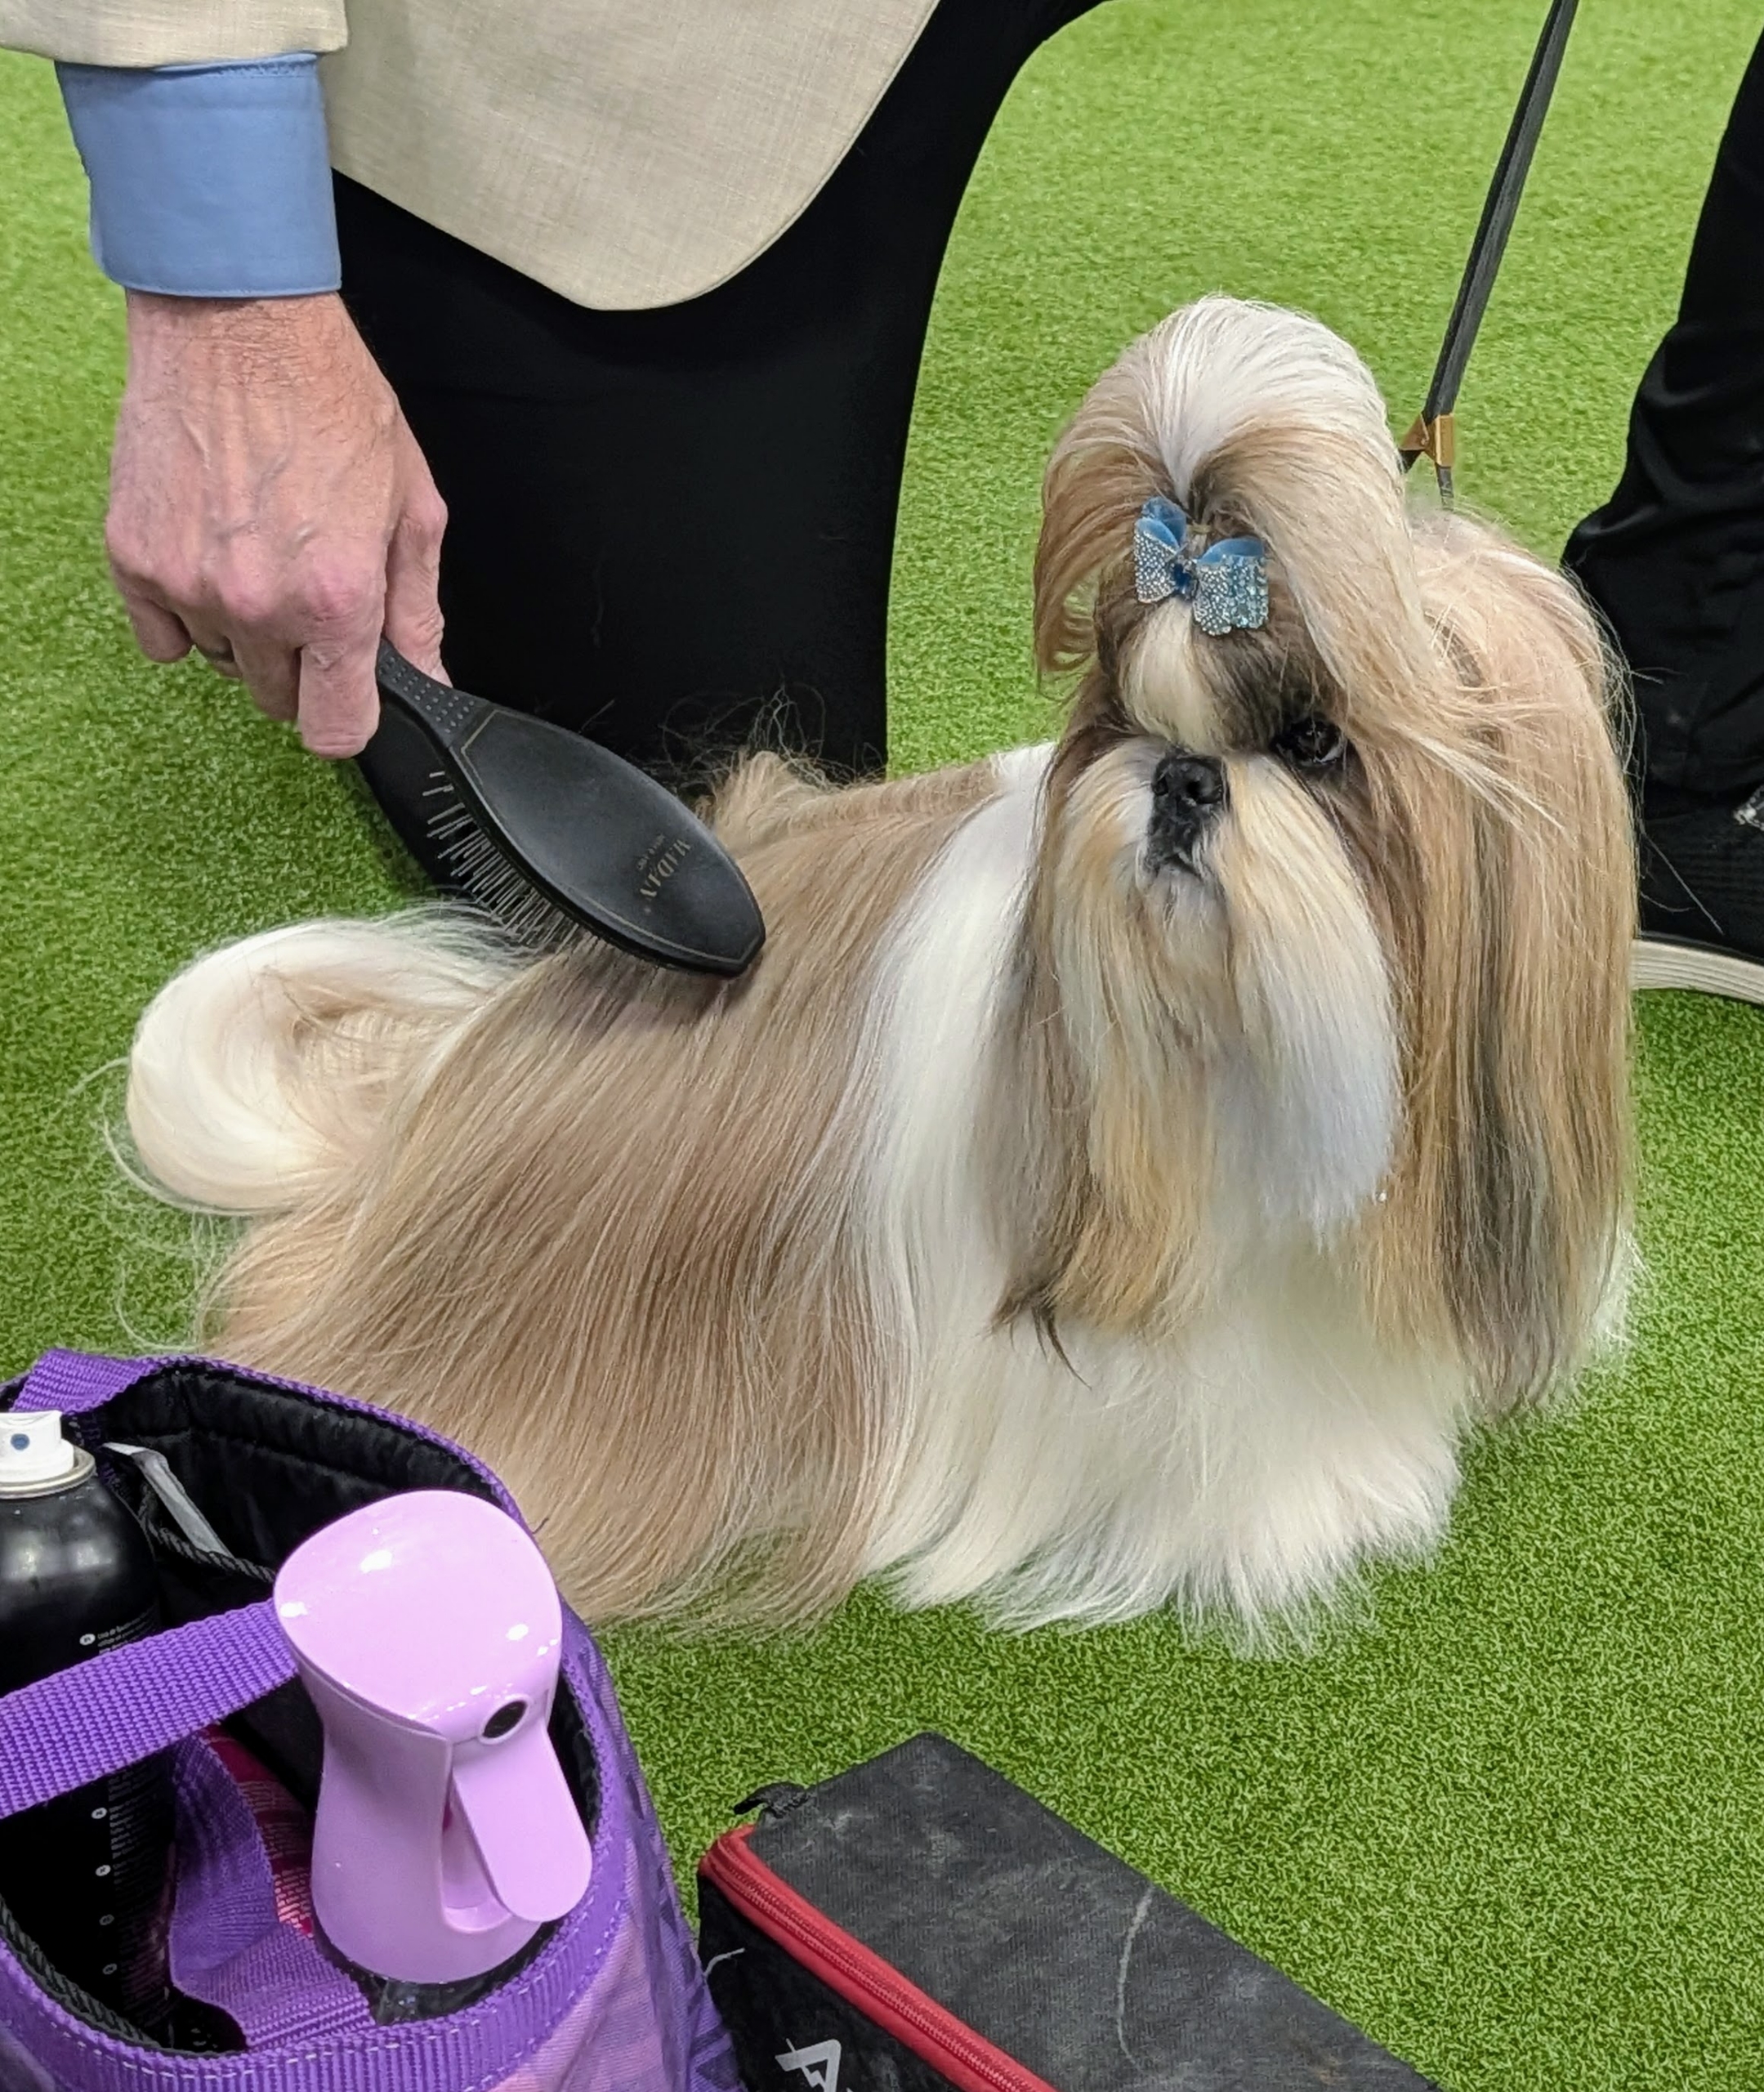
Before any dogs are shown, there is a lot of grooming that takes place. This is an Old English Sheepdog getting brushed out.
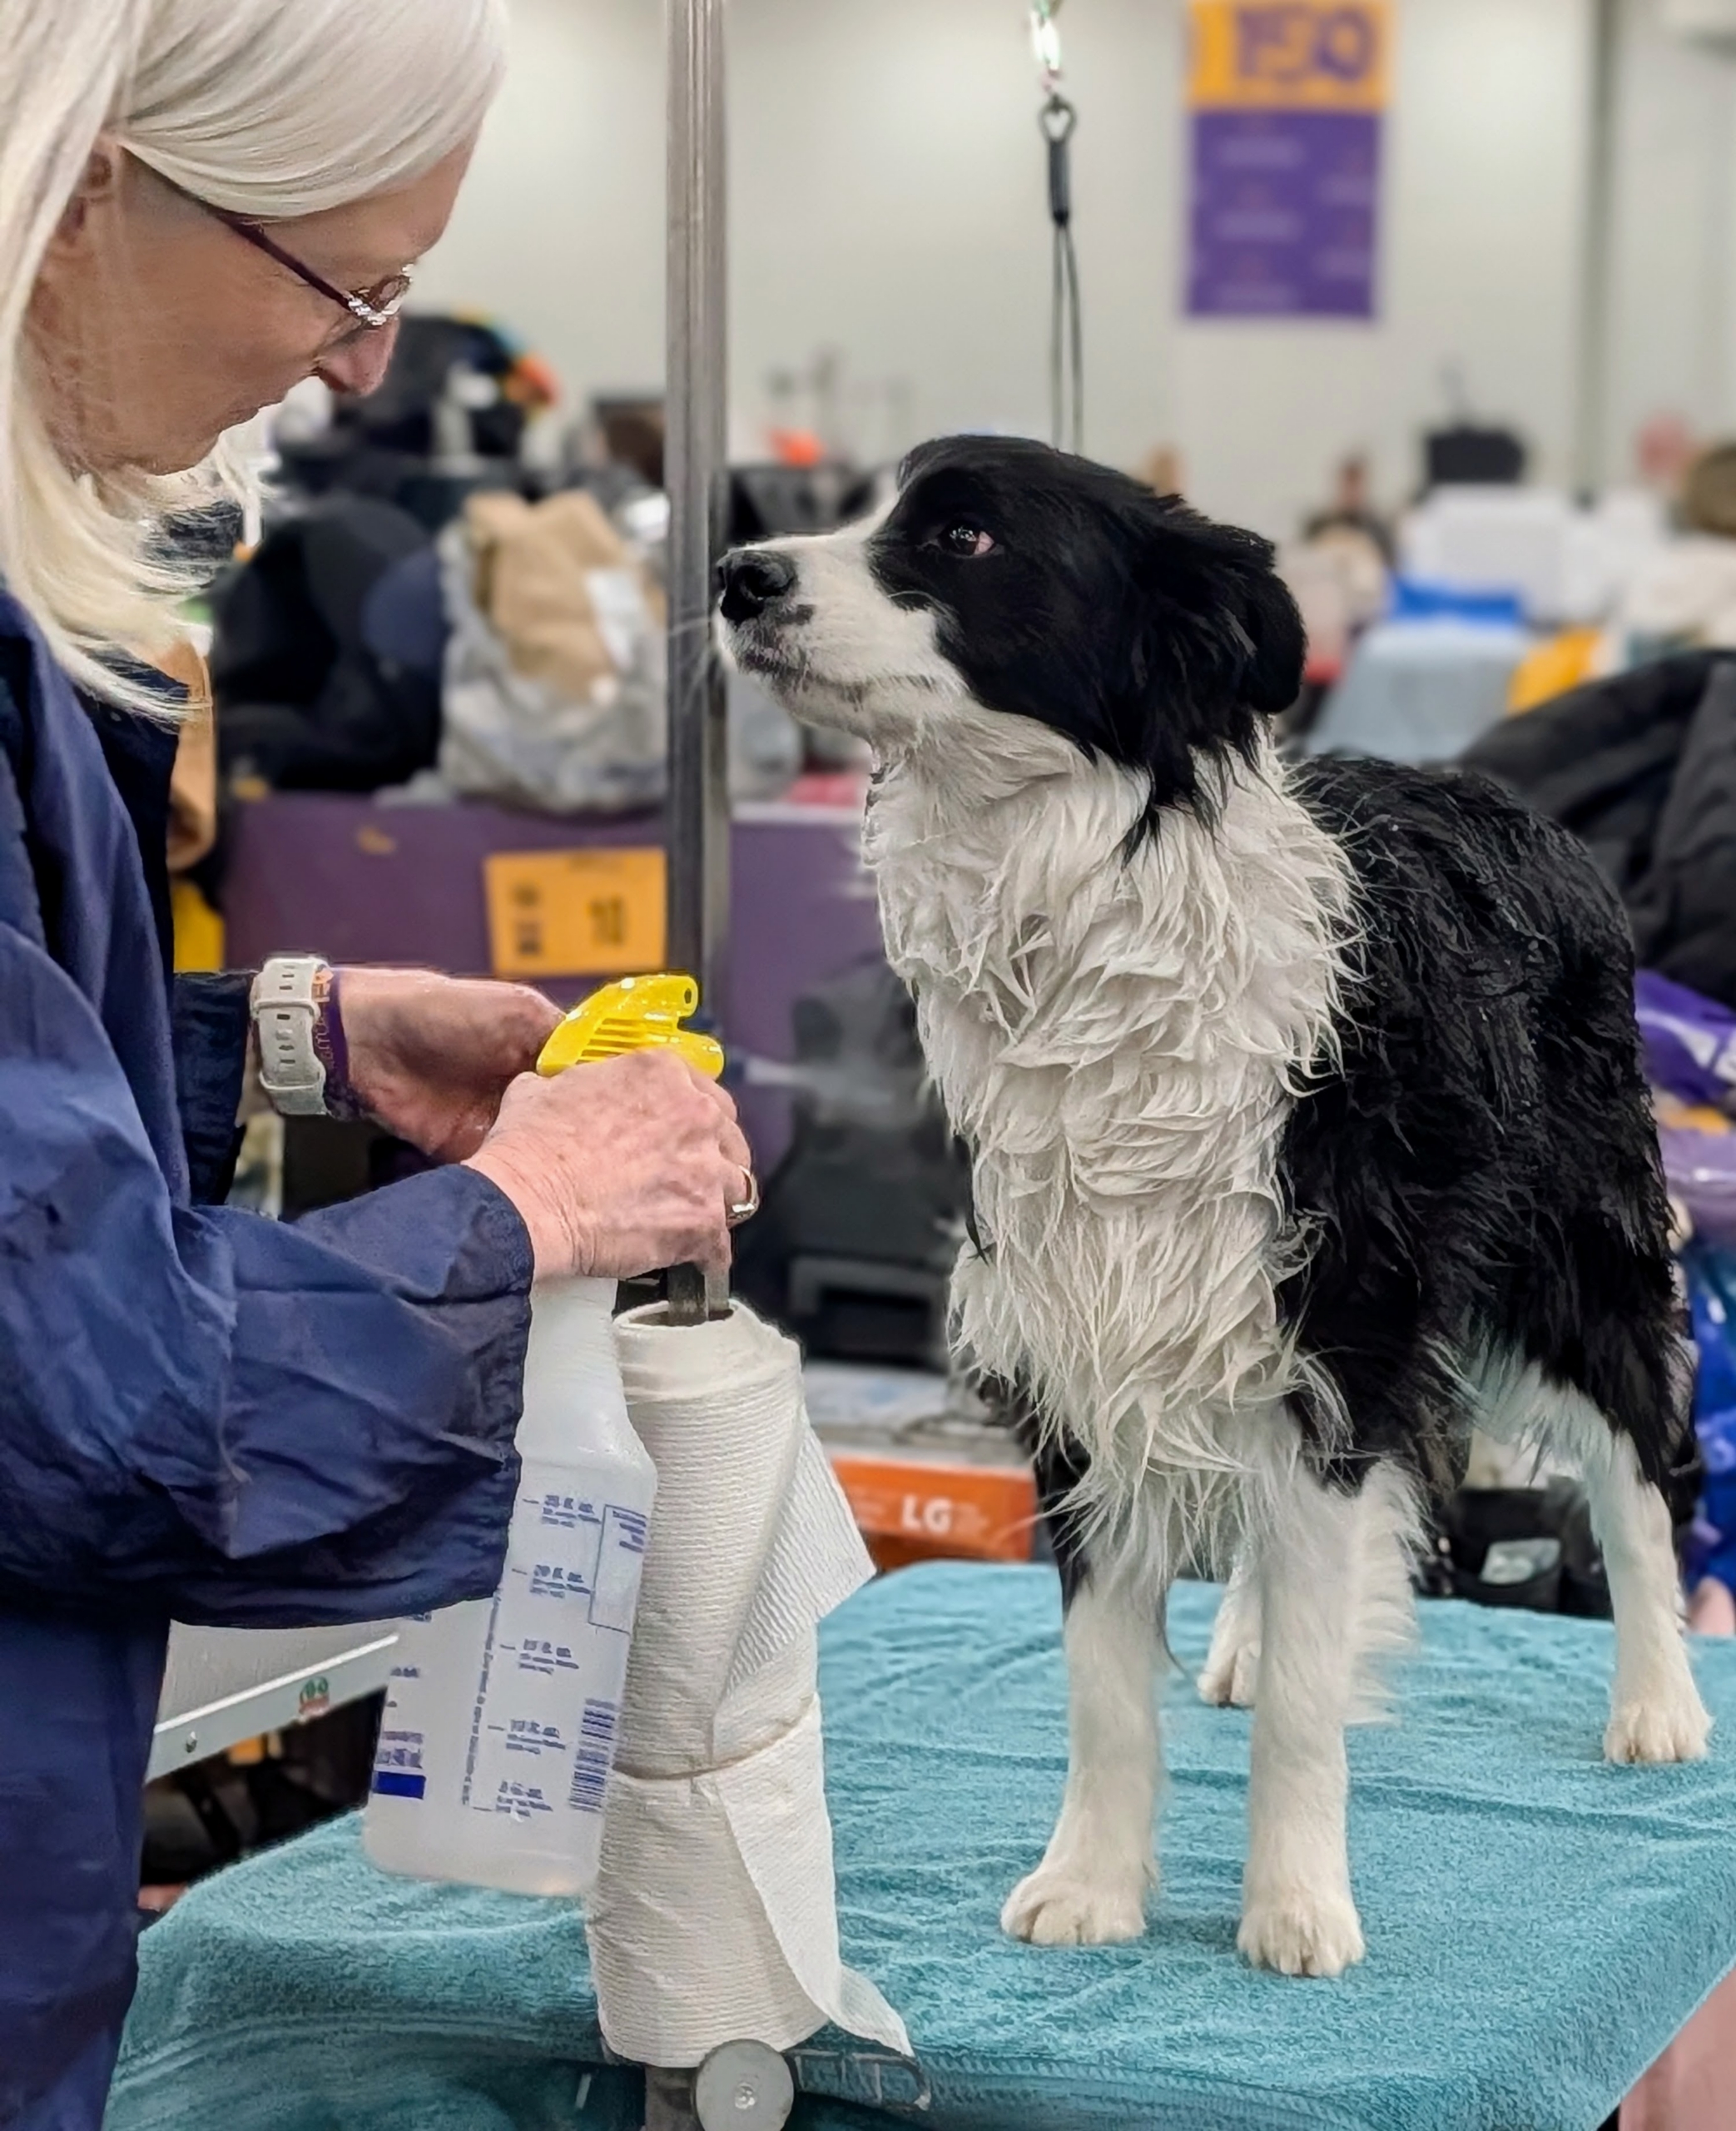
This is a Border Collie just after its bath.
Show dogs are very used to all the grooming. Some breeds need more grooming than others – it is important to consider this whenever thinking of adding a dog to your family.
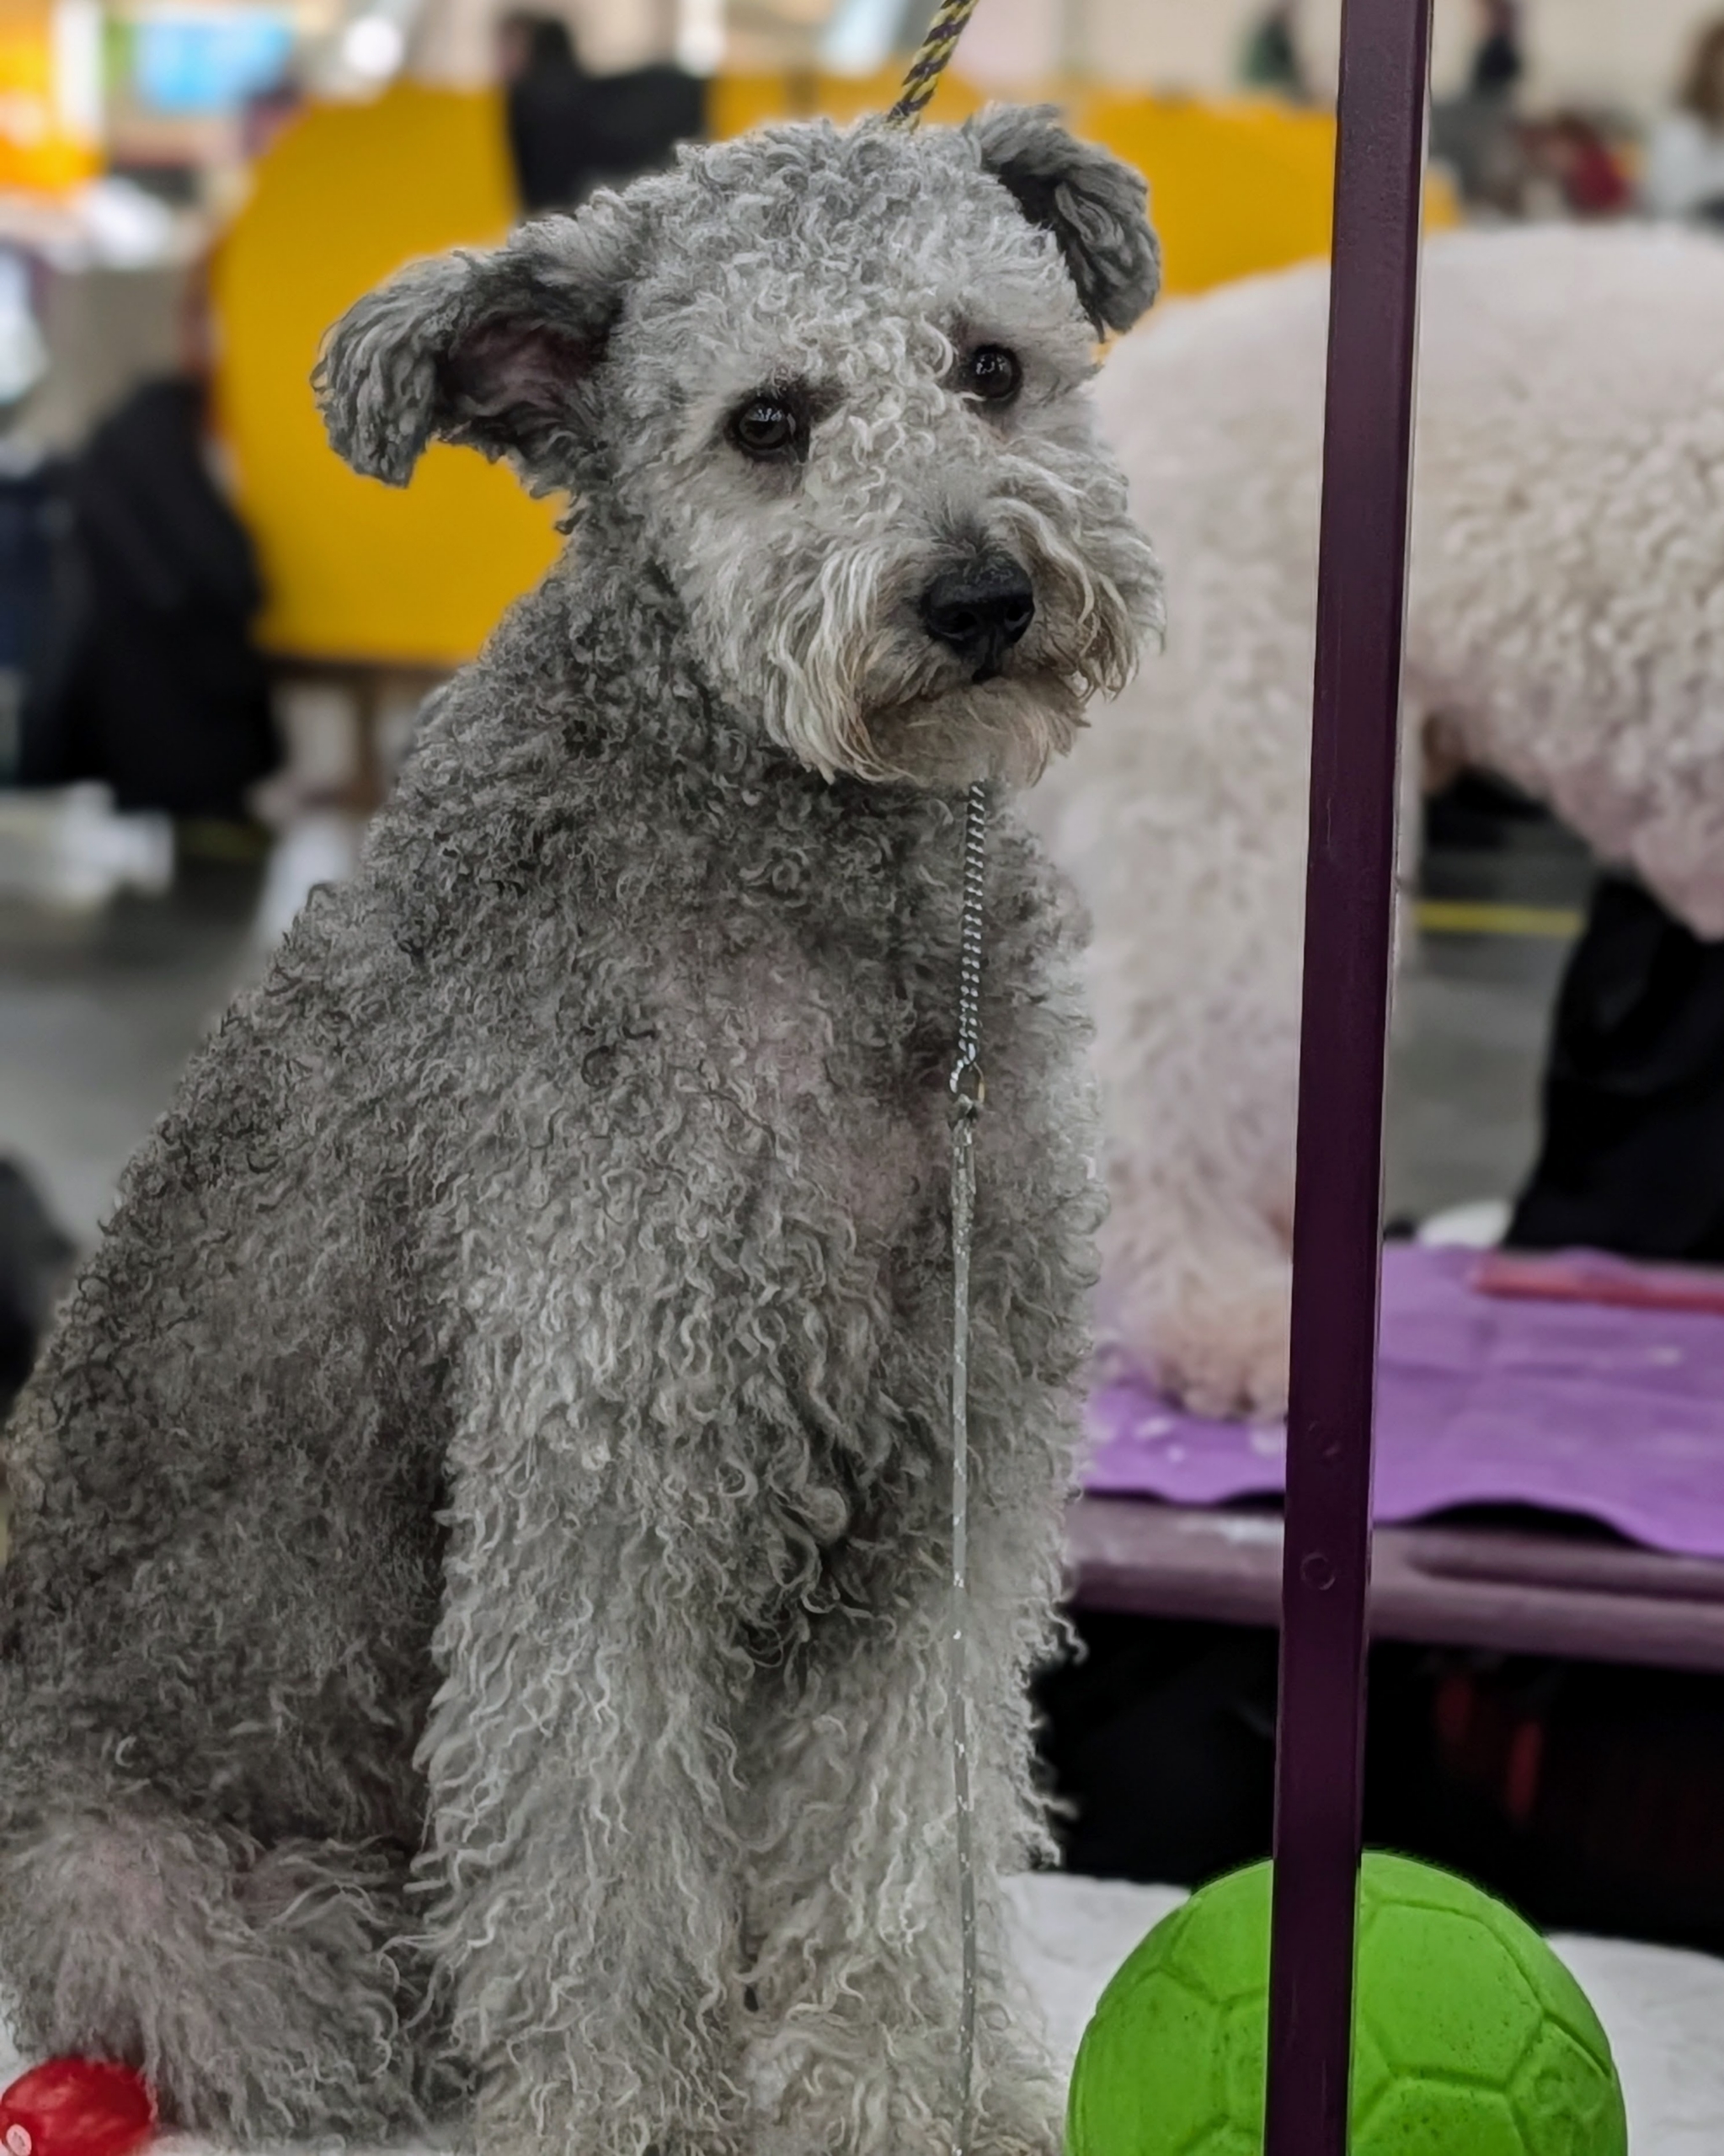
The Pumi is a medium-small breed of sheepdog from Hungary. Known for their corkscrew curls and whimsical ears, these dogs are intelligent, agile, and very capable herders.
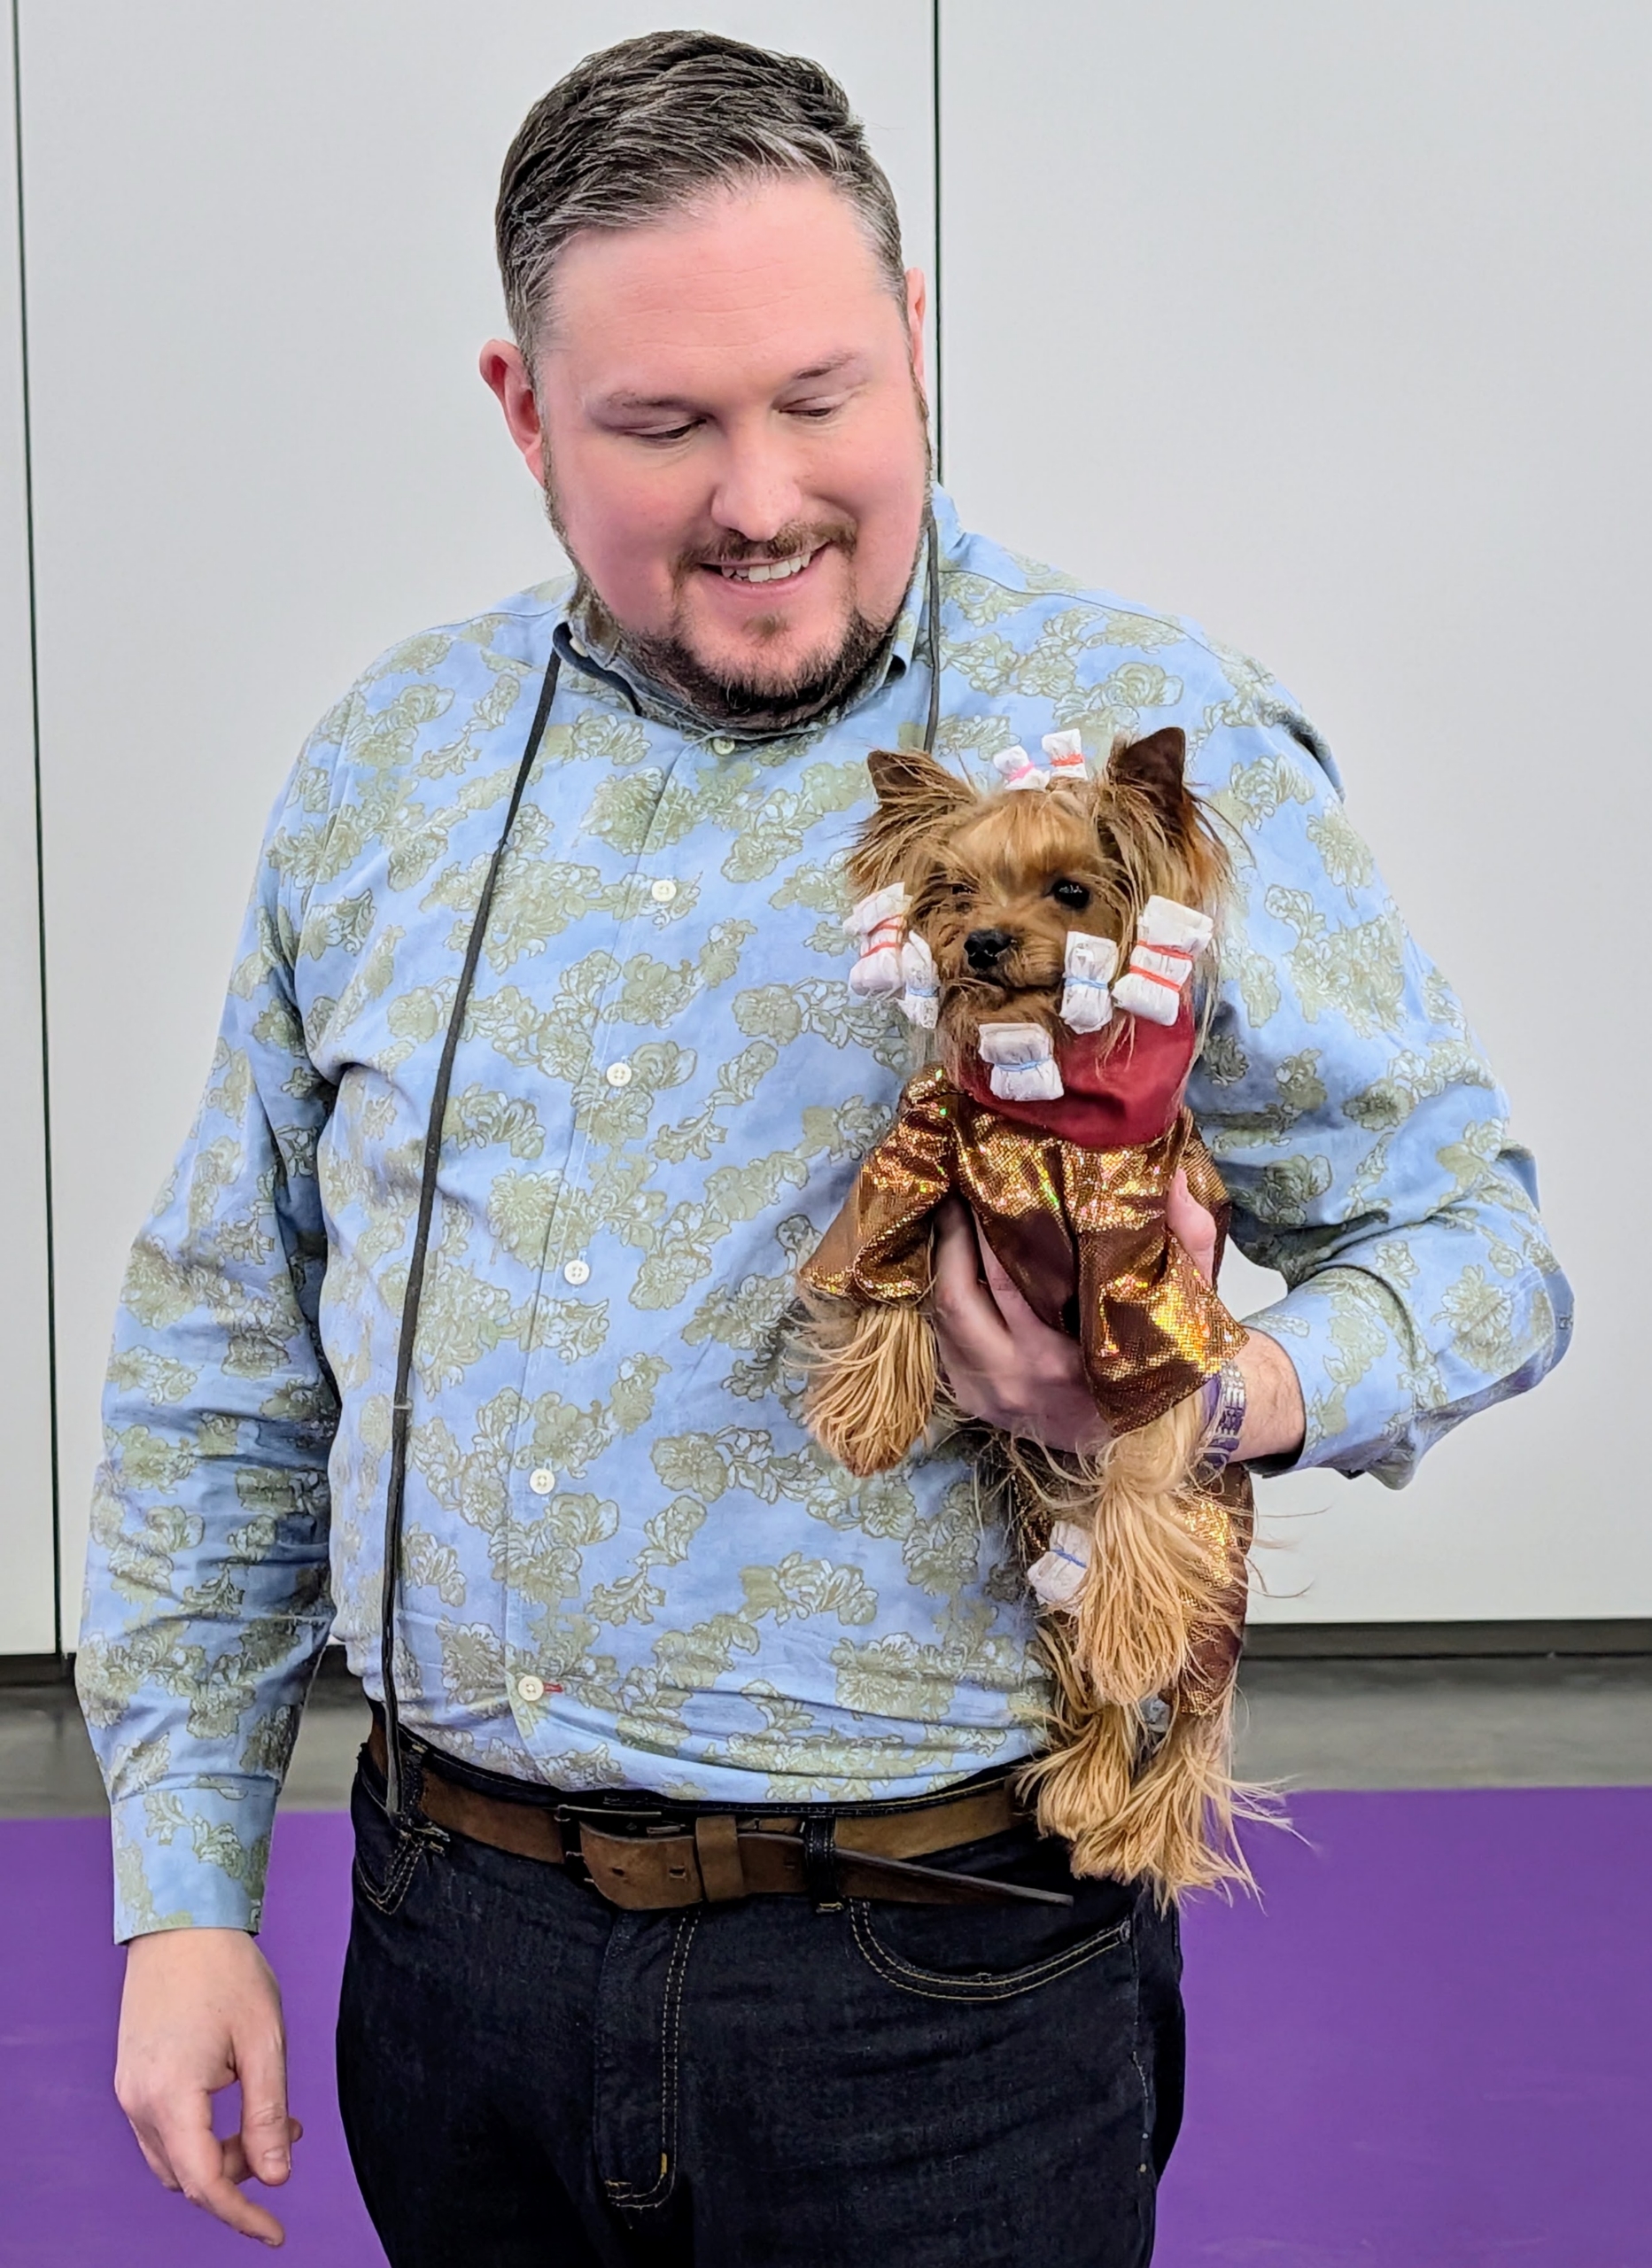
Here’s a Yorkshire Terrier, or Yorkie, heading to its grooming table. The tapes and tied to the hair are used to wrap he coat to prevent it from getting dirty, tangled or broken. They will be removed before show time.
Another breed that needs a lot of grooming is the Lhasa Apso. This old breed originally served as sentinels in palaces and monasteries isolated high in the Himalayas of Tibet. It’s distinguishing characteristics include its long, flowing coat, curled tail, bushy eyebrows, and flattened nose.
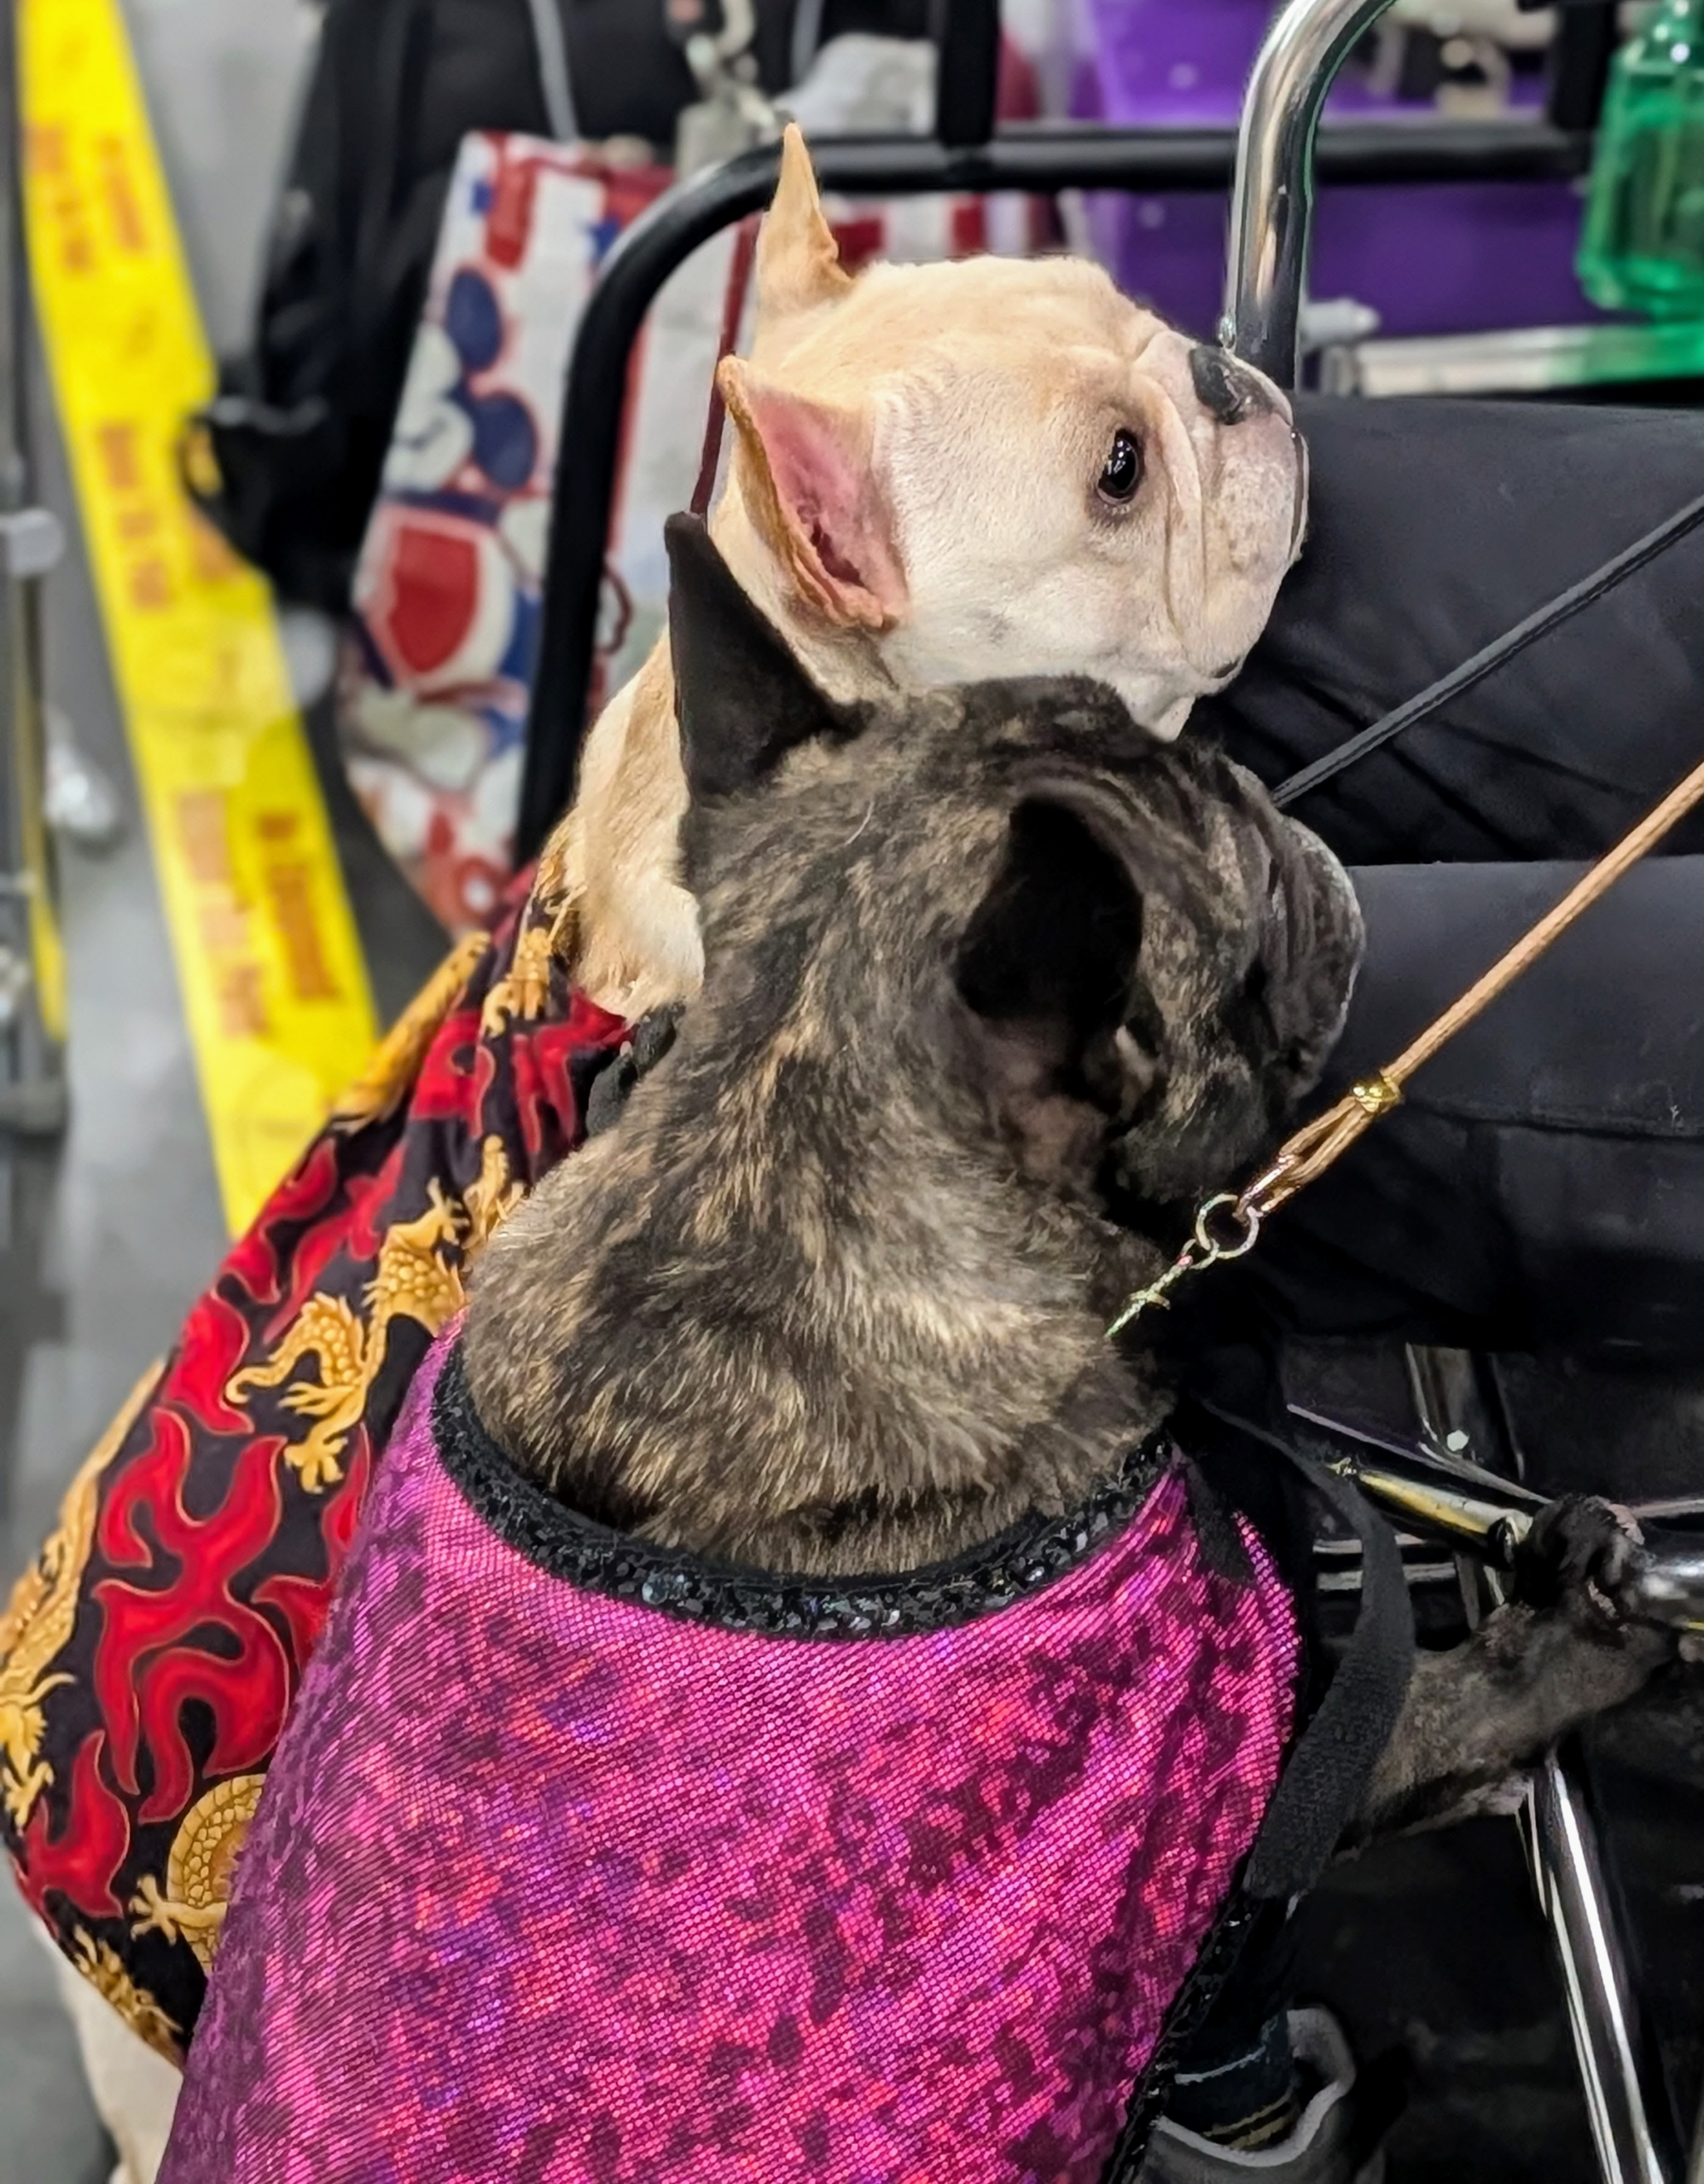
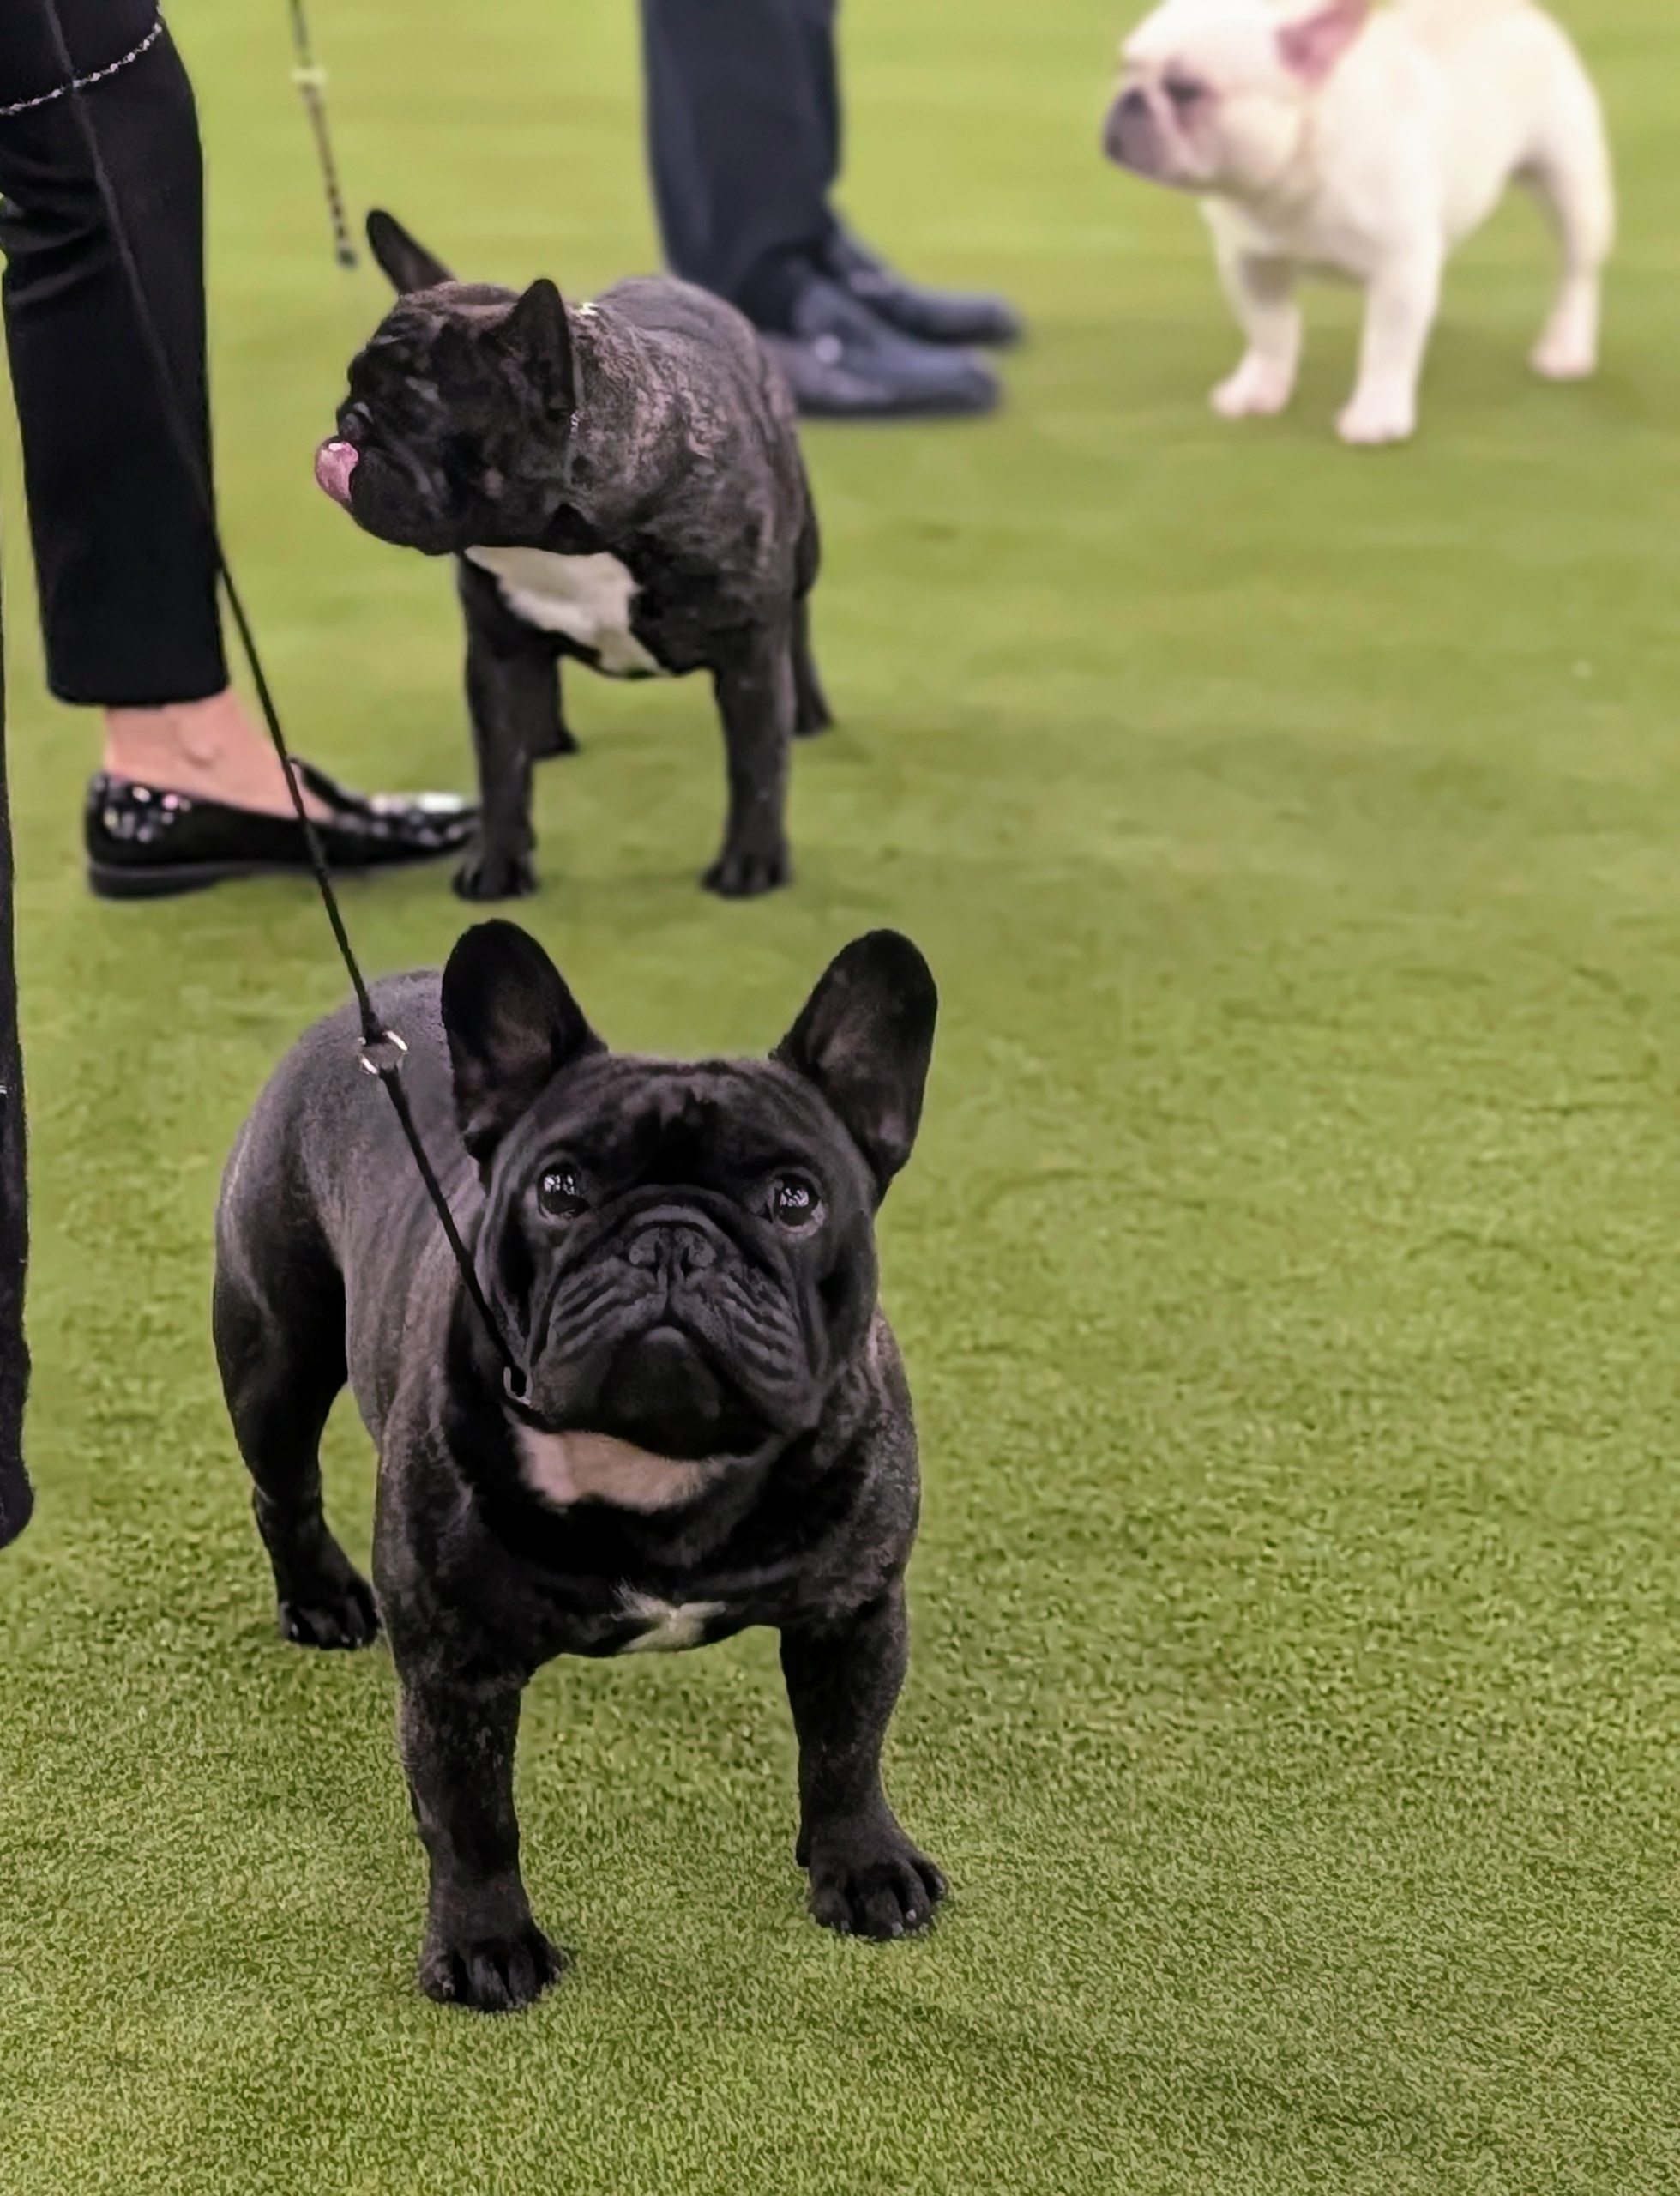
And one of my two favorite breeds, the French Bulldog. This affectionate and playful breed is best known for its wrinkly face and bat-like ears.
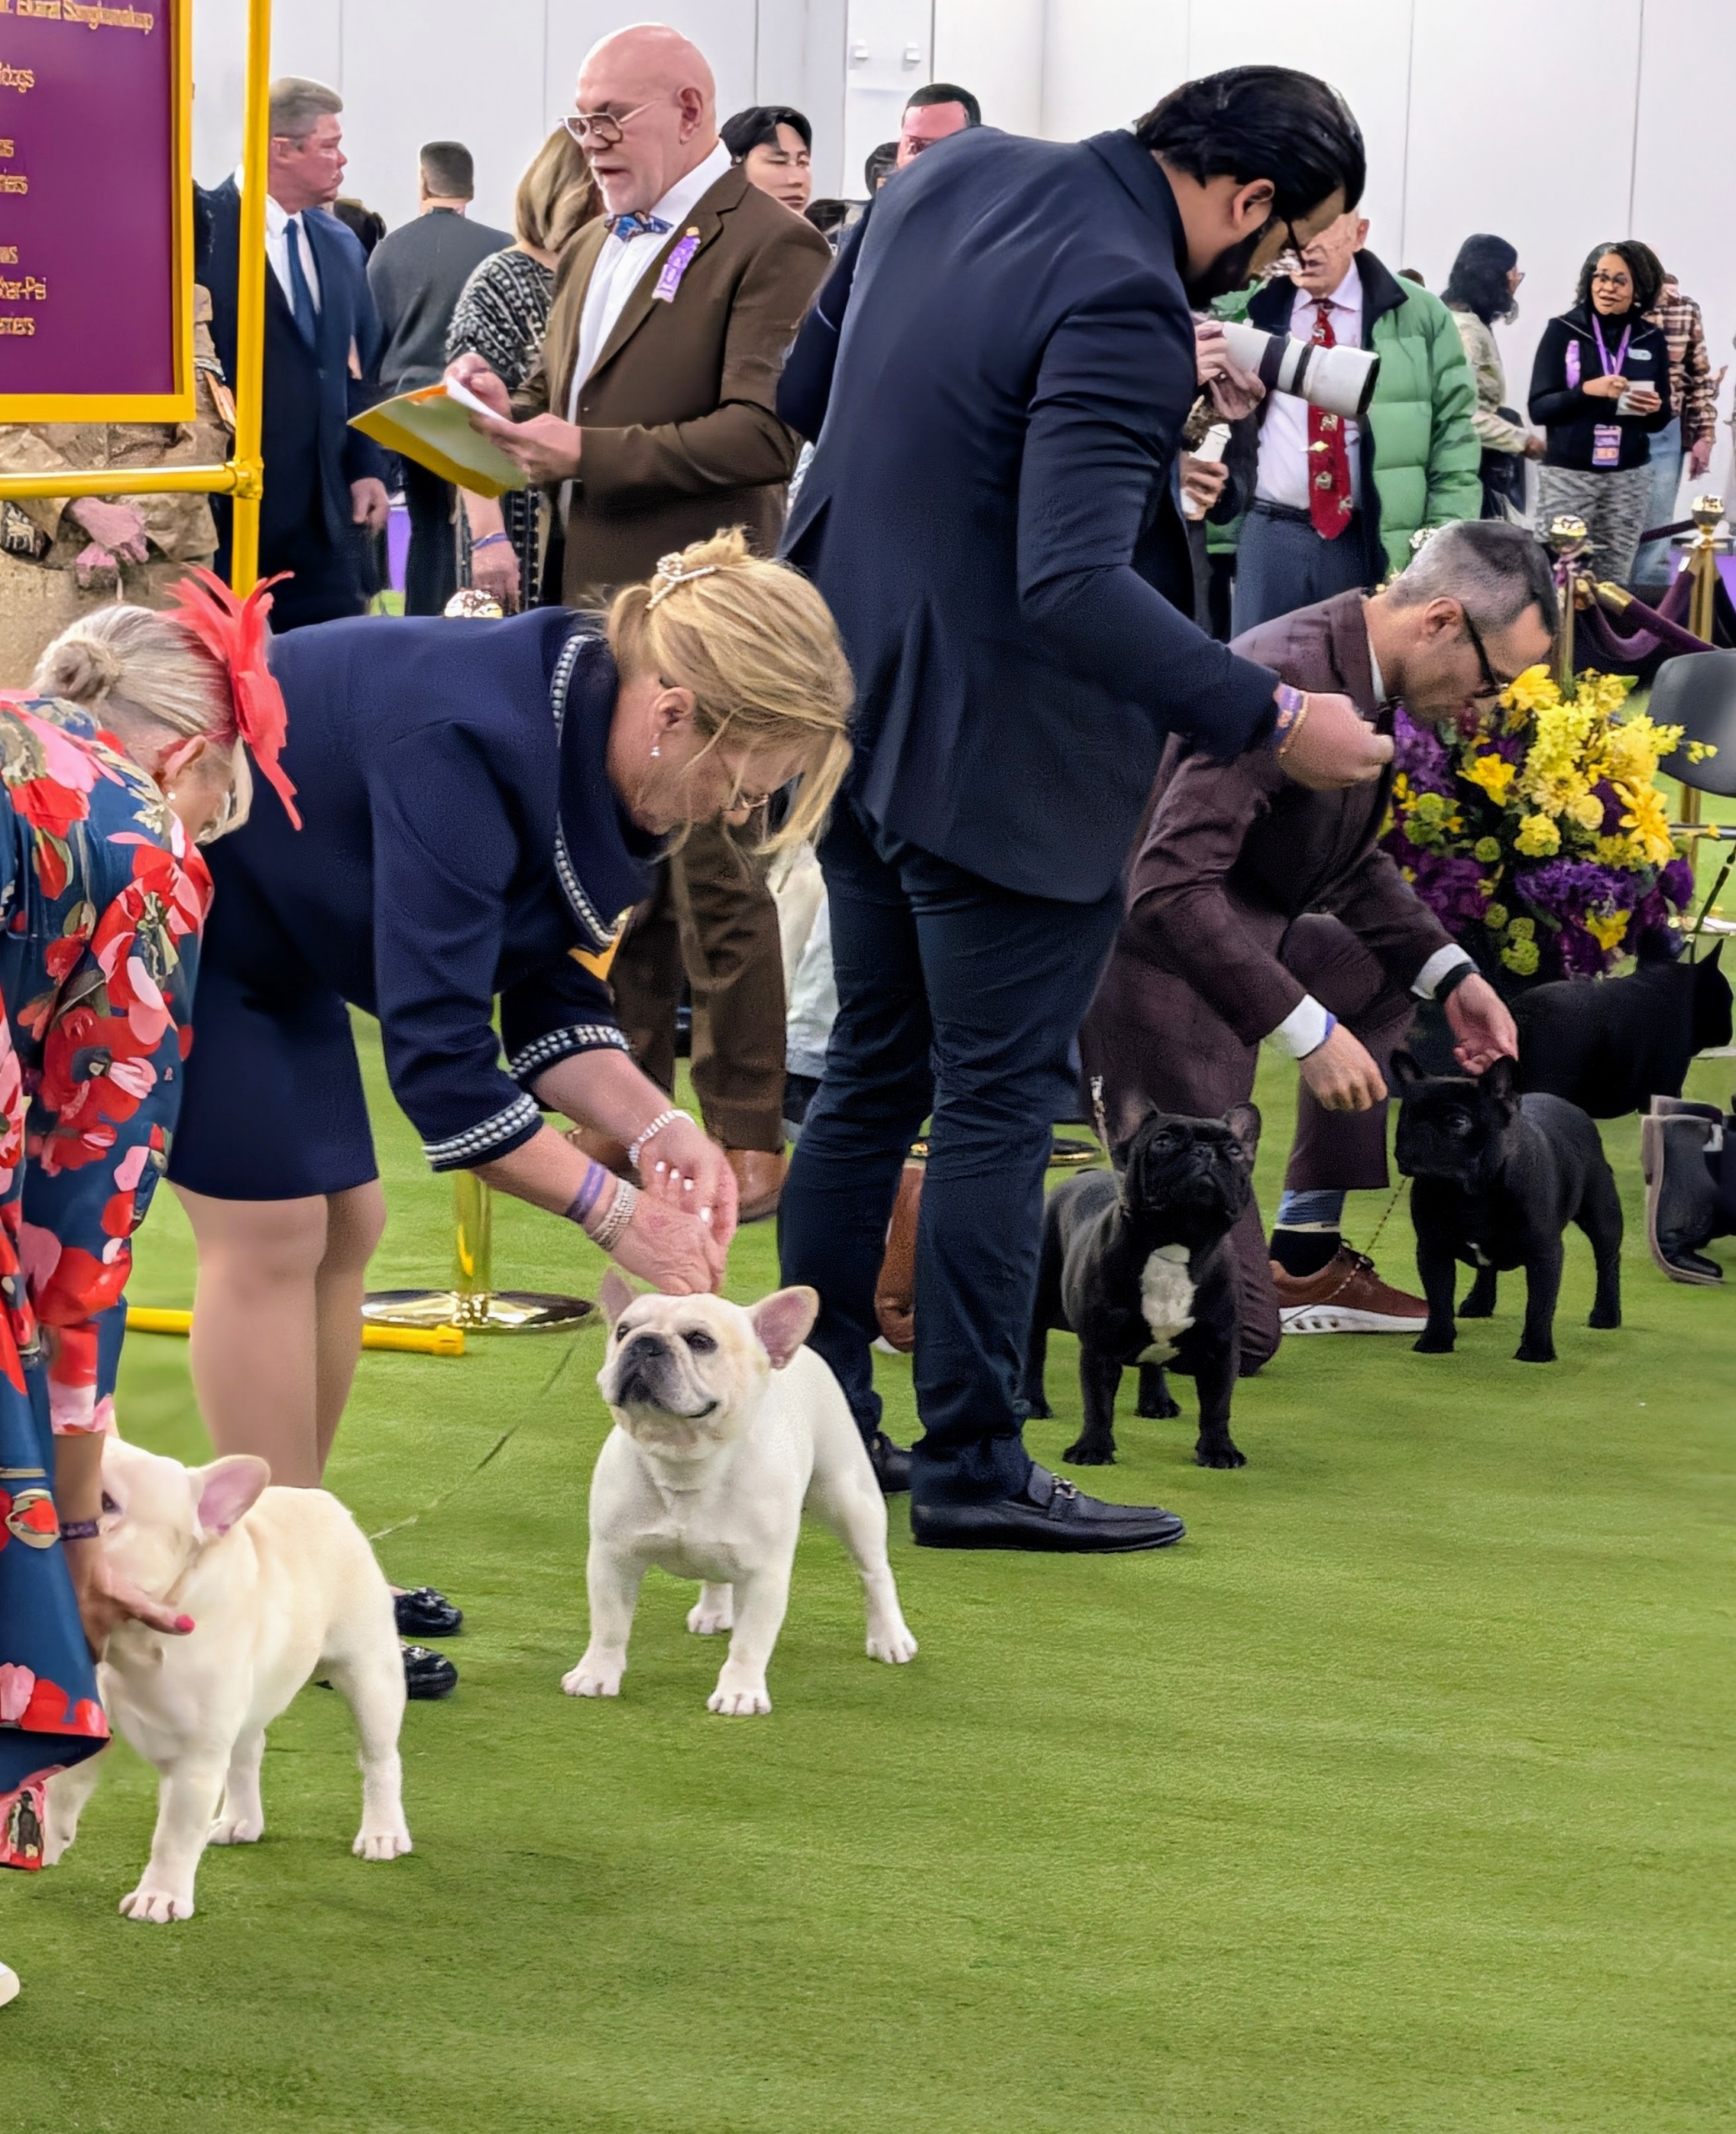
The French Bulldogs showed very early, right at 9am. In all, there were 48 dogs entered in this show – a big class compared to others.
French Bulldogs are members of the Non-Sporting Group – a classification of breeds with unique traits including an ability to thrive and adapt to many different environments. Frenchies come in a variety of colors including fawn, cream, brindle, and pied.
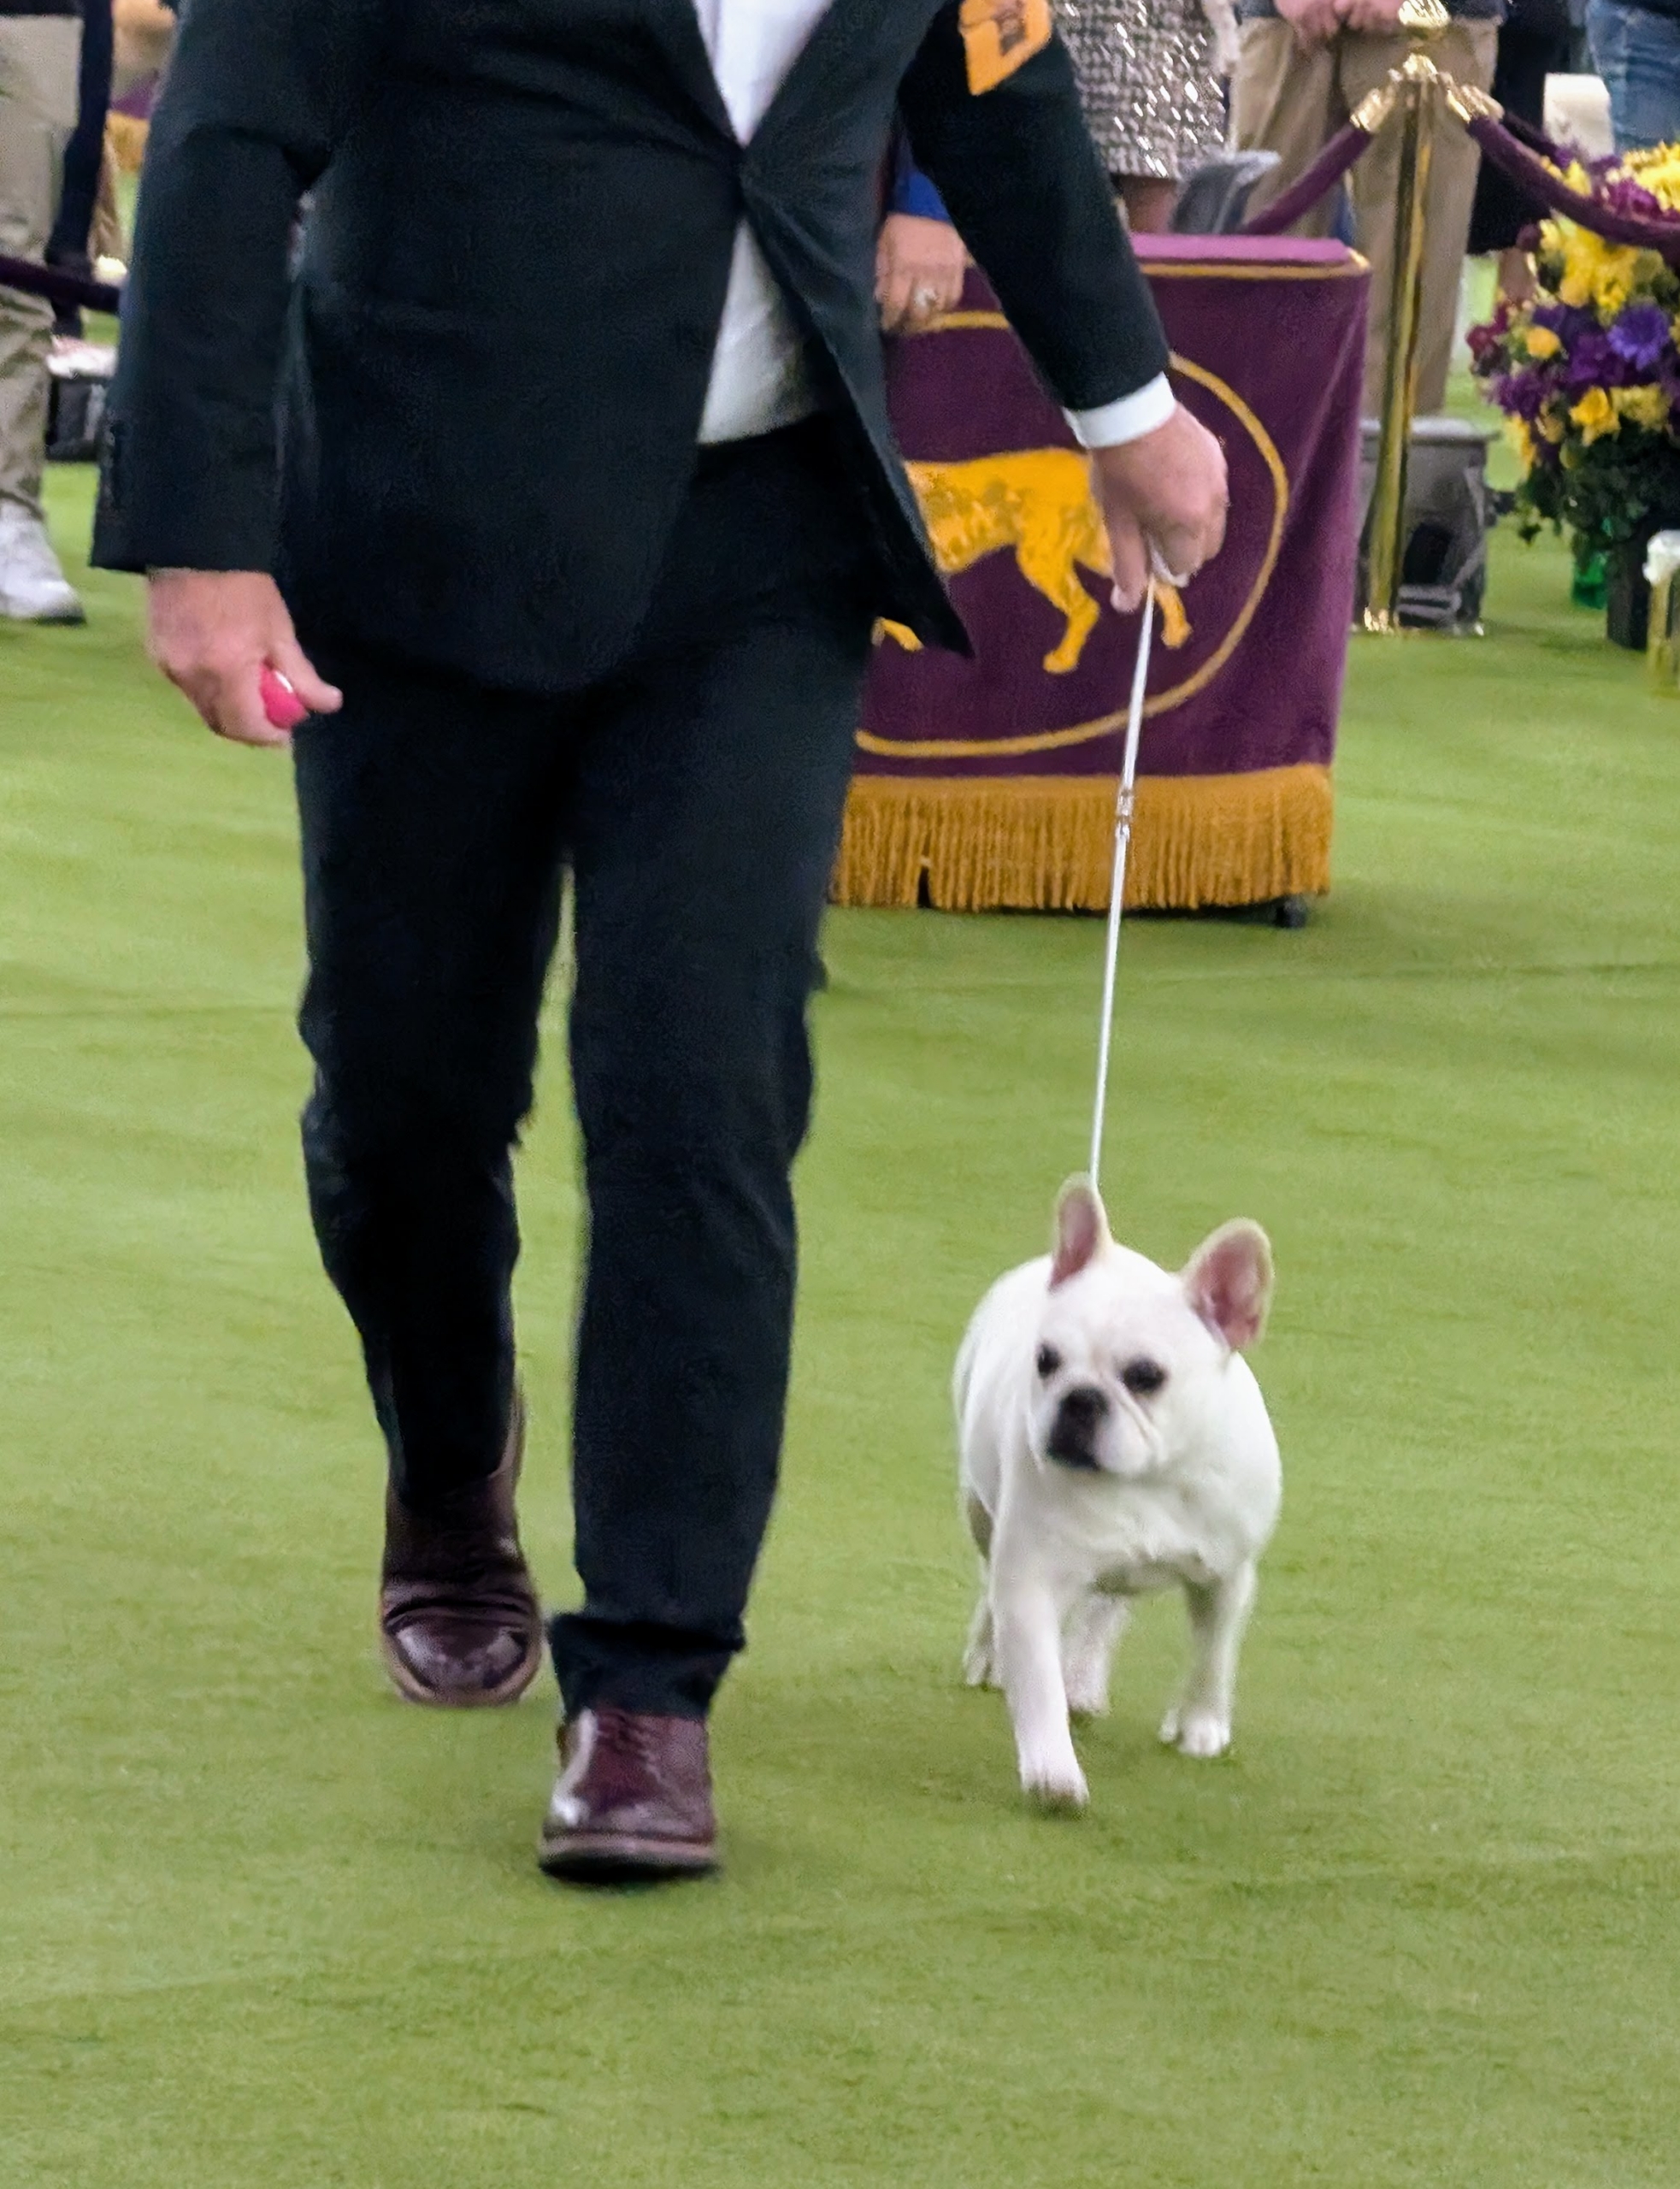
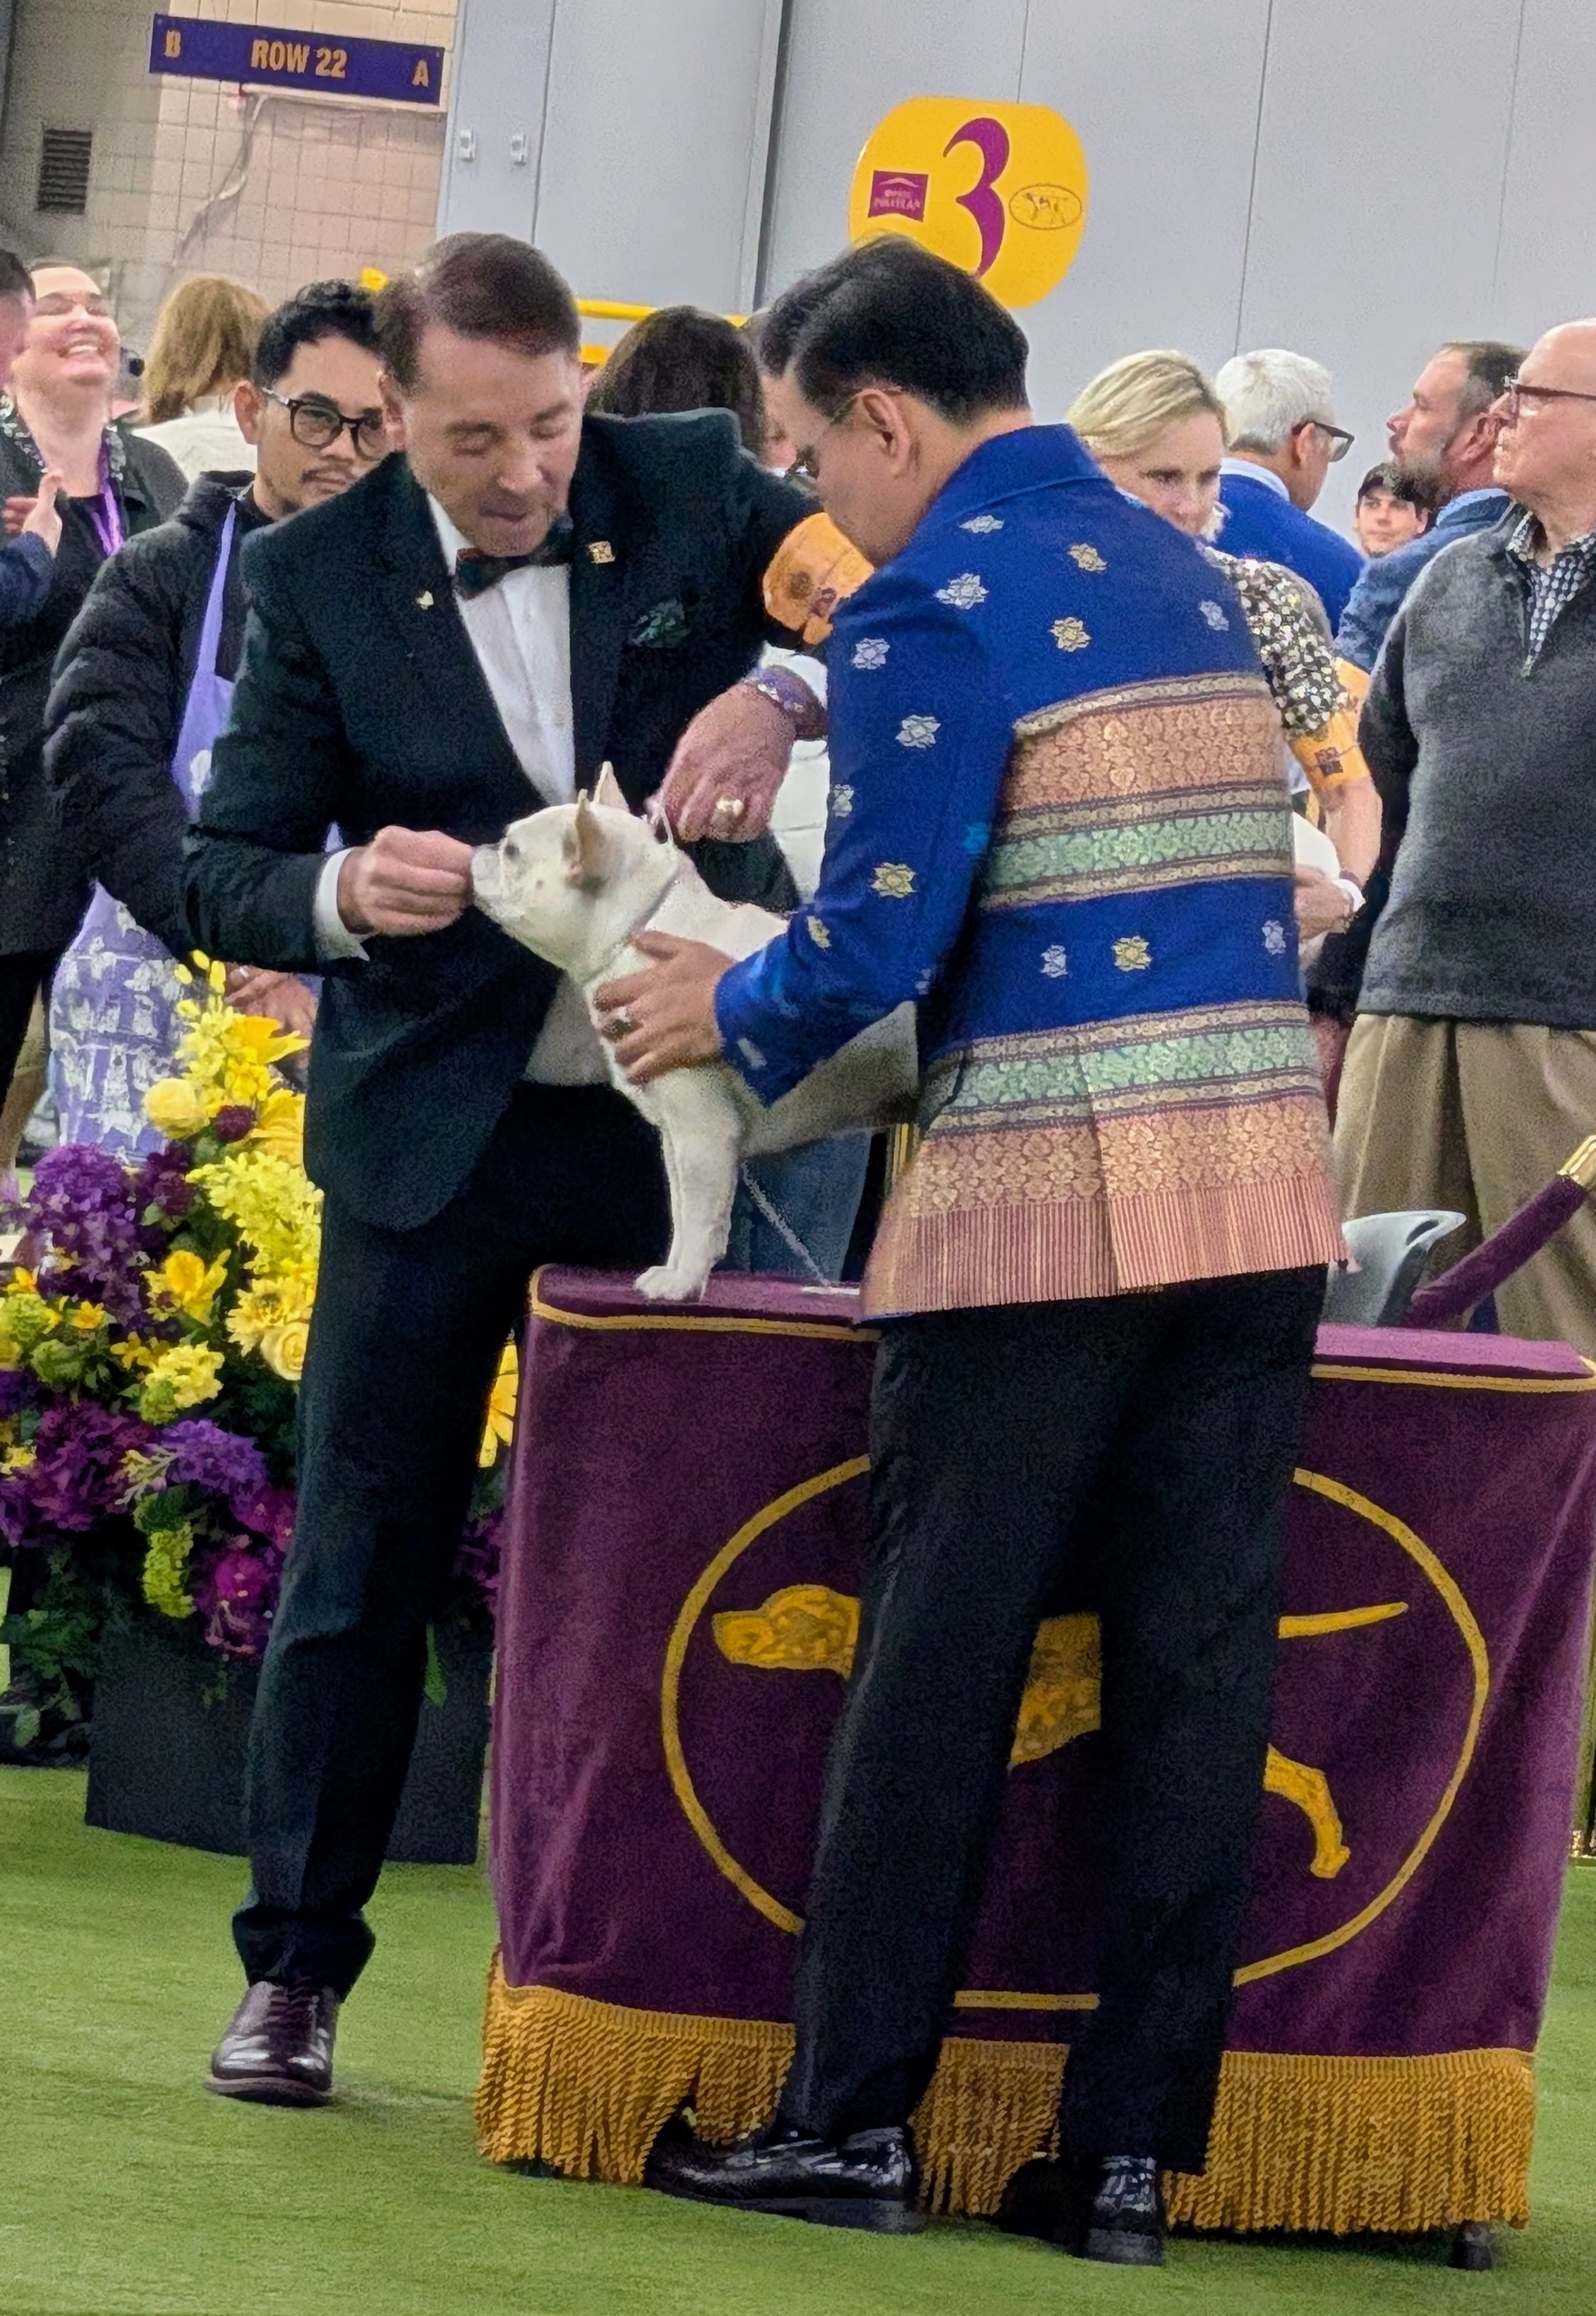
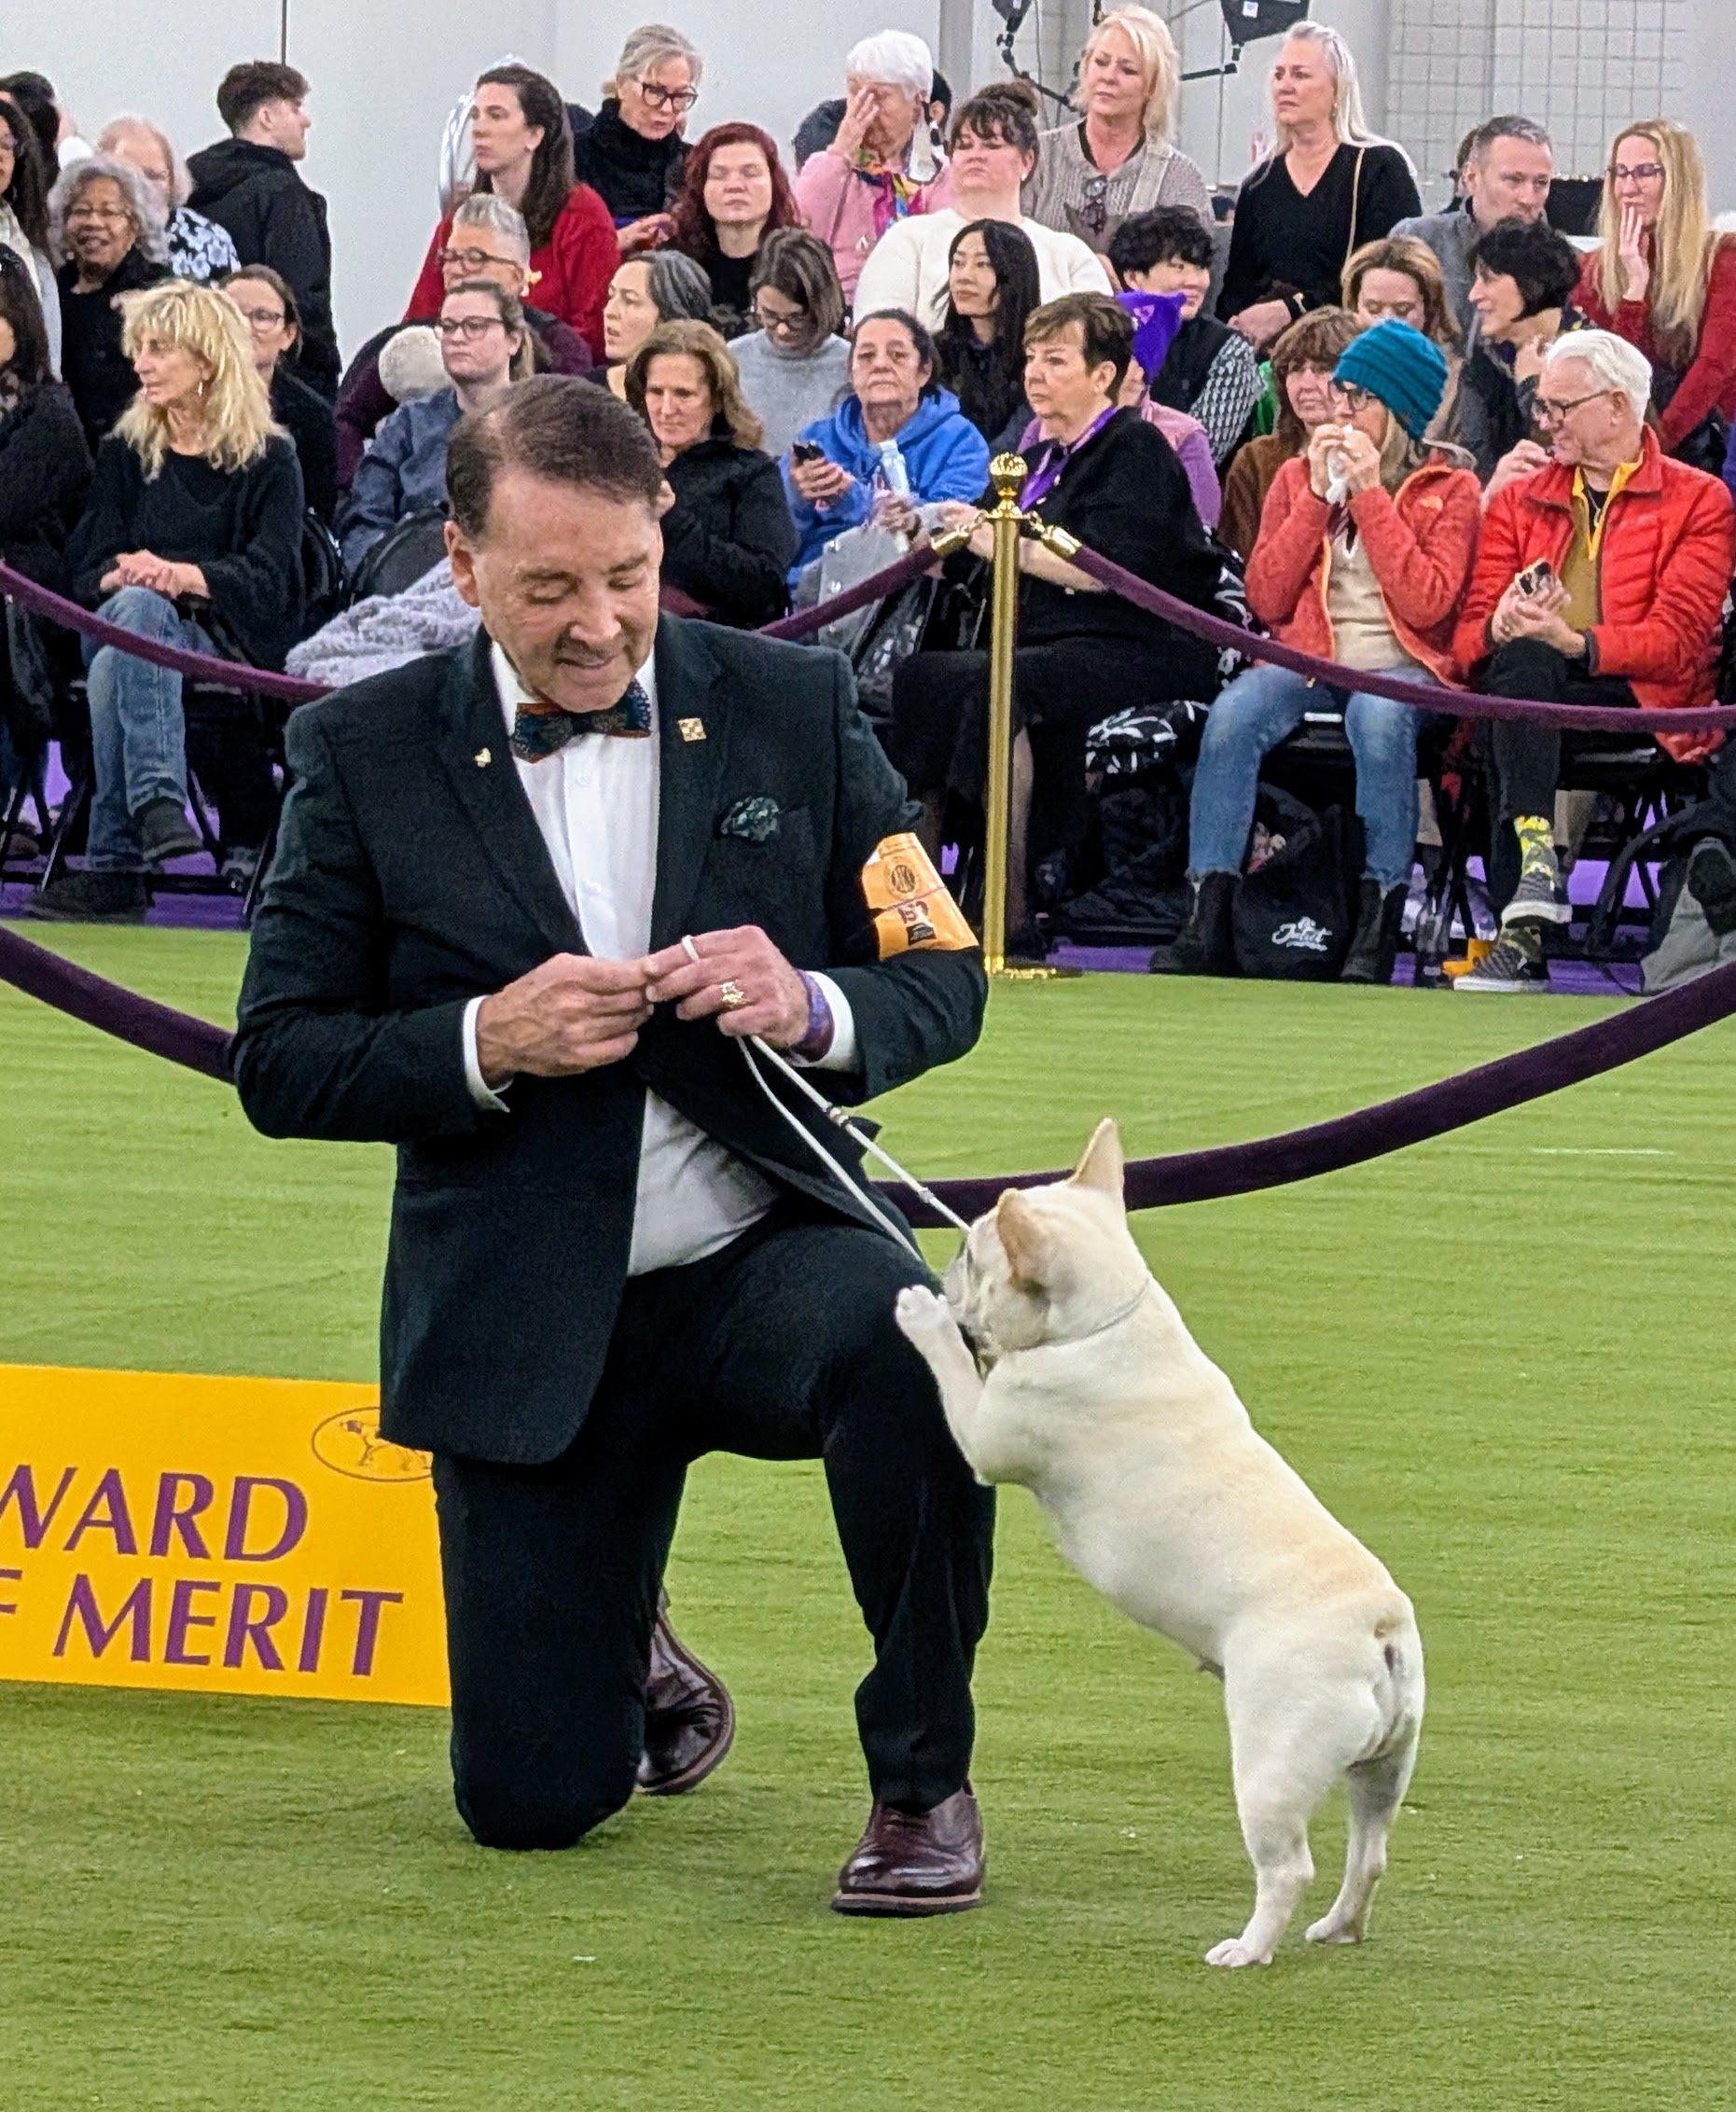
But this is the girl we’re watching today, Dezperado’s Goldshield Pop The Cork! Also known as “Clicquot.” She is being handled by Perry Payson, the same handler who shows my dog, Luna Muna. This girl is also bred by Luna’s breeder, Hilary Branscum.
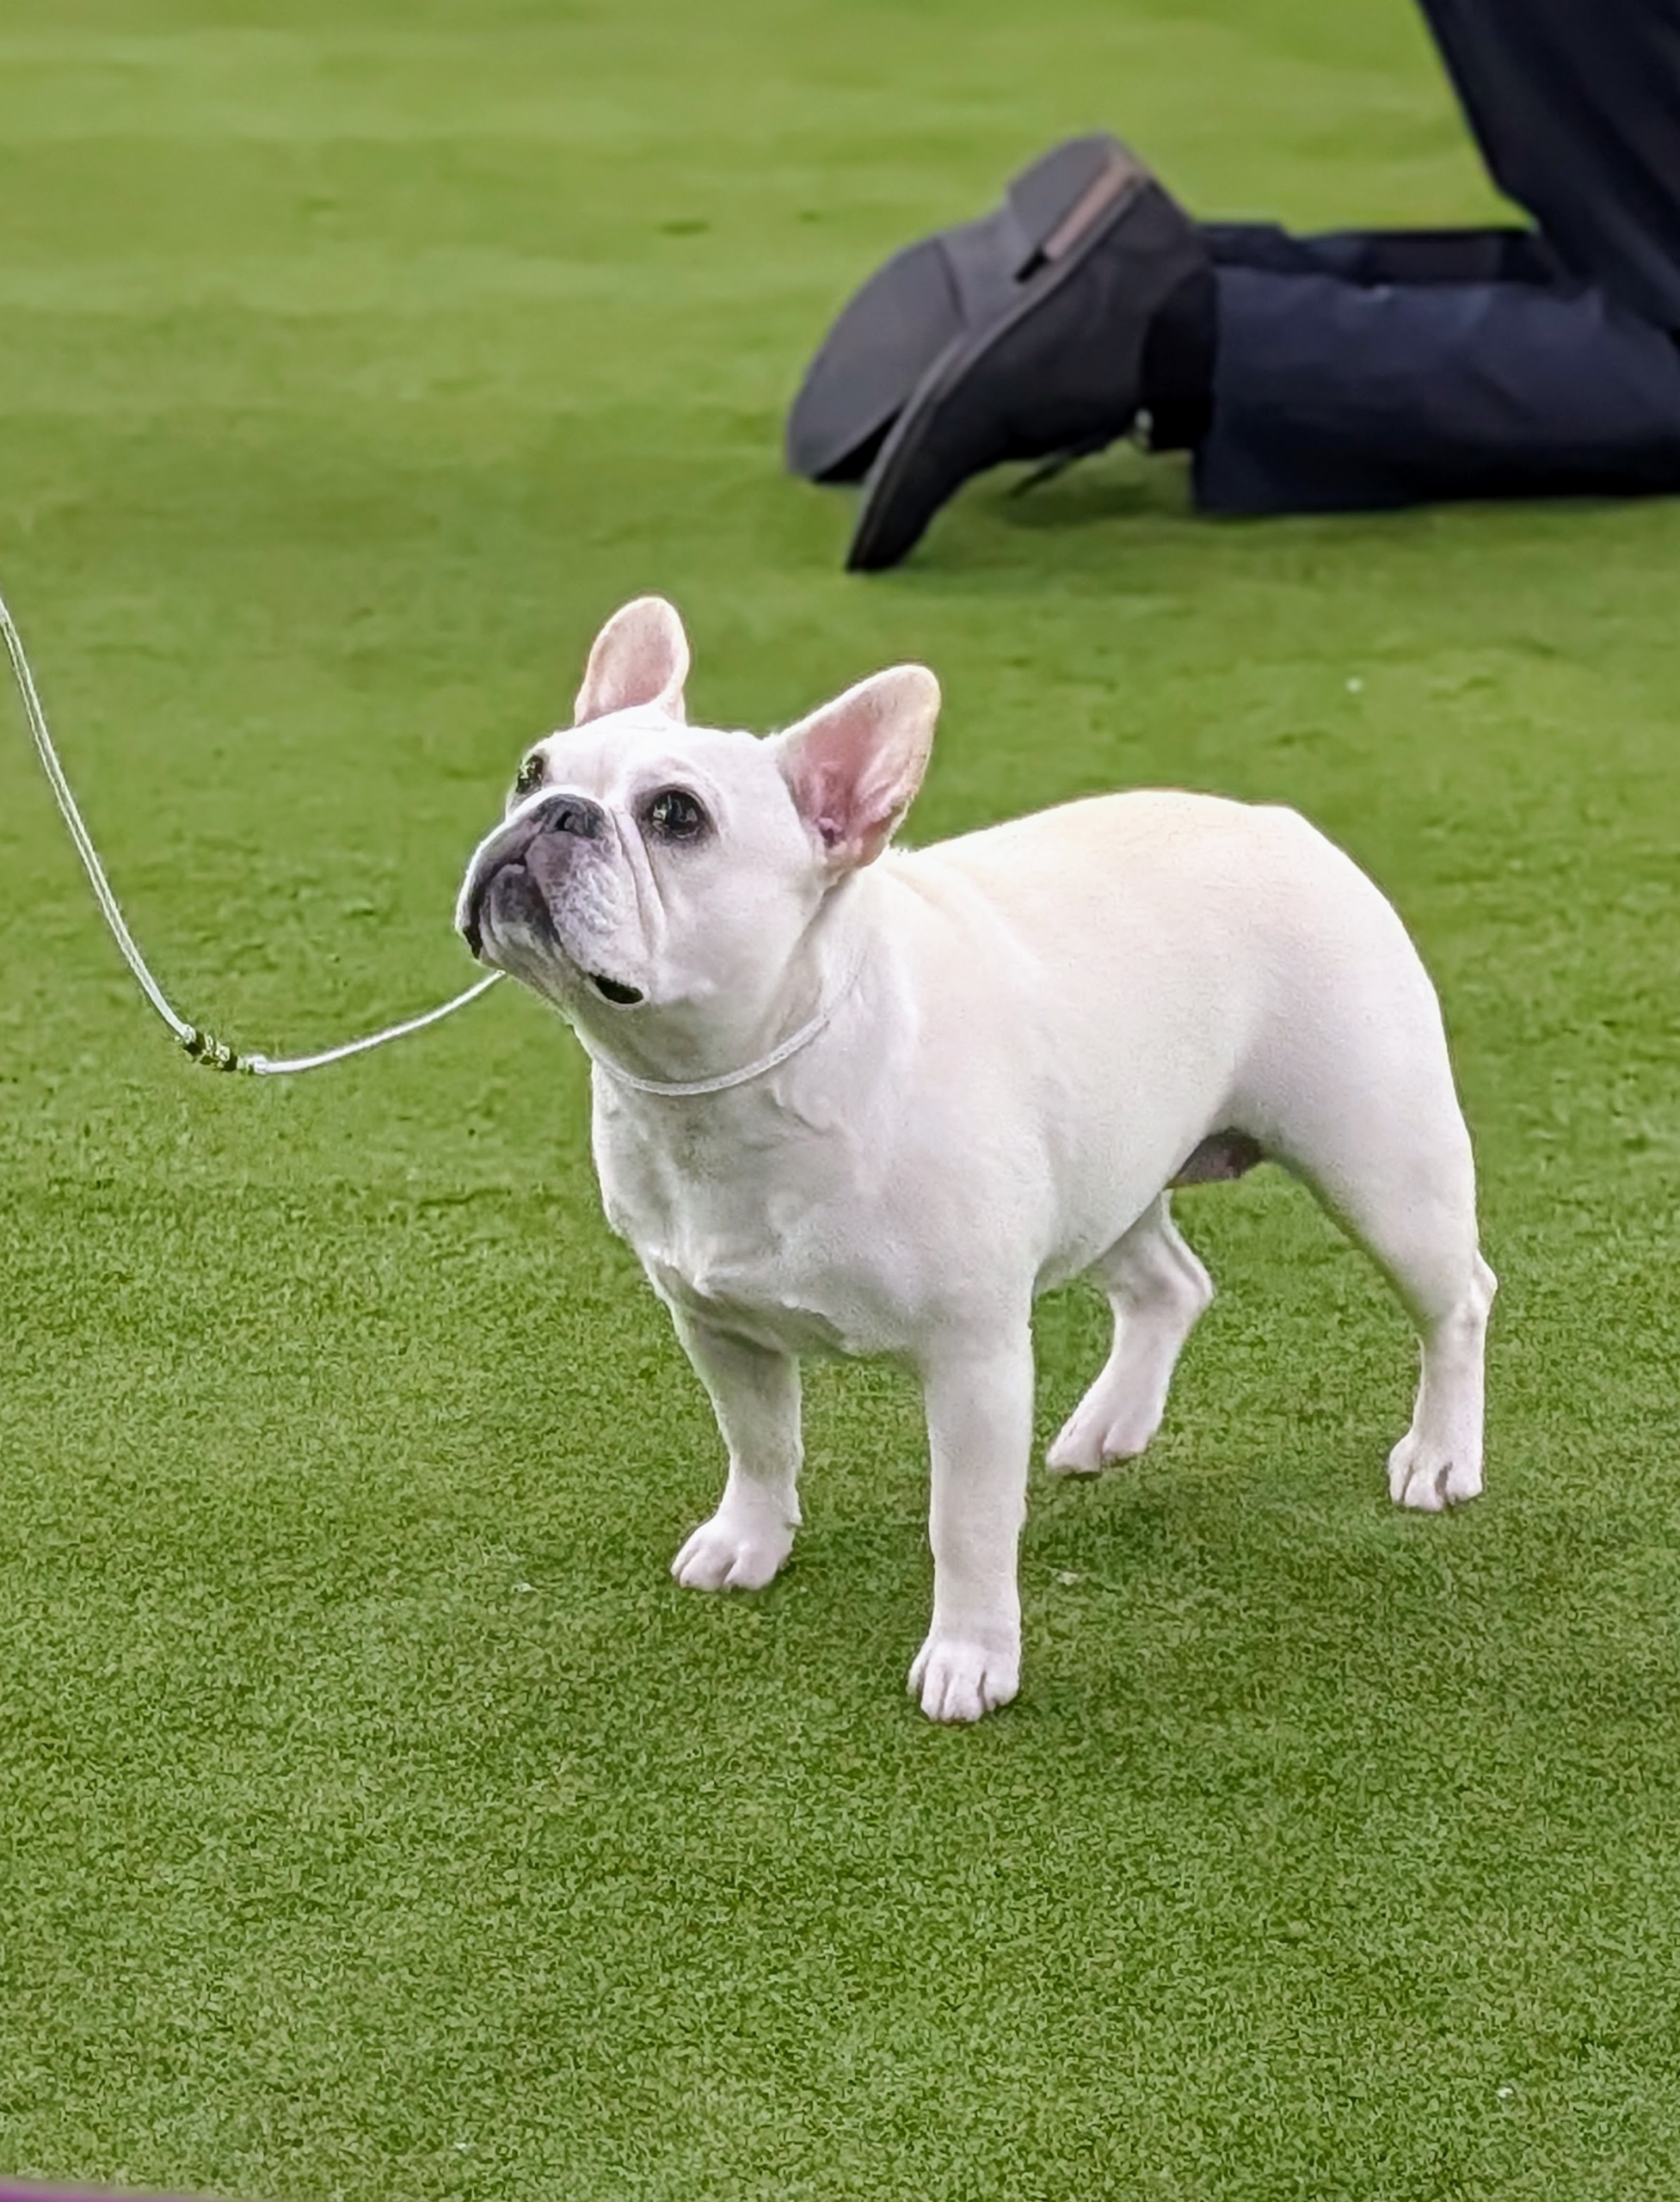
The ideal French Bulldog standard characteristics include a distinctive short face and body.
The Frenchie is a small, muscular dog with a smooth coat. The body is compact and well-proportioned, with a broad chest and a short, but strong neck.
Originally hailing from France, French Bulldogs were bred to be companions and lap dogs for lace workers in the 19th century. It remains a very popular breed today. They’re sociable, lively, playful, and intelligent.
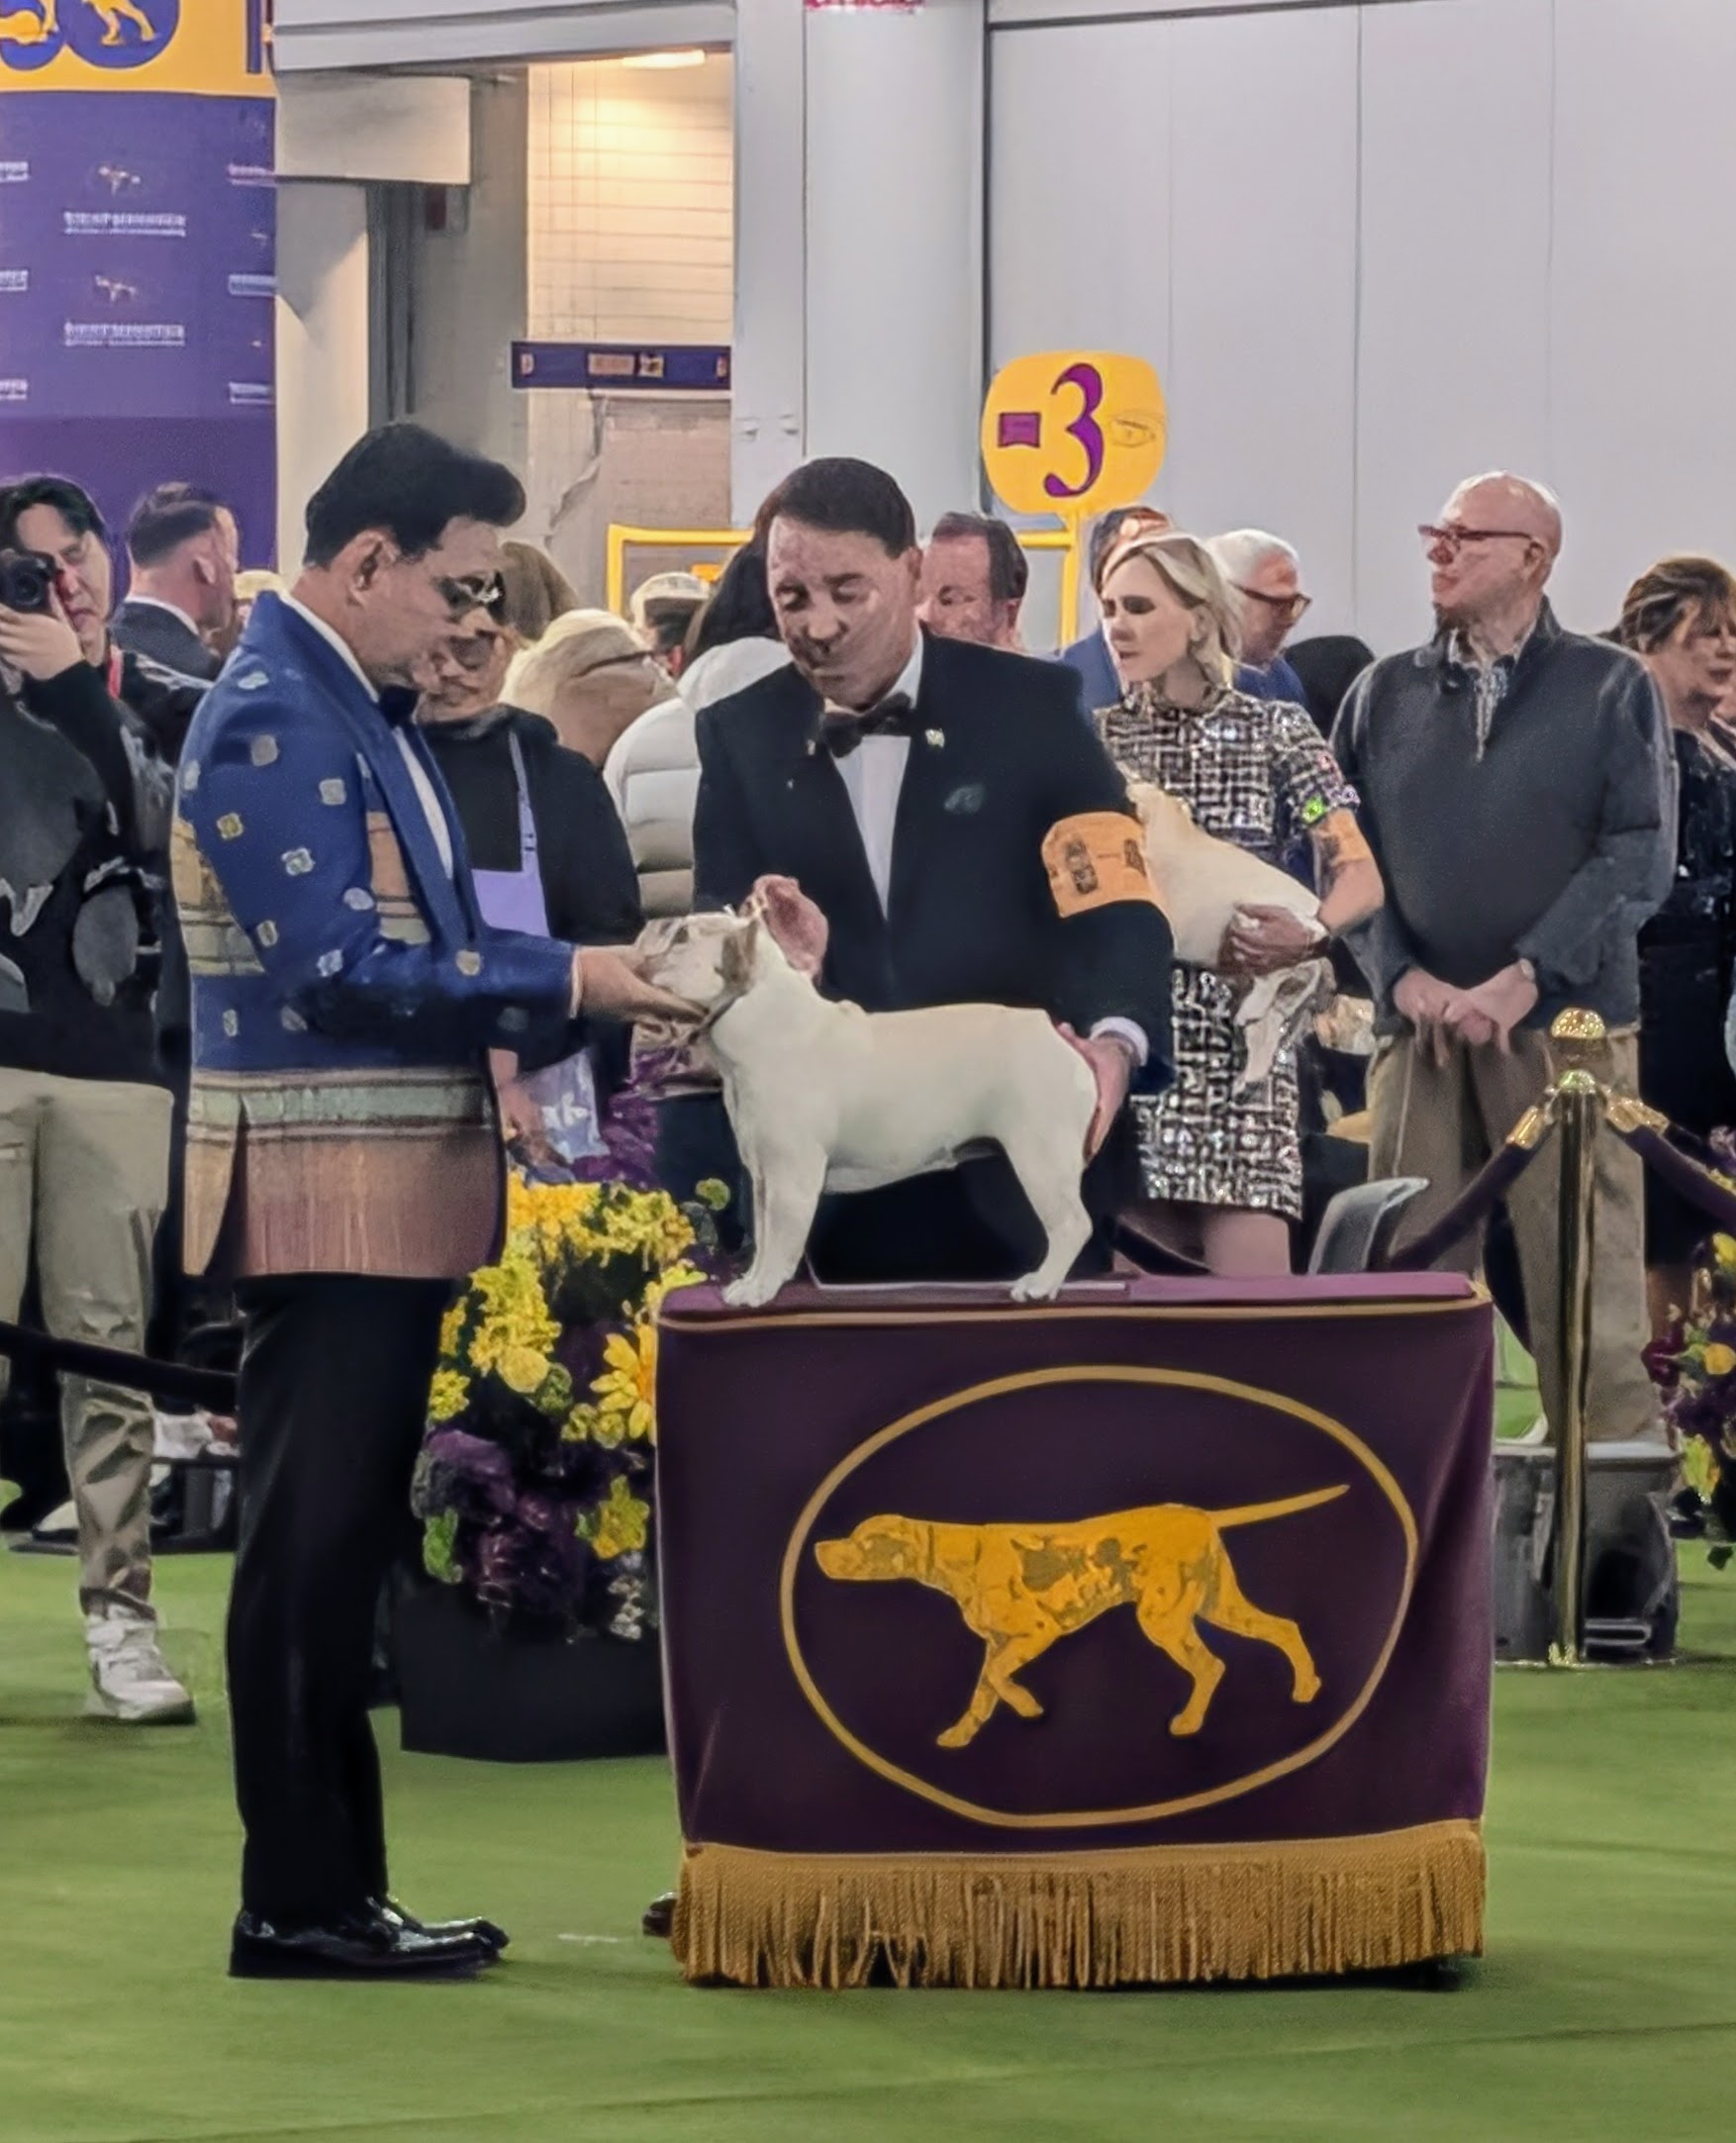
When on the table, the judge looks for a well-balanced body structure.
The judge also looks for a square and broad skull, and short, wide muzzle.
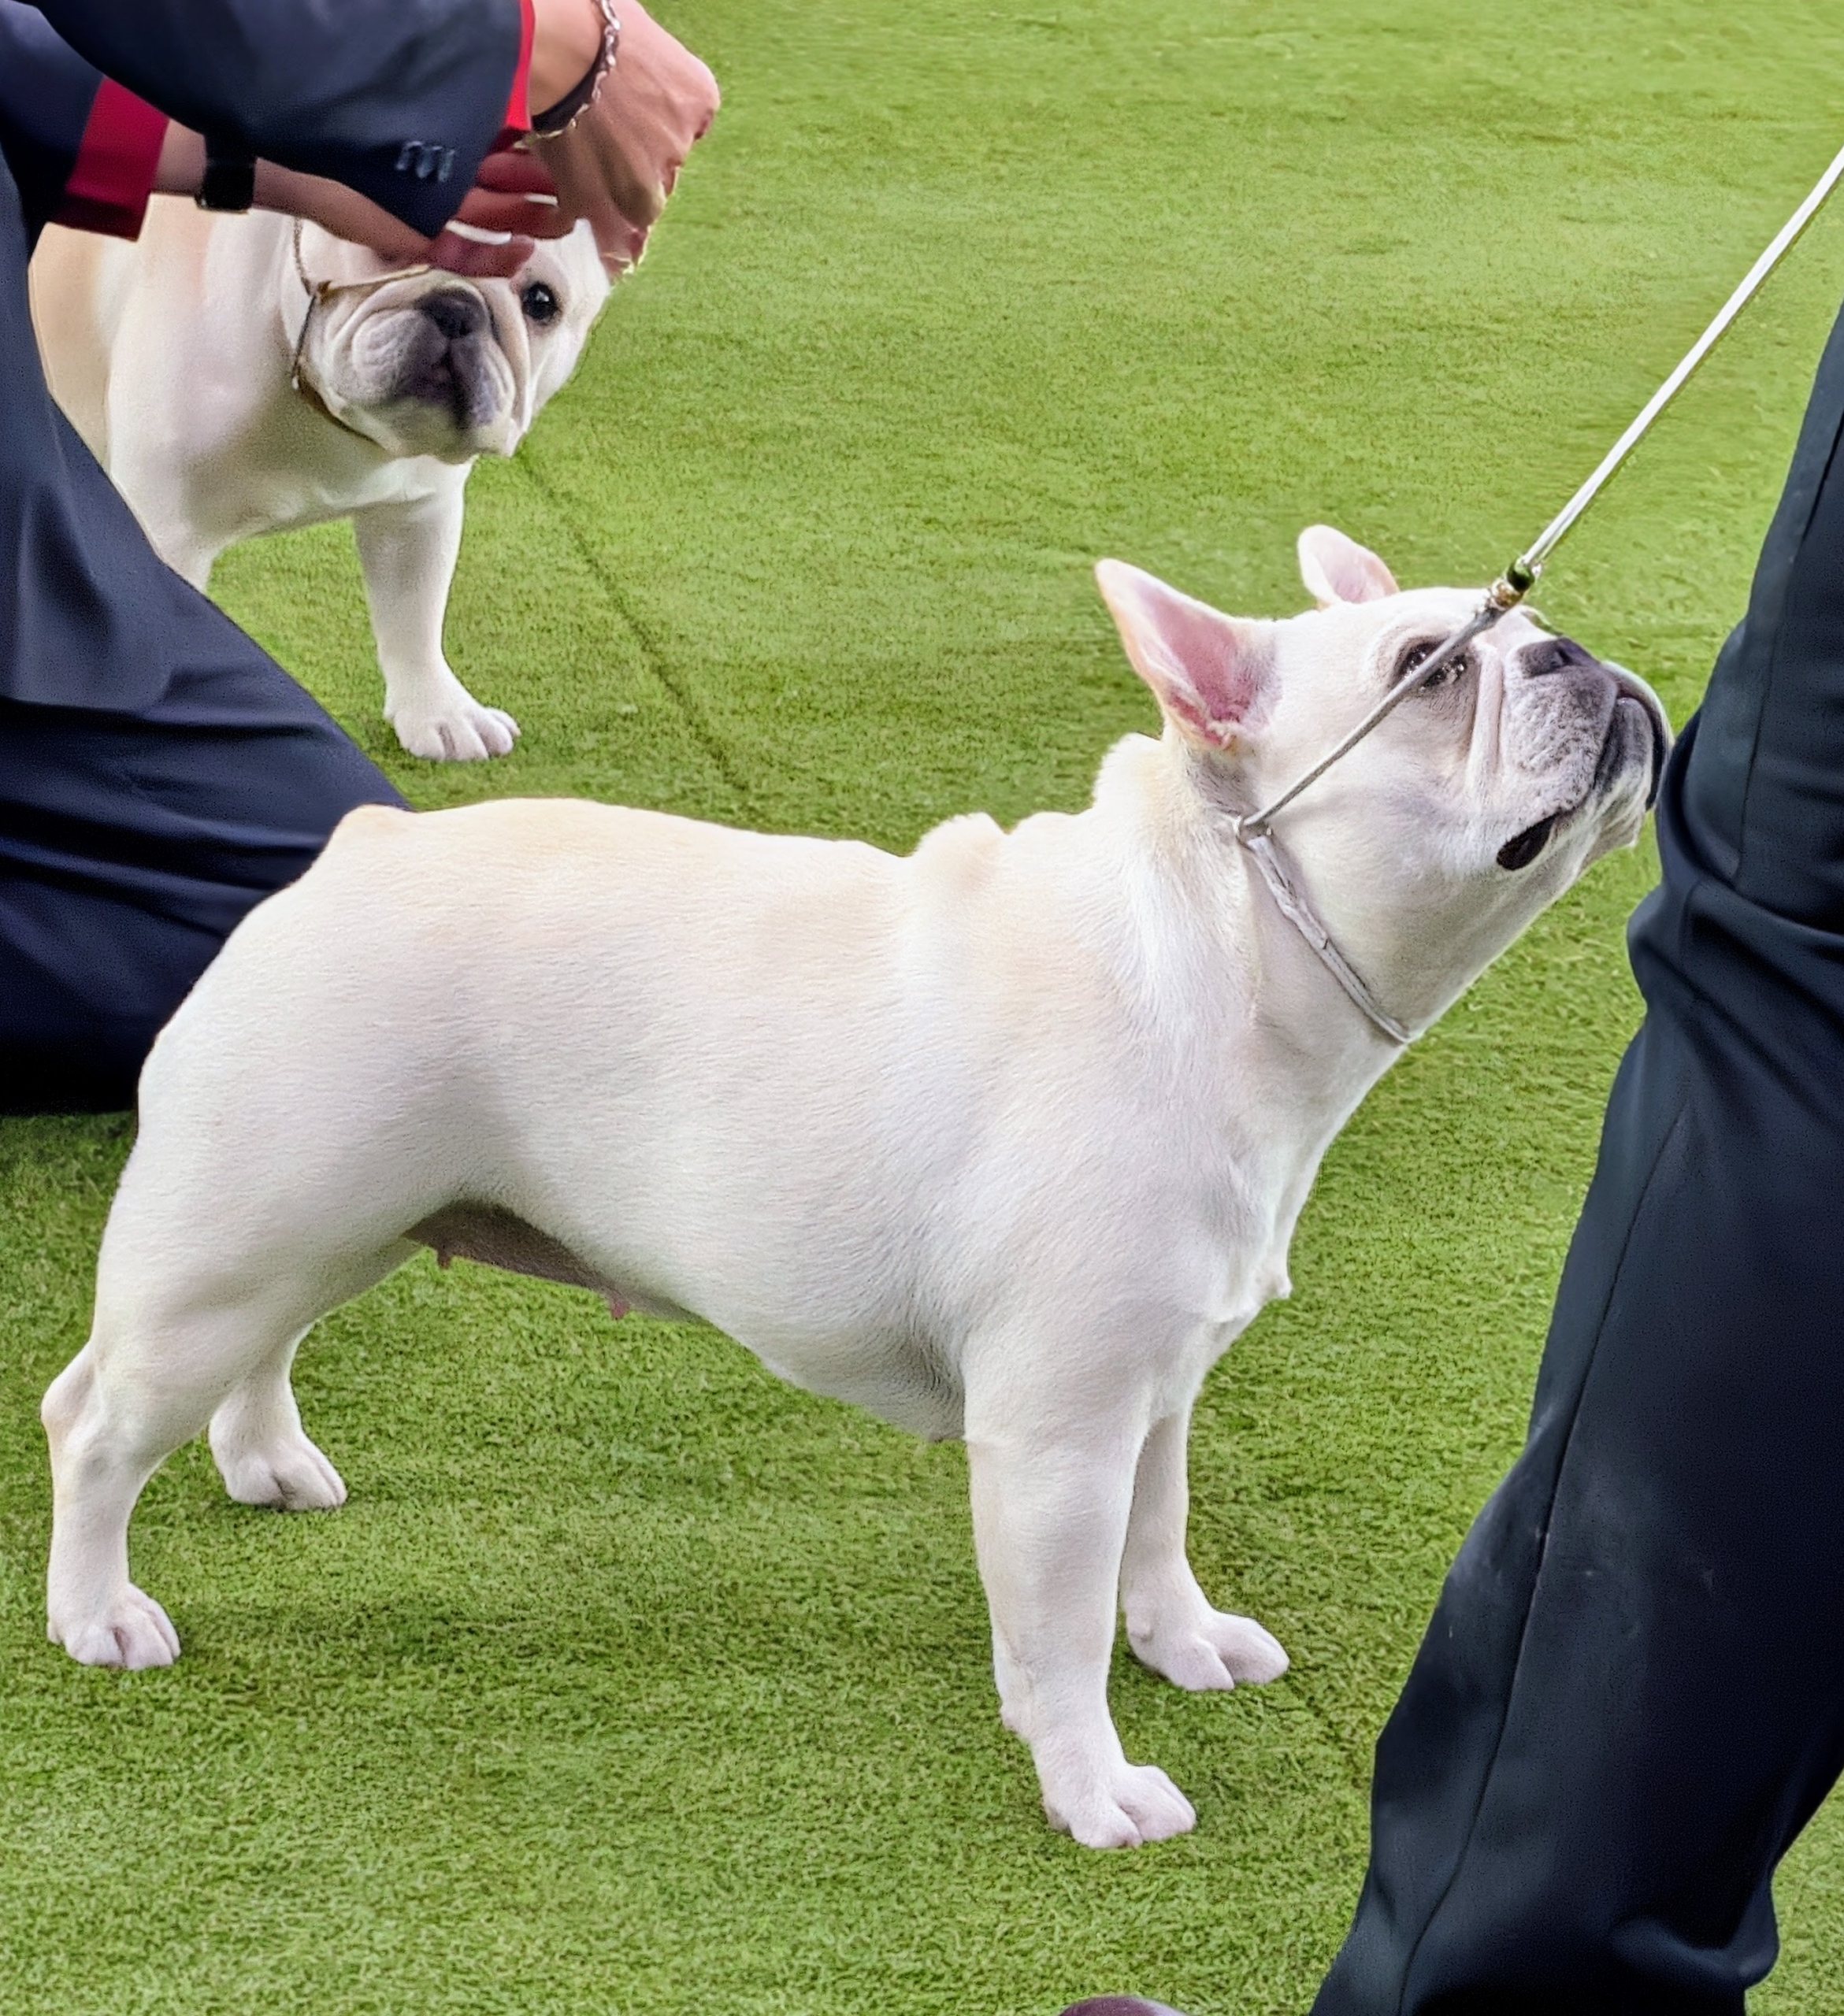
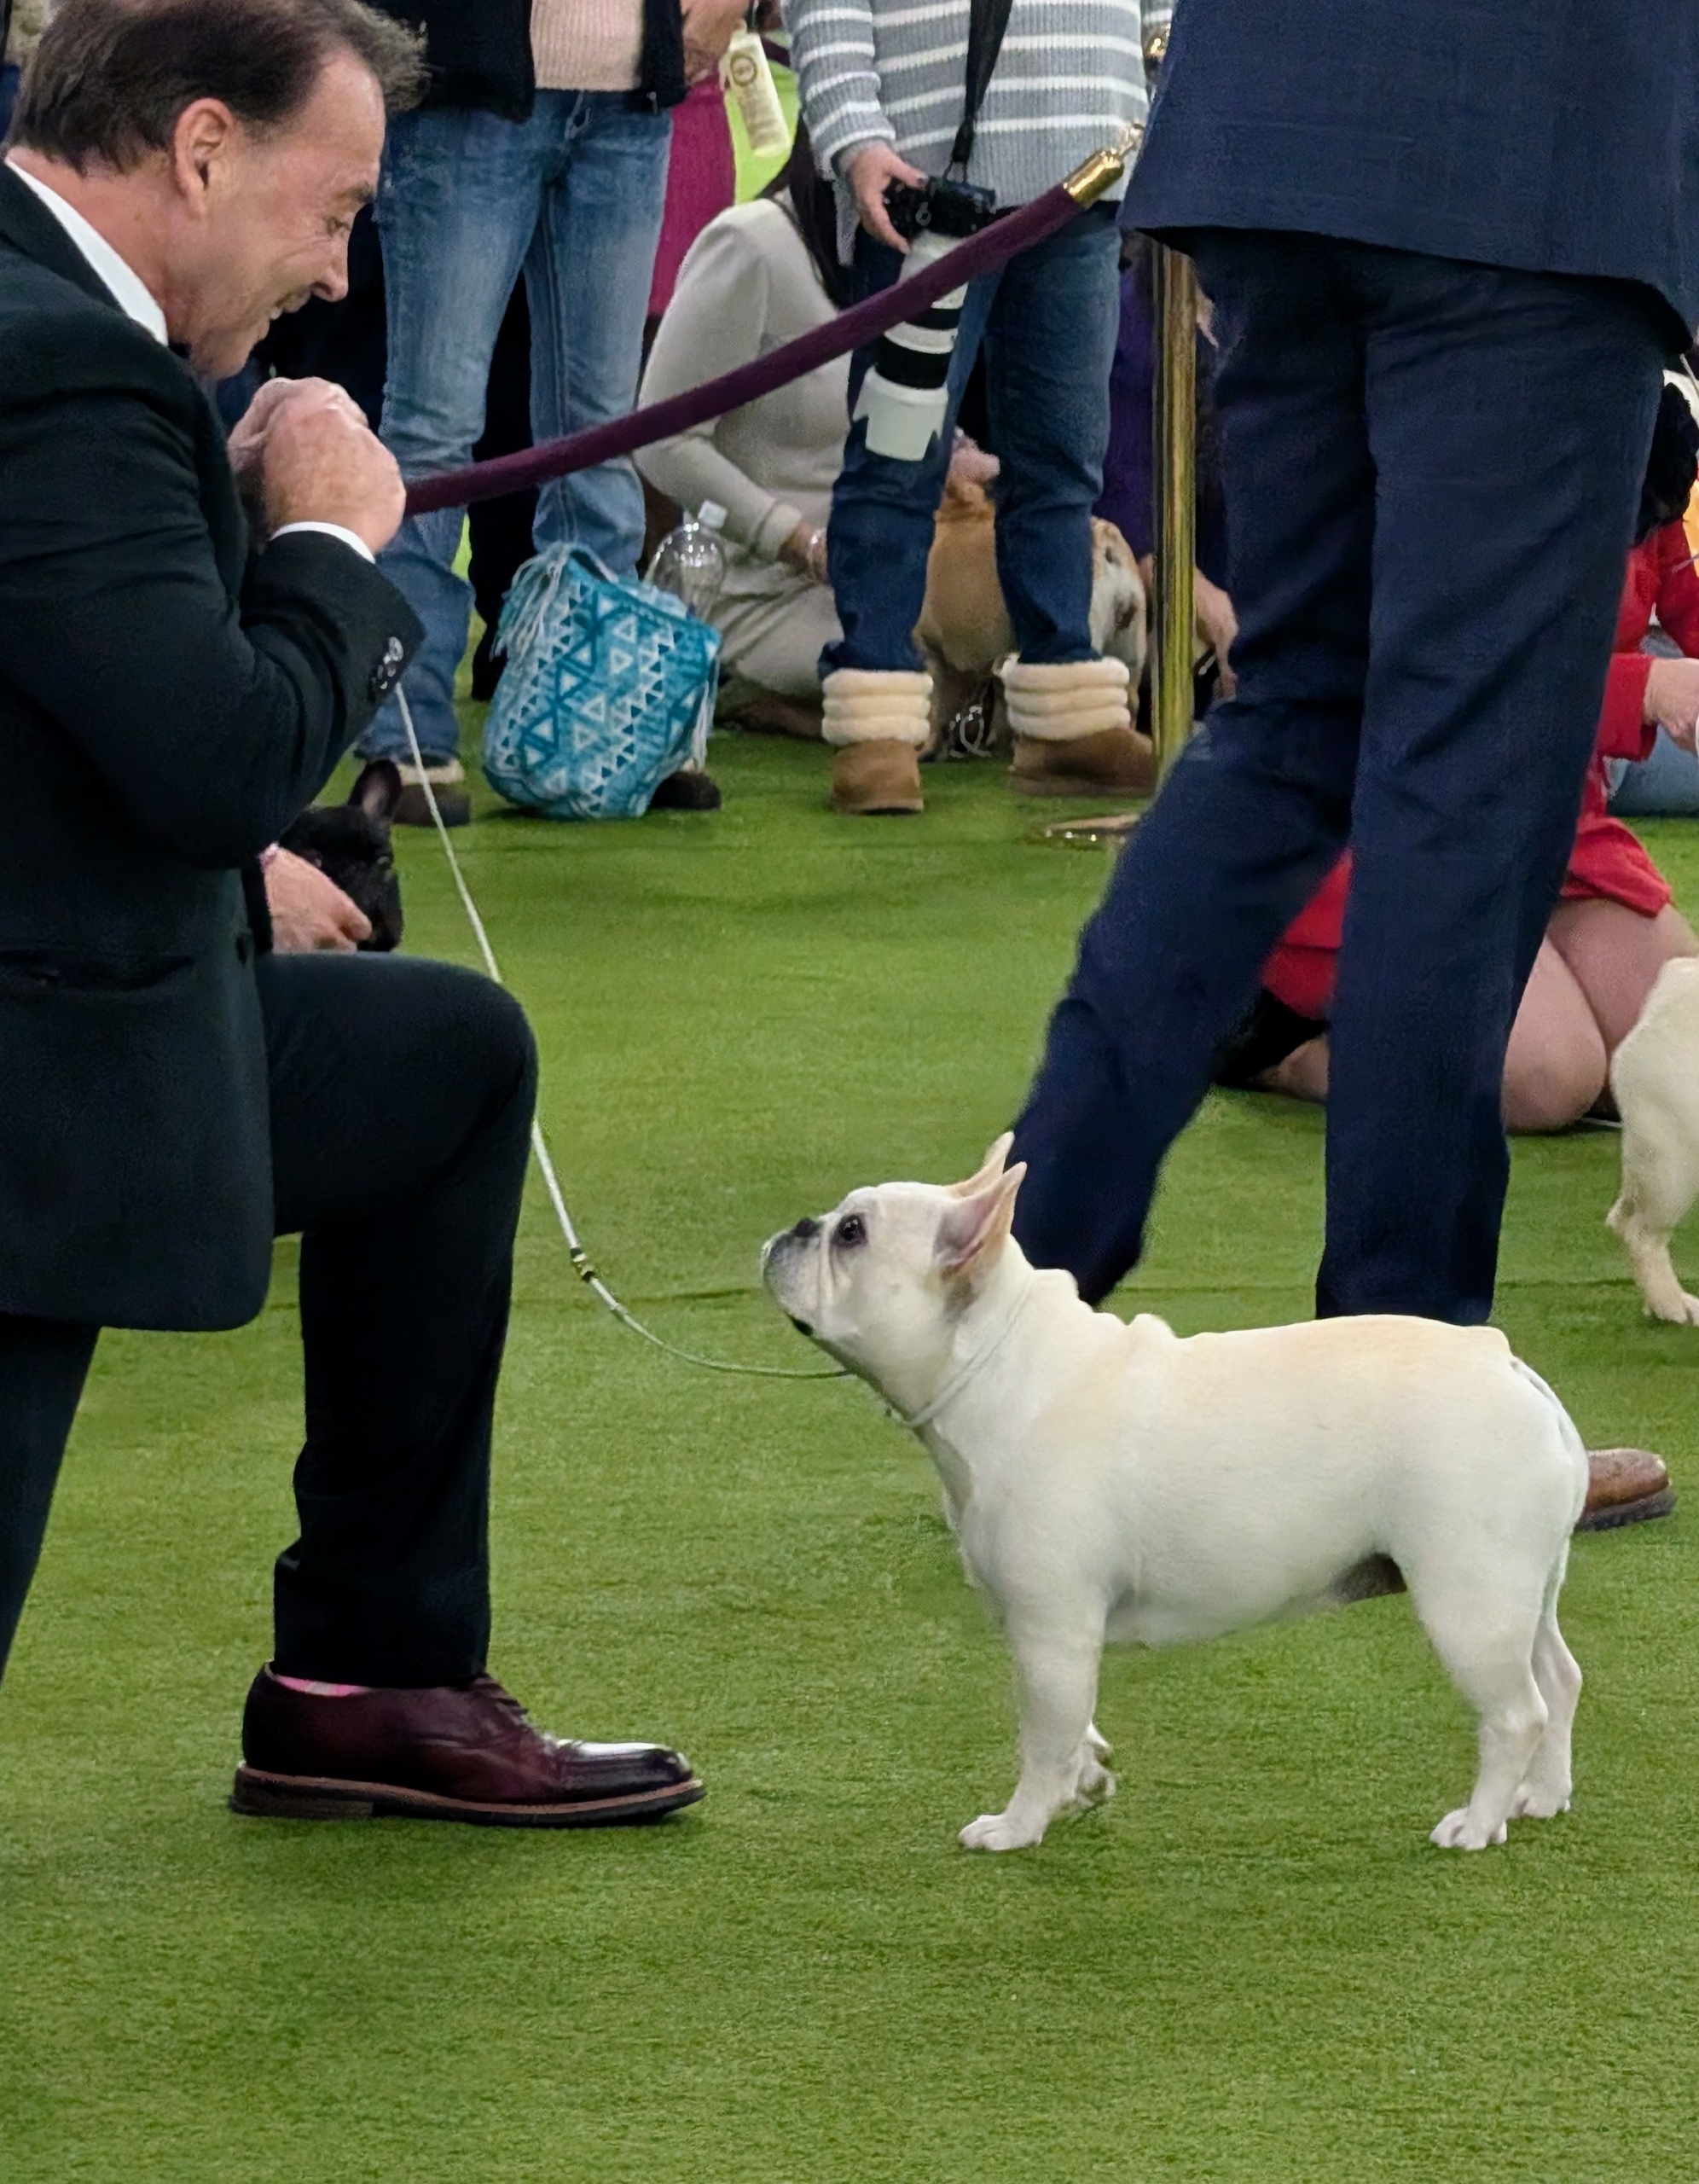
On the floor, the judge walks by to see its stance. He or she will also ask the handler to walk the dog up and down the ring to see its movement and gait, which should be effortless and with good reach.
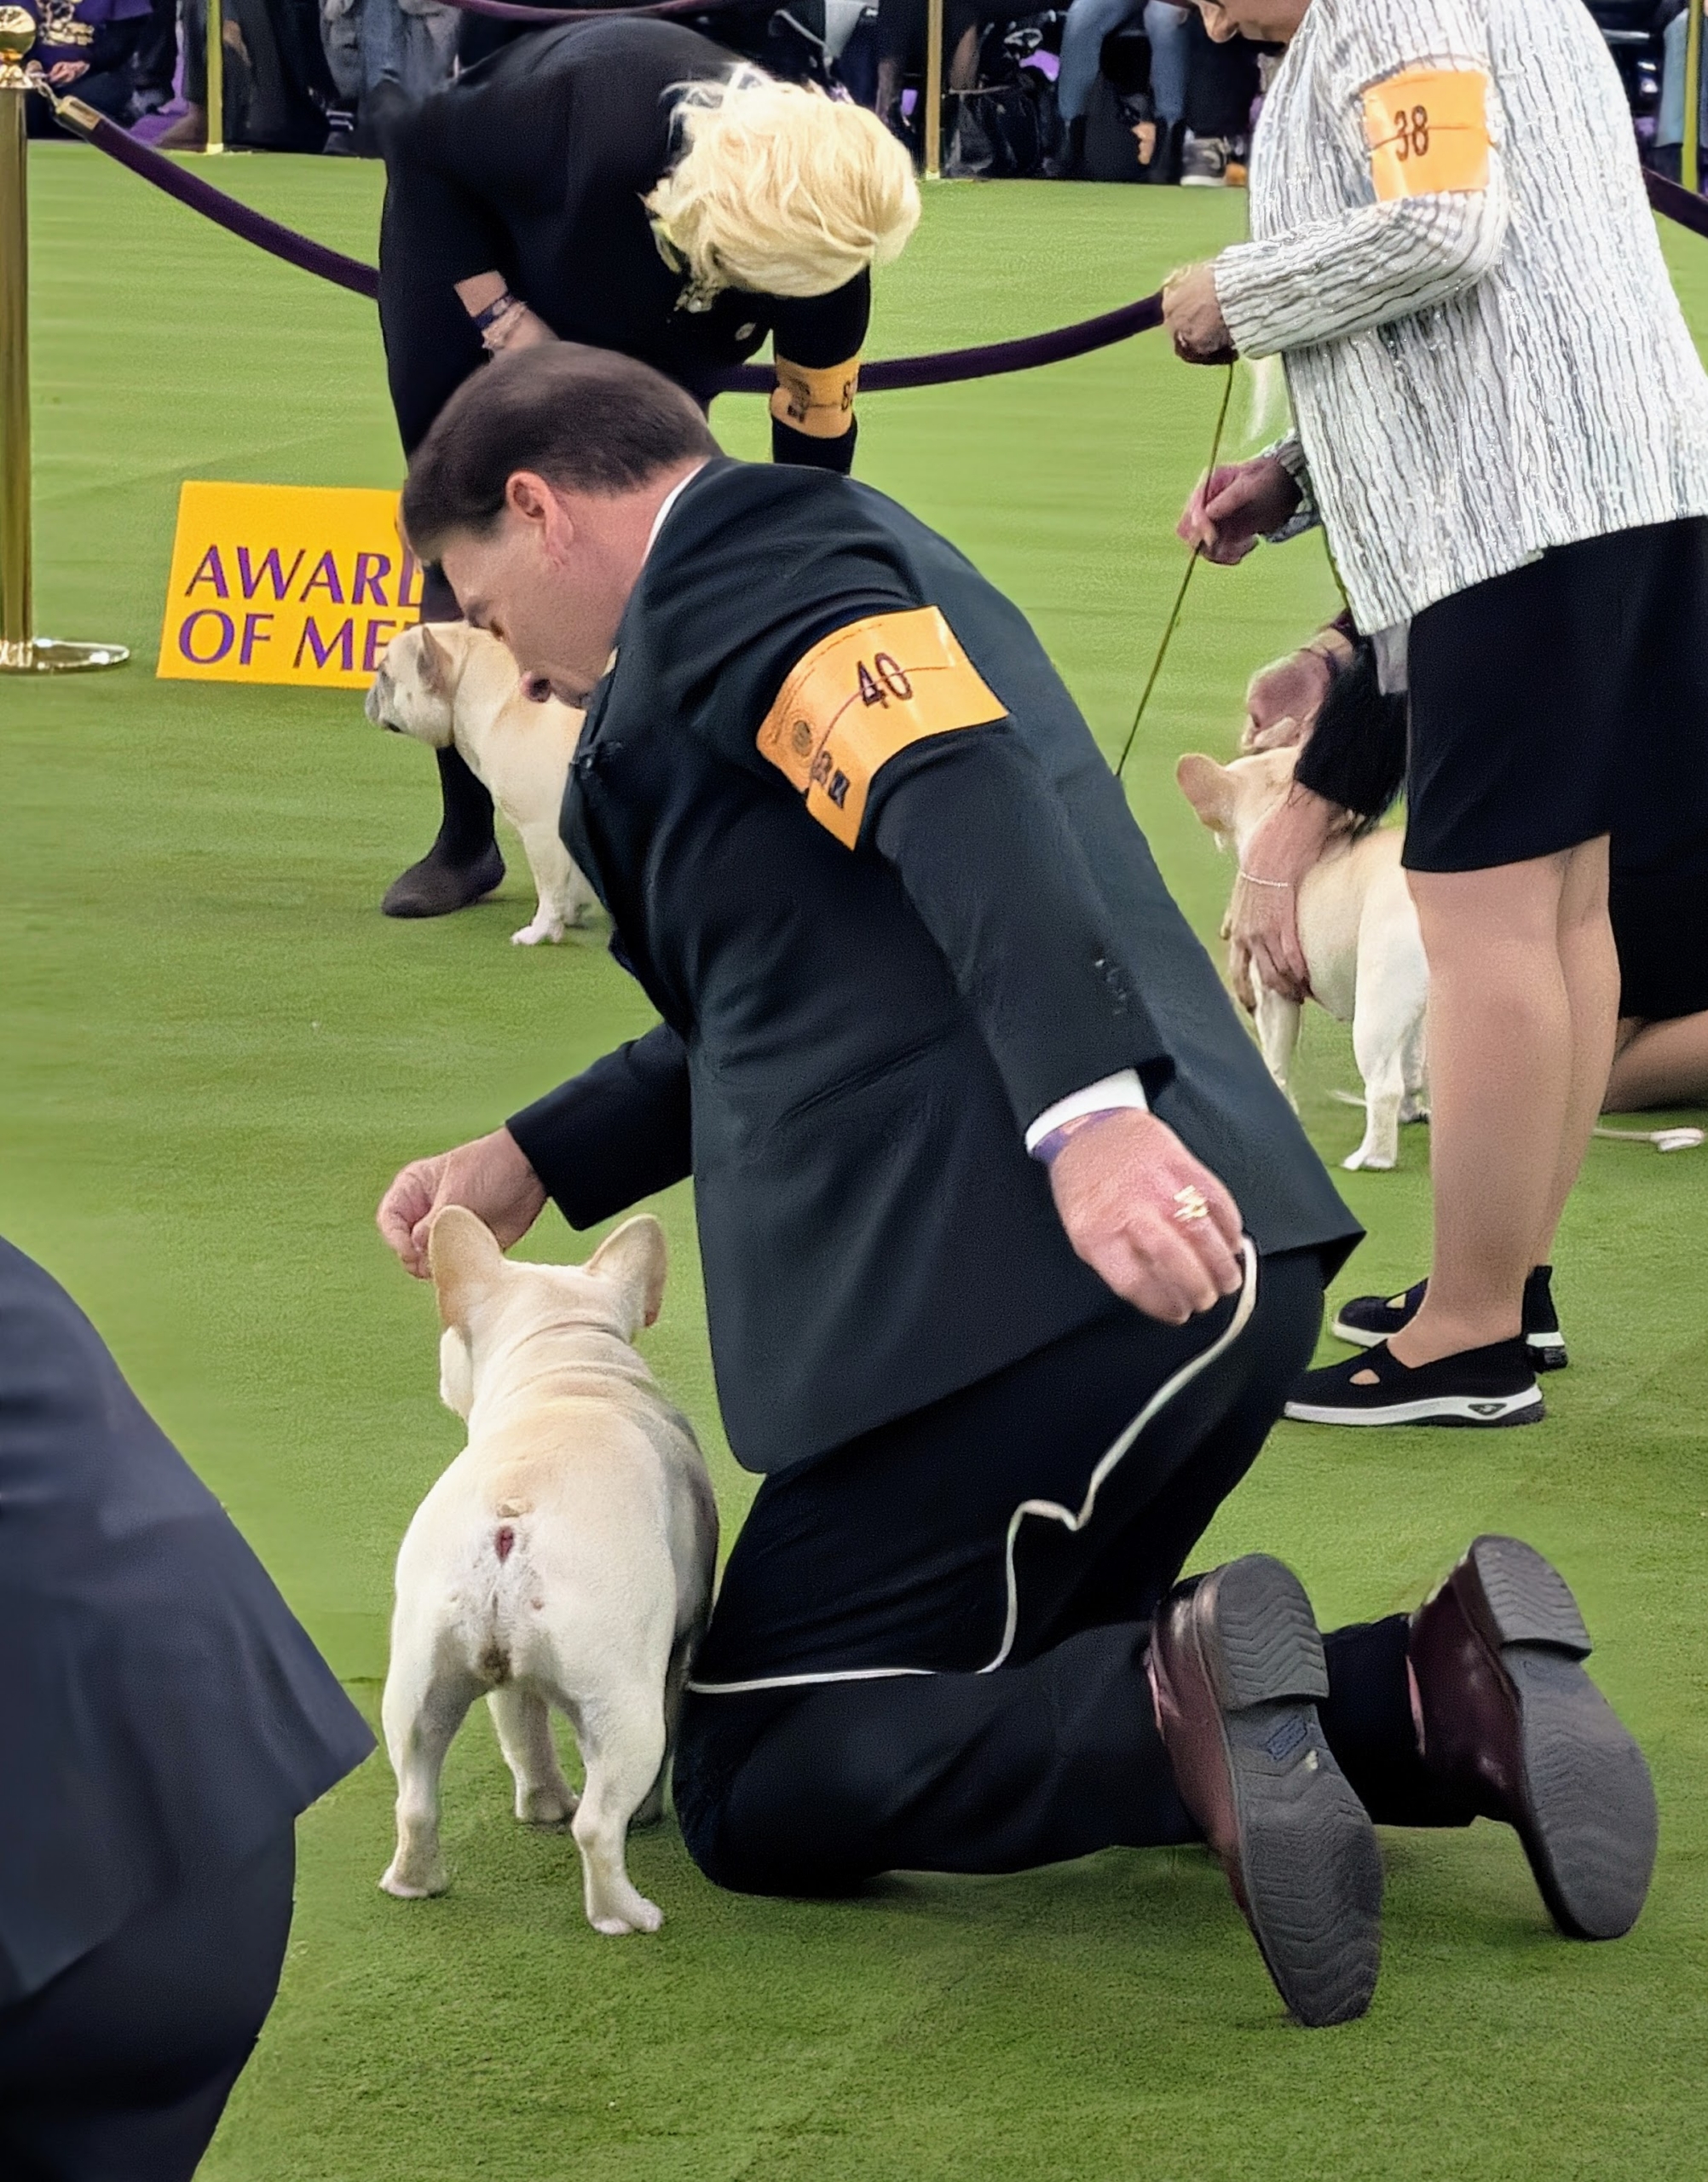
With such a large class, the Frenchies showed for more than an hour. The judge was very thorough in his selections.
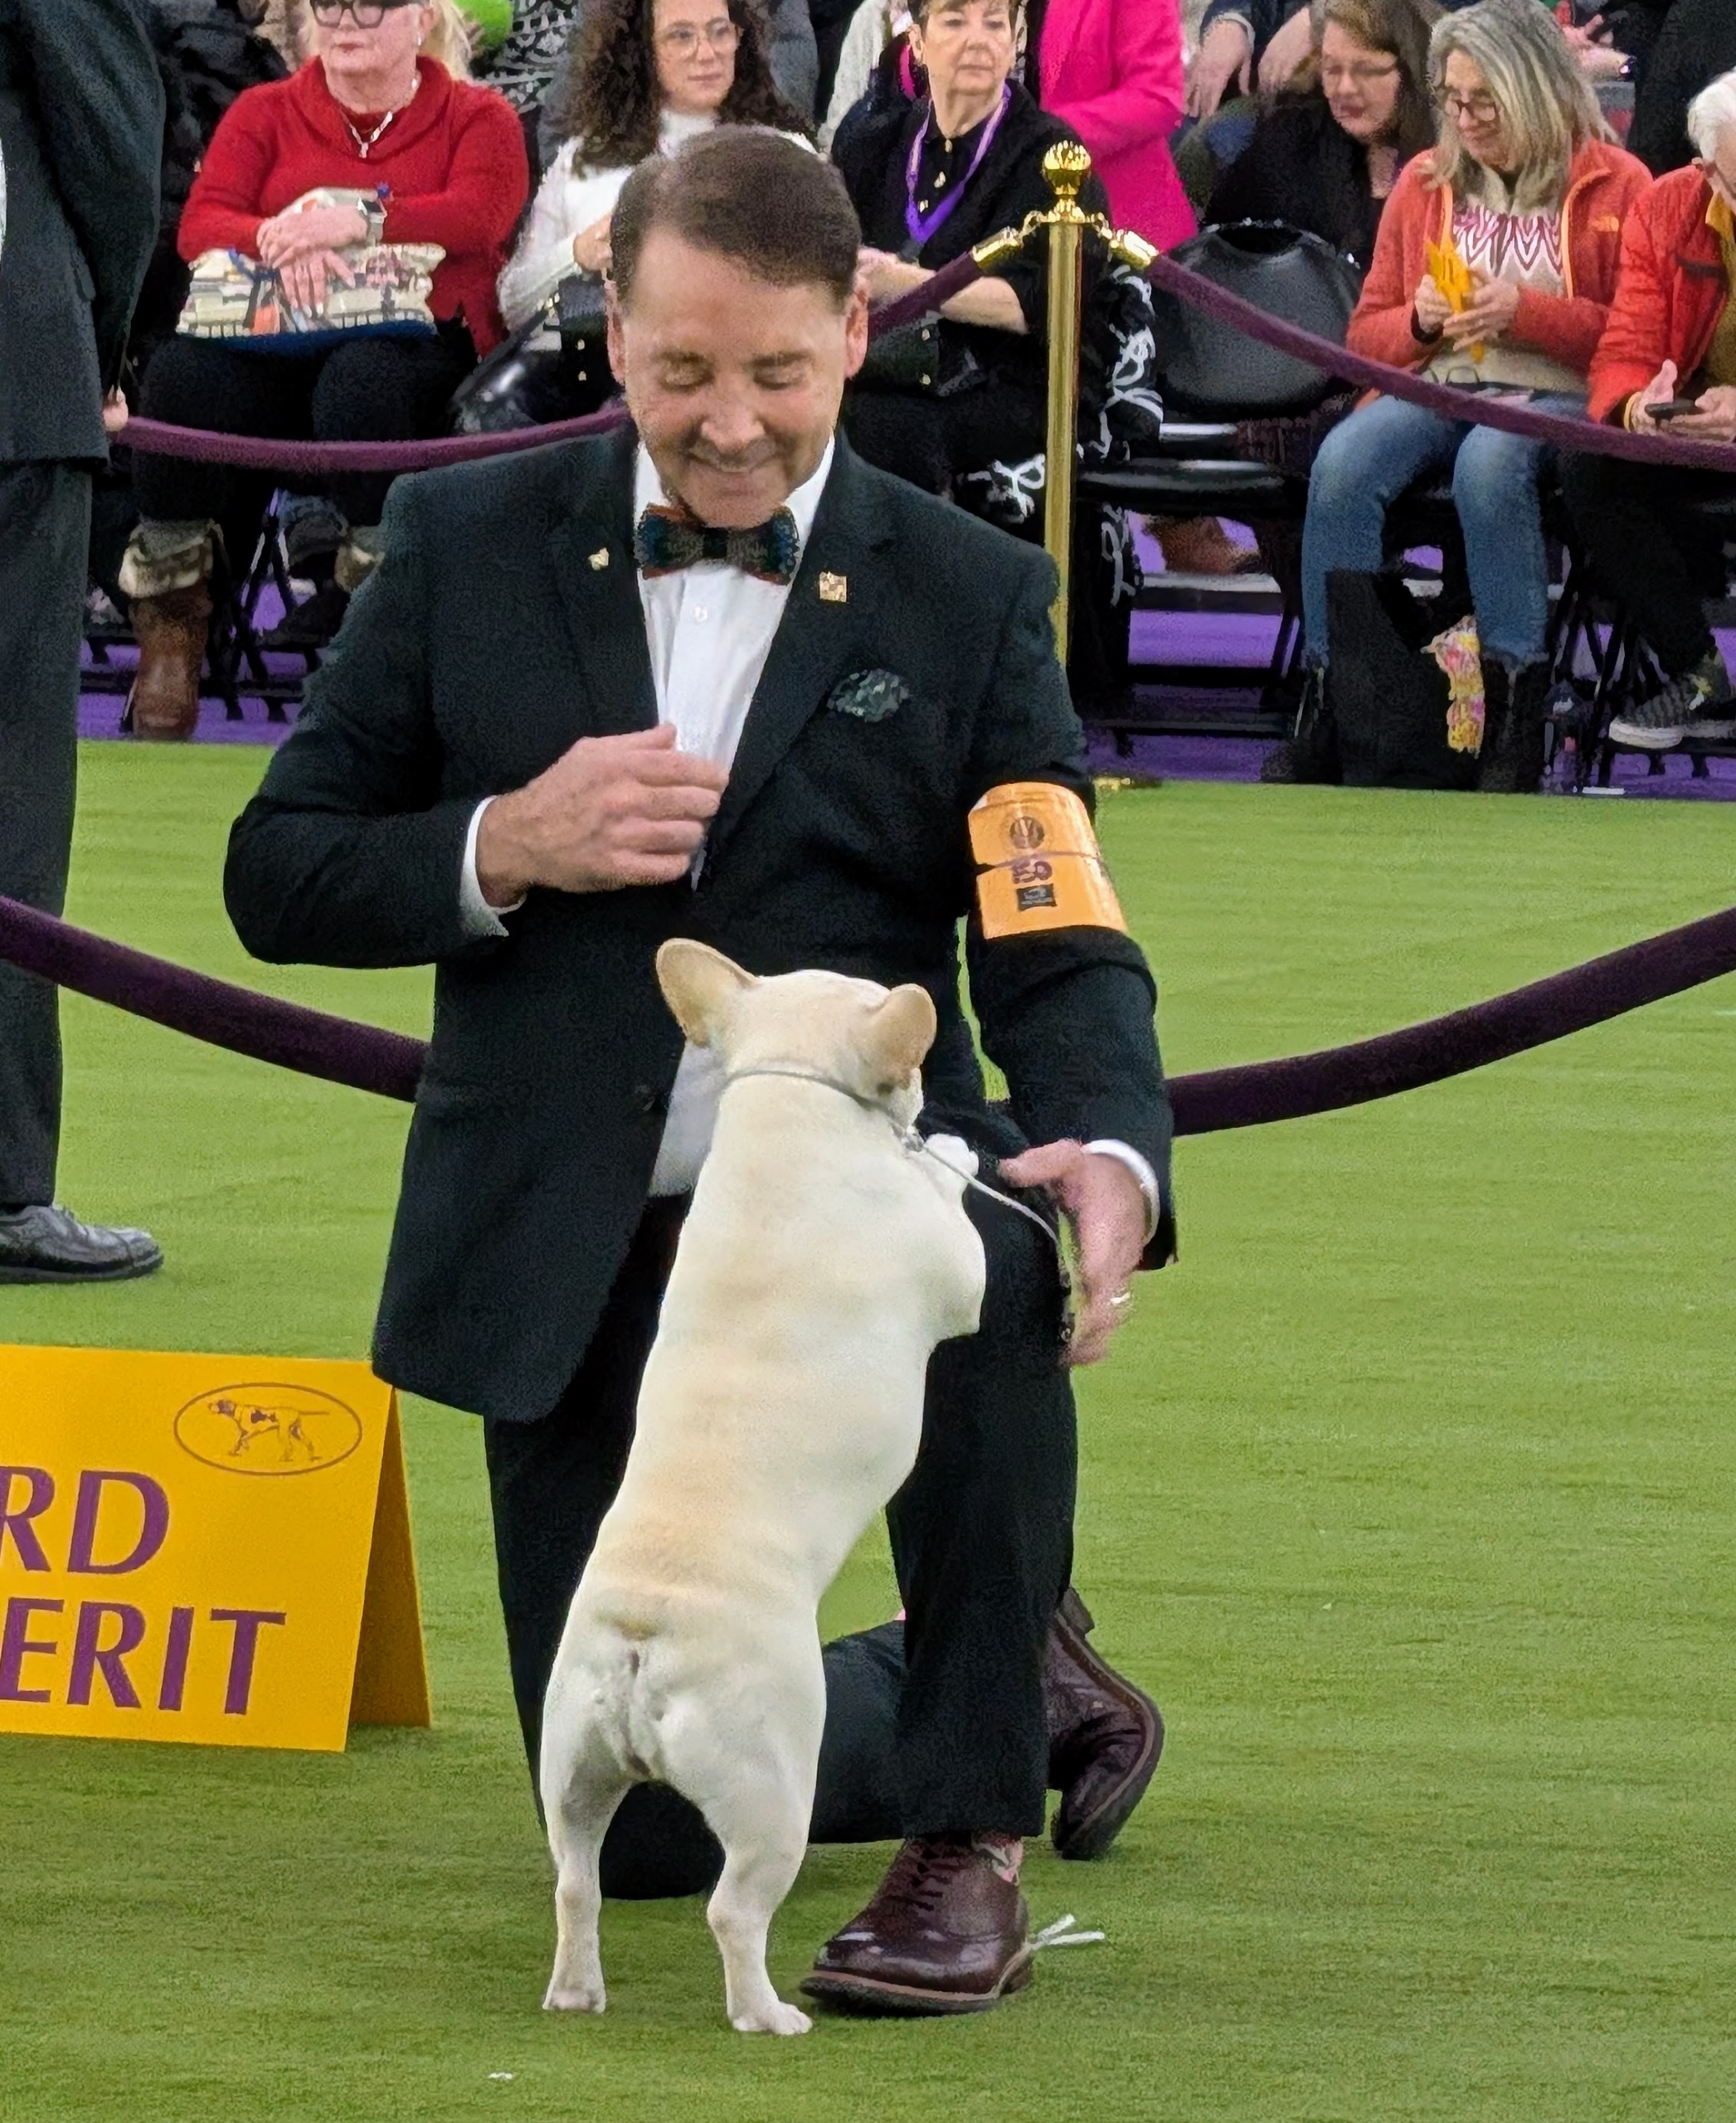
Perry kept Clicquot engaged and happy as the judge made his cuts.
She was showing so beautifully.
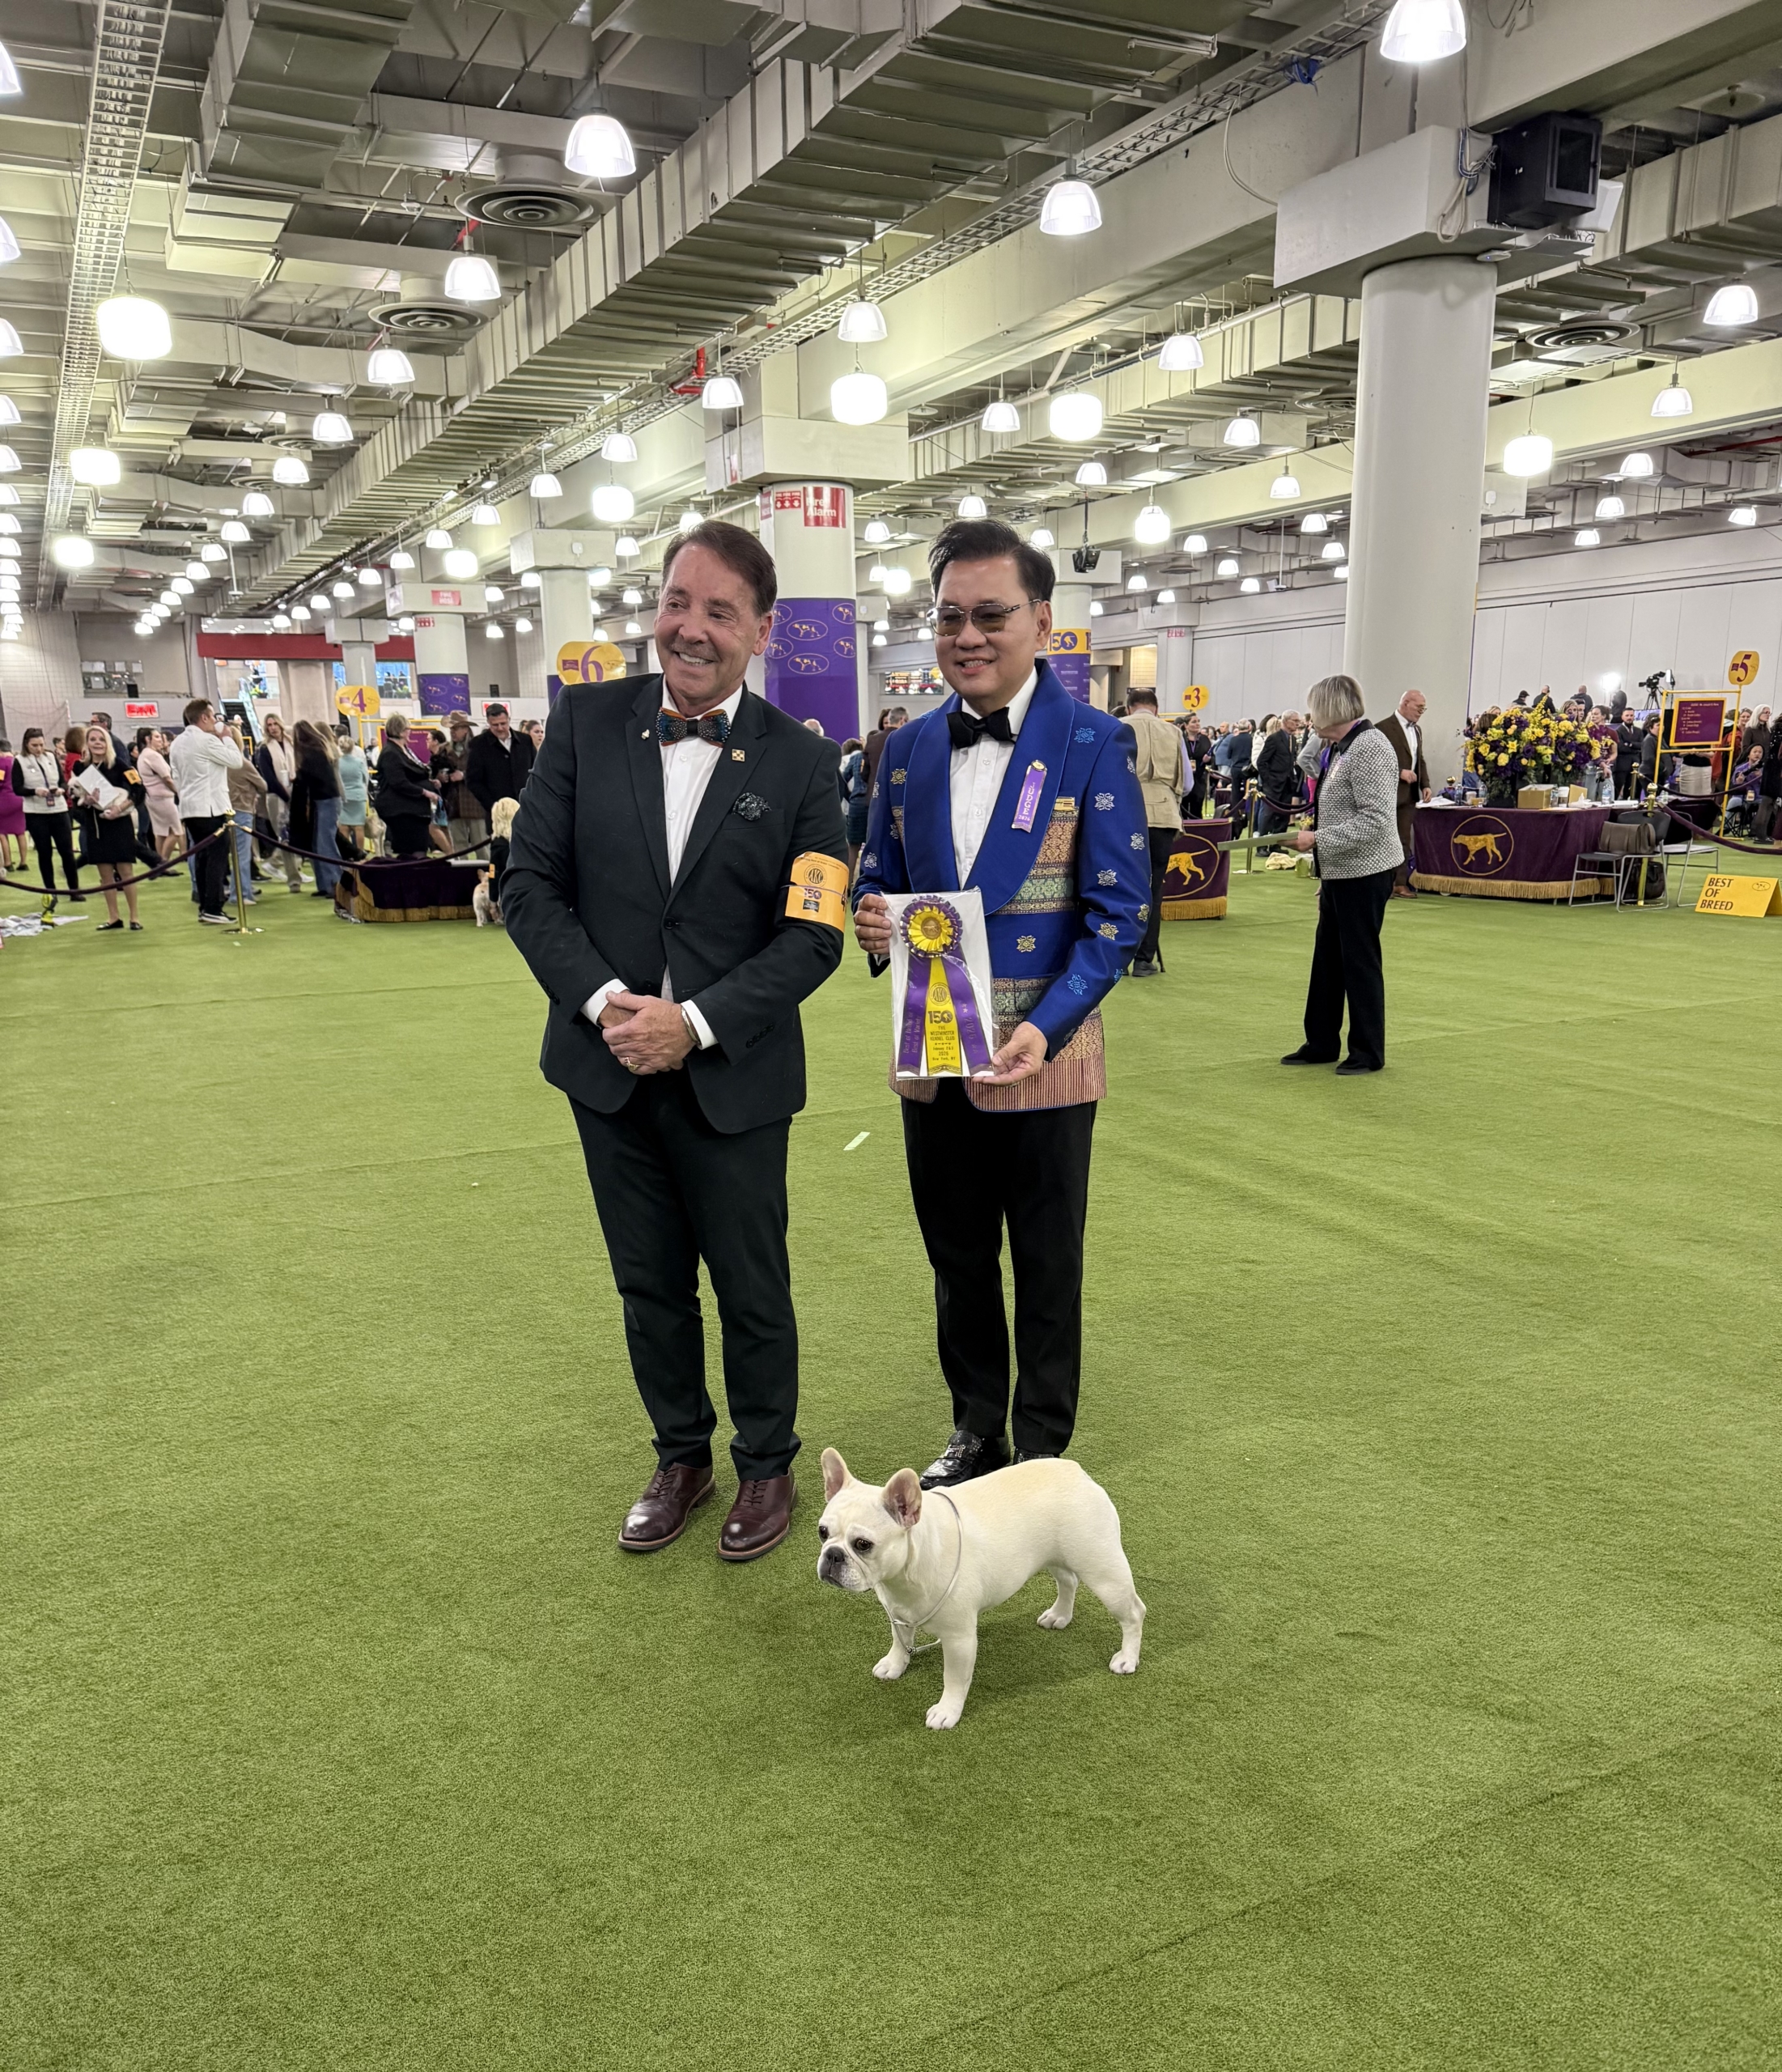
And then she won Best of Breed for the Frenchies under Judge Ekarat Sangkunakup and advanced to the group competition last night. How very exciting for dog and handler.
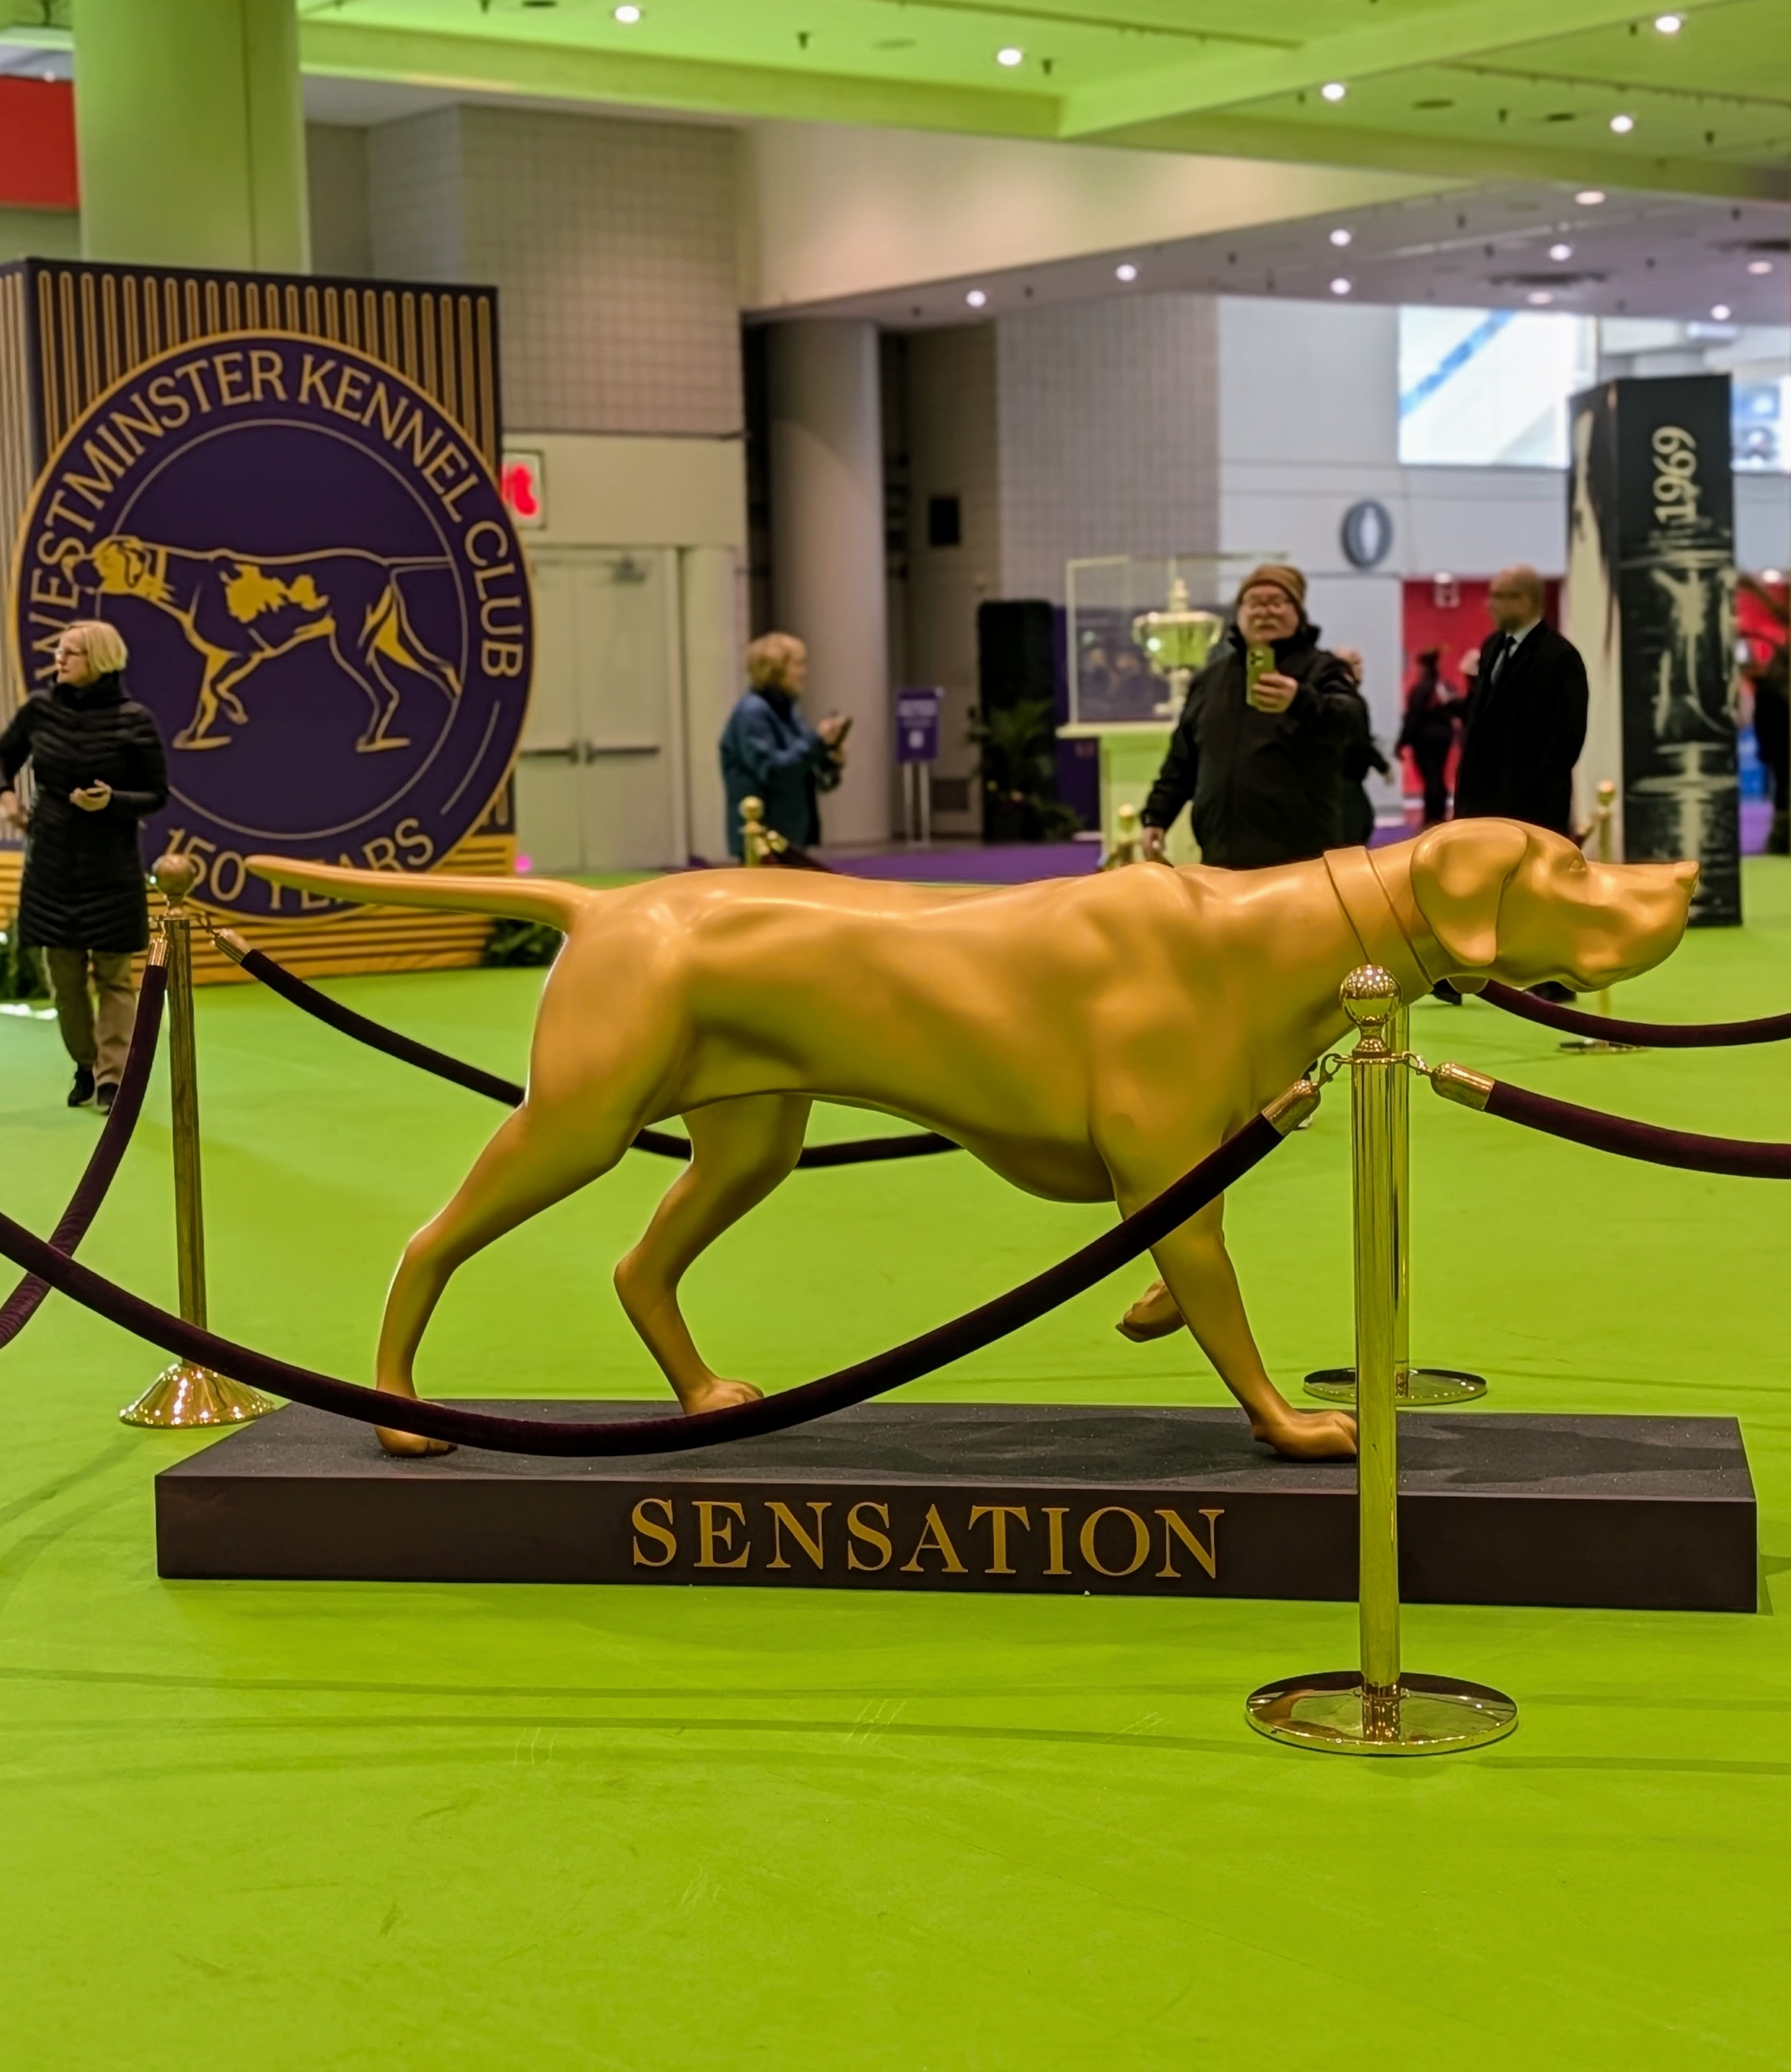
Here is “Sensation” – a gorgeous Pointer and the Westminster Kennel Club mascot. I’ll share more photos from the Westminster Kennel Club Dog Show in my next blog – stay tuned.
Are your white towels looking their best? Have they become dingy and discolored with regular use? Don't fret - it's easy to restore their whiteness and brightness.
In my home, I've long used the same products to wash my clothes and towels. I've had my Miele washer and dryer for decades and they both still perform excellently. Miele appliances are known for their durability, efficiency, and fabric care. And, they also consume minimal electricity and water. I've also been a longtime user of Tide Free & Gentle detergent - it's free from dyes, perfumes, and effectively cleans everyday laundry.
Enjoy these photos.
This white bathmat is clean, but I noticed a little staining on it and decided to wash it again.
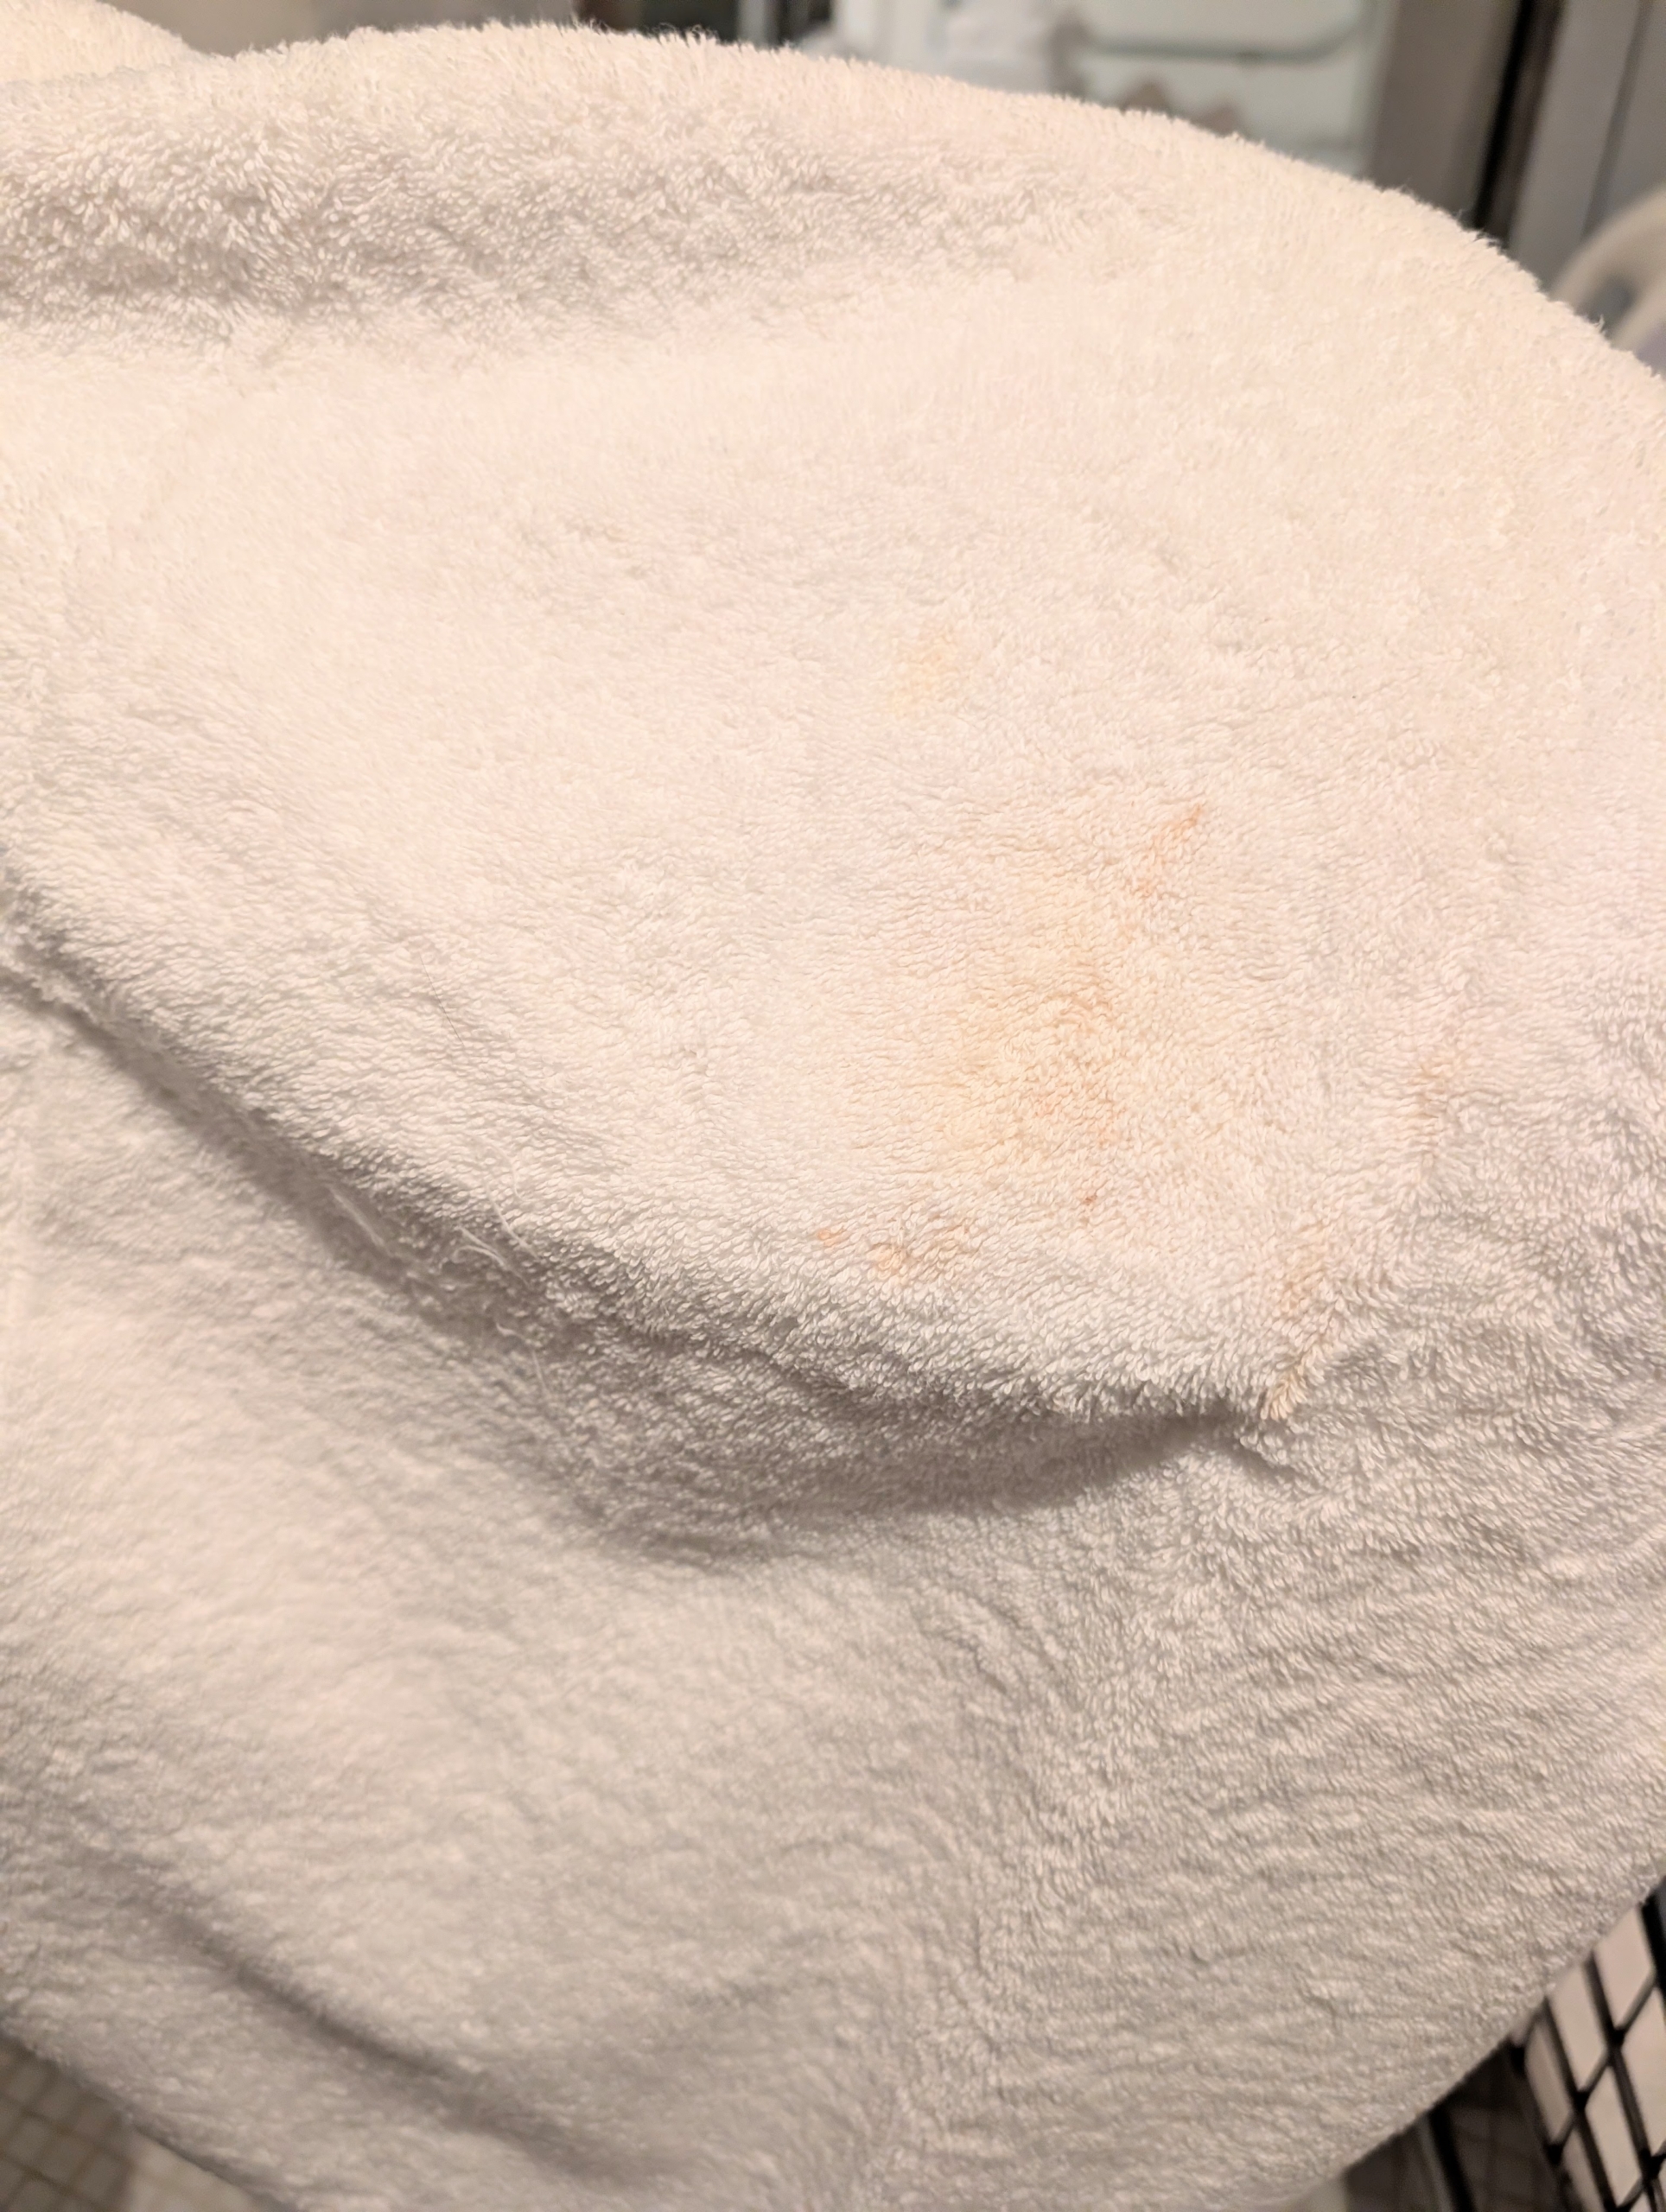
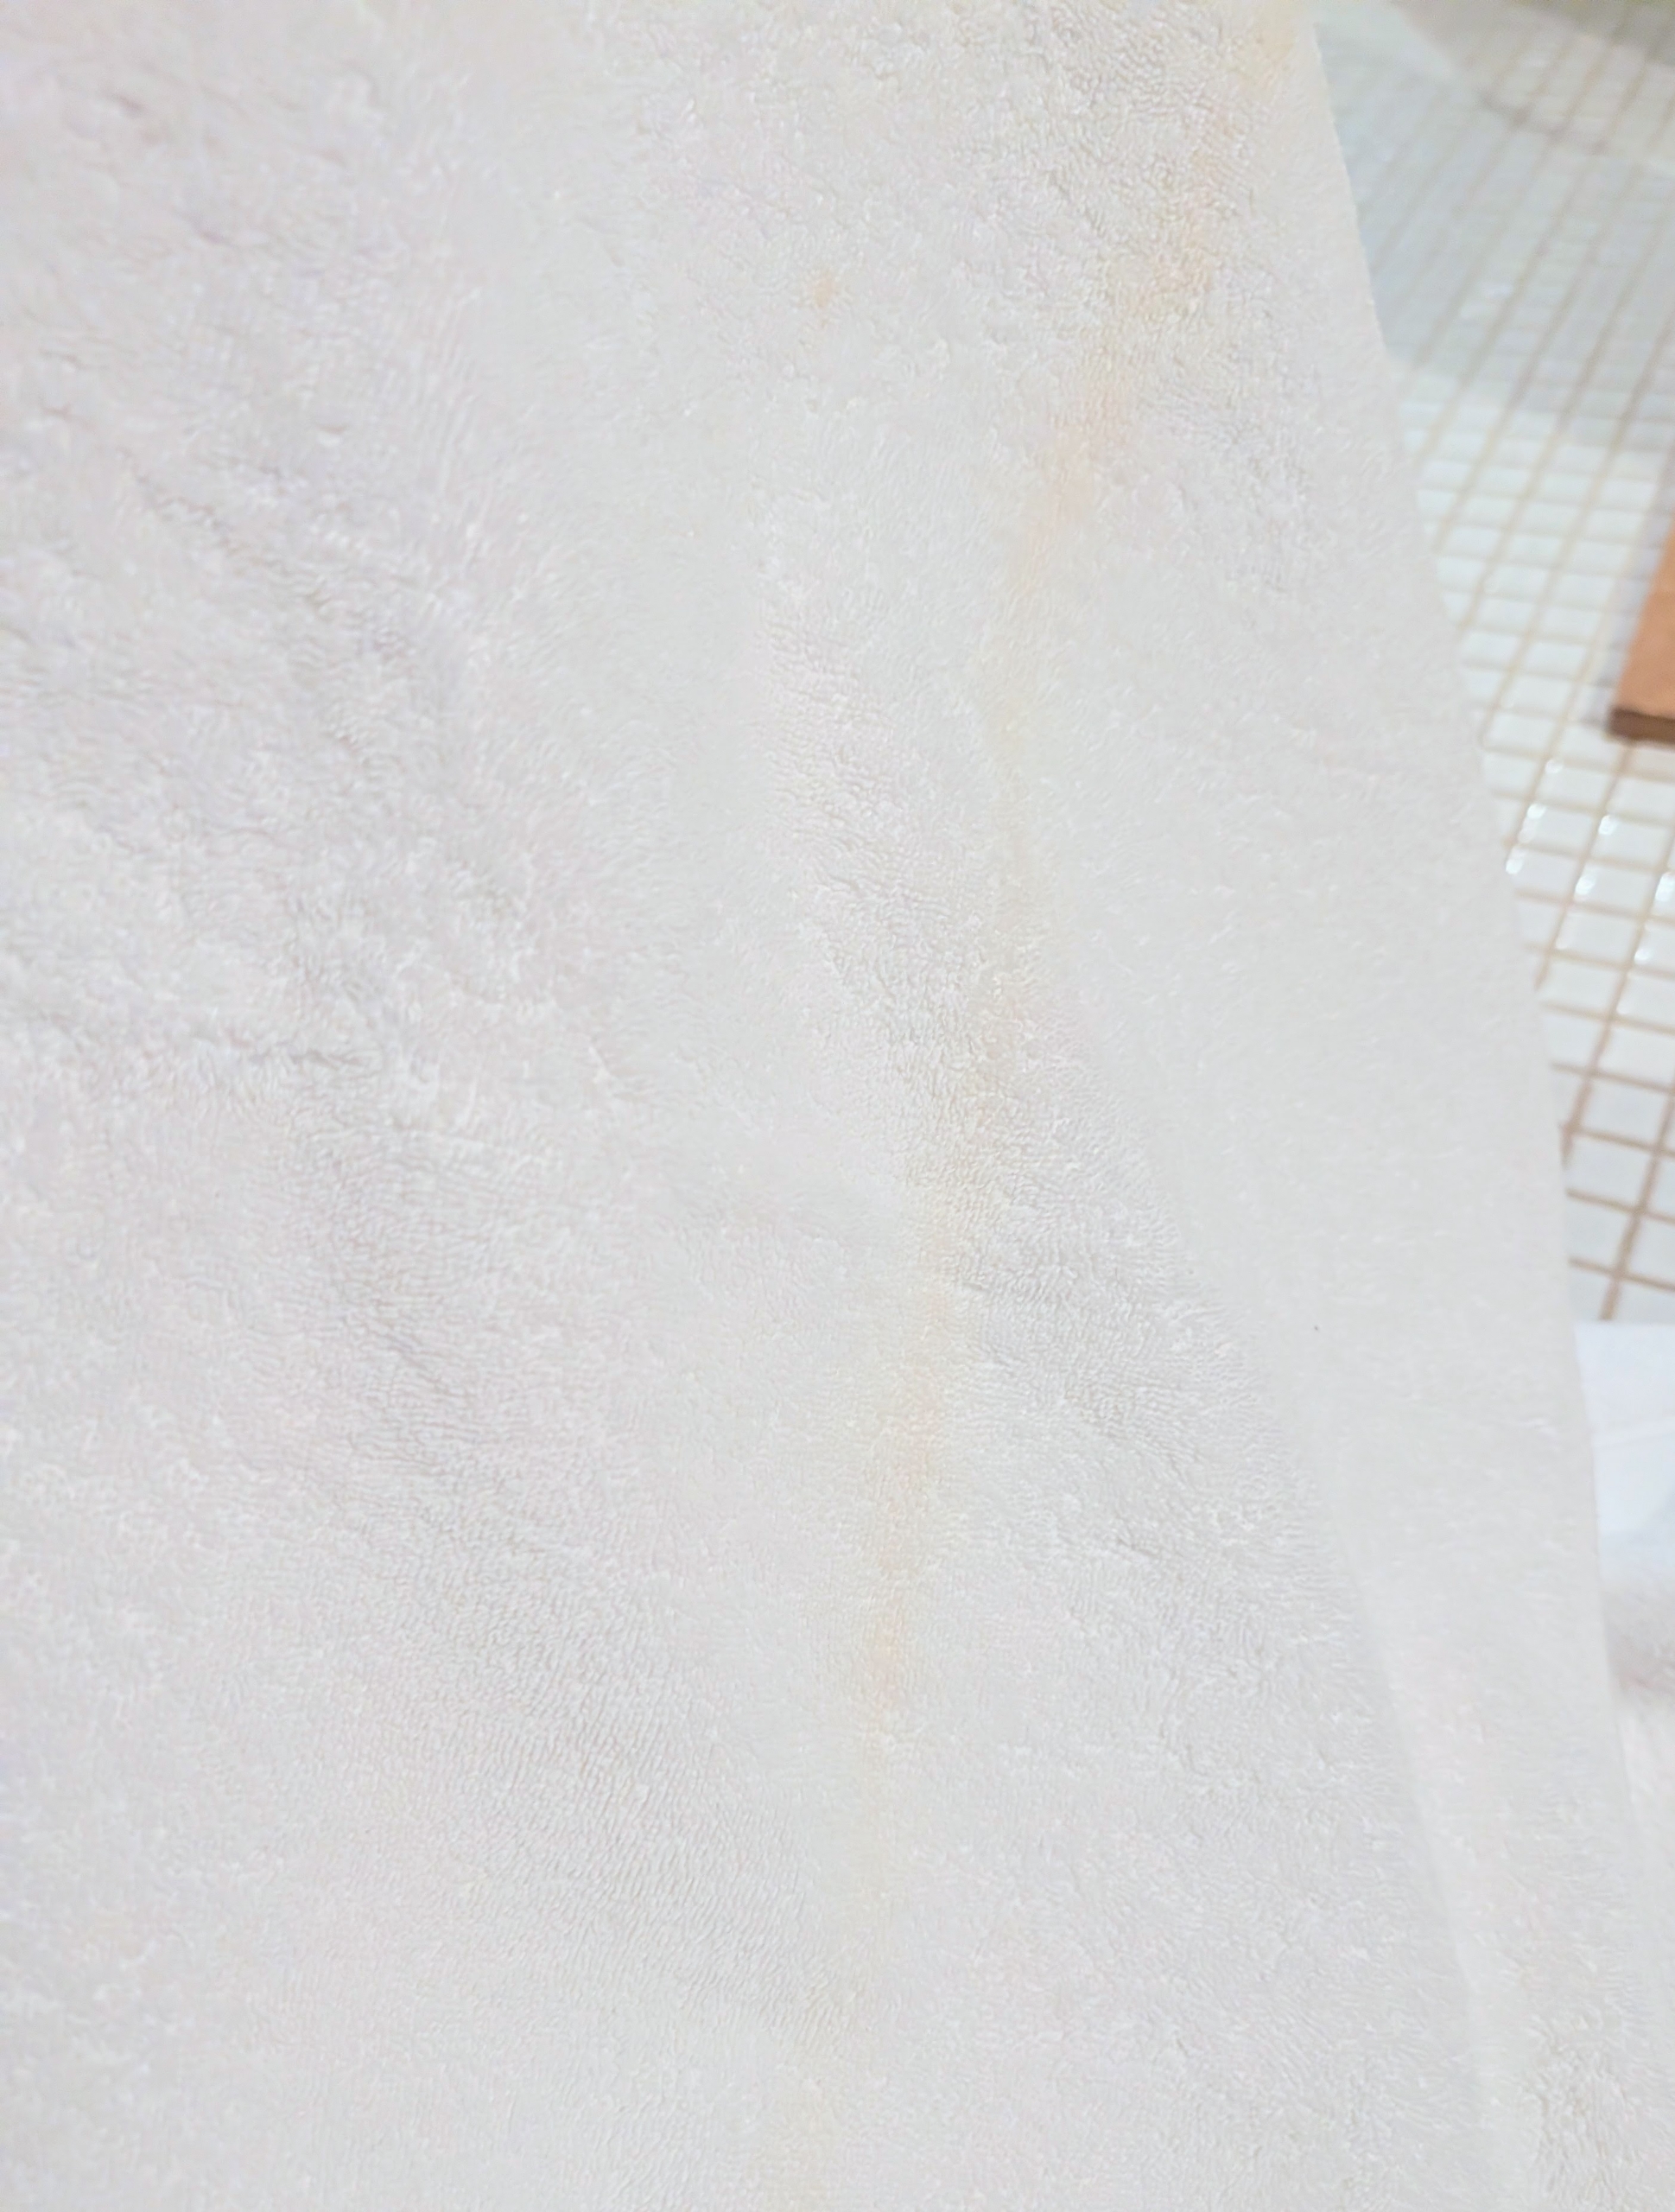
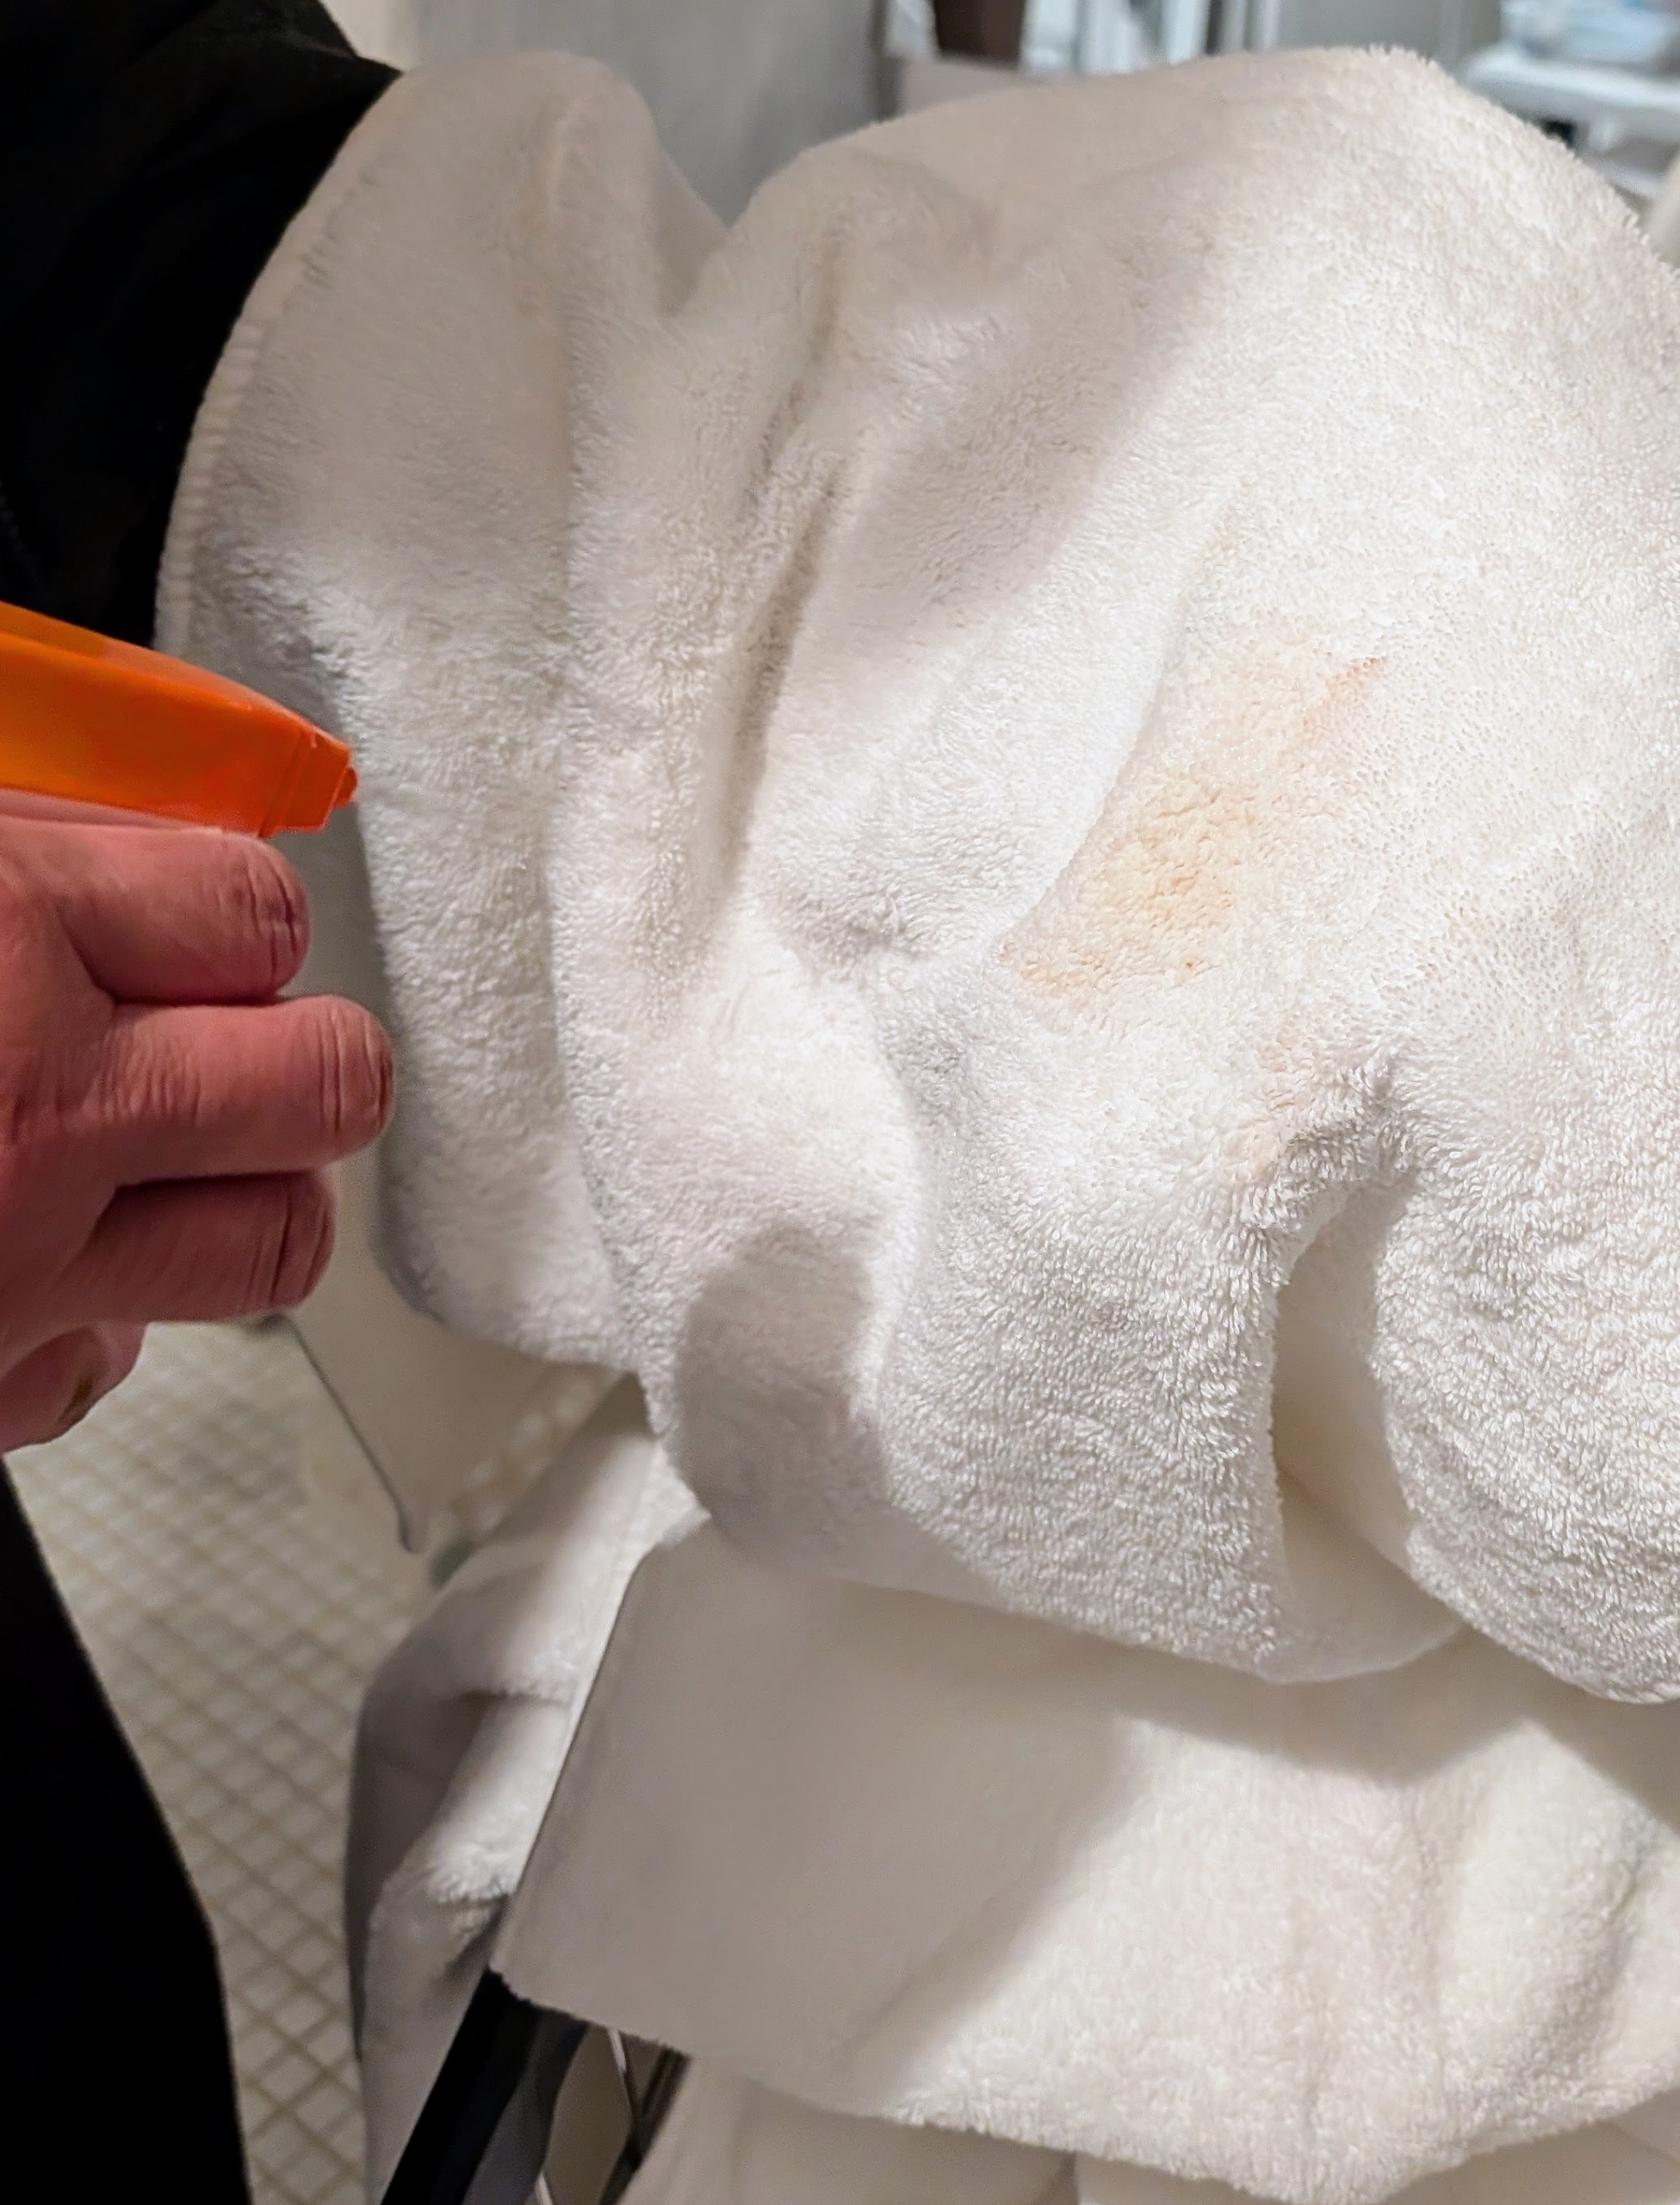
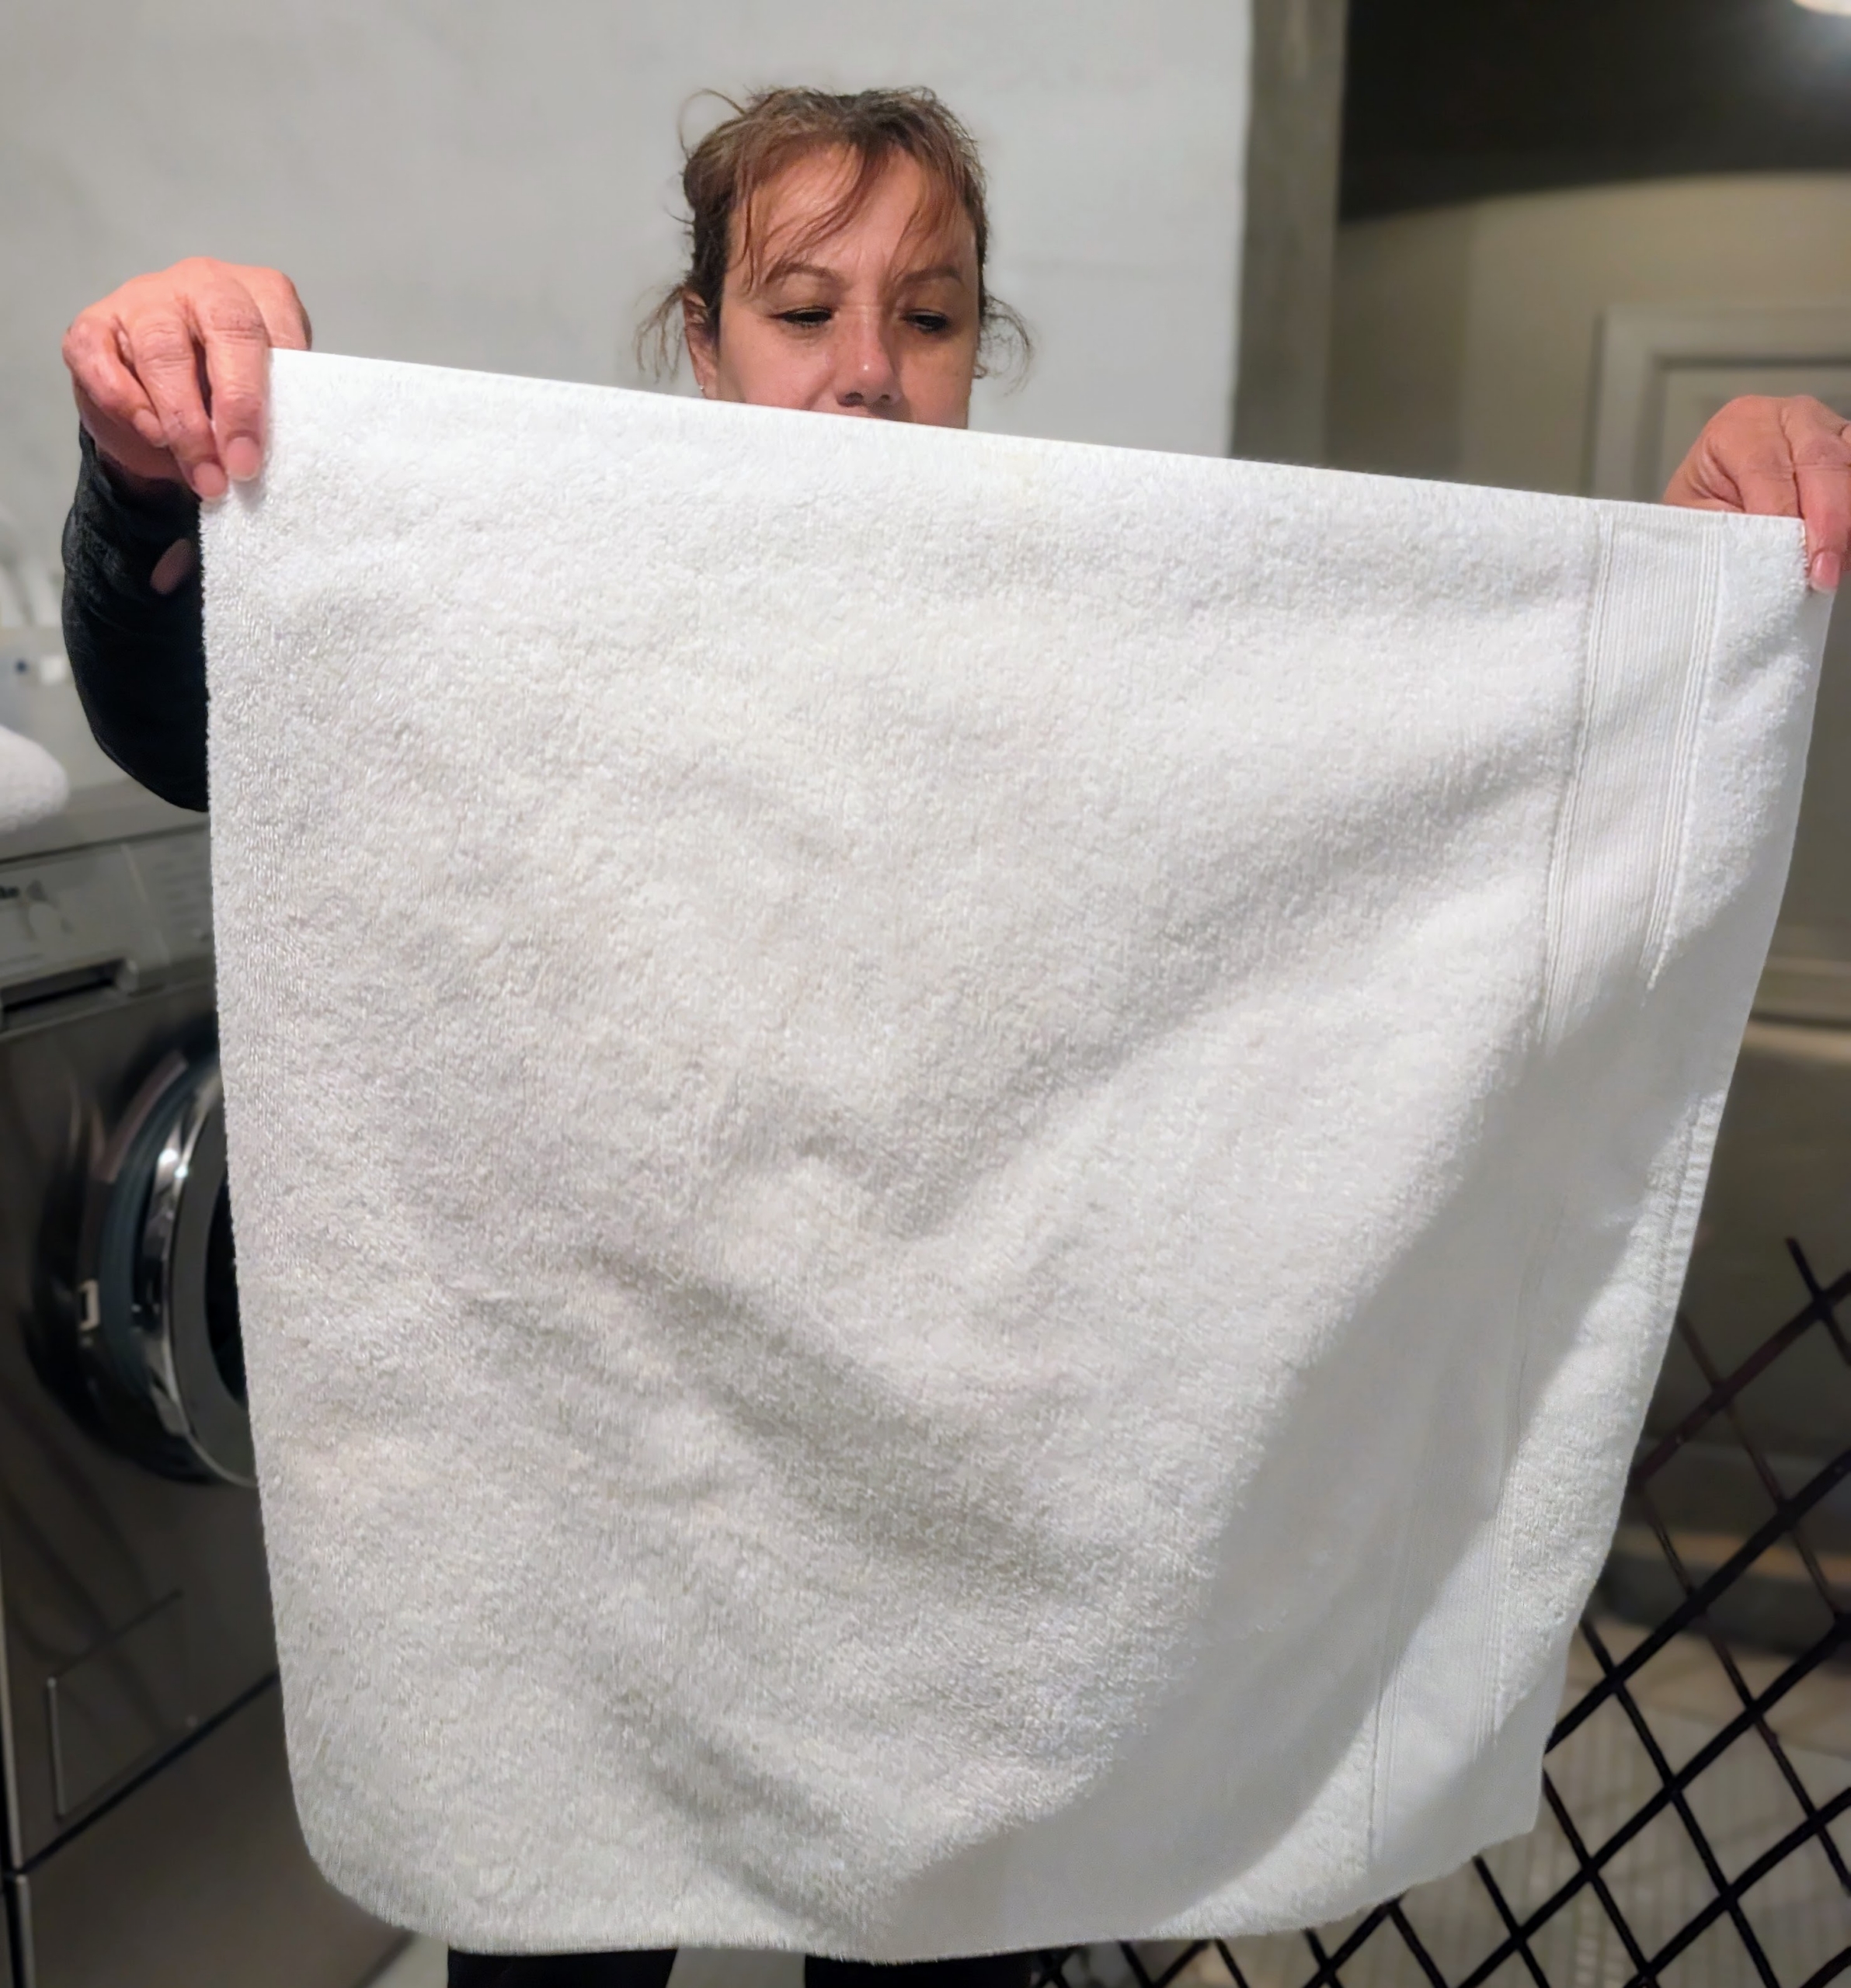
Some white towels which haven’t been used in a while also did not look as bright. This stain is along the fold line and runs down the length of the towel.
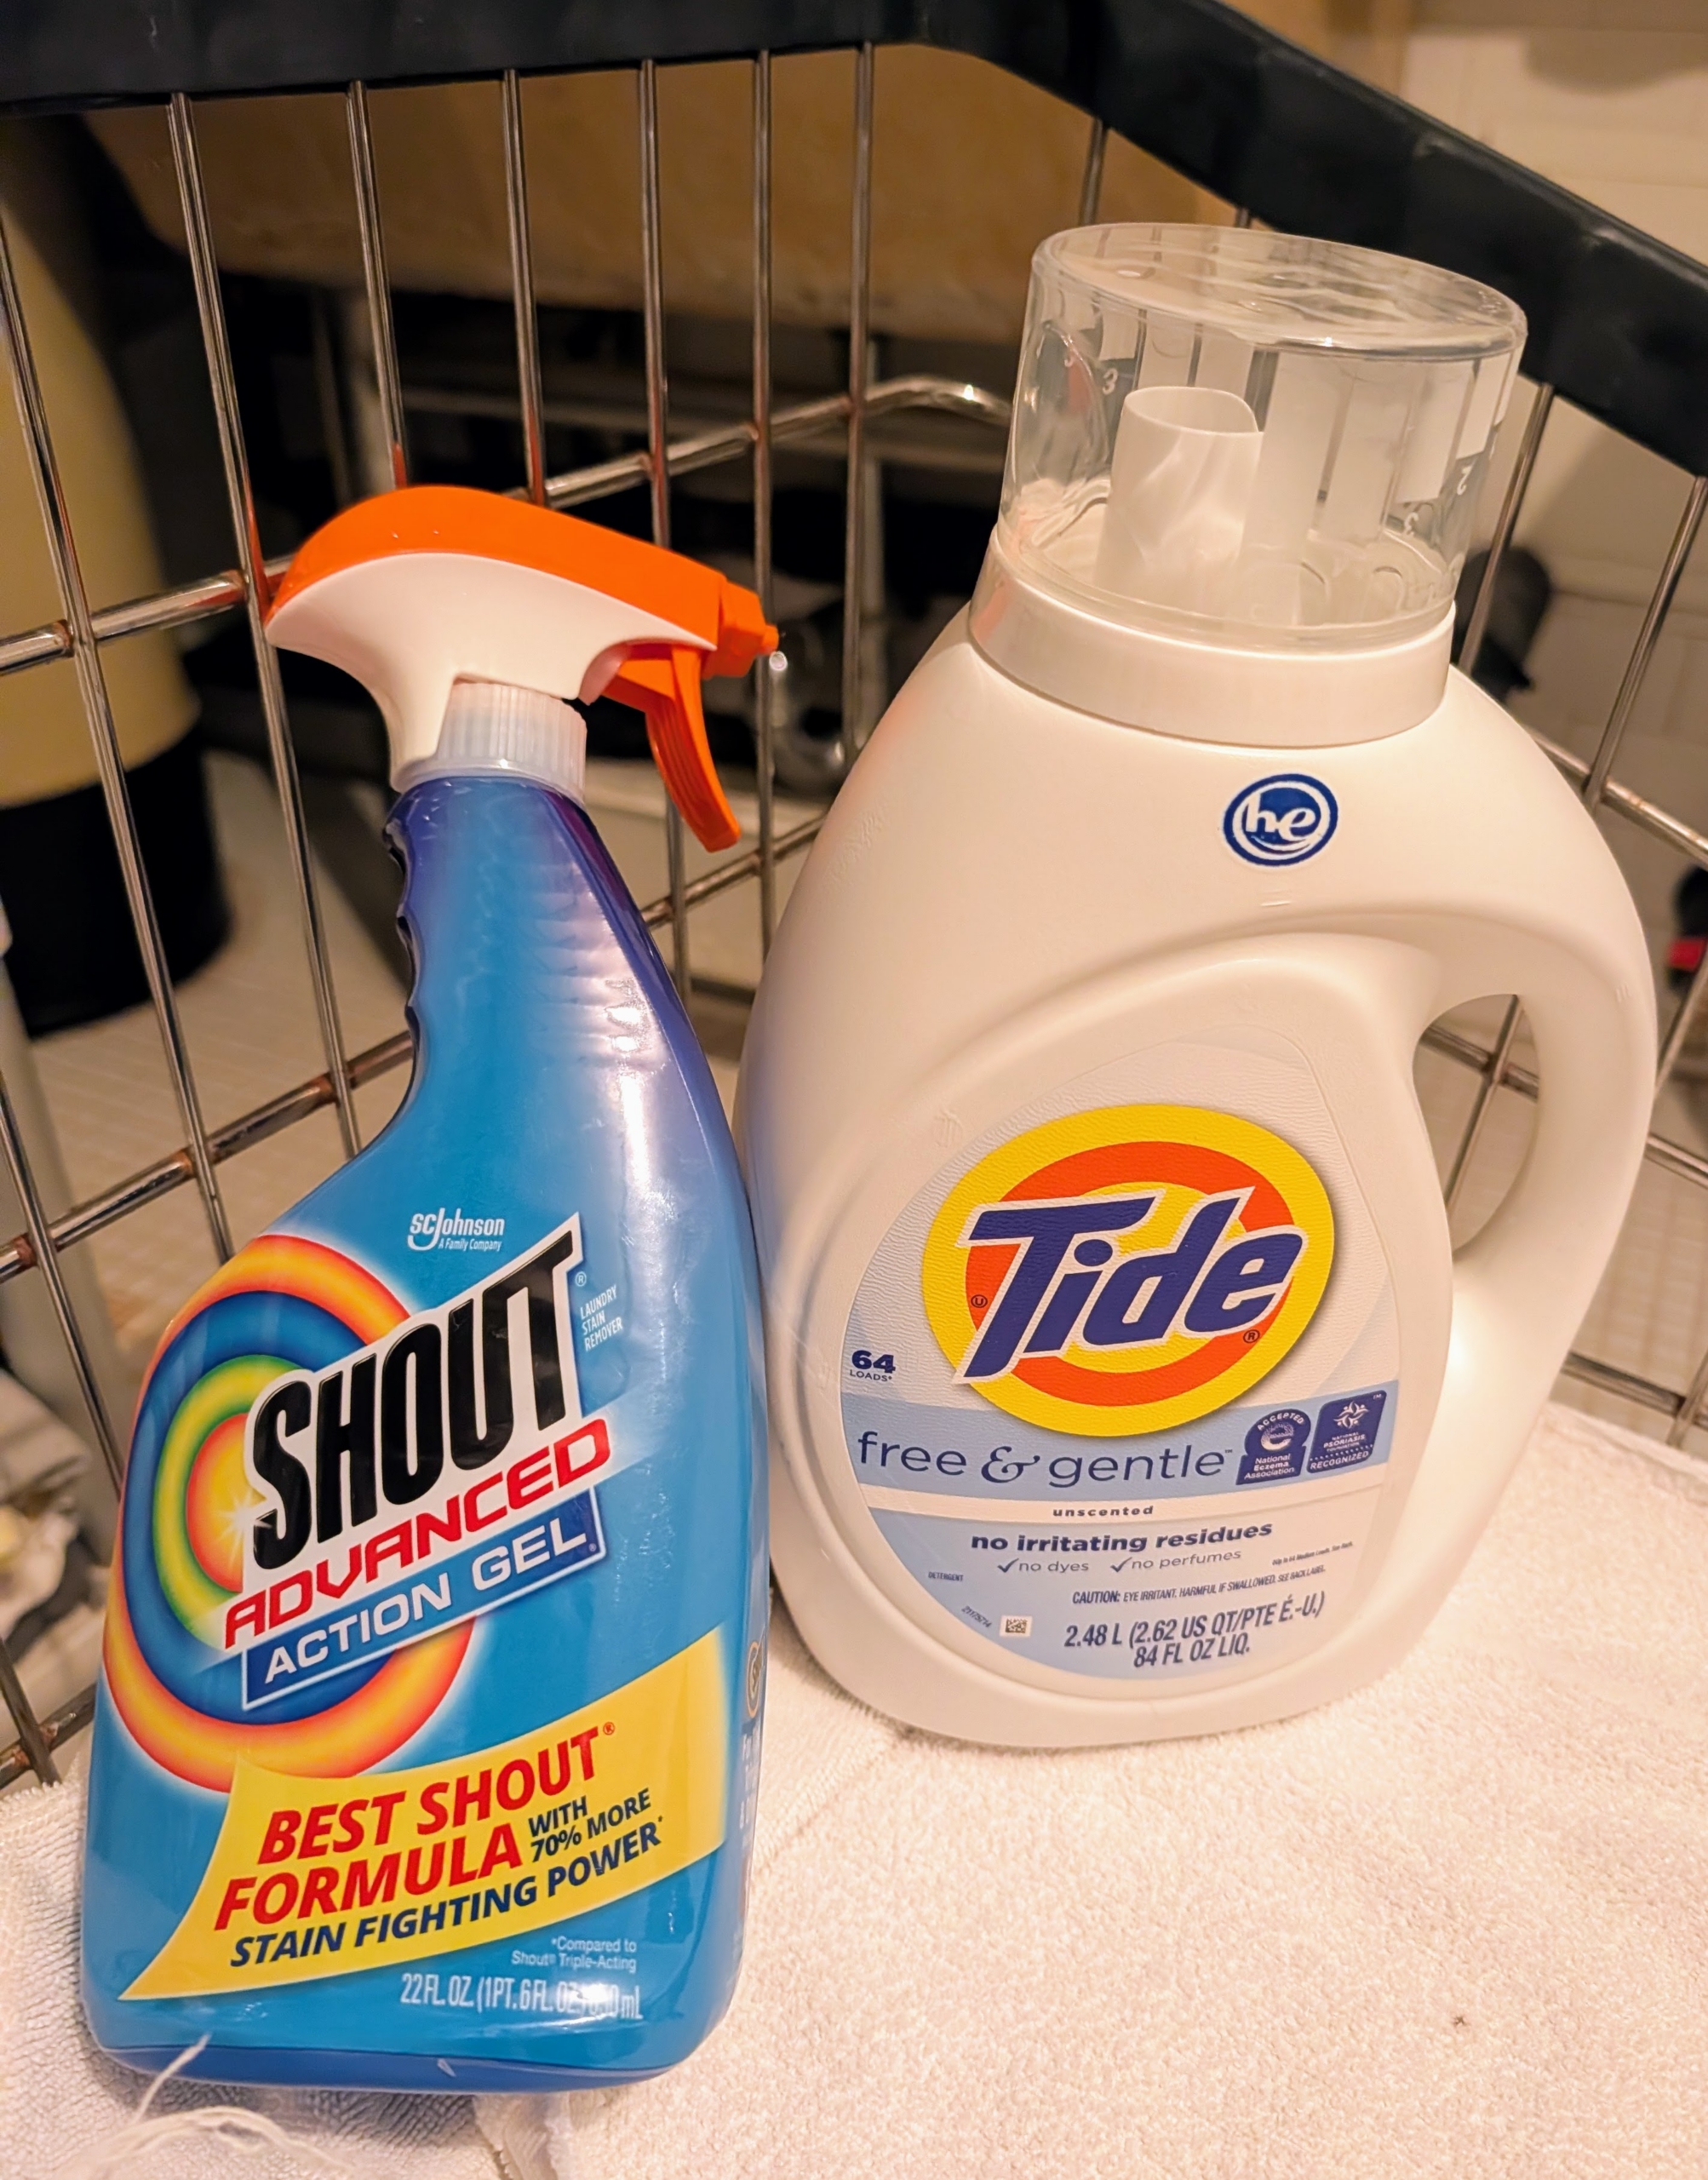
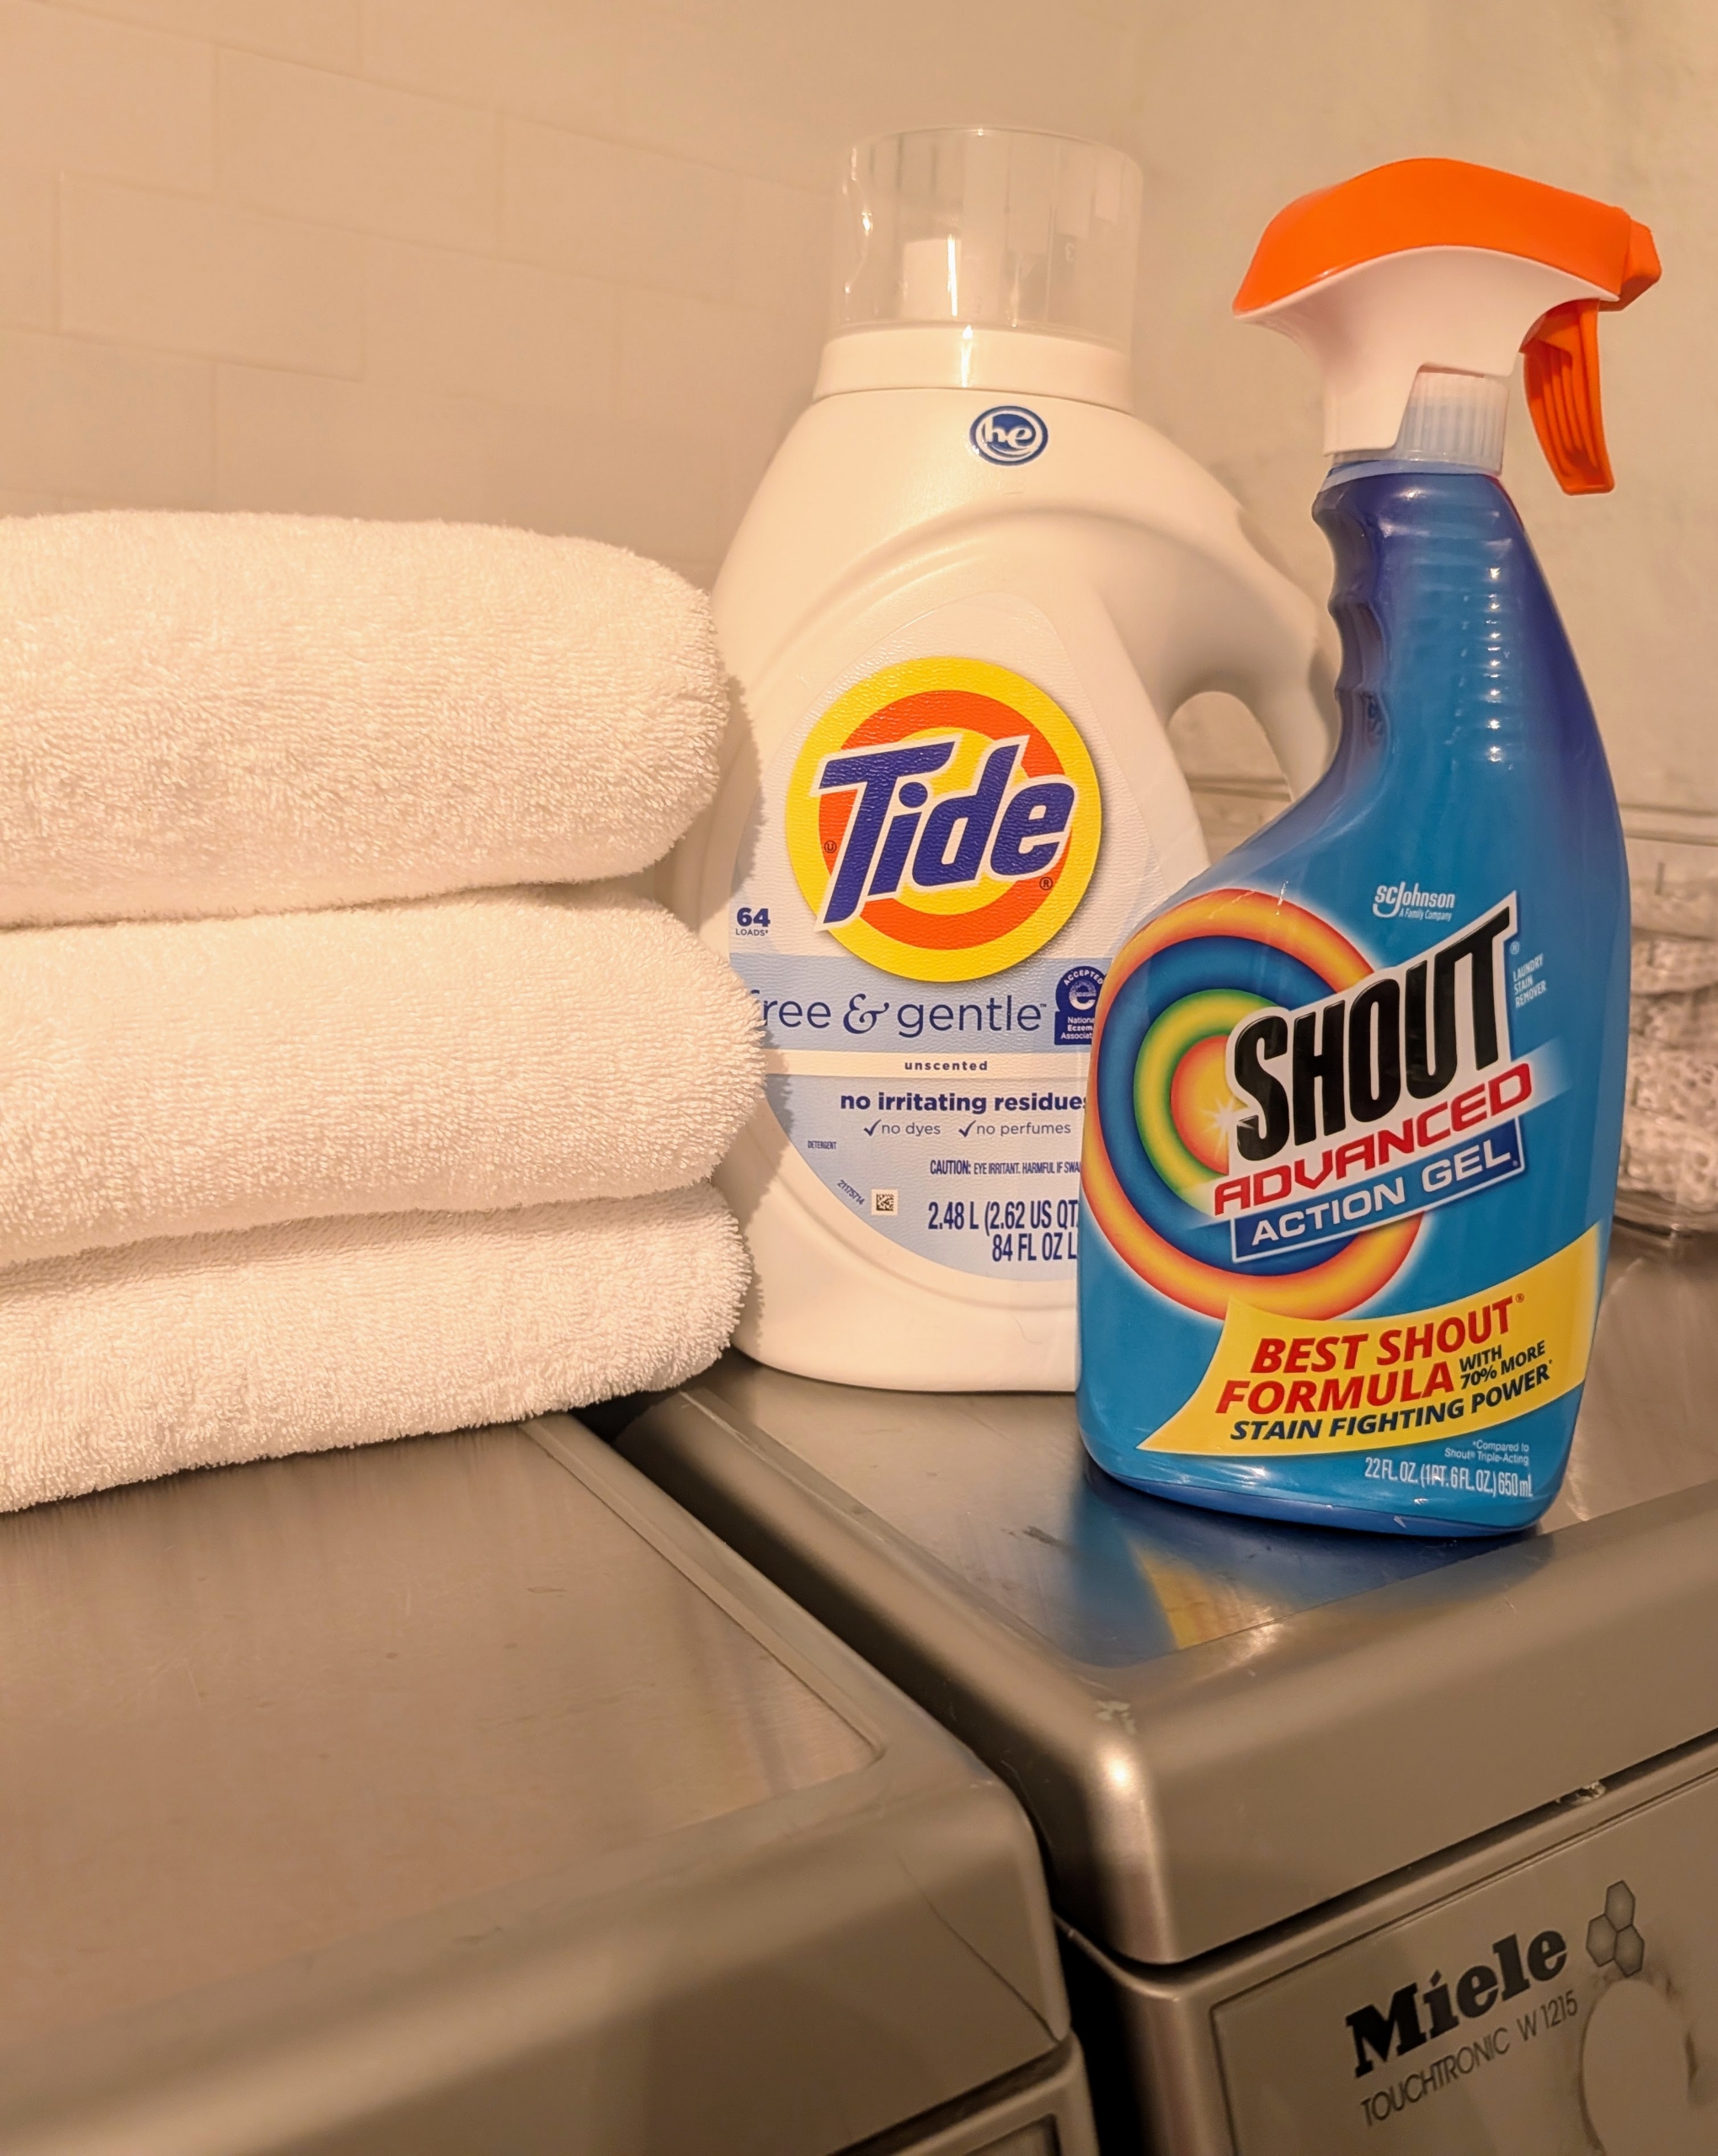
Many of you often ask what products I use to clean my laundry. I always have these two, Shout and Tide Free & Gentle, on hand to clean my towels and clothes. I’ve been using these same products for years.
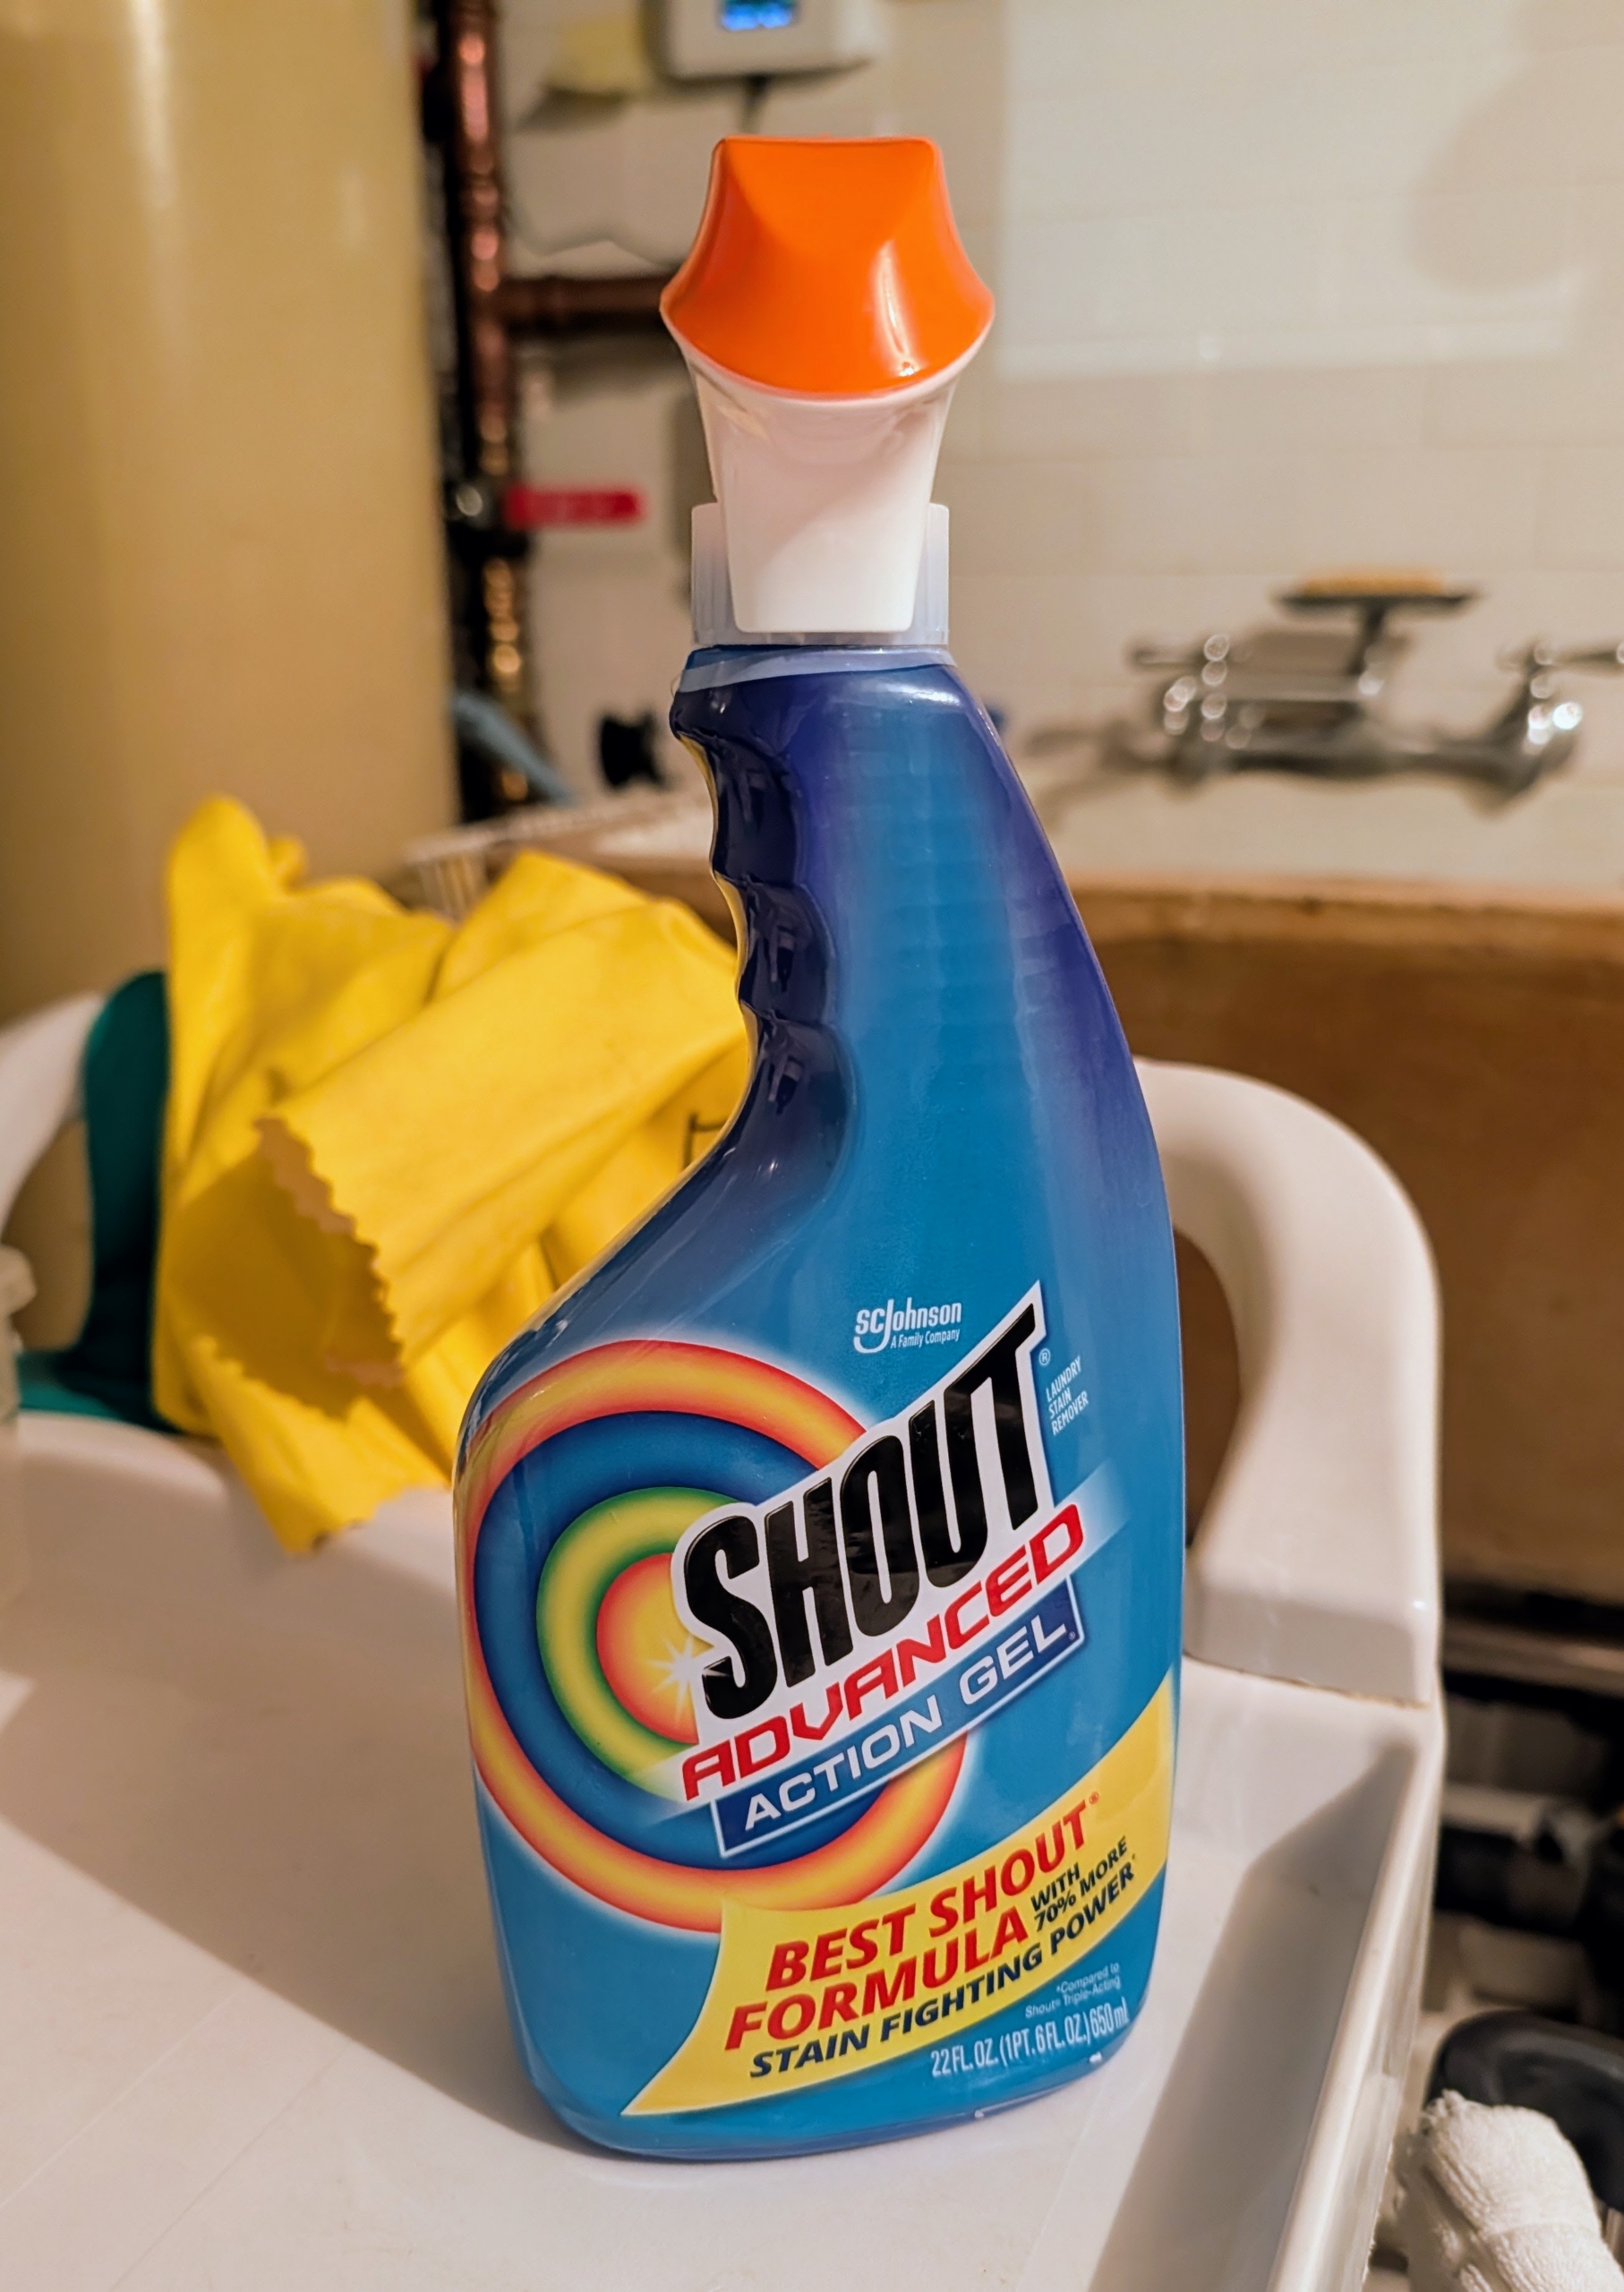
Shout is an effective stain remover. It works by breaking down the stain molecules and restoring a fabric’s original color.
It’s also easy to use – just spray directly onto the stain, rub together gently, and let it sit a few minutes before washing. Be sure to check an item’s care labels before treating or washing and follow its instructions.
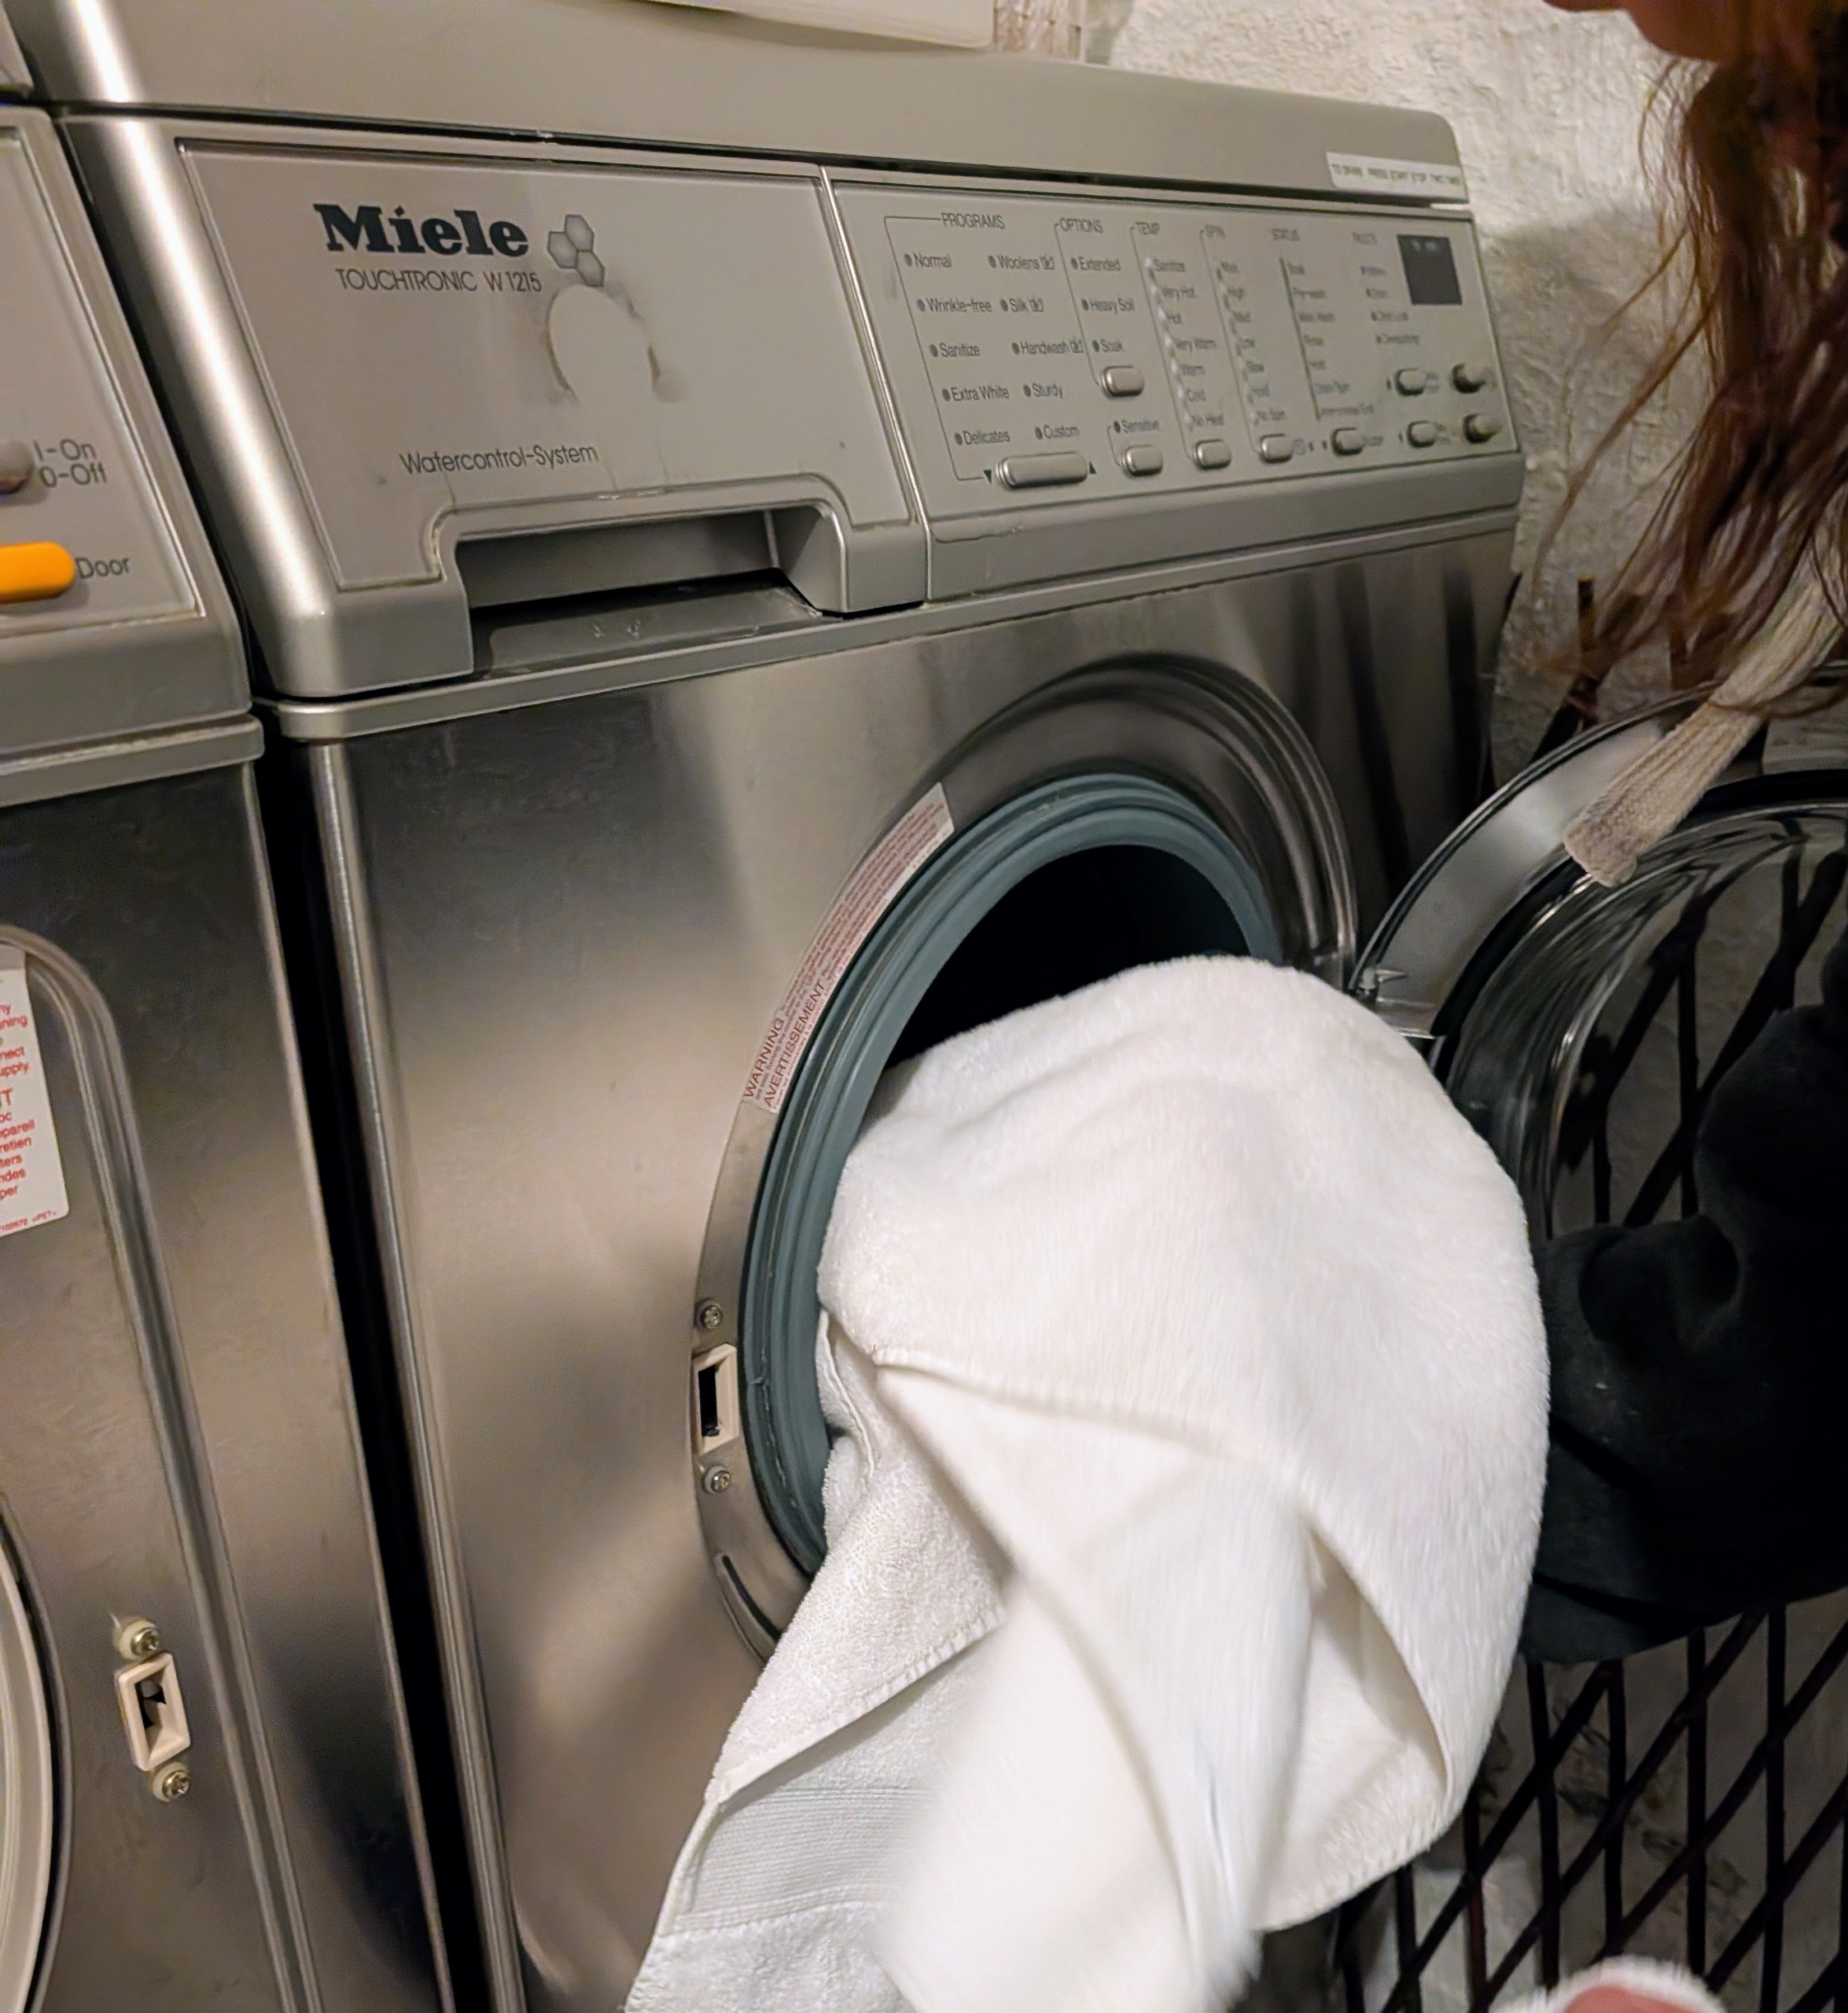
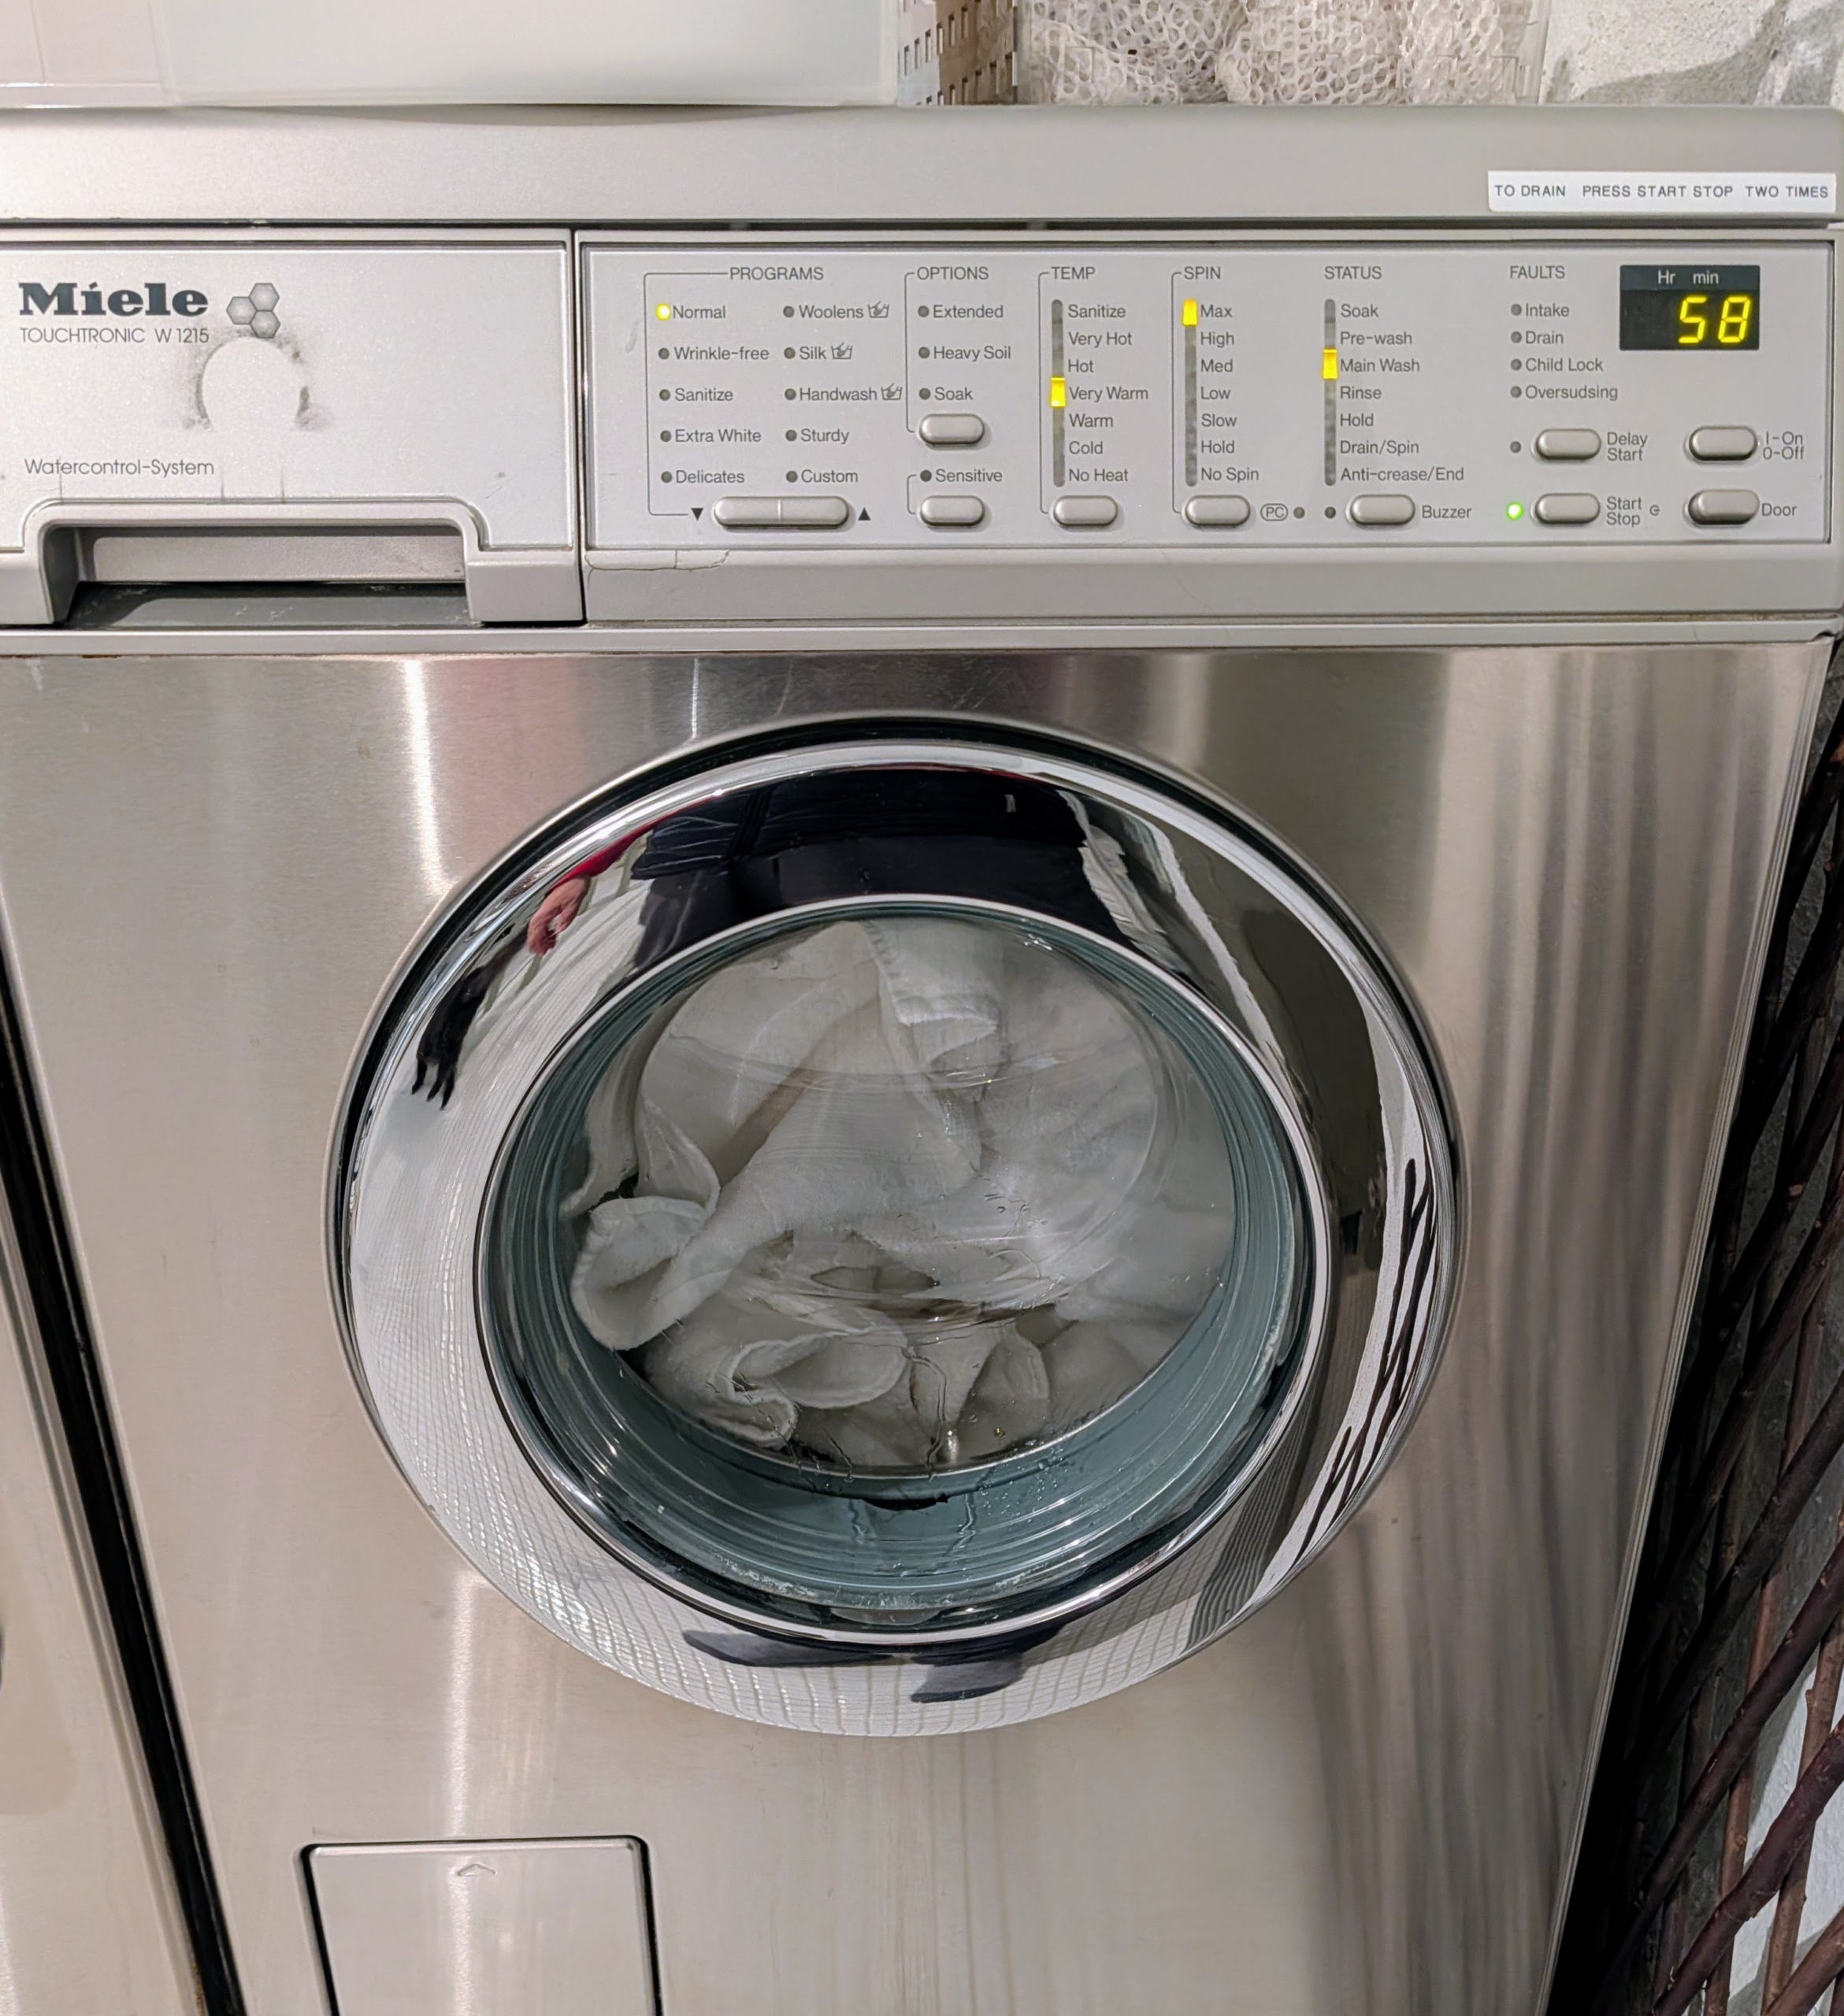
Elvira then places all the towels to be laundered into my trusted Miele washer – keeping this load all white. It’s always a good idea to separate colored items from whites to prevent any chance of dye transfer.
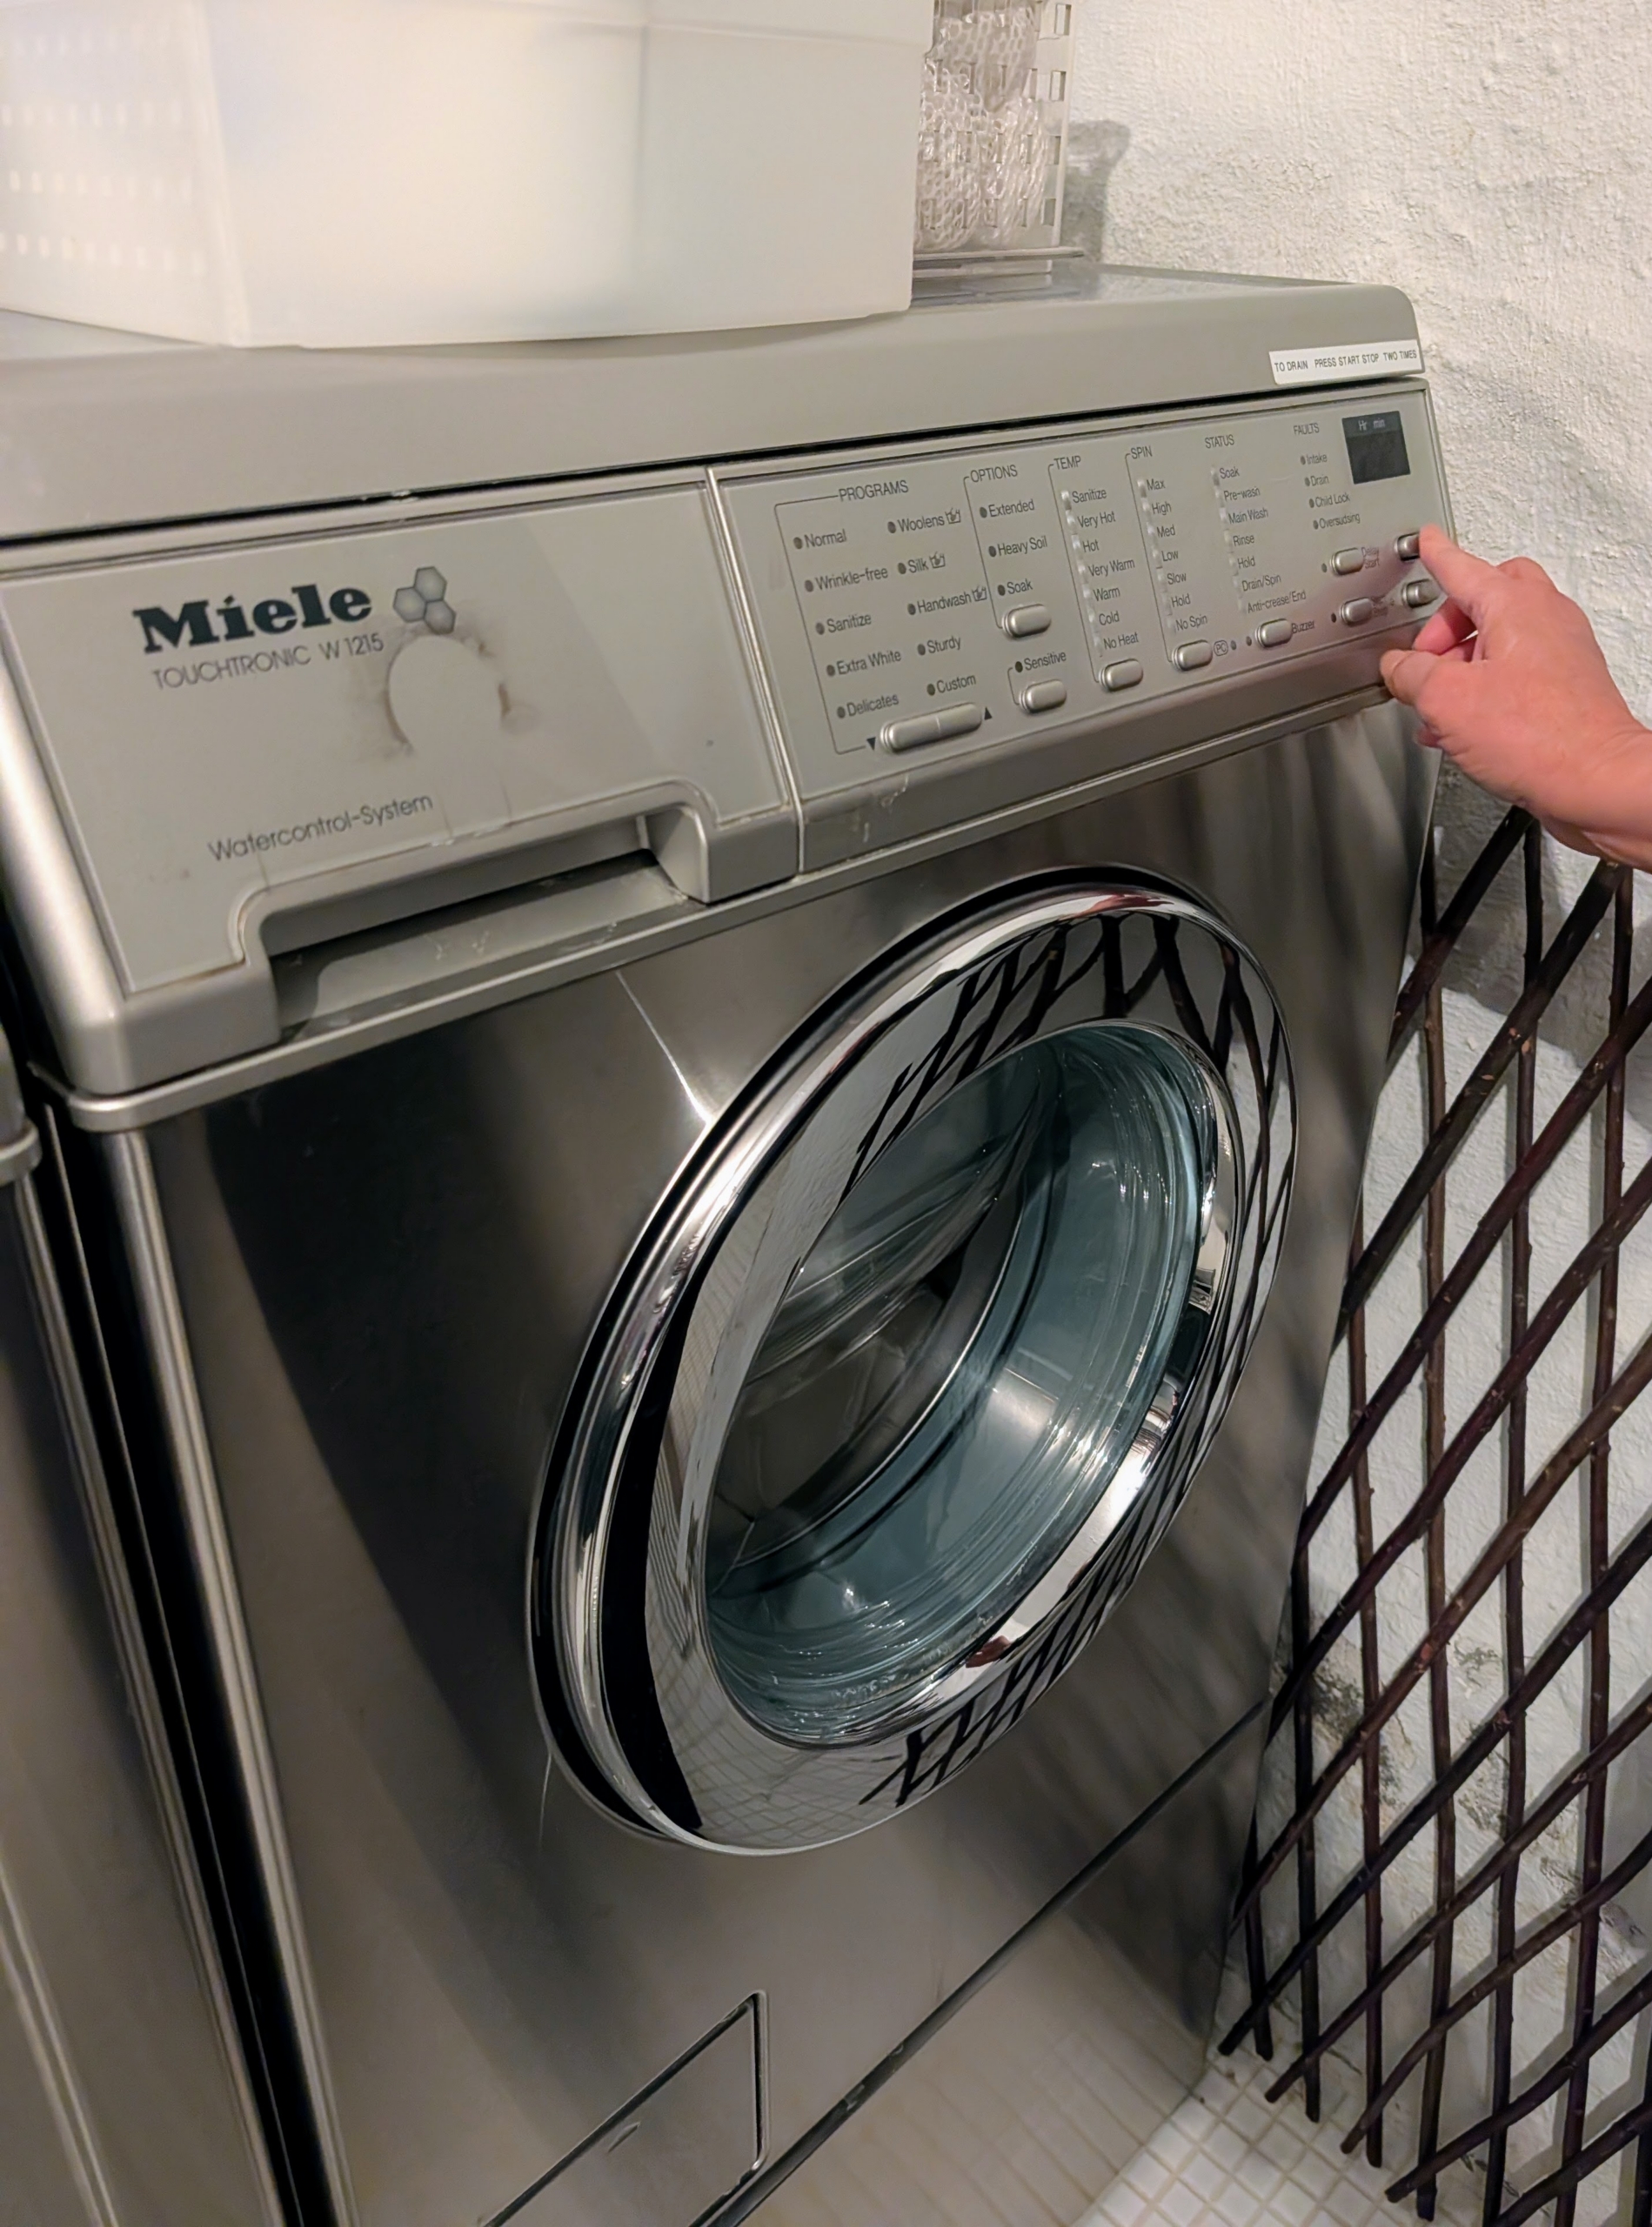
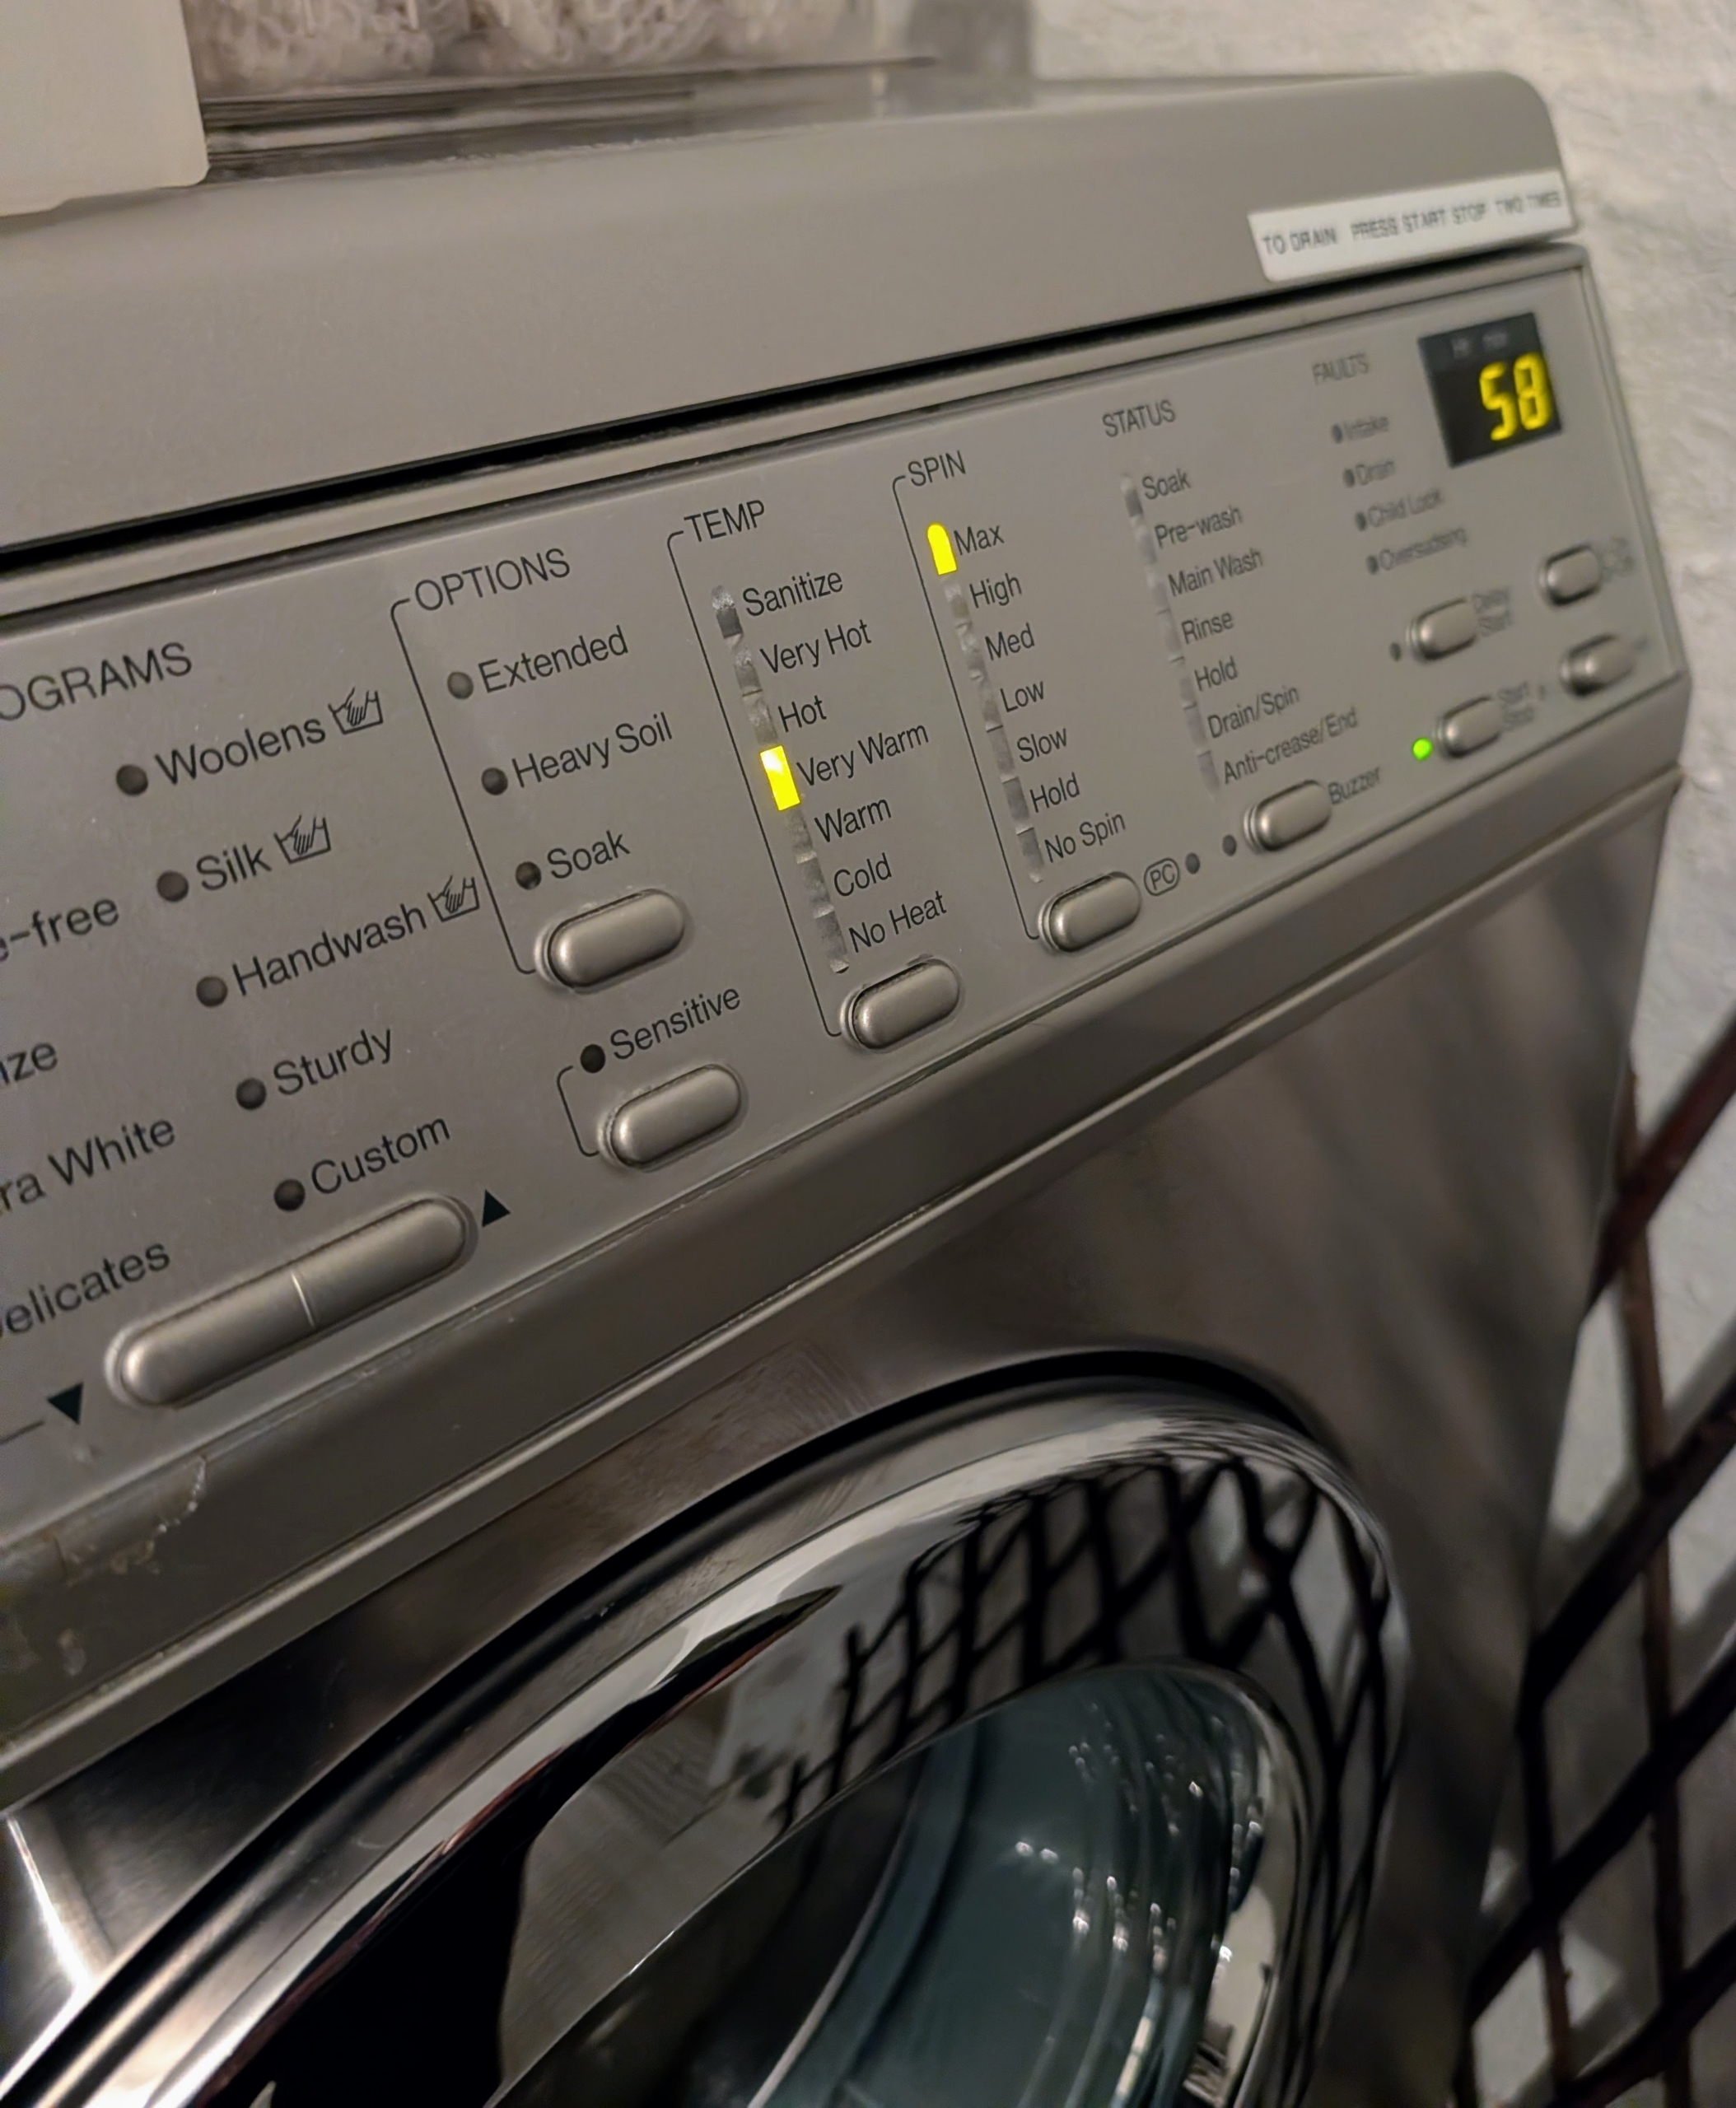
I like to set the washer to a full cycle, which is 58 minutes. I also don’t fill the machine to capacity. Overloading can prevent proper cleaning.
And I do not use hot water – I prefer warm. This works just fine for everyday laundry or slightly stained pieces.
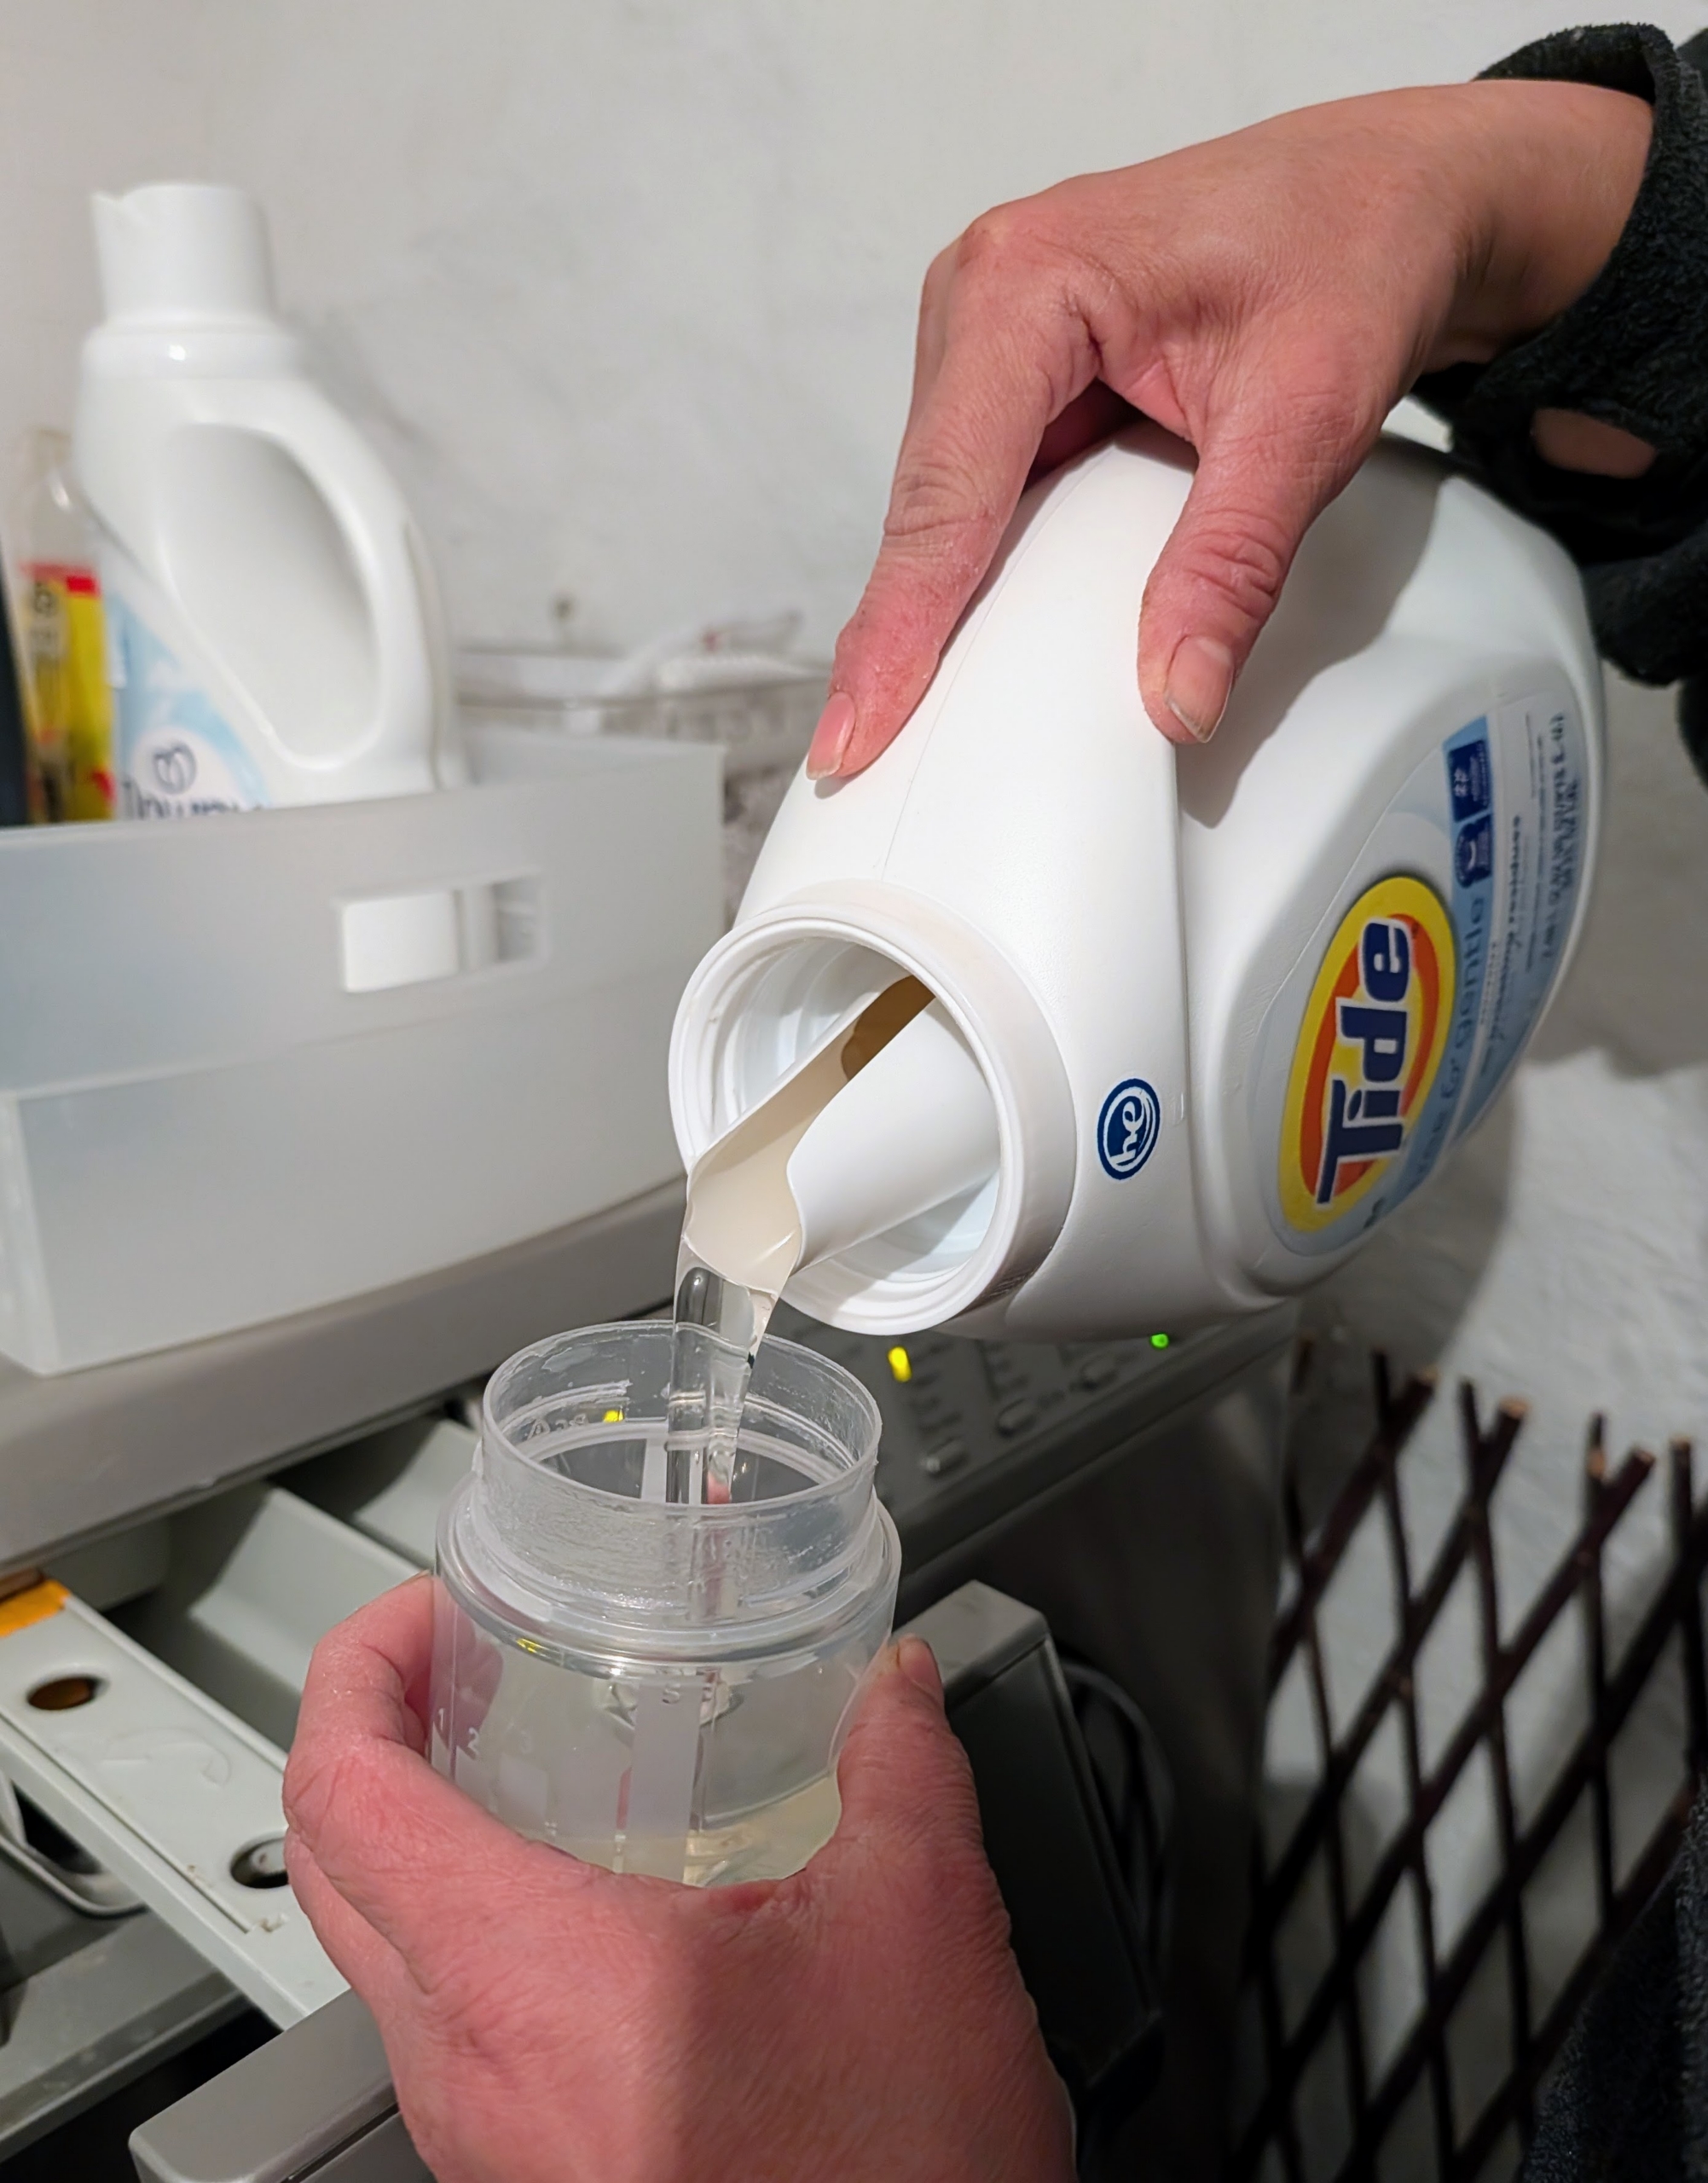
Elvira pours the necessary amount of Tide Free & Gentle detergent.
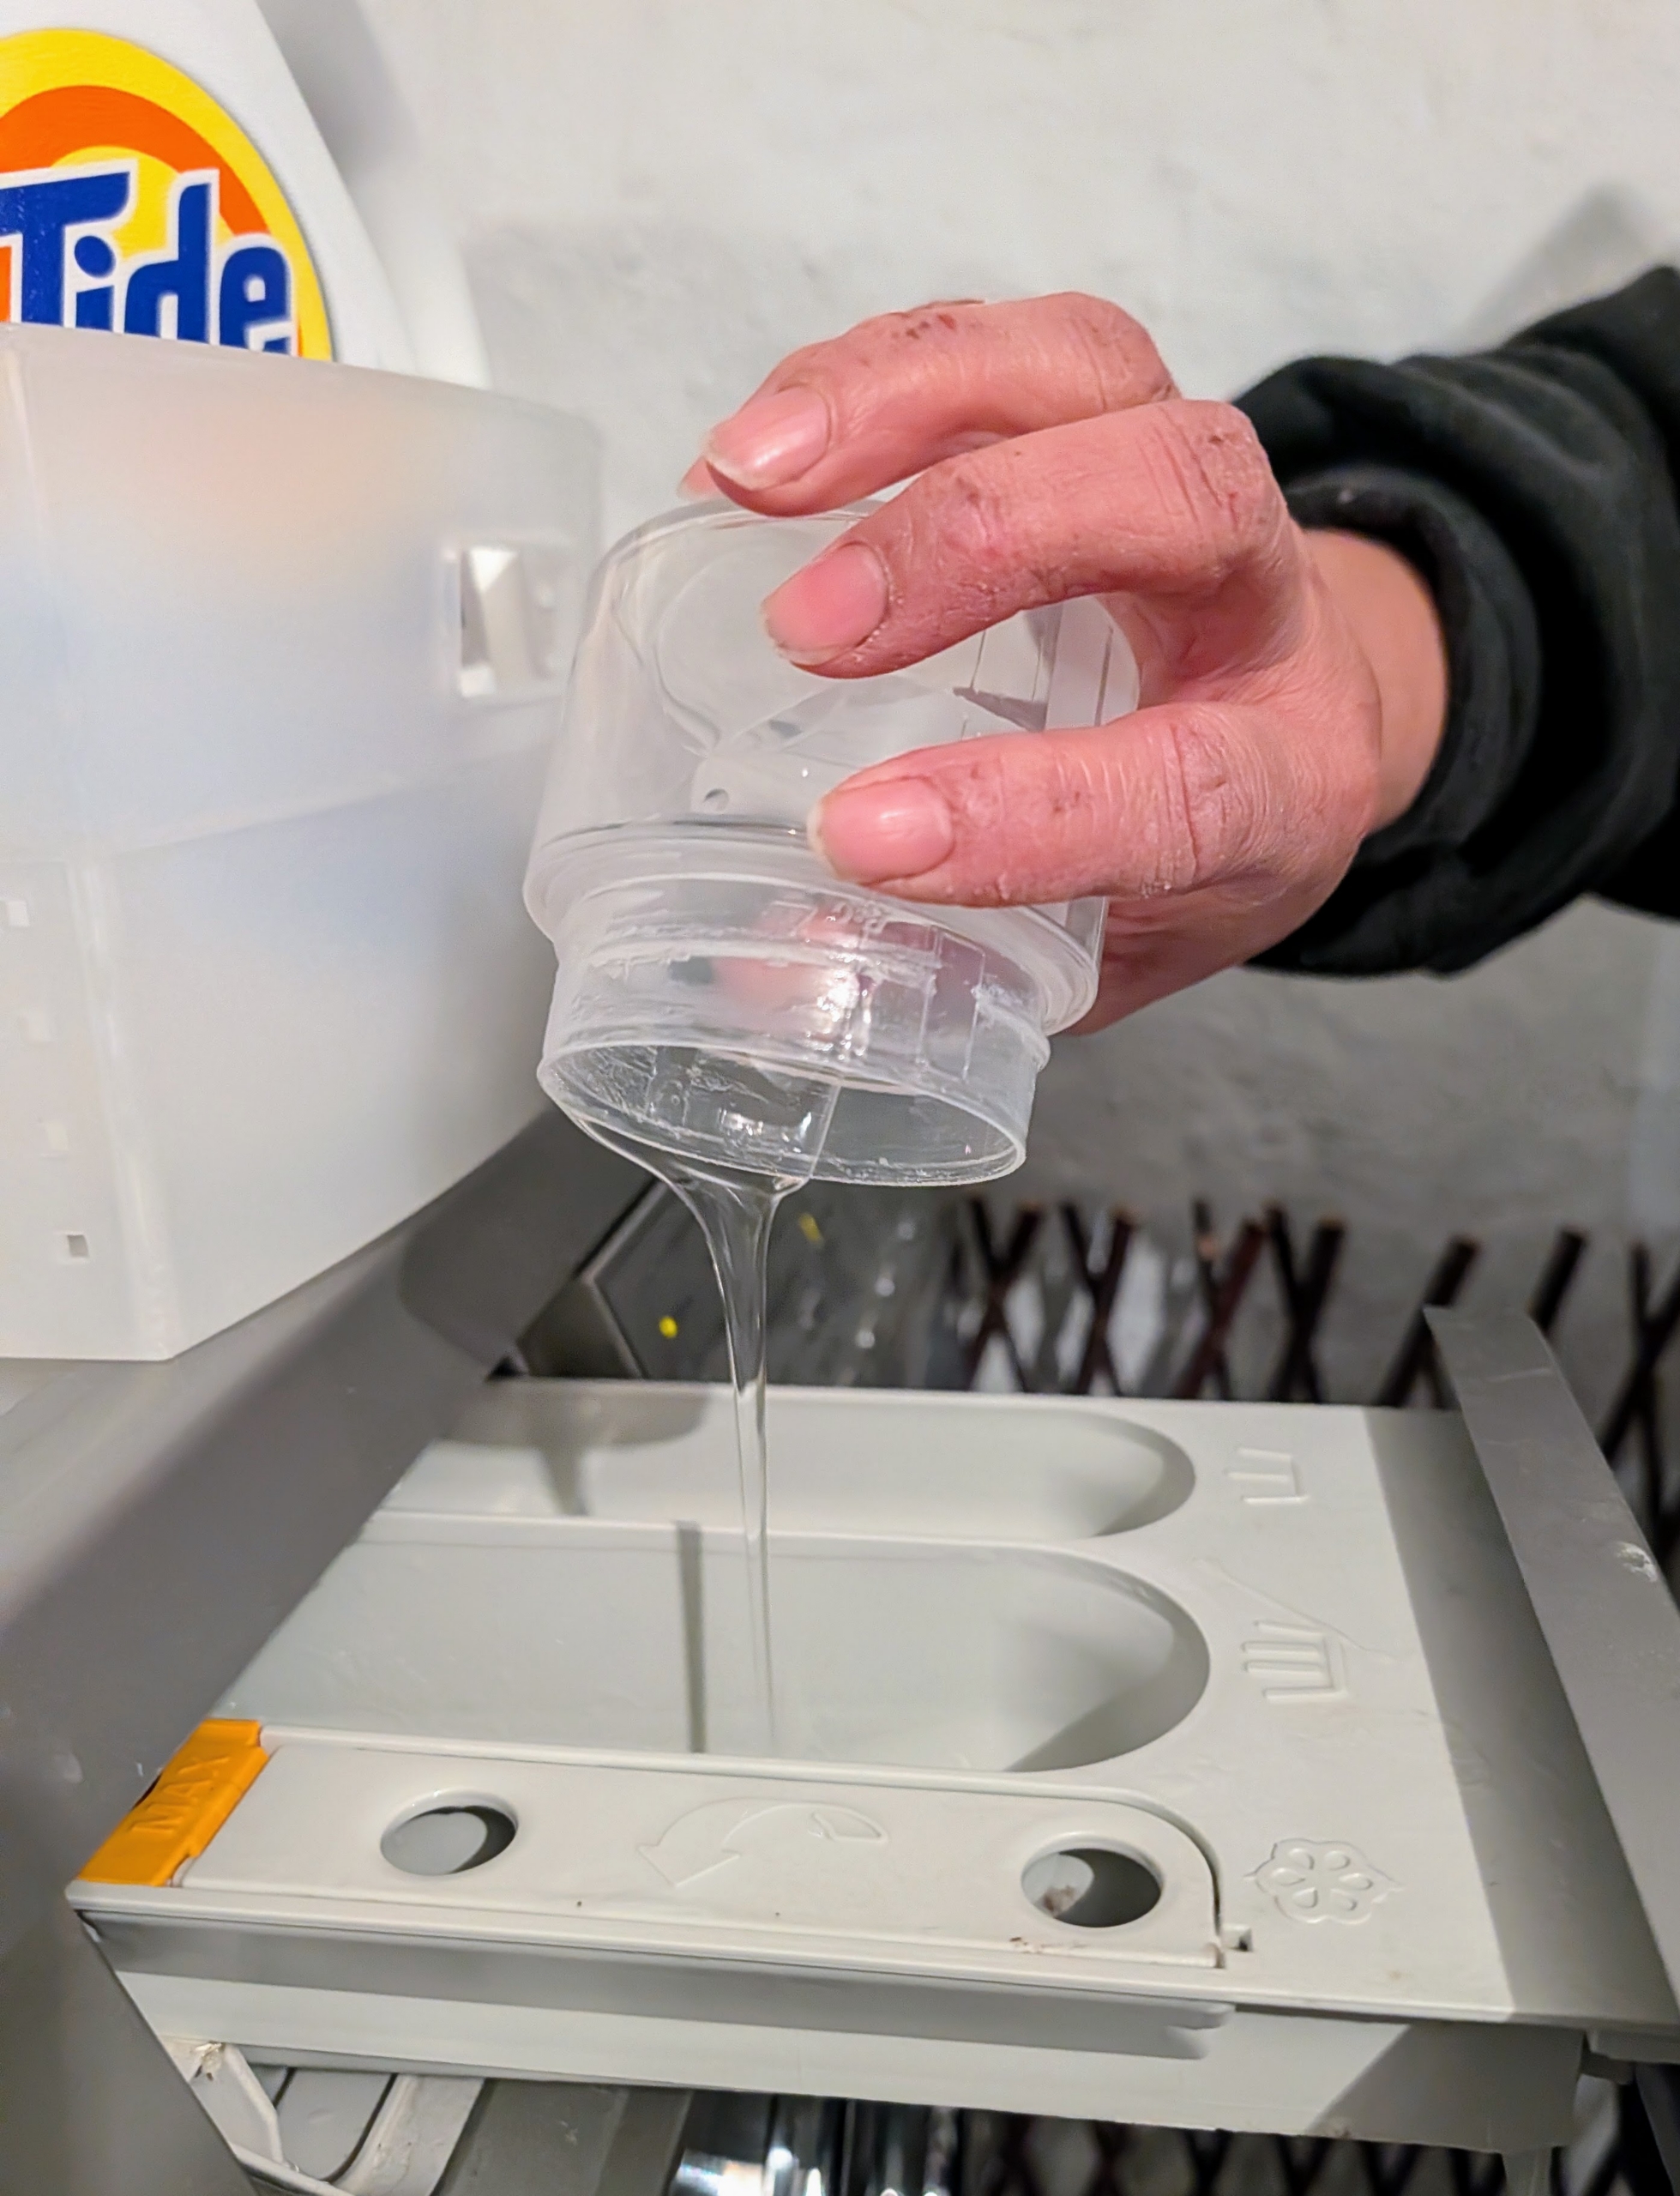
Elvira then pours it into the appropriate Miele compartment – I do not use fabric softeners or bleach. For me, a high quality detergent alone works best.
And then the cycle is left to run. Miele washing machines are also designed with special soundproofing materials to make them less noisy than others.
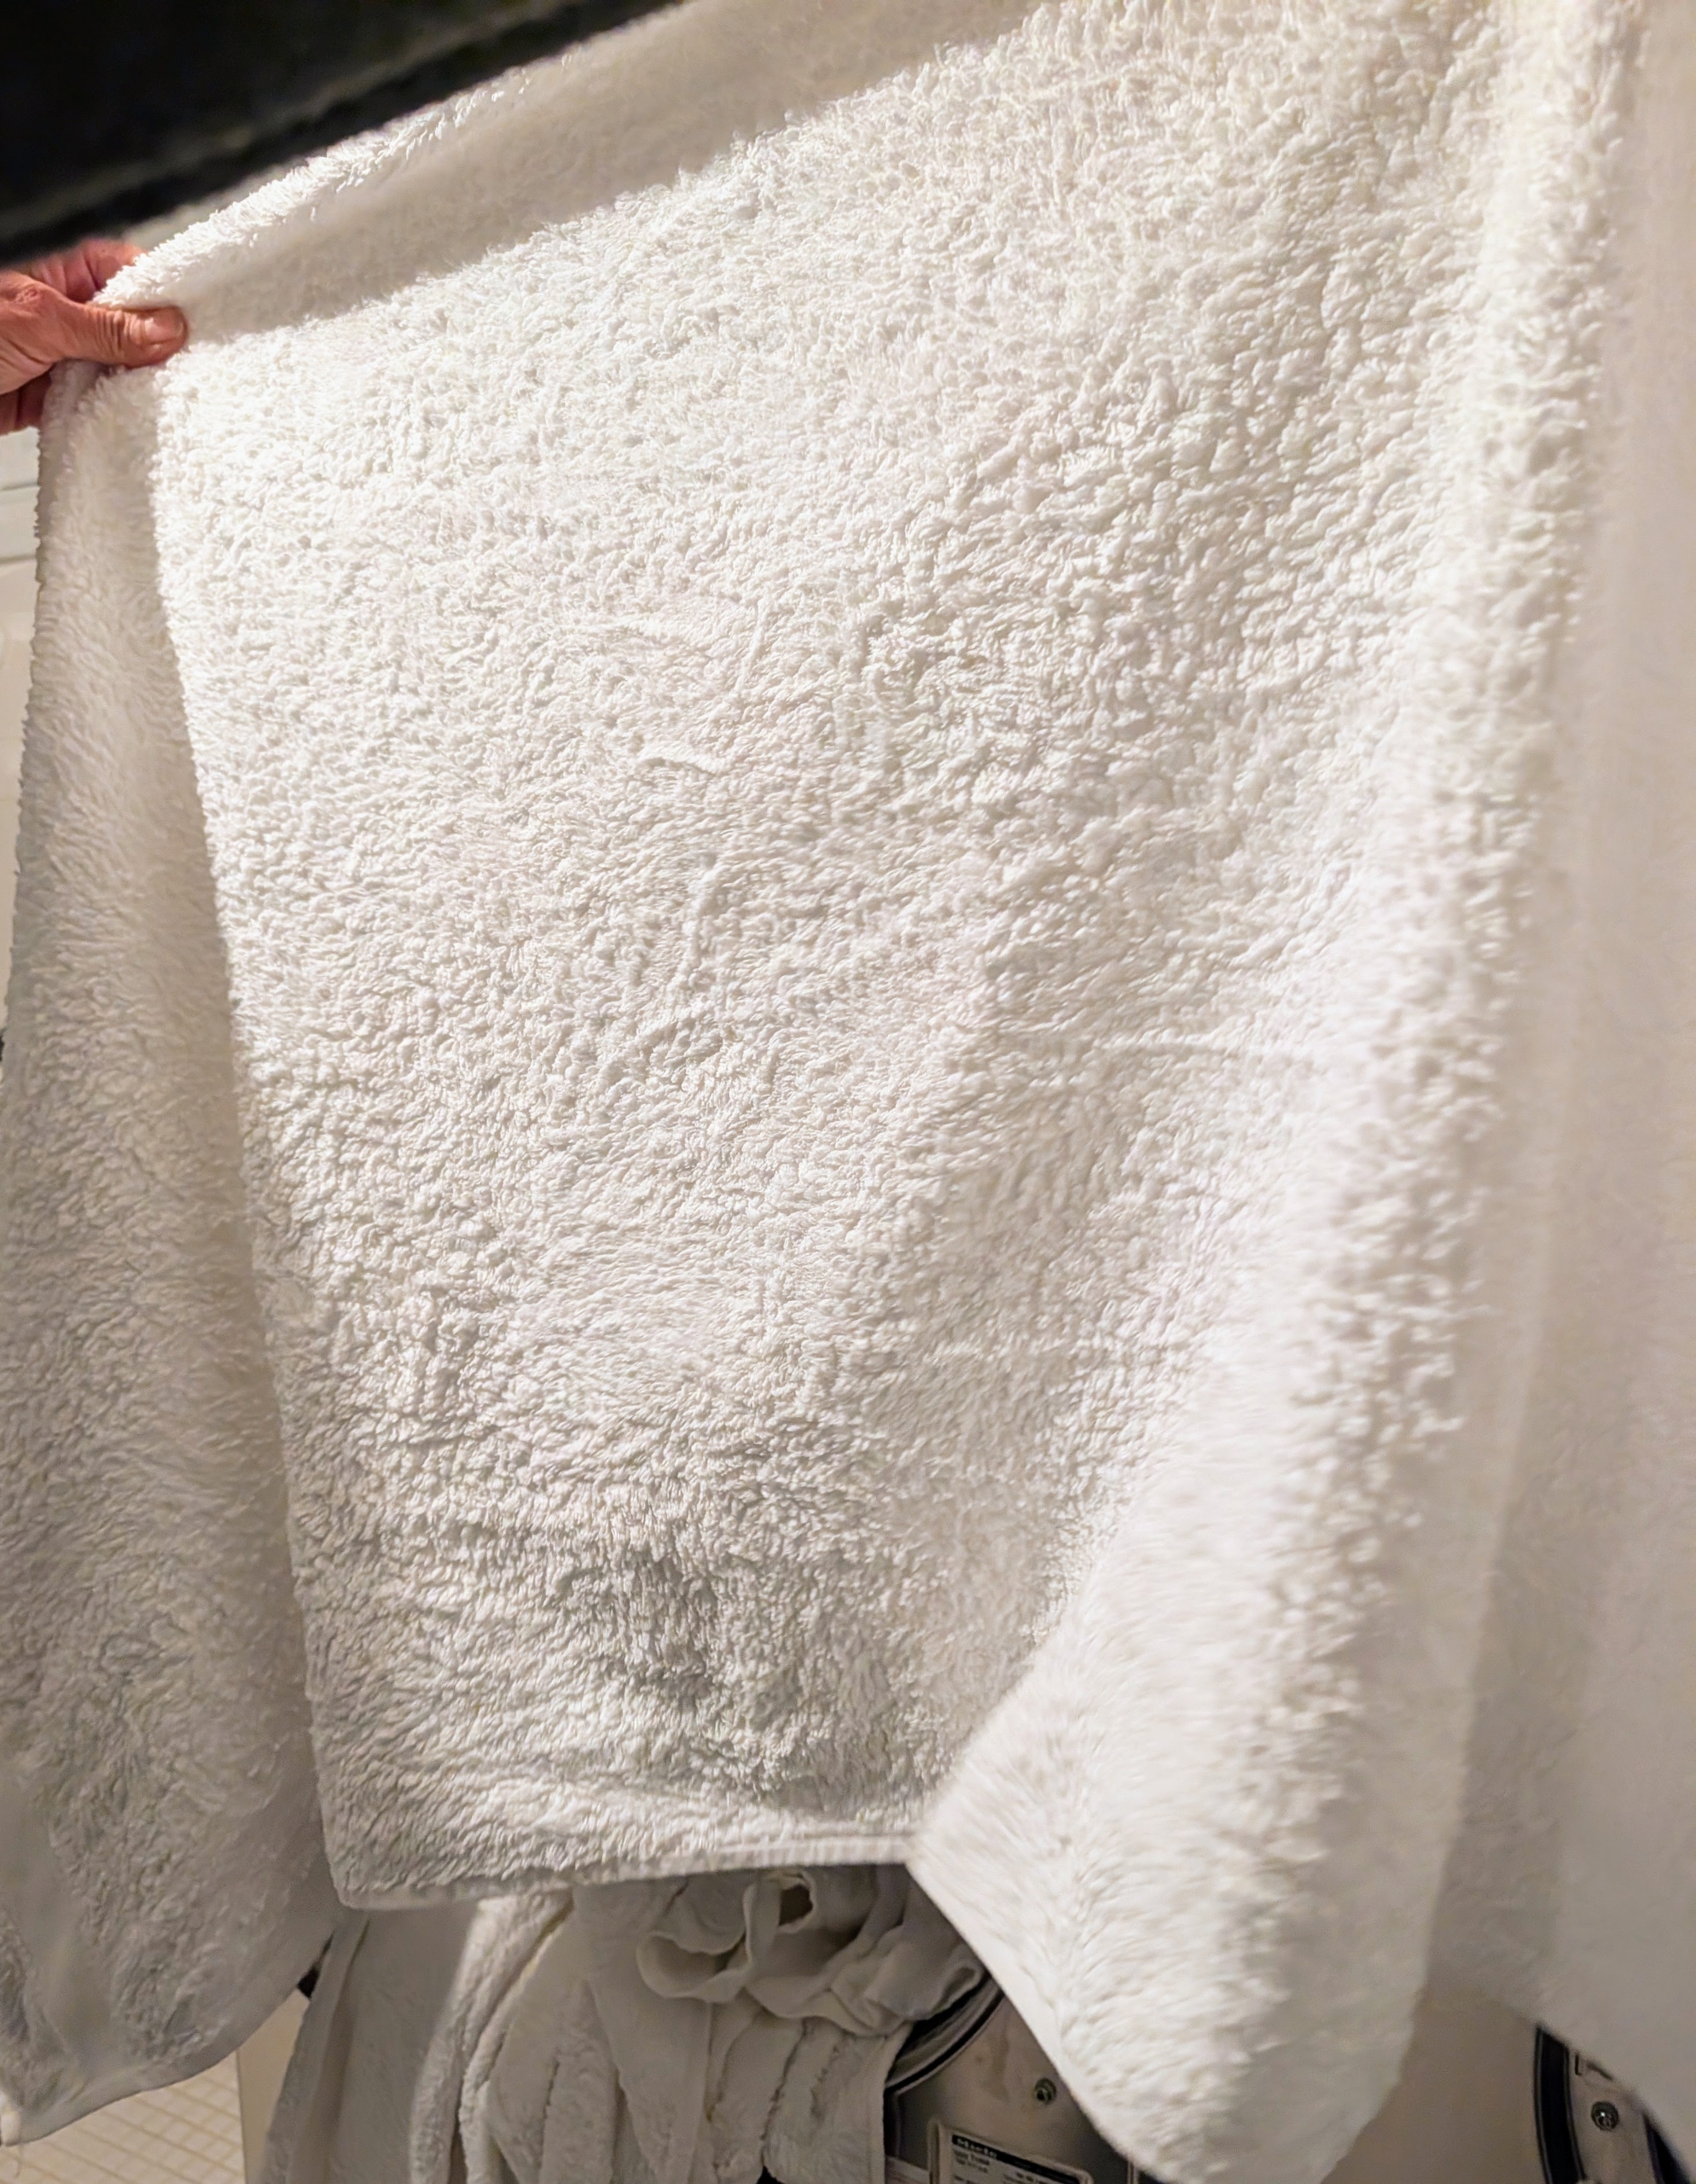
It looks like the stains are gone – no pre-soaking or tedious scrubbing needed.
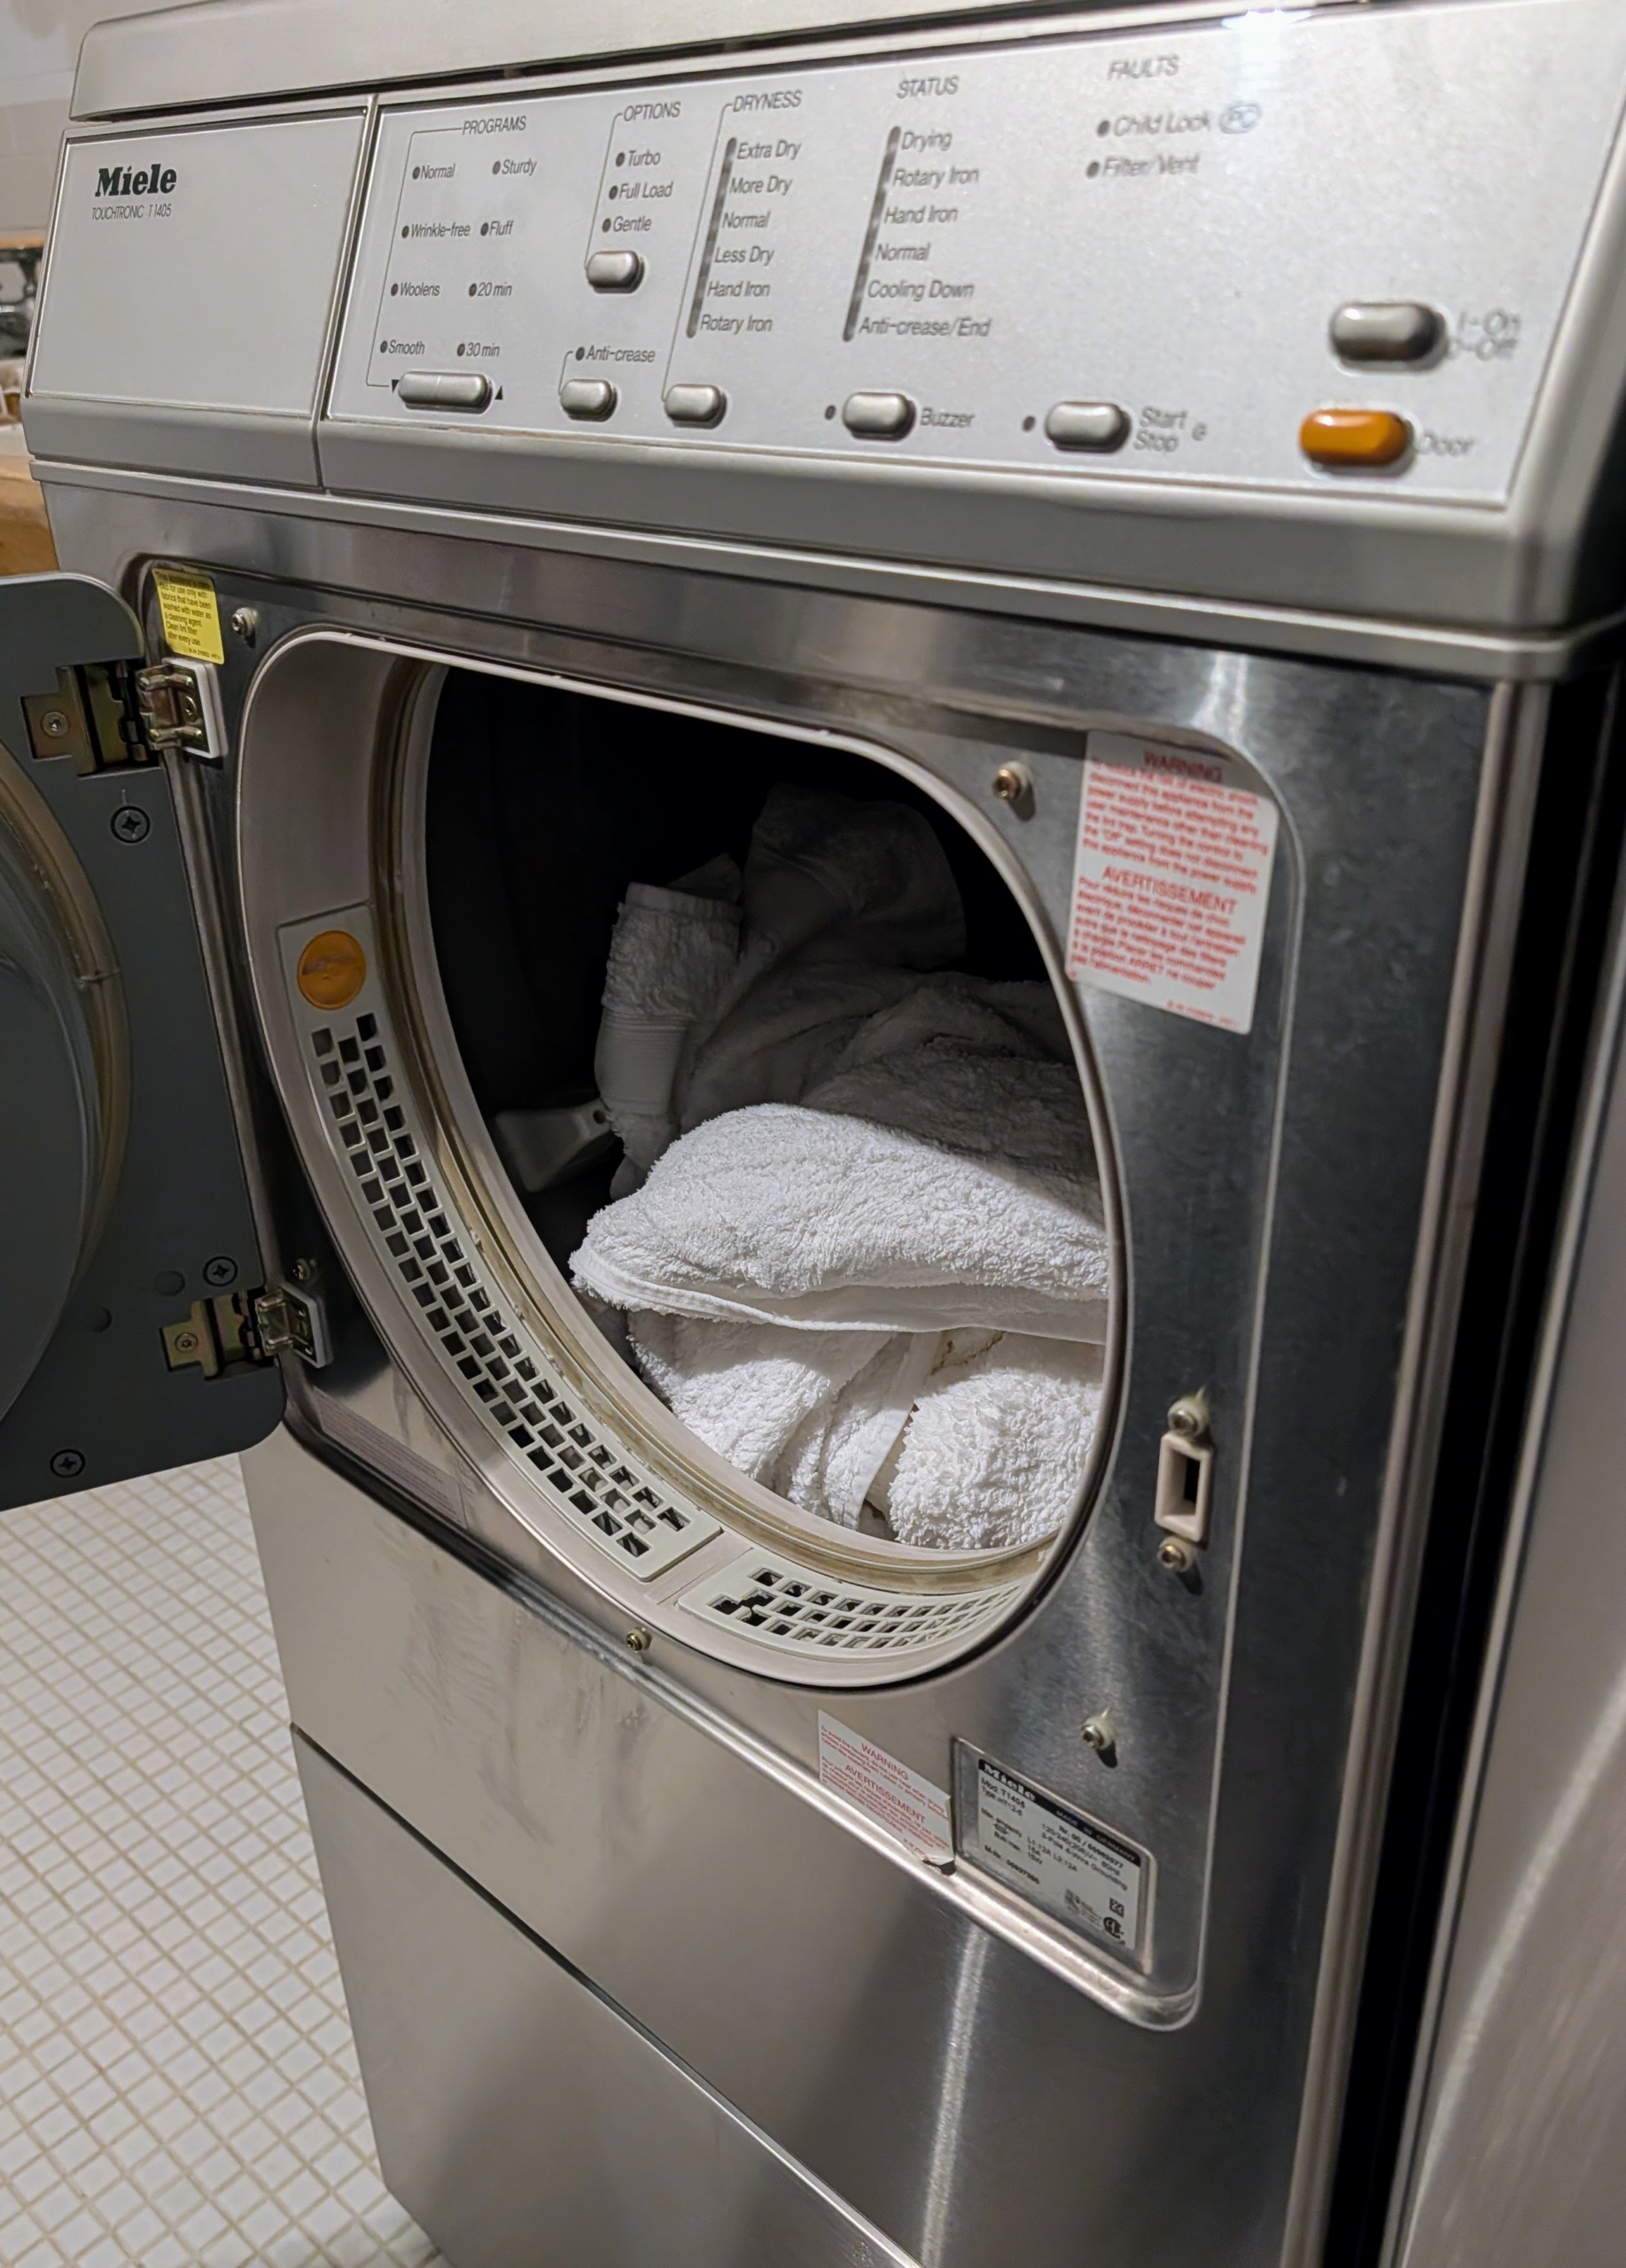
Next, the items are put into the dryer. Once again, I avoid overloading.
The dryer is set to dry completely and smoothly.
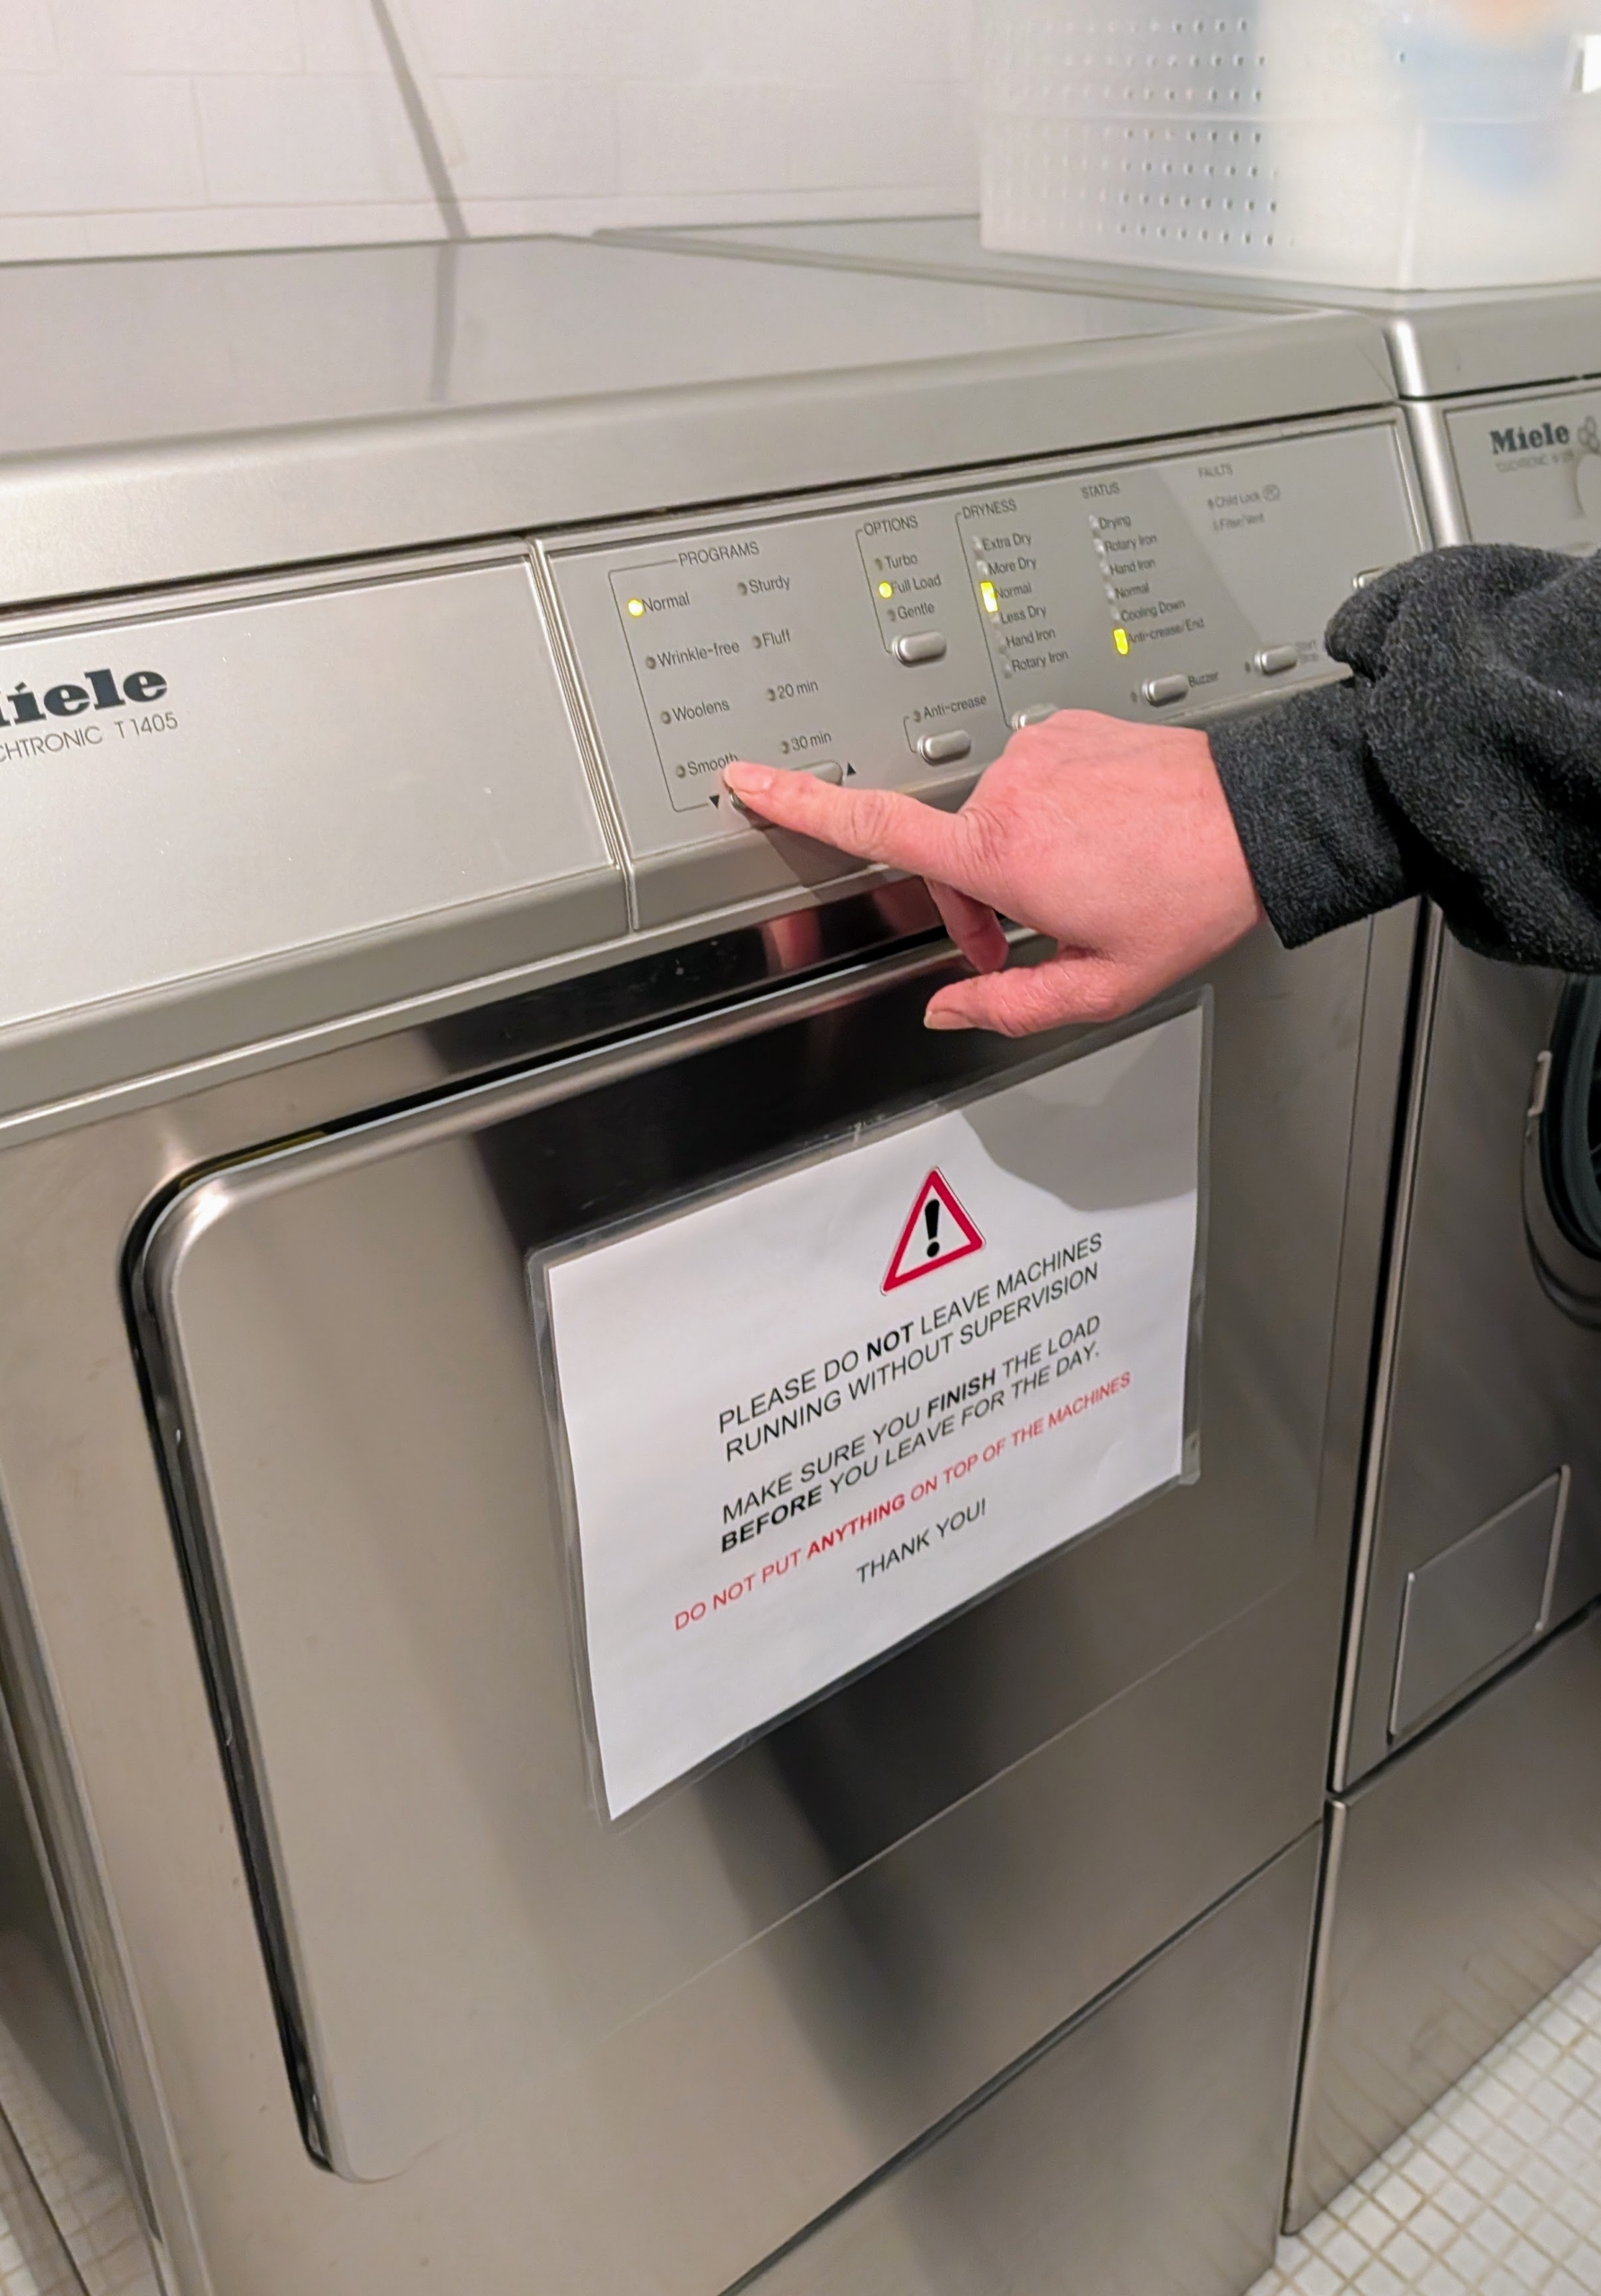
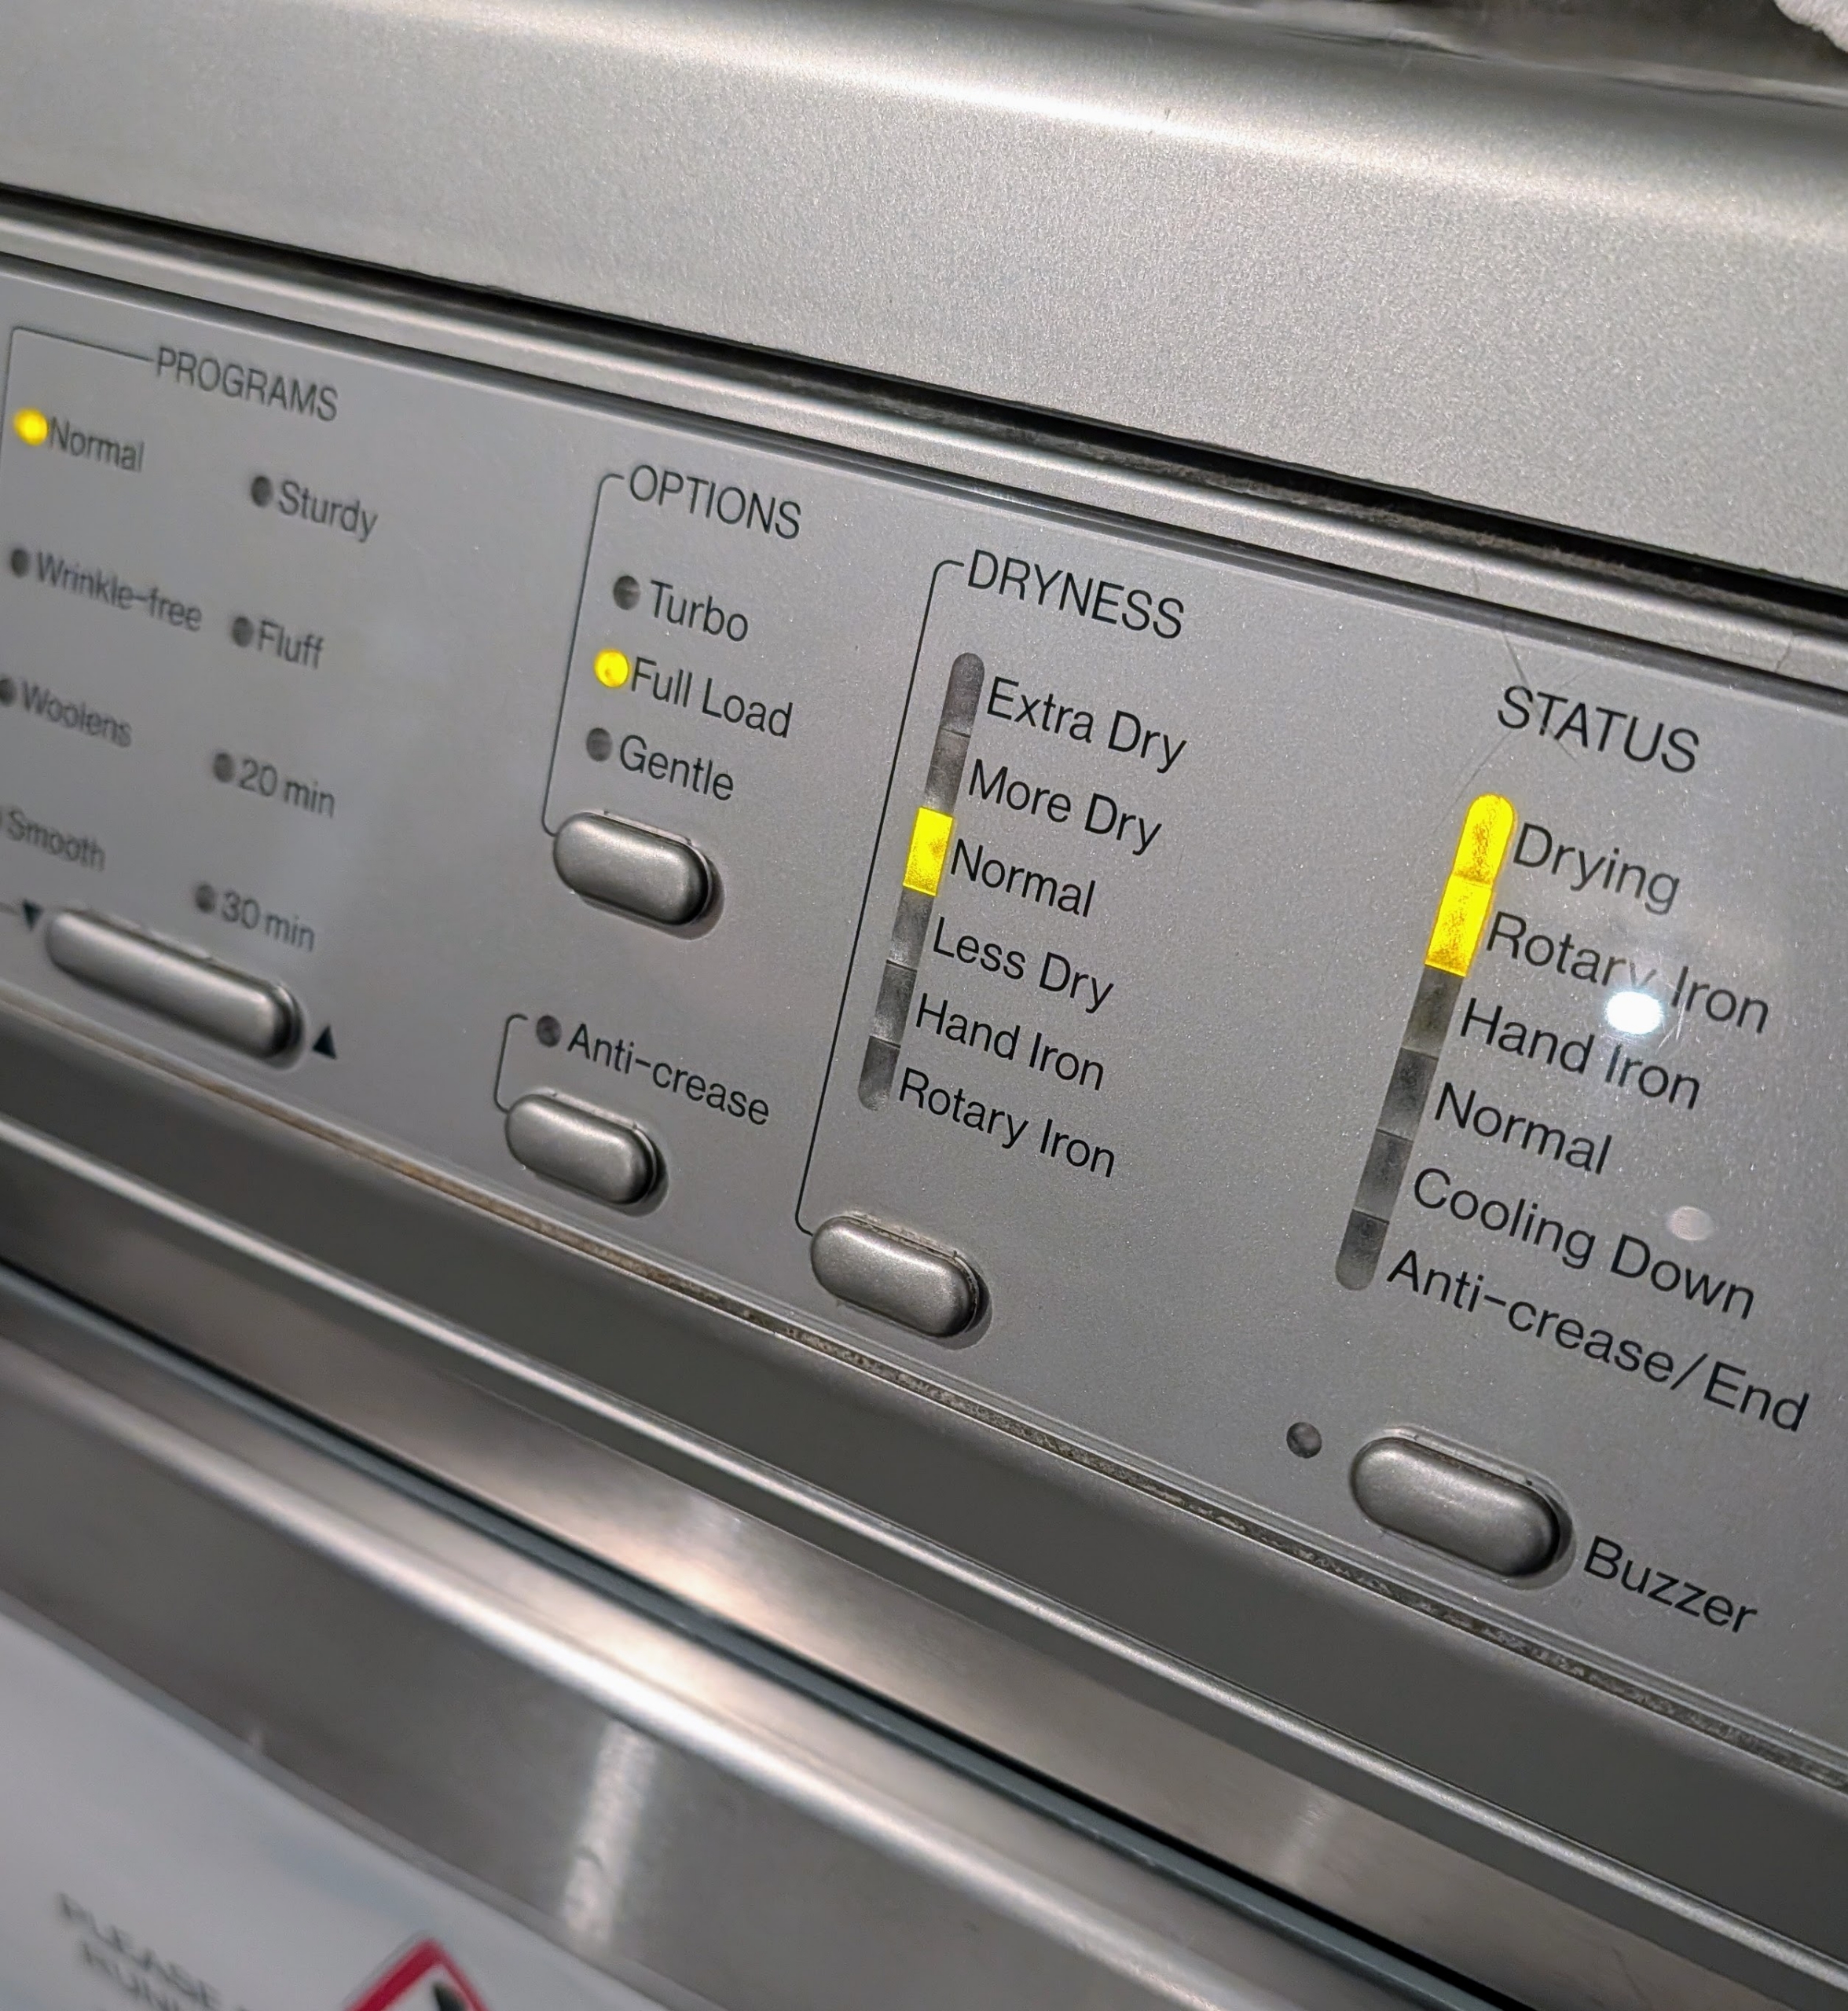
Check your dryer’s options. For a regular load, “normal” drying is usually sufficient to get them completely dry.
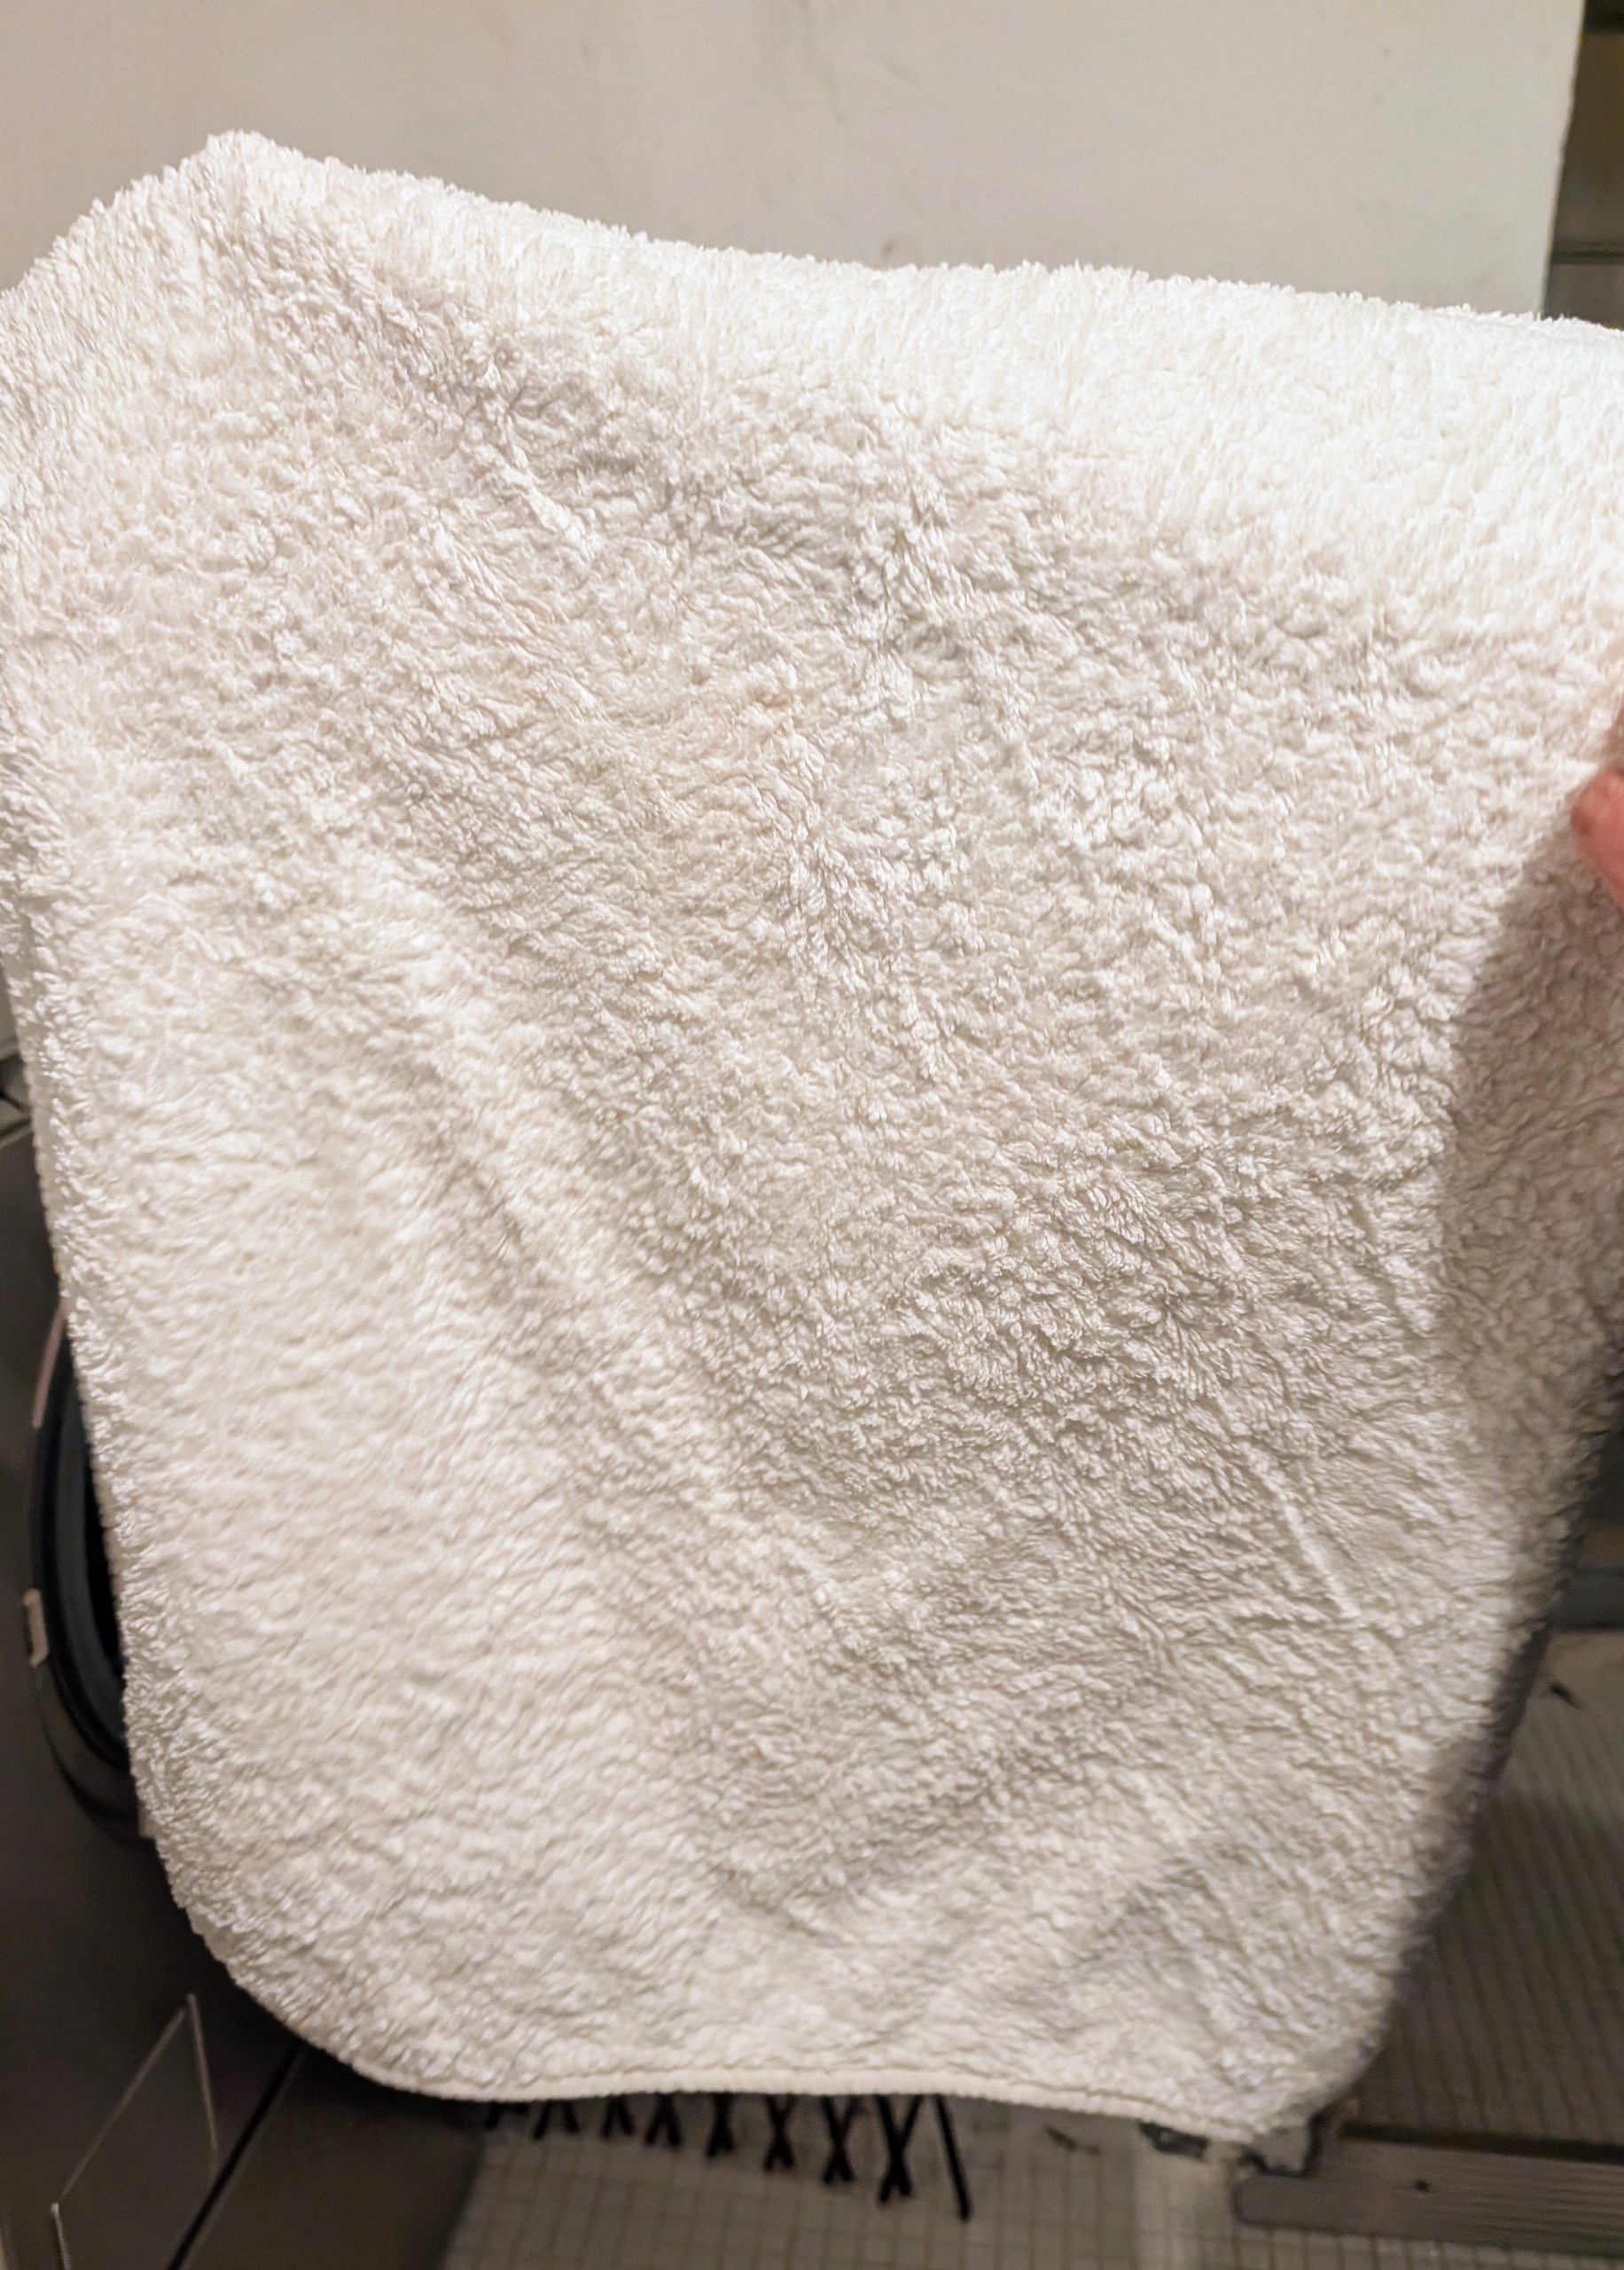
Once done, the towels come out clean, dry, and free of any marks.
Several loads of laundry are done in my home every day. I am so pleased these machines are so durable and efficient.
The right appliances and the right cleaning products work together to brighten and whiten.