My gaggle of geese now has a large new shelter in their yard.
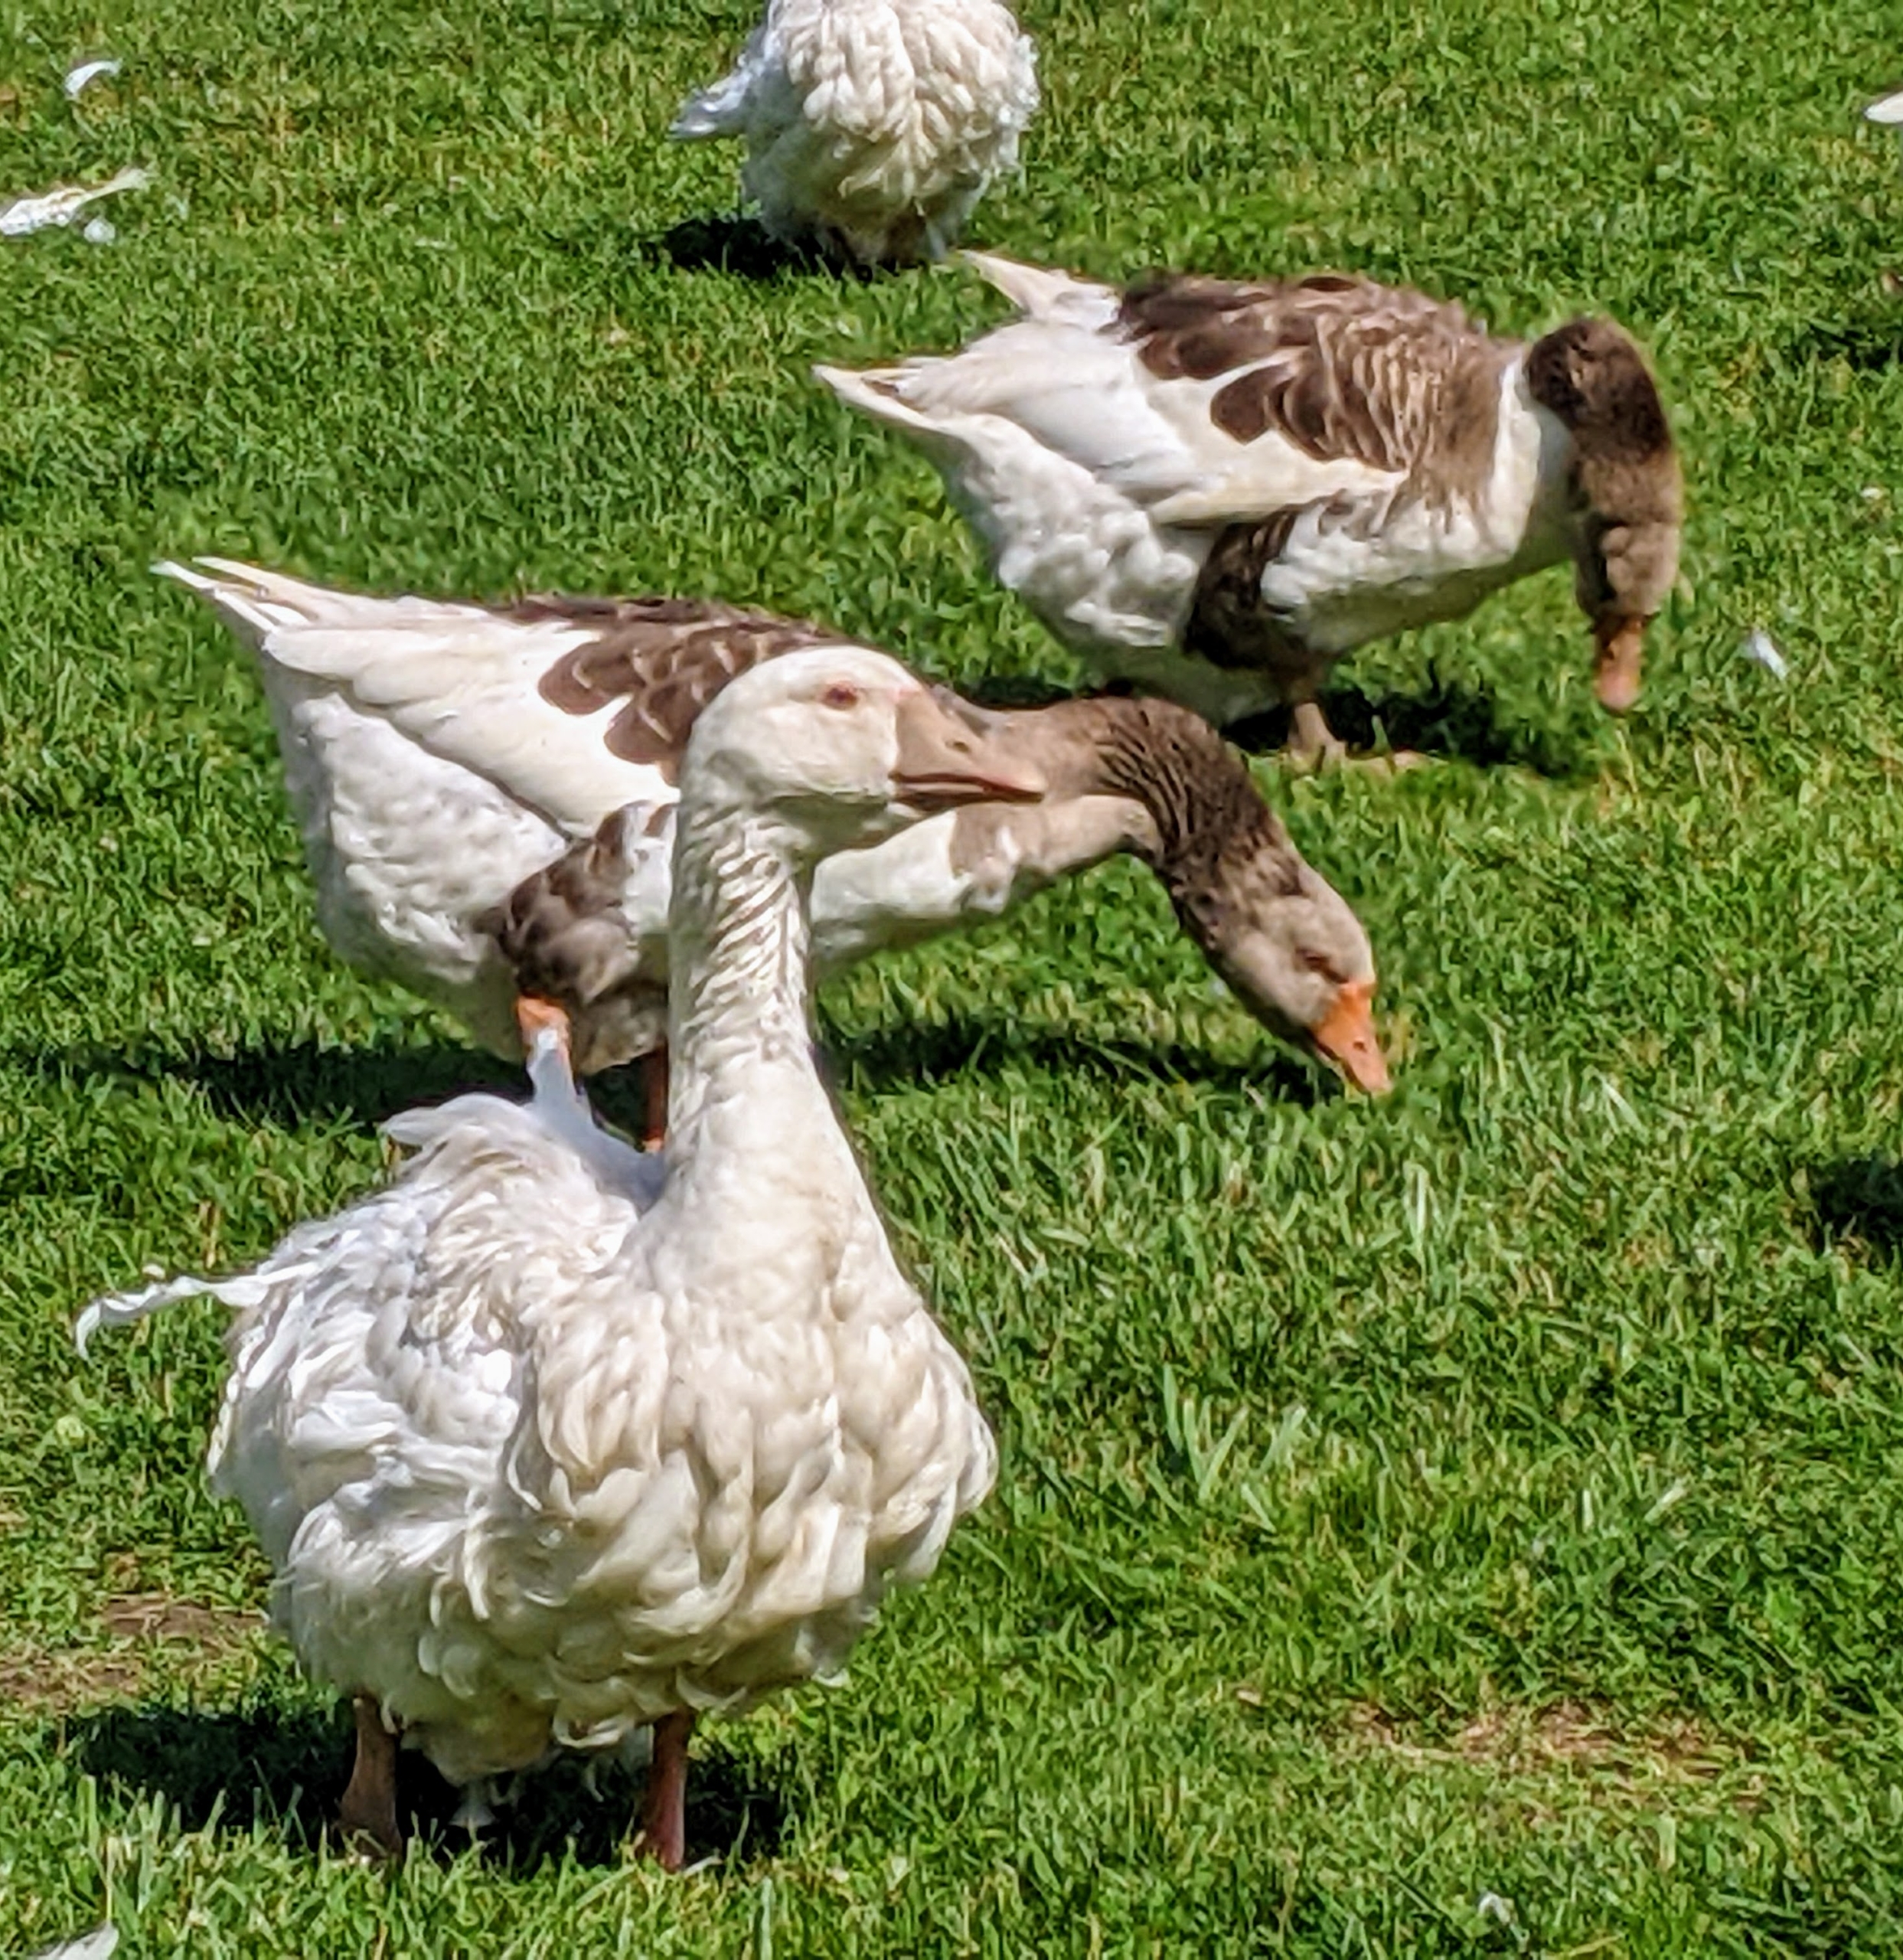
Currently, I have 18 beautiful geese - Sebastopol geese, Toulouse geese, African geese, Chinese geese, and of course my Pomeranian guard geese. A few months ago, I moved them all into their own enclosure right next to the peafowl and pigeons, where they could have more room to roam. The next step was to build them a proper goose coop. Unlike chickens, most domestic waterfowl tend to sleep on the ground; however, low, sturdy, and shady structures can provide good shade in summer, protection from strong winds in winter, and a safe place to nest and lay eggs.
Enjoy these photos.
This yard, adjacent to the fancy pigeons and peafowl, was not being used, so I moved all my geese to this enclosure. It is located right outside my stable, where they can be watched closely during the day. I am very happy that all my geese get along so well – most of the time, they travel around the yard together.
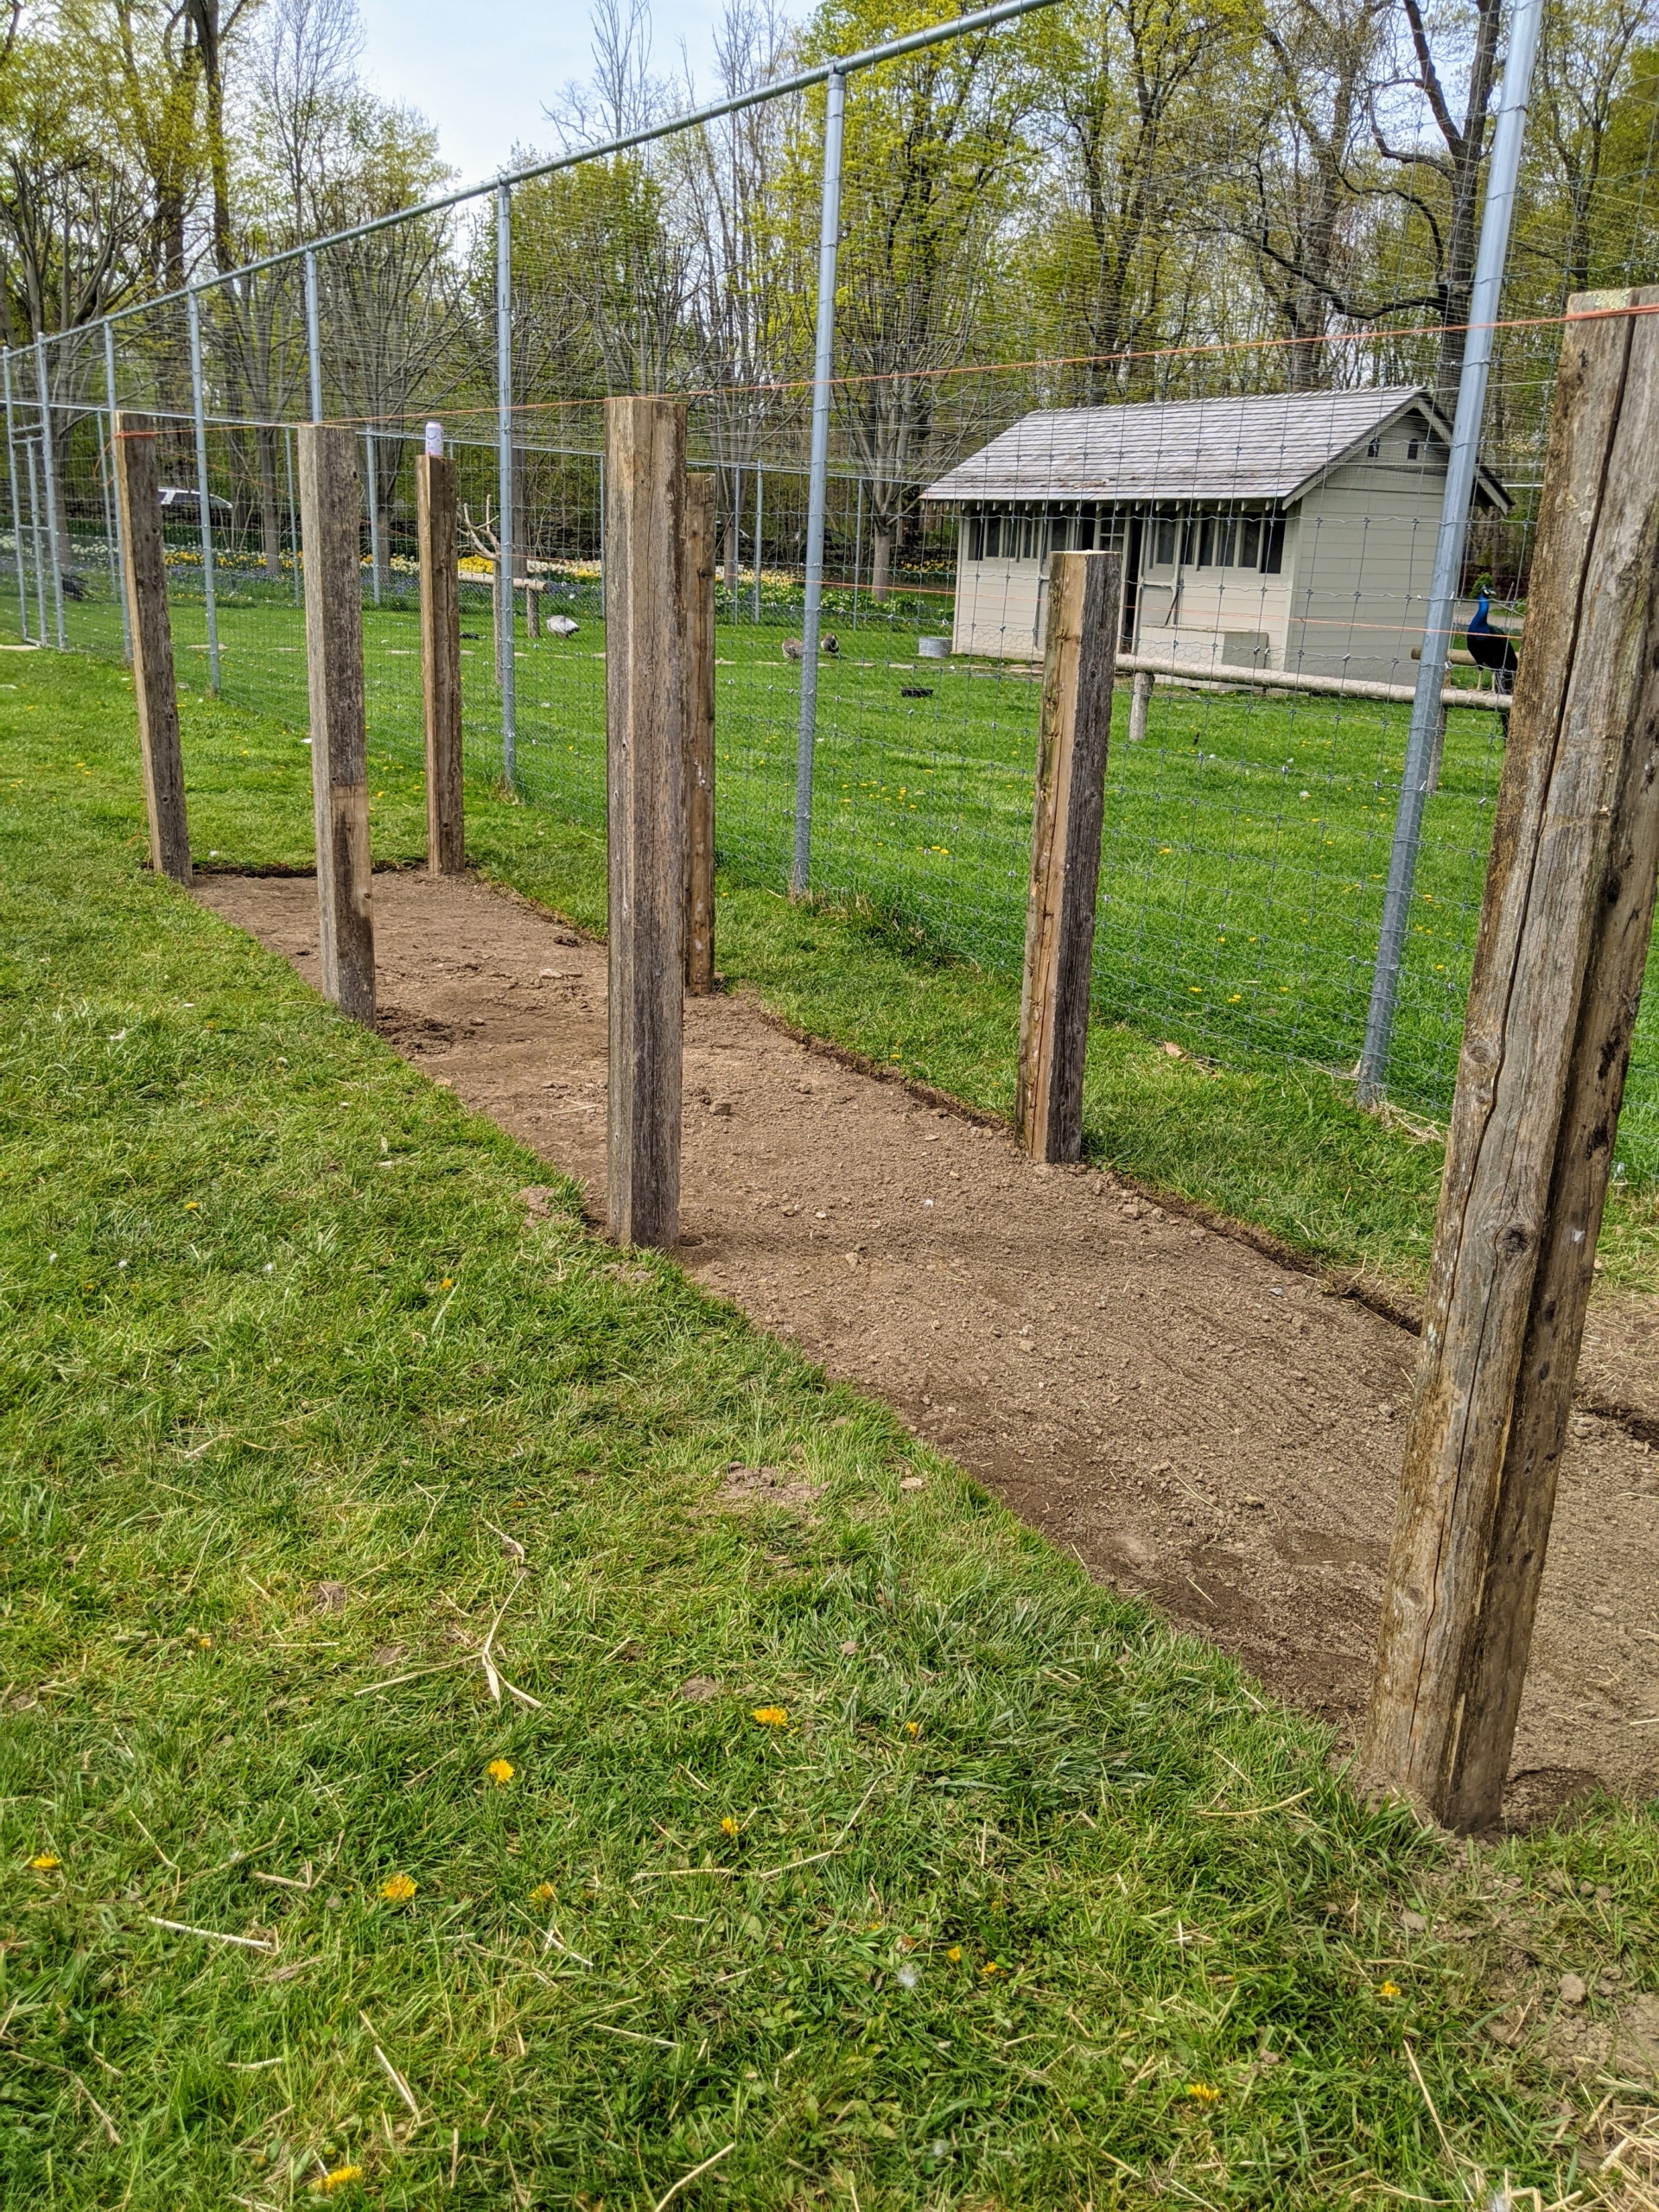
I have always had a separate hutch for my geese, but since the gaggle is growing, I decided it was necessary to build them a larger one. I instructed Pete and Fernando to create a coop that was about 20-feet long by about five feet wide. Here, the sod from the area was cut and removed from the measured space.
Once the ground is cleared and level, Pete and Fernando place eight strong posts equally spaced along both sides of the coop located in one corner of the yard.
The floor of the coop is then framed and filled with gravel.
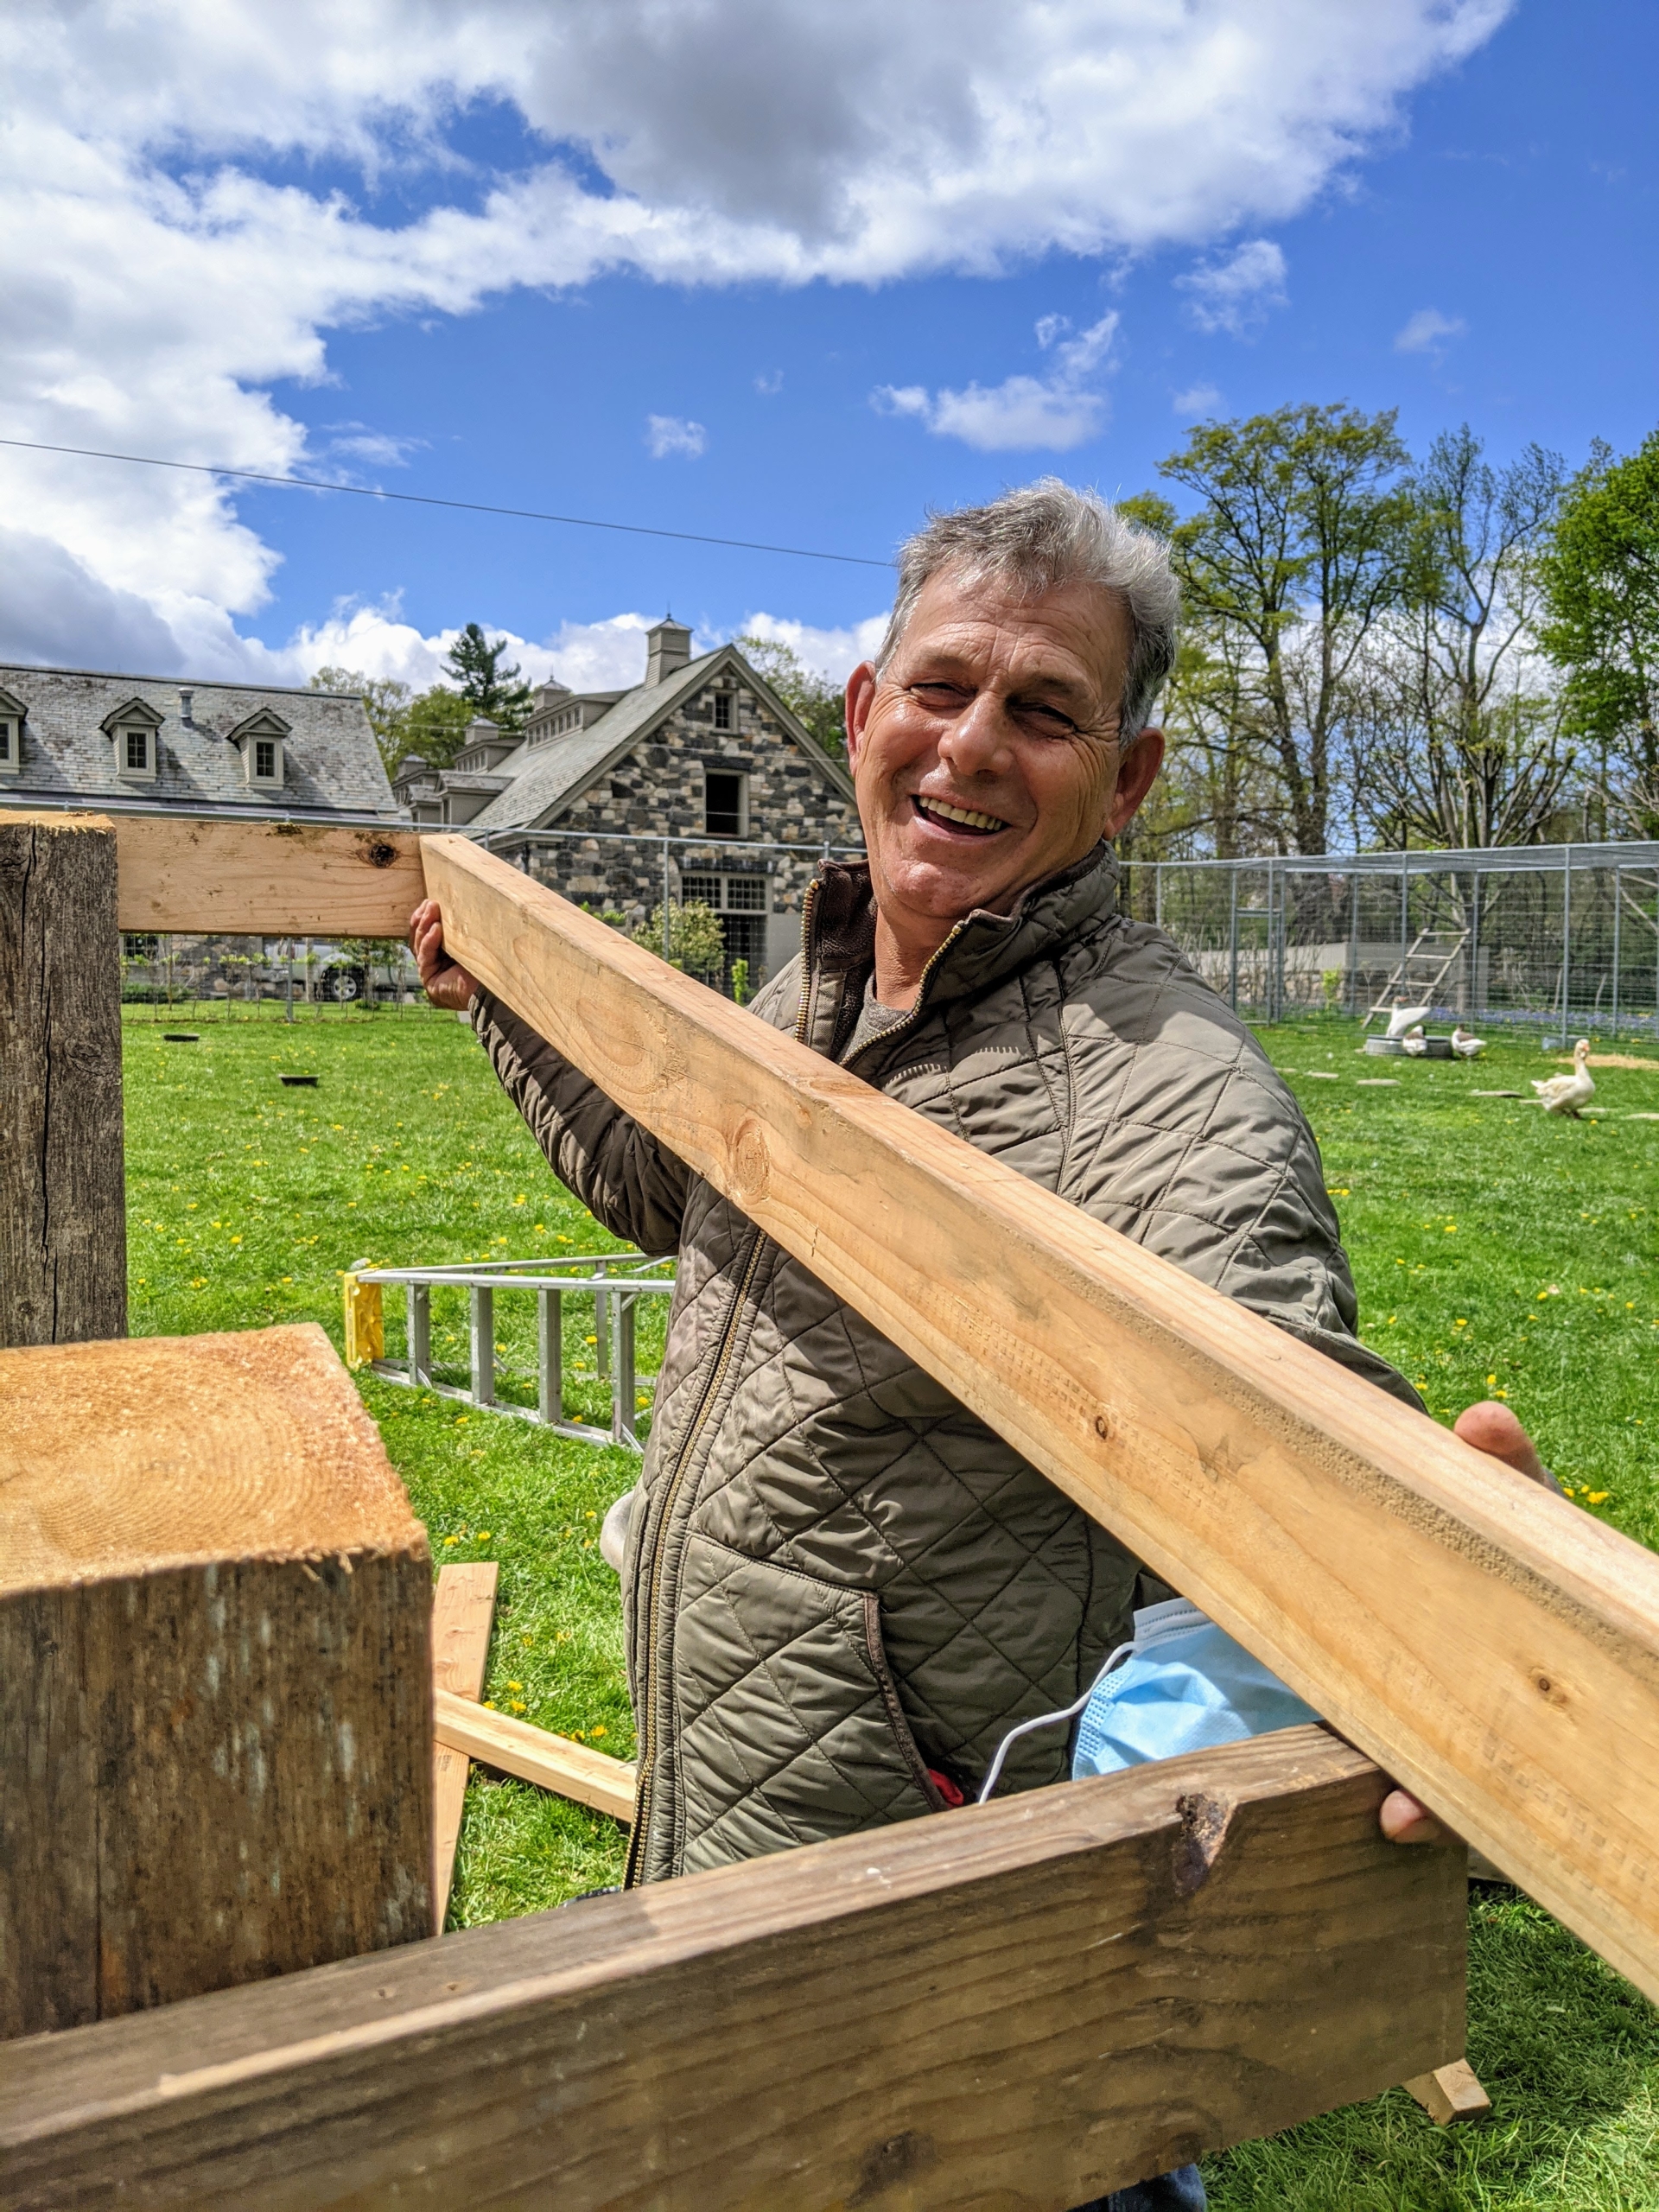
Fernando holds a wooden beam as Pete positions and secures it to the existing frame for the roof.
Everything is measured twice – remember the adage, “measure twice, cut once.”
The ends of the rafters are all cut equally. A rafter is one of a series of sloped structural beams that extend from the ridge or hip in a downslope to support the roof shingles, roof deck, and its associated loads.
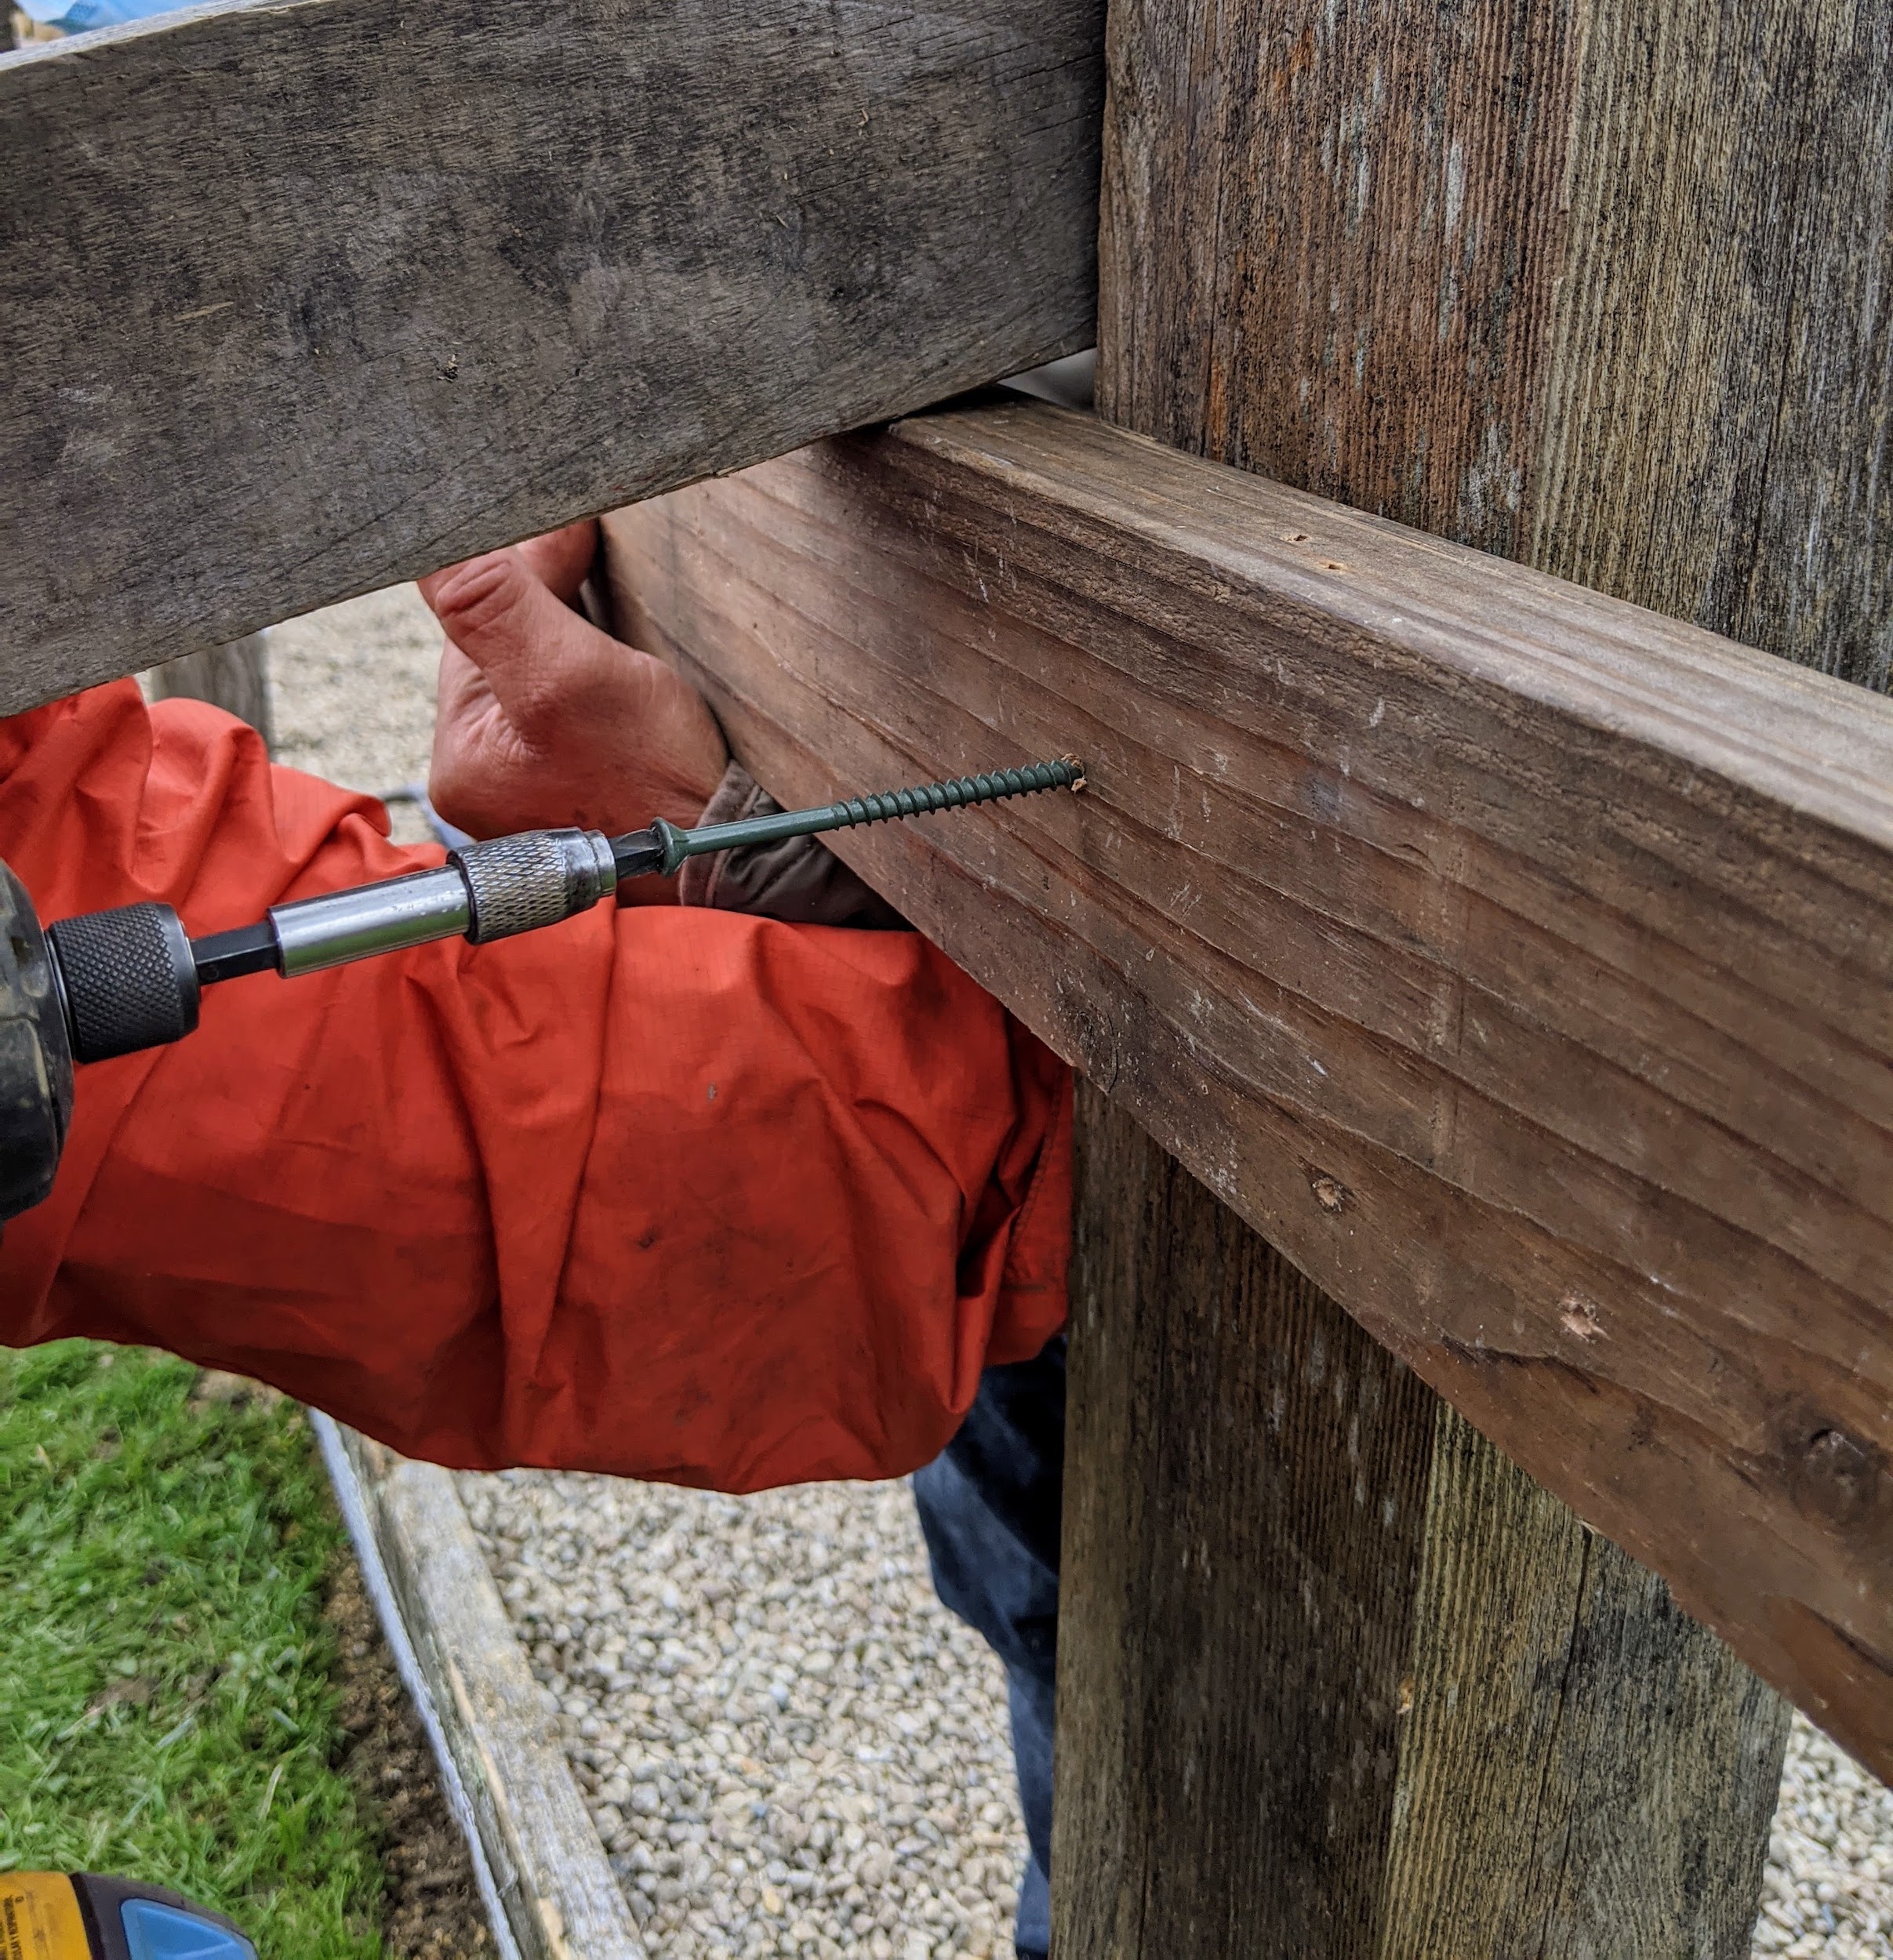
The frame is assembled using two and a half inch screws. Pete and Fernando are excellent carpenters and do many of the smaller building projects around the farm. Fernando holds the wood in place while Pete screws pieces together.
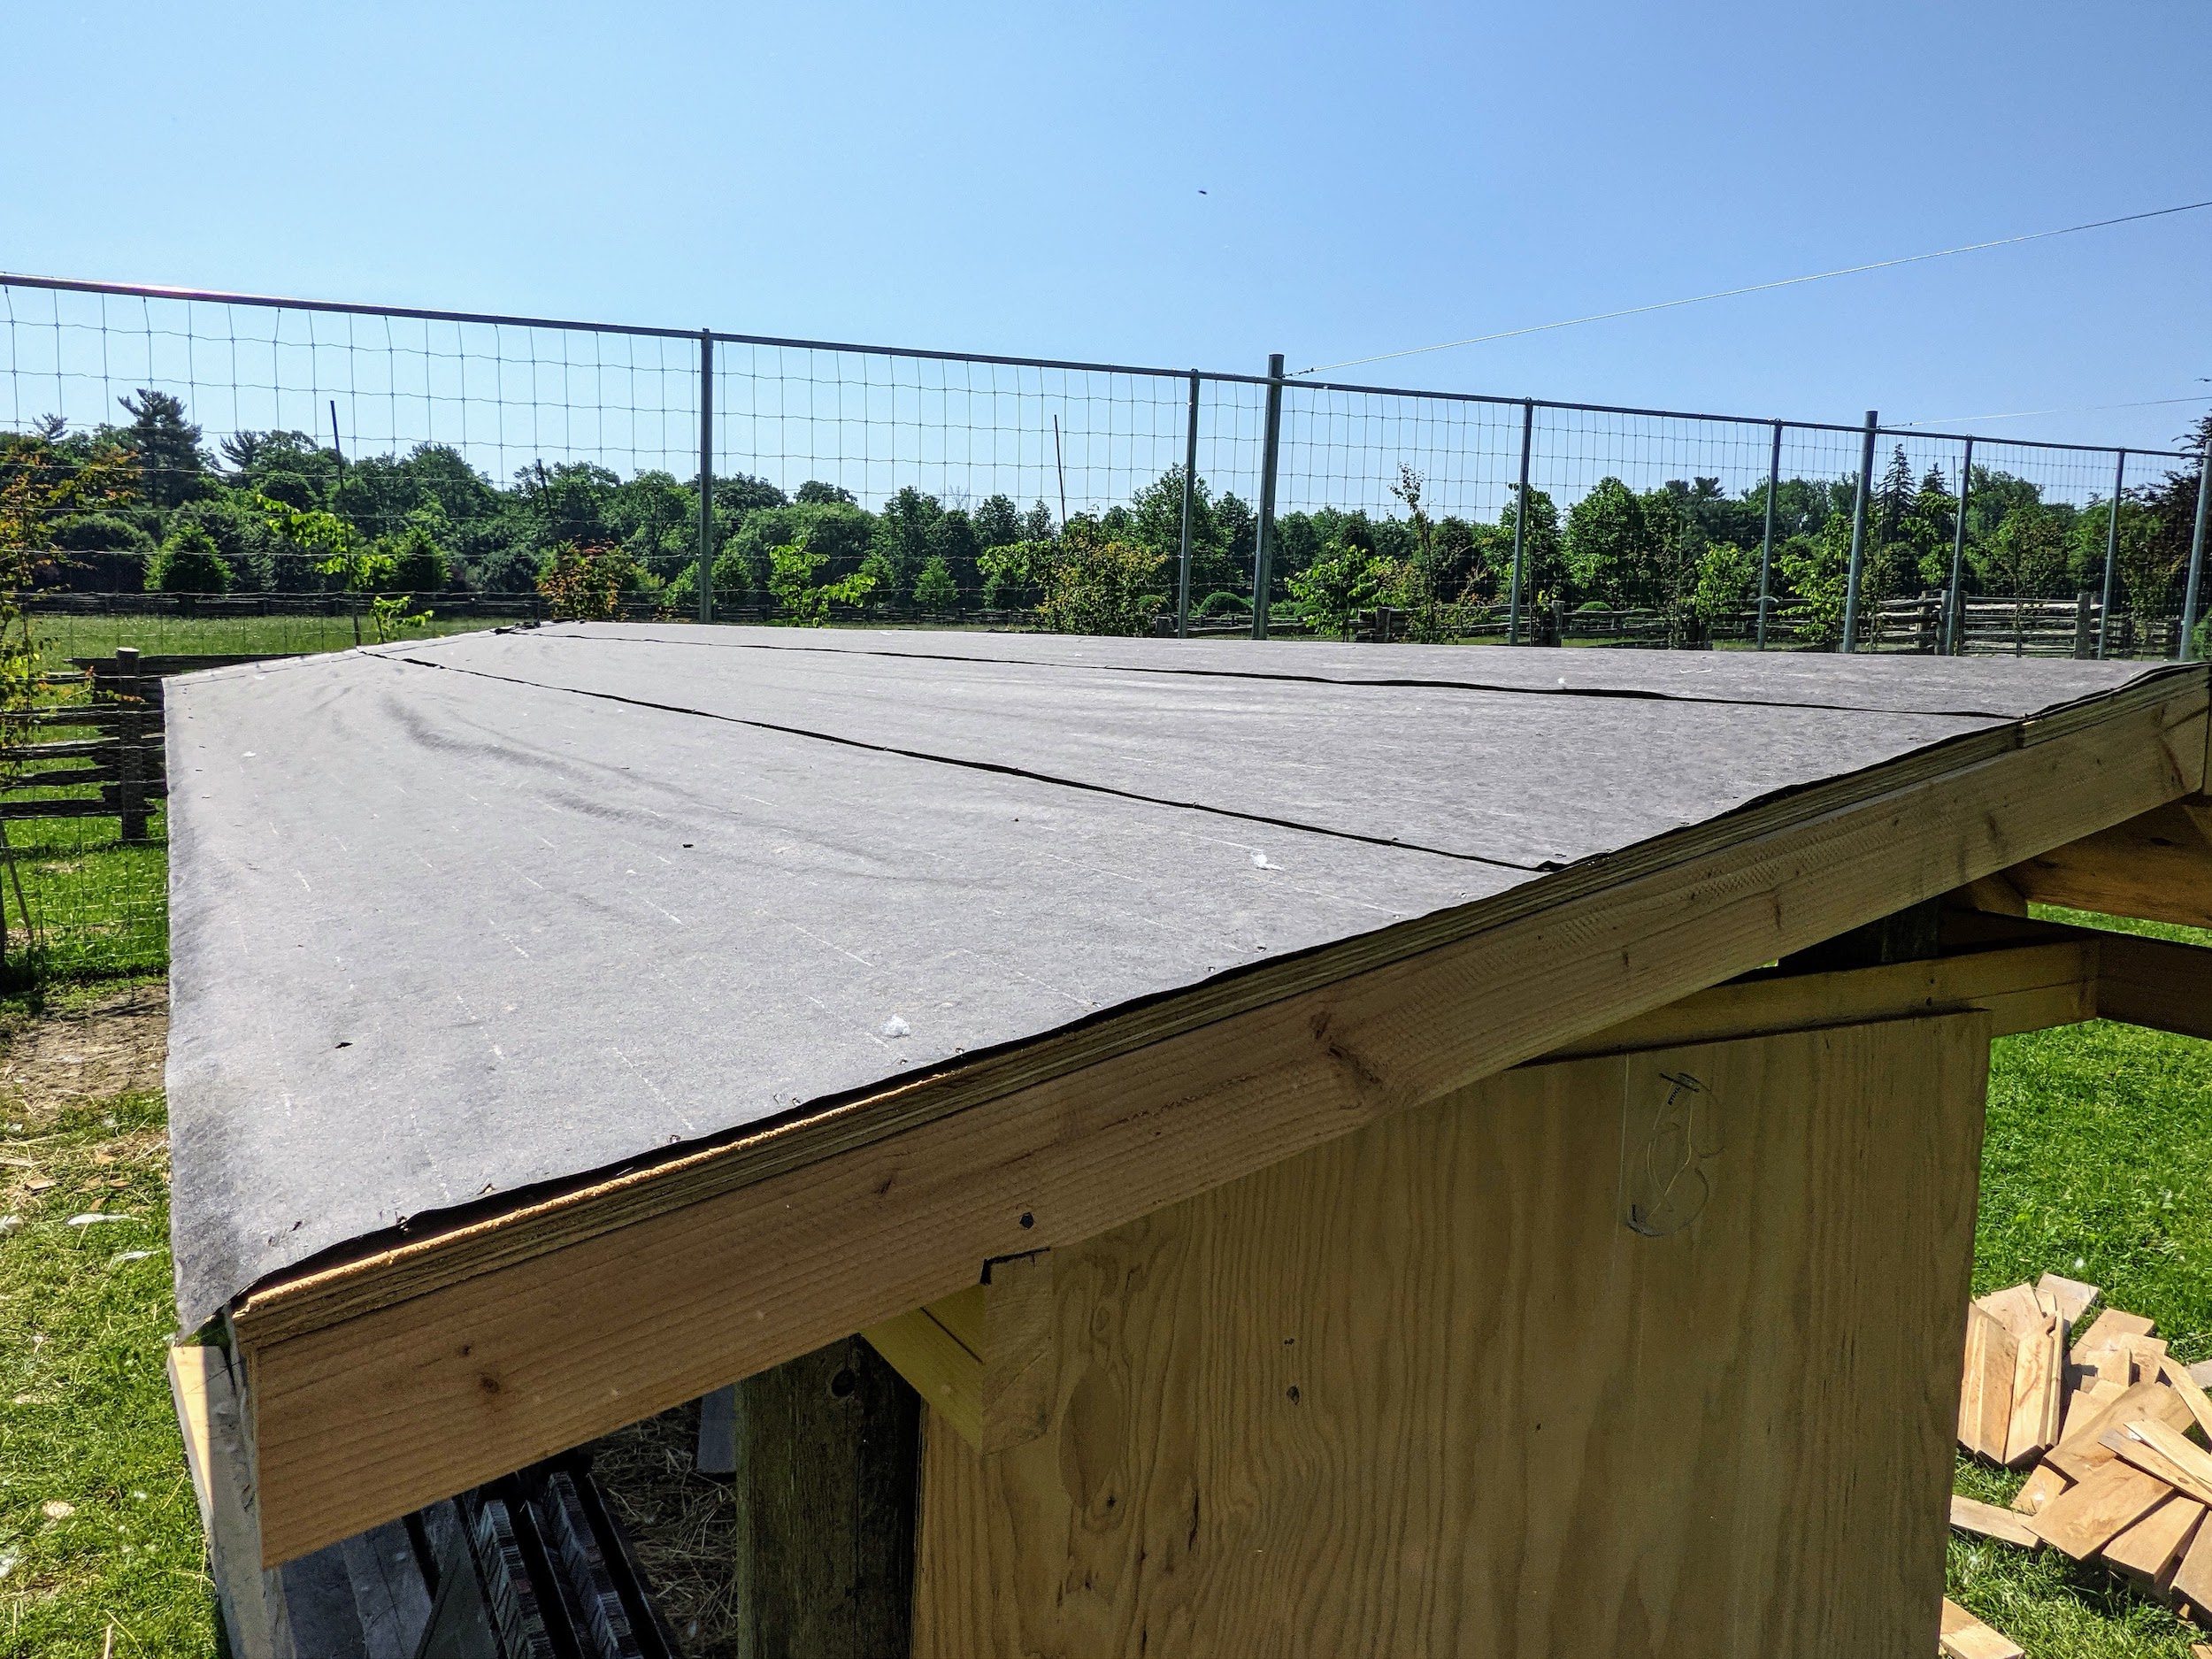
Next, the two create the roof using good quality plywood boards on top of the frame. Then, the roof is covered with roofing felt underlayment – a layer of protection installed between the roof deck and the roofing shingles. It provides shingle ventilation as well as a backup waterproof membrane in case of leakage.
Pete prepares the shingles for the roof. He places a few down on the underlayment, temporarily holds them in place with the nails, and makes sure these first few are in perfect order. These will provide the base formation for all the other shingles.
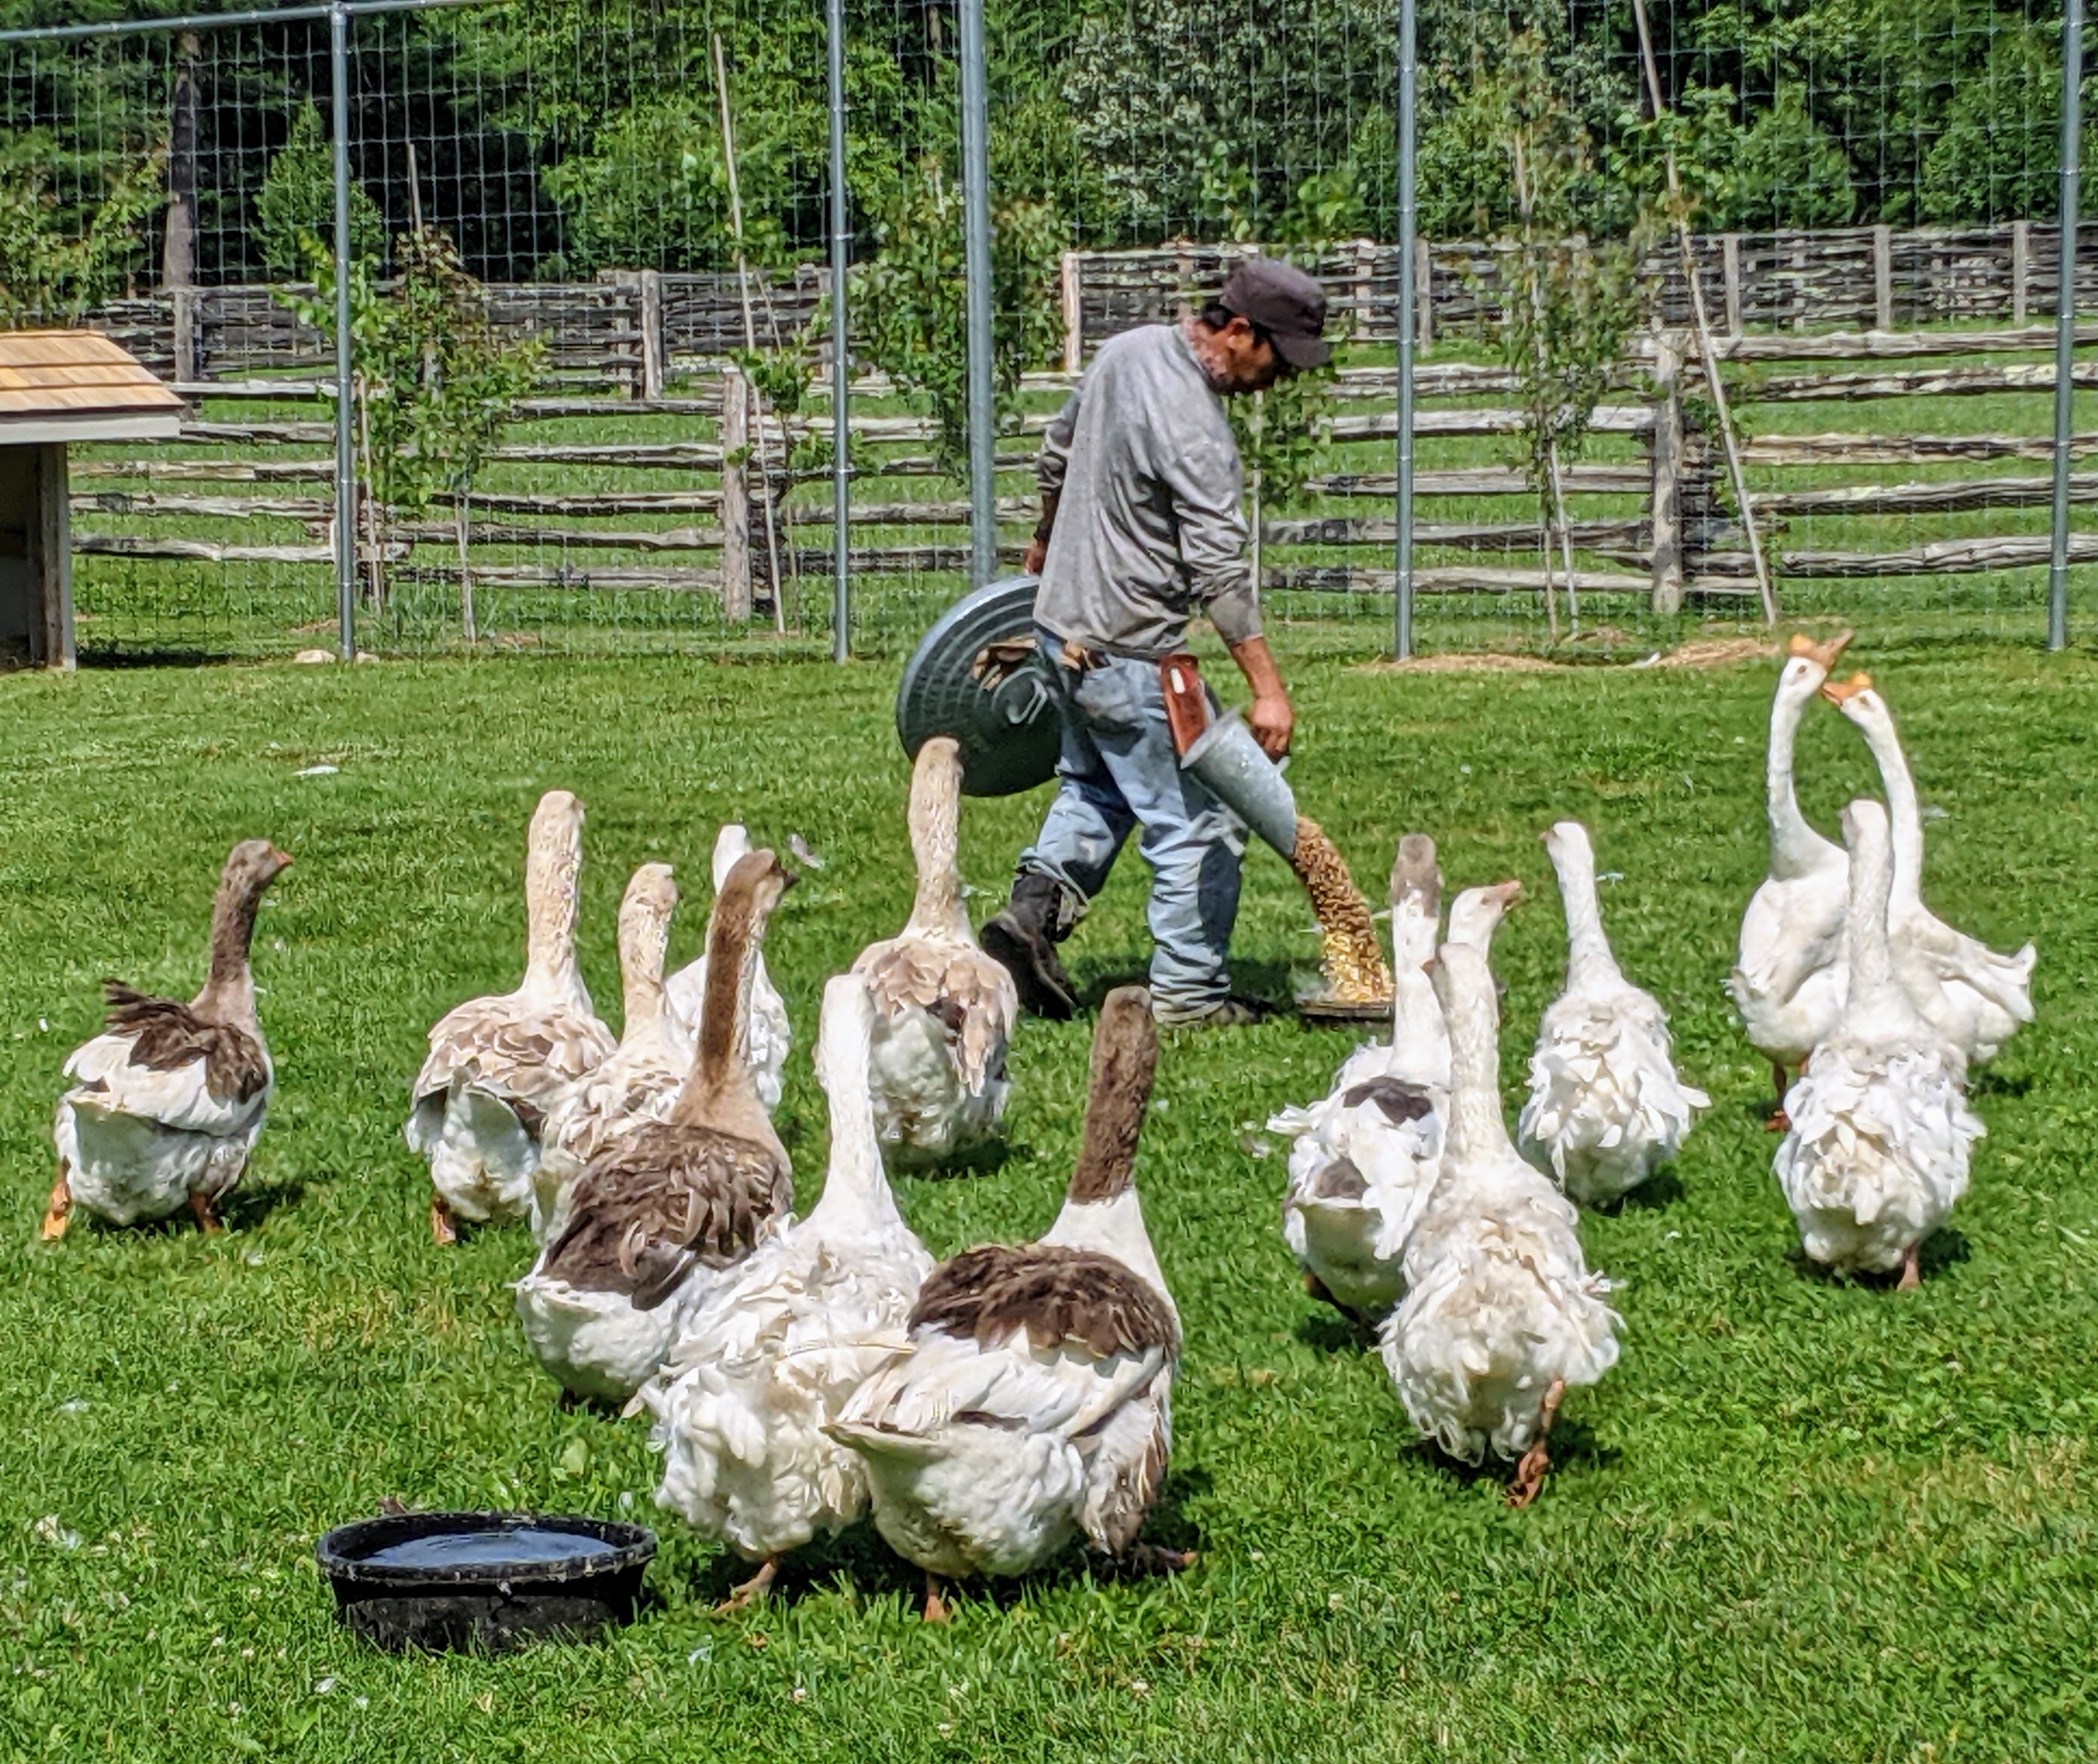
In another part of the yard is Dawa, who cares for the geese, chickens, pigeons, and peafowl. All the birds flock to him whenever he arrives, especially at feeding time. Geese are grazing birds which means they eat a variety of different items. They eat roots, shoots, stems, seeds, and leaves of grass and grain, bulbs, and berries. They also eat small insects. I provide them with fresh greens from the gardens every day and also fortify their diet with a mix specifically made for waterfowl.
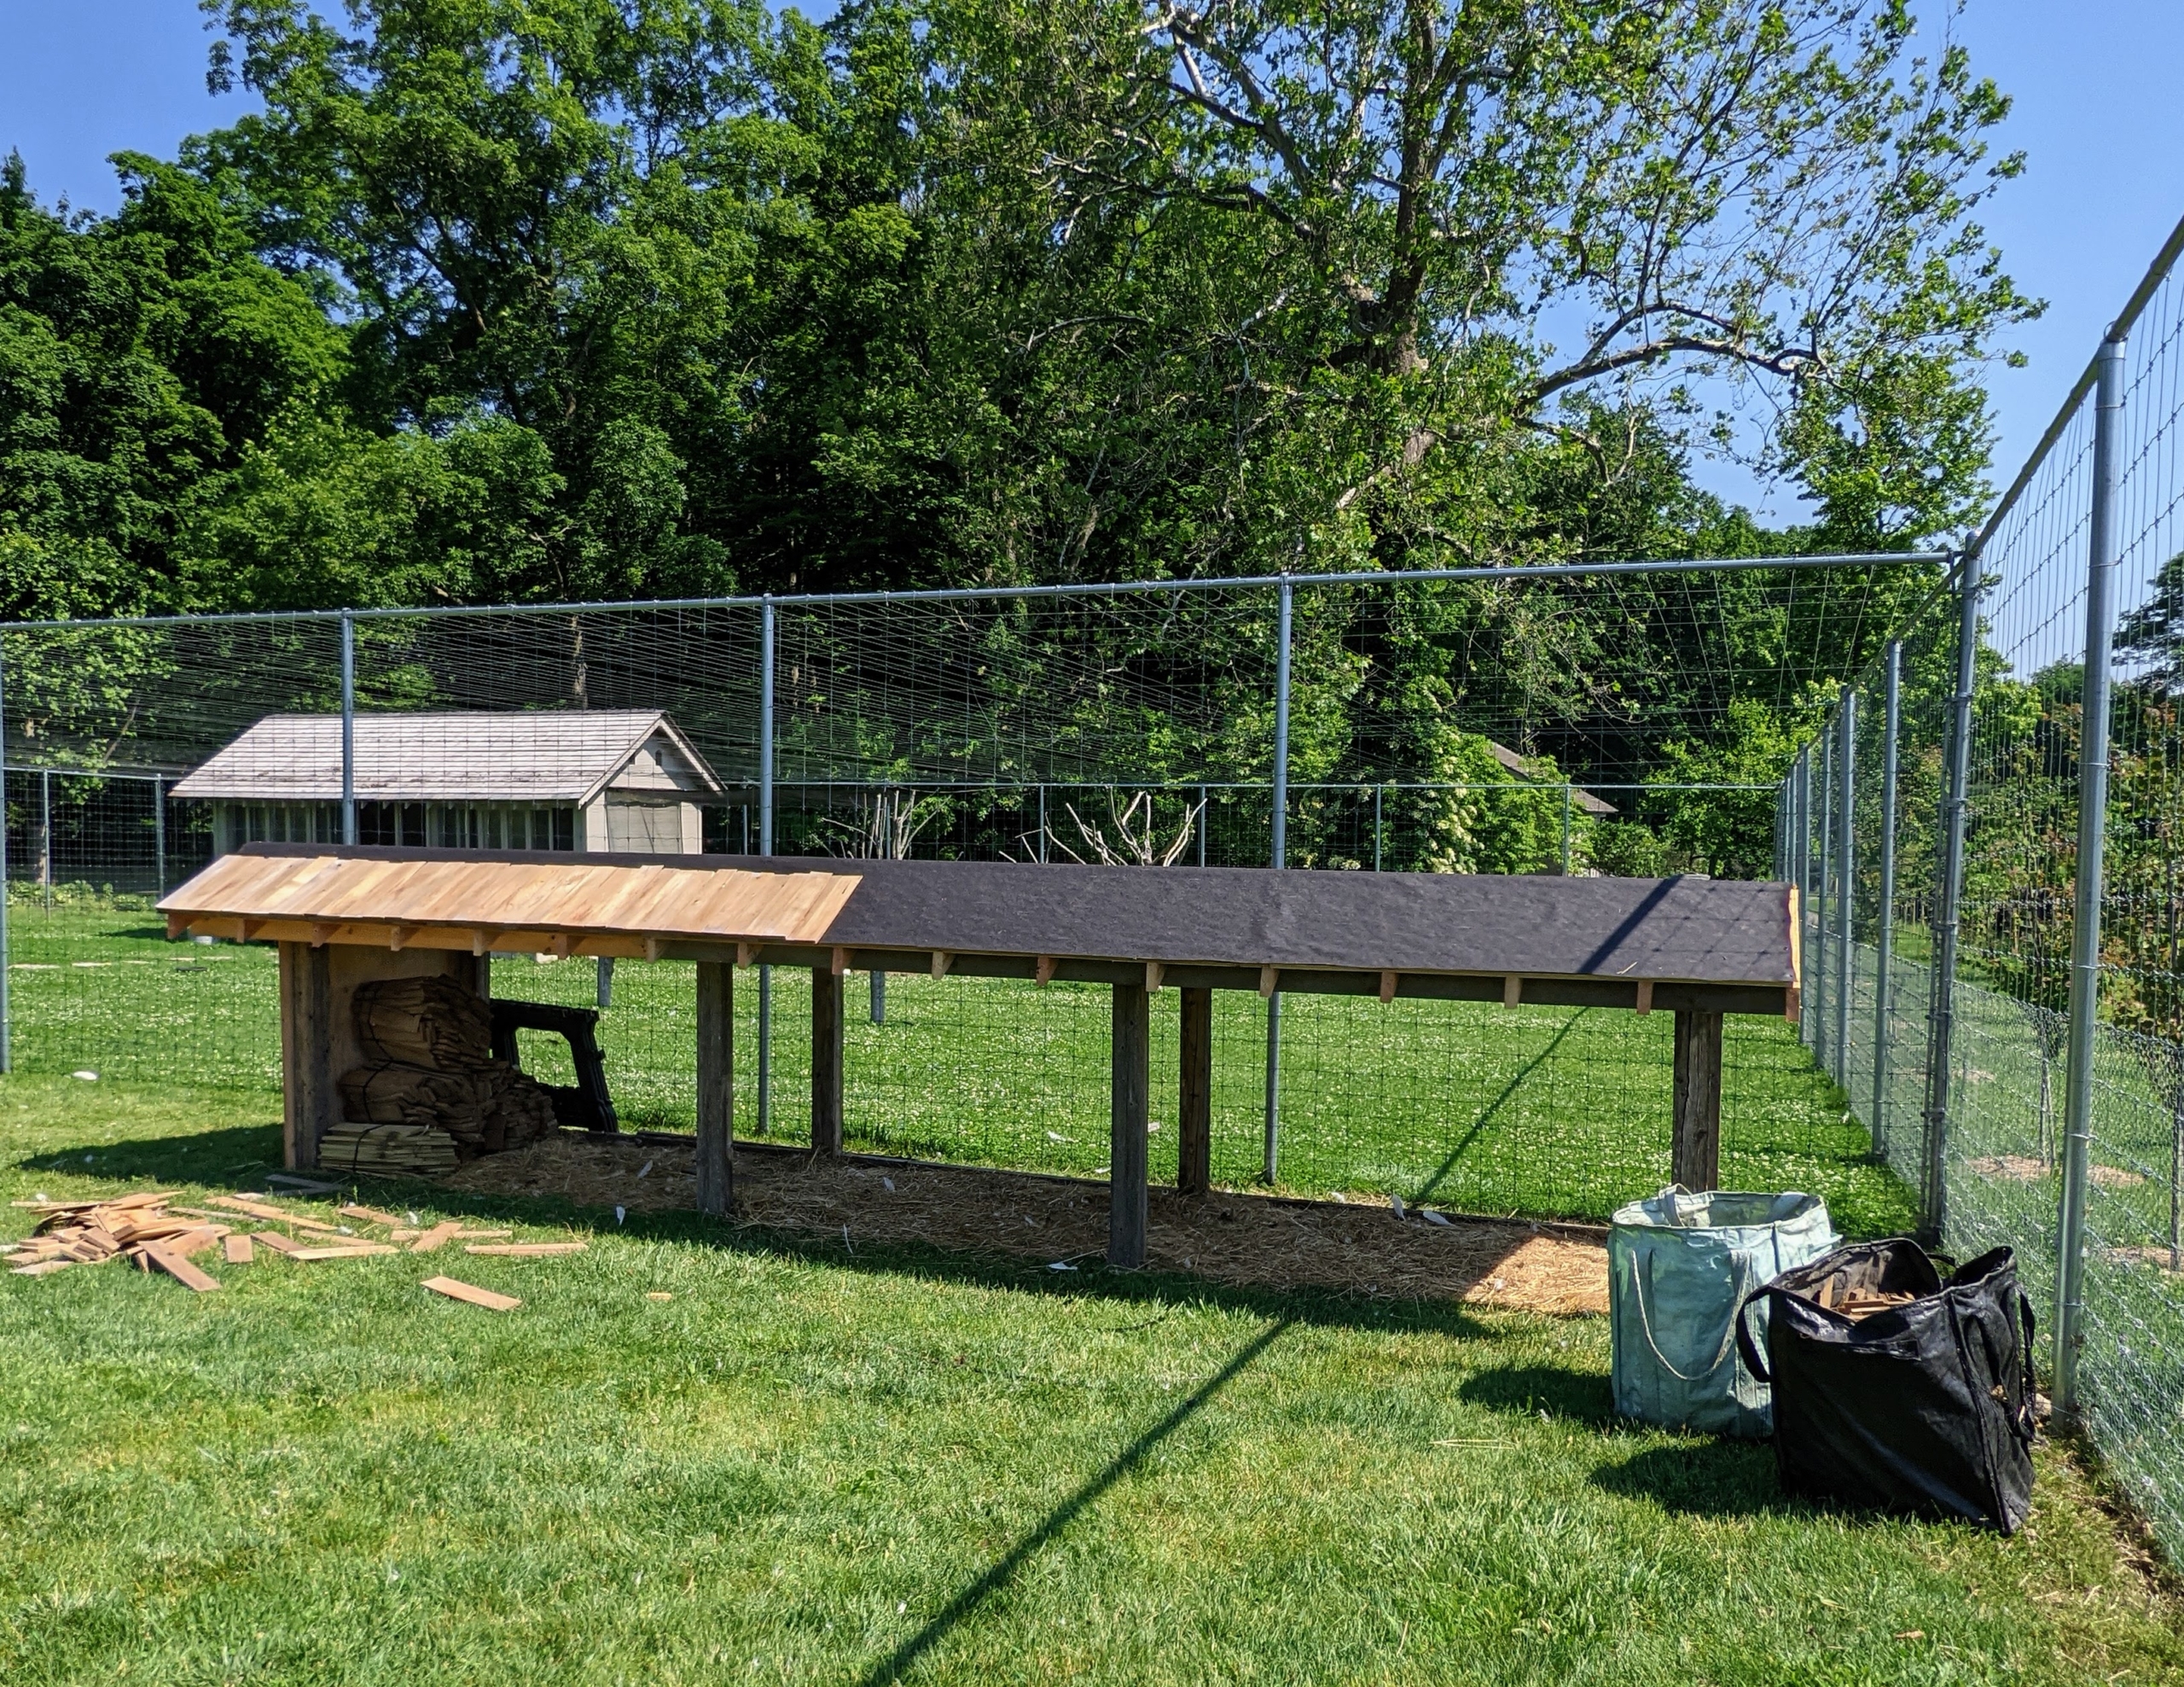
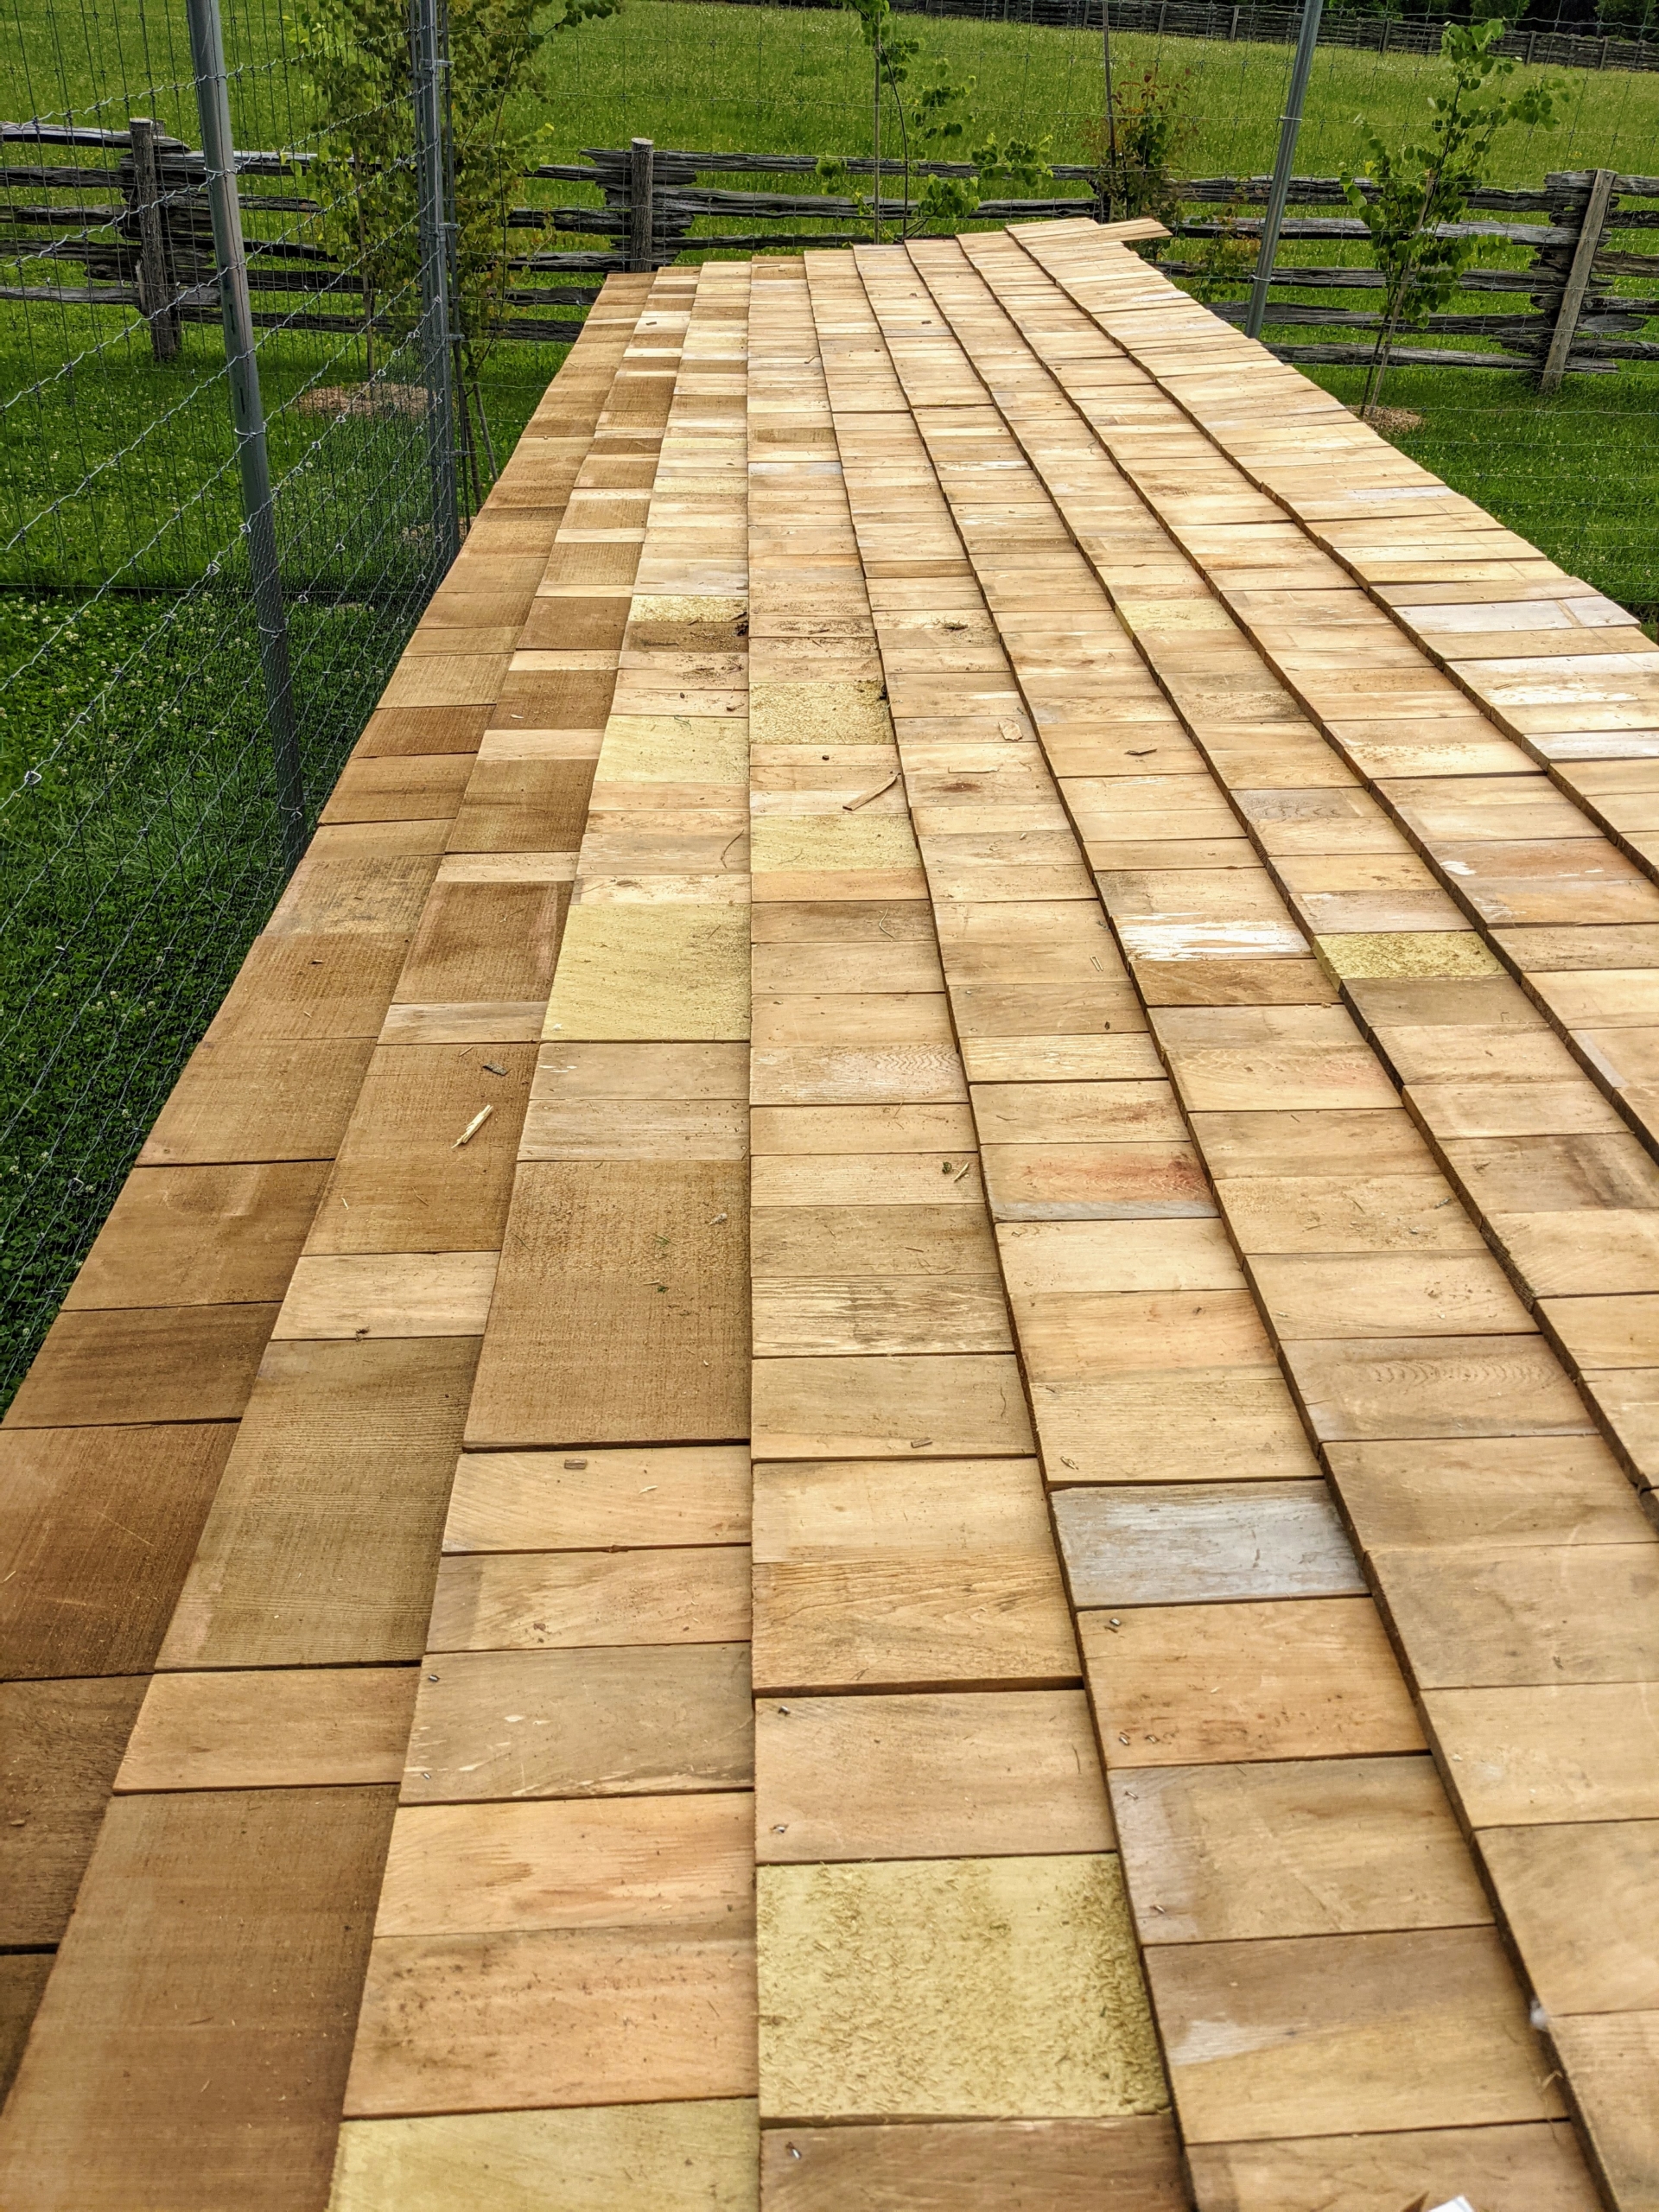
Here is a wide view of the shelter with some of the shingles secured on top. The shelter will not only keep the birds dry and free from drafts, but also provide shade and additional space for nesting.
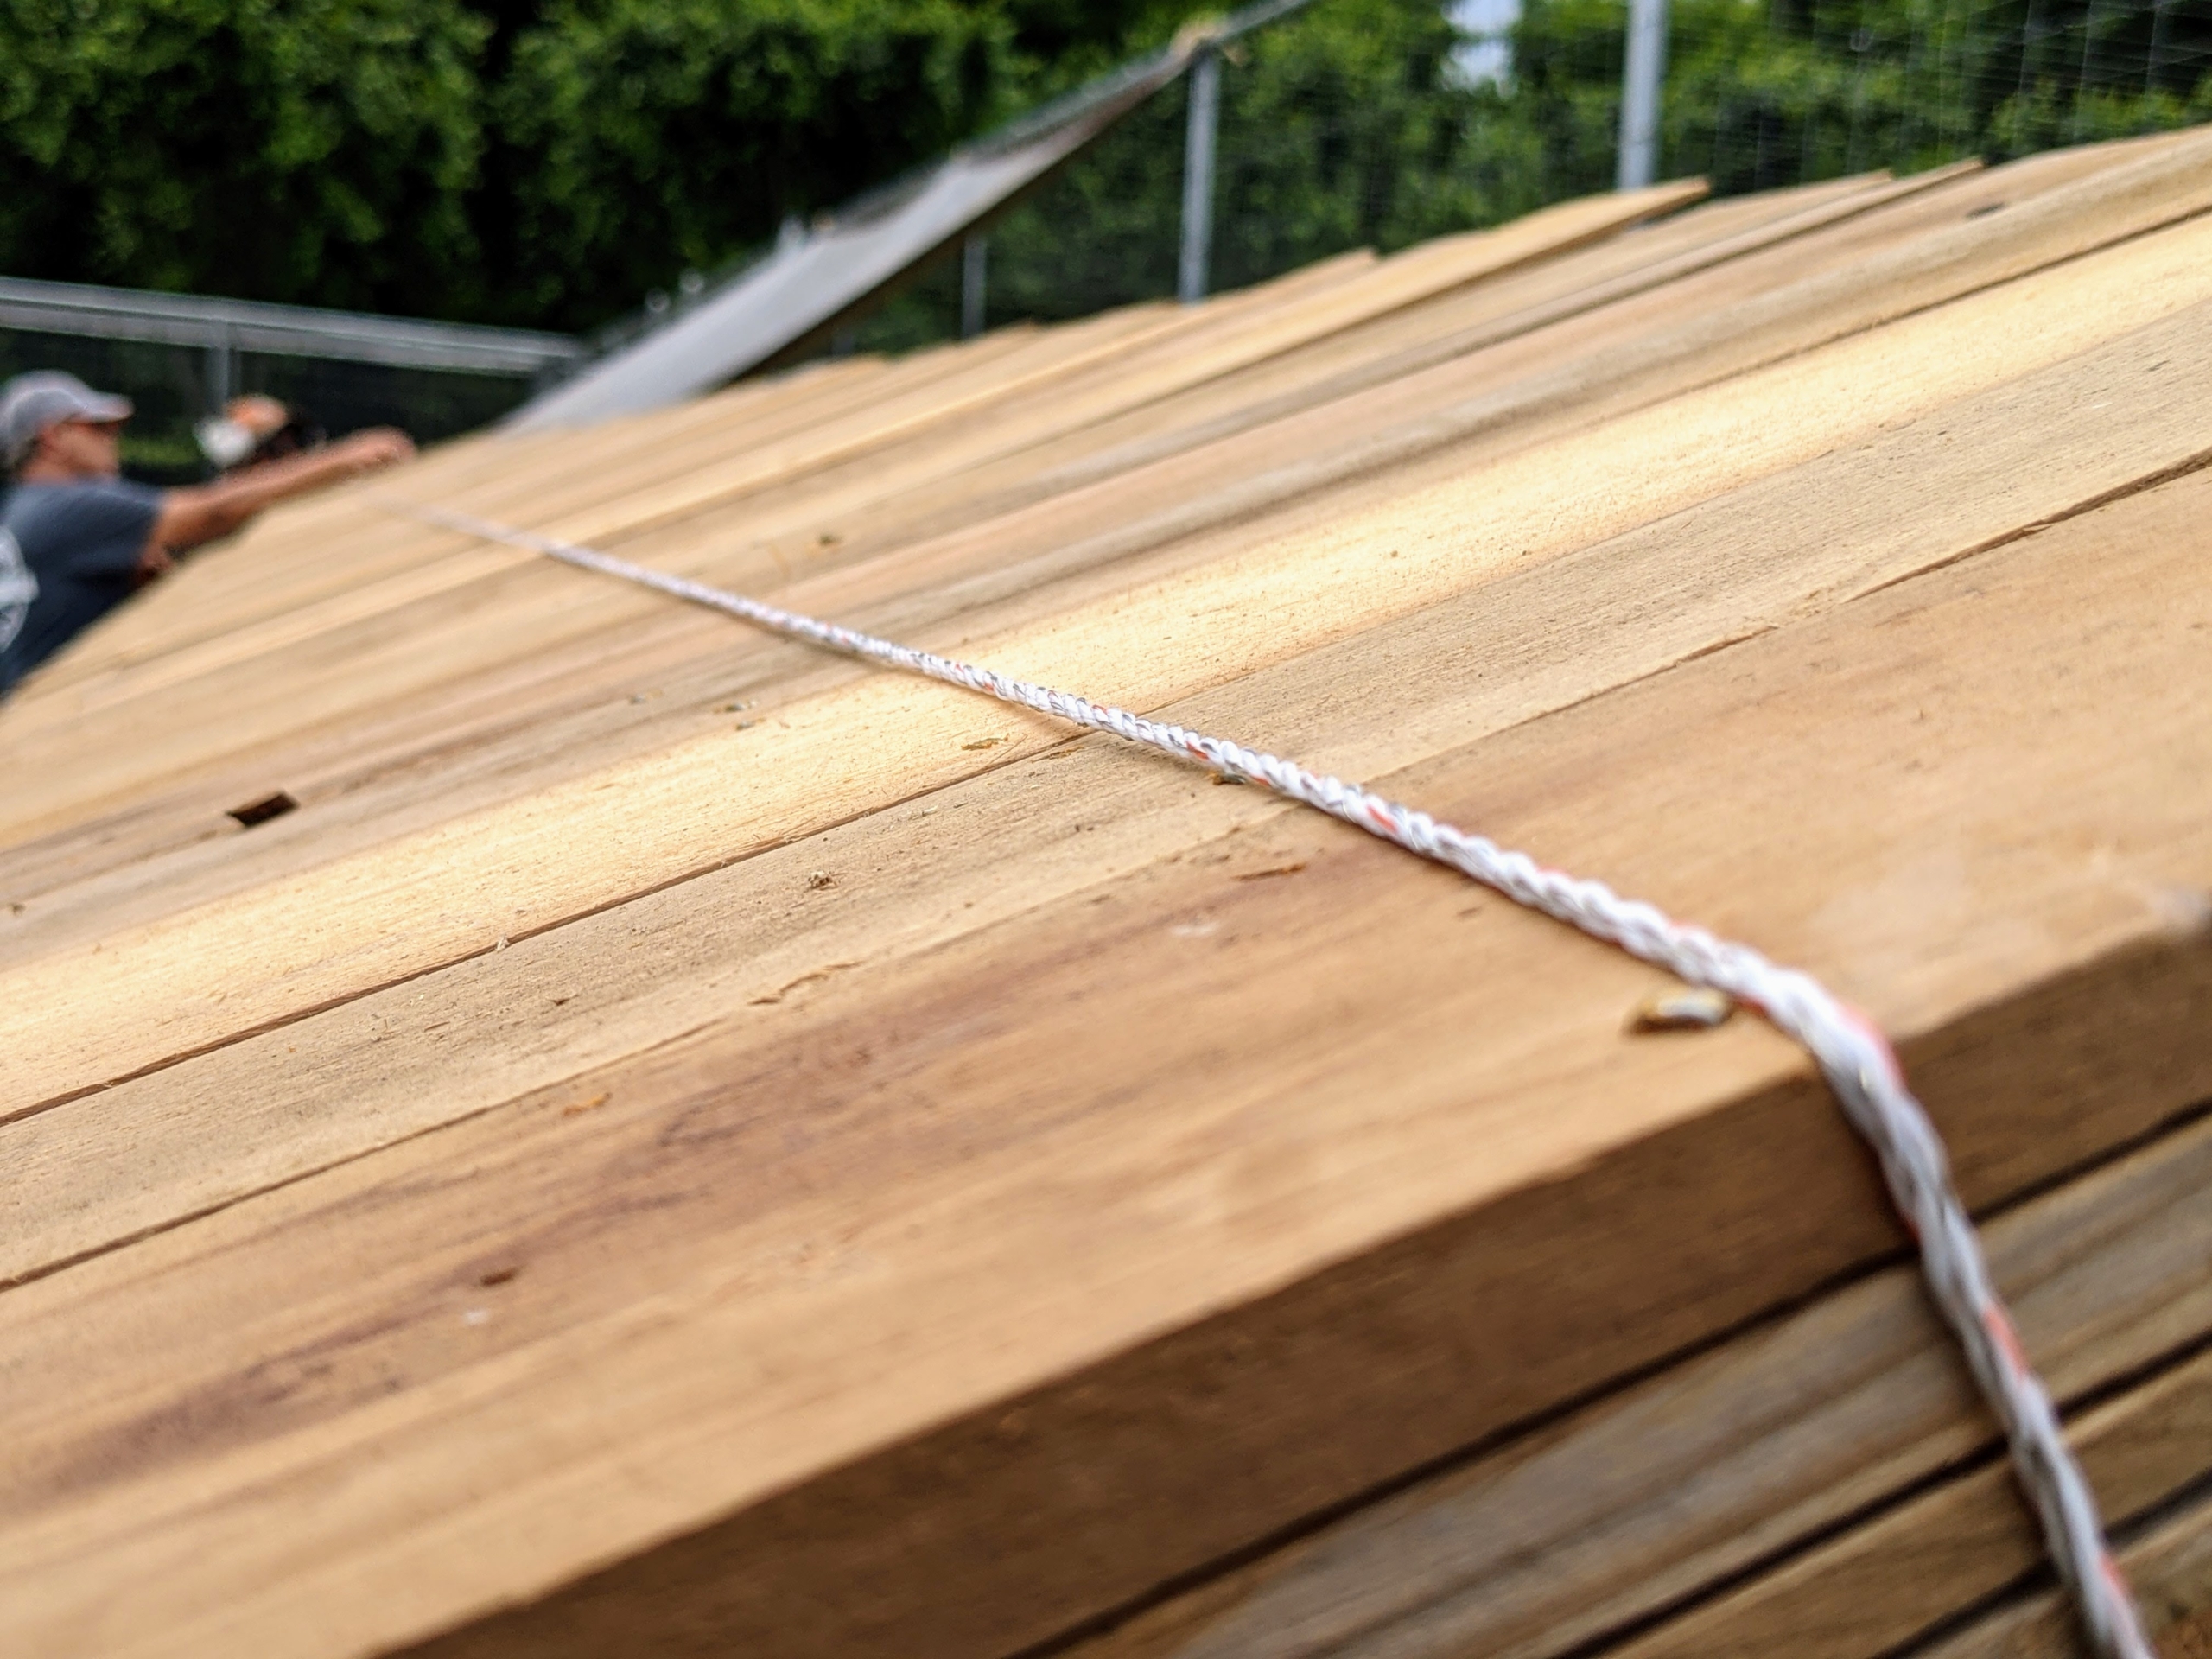
Pete lines the next row using twine. Pete makes a straight line across the entire roof, so the new shingles overlap the first row completely straight.
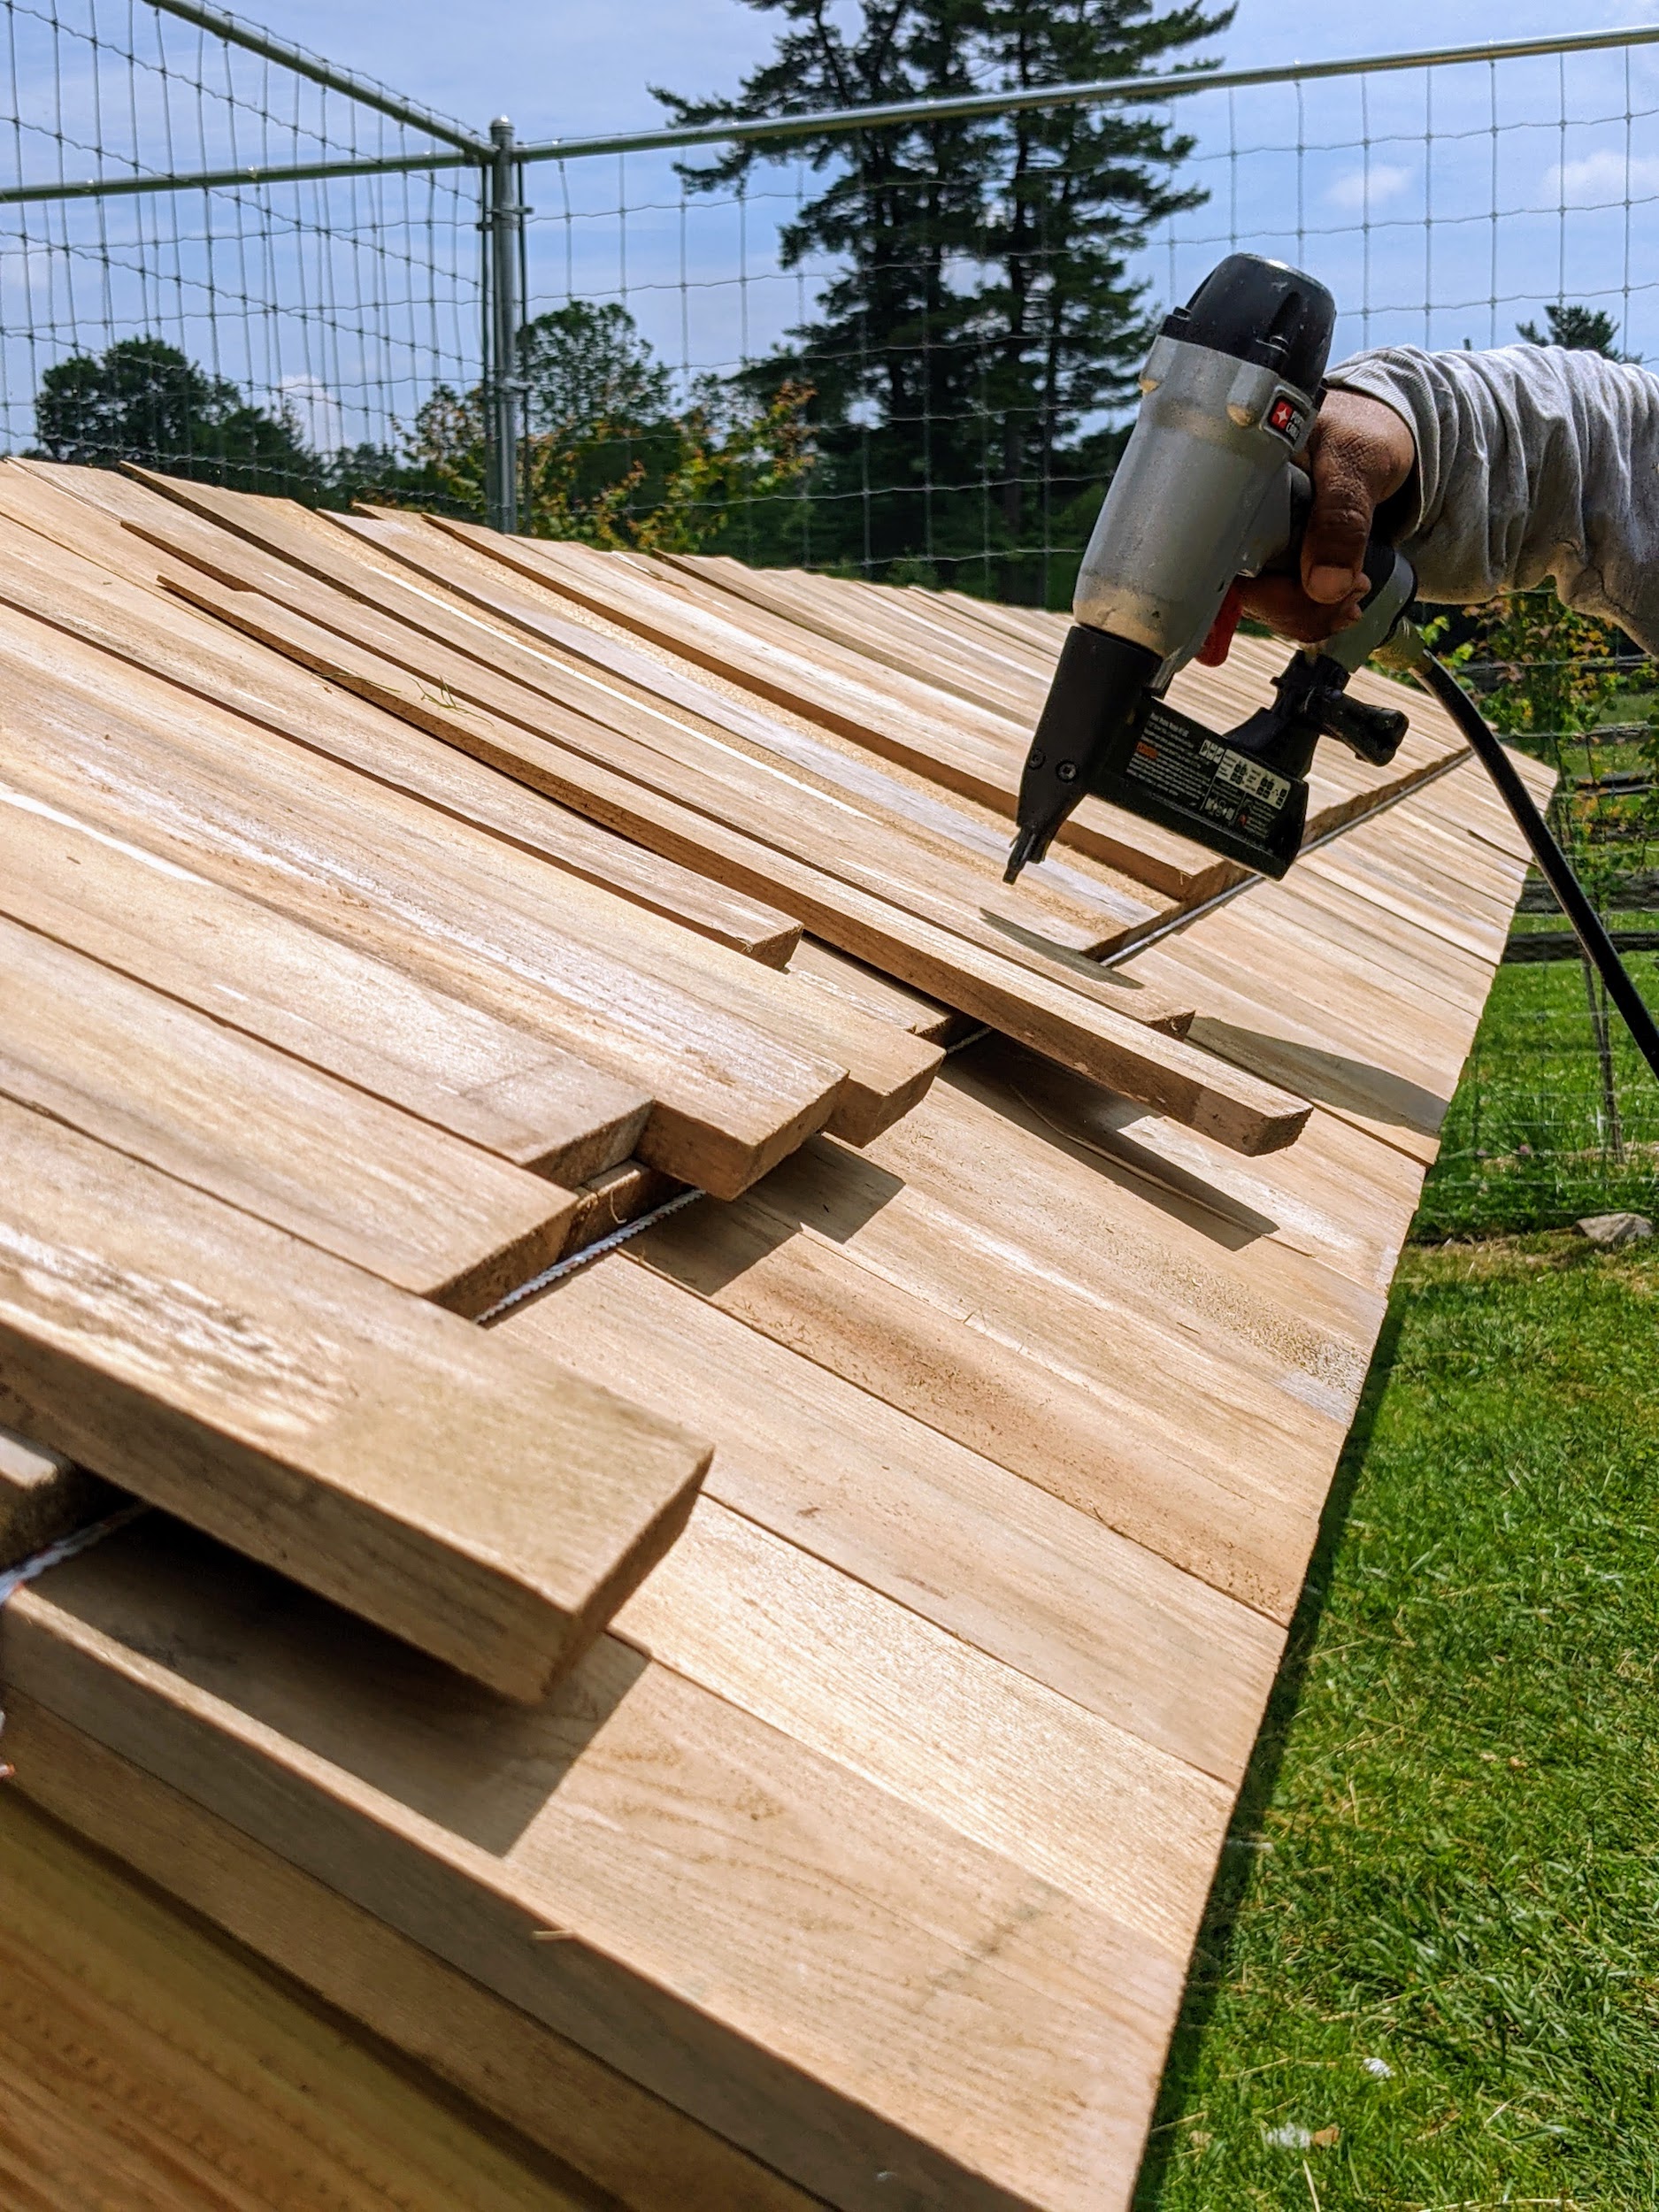
Next, Pete uses a pneumatic nailer to secure two nails into each shingle. The cedar shingles will darken to gray over time.
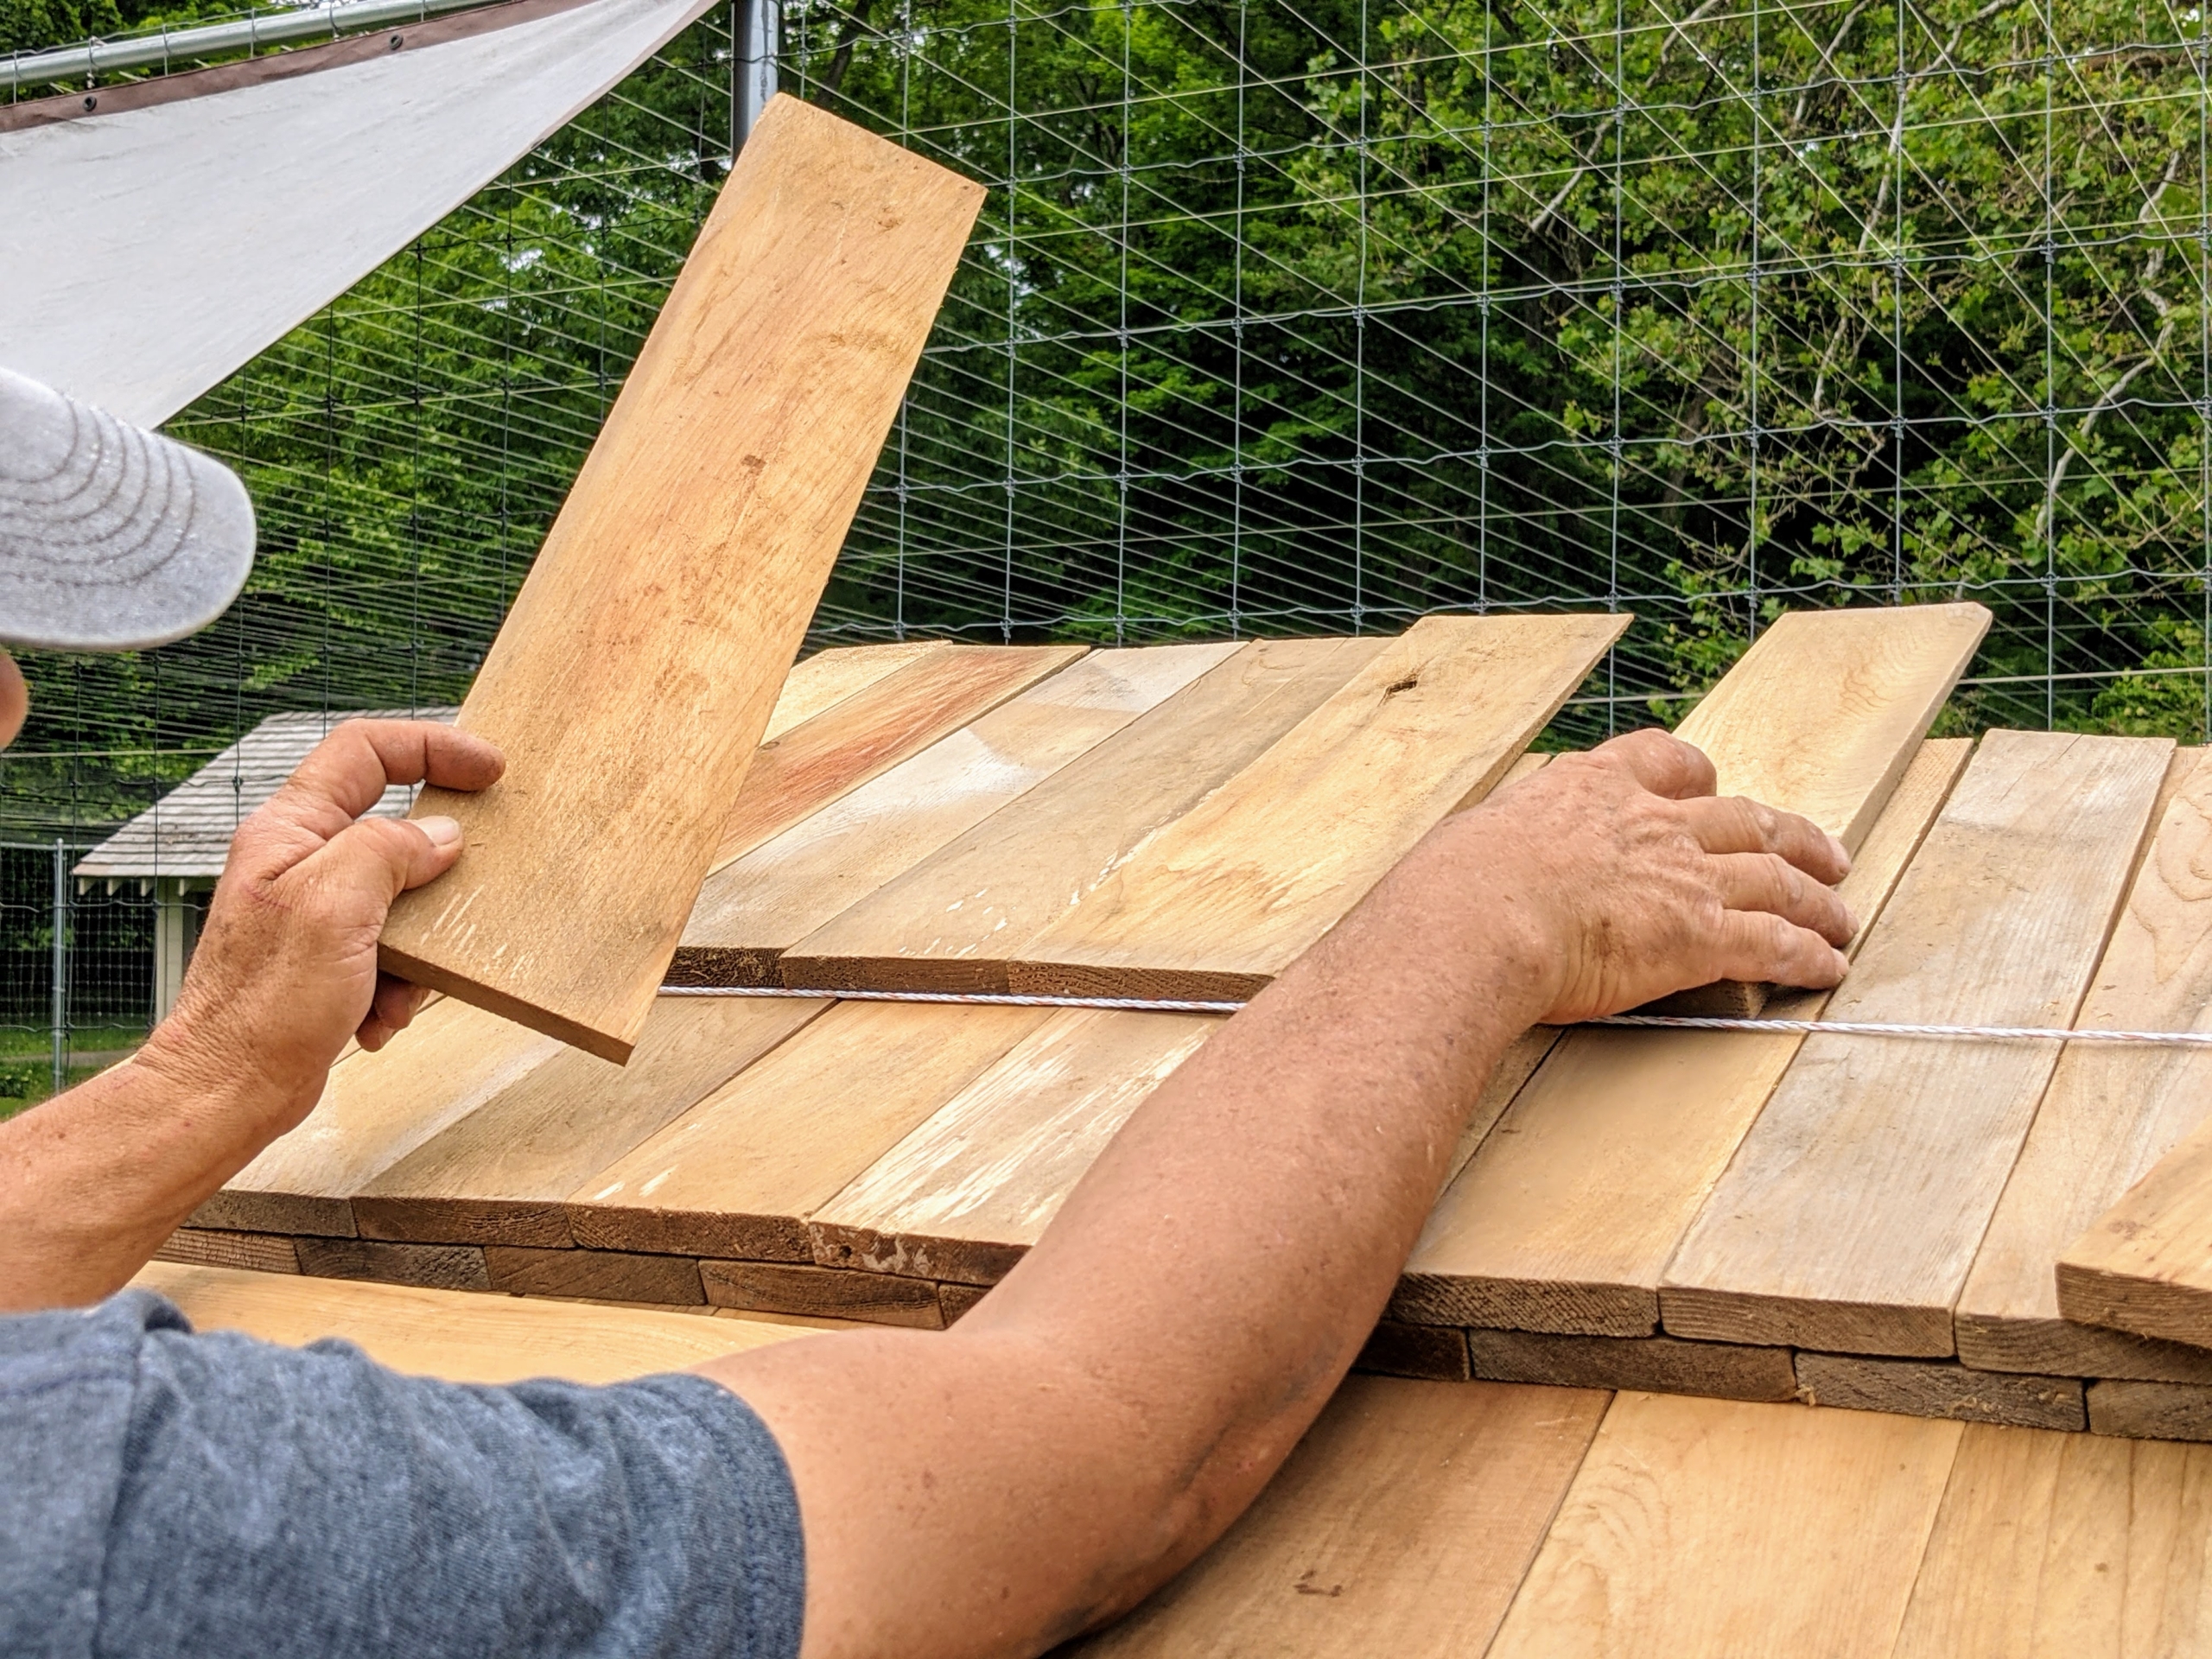
This part of the process takes longer since all the shingles are nailed individually, each overlapping the one above it. Fernando works from the opposite end positioning the shingles in another row, so Pete can nail them.
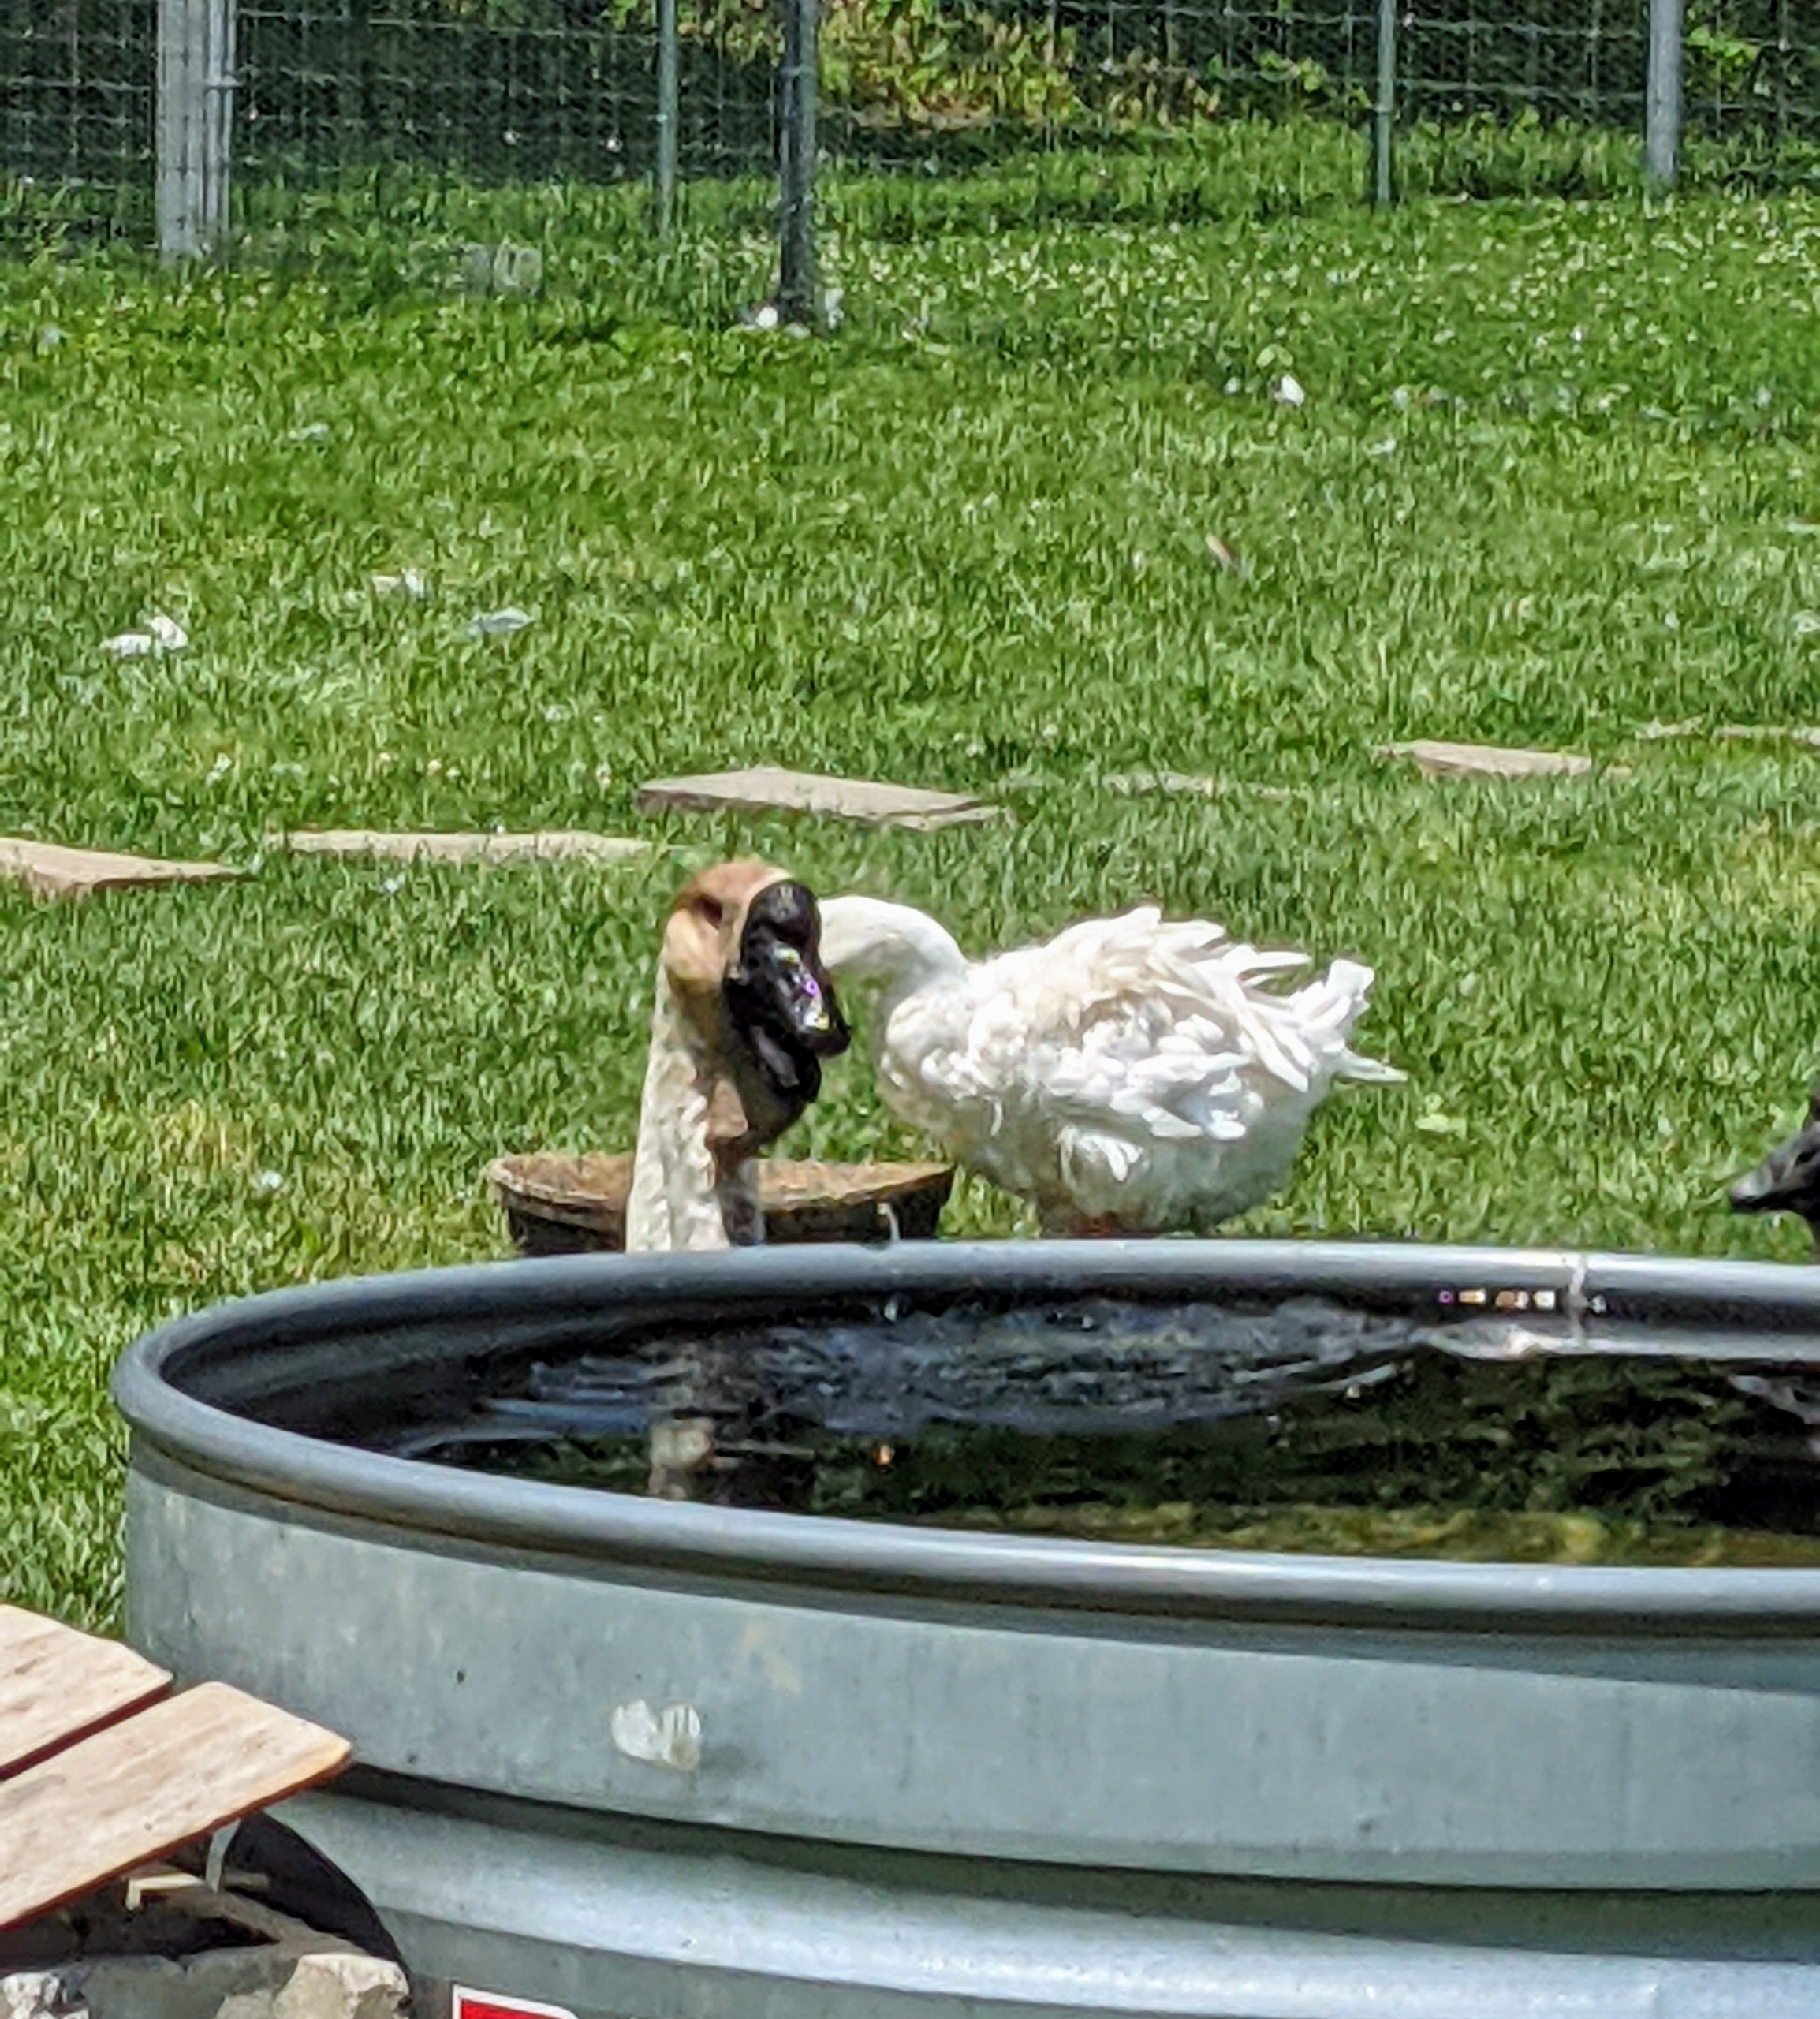
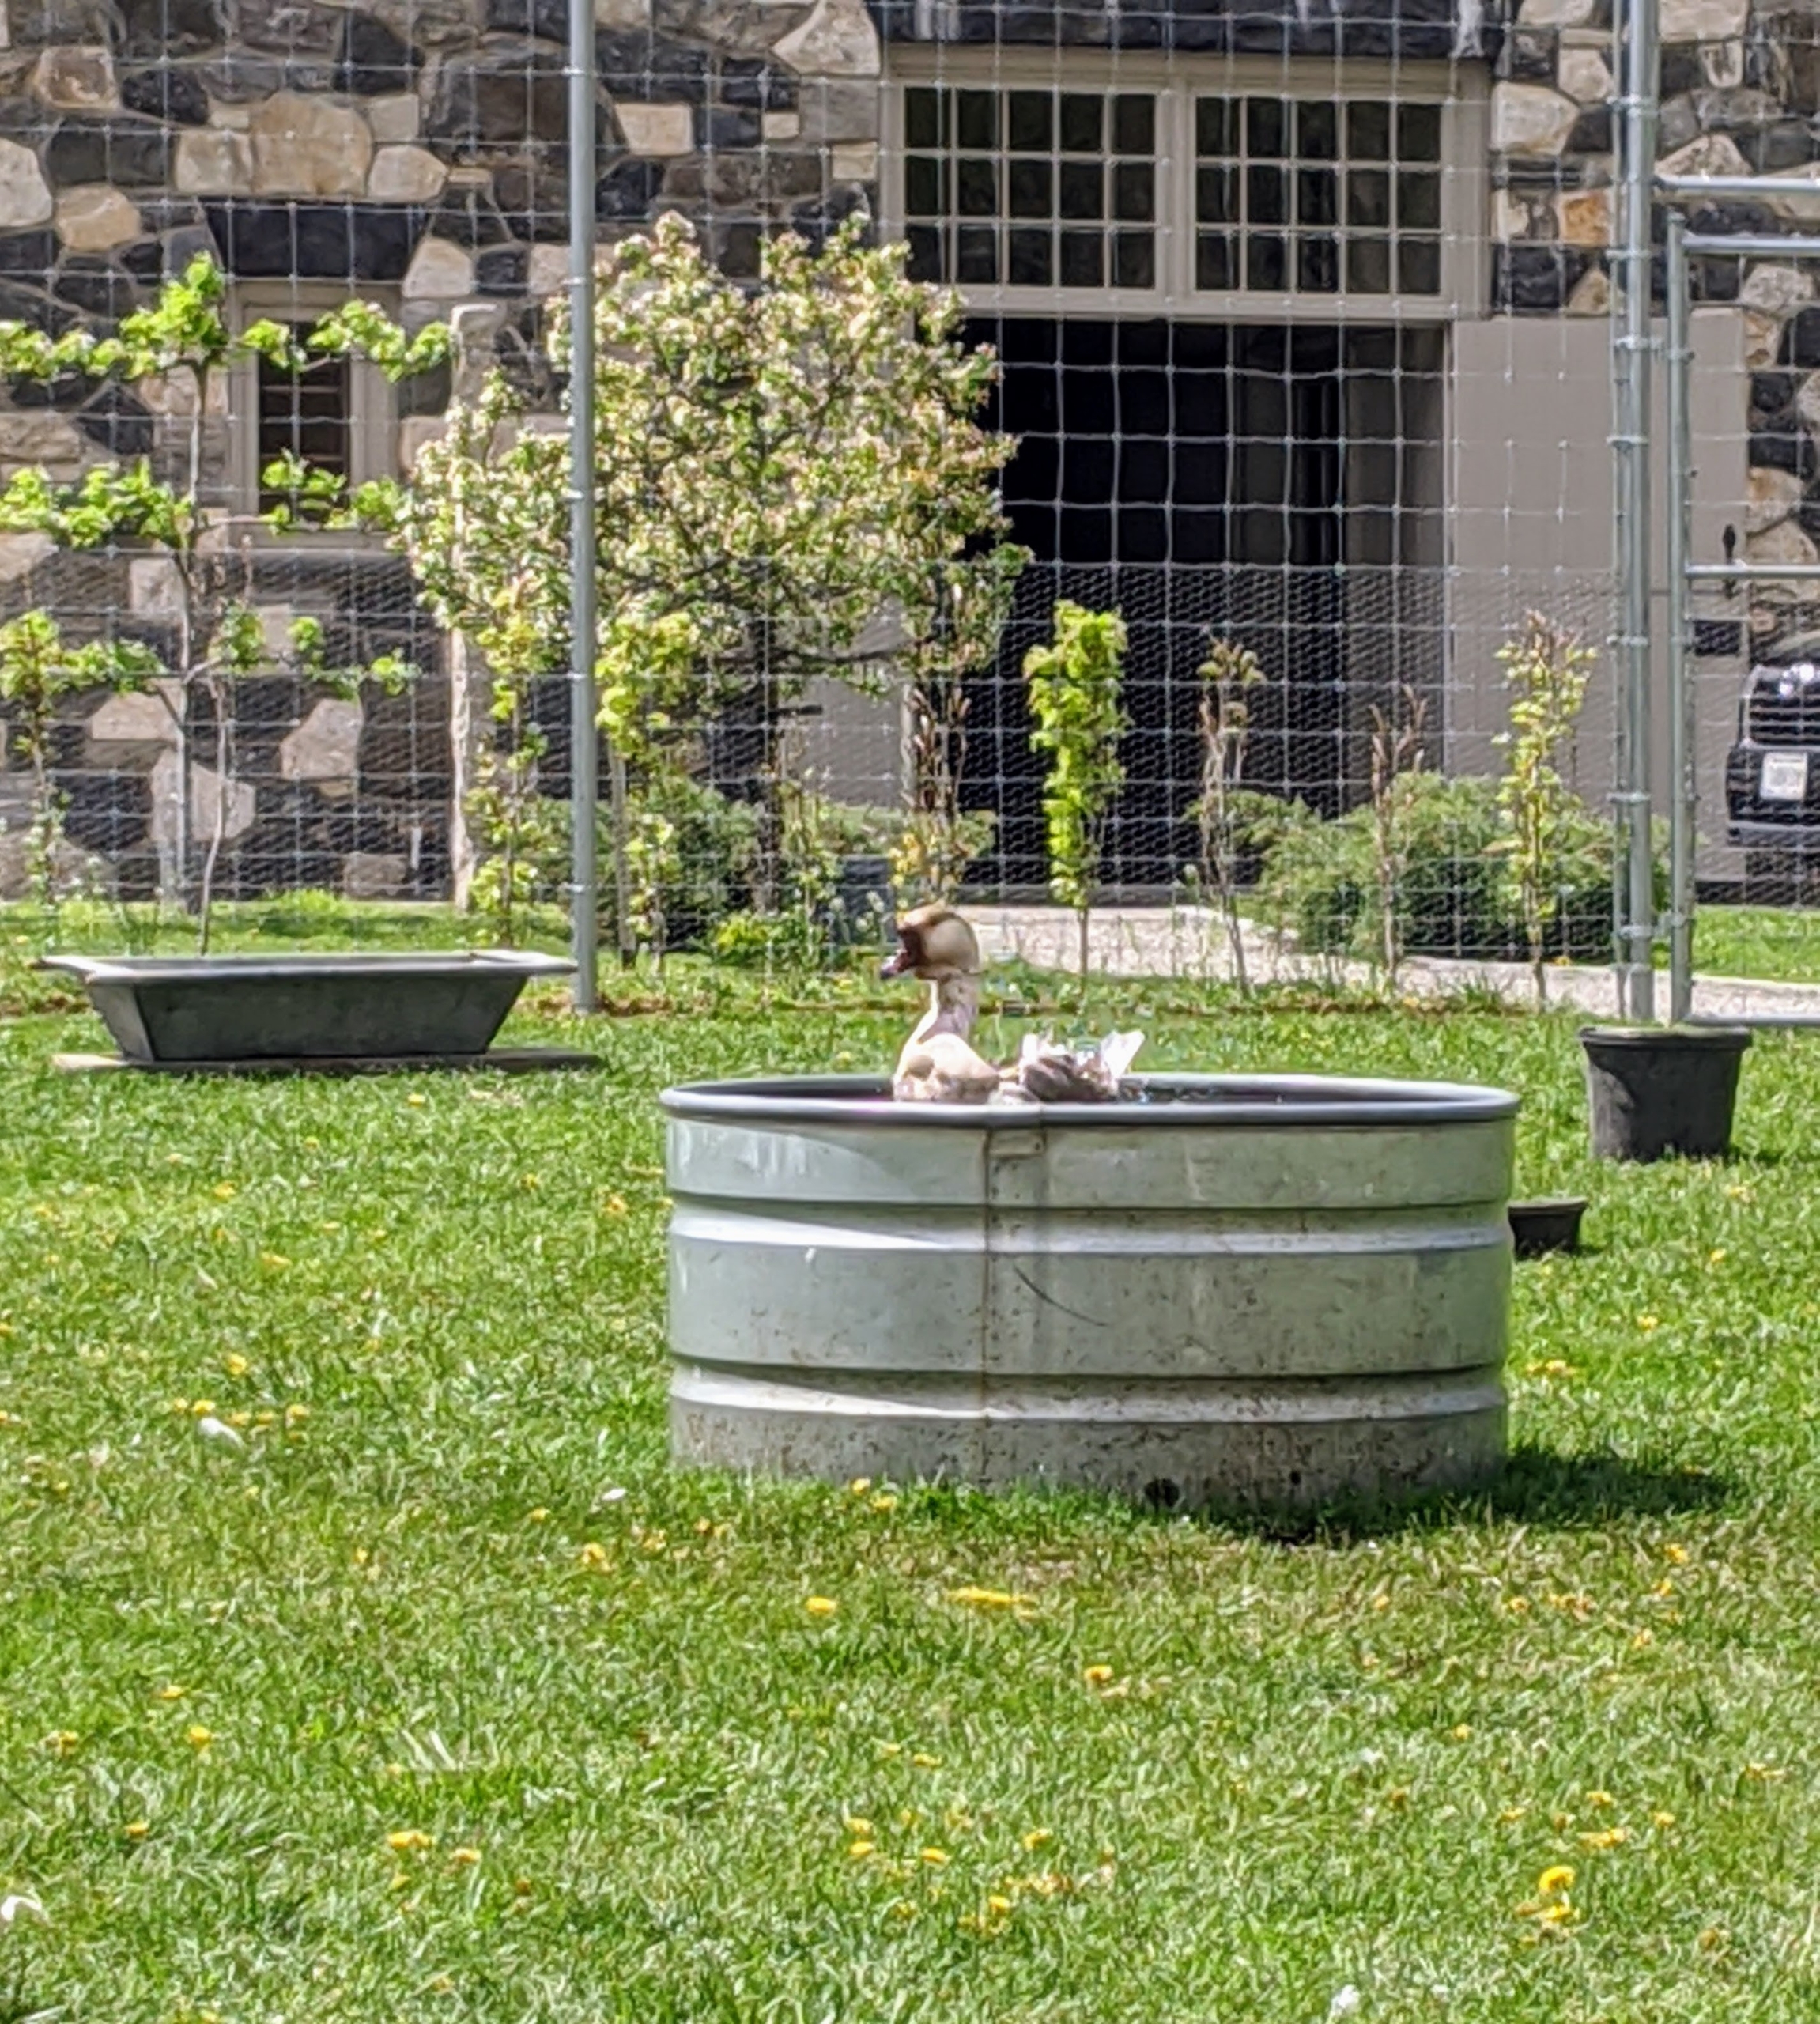
This goose is more interested in its pool than the new coop project.
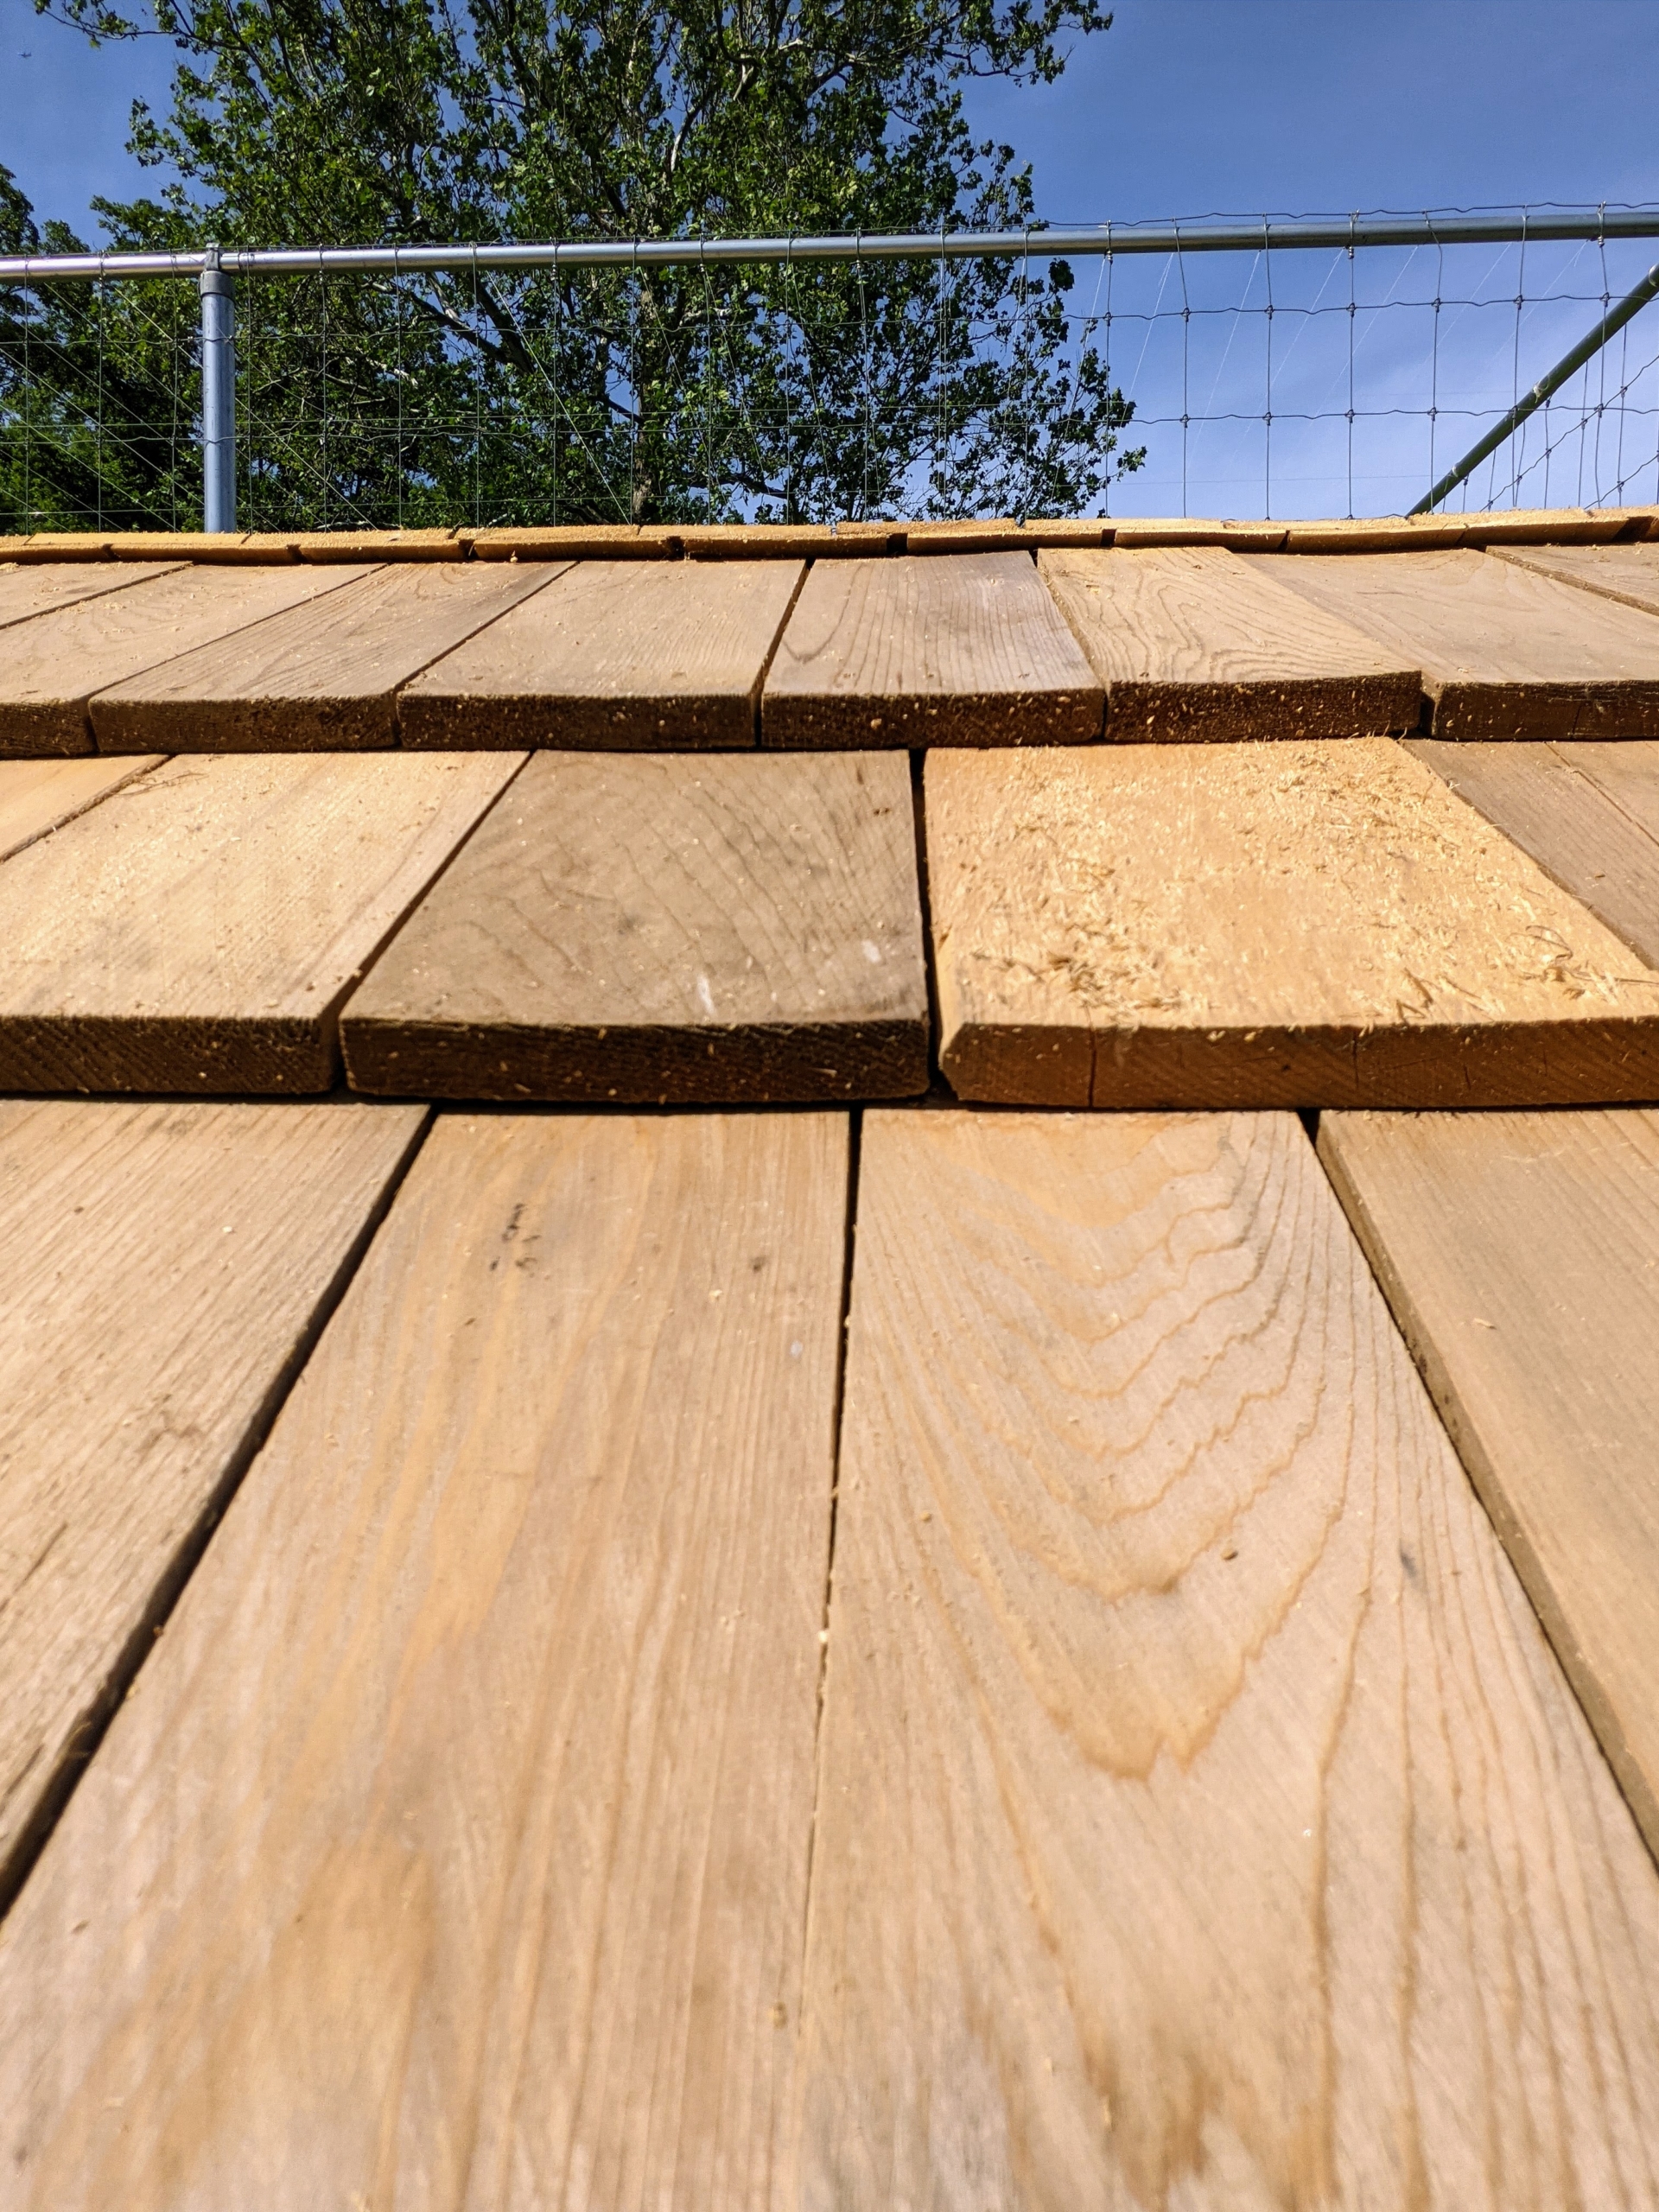
Here’s a closer view of the attached shingles. Each one is rectangle and about 16 inches long. Wood shingles are thin, tapered pieces of wood primarily used to cover roofs to protect them from the weather.
Here is the roof of the goose house all complete – nine rows of shingles on the north facing part of the roof. This roof is asymmetrical and is longer on the back side than the front. This provides more shade and space for the geese. Asymmetric roofs also rid themselves of snow and rainwater more quickly than other roof types because of its shape.
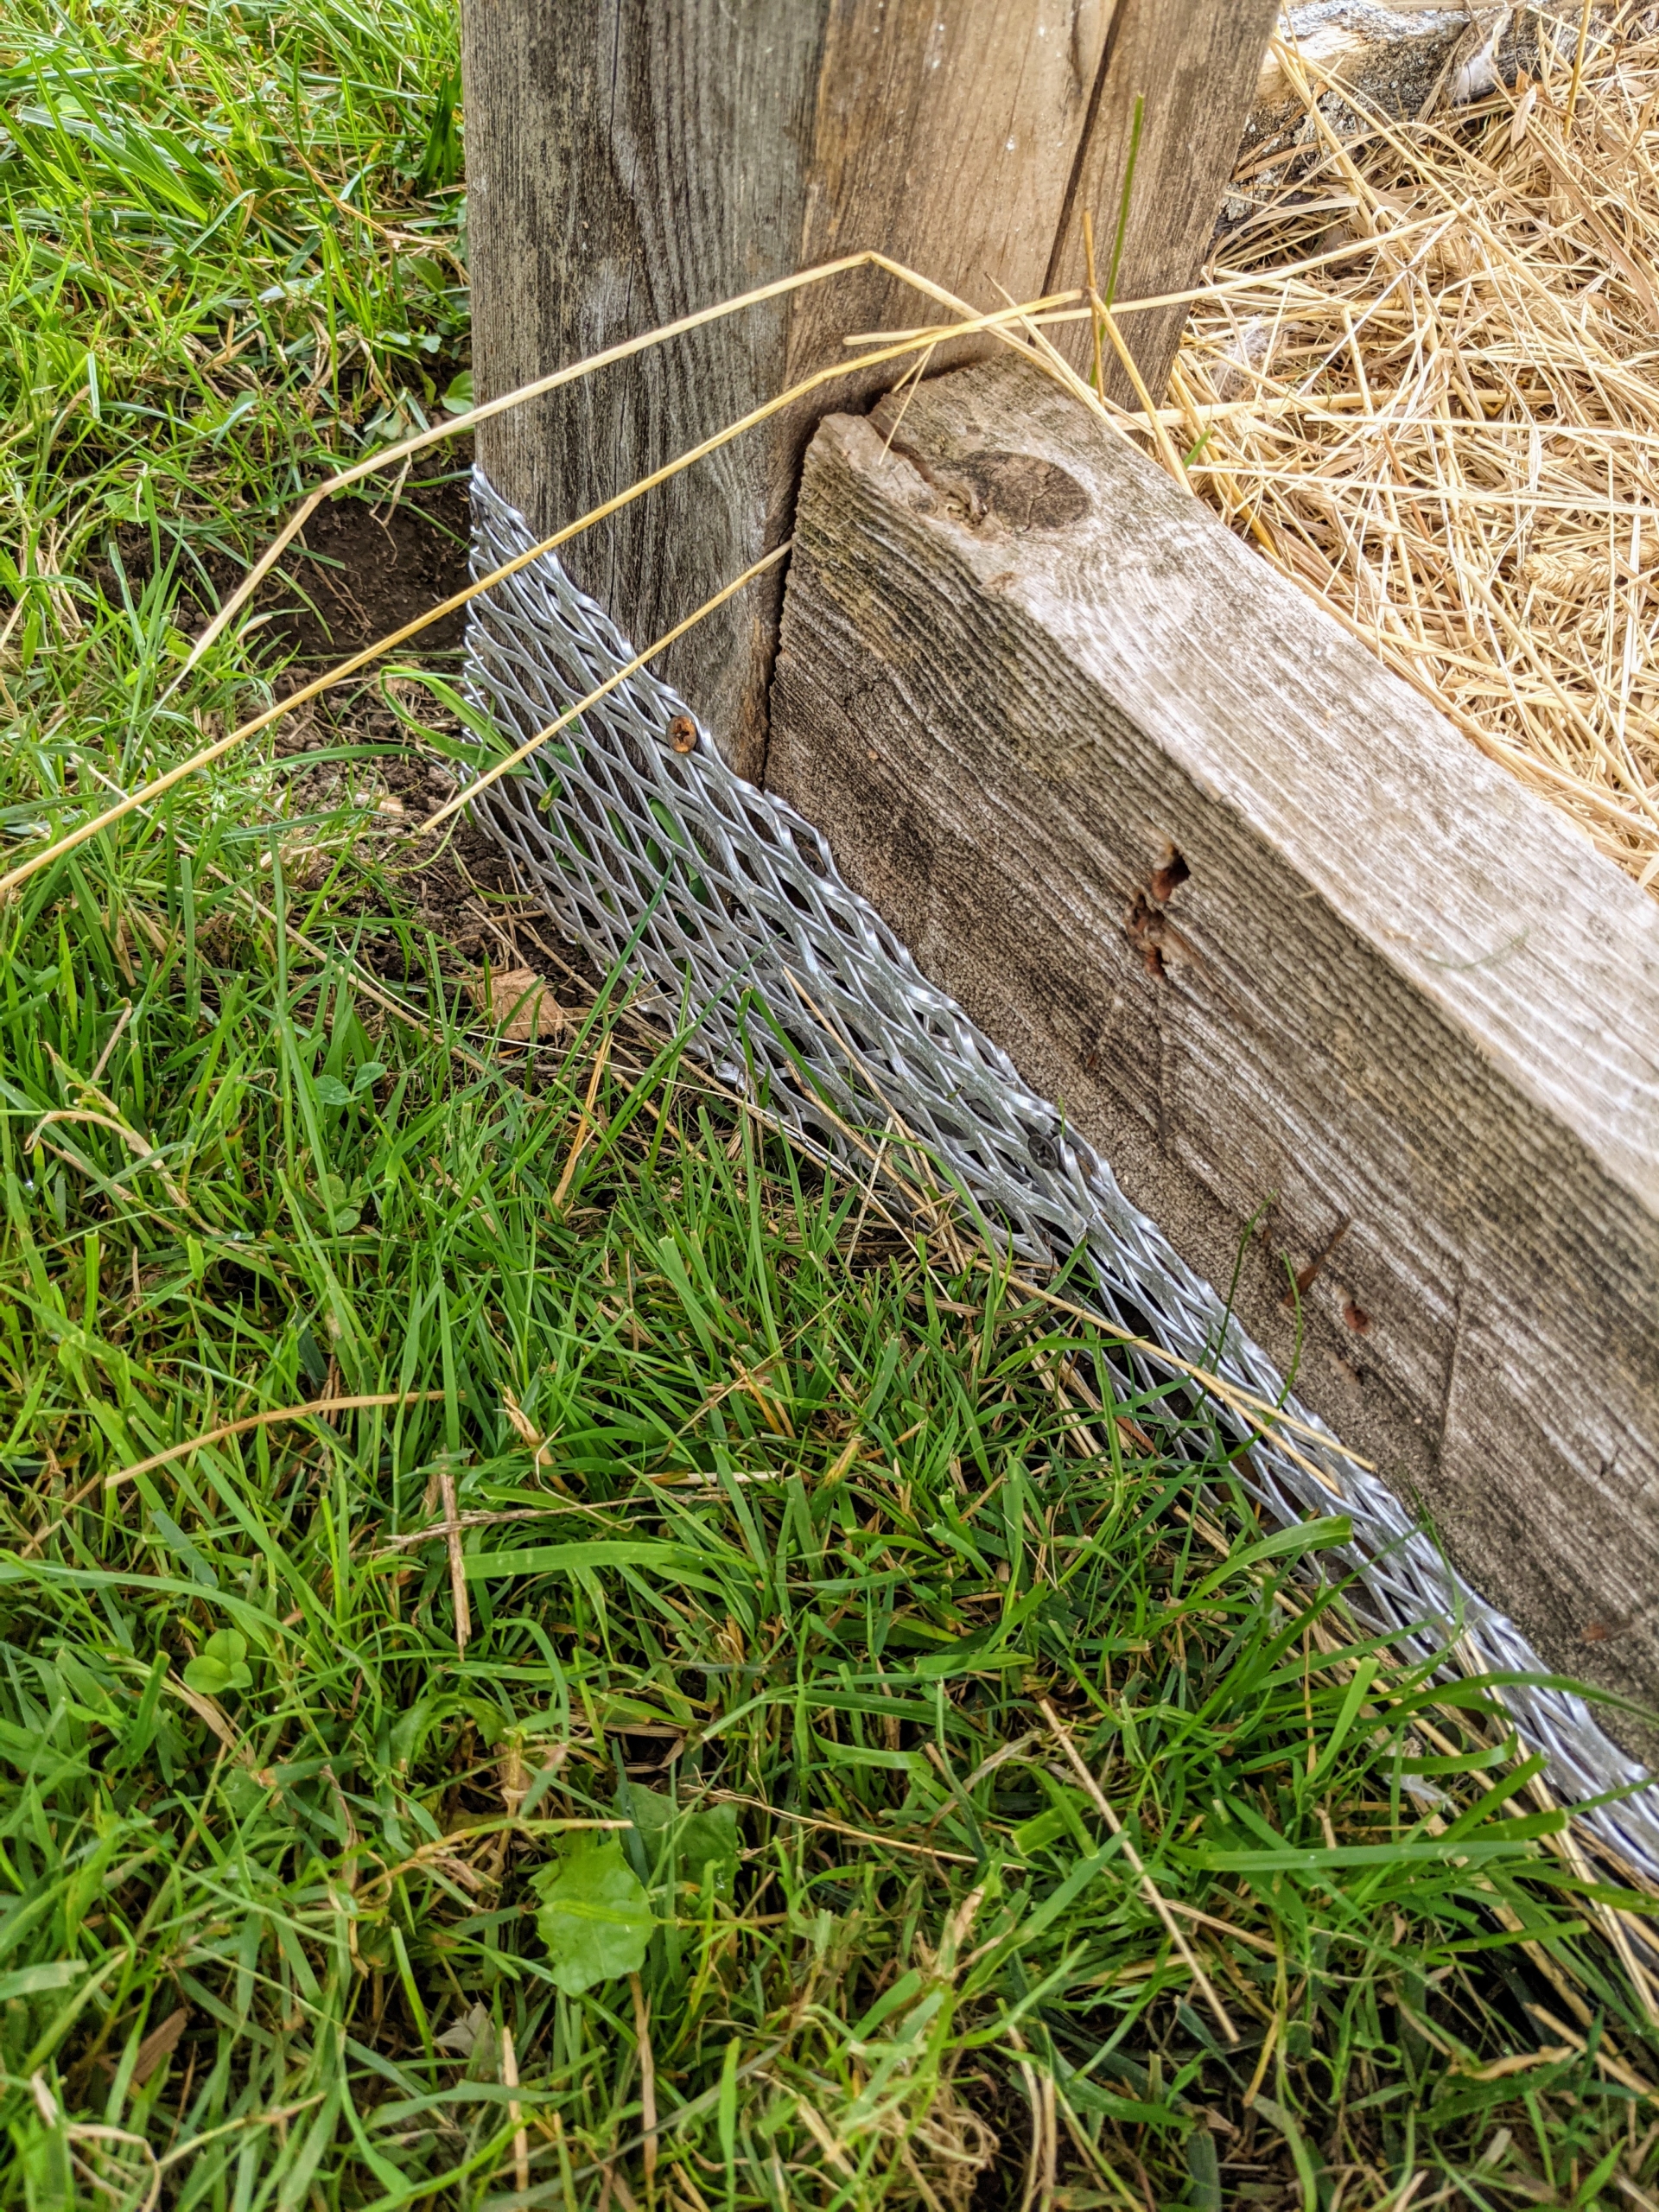
Sturdy wire is placed several inches down in the ground around the entire perimeter to keep burrowing vermin away from the structure.
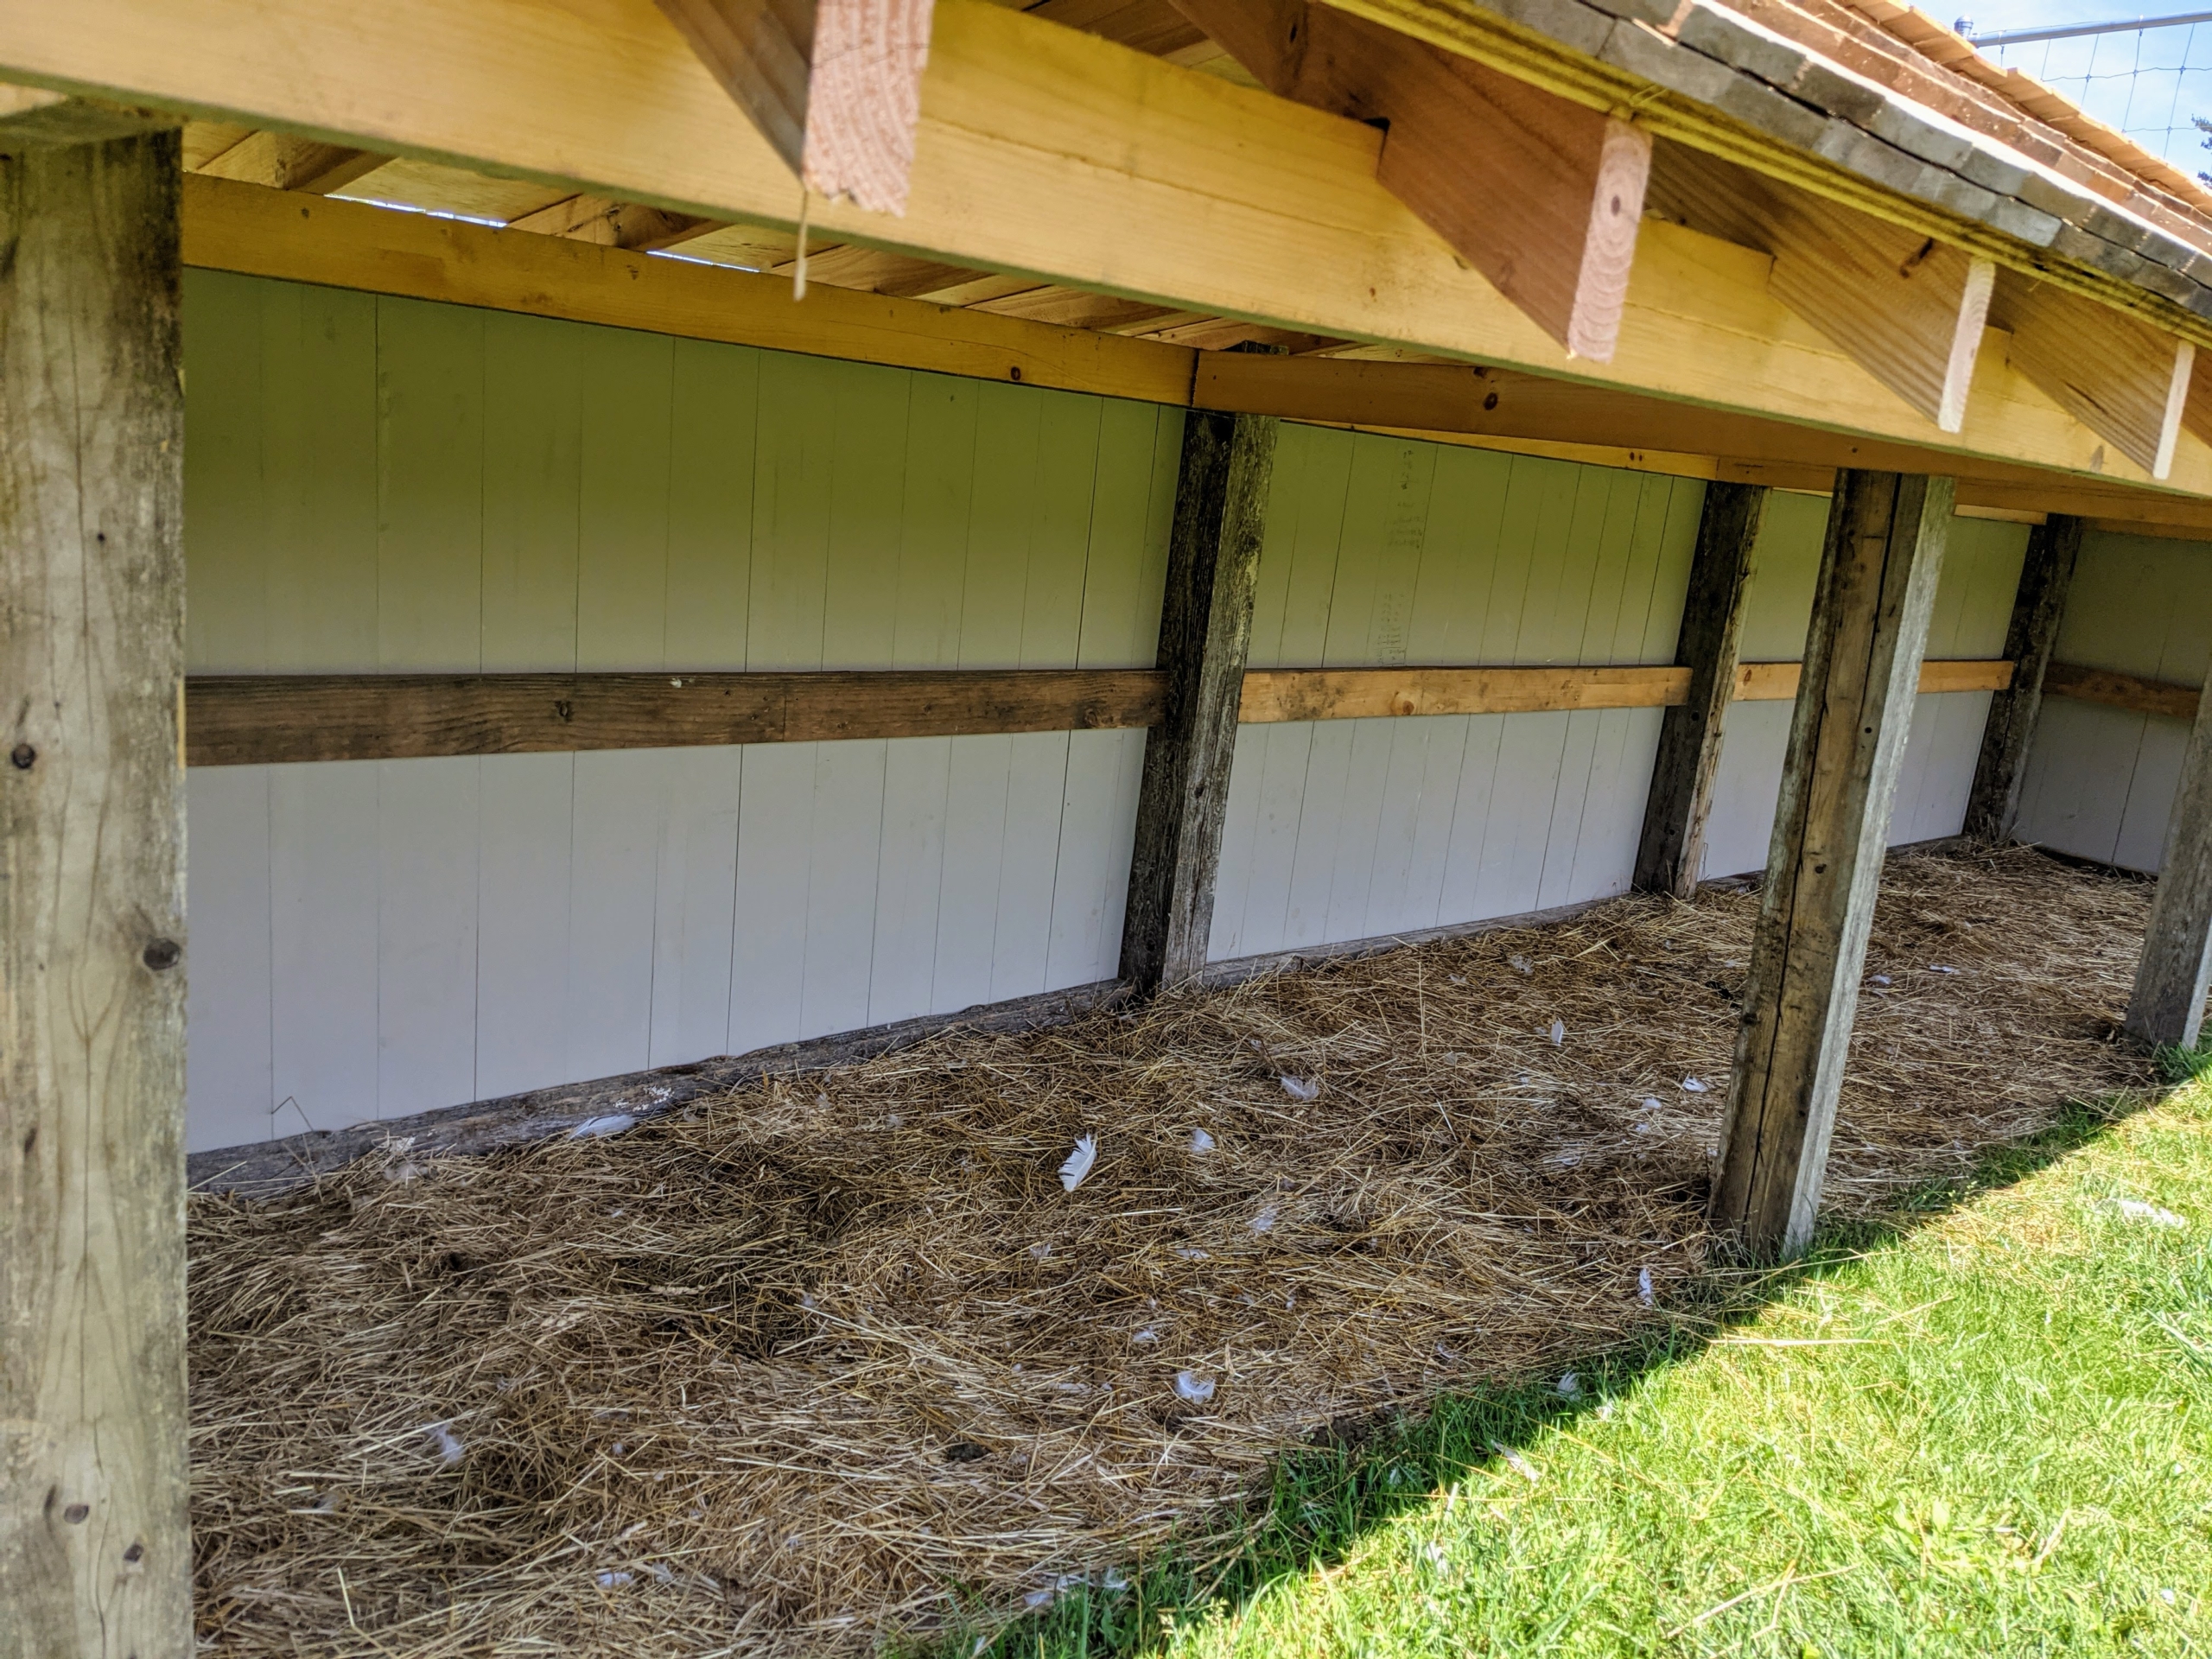
Here is the inside of the new shelter – it is coming together very nicely. The main difference between waterfowl housing and a chicken coop is that geese don’t need roosts. They are happy in a quiet corner on the ground. Geese also don’t require nesting boxes. Ducks and geese lay their eggs on the ground, pulling hay bedding or leaves around them to hide their eggs, and selecting areas that offer privacy and security. The coop is also lined with plenty of hay.
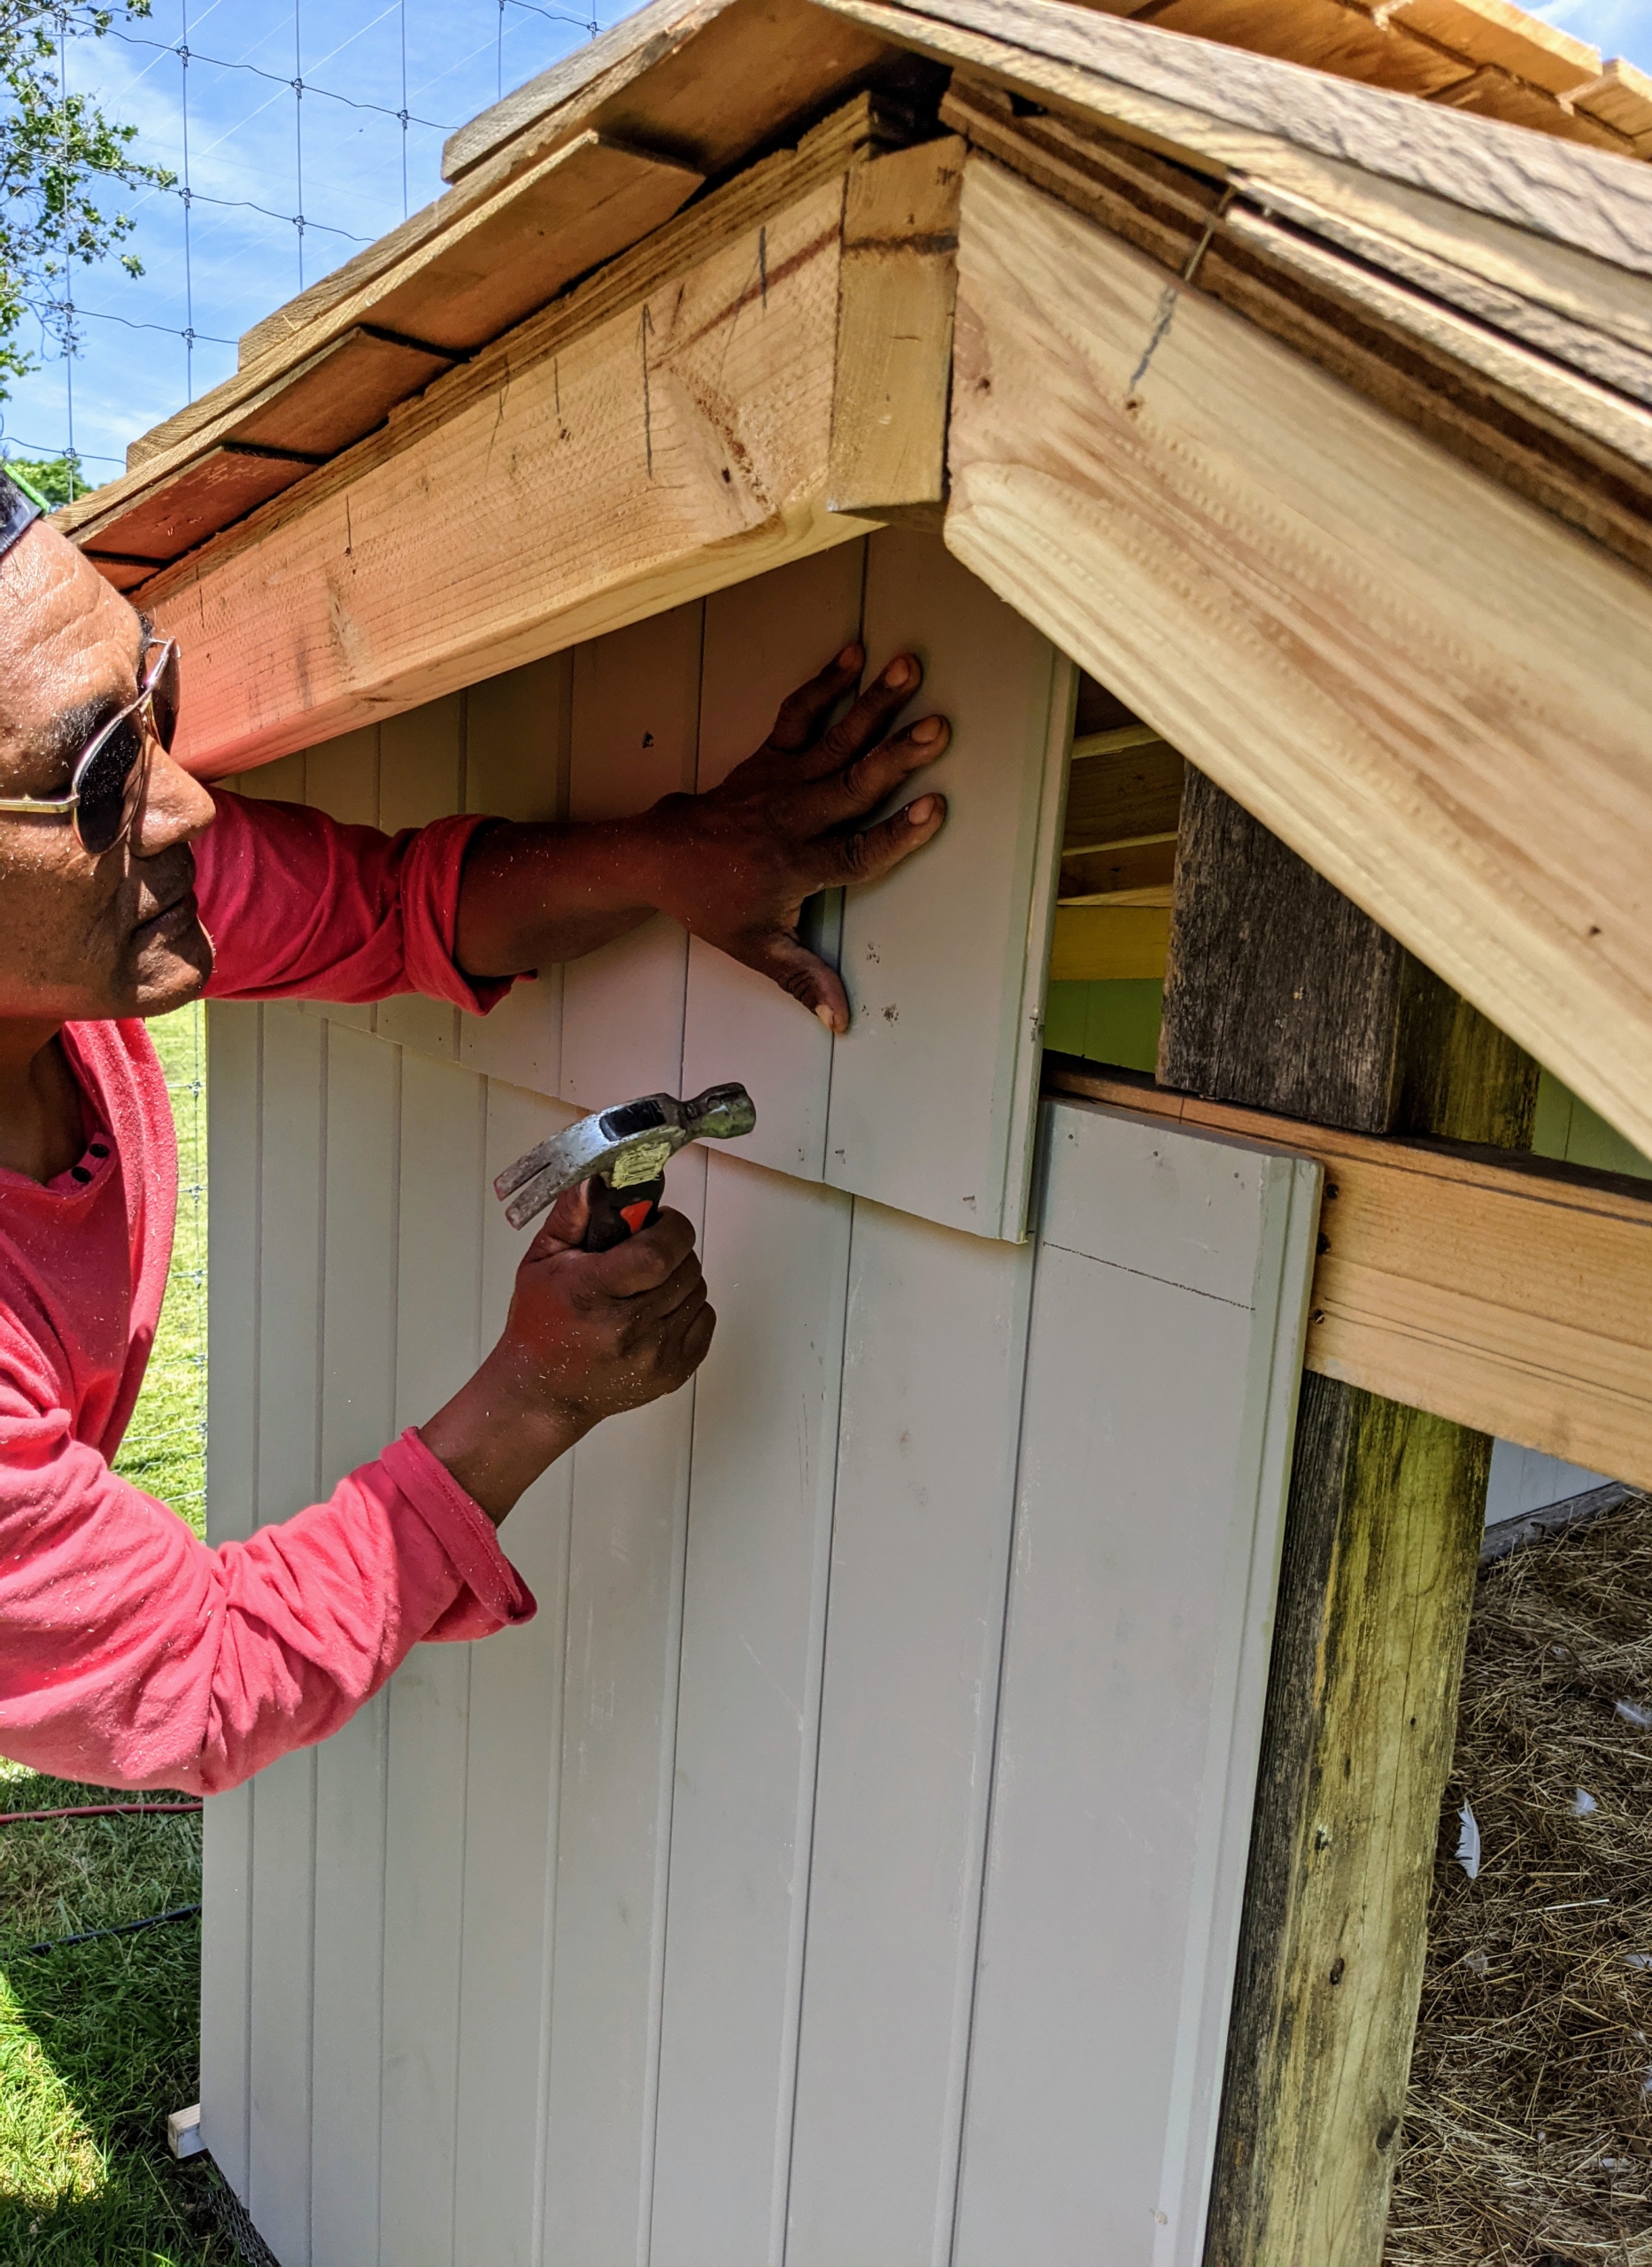
Here is the back of the coop – the walls are secure and painted my signature “Bedford Gray.”
Pete nails in the last pieces on the side of the coop.
And here is the new and finished goose shelter – ready and lined with bedding for comfort and nesting. I know they will love this large size where they can all gather together – they have become a close group.
On this day, the temperatures were very pleasant, and the geese preferred to play in their pool instead of rushing for any shade. While both ducks and geese love water, geese don’t require a pond or large swimming pool – they swim much less than ducks and are content with a small dipping pool where they can dunk and clean their noses and beaks. This weekend is expected to be warmer, with temperatures in the high 80s. I’m glad the shelter is ready for them!
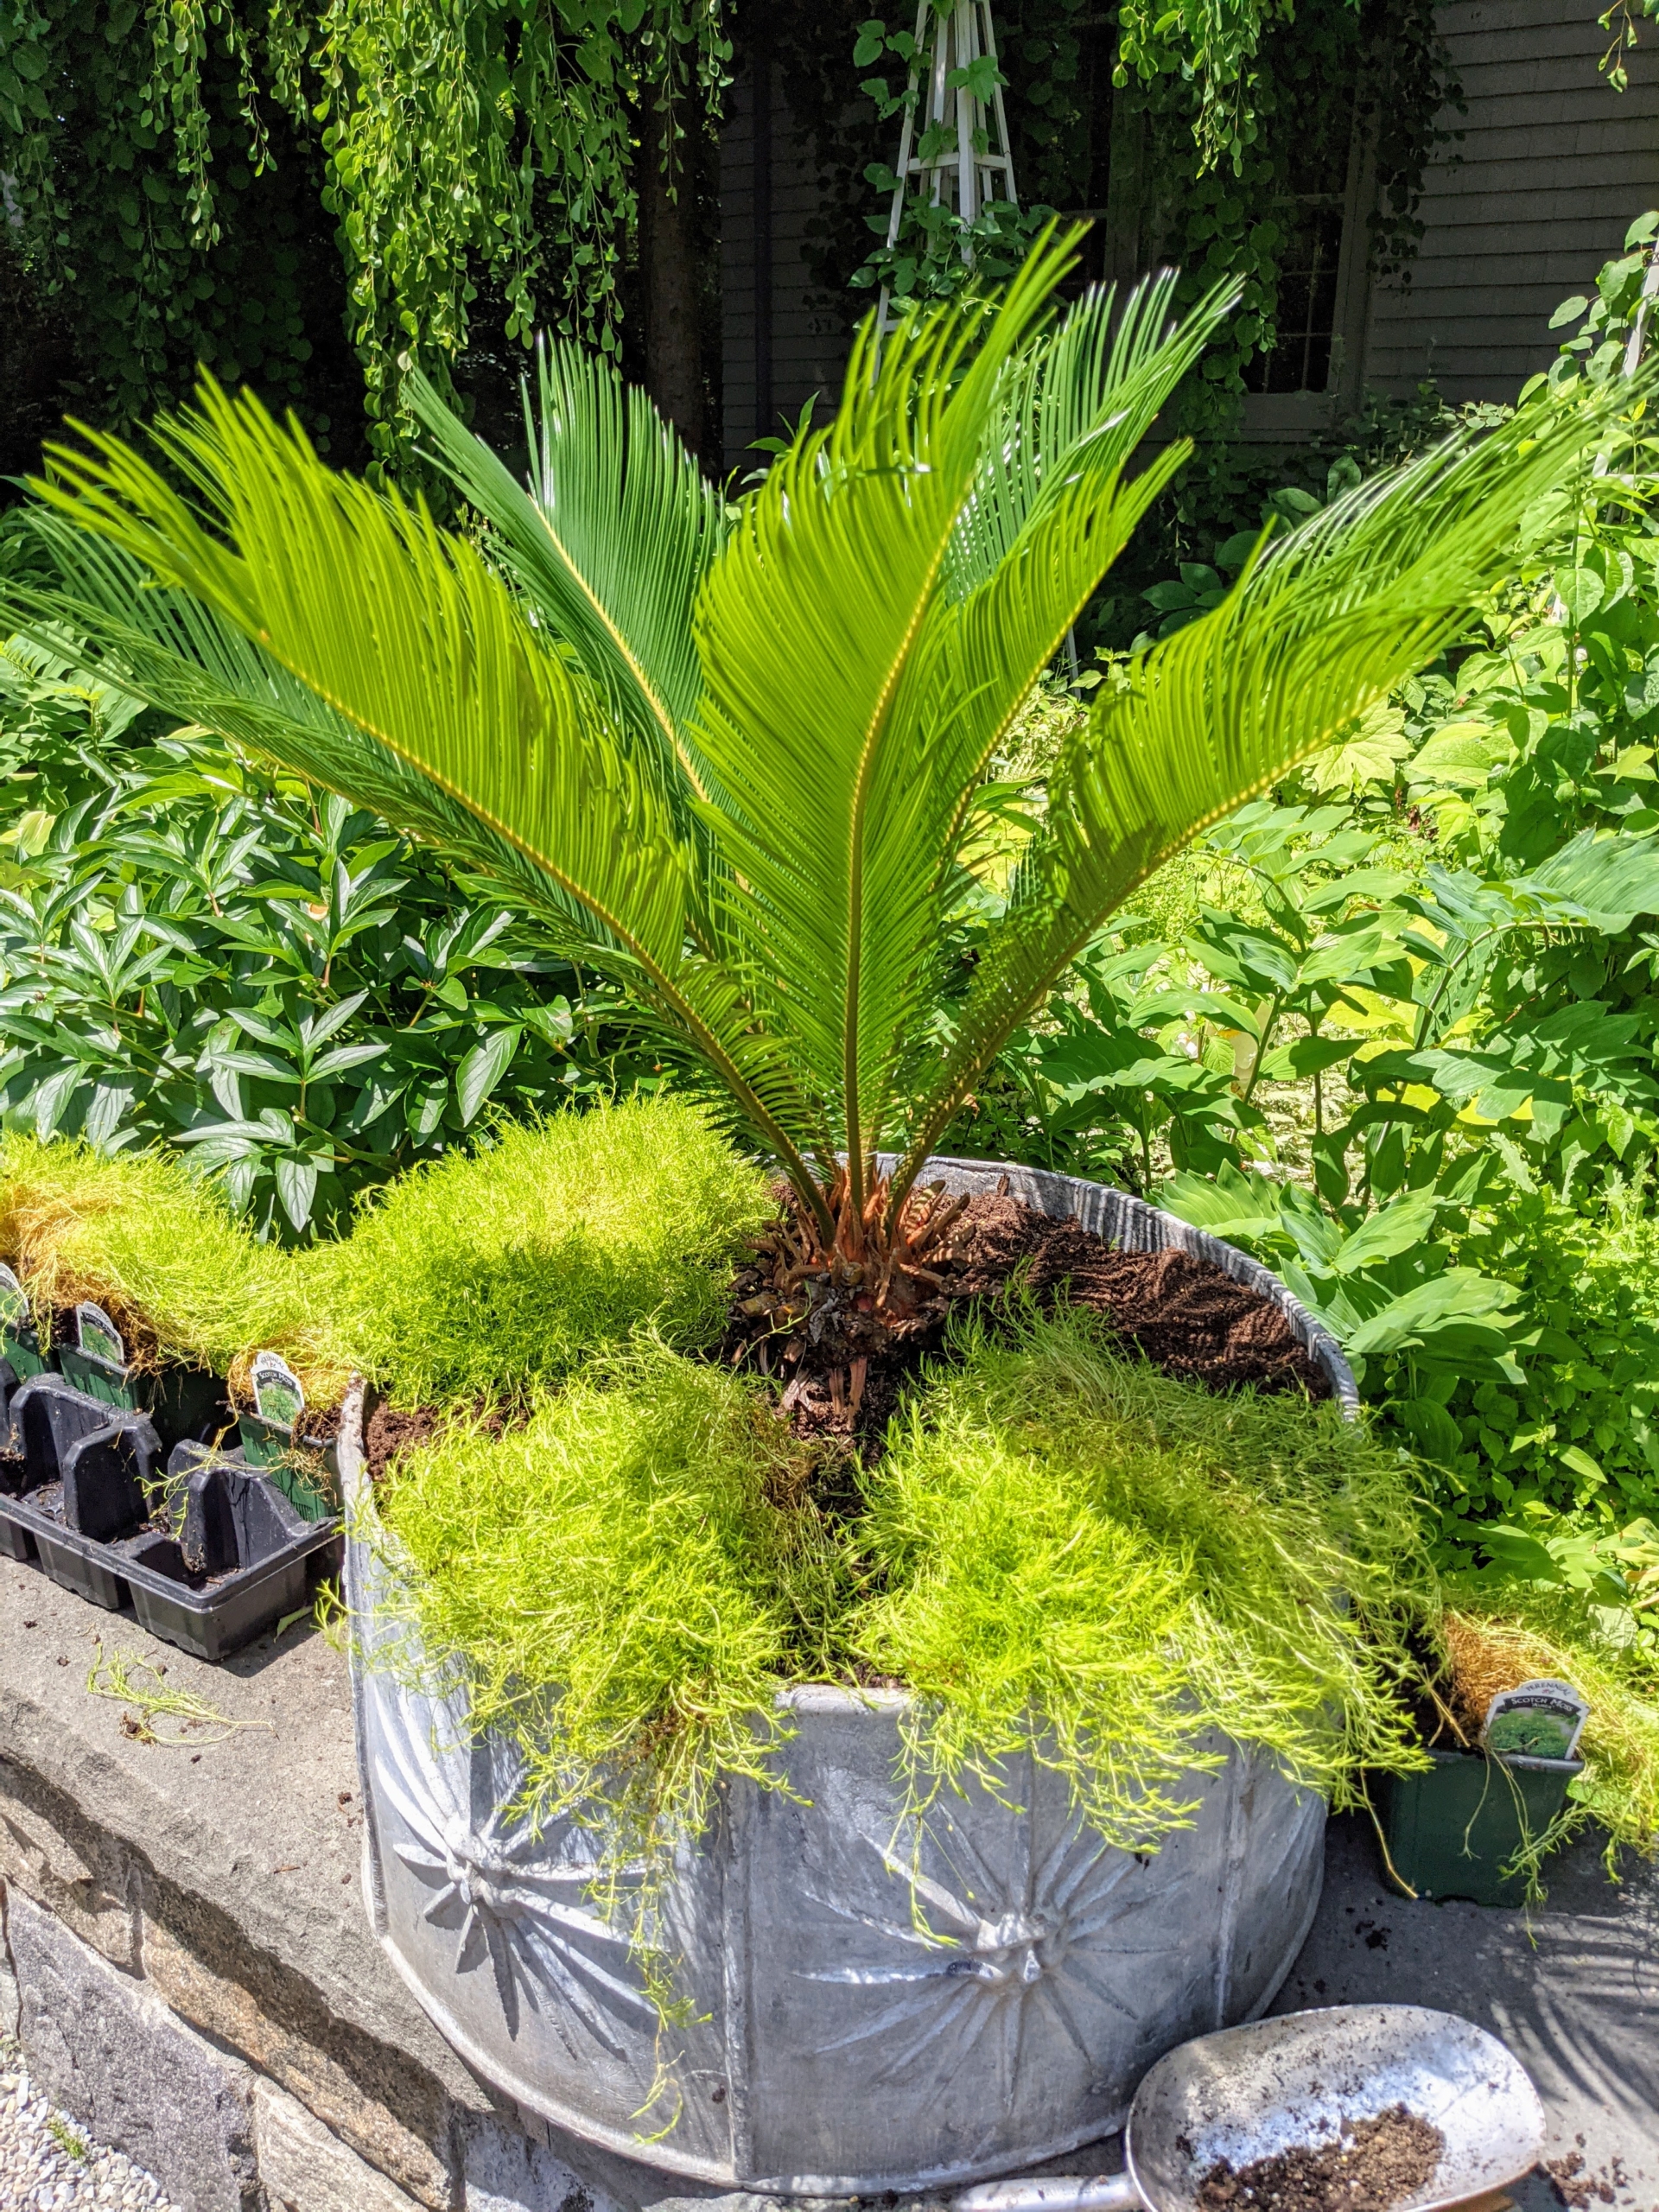
Planting continues in front of my Winter House carport - this time, with four young sago palms, and some Scotch moss.
A few months ago, my friend and owner of Luppino Landscaping and Masonry LLC, Carmine Luppino, gave me four beautiful antique ornamental urns. They look so beautiful on the stone wall in front of my White Garden. Last week, my head gardener, Ryan McCallister, potted them up with four sago palms, or cycads, which were cut as pups from a mother sago some time ago. Ryan also underplanted them with Scotch moss 'Aurea' - a lush, chartreuse to yellow, moss-like herbaceous perennial that forms a low-growing, soft mat. The combination is so pretty.
Here are some photos, enjoy.
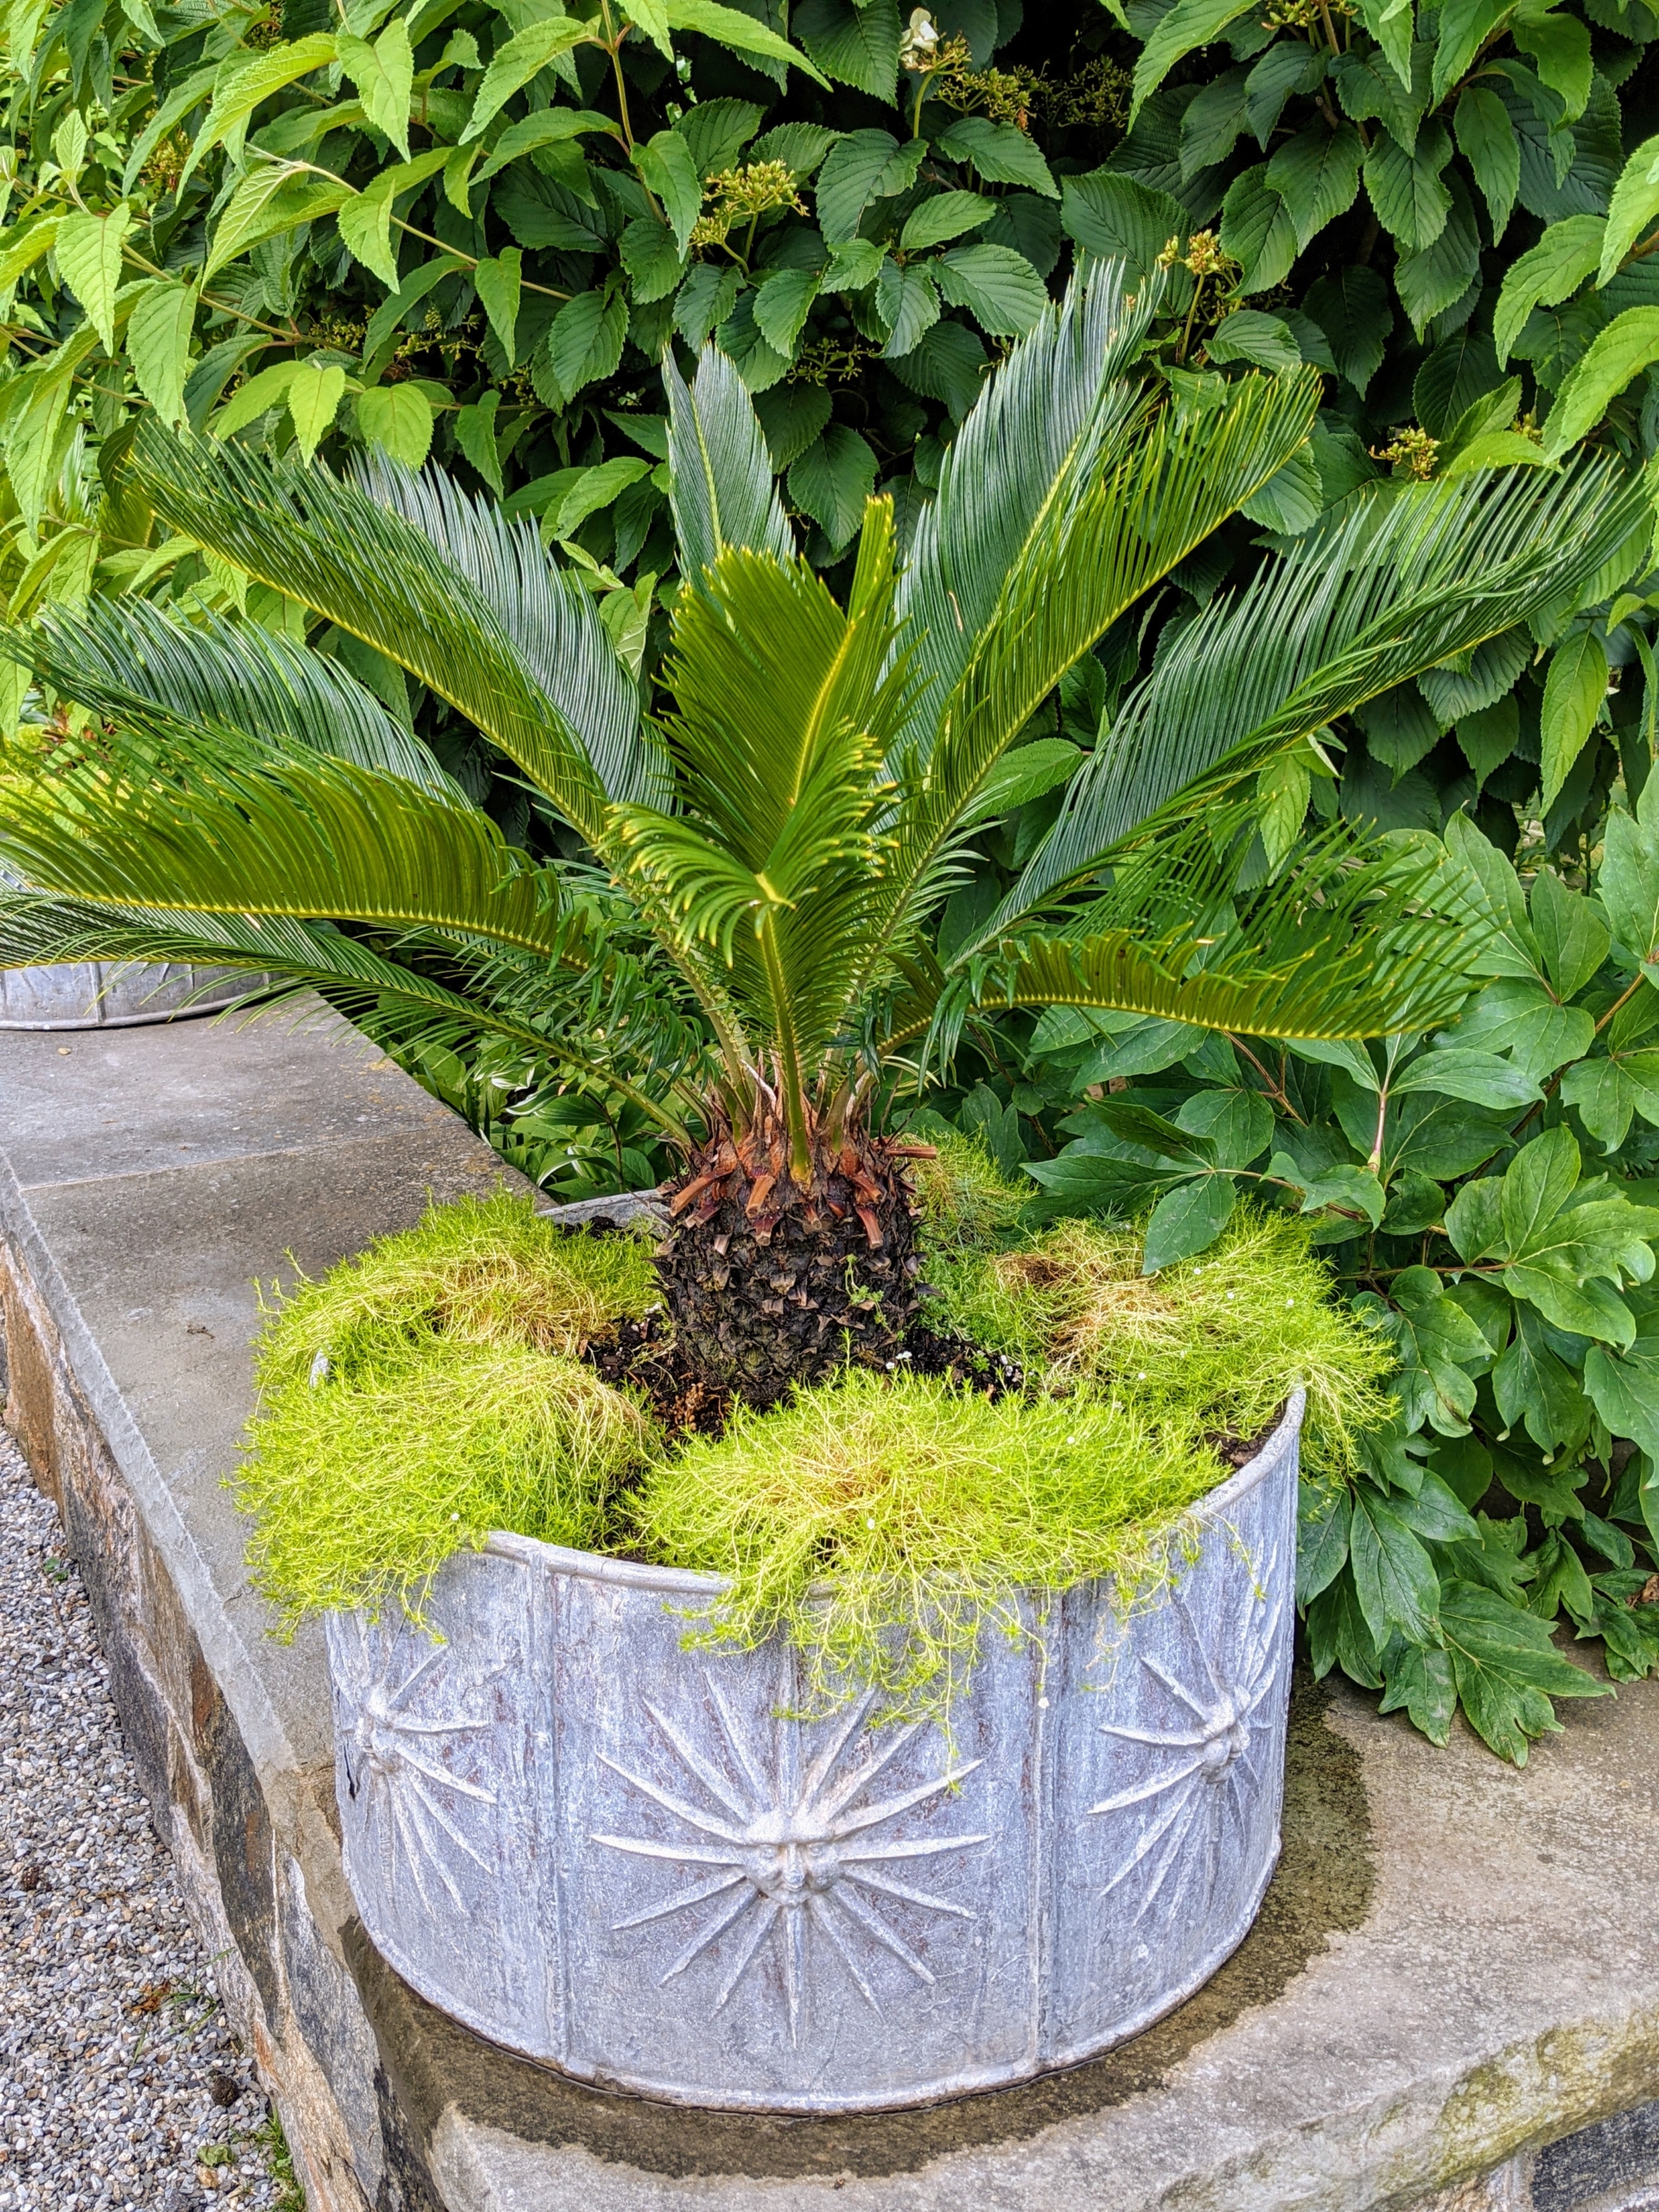
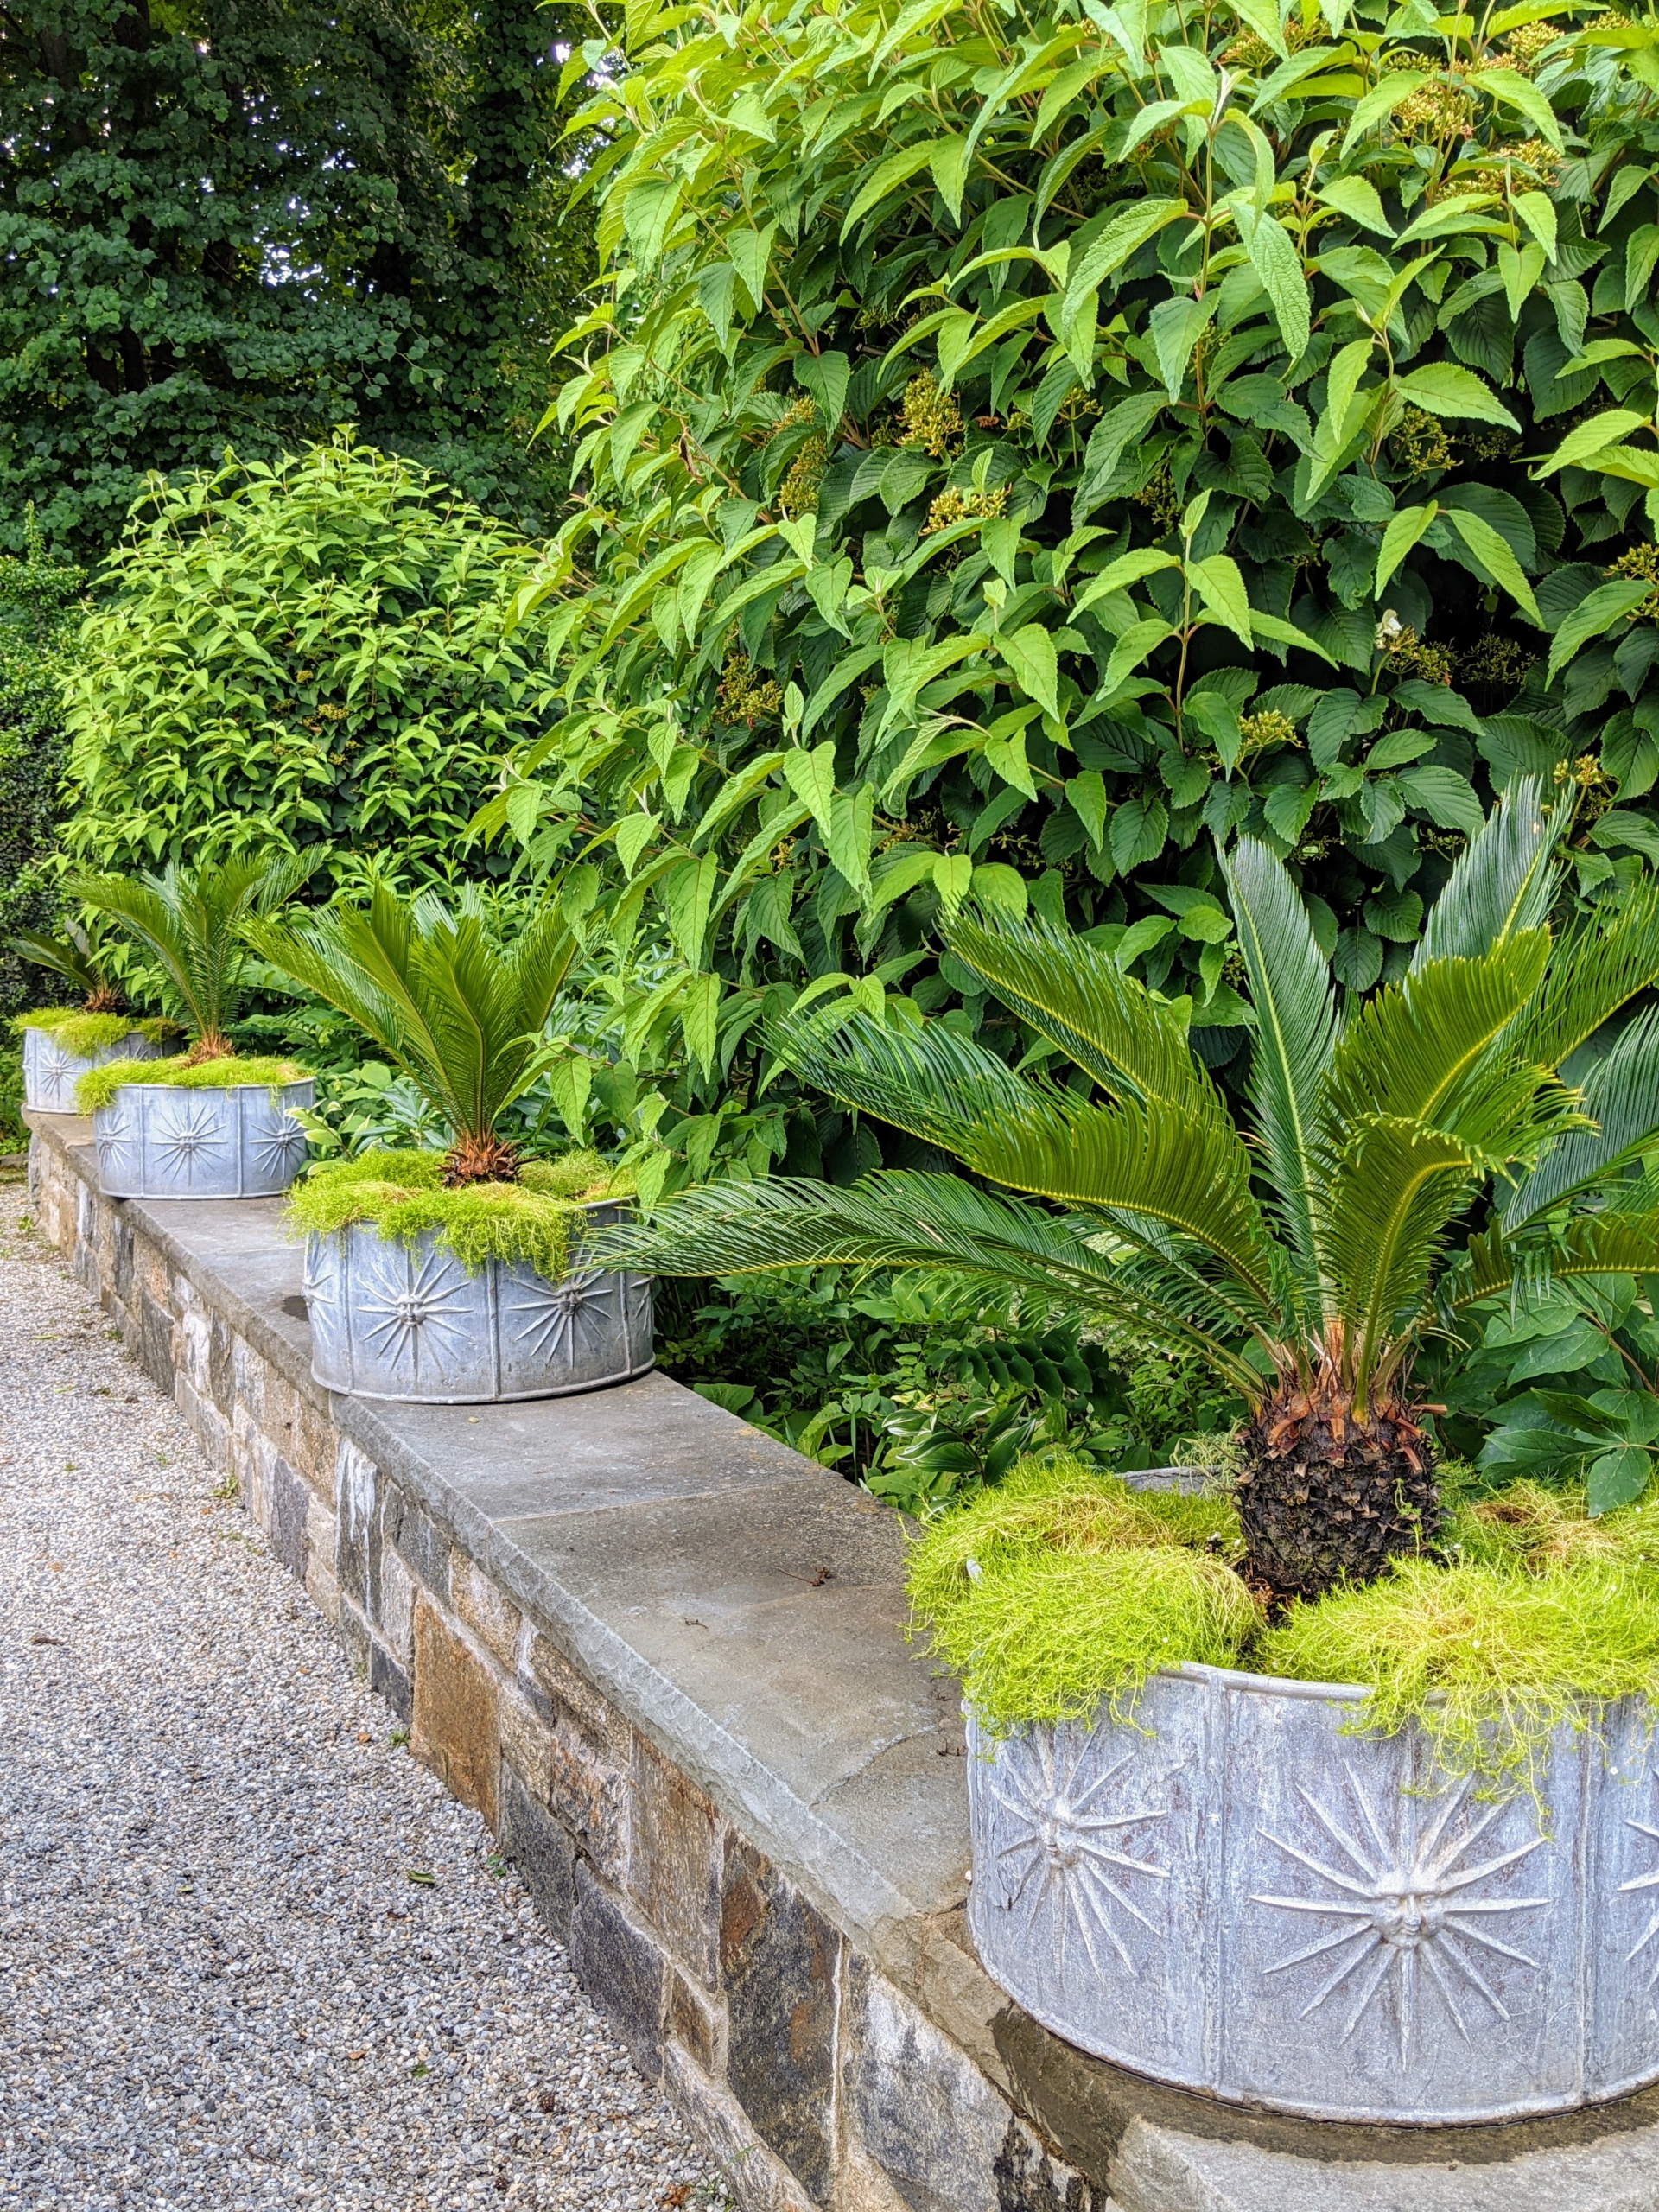
Each of the four round lead antique planters is decorated with cheerful repeating sunbursts. I knew, right away, that they would look stunning on this low stone ledge in front of my White Garden.
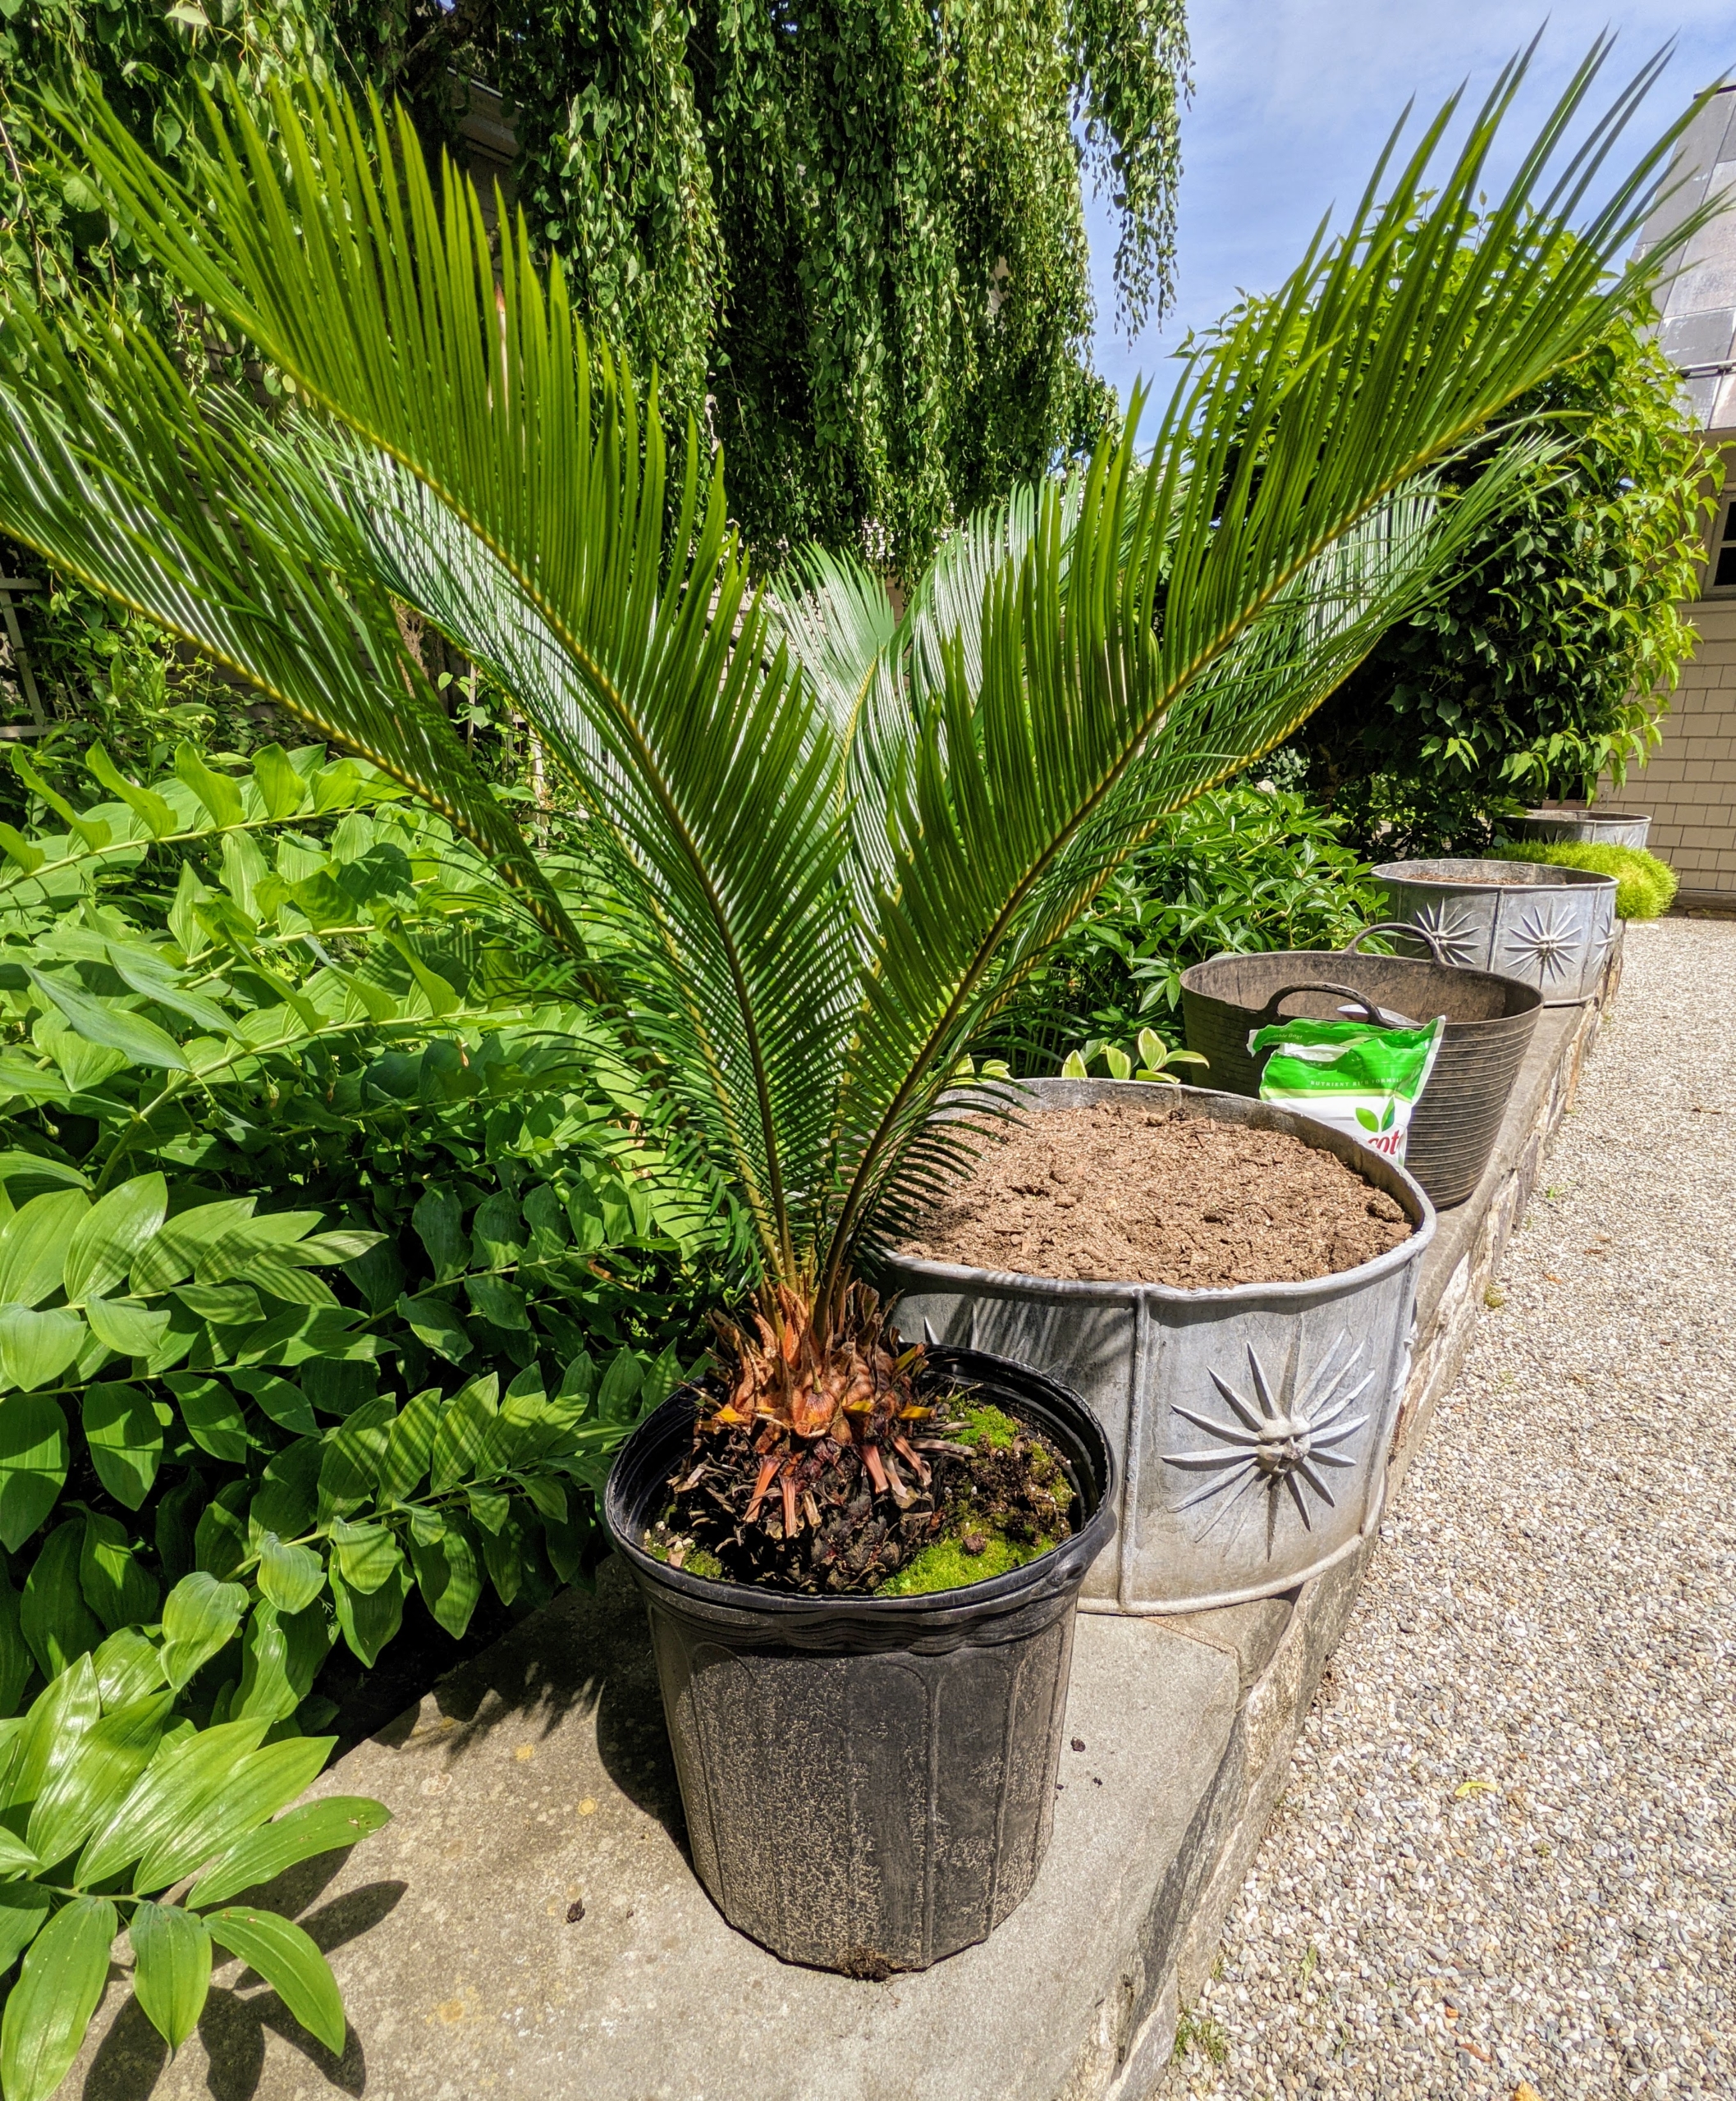
The sago palm, Cycas revoluta, is a popular houseplant known for its feathery foliage and ease of care. Native to the southern islands of Japan, the sago palm goes by several common names, including Japanese palm, funeral palm, king sago or just plain sago palm. I had four sago palms that are all equal in height – they’ll look perfect in these planters.
The sago palm may look like a tiny palm tree with its glossy, stiff fronds, but it is not a palm tree at all. Sago palms are cycads, one of the most ancient plants that have been around since prehistoric times.
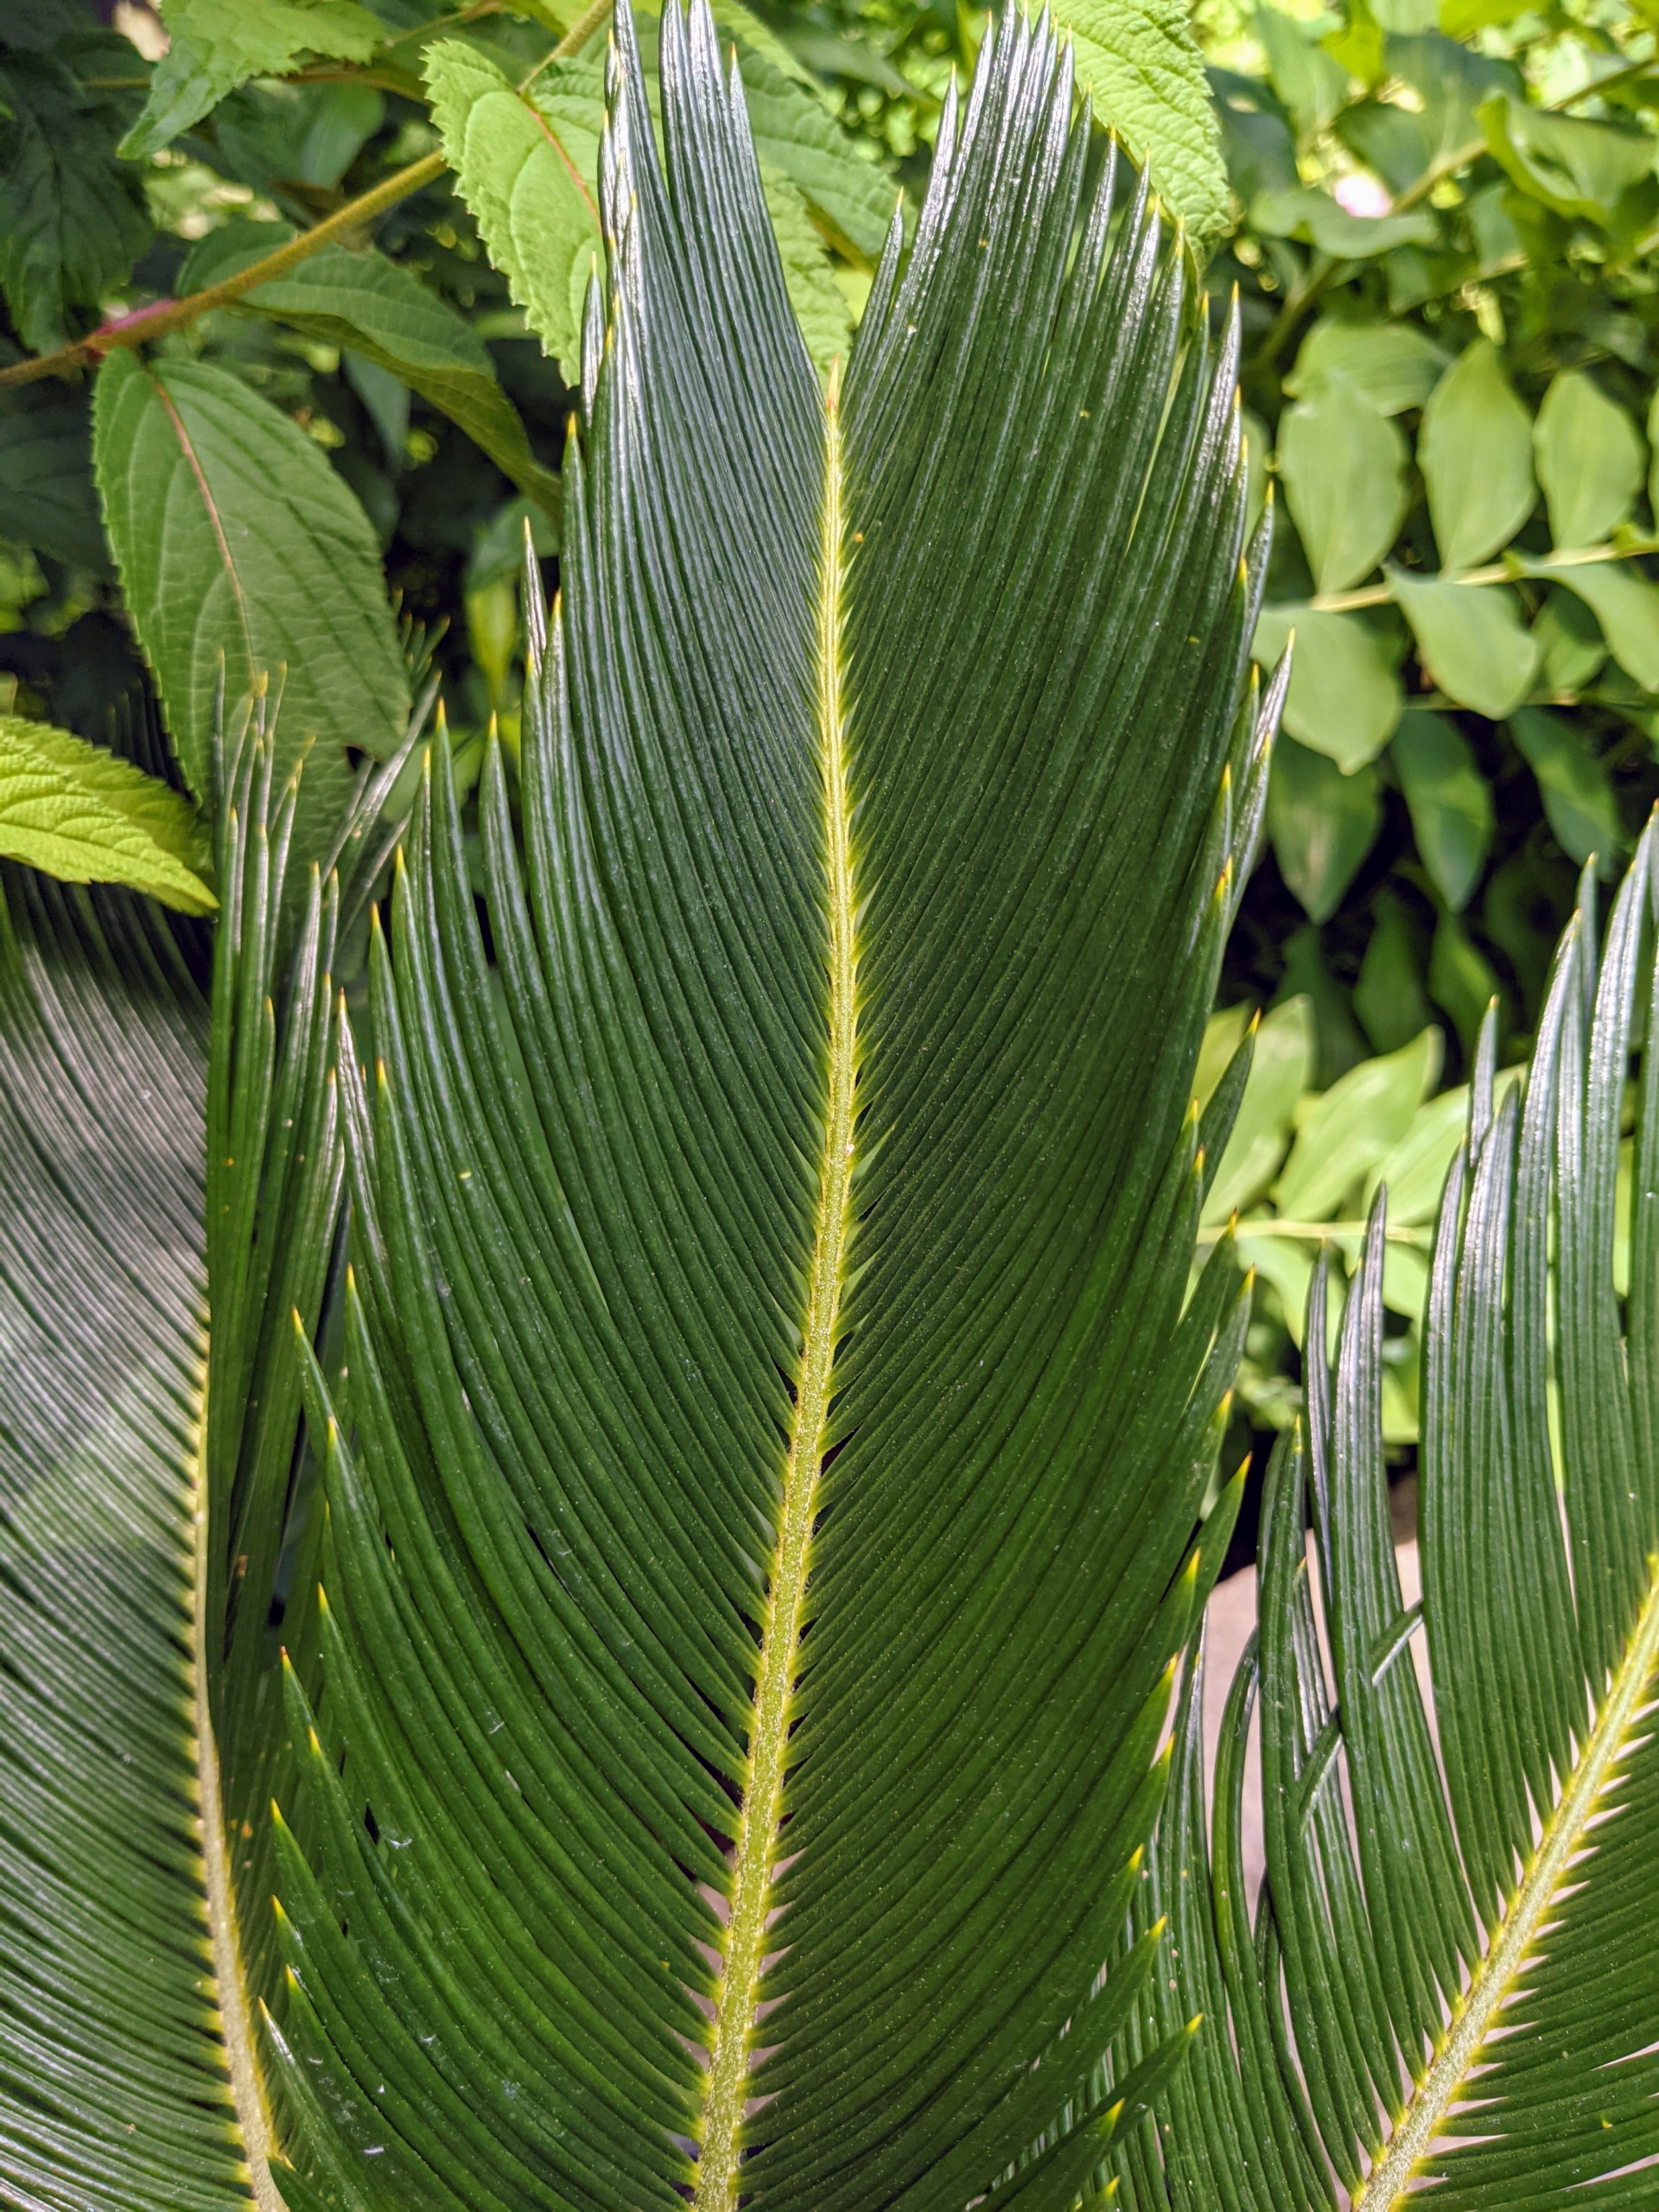
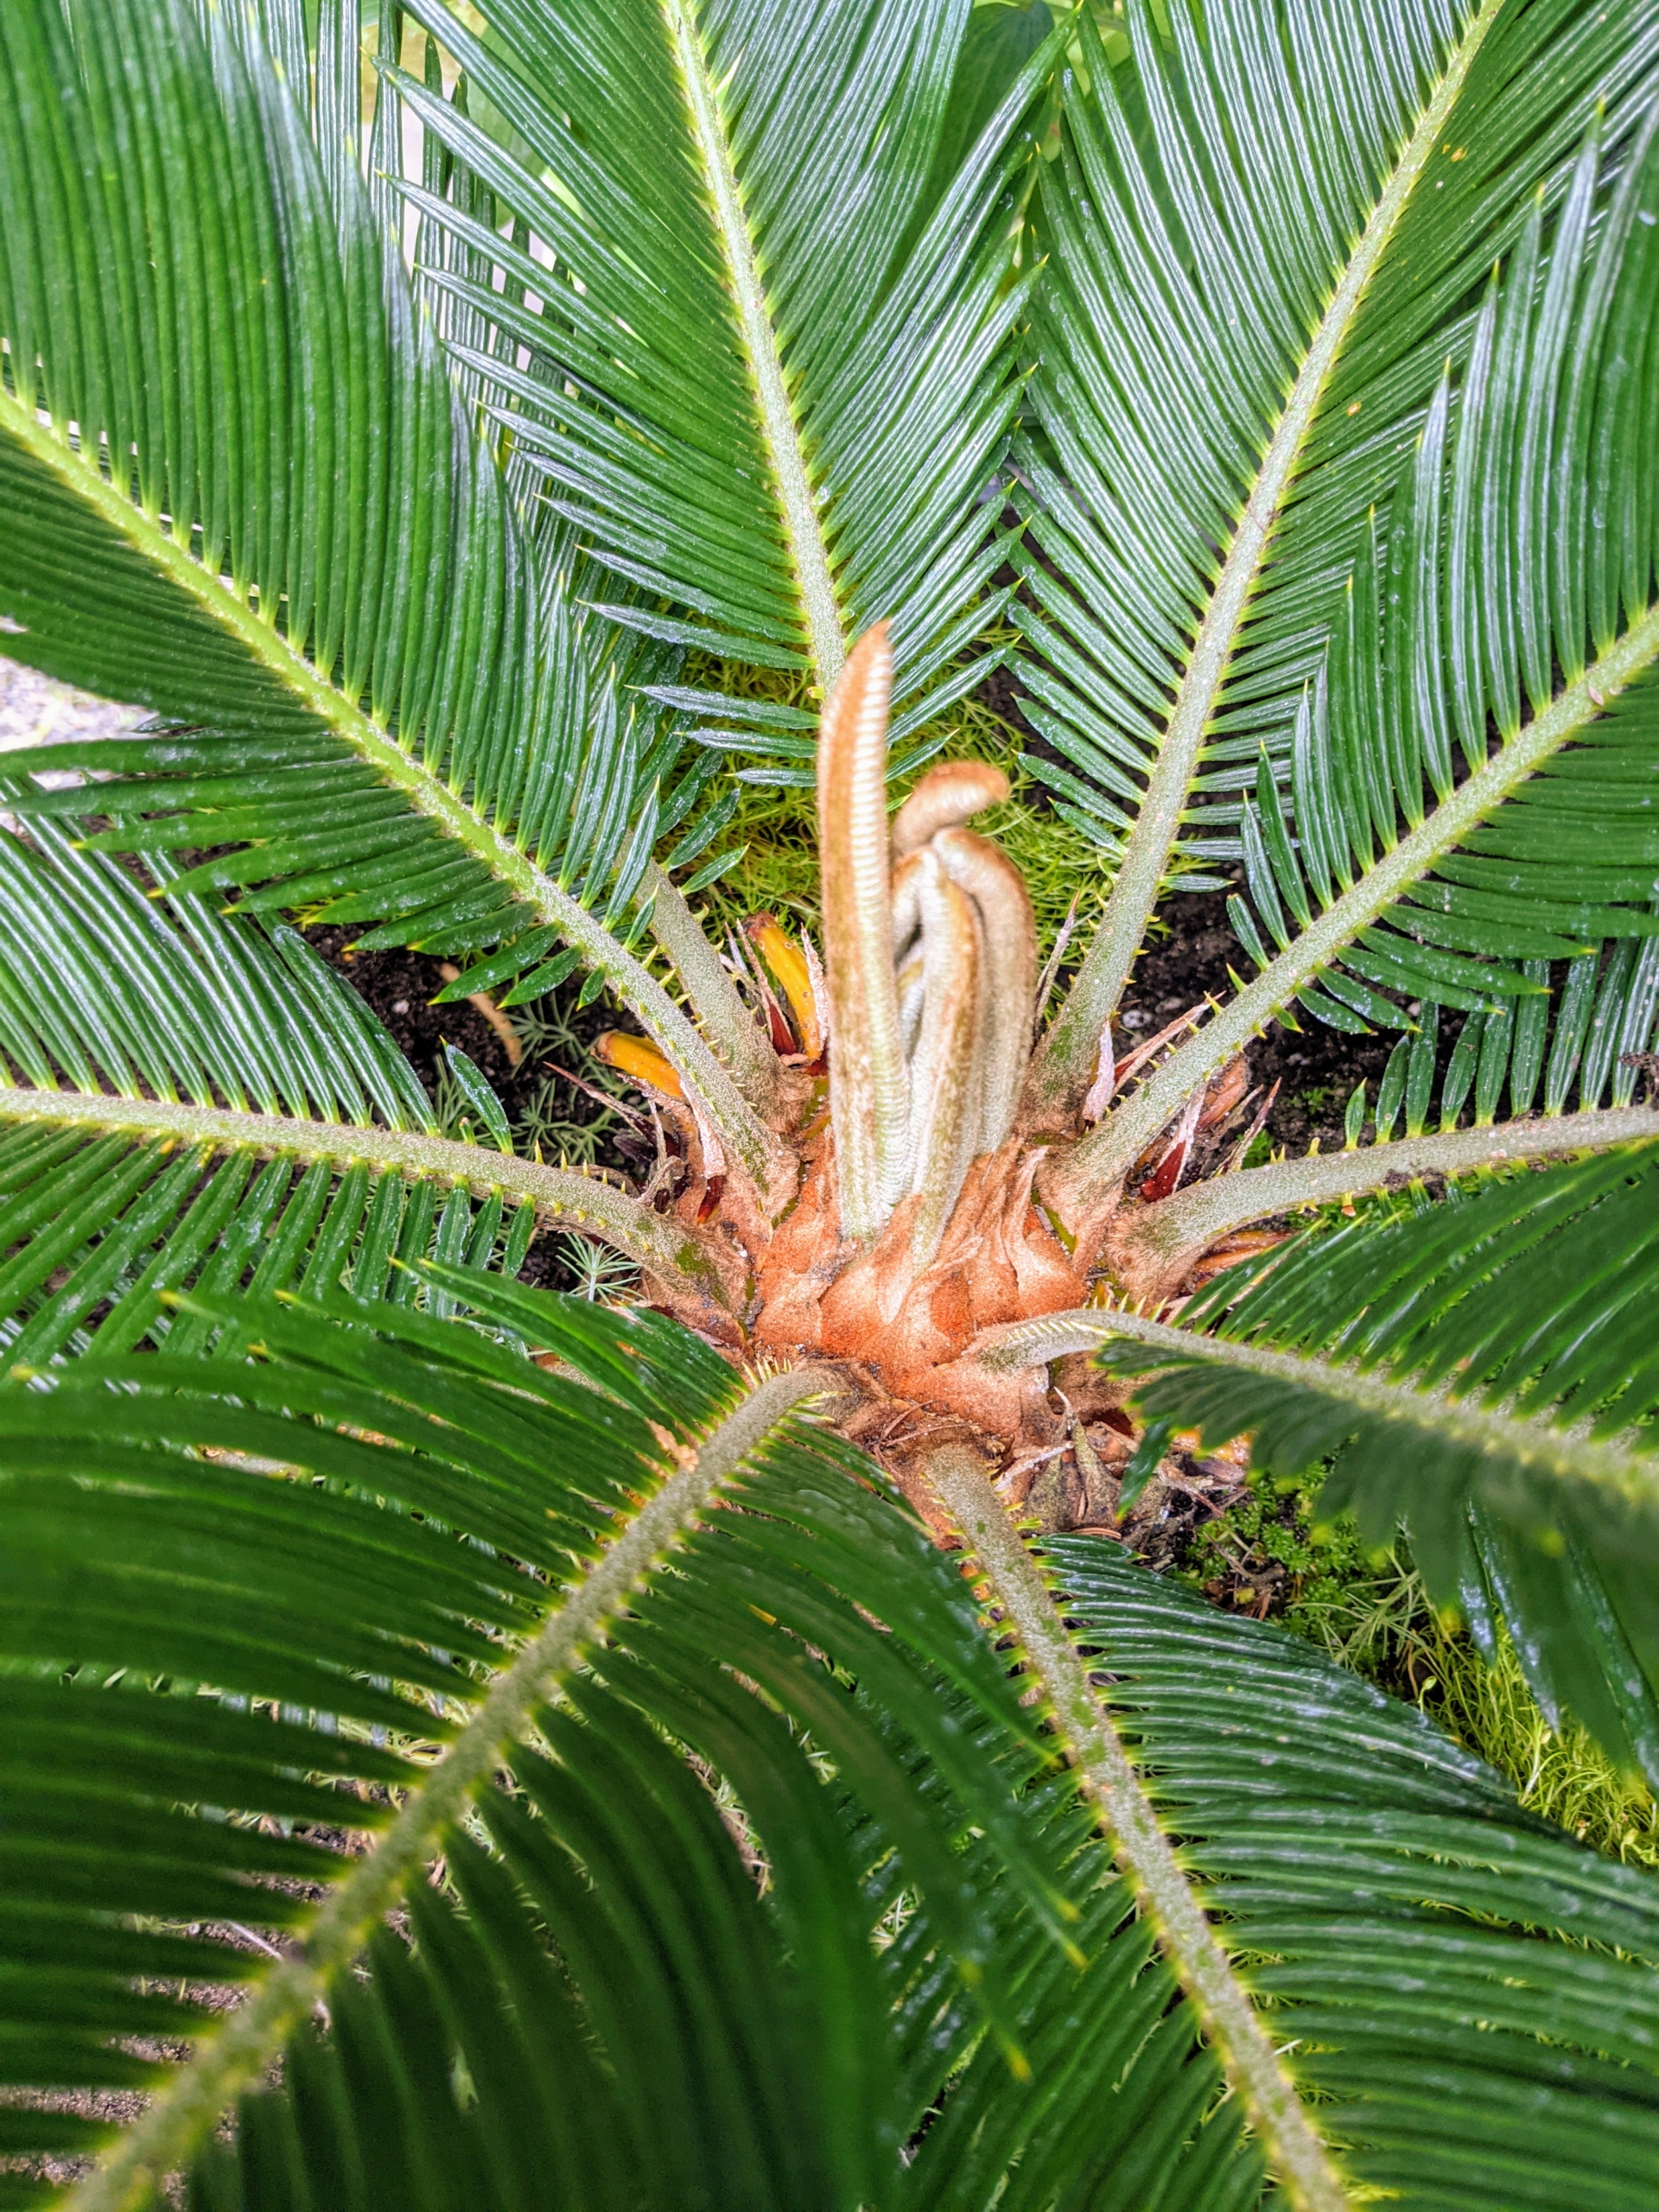
Healthy sago leaves are a deep green color. The pinnate leaves are typically about four to five feet long at maturity, and nine-inches wide, reaching their greatest length when grown in partial shade. New growth starts from the center.
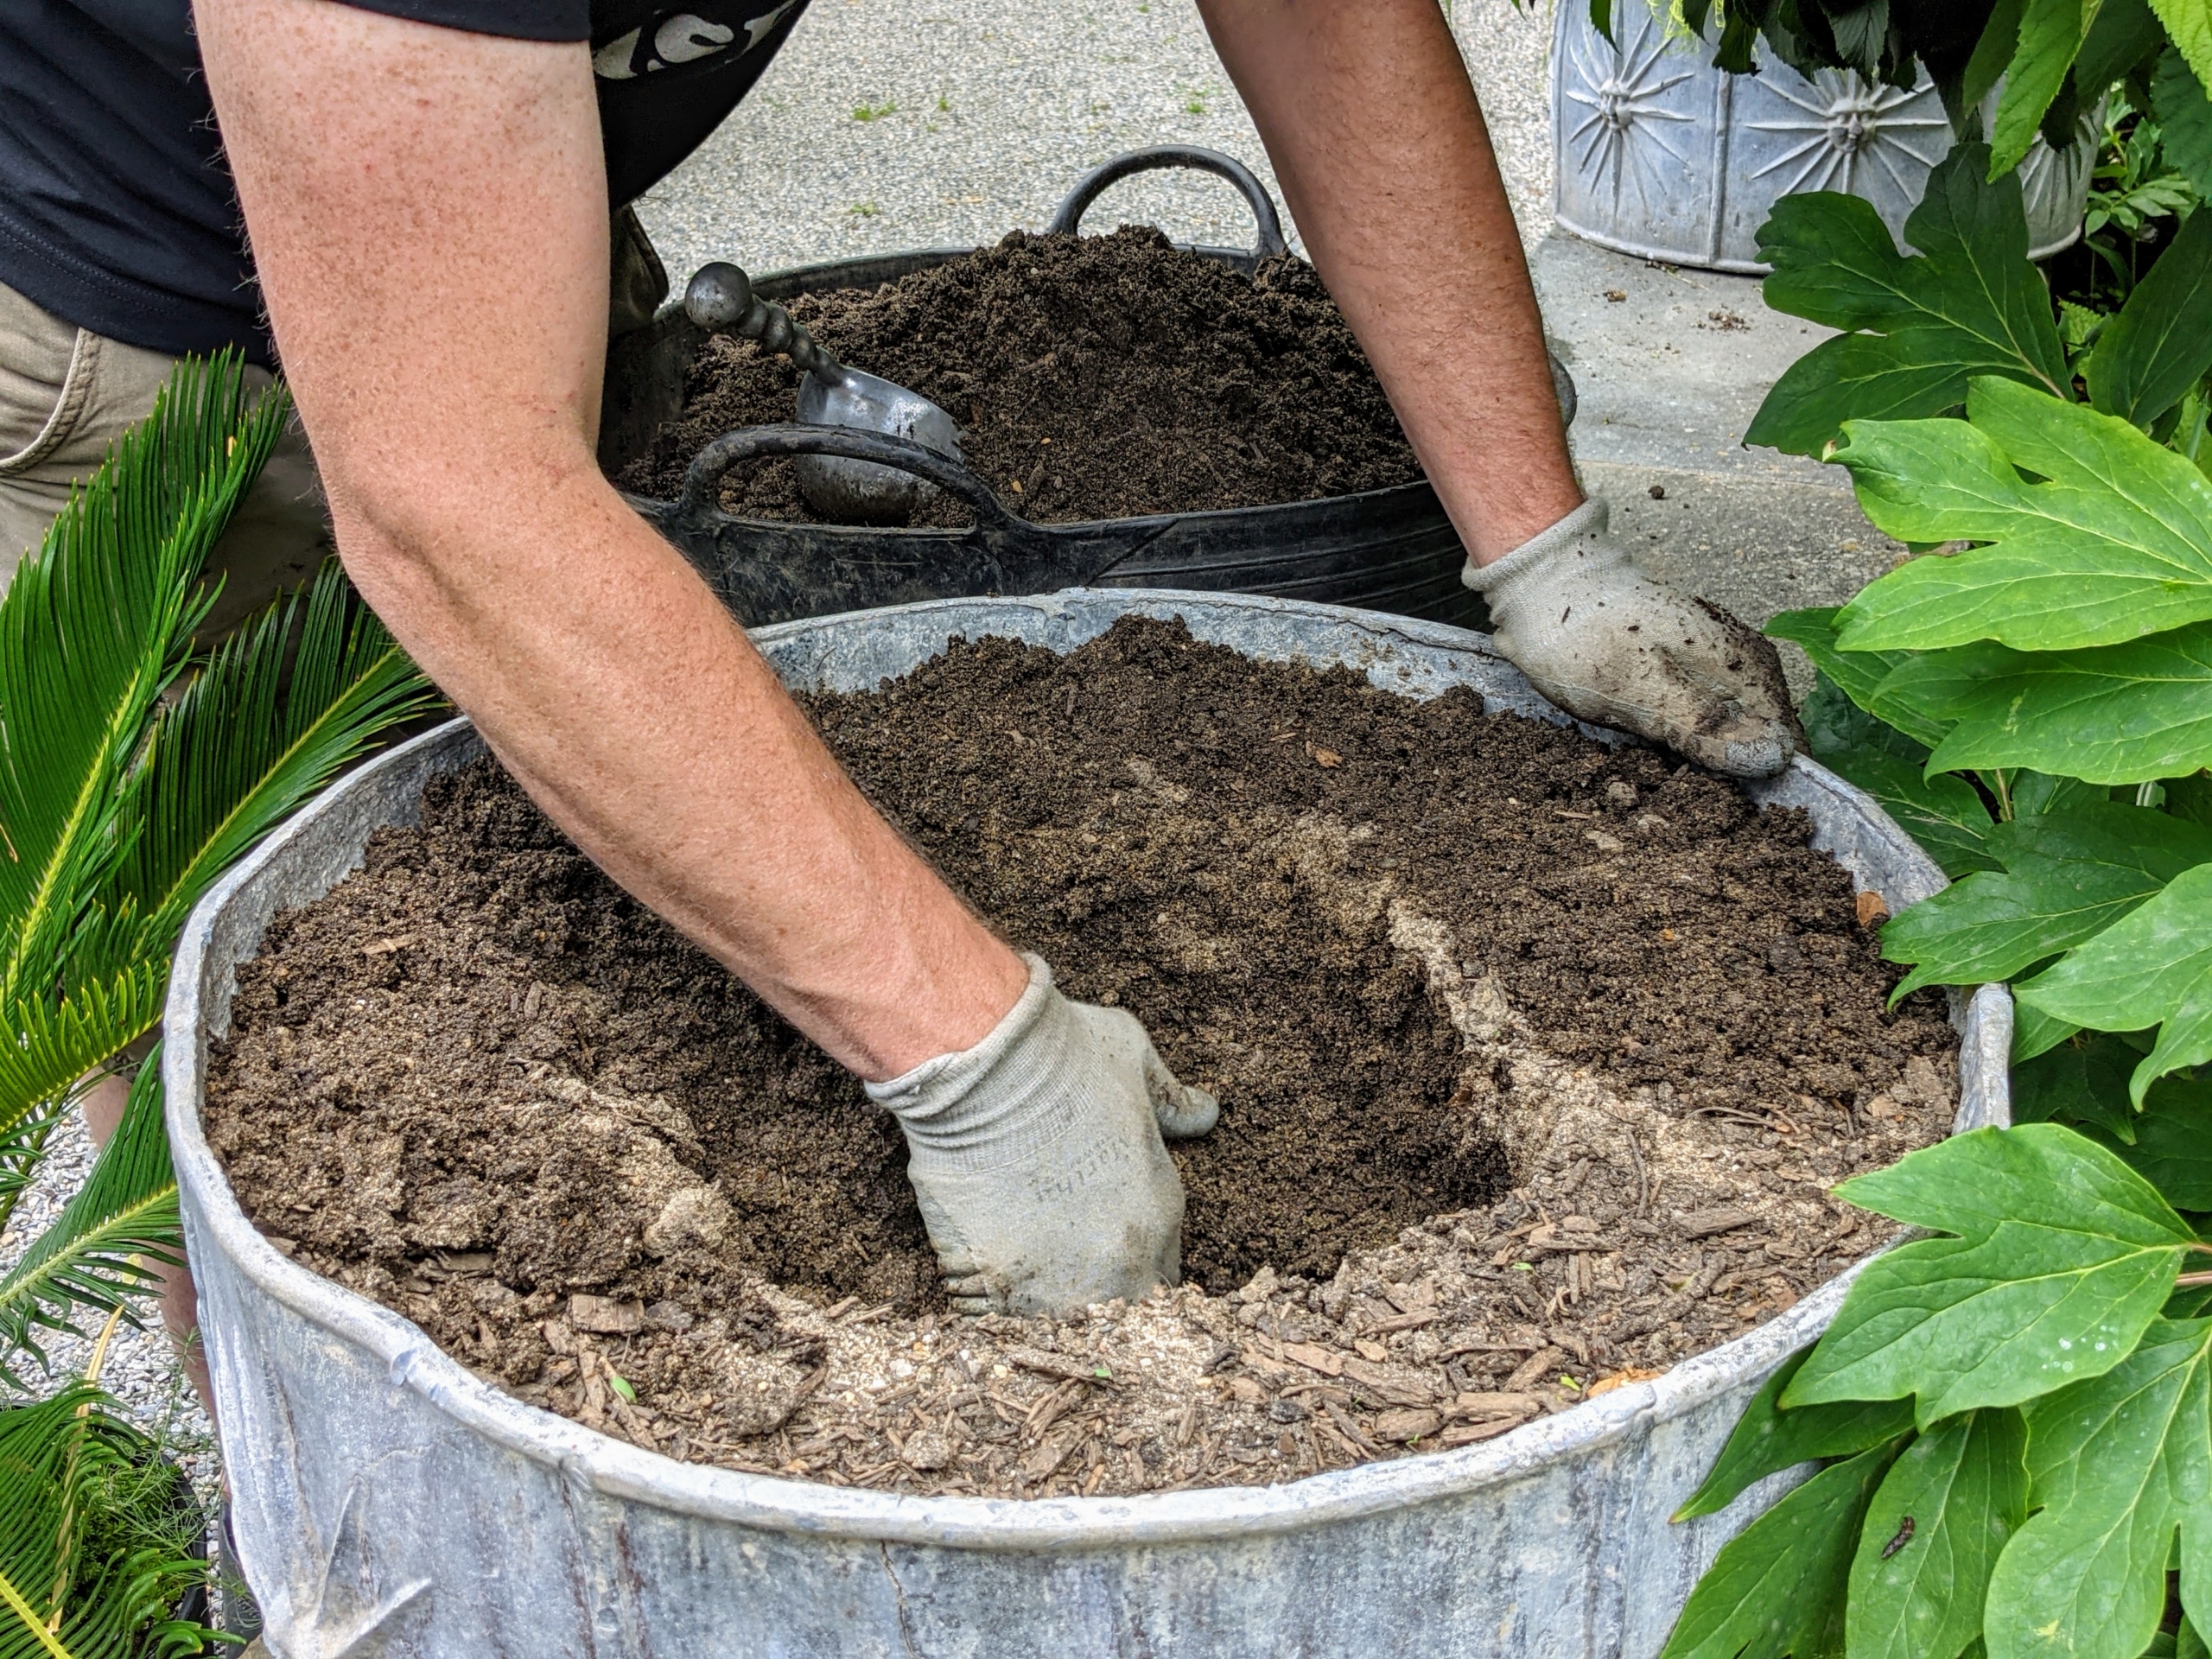
Cycads like a good draining soil. The soil medium should include elements such as peat moss, perlite, and a little sand. I already filled these containers with a sandy soil medium, so they’ll work just right for these cycads.
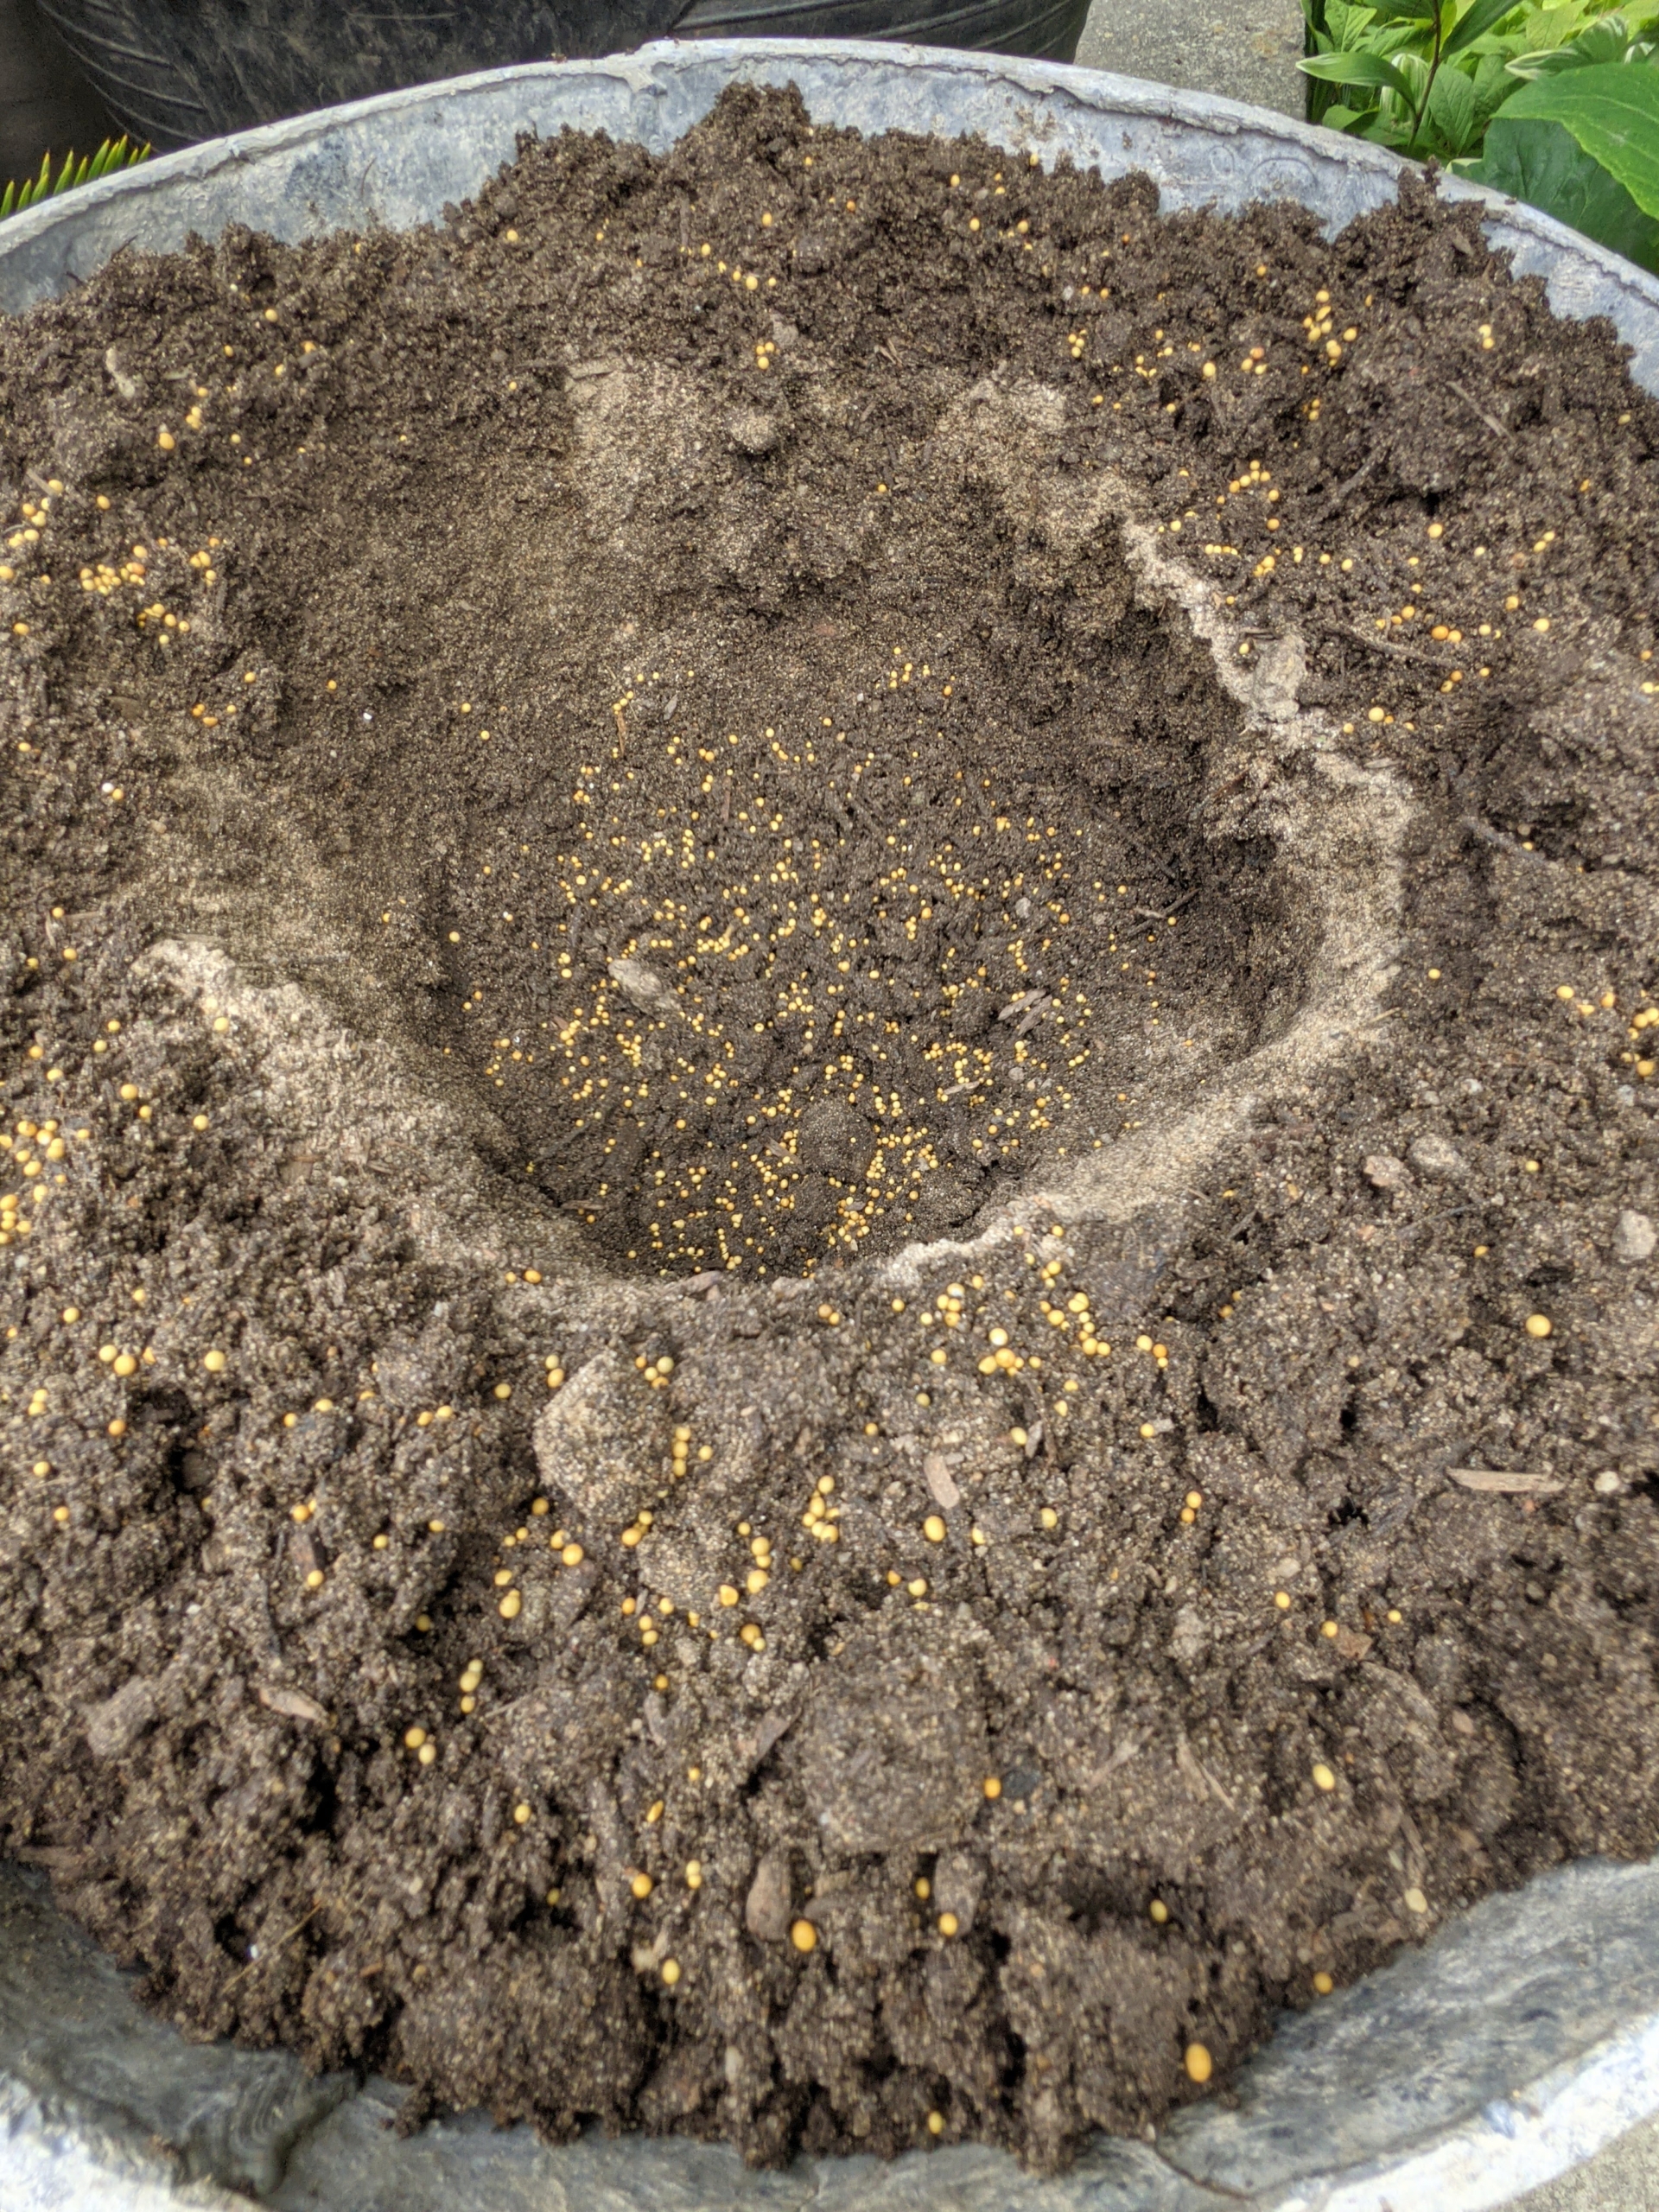
Here, Ryan digs a hole in the middle of the pot. Cycads like “deep pots,” so take depth over diameter when selecting a container size for a sago palm.
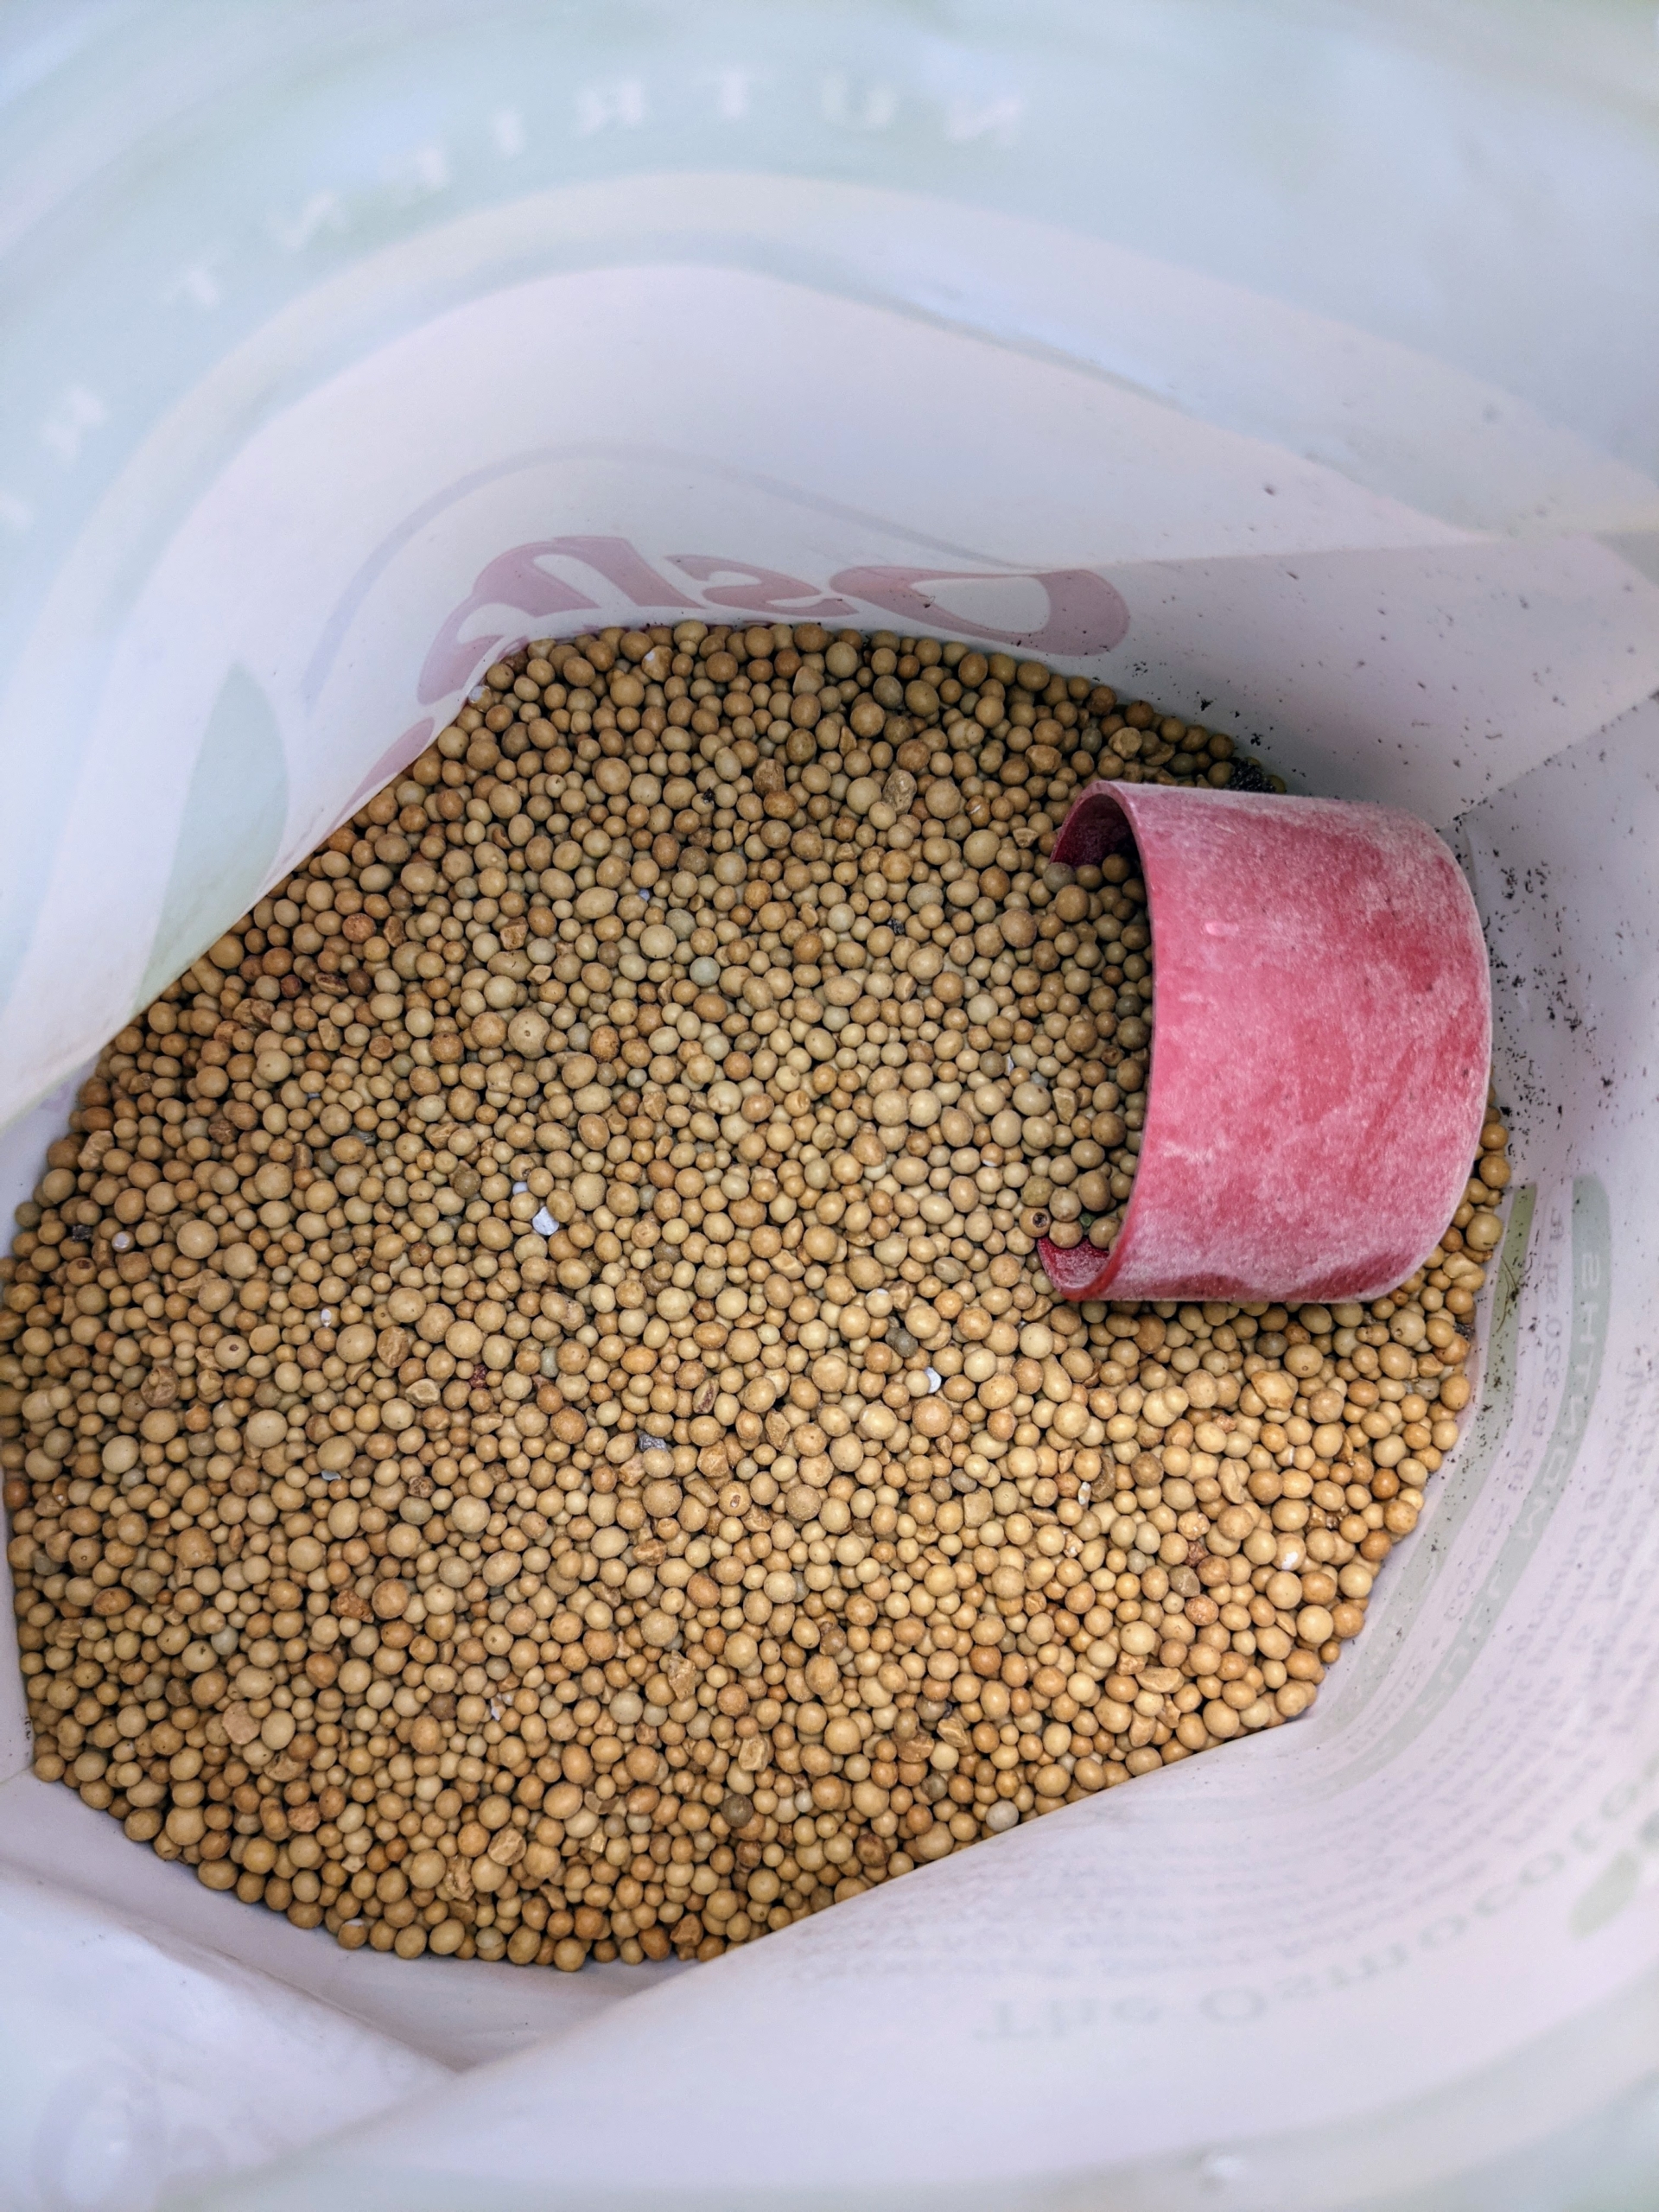
The soil is then sprinkled with some Scott’s Osmocote fertilizer – small, round coated prills filled with nutrients.
These prills coat a core of nitrogen, phosphorus and potassium. The resin-coating is made from linseed oil and as the plant’s root system takes-up nutrition from the soil, it also takes up the needed nutrients from the Osmocote.
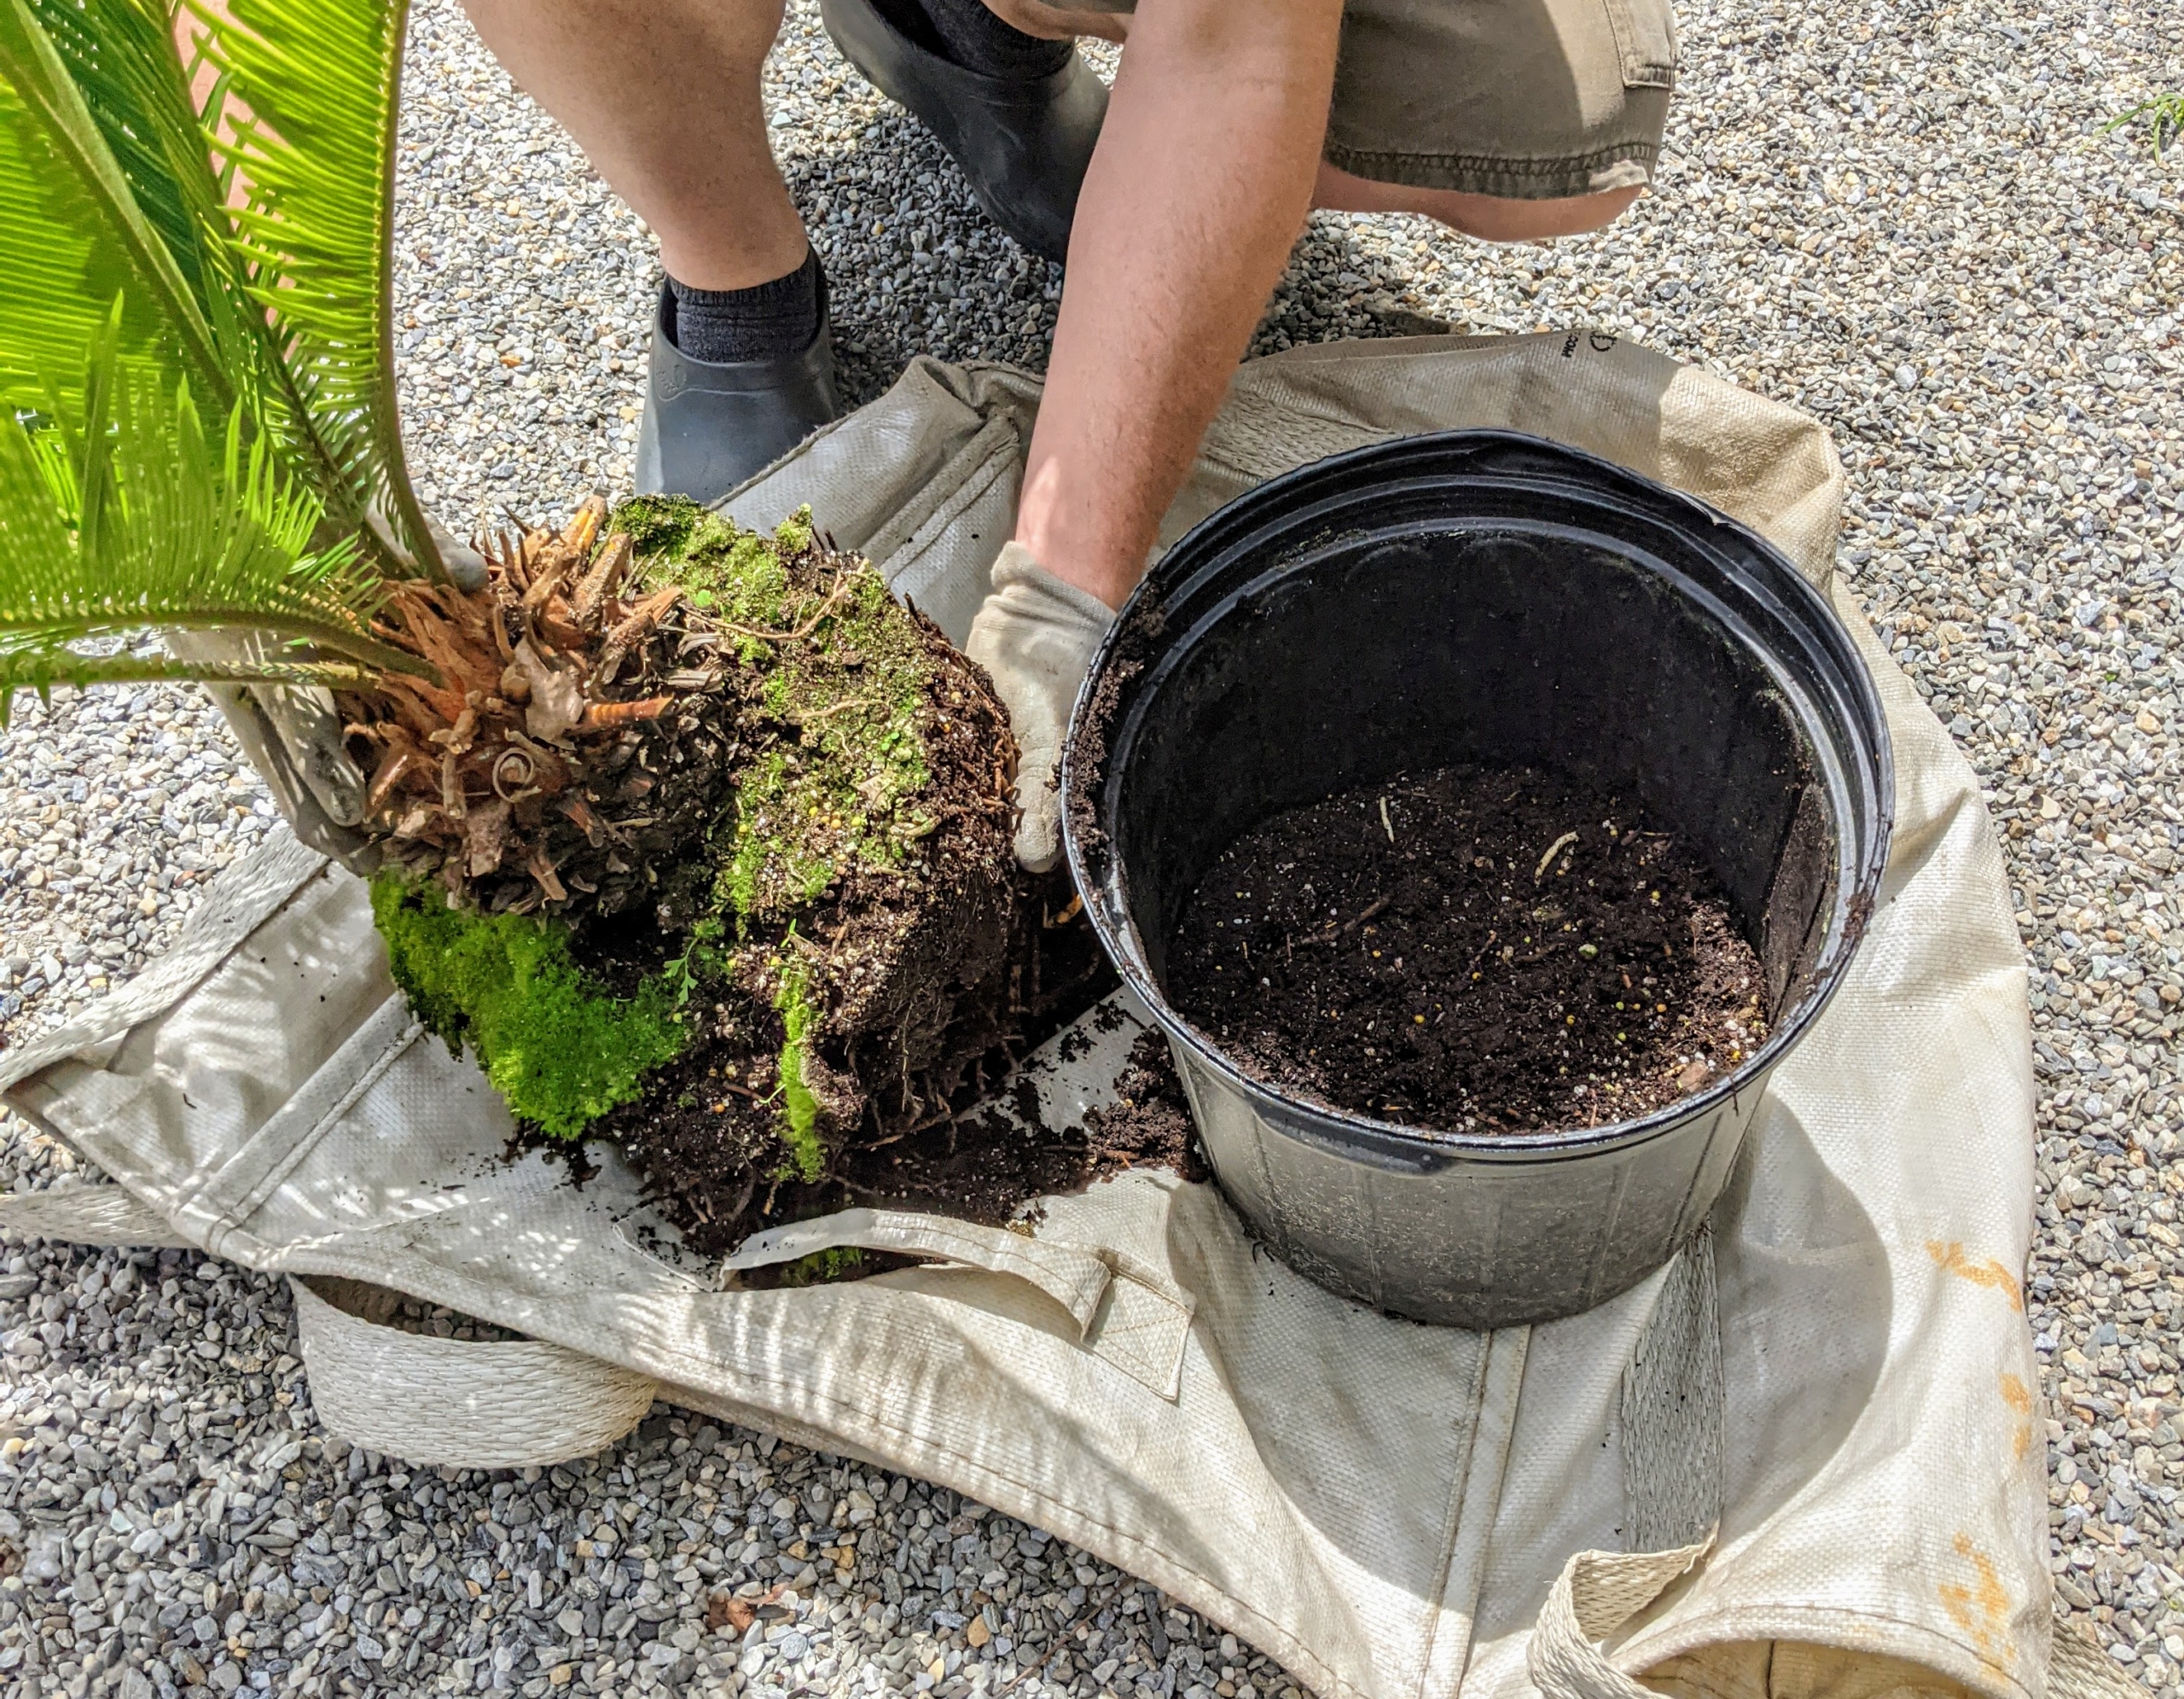
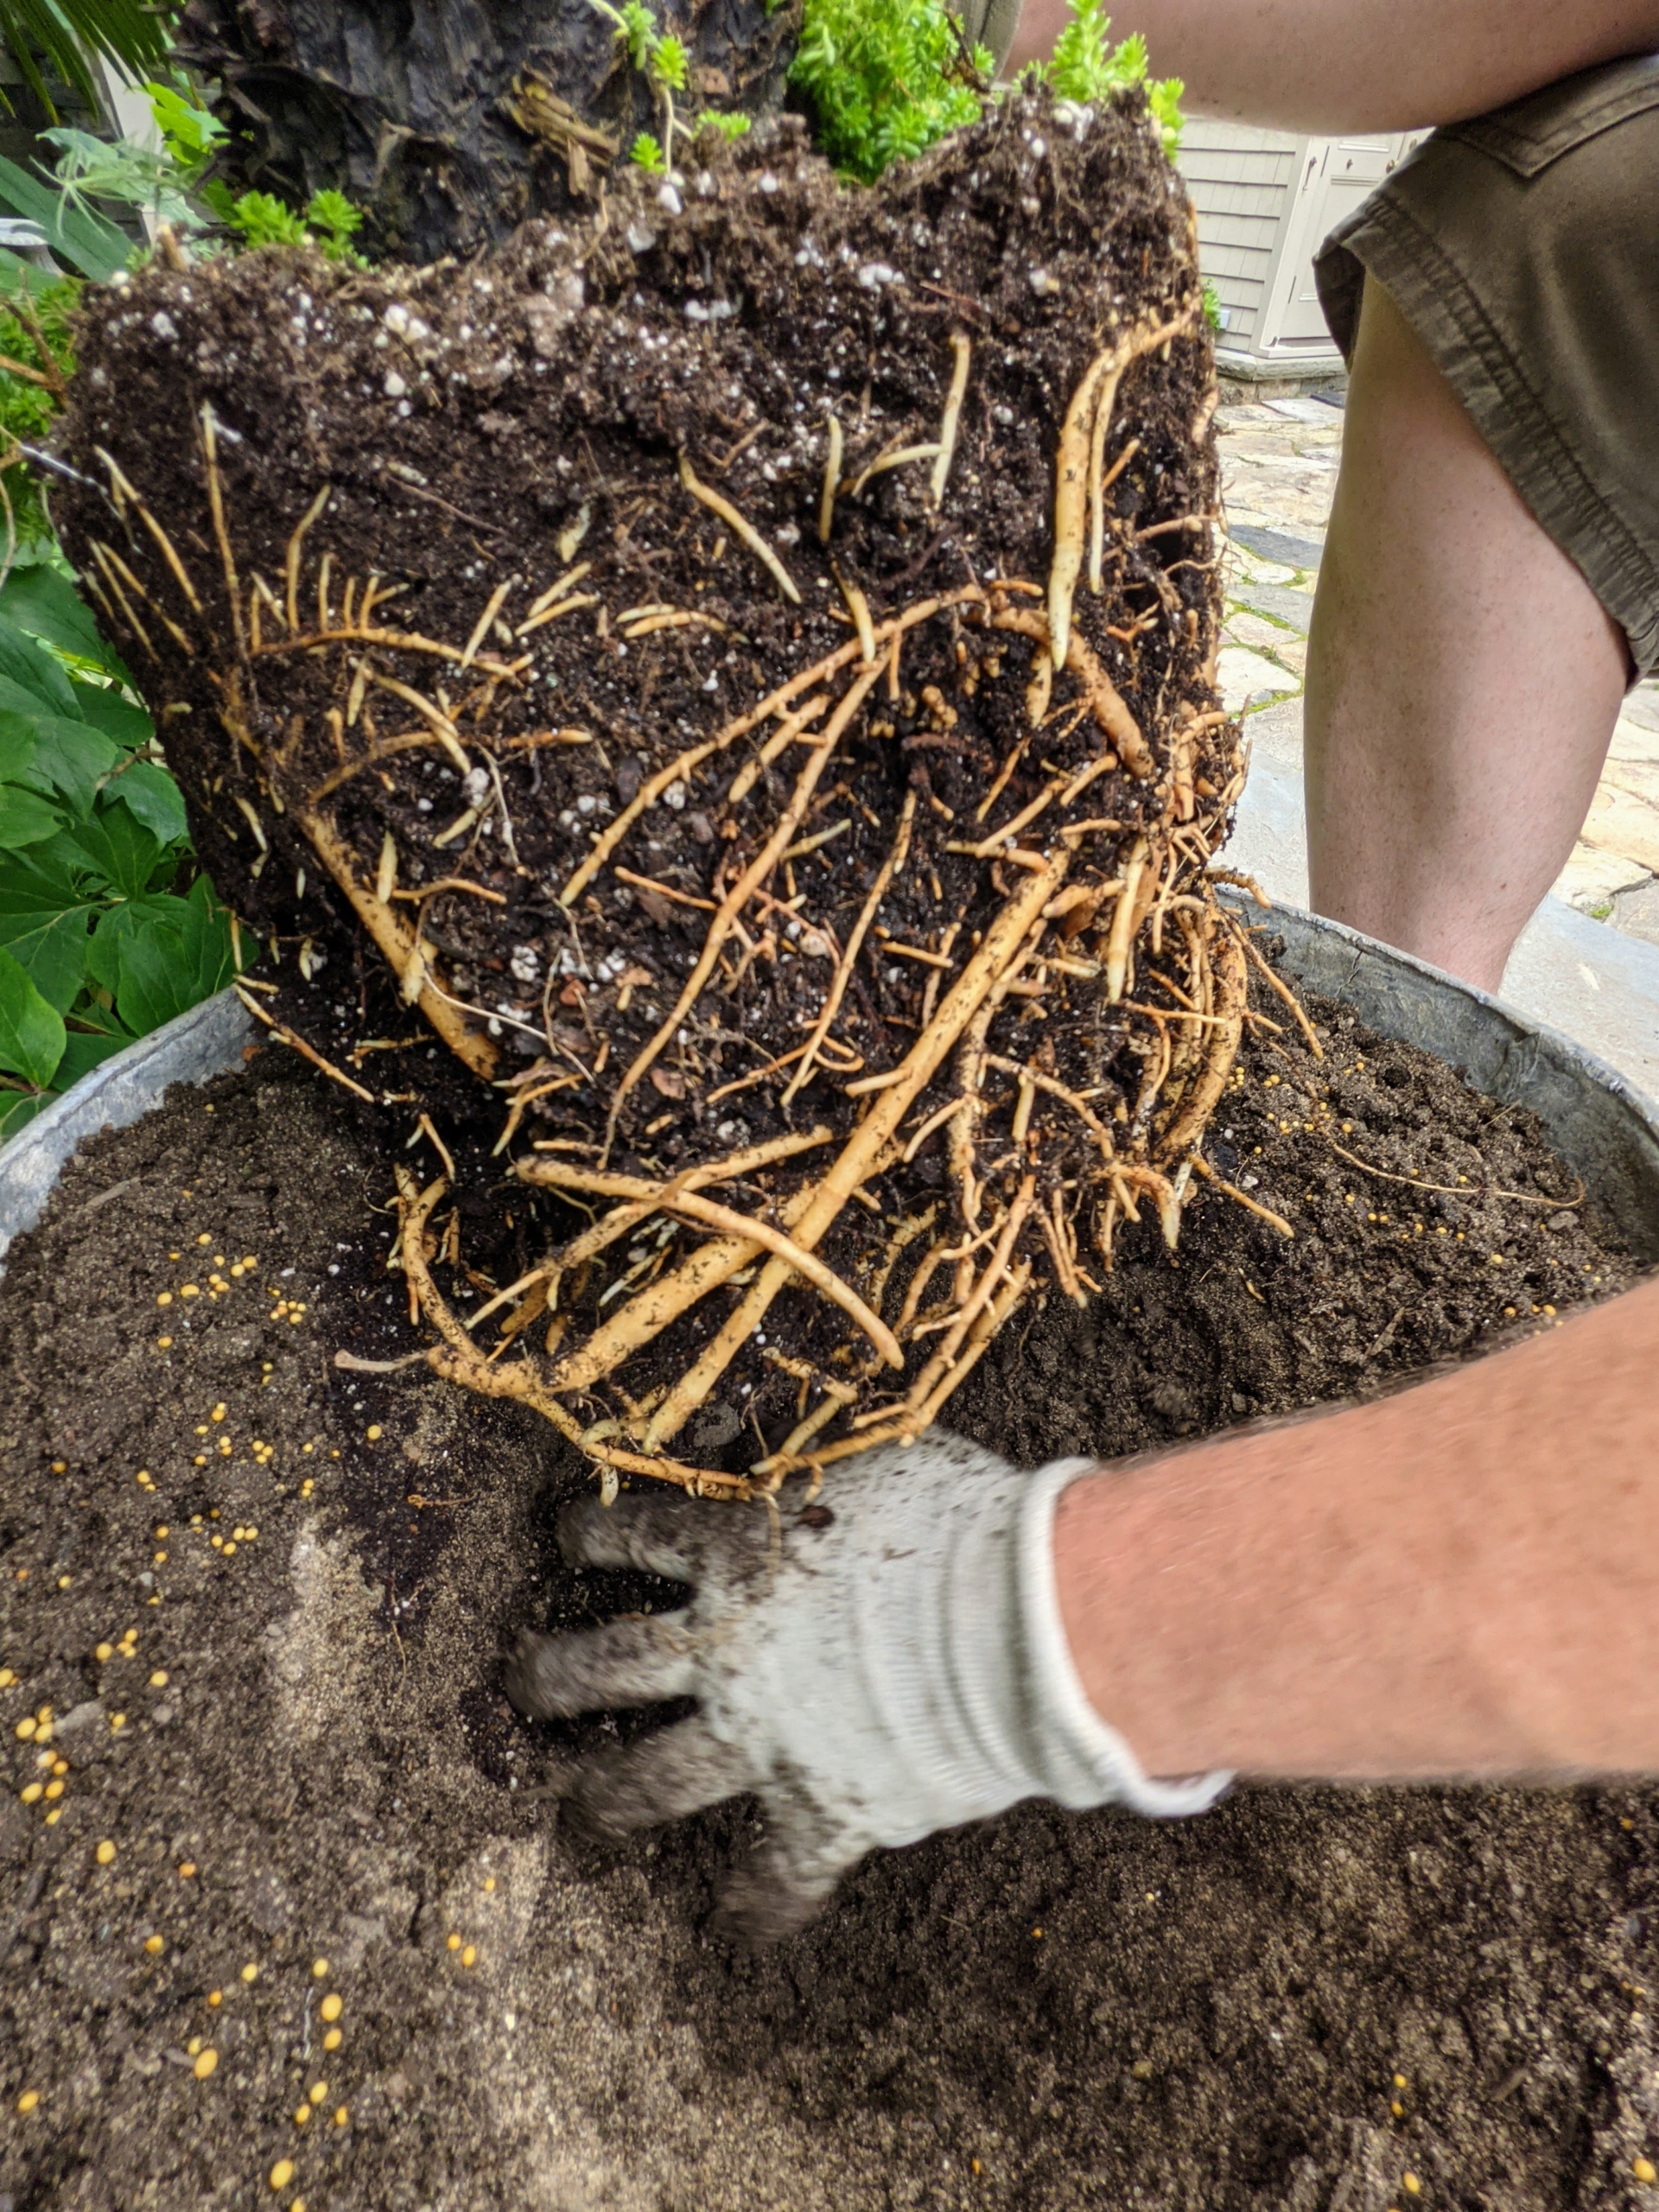
Ryan removes the sago palm from its plastic pot and gives it a quick inspection.
Repotting is a good time to check any plant for damaged, unwanted or rotting leaves or pests that may be hiding in the soil. Ryan scarifies the root ball just a bit to encourage new growth.
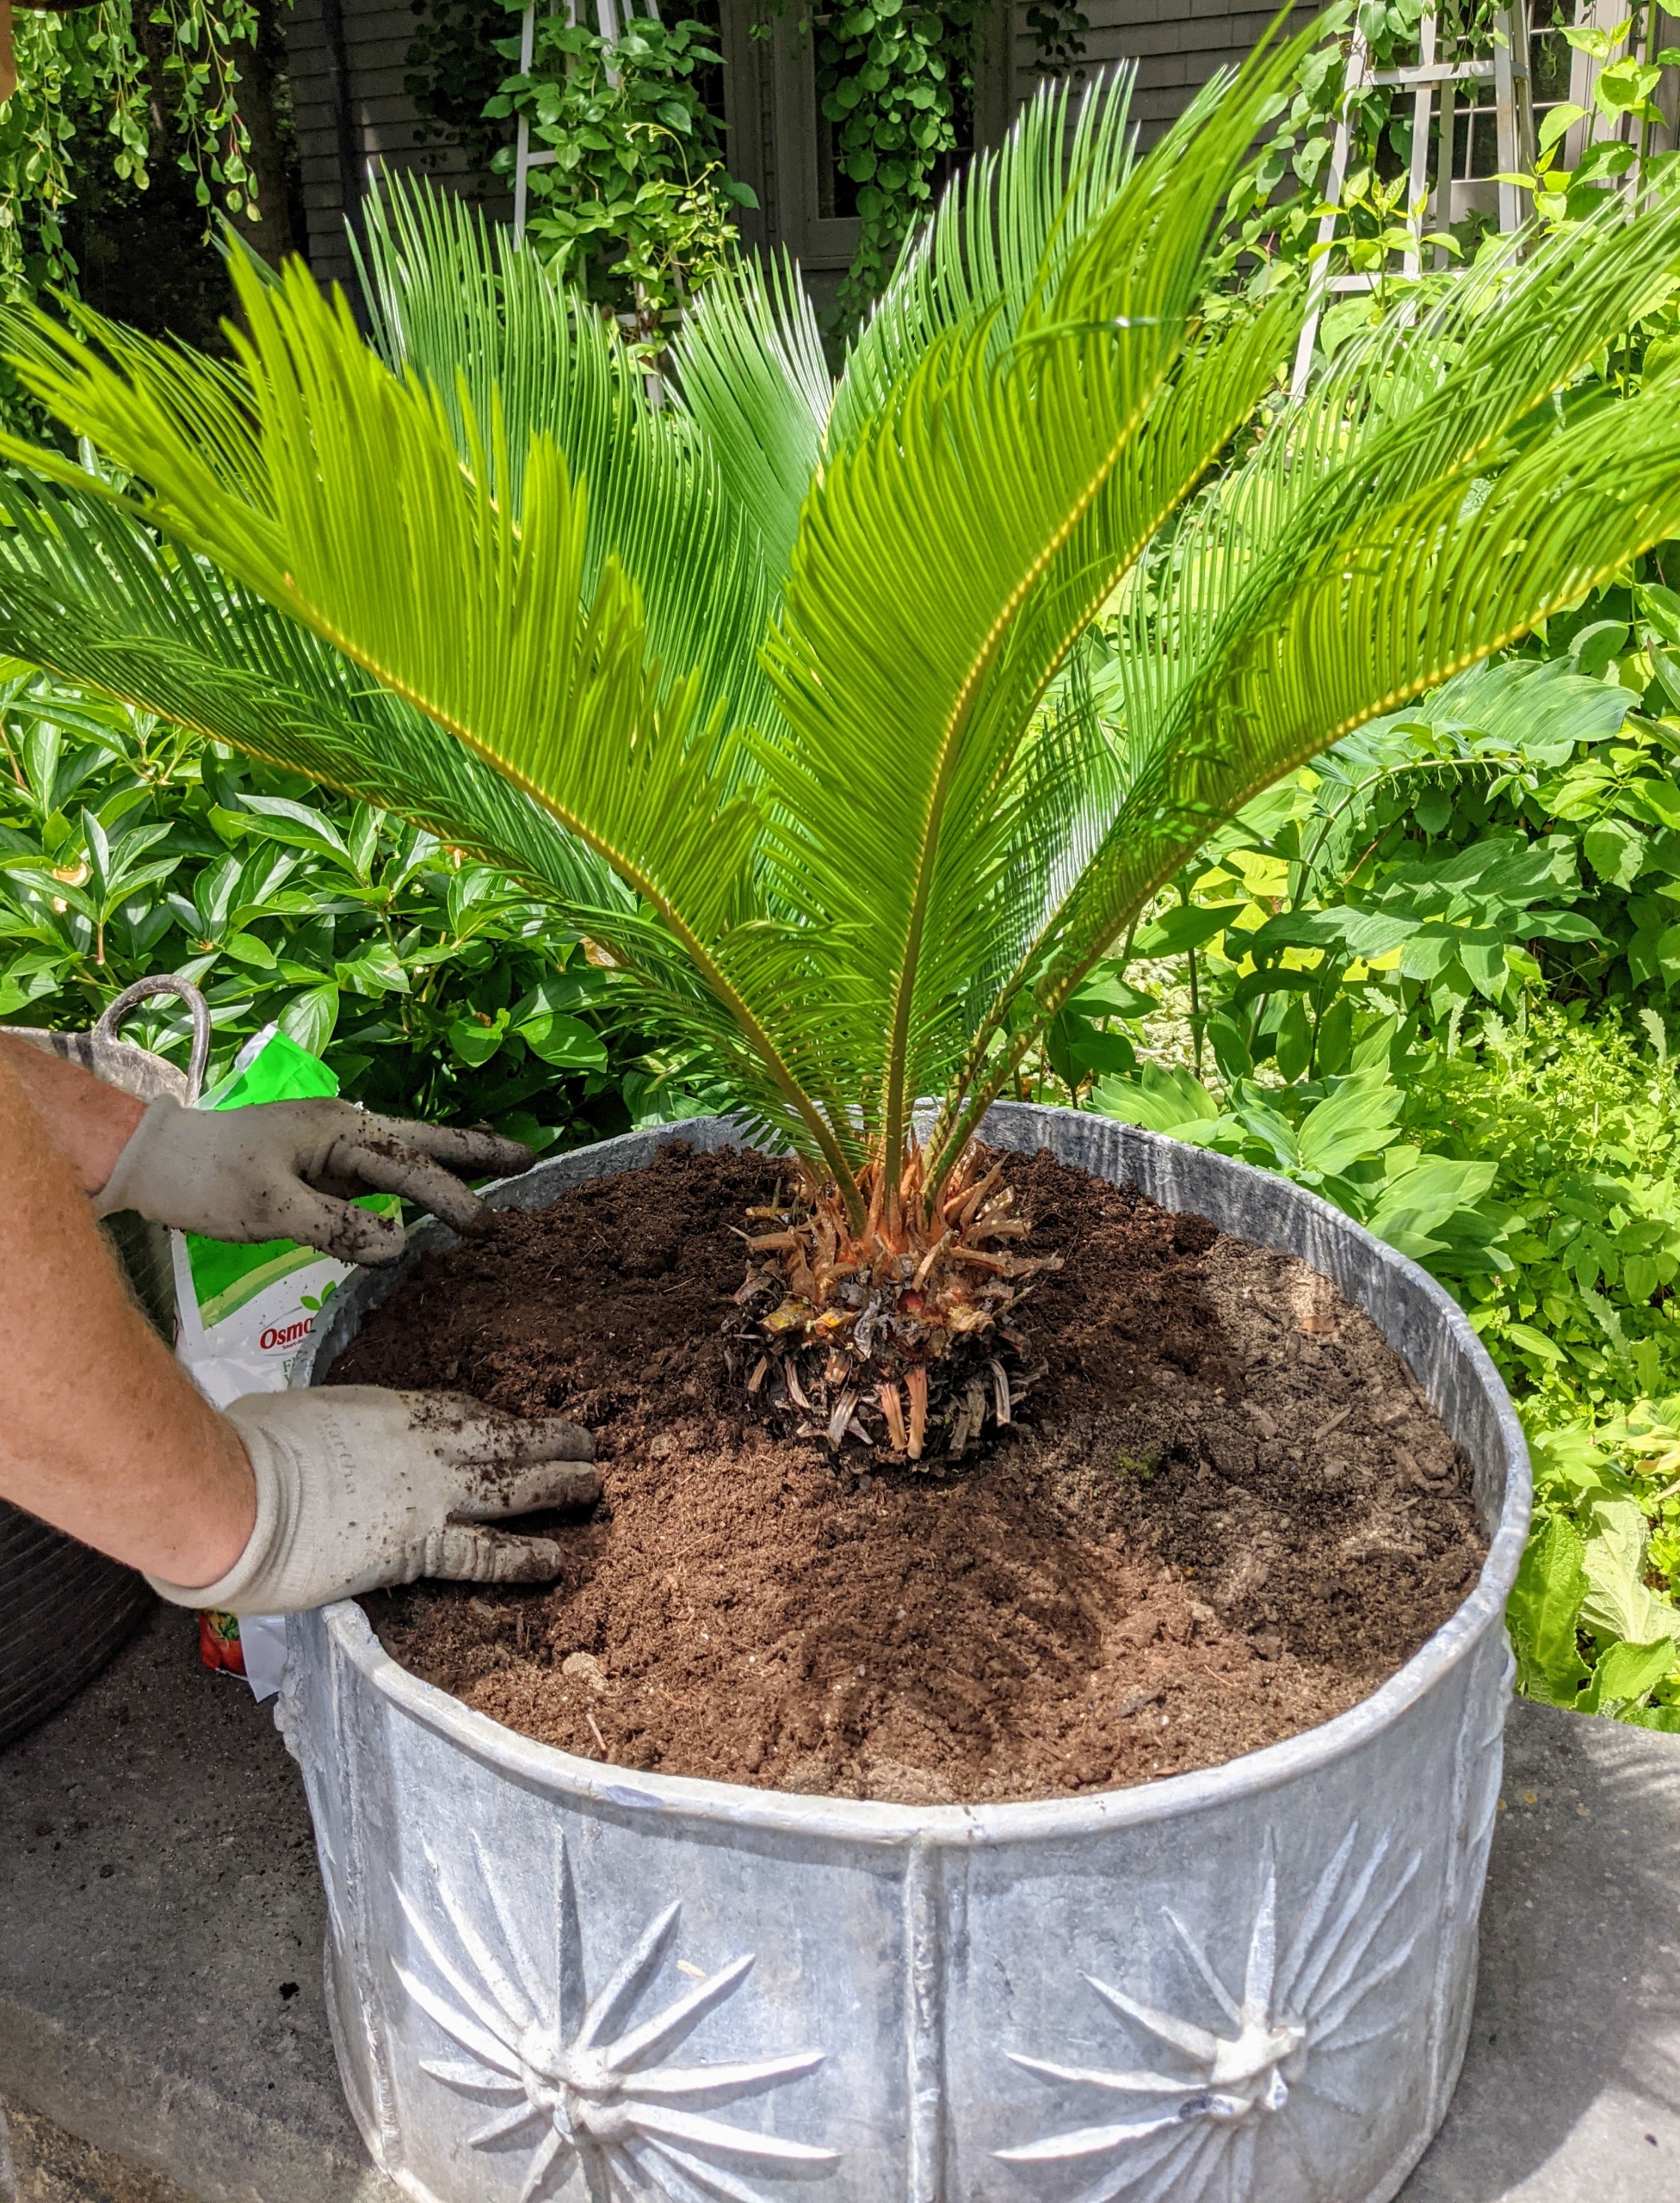
The plant is placed into the new vessel at the same depth it was in its previous pot and then backfilled with more soil.
The sago palm is a slow-growing cycad, and it can take up to 100 years for it to achieve its maximum height of 20-plus feet tall. It thrives in sunny to shady sites and can withstand some drought once established. I have many sago palms in my collection in all different sizes.
These are where leaves were once cut. When pruning, only cut off the old and dying leaves, especially towards the base of the tree where they are oldest. And cut them off as close to the trunk as possible. The rough, symmetrical trunk becomes leafless as it ages and gives way to an evergreen crown filled with upward pointing fronds. The tips are quite pointy and sharp, so it’s best to plant it away from lots of foot traffic.
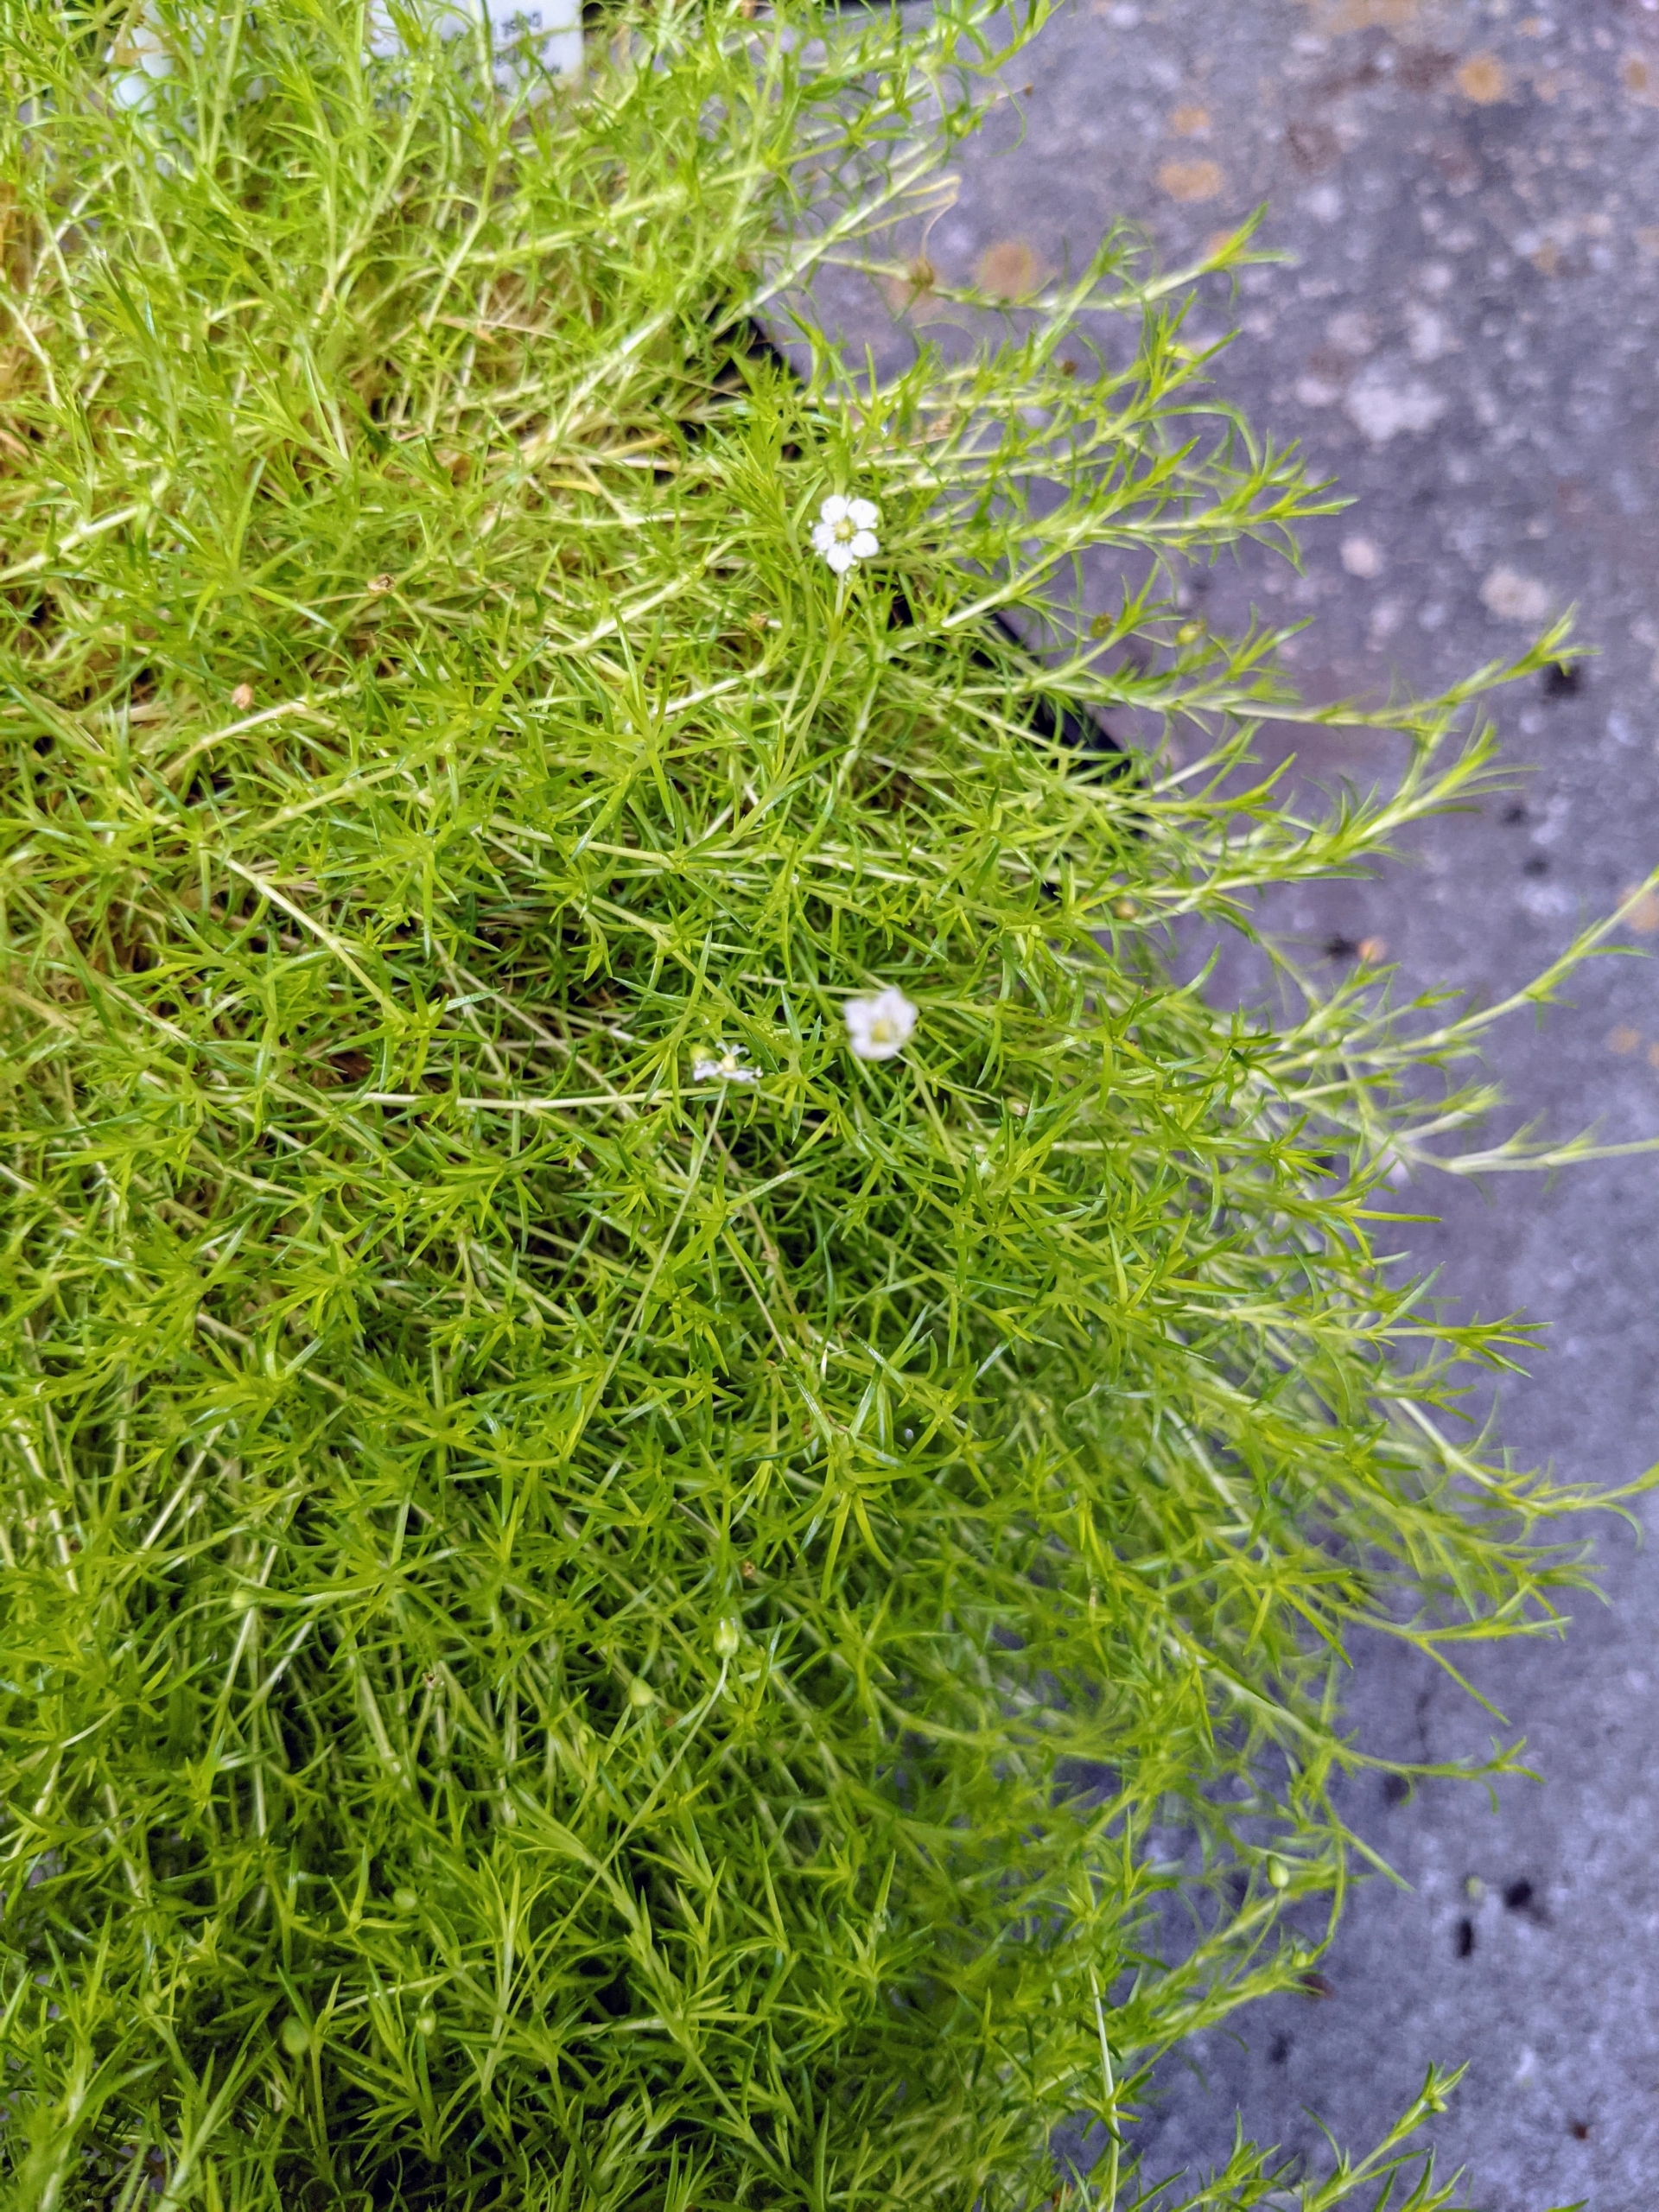
Scotch moss is a low growing soft herbaceous perennial ground-cover that requires little maintenance. It’s great for underplanting, filling in between pavers, in rock gardens, or along a path. Botanically known as Sagina subulata, this plant is a native of western and central Europe and is hardy in zones 4 through 8.
Scotch moss grows dense, compact mats spreading to a foot or more wide and just one to two inches tall. Tufts of slender, subulate or awl-shaped leaves cover thin, creeping stems. True moss does not flower; however, yellow Scotch moss has tiny star-shaped, five-petaled flowers.
Also, unlike true moss that grows in moist, shady conditions, this plant does best in full sun to part shade and requires good drainage.
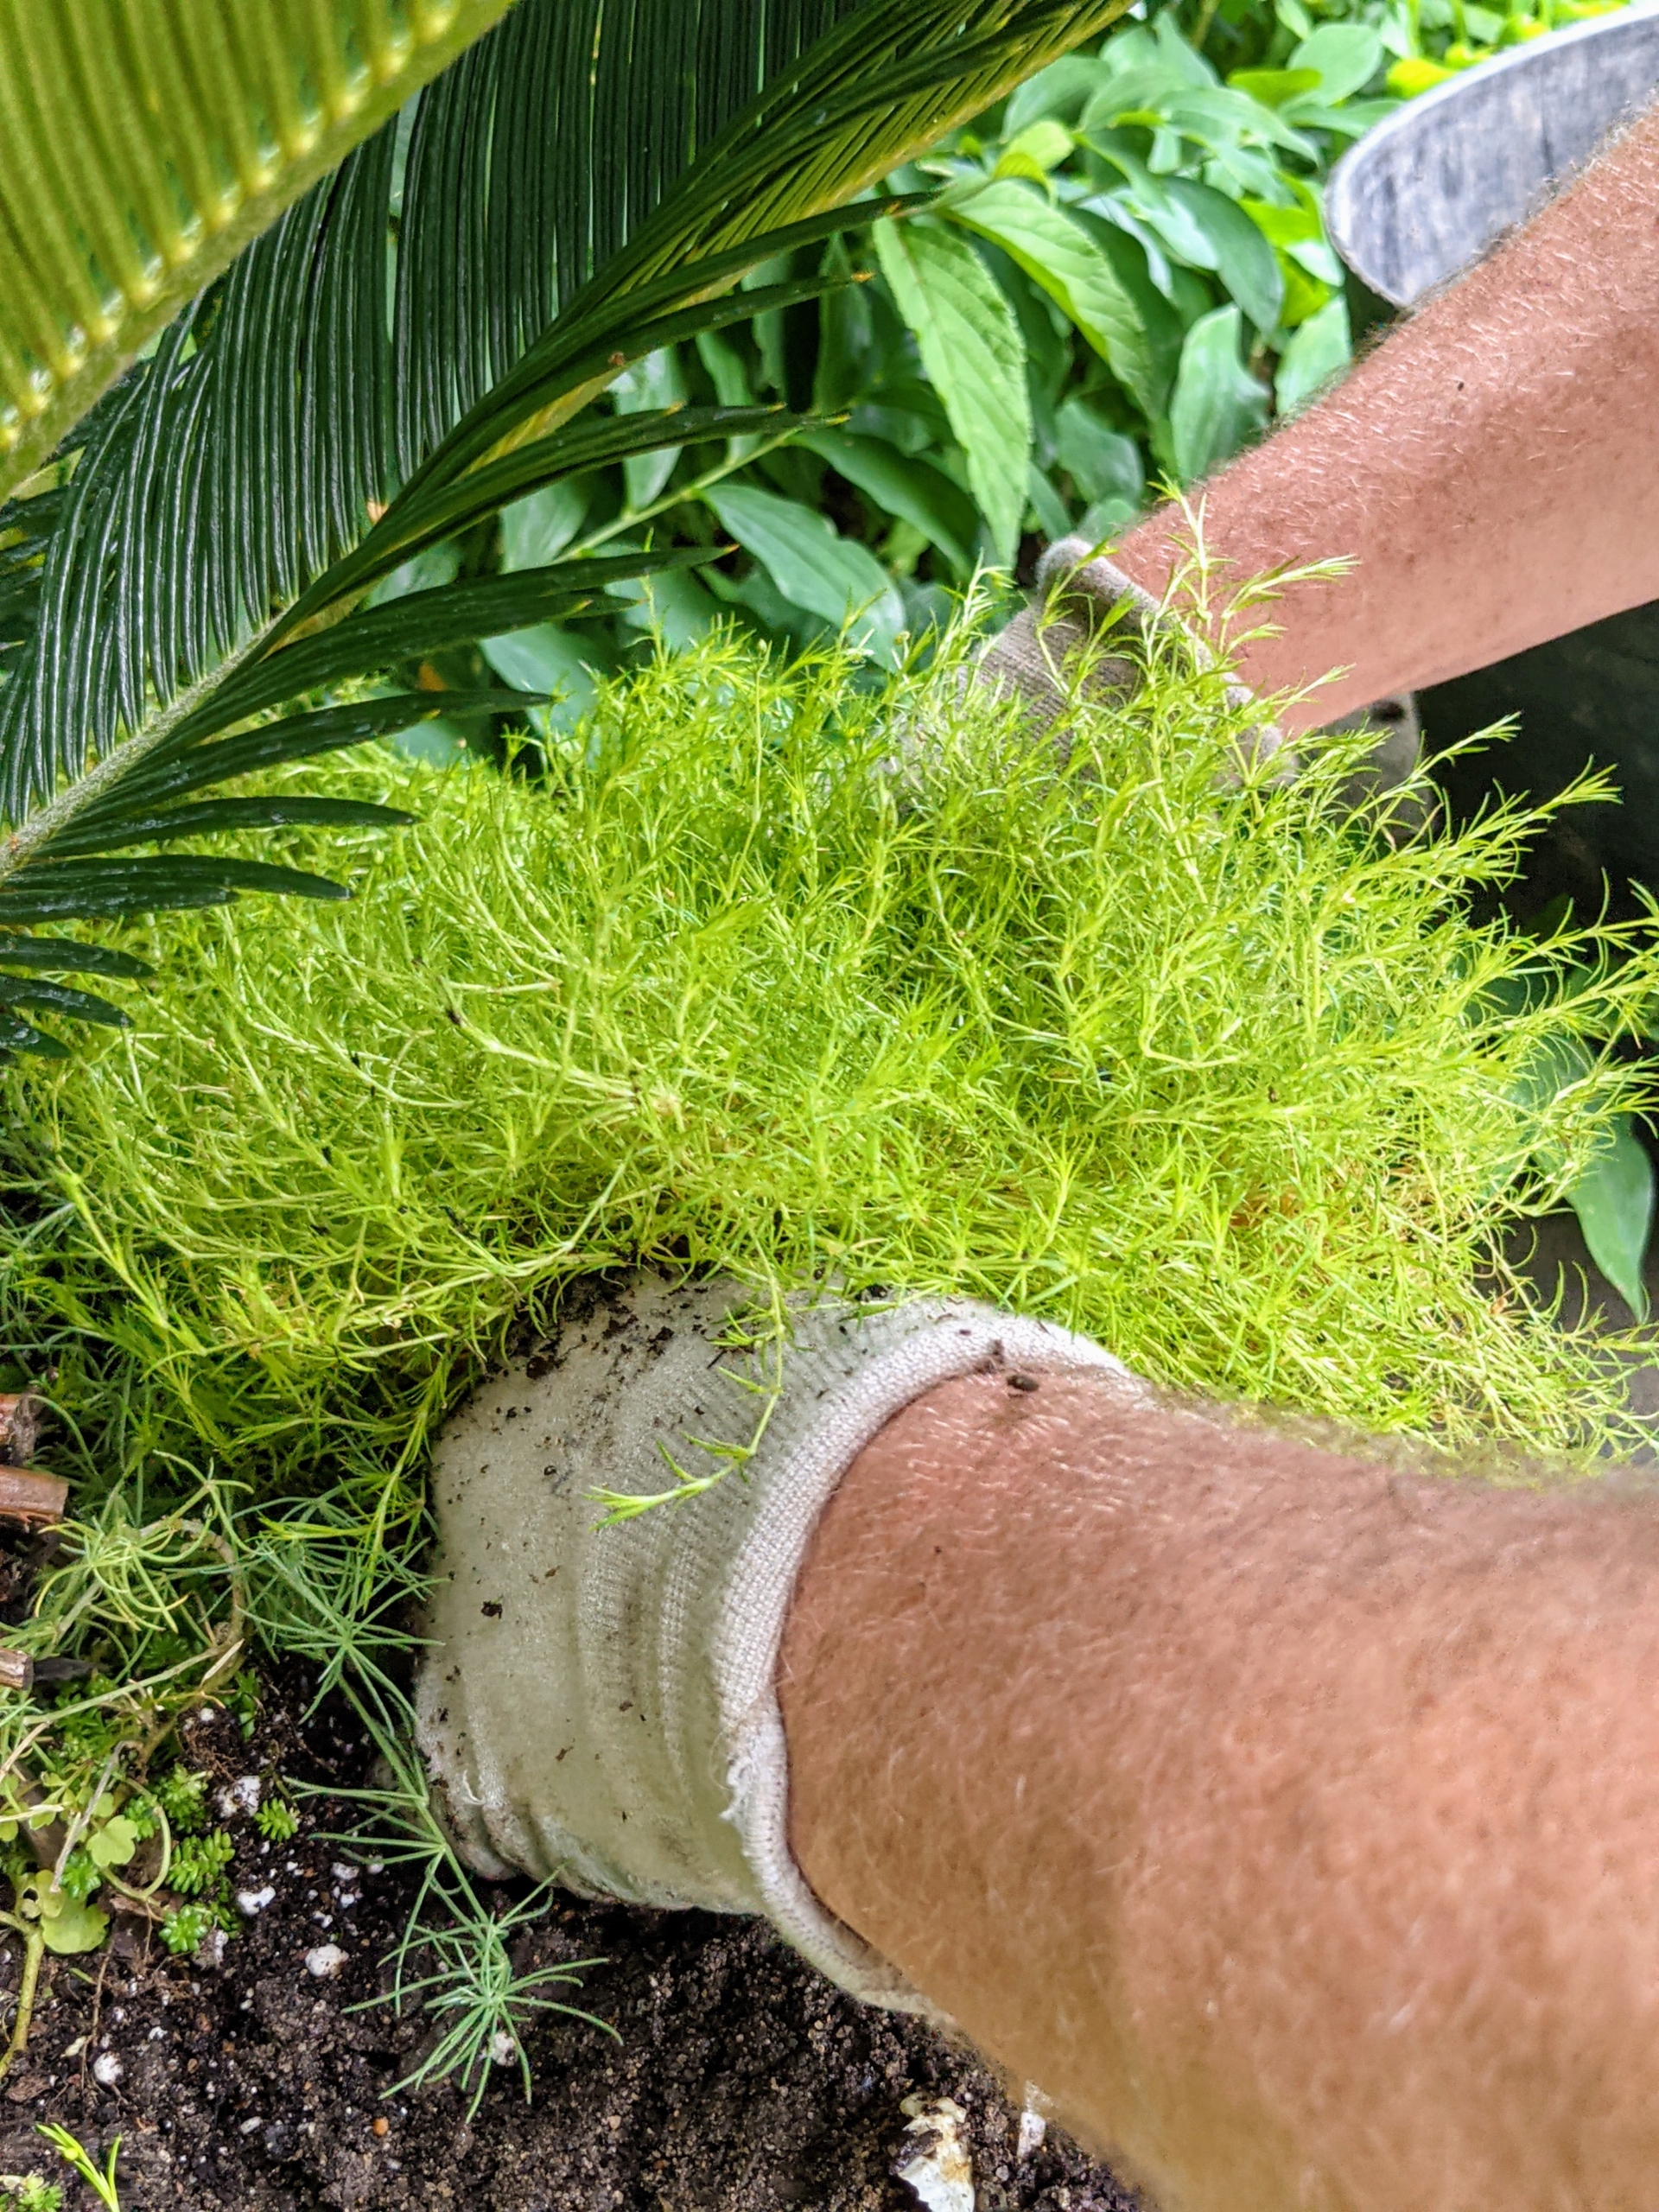
Scotch moss is an easy plant to divide – just tear apart a clump into smaller pieces. Here, Ryan places a few in the pot first to see how many each pot will need.
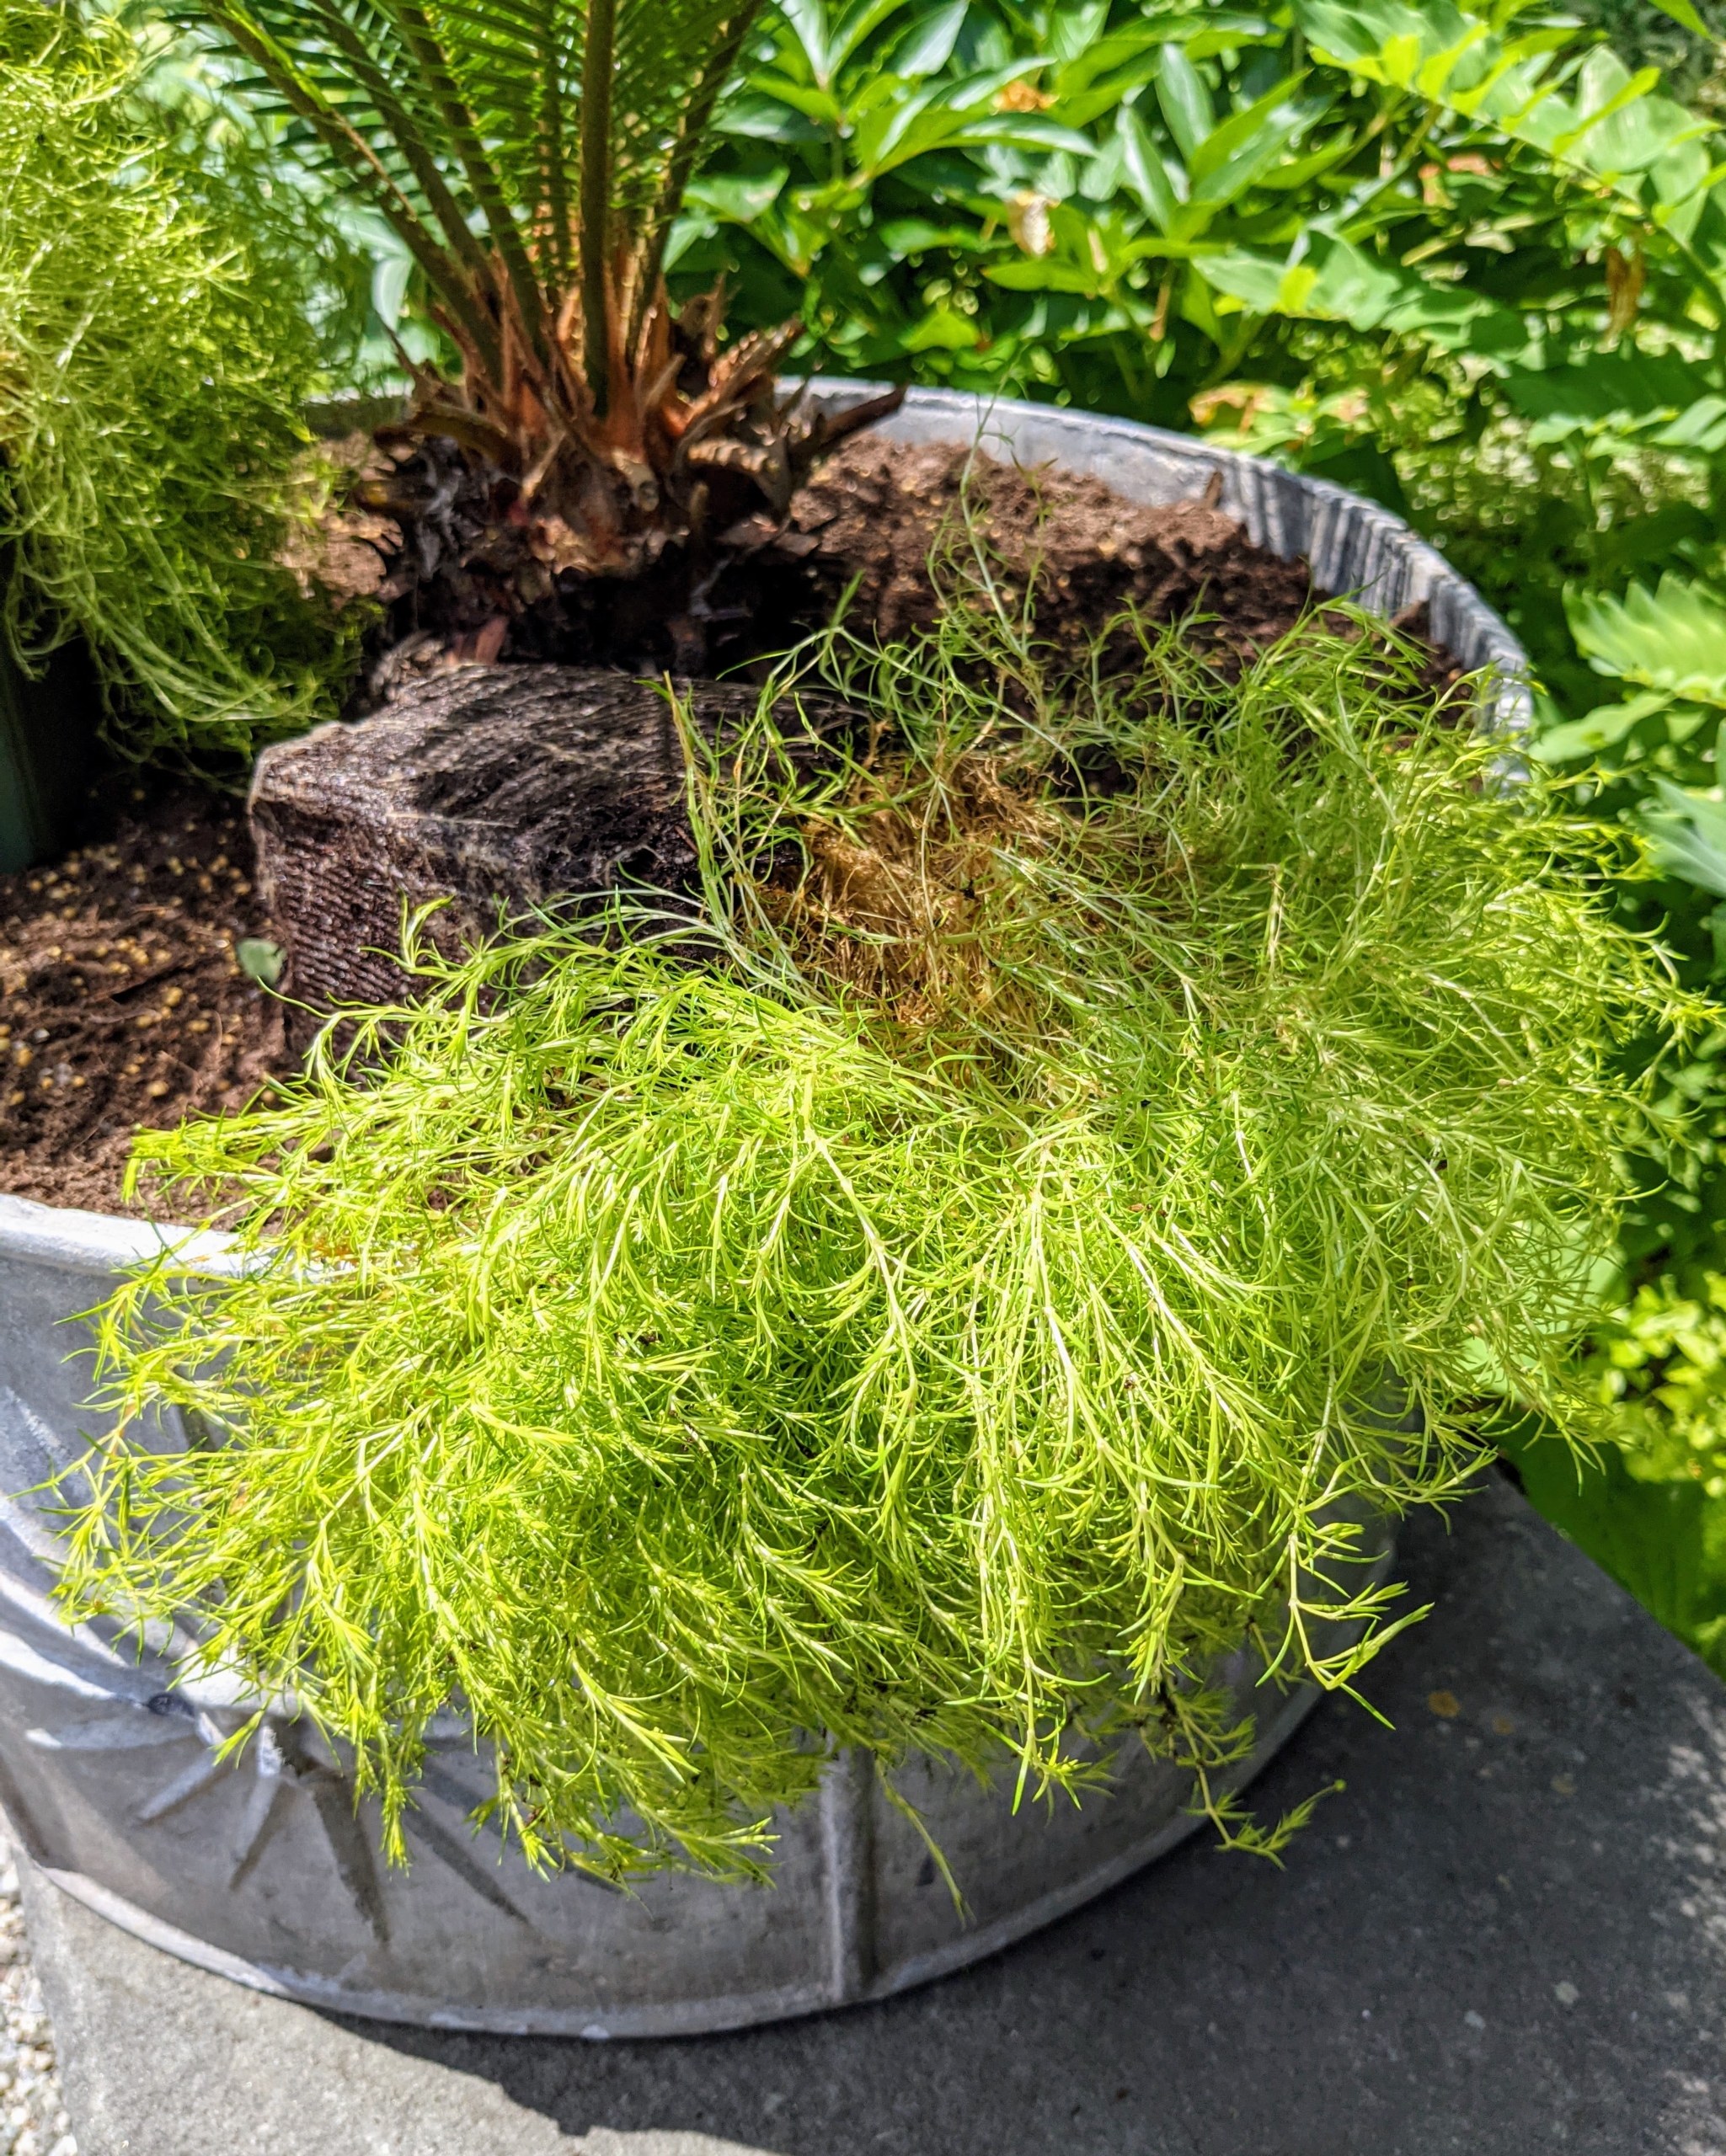
Then he plants them gently into the soil – each clump spaced about four inches apart. It will start to spread and fill in the gaps within a few weeks.
The bright chartreuse-yellow color of Scotch moss provides such a brilliant contrast with the darker green foliage of the sago palm.
All four are all done – next, Ryan will give them a good drink. It’s always important to water after planting and transplanting. This is a good way to avoid transplant shock, and will help the plant settle in to its new location. These plants will thrive in this area. What are you planting this weekend? Share your comments with me below.
It's always a joy to see beautiful potted plants displayed around the farm during the warm season.
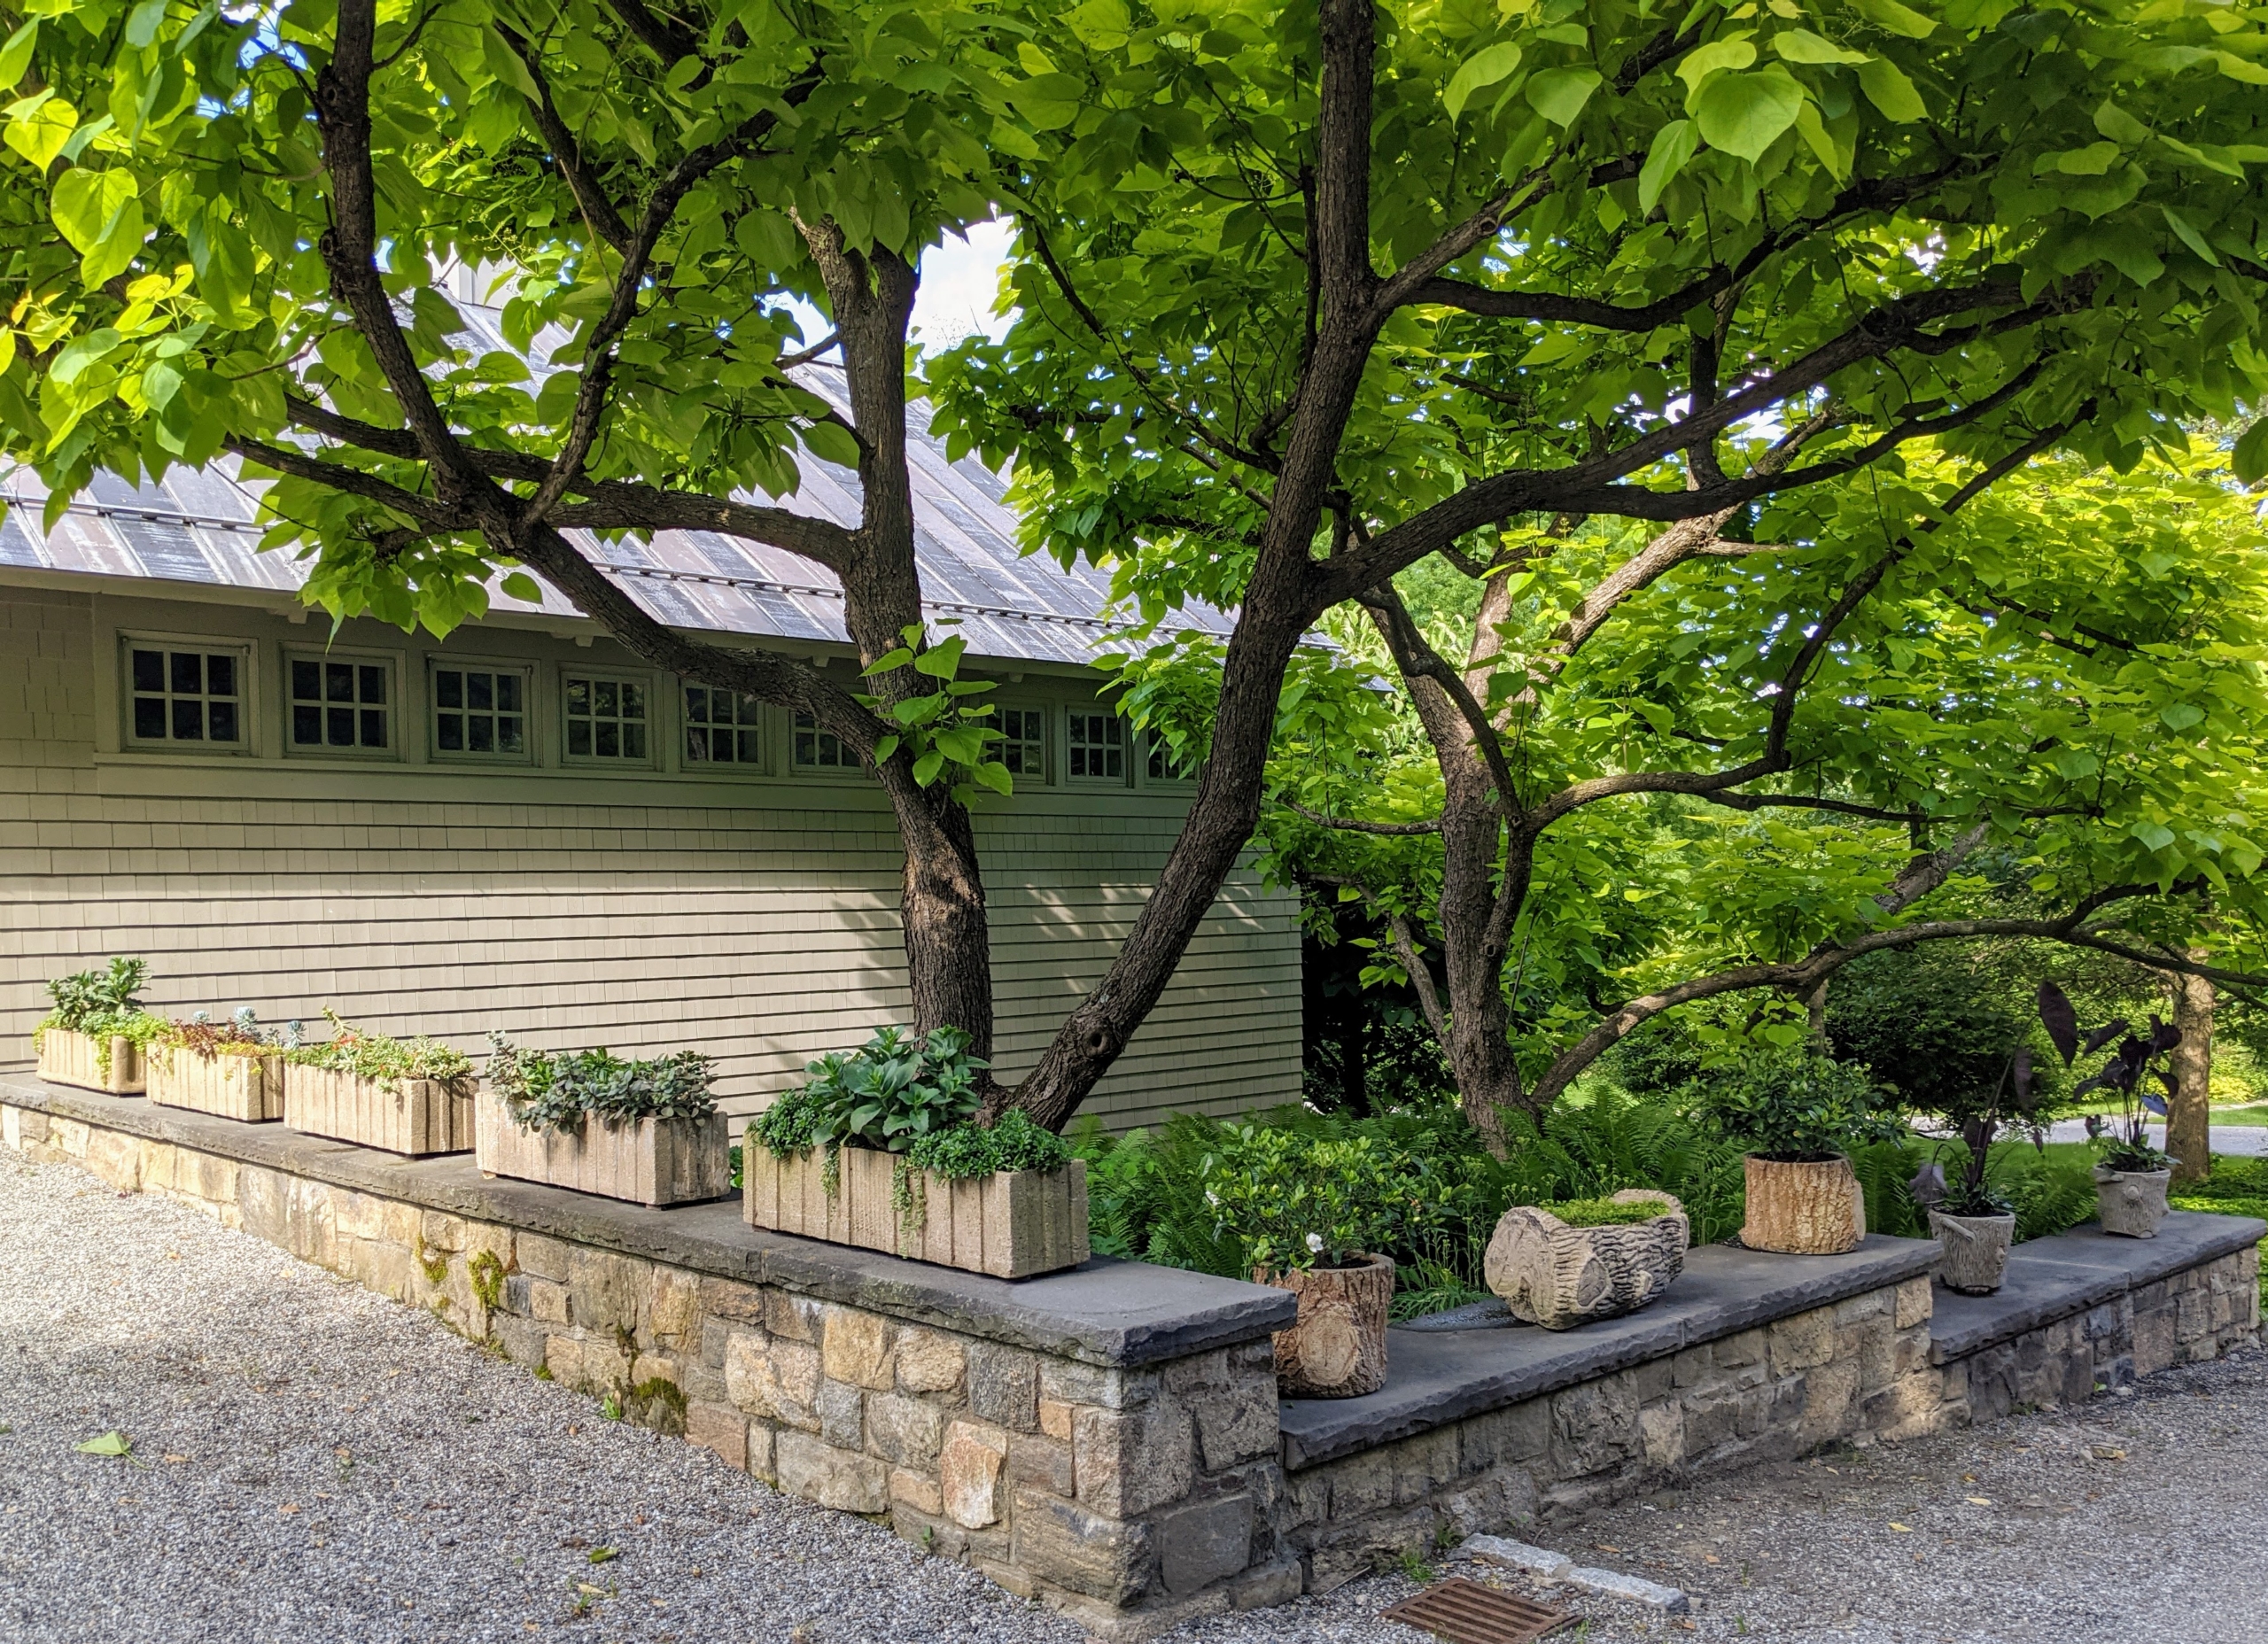
Every year, I take out many of my outdoor ornamental urns and fill them with plants. They do so well outside in the summer months and look great arranged around my home. Last week, my gardeners filled the troughs and planters in front of my carport with various succulents - sedums, echeveria, crassulas, and others. These plants are among the first ones I see when I walk out of the house and some of the last when I return.
Enjoy these photos.
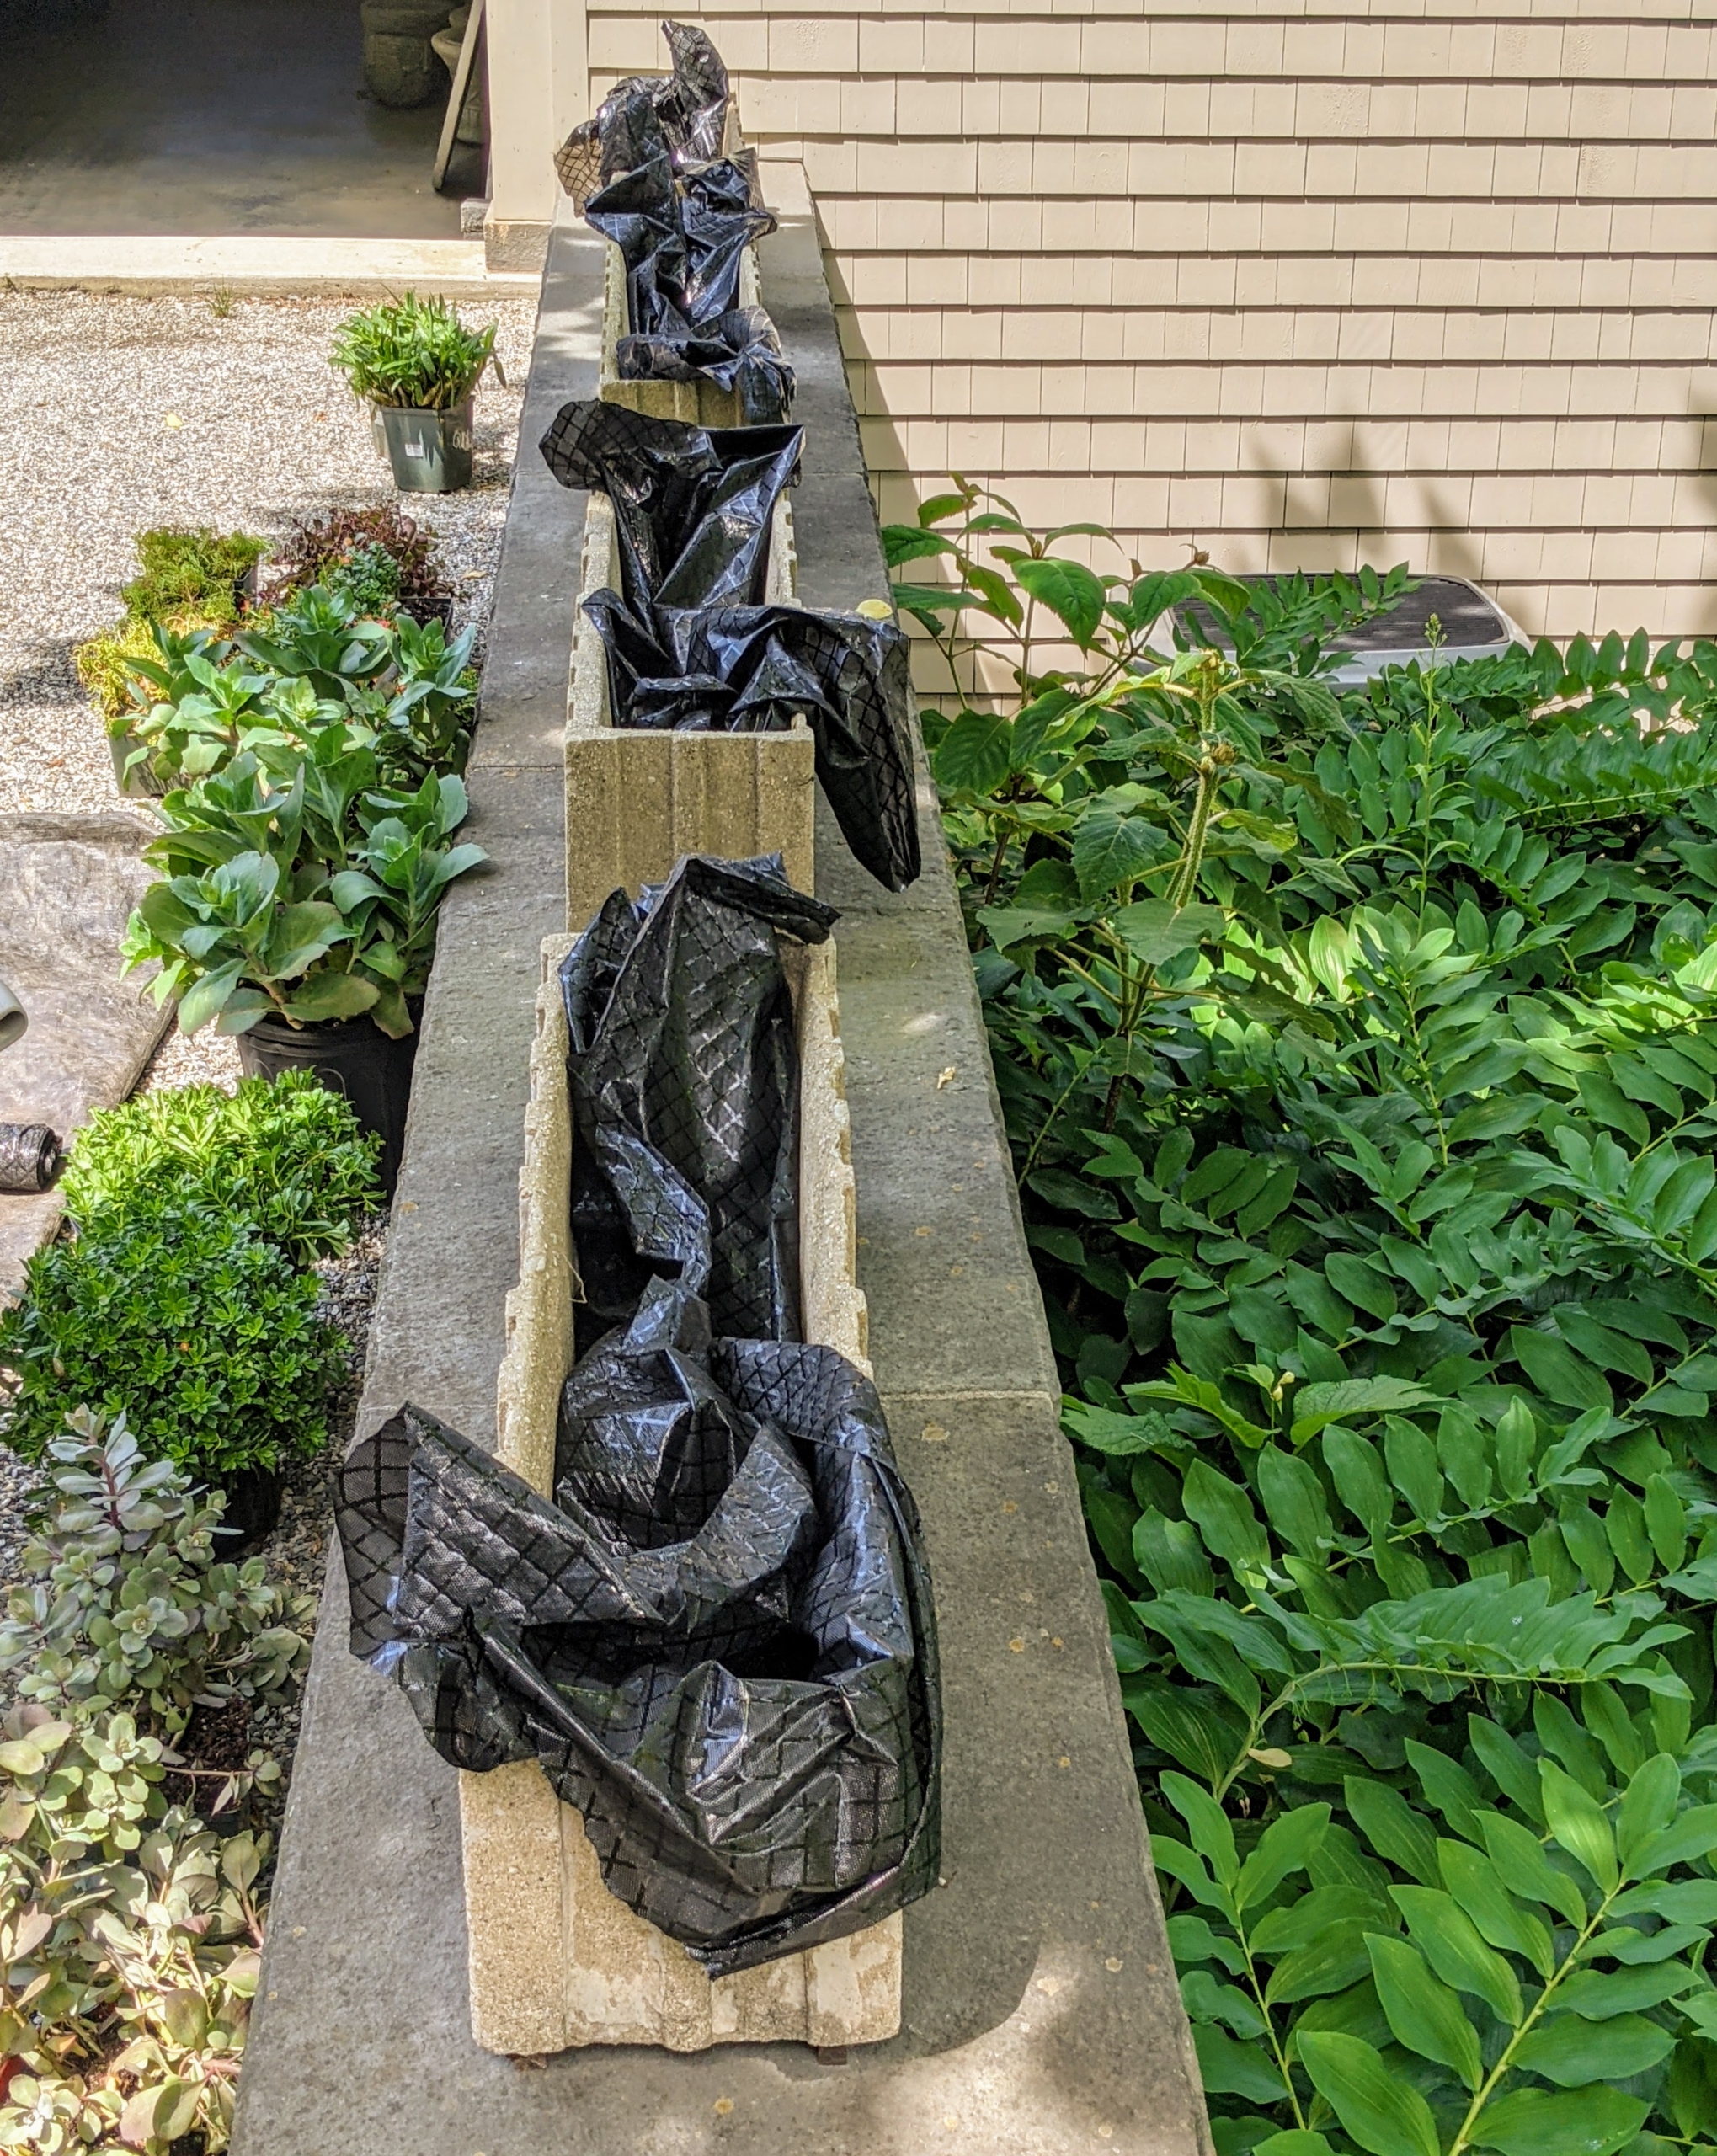
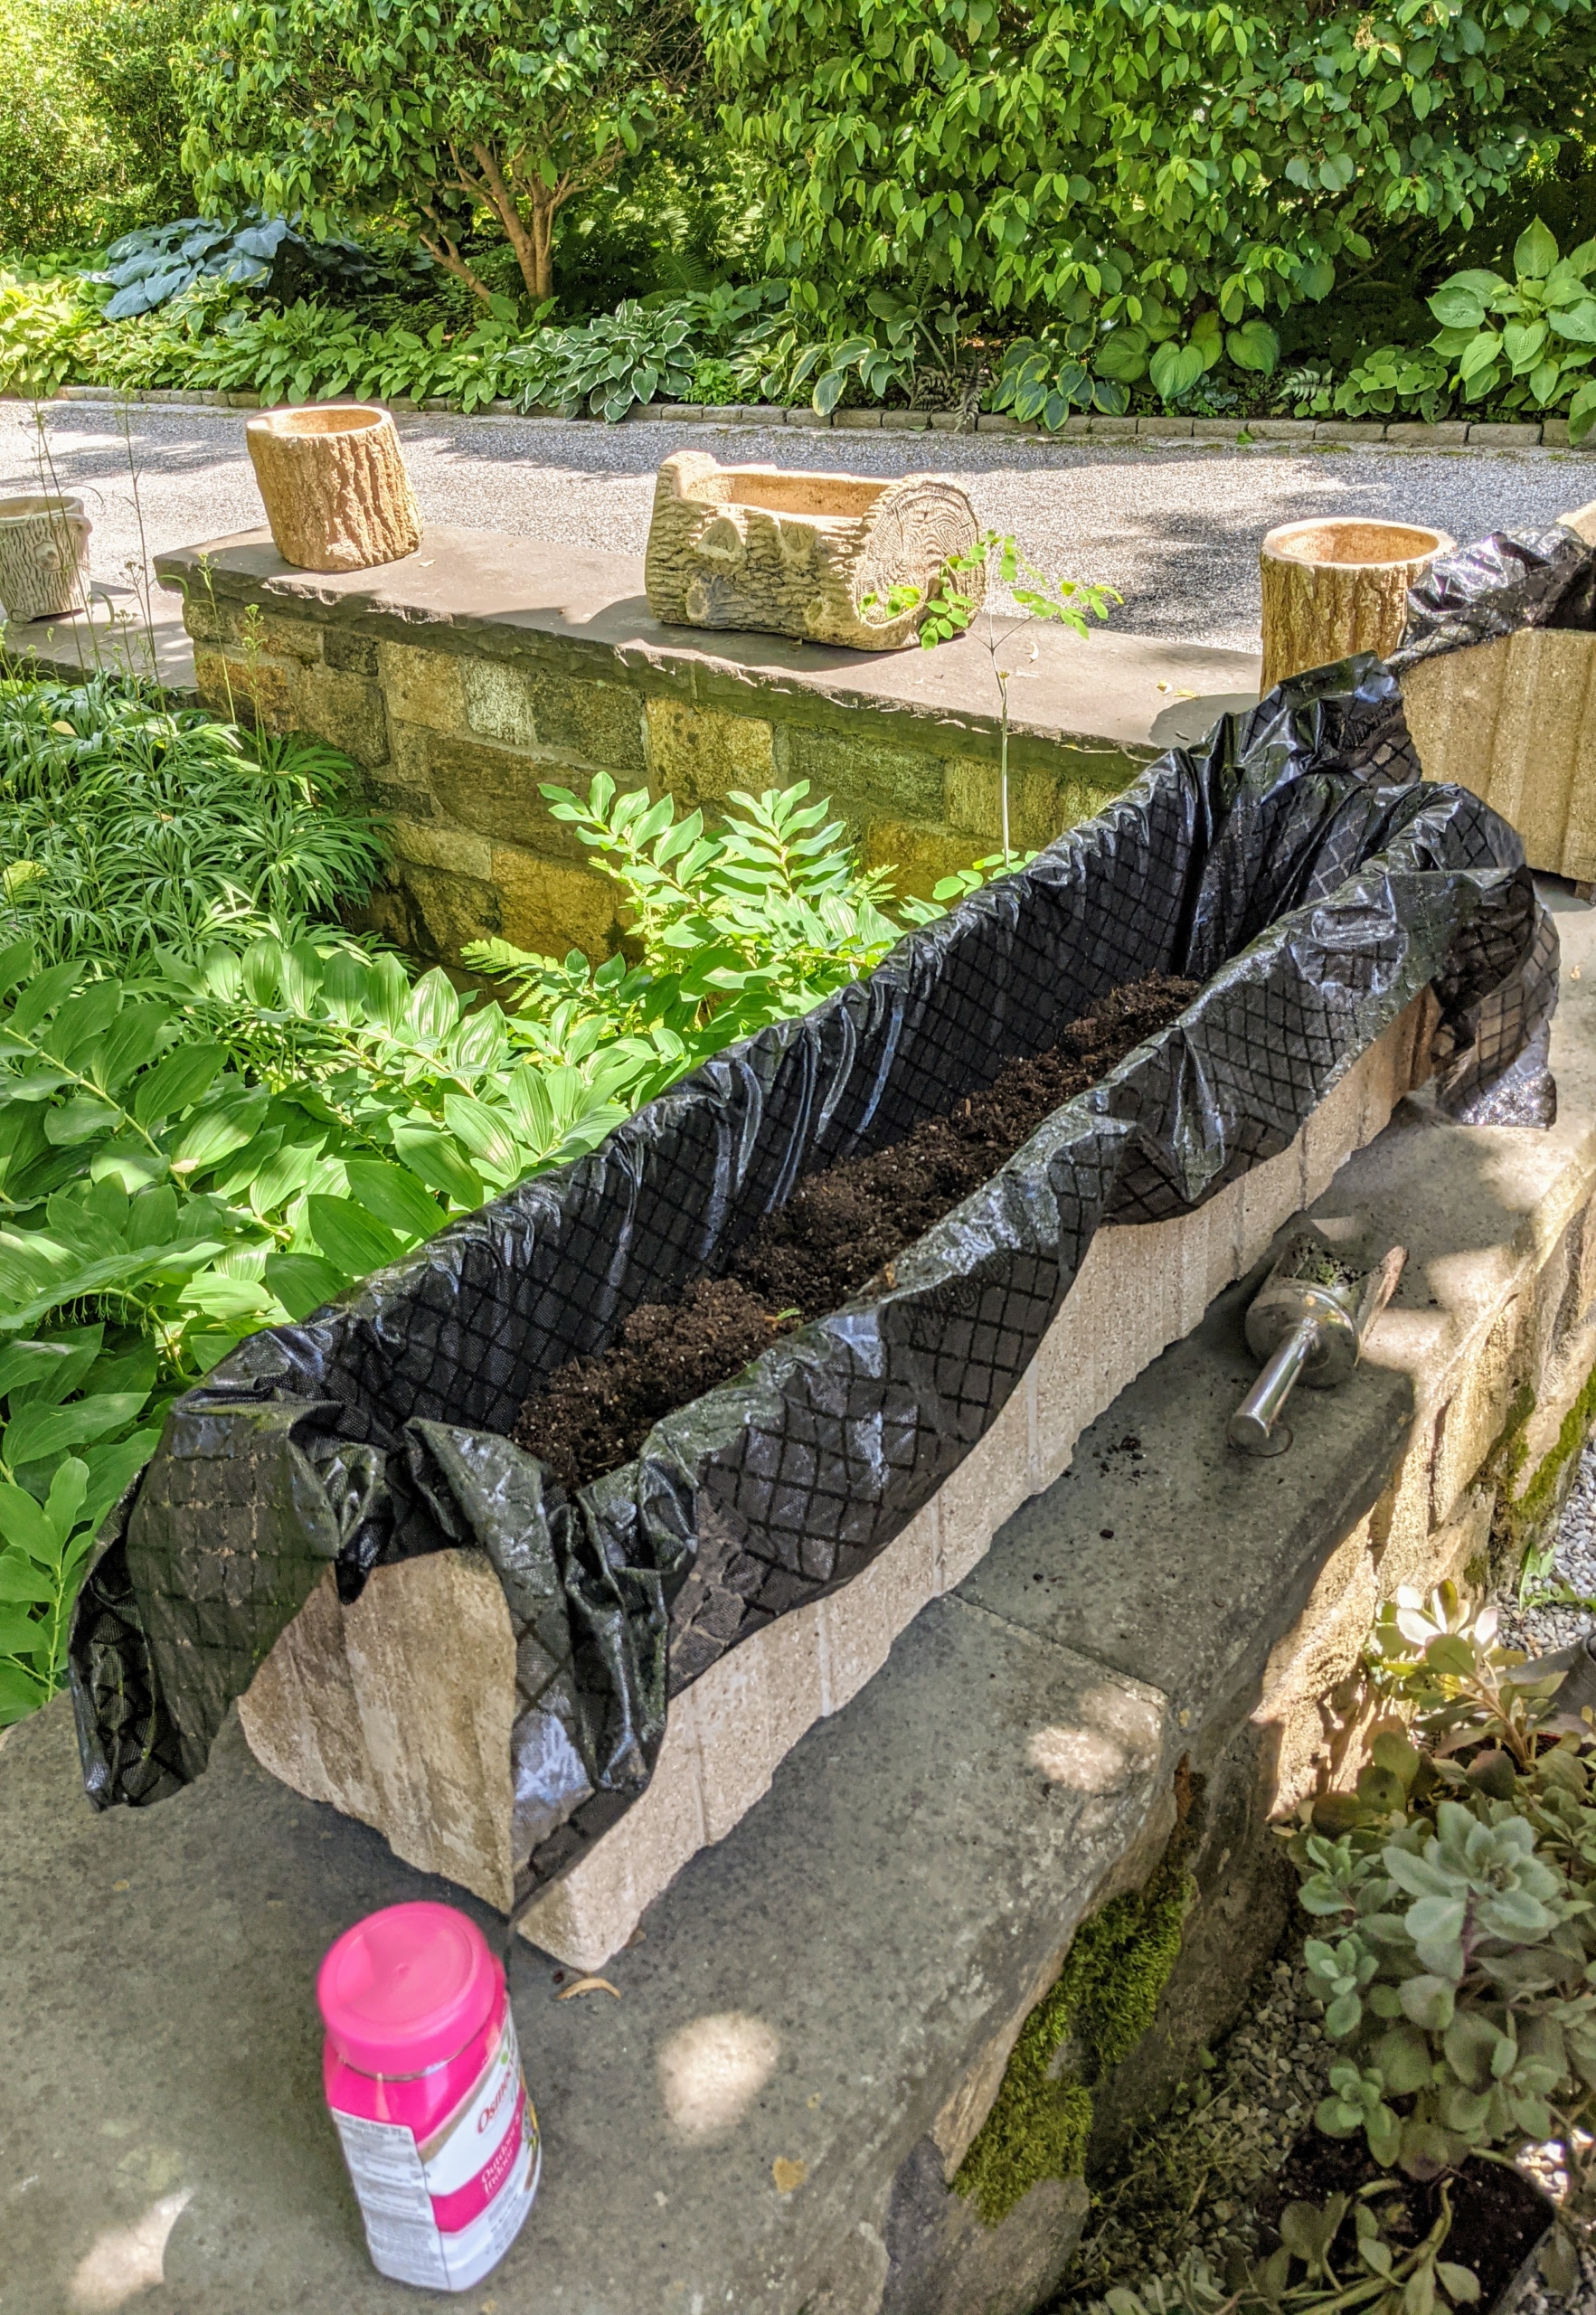
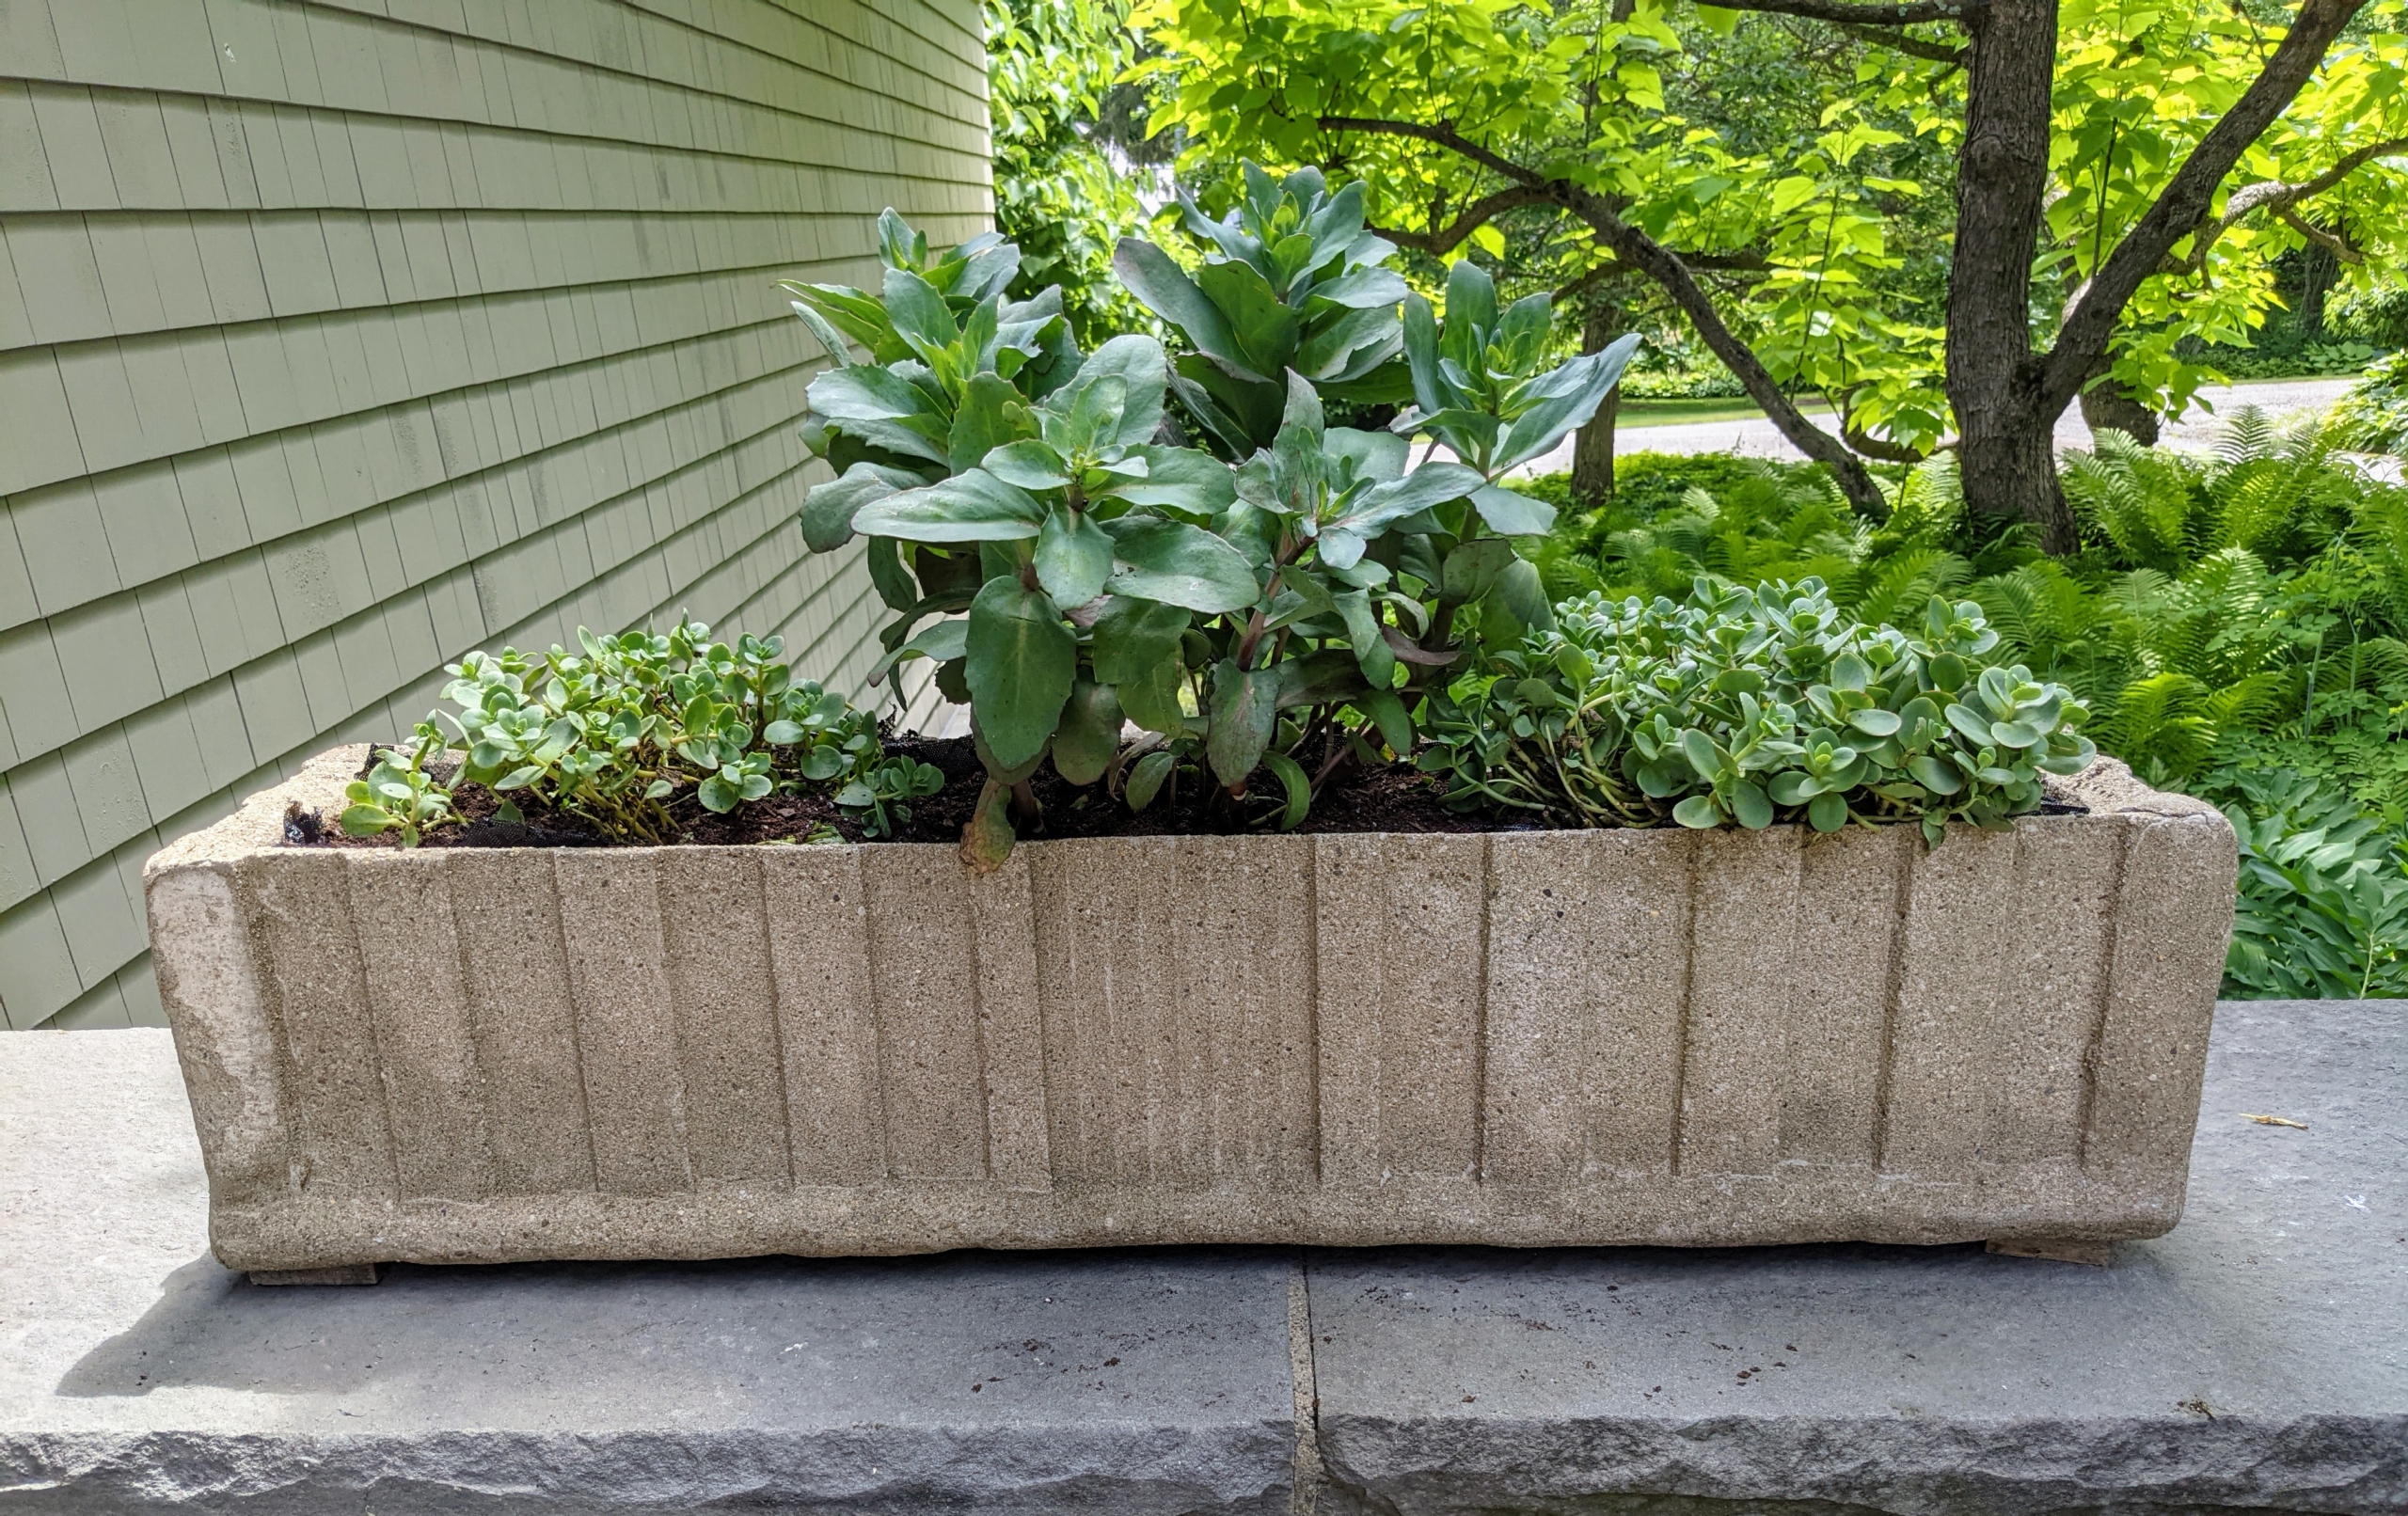
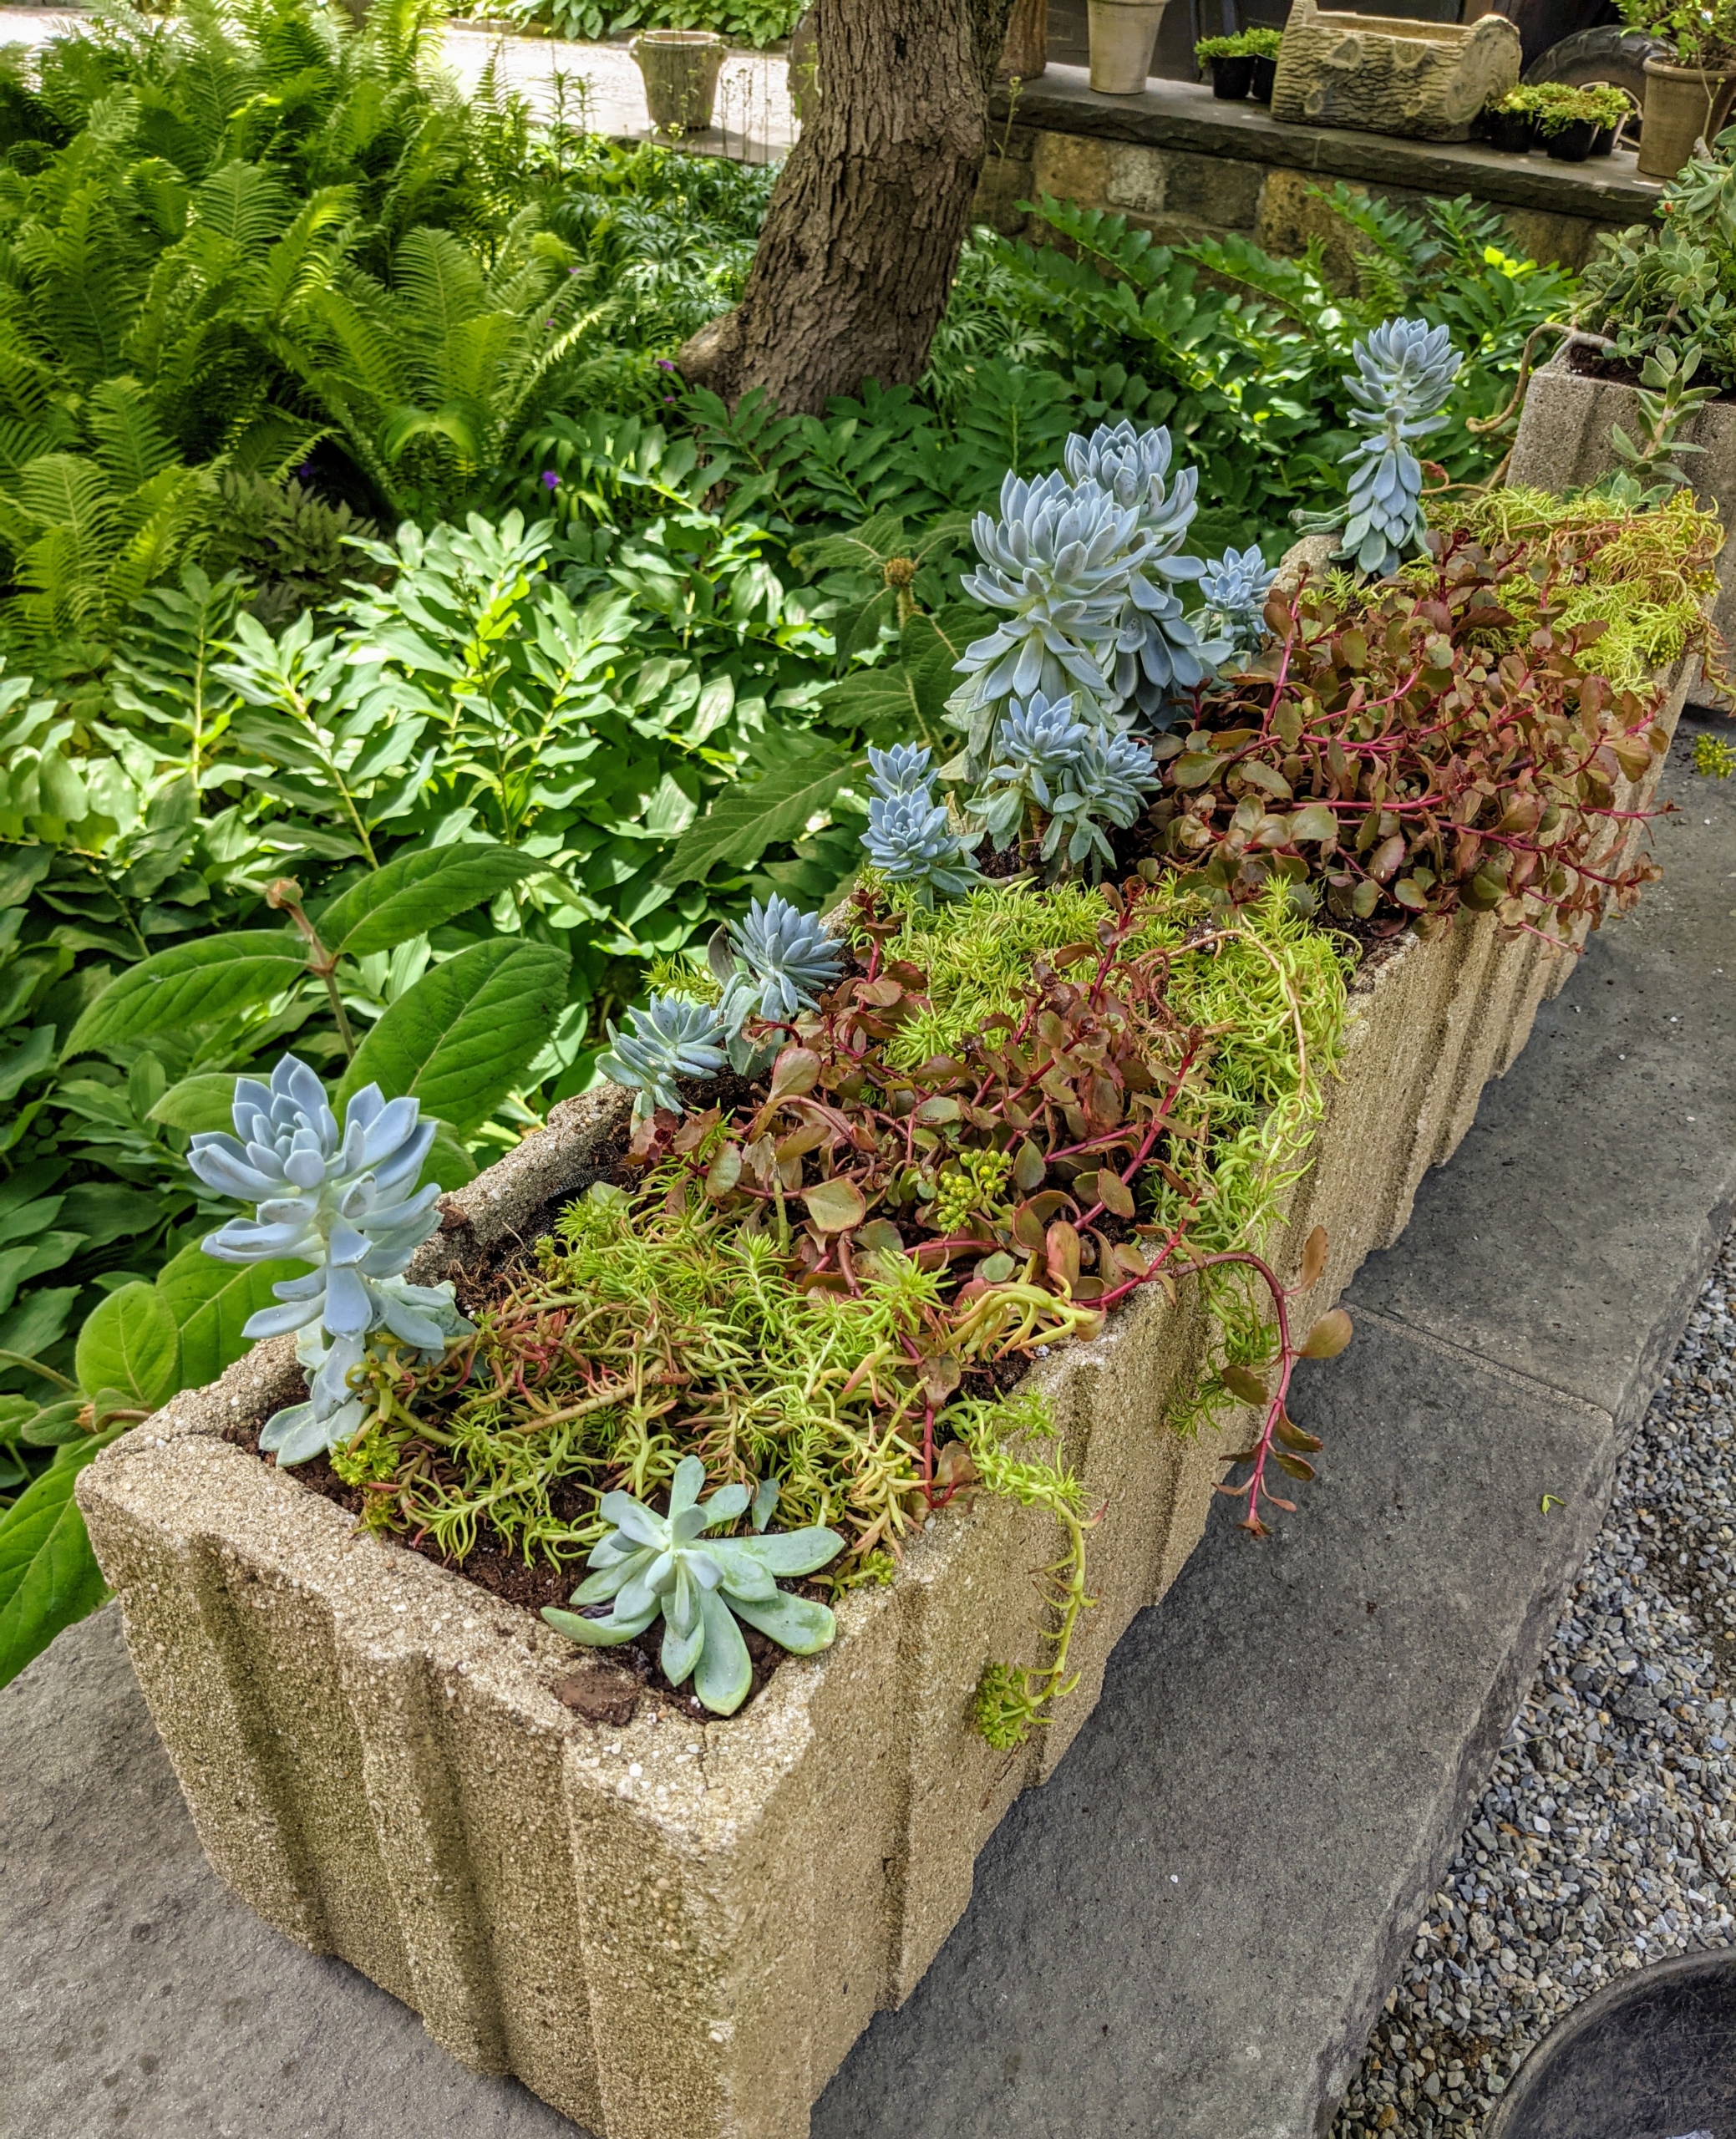
These concrete troughs are located on the stone wall outside my carport. I like to vary where the planters are placed during the warmer months. The plant arrangements are also always different. Each of these troughs measures 40-inches long by nine-inches tall and about eight inches wide.
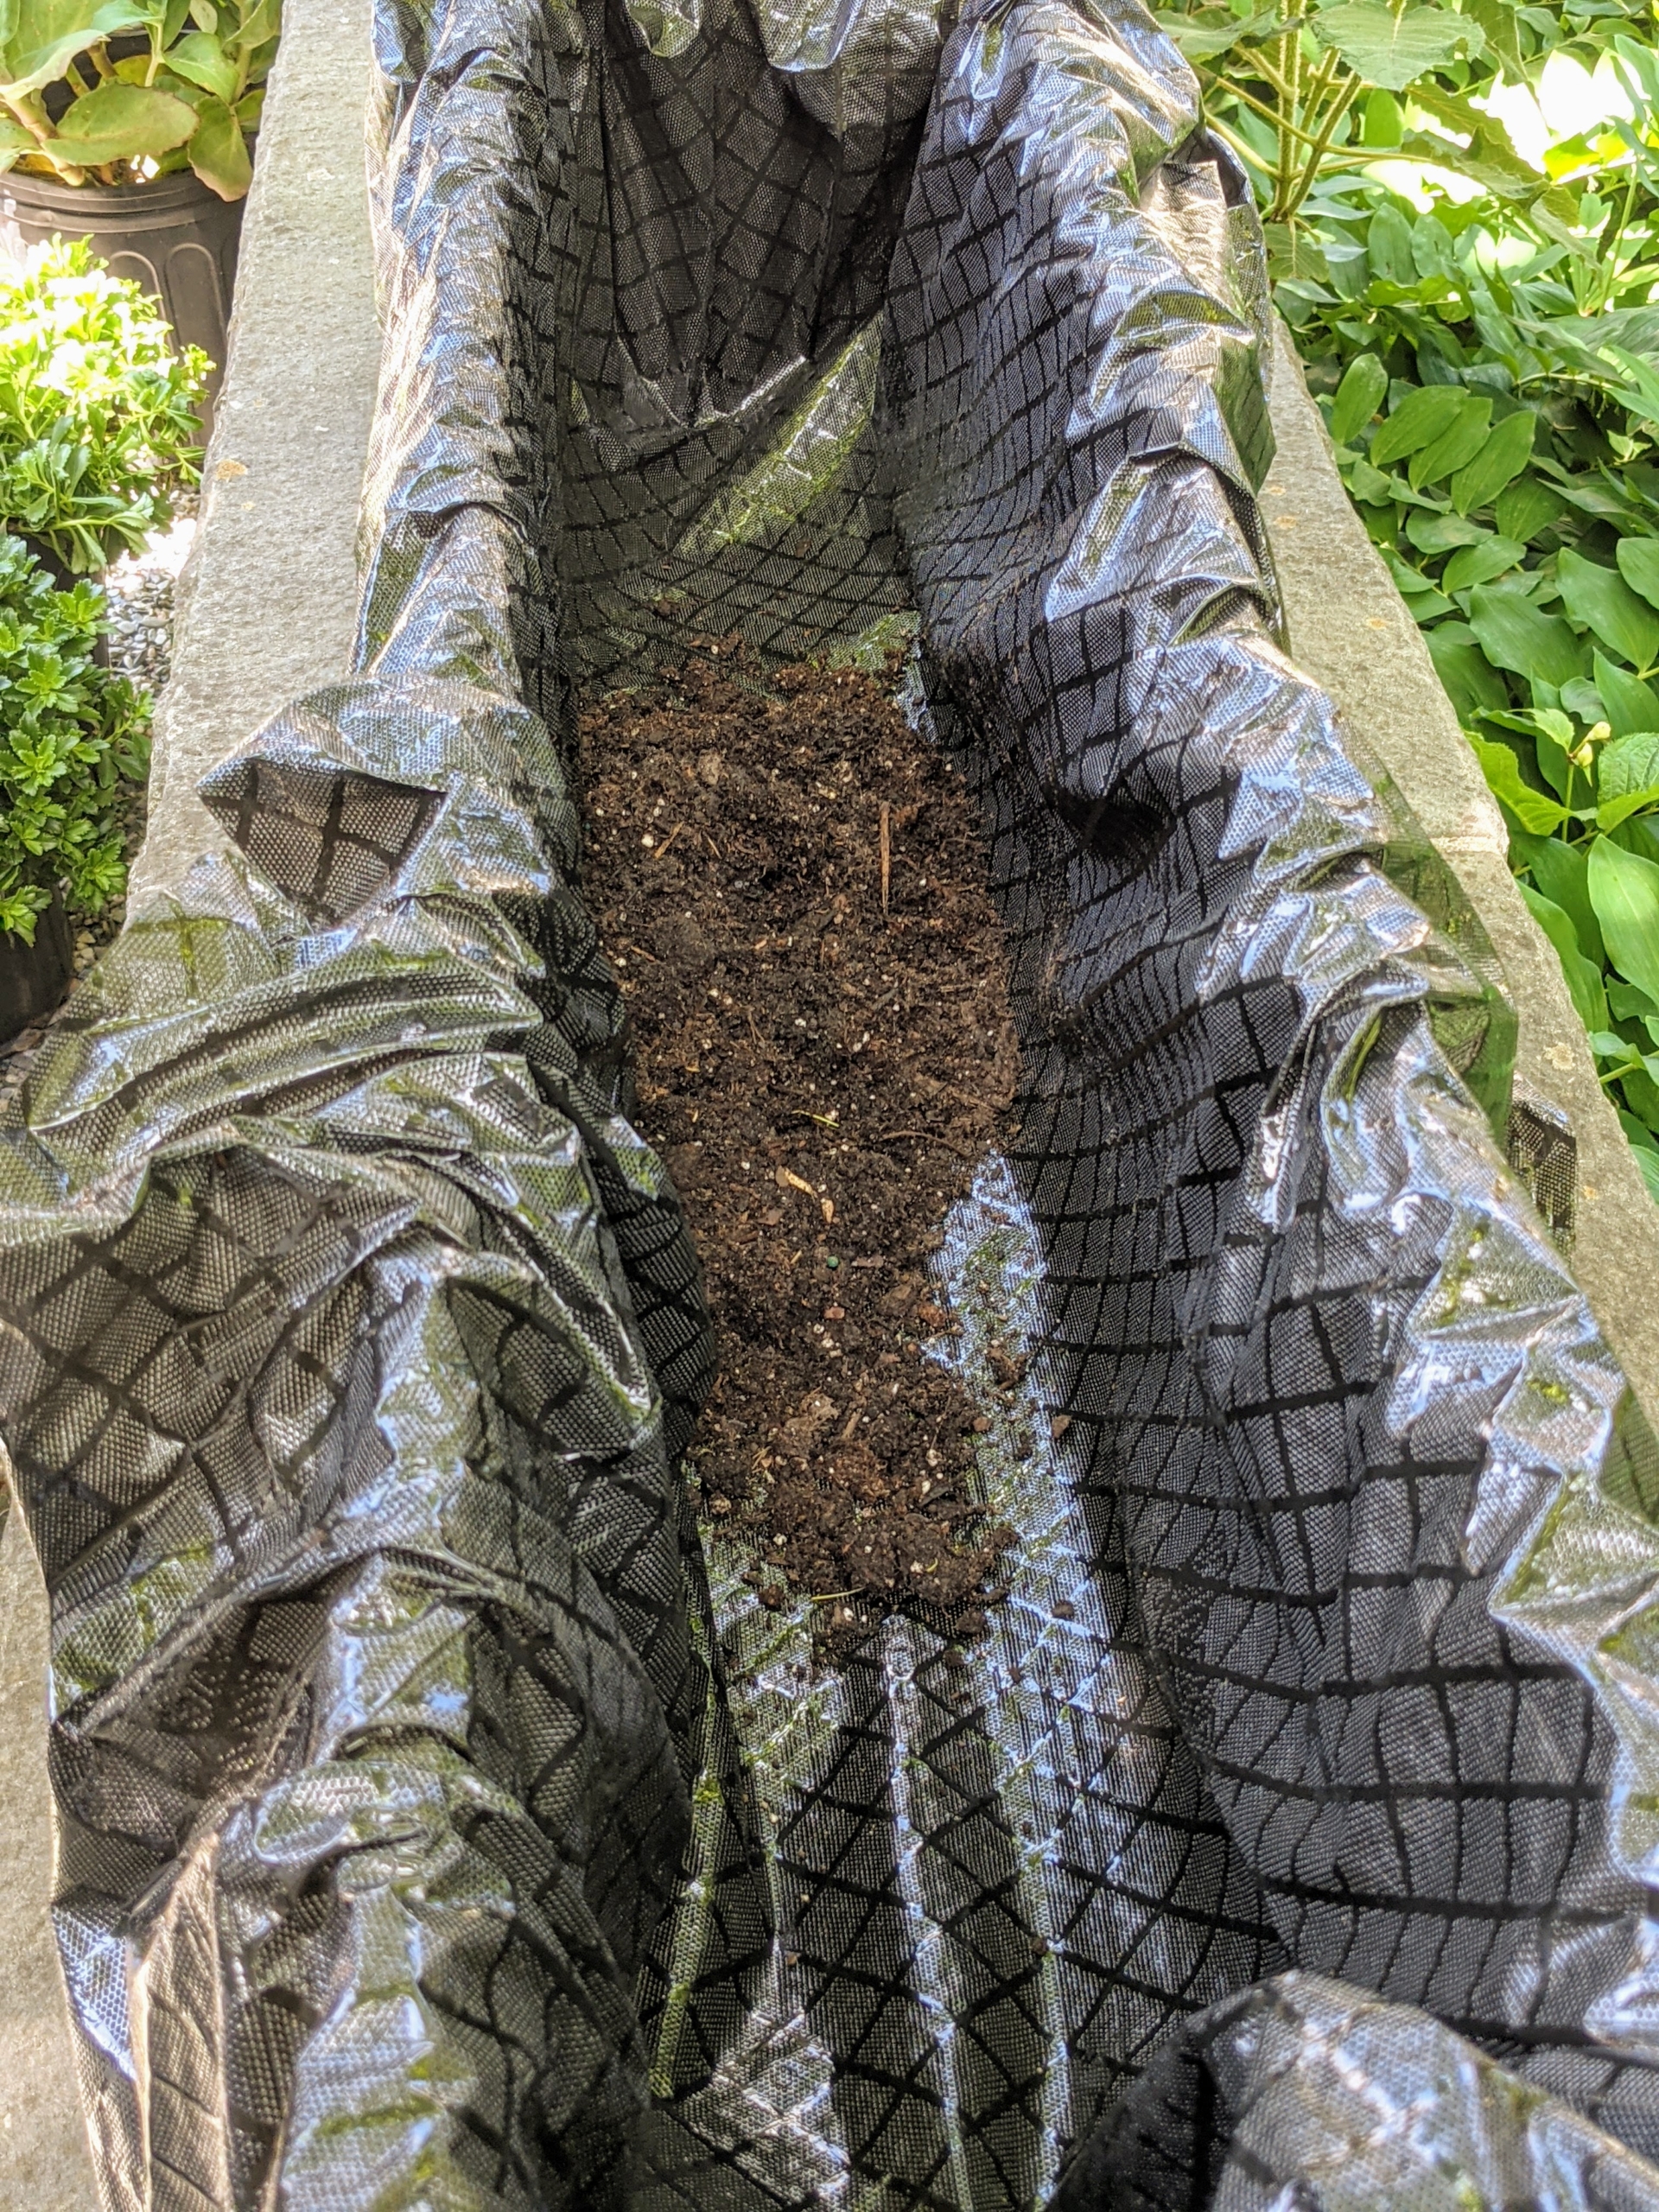
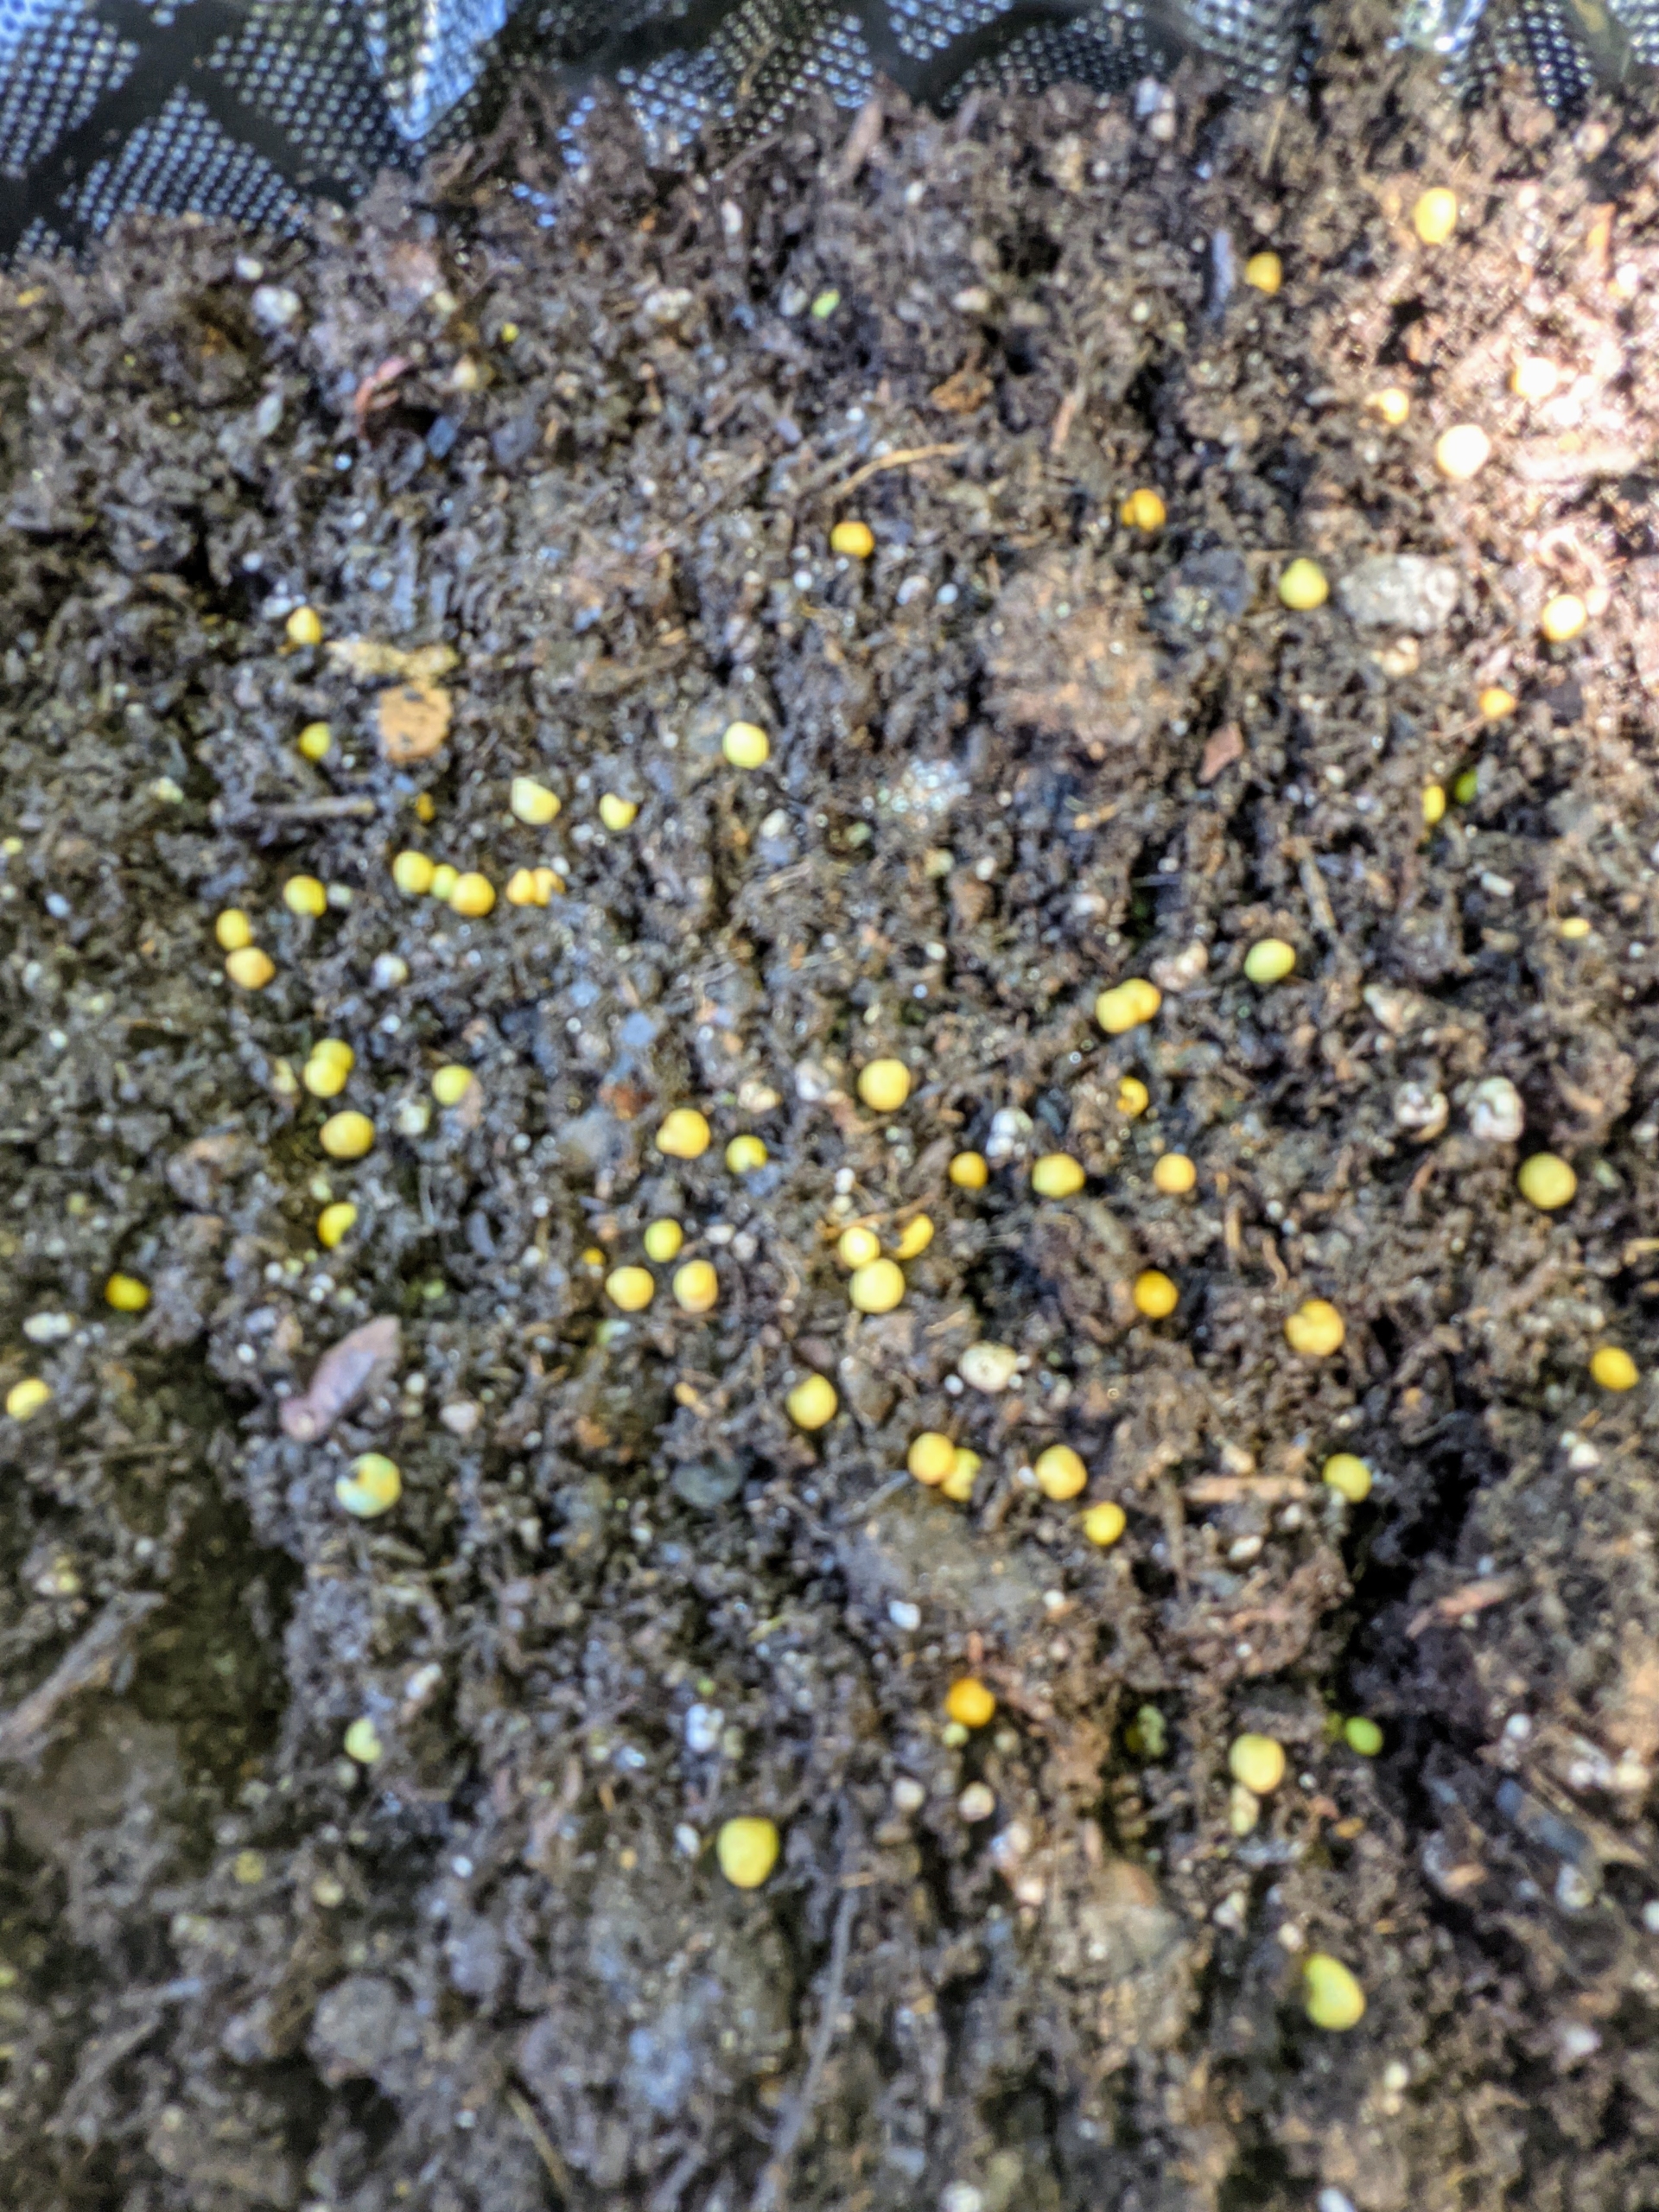
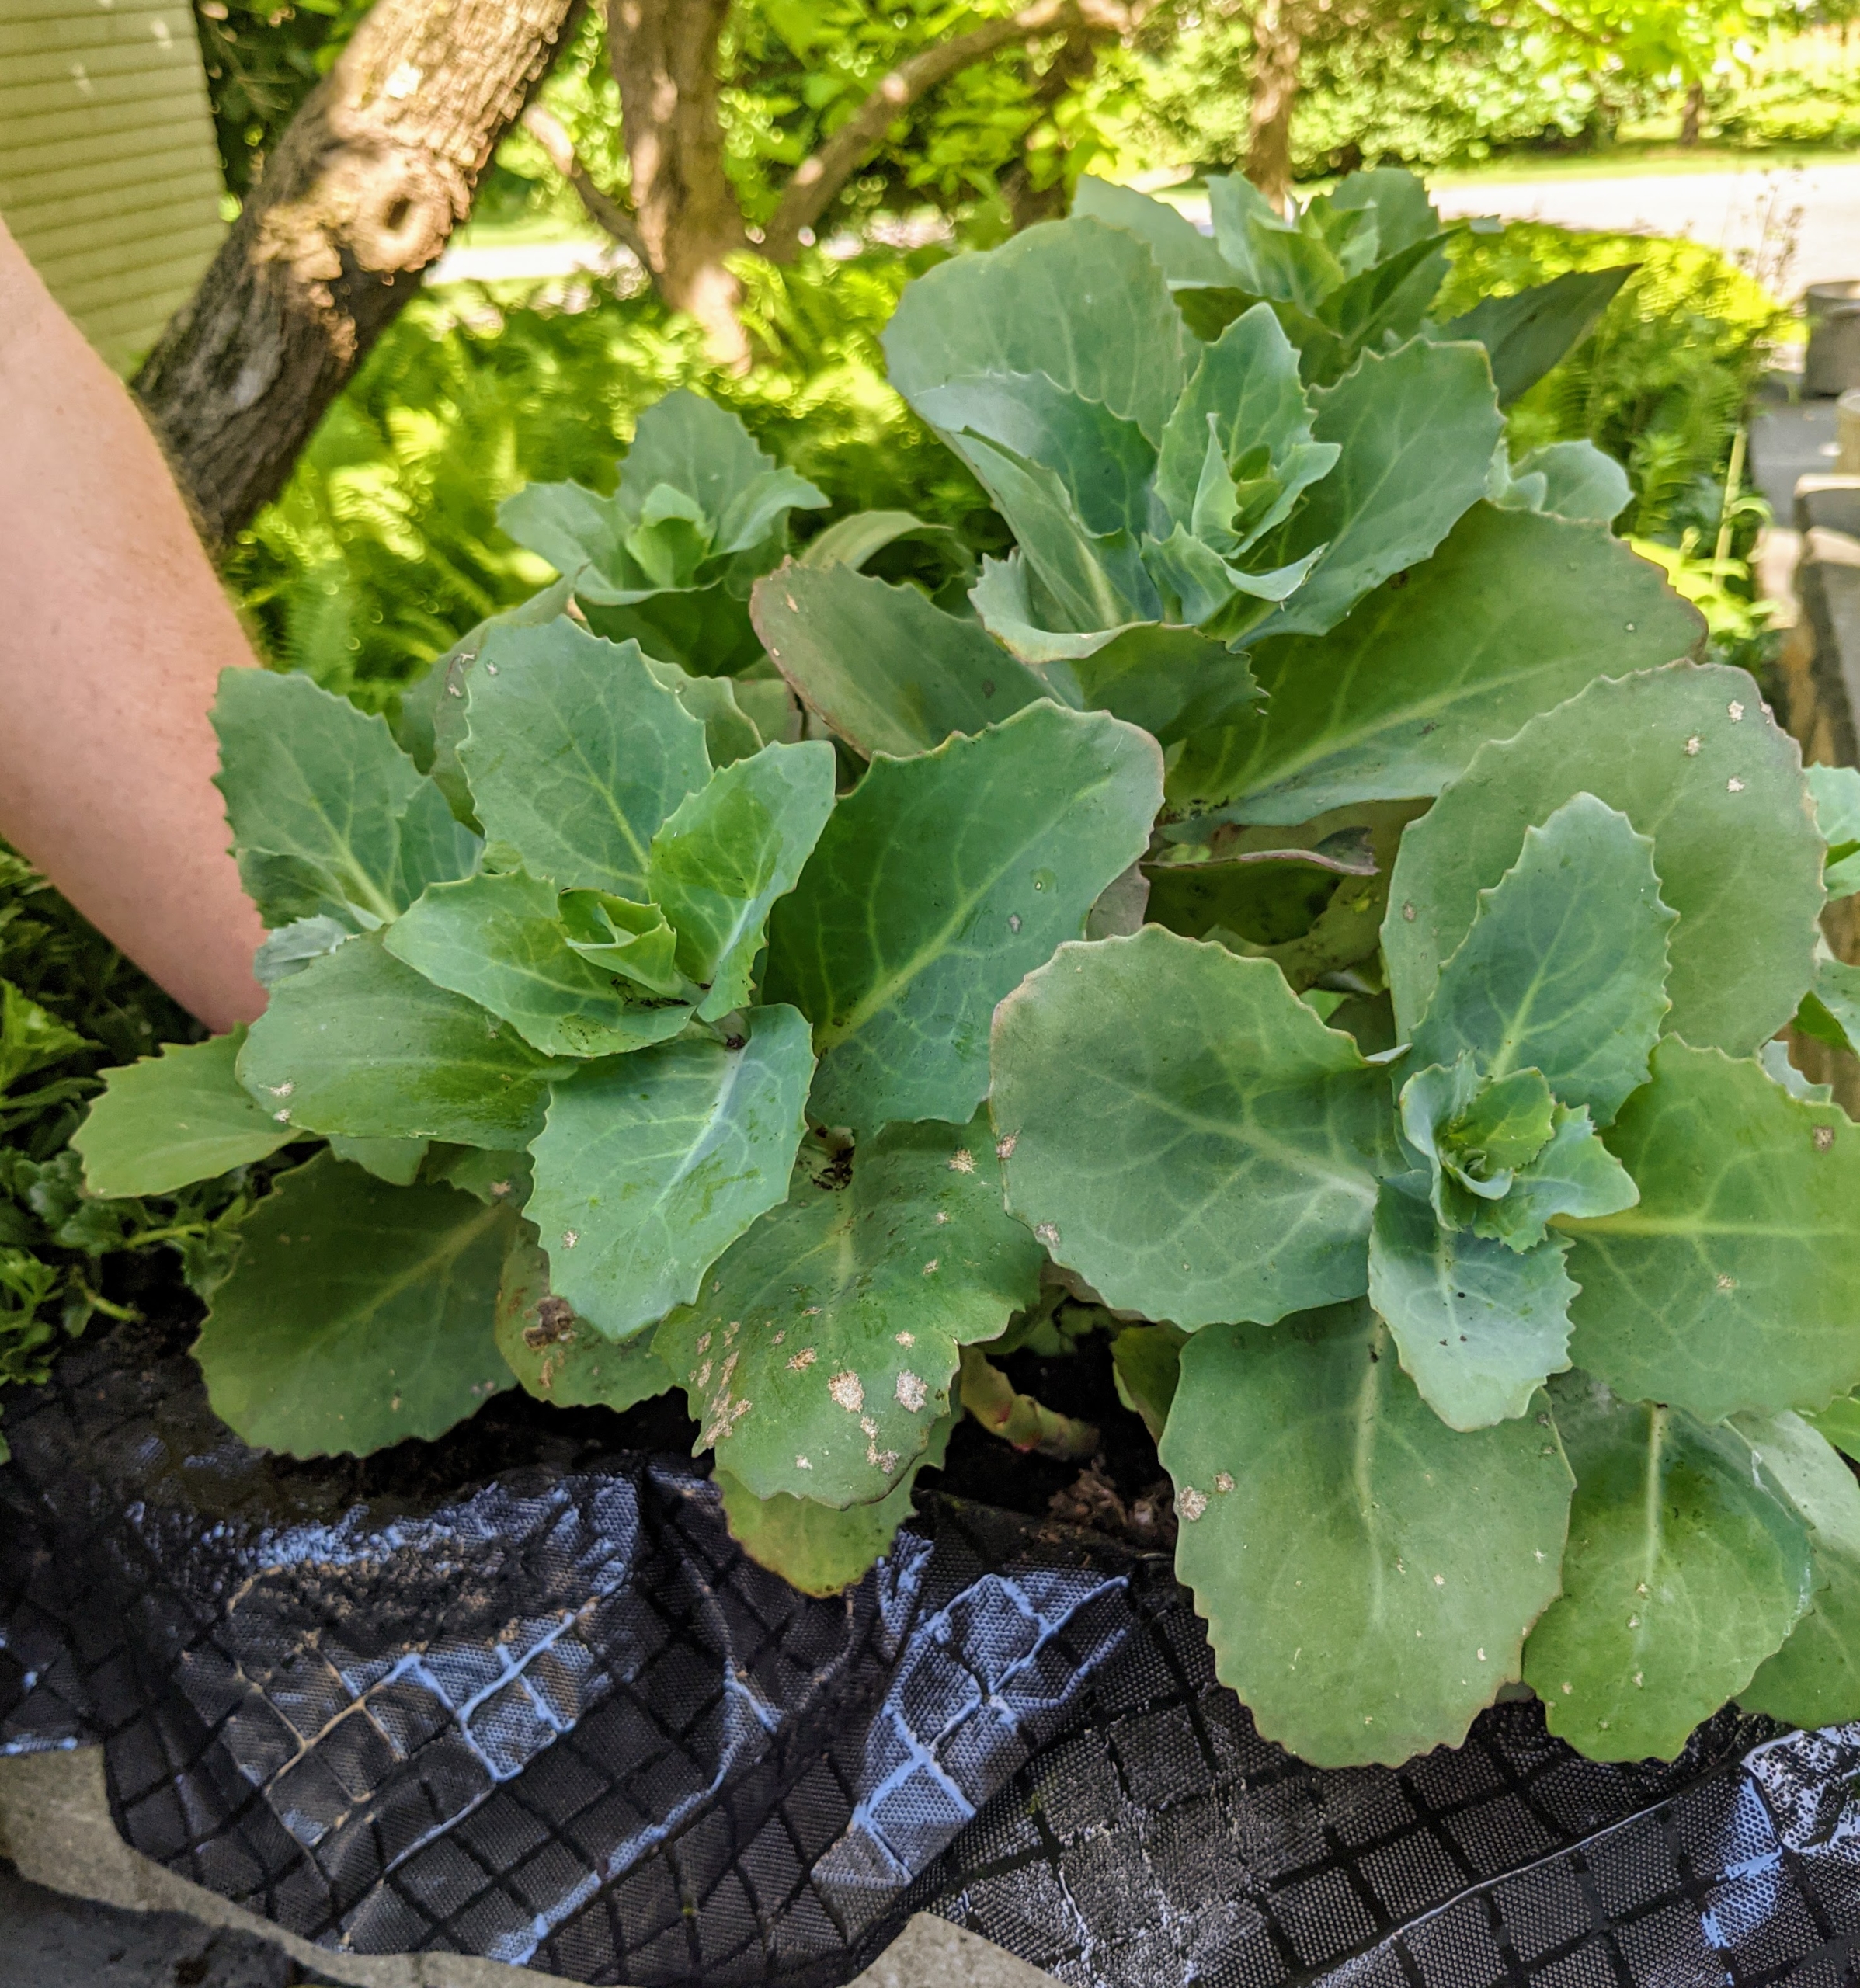
After covering the holes of each trough with a broken pottery shard for good drainage, Ryan lines the planter with a piece of all-purpose garden fabric or weed cloth to protect the interior of the planter and to make it easier to empty after the season.
Next, Ryan fills the trough with medium. We always use a good quality potting soil. This one is mixed with a little sand for even better drainage, which succulents require. The right soil mix will help to promote faster root growth, and gives quick anchorage to young roots.
Ryan does this for all five of the troughs on the ledge. Doing this in a production line process is quick and efficient. It also helps to ensure there is an equal amount of soil medium in each vessel.
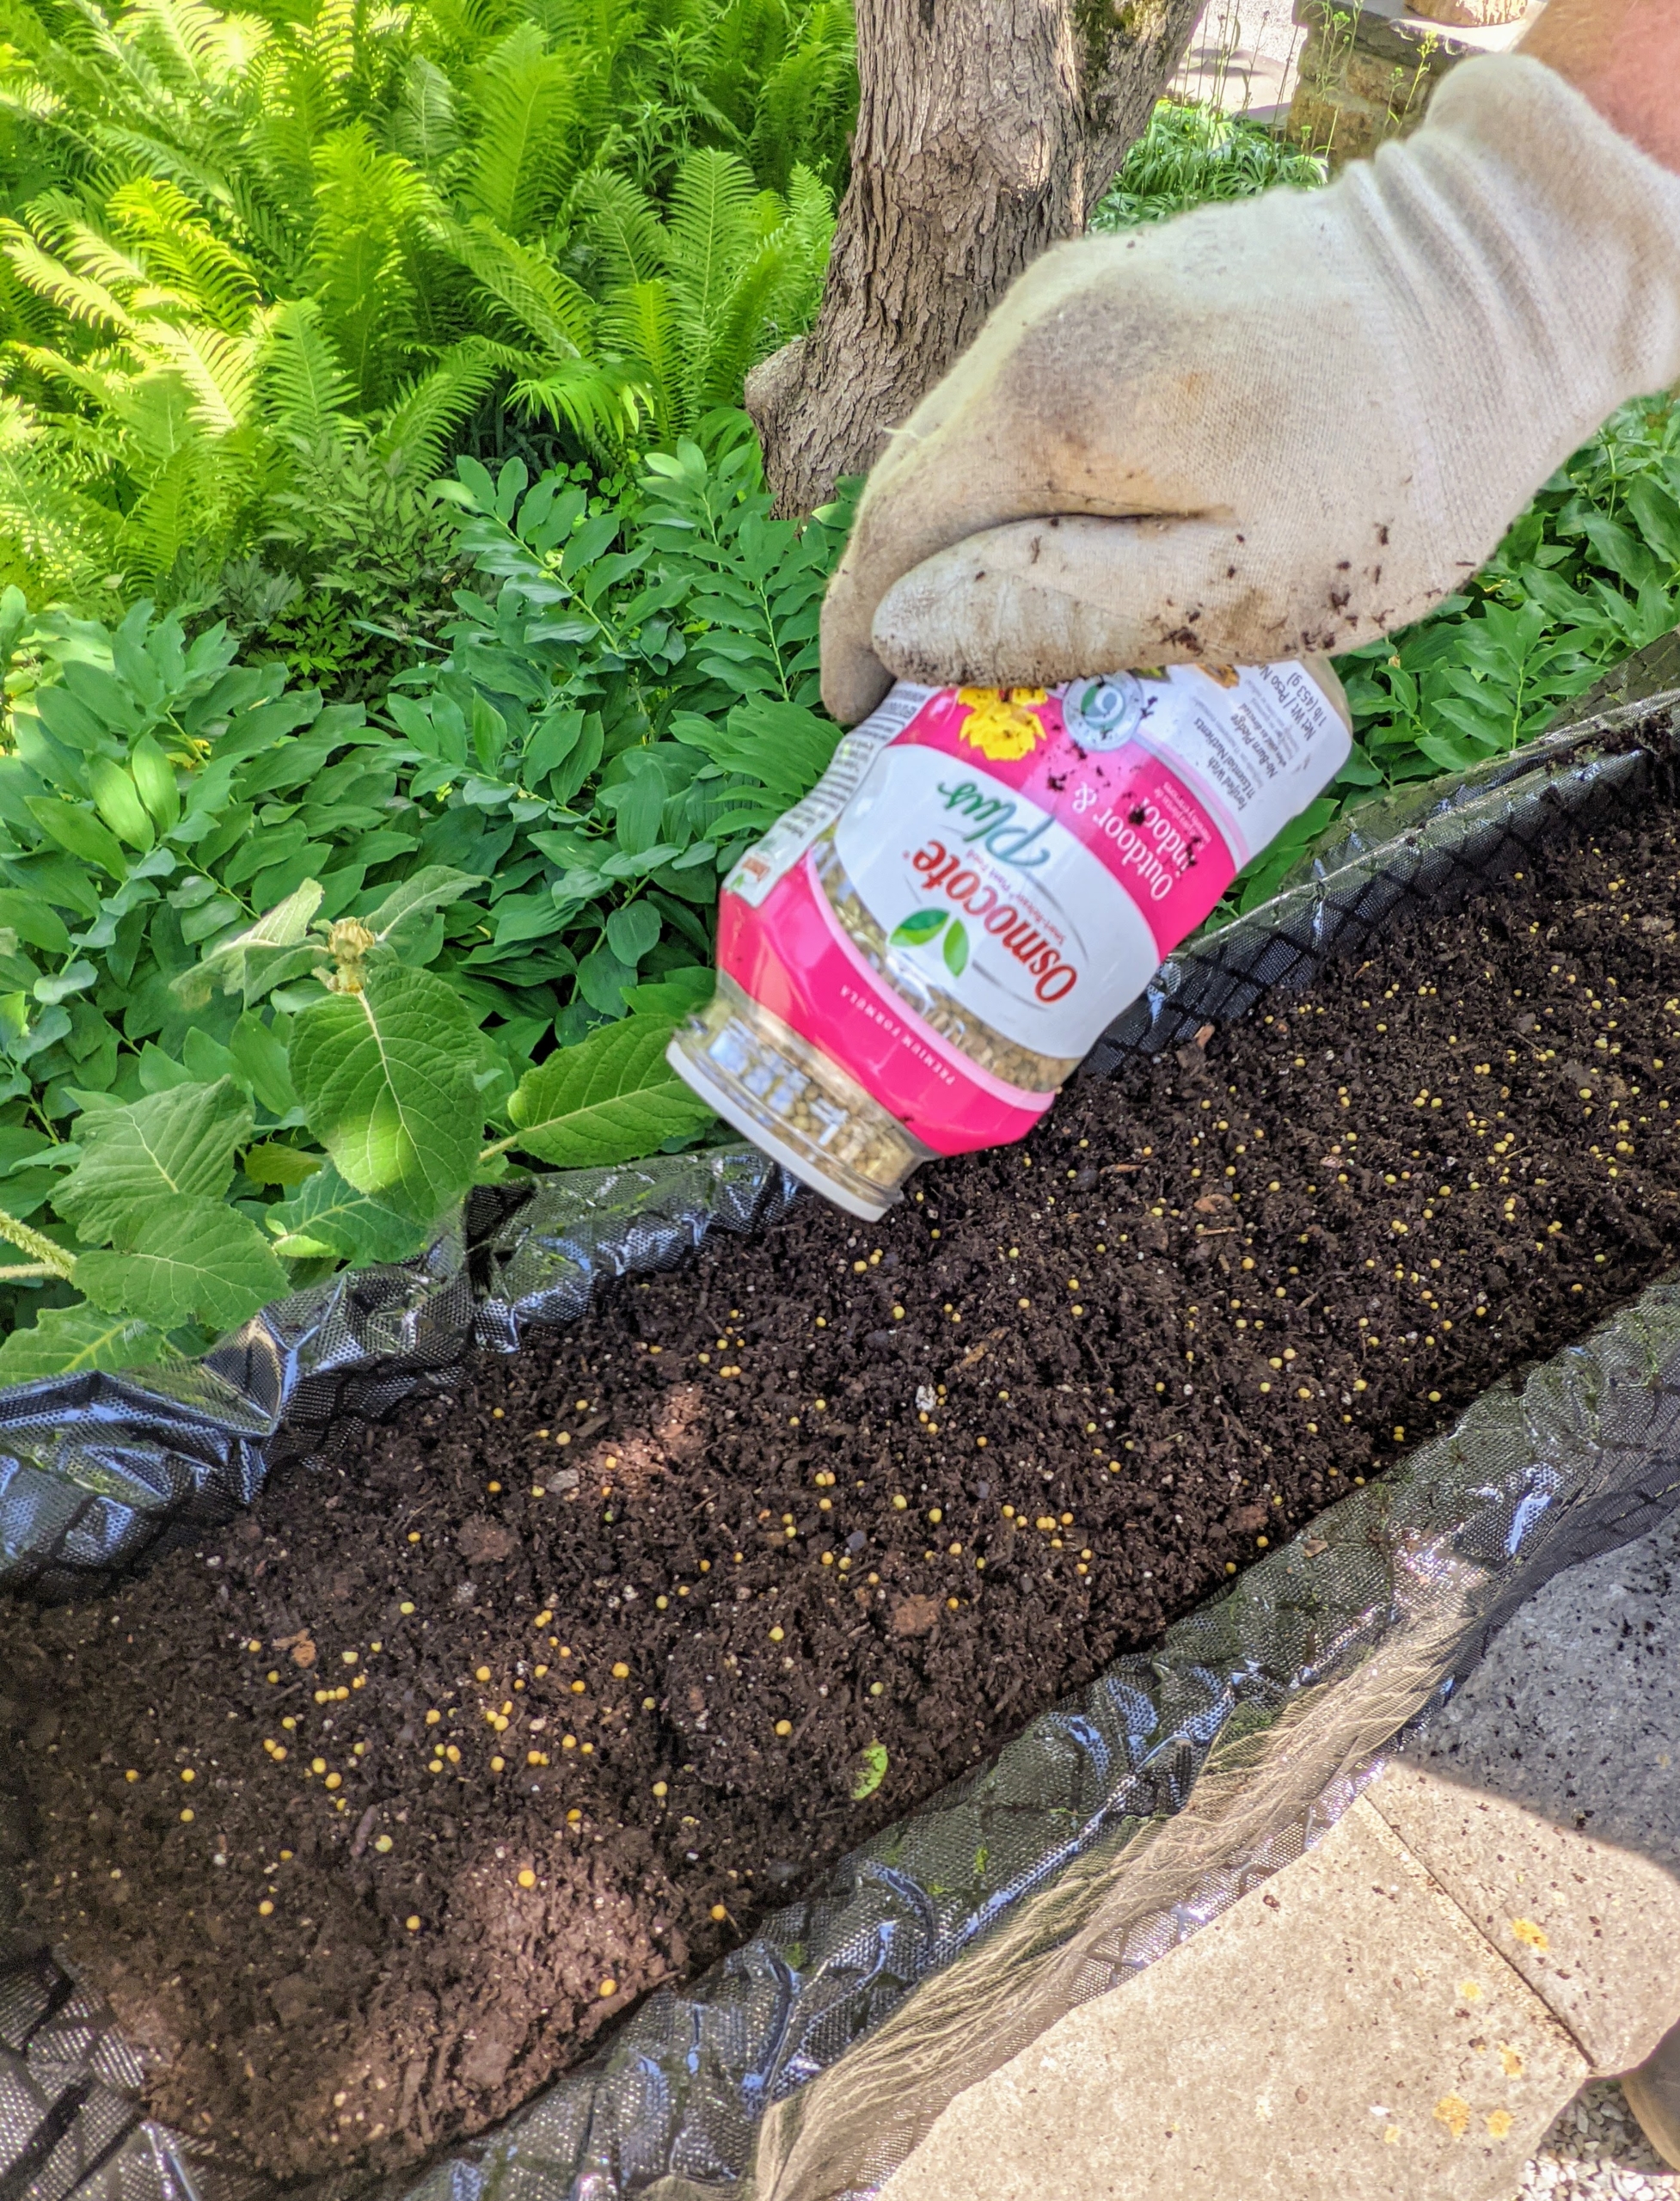
Next, Ryan adds the food – a very important part of gardening. I always say, “if you eat, so should your plants.” Each planter gets a sprinkling of Osmocote – small plant food particles known as prills.
These prills coat a core of nutrients including nitrogen, phosphorus and potassium. The resin-coating is made from linseed oil and as the plant’s root system takes-up nutrition from the soil, it also takes up the needed nutrients from the Osmocote.
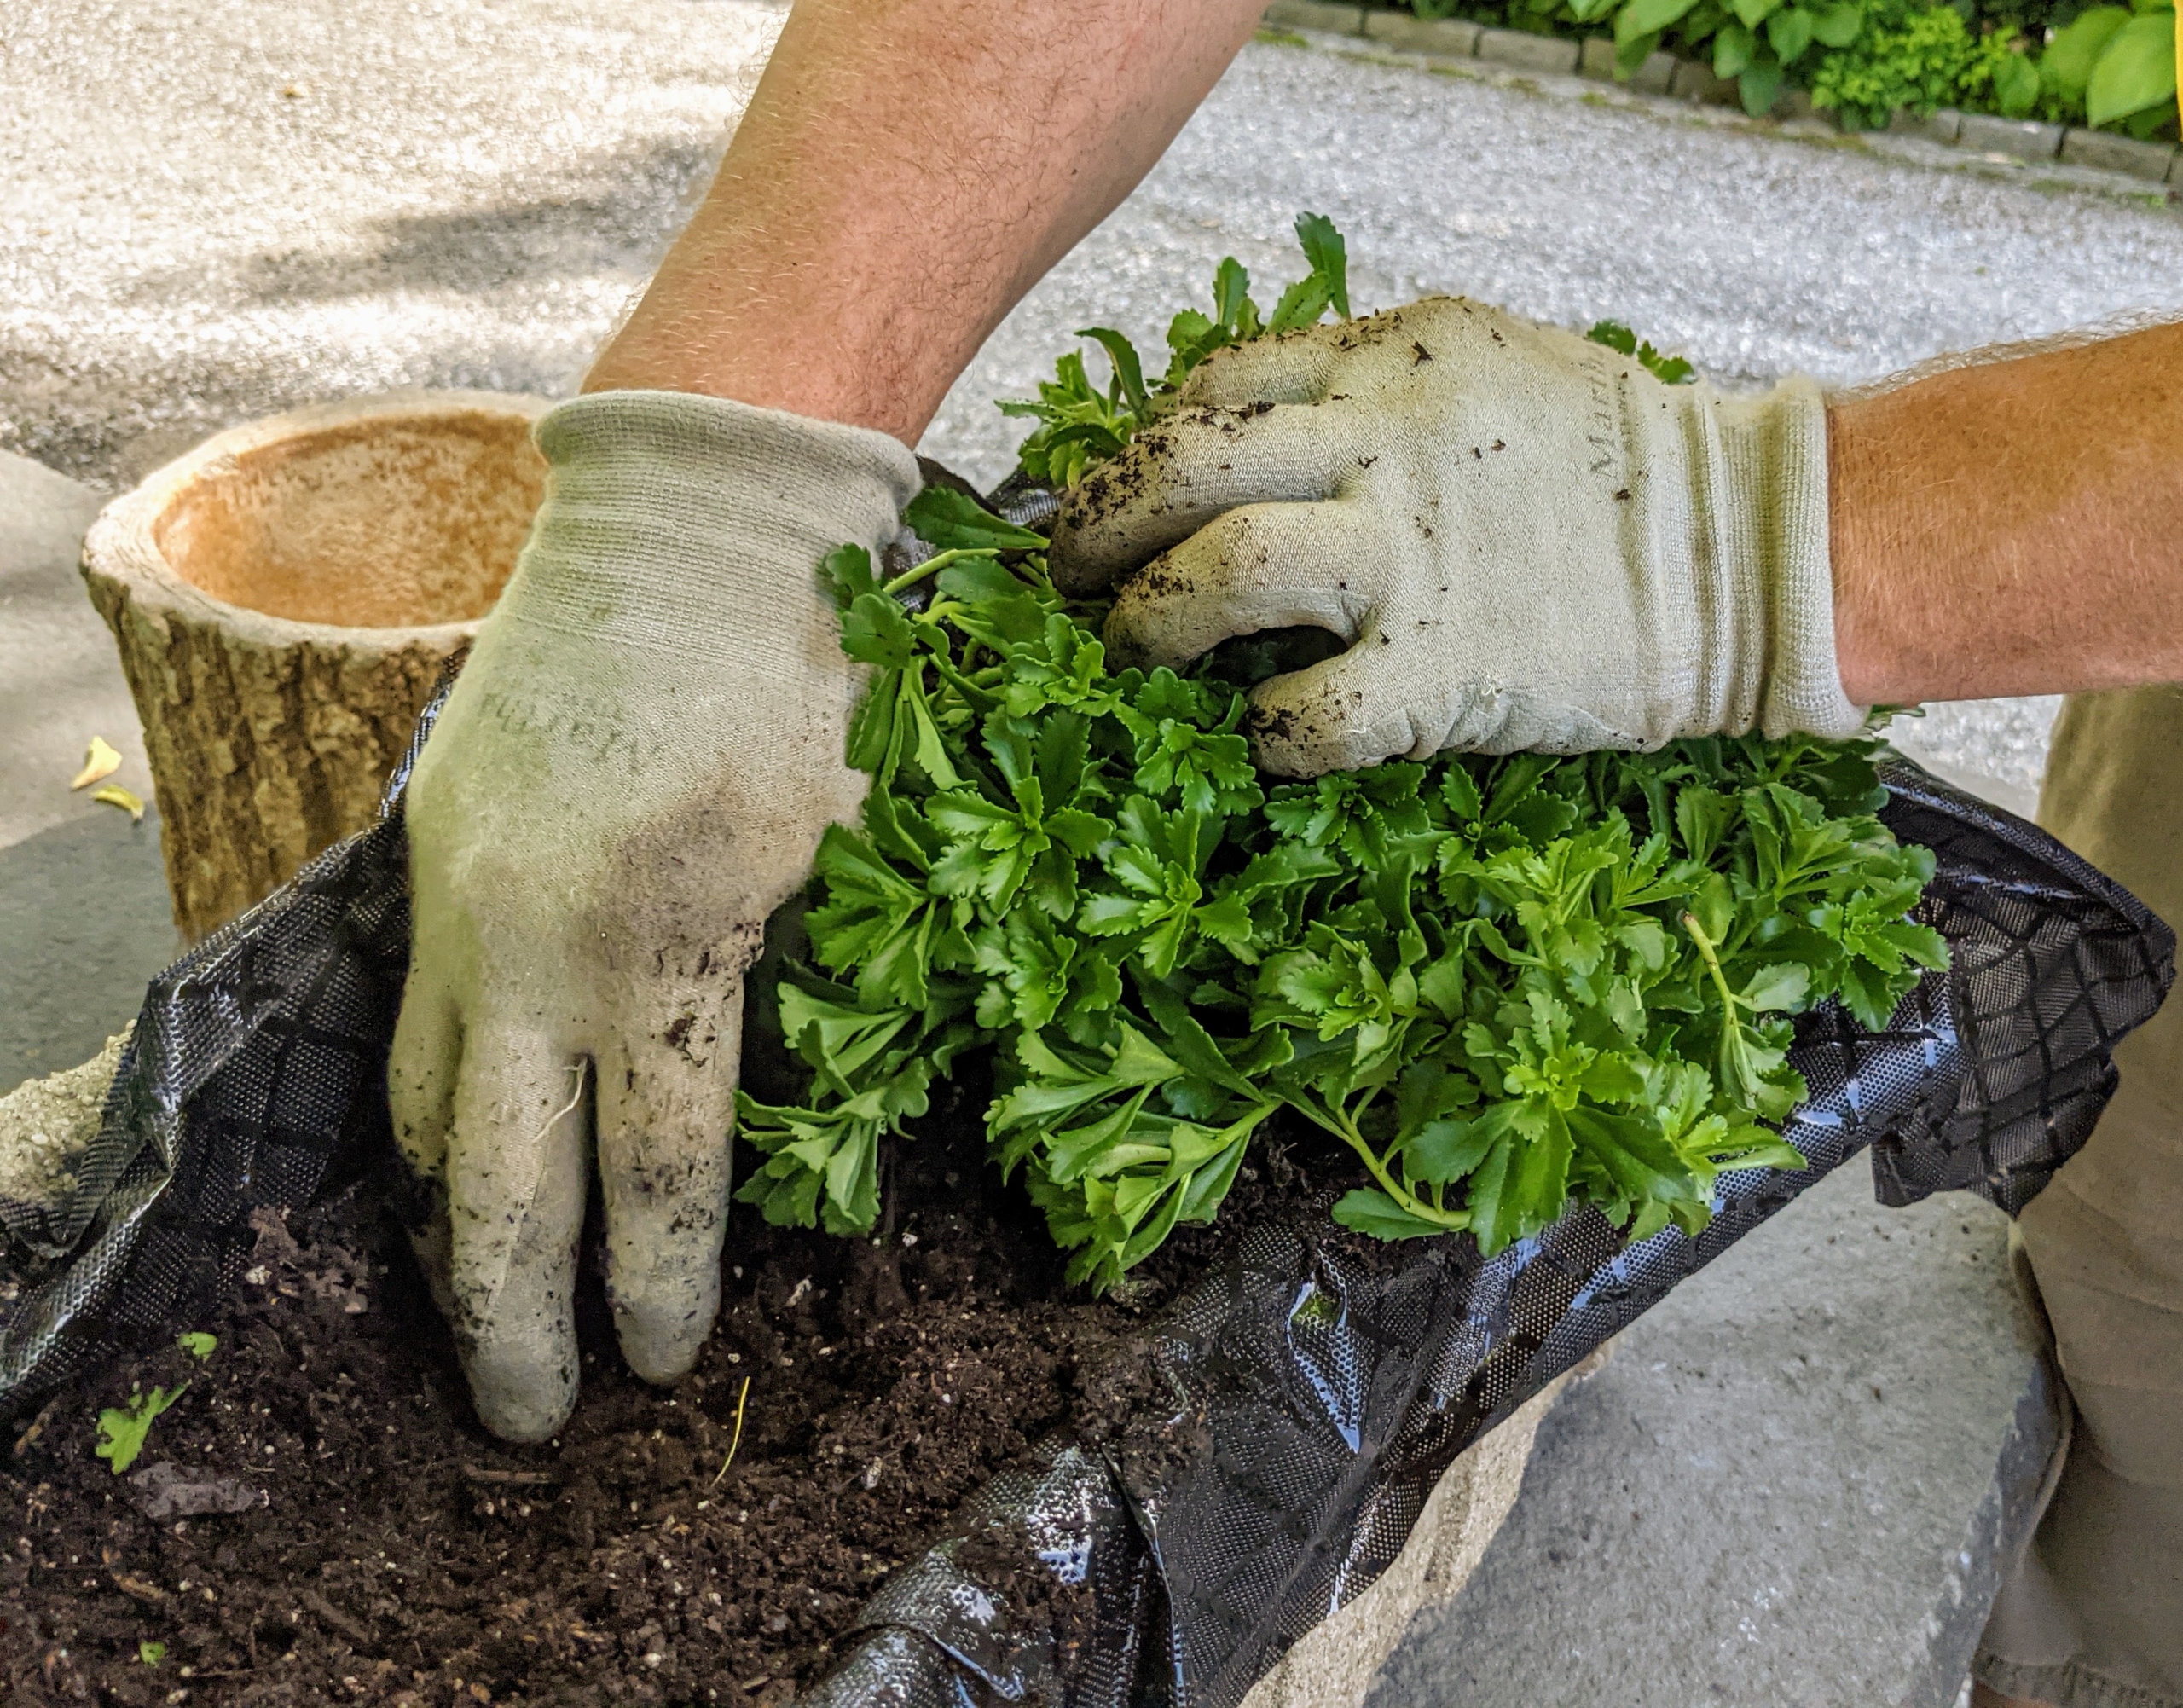
As each specimen is planted, Ryan tamps the soil down to prevent any air holes. Ryan is also using my Non-Slip All Purpose Gloves in slate – available from my collection at Amazon.
All the troughs are planted with some kind of succulent. If you like growing plants, but don’t really have a lot of time to care for them, I encourage you to consider growing succulents. With their fleshy leaves and interesting shapes, succulents are easy to maintain and make excellent container specimens – I have a large number of succulents in my collection.
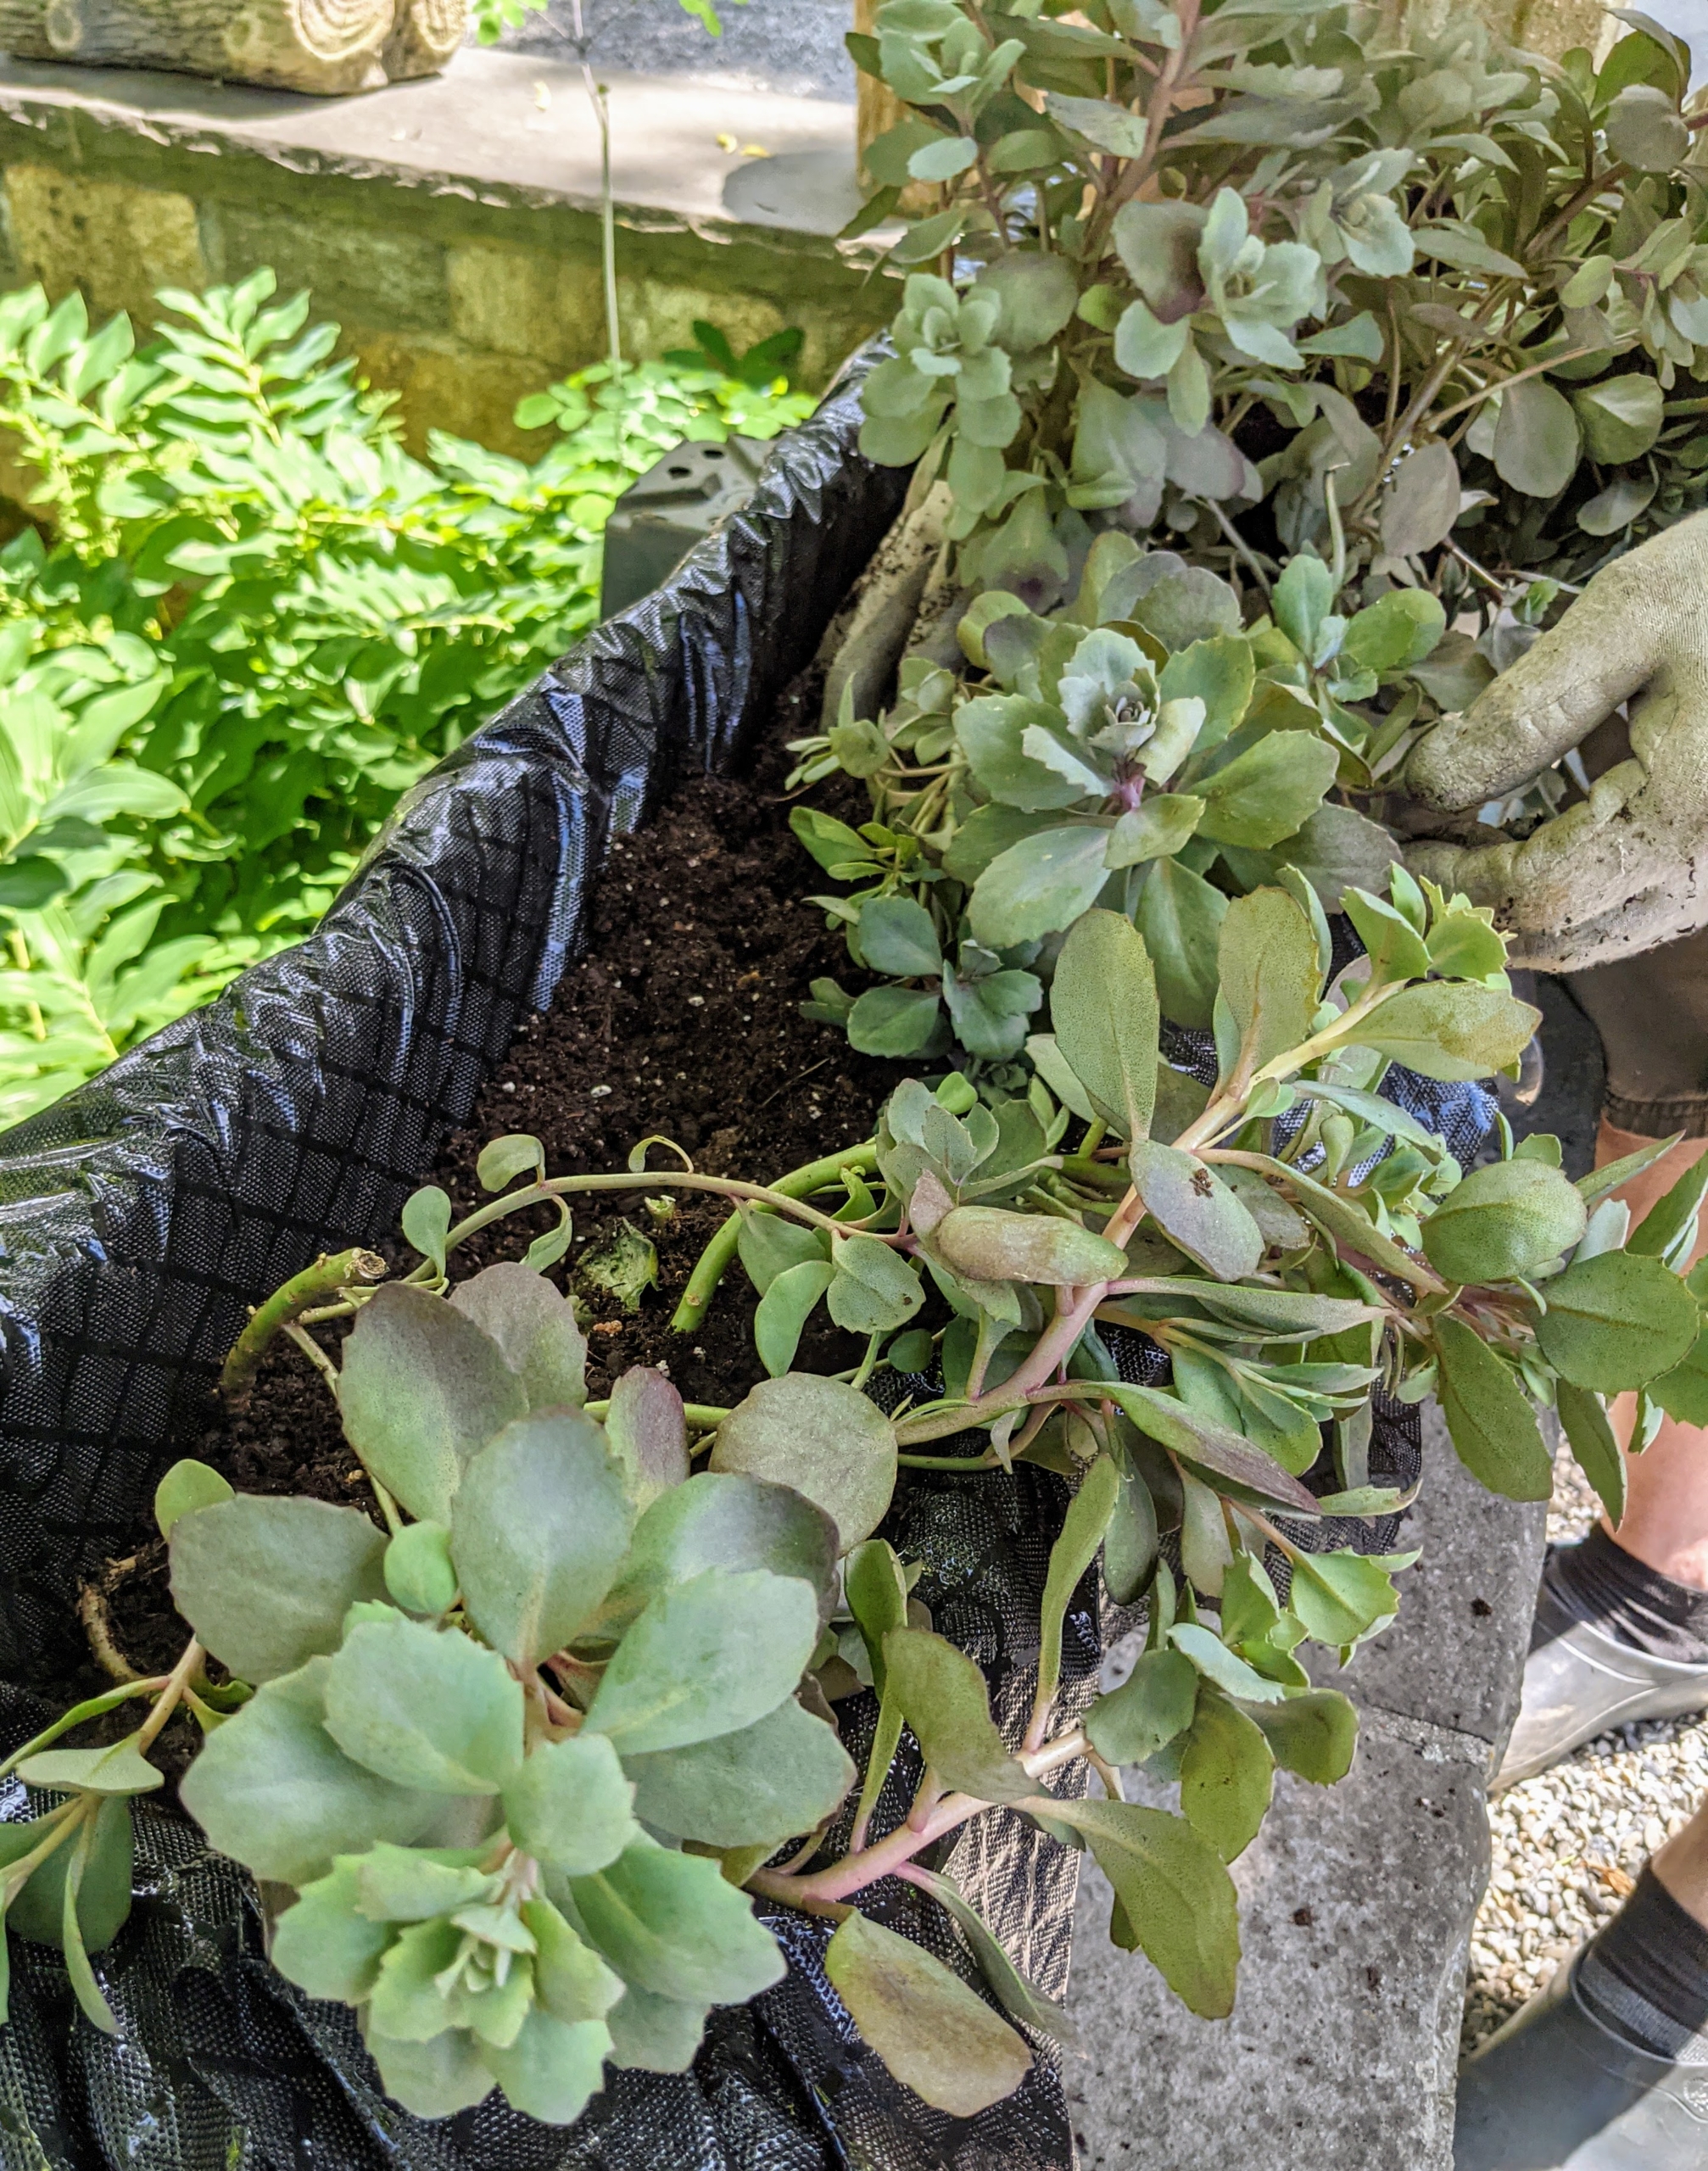
Succulents can be planted closely together, so don’t worry if some of them touch each other.
Succulents are mostly native to arid regions, and store water in their fleshy leaves, stems, and roots, enabling them to resist drought.
Succulents also have relatively shallow root systems so they don’t need a lot of soil.
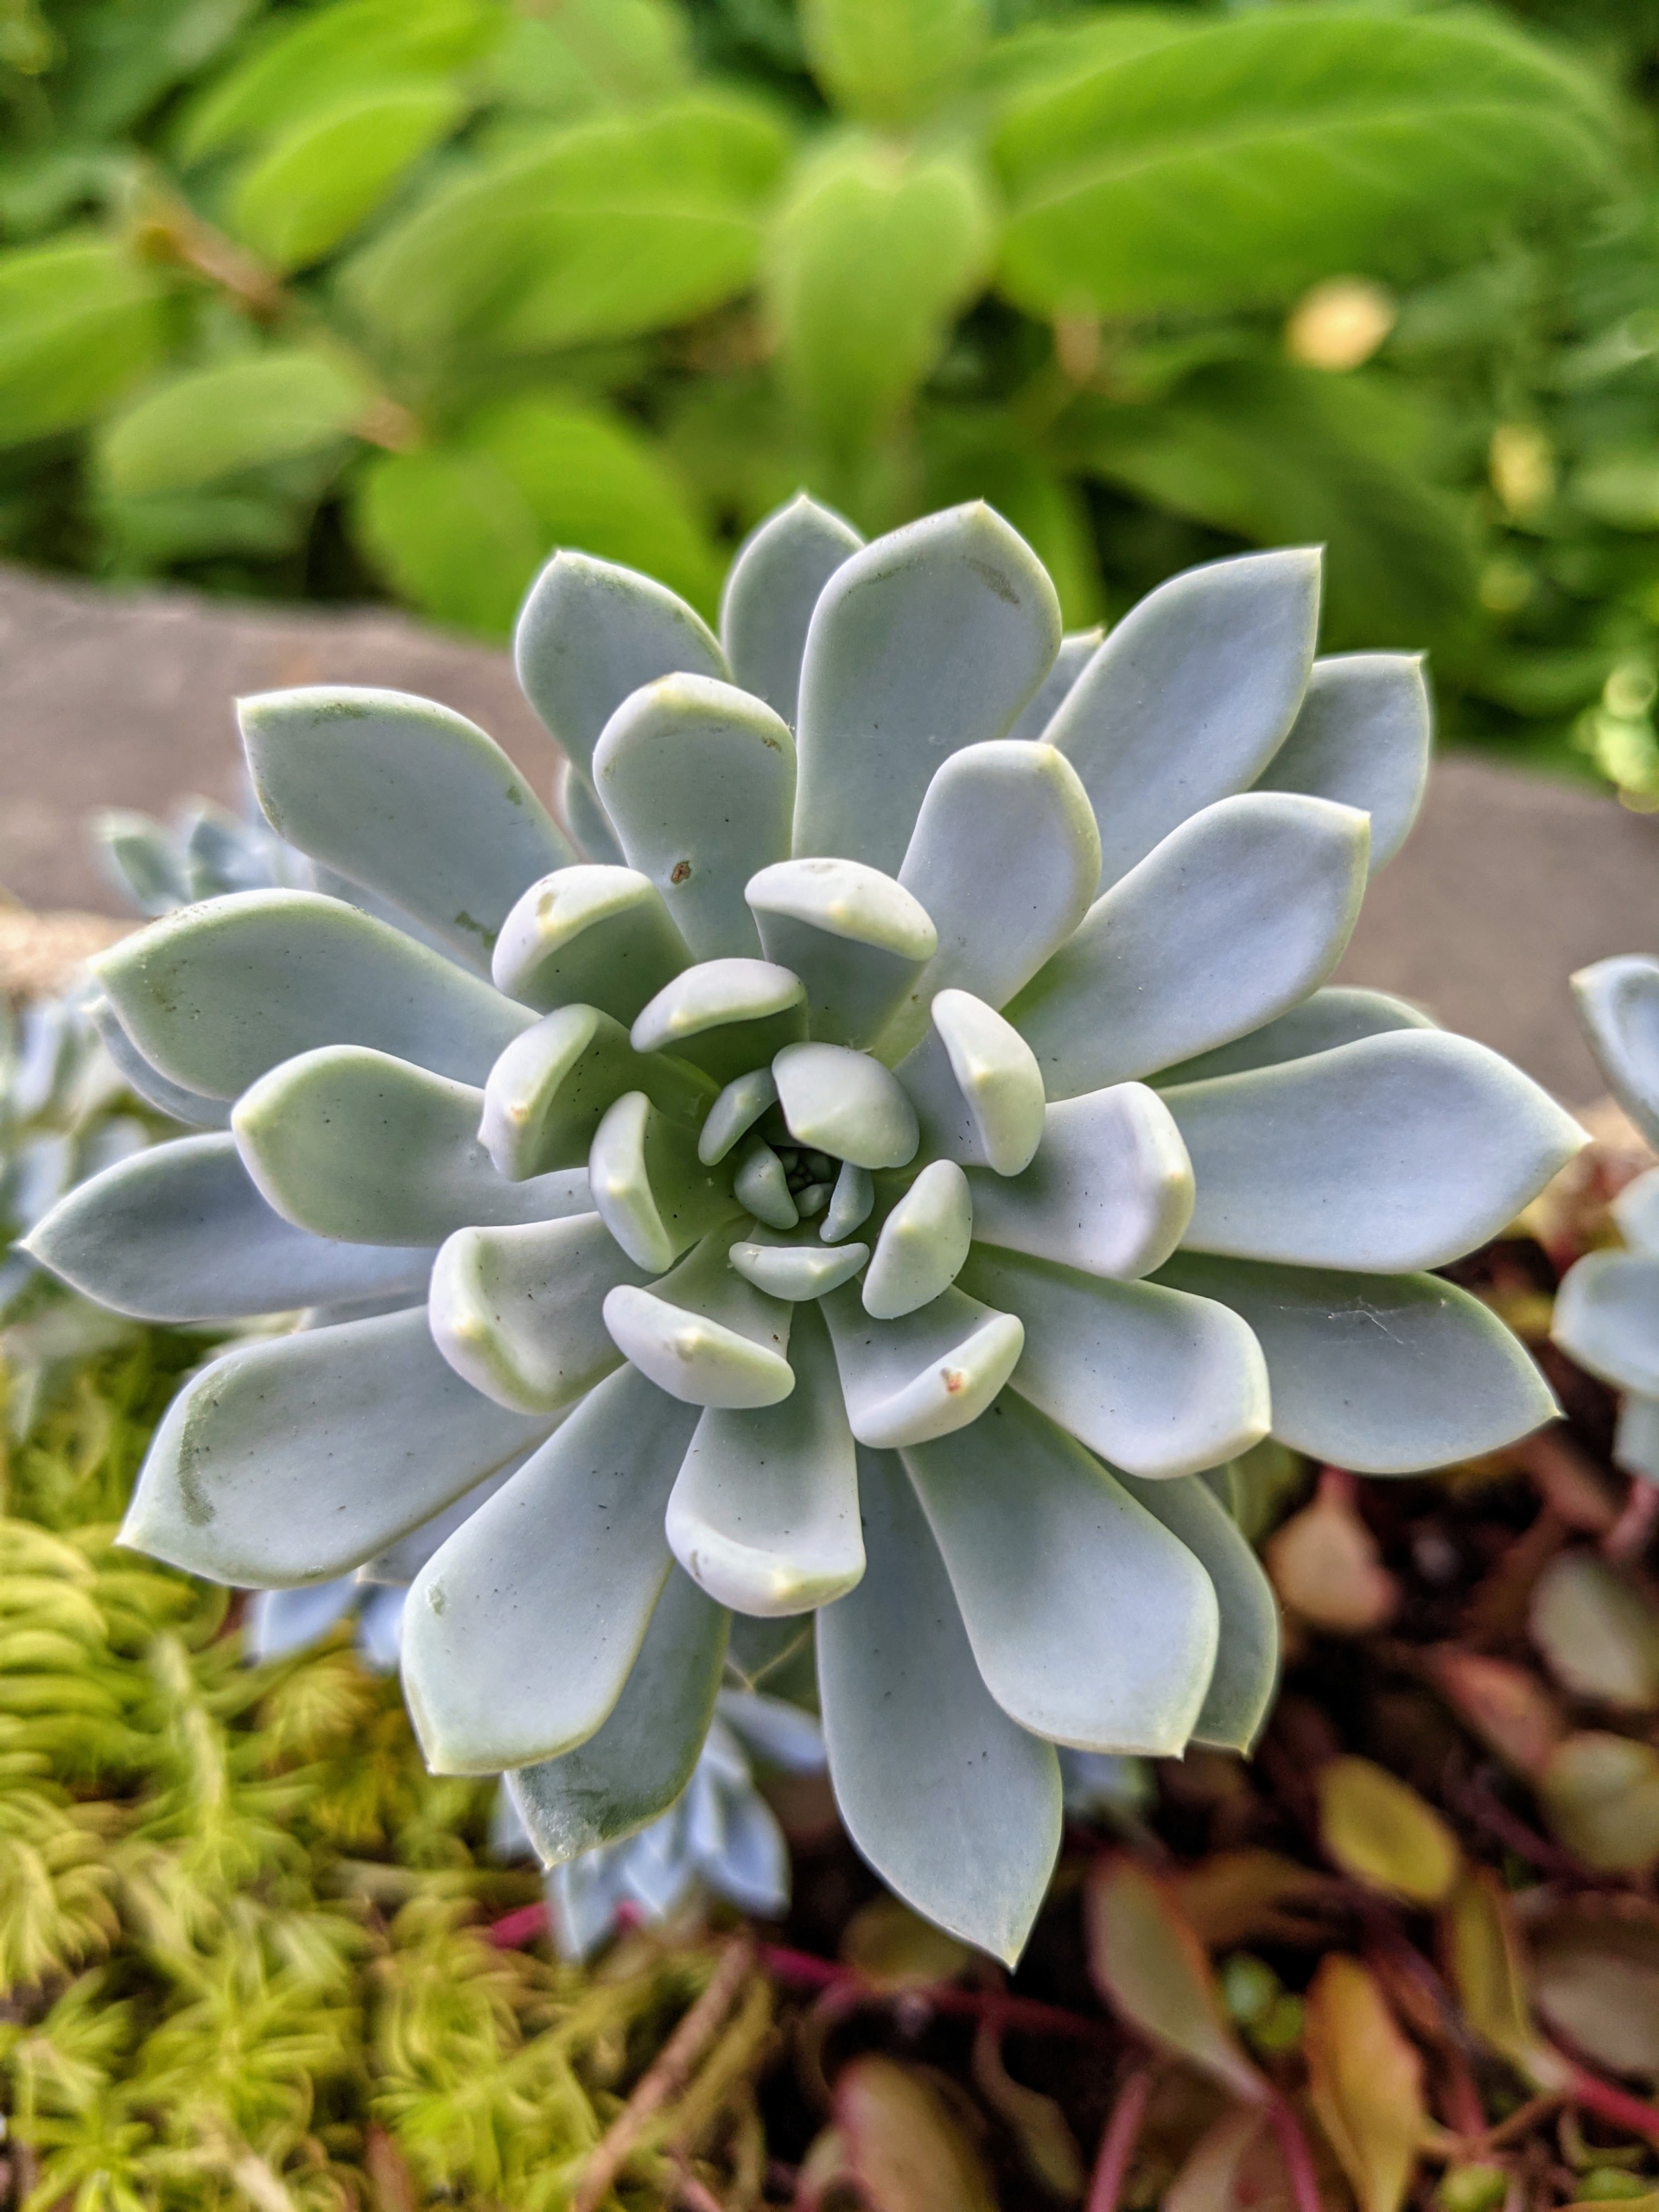
Succulents grow in so many different and interesting formations. I often bring succulents into my home when I entertain – guests love seeing and learning about the different varieties. In this trough – a combination of sedums. There are many, different varieties and species of sedum, also called “stonecrop.” Depending on their growth habit, sedums can be categorized as low-growing and upright.
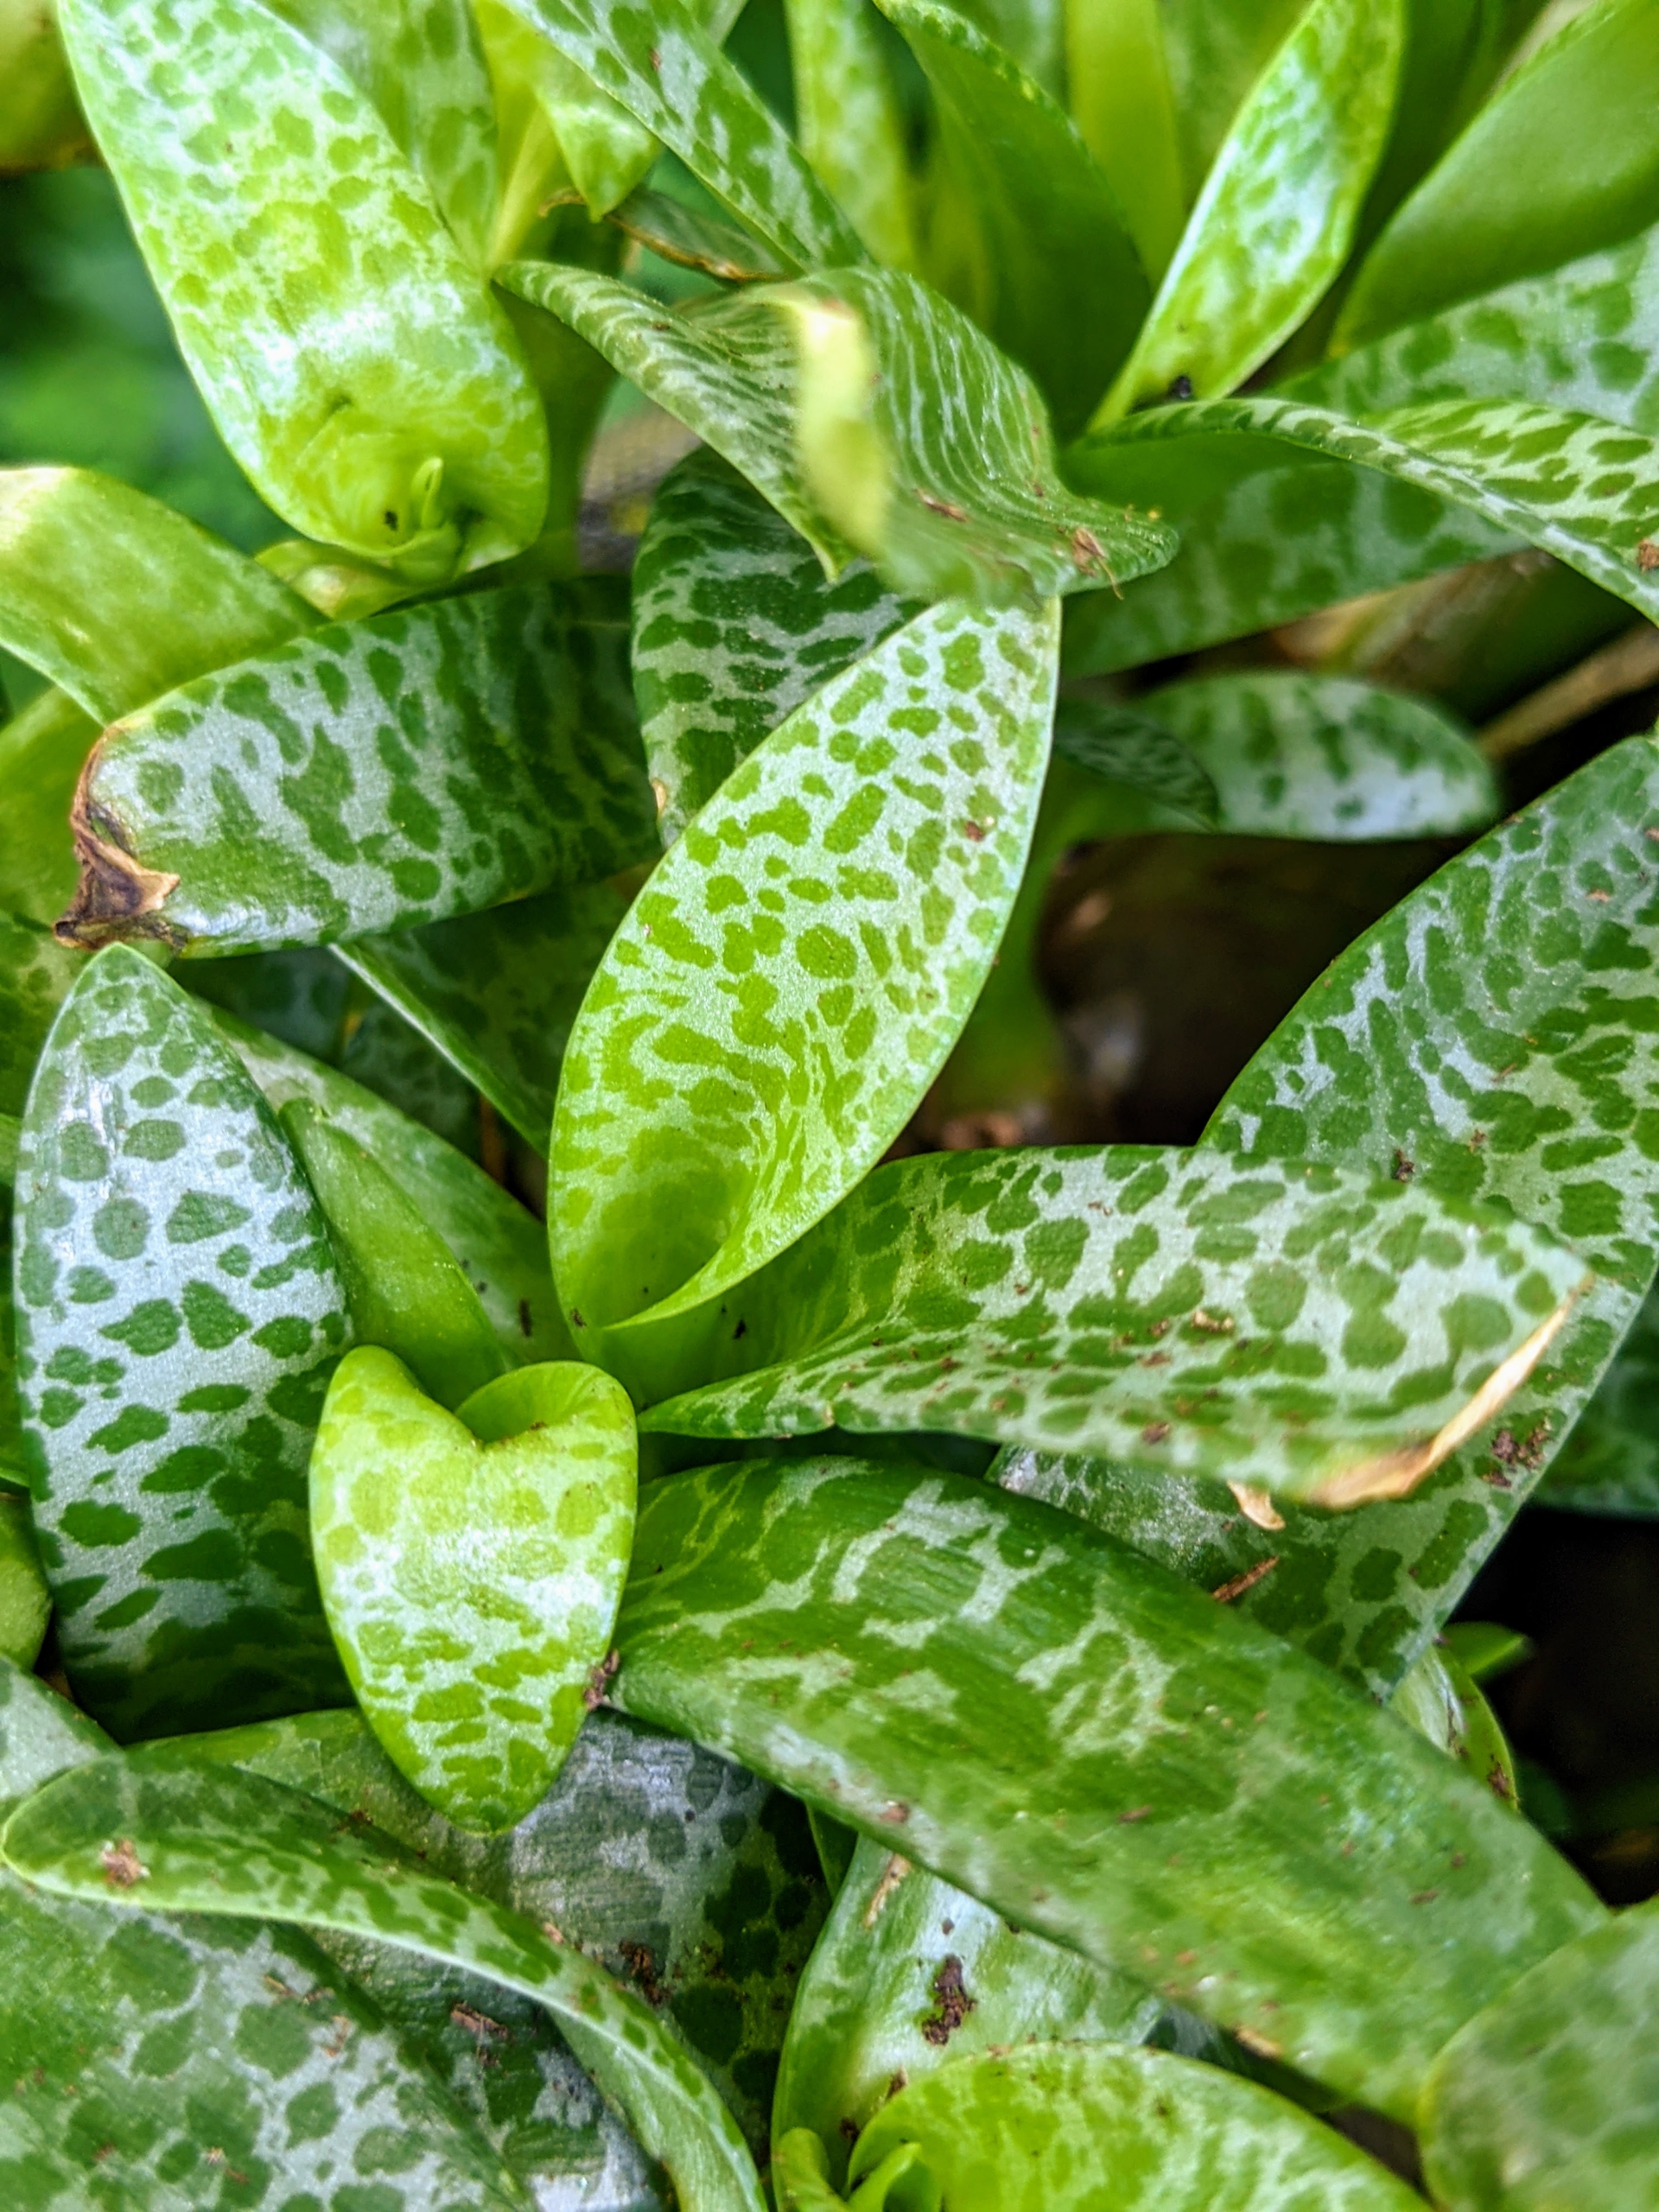
Ryan also added some silver squill, Ledebouria socialis. Silver squill hails from the dry savannas of South Africa. This perennial has silvery leaves with green leopard spots, as well as unique teardrop-shaped bulbs that form above the ground. It stores moisture in its bulb-like stems during times of drought.
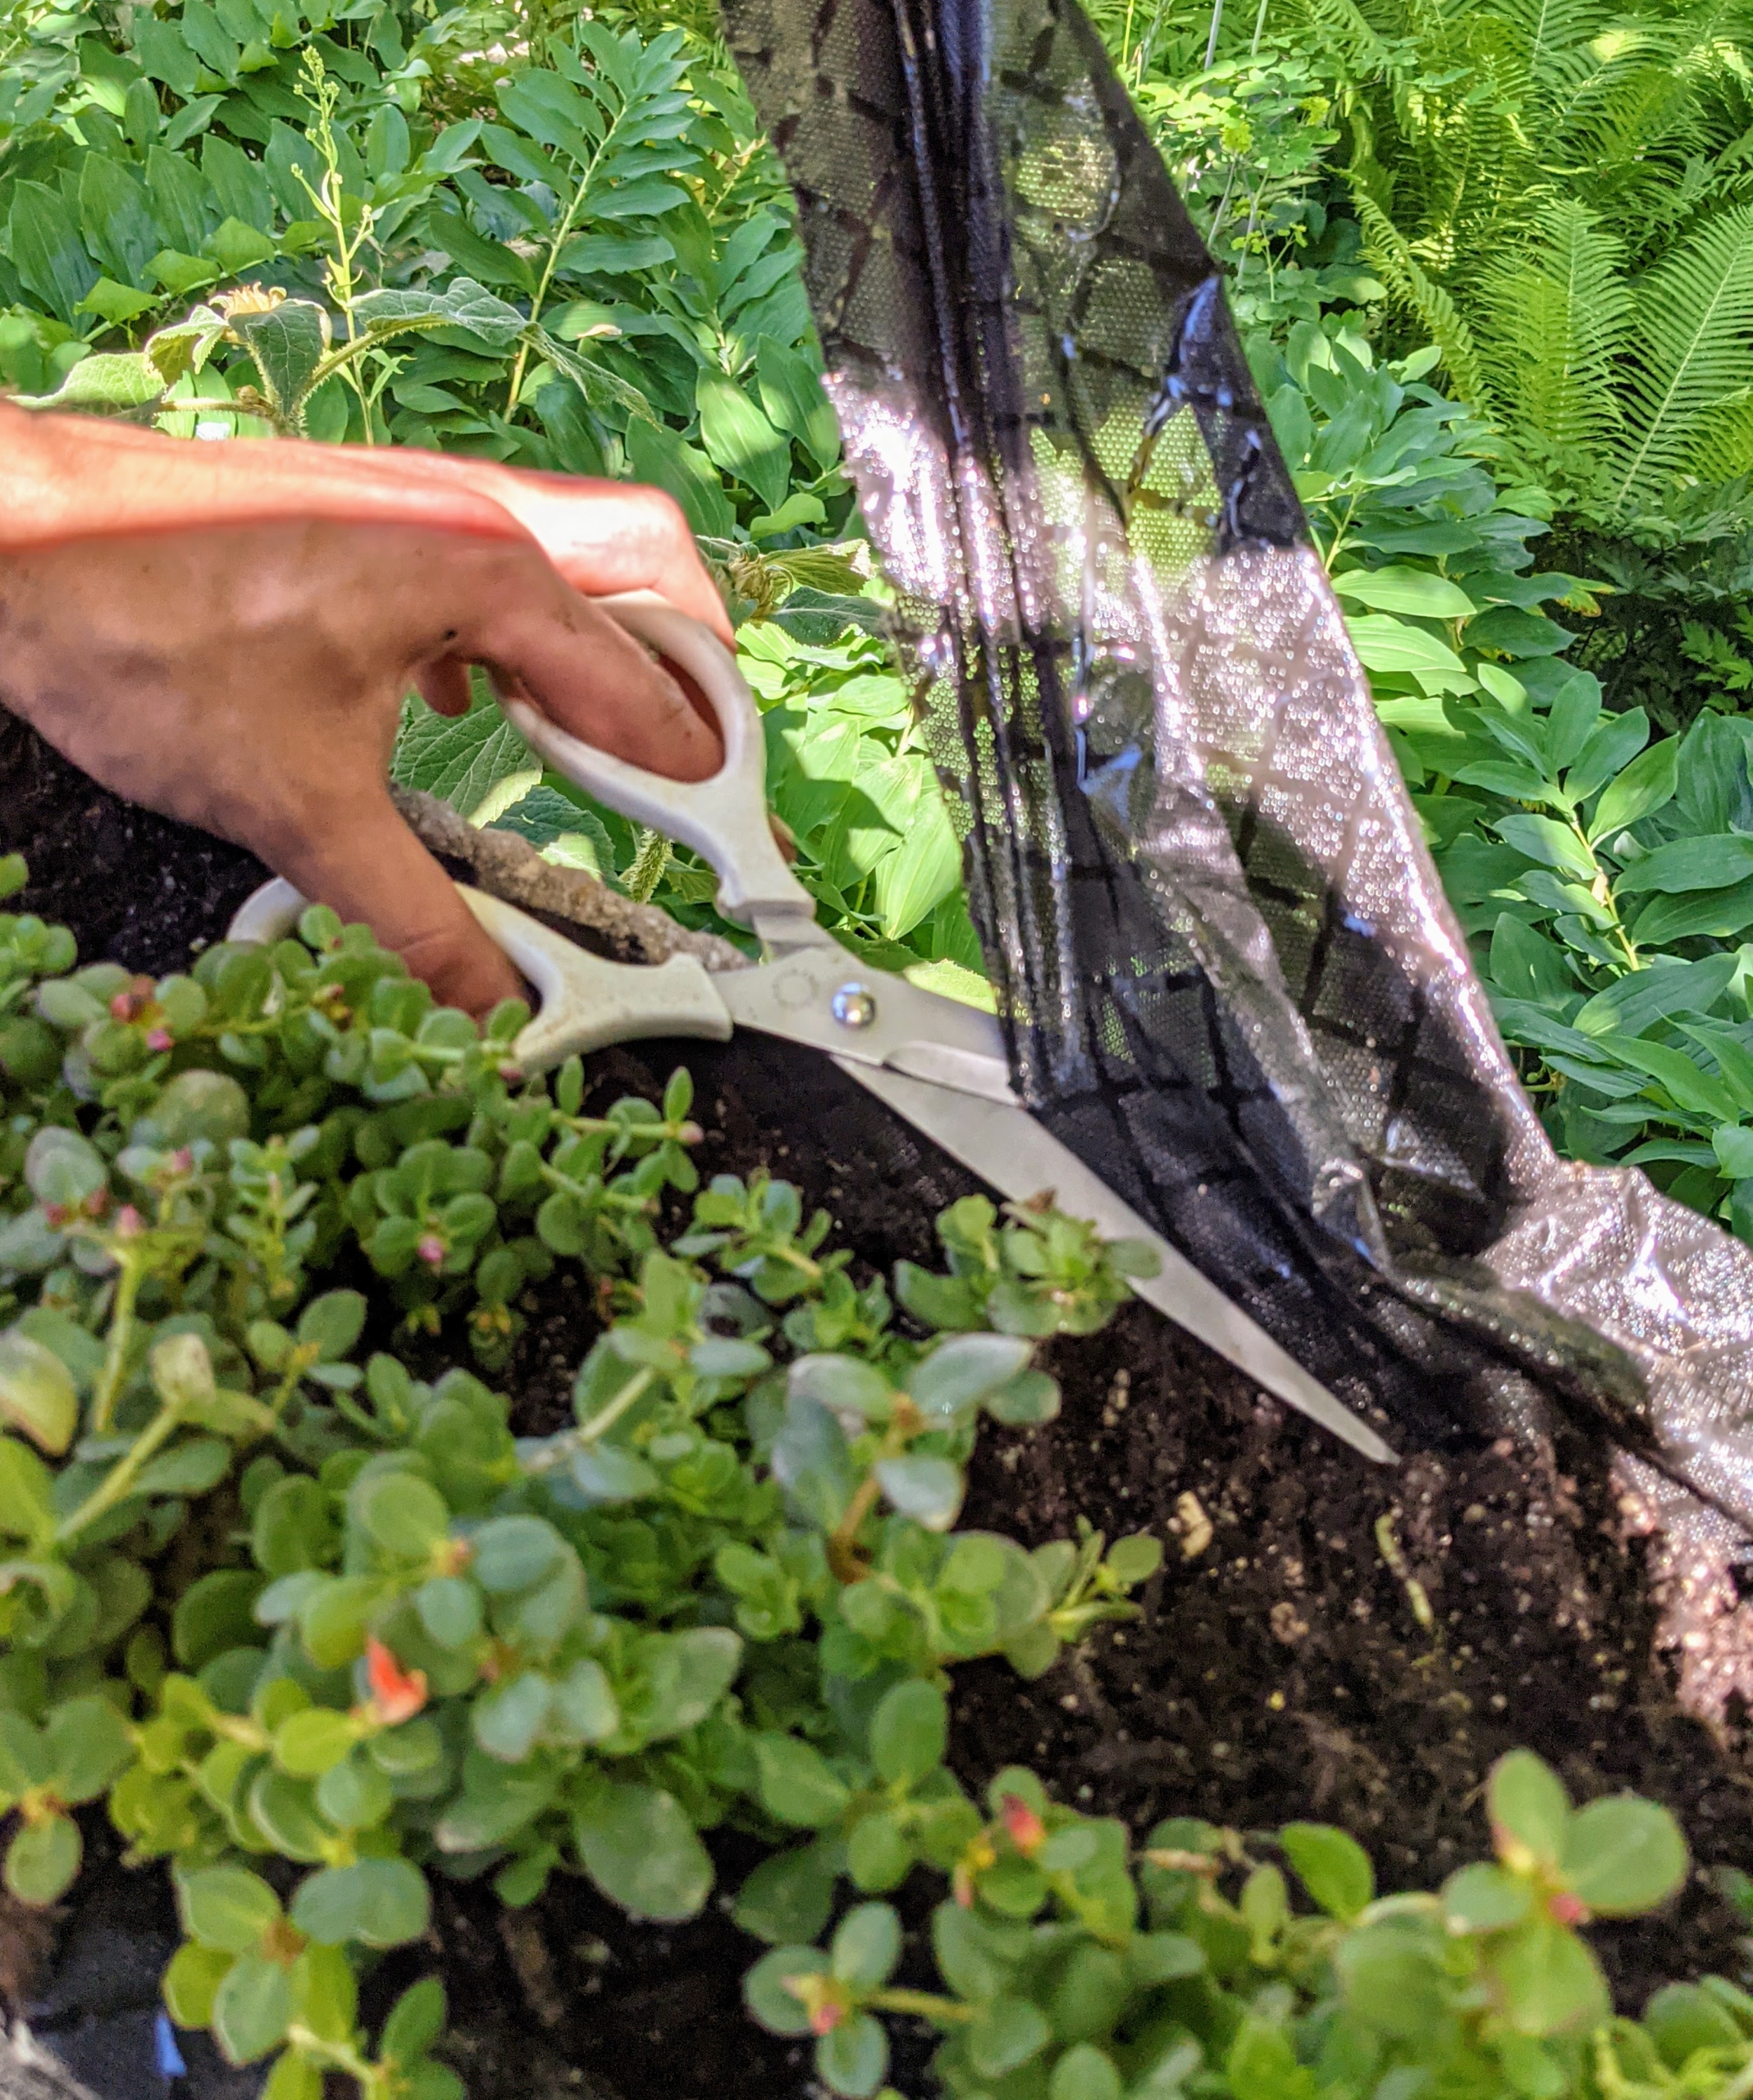
Brian helps to cut off any fabric that falls over the outside of the planter and then tucks the rest into the soil, so it cannot be seen.
Here’s one trough completely done – Ryan makes sure to fill in all the areas, so it looks full with varying heights to add more interest and texture.
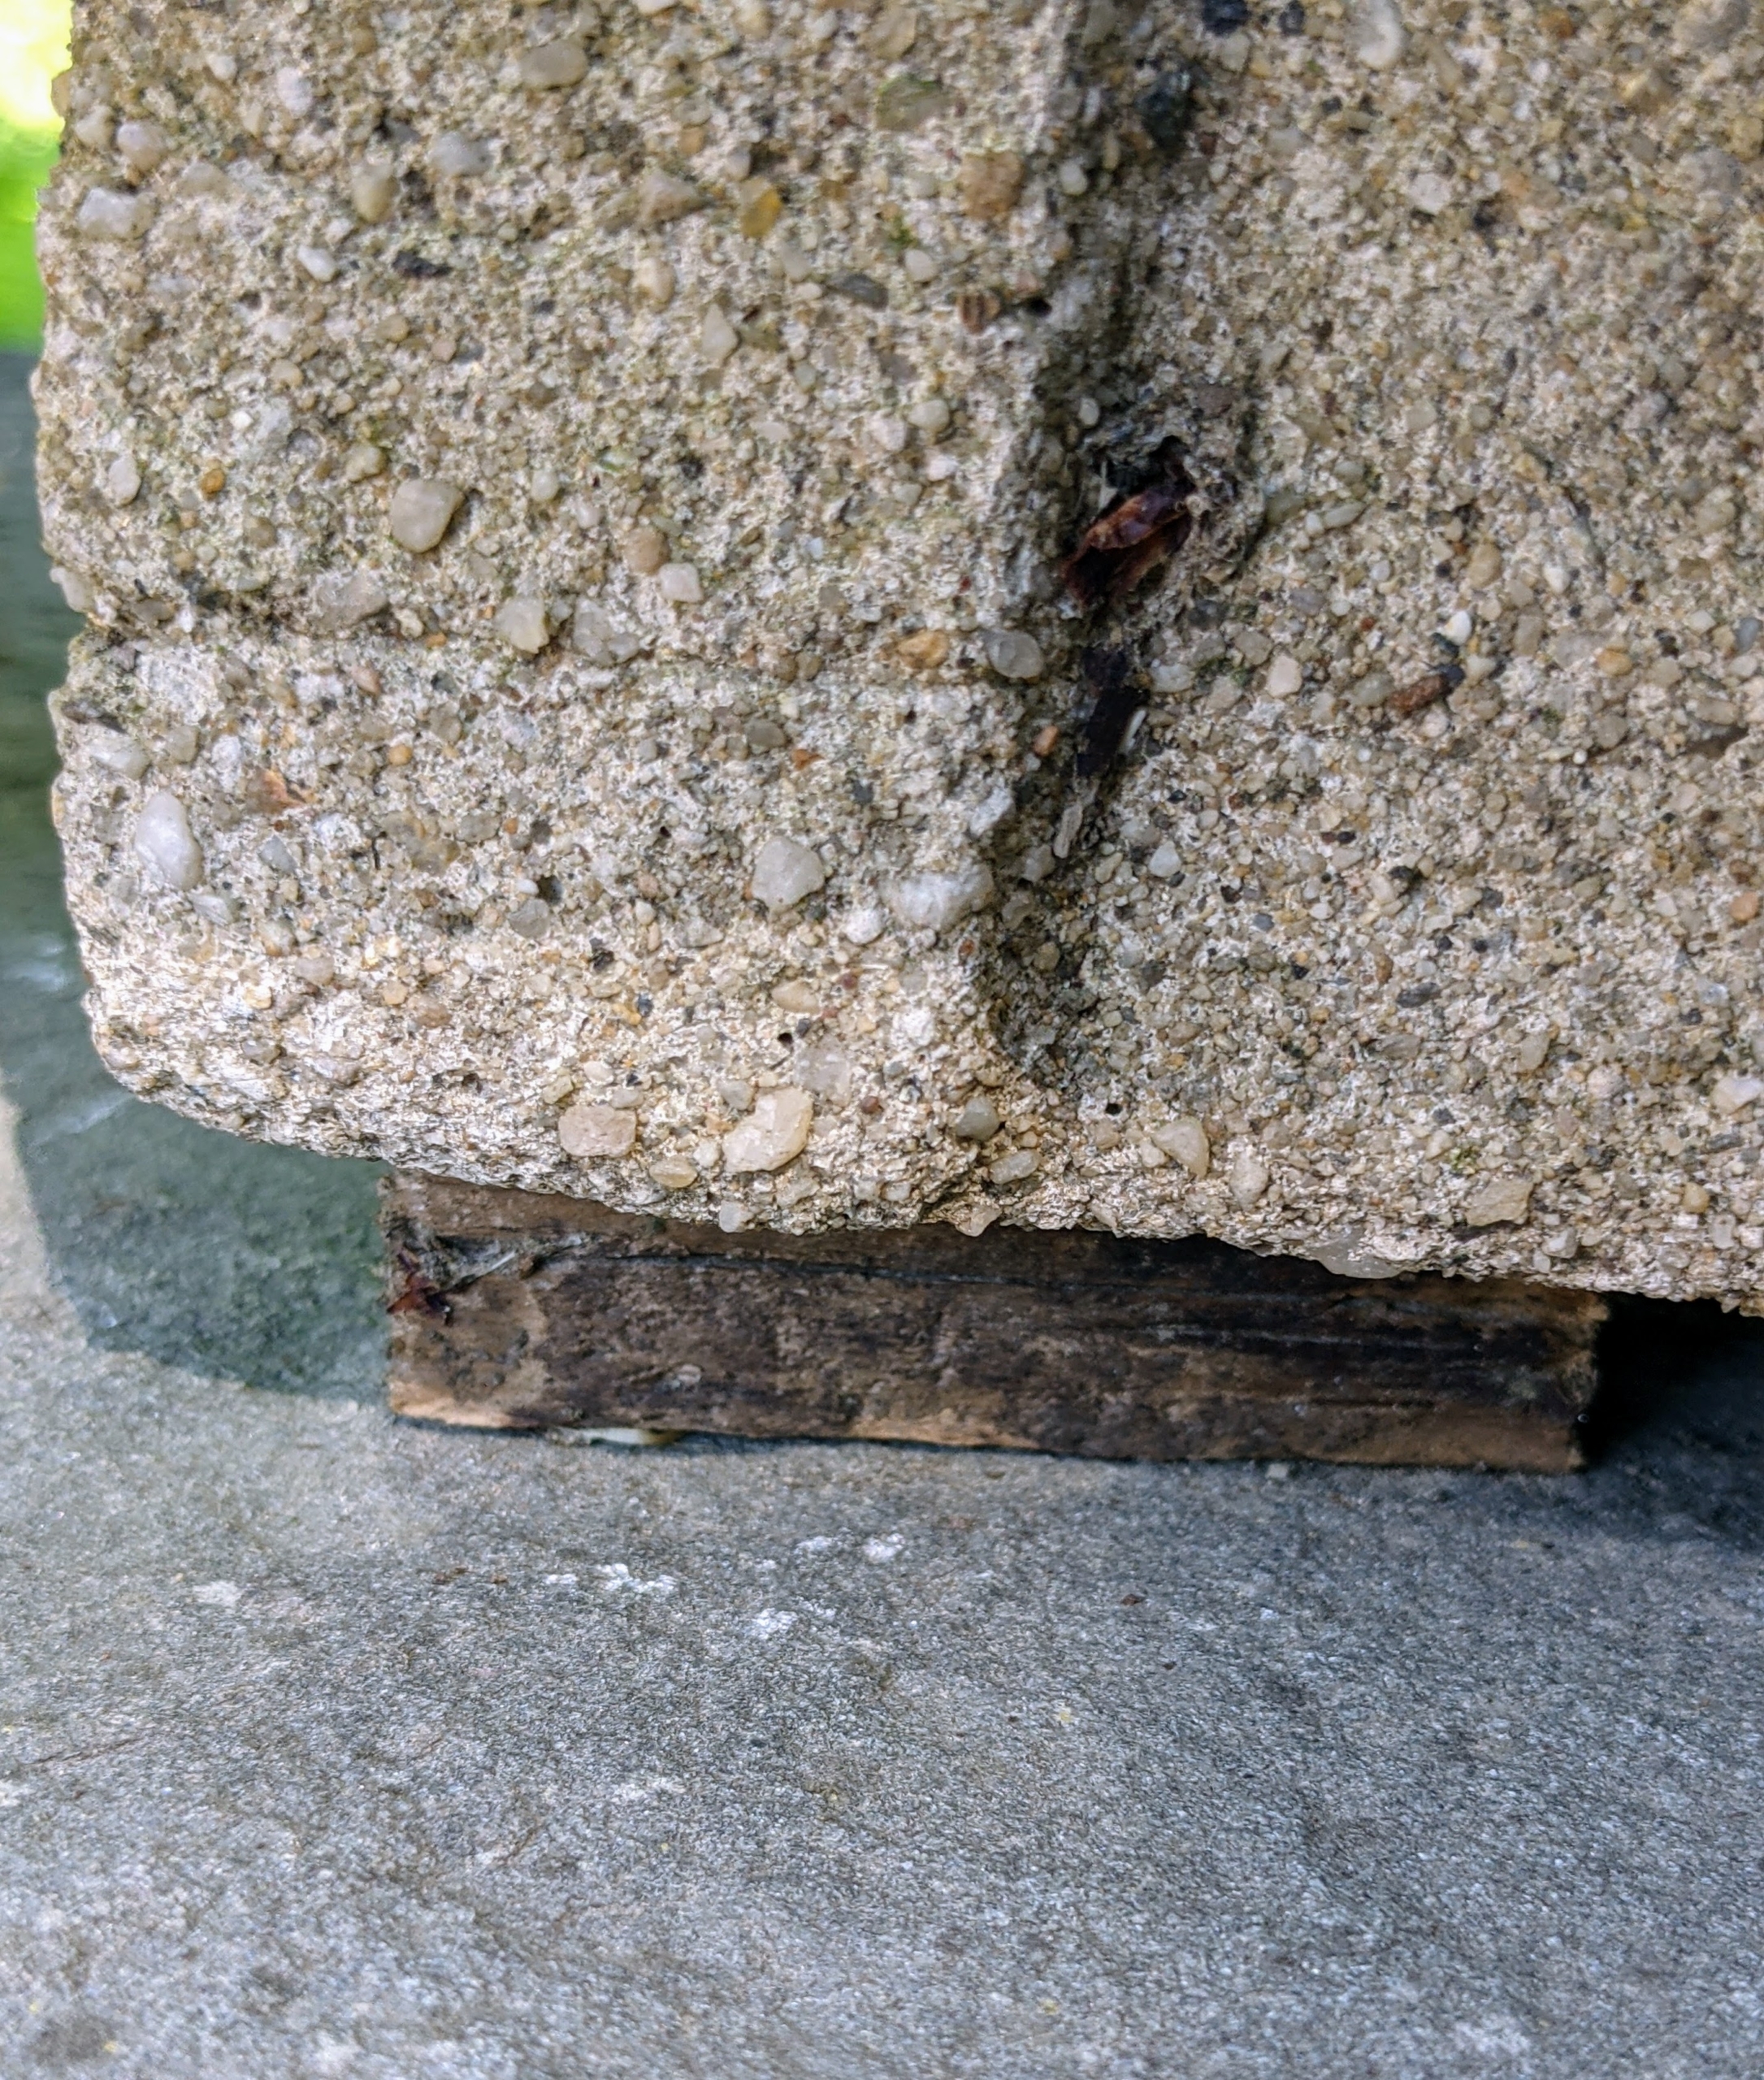
Small wooden shims are used to lift the planters off the ledge. This is very important for good drainage. All the pots around the farm are always raised. We save any usable pieces of wood from year to year for this purpose.
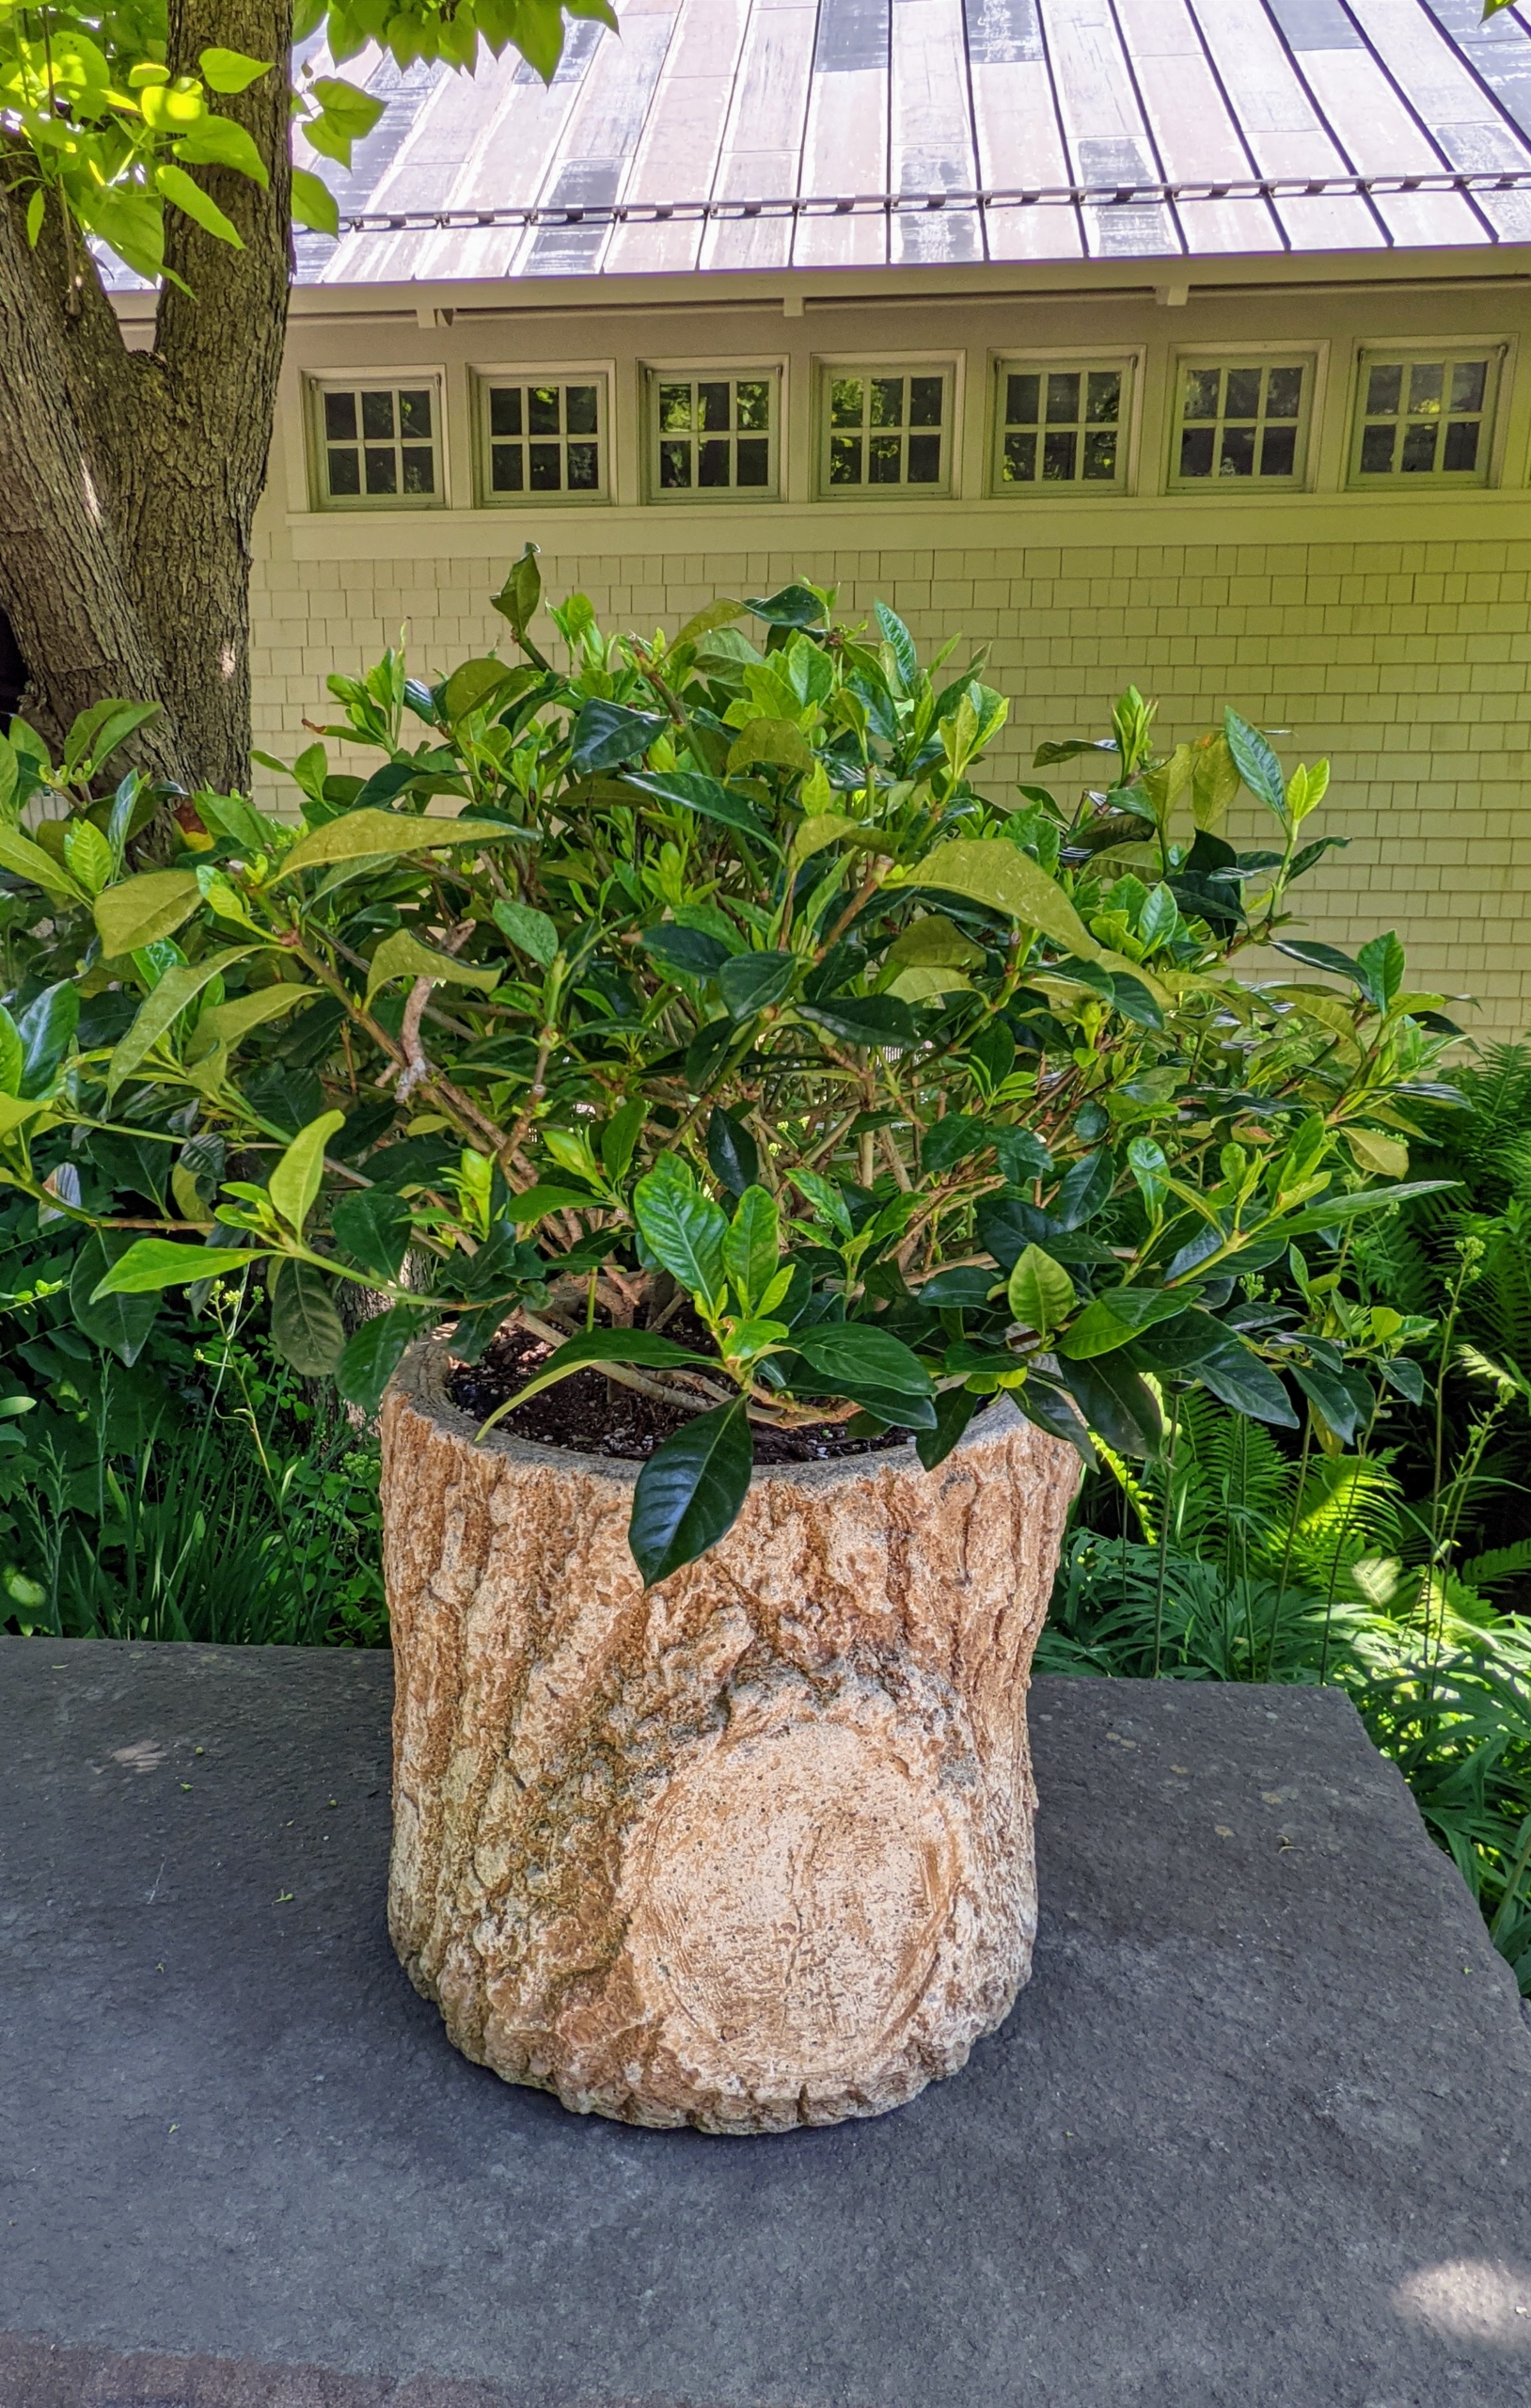
Also planted nearby is this gardenia – one of two on the lower ledge of the wall. Gardenias are loved for their intoxicating fragrance and attractive, waxy, creamy white flowers mixed with their shiny, leathery dark green leaves. Plus, these plants are heat-loving. They are native to the tropical and subtropical regions of Africa, southern Asia, and Oceania.
On another part of the wall are two alocasias with their bold dark burgundy arrowhead shaped leaves and tall stems. Alocasia are native to tropical and sub-tropical regions of Asia and Australia and are in the family Araceae which is closely related to the Anthurium and Philodendron. These add such nice color to this collection of plants.
Finally, Ryan uses this a href=”https://www.stihlusa.com/products/blowers-and-shredder-vacs/battery-blowers/”>battery powered handheld blower from STIHL to clean the ledge of any dirt and soil. This blower is less noisy and perfect for around my Winter House.
I love how this ledge looks. These plants will thrive here all season long where they will get lots of sun and light shade from the catalpa tree. How beautiful.