In order to keep my Bedford, New York farm and all its gardens, allées, and groves as beautiful as possible, I pay lots of attention to the maintenance and care of all my trees.
Lindens, Tilia, are medium to large sized shade trees that are easy to maintain and attractive in any landscape. I have two linden tree allées. One near my stable and another which runs from the old corn crib all the way down to the chicken coops. Not long ago, Pasang and Domi groomed and "limbed up" this second, slightly younger, allée. They trimmed branches to control its shape and to allow for better air circulation through the center of the specimen. They also pruned back the low branches so anyone on foot, or on horseback, could pass through easily.
Here are some photos, enjoy.
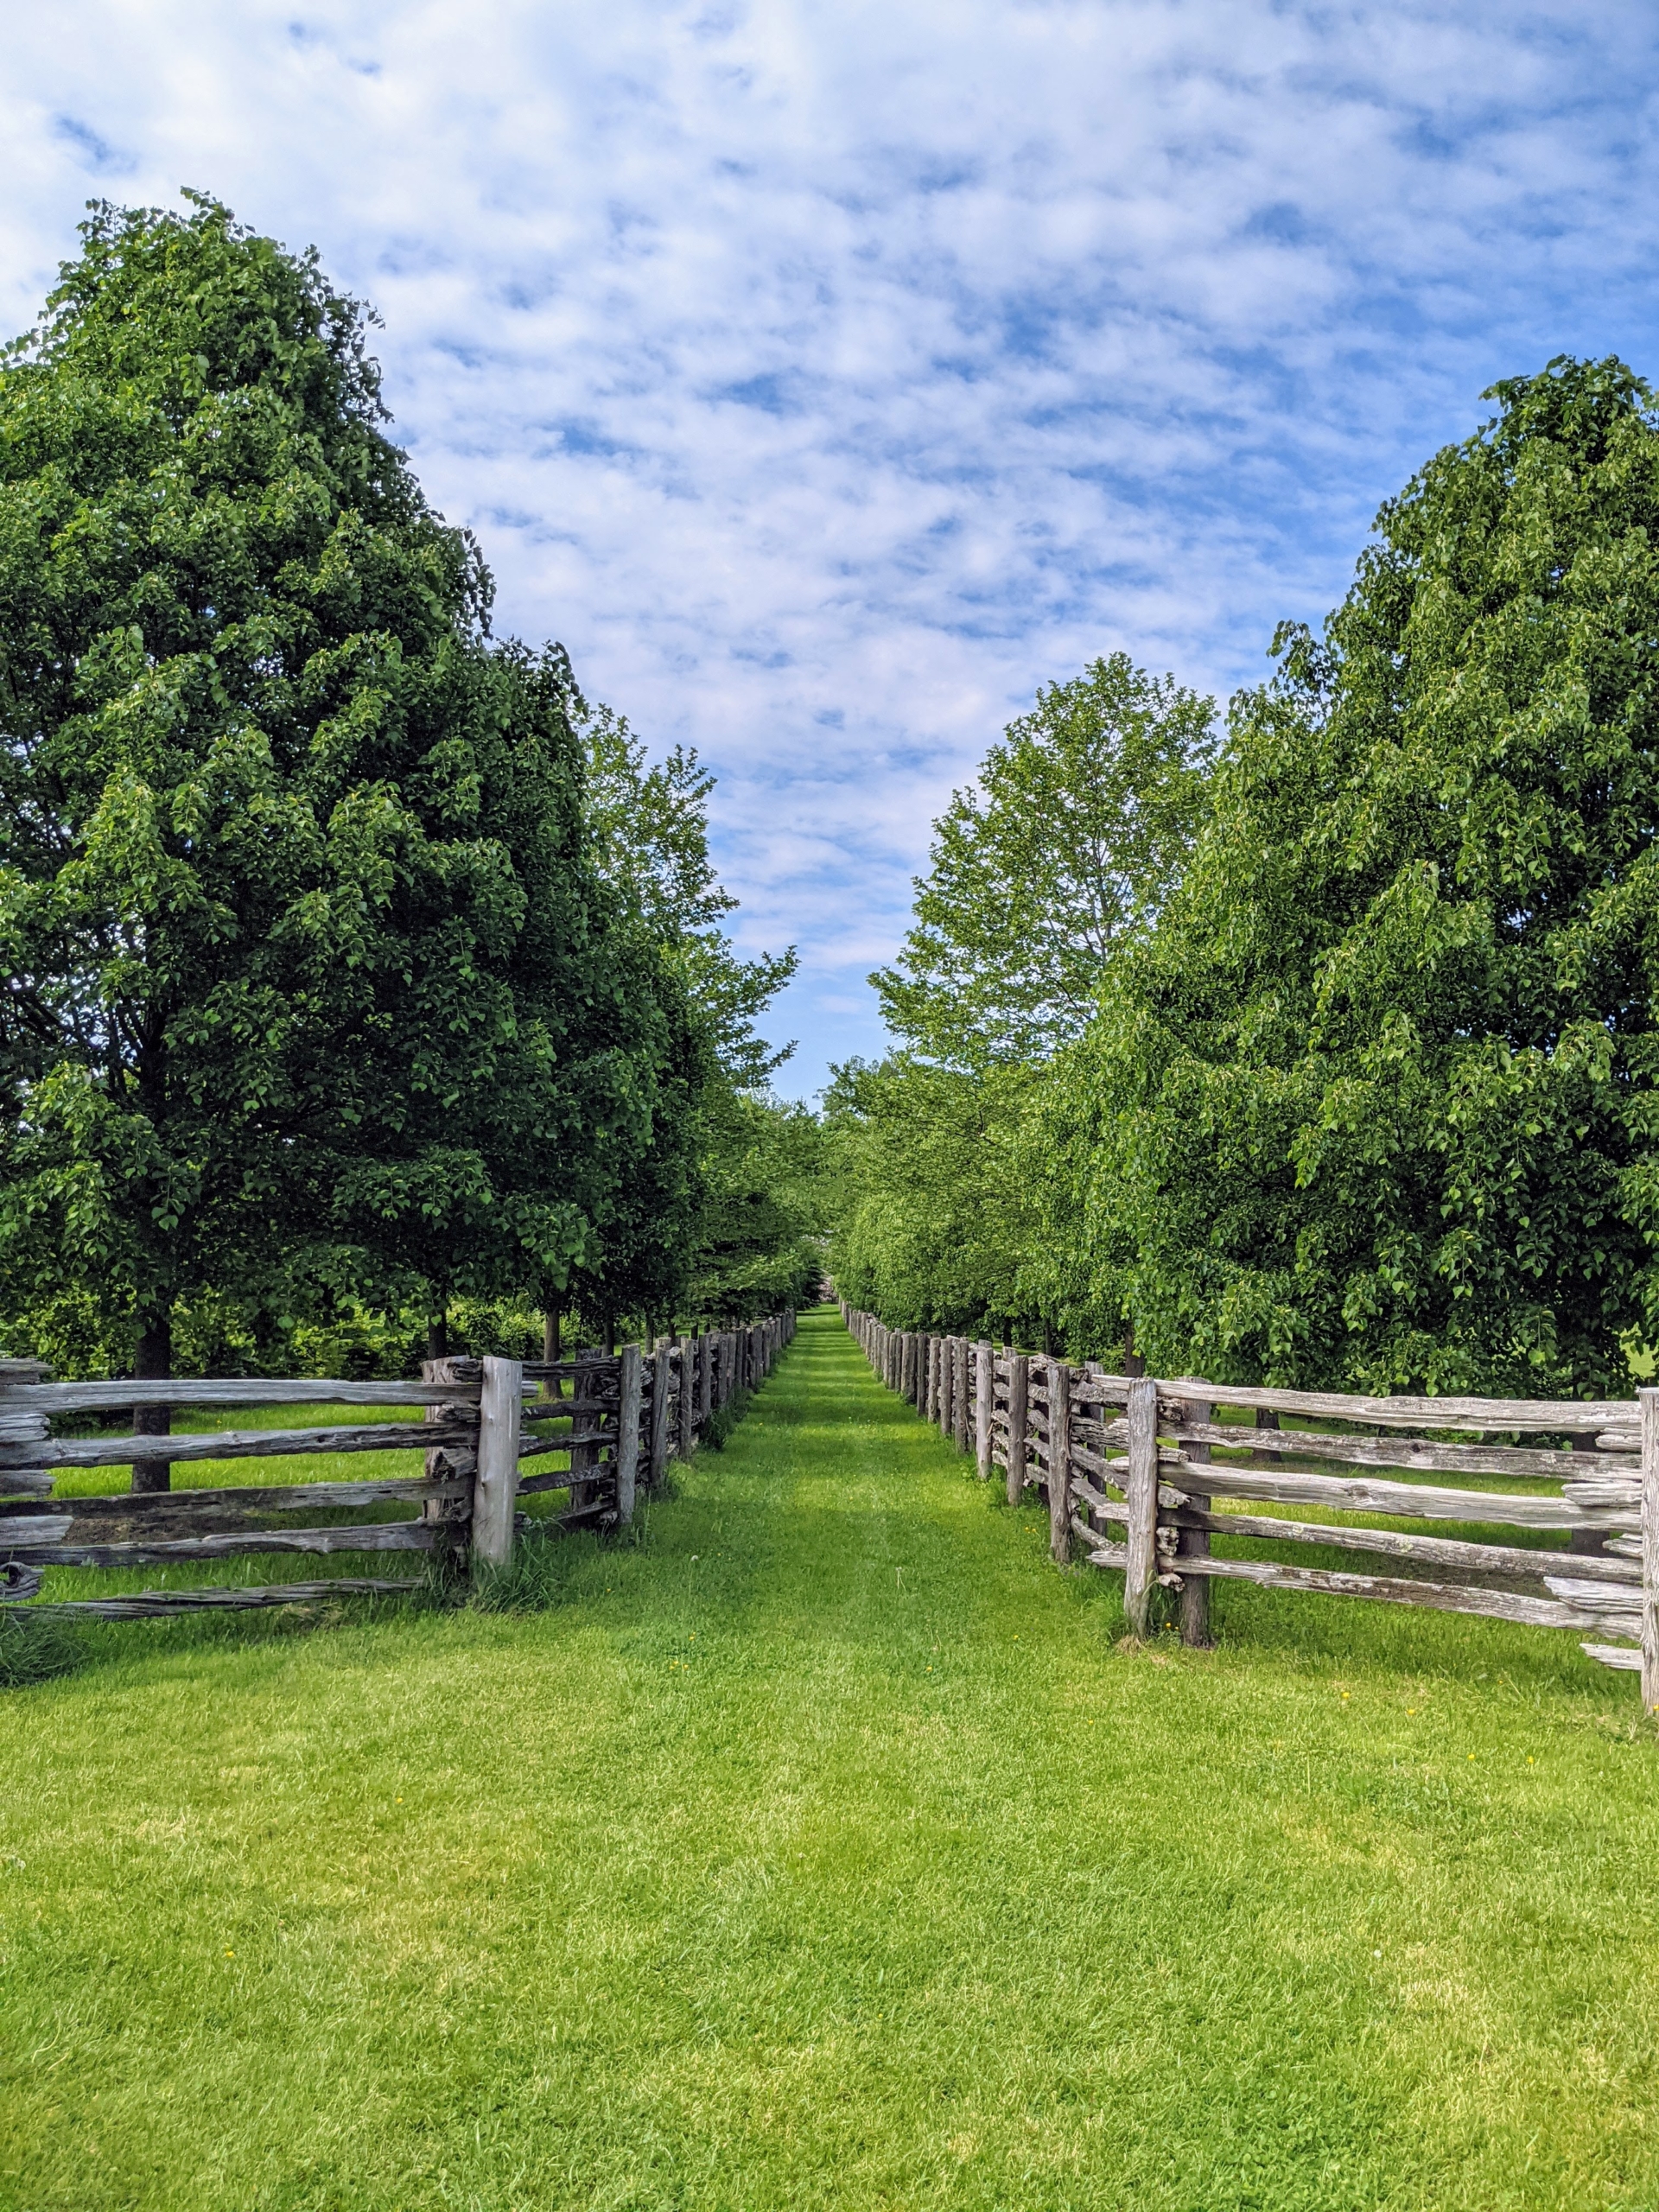
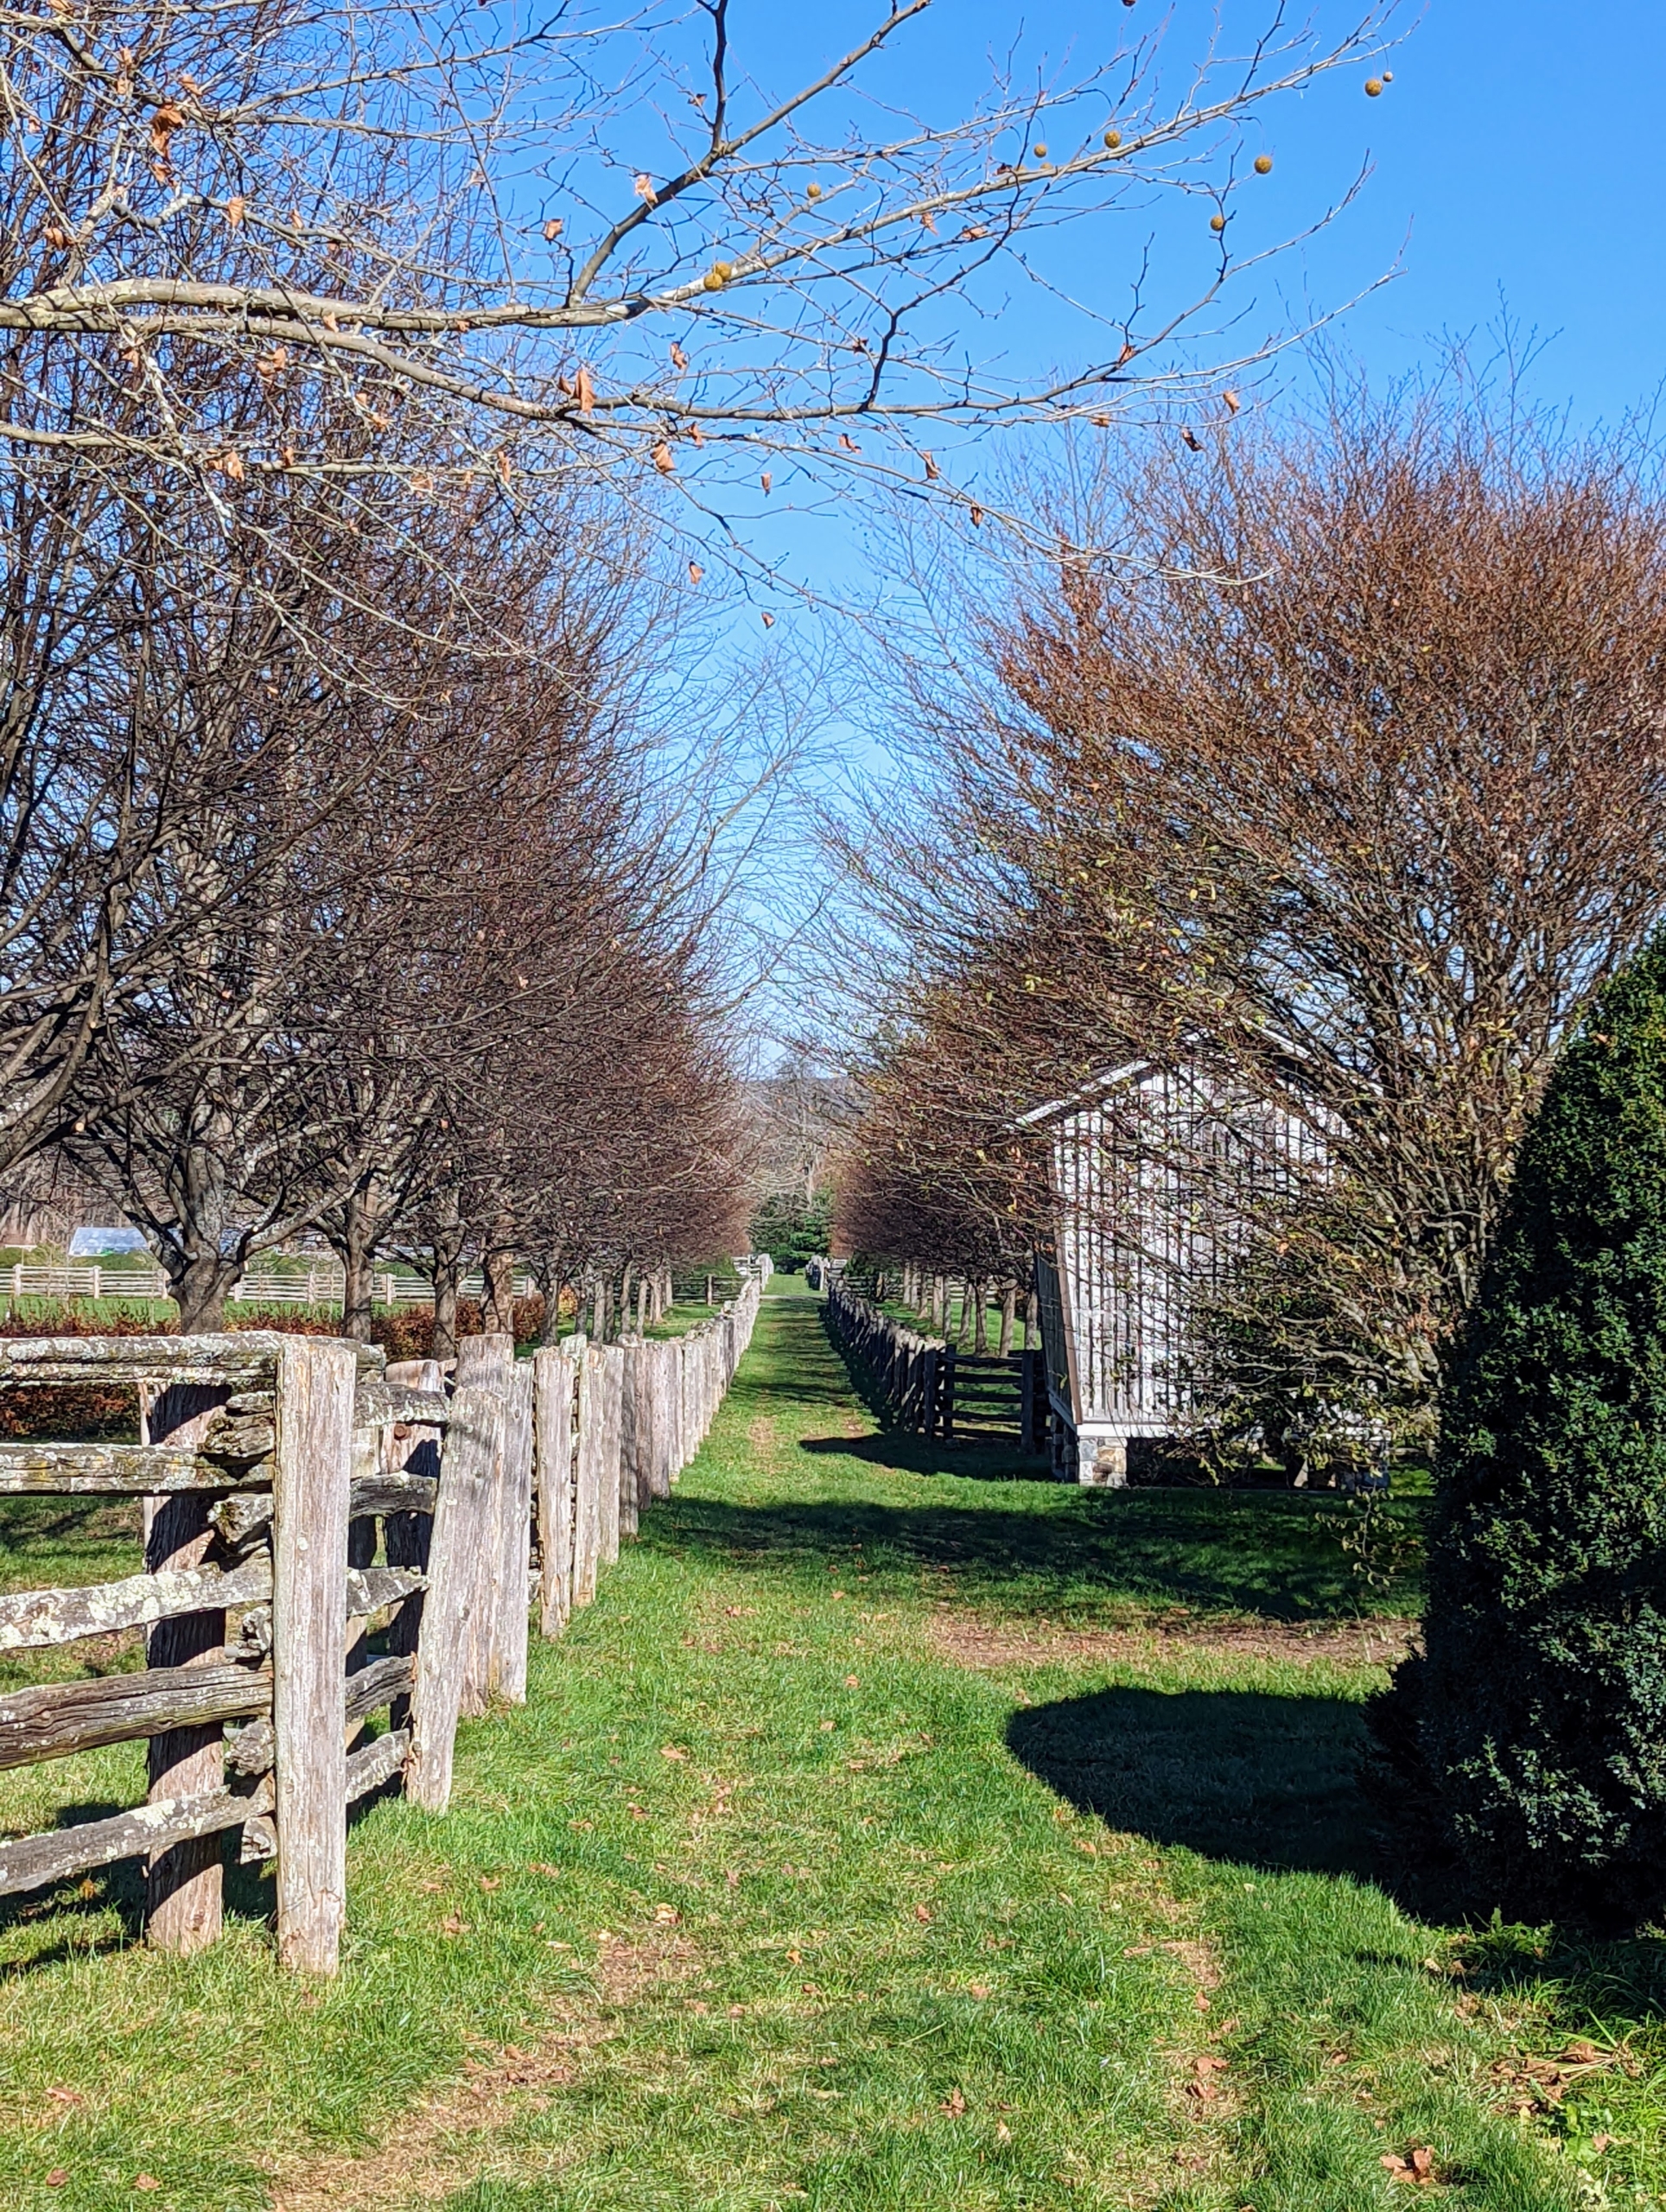
Tilia, commonly called basswood or linden, is a medium to large deciduous tree which typically grows to 50 to 80 feet tall with an ovate-rounded crown. This spring view of the linden trees looks south up the allée from the Boxwood Allée.
And here is a June photo looking north from the old corn crib, which is original to the farm. A corn crib is a type of granary used to dry and store corn. It may also be known as a corn house. Notice, the walls are slanted on the corn crib. This taper, which narrows a foot from top to bottom, was designed to keep the corn dry. The wooden boards are spaced slightly to let in air flow. Corn cribs are also raised above ground on stone piers strategically placed to support its frame and to deter any curious vermin.
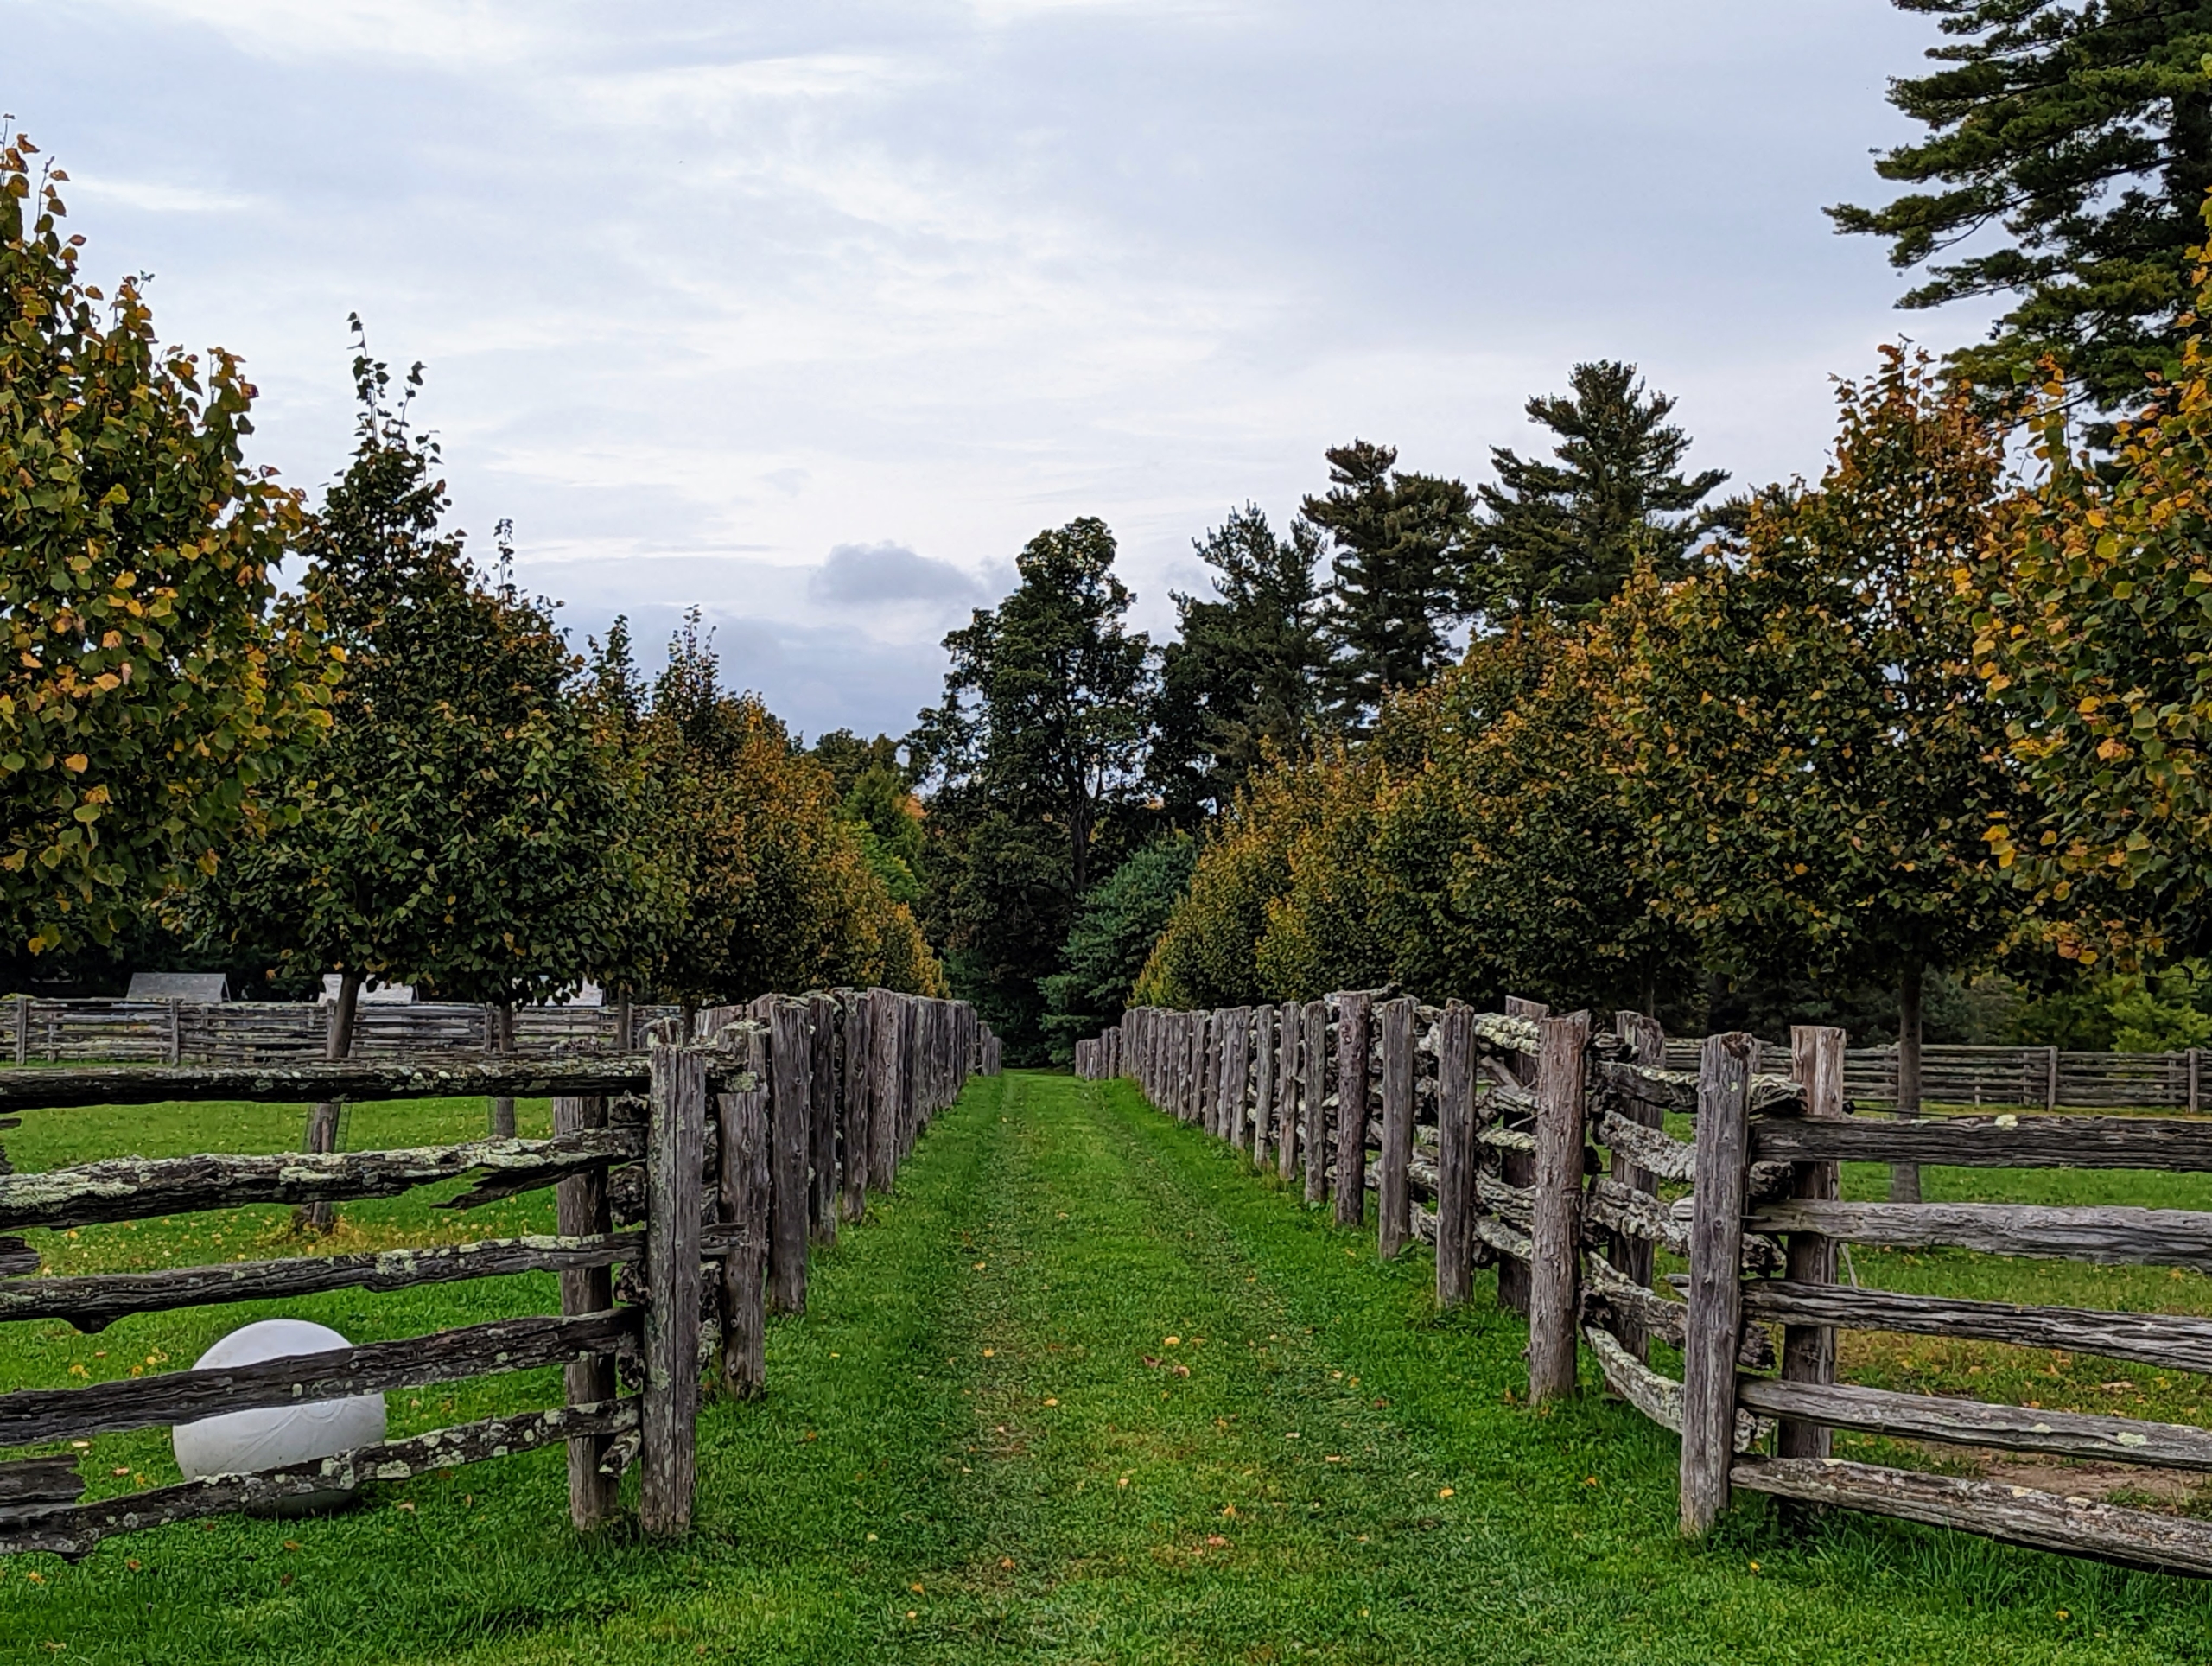
Here is a photo of the allée in October as the leaves start to turn. In autumn, the leaves of the linden tree take on a beautiful golden hue before dropping. Linden trees are easy to care for and ideal for urban landscapes because they tolerate a wide range of adverse conditions, including pollution.
I loved the allée so much I extended it in 2017 all the way down to the chicken coops. These trees are developing so nicely.
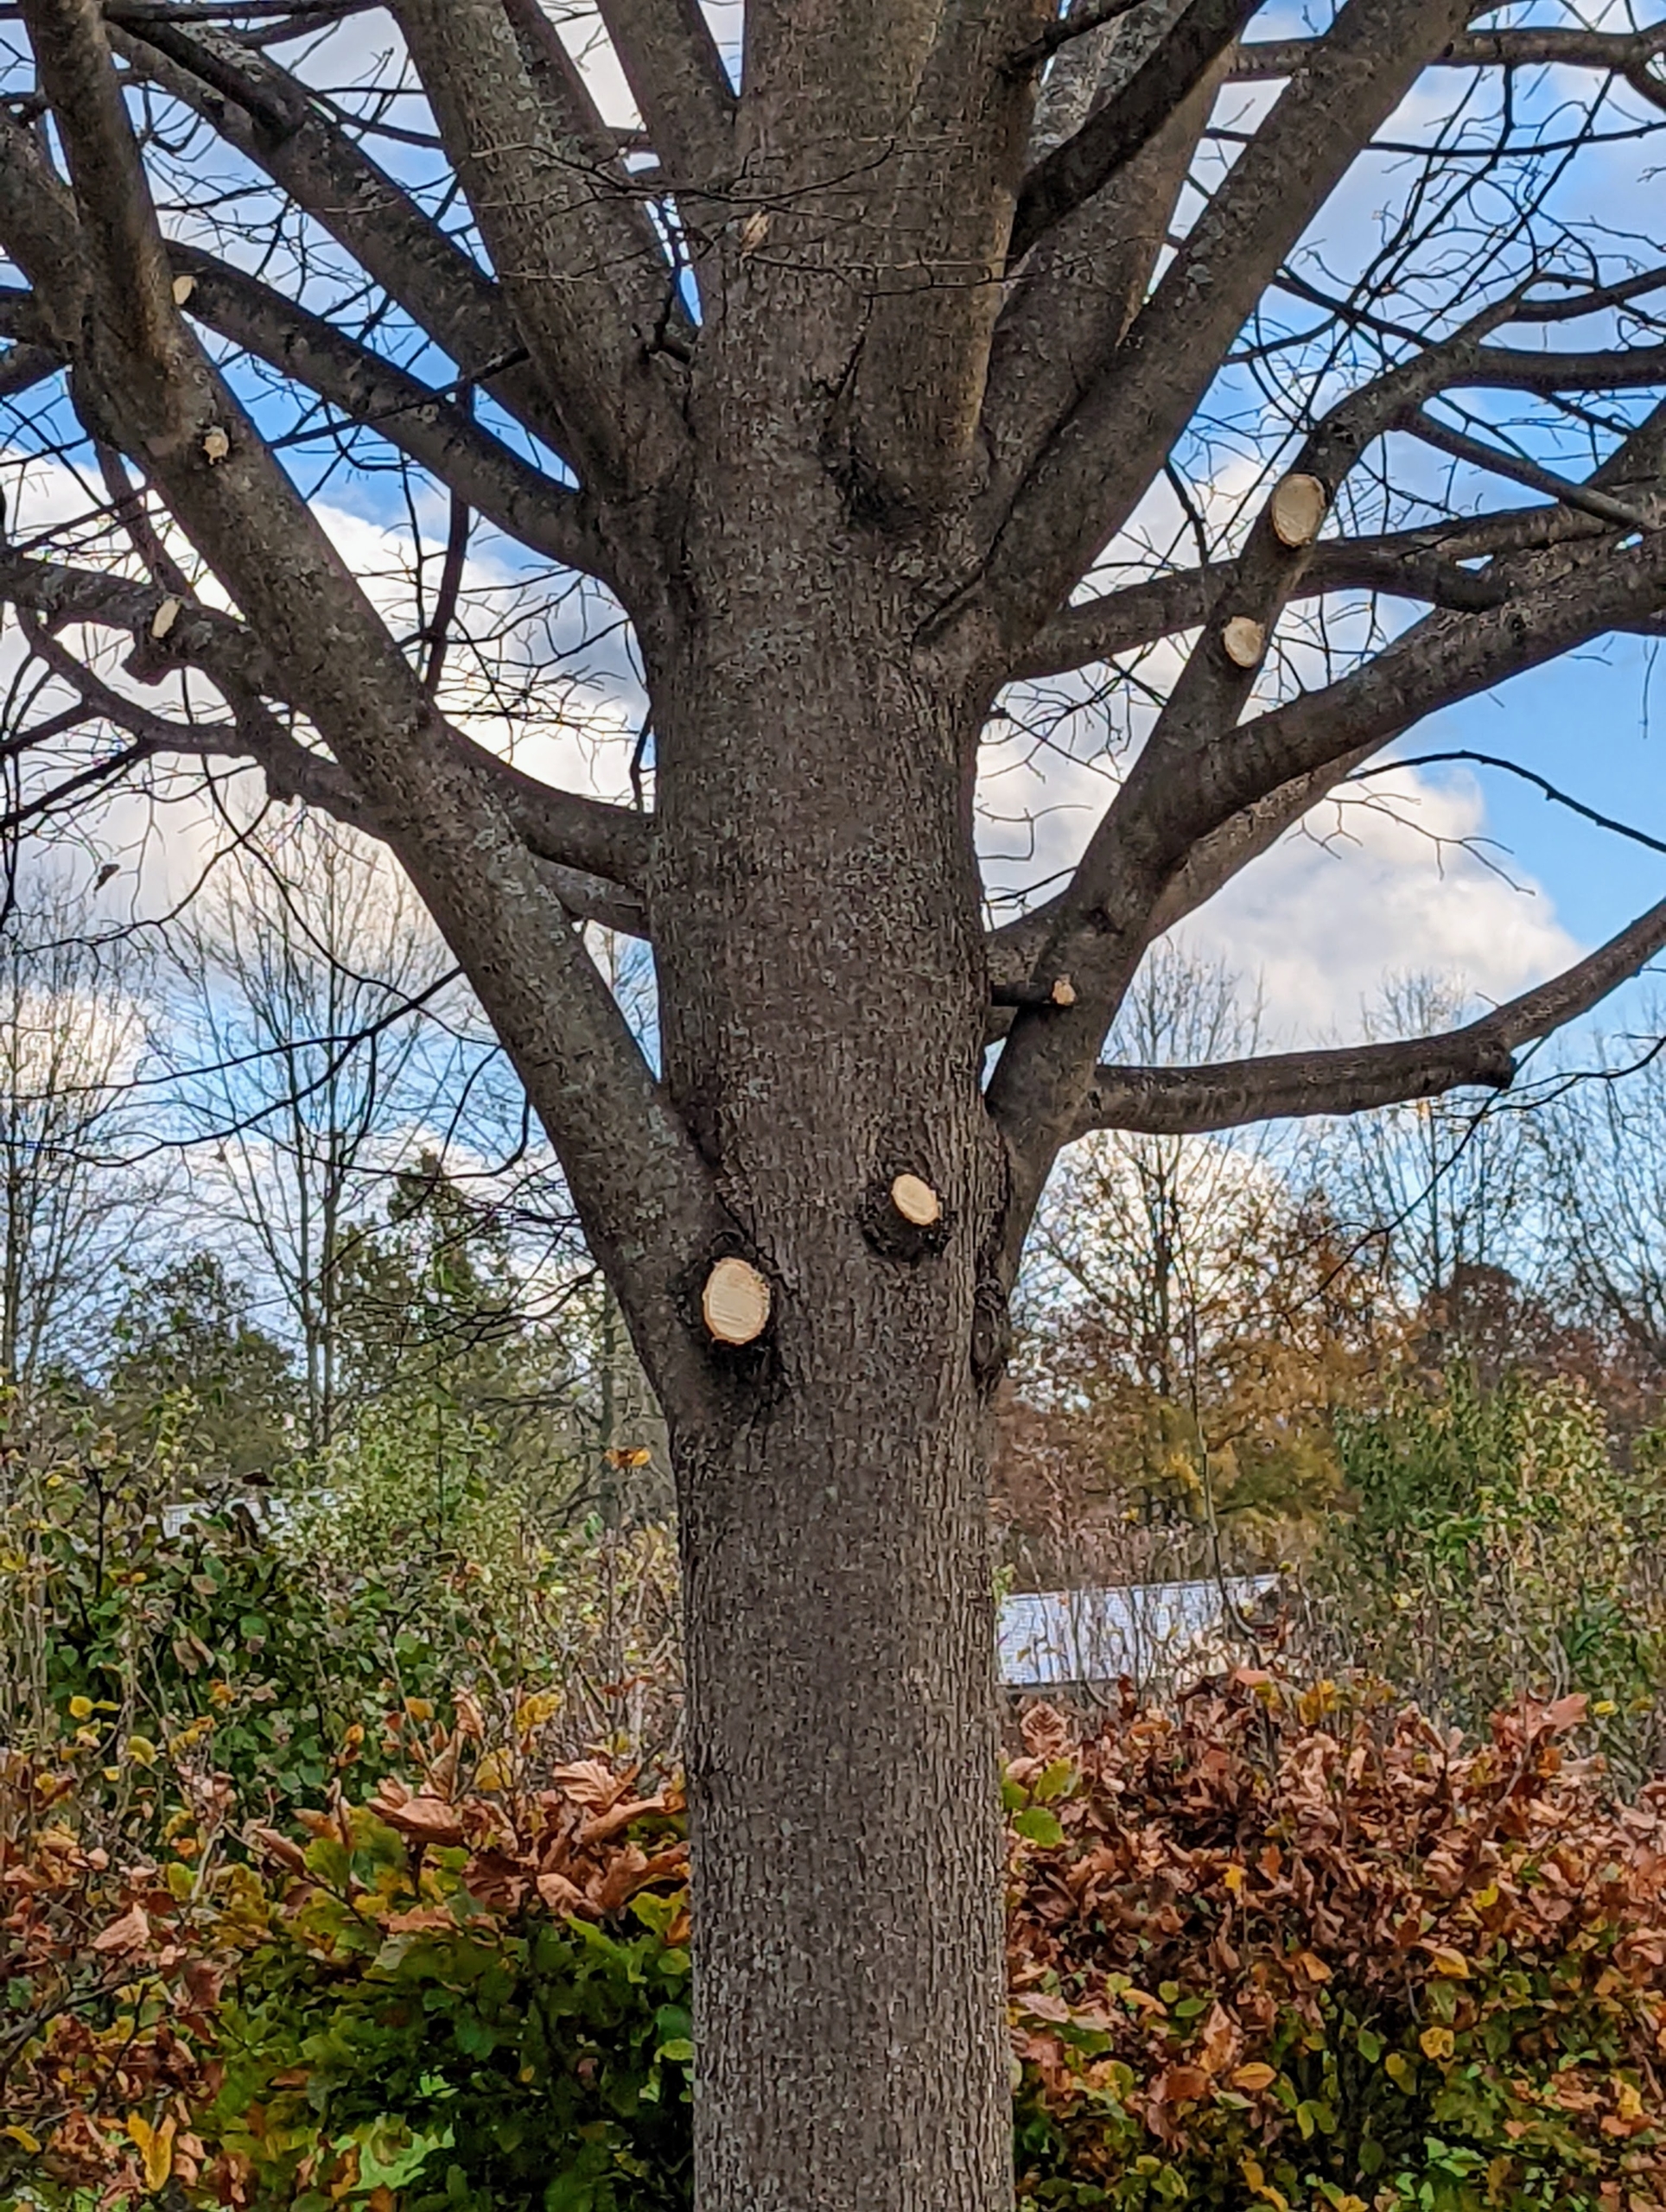
And here are some of the trees just before they were pruned. These trees are done every couple of years. The best time to prune trees is when the trees are dormant. It’s best to complete all pruning before early spring when the buds begin to form. Dormancy pruning reduces the amount of stress placed on the tree. The reduced flow of fluids in the tree during the time helps the pruning wounds heal quicker.
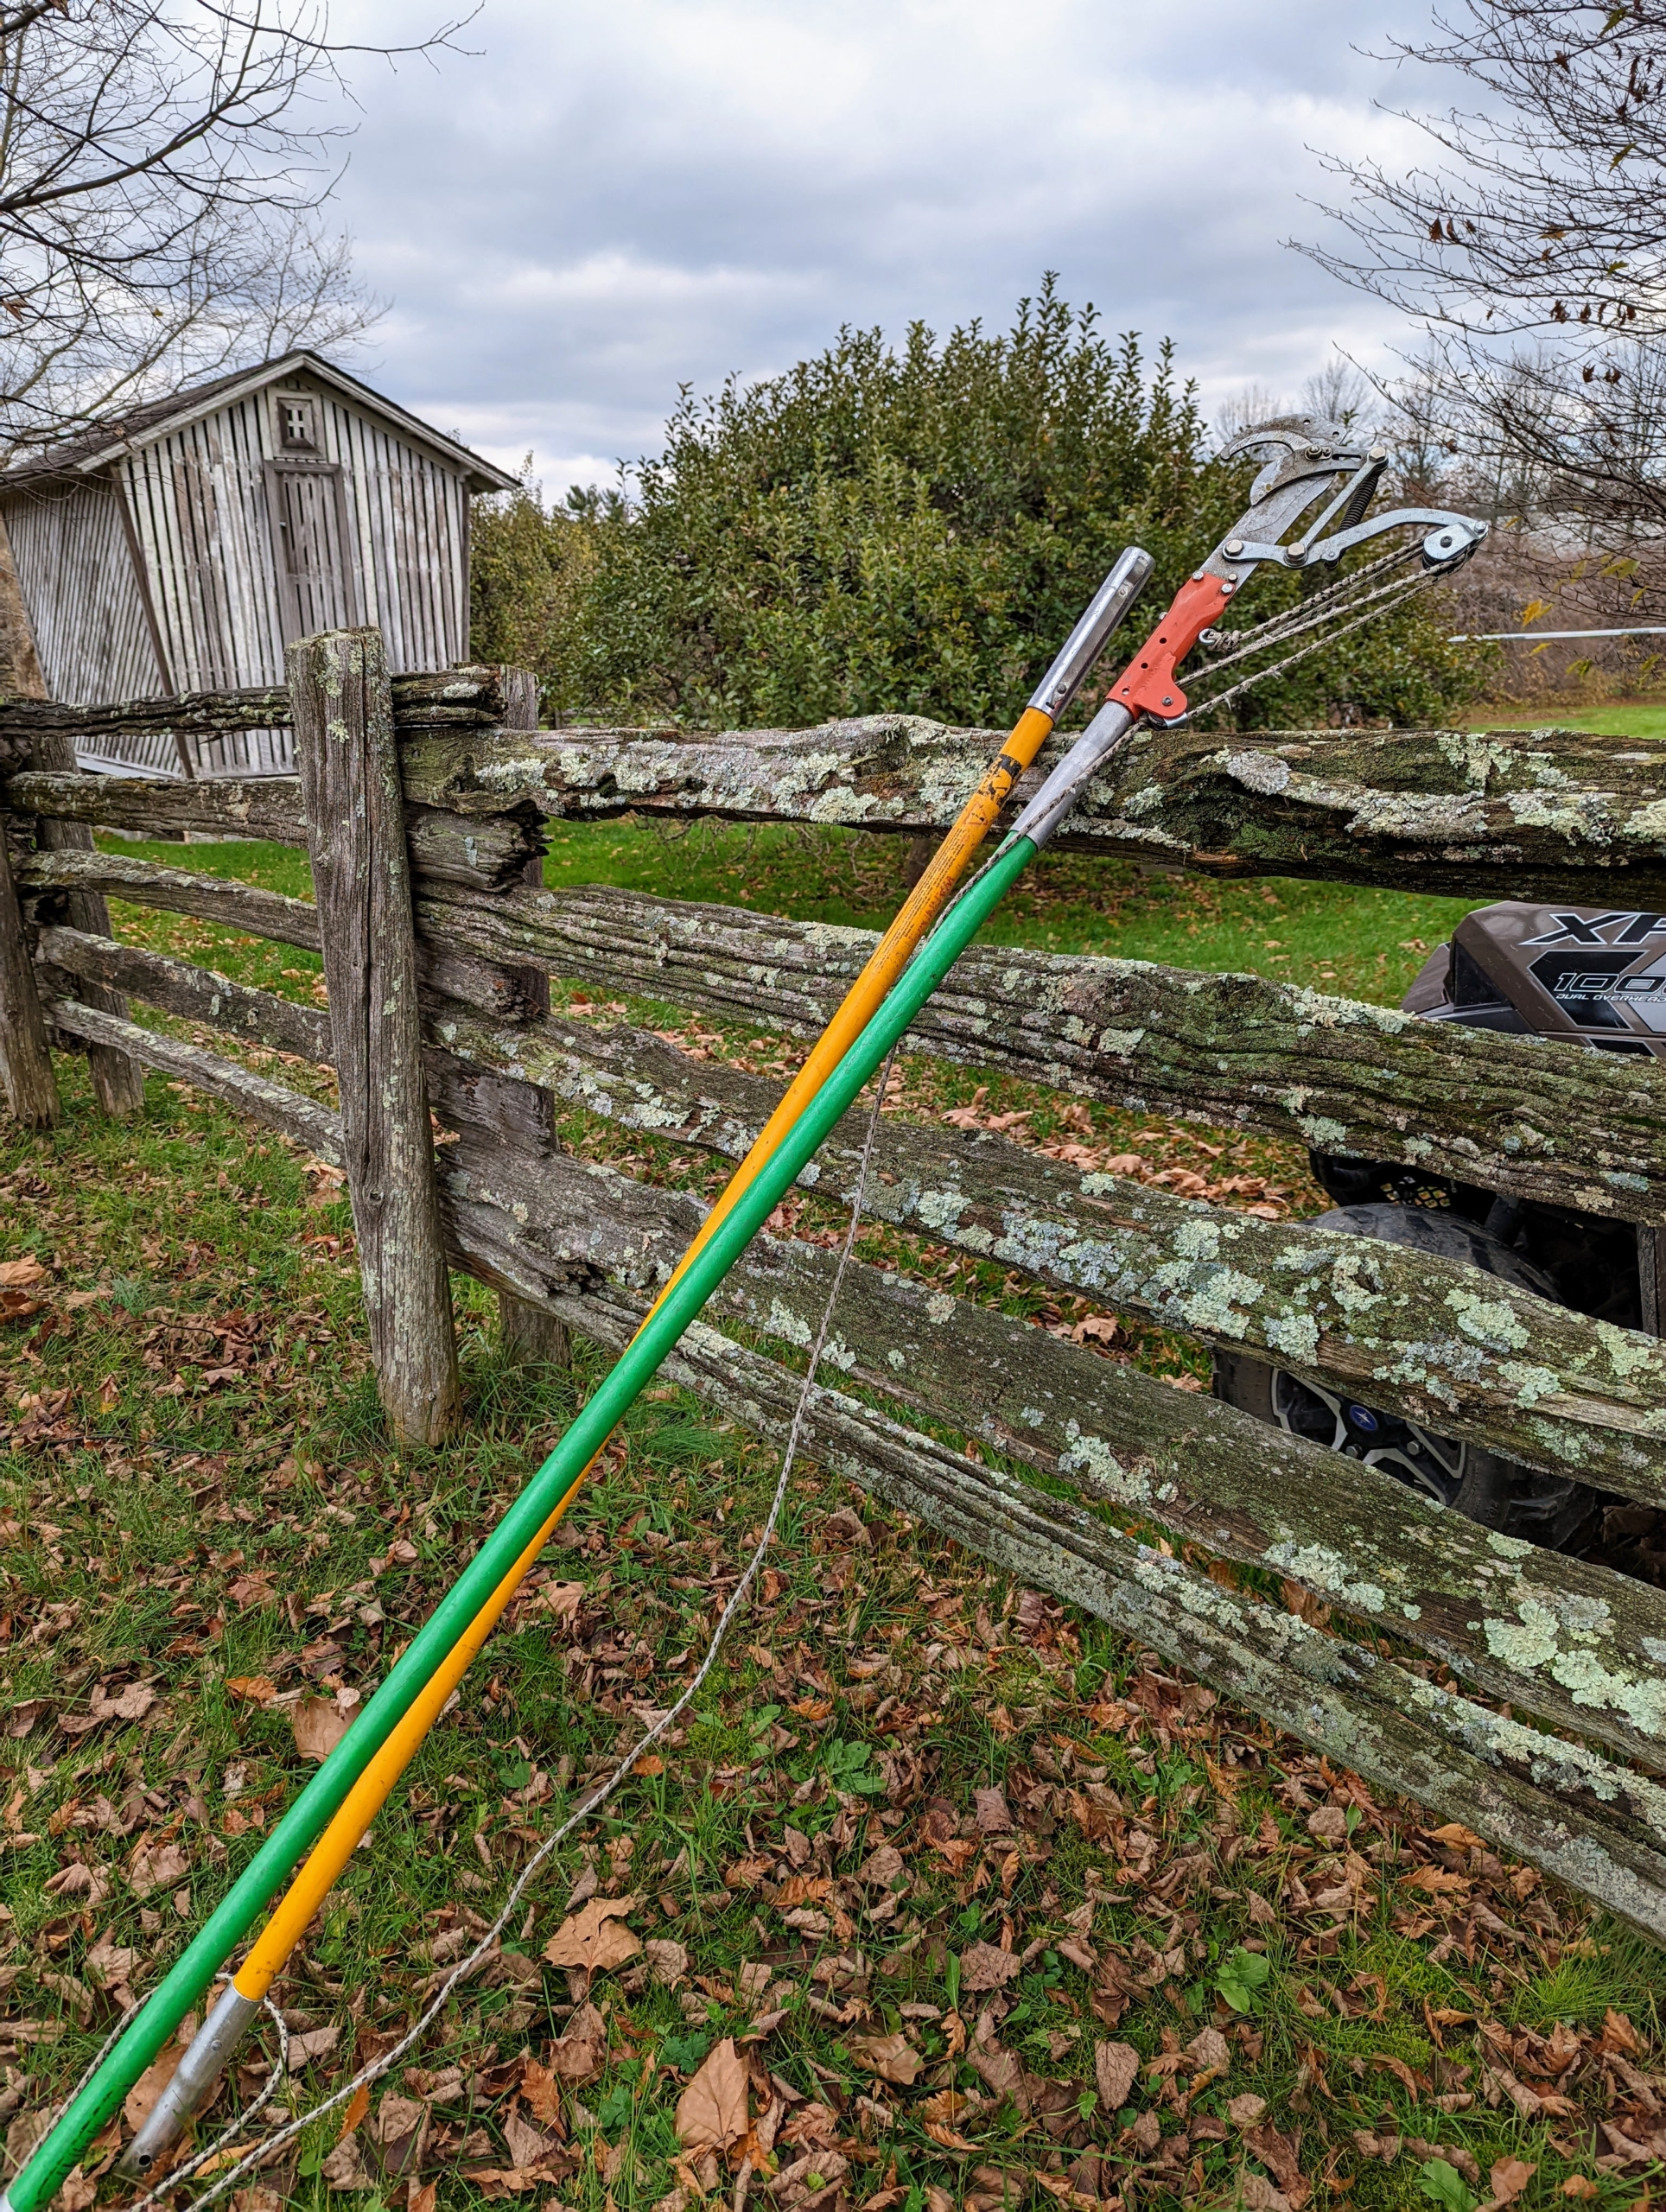
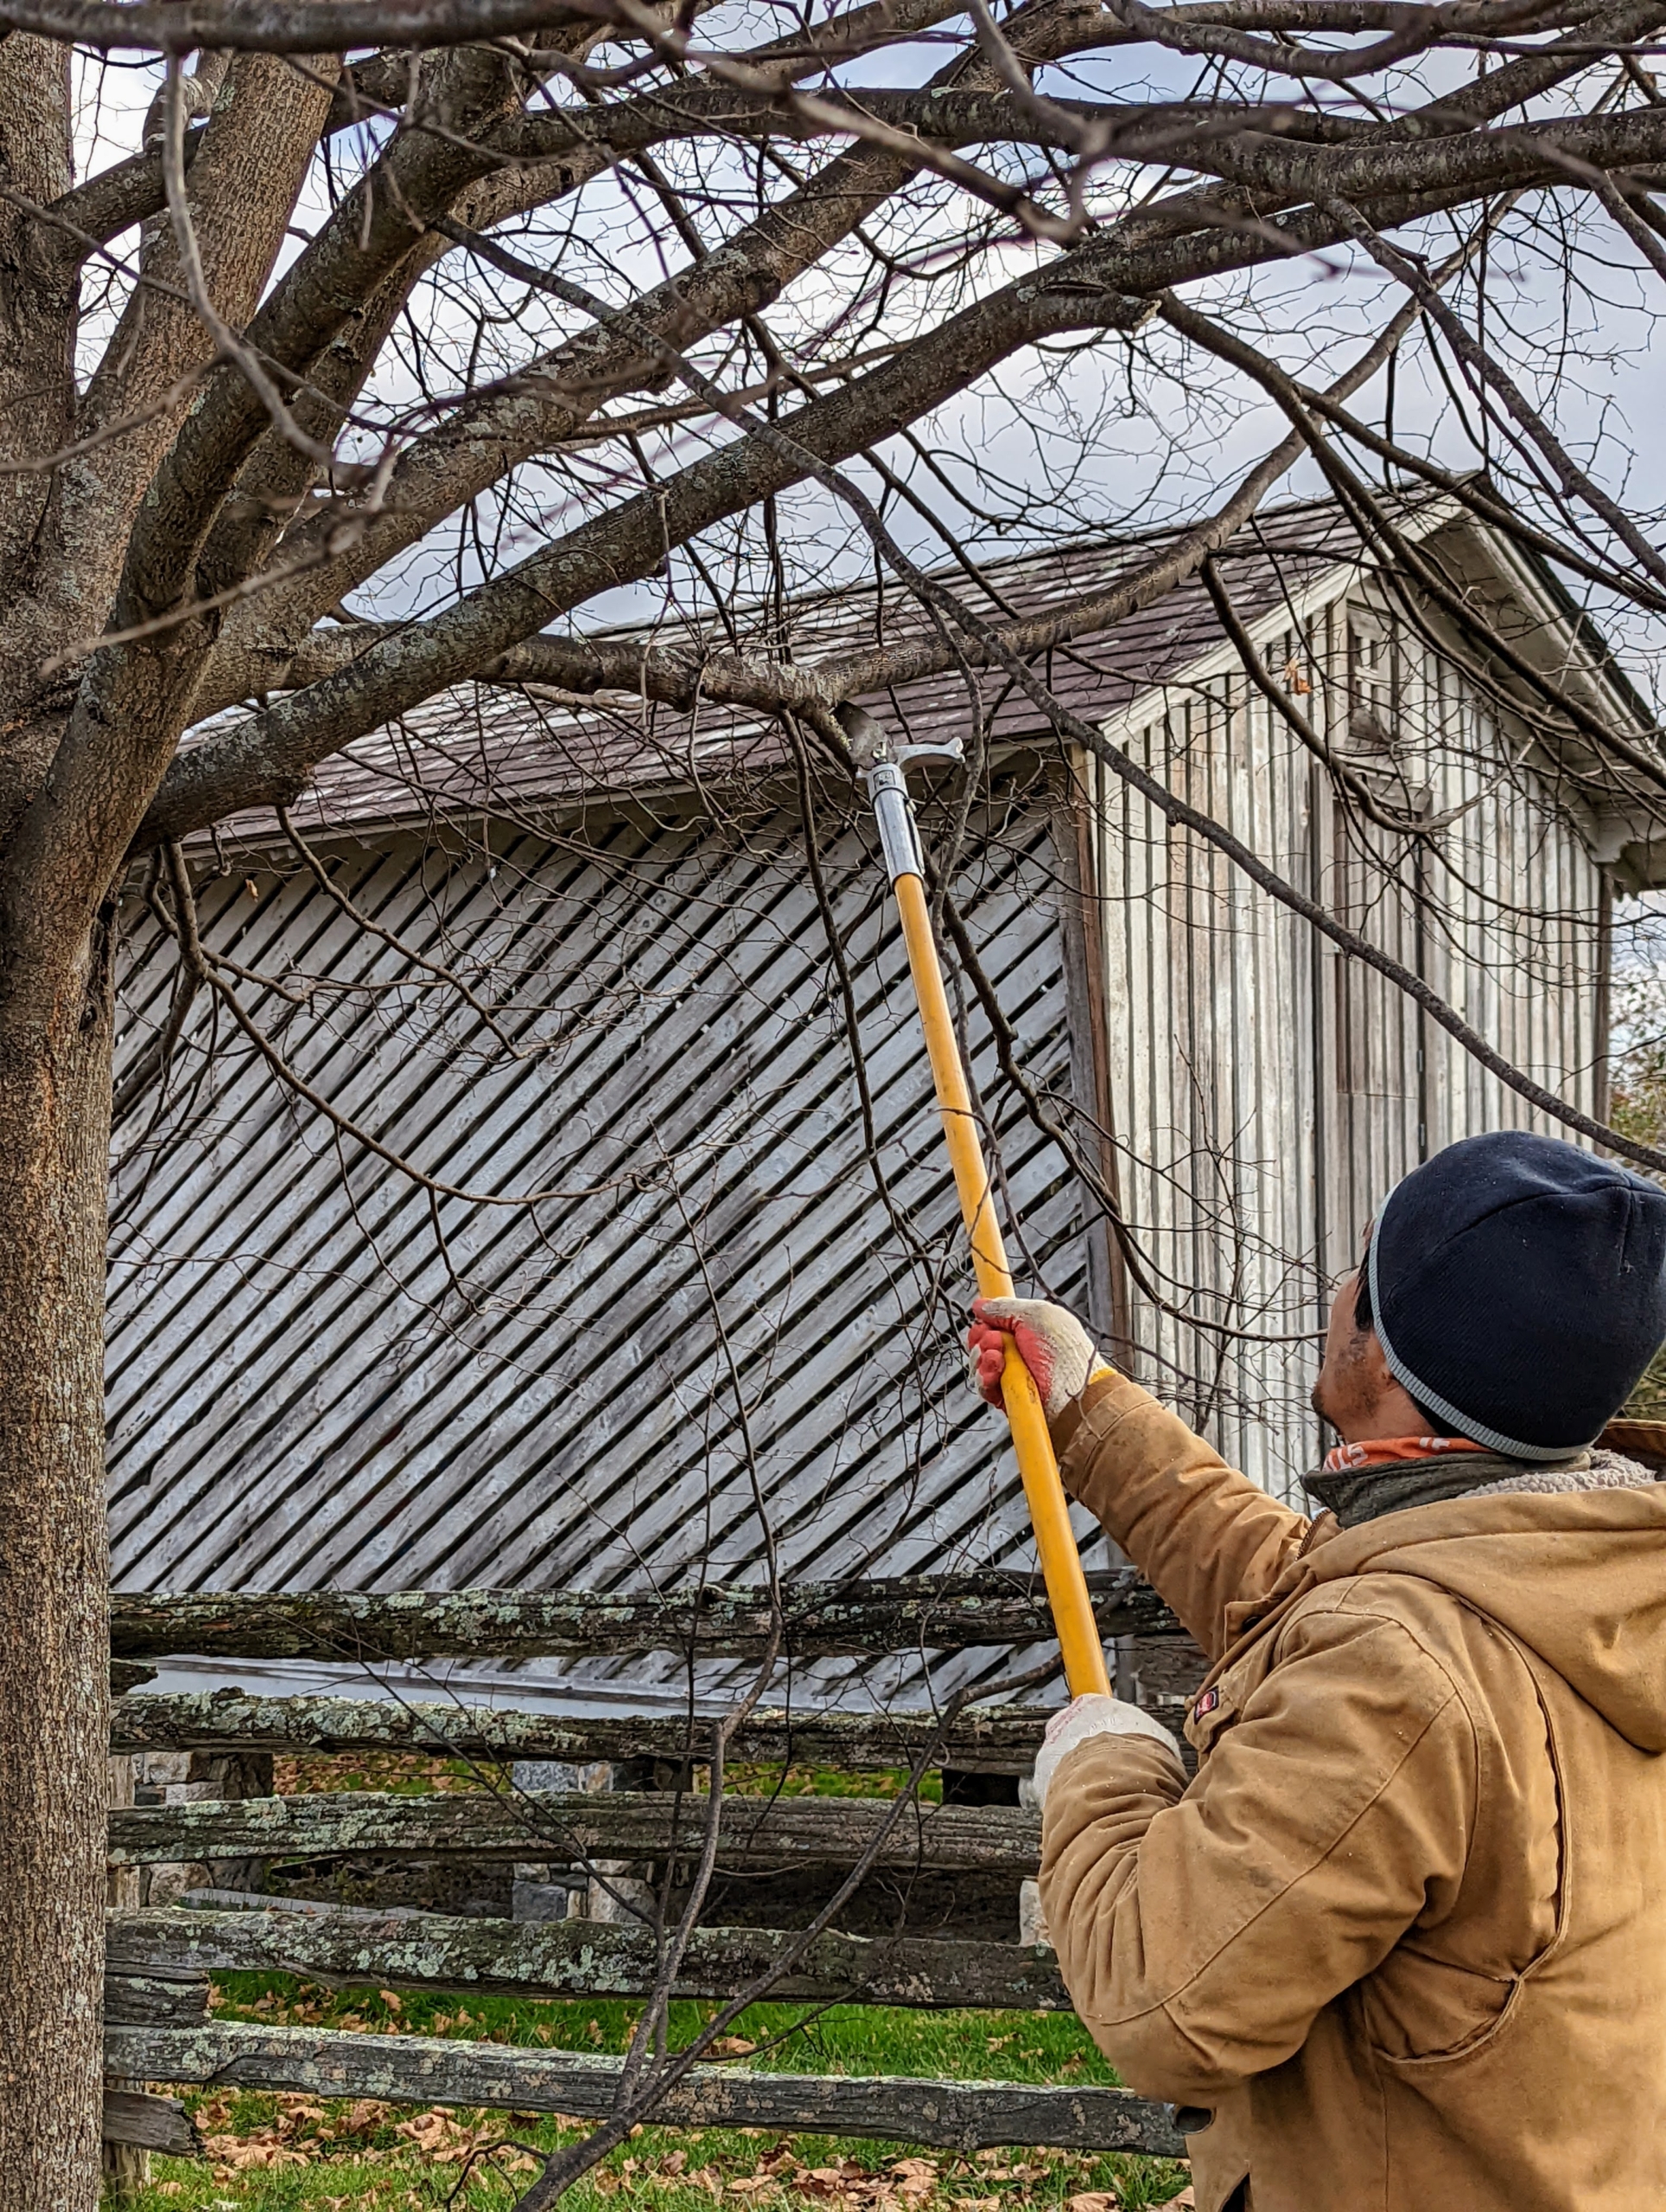
For this pruning job, two different kinds of tools are used – an extended reach pole saw and a pole pruner.
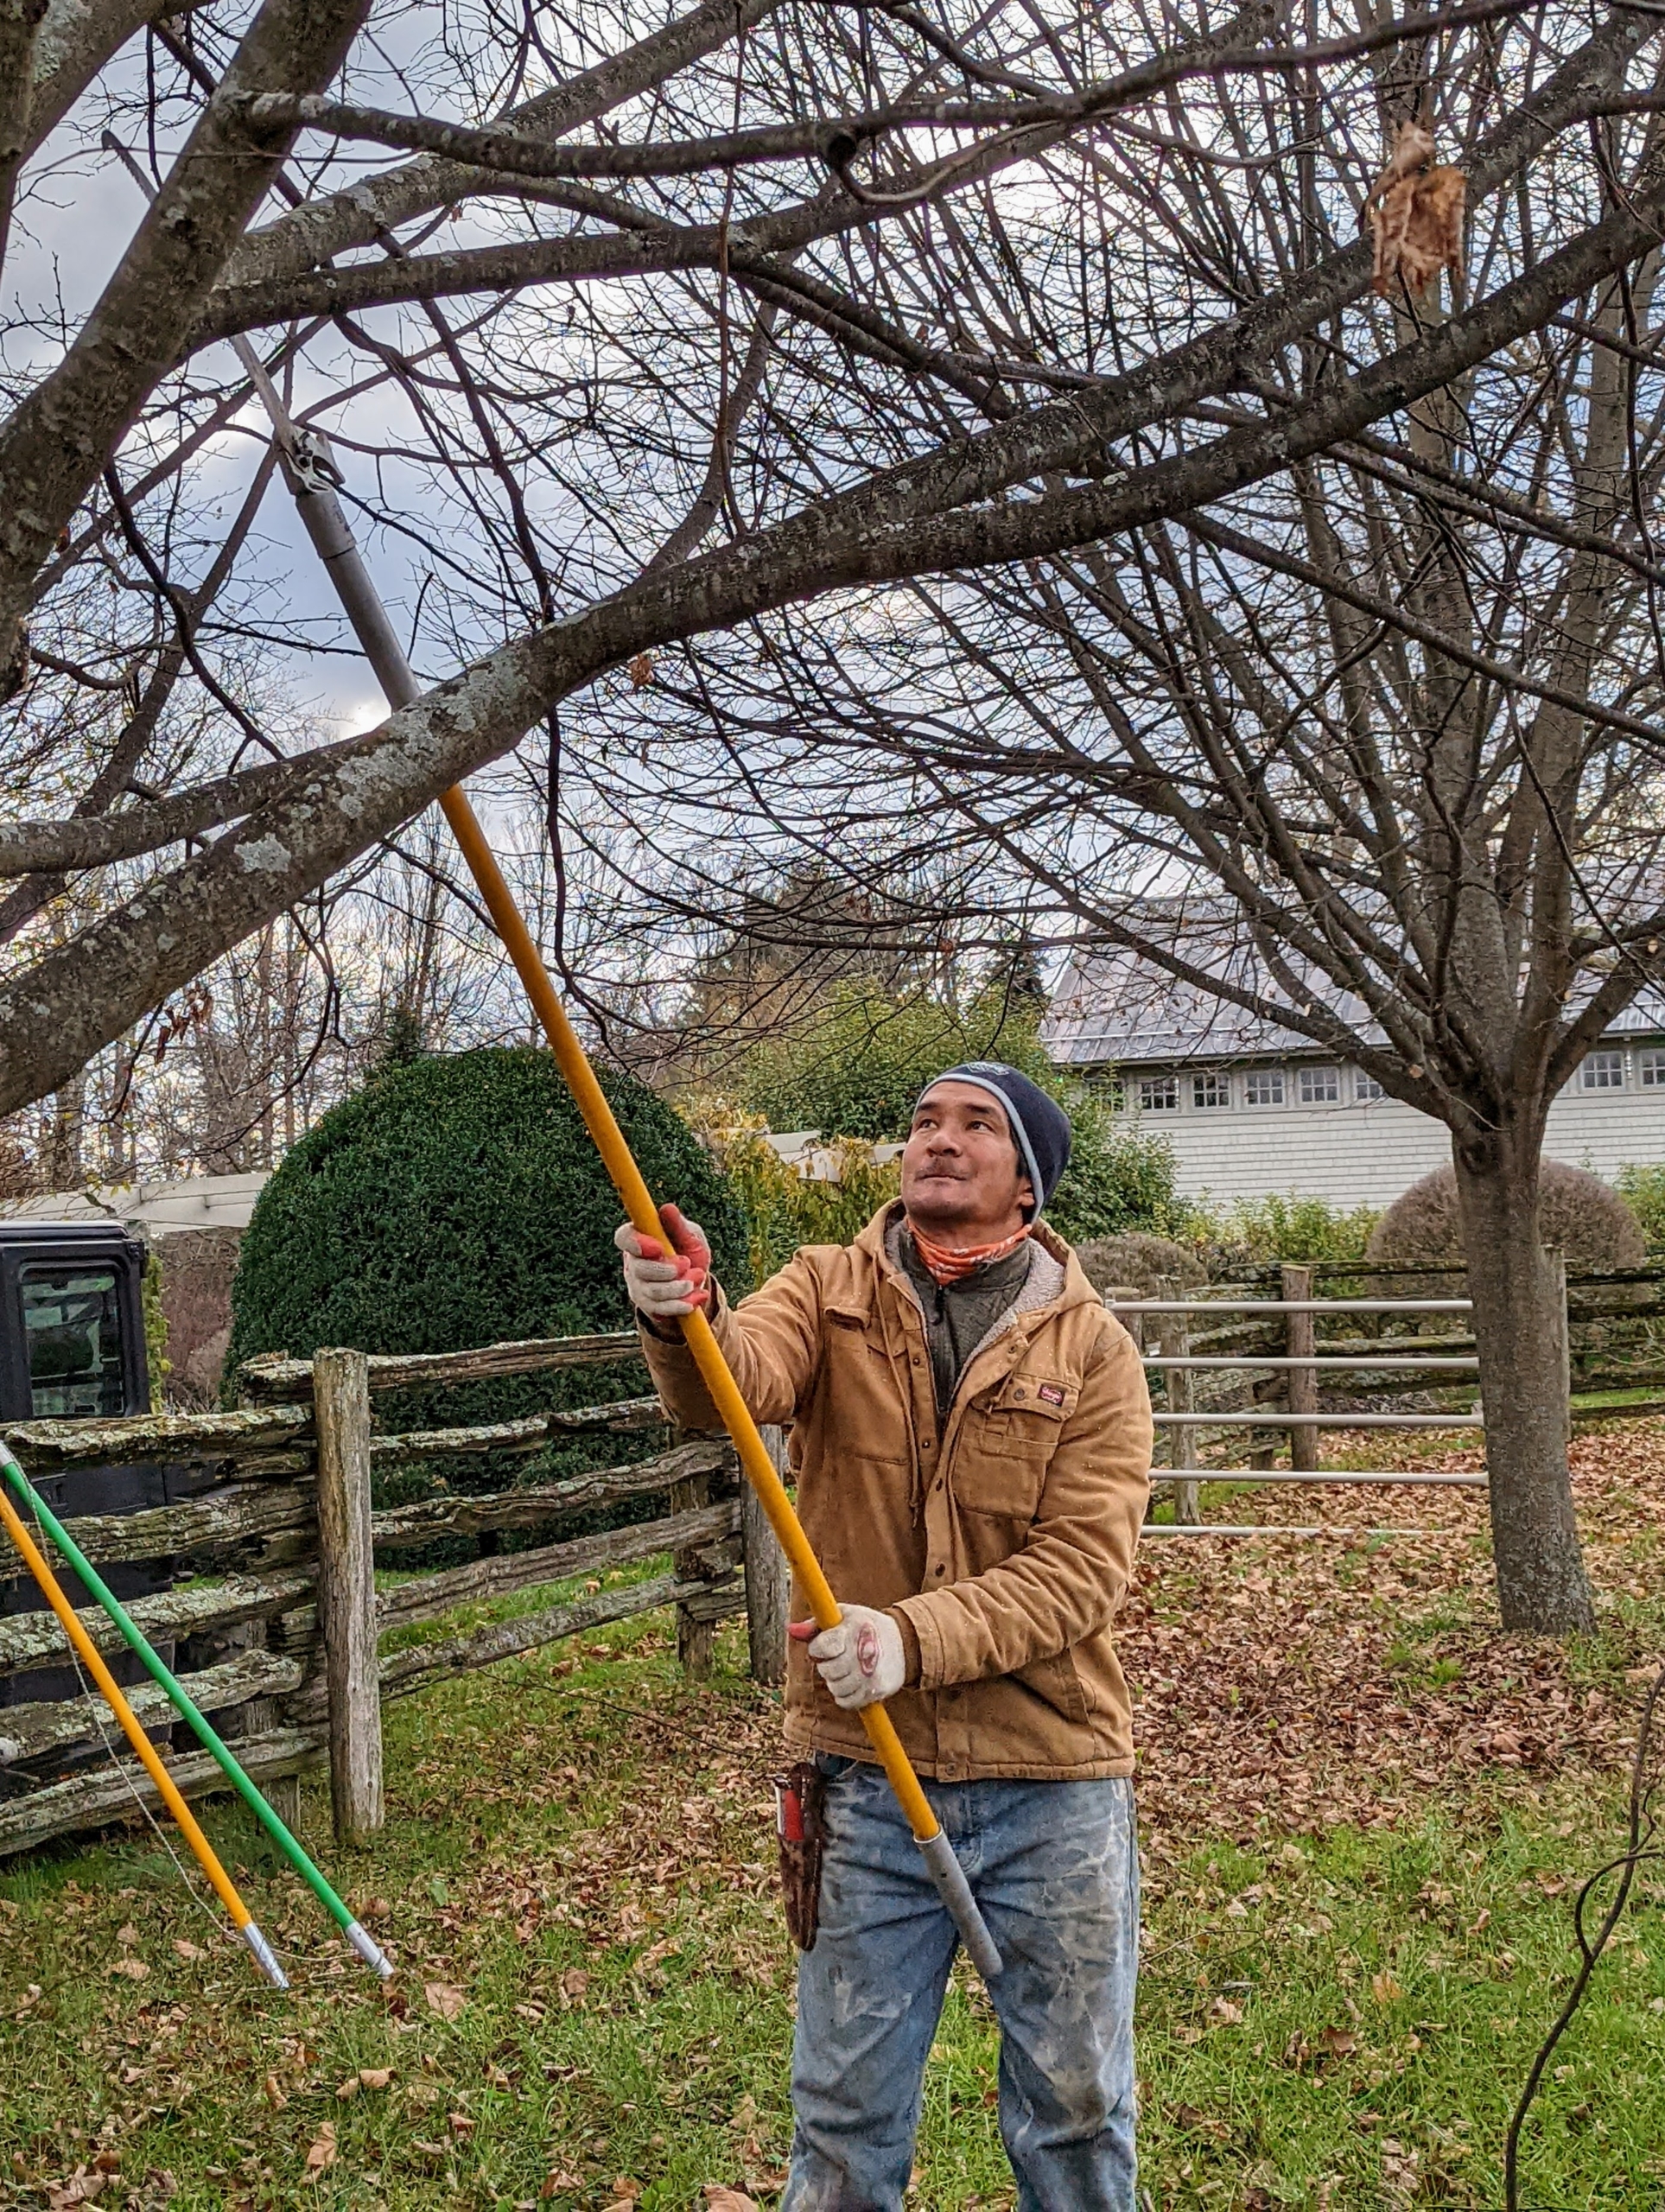
Pasang Sherpa is our resident tree pruner and groomer here at the farm. He oversees a lot of the smaller tree pruning projects. Pasang begins by cutting off dead, damaged, diseased, or crisscrossing branches using the telescoping pole saw.
This tool is lightweight and has a very sharp blade for making smooth cuts. It is ideal for pruning higher branches that are not too thick.
It is important to always use sharp tools whenever pruning so that the cuts are clean. Dull tools are difficult to use and could even damage the tree. A straight, clean-cut promotes quick healing of the wound and reduces stress on the specimen.
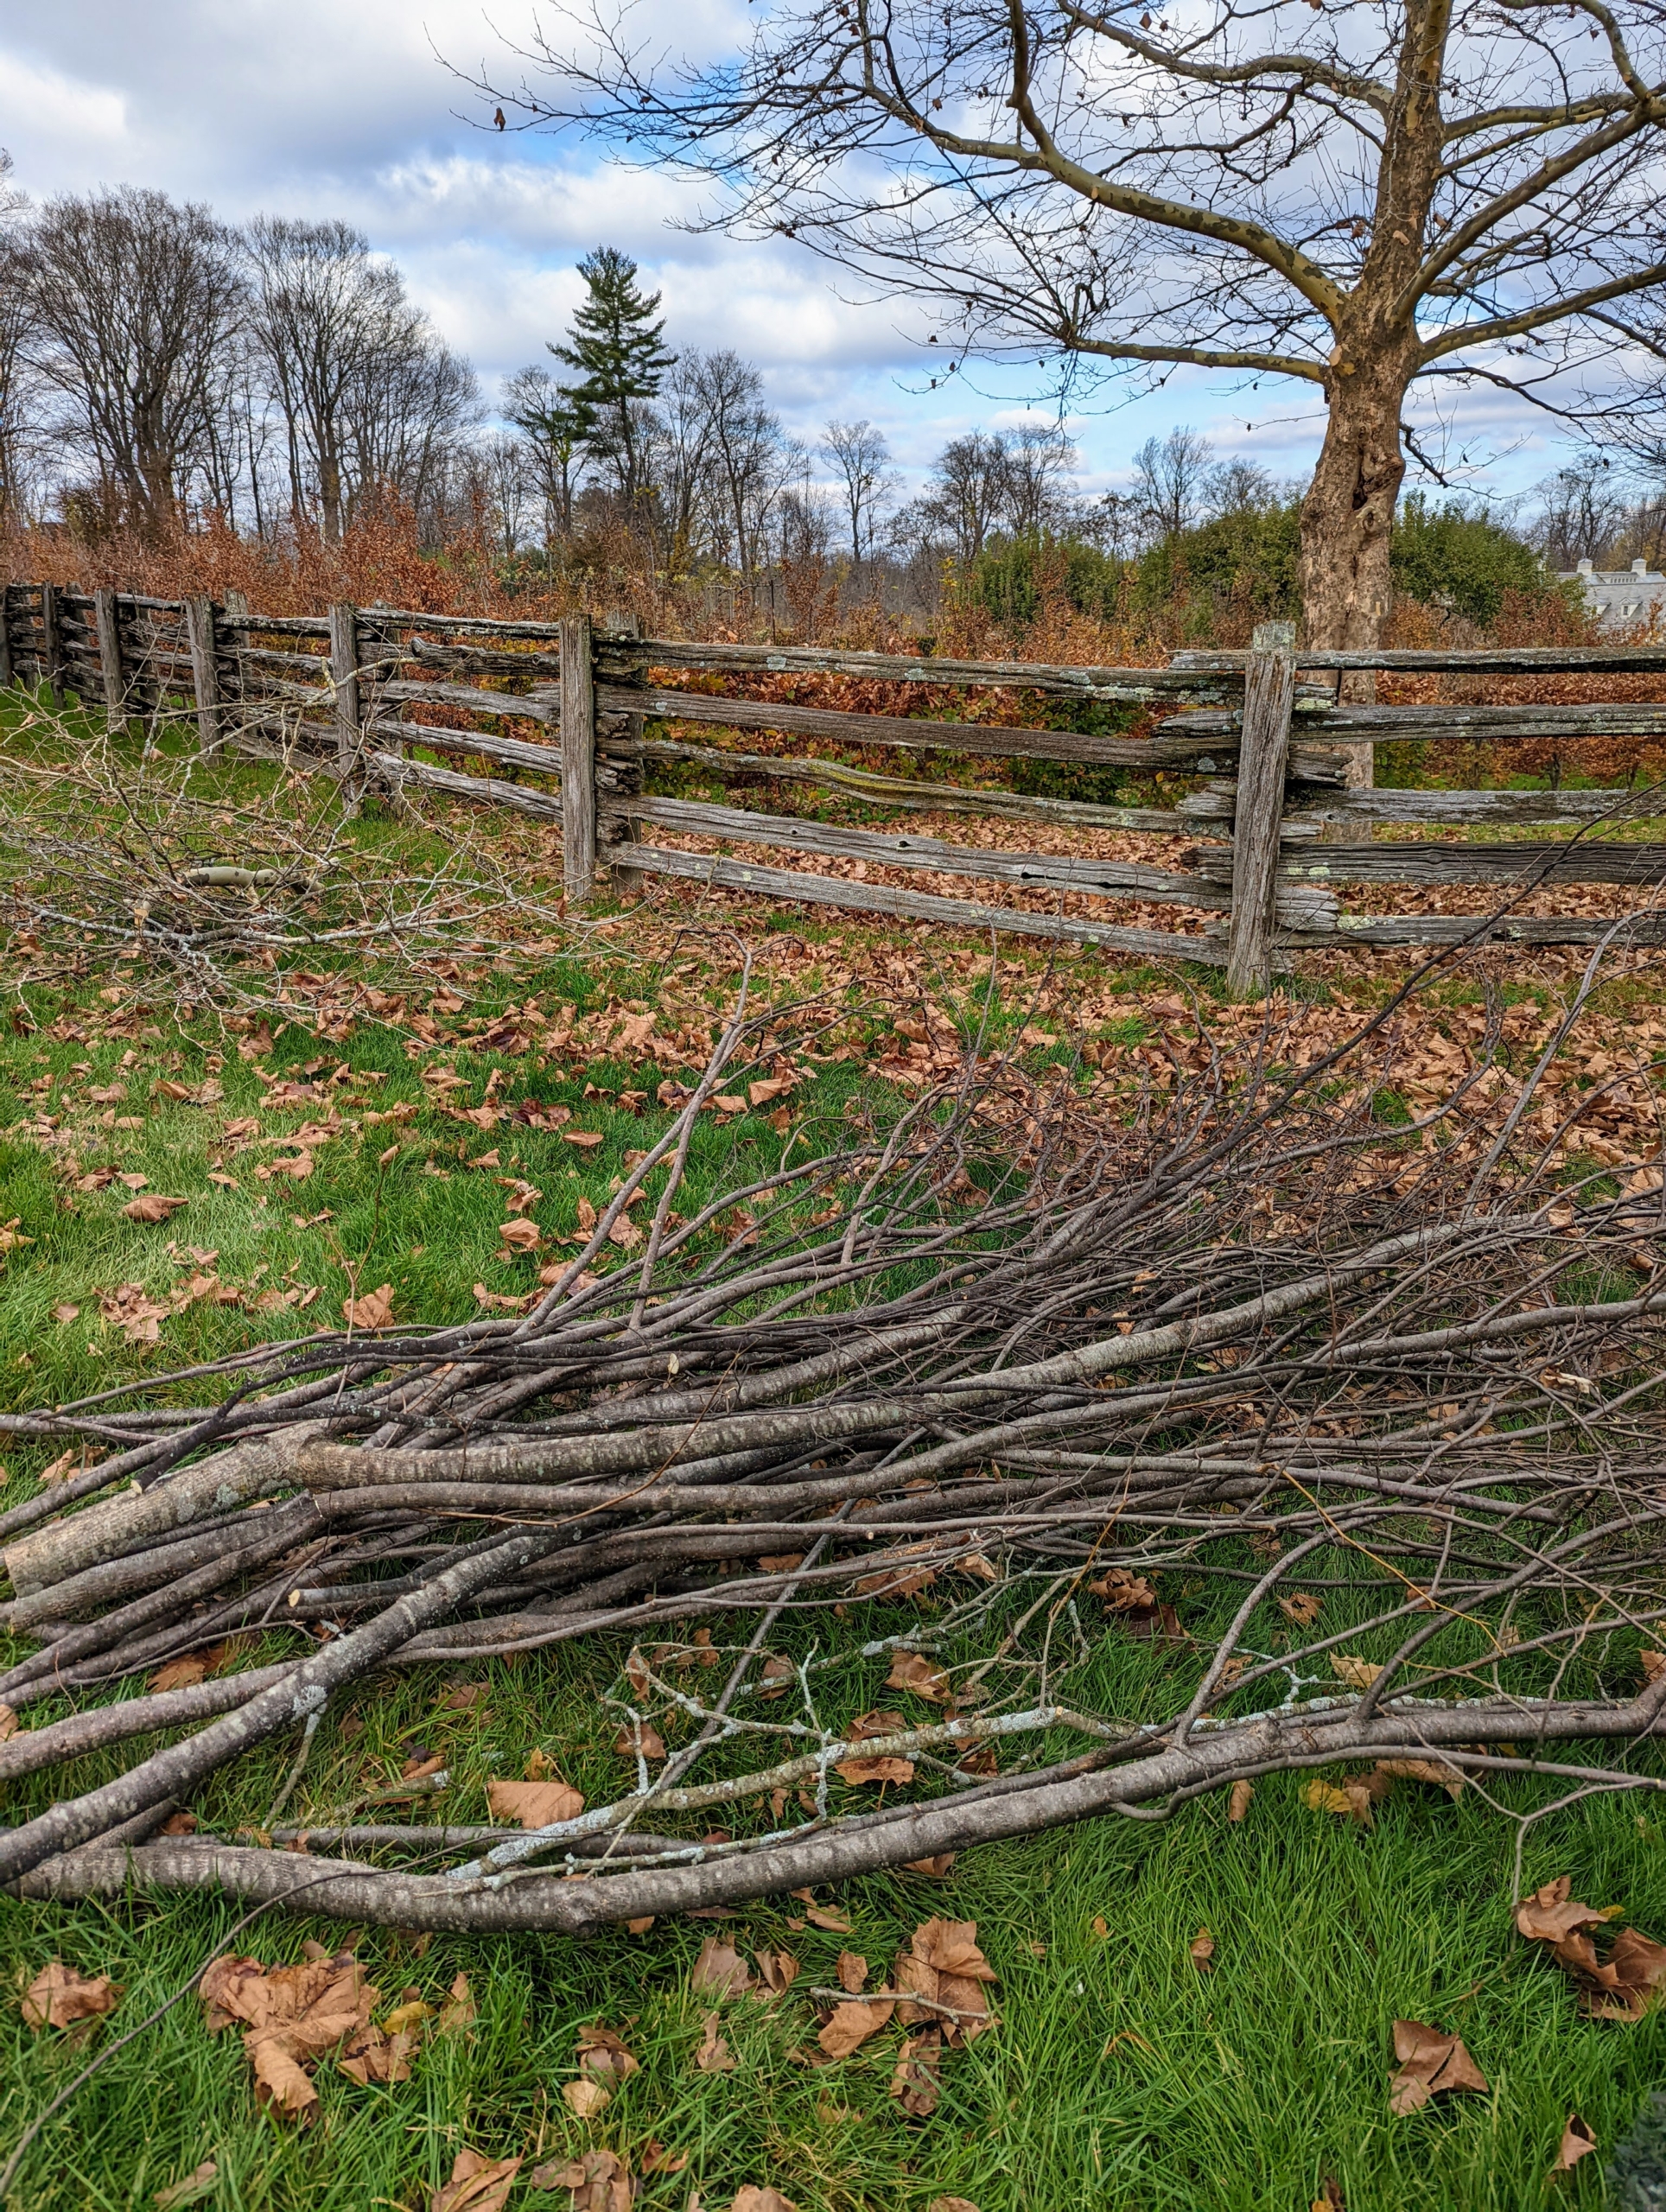
As branches are taken down, they’re gathered and placed into tidy piles, so they can be cleaned up easily and quickly. After the job is done the crew will chip the branches and use the wood chips as top dressing in another area of the farm. Everything is always reused, repurposed or recycled when possible.
Here, Pasang uses a long-reach pole pruner to cut higher branches that are more difficult to reach.
This tool has about a 1/2-inch cutting capacity.
Then, Domi gathers all the branches and piles them up neatly in sections.
I instructed them to “limb up” by cutting the lower branches that are hanging too low over the center path. Pasang looks at what he has done and assesses what he will cut next to ensure the trees look uniform down the entire length of the allée.
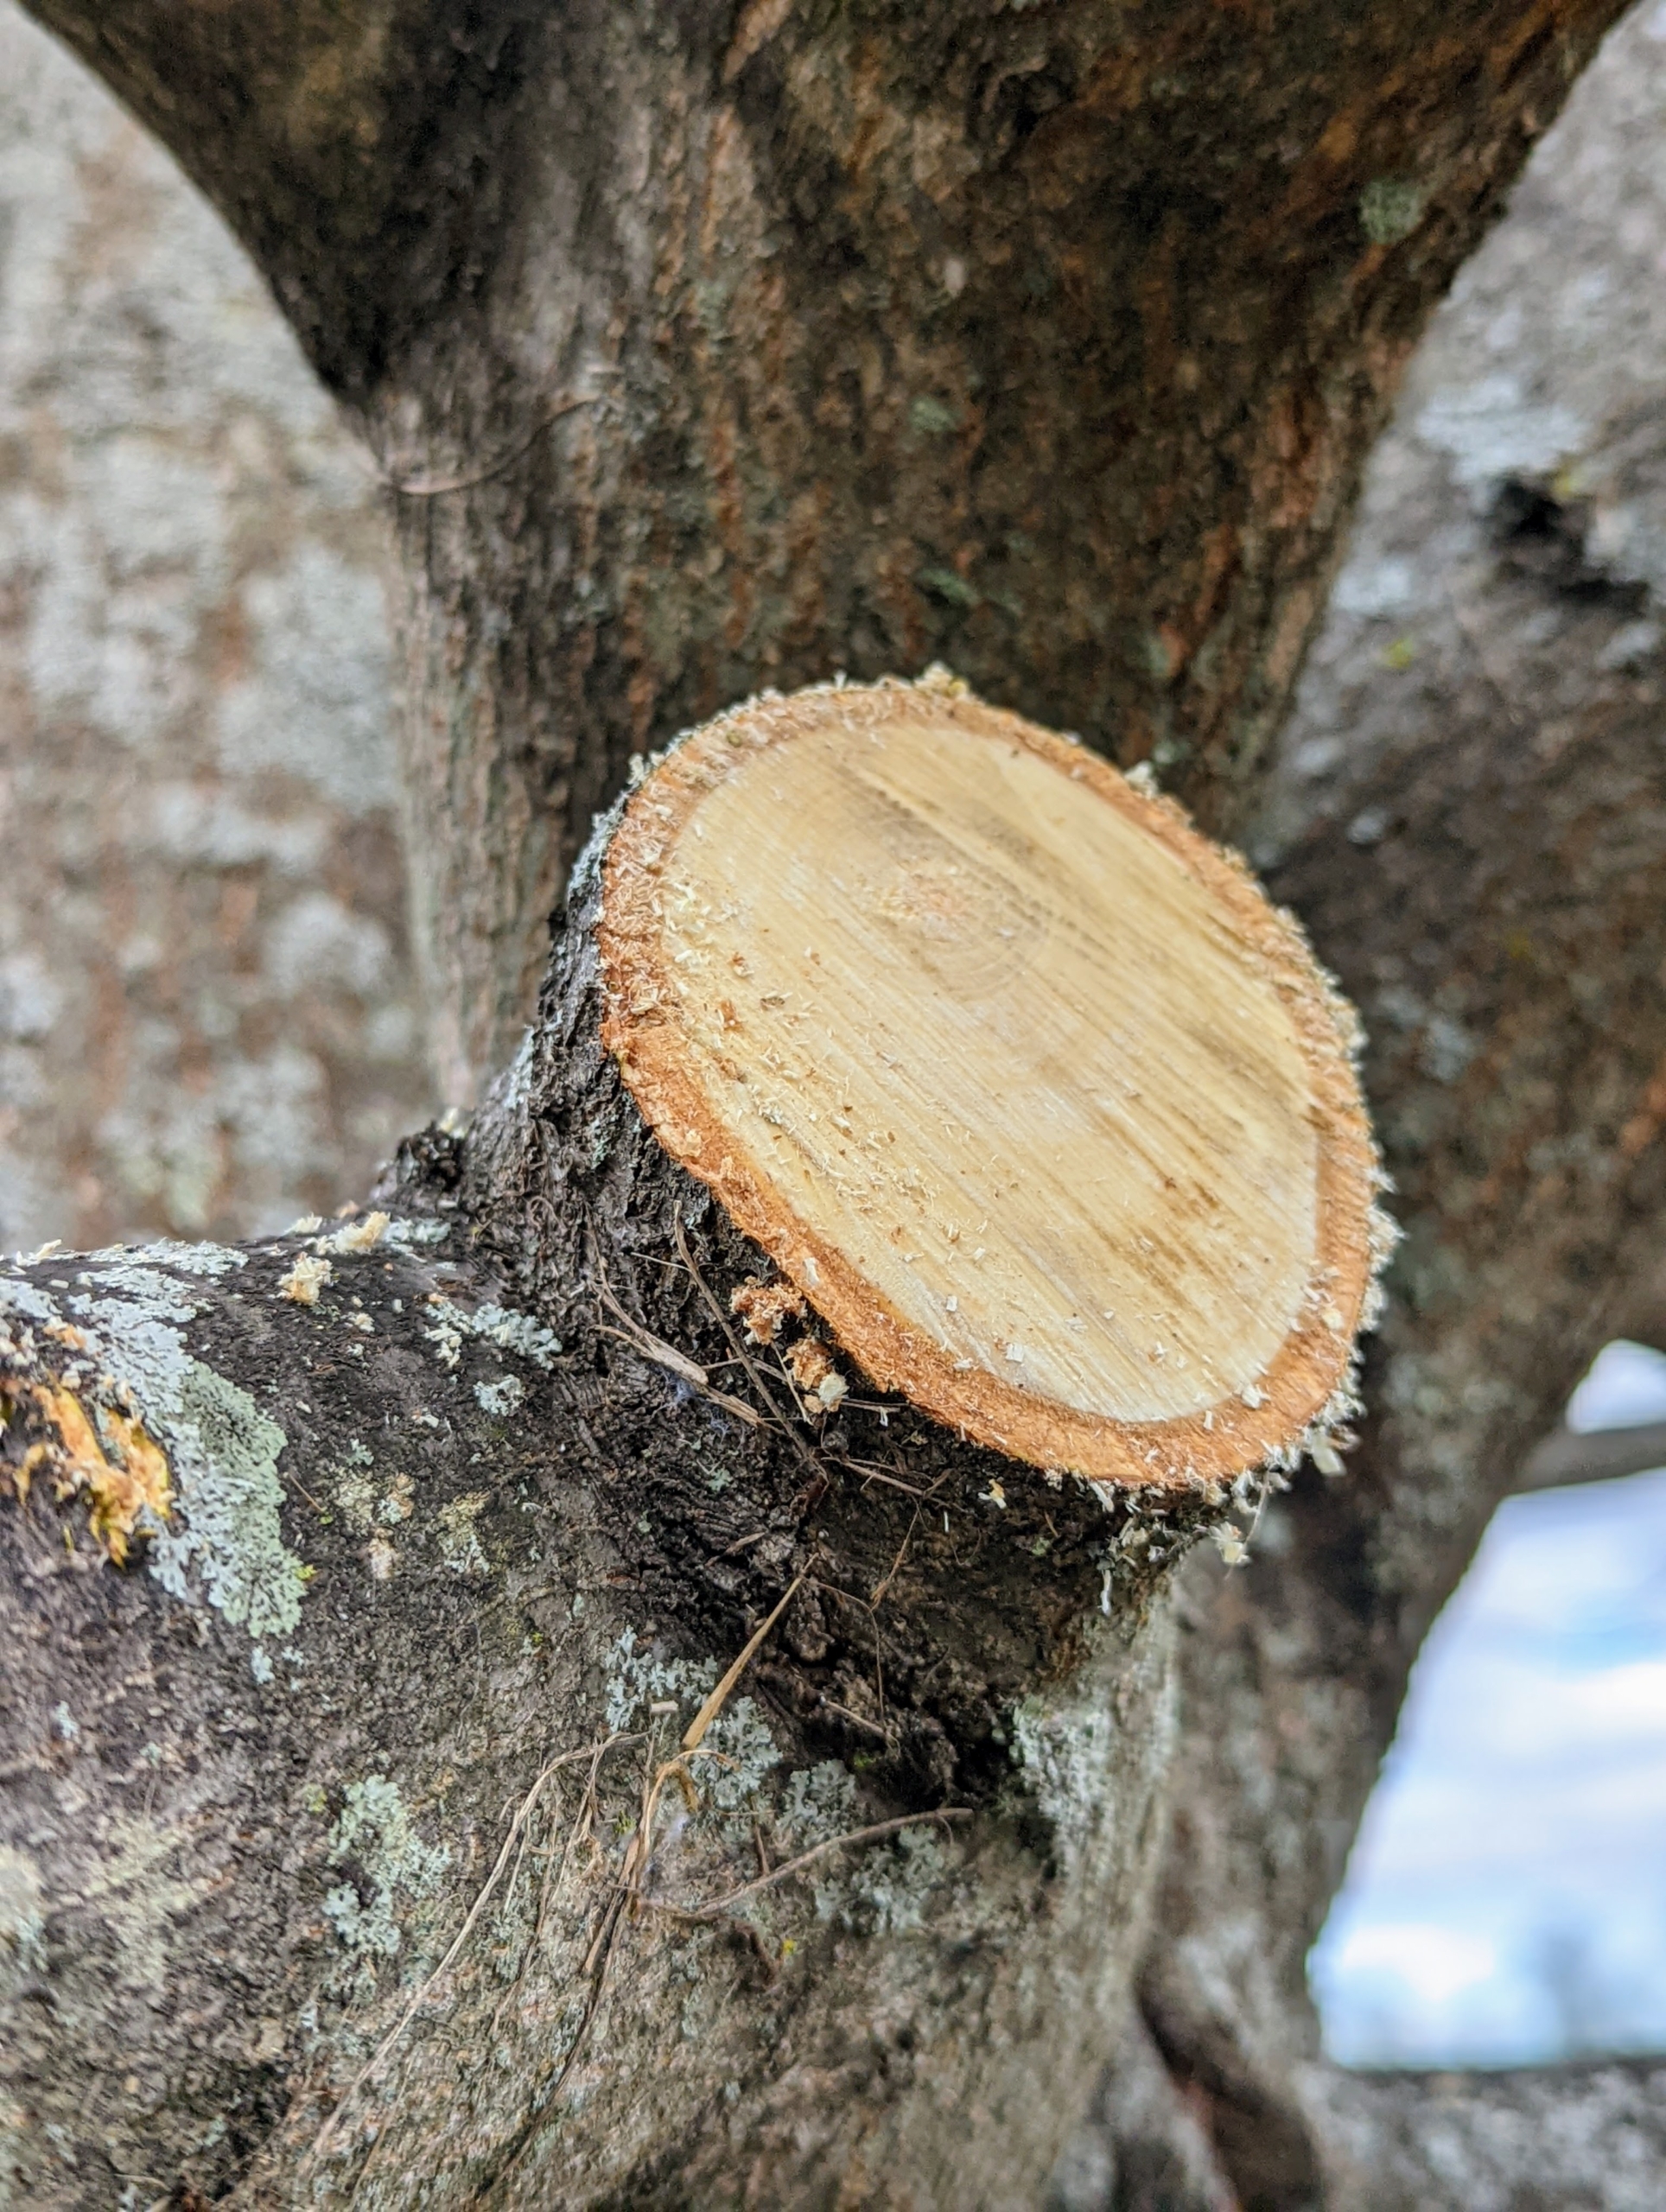
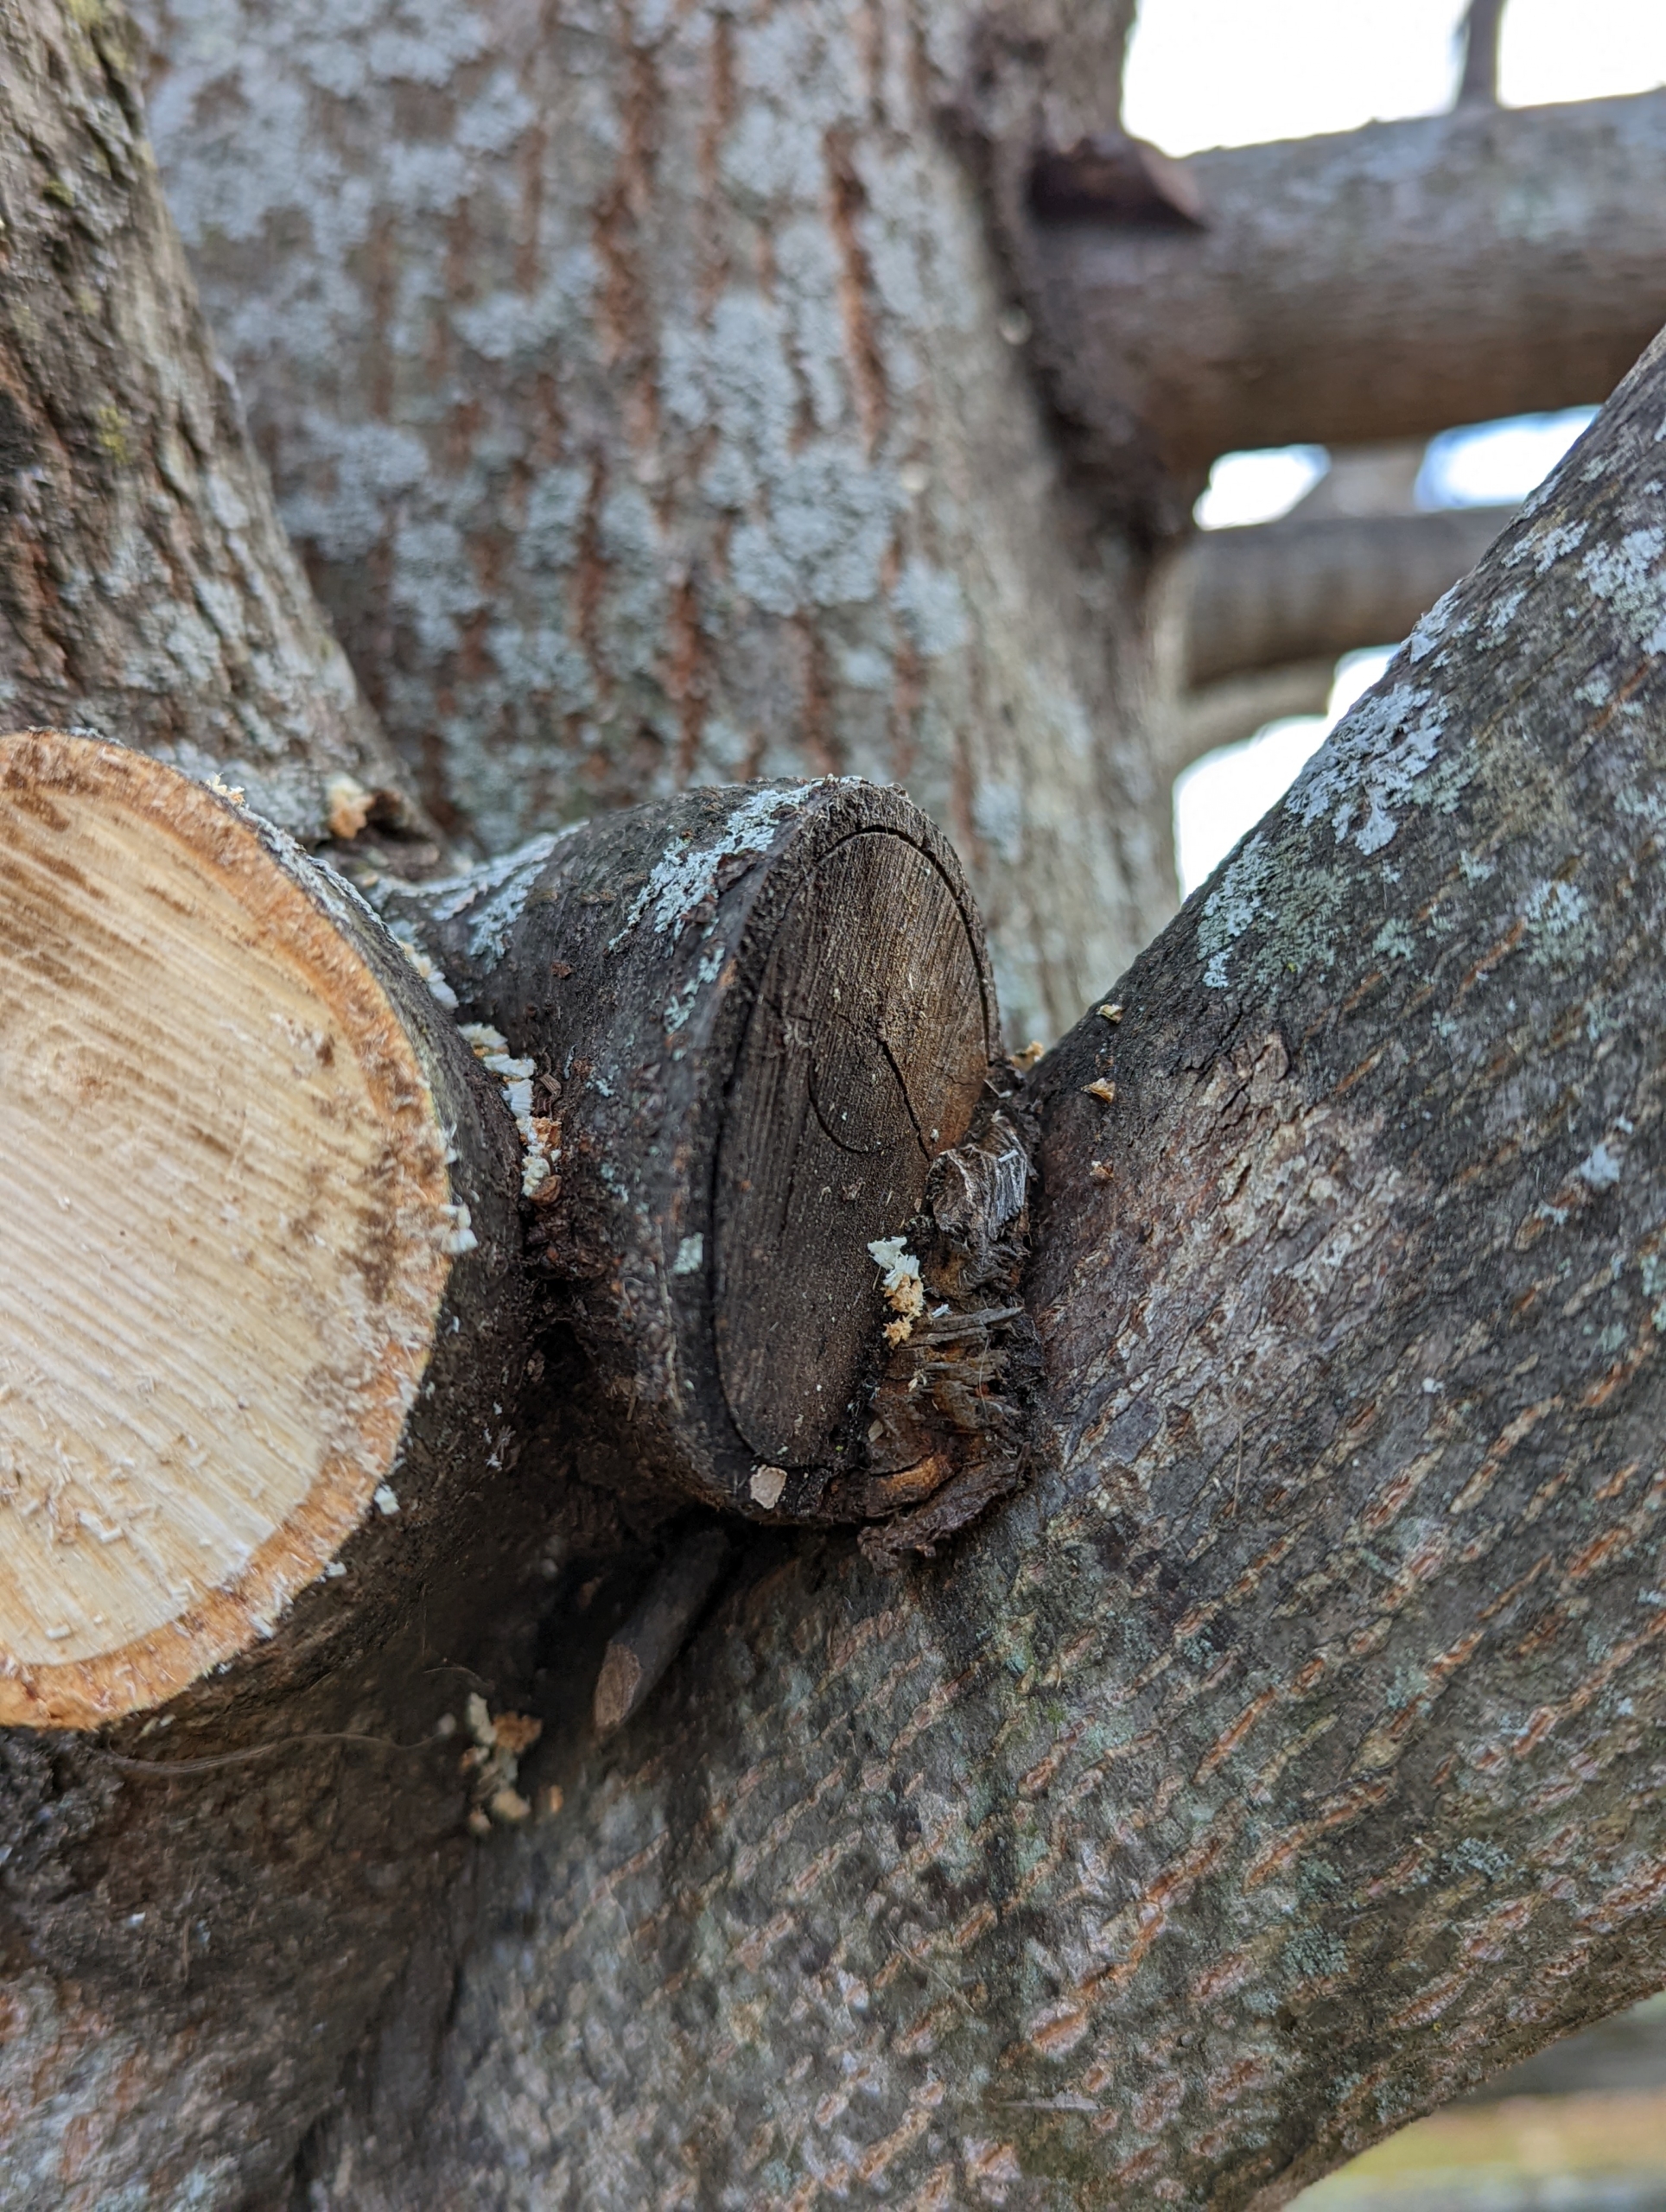
It is easy to see where any branch was previously cut. The one on the left is a new cut and the one on the right is older.
There are a lot of branches cut from these lindens, but already there is more light and air circulating through the allée, and one can see more clearly underneath the trees.
Regular and thorough pruning will give the branches more room to grow.
Here’s Pasang carrying another load of branches to the pile.
This entire process takes a couple of days to do properly by hand, but it is all worth the efforts to have well-manicured, healthy trees.
And here is the allée all done. After pruning and limbing up, these trees look so much better. Thanks Pasang and Domi!
It's the weekend after Thanksgiving - are you busy shopping for all those on your list? Remember, you can shop my collections for great gift ideas and inspirations!
This year, I am so excited to share lots of great holiday gift items on Martha.com - products for home décor, kitchen gadgets, table setting pieces, products for the gardener, the baker, the home cook, and more. And if you haven't already, be sure to check out my Martha: Harvest + Holiday 2022 gift guide for finding that special someone something useful and meaningful. Visit my partner, Canopy, for my line of Martha Stewart CBD wellness supplements and topicals. If you're looking to get organized for the New Year, take a look at my California Closets Collection for ideas. If you're sending family photos to loved ones, consider getting a Martha Stewart Mixbook. If you're looking for weatherproof, easy to pack outerwear, you can find great pieces in my Collection on Amazon. And if you're looking for sweets, take a look at my offerings at Goldbelly - pastries, cakes and delicious cookies. I have something for everyone.
Enjoy these photos and happy shopping!
I’m so excited about our shop at Martha.com. Martha.com and our trusted partners are celebrating the season with inspired collections for the holidays. You can find décor, gifts, kitchen tools, and supplies all in one spot. And we’re adding more and more all the time. Click on the highlighted link and start shopping now!
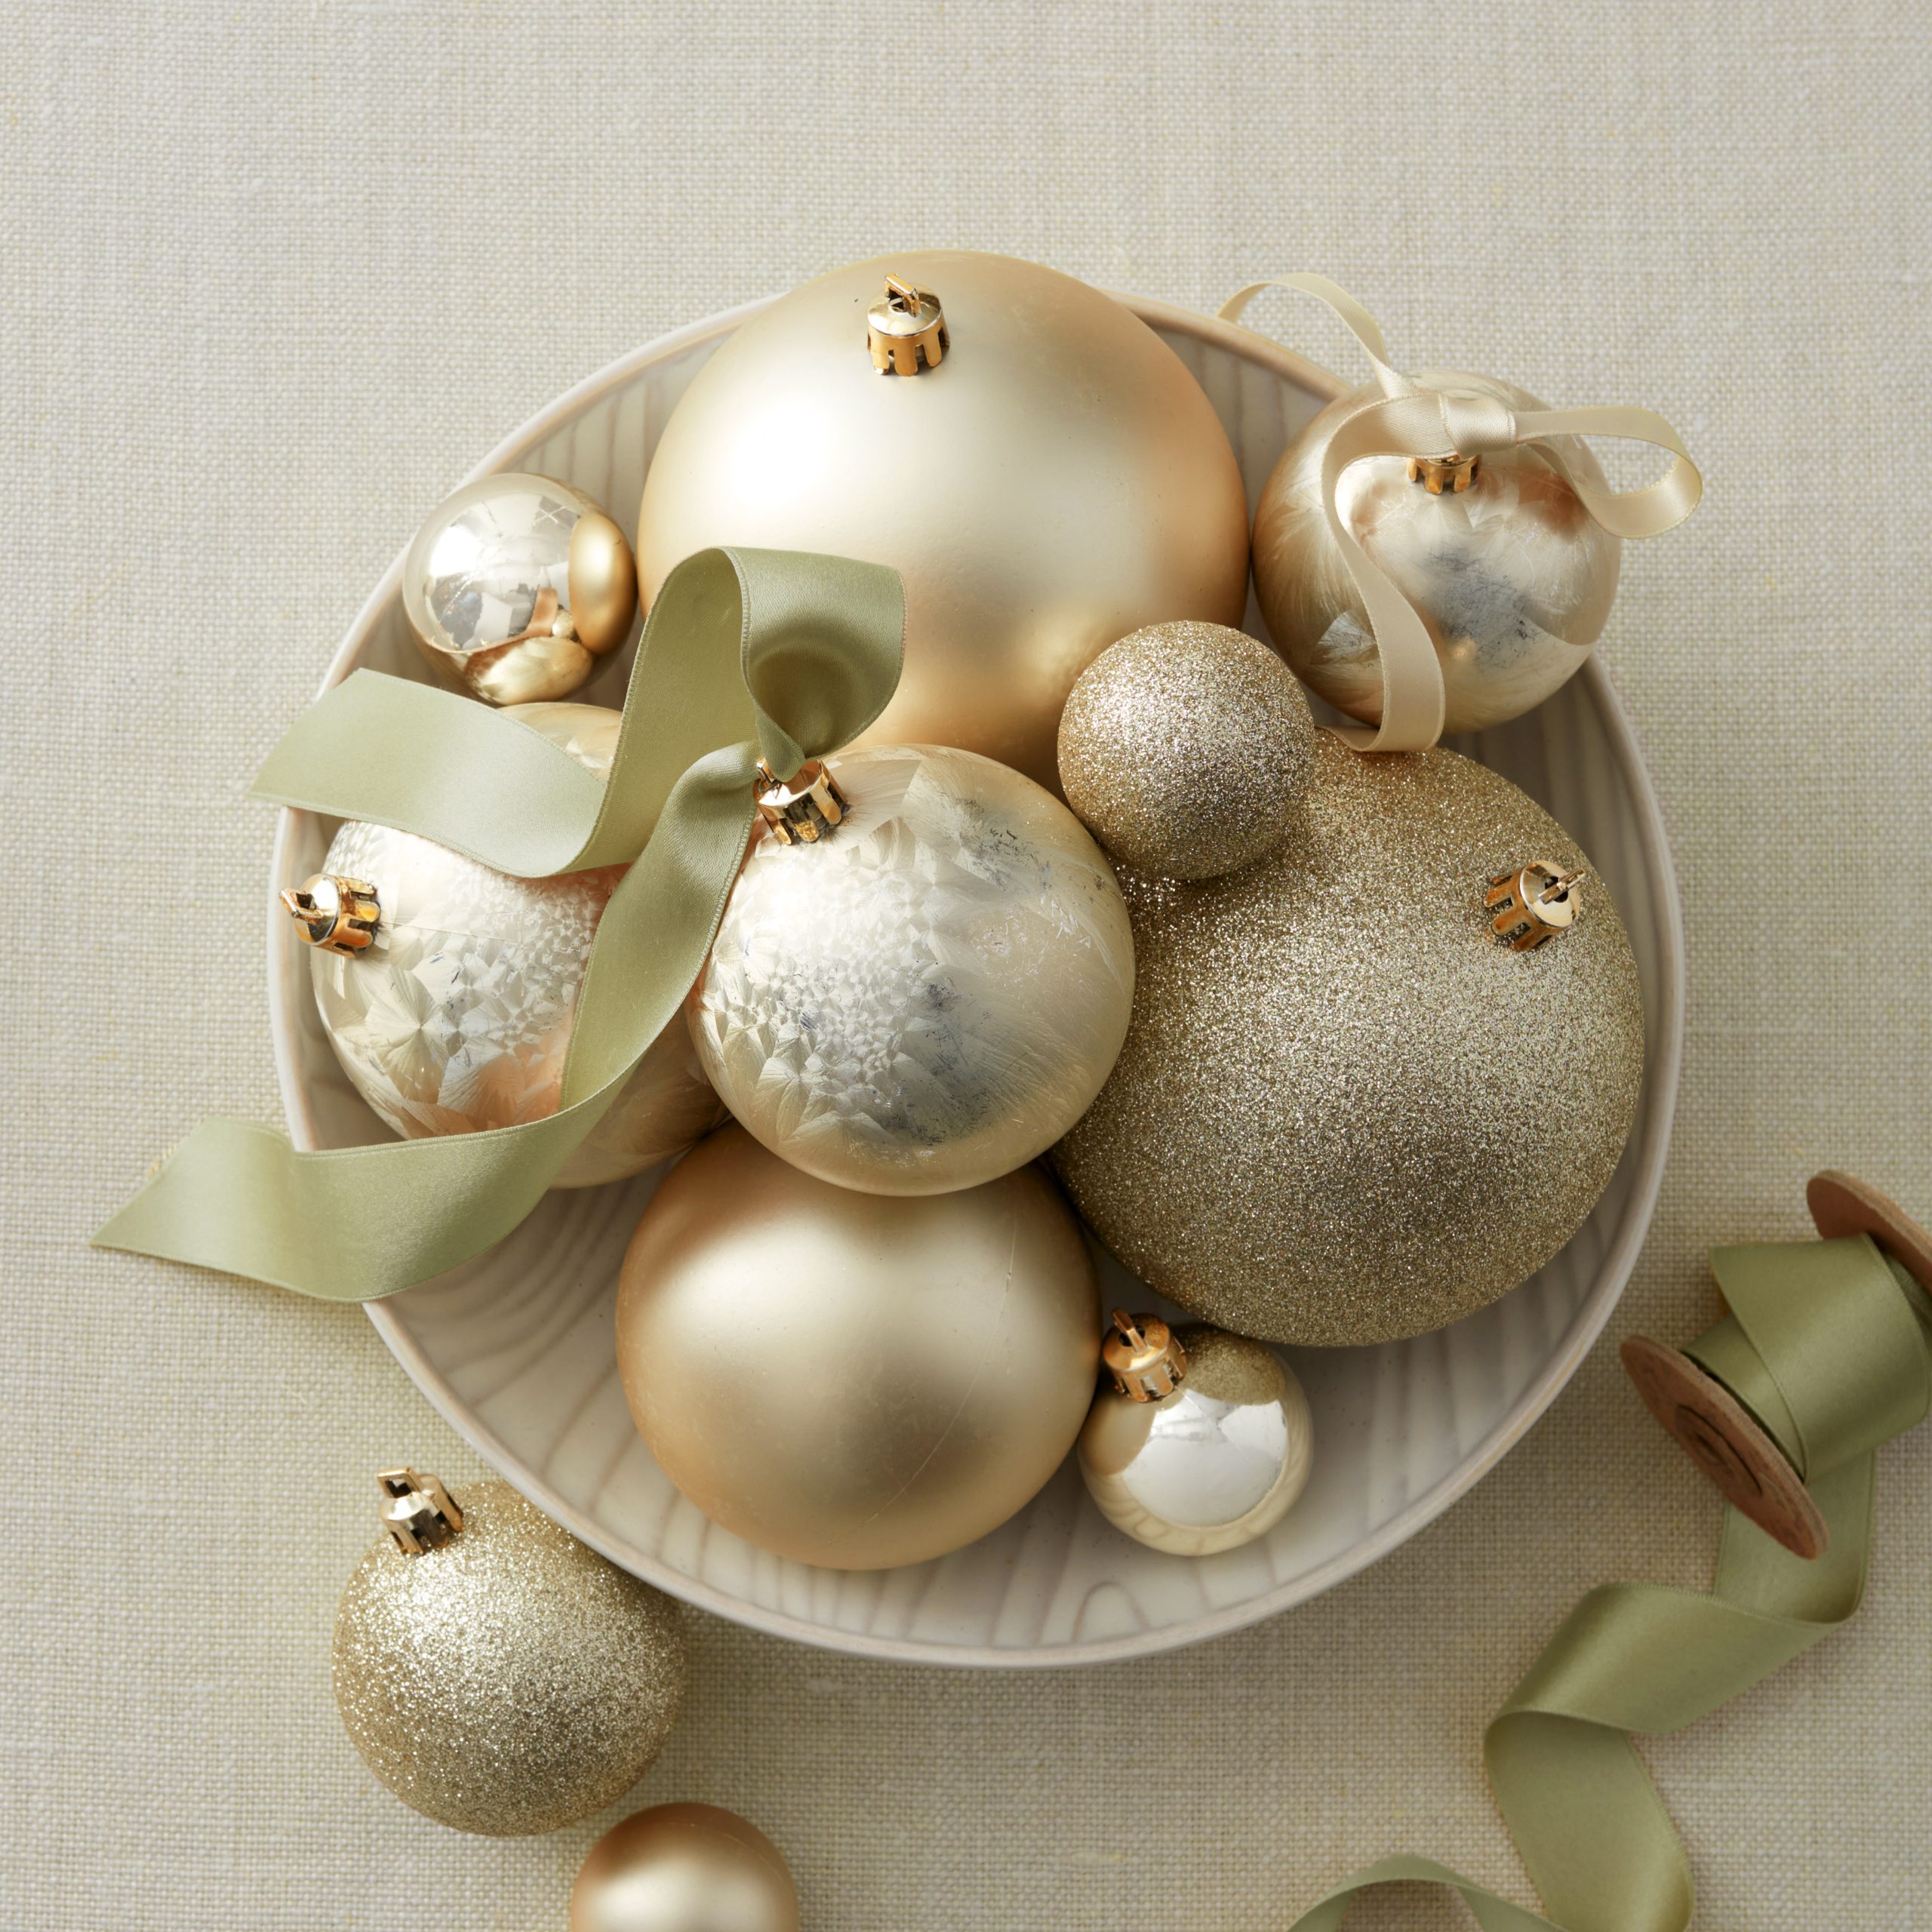
Are you decorating your tree? This is my Champagne Shatterproof Ornament Set complete with 75 shatterproof pieces that will fill the spaces and sprigs on the tree in a cohesive, elegant fashion. The baubles come in an assortment of metallic tones with shiny, satin, flitter, and frosted white finishes, so there is a balance of sparkle, shine, and luster among the lights. Best of all, they’re durable, safe, and yes, shatterproof.
At Martha.com you can also find lots of beautiful jeweled ornaments that will look striking on any tree or hanging from the mantel.
Time to take out that warm bedding or give a set as a gift. Here’s my Herringbone Cotton Flannel Sheet Set. It includes a fitted sheet, a flat sheet, and two pillowcases, all crafted in Portugal from brushed cotton flannel. My beautiful Empress Qin is not included.
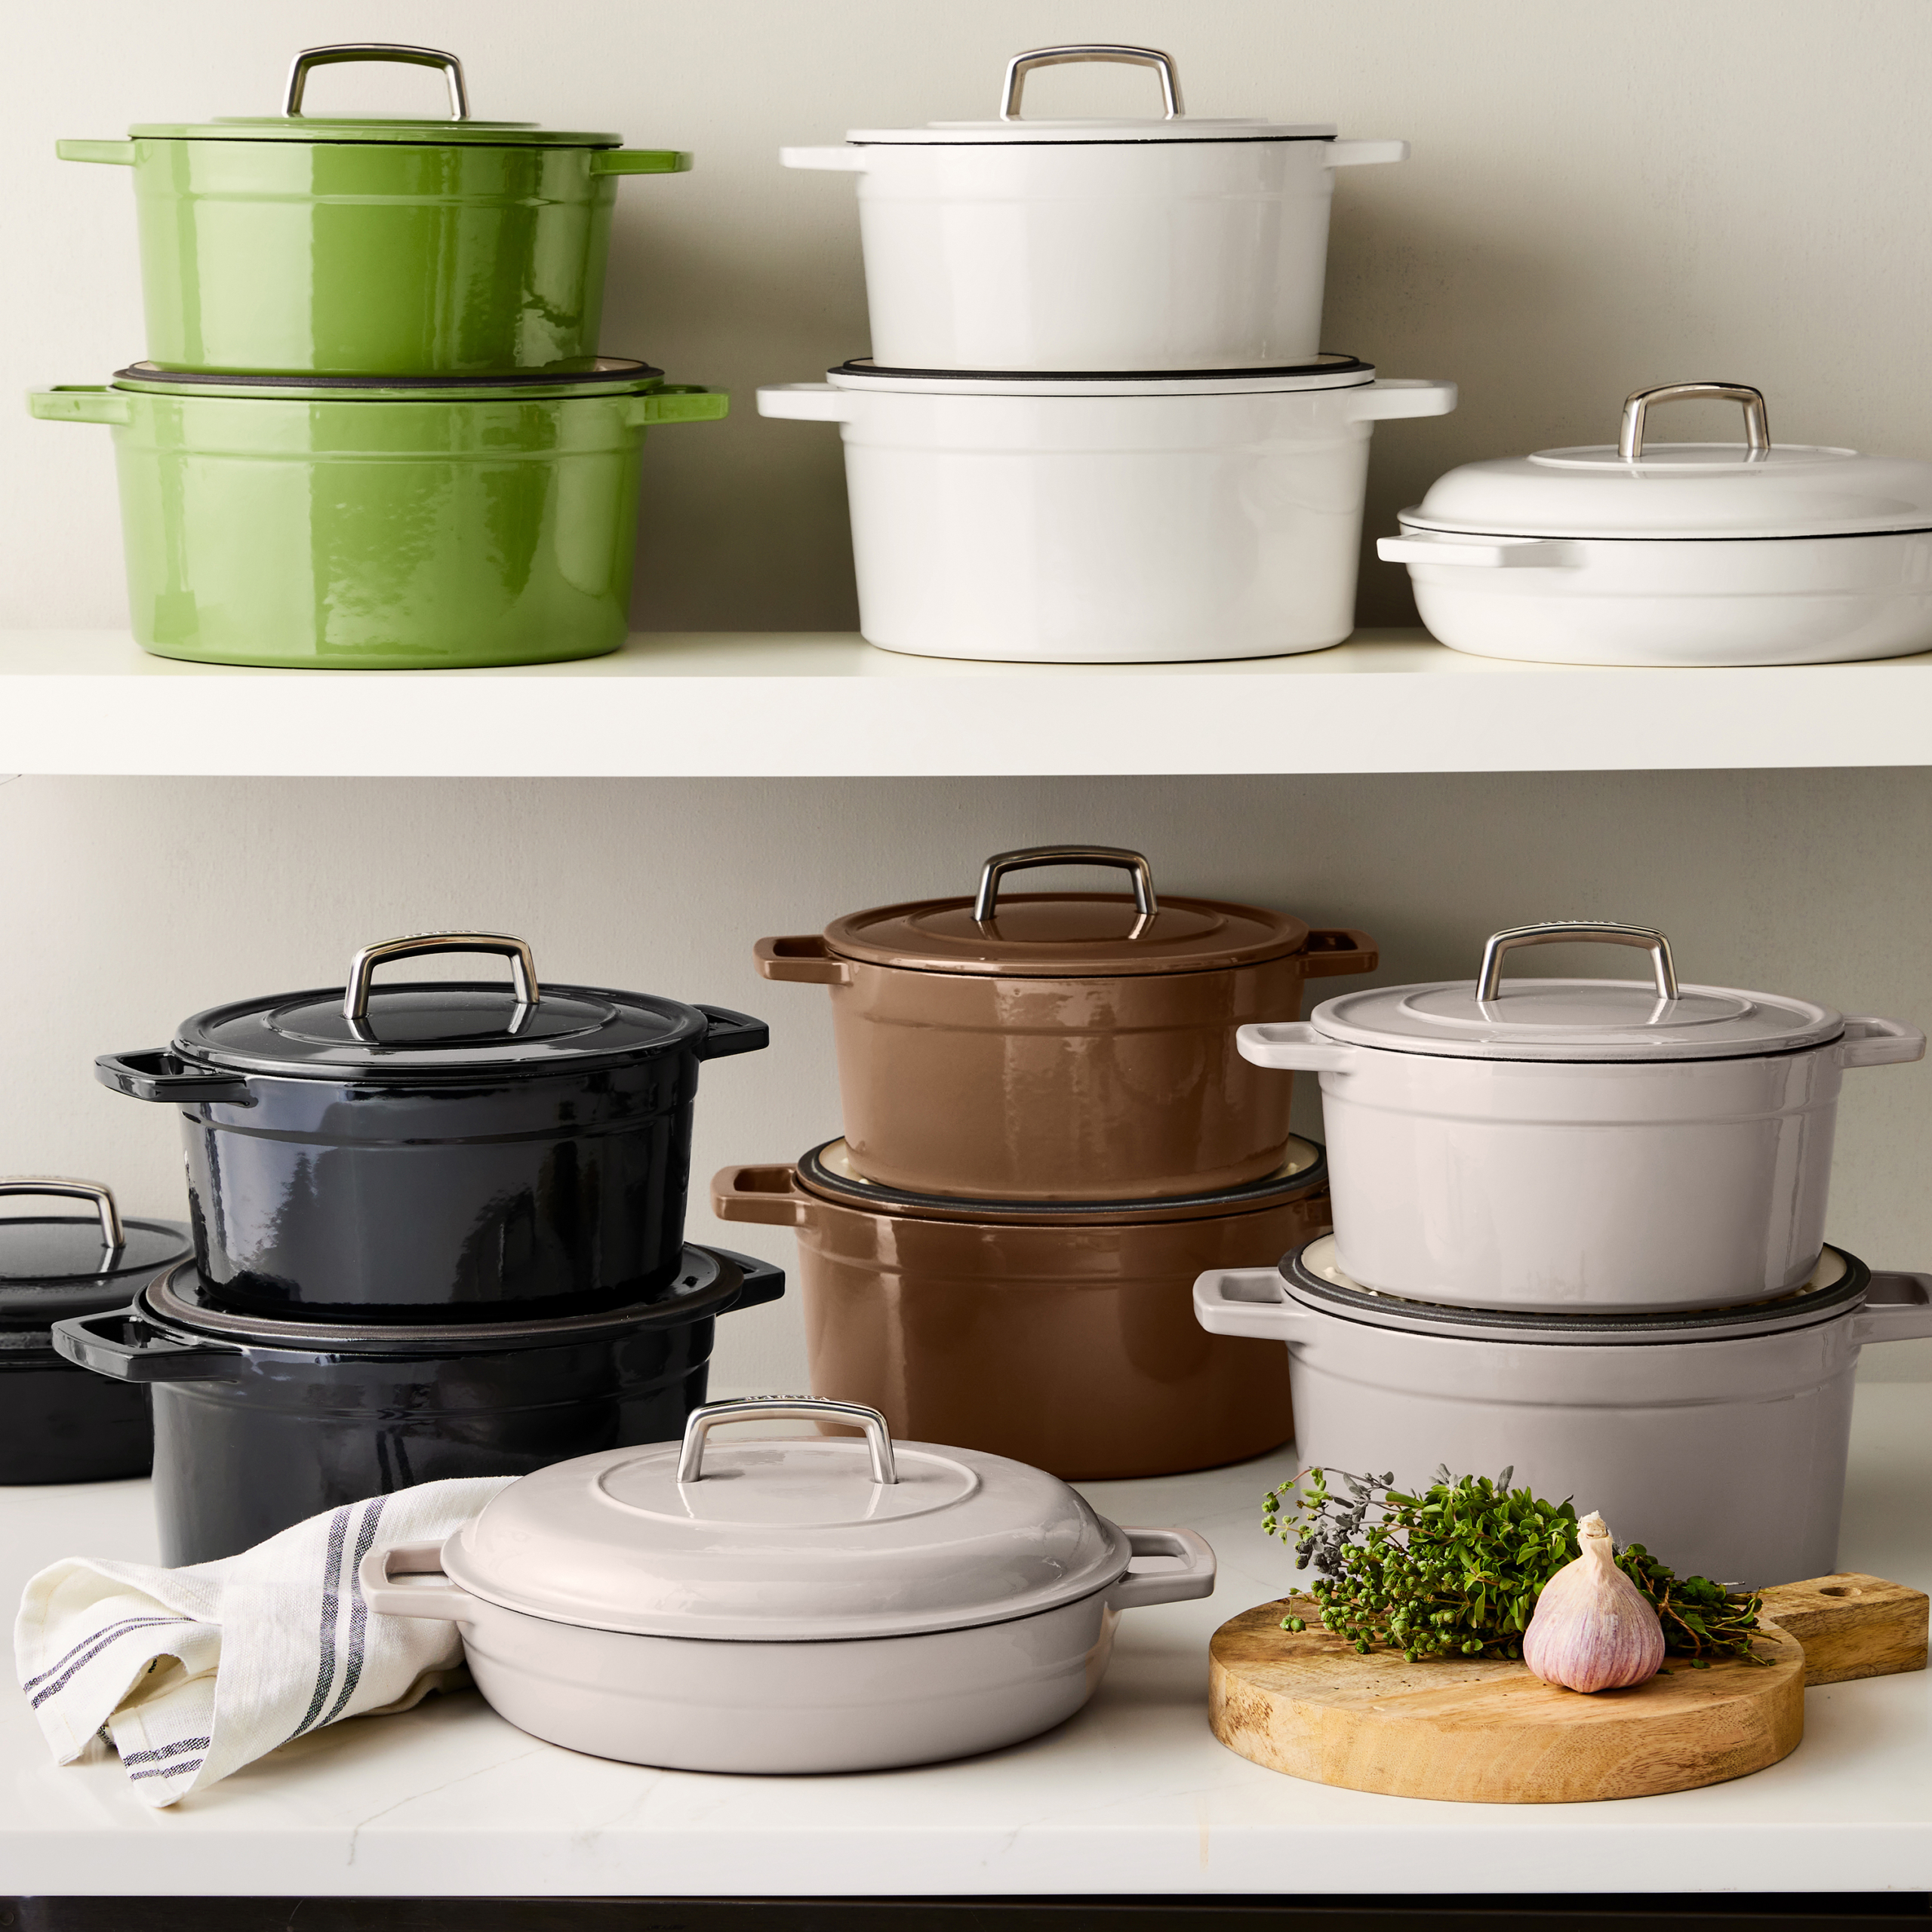
For the cook on your list, consider my MARTHA by Martha Stewart Enameled Cast Iron Cookware – braisers and dutch ovens in a variety of sizes and colors. These pots and pans will be so helpful all year round for roasting, frying, searing, sautéing, and baking.
My photo products from Mixbook are a great way to share the most important moments of your life. Visit the web site for photo cards, books, and holiday greetings.
To keep the stress levels low this busy season, I’m offering my Martha Stewart CBD 15 Flavor Sampler Wellness Gummies box from Canopy. These gummies are packaged in an elegant and reusable linen-textured drawer box that helps to preserve the texture and flavor of the gummies. All the CBD cube gummies are inspired by fruits and flavors I love and use.
These gummies are so flavorful – we worked hard to get the flavors just right. Persian lime, black raspberry, strawberry, grapefruit, calamondin, red raspberry, rhubarb, passion fruit, green apple, black currant, blood orange, kumquat, quince, Meyer lemon and huckleberry – you’ll love them all.
You’ll also love my Martha Stewart CBD body care topicals with aroma technology and CBD, that help comfort tired muscles, offer sleep support, and small stem solutions for relaxation and stress management.
This is The Everyday System™ “Perry St. White Woodgrain with Gold Metal” finishes modular set available at California Closets. Streamline any space and create an inviting area with my wall-mounted components. This desktop includes a drawer and two shelves, and a modular design for customization.
And, of course, my Martha Stewart Women’s Outerwear on Amazon – its ultra-lightweight construction makes it easy to pack away. It’s the perfect staple for daily wear this season – find it in black, navy, mercury, olive and toasted taupe.
For anyone with a sweet tooth, check out my collection at Goldbelly, the curated online marketplace for regional and artisanal foods crafted by local food purveyors throughout the United States. Order some of my favorite pastries, cakes, and addictively delicious cookies.
I never forget the pets. I’ve partnered with Fetch for Pets to bring you an array of pet supplies, such as shampoos, conditioners, brushes, combs and puppy training pads.
And cozy up in my Faux Fur Coat from my Outerwear collection. Whether you’re layering it over a formal look for a nighttime event, or throwing it on over jeans for a fabulous finish to your weekend wardrobe, the faux fur will provide insulation and the snap closures will ensure you are secure and warm. Best of all, despite the lush look of this piece, it is fully machine-washable, so you can continue to look and feel your warmest and best for many winters to come. I’ll be sharing lots more great holiday gift ideas on my blog in the weeks ahead. It’s time to get into the holiday spirit! Have a safe and wonderful season.
Happy Thanksgiving! I hope you have a very safe and enjoyable holiday!
This morning I am busy cooking in my kitchen like all of you - preparing all the delicious dishes for today's feast. Yesterday I was busy baking pies - one for every member of my staff here at the farm to thank them for all their hard work during the year. And all this week, we have all been scurrying around cleaning and decorating, pulling out all the necessary plates and platters, setting the table, grooming the terrace gardens, and more.
Enjoy these photos of my holiday preparations.
I love spending Thanksgiving here at my farm, where I can host an enjoyable holiday gathering for family and close friends. Today is expected to be sunny to partly cloudy with temperatures in the 50s – a nice autumn day for a delicious Thanksgiving feast.
Around my home, the boxwood hedges are all freshly groomed on my terrace parterre – all ready for my holiday guests.
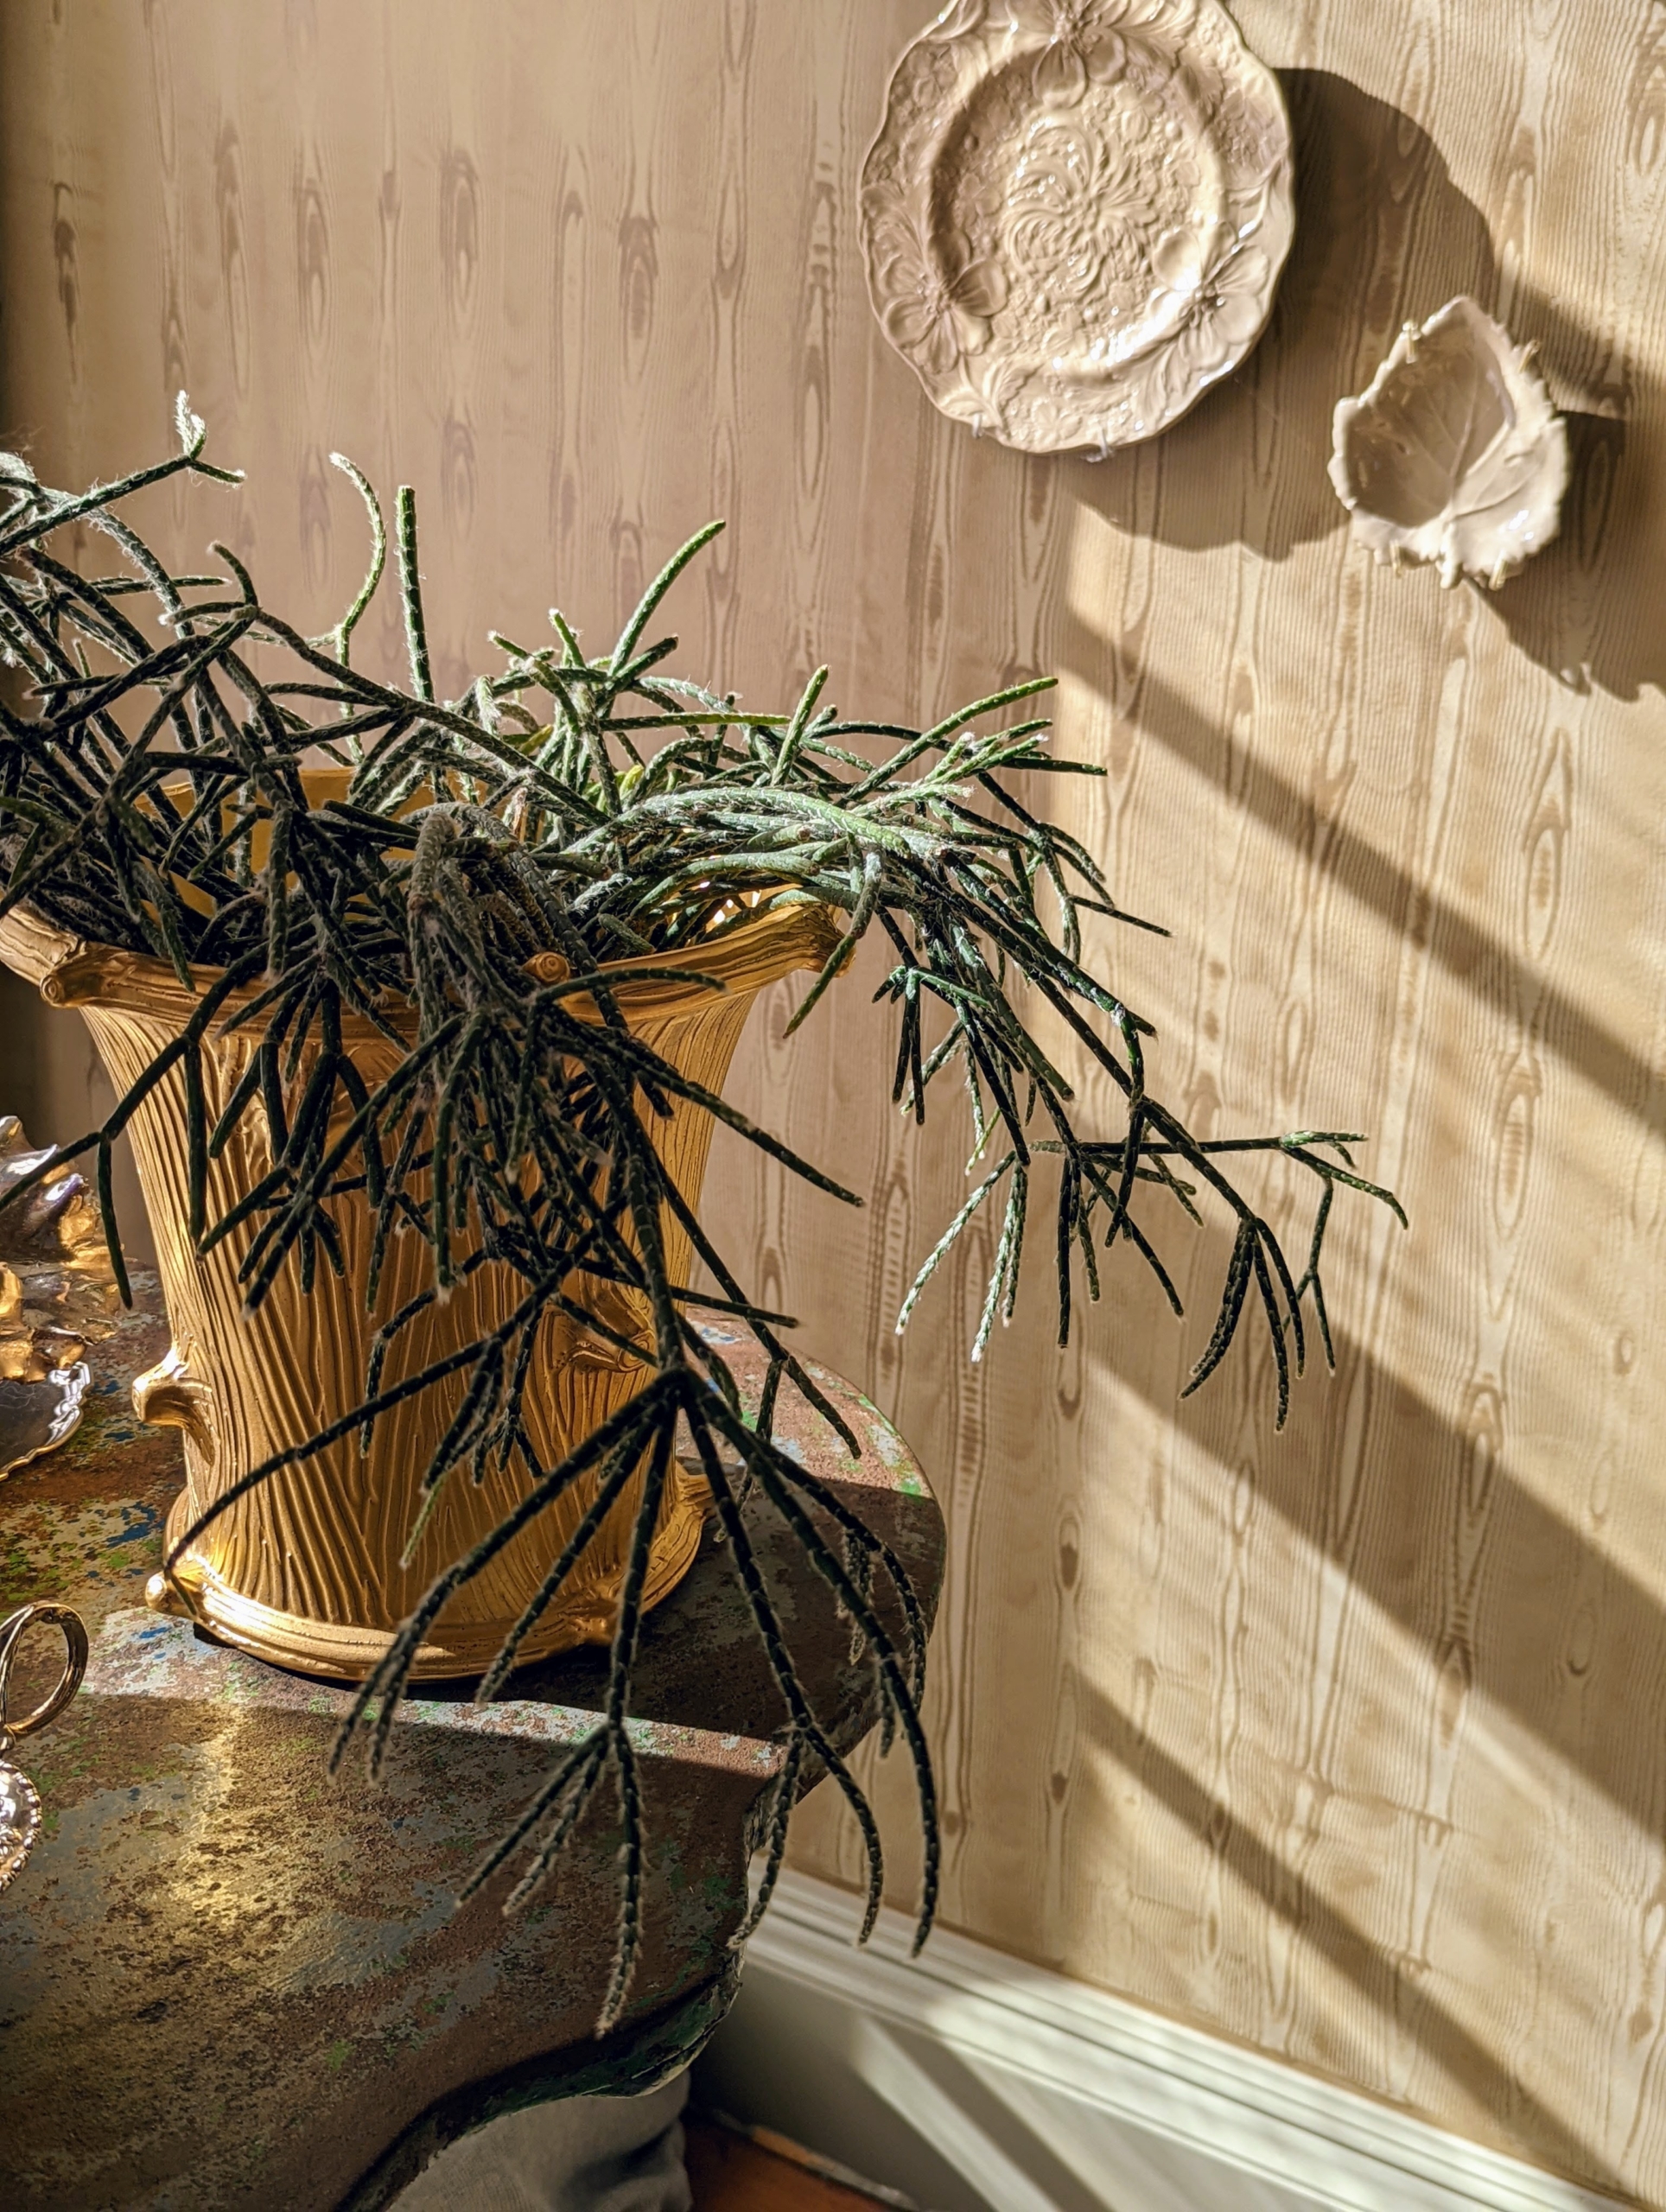
Inside, I always display beautiful houseplants whenever I entertain. This is a potted rhipsalis – I have many types of rhipsalis growing in my greenhouse. Rhipsalis specimens have long, trailing stems making them perfect choices as indoor plants on pedestals or tall tables. Also known as chain cactus or mistletoe cactus, the thread-like succulent stems are narrow, green and can grow several feet long.
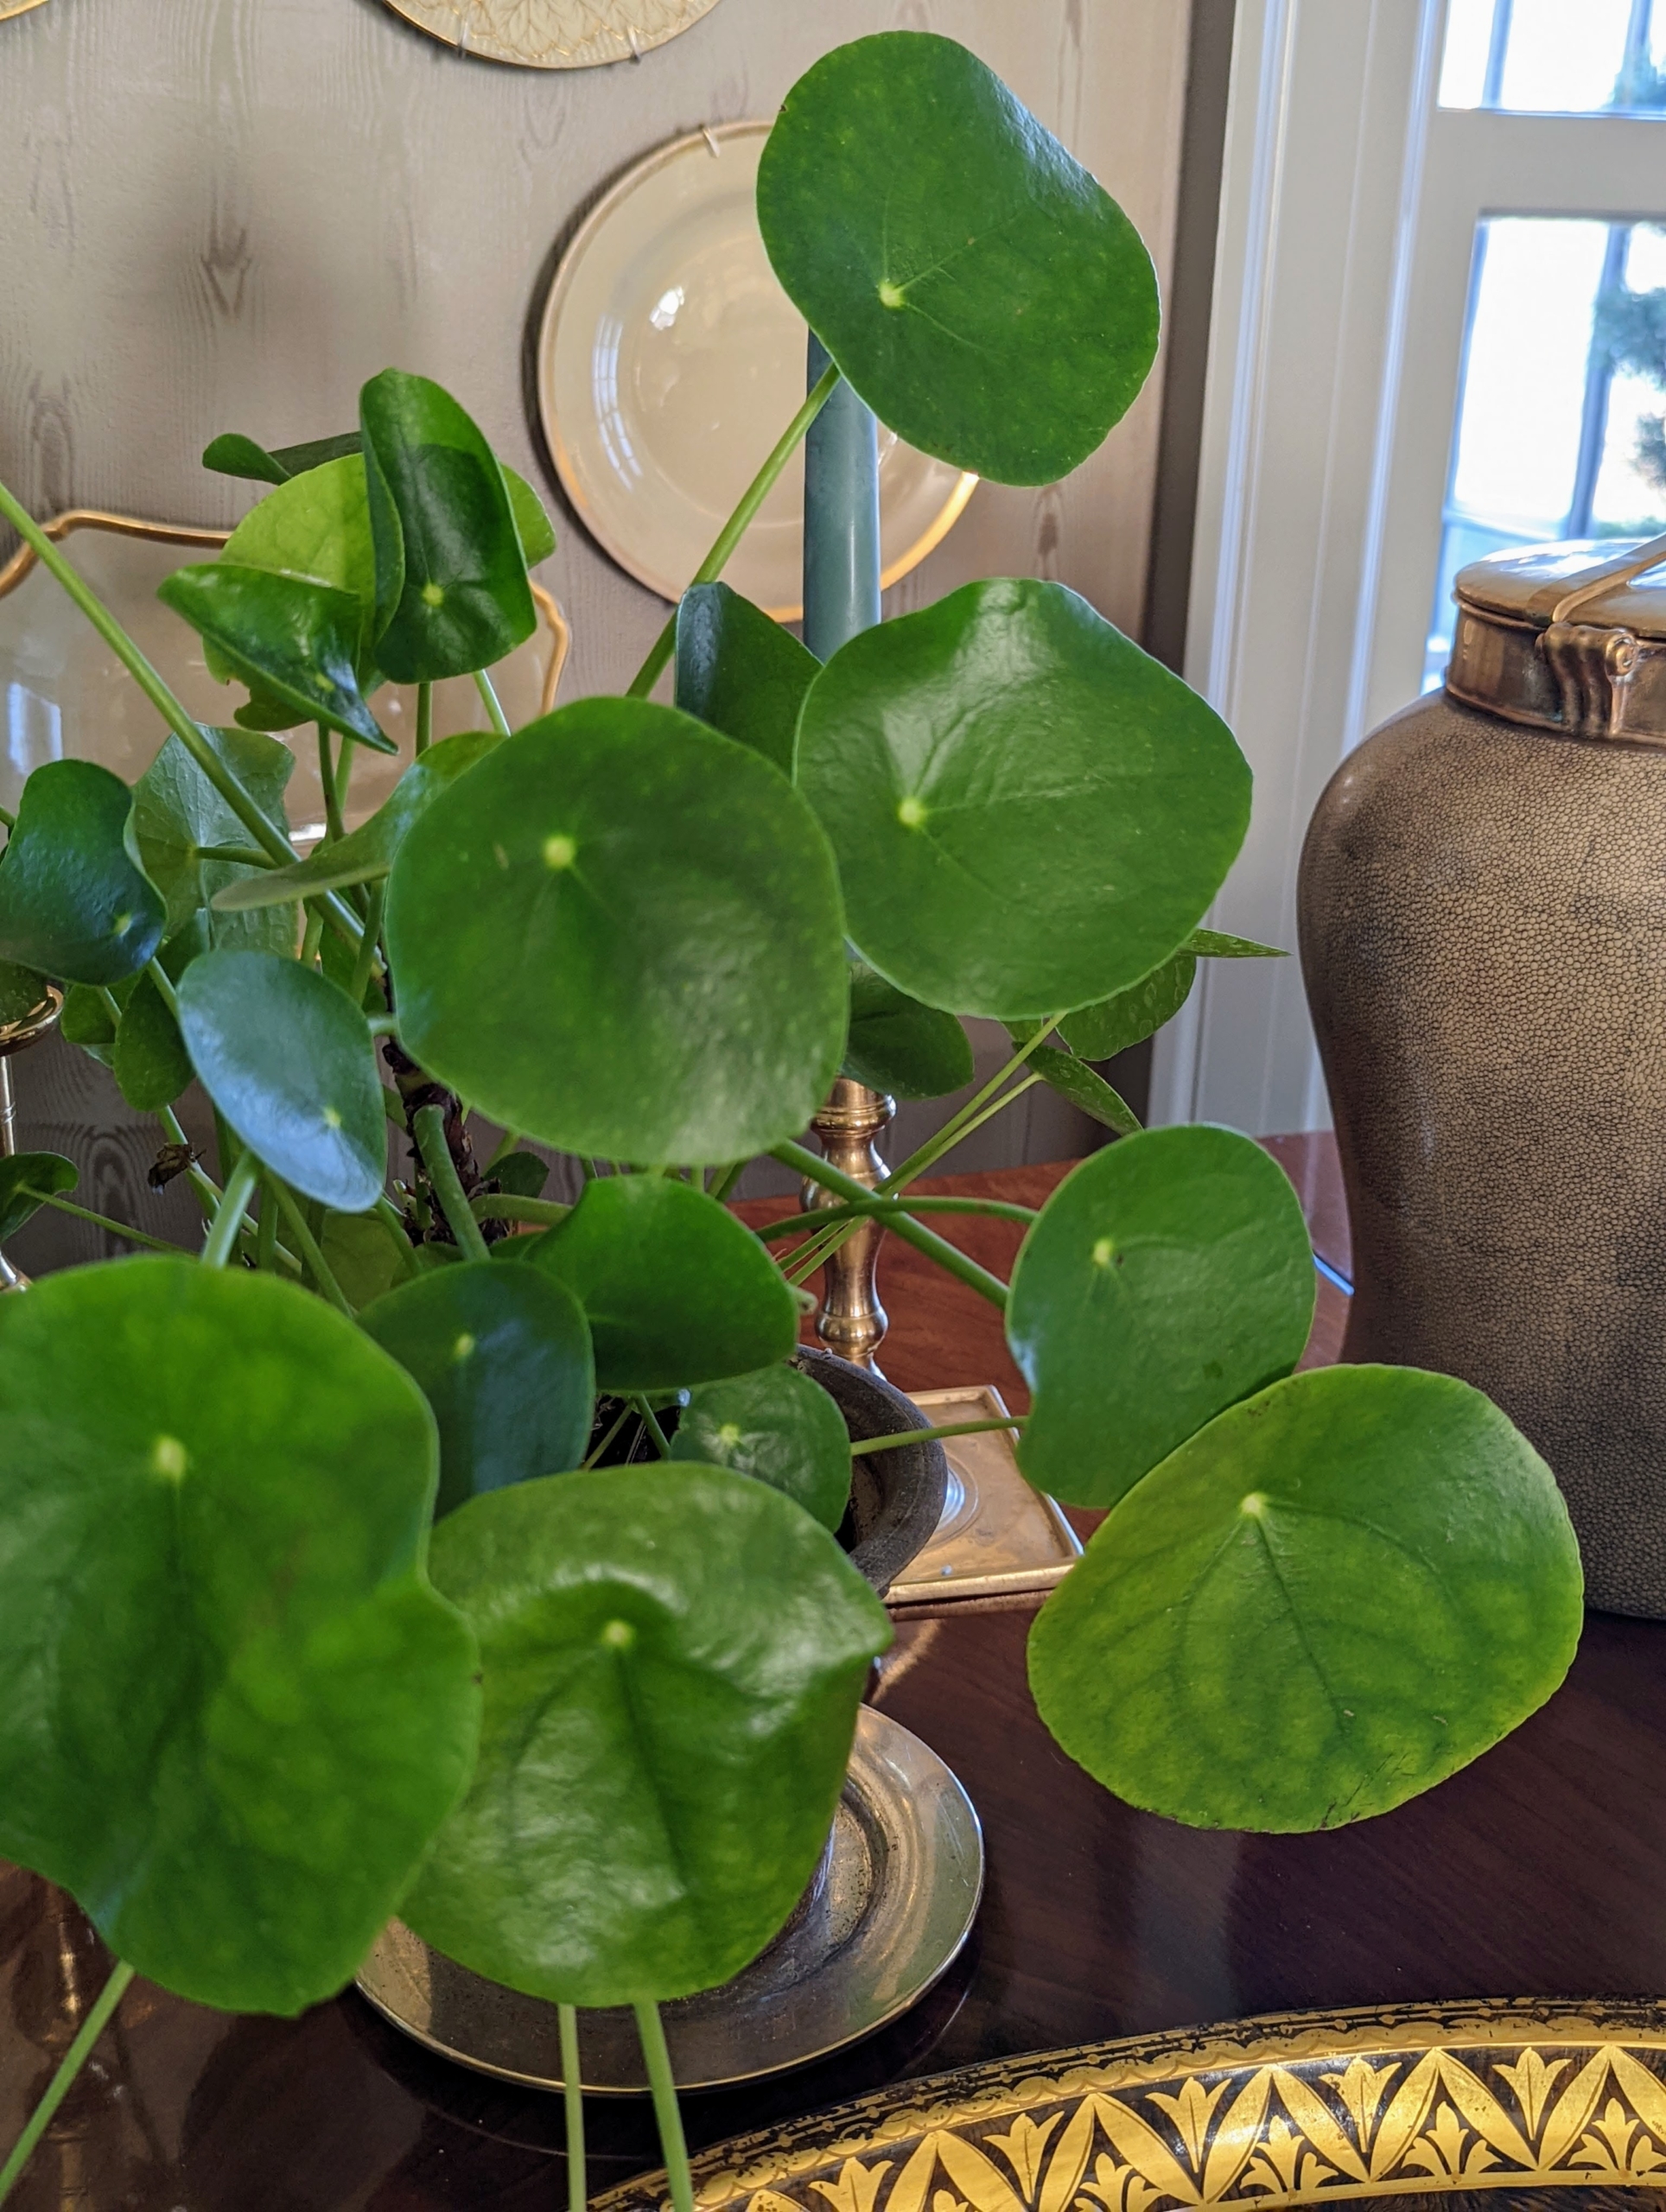
Guests always admire my Chinese money plants, Pilea peperomioides. The Pilea peperomioides has attractive coin-shaped foliage. This perennial is native to southern China, growing naturally along the base of the Himalayan mountains. It is also known as coin plant, pancake plant, and UFO plant.
This stunning Thanksgiving Cactus originally belonged to my mother, Big Martha. My late sister, Laura Plimpton, found two small stem segments, called cladodes, in the back of a drawer several years after our mother died. We took a chance and planted them, and they thrived. This is the plant now. Laura would have loved it.
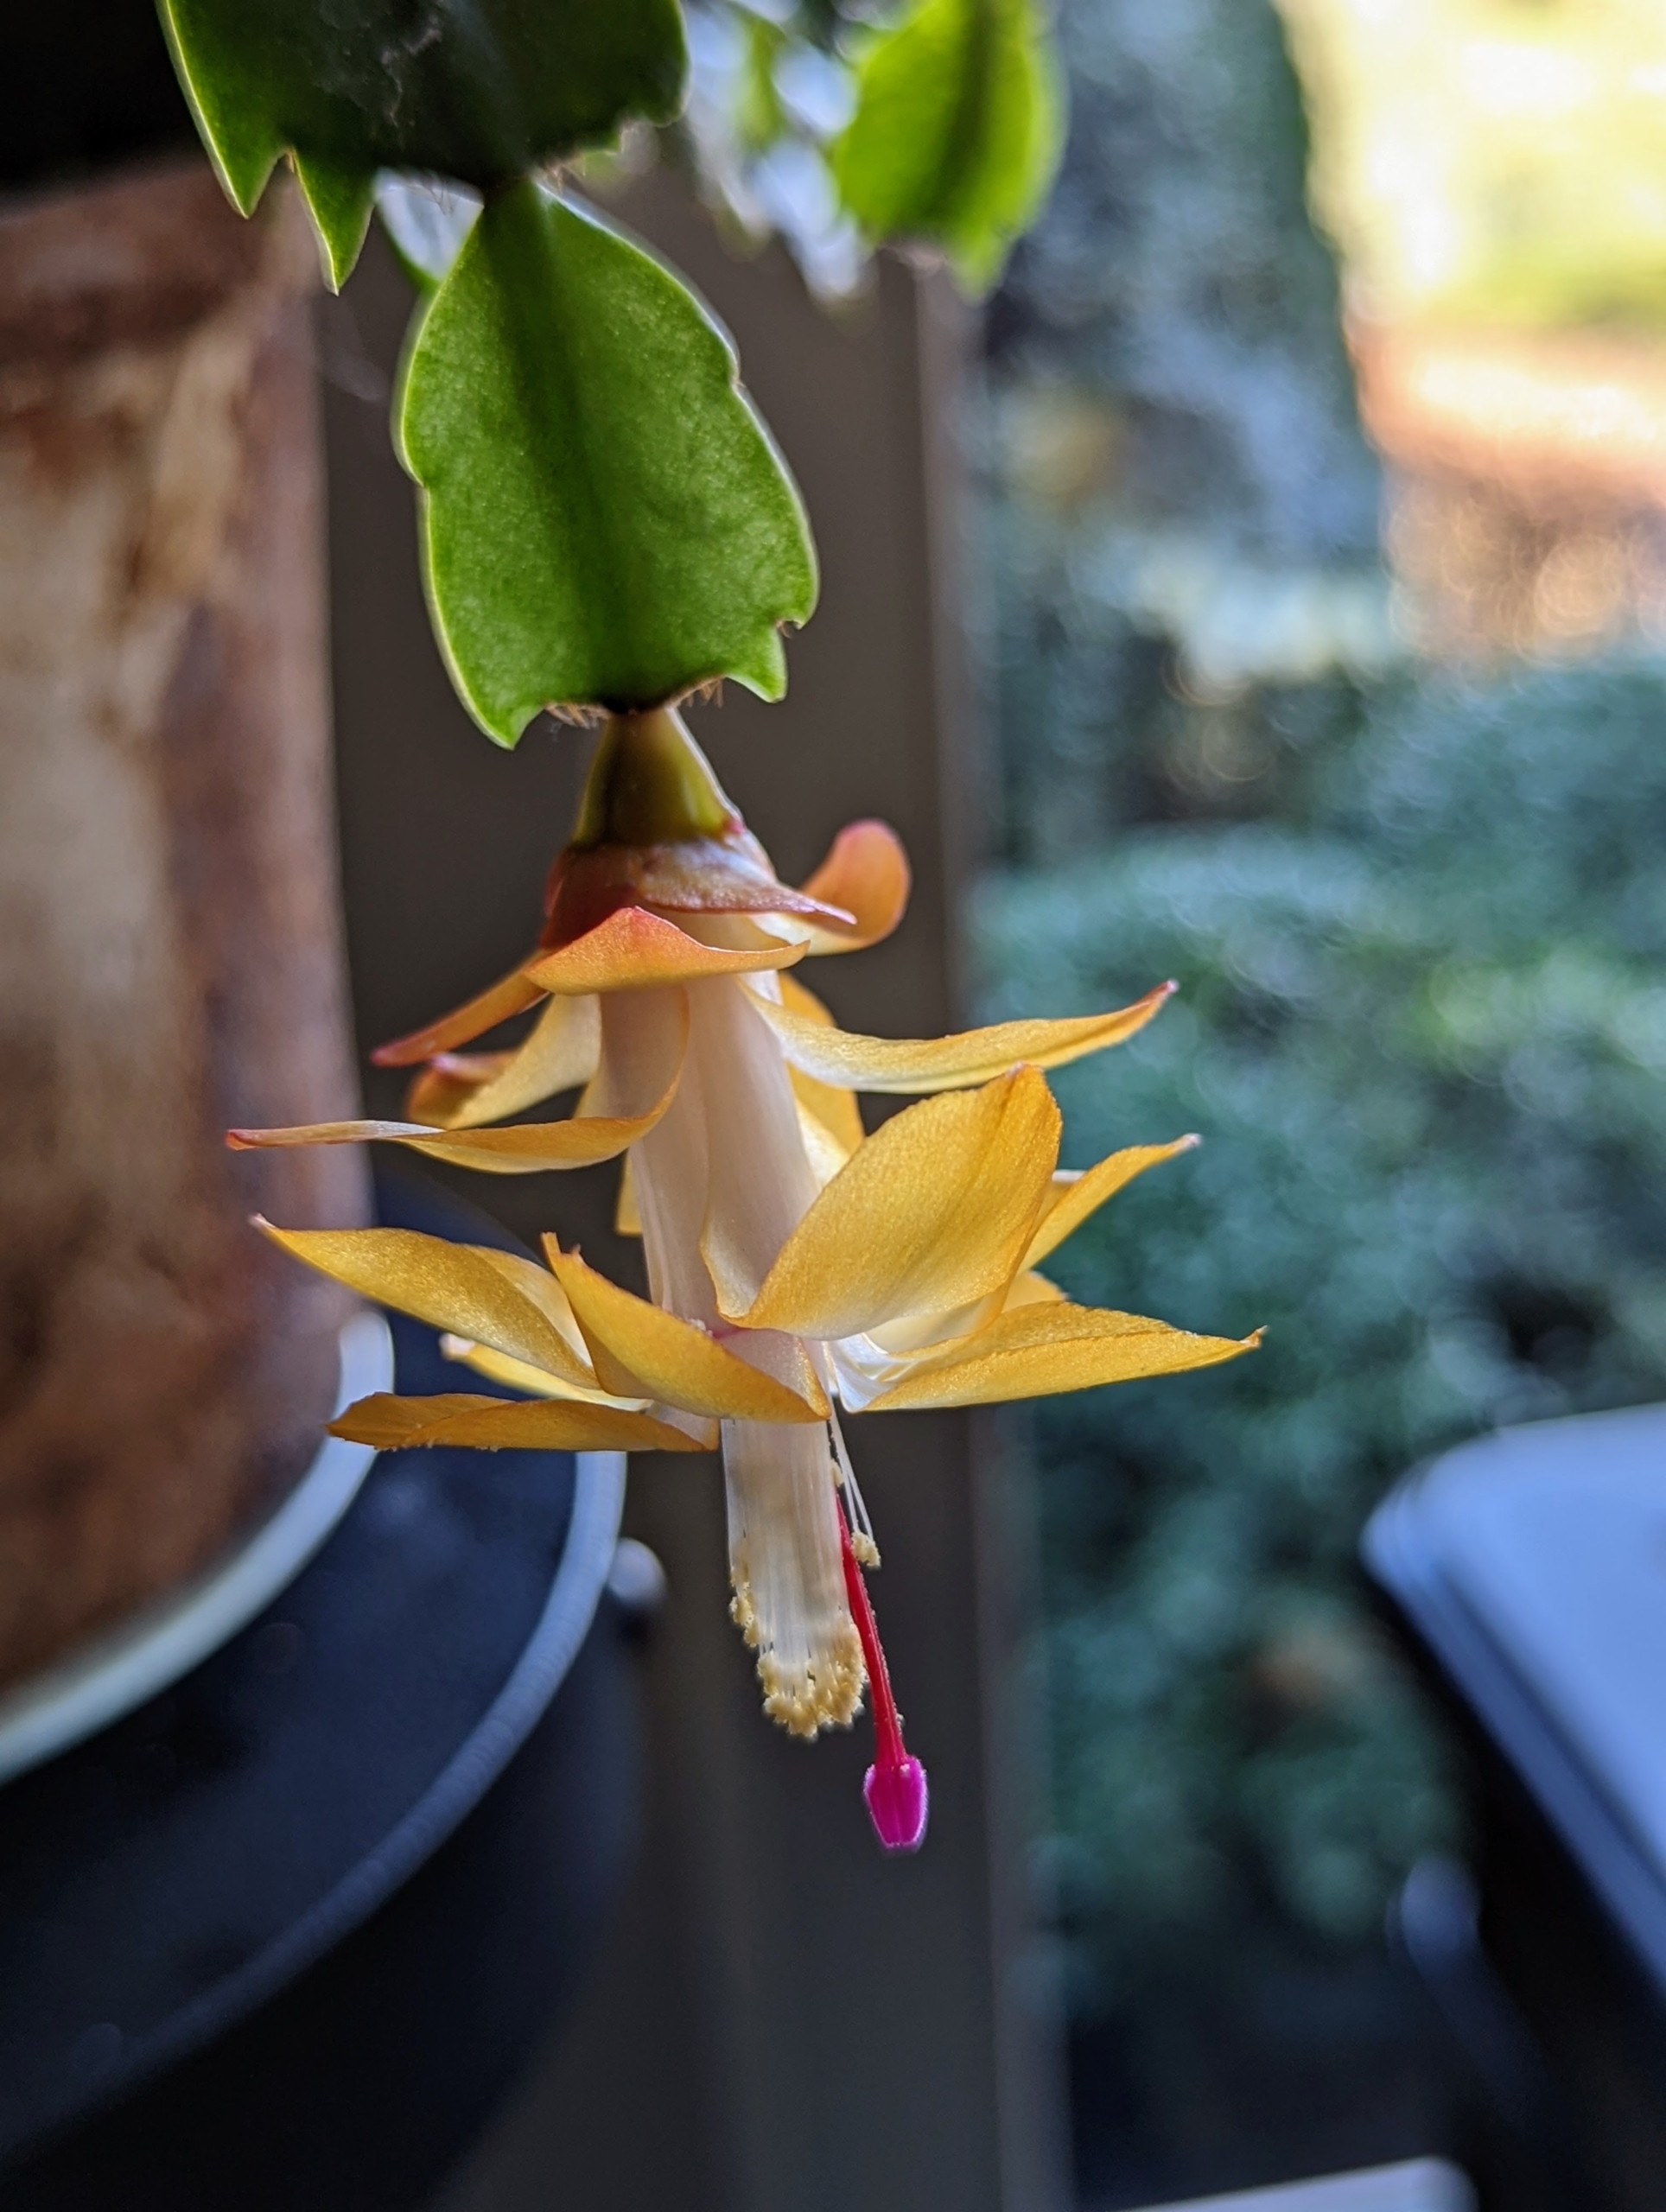
Here is another holiday cactus in yellow. Thanksgiving cacti are the earliest and longest bloomers, typically producing flowers from late fall through mid-winter. Christmas cacti tend to bloom from early winter to mid-winter. There is also Easter cacti that blooms from late winter to mid-spring.
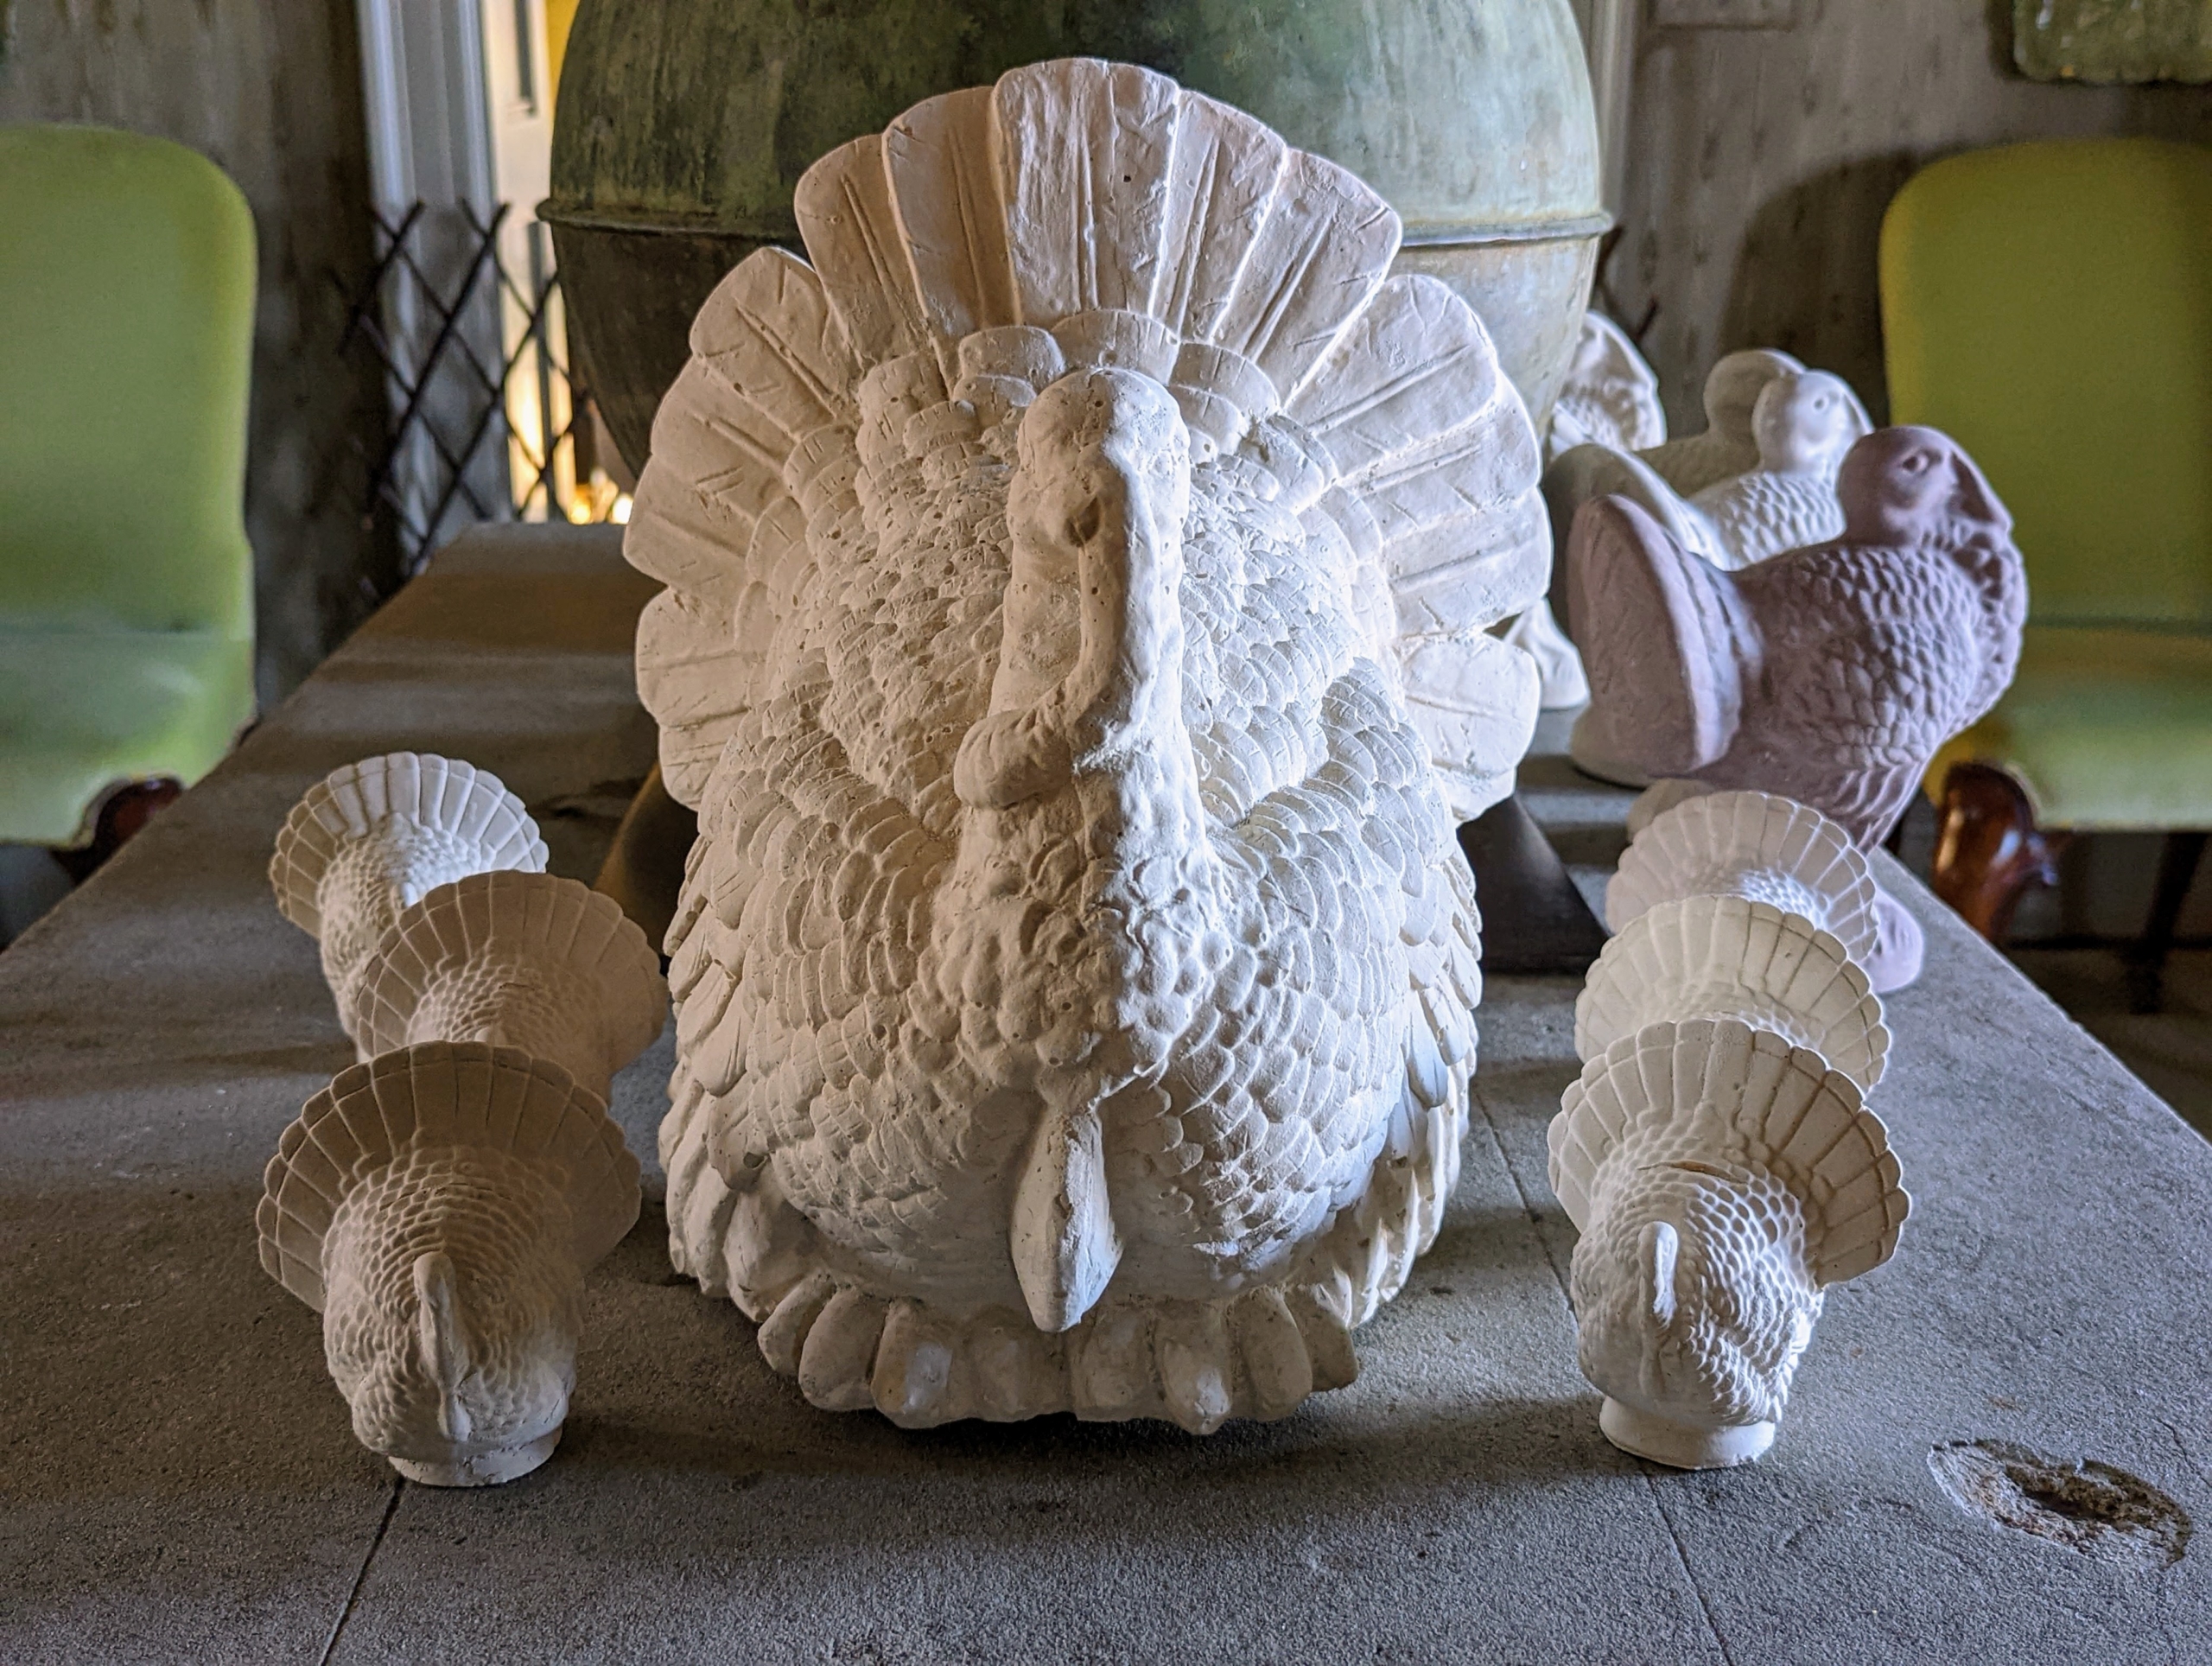
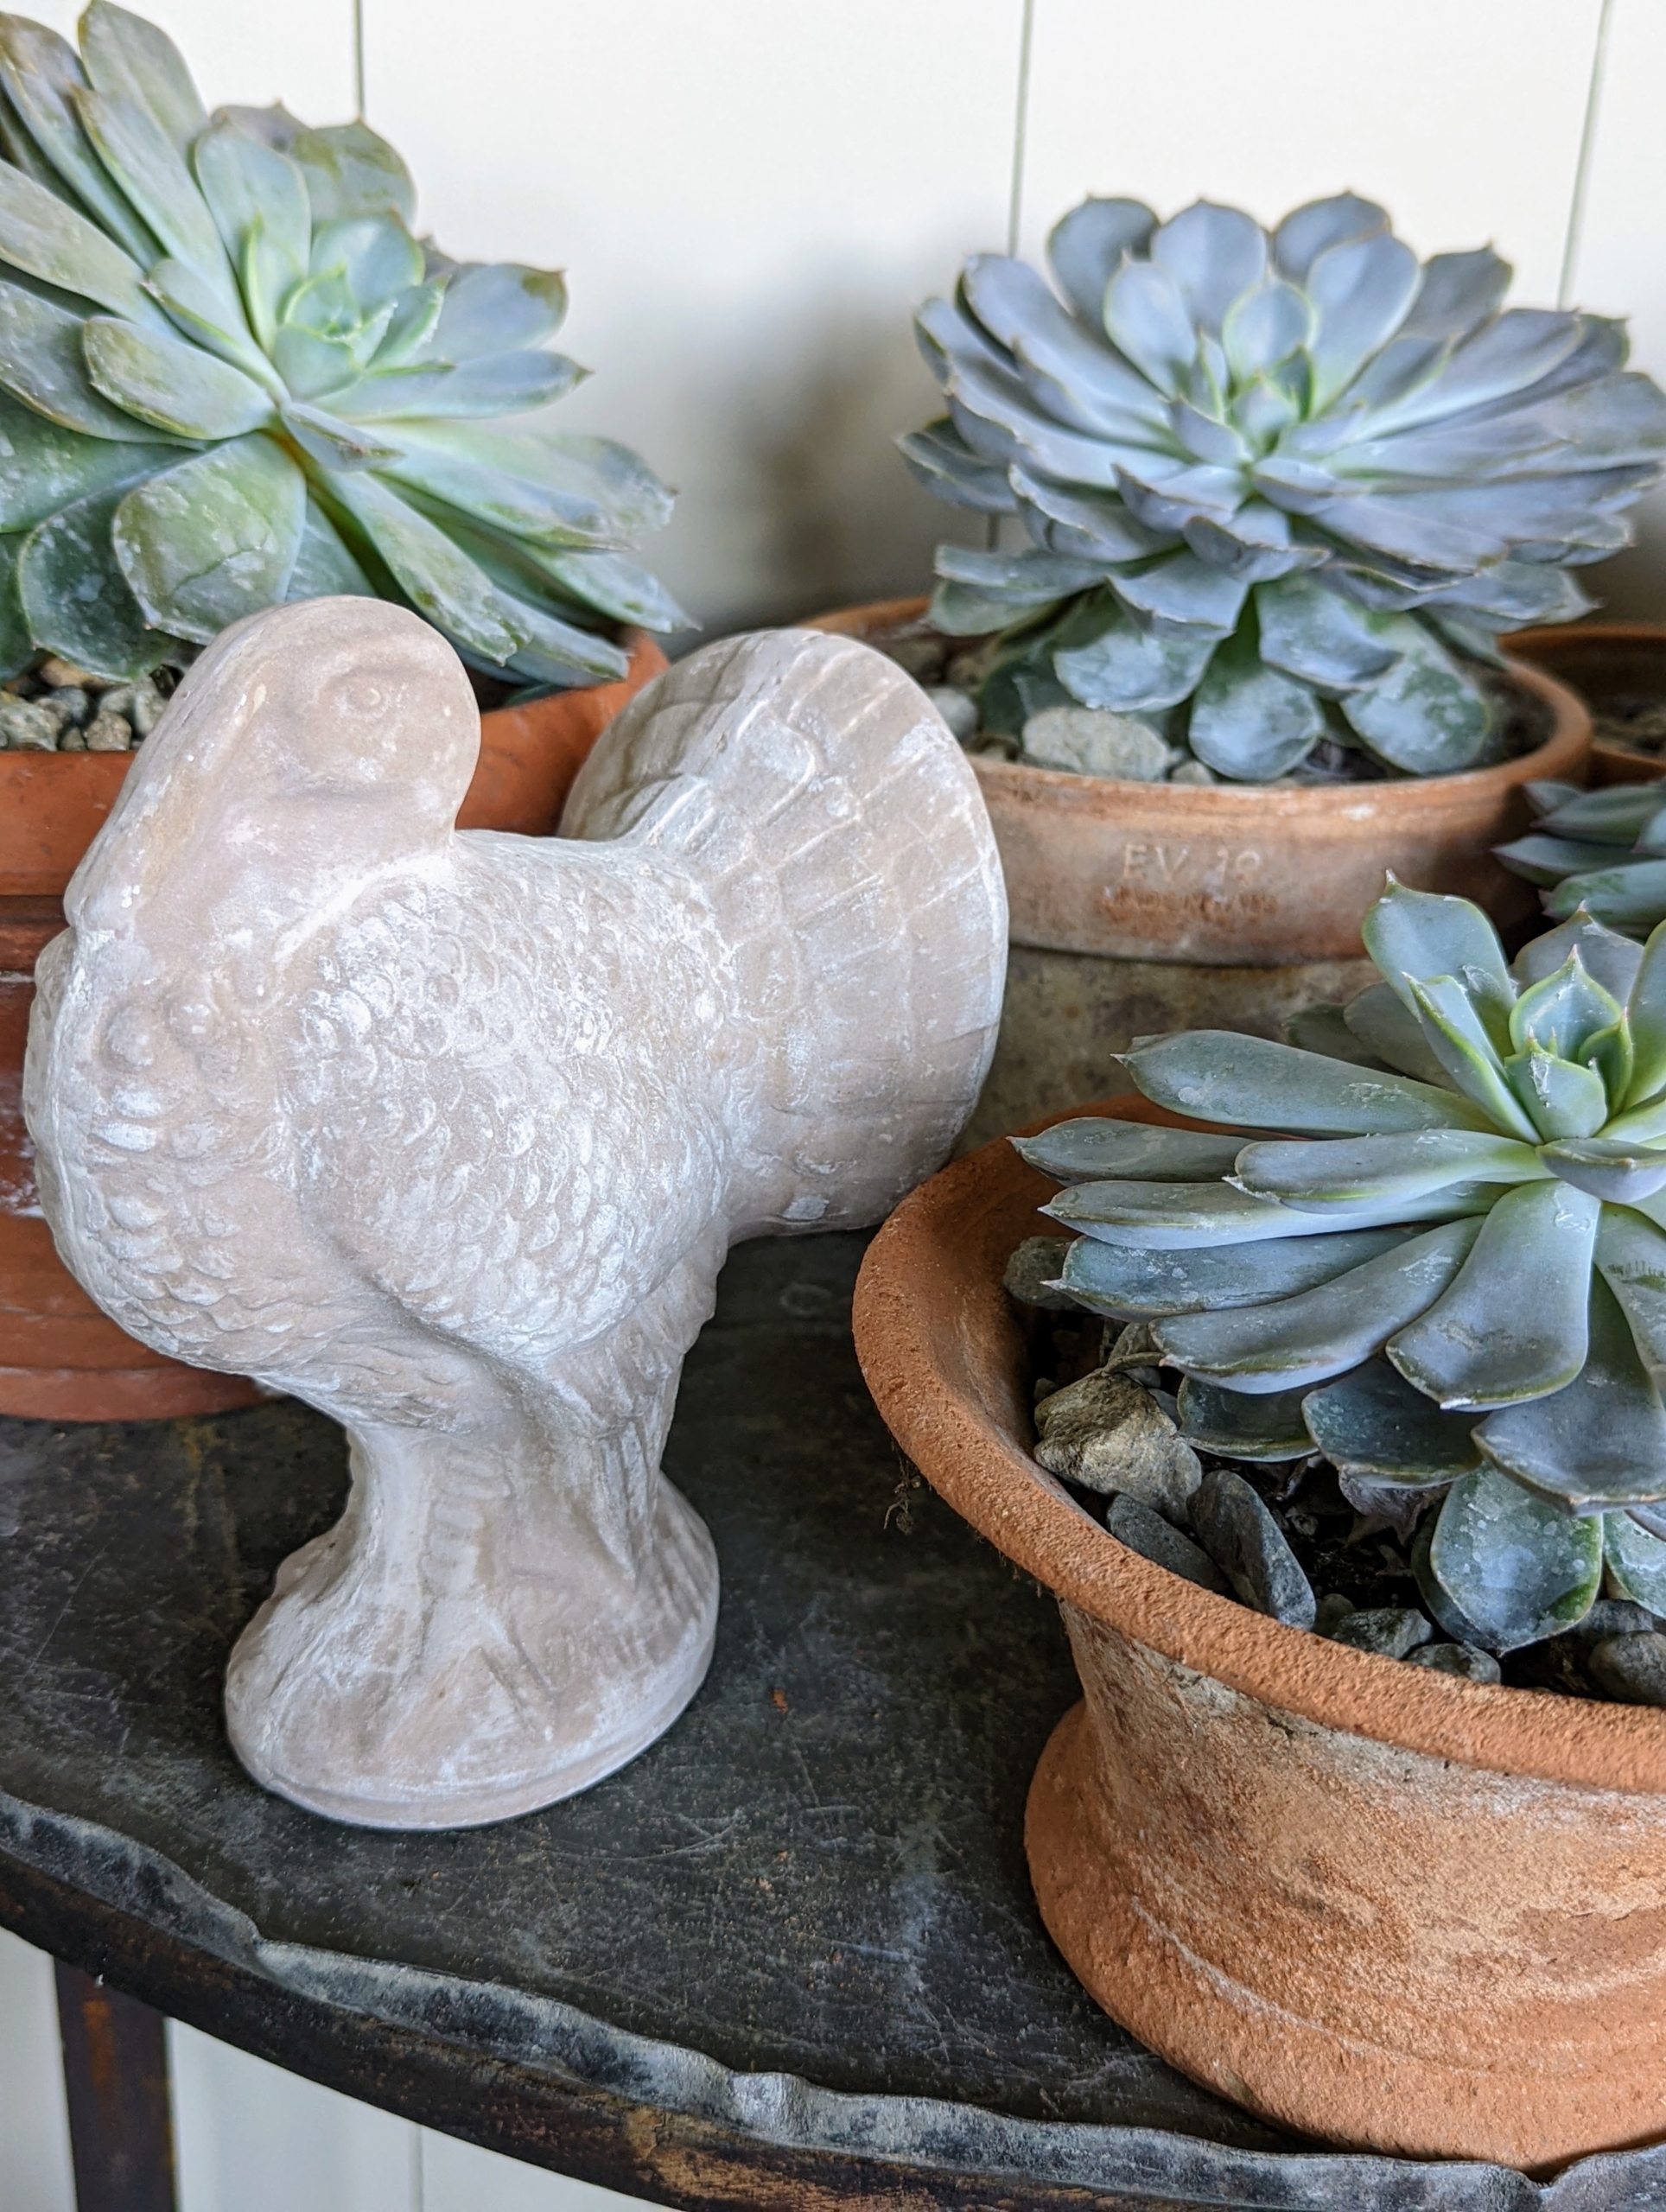
For Thanksgiving, I display lots of beautiful turkey figures. I made these turkeys years back for a shoot. We casted numerous turkeys from a material called PermaStone, a lightweight, durable cement and then gently tinted them in various earth tones.
Here are more turkeys. I have a large collection of turkeys – I love taking them out for the holiday. After all, I once lived on “Turkey Hill Road”.
Here is another turkey standing next to another potted rhipsalis. Recently, during a visit with my niece, Sophie, and her young son, I asked him to count all the turkeys he could find. He counted up more than 80.
And here’s yet another turkey figure. Succulents grow in so many different and interesting formations and colors. They are best planted in clay or terra cotta pots with proper drainage holes because the vessels dry quickly, and prevent water from building up. Echeverias are some of the most attractive of all succulents and they are highly valued by plant enthusiasts for their gorgeous colors and beautiful shapes.
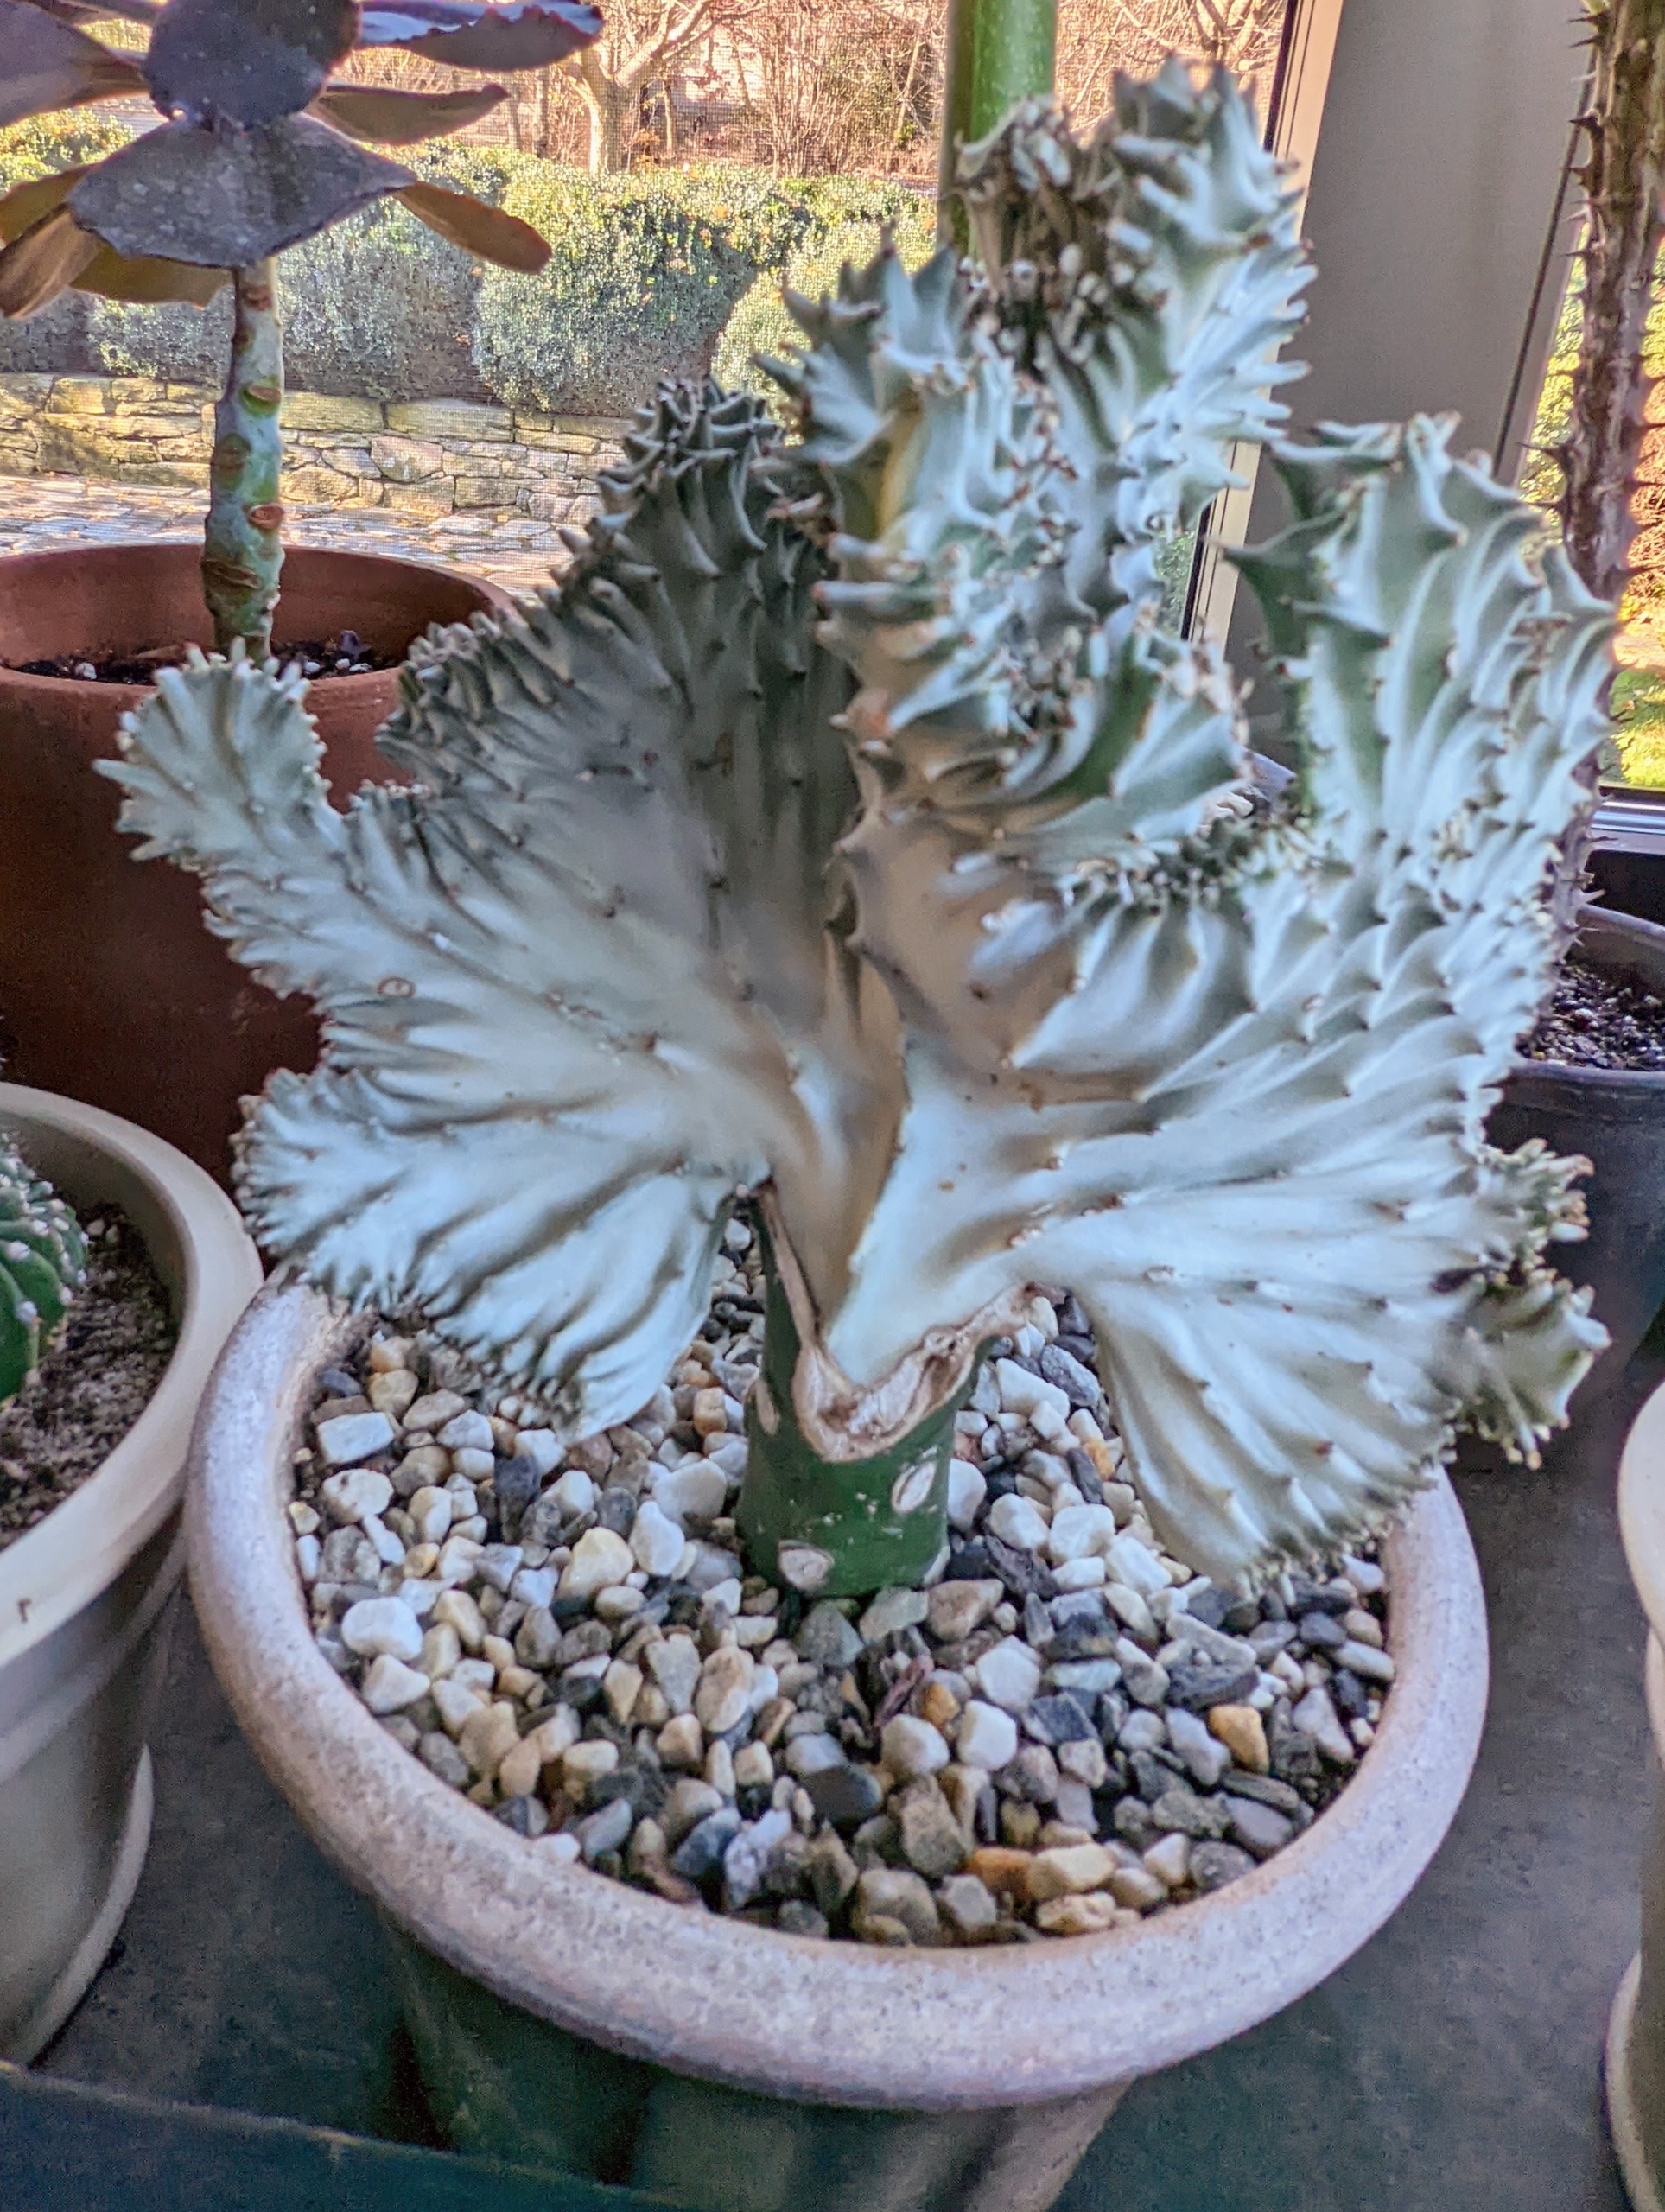
This is Euphorbia lactea, also known as a “Coral Cactus.” It is a species native to tropical Asia, mainly in India. The showy part of the plant, the section that resembles coral, is called the crest. The ridges are spiny, with short spines.
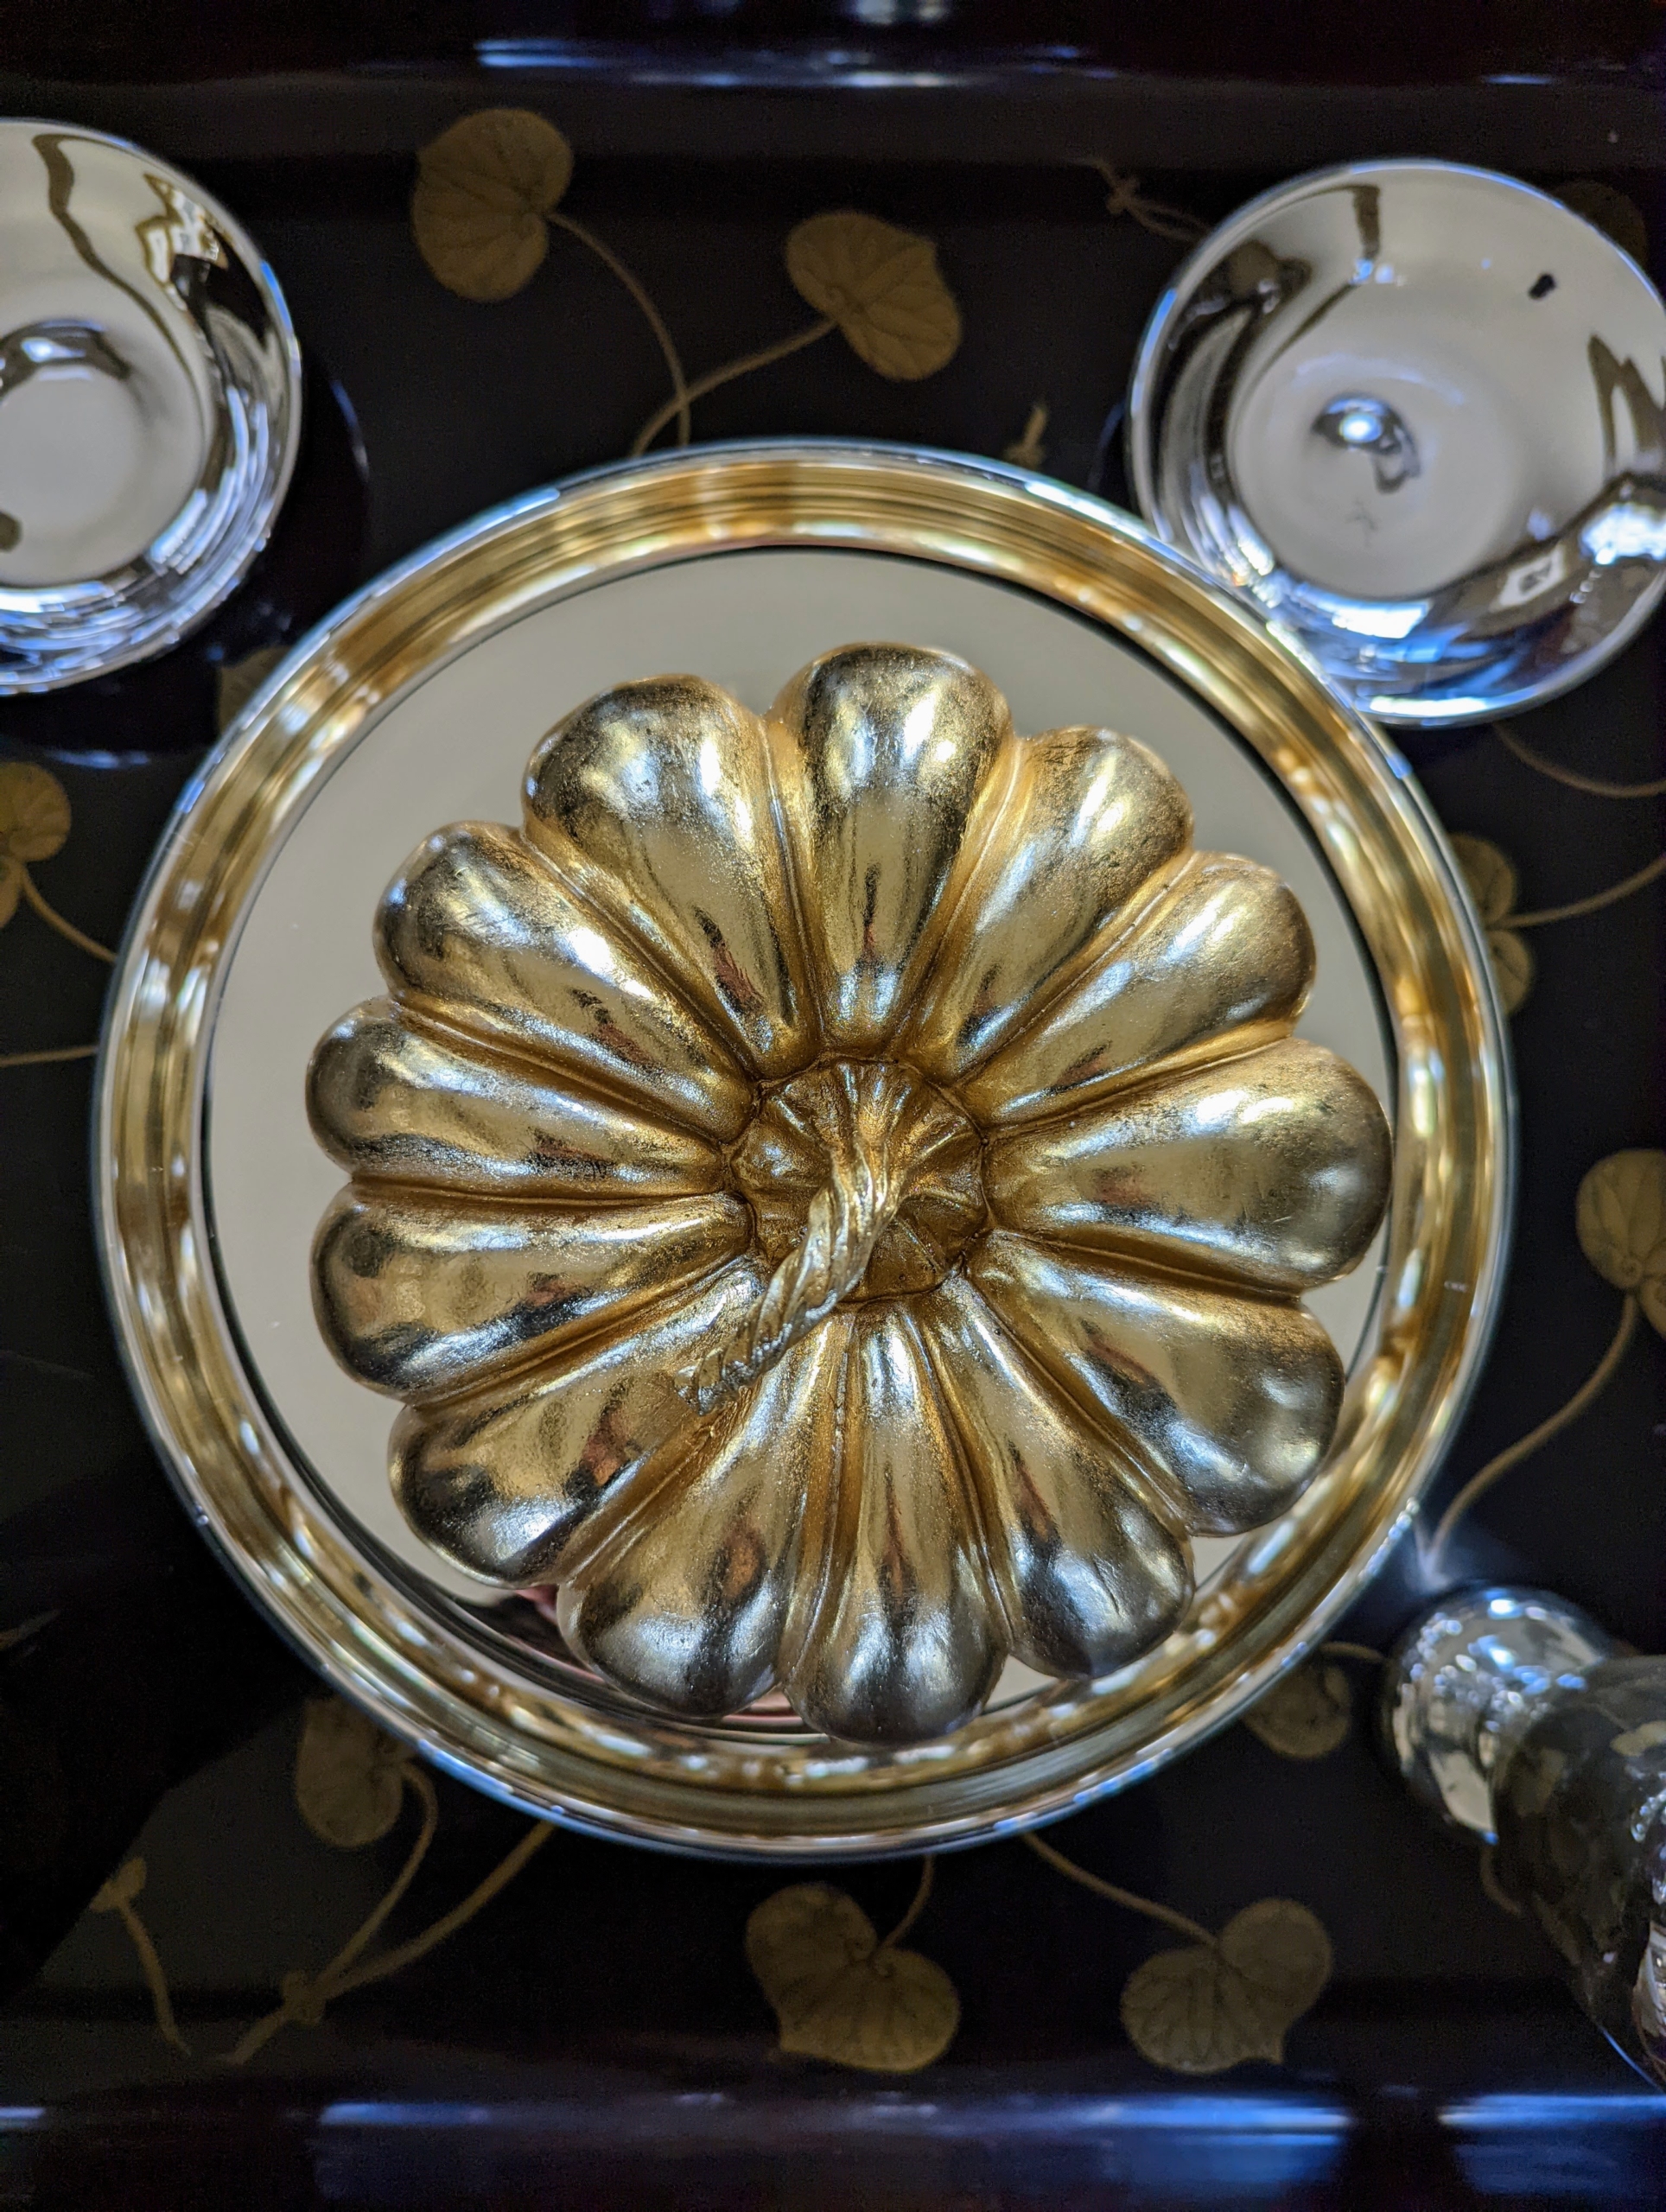
There are also pumpkins displayed around my home this time of year.
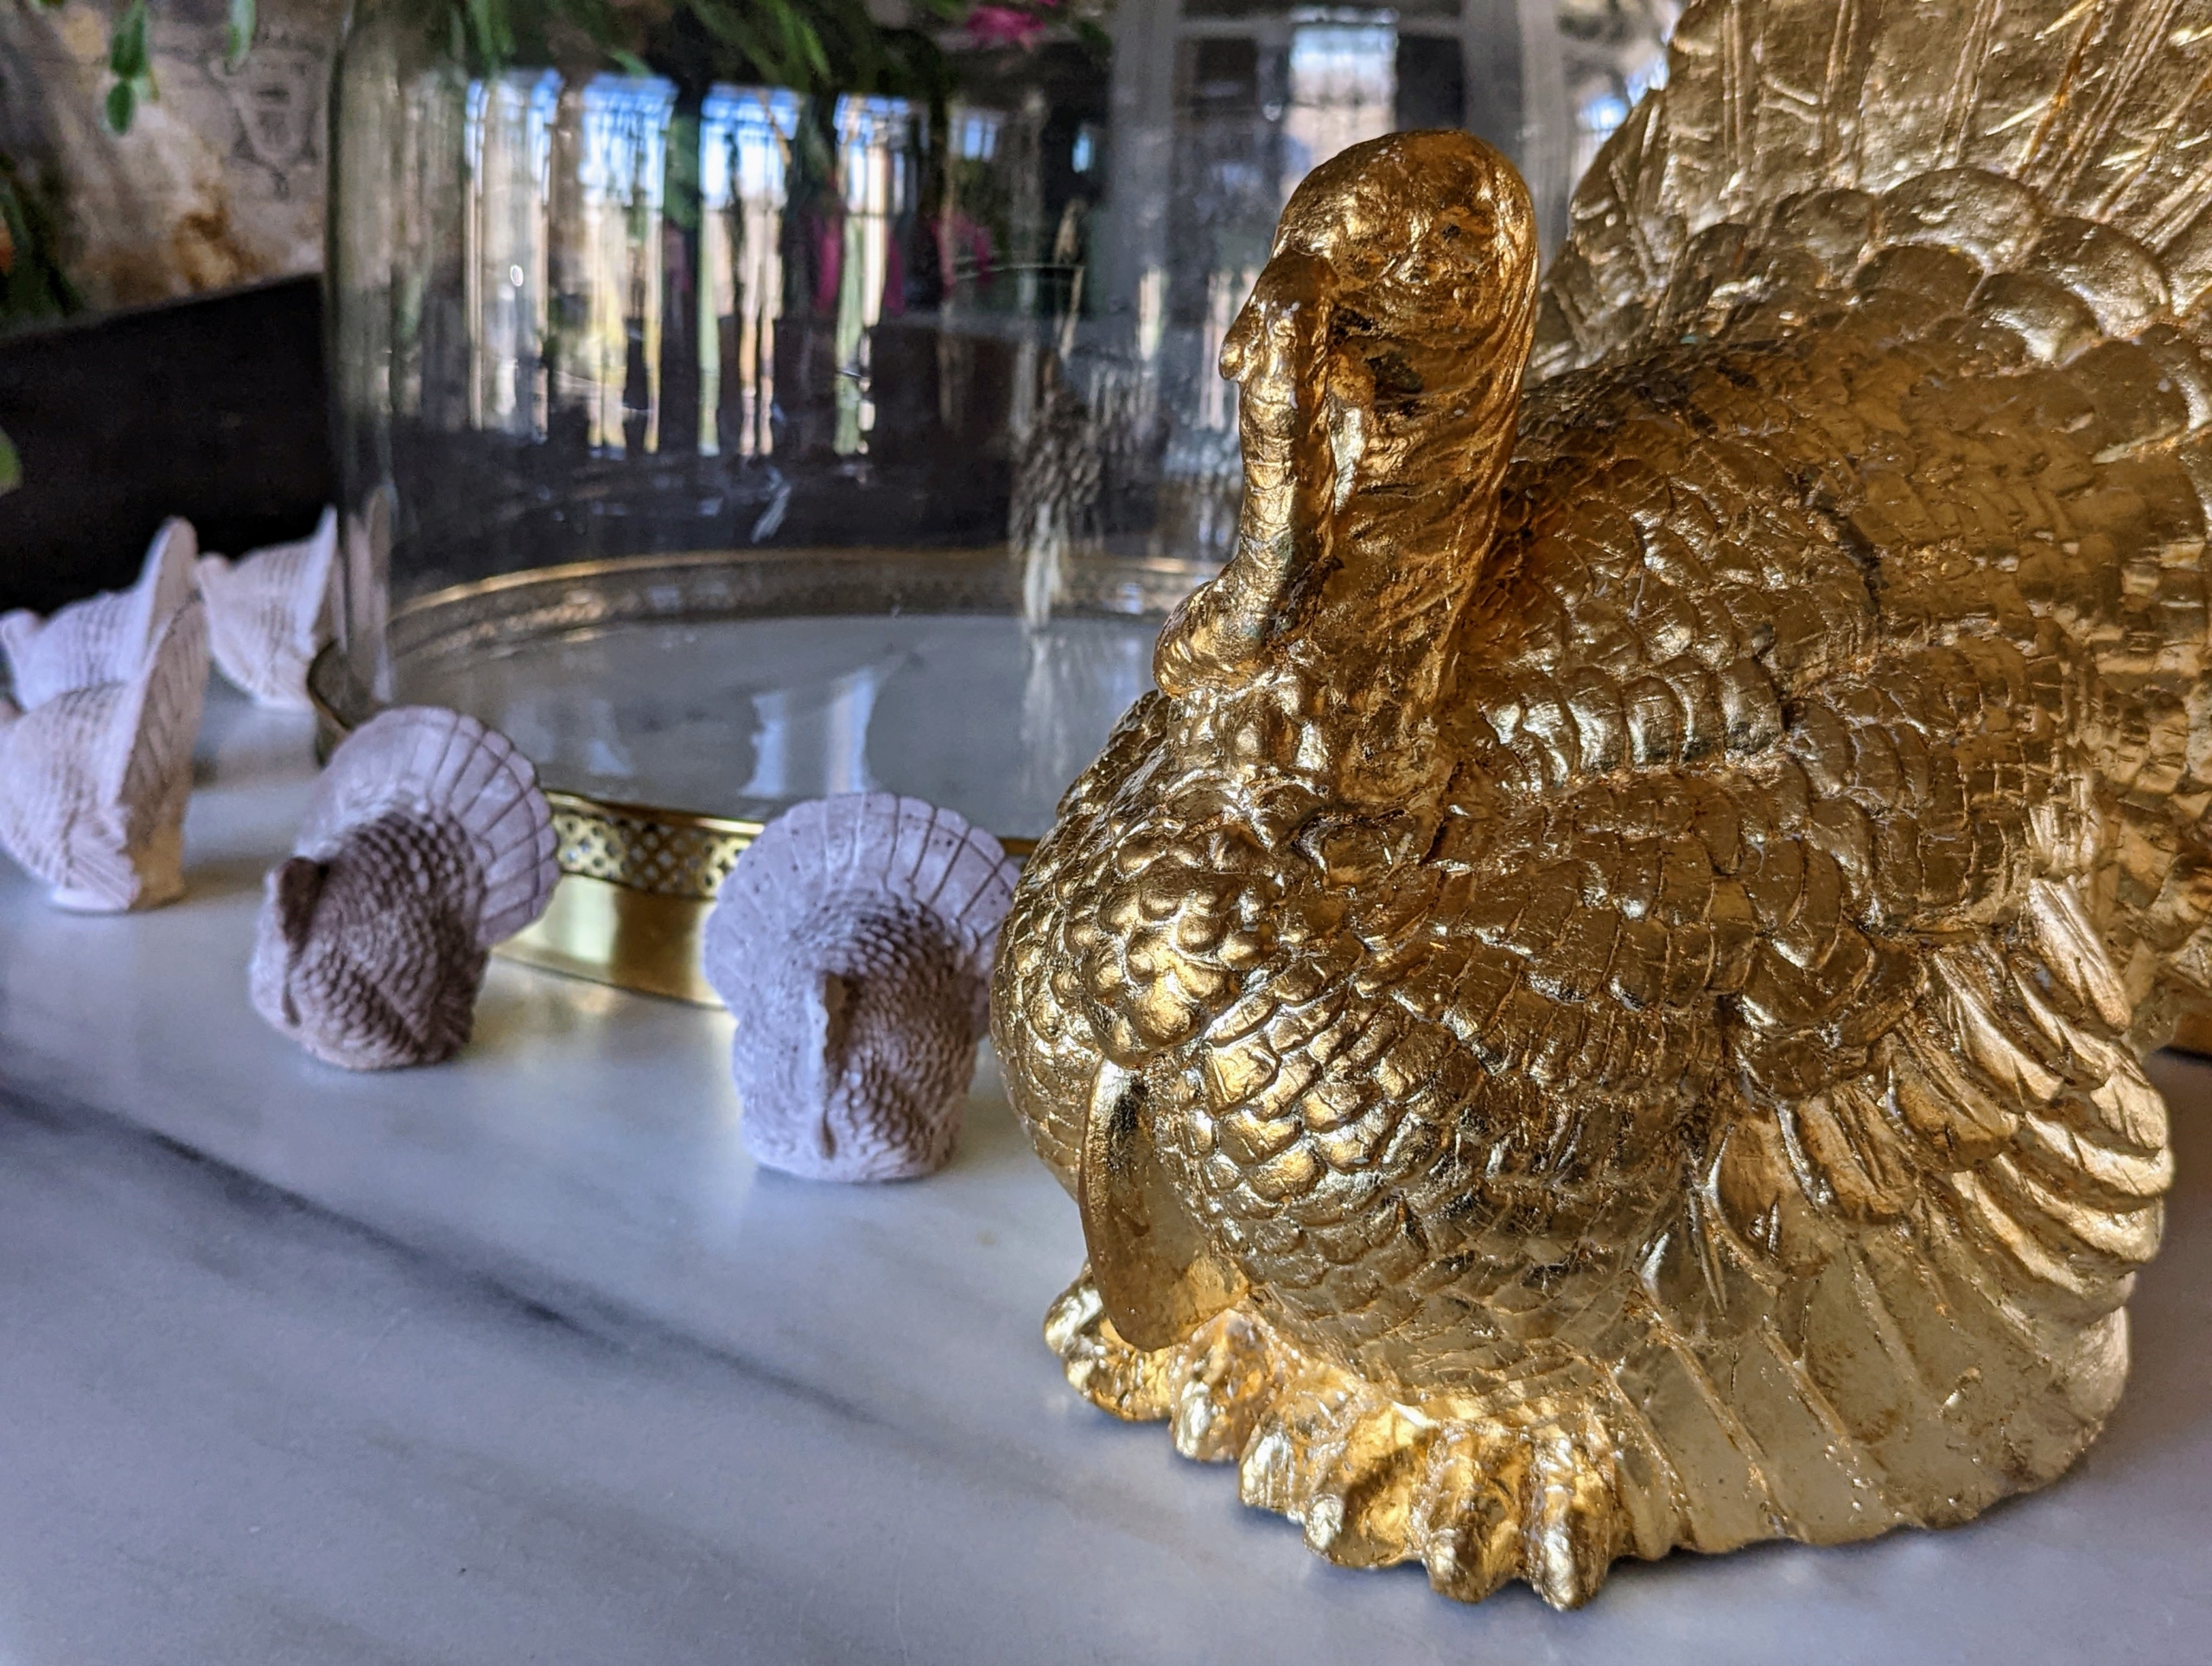
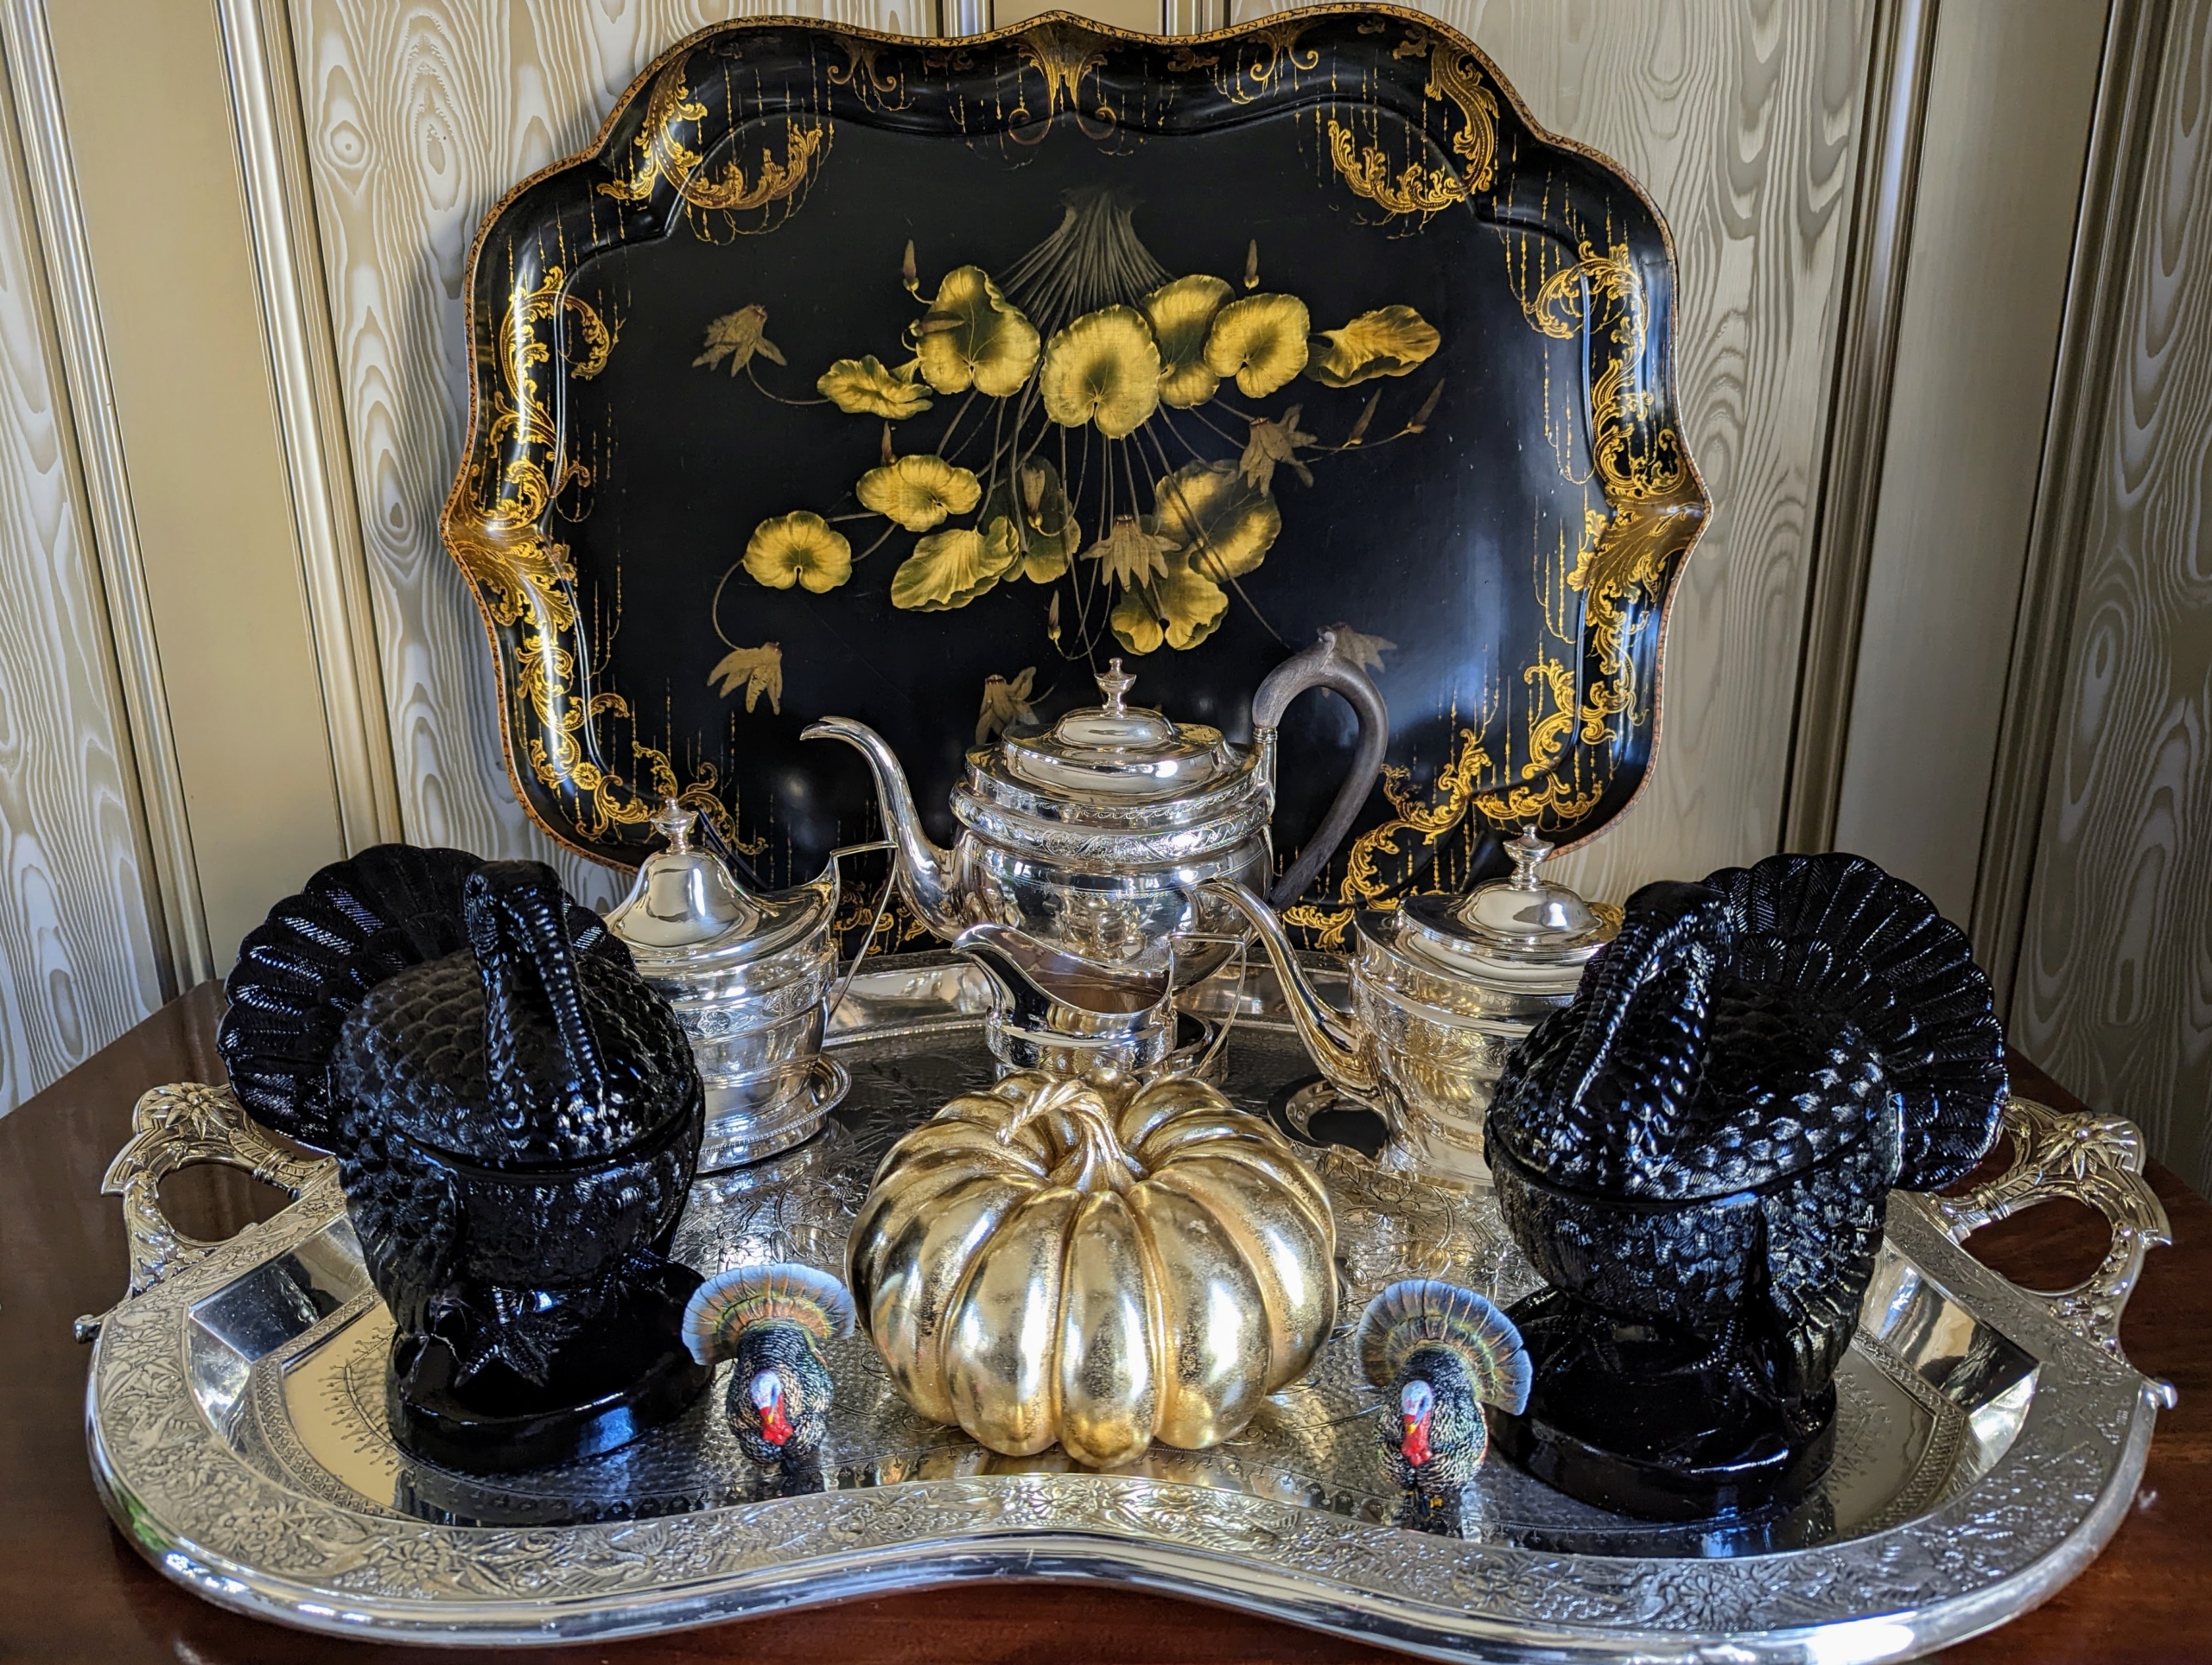
More turkeys on my servery counter. I originally purchased the gold colored turkey in papier mache, and then gilded it with faux gold leaf.
In the kitchen, we’re preparing the “mis en place” – a French term meaning “set in place”. It refers to having all the ingredients prepped and ready to go before cooking. Look at these gorgeous carrots that we harvested from my vegetable greenhouse.
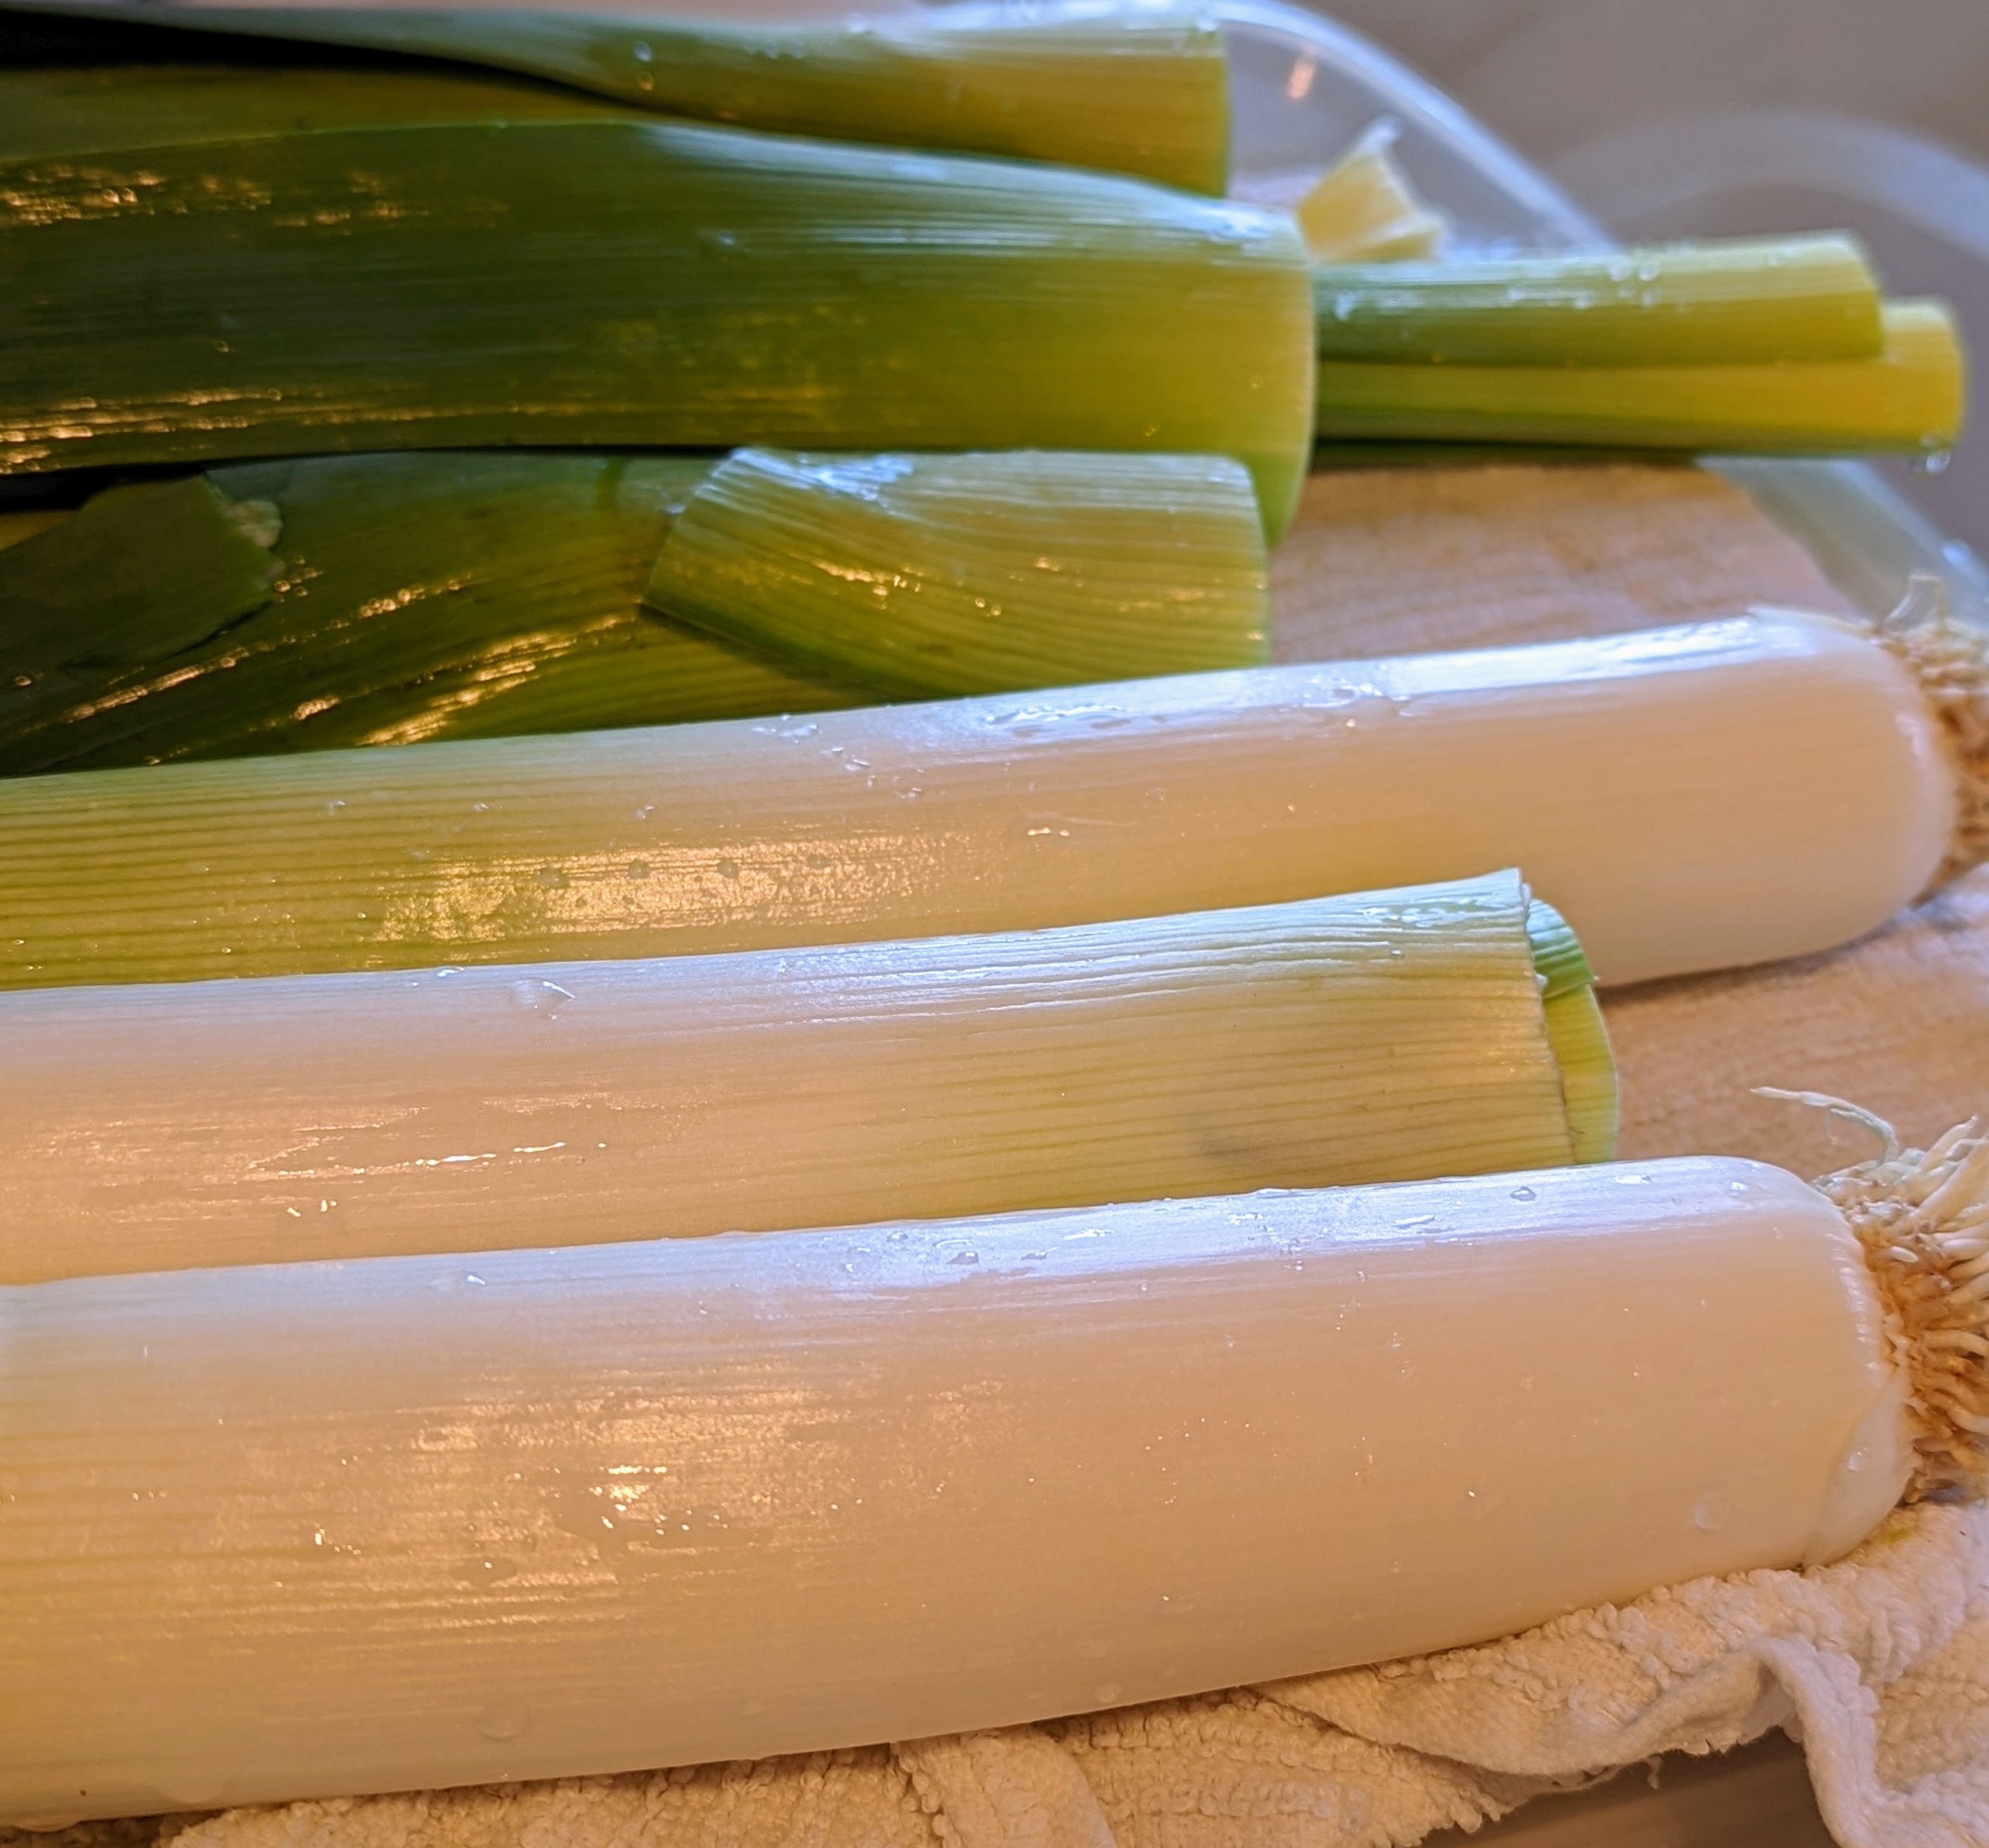
The leeks are all rinsed and peeled.
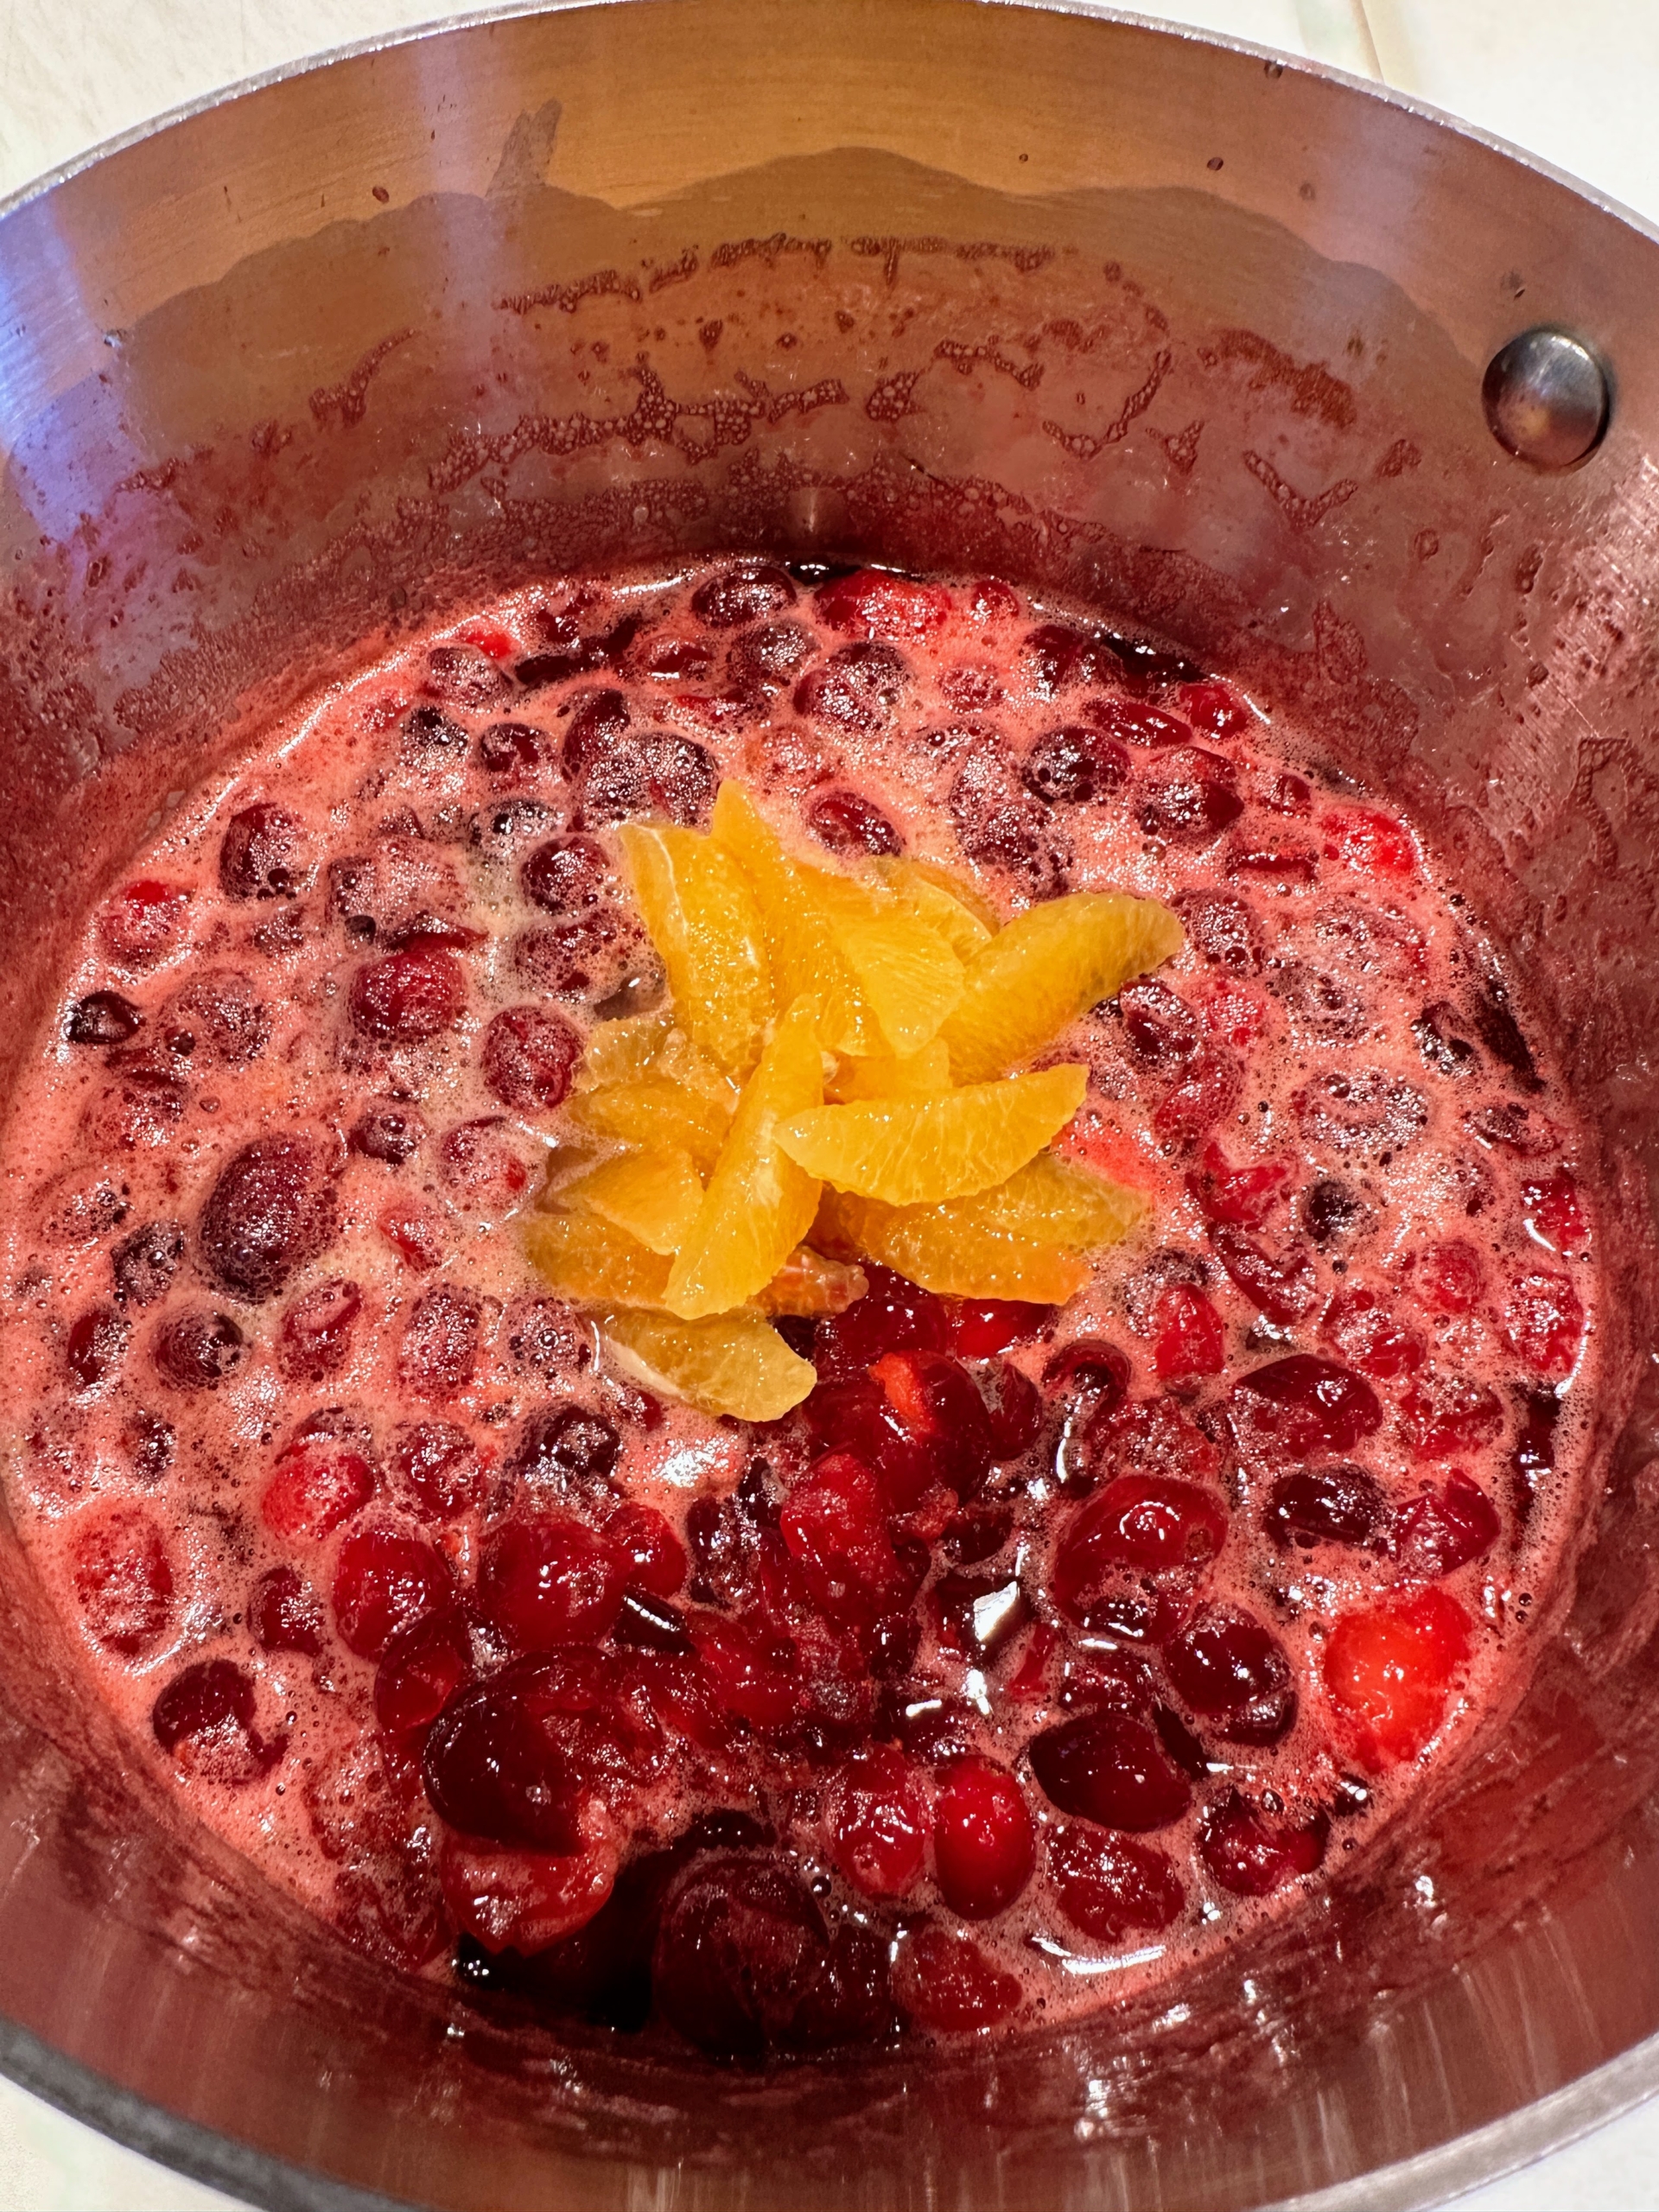
And on the stove, the cranberries are cooked with citrus until they pop.
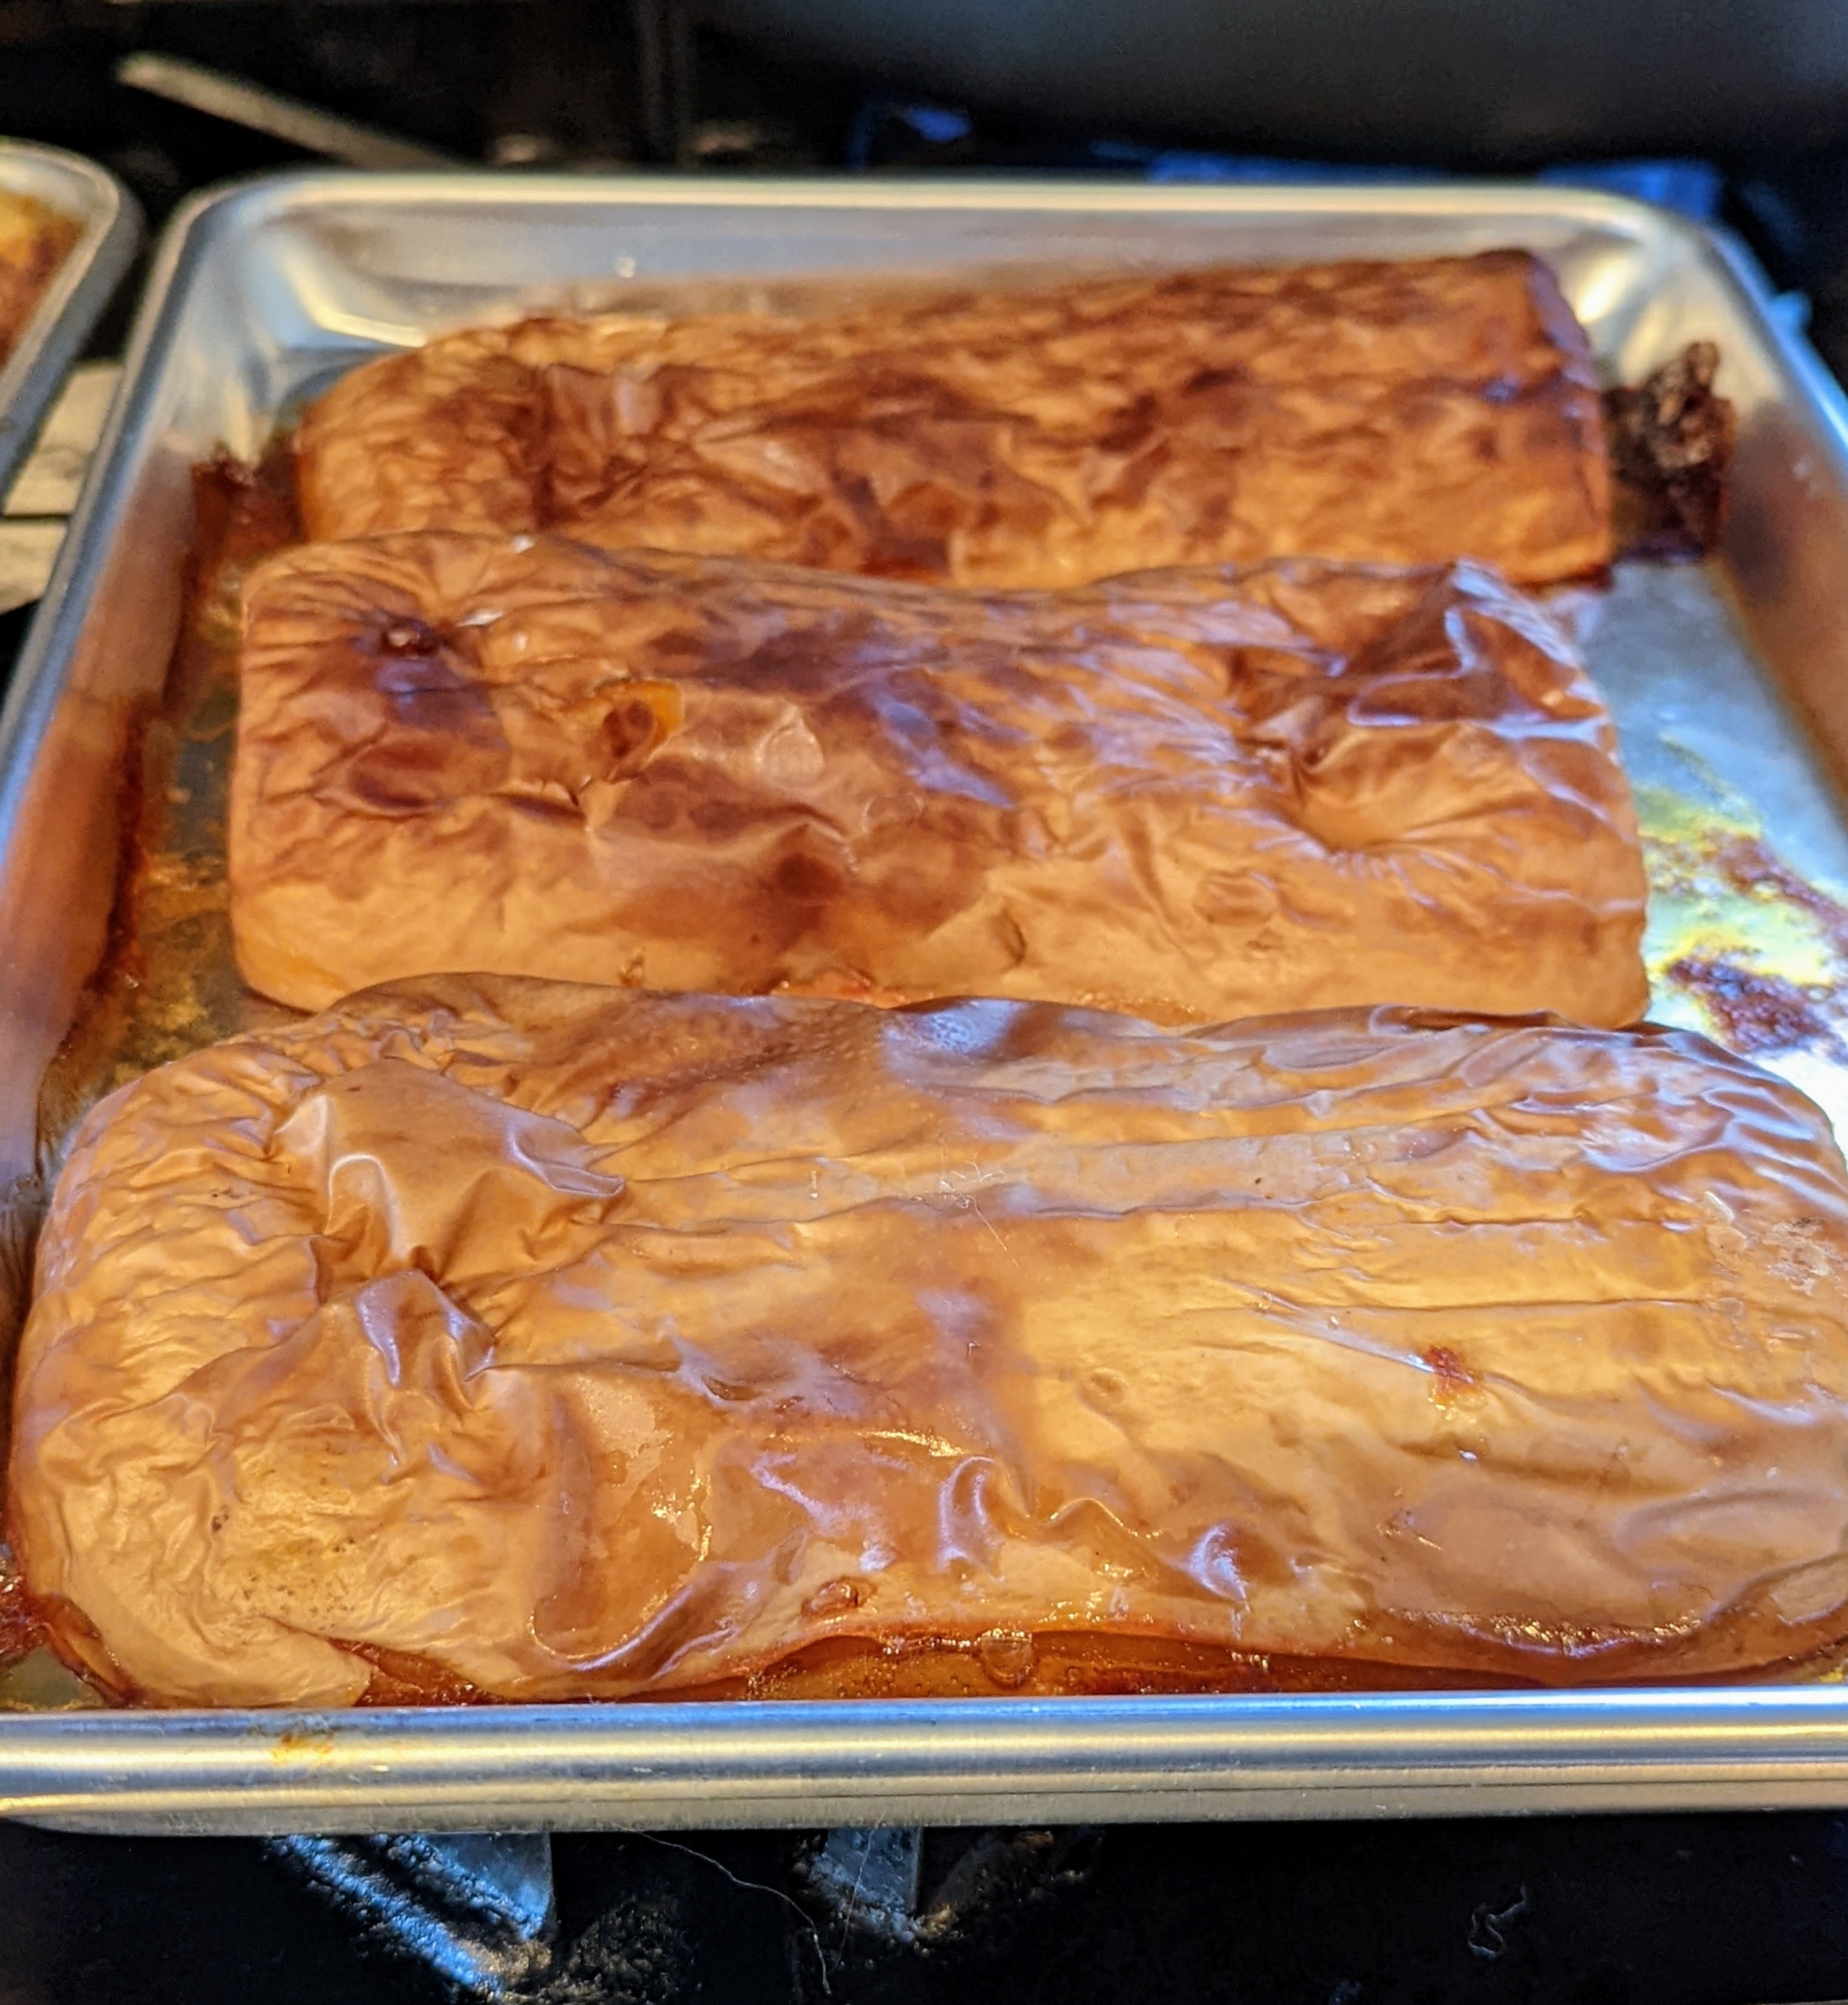
Here – roasted butternut squash. It will be used in my butternut squash and leek soup.
And did you see my Instagram page @MarthaStewart48? I made 22 pies for my hardworking staff here at the farm. Each chose from chocolate pecan, pecan, butternut squash, or lemon curd. All the pies were wrapped carefully in cellophane and labeled for each recipient. I handed them out before they left for the Thanksgiving holiday.
These dark amethyst turkey dishes are on a side table in my Brown Room.
Nearby, another amethyst turkey at the dining table. I try to set the table so it is a little different every time. I work with my housekeeper, Enma, on choosing just the perfect combination of plates and linens.
The entire table seats 18. One tip is to always be prepared for extra guests just in case someone decides to bring another along – it does happen. Soon, this table will be filled with close friends. I hope you all have a joyous Thanksgiving with those near and dear. I’ll be sure to share more photos of my day in another blog. Happy Thanksgiving.