So many of you comment on how much you appreciate my pet blogs - especially those that give step-by-step instructions for making food for my four dogs, Bete Noire, Creme Brulee, Empress Qin, and Emperor Han.
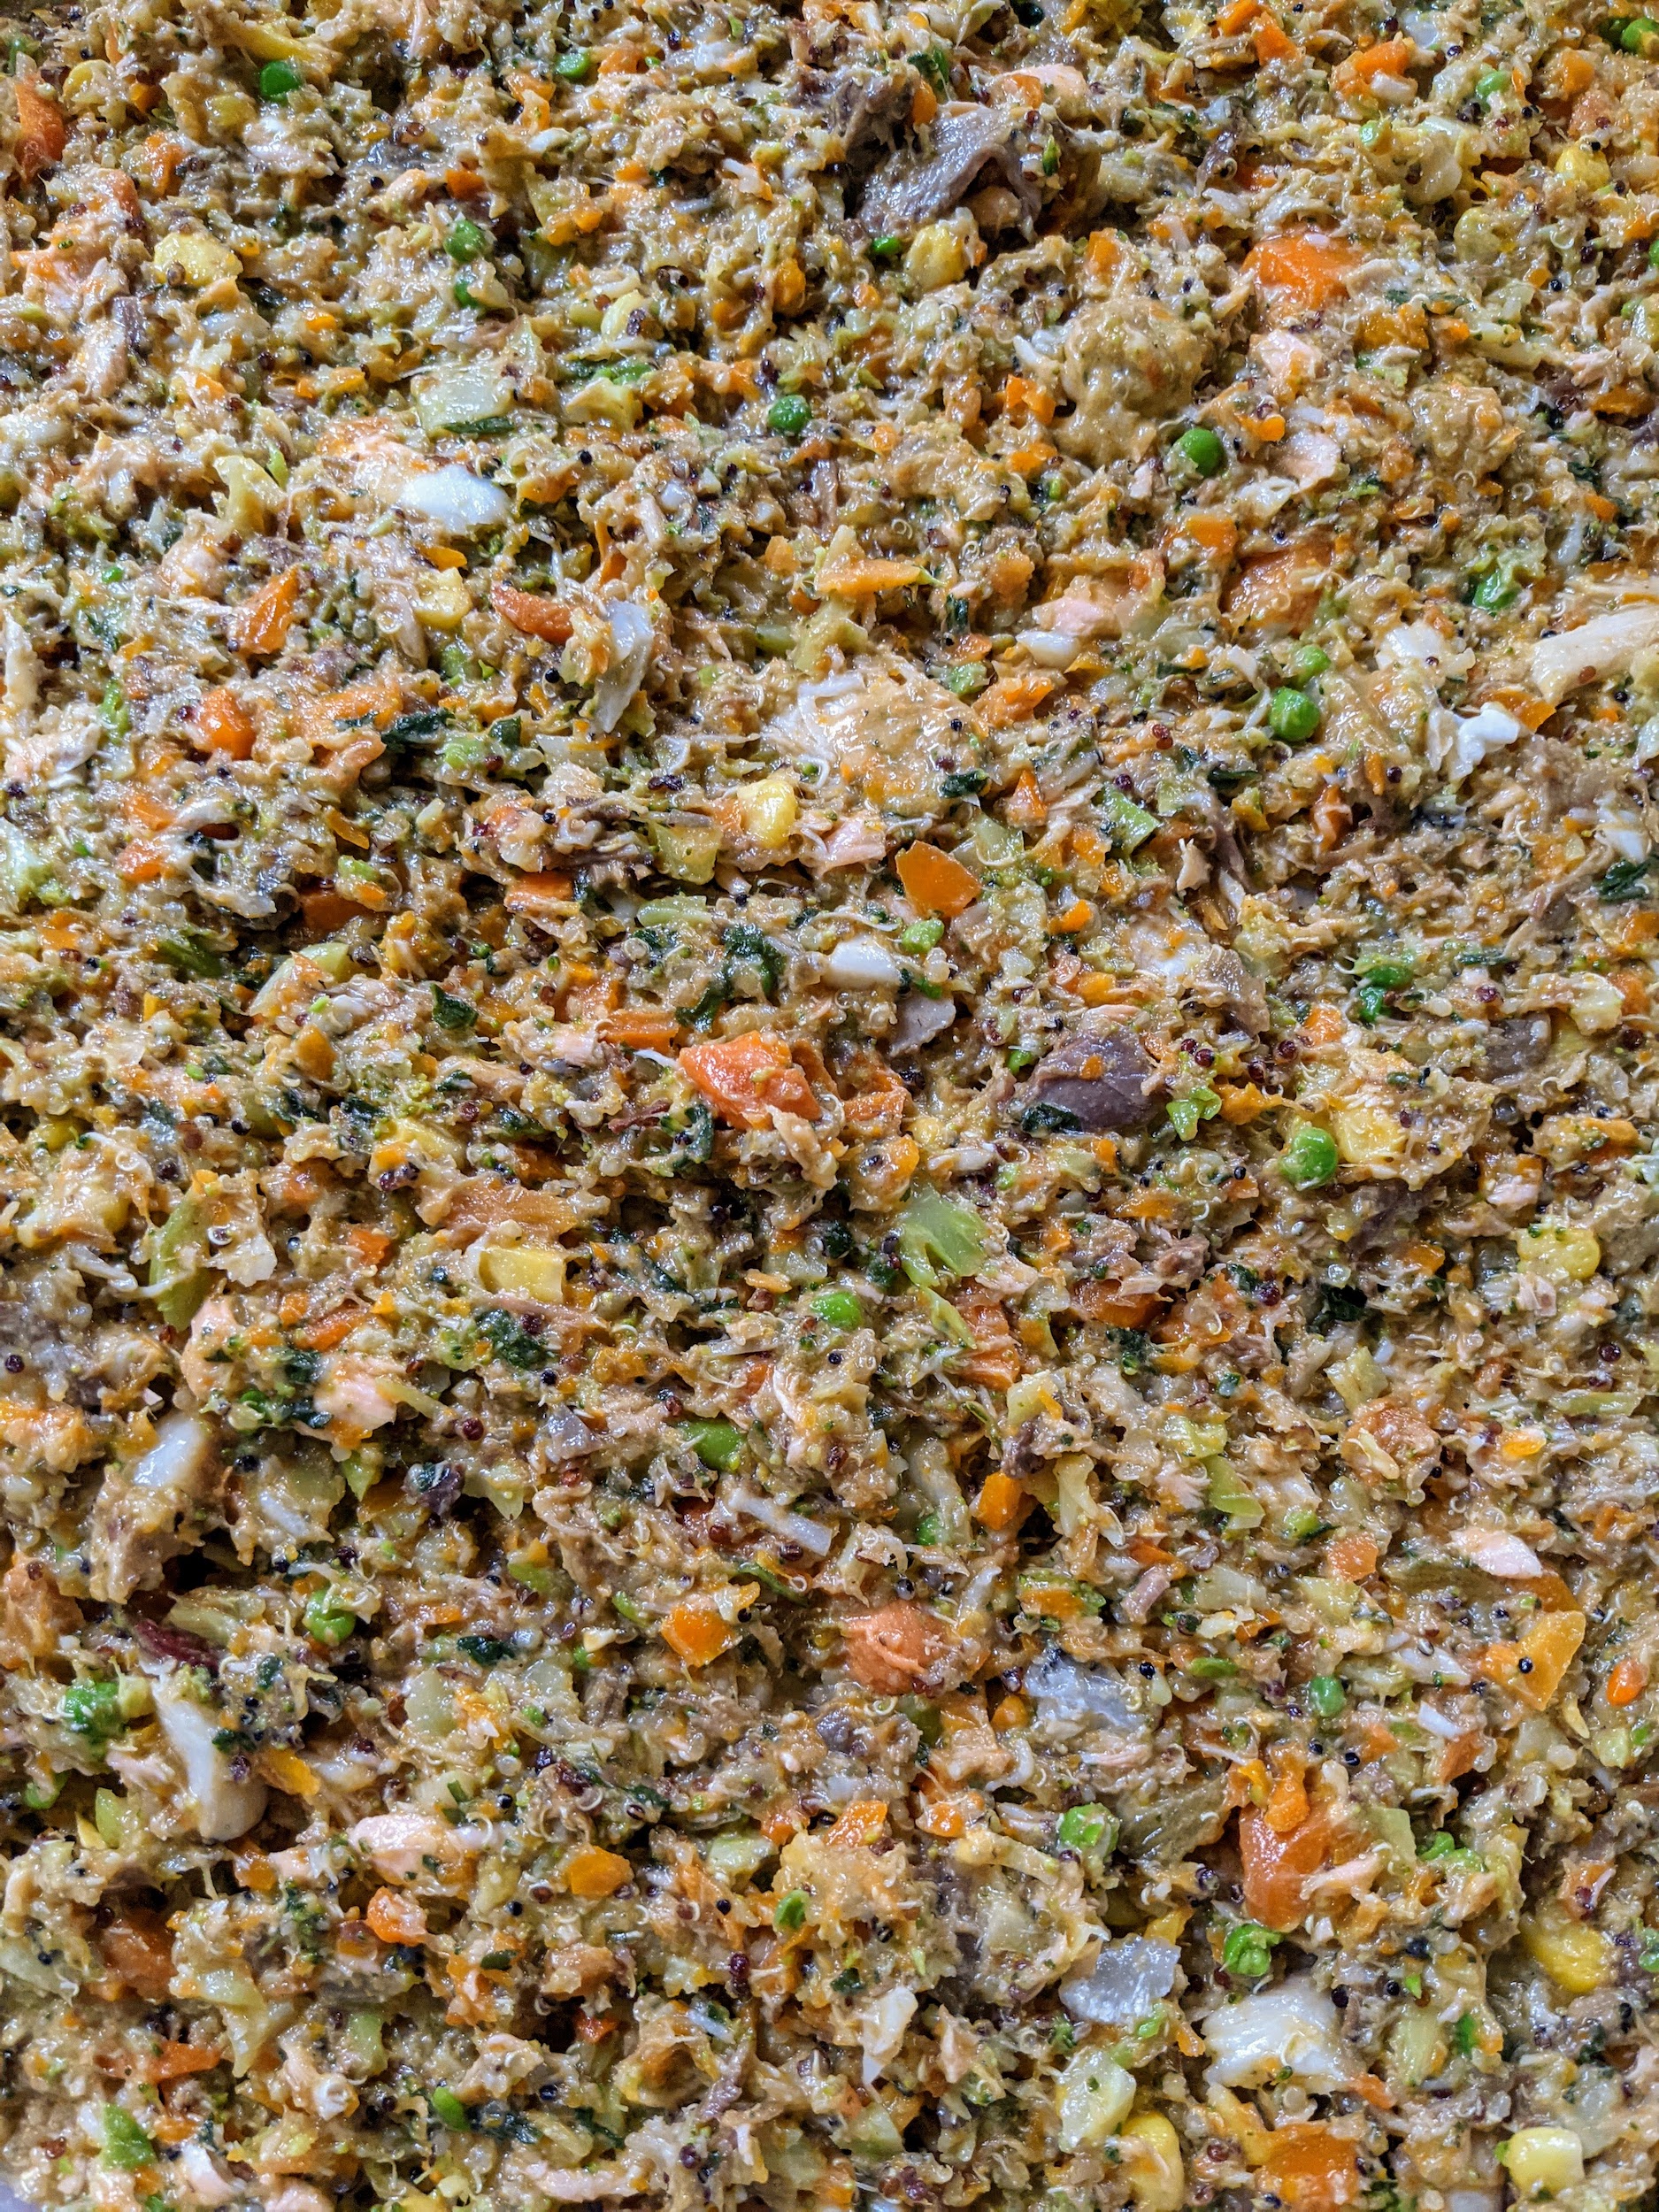
Every few weeks, I set aside time to make my dogs a good supply of home-cooked food. Preparing my own dog food has many benefits - fewer preservatives and additives, more varied and better ingredients and, of course, more of what I know my dogs will enjoy. I also know the food is from wholesome, organic, reputable sources - and that is very important to me. Yesterday, we prepared a giant batch of food filled with excellent quality chicken, beef, fish, quinoa, and lots of nutritious organic vegetables.
Enjoy these photos.
Here’s Emperor Han watching the activity at the farm from the steps of my Winter House kitchen. My dogs are very healthy. Look at Han’s coat – it’s so thick and abundant. My dogs’ good health and appearance are due, in part, to the food they eat. I love cooking for my dogs because I know exactly what they’re getting.
Here’s the counter of my Flower Room kitchen – filled with bowls of wholesome cooked vegetables and meats. I currently have four dogs – my Chow Chows, Han and Empress Qin, and my French Bulldogs, Bete Noire and Creme Brulee. Having multiple dogs means there’s a lot to prepare.
This is a bowl of chopped, cooked broccoli heads. We cooked all the vegetables separately and placed them in big stainless steel bowls. All my food is completely organic and full of flavor.
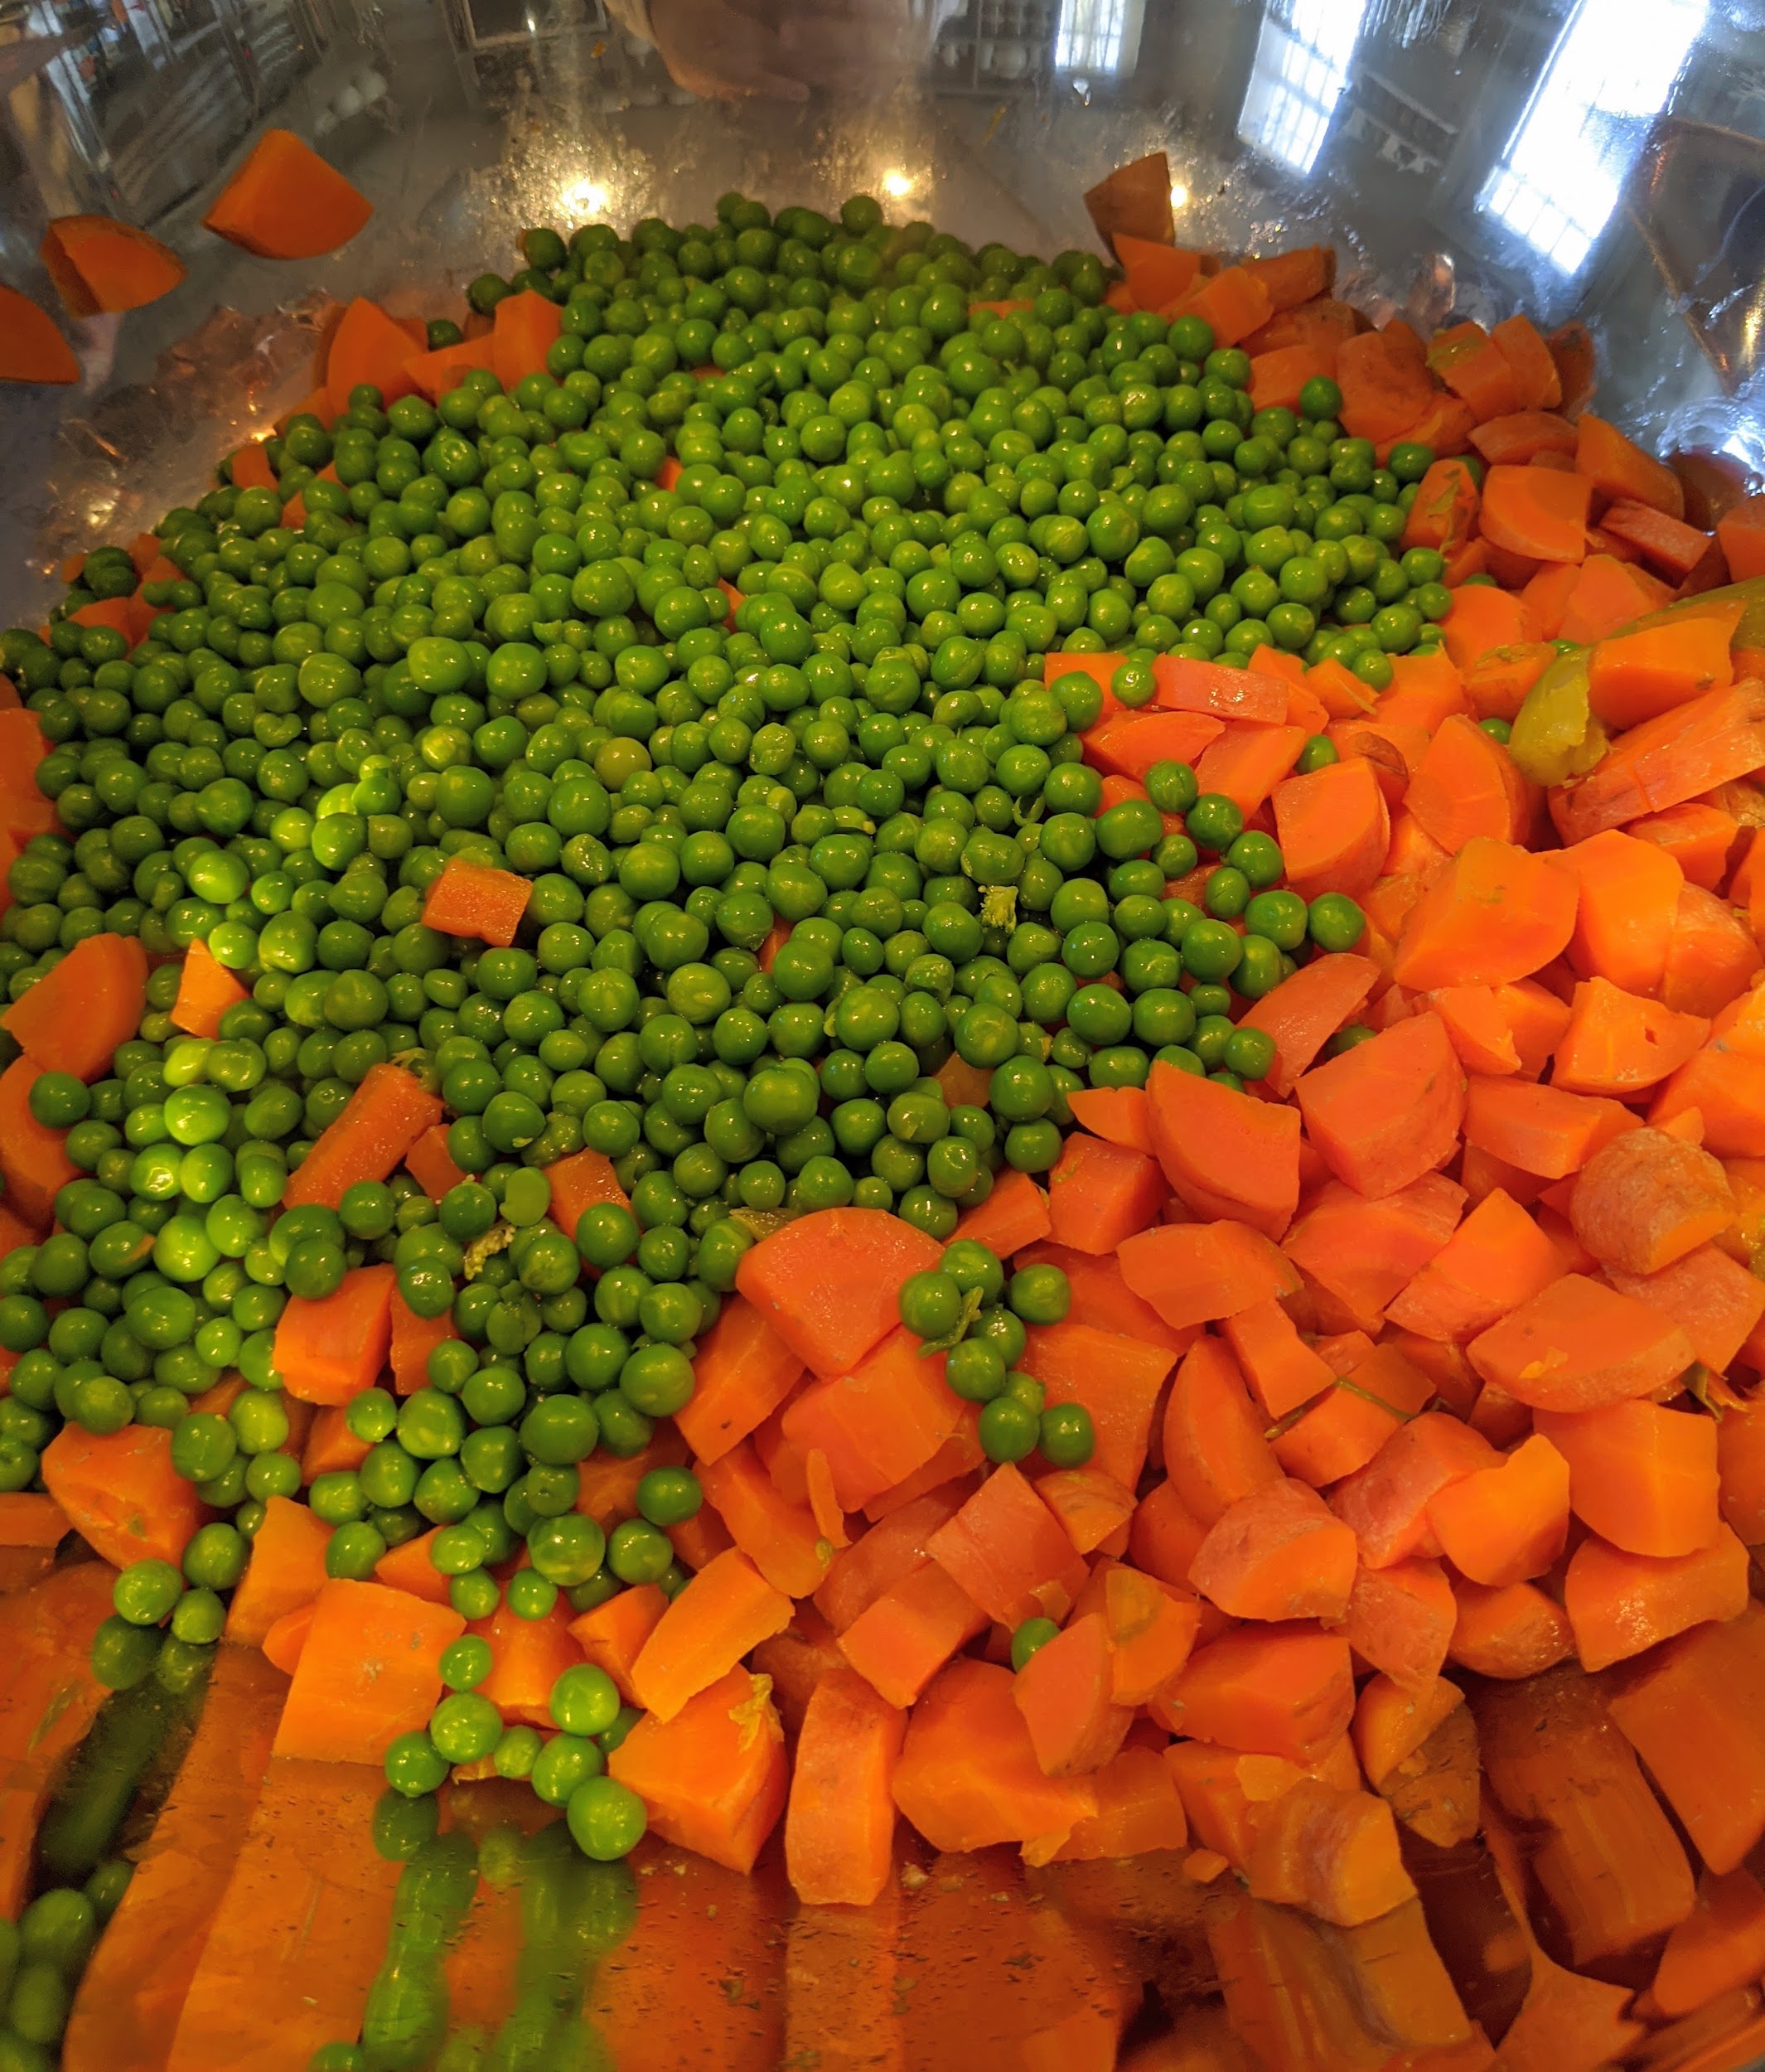
Six bunches of carrots are cooked until they are fork-tender and then mixed with the cooked peas – four large bags of frozen peas. My dogs love carrots. They are low in calories and high in fiber and vitamins. Occasionally crunching on raw carrots can also be good for their teeth. As for the peas, I used several bags of frozen peas. Green peas are a good source of the B vitamin Thiamin, phosphorous, and potassium. Don’t overcook them – they only take a couple of minutes.
The peas and carrots are mixed in with corn – we used five bags of frozen corn cooked until tender, yellow potatoes, sweet potatoes, and butternut squash. Sweet potatoes are great for digestive health because they’re high in dietary fiber. They’re also low in fat and contain vitamin B6, vitamin C, and manganese, and they’re rich in the powerful antioxidant beta-carotene.
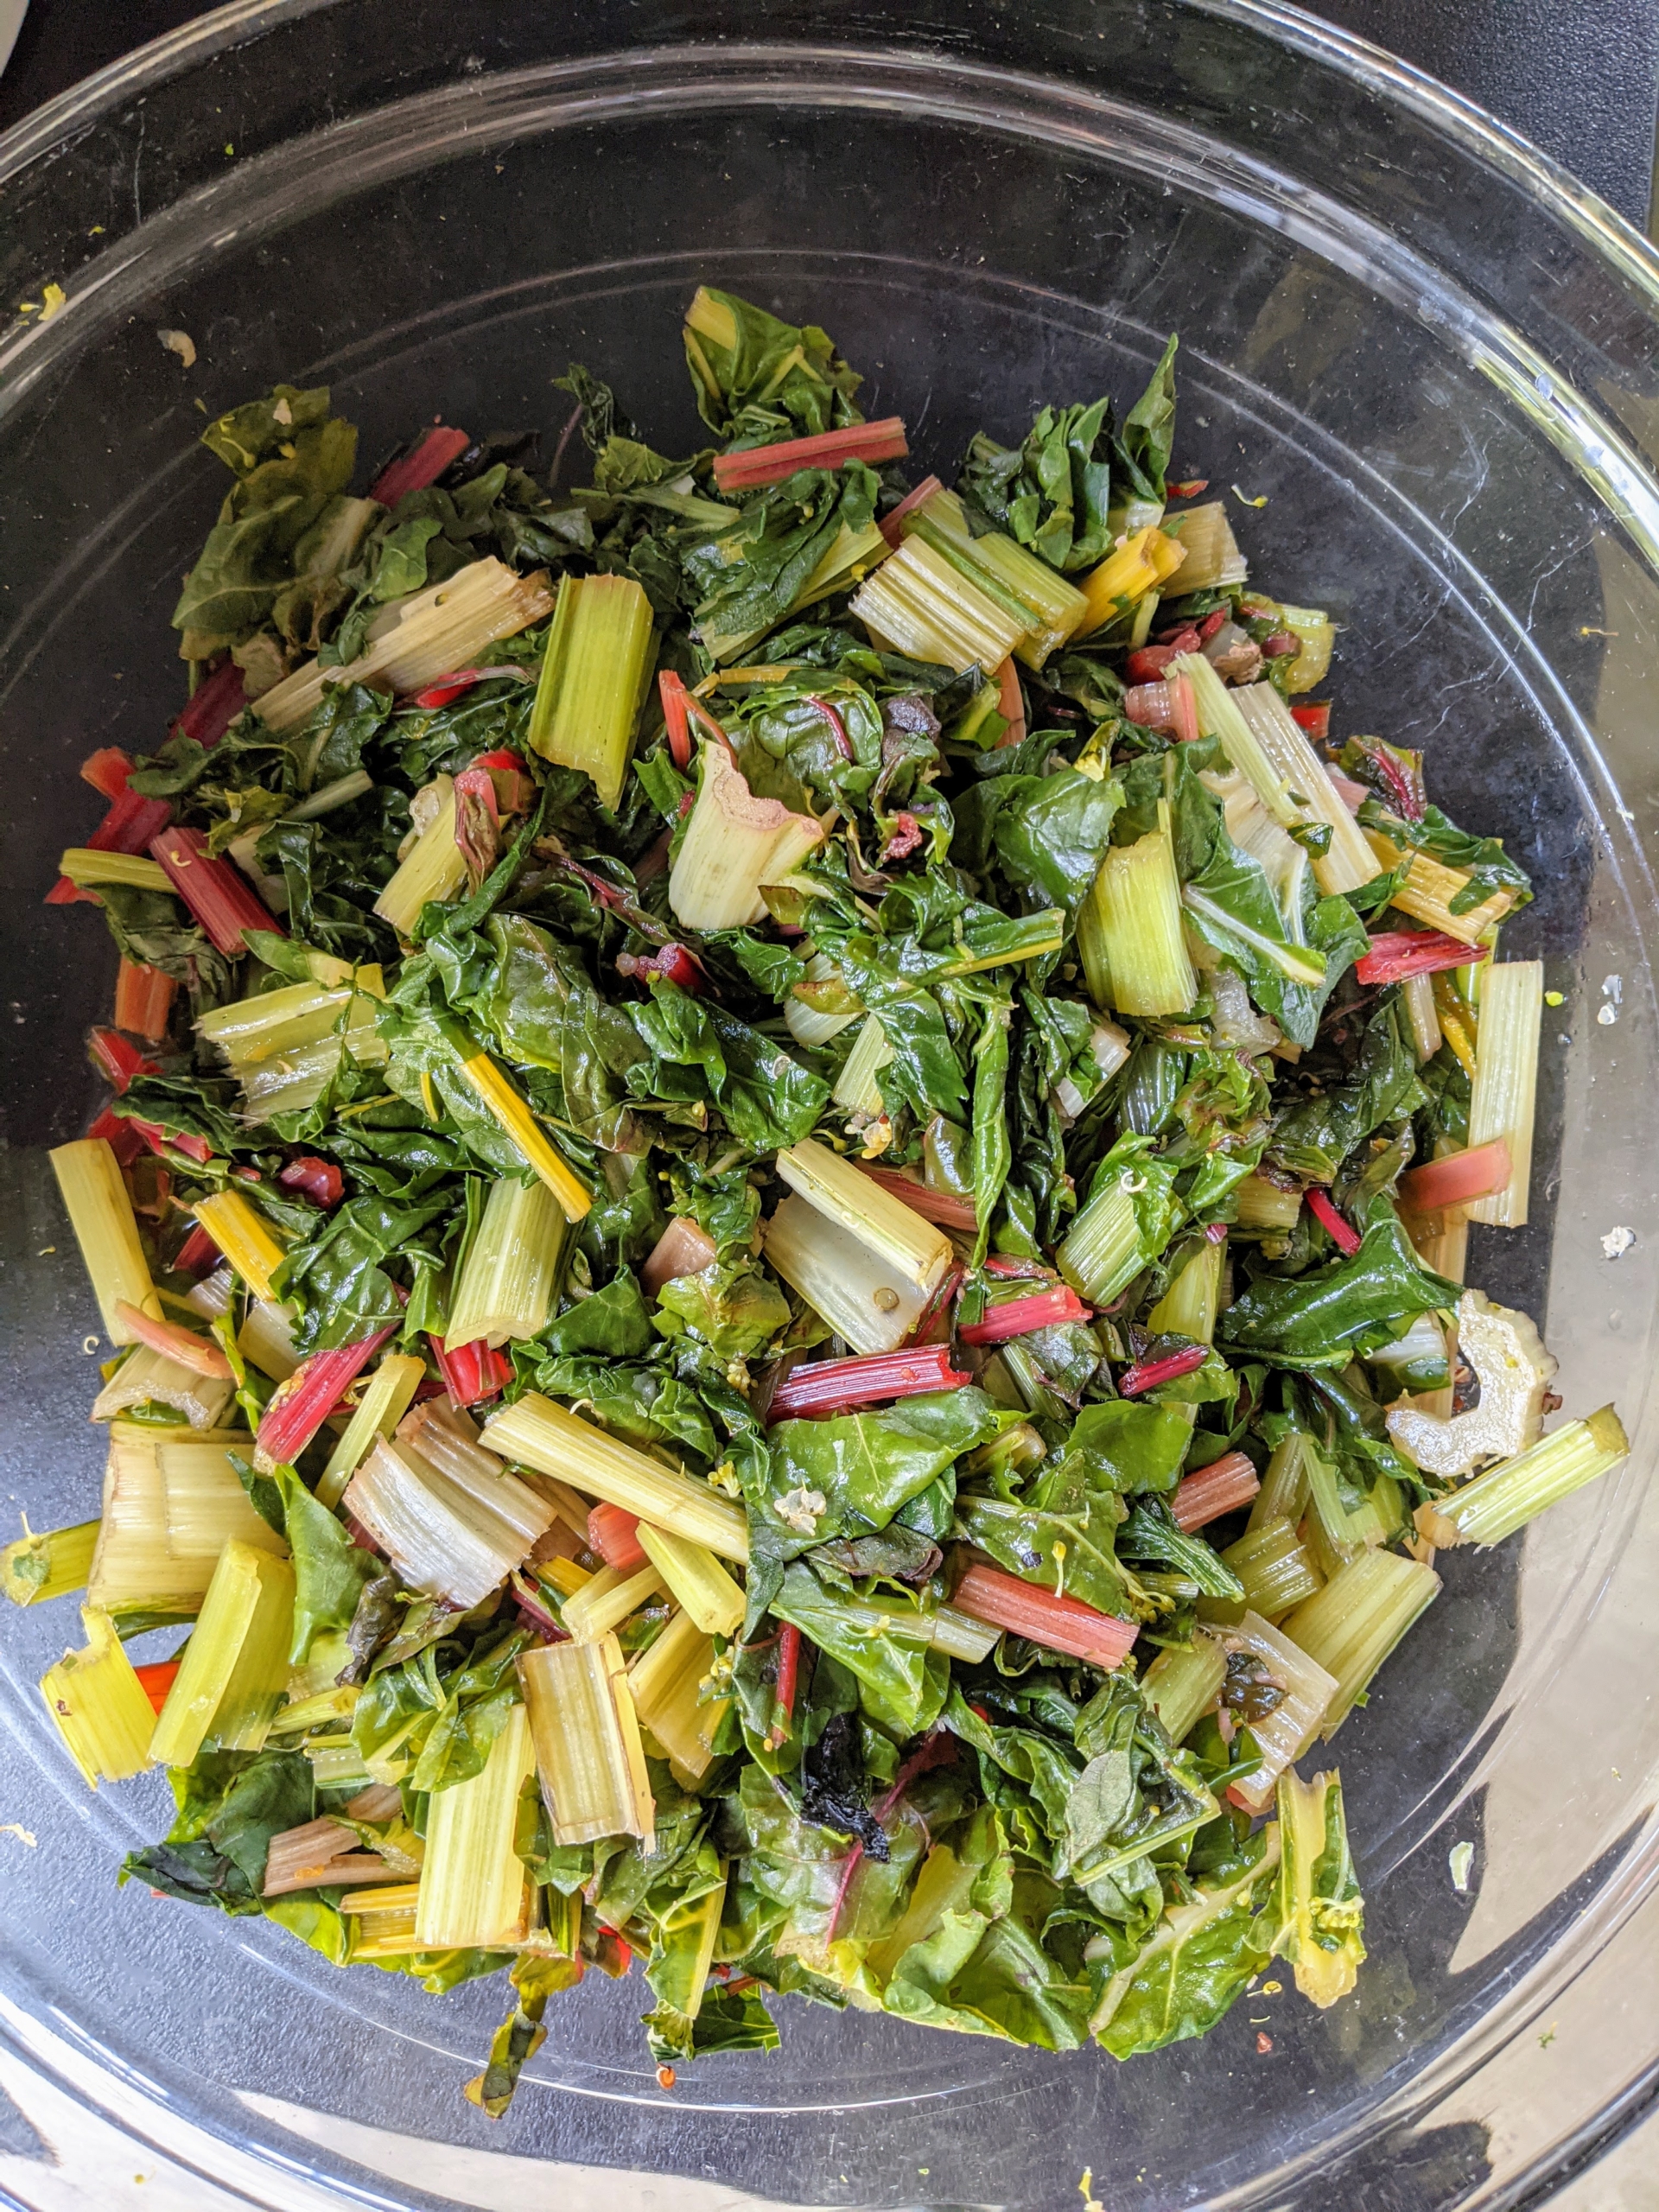
I also prepared some Swiss chard from my garden. Since the stems can be tough, we boiled them until they were also fork-tender, about 10-minutes. Swiss chard is an excellent source of vitamin A and vitamin K and a good source of vitamin C and magnesium. It’s also high in dietary fiber.
And, I cooked five pounds of quinoa. Quinoa is an amazing gluten-free superfood with high levels of essential amino acids. It is a high protein grain type food, so give it in small amounts. When preparing homemade diets, be sure it is well-balanced. Research what your pet needs.
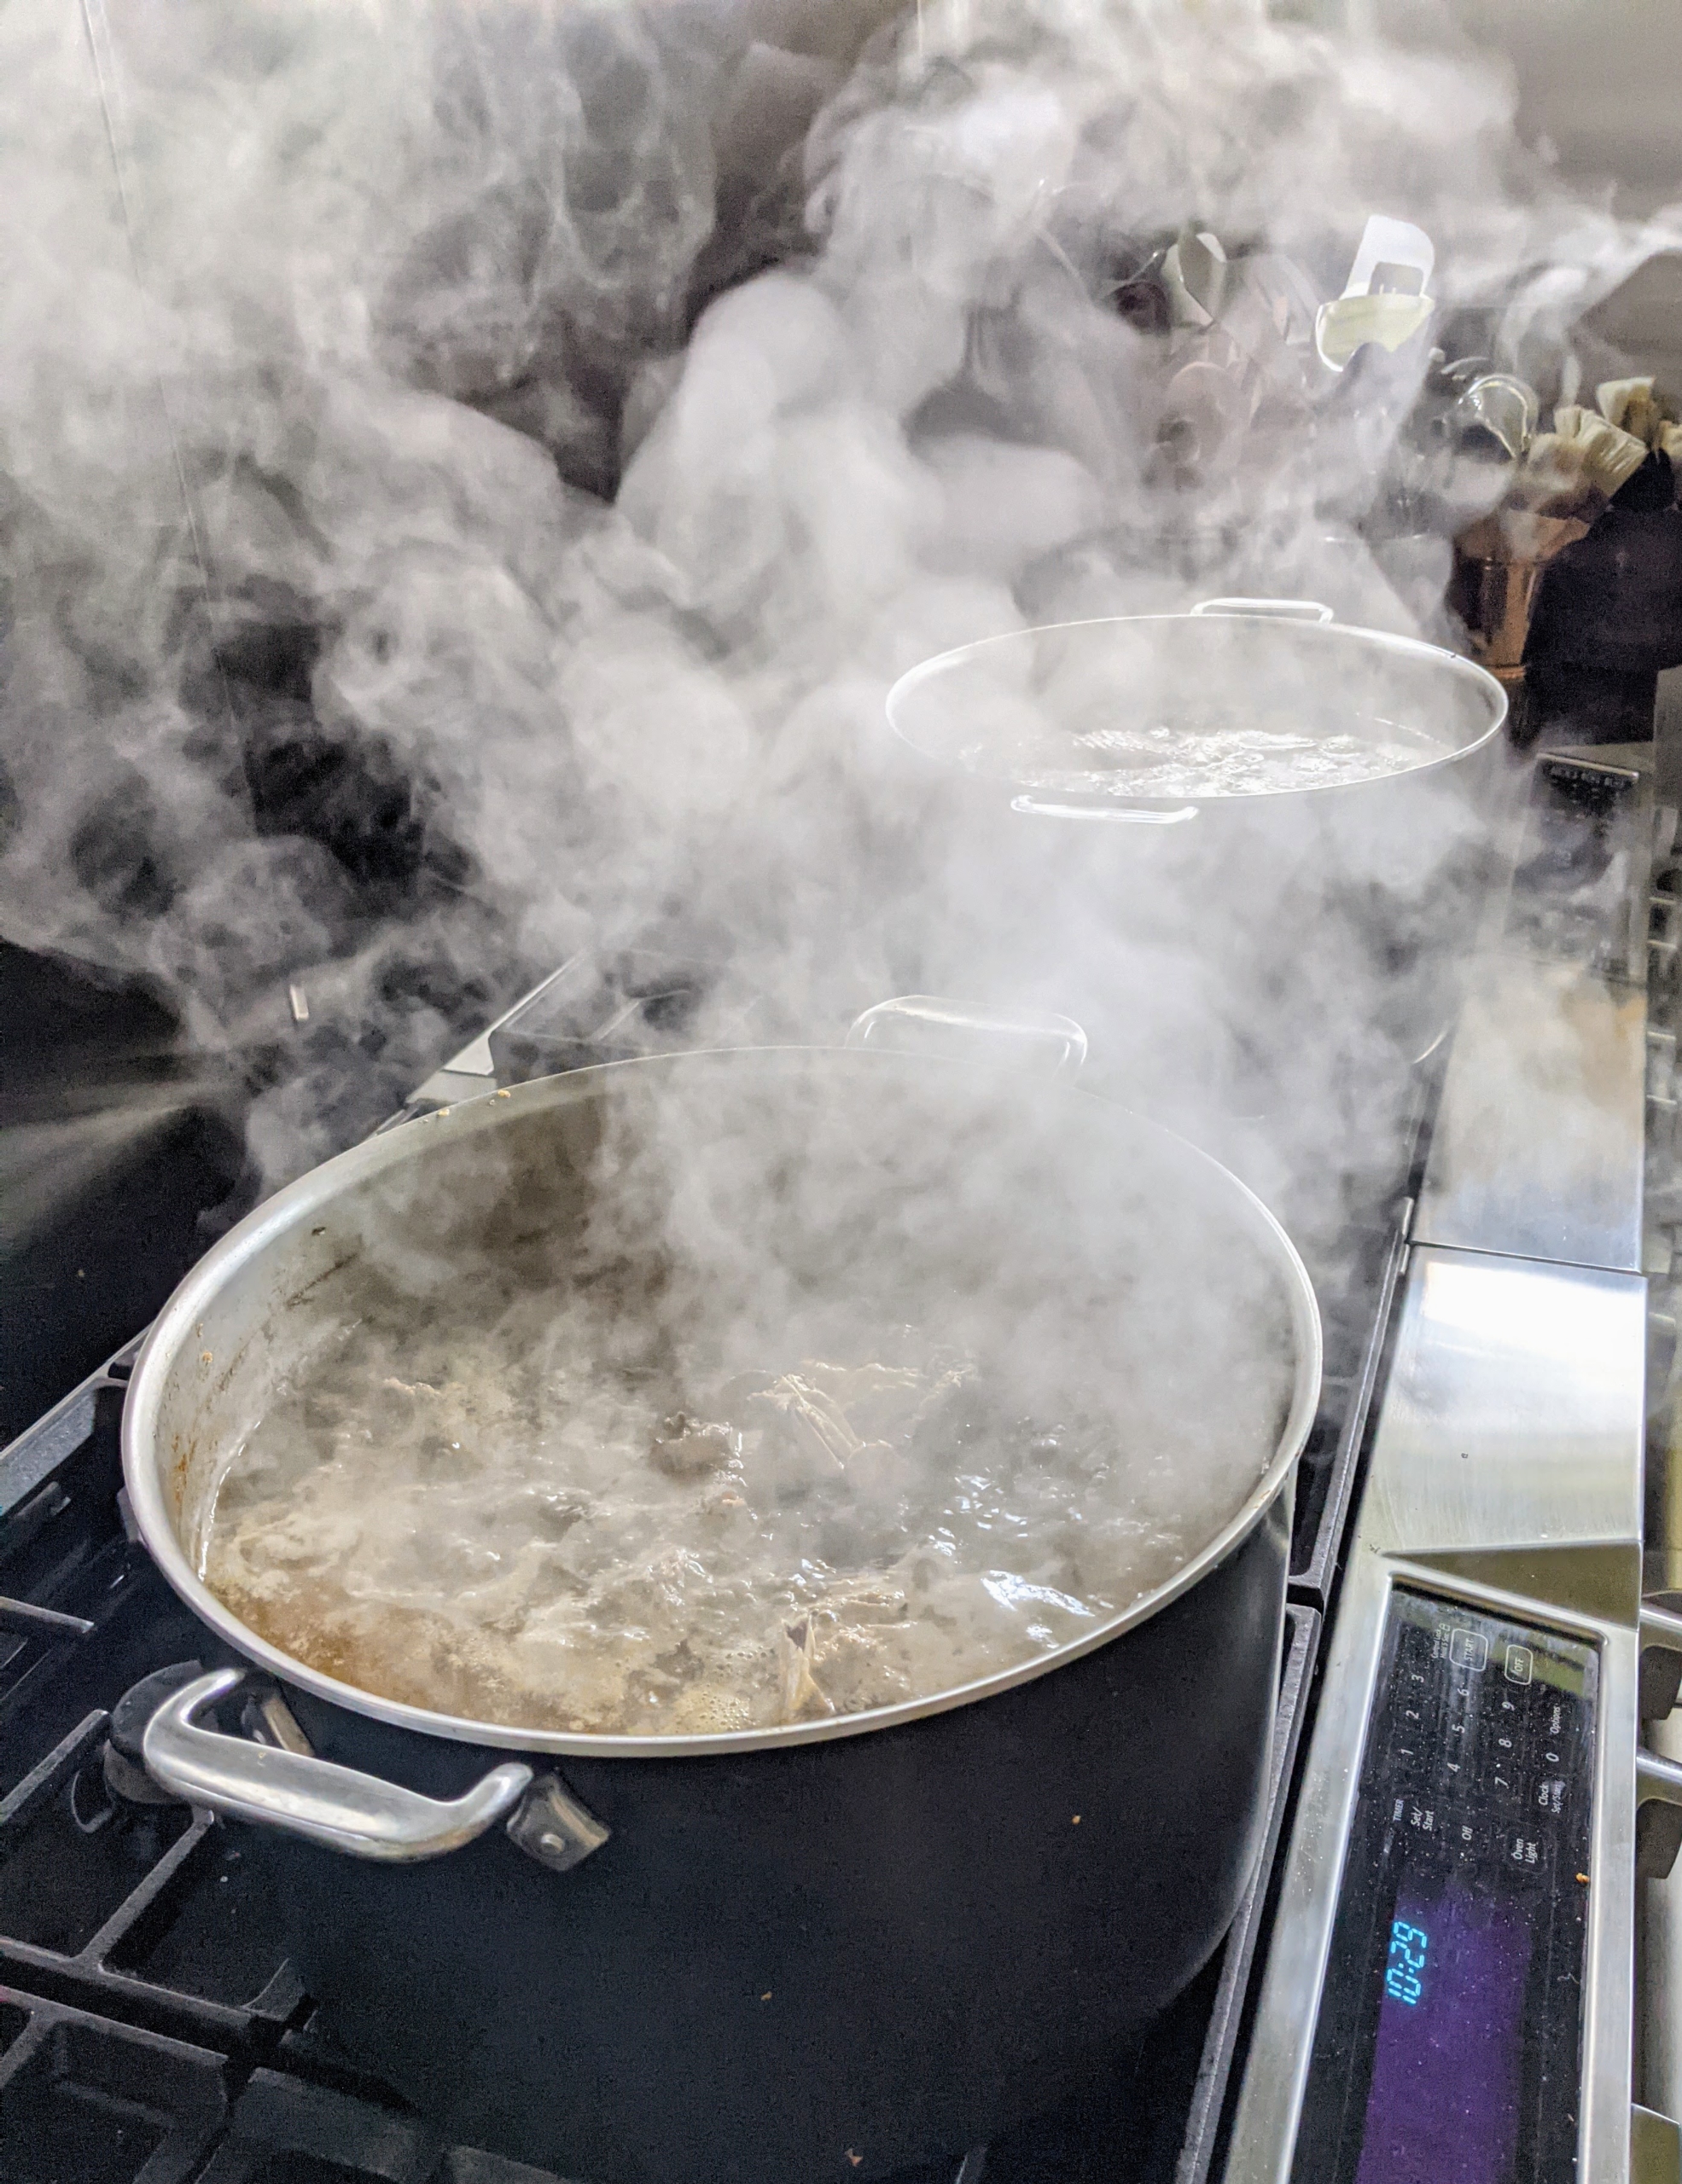
On the stove, several pots of meat – beef, chicken and fish. The meats were also all cooked separately.
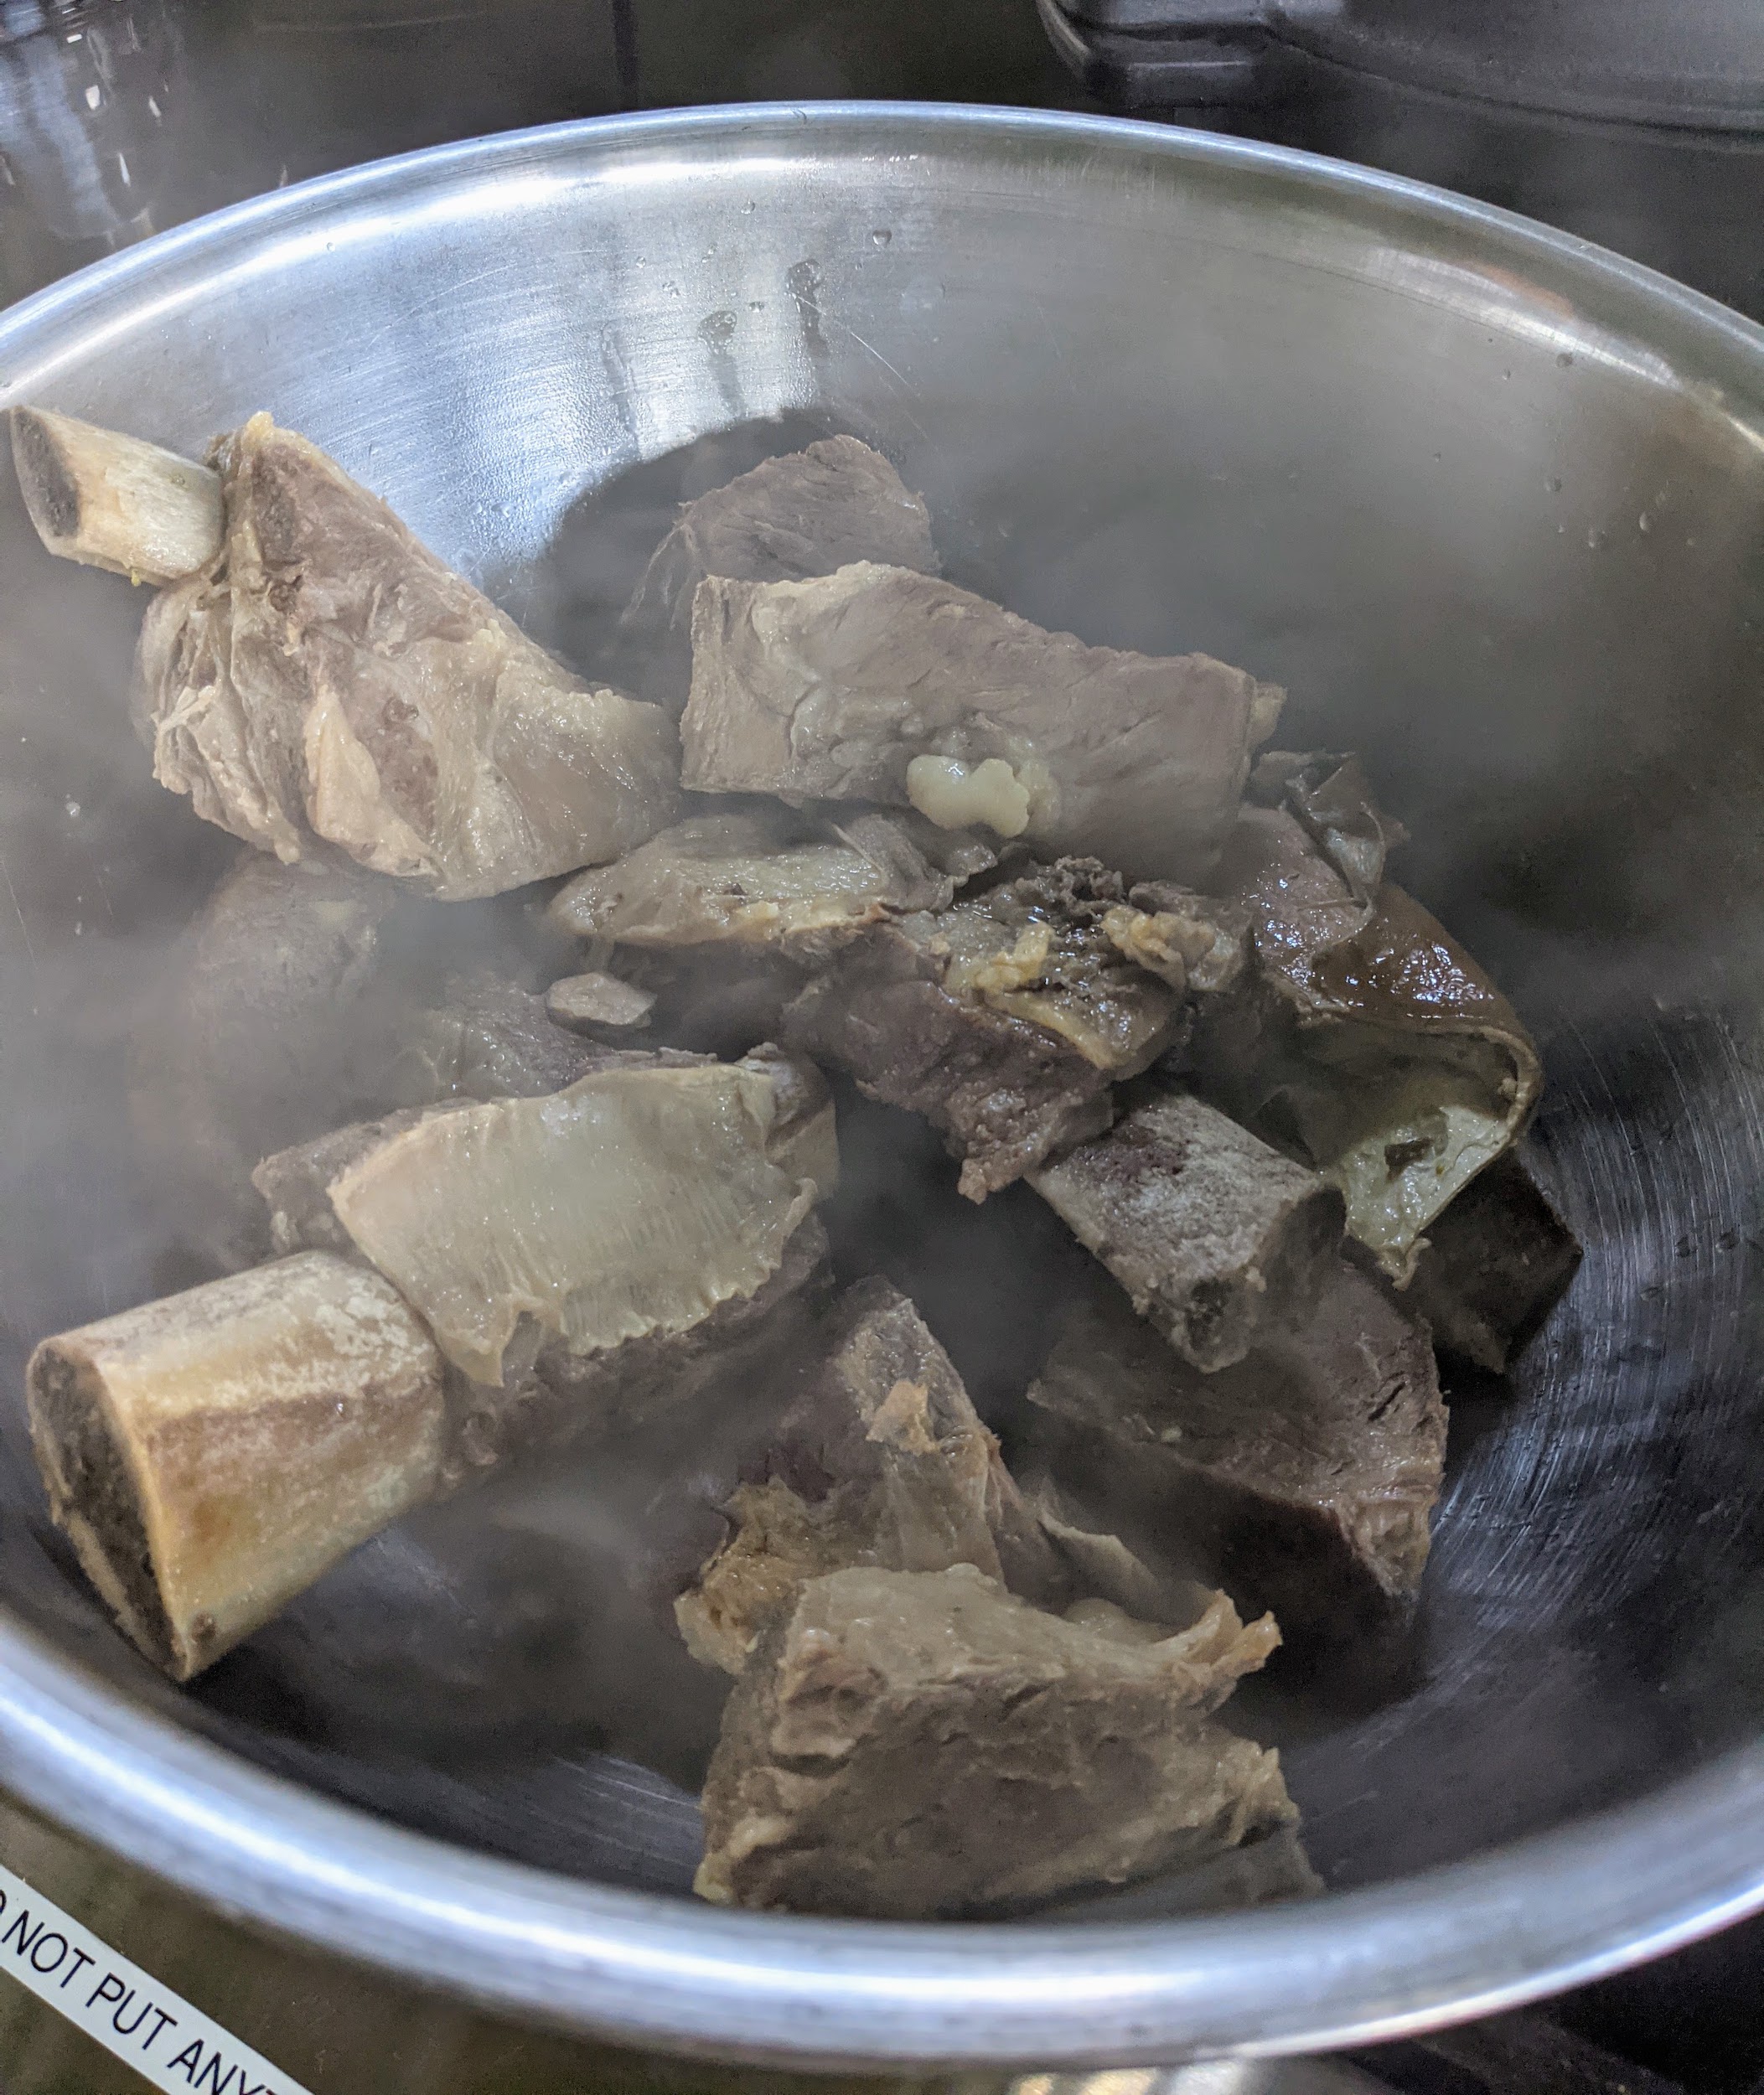
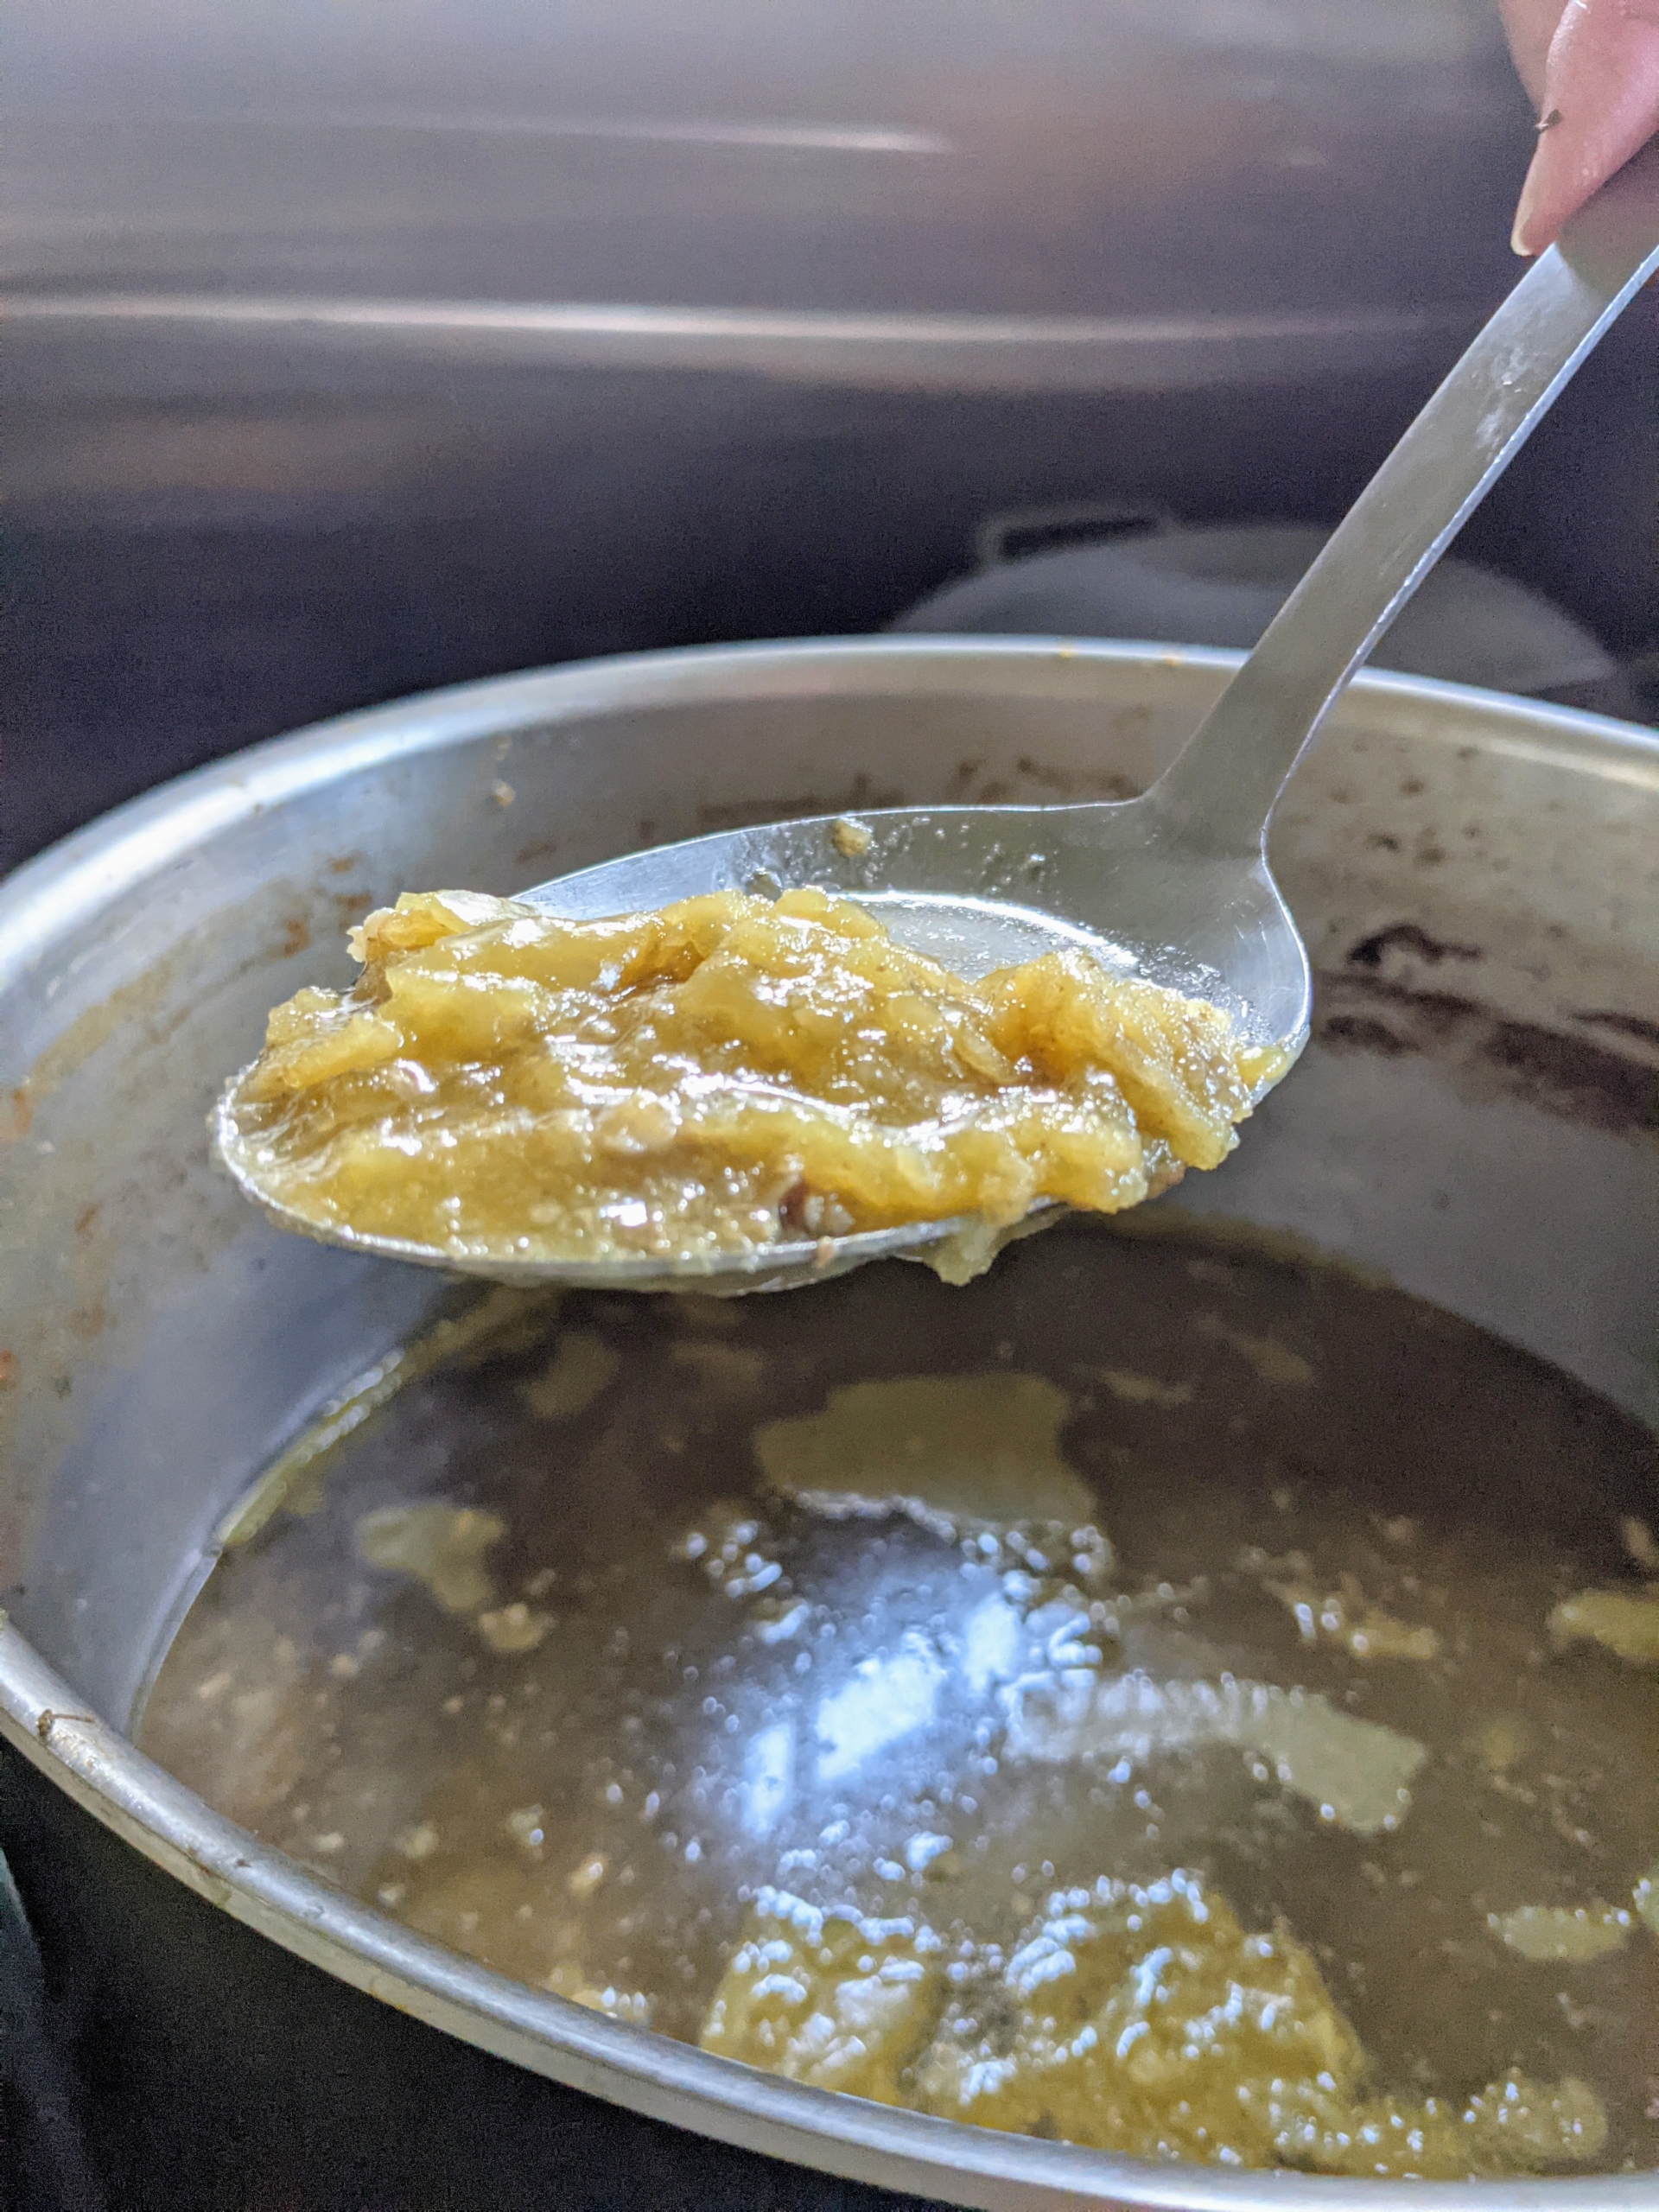
Here is the pot of beef cooking. After it is cooked and cooled to the touch, it is removed from the bone and chopped into medium to large chunks. Any carcasses are set aside to go to the coyotes. Nothing is wasted at my farm.
We also remove any fat from the top.
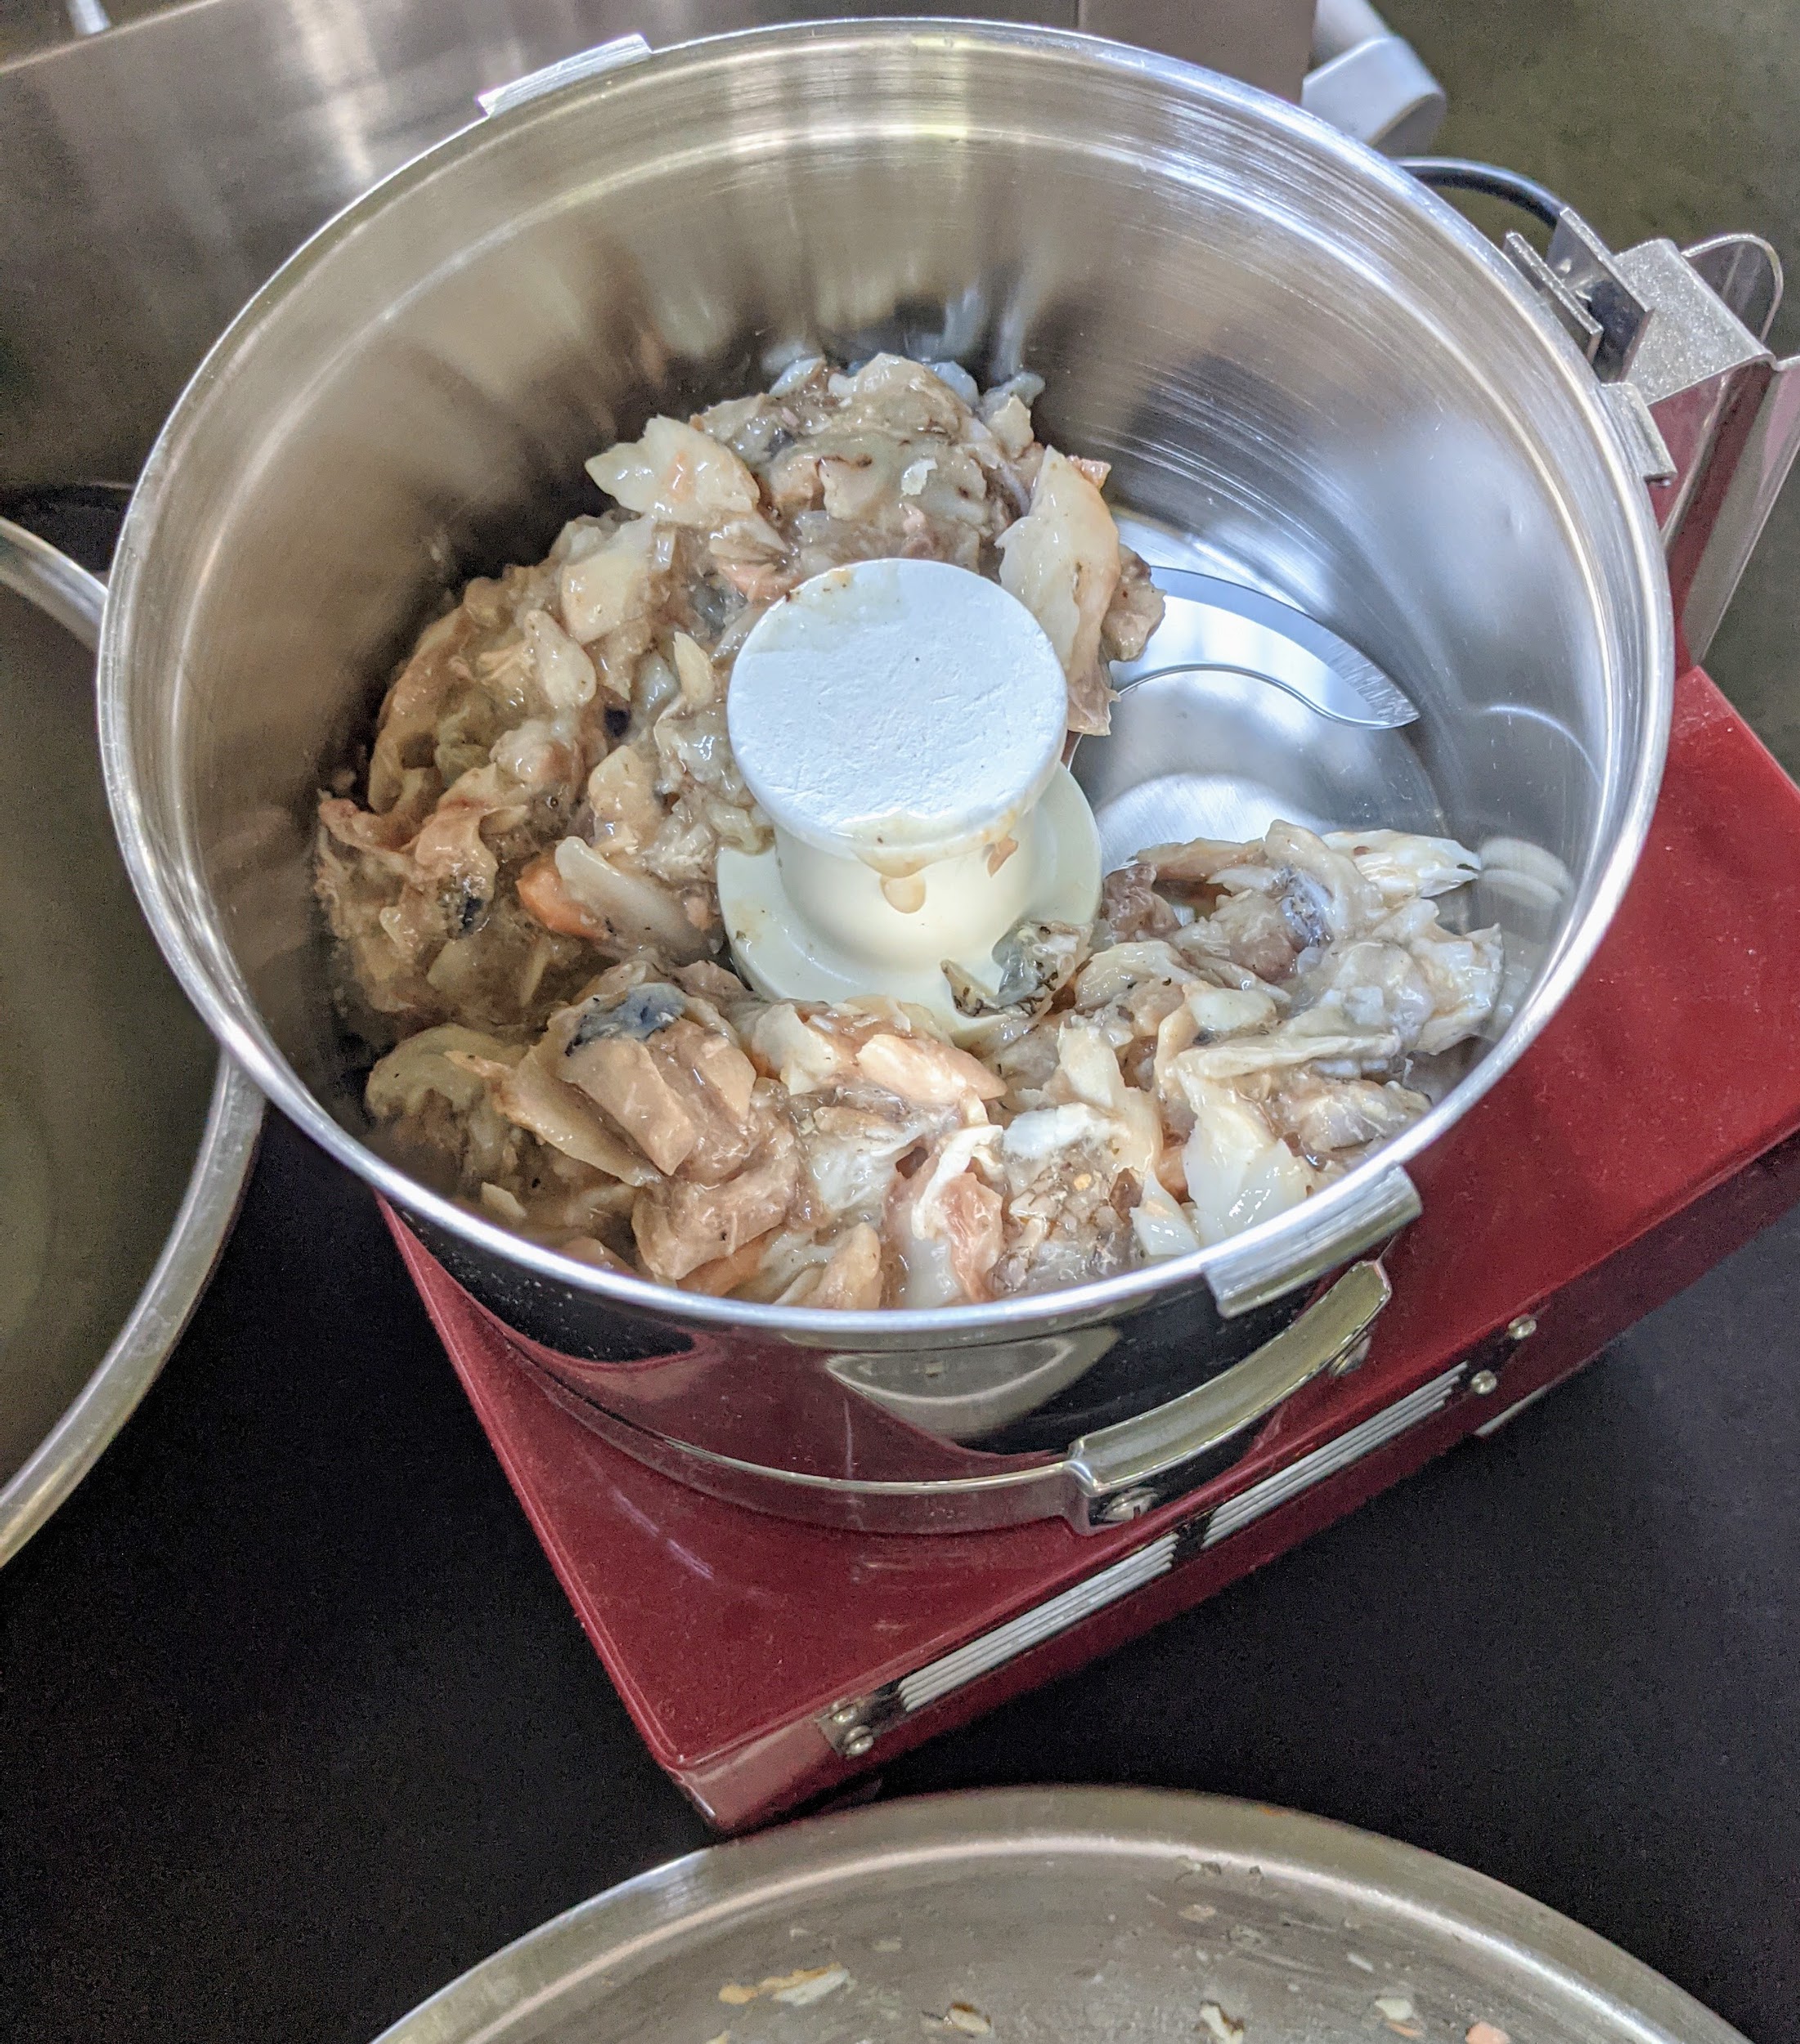
Once all the meats are done, Enma runs everything through the food processor. Enma scoops some of the salmon and tilefish into the processor. In all, we used 10 pounds of saplmon and 13 pounds of tilefish for this batch of dog food. This step may seem extraneous; however, I have found that my dogs prefer their food ground rather than in big chunks. And watch out for bones. While some of the bones will be ground in the processor, it is a good idea to always carefully check for potentially dangerous bones.
Enma places the protective lid on the processor and pulses small batches of food at a time. Making my own dog food takes a bit of time to complete, but it is well worth the effort to feed my dogs the best food possible.
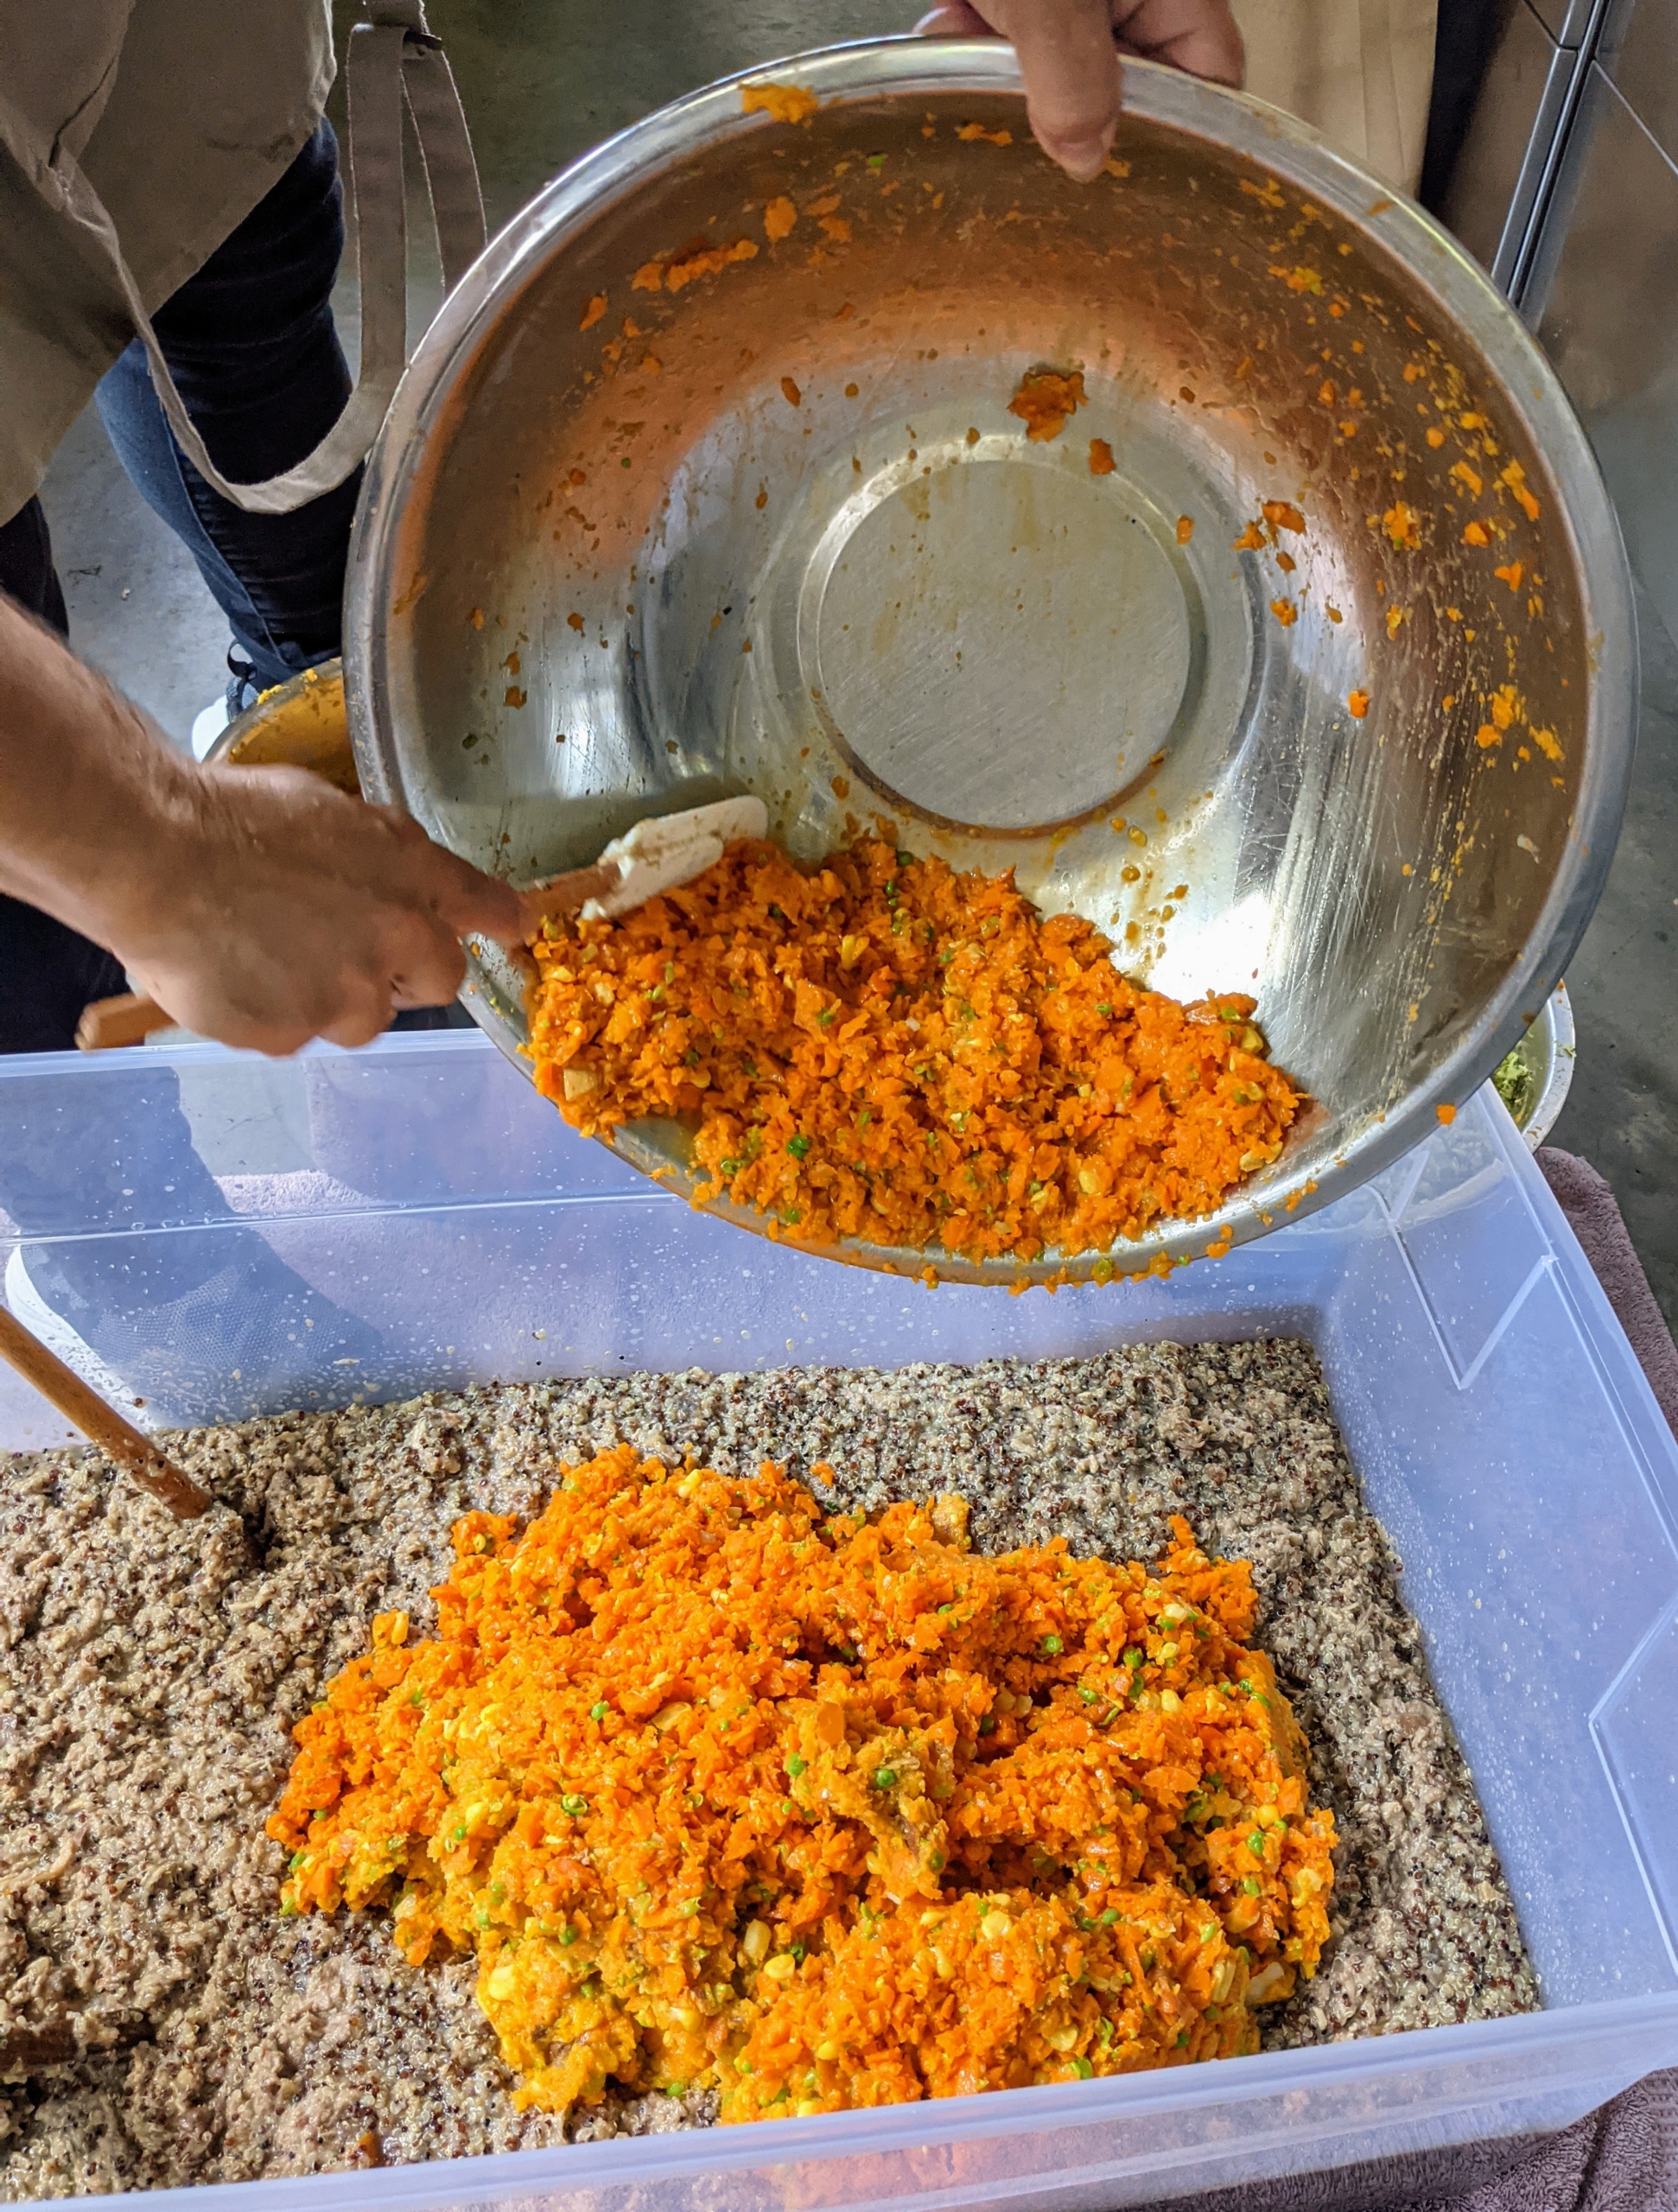
Once all the ingredients are cooked and done, Enma puts them into a large, very clean plastic bin. This will allow her to mix everything together thoroughly. Enma empties the bowl of quinoa first, and now the bowl of mixed carrots, peas, potatoes, and squash.
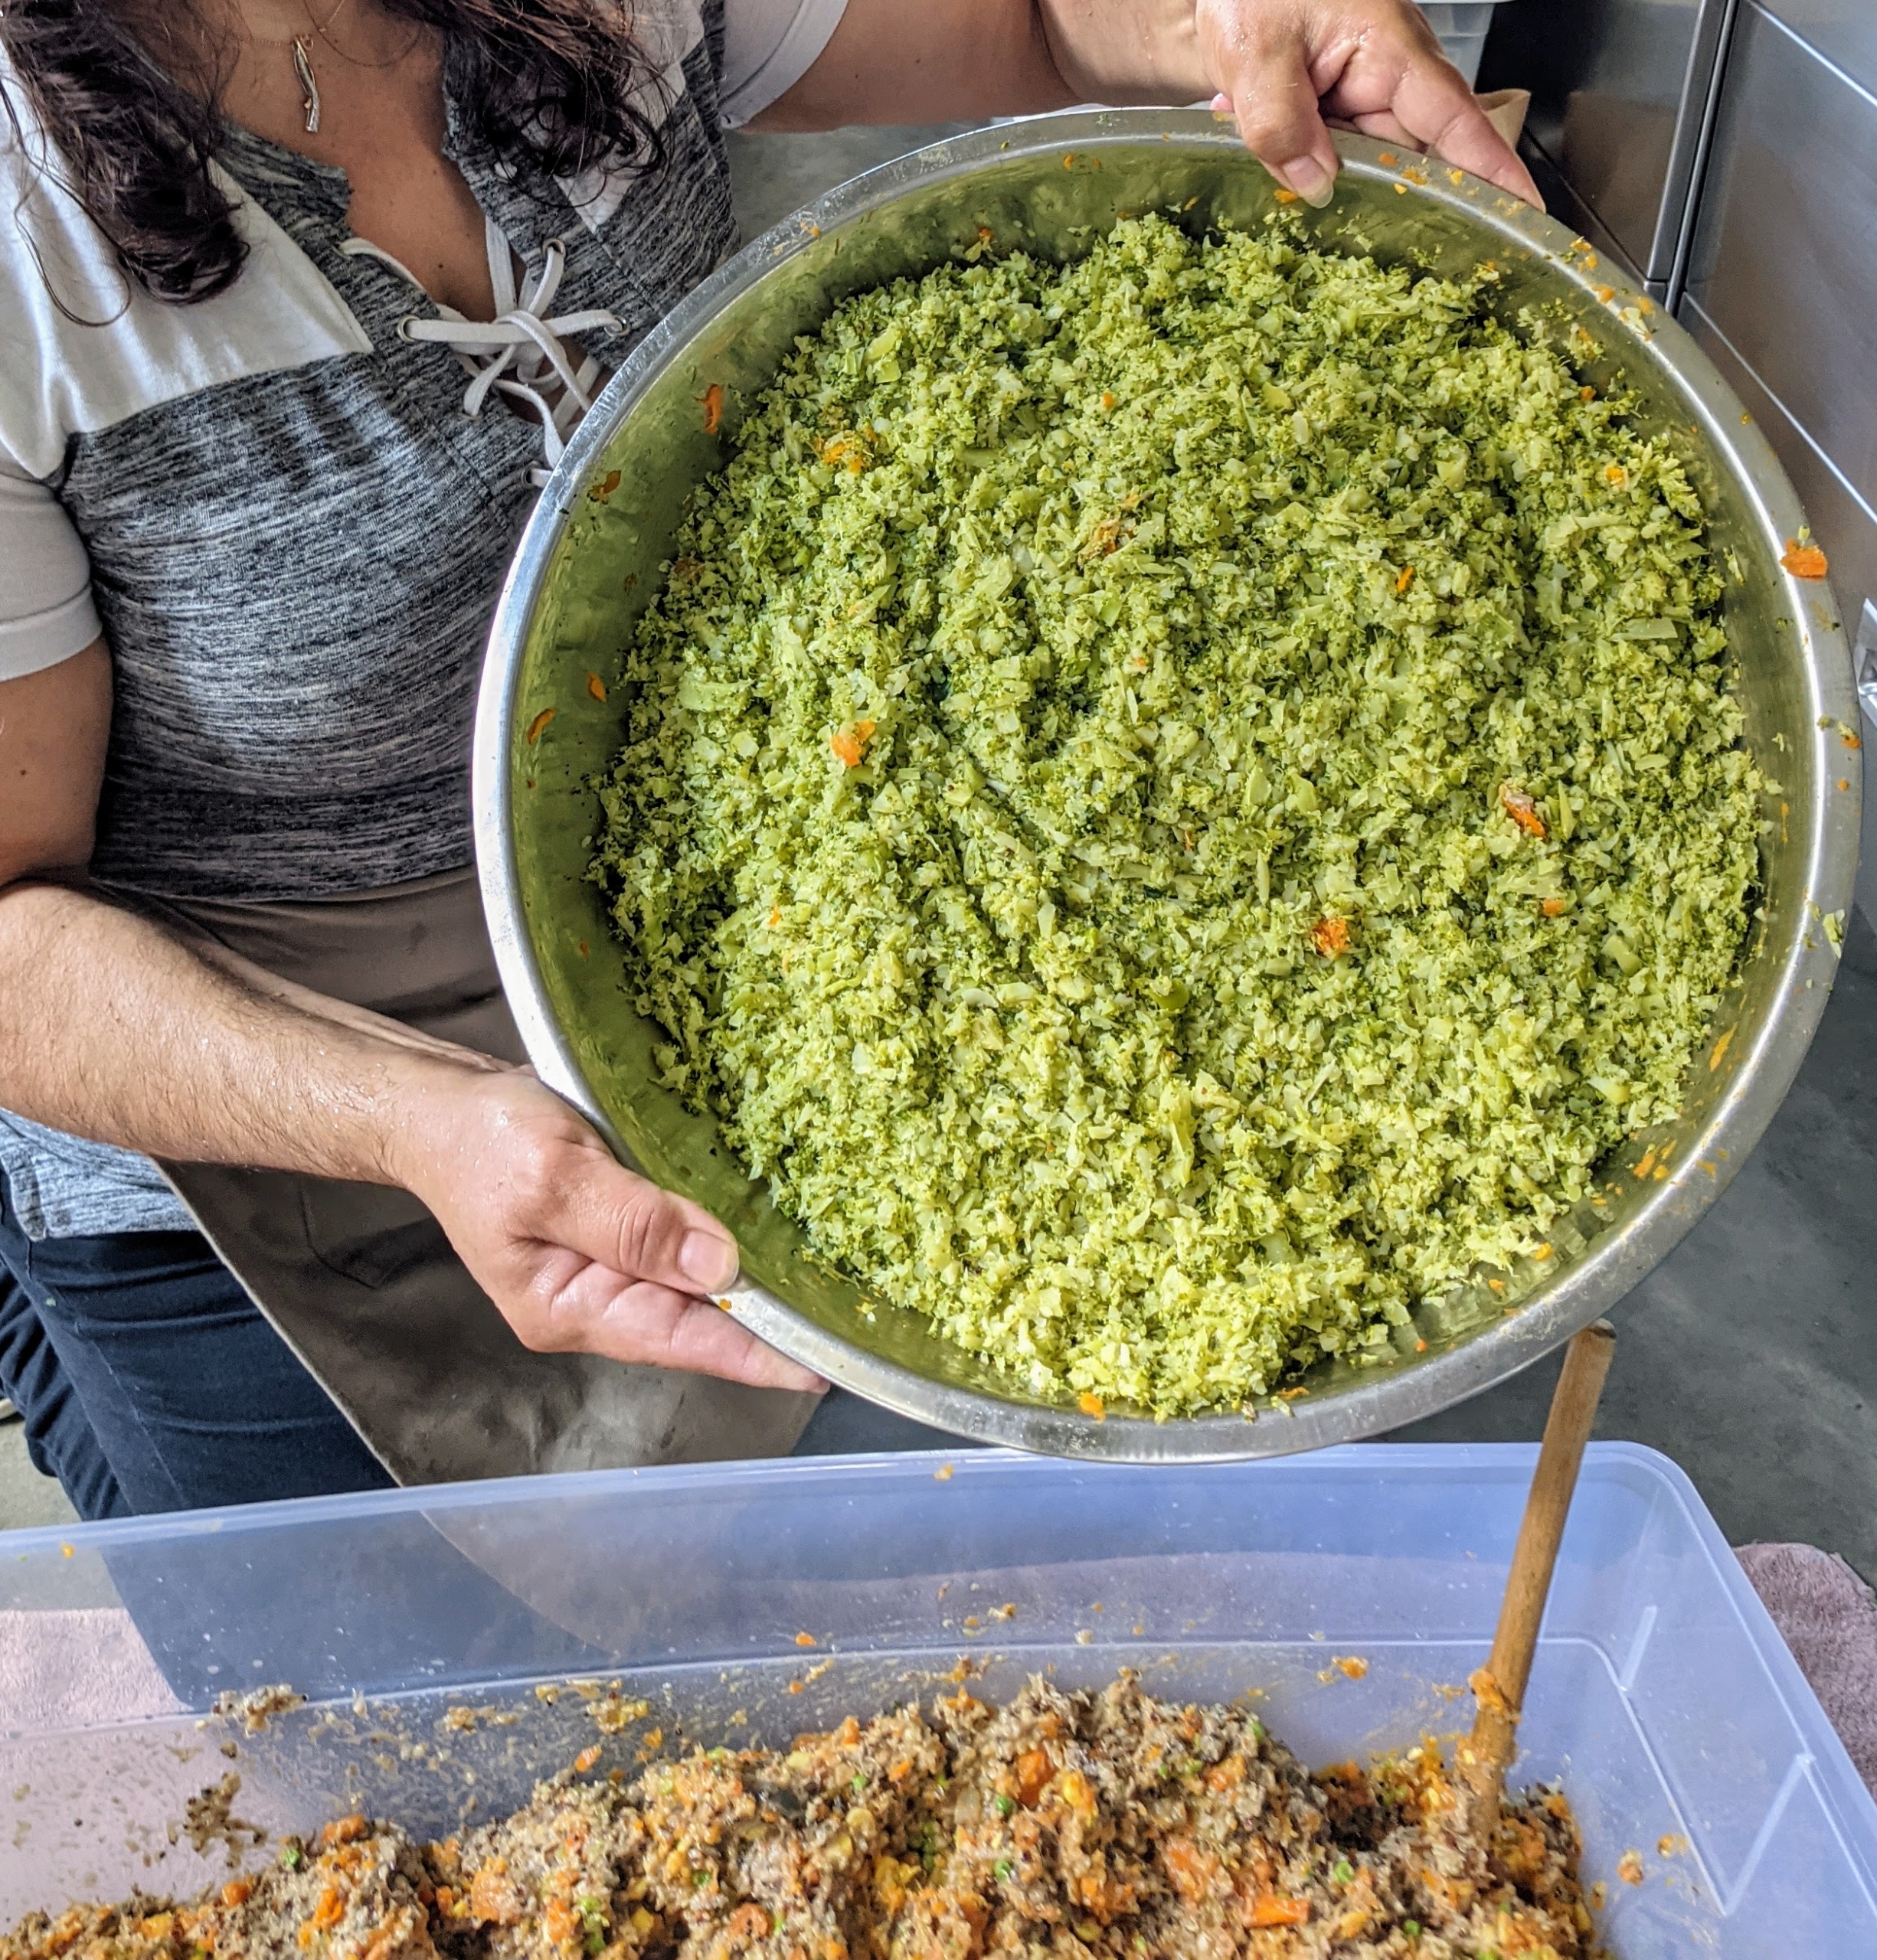
Next, the bowl of broccoli. For this batch, we used six large heads.
Everything including the meats are now in the bon. Here, Enma mixes everything thoroughly. It’s very important that dogs also get adequate amounts of calcium, and omega-three fatty acids – add supplements if needed. And, always talk to a veterinarian or canine nutrition expert before changing a dog’s diet.
Here is the food once it mixed. It looks so good!
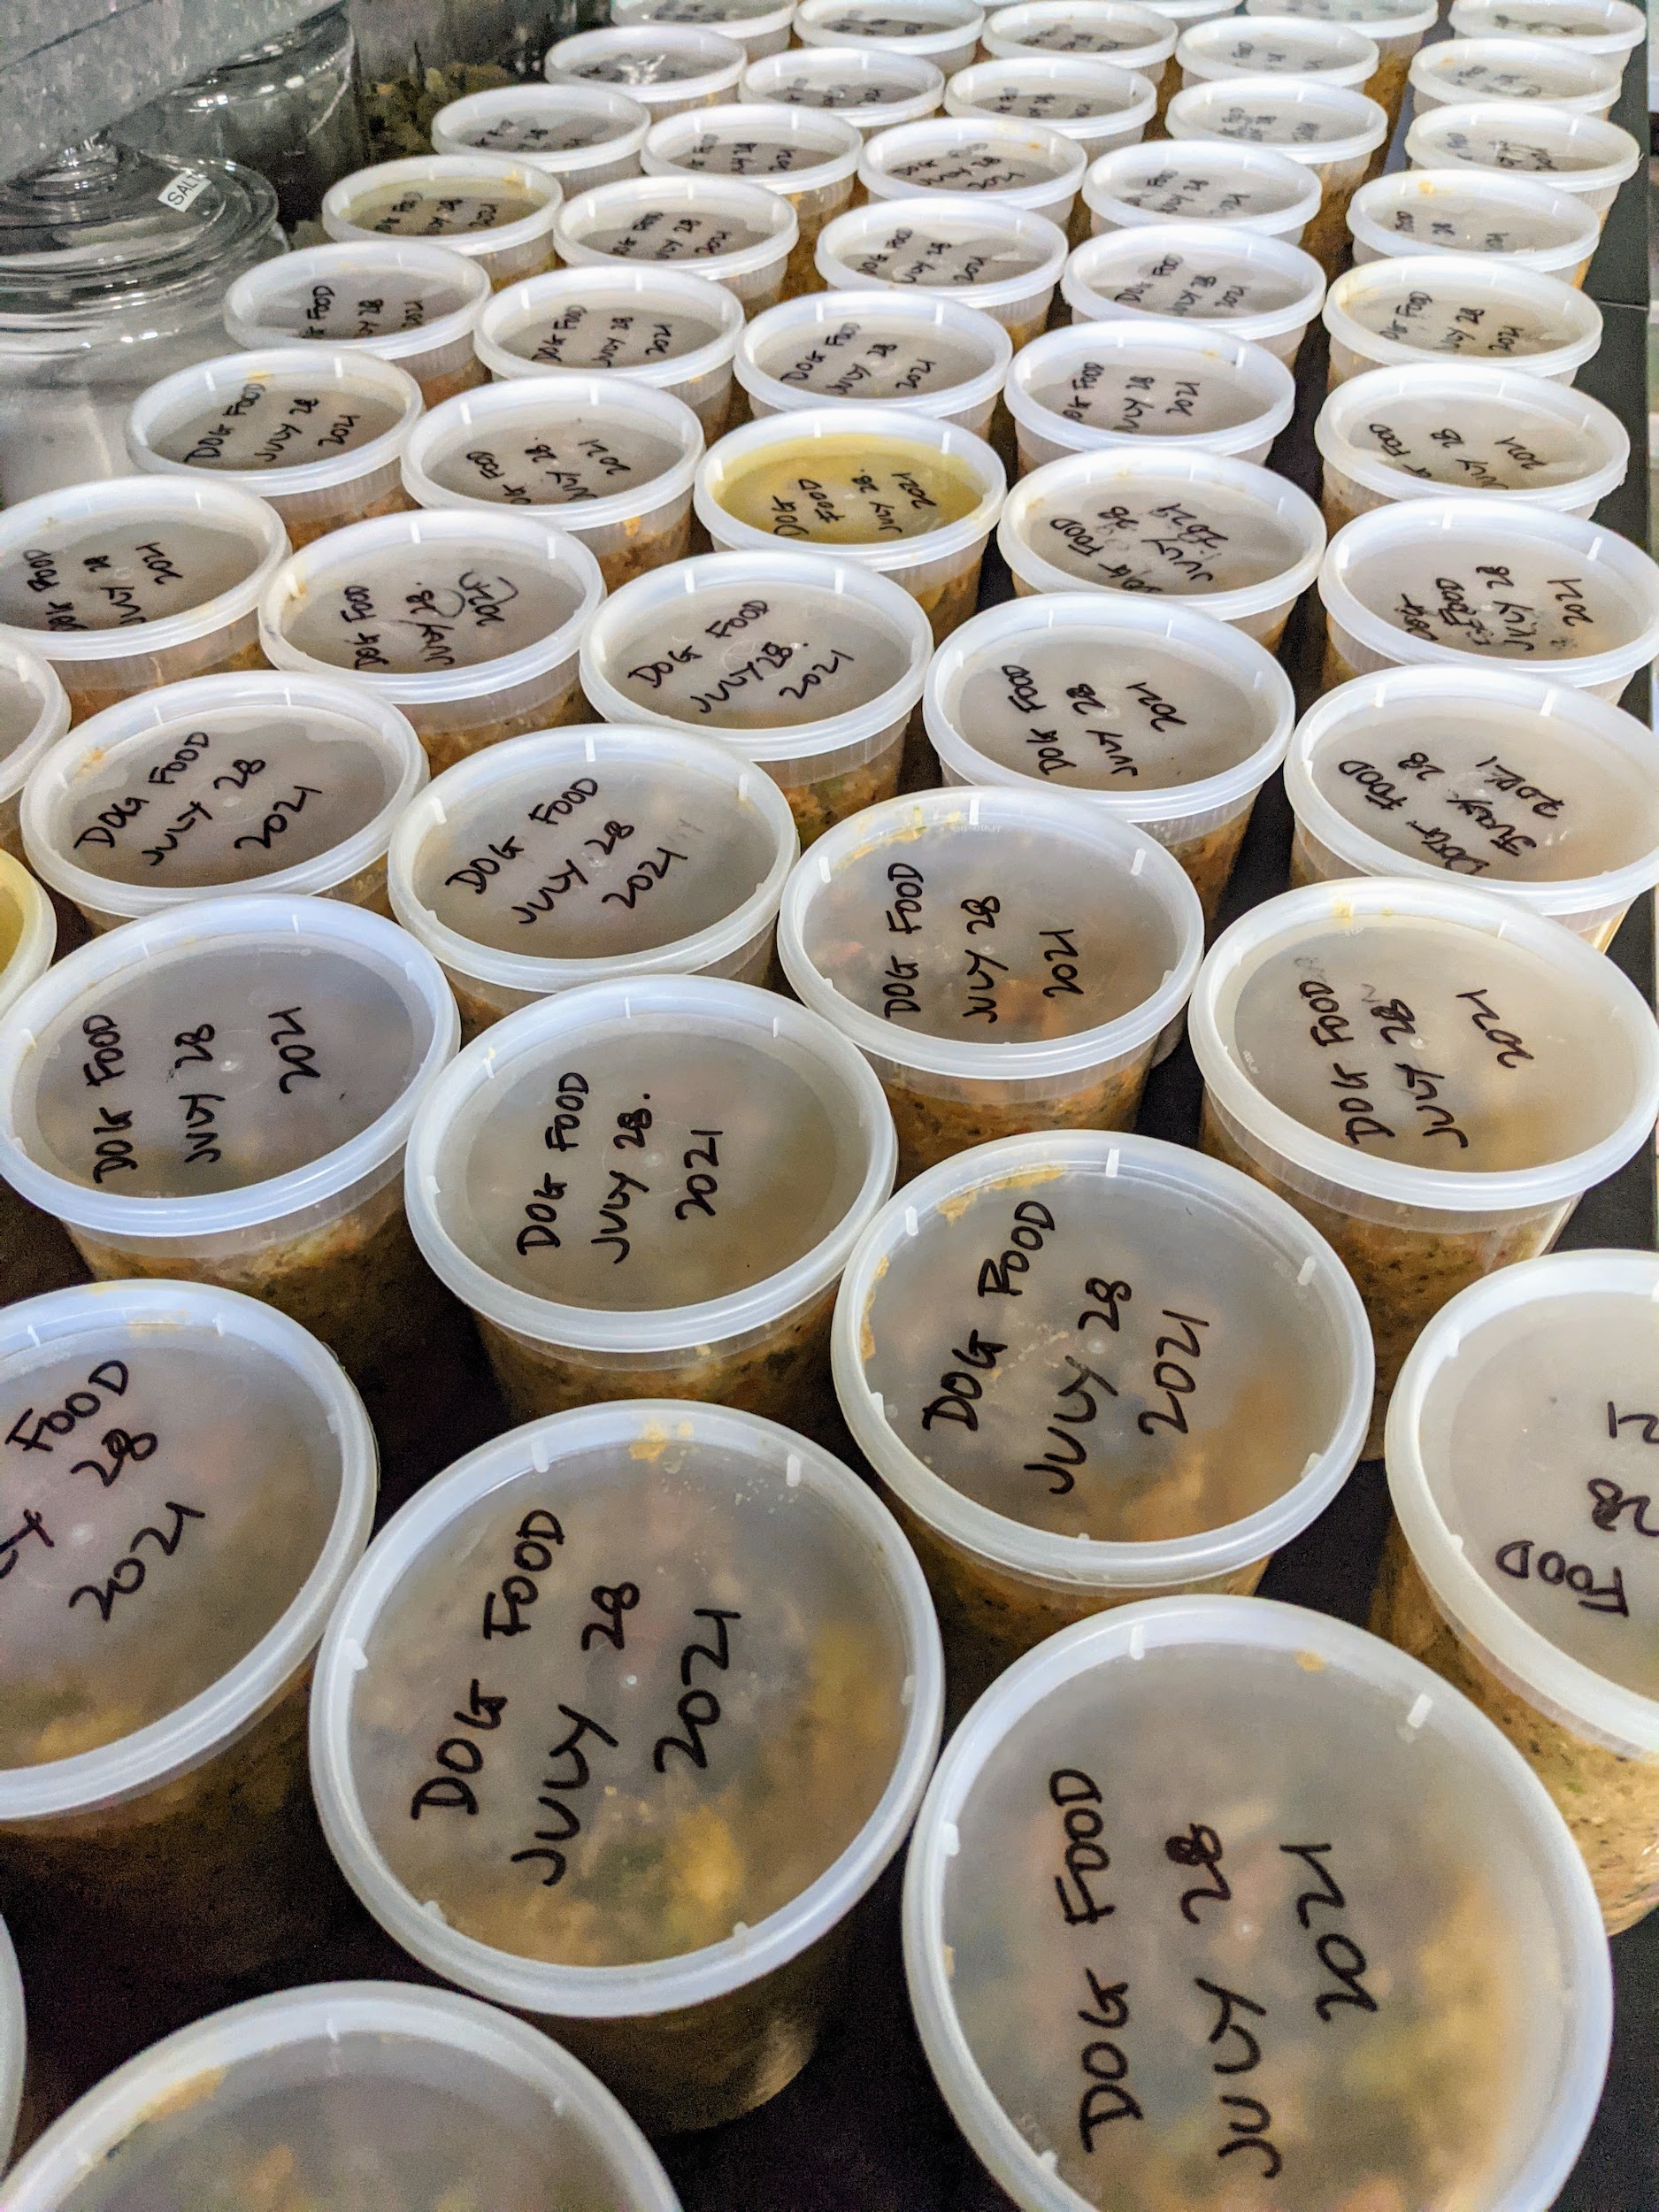
These quart-sized containers were pulled from the rack and laid out. This step of filling the containers is done in a production line process, so it can be completed quickly and efficiently.
Enma scoops the food into the containers making sure not to let any spill over the sides.
Doesn’t this look good? My dogs love their food and always lick their bowls clean.
If planning to freeze, only fill up to the first line around the container so it has room to expand.
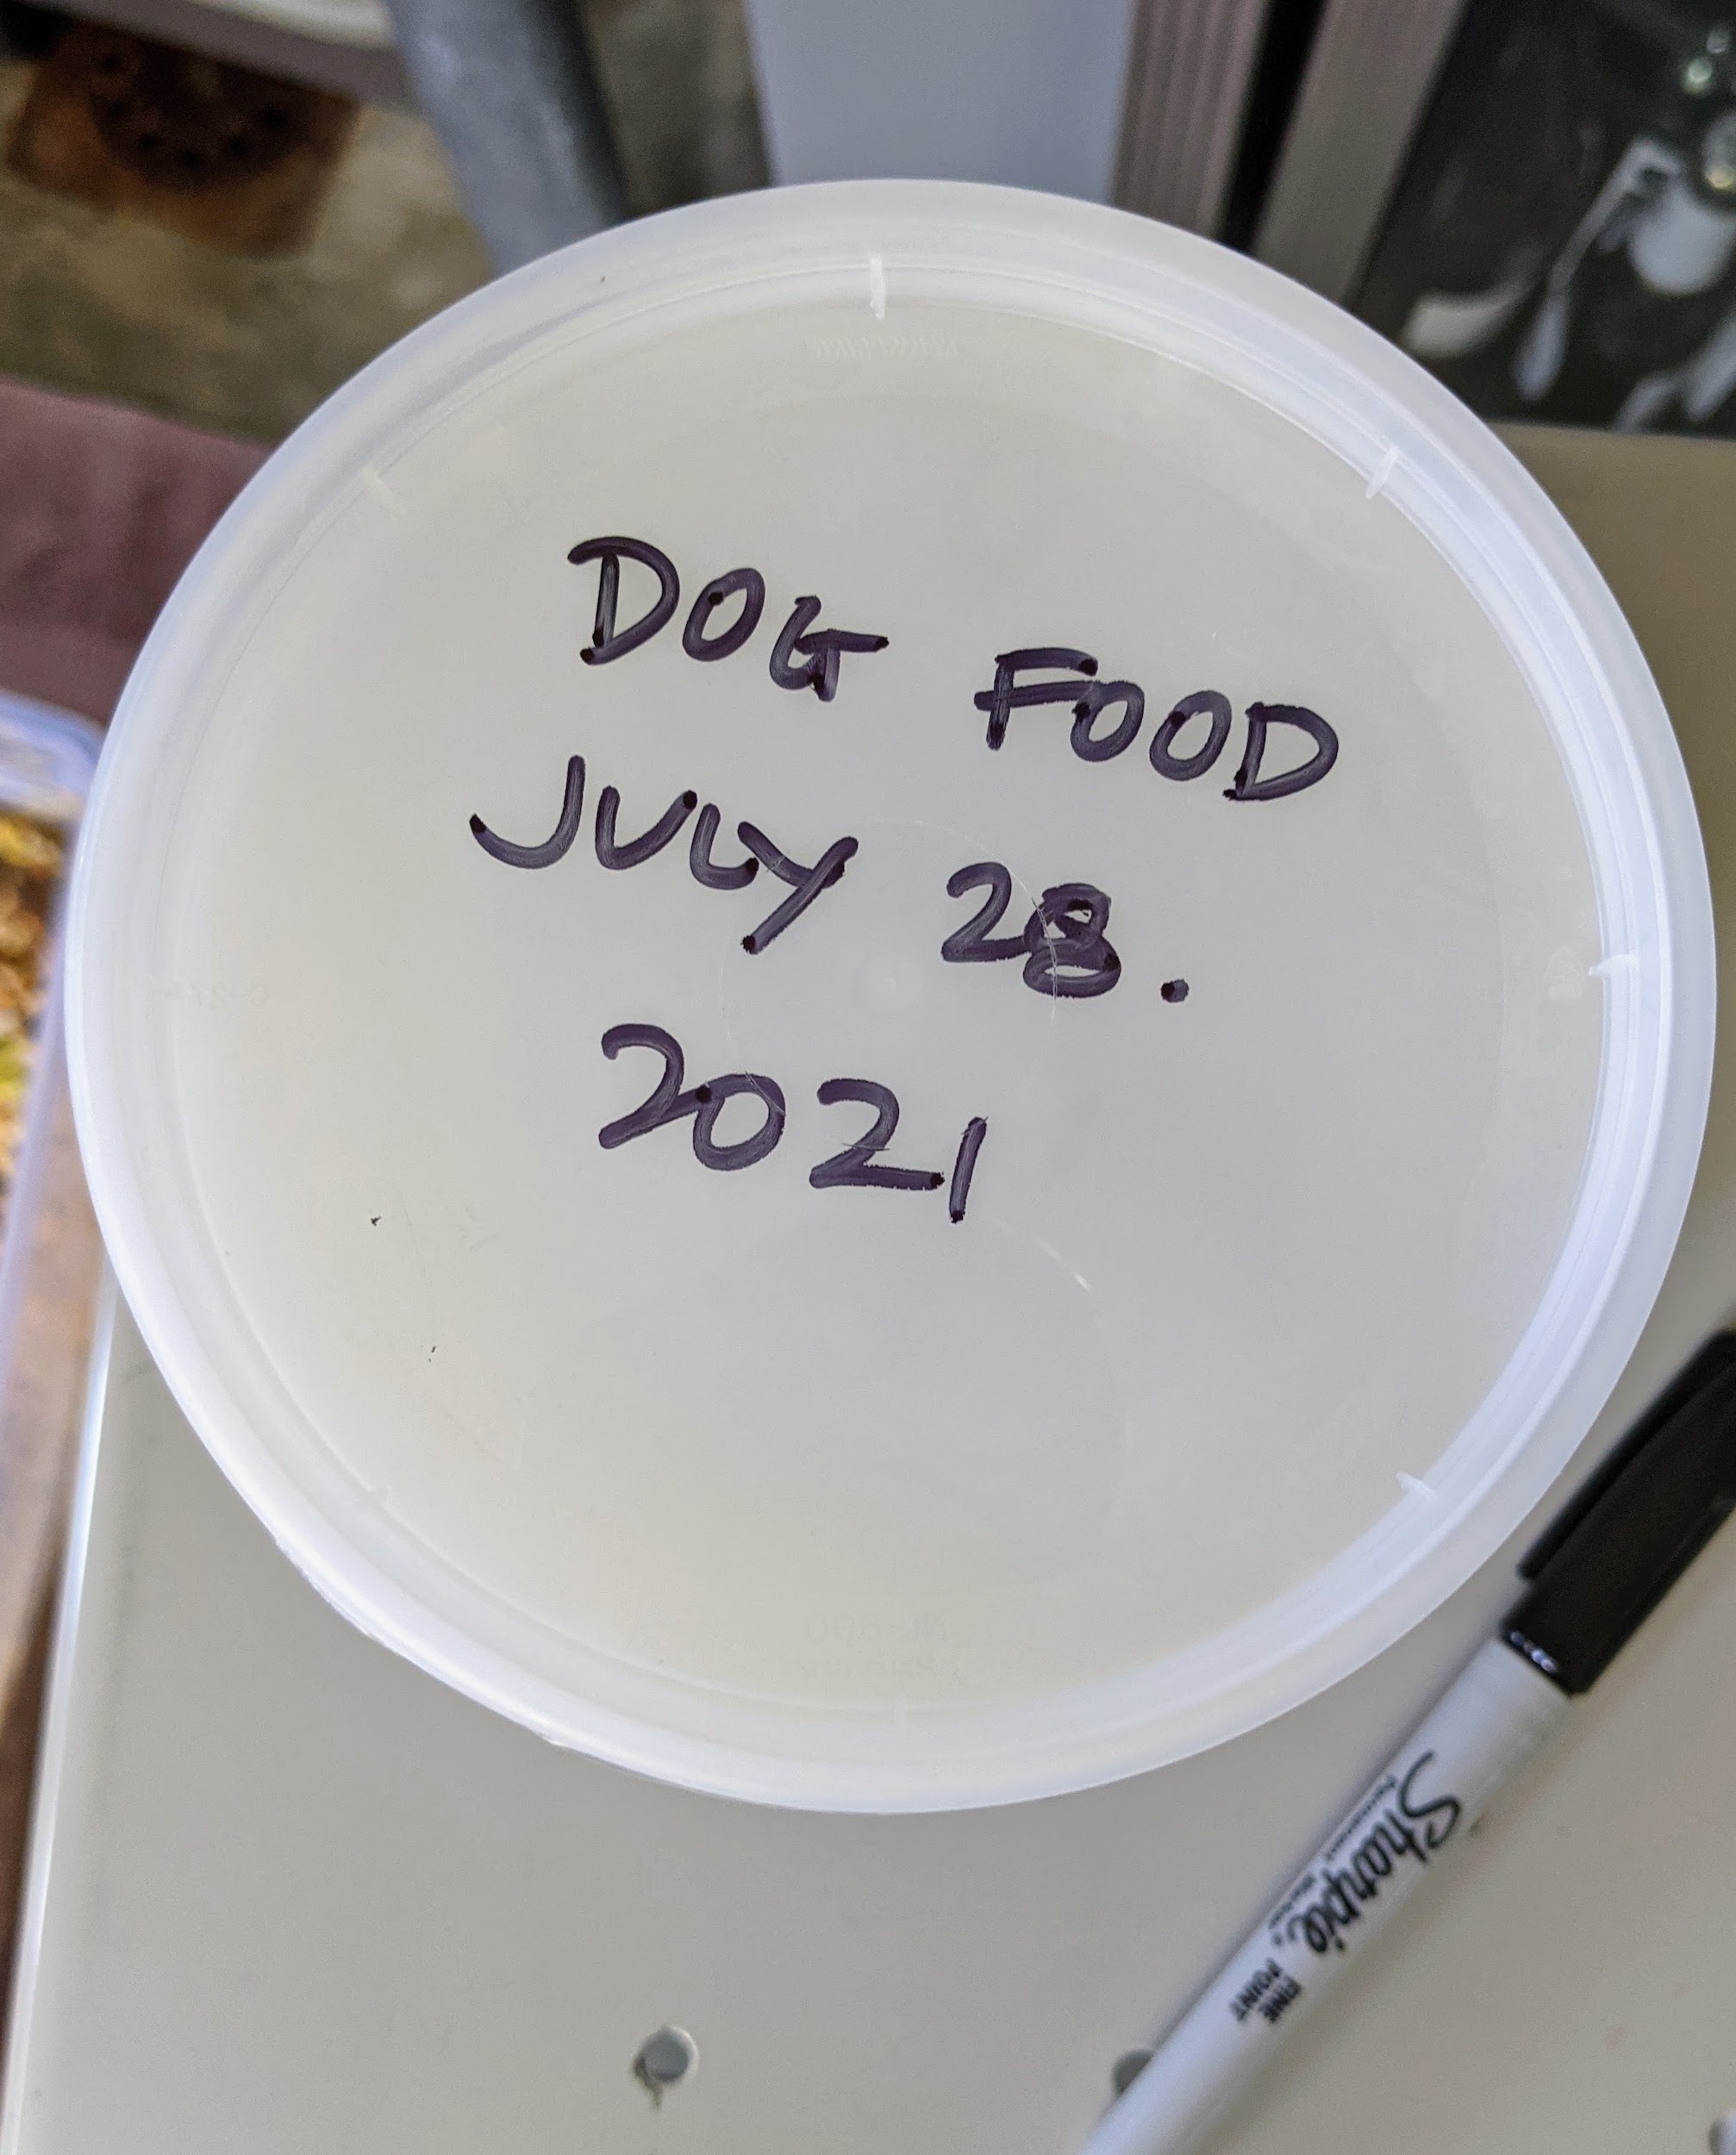
Each lid is marked with the contents and the date it was prepared.
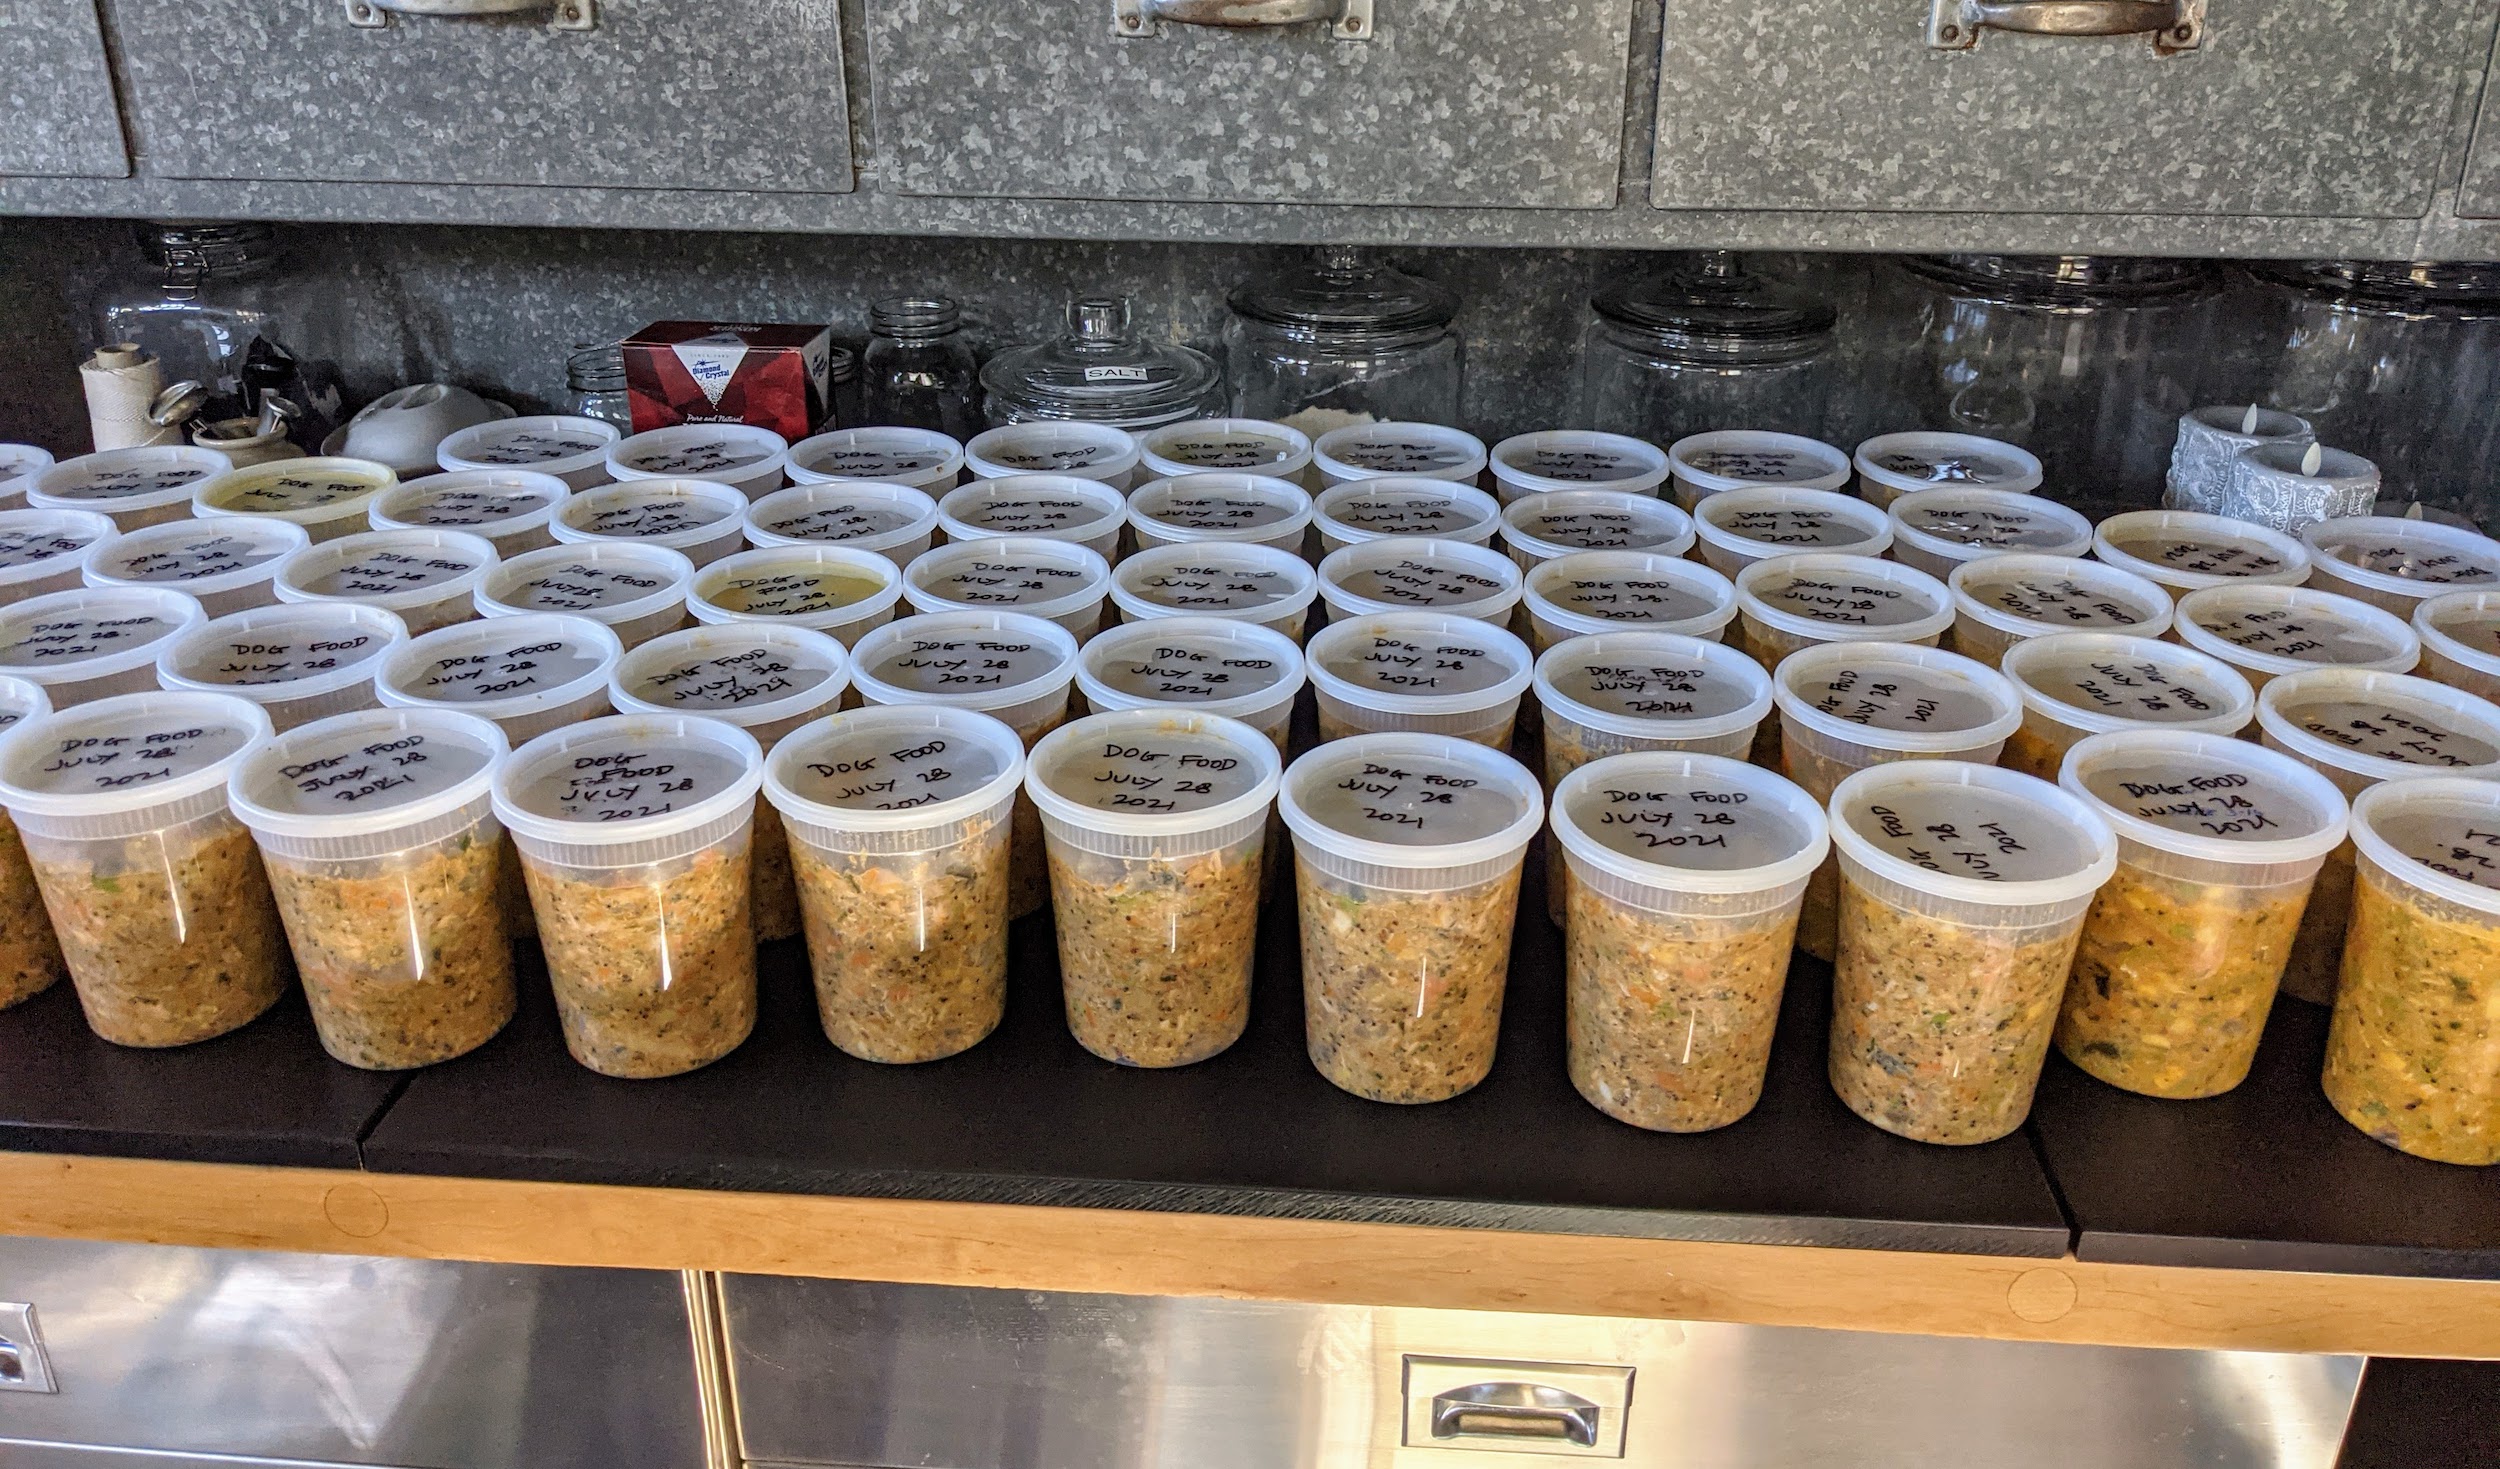
Can you guess how many quarts we made?
Some of the food will be stored in my Winter House kitchen refrigerator, so they are easy to access. The rest will be stored in freezers elsewhere until needed. In all, I made enough for 65-quarts of food.
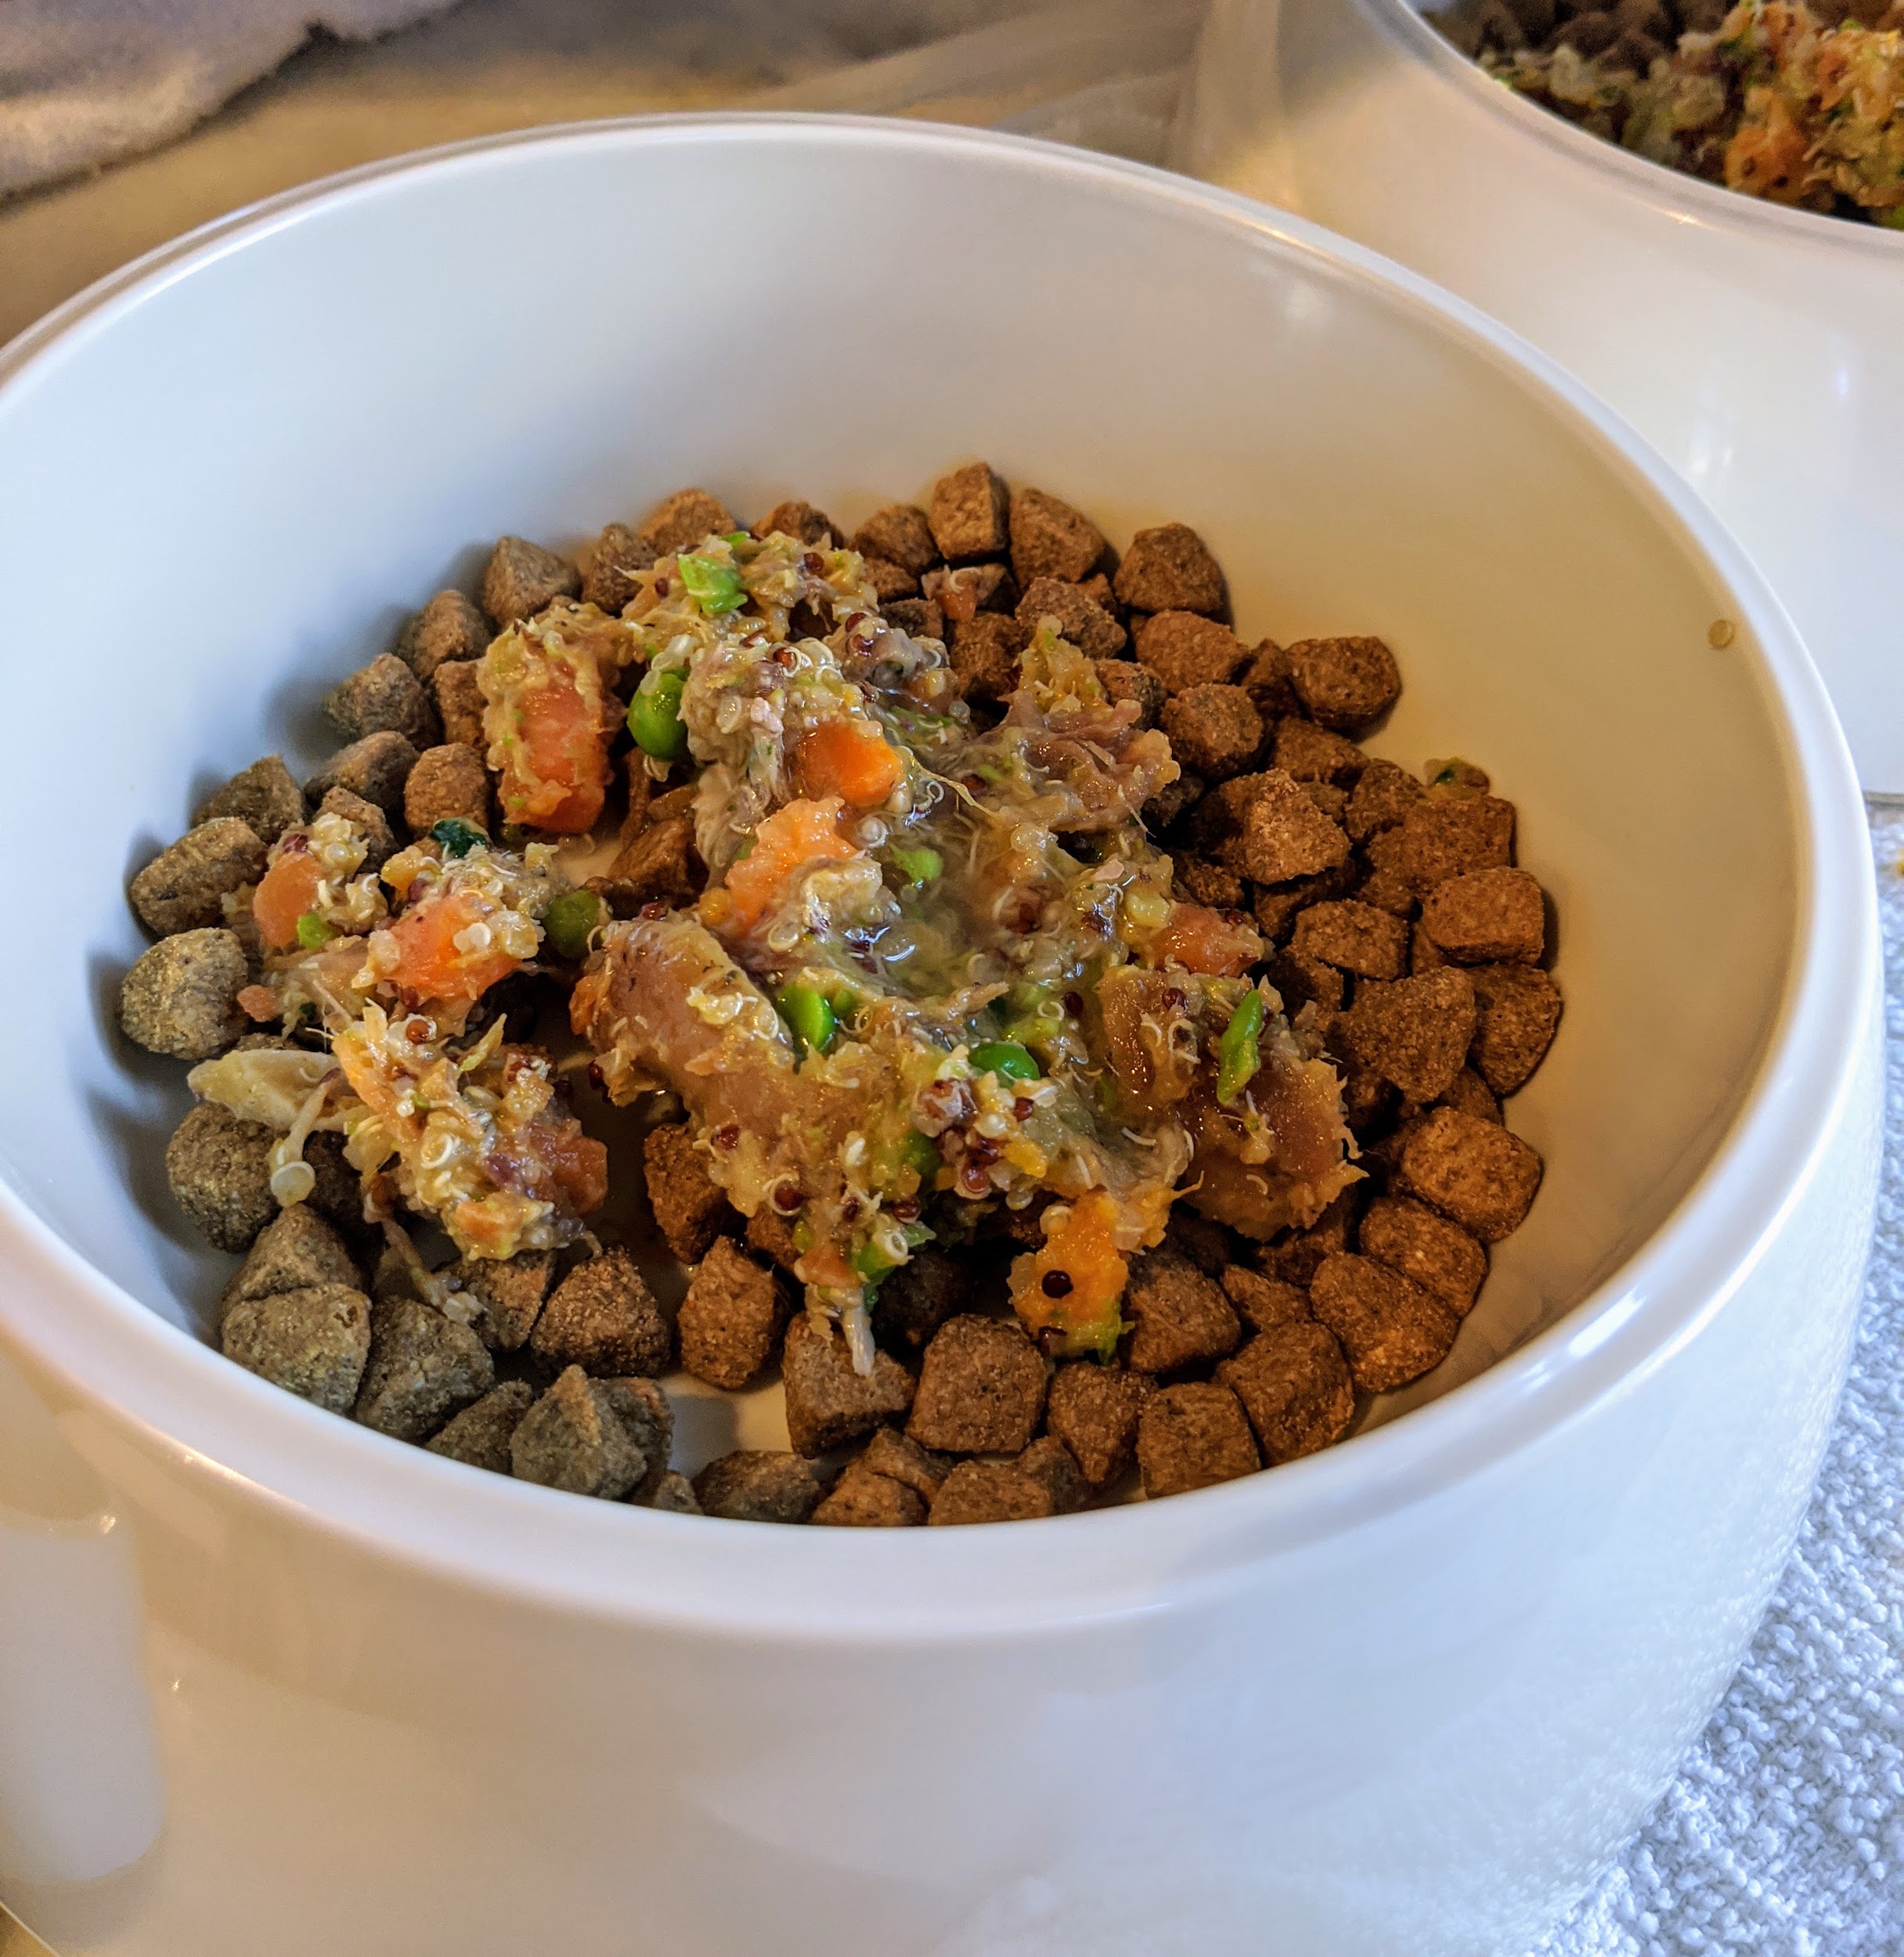
And look how beautiful the meal is – especially in this Martha Stewart Pets food dish. Home prepared diets can also be mixed with kibble. I mix high quality kibble with a scoop of their home-prepared food.
It’s dinner time! My dogs eat two meals a day – once in the morning and once in the evening. Splitting meal times is good for their digestion. Are you ready to eat, Bete Noire, Creme Brulee, and Qin? Cooking for your dogs is a personal choice, but if you have time, and are interested in giving it a try, I know your pets will love every meal.
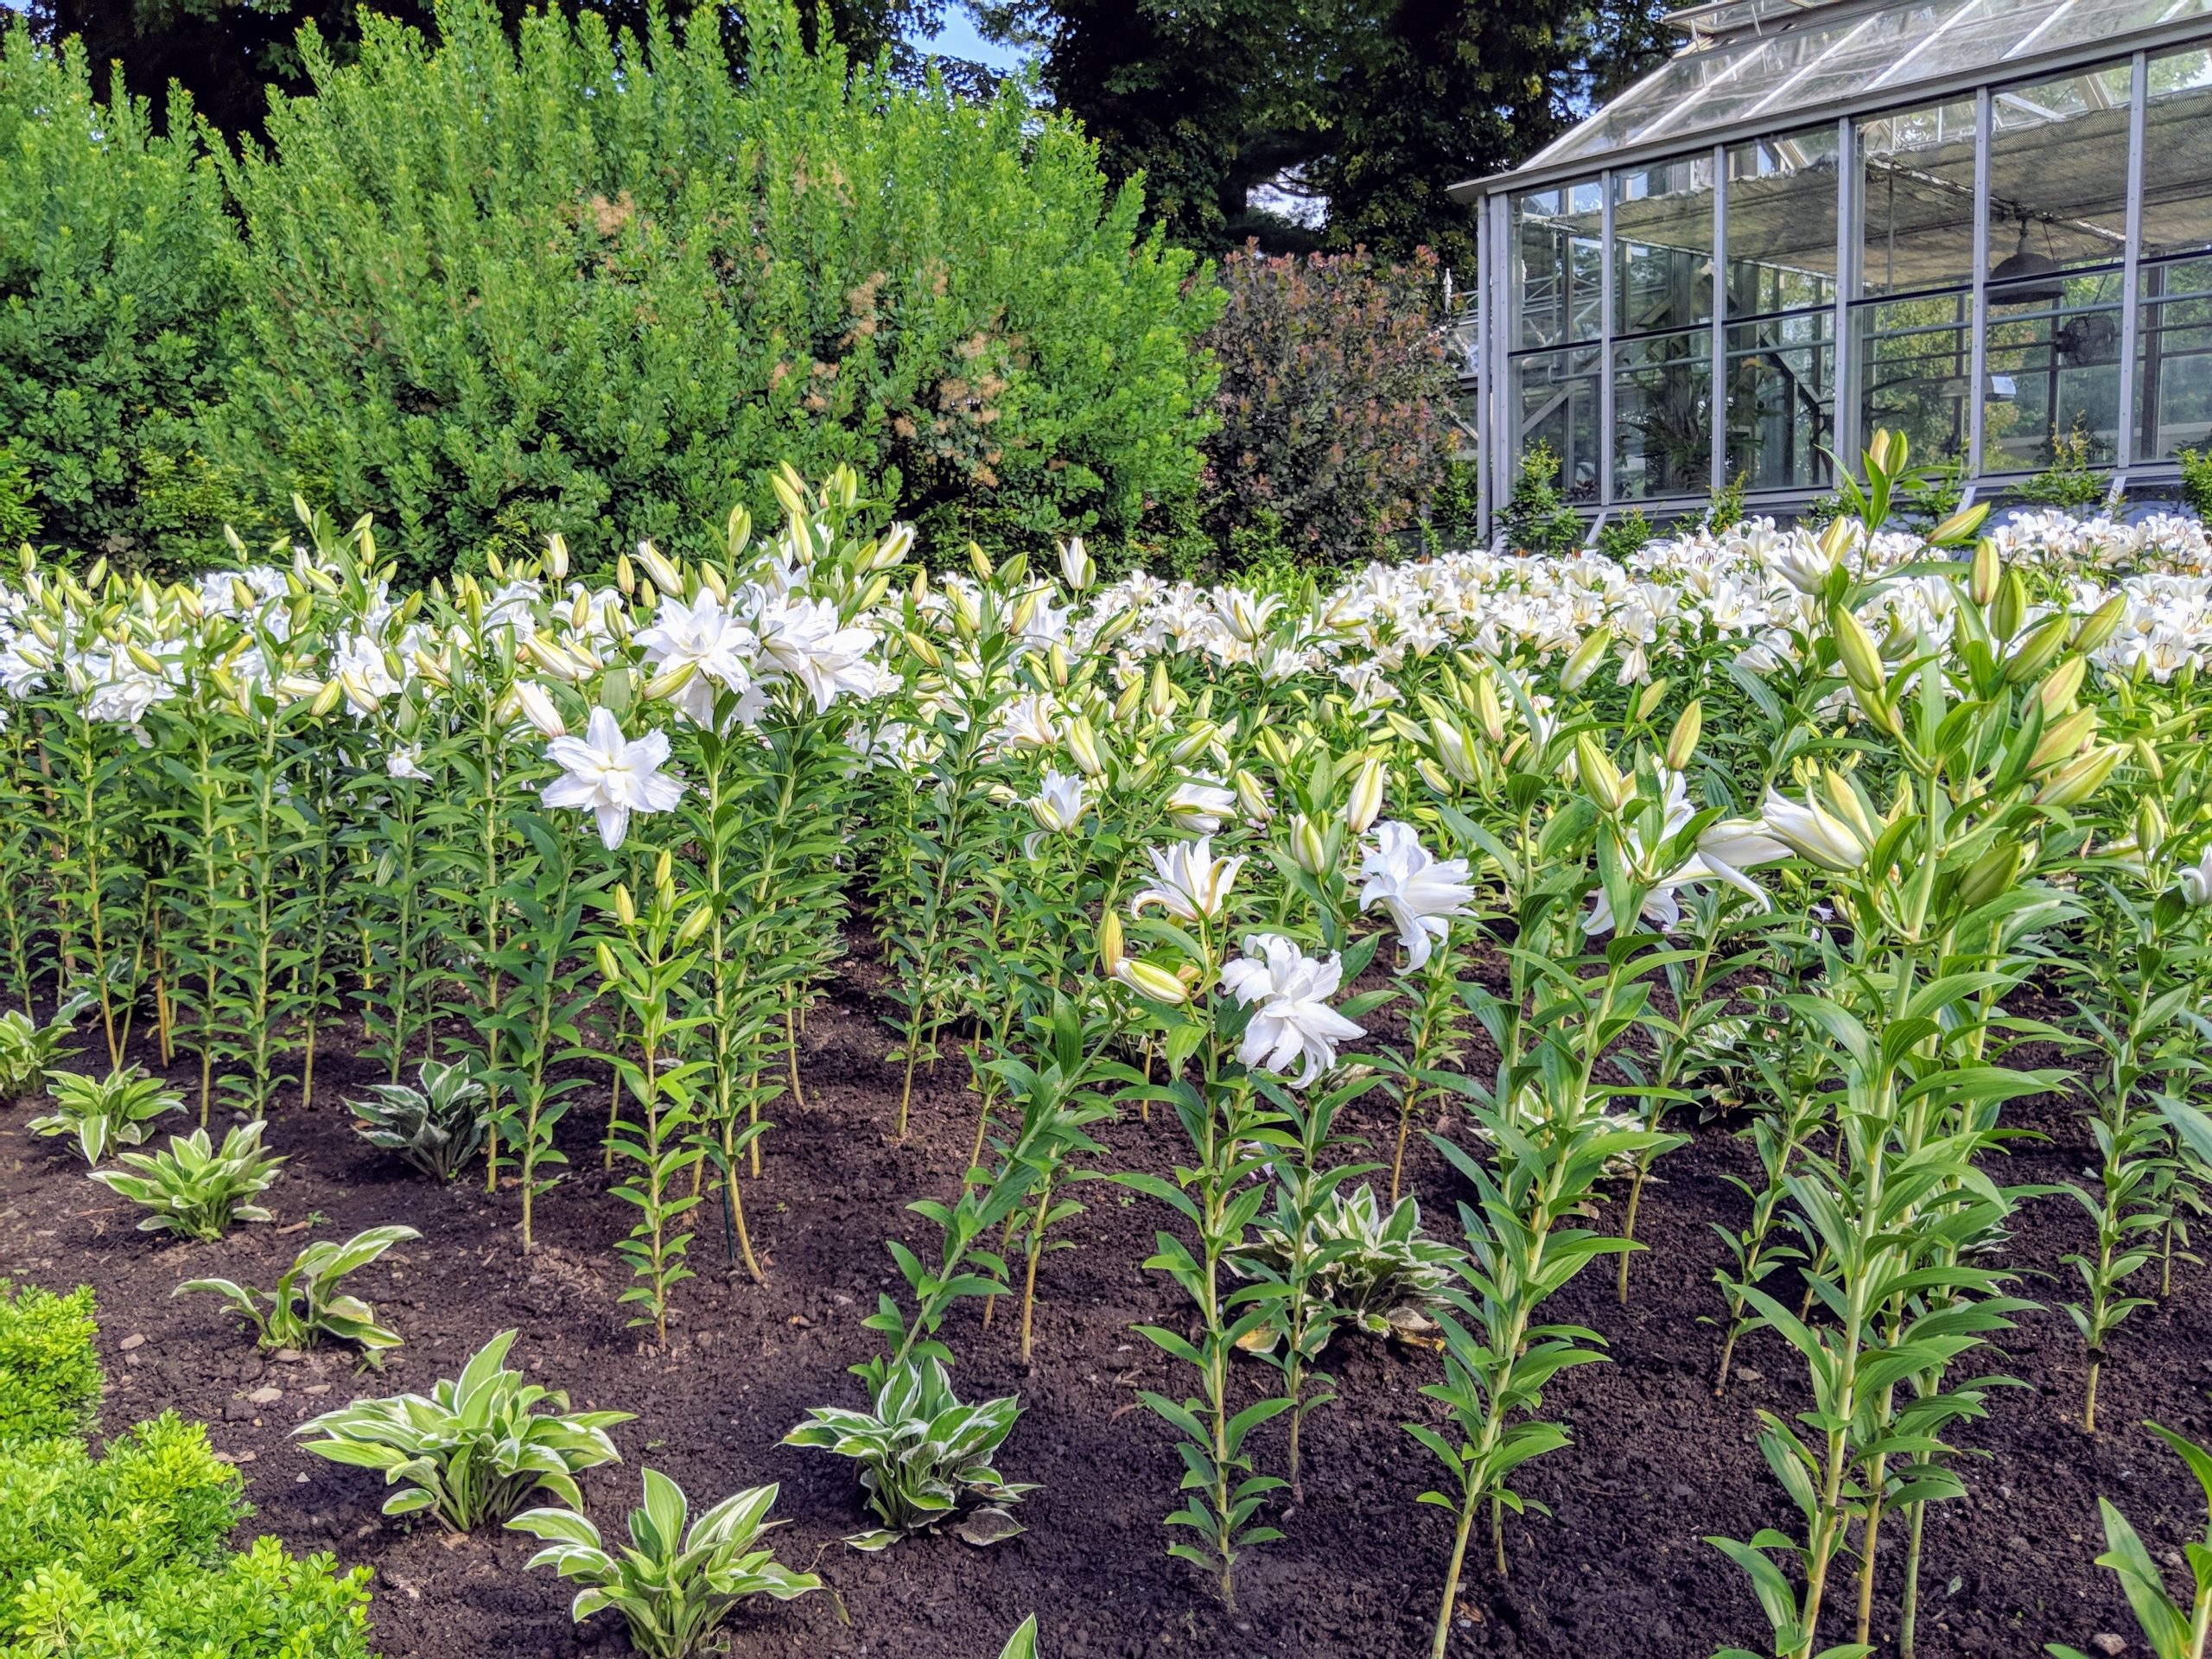
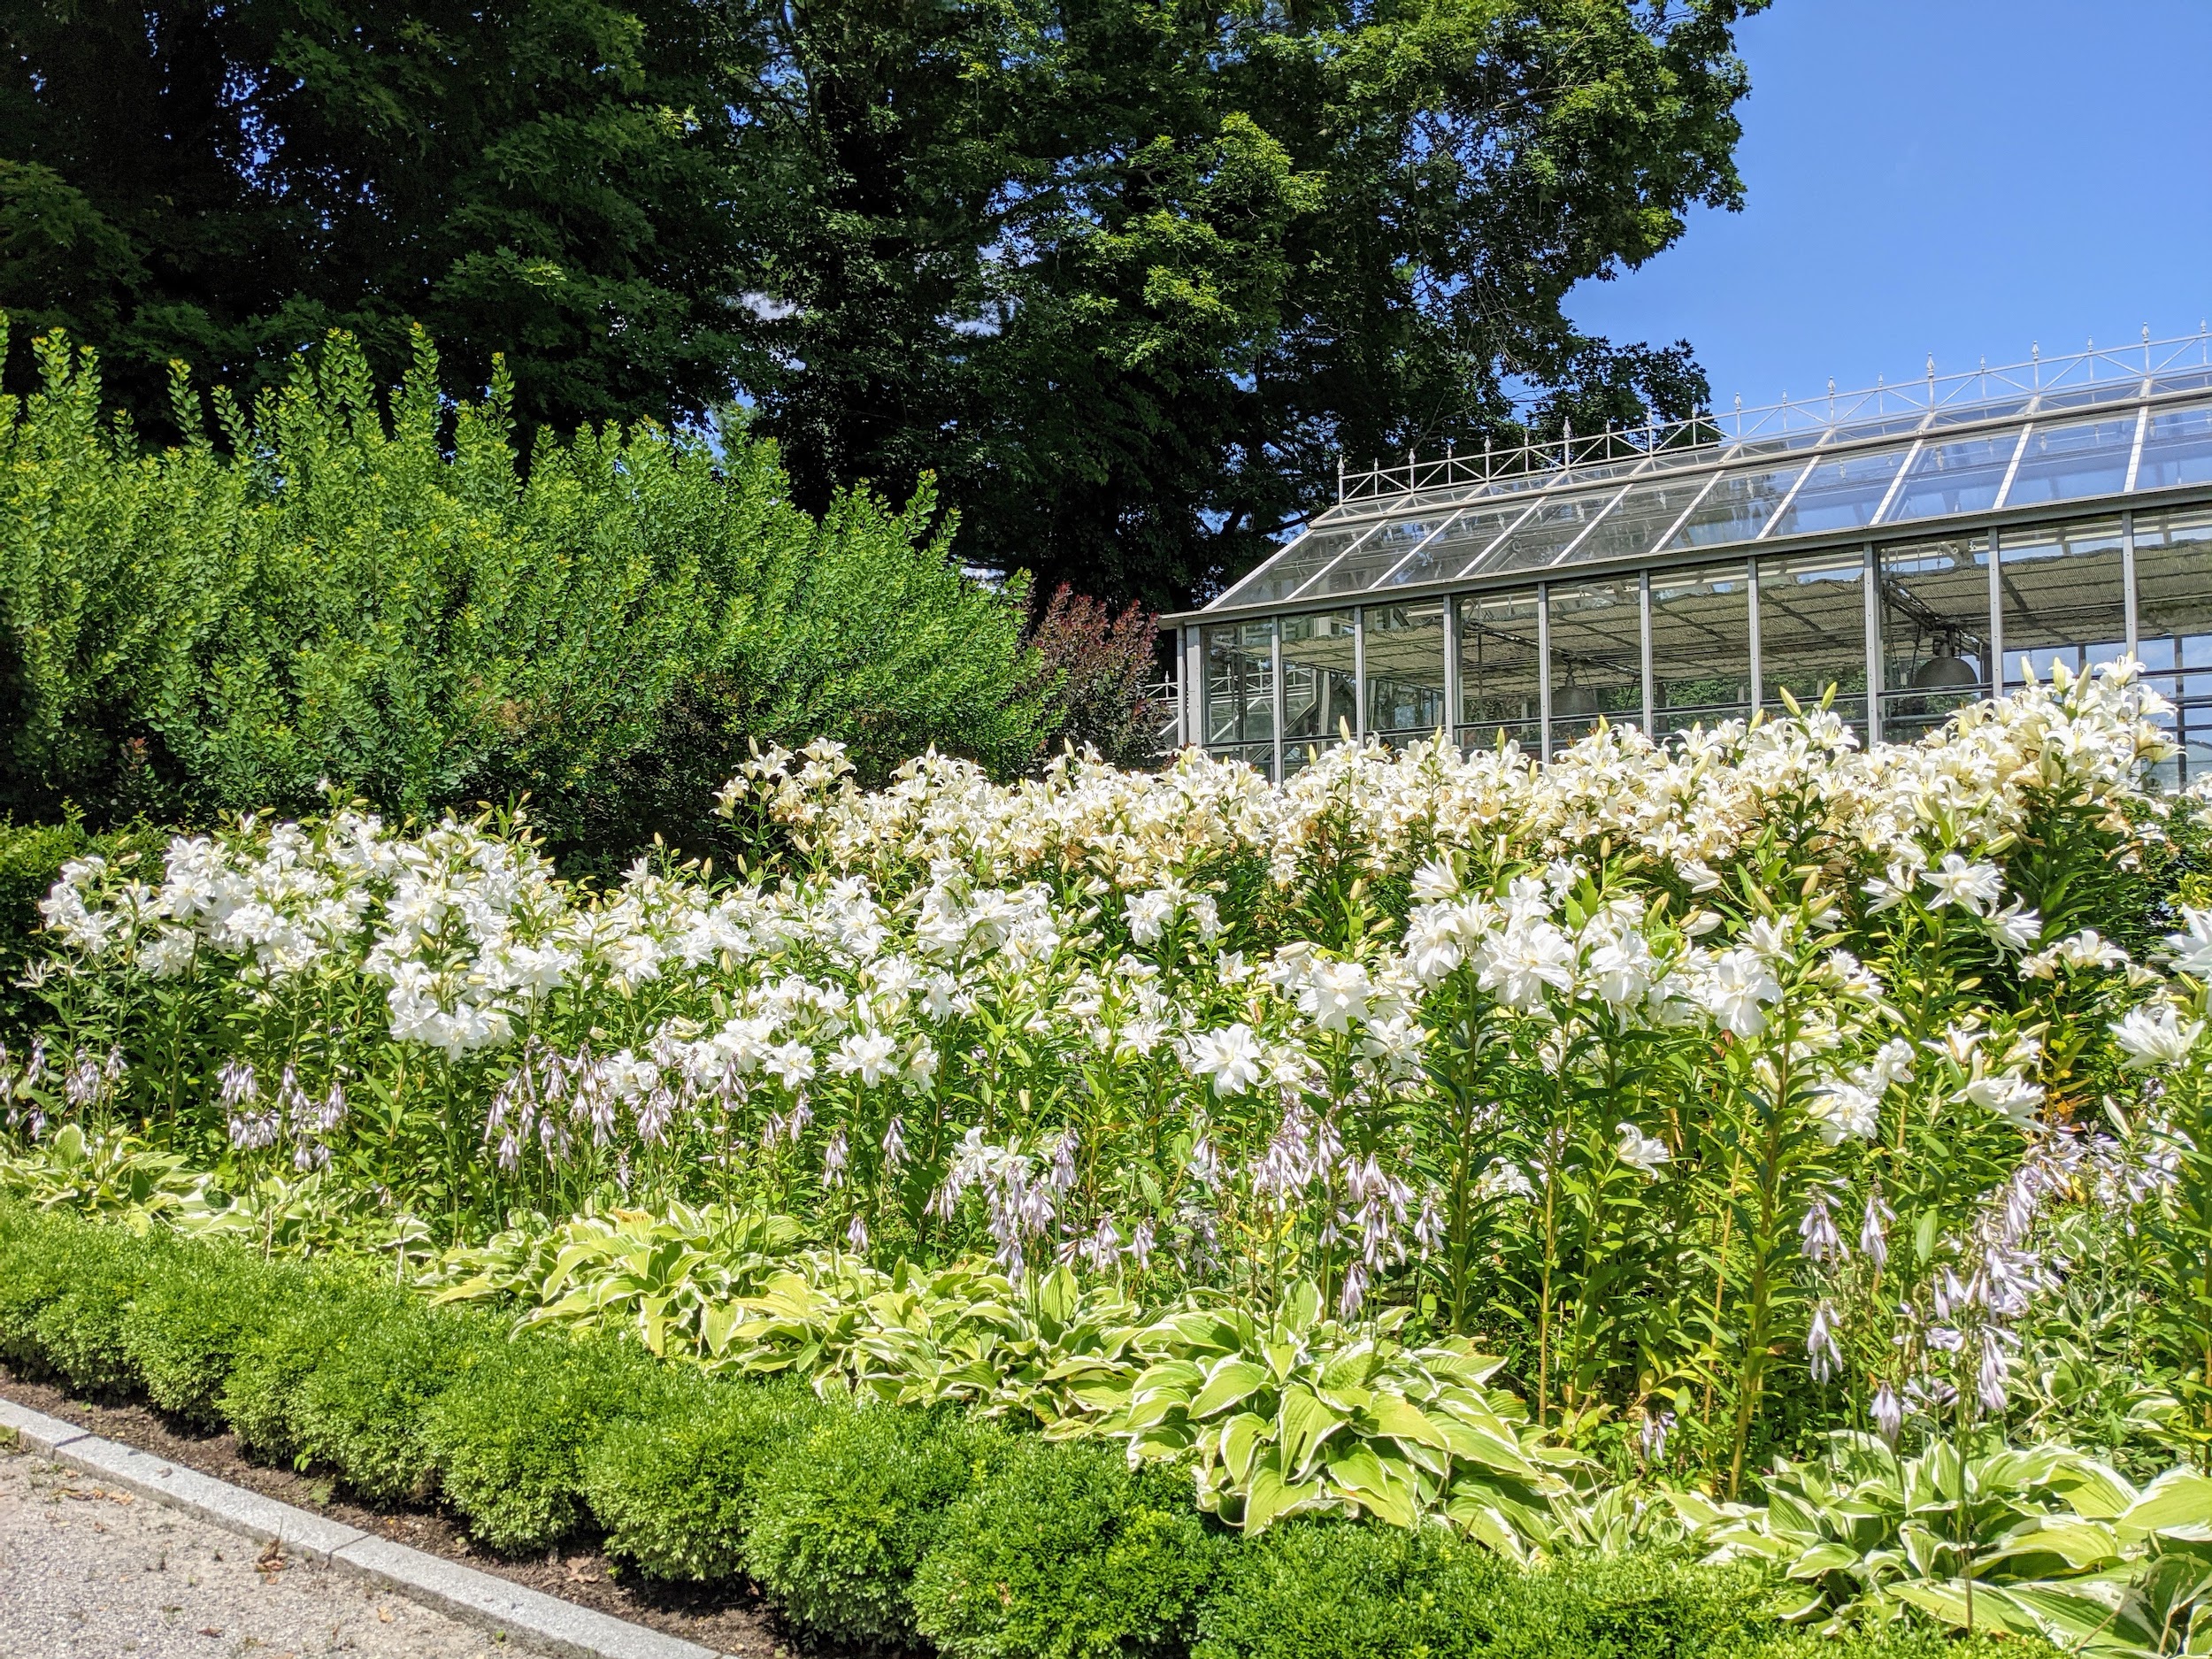
The white lily garden at my Bedford, New York farm is overflowing with gorgeous blooms.
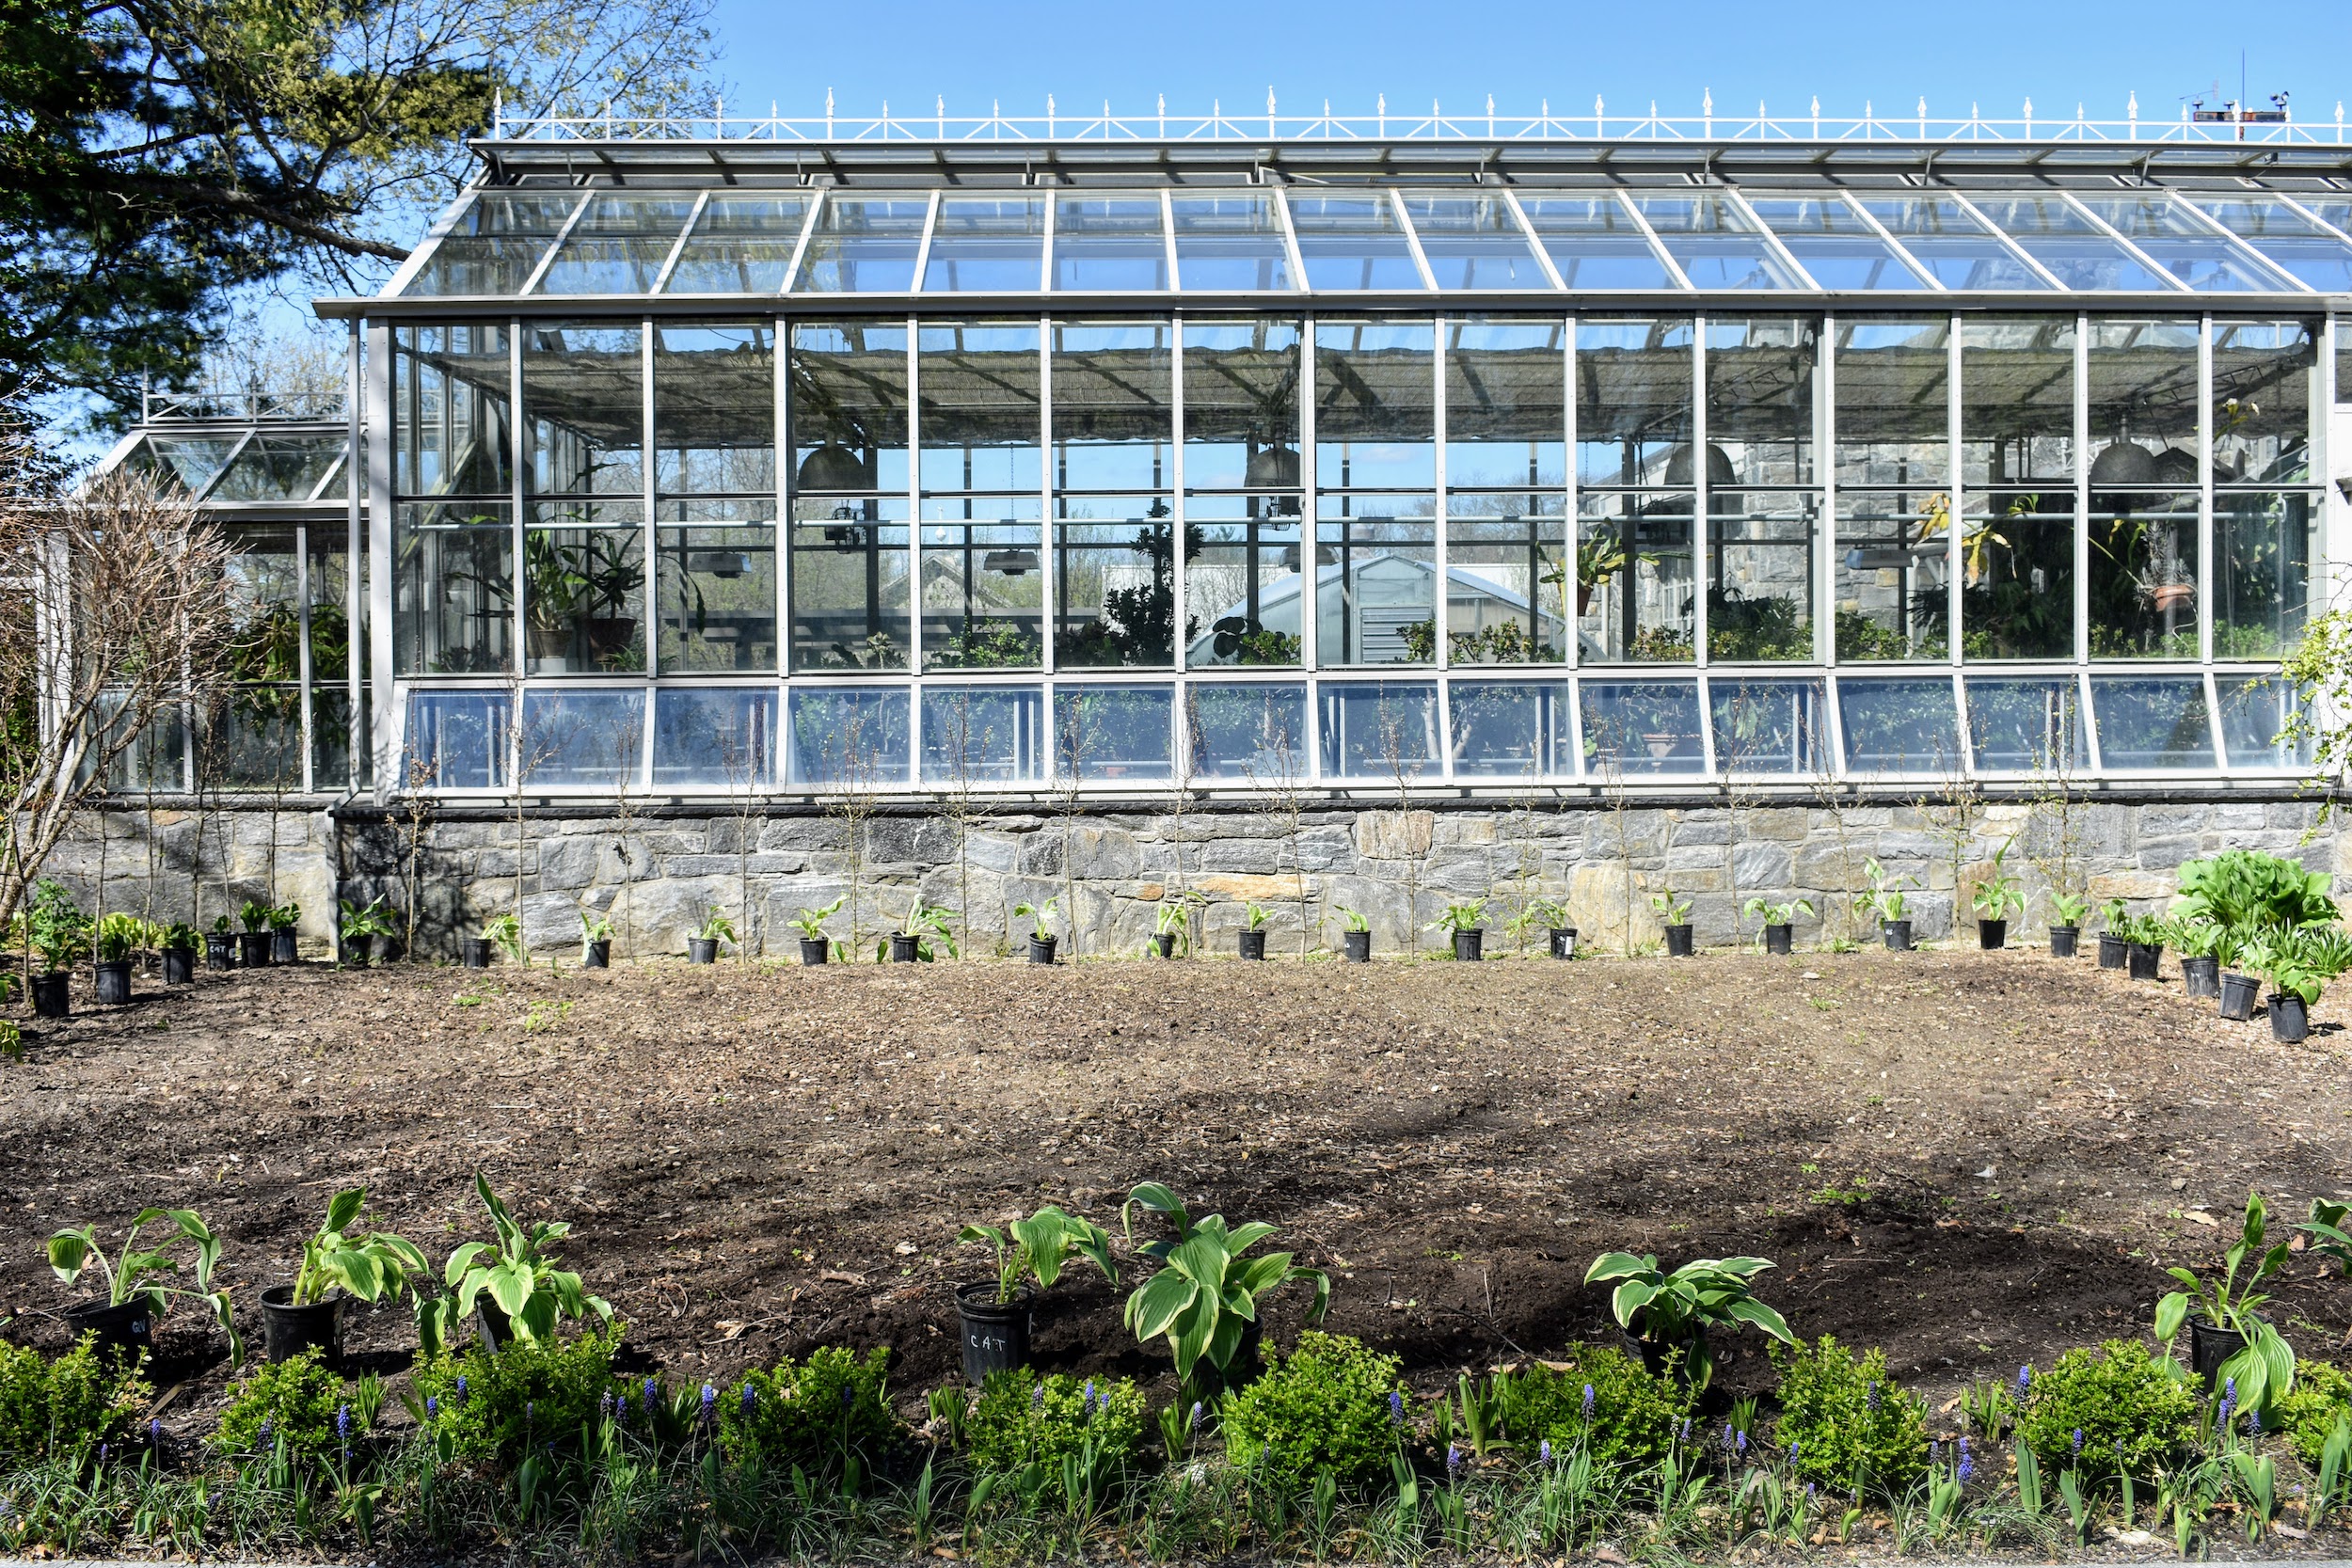
Two years ago, I decided to transform the area in front of my main greenhouse into a more formal garden with hostas and white lilies. The beds were planted in a grid pattern, framing squares across the entire area and then filling each square with about 25 lilies in each, organized by height from back to front. The lilies came from Zabo Plant, a wholesale bulb supplier in The Netherlands. Some of the varieties include: 'Severn', 'Saronno', 'Kayenta', 'Maxima', 'Crystal Blanca', 'Zambesi', 'Nova Zembla', 'Seine', 'Castellani', 'San Christina', 'Serena Madonna', and 'Roselily Angela'. The garden has flourished since it was first planted - looking more and more lush and vibrant every summer.
Enjoy these photos.
In the spring of 2019, the two garden beds in front of my main greenhouse were completely transformed. These areas used to be home to my currant bushes, but I wanted to create a more formal garden. Here is one side just before we planted a border of hostas.
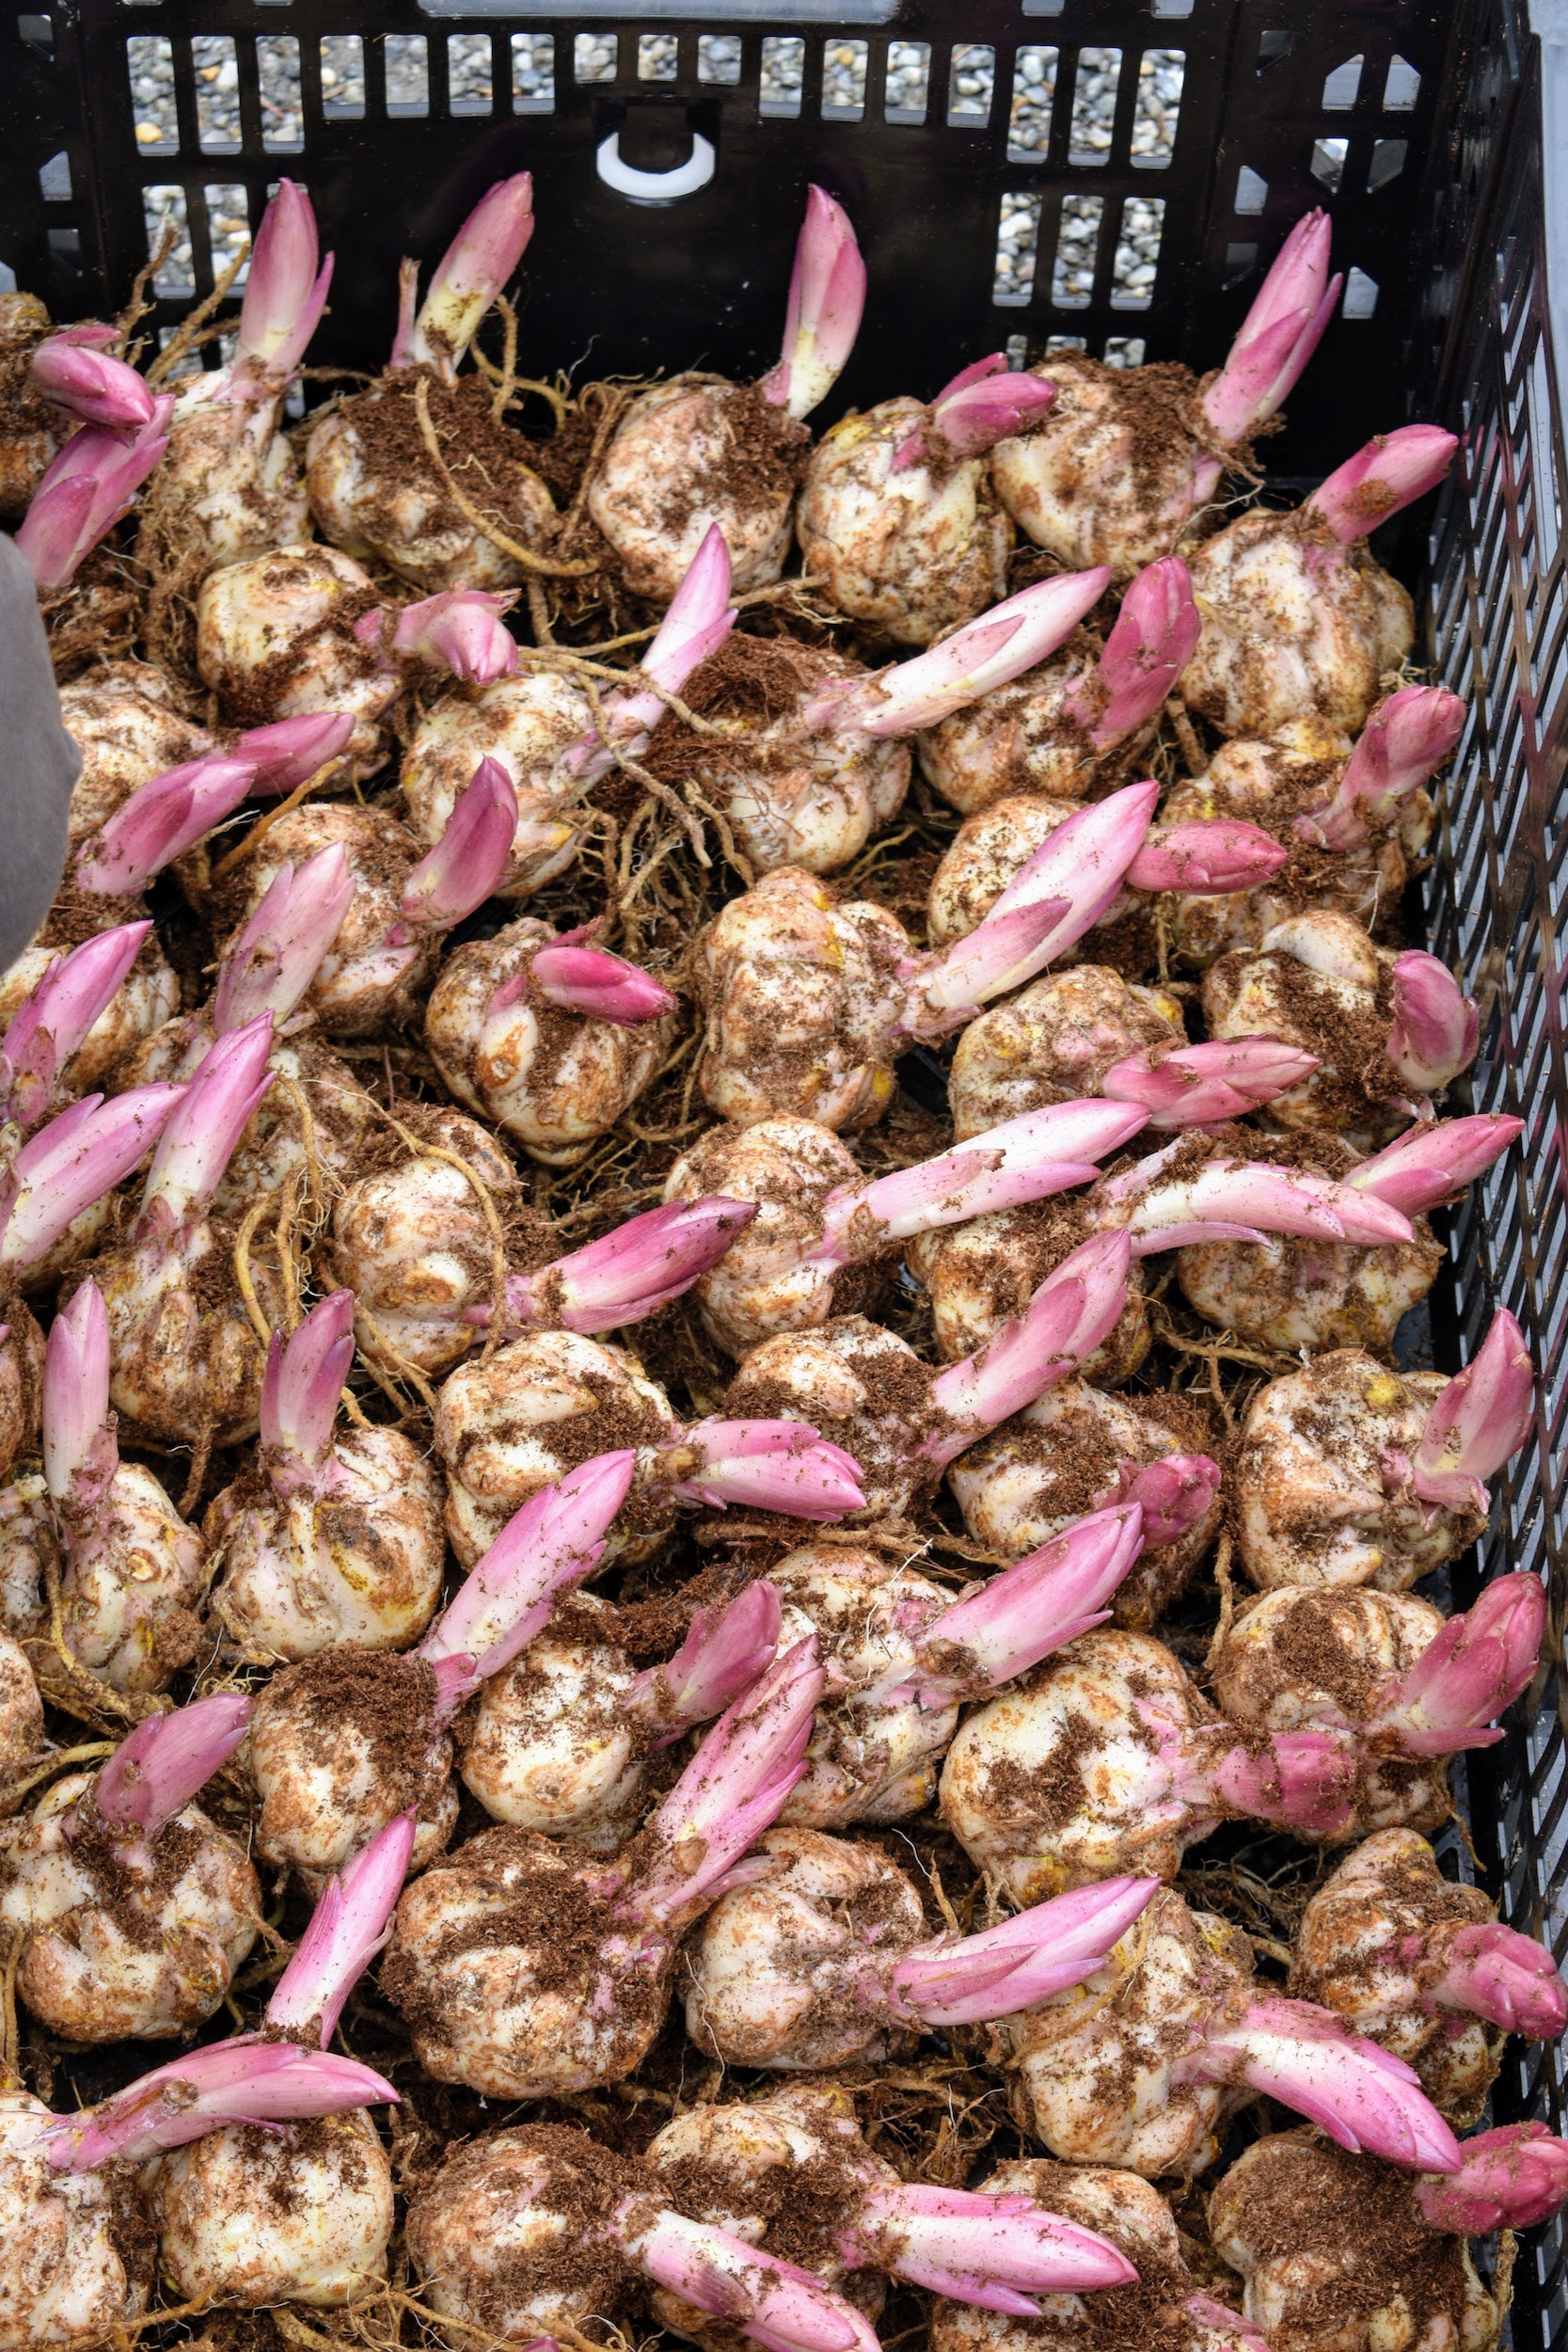
We also planted hundreds of white lily bulbs. The perfect spot for lilies has morning sun and late afternoon shade because it protects them from the burning hot midday sun. They will hold their flowers longer and the color is better when they receive some shade during the day.
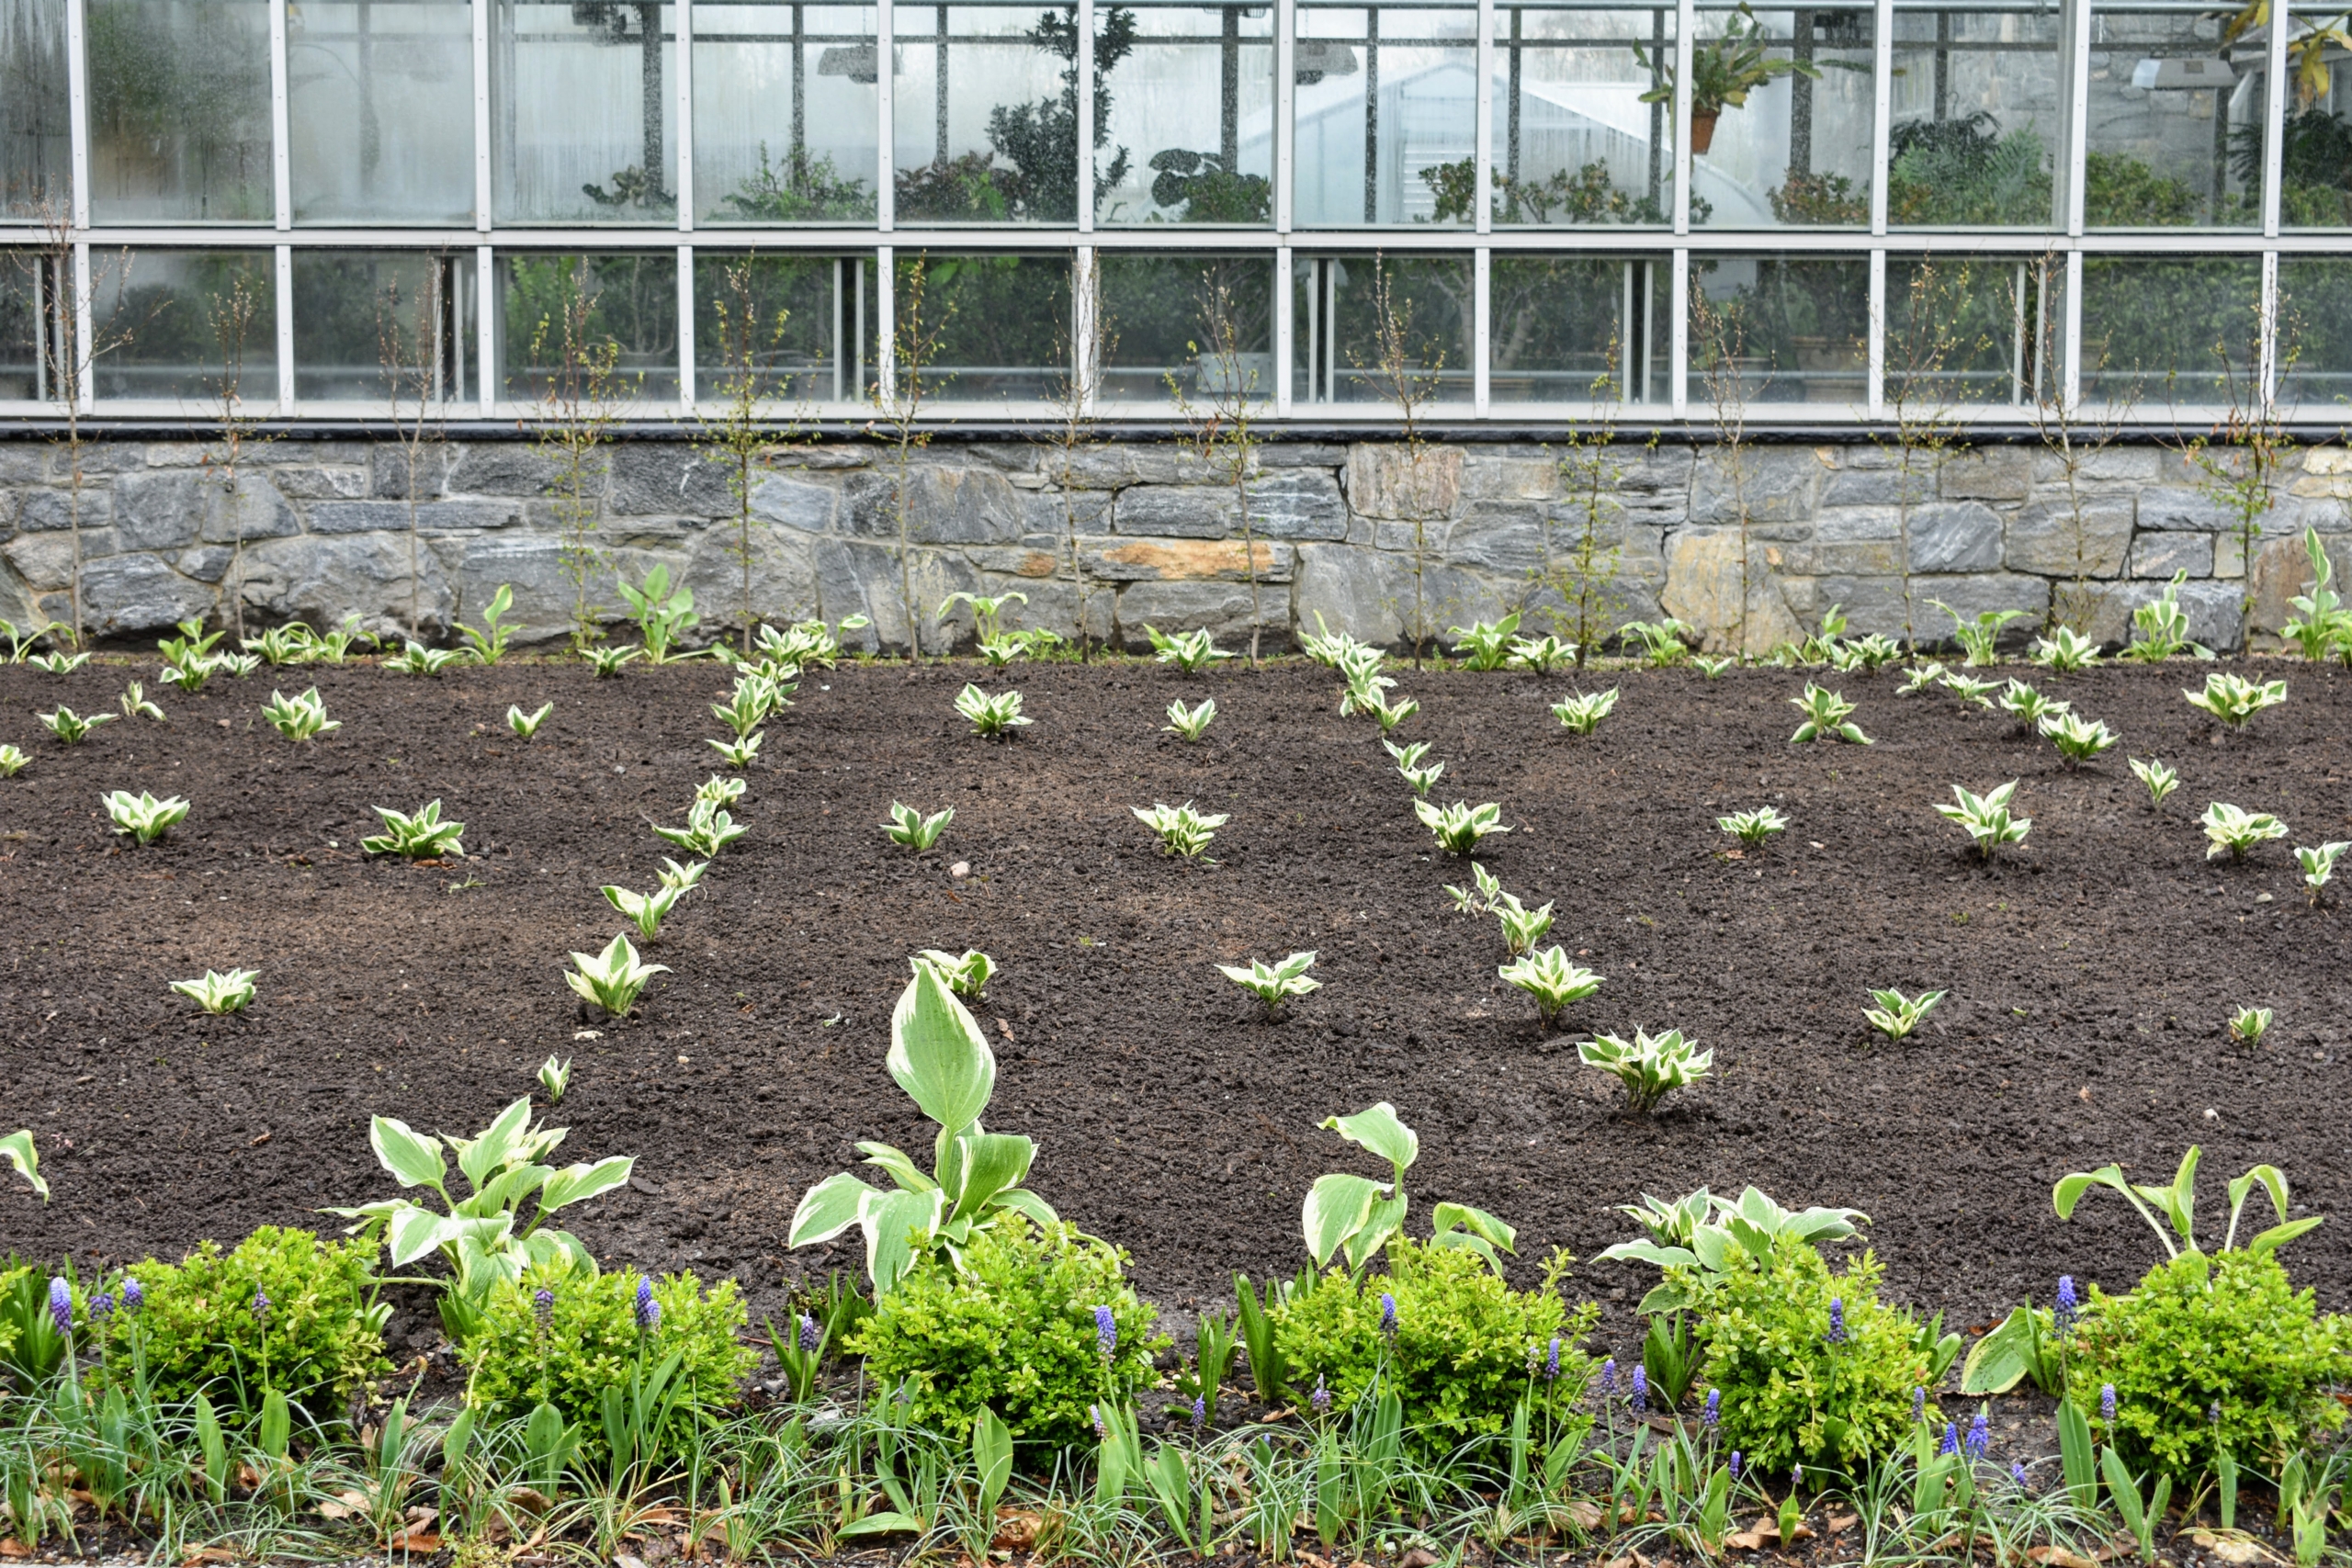
This is what it looked like after the hostas were planted and all the lily bulbs were in the ground. Symmetry is a very important aspect of any formal garden. Ryan and I planned everything very strategically – taller lillies in back, shorter ones in front and everything perfectly spaced.
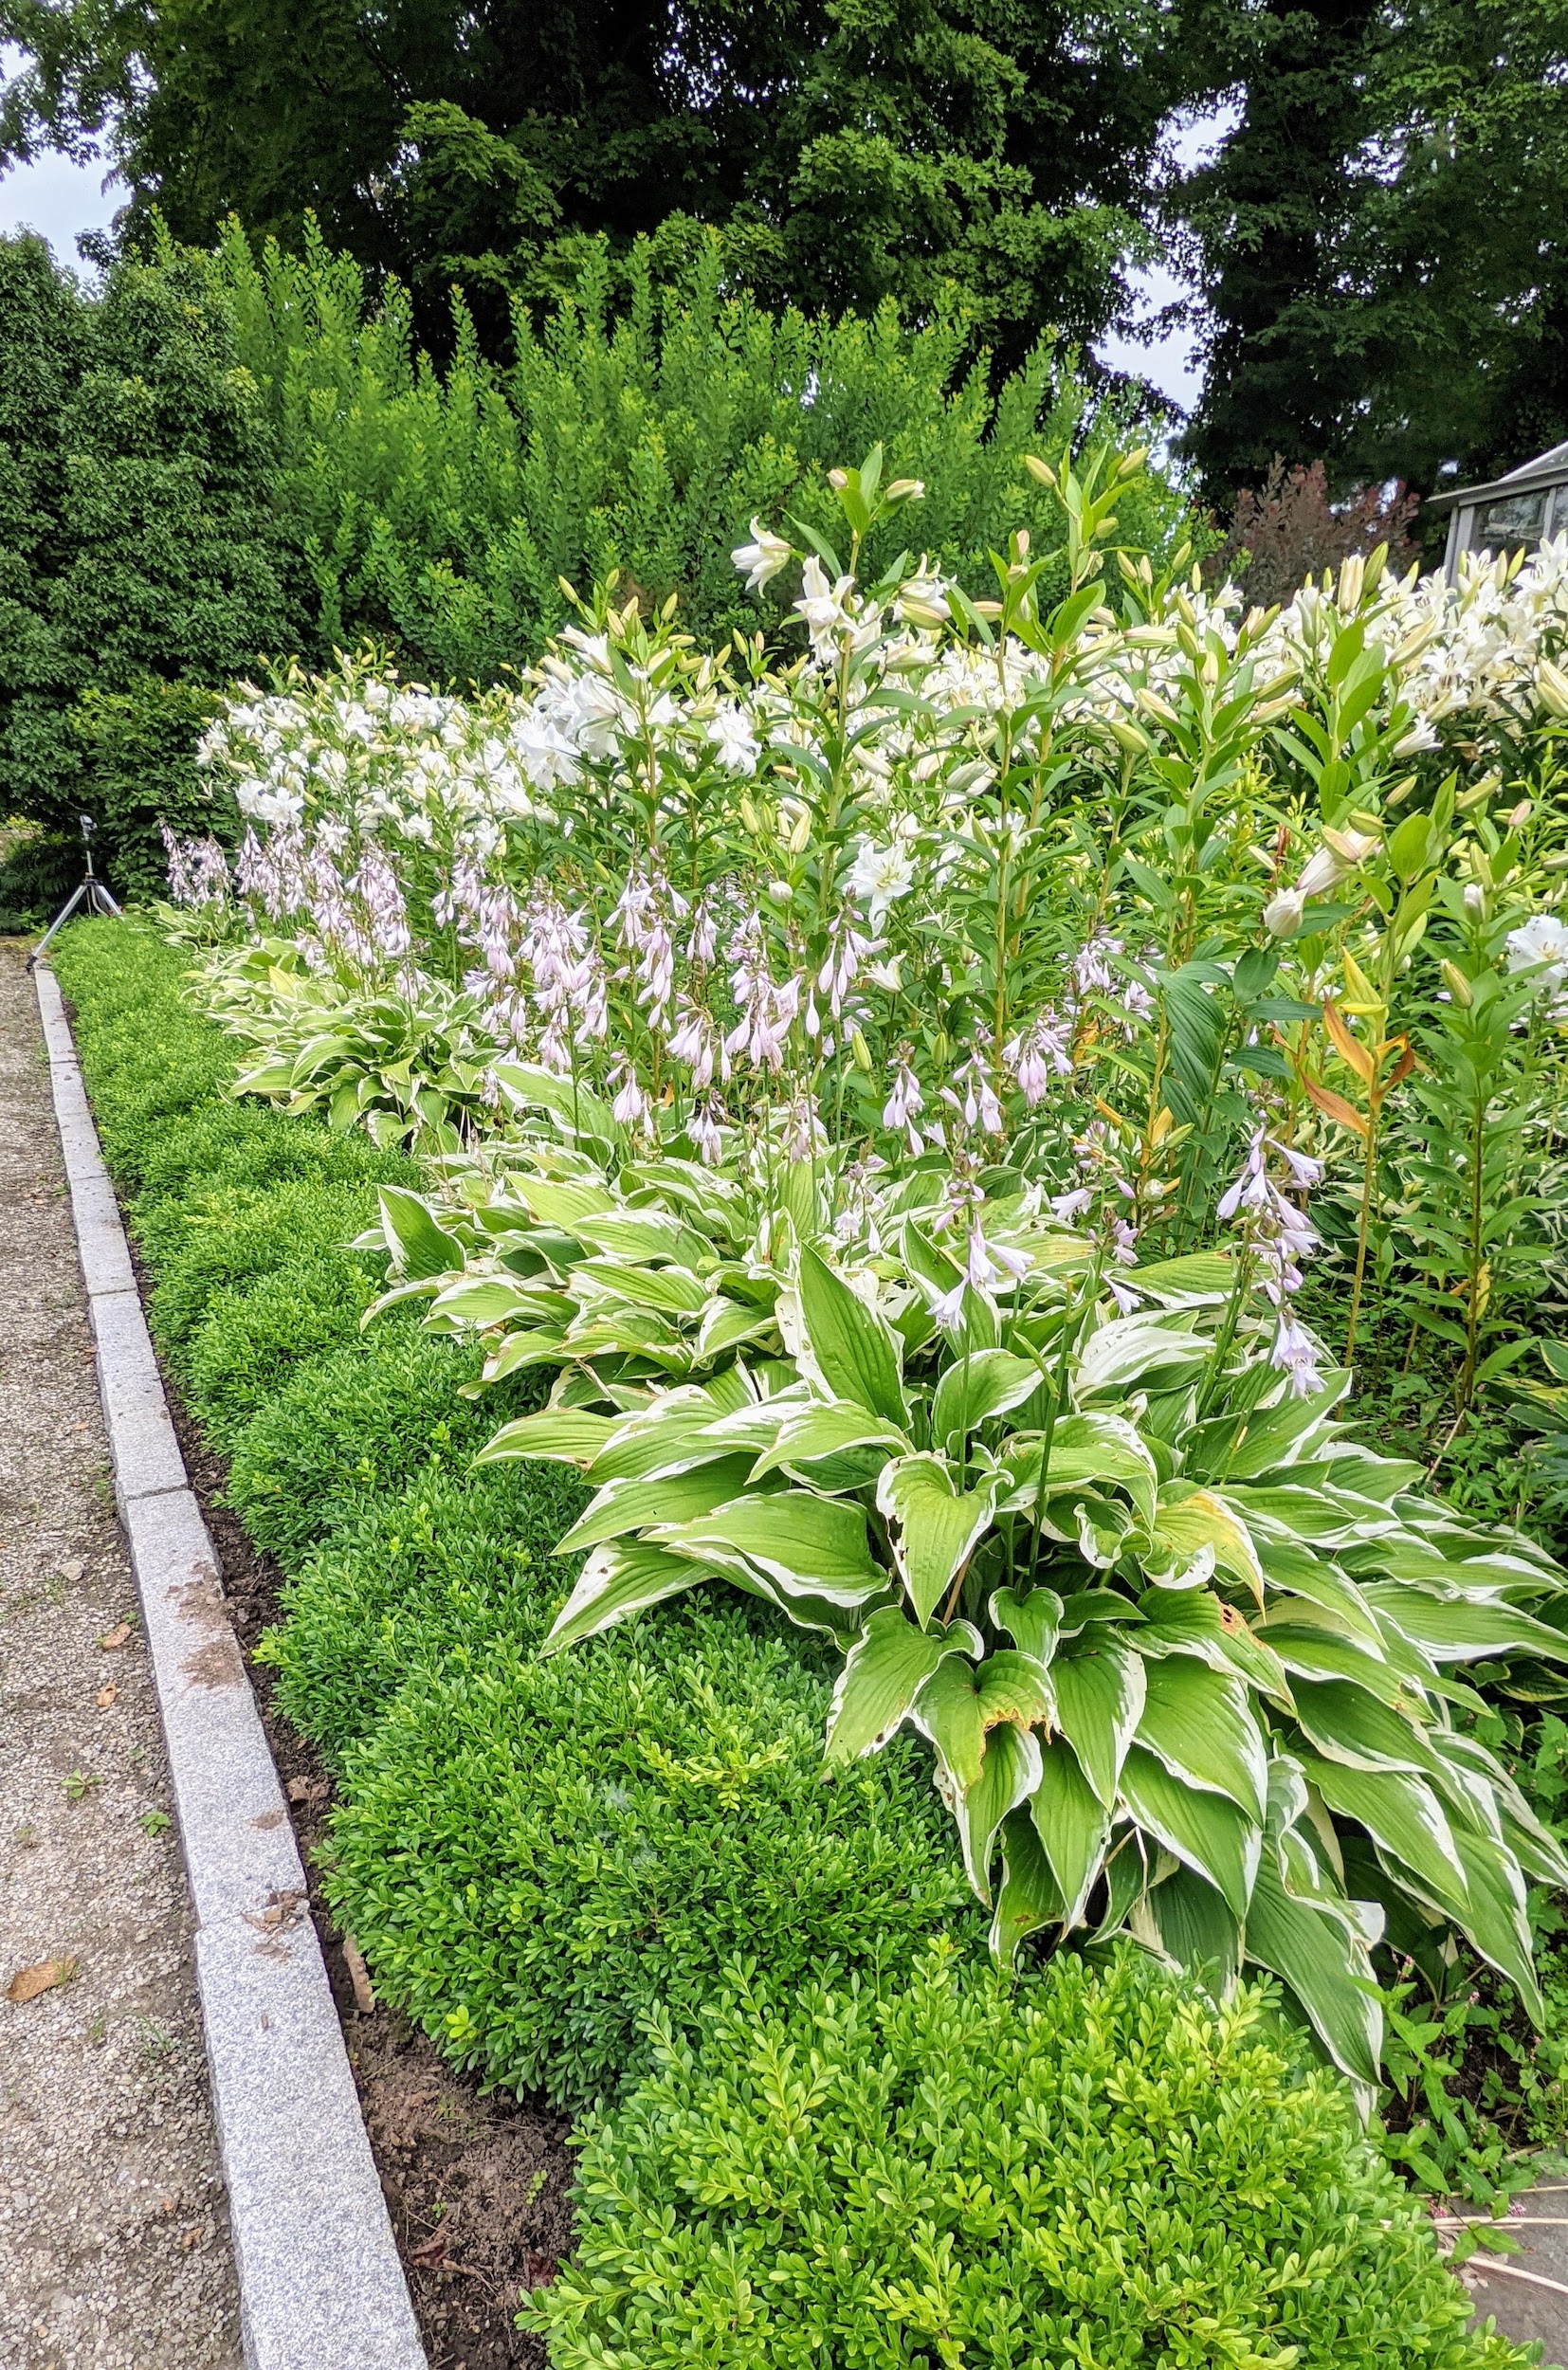
By June of that same year, the stems had grown to waste-high and all the hostas were established. My gardens grow so well because of the great soil I use. Every year, I amend it with rich compost made right here at the farm. In front of the two beds, we planted a row of boxwood. These boxwood shrubs were grown here at the farm from small bare-root cuttings.
That first summer, we had dozens of beautiful white lilies.
Last year, the beds looked even fuller – the boxwood, the hostas, and the growing lilies. Behind the beds, I decided to plant a hedge of hornbeams in front of the greenhouse windows and bordering the gardens on two sides. Here, one can just see the top of the hedge.
All the plantings were looking vibrant and lush.
And here are the lilies blooming early July 2020.
This year, everything seemed twice the size.
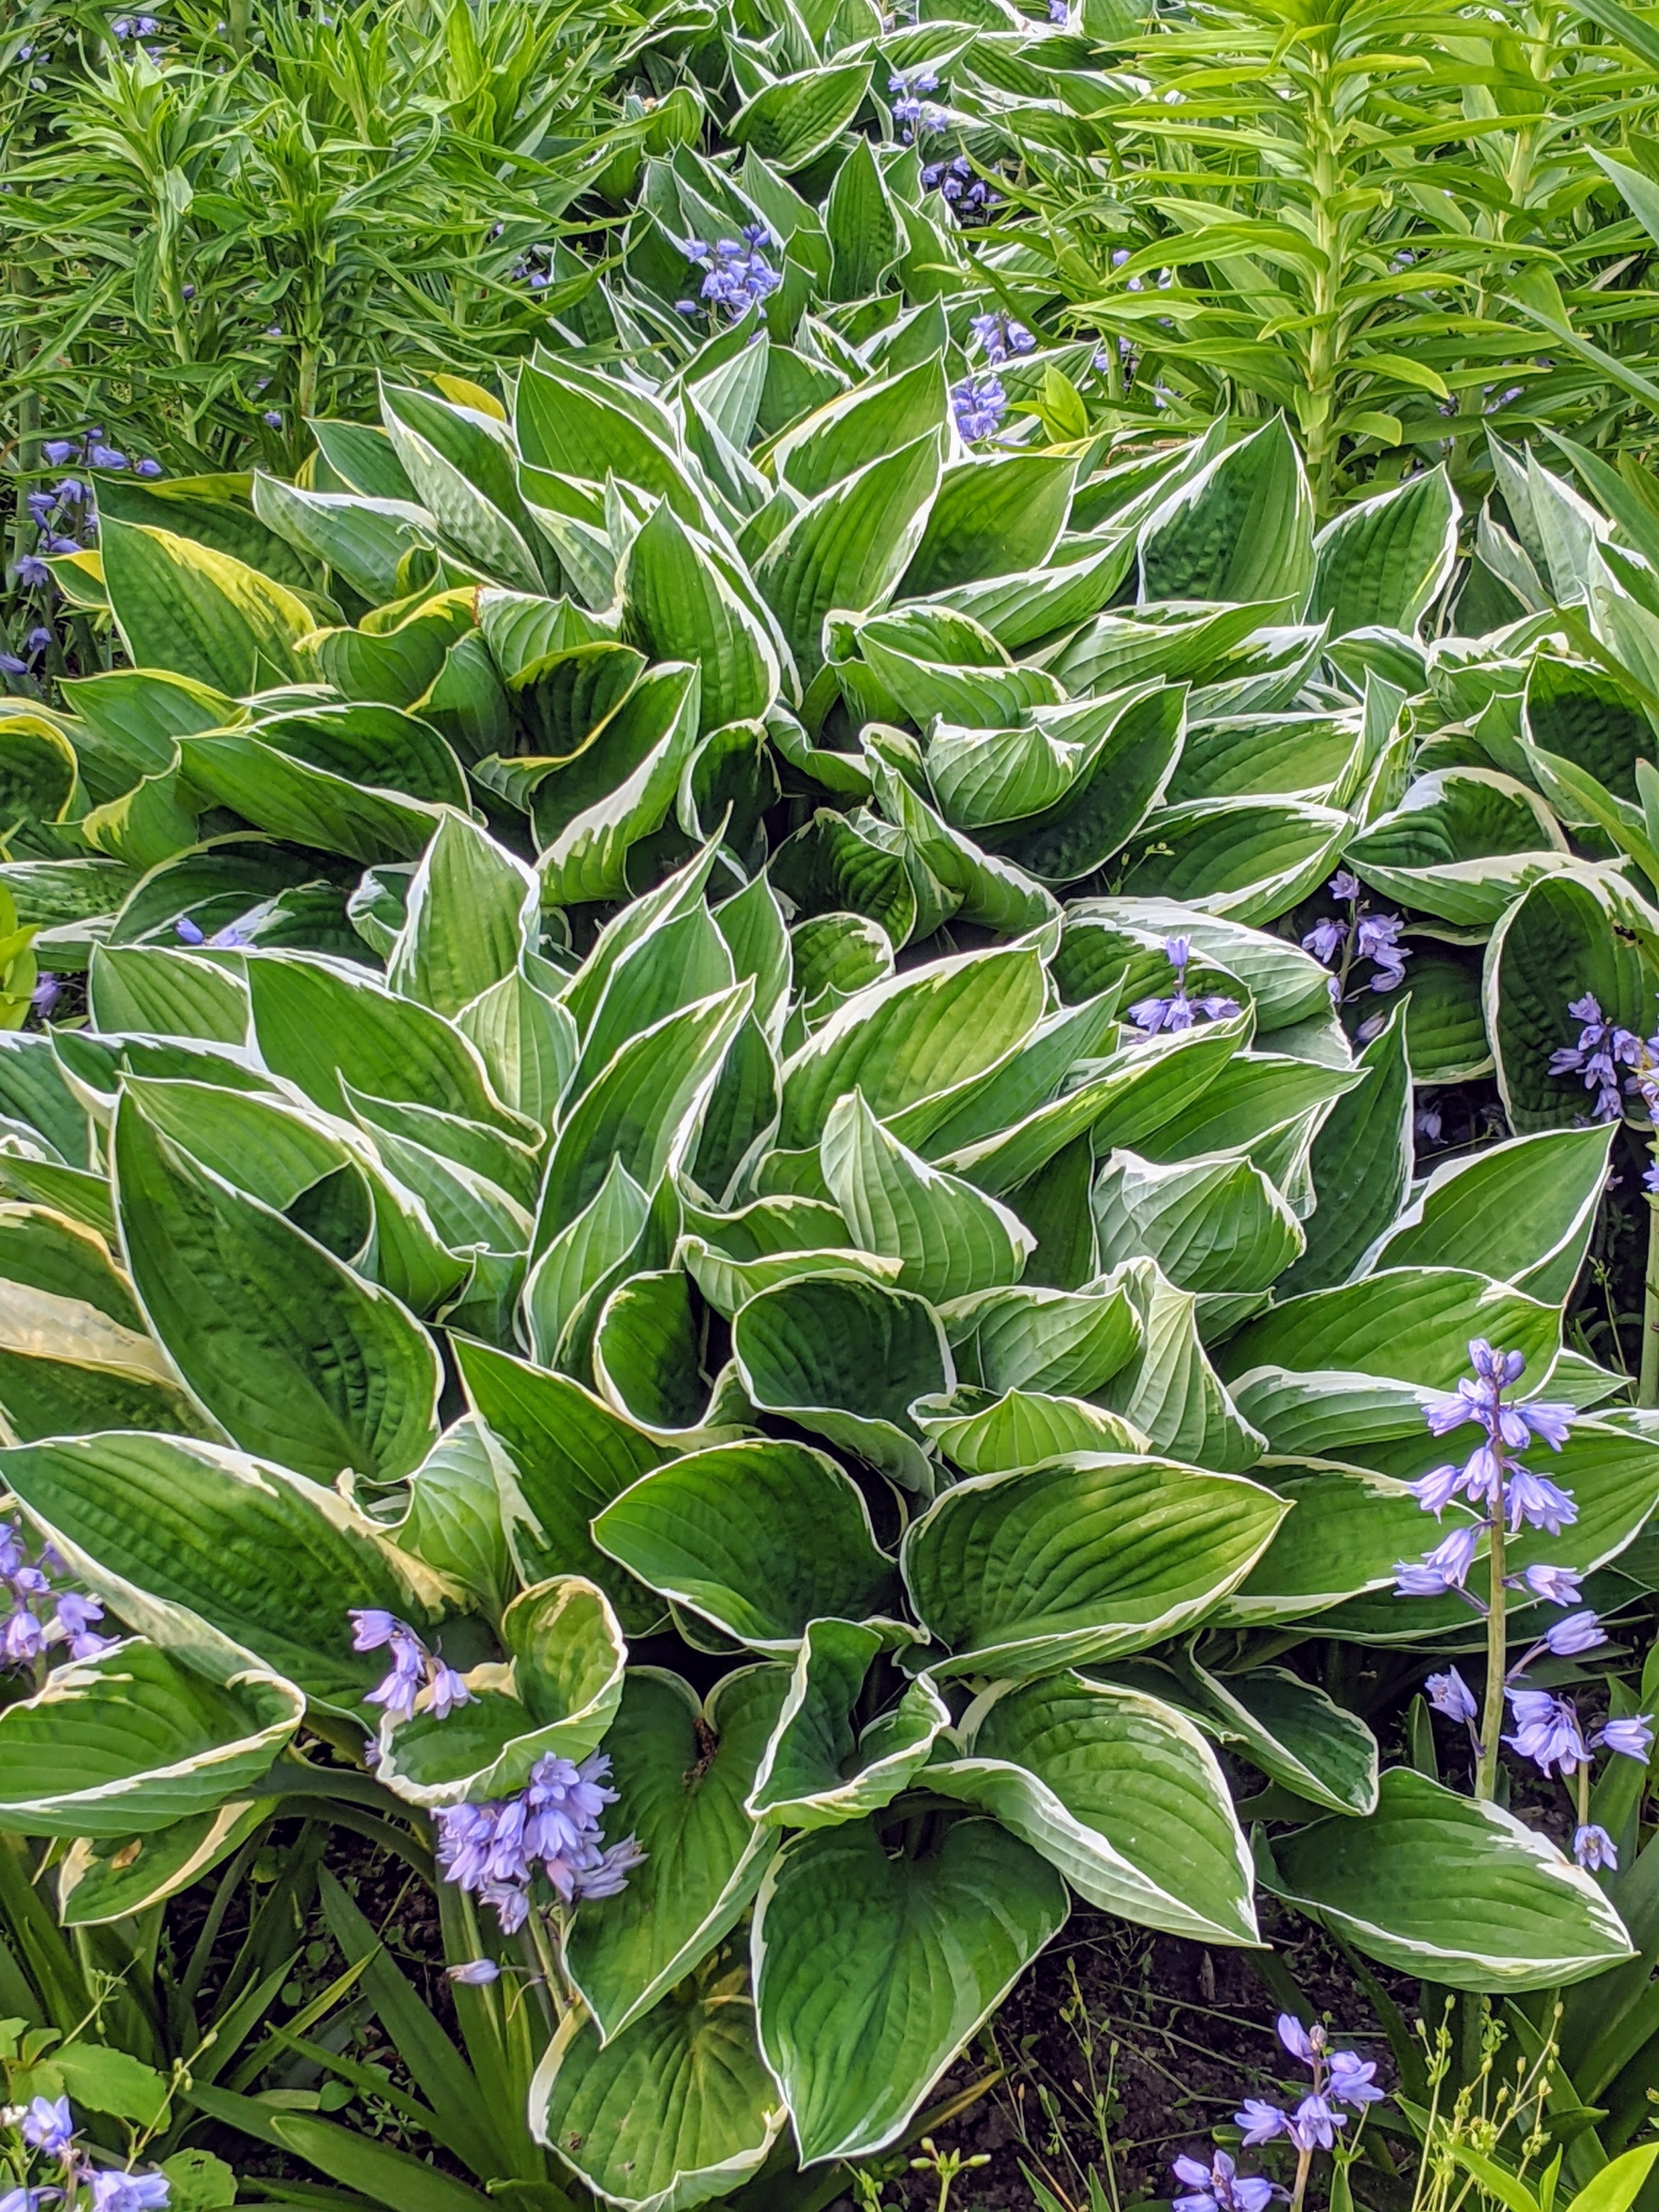
The hostas around and in between the lilies have filled out – very little of the soil below can be seen. Hosta is a genus of plants commonly known as hostas, plantain lilies, and occasionally by the Japanese name giboshi. Hostas are widely cultivated as shade-tolerant foliage plants.
Hosta leaves come in a variety of greens. A good rule of thumb for selecting a space for planting: the lighter the foliage, the brighter the sun. The deeper, darker foliage retains it color best in moderate shade.
Hosta plants flower in summer, showing off spikes of blossoms in shades of lavender or white. The bell-shaped blooms can be showy and fragrant, attracting hummingbirds and bees.
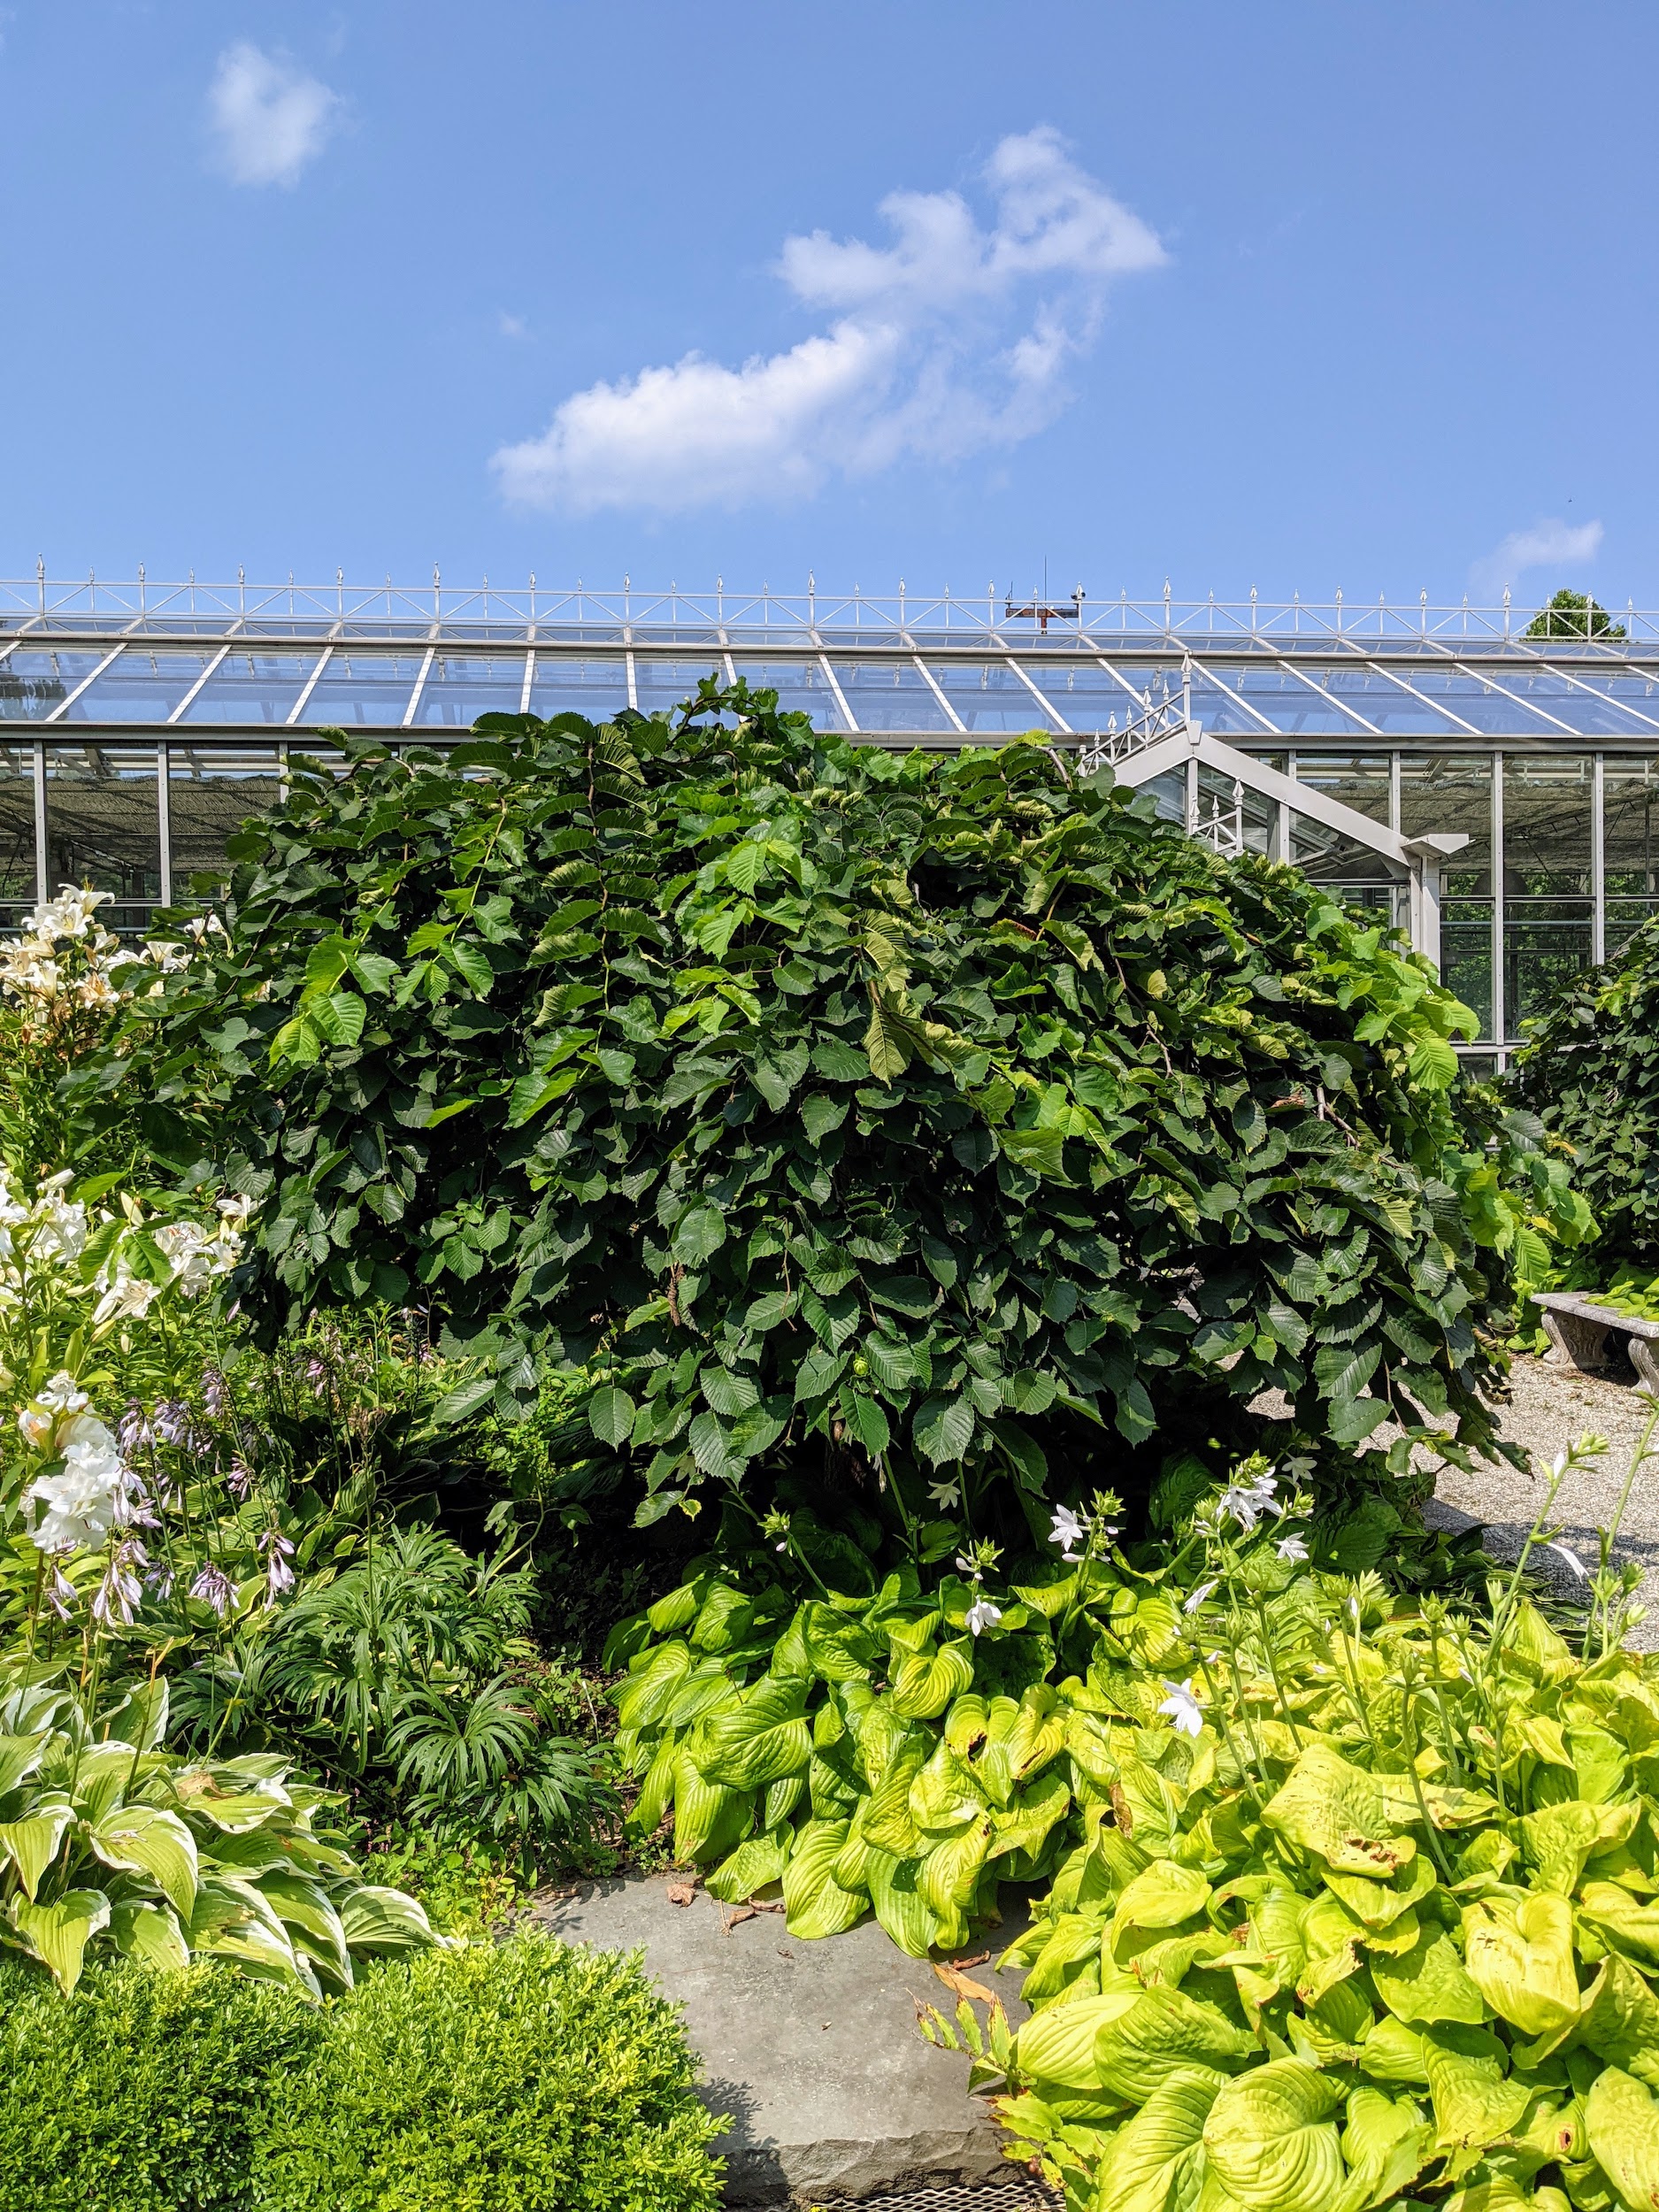
Between the two beds in front of the greenhouse door are four Camperdown Elms. Camperdown is a weeping elm tree with gorgeous twisted branches and dense foliage.
Its leaves are dark green, alternate, simple, and oblong-ovate to elliptic.
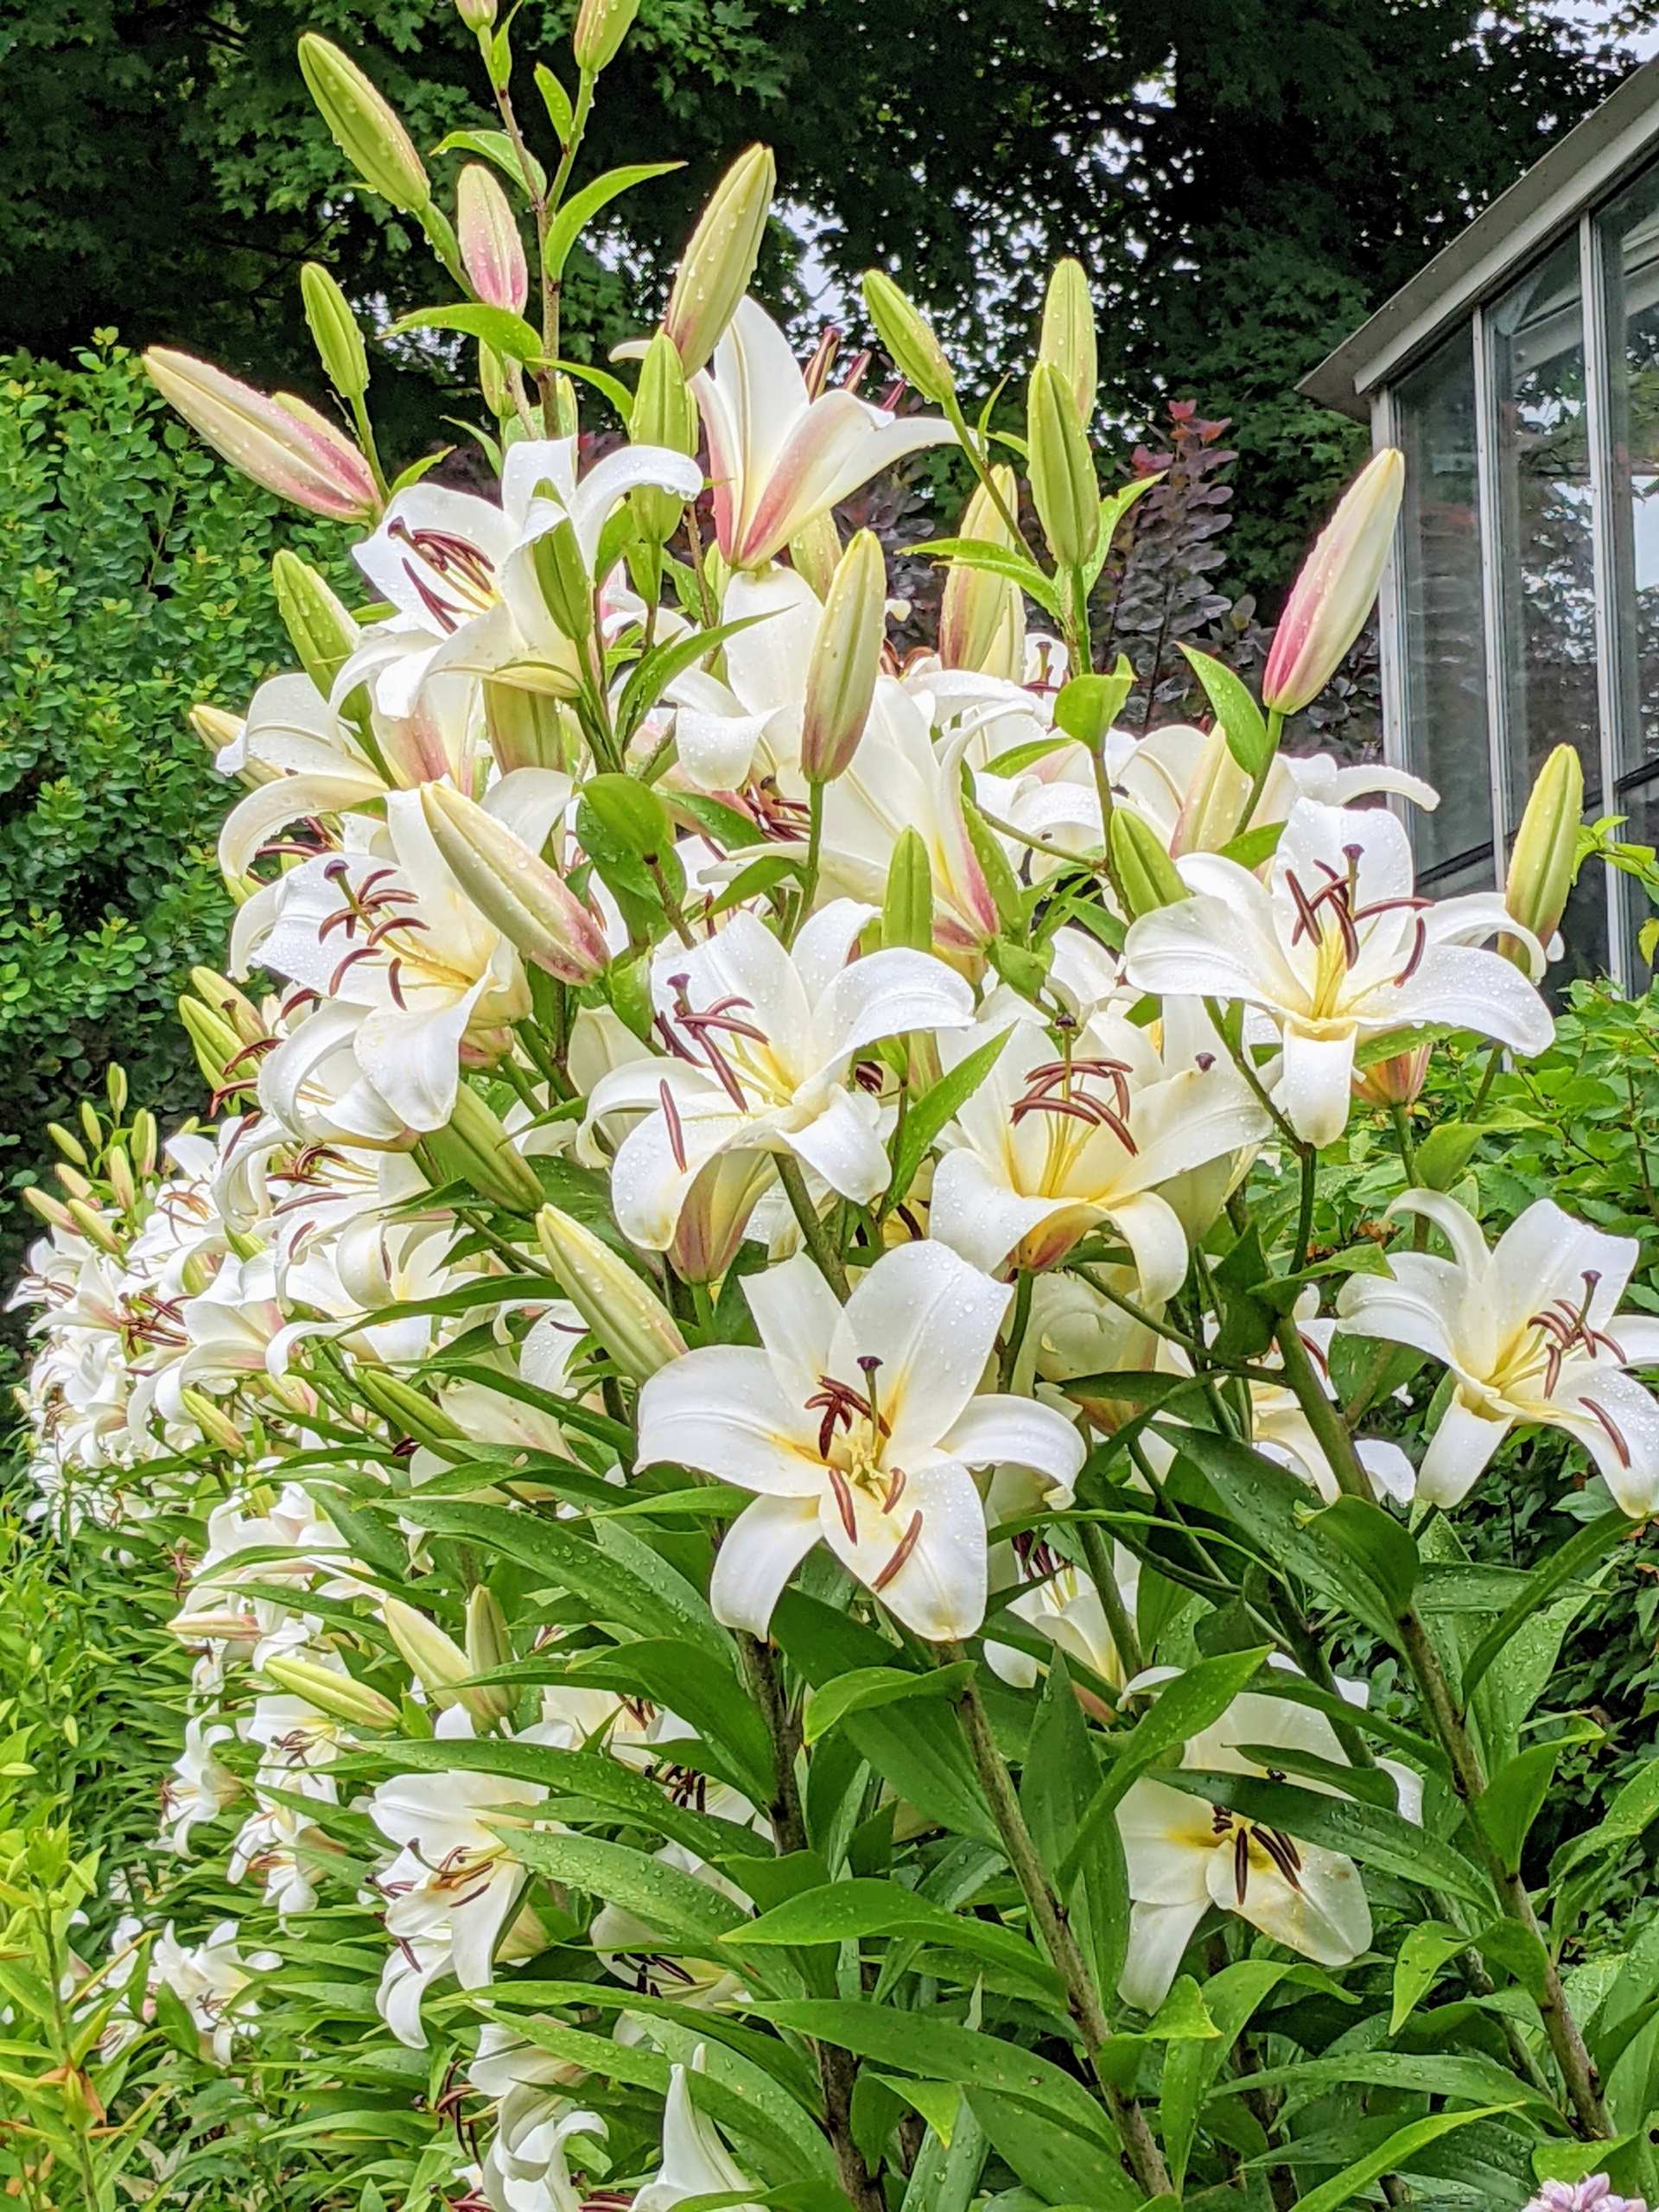
By early July of this year, all the white lily stems were standing tall and growing so well. These lilies have stronger stems than some of the other lilies in my gardens. They are also a bit shorter, so they don’t need individual staking.
These were the first lilies to open. Lilies need at least six hours of full sunlight daily. This sunlight exposure is what enables the lilies to produce their vibrant flowers.
Oriental lilies are known for their fragrant perfume and gorgeous blooms. These lilies have a fast growth rate and should be planted in well-drained loamy or sandy soil. Many lilies have six tepals each. The tepals are free from each other and bear a nectary at the base of each bloom. When cutting lilies, to avoid any pollen issues, pull the anthers off of each flower. Pollen is an important part of a lily’s anatomy, but it is notorious for staining flesh and fabric. Removing the anthers also prevents any pollen from getting on the flower petals, which can eat away at the delicate flower parts and shorten the life of the blooms.
These lilies have a lot of pollen, so If you happen to get a pollen stain on your clothing, do not rub! Instead, reach for a roll of tape and use the sticky side to gently dab the area – the particles will adhere to the tape.
All the lilies in this garden are white, but vary in form and have large flowers.
Here is a double flower form lily that is more than six inches across.
We’ve had several very warm, humid days here in the Northeast. Fortunately, lilies can withstand the high temperatures.
Ryan made this arrangement a few days ago – it sits in the entry hall of my Winter House – such gorgeous blooms enjoyed indoors and out.
We're making lots of progress with our long list of summer chores here at the farm.
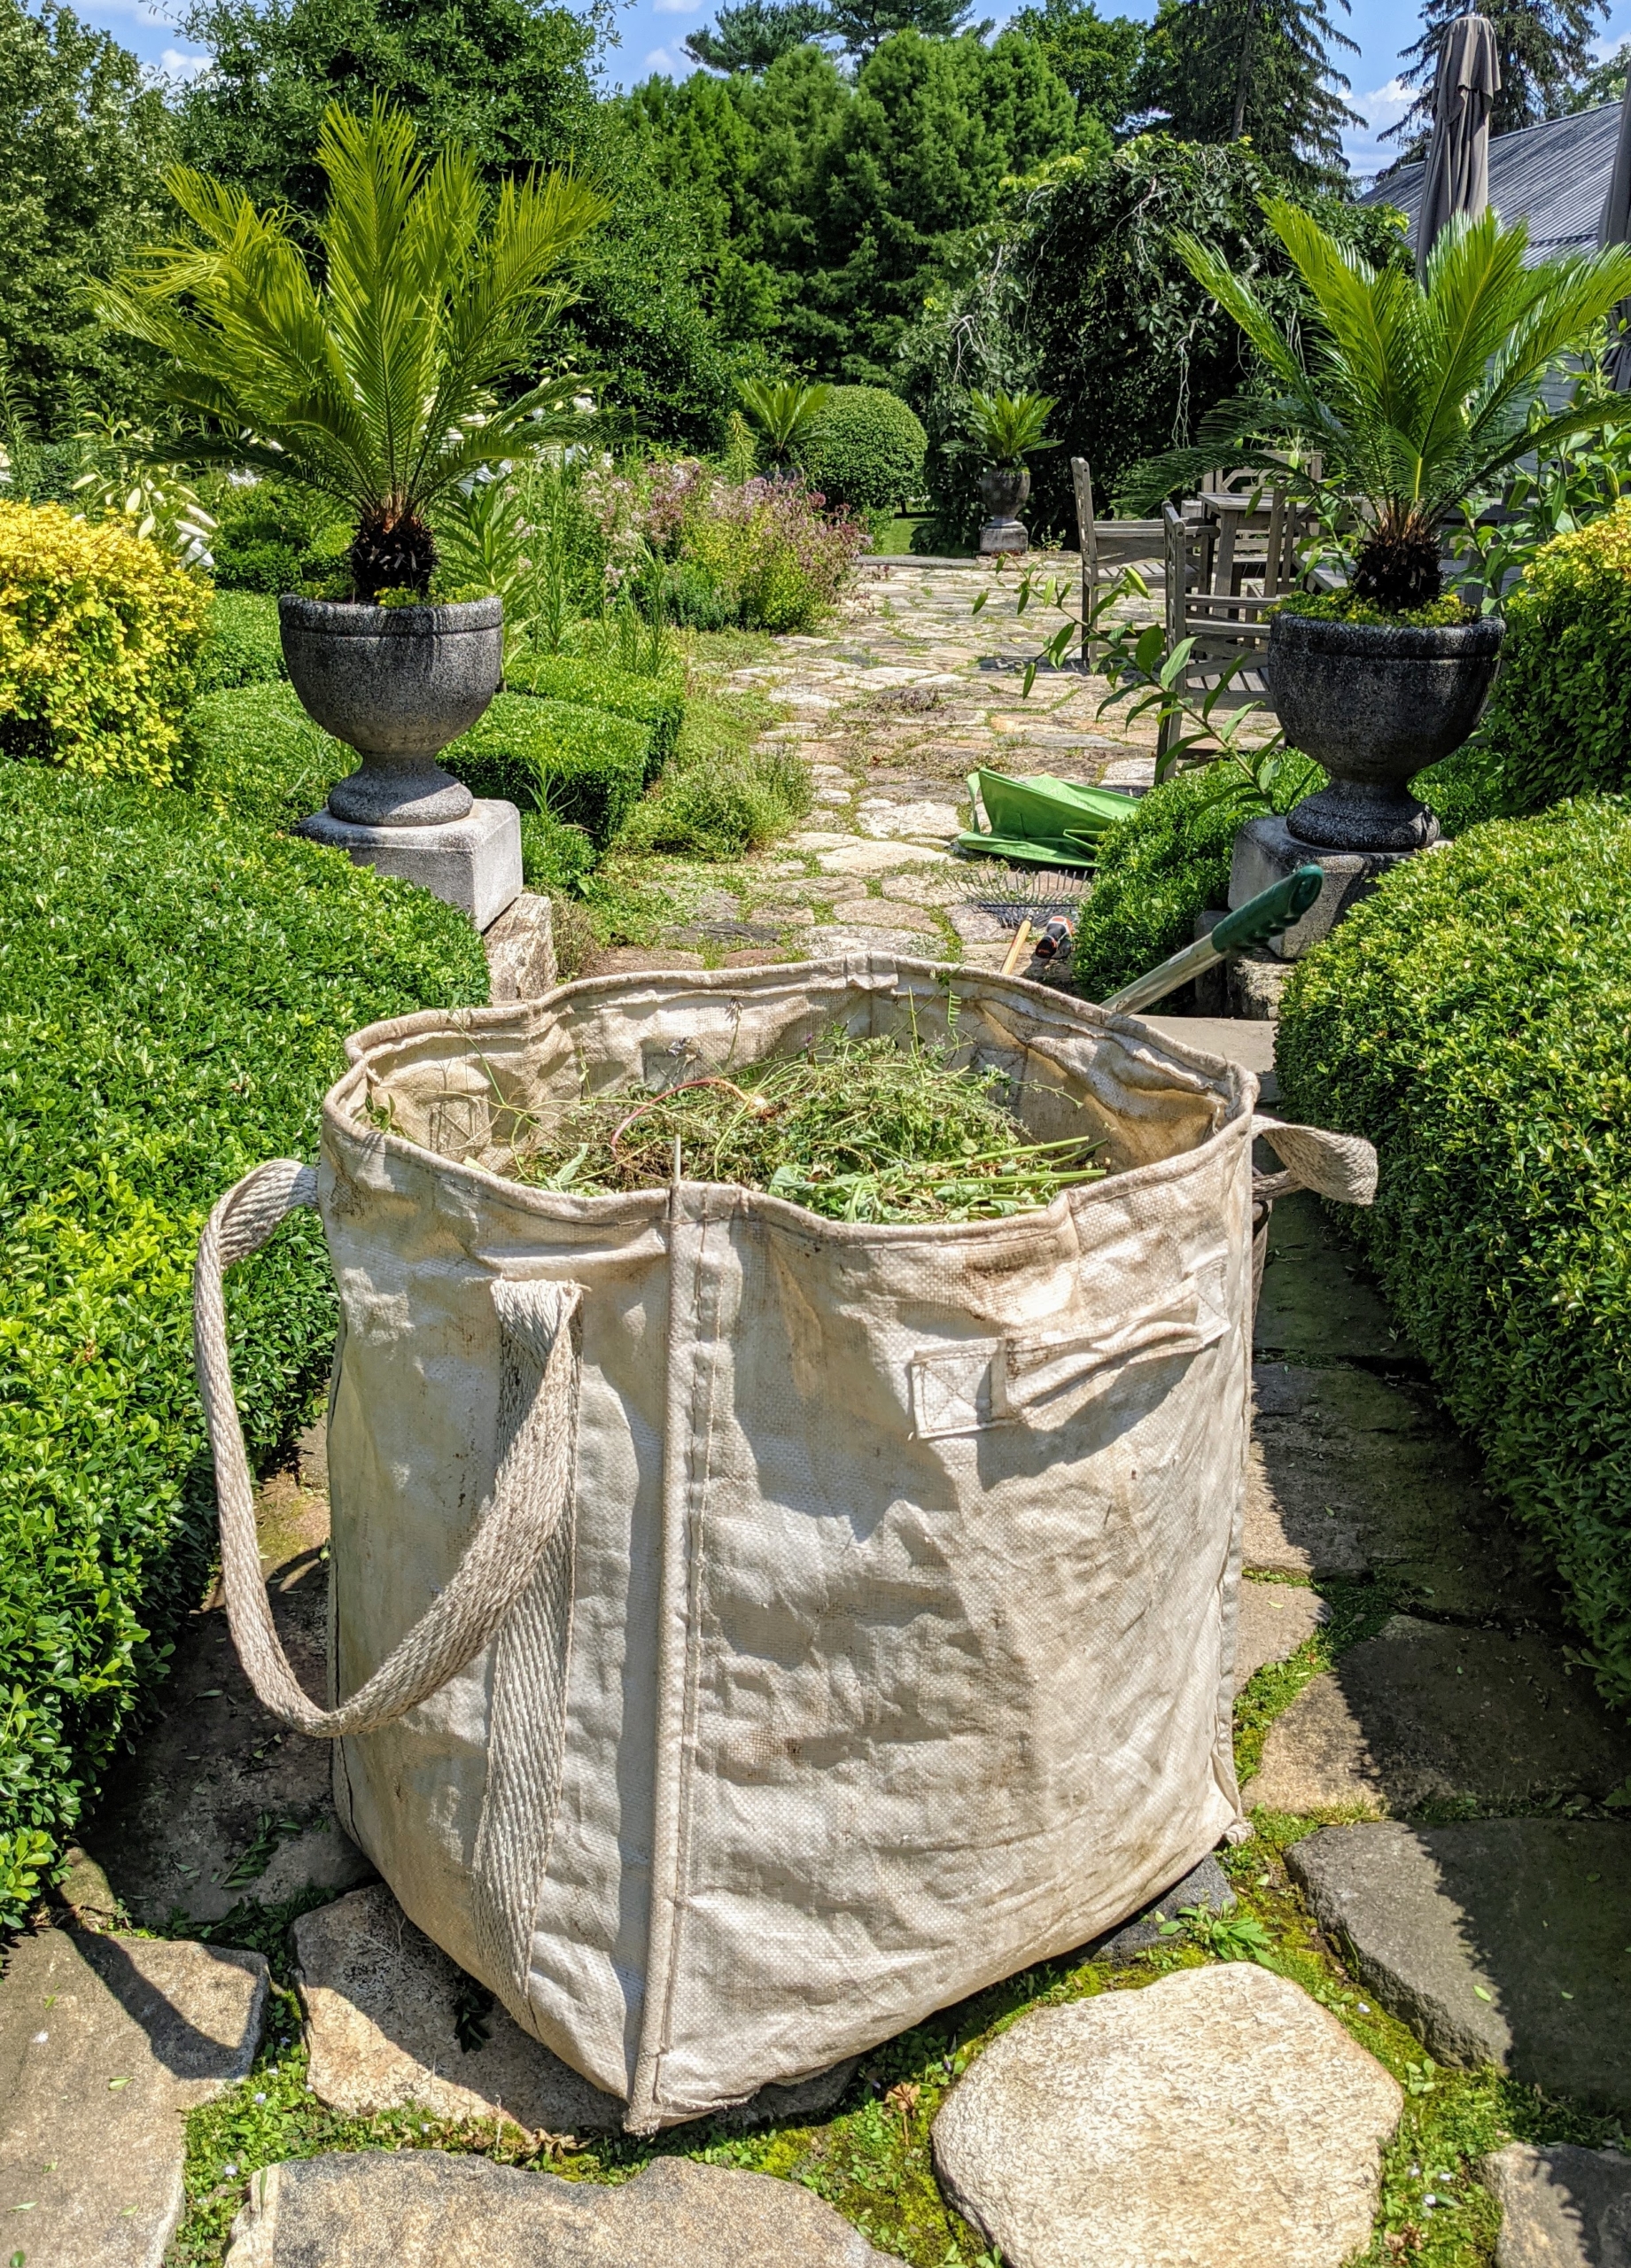
This time of year can be very hectic - my gardeners and outdoor grounds crew are busy keeping up with all the rapid growth in the garden beds. Many days are spent trimming and pruning the hedges and shrubs, mowing the horse paddocks and hay fields, tending the vegetable and flower gardens - and of course, weeding, weeding, weeding. Last week, the team tackled the terraces outside my Winter House - clipping and shaping the boxwood and golden barberry.
Here are some photos, enjoy.
On the upper terrace parterre in front of my Winter House porch, I have four quadrants, each with a large boxwood shrub surrounded by a square hedge of boxwood and golden barberry. Here is one of the quadrants before it is trimmed – look at all the growth.
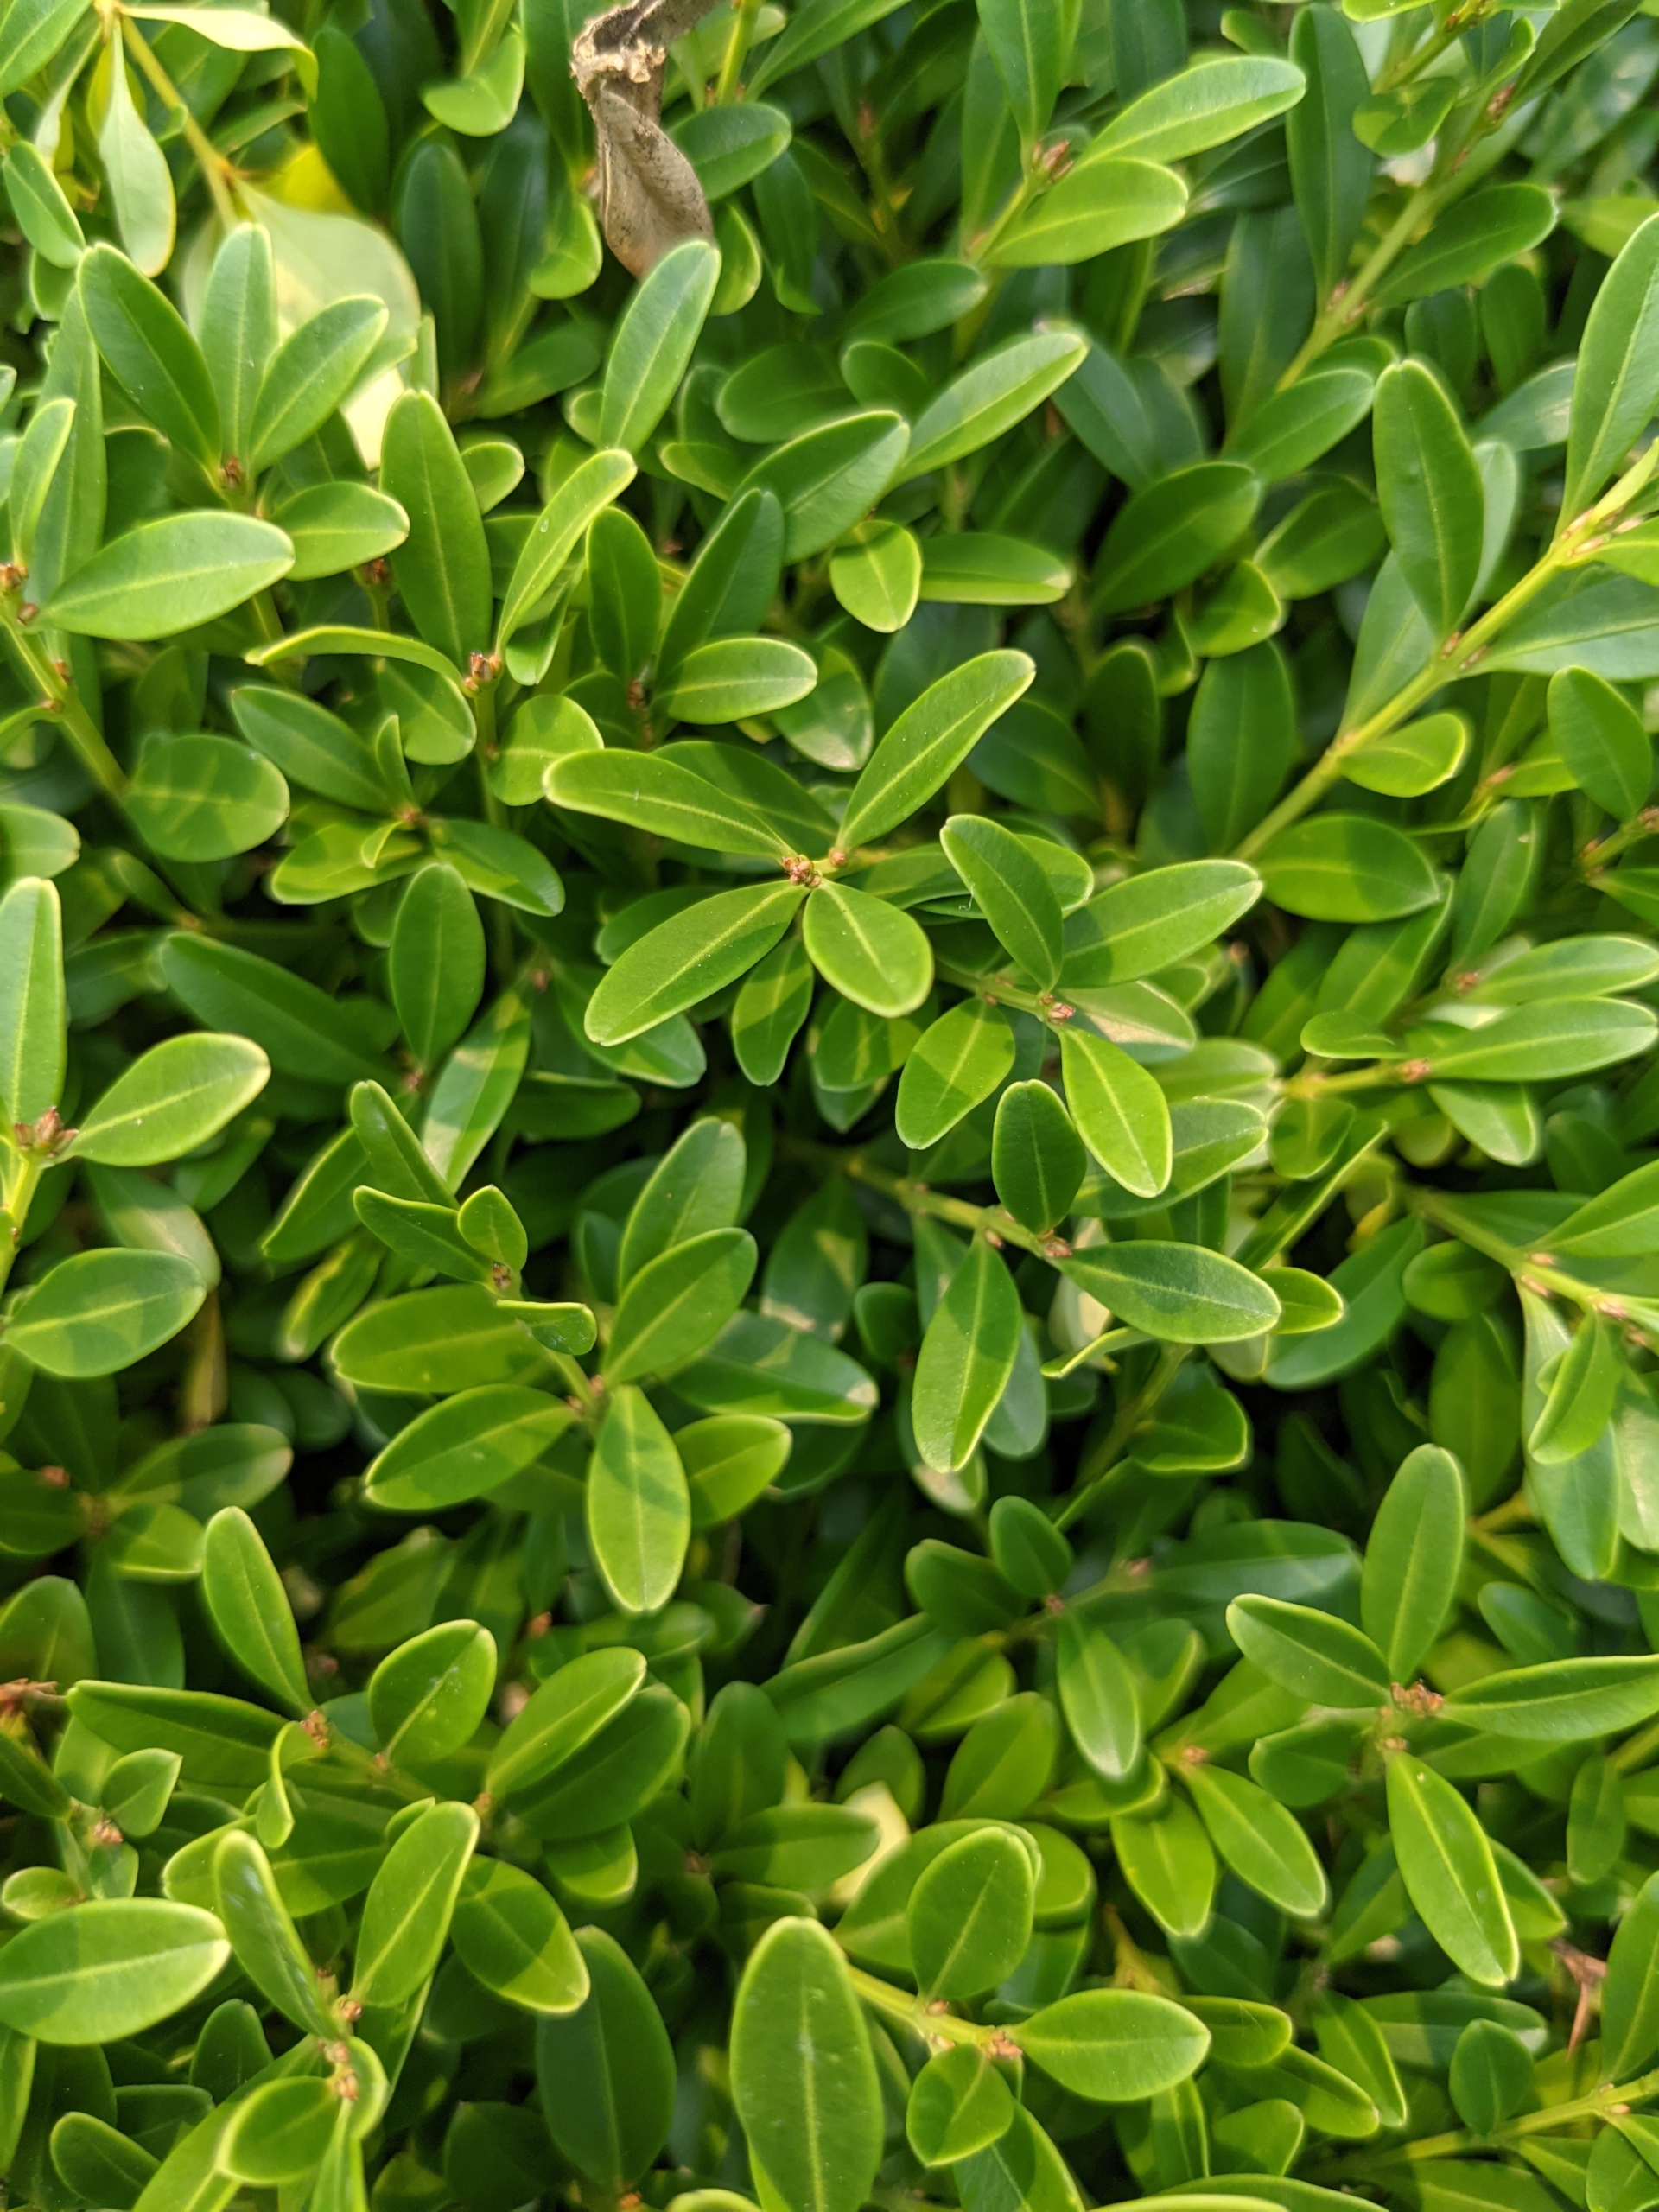
I love boxwood and use a lot of it around the farm. Buxus is a genus of about 70 species in the family Buxaceae. Common names include box or boxwood. The boxes are native to western and southern Europe, southwest, southern and eastern Asia, Africa, Madagascar, northernmost South America, Central America, Mexico, and the Caribbean. The leaves on boxwood branches are arranged opposite from each other, making pairs.
Golden barberry, Berberis thunbergii, is a deciduous shrub that is compact, adaptable, very hardy and shows off striking yellow foliage year-round.
At least once a year, we groom and prune the boxwood and barberry. This is mostly done with hand shears to give them a more clean and manicured appearance. Okatsune shears are light and precise, and the blades are made using the same hammer-forged steel used for manufacturing Japanese swords. Phurba starts from the top of the shrub and works his way down.
I prefer much of the trimming be done manually so the leaves are not damaged. Hand shears are user-friendly and leave hedges looking flat and tidy.
For the flat tops of the hedge, we also use our STIHL HSA 25 Battery-Powered Garden Shear. The hedge shear attachment with double-sided cutting blades cut in both directions. It’s one of our favorite tools – it’s very light and handy.
Here, Phurba trims and shapes the low boxwood hedge. Afterward, he moves onto the barberry, which is trimmed so it is just a few inches taller than the boxwood.
Here, one can clearly see what side is trimmed and what side still has to be done.
Phurba also works on the lower terrace parterre, again shaping and trimming the manicured hedge. And always use sharp, clean shears when pruning any plantings – this will ensure precise, neat cuts.
To clean the area after pruning, Phurba lightly blows any cut leaves and debris with STIHL’s backpack battery and handheld blower. The backpack battery eliminates the cost of fuel and engine oil and can be used for several hours before needing another charge.
Once everything is trimmed, the terrace looks so much better. All my boxwood is also treated monthly with TopBuxus Health Mix, which prevents the fungal disease called box blight and provides the plants with rich nutrients that restore new green leaves and strong branches.
Here is another view looking out onto the paddocks and my chicken coops beyond. Once clipped, the outermost parts of the hedges are also exposed to more light and air, which help promote good growth.
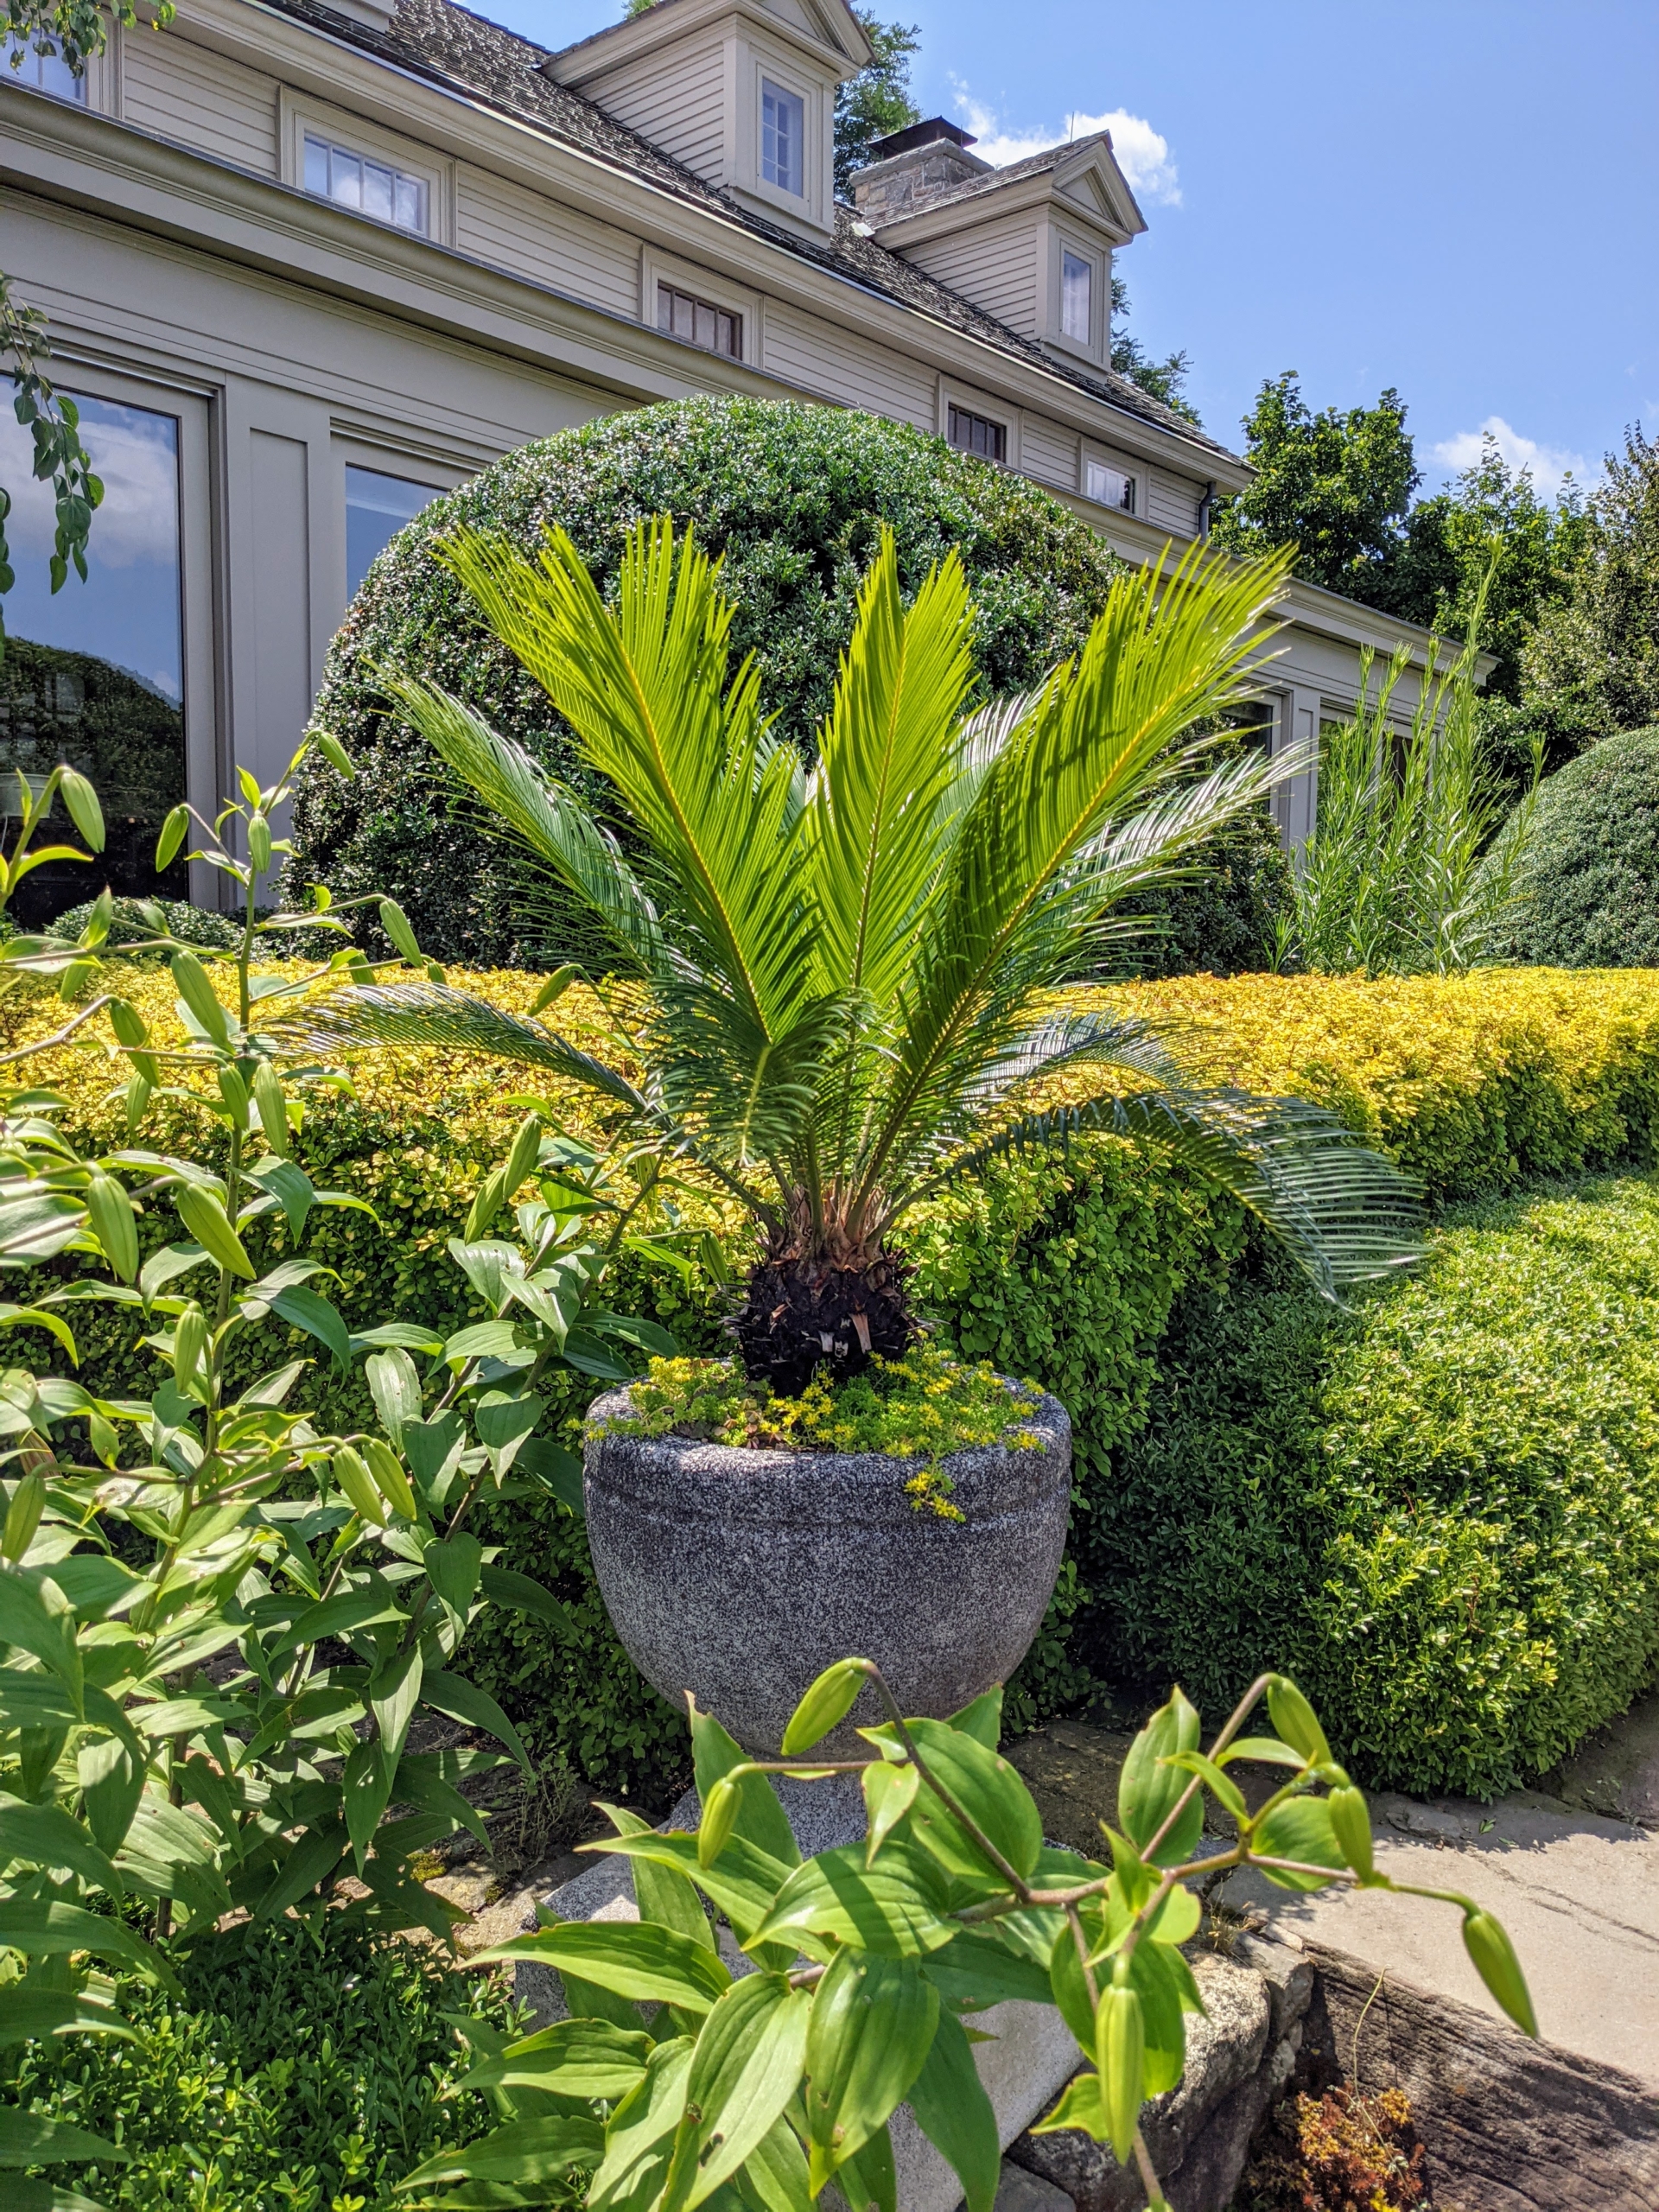
On the terrace, I also have a few potted plants. This is a cycad. Cycads are seed plants with a very long fossil history. They typically have a stout and woody trunk with a crown of large, hard and stiff, evergreen leaves.
Just outside my Winter House kitchen and servery is this beautiful weeping katsura tree. The katsura tree, native to Japan, makes an excellent specimen or shade tree. The weeping katsura, Cercidiphyllum japonicum f. pendulum has pendulous branches that fan out from the crown and sweep the ground. Caramel-scented foliage emerges bronze or purple-red, turns blue-green, then fades to gold or apricot in autumn.
Mixed in the terrace gardens are beautiful white lilies – all opening now. In an upcoming blog, I’ll share photos of my white lily garden in full bloom.
And this is part of the stone wall surrounding the terraces outside my Winter House. Here we planted lots of sedums – they really work well in rock gardens. Sedum is a large genus of flowering plants, also known as stonecrops. Sedums are members of the succulent family. They have fleshy, water-storing leaves and are drought tolerant.
Sedum, like other succulents, retain water in their leaves and can thrive in dry climates. They need little soil and water to survive, which makes them excellent for planting here.
Here is more sedum growing at the base of a step. Once the roots take hold, the plant wedges itself in and begins to spread. Sedums thrive nearly anywhere as long as they get good drainage.
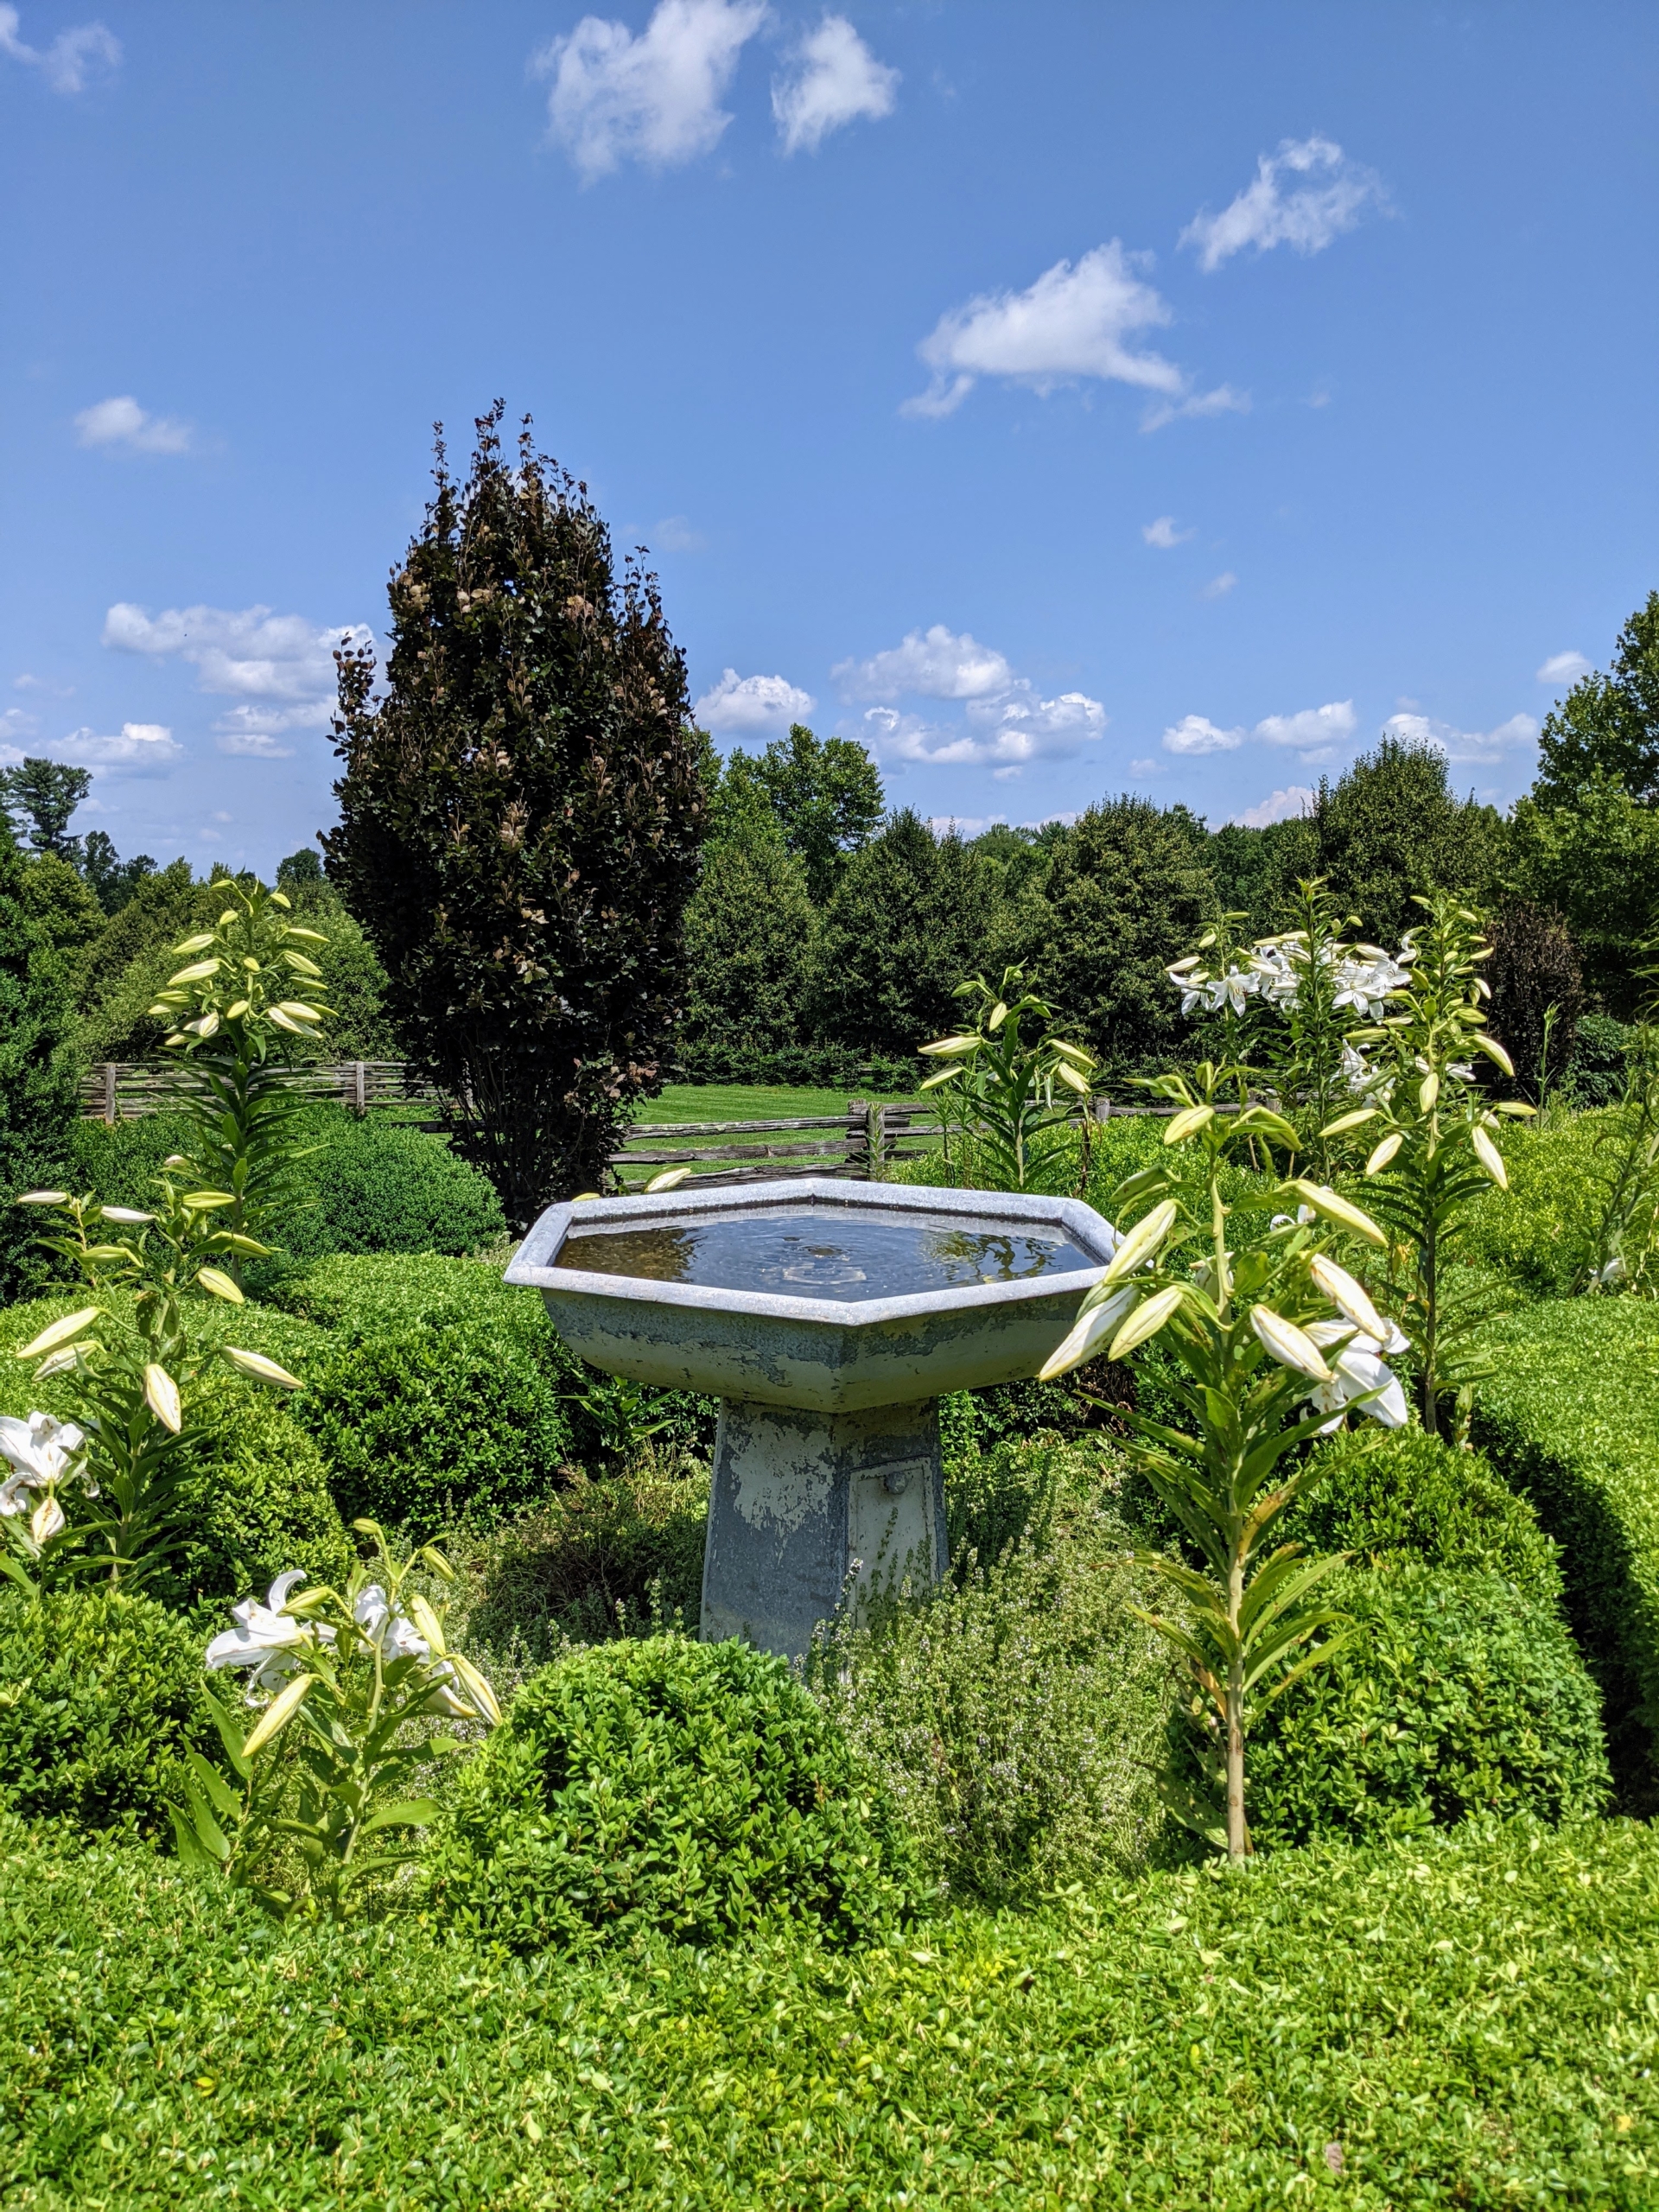
And here is one of two hand-casted antique fountains I purchased many year ago. It is turned on with the smallest dome of water possible – I wanted to be sure it was an attractive spot for visiting birds. I love this view looking over the peaceful fountains and out onto the pretty summer landscape. I hope you are all enjoying your gardens this season.