The lilac hedges at my Bedford, New York farm are starting to explode with big, gorgeous and fragrant clusters.
I love lilacs, and have enjoyed growing them for many years. In fact, the common lilac, Syringa vulgaris, has been part of the American landscape for centuries. Lilacs planted in 1650 on Michigan’s Mackinac Island are some of the country's oldest known specimens. If you don't already have lilacs in your garden, I strongly encourage you to grow one, or two, or even three shrubs - they will give you years of beautiful blooms.
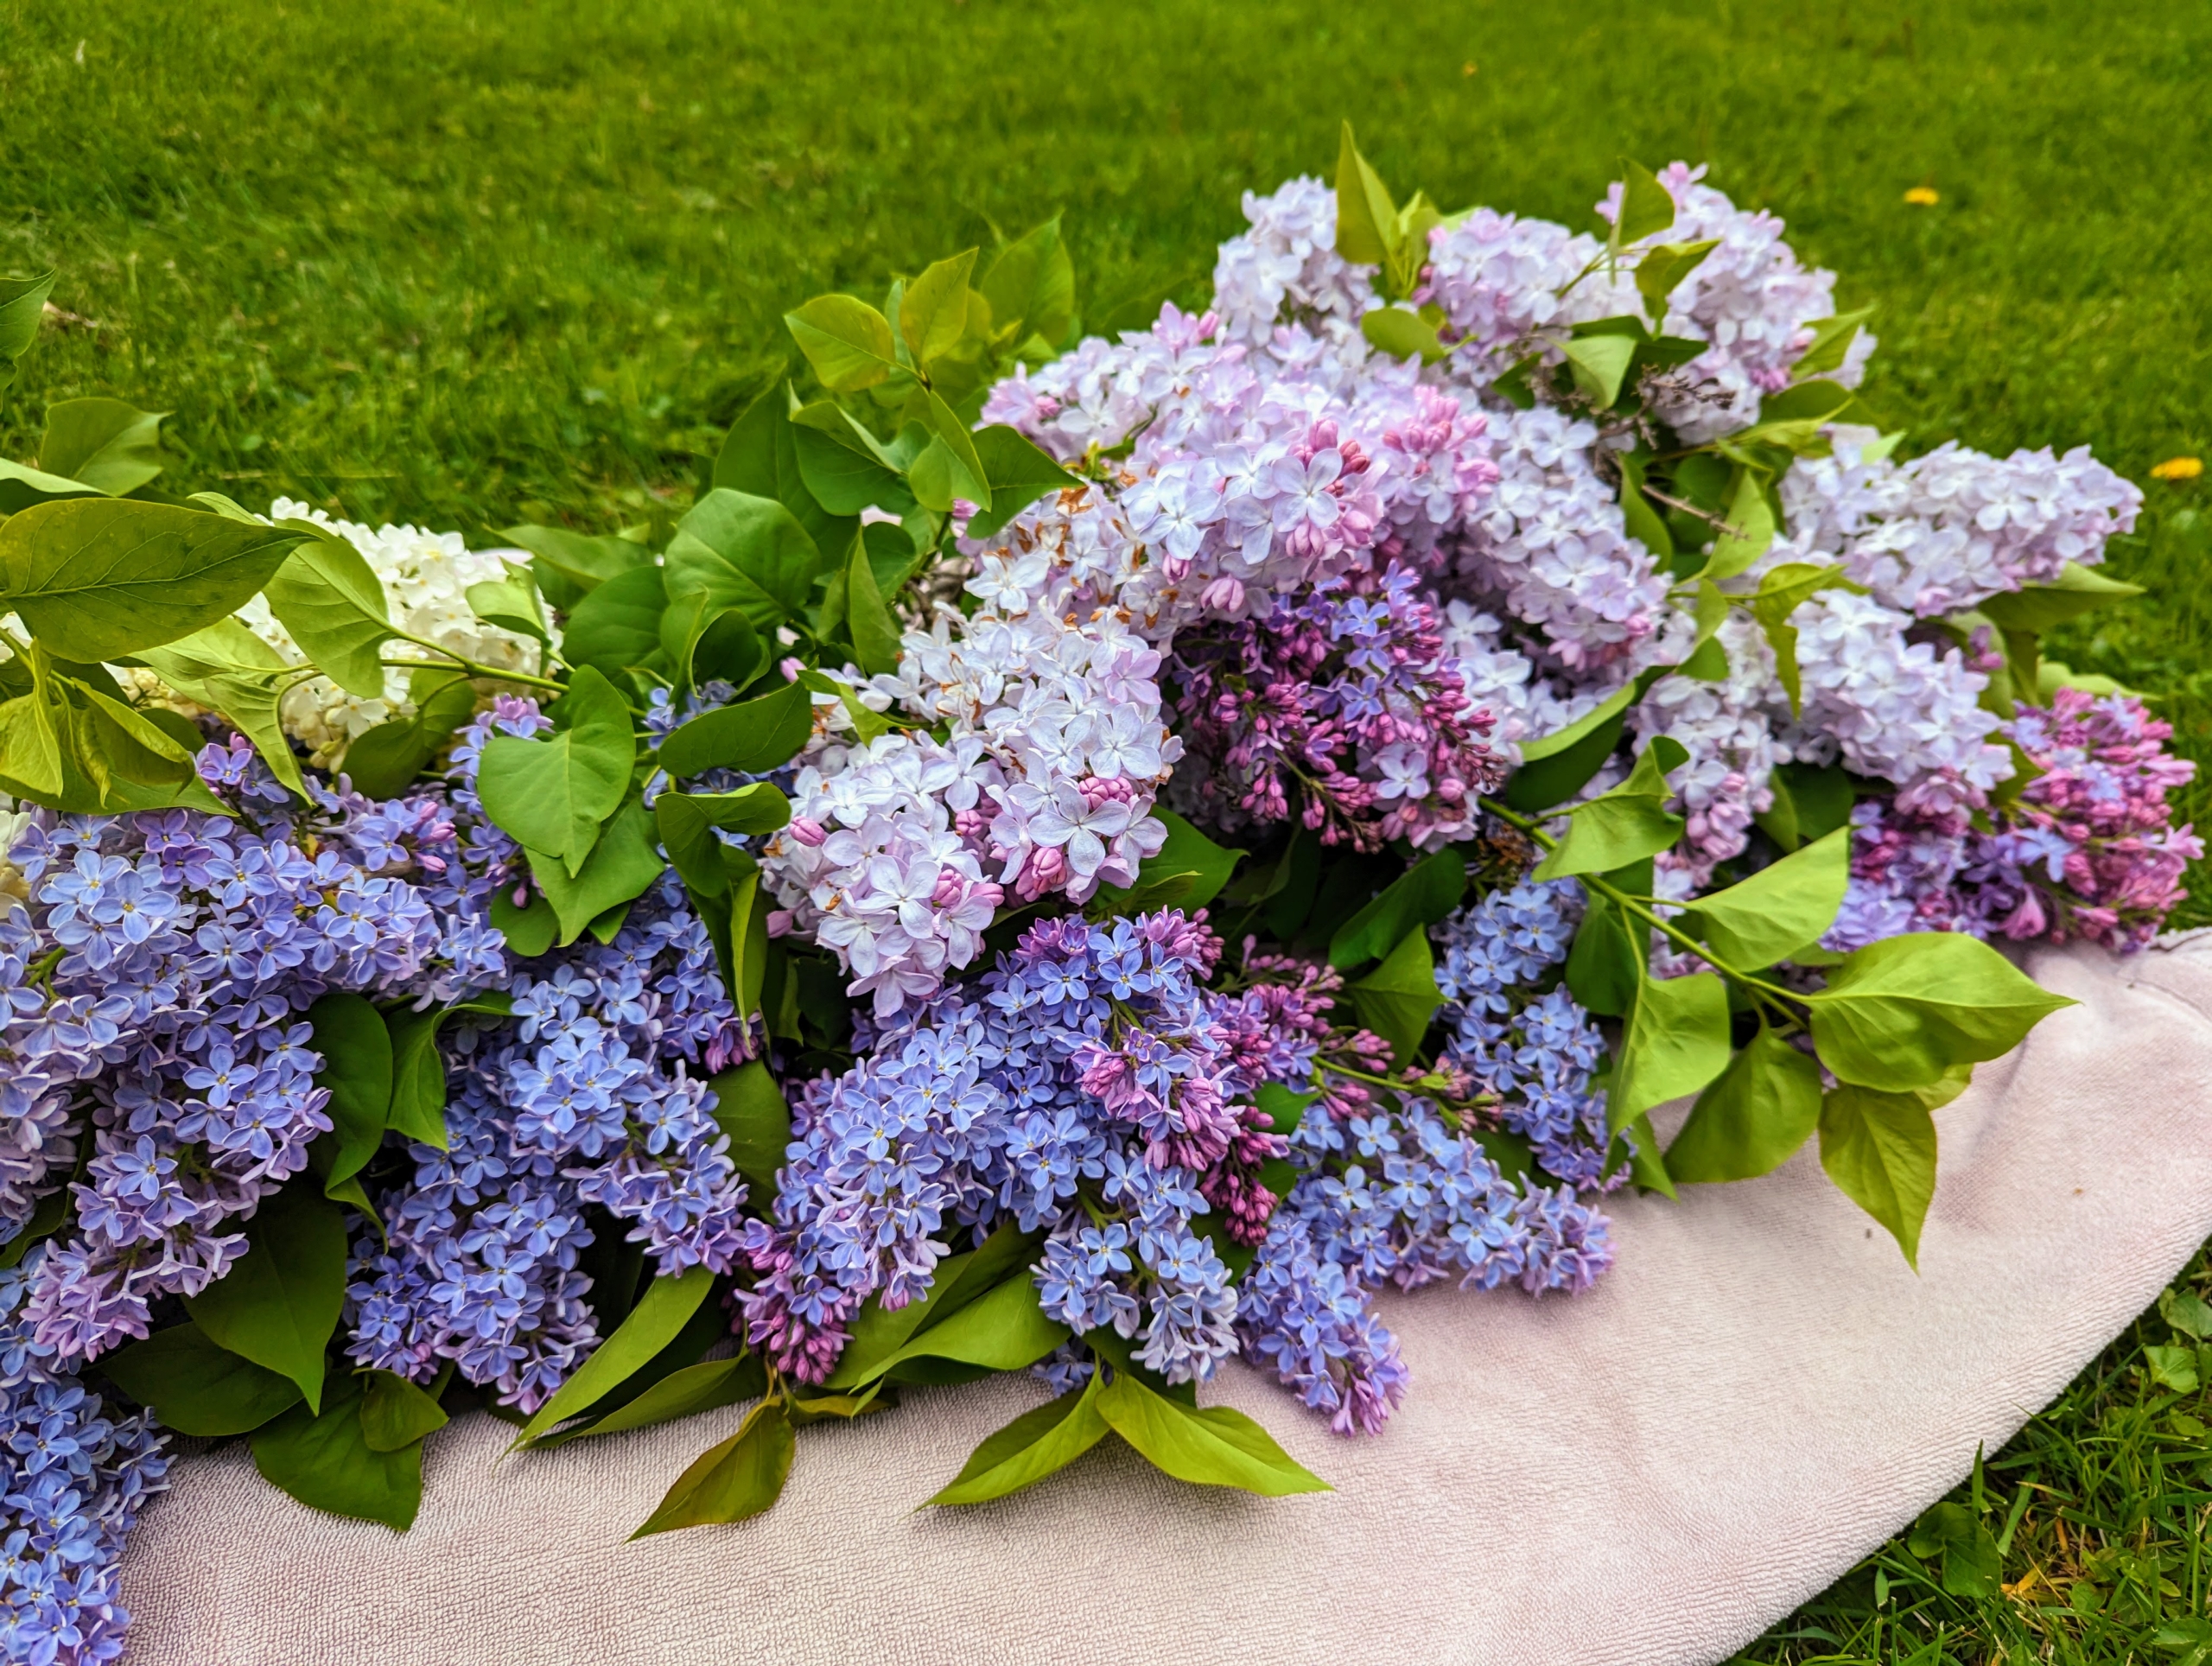
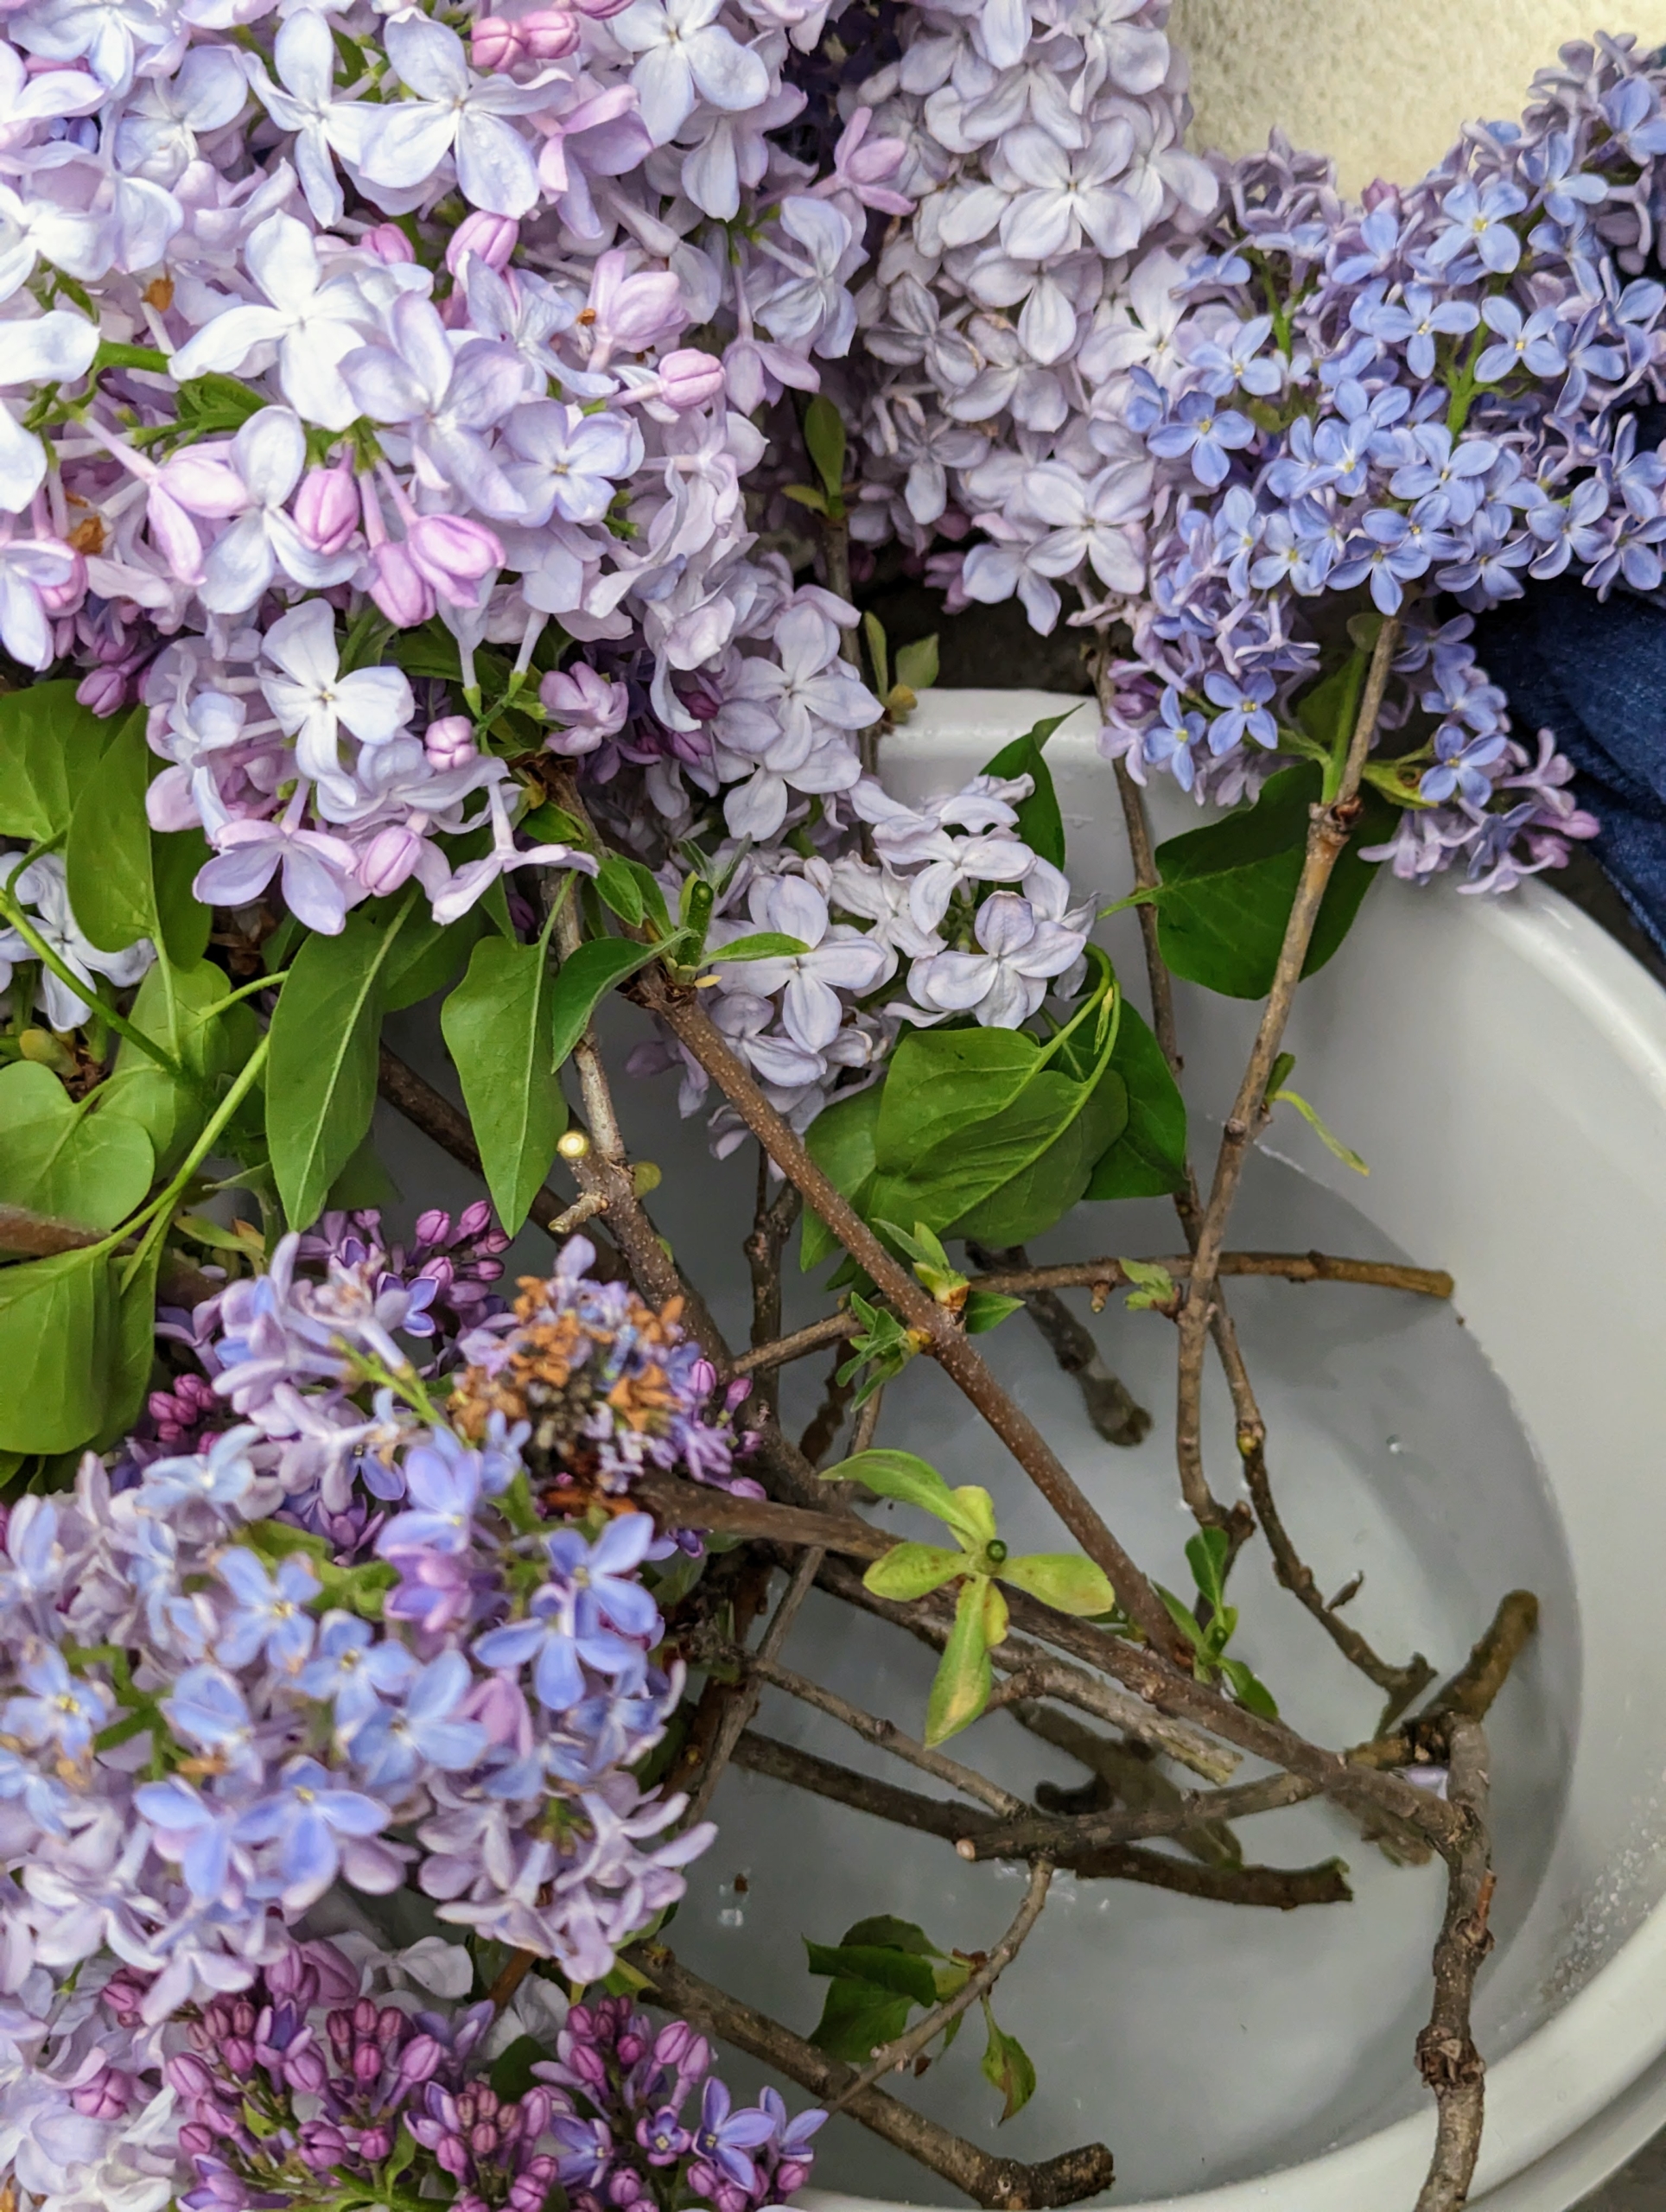
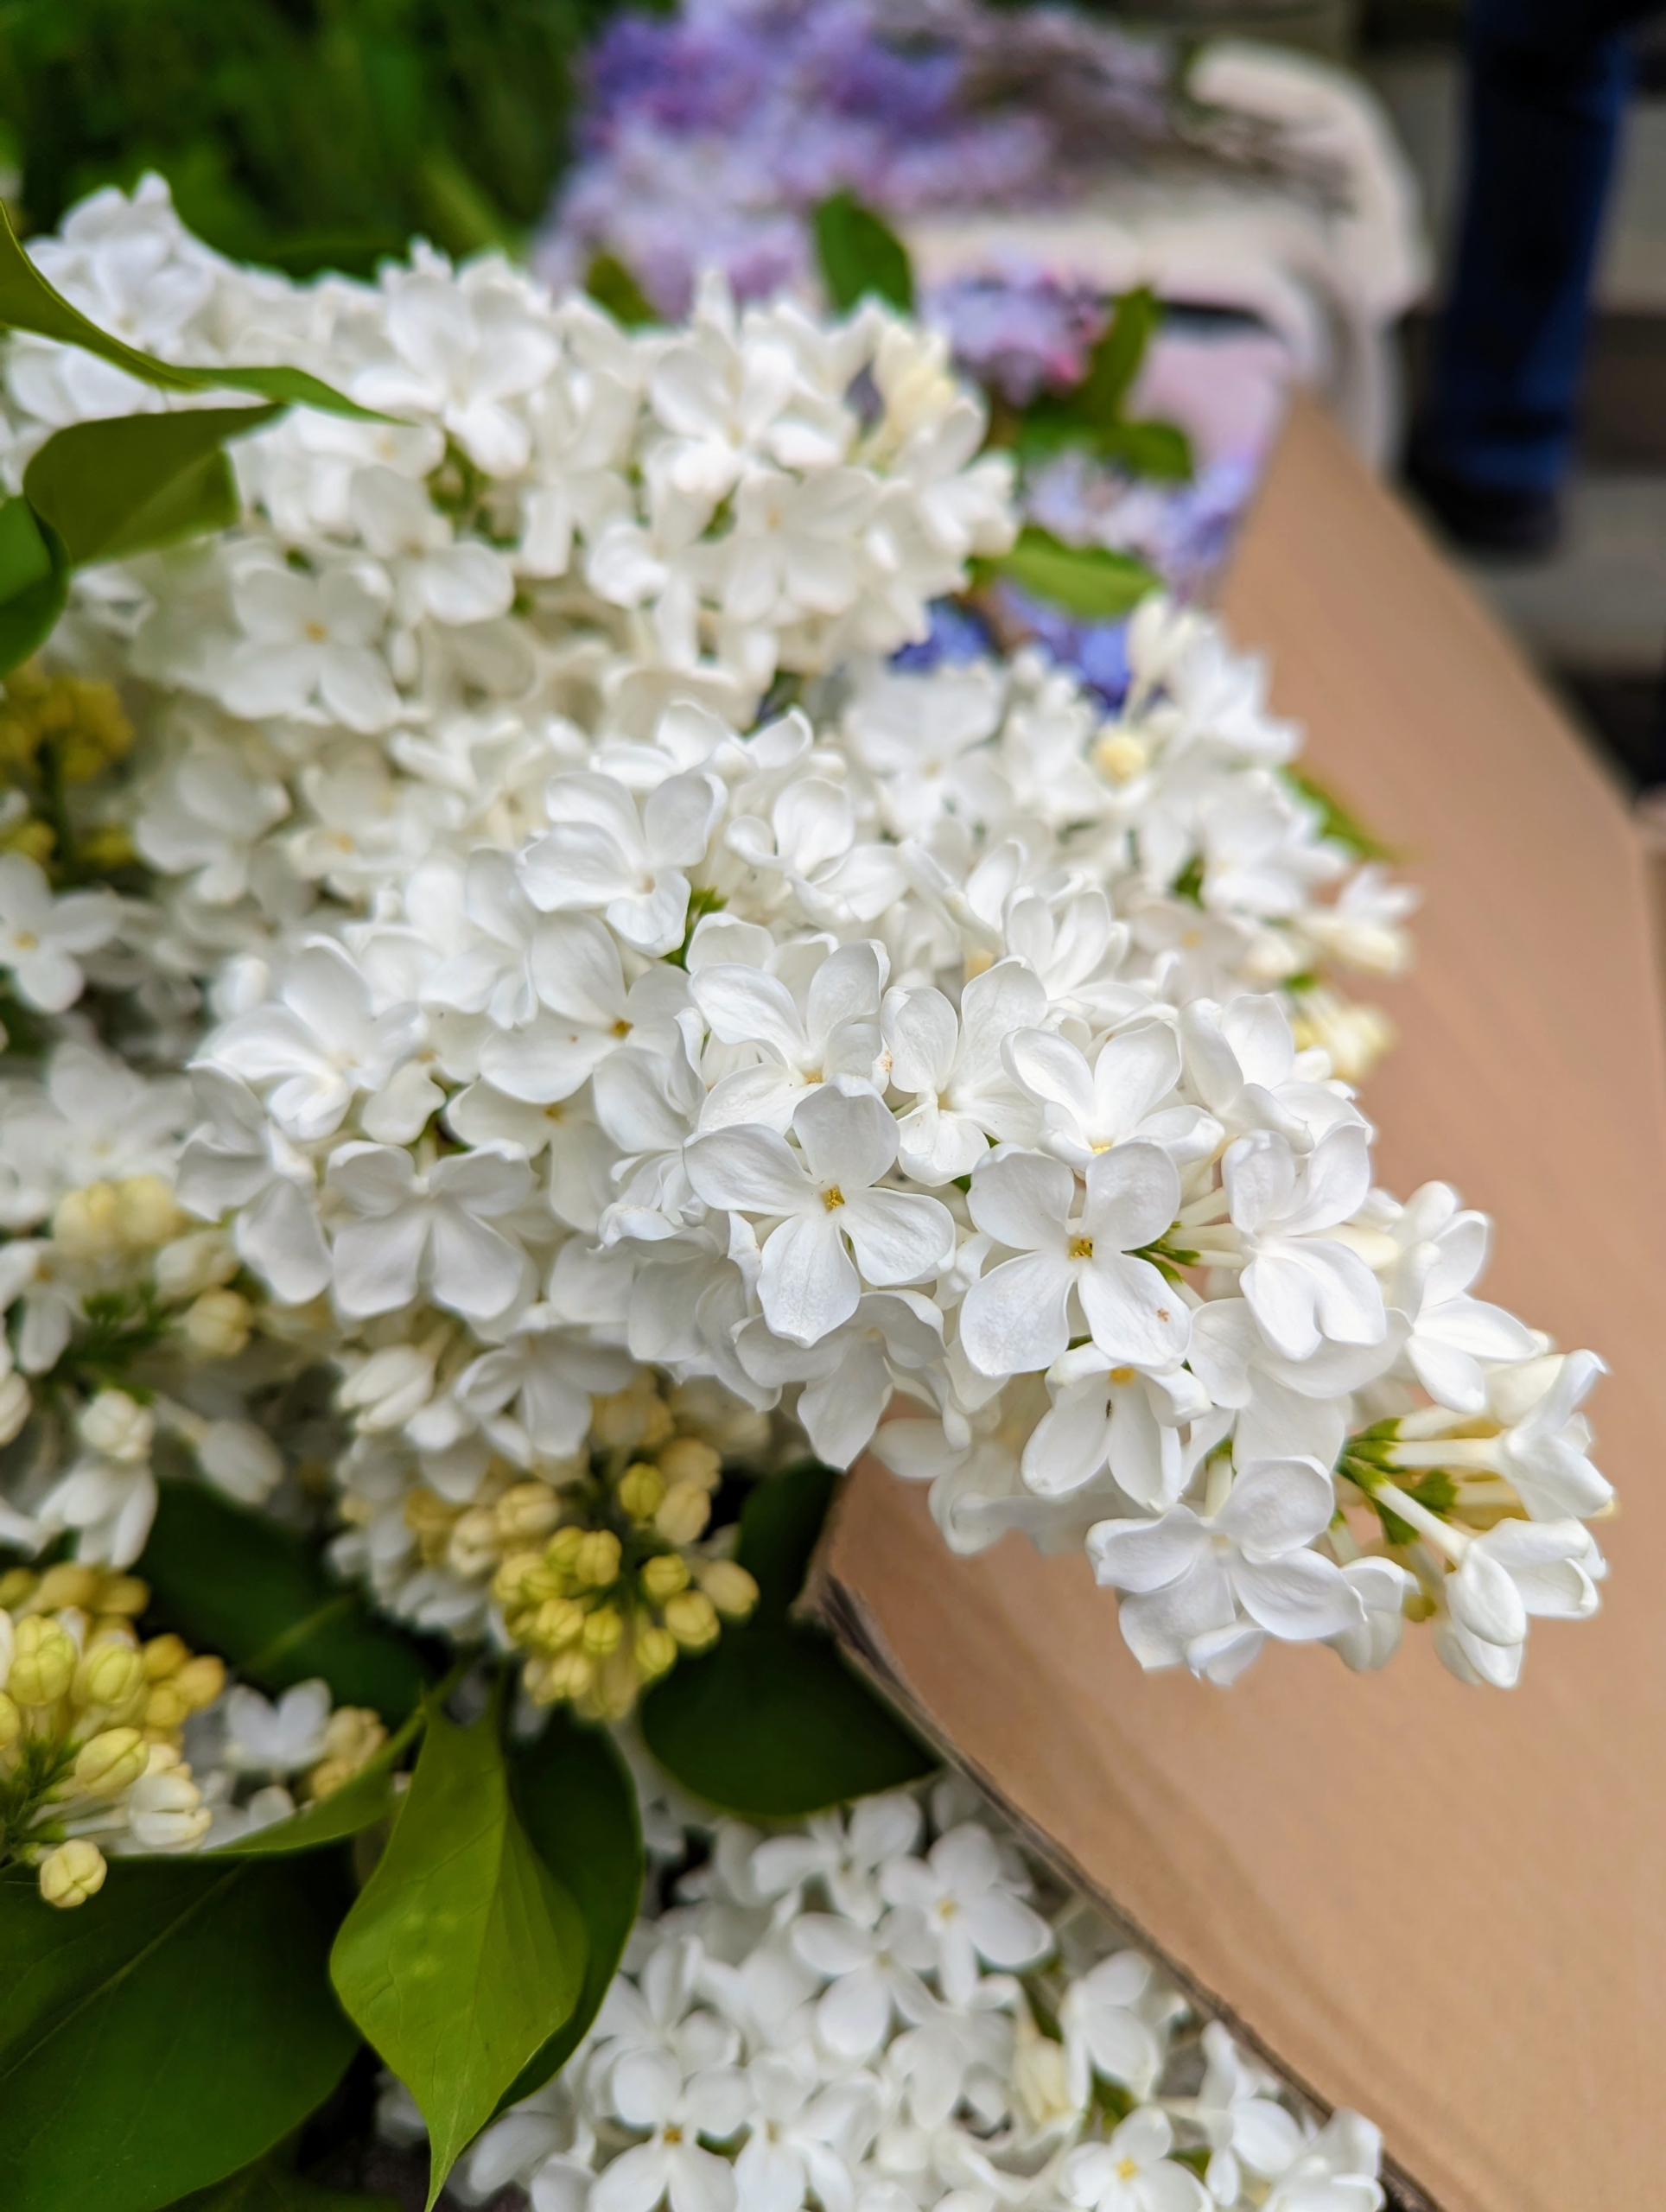
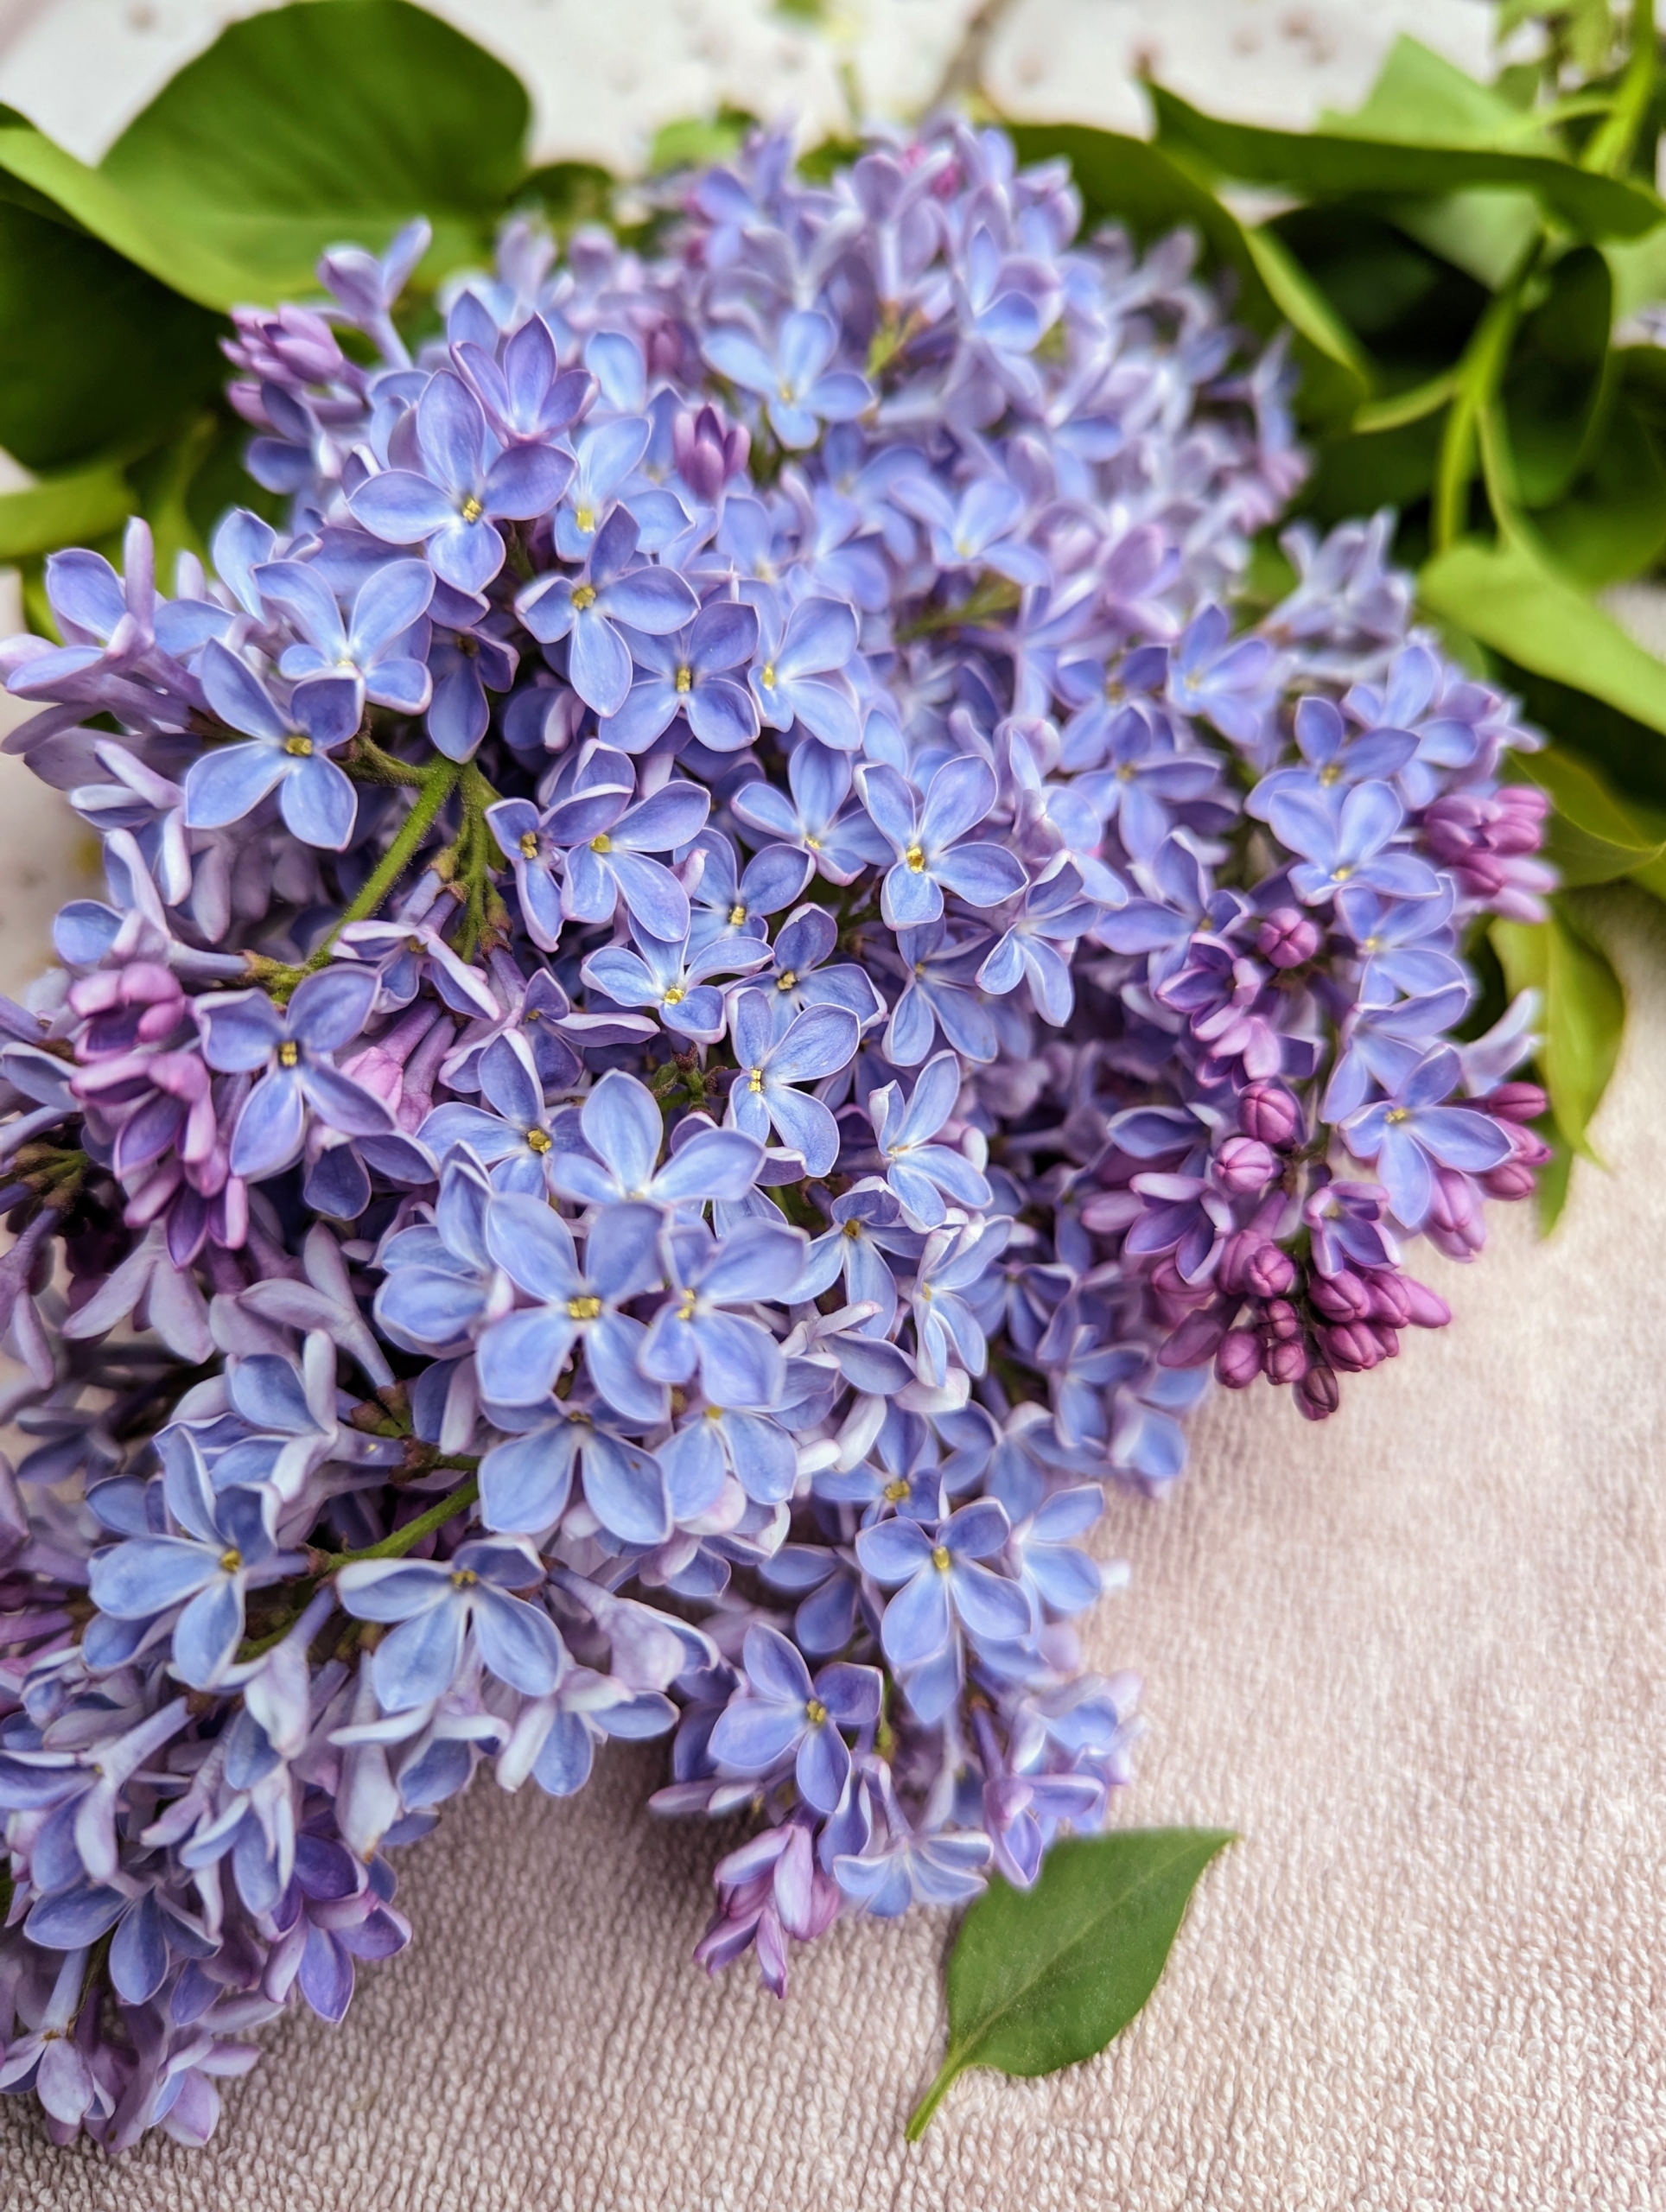
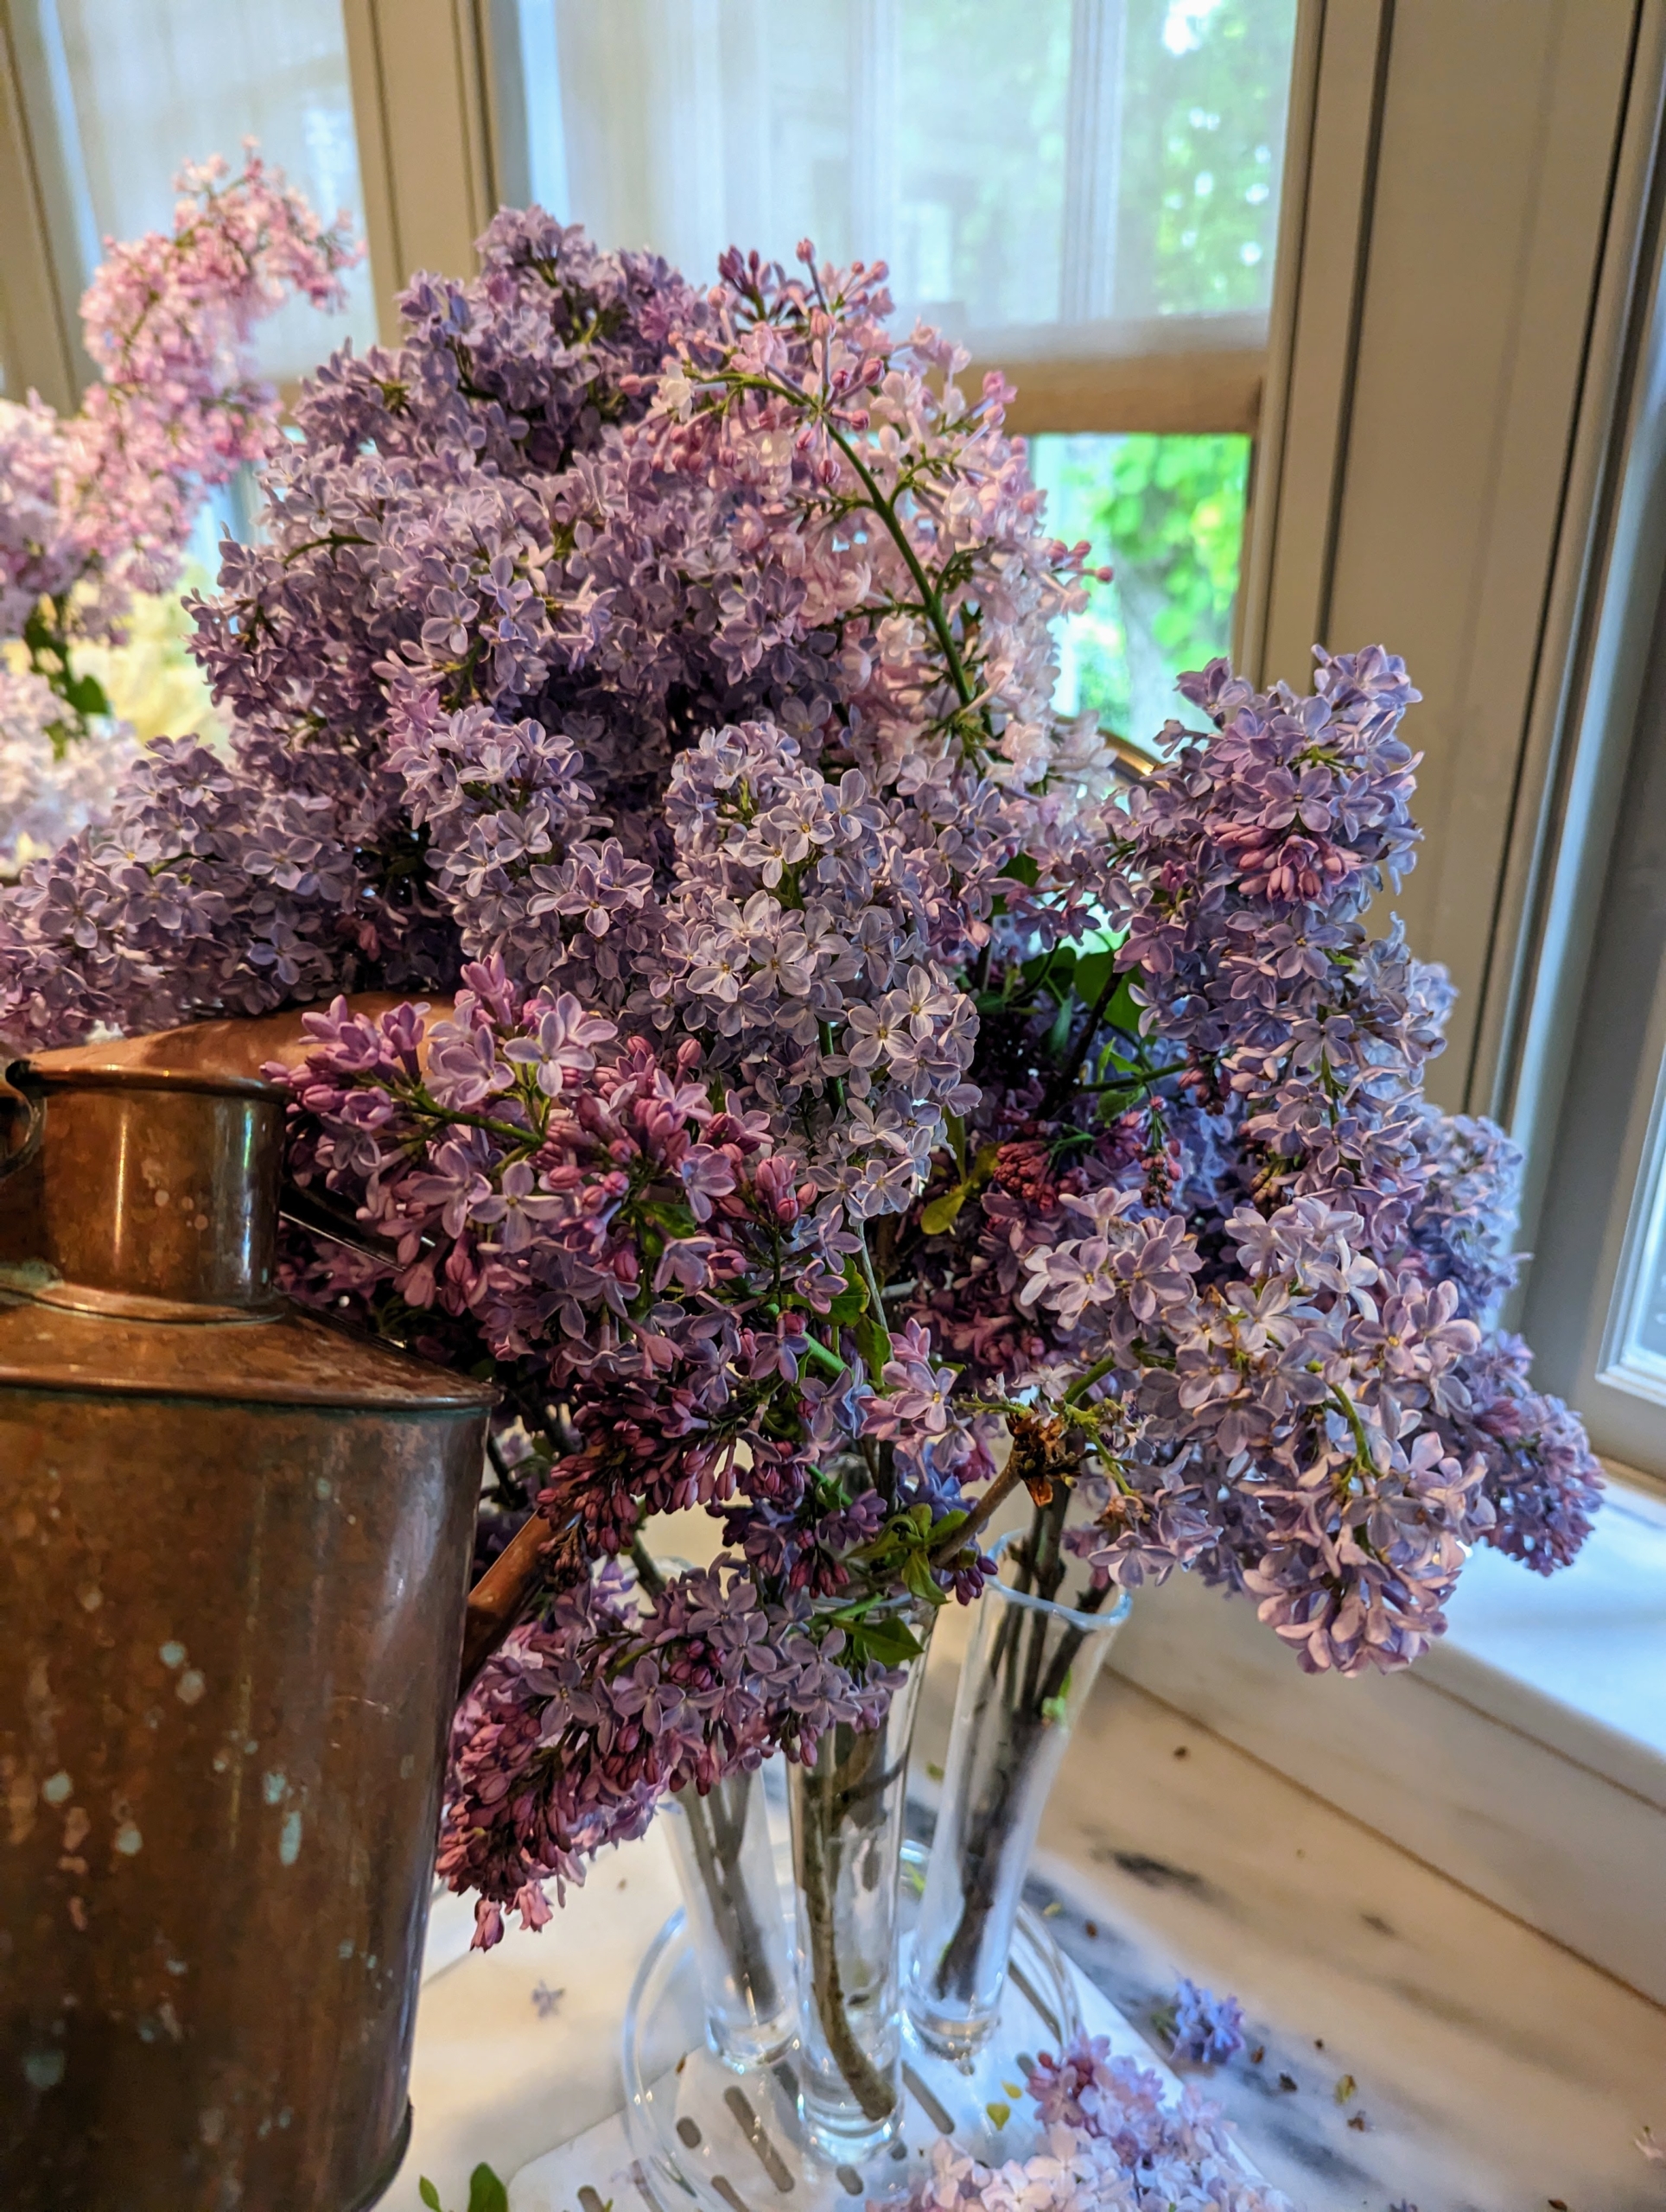
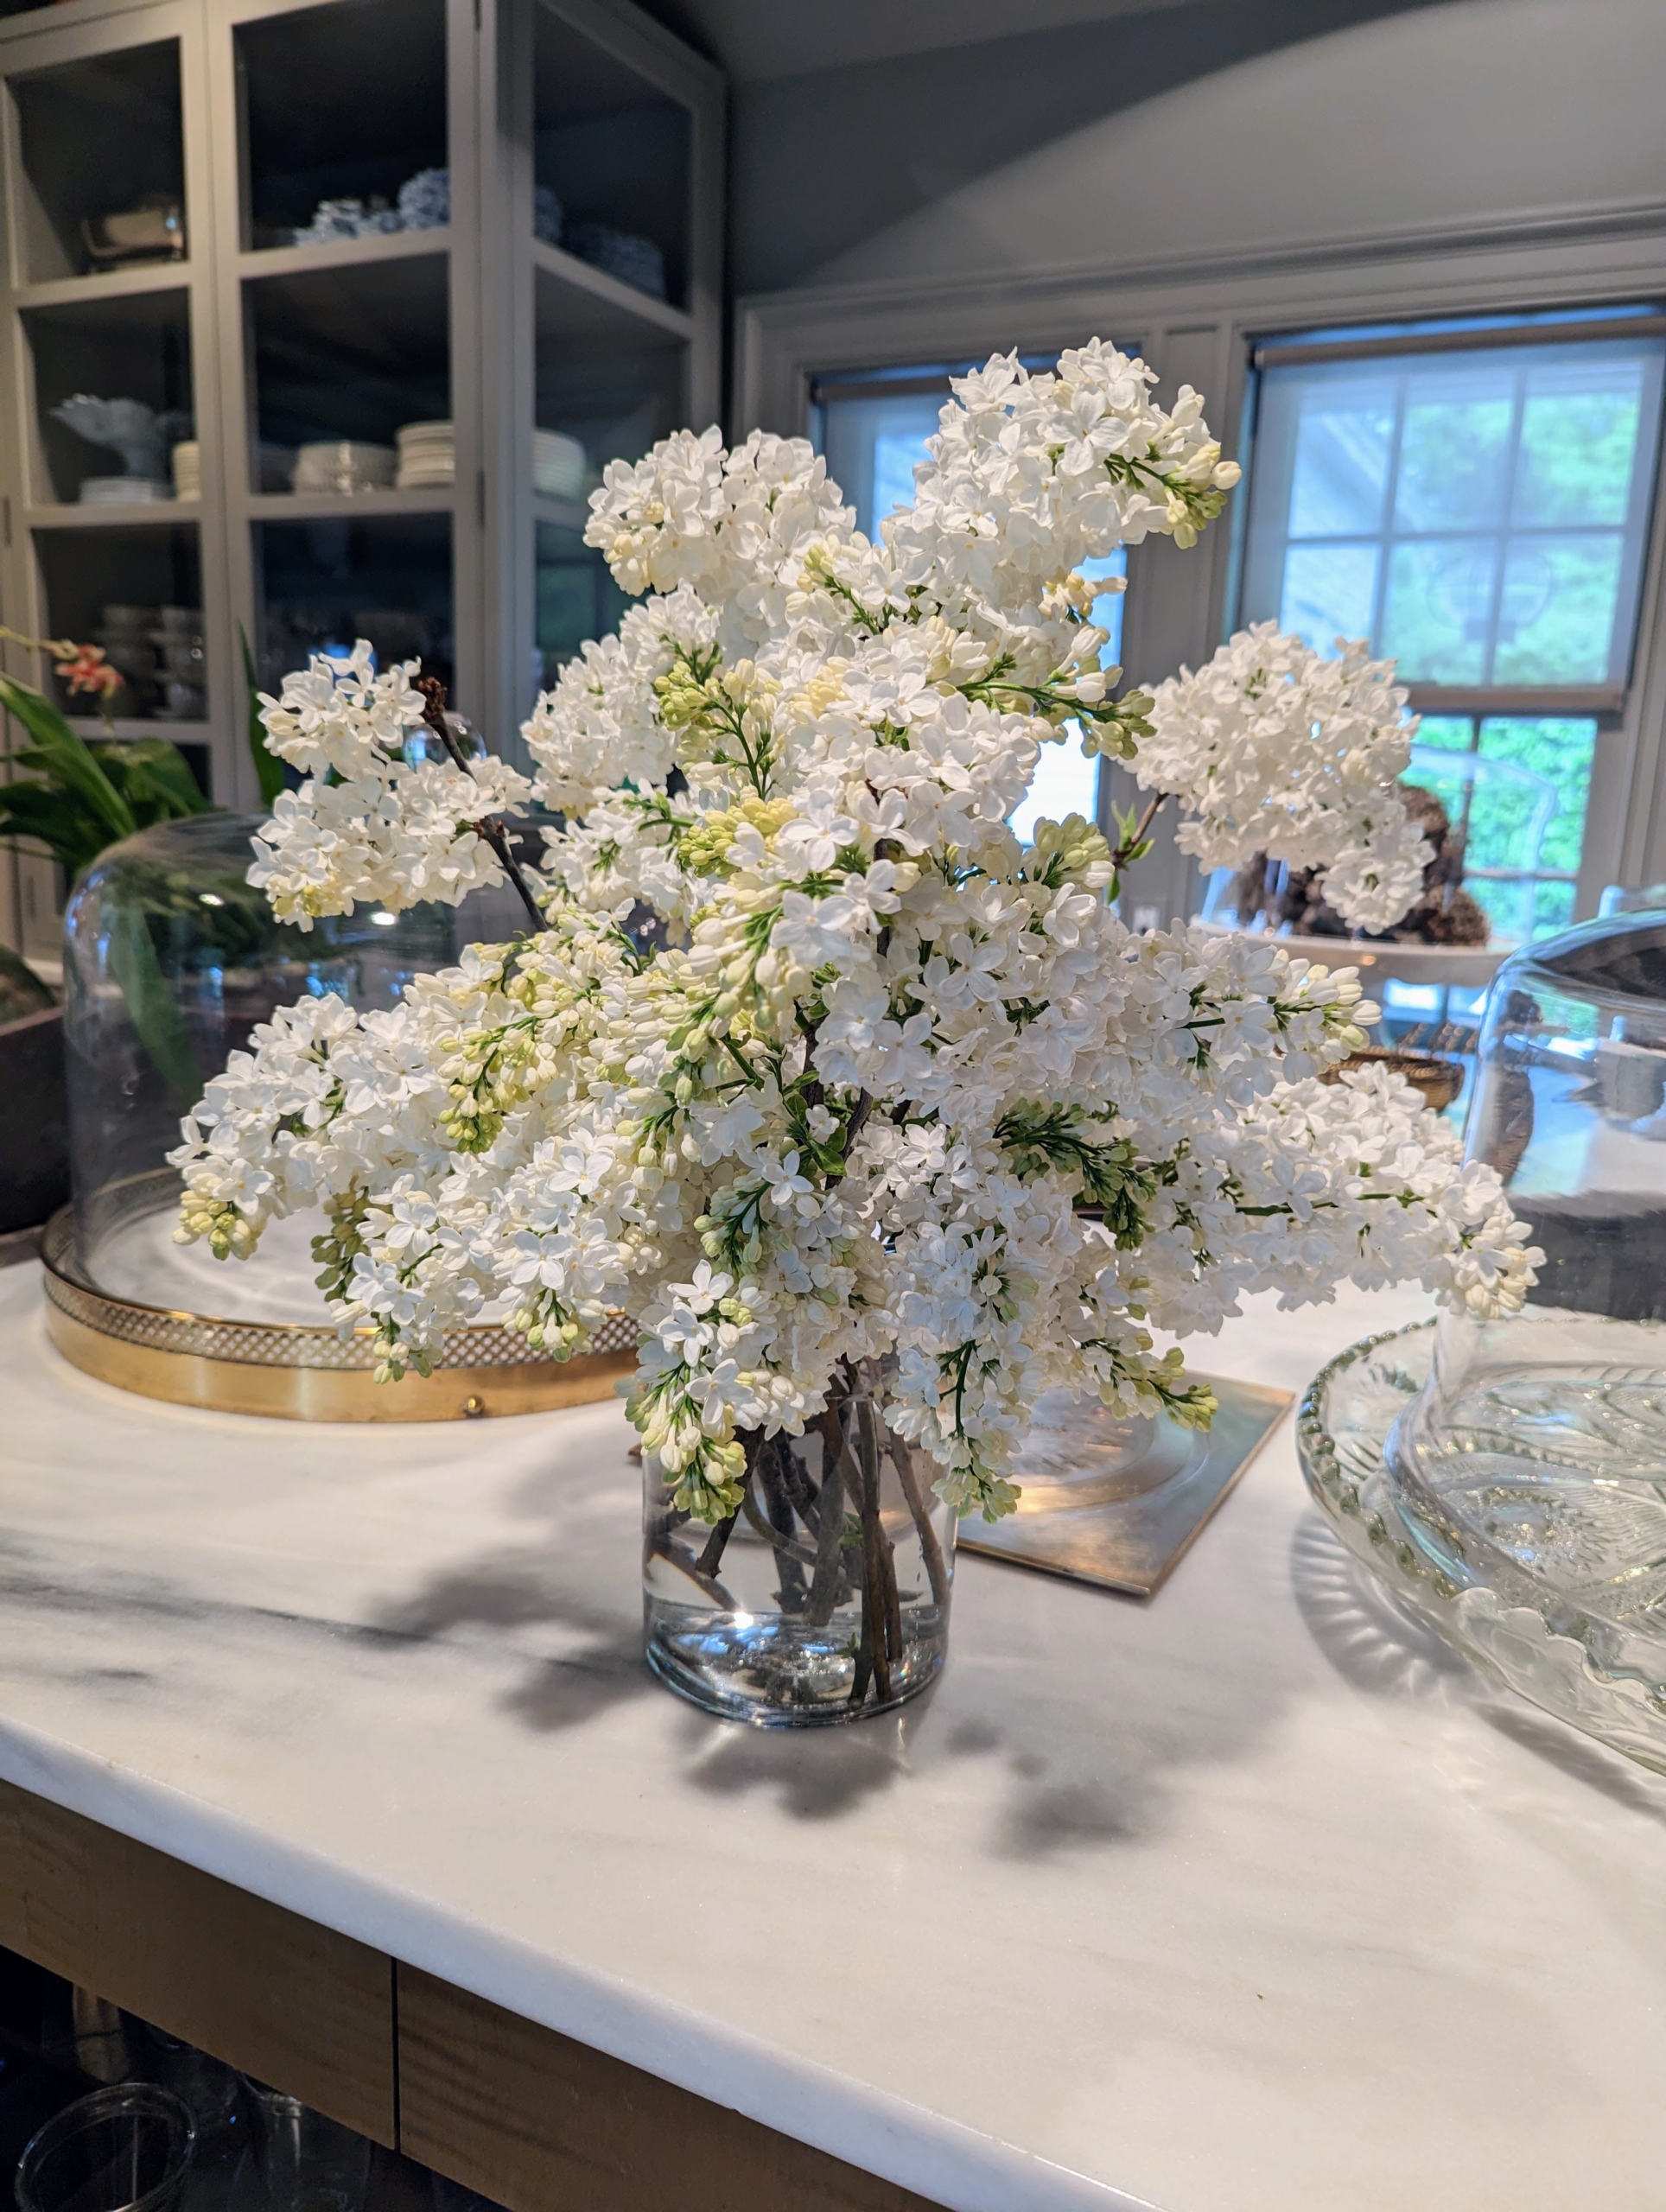
Here are photos of the first picked lilacs of the season and the arrangements we made with them - enjoy.
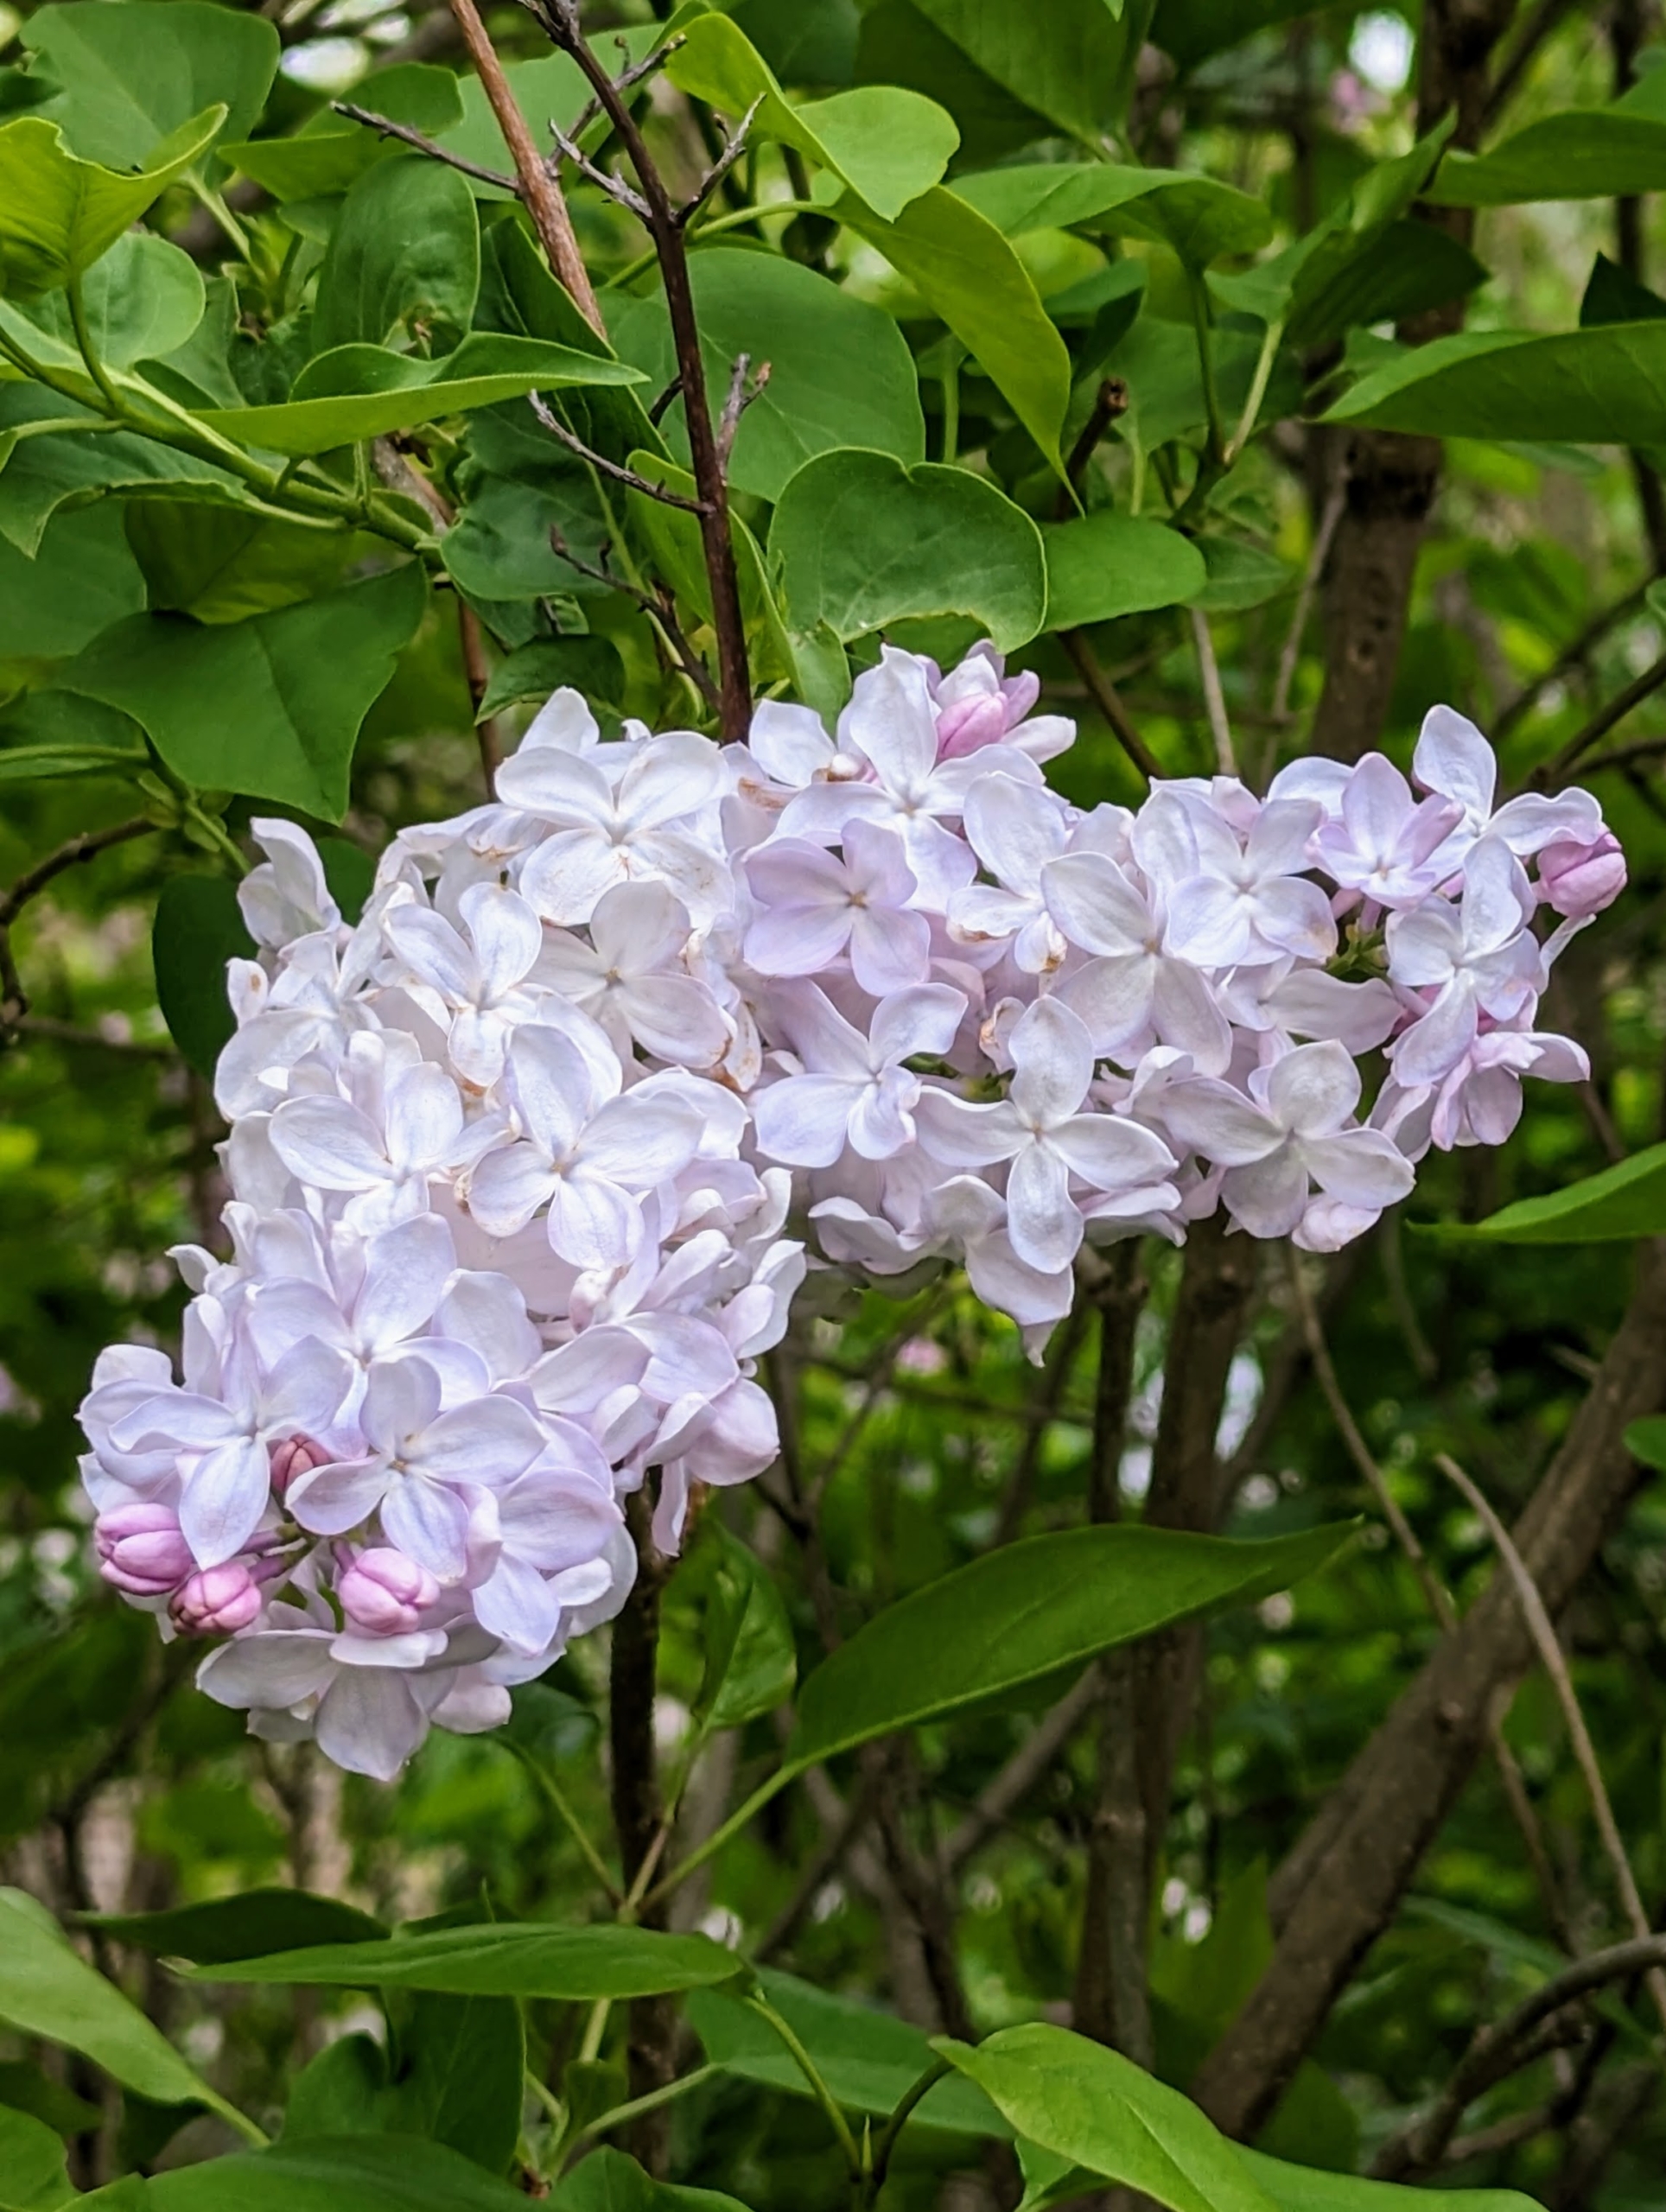
Here is just one of the beautiful lilacs blooming here at my farm. I planted an allée of lilacs about 17-years ago and it has thrived ever since. It is located behind my chicken coops not far from my tennis court. Lilacs are low maintenance, easy to grow, and can reach from five to 20-feet tall or more depending on their variety.
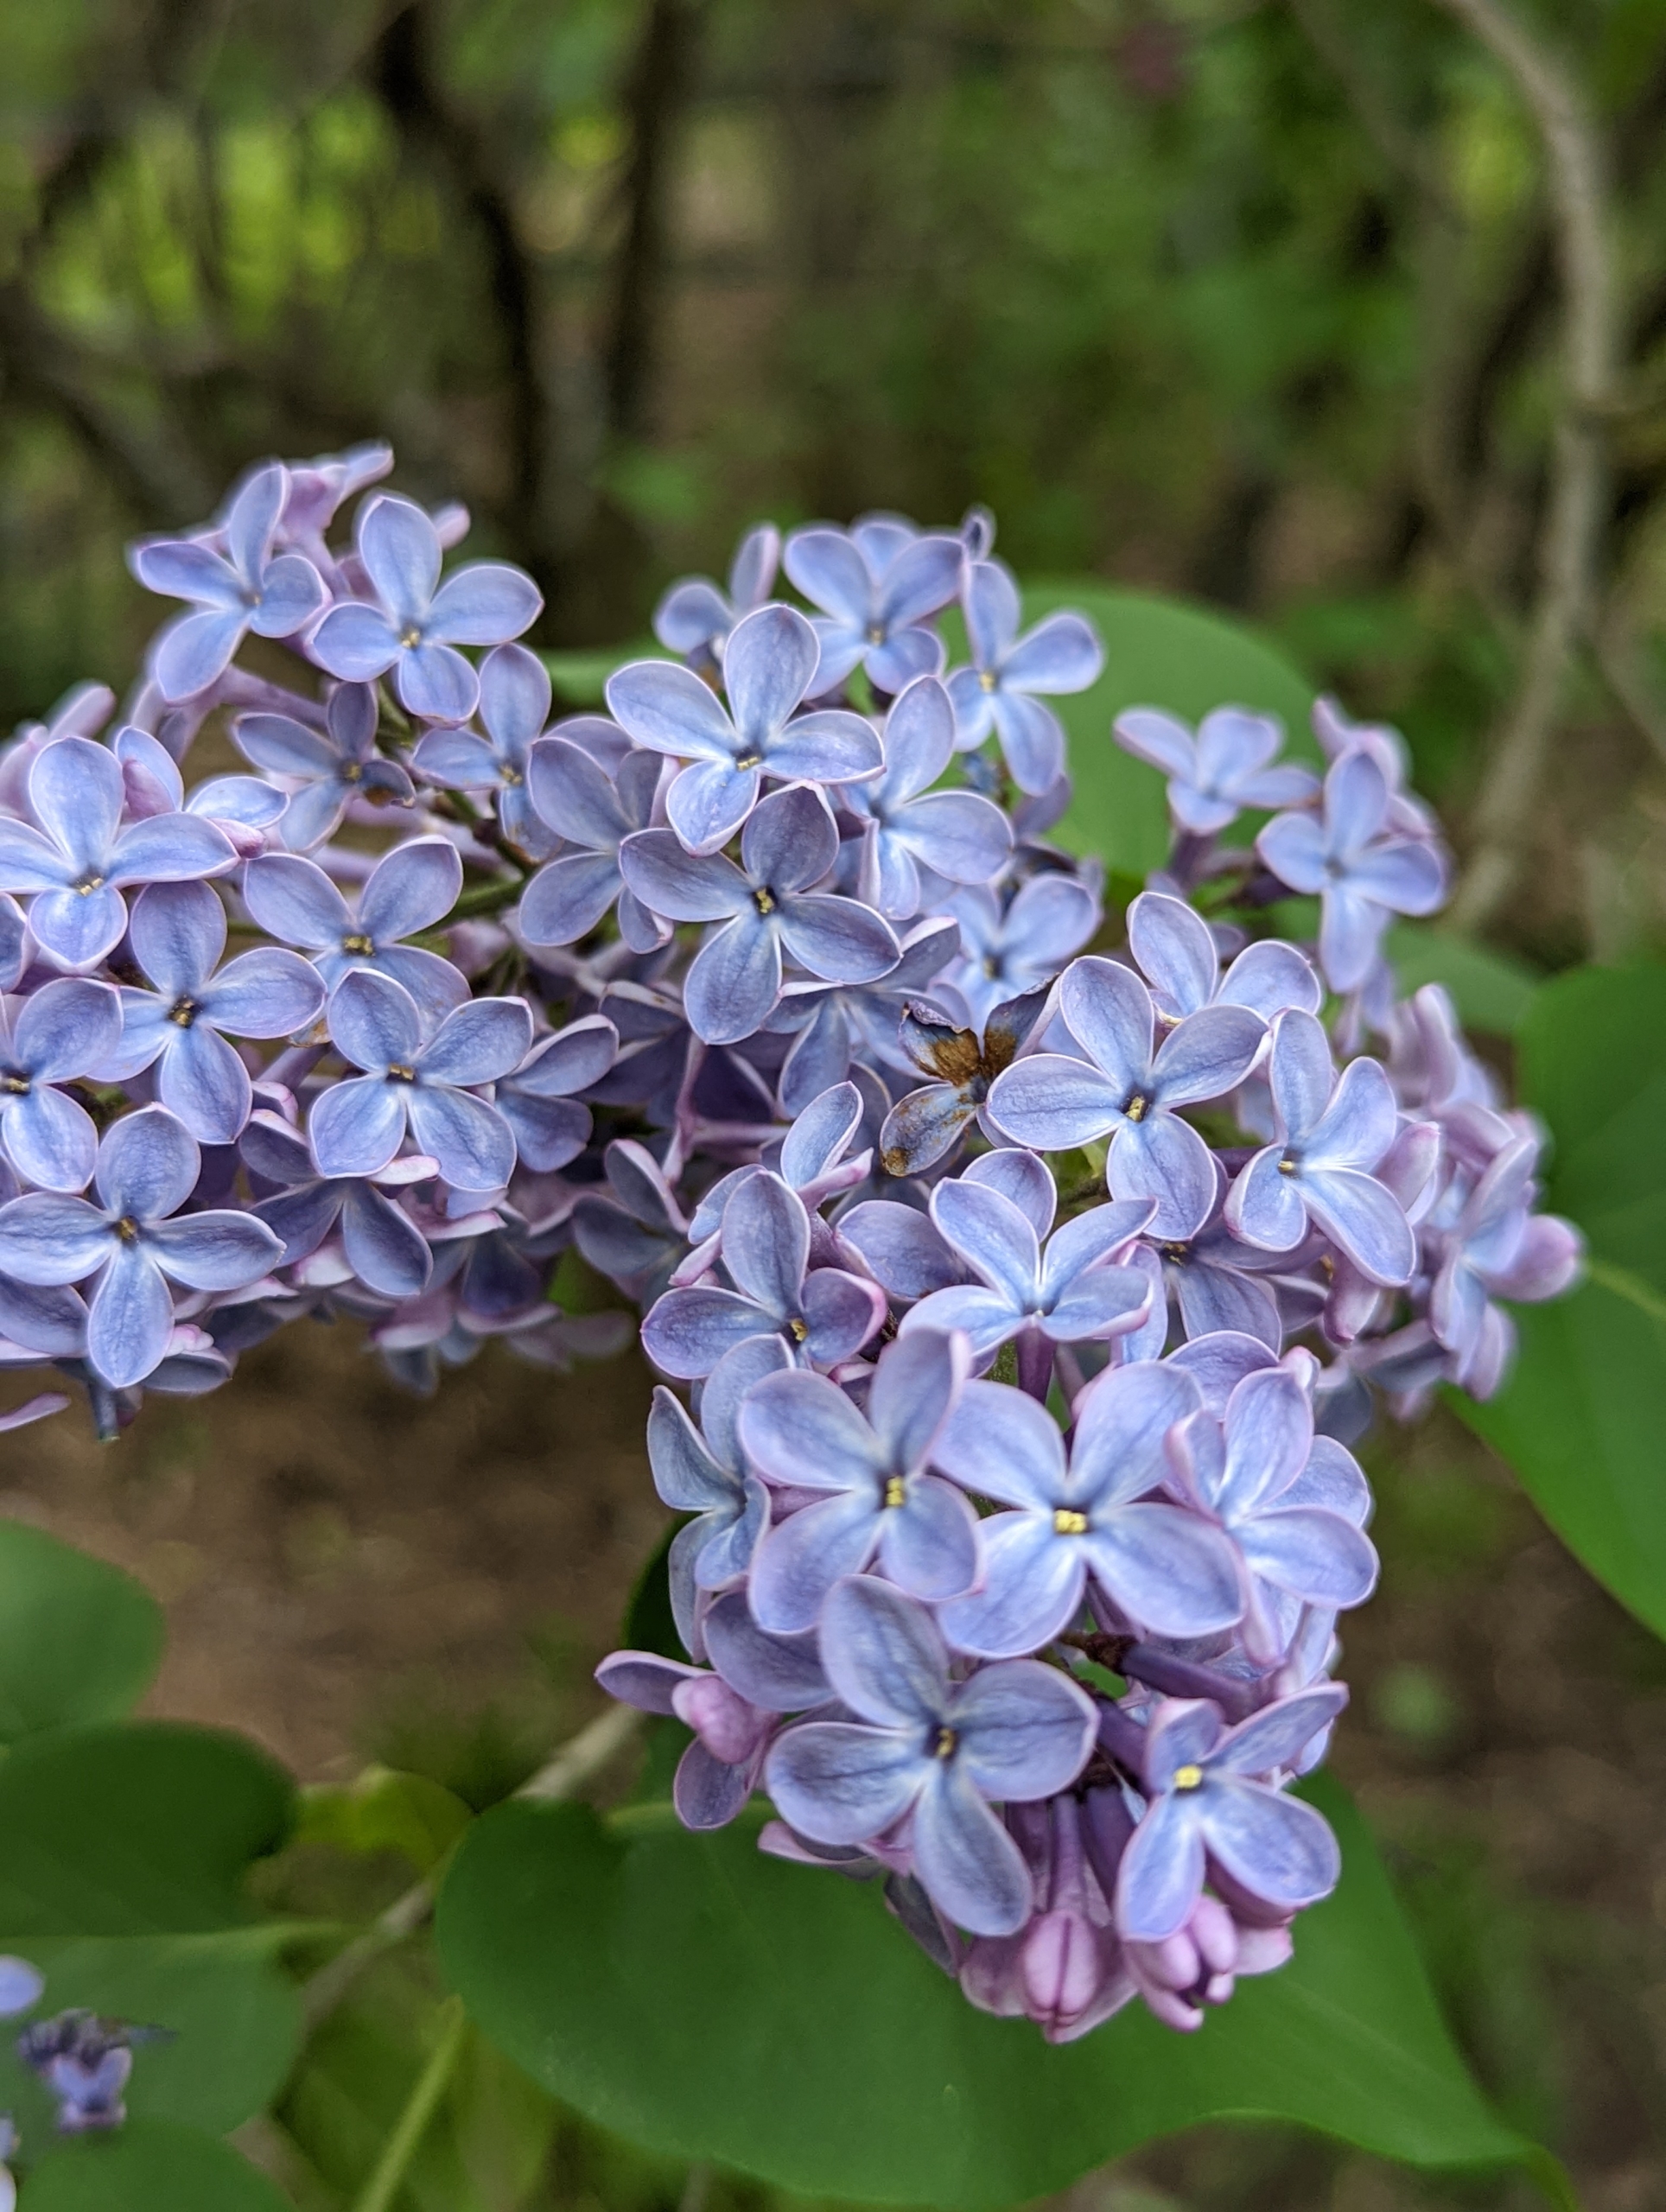
The lilac, Syringa vulgaris, is a species of flowering plant in the olive family Oleaceae. Syringa is a genus of up to 30-cultivated species with more than one-thousand varieties. And look at the beautiful lilac color.
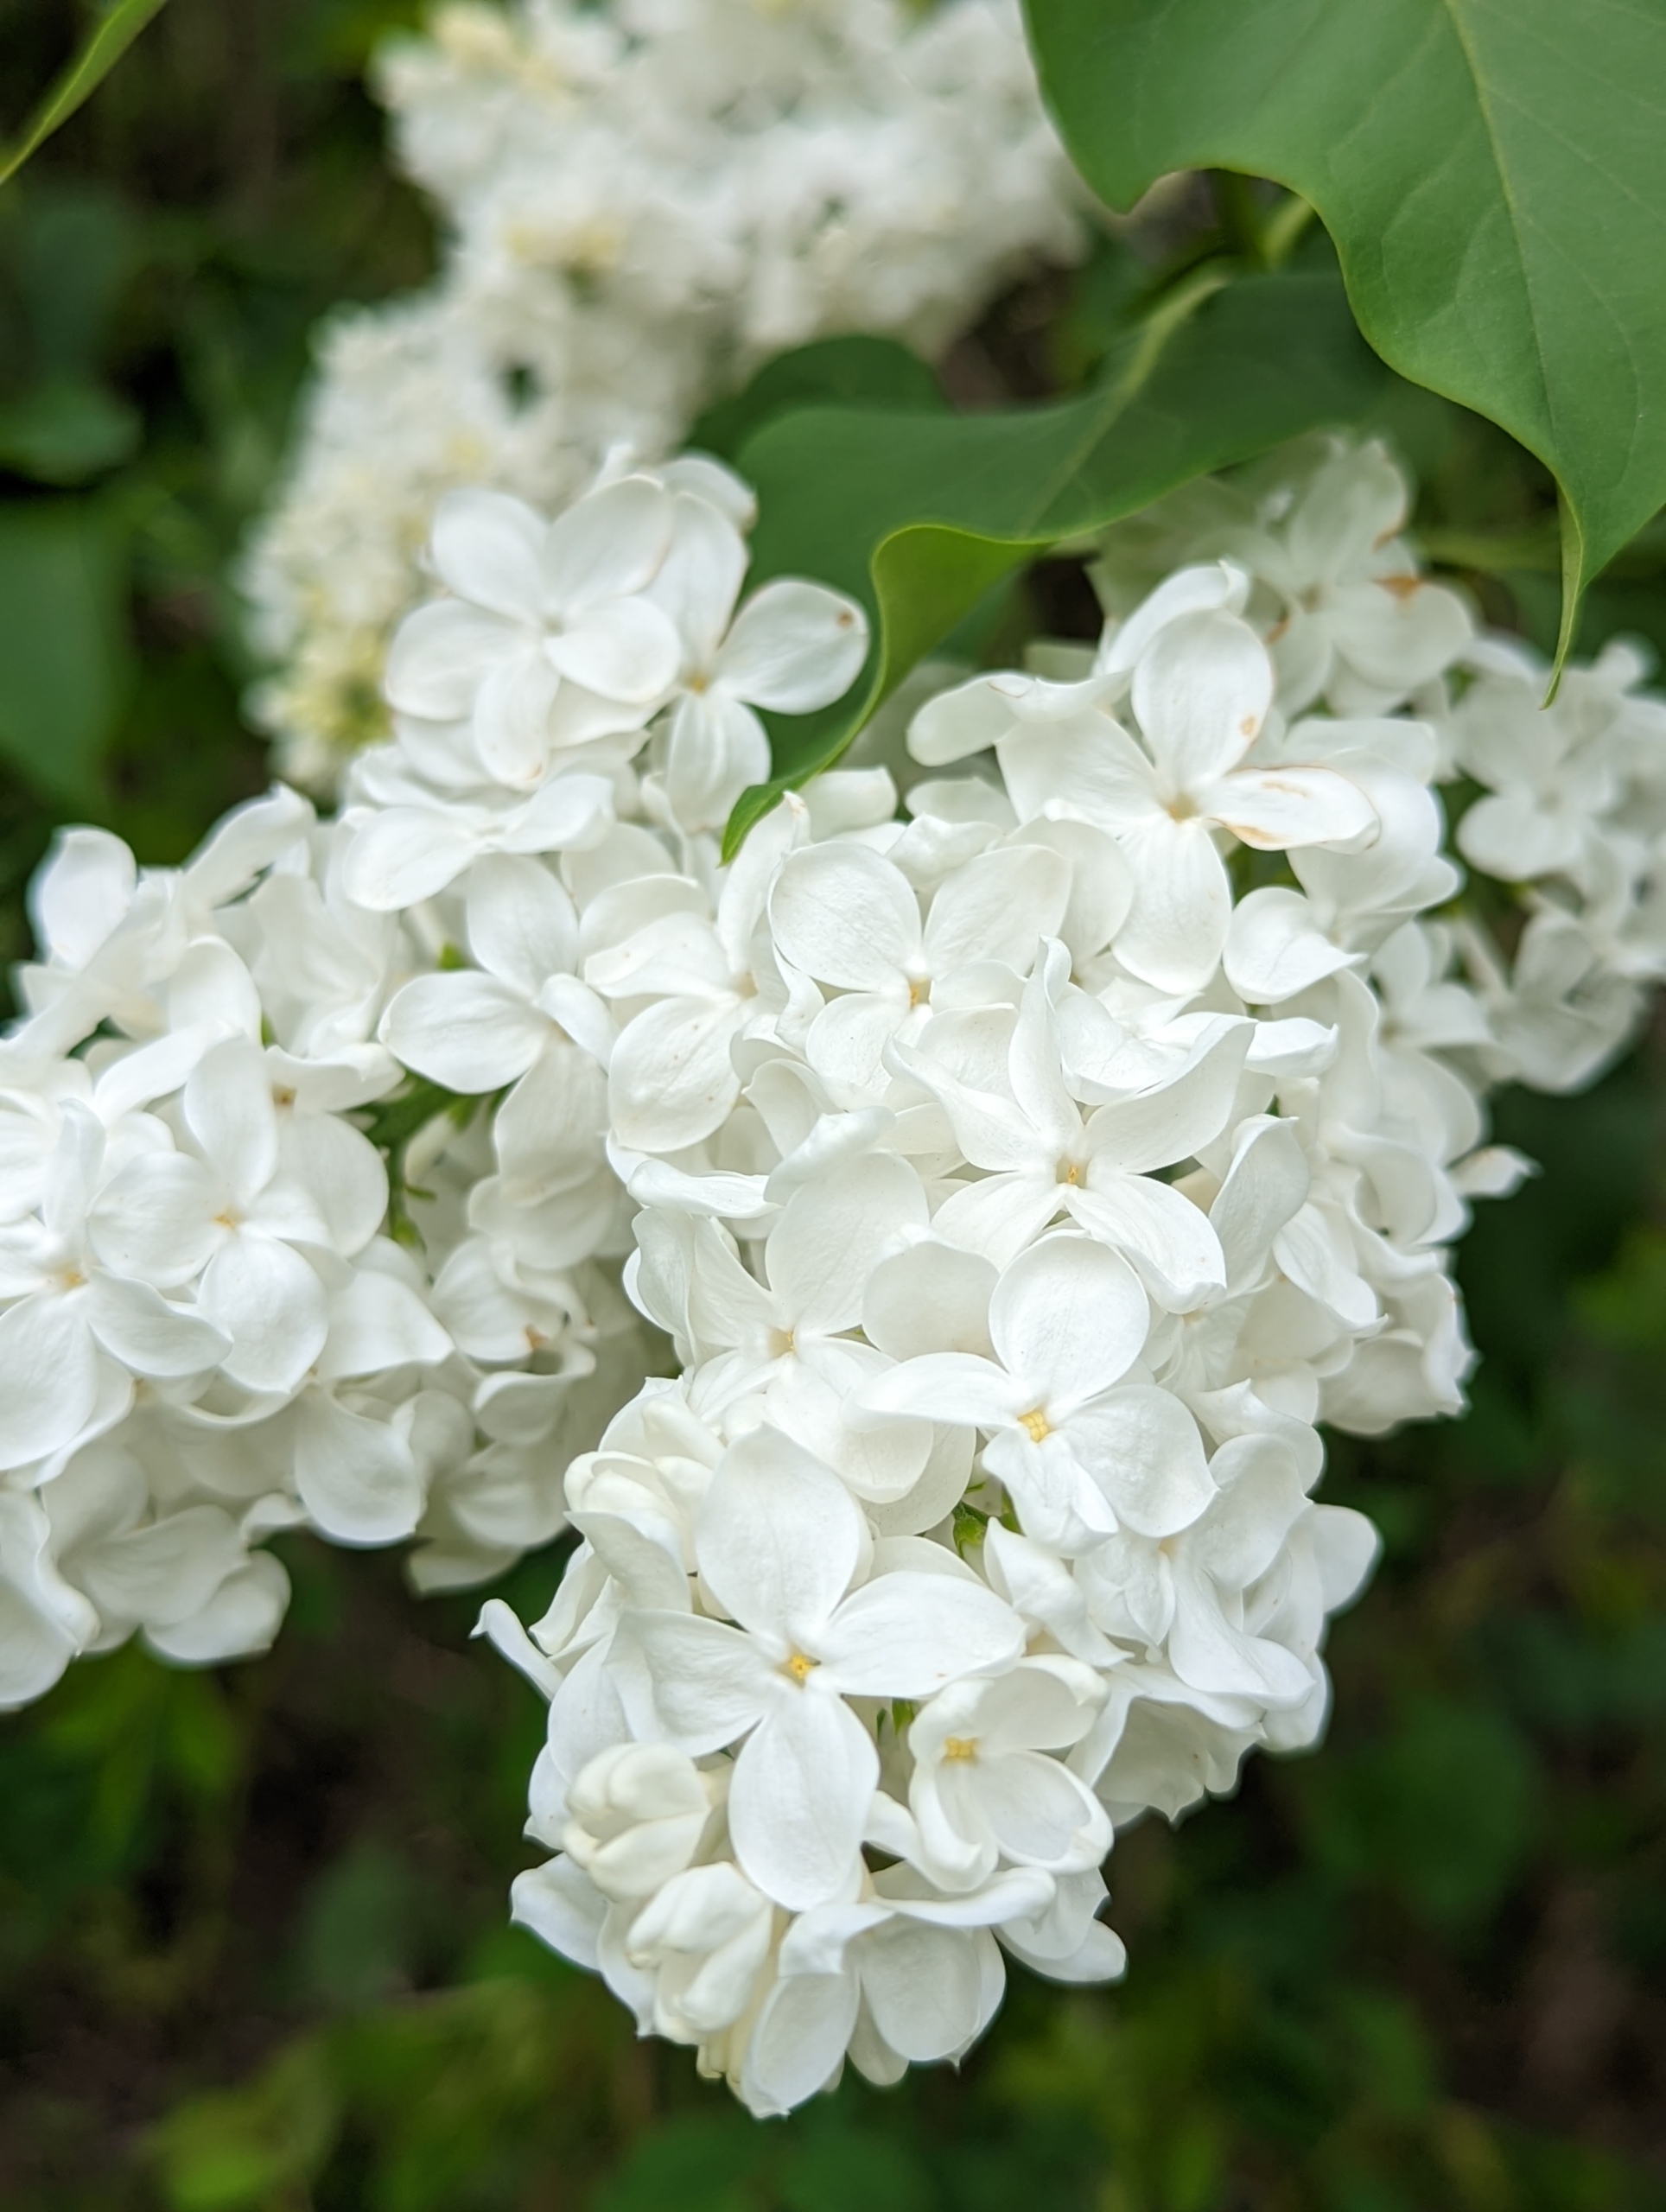
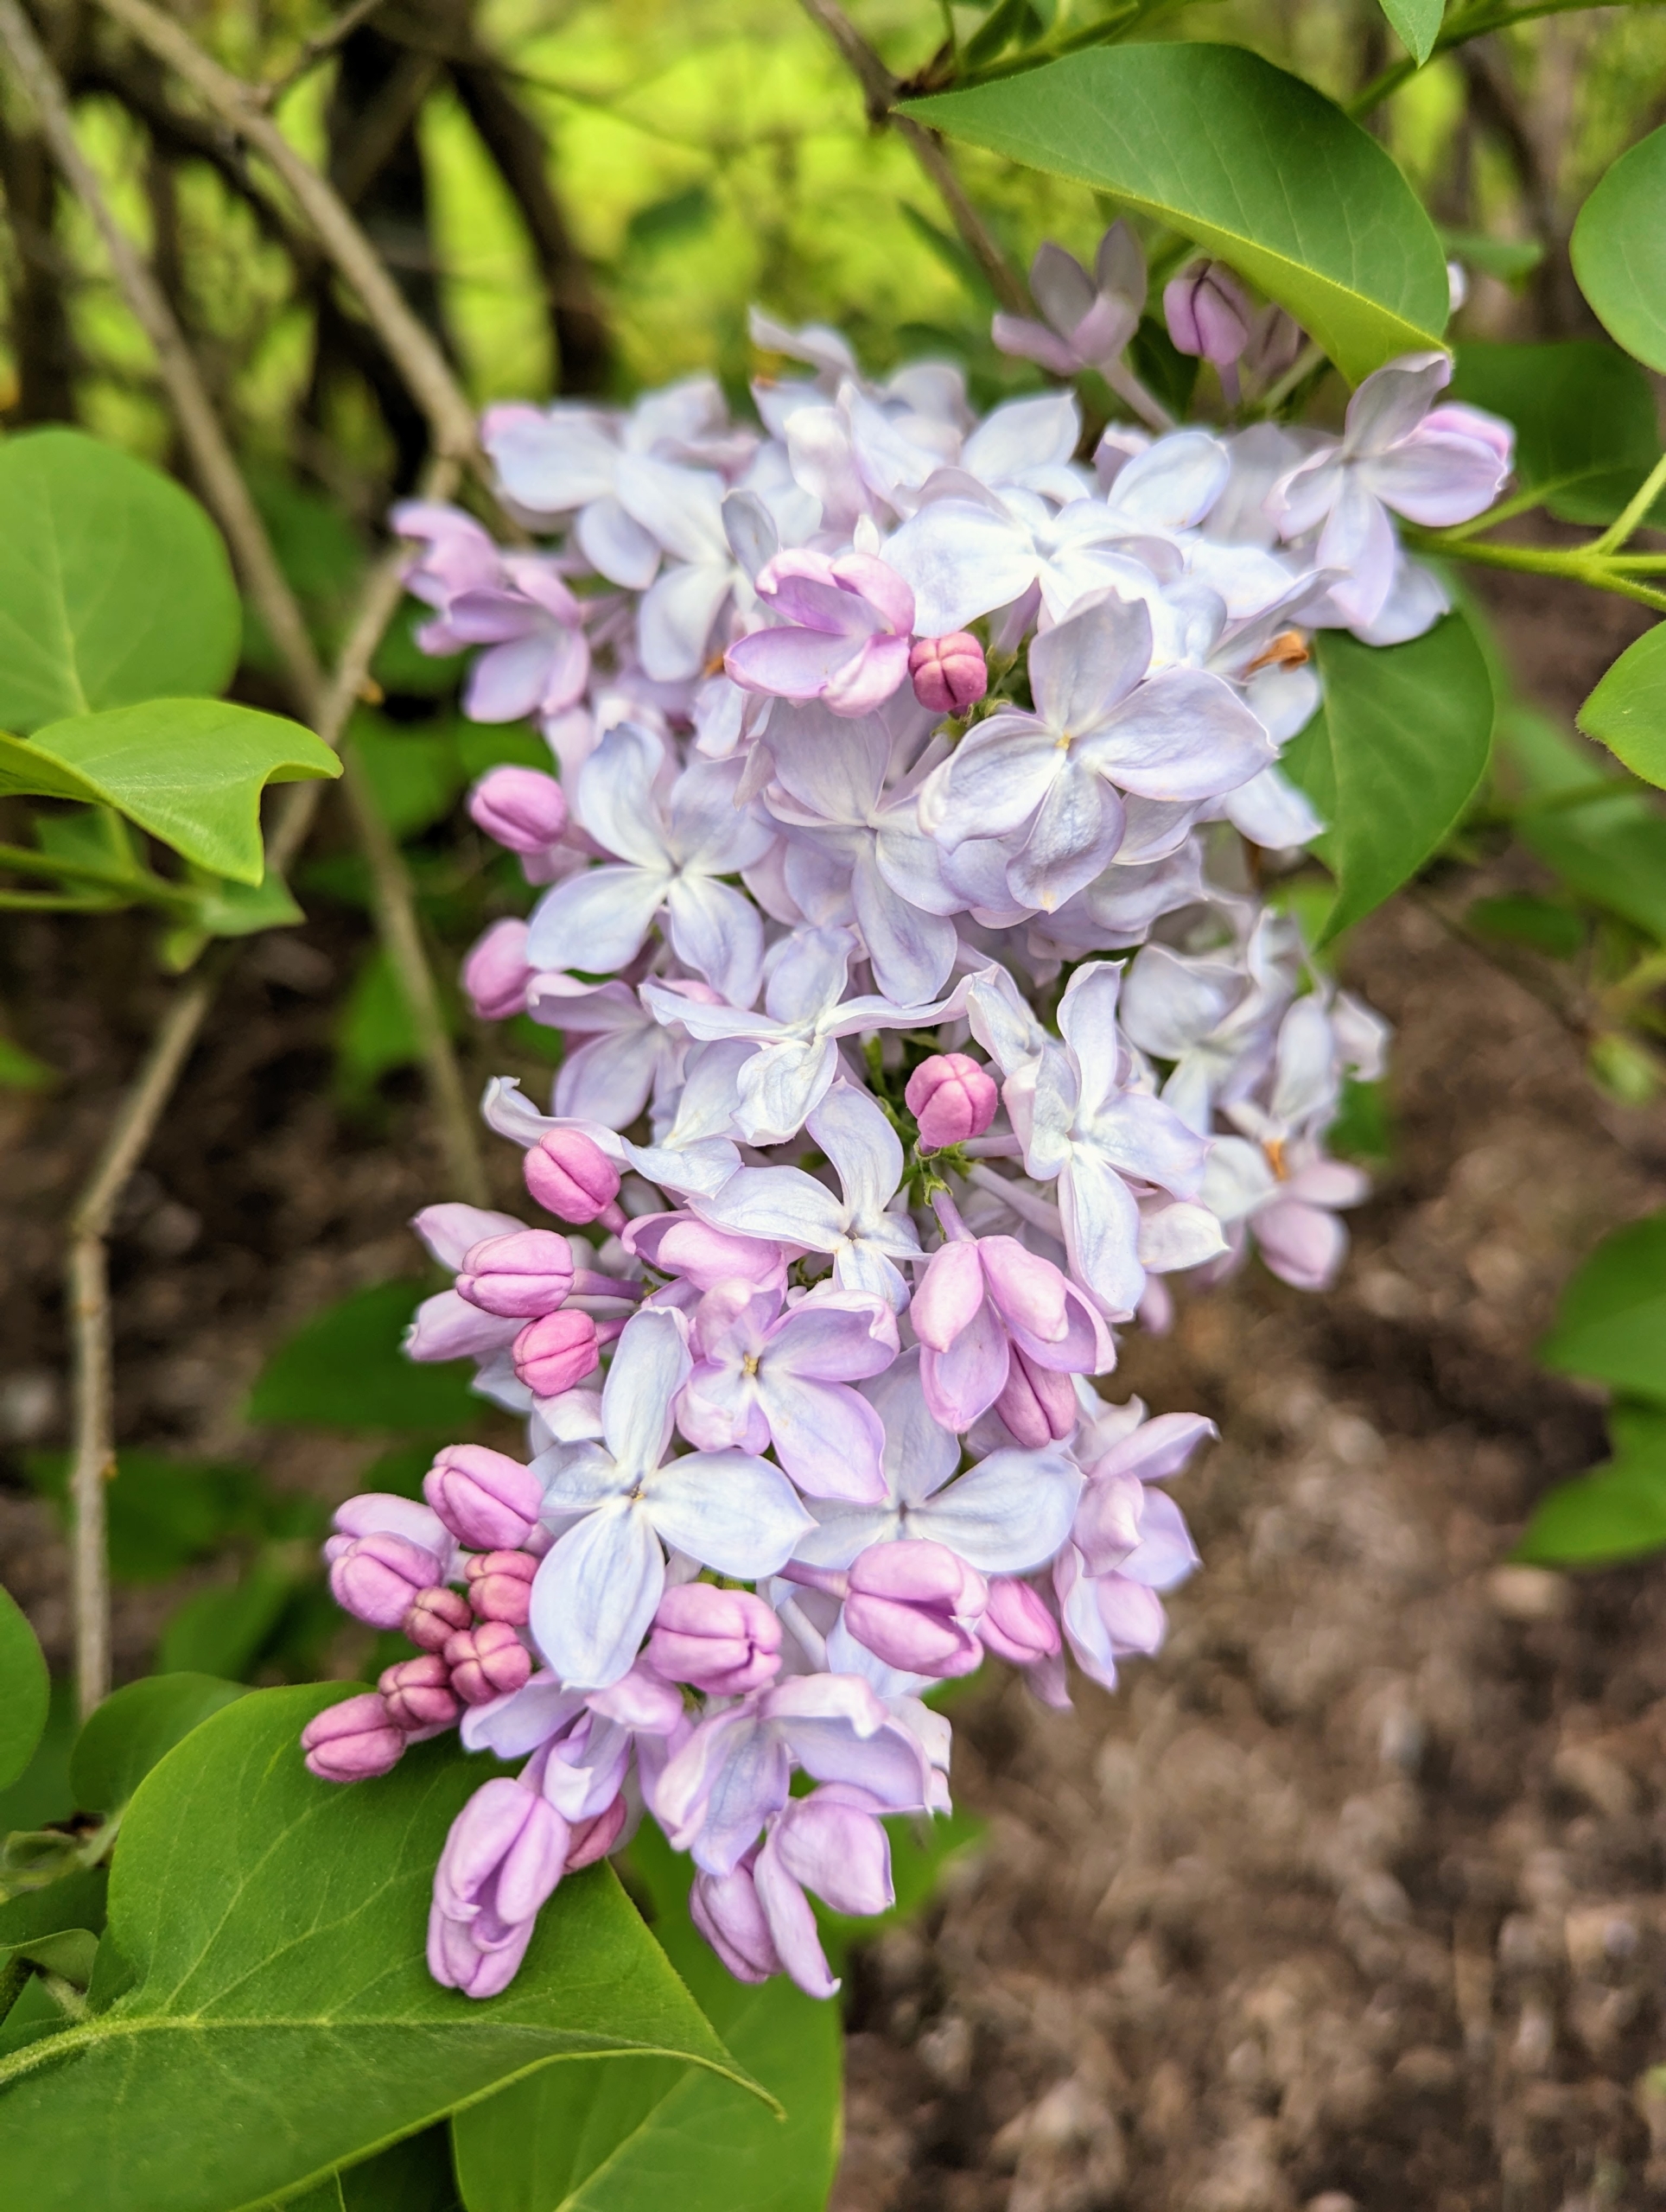
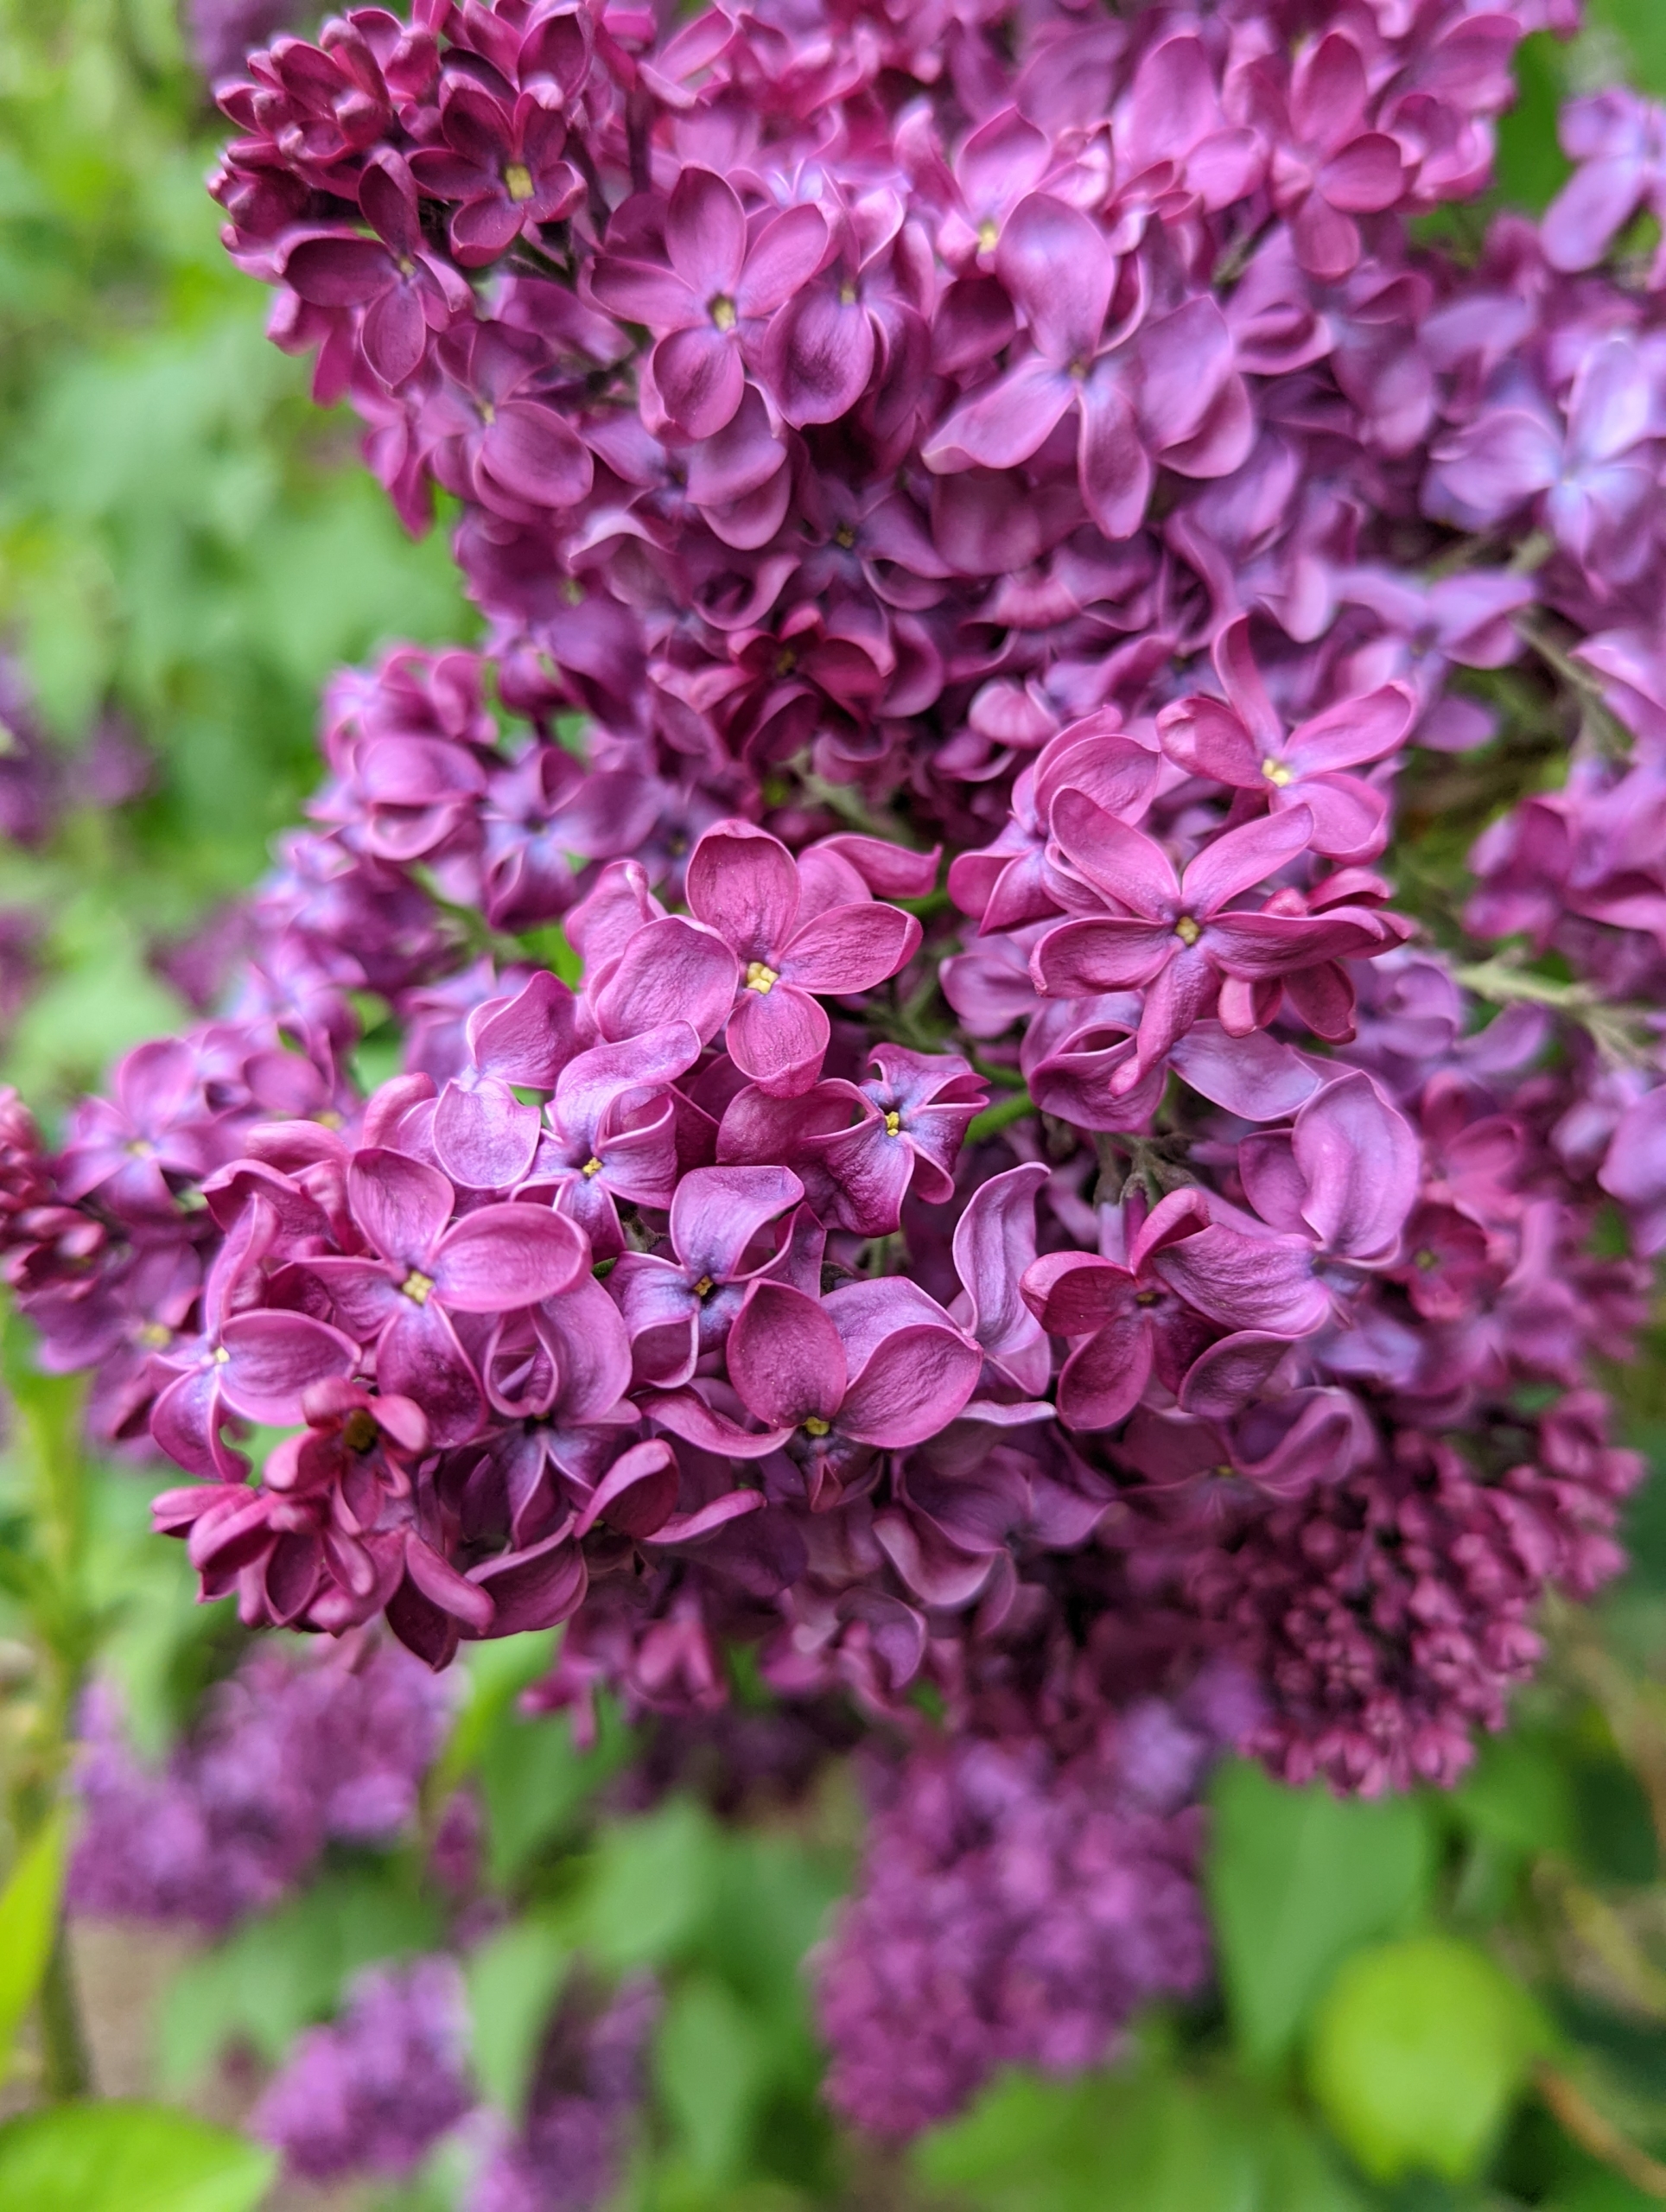
Lilacs come in seven colors: pink, violet, blue, lilac, red, purple, and white. The purple lilacs have the strongest scent compared to other colors.
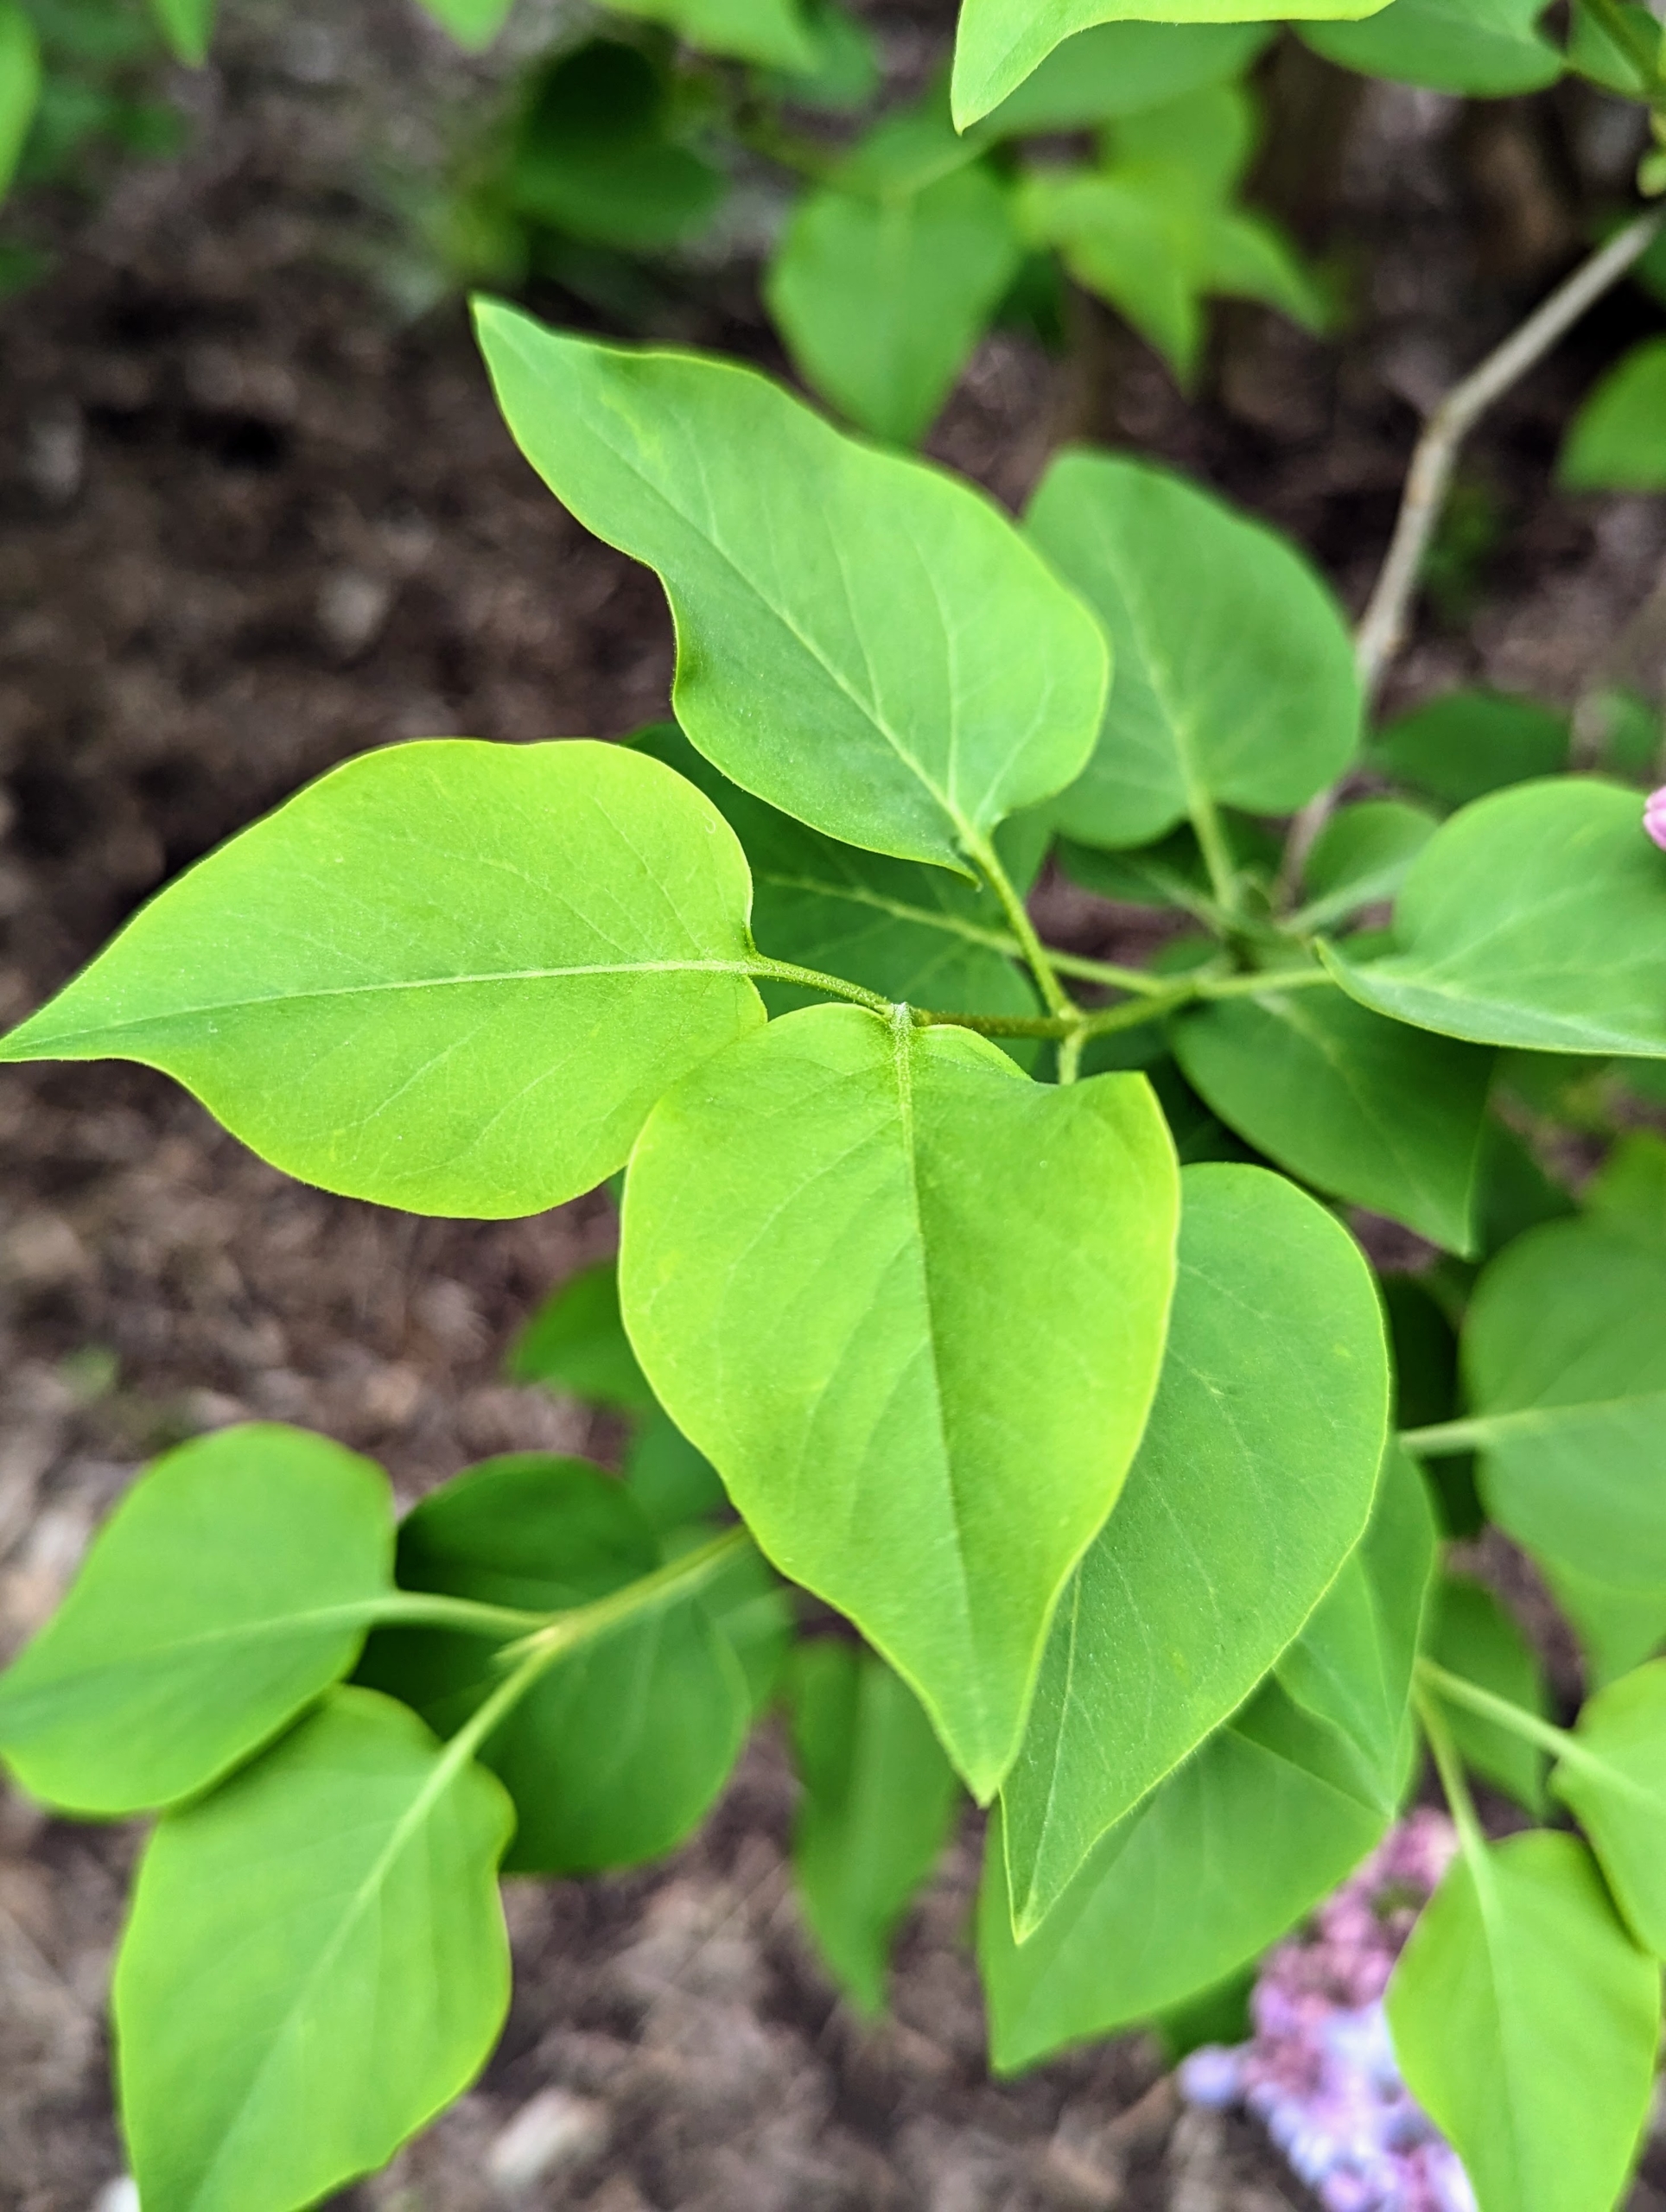
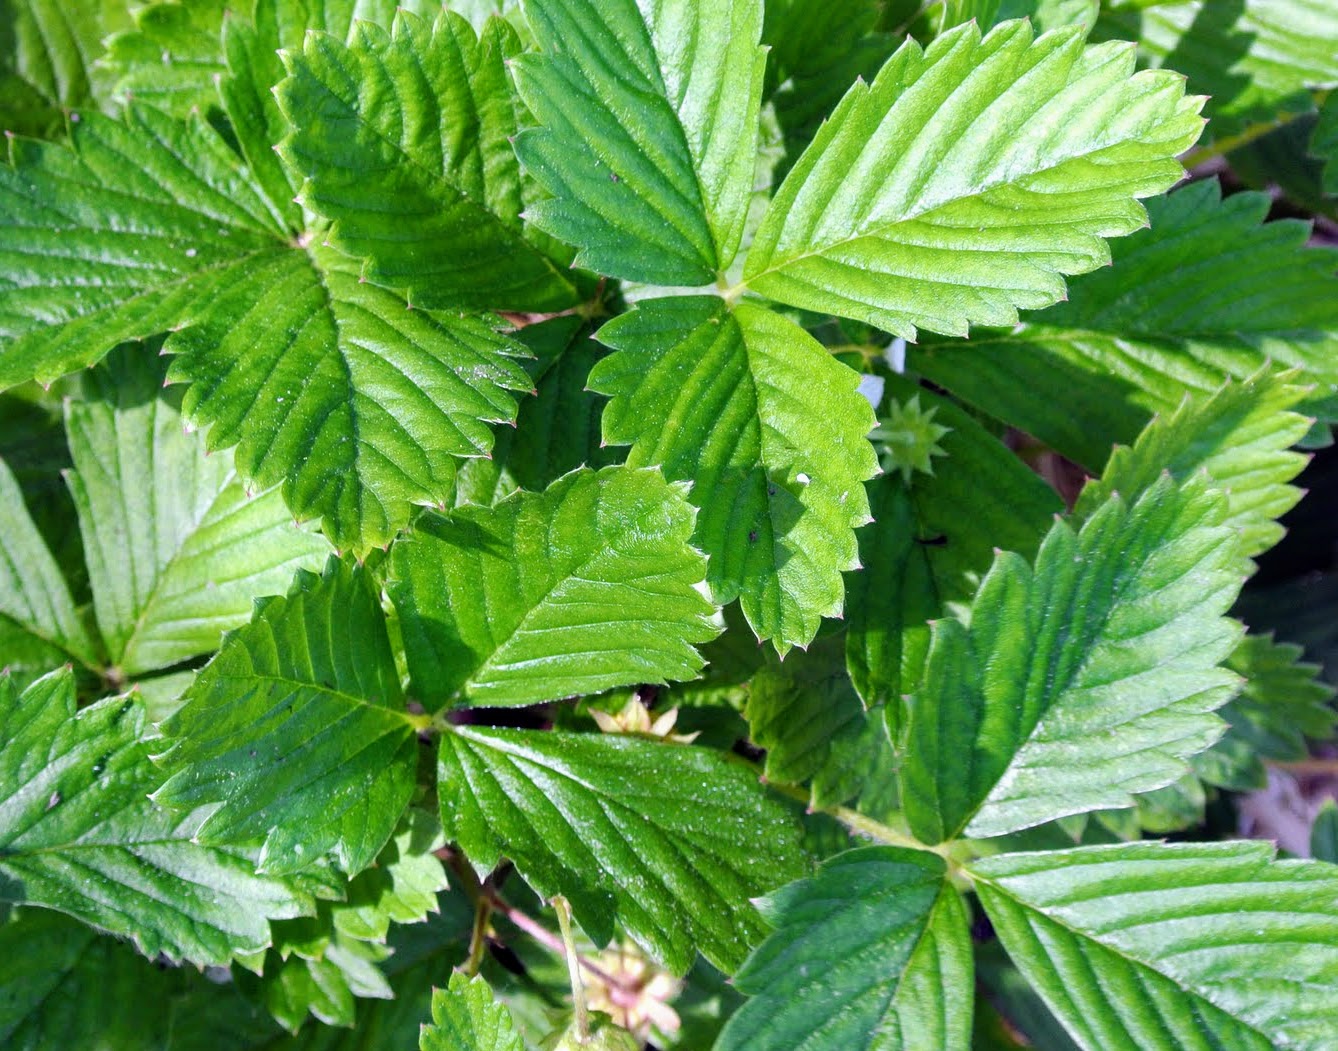
The bold lilac colors look pretty against the vibrant green foliage. Lilac leaves are simple, opposite, ovate, about two to four inches long, and usually shaped like elongated hearts.
Lilacs have pyramidal clusters of blossoms with both single and double varieties – all with the same glossy green leaves.
‘Sensation’, first known in 1938, is unique for its bicolor deep-purple petals edged in white on eight to 12-foot-tall shrubs.
Lilacs were introduced into Europe at the end of the 16th century from Ottoman gardens and arrived in American colonies a century later. To this day, it remains a popular ornamental plant in gardens, parks, and homes because of its attractive, sweet-smelling blooms.
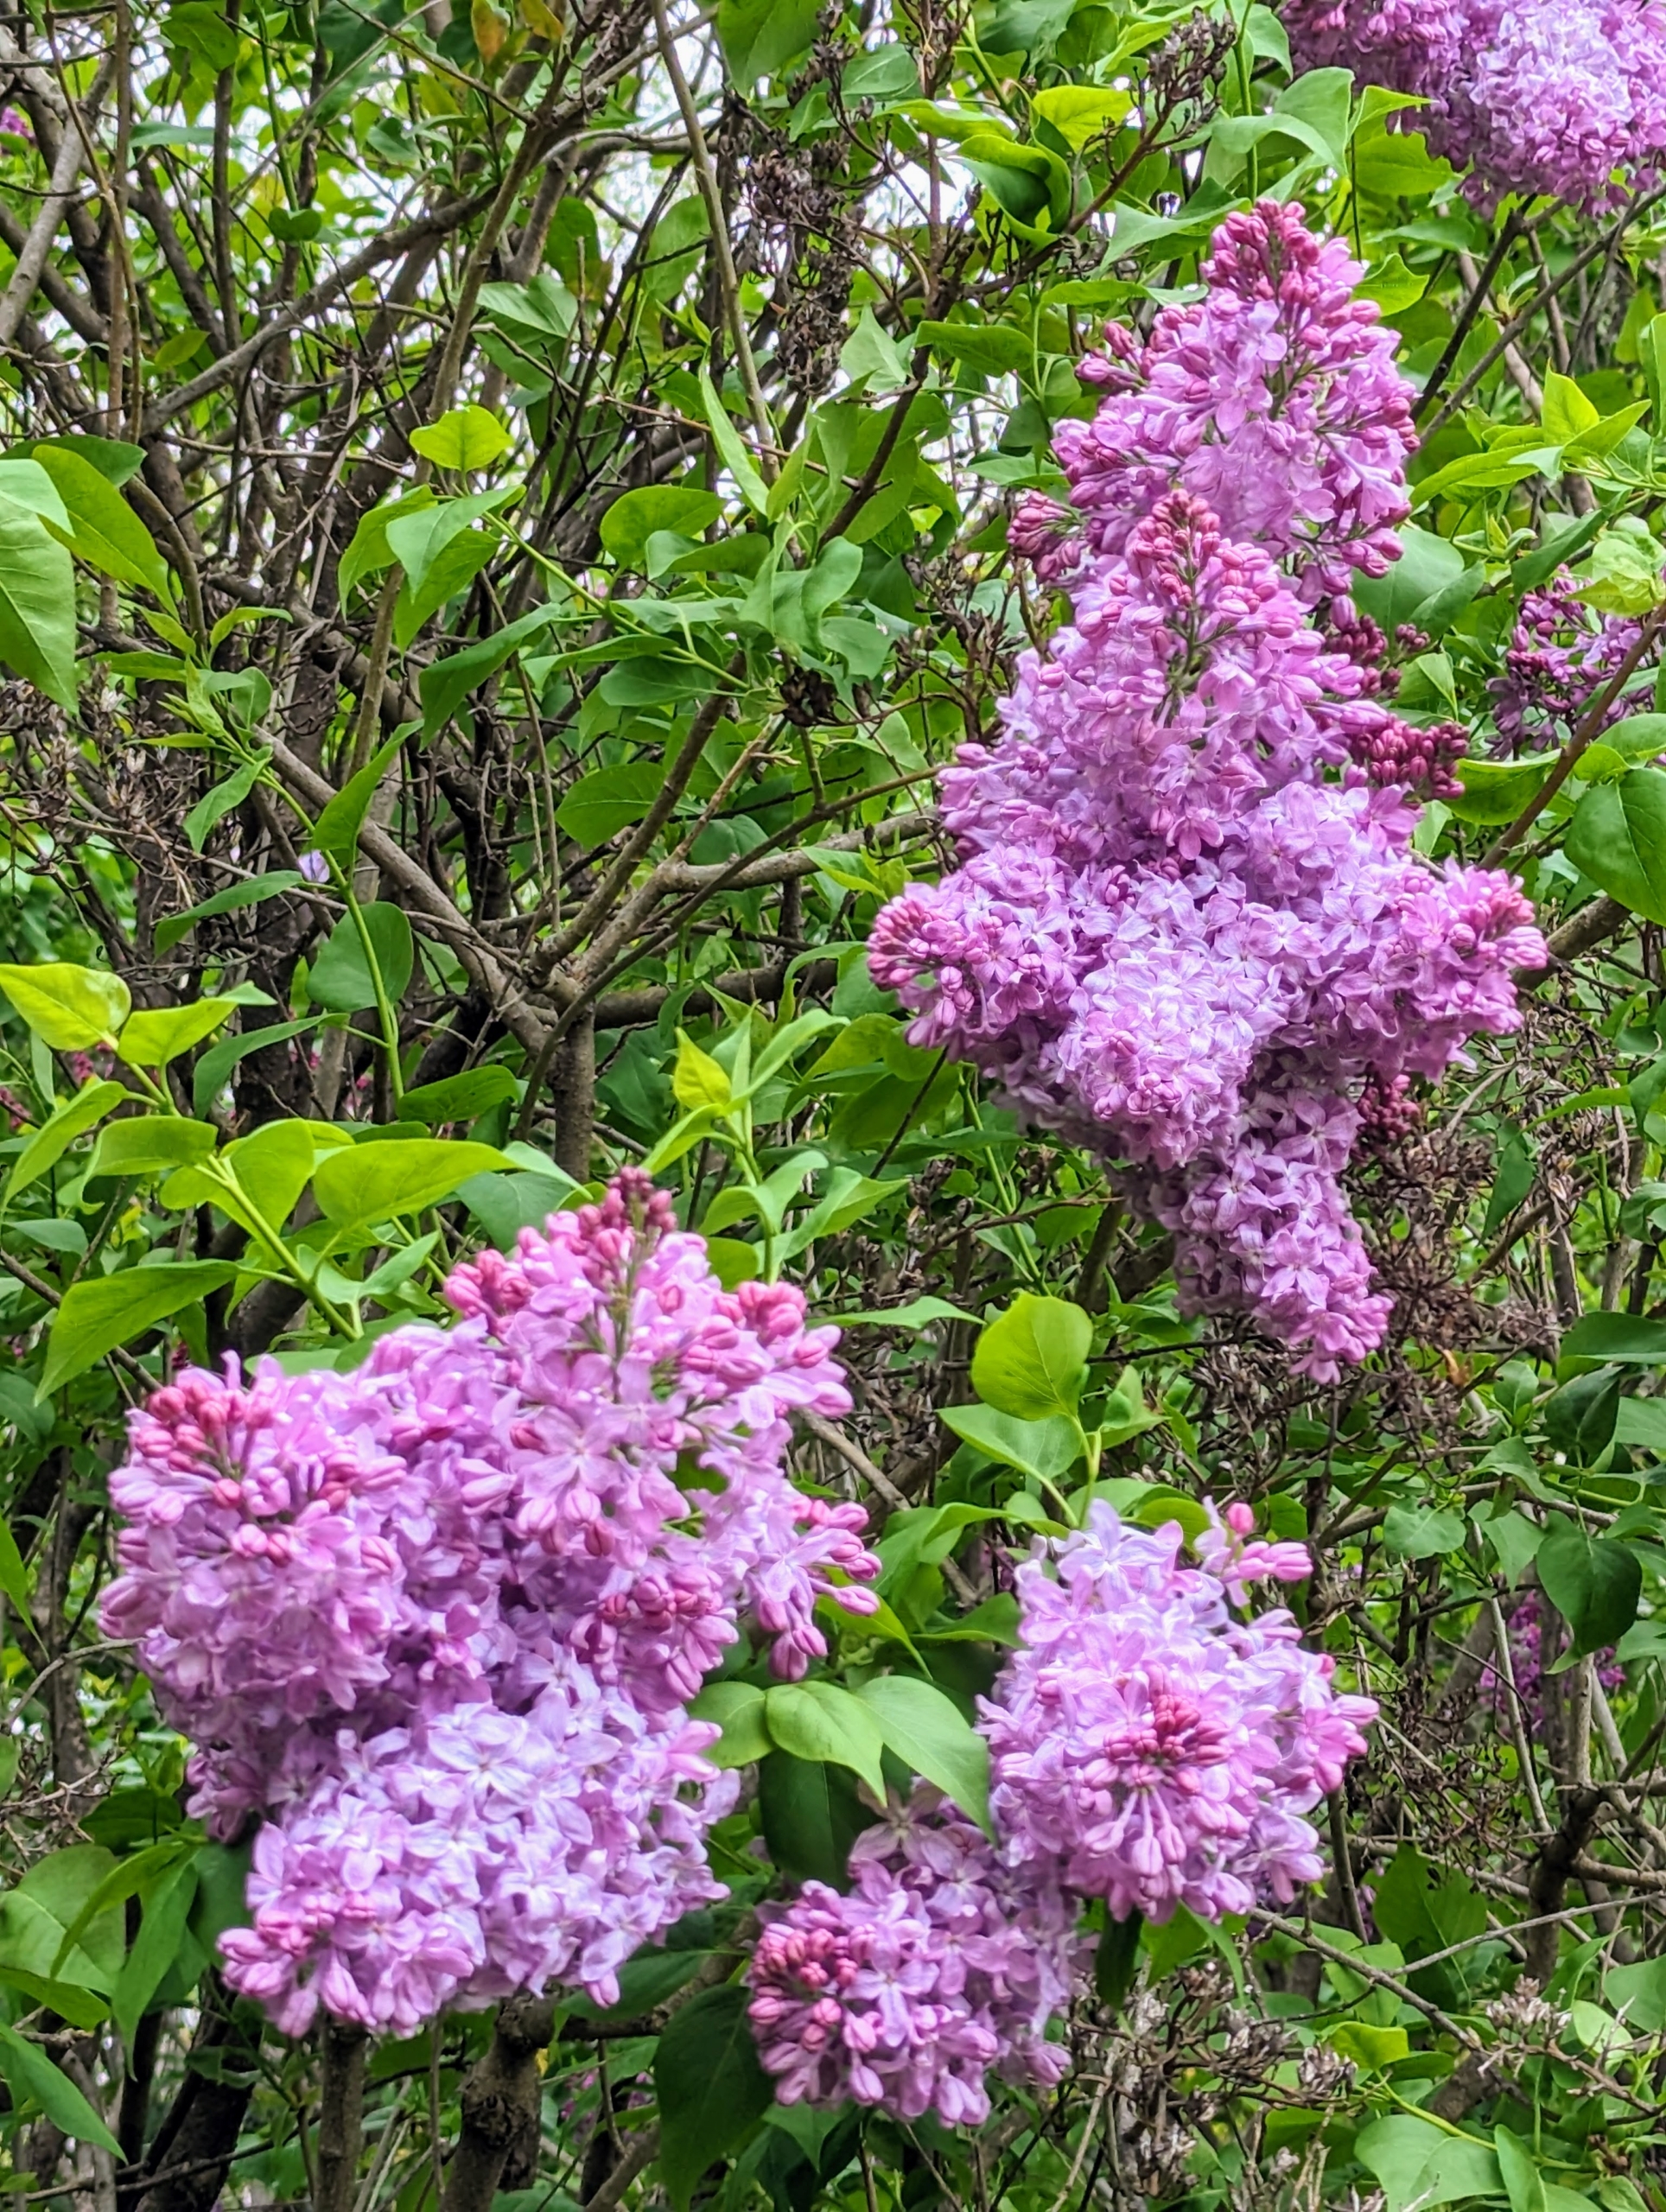
Here, one can see how prolific my lilacs are – so many sweet-smelling flowers grow along both sides of the allée – the fragrance is intoxicating.
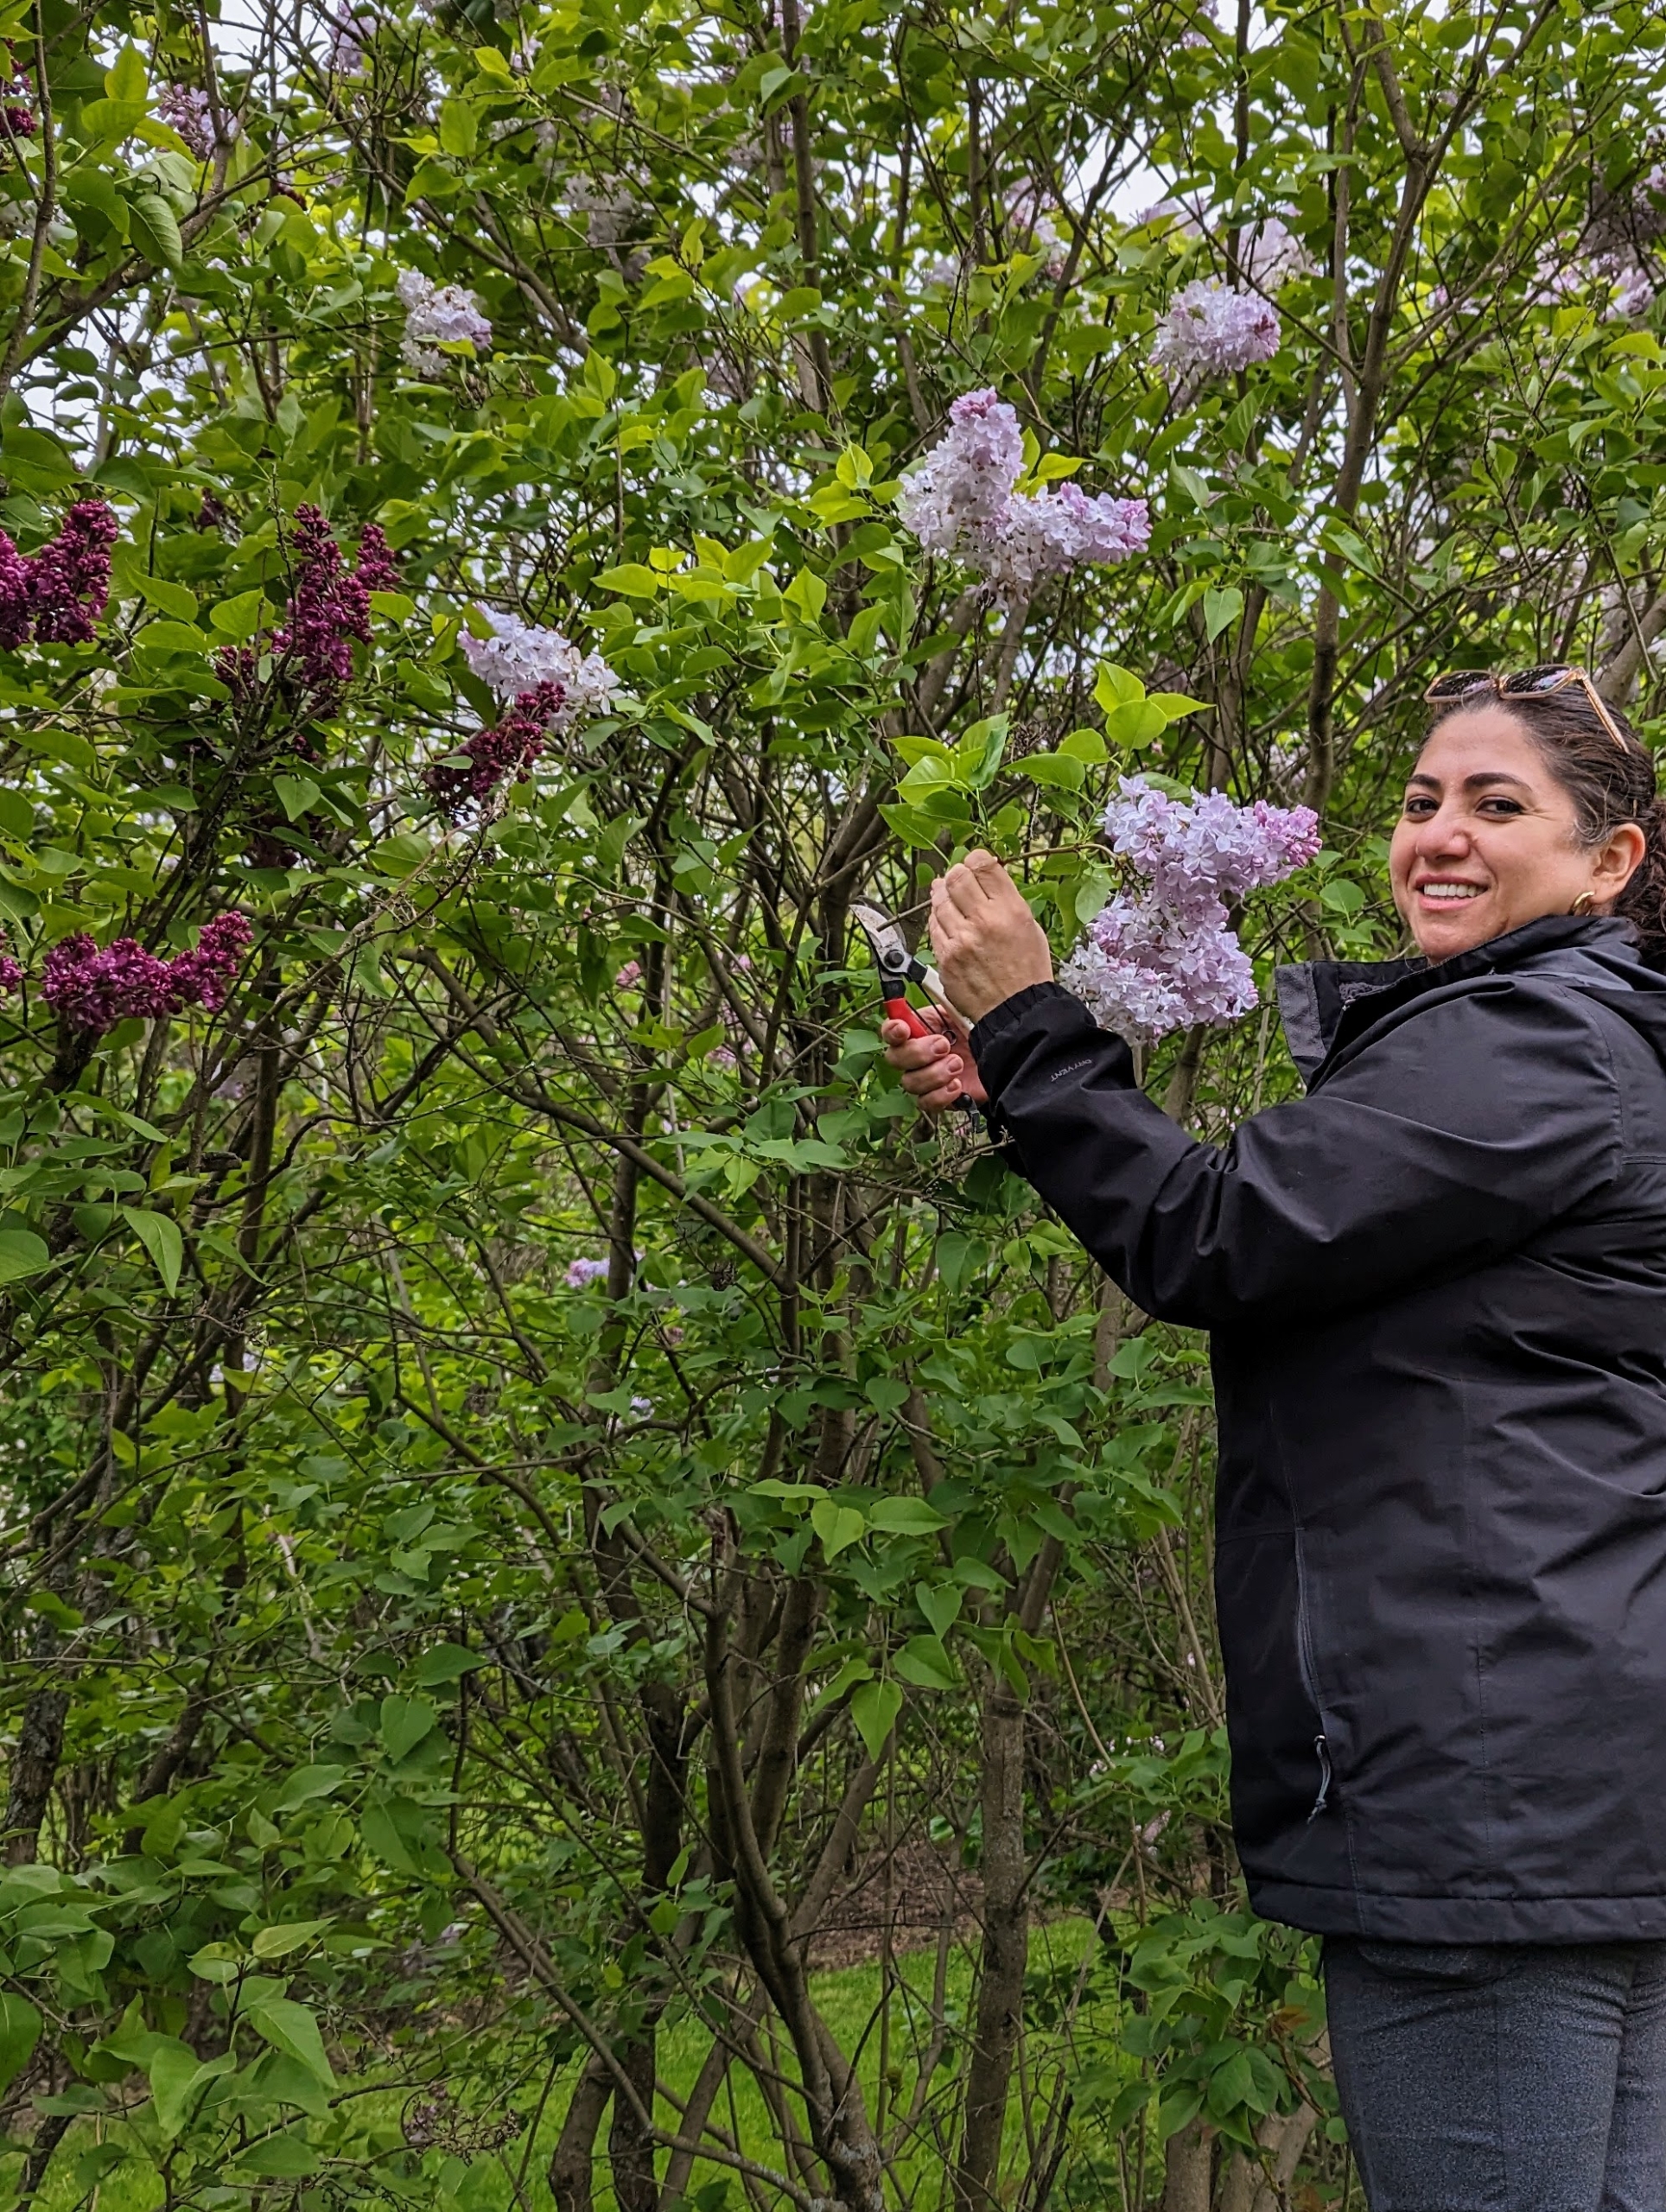
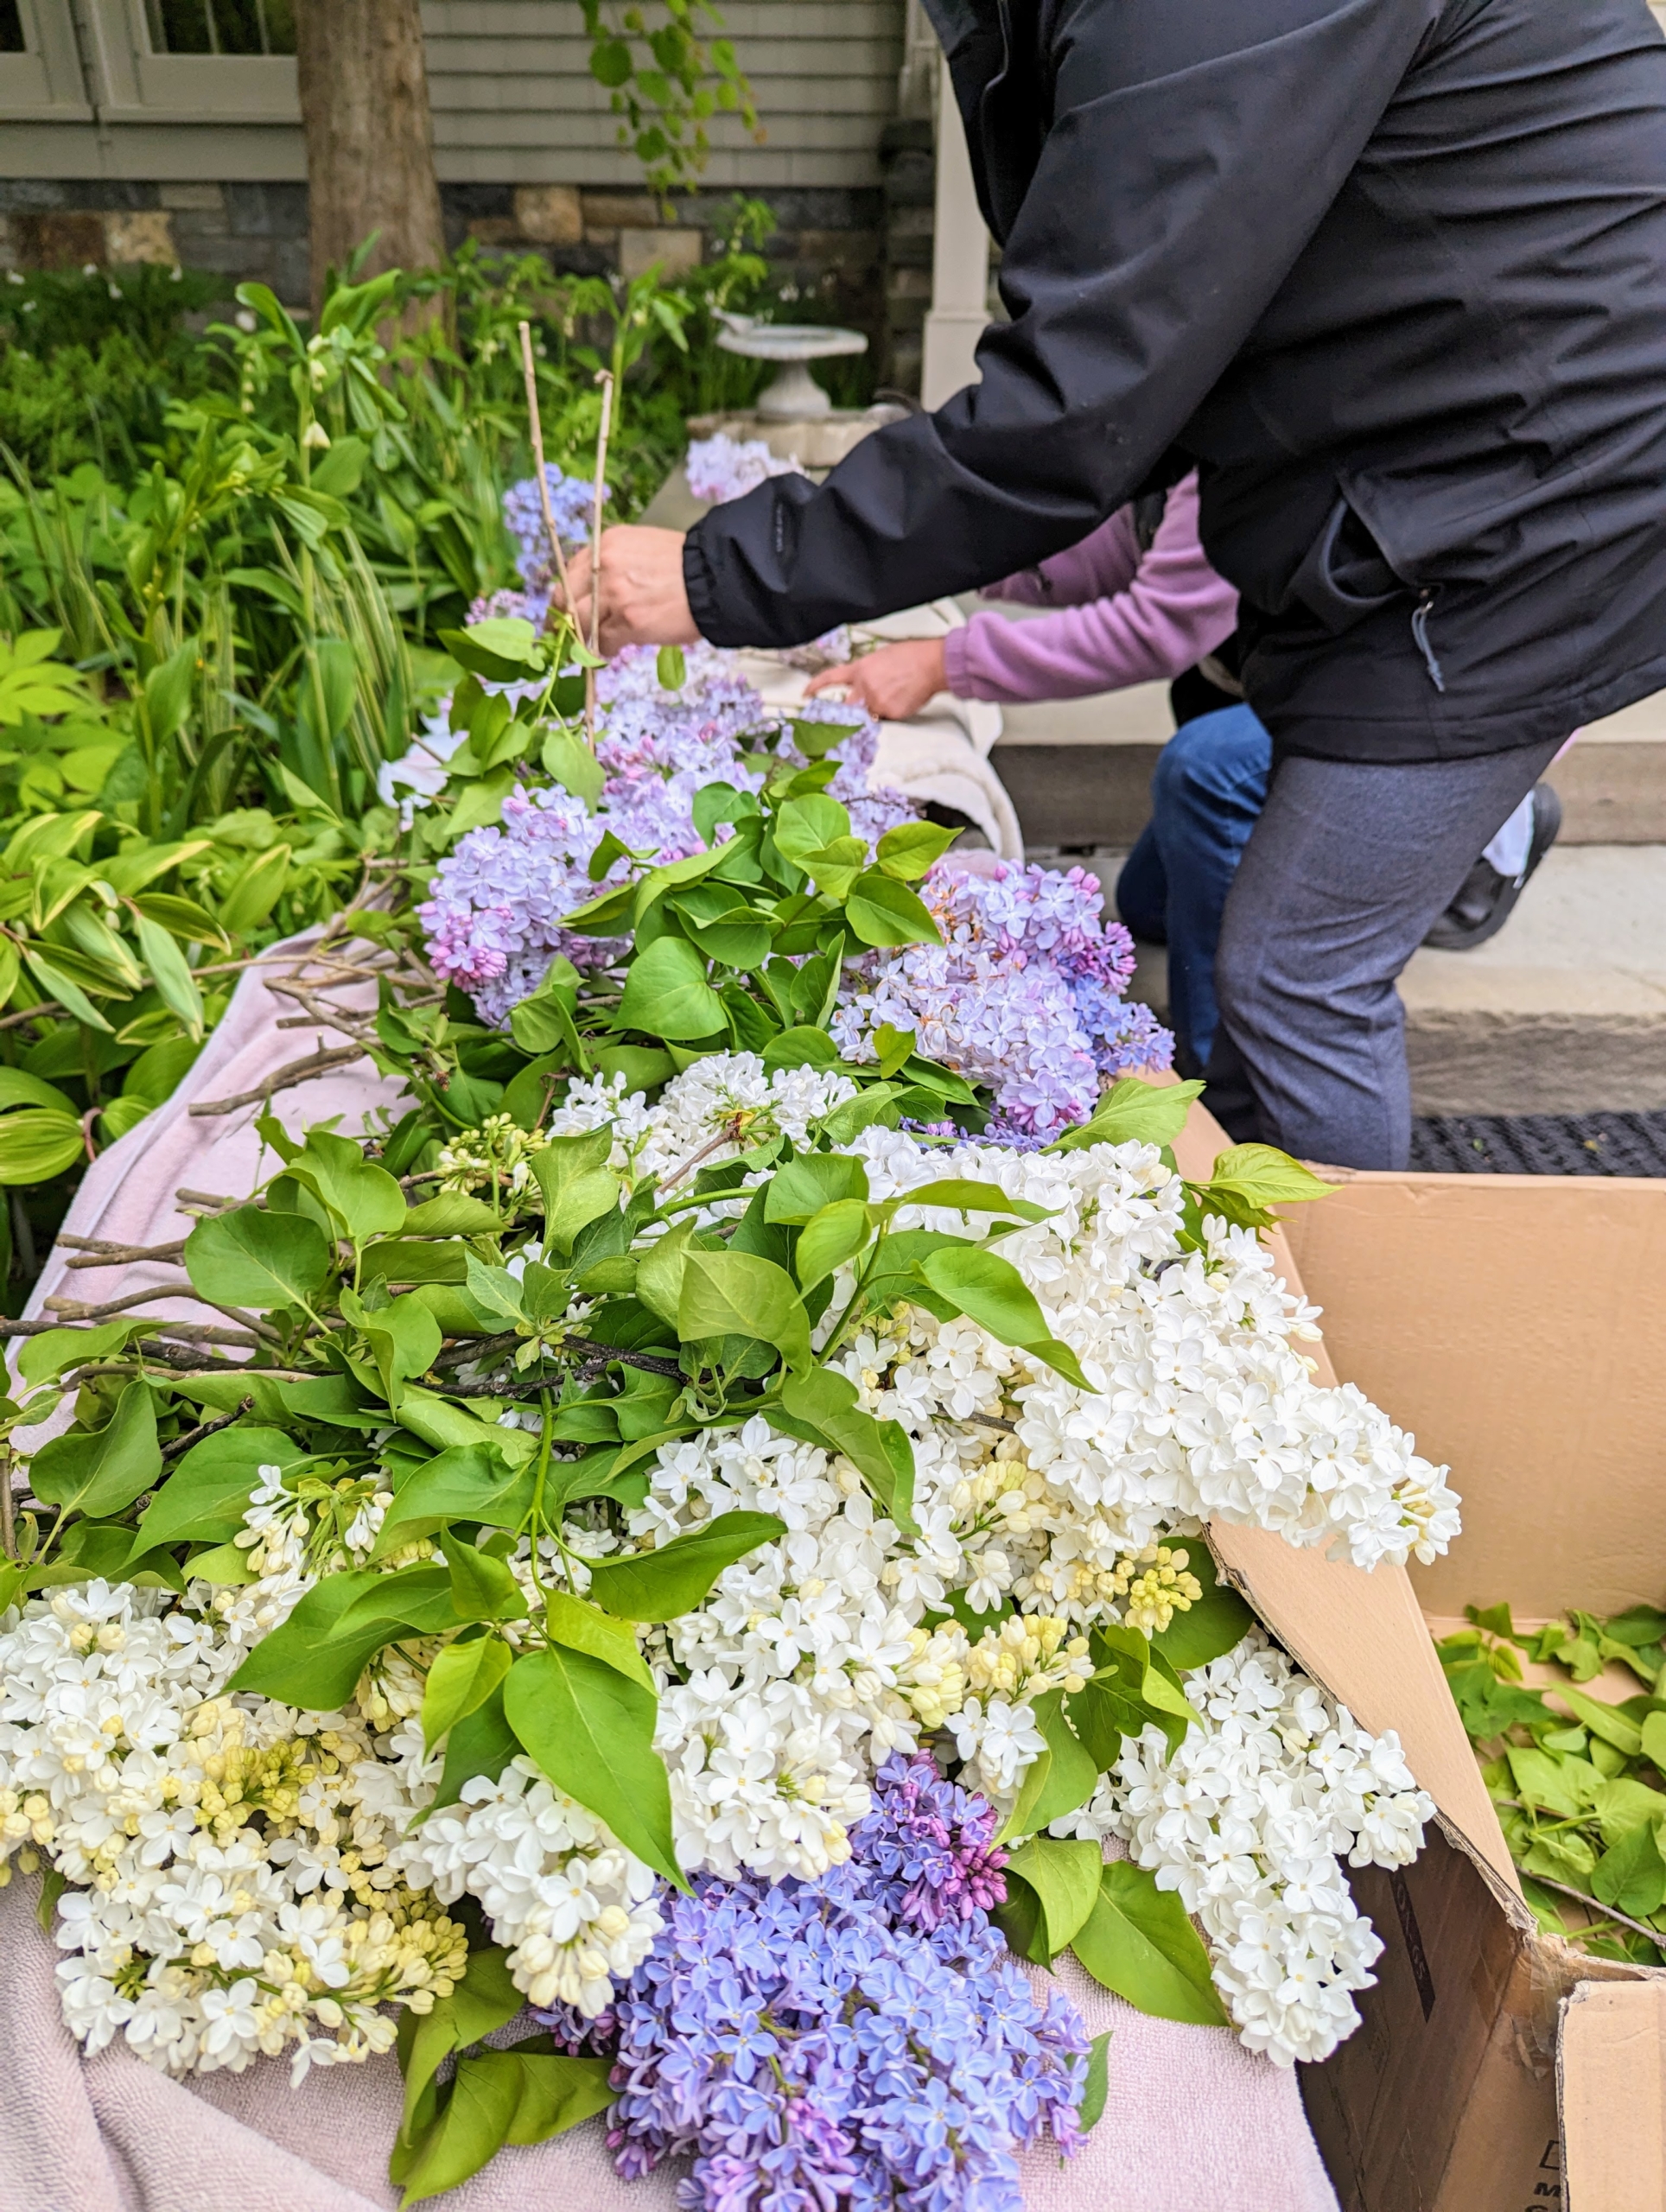
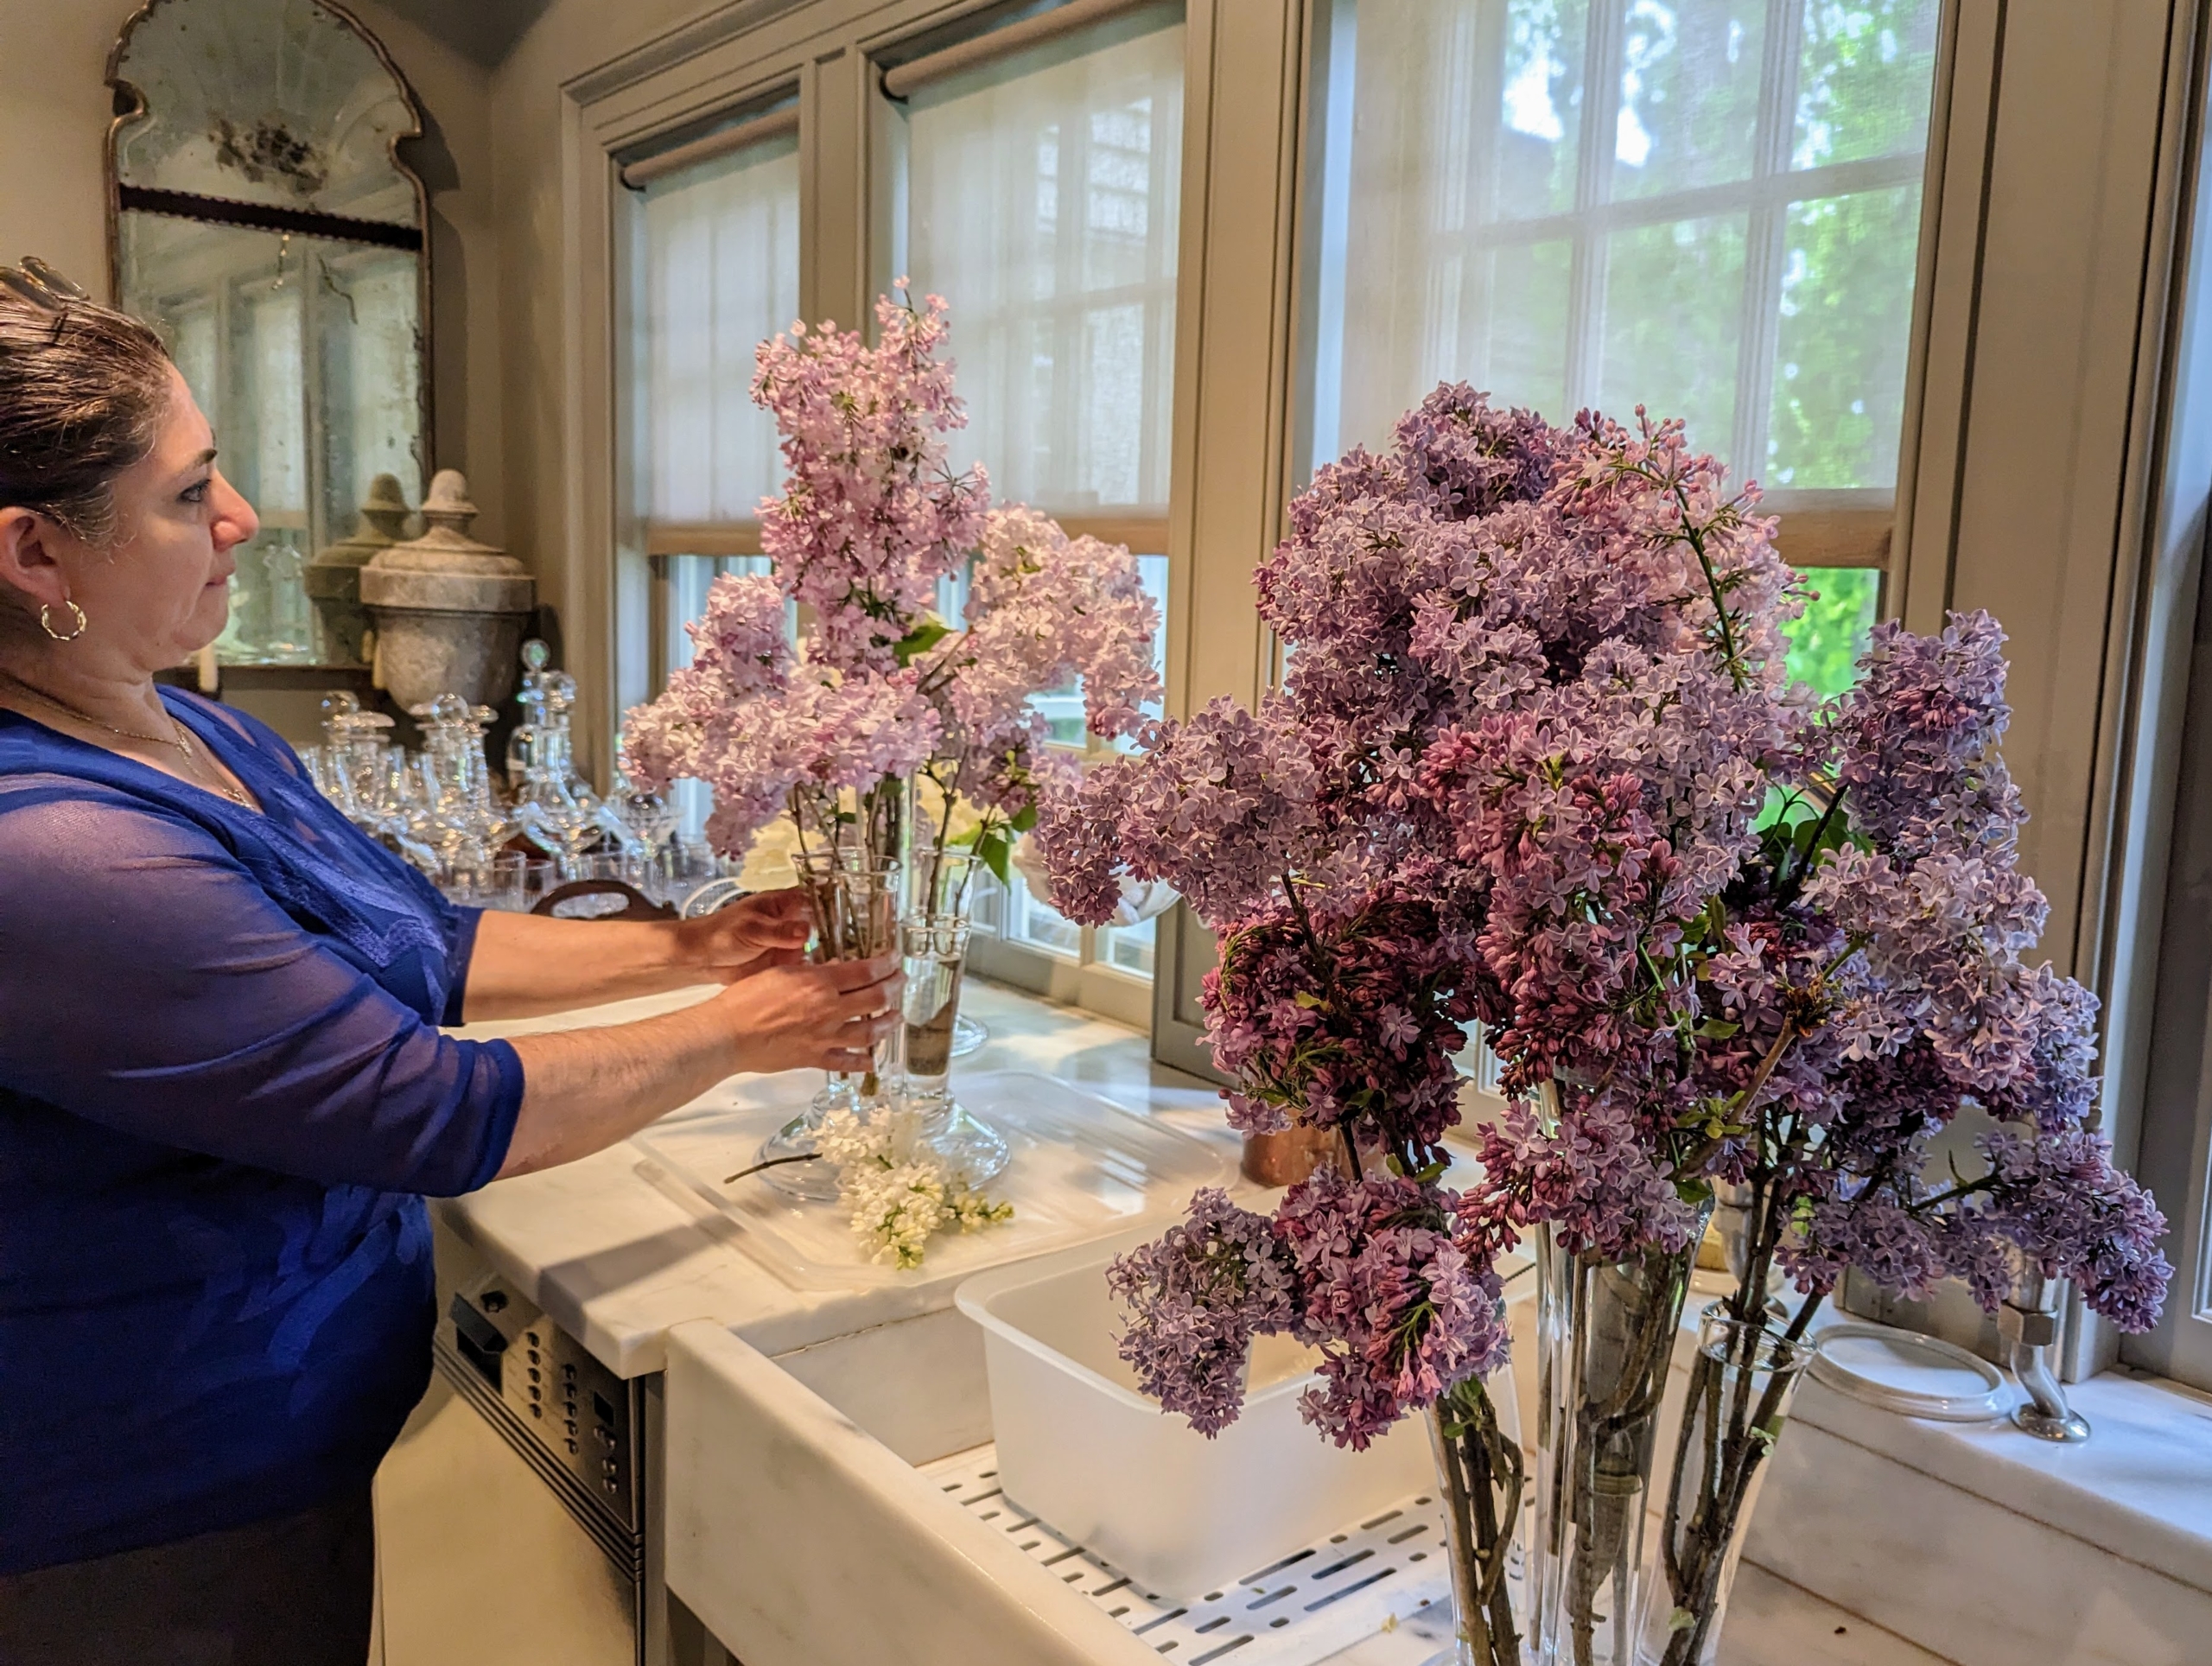
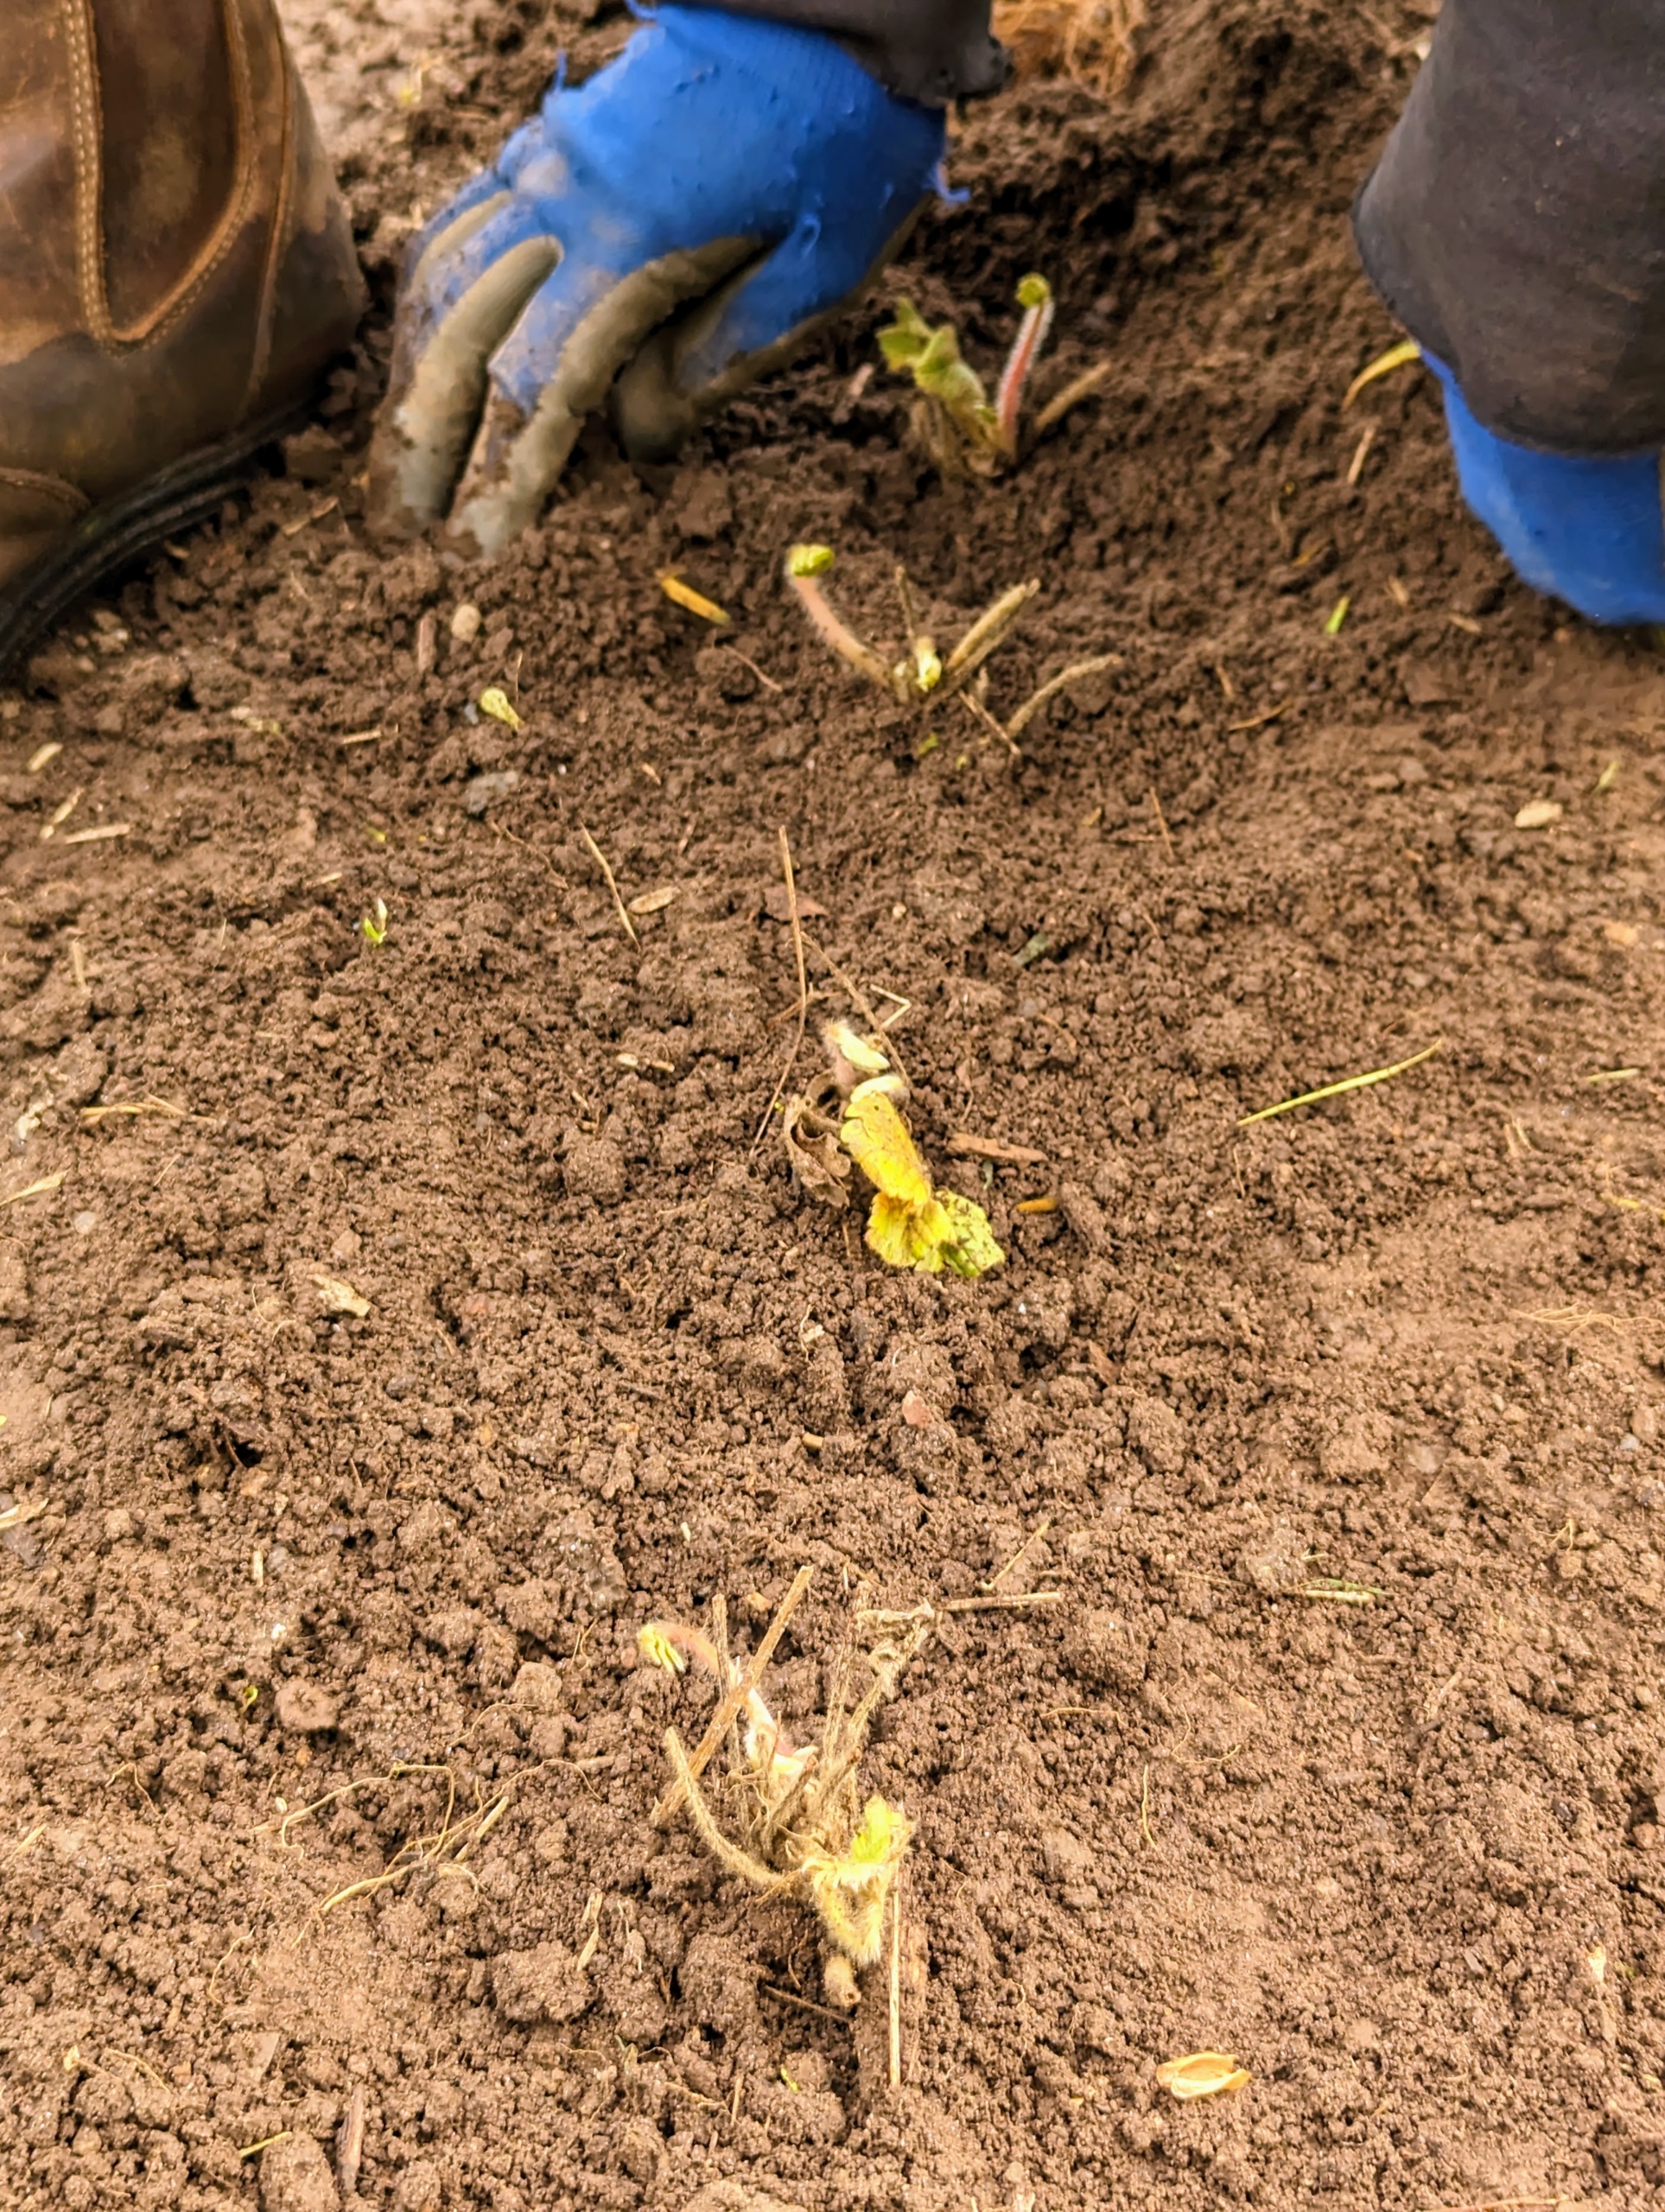
Here’s Enma picking some of the first lilacs of the season. I asked Enma and Elvira to pick enough for a few arrangements – they will all fill my home with sweet fragrance. Lilacs grow best in full sun and moist, well-drained, humus-rich soil. It must drain well as lilacs cannot tolerate “wet feet” or wet roots. Soil that is average to poor with a neutral-to-alkaline pH is preferred. Established plants will tolerate dry soil, but newly planted shrubs need to be kept moist for the first year until their roots are set.
Once the flowers were picked, Enma and Elvira placd them gently on this towel. Most lilacs thrive in hardiness zones 3 through 7, in cooler climates with chilling periods. Lilacs are typically clump forming, producing new shoots from the base of the trunk, which can be used for propagating.
The next step was to get them to my Winter House. Enma and Elvira placed them on the stone ledge just outside my home to prepare them for water and arranging.
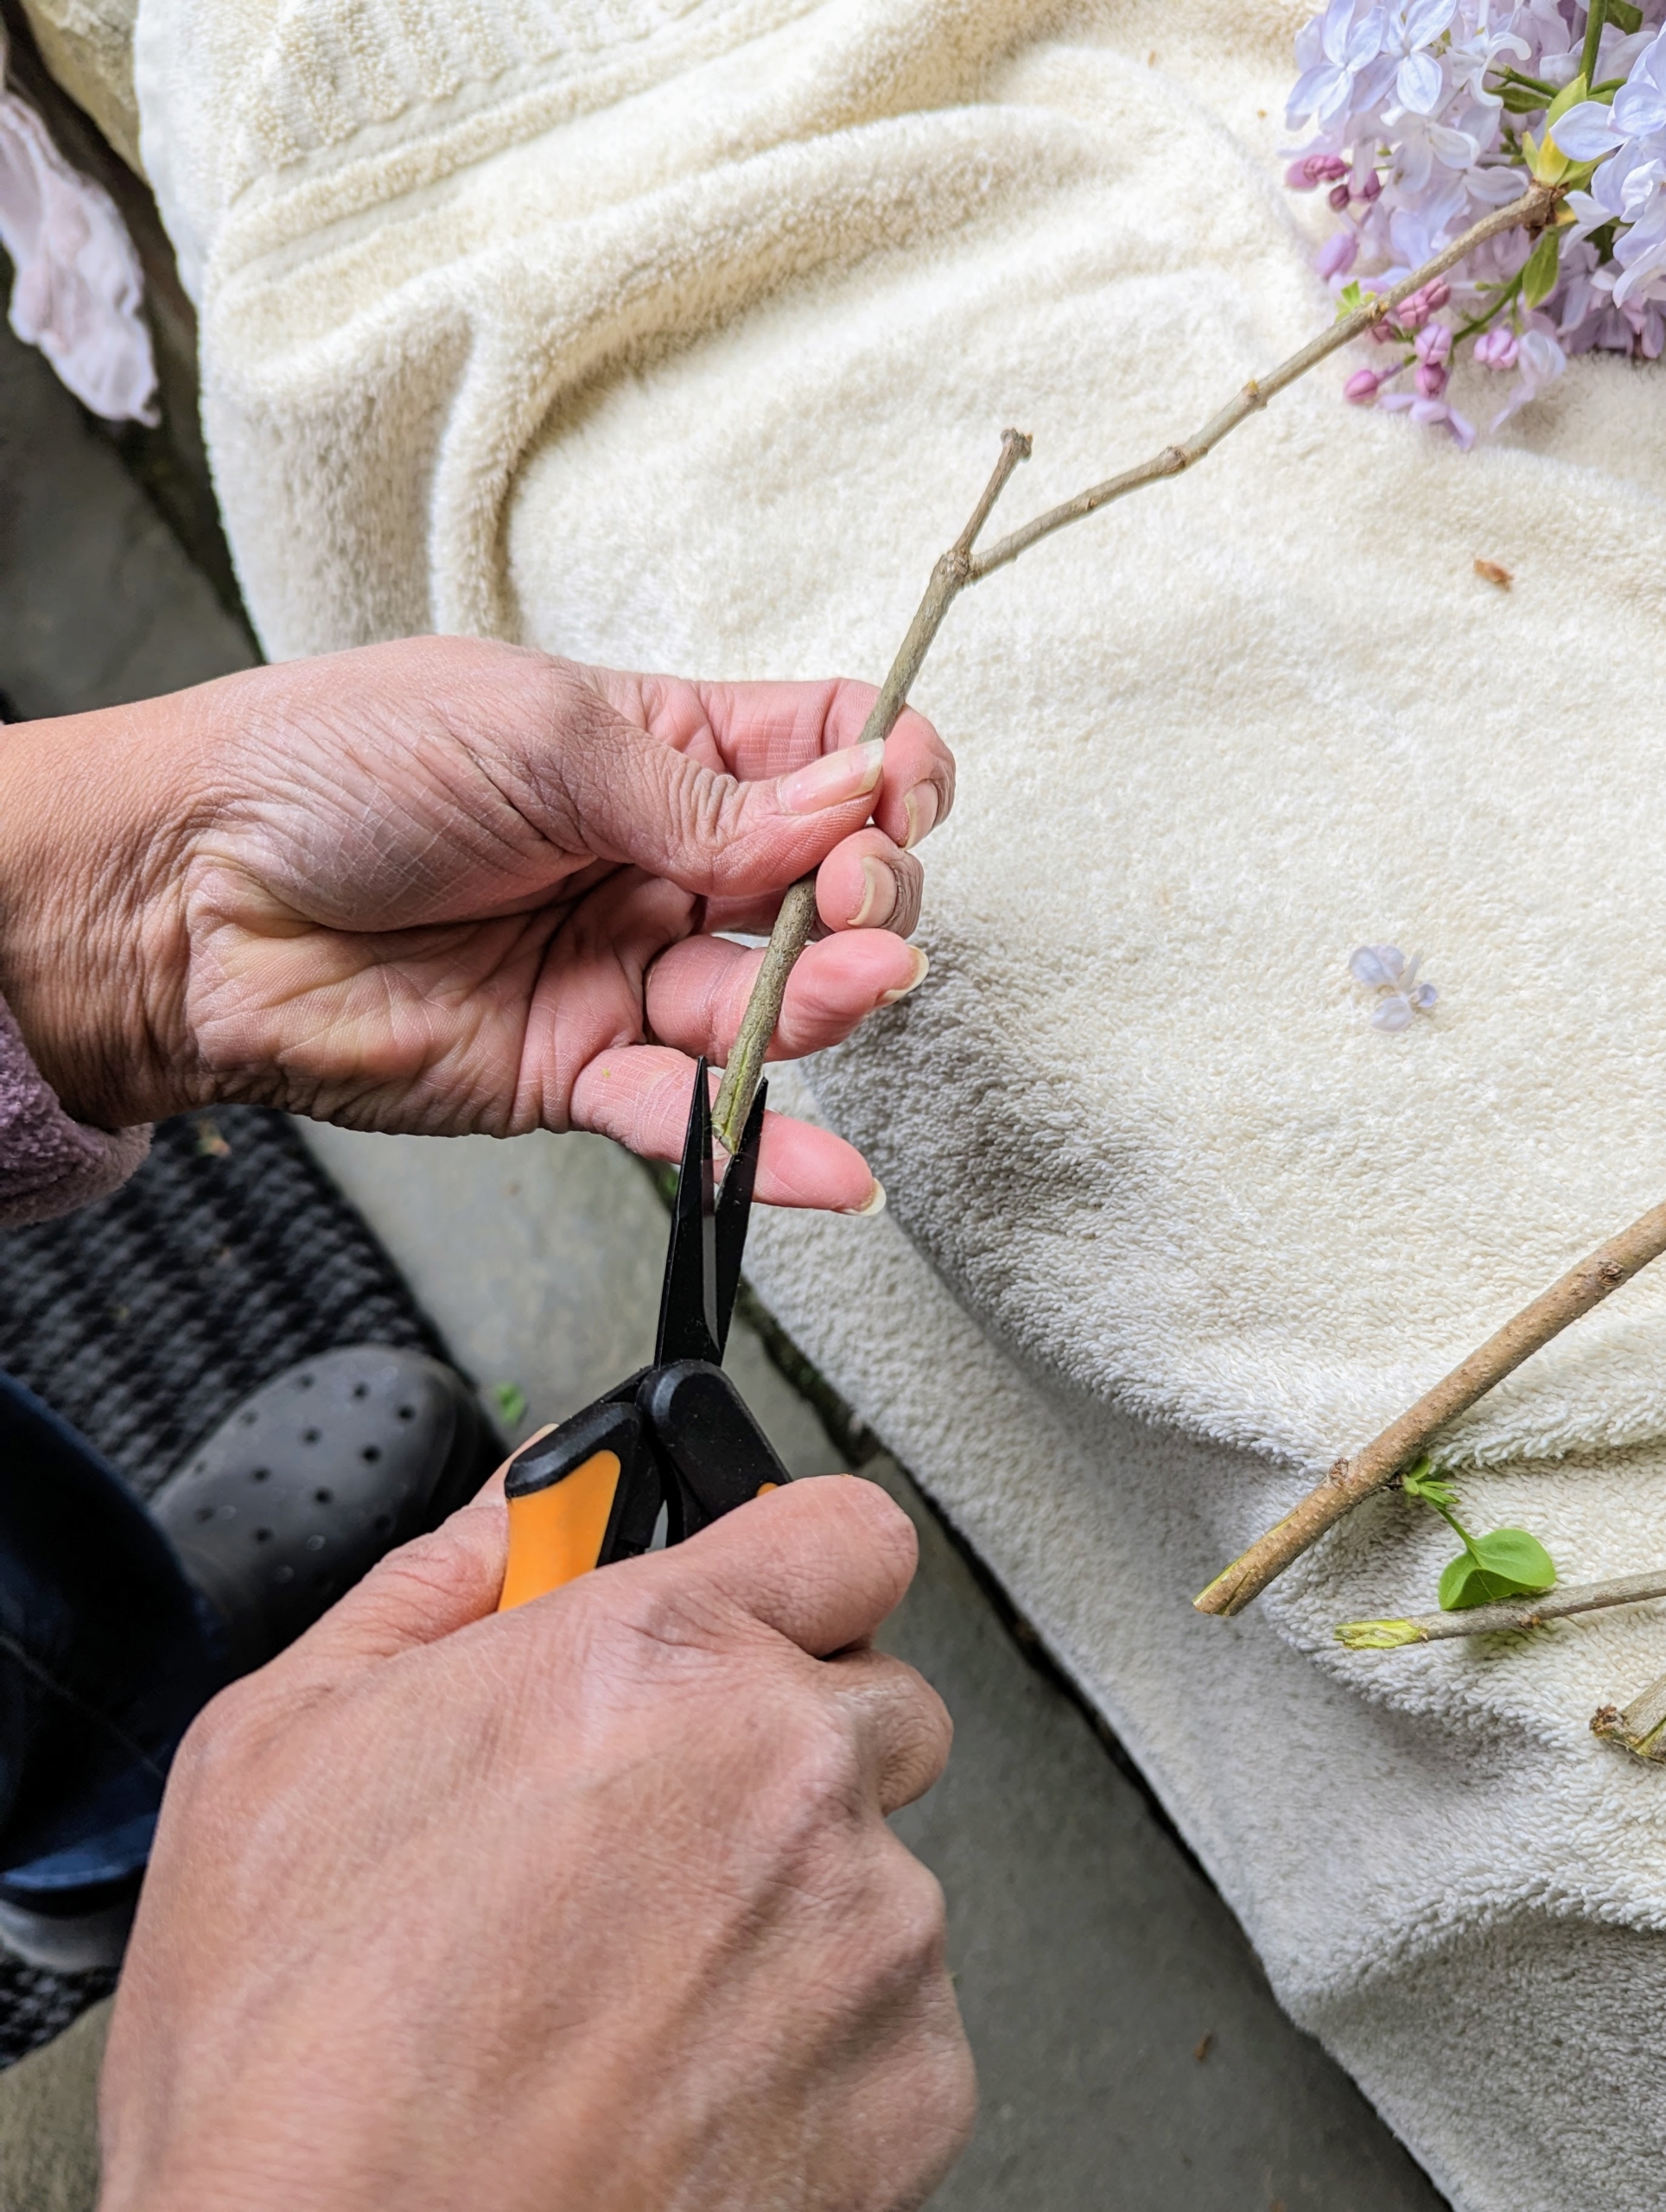
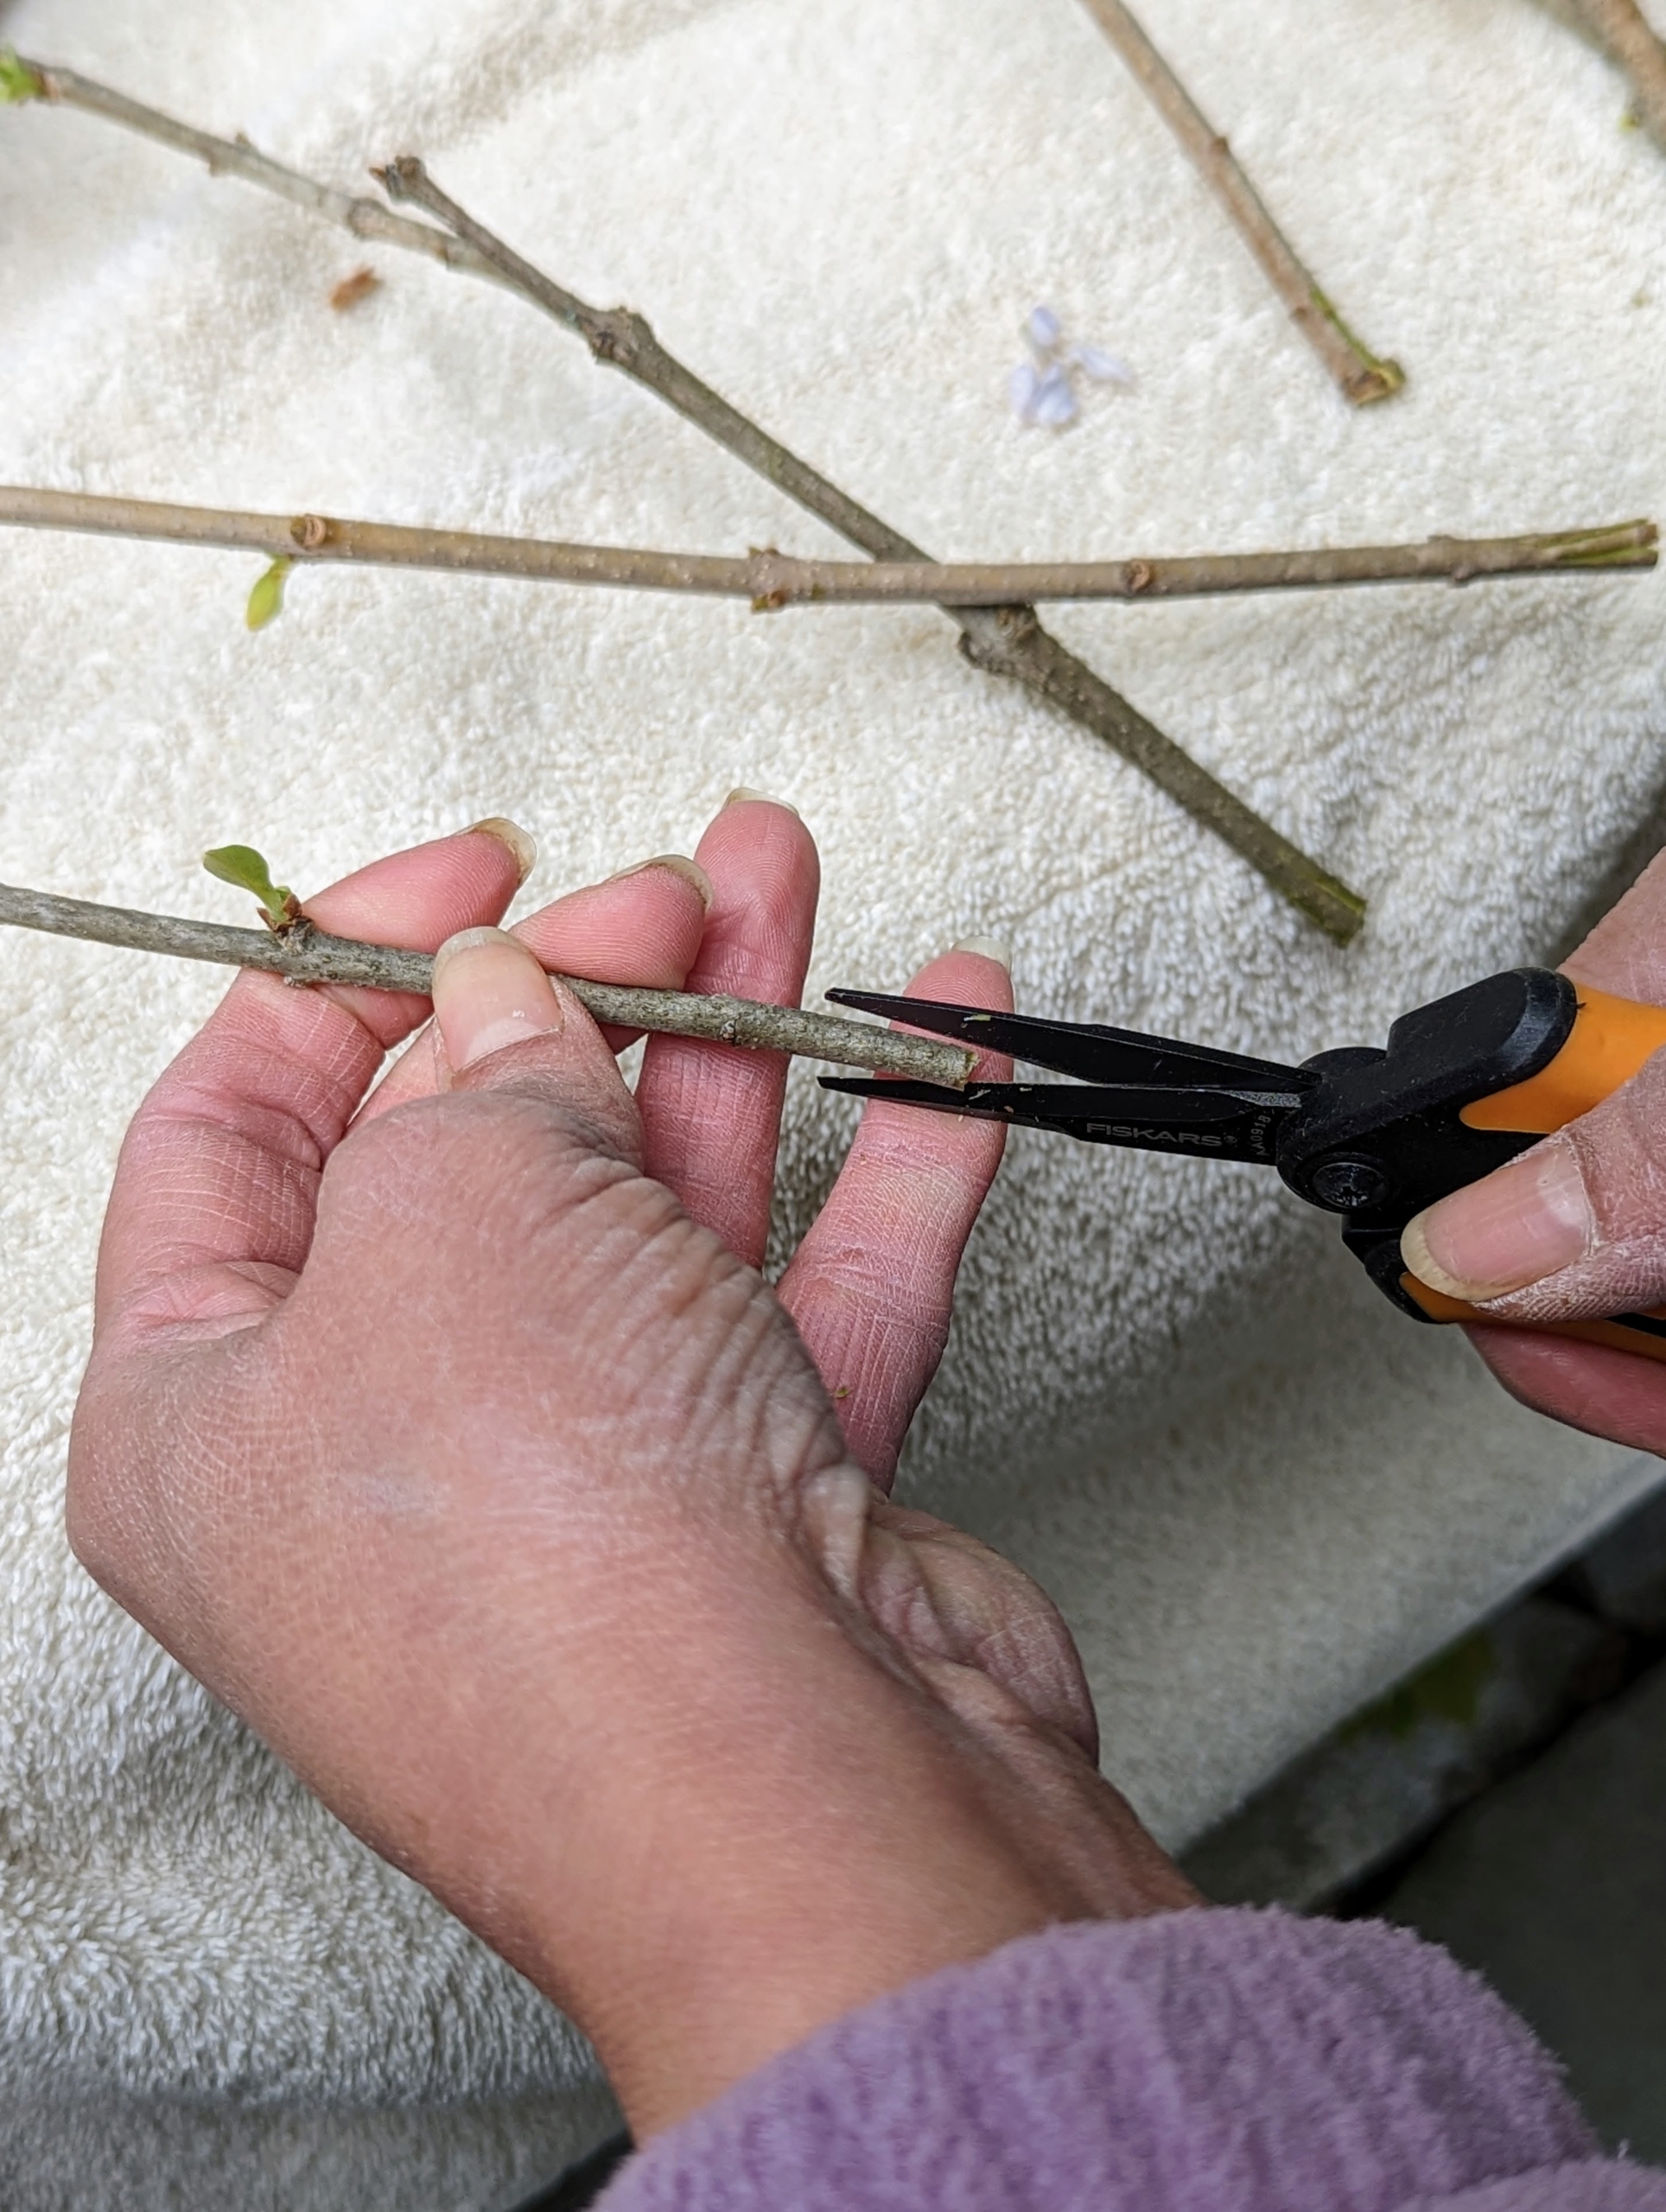
Elvira makes a small quarter-inch slit at the bottom of each stem so water can enter easily.
It’s a good idea to use very sharp, clean pruning shears to cut slits in the stems, then immediately plunge them into a bucket of cool water.
The process does not take that long, but each stem must be done. Here, Elvira quickly puts them in a bucket of water.
Lilacs typically appear from mid-spring to early summer just before many of the other summer flowers blossom. Young lilacs can take up to three-years to reach maturity and bear flowers – be patient.
By planting an assortment, bloom time will be staggered and can last for up to two-months. I am looking forward to picking lilacs for several more weeks.
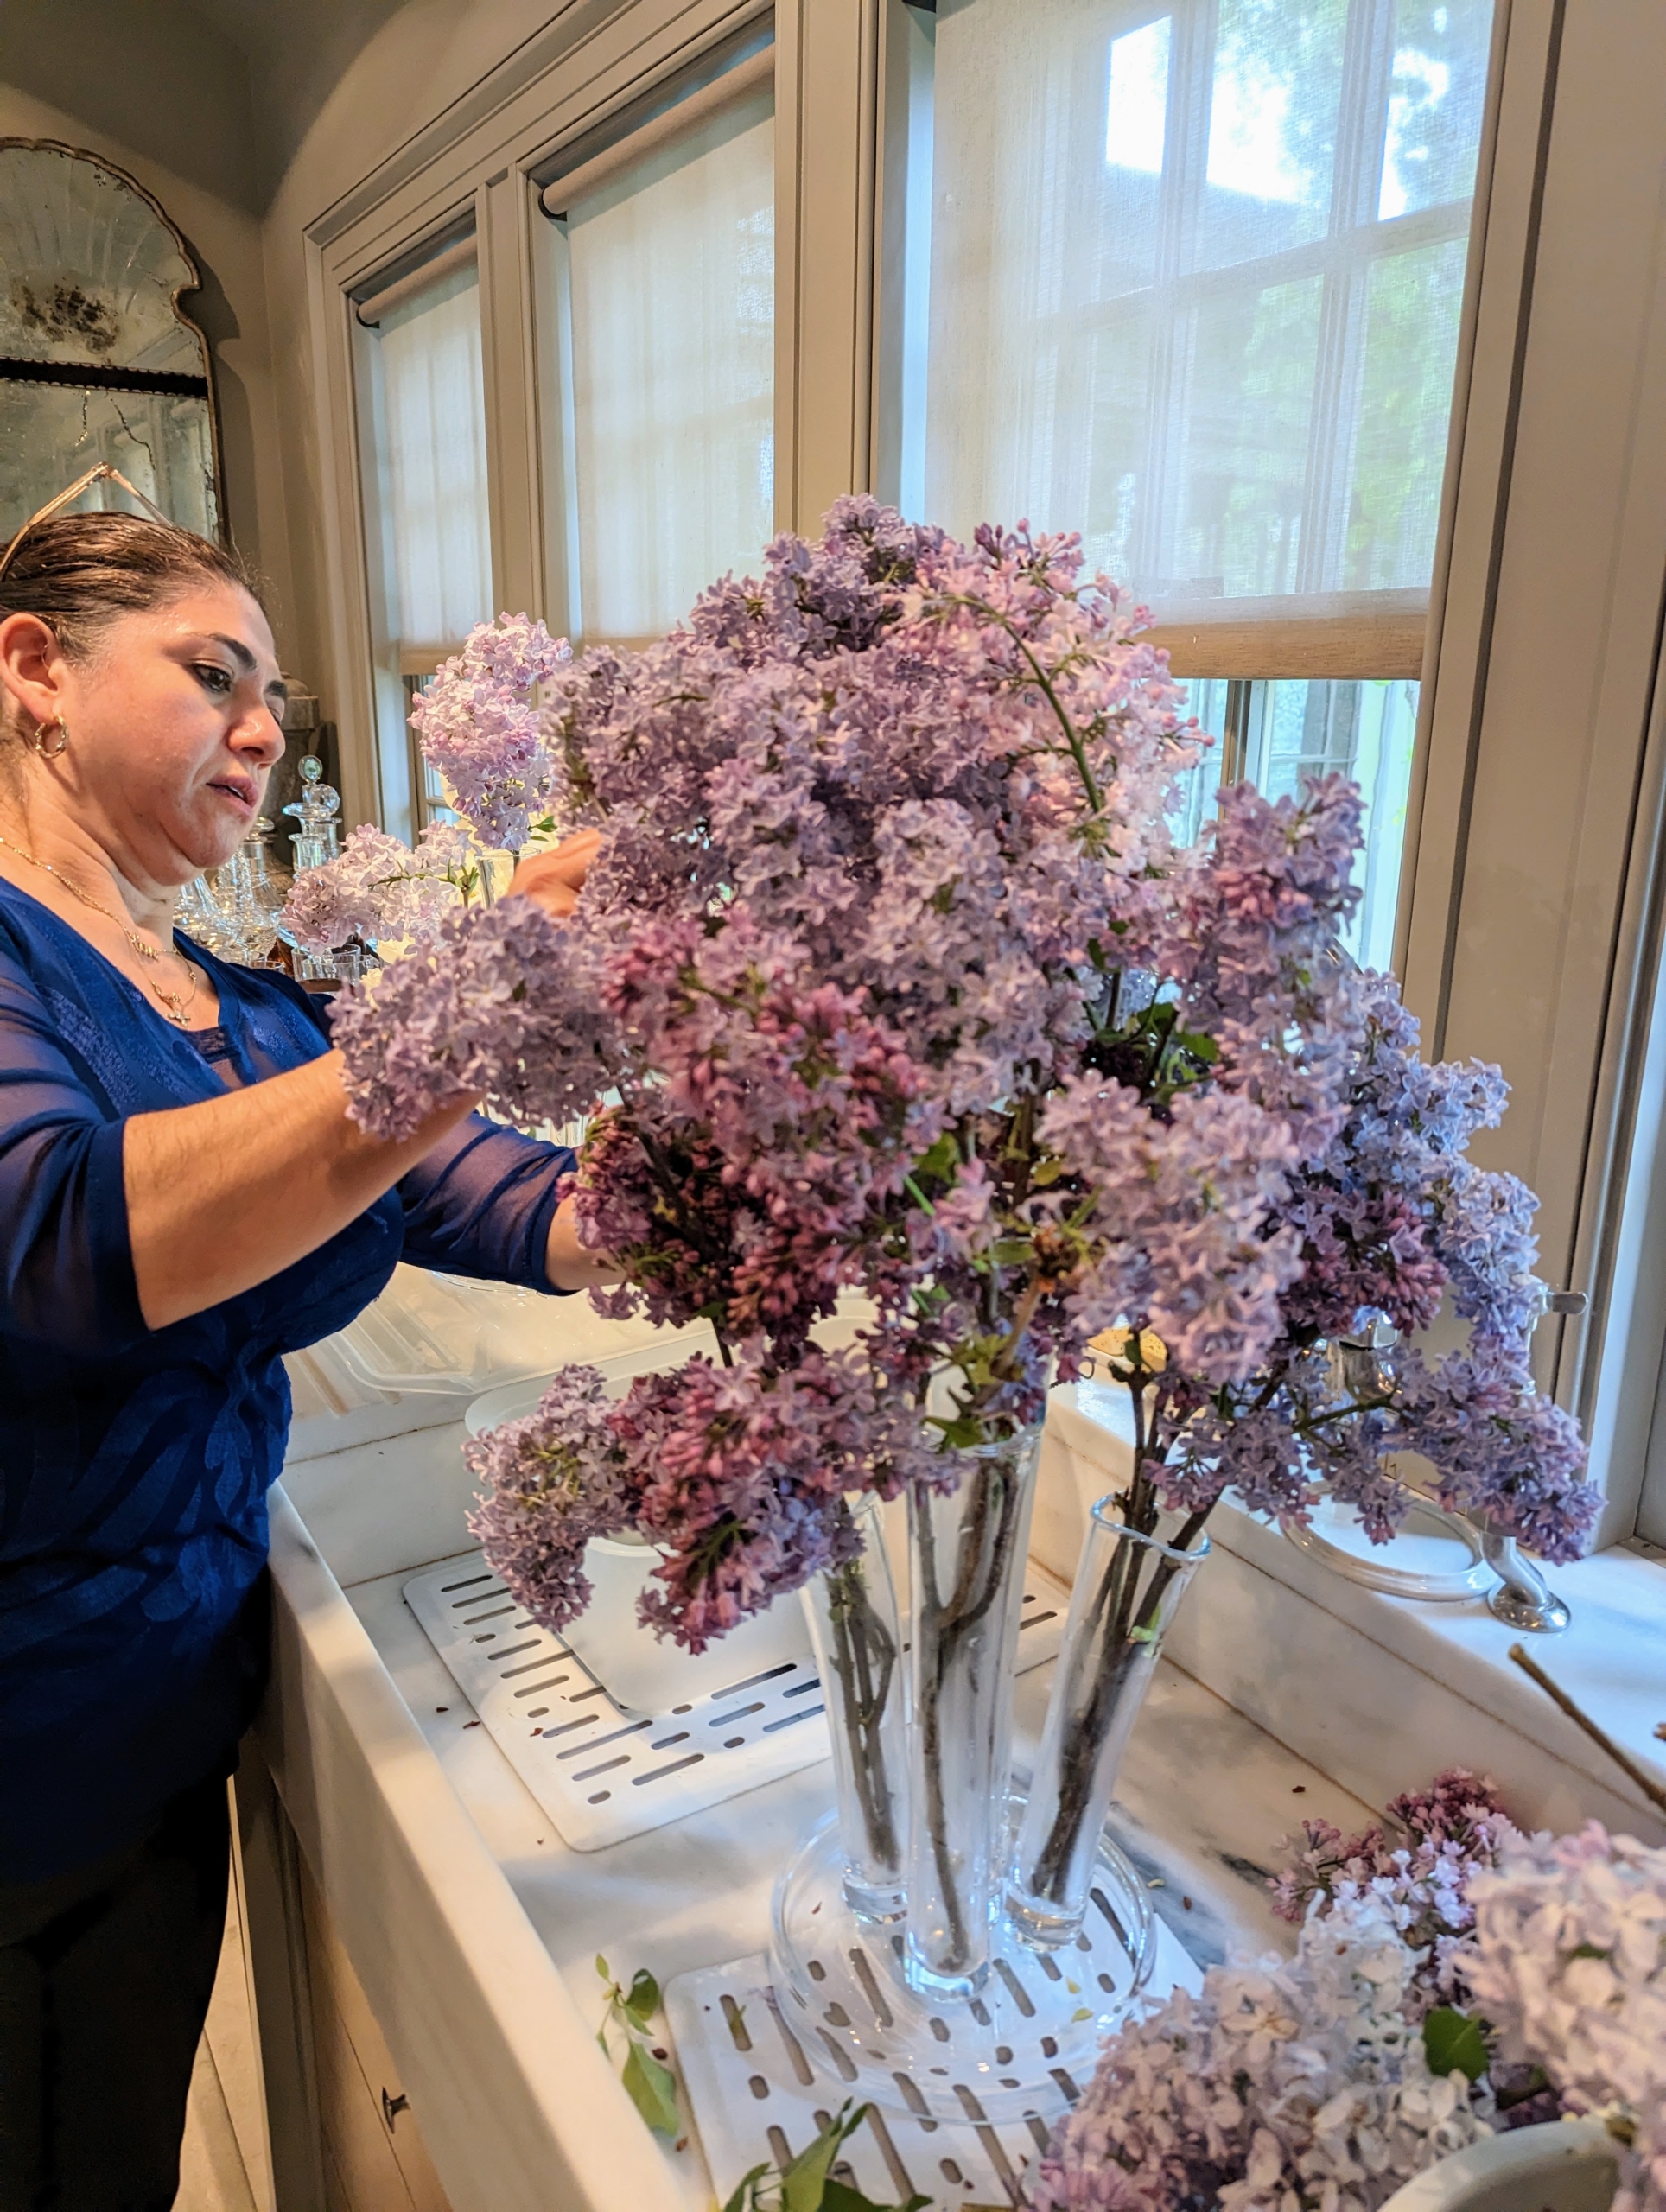
Enma arranges the flowers by color.
Here she makes a light pink arrangement.
Once finished, water is carefully poured into the vase as quickly as possible.
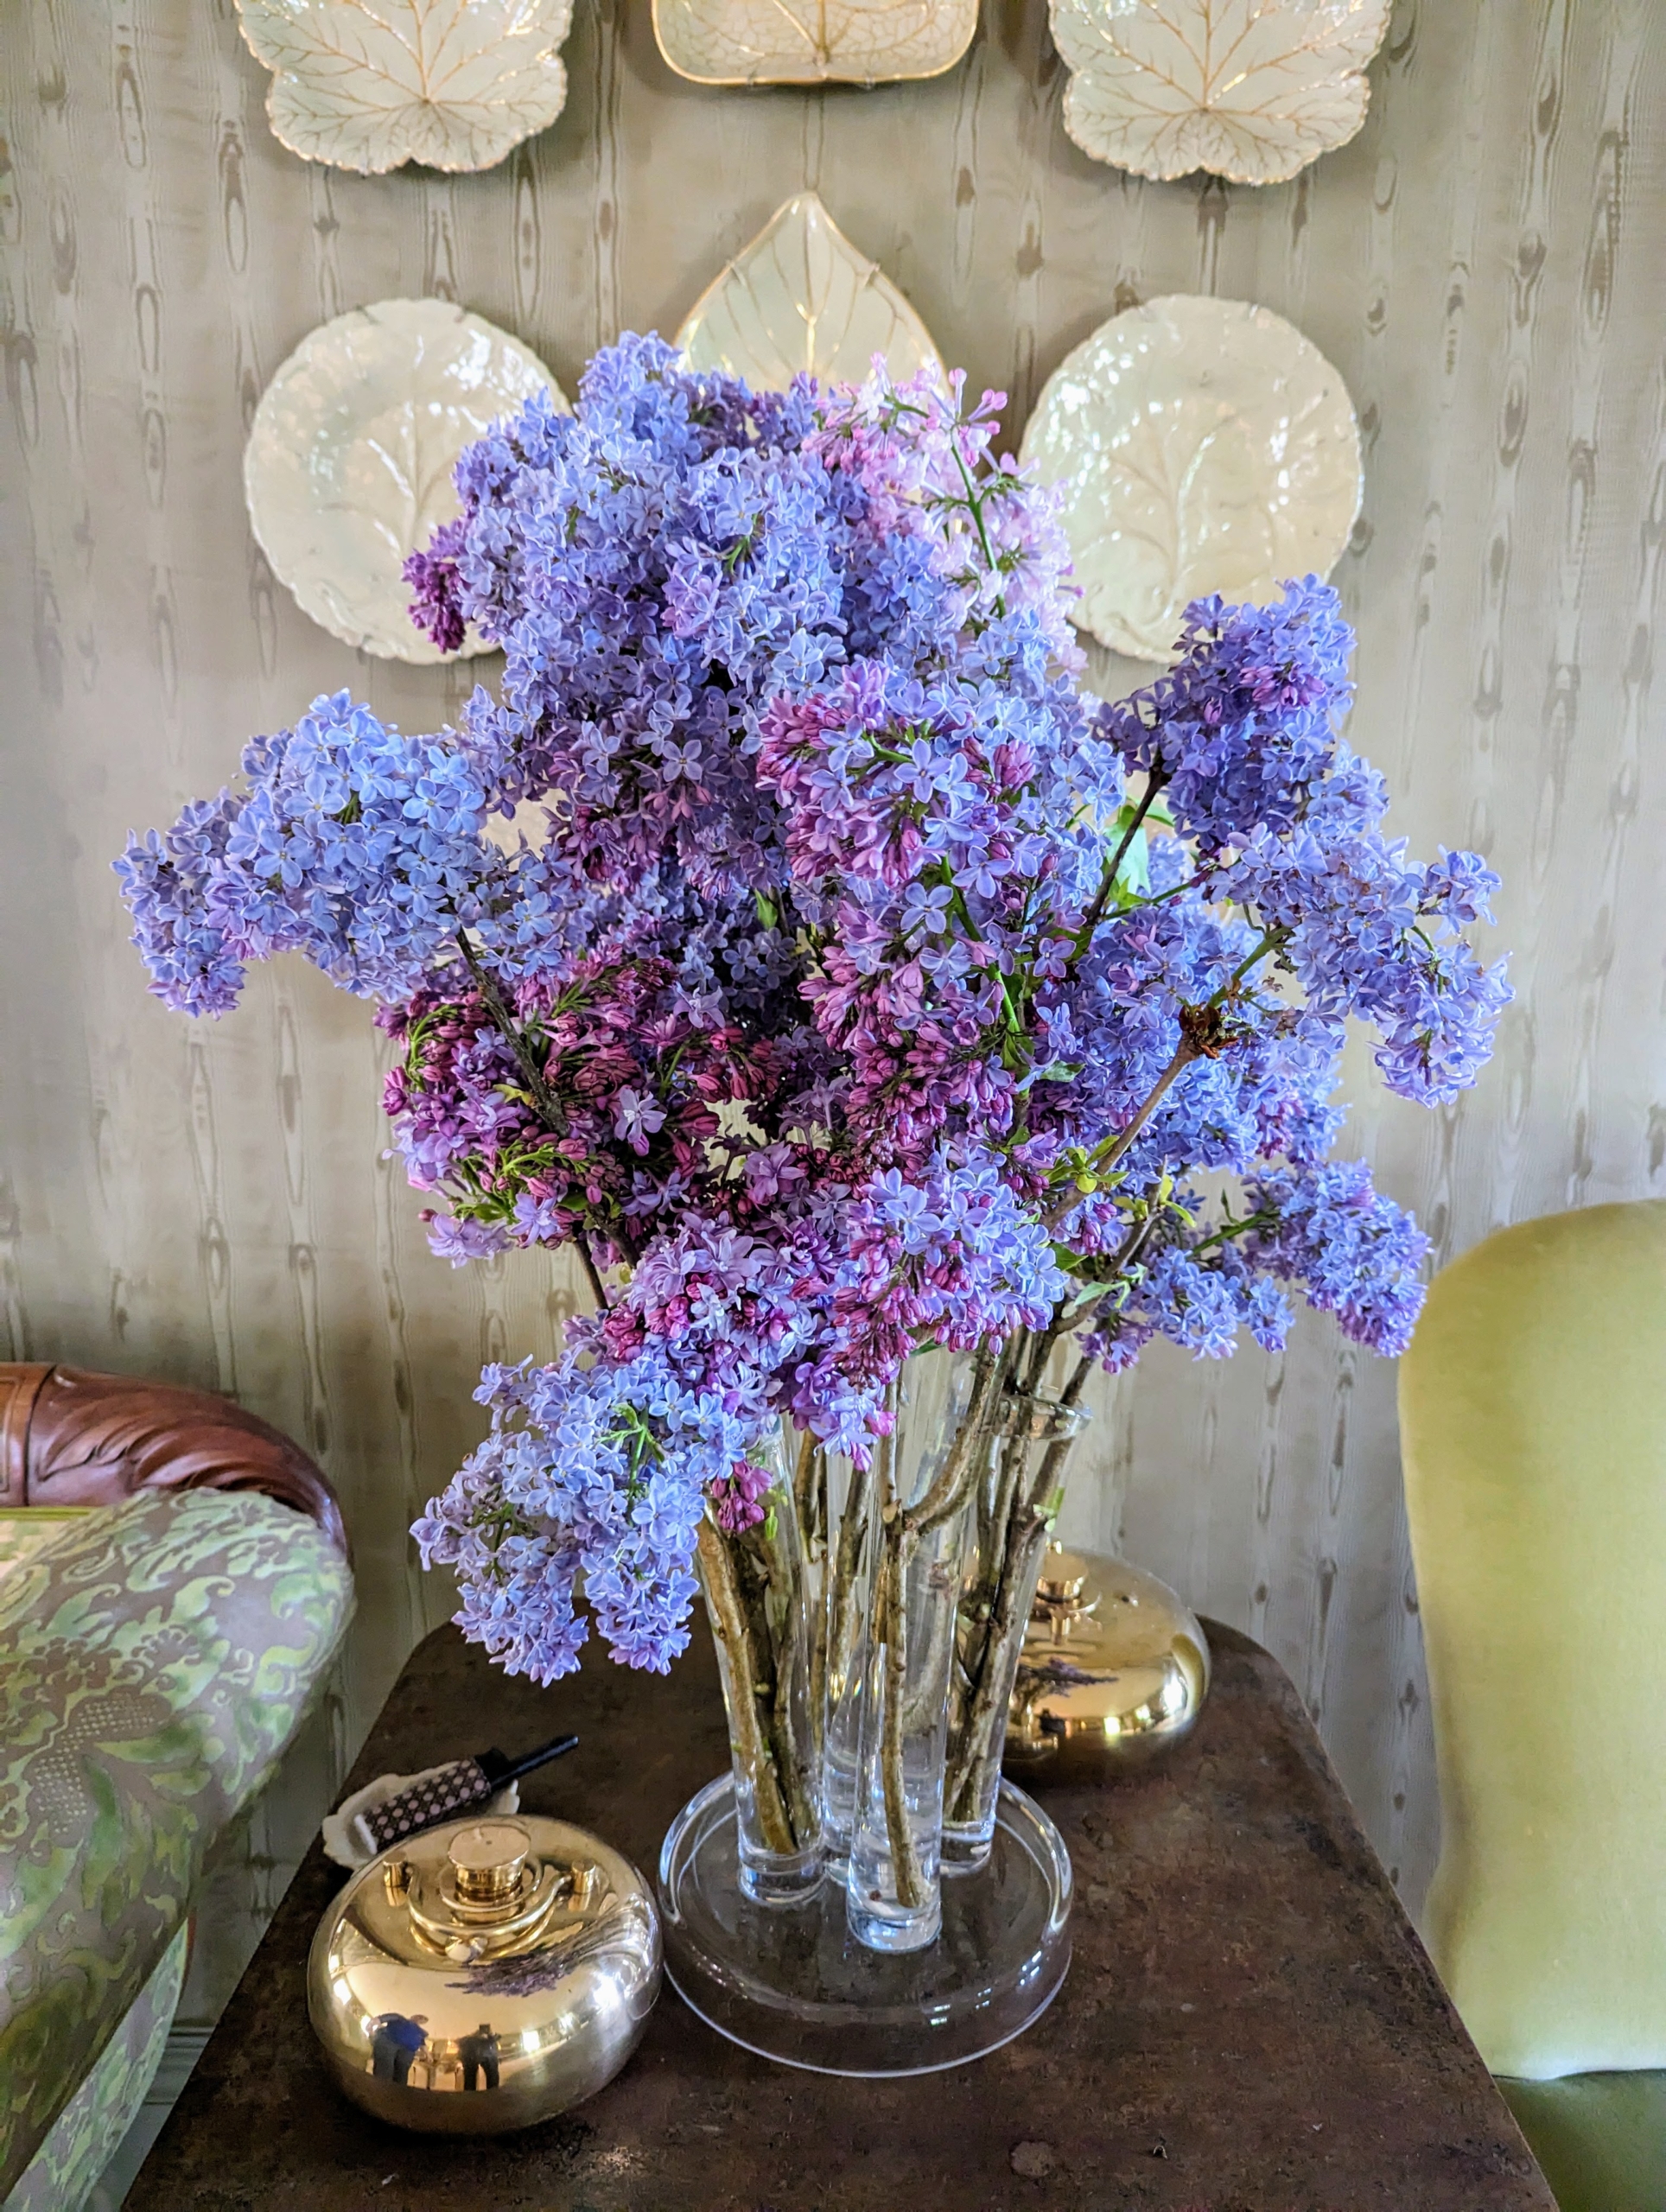
This arrangement is placed in my sitting room where I can see it every day.
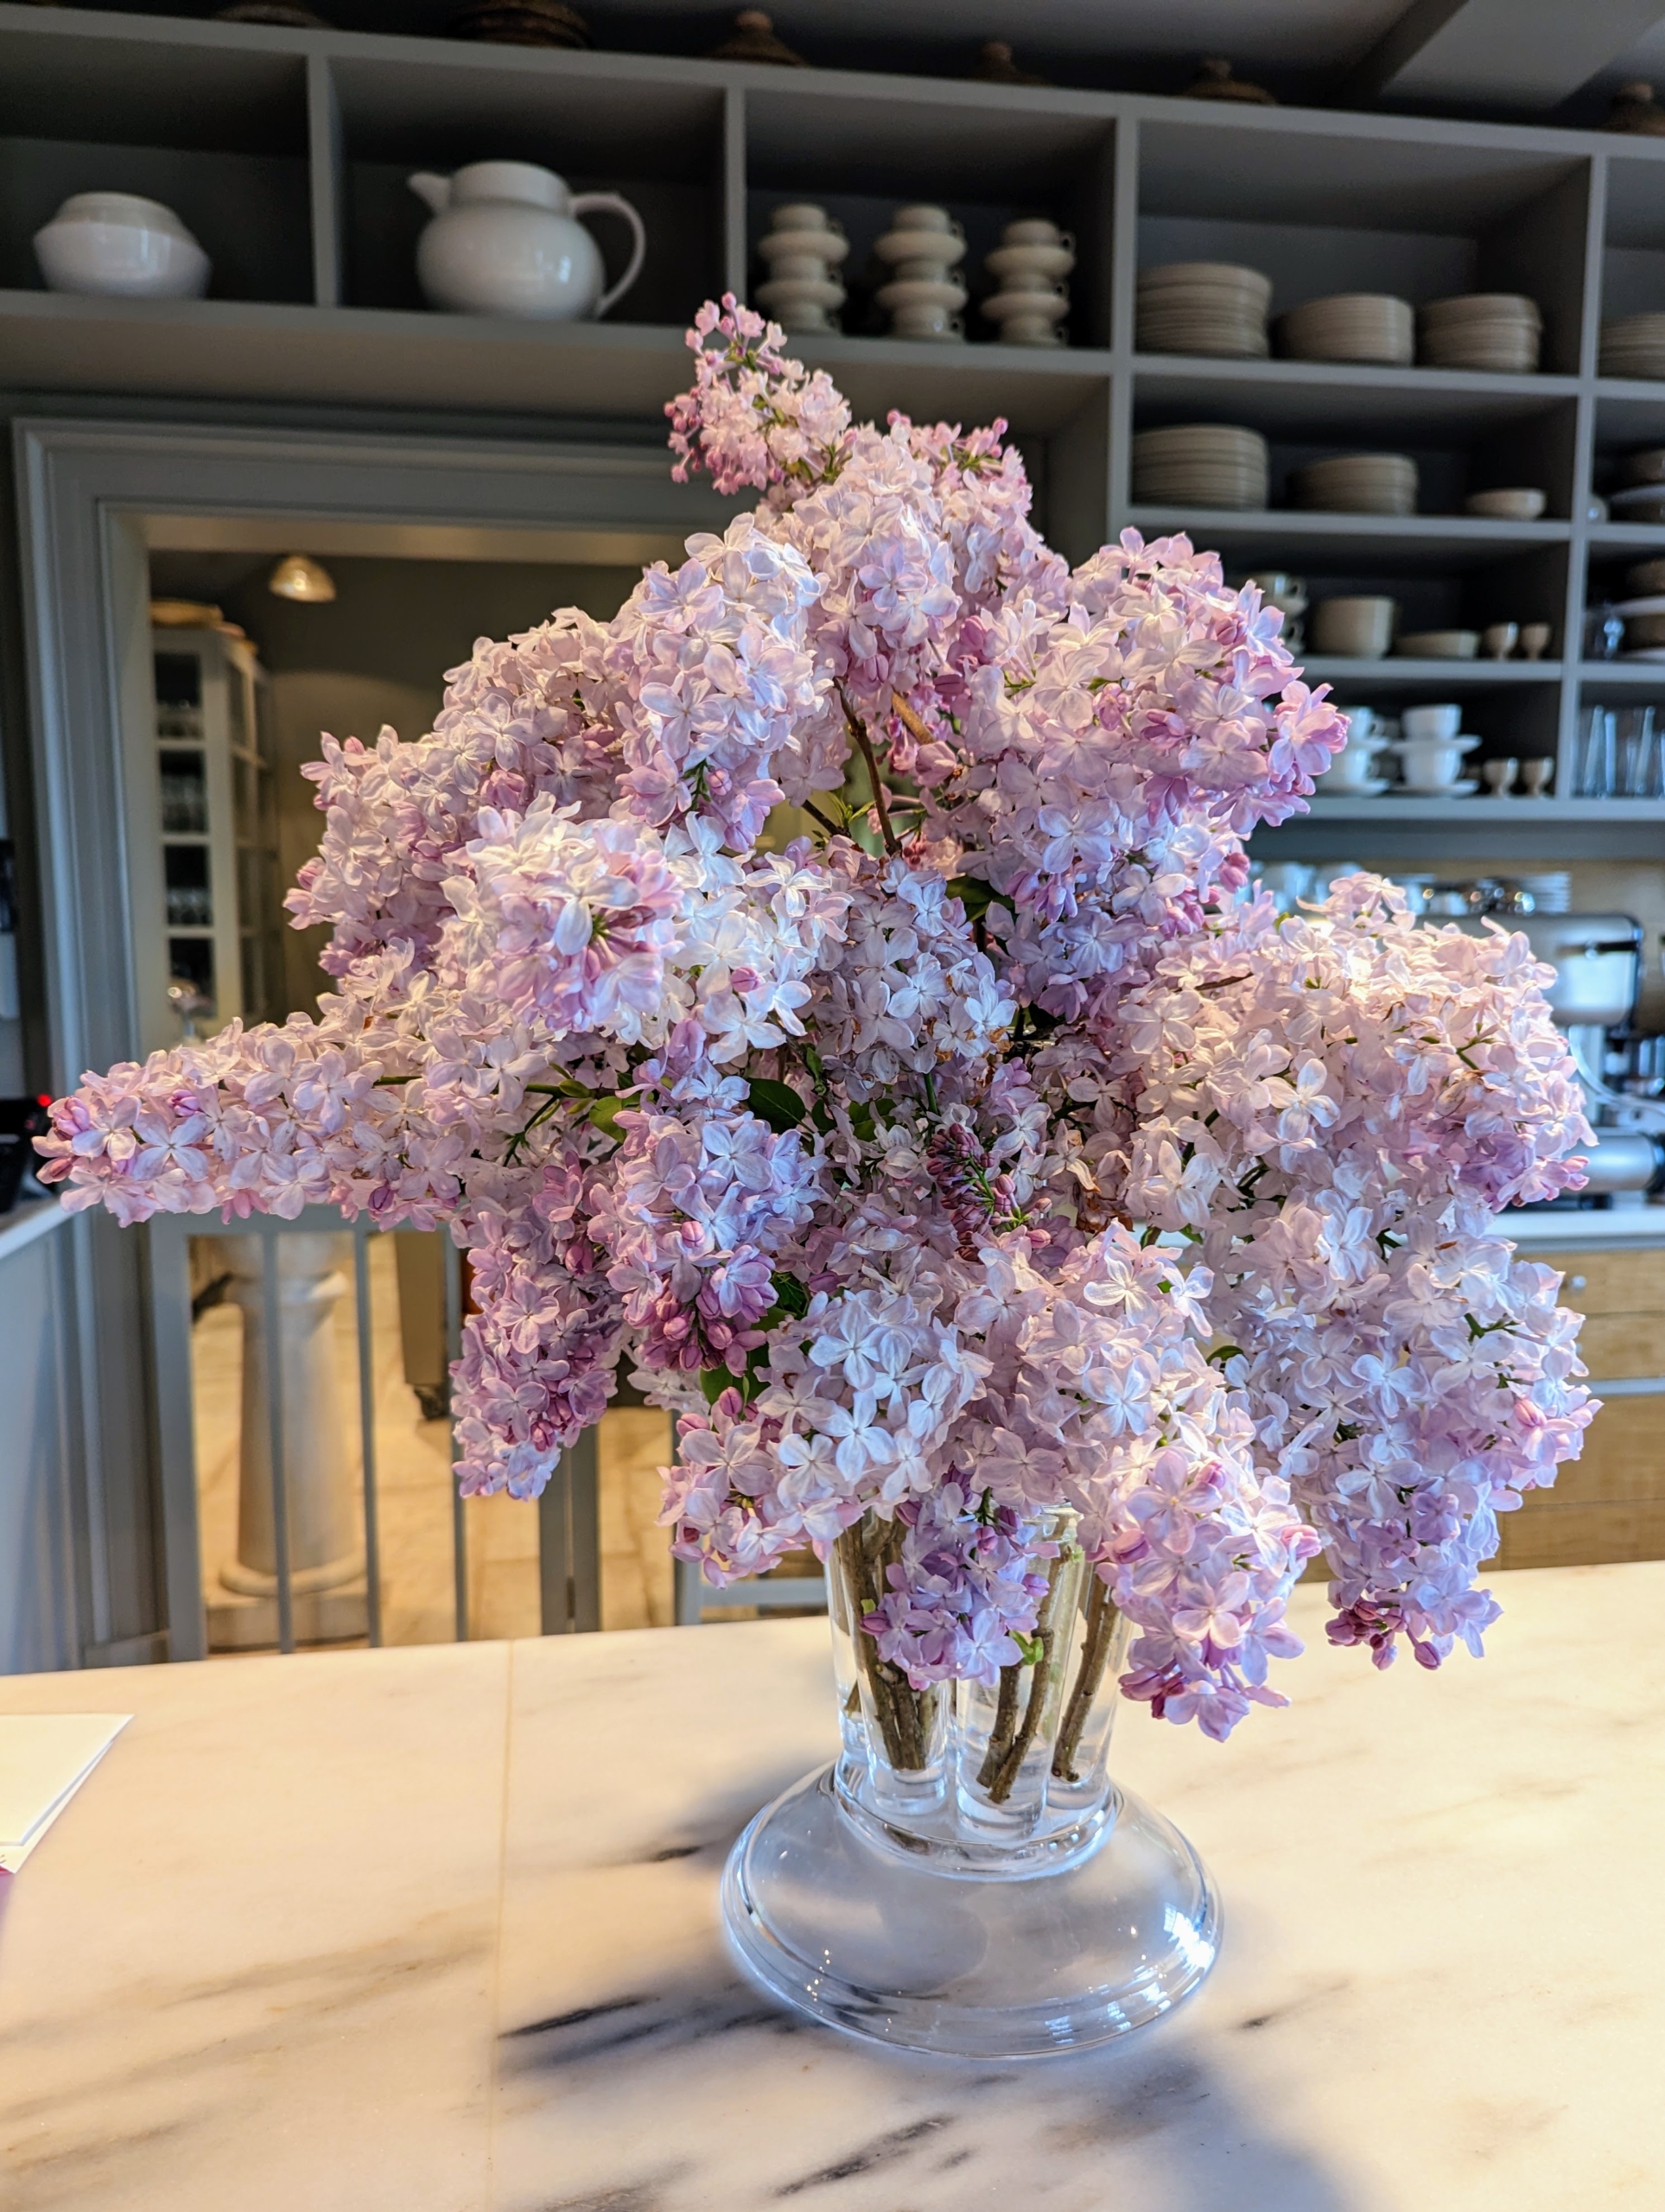
These lilacs are on my kitchen counter, the hub of my home, where I often have meetings – everyone smells them as soon as they see them.
And here is an all white lilac arrangement in my servery. These flowers are so pretty. Lilacs have been well-loved by gardeners for so many years. They are tough, reliable, and ever so fragrant. I hope this inspires you to grow lilac, the “Queen of shrubs.” It will quickly become one of your favorites in the garden.
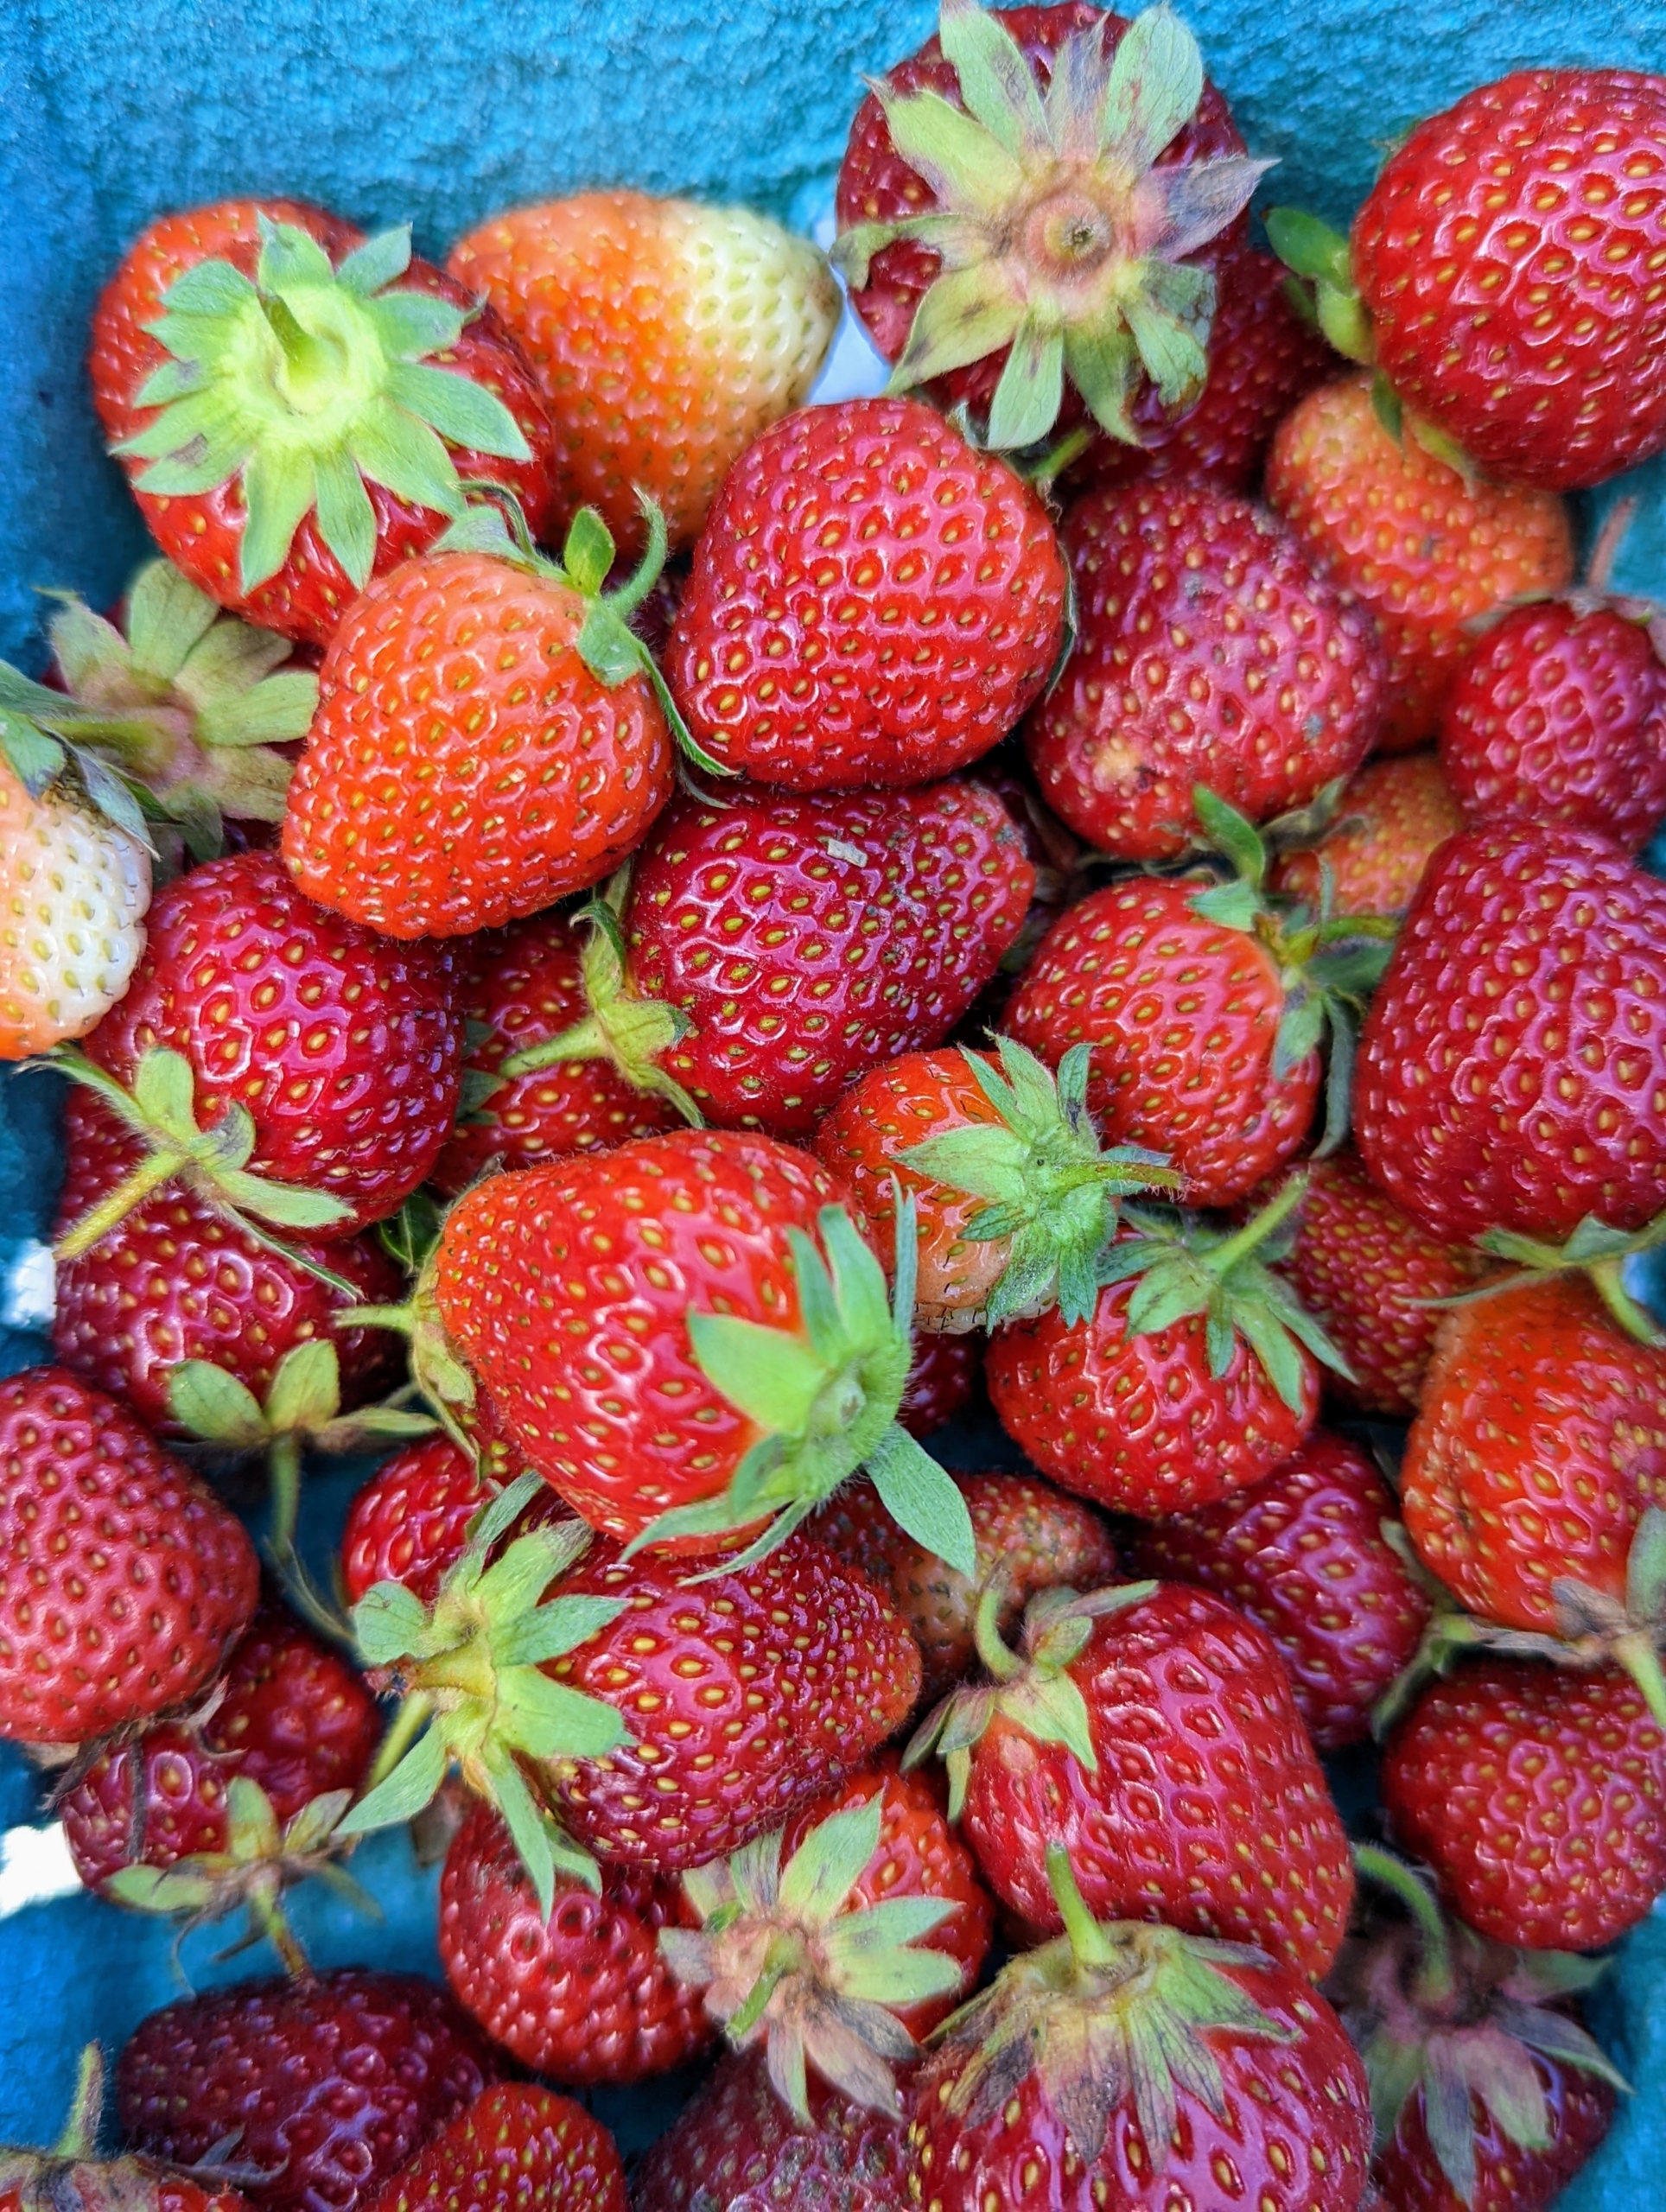
If you enjoy gardening and want to grow some delicious summer fruits, try strawberries. Strawberries are among the easiest berries to grow. They are cold-hardy and adaptable, and can be planted in both garden beds and containers.
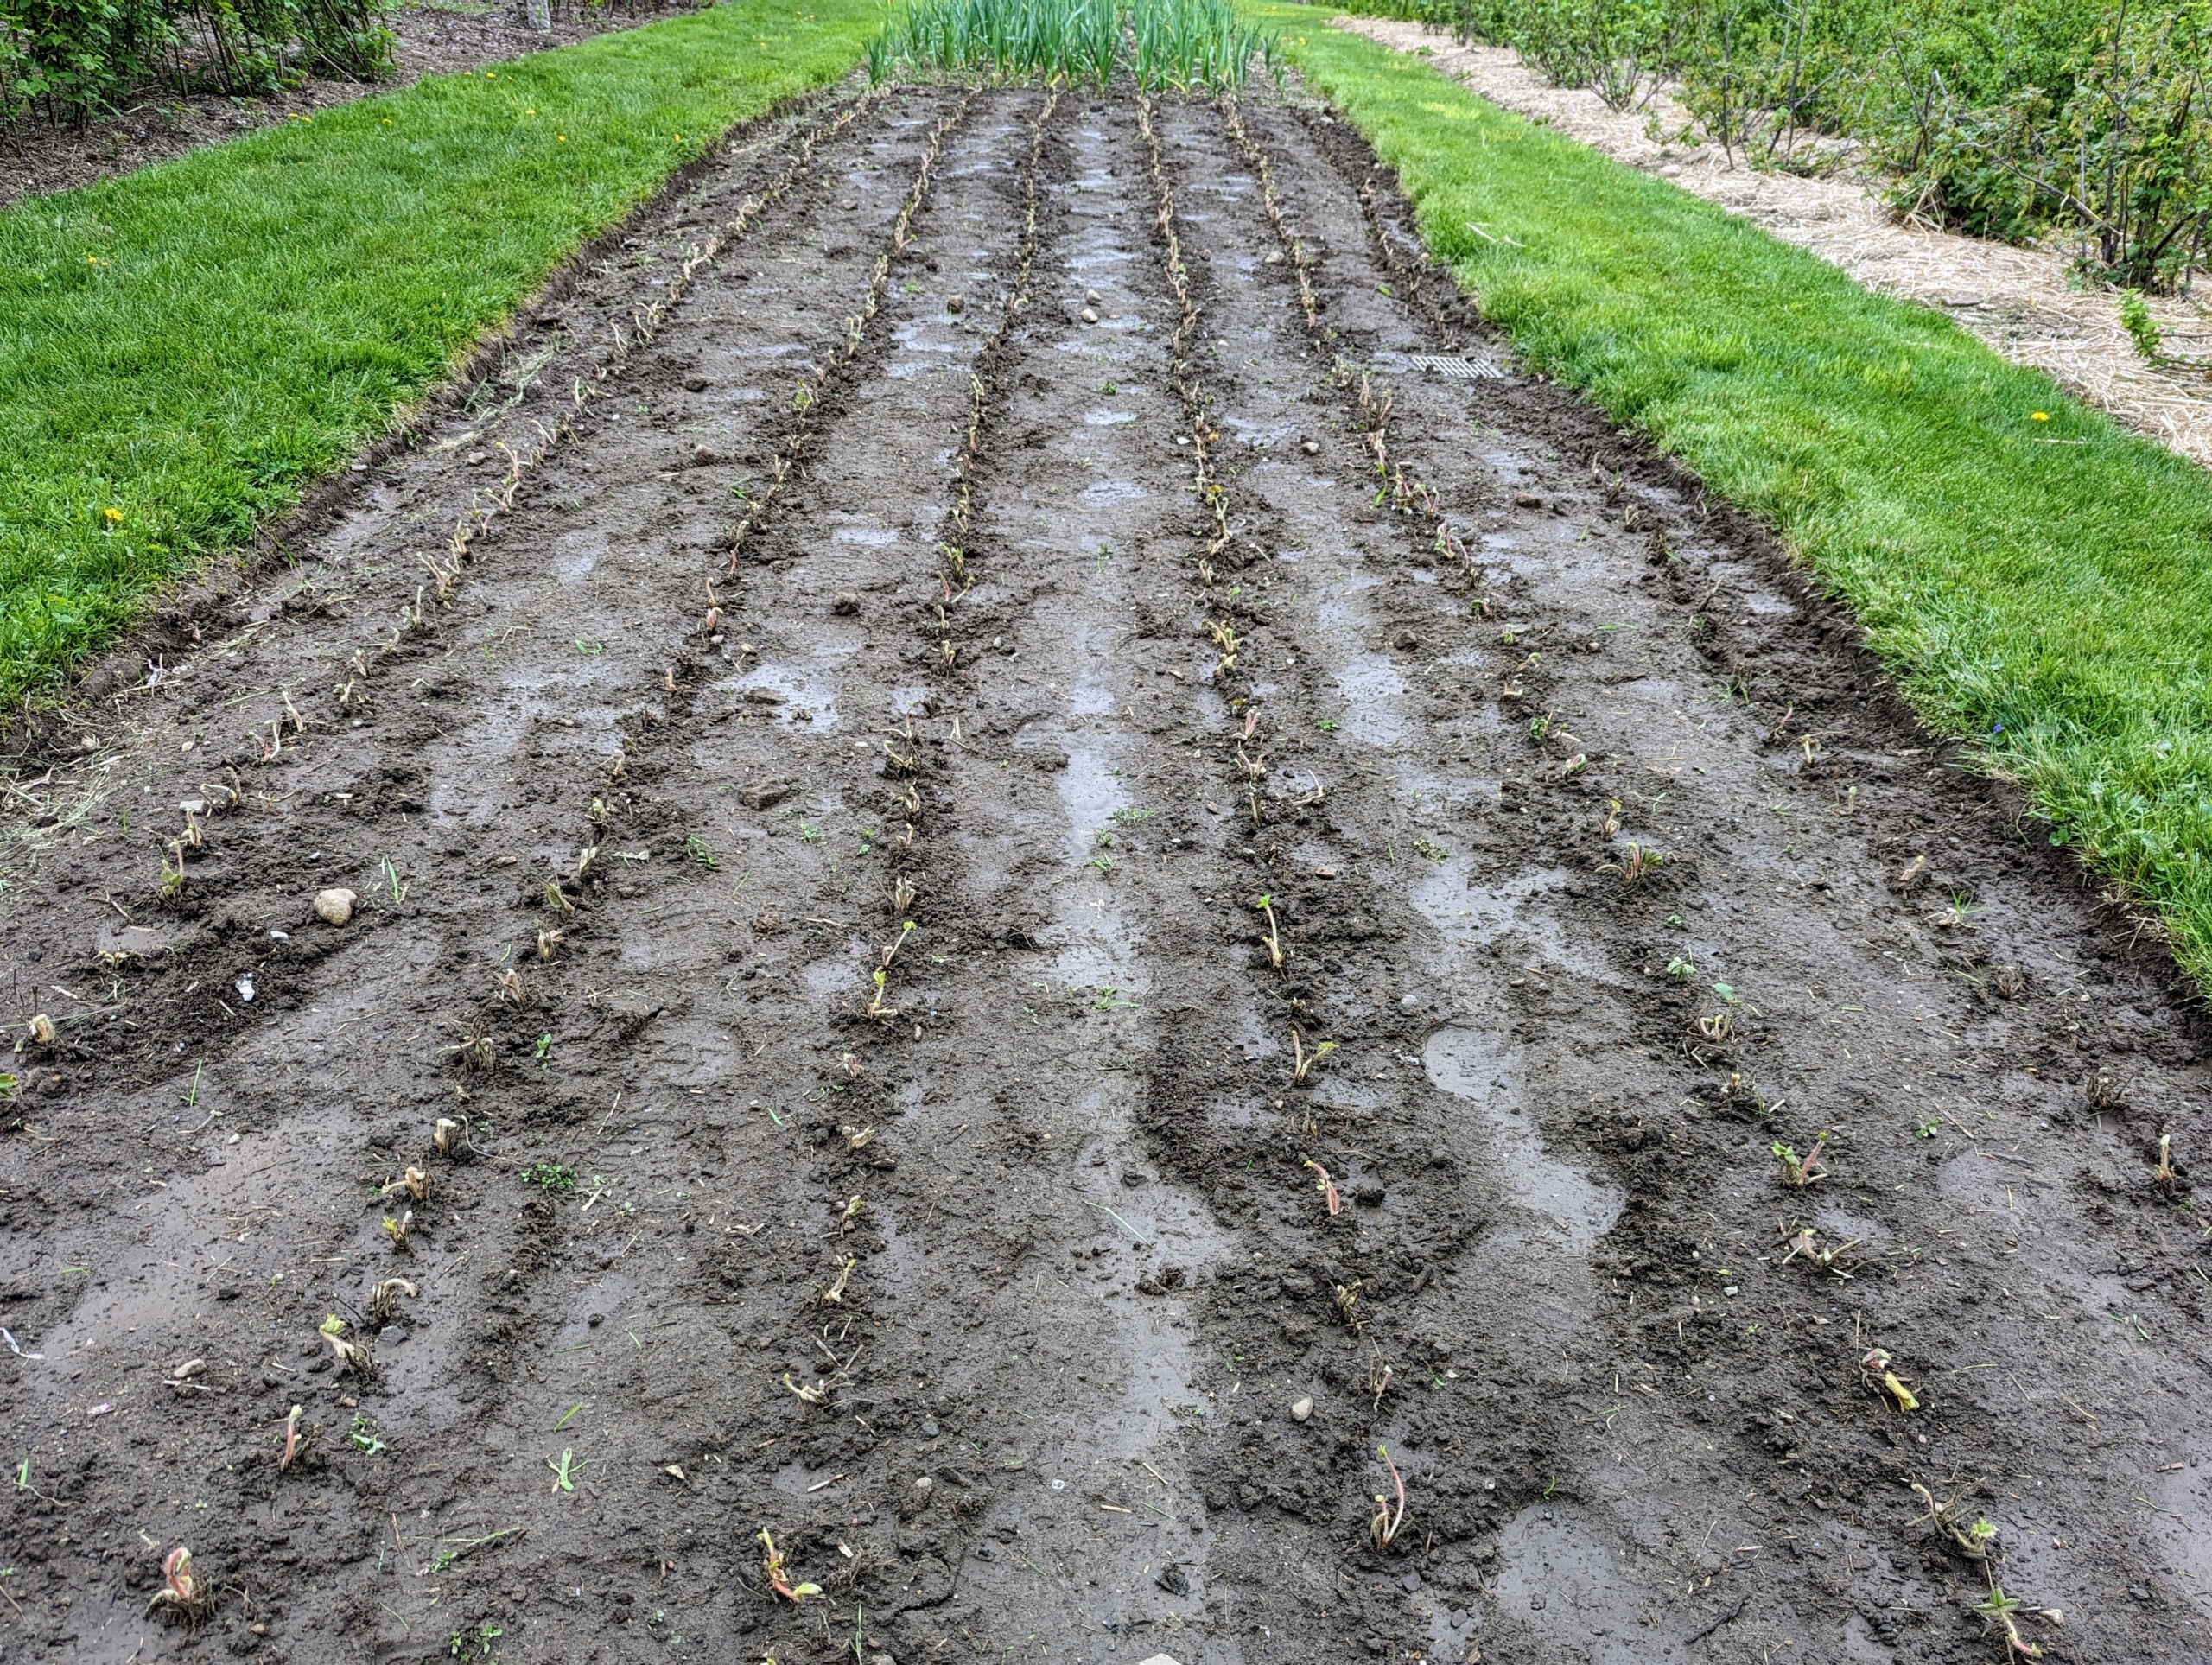
Every year, I plant a crop of strawberry plants. This season, we have some growing in my vegetable greenhouse - a few are deep red and ready to pick. And last week, my gardeners planted a large bed of strawberries in a patch behind my main greenhouse just next to my garlic. As long as they are planted in a location that gets full sun, they'll thrive and will provide sweet, luscious fruits for several years.
Enjoy these photos.
Summer strawberries are among the most popular fruits here in the United States. I love eating strawberries fresh from the garden or as jams and jellies I make myself. Do you know why it is called a “strawberry”? One theory is that woodland pickers strung them on pieces of straw to carry them to market. Others believe the surface of the fruit looks embedded with bits of straw. Still others think the name comes from the Old English word meaning “to strew,” because the plant’s runners stray in all directions as if strewn on the ground.
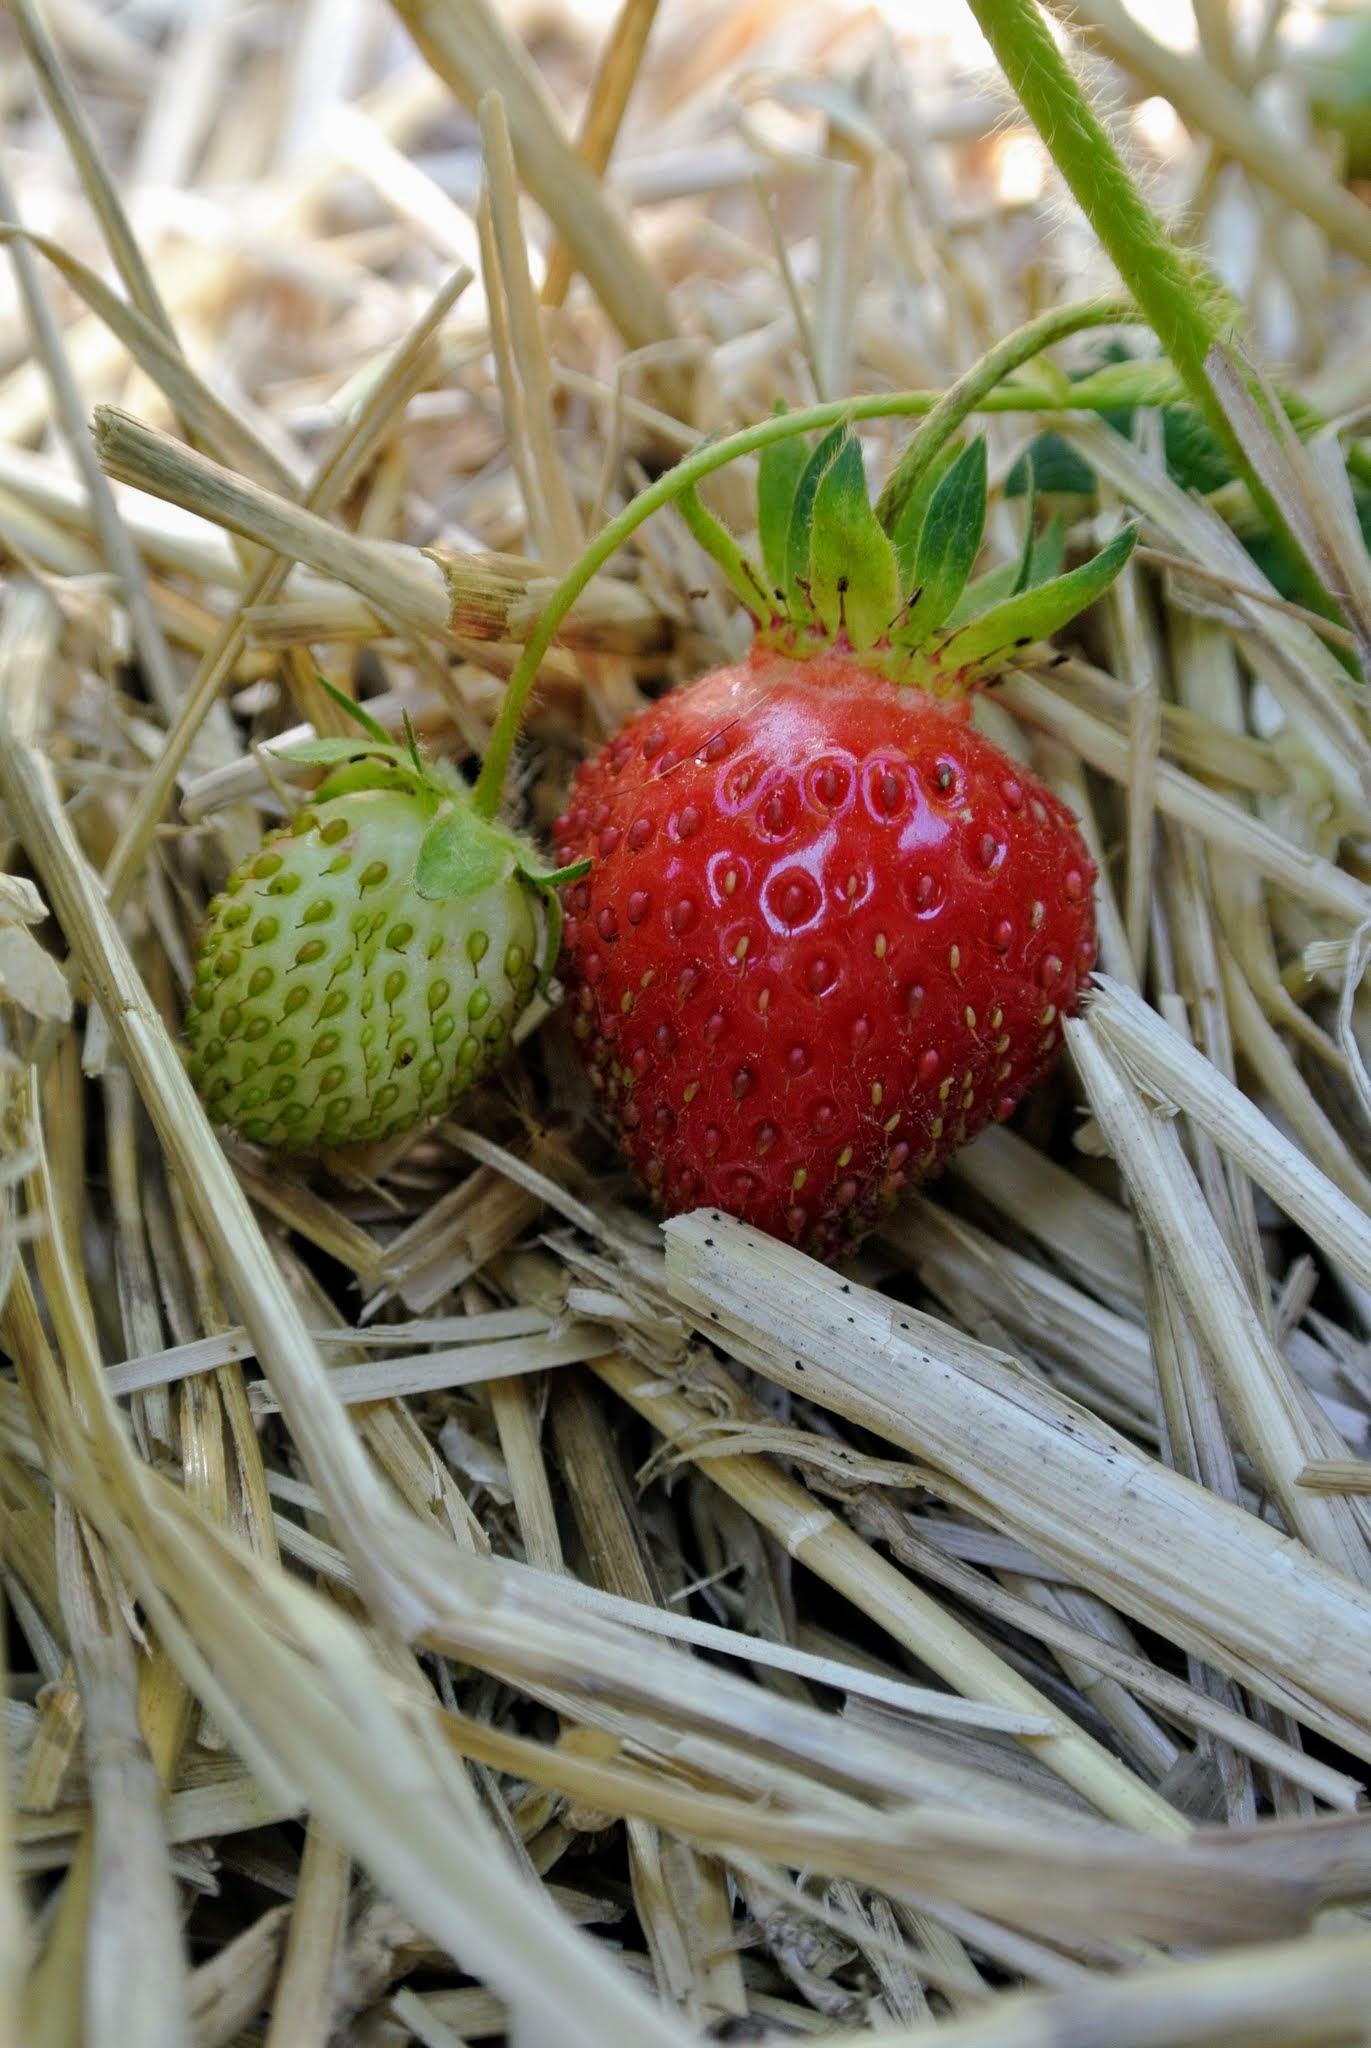
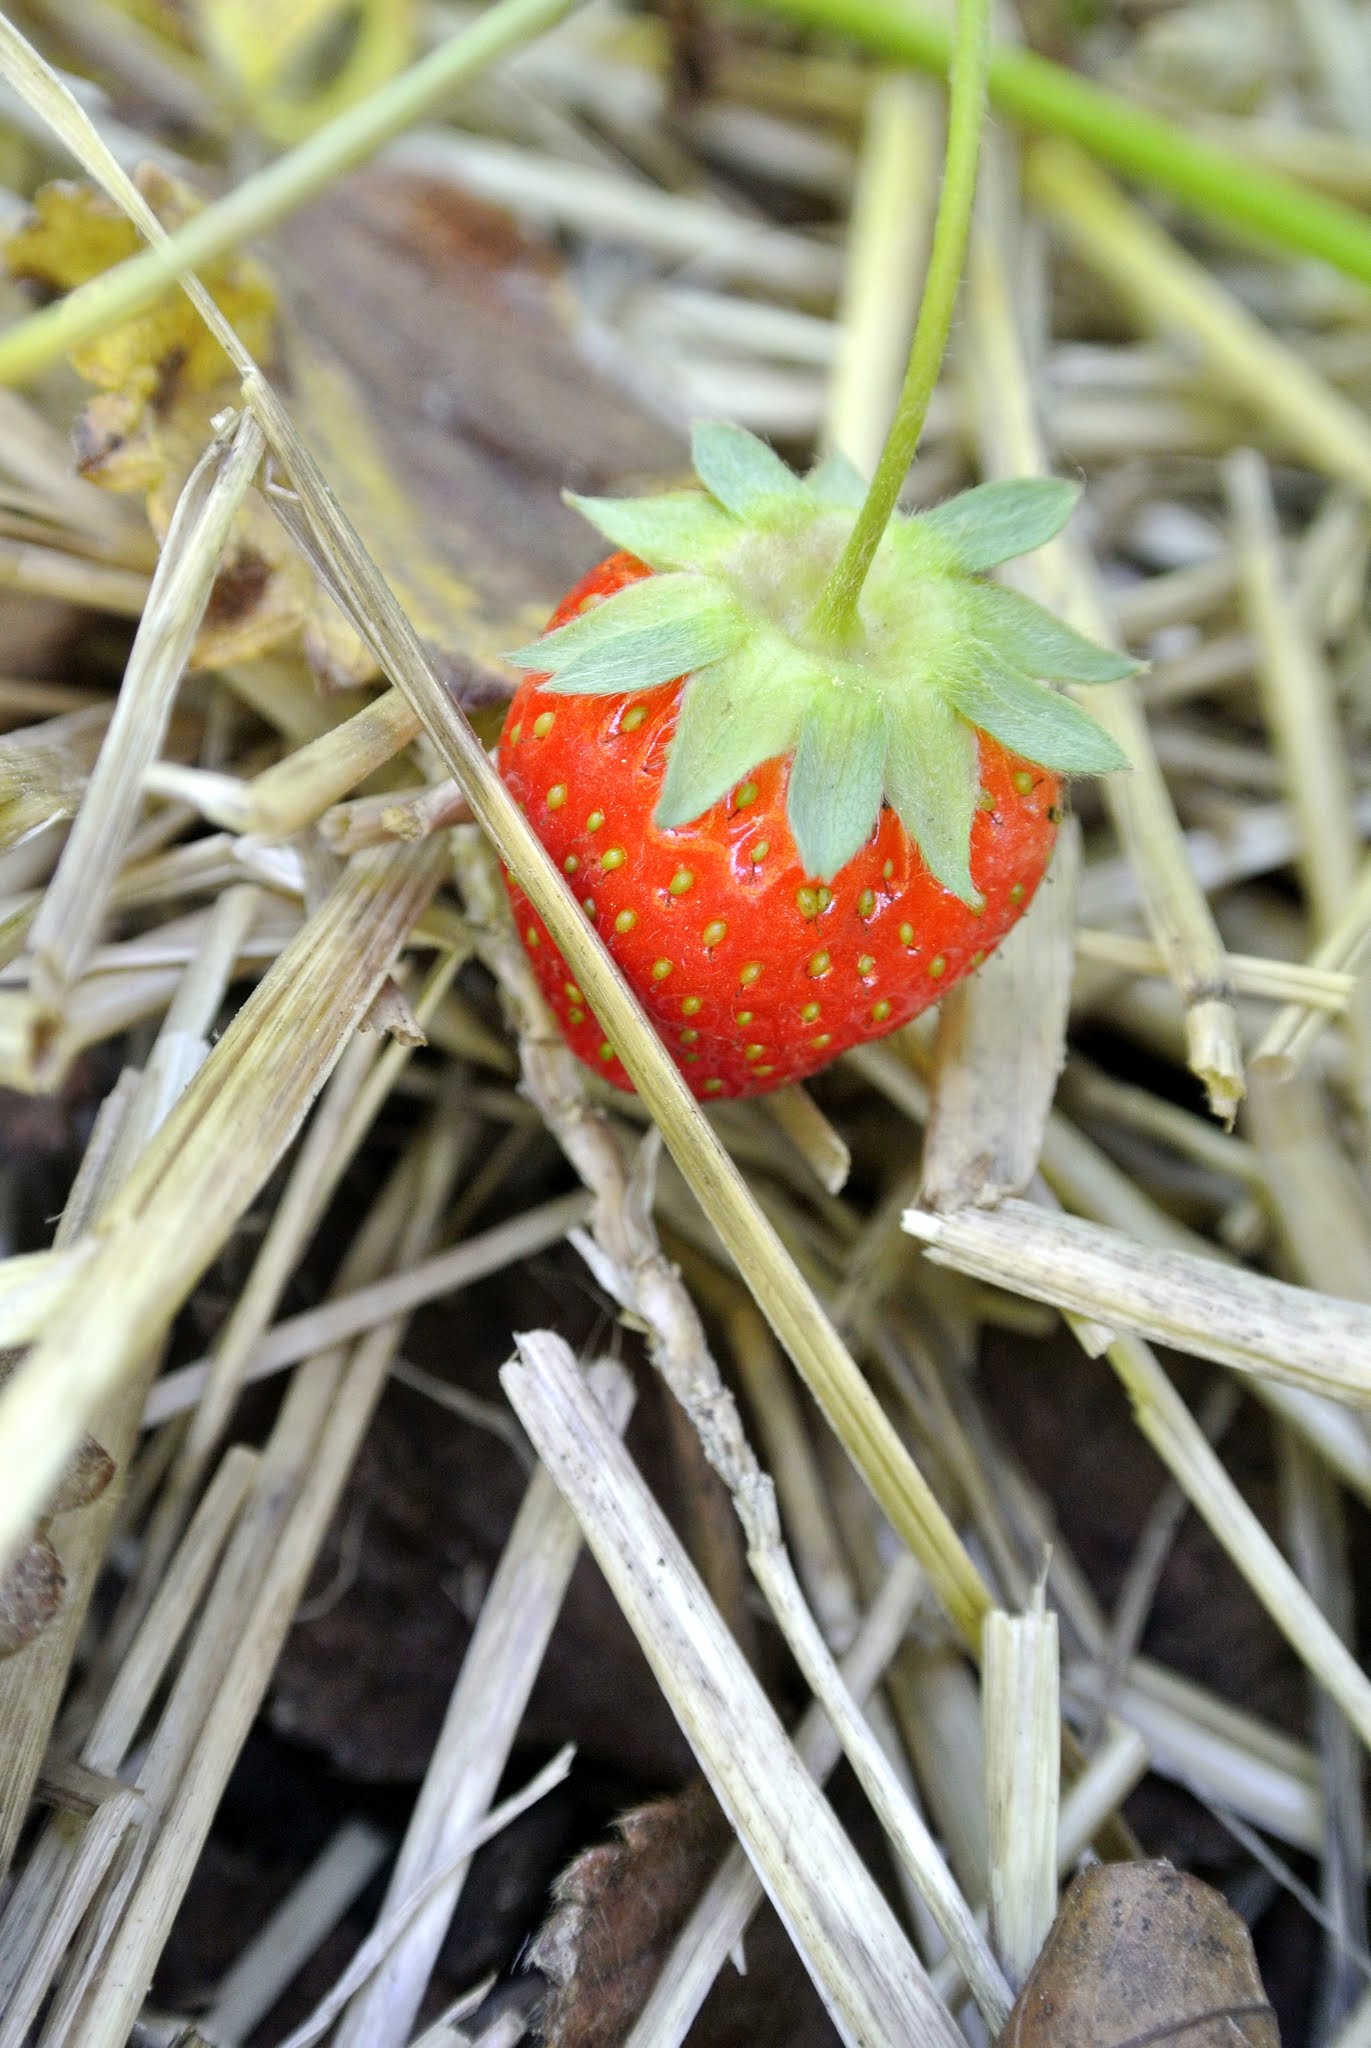
These fruits are growing in my vegetable greenhouse. Strawberry is a member of the Rosaceae family and goes by the scientific name of Fragaria x ananassa. Strawberries are native to temperature regions all around the world; however, it was the union of two species native to the Americas that developed into the garden strawberry. Here, one can see a an unripe and a rip fruit. Strawberry fruit ripen from the tip towards the leafy stem end.
Strawberries do not continue to ripen after picking, so it’s good to harvest strawberries without any white or yellow spots. They should also be firm and not soft because those are overripe. And do you know… strawberries have more vitamin-C than oranges? One may think that an orange has the most vitamin-C, but one large sweet red strawberry contains 10.5 mg of vitamin-C, compared to 70 mg of vitamin-C in a medium-sized orange.
Strawberry is an herbaceous perennial. The plant has a short stem and trifoliate leaves which form a crown close to the ground.
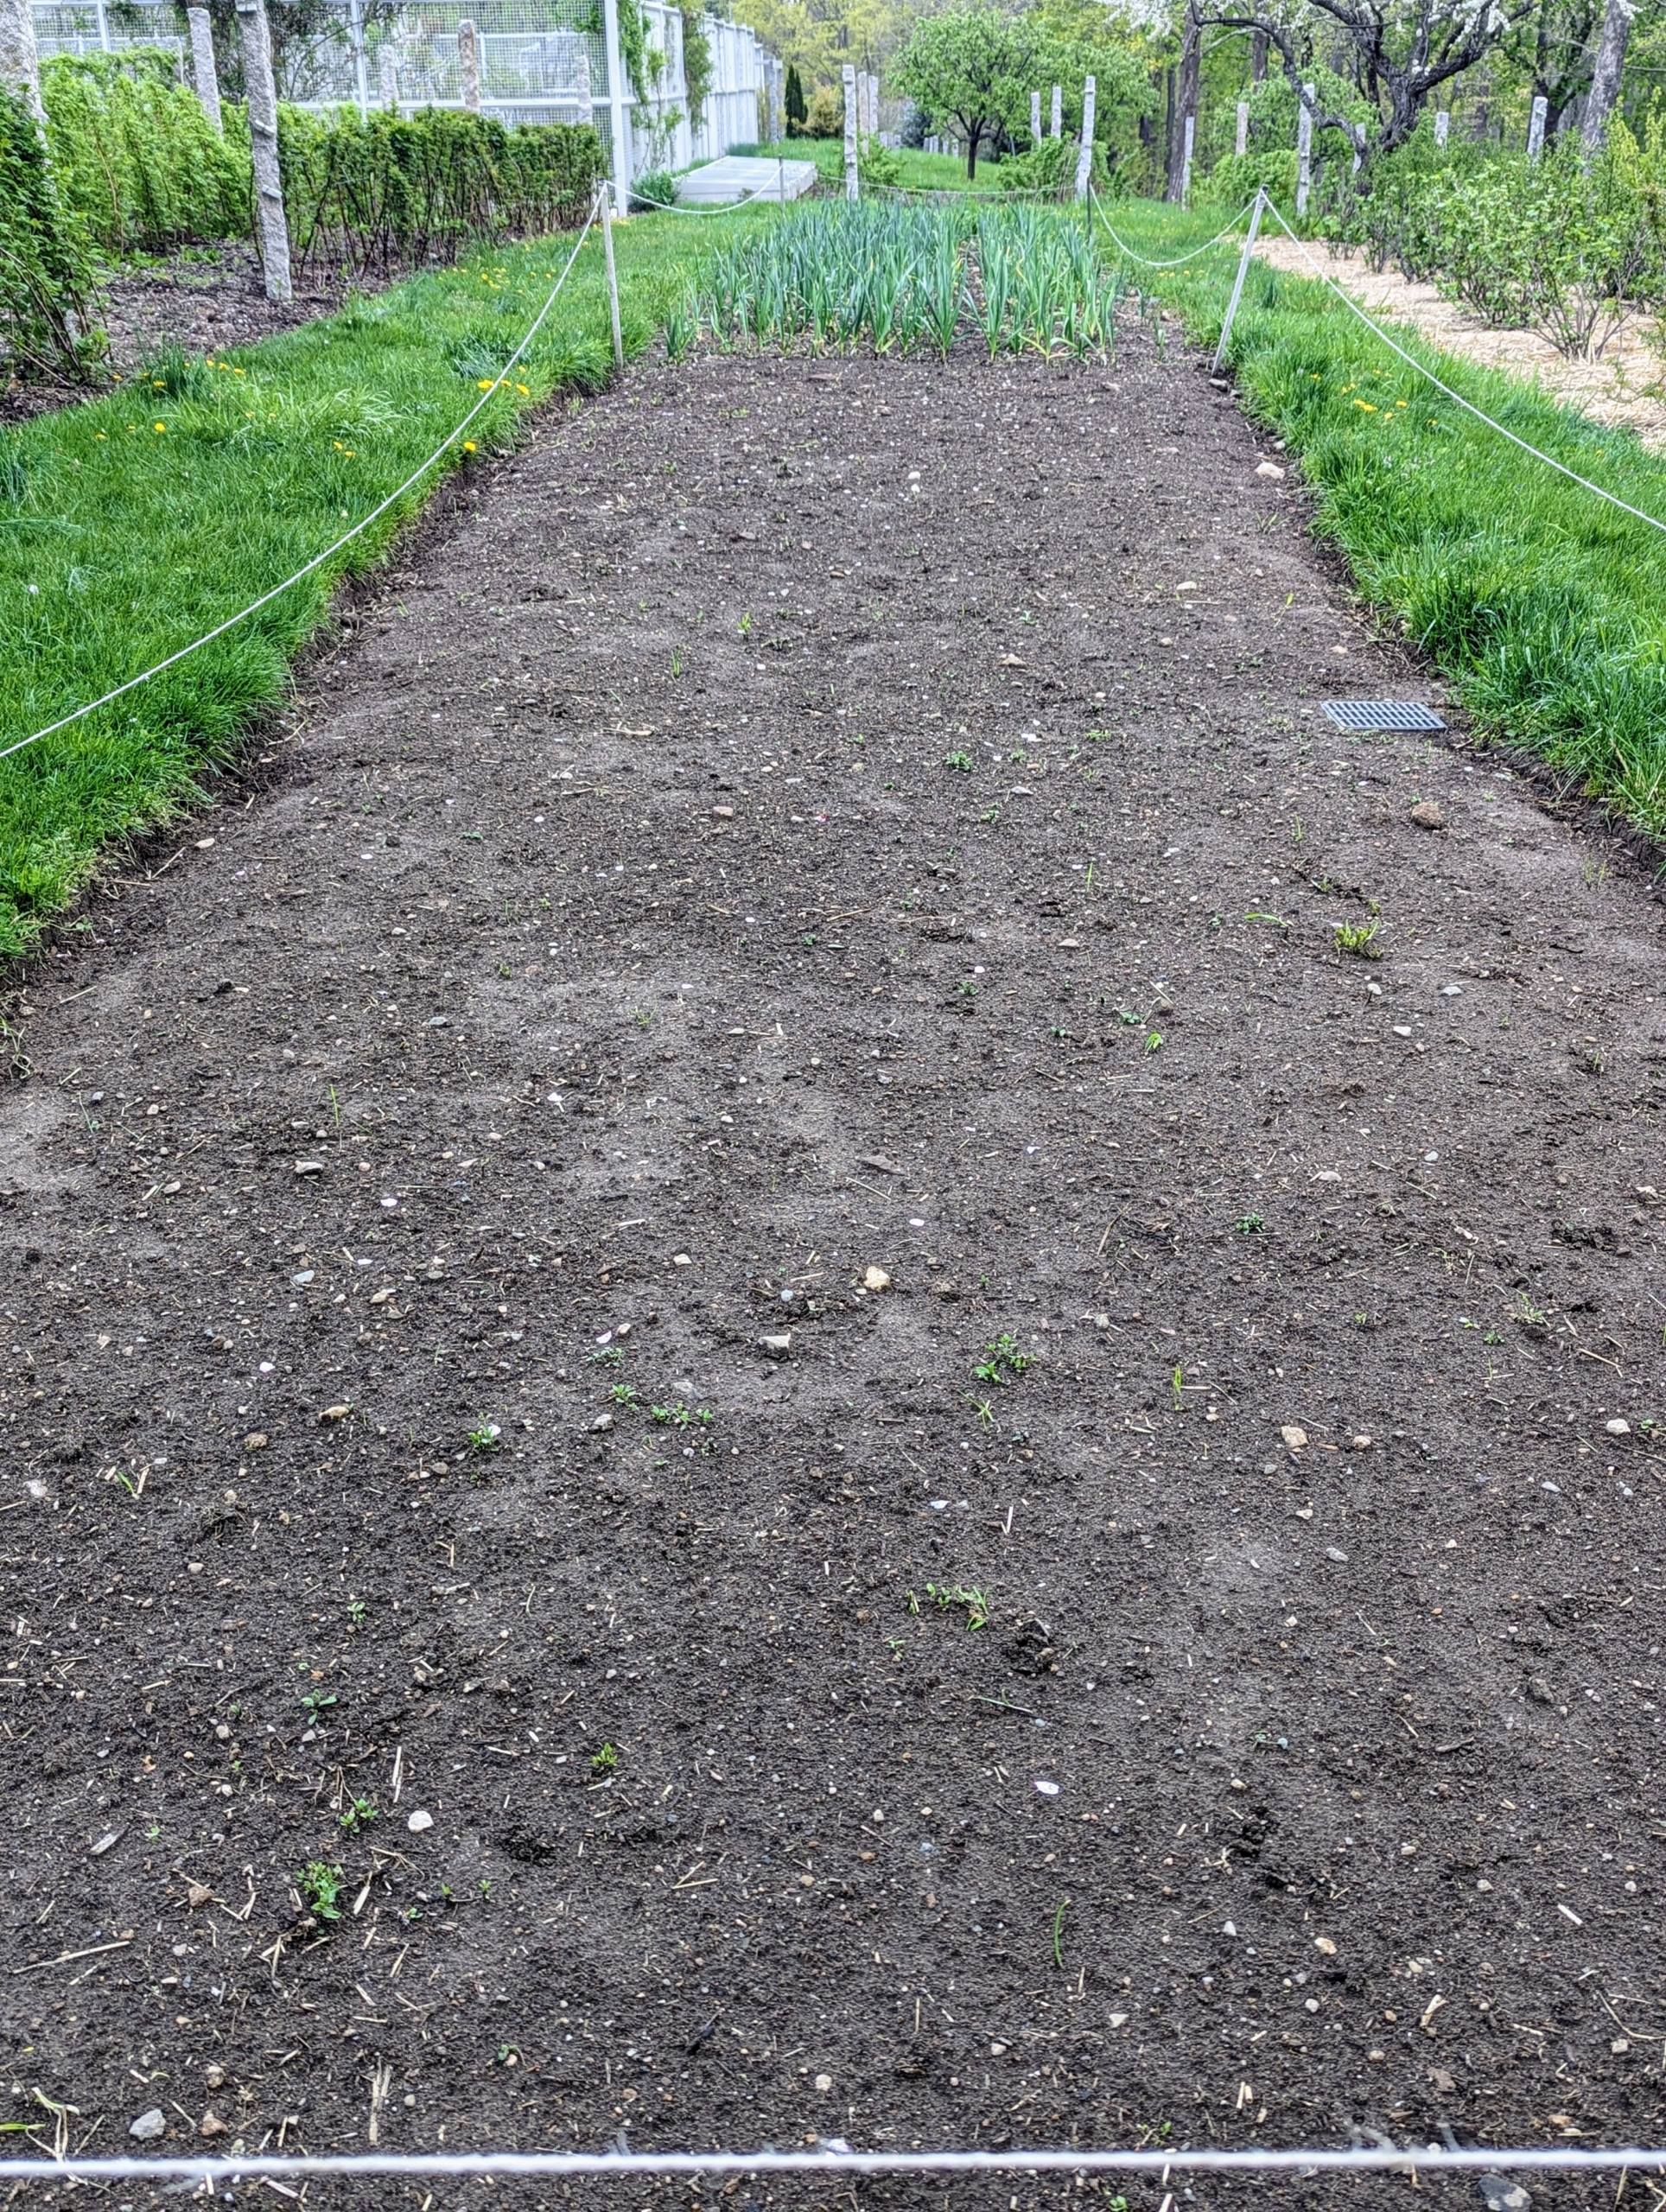
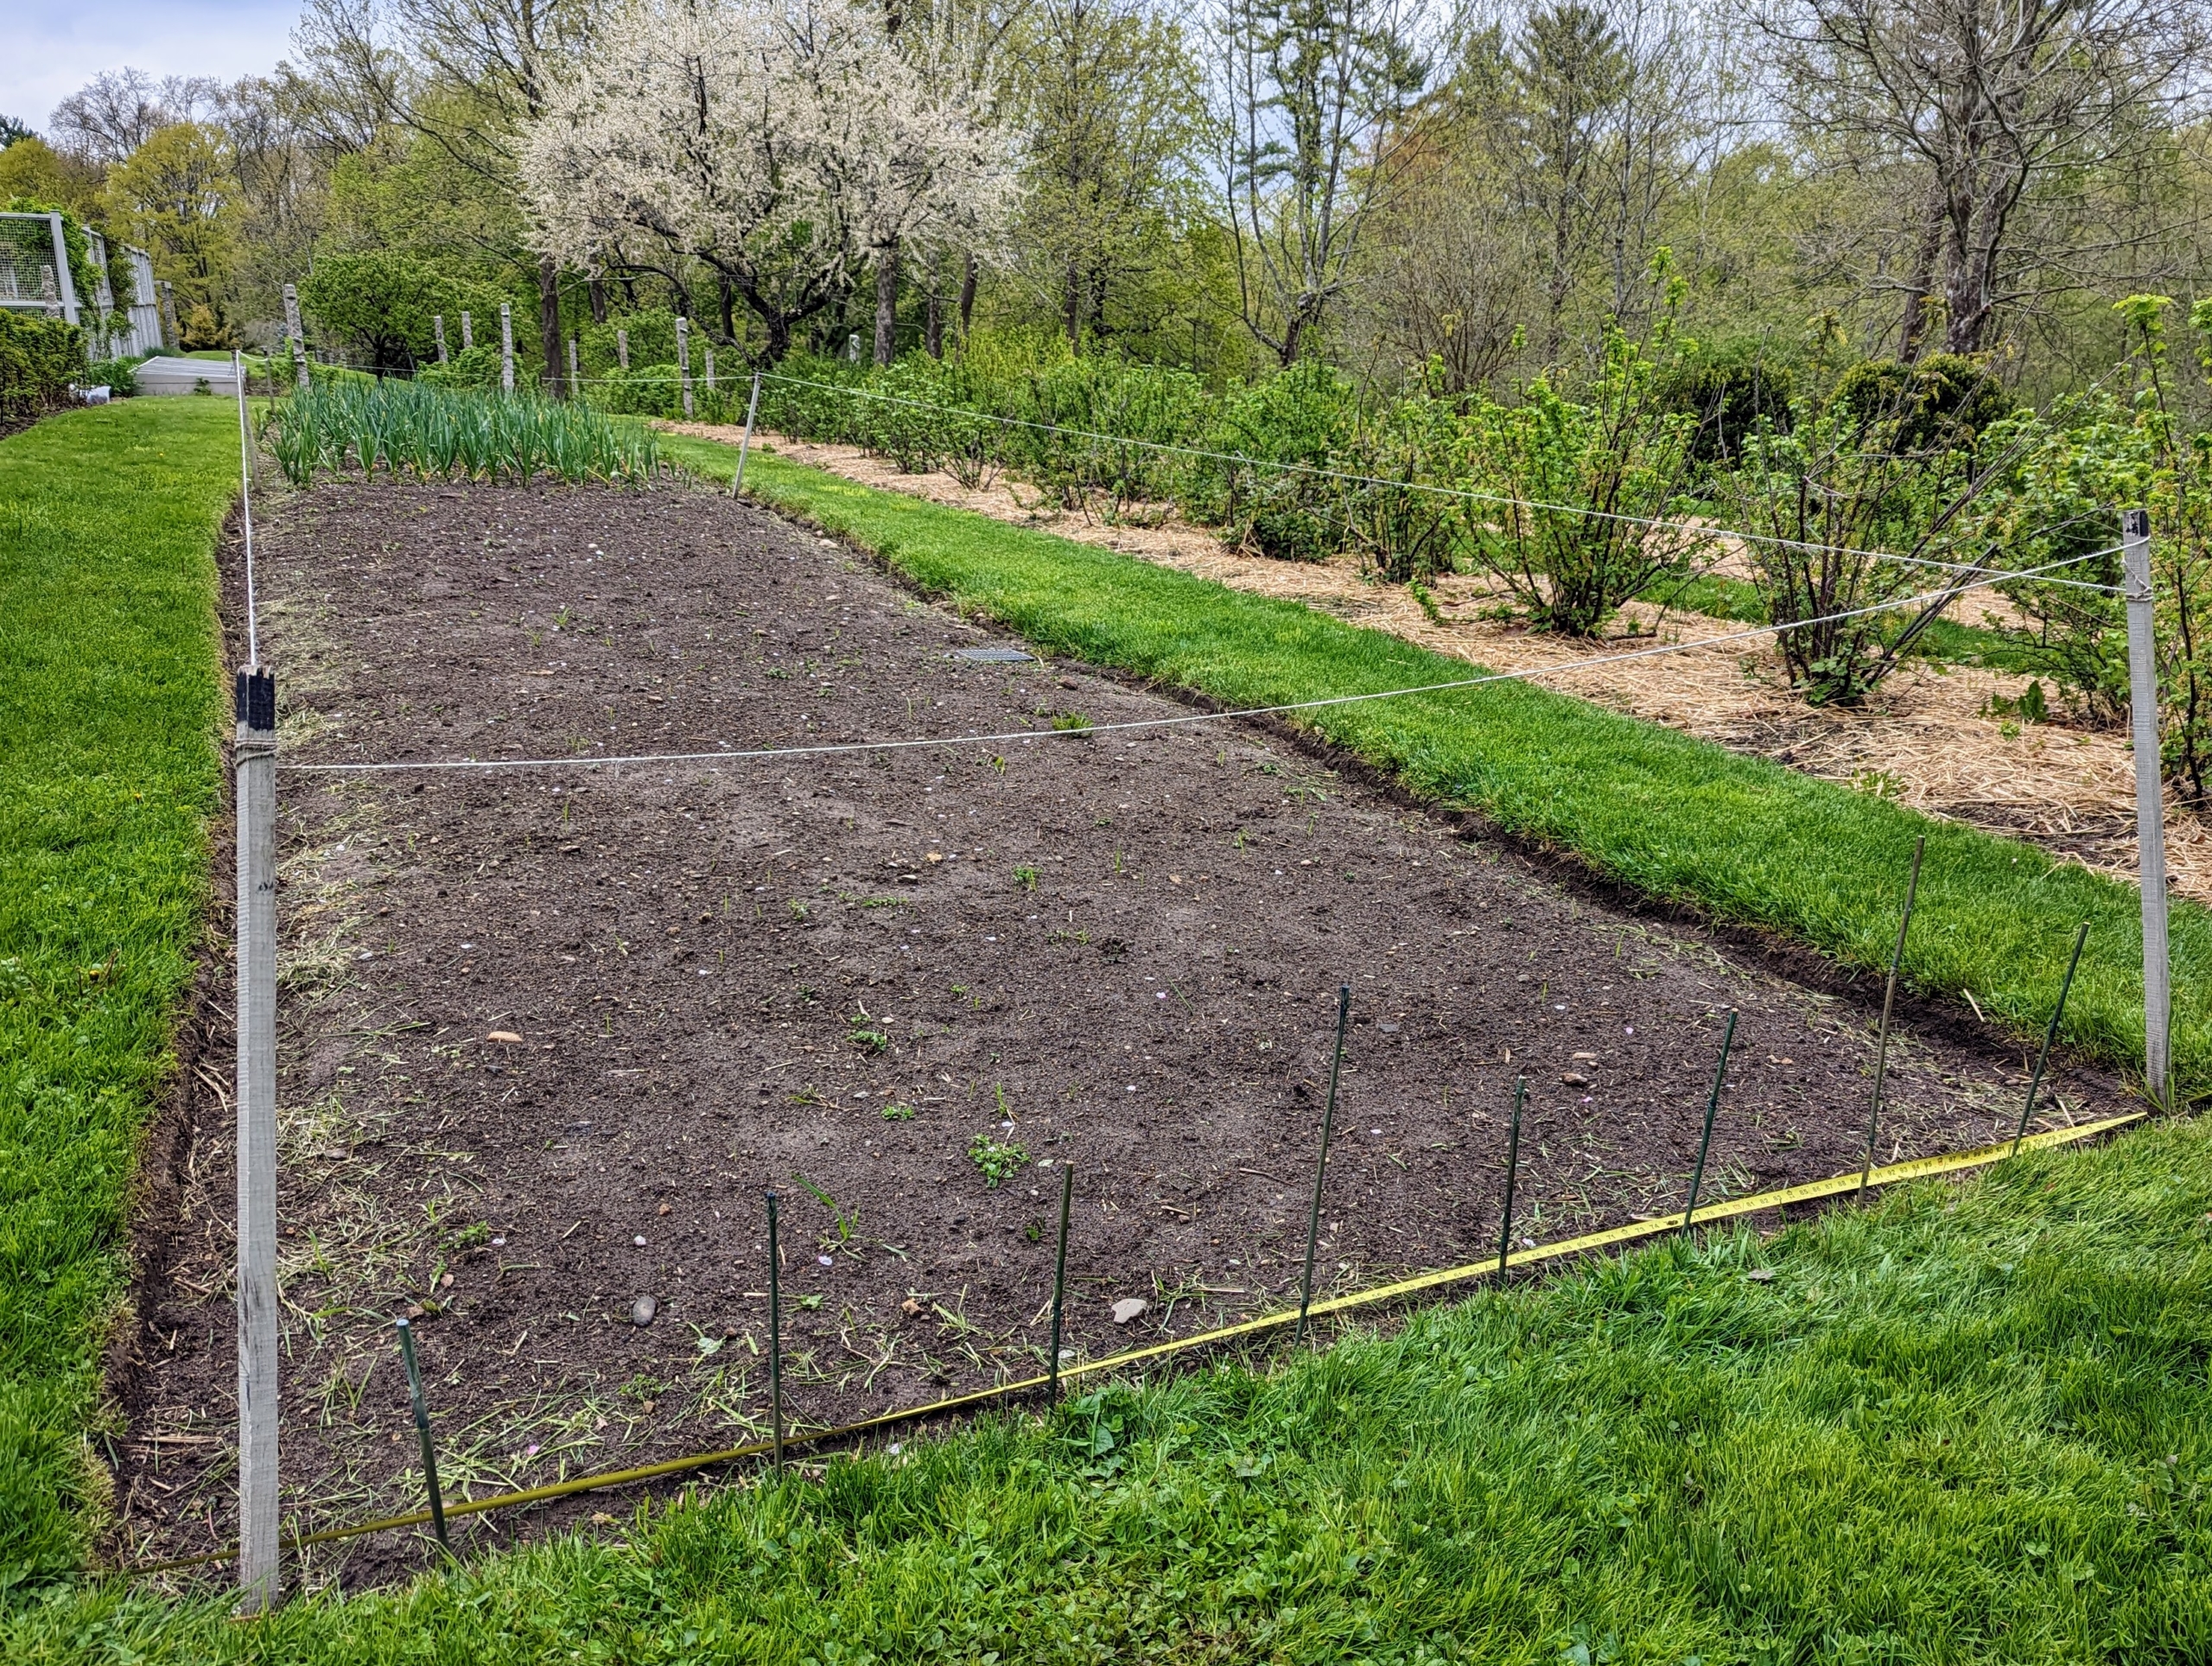
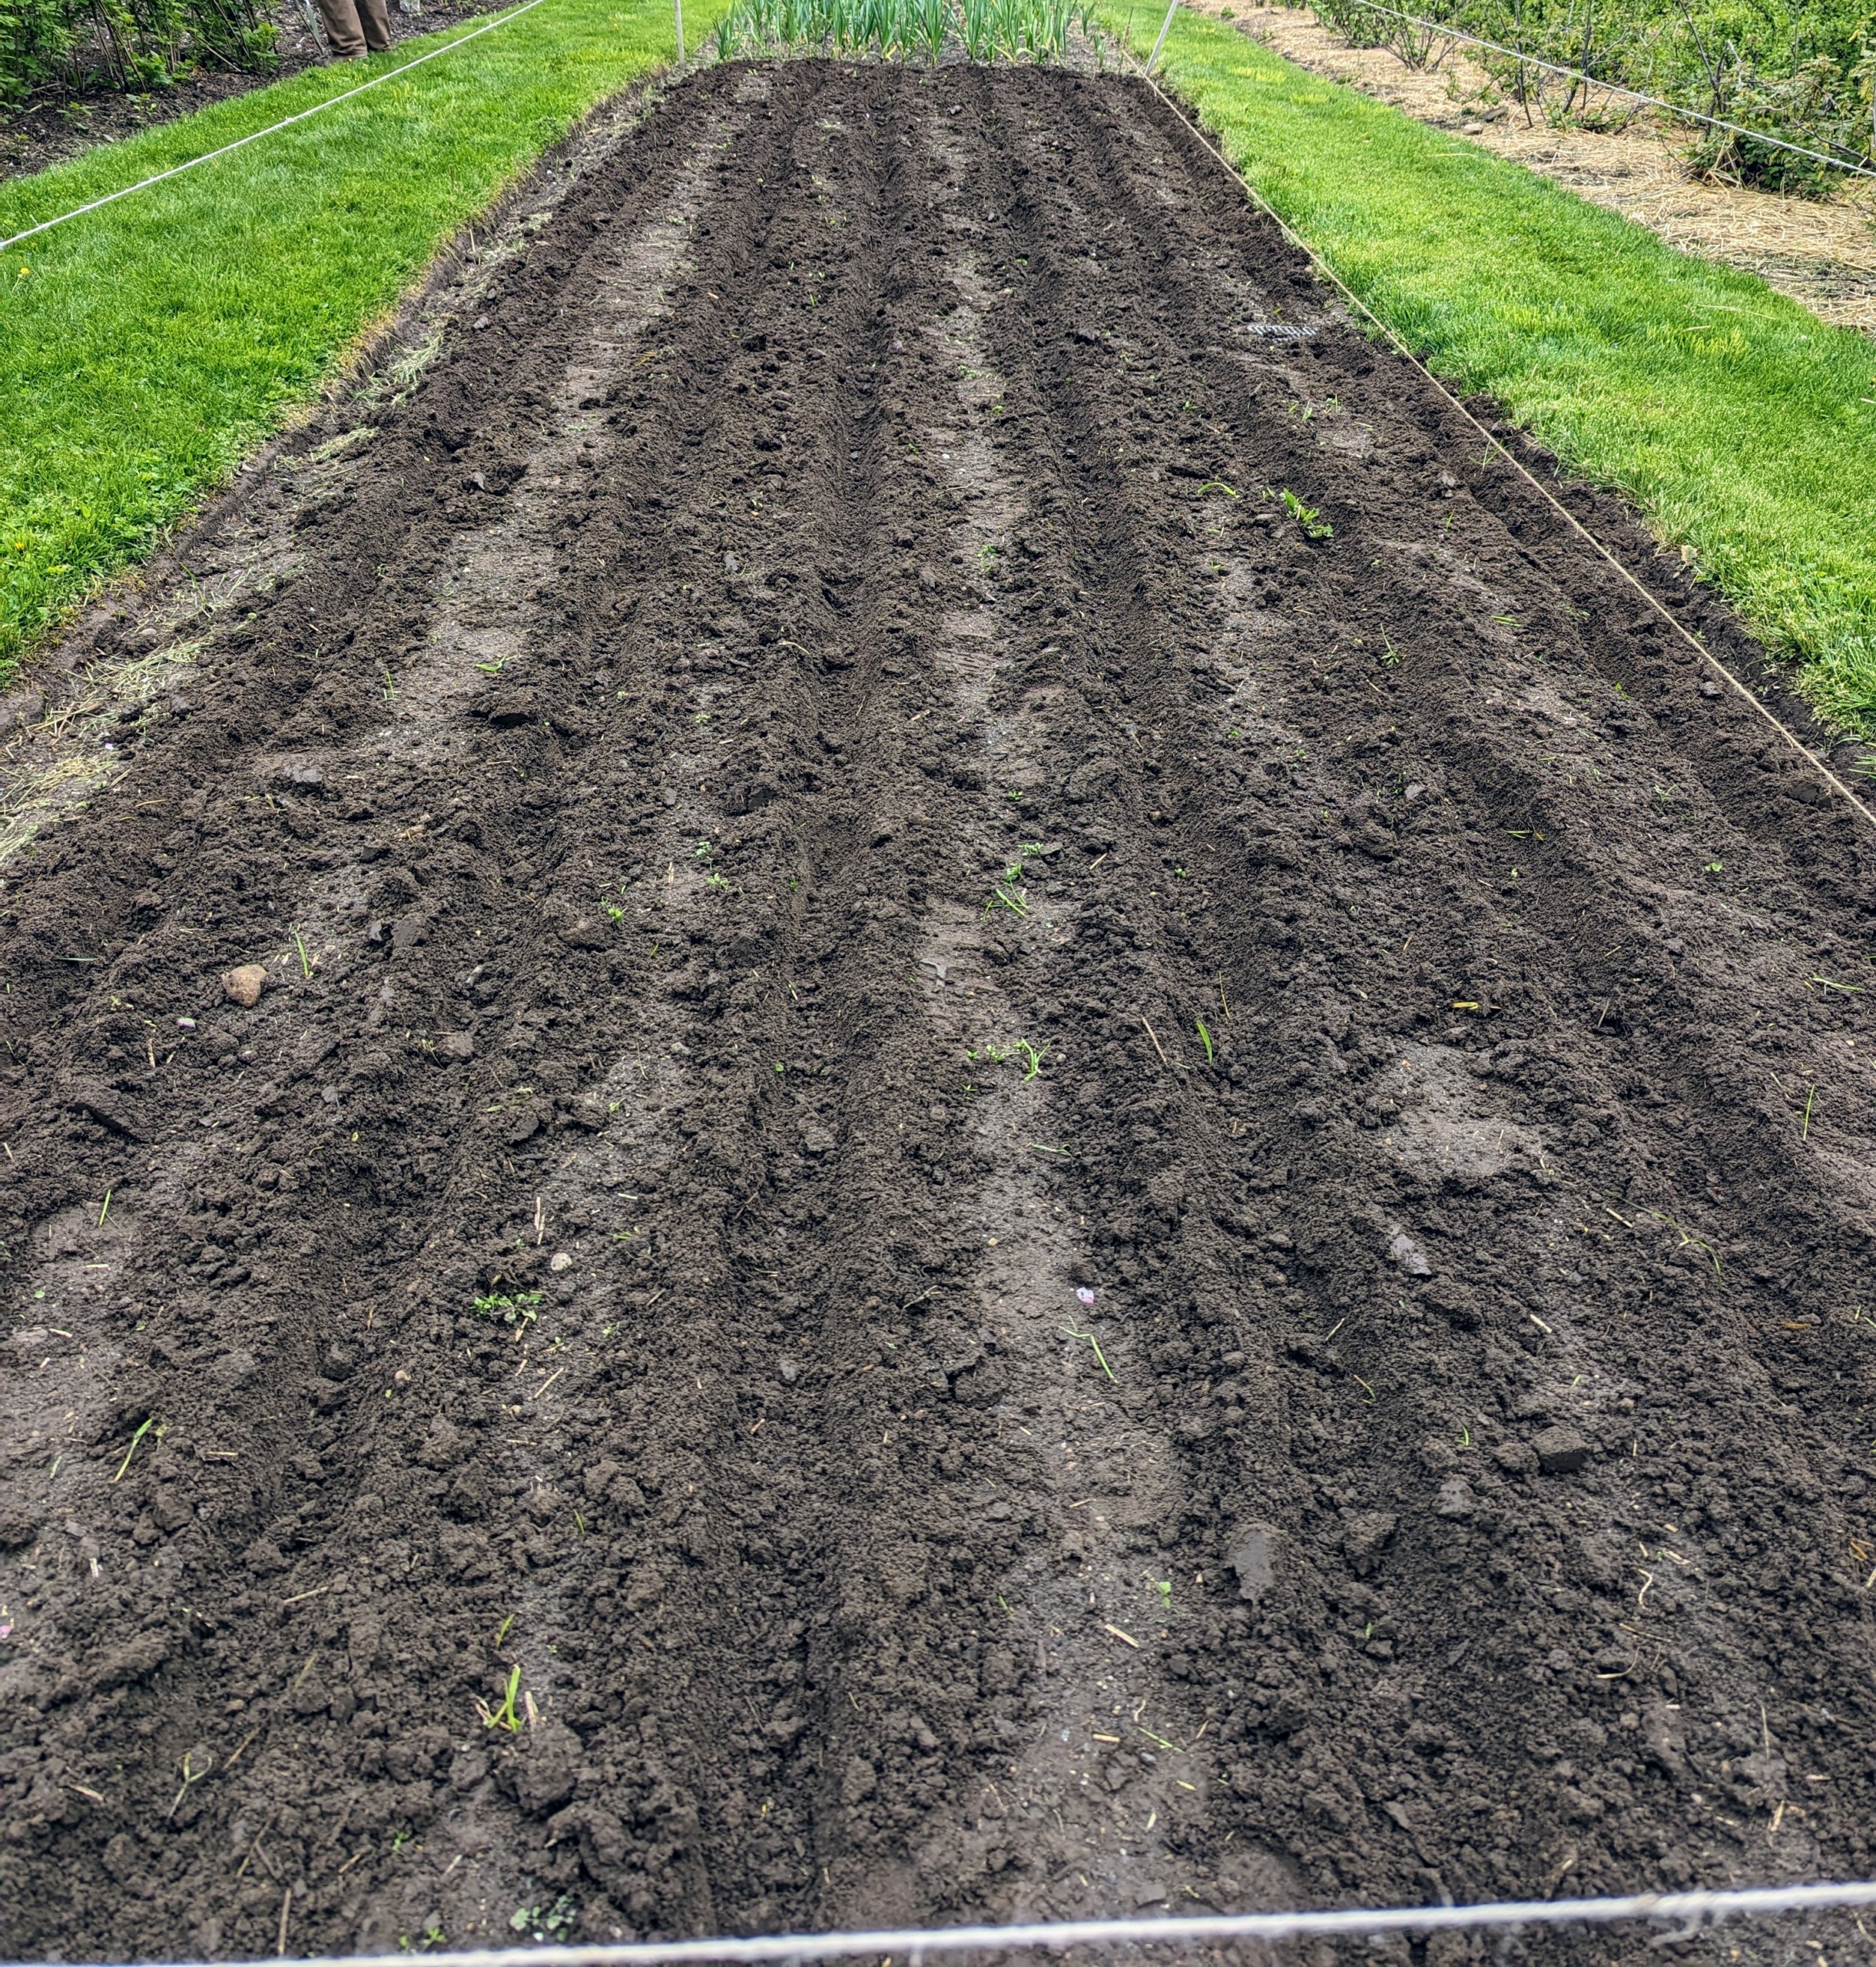
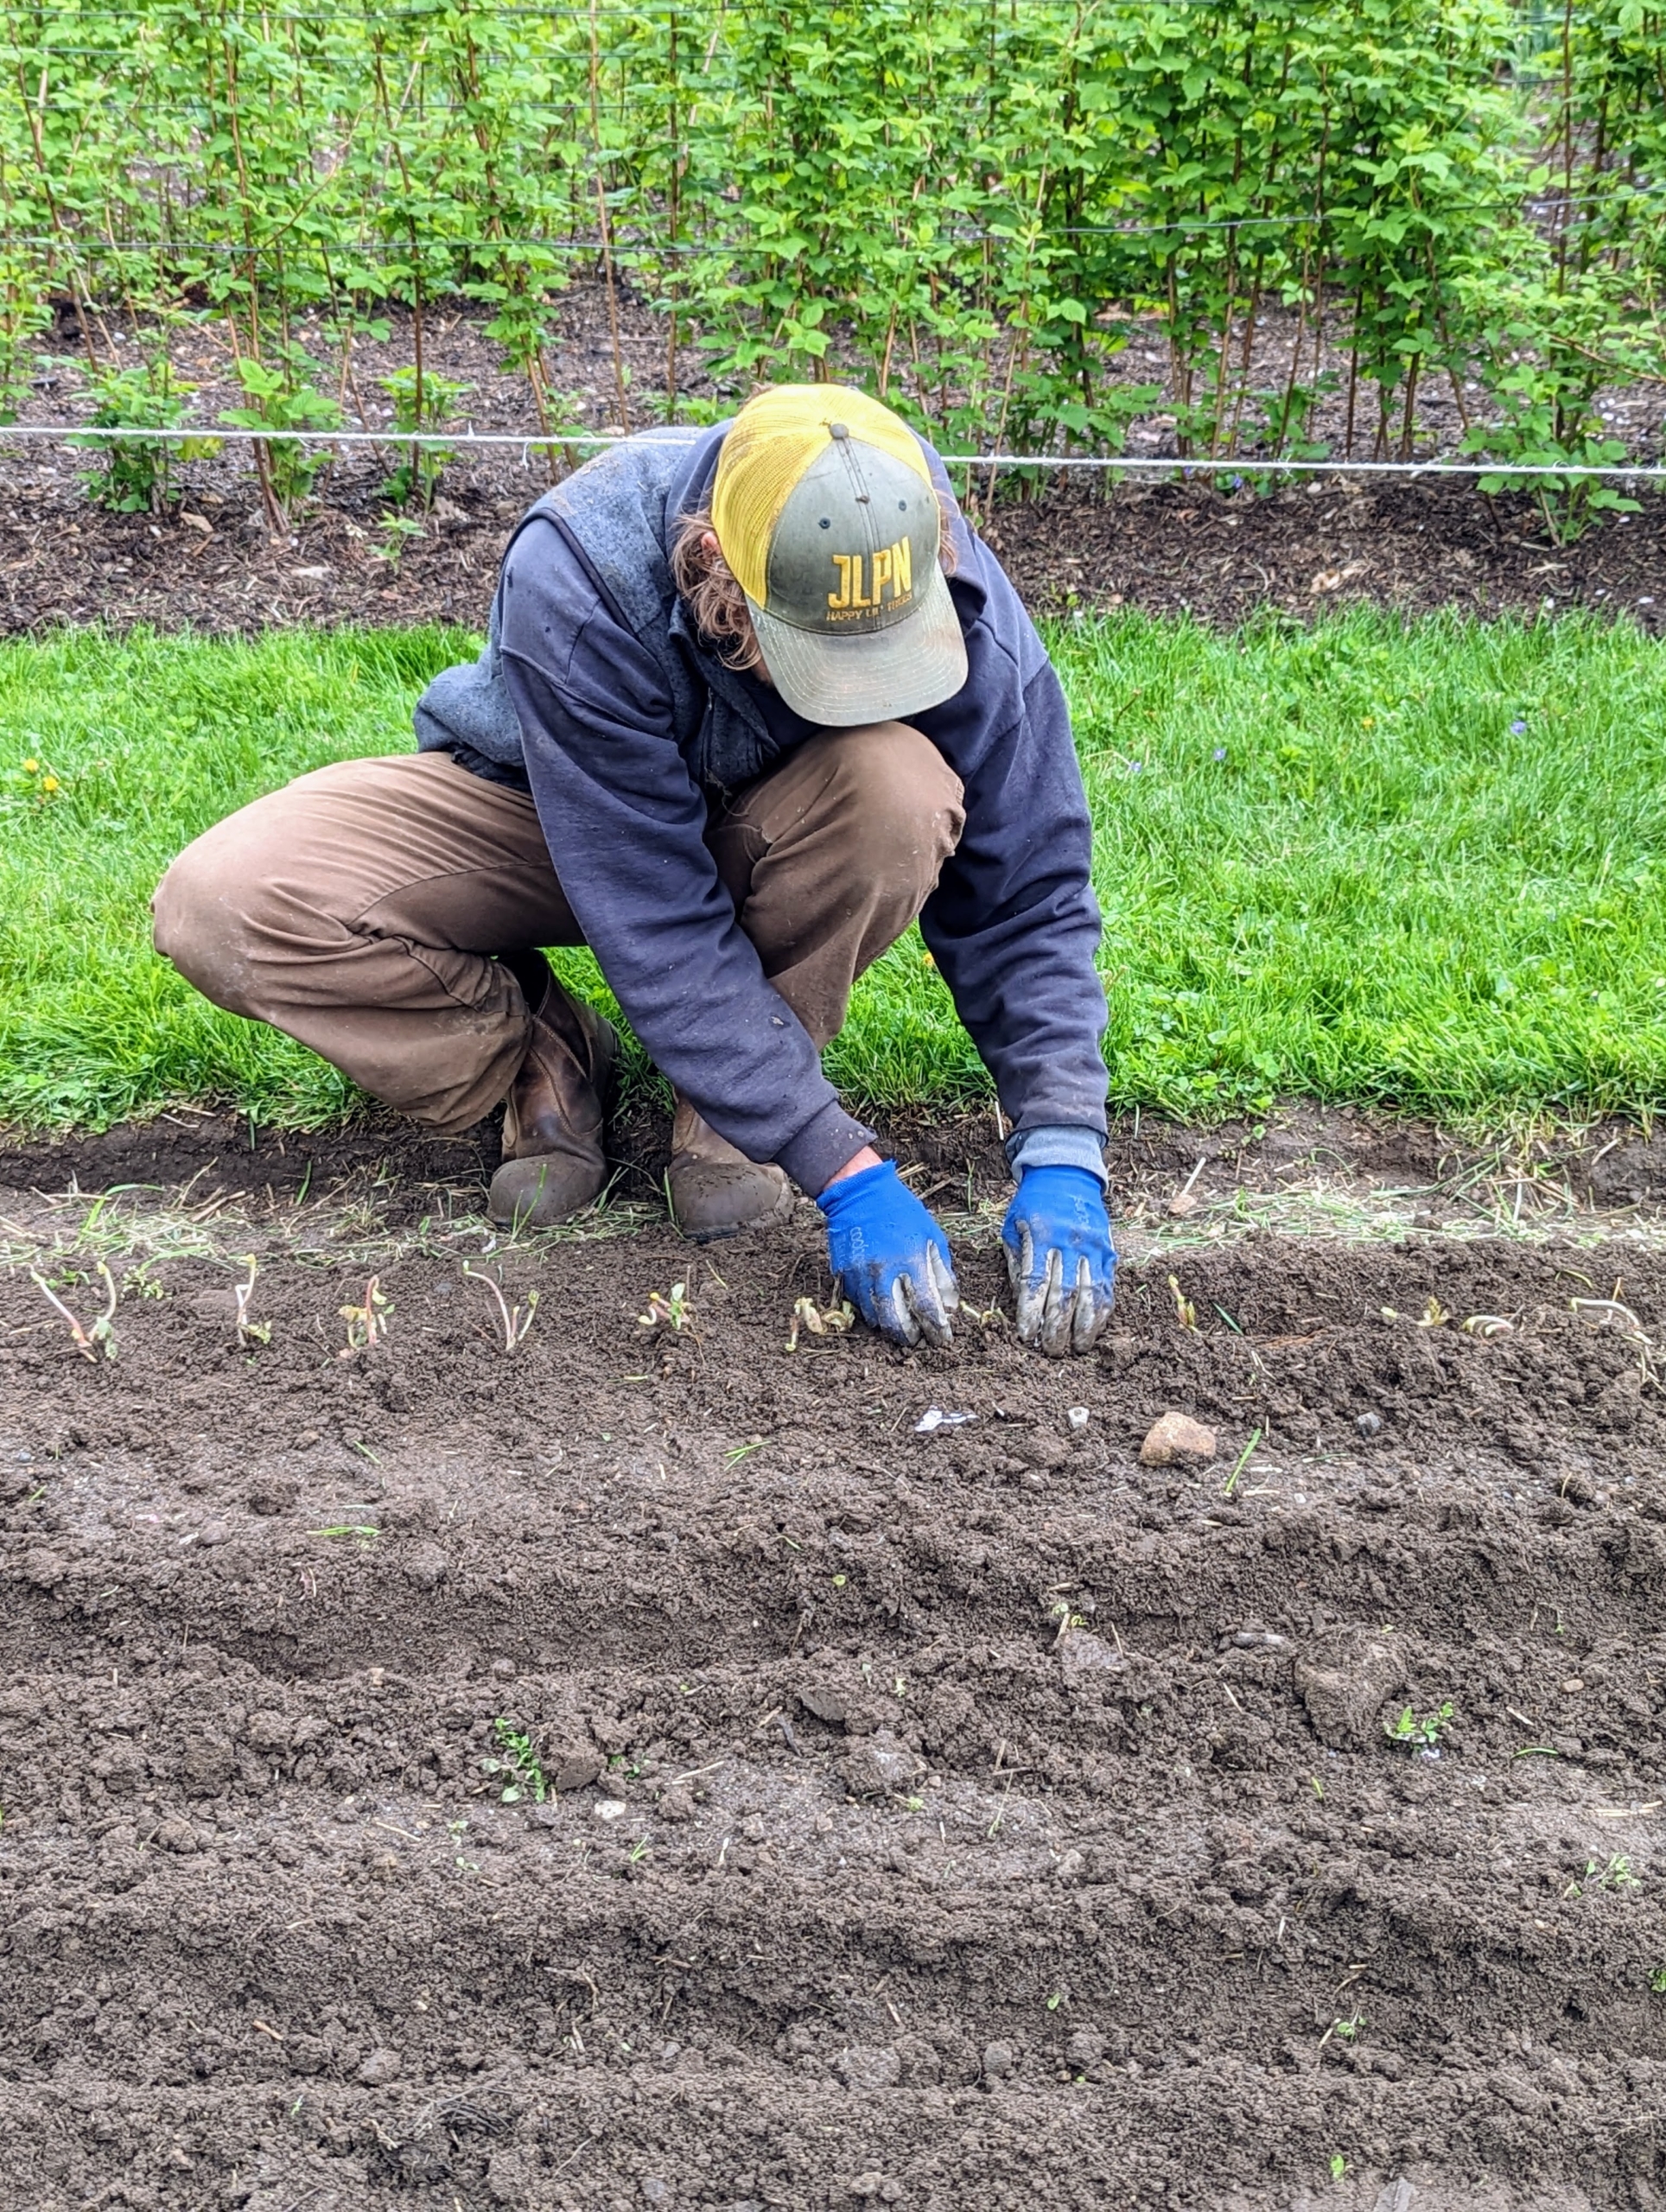
I decided to plant this season’s strawberry patch in a new location behind my main greenhouse. Strawberries prefer to be in full sun, and well-drained, well-established, nutrient-rich soil. The area was already cleared of any rocks, weeds and other debris, tilled, and fed.
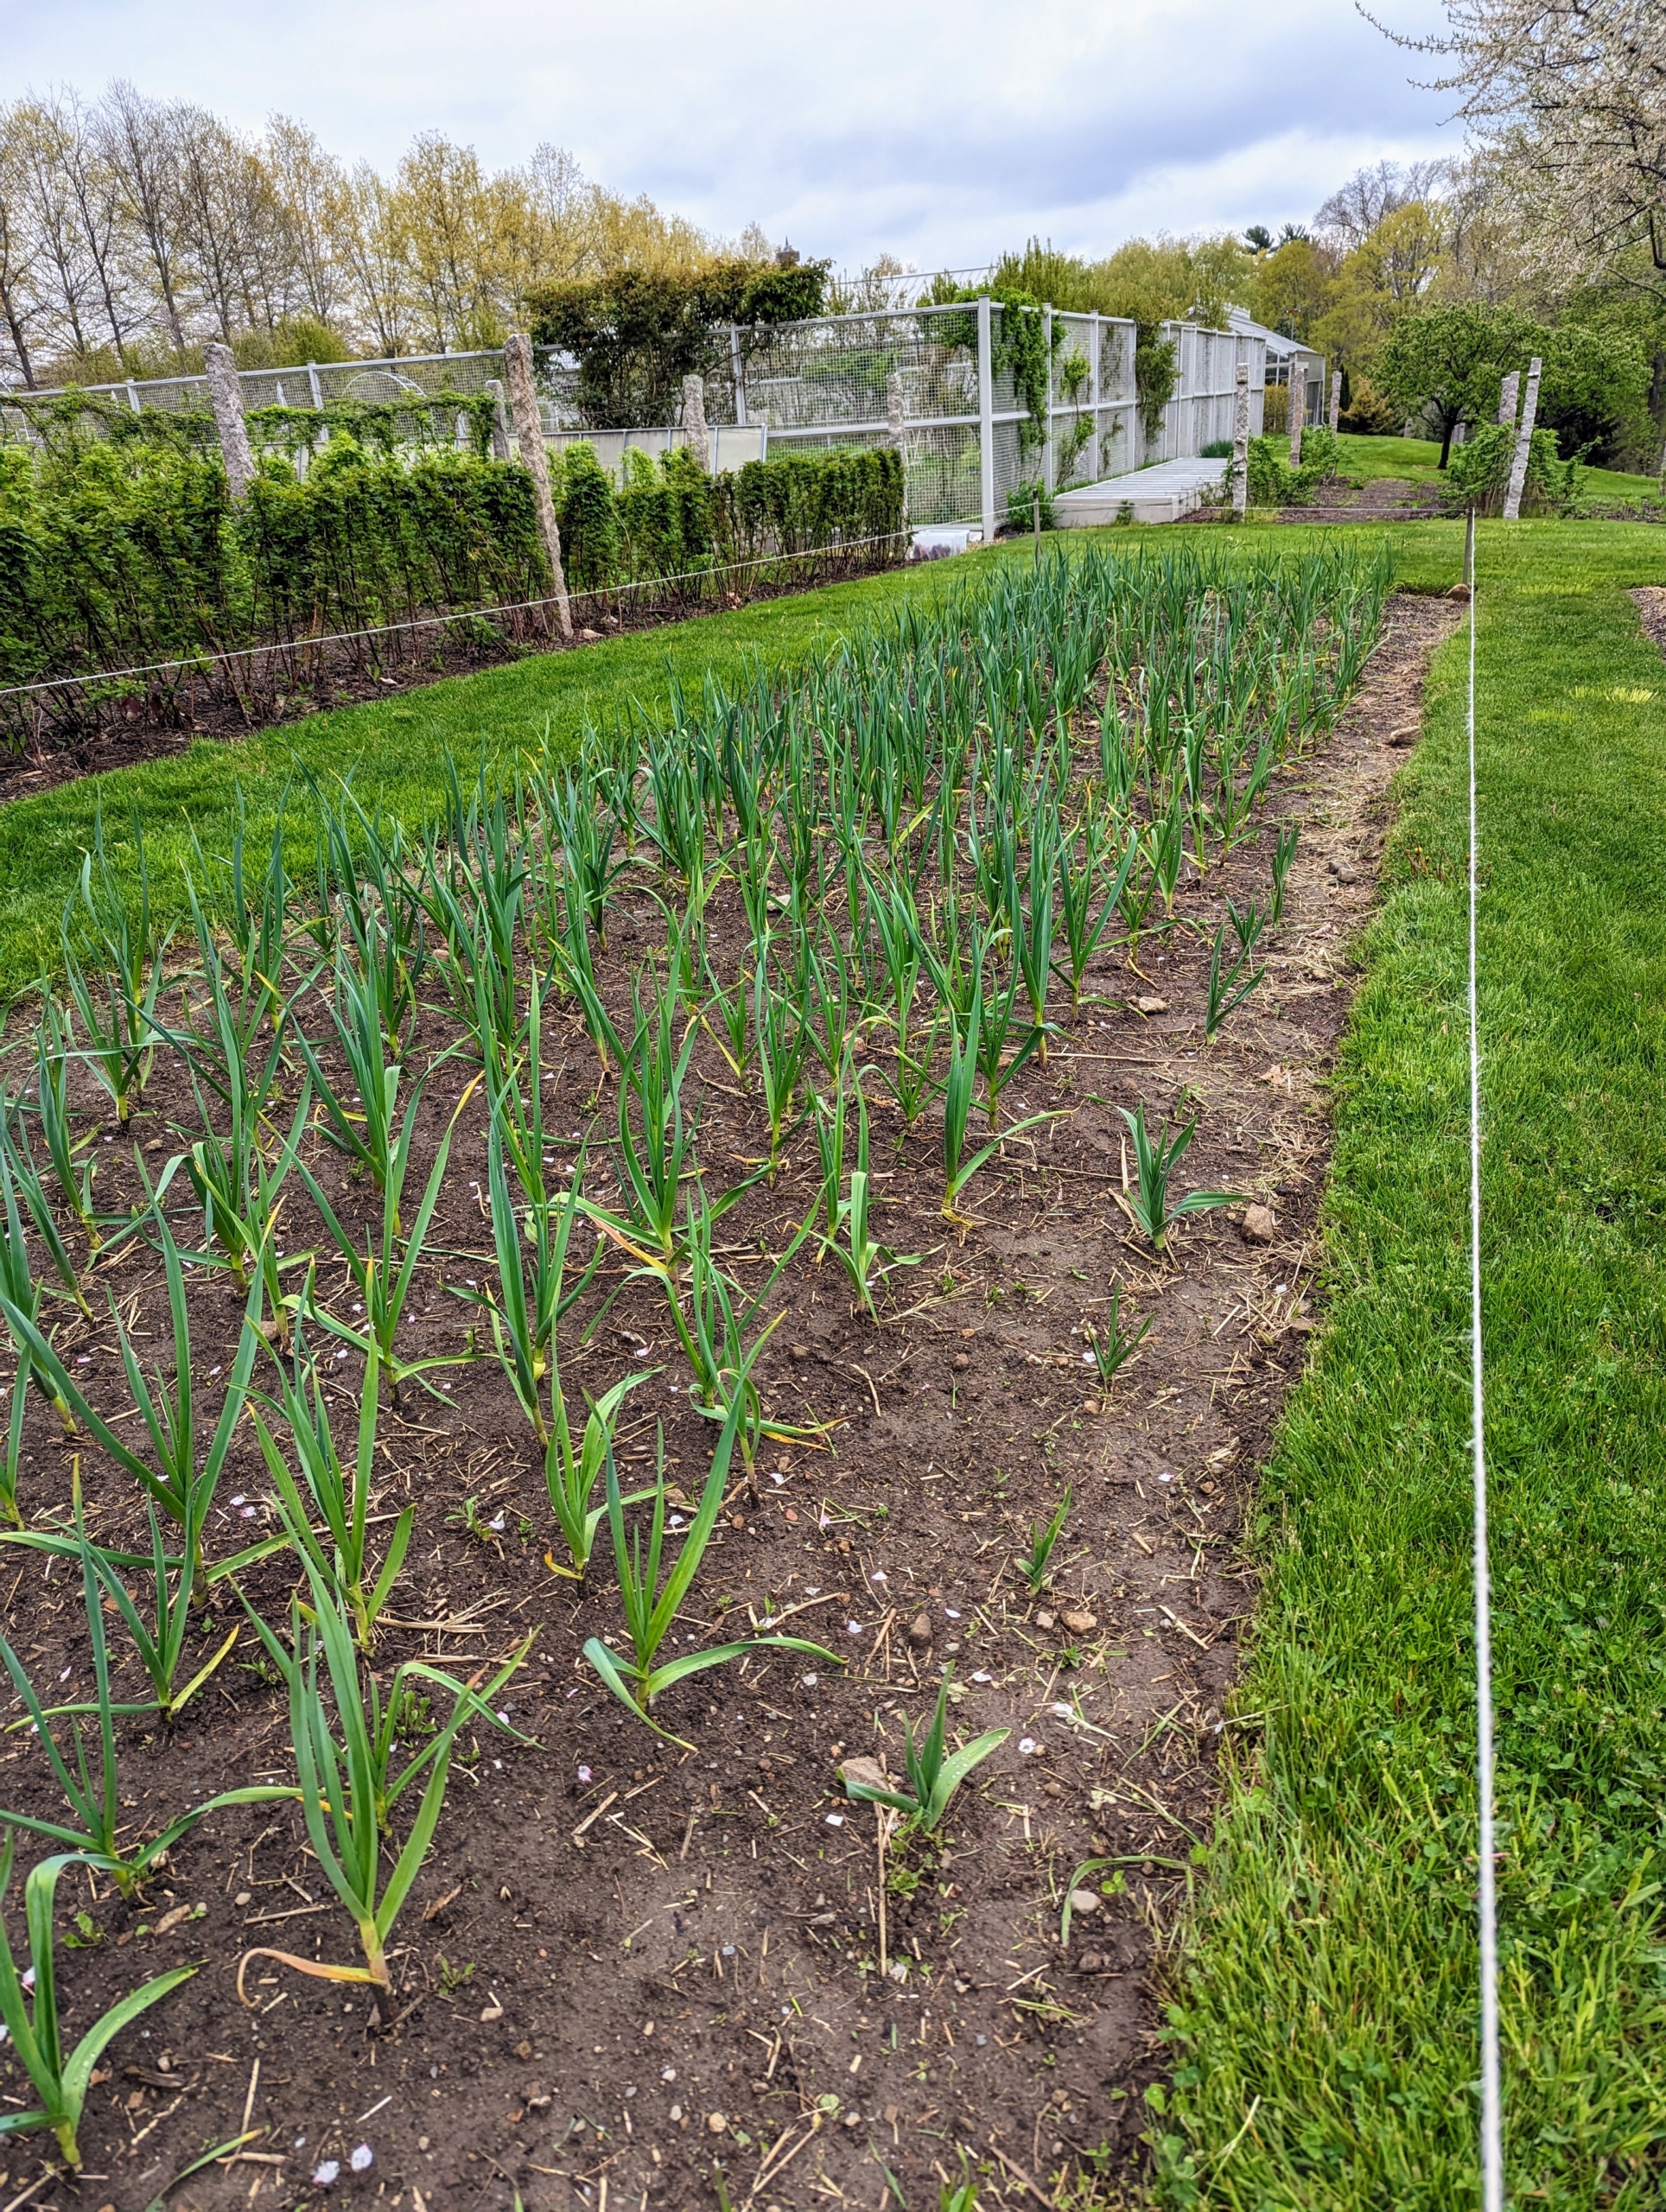
The strawberries will be adjacent to our crop of garlic, which is growing so nicely this year.
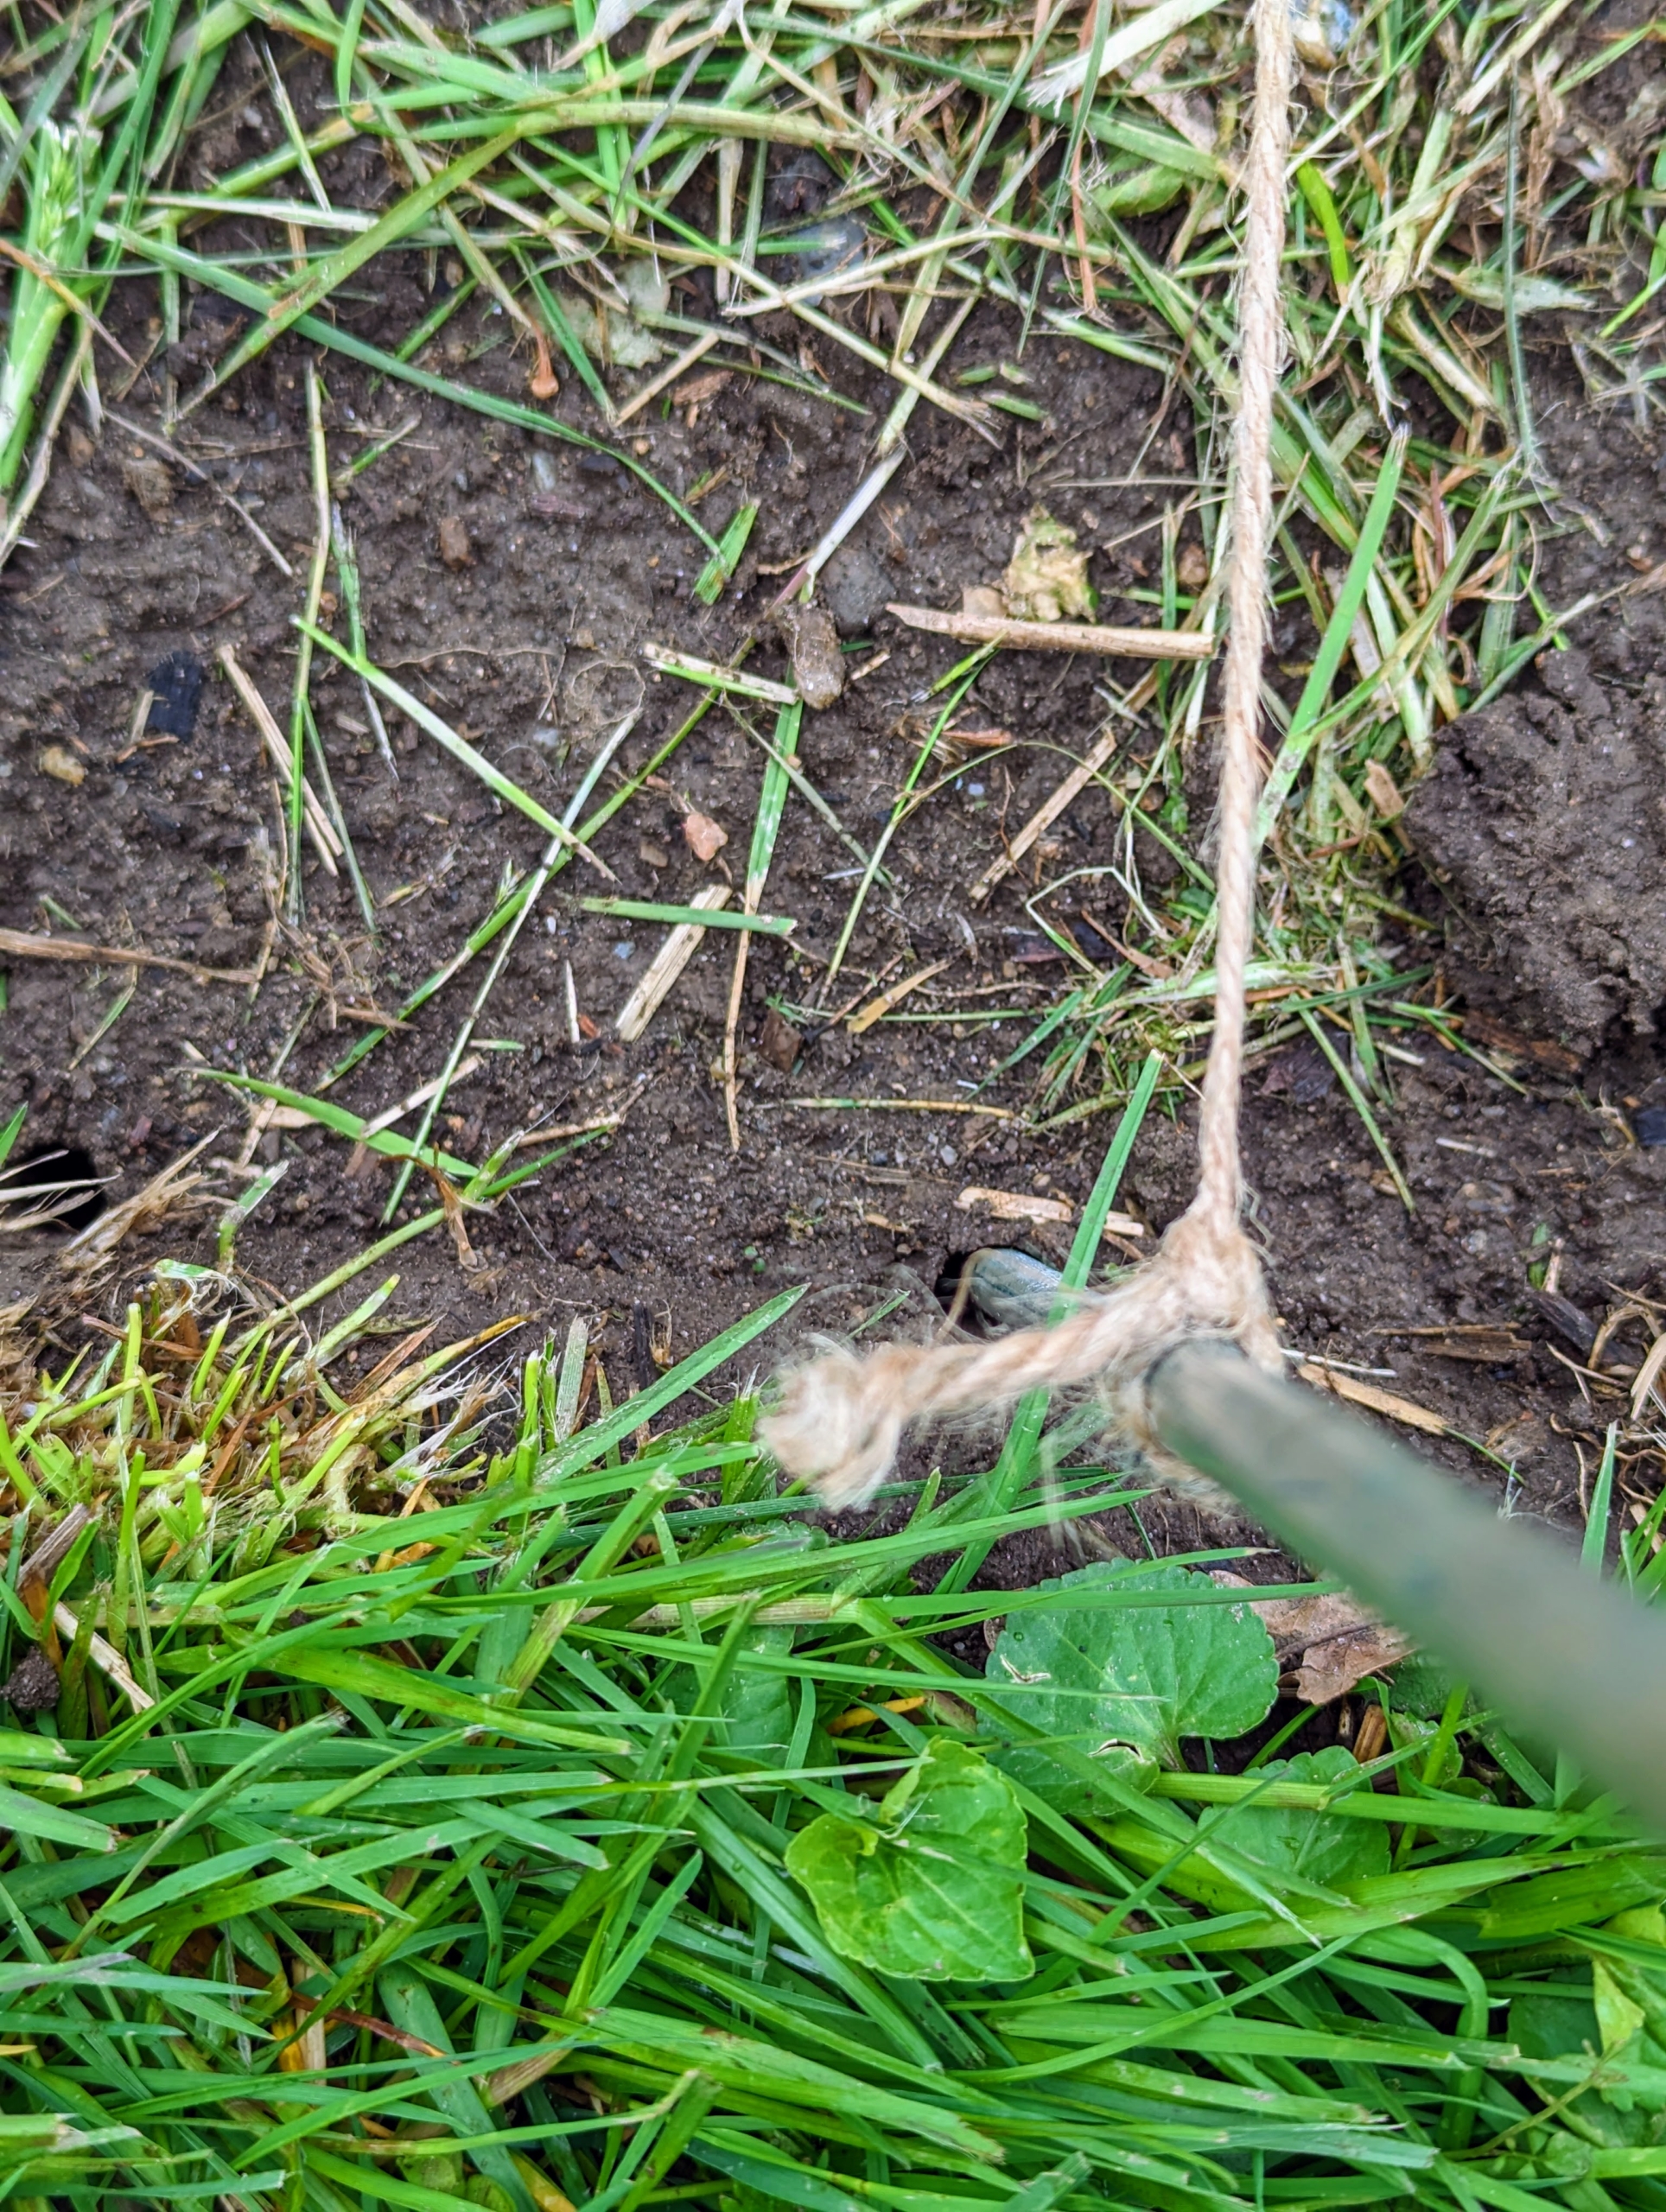
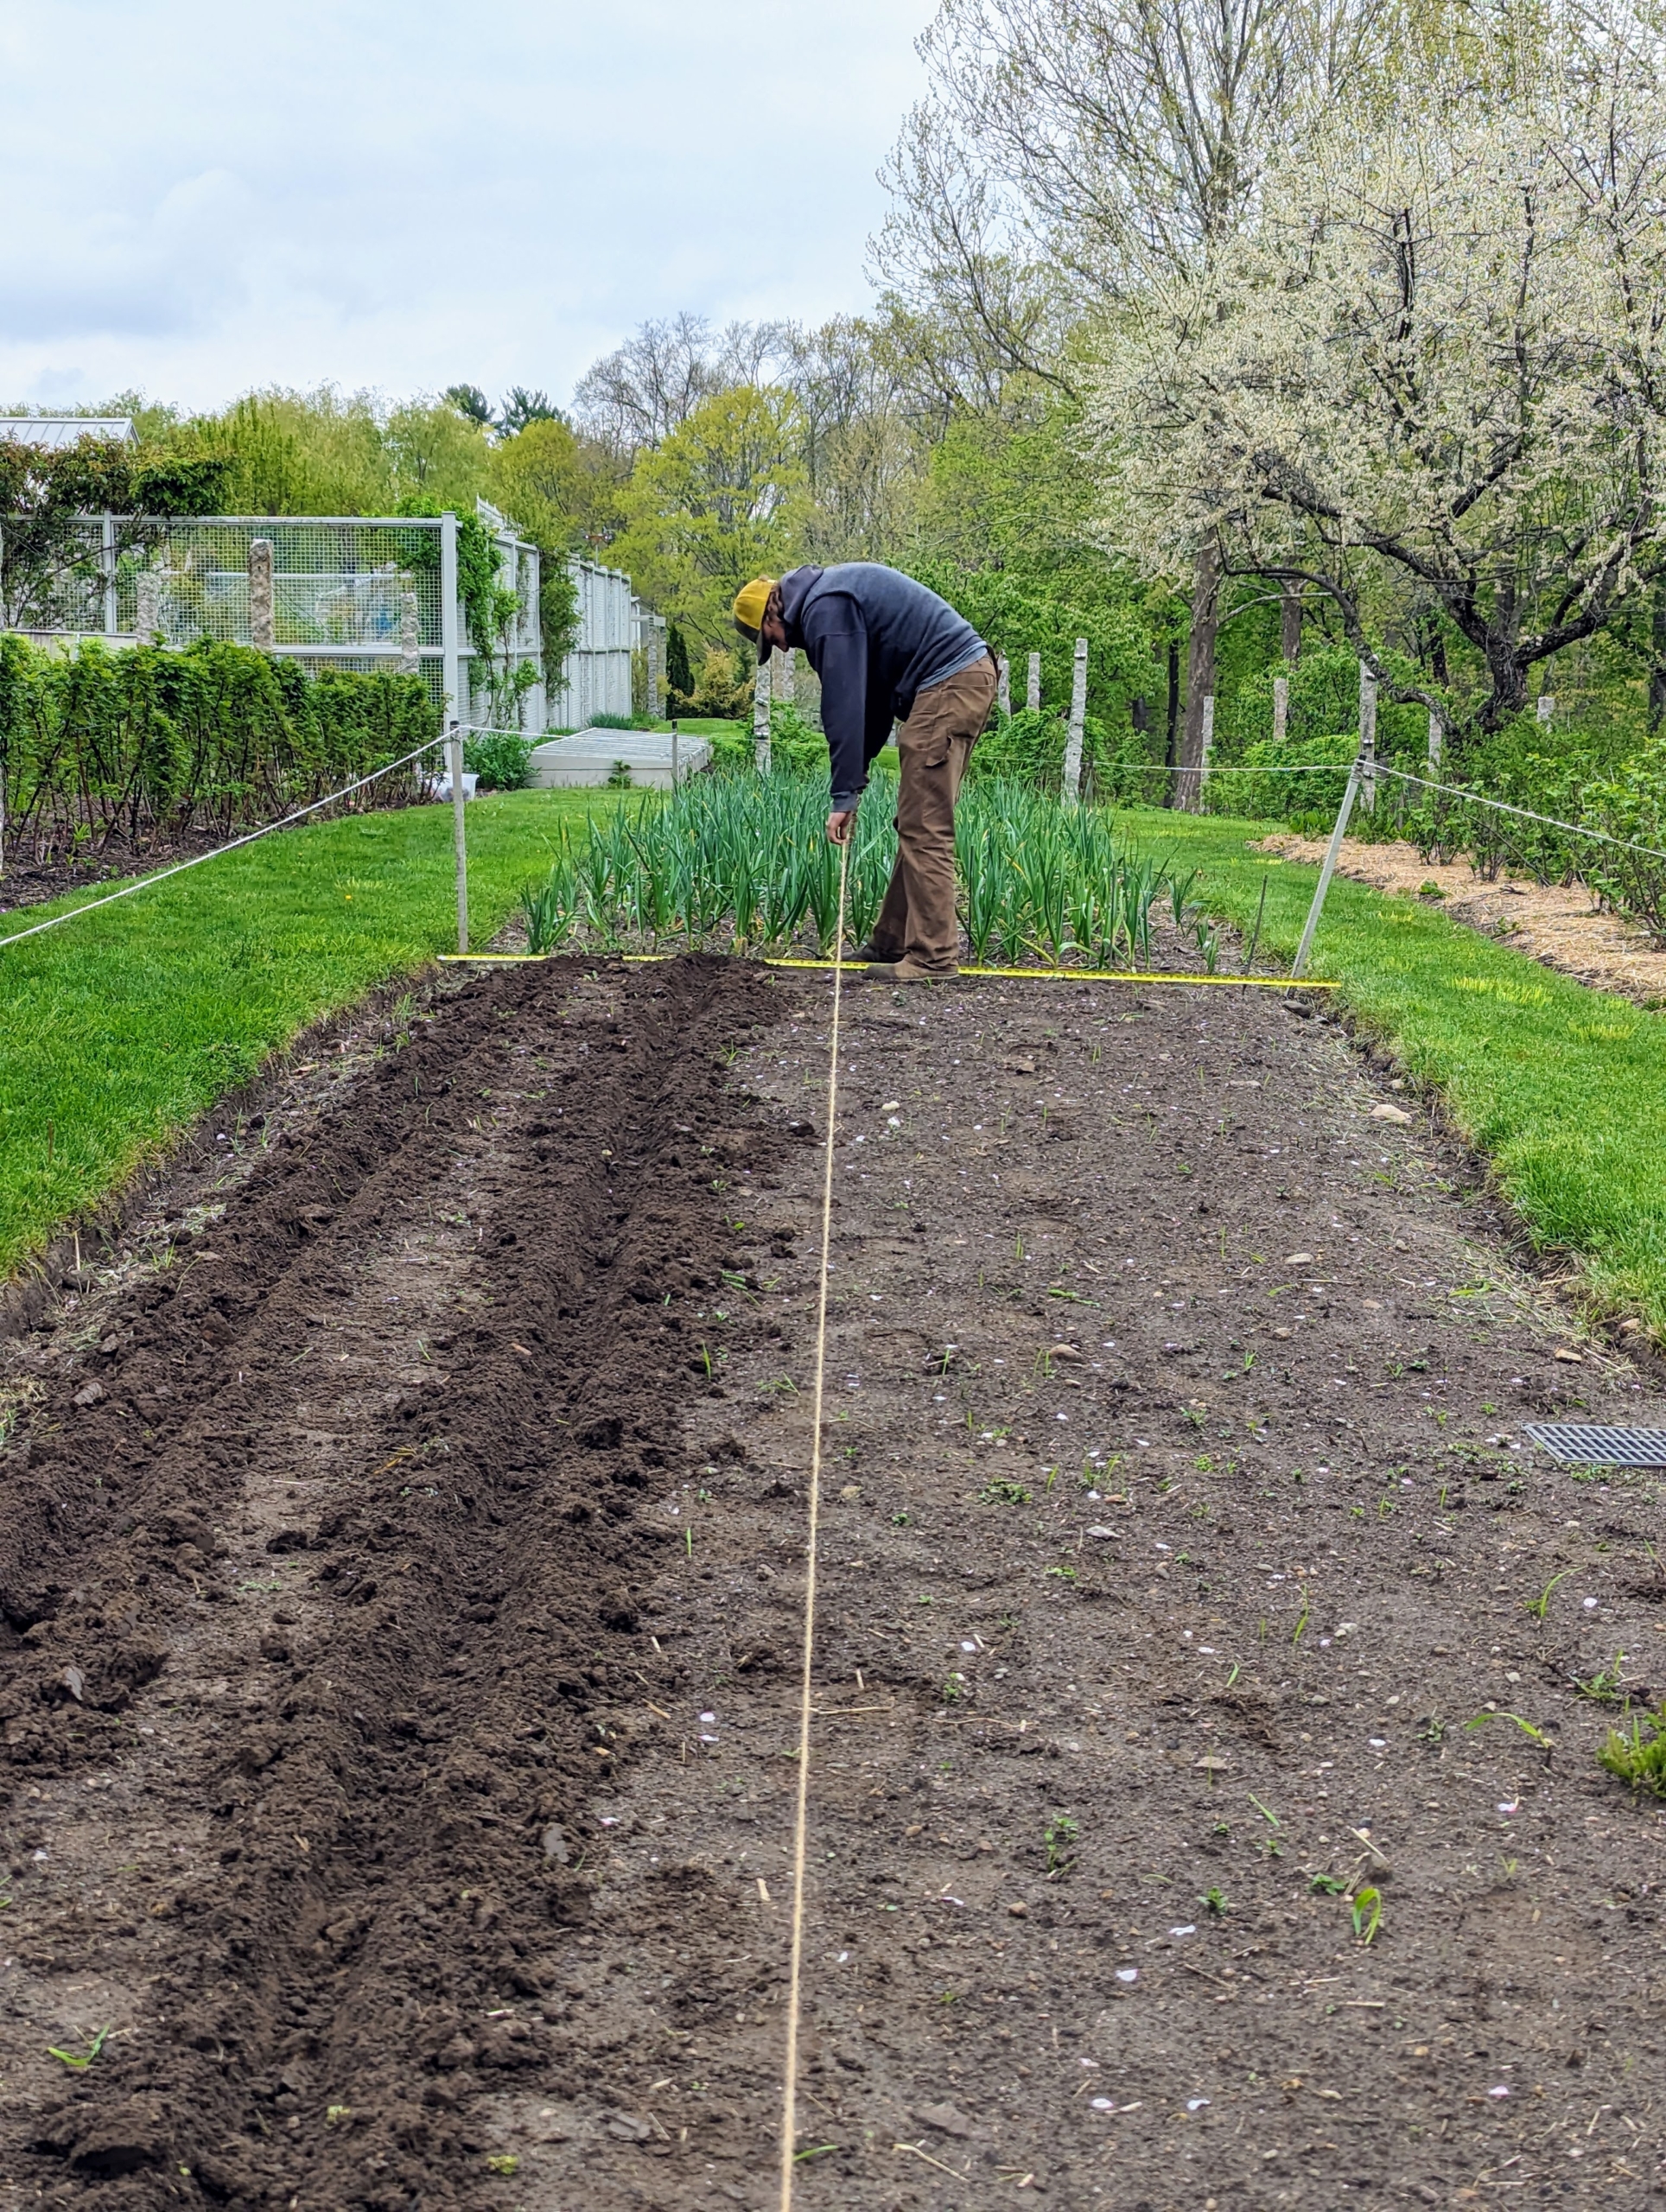
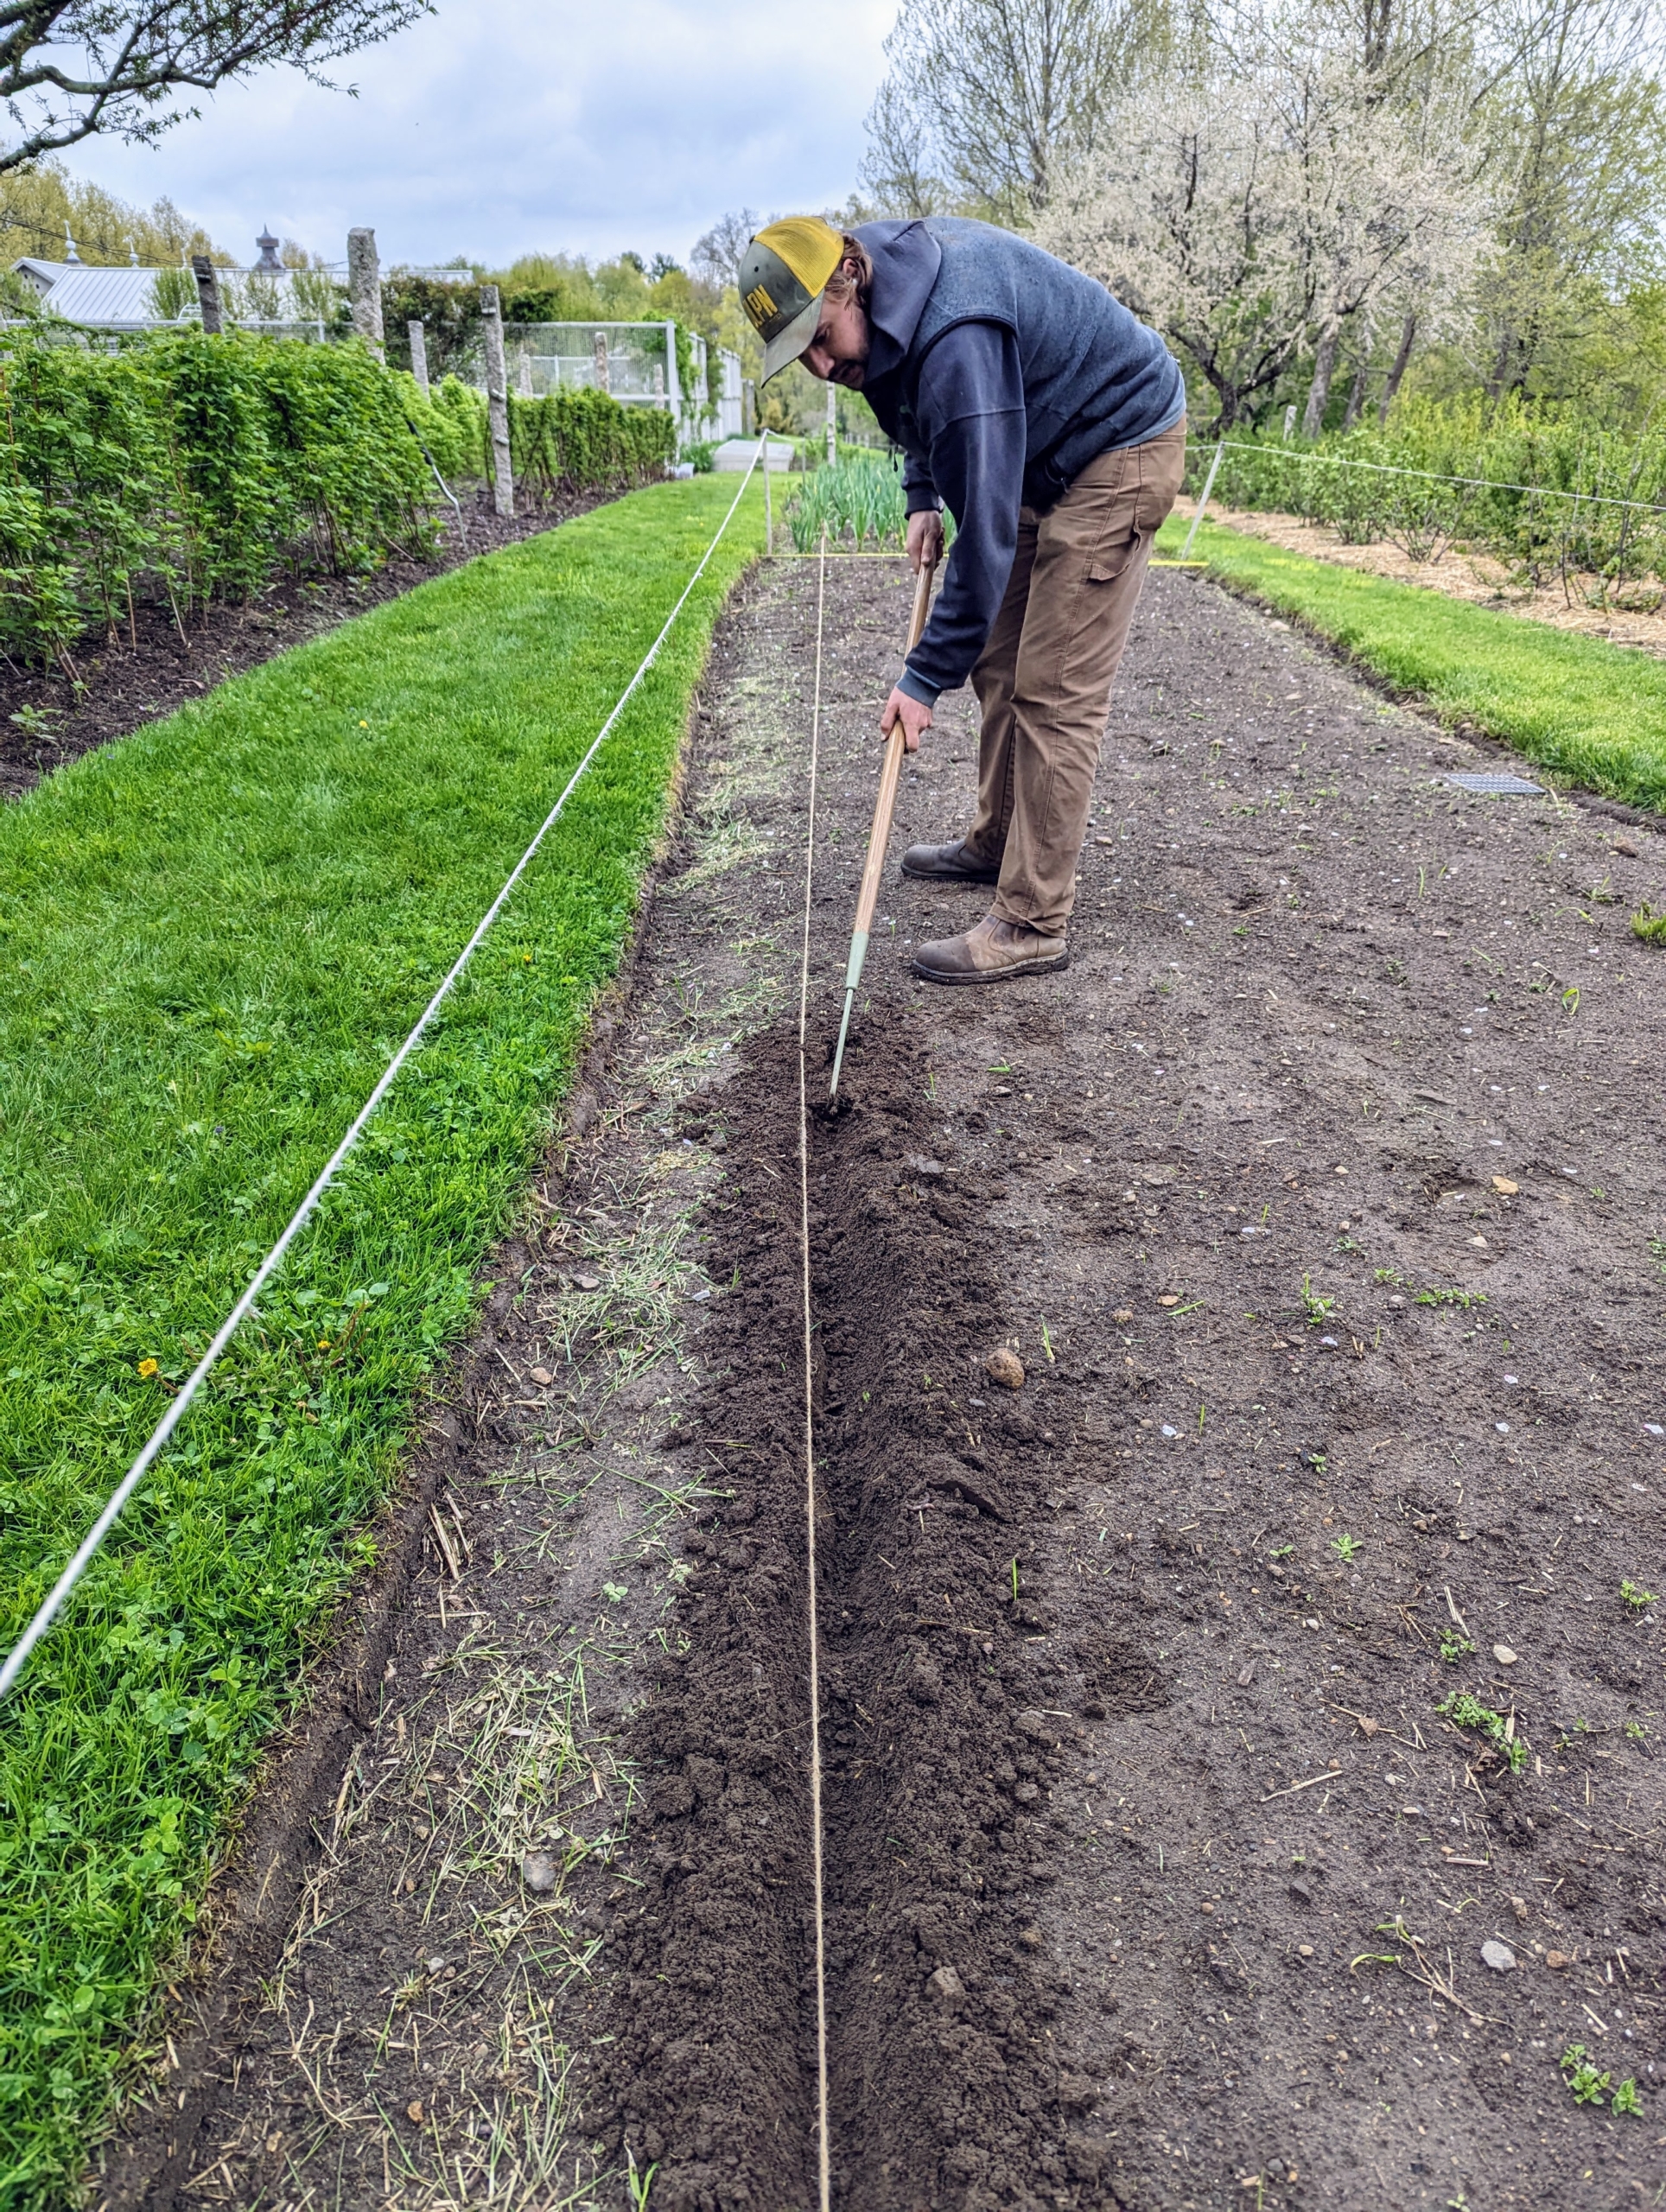
First, Brian sets up the twine, to make sure everything is lined up straight and perfect.
We have several different strawberry varieties, so we measured the bed and calculate how many rows would accommodate the plants.
Fortunately, there is room for about 100-plants in each long row.
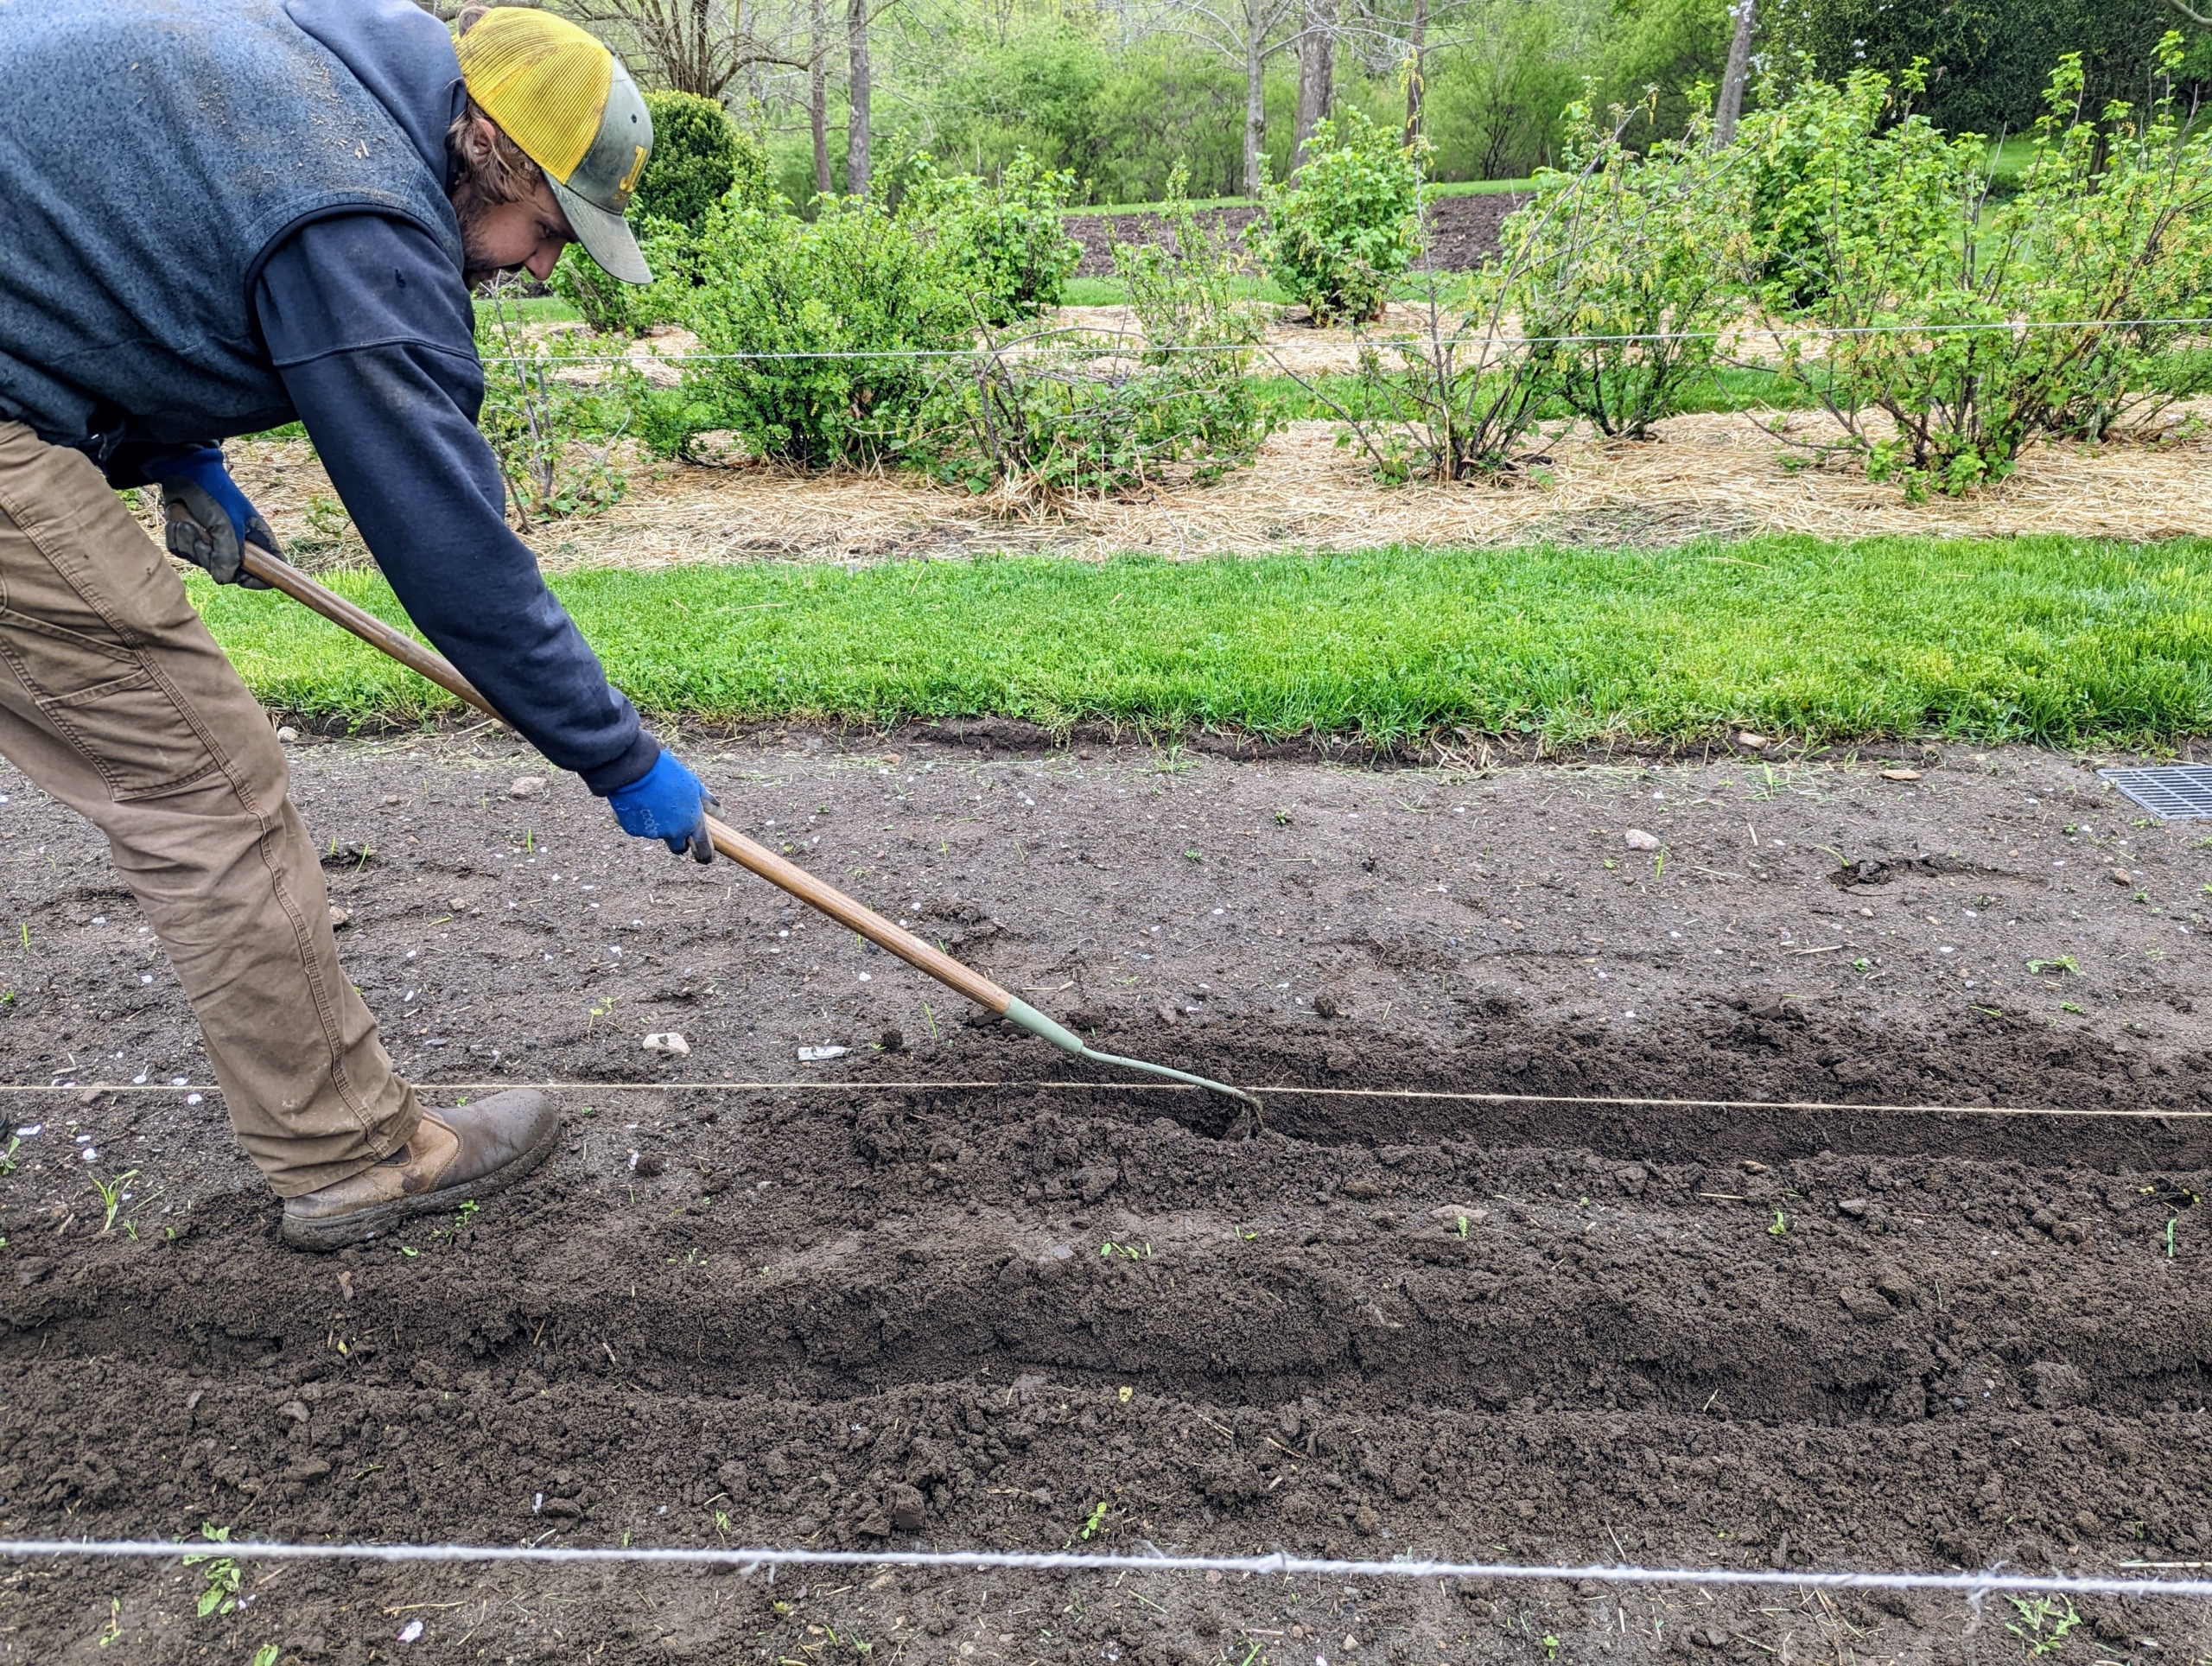
Using a heart shaped hoe, Brian starts by digging shallow trenches. Heart shaped hand hoes are great to use for getting under the soil to make these furrows or to weed.
The trenches should be large enough to accommodate the roots without bending them. Strawberries also need slightly acidic soil with a pH between 5.5 and 6.8.
Many varieties of strawberries send out numerous runners throughout the season and fill in the space between plants, so it’s important to give them ample room – these trenches are a foot apart.
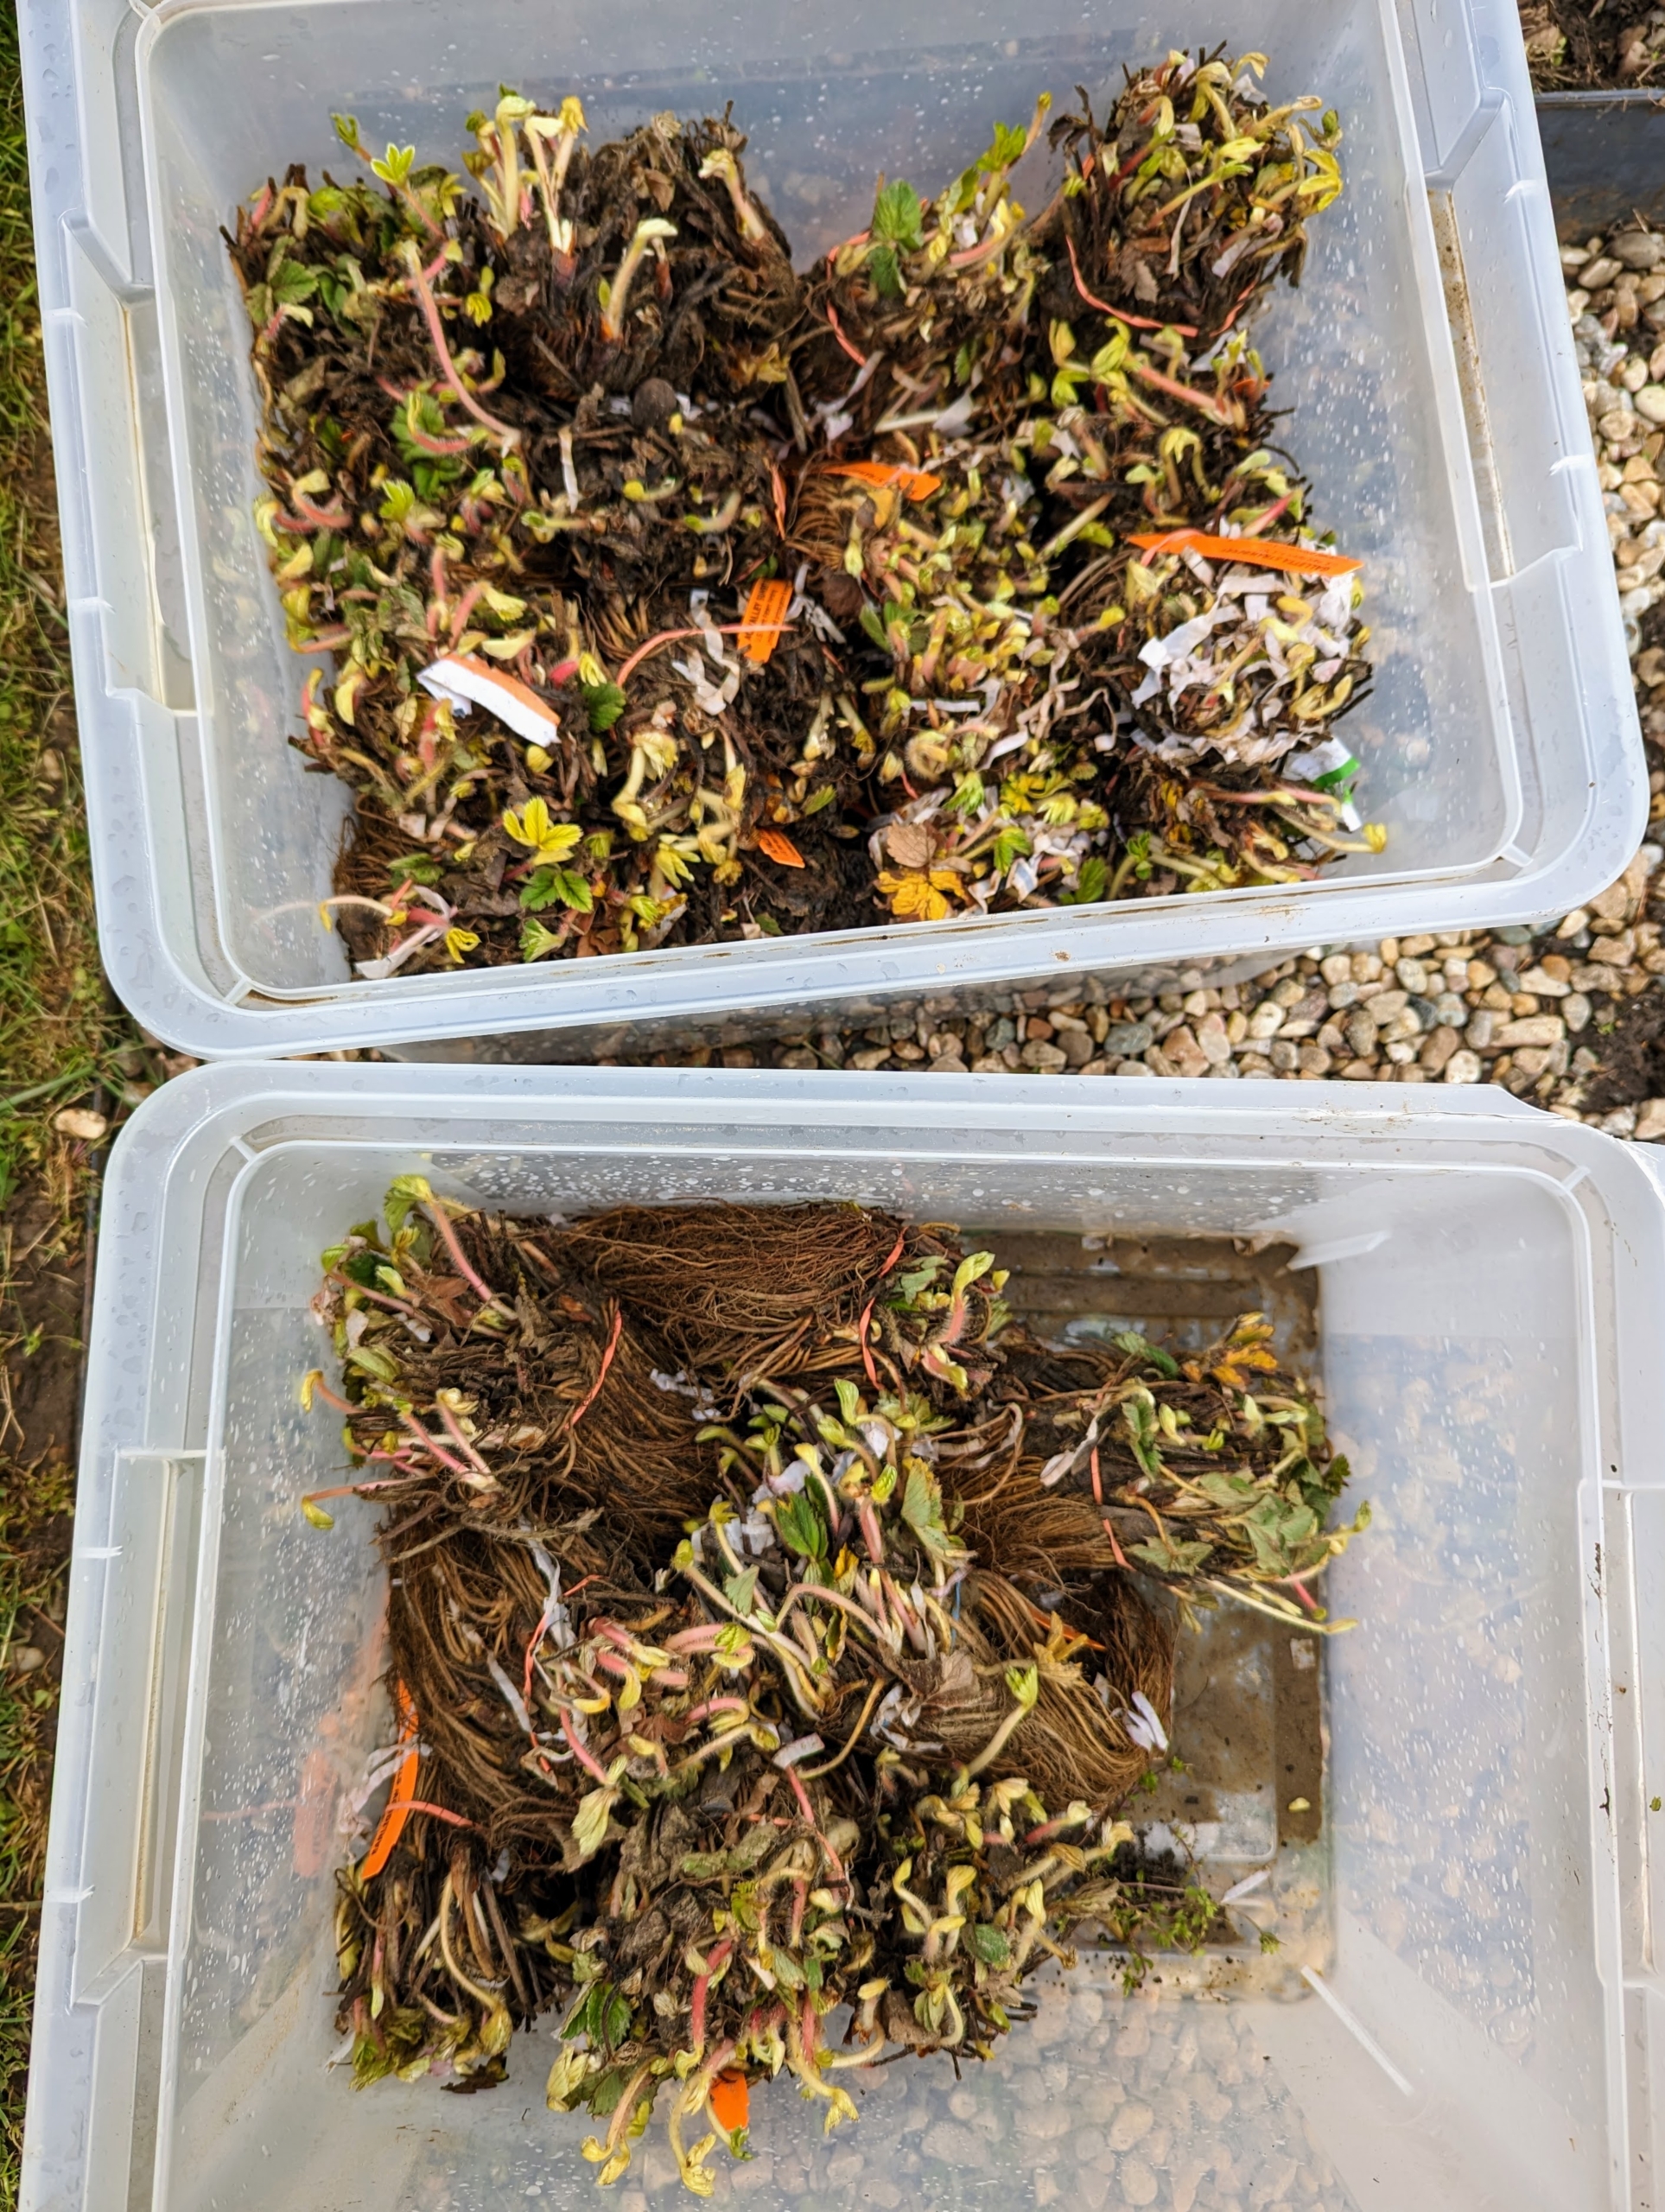
These are bare-root strawberry plants that have been placed in water until ready to plant.
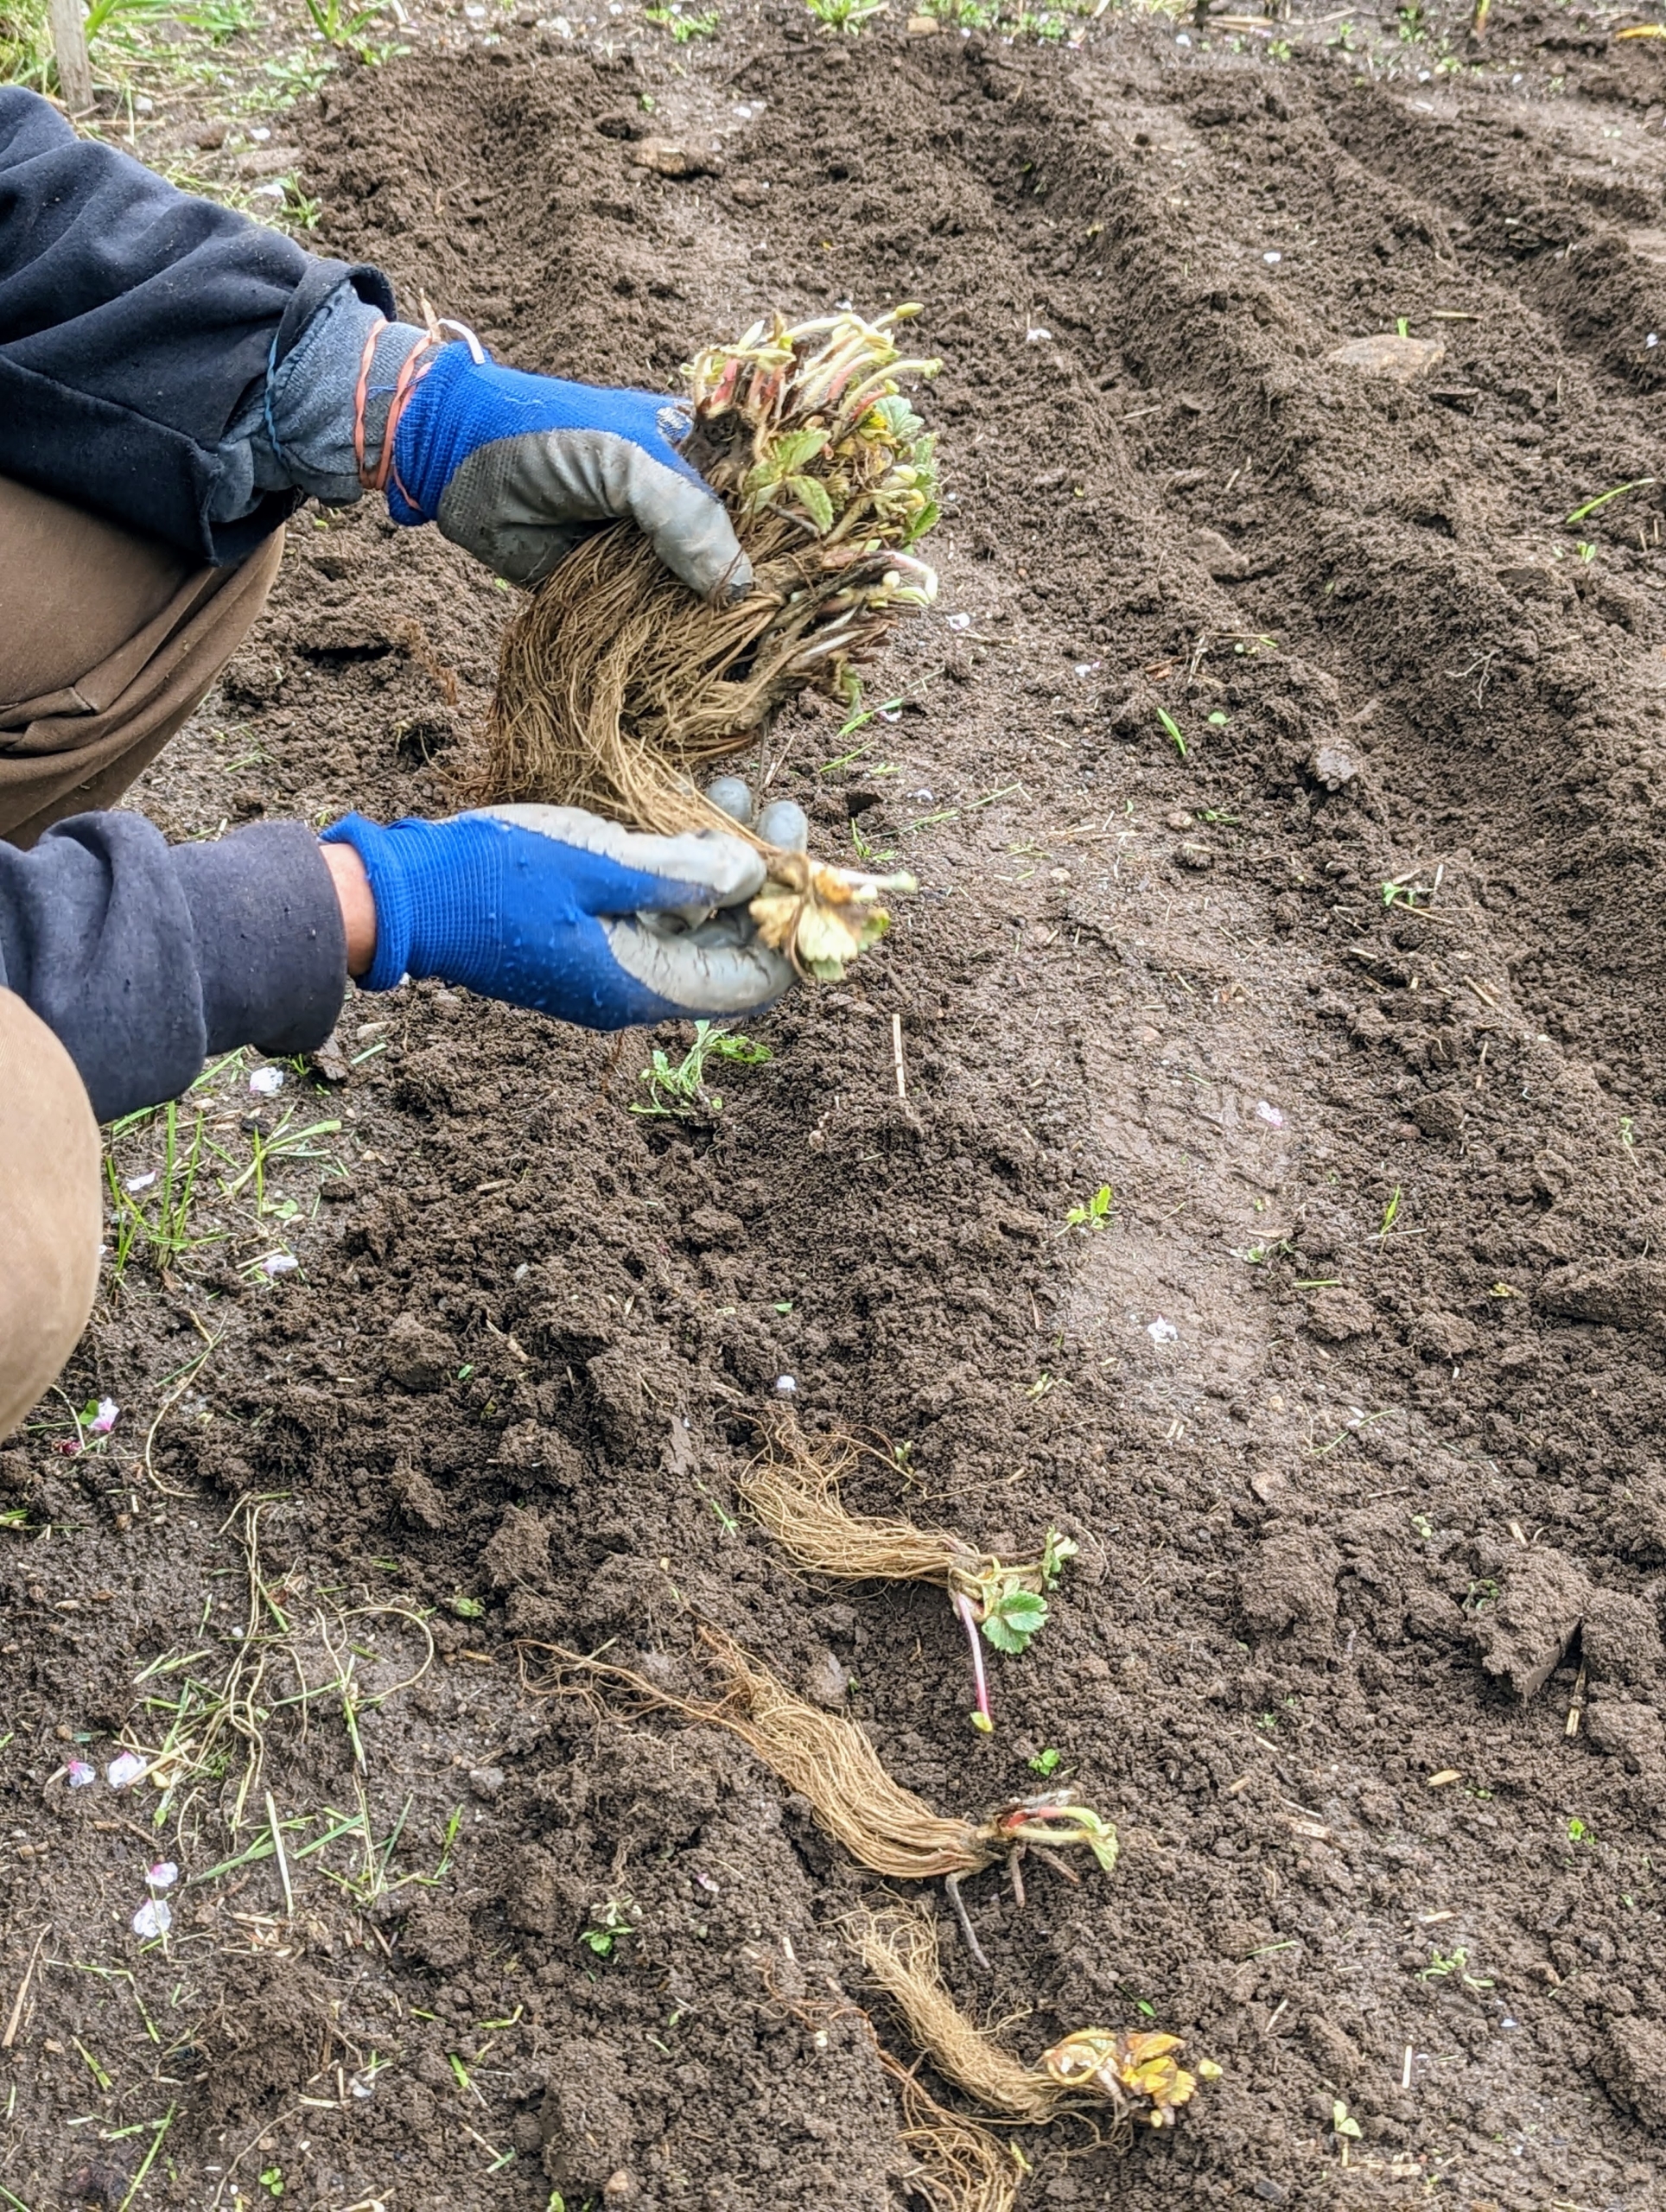
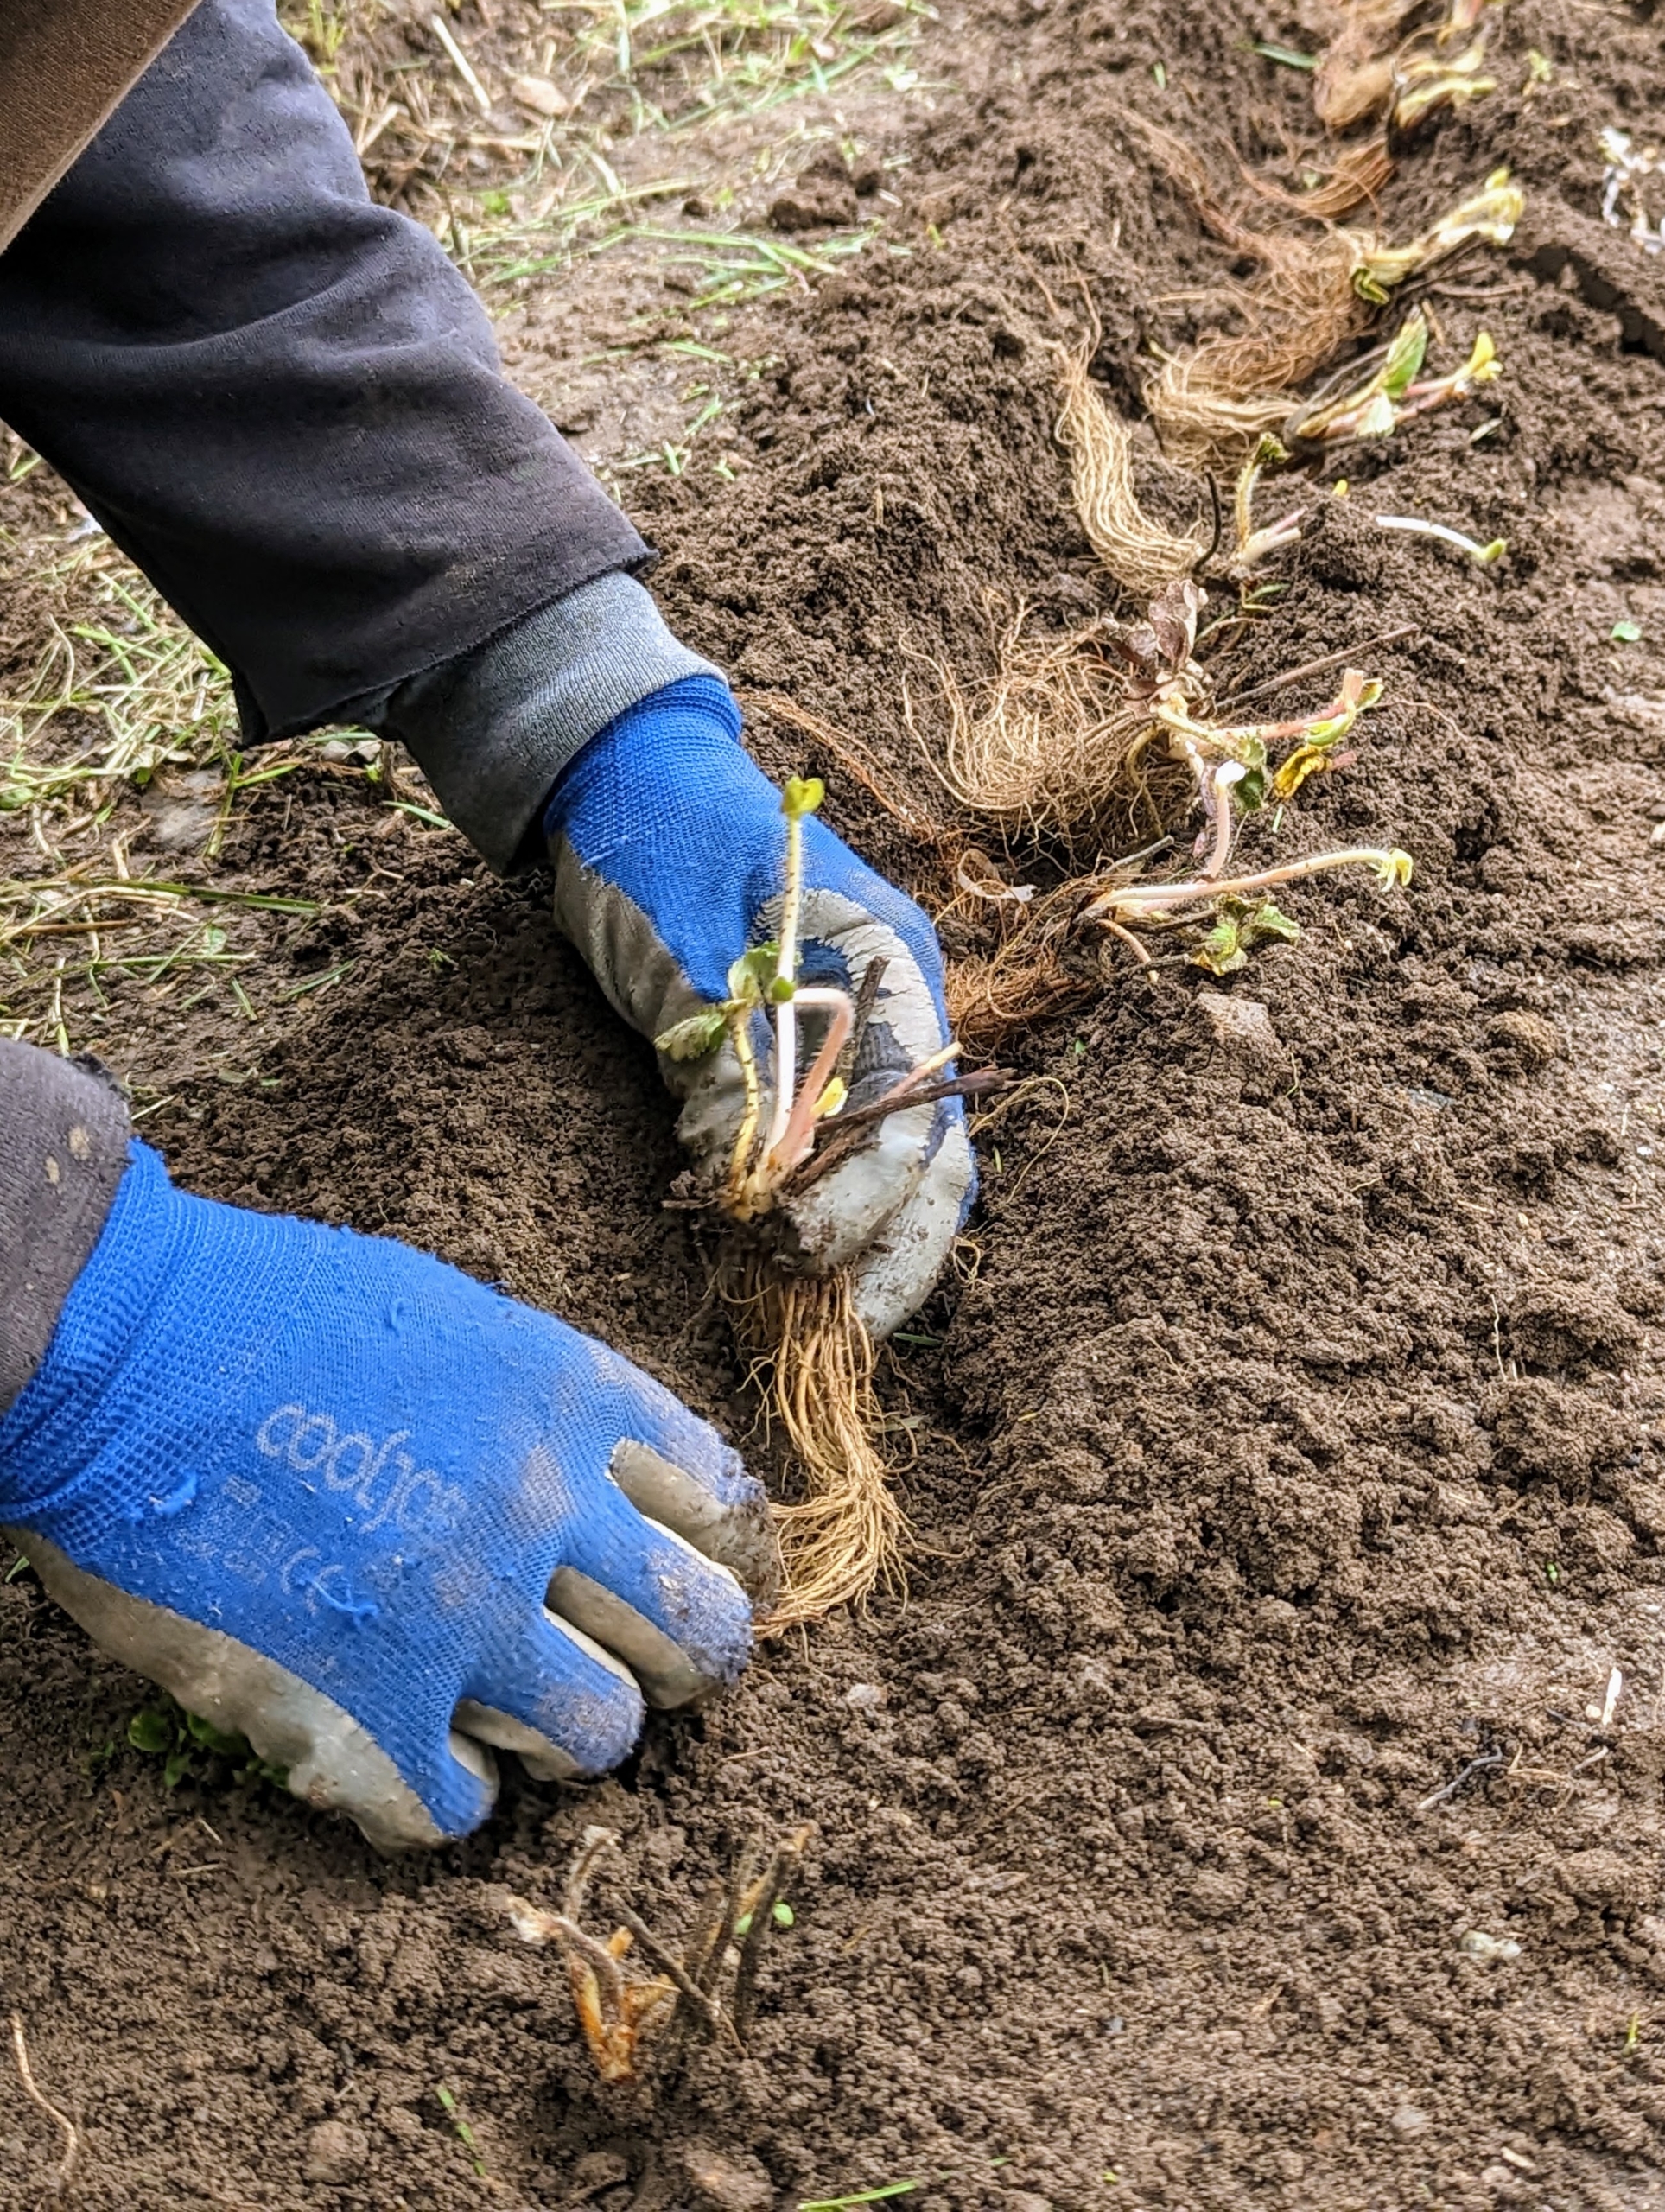
Bare-roots are plants without any soil around them, which makes the plants easier to handle. These are also lower in cost than potted strawberry plants. Brian starts by carefully separating the plants and placing each one where it will be planted.
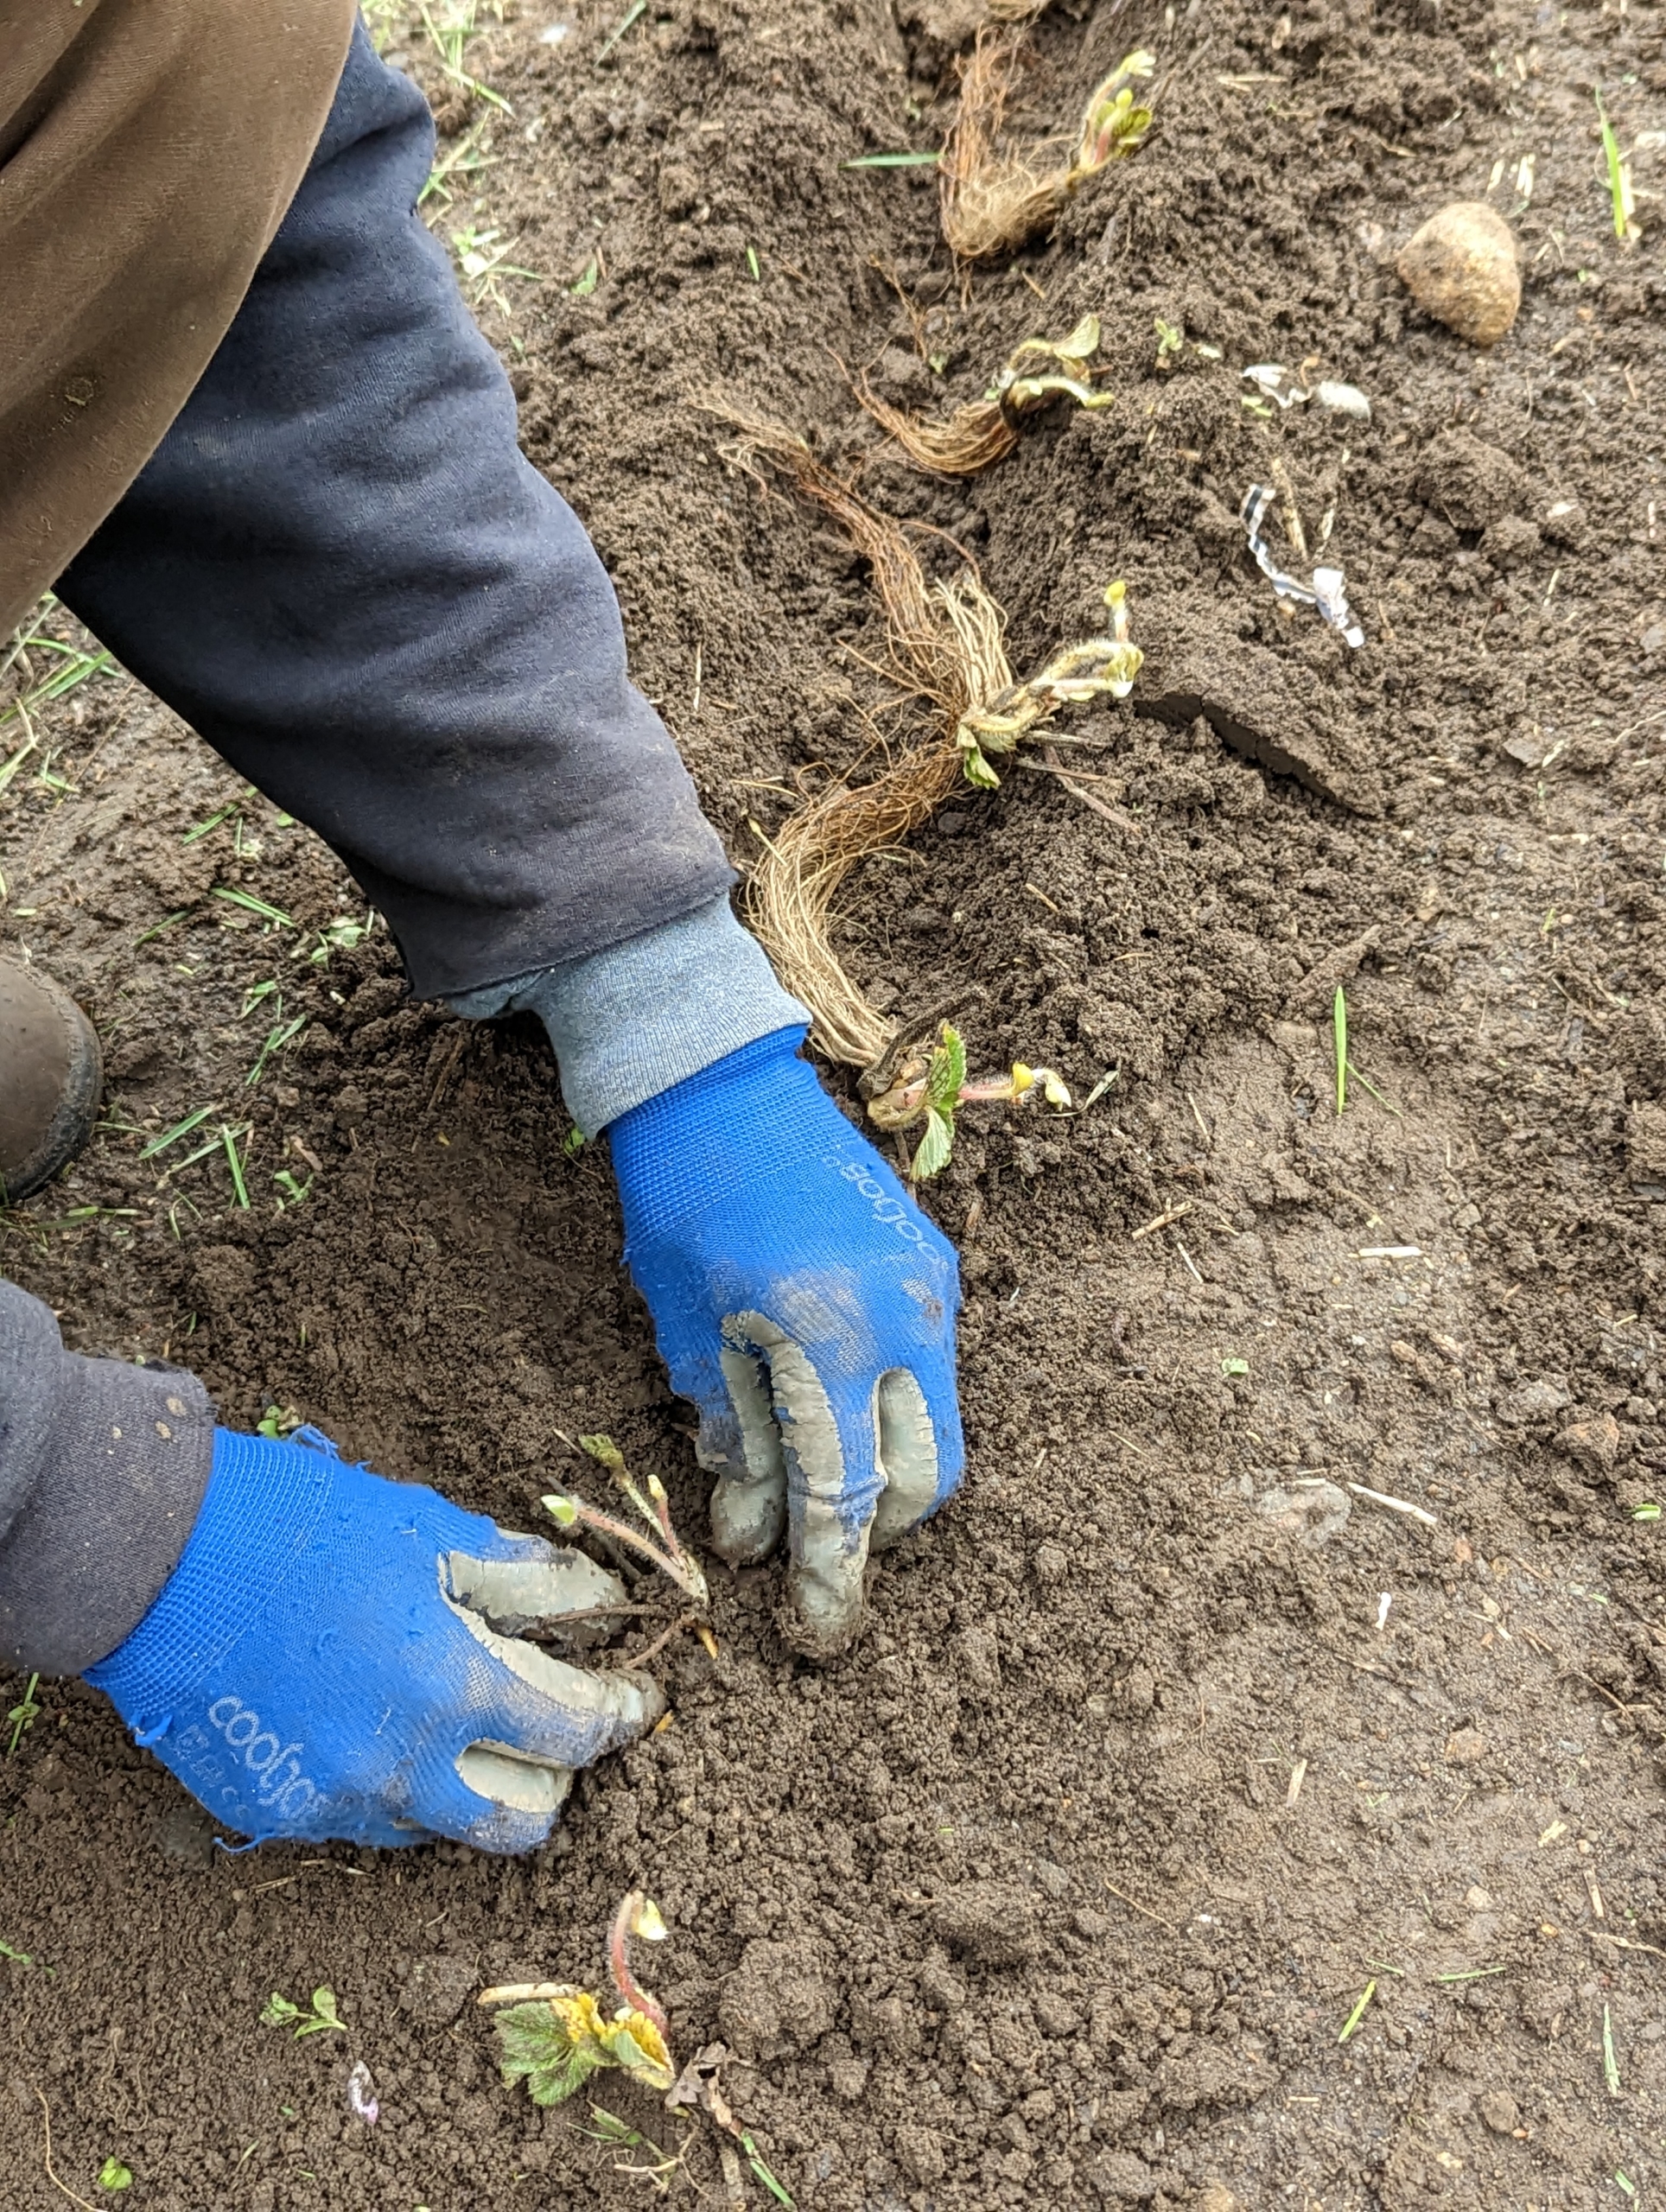
Strawberry plants can be planted about six inches apart.
Brian splays the roots, so they remain straight.
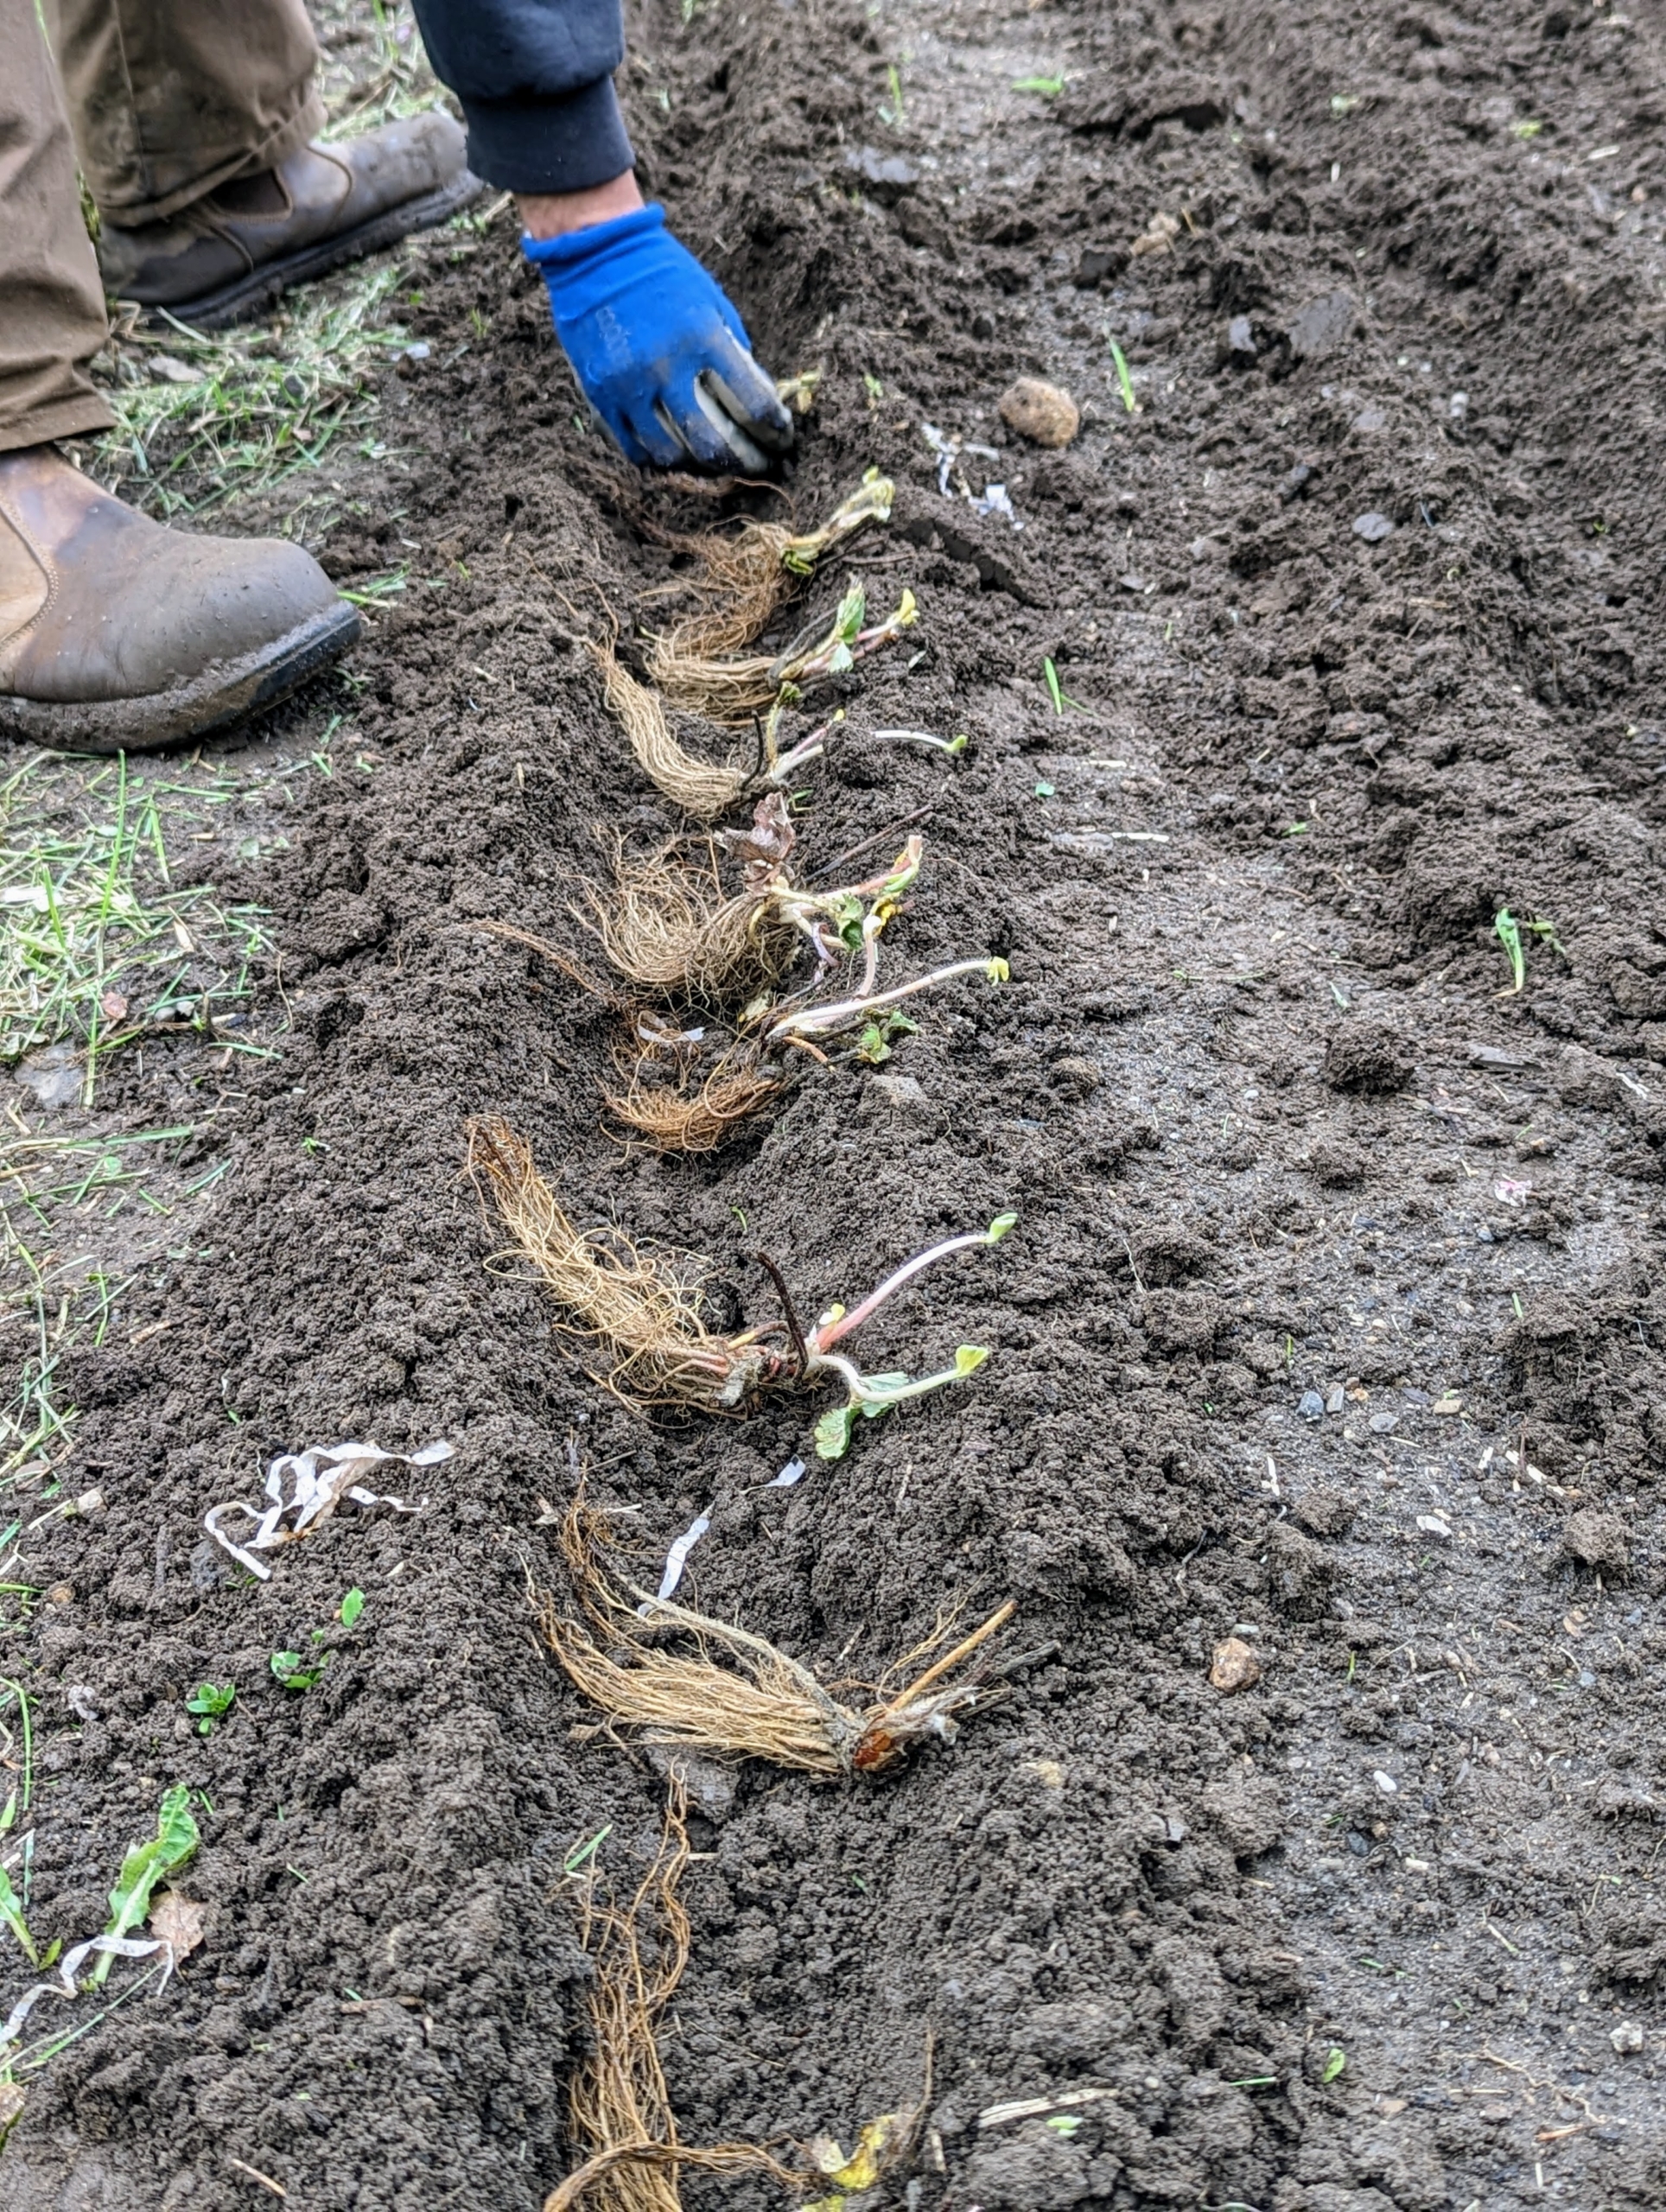
Planting strawberries at the right depth is important – if the crown is buried, the plant could easily rot. Be sure to plant dormant strawberry transplants in spring as soon as the soil is warm enough to garden.
Once the plant is at its proper depth, Brian backfills and tamps down lightly to ensure good contact with the soil.
The varieties we planted include ‘Jewel,’ ‘Galletta,’ ‘AC Valley Sunset,’ ‘Earliglow,’ ‘Sparkle,’ and ‘Honeoye.’
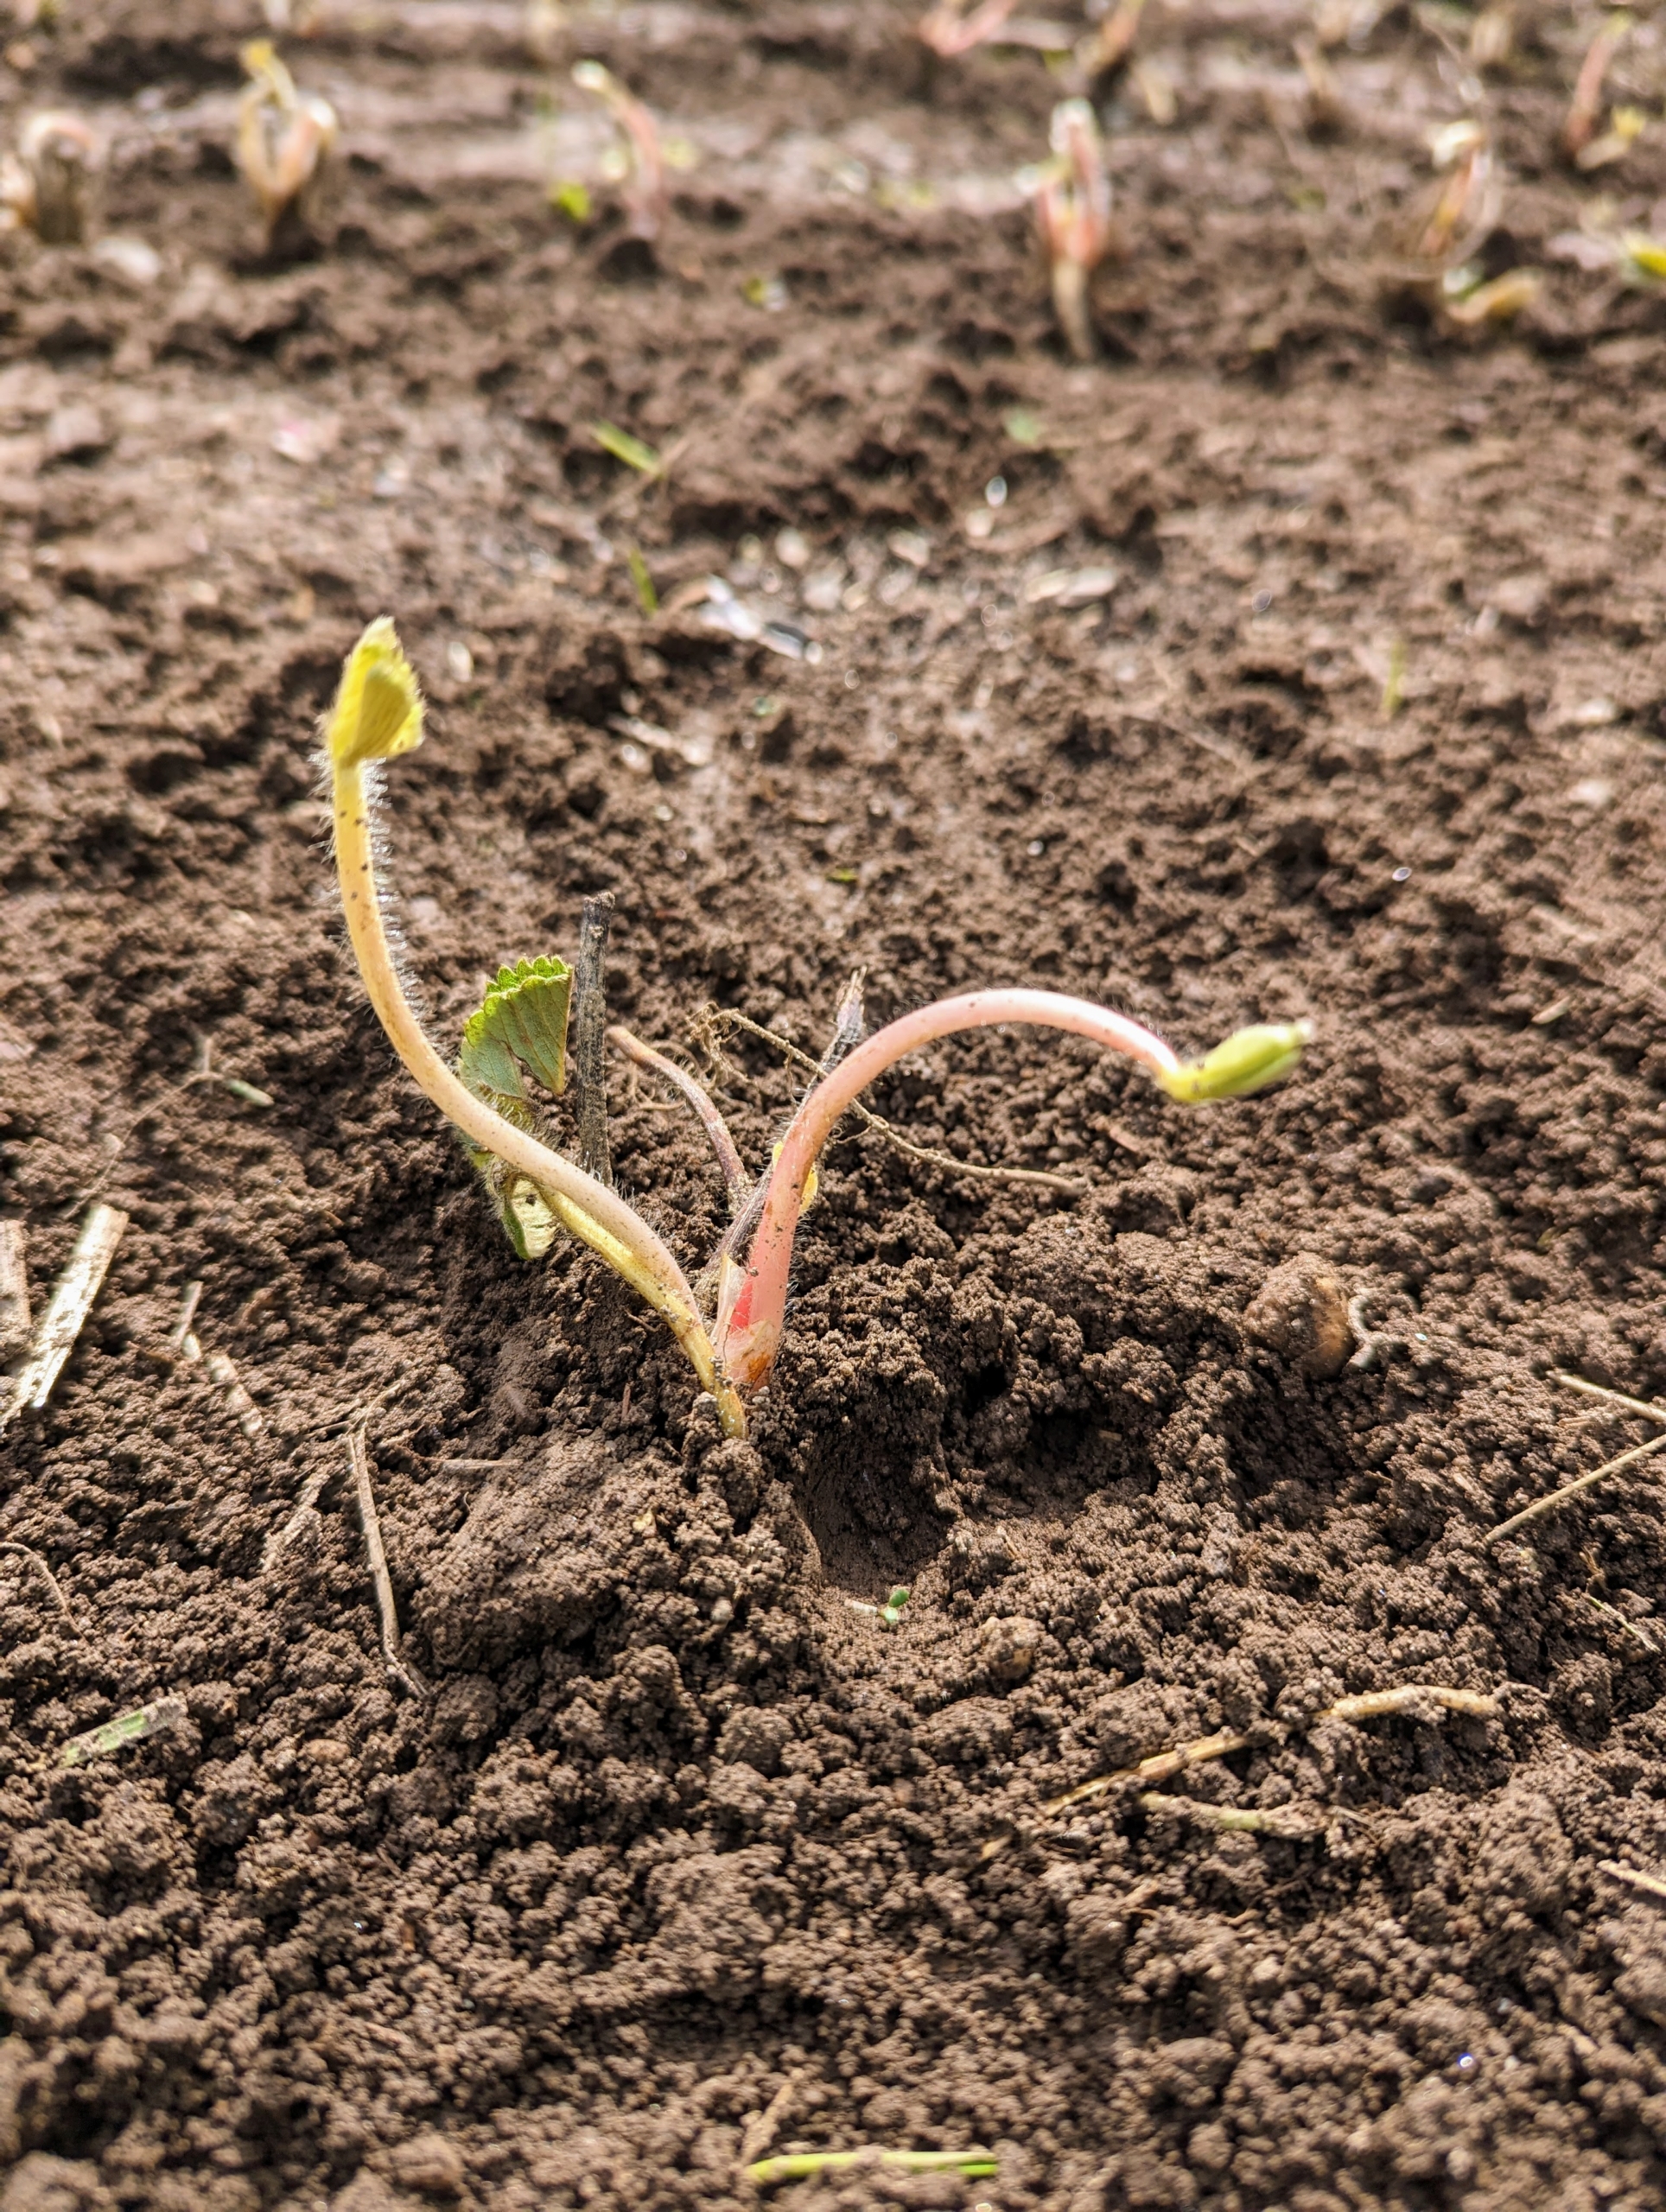
Here, one can see that they are planted properly – the crown of every plant is even with the soil line.
Finally, the bed is given a good drink of water. I am sure these strawberries will thrive here and, once established, produce lots of flavorful sweet summertime fruits. I can taste them now, can’t you?
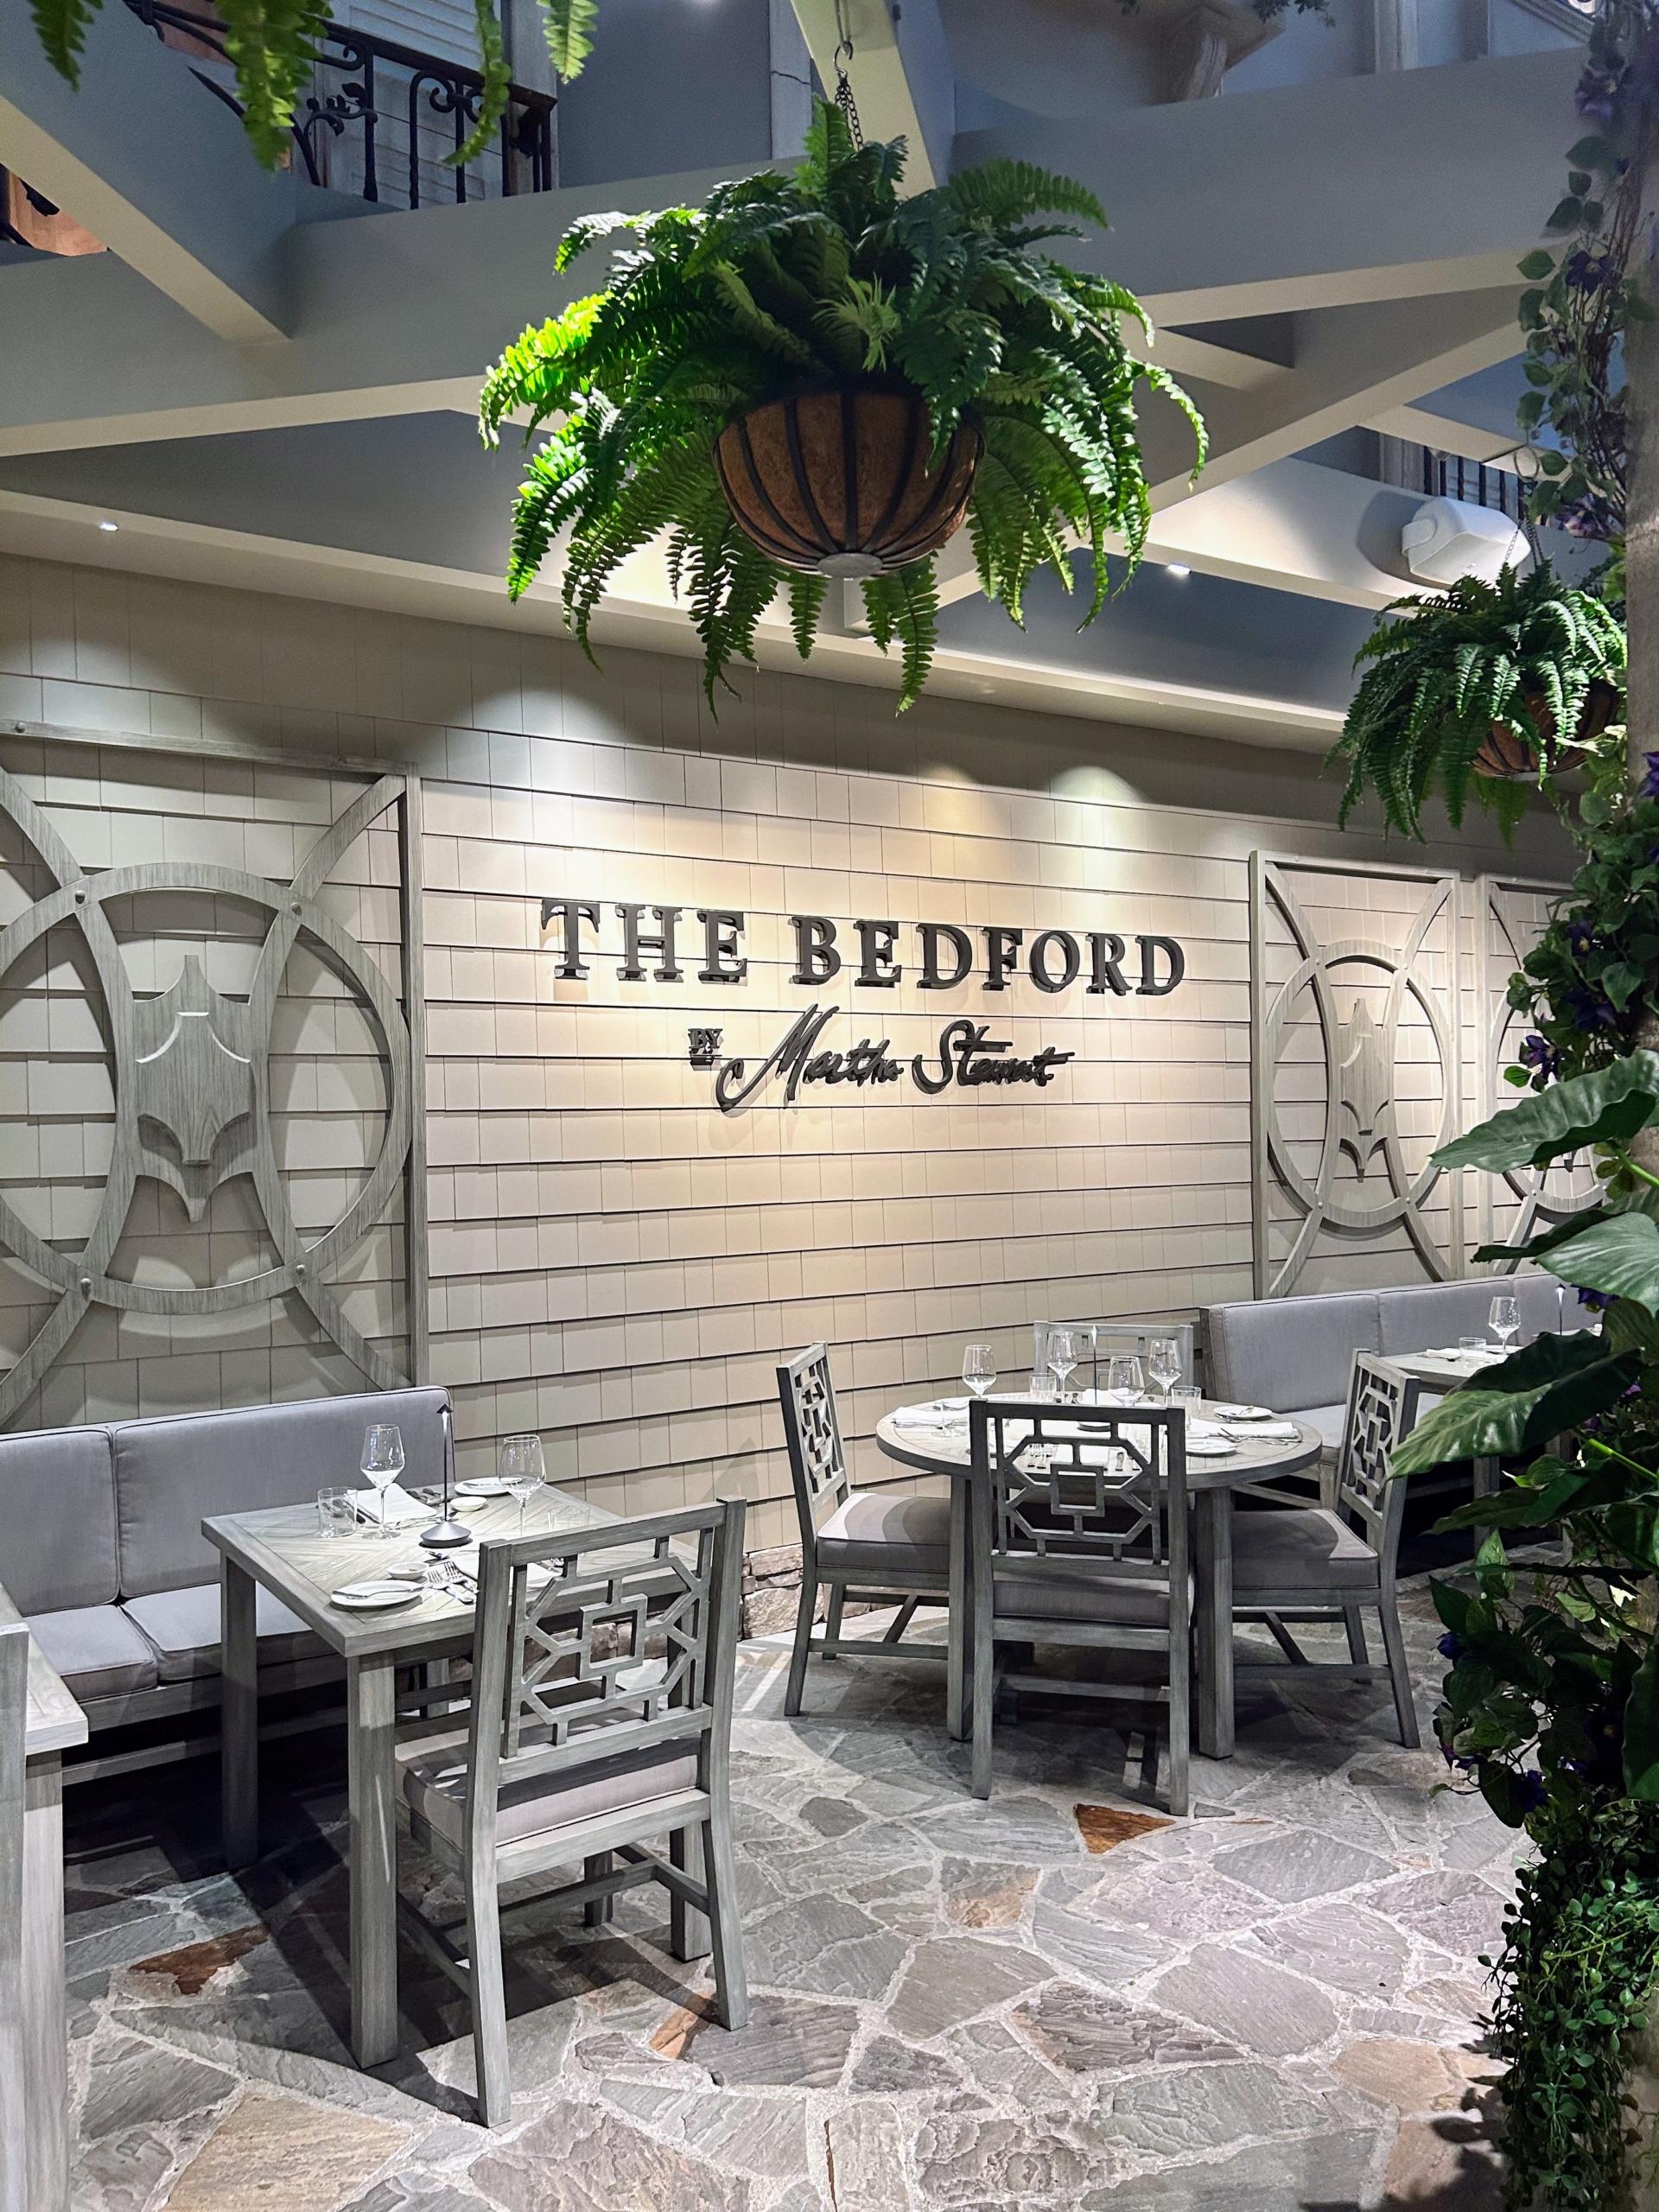
If you're headed to Las Vegas soon, be sure to make your reservations at The Bedford by Martha Stewart, my first-ever restaurant located at Paris Las Vegas - we've received so many excellent responses to our menu and our food.
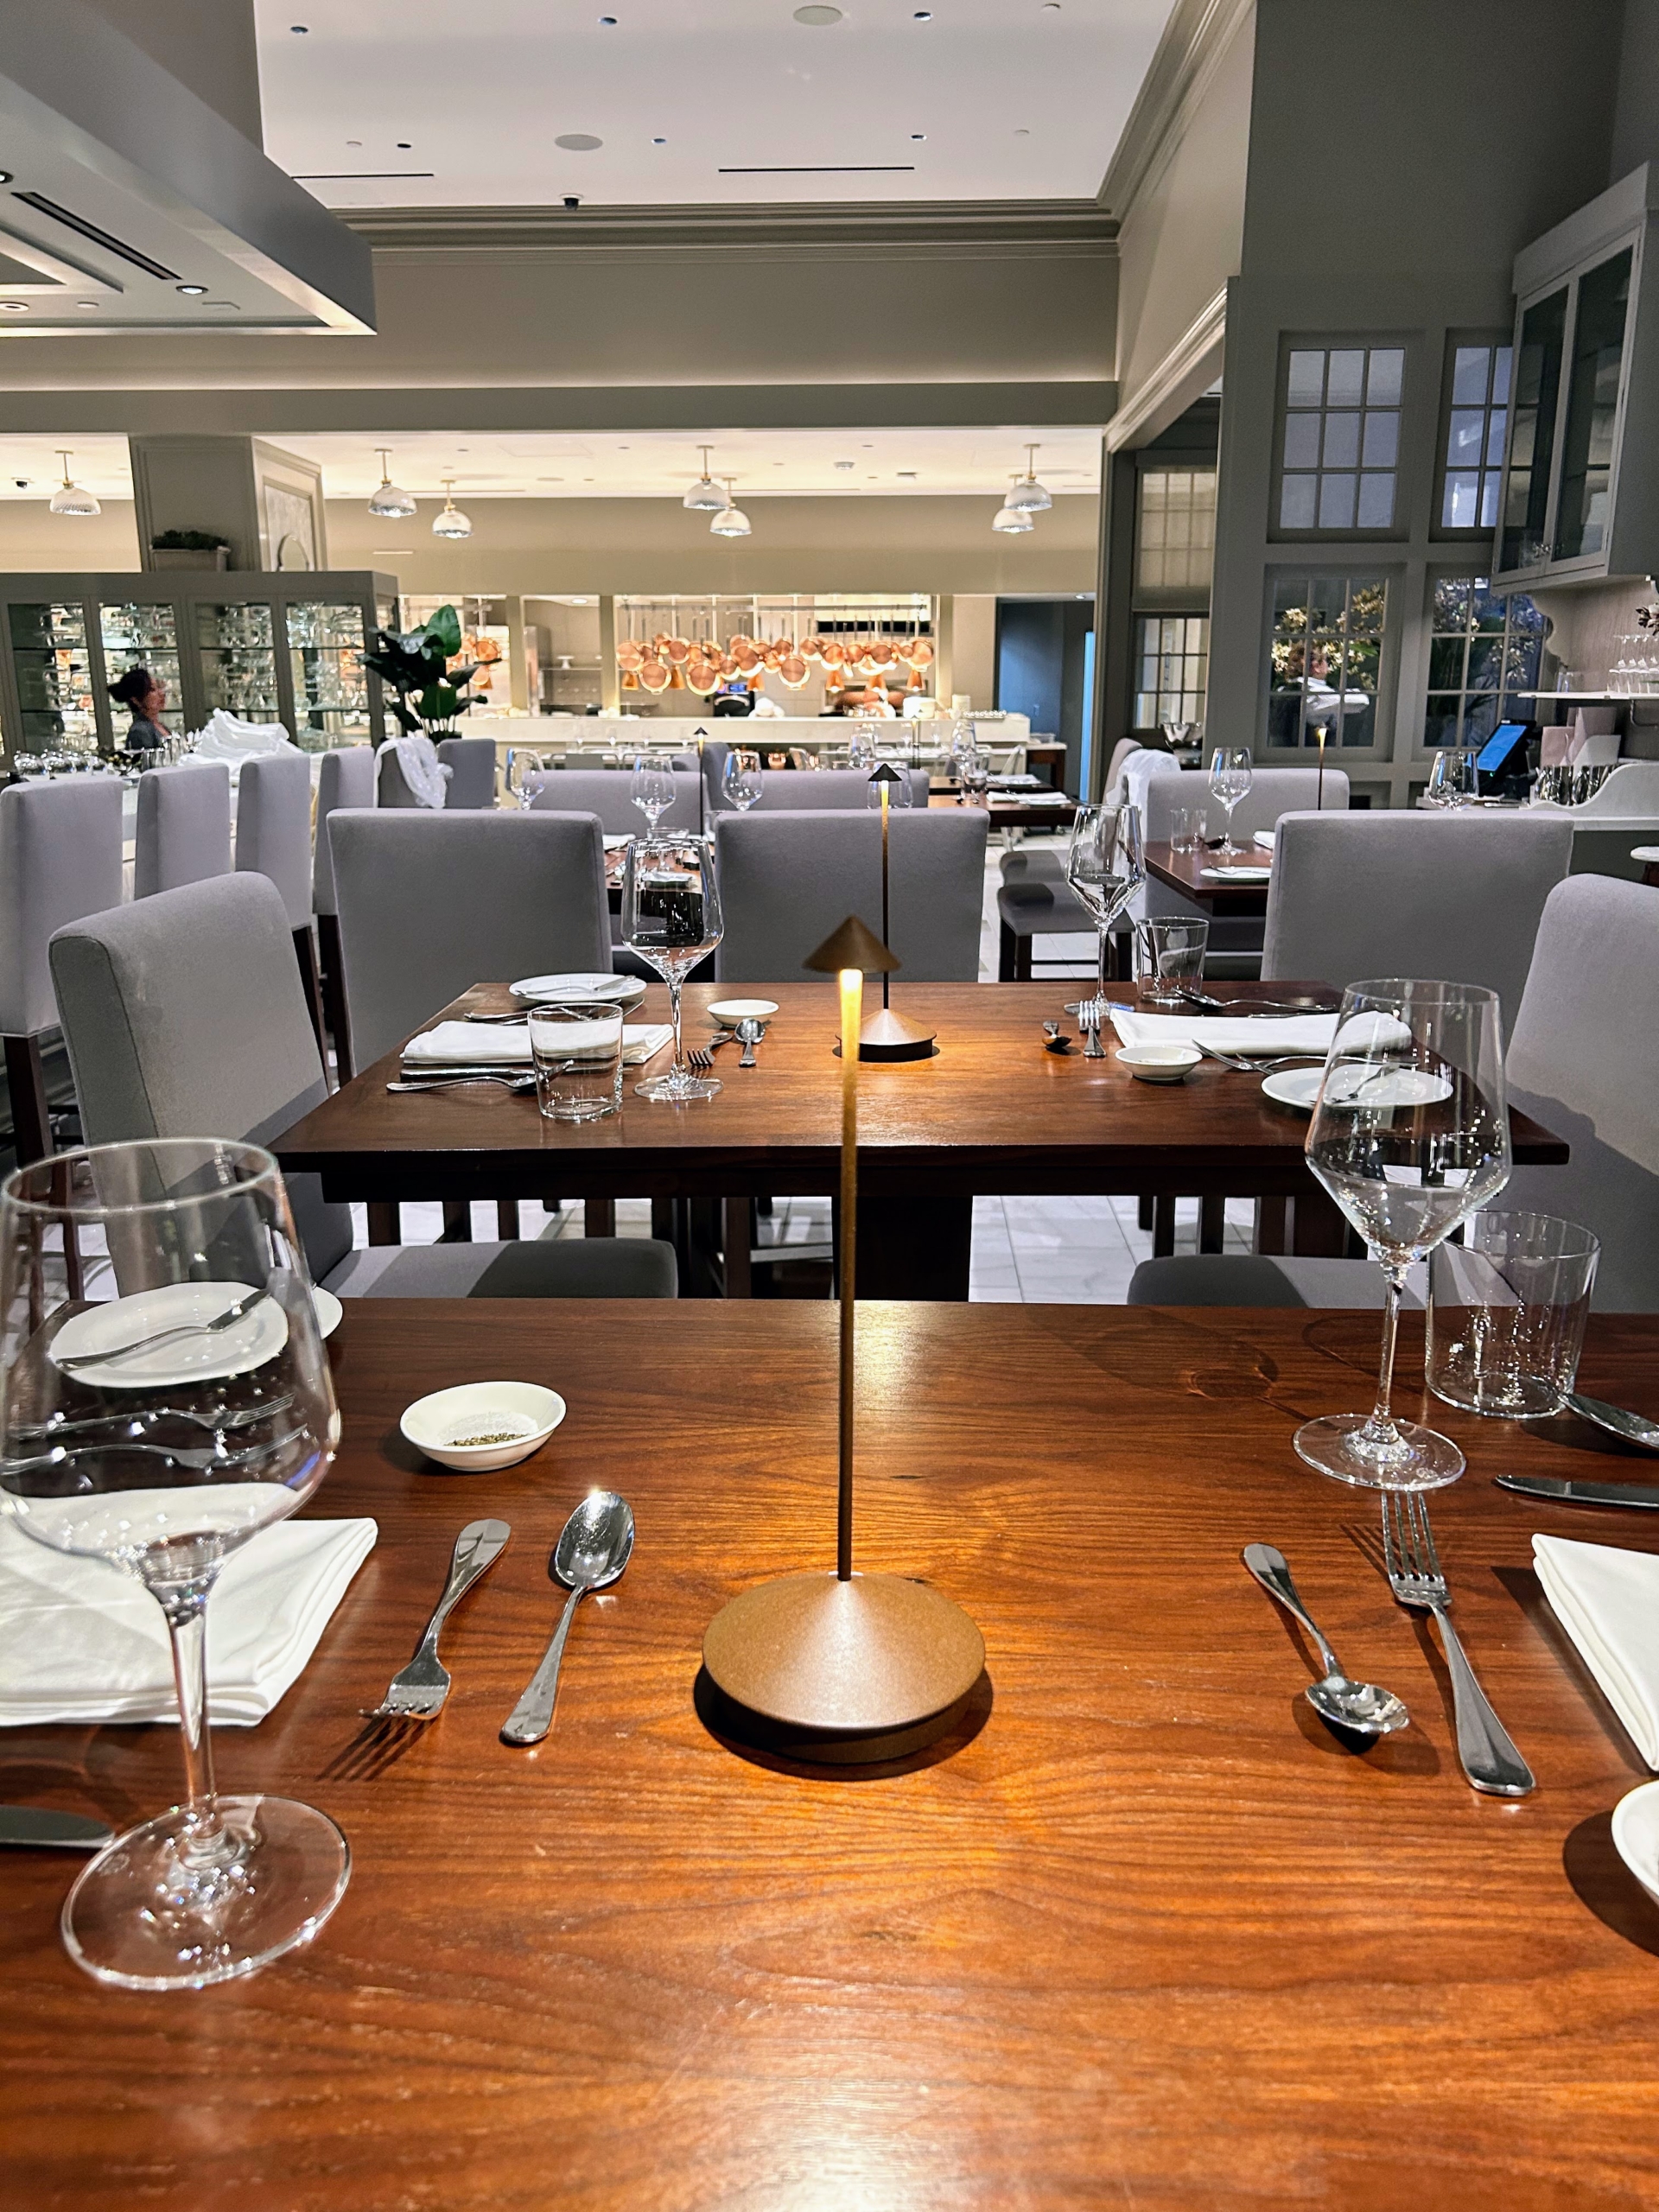
The 194-seat dining destination was inspired by my own 1925 farmhouse in Westchester, New York. The menu features French-inspired cuisine along with some of my own favorite recipes - all with the freshest, locally sourced ingredients. Not long ago, I traveled to Nevada for a brief visit to see how it was doing and to taste some new and delicious items for upcoming menus.
Enjoy these photos.
I opened The Bedford by Martha Stewart in August 2022 in a partnership with Caesars Entertainment. We all worked hard to make it feel just like my home in Bedford, New York.
All the décor inside and out was inspired by my 1925 farmhouse. If you follow my blog regularly, you may notice a lot of the same colors and design styles.
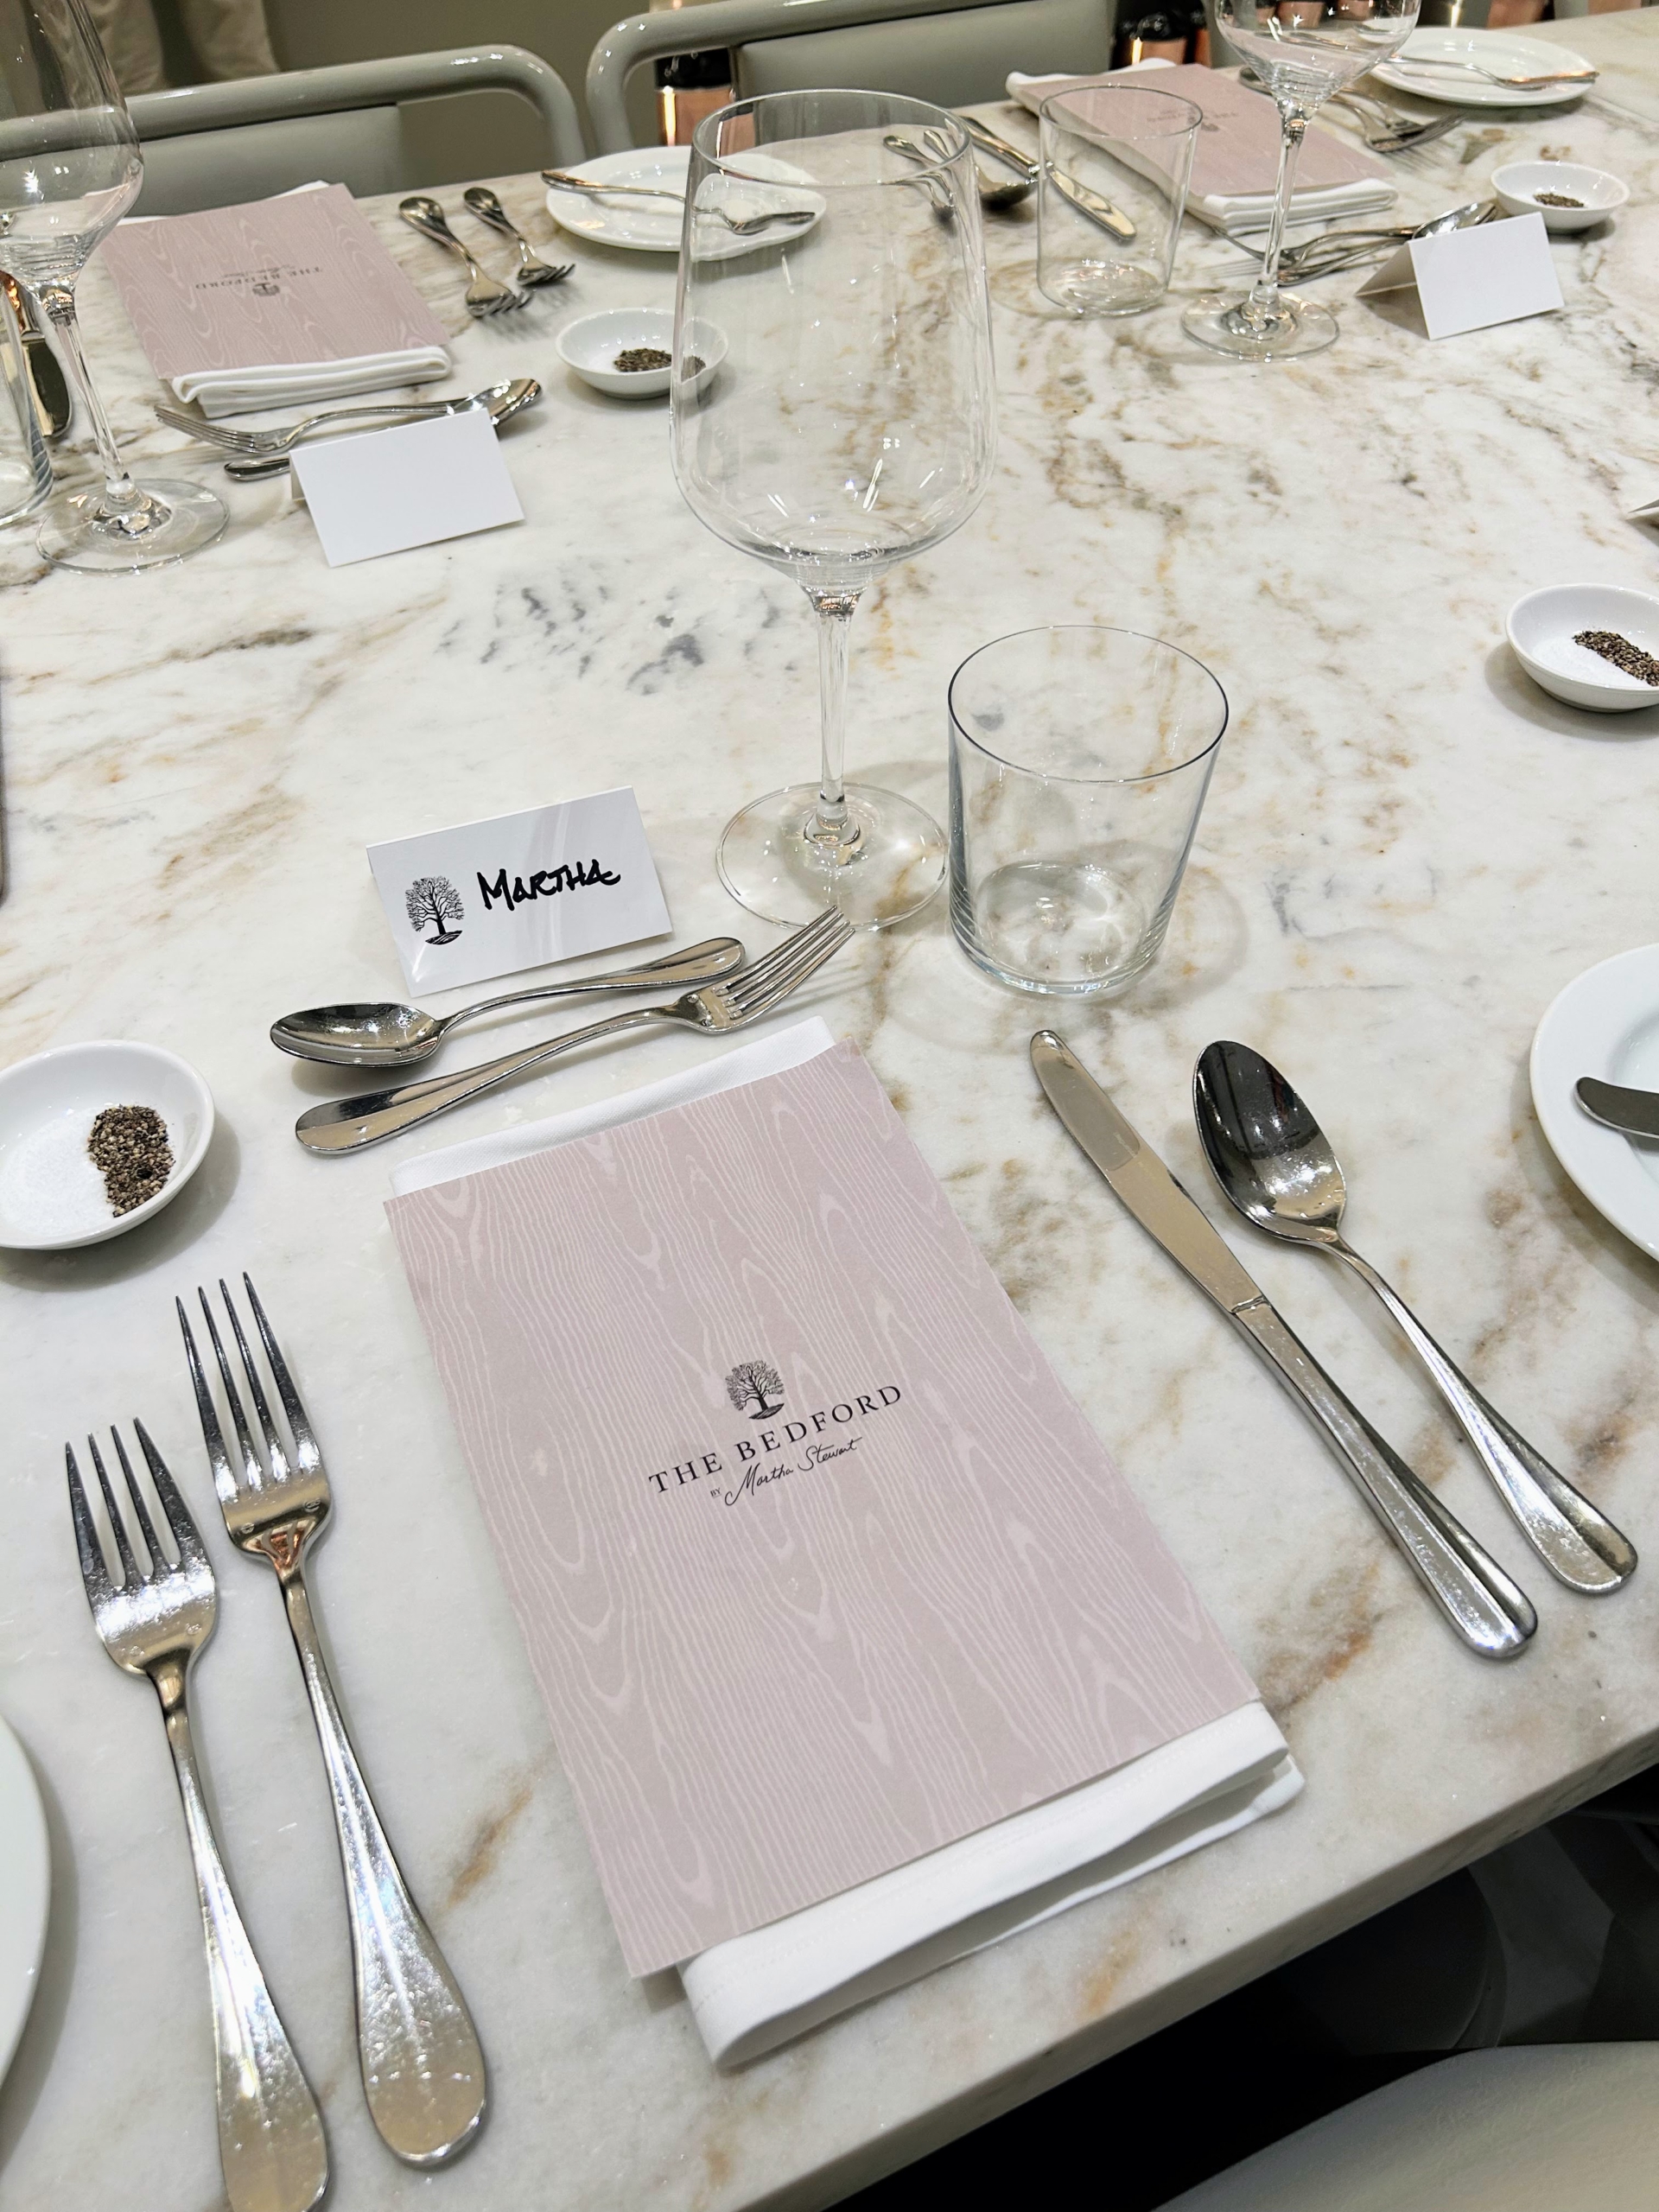
Here is one of the table settings – complete with a printed “faux bois” decorated menu.
Here I am holding one of the menus in a room painted in, can you guess? Bedford gray of course. The prints on the walls were also inspired by photos decorating the rooms in my own home.
The windows in this area of the dining room look out to Durantrans, or large backlit transparency photos, of my farm. Here is one showing the gorgeous spring azaleas in bloom.
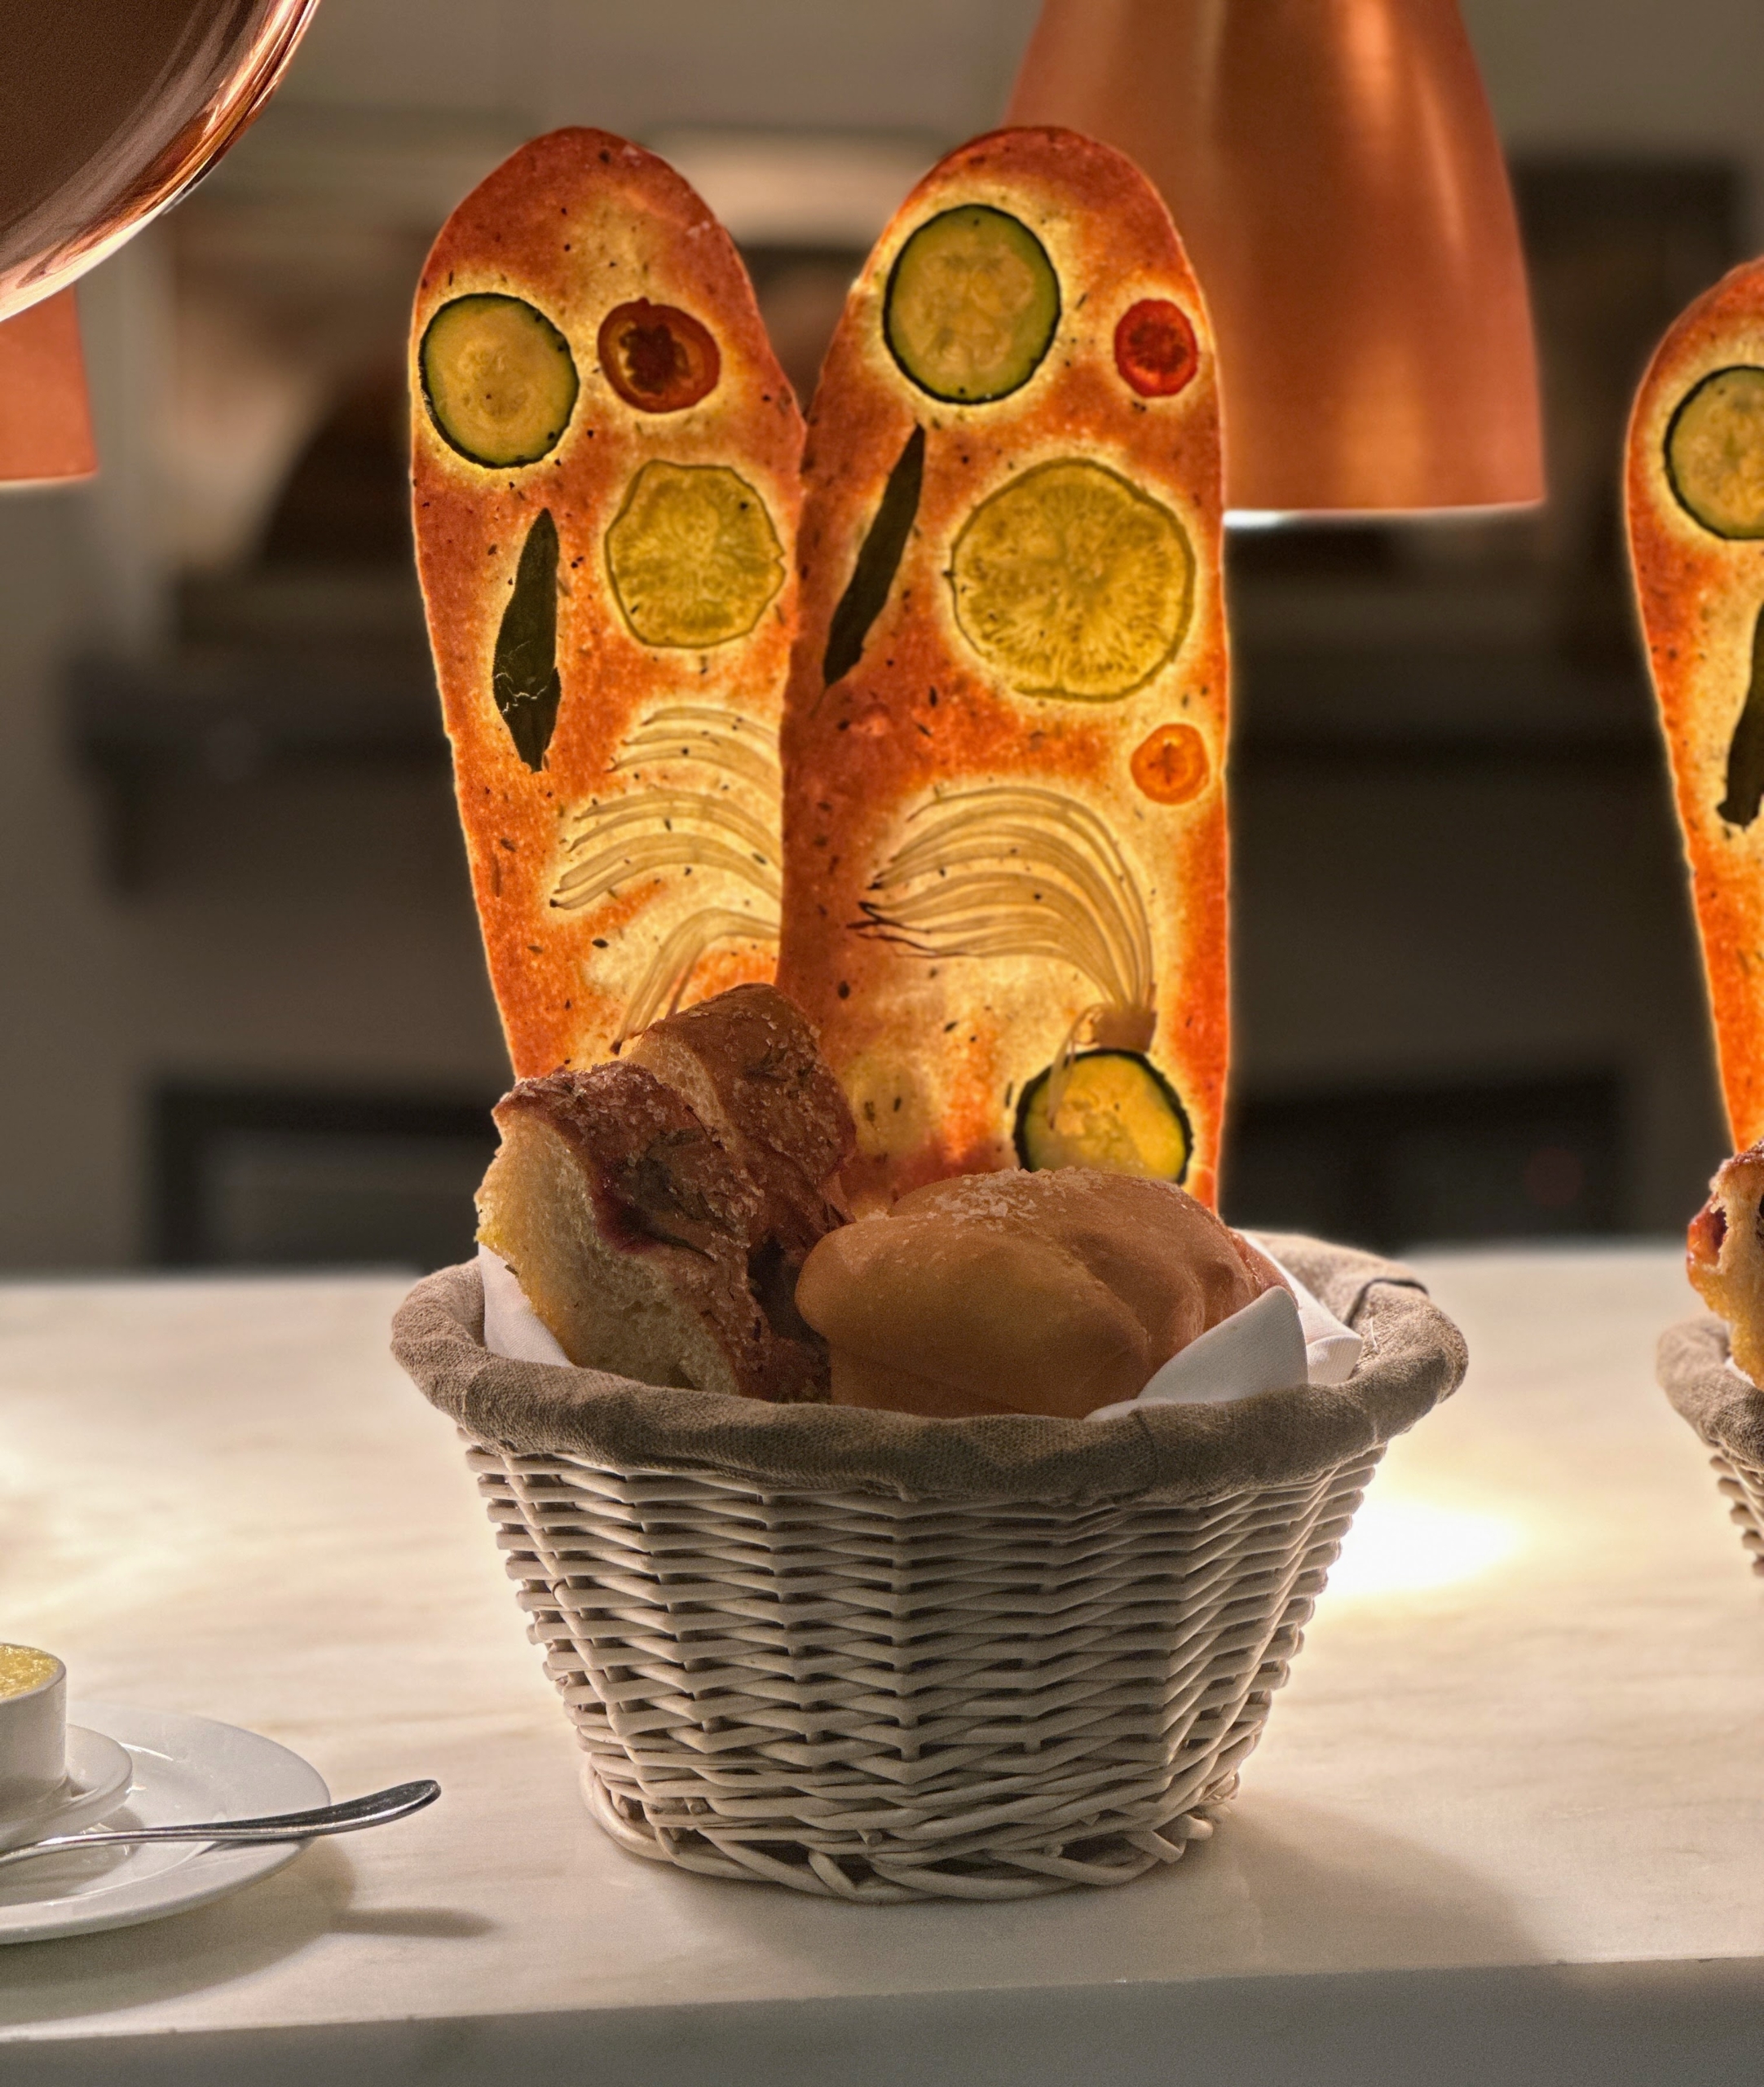
For dinner appetizers, we offer these house made bread baskets. Each one has JuneBug’s garden flatbreads, grape-rosemary focaccia, and warm Parker House rolls.
This is a very popular appetizer. Everyone loves a good warm basket of bread with dinner.
Everything is made fresh right here at the restaurant. Look at this focaccia bread – baked perfectly.
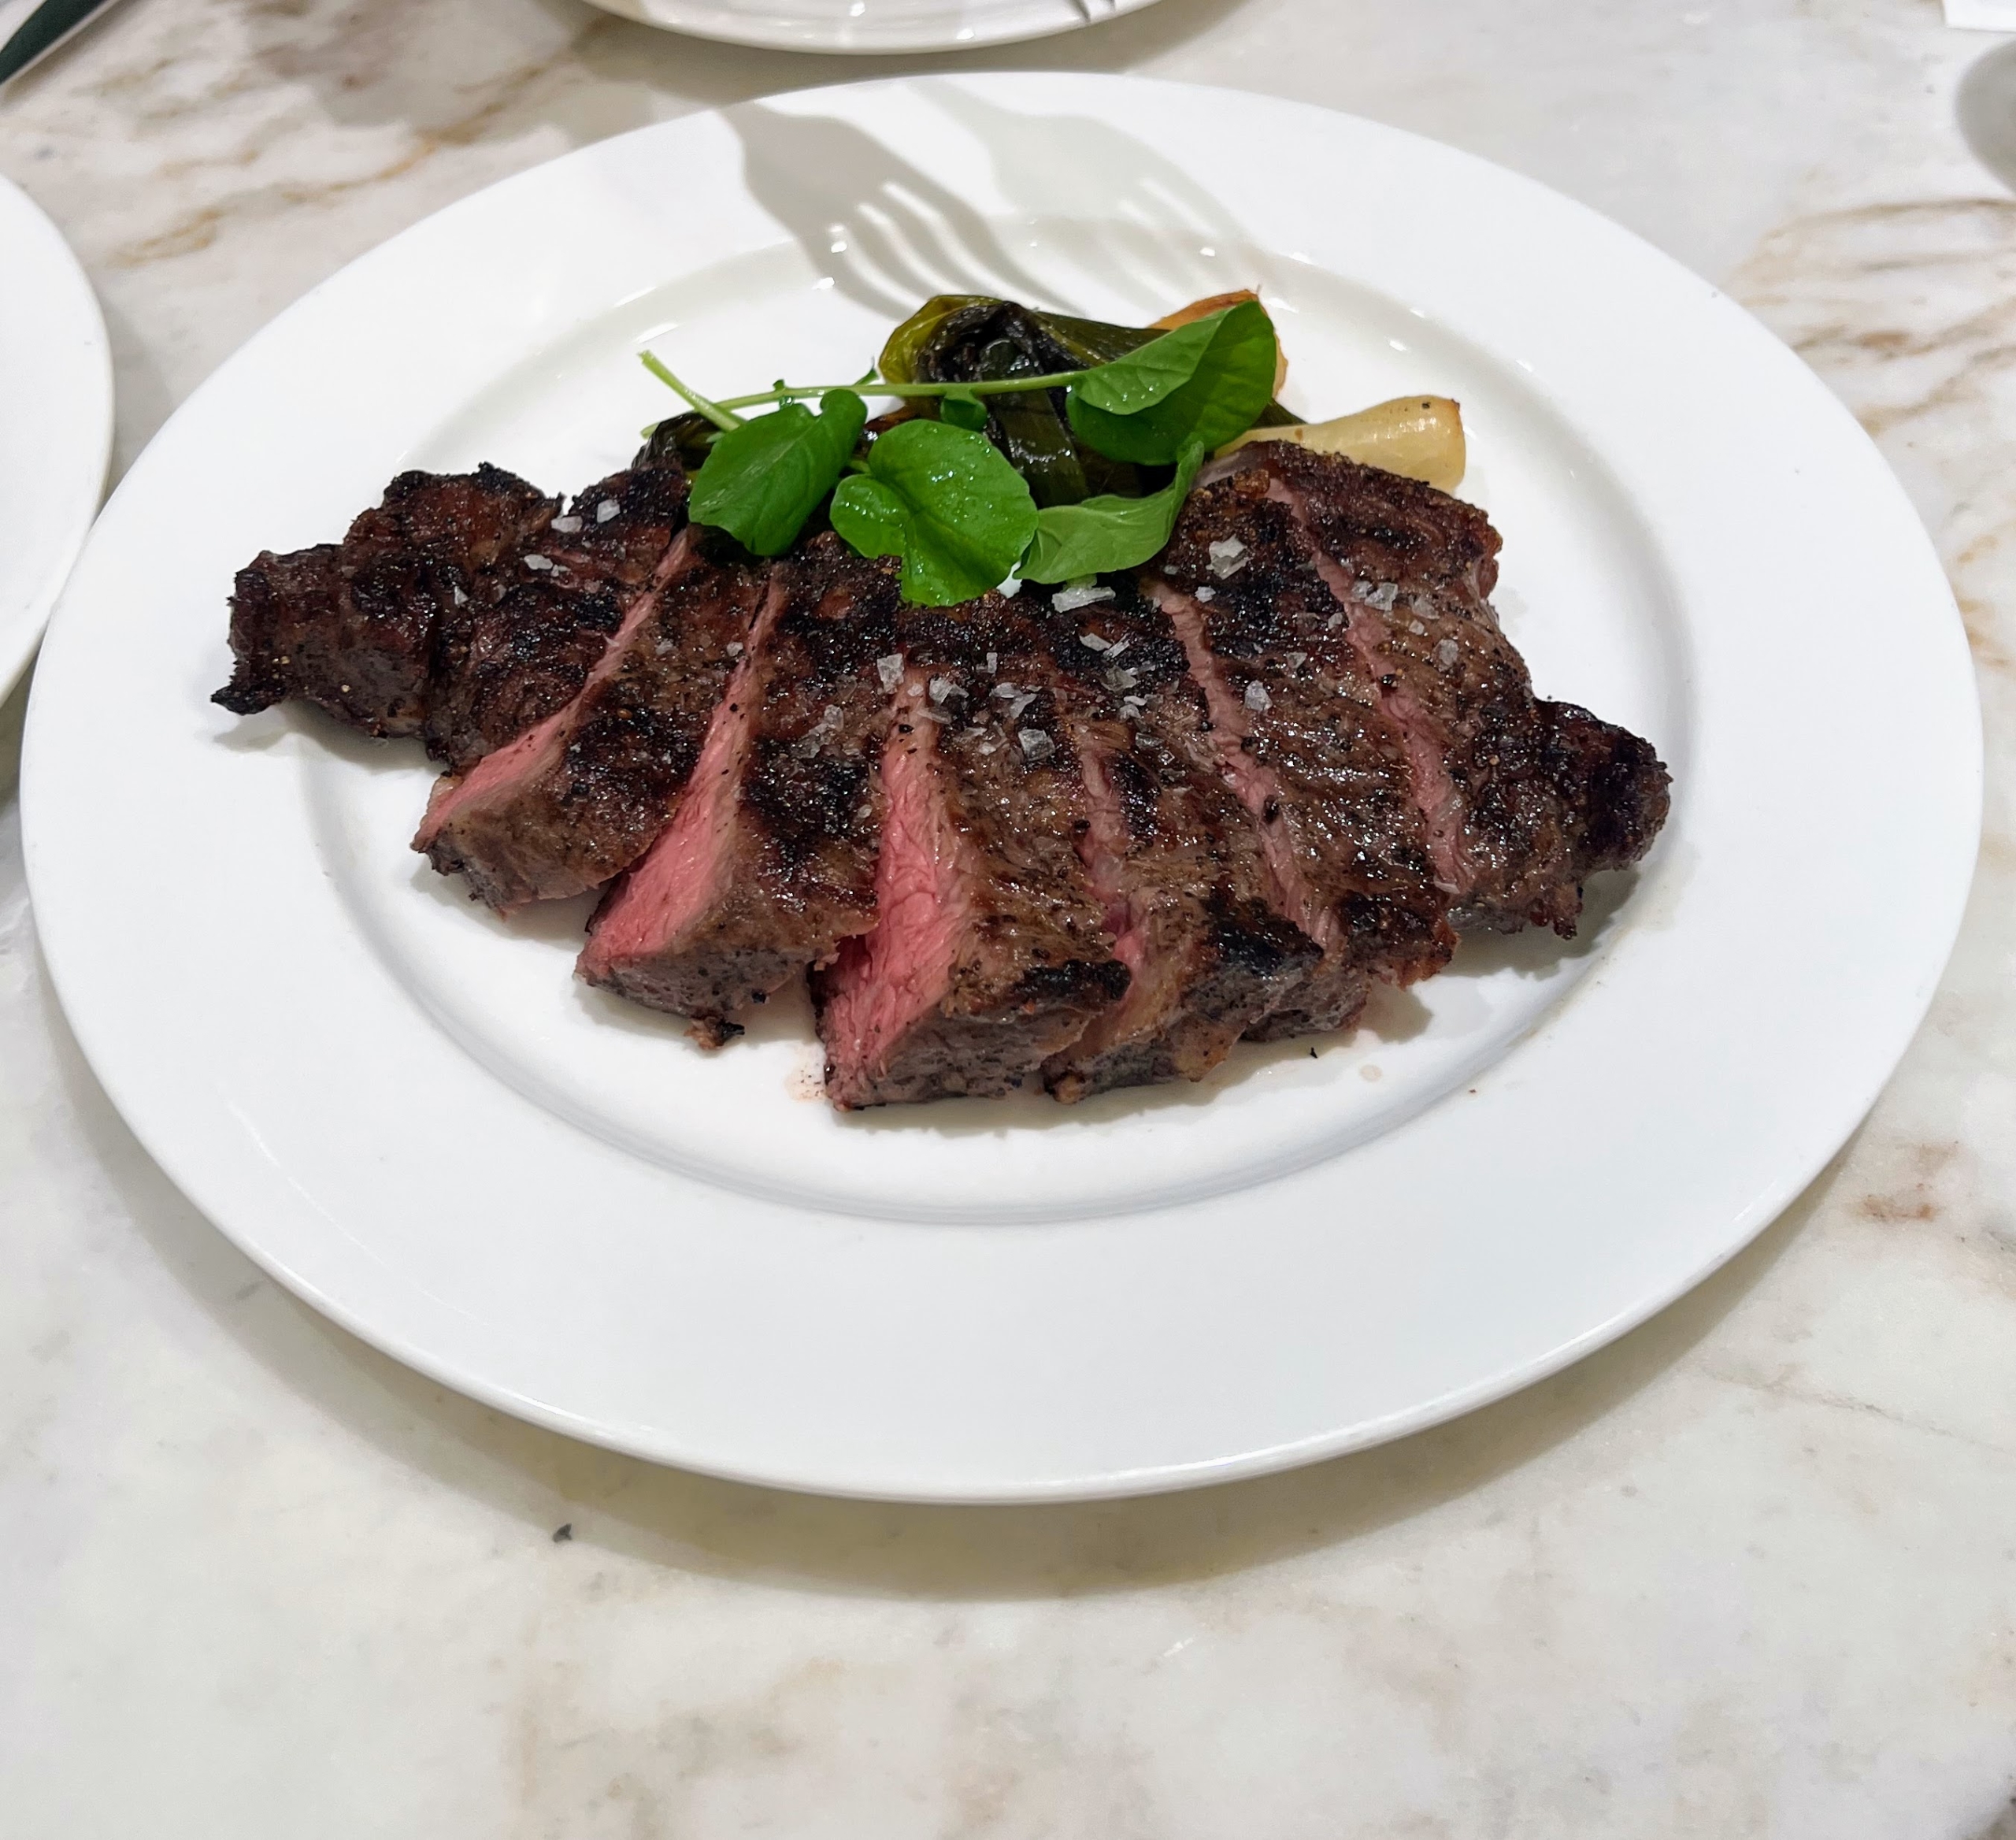
Among the other dinner menu items is our Prime New York Strip Steak with braised leeks and watercress.
Here is our Honey Mustard Glazed Salmon with wilted spinach and confit shallots. So many of the dishes are the same ones I serve to family and friends when I entertain at home.
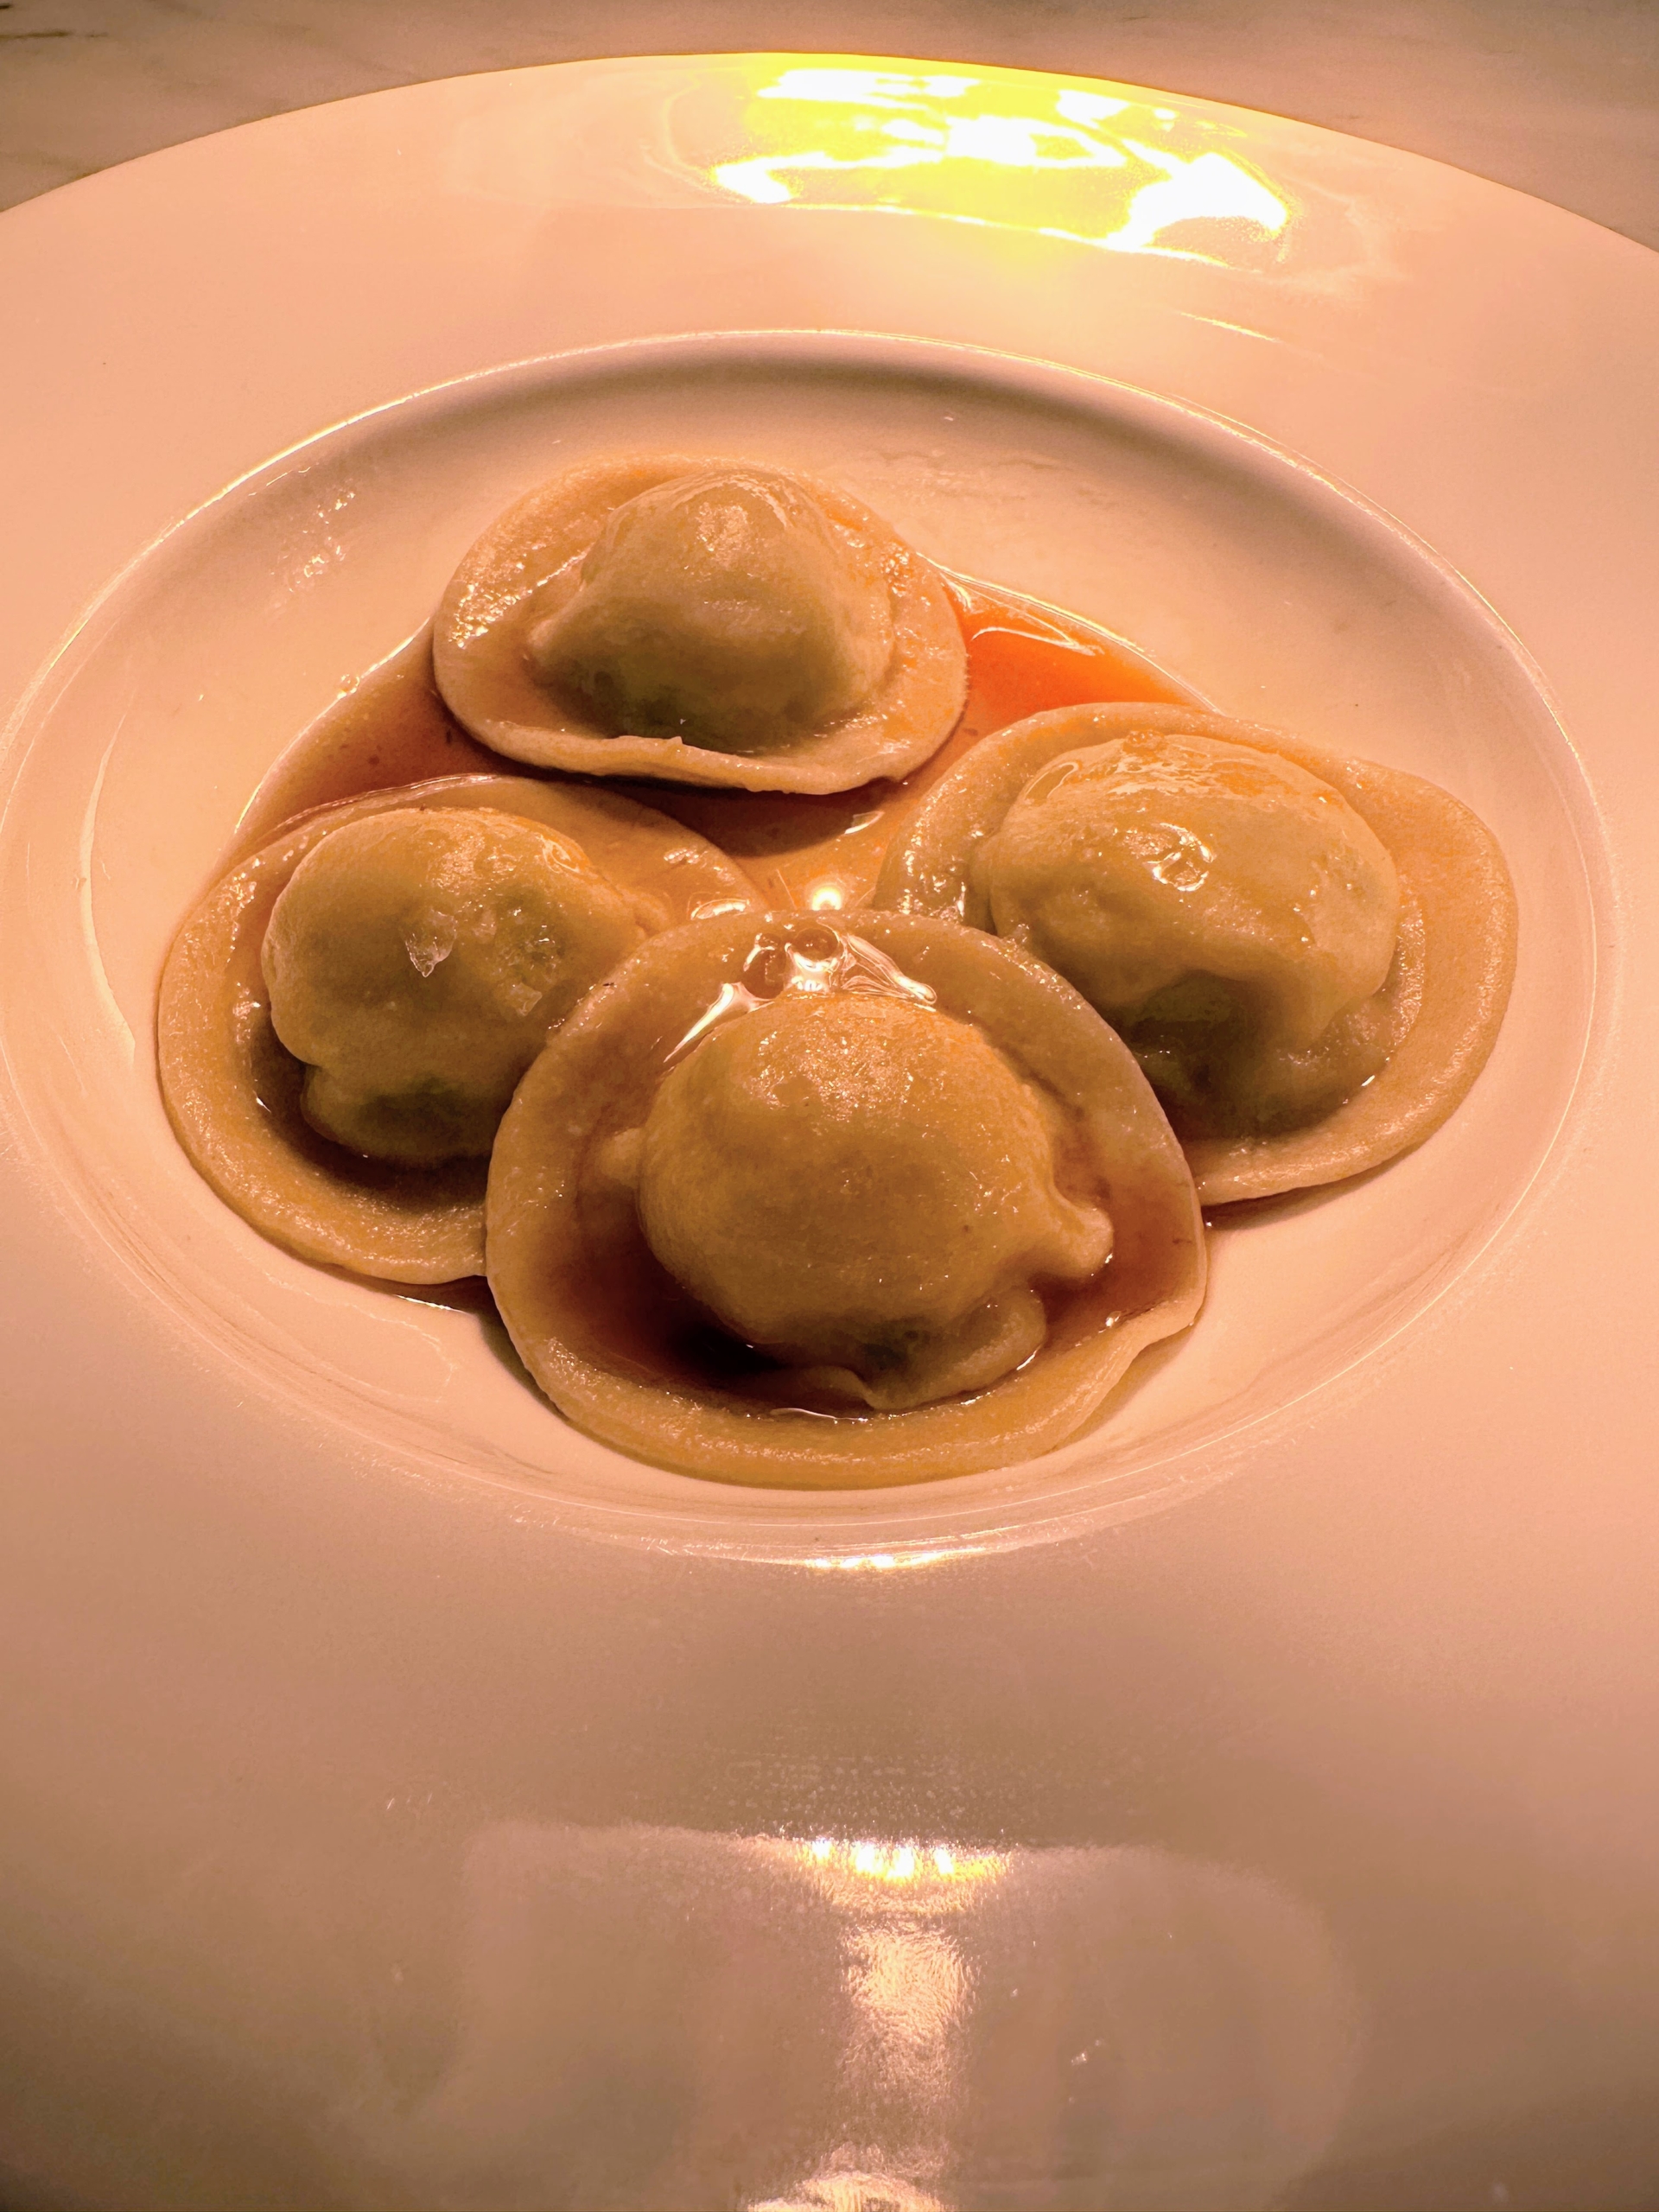
Here I am with a plate of my mother’s pierogis. Big Martha made the best pierogis.
These are filled with potato and brown butter. If you’re unfamiliar with pierogis, they are filled dumplings made by wrapping unleavened dough around a savory or sweet filling and cooking in boiling water.
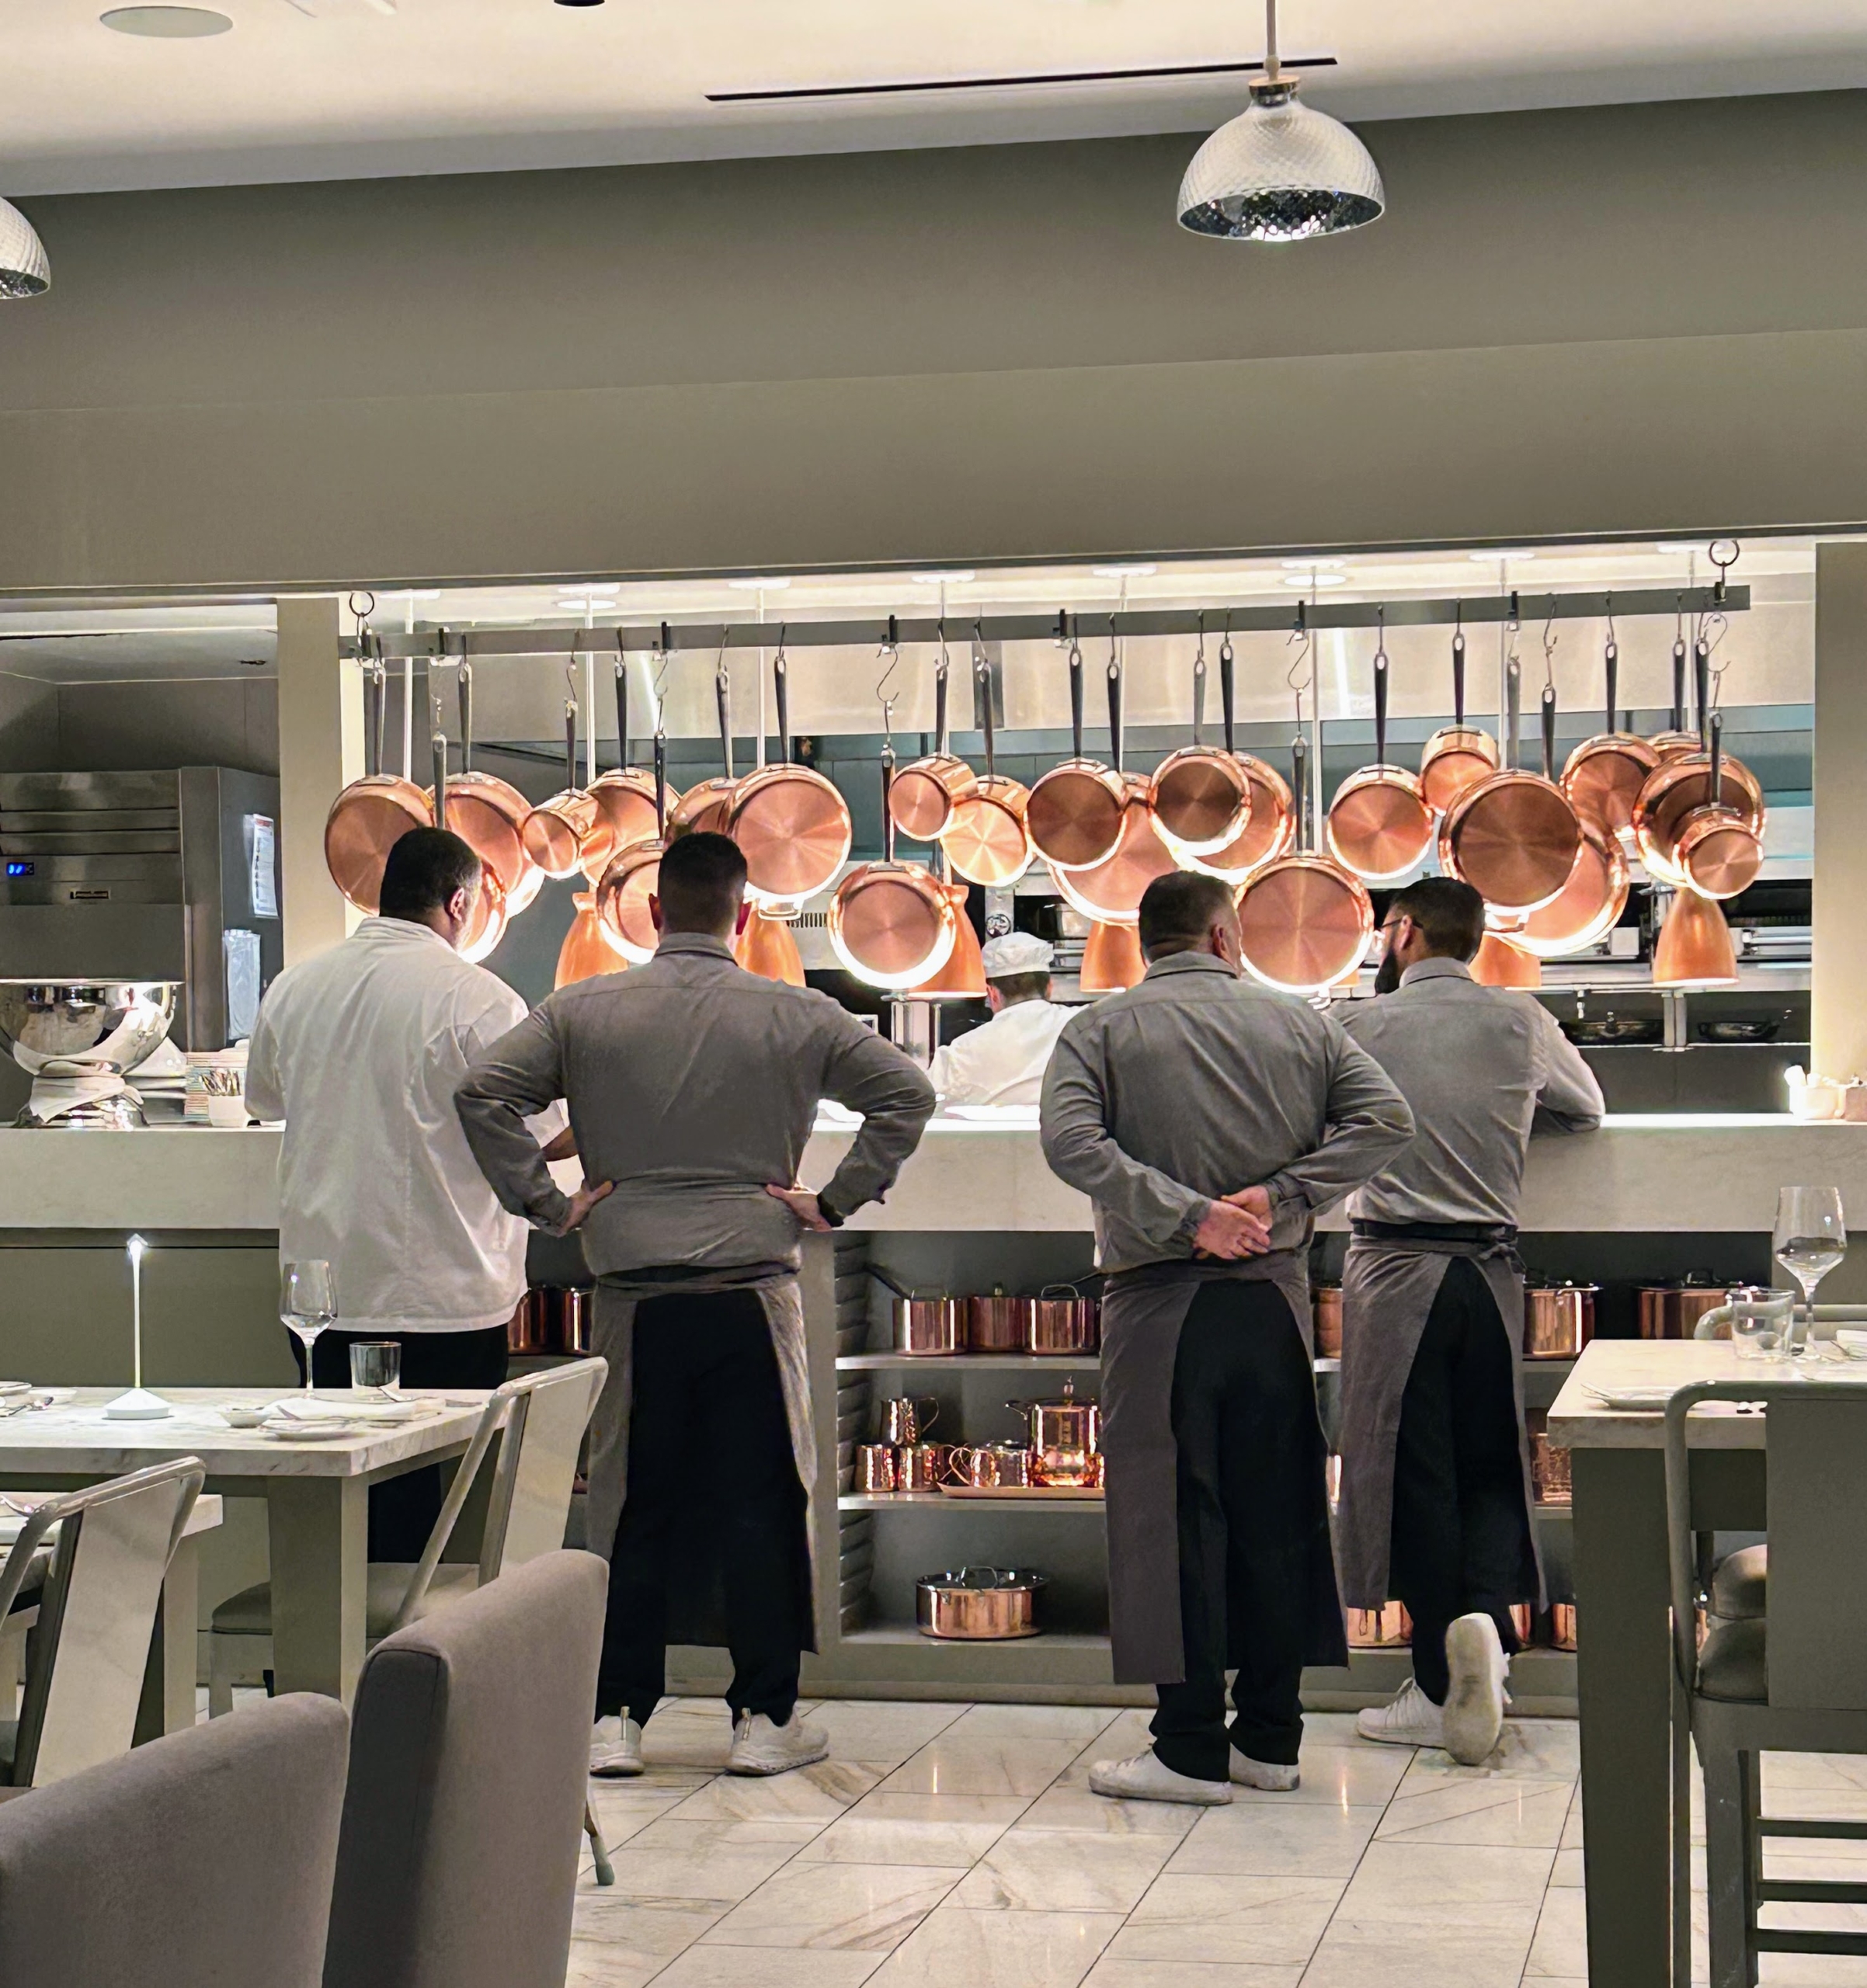
Here, the wait staff gathers at the large counter waiting to bring out various dishes. Above are the hanging copper pans in a variety of sizes from my MARTHA by Martha Stewart collection.
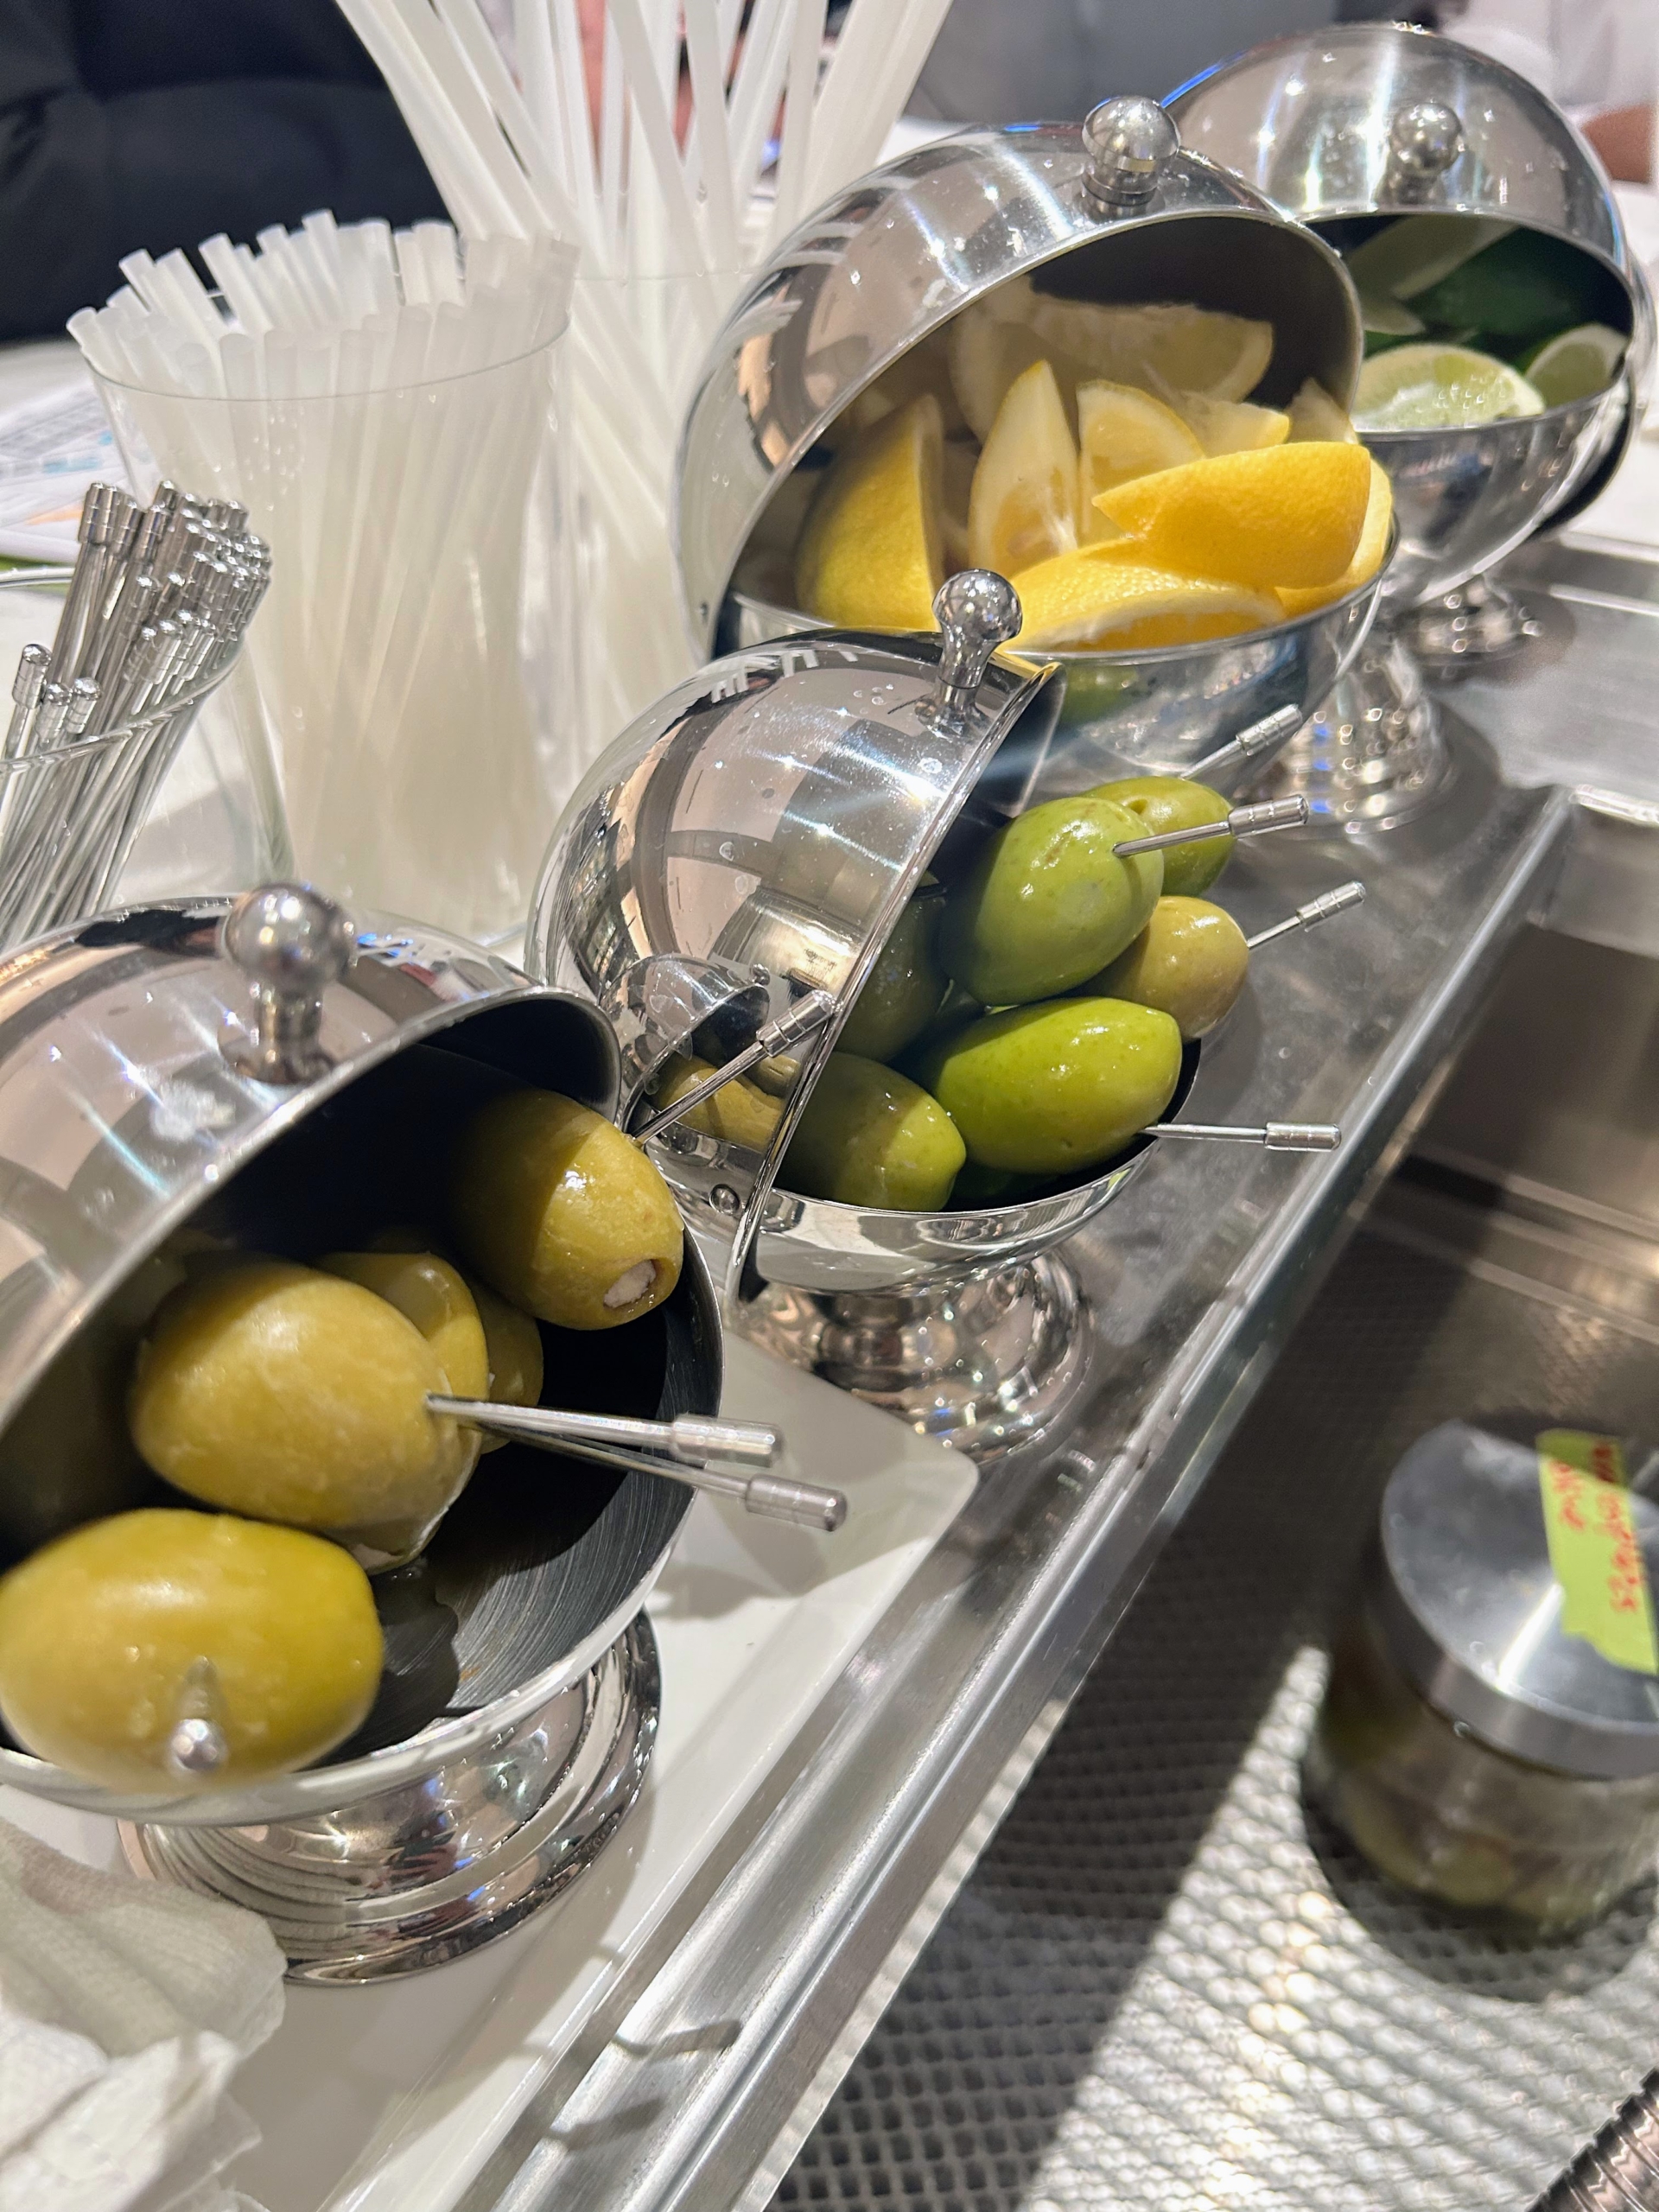
At the bar, garnishes are always cut and prepared fresh for our cocktail service.
And of course, we serve Martha’s Chard, and now Martha’s Lighter Chard – both with bright citrus fruit notes and a distinctly sweet, oaky flavor.
During my visit, we hosted some media and hospitality events and shared some of these delicious bites – crab cakes, a spring salad, steak tartare, and red endives with Gorgonzola Dolce, toasted pecans and sherry-shallot vinaigrette.
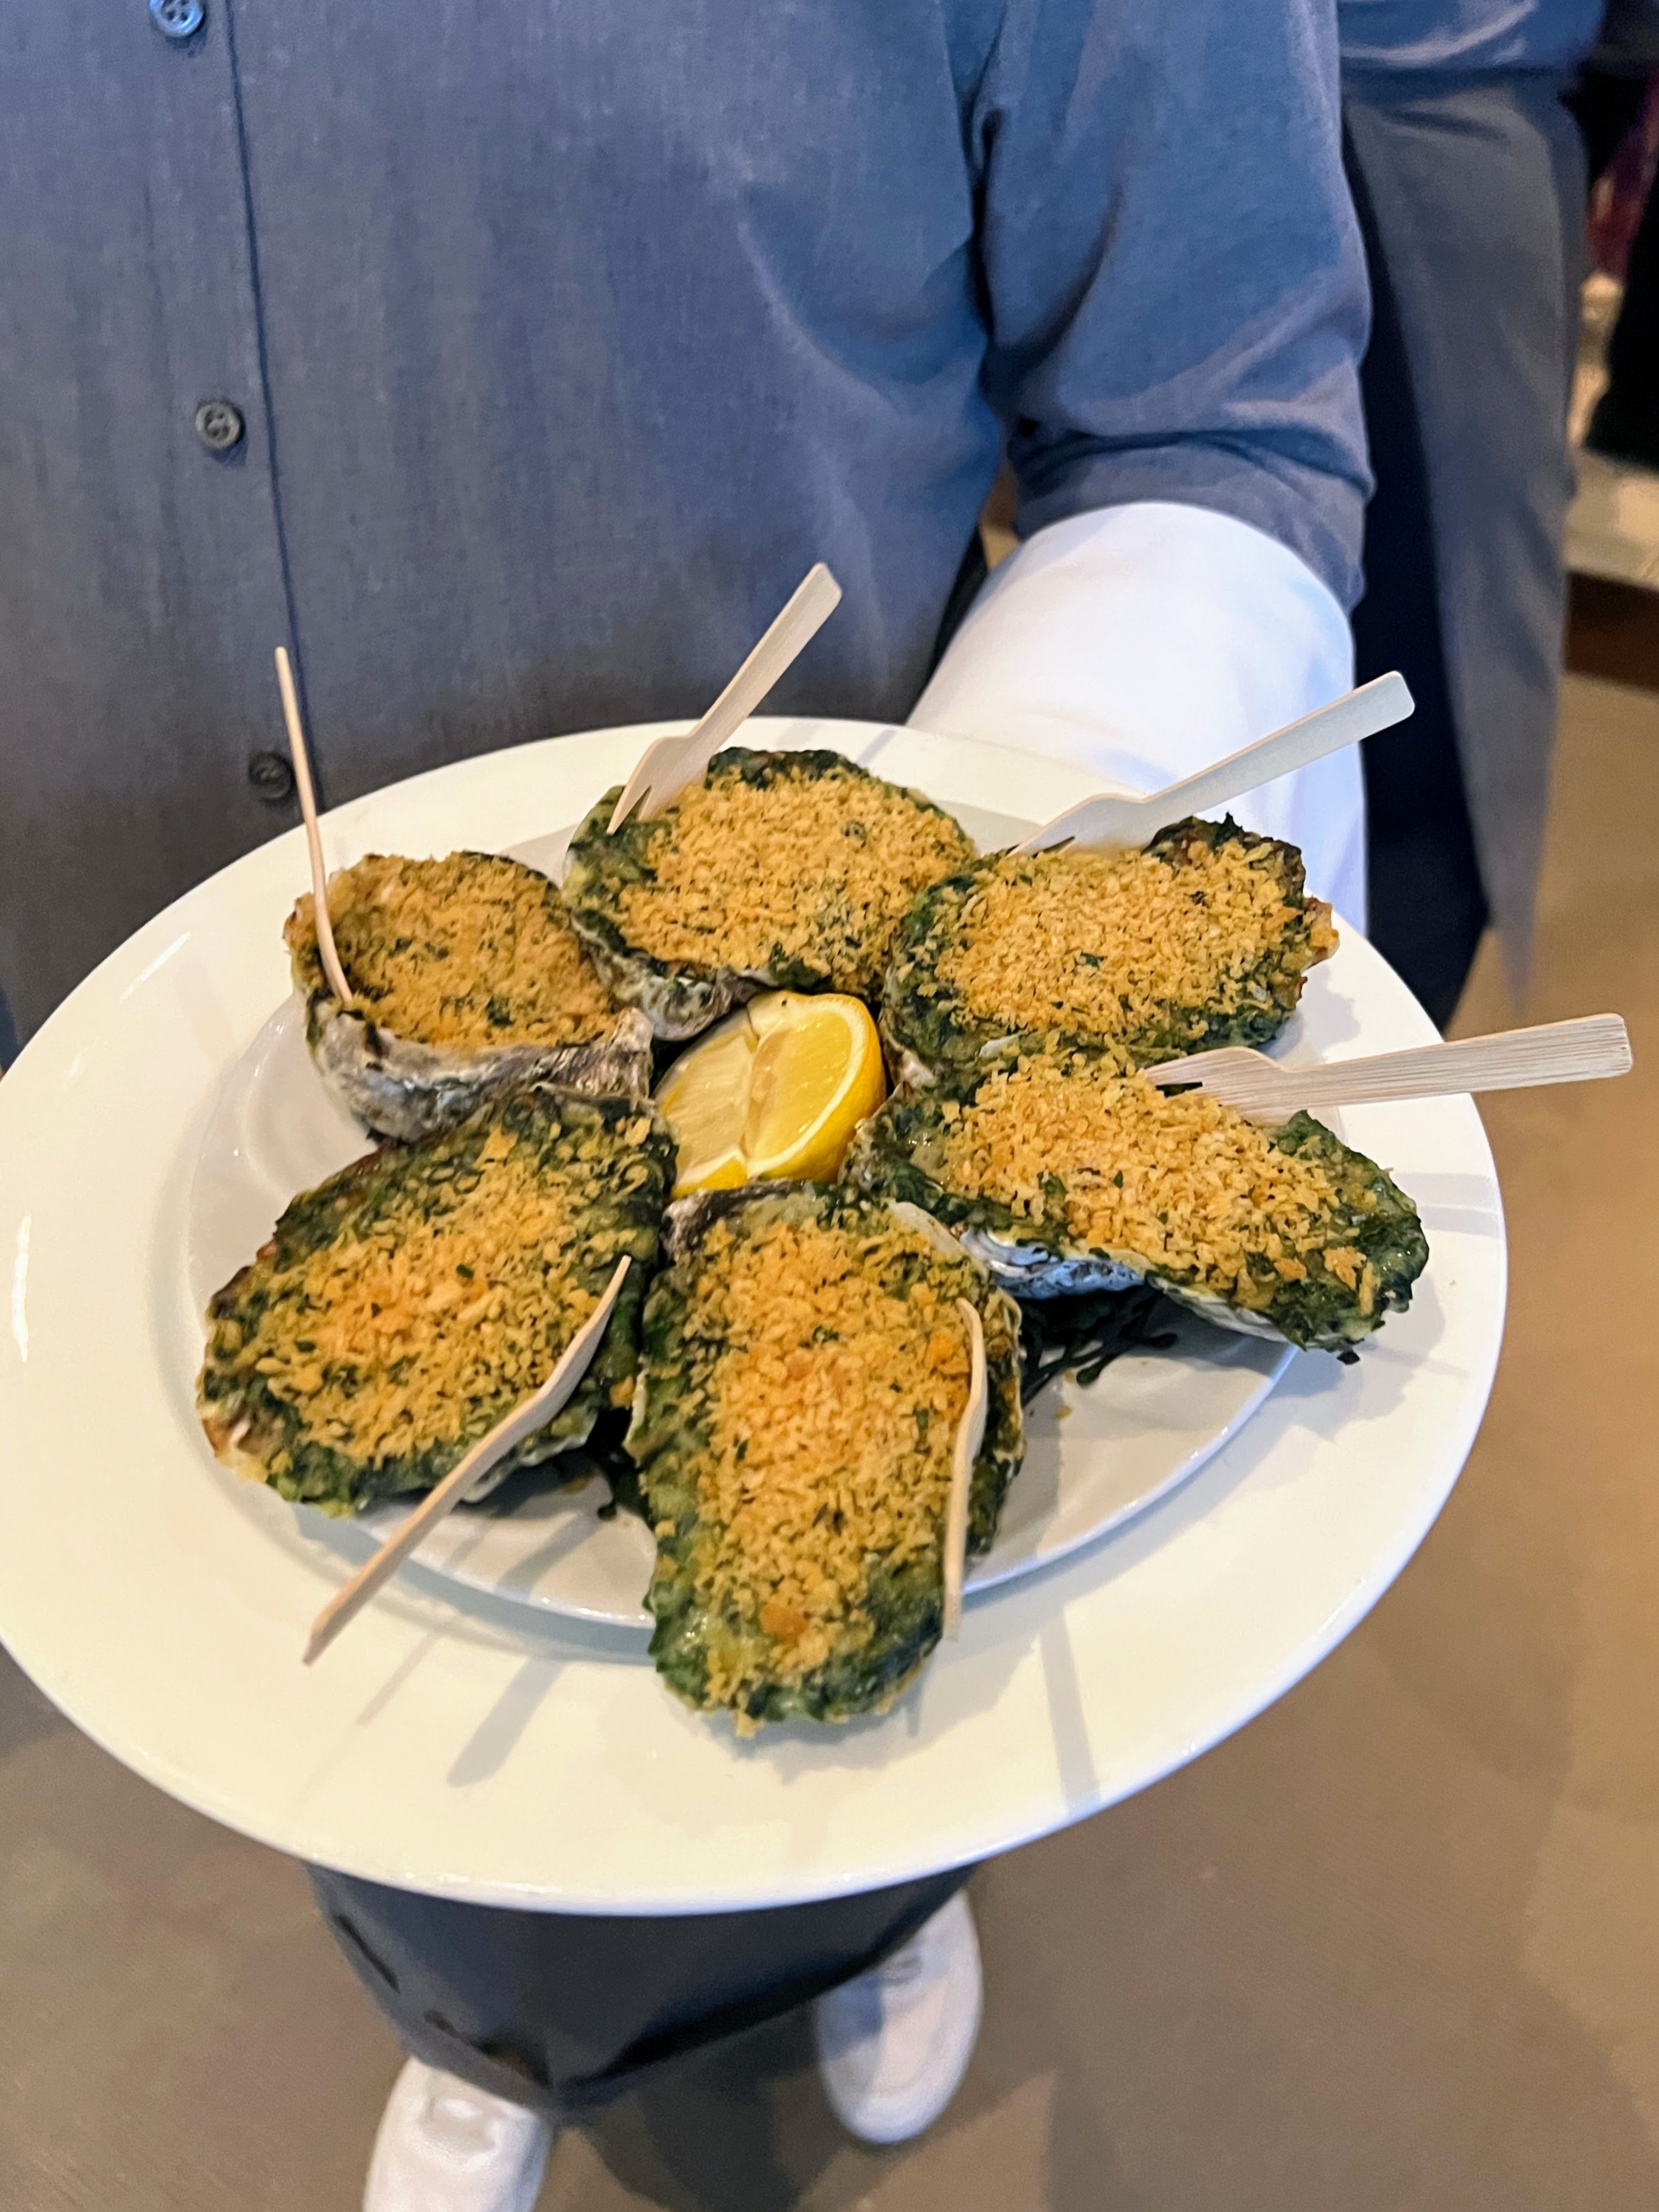
We also offered Oysters Rockefeller, baked with Pernod cream, spinach watercress, and a parsley breadcrumb topping.
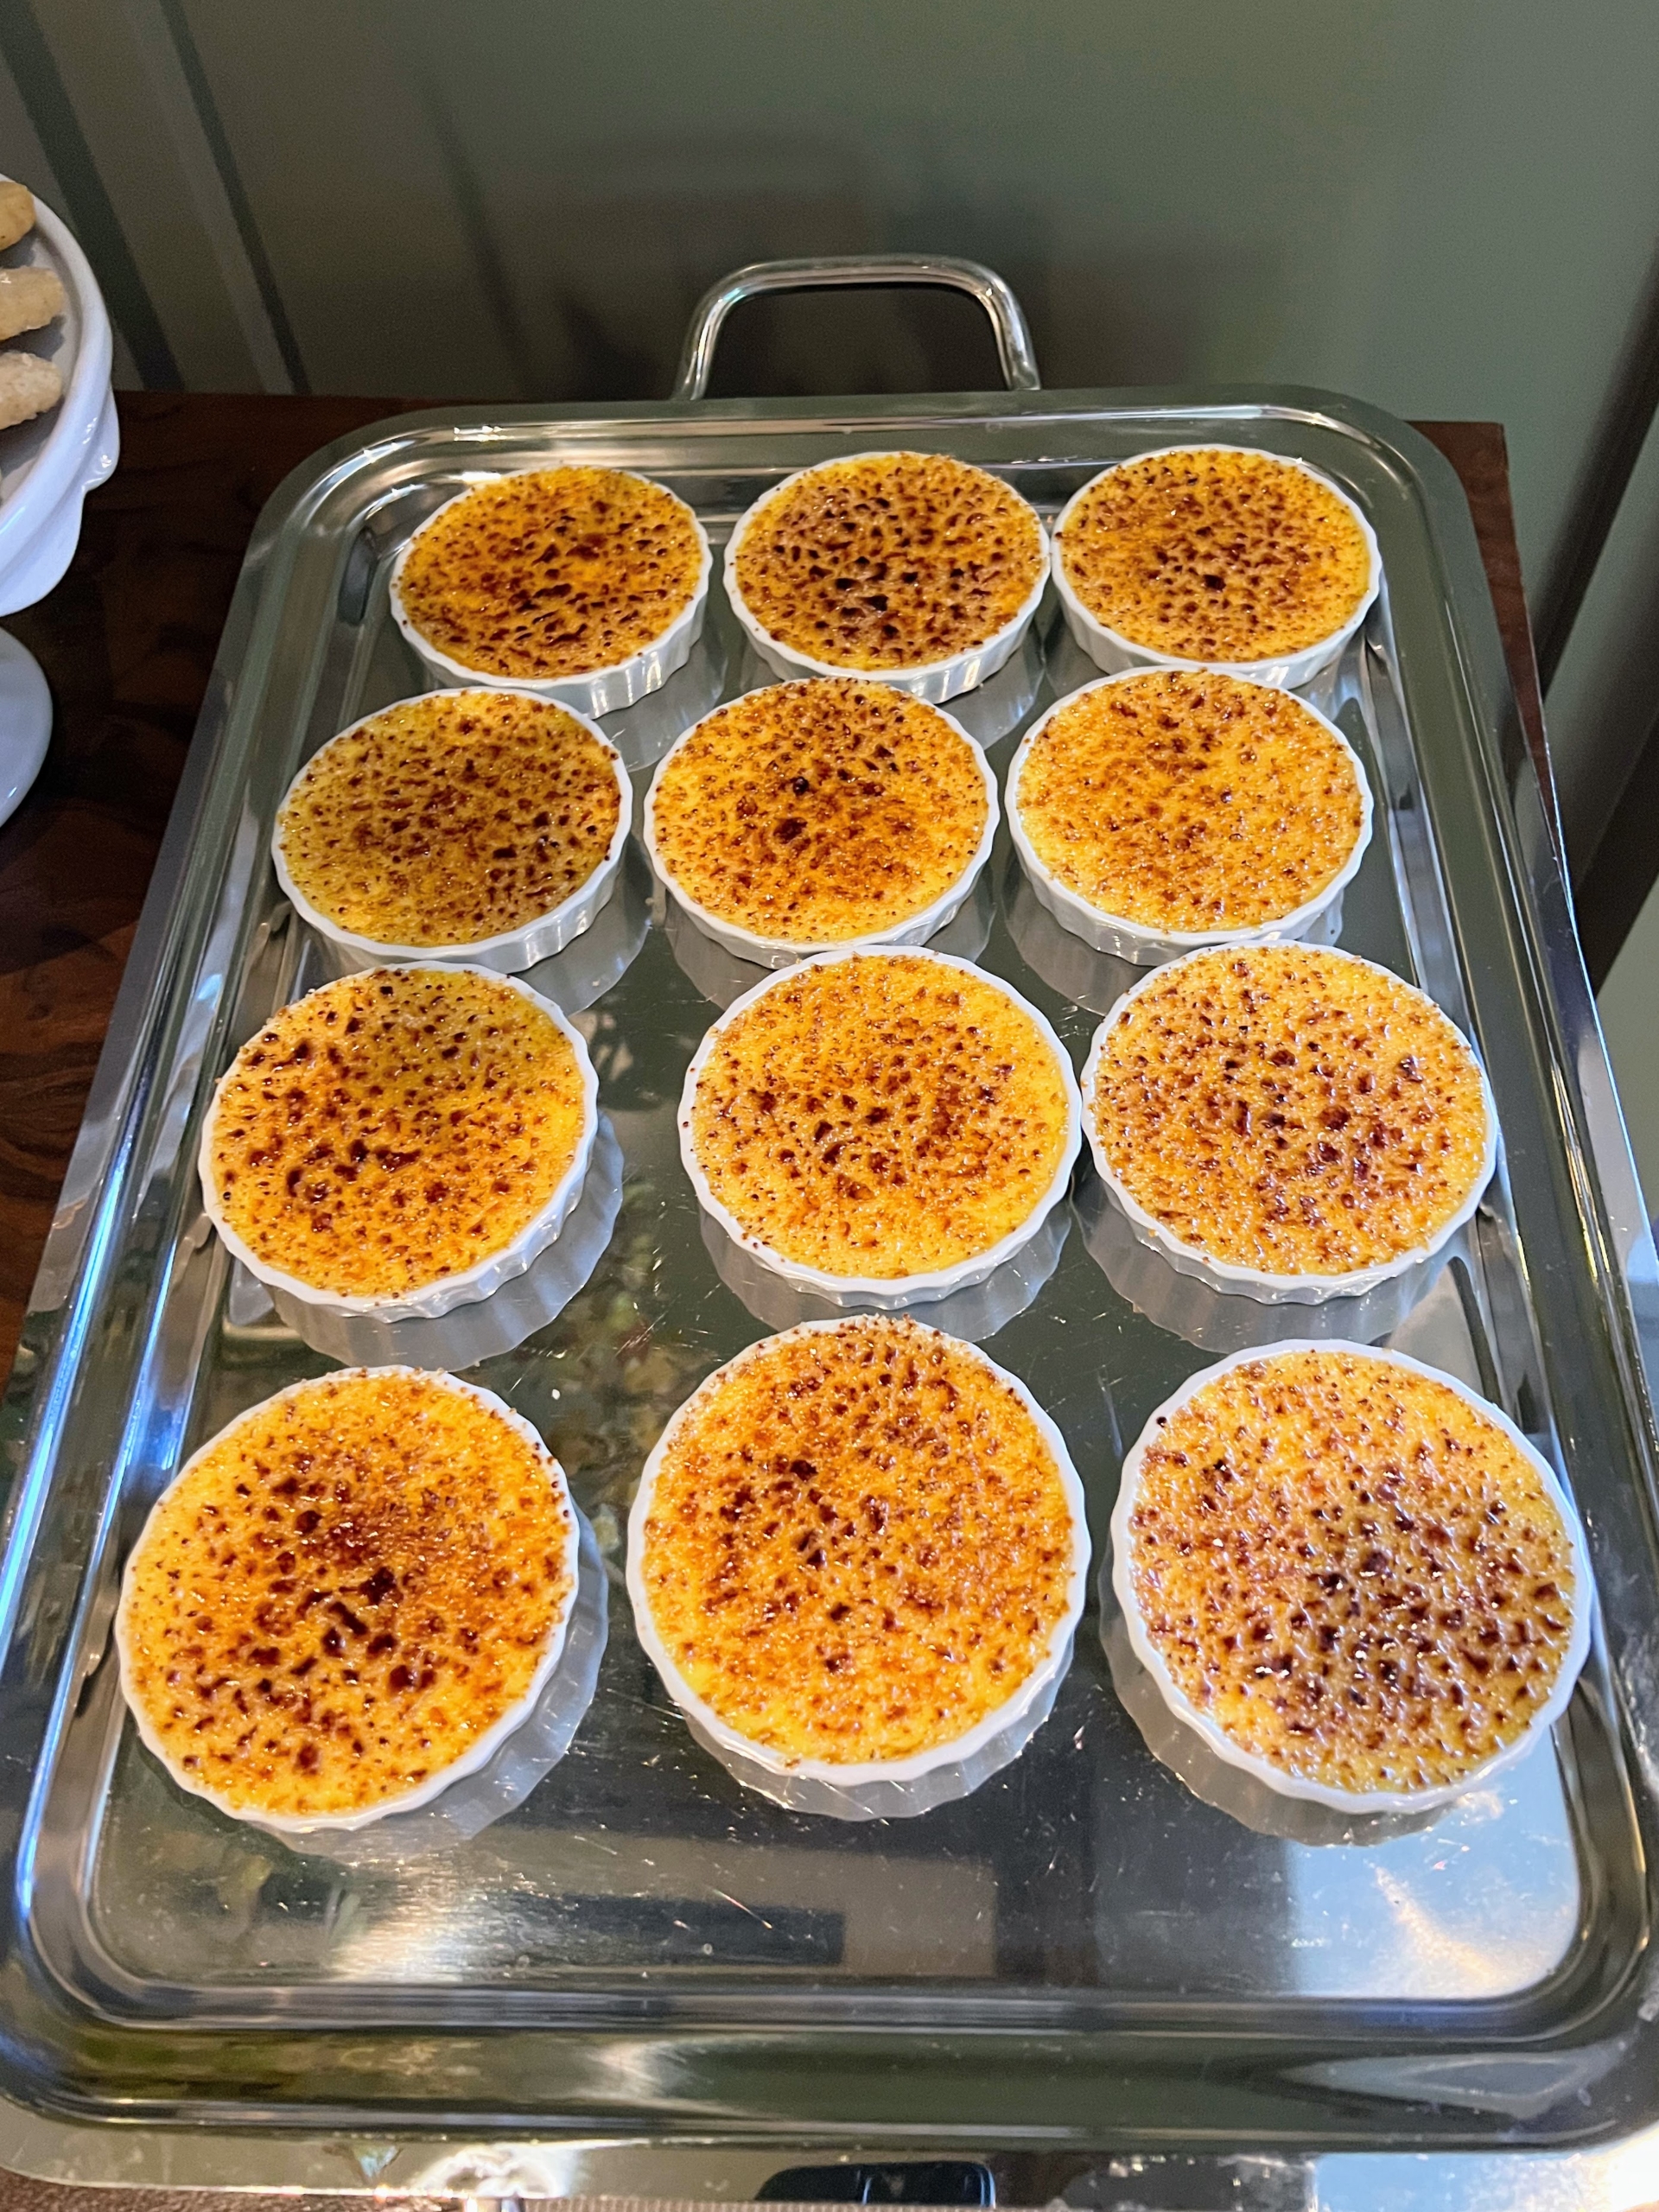
And for dessert, ramekins filled with our Classic Crème Brûlée.
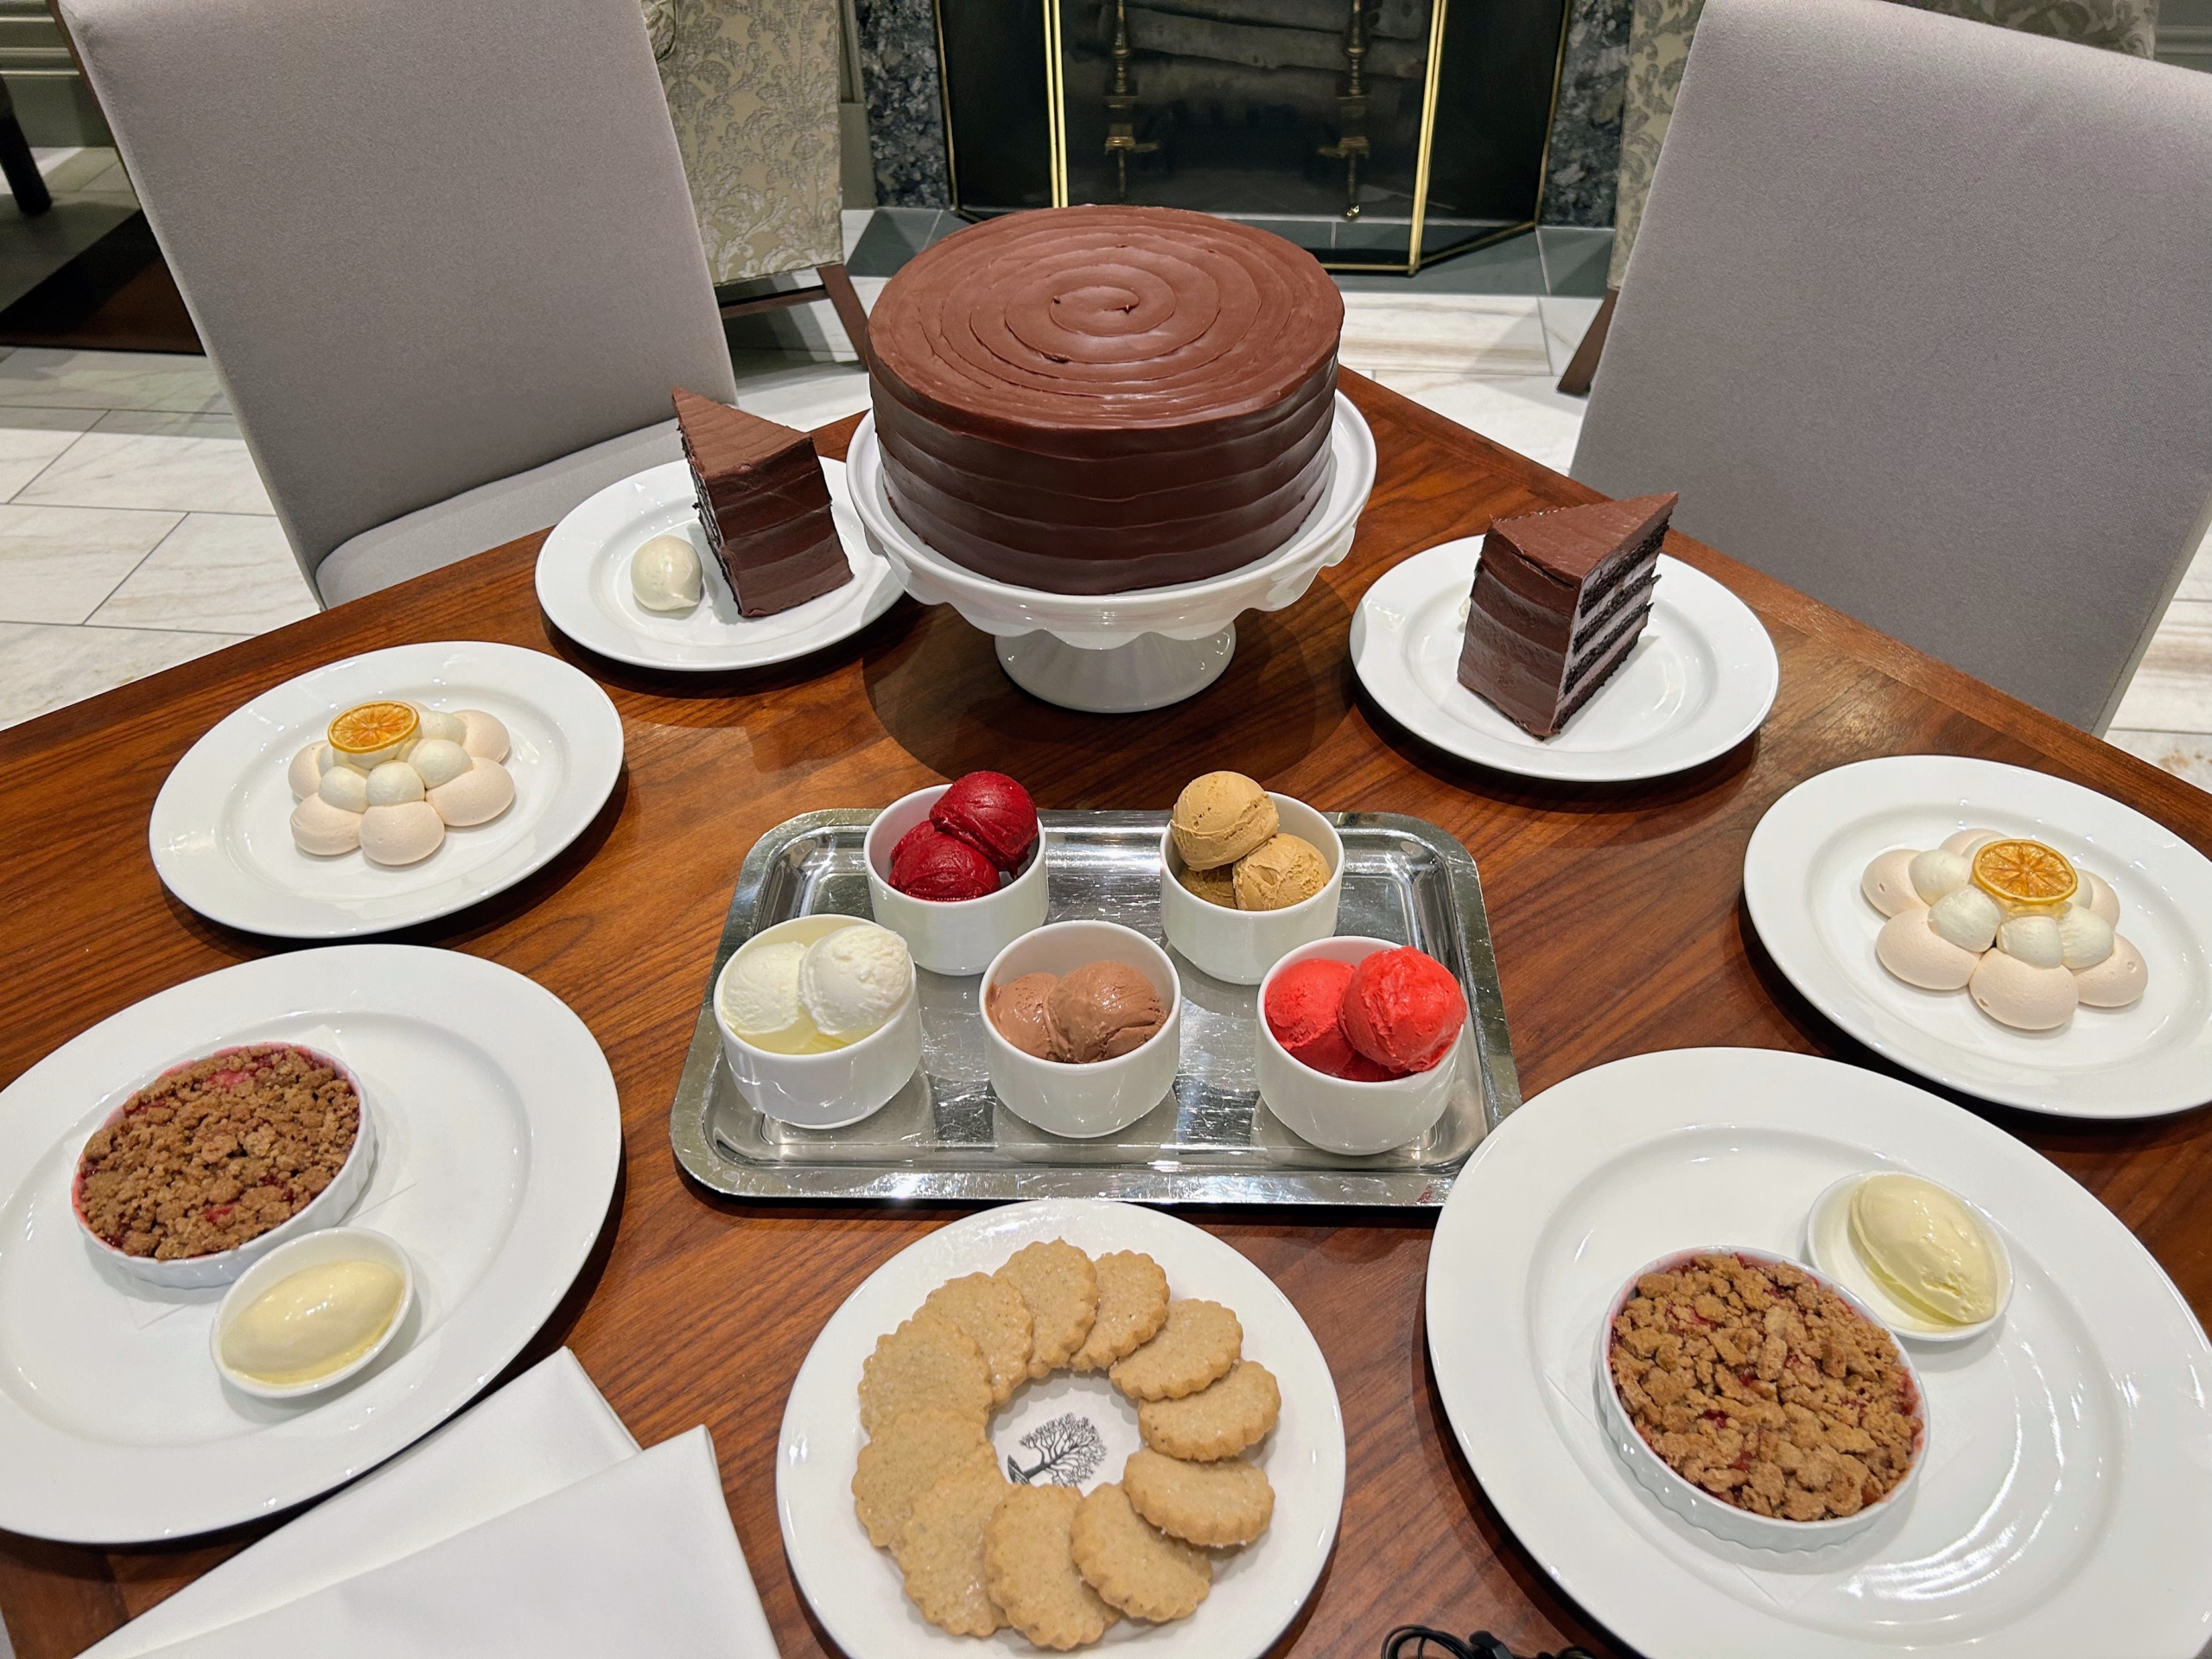
This dessert table was also filled with “Mile High” Chocolate Cake, house made sorbets and ice creams, cookies, and tarts.
Here I am with just some of those who have helped make The Bedford by Martha Stewart such a success. We have a great team at The Bedford. If you haven’t yet joined us for a visit, please make reservations – you’ll have a great time!