We have lots of freshly picked garlic here at my Bedford, New York farm!
Determining when garlic is ready to harvest can be tricky. If it’s harvested too soon, the cloves are small and underdeveloped. If harvested too late, the clove heads begin to separate, making them more vulnerable to decay. The real indicator is the plant itself - when the bottom leaves have turned brown, and the top leaves are still green. Not long ago, my gardeners, Ryan McCallister and Brian O'Kelly, harvested our entire crop of garlic. All our varieties came from Keene Garlic, a family owned farm in Wisconsin.
Here are some photos, enjoy.
I plant lots of garlic at my Bedford, New York farm and up at Skylands, my home in Maine. Garlic is divided into two categories – the supermarket variety, softneck, which produces long-lasting bulbs with many cloves around a soft center stem, and hardneck, which are noted for their stiff central stalk, fewer cloves, relatively short shelf life, and intriguingly complex flavors.
Our garlic comes from Keene Garlic. We always get a variety of garlic bulbs for my garden. I have been planting Keene Organics garlic for several years, and am always so pleased with their growth and taste. We got our delivery earlier last fall and planted the garlic in November – it’s always one of the last crops we plant before winter.
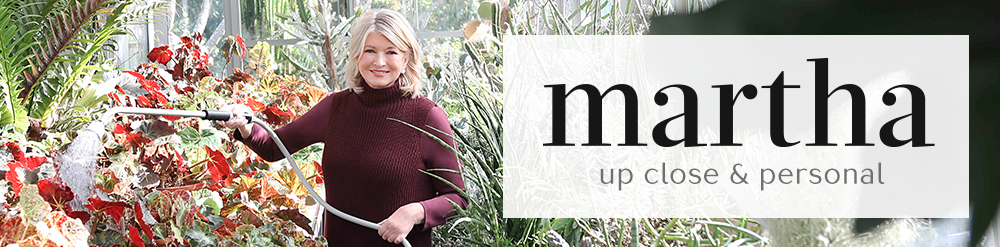
Here is the garlic the day we planted it – each head was carefully broken to separate all the cloves and then the cloves were grouped together and placed in berry boxes along with a proper marker. For the best results, always plant the largest cloves from each bulb and save the smaller ones for eating.
The garlic cloves were soaked in fish emulsion to give them a fertilizer boost and to rid them of possible diseases, which could have been carried by the garlic. Well spaced holes were made where the garlic was placed and then planted at least three to four inches deep.
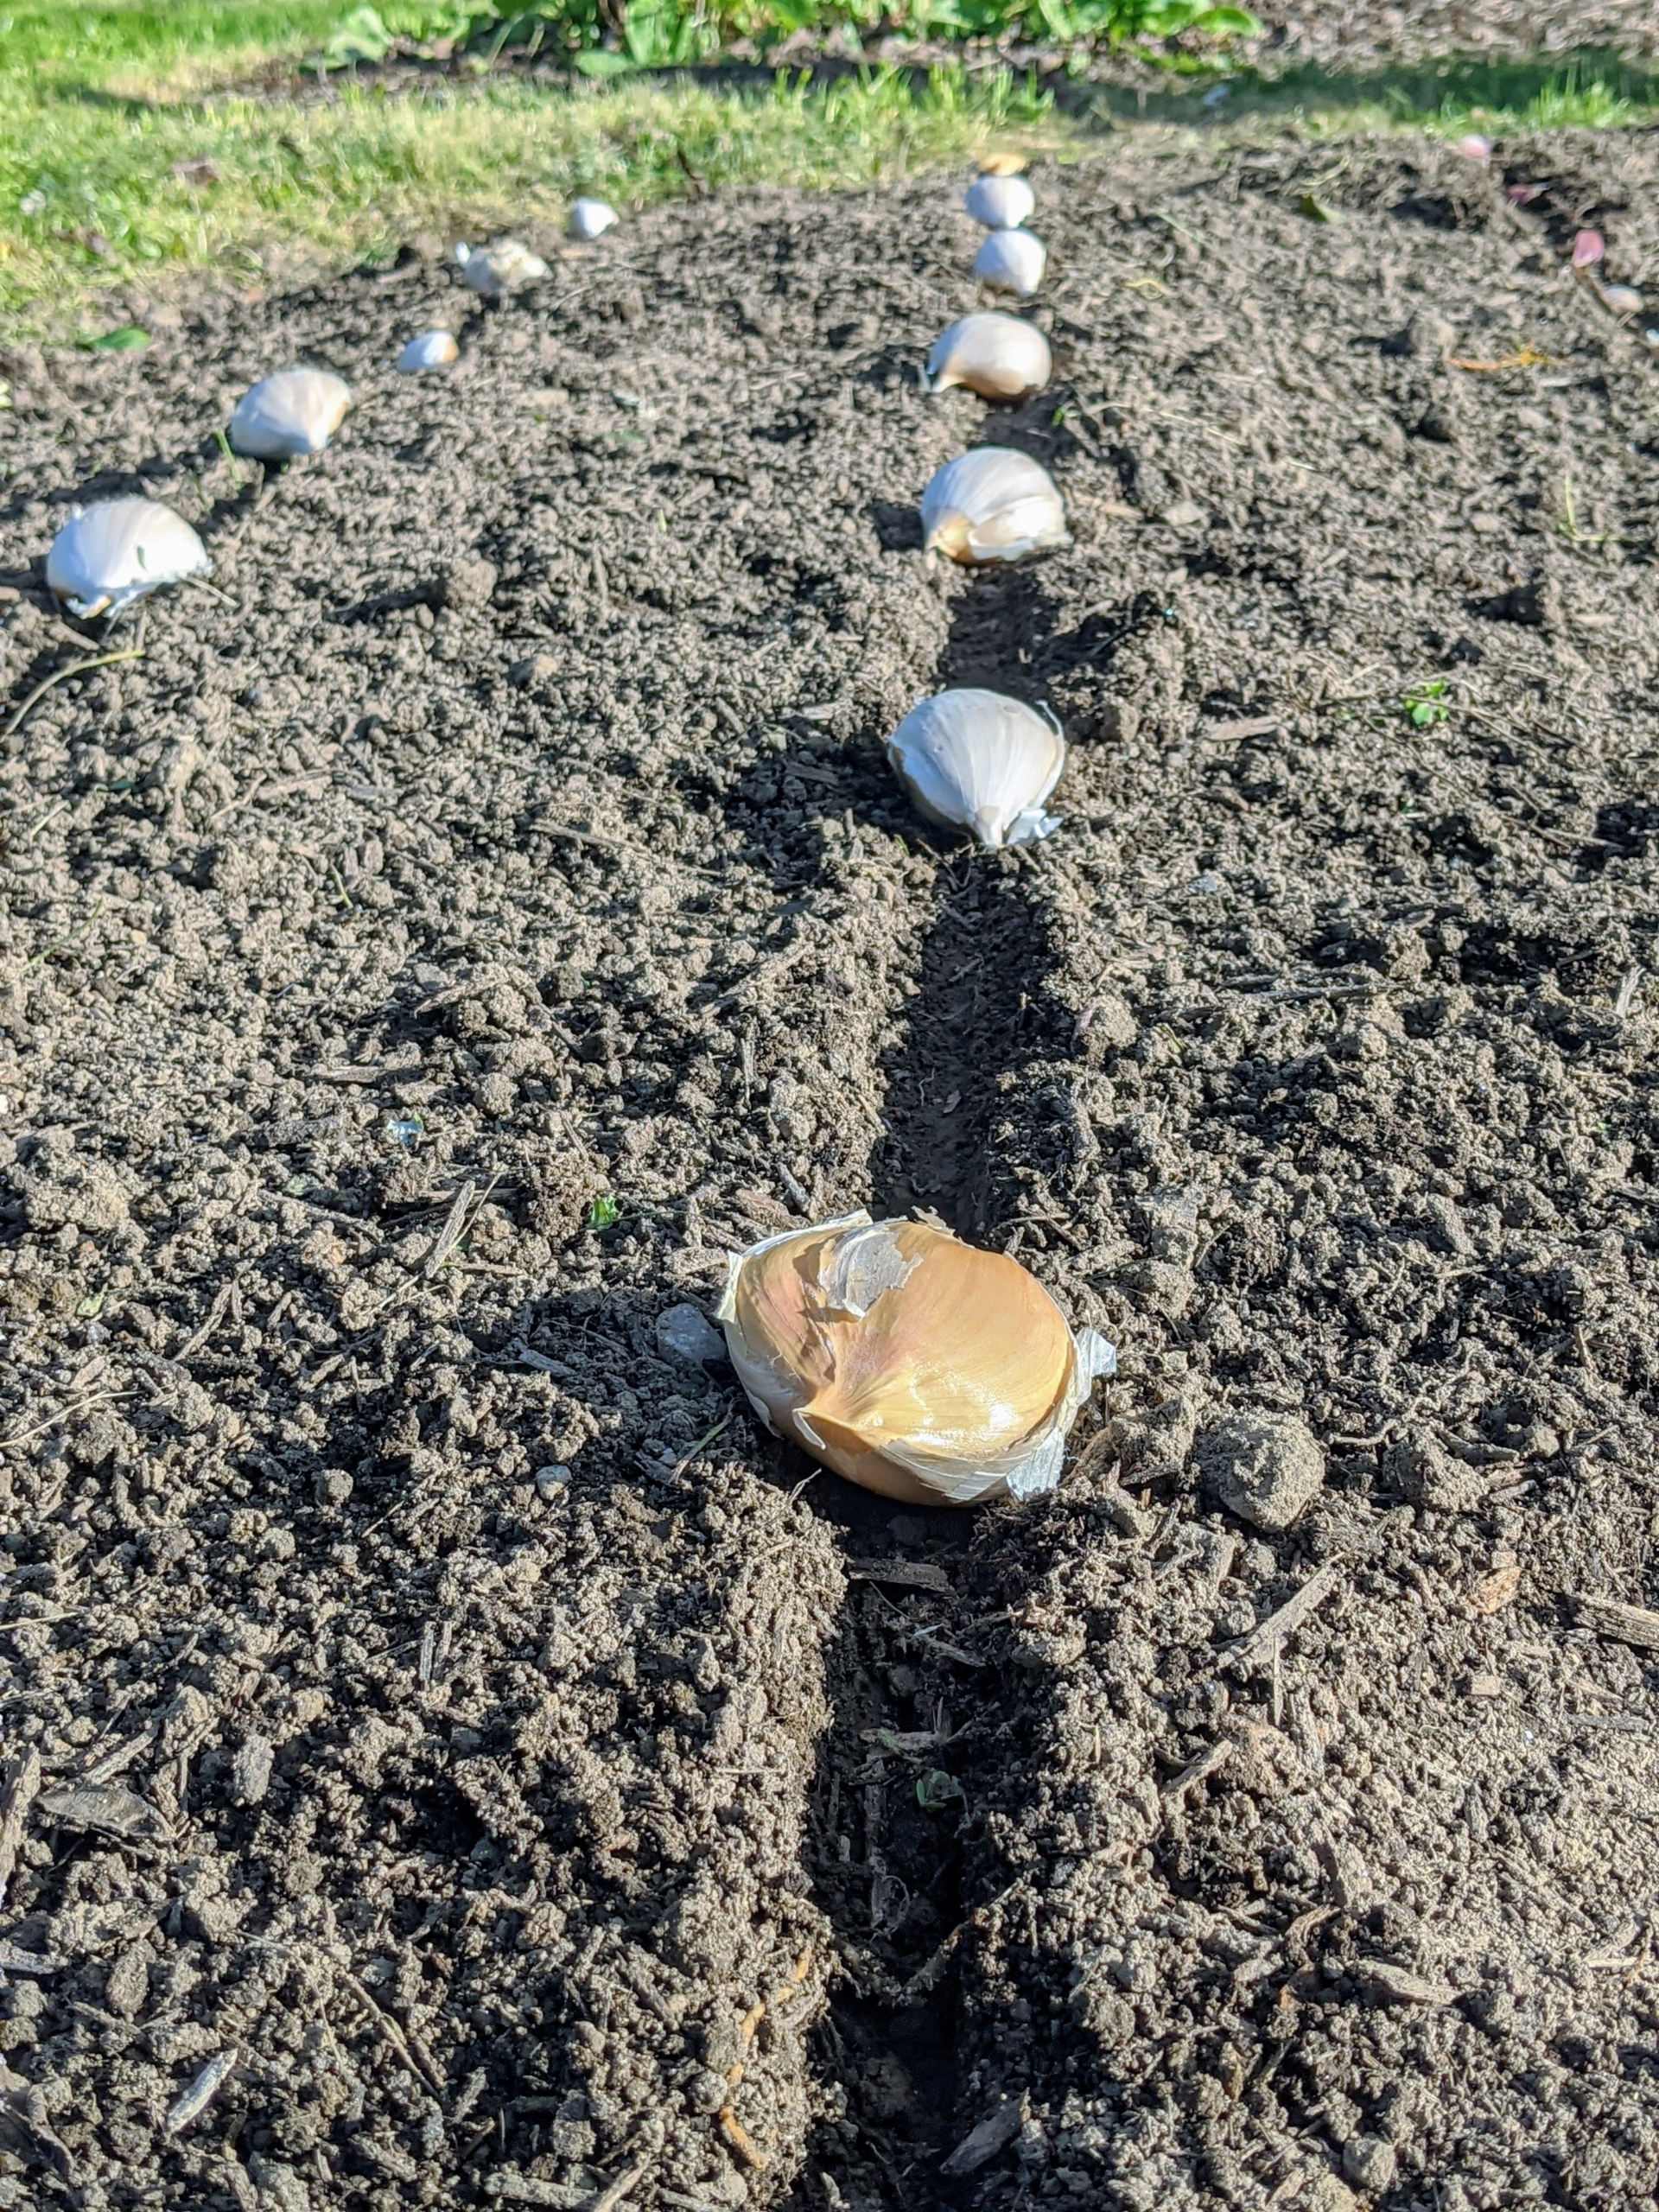
Here’s the bed after all the garlic was planted last autumn. The garlic bed is located behind my main greenhouse not far from my berry bushes.
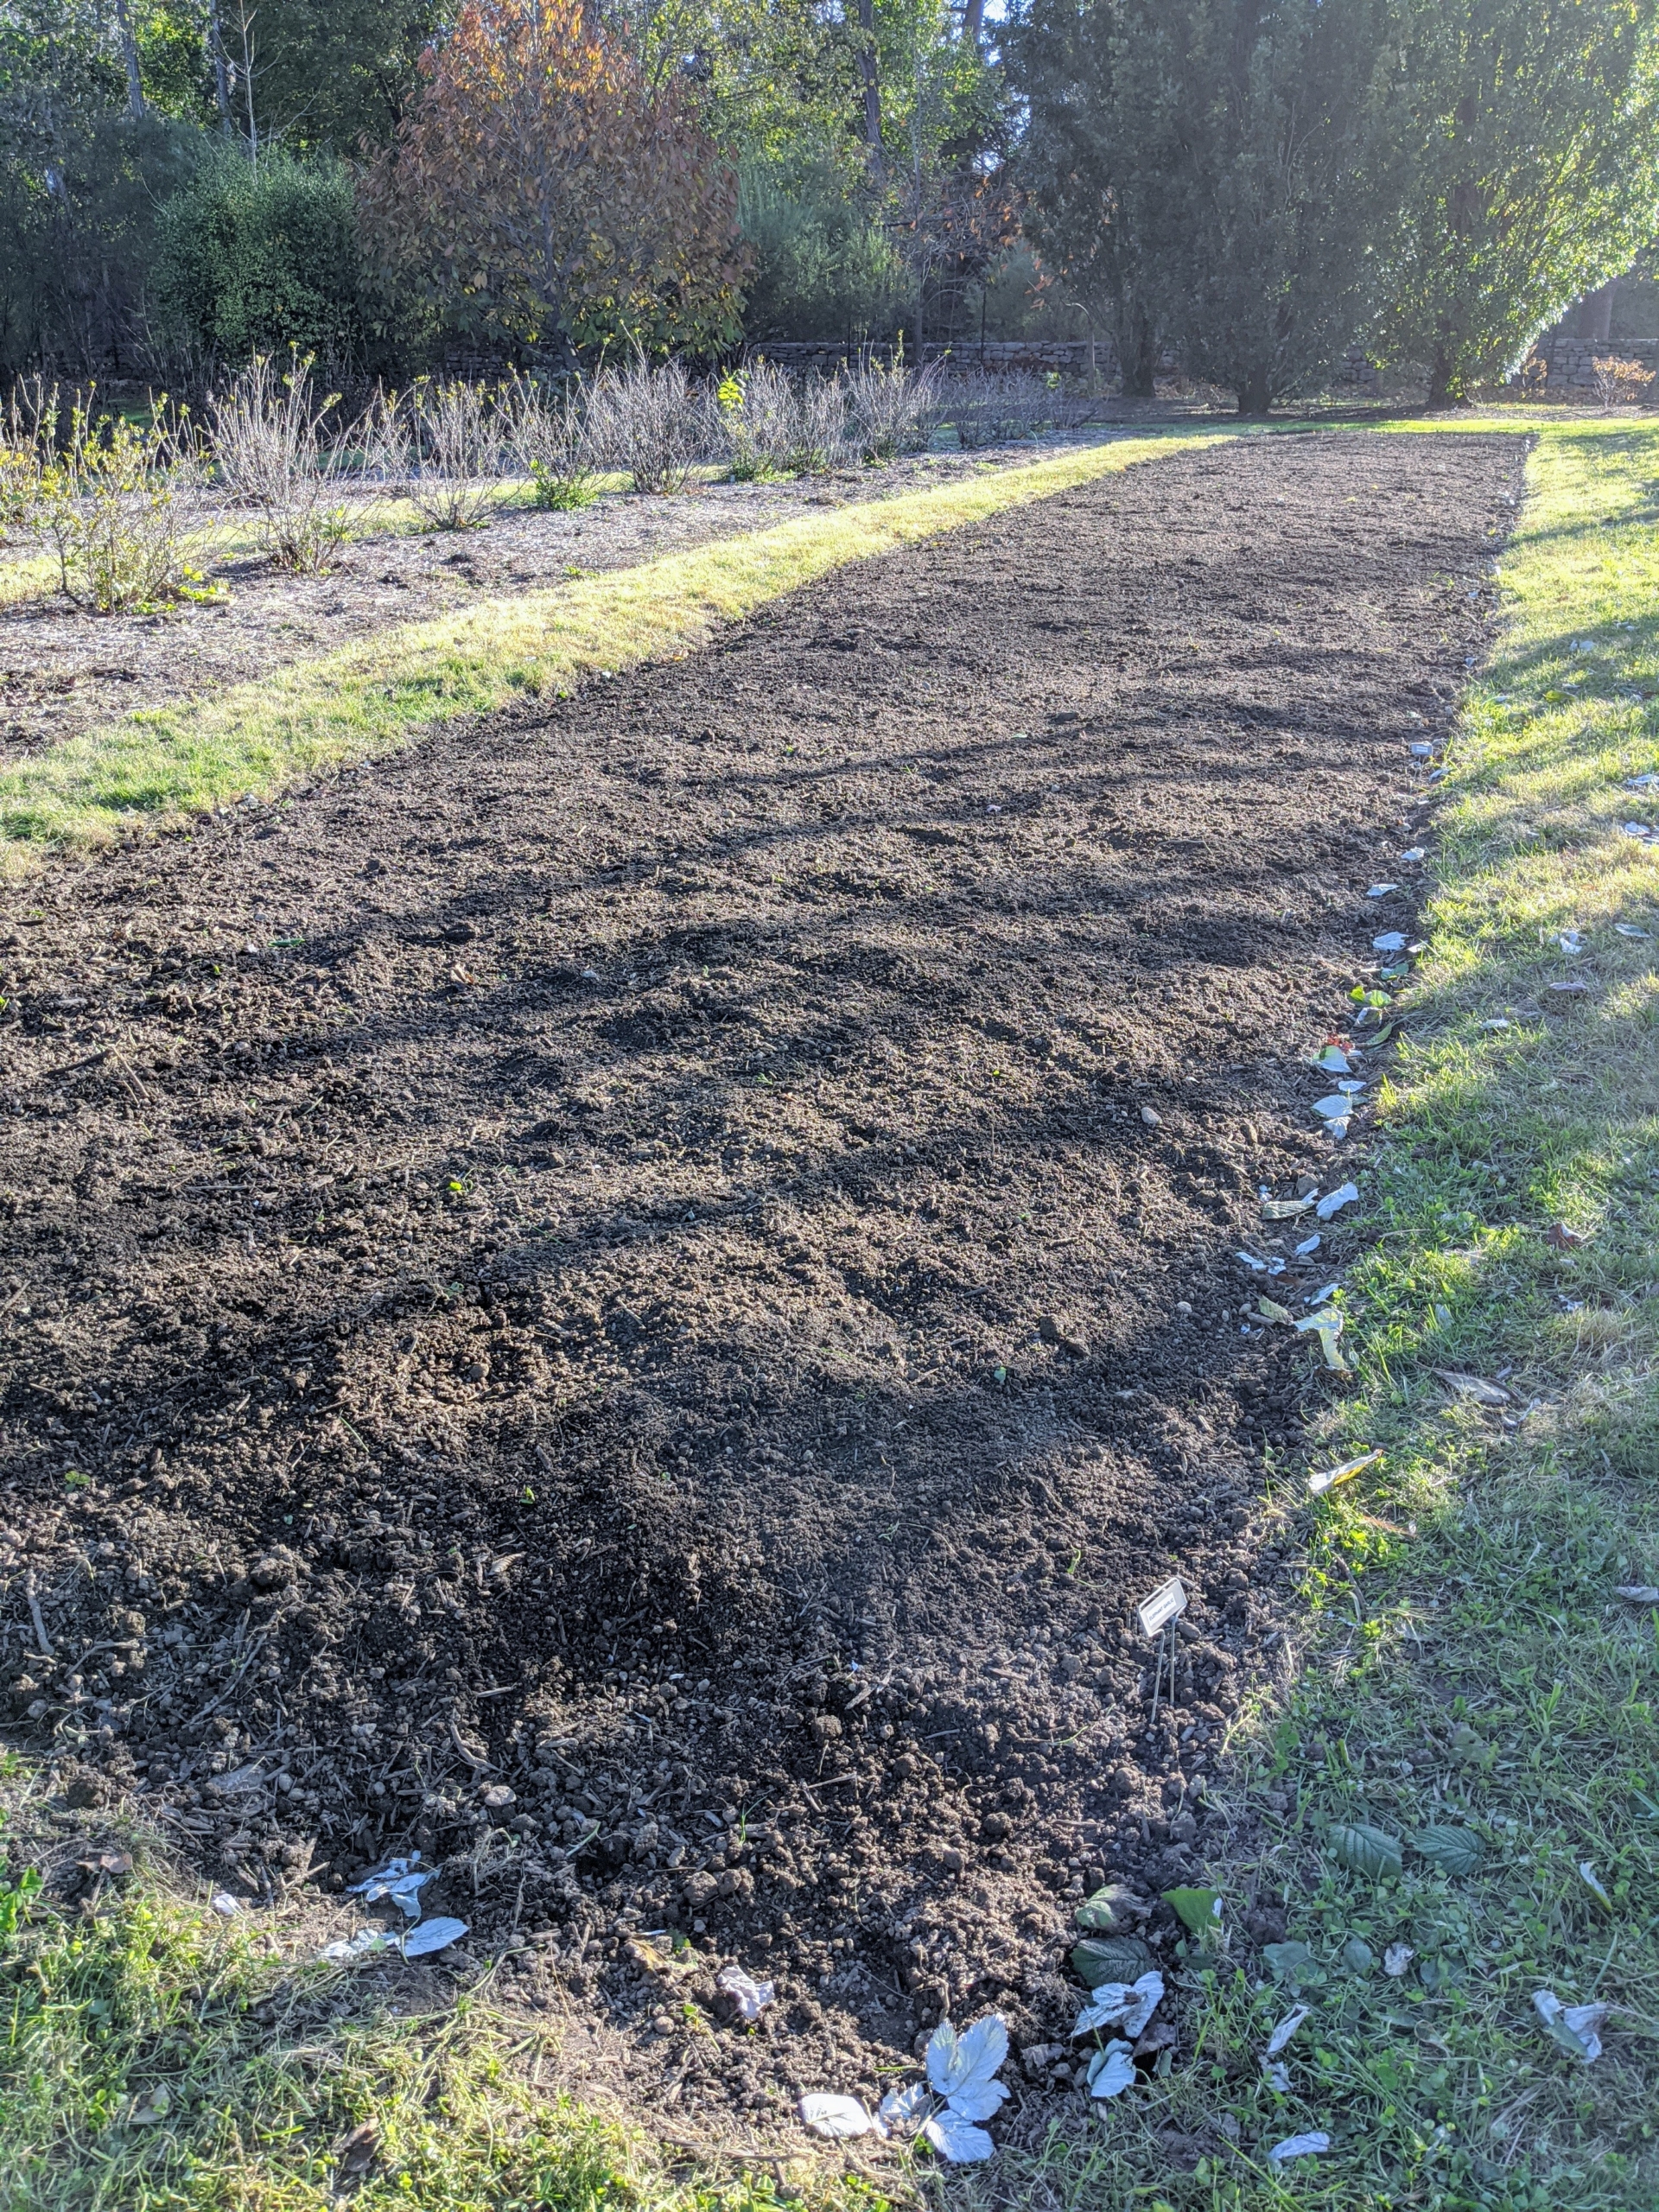
By April, the garlic plants are already well established and several inches tall. Garlic loves a rich fertile loam soil or a silty loam soil. It also grows best in an area that drains well – the cloves can rot if they sit in water or mud.
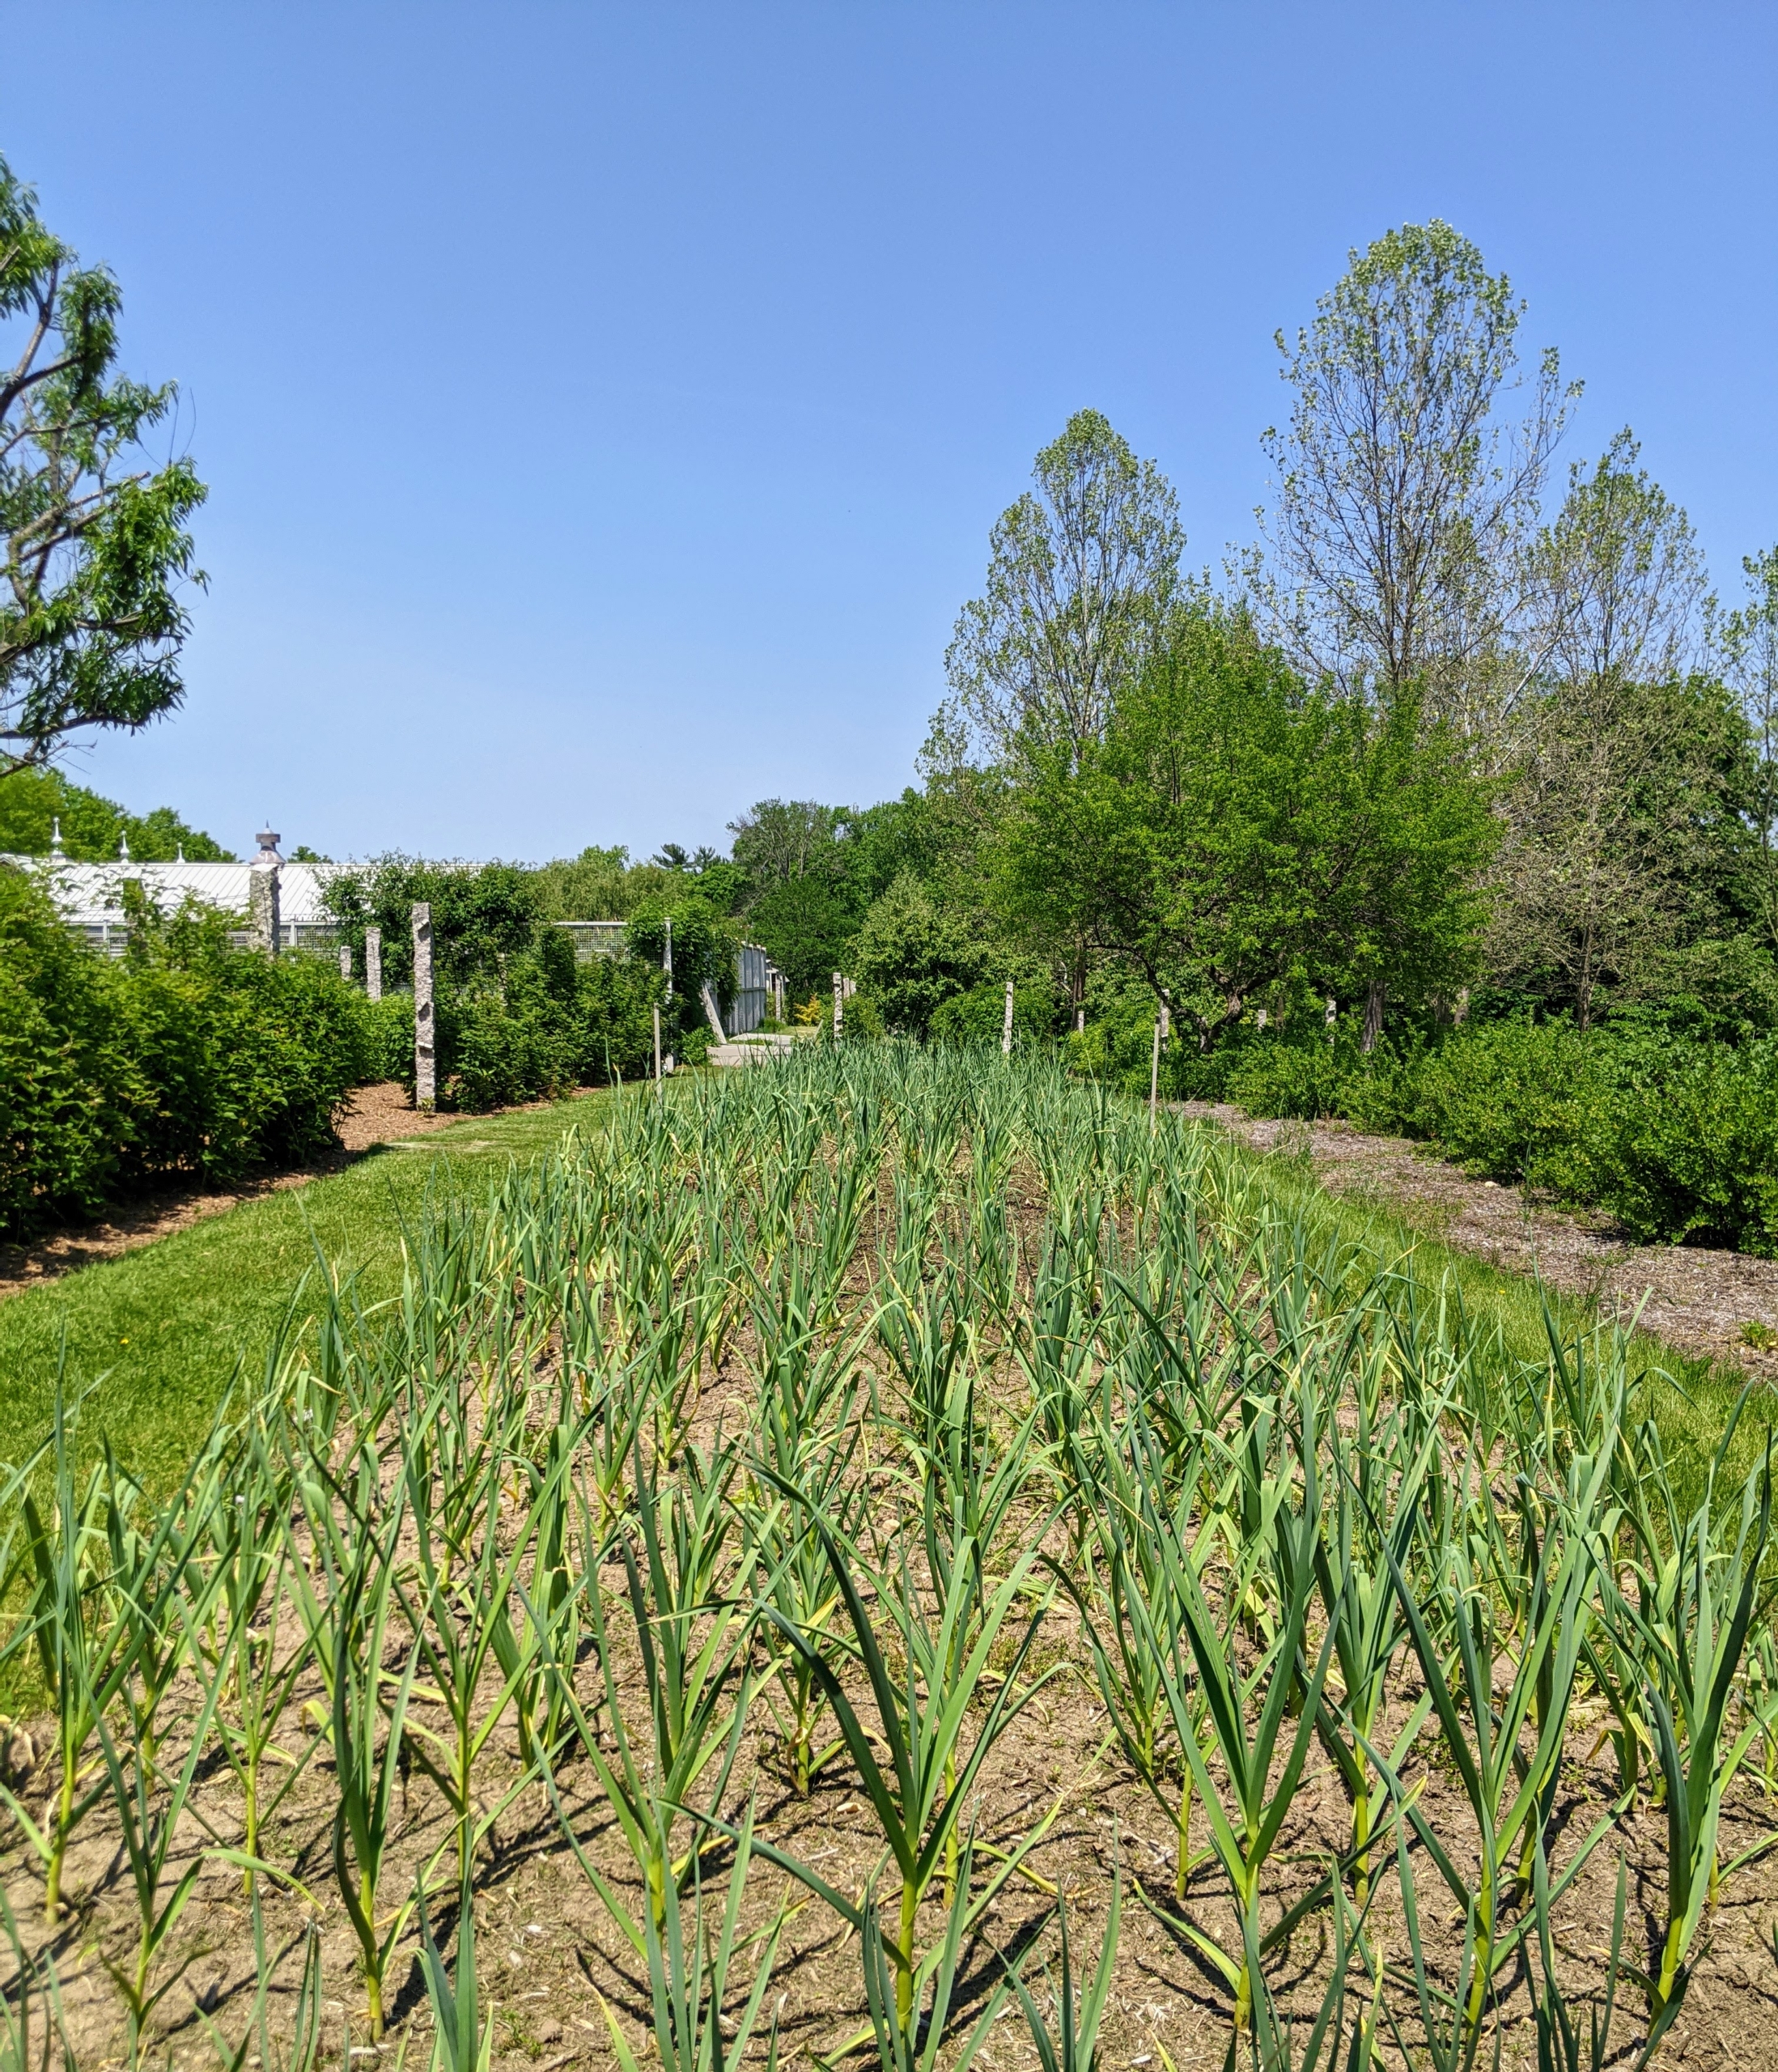
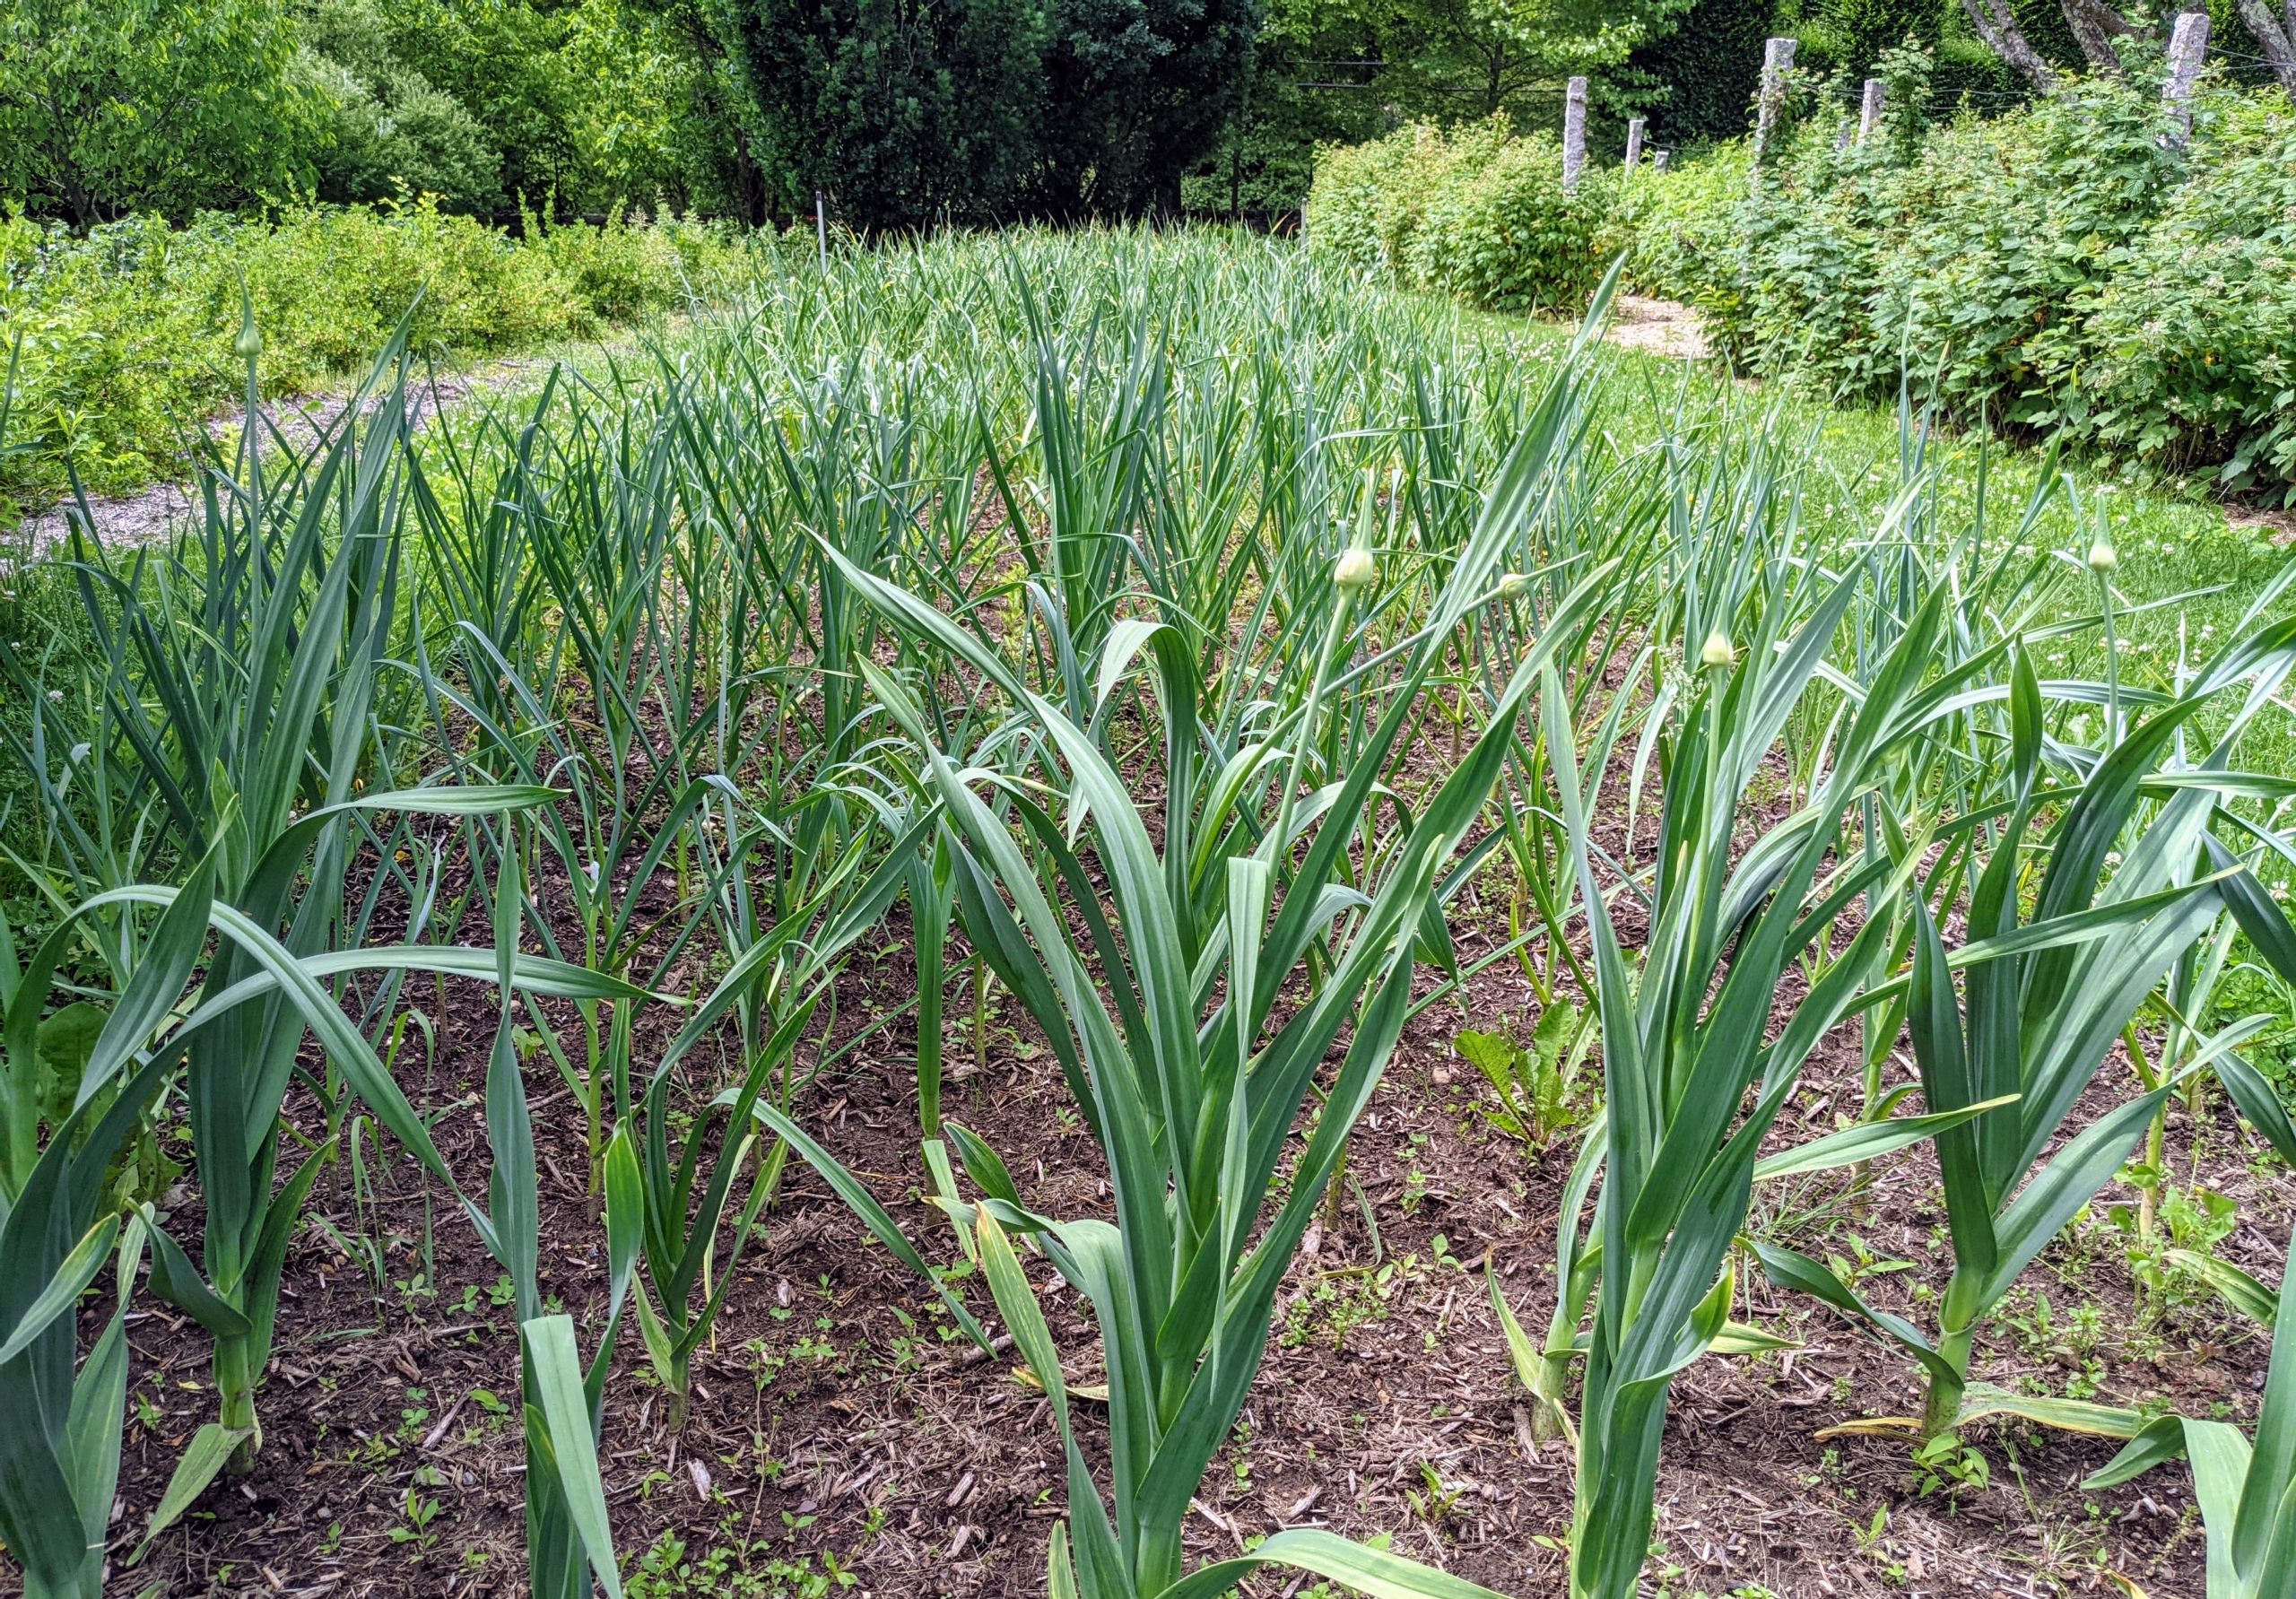
Here is the garlic bed in May – it’s growing great.
In early June, one can see the scapes beginning to form. Garlic scapes are the flower buds of the garlic plants. They’re ready about a month before the actual garlic bulbs. Scapes are delicious and can be used just like garlic.
Scapes can be cut when the center stalks are completely formed and curled ends are seen growing above the rest of the plants.
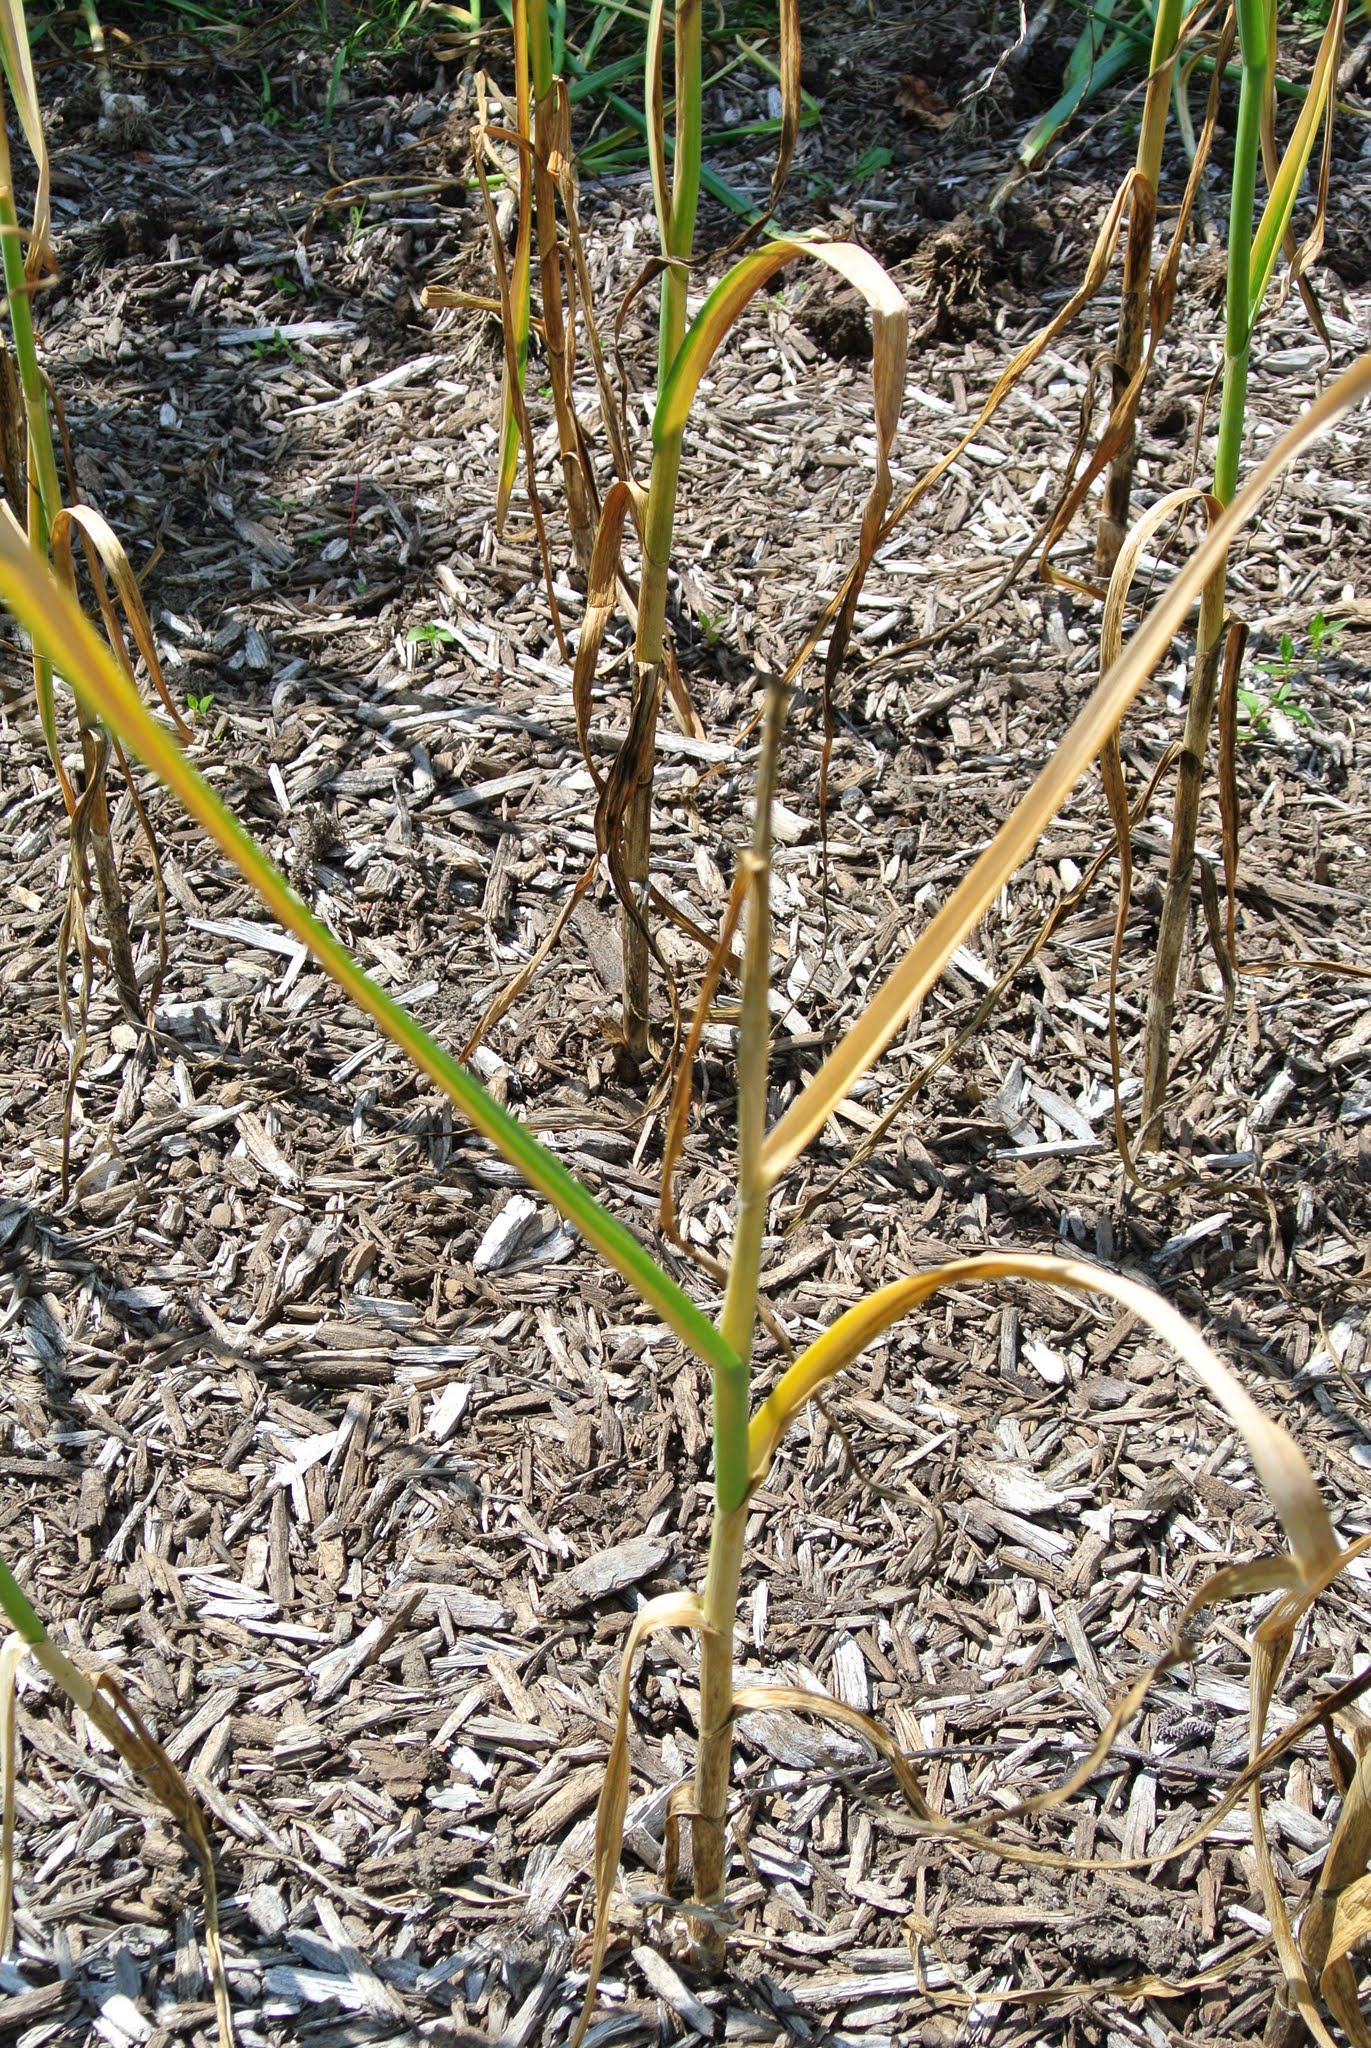
It is pretty easy to tell when the garlic is ready to pick – just look at the plant. Once the top of the garlic plant begins to die back, it’s time. It is important to wait for a dry day to harvest – this allows the soil to dry out, helps to prevent rot, and makes it much easier to pull the stalks and bulbs from the ground.
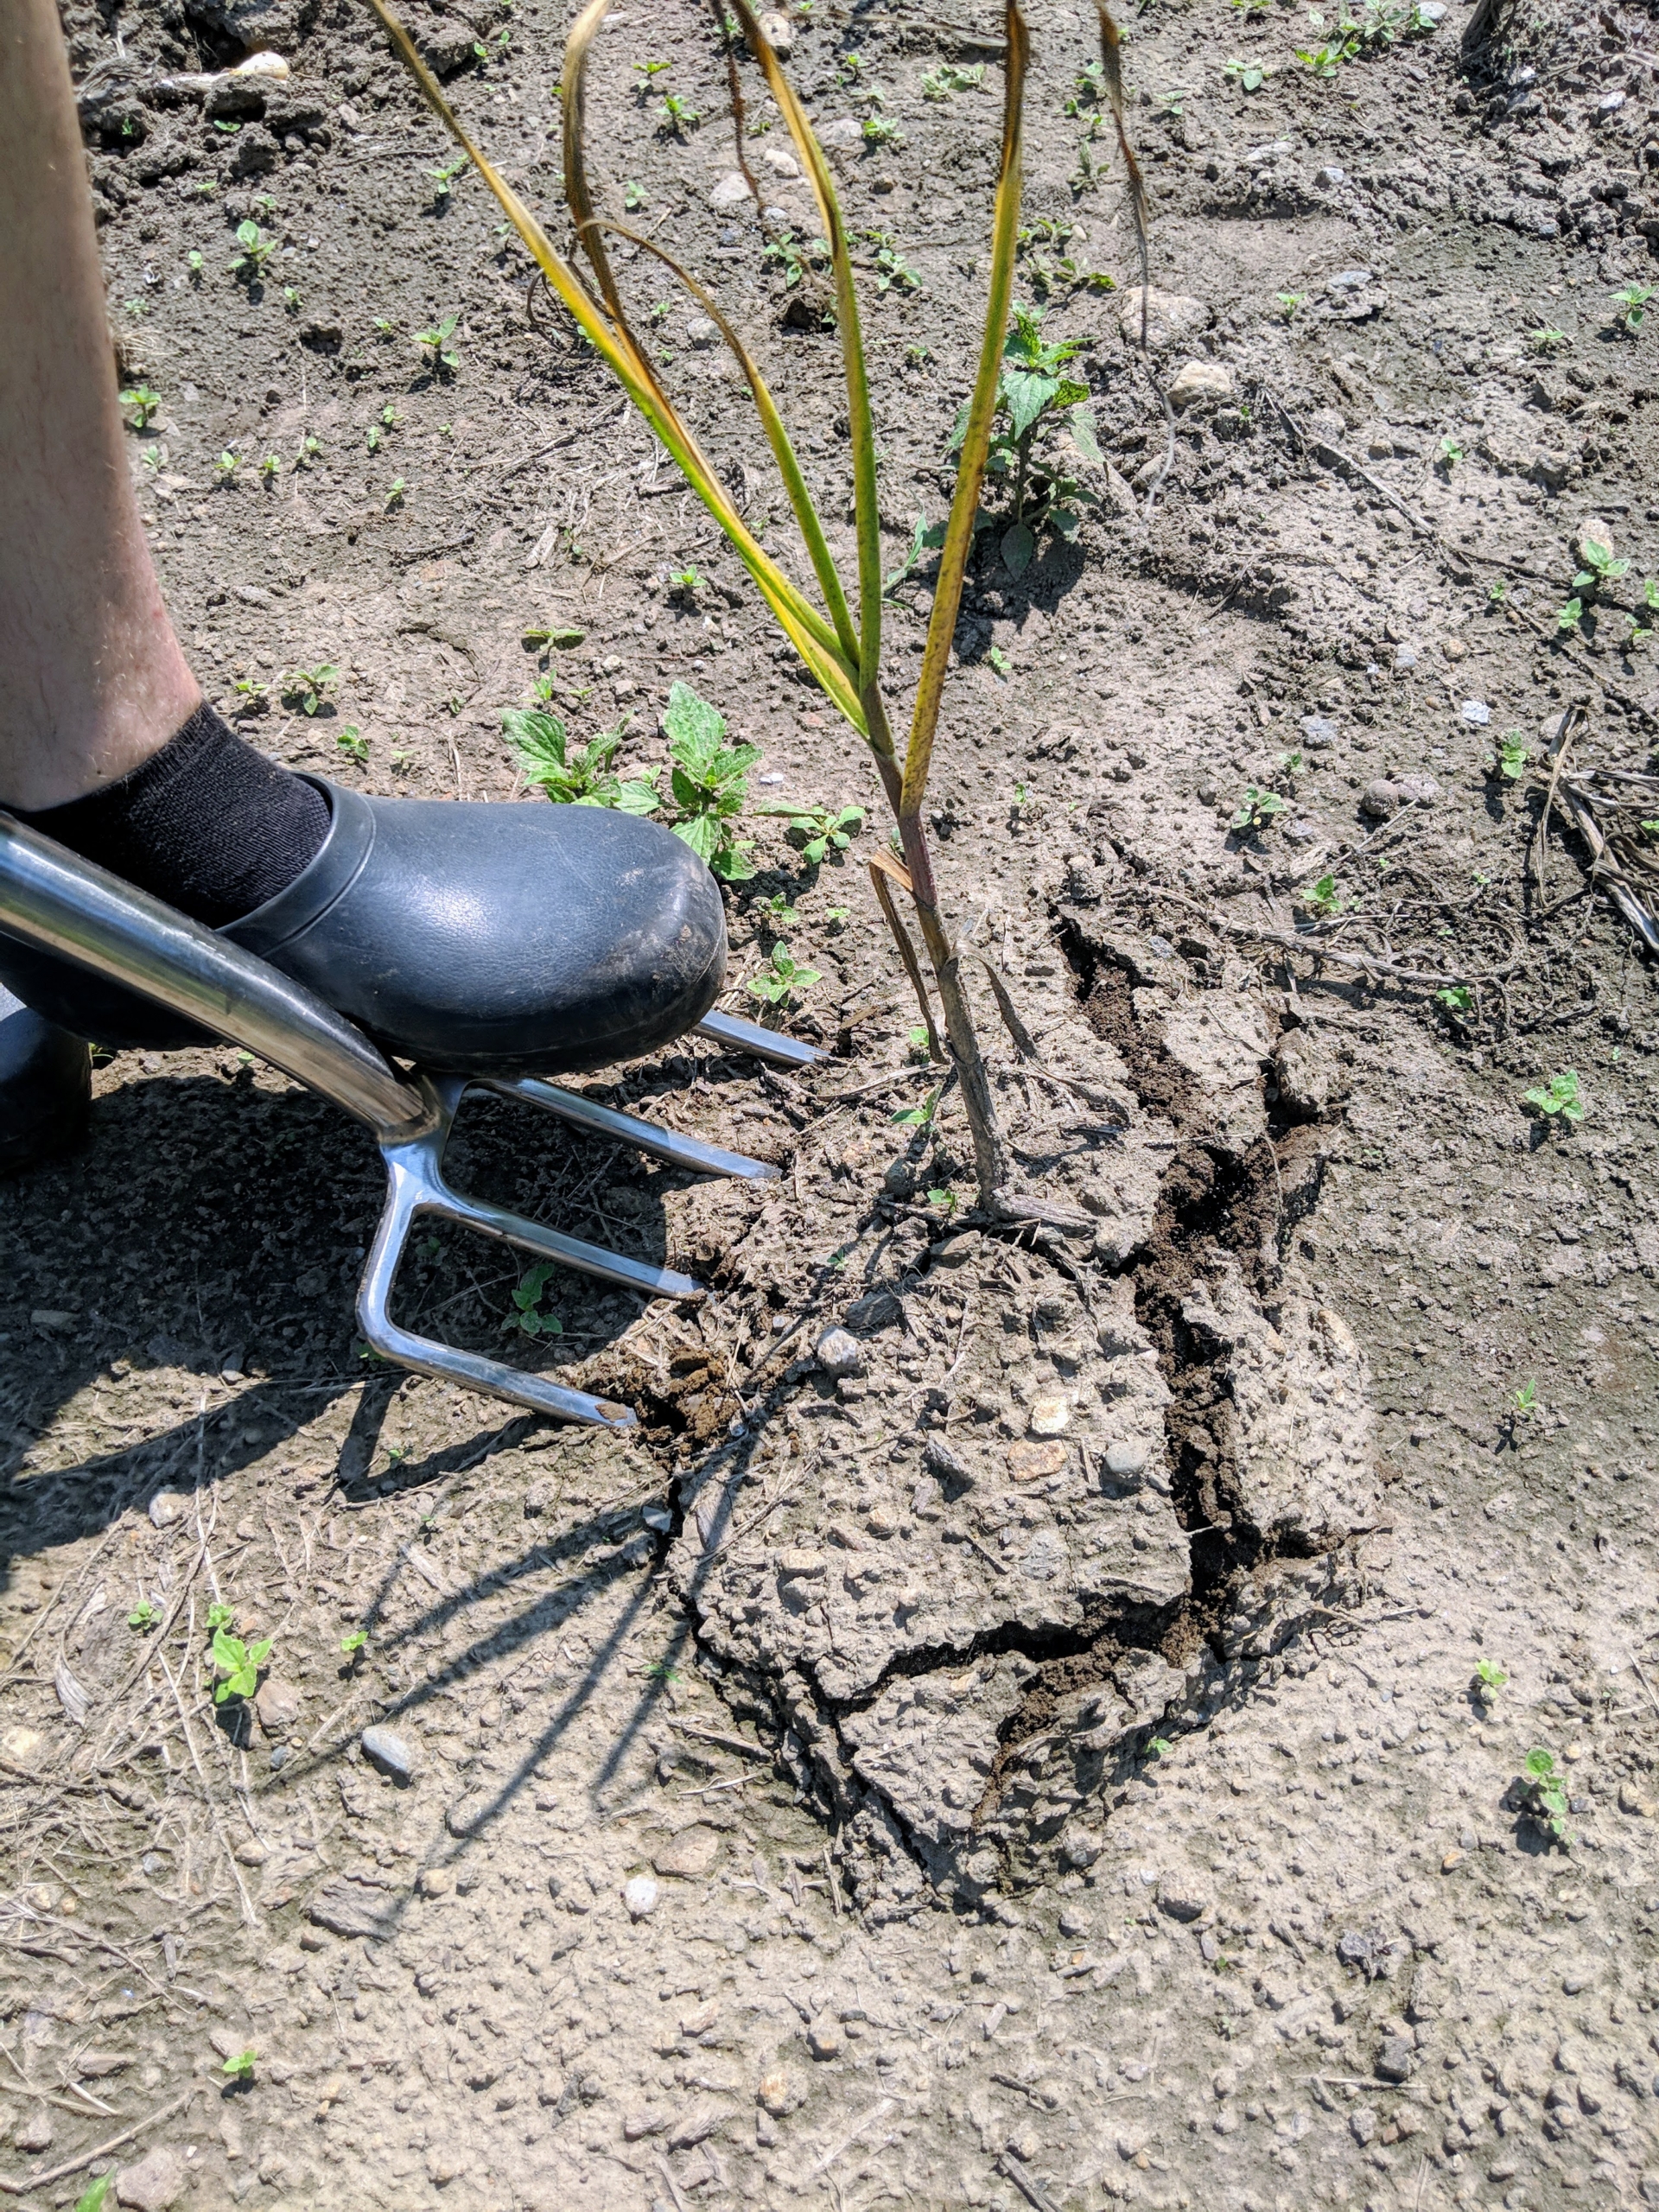
Garlic bulbs are several inches deep, so Ryan loosens the soil first with a pitchfork. He does this about six inches from each bulb to avoid puncturing it.
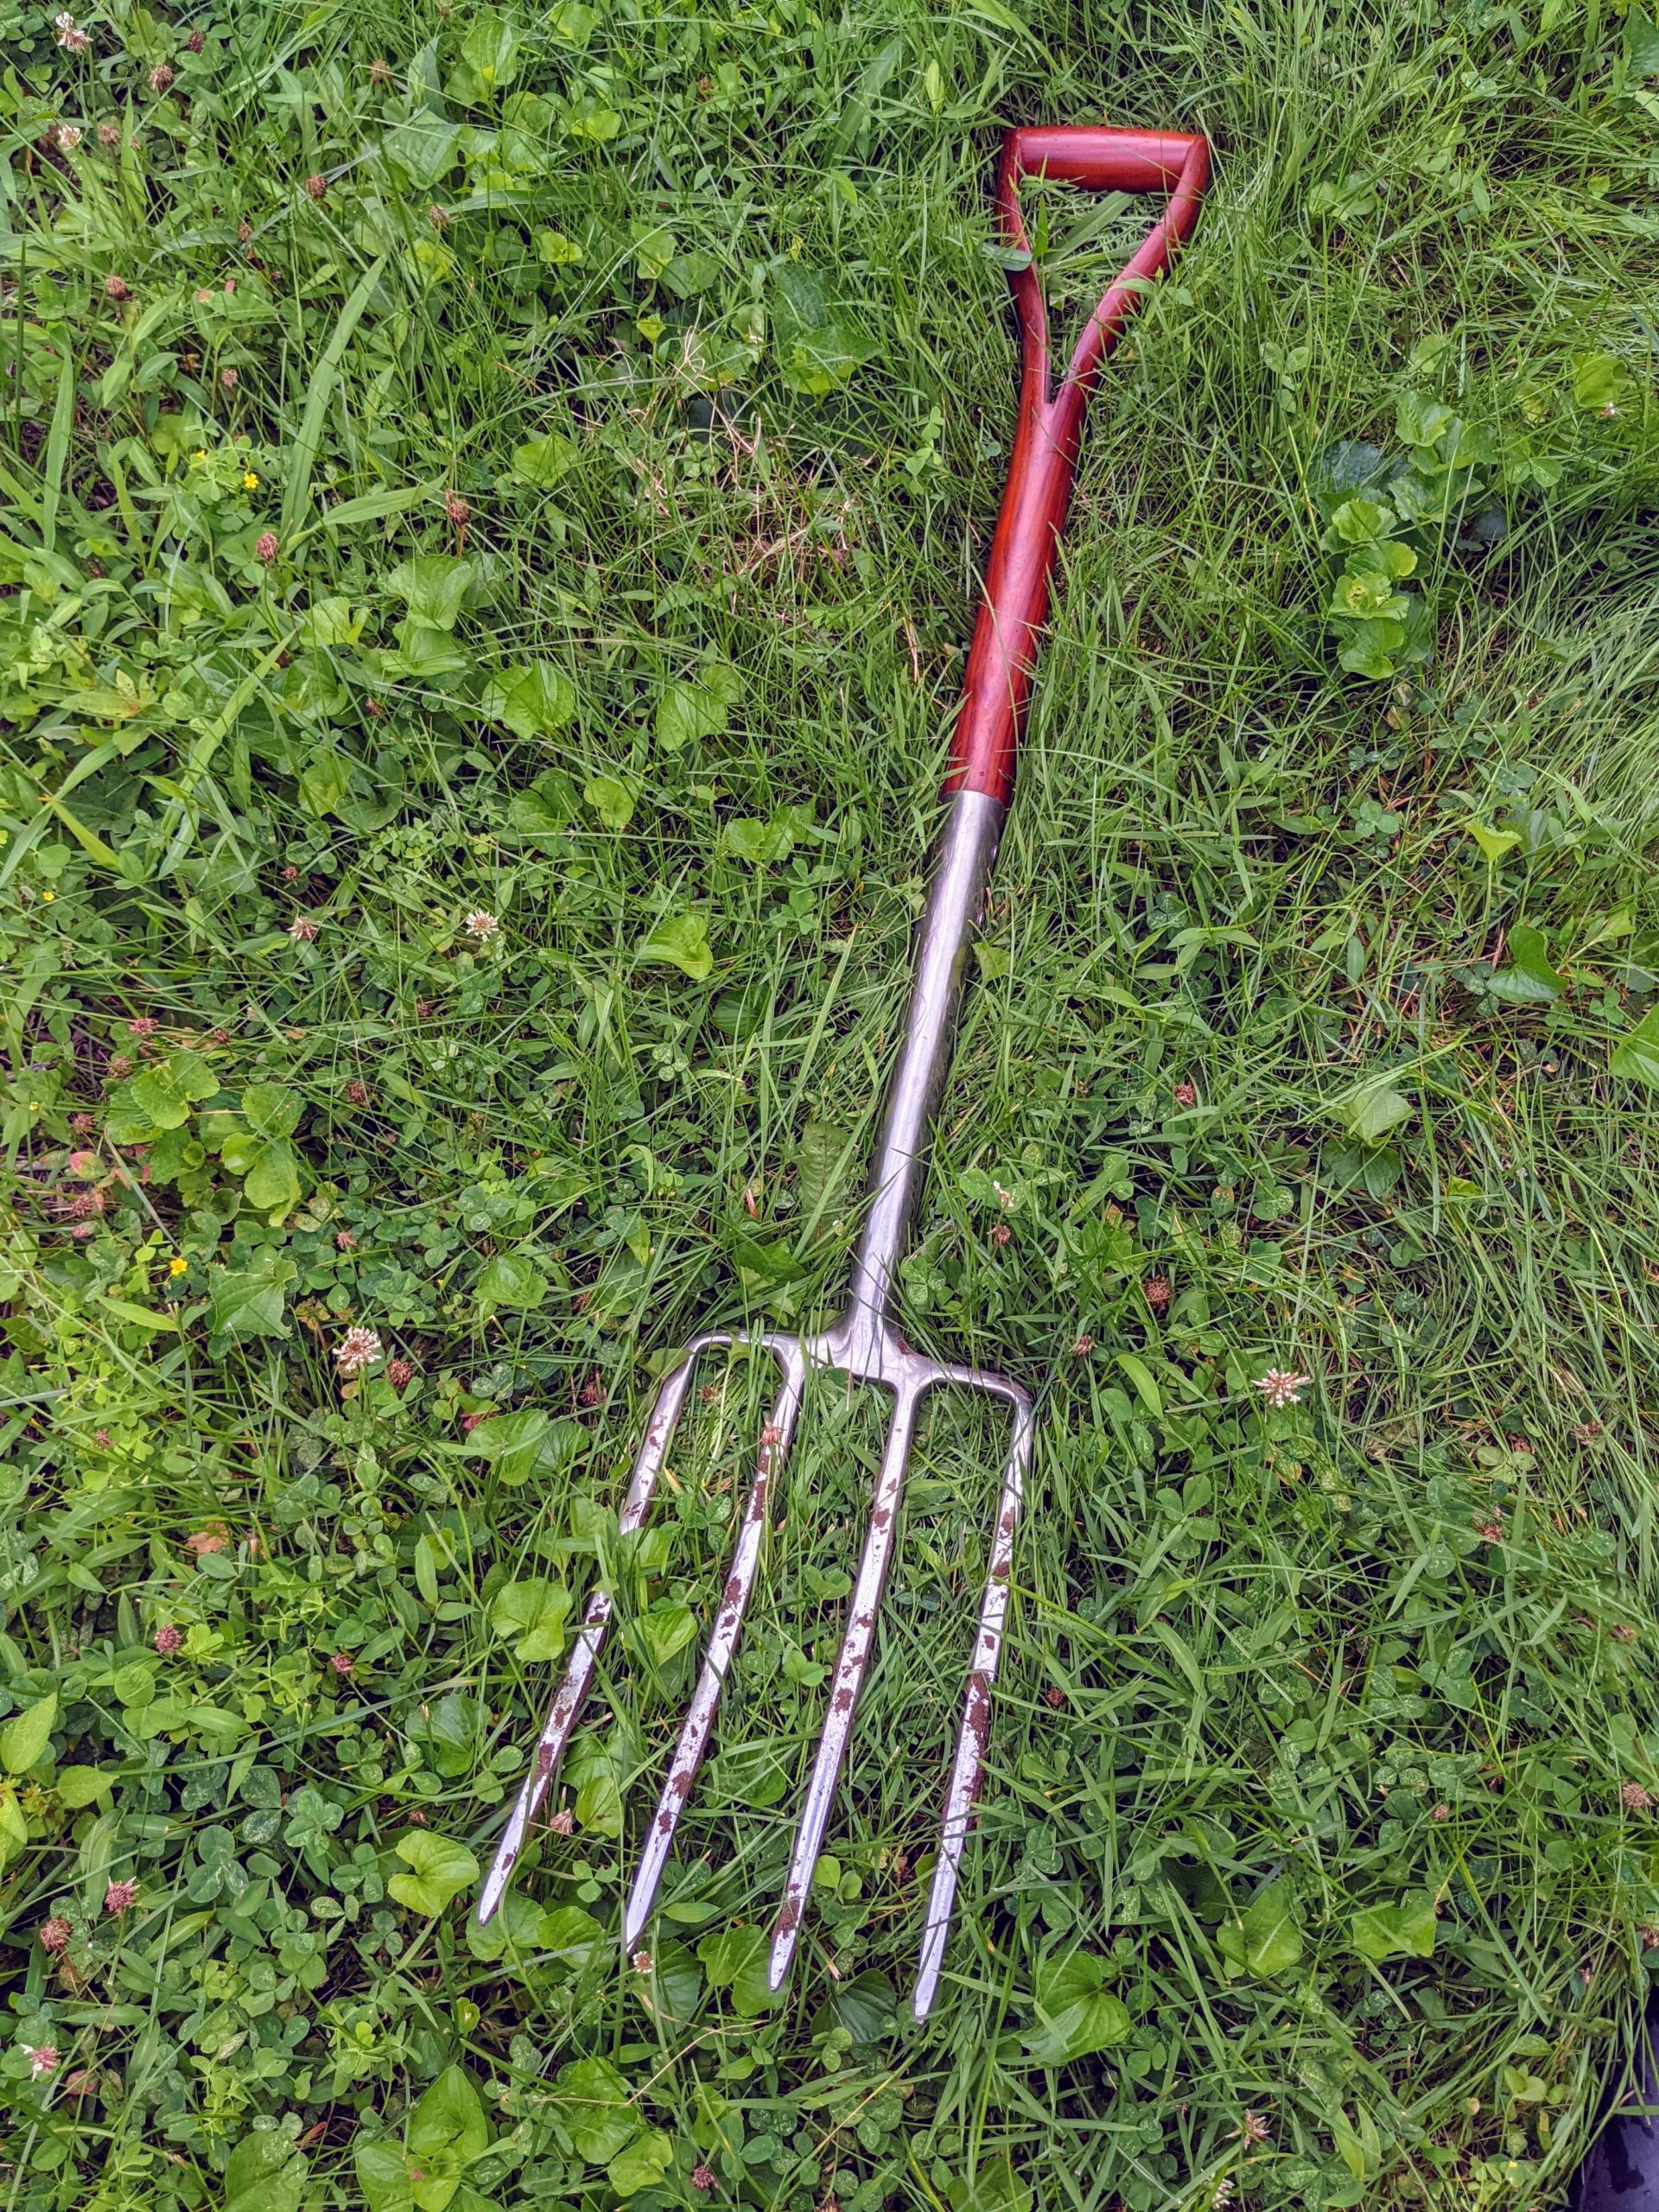
A pitchfork is an agricultural tool with a long handle and two to five tines at the end. It is used to lift and pitch or throw loose material. We also use it to harvest our garlic and onions.
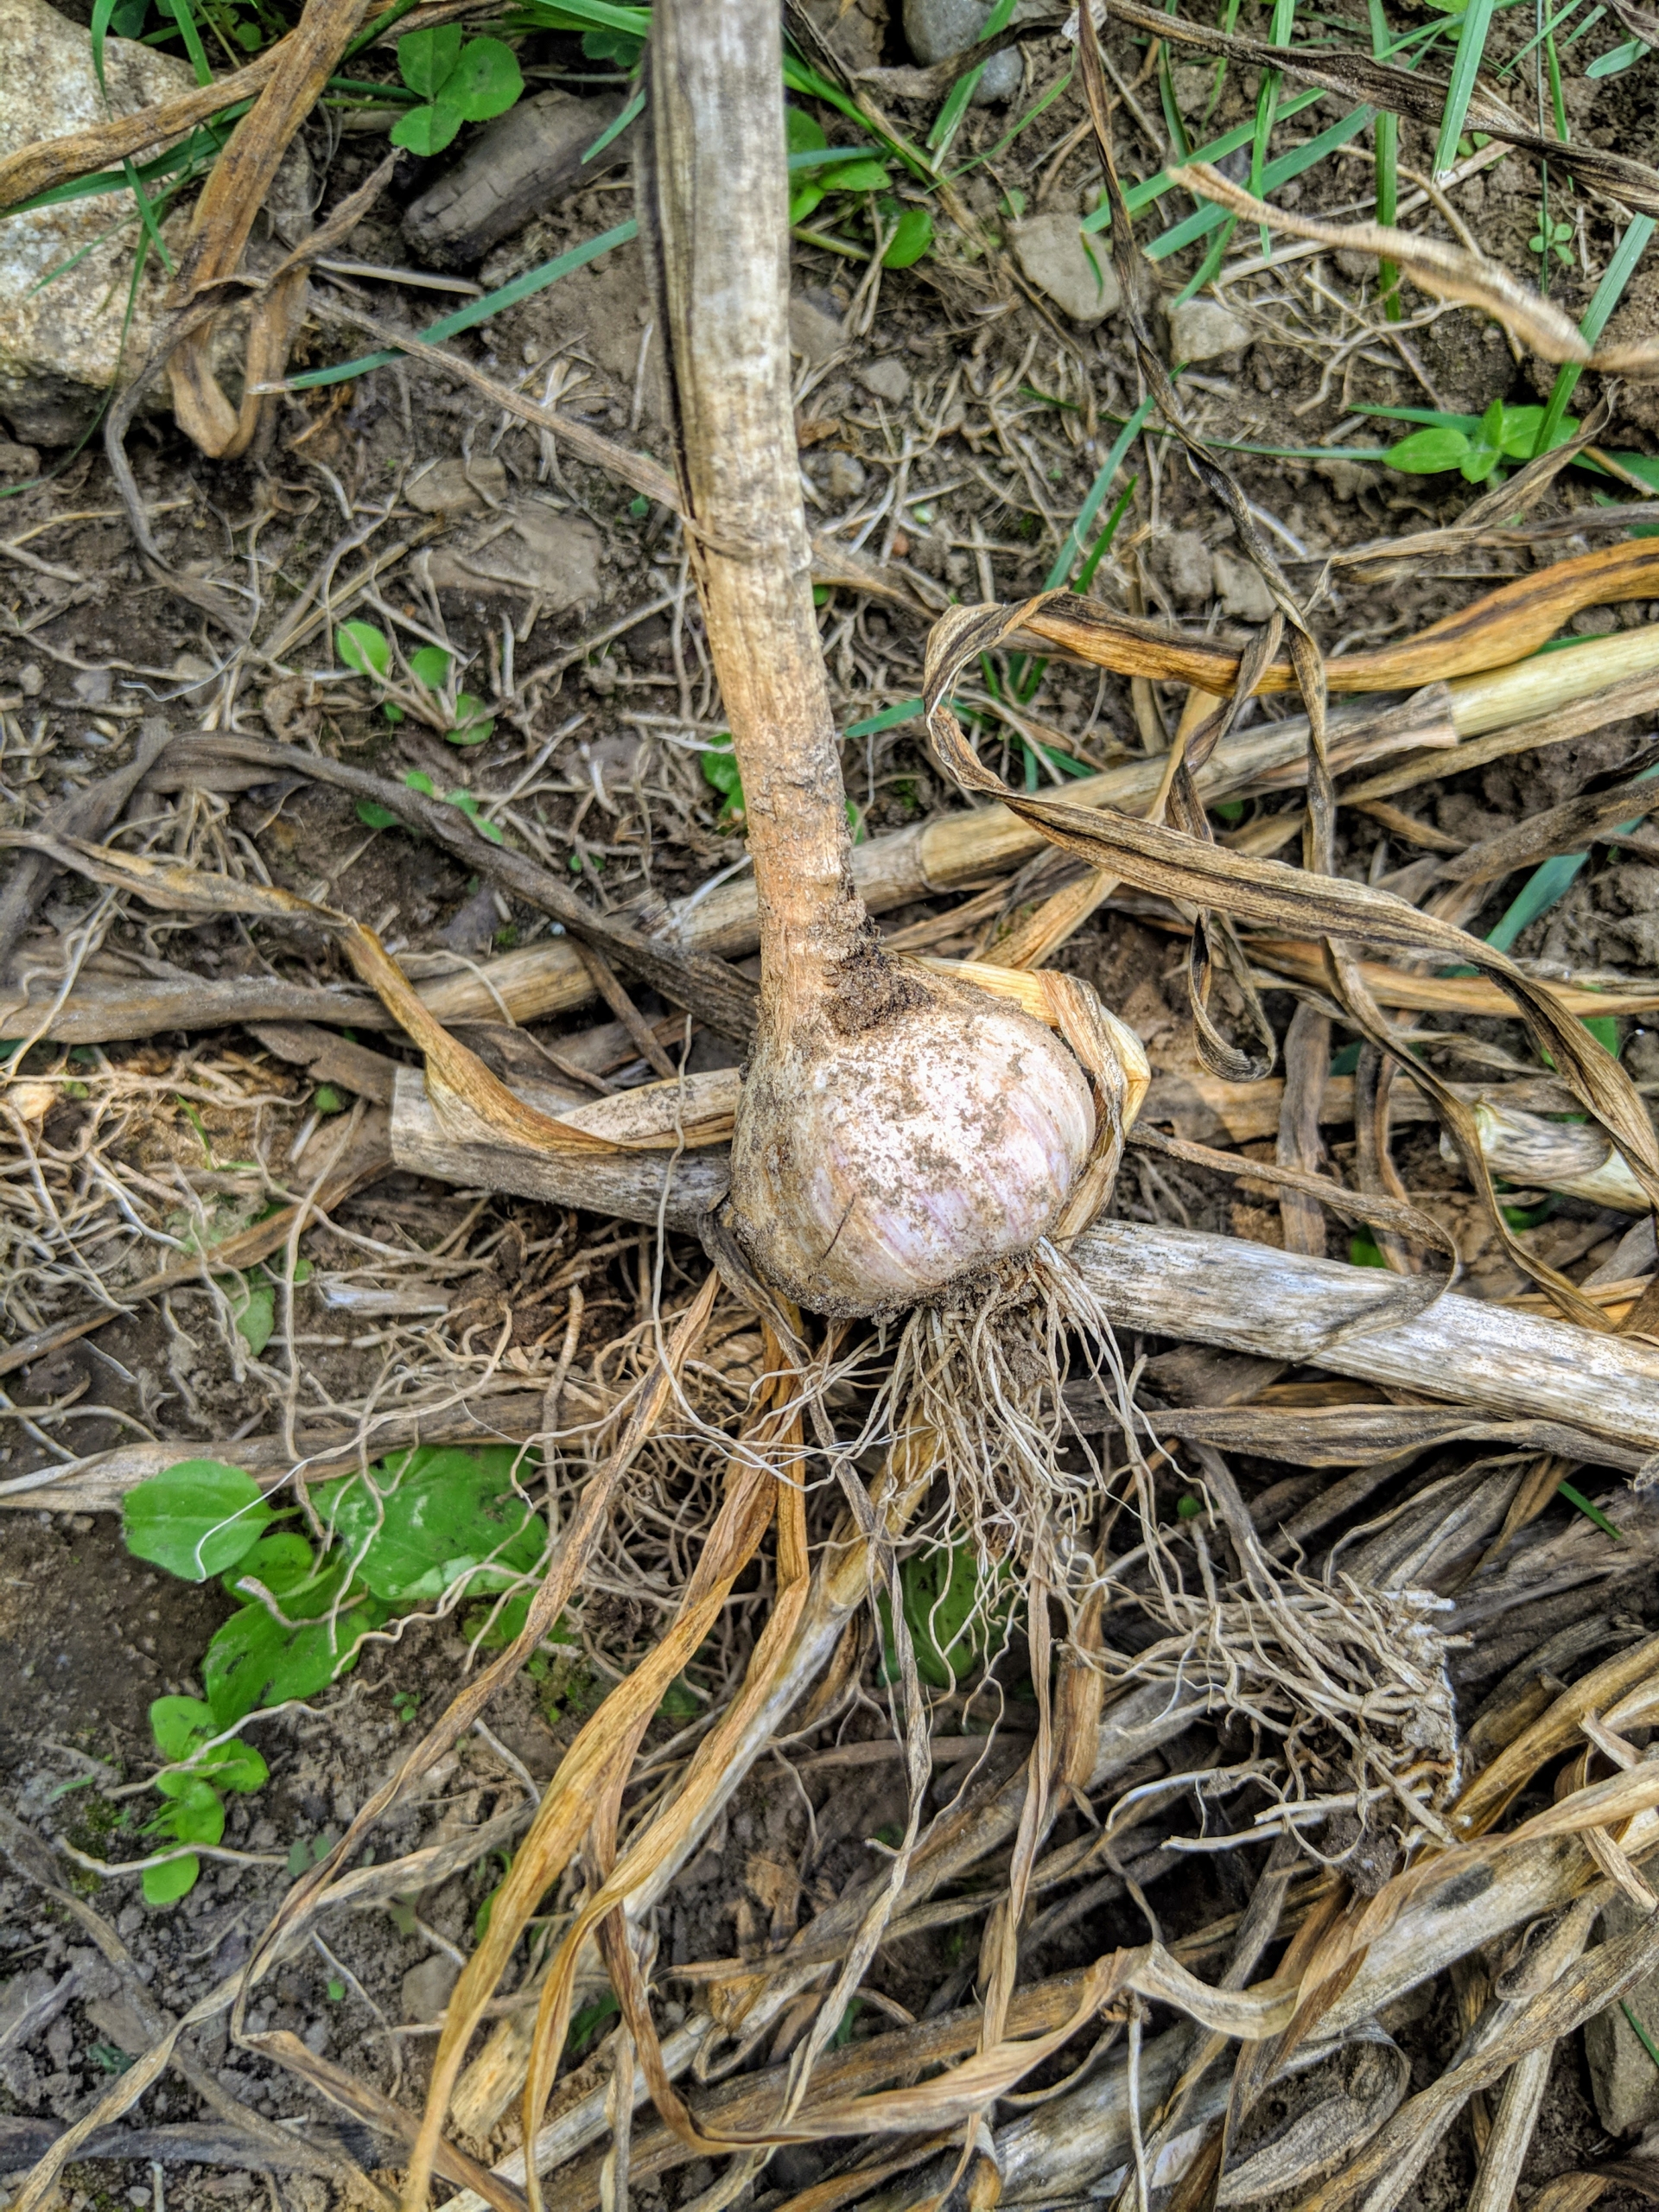
Each garlic is pulled out carefully from the base of the leaves so that the head comes out completely. I love to experiment with the different types to see what grows best in my garden.
The whole garlic is called a ‘head’, a ‘bulb’, or a ‘knob. ‘ Each small, individual segment of a garlic head is a clove. Garlic is both delicious and nutritious. It is known to lower cholesterol, decrease the risk of coronary artery disease, and is an excellent source of minerals and vitamins, such as vitamins B6 and C.
This is Elephant garlic – our biggest variety. Jumbo sized Elephant garlic will have about eight to 11 cloves depending on the size.
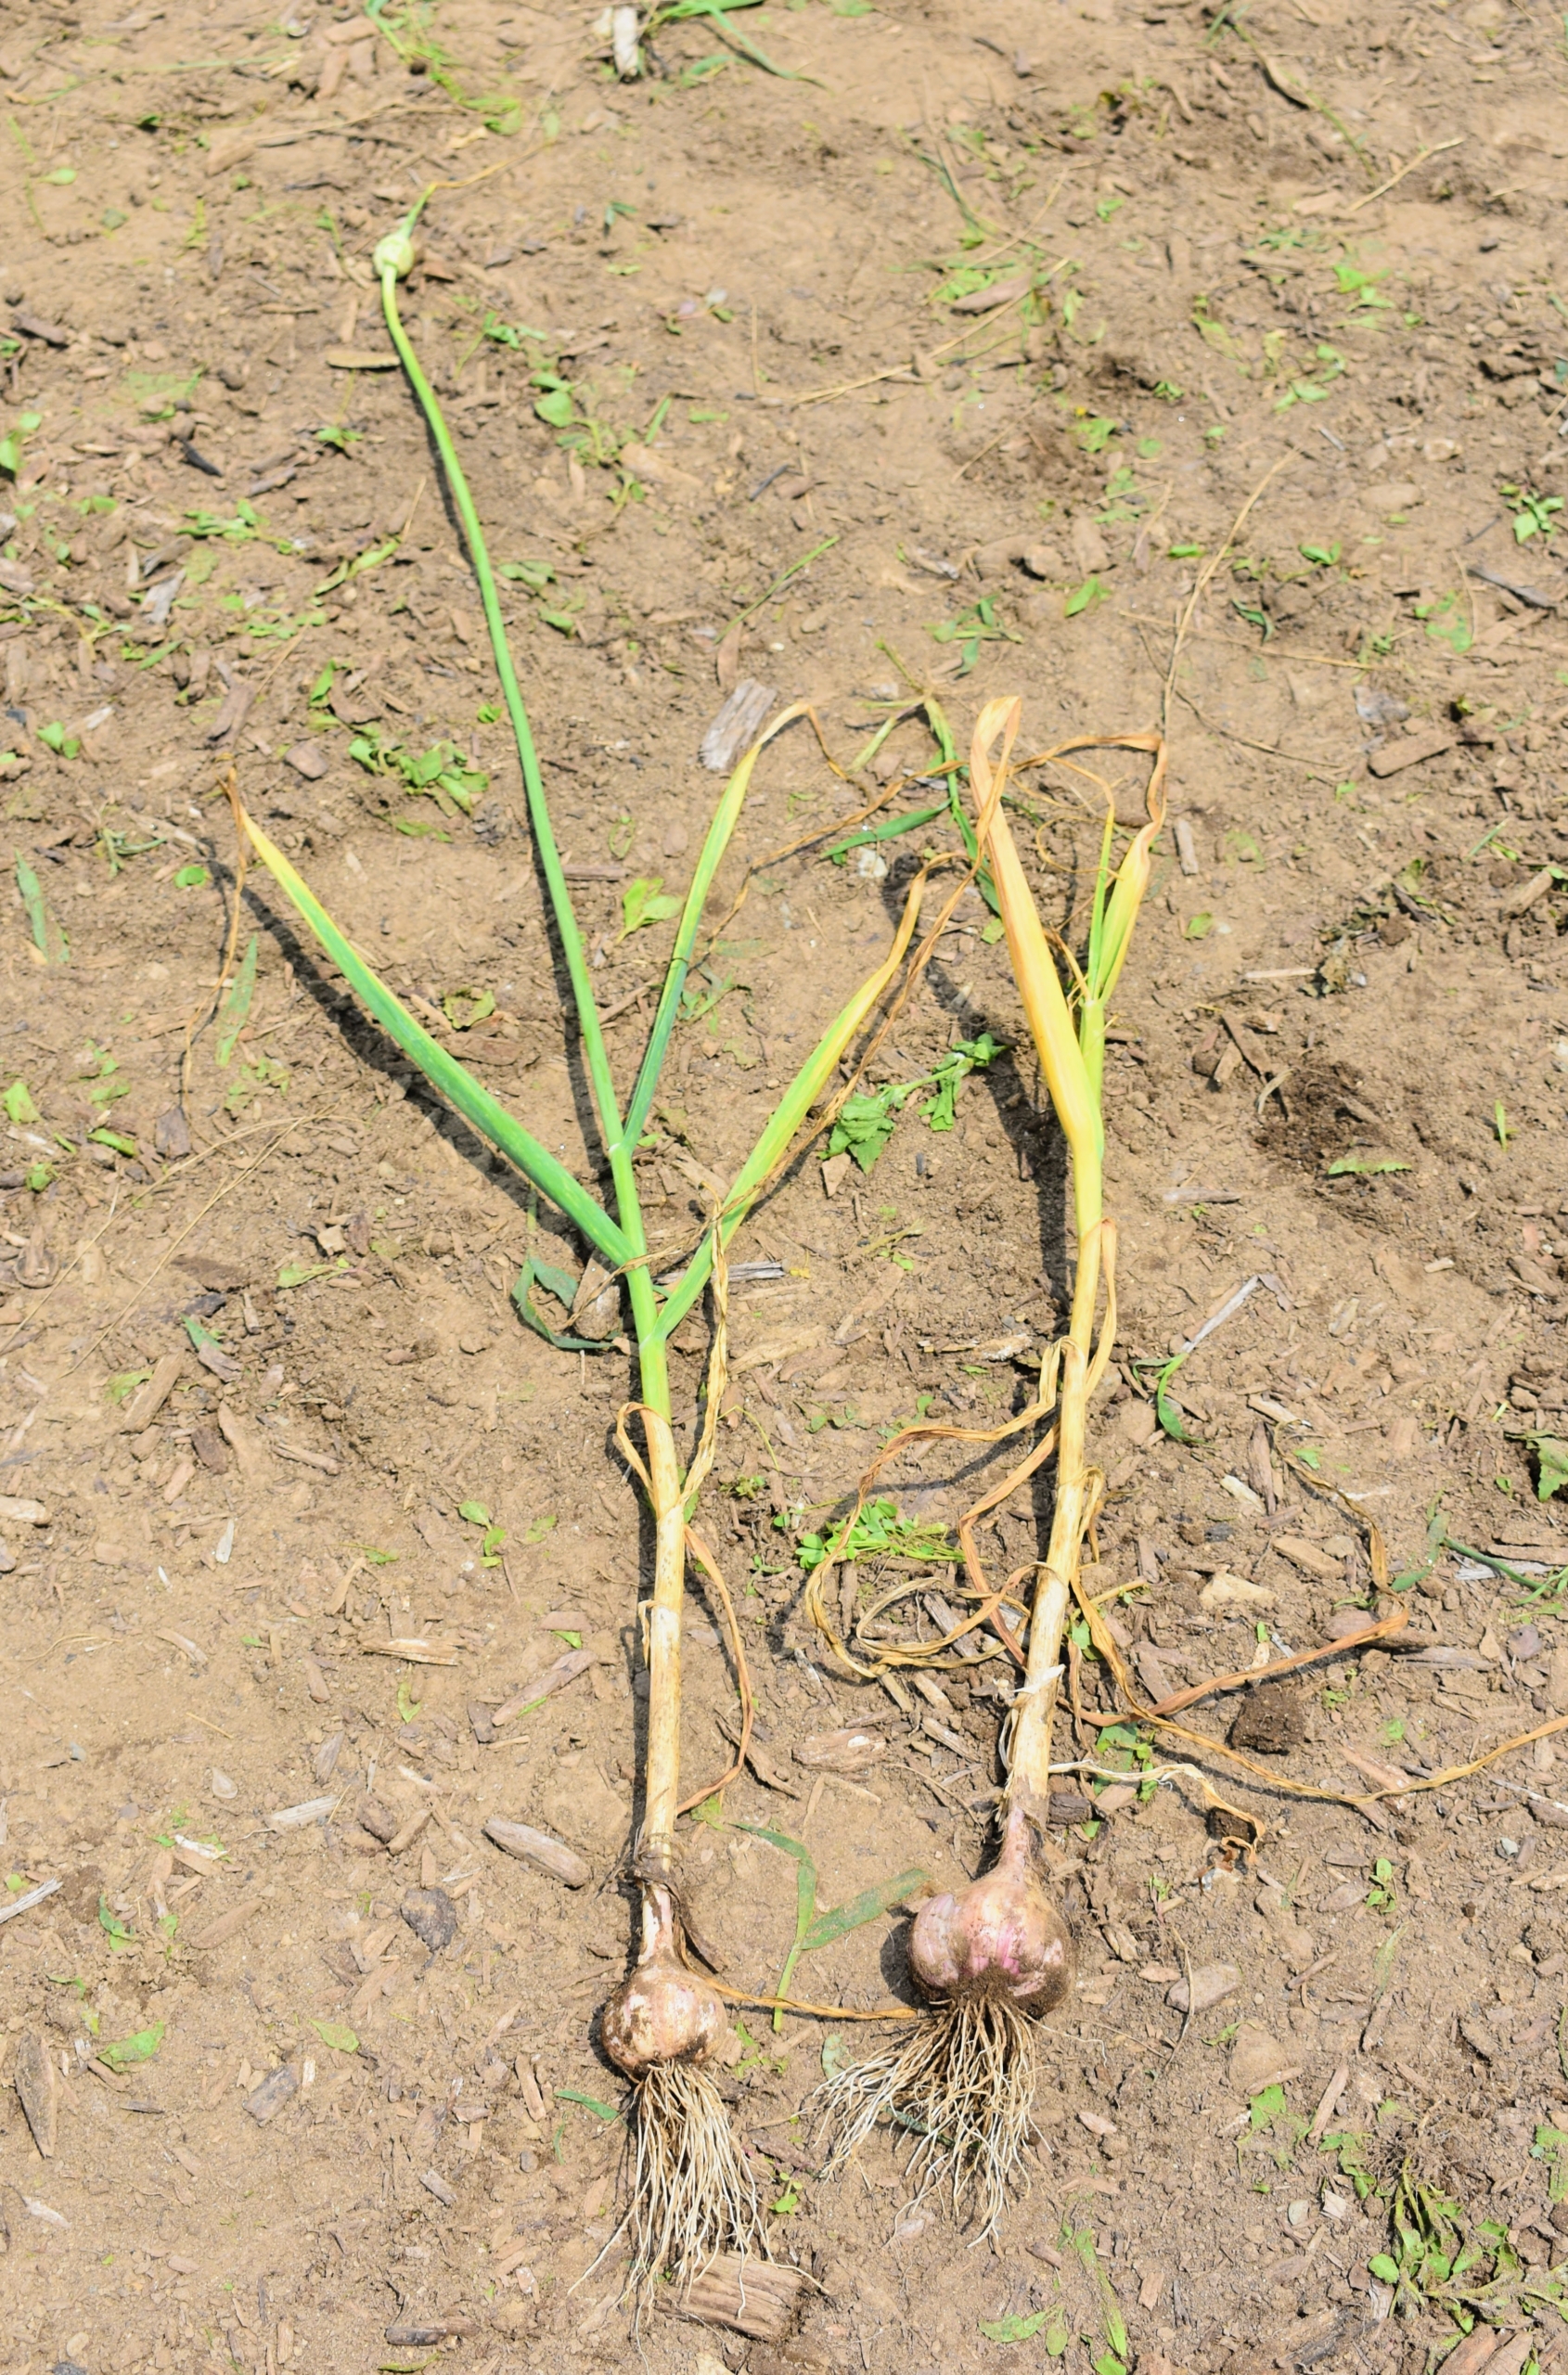
Look at this pair. The garlic on the left still had a scape at the top. If the garlic scapes are not pulled from the plant, the garlic’s energy continues to go to the flower – notice how much smaller the head is compared to the one on the right.
Here is a closer look at the flower bud of the scape.
The next step is to prepare the garlic for curing. Curing is a process of letting the garlic dry in preparation for long-term storage. There’s no need to wash garlic – the point is to dry them out; however, they can be cleaned and trimmed.
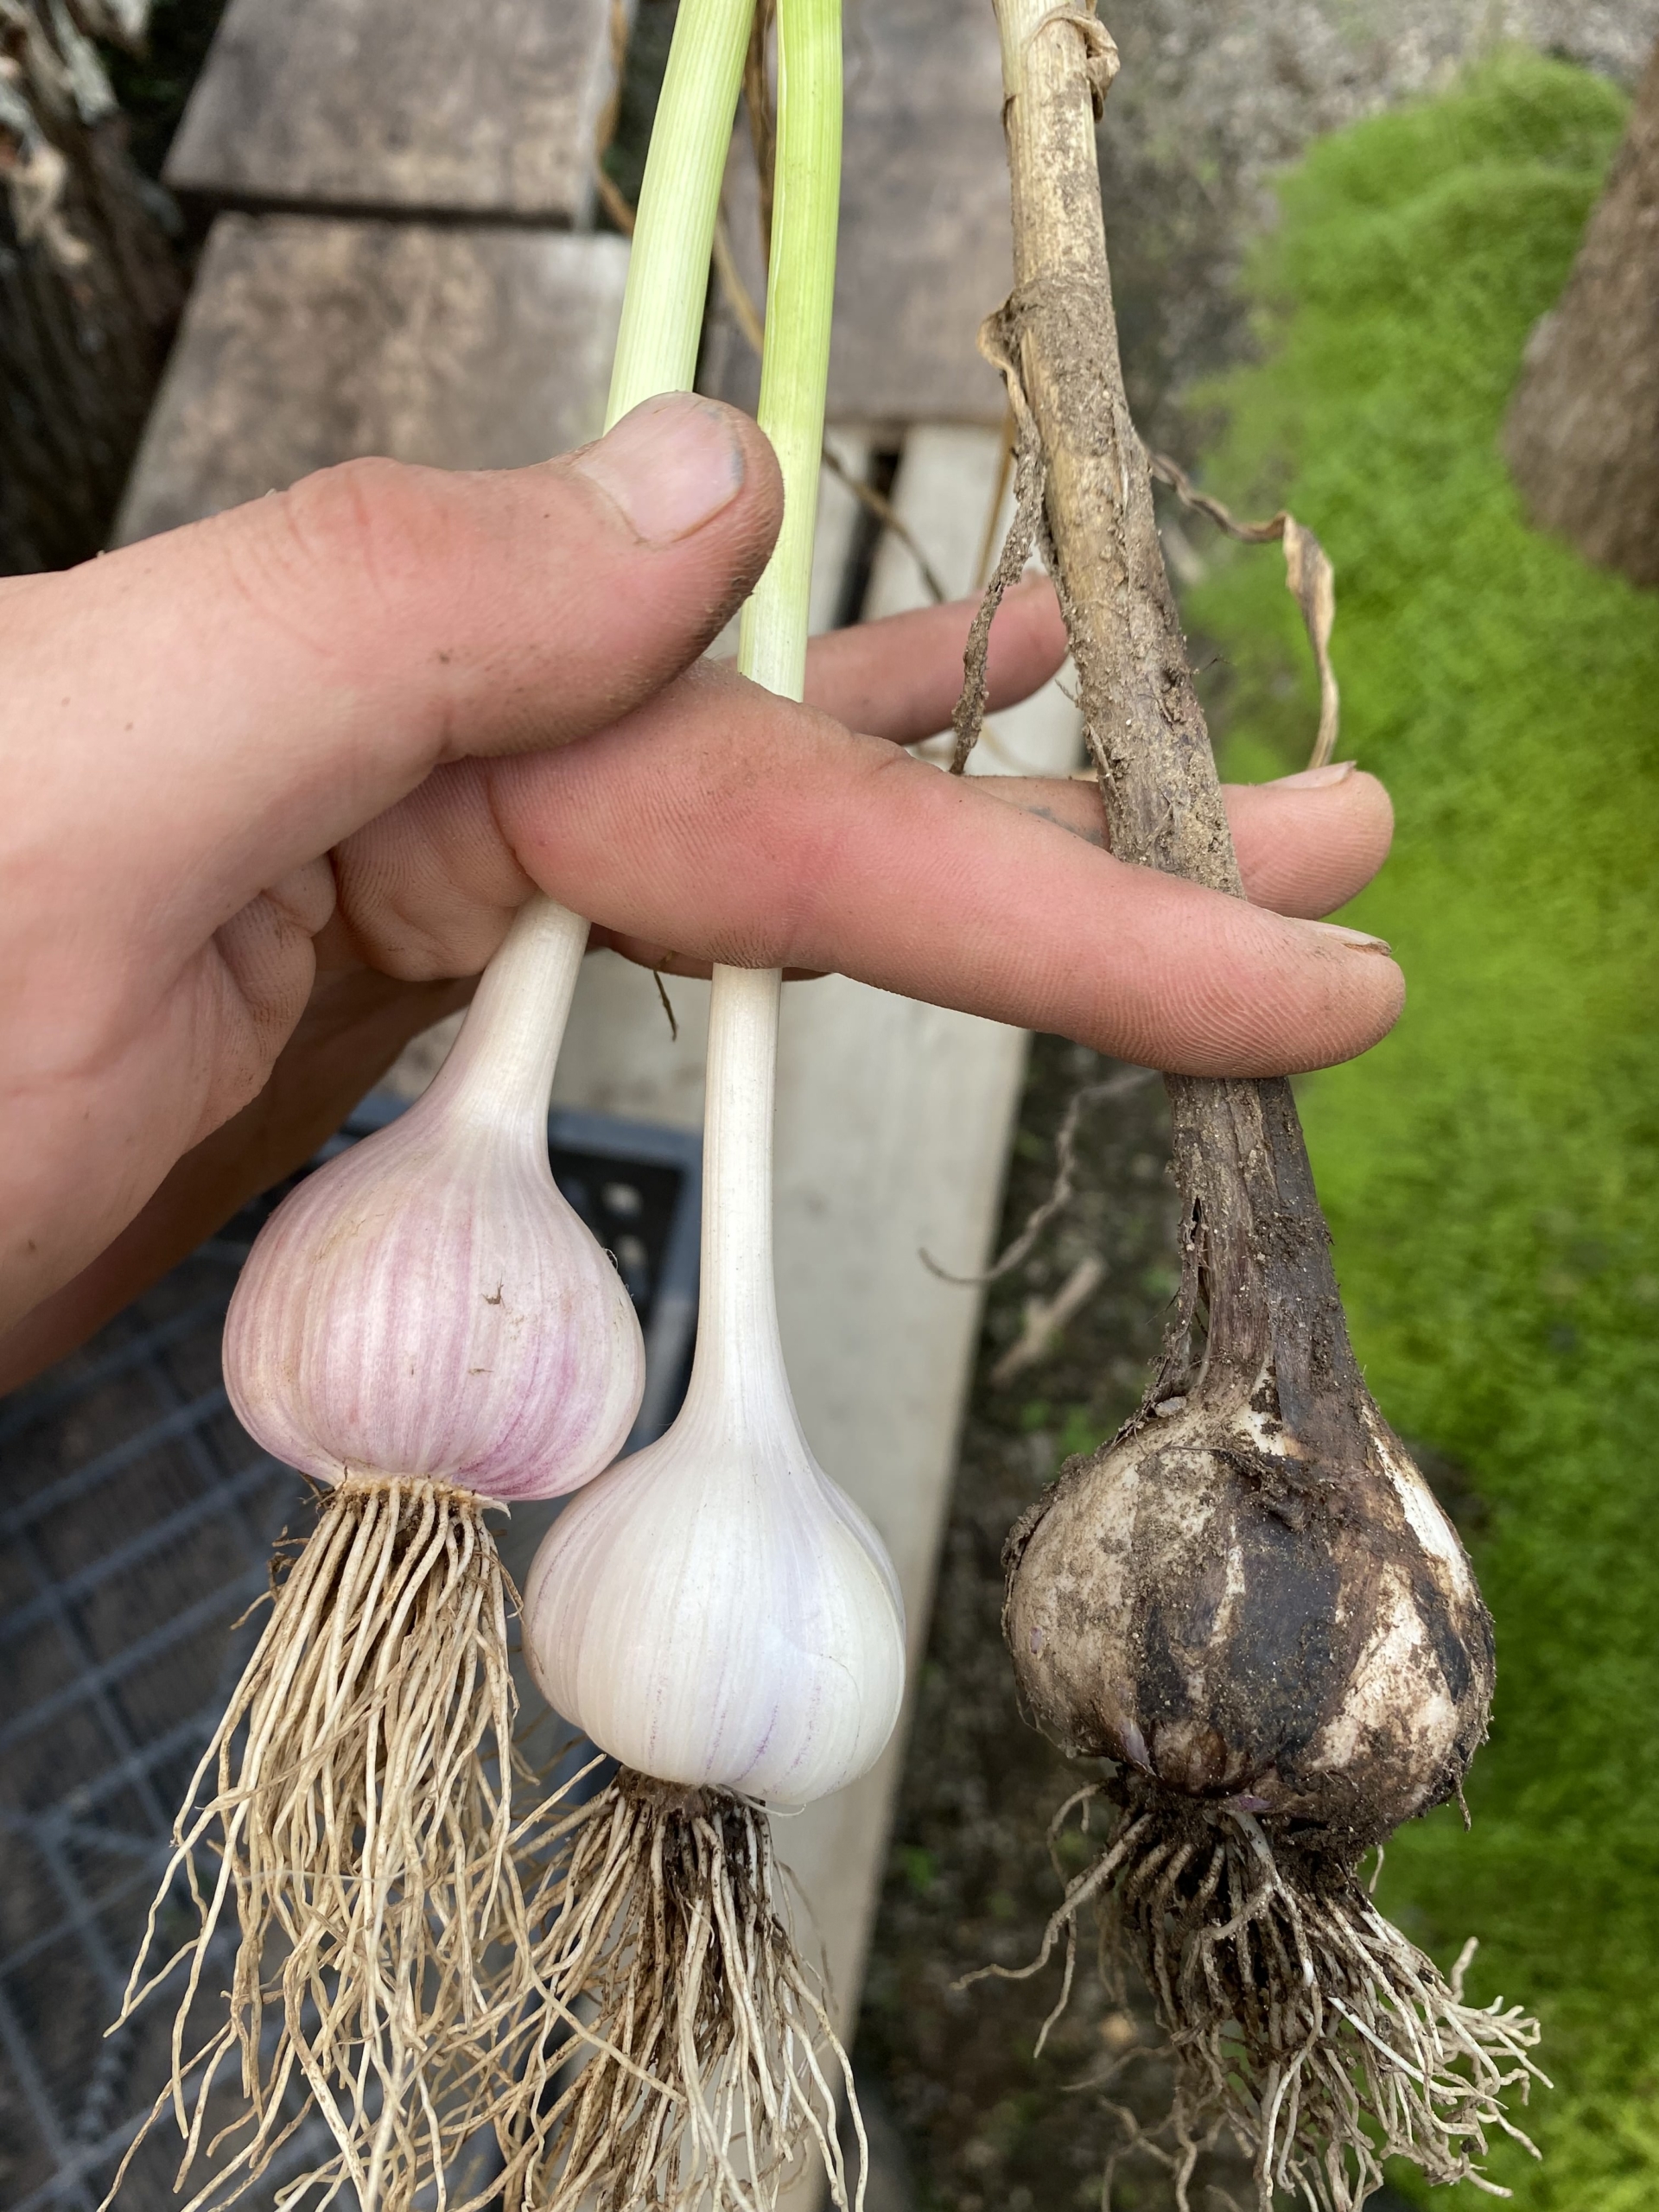
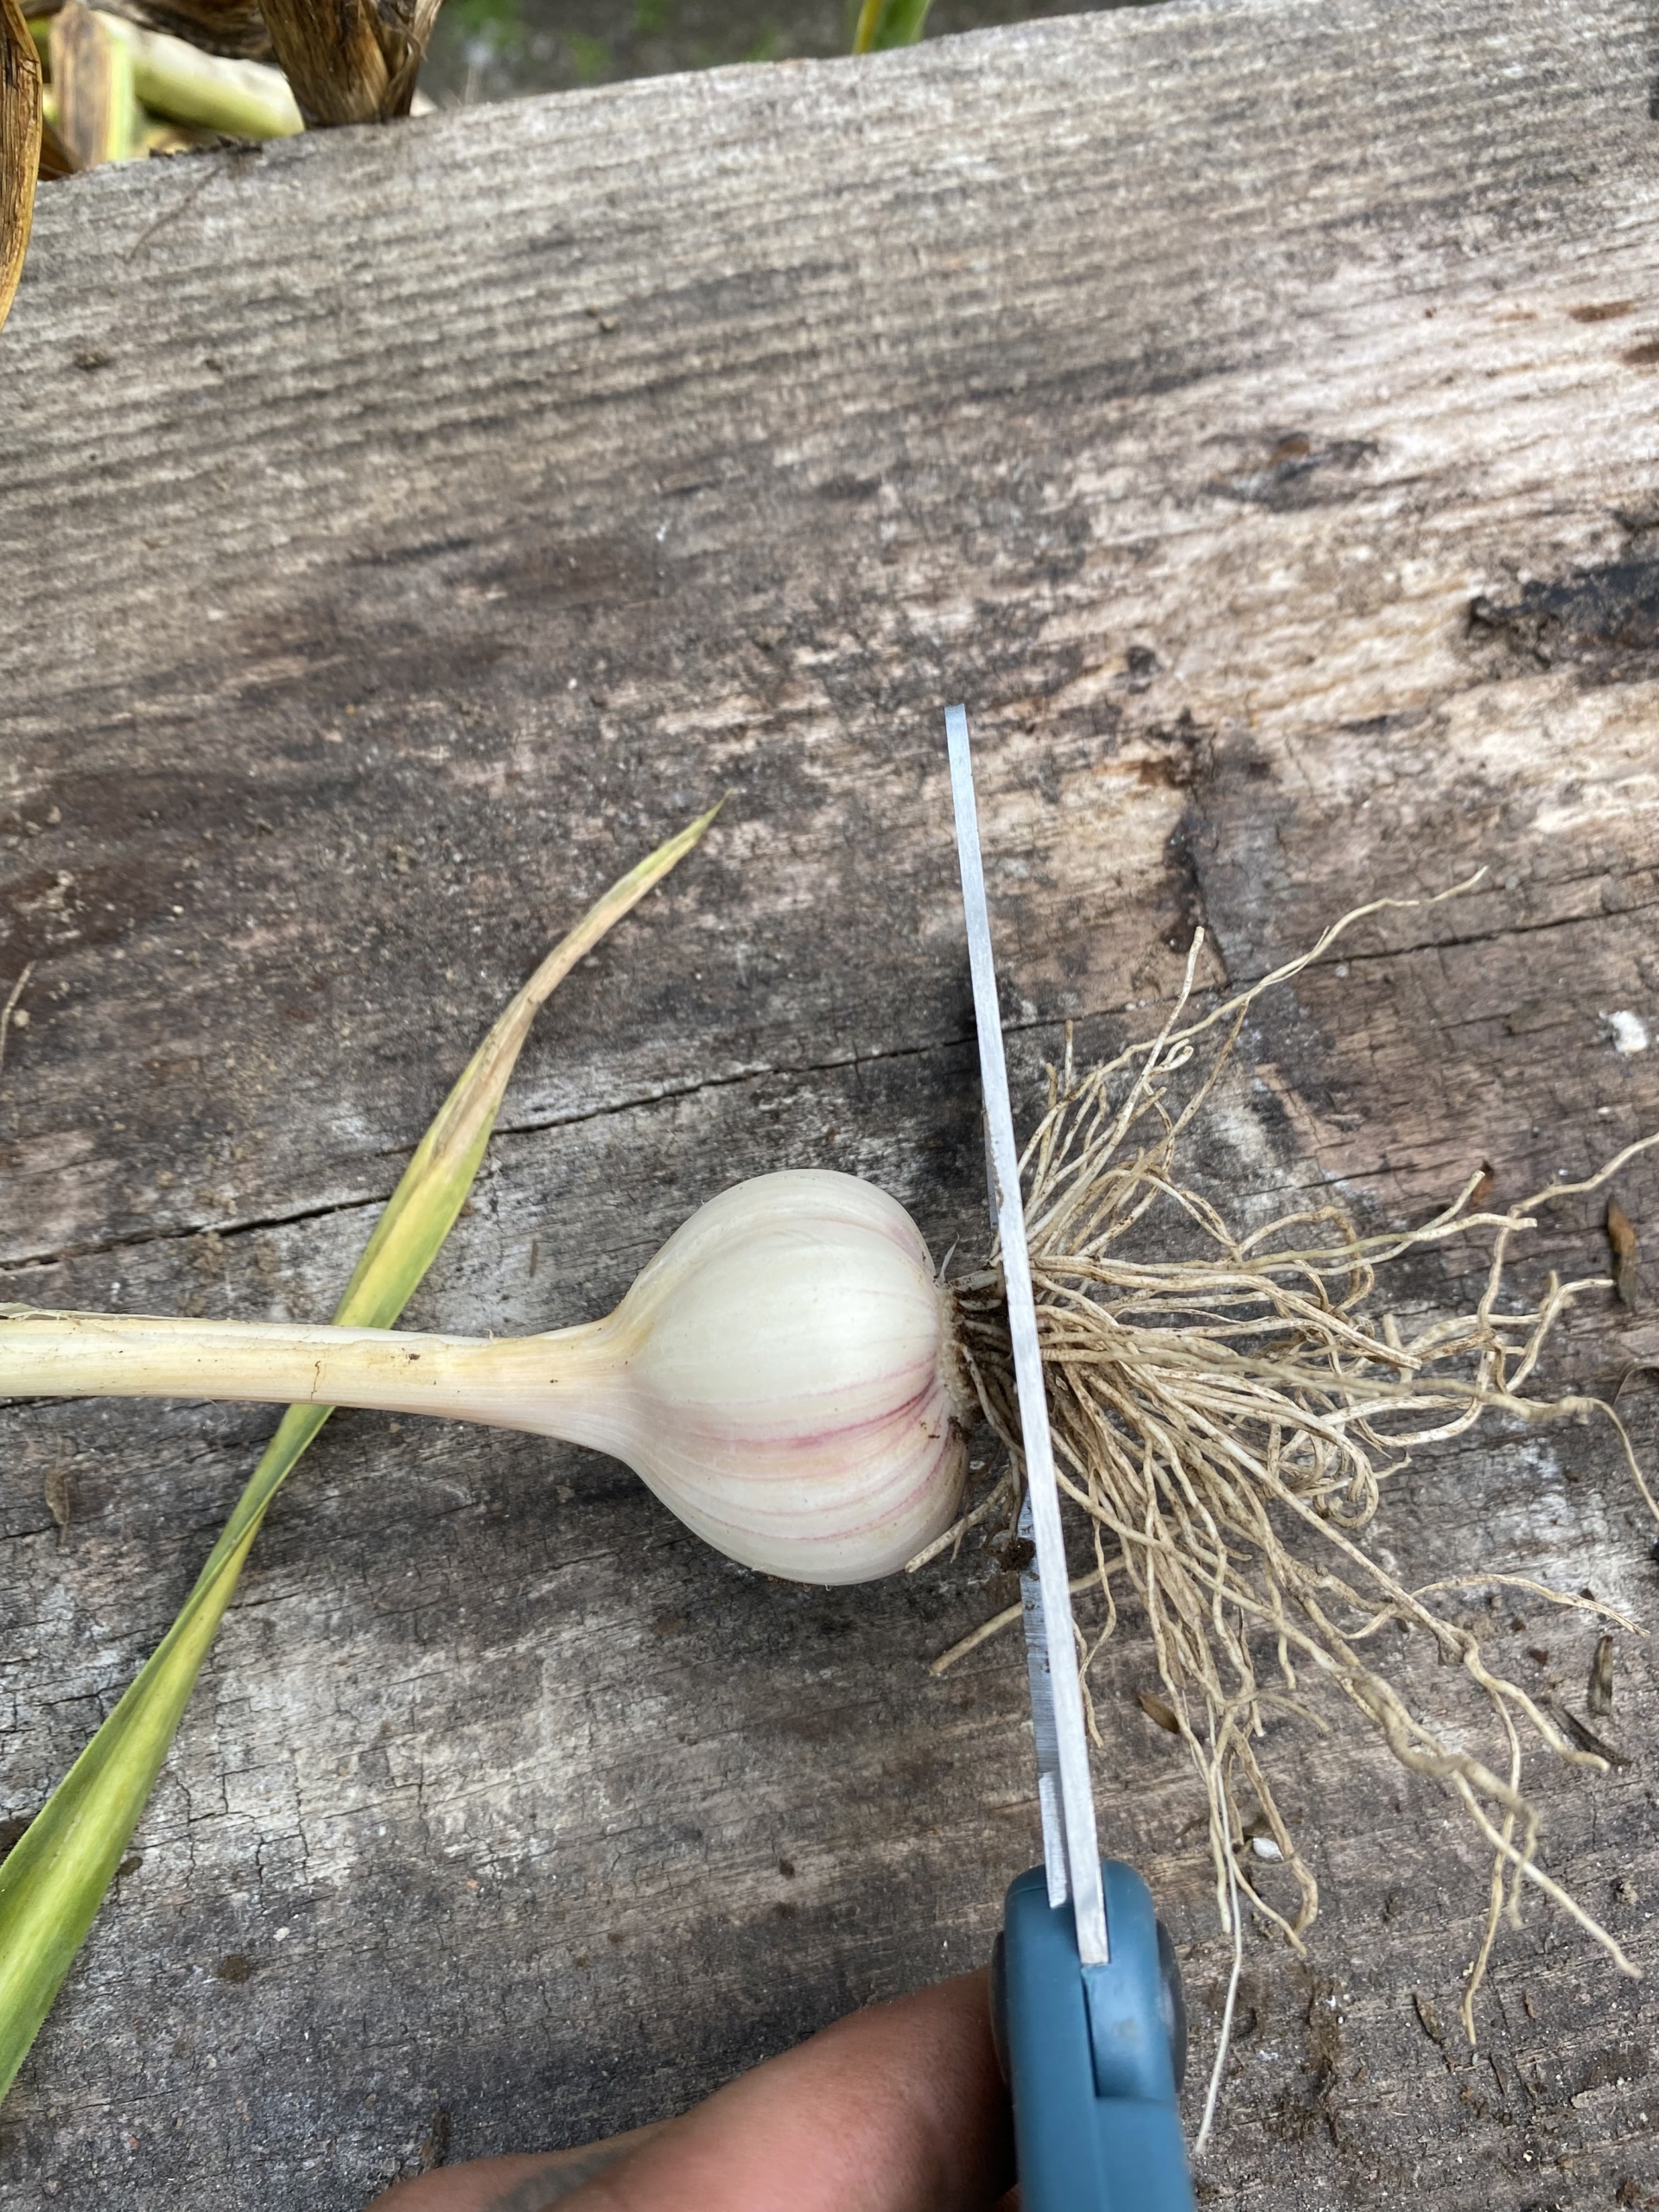
Brian brushes off any debris and dirt from the bulb and the roots. On the left are two cleaned garlic heads. On the right, one fresh from the soil and ready to be cleaned.
Brian then trims all the roots at the bottom of the garlic head.
The green leaves can be left intact during the curing process. The bulb continues to draw energy from the leaves until all the moisture evaporates.
Here’s Ryan placing the garlic in my old corn crib – it has good ventilation and overhead protection from any rain.
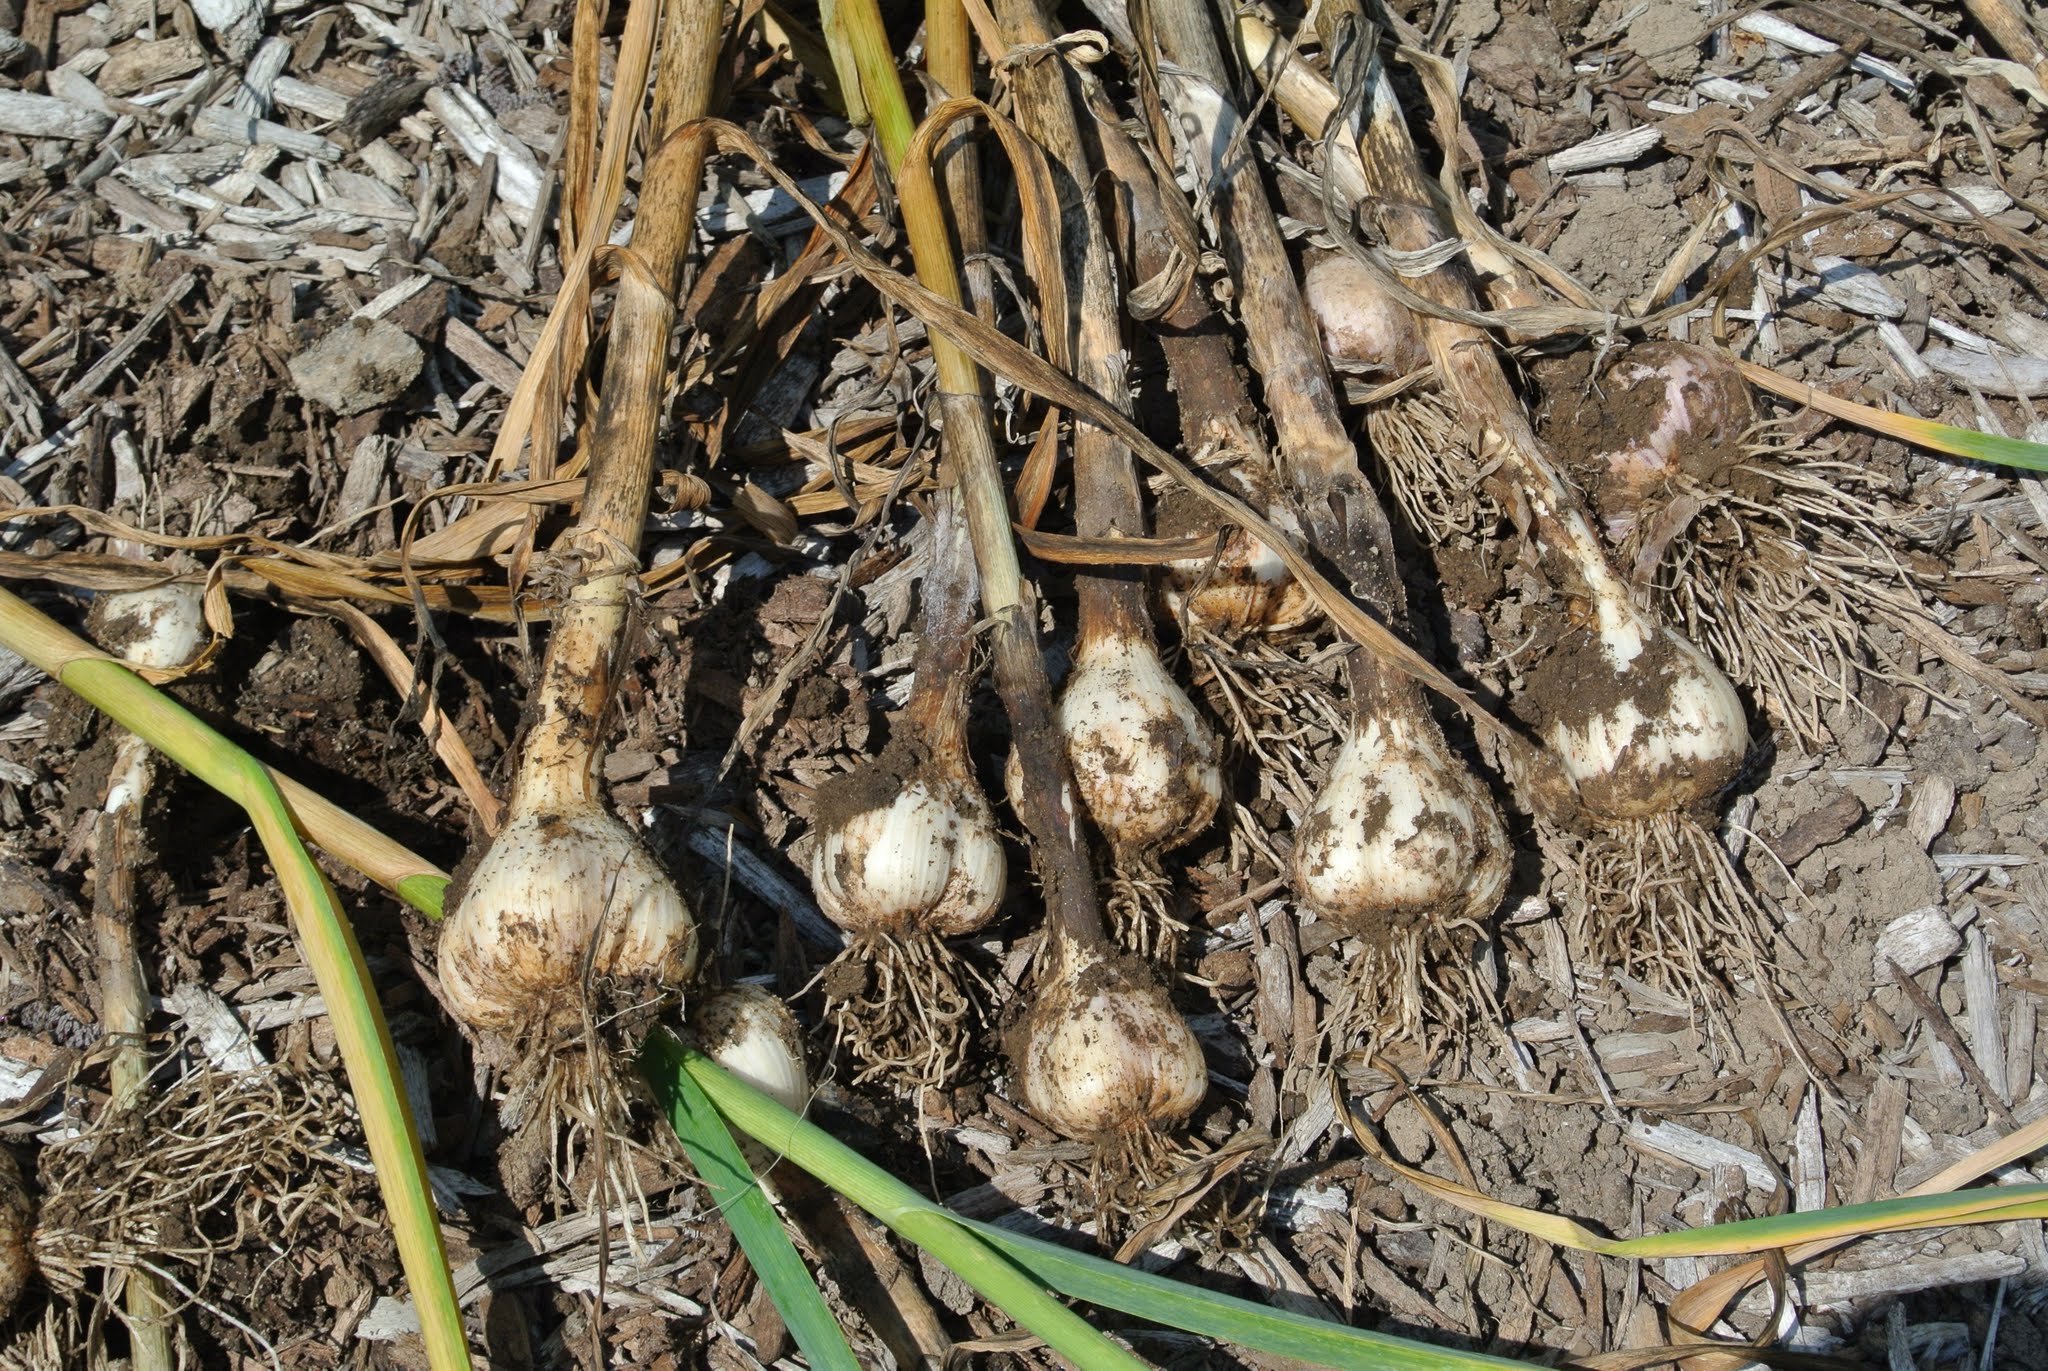
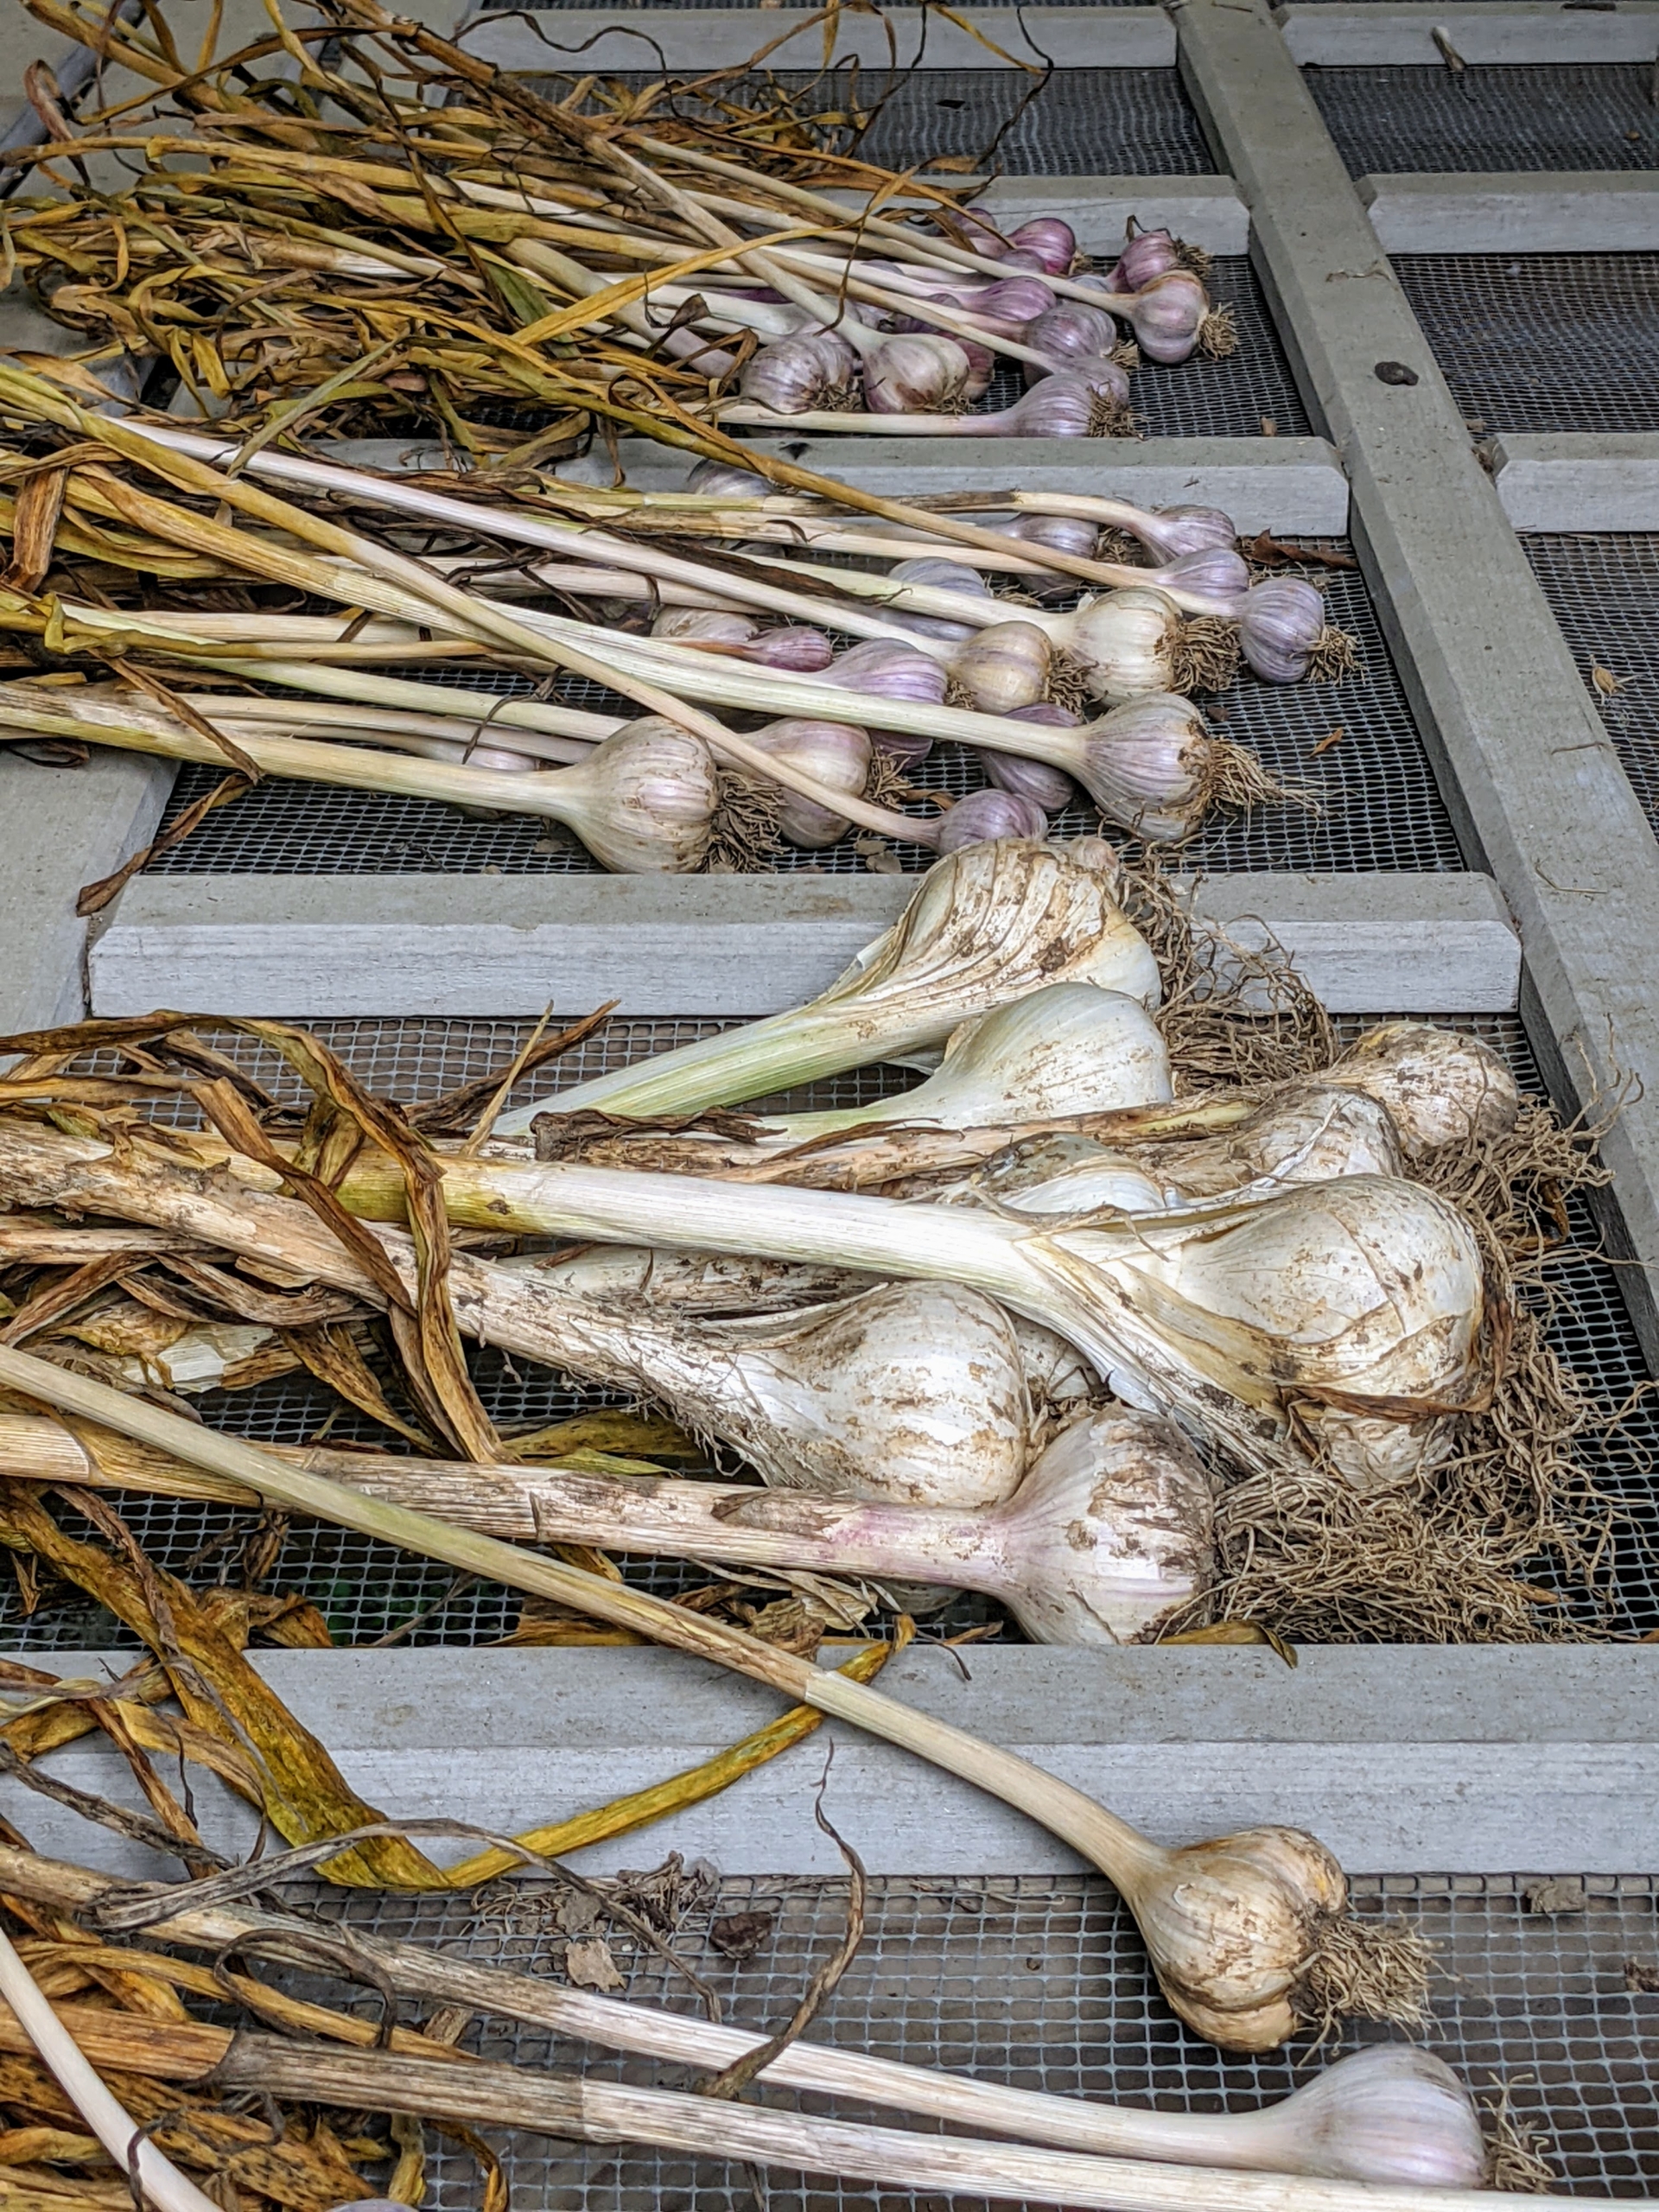
These garlic heads are plump and healthy. All the garlic will cure here for several weeks. Once the garlic is cured, Ryan will set aside the most beautiful heads with the biggest cloves to use as garlic seeds next season. Well-cured, well-wrapped garlic bulbs will keep six to eight months or longer. The best storage temperature for garlic is between 60 and 70 degrees Fahrenheit, with low humidity at about 60-percent – and never store garlic in the refrigerator. I will soon have lots of delicious garlic to use and share.
Here in the Northeast, temperatures are a bit milder this week after a string of hot, hazy humid days.
Despite some uncomfortable summer weather, the vegetables at my Bedford, New York farm are thriving. My head gardener, Ryan McCallister, picked another large bounty including eggplants, cucumbers, artichokes, peppers and so much more. I am so happy with this year’s prolific crops.
Enjoy these photos.
My vegetable garden is doing so well this season. It’s important to check it every day – there’s always something ready to pick. It makes me so happy to be able to share all of this produce with friends and family every summer.
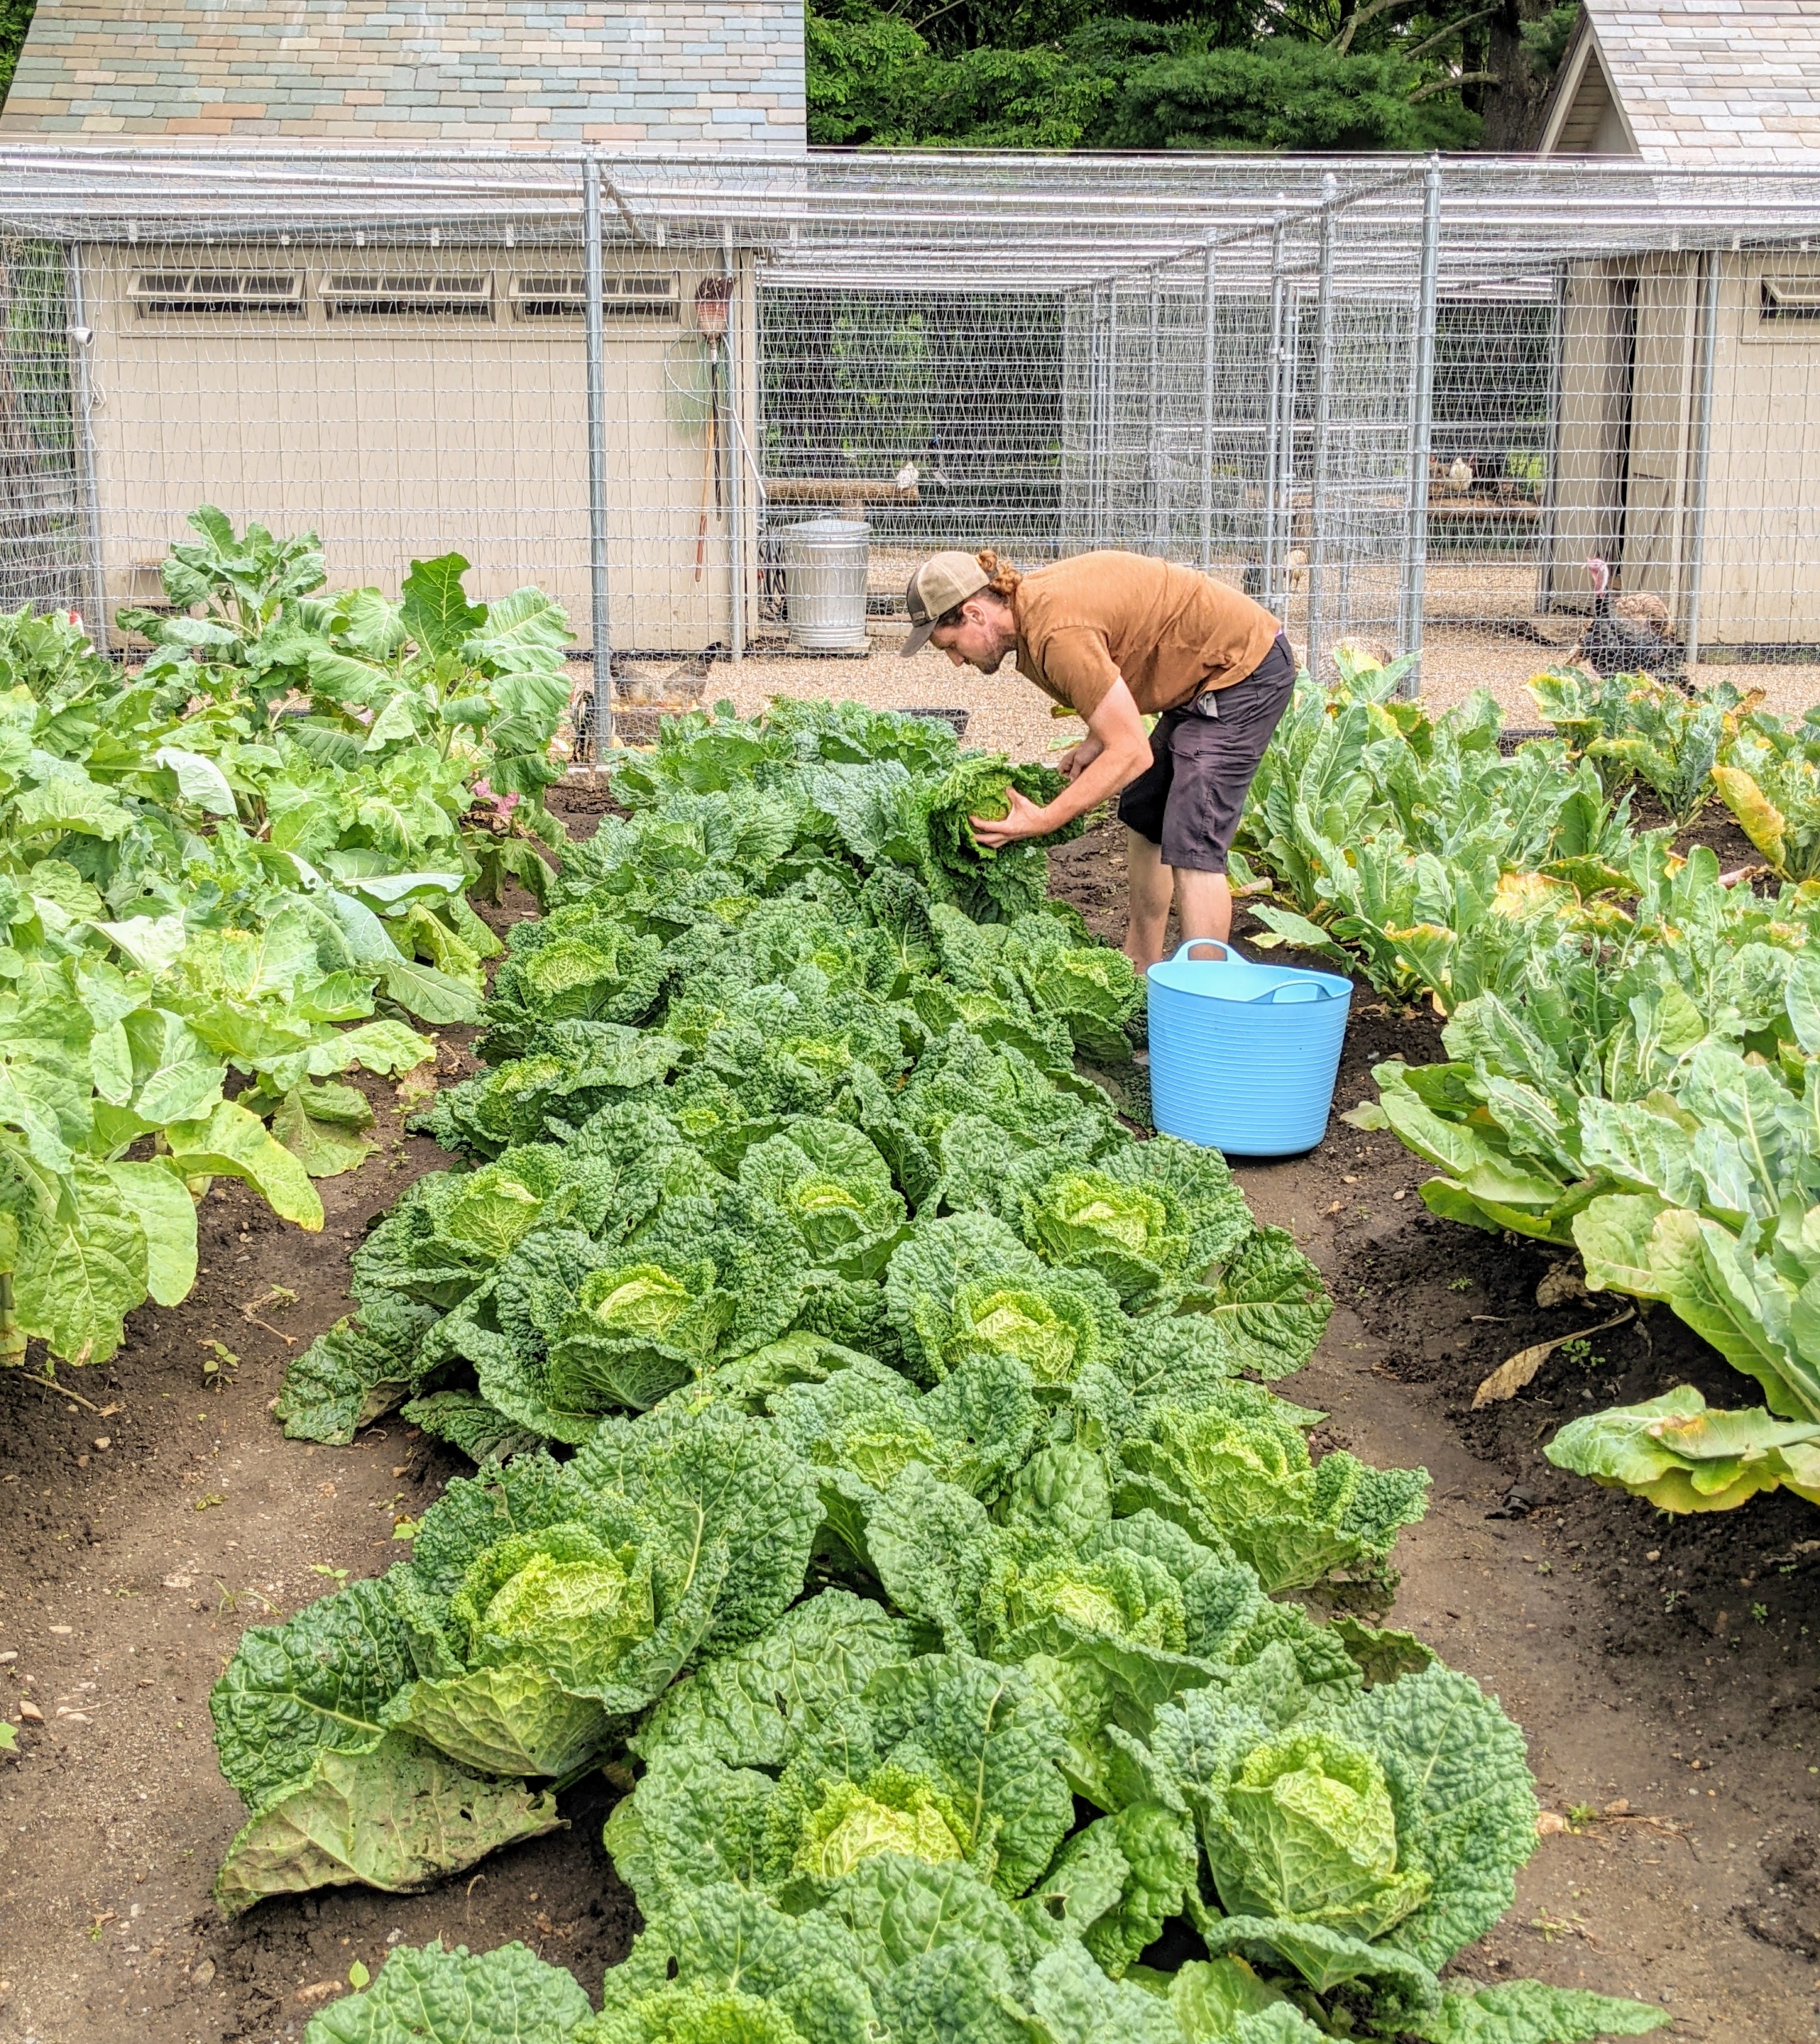
Our cabbage patch looks excellent. Some cabbages are ready in as few as 80 days from seed and 60 days from transplanting, while others take as long as 180 days from seed or 105 days from transplanting, depending on the variety. Here’s Ryan looking for the best ones to harvest.
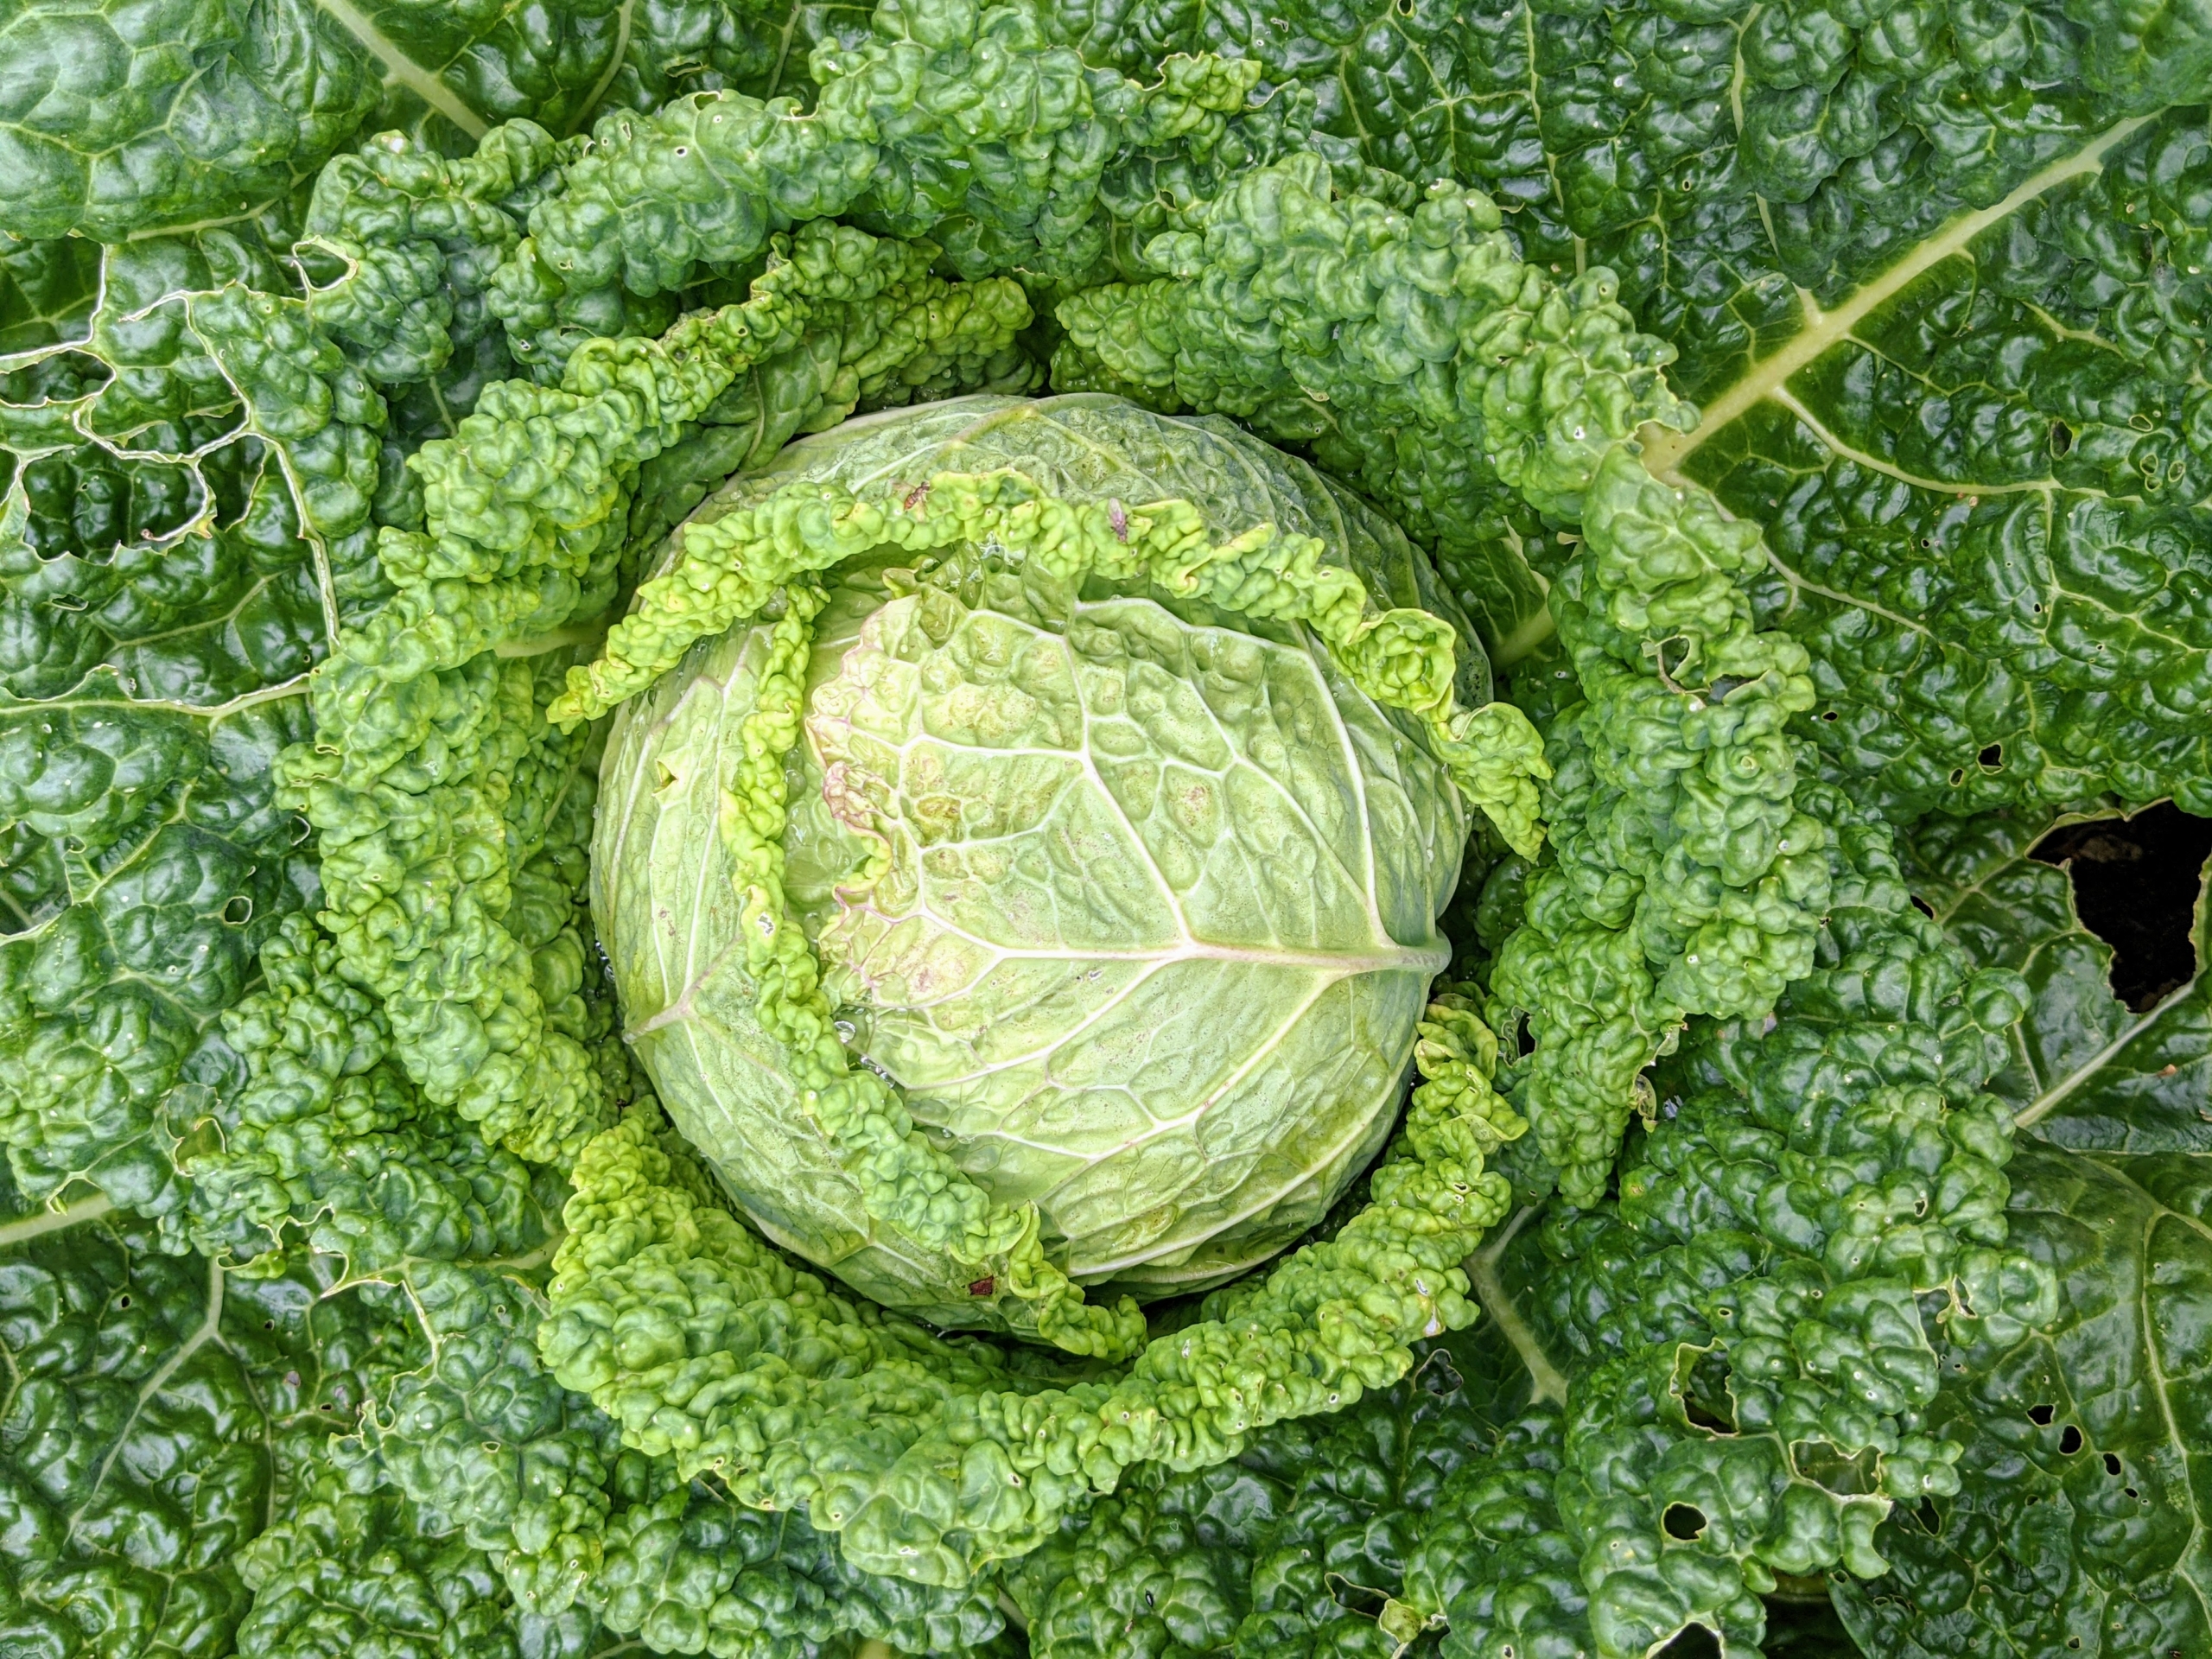
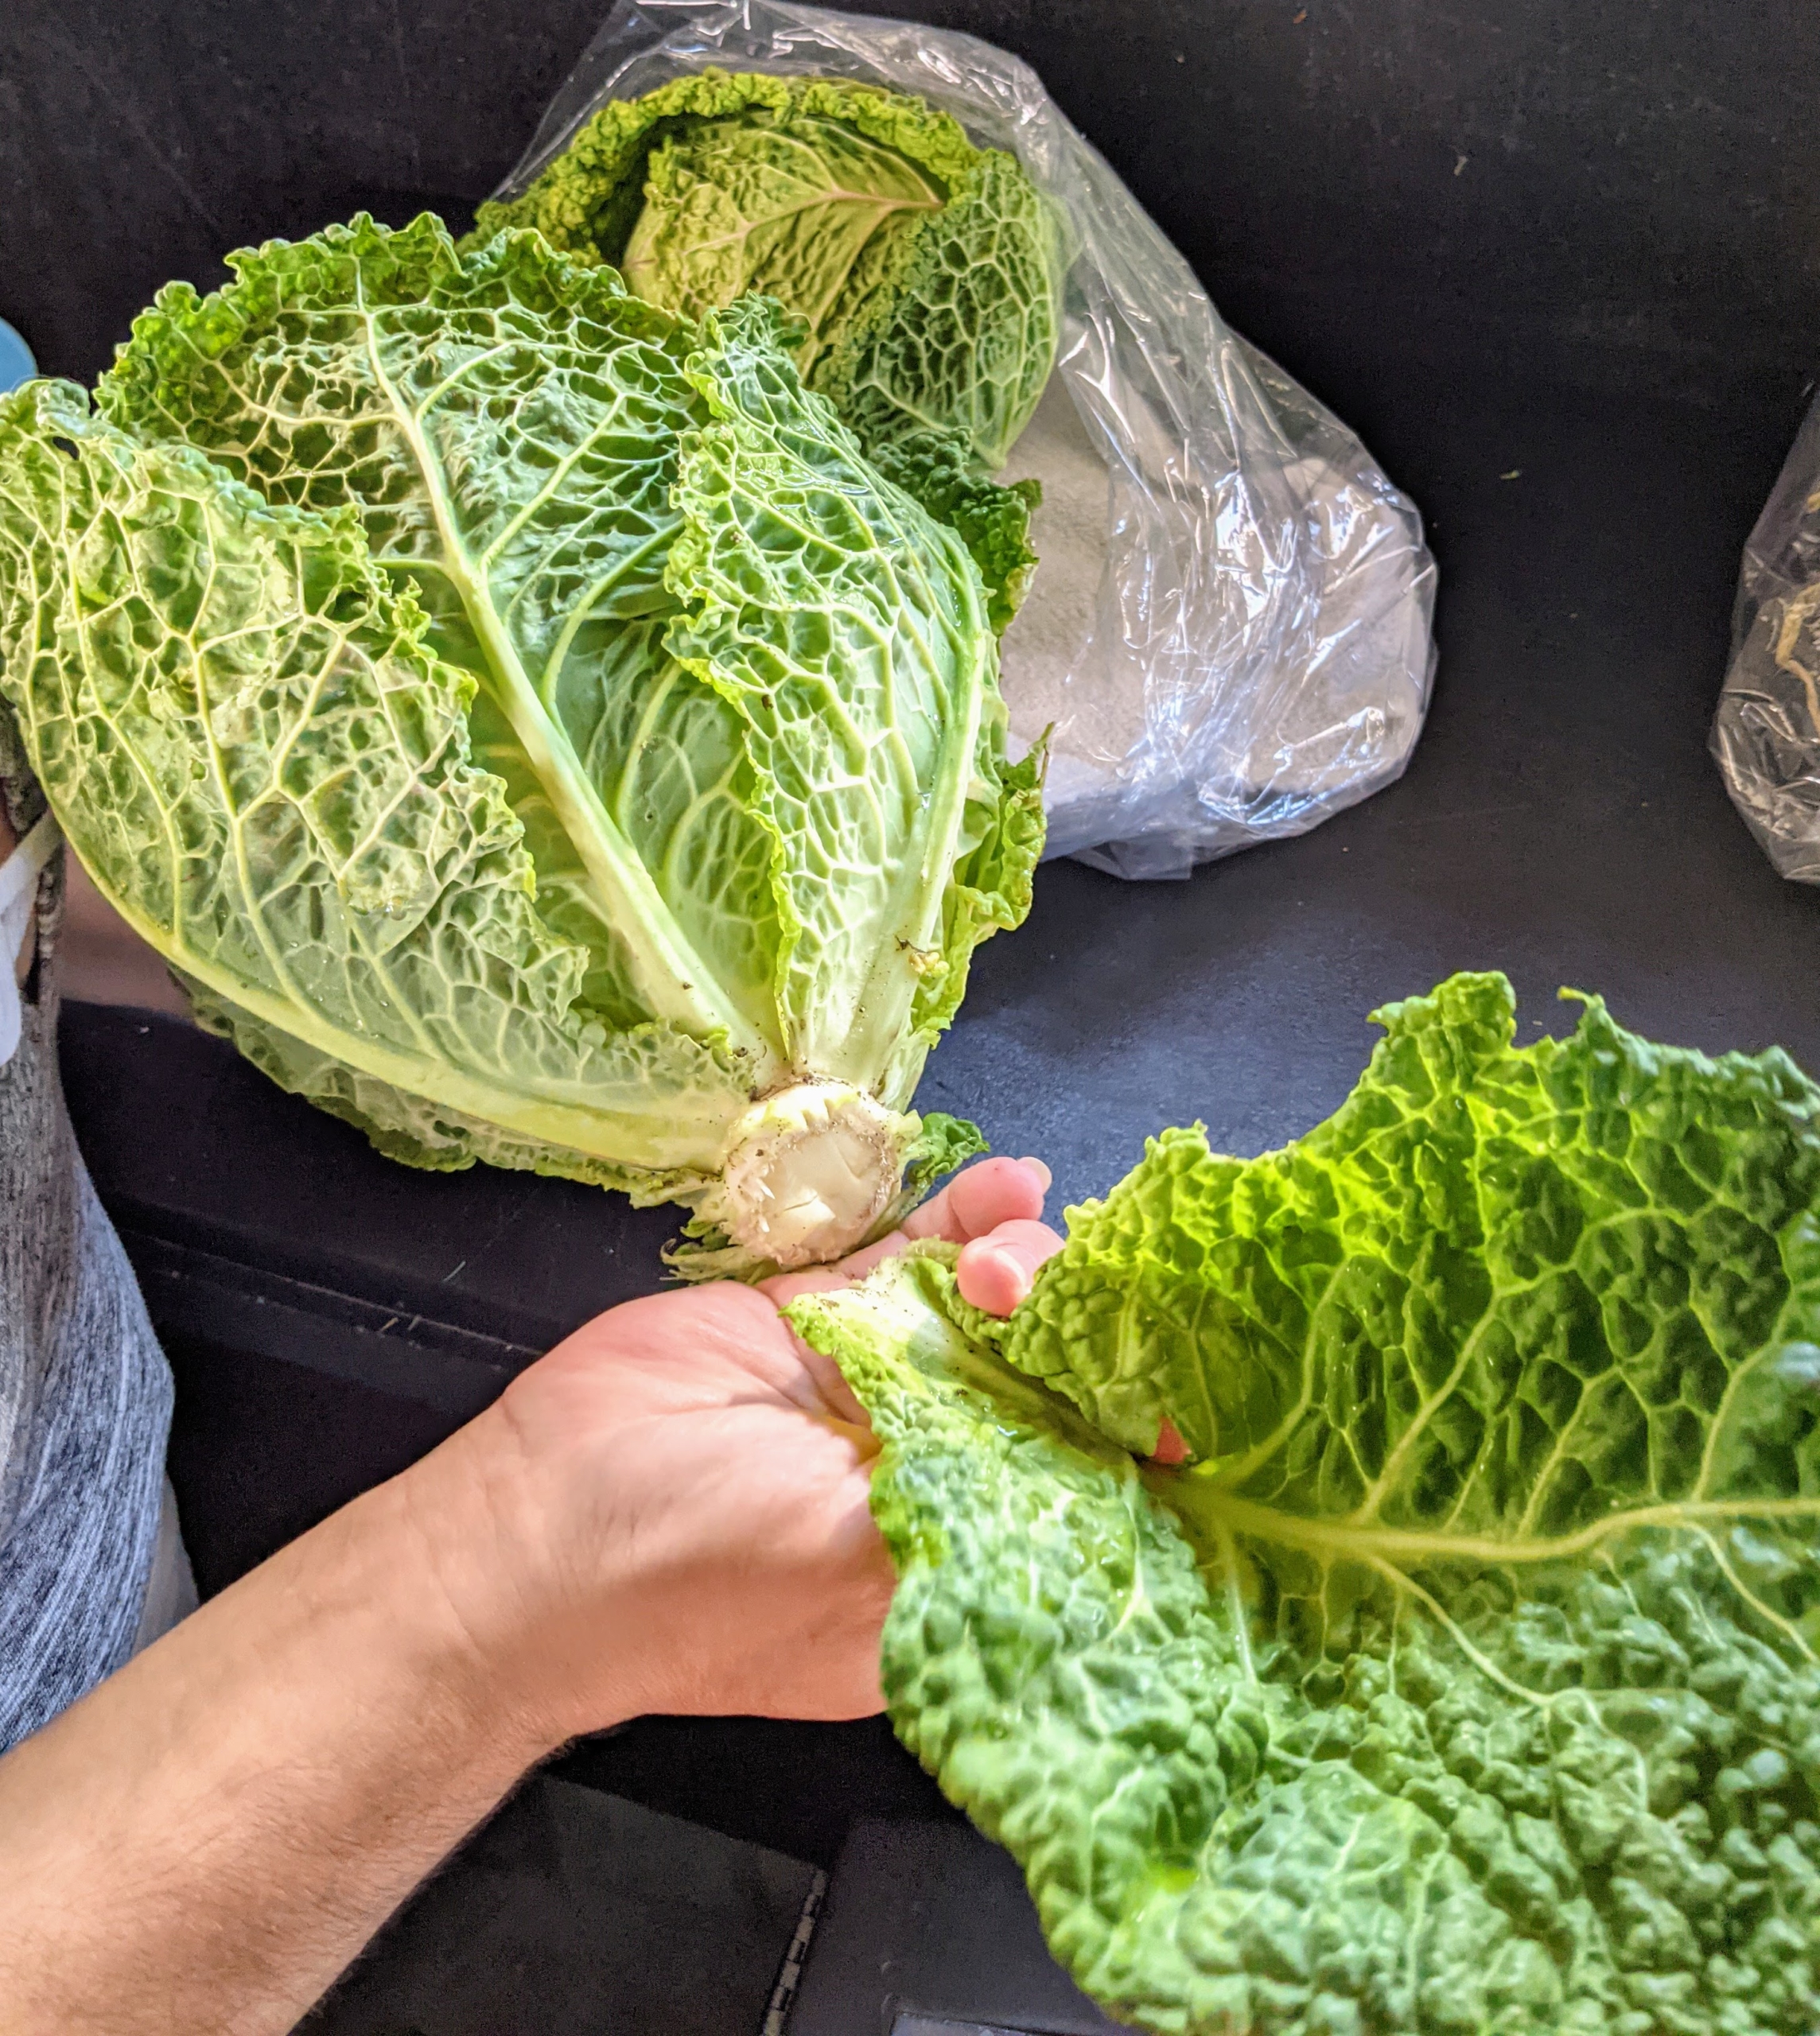
This big head of cabbage looks perfect. Cabbage, Brassica oleracea, is a member of the cruciferous vegetables family, and is related to kale, broccoli, collards and Brussels sprouts. To get the best health benefits from cabbage, it’s good to include all three varieties into the diet – Savoy, red, and green. The leaves of the Savoy cabbage are more ruffled and a bit more yellowish in color.
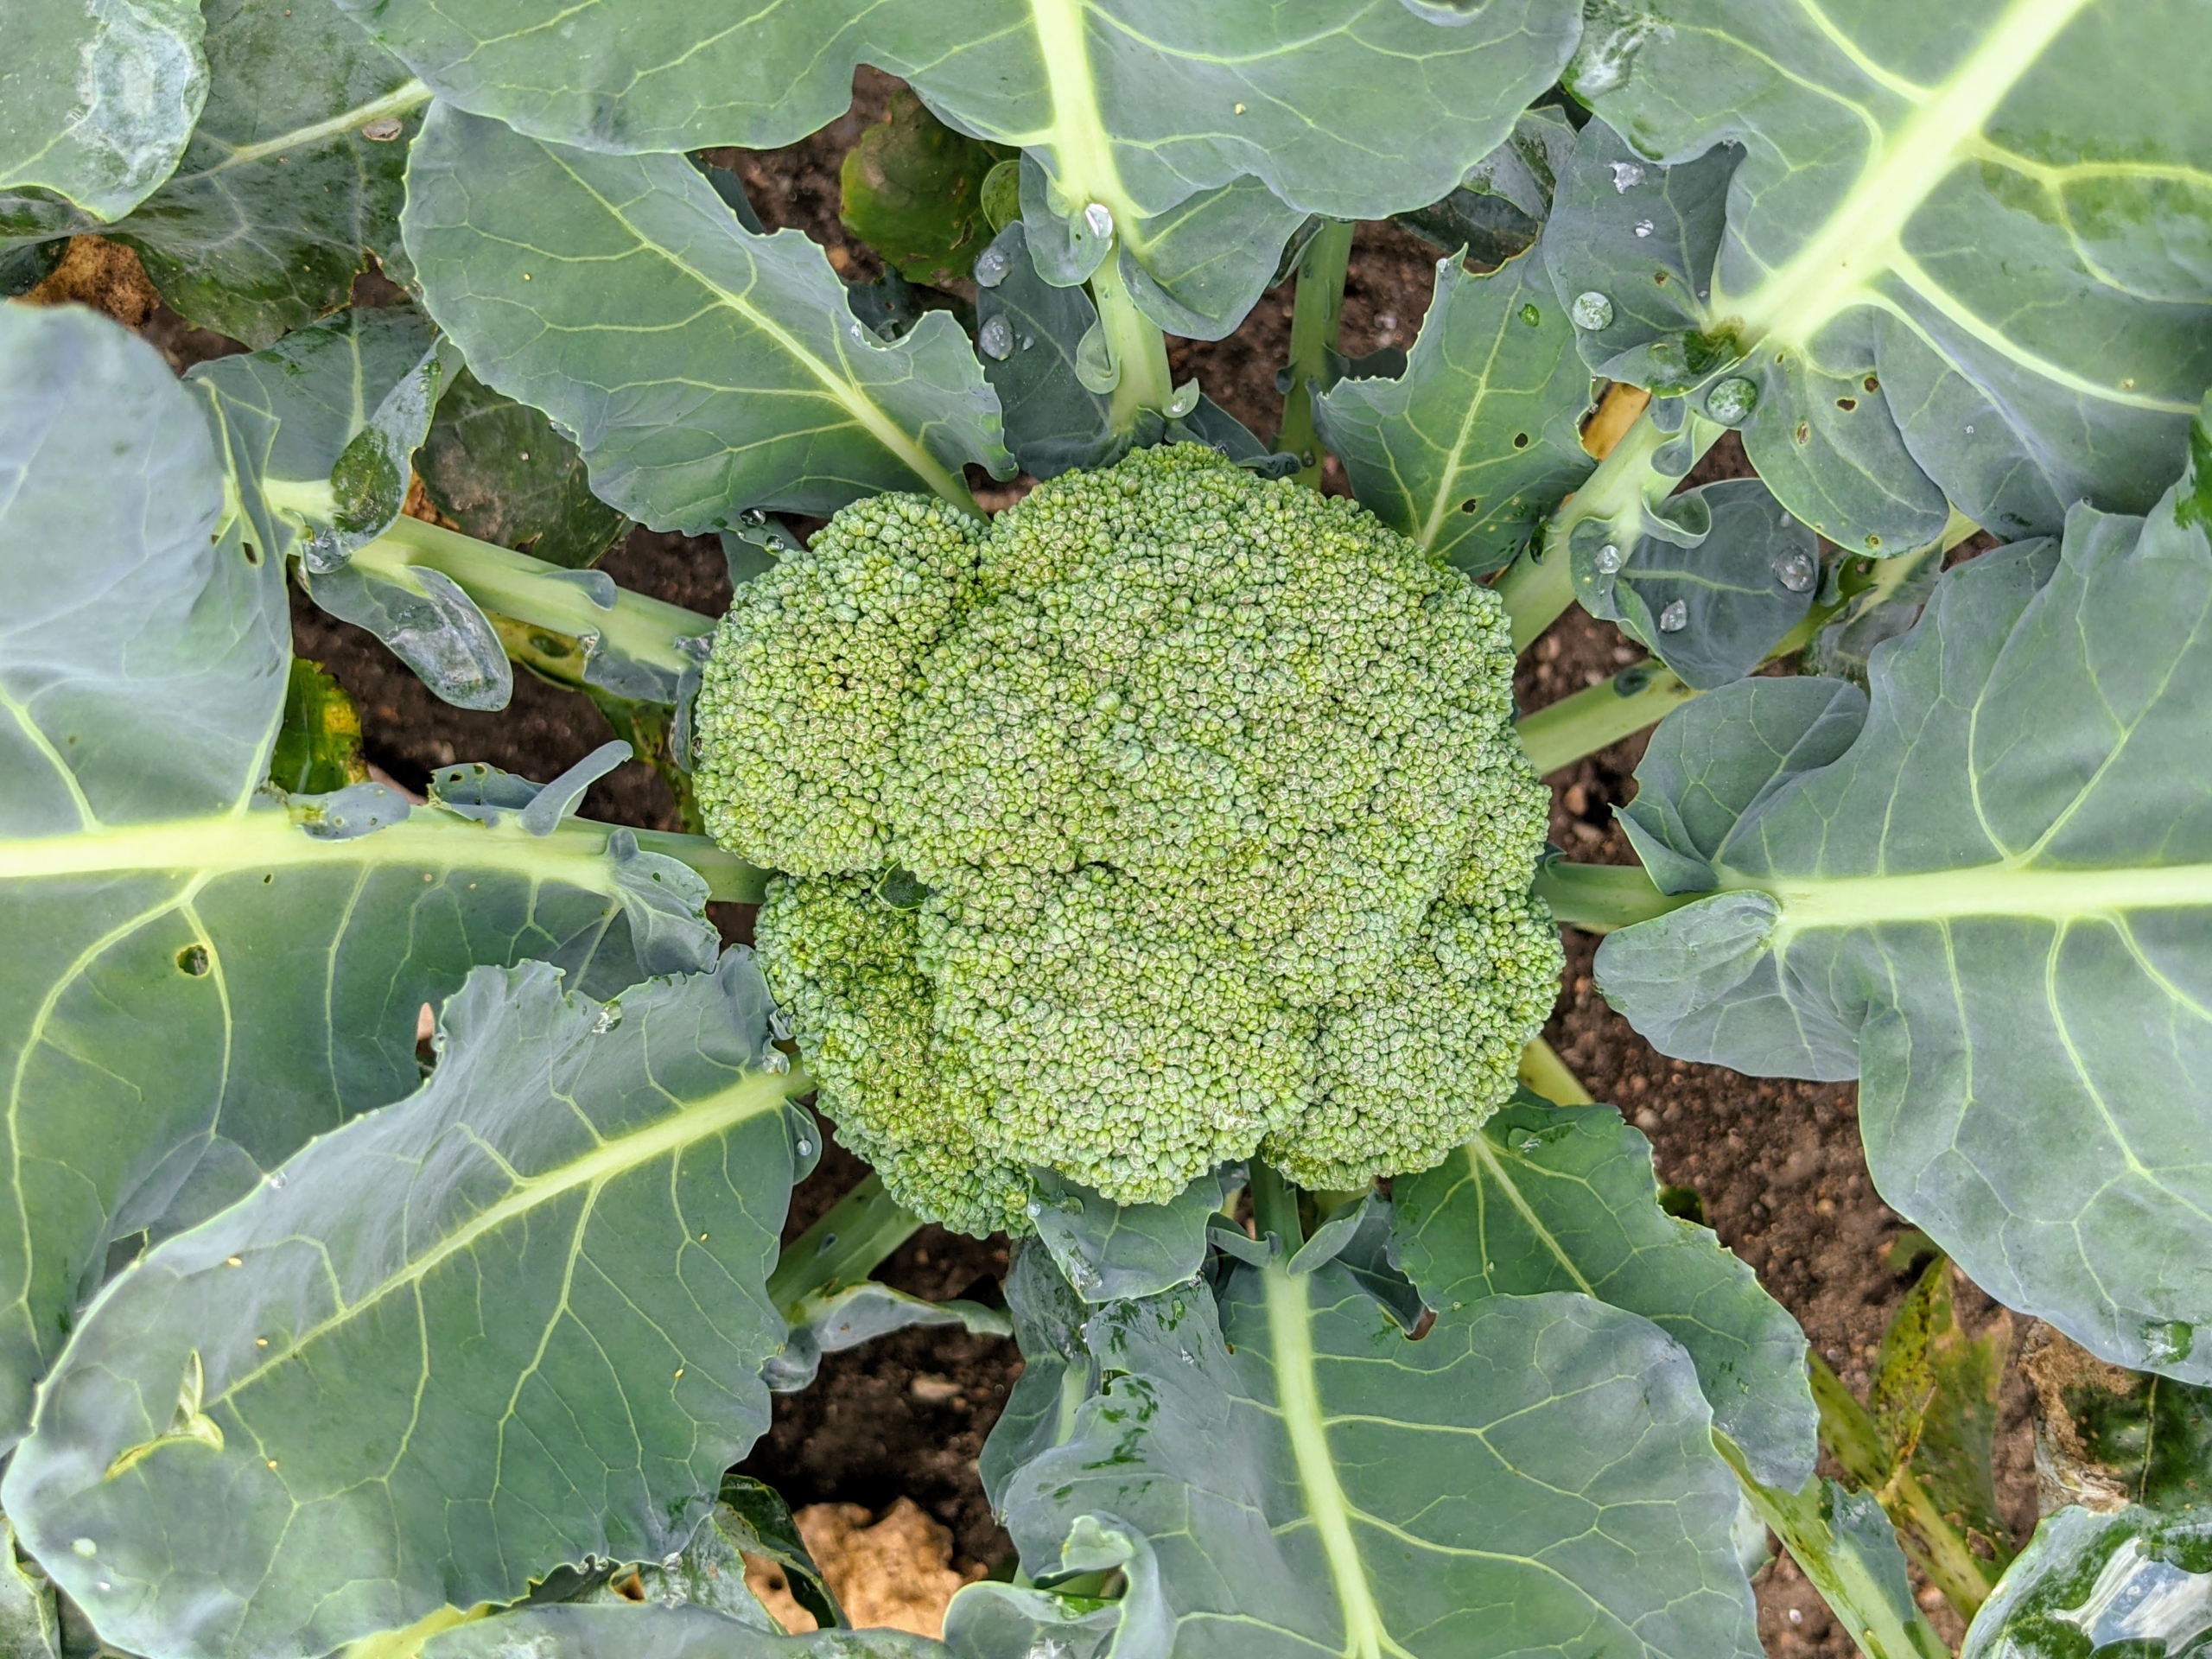
The broccoli heads are also looking great. Broccoli heads are ready when they’re deep green with small, tightly packed buds. And always harvest broccoli right away if it starts to flower or turn yellow. Side shoots will continue growing after the main head is harvested.
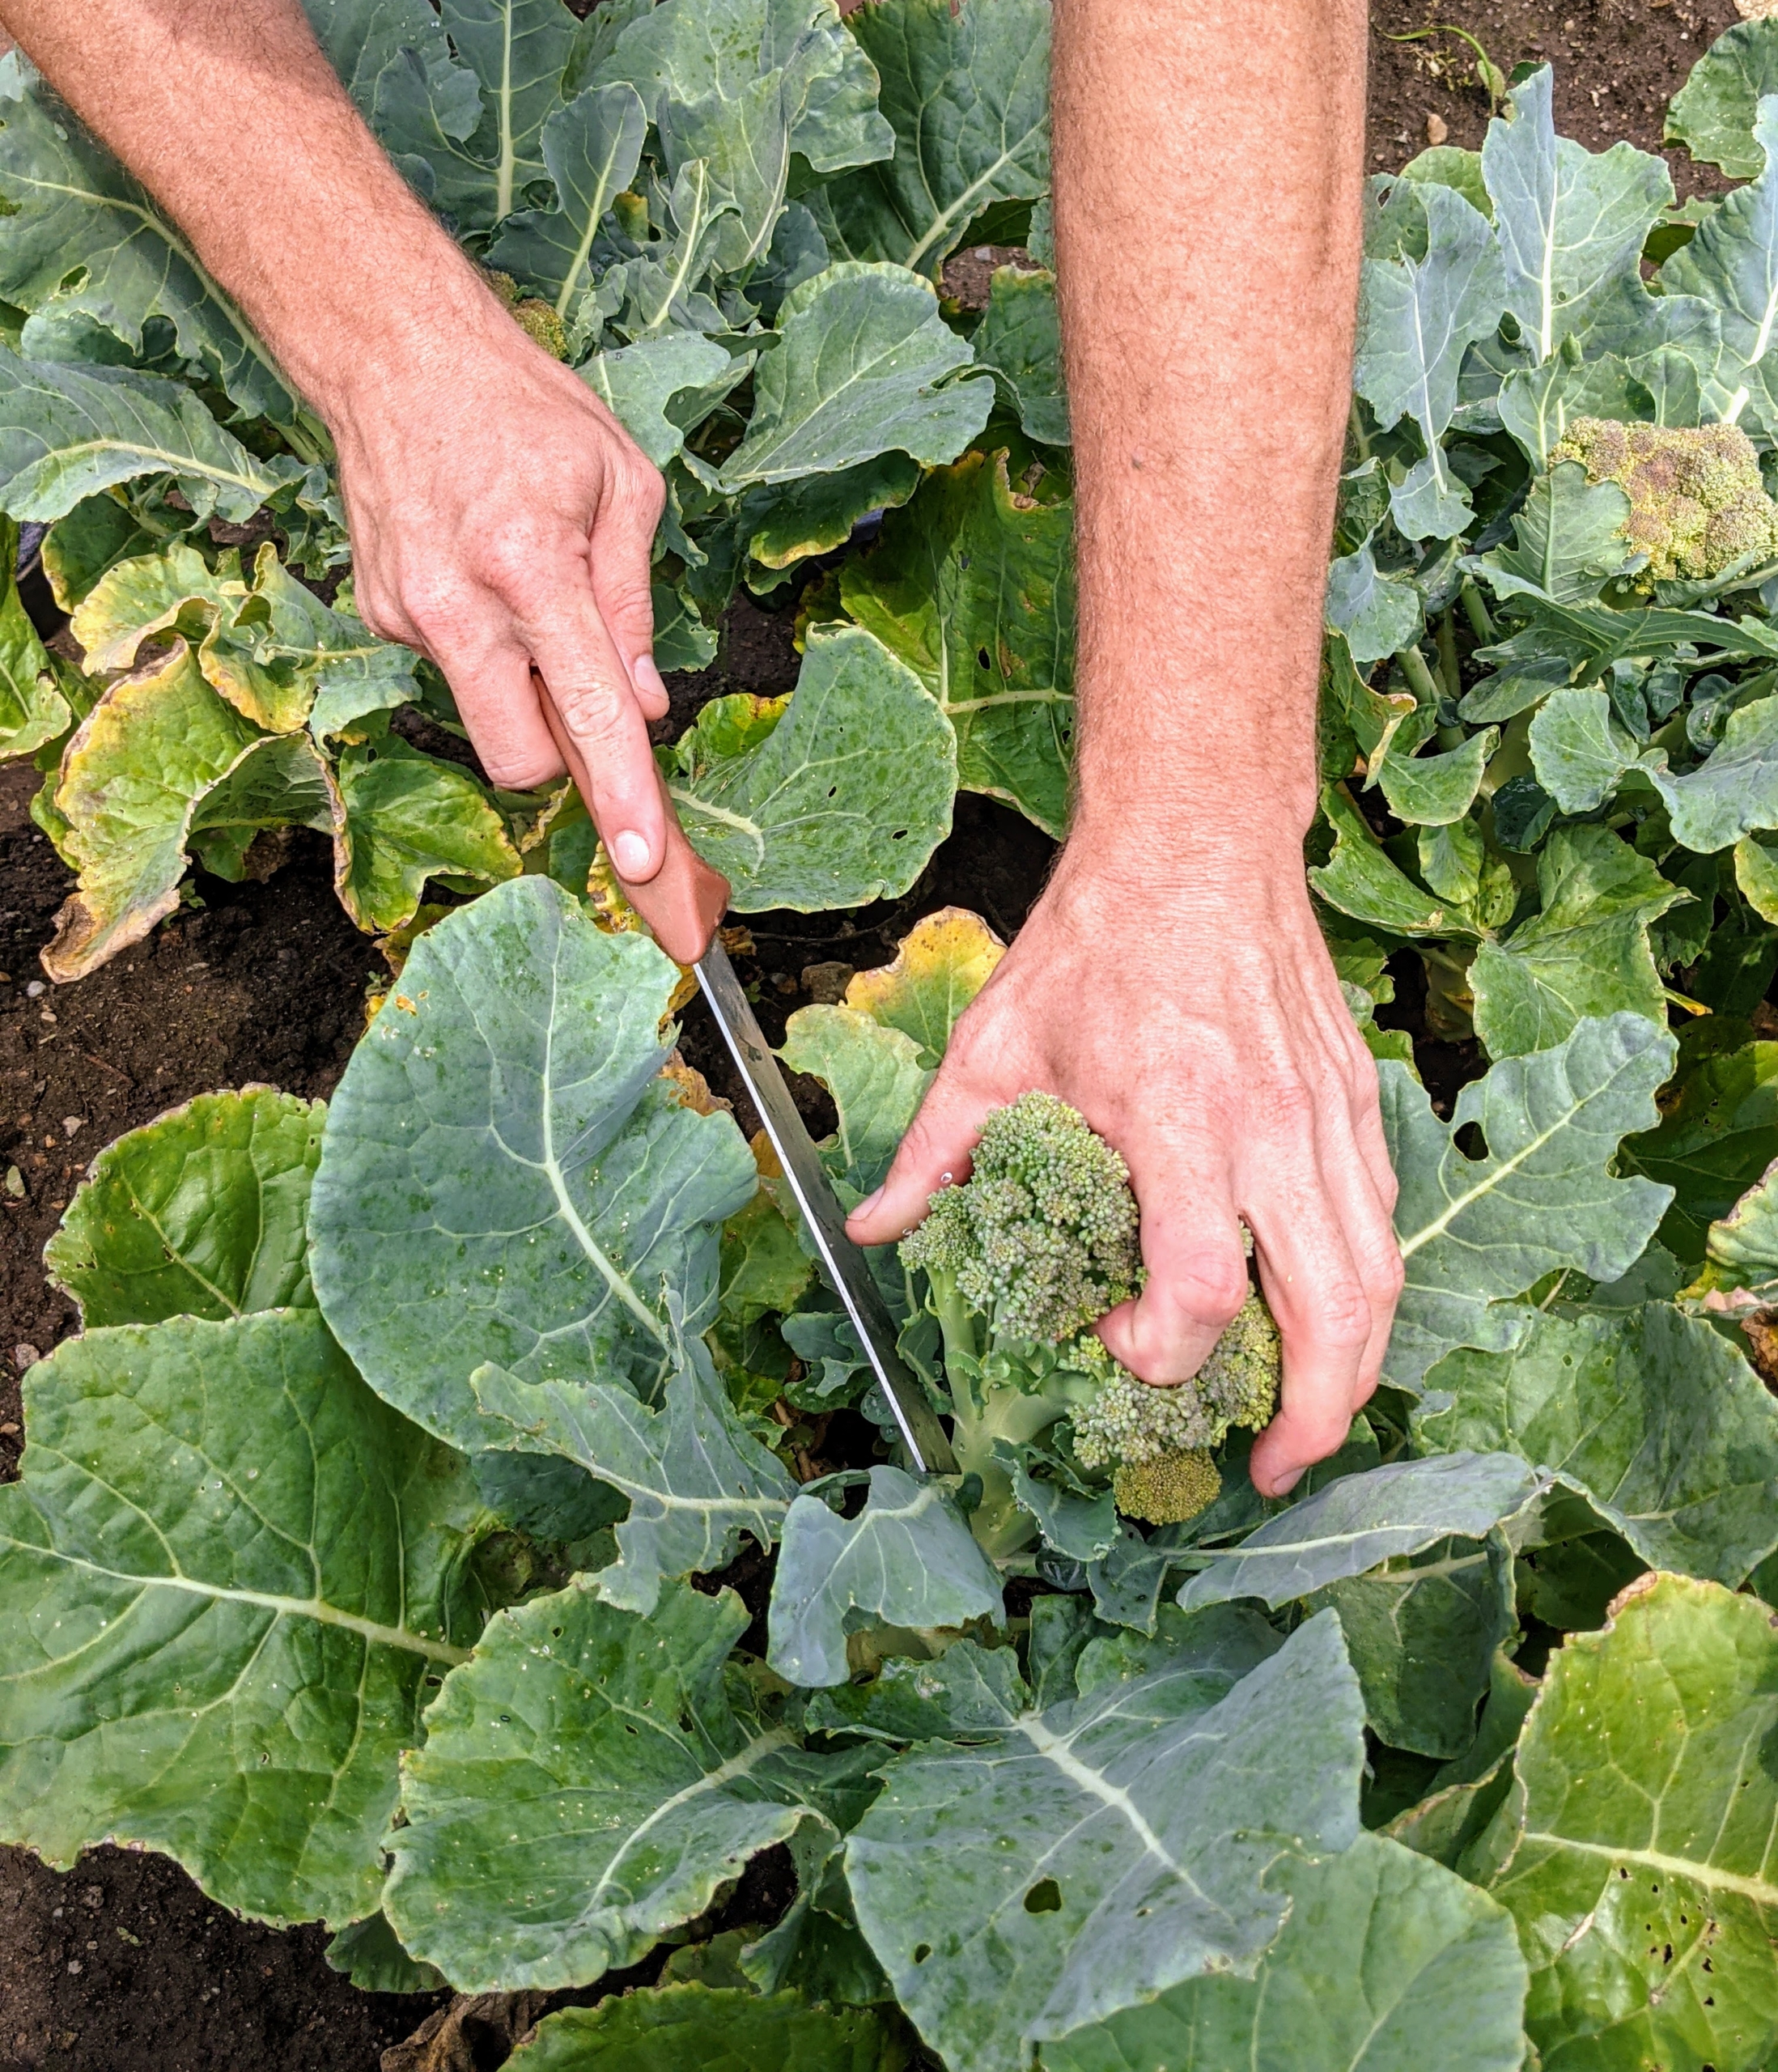
Here’s Ryan cutting a broccoli head. He uses a sharp knife and cuts the broccoli head stem a couple inches below the head.
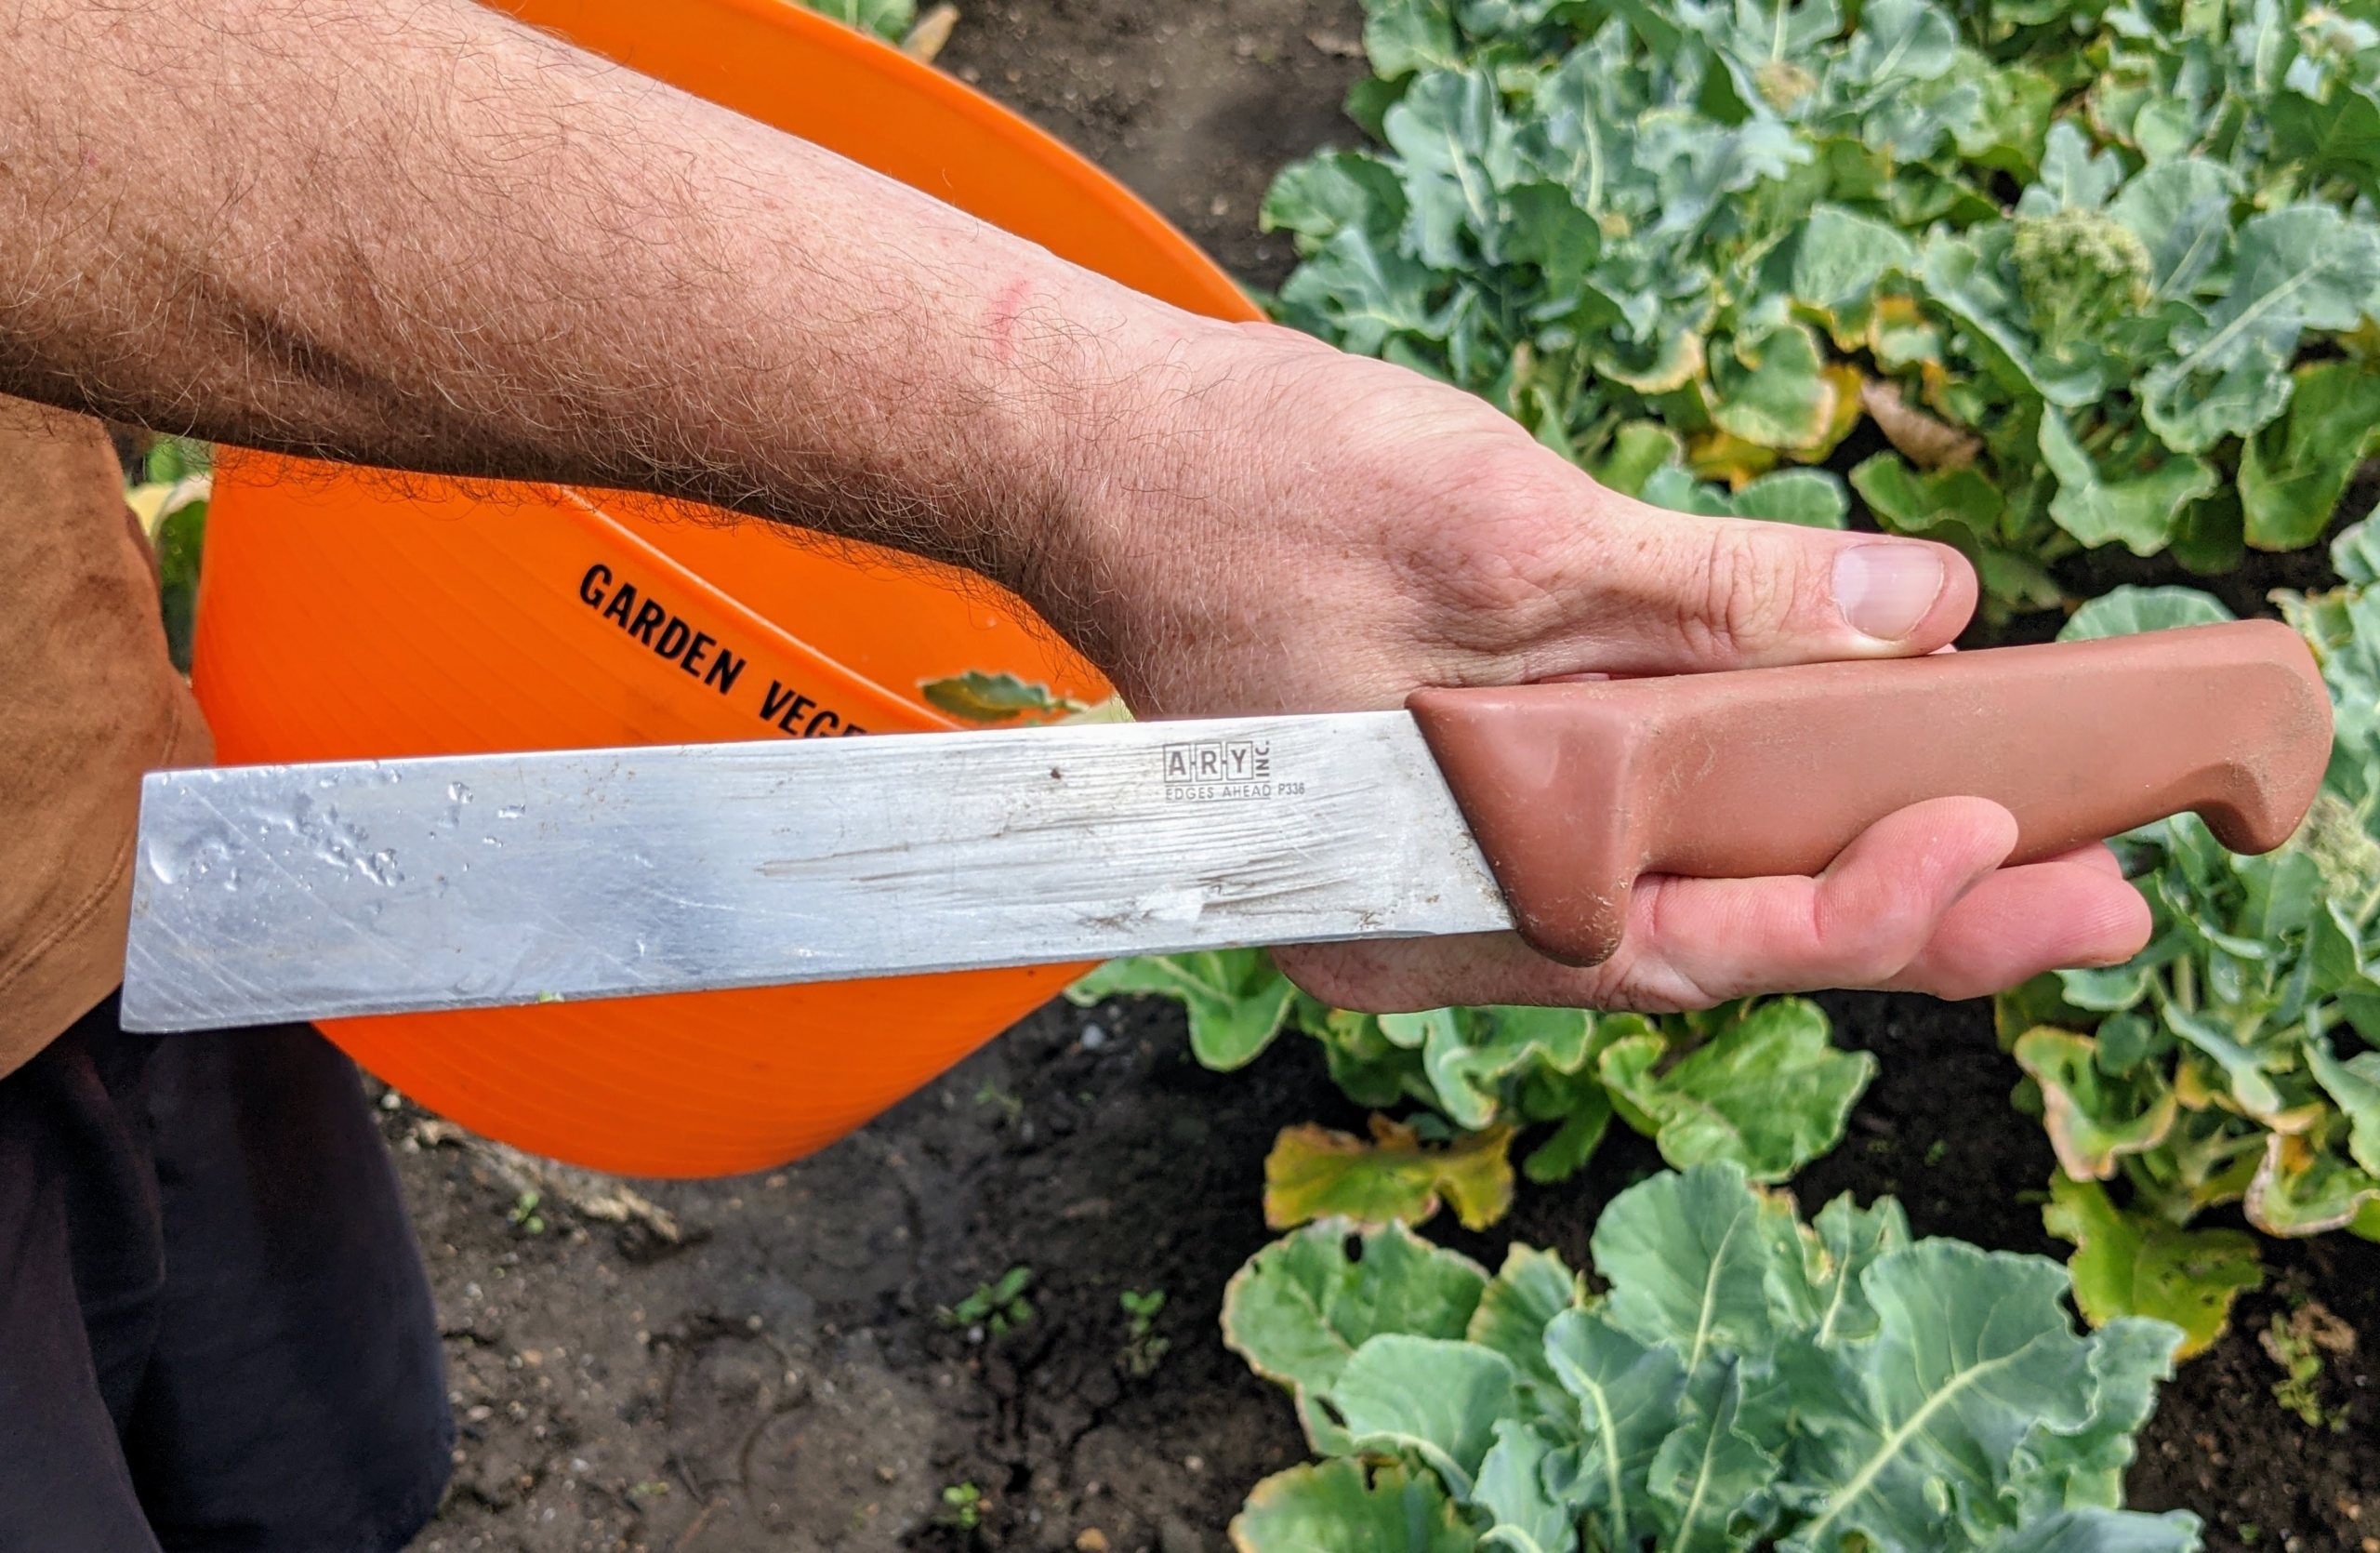
Ryan uses a special produce knife that is narrow, with a straight-edge blade that also cuts from the top end. This knife fits between broccoli stalks and easily cuts vegetables at the base.
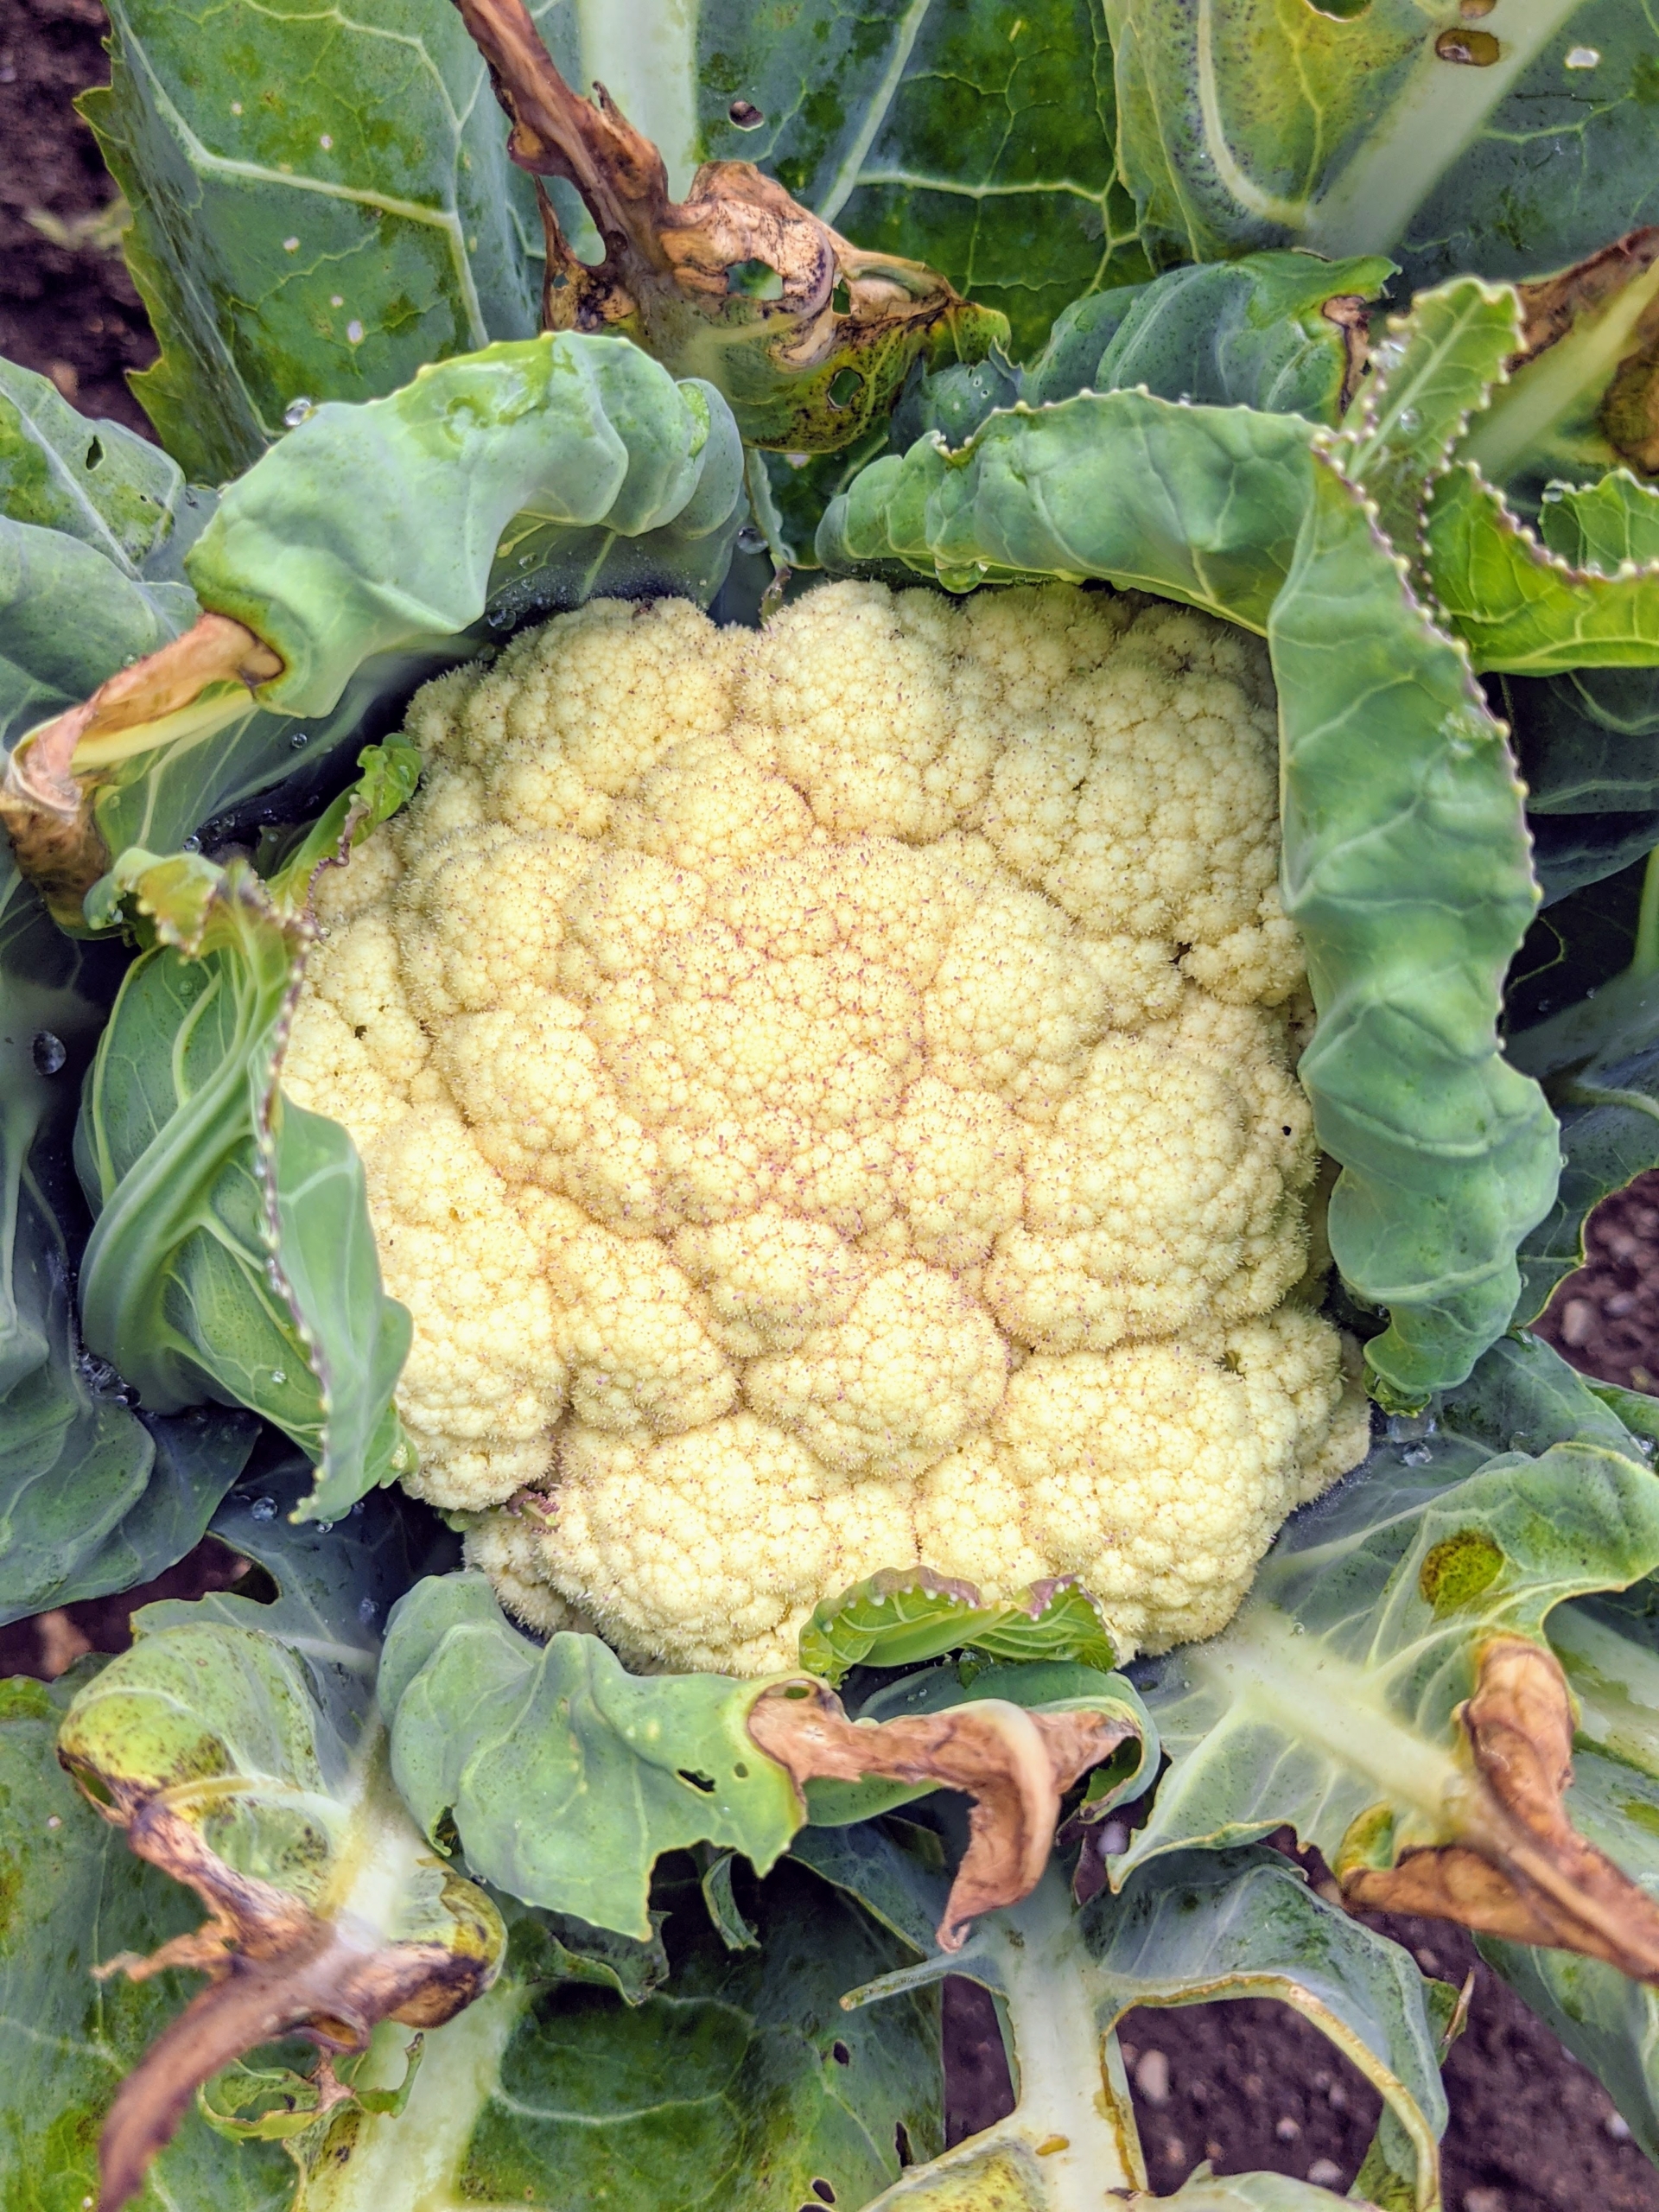
This beautiful cauliflower head is brimming with nutrients. Cauliflower holds plenty of vitamins, such as C, B, and K.
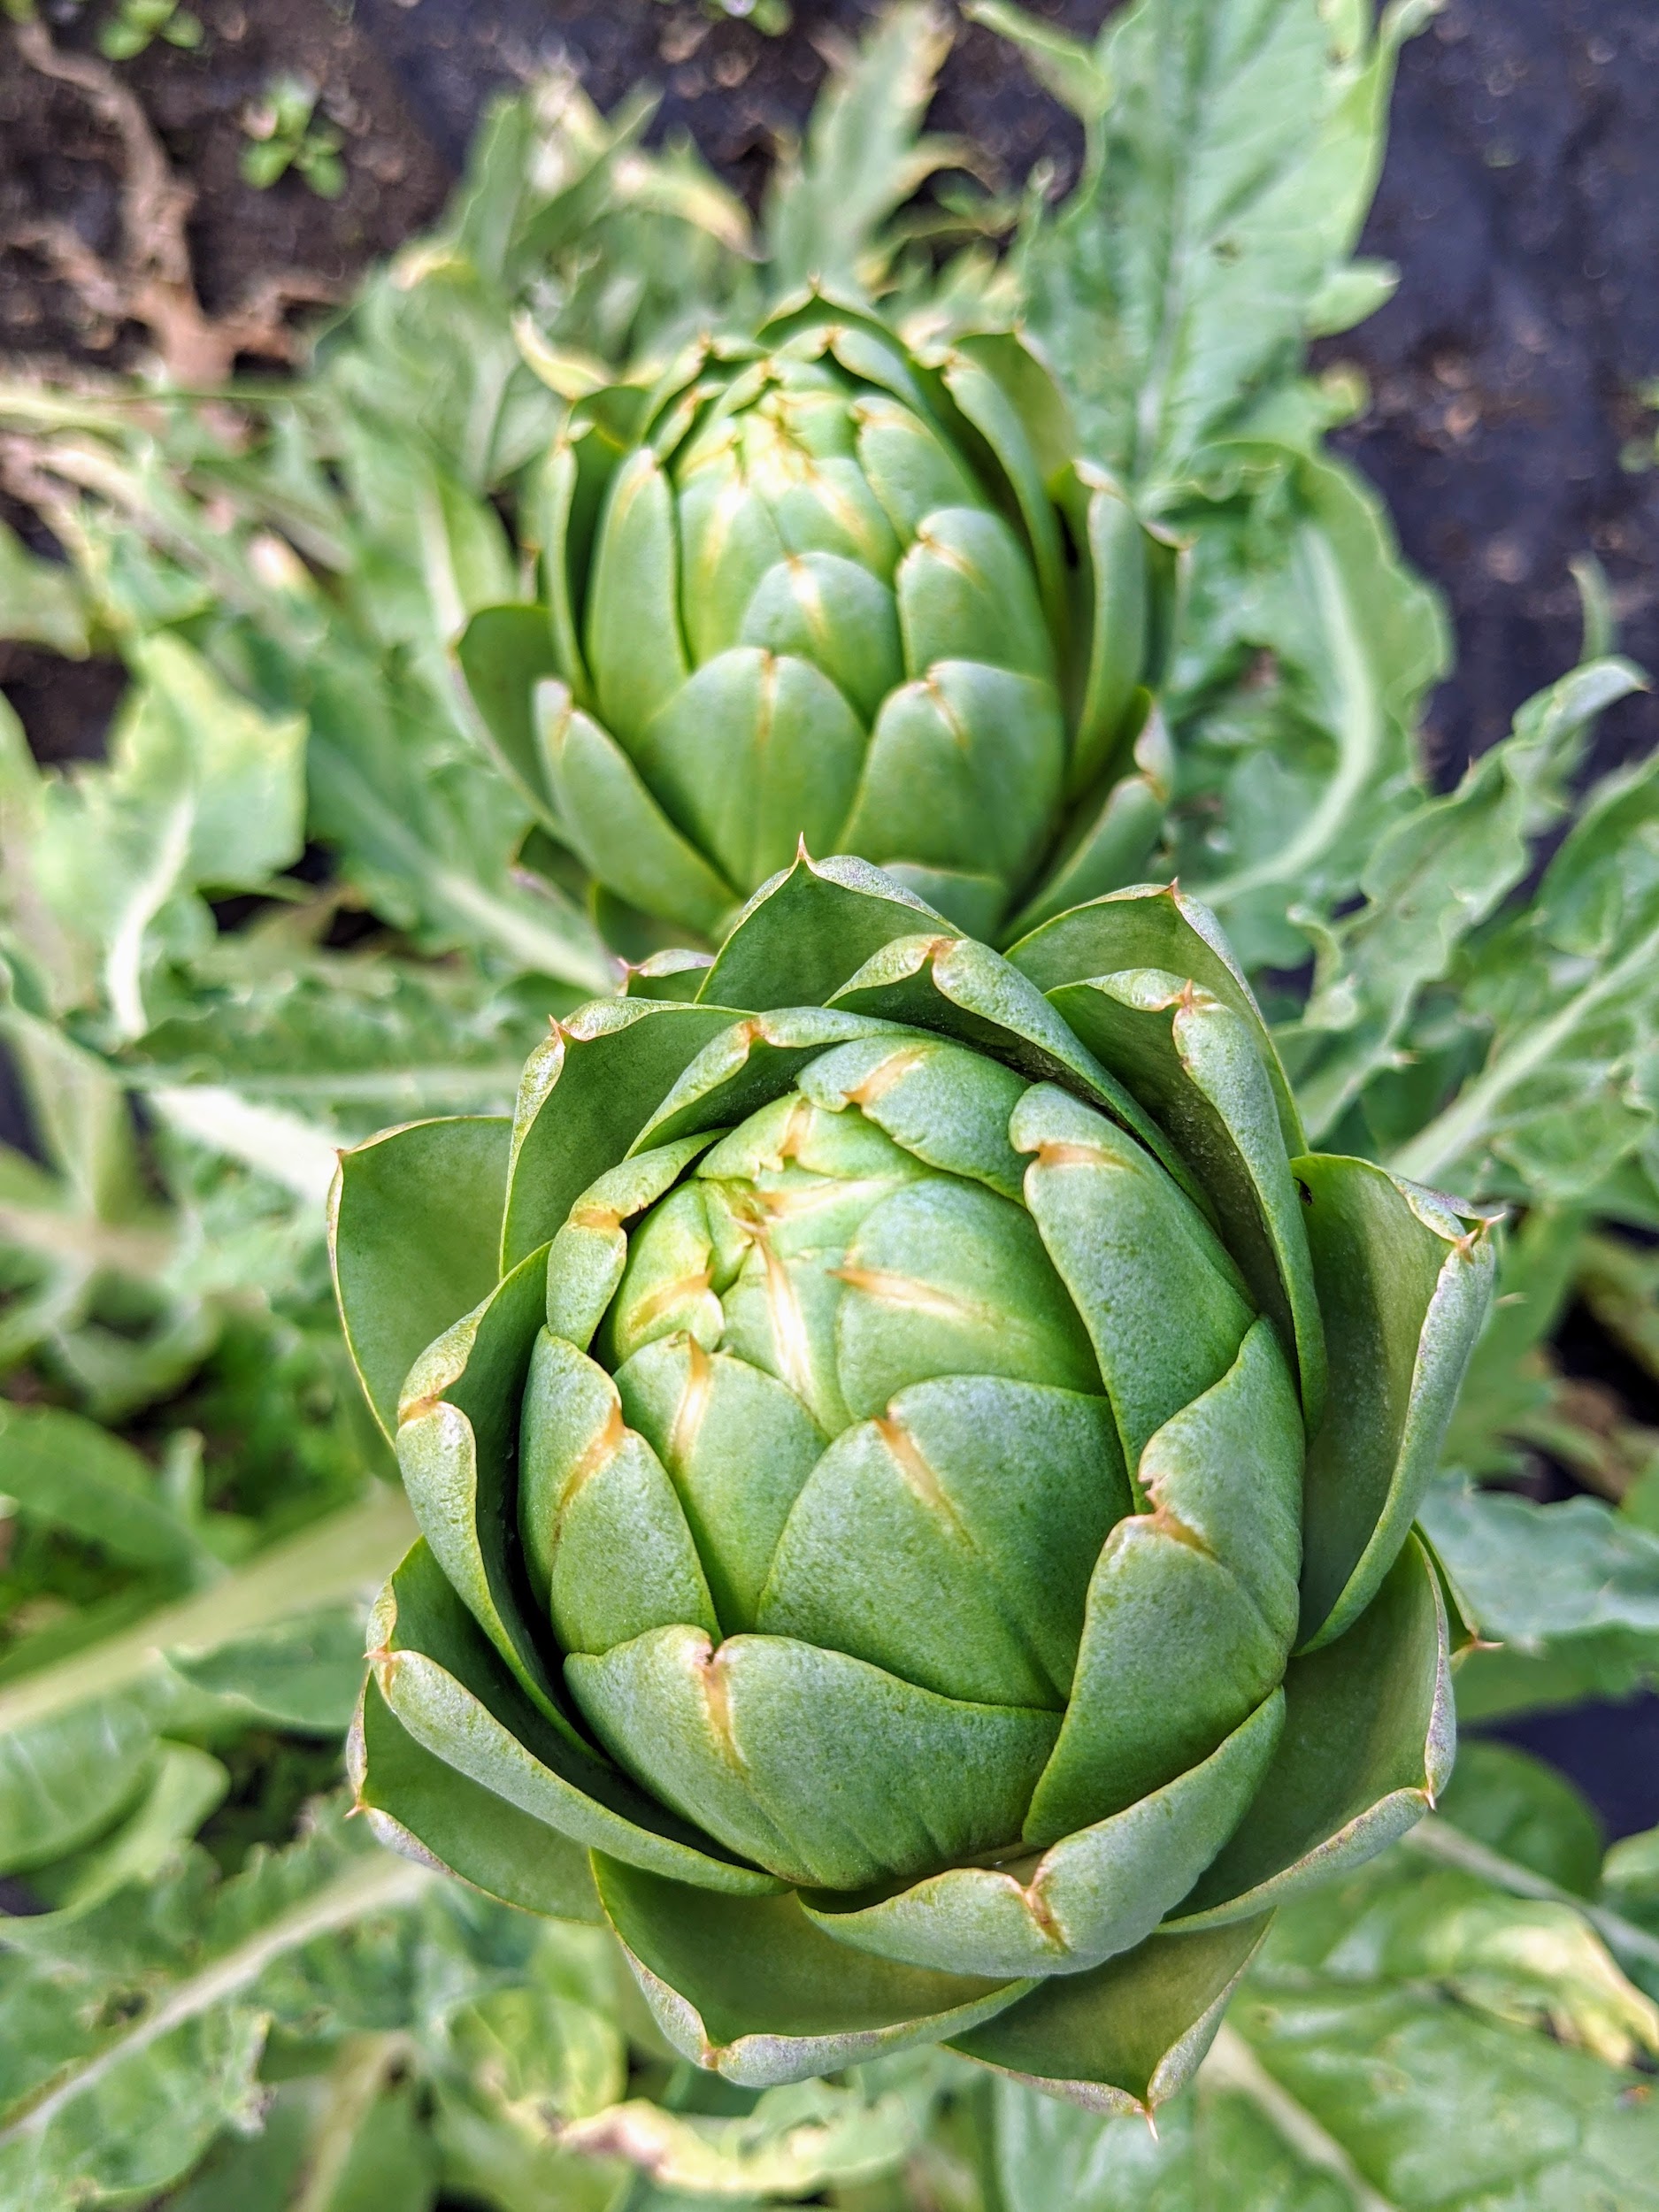
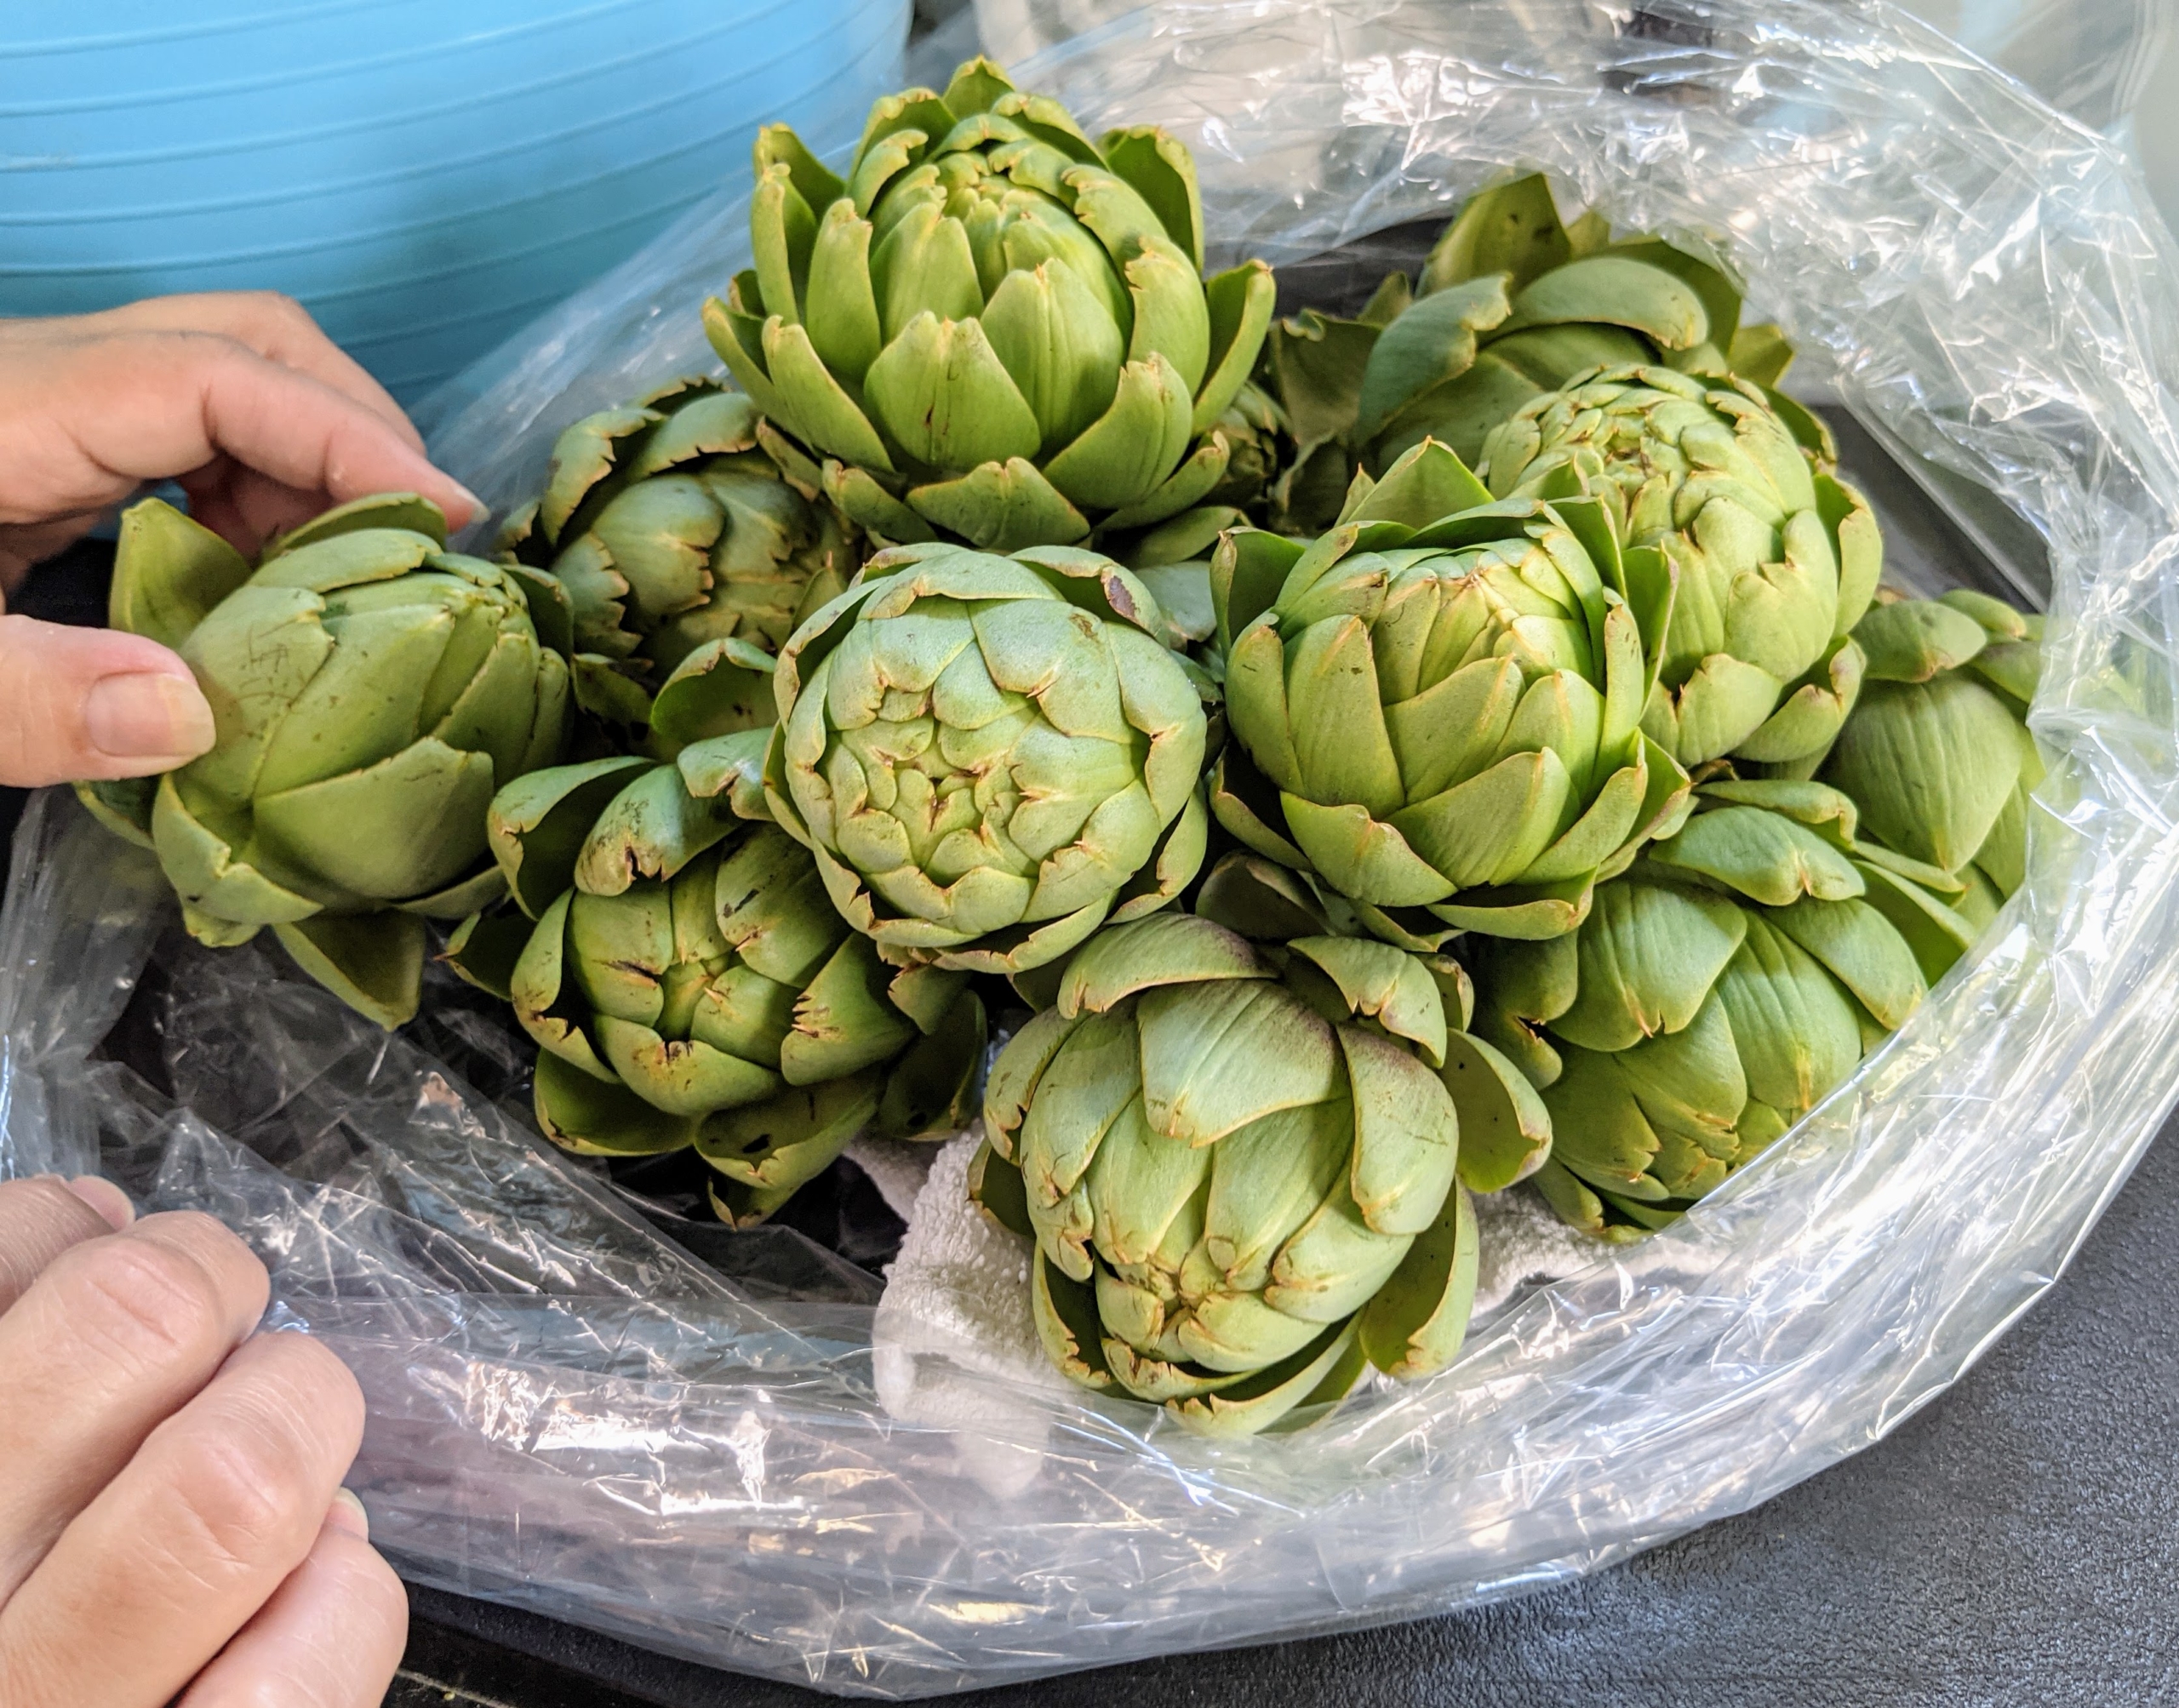
And here are more artichokes. The globe artichoke, Cynara scolymus, is actually a flower bud, which is eaten when tender. Buds are generally harvested once they reach full size, just before the bracts begin to spread open. When harvesting artichokes, cut off the bud along with about three inches of stem.
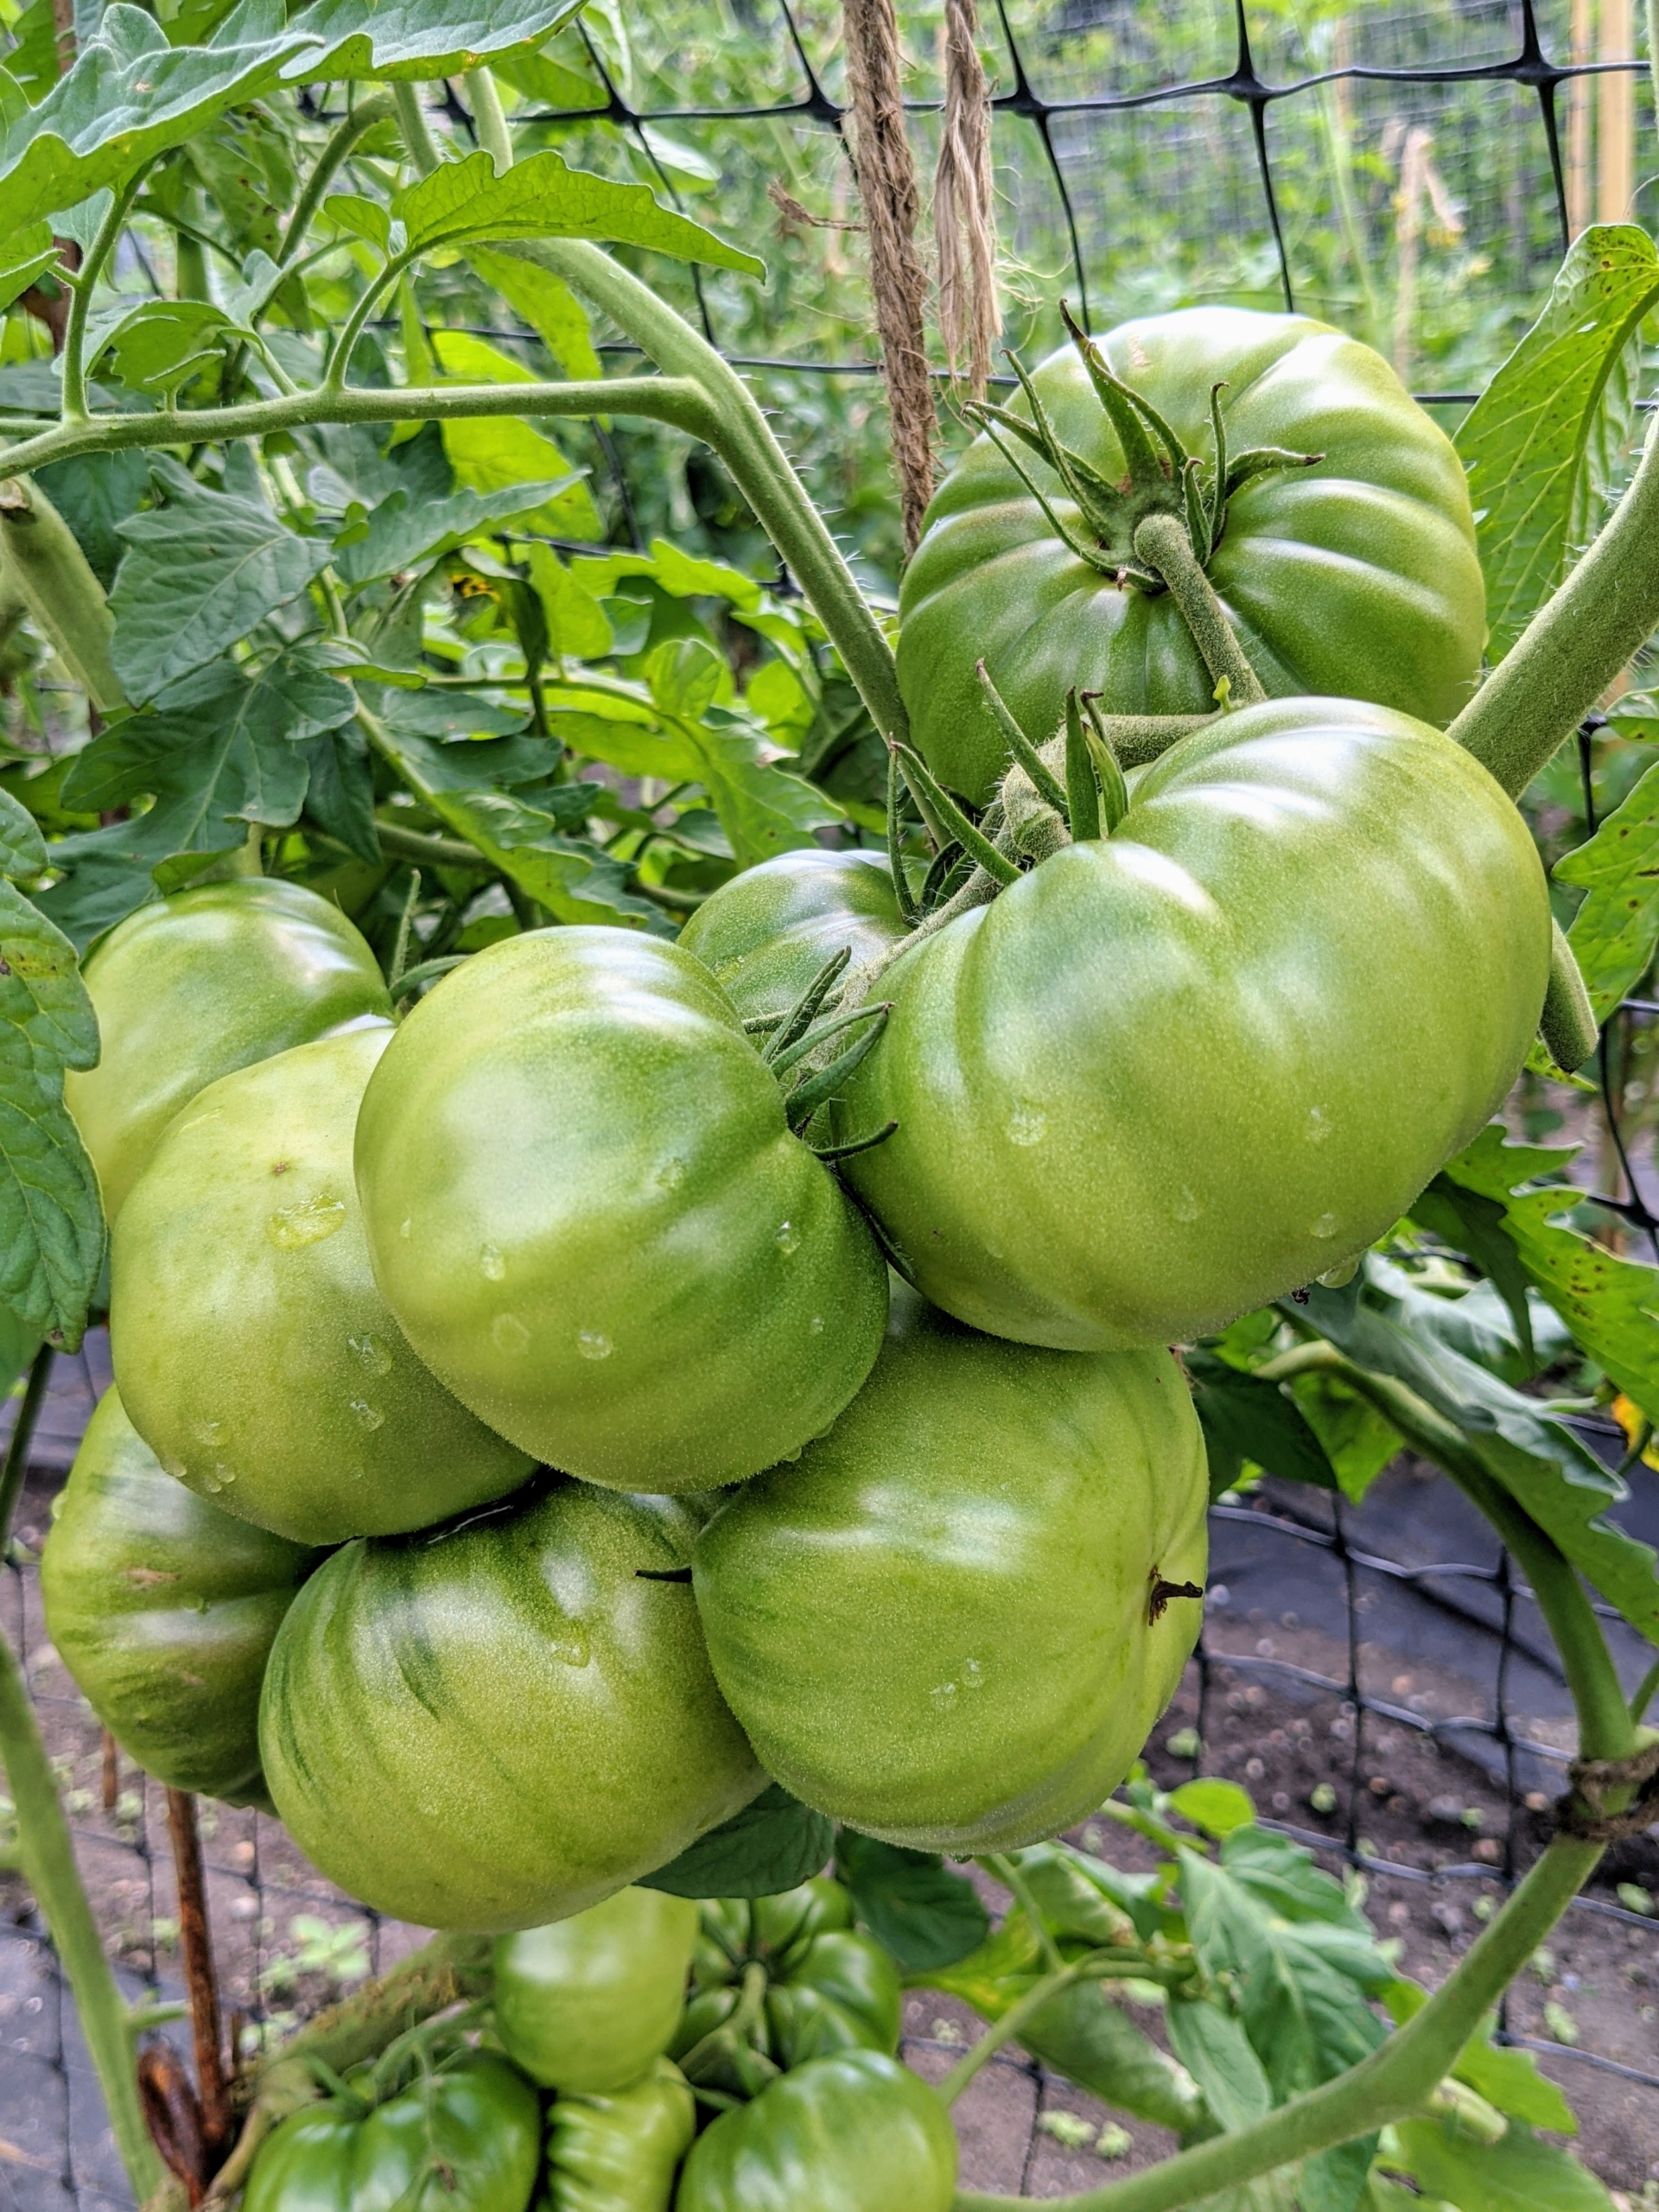
So many tomatoes are developing on the vines, but they’re not ready just yet. Most tomato plant varieties need between 50 and 90 days to mature. Planting can also be staggered to produce early, mid and late season tomato harvests. Chhiring did a great job staking them this season – all the vines are well secured off the ground.
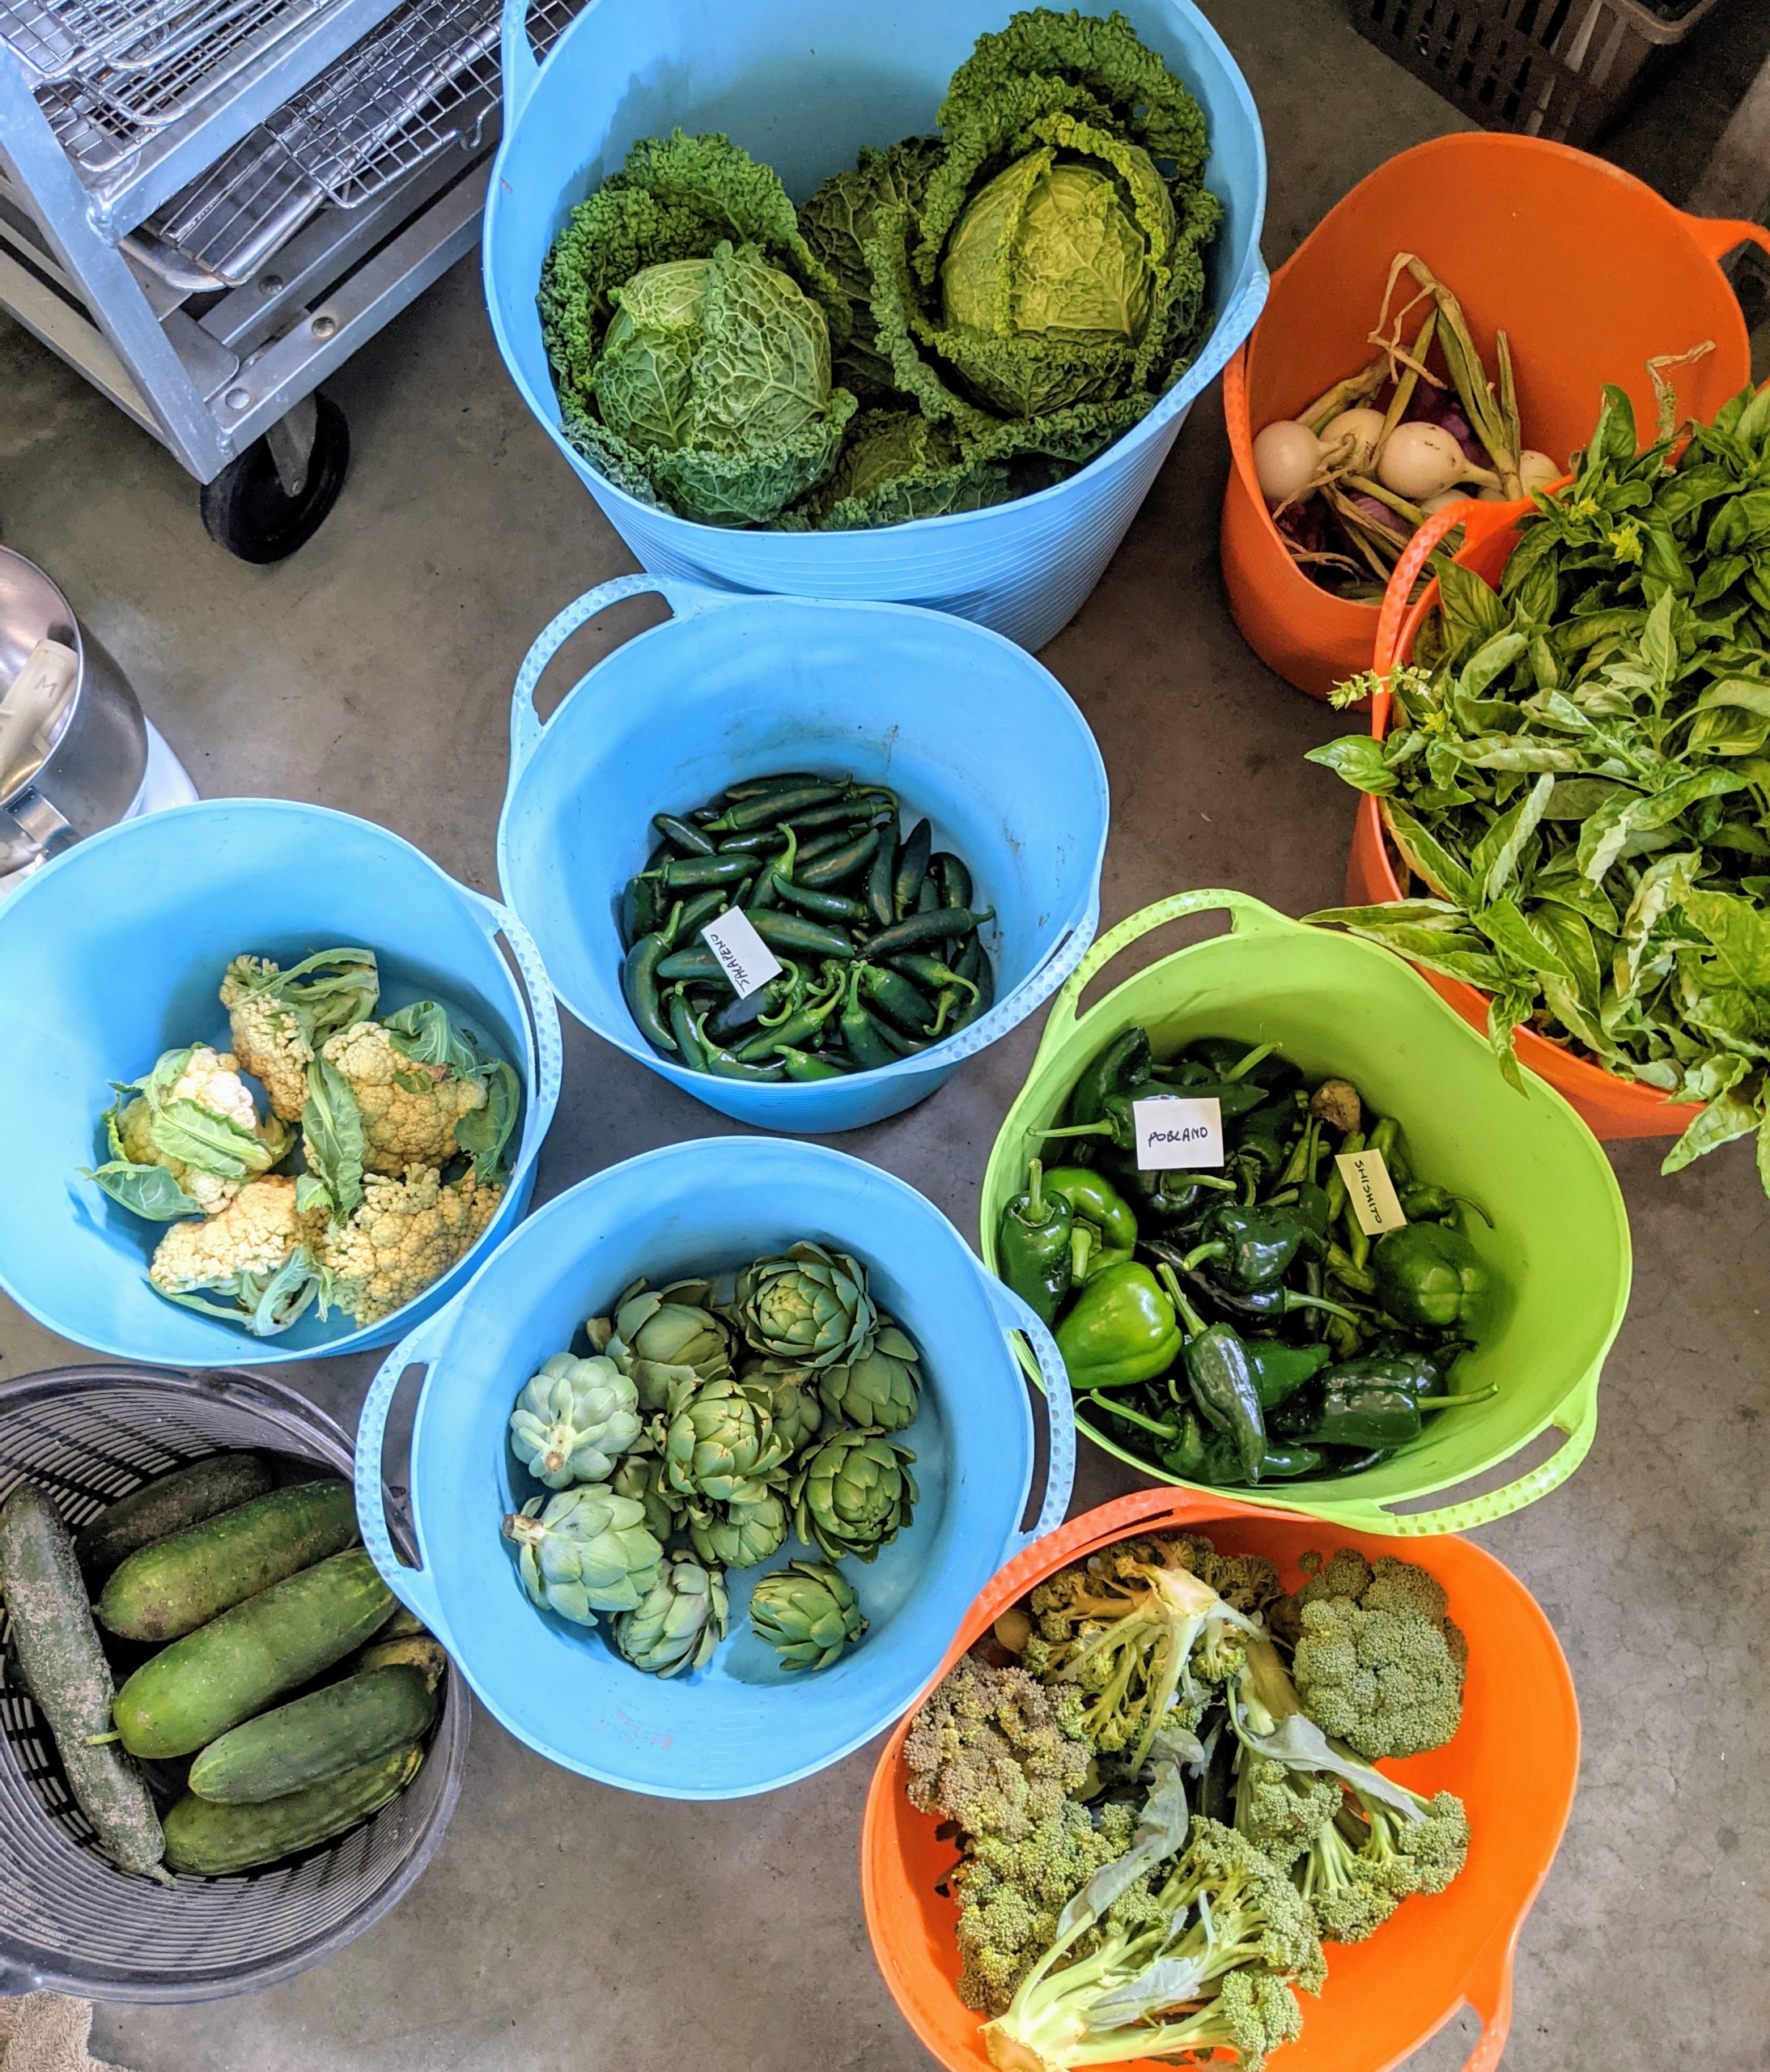
All the freshly picked vegetables are loaded in trug buckets and brought up to my flower room, where they can be washed if needed, then bagged and stored in the refrigerator.
Here, Enma peels away the large, loose leaves. These will be saved for my dear chickens.
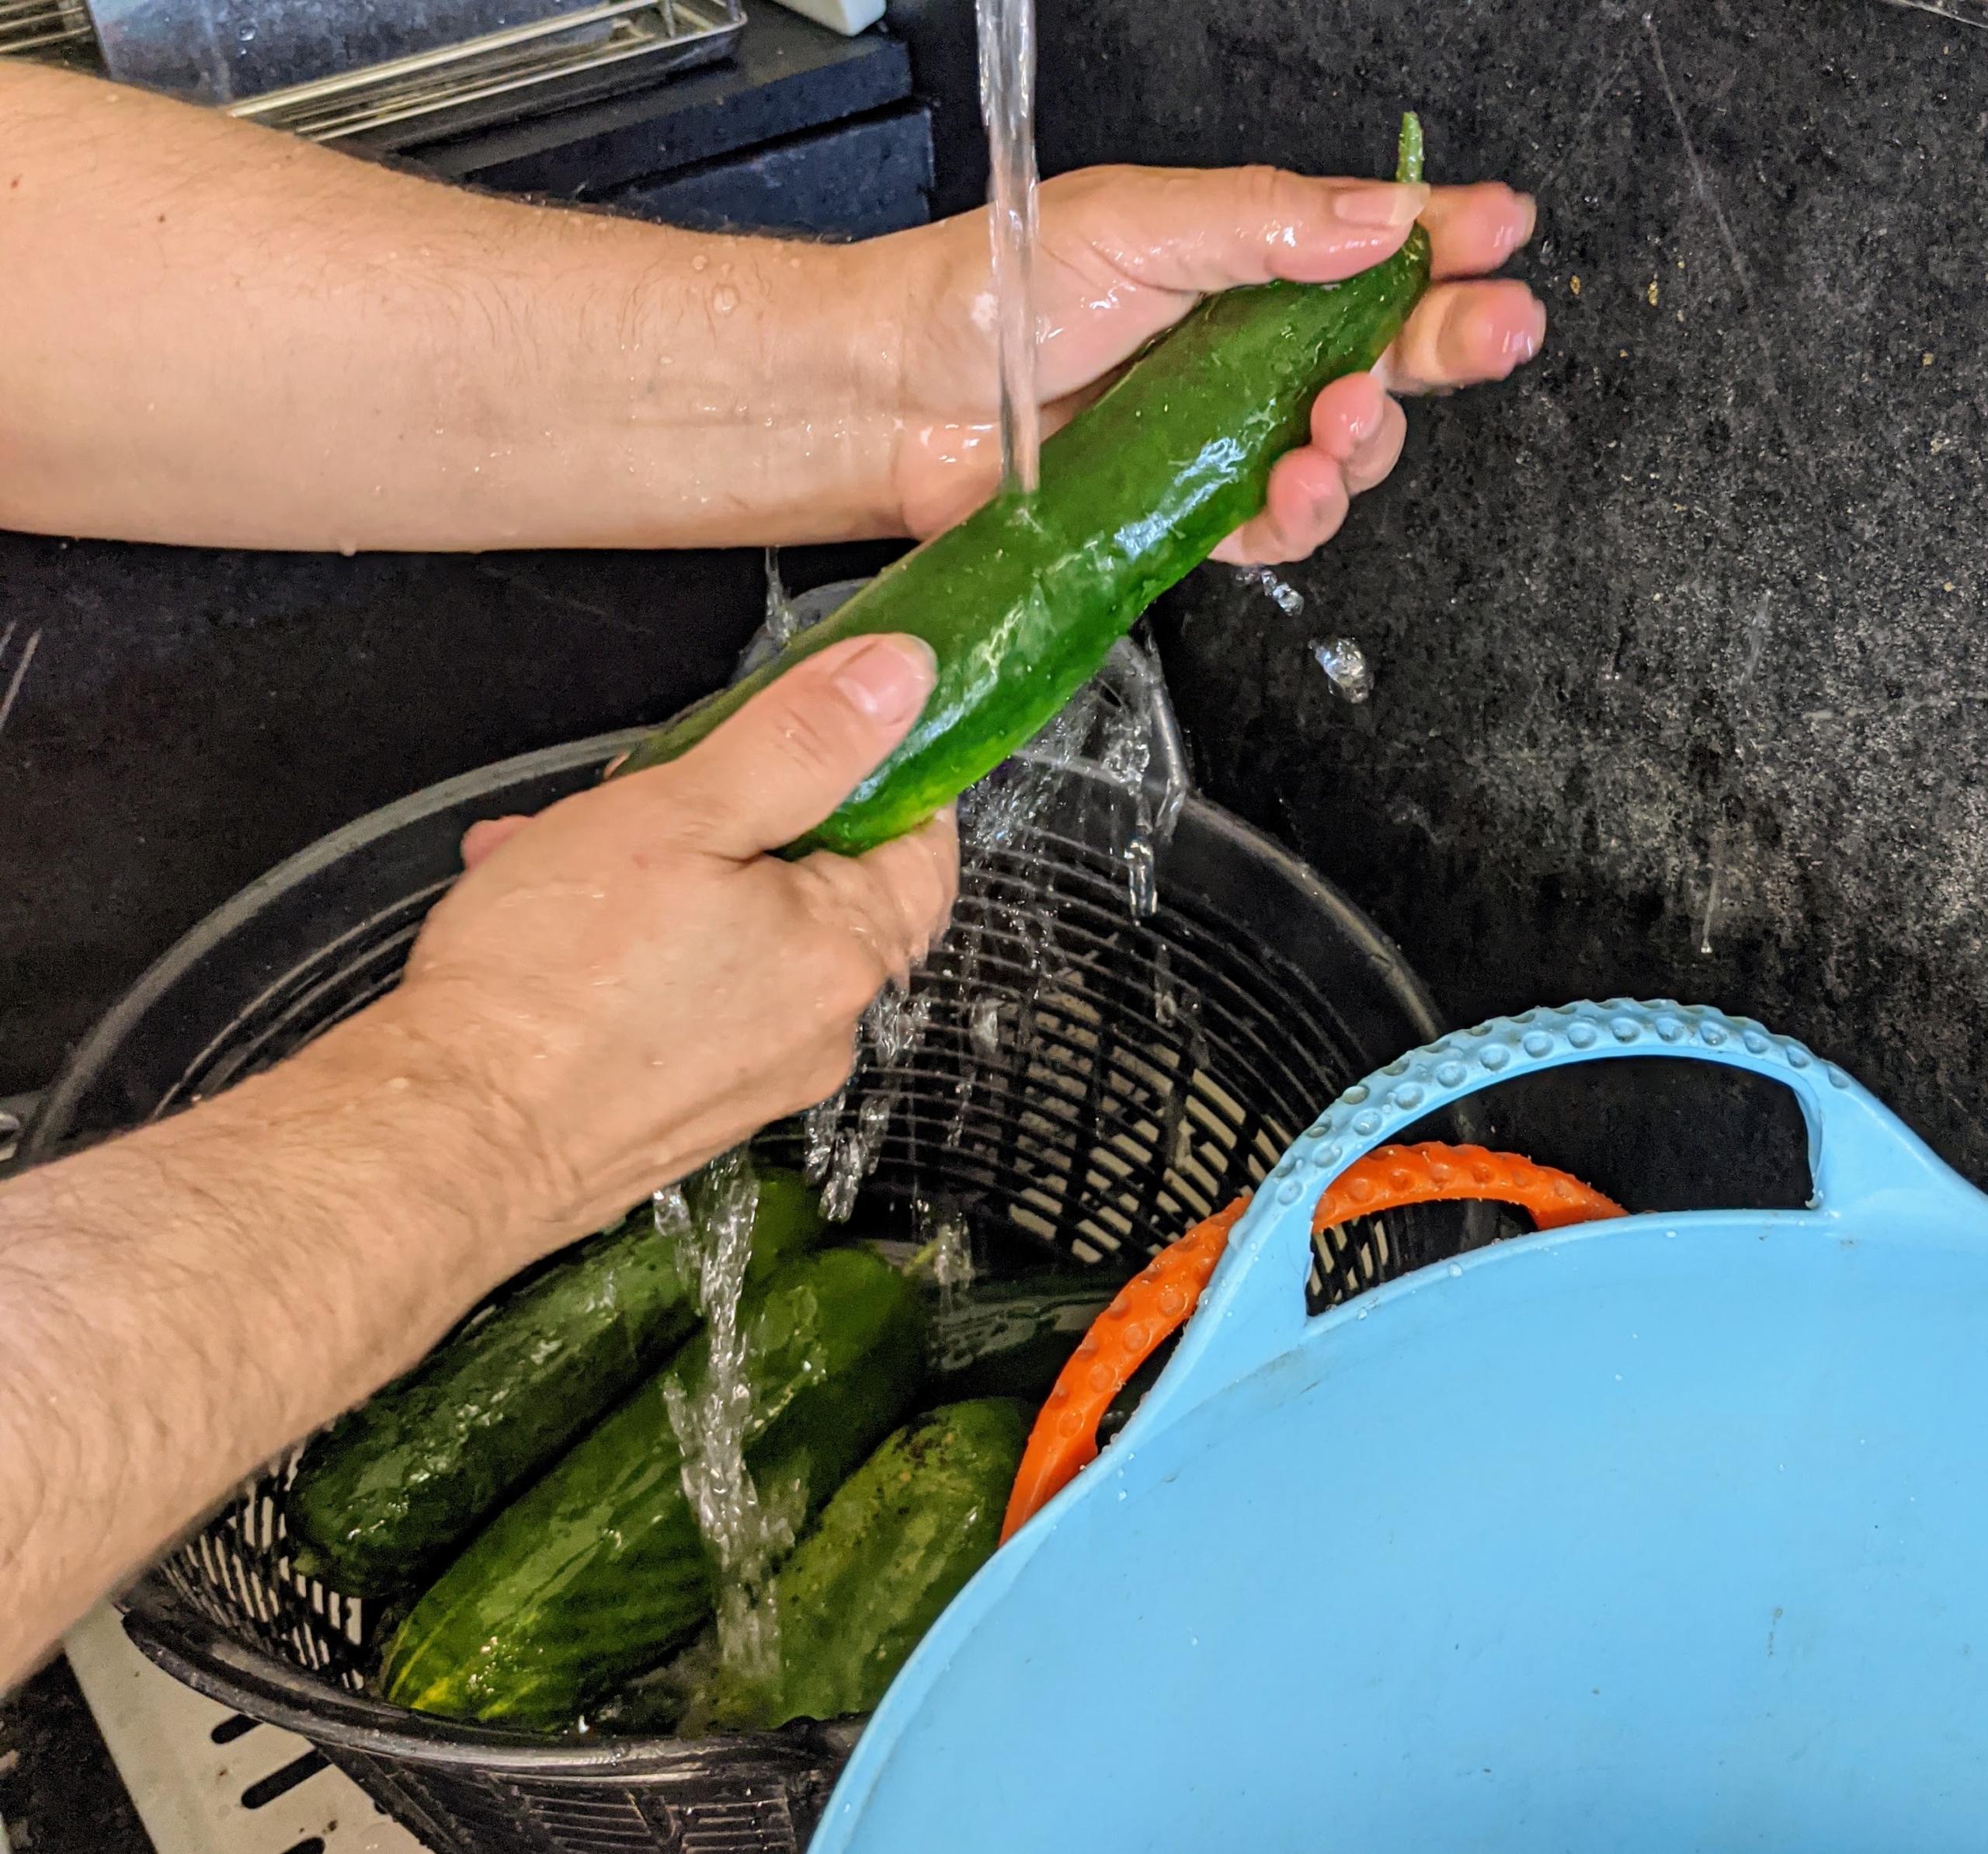
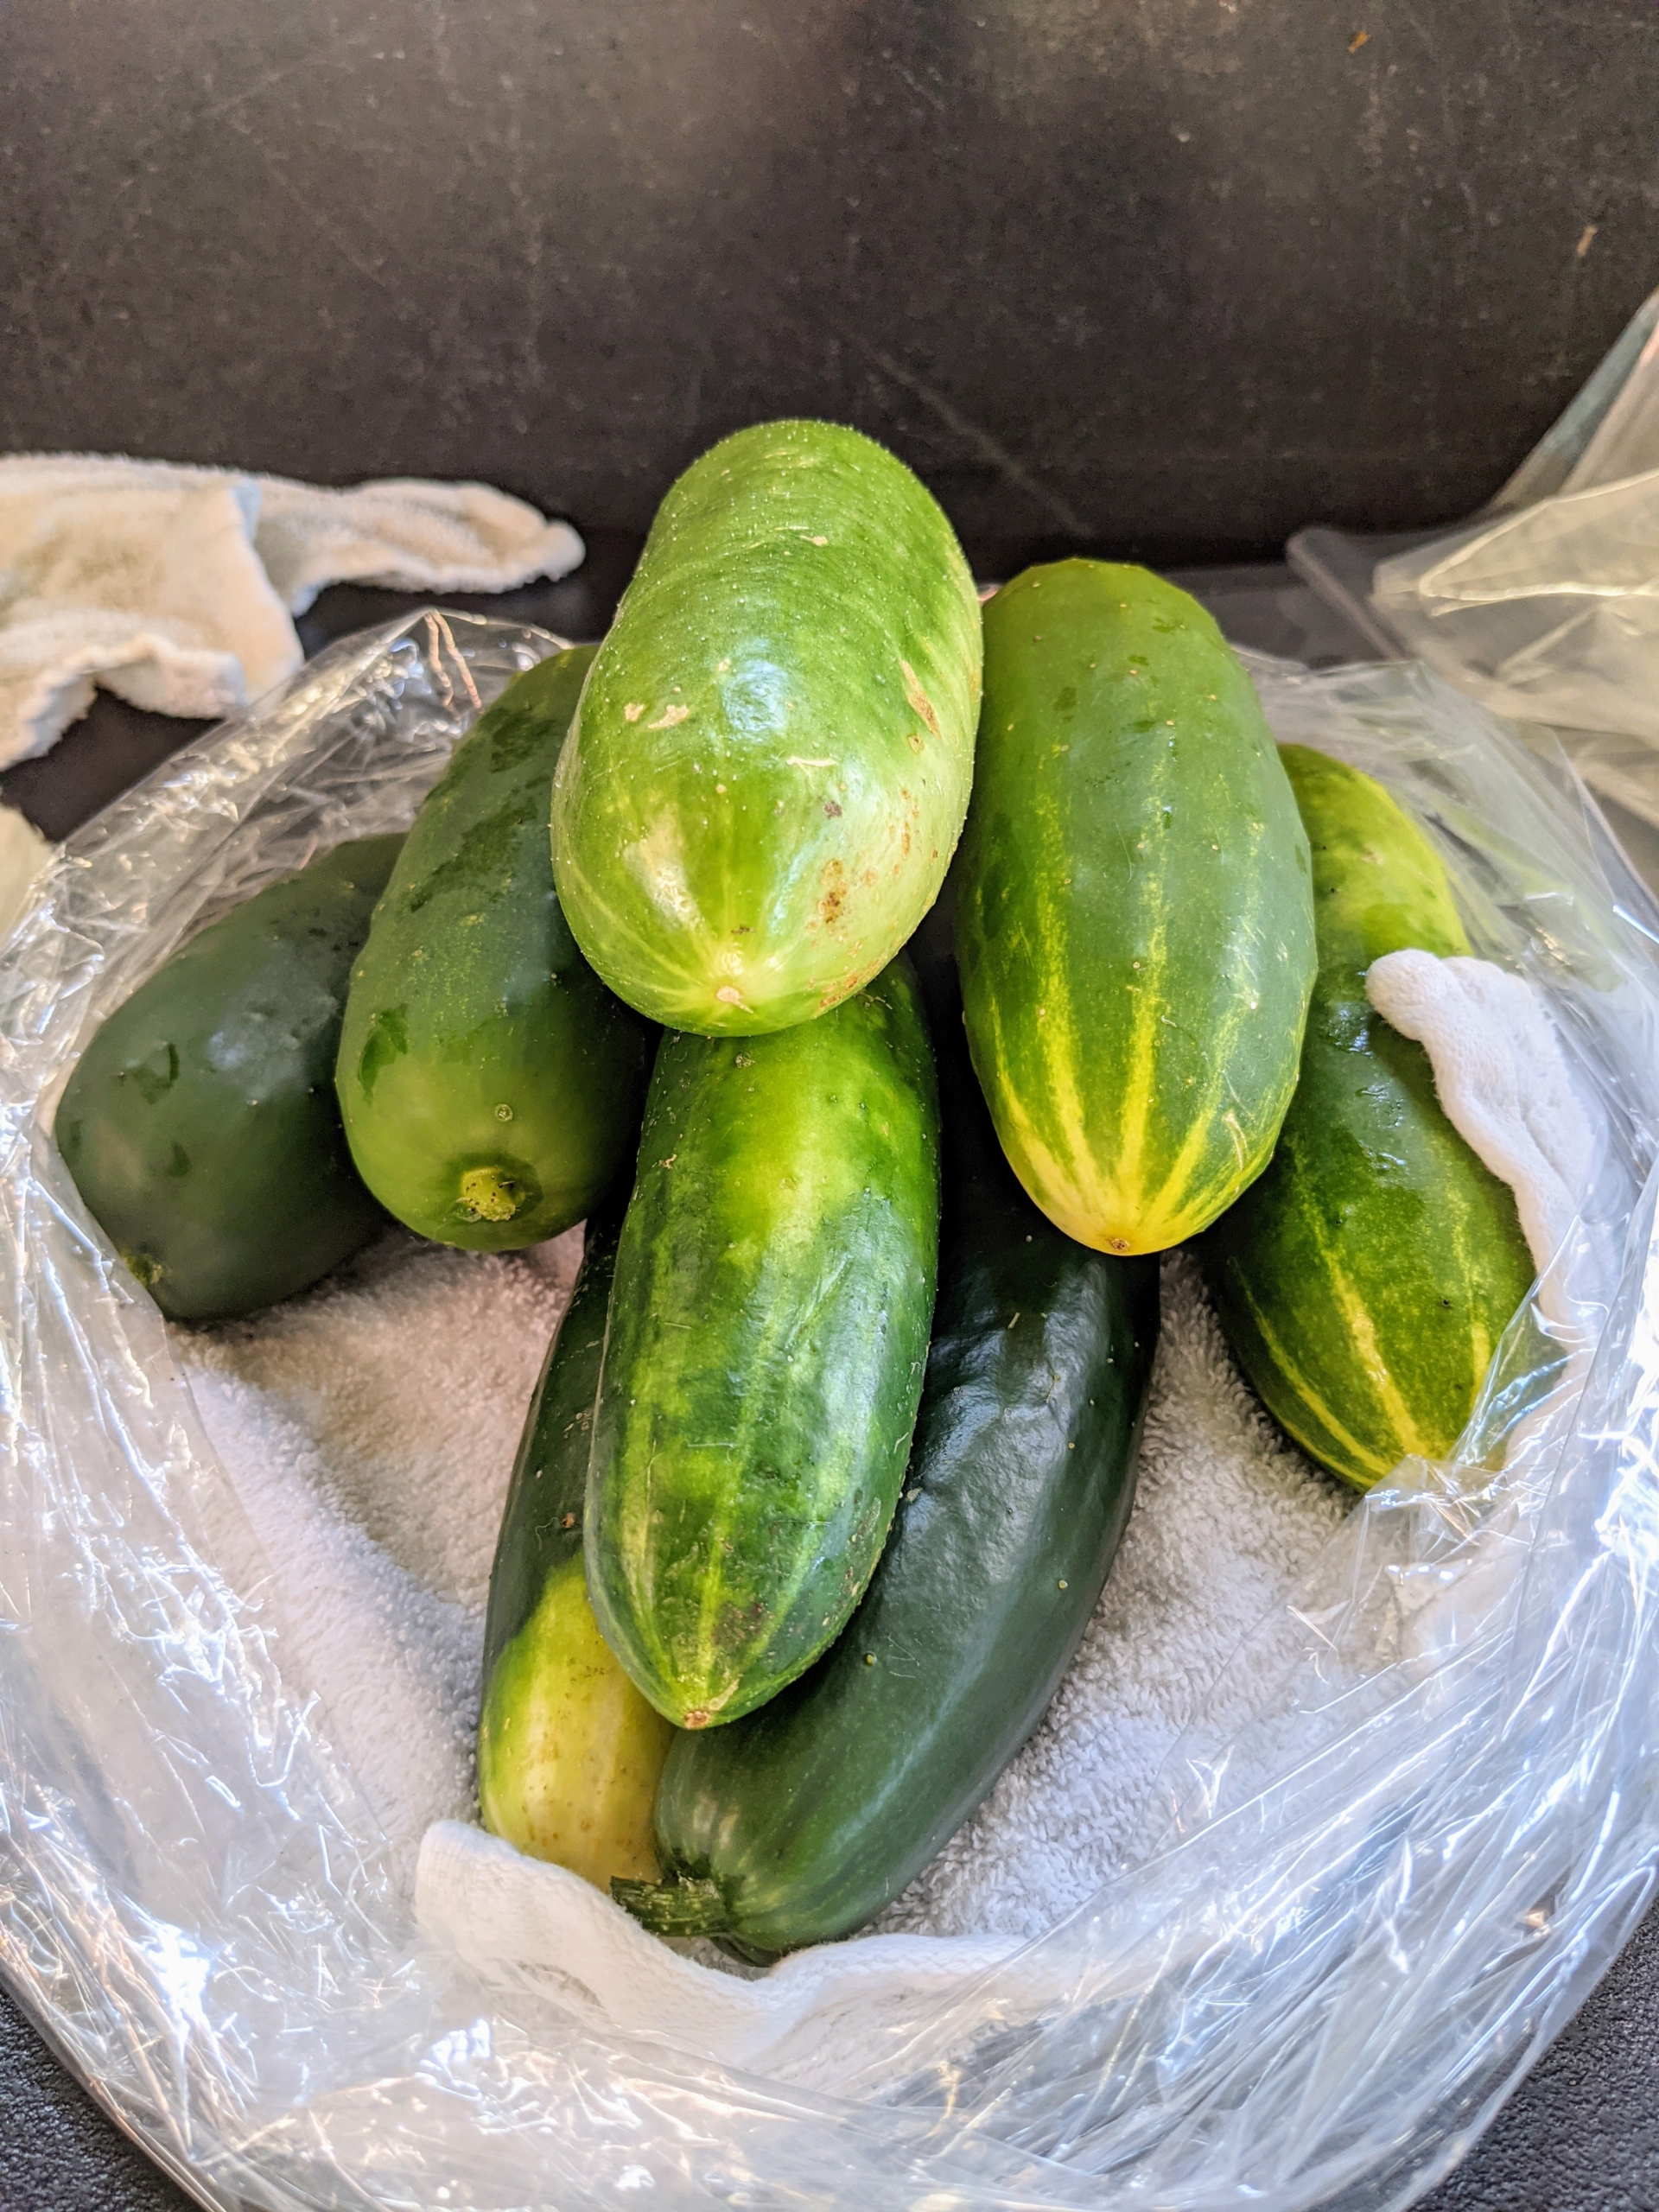
The cucumbers are rinsed with cold water before bagging. Cucumbers require a long growing season, and most are ready for harvest in 50 to 70 days from planting. The fruits ripen at different times on the vine, but it is essential to pick them when they are ready. If they are left on the vine too long, they tend to taste bitter.
Ryan picks cucumbers when they are at least six to eight inches in length. These will be so sweet and juicy.
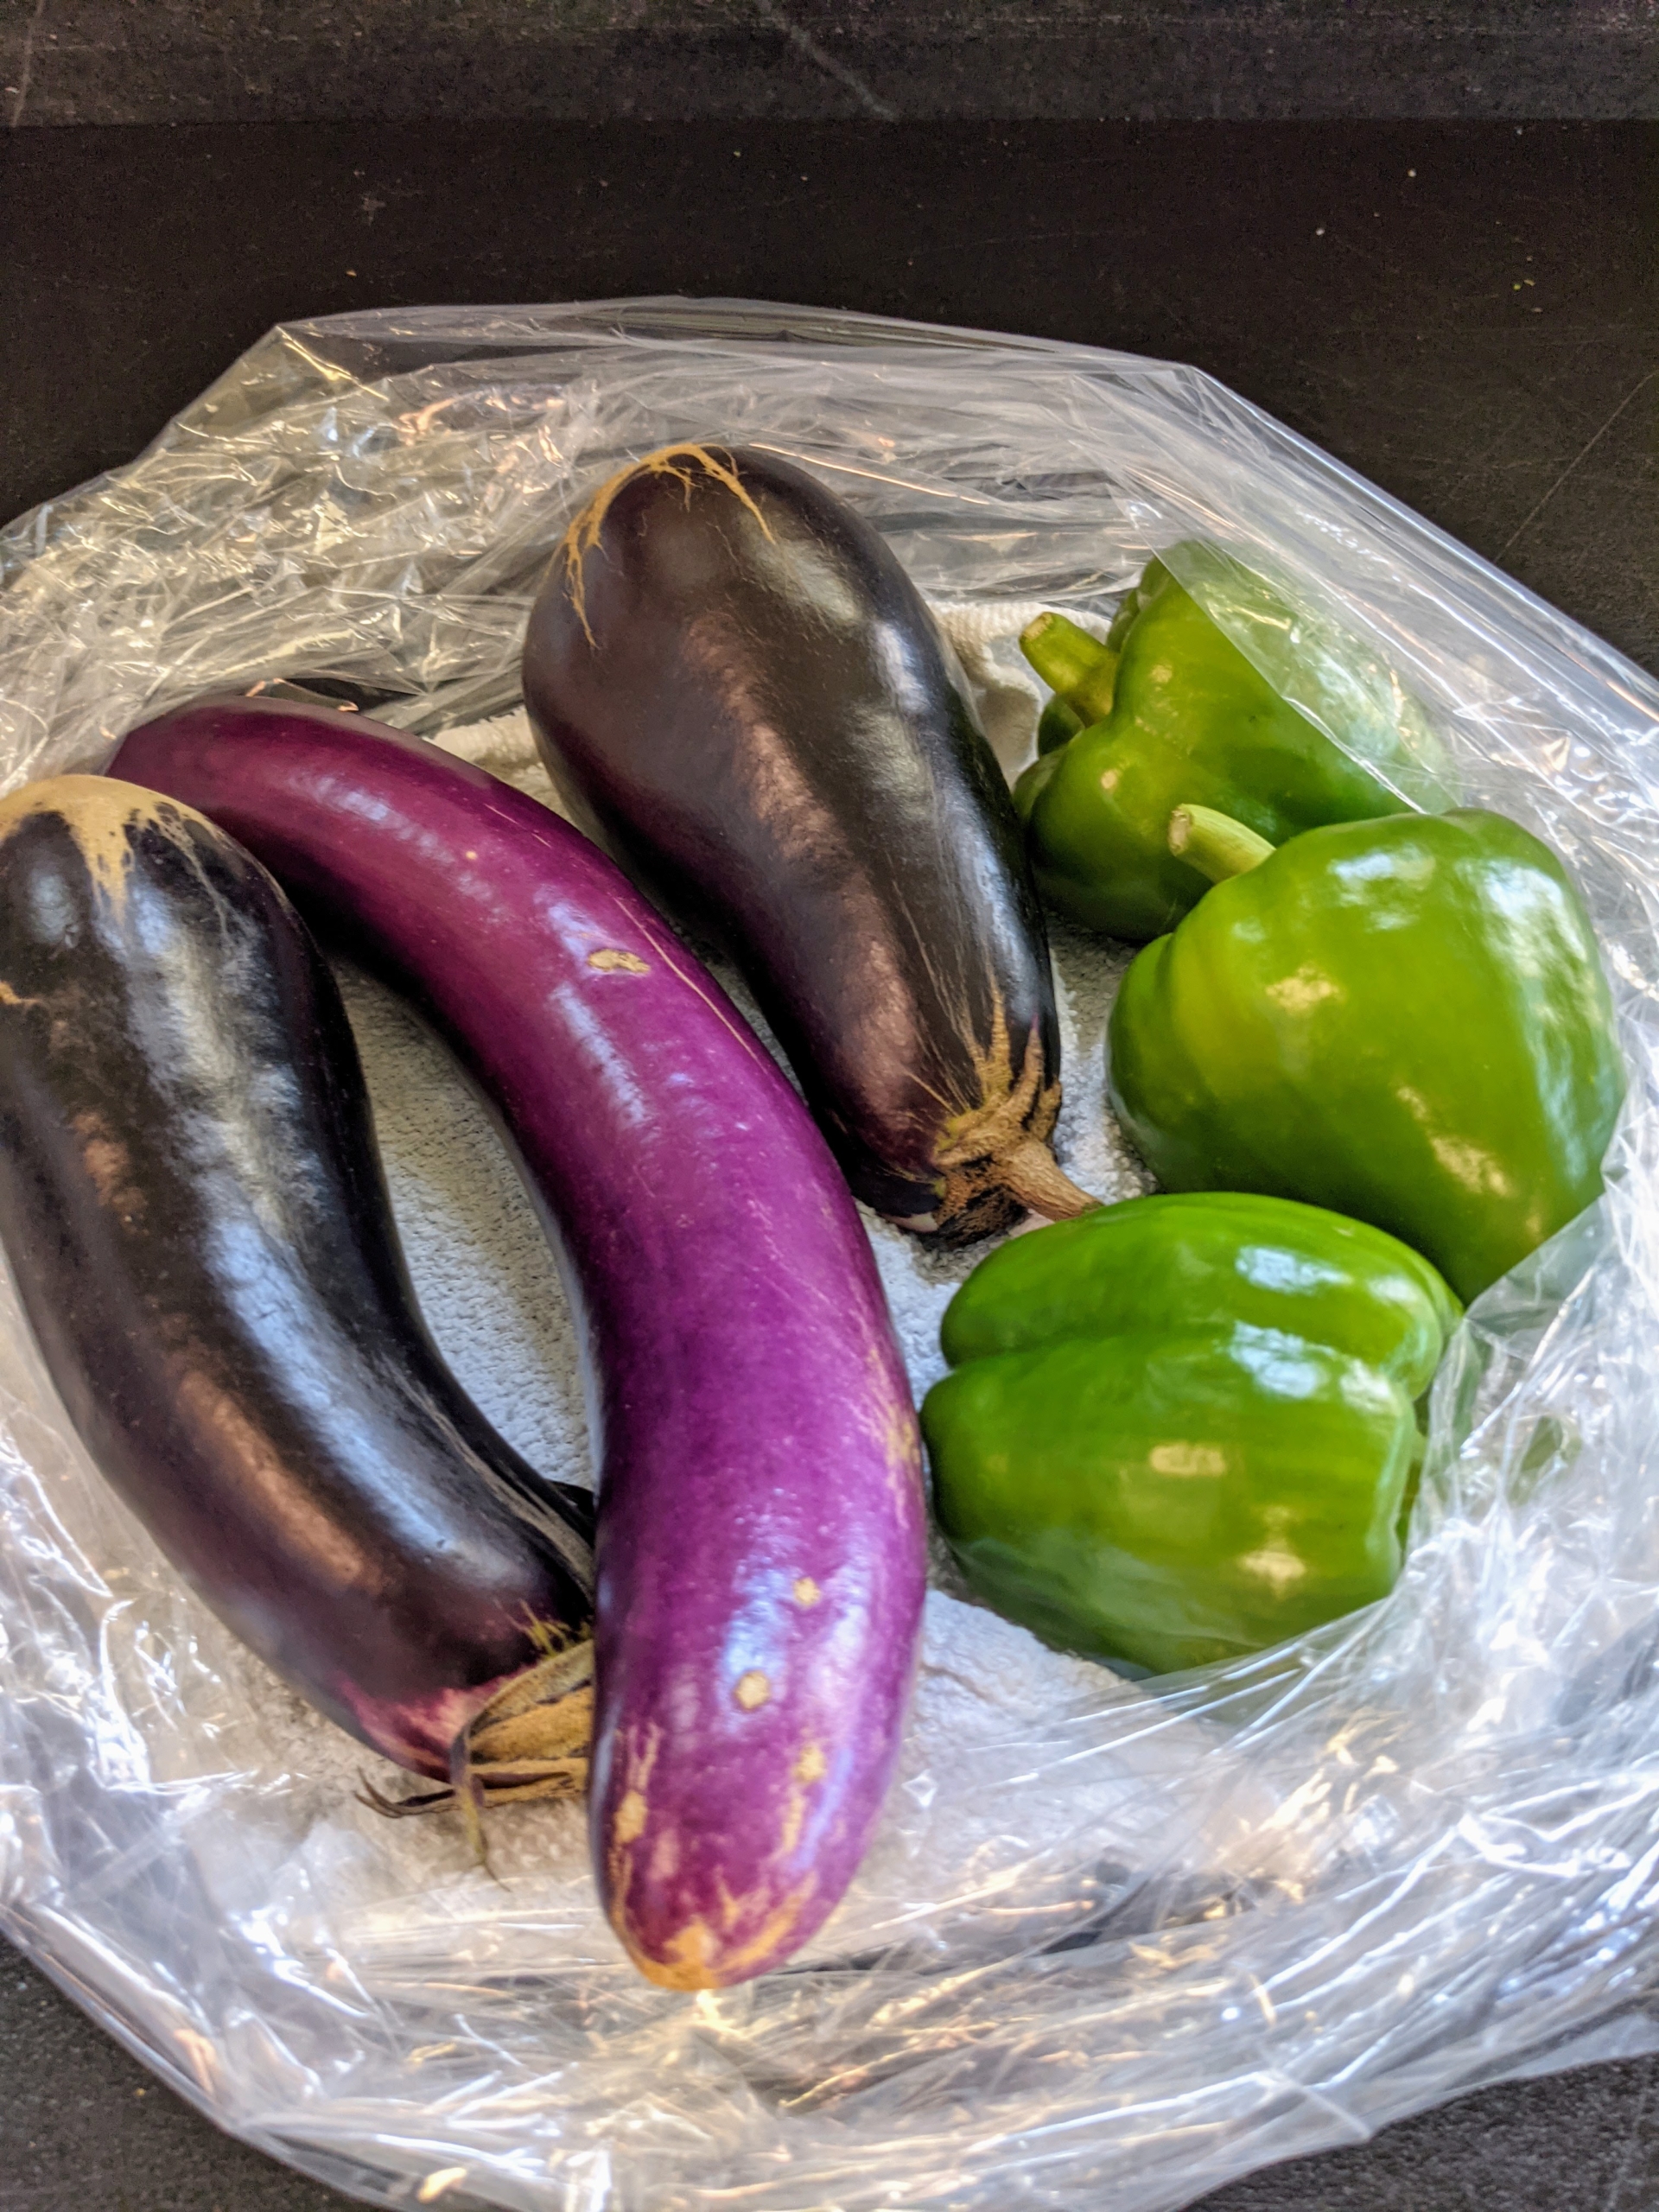
We also harvested a few eggplants. I like to pick them when they’re smaller – when they are young and tender. Picking a little early will encourage the plant to grow more, and will help to extend the growing season. Sweet peppers are often harvested when the fruit is still green, but full sized. We picked three bell peppers, but more are growing in the garden bed.
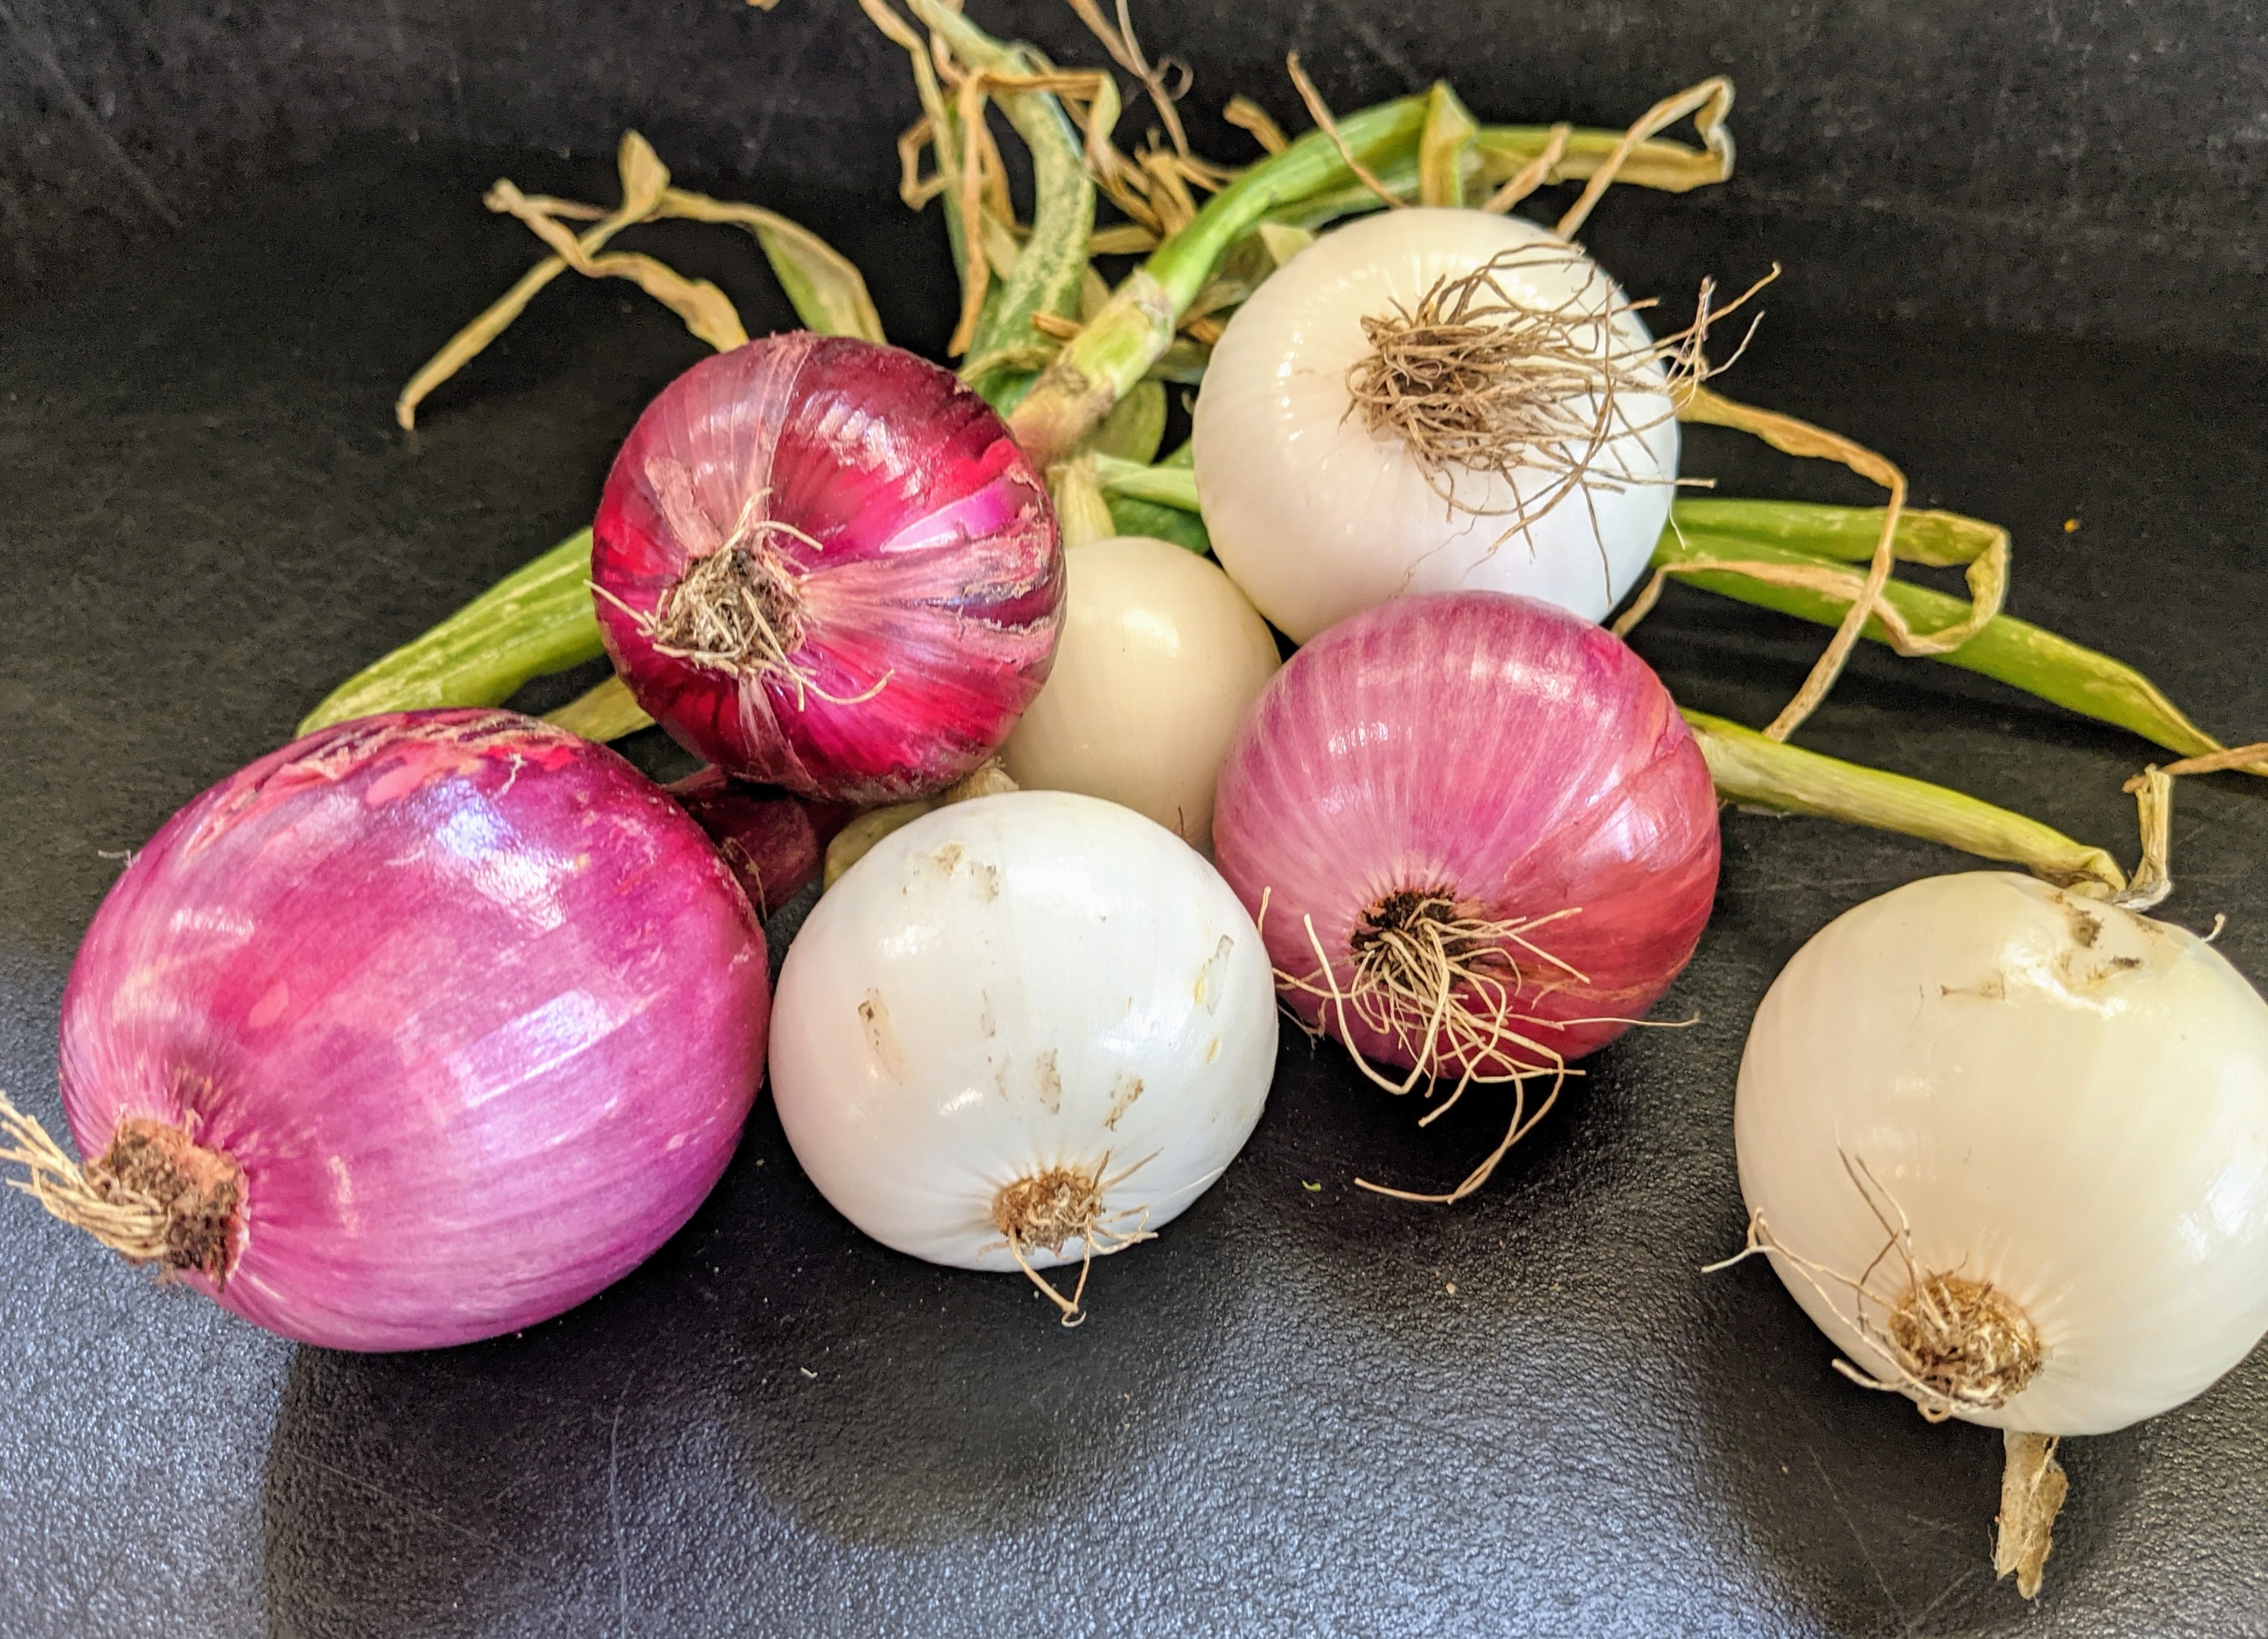
The onions look wonderful, too – Ryan picked just a few. We planted a lot of white, yellow and red onions. Onions are harvested later in the summer when the underground bulbs are mature and flavorful. I always look forward to the onion harvest!
Look at all the artichokes – it’s a great season for artichokes. Artichoke harvest starts in late July or early August and continues well until frost.
And don’t forget our bounty of beans. Beans grow best in full sun and moist soil. Here in the Northeast, we’ve had both, so the beans are plentiful.
These yellow beans are also pretty. Bush beans grow on shrubby plants and are very prolific producers. They can continually produce throughout the season with the proper care. In general, bush beans should be ready in 50 to 55 days.
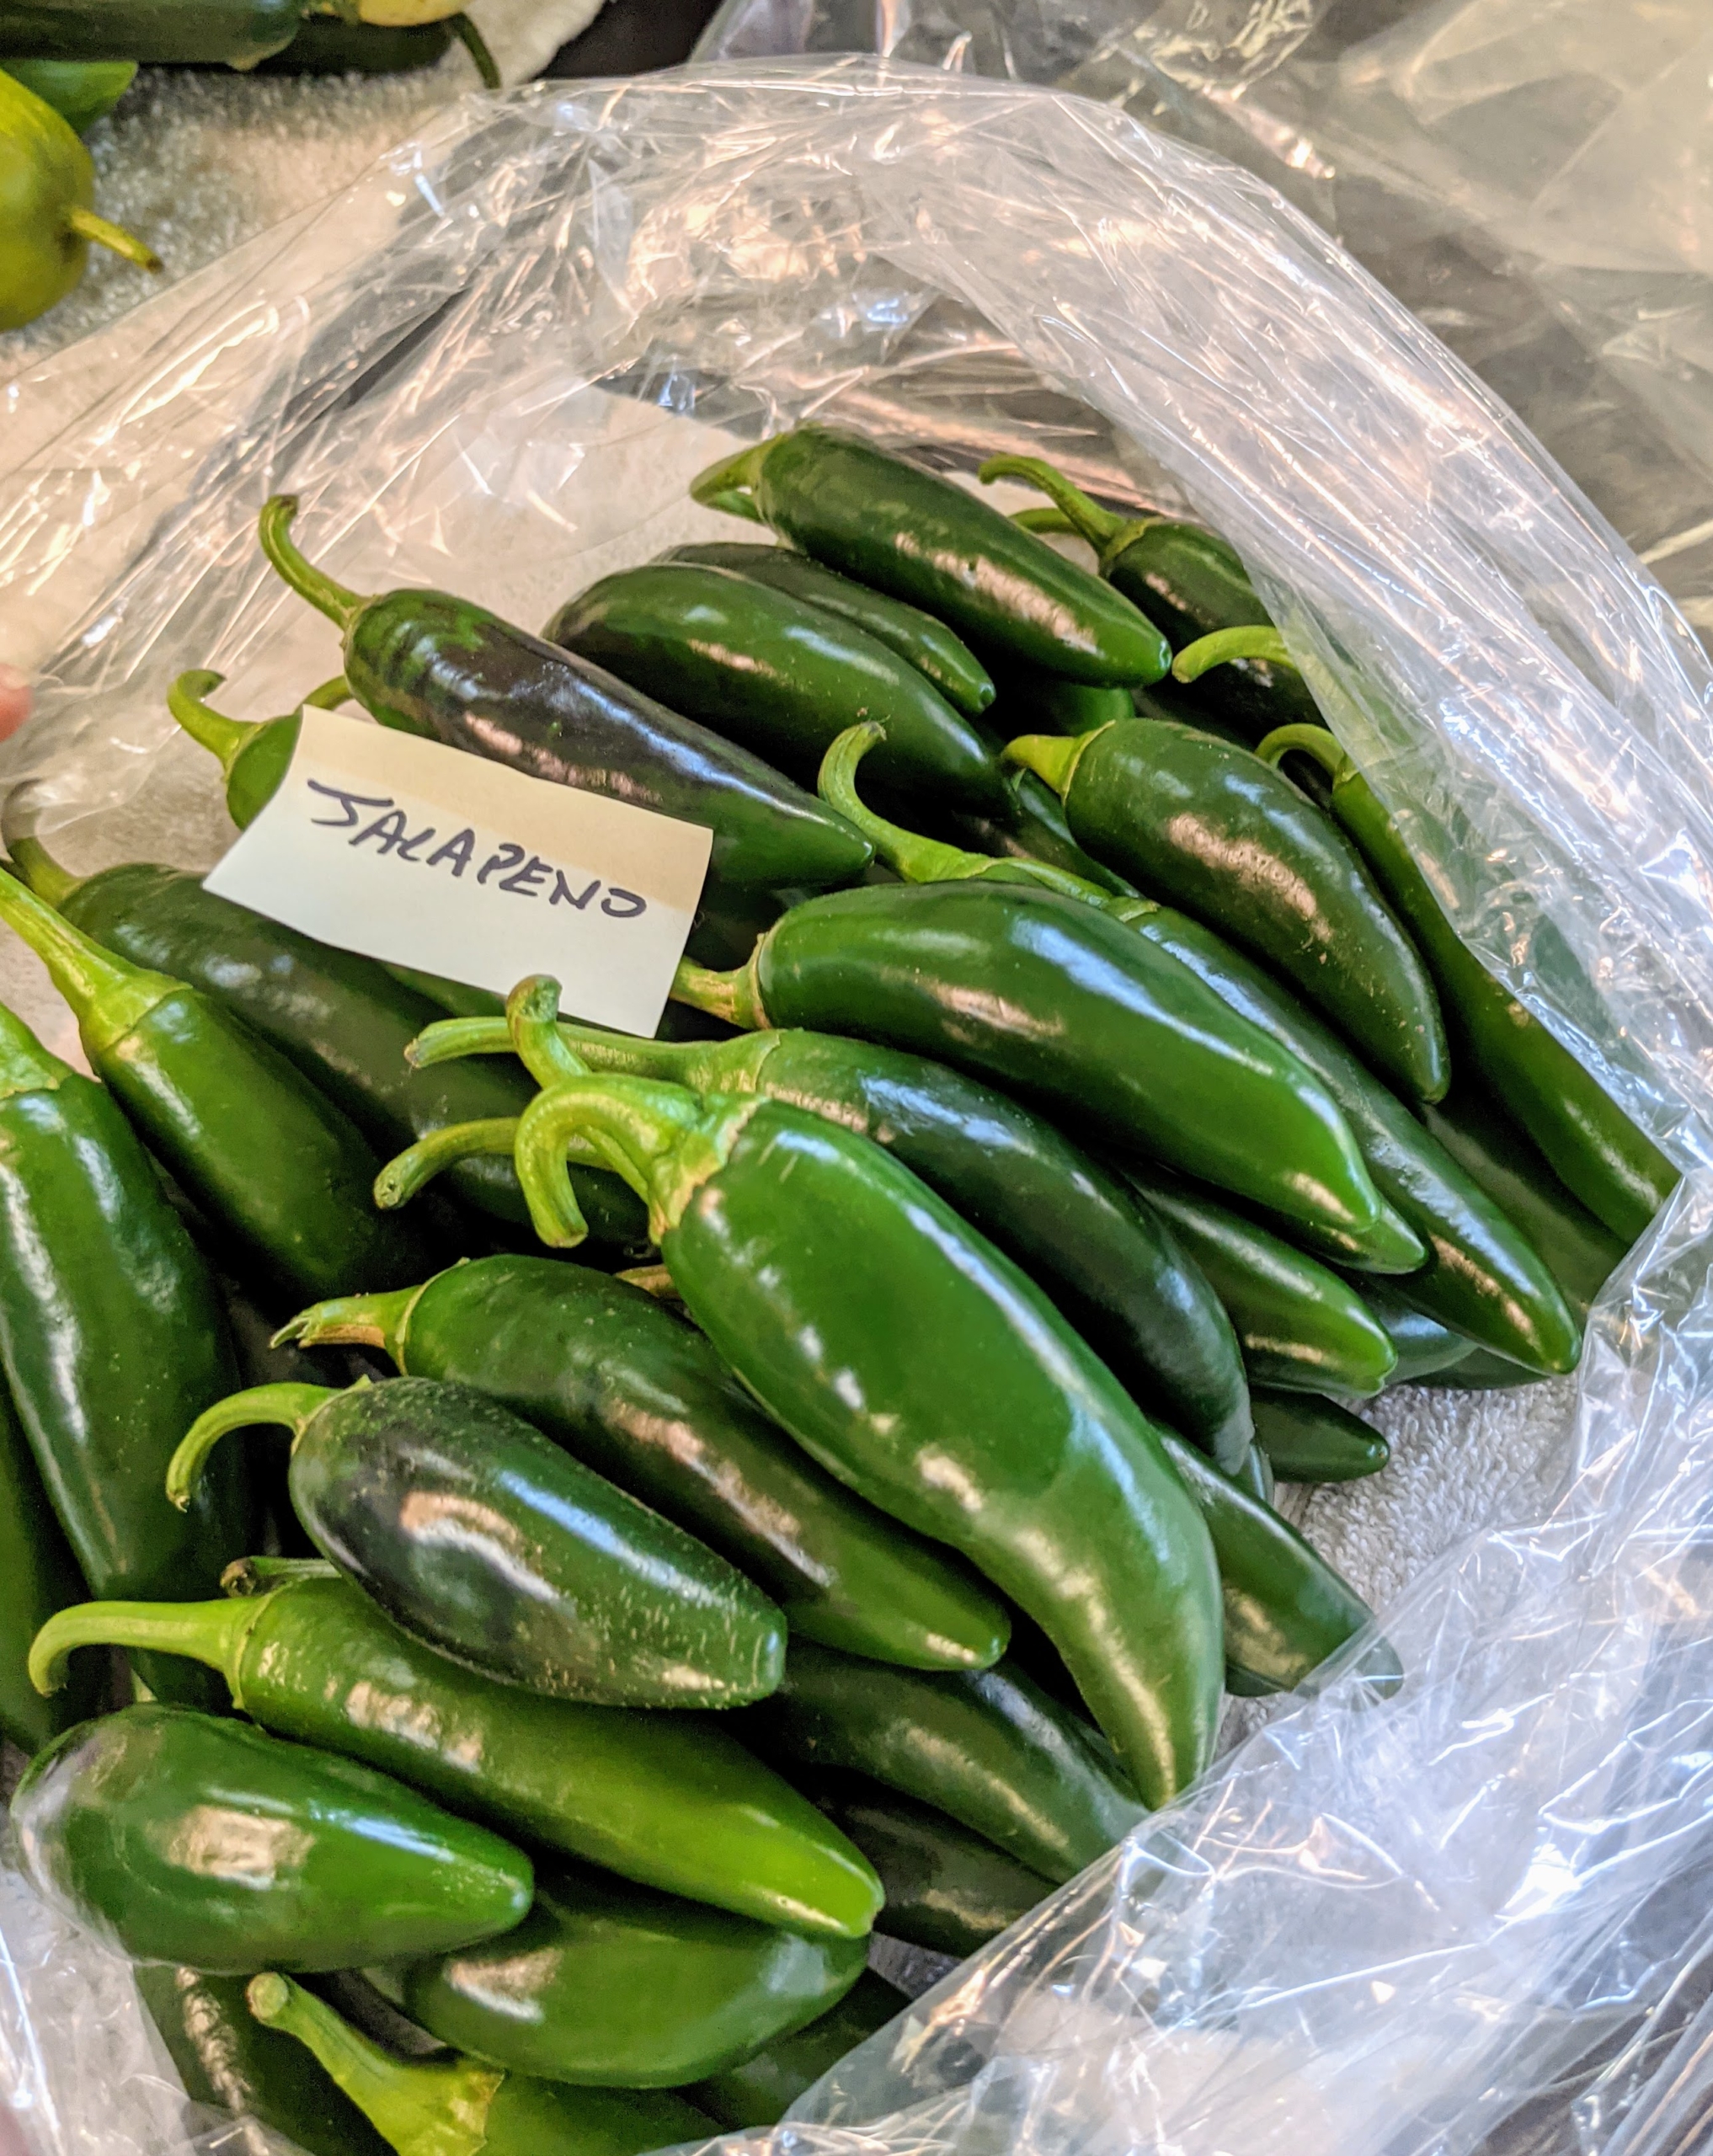
My family loves hot peppers. The jalapeño is a medium-sized chili pepper of the species Capsicum annuum. It is mild to medium in pungency depending on the cultivar. Always be careful when picking peppers – keep the hot ones separated from the sweet ones, so there is no surprise in the kitchen.
Poblanos are mild chili peppers named after the Mexican state of Puebla where they were first grown. They’re one of the most popular peppers used in Mexican and Tex-Mex cooking because they’re not very spicy, but have a really great flavor, especially when roasted.
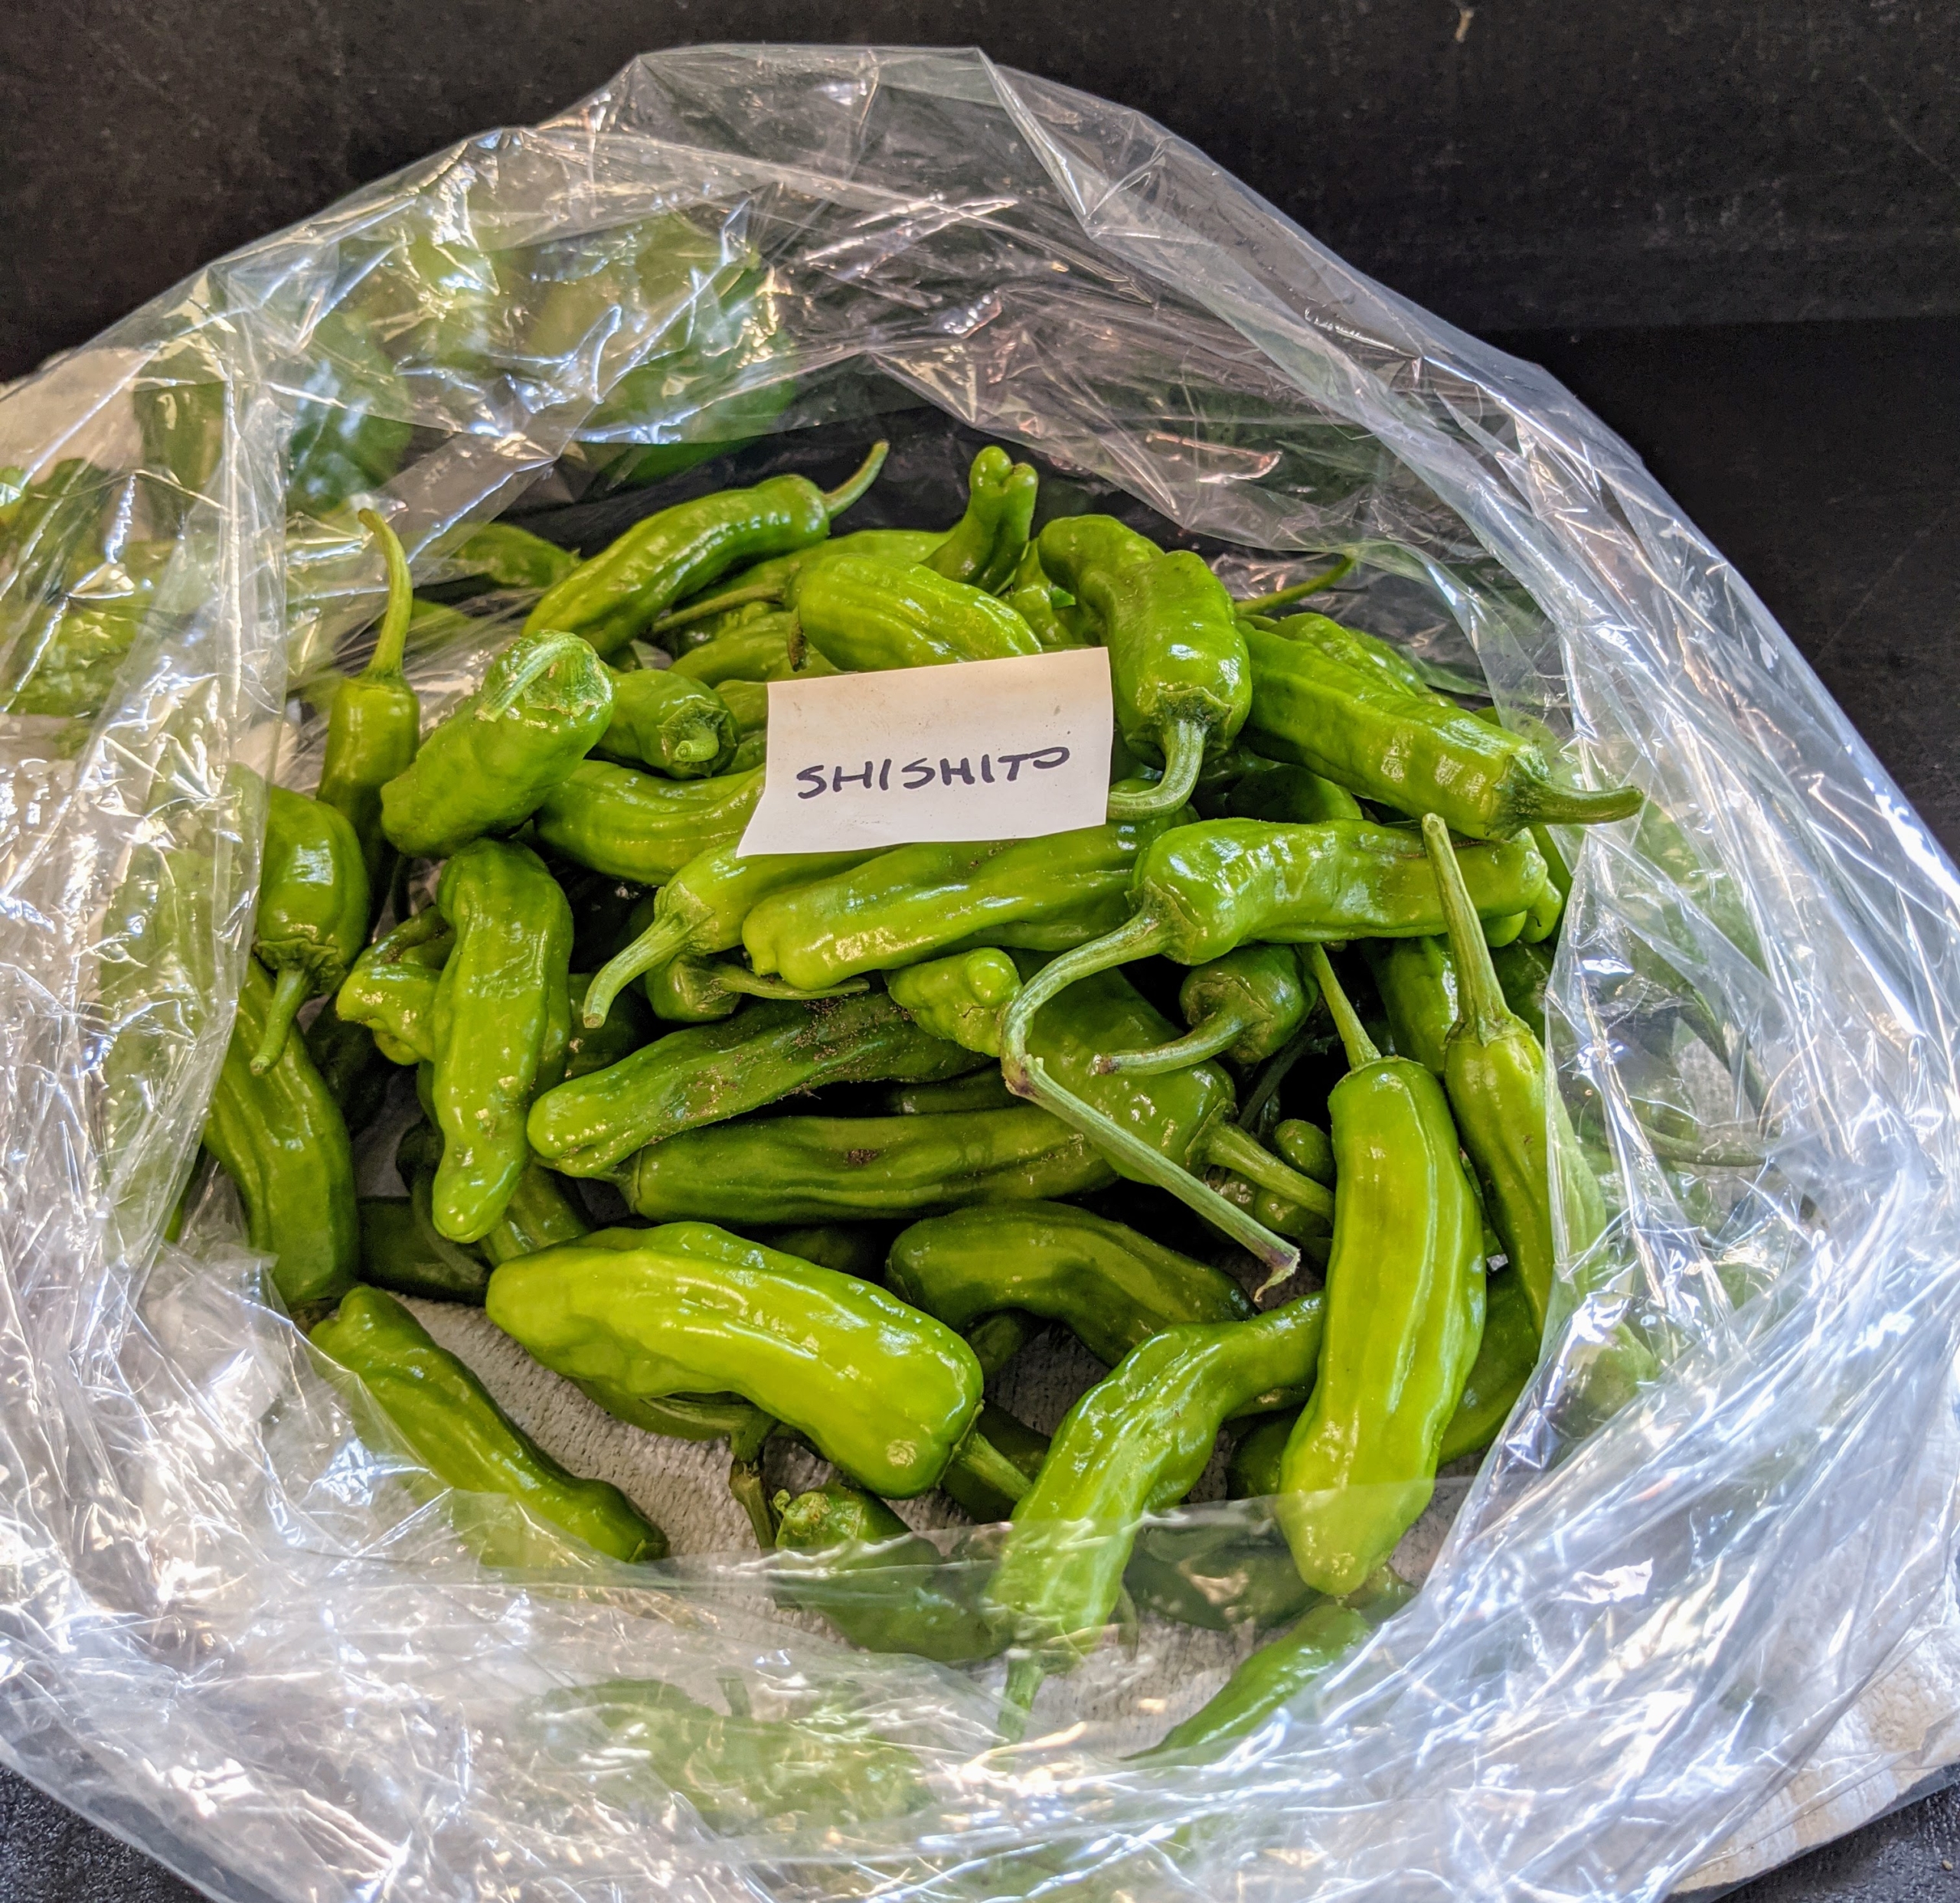
Shishito peppers are small, bright green, somewhat wrinkled-looking peppers in the capsicum annuum family. Most of the peppers are very mildly spicy and even a bit sweet.
Everything is bagged and placed in the fridge. I am looking forward to many meals with all this wonderful produce – the fruits of our labor.
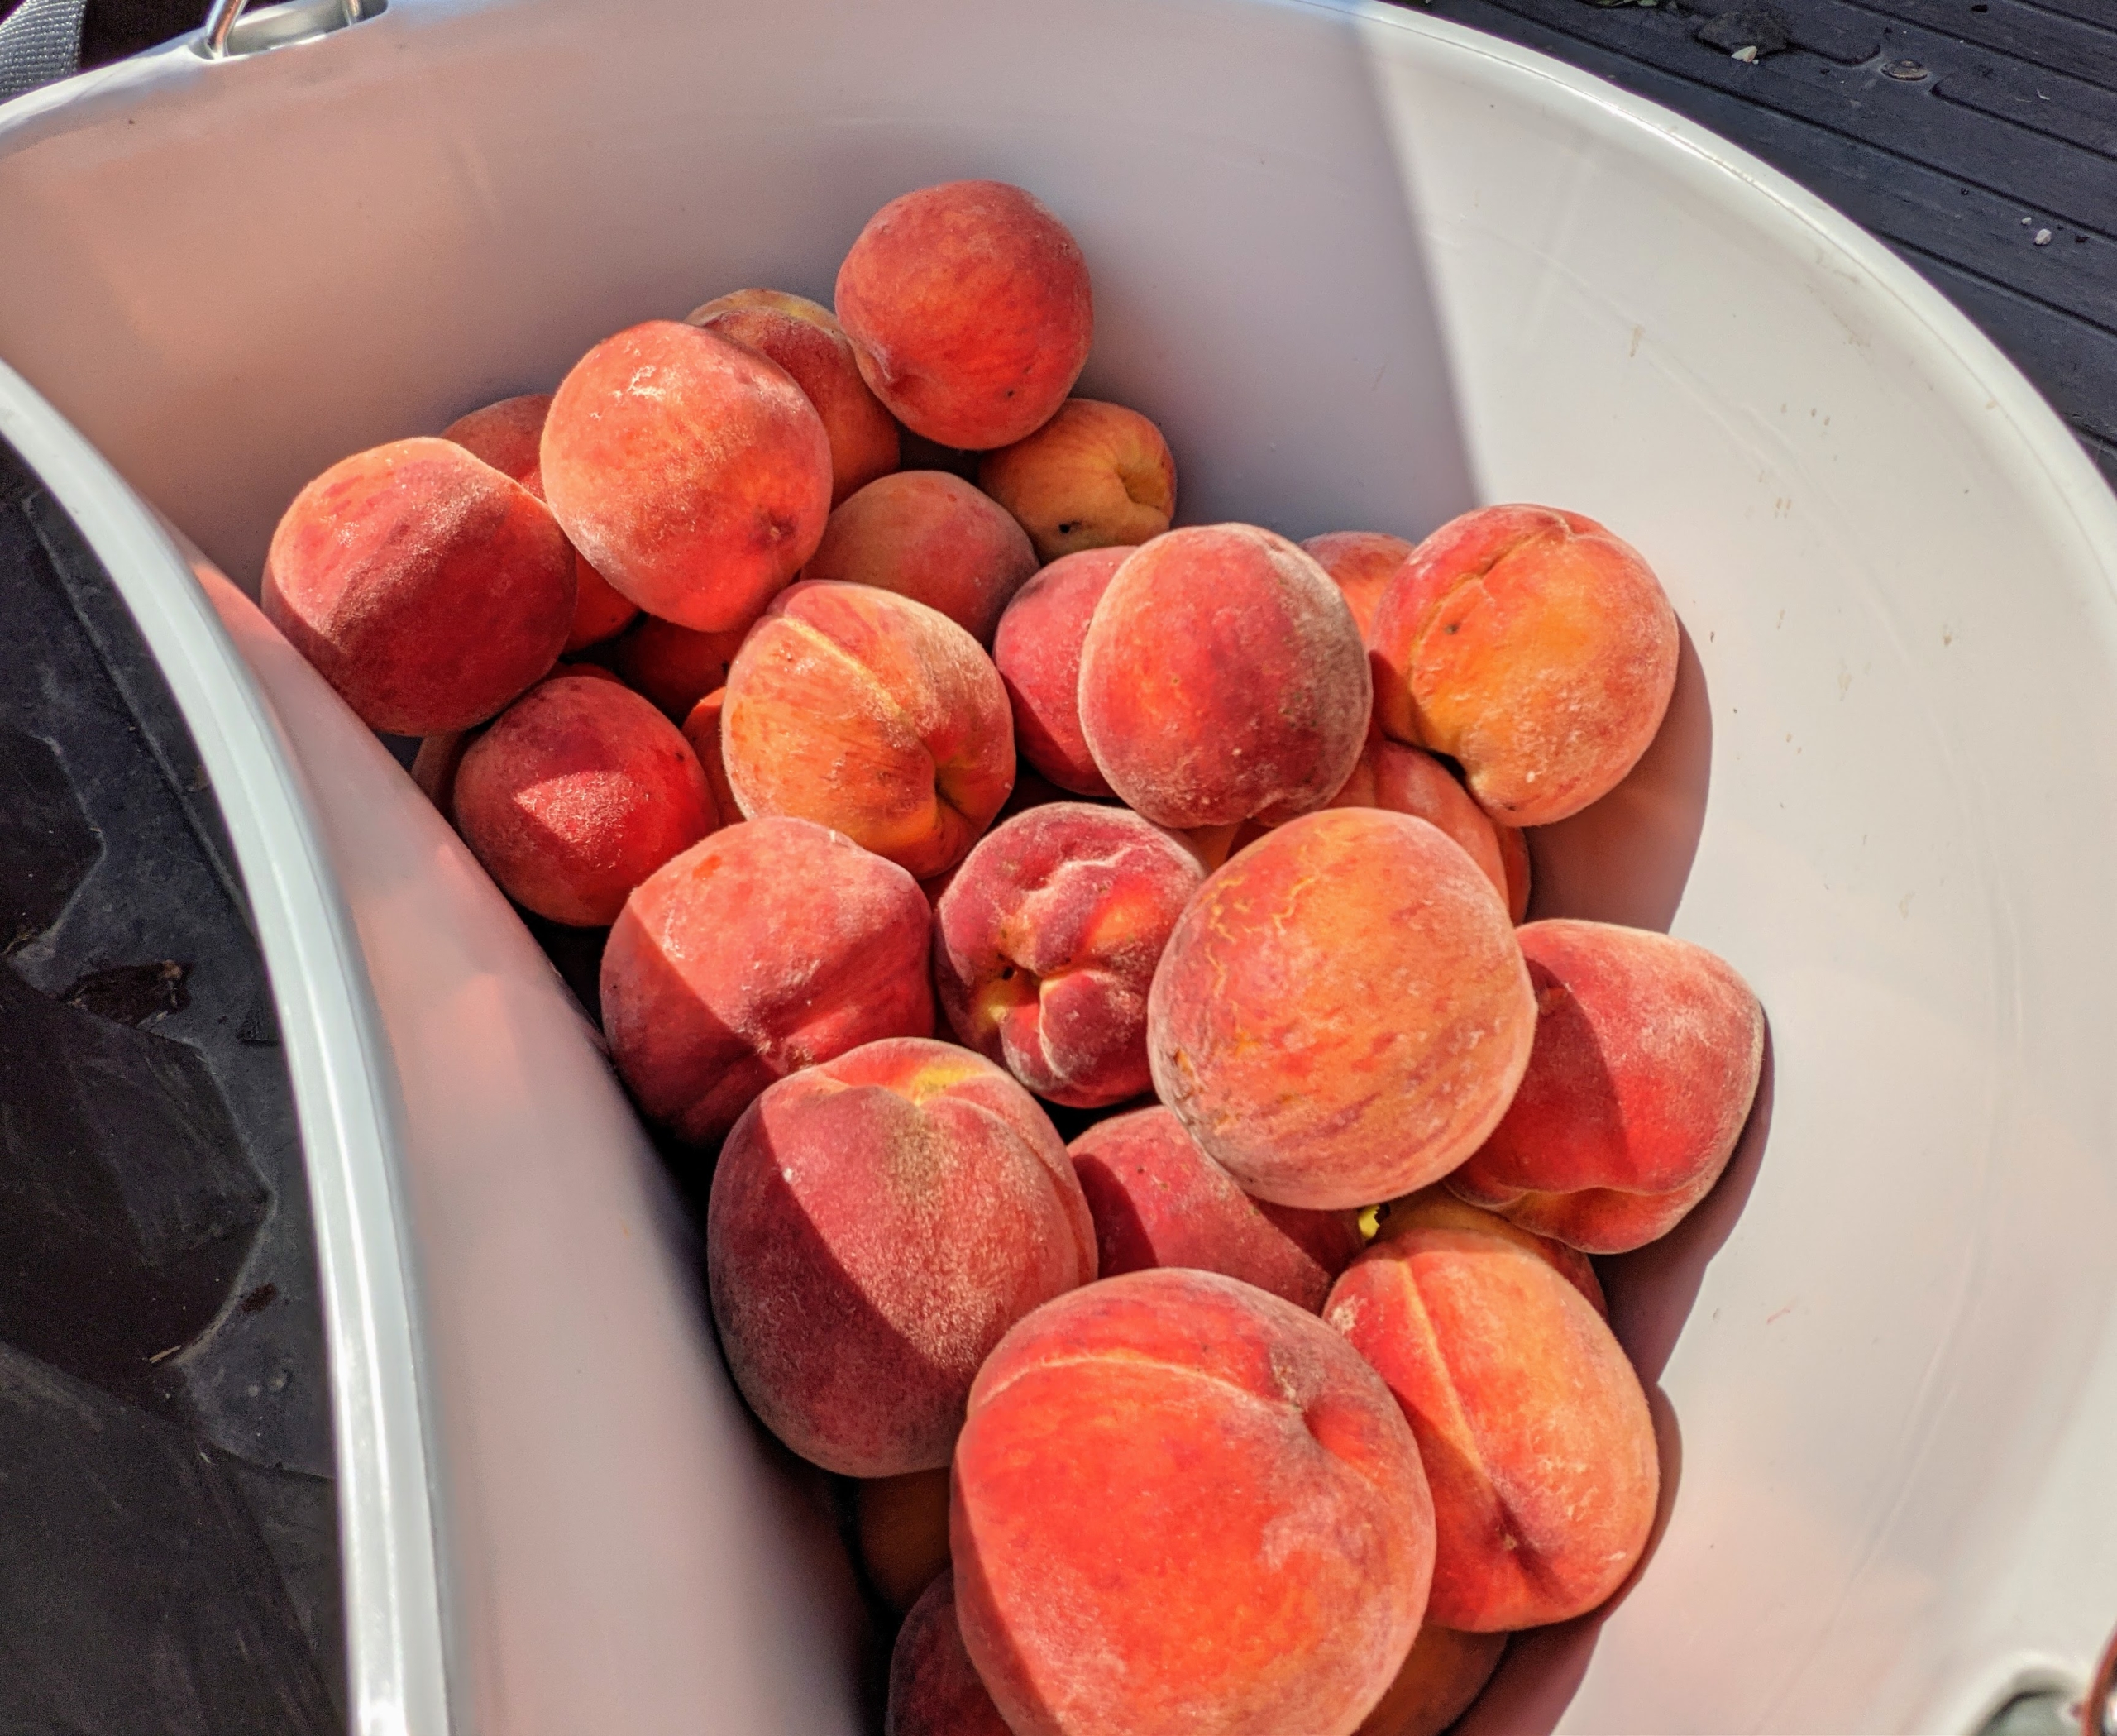
And look! Our first bounty of fresh, organic peaches from my orchard!! We have so many fruits growing this season – so sweet and delicious!
There's always so much to do to maintain the beauty of all the gardens at my Bedford, New York farm.
As many of you know, I am a serious and passionate gardener, and over the years have designed many gardens around my home. One area that is constantly evolving is my pinetum - an arboretum of pine trees and other conifers I developed about 12-years ago in a field behind my Equipment Barn. This collection has grown extremely well, and I continue to plant additional specimens every year. This week, my outdoor grounds crew covered the area with mulch. Doing this better regulates the soil temperature - keeping it cooler in summer and warmer in winter, adds nutrients to the soil as it breaks down, and helps prevent the growth of weeds. Mulched areas also don’t need regular watering or mowing like lawns do. Fortunately, we are able to make lots of mulch, and compost, right here at my farm.
Enjoy these photos.
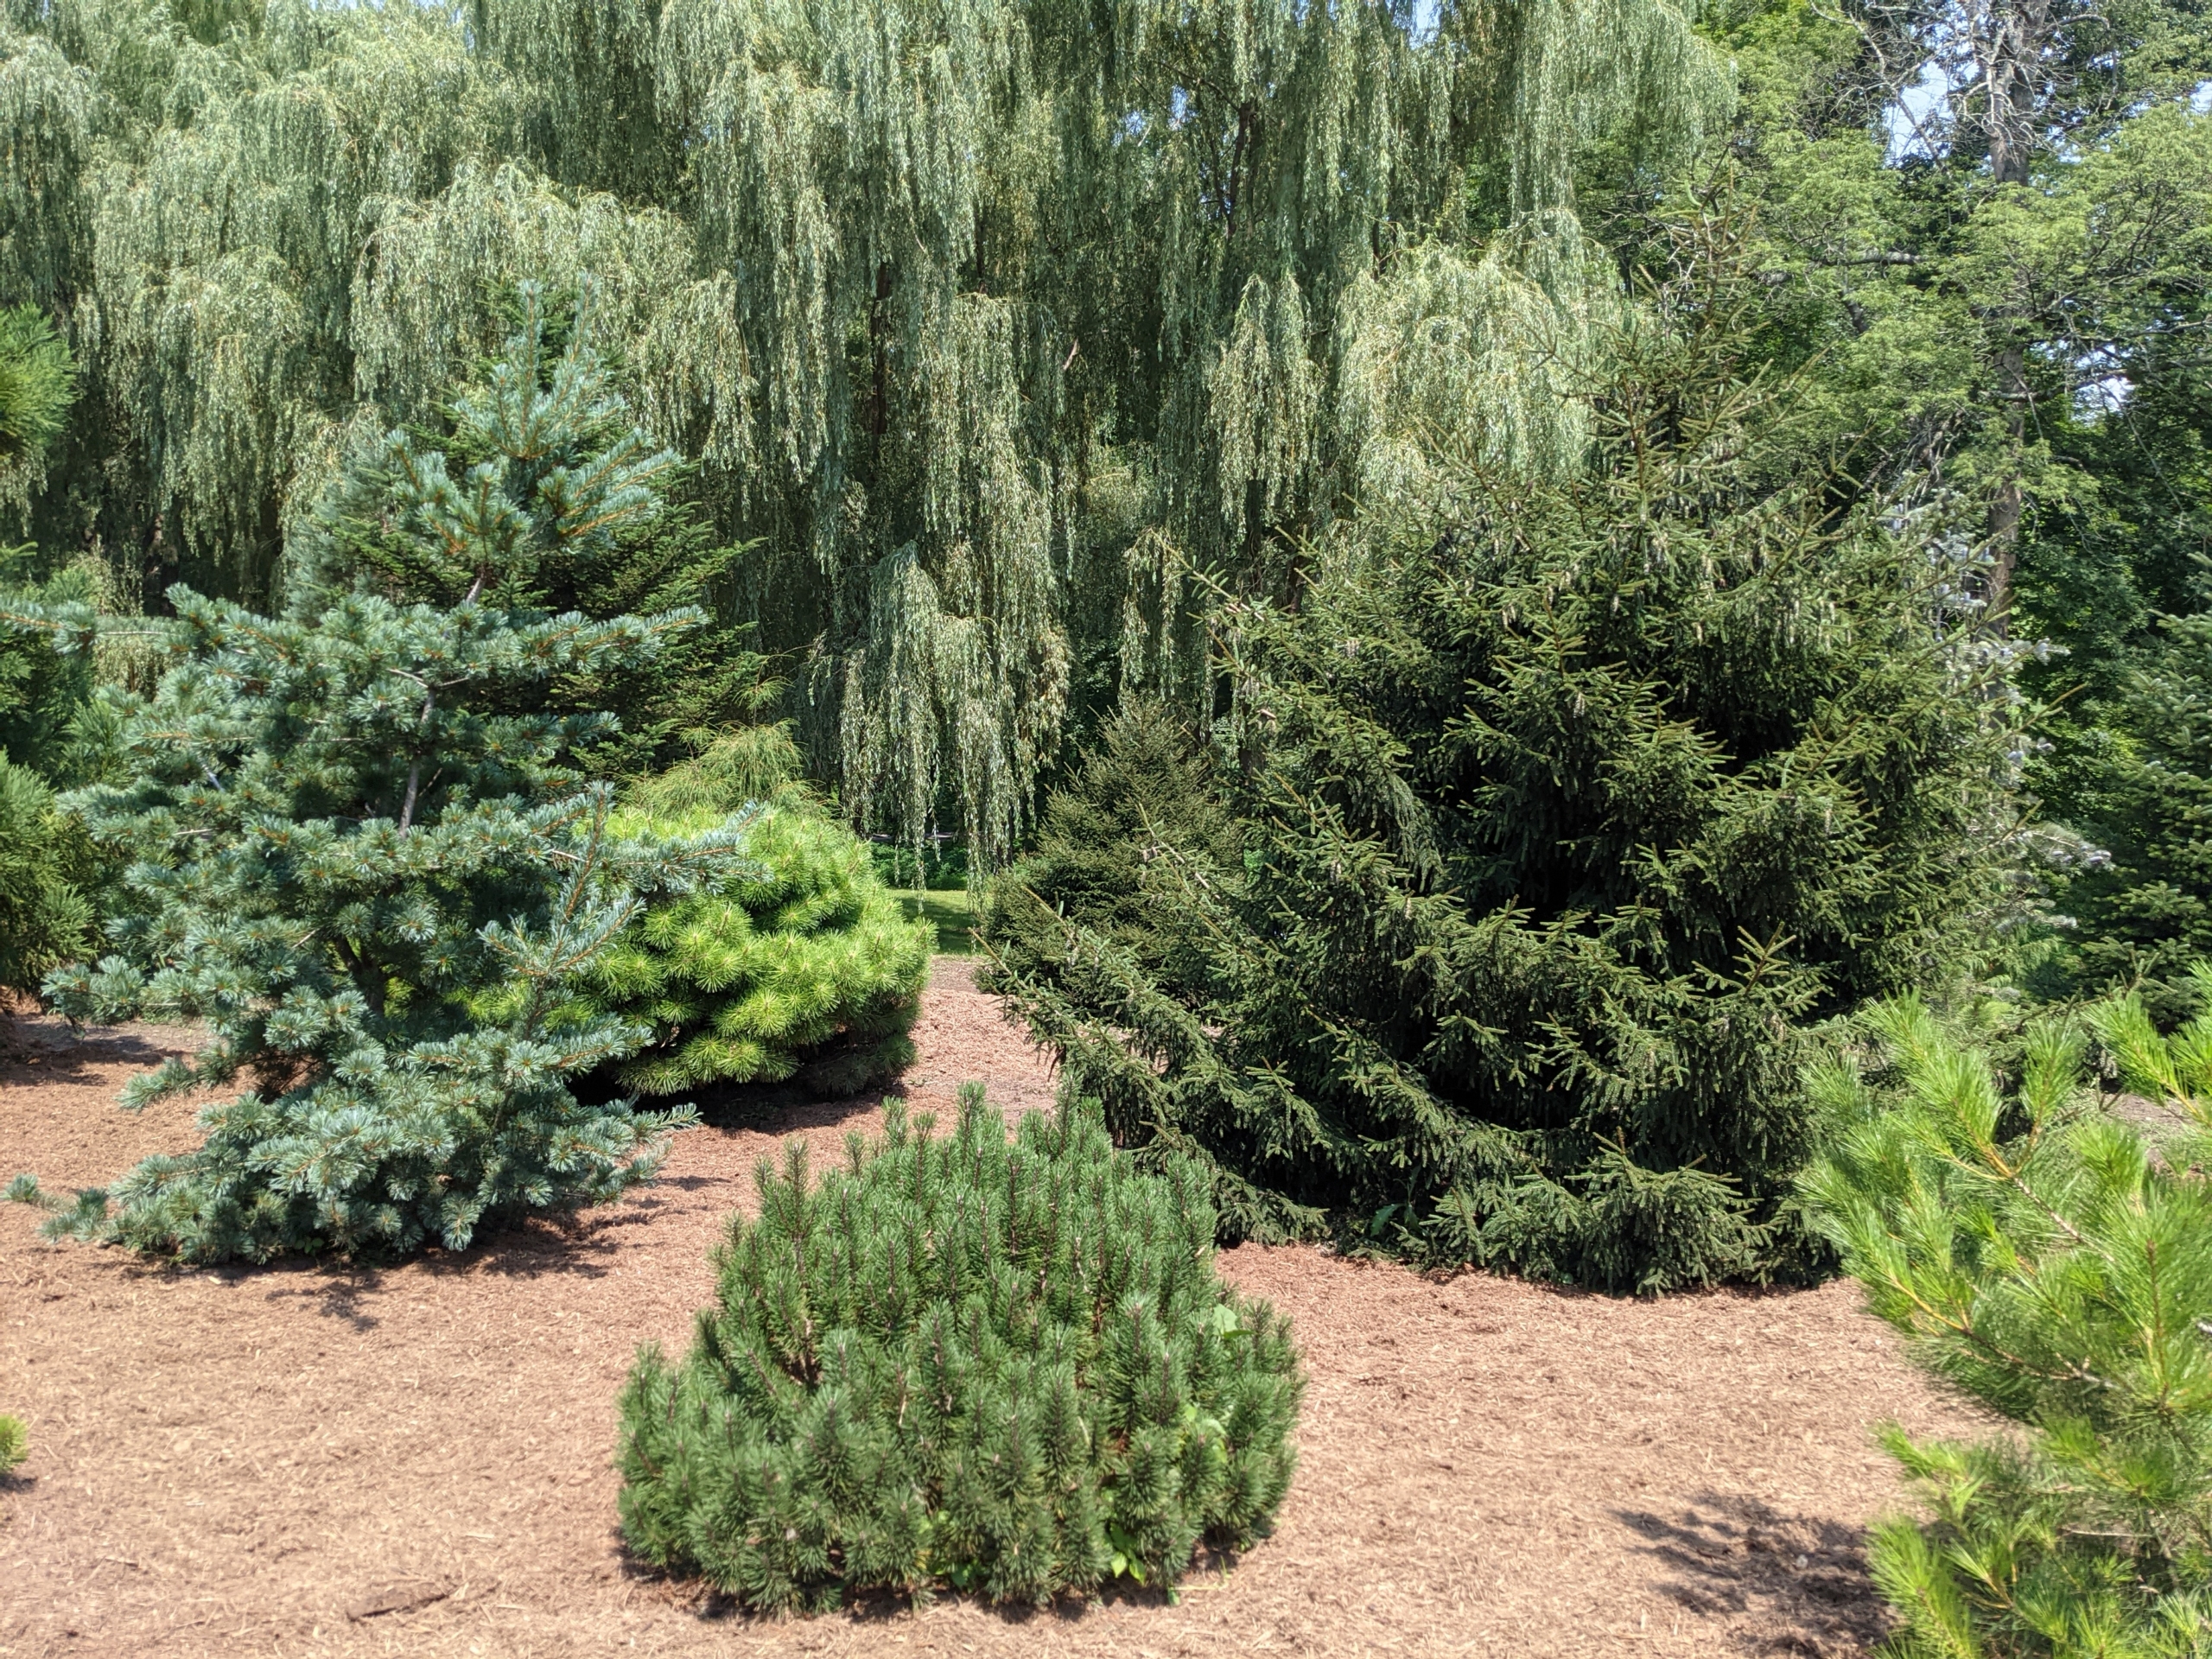
Behind one side of my Pin Oak Allee is my pinetum. When I first bought my farm, I knew I wanted to plant many, many trees – young trees, to replace the older ones when their lives ended. Most of this collection includes pine trees, but I also included spruces and firs, as well as other evergreens.
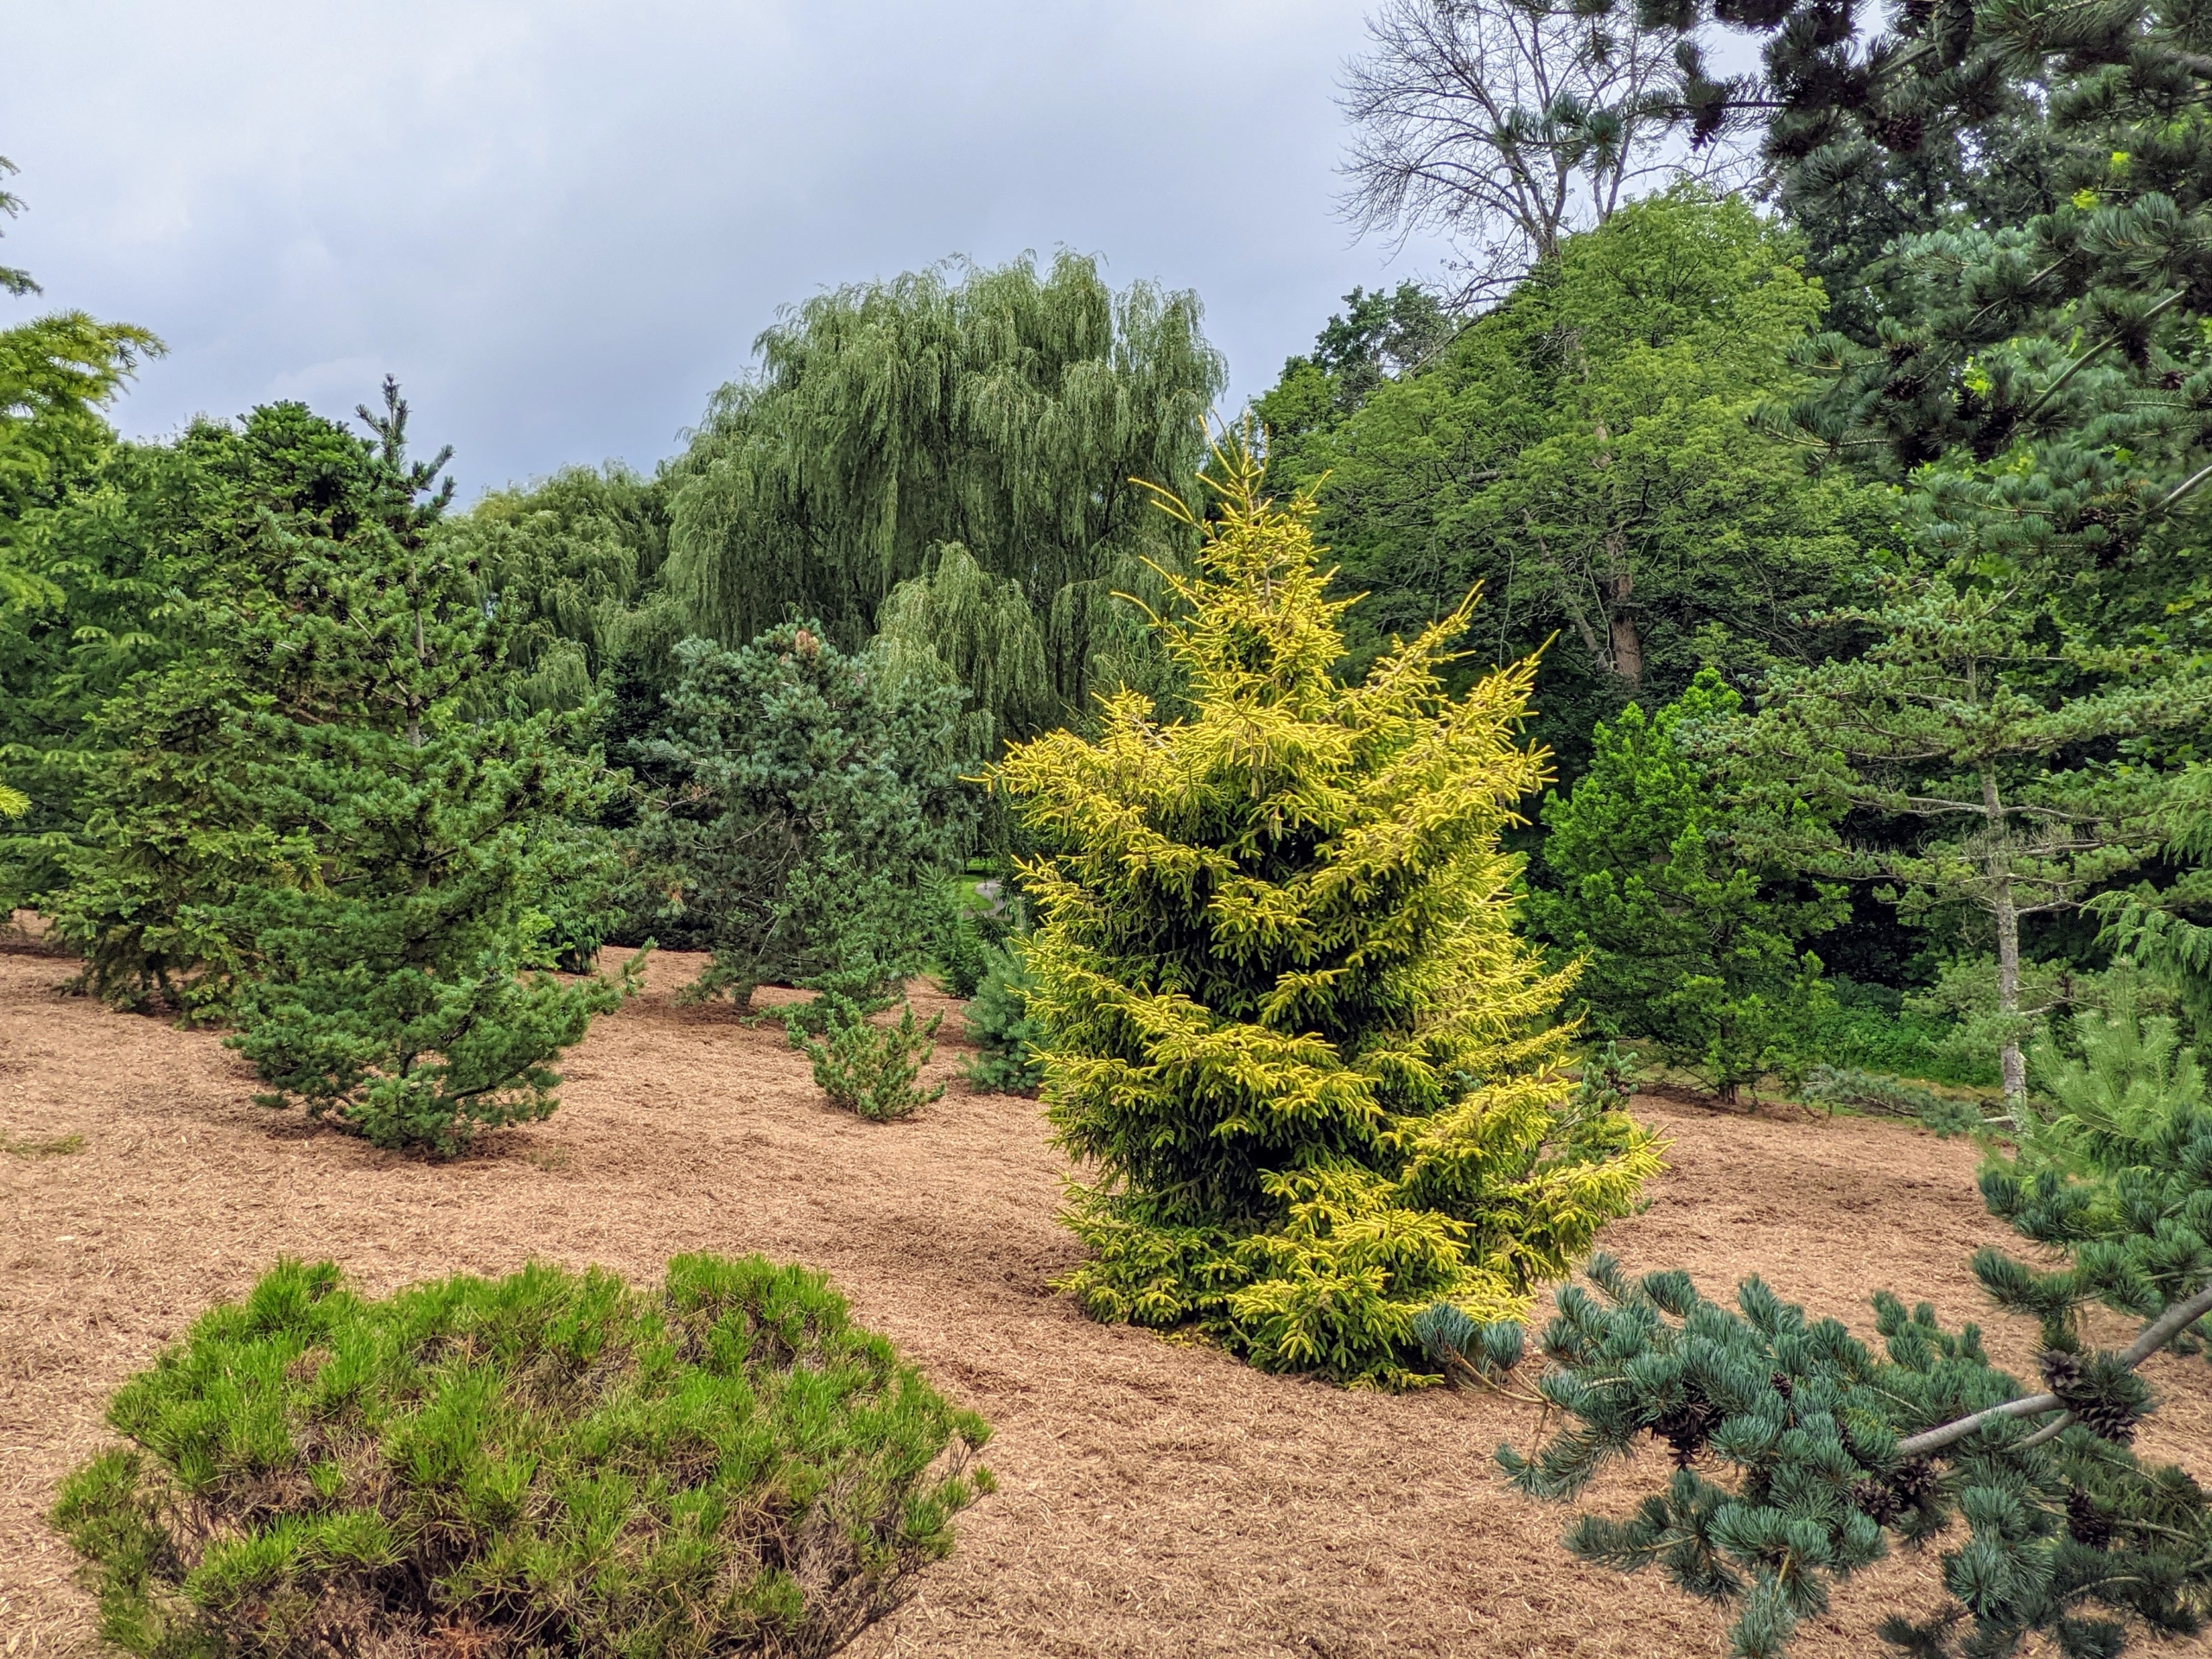
On the right is Picea orientalis ‘Skylands’ – with beautiful short, tight, yellow foliage, and a graceful form. Oriental spruce is a slow-growing, upright tree that typically grows about eight to 10-feet tall over the first 10-years. The name ‘Skylands’ has no relation to my home in Maine, but I was attracted to it because it was called ‘Skylands.’ This tree was introduced by Skylands Botanical Garden in New Jersey, in 1979.
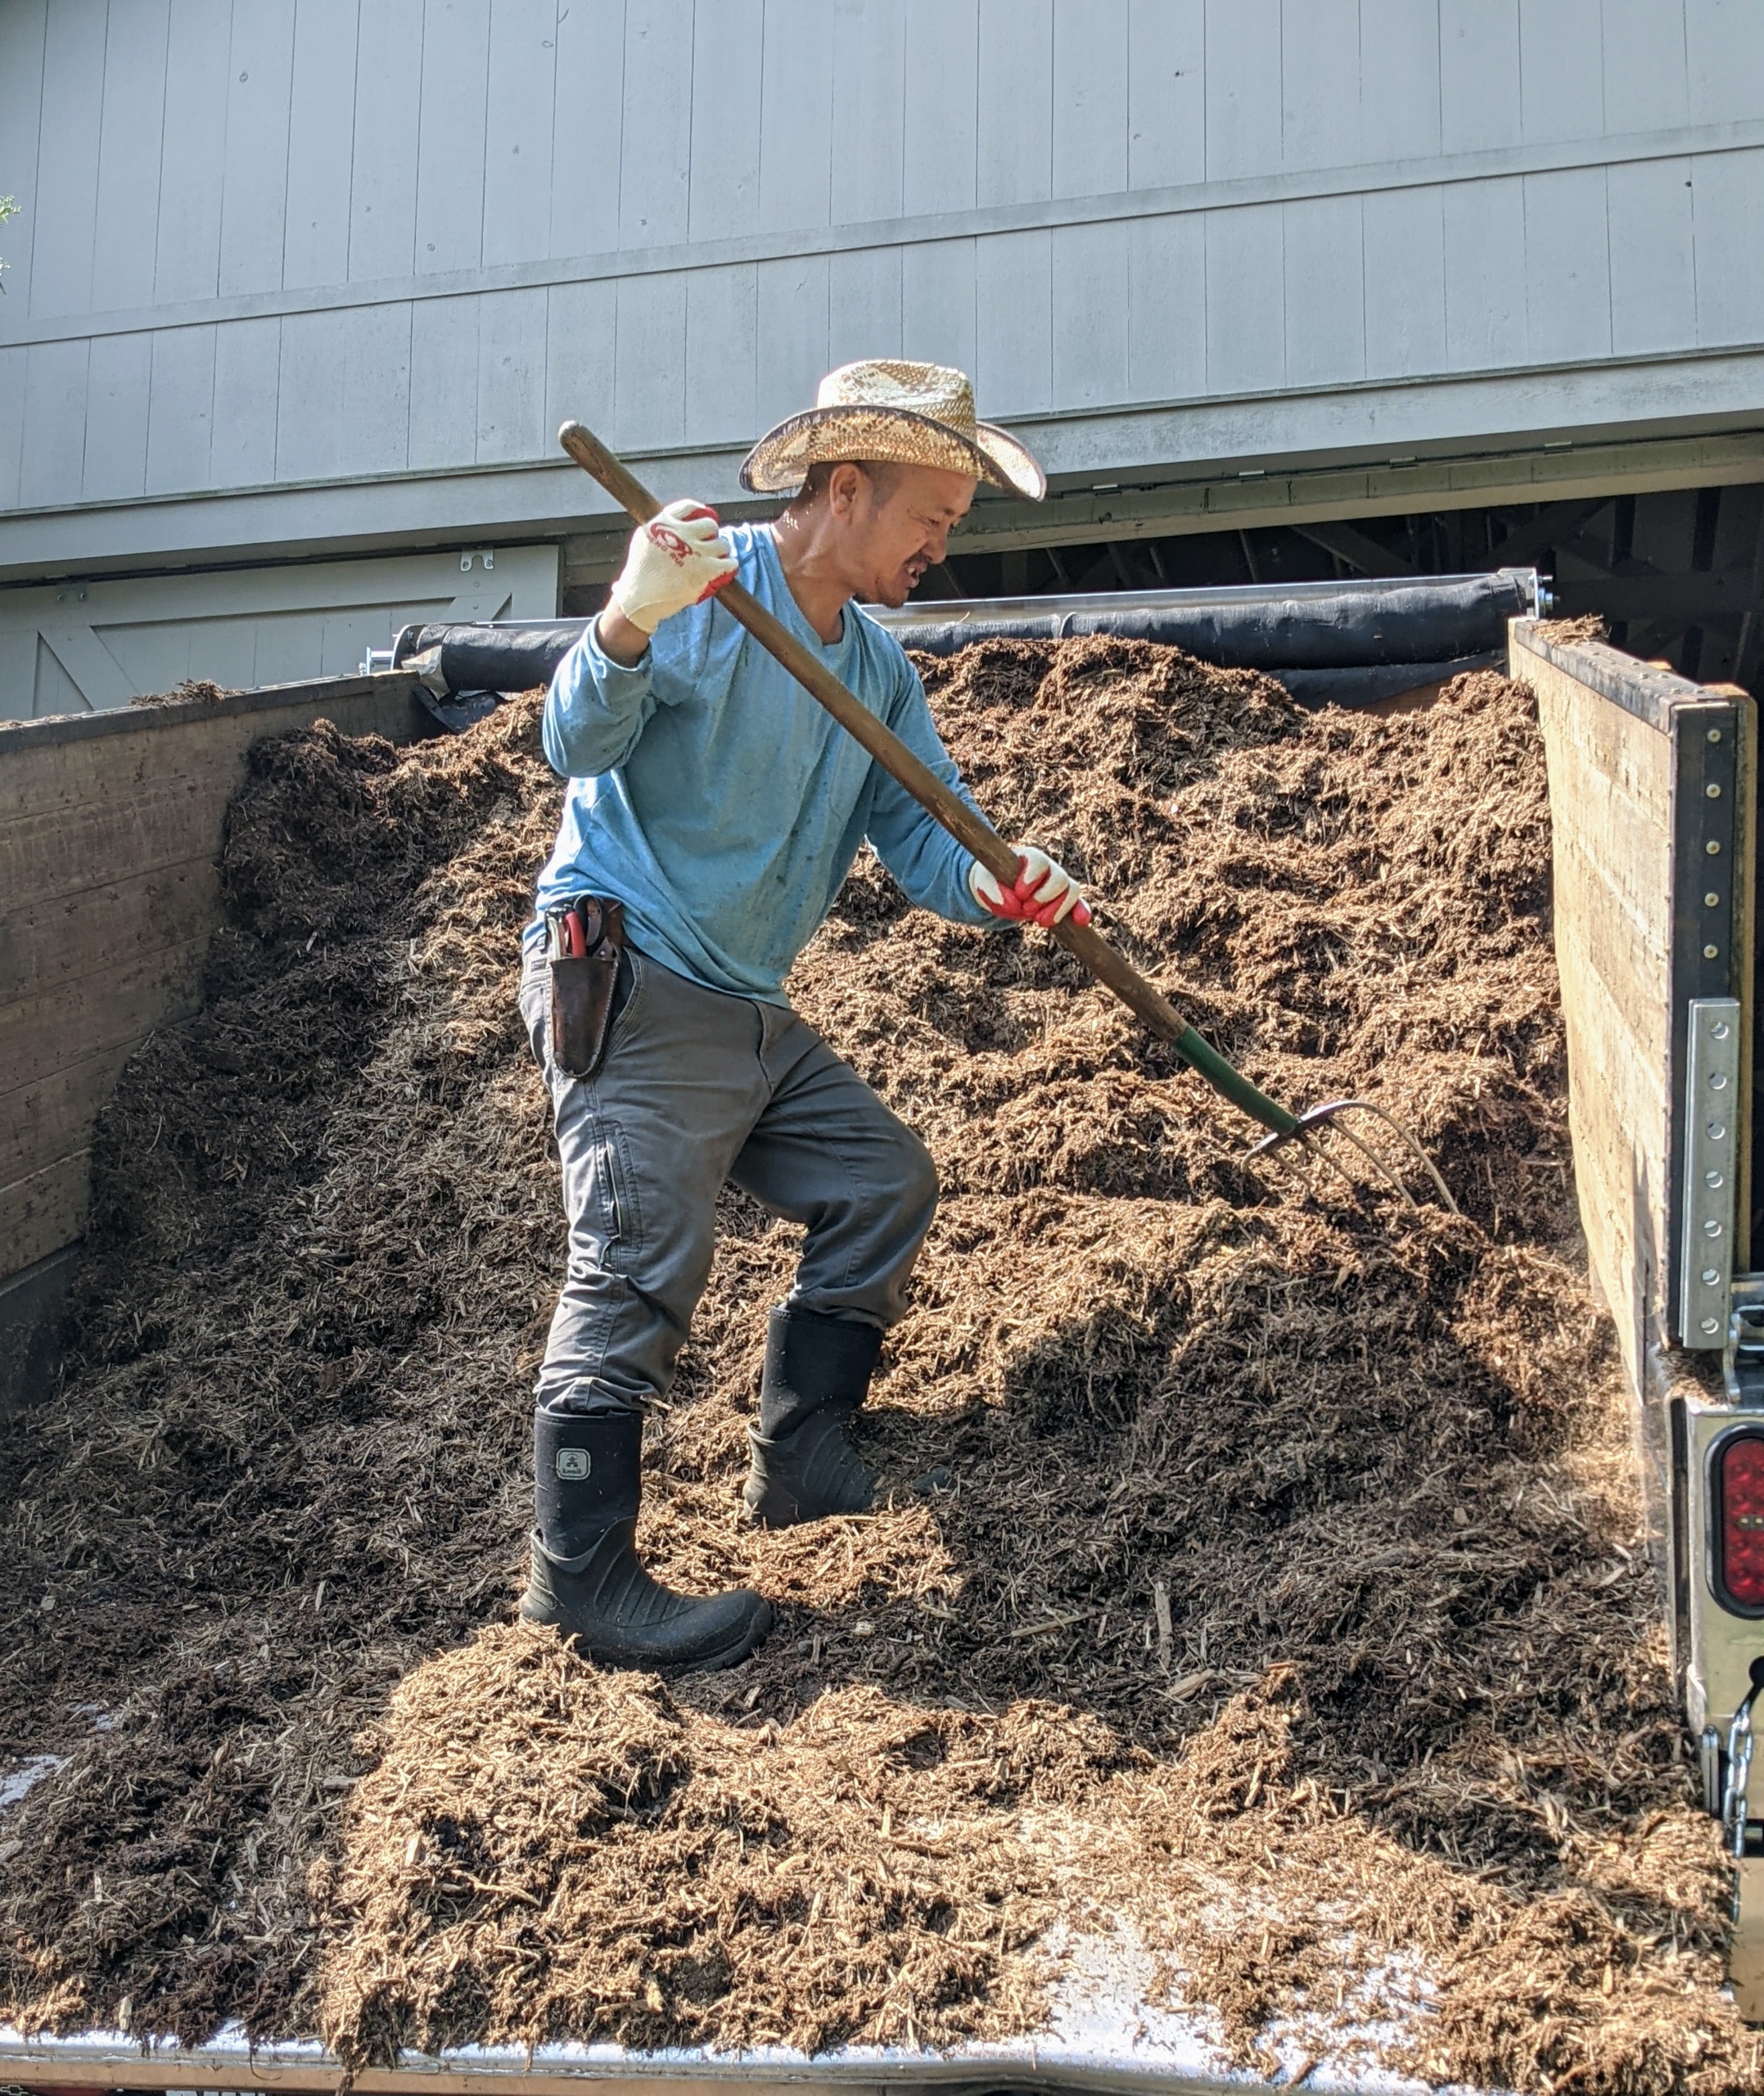
Here’s Chhiring unloading the mulch from the dump truck, so it can be transported in wheelbarrows to various areas of the pinetum. Do you know the difference between compost and mulch? Compost is organic matter that has been decomposed over time, while mulch is the layer of organic materials used as a protective cover. This mulch is made right here at my farm from downed trees that have been put through the tub grinder multiple times.
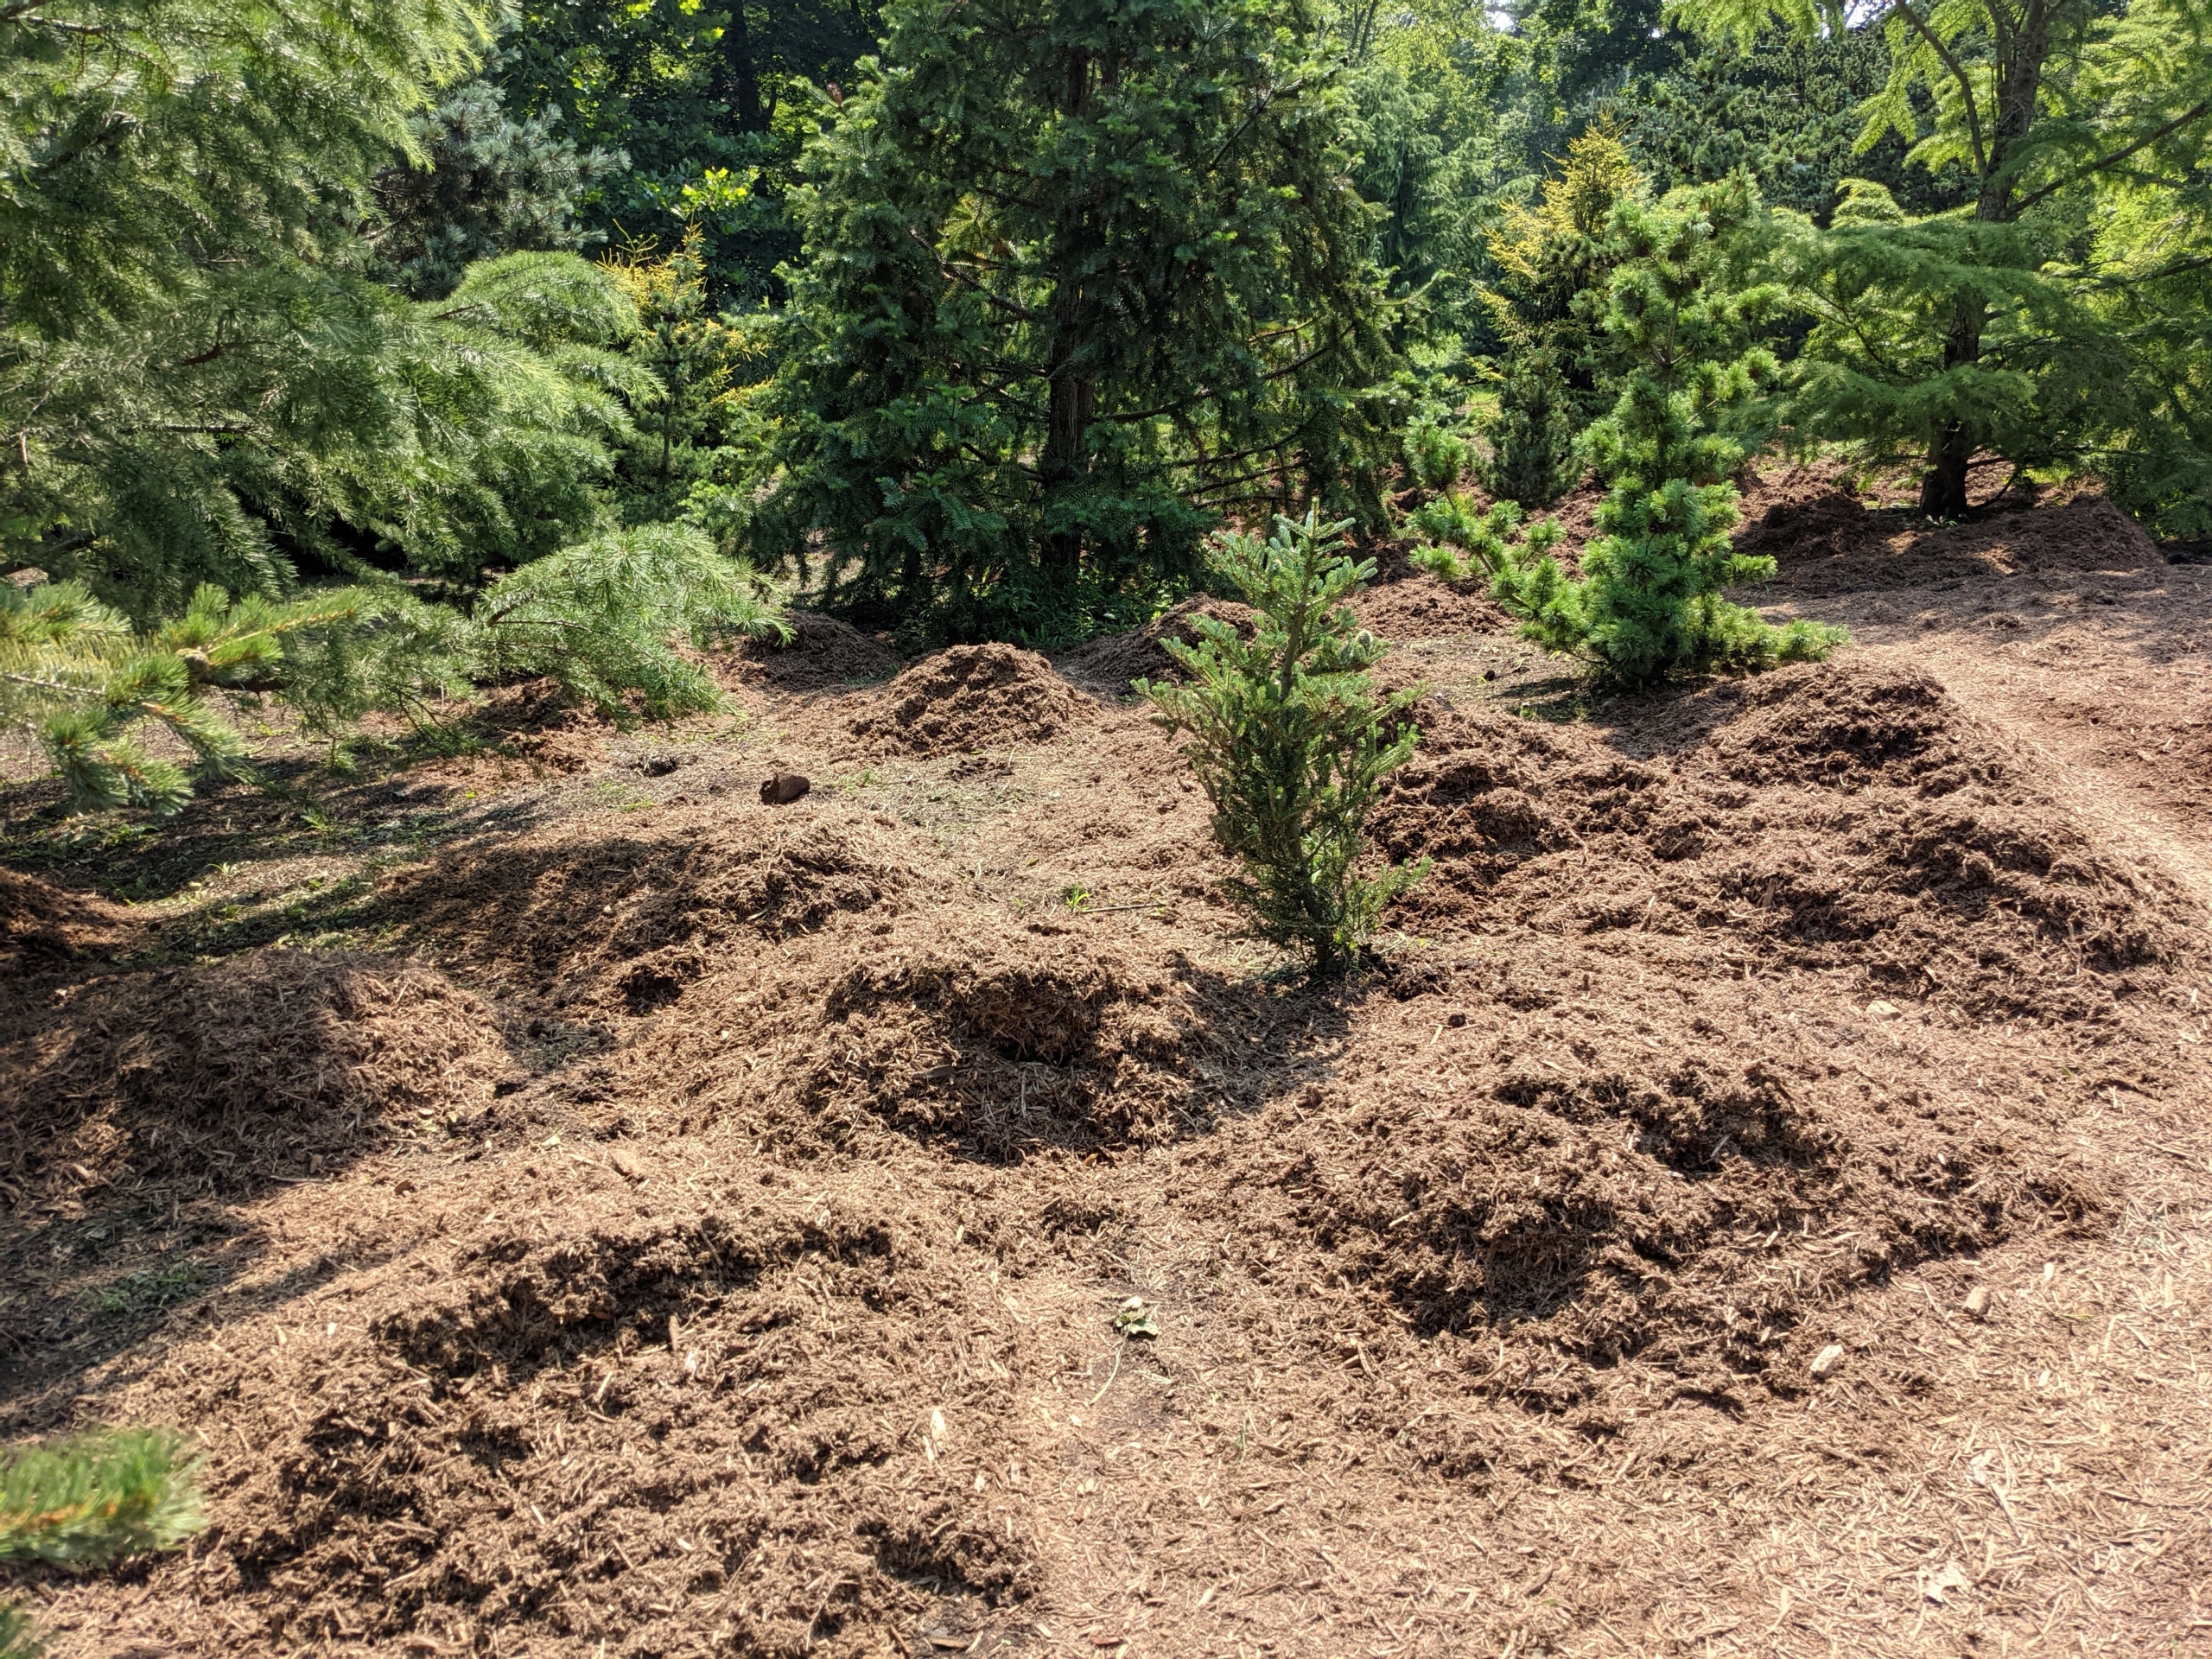
The mulch is dropped in mounds and then spread evenly throughout the space. Spreading a three to four inch layer of mulch will suppress weed germination, retain moisture, and insulate the soil.
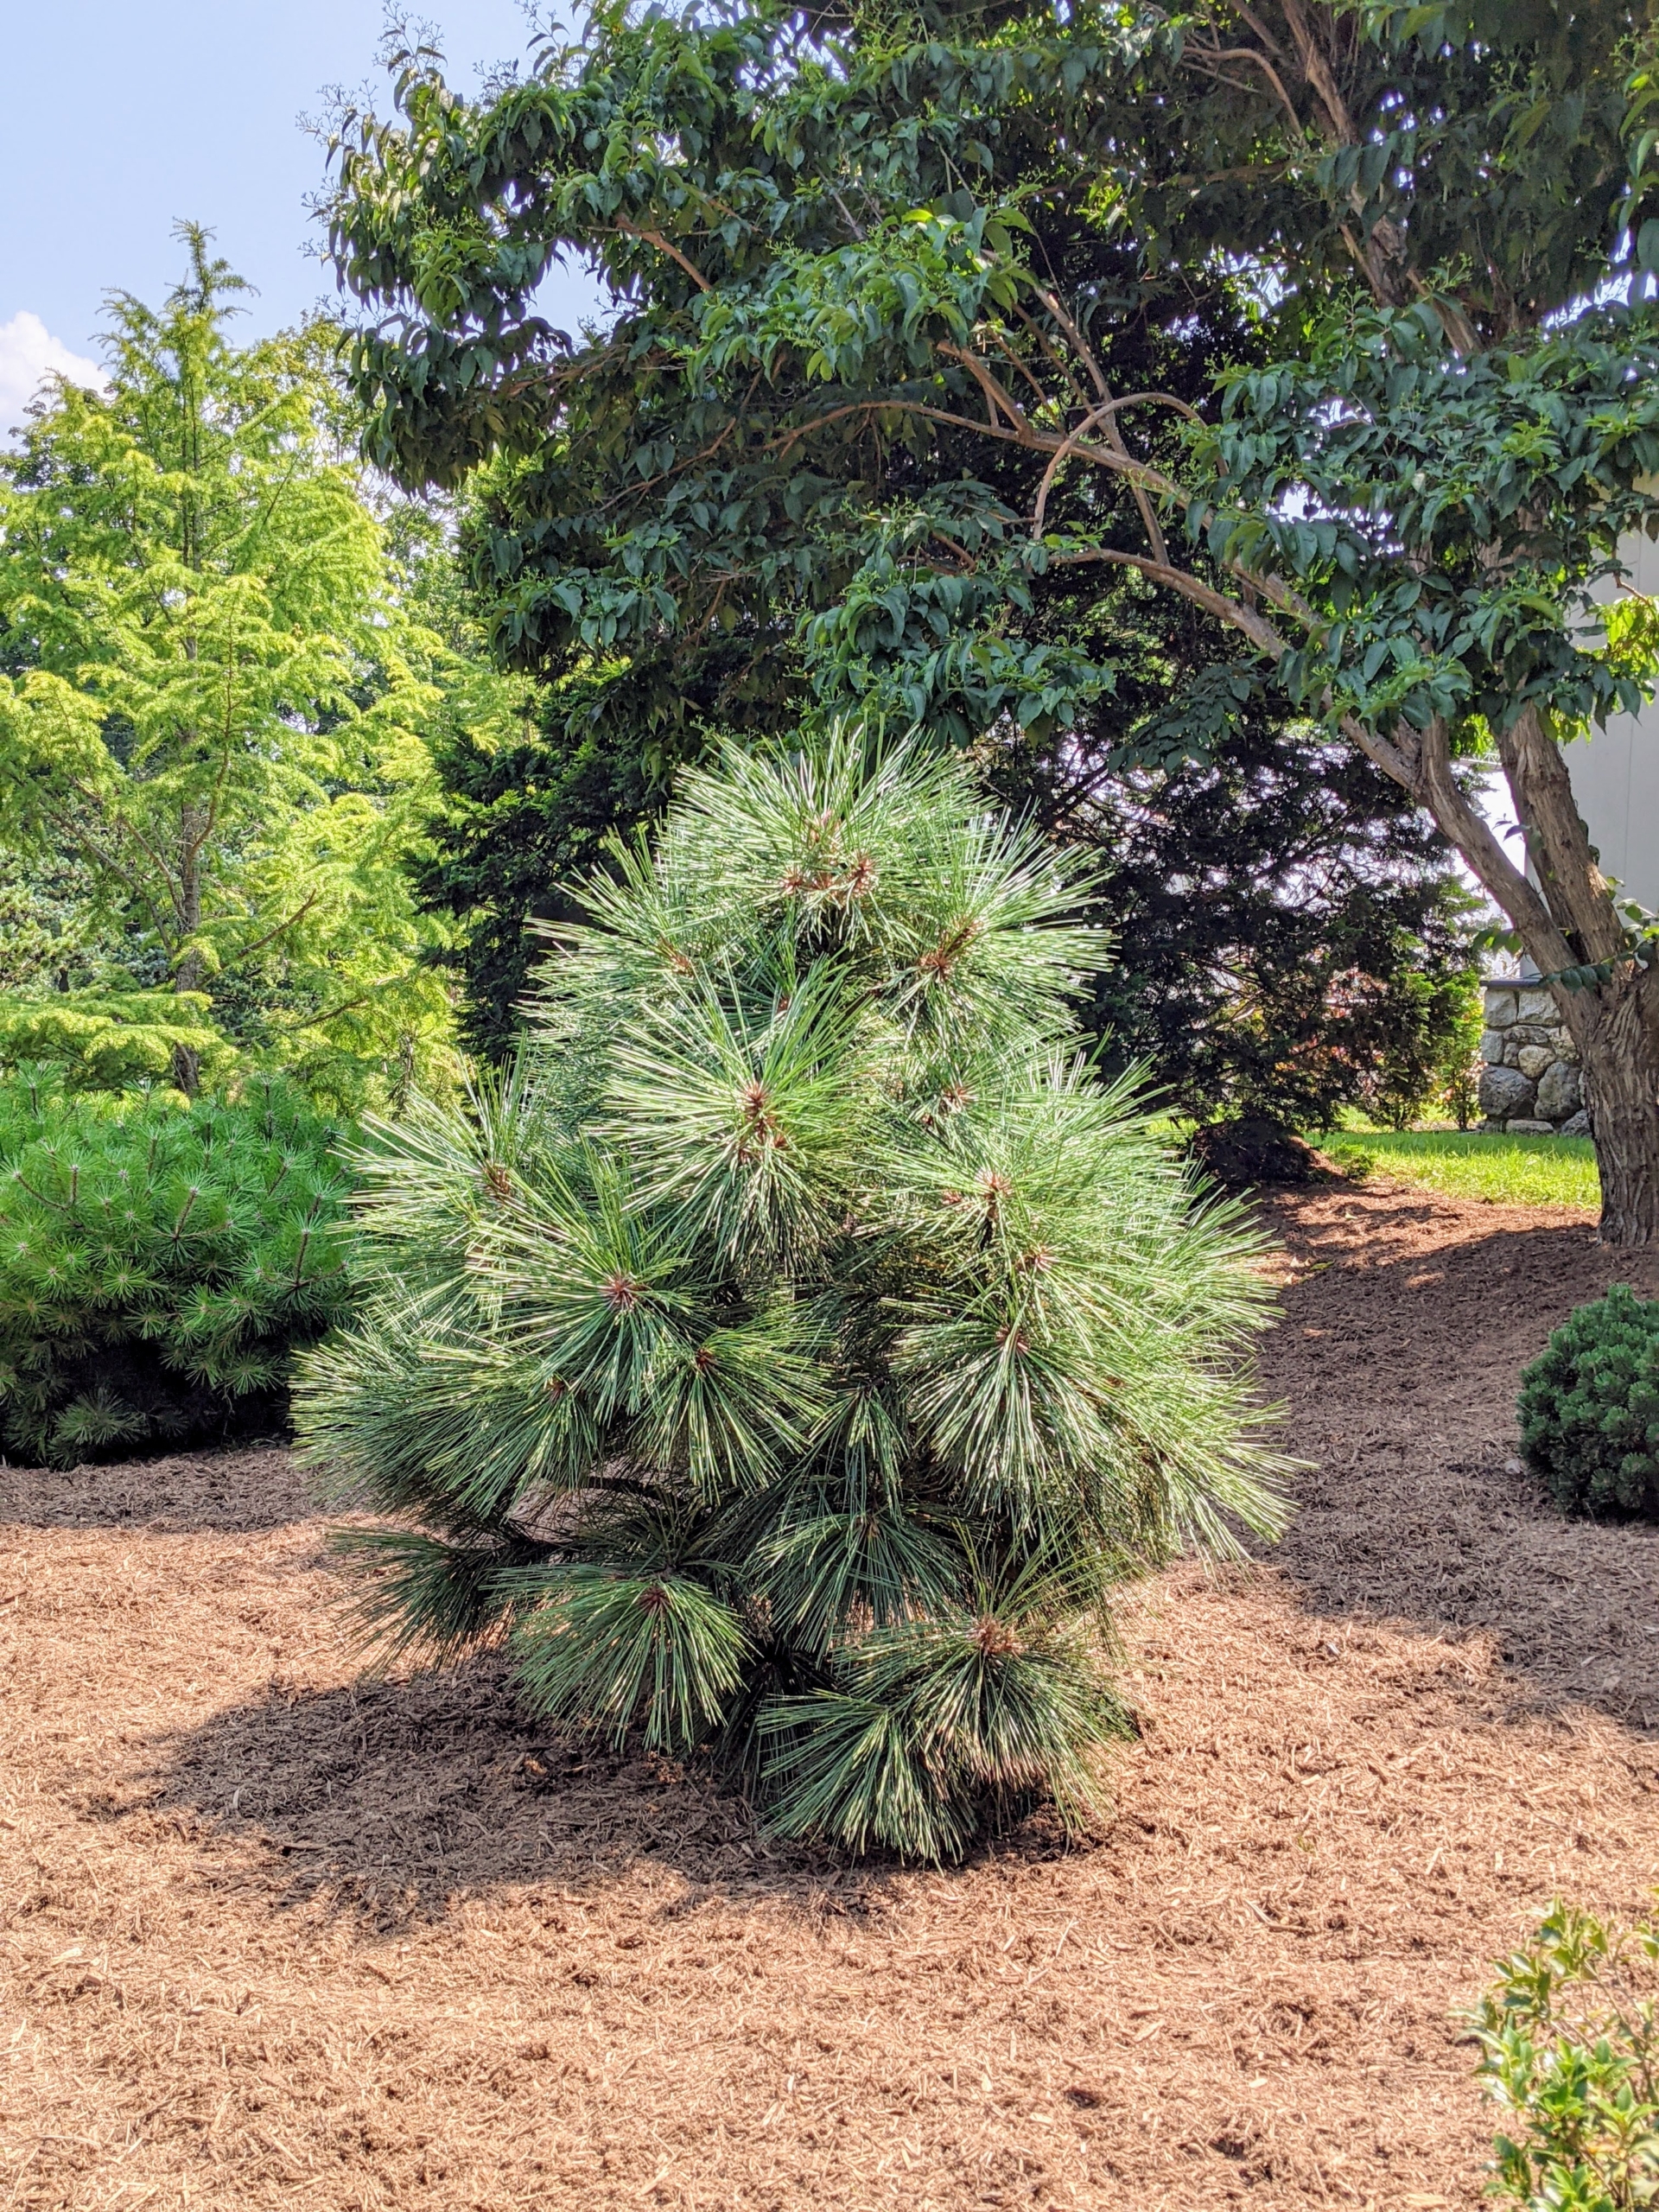
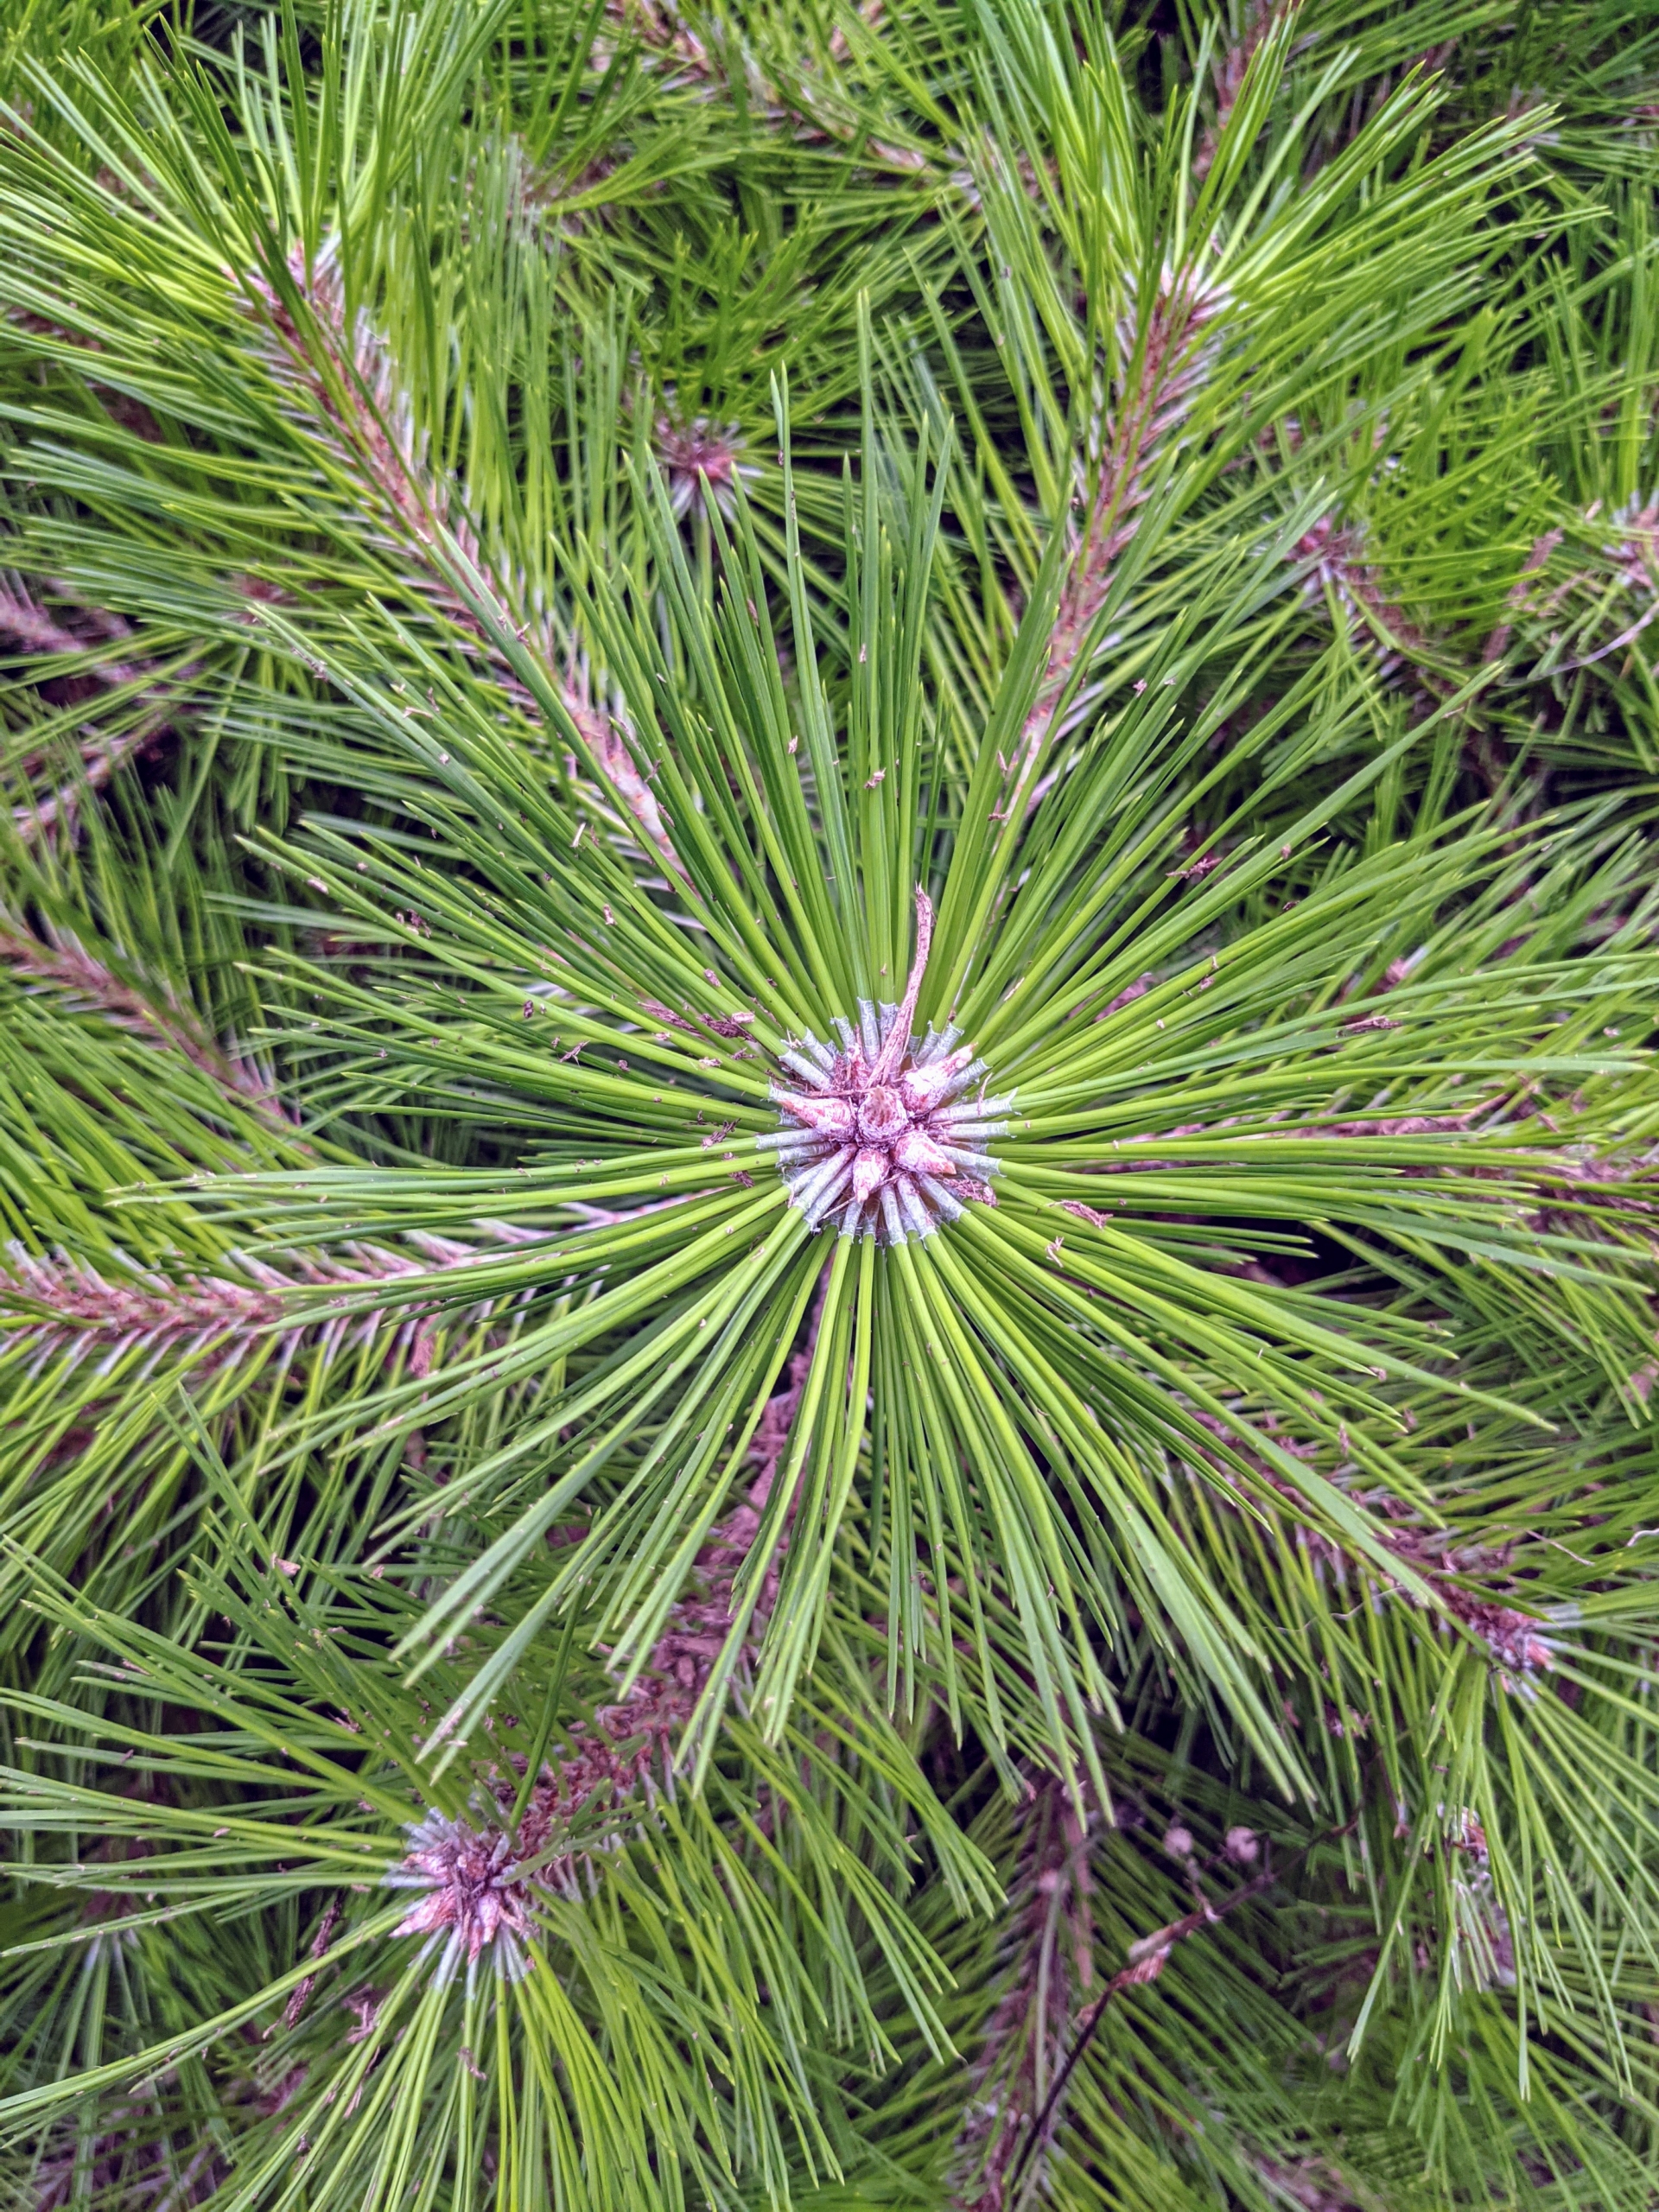
Among the trees growing is this dwarf white pine tree. If you’re not sure how to tell some of these popular trees apart, here are some key tips: pines have needles that are arranged and attached to the branches in clusters of two, three or five. Spruce and fir trees have needles attached individually to the branches. Spruce needles are sharply pointed, square and easy to roll between the fingers. They’re attached to small, stalk-like woody projections, and when the needles fall, the branches feel rough. Fir needles are softer, flatter and cannot be easily rolled between the fingers. Fir needles are usually attached only on the upper side of the branch. Its branches lack projections, so the bark is smooth. And, a fir tree’s cones stand straight up on many species, or protrude outward on others.
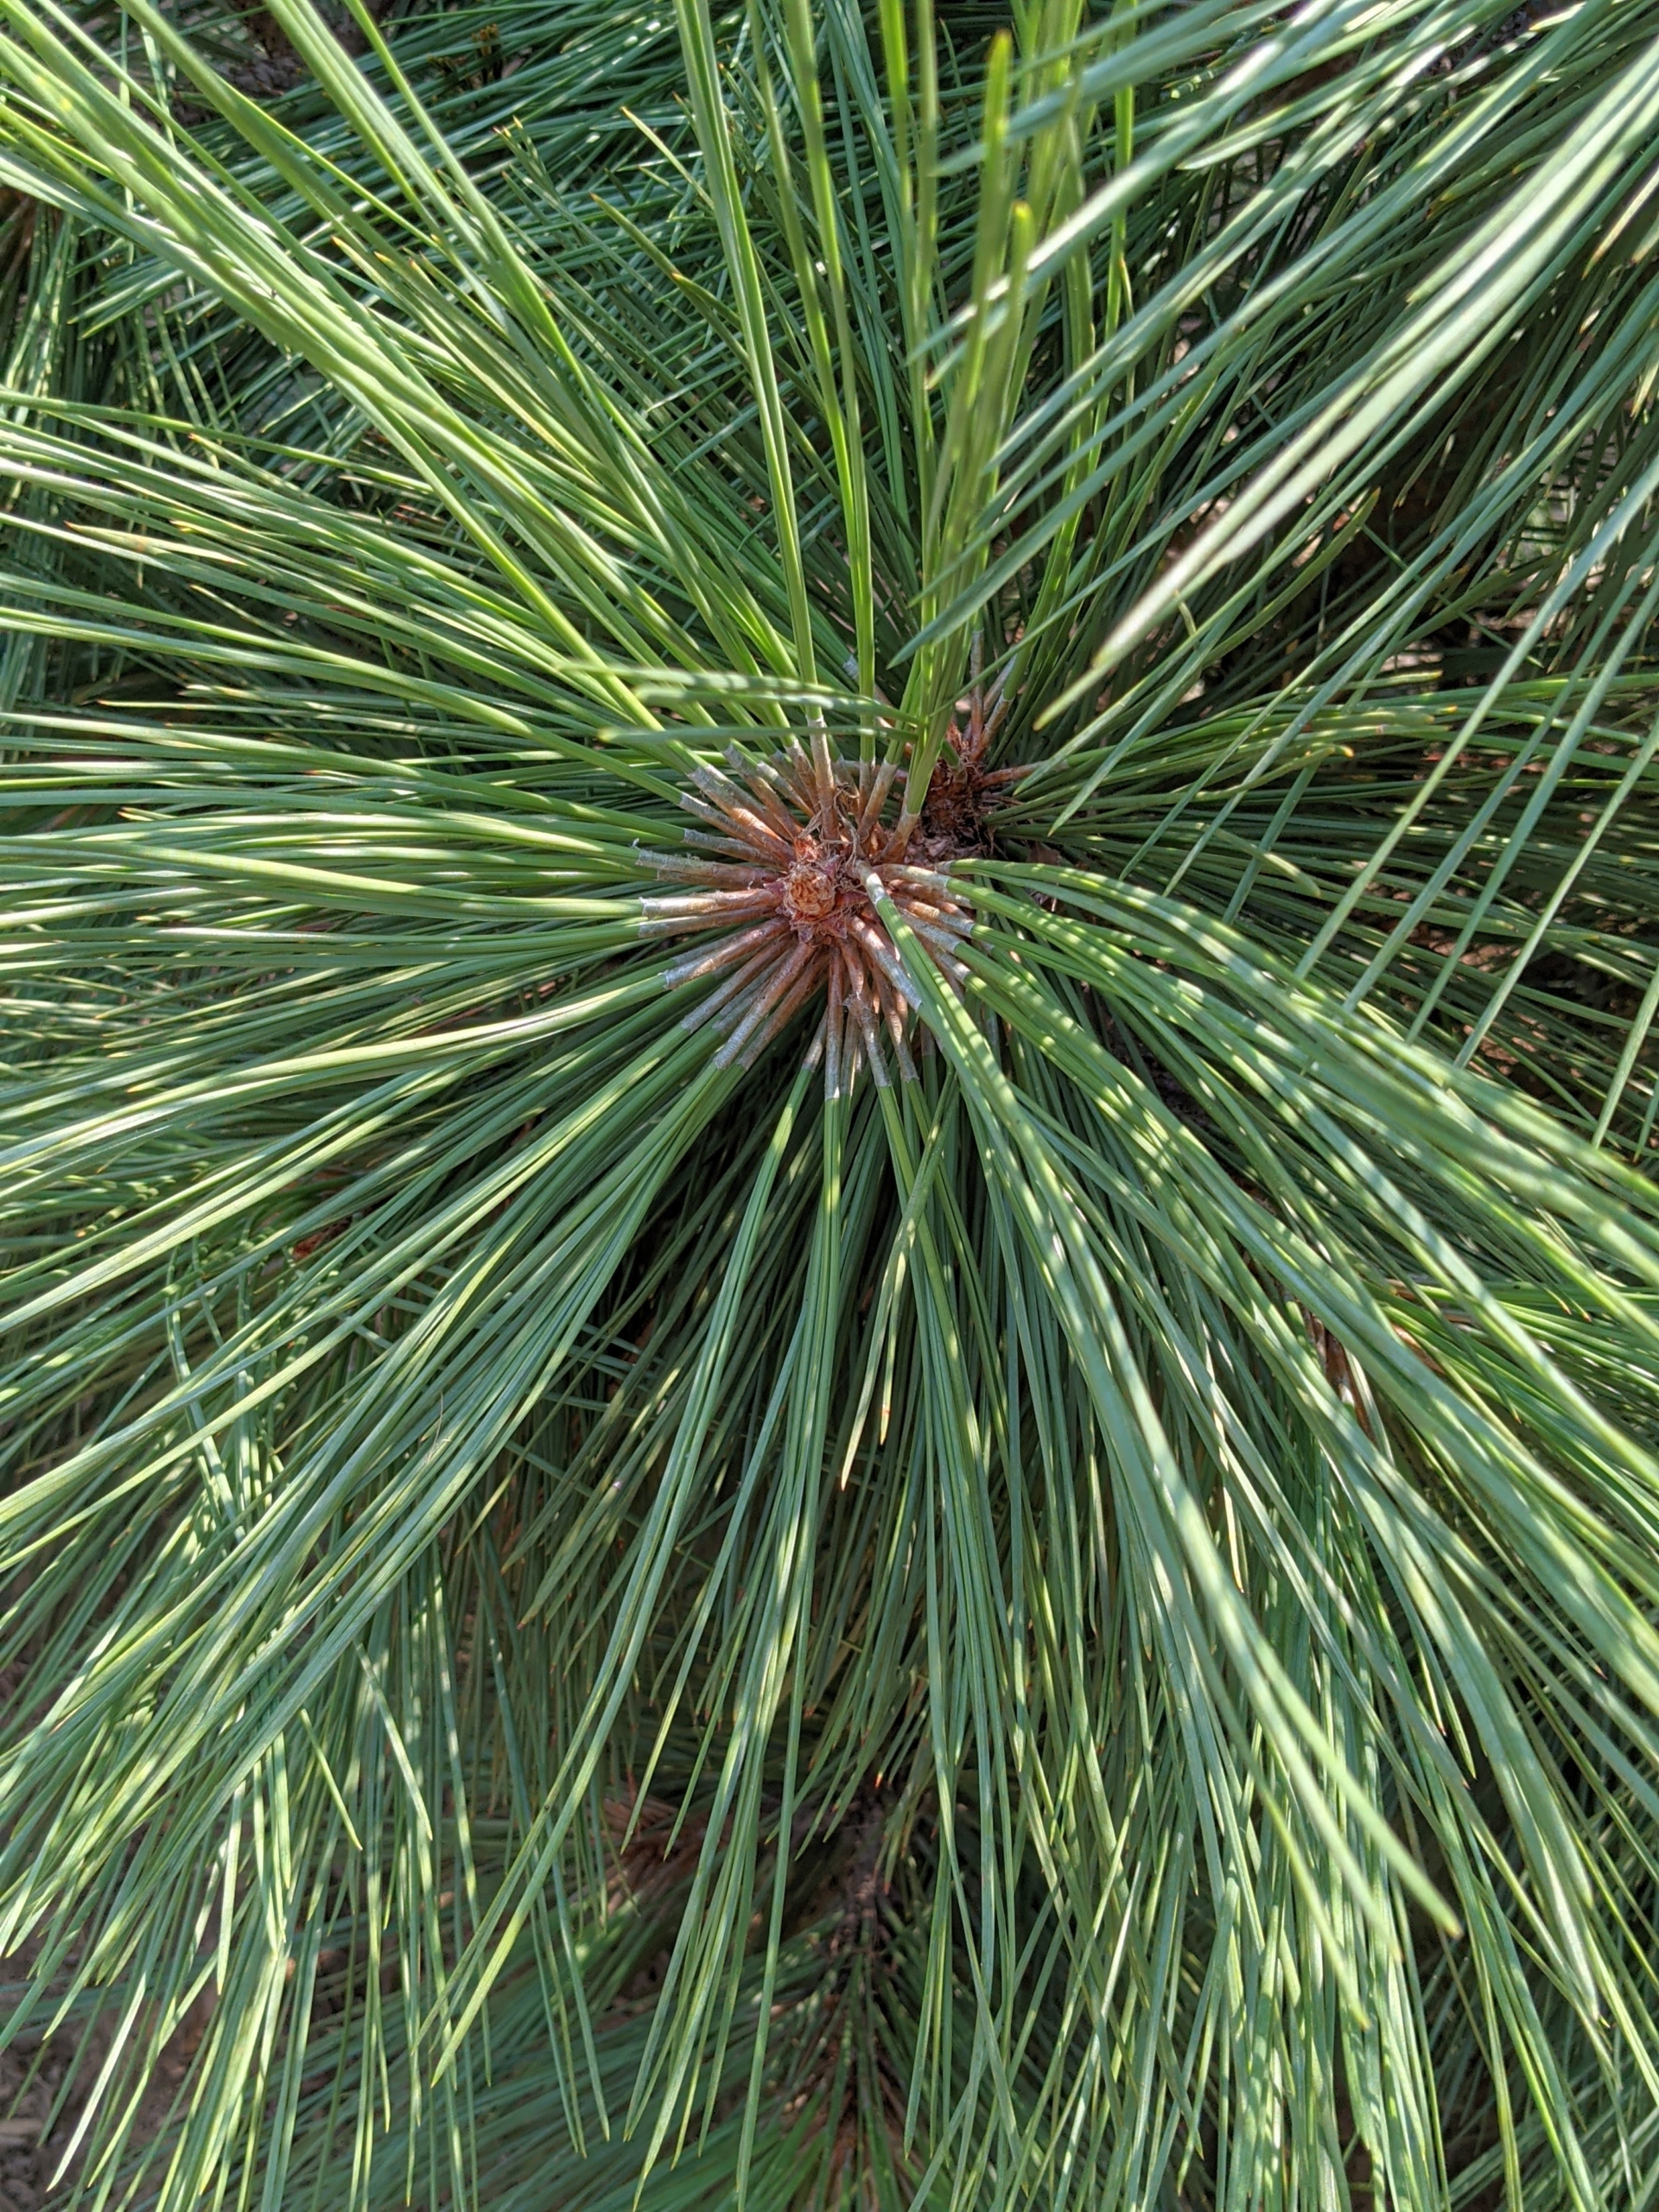
The needles on this dwarf white pine are soft and blue-green in color.
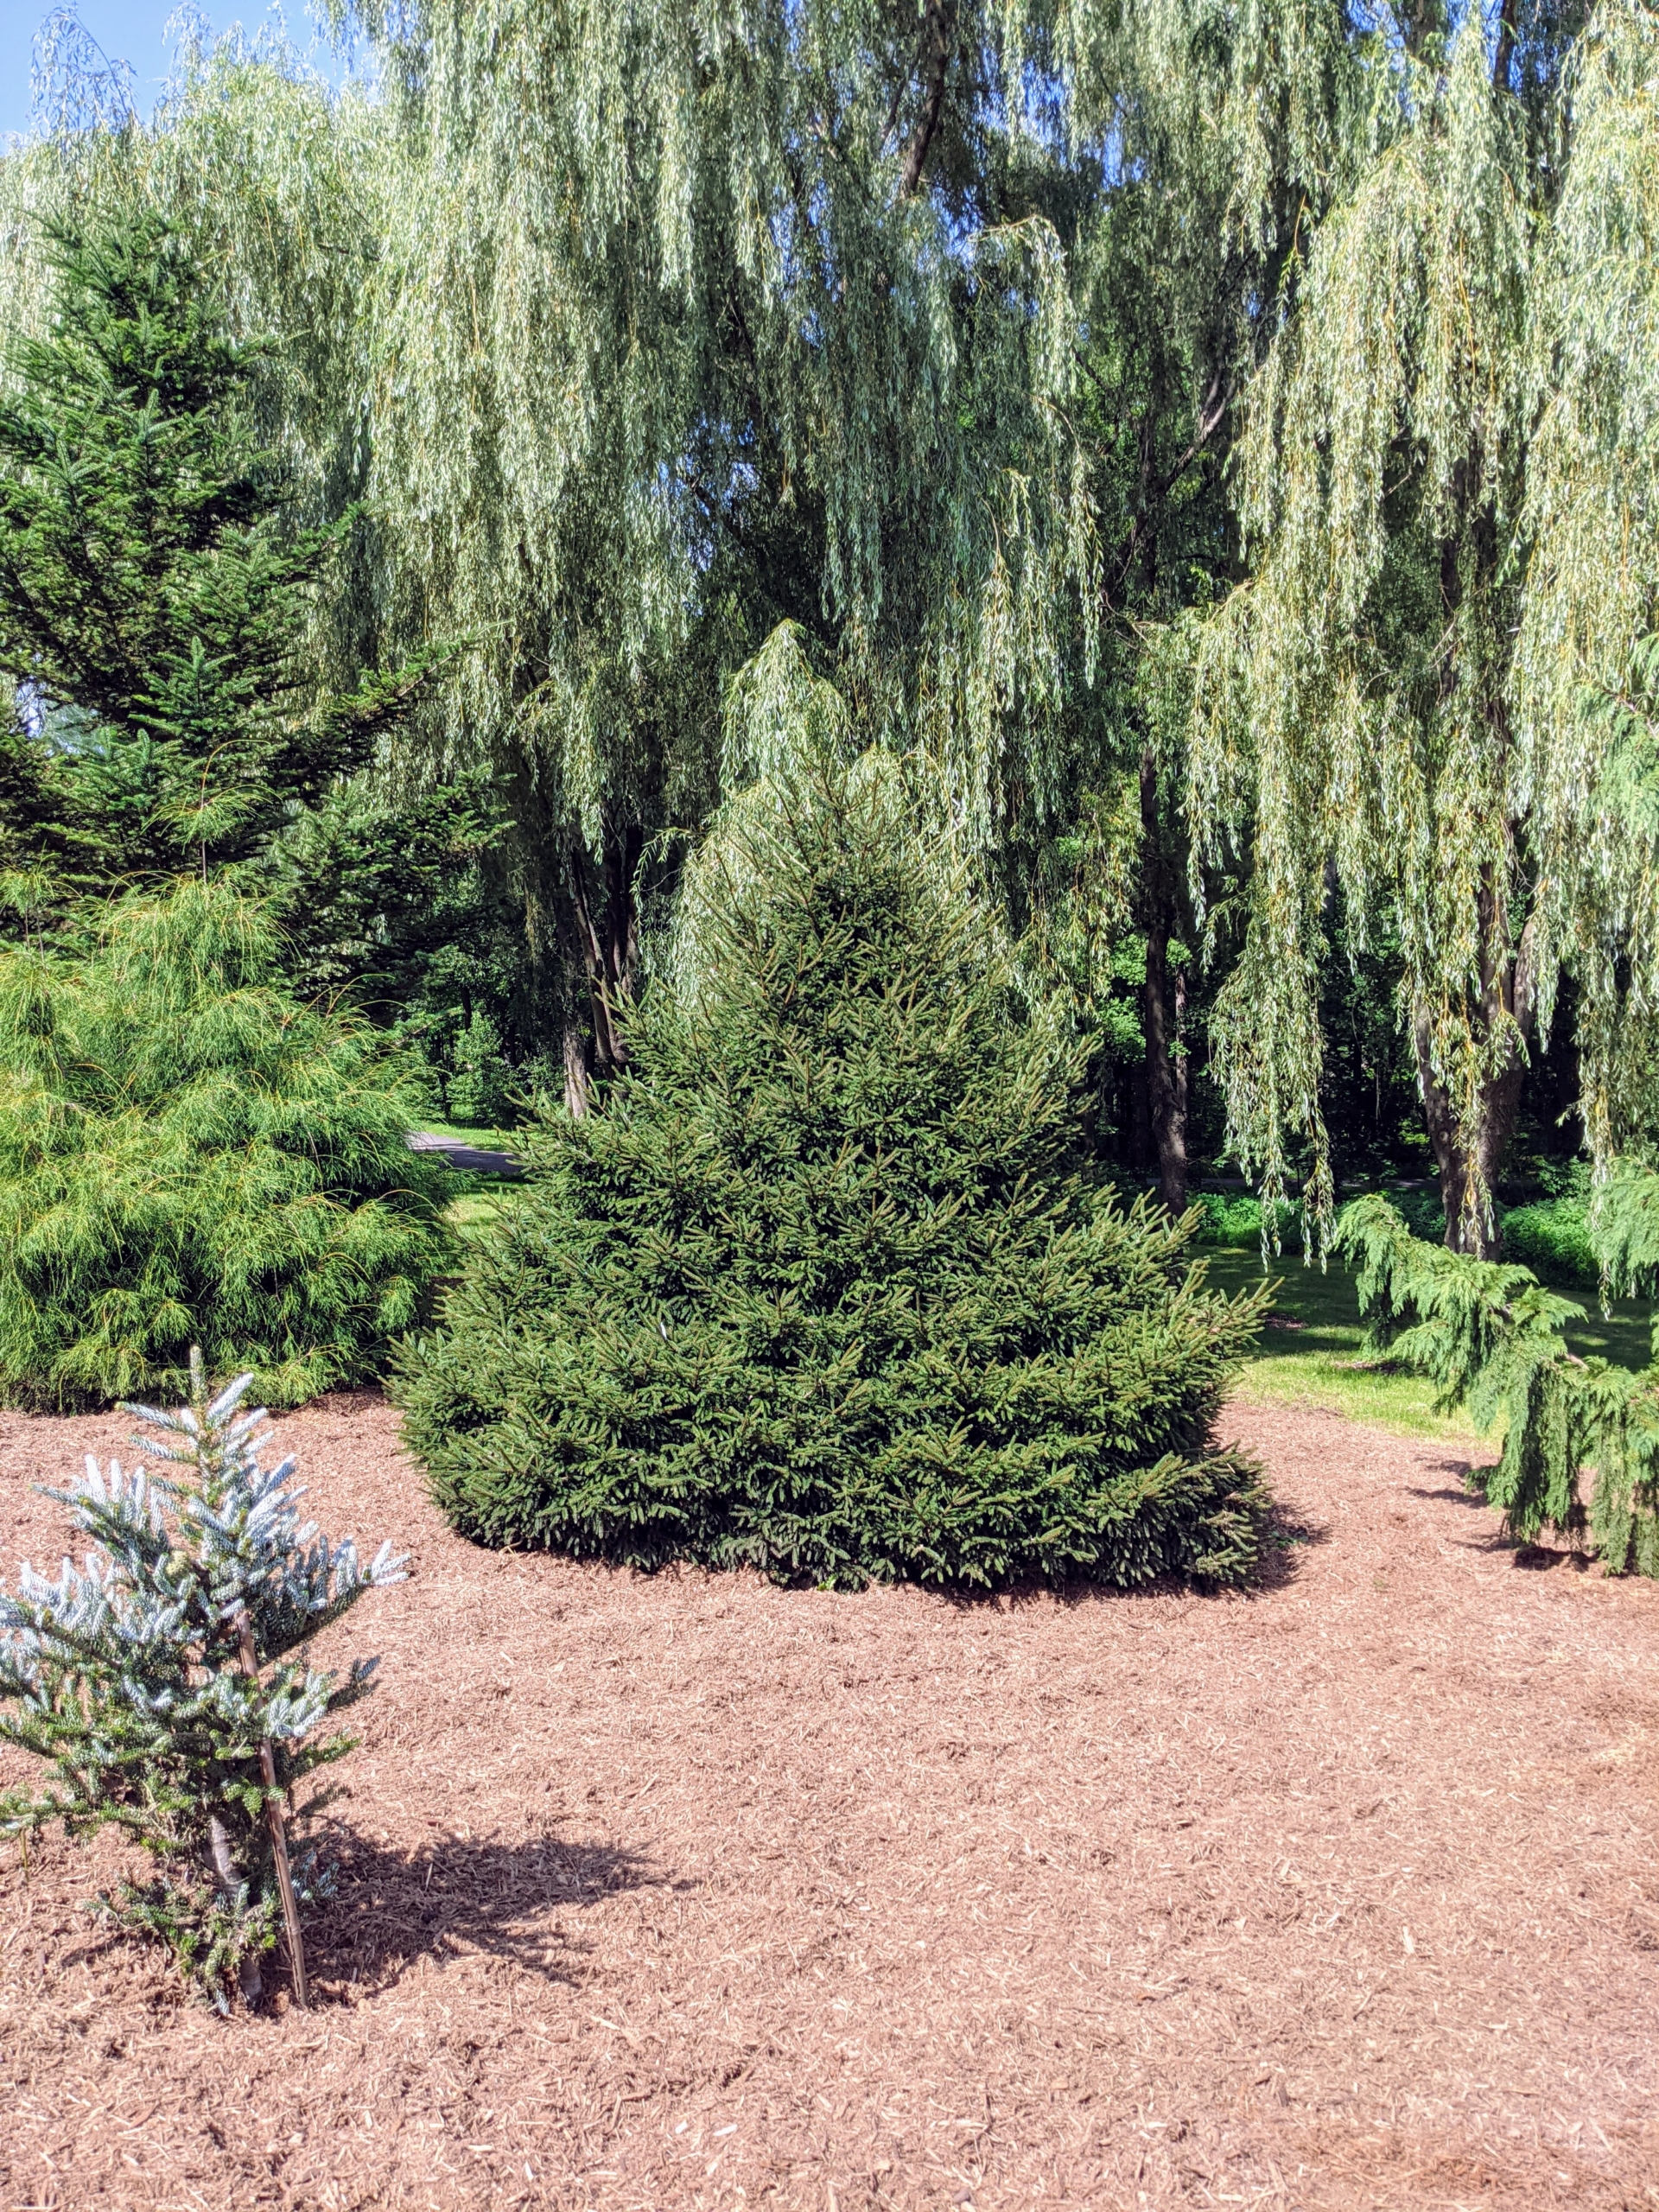
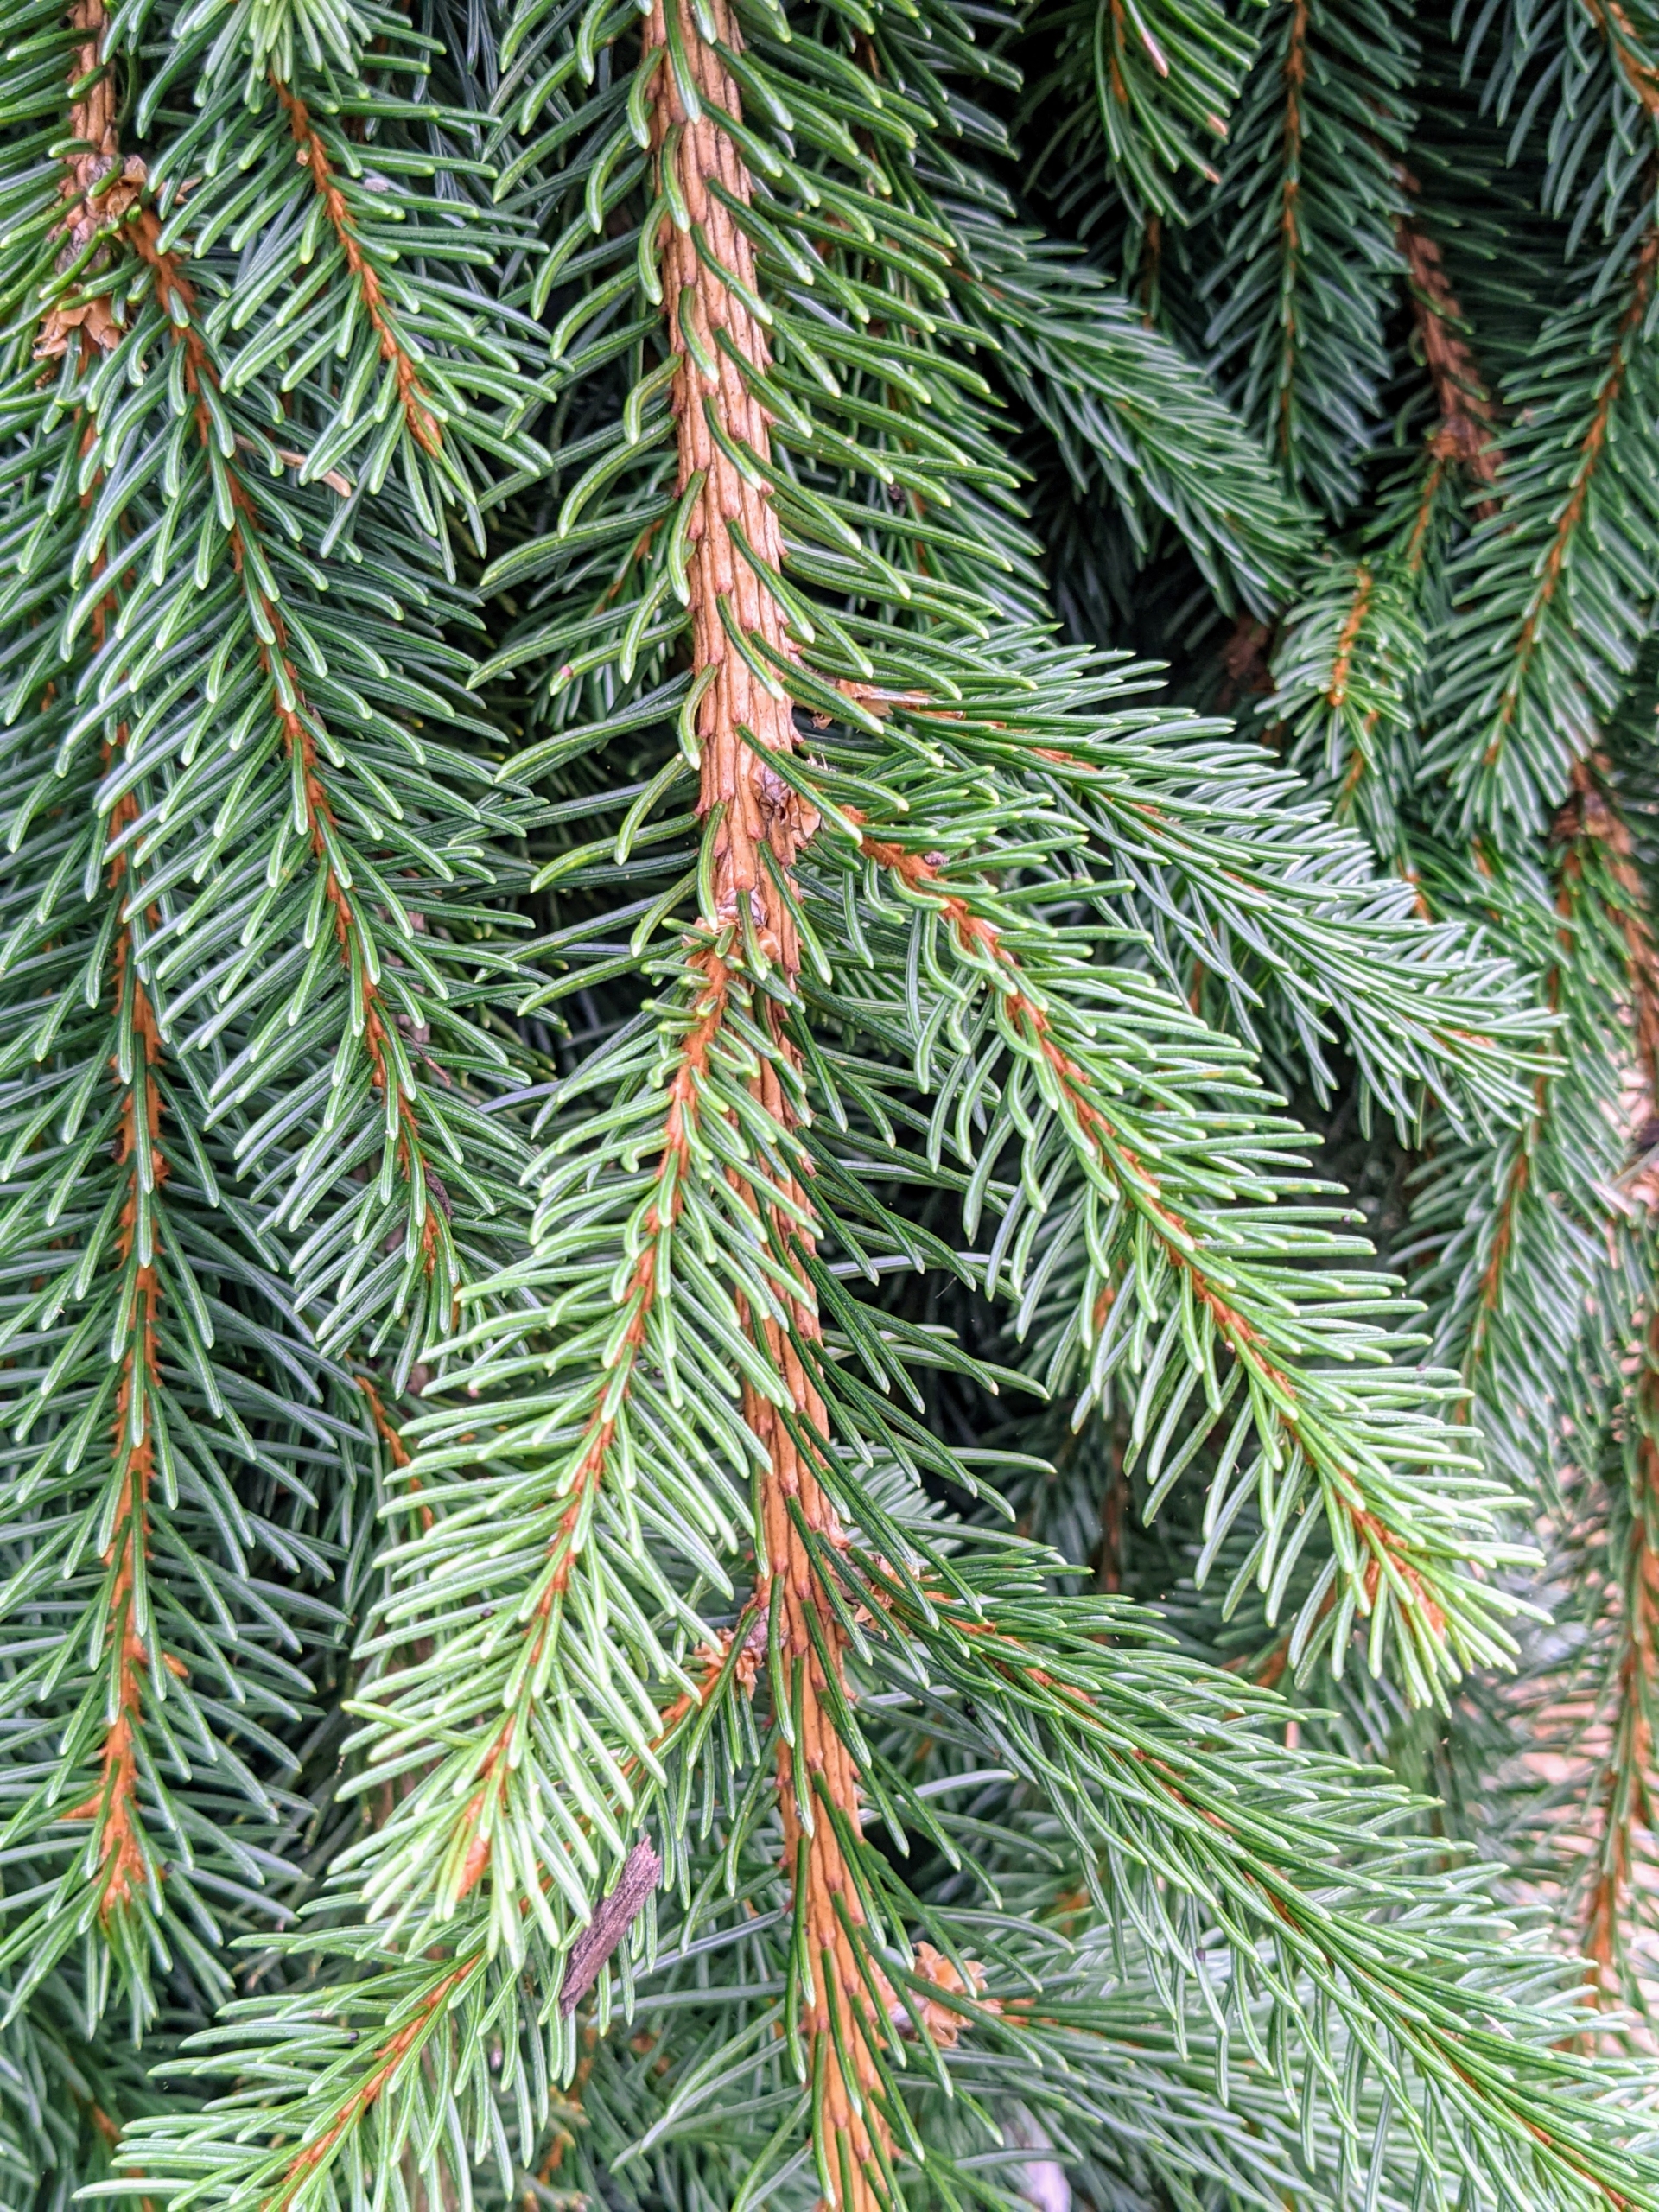
Once trees are mature, they need little maintenance except for regular mulching and removal of dead or diseased branches. Picea orientalis ‘Nigra Compacta’ or oriental spruce is a medium to large, densely branched evergreen.
Its needles are flattened and glossy dark green and are shorter than the needles of other spruce species.
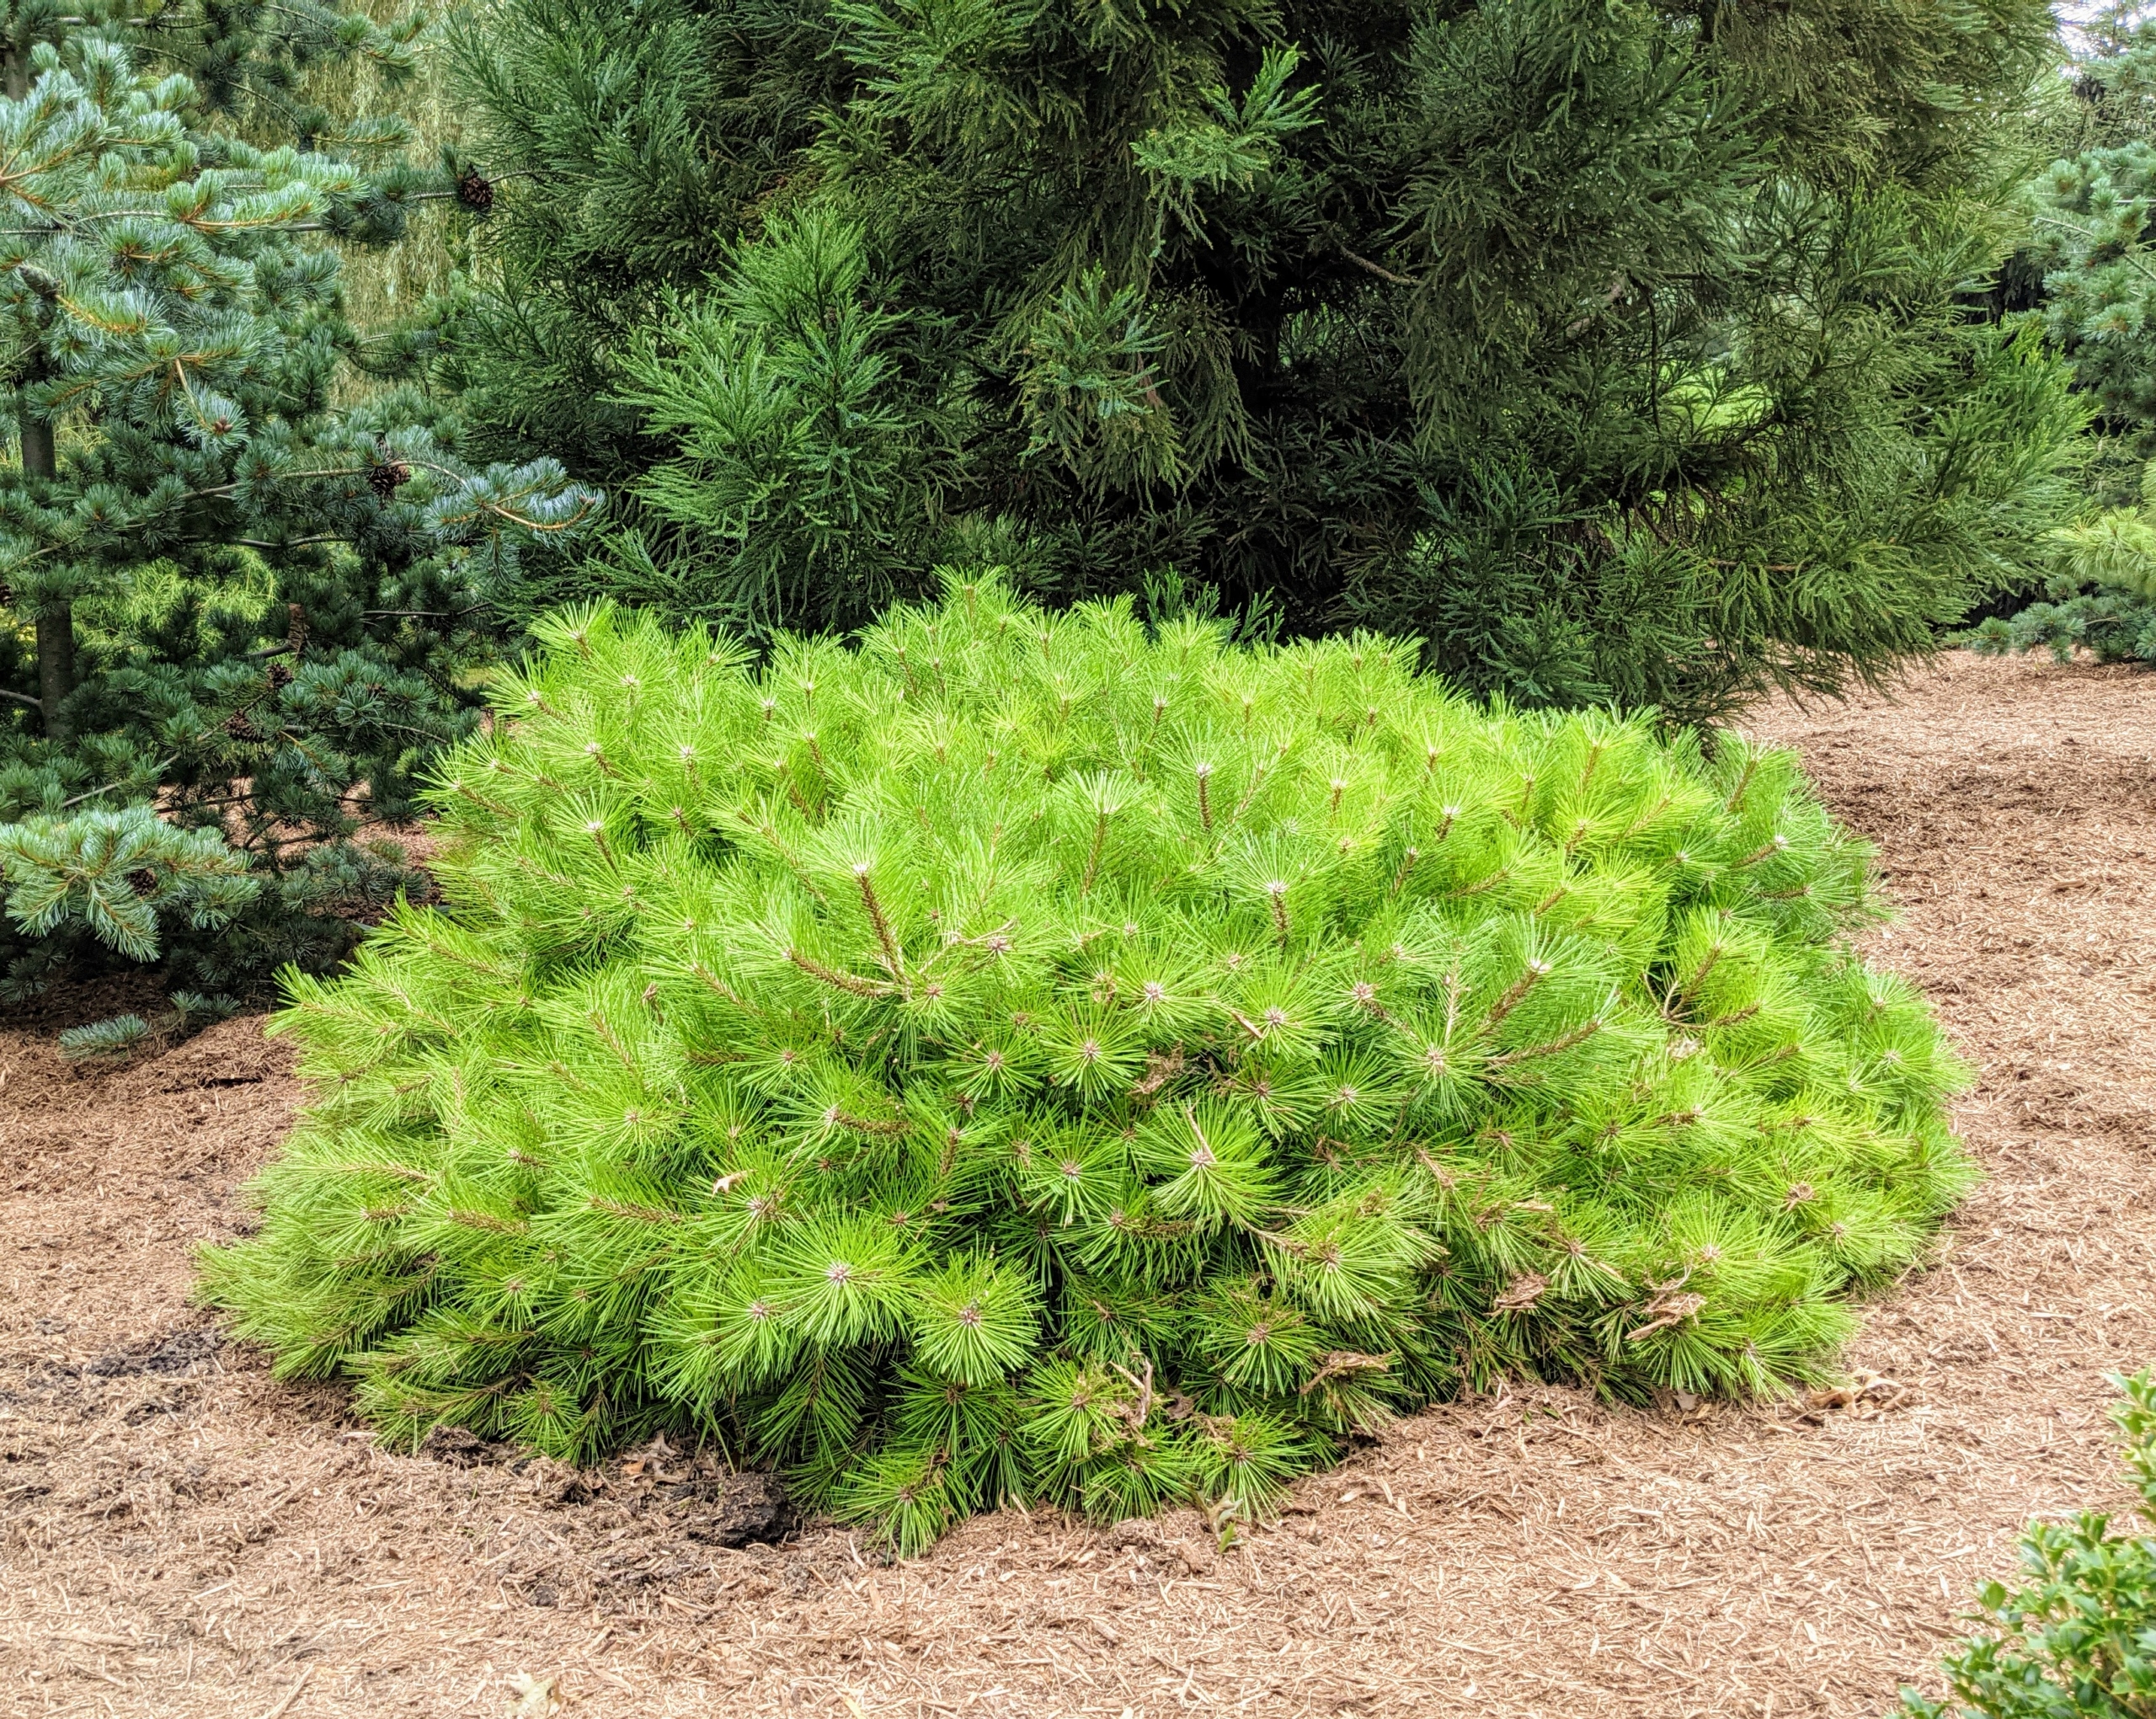
This short shrub is Pinus strobus ‘Blue Shag’, commonly known as an eastern white pine cultivar. It is a dense, globose form that typically only grows to about four feet tall.
Its short, blue-green needles in bundles of five are quite soft to the touch.
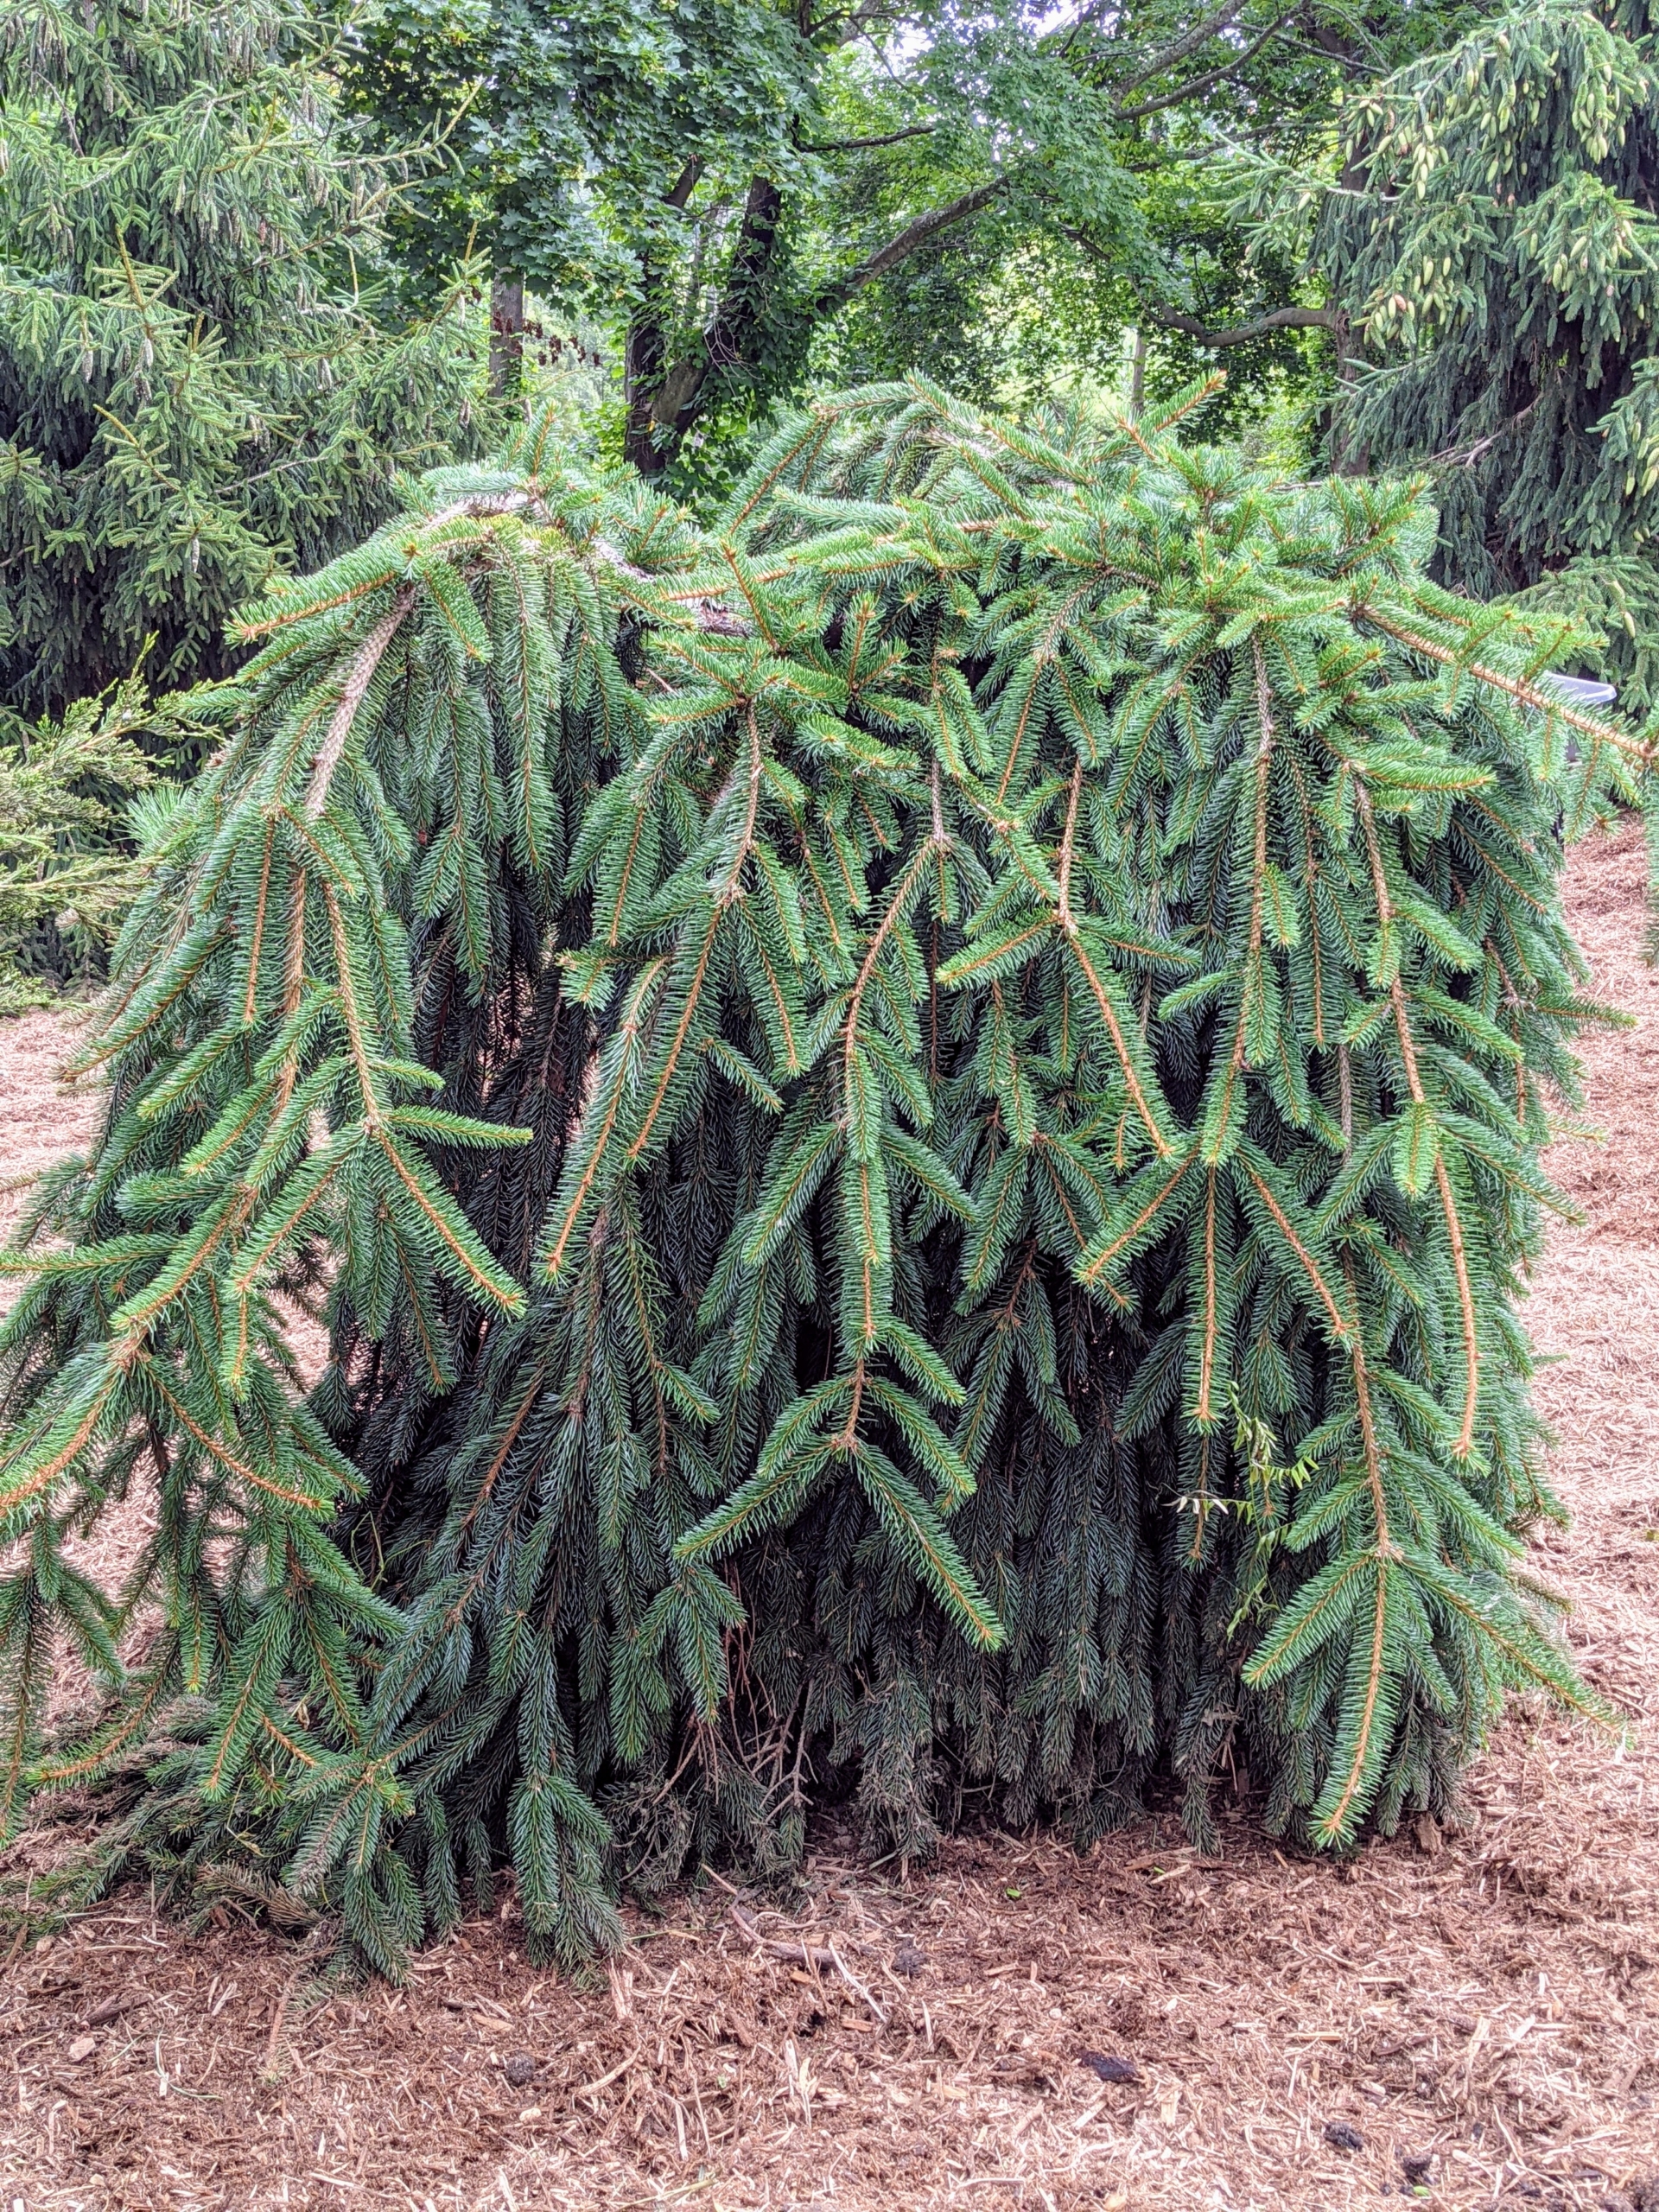
Picea abies ‘Pendula’ is used as a collective term to describe the myriad weeping and pendulous forms of Norway spruce. The Norway spruce or European spruce is a species of spruce native to Northern, Central, and Eastern Europe. Its uniquely trained form adds so much interest in this pinetum.
Primary branches are slightly upturned but secondary branches become pendulous as the tree matures. Branches are clad with spirally-arranged, four-sided, needle-like, deep green leaves which are attached at the base.
Callitropsis nootkatensis ‘Pendula’ or weeping Alaskan cedar, is a slender, strongly weeping form that grows to as much as 35-feet tall.
It has widely spaced ascending to horizontal branches with flattened sprays of blue-green leaves.
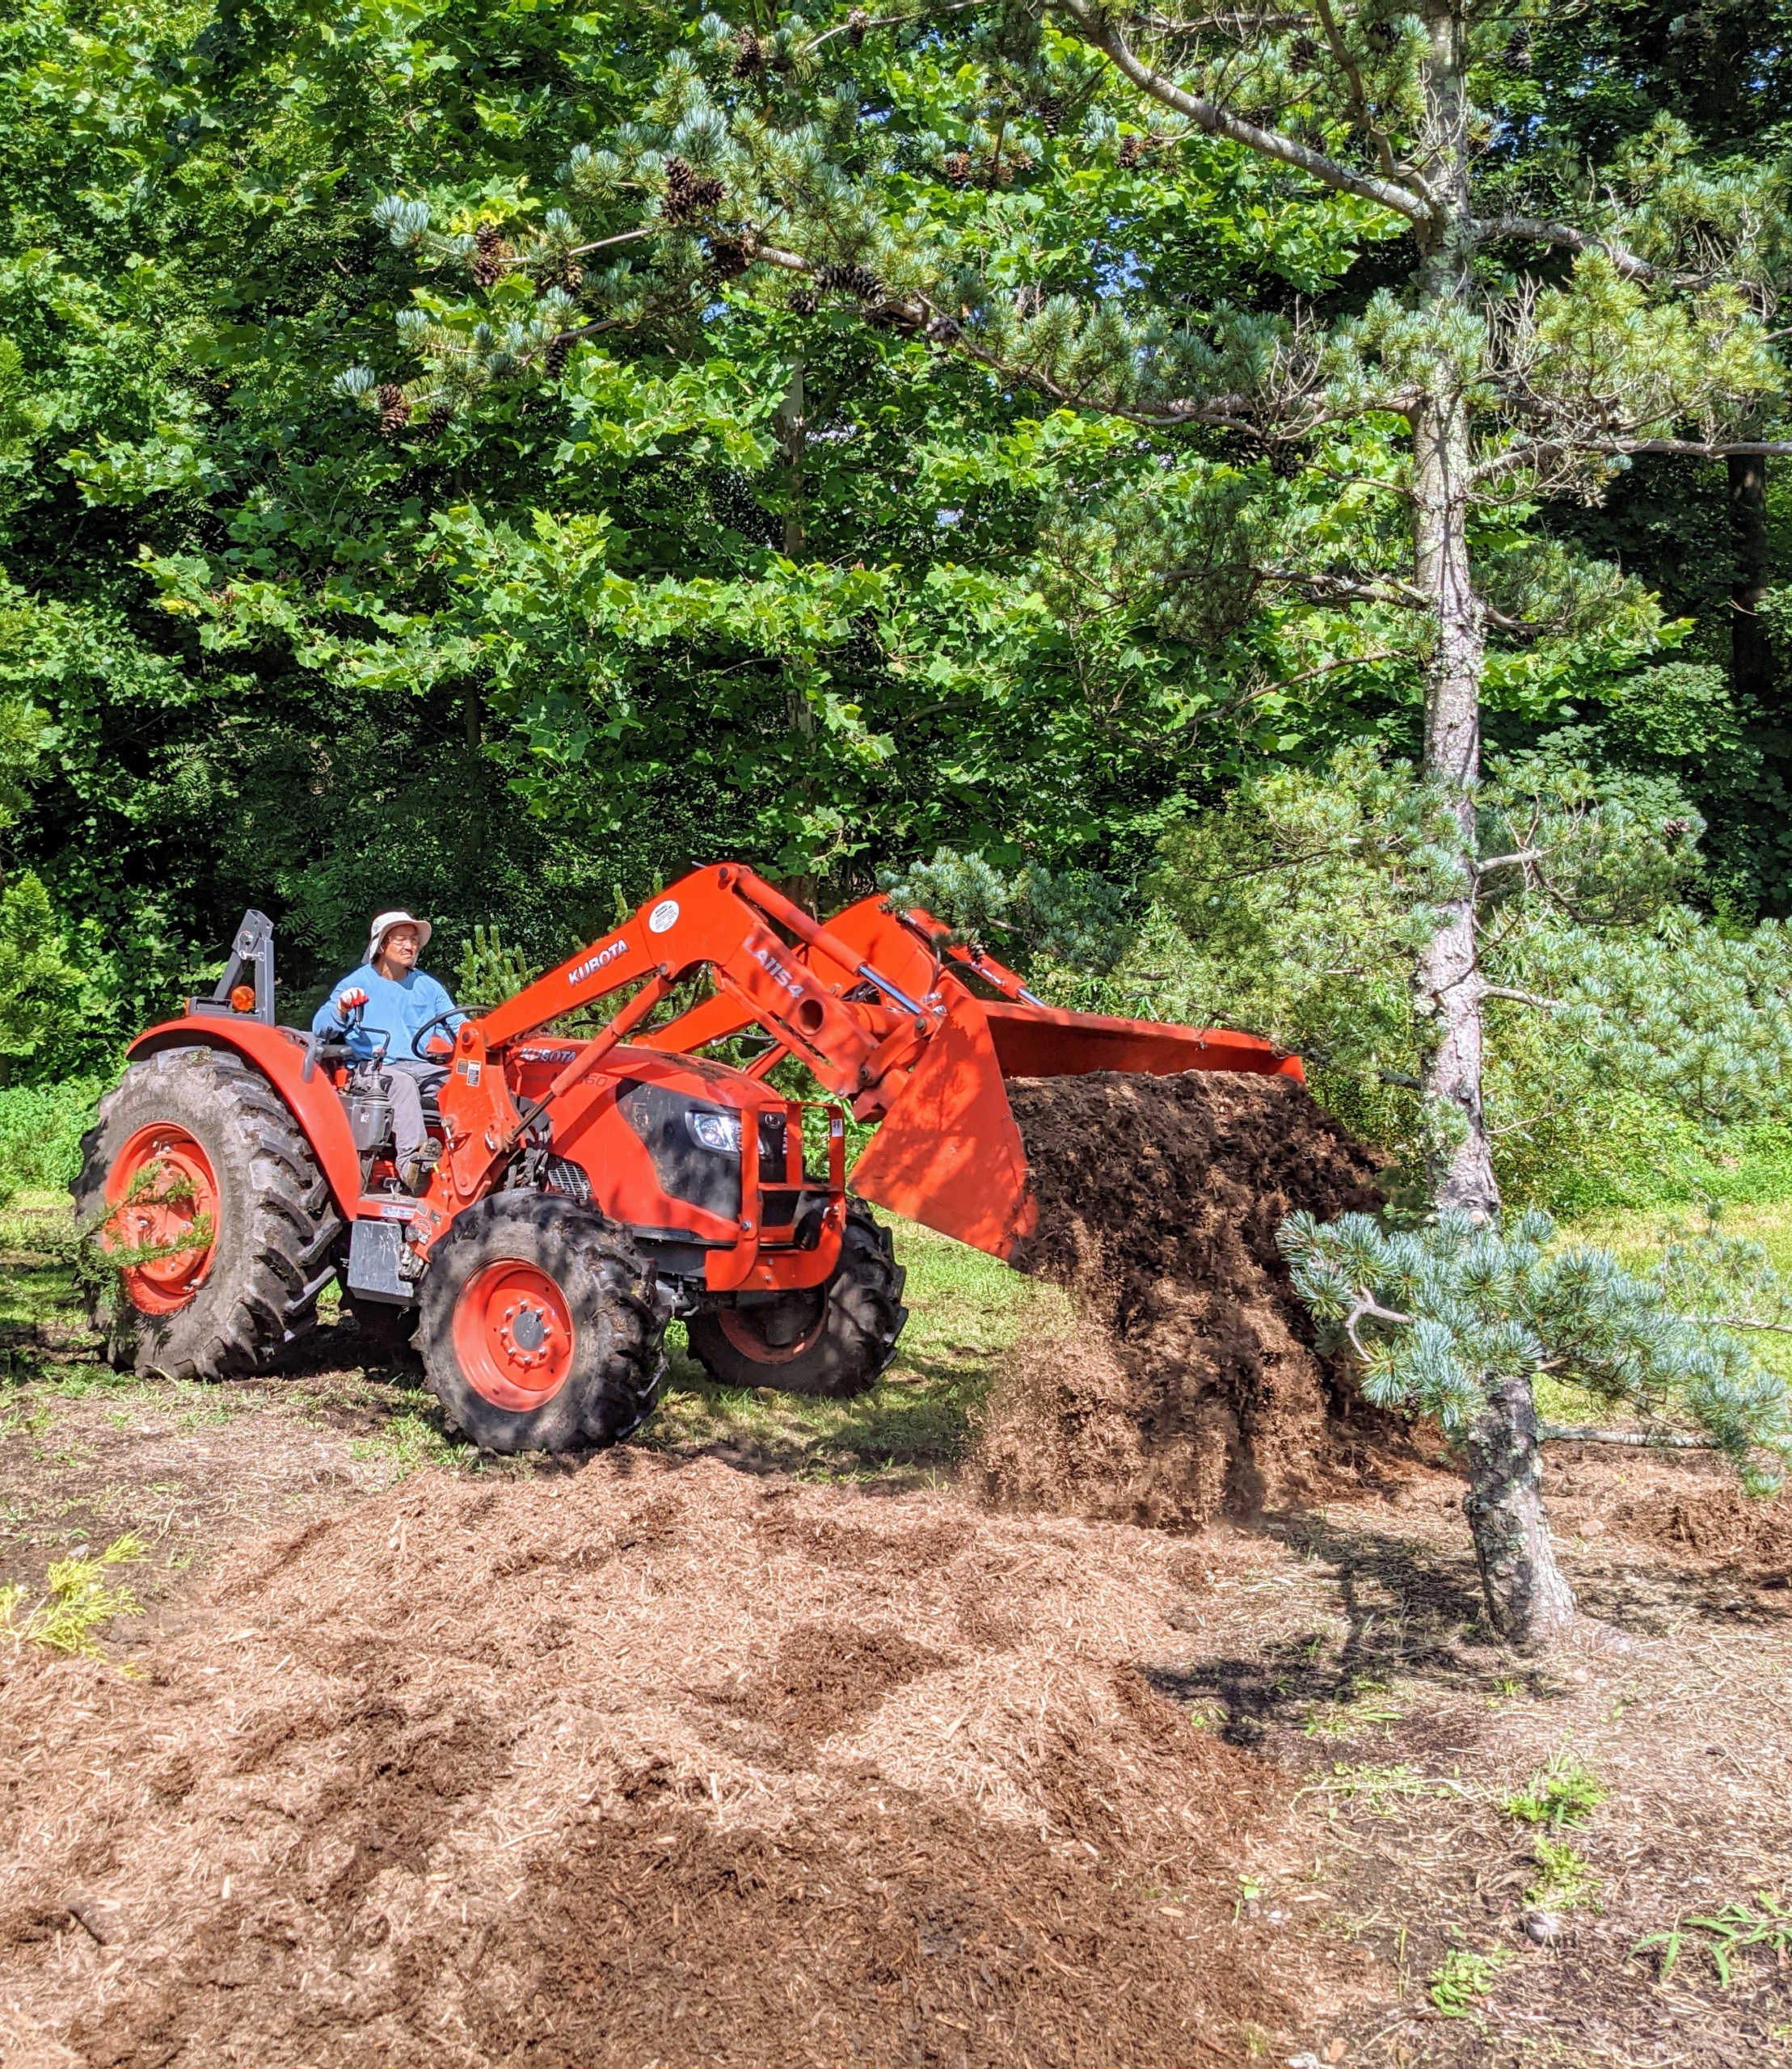
Because the pinetum covers a good portion of this area, it takes a couple of days to complete this task, but the results are so worth the effort. Here is Chhiring using our Kubota model M7060HD12 tractor to transport another large load of mulch to the back of the pinetum. This tractor is used every single day for our outdoor chores.
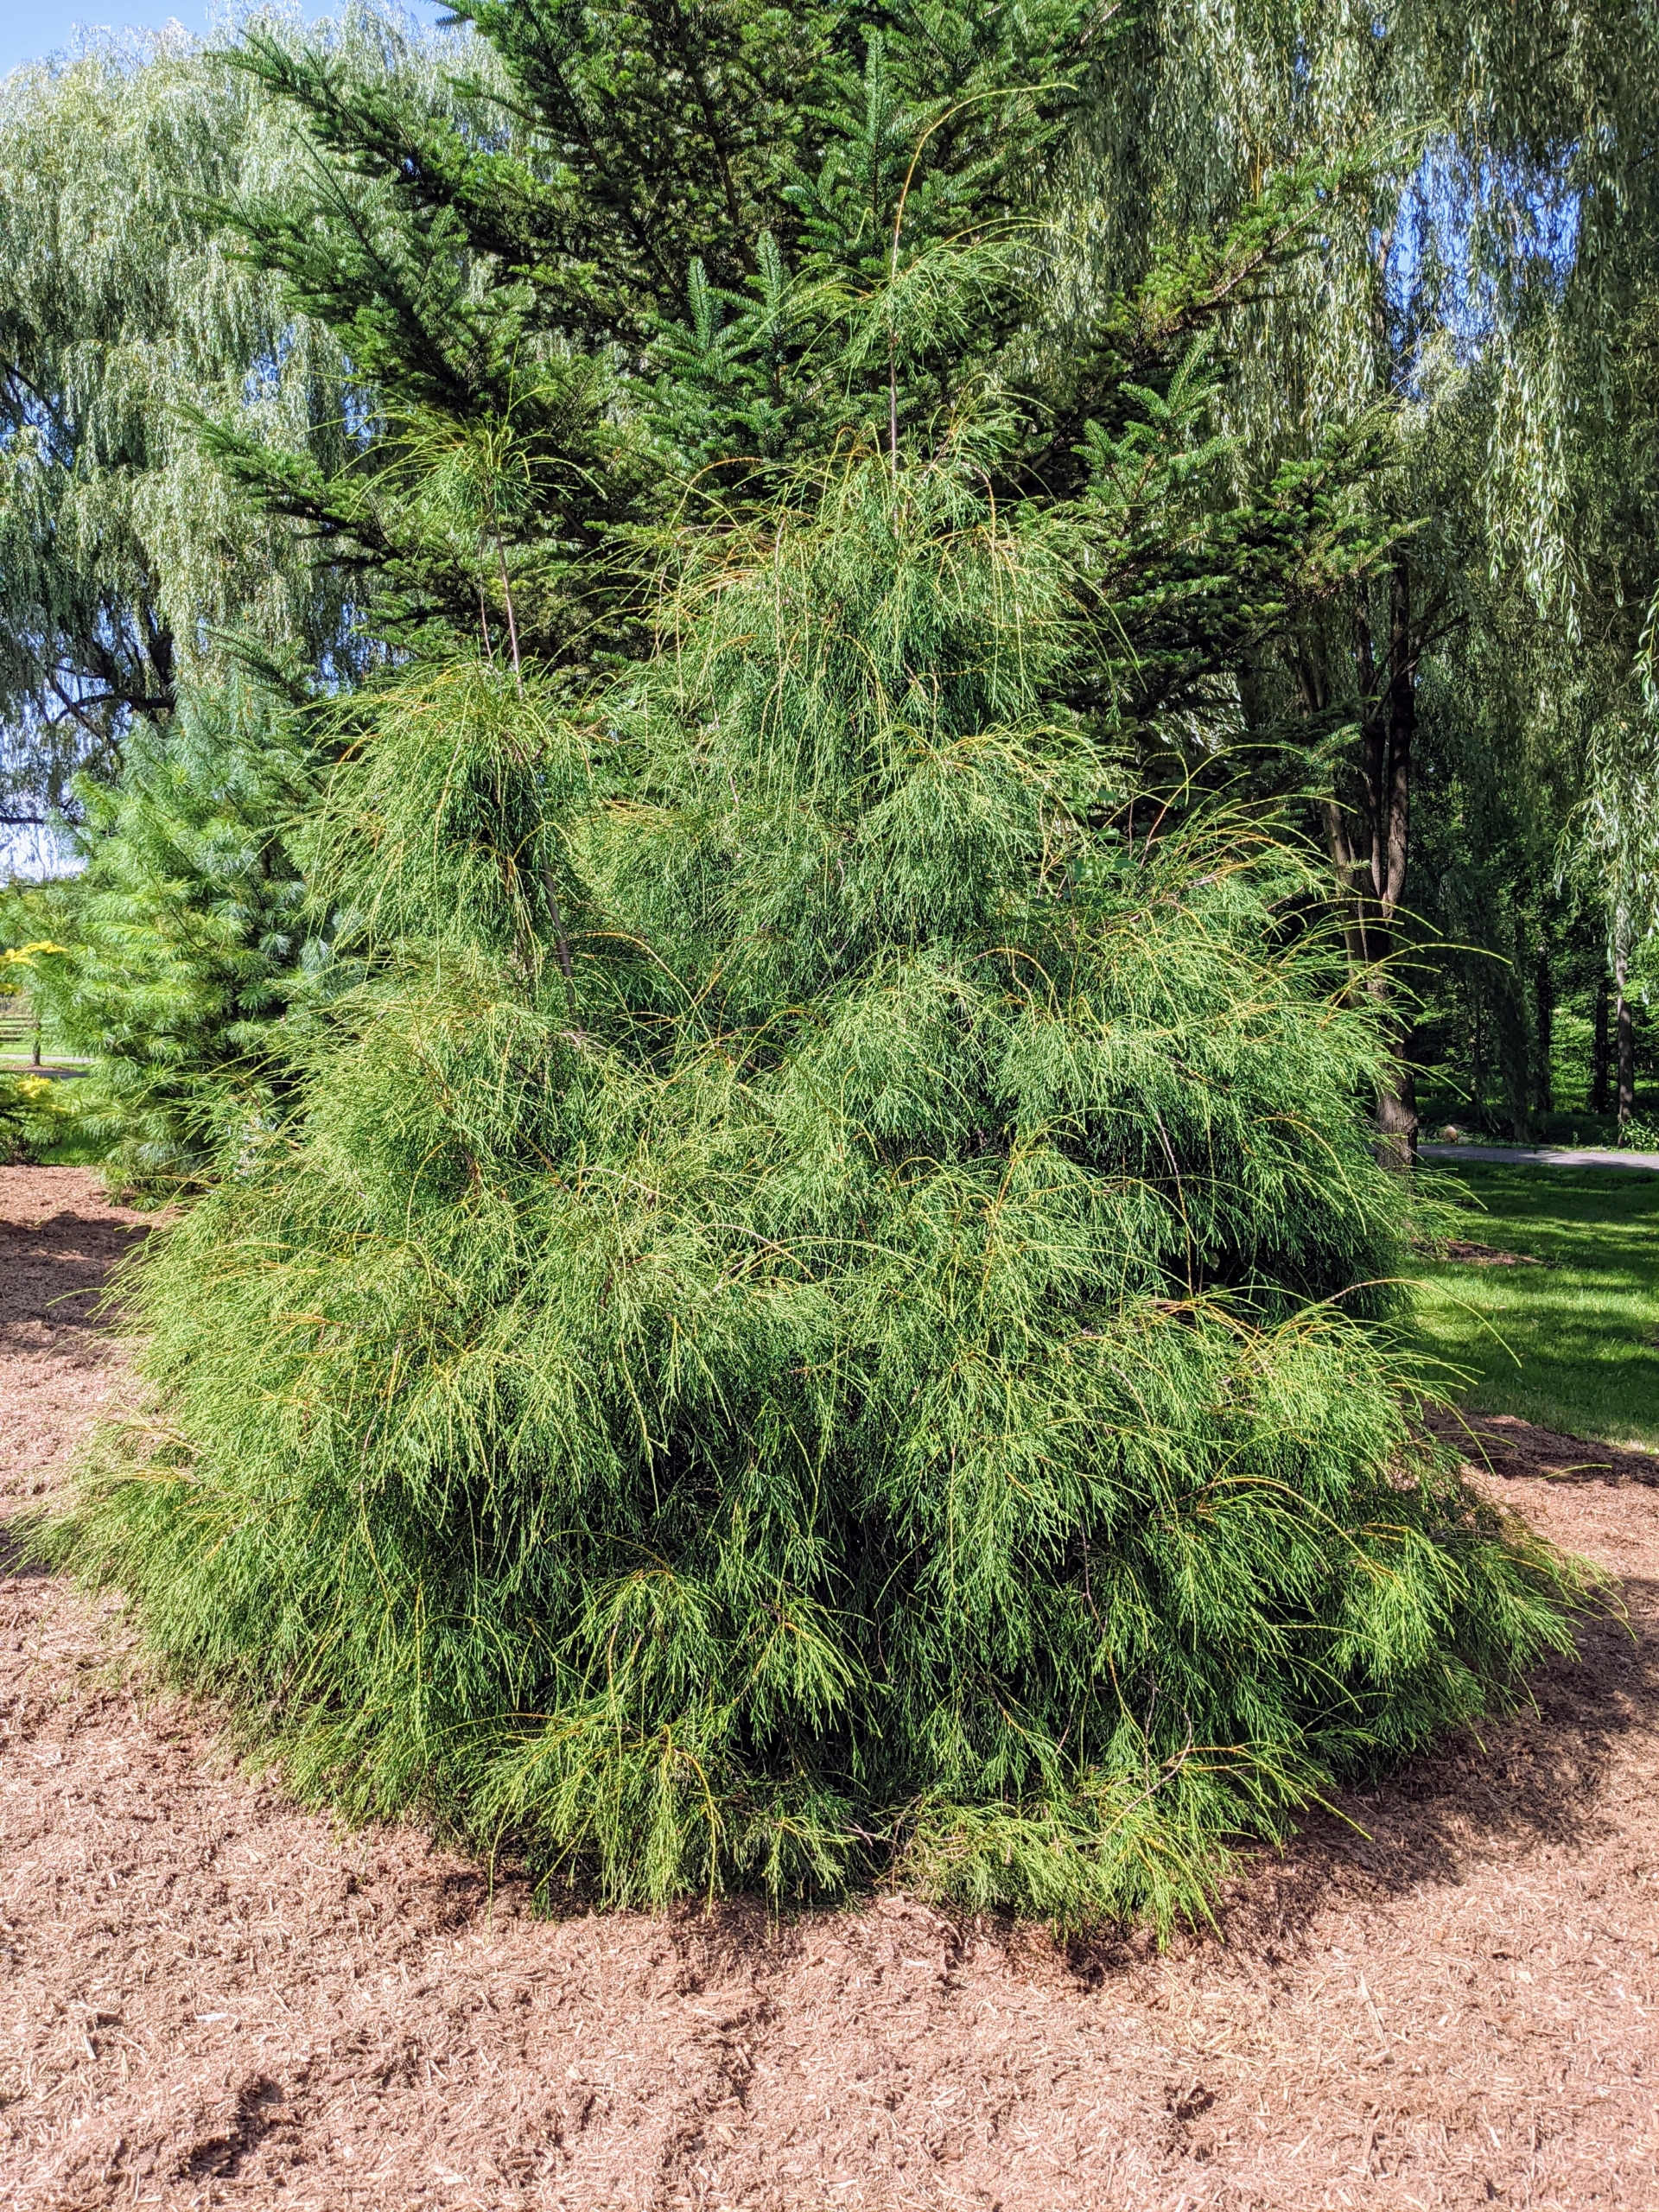
This is a threadleaf cypress. It boasts showy, greenish-gold to gold colors. Shrubs in the threadleaf group generally want full sun – they thrive in this pinetum.
This compact conifer features thread-like needles that weep and drape over the entire shrub.
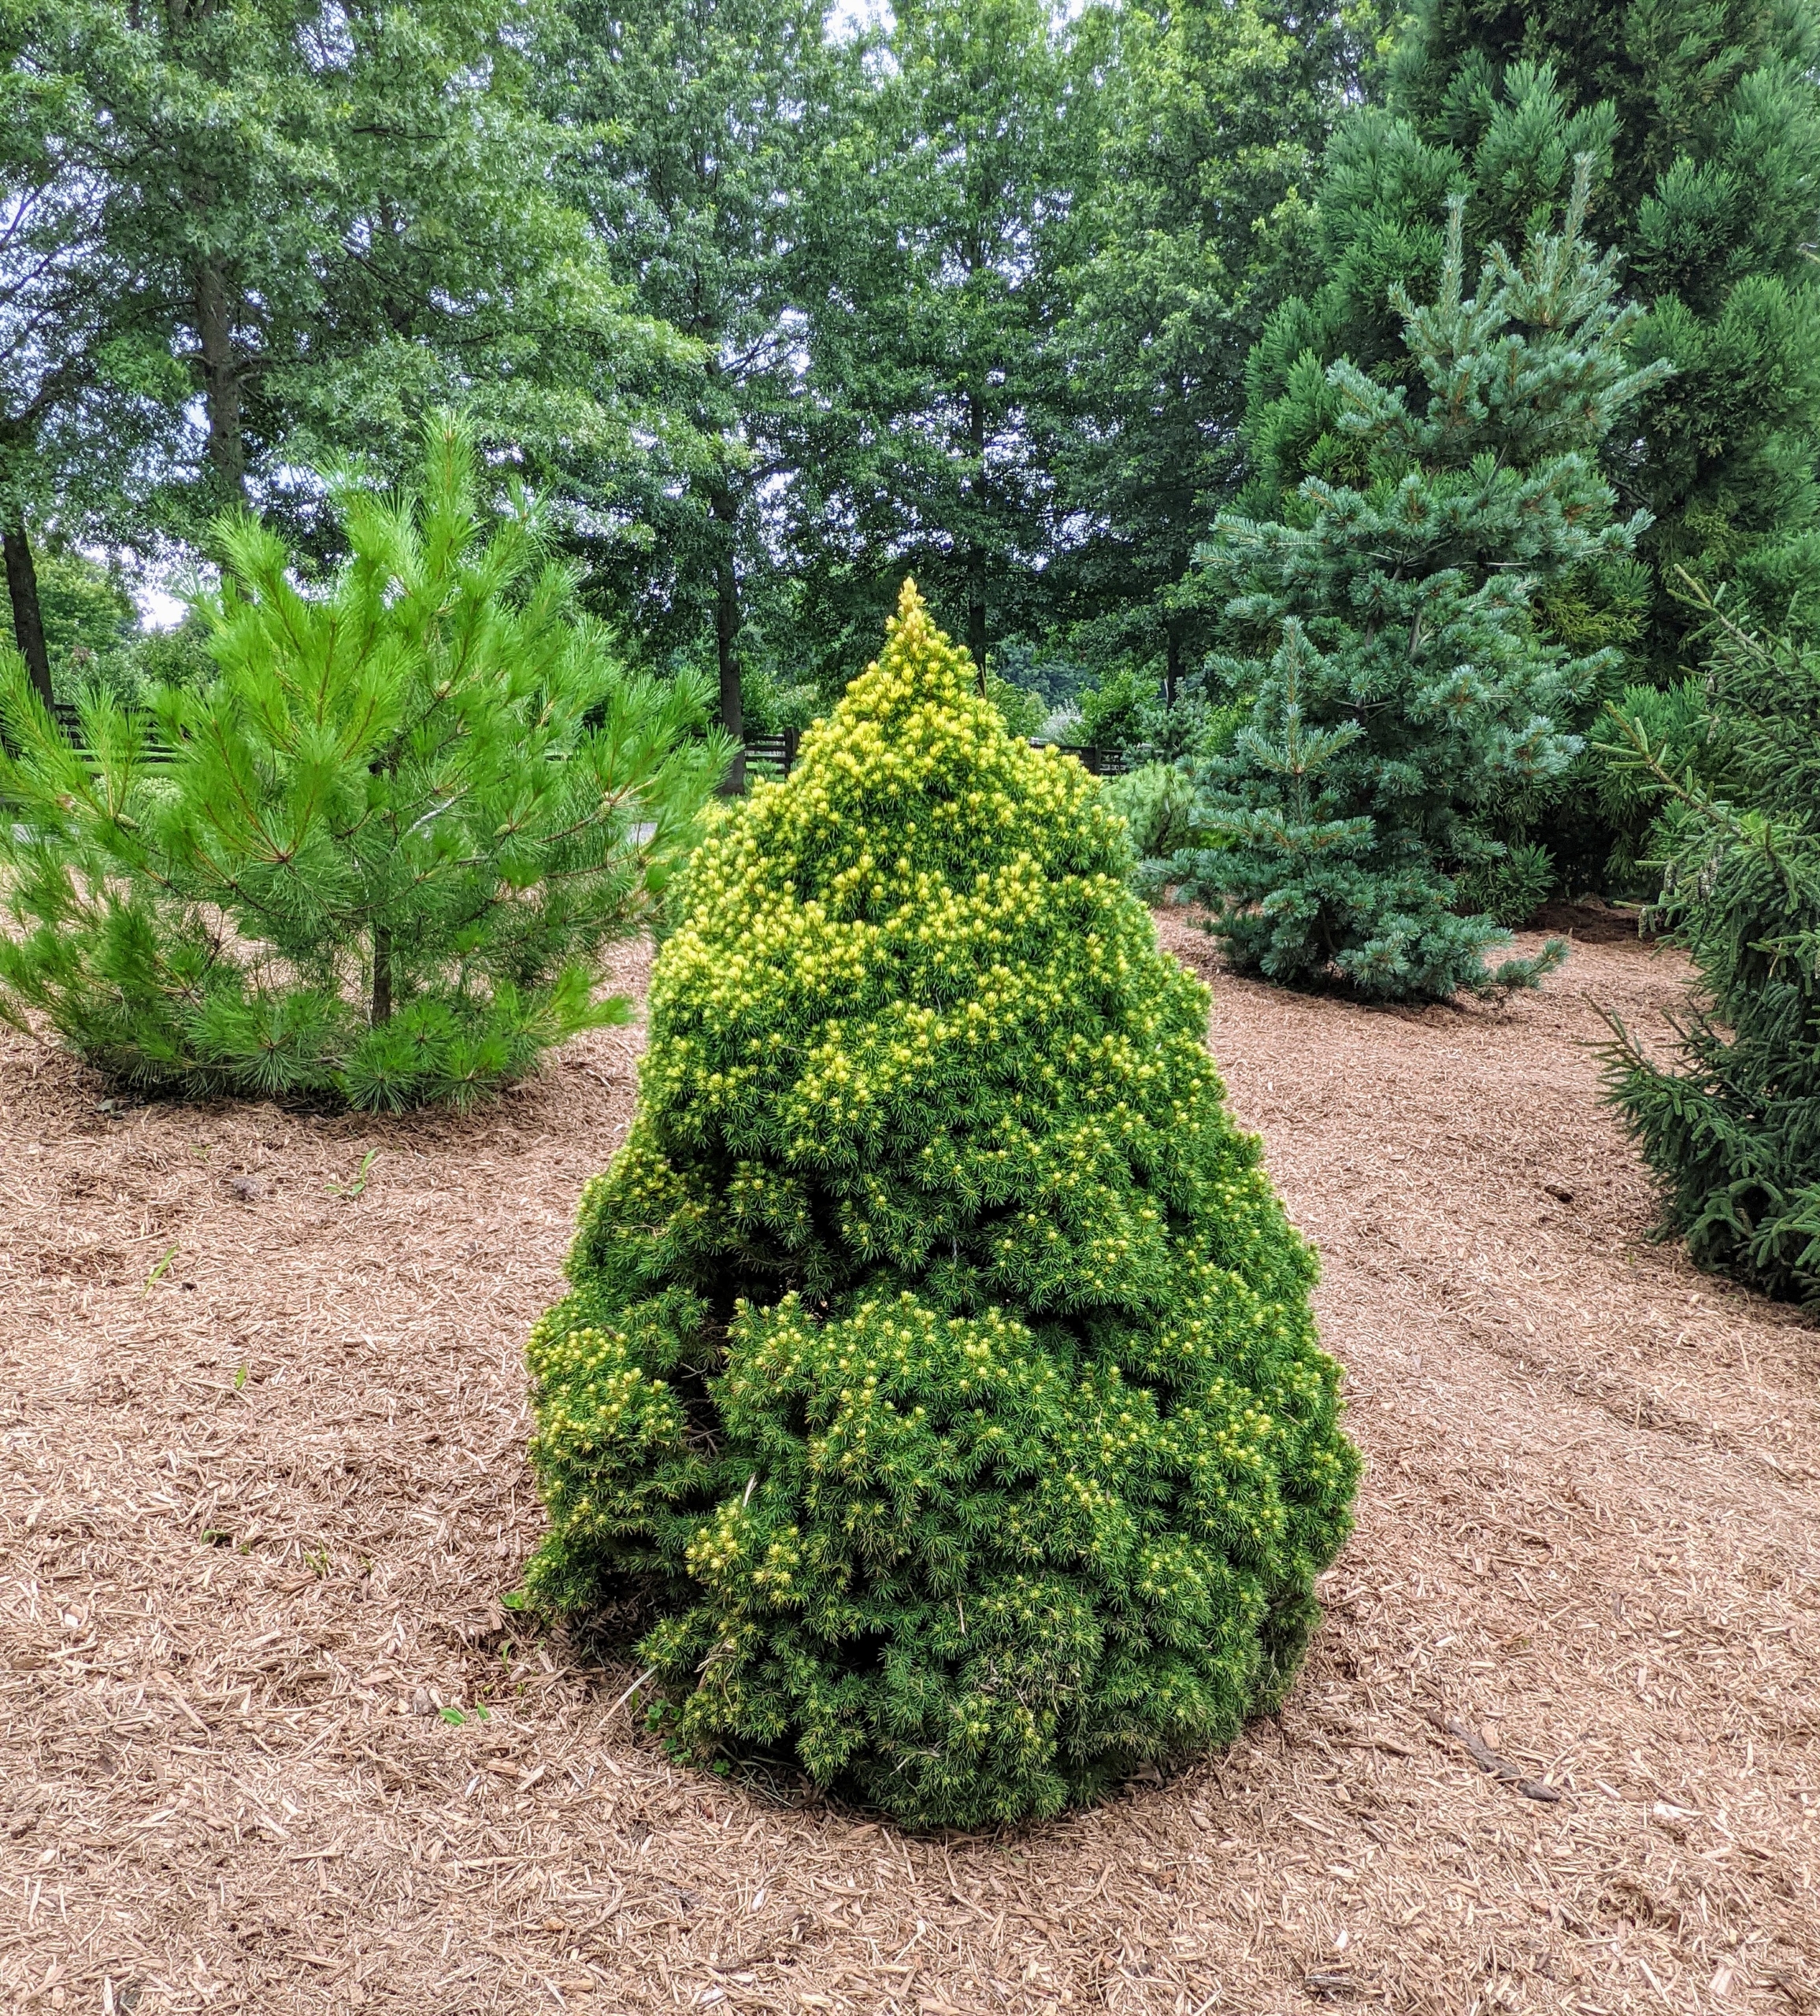
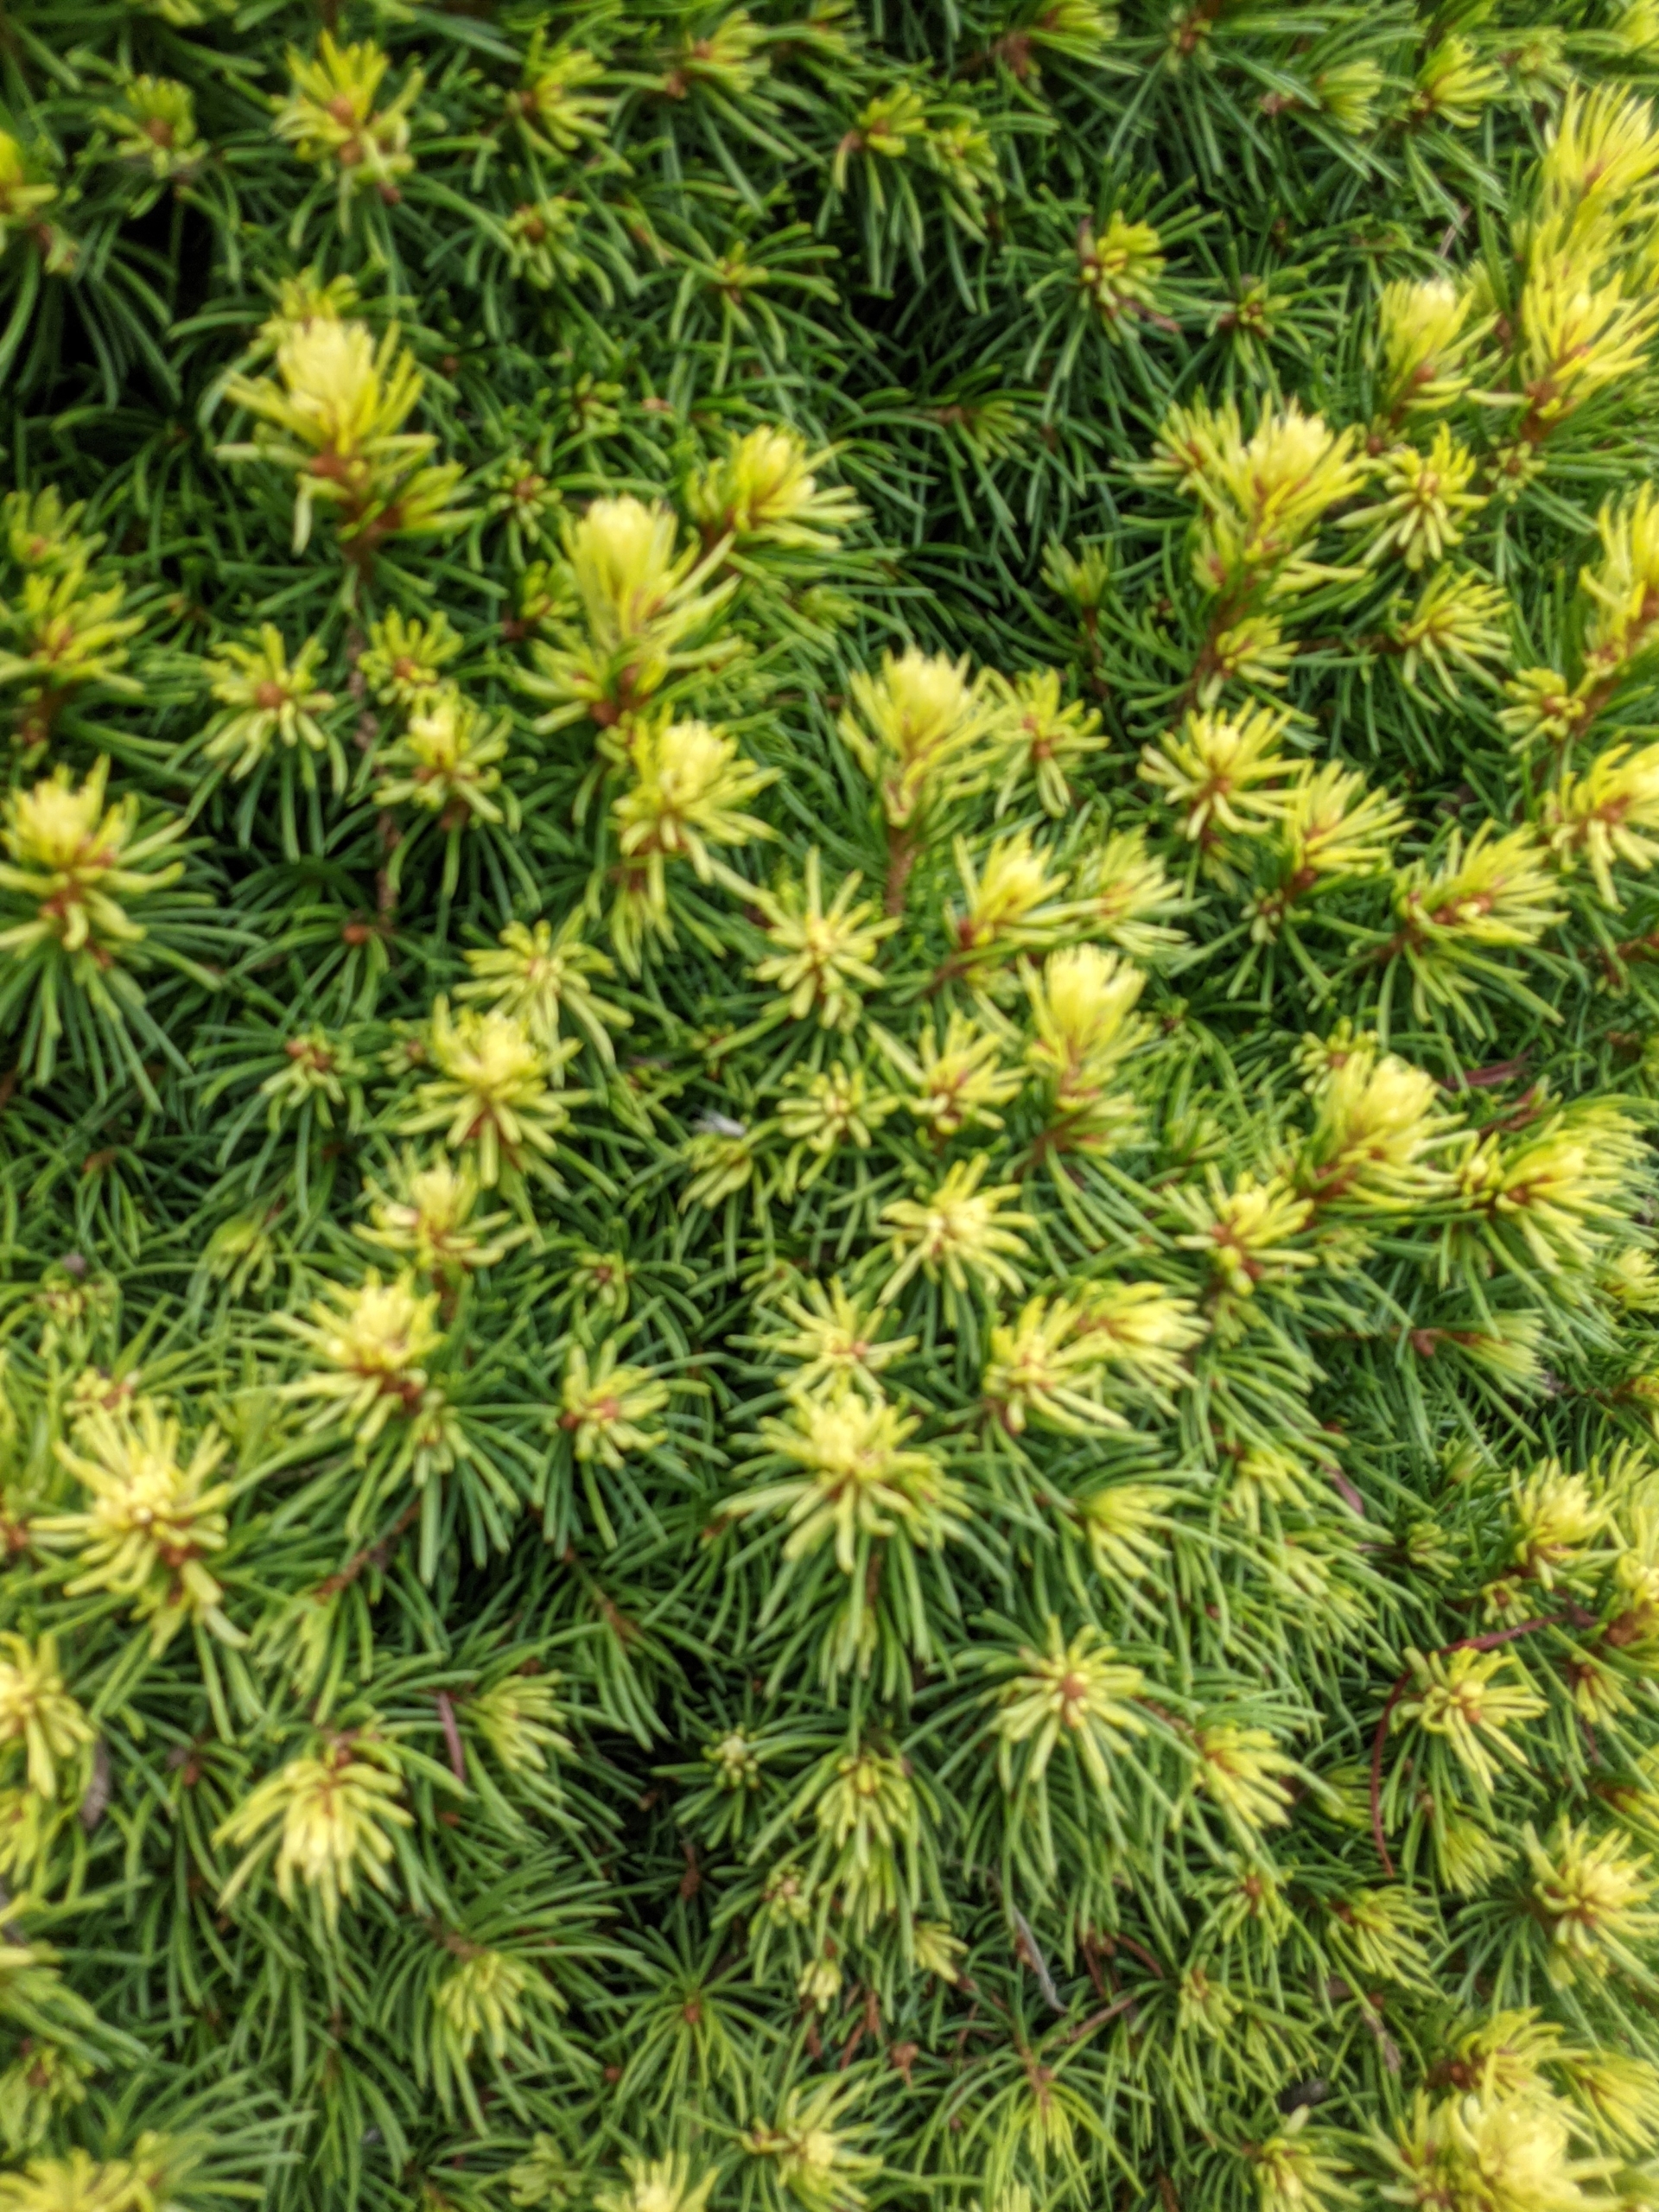
This is a dwarf Alberta spruce with a dense, compact, cone-shaped form.
Look closely to see its interesting yellowish new growth.
On one side of this pinetum are the tall and gorgeous weeping willows. Weeping willows are wide and tall with beautiful curtains of drooping branches that sweep the ground. I have several groves of weeping willow trees growing at my farm.
The leaves are long and narrow with a light green color and a finely toothed margin.
This pinetum looks so beautiful after it’s mulched. I add more specimens to this collection every year – some are very rare and slow growing, but I love the variety of plantings I’ve amassed.