Whenever I get bare-root tree cuttings and seedlings I prefer to plant them in appropriately sized containers first, so they can be watered and carefully monitored until they are planted in the gardens.
This week, my outdoor grounds crew worked very hard to pot hundreds of young trees, including pine trees, spruce trees, and cedar trees, American chestnuts, willows, buckthorns, and bald cypress. They all came from Musser Forests, Inc., a Pennsylvania-based company specializing in conifers, hardwood seedlings, and transplants.
Enjoy these photos.
Potting and planting hundreds of trees at the farm is a huge, yet exciting undertaking. I love trees, and every year I plant as many as possible, sometimes thousands. I get them small – as bare-roots or as containerized seedlings.
Bare-root trees are so named because the plants are dug from the ground while dormant and stored without any soil surrounding their roots. Bare-root plants should not have any mold or mildew. The cuttings should also feel heavy. If they feel light and dried out then the plant probably will not grow.
Once the bare-roots are removed from the box, they are placed in water filled bins until they are potted.
Some trees arrived in small containers. These are Crippsii Golden Hinoki Cypress seedlings ready to be potted in larger vessels.
This is a Southwestern White Pine, Pinus strobiformus. It is a tall evergreen coniferous tree native to the mountains of western Texas, New Mexico, Arizona, and southwestern Colorado, extending to Mexico. It is characterized by its pyramidal habit, slender trunk, open crown, and soft, straight to slightly twisted, finely serrated, rich blue-green needles.
The Leyland cypress is a fast-growing, evergreen hybrid tree. It can reach 50 to 70 feet in height when mature.
Gold Thread Cypress is an evergreen shrub with striking yellow foliage. It holds its stunning golden color all throughout the year.
I save pots whenever I can – they always come in handy for projects like this, and I always encourage the crew to reuse supplies whenever possible. Each pot is prepared with a small layer of soil ready for the tree and backfill.
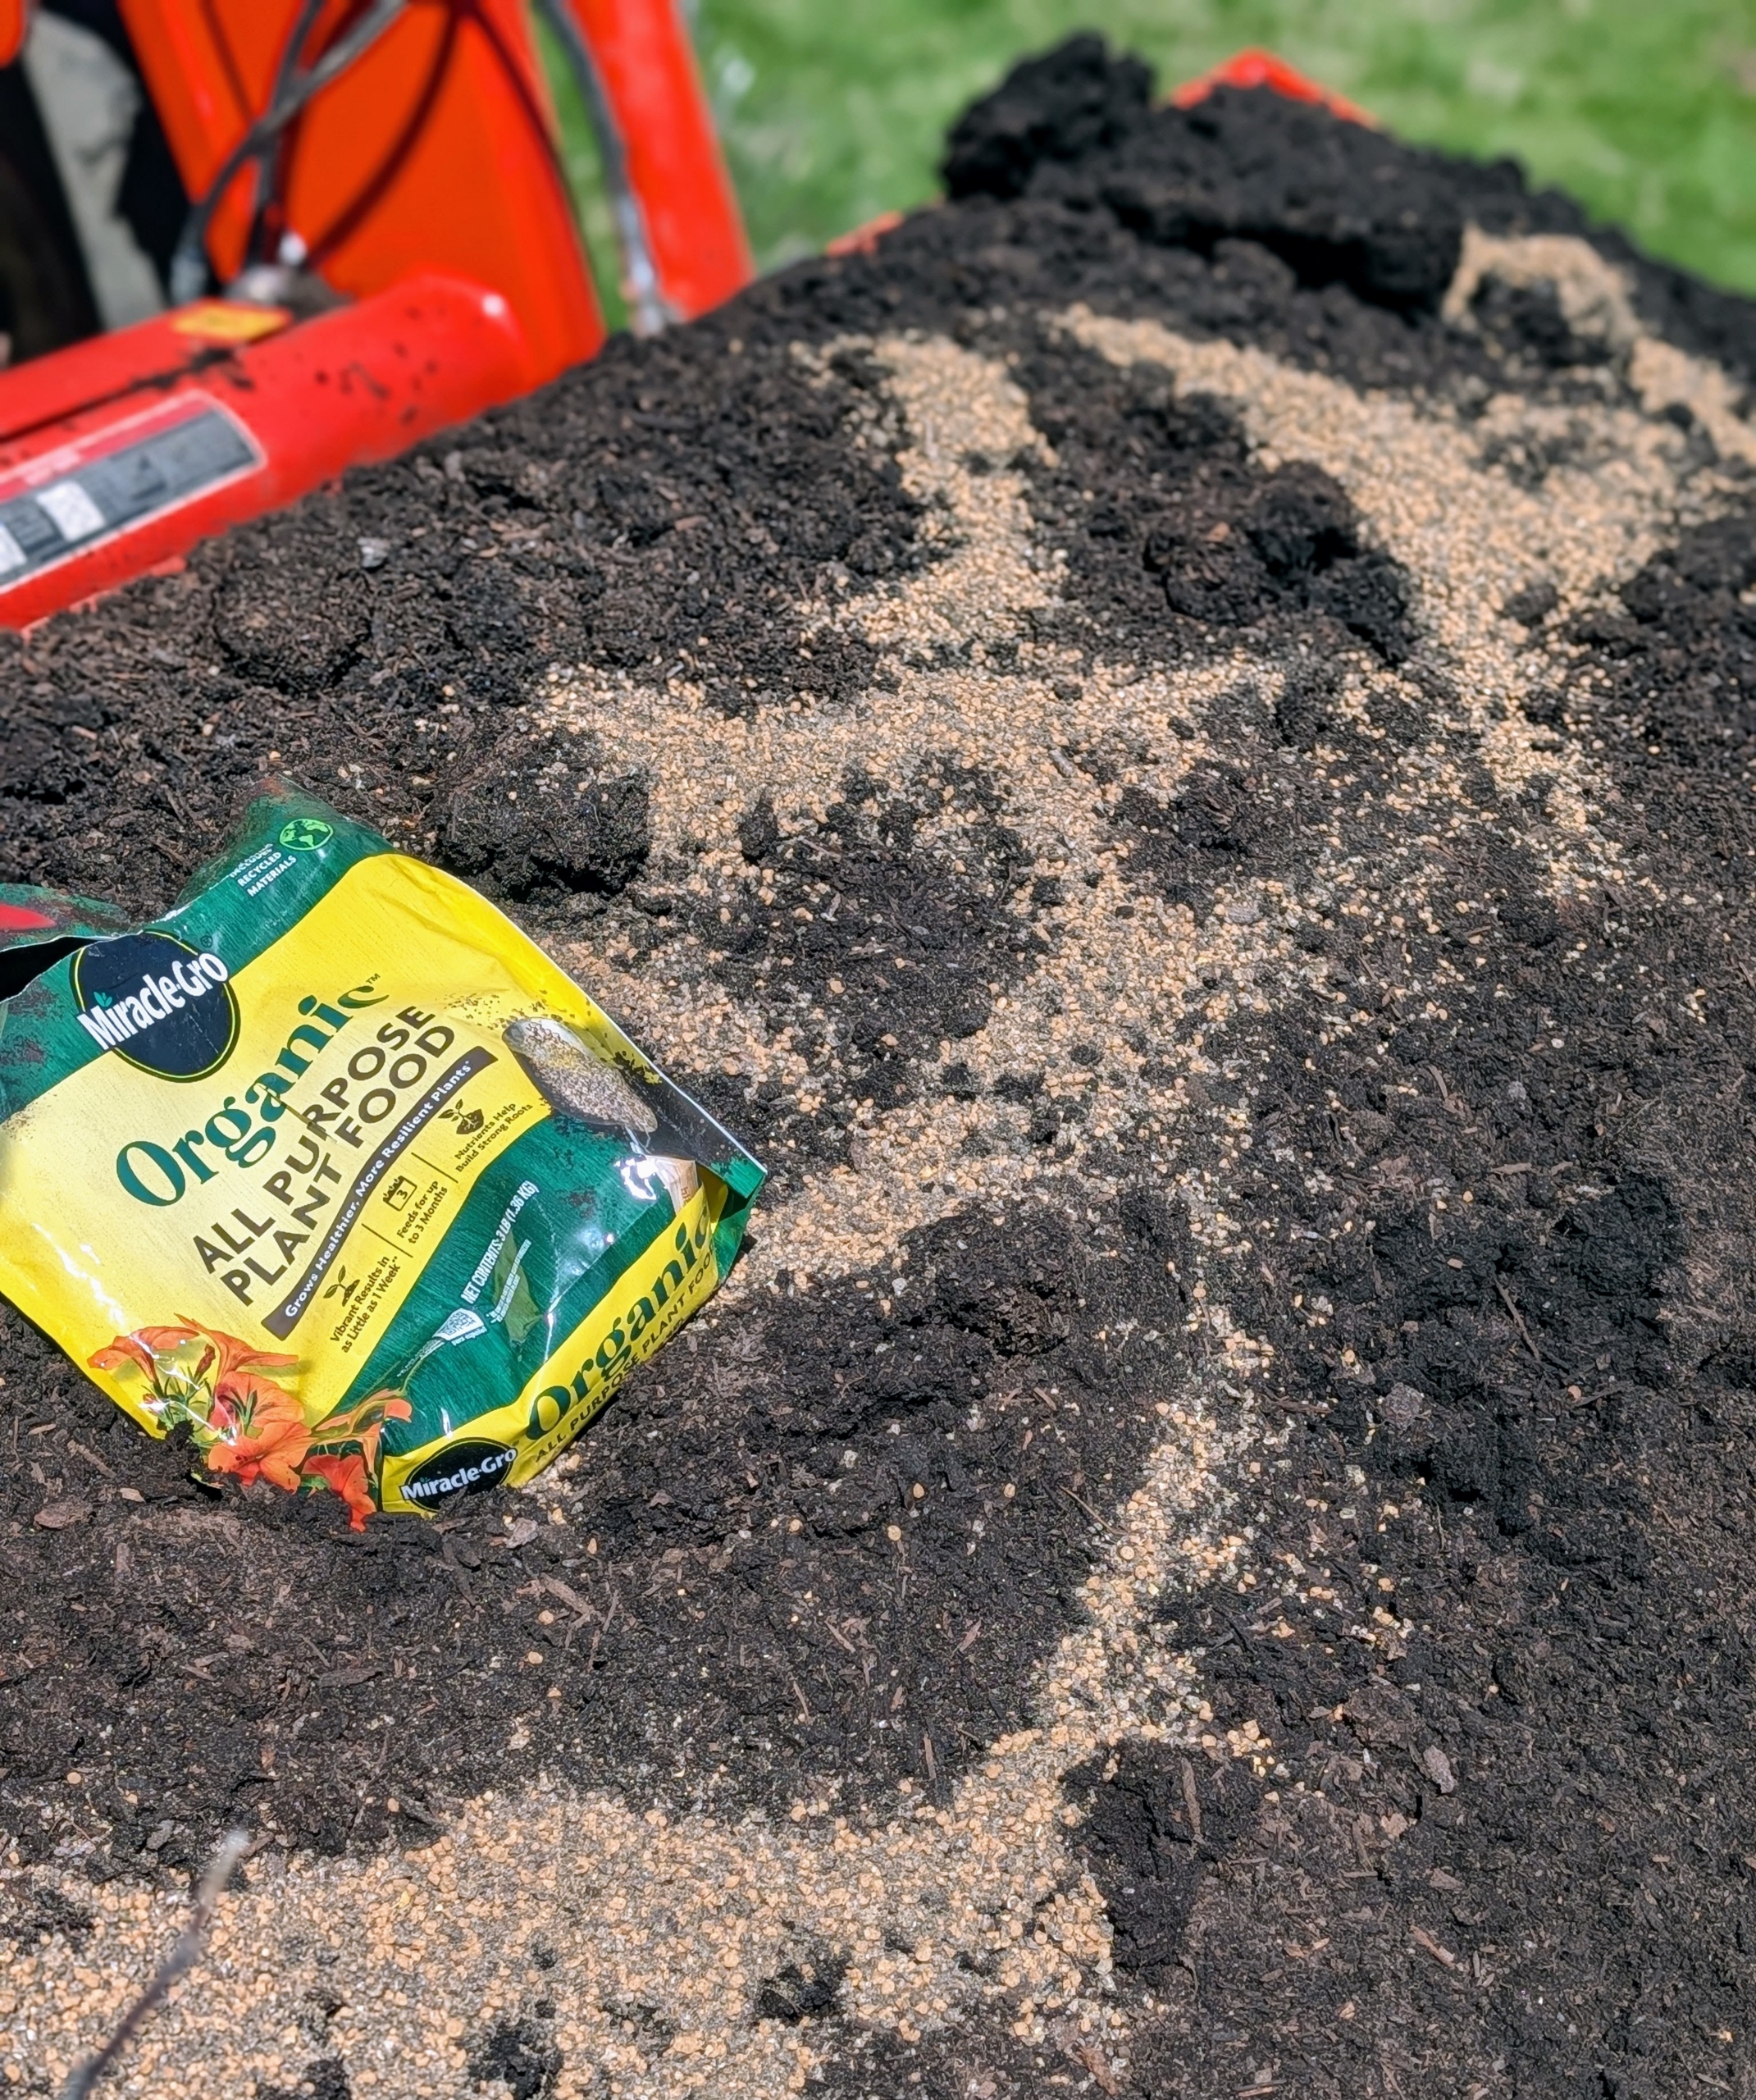
We use composted manure and top soil for potting. Composting manure above 131-degrees Fahrenheit for at least a couple weeks kill harmful pathogens, dilute ammonia, stabilize nitrogen, kill weed seeds and reduce any objectionable odors. I am so proud of the nutrient-rich soil I make here at the farm.
It is amended with some good fertilizer and then mixed well. I use Organic All-Purpose Plant Food from Miracle-Gro.
The process for potting is the same for small seedlings and for bare-roots. Each tree or shrub is placed into an appropriately sized pot, so the roots and root balls are not crowded at the bottom.
Phurba places a seedling in the pot so it is straight and centered in the container.
Here he tamps down lightly after the pot is backfilled so there is good contact between the tree roots and the surrounding soil.
Once trees are planted, Pete moves them in sections to a designated area where they wait to be transported to the nursery.
These are Bird’s Nest spruce trees – slow-growing, dwarf evergreen conifers with a distinctive nest-like depression in the center.
Phurba moves fast and pots the specimens by group. These Bird’s Nest spruce trees have shallow root systems and will do well in these pots.
As each tree is potted, it is placed in a row with all like specimens – and marked.
The Blue Atlas Cedar, also known as Cedrus atlantica ‘Glauca’, is an evergreen native to the Atlas Mountains of Northern Africa and prized for its steel-blue to silvery-blue needles and branching structure. It typically grows with pyramidal crown when young, gradually spreading into a broad pyramid as it matures. The tree can reach 60 feet in height and 40 feet in width.
I also got a selection of Fernspray Gold False Cypress, Chamaecyparis obtusa ‘Fernspray Gold’ – a dense evergreen conifer known for its golden-yellow to vivid green, soft, fan-like foliage.
In order to get all the seedlings potted as quickly as possible, it’s “all hands on deck.” The crew creates a very productive assembly line. While some plant, others load. Here’s Matthew loading potted trees onto the wheelbarrow.
And then he lines them up in the nursery where they will be properly and carefully maintained.
These trees will thrive in these pots and be in excellent condition when it is time to plant them in their more permanent locations around the farm.
This new collection includes a range of kitchen essentials including a Slow Cooker, Rice Cooker, French Door Air Fryer, Slim Air Fryer, Stand Mixer, XL Griddle, Electric Kettle, a 2 Slice Classic Toaster, 4 Slice Classic Toaster, and Long Slot Toaster, a Rotating Waffle Maker, Countertop Blender, Mini Chopper, Coffee & Spice Grinder, and several more items on the way. I designed these products to blend into the kitchen, with simple forms and discreet digital displays that disappear when not in use, so countertops are visually streamlined and clean. And every piece has been rigorously tested by me and my team of experts - you're going to love every one of them.
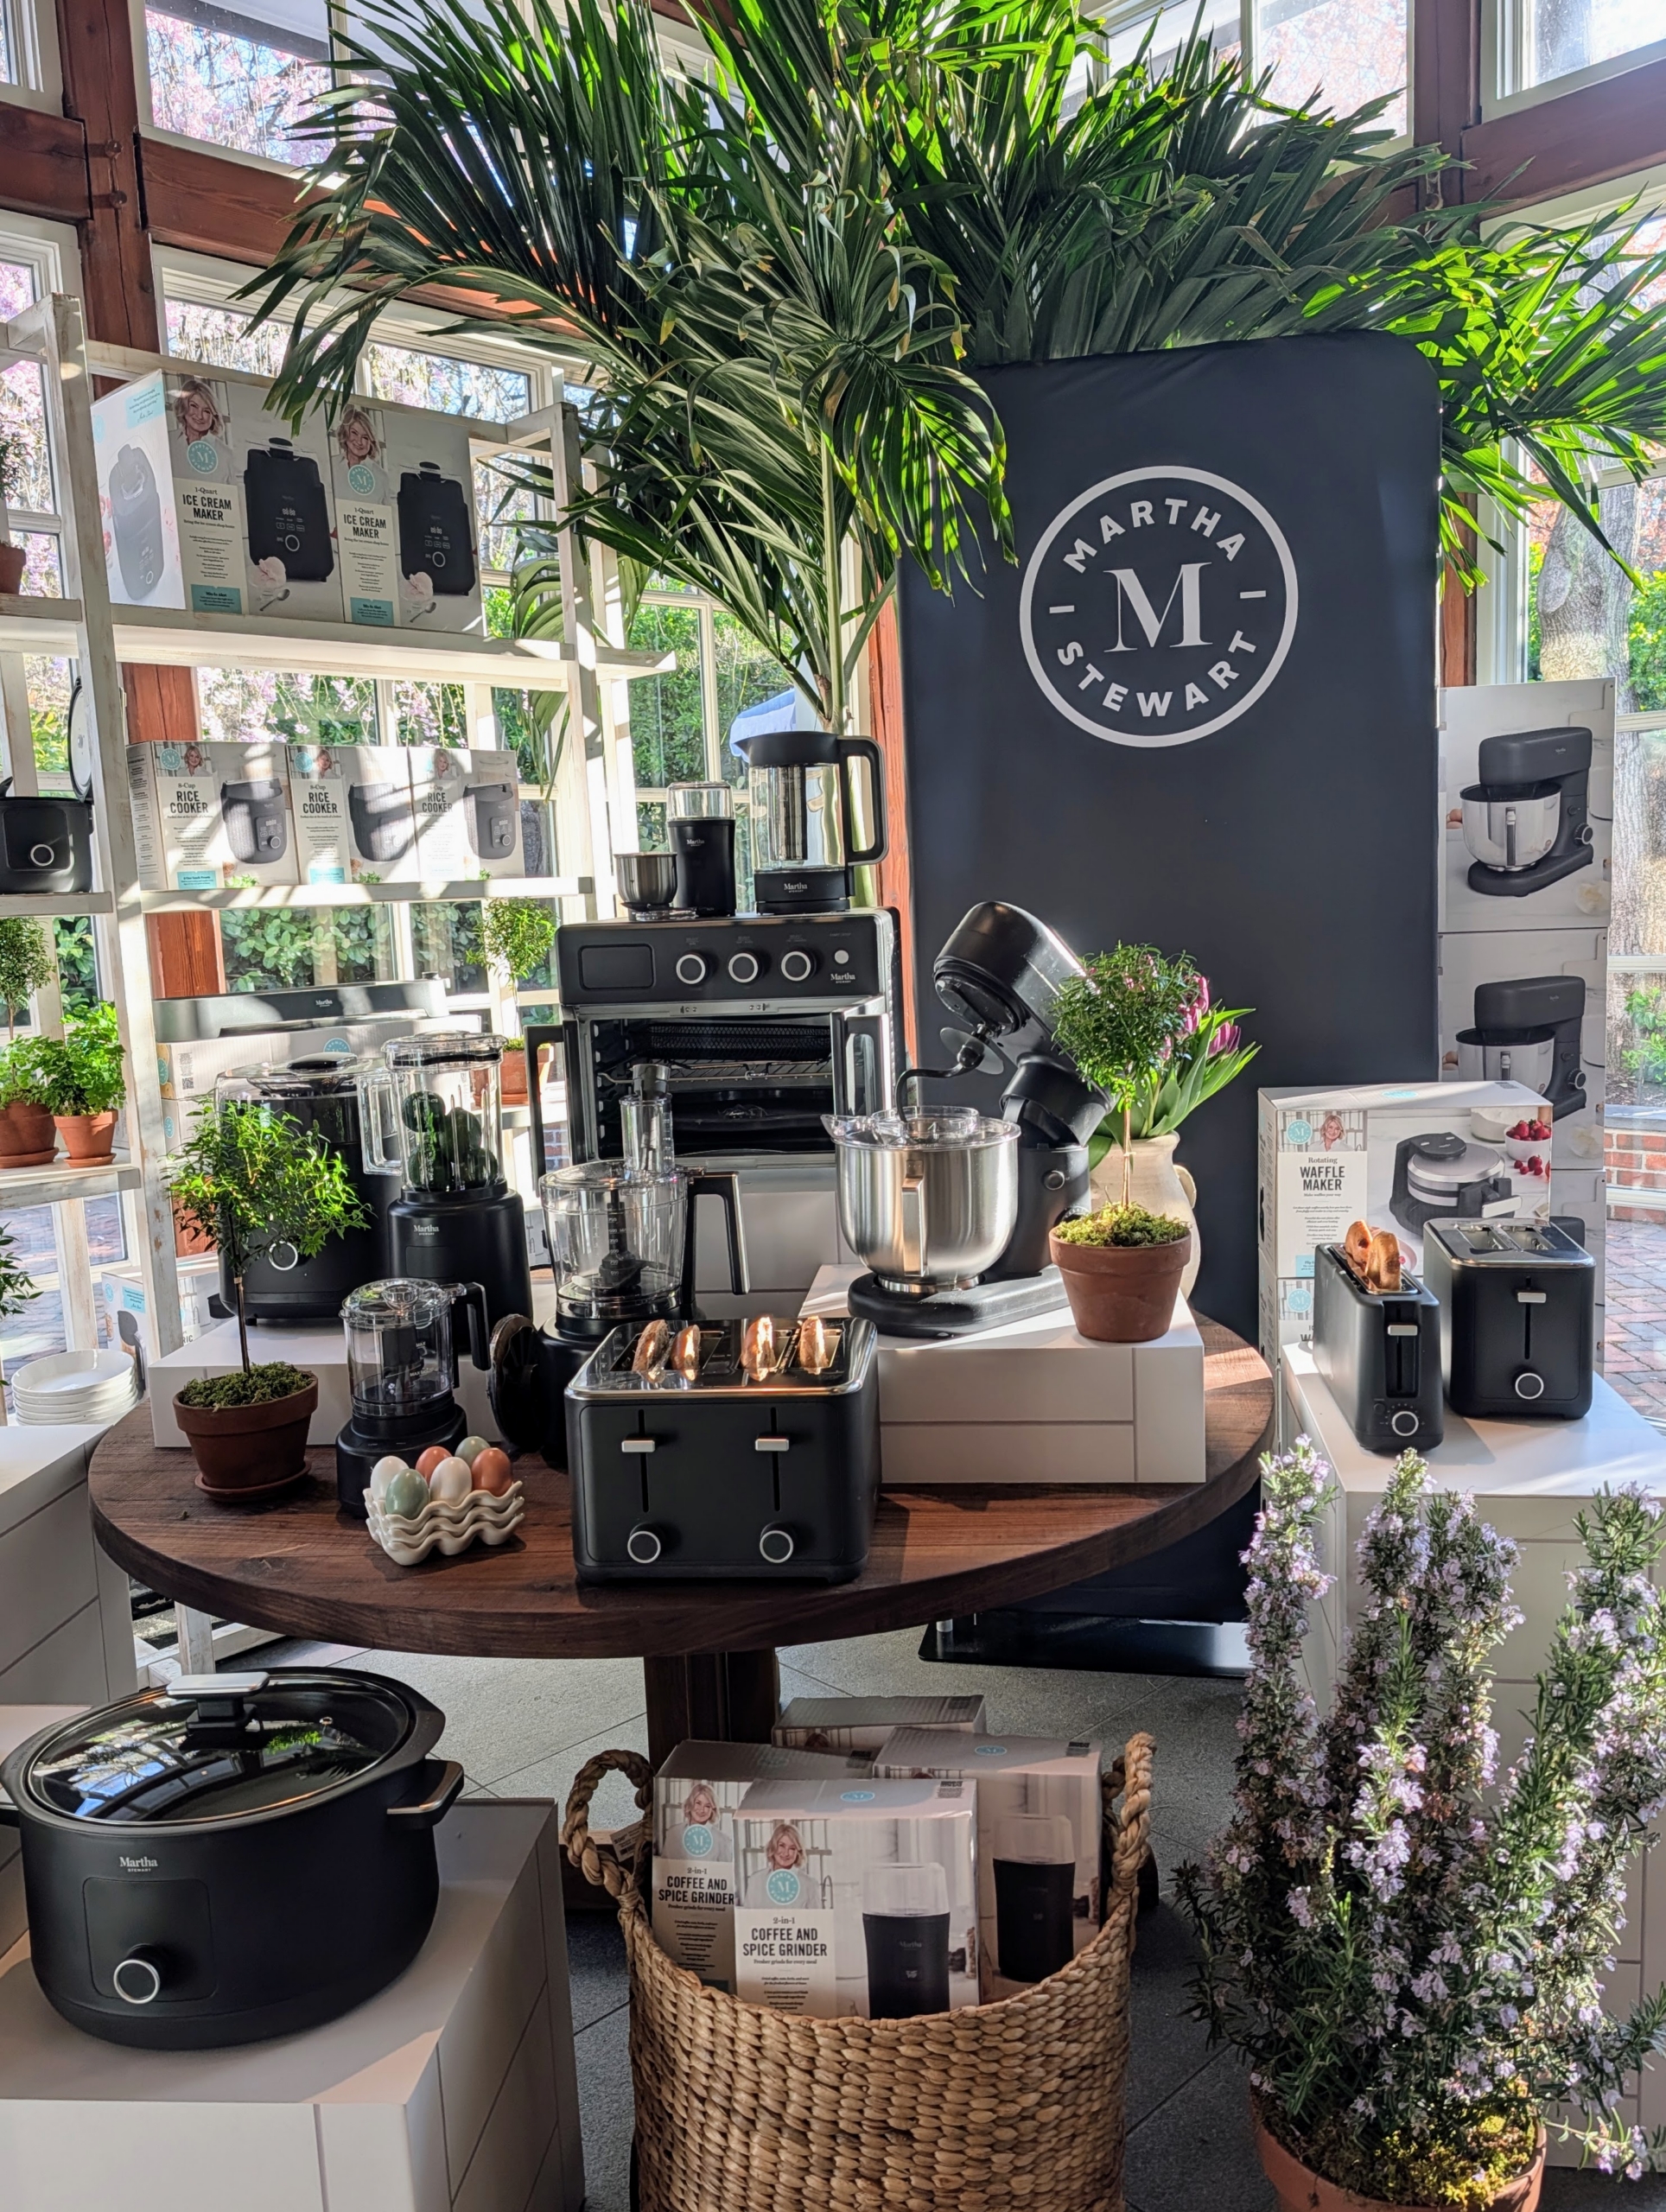
I am so proud of this Kitchen Electrics Collection. This collection features 16 distinctive appliances, available in five neutral colors, exclusively on Amazon for the coming months.
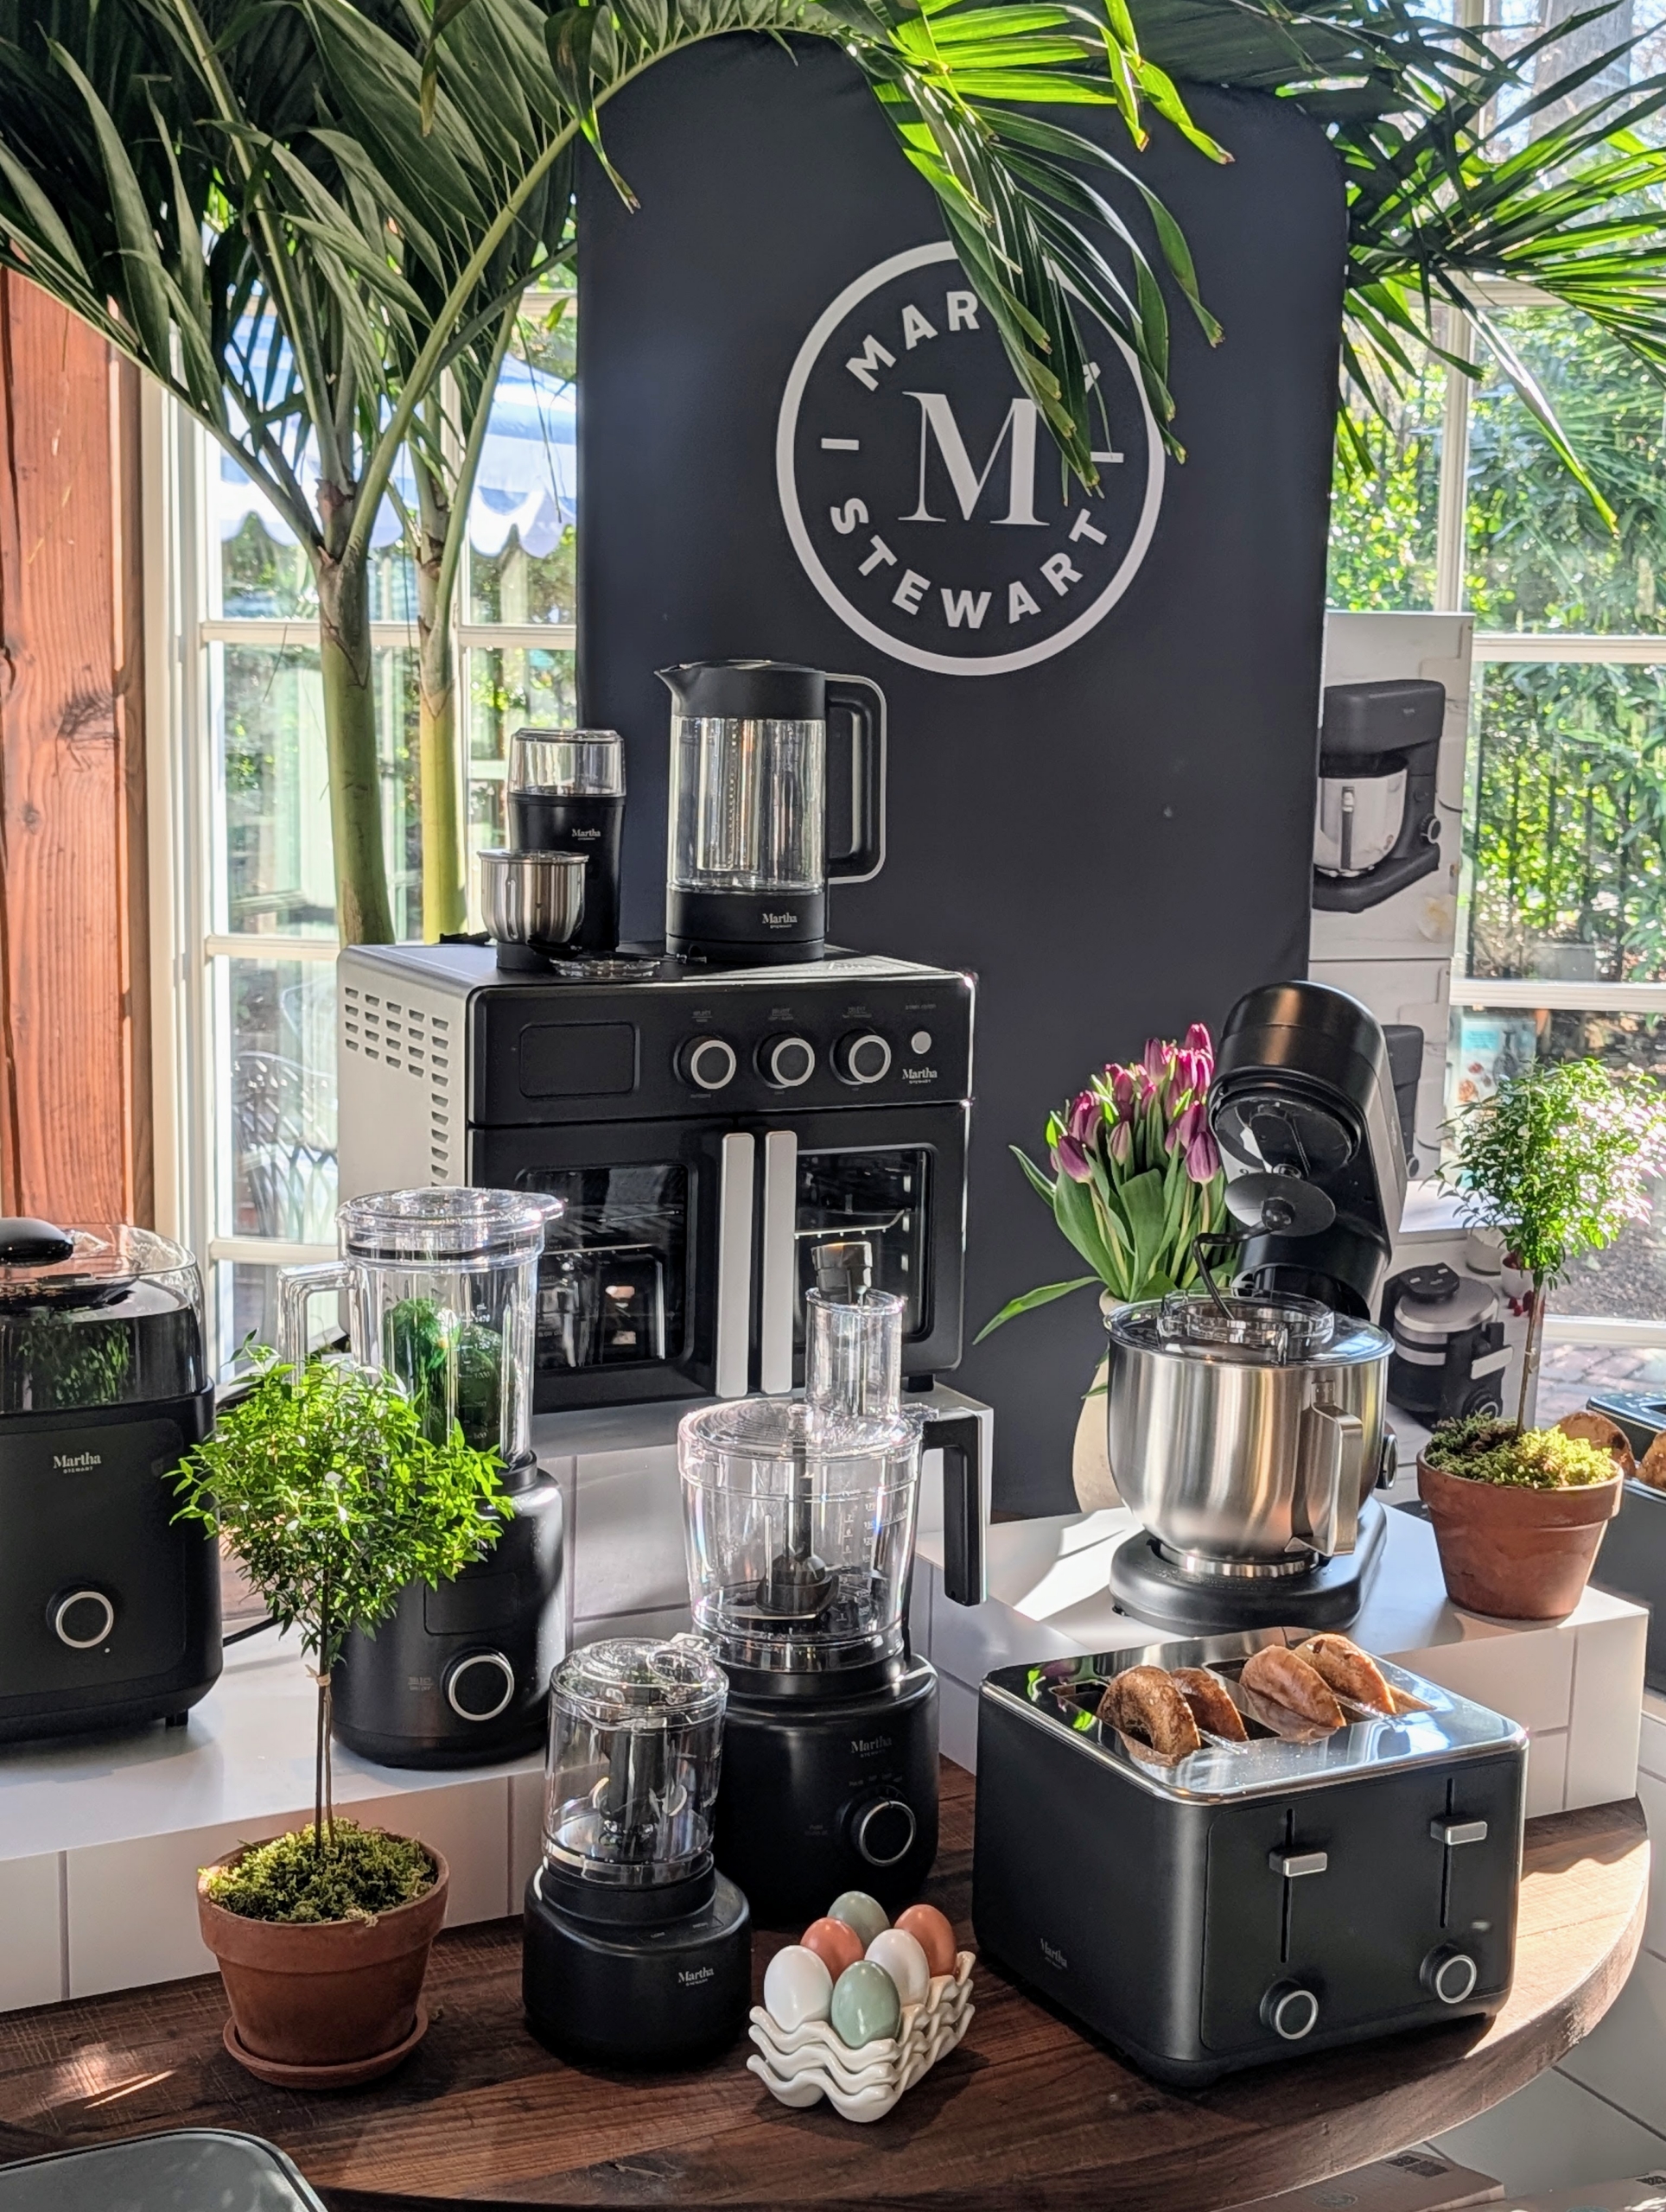
This is the caviar color – a black-gray color that looks sleek and modern in any kitchen.
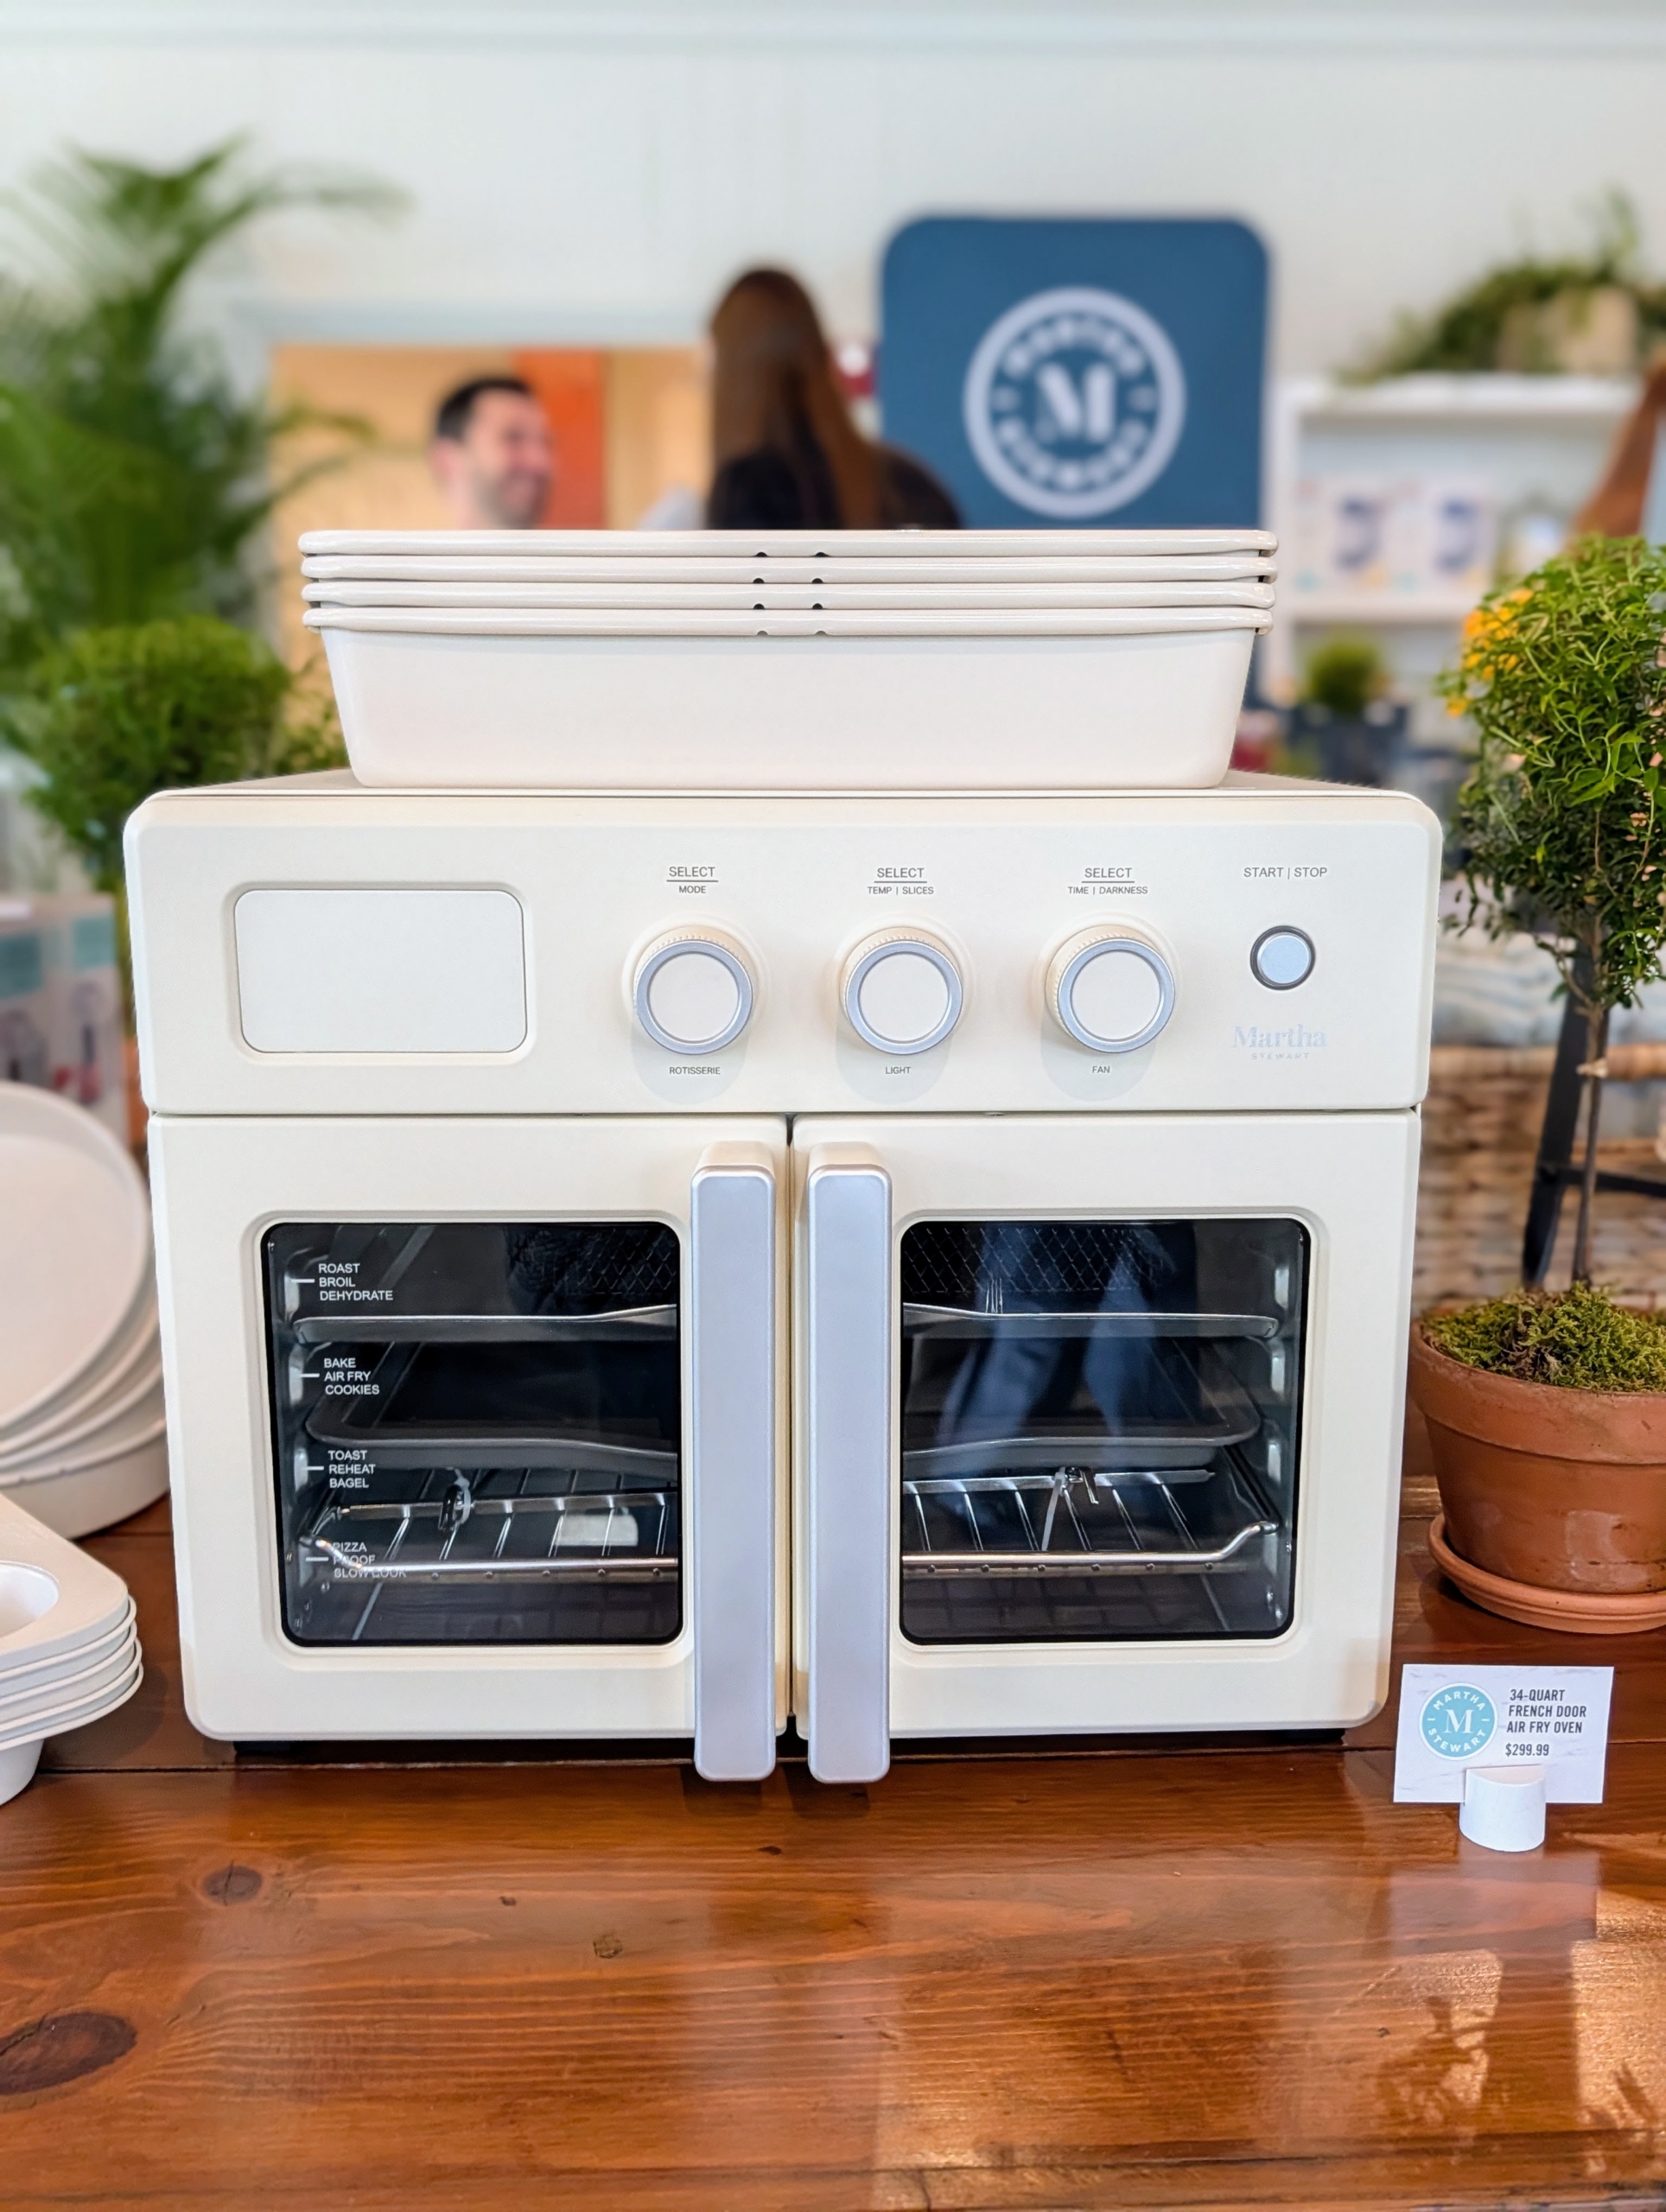
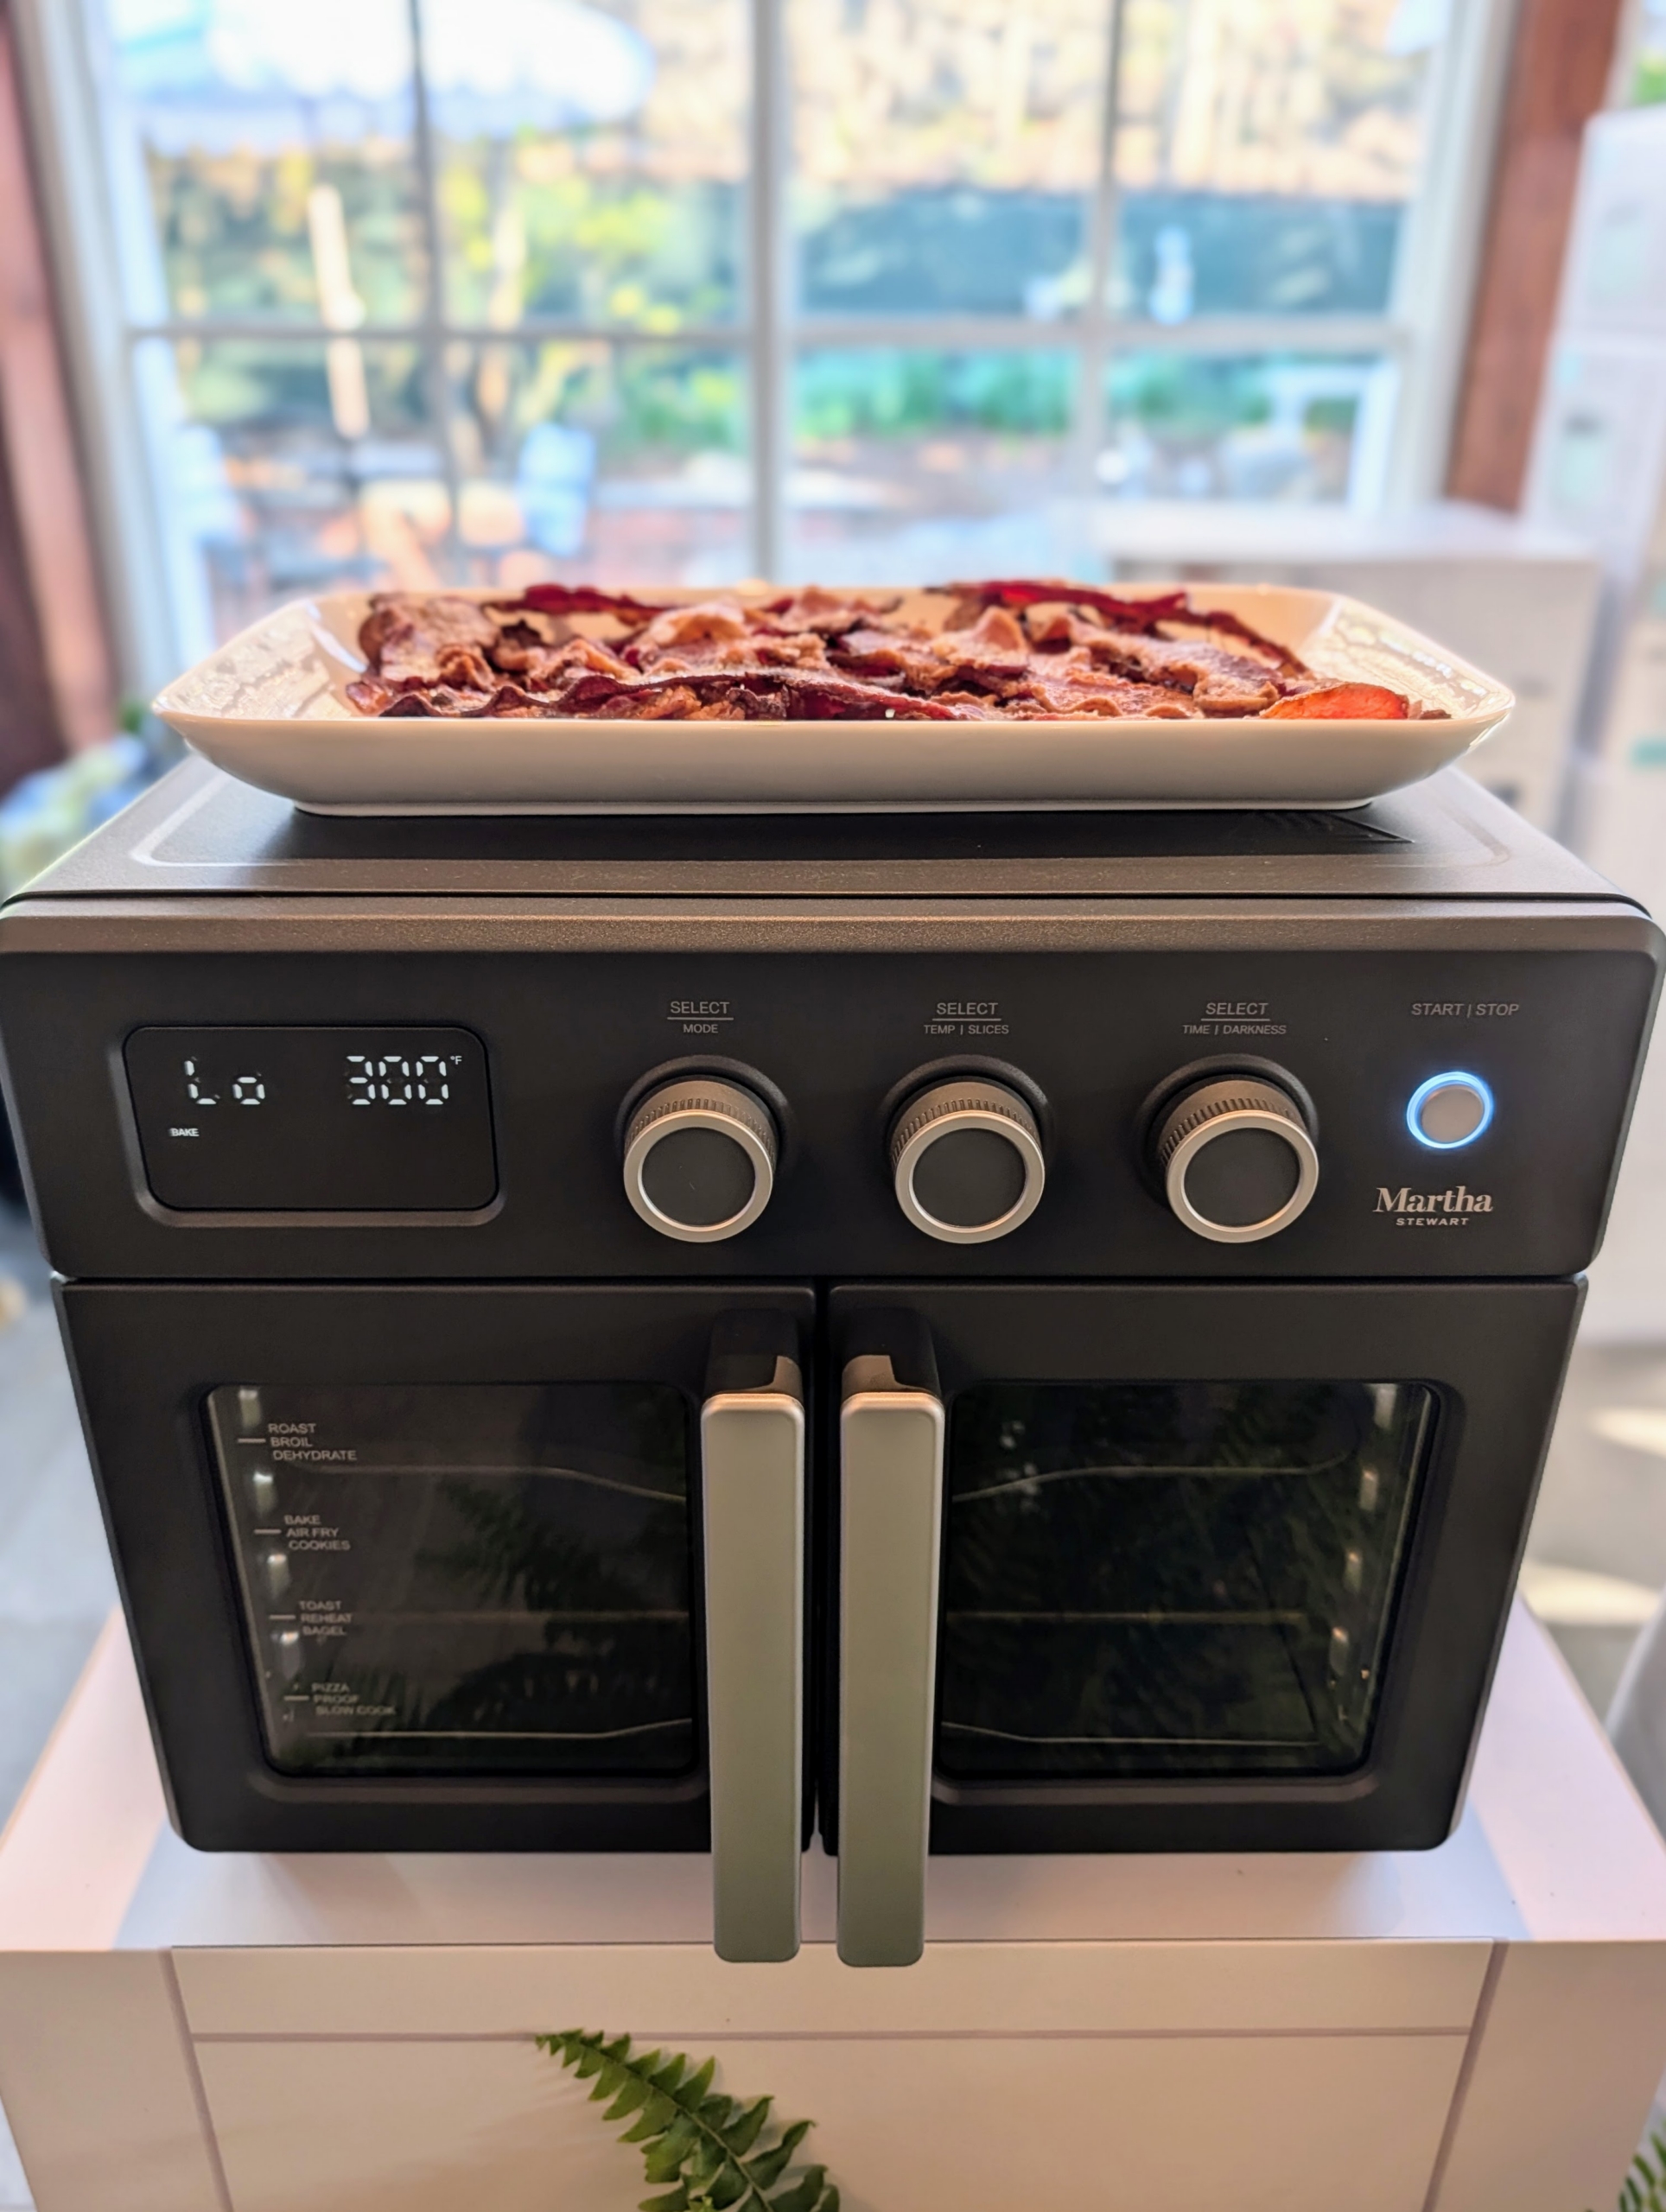
This is the Martha Stewart XL Digital French Door Air Fryer Toaster Oven Combo. It features an extra large capacity 34QT 12-in-1 convection countertop oven that’s big in enough to toast six slices of bread, bake a 12-inch pizza, and roast a whole chicken.
Right now it is available in caviar gray and our light linen color. The dual-door design provides easy access, and the clear, sleek screen and dials make setting quick and easy.
Earlier this week at our launch party we used it to make my delicious candied bacon.
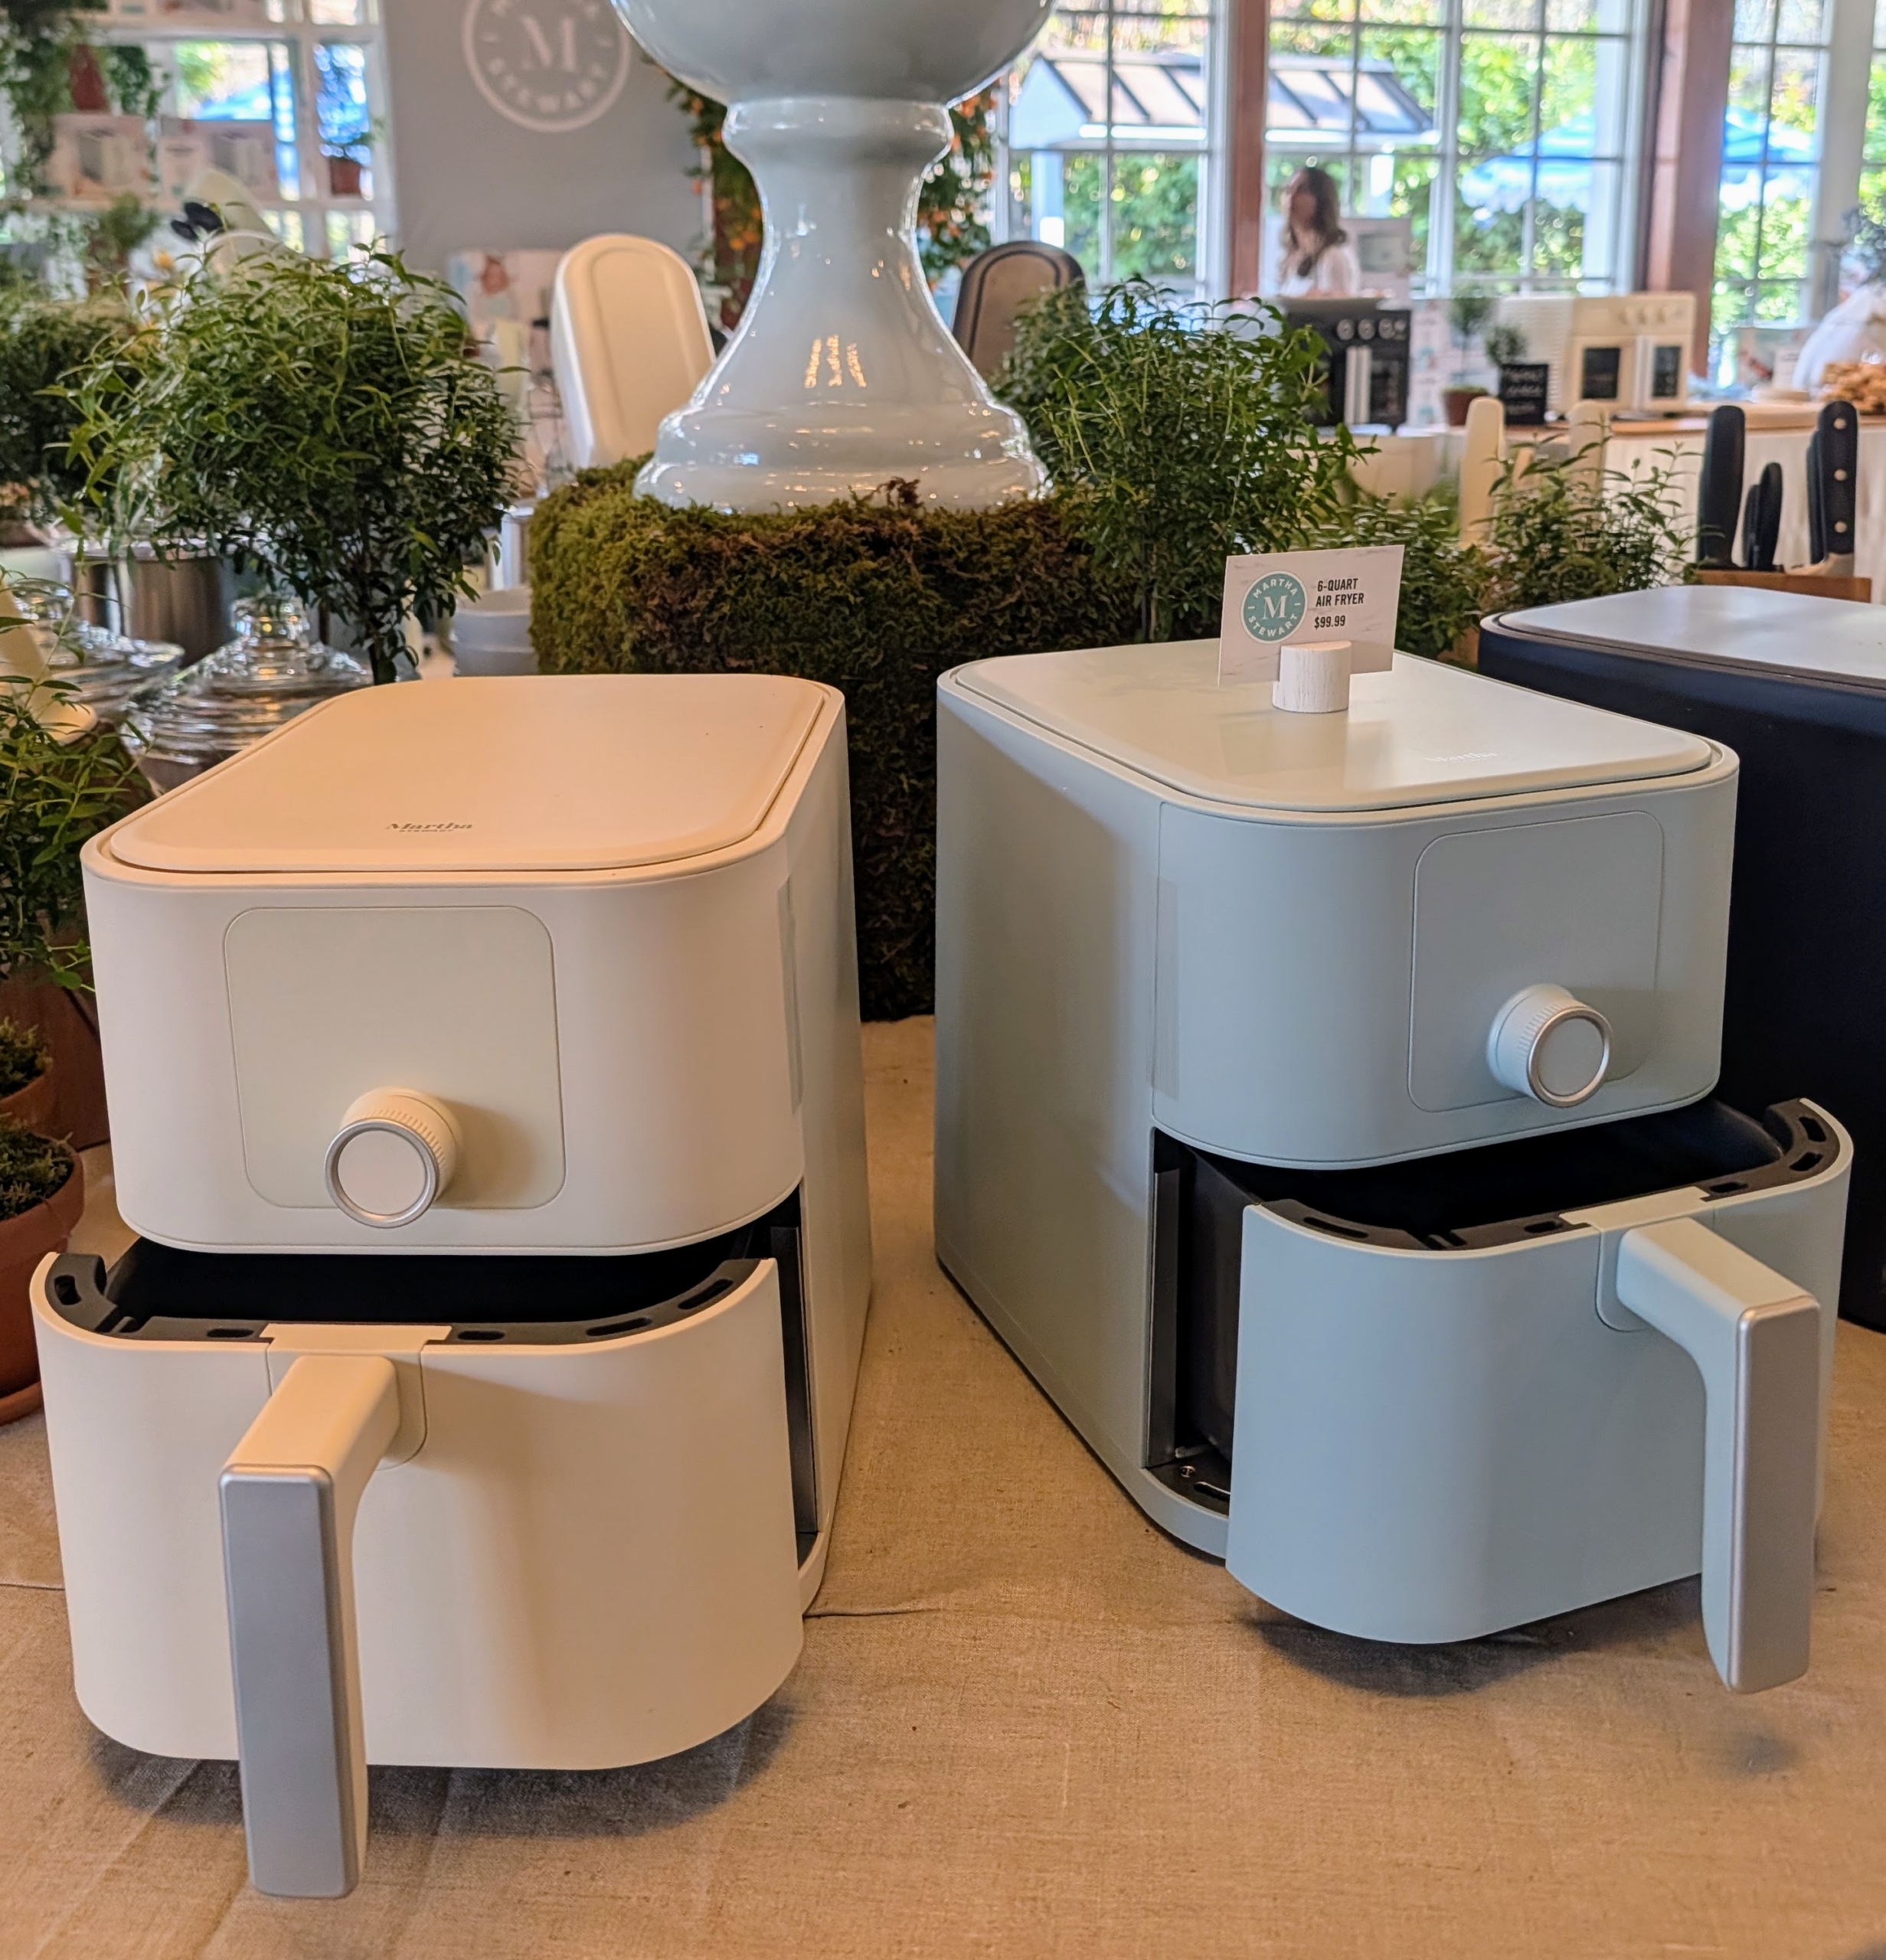
My Martha Stewart 6QT Slim Air Fryer is perfect for smaller spaces but can still accommodate generous food portions for family meals.
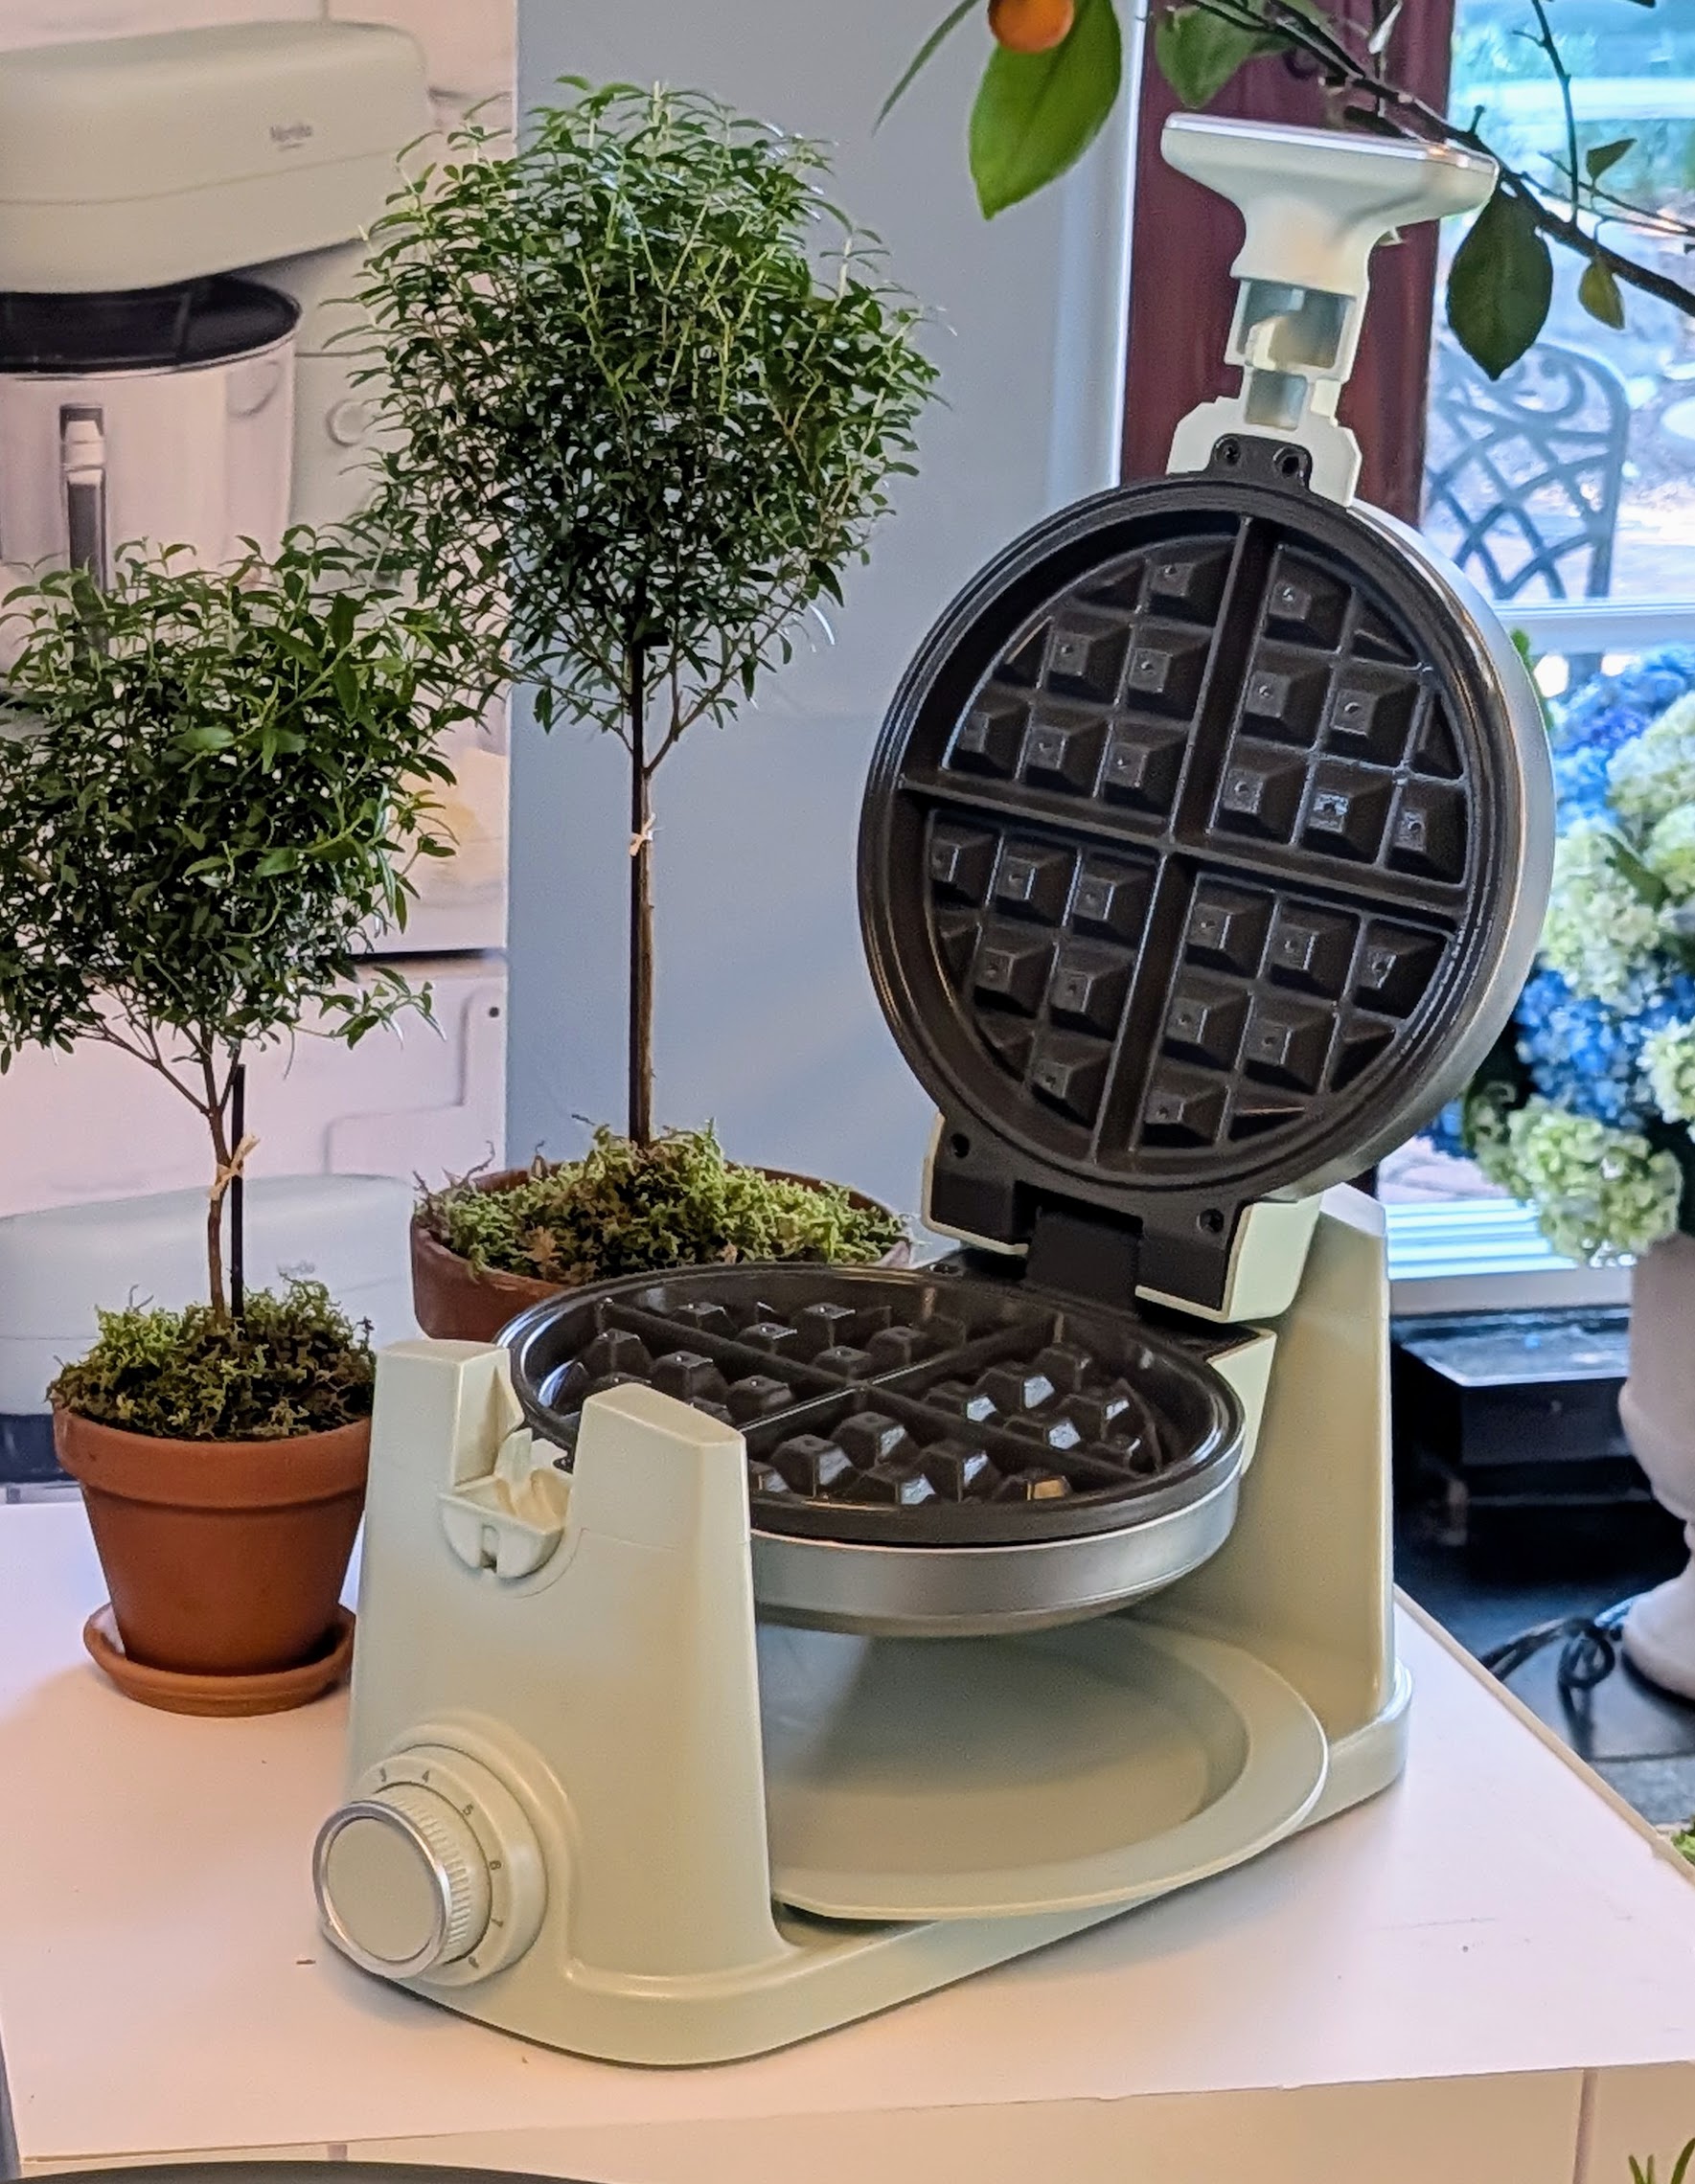
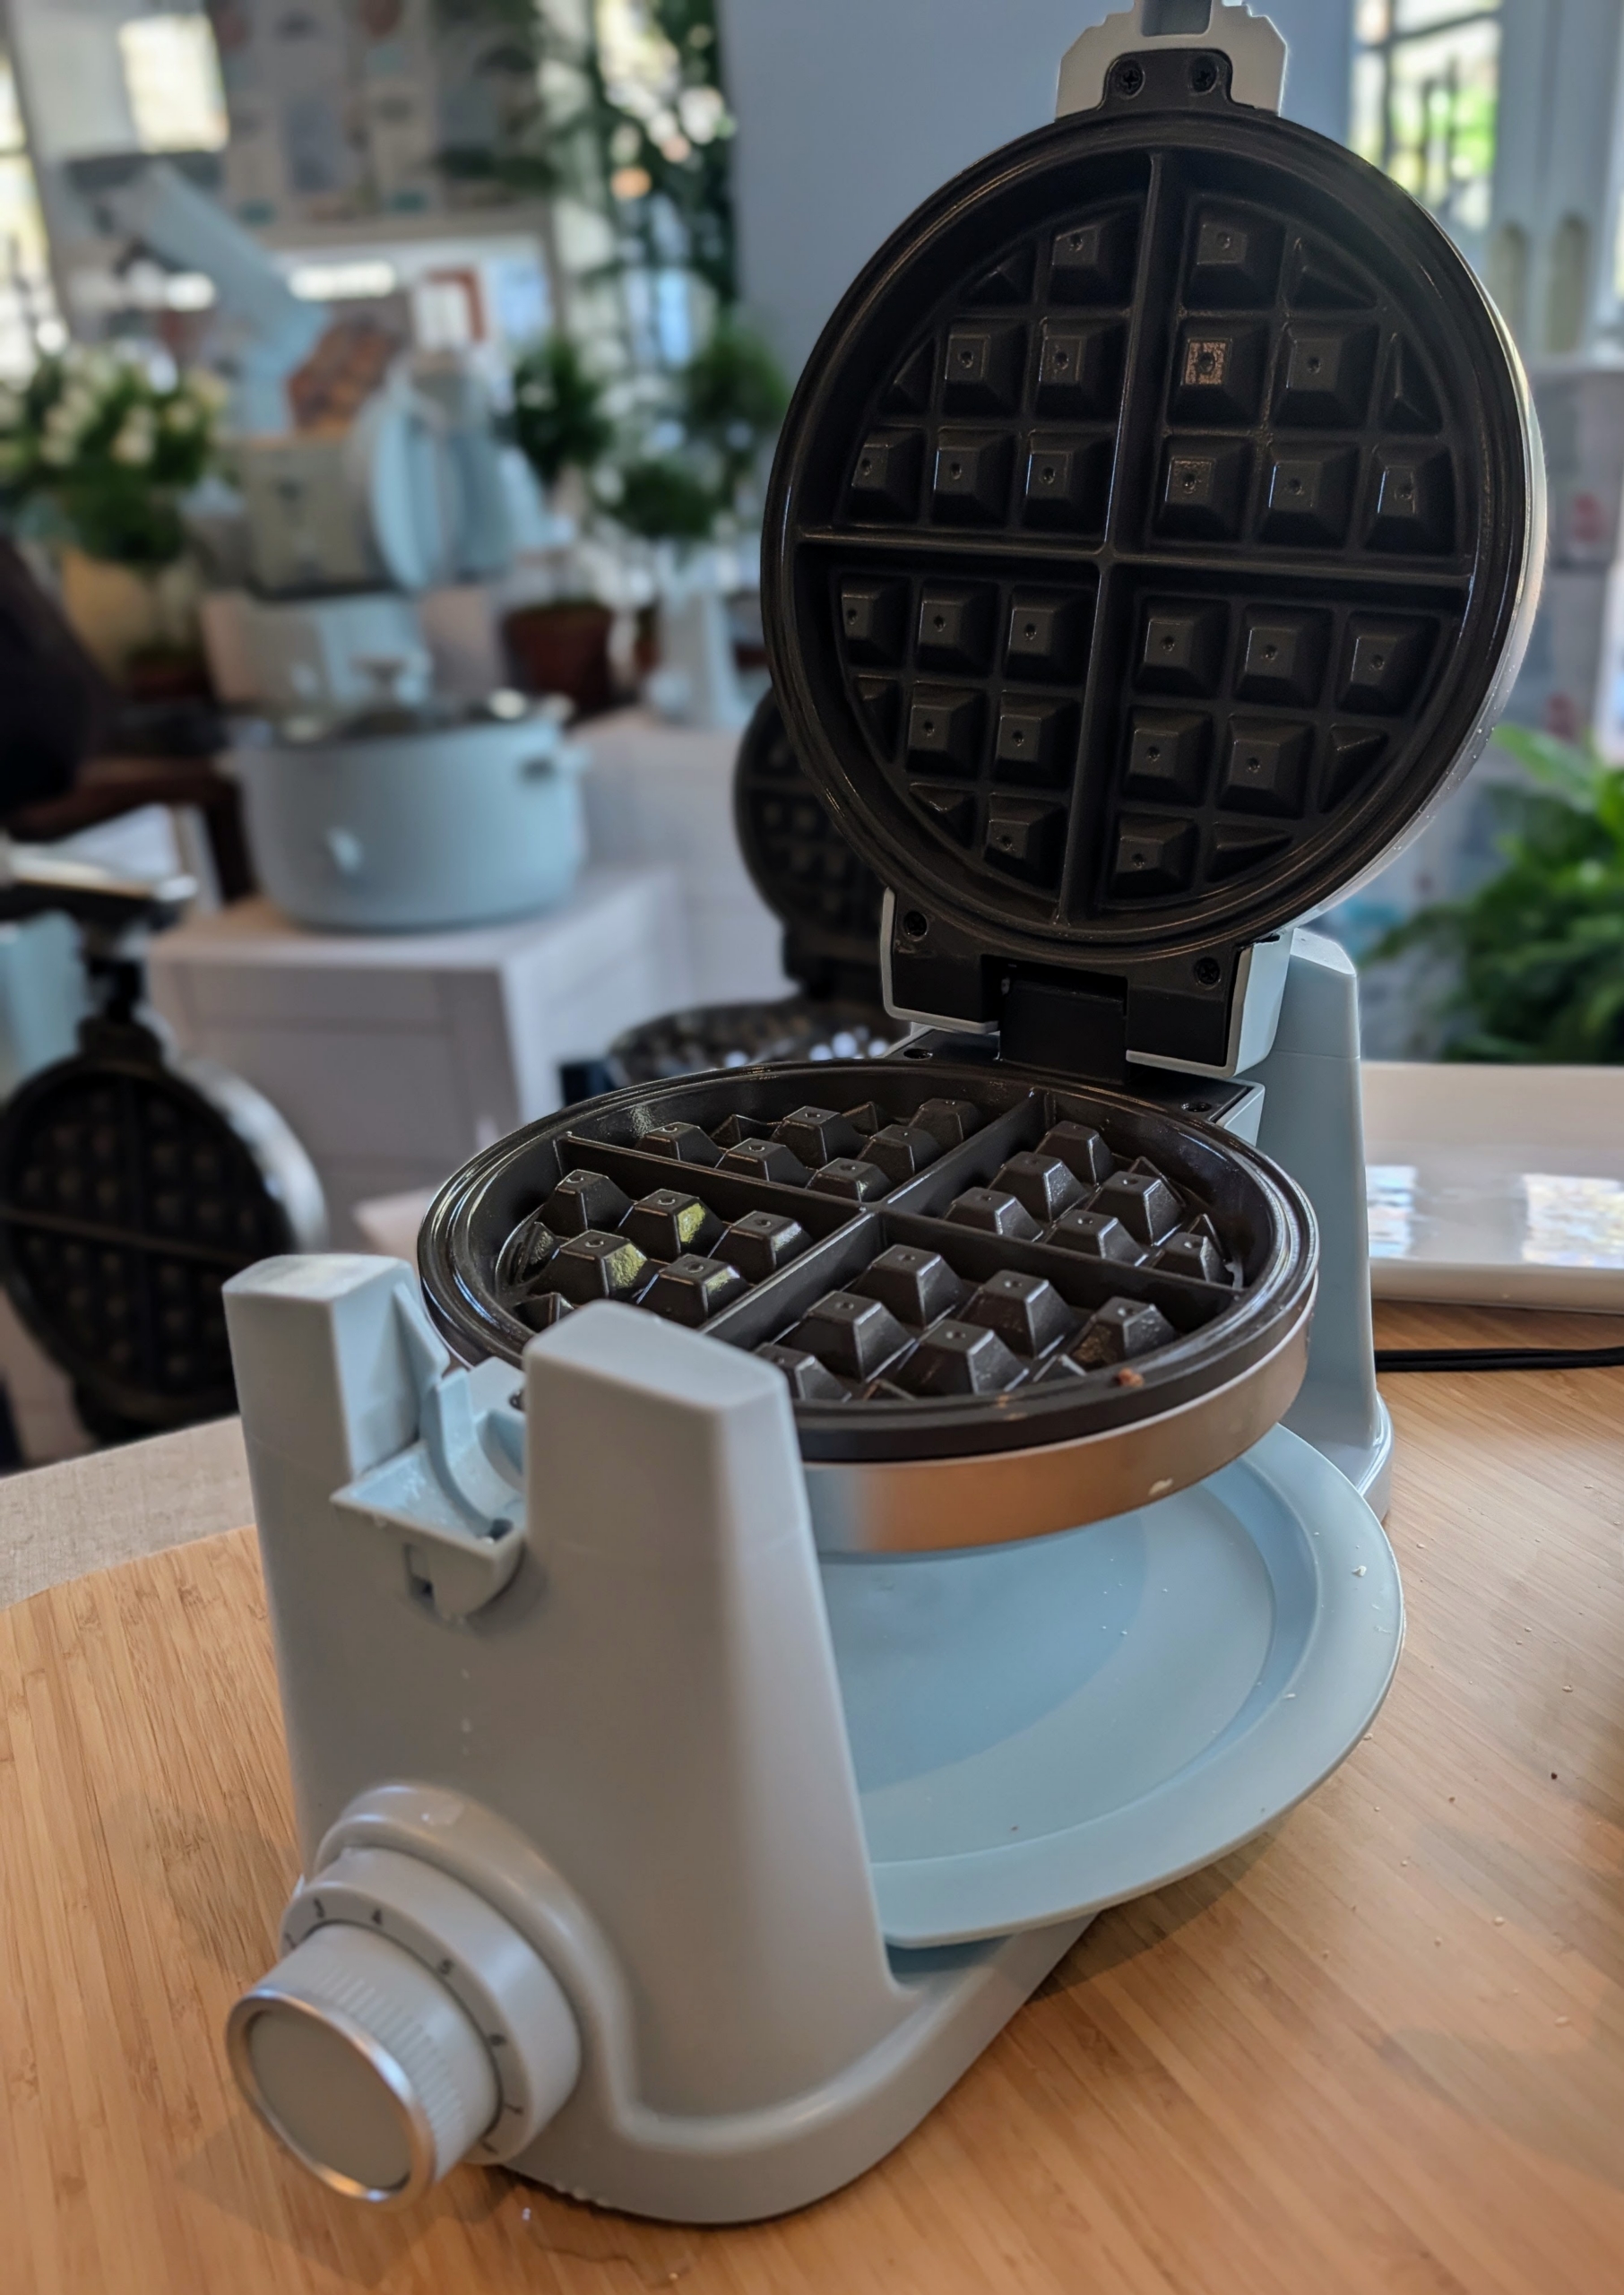
Sunday breakfast and brunch will be so much more fun with my Martha Stewart Rotating Waffle Maker. It has a 180-degree flip iron feature that fills every nook with batter and cooks waffles evenly, providing just the perfect waffle texture.
And, an overflow tray catches any extra batter for mess-free cooking and easy cleanup.
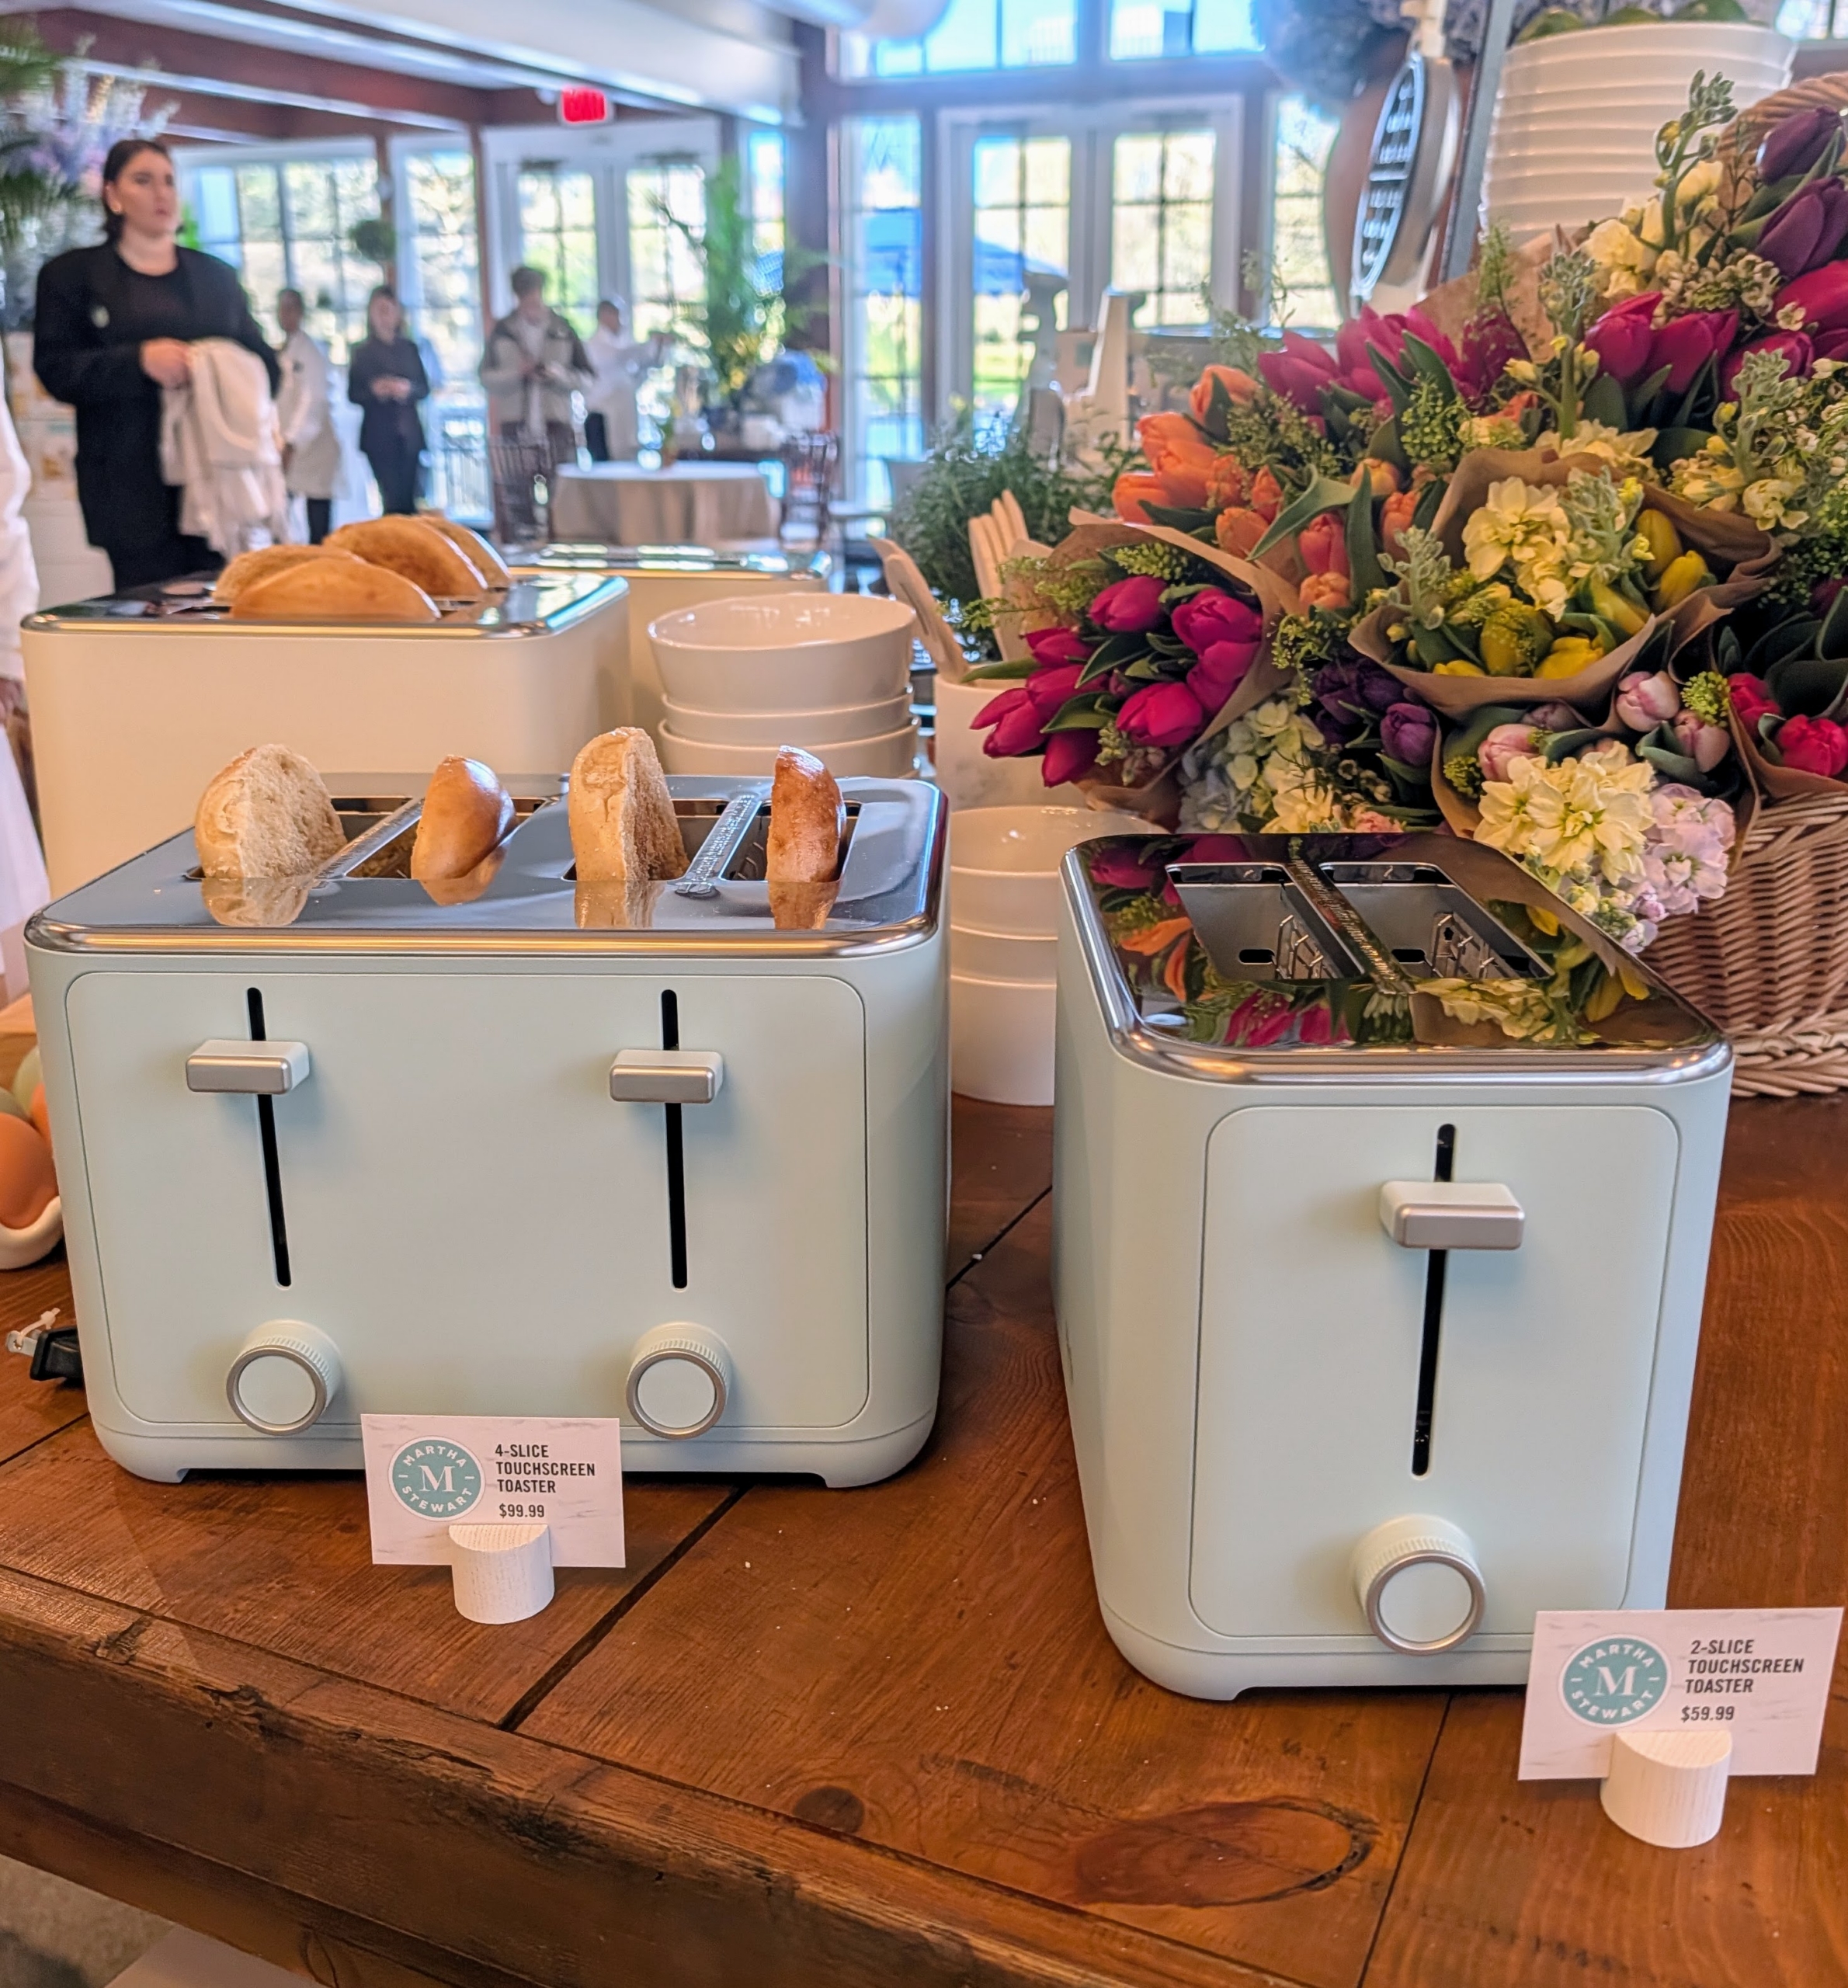
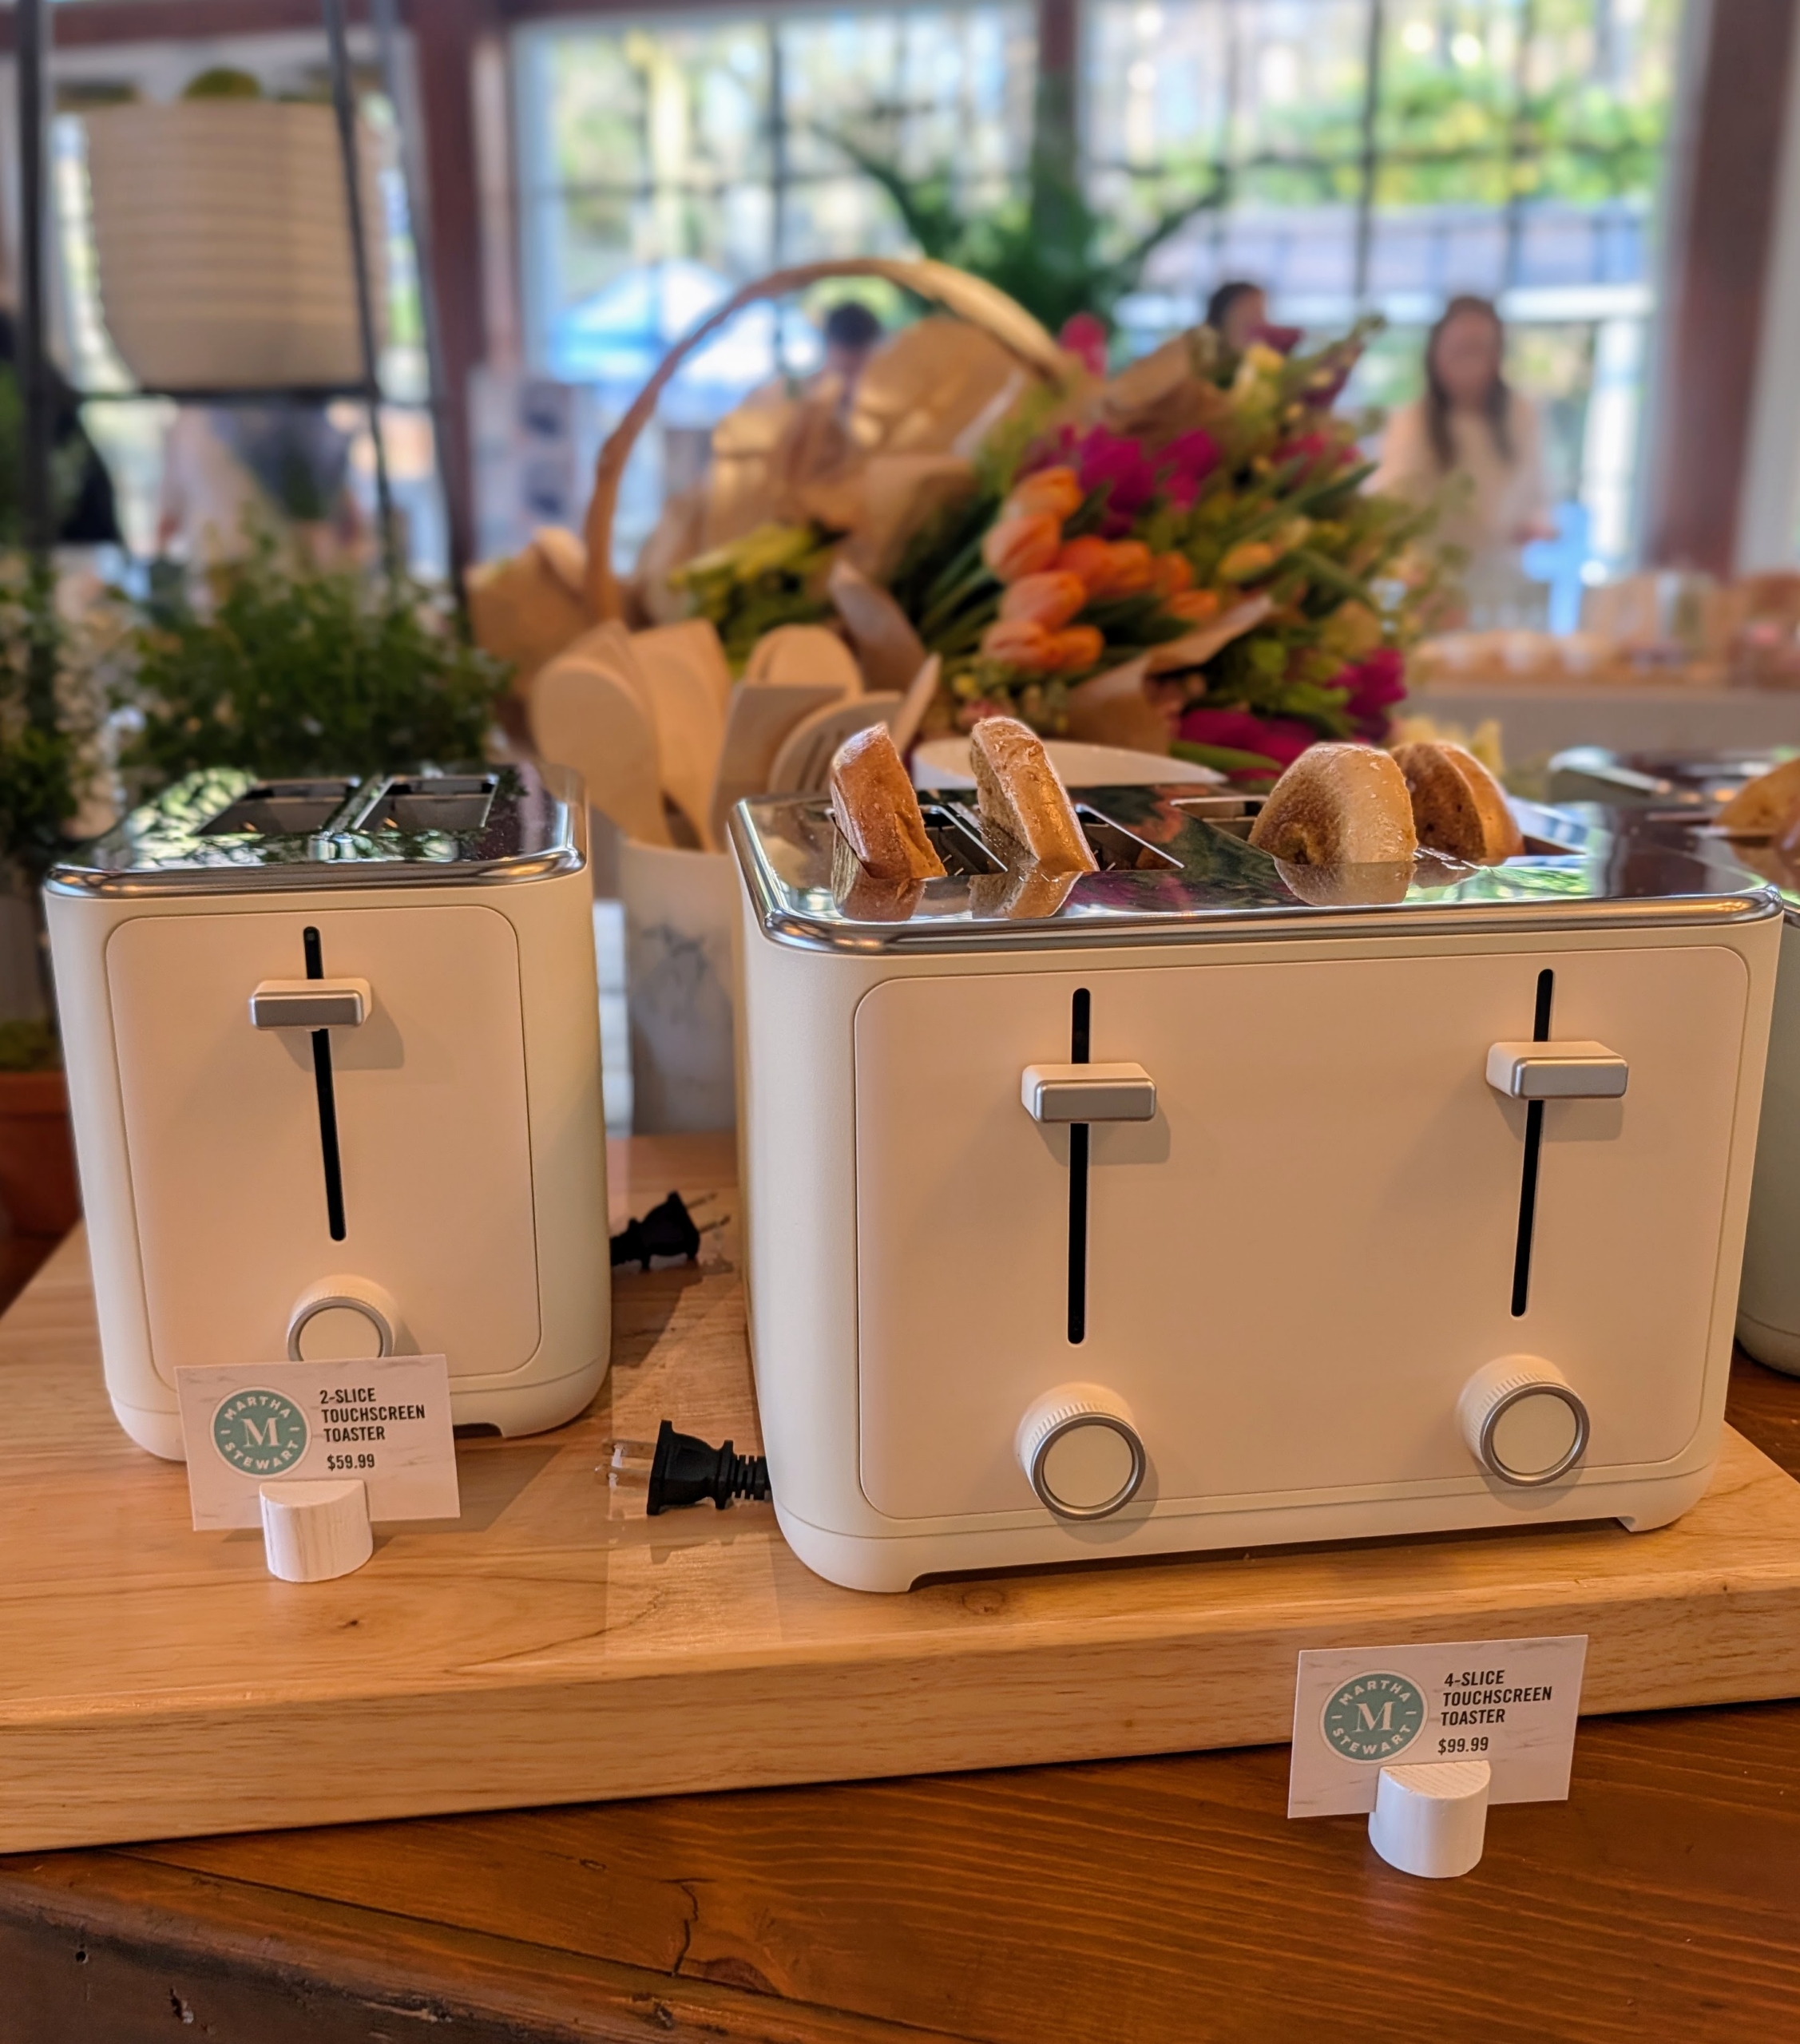
The collection includes three different toaster options – a 2 slice, 4 slice, and an extra long 2 Slice Long Slot Toaster that is extra wide. It comes in sky blue, caviar gray, honeydew, and linen.
These toasters make the perfect toast every time. They feature intuitive touch screen digital displays, 3 easy-to-use presets, and a 10-shade dial.
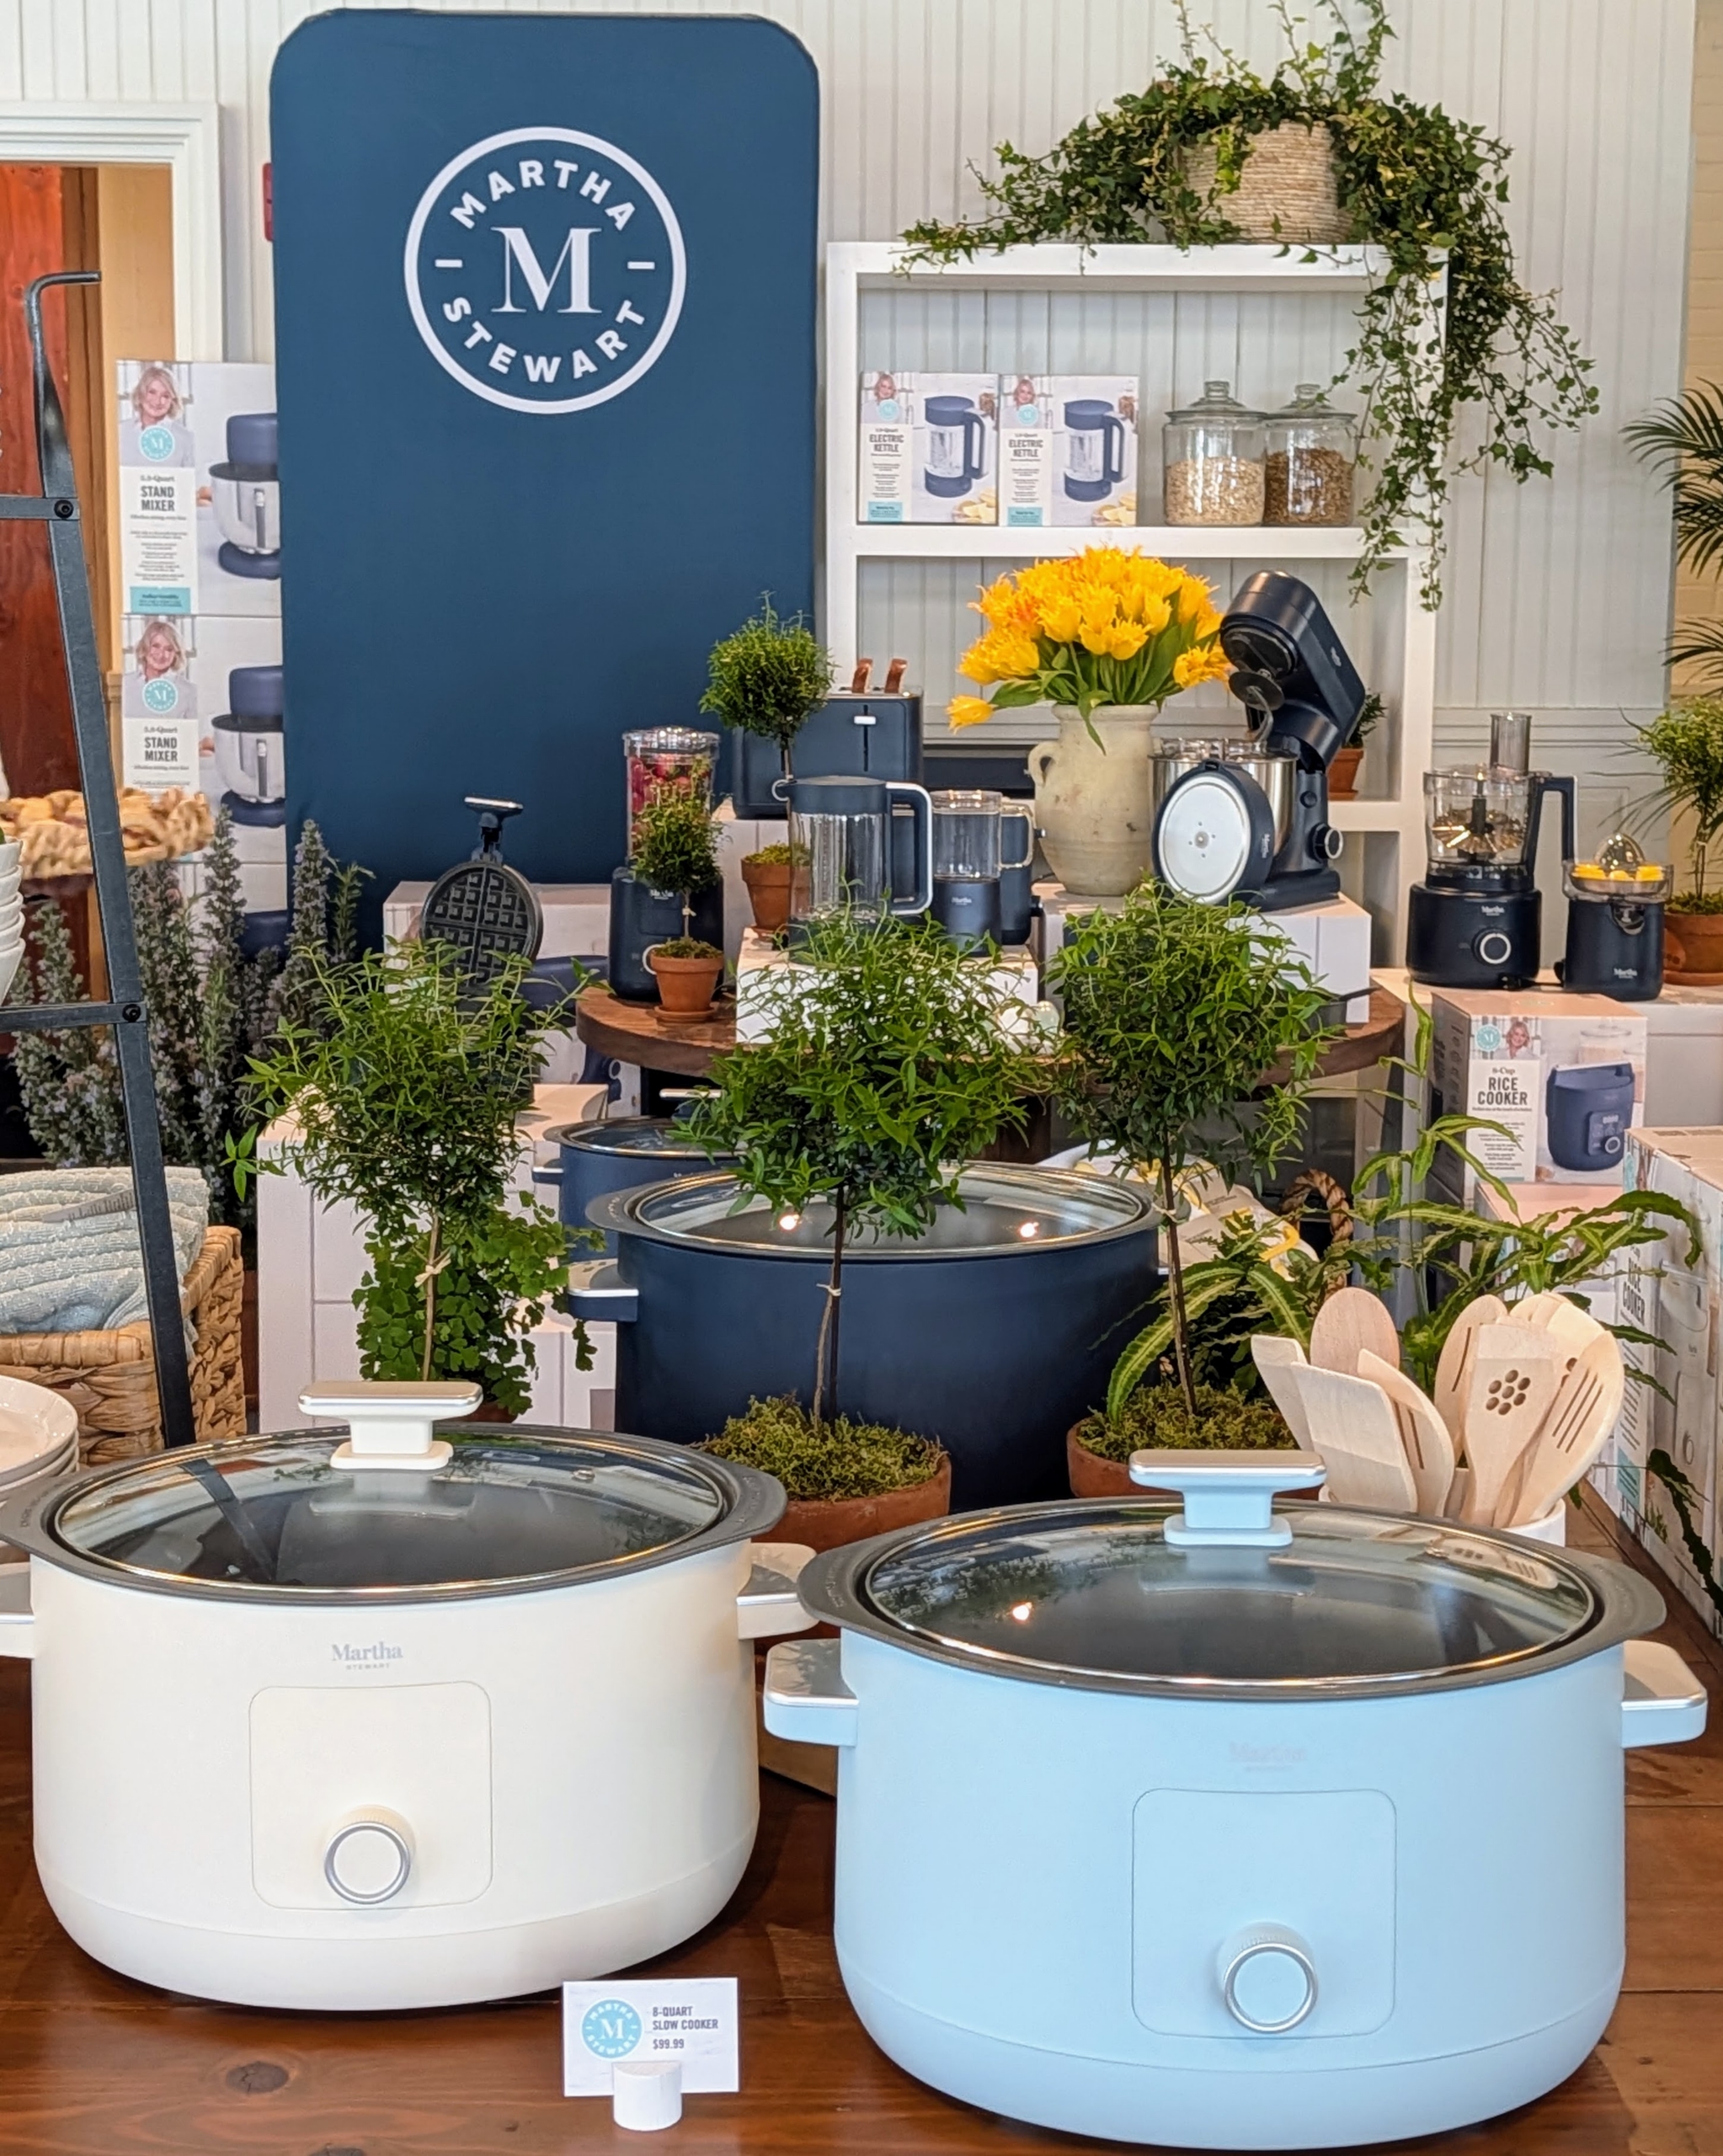
These are my Martha Stewart 8-quart Slow Cookers in linen, honeydew, caviar gray, and sky blue. They include ceramic removable nonstick bowls, programmable timers, and are stovetop and oven safe.
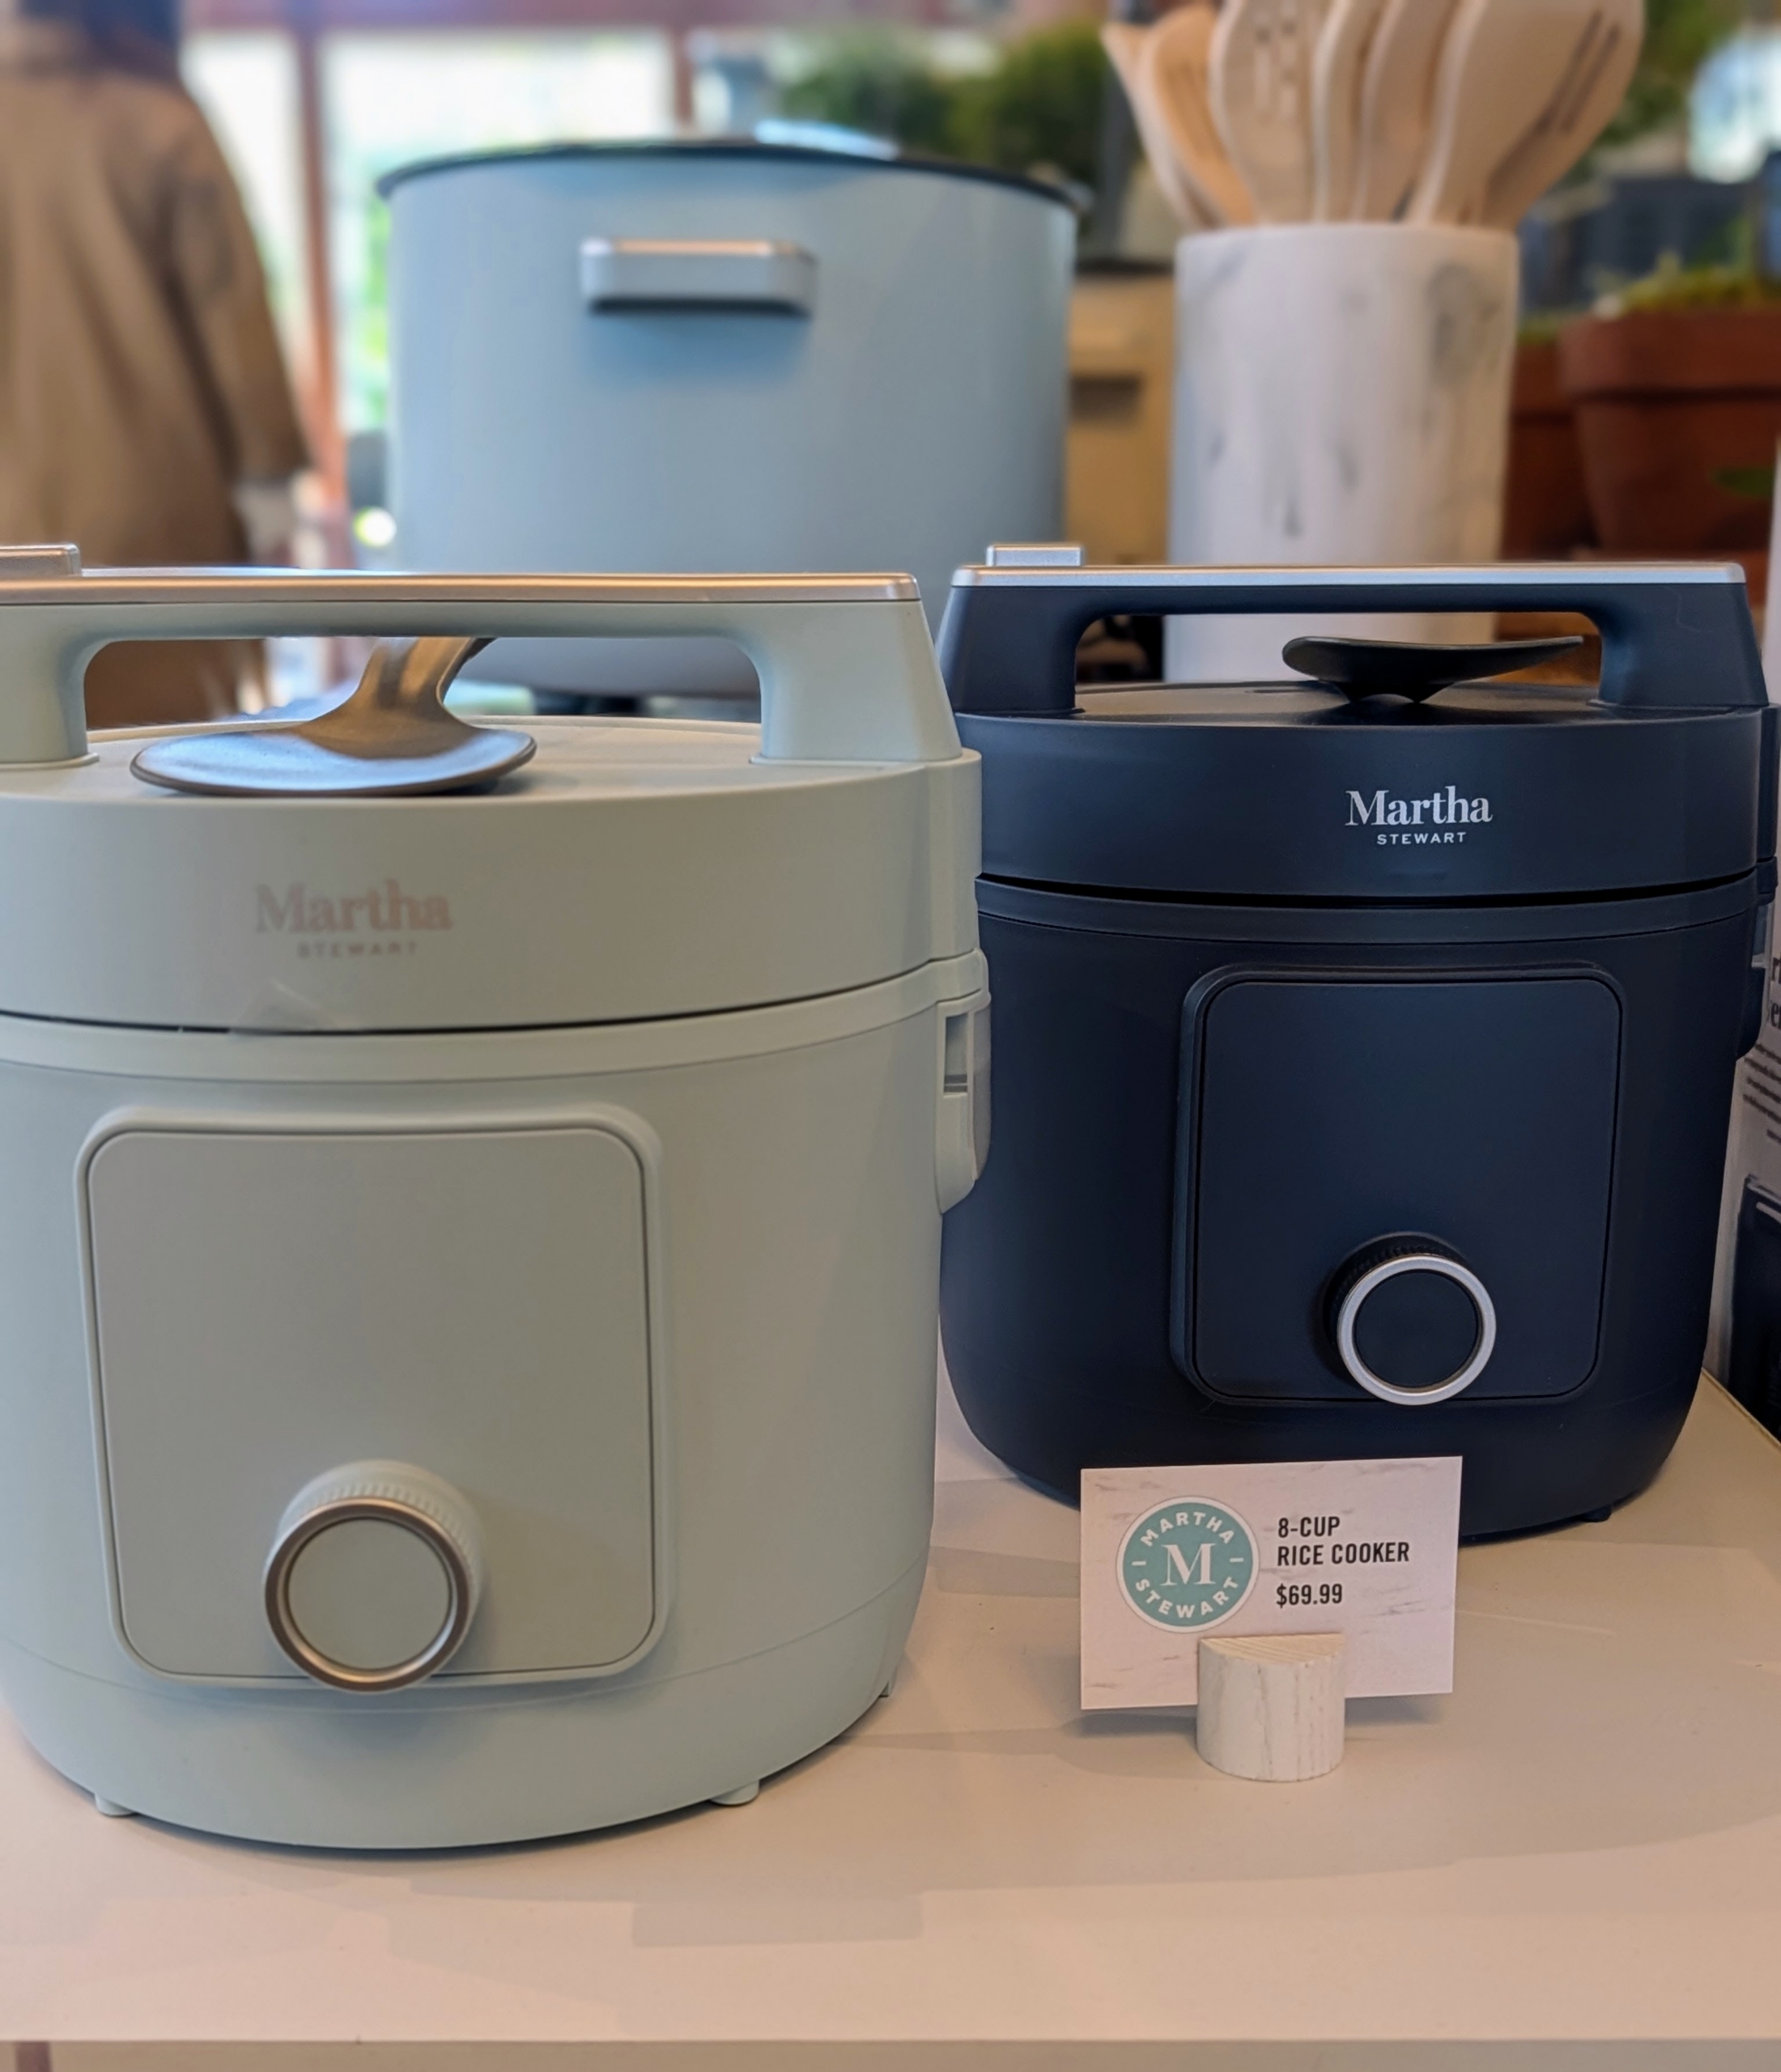
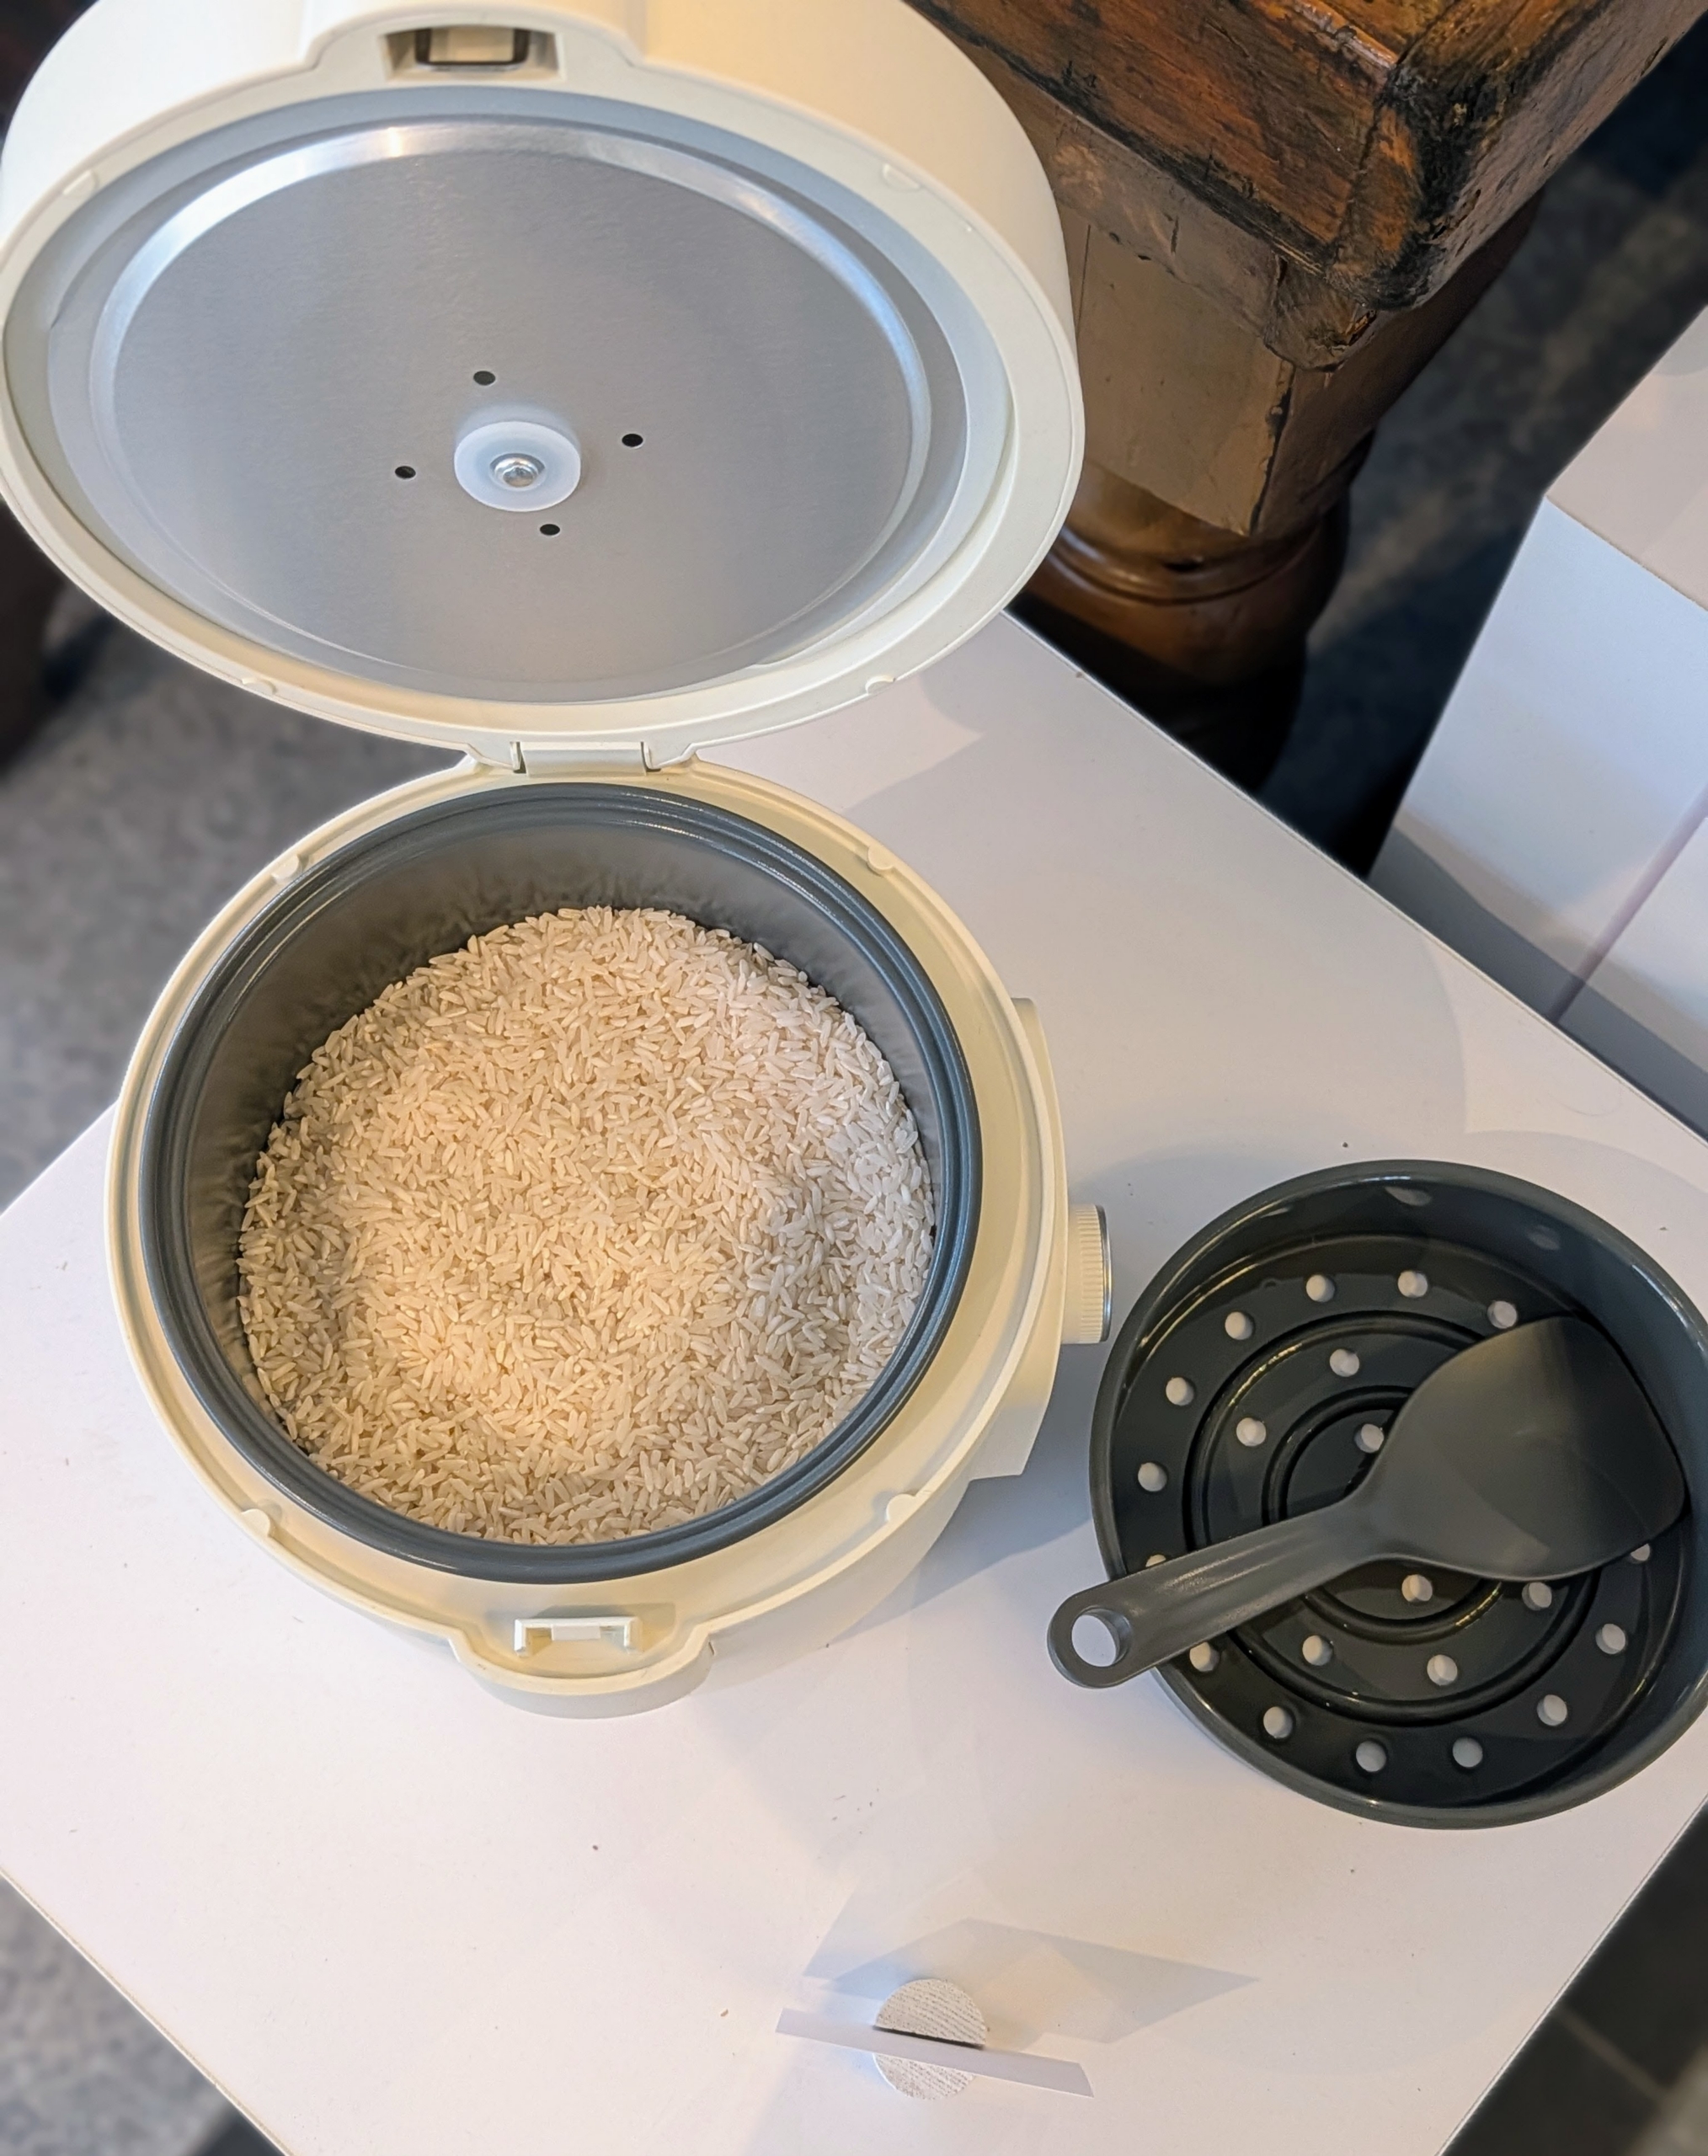
The Martha Stewart Rice Cooker comes in linen, caviar gray, honeydew, and sky blue. It has 9 cooking modes, an LED touch display, and a delay timer and warming feature.
And this model can cook up to 8 cups of rice in minutes – evenly and perfectly every time. It also has a steam rack for vegetables or other foods that can be used as the rice cooks.
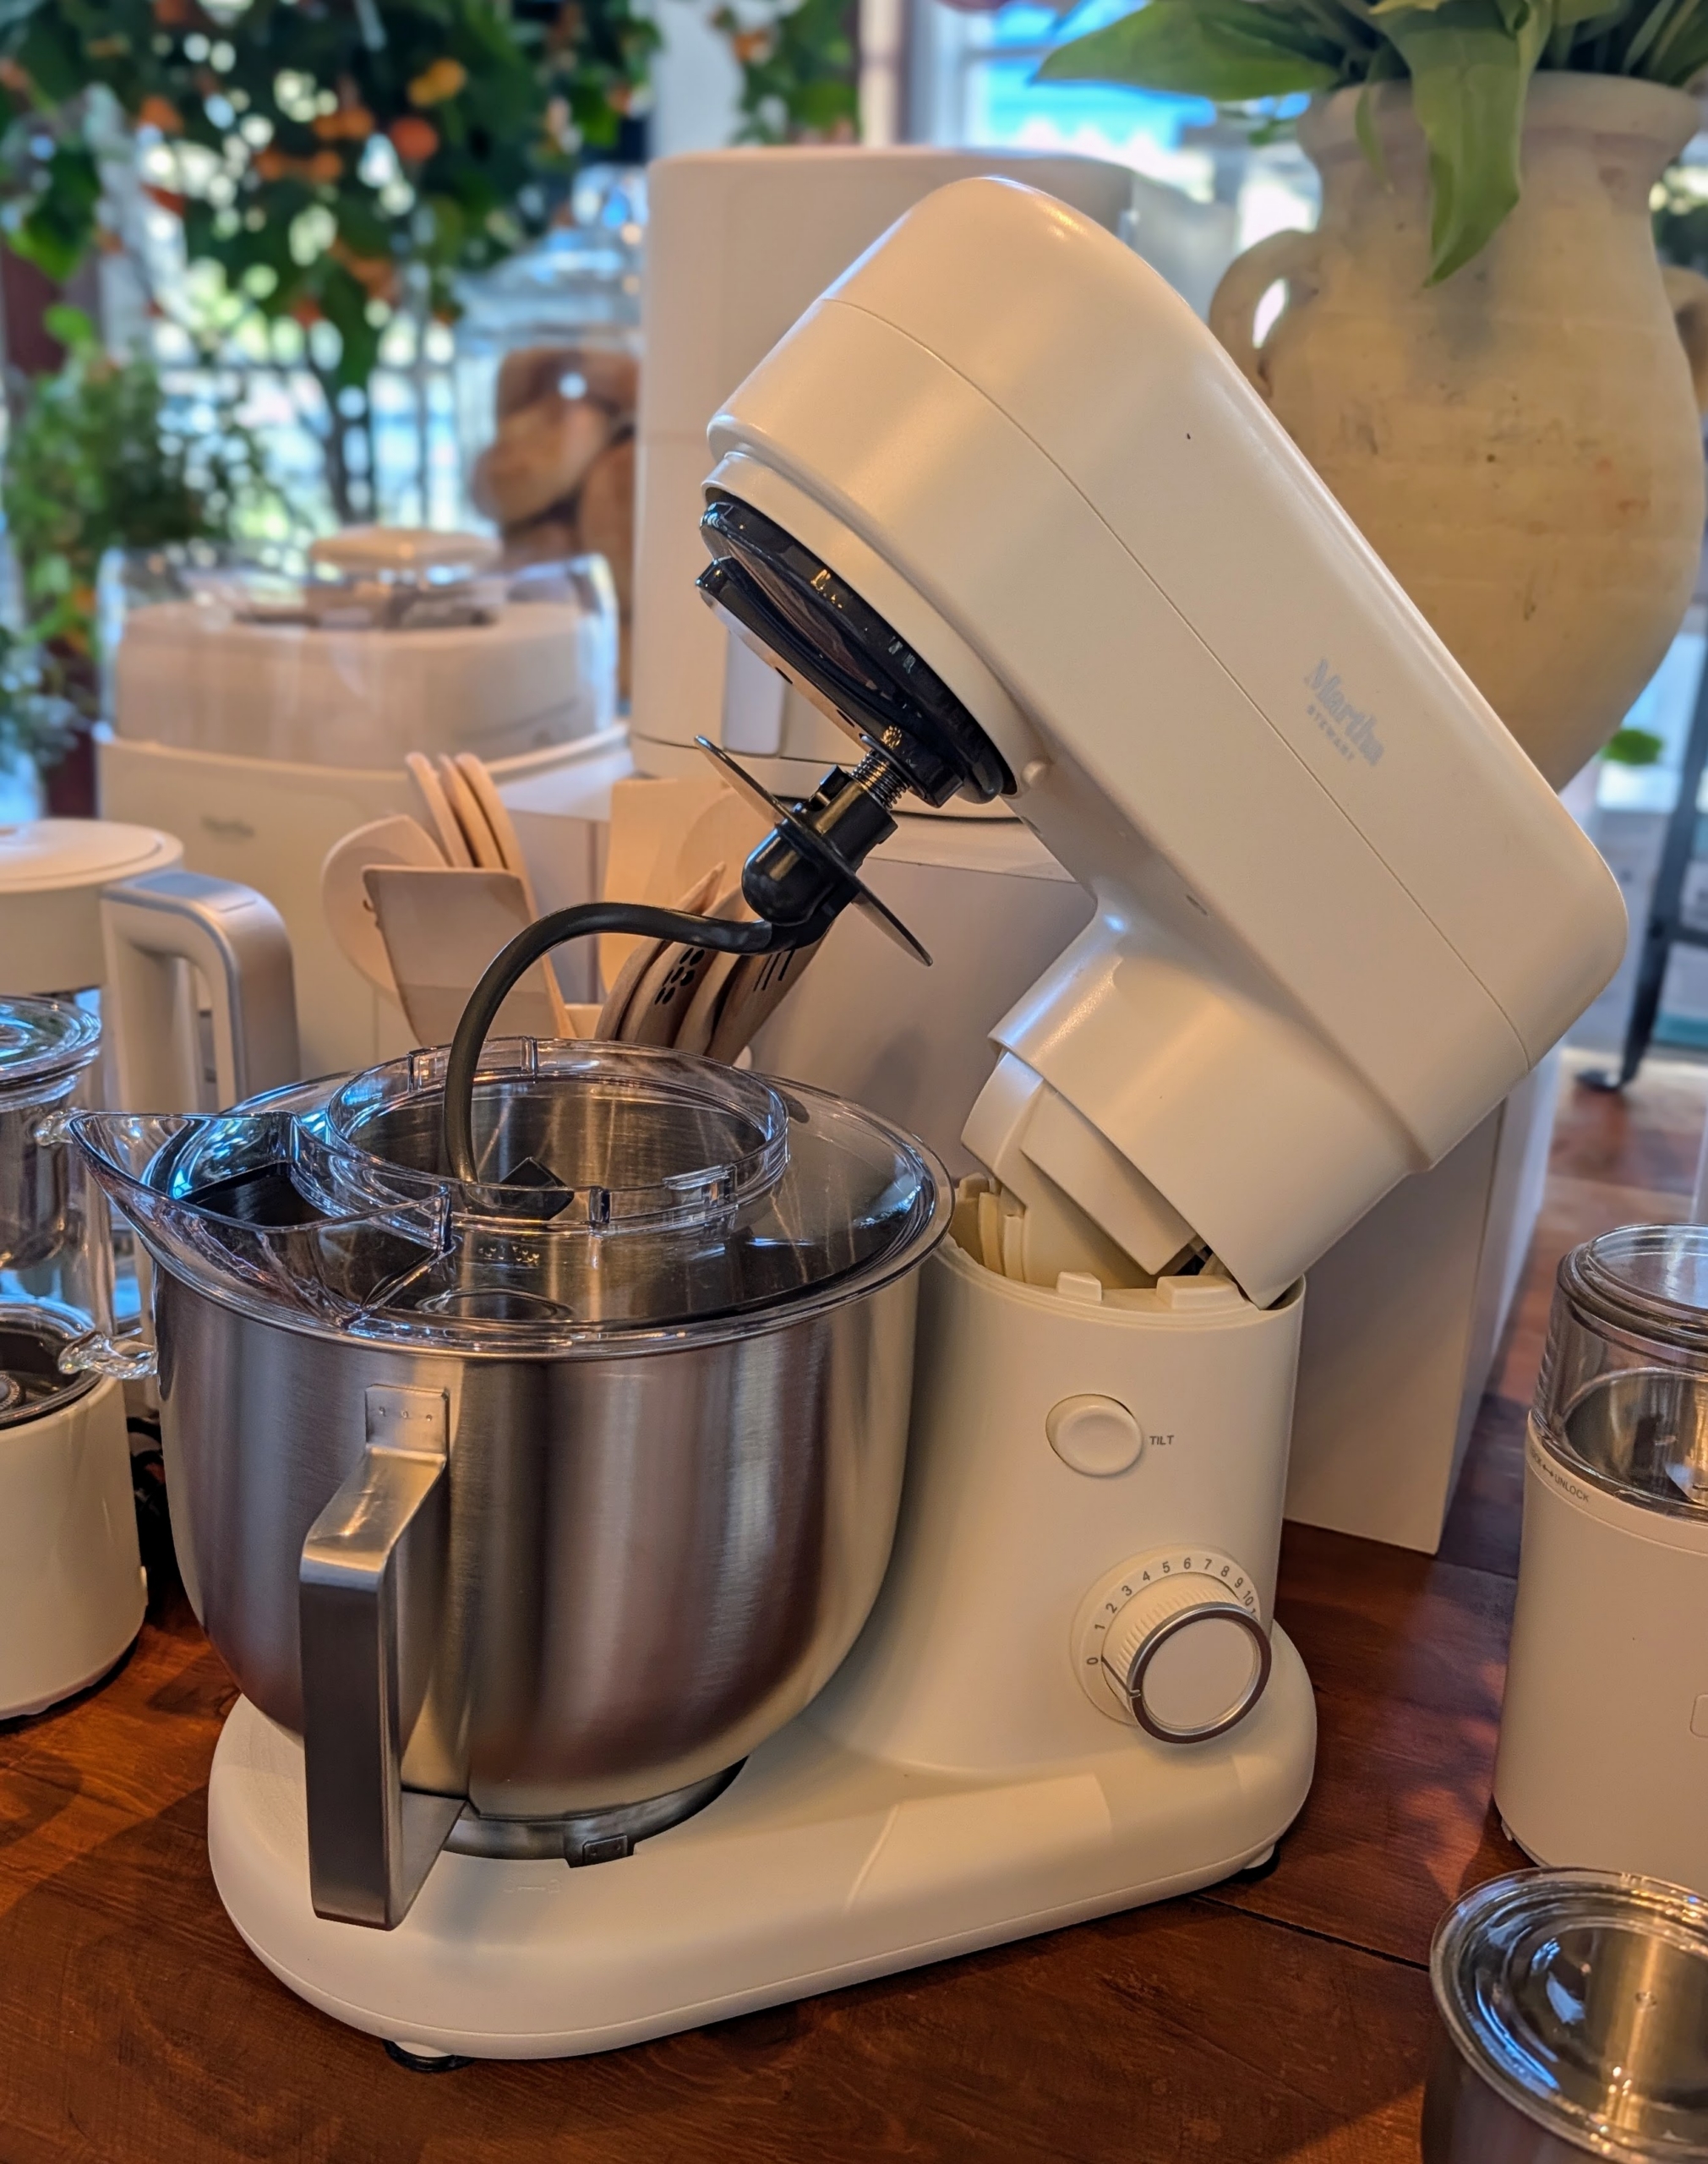
For mixing and blending, this is my 5.3 quart Stand Mixer with optimal speed settings, a spacious mixing bowl, 3-attachments, and a tilt-head design – all in one affordable appliance.
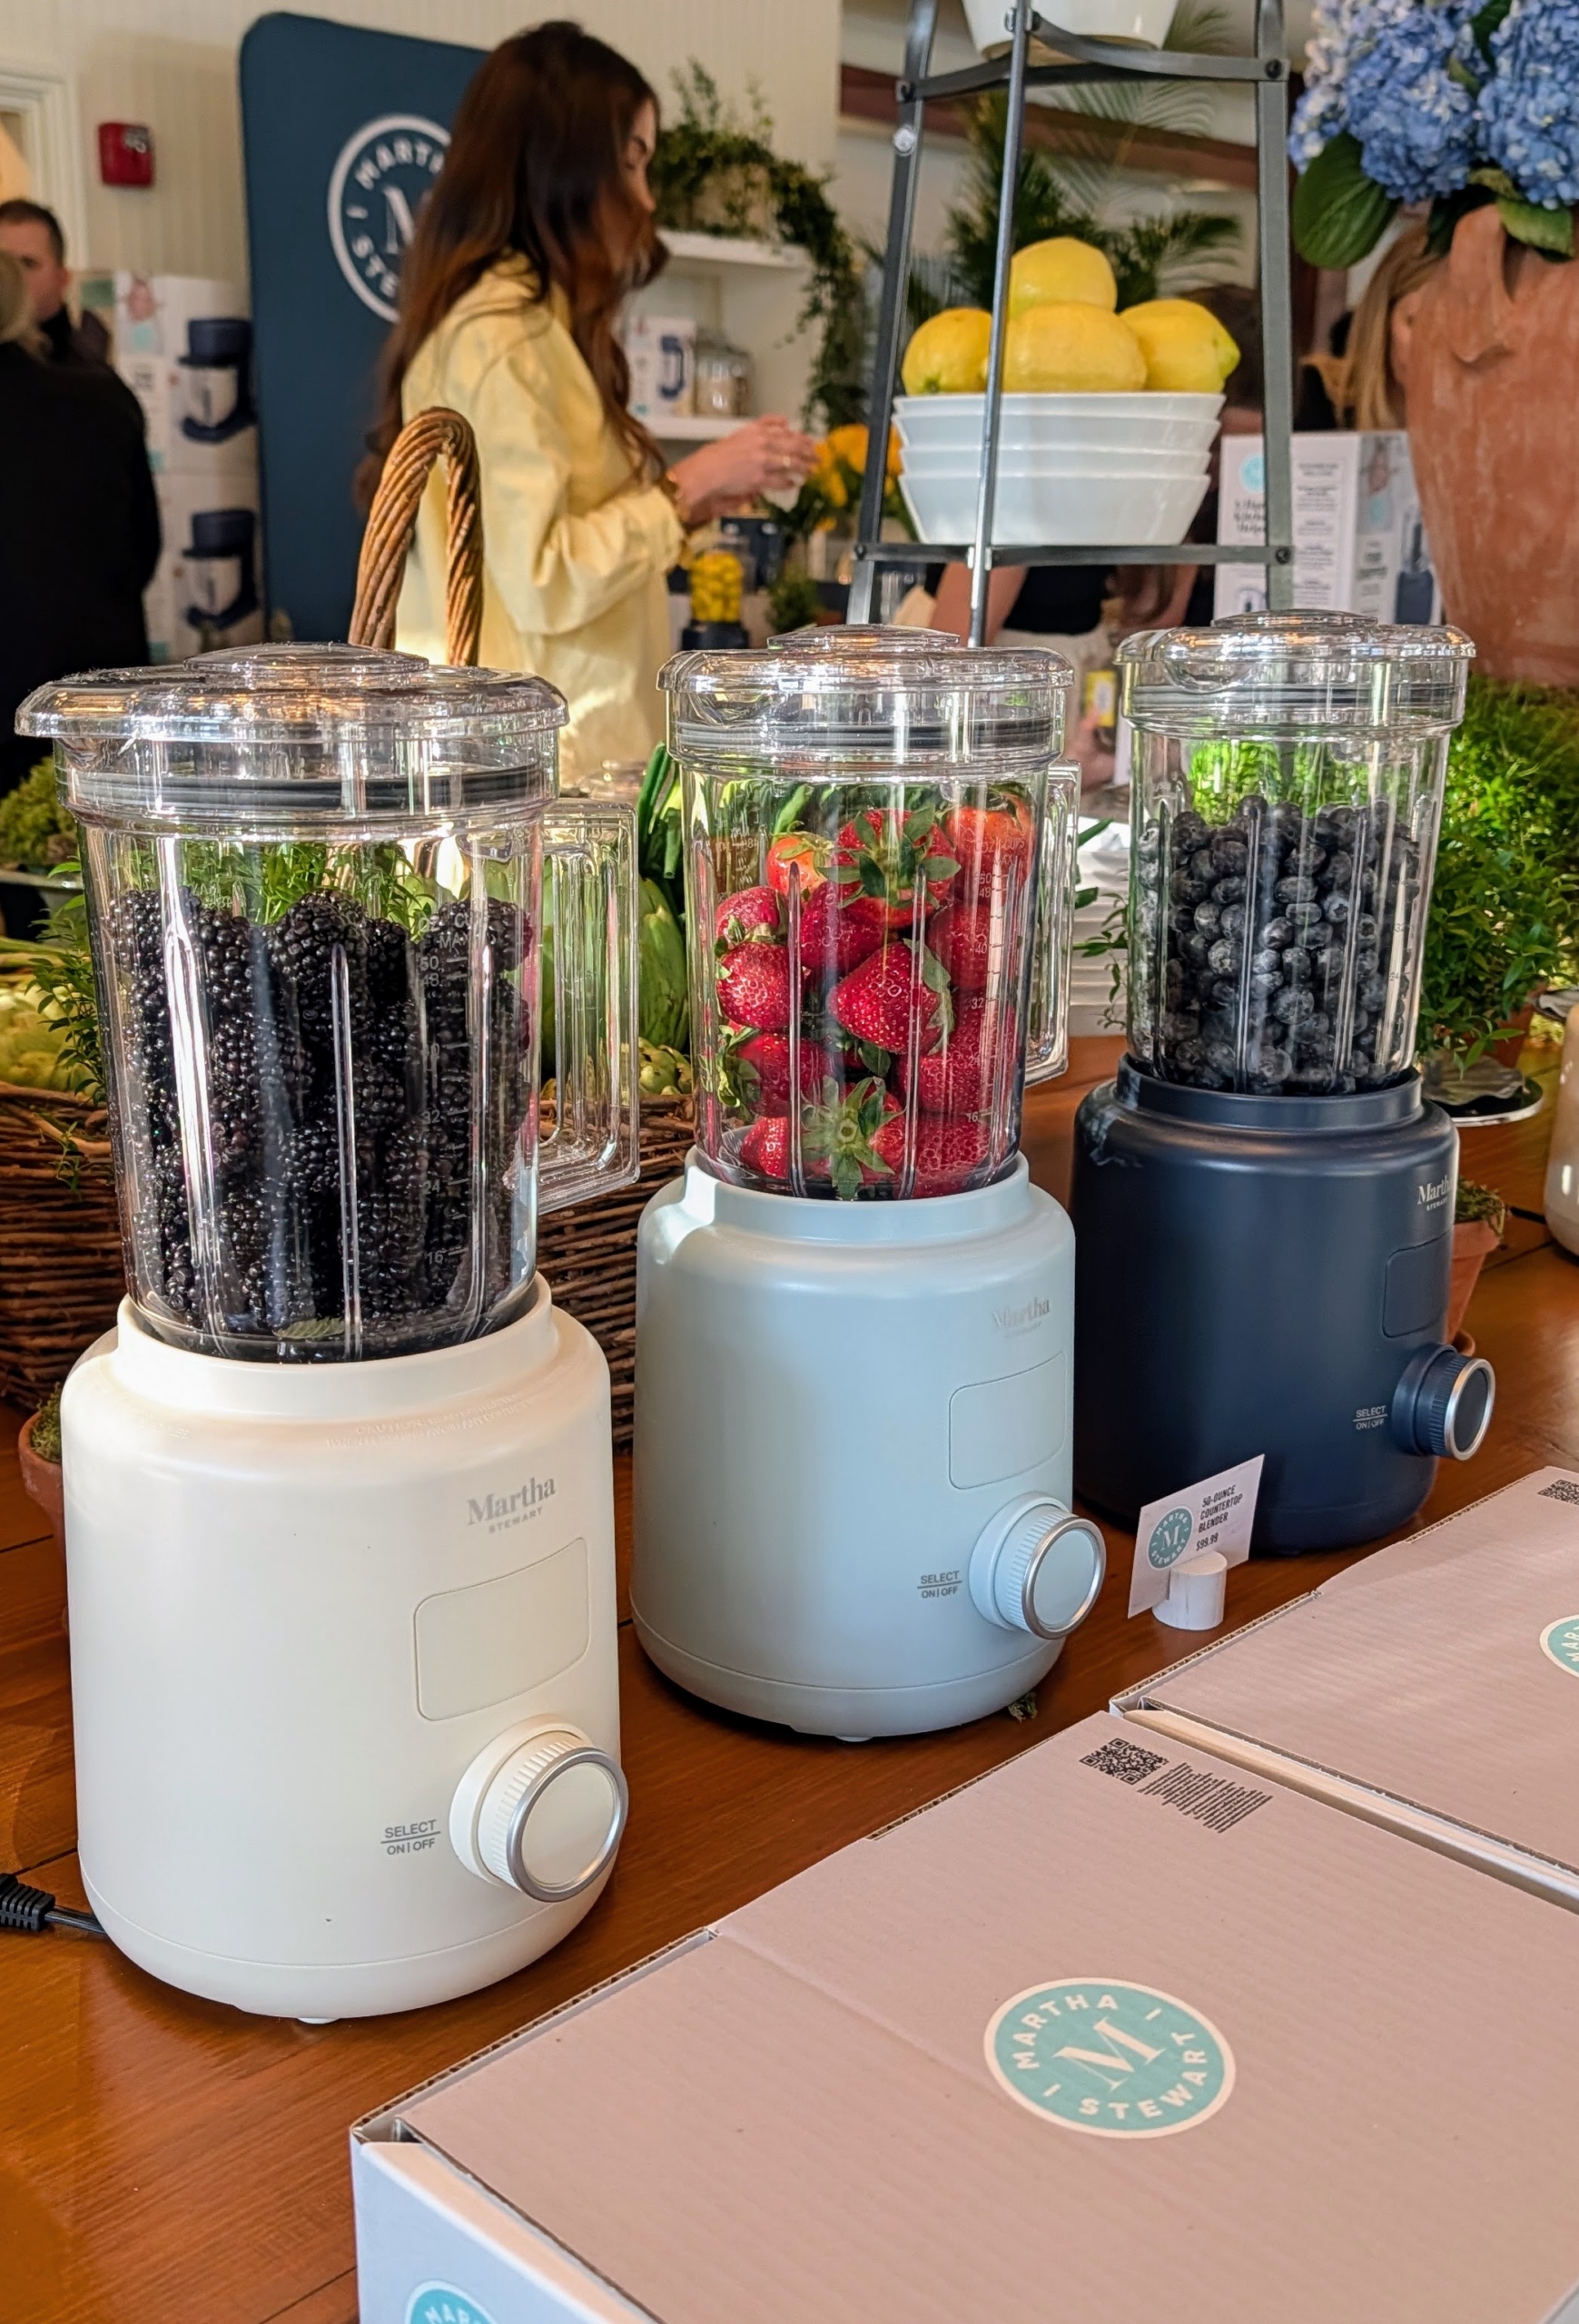
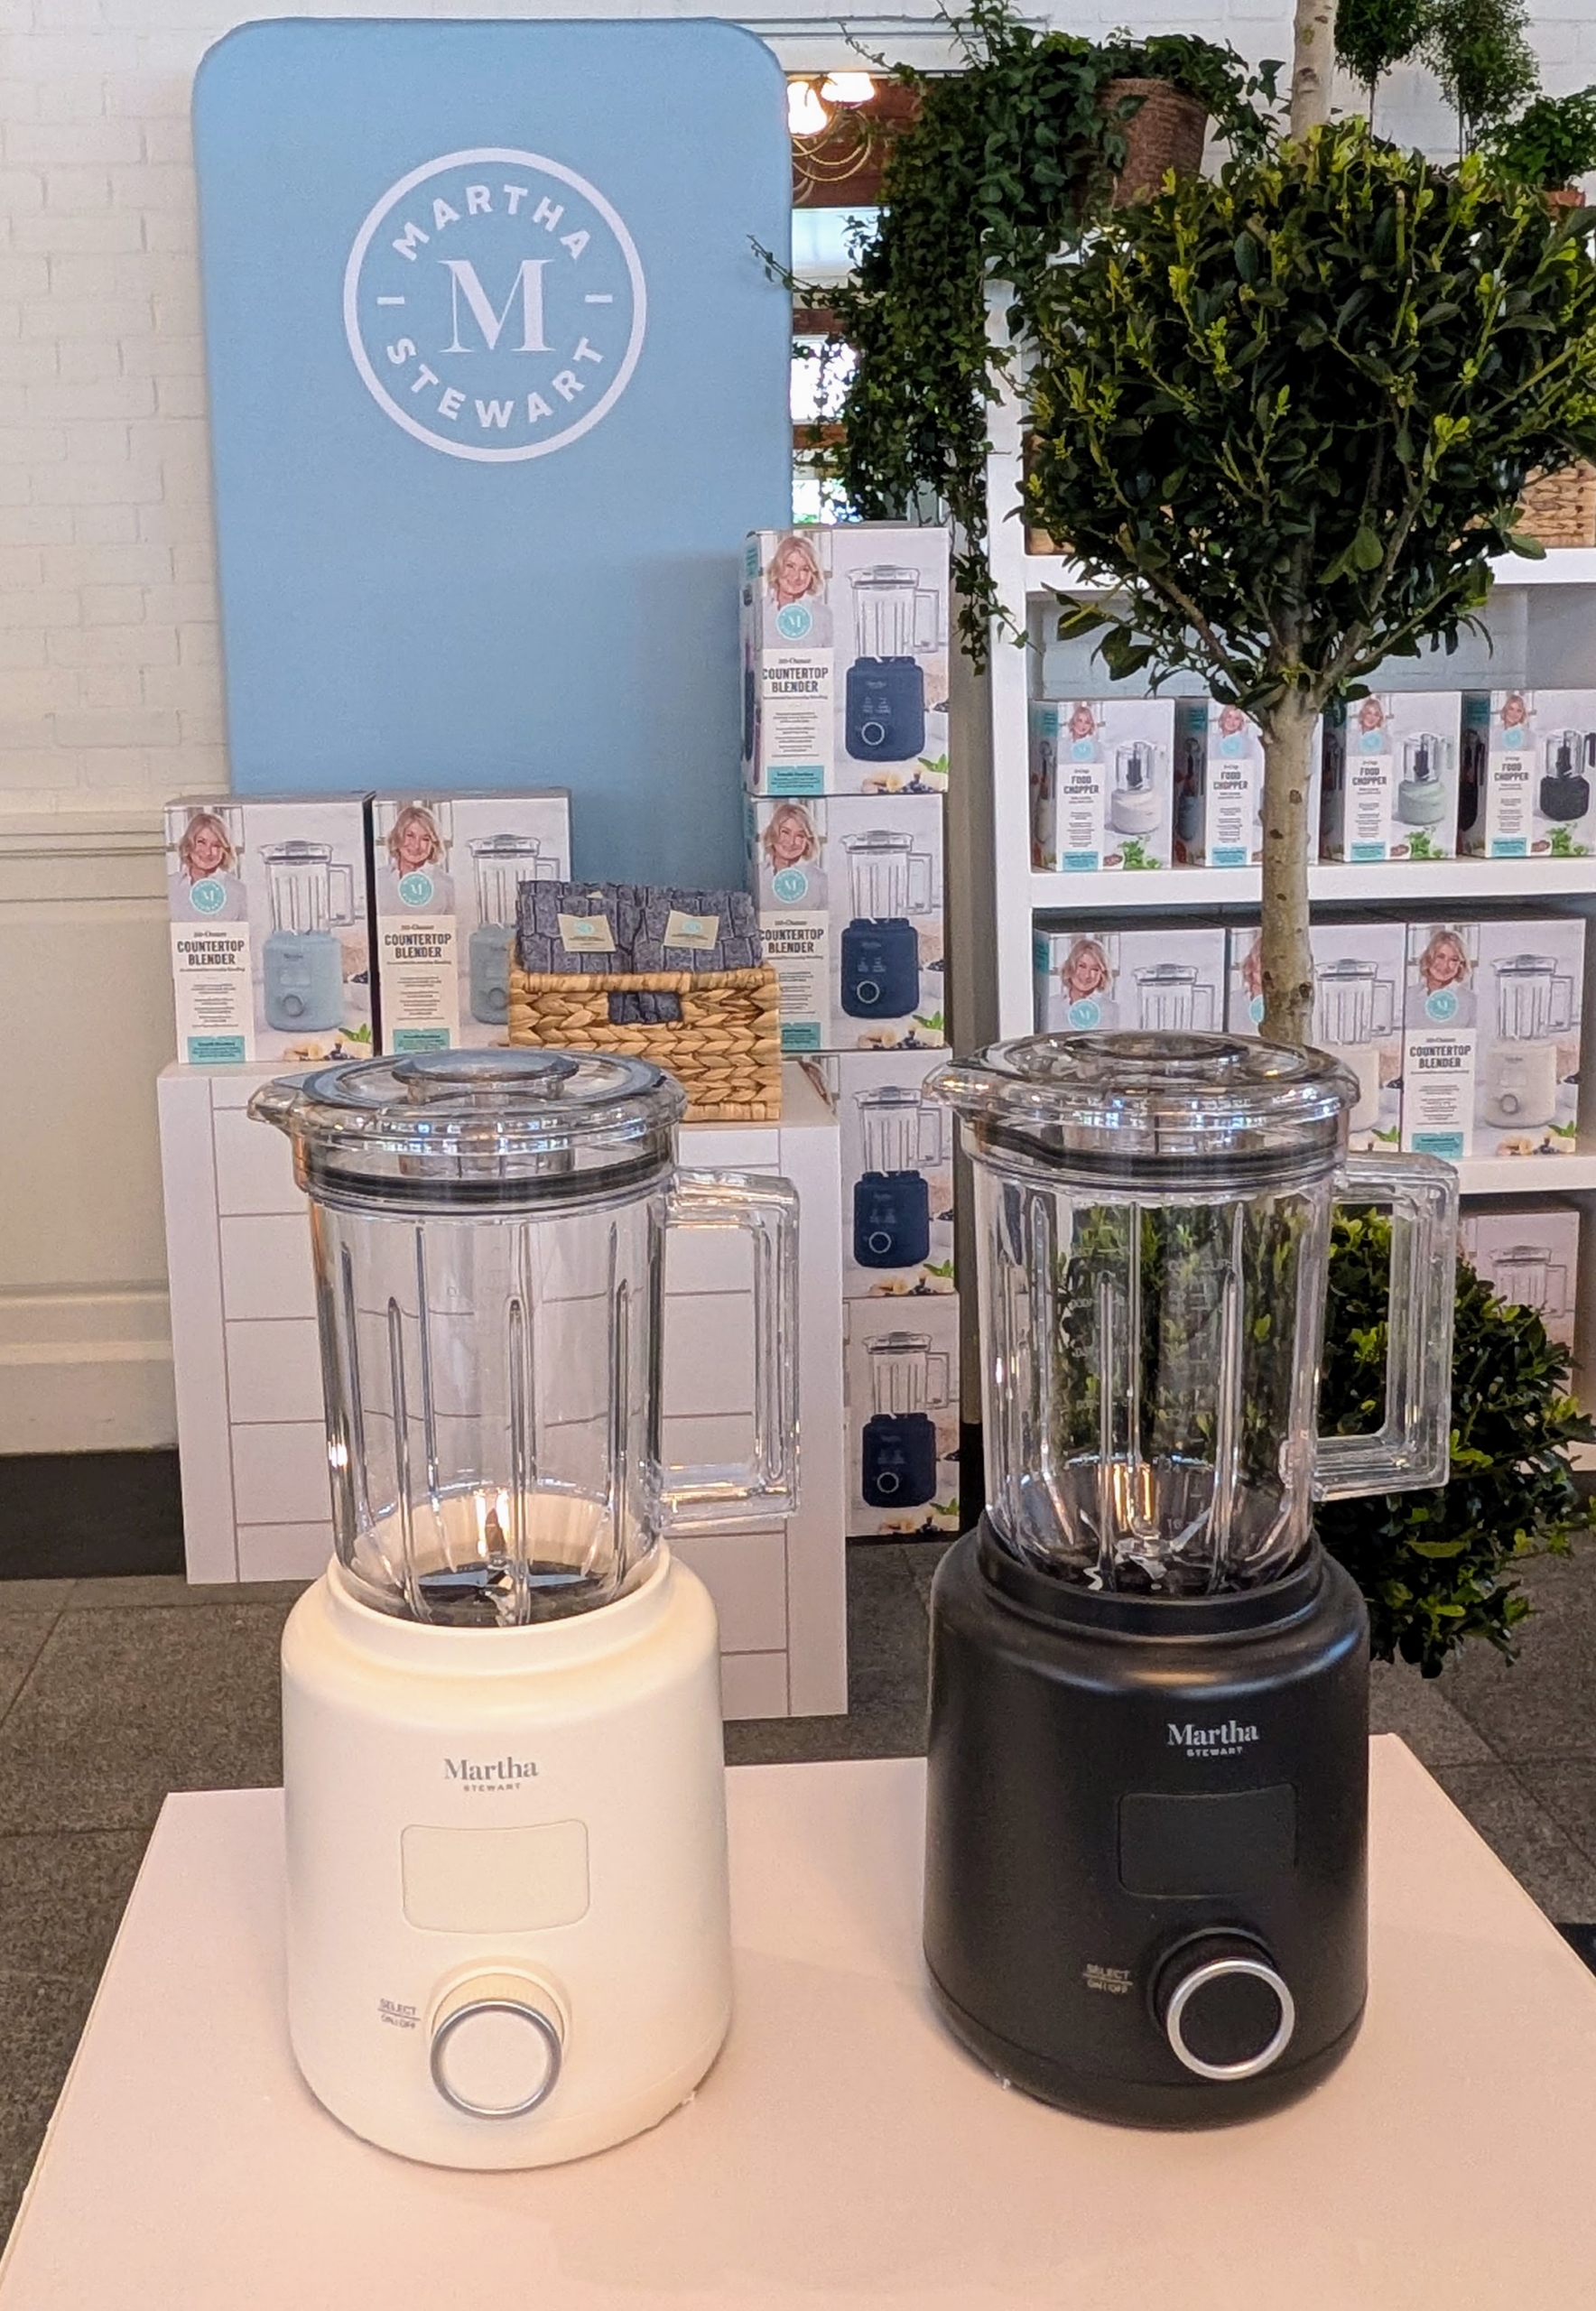
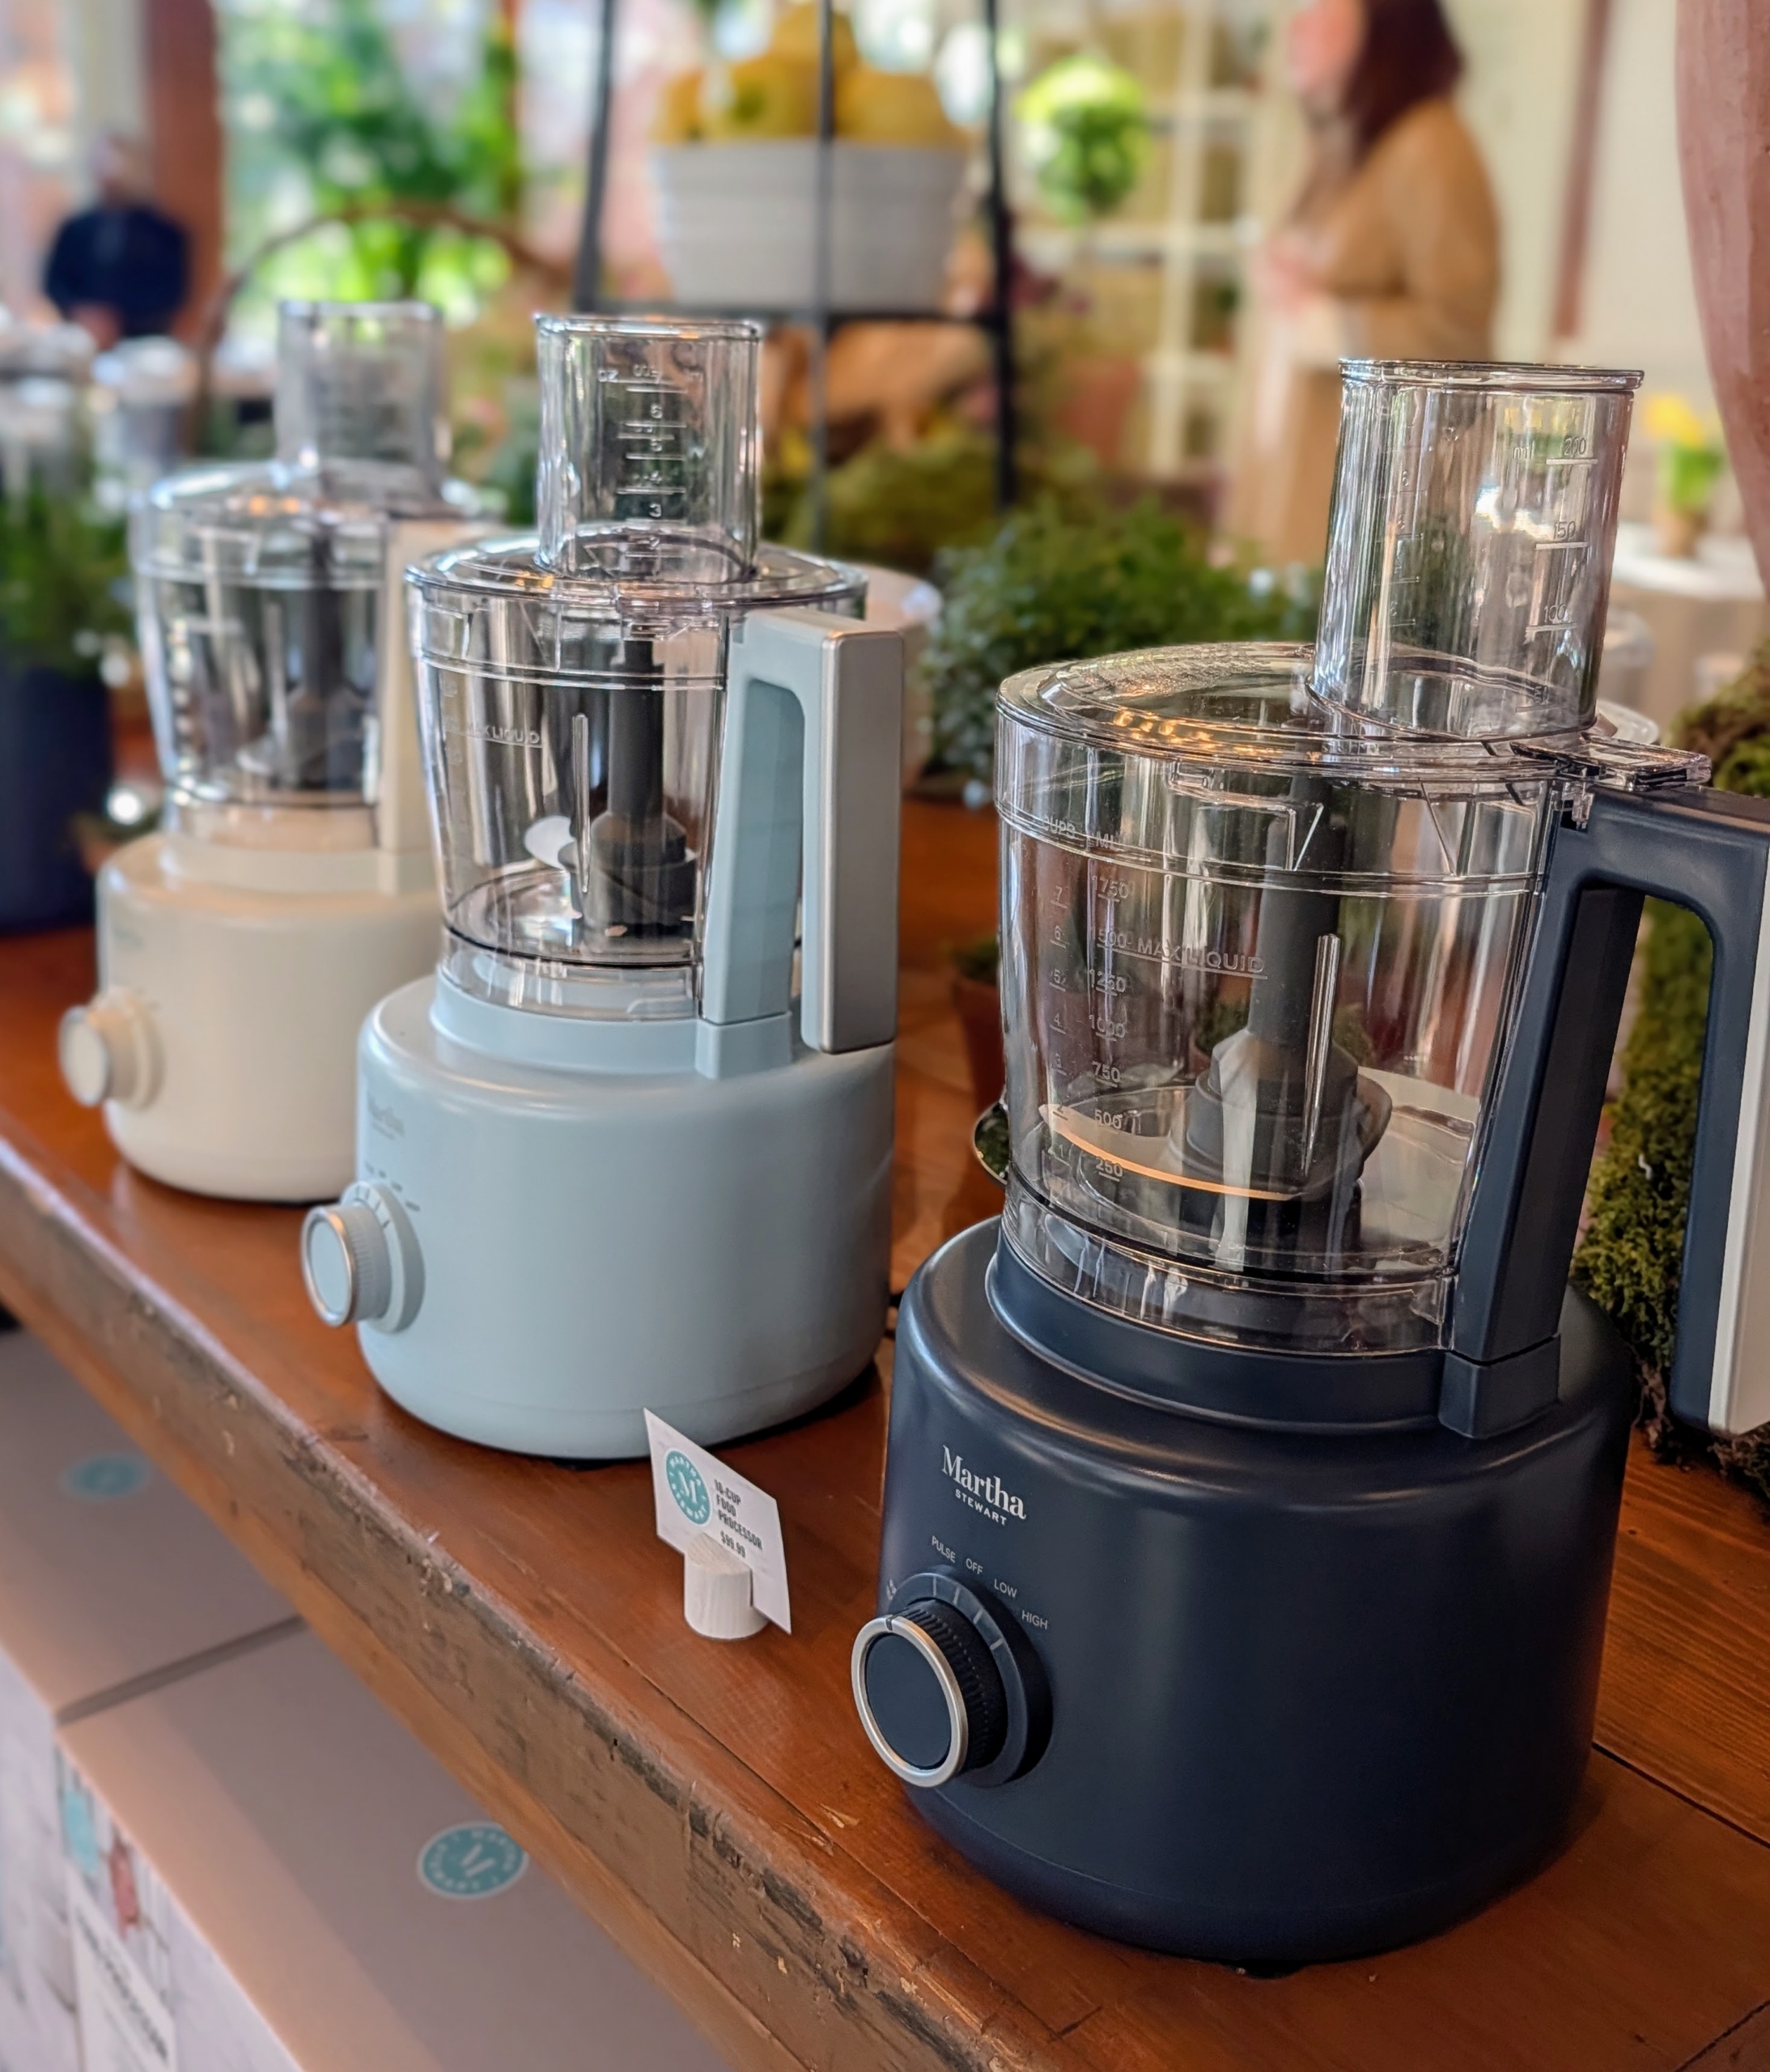
My Countertop Blender is a must-have if you like summertime smoothies. This blender has 6 stainless steel blades, an easy-to-use selector dial, a large-capacity pitcher and dishwasher safe parts.
These handly blenders also come in linen, caviar gray, honeydew, and sky blue.
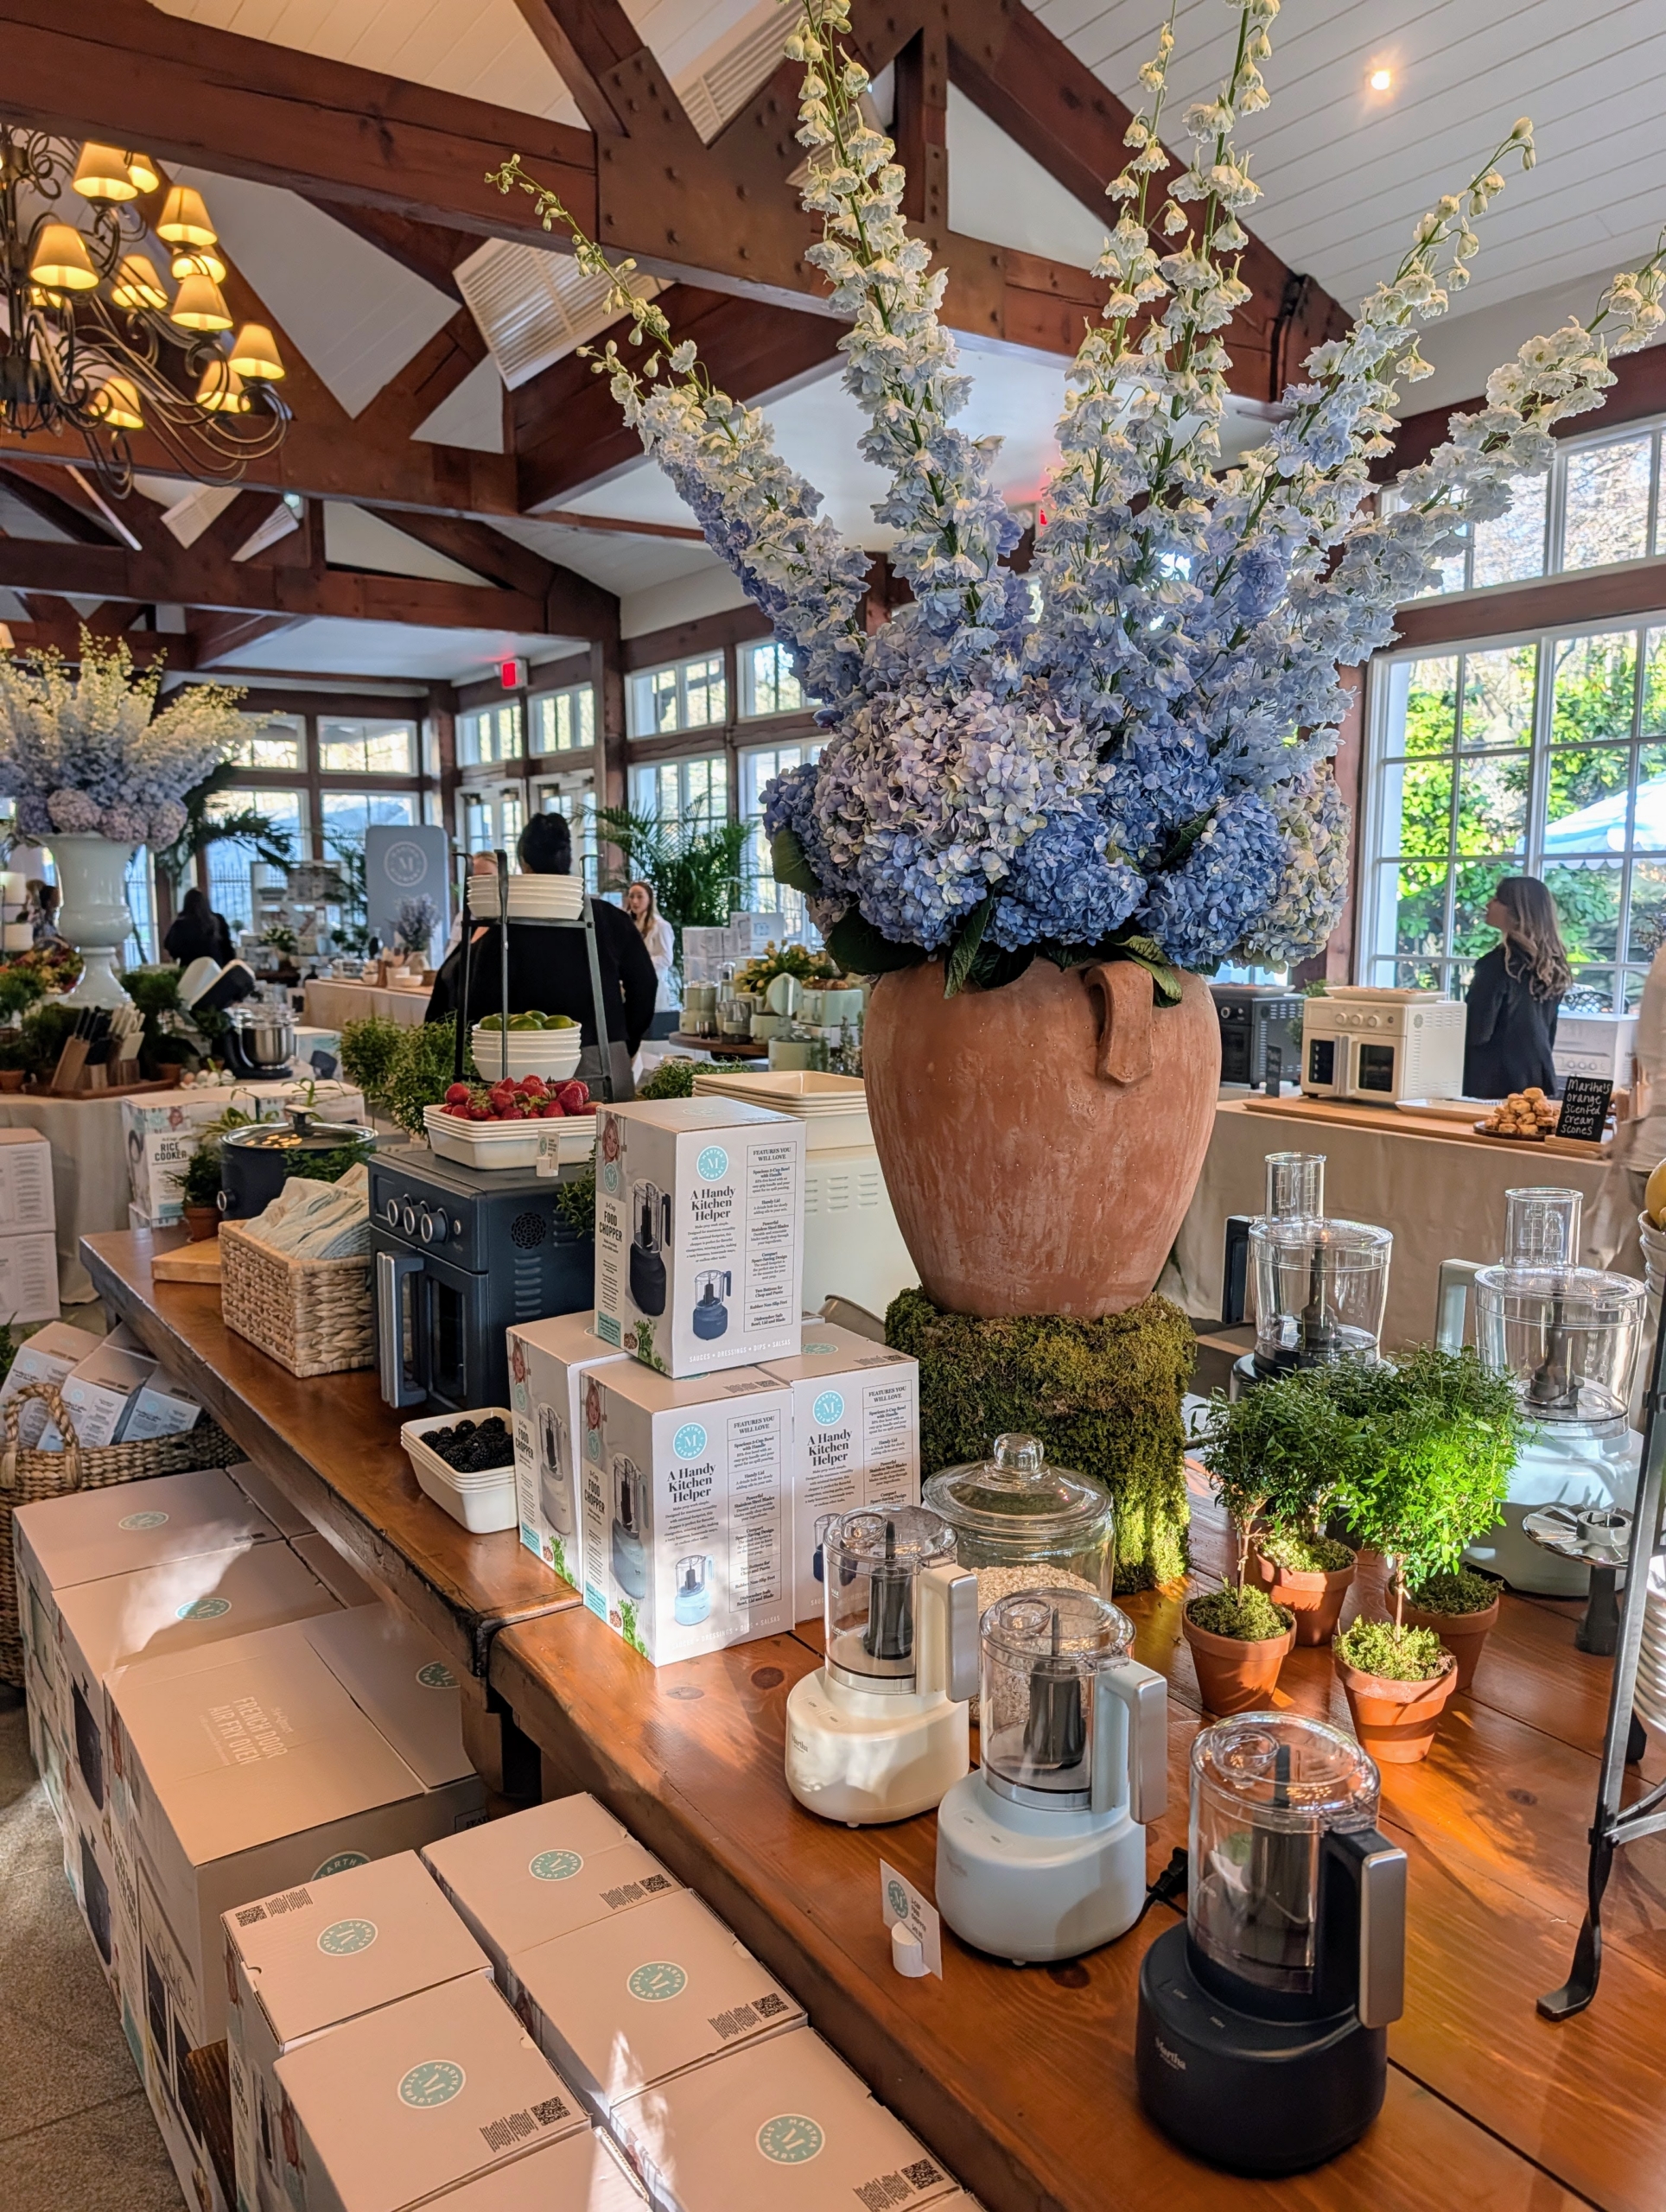
This is my 3-cup Food Chopper – a great helper in the kitchen for chopping and sauces and purées.
It is also dishwasher safe and comes in all four of our current colors.
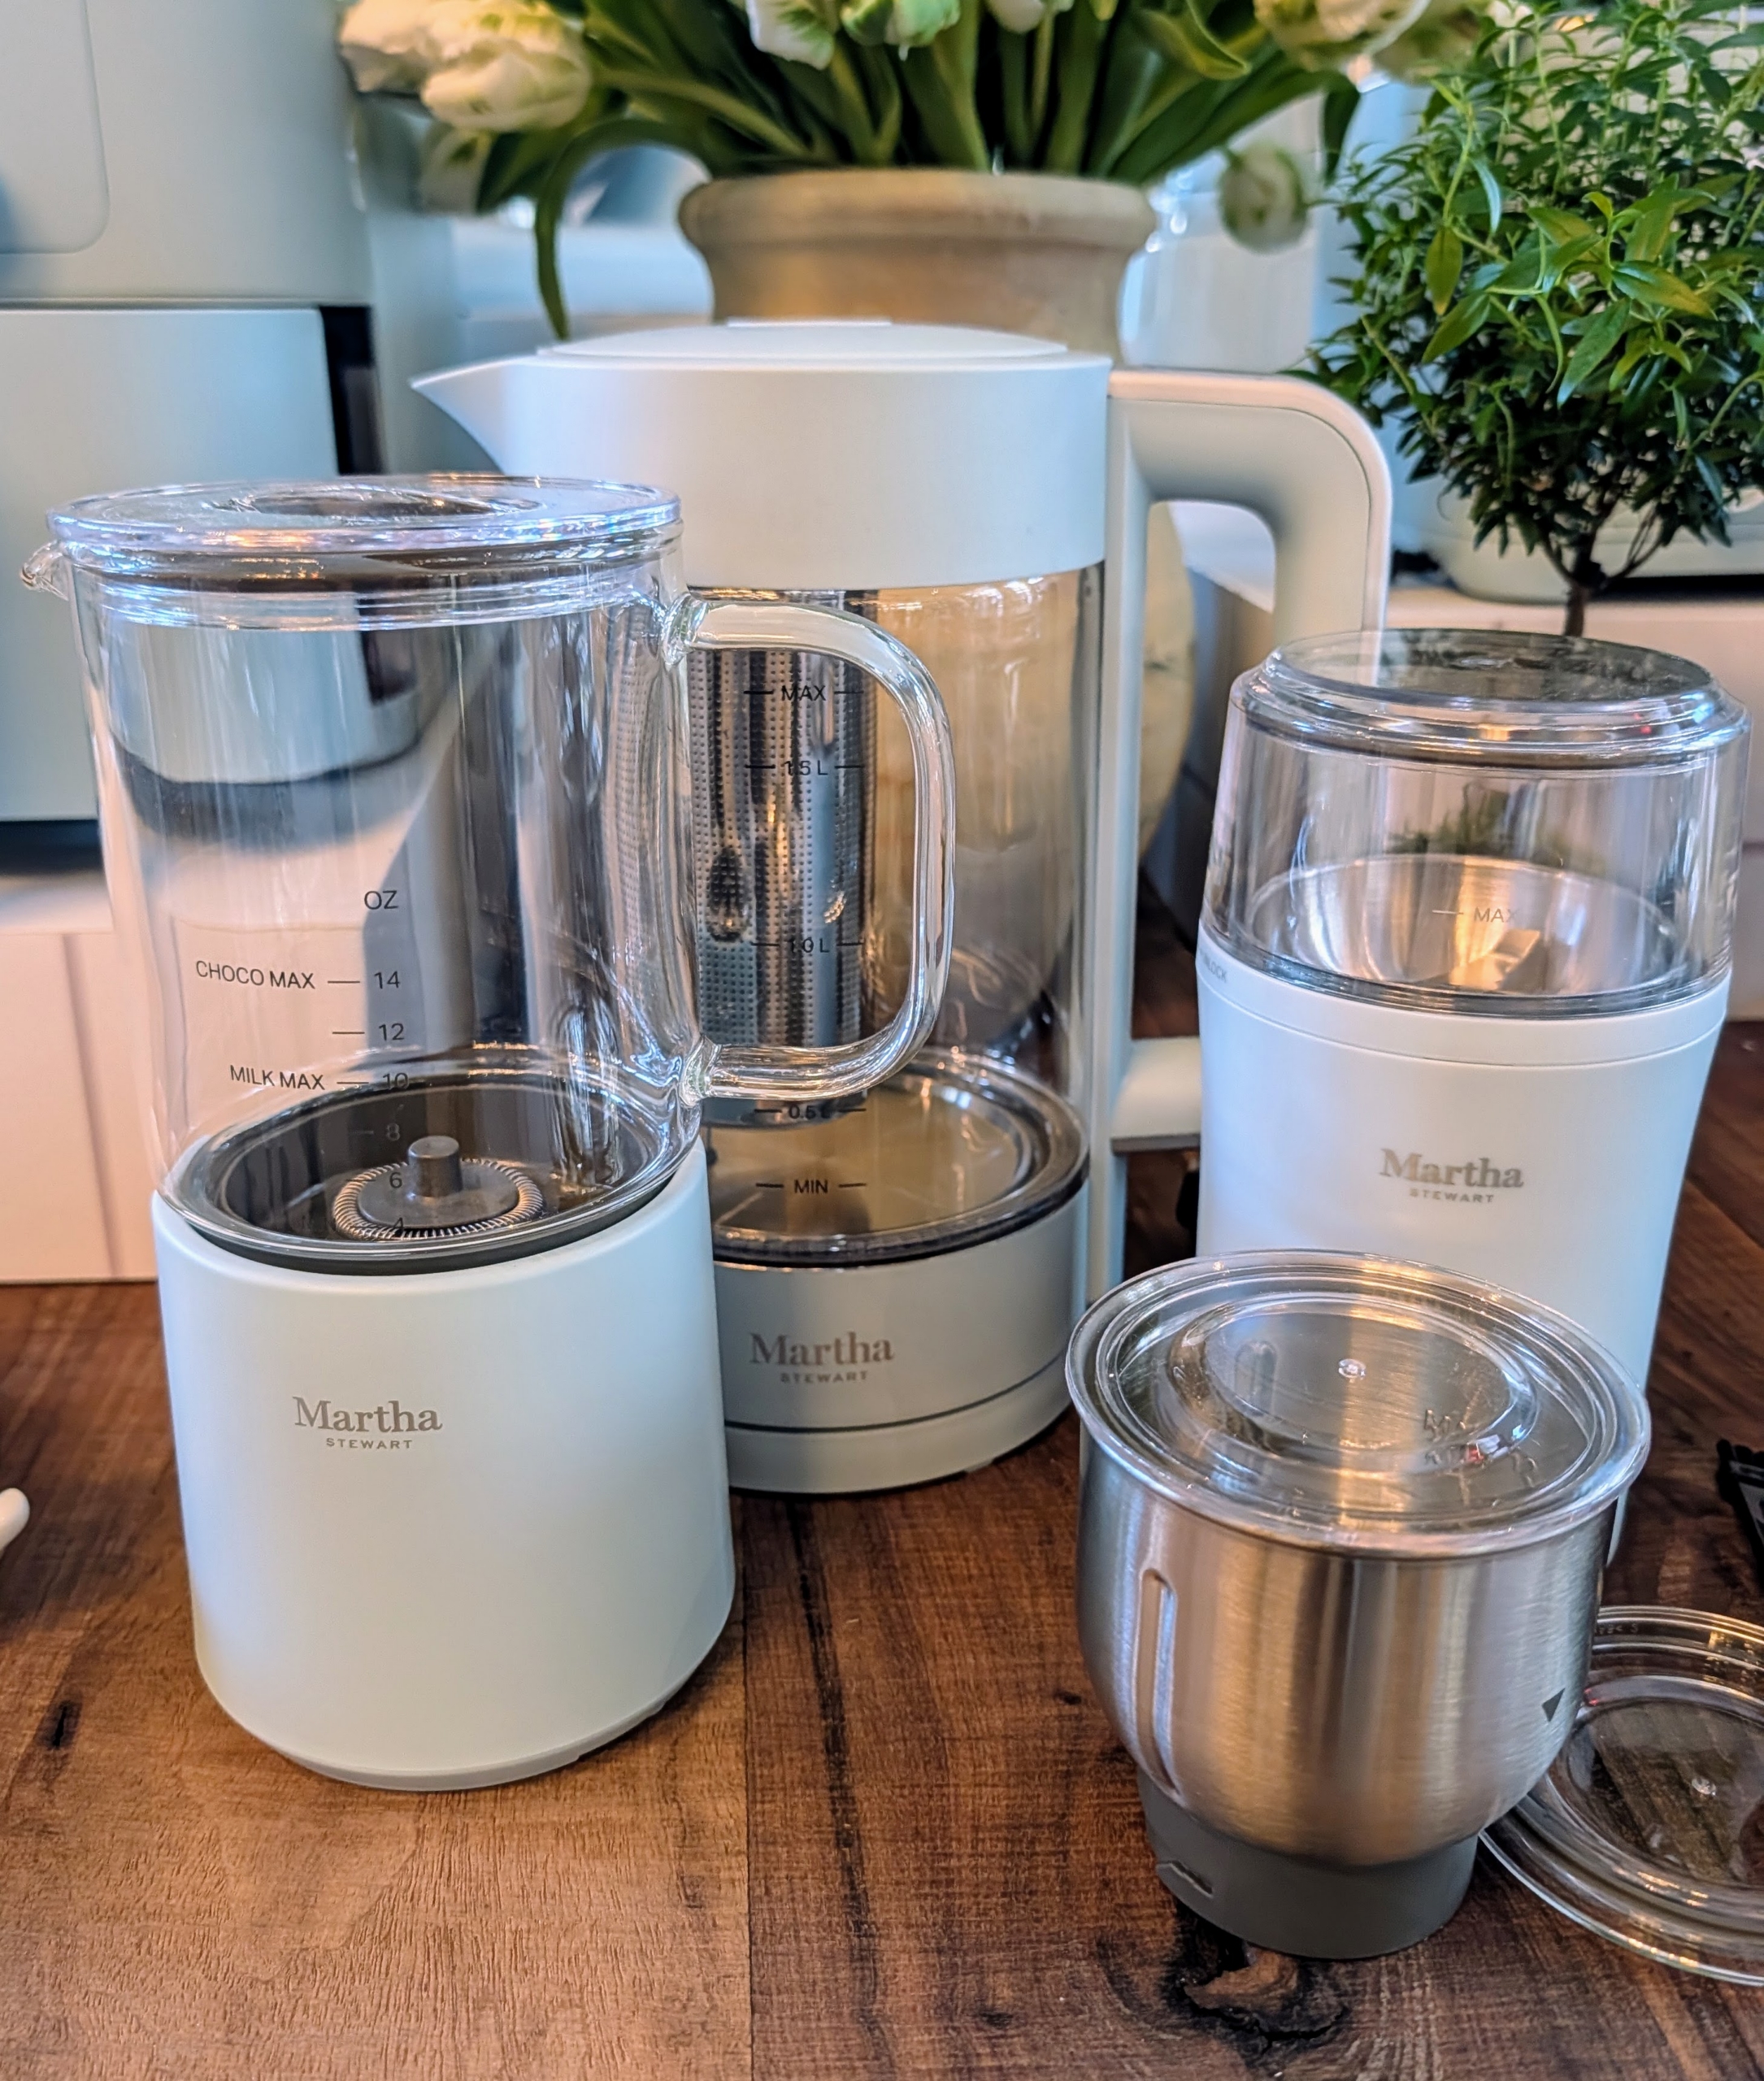
My Electric Coffee & Spice Grinder, Kettle, and Milk Frother are great kitchen essentials for those wanting a comforting and flavorful hot cup of coffee, tea, or warm milk.
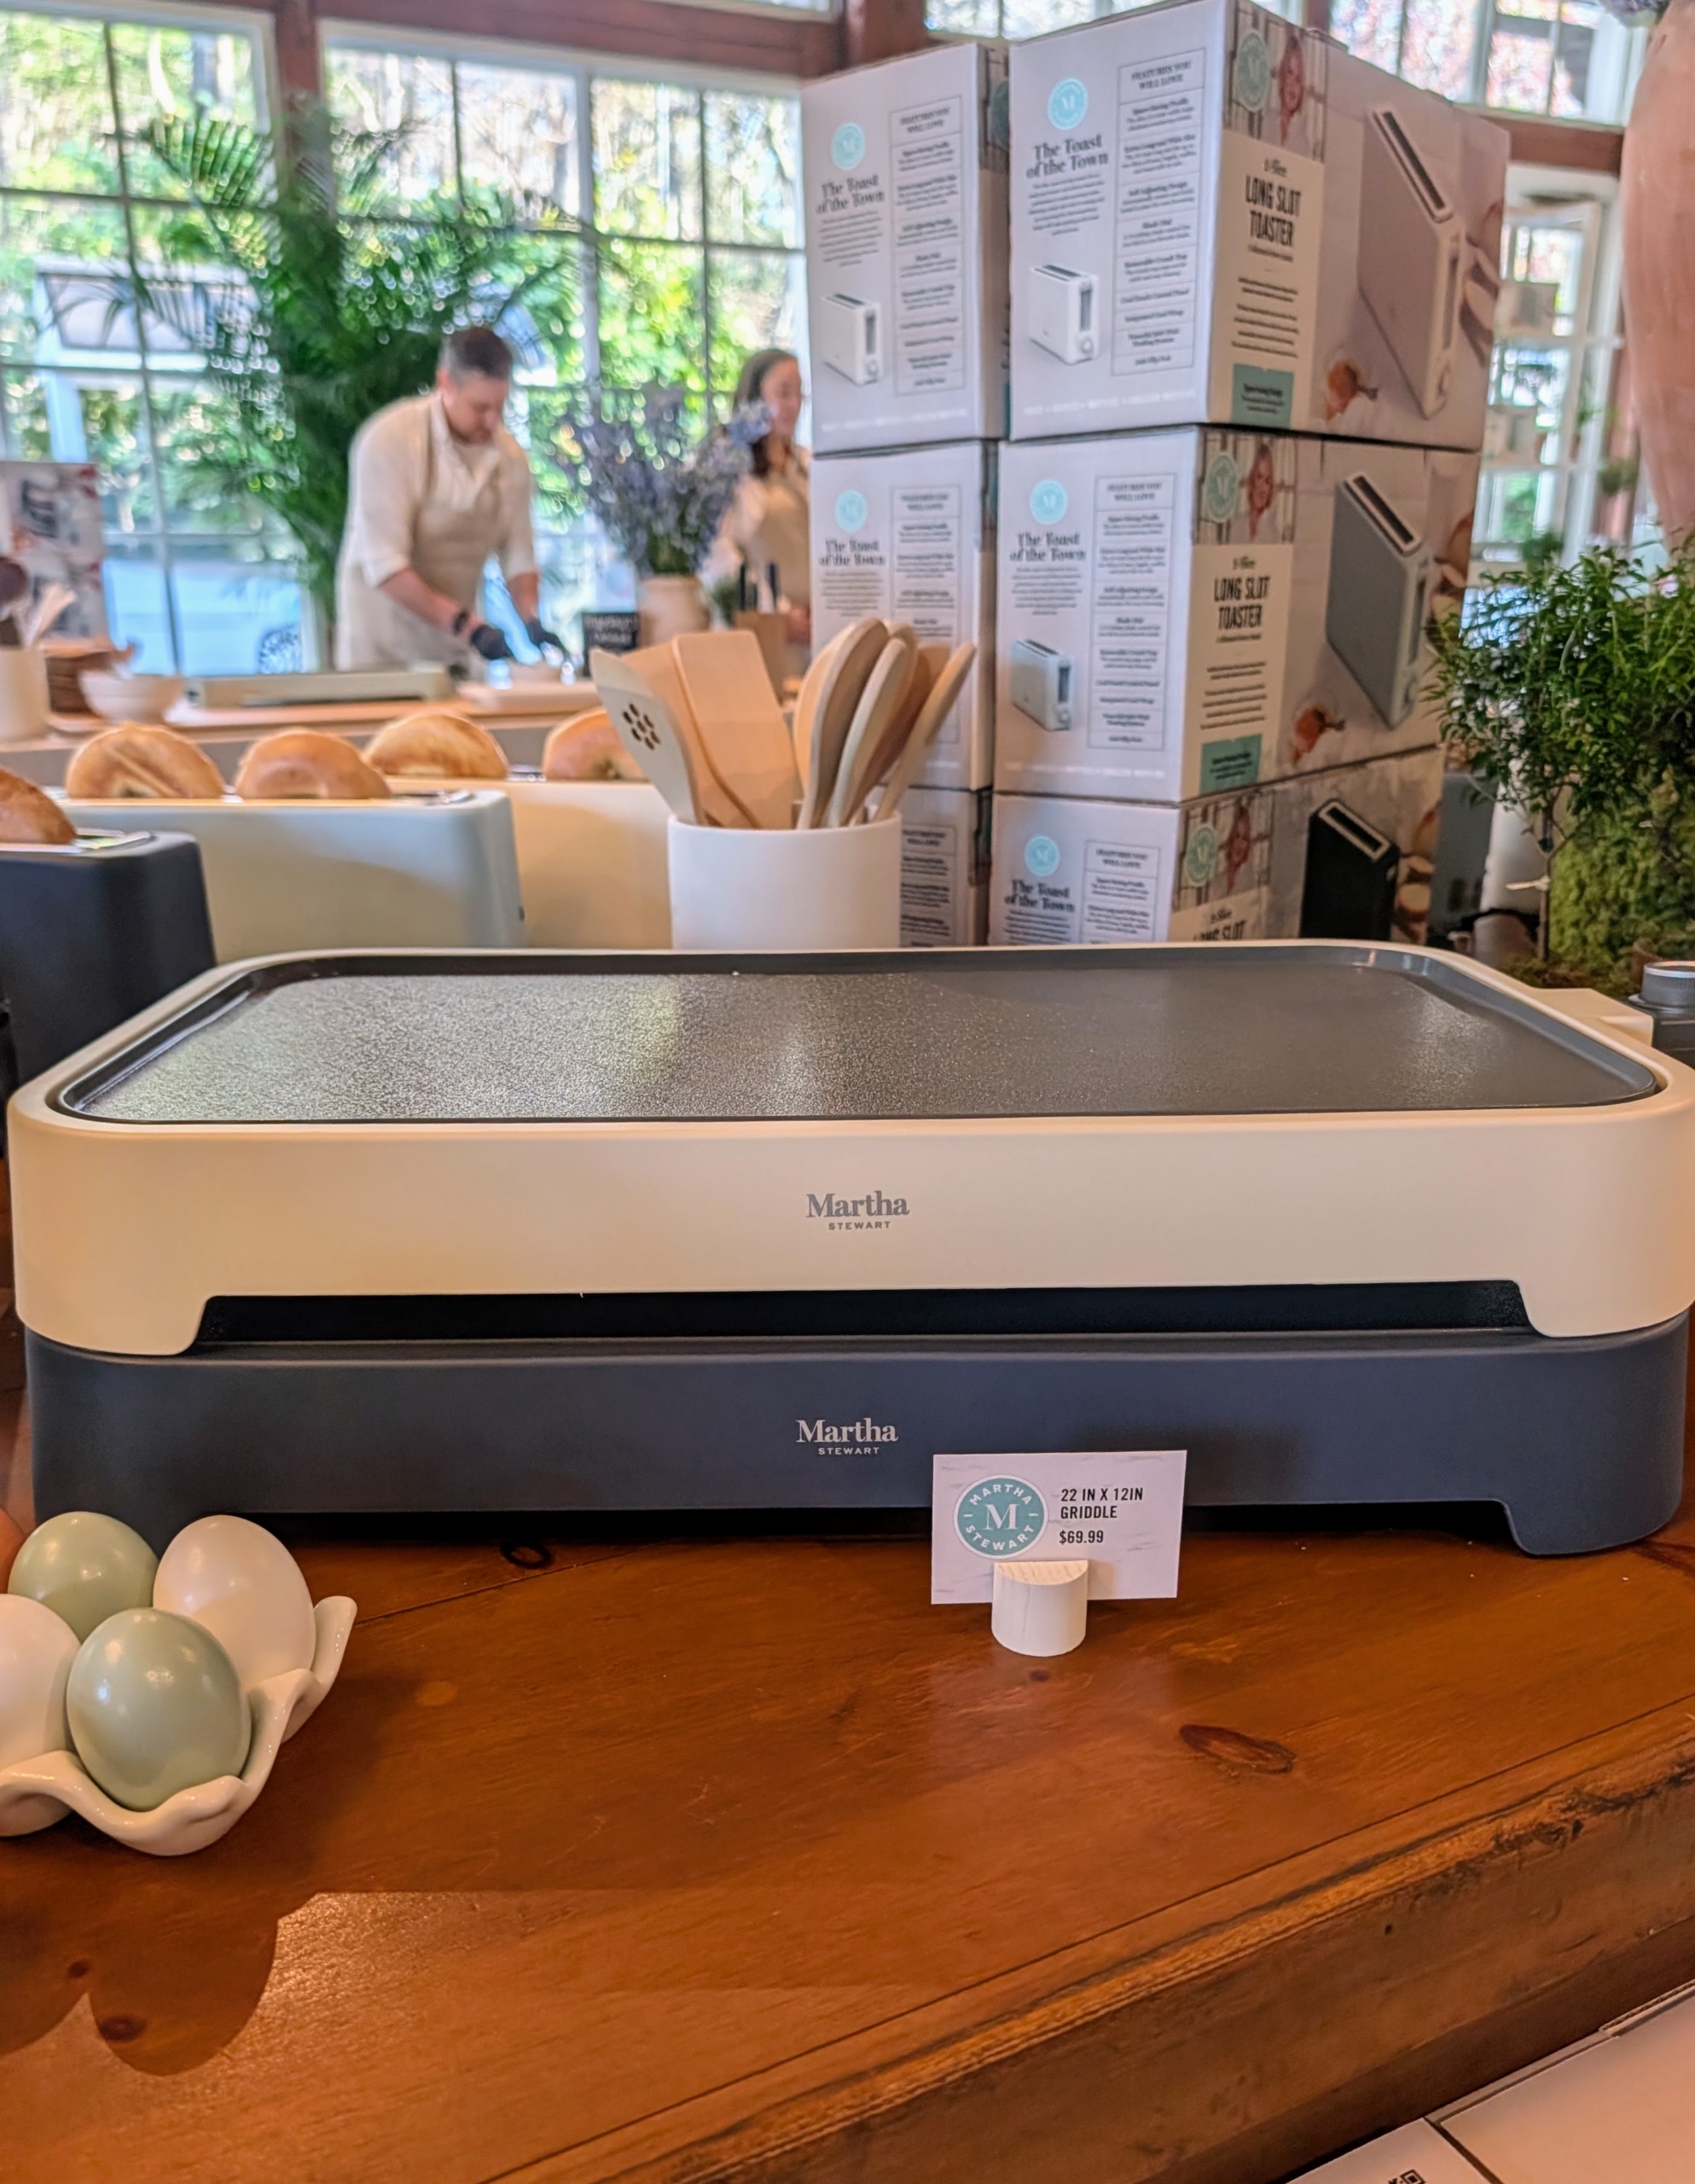
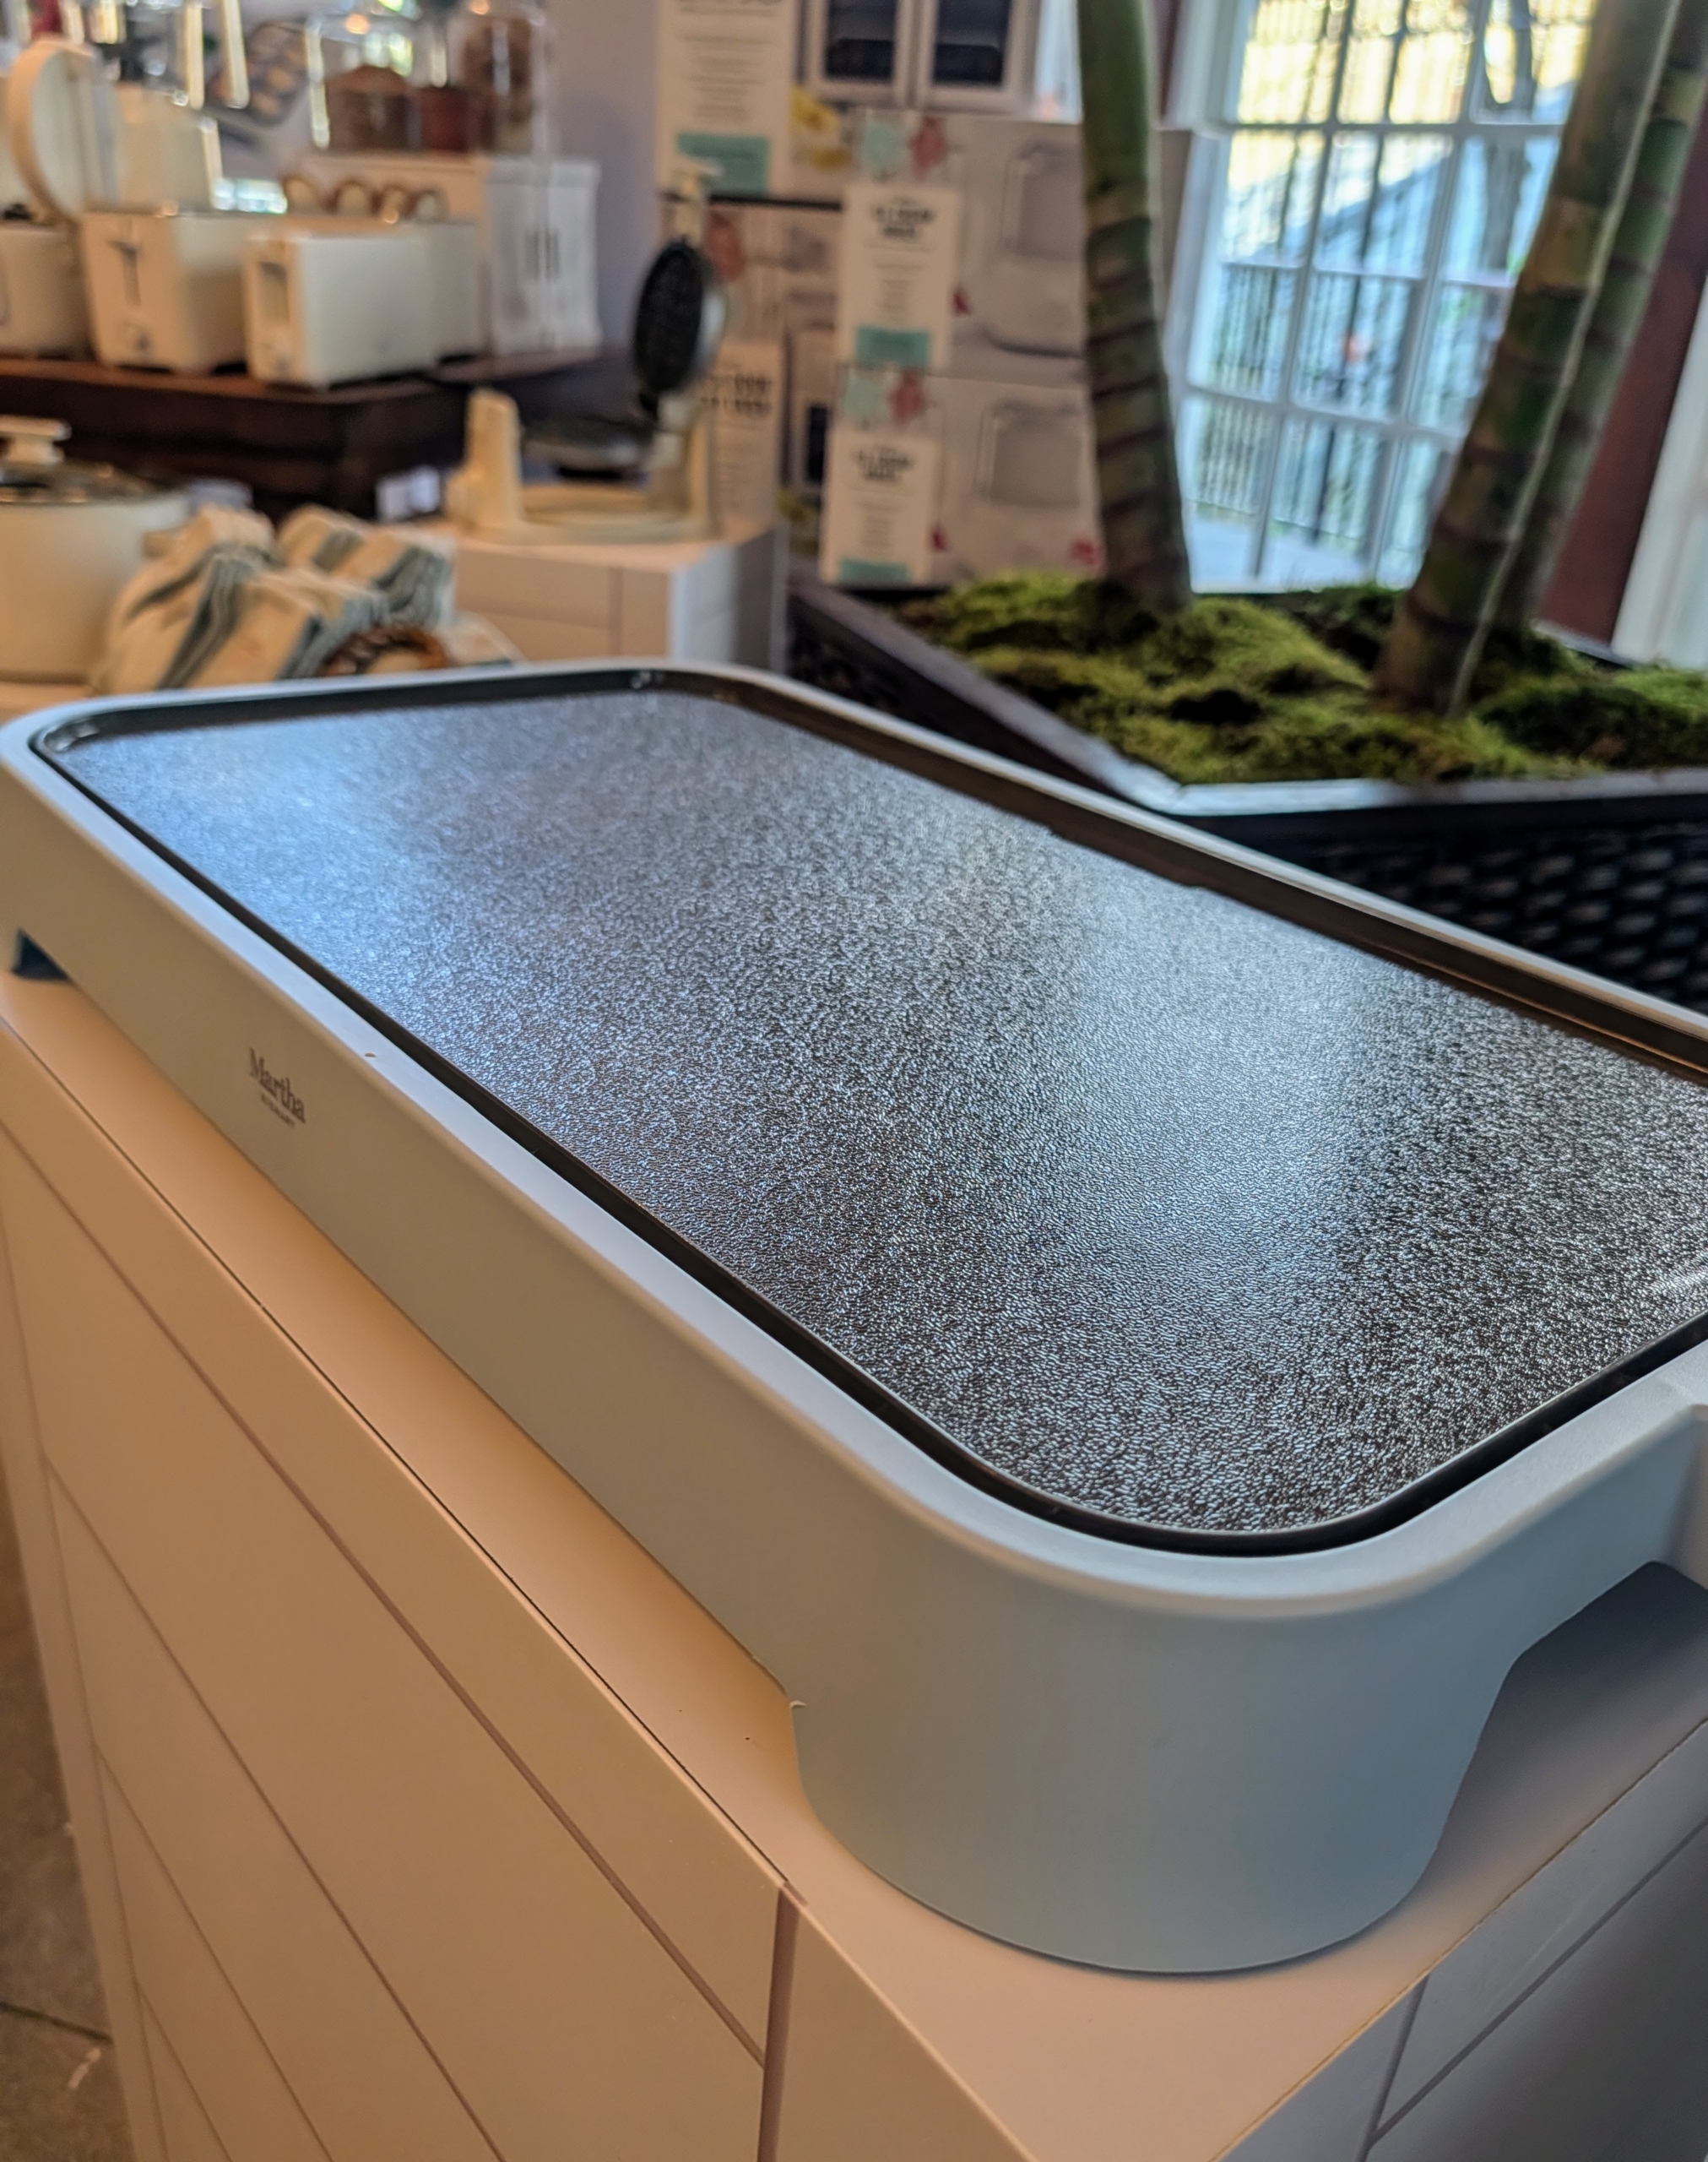
My 22-inch by 12-inch Griddle heats evenly, cleans quickly and makes every meal so easy to make.
The surface is nonstick and the perfect size for large breakfasts, dinners and summer lunches. Use it to sizzle up so many things.
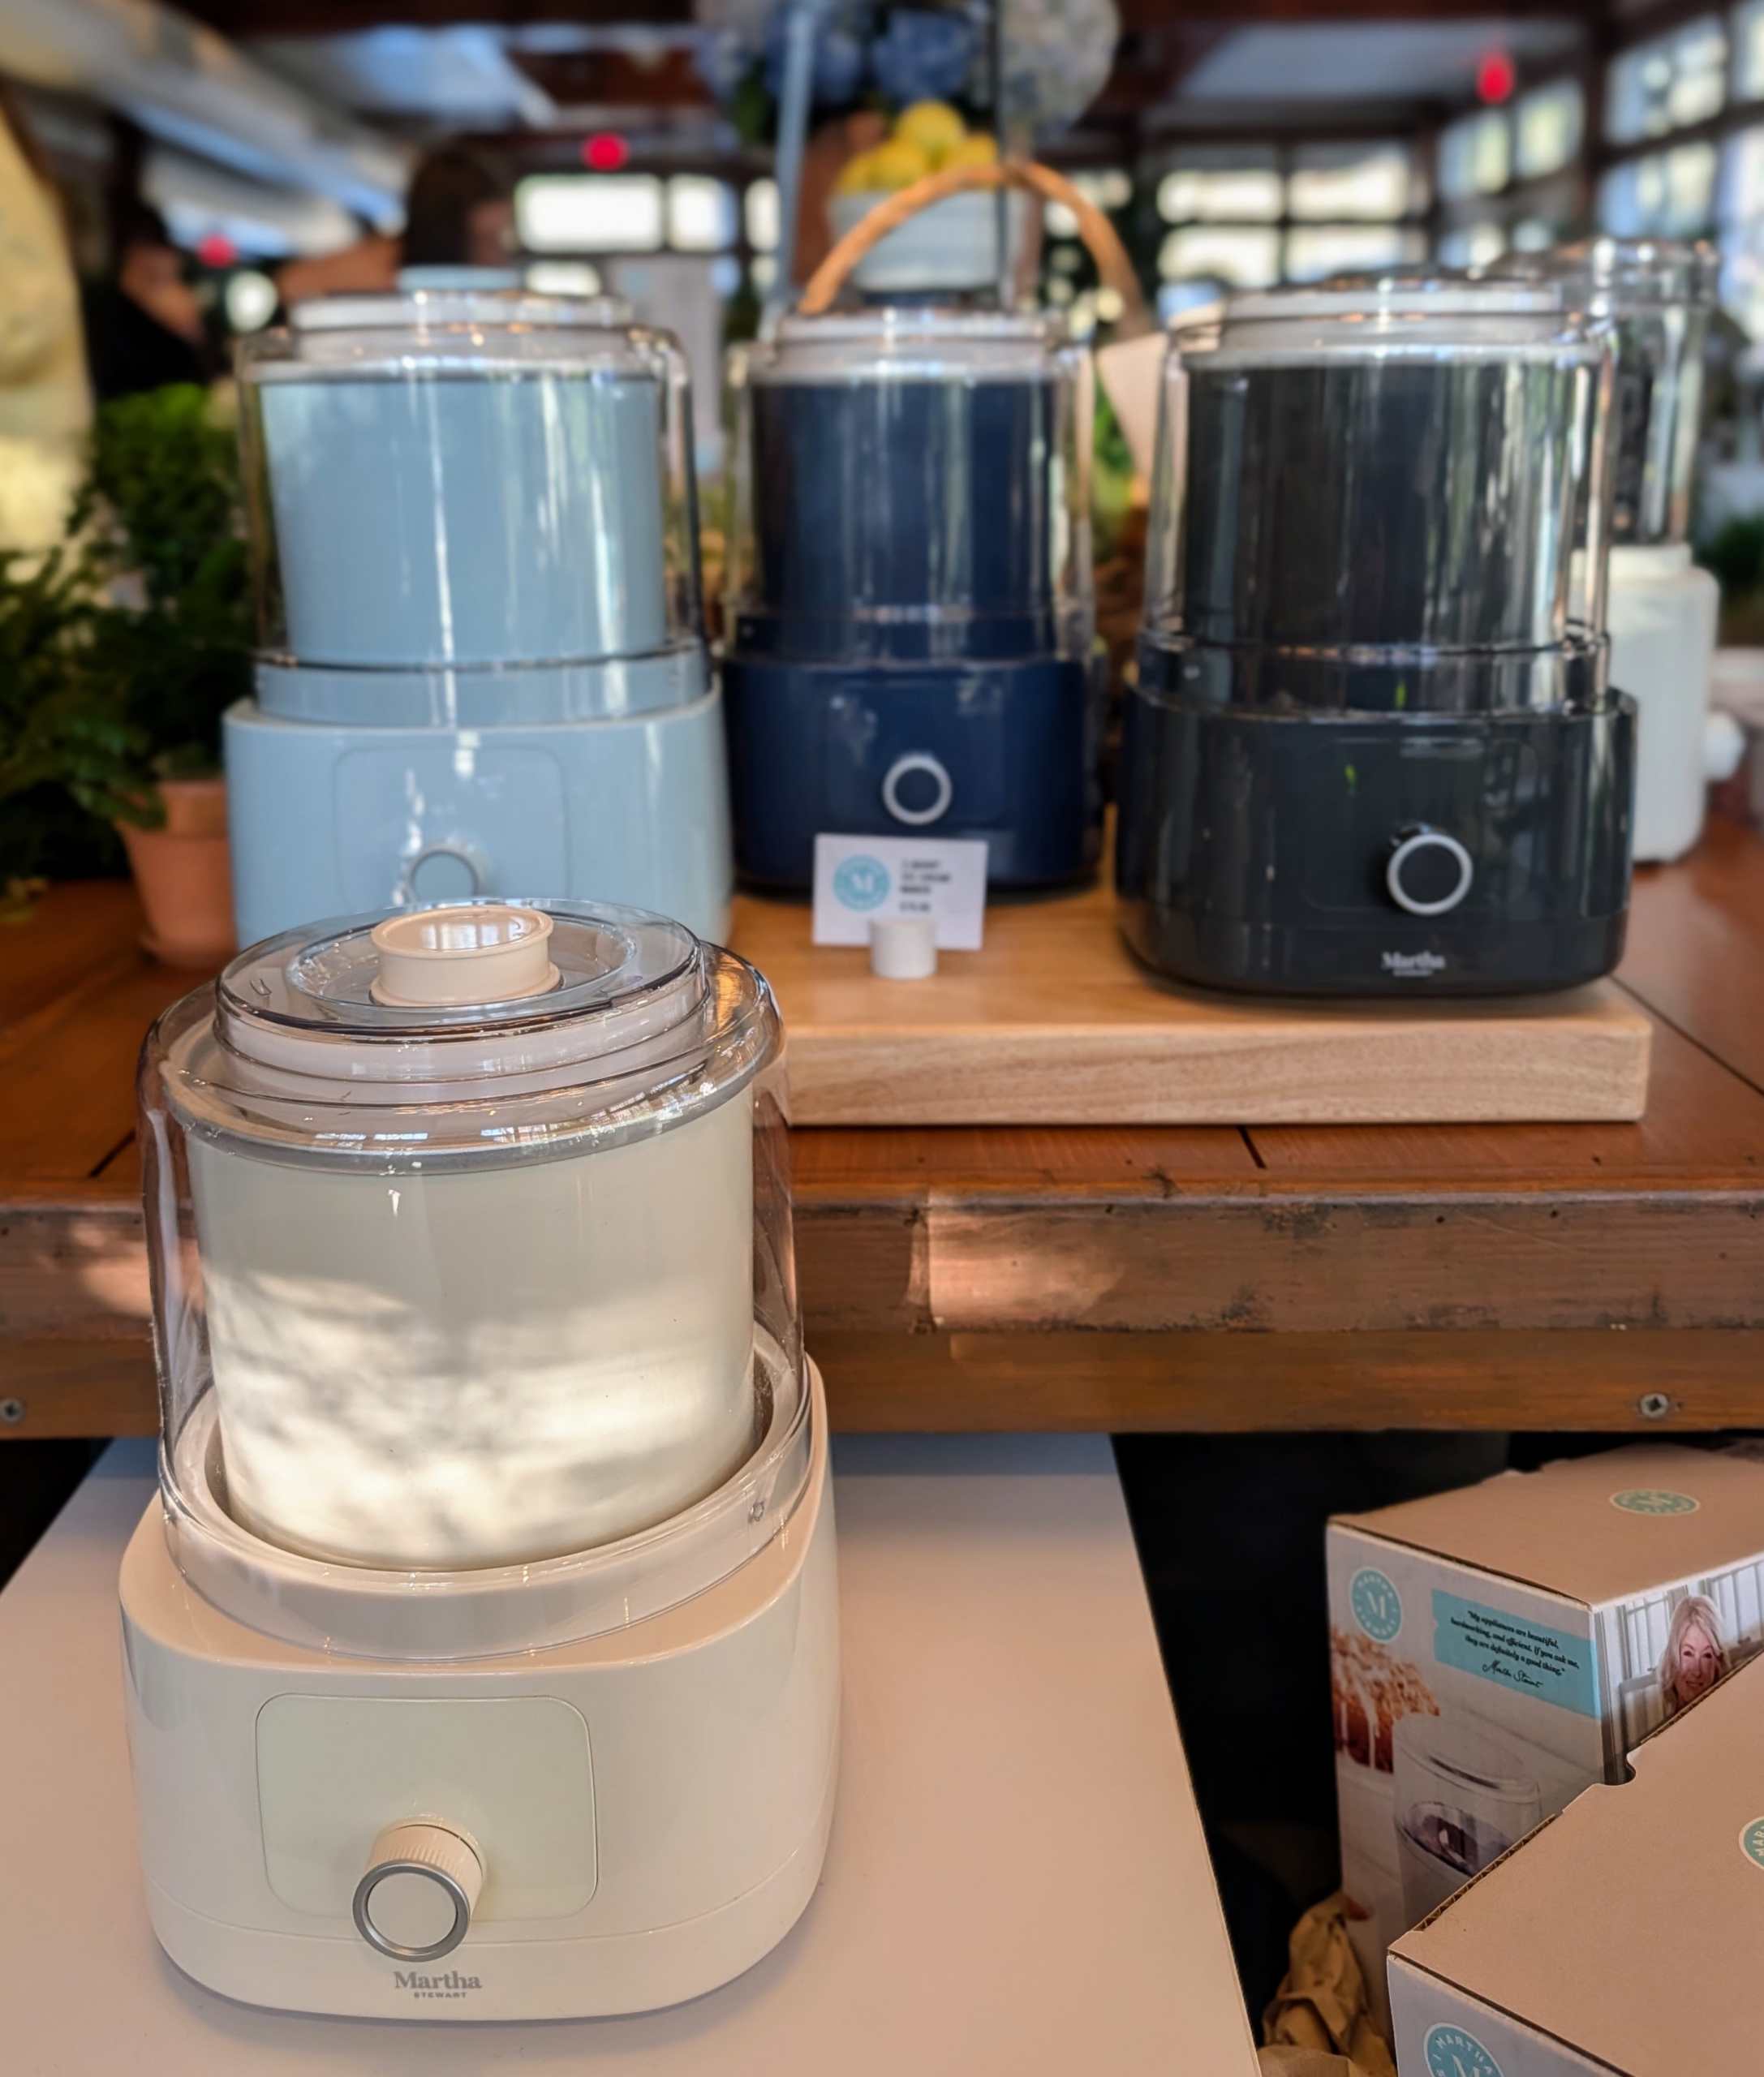
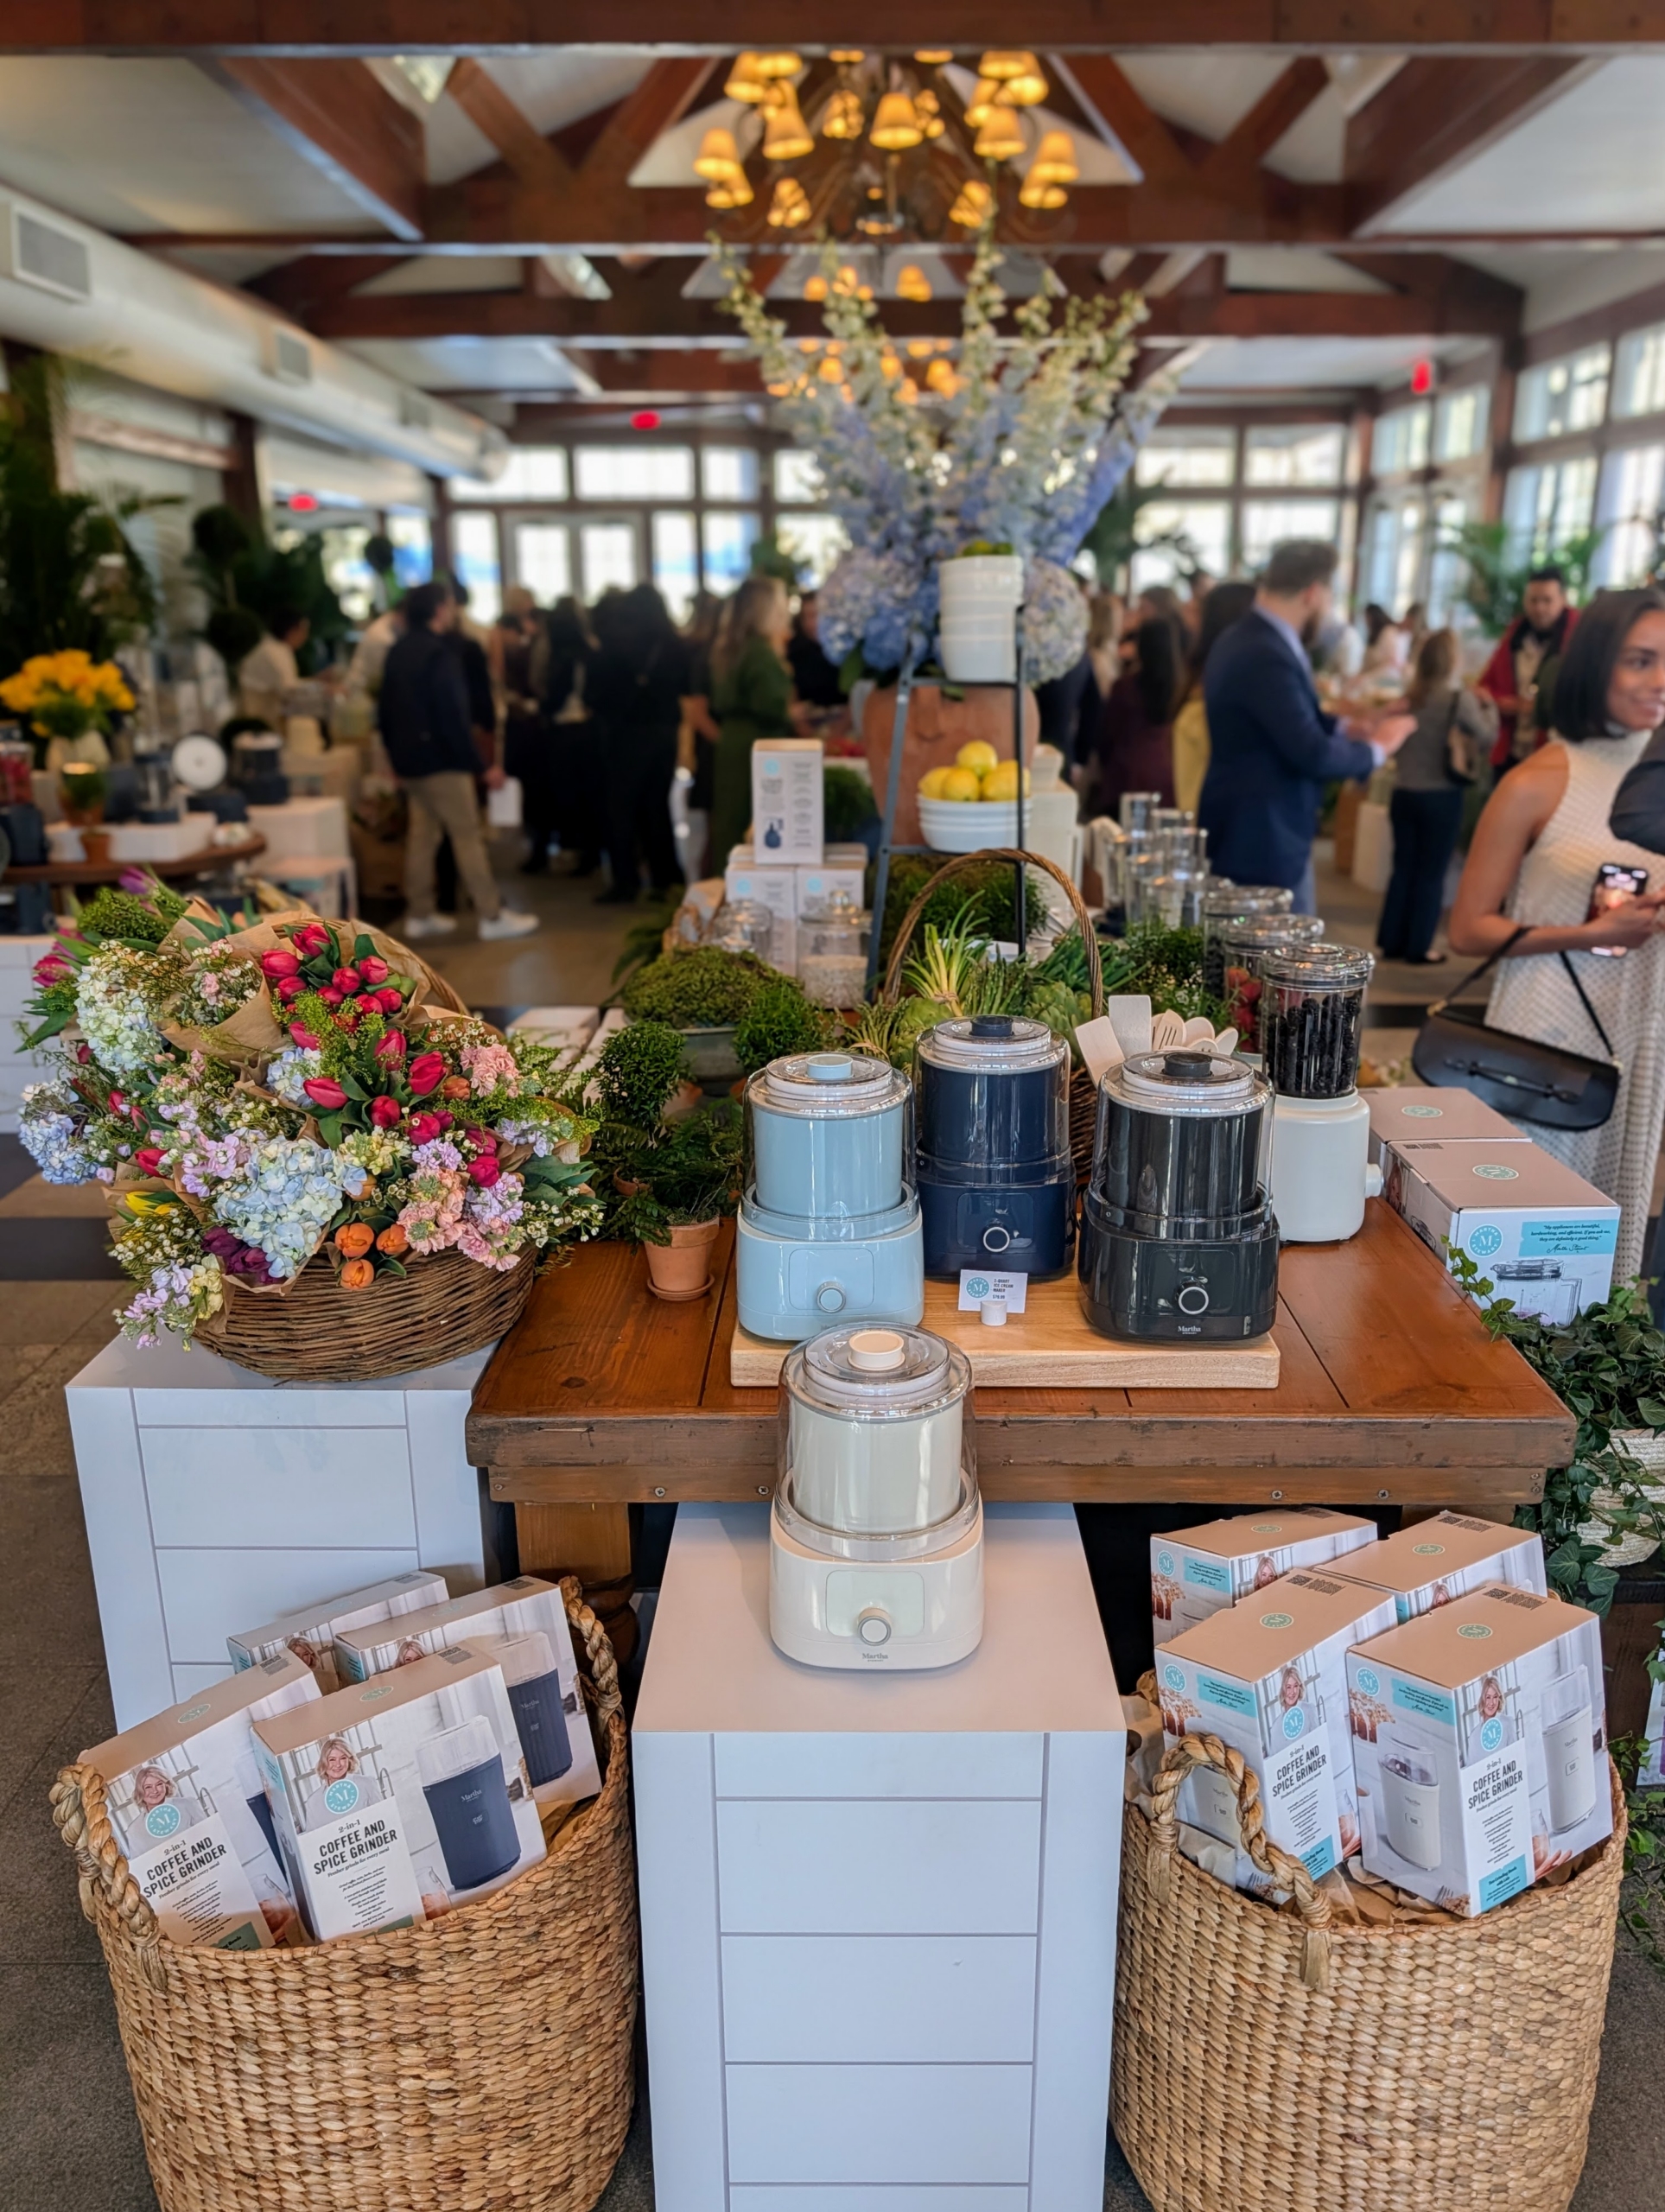
And, more items will be released in the coming months including this ice-cream maker. Appliances will also be available in indigo blue very soon! We’re always working on new products!
Please check out my new Kitchen Electrics Collection – perfect for any home cook, easy-to-use, efficient, and affordable.
If you go to my shop at Amazon right now, you'll see pieces from my first-ever kitchen electrics collection! The entire series includes a range of countertop essentials designed to make everyday cooking so much easier!
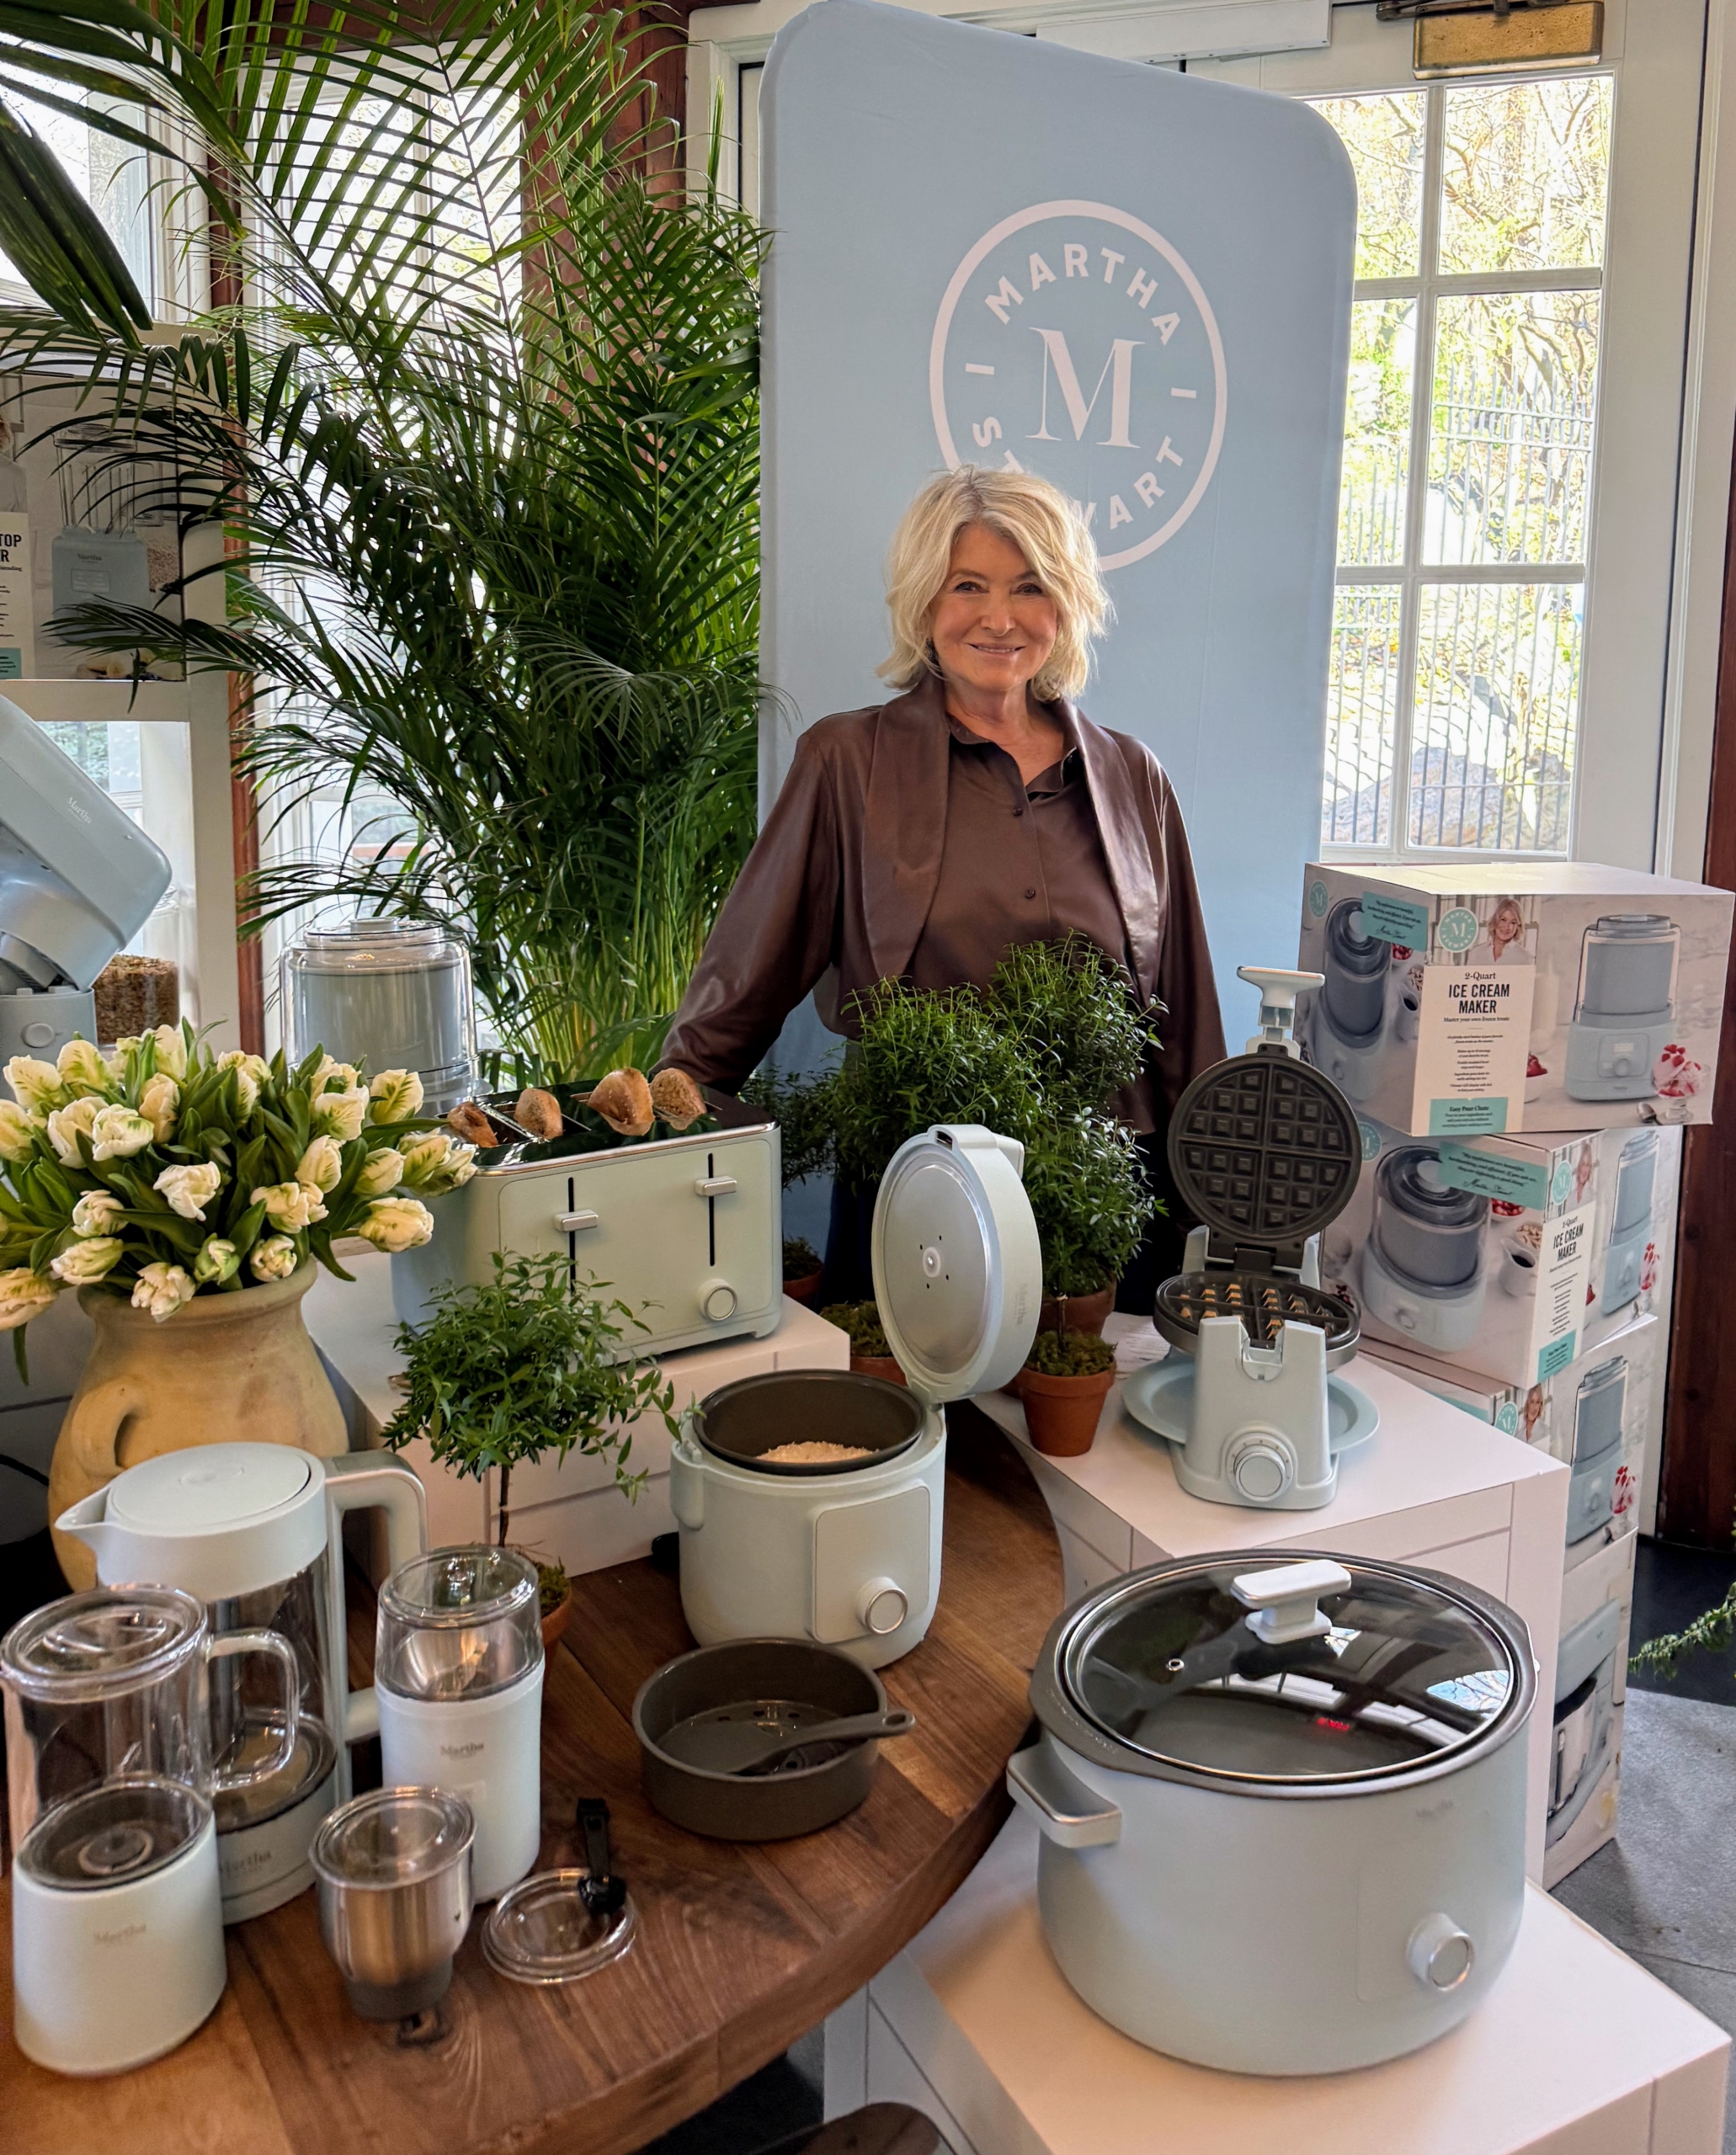
Yesterday, we celebrated the launch of my new kitchen electrics collection with our partners at Amazon and The Cookware Company, members of the media, area influencers, colleagues, and friends at New York City's Central Park Boathouse. The collection includes stand mixers, coffee/spice grinders, ovens, slow cookers, air fryers, rice cookers, blenders, toasters, waffle makers, milk frothers, and more - all available in a beautiful palette of neutral colors and finishes to match any décor. I am so excited to introduce you to these offerings - they combine practical features, modern design and most of all reliable, efficient performance.
Enjoy these photos.
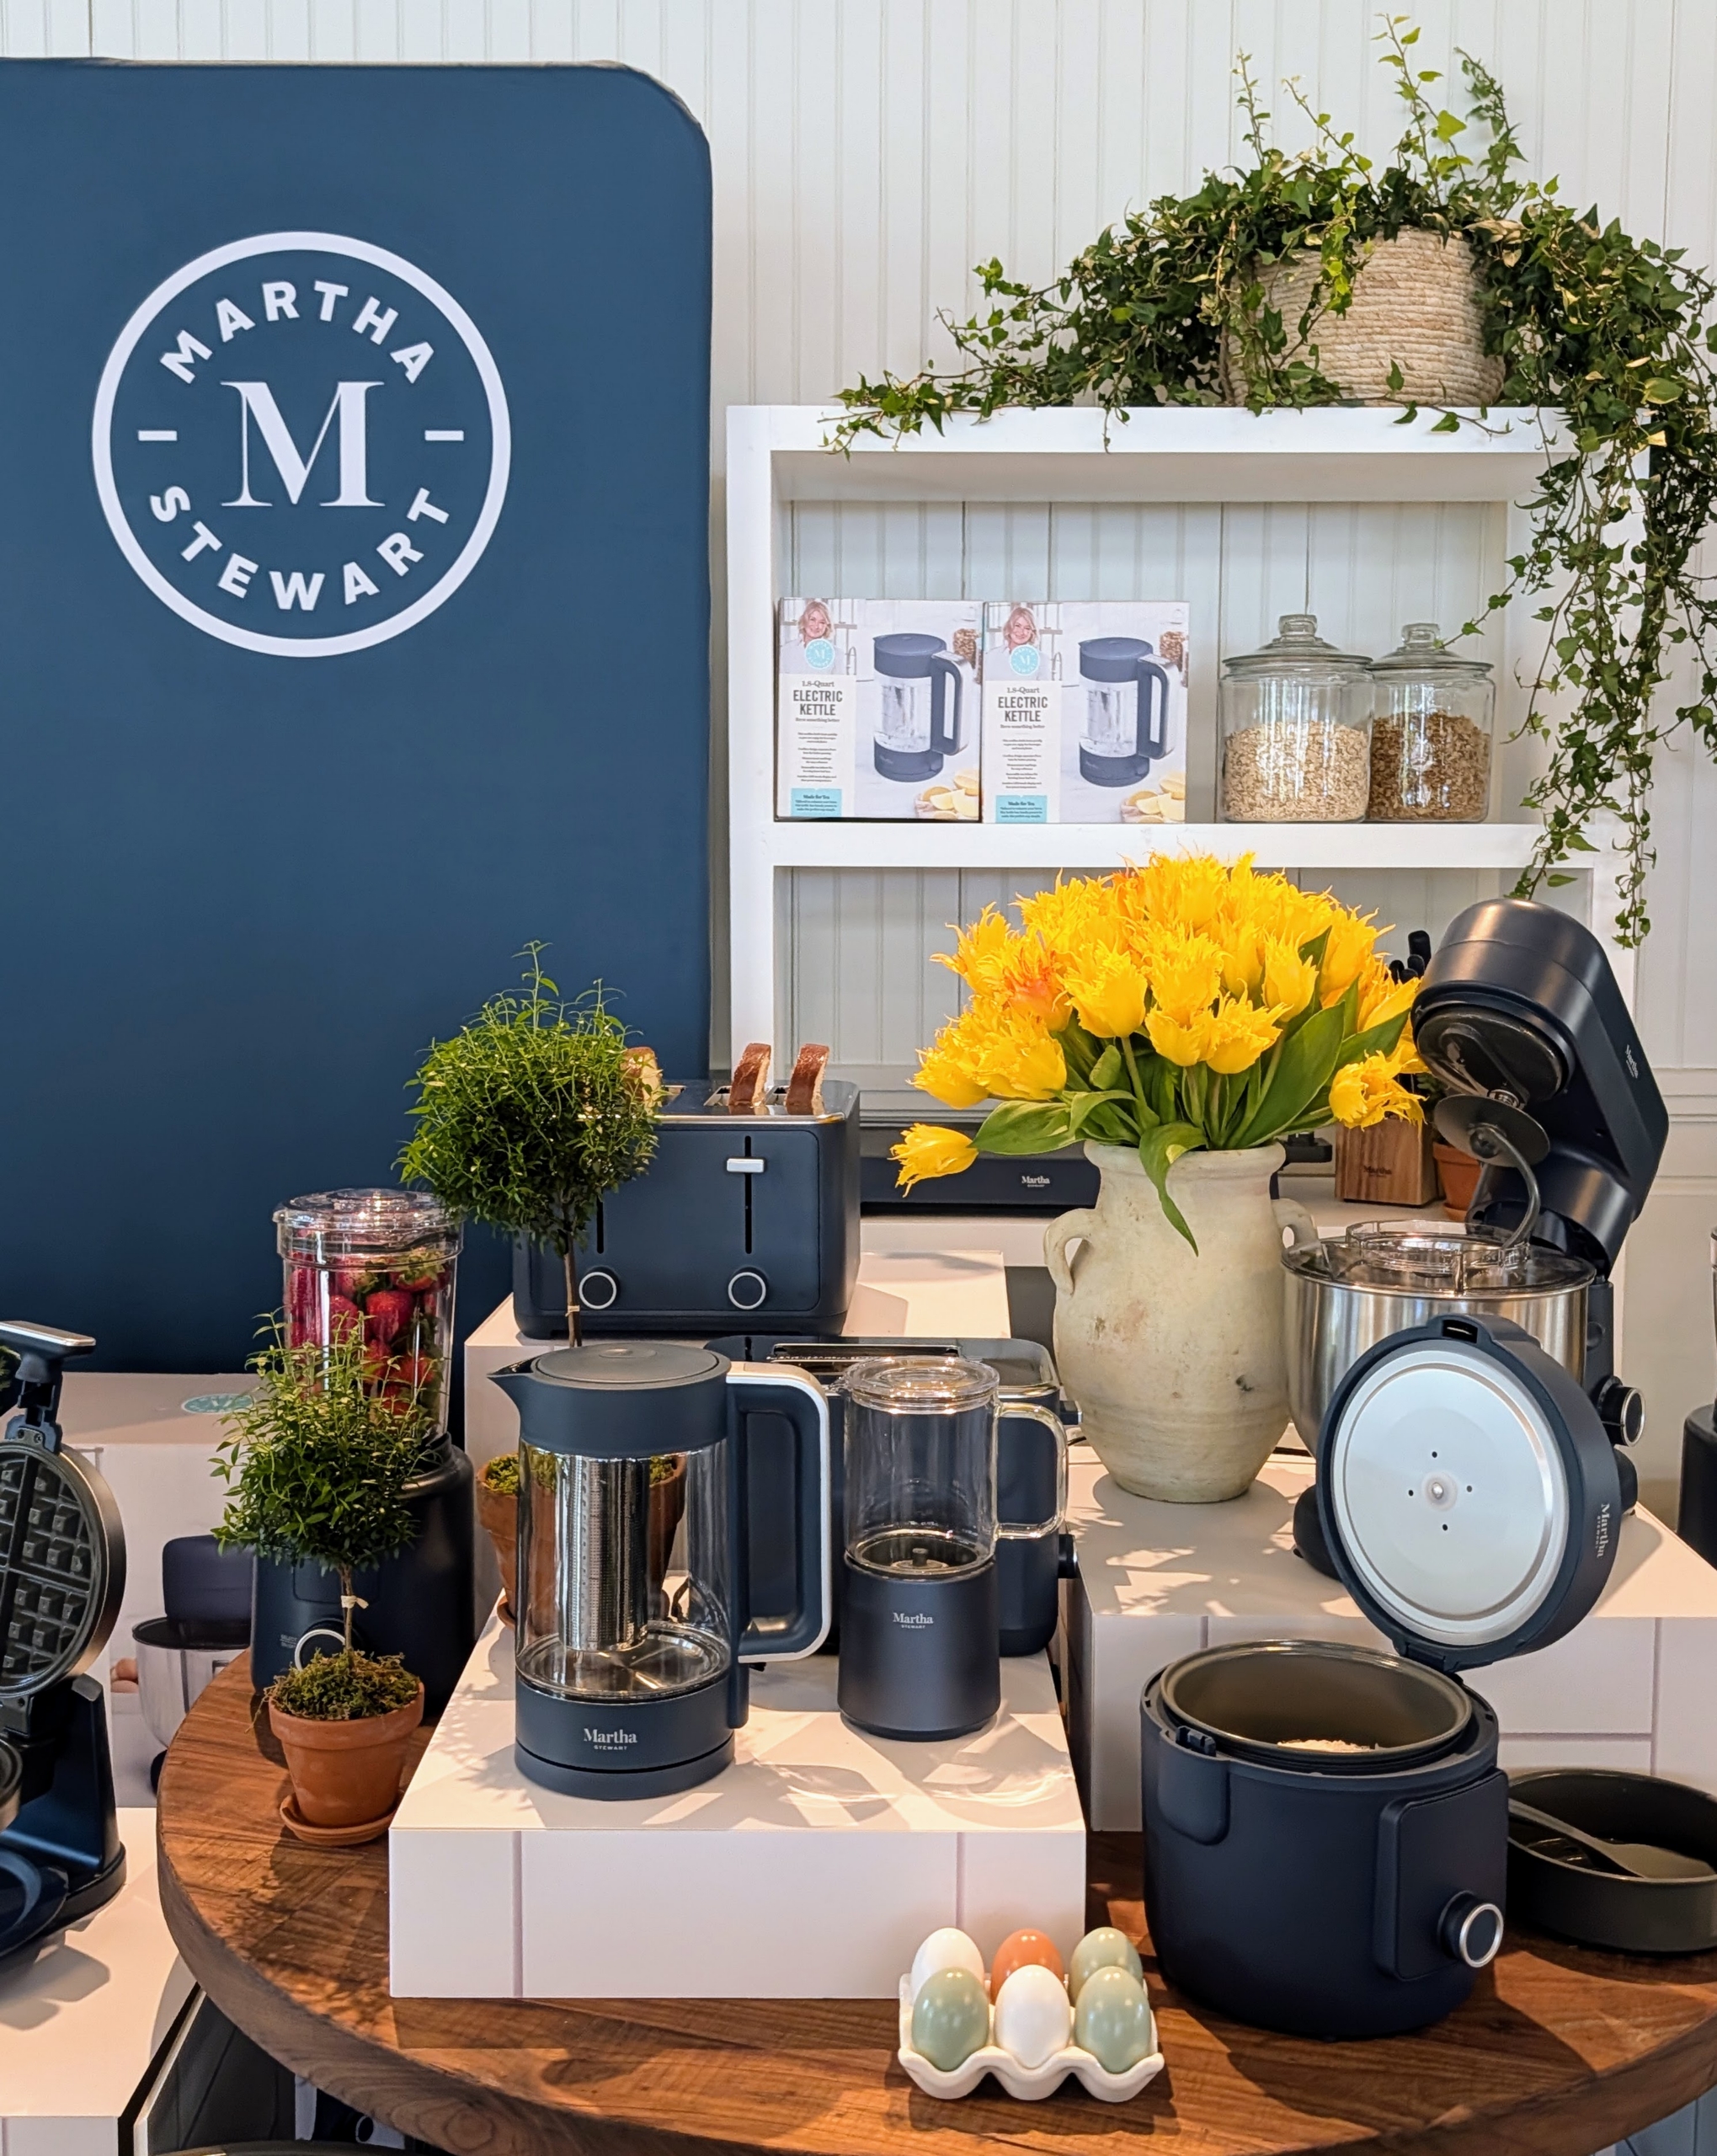
This display shows pieces in a dark gray caviar color – they were some of the first appliances guests saw when they entered the Central Park Boathouse.
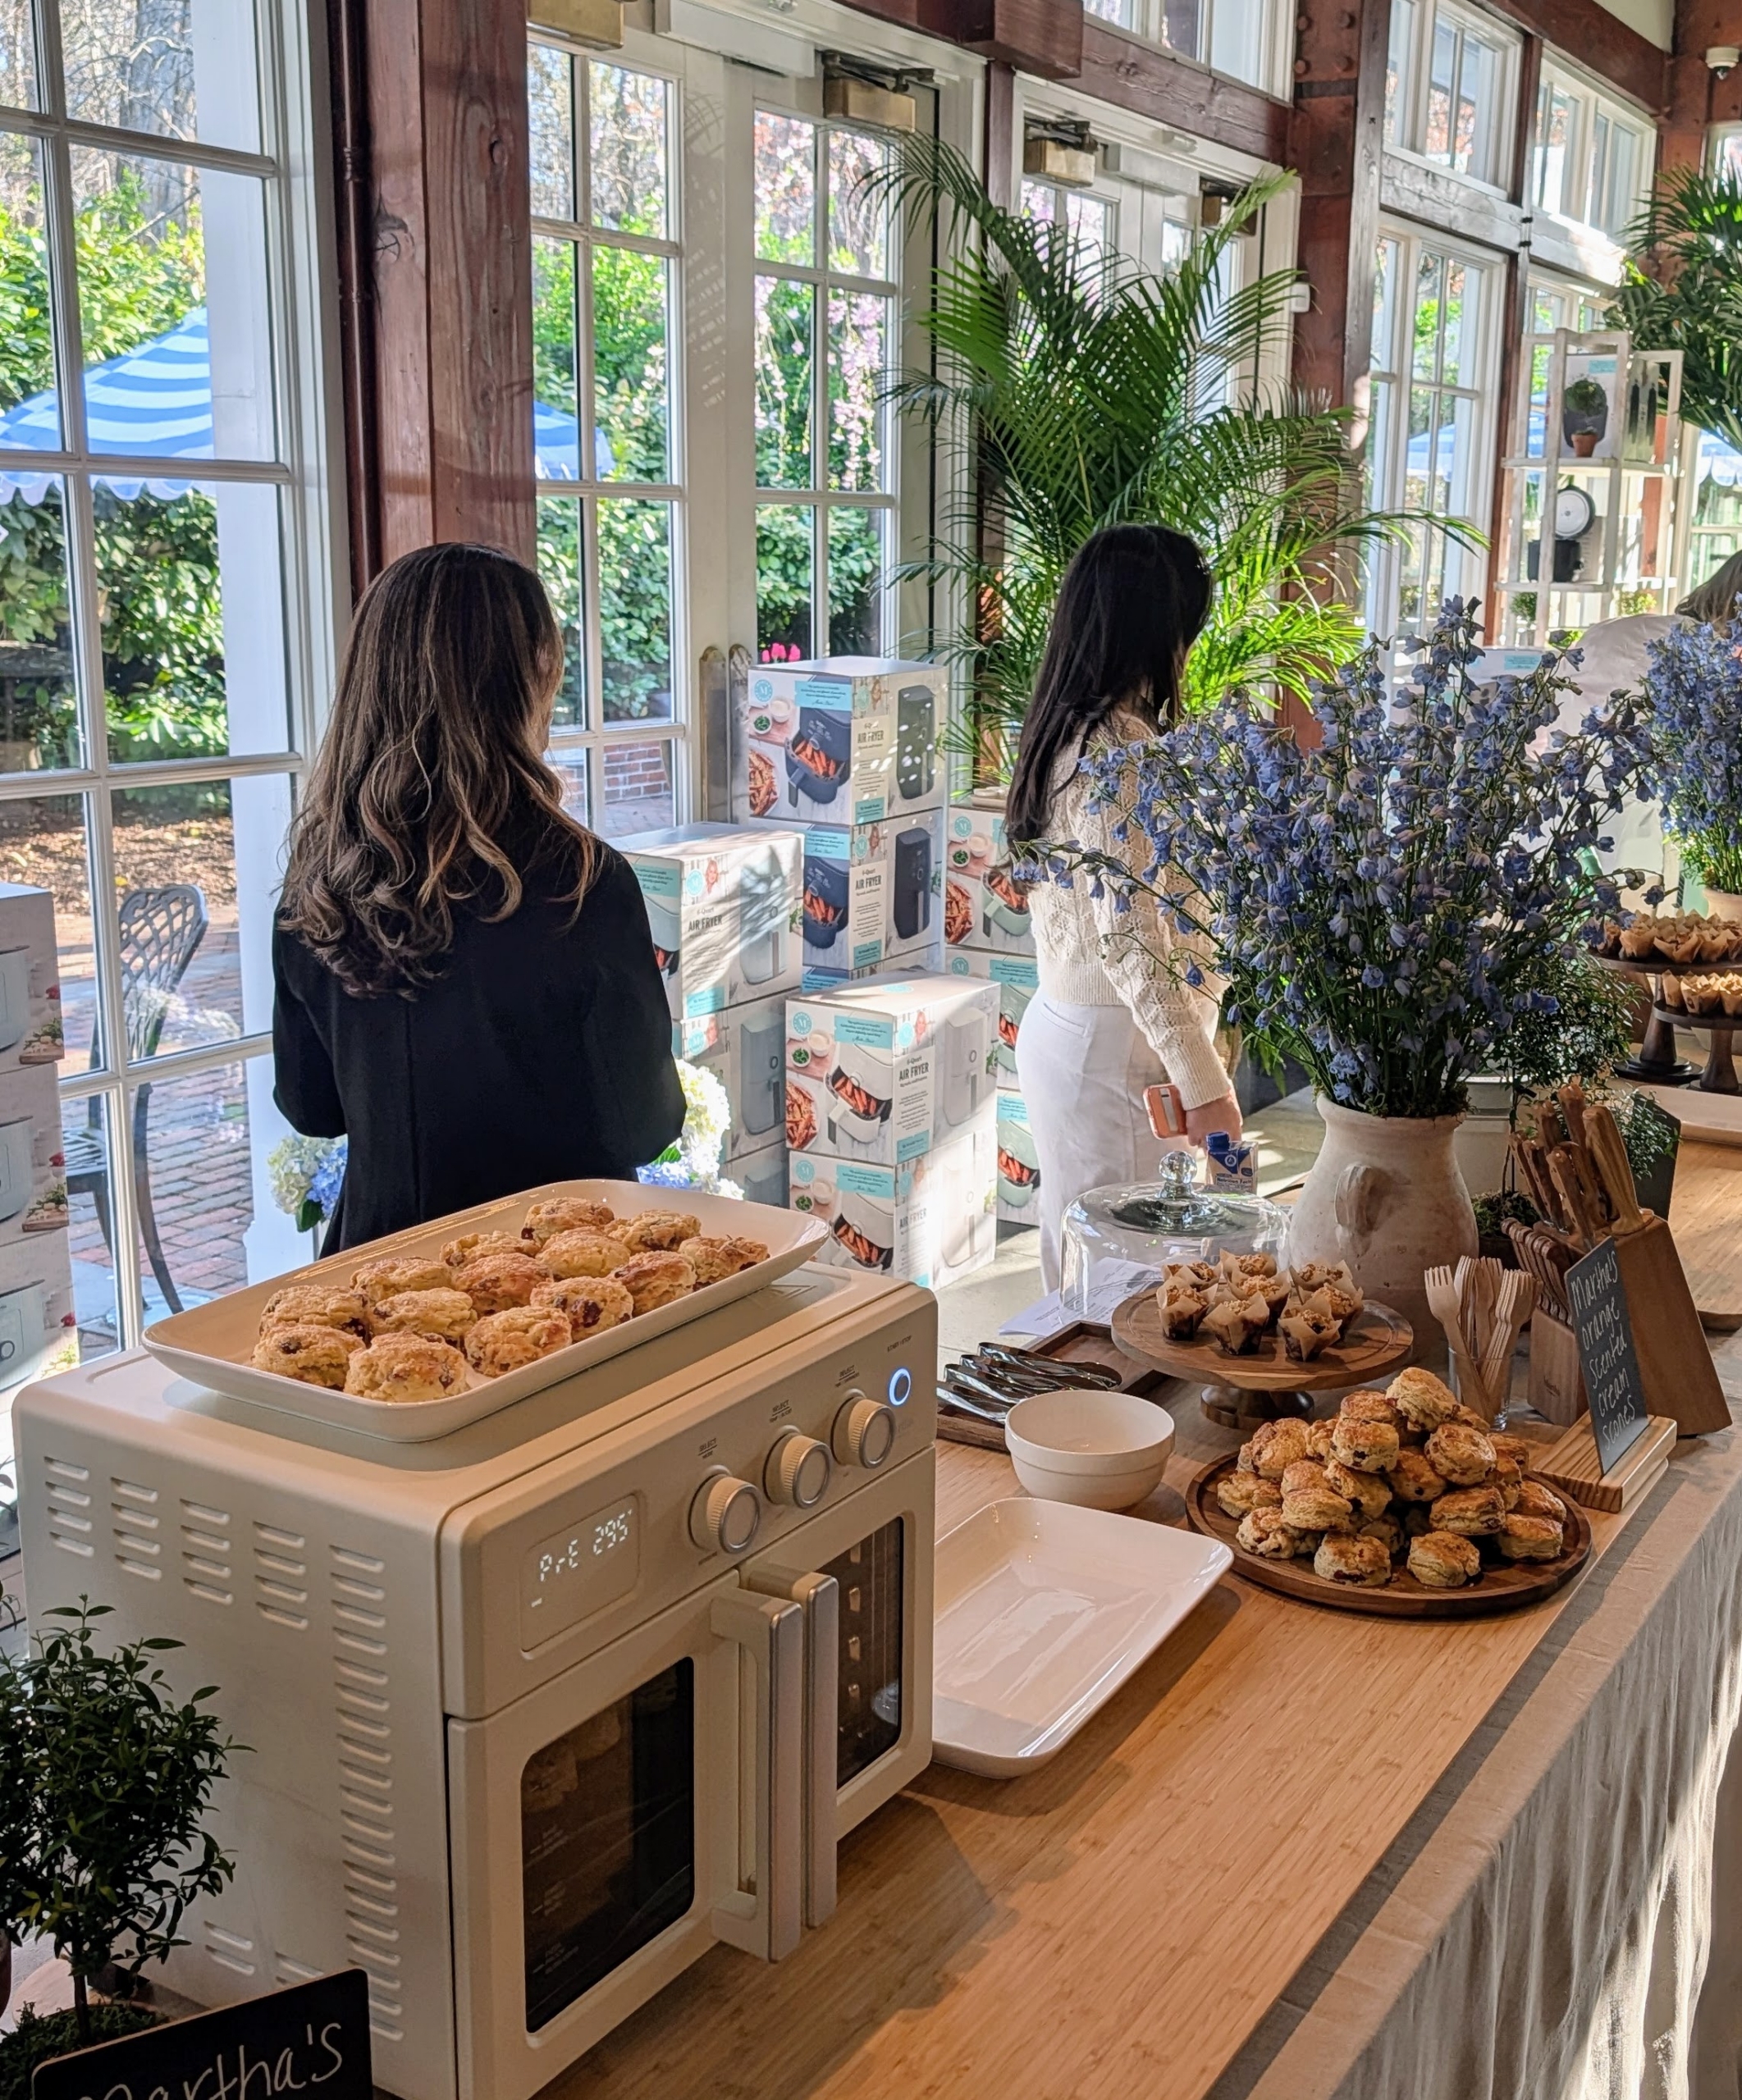
Guests walked into a welcoming and light filled space filled with my products and surrounded by food and refreshment stations showcasing what each piece could make.
The historic Central Park Boathouse is a charming venue in the heart of the park overlooking the lake. It was a chilly start to the day, but more than 100 guests attended the event.
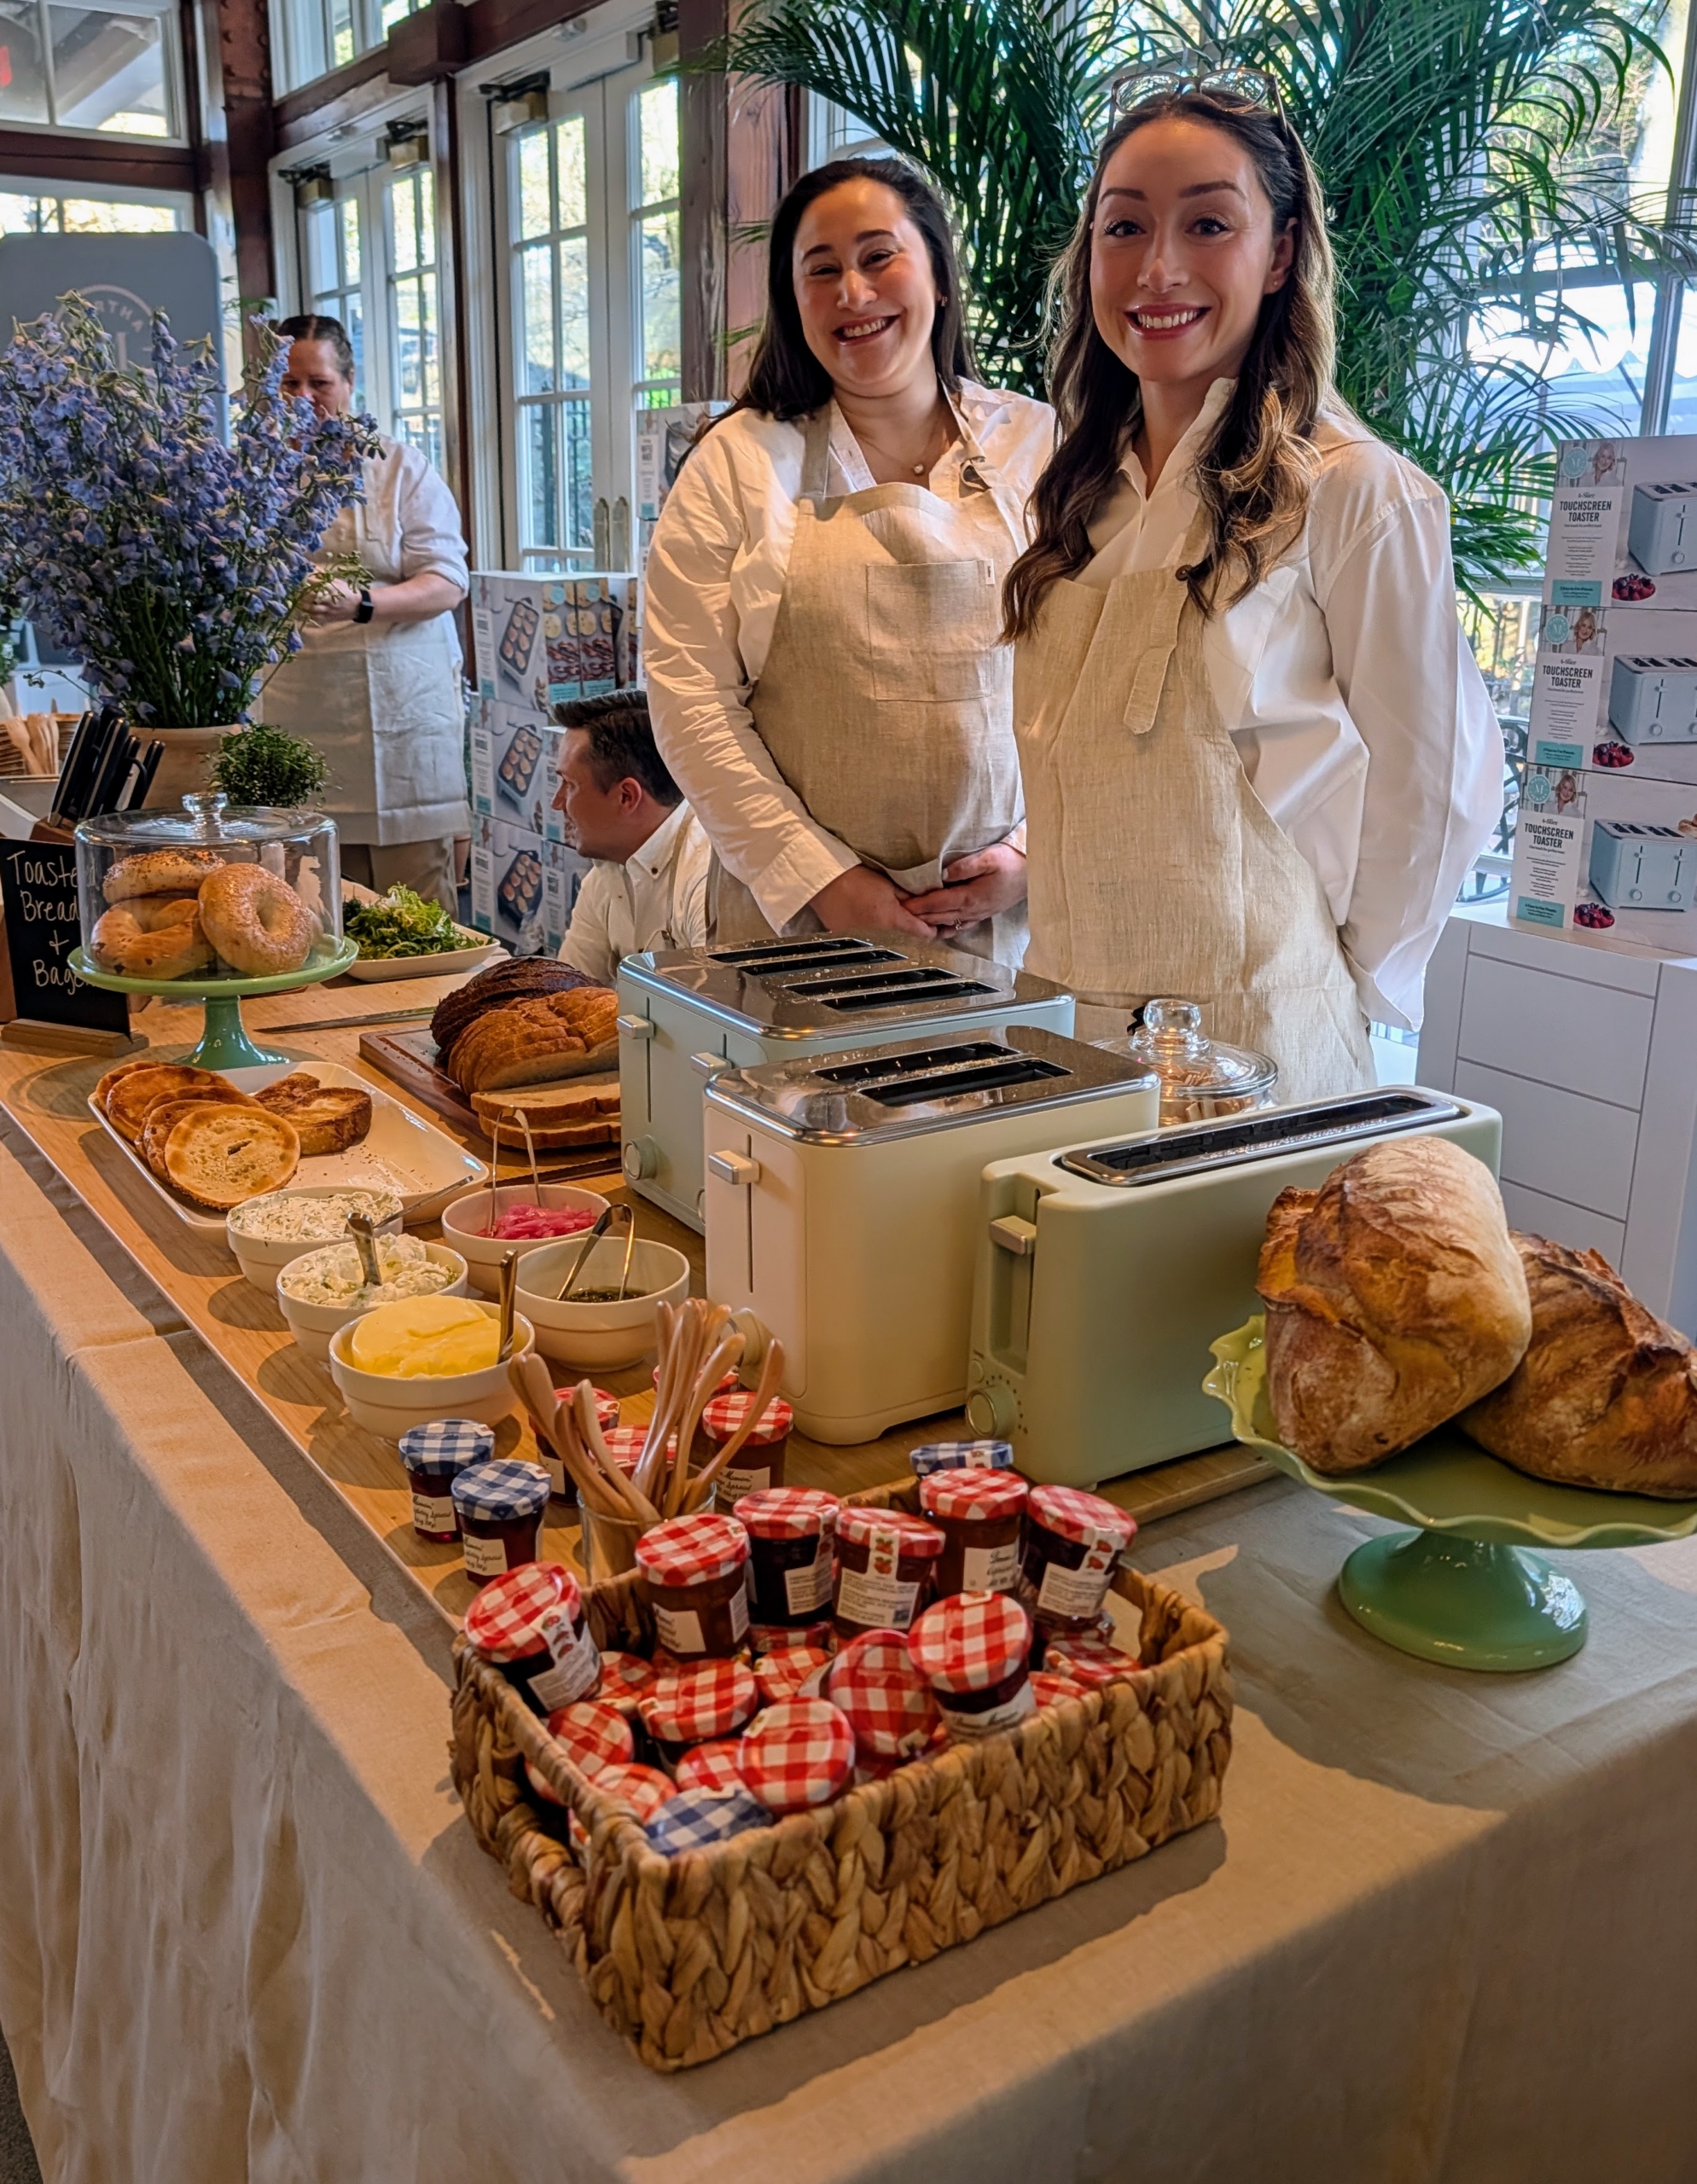
At this station, staff showed my toasters and lots of toasted bagels and breads with a variety of spreads and toppings.
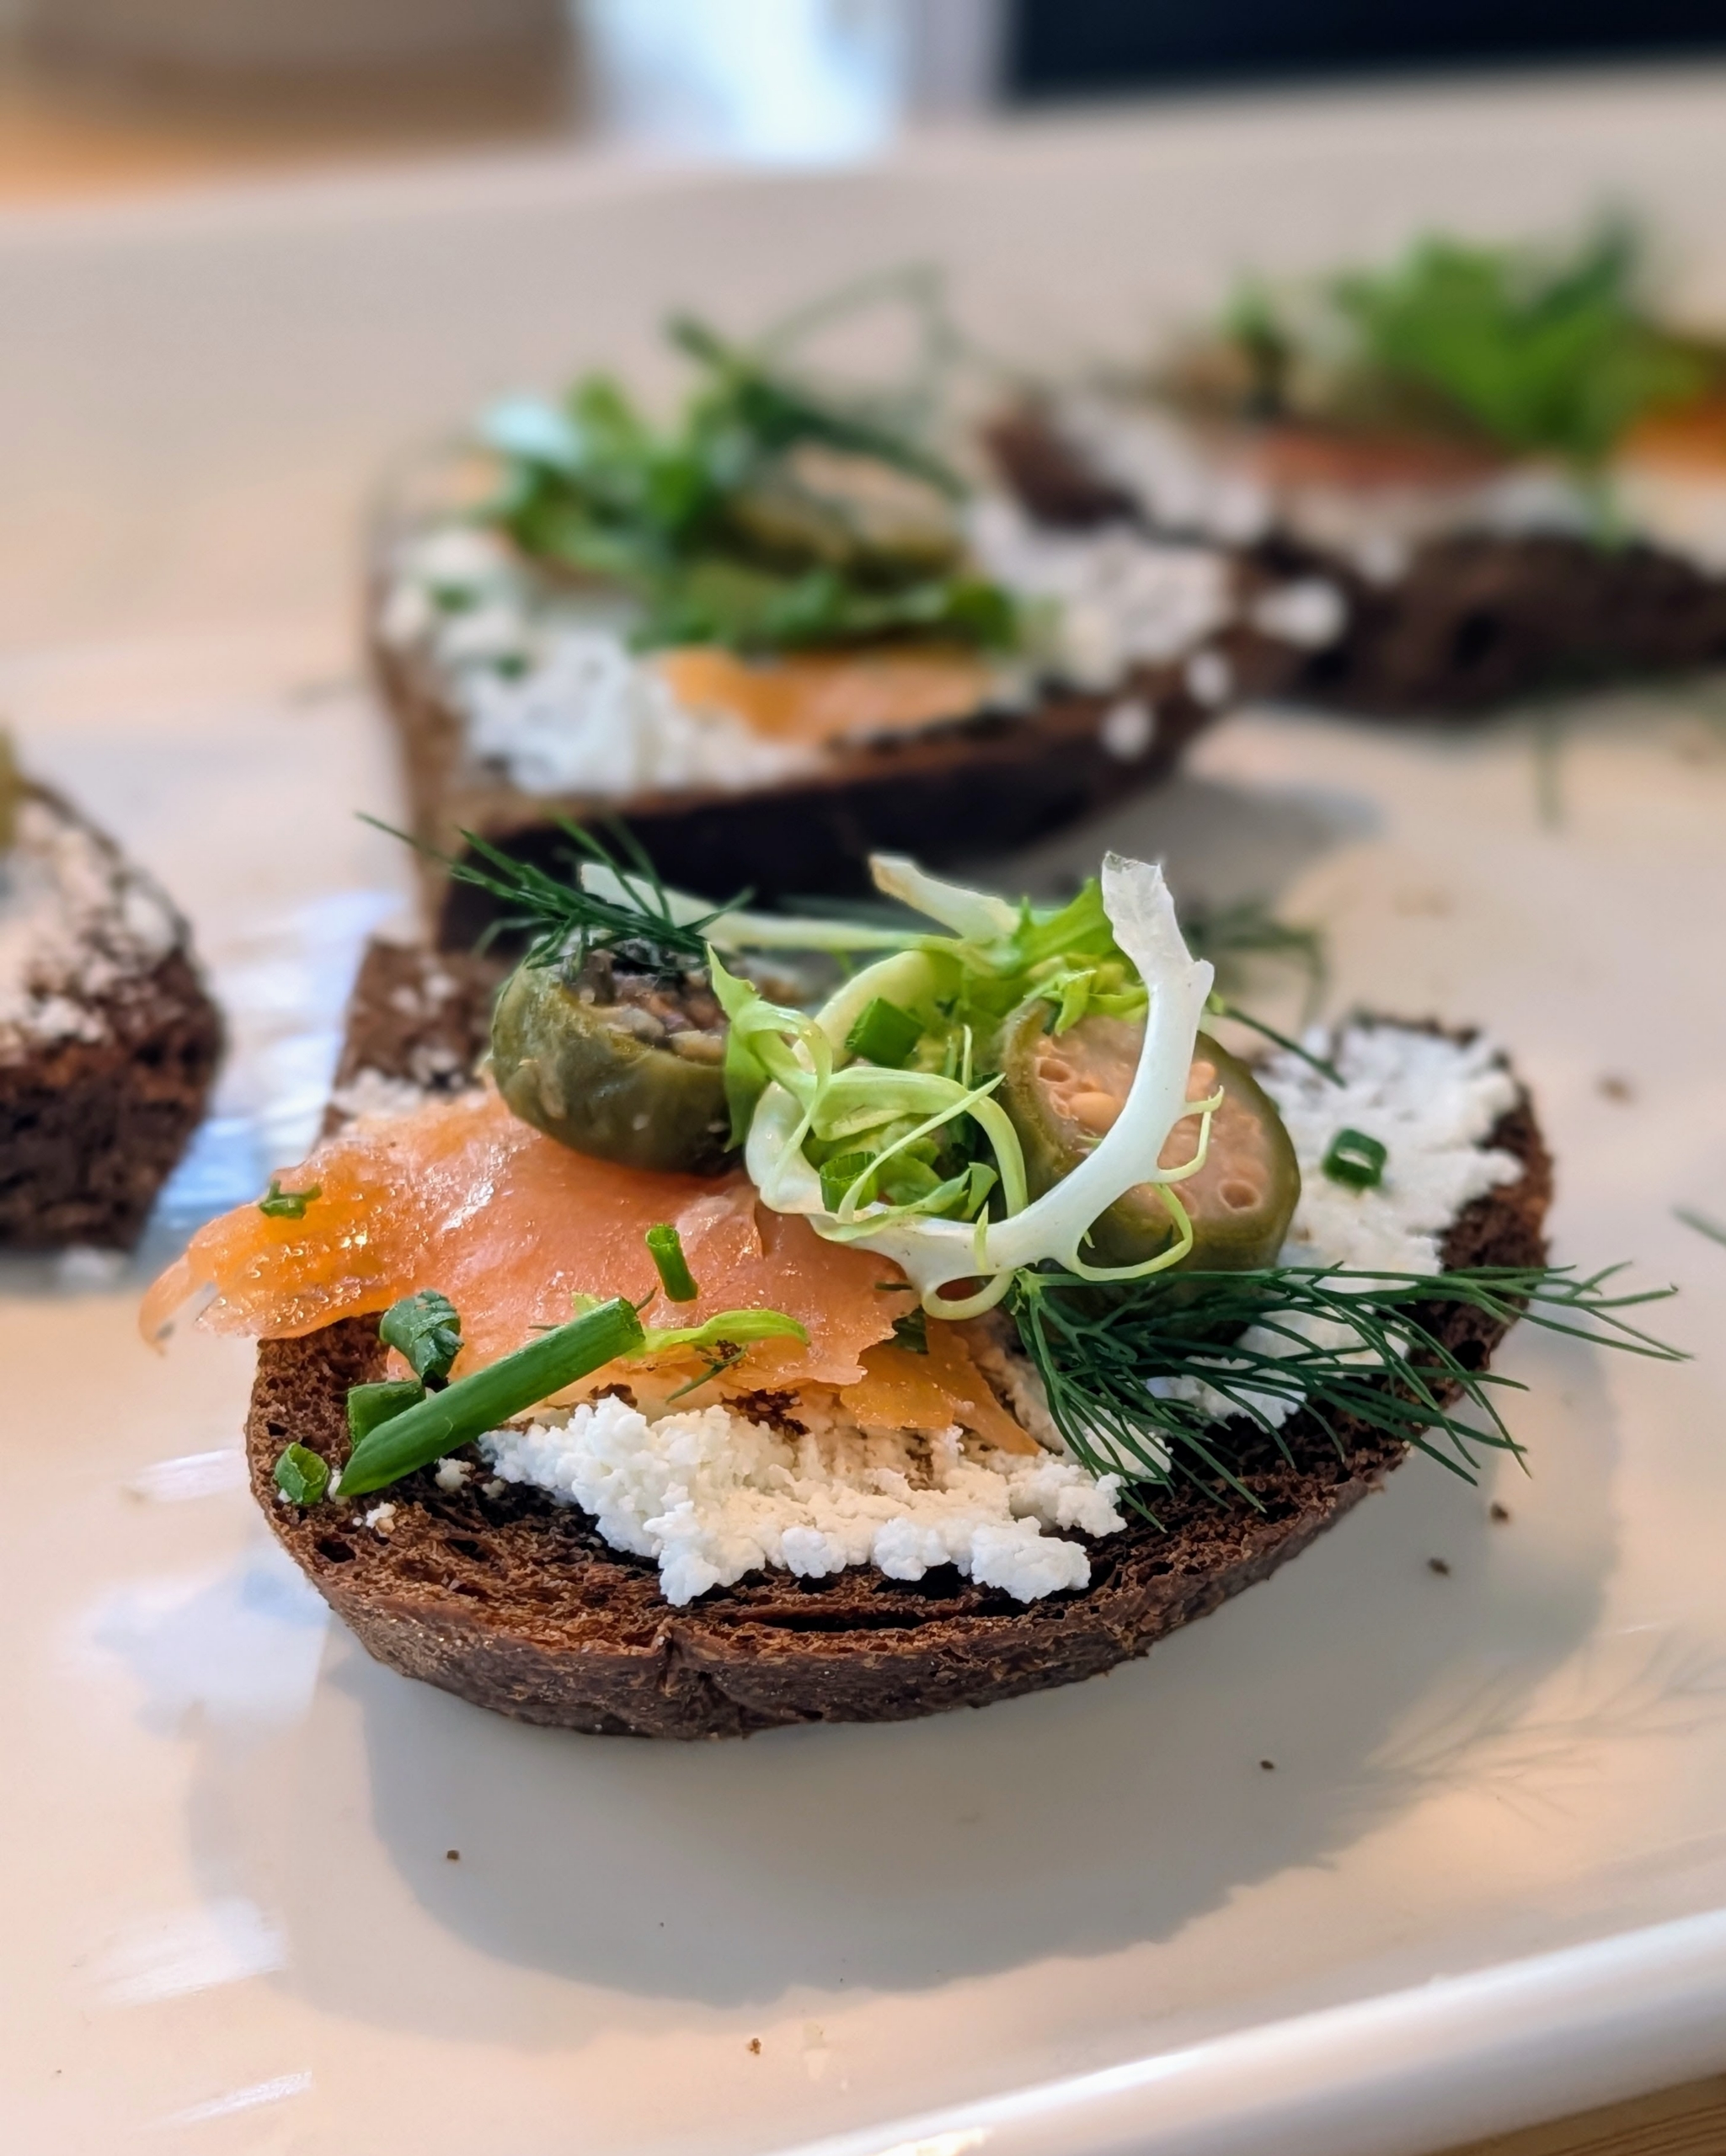
Among them, these smoked salmon tartines – or toasted bread with savory toppings.
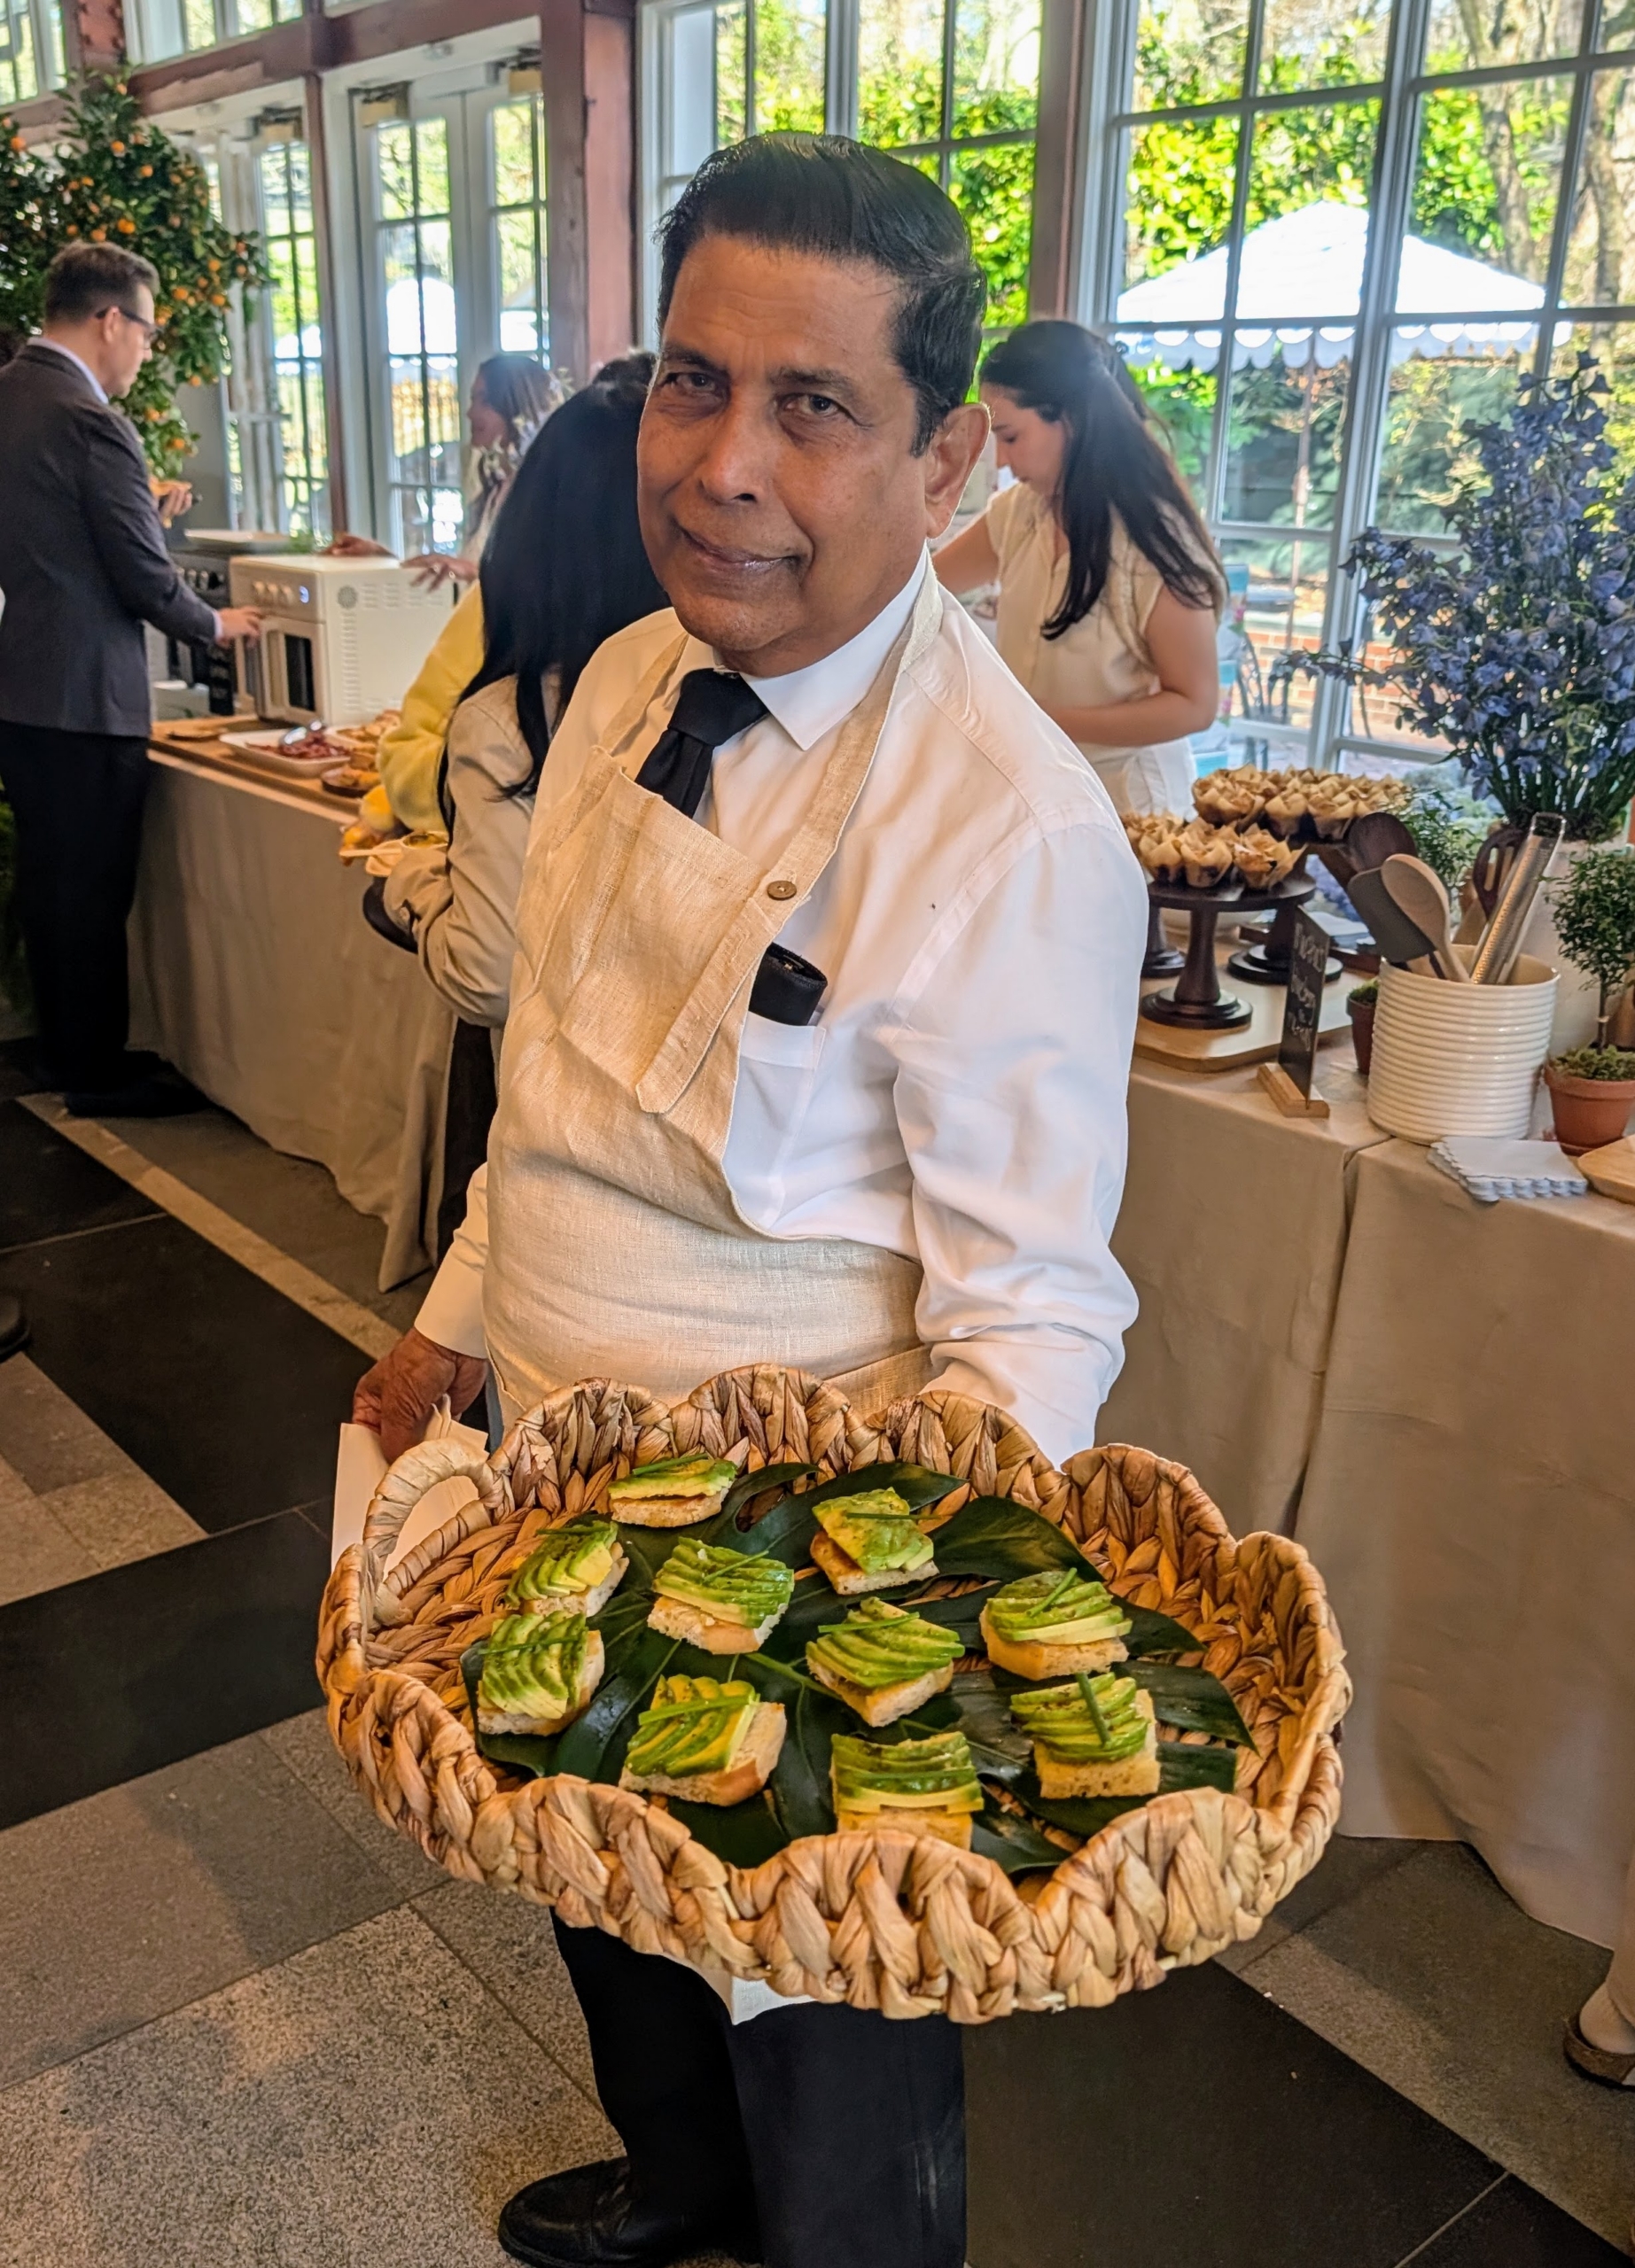
Avocado toasts were also passed around.
Friendly wait staff passed around green juice – something I have every single day.
Everything served was made using my personal recipes from my 100th book, MARTHA: THE COOKBOOK. Do you have your copy?
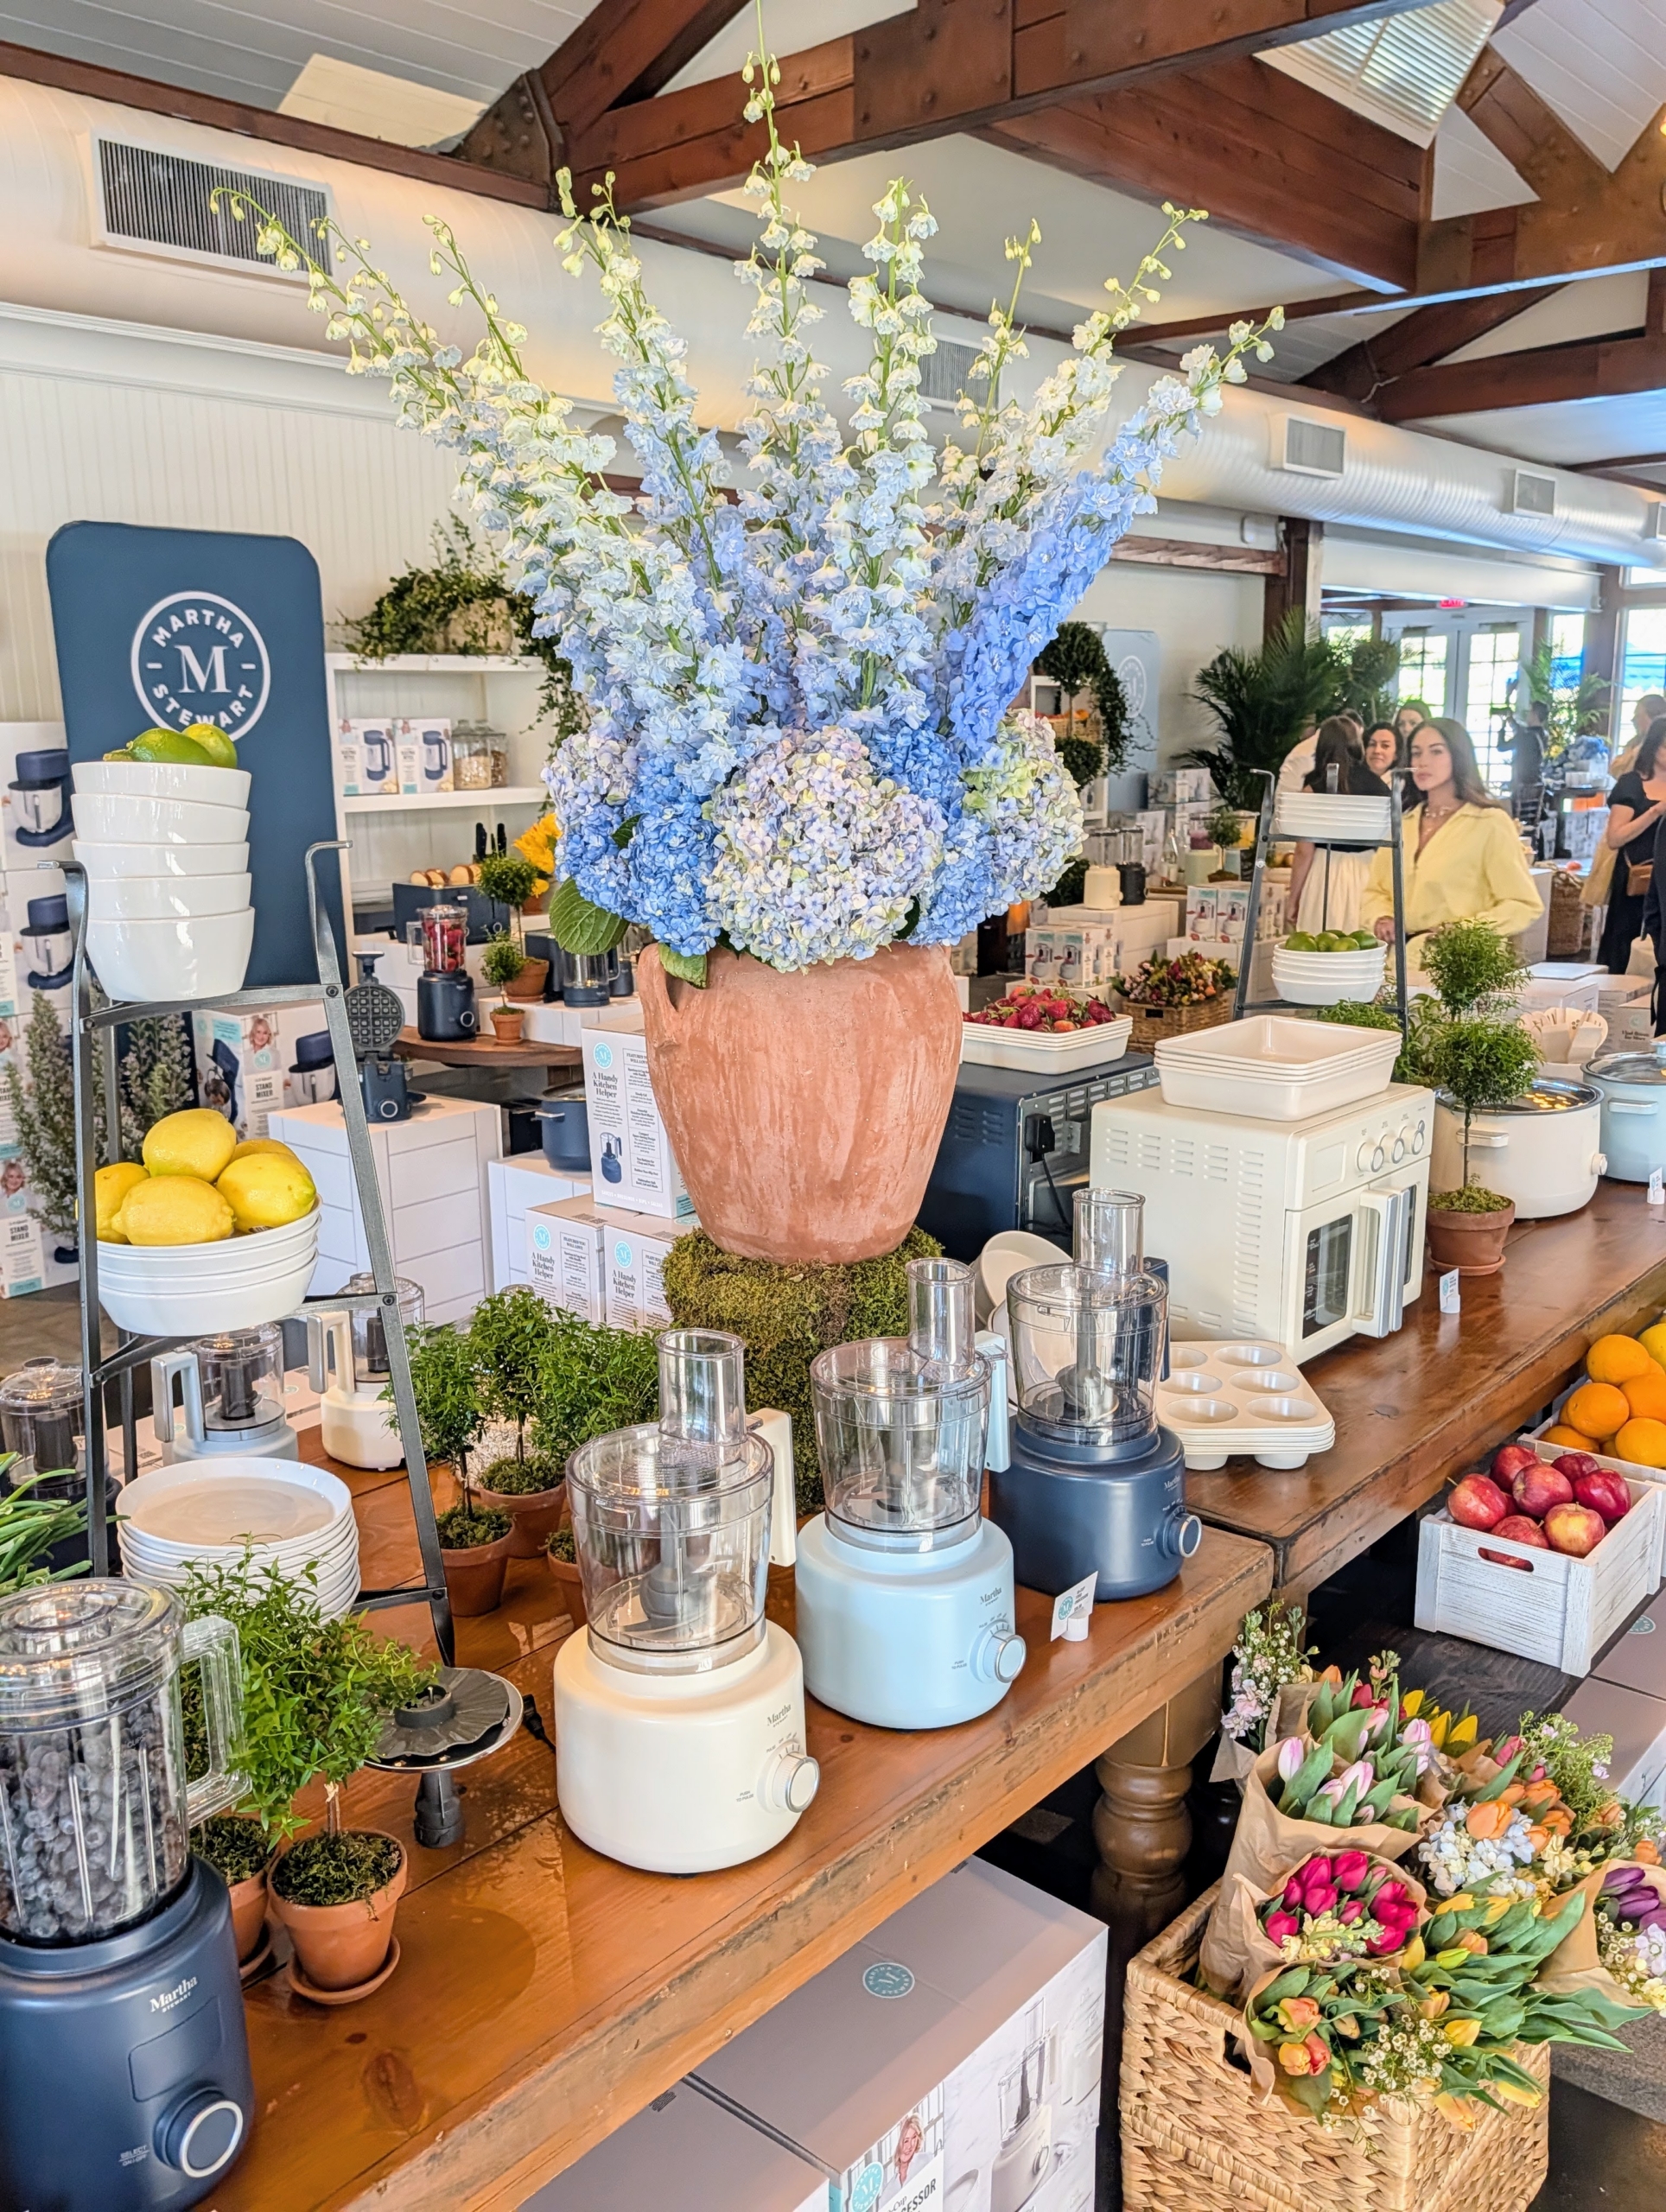
In the center, items were displayed in various colors with prices to show their affordability.
Decorations reflected my own signature style. Vases of beautiful blooms and potted plants filled the space.
And light streamed in from the large floor to ceiling windows.
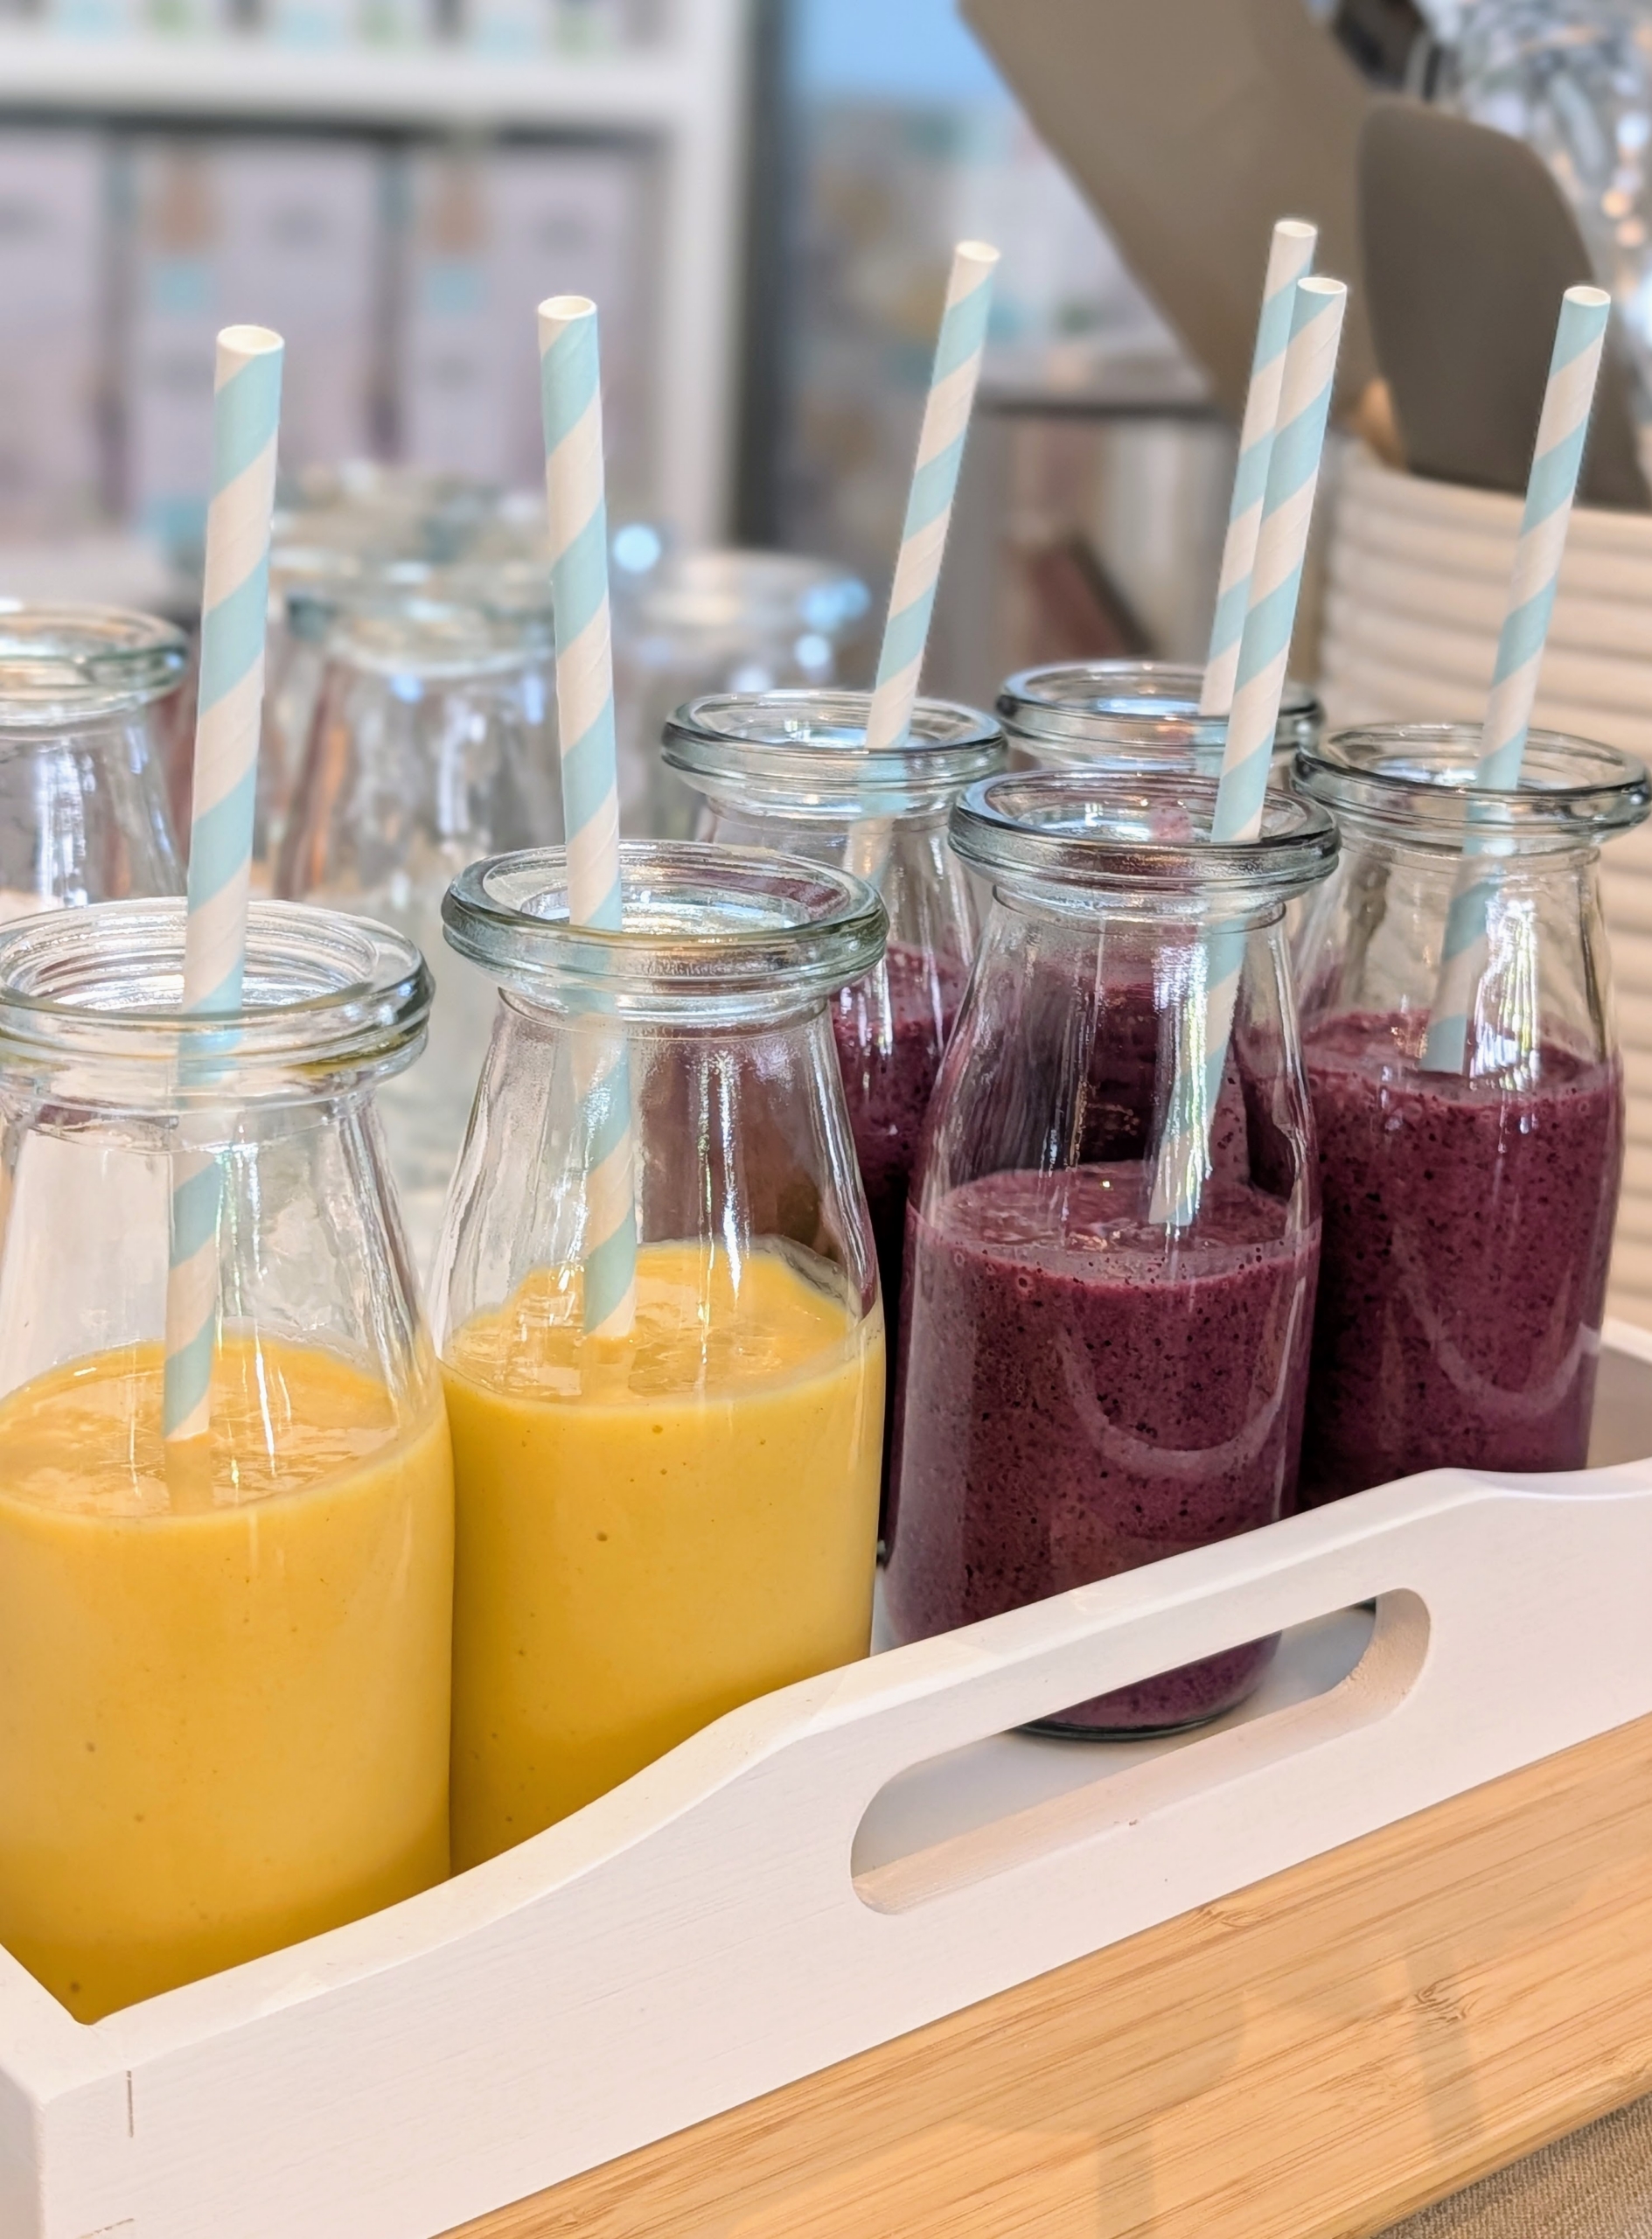
These fruit smoothies were made using my Martha Stewart Countertop Blenders. They could not be made fast enough.
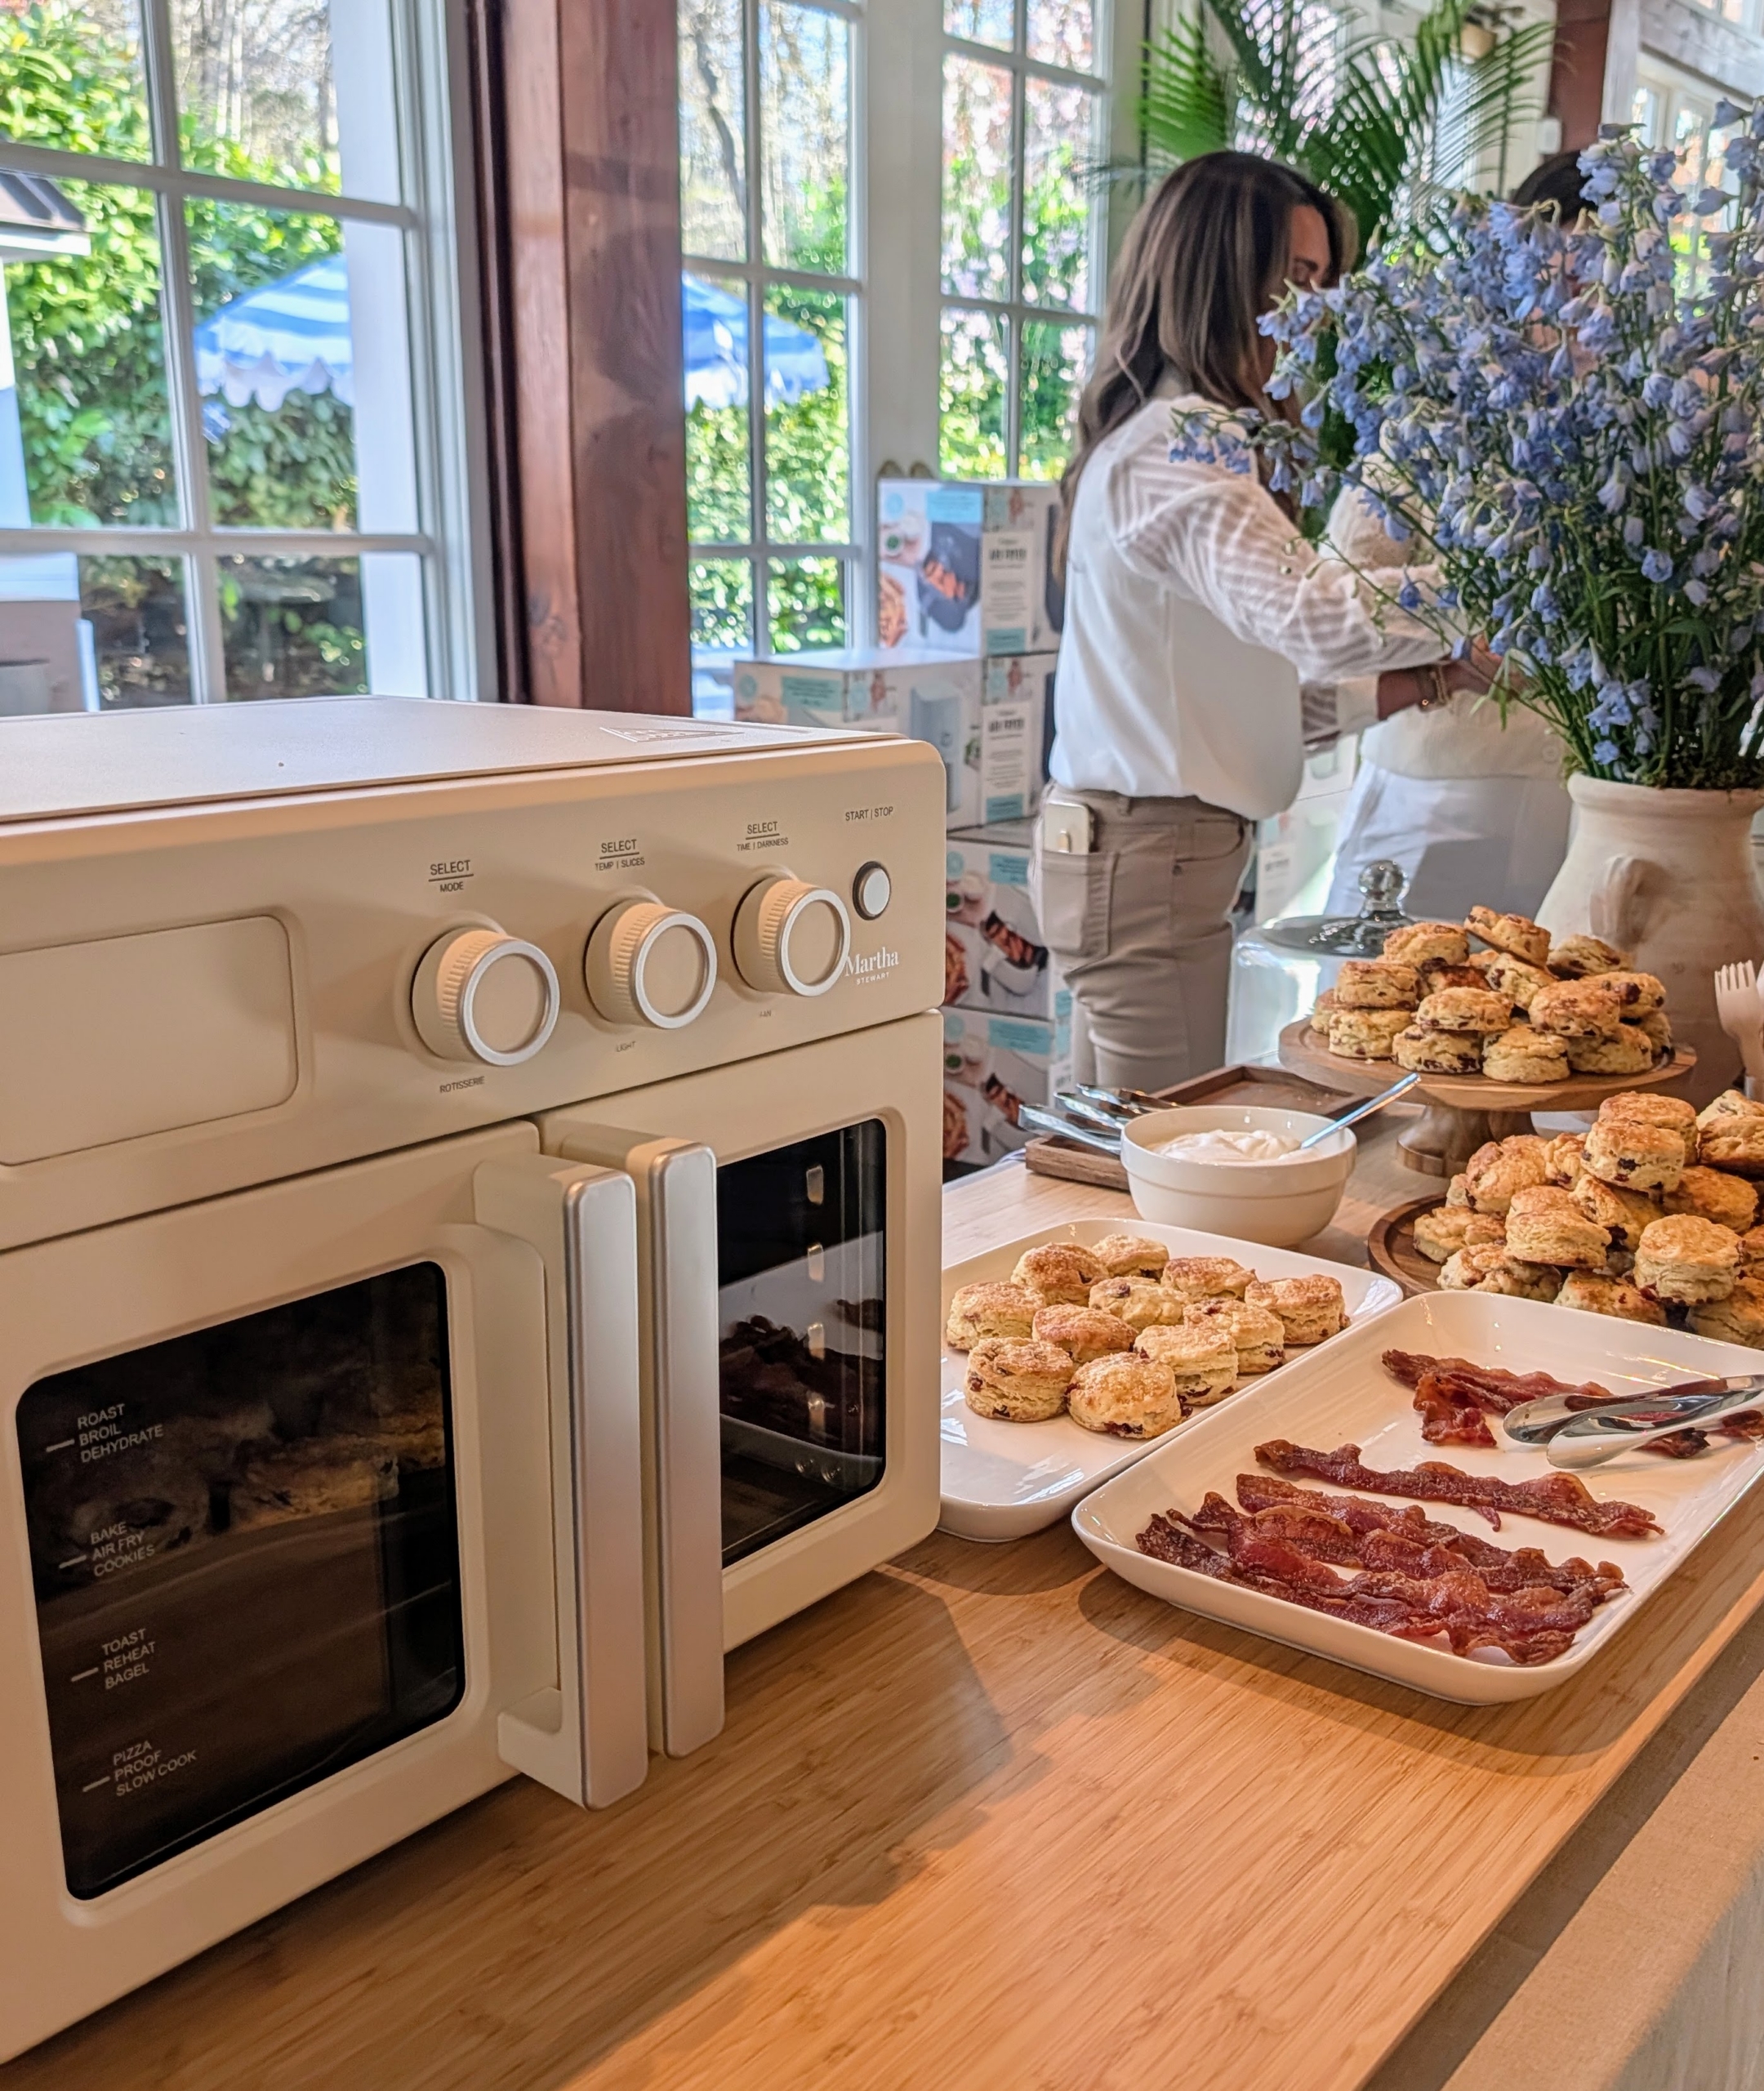
My orange scented cream scones were a big hit – made using my Air Fryer Toaster Oven Combo.
Mini blueberry muffins were also offered – and devoured.
The Air Fryer Toaster Oven Combo was also used to make delicious maple candied bacon.
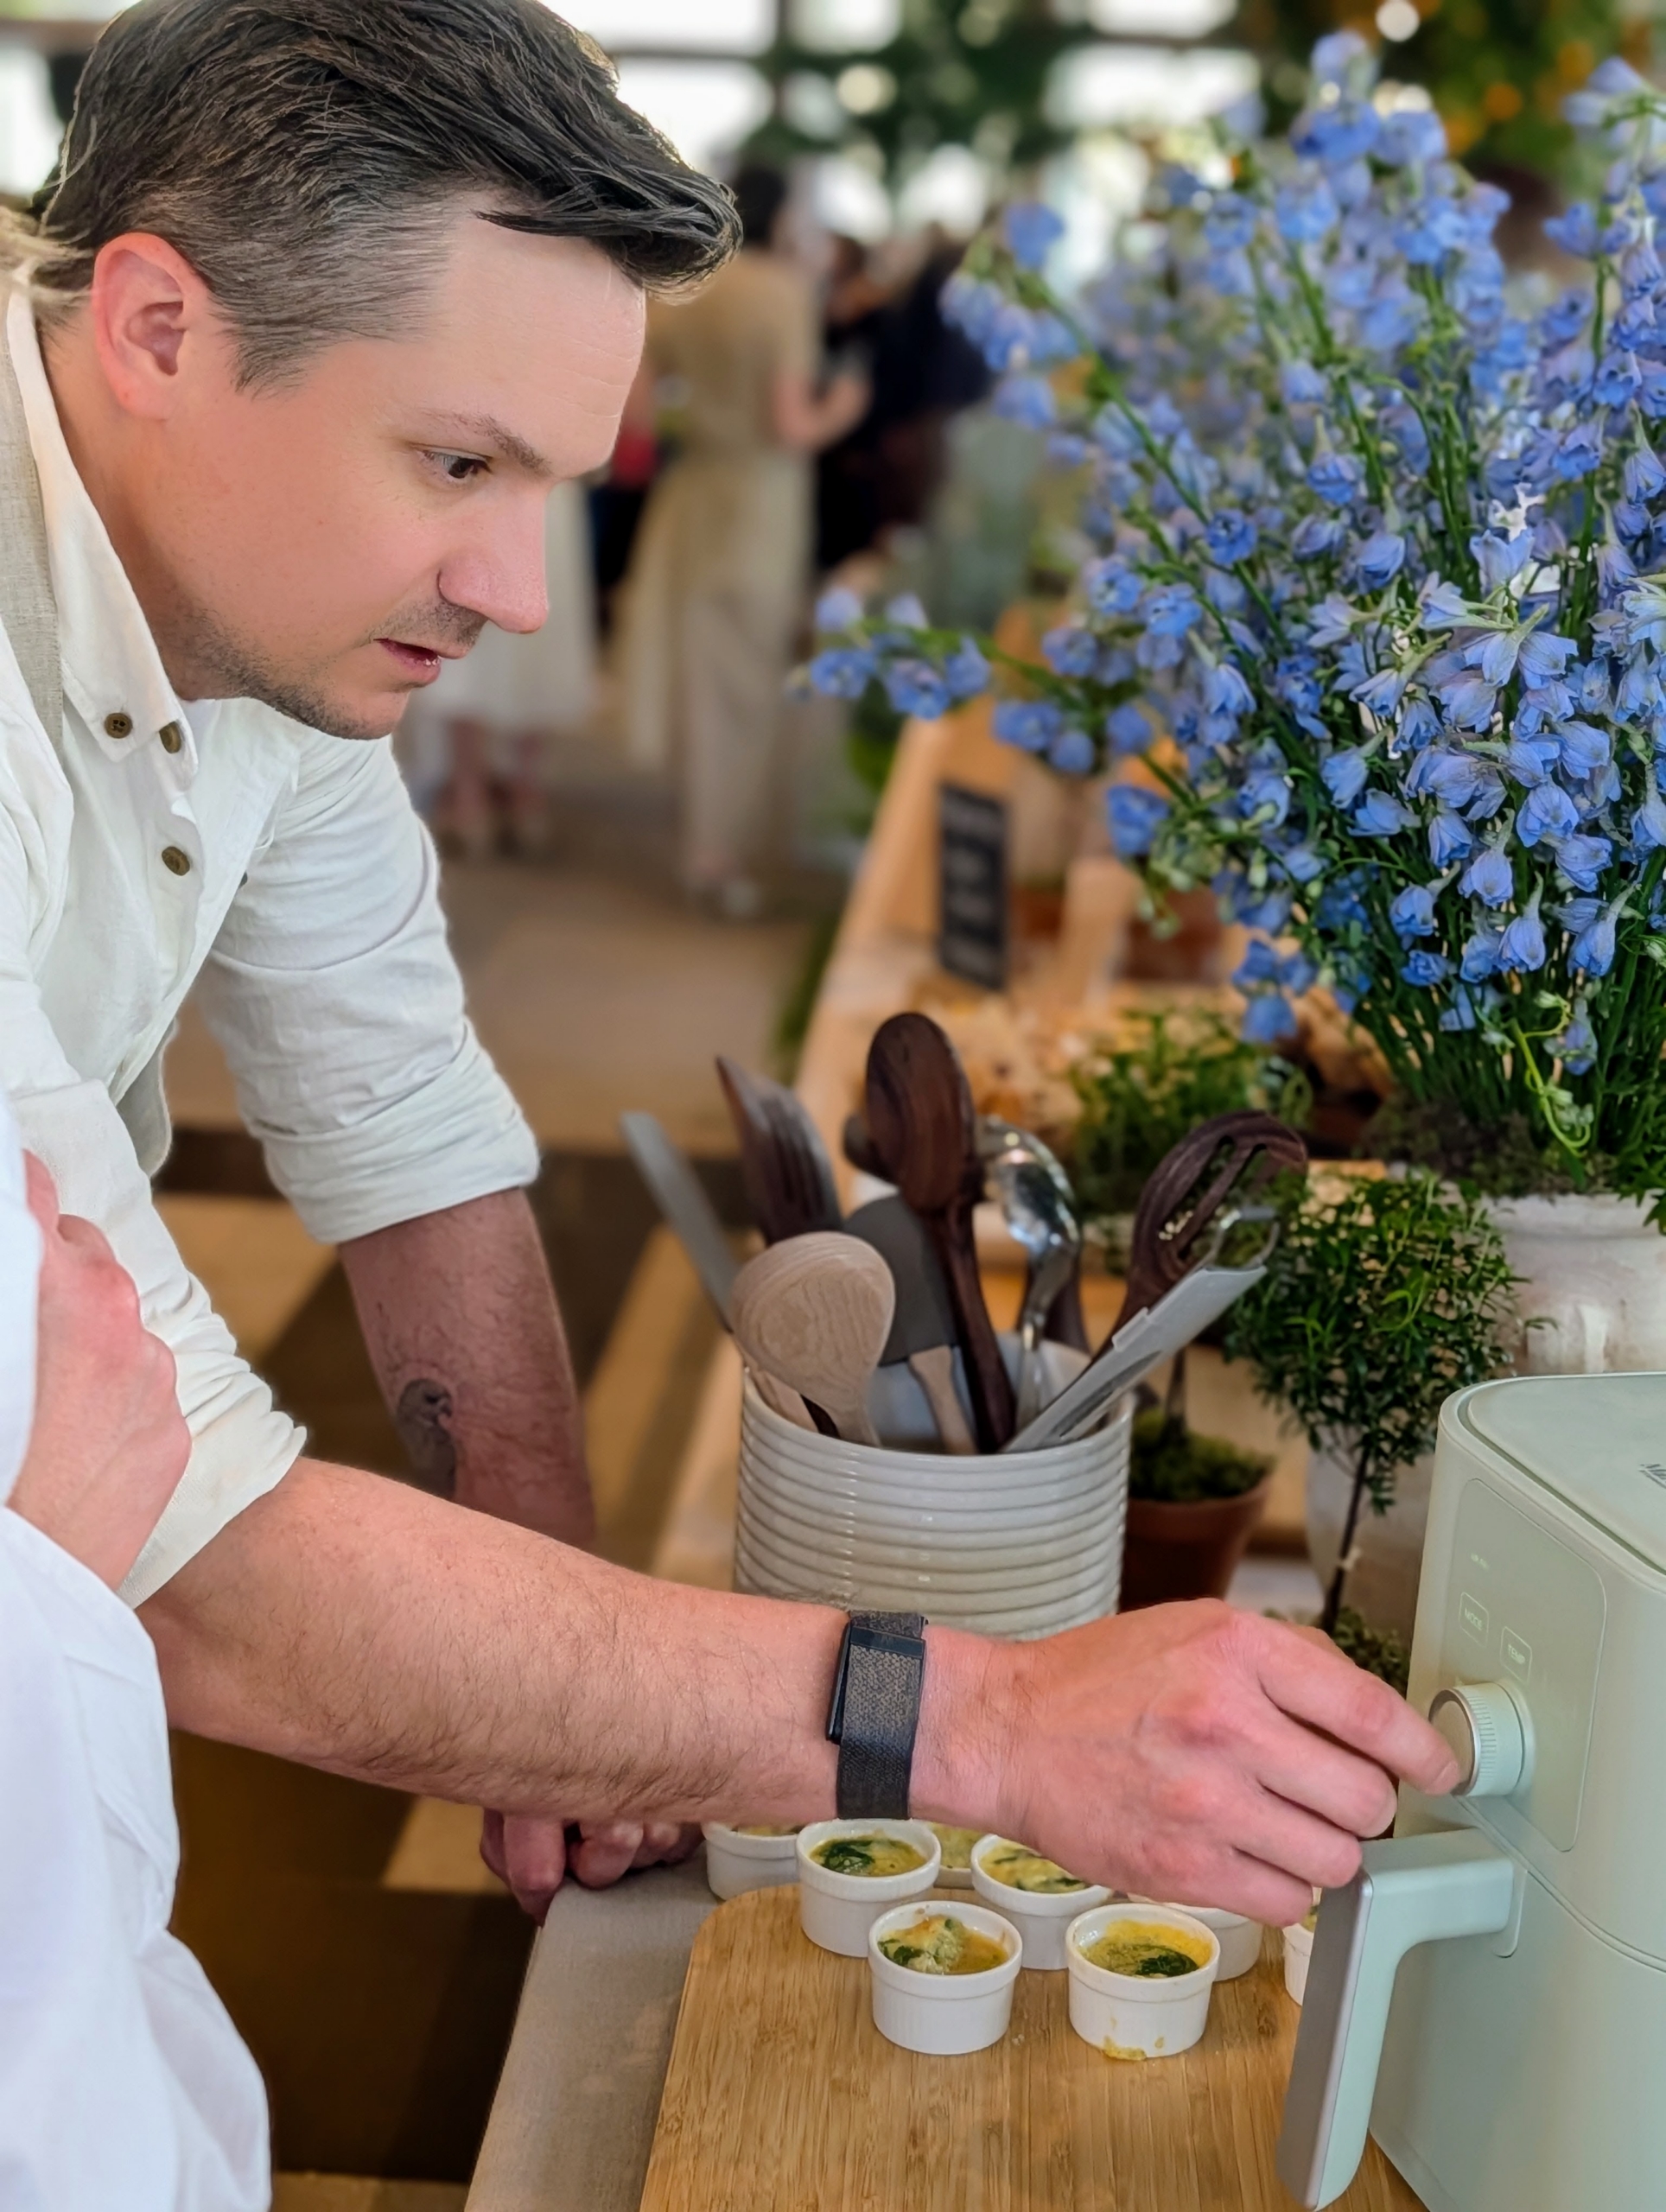
Appliances were put to use at each station, so guests could see how easy they are to operate.
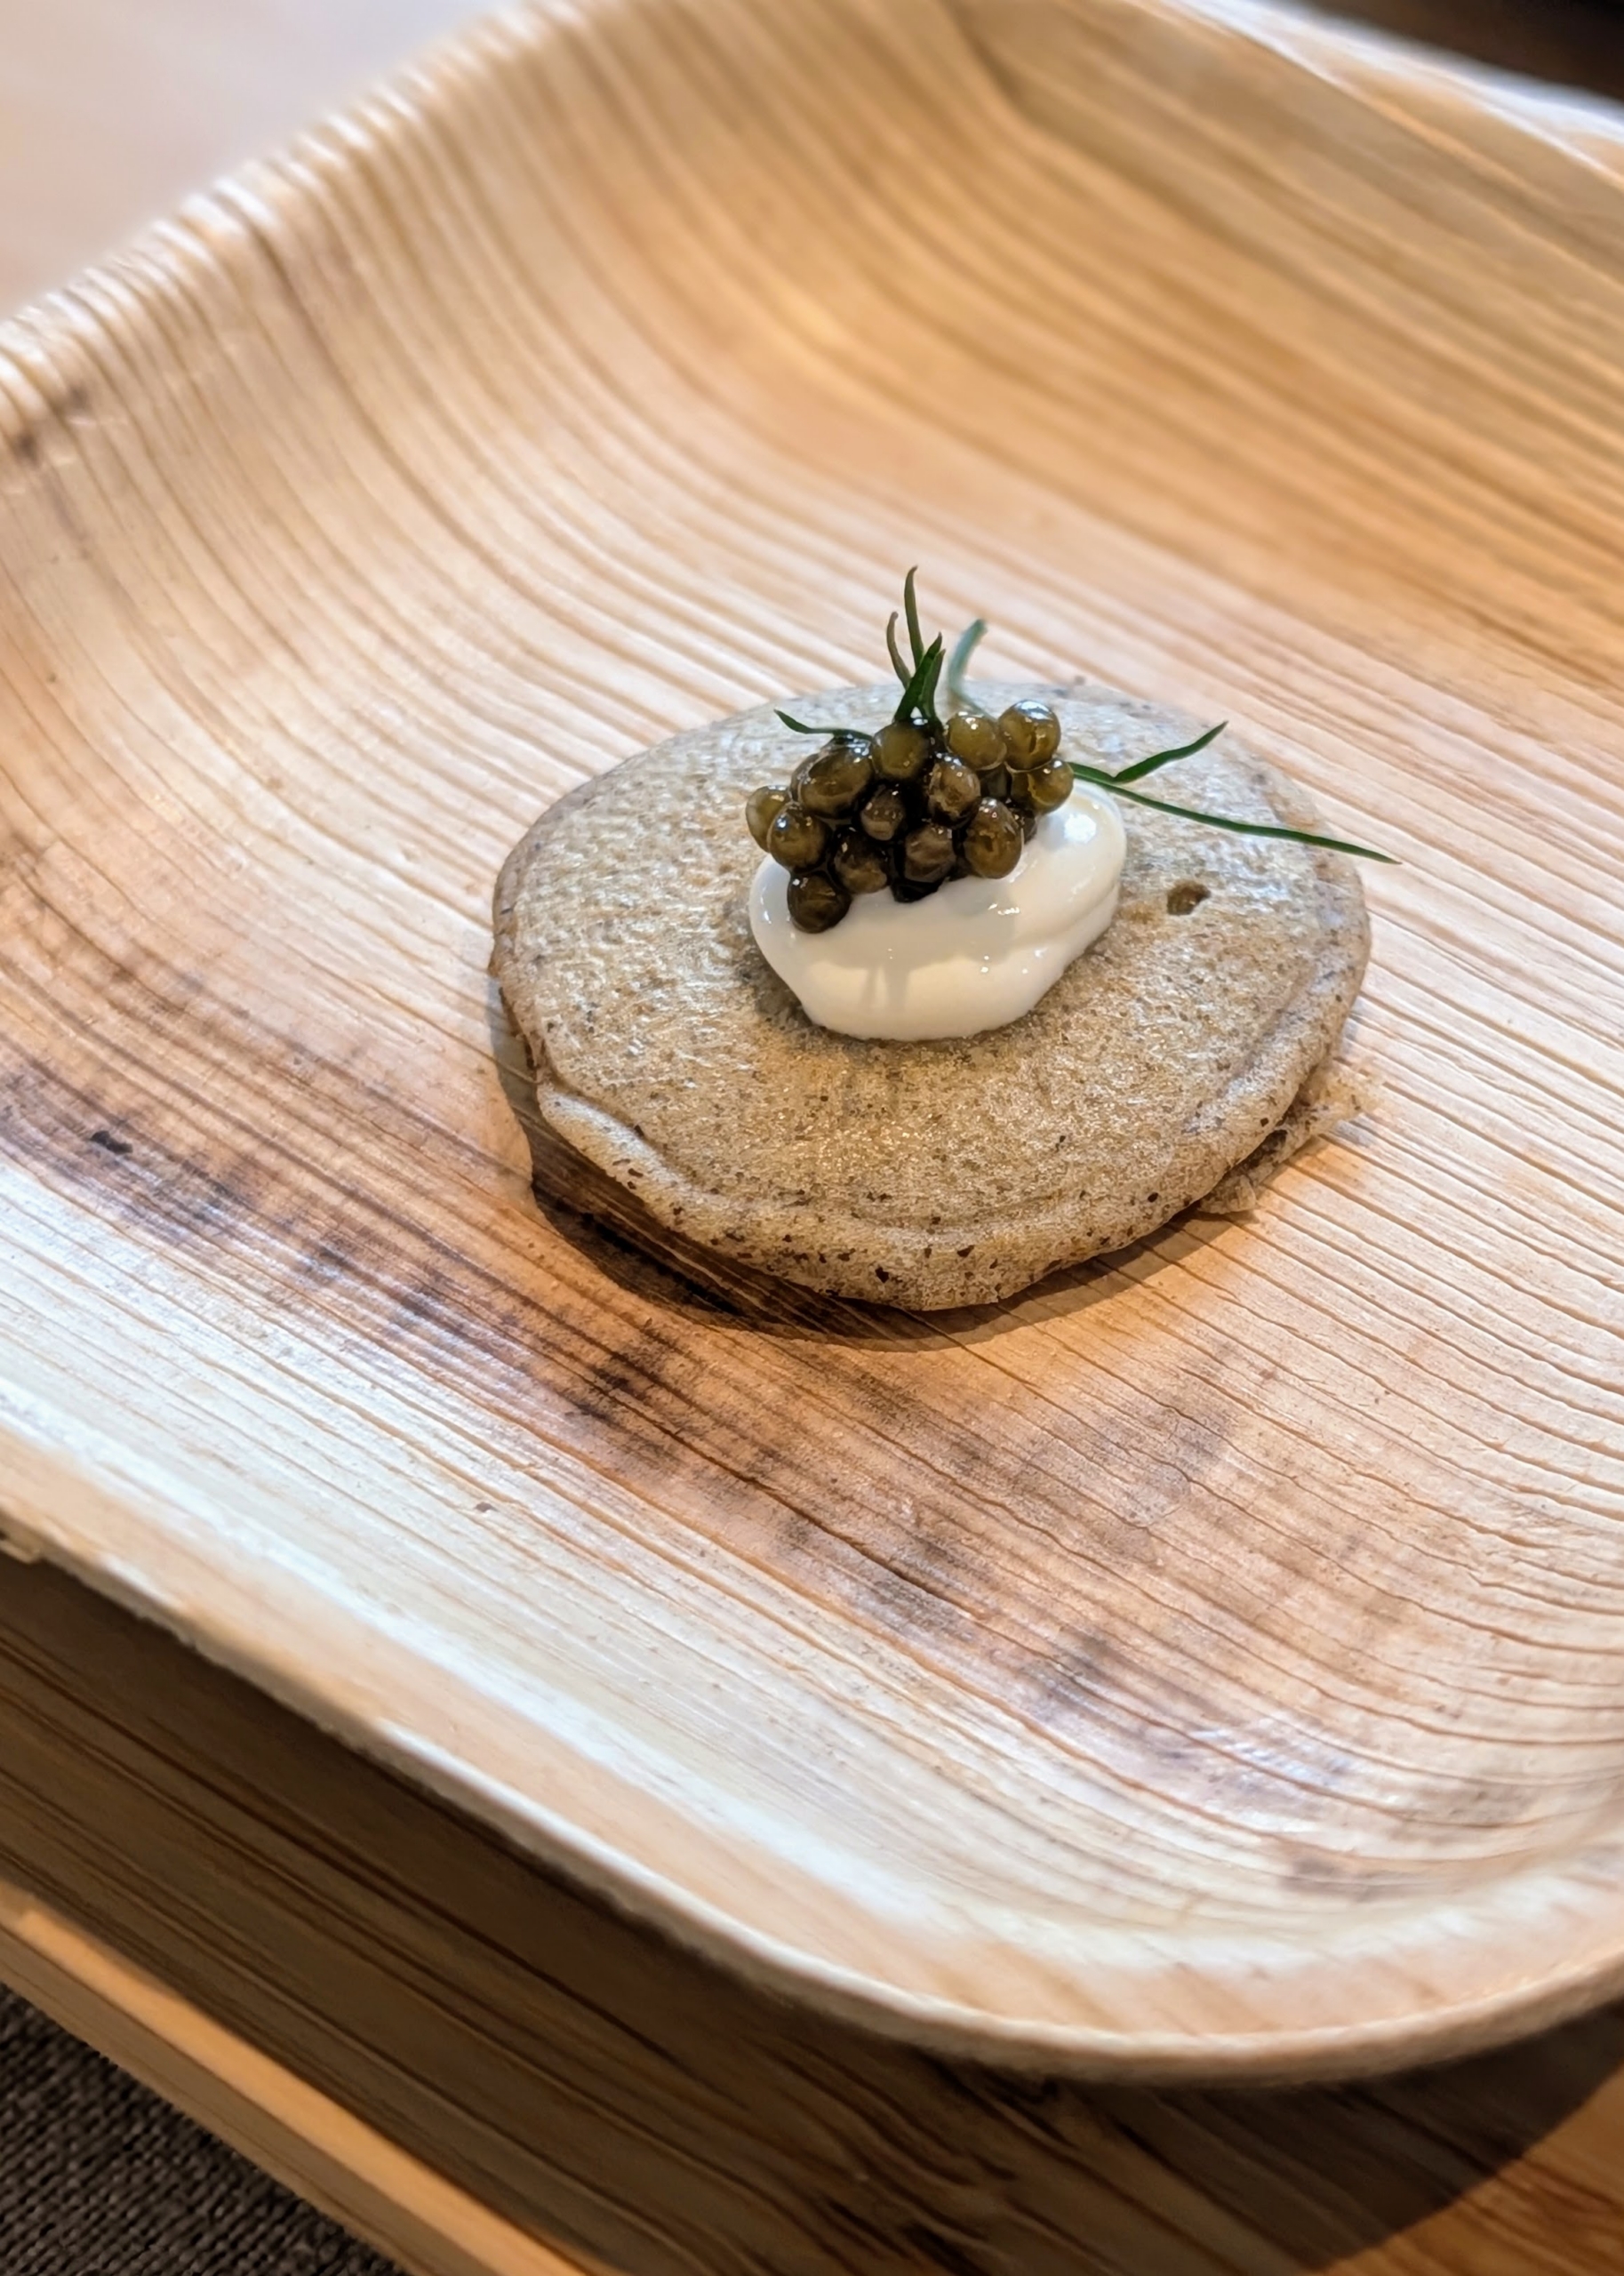
Mini buckwheat blinis were cooked perfectly on my 22-inch by 12-inch multi-purpose nonstick griddle.
I love these blinis topped with a dollop of crème fraîche and caviar!
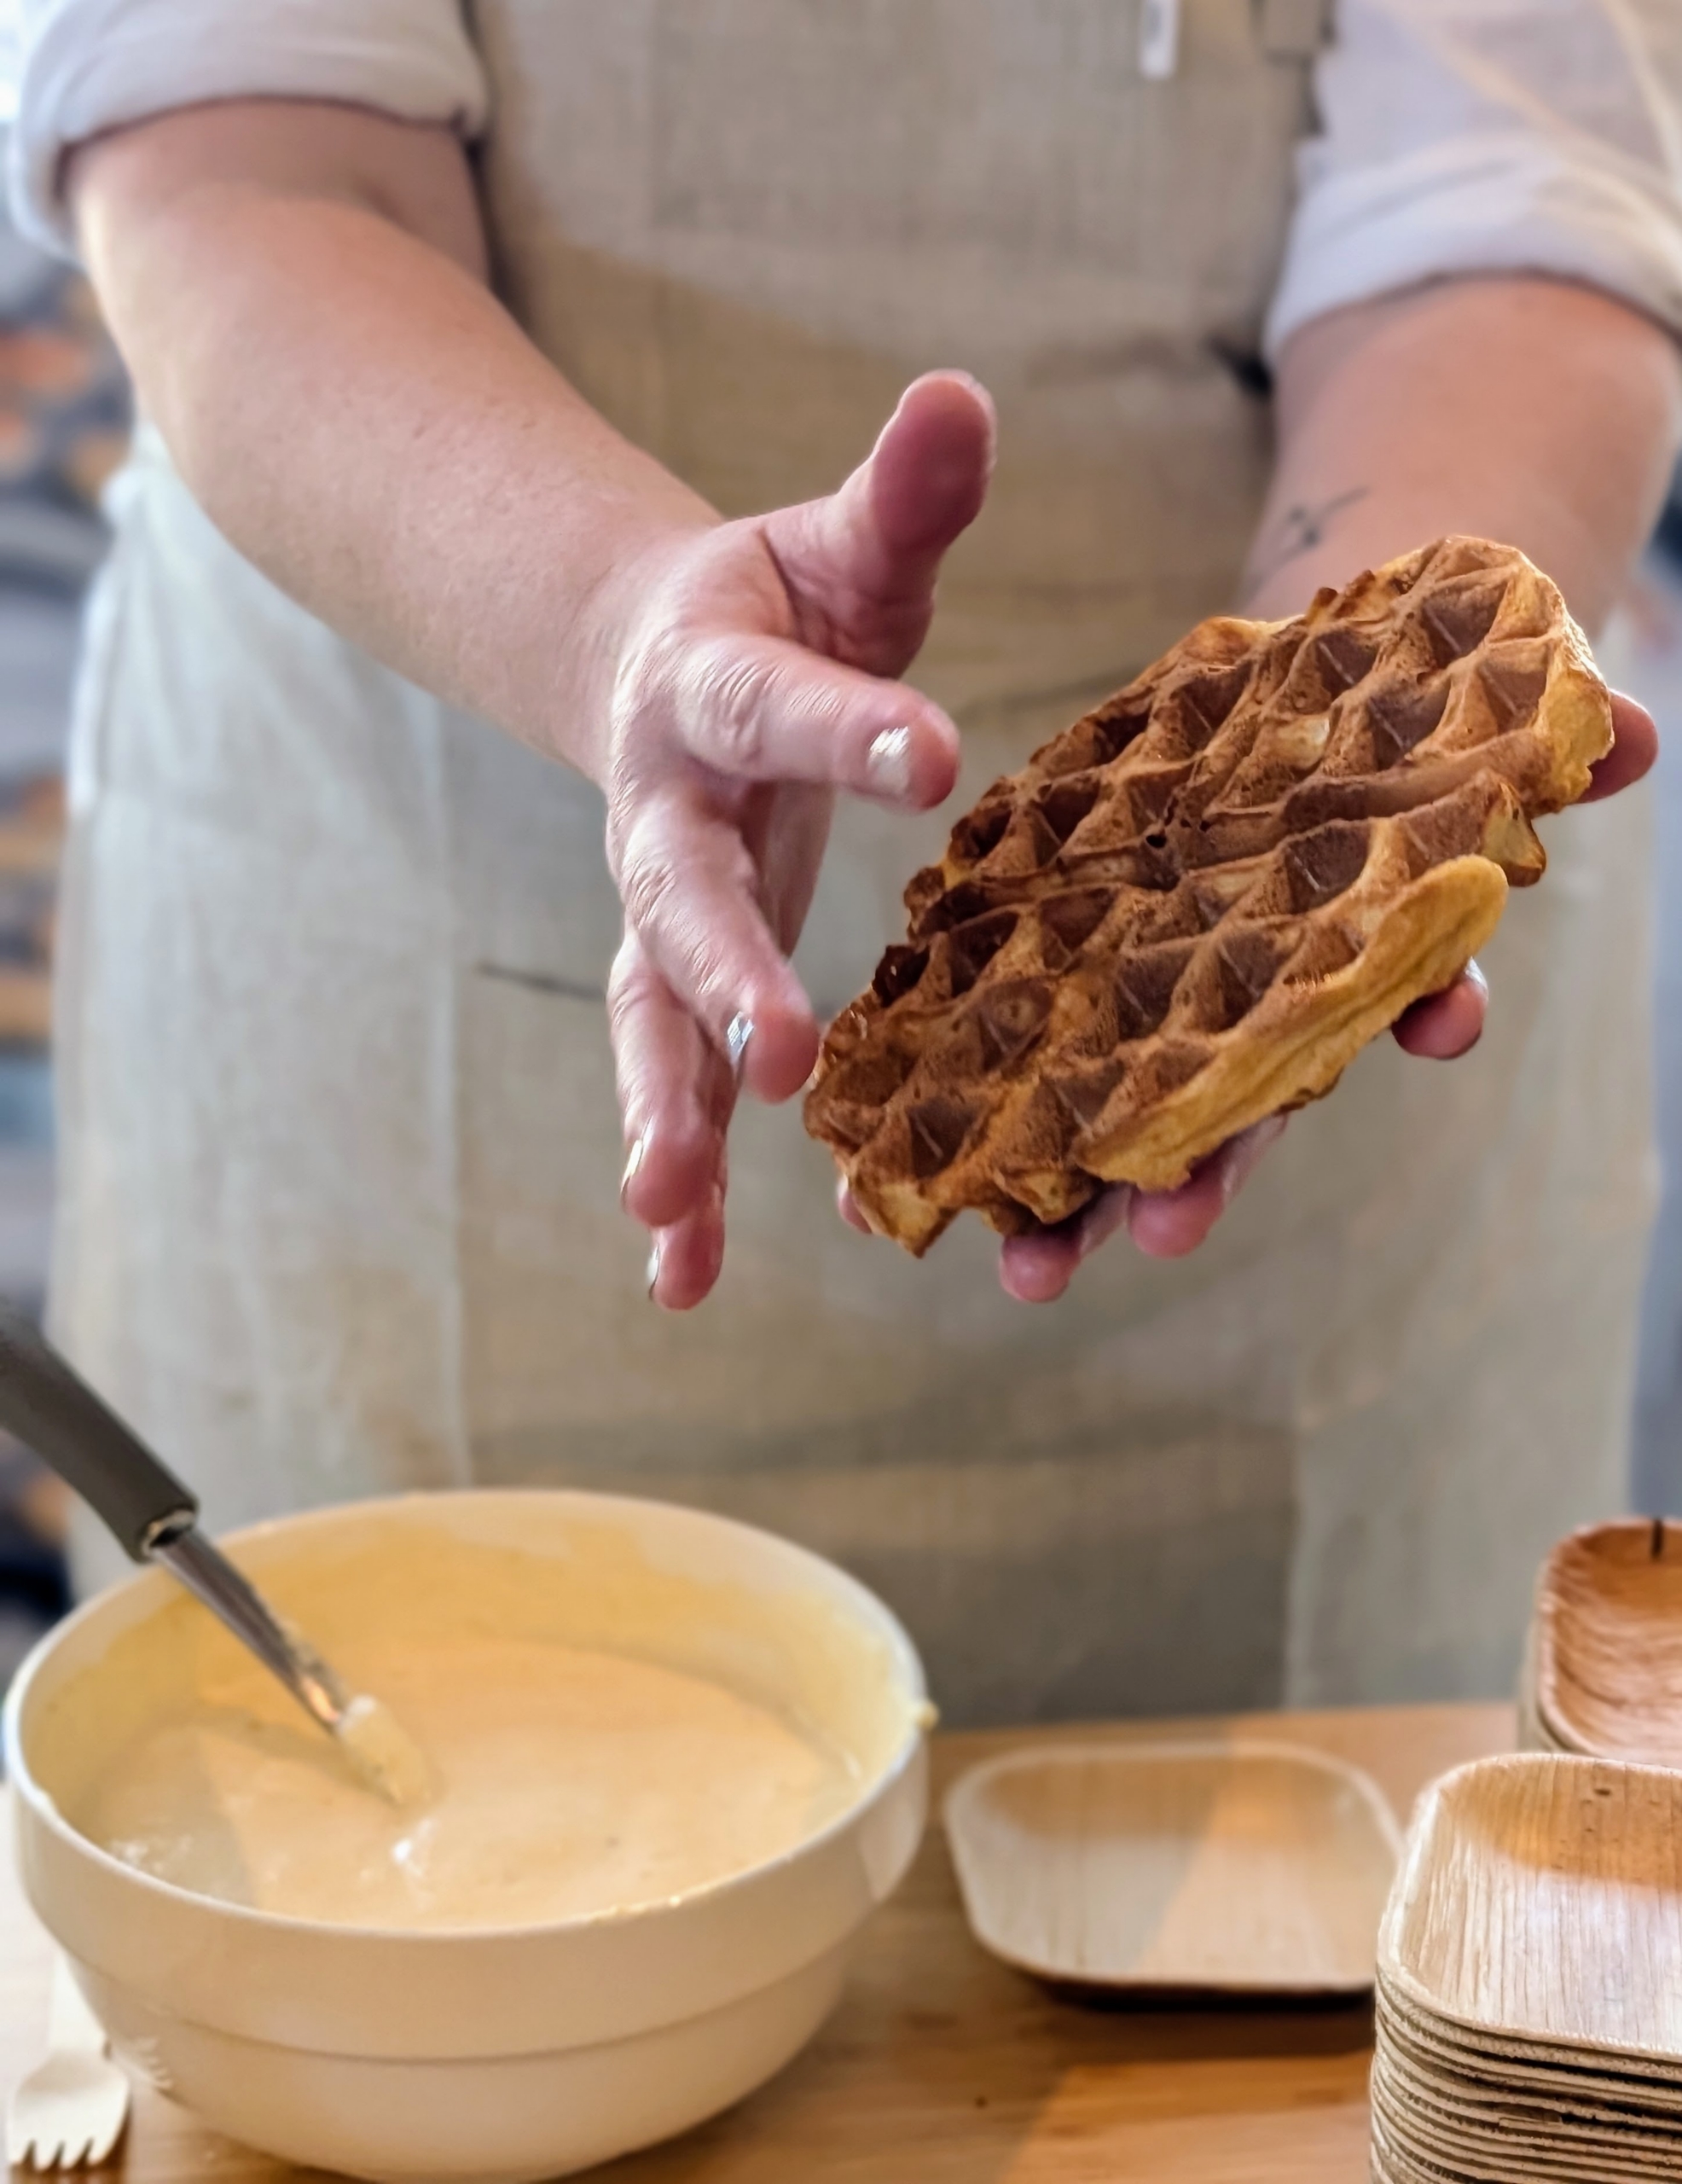
Light, airy, and delicious Donn’s Waffles could be smelled across the venue. They were offered hot to order.
And made with my Martha Stewart Rotating Waffle Maker with a 180-degree flip iron for even cooking, a ready light, and drip tray – breakfast couldn’t be easier.
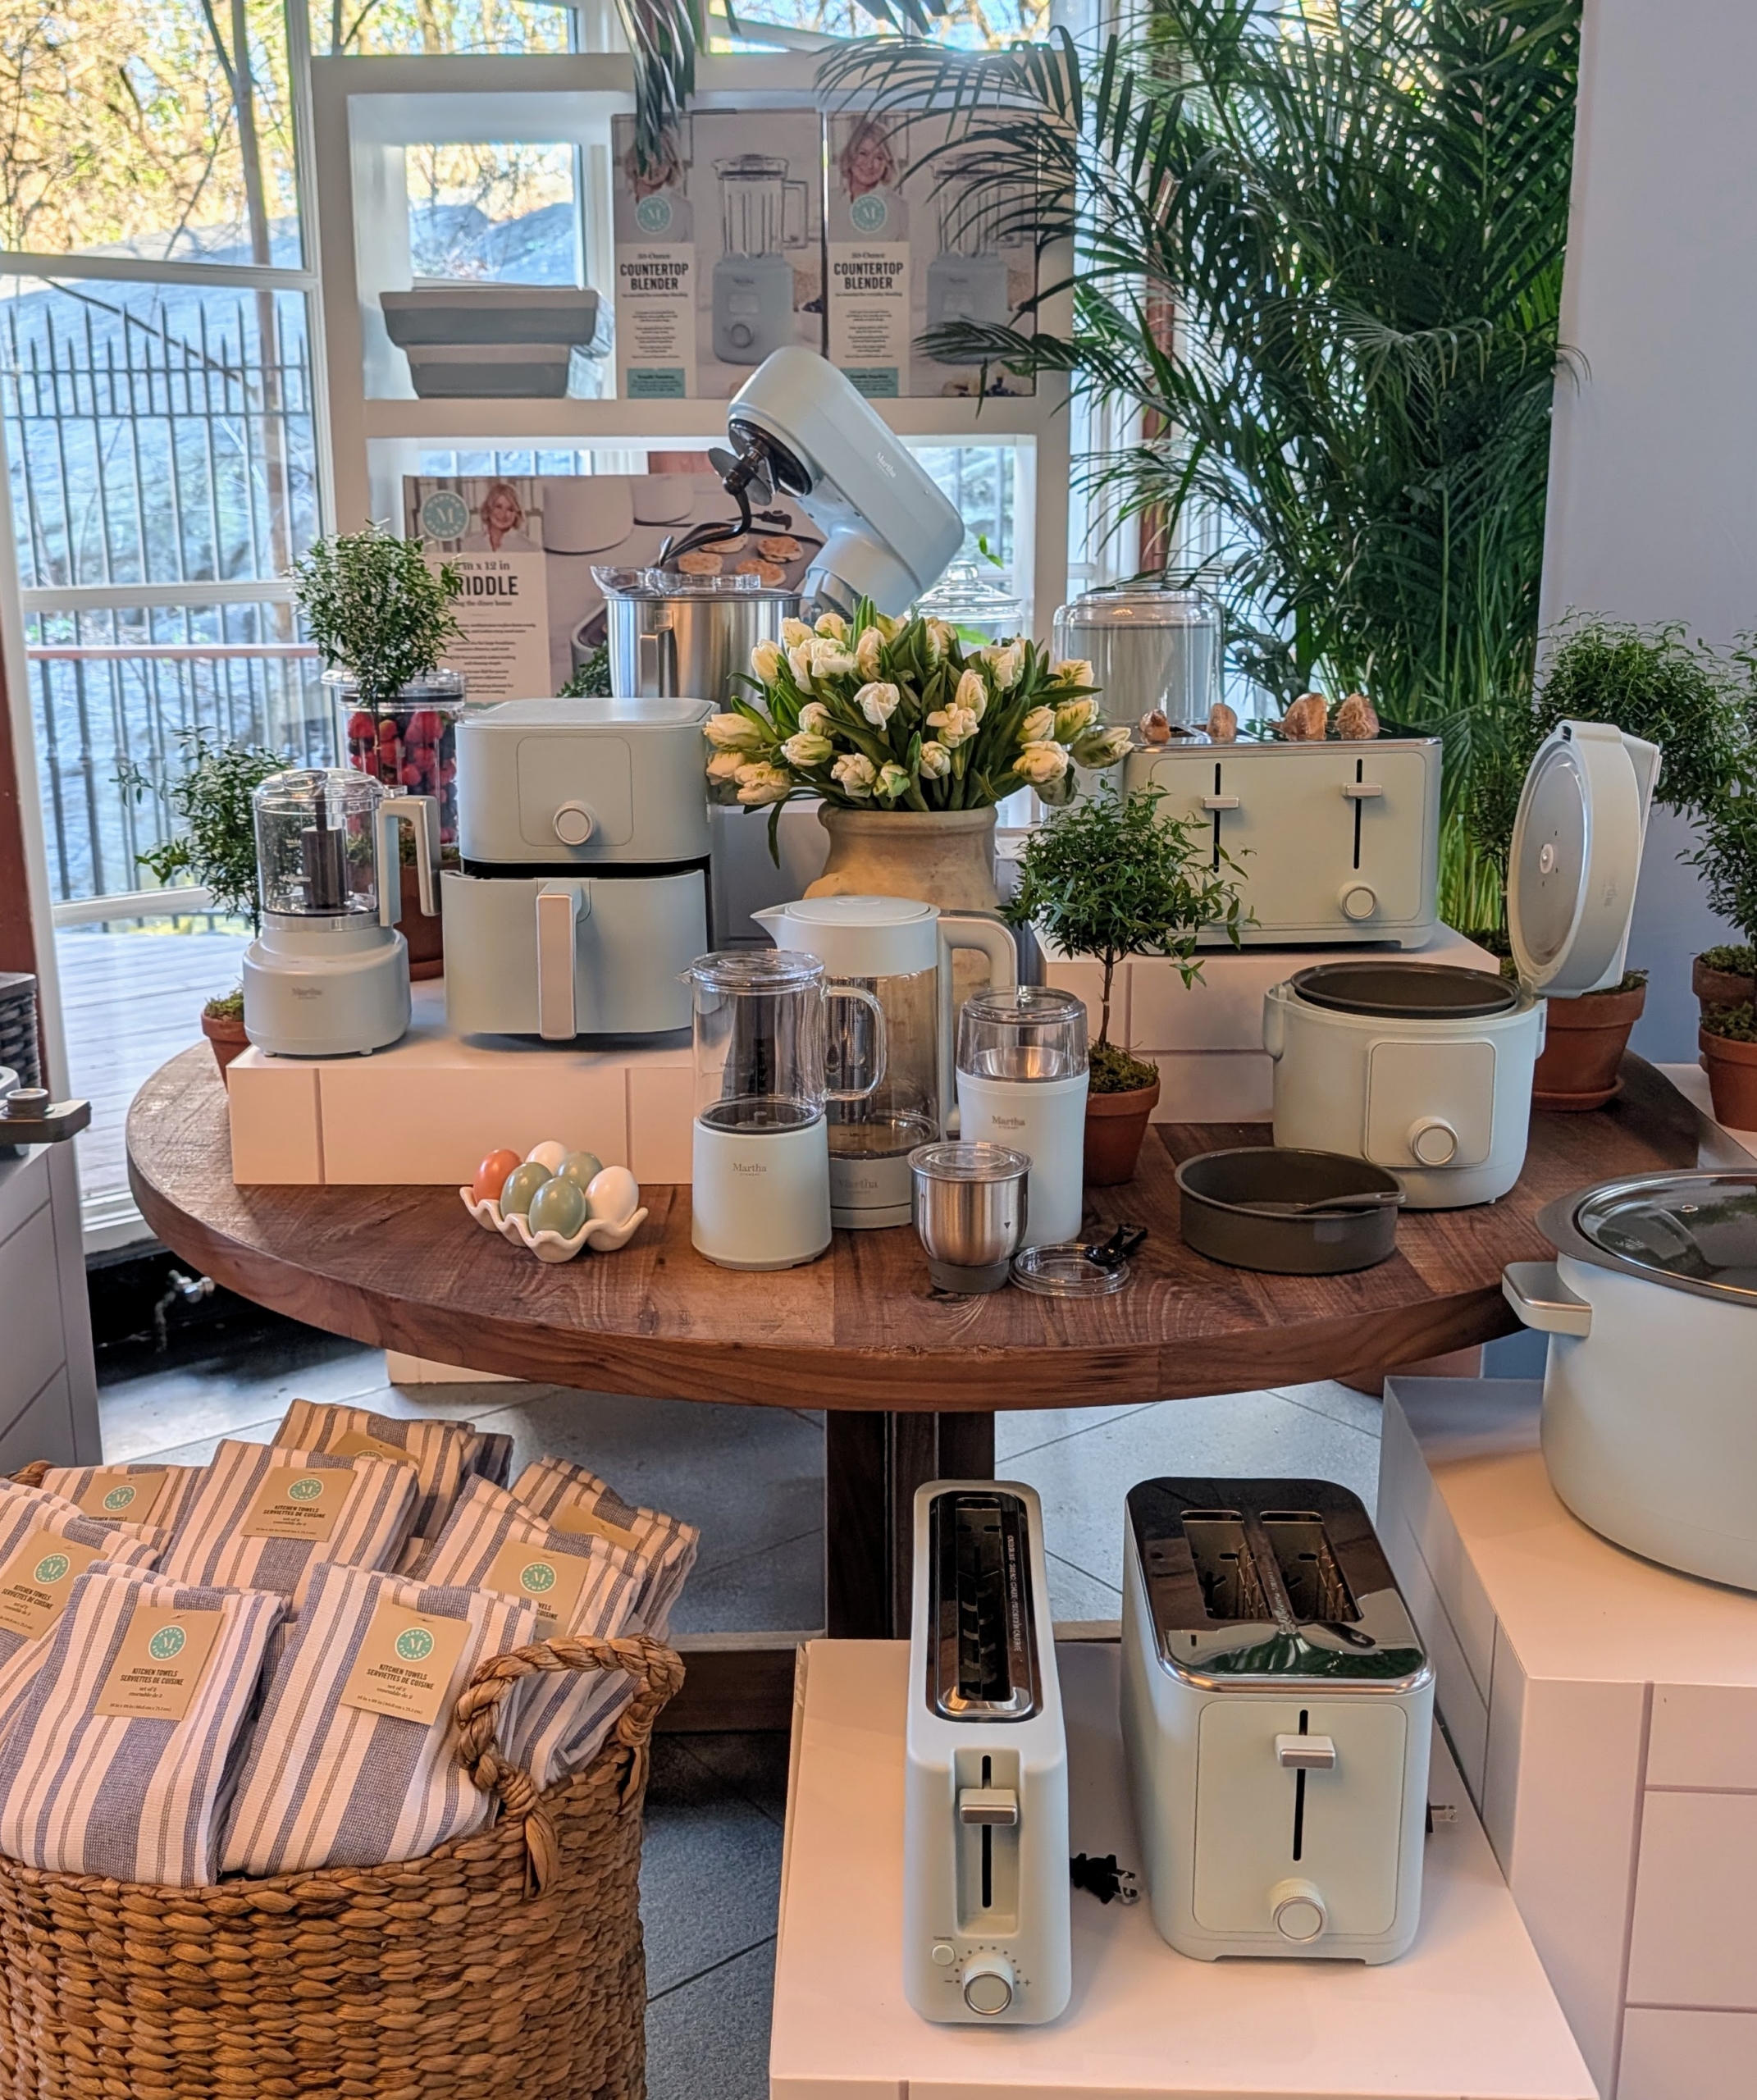
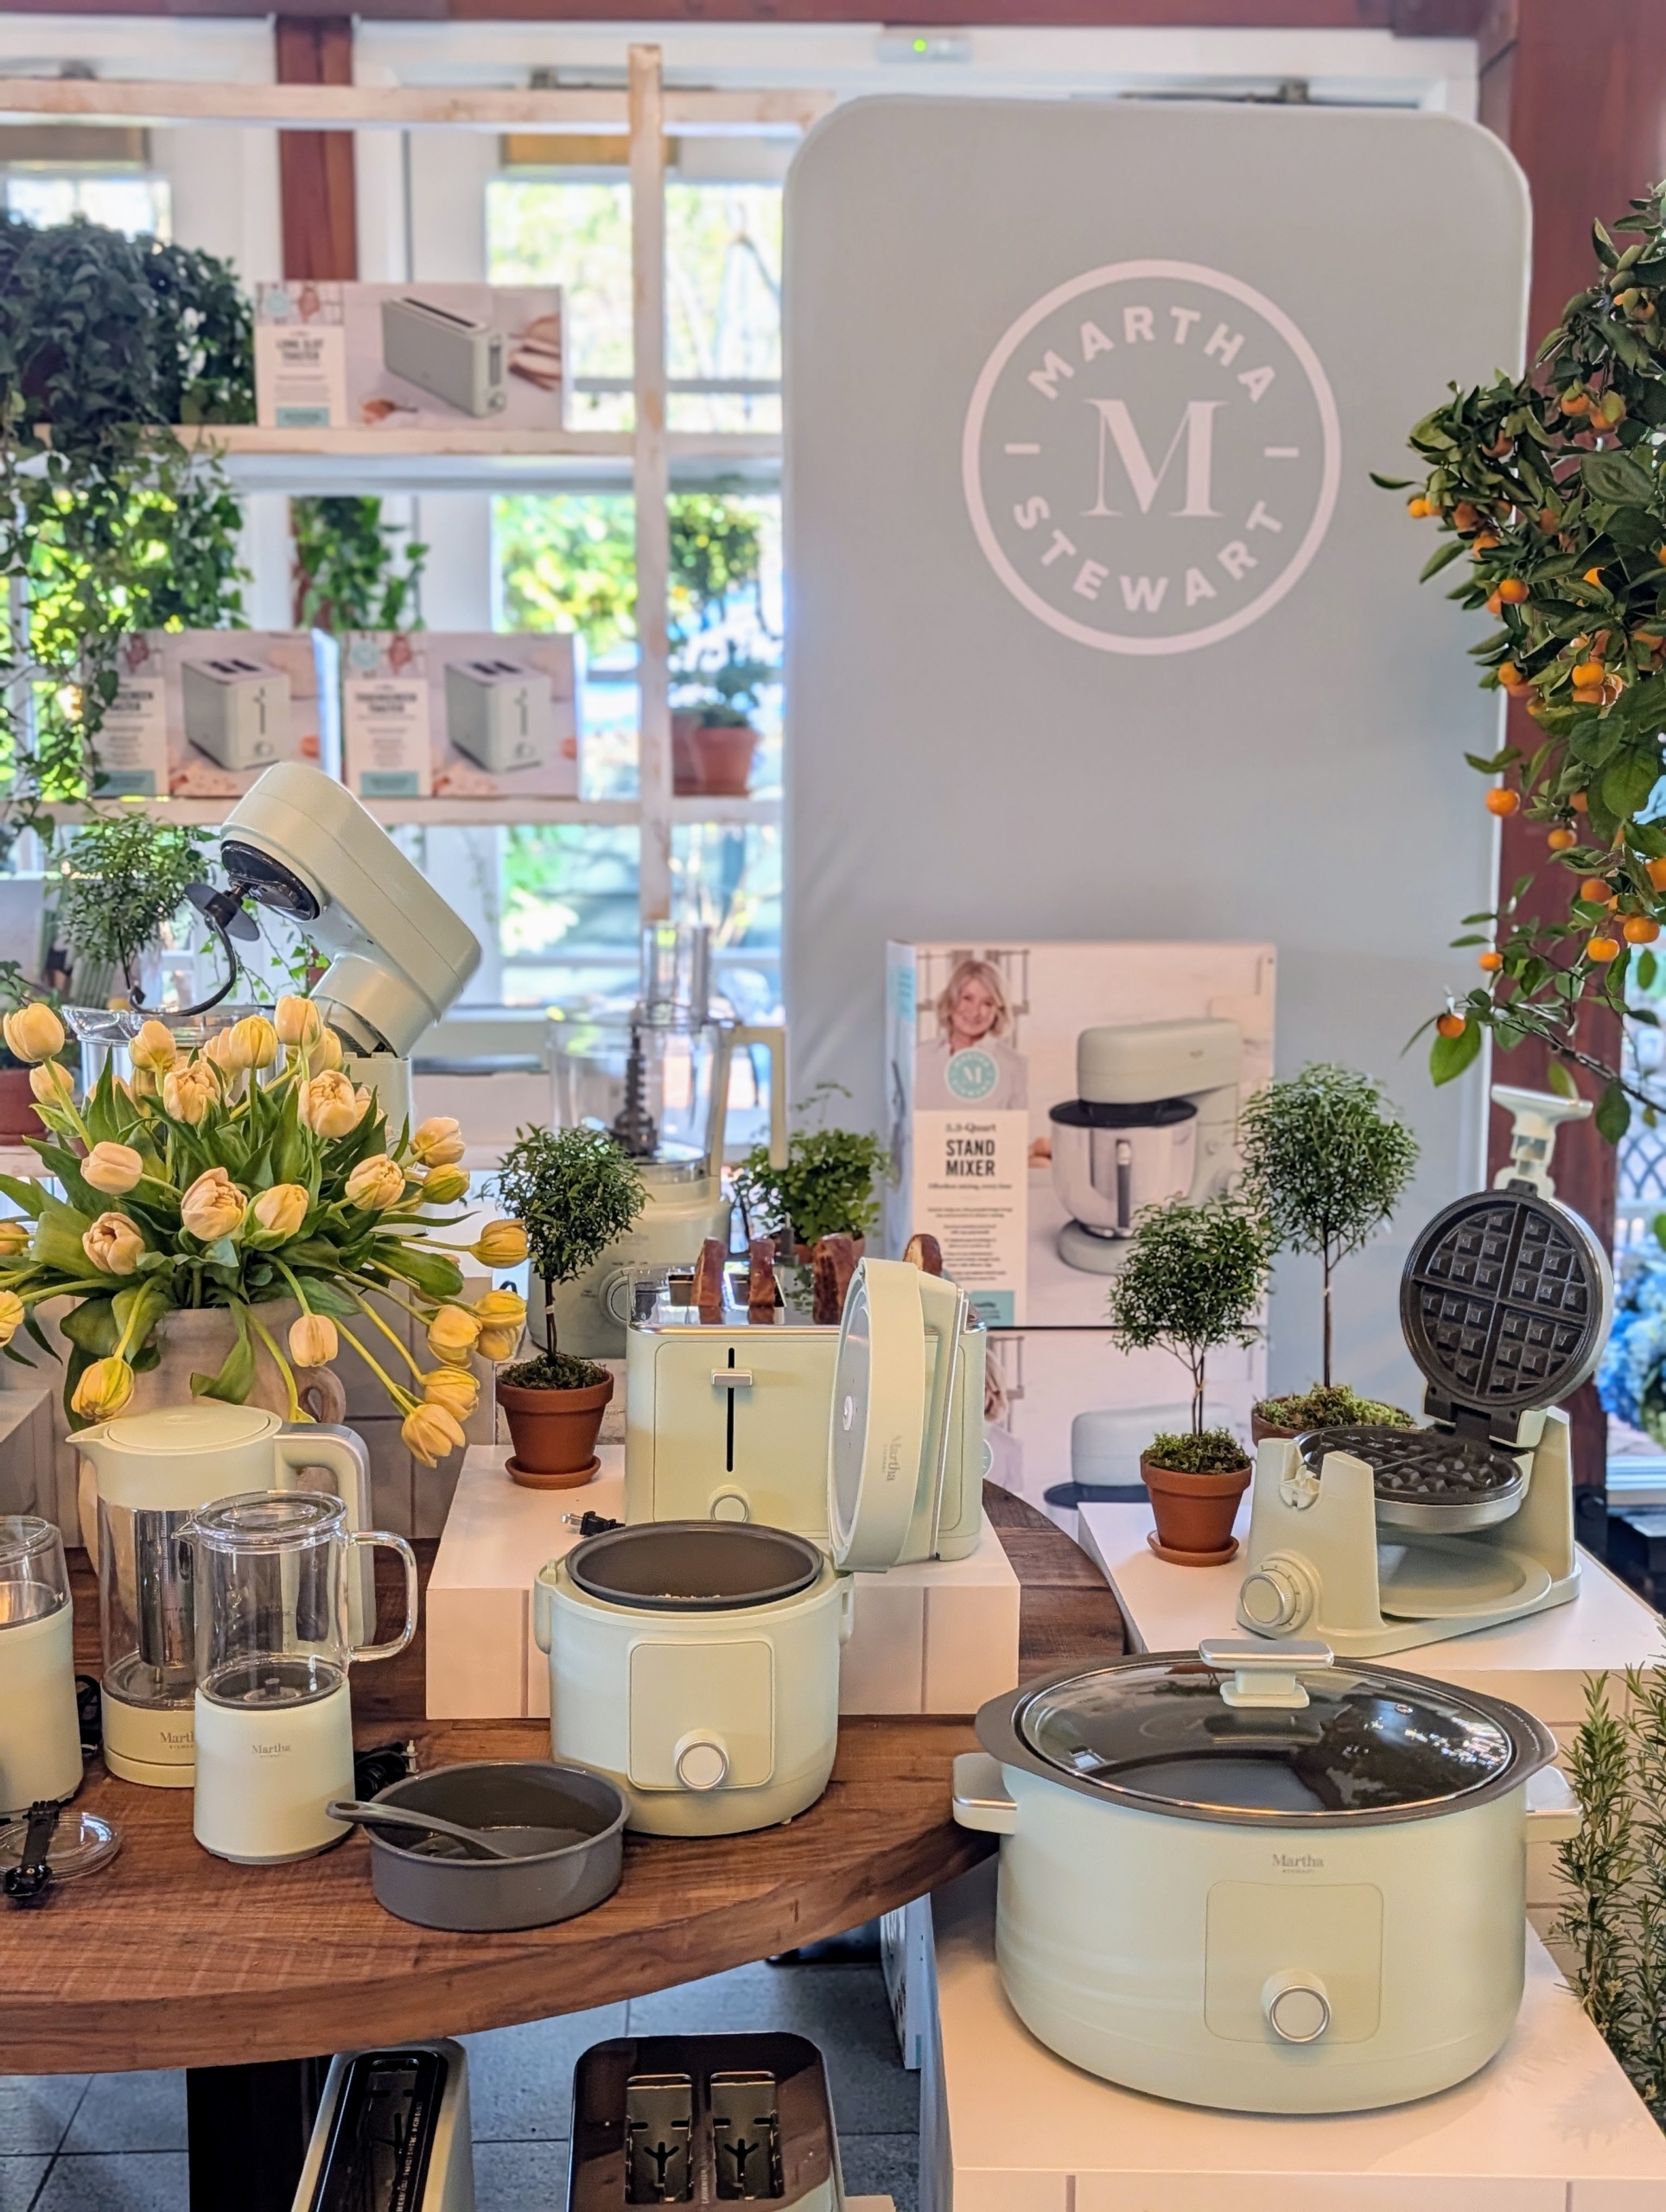
Here are products in my Honeydew color – a lovely spring-themed pastel.
This beautiful color, Indigo, will be available next month – look for it on Amazon.
Glasses of Mary’s Knees breakfast cocktails with fresh citrus were also available.
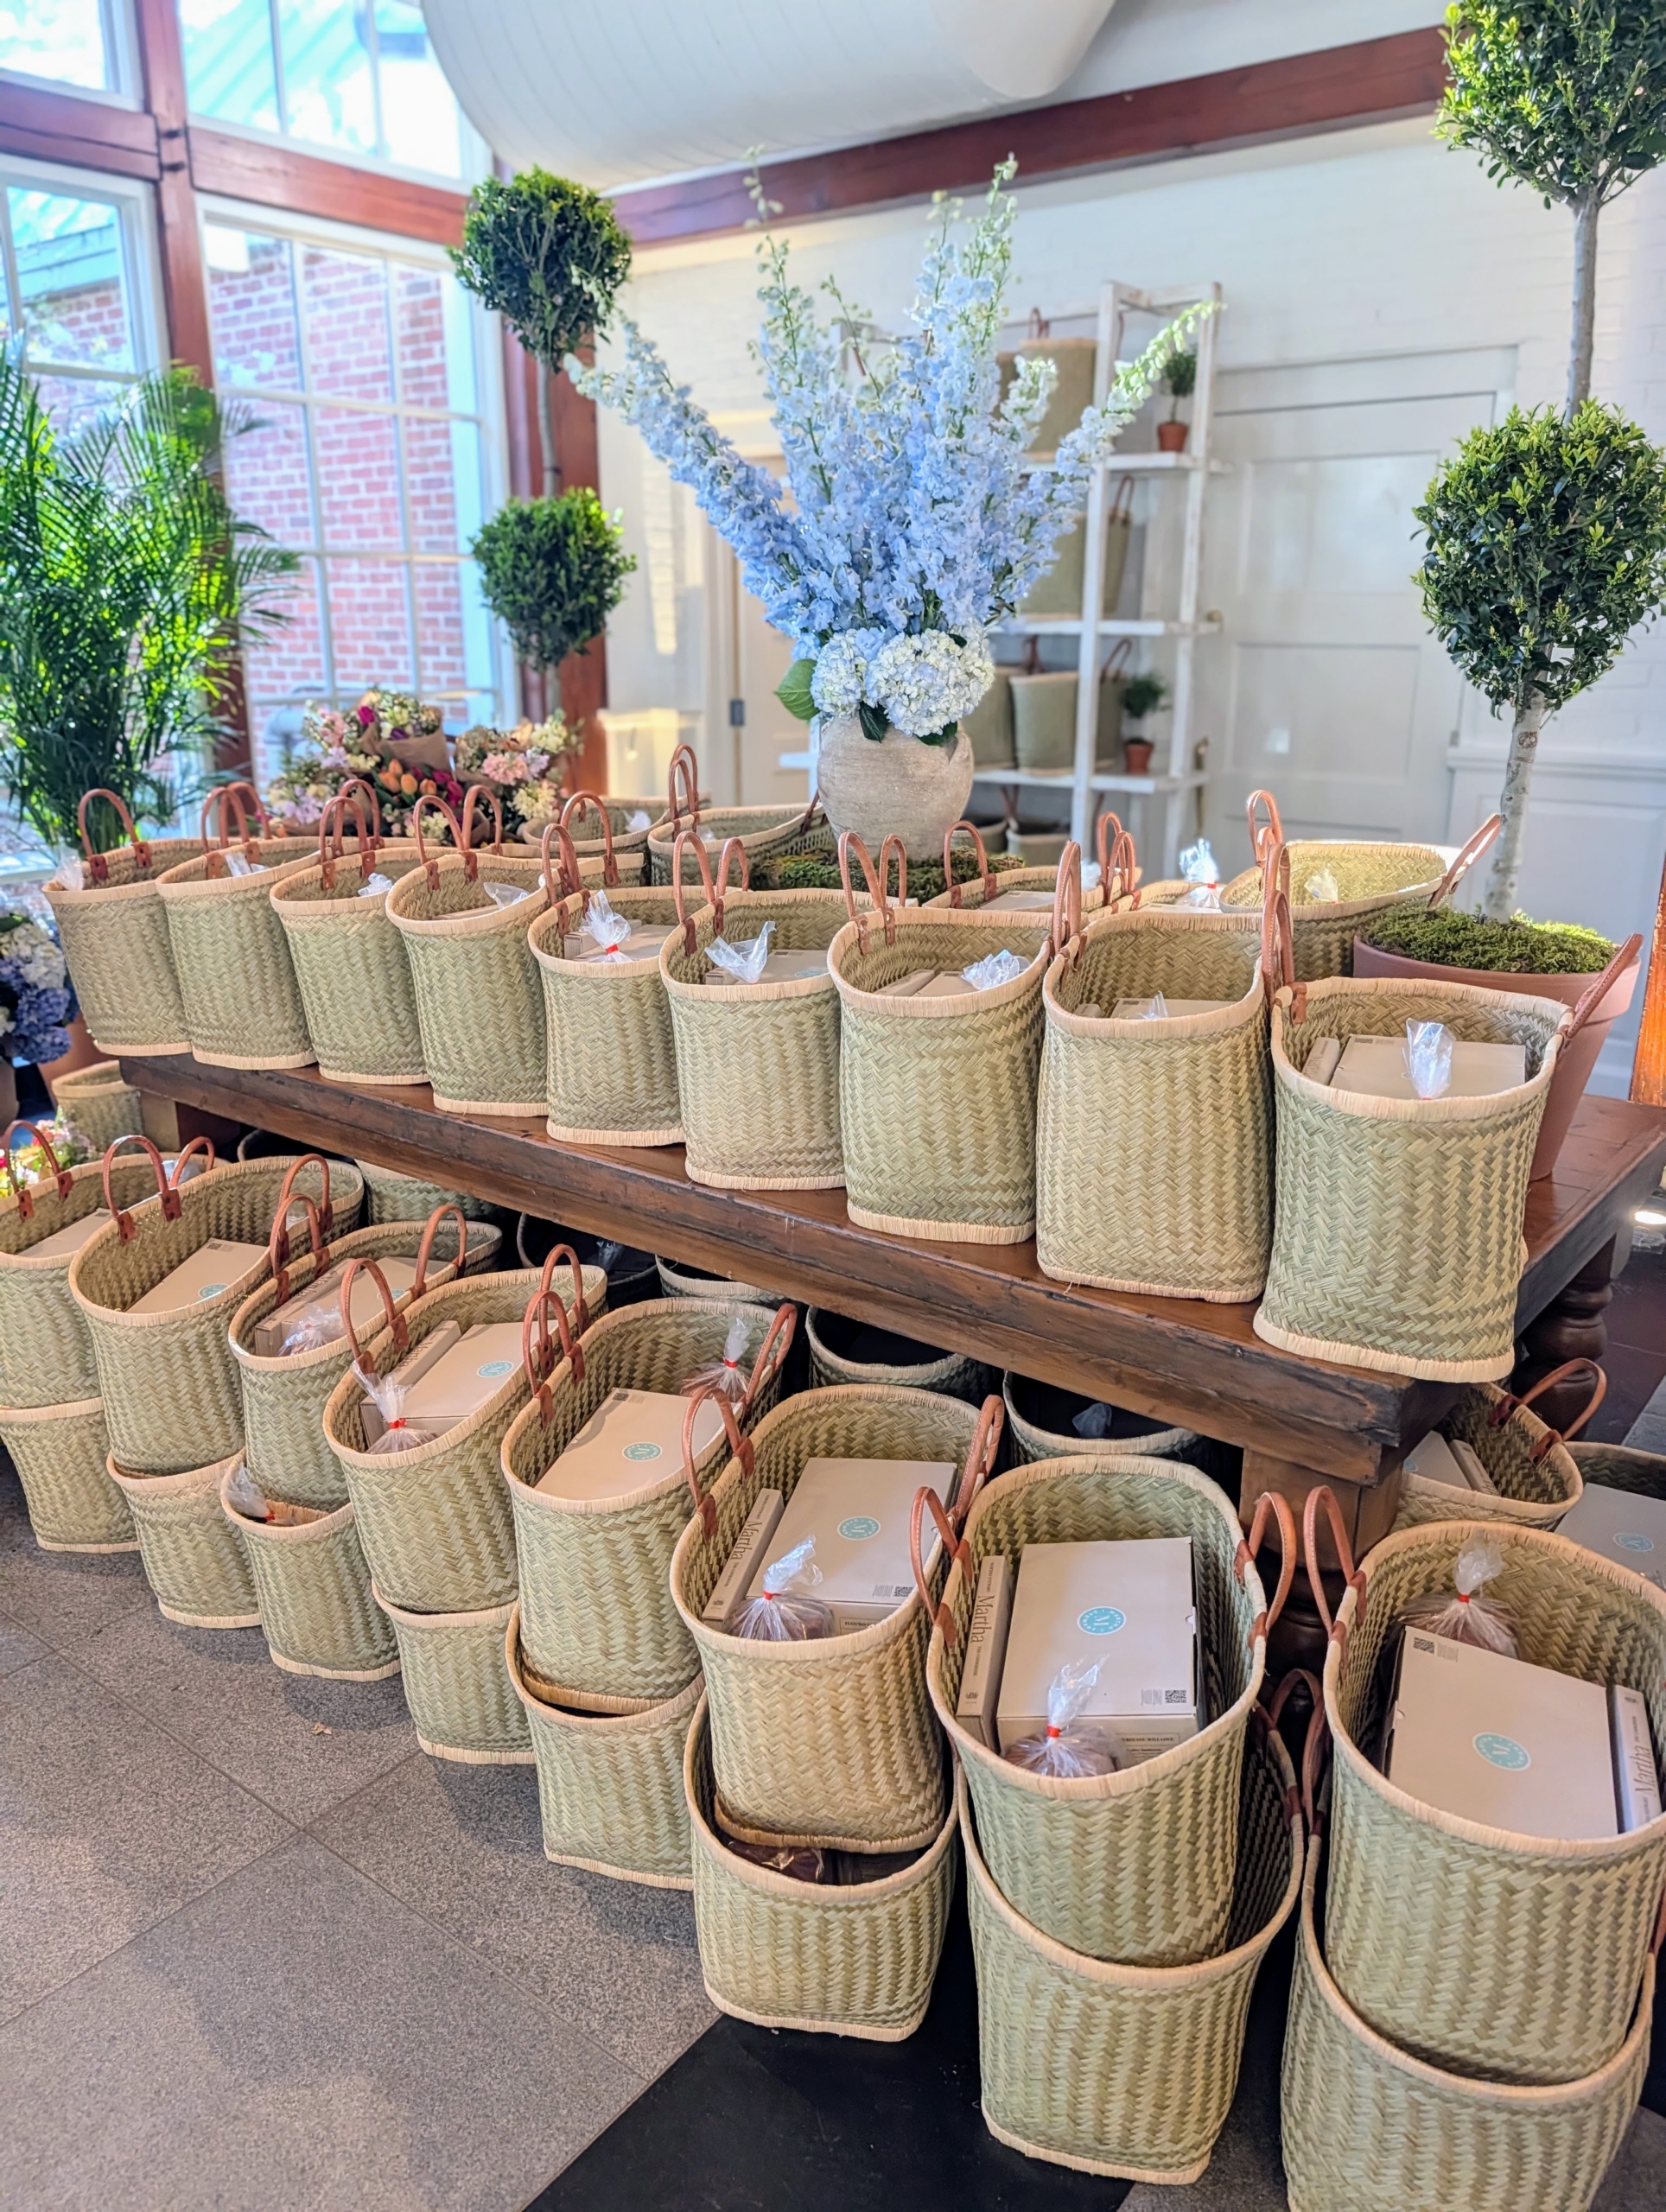
Bunches of spring flowers wrapped in natural colored parchment paper were available for guests to take and enjoy at home.
Each guest also received a toaster and a copy of my book, MARTHA:THE COOKBOOK.
It was a lovely event and perfect way to introduce this exciting collection. In my next blog – more about the products you can find right now at my shop at Amazon! Visit and shop!