The calendar says October, but it's never too early to start planning for the holidays - Thanksgiving will be here before you know it!
This year, you can get so many of your favorite holiday entertaining pieces and cooking essentials right from our new website at Martha.com - a turkey roasting pan and pie pans, enameled cast iron cookware, copper cookware, serve ware, bowls, decorations, and so much more. And don't forget my Collection at Macy's, and those delicious side dishes from Martha Stewart Kitchen. We're here to help make your celebration just perfect.
Here are some photos, enjoy.
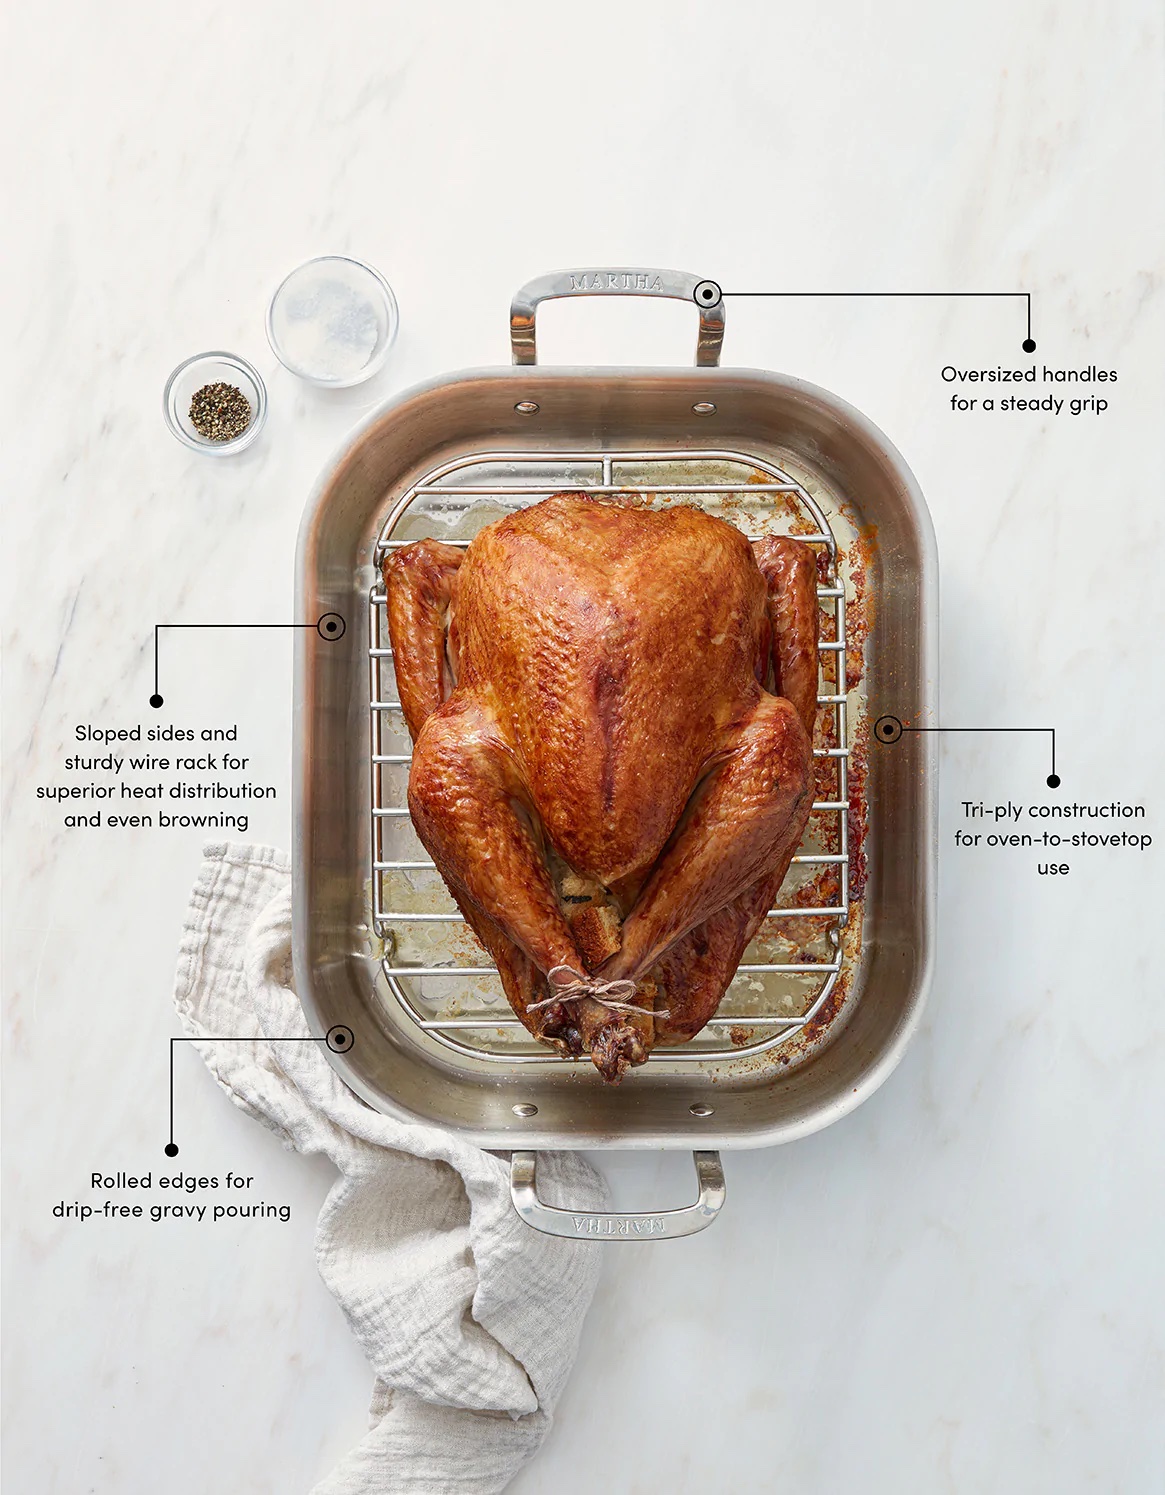
Whether you’re cooking this year’s feast for the first time or looking for a new and more versatile roasting pan, you’ll love my Stainless Steel Tri-Ply Roasting Pan with Rack from my MARTHA By Martha Stewart Stainless Steel Cookware Collection. This workhorse of a pan features premium 18/10 stainless steel tri-ply construction with a base-to-rim aluminum core that promotes heat retention and consistently even cooking – I designed it myself.
If you’re cooking pies for the holidays, you’ll want to use my Martha Stewart 9-inch Pie Pans. These are made from heavy-gauge aluminum that won’t rust or warp. Plus, the expertly crafted shape and depth will encourage even cooking for all those flaky golden-brown crusts.
You can find lots of kitchen essentials for all your baking at Martha.com.
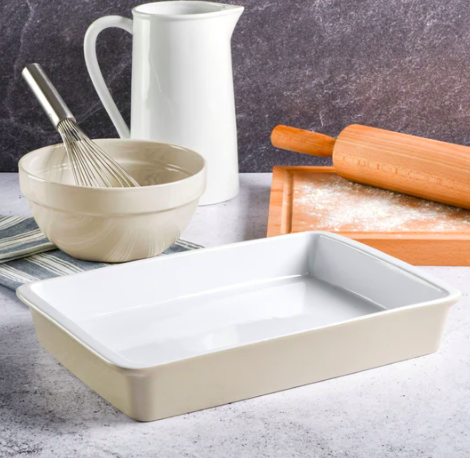
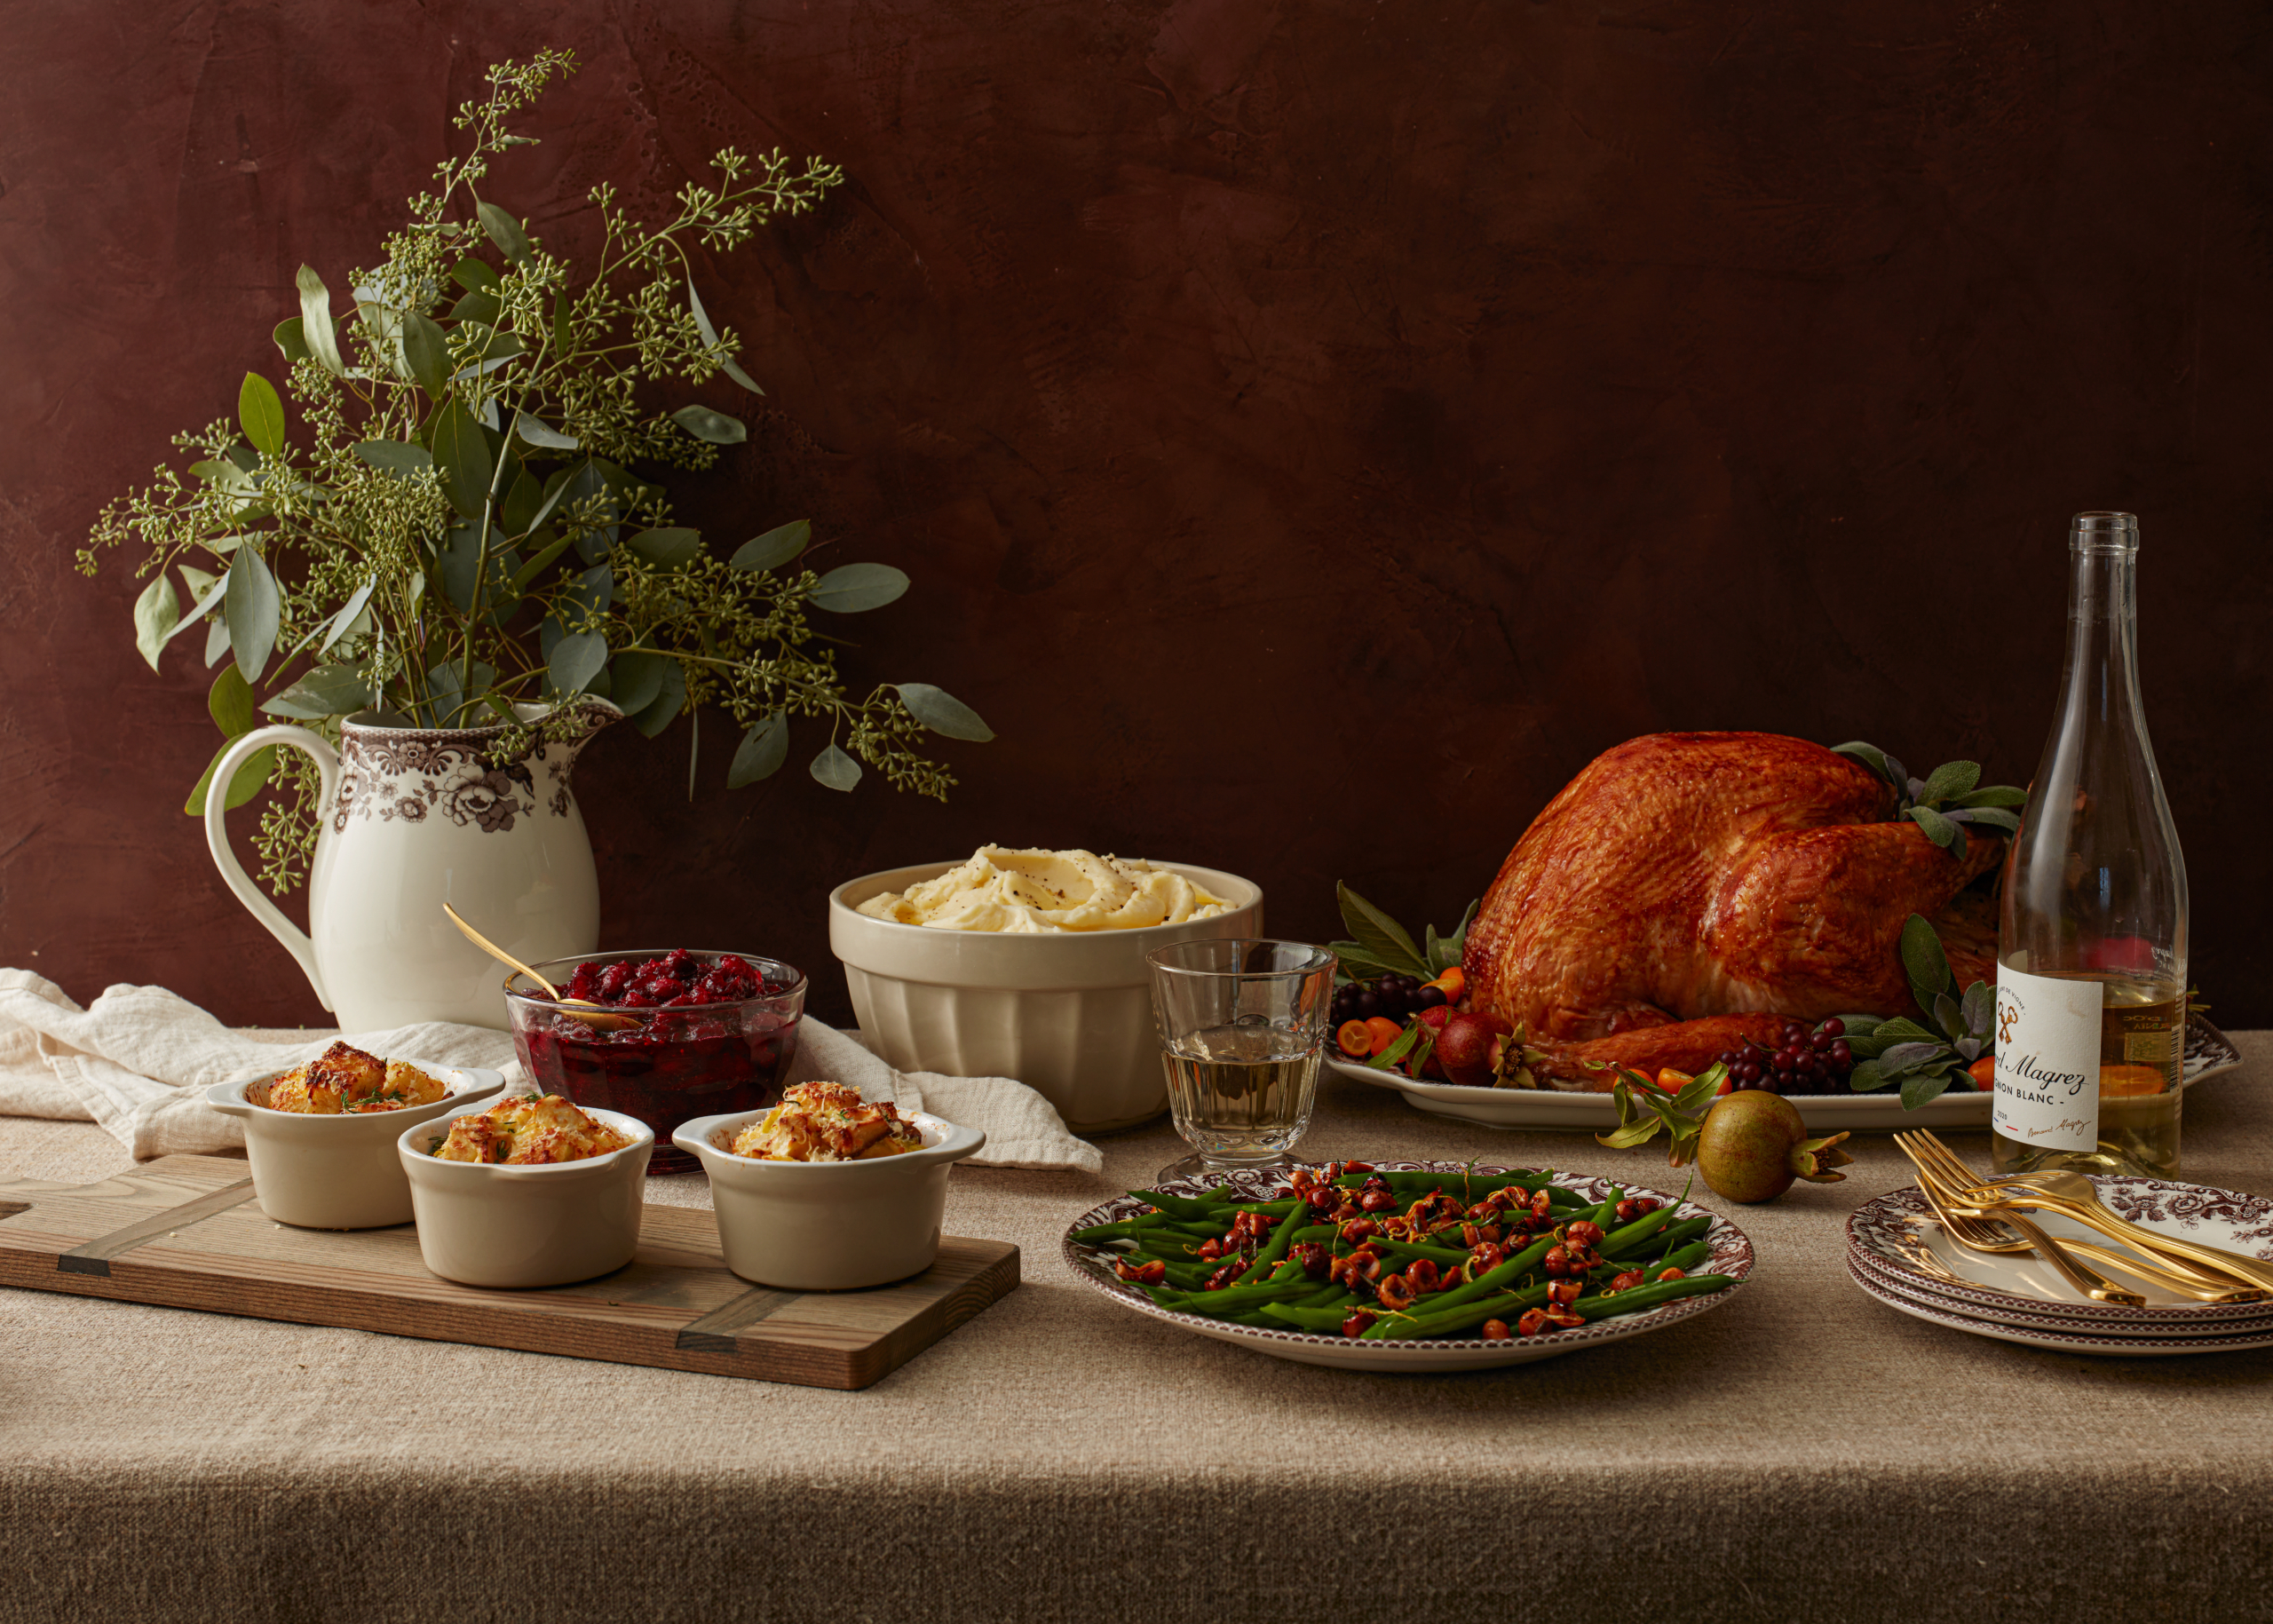
Make sure you have my Vanowen 12-inch Baker. The 12-inch size provides ample space to expand the recipe to feed a crowd, and the dishwasher-safe design means cleanup will be so easy. Behind it is my Patterson 2.5 Quart Pitcher – also available on Martha.com.
For easy preparation, Martha Stewart Kitchen offers a variety of great sides, such as my Mashed Potatoes with Cream Cheese – just like Big Martha used to make. These are fluffy mashed potatoes made with an indulgent combination of cream cheese, butter, and heavy cream.
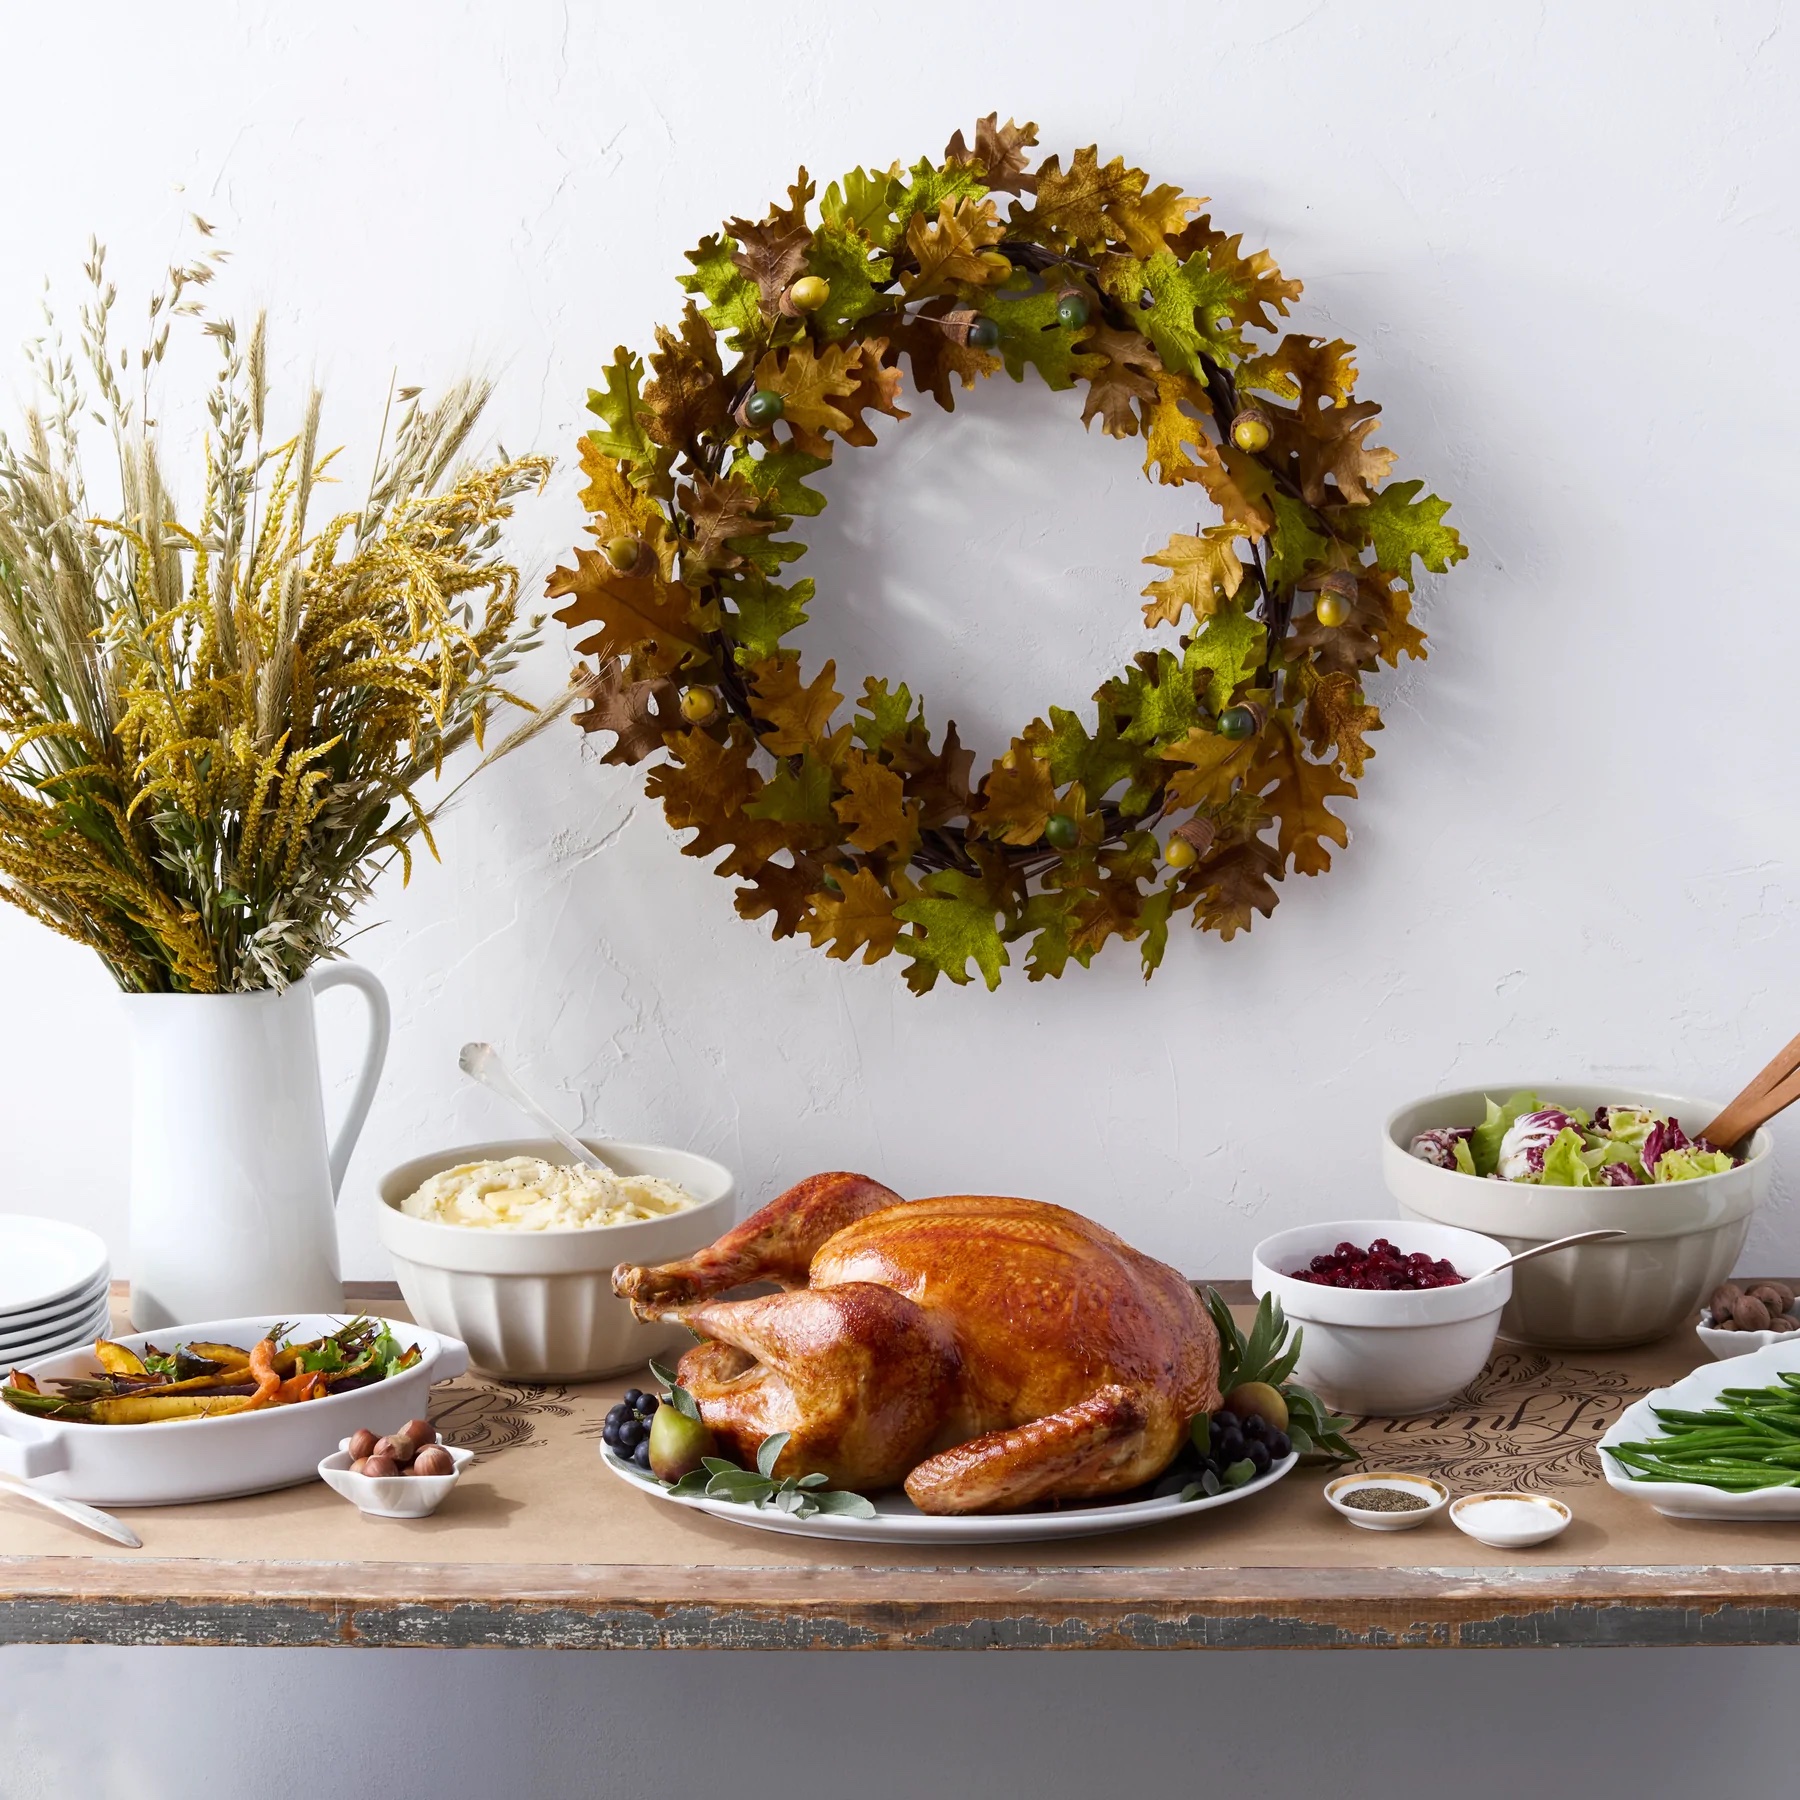
Don’t forget the holiday runner and wreath. My Faux Oak Leaf 16-inch Wreath features pale green leaves with gold and brown tones – it looks like it was just made from the fall foliage. The elegant, natural colored runner shows decorative script and beautiful illustrations for the table – both are available on Martha.com.
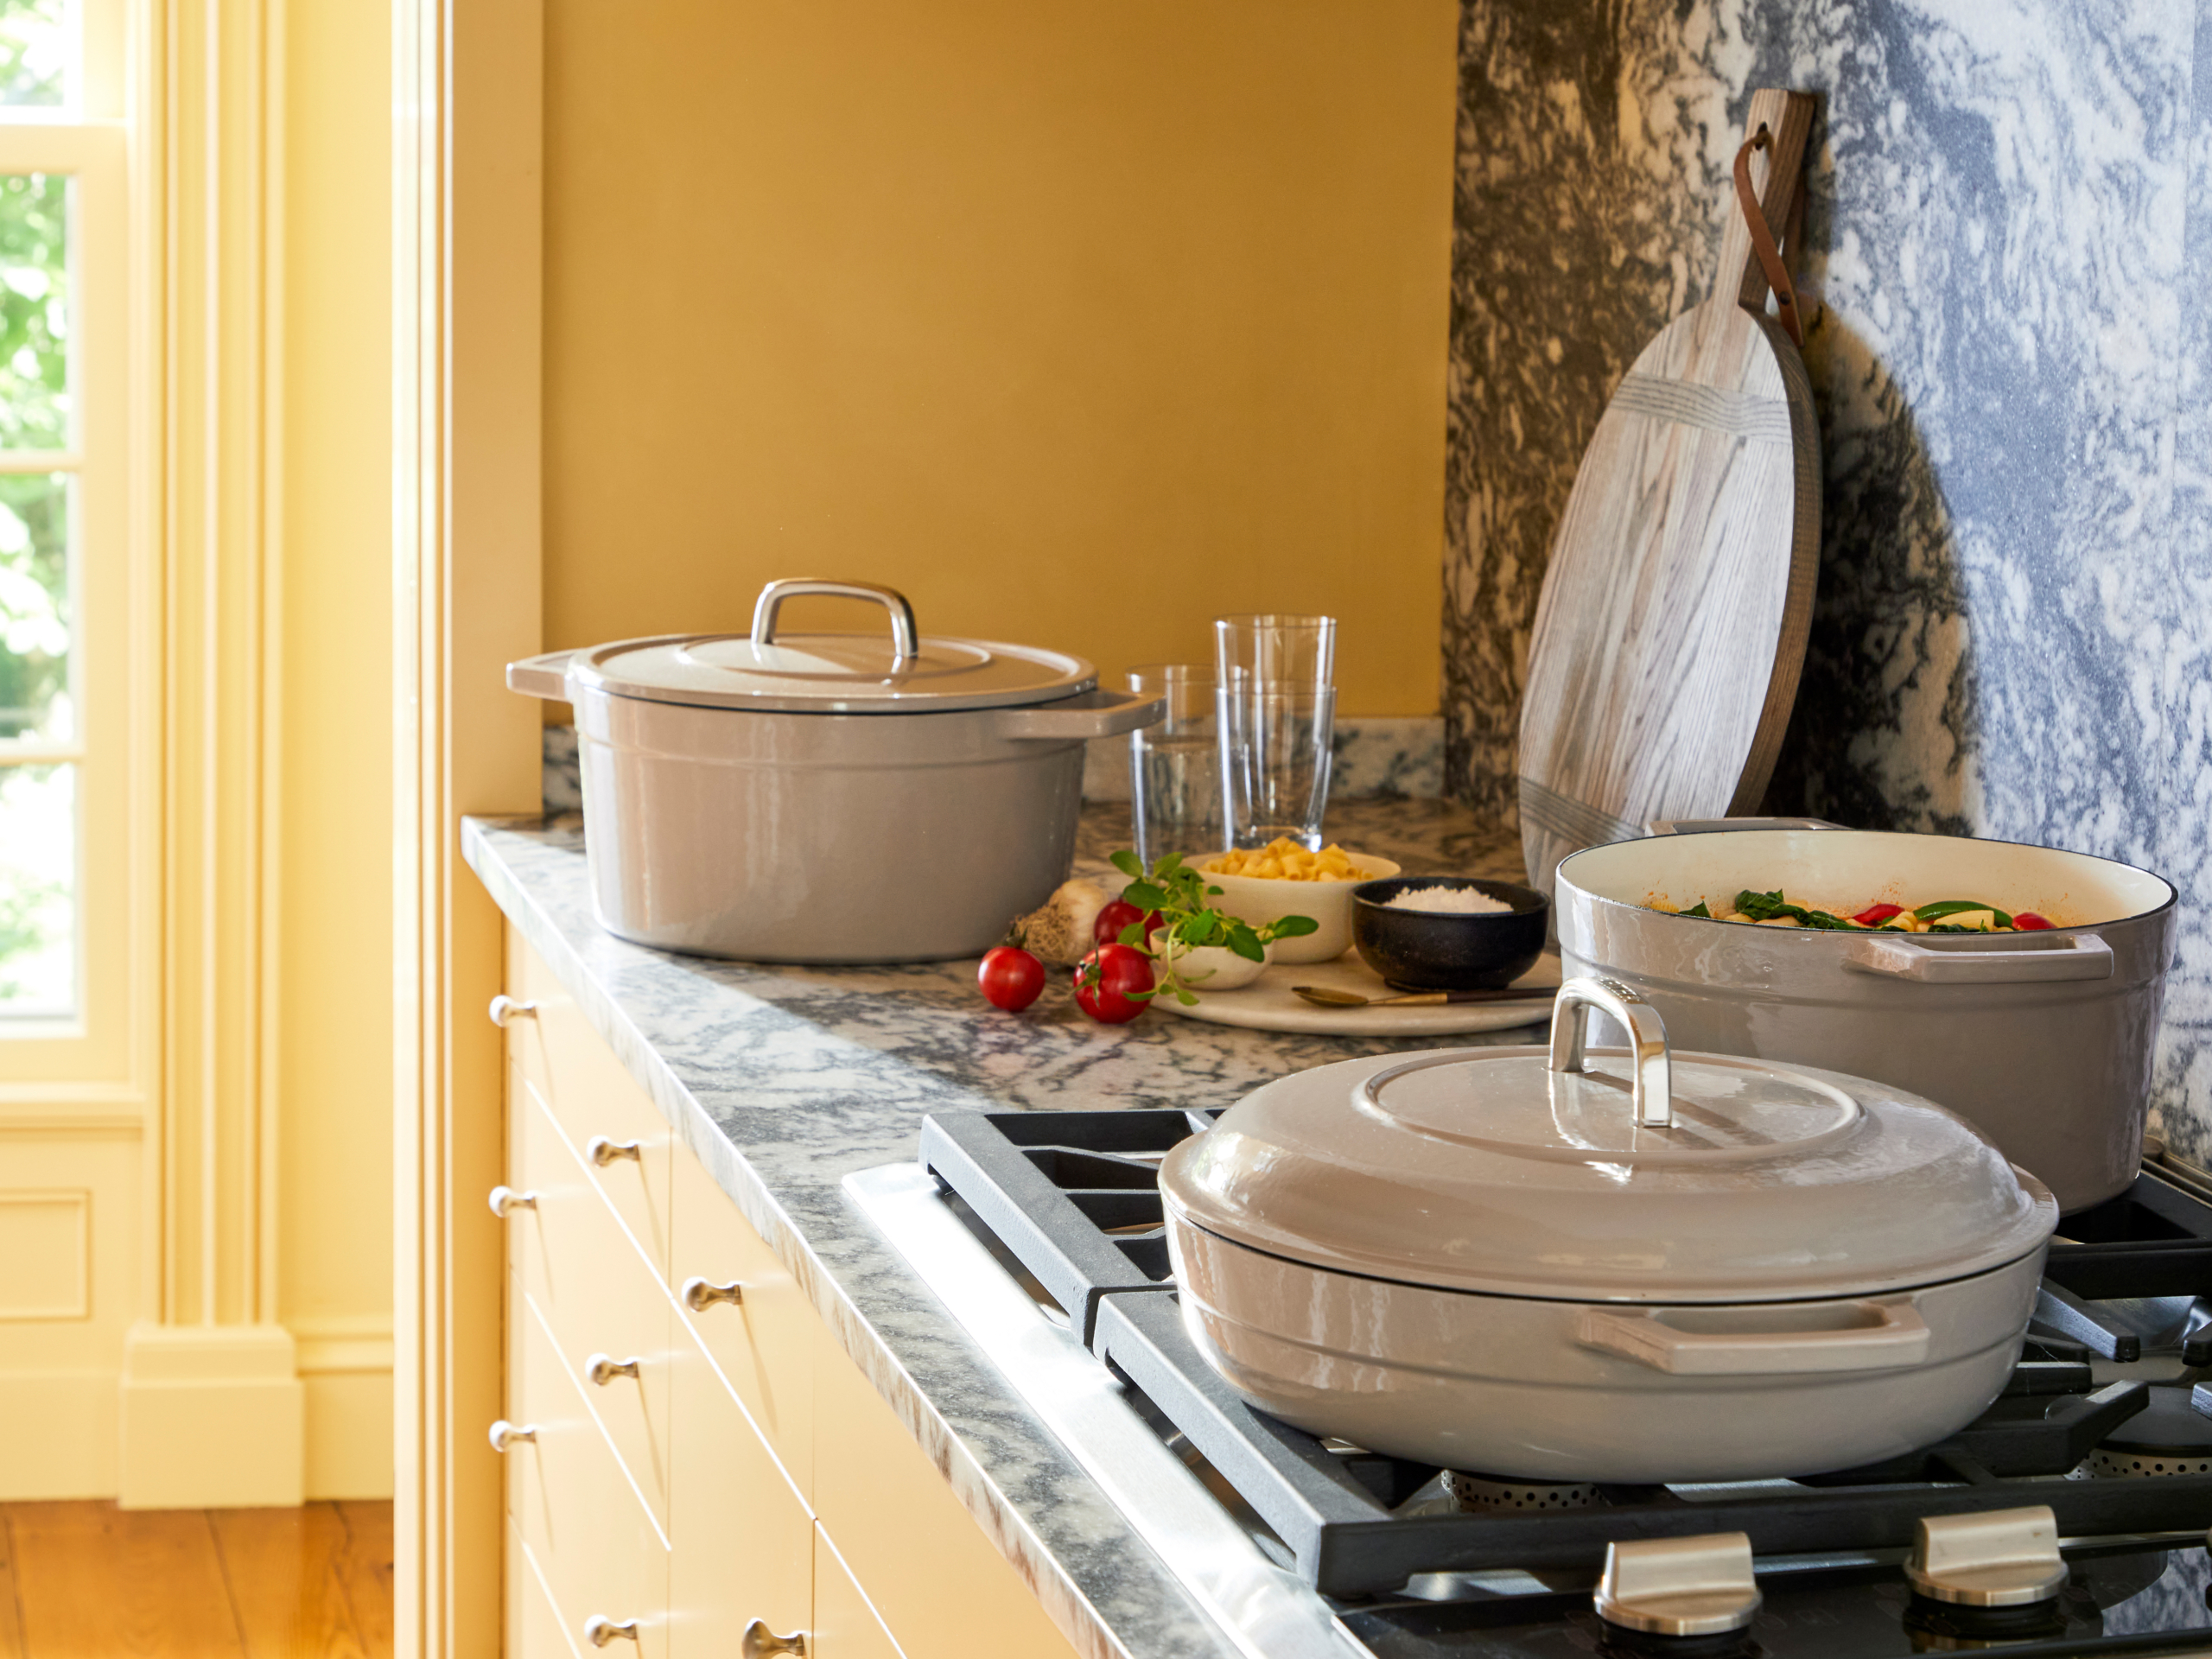
And so is my beautiful MARTHA by Martha Stewart Enameled Cast Iron Cookware – braisers and dutch ovens in a variety of sizes and colors. These pots and pans will be so helpful all year round for roasting, frying, searing, sautéing, and baking.
My MARTHA by Martha Stewart Copper Cookware from Martha.com is a big favorite. All the pieces in my collection enable faster heat conductivity and excellent heat retention and temperature control. My pans also have long, ergonomically angled handles and rolled edges for easy pouring. And, the entire collection is compatible with all stove tops, including induction, and is oven safe to 550° Fahrenheit.
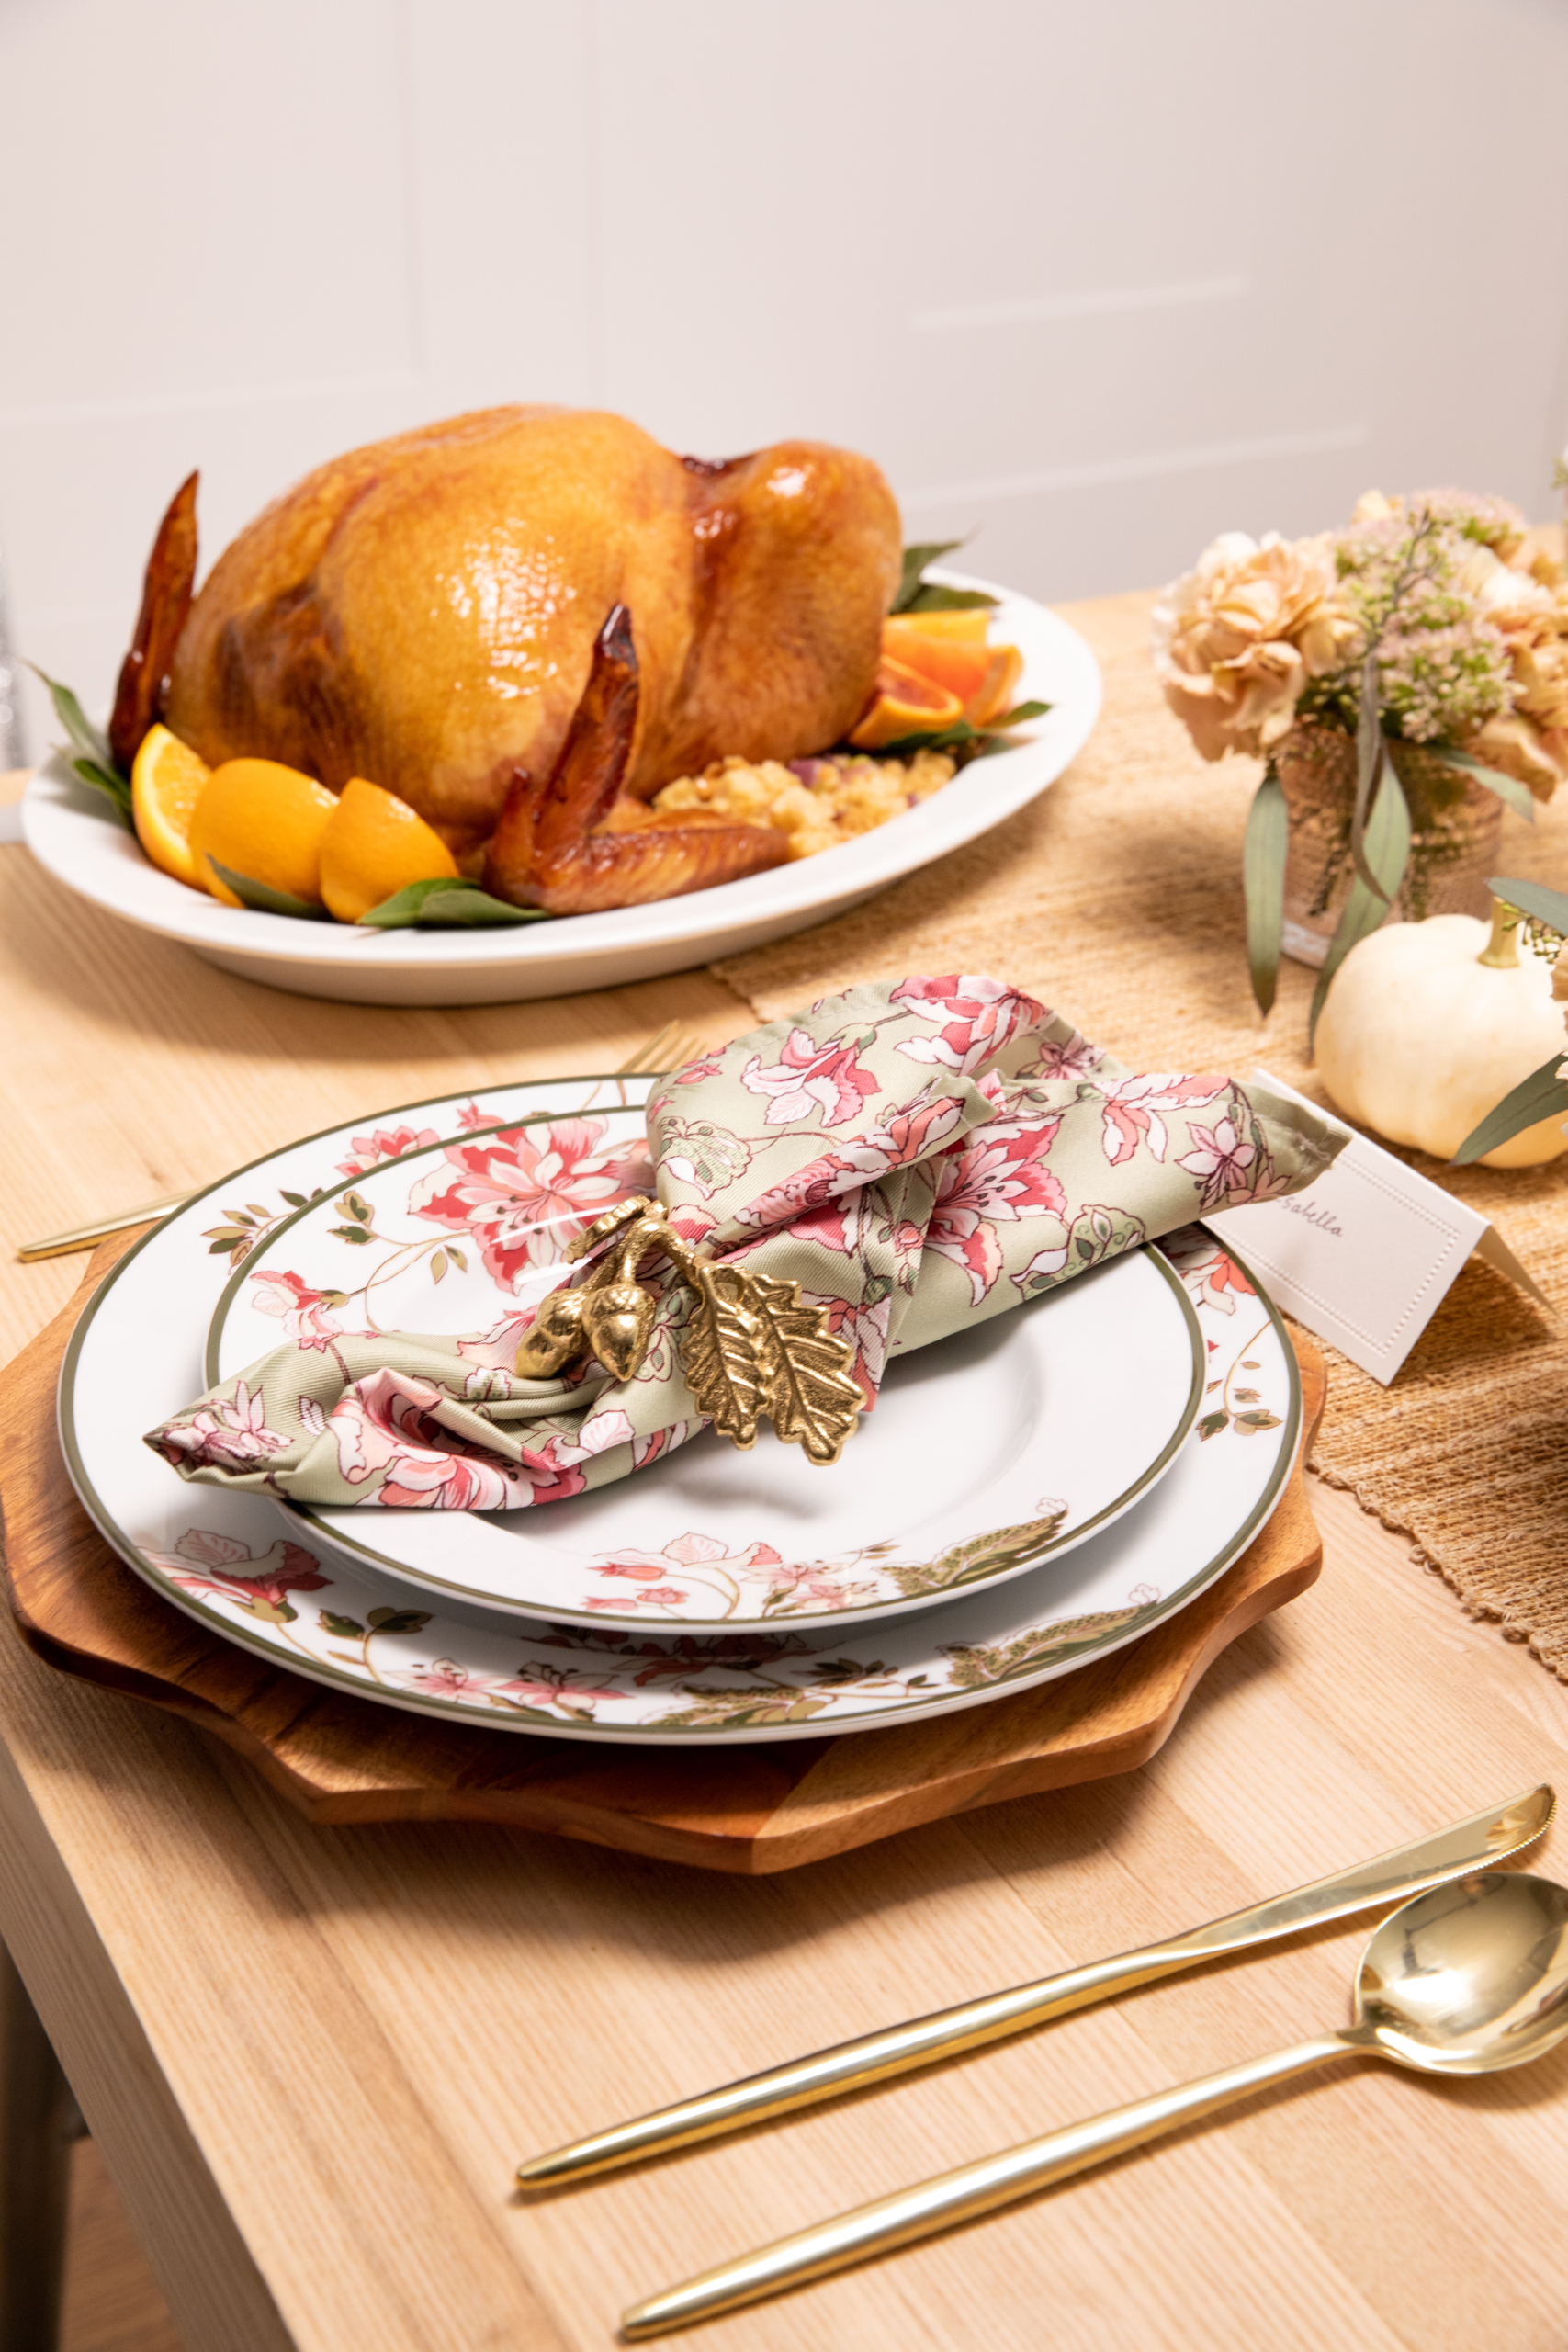
These dinnerware plates and napkins are from my Martha Stewart Harvest Collection created exclusively for Macy’s. The collection features a motif of leaves and flowers and trimmed in olive green. The dinner plates are 11-inches in diameter and the salad plates are 8.5-inches across.
Also from my Harvest Collection – these decorative bowls – great for soups and cereals. All these pieces are also dishwasher and microwave safe.
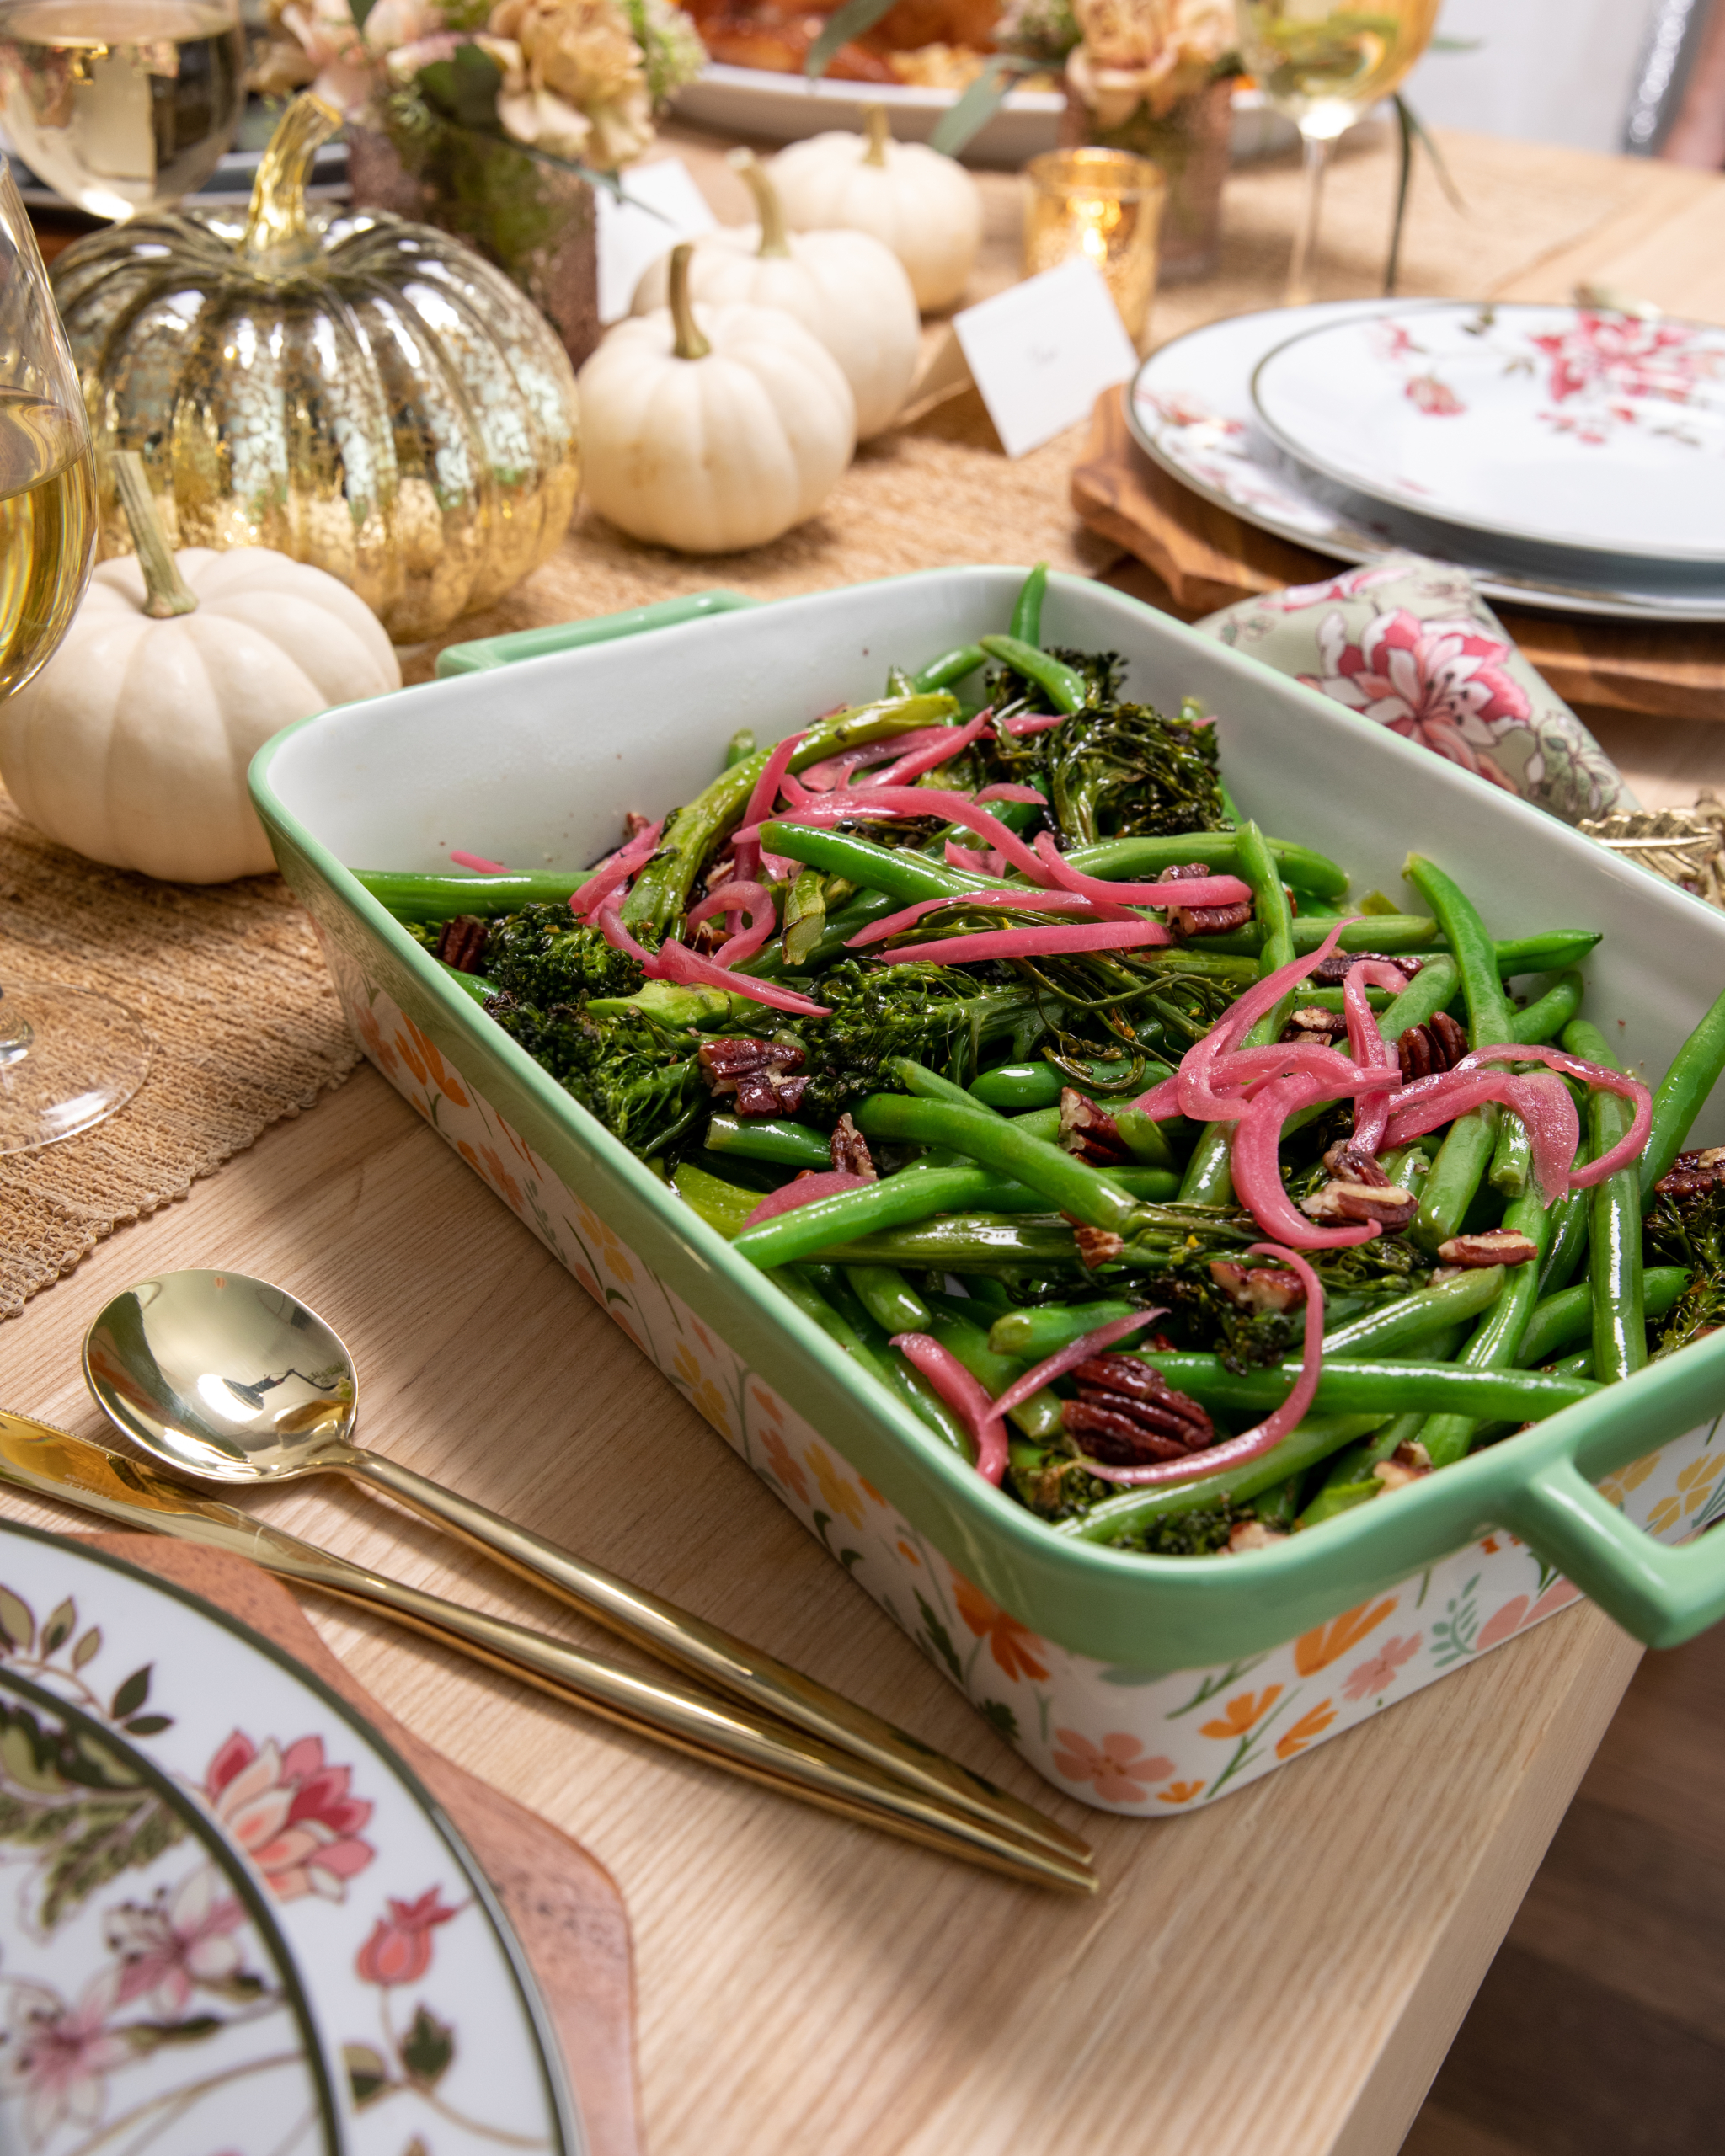
Here is my Floral Sage Baker, also created especially for my Collection at Macy’s. This 14-inch by 9-inch stoneware dish is oven safe to 450° Fahrenheit.
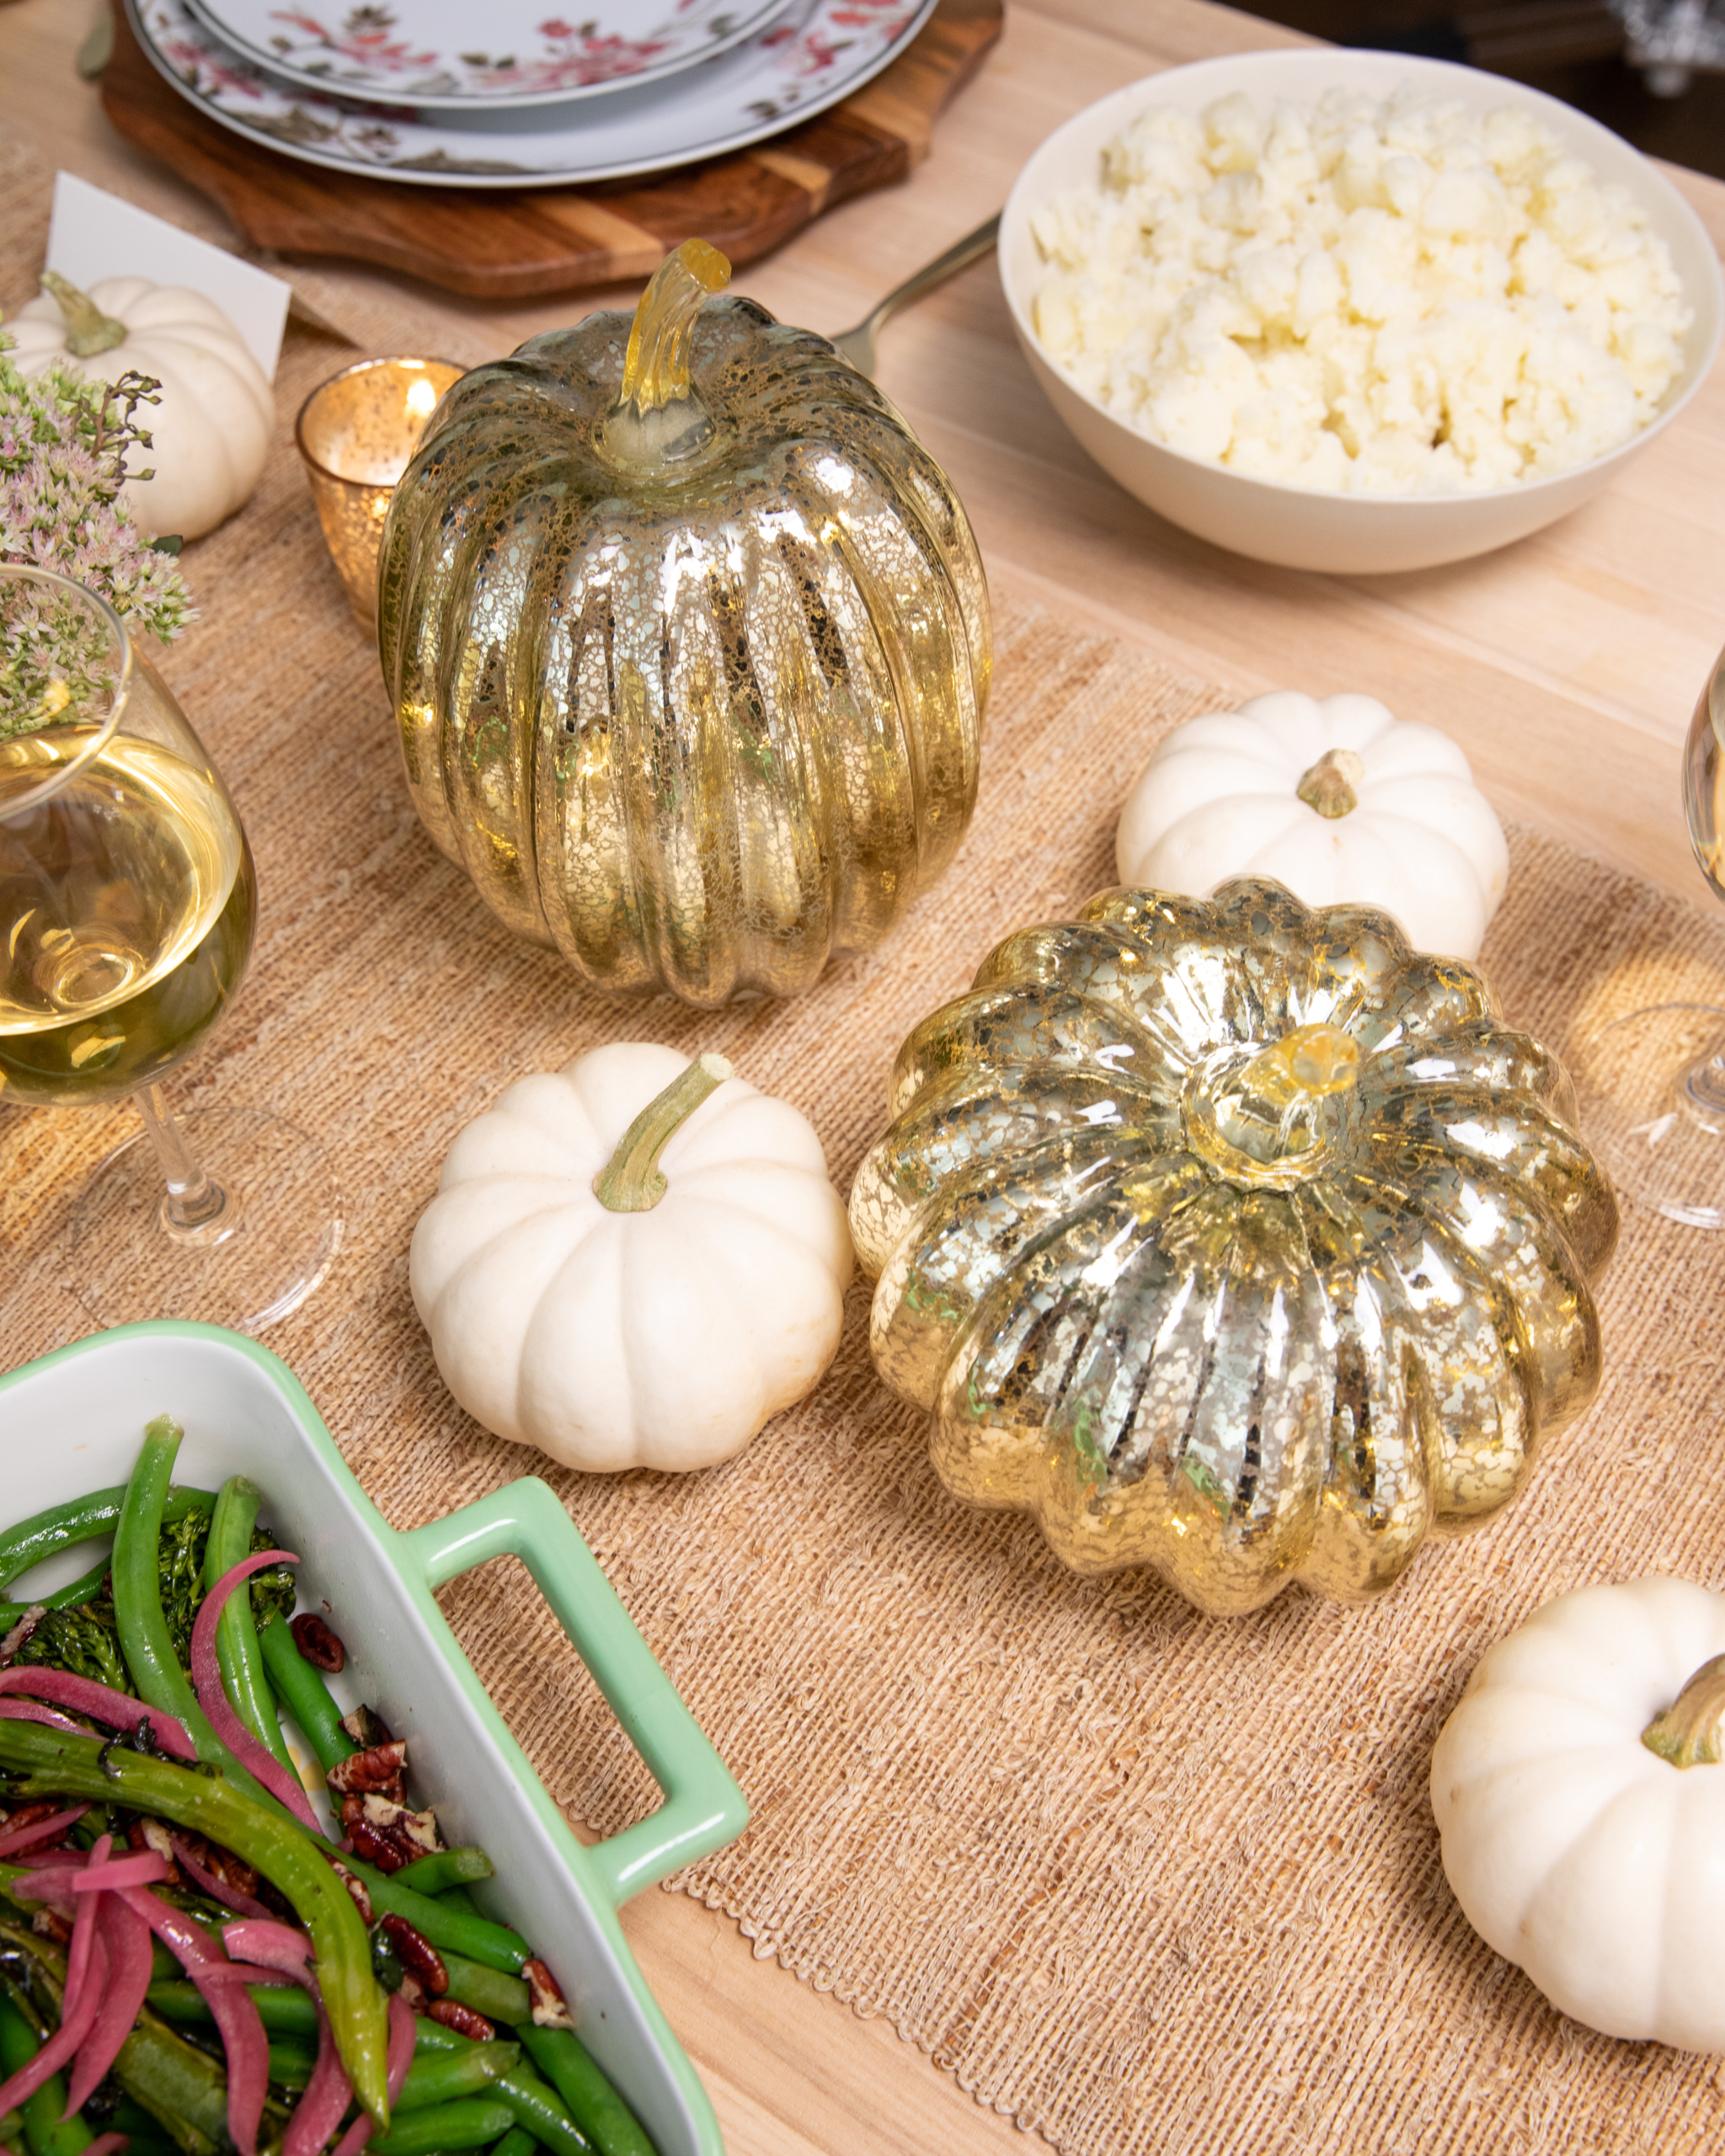
And to decorate the table, be sure to get my Large Decorative LED Light-Up Glass Pumpkins from Macy’s. These 6-inch by 6-inch pumpkins show off a crackle-look effect on gold-tone glass elegantly illuminated with LED lights.
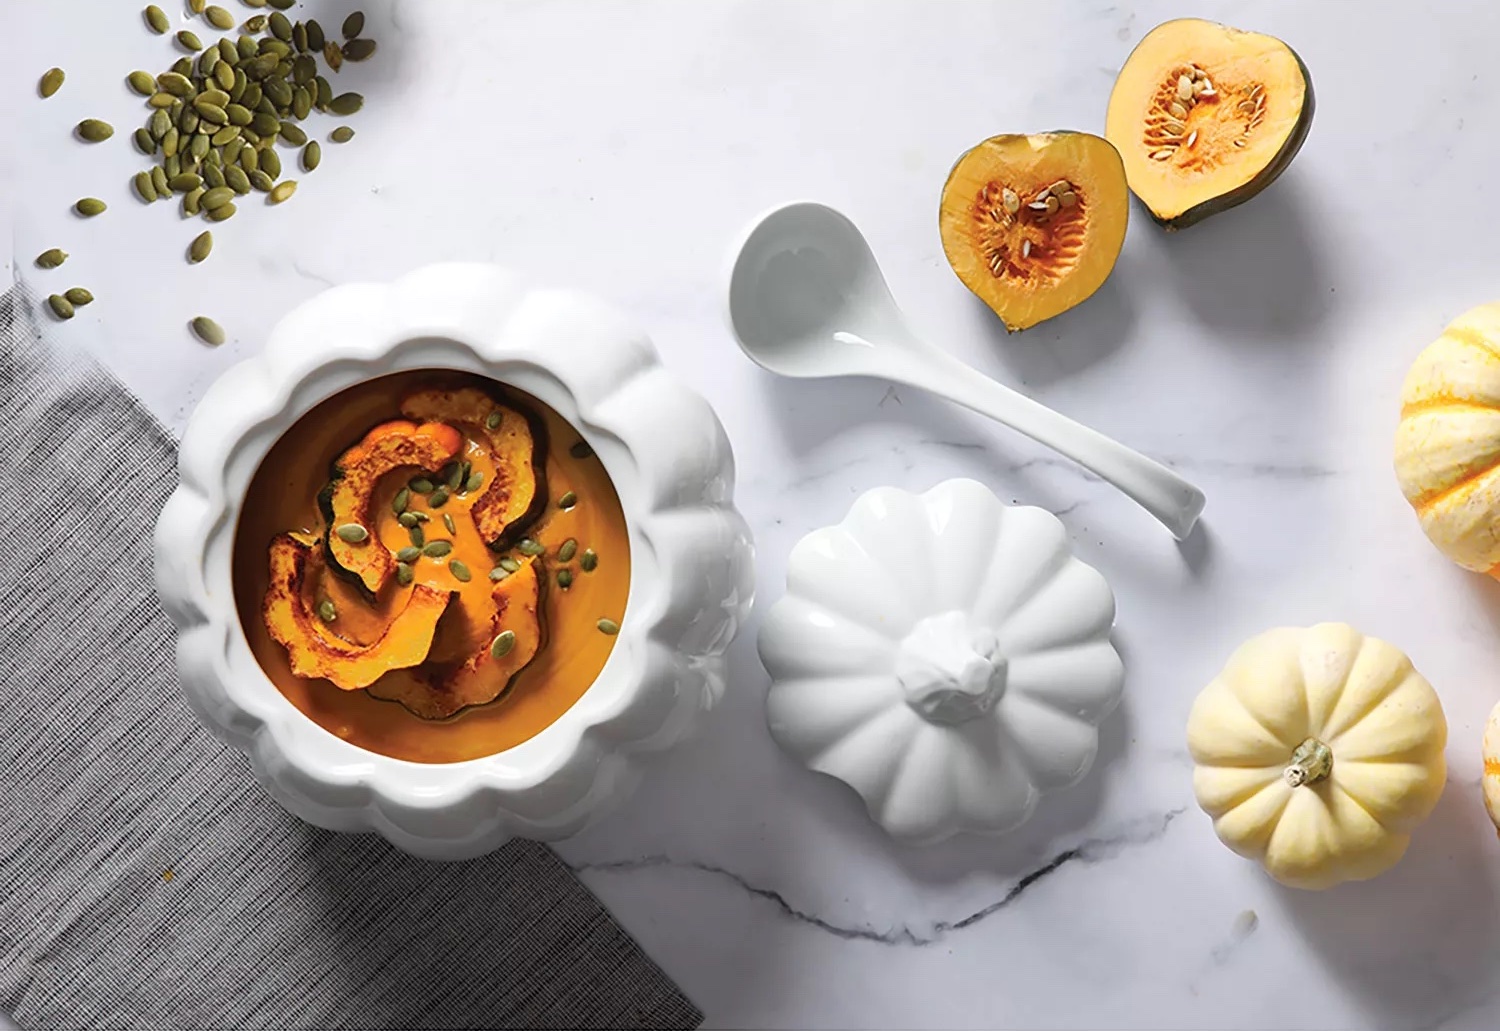
Everyone can always use ramekins. These are my 4-inch round ramekins made from durable stoneware – perfect for oven-to-table cooking and serving, especially for sweet treats like creme brûlées, or individual portions of casseroles or baked mac and cheese. Available at Martha.com.
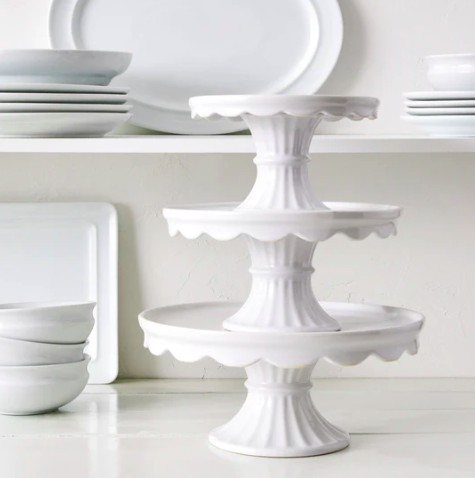
Have fun with the pieces on your table and add some cake stands for tiered serving. These are my Patterson Cake Stands from Matha.com. Fill them with cupcakes, cookies, fresh fruit, or cheese and charcuterie, for an unforgettable feast.
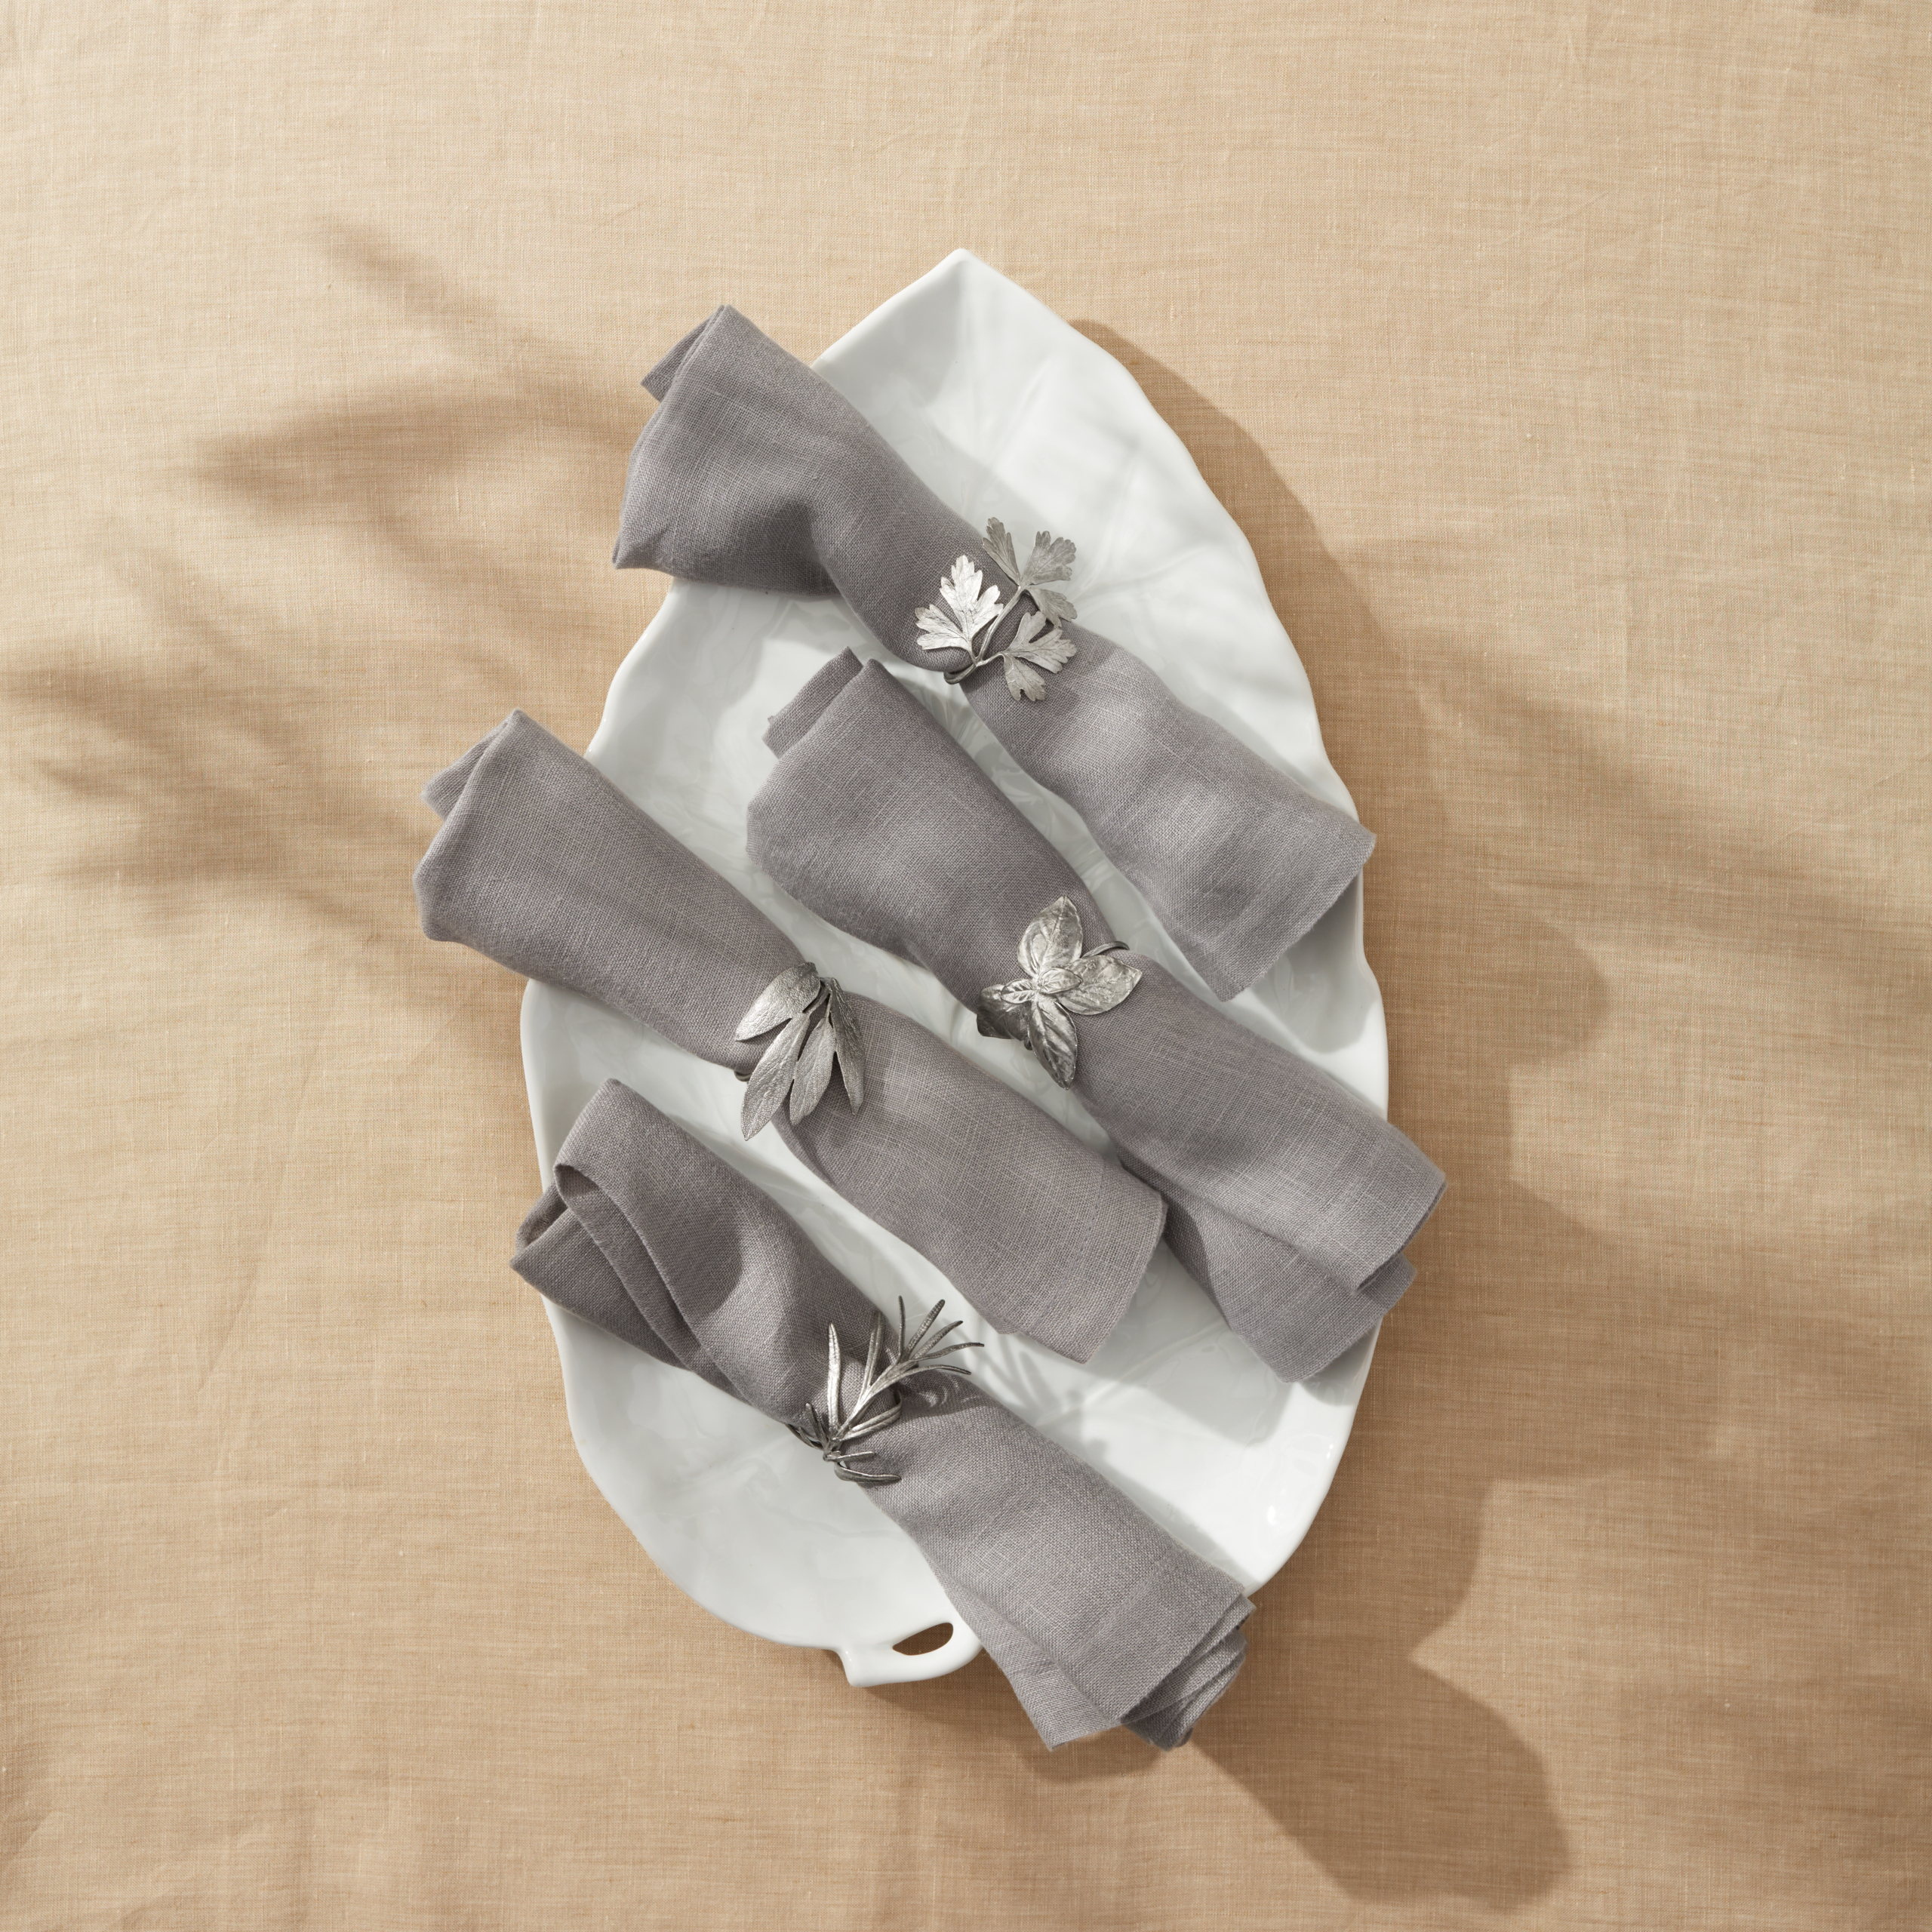
It’s all in the details, so don’t forget to set your table using my Italian Herb Napkin Rings from Martha.com. These charming cast-pewter napkin rings are inspired by nature and handcrafted by artisans in New York.
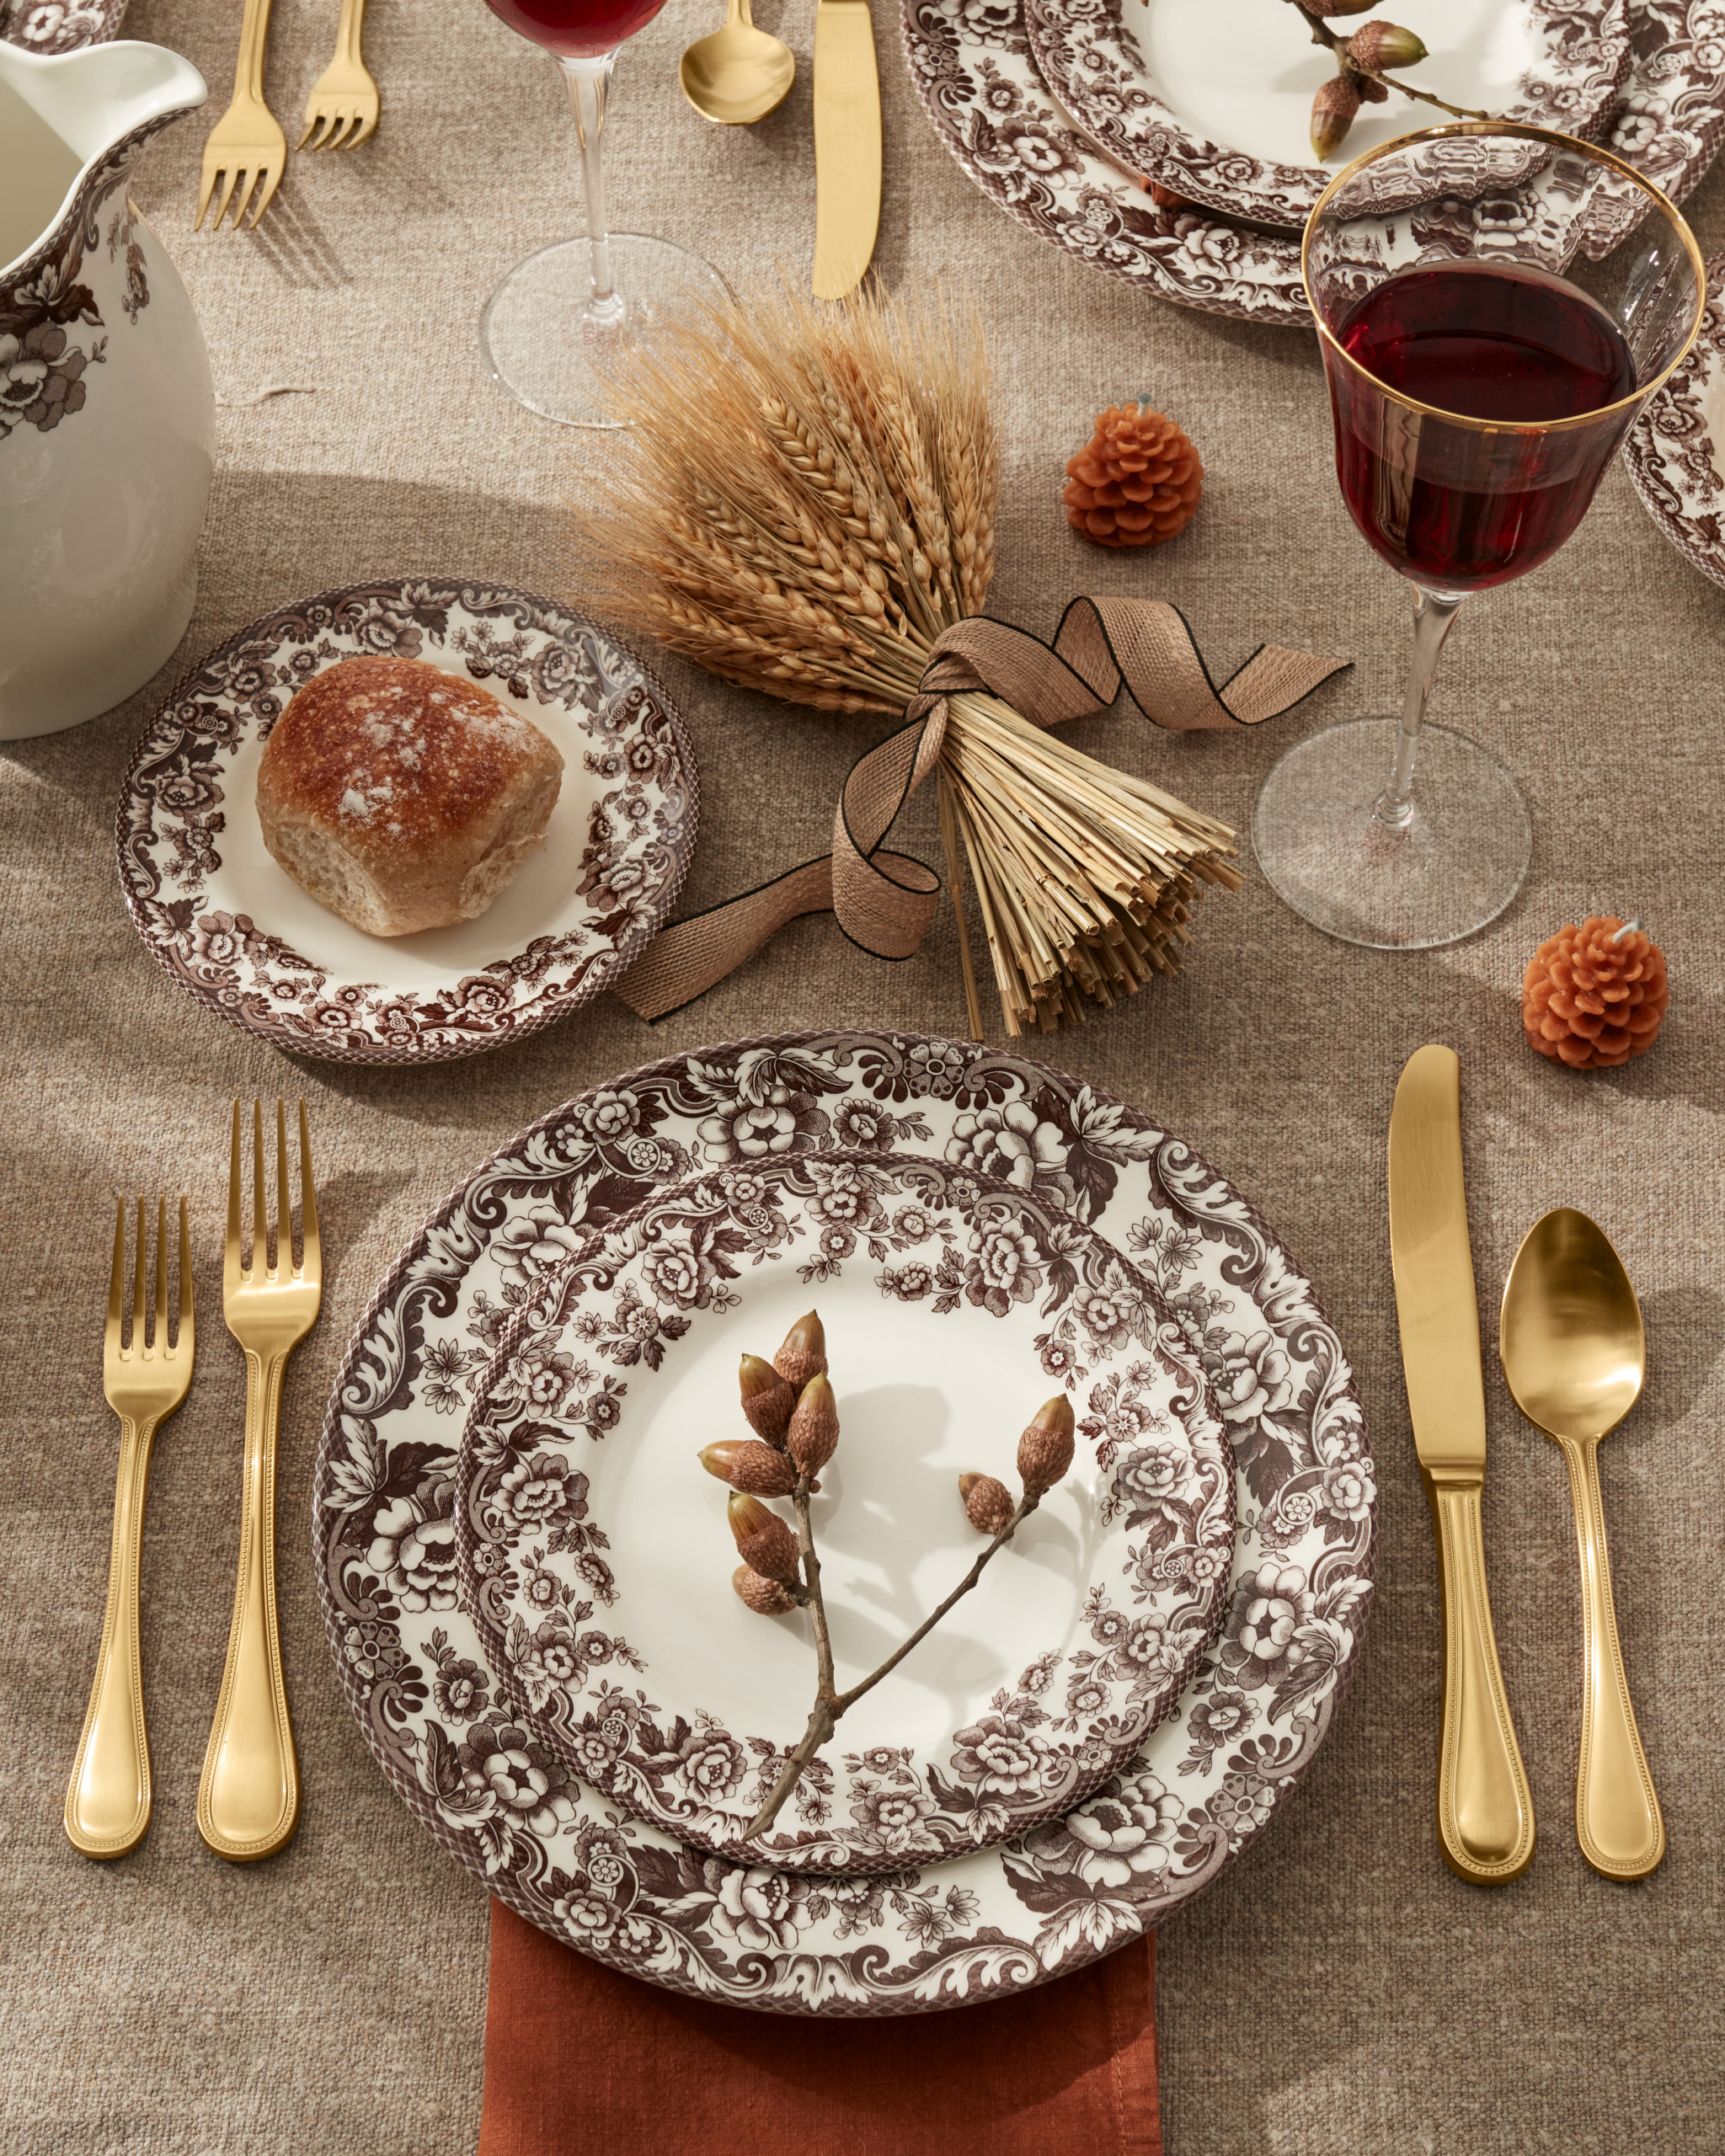
I love my 17.5-inch Woodland Turkey Rectangular Platter. Elevate your holiday table with fine English porcelain from renowned 18th-century pottery house, Spode. Its vintage charm dates to an 1831 design featuring the stately bird in a colorful landscape framed by a contrasting brown floral border.
To match – my Delamere Dinnerware Five-Piece Set from Martha.com. This features an iconic British design of intertwining flowers and scrolls in a rich, seasonal brown border. The set includes one complete place setting: dinner plate, salad plate, bread plate, and teacup and saucer.
At the bottom is one of my Martha Stewart Broadbrook Serving Bowls. This bowl comes in a nesting set of three. Use them for mixing, serving, and storing leftovers. The bowls are built from durable stoneware and finished with a glossy grey tone.
Enhance your Thanksgiving holiday with products from my Collections. I know you will love these offerings as much as I do and use them for many years to come. The holidays will soon be here – start preparing early!
Autumn is a busy time for gardeners in cold weather regions - it's a race to get all the tropical plants stored indoors and safe in their greenhouses.
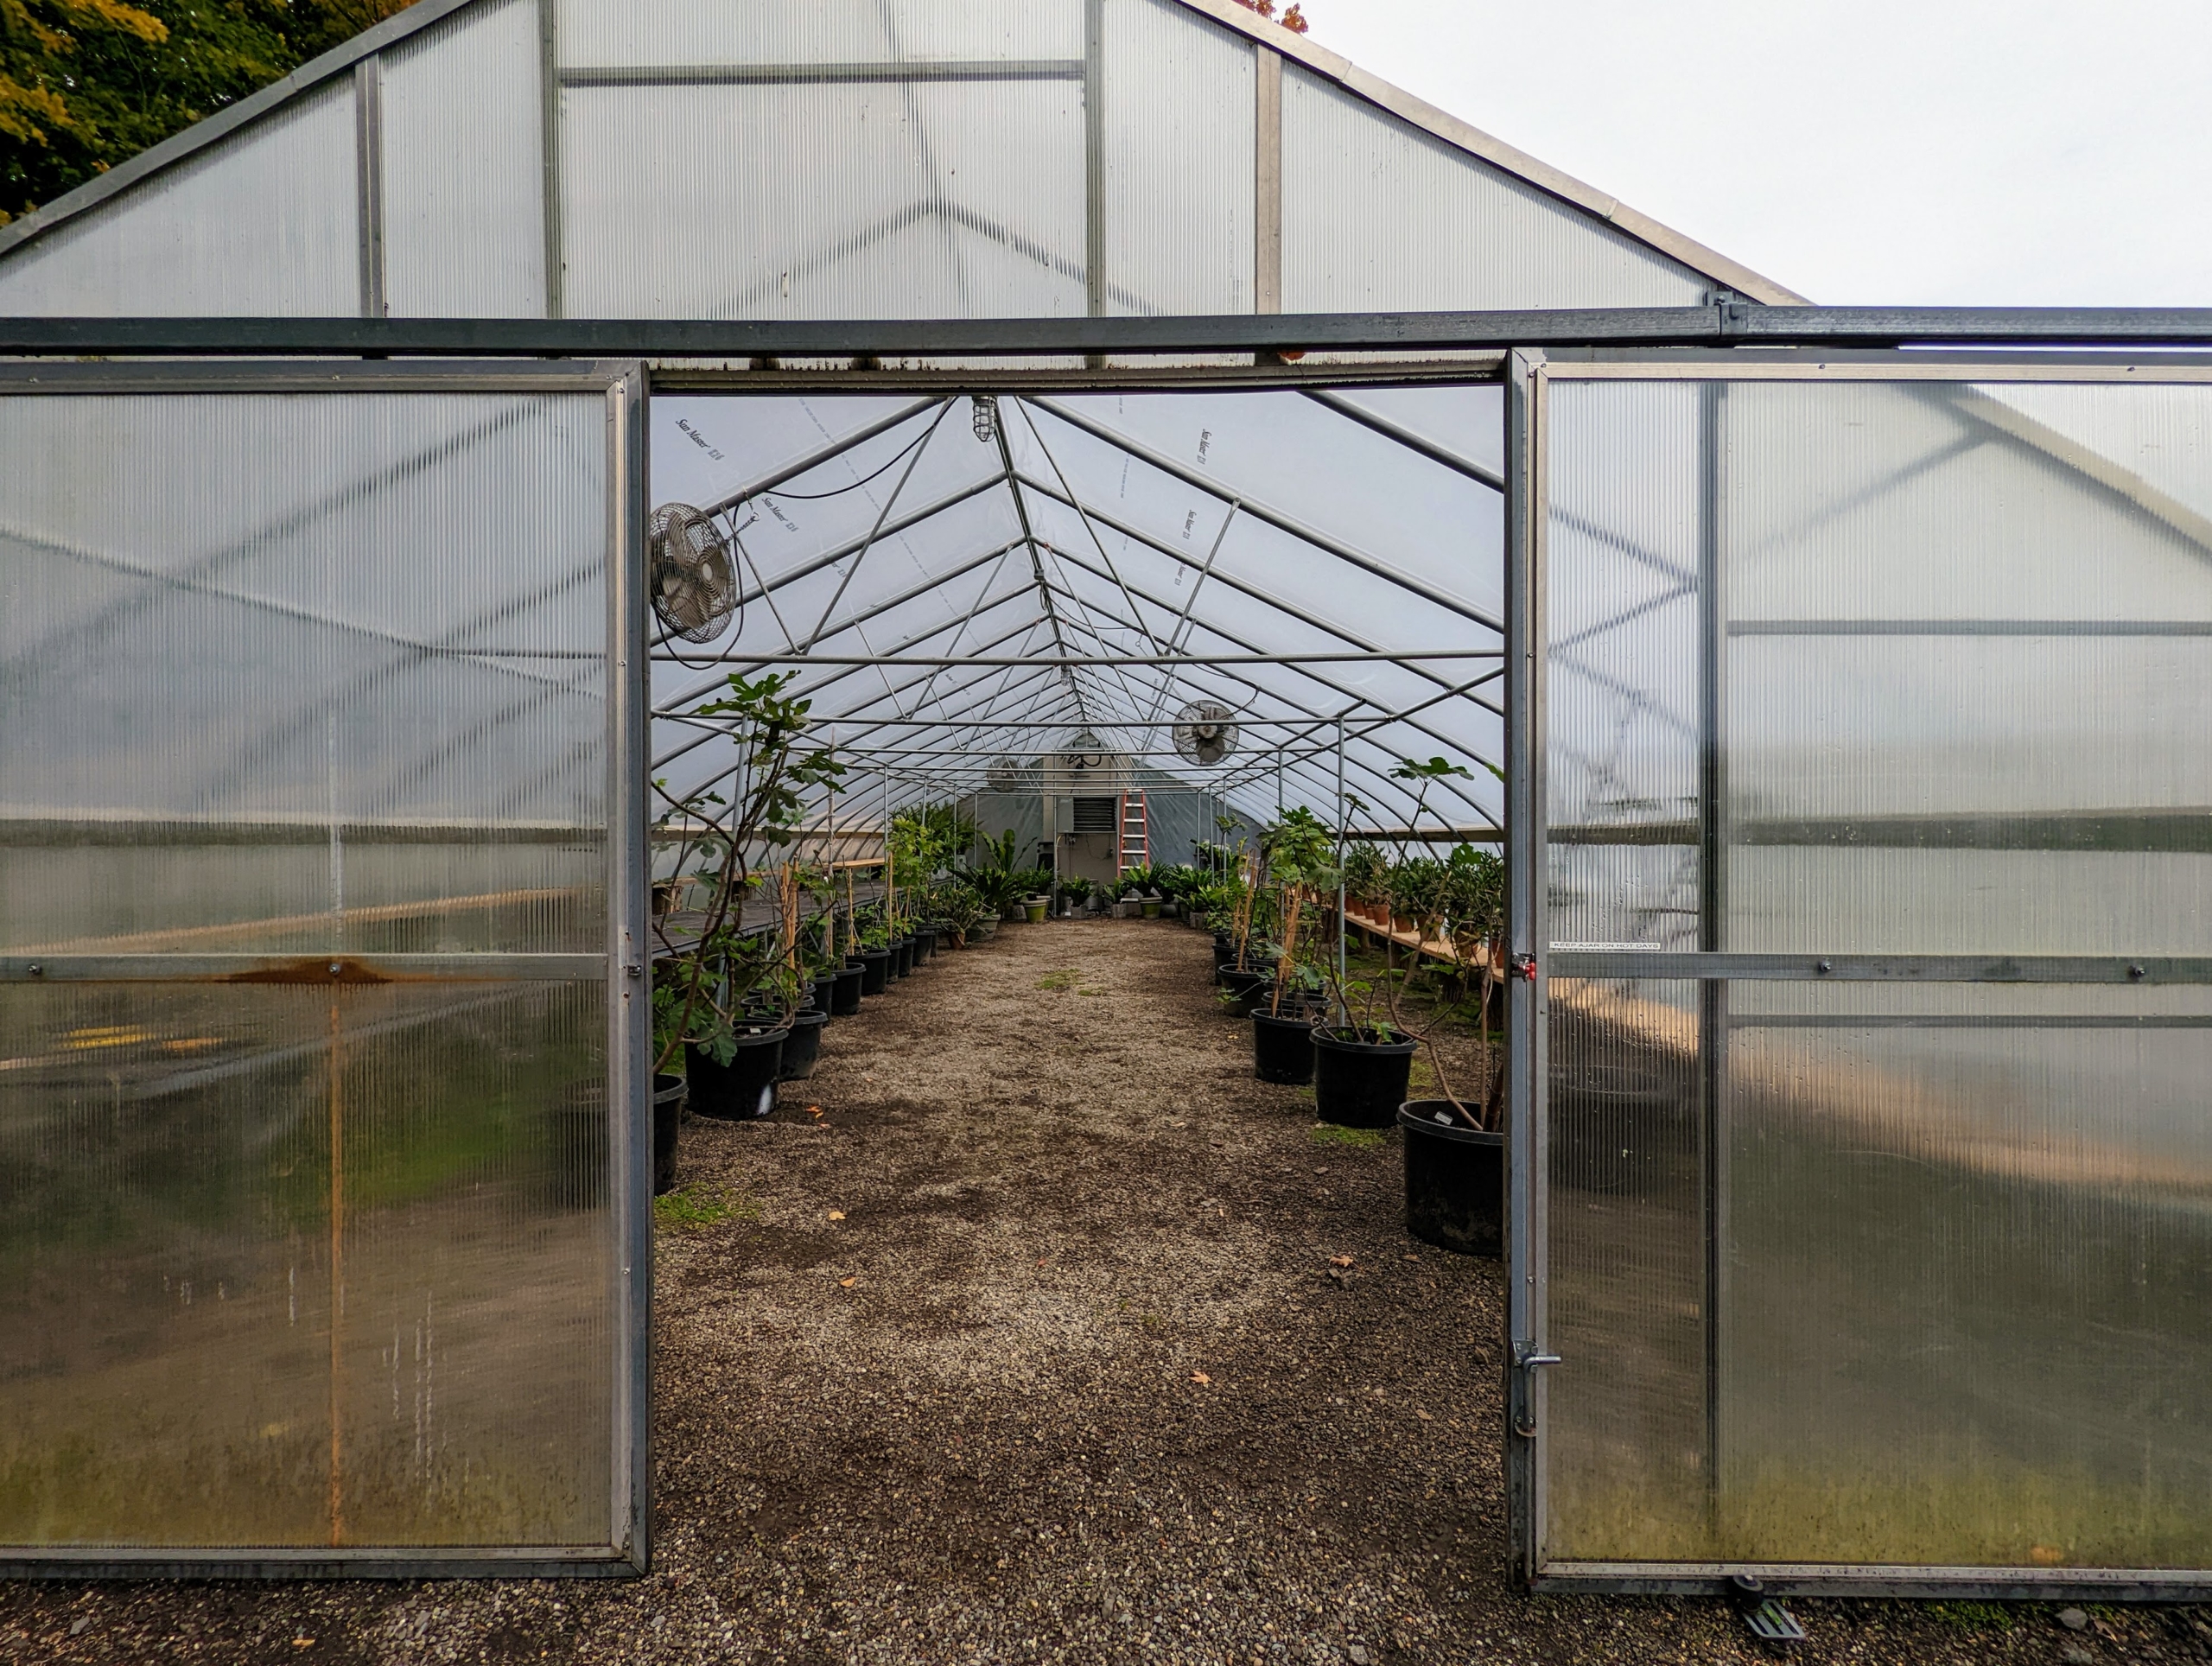
Here at my Bedford, New York farm, I currently have three hoop houses designated specifically for warm weather specimens. The hoop houses are constructed from steel frames and Polyethylene panels. While they are extremely durable and long lasting, it was time to replace the existing cover and curtains on the structure located next to my stable barn and across from my vegetable garden. My crew took on the tedious task this week.
Here are some photos, enjoy. And don't forget, starting today you can watch my newest show, "Martha Gardens", now streaming free on The Roku Channel. My first show is about my living maze and how to grow trees from seedlings. You can stream a new episode every month, and get lots of my favorite tips, ideas, and solutions for tending your garden year round.
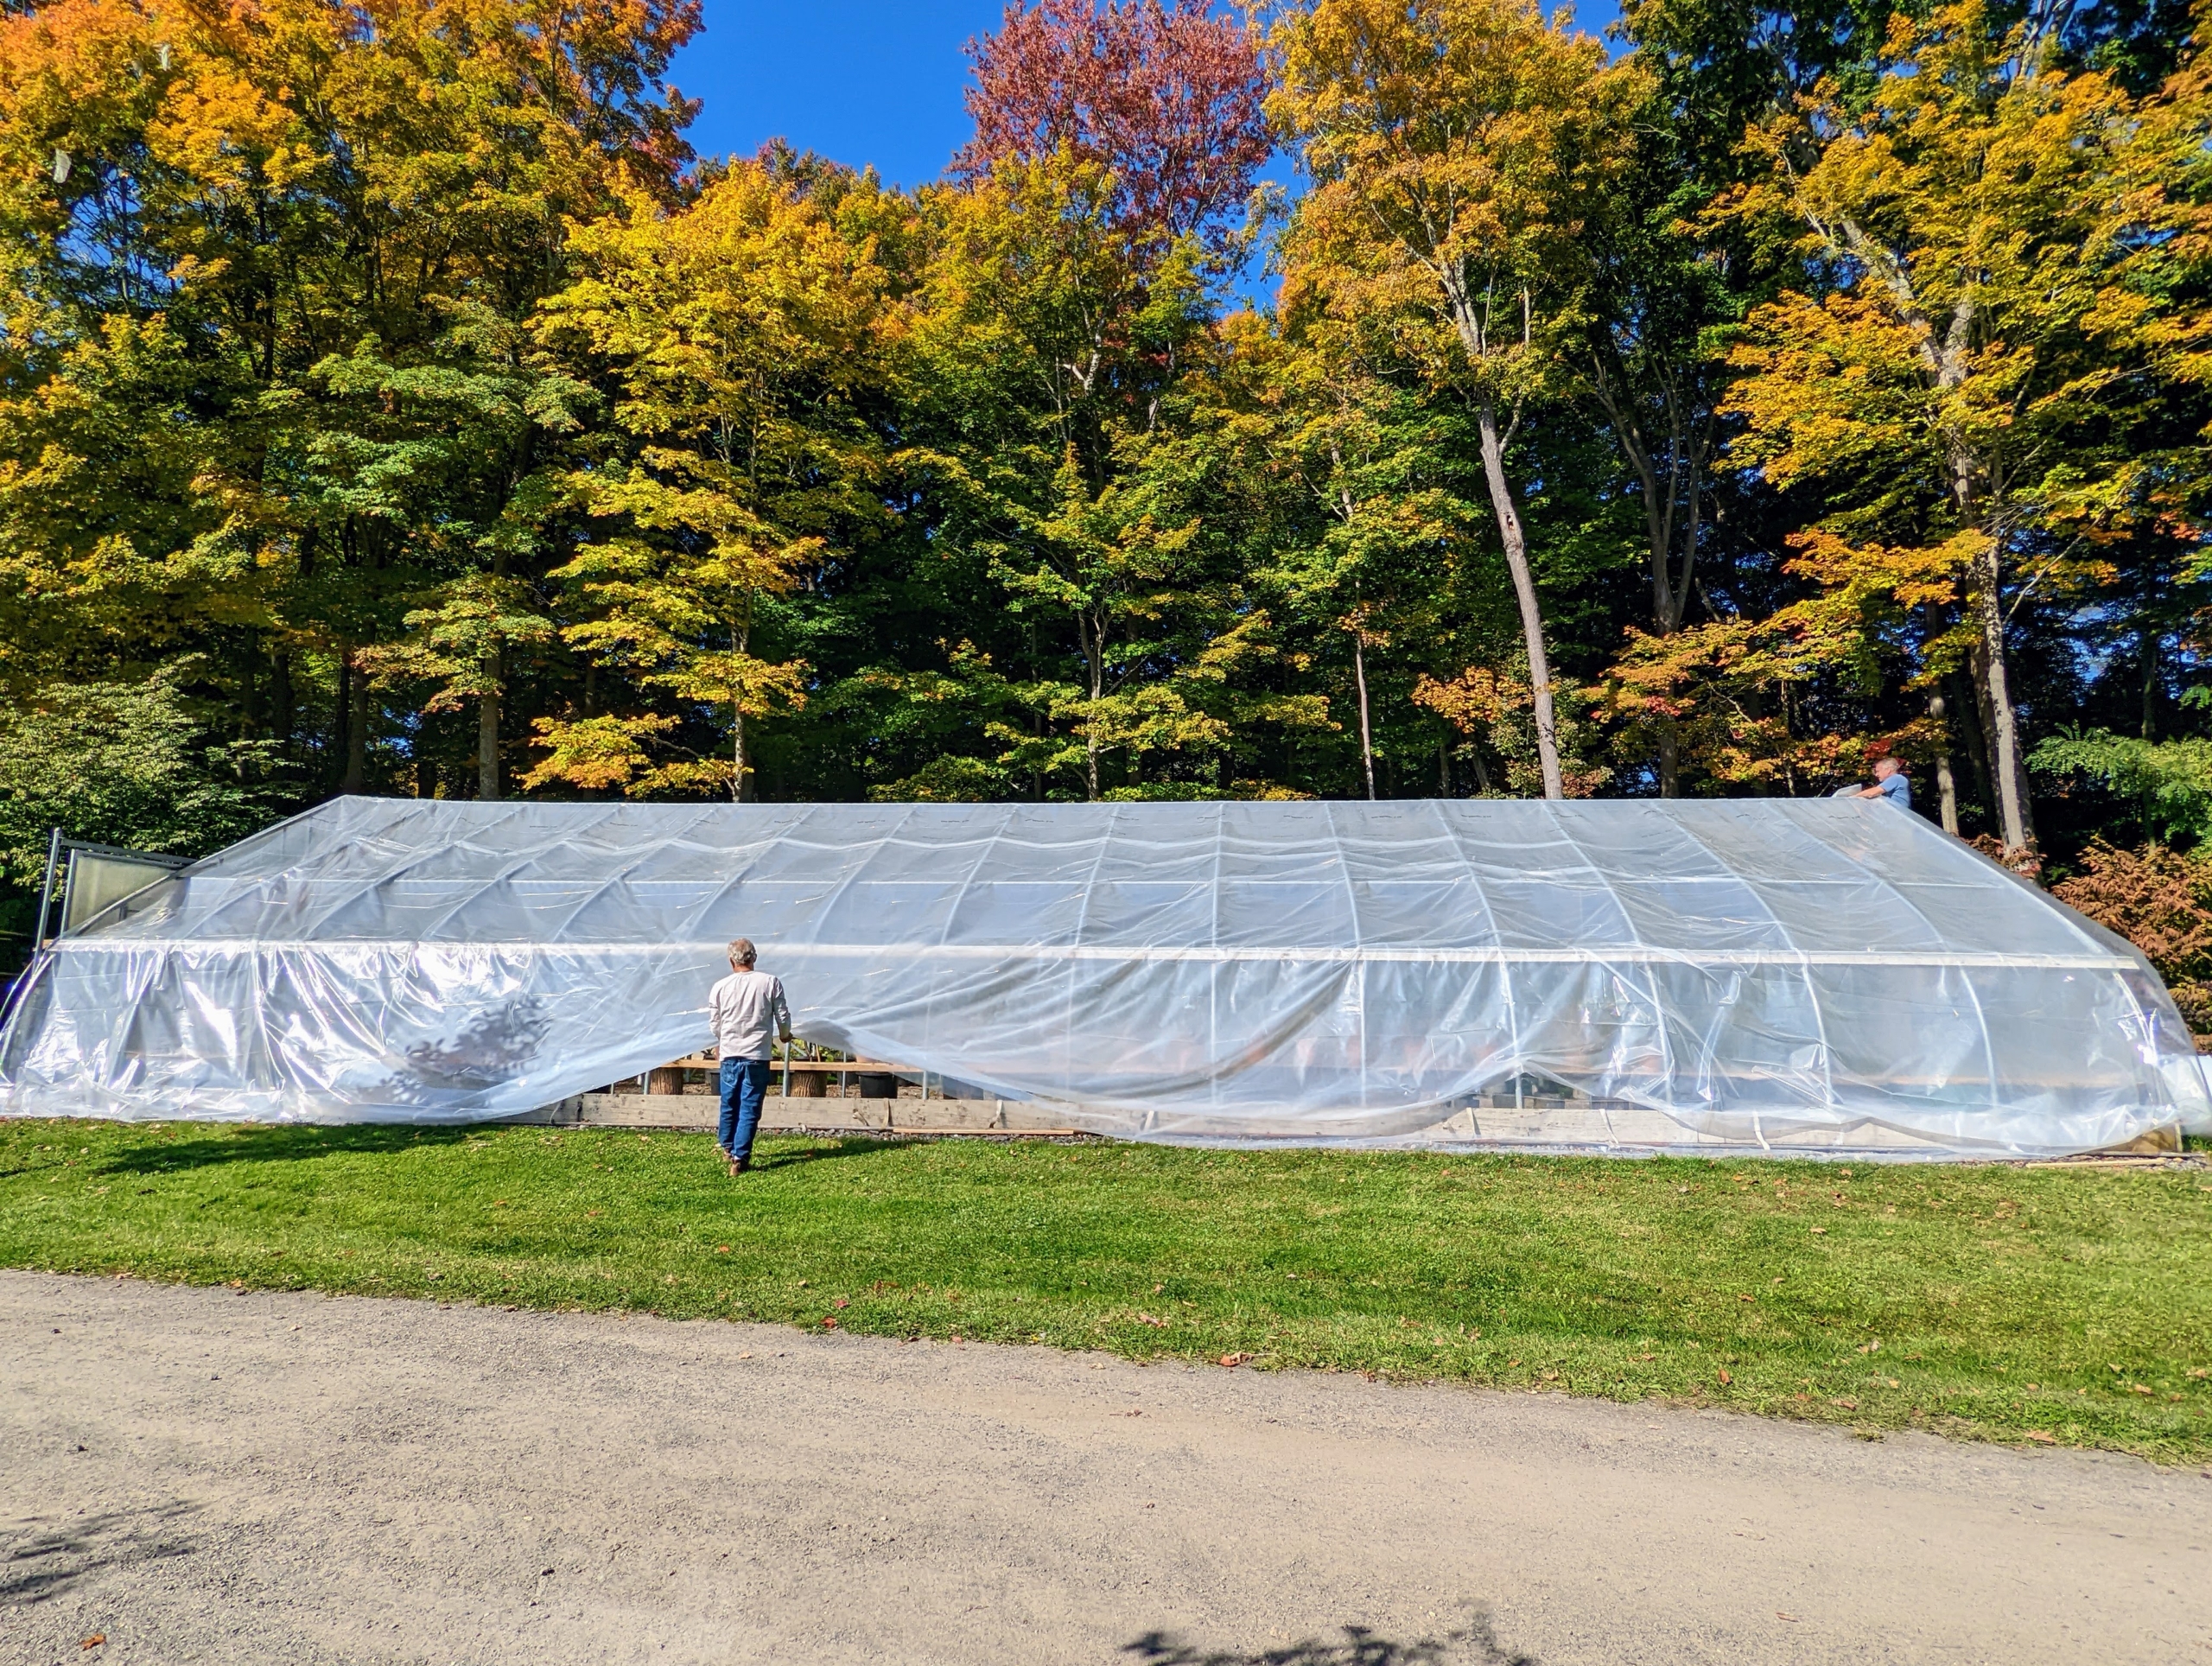
This is one of two large hoop houses where I keep many of my tropical and citrus plants during the cold season. The plants that are displayed at Skylands, my home in Maine, are brought back to Bedford every fall for proper storage and care. Looking here, one can see it was time to replace the Polyethylene skin.
The old skin is removed from the hoop house and neatly rolled. What is salvageable is stored and what is not is discarded.
Here is the hoop house without its skin. The entire structure is built using heavy gauge American made, triple-galvanized steel tubing. I chose this gothic style because of its high peak to accommodate my taller plants.
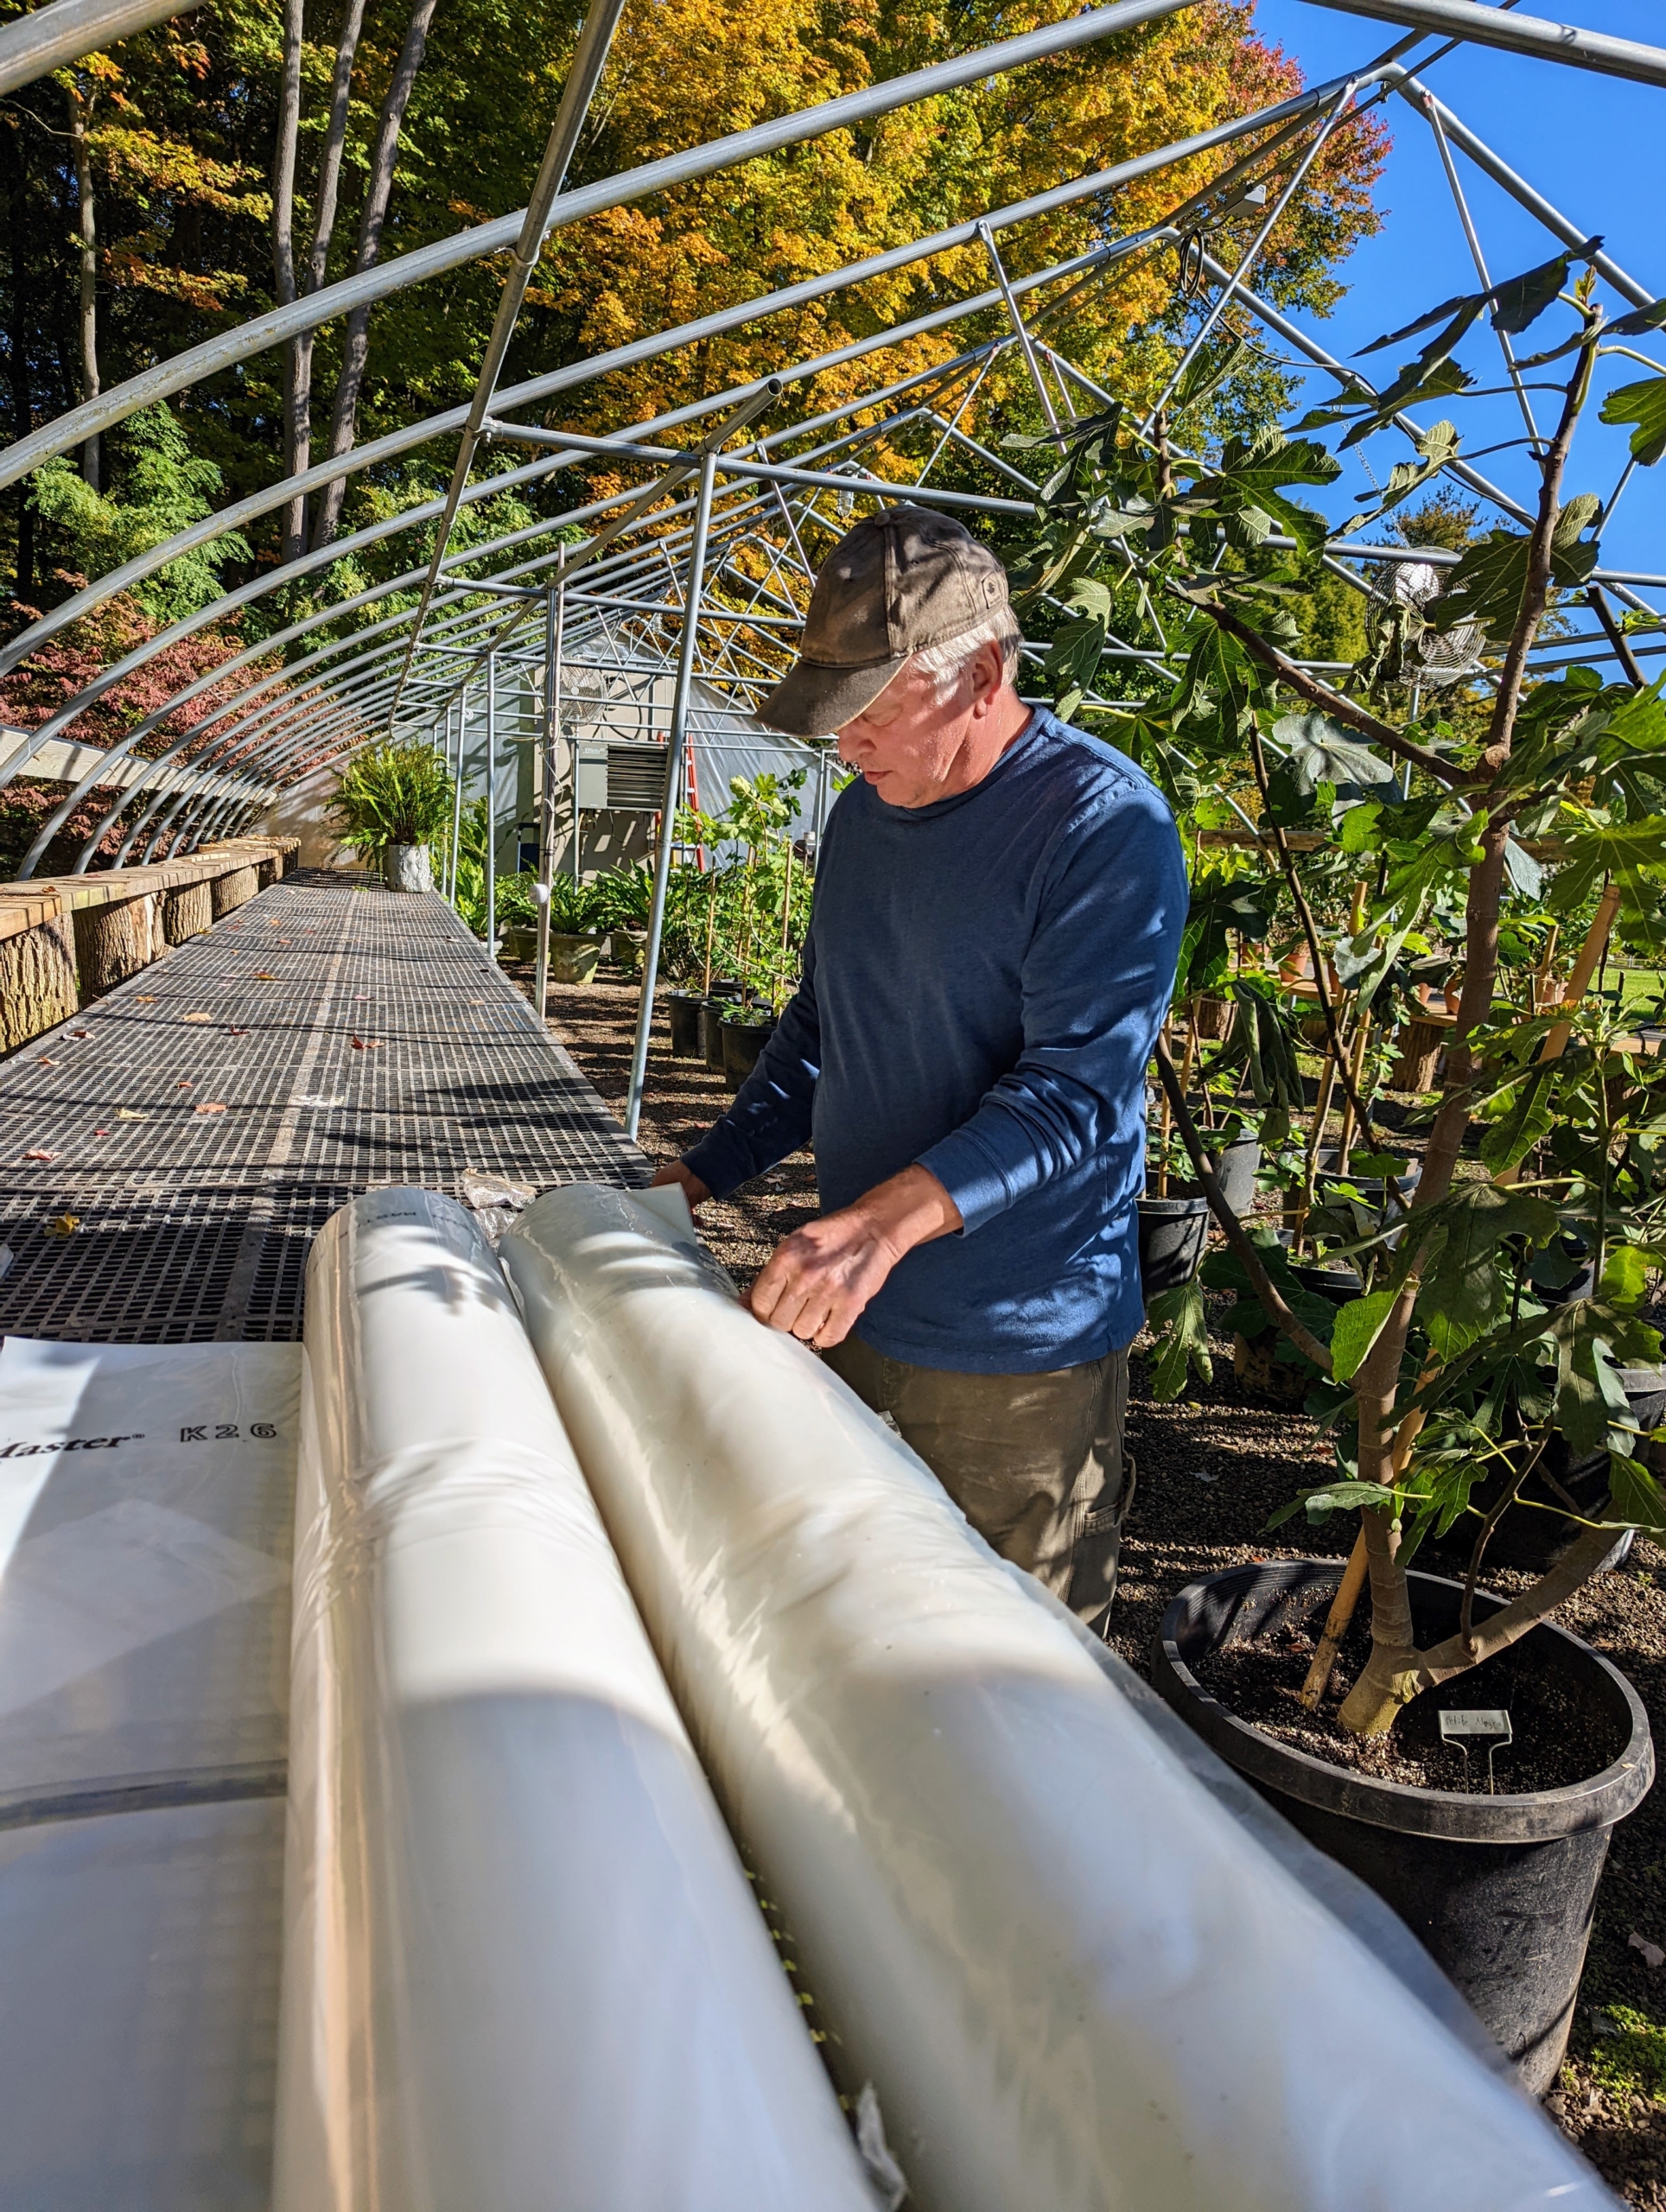
The fabric comes in two rolls – one is a heavy-duty, woven polyethylene that features an anti-condensate additive to reduce moisture buildup and dripping. The other side contains UV additives that allow the fabric to maintain its strength through the seasons.
Doug and Pete hoist one roll on top of the frame and start to unroll it. The cover arrives on thick, hard cardboard tubes, so this part is quick and easy to do.
The other roll is then brought up and placed on top of the first roll. The greenhouse is 60-feet by 40-feet so there is a lot of space to cover.
The two sheets are well labeled, so there is no confusion as to what side faces up and what side faces down.
Next, the crew unfolds the fabric over the sides – they do this slowly, so the fabric pieces remain together and straight. Both fabric pieces must be perfectly in line to cover the structure properly and fully.
It fits just right. This Polyethylene fabric is designed to stand up to just about any climate. It also resists rips and tears, so it could last up to 10-years depending on the weather. Fernando walks around the perimeter to ensure the fabric is completely flat.
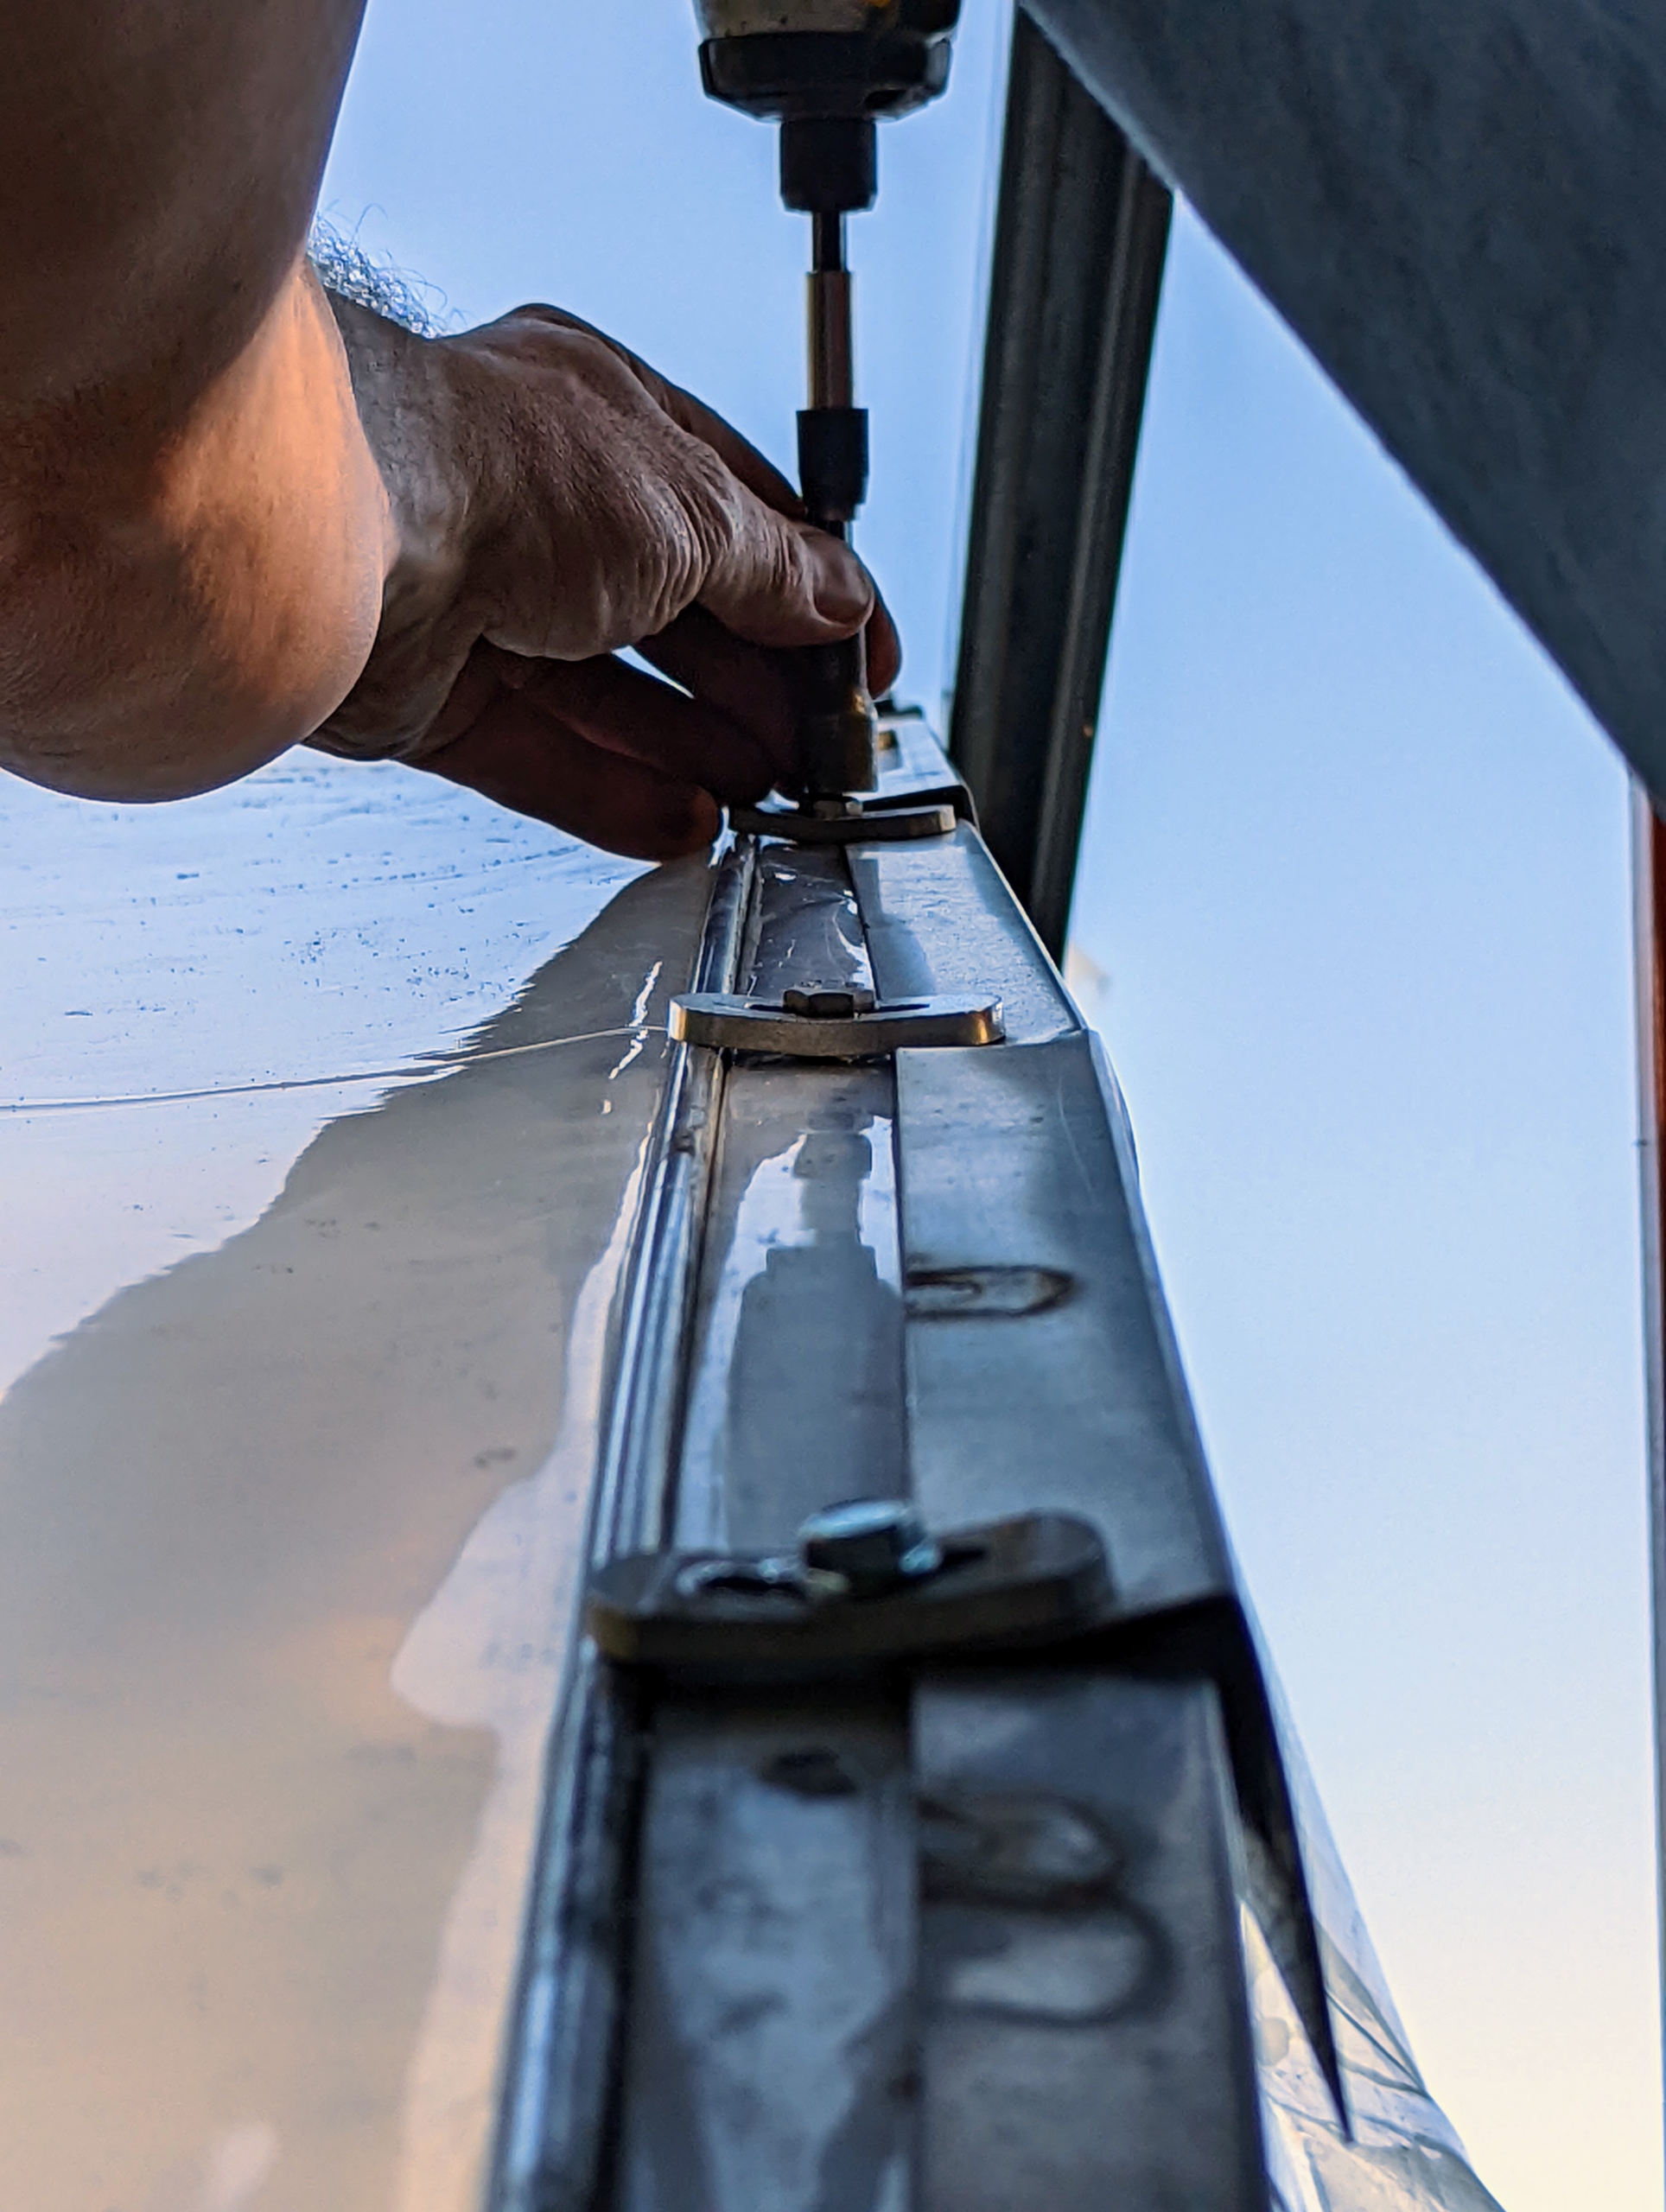
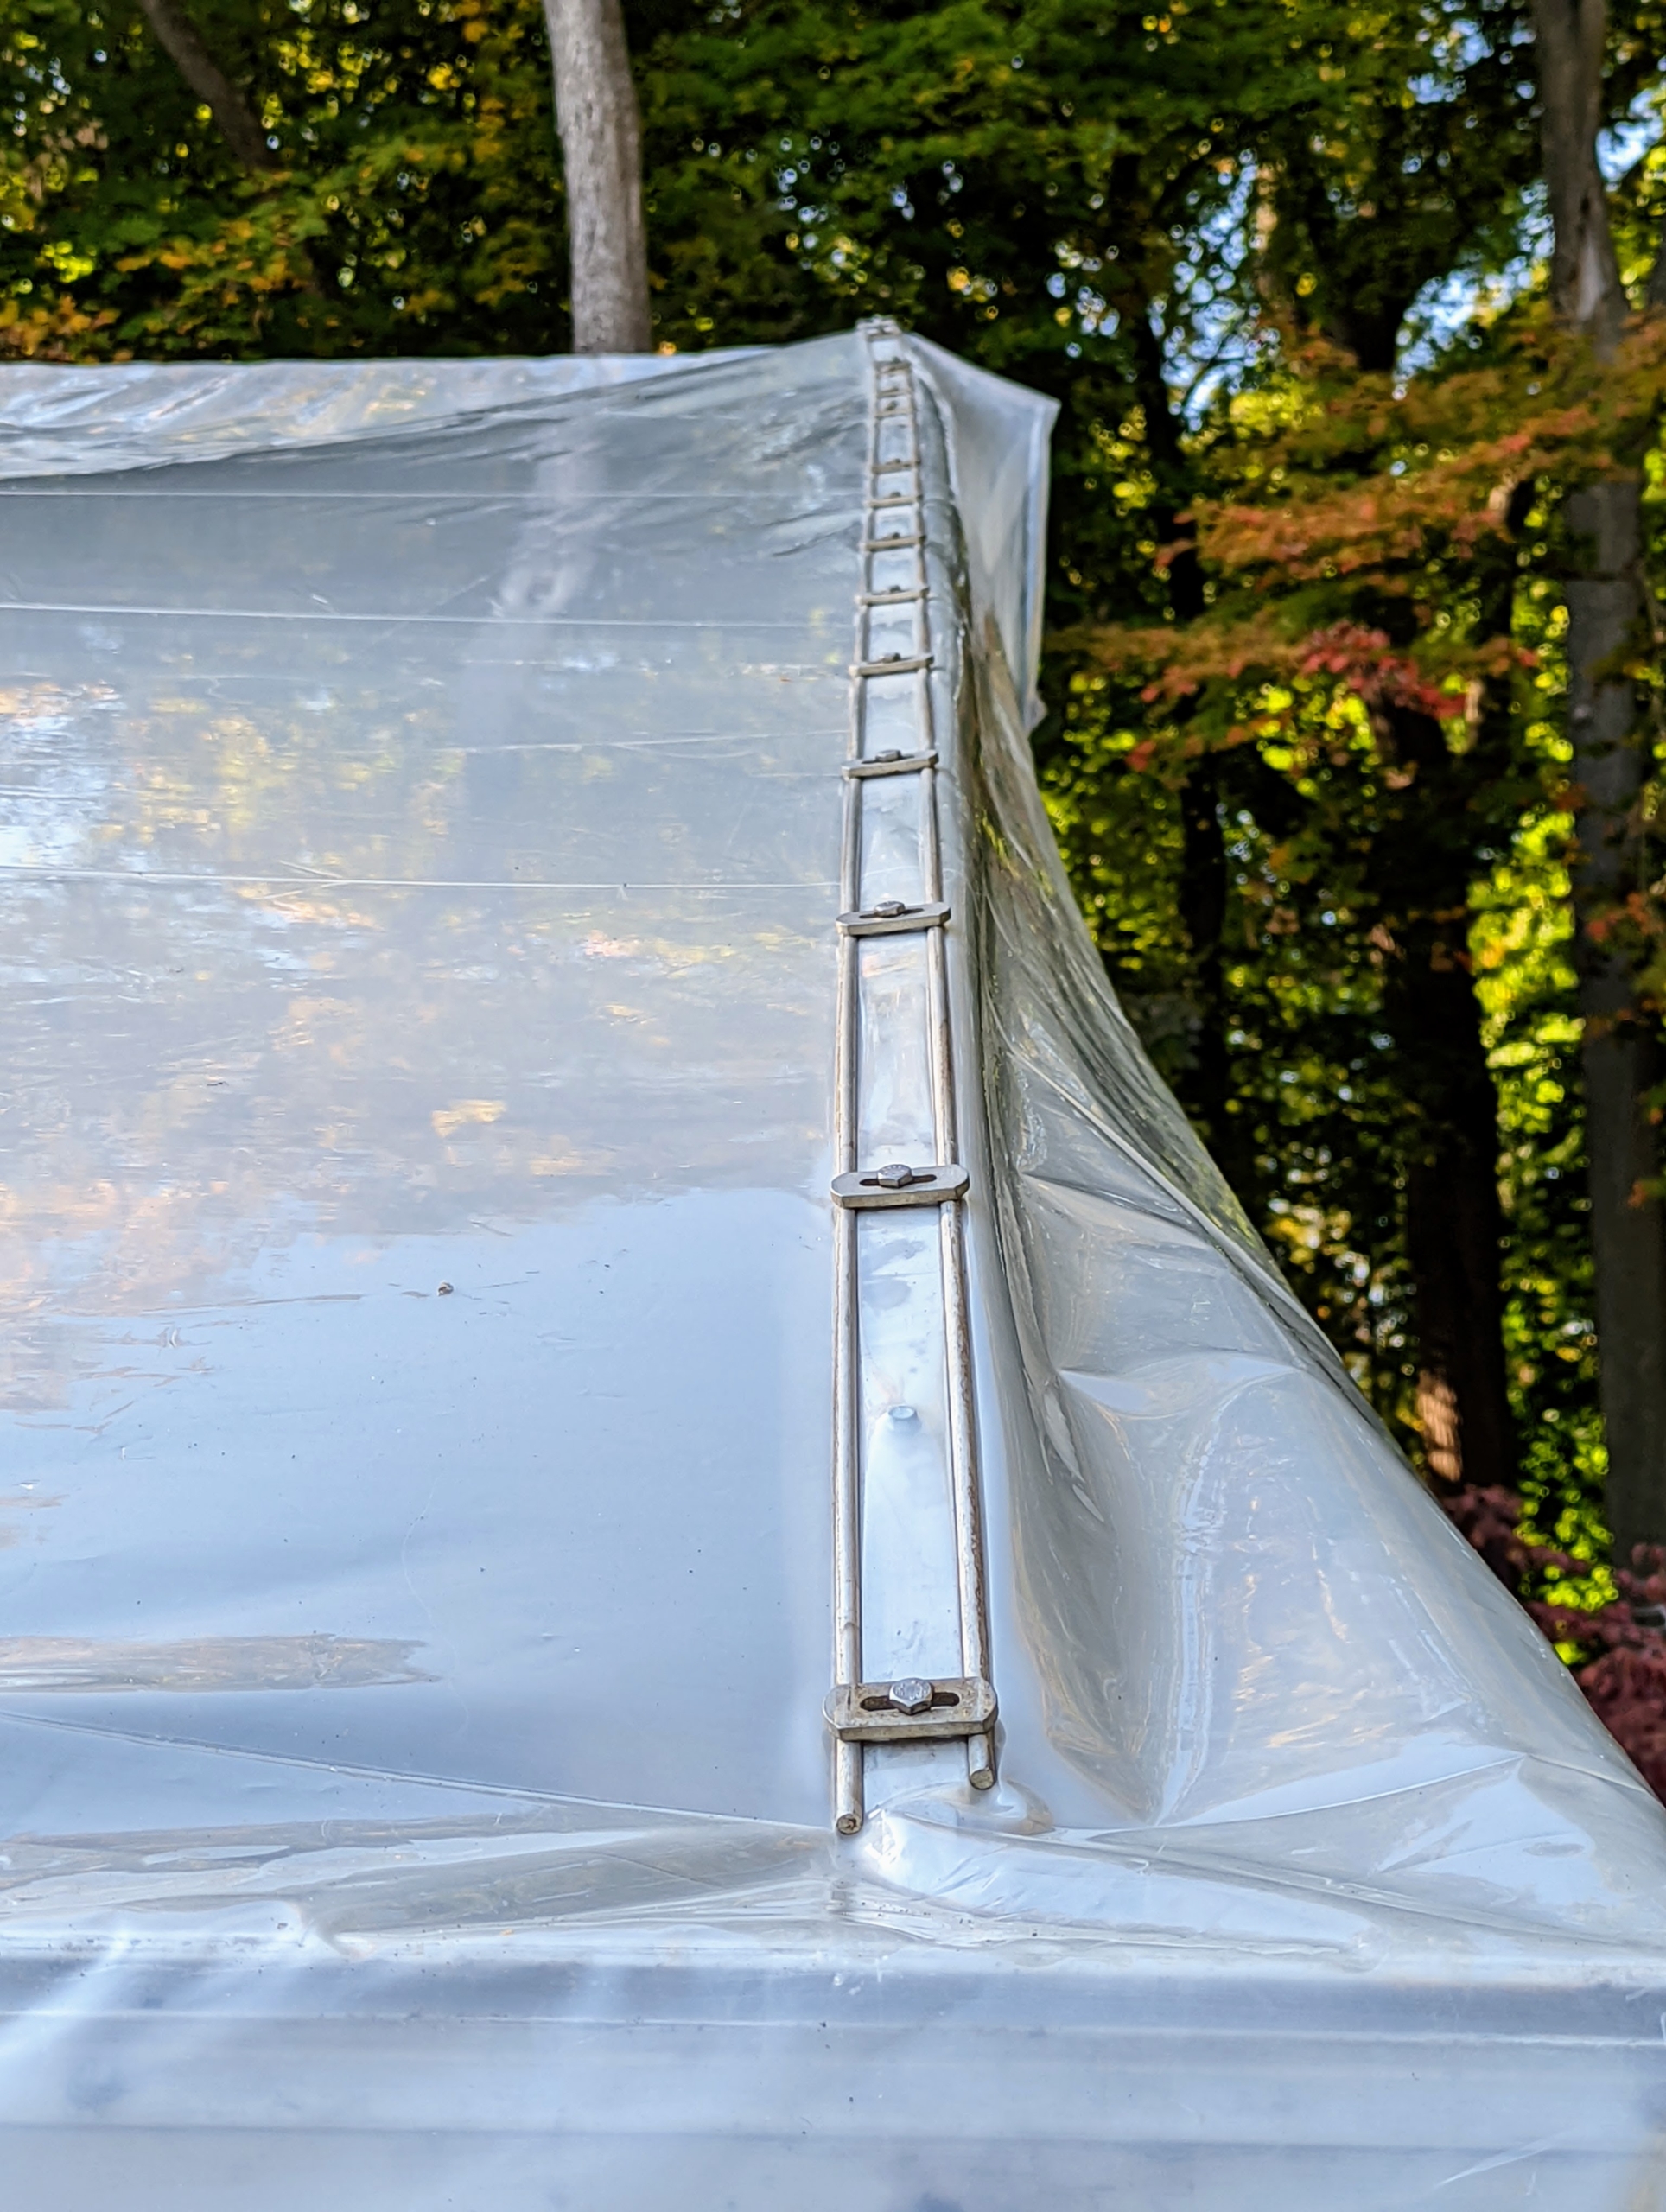
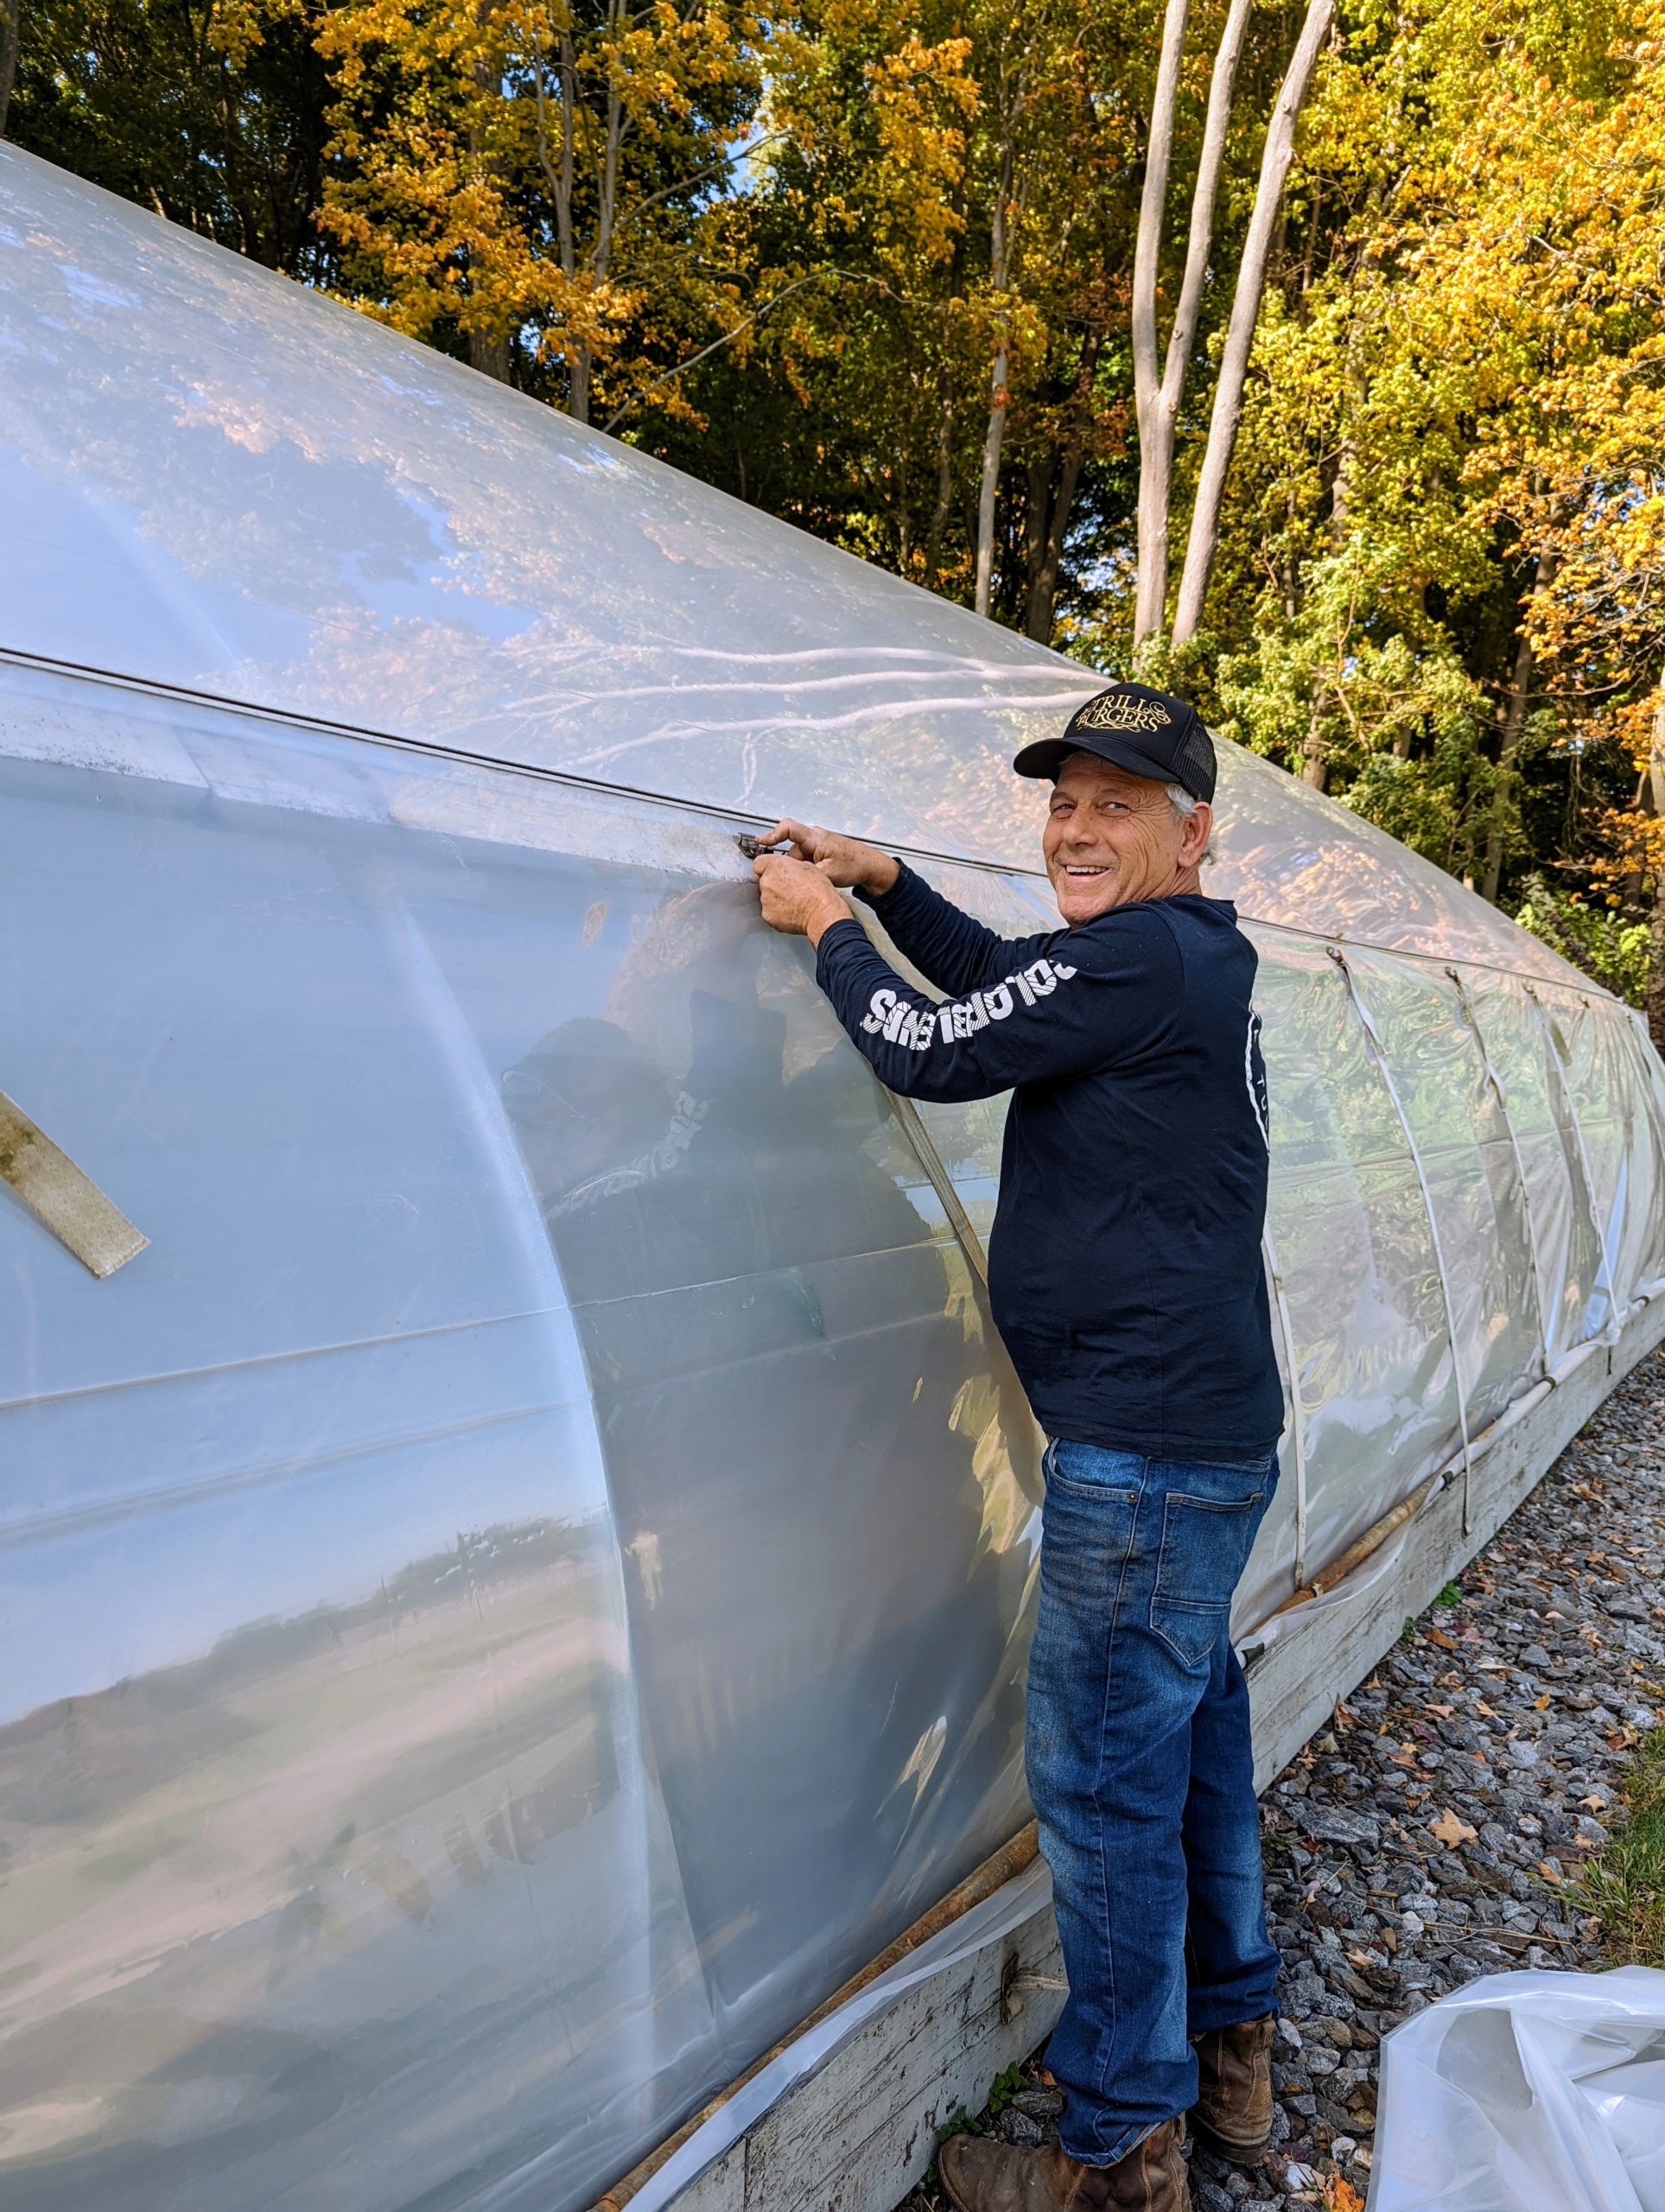
Next, Fernando and Doug work together to pull the fabric taut at the ends of the framework and secure it with double spline extrusions and special latches.
The latches are then pushed into the lock channels and tightened.
All the metal used to secure the skin is high grade aluminum for added durability.
Meanwhile, Fernando moves onto the straps of the curtains.
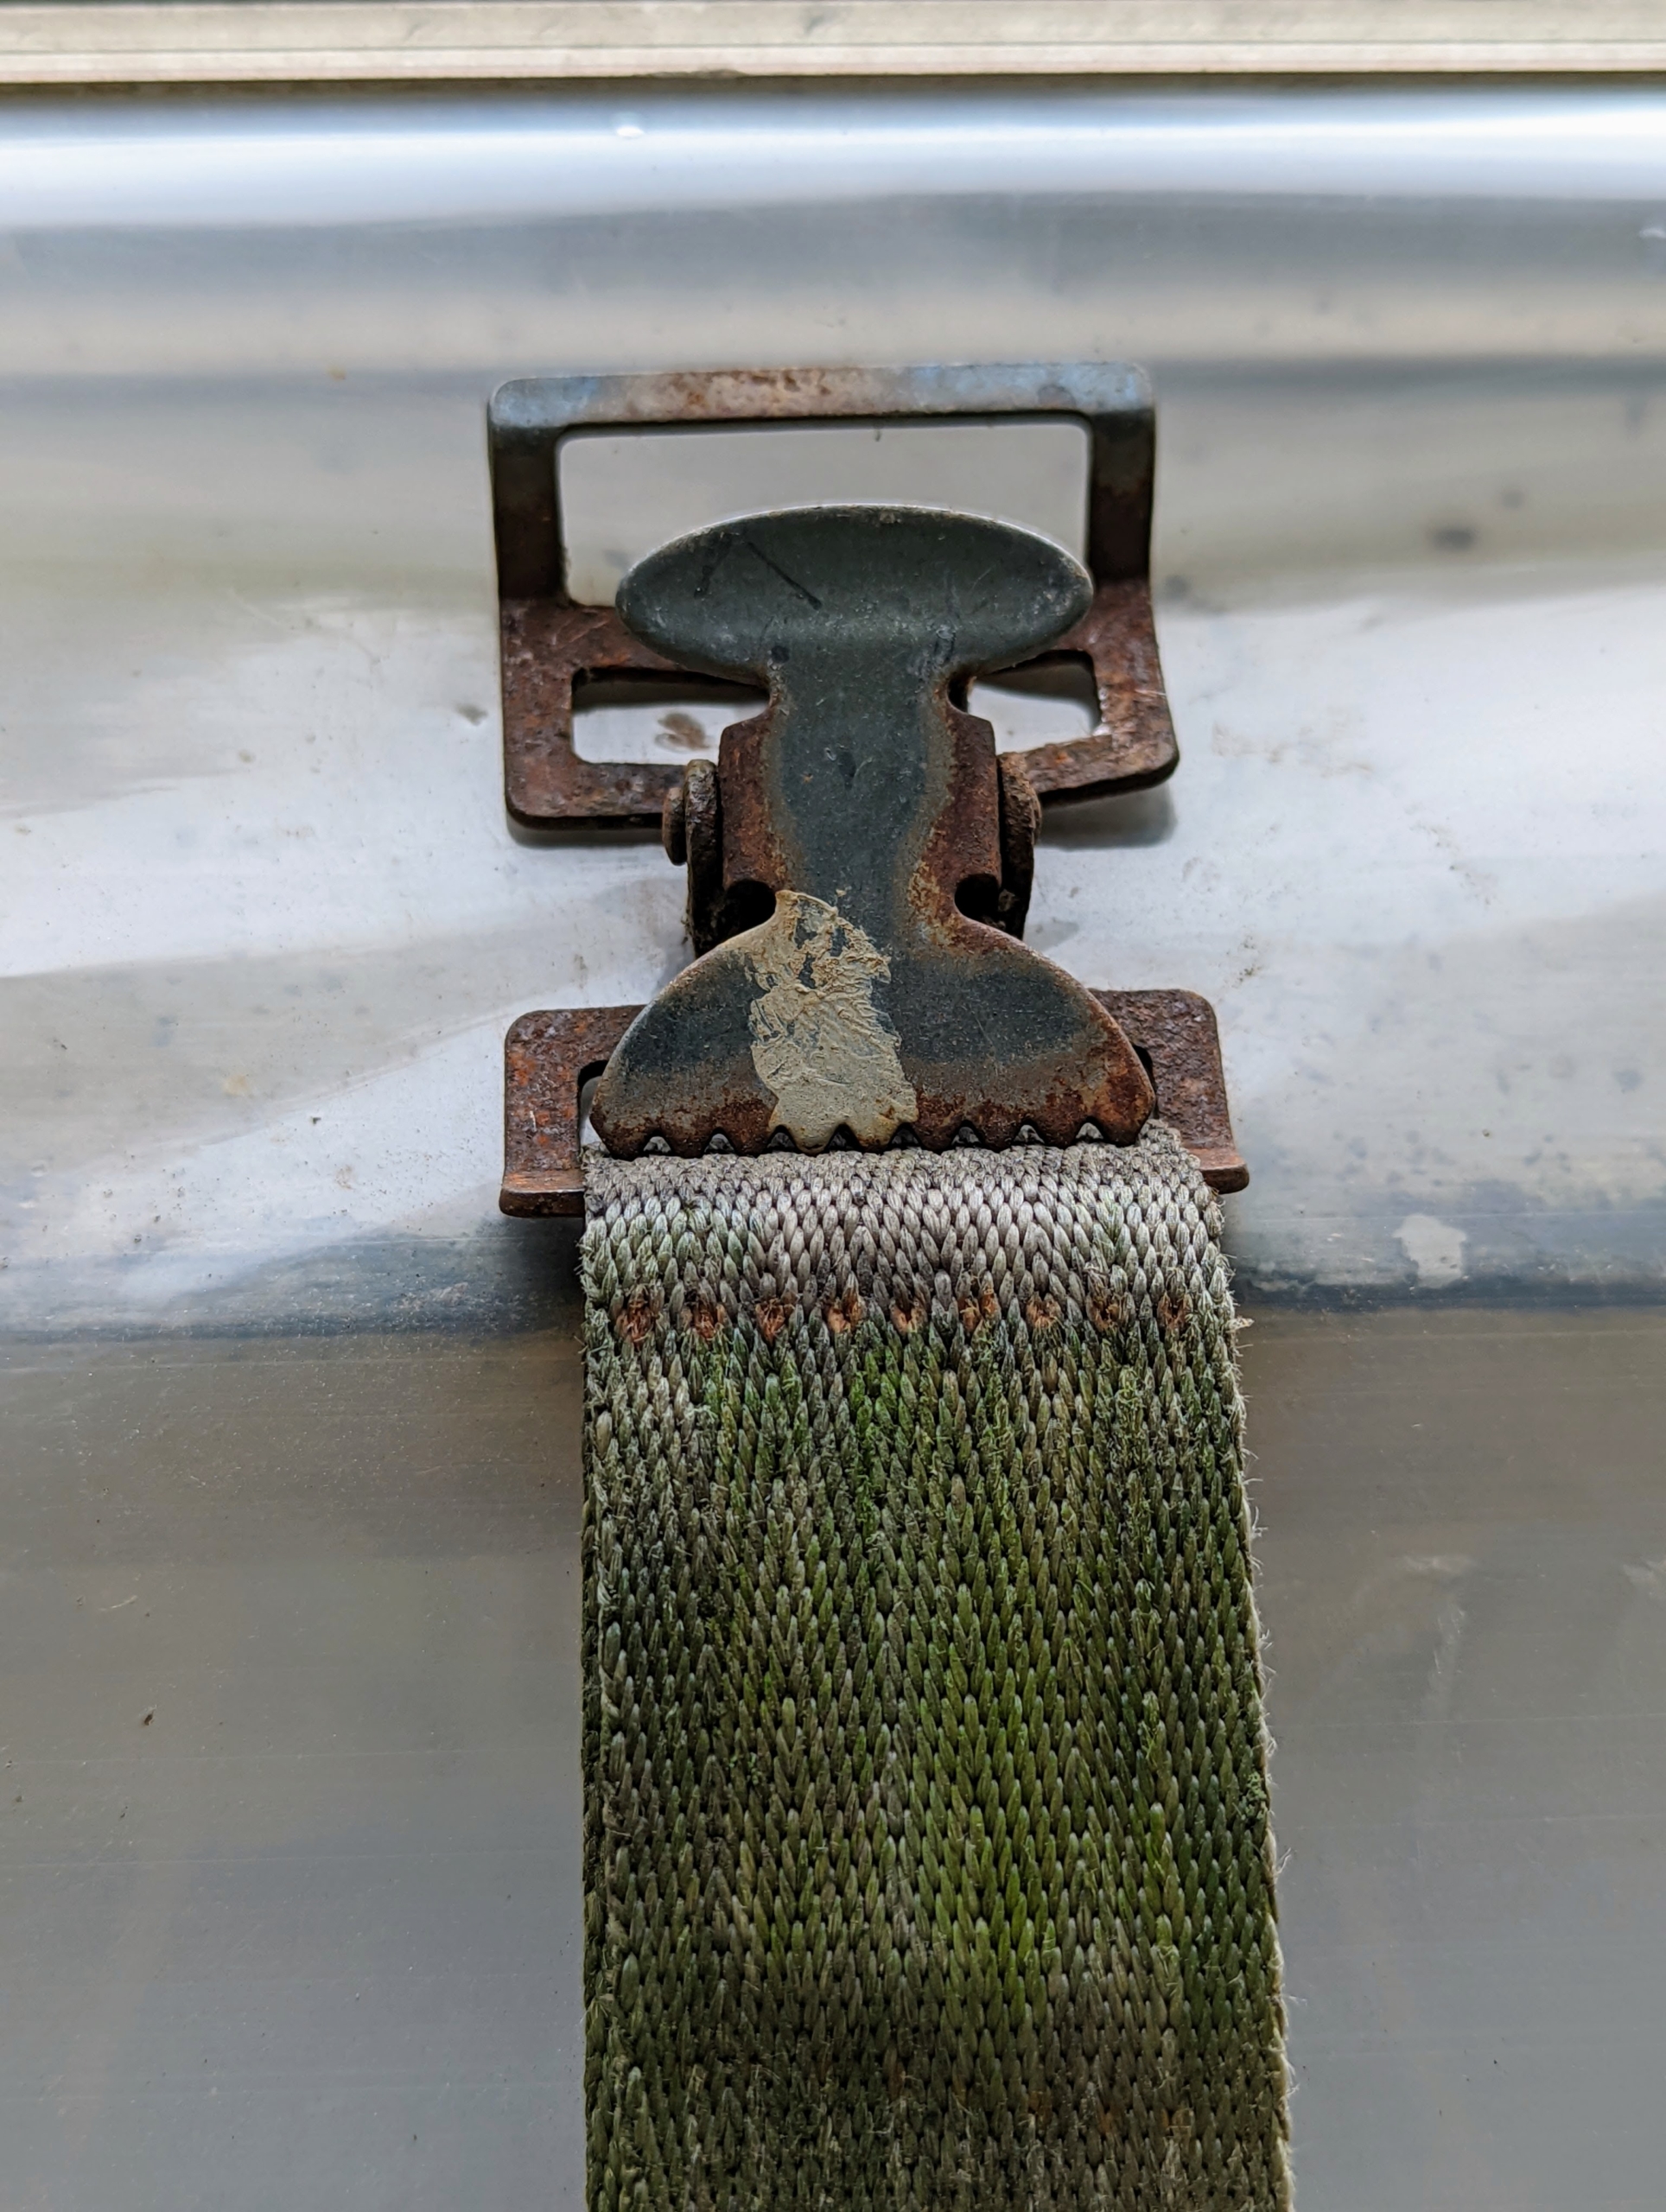
These curtain clips hold the straps in place. Teeth on the clips ensure that the straps stay taut.
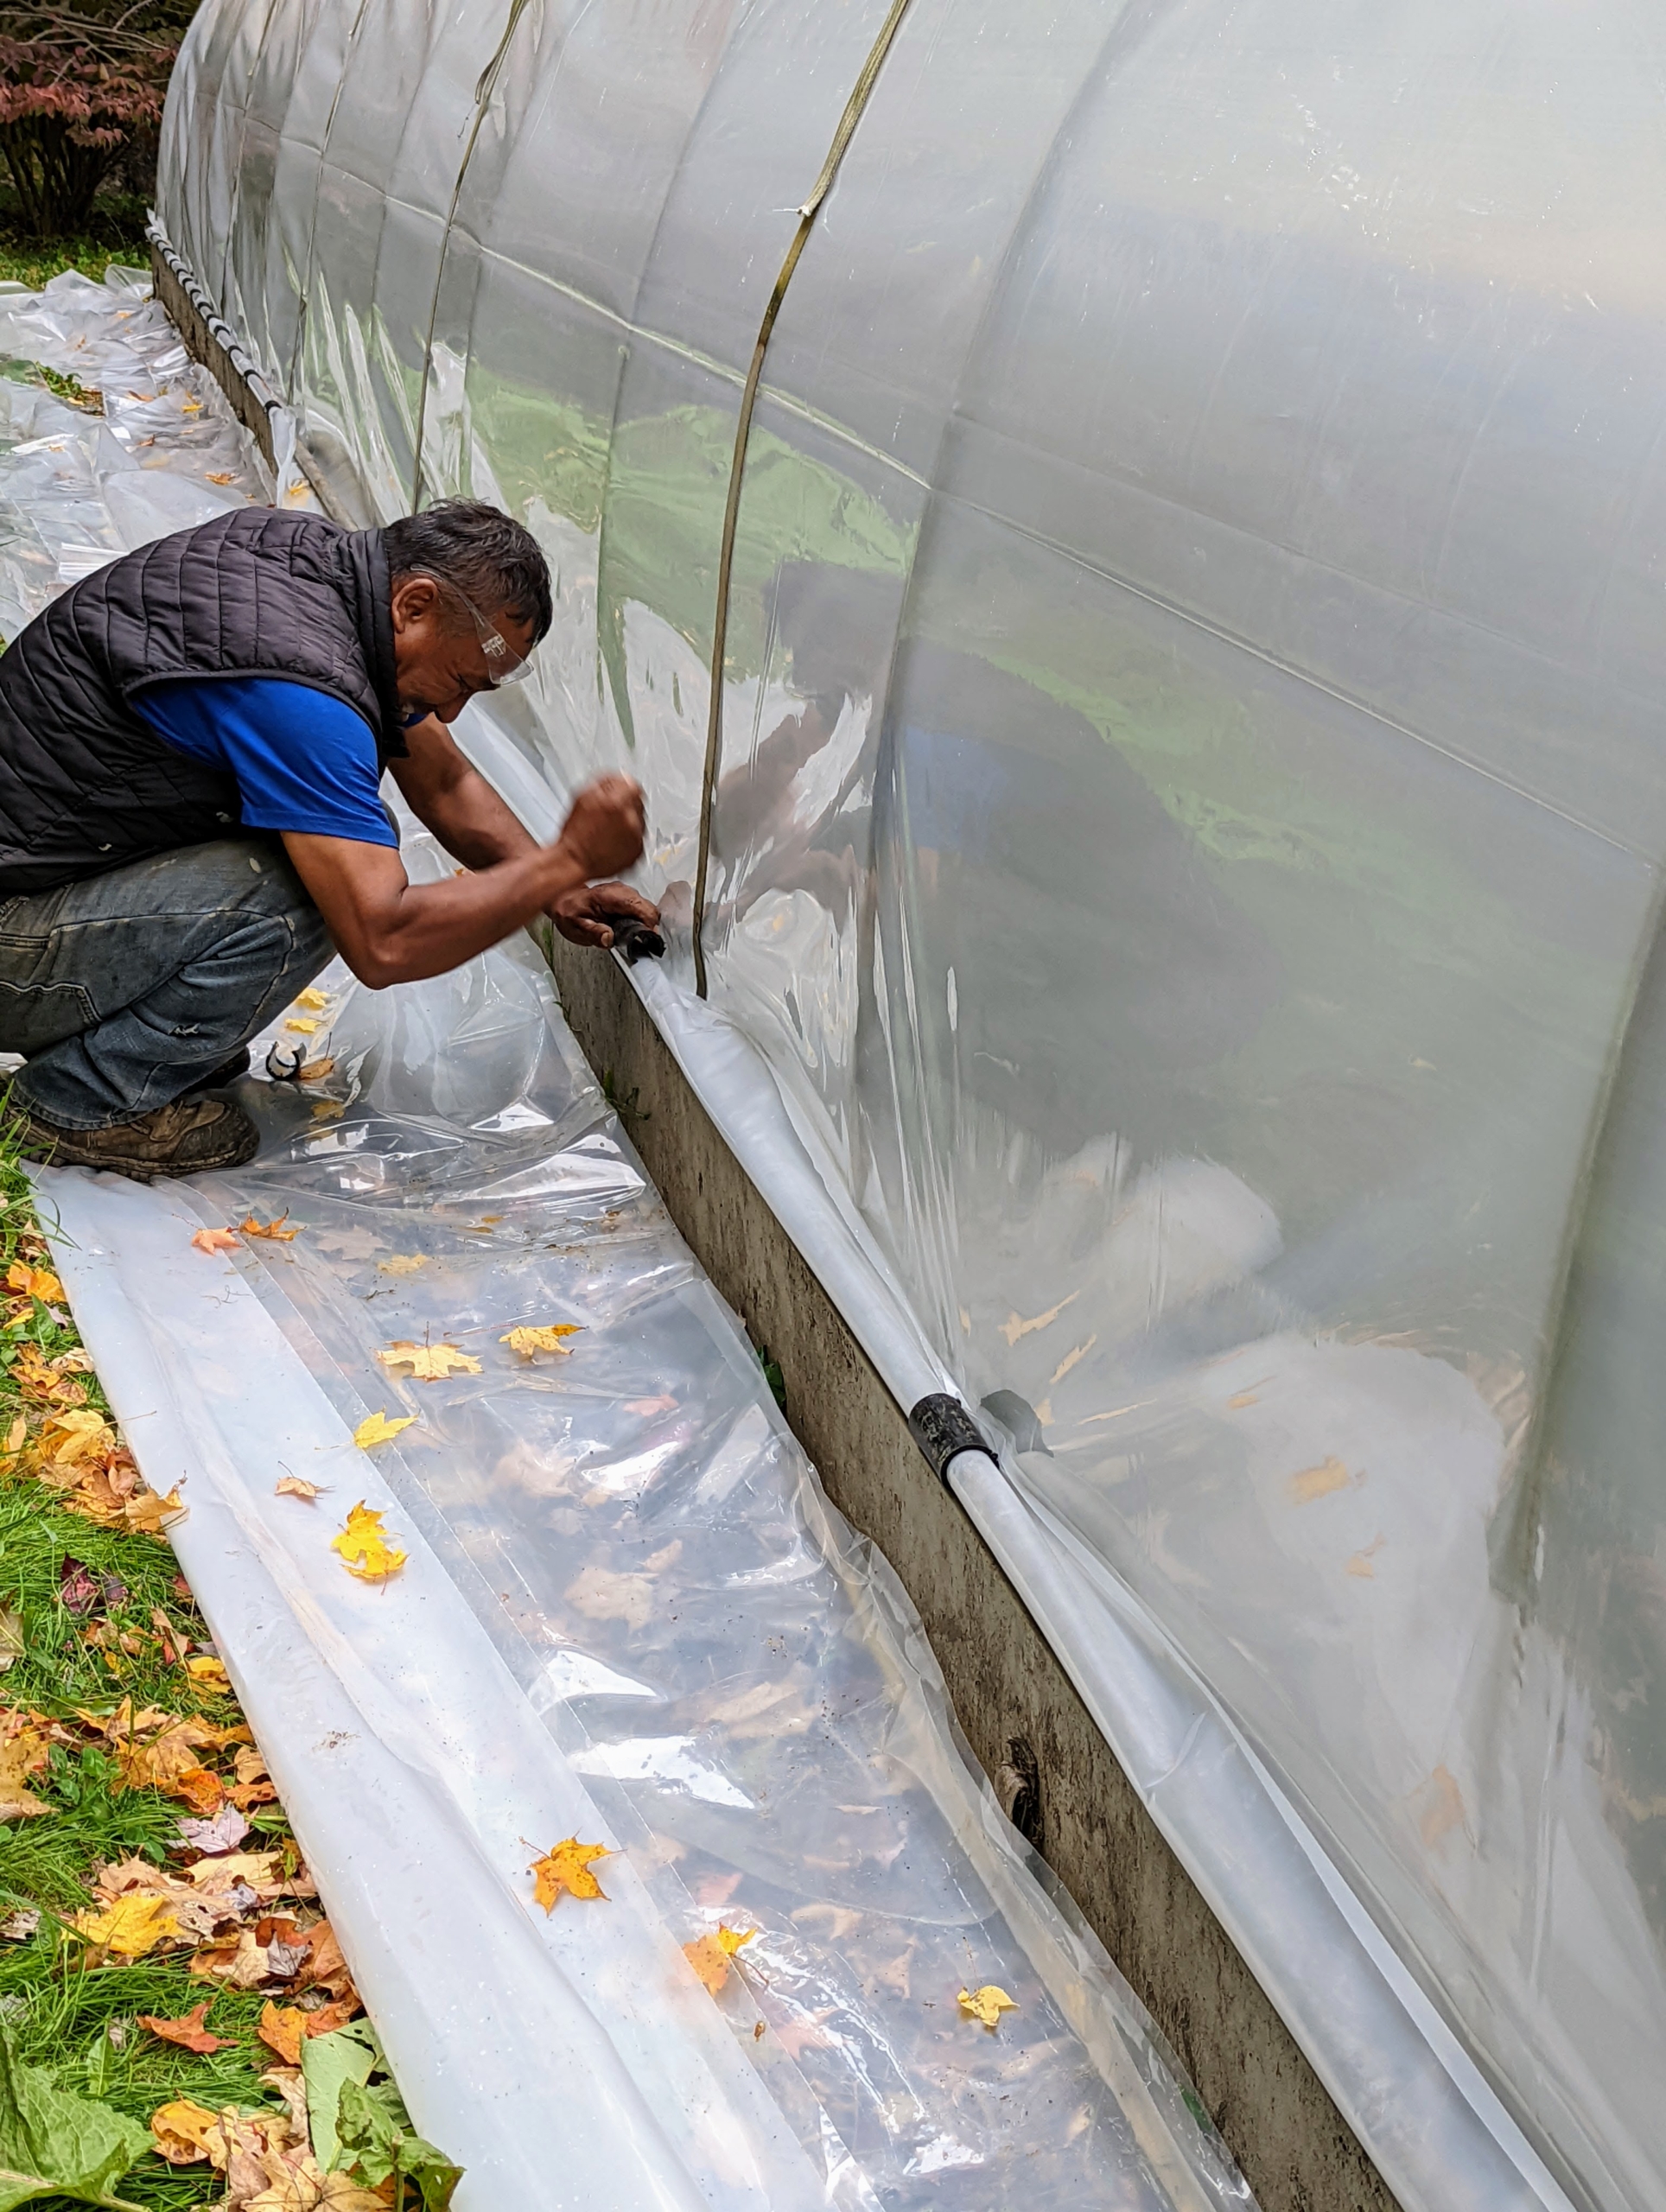
Pete and Fernando secure the straps onto the clips one by one on both sides. It’s coming together very quickly. Soon, we will be moving many plants into this temperature and humidity controlled space.
Using black PVC pipe, Pete cuts three inch half round sections to secure the curtain to the rod.
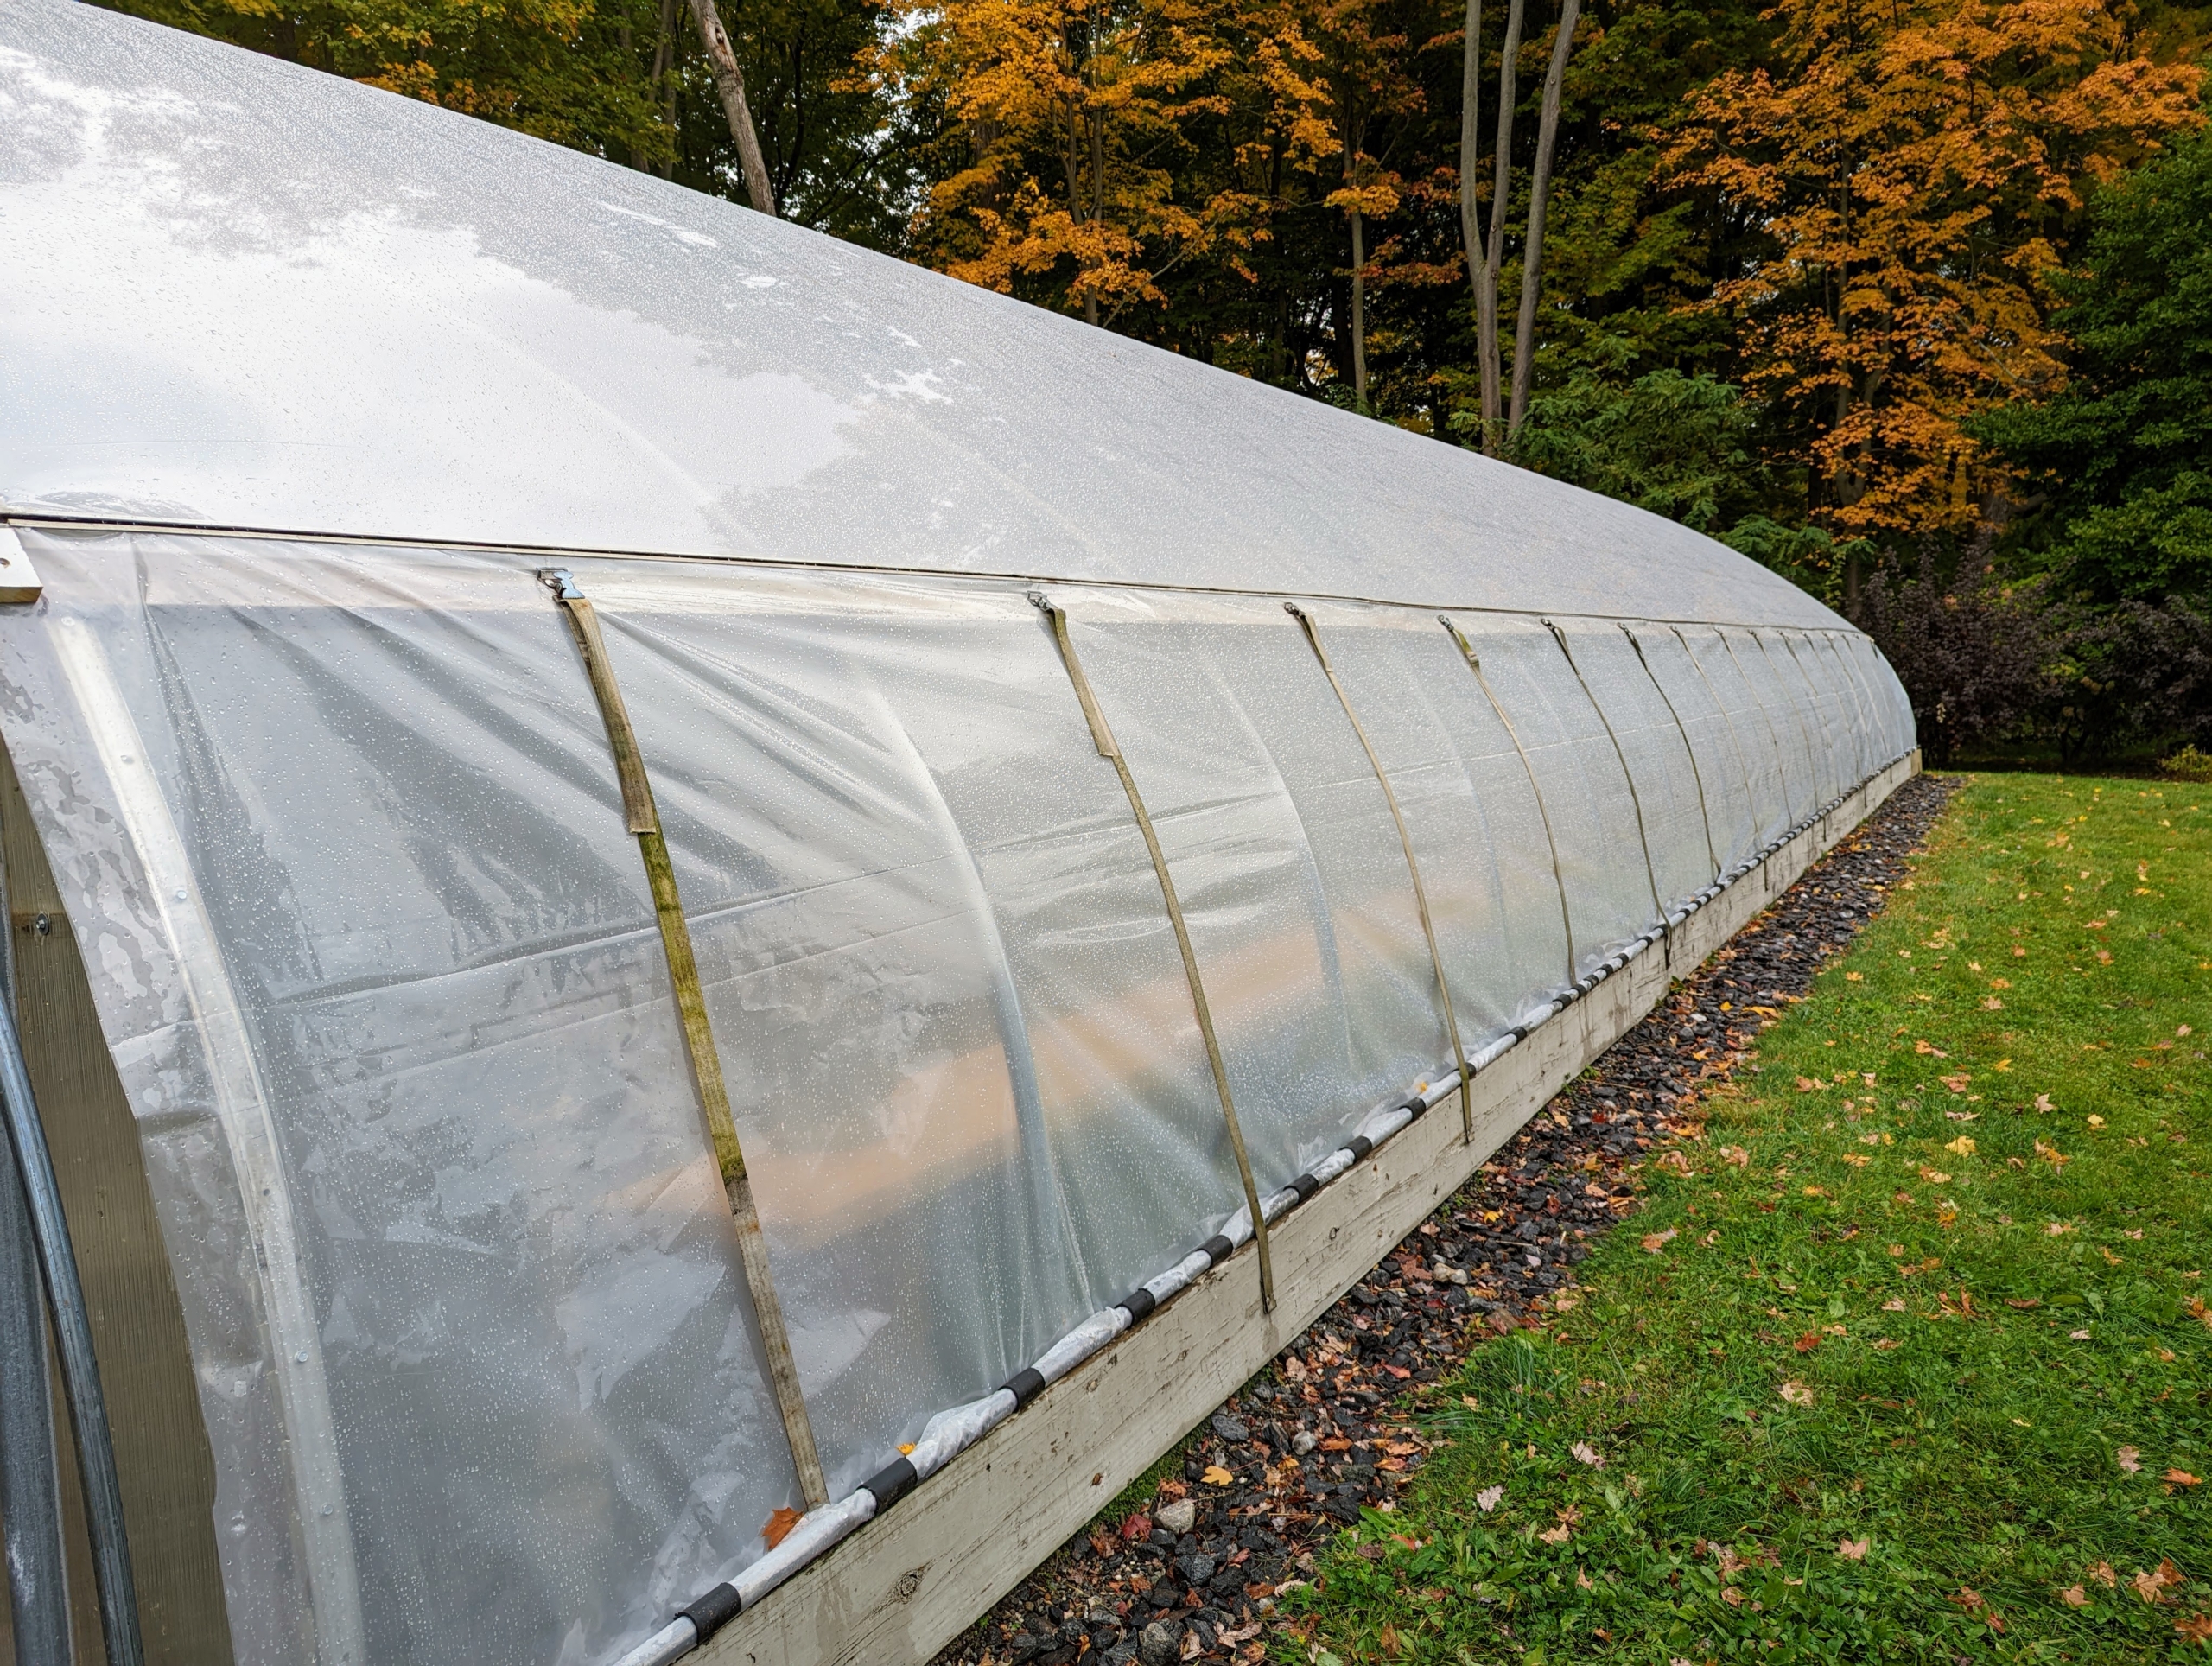
These manual roll-up curtains raise and lower the bottom section of the Polyethylene fabric for ventilation when needed.
Here is one side all completed.
And here is a view of the inside. The space between the two layers of plastic is also filled with air to keep the hoop house taut, smooth and insulated. The air layer prevents heat loss at half
the rate of single-paned glass.
The finished hoop house is now ready for storing my tropical plants. This greenhouse works by heating and circulating air to create an artificial tropical environment. It includes three fans and a propane fueled heater. It is an excellent way to ensure my warm weather specimens survive the cold winters of the Northeast. Wait until you see how many plants we can fit in here – you’ll be amazed. Stay tuned.
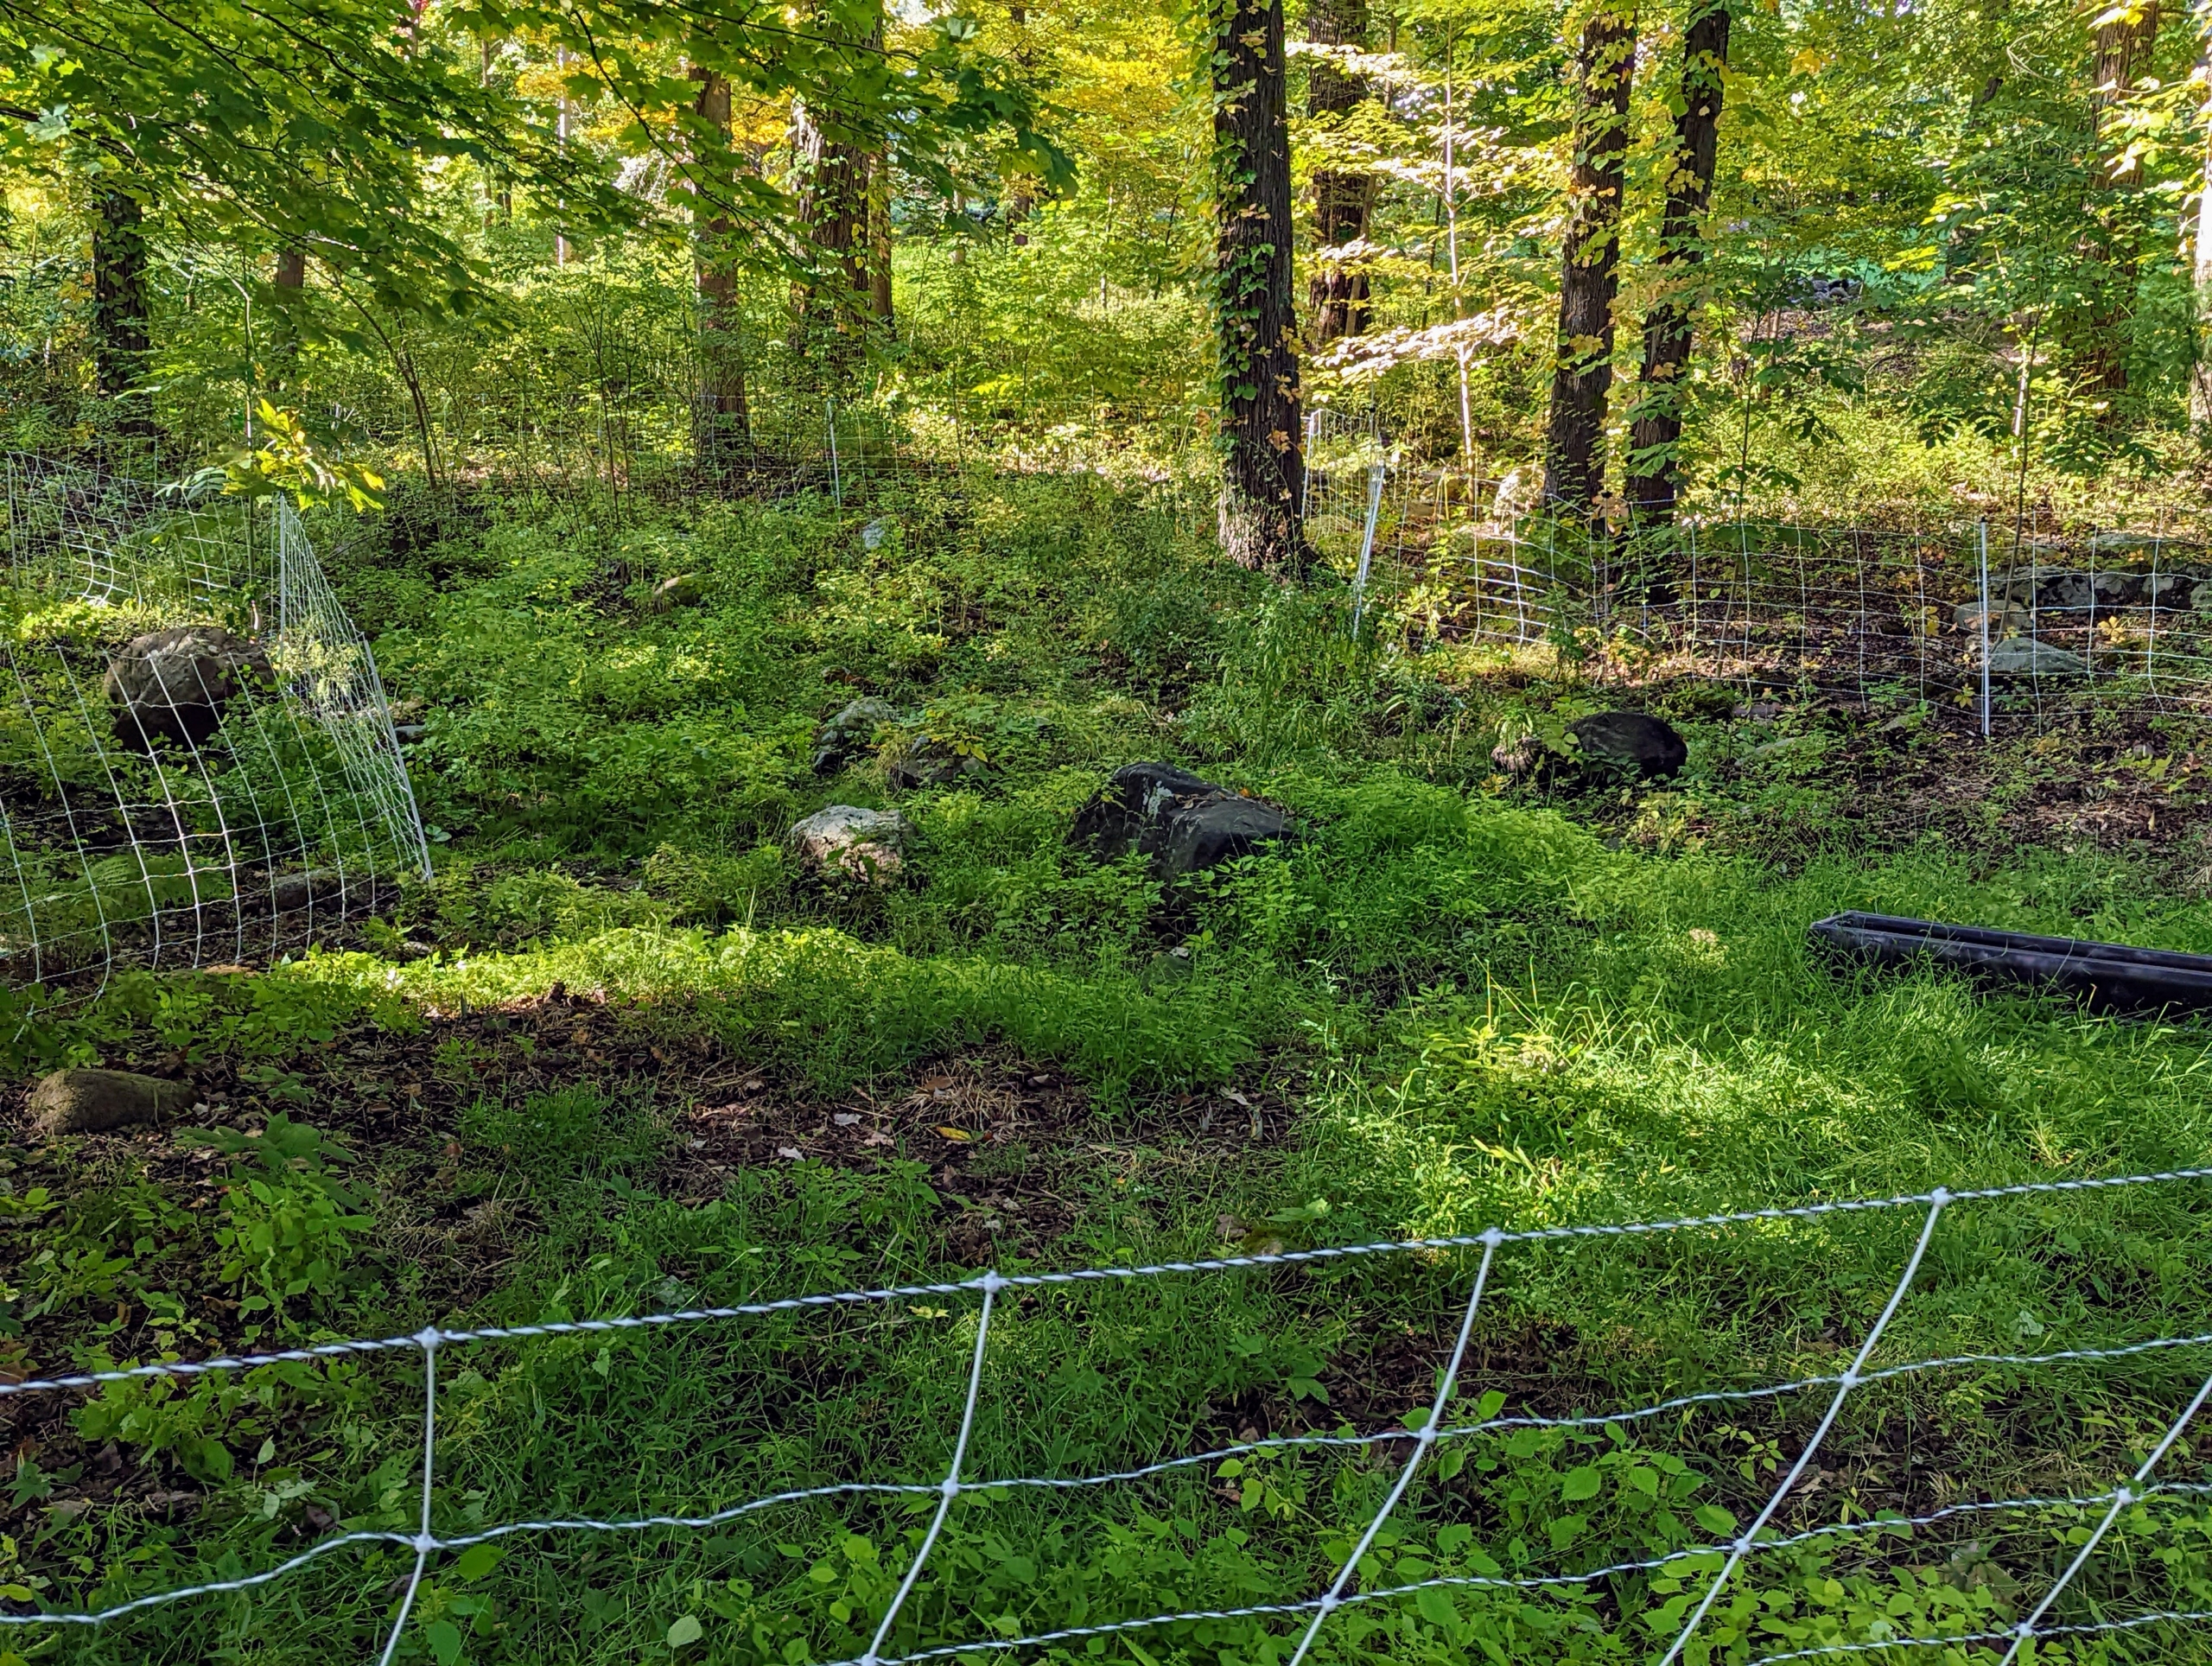
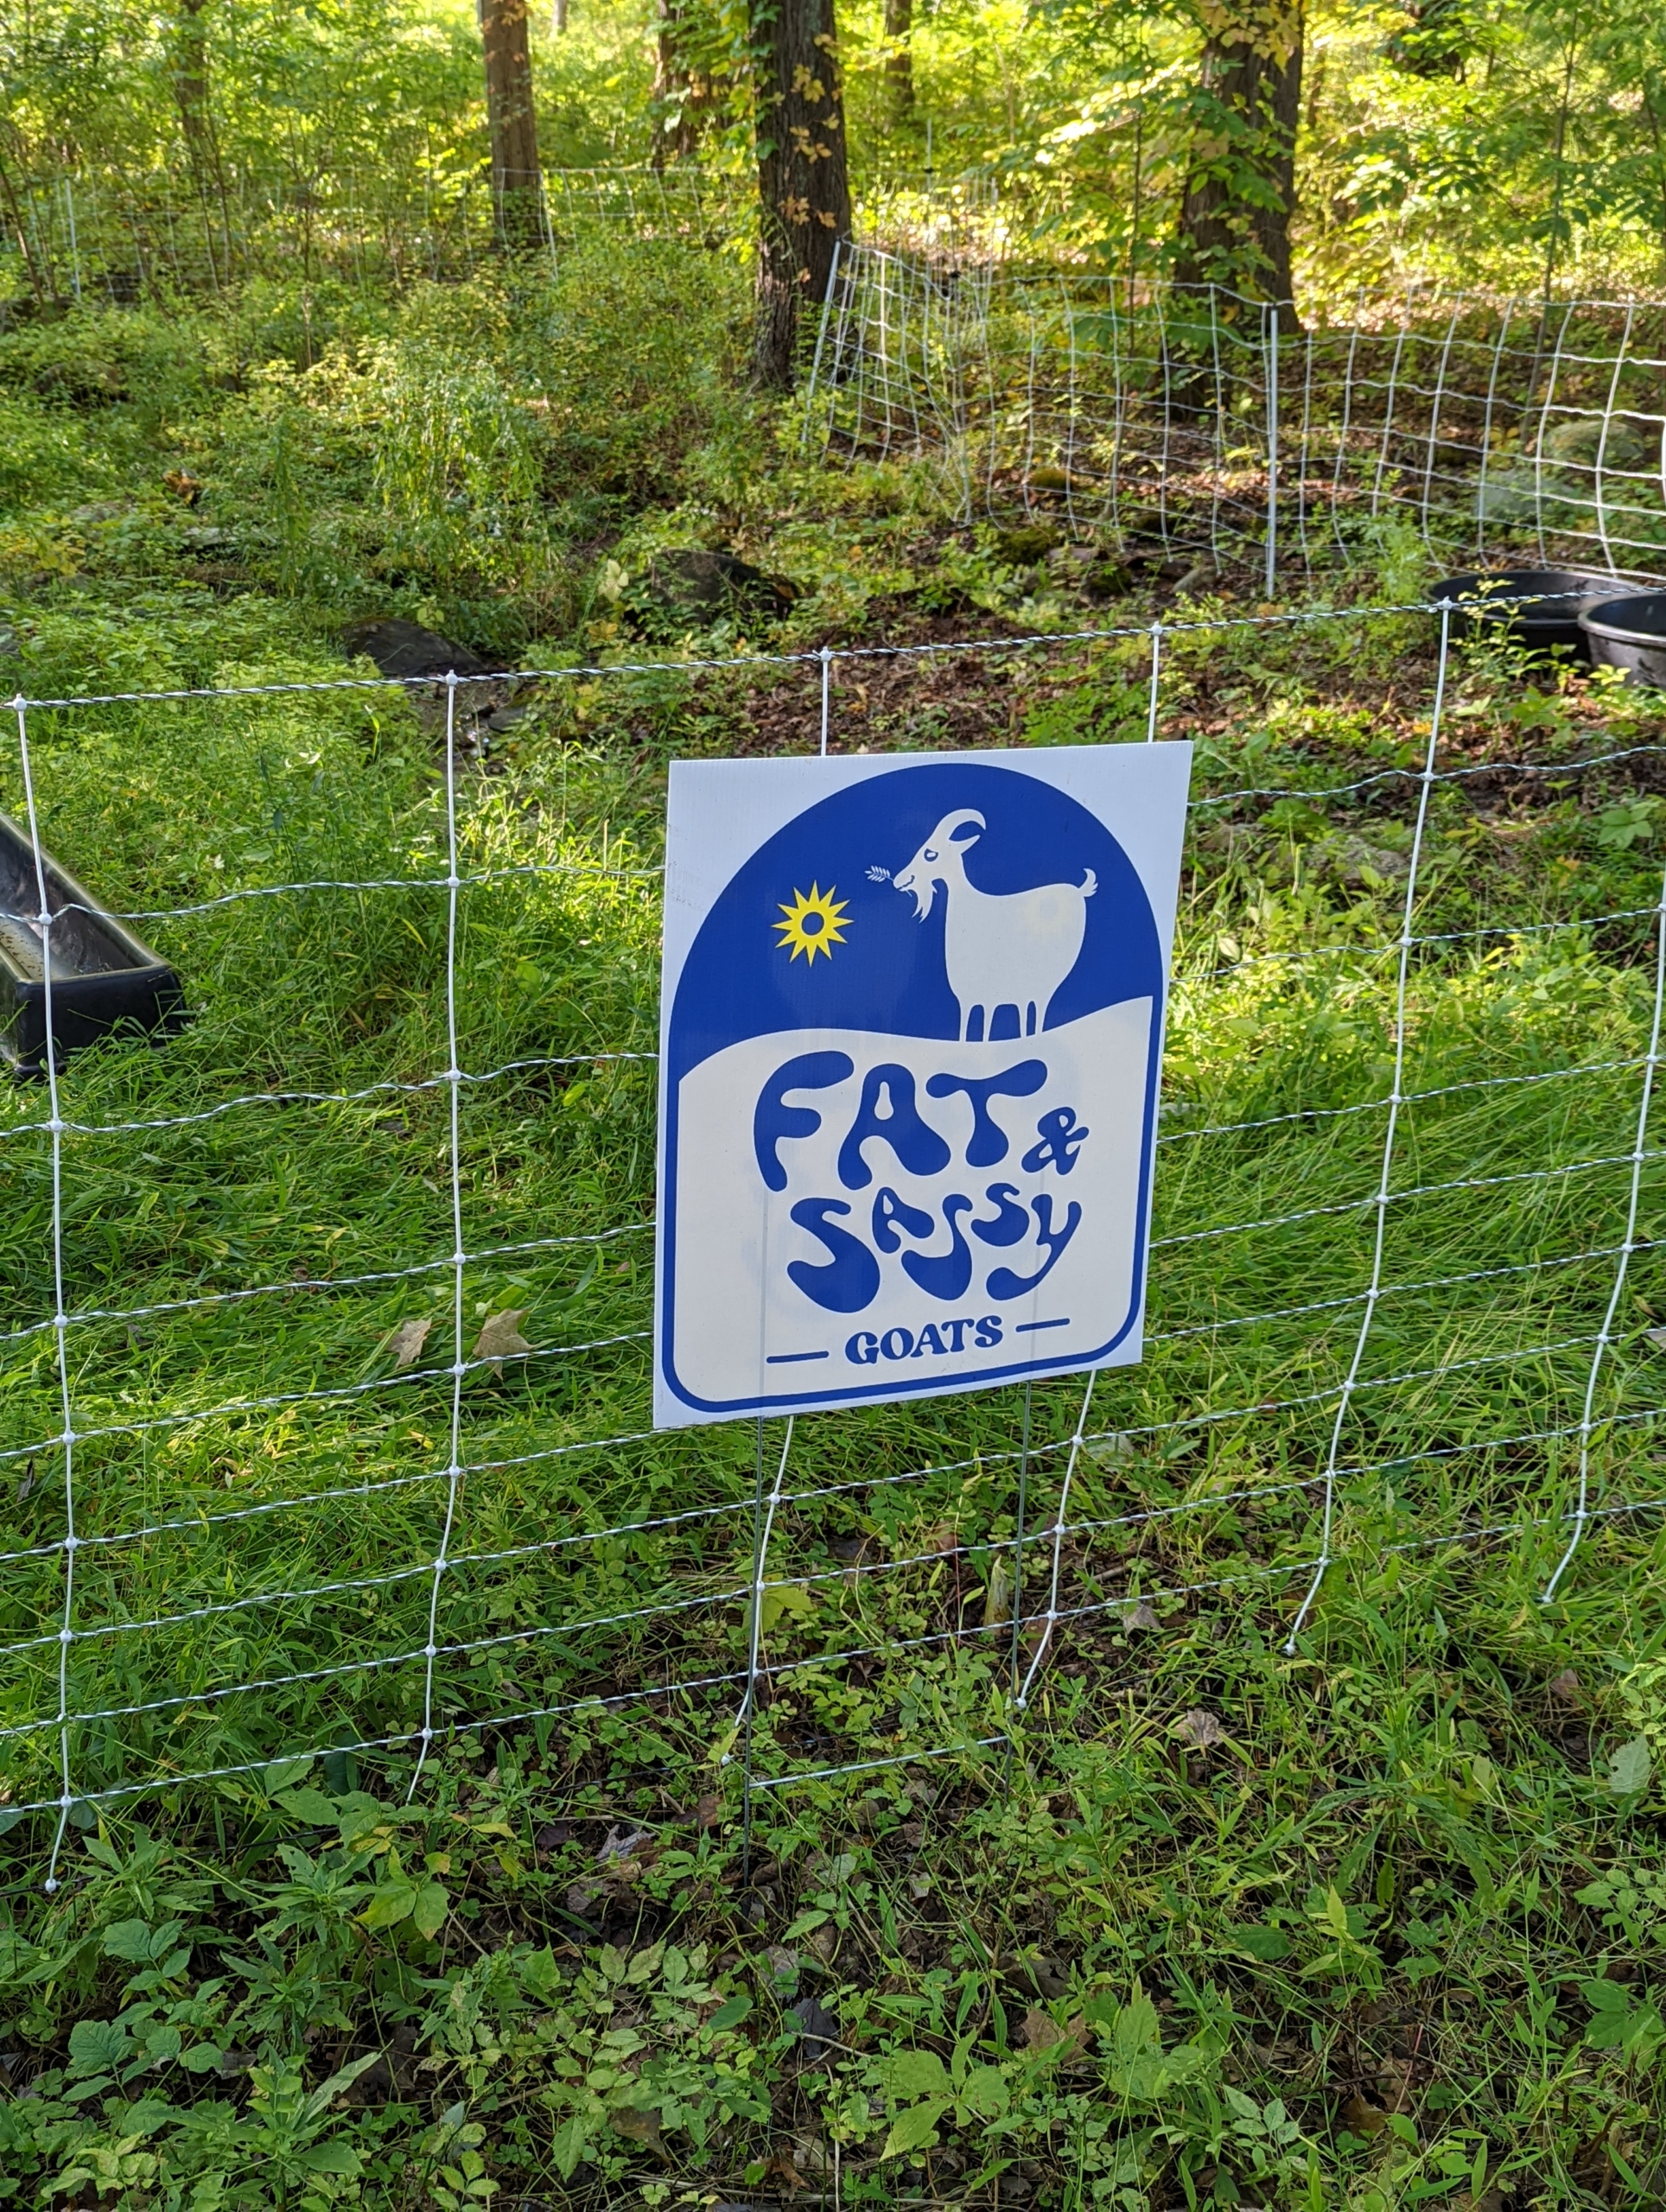
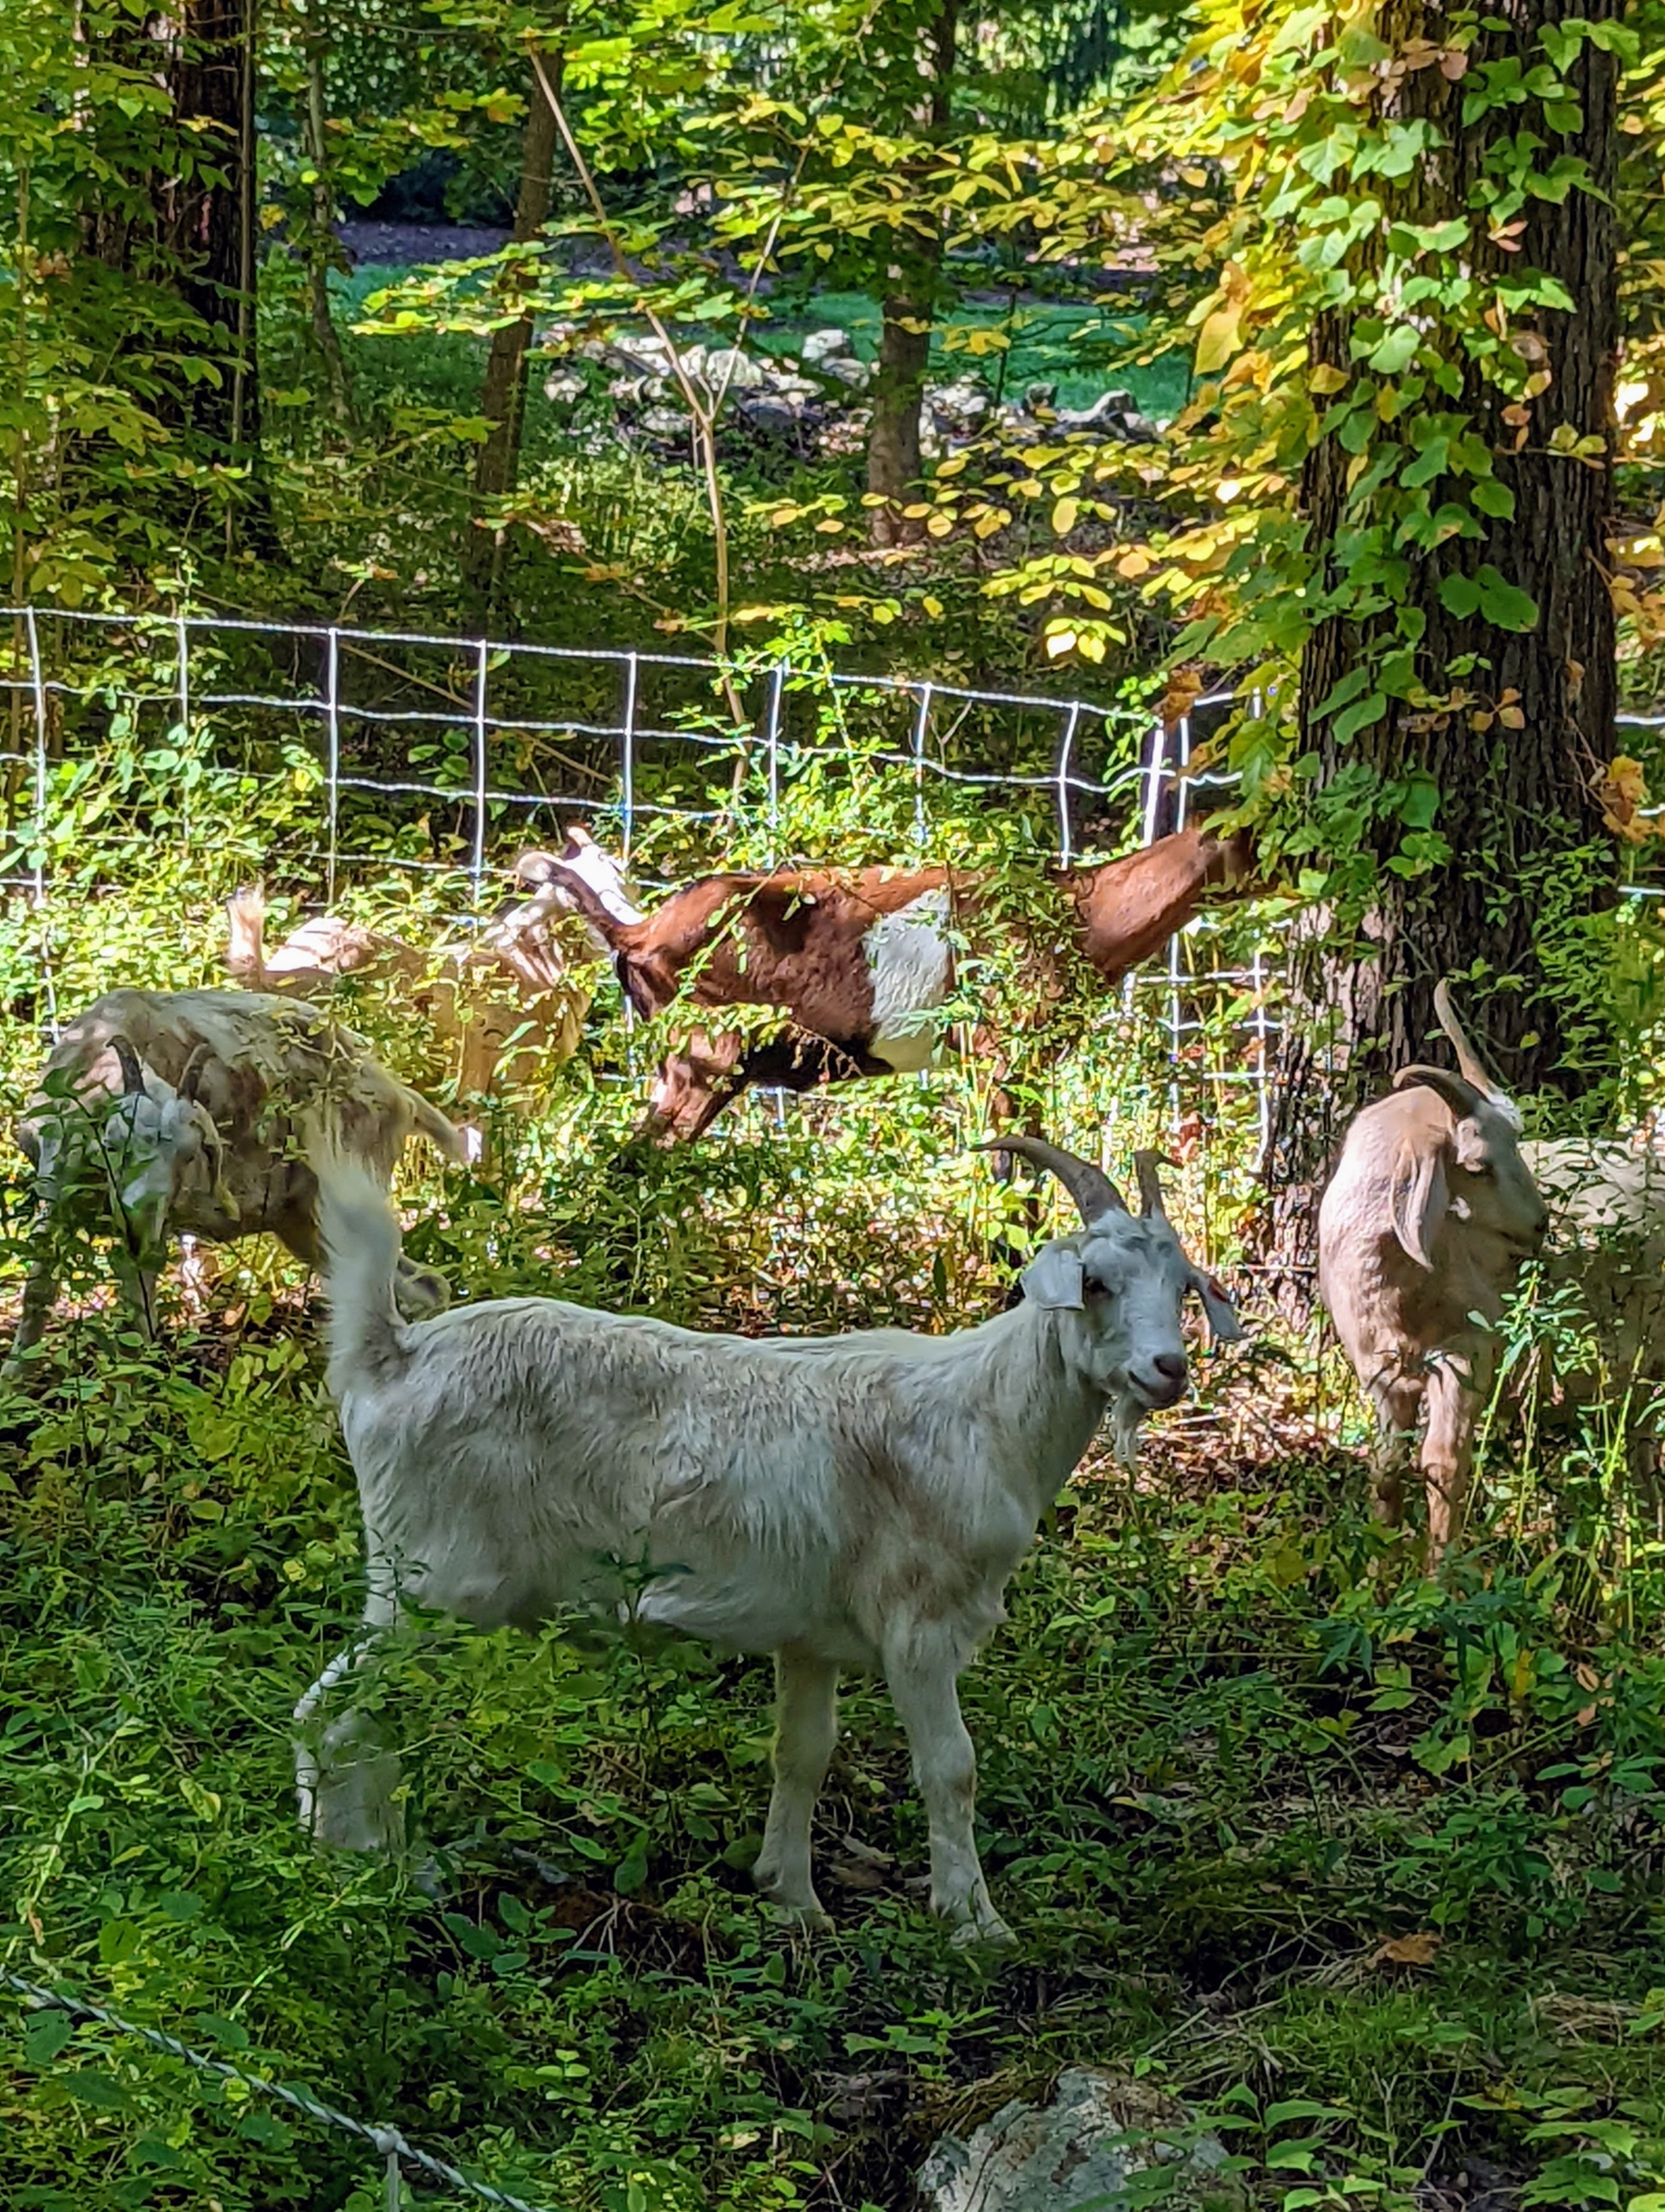
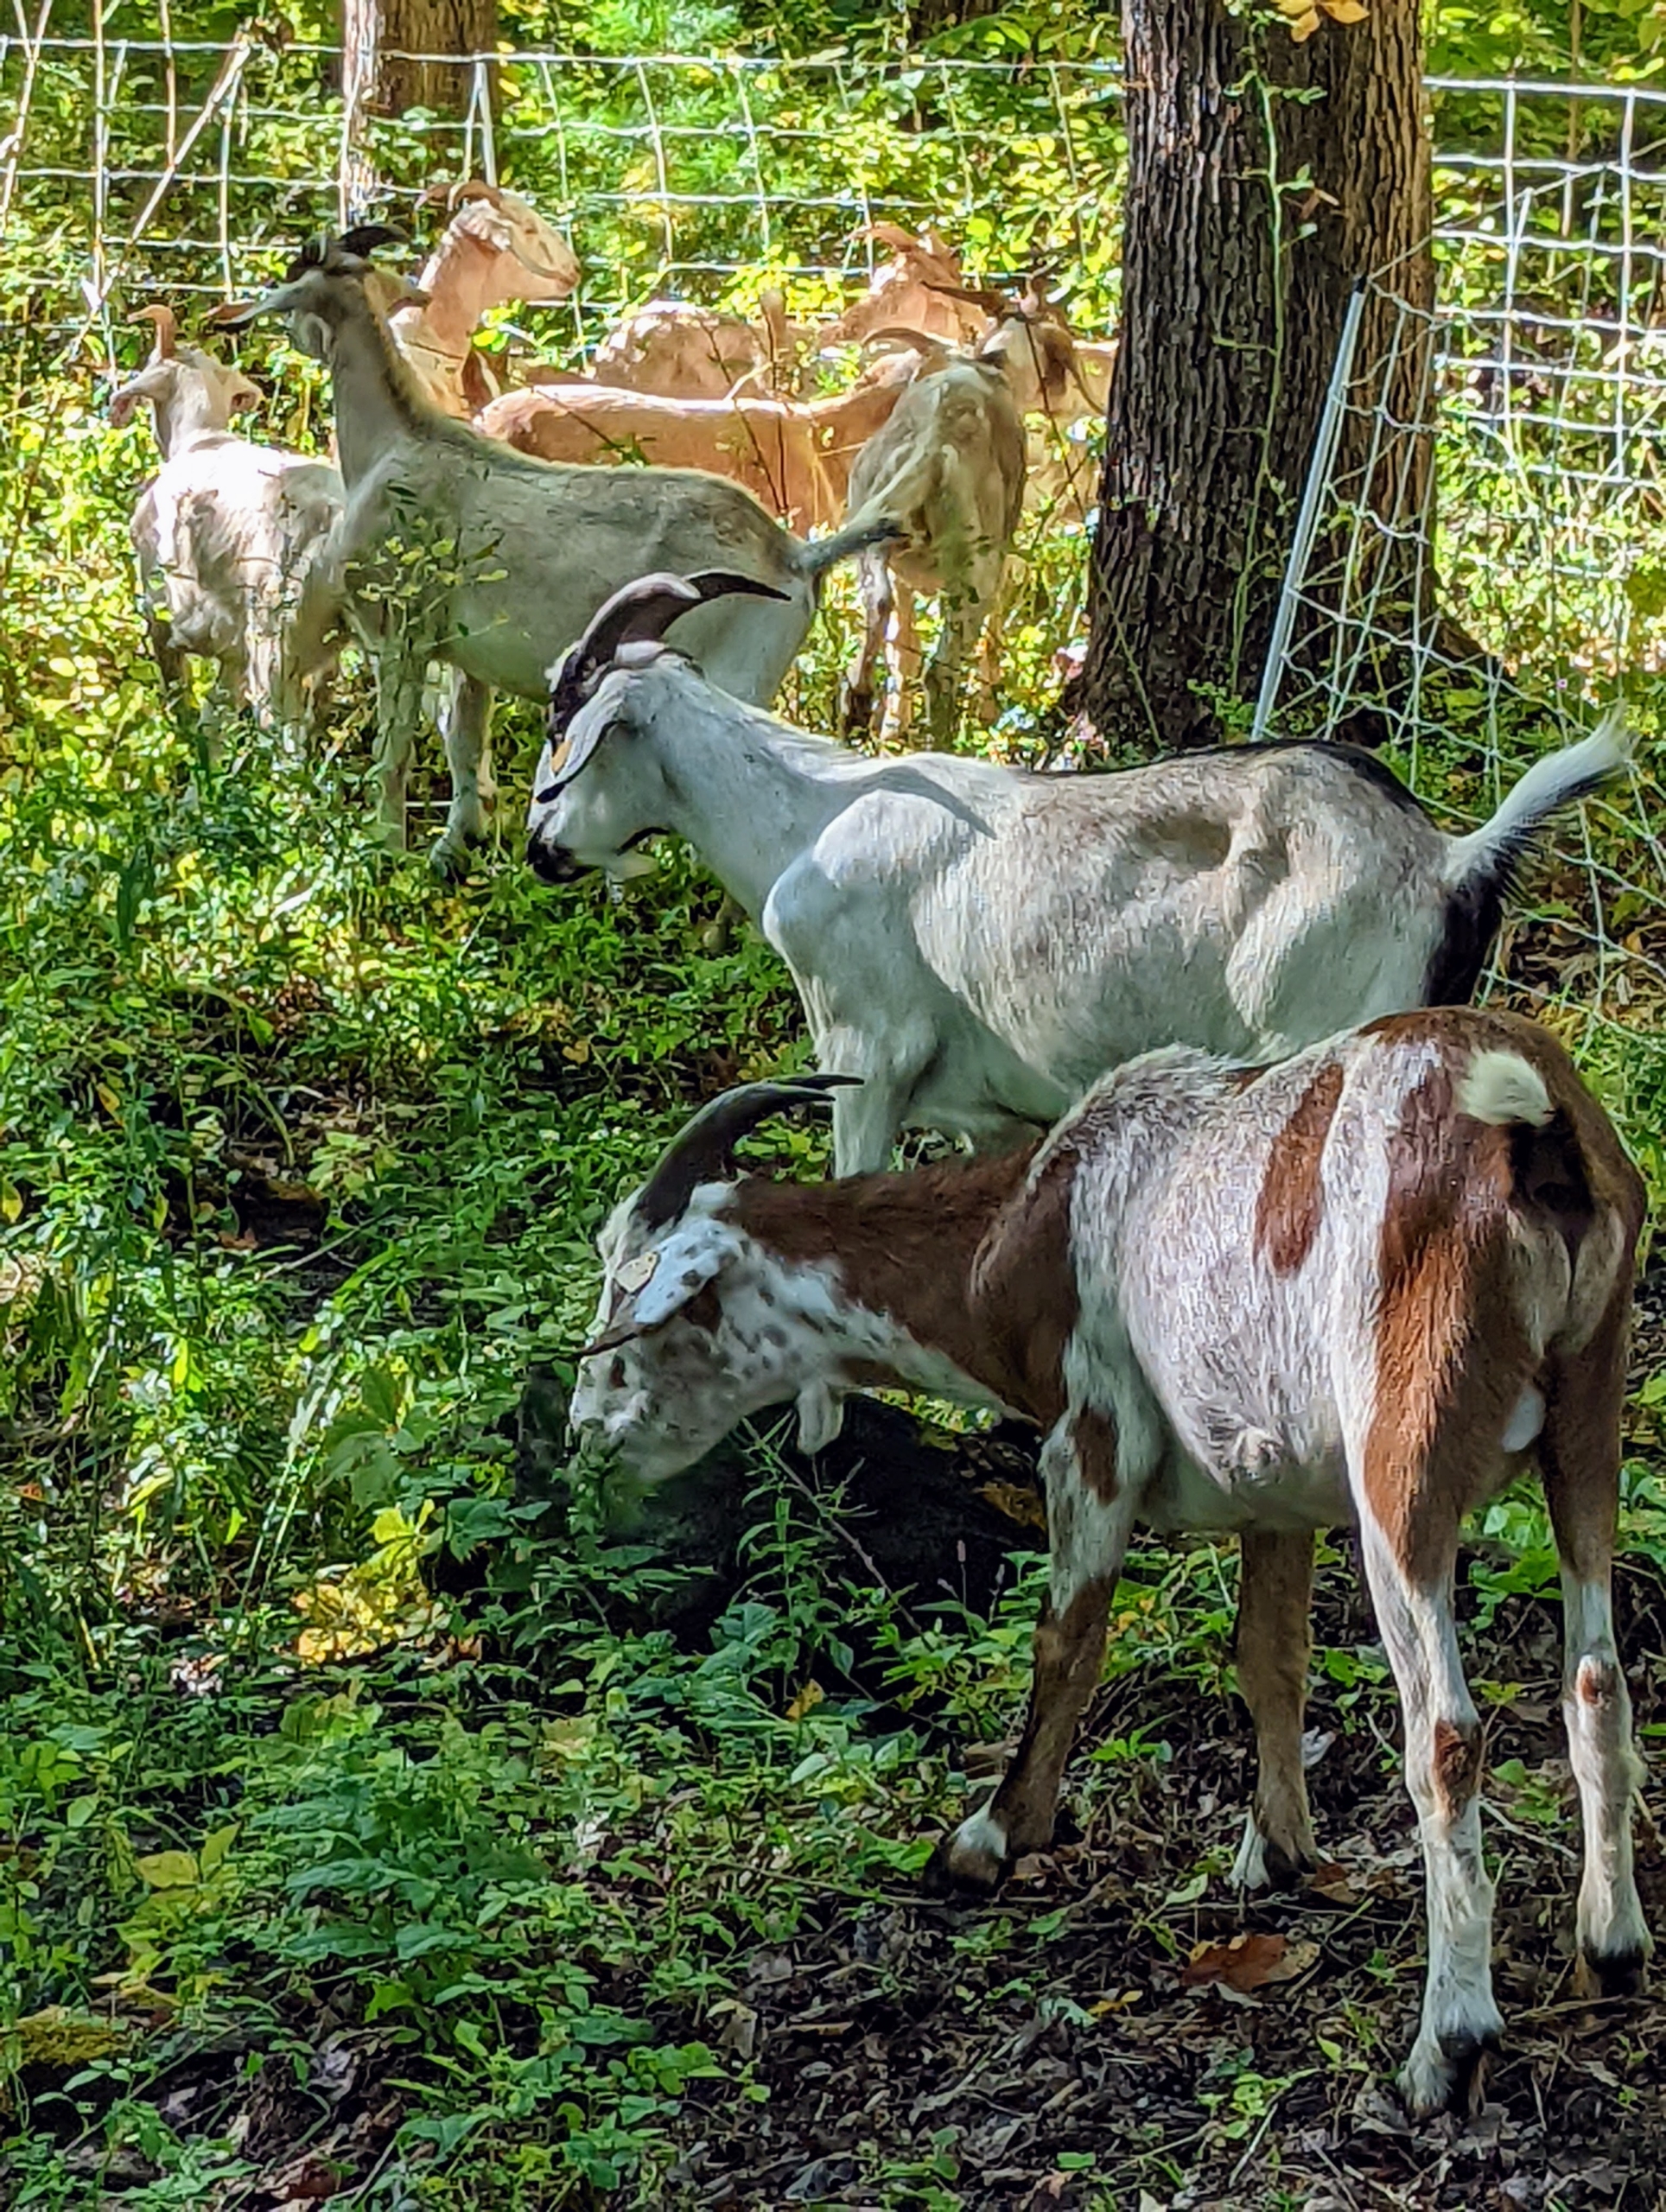
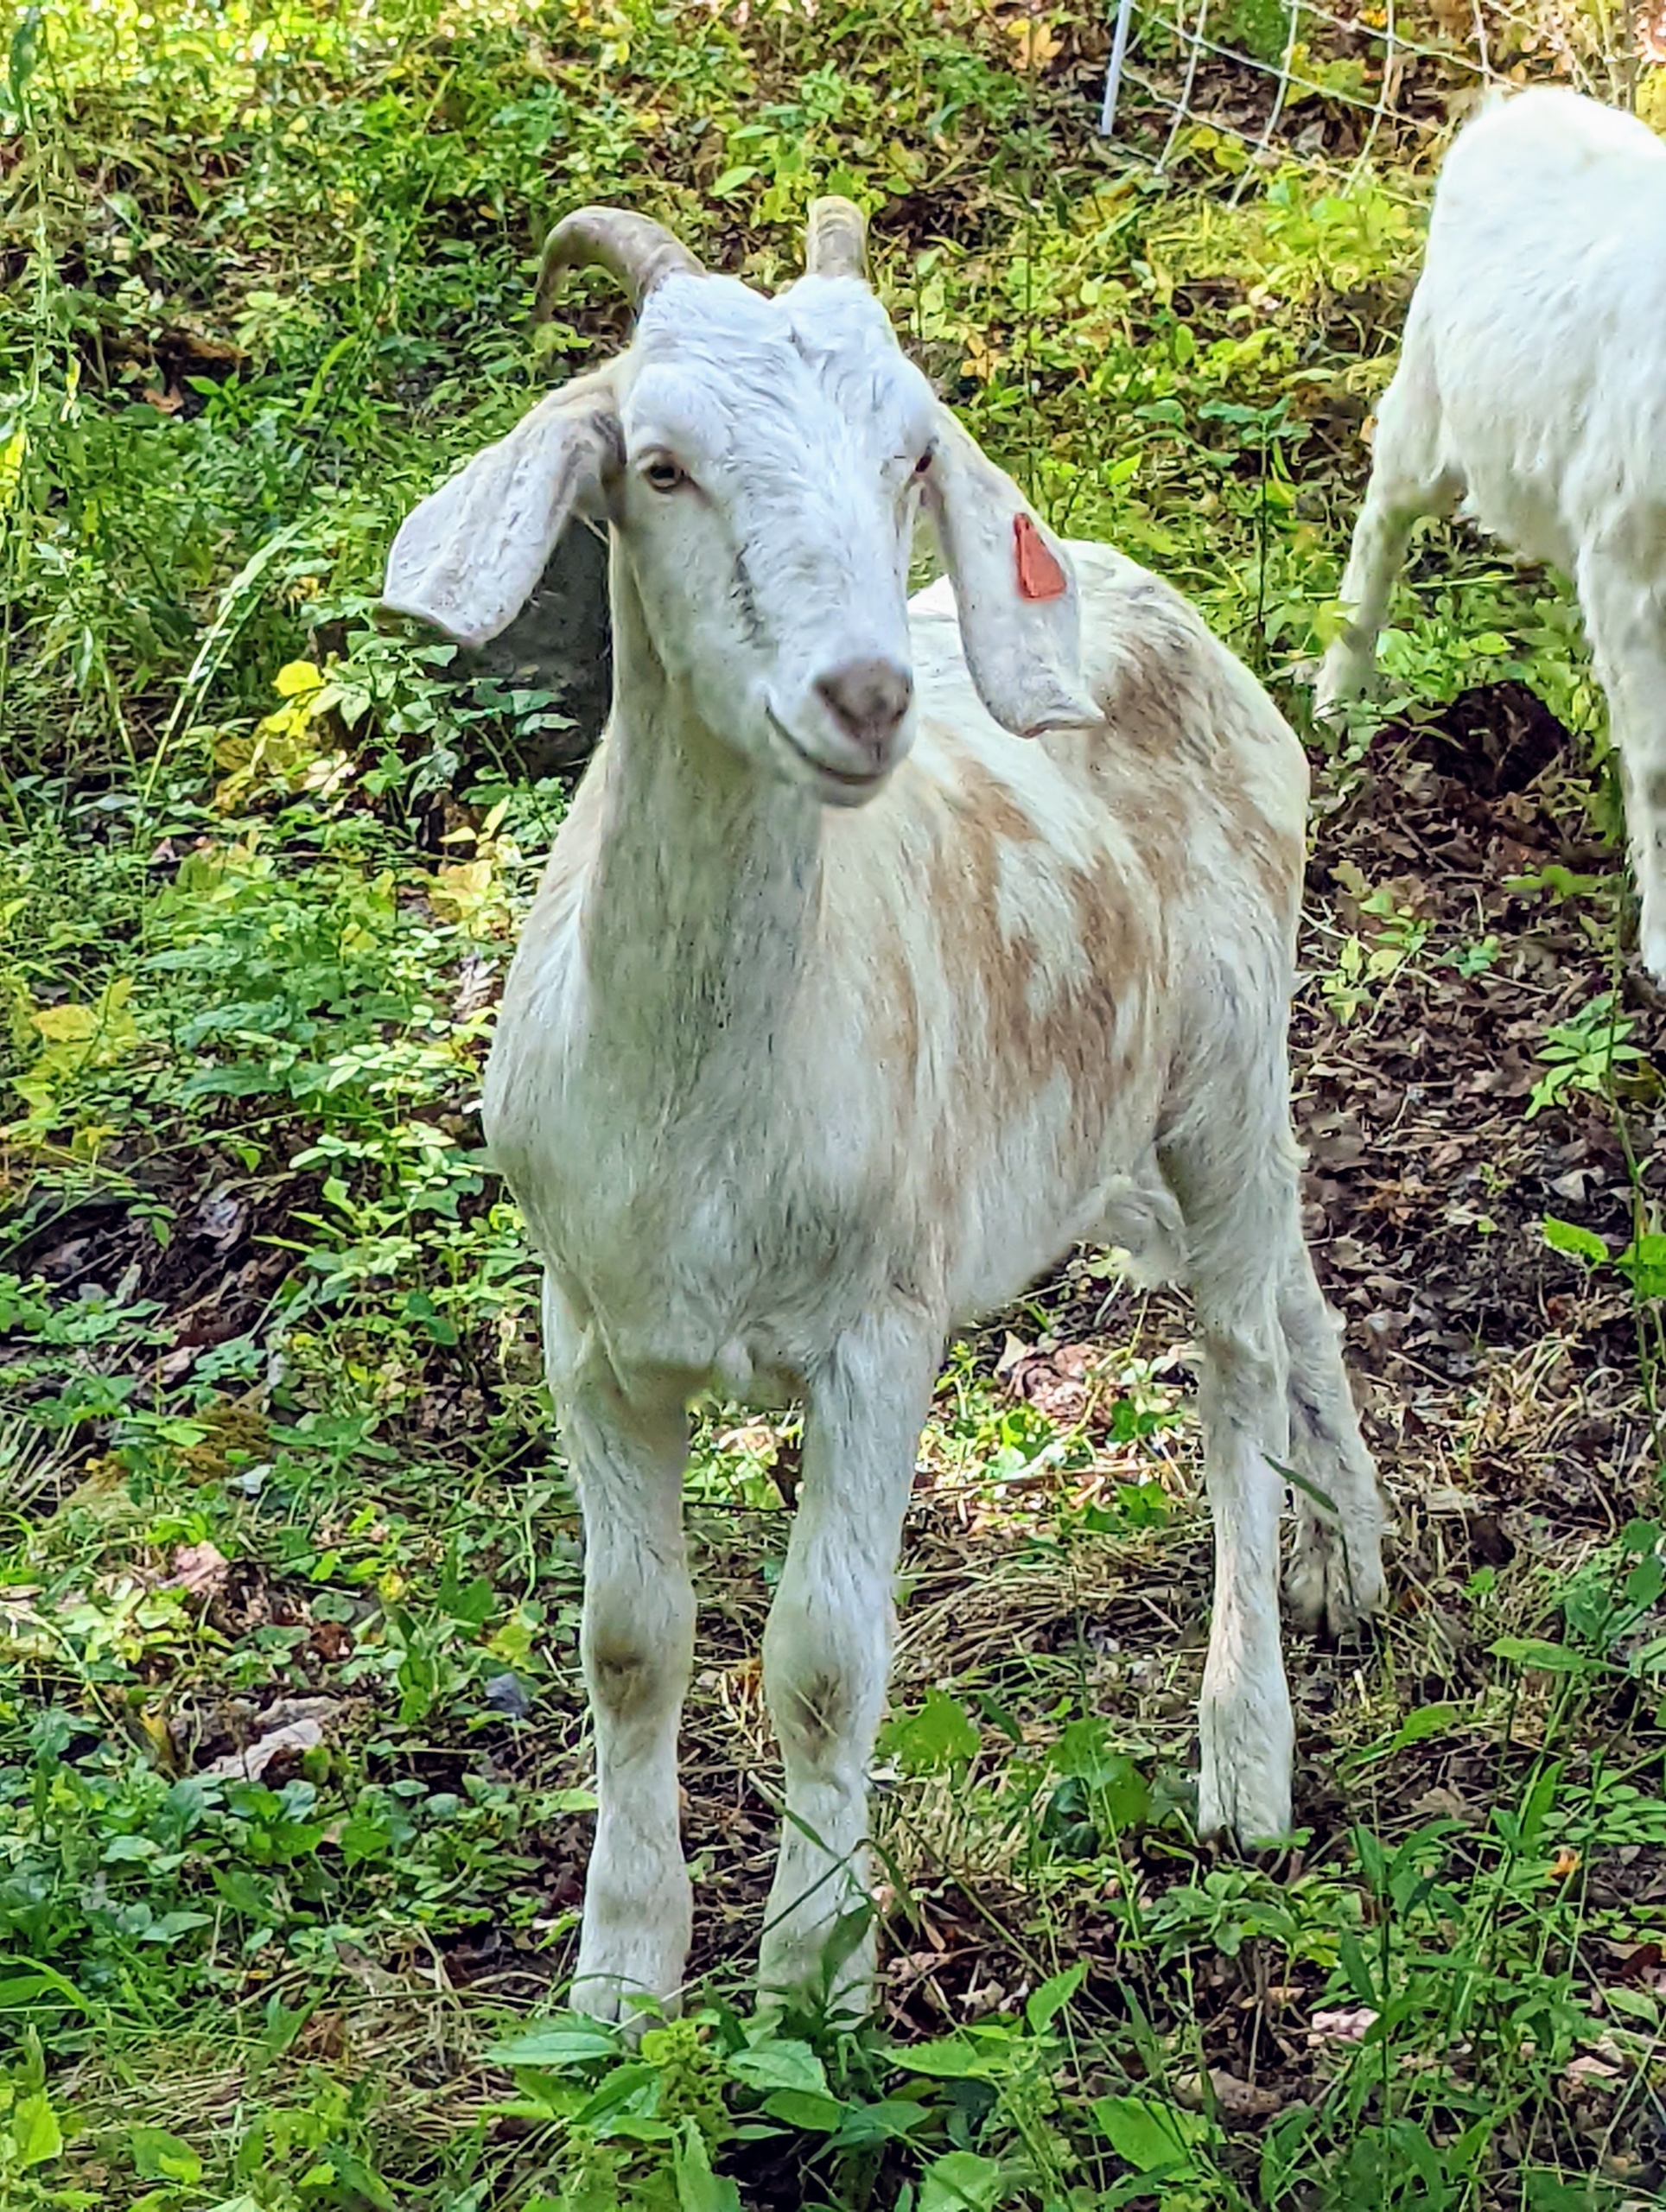
Recently, a herd of goats from Fat & Sassy Goats, owned and operated by Jenn Balch and Donald Arrant, visited my Bedford, New York farm to forage through a small patch of woodland - naturally clearing the area of invasive plants and unruly weeds. From their trailer, the young Kiko goats trotted straight into the temporarily fenced in space and went to work - eradicating lots of the unwanted underbrush and fertilizing the soil with manure. Goats can forage on flat land, hillsides, steep slopes, and hard-to-access terrain. It was amazing to see what they could do in such a short time.
Enjoy these photos. You can also learn more about Fat & Sassy Goats on my new show, "Martha Gardens," on Roku. In this series, I'll share what it takes to keep up with more than 150 acres of gardens, pastures, and woodlands. "Martha Gardens" premieres tomorrow, Friday, October 14th, and in the first episode, I'll show you my new living maze and how I selected and planted the first specimens for this giant and fun project.
This area is just off the carriage road leading through the hayfields and back toward my woodlands. We selected this patch because of the vegetation and its accessibility to the road. Everyone was so excited to meet the goats.
Fat and Sassy Goats covers the Westchester, New York area. Owners Jenn and Don are professional goat graziers who actively manage a herd of more than 75-goats to reduce undesirable vegetation. Before the goats were released, Jenn and Don put up a temporary fence to keep the goats enclosed and safe.
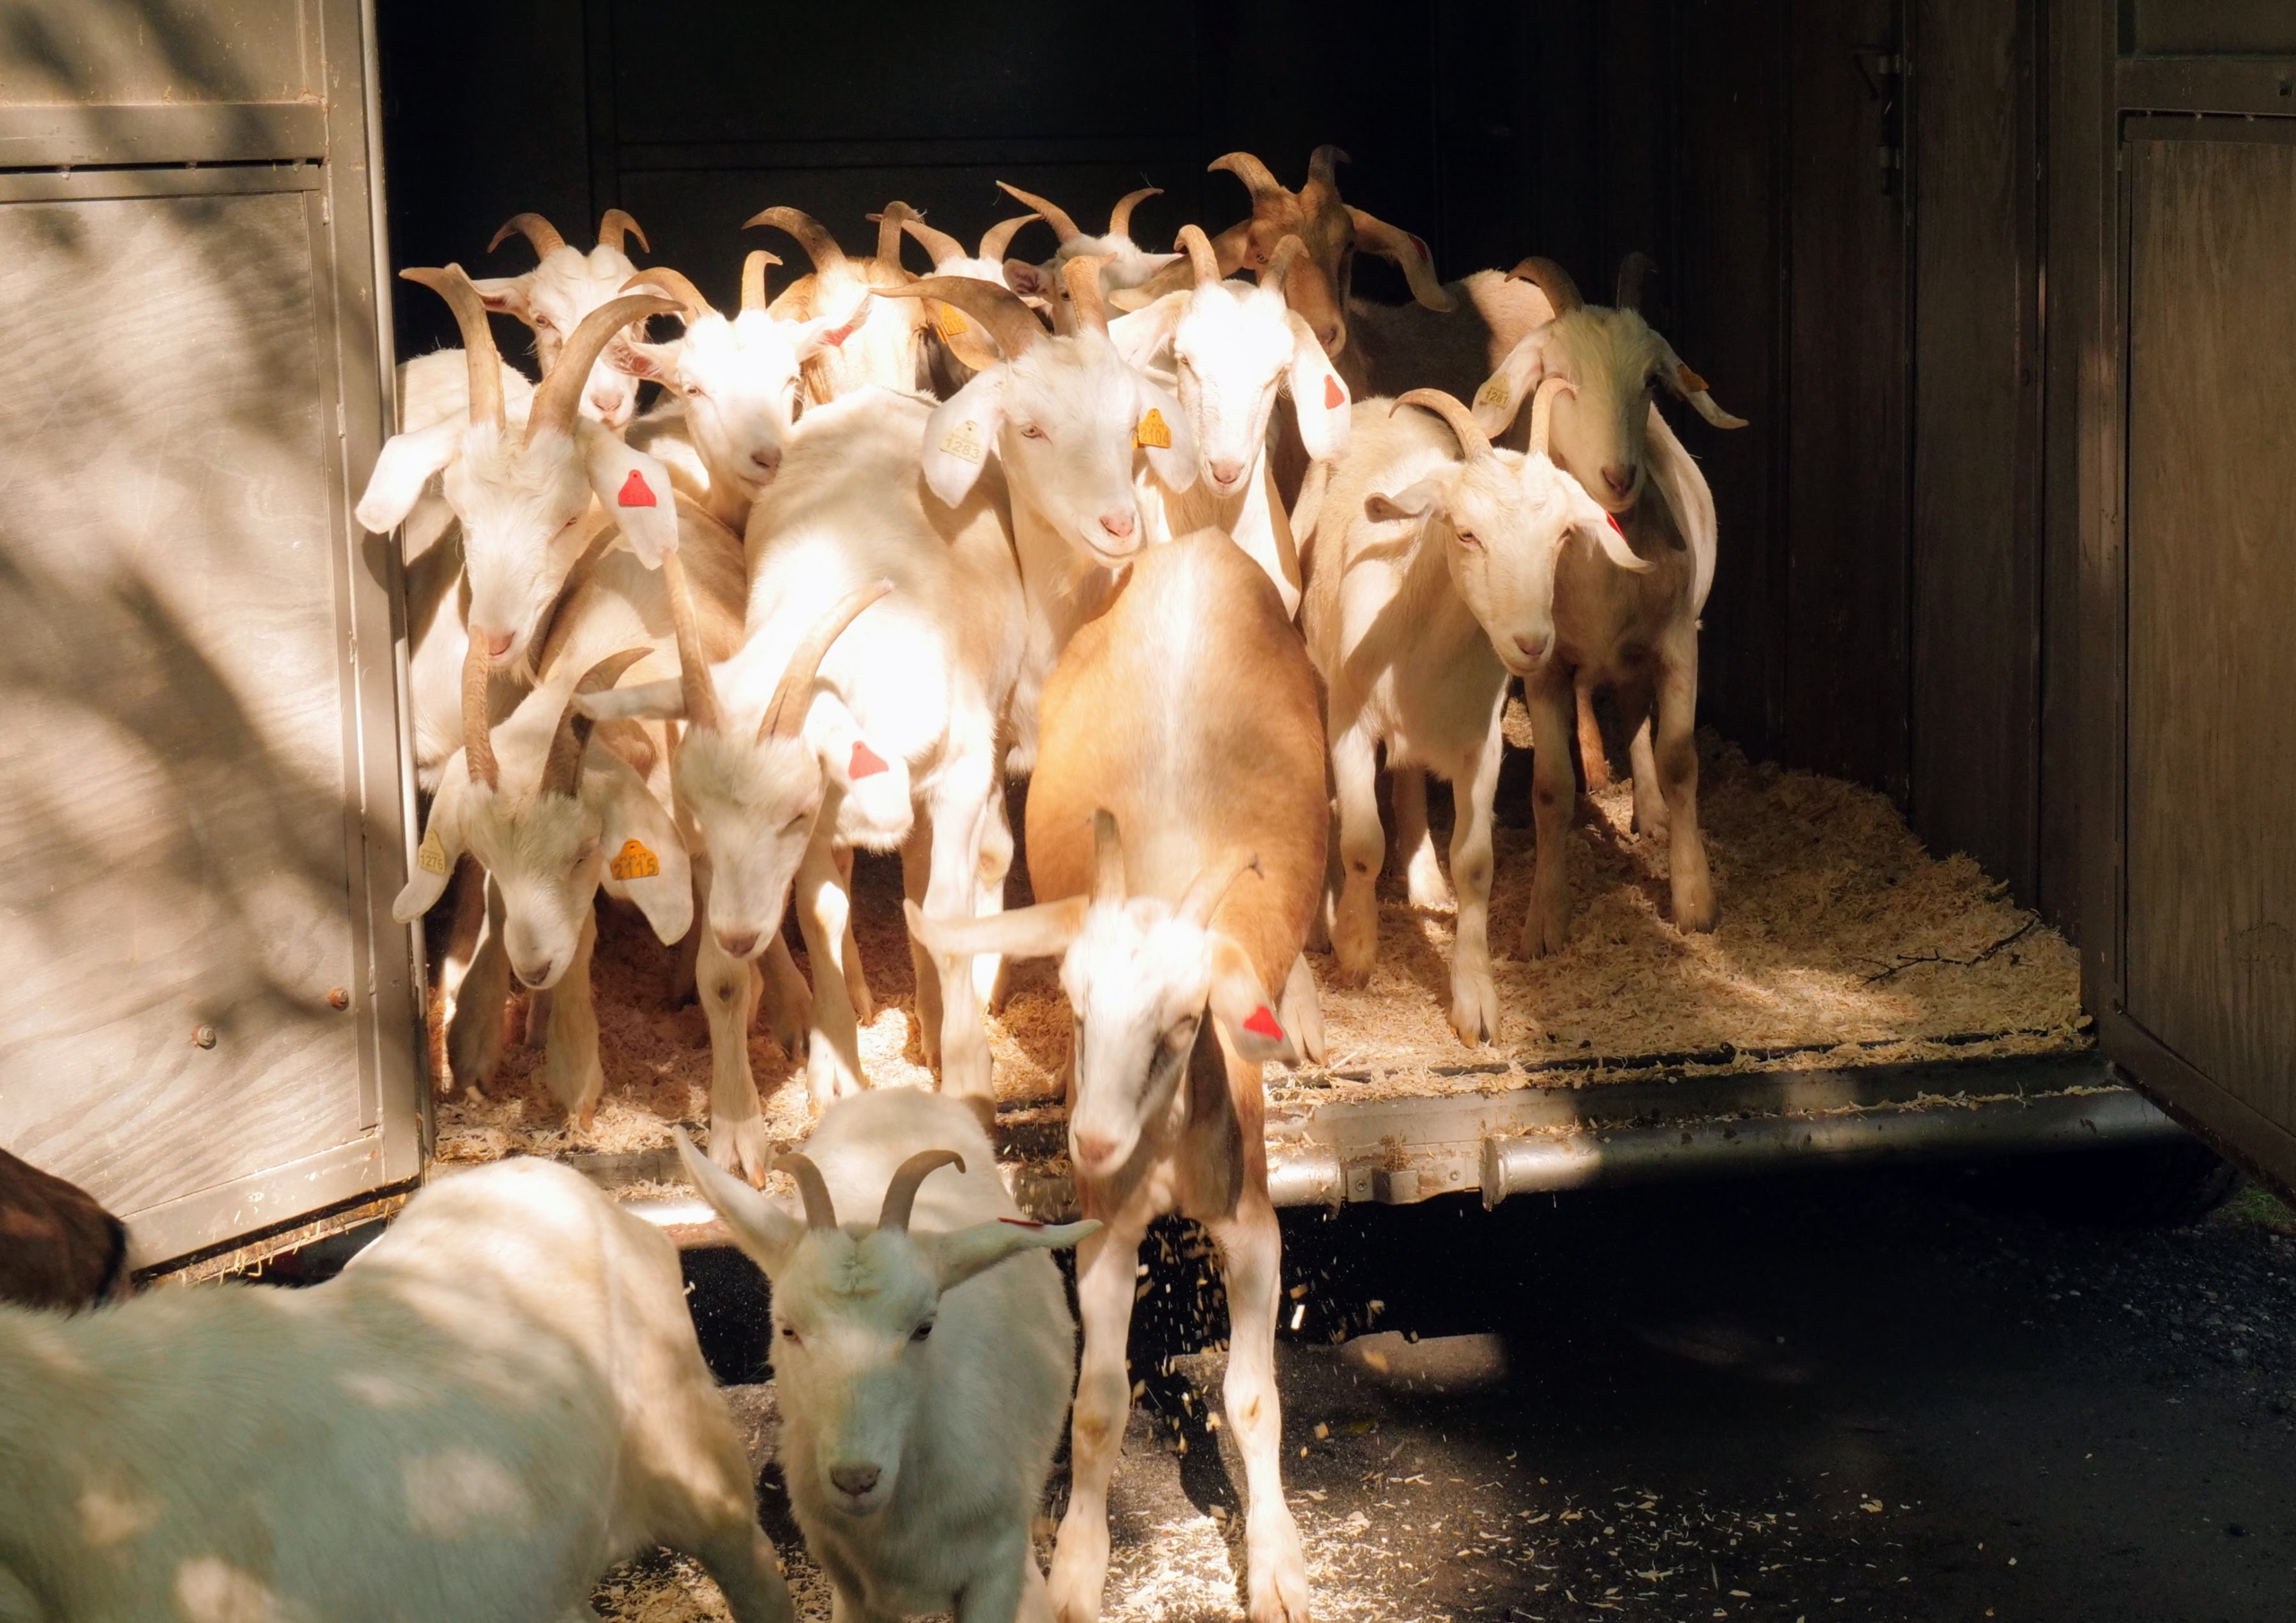
Once I opened the trailer door, they all came out running – 23 Kiko goats from New Zealand, known for their aggressive foraging skills. (Photo by Marty Toub)
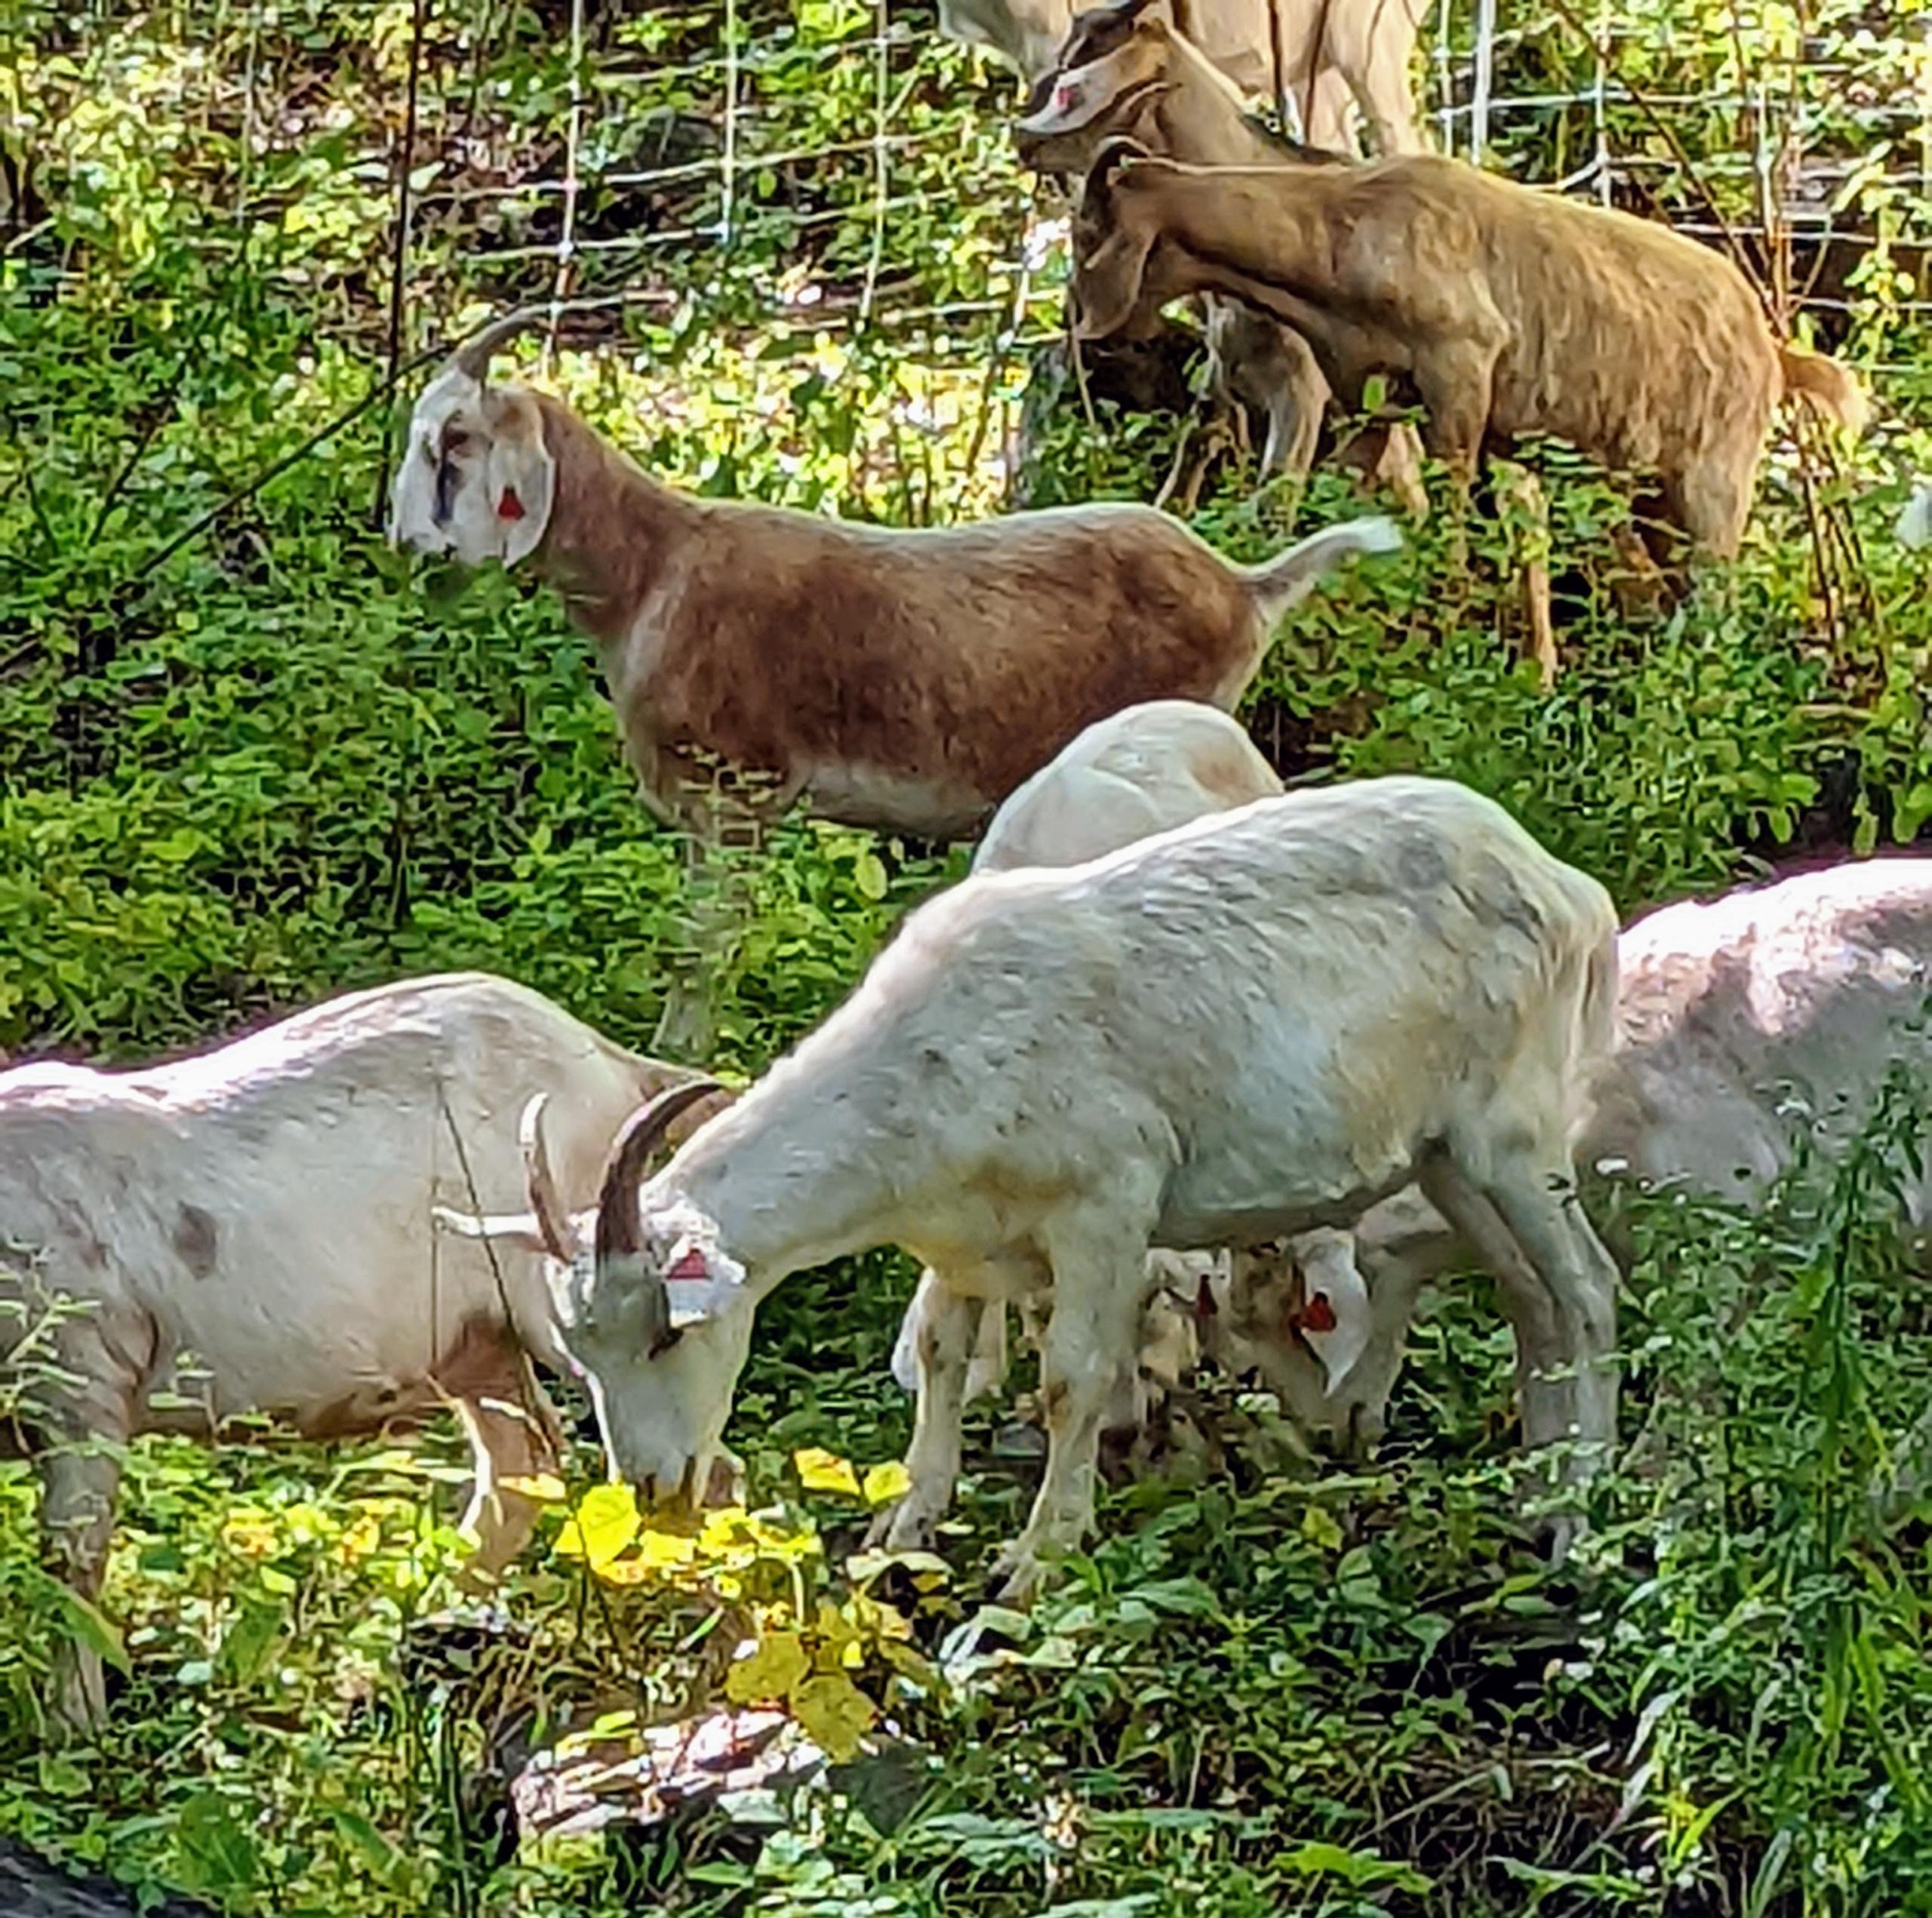
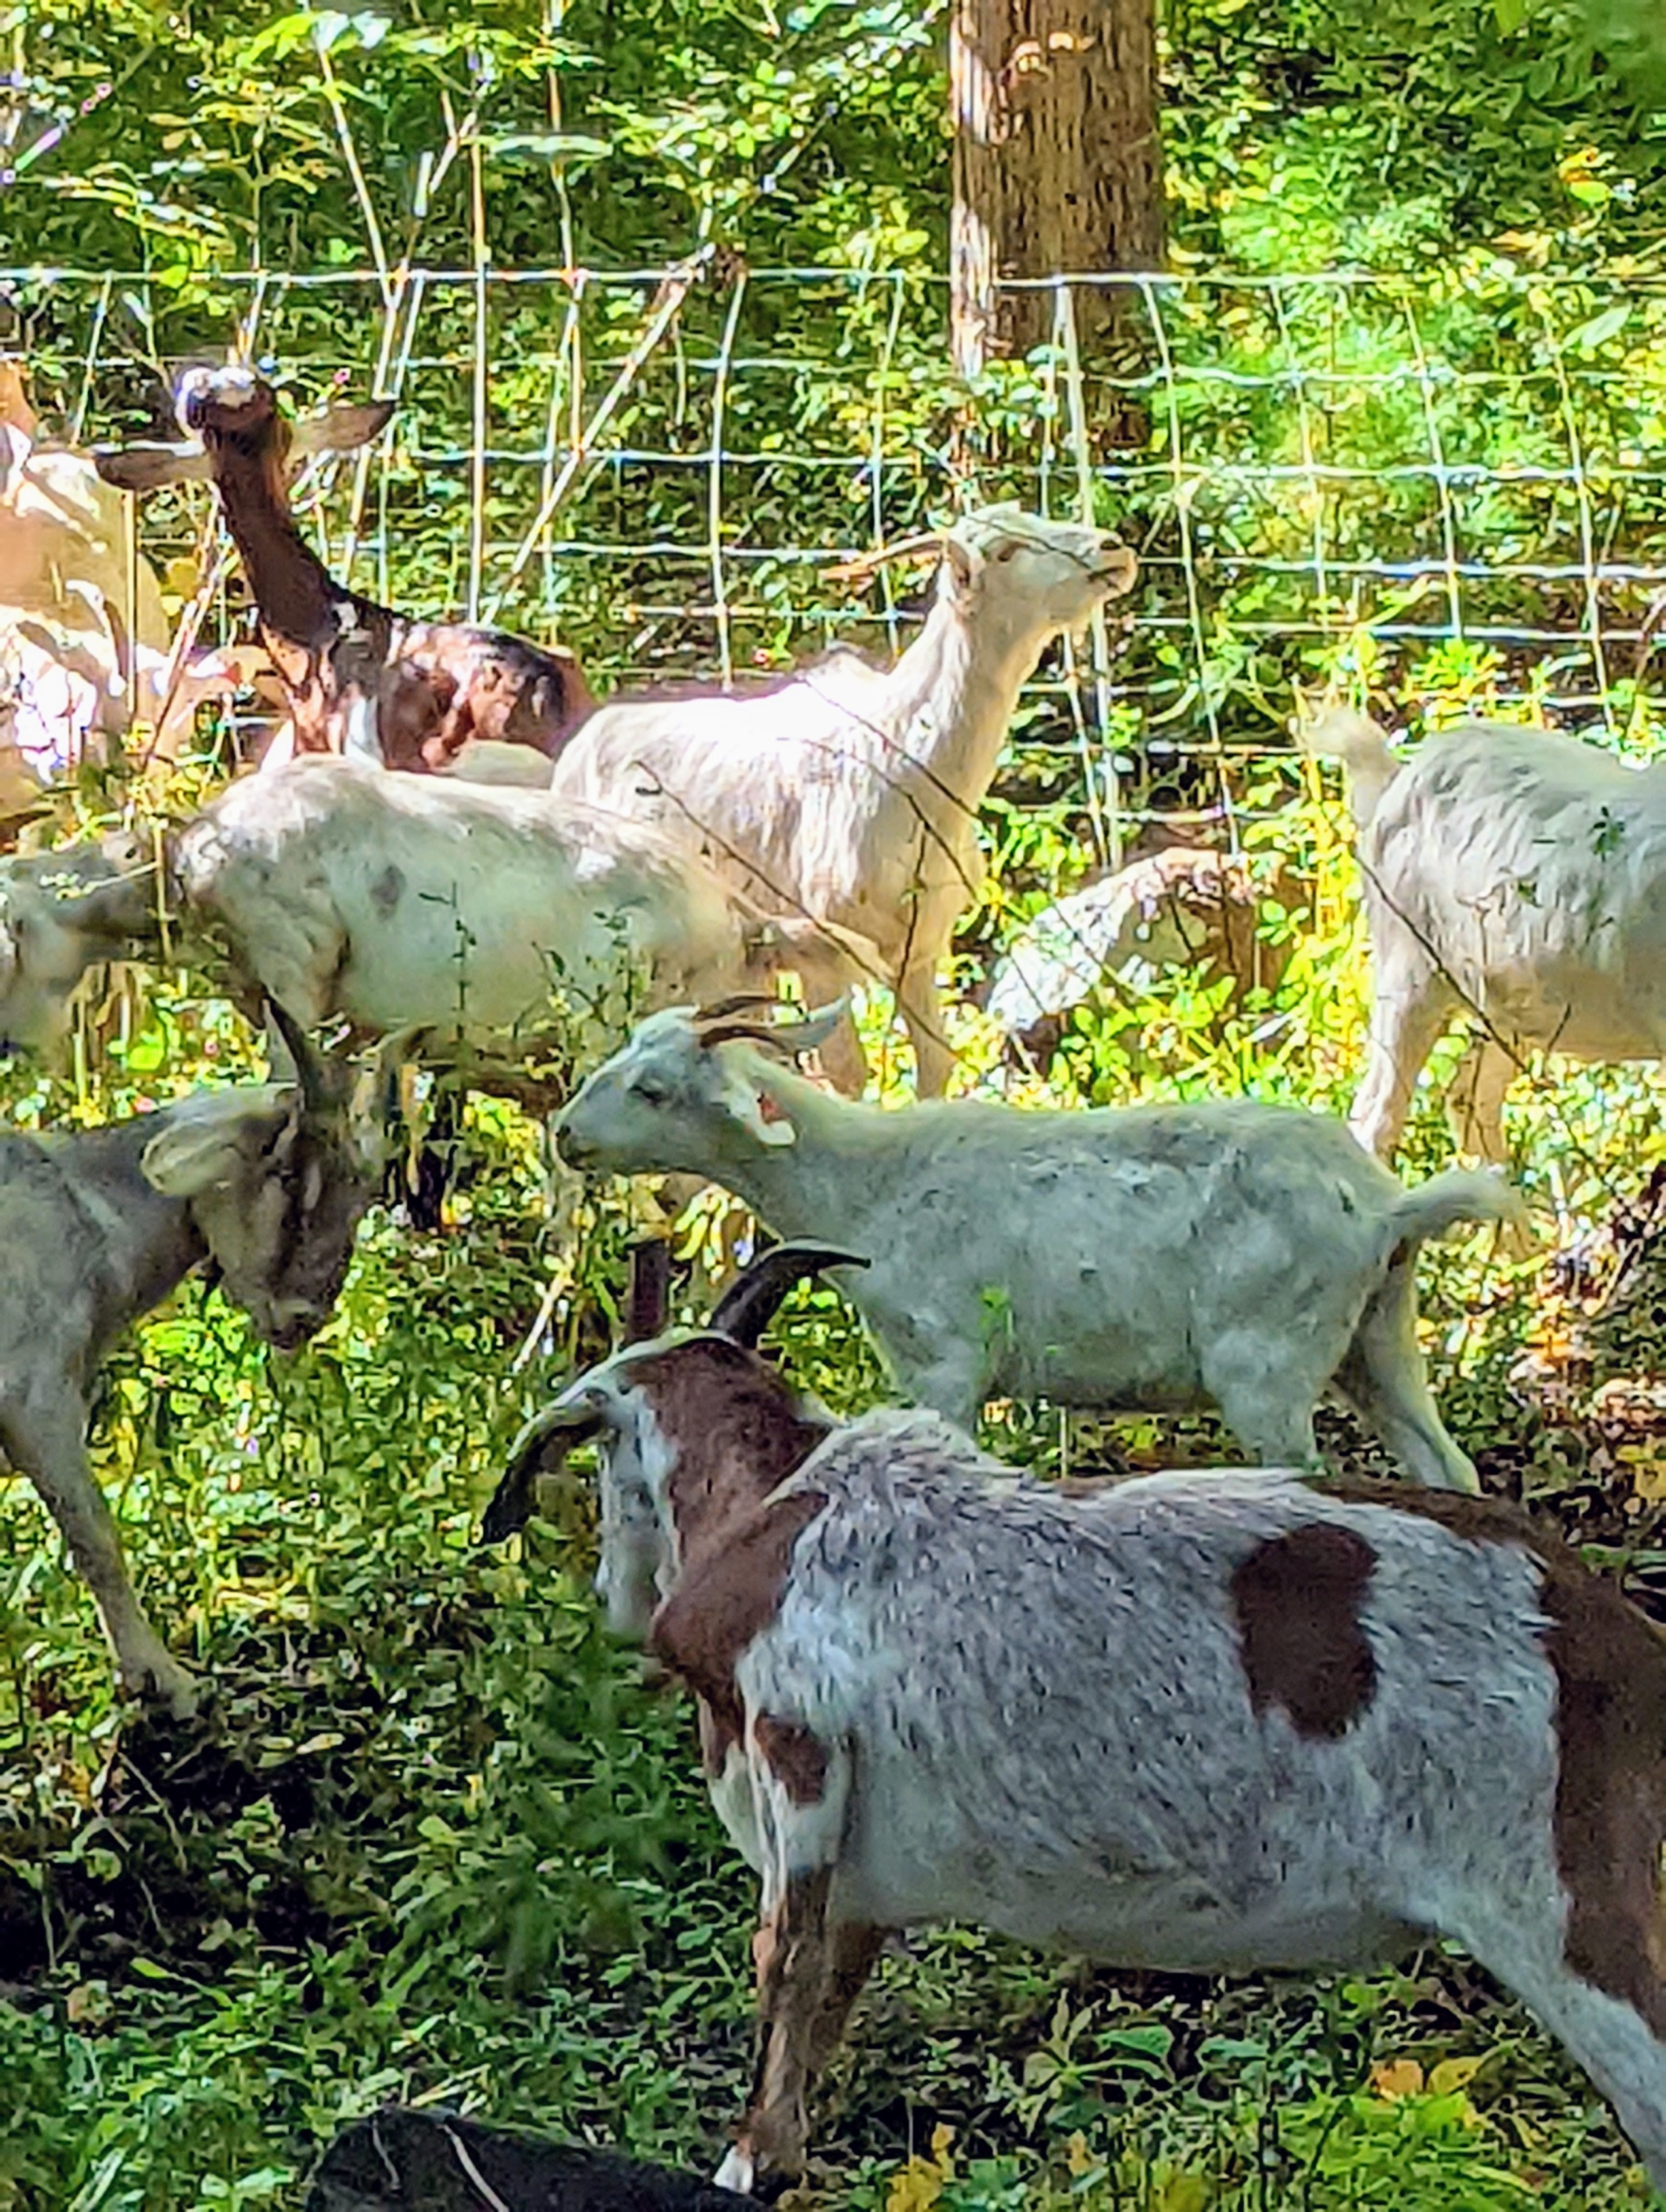
The goats went to work right away – eating brambles, weeds, and other unwanted plants.
10 goats can clear an acre of unwanted vegetation in 30 days. The process takes awhile, but it is done without the use of any chemicals. Plus, the animals fertilize the area, leaving good, natural manure behind.
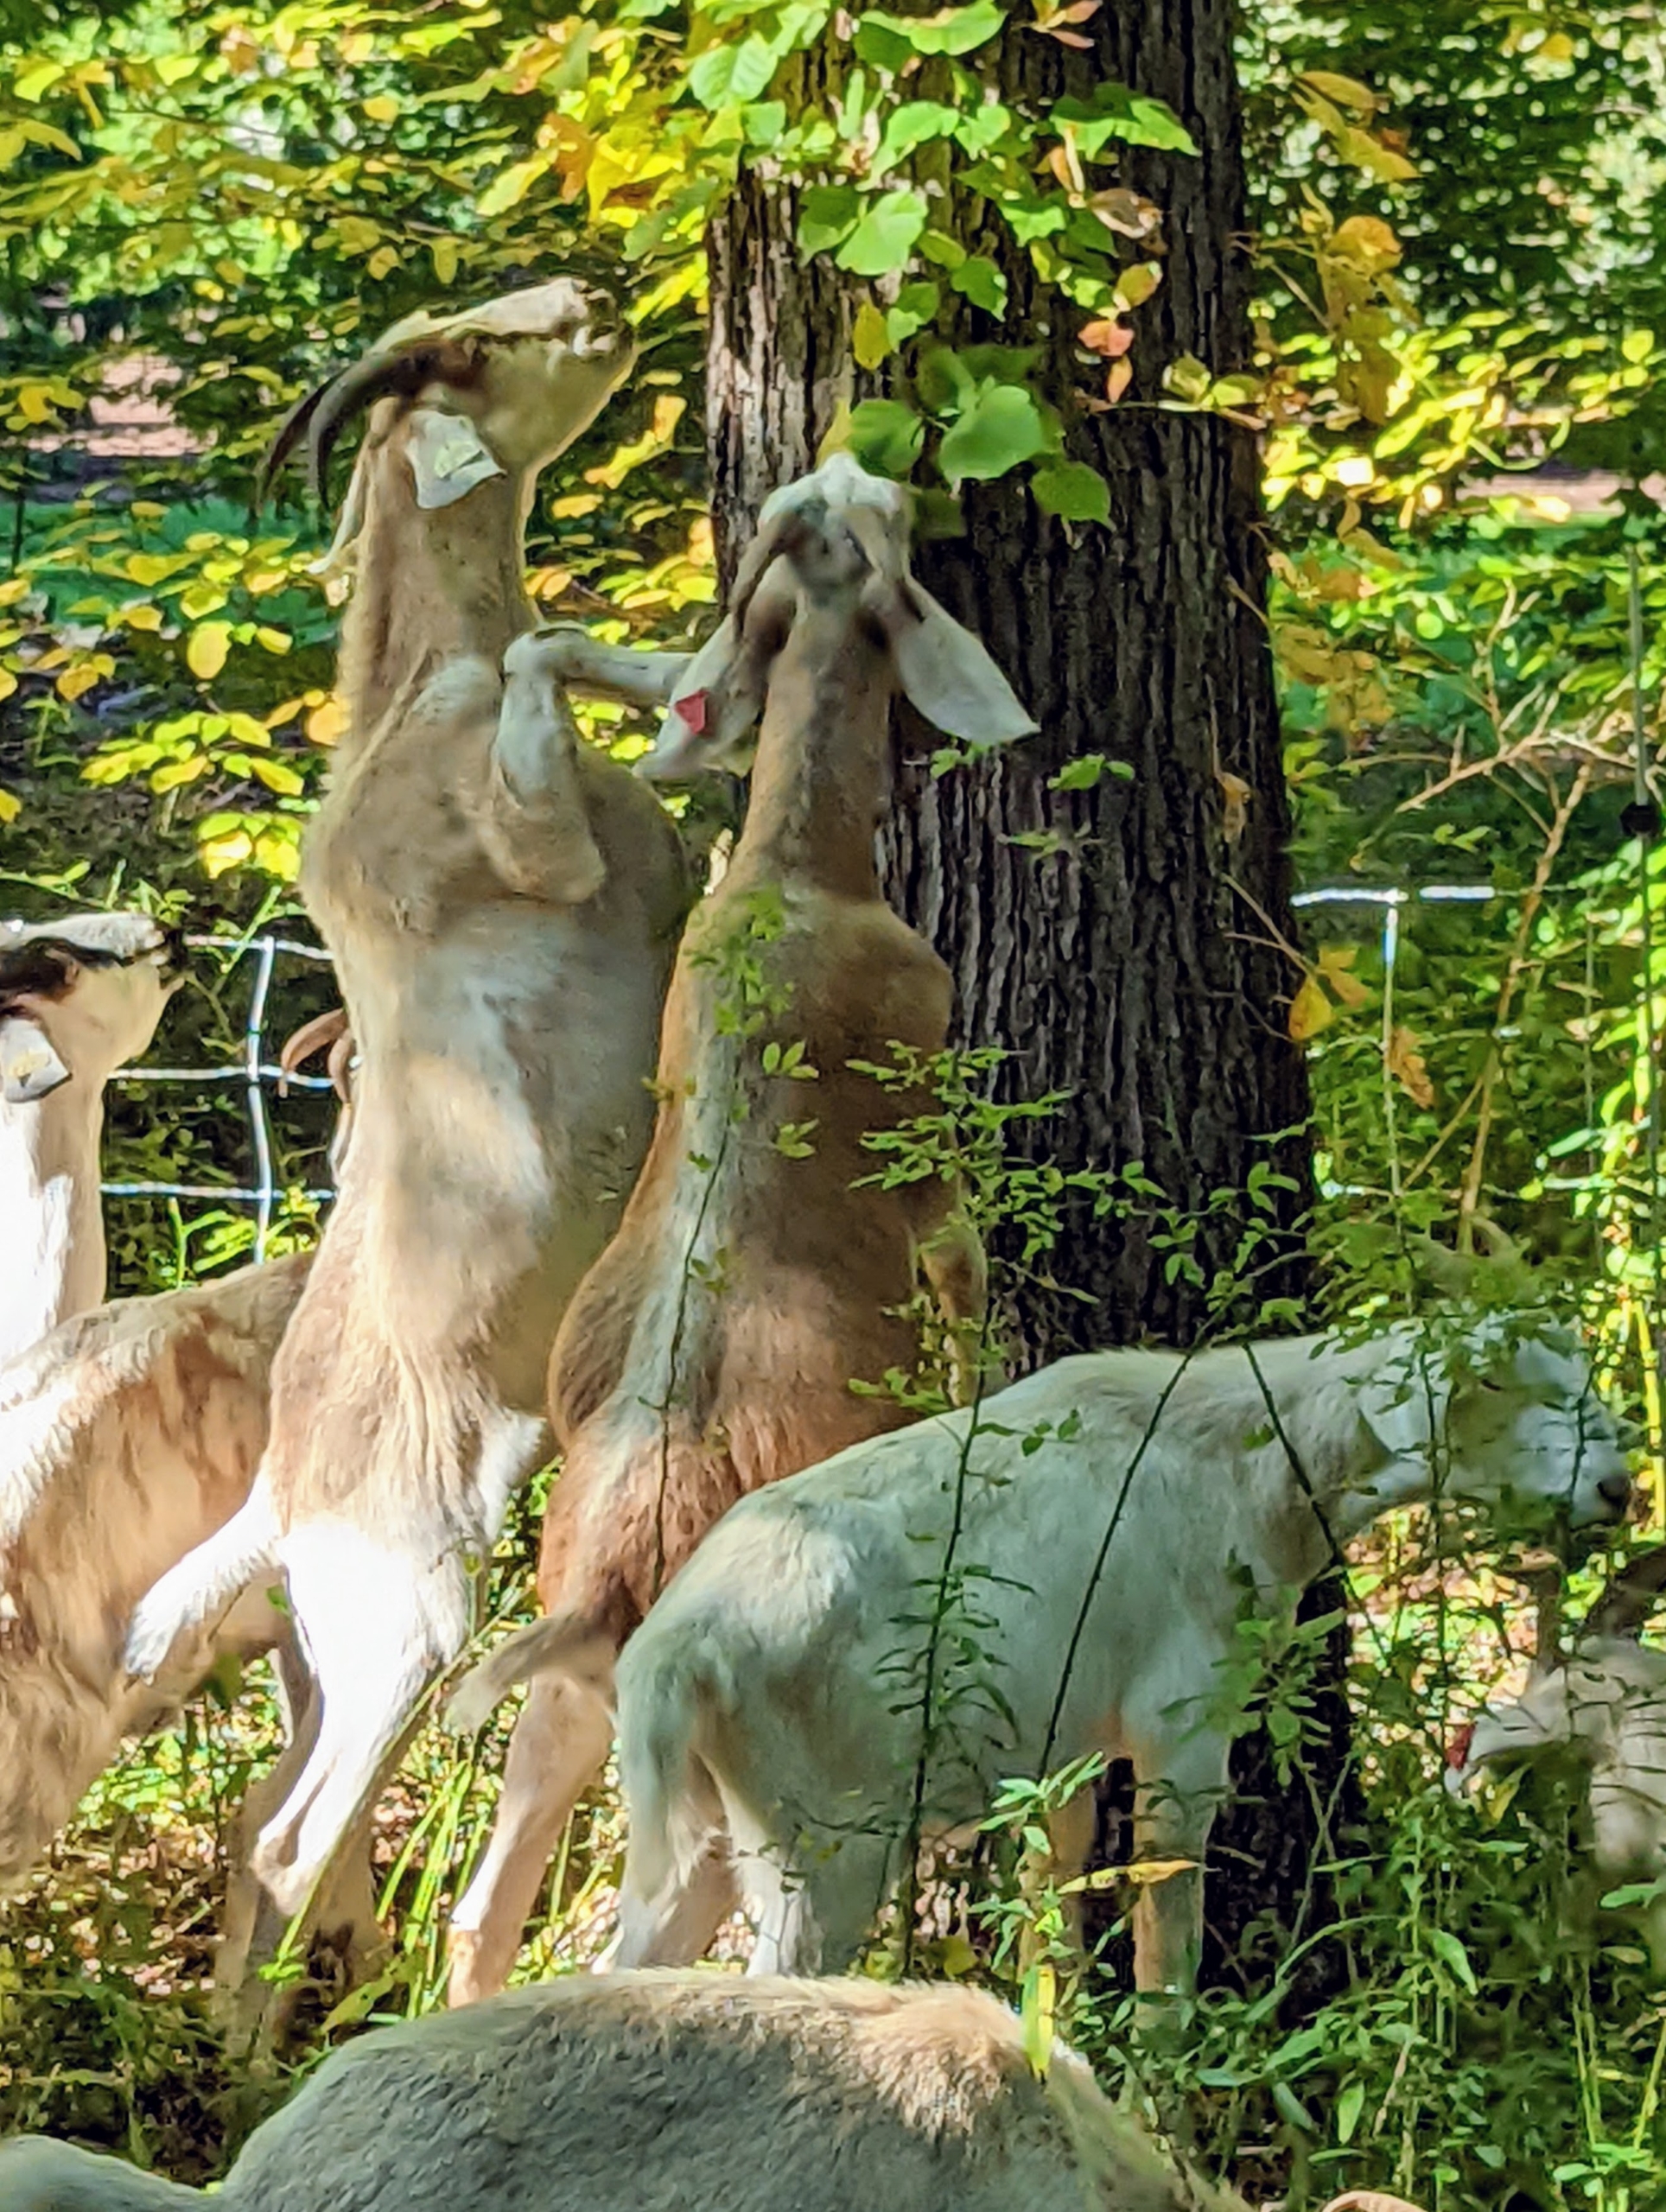
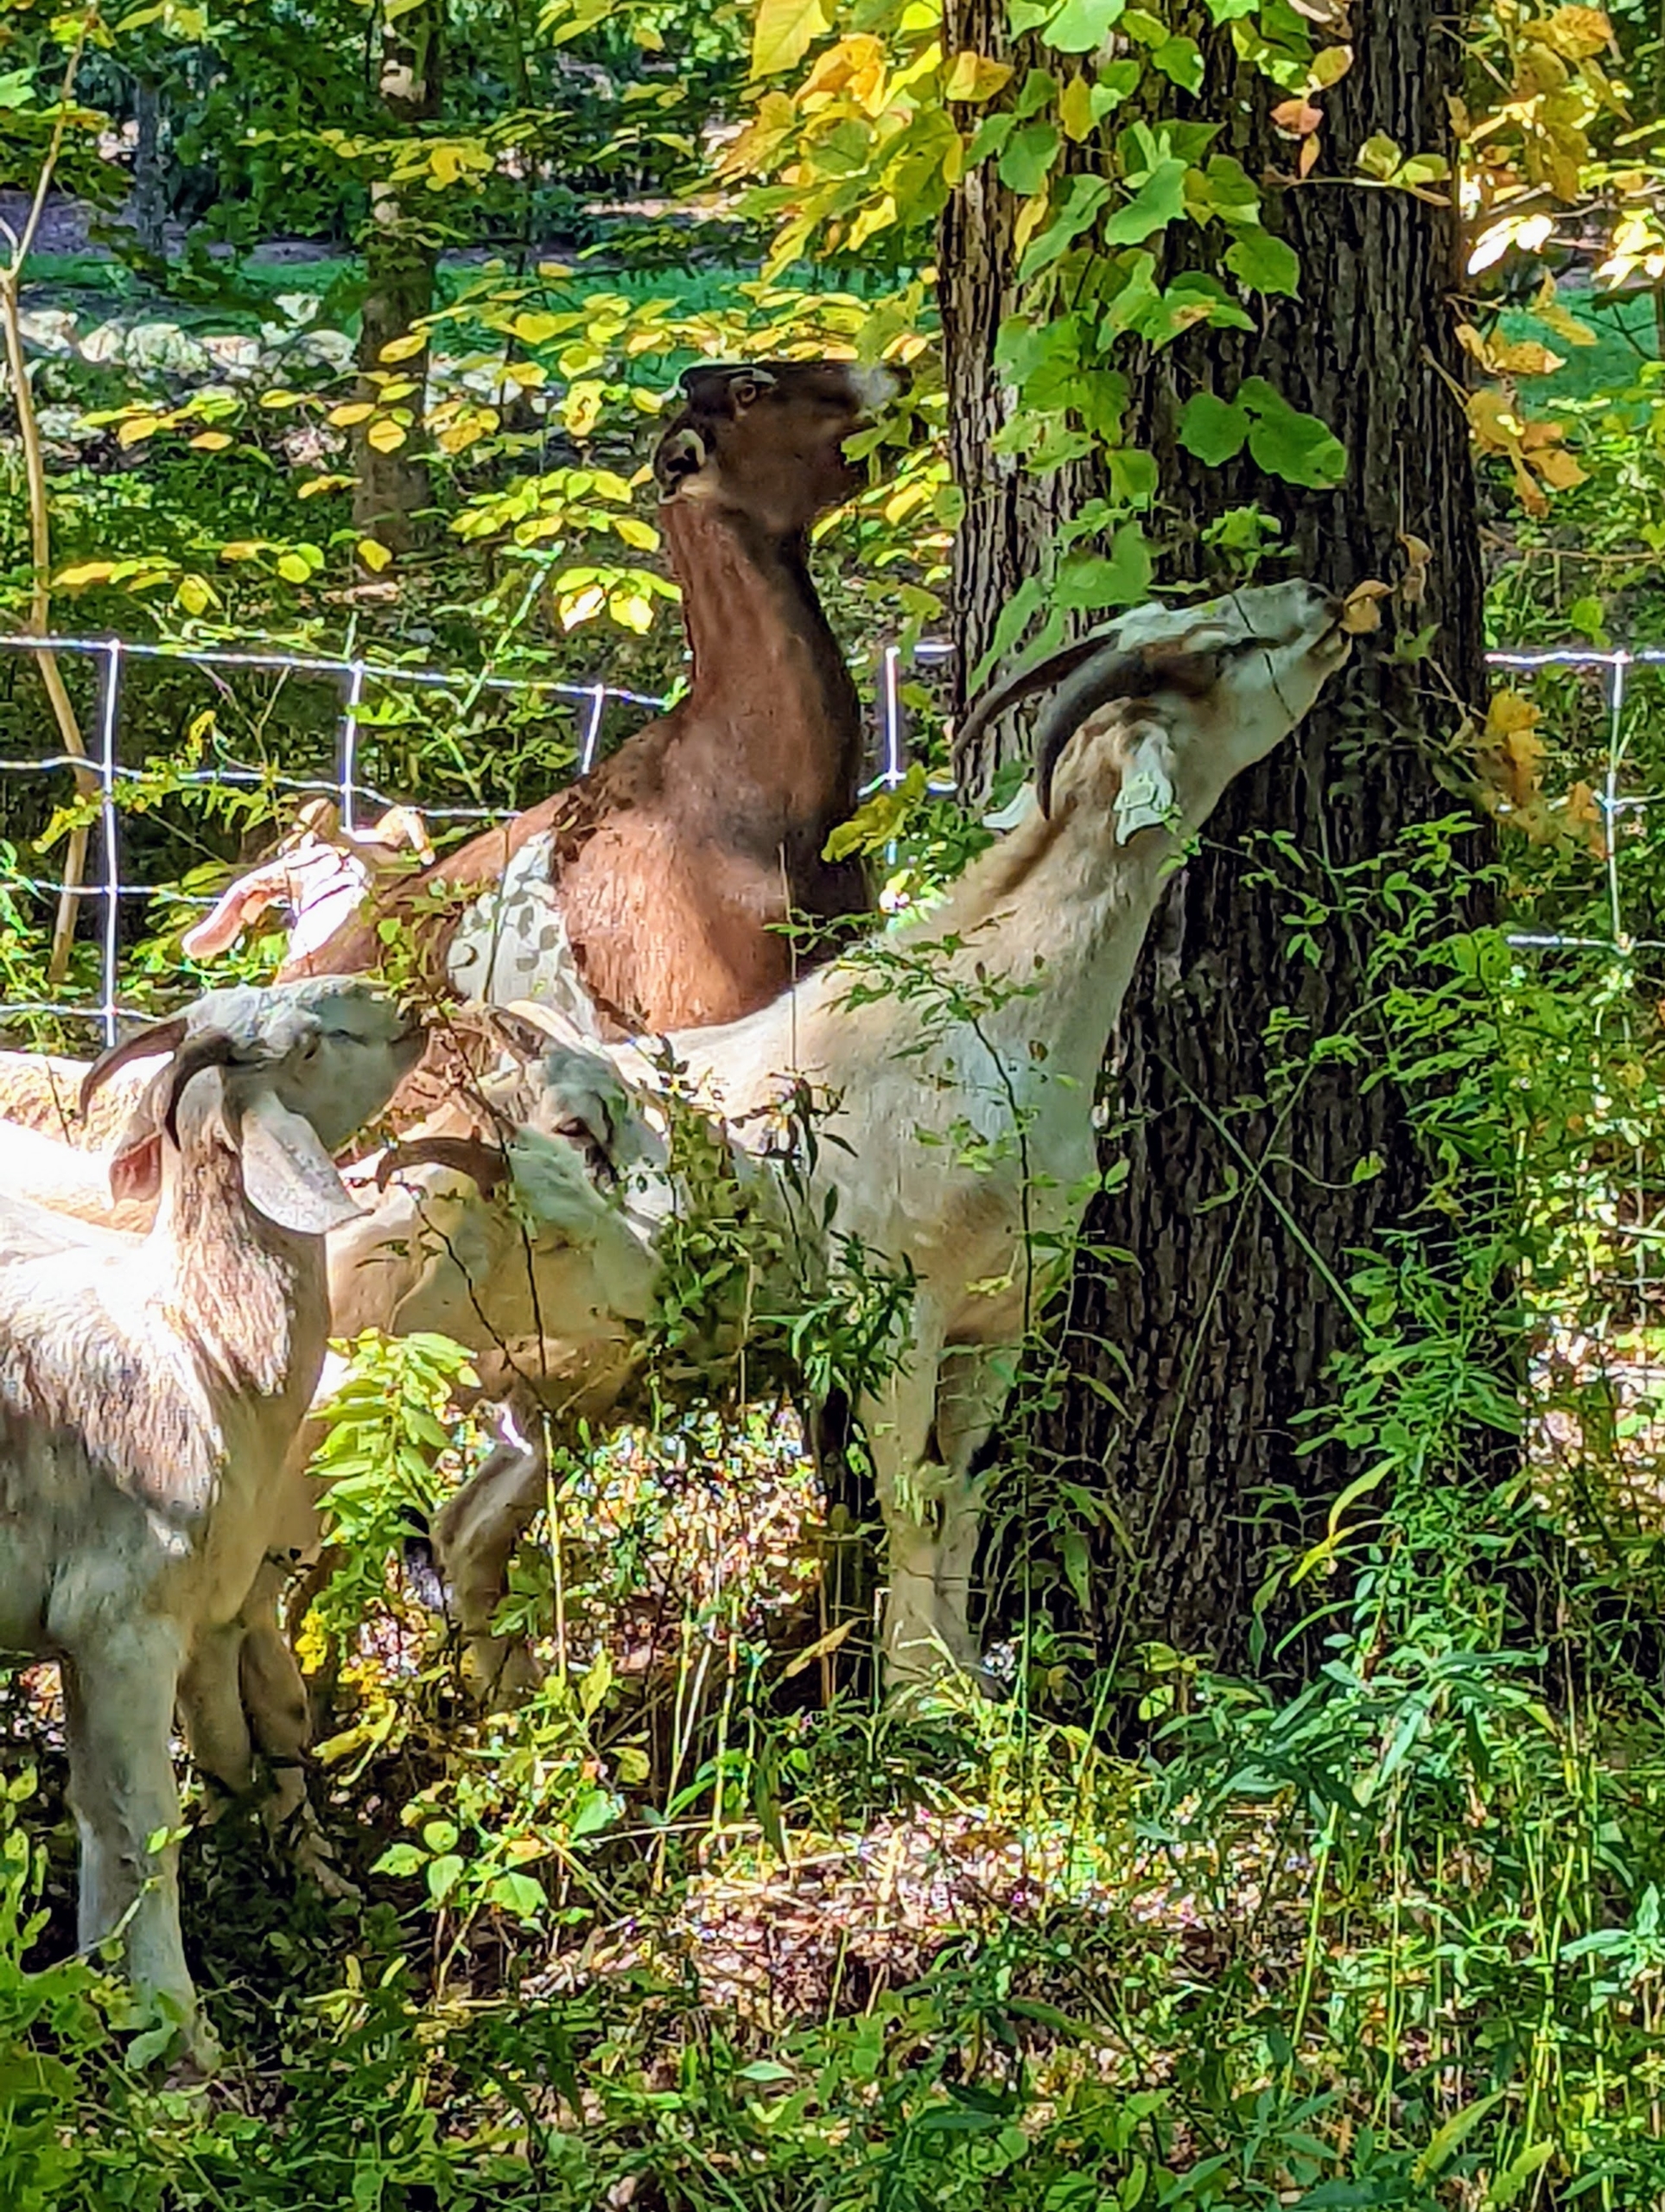
Goats are able to reach the weeds up on this tree. They actually enjoy the plants that are up high. They also like poison ivy, but beware, a human can still be affected by touching the fur of an animal that has touched poison ivy.
Jenn and Don also explained that the goats will choose what plants to eat when, sometimes saving their favorites for last.
Here are some goats working on the ground plants. And do you know what a group of goats is called? It’s known as a herd, a tribe, or a trip of goats.
Most of these goats are just over a year old. When working, they travel together in their same herd and are always protected from predators with a temporary fence.
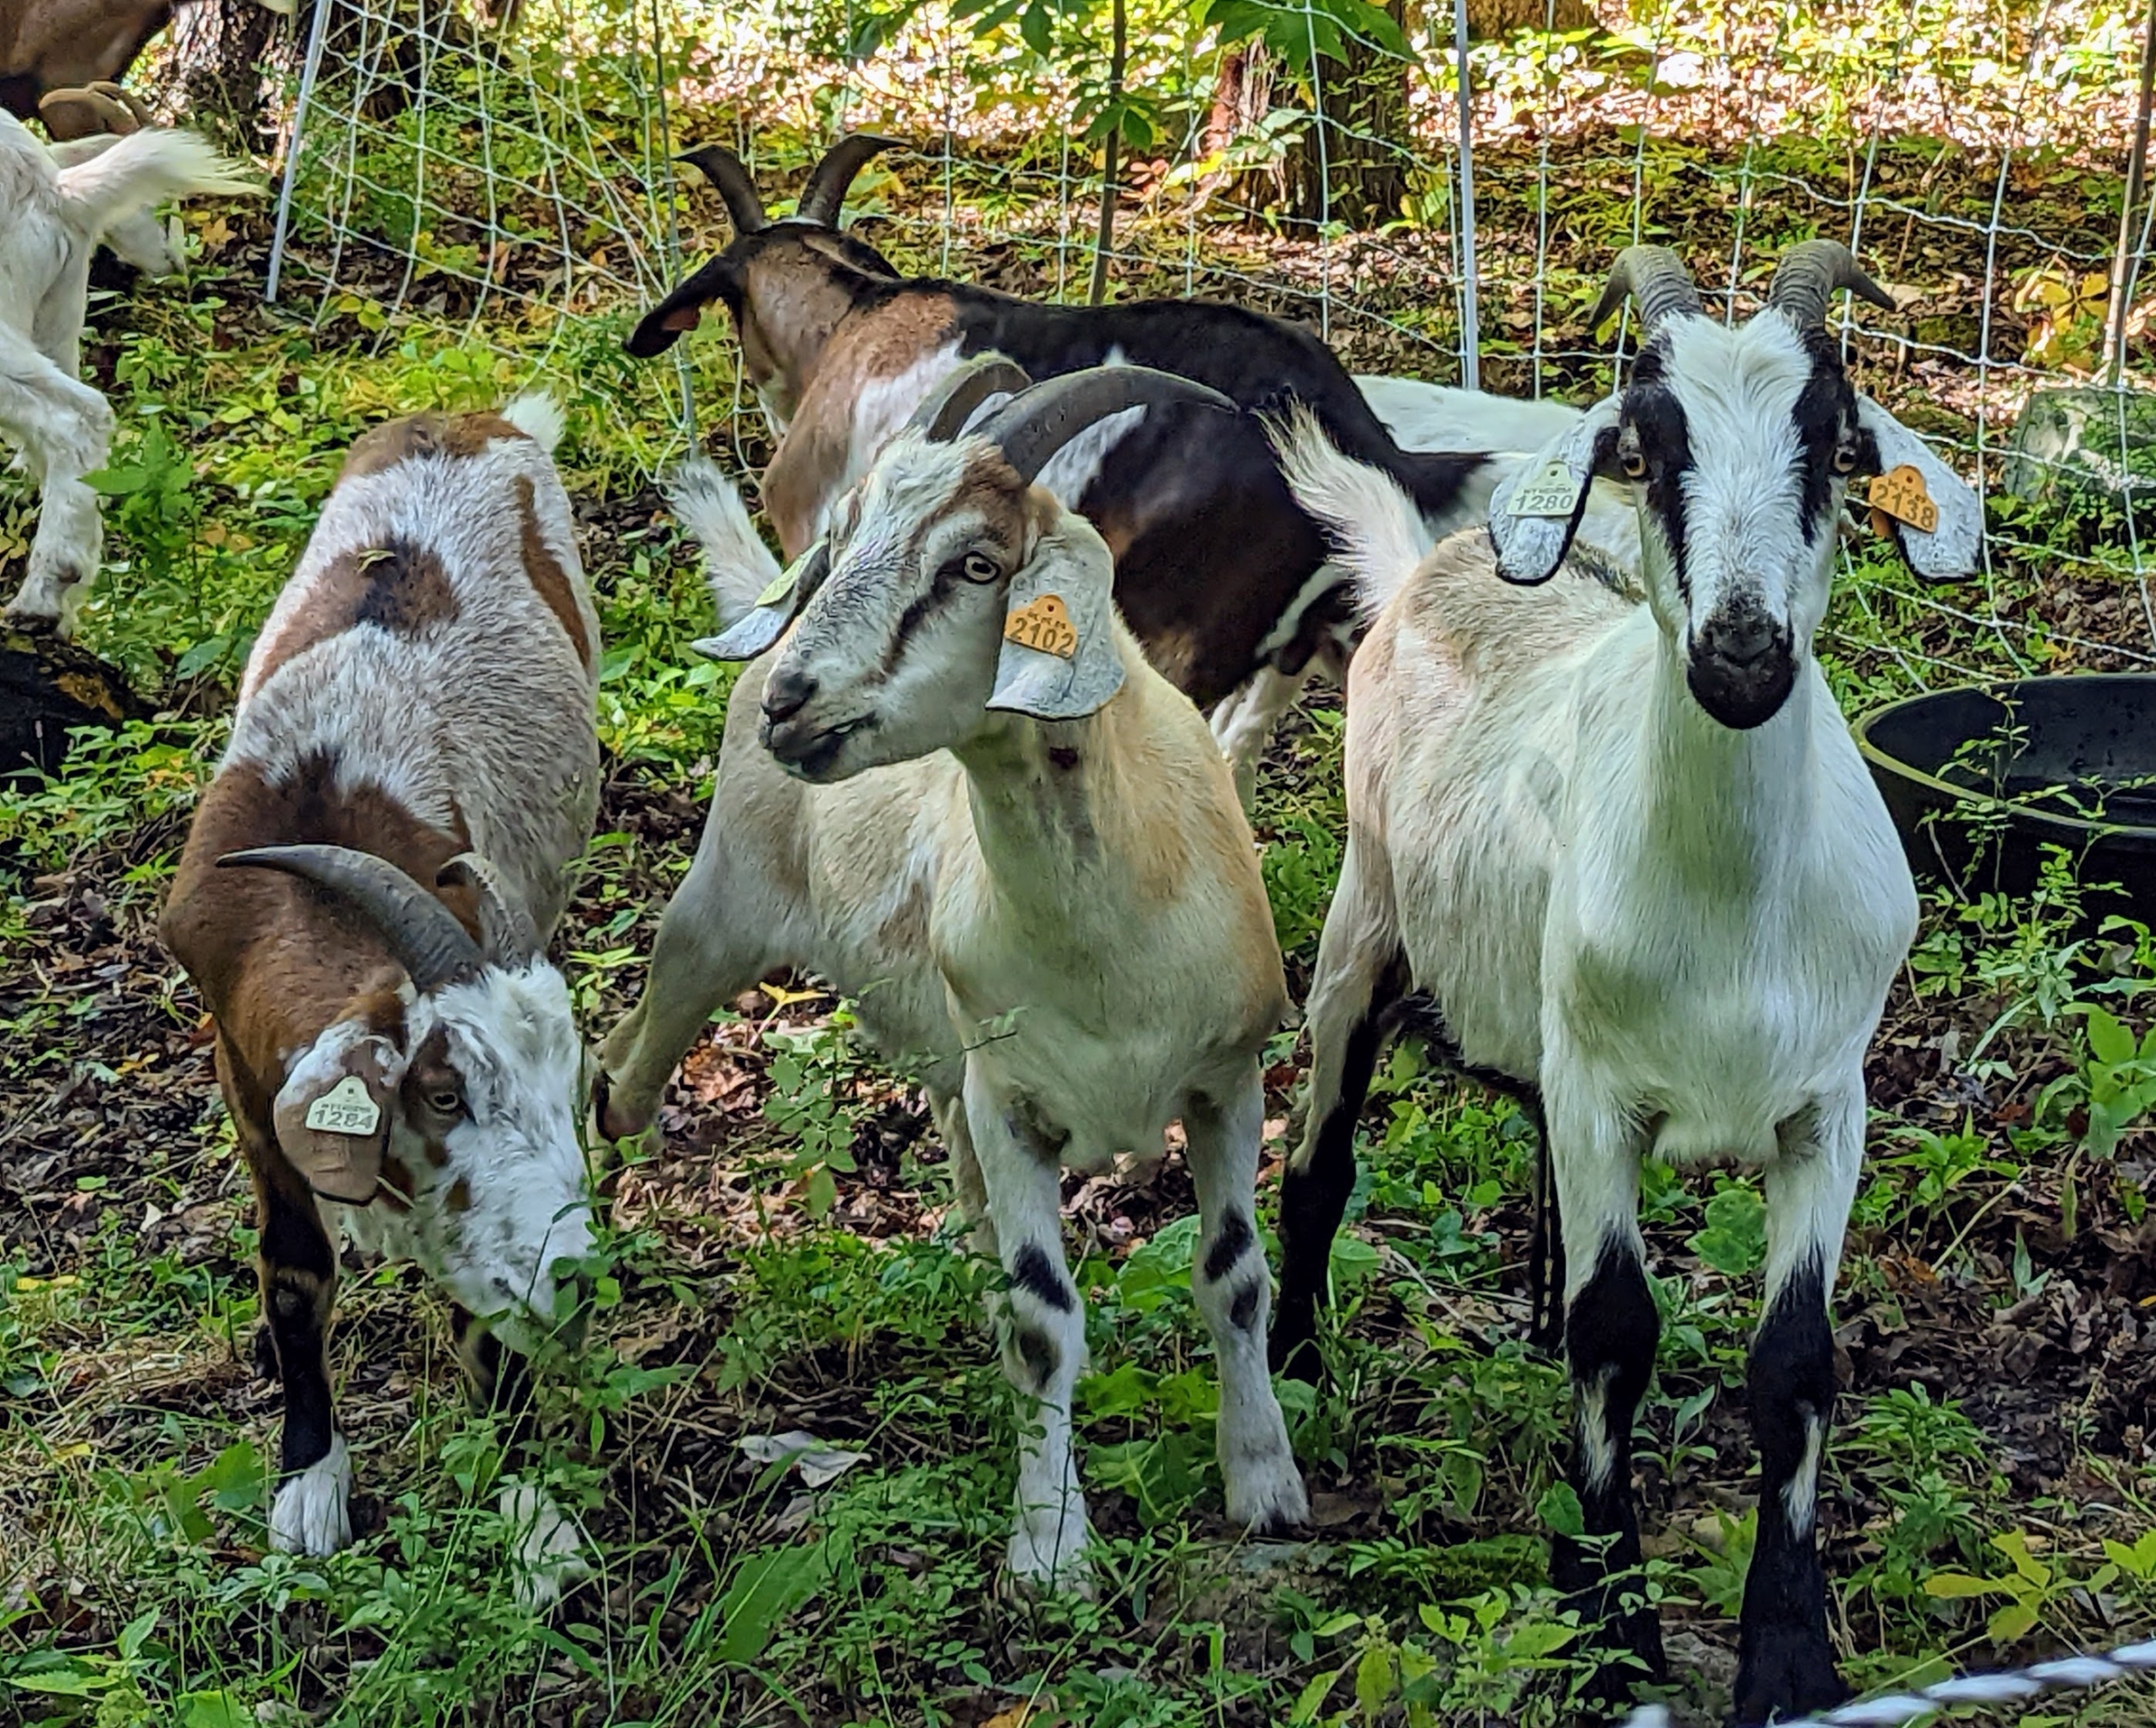
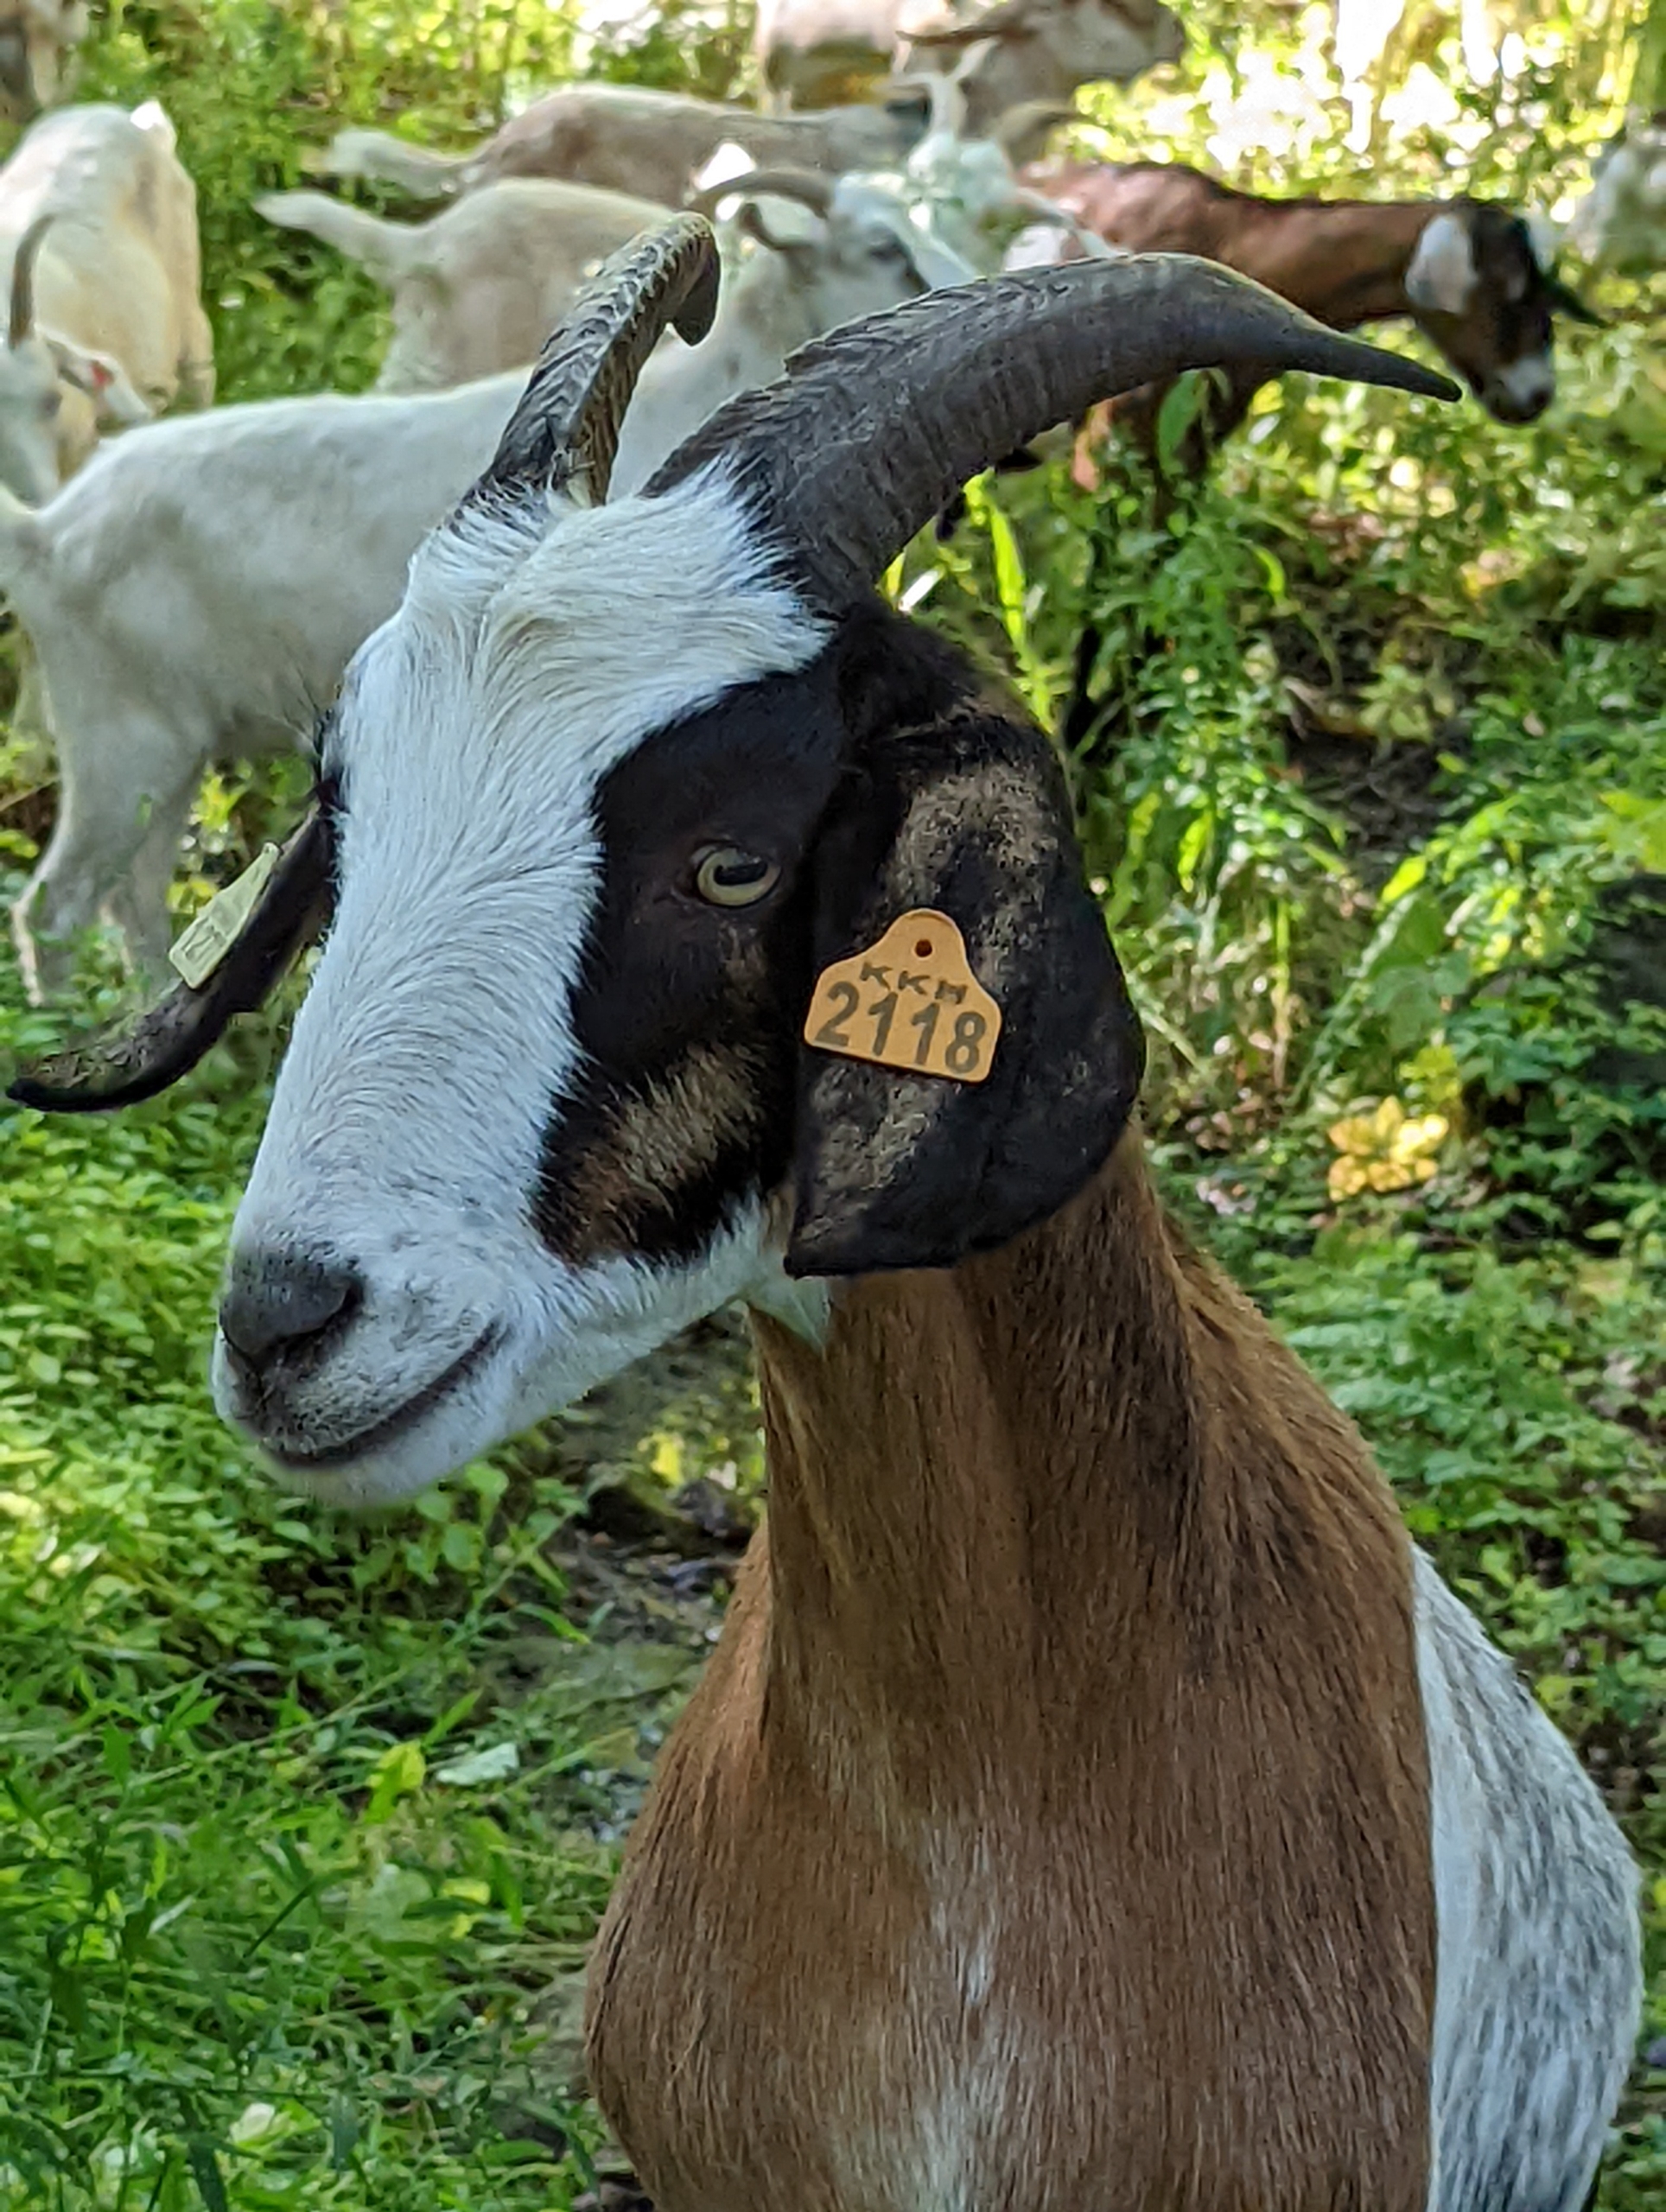
We all admired the markings on the goats. This goat is named “Justin.”
Most of the goats in this herd are males. A male goat is referred to as either a “buck” or a “billy” goat. Female goats are called “does” or “nanny” goats.
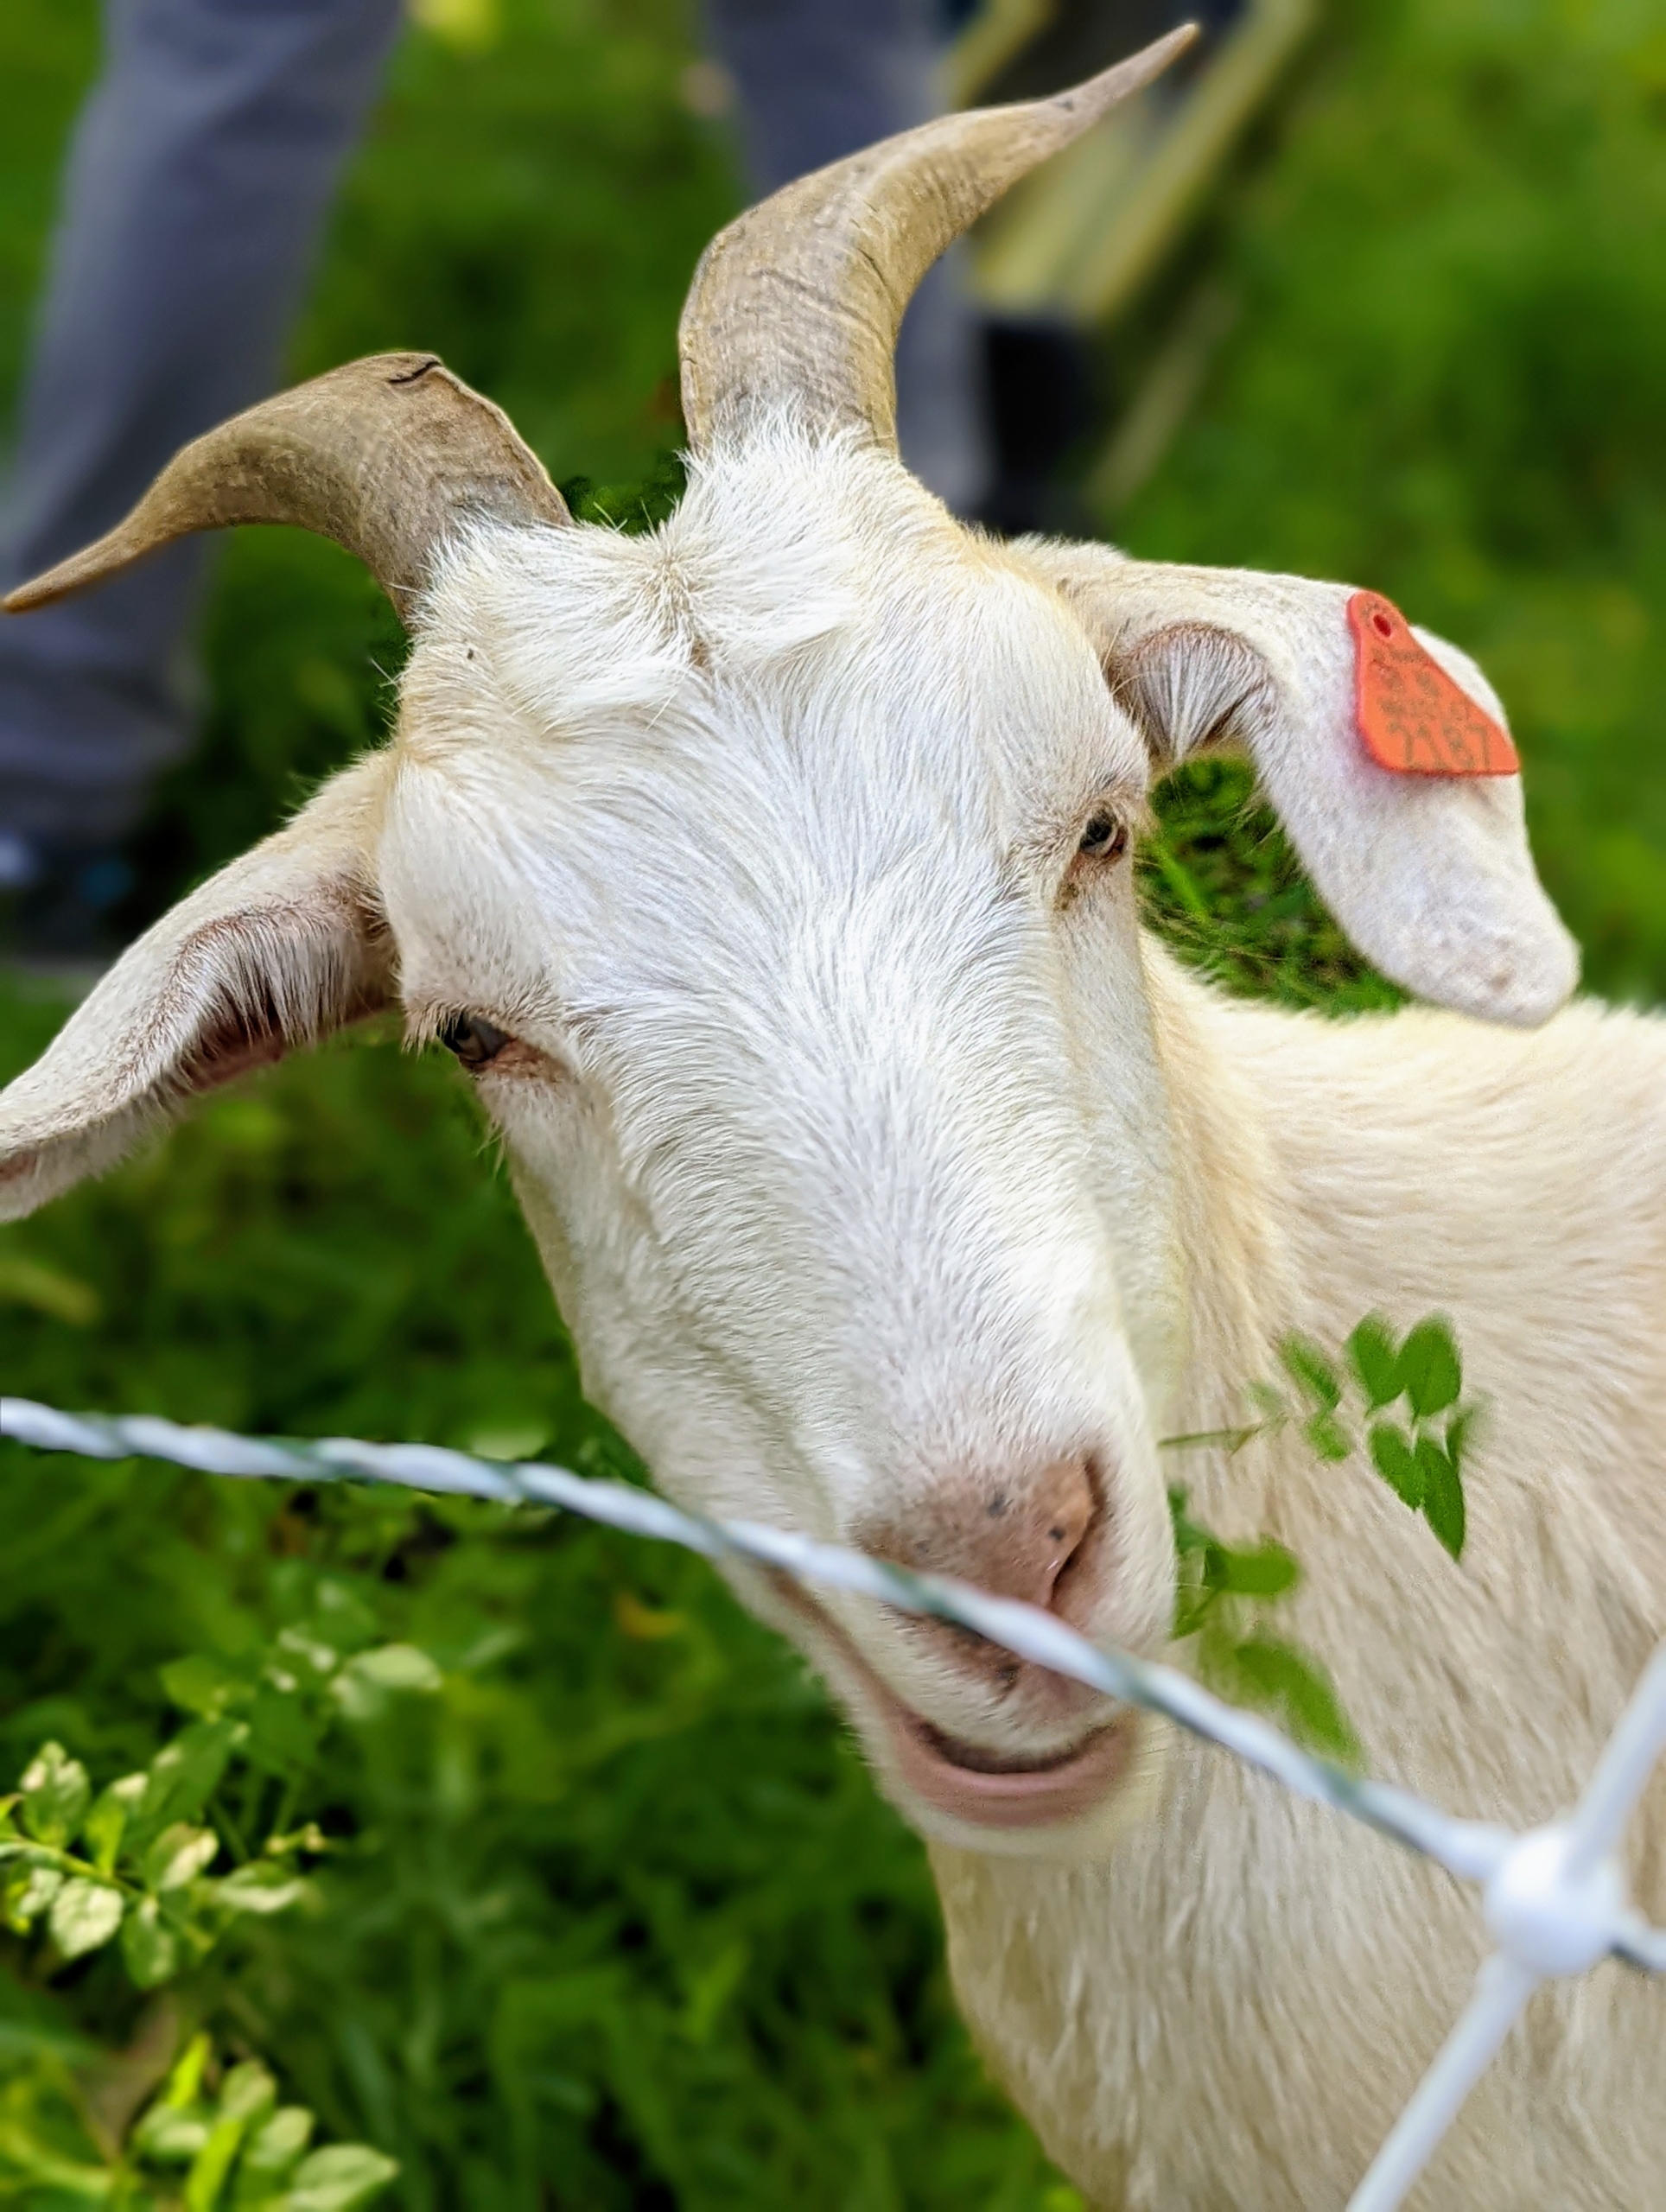
The goats are very intelligent, curious, and alert – exploring all corners of the enclosed space looking for their vegetation of choice.
They are also very friendly. This goat came right up to the fence line to say hello.
More goats are at the tree looking for what’s left to eat.
Justin was very interested in our crew – he came right up to us for some pats.
The practice of using goats and sheep for weed and vegetation control has been around for several centuries. During World War I, the White House implemented sheep grazing to maintain the expansive lawn because the nation was reserving the necessary manpower for the war efforts. However, once the war ended, faster gas-powered lawn mowers and weed whackers were used instead.
It’s important to note – goats also require alfalfa hay or other high nutrient foods to supplement their forage. Jenn and Don provide other necessary foods to keep their herds as healthy as can be. Goats can live up to about 12 to 15 years.
Goats are social animals and prefer the company of other goats. They also form bonds with their offspring as well as their human caretakers.
When out foraging, a goat can eat up to one to three percent of their body weight in a day – that’s a lot of plants. These goats are about the size of a large dog.
And here they are just watching all the activity around them – the sights and sounds of Cantitoe Corners. What a wonderful herd of friendly and hardworking, “hard eating” goats. Thanks for the visit, Fat & Sassy Goats. And please look out for more Fat & Sassy Goats on “Martha Gardens” on Roku. Remember, the first show premieres tomorrow!