Tree planting continues at my Bedford, New York farm with a group of hardy black locust and butternut trees.
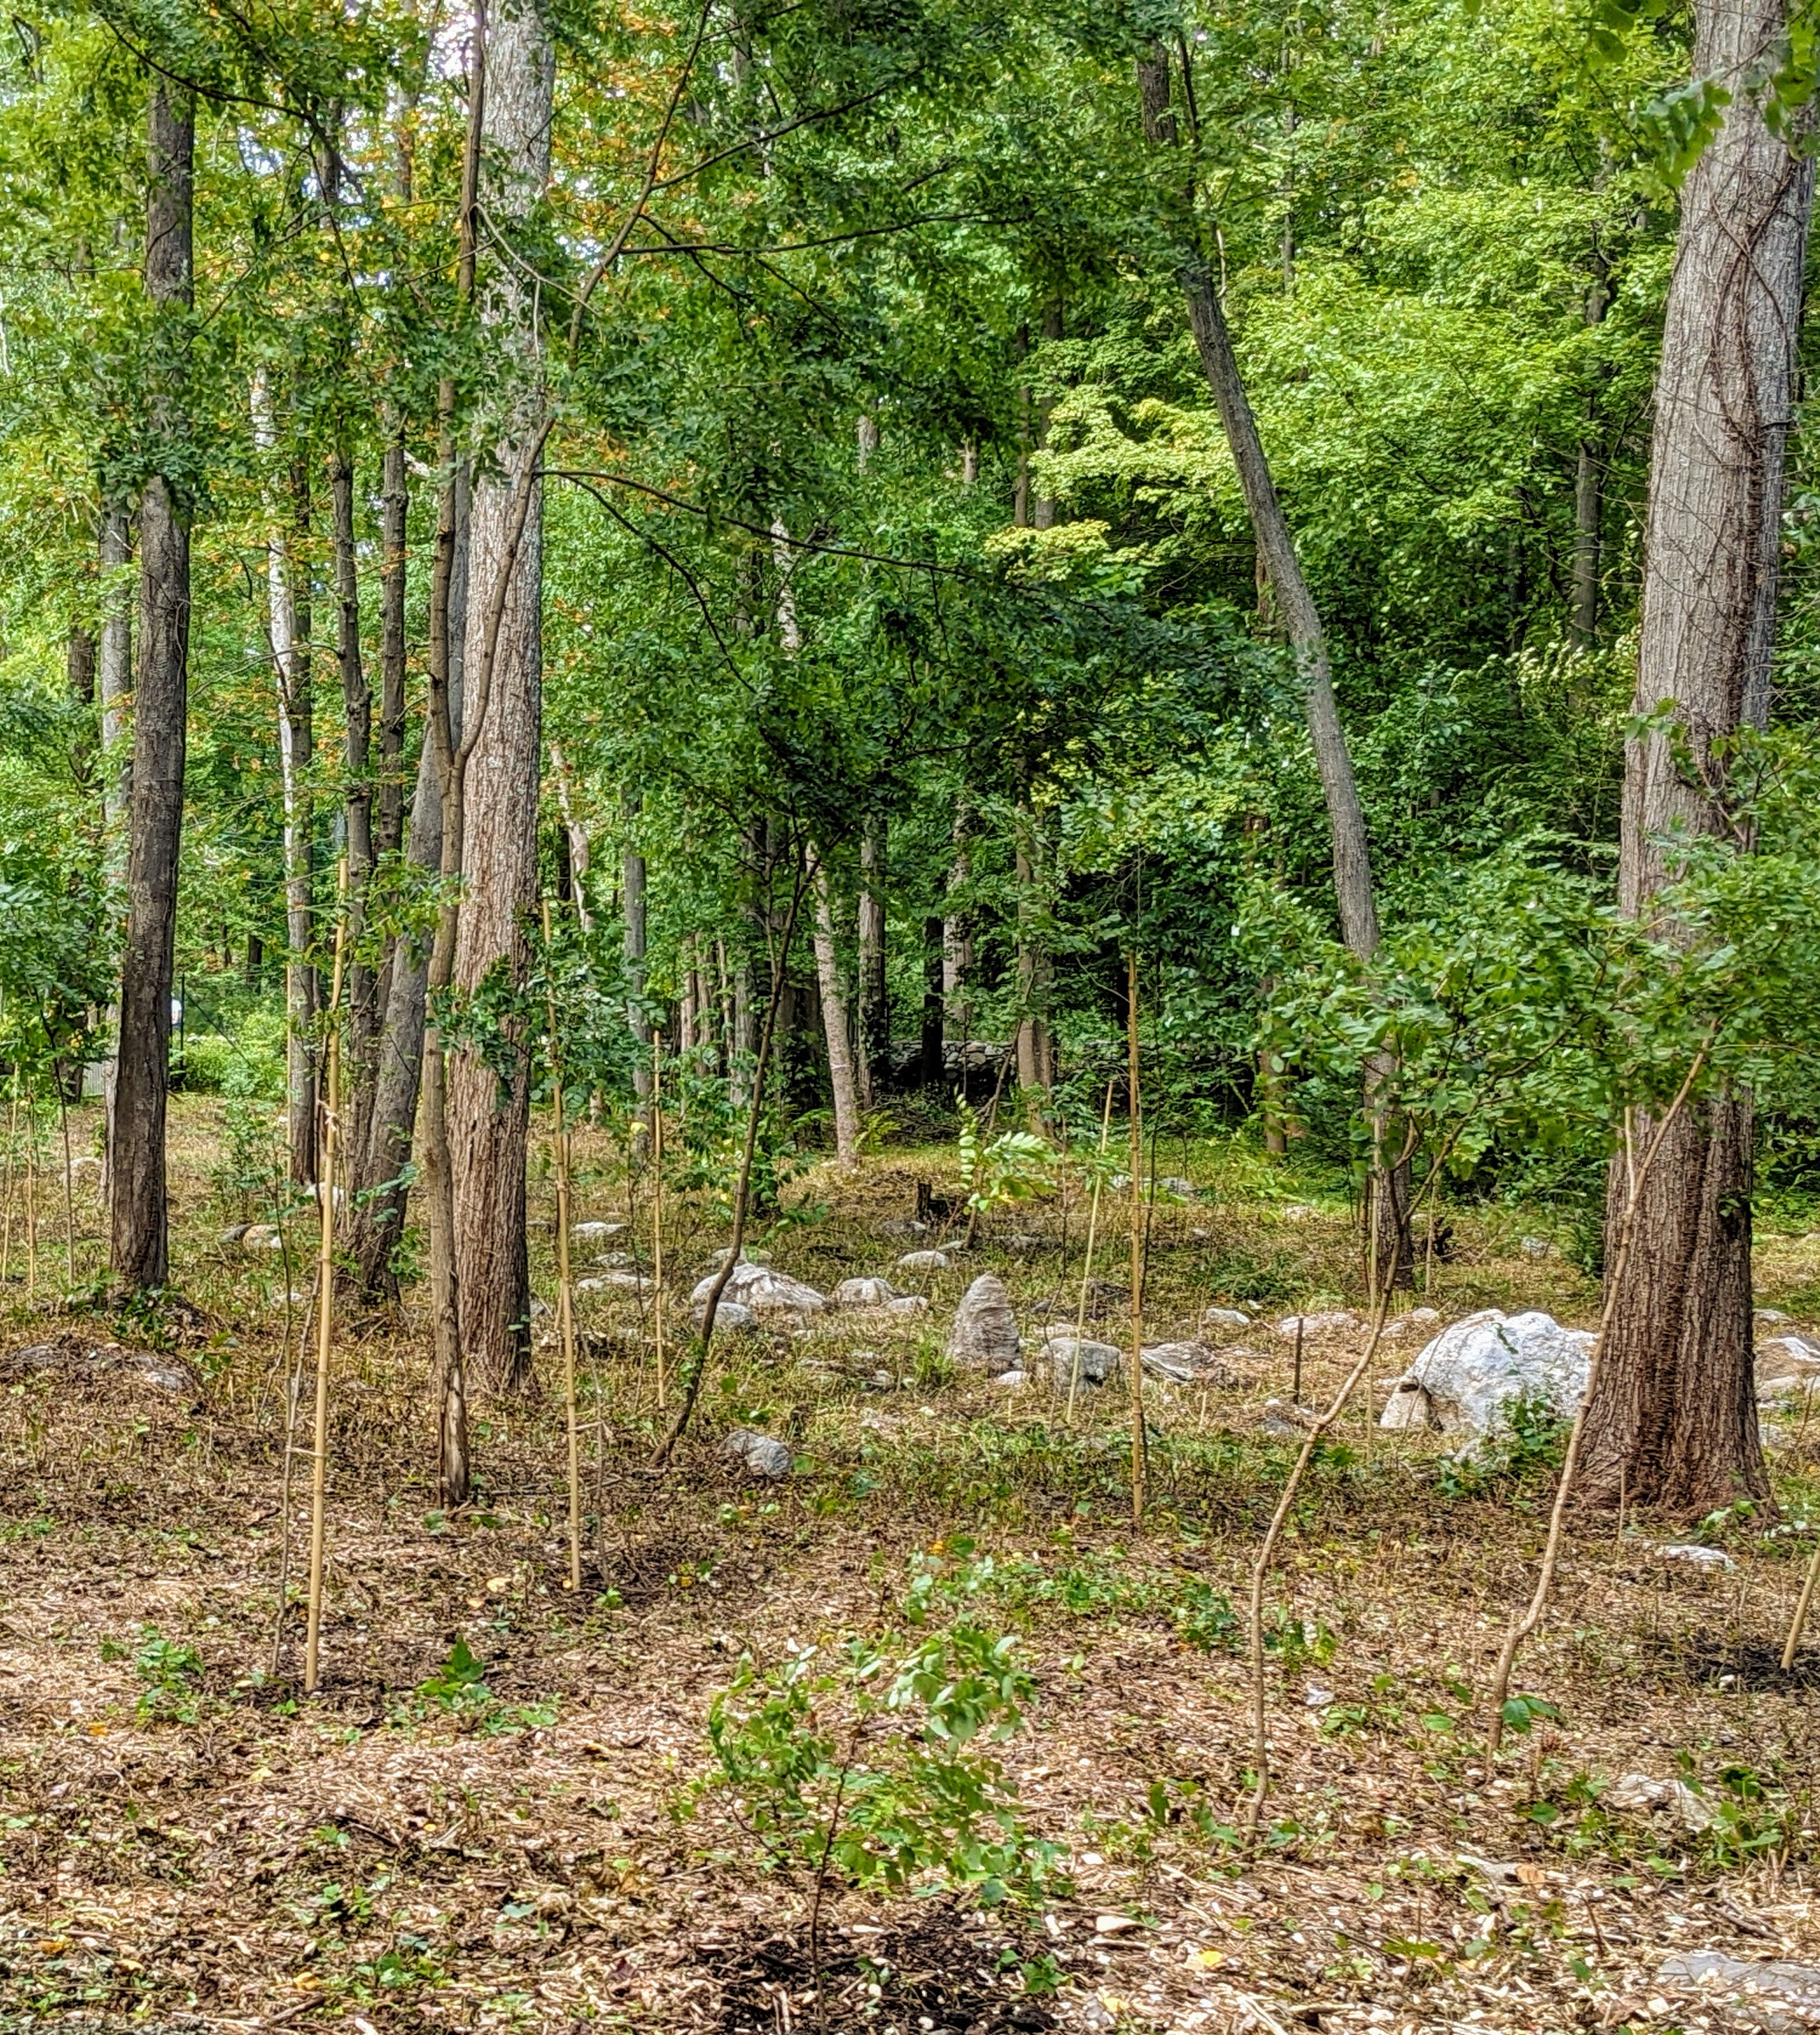
My gardeners and outdoor grounds crew are working very hard to plant as many saplings as possible before the weather gets too cold and the ground freezes. I hope to get hundreds of young trees planted in the coming weeks. Recently, the crew has been busy in my Japanese Maple Tree Woodland. At one end, we decided to plant black locust trees, Robinia pseudoacacia, a medium-sized hardwood deciduous tree, belonging to the tribe Robinieae. We also planted some Juglans cinerea, commonly known as butternut or white walnut - a species of walnut native to the eastern United States and southeast Canada.
Here are some photos, enjoy.
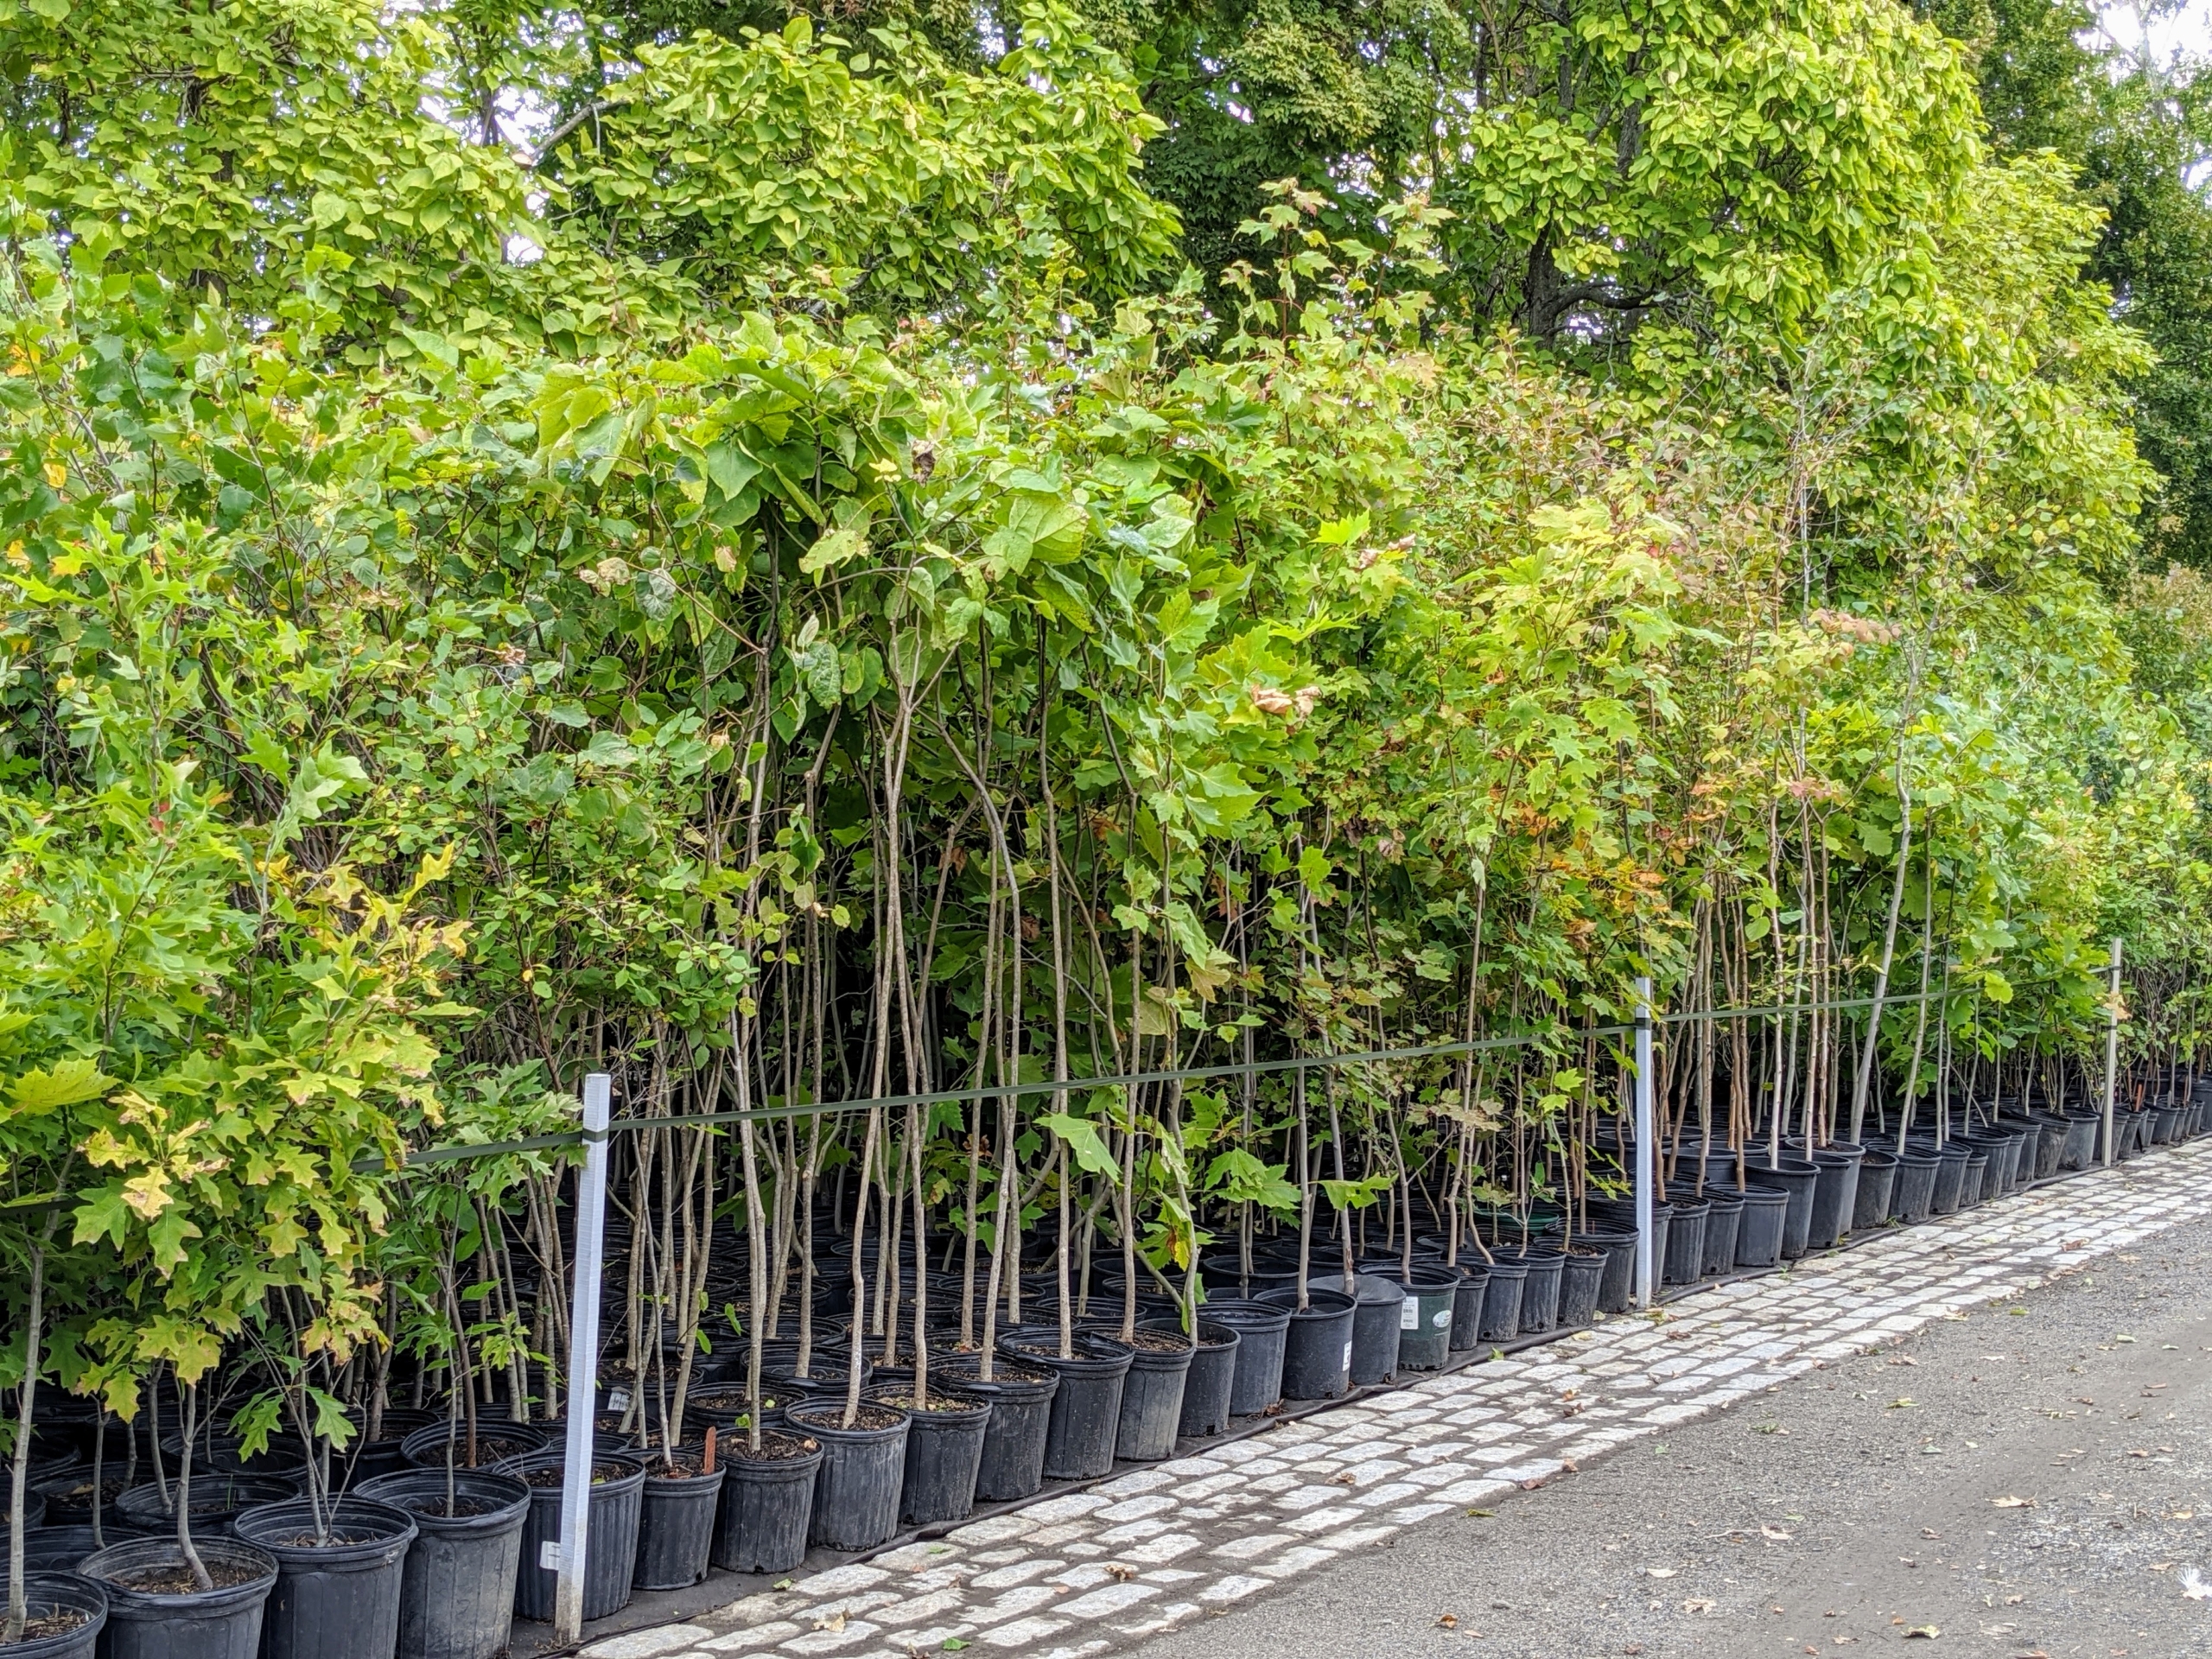
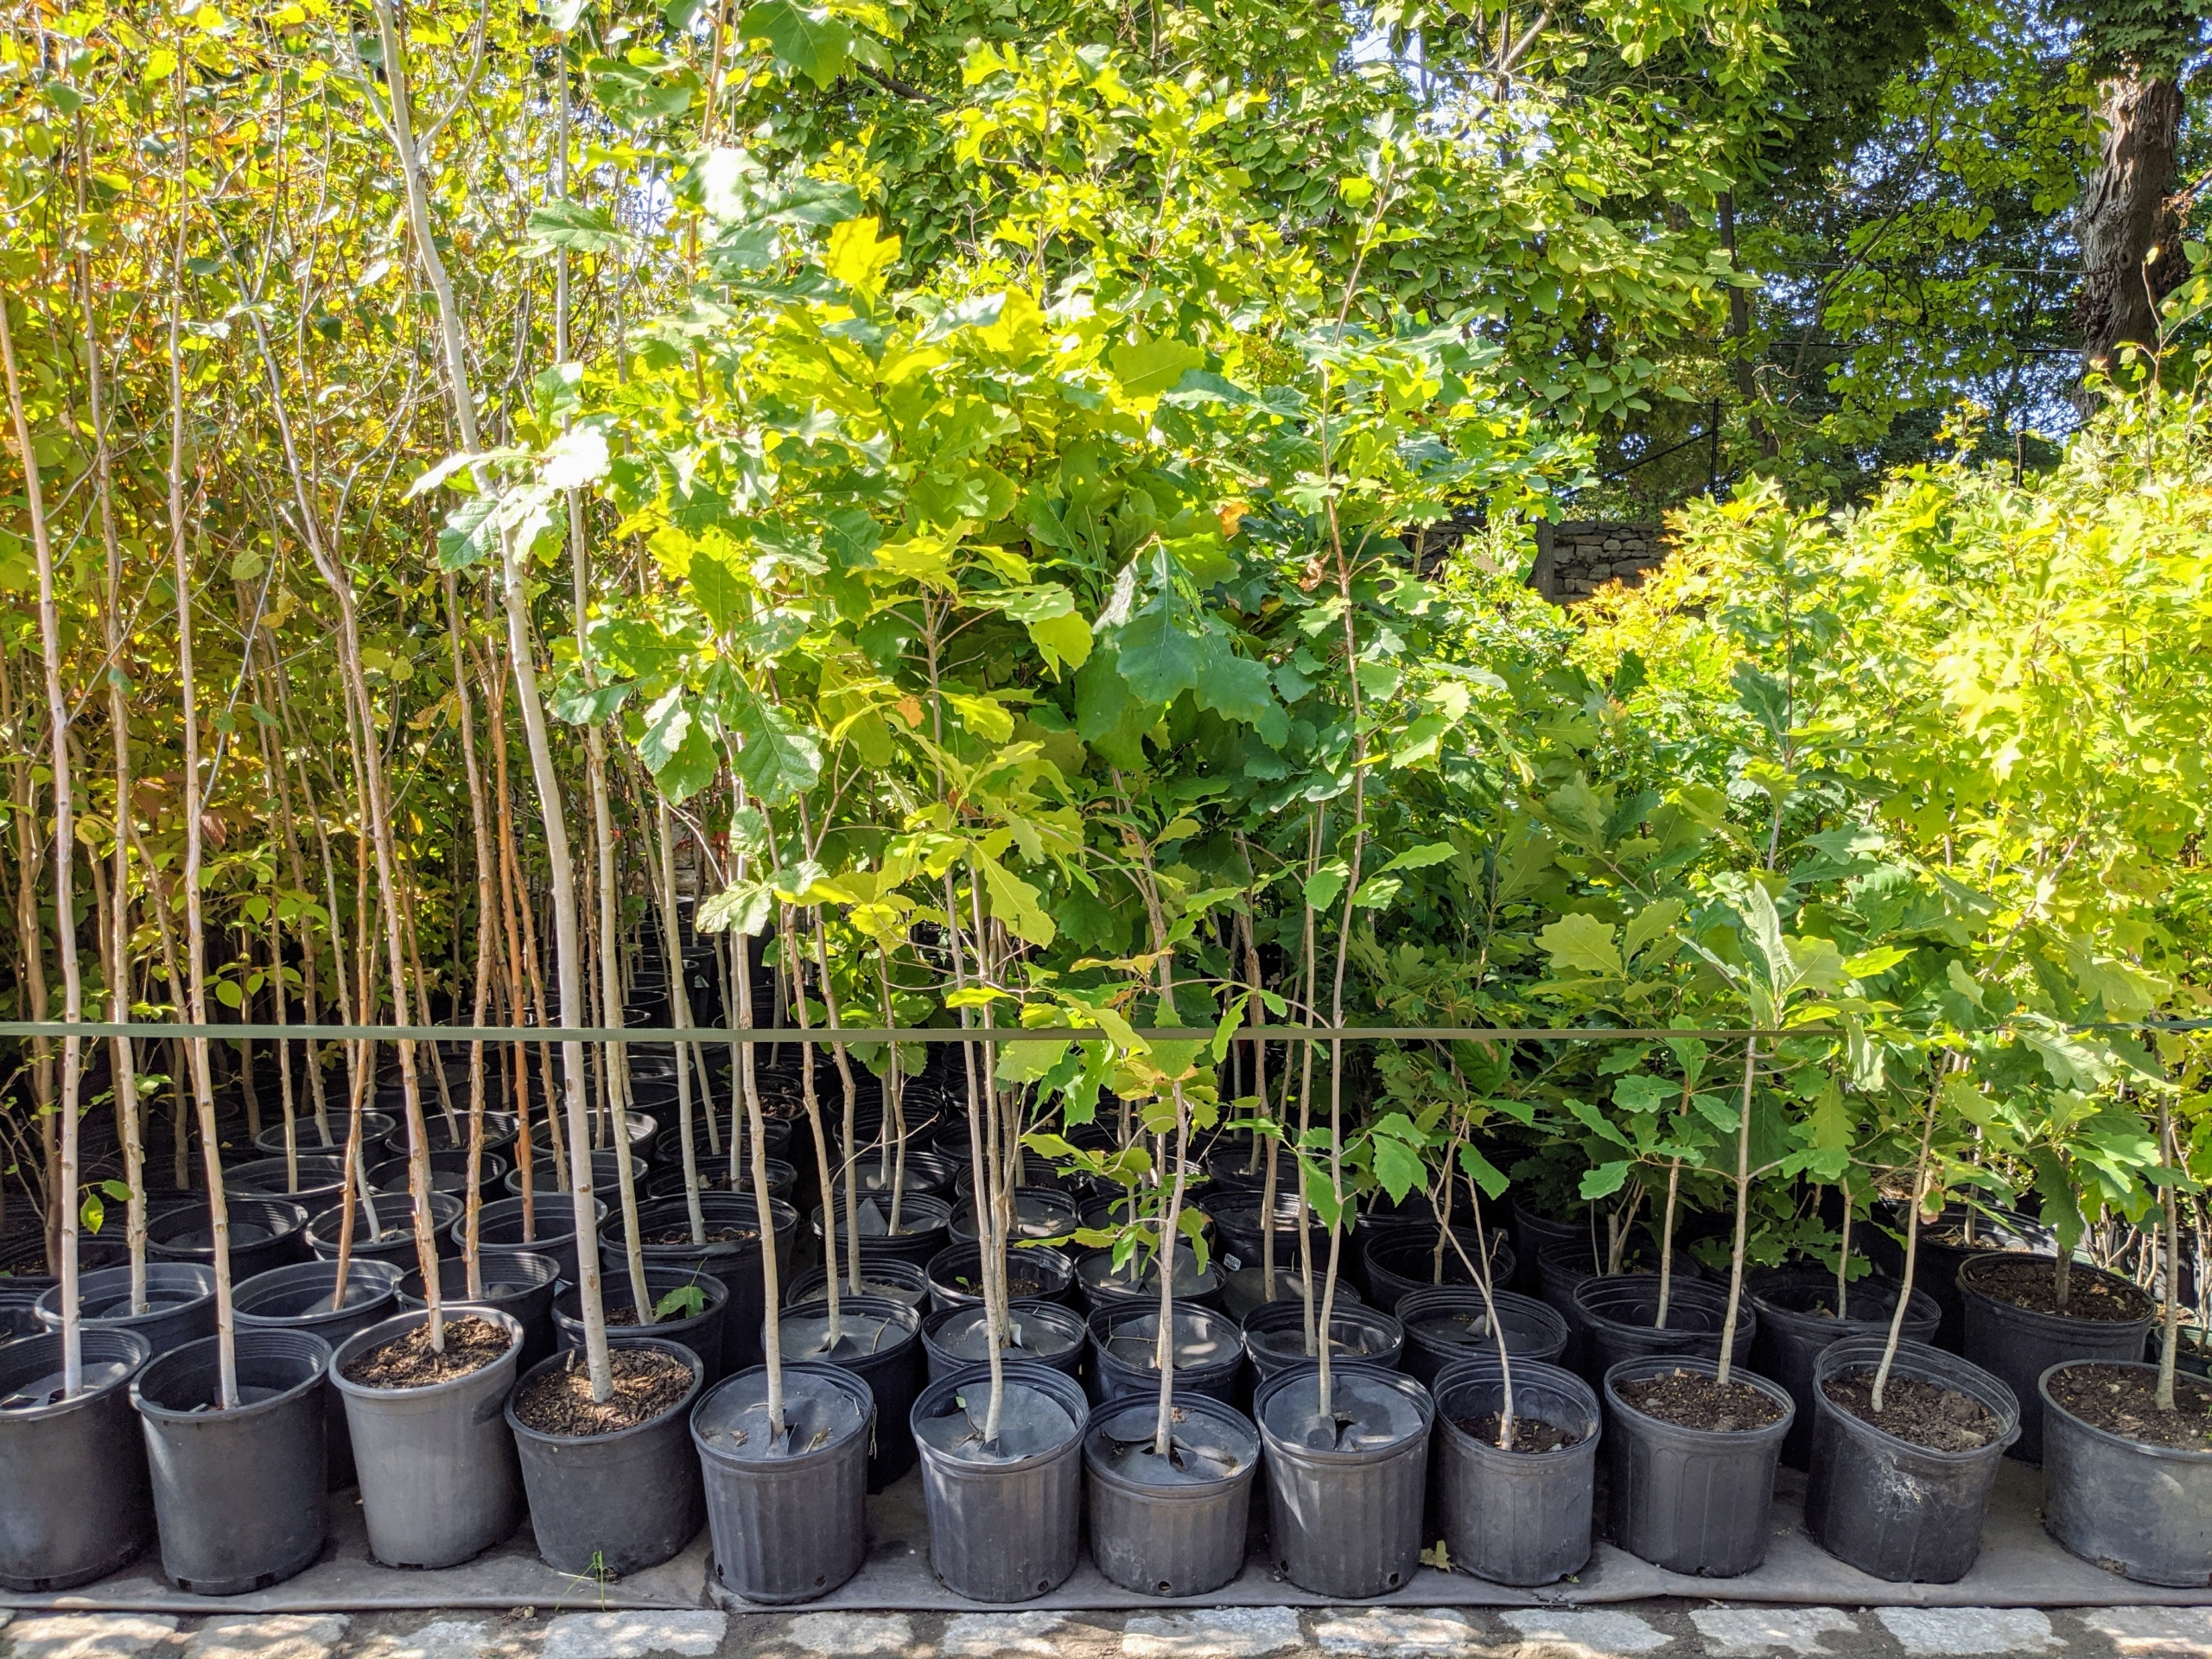
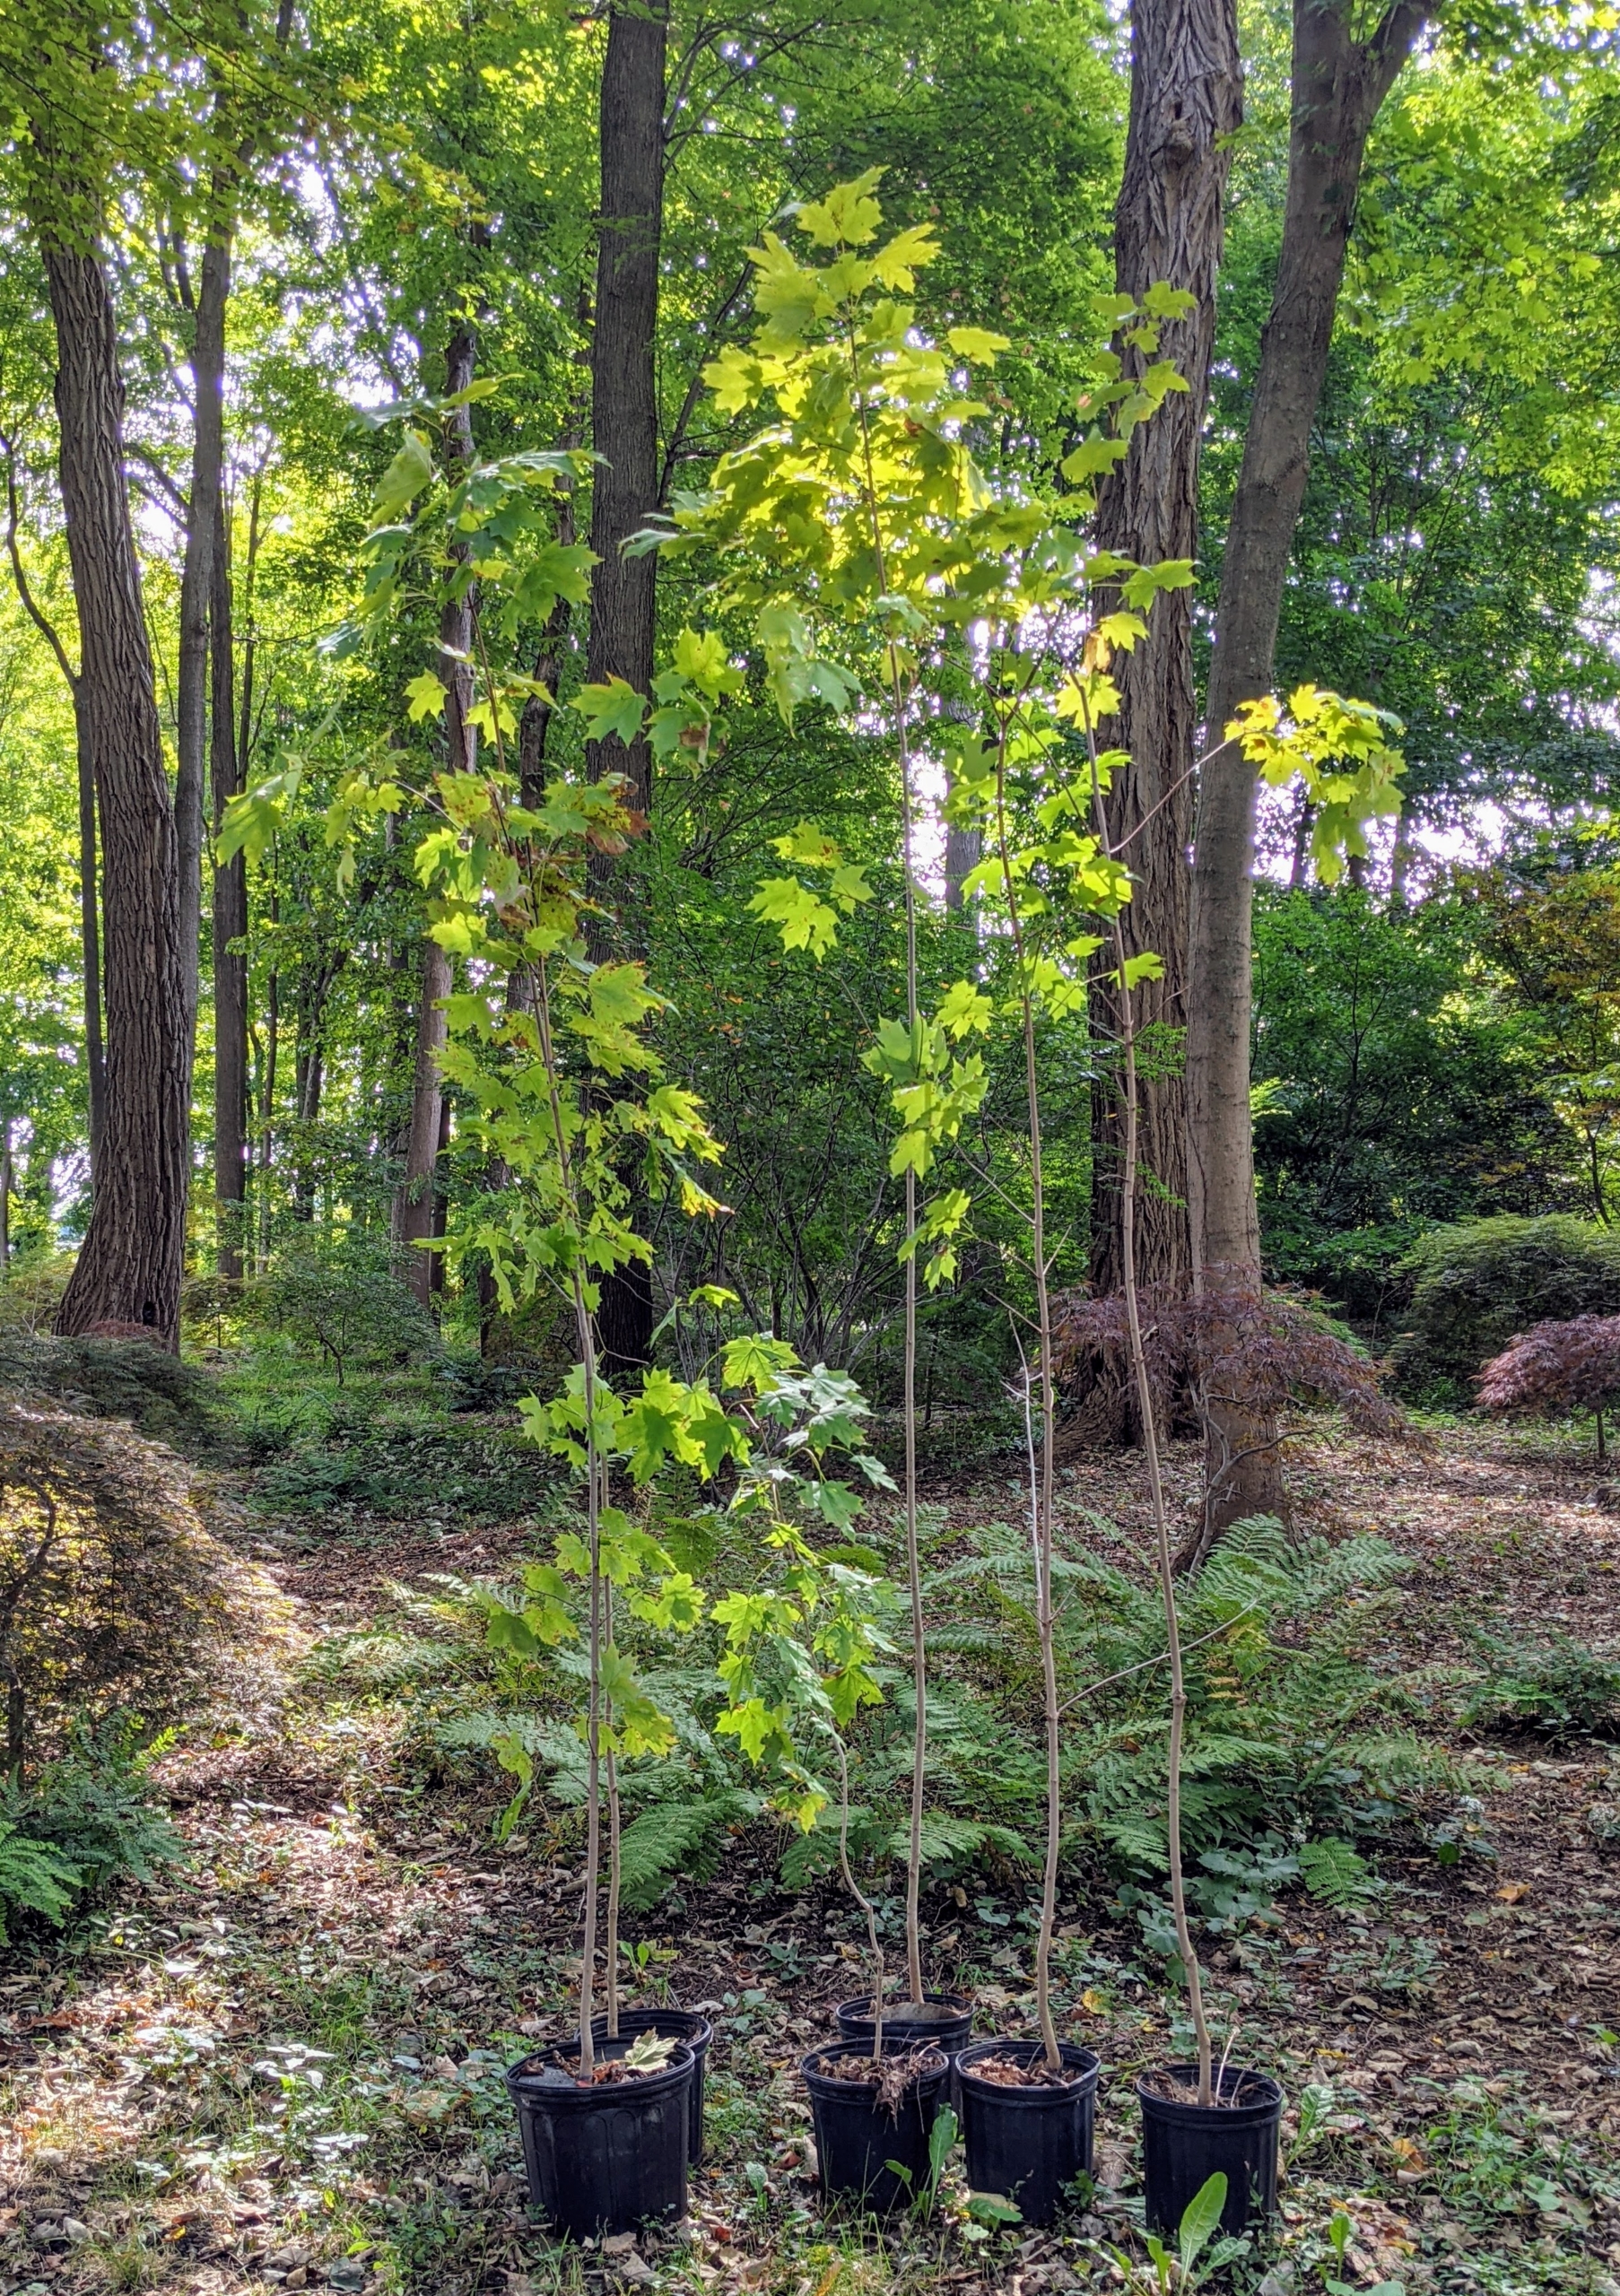
We use this space behind my stable to store many of my potted trees. These trees arrive as bare-root cuttings and then get potted up and nurtured here until they are transplanted in more permanent locations. I chose this space where they could be closely monitored and well-watered. Every year, we take stock of the inventory and decide where many of them will be planted.
The trees are organized by type and neatly lined up in sections behind strong nylon tree webbing to prevent them from falling.
And each section is well identified with markers. These markers are very important, especially when deciduous varieties drop their leaves.
I also have evergreens such as these spruce trees. Its needles are four-sided, sharp, and stiff, and are arranged spirally on the twigs and become pleasant smelling with age.
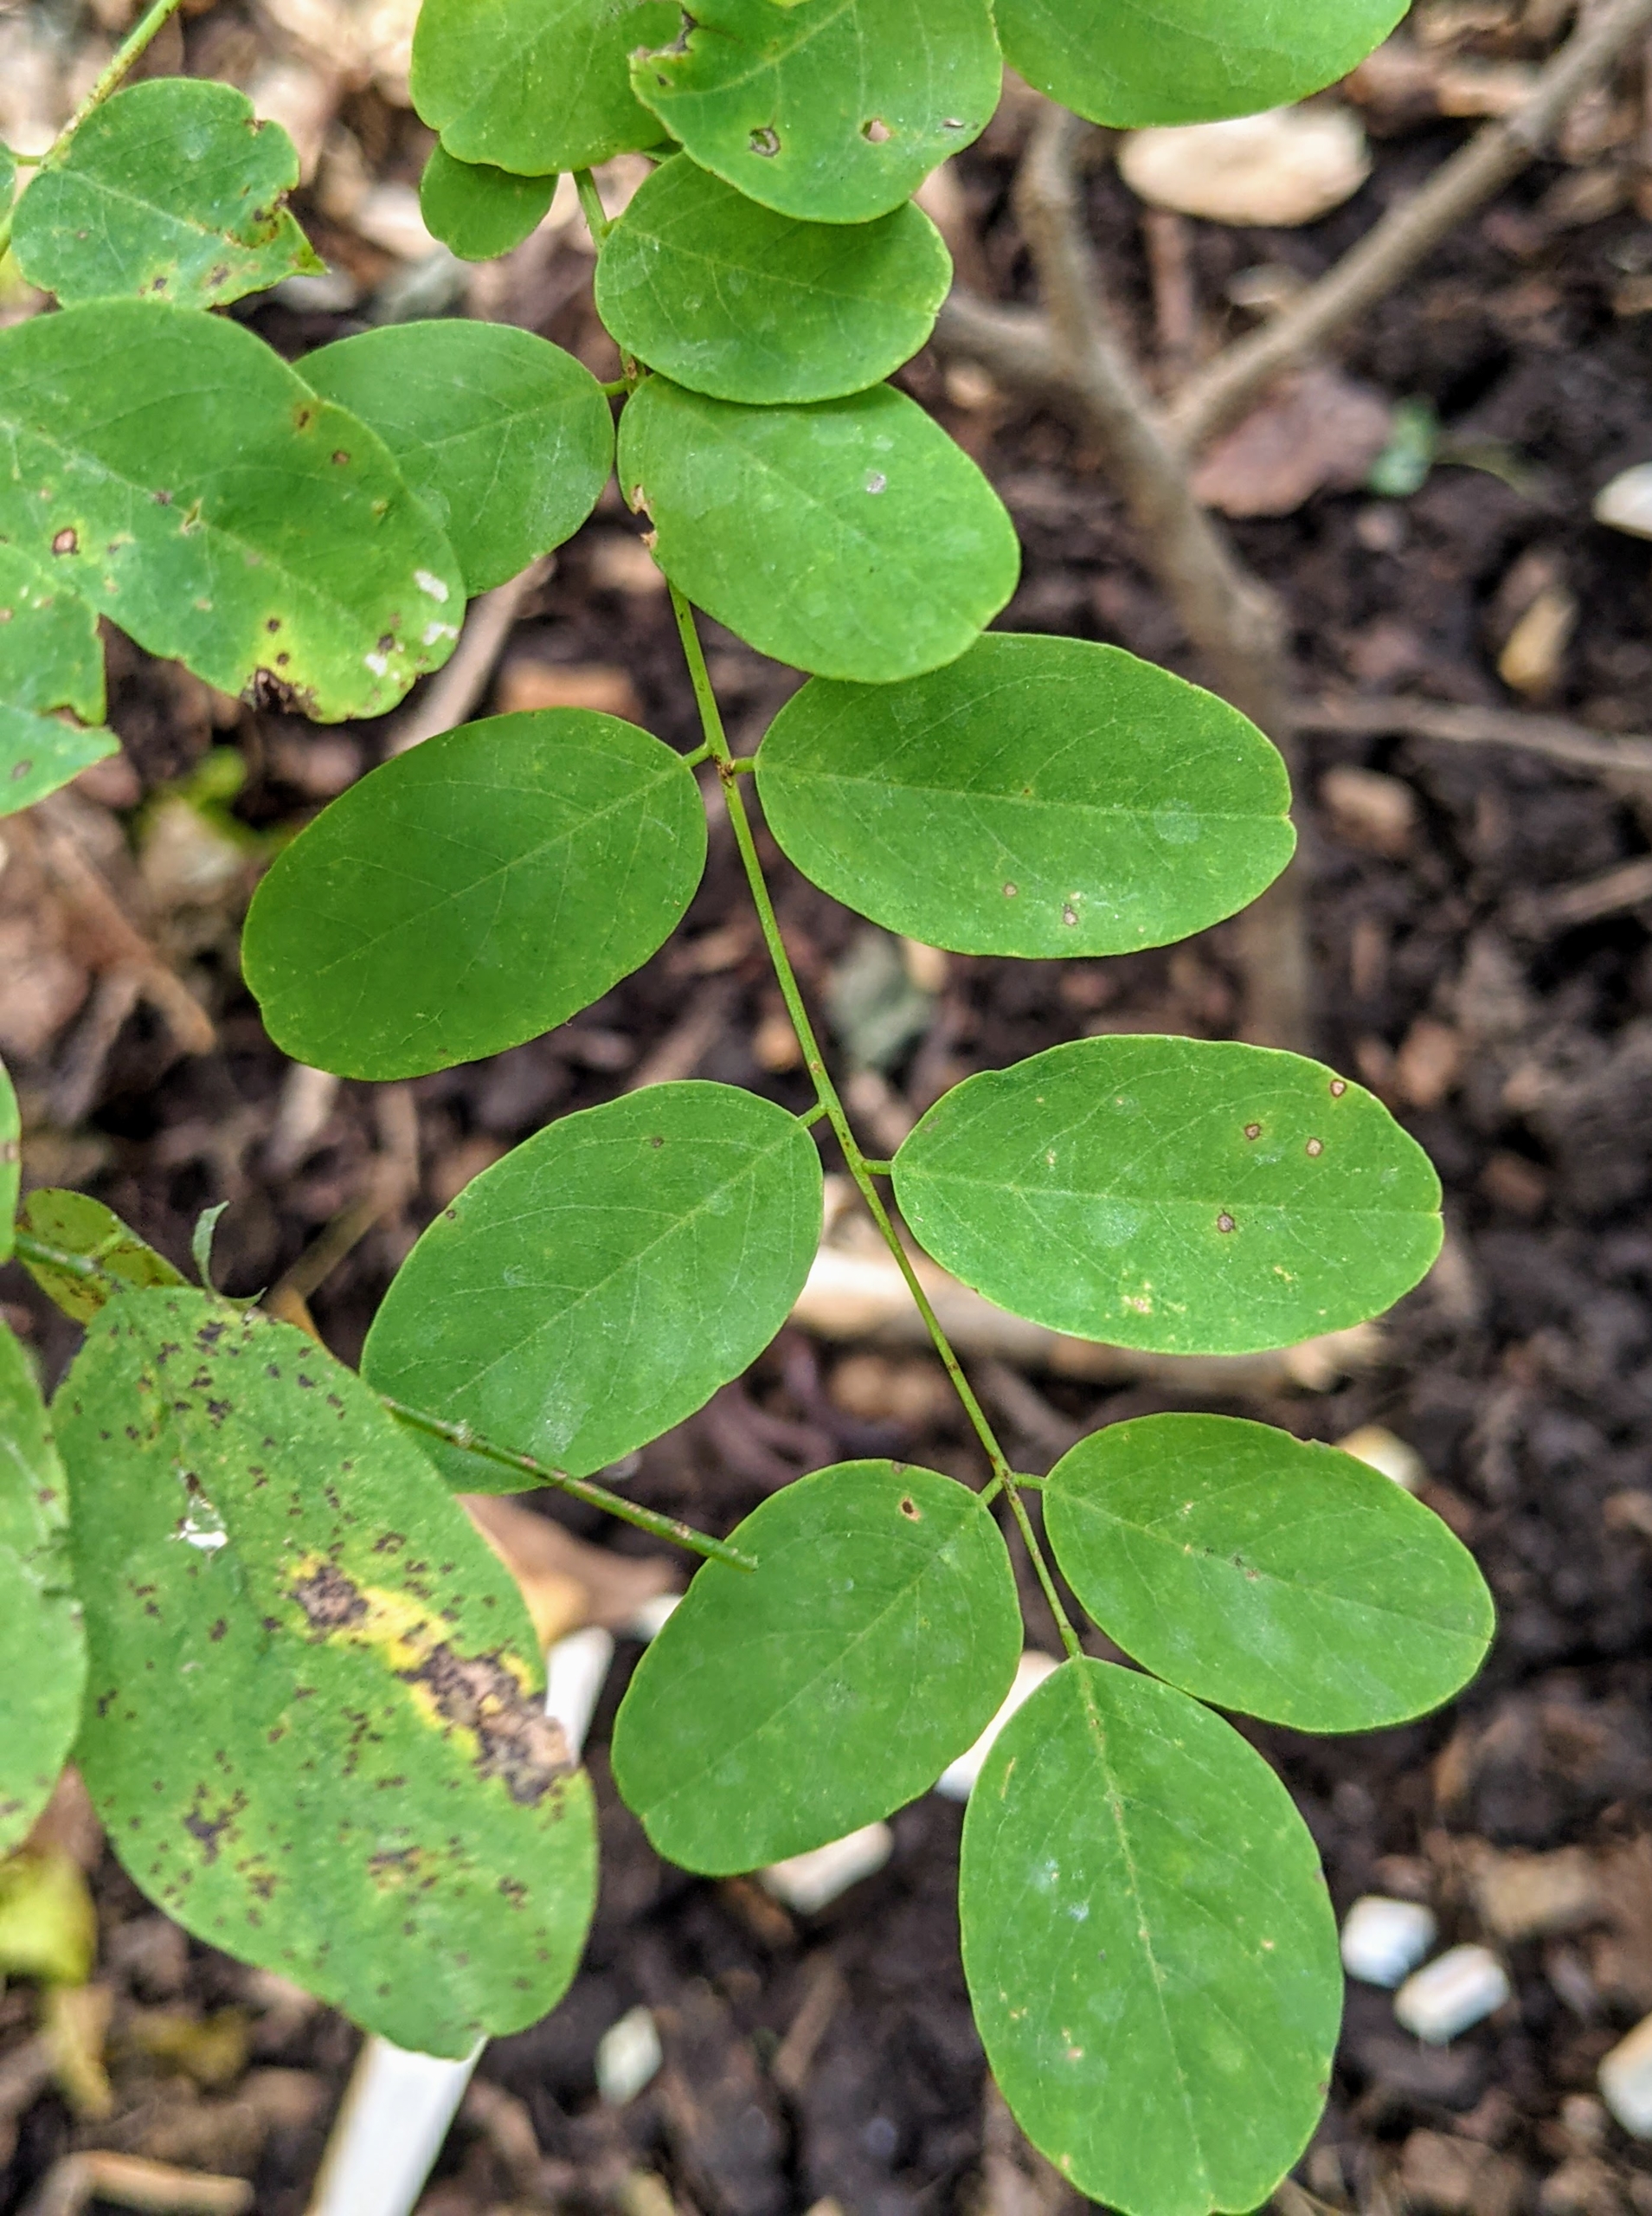
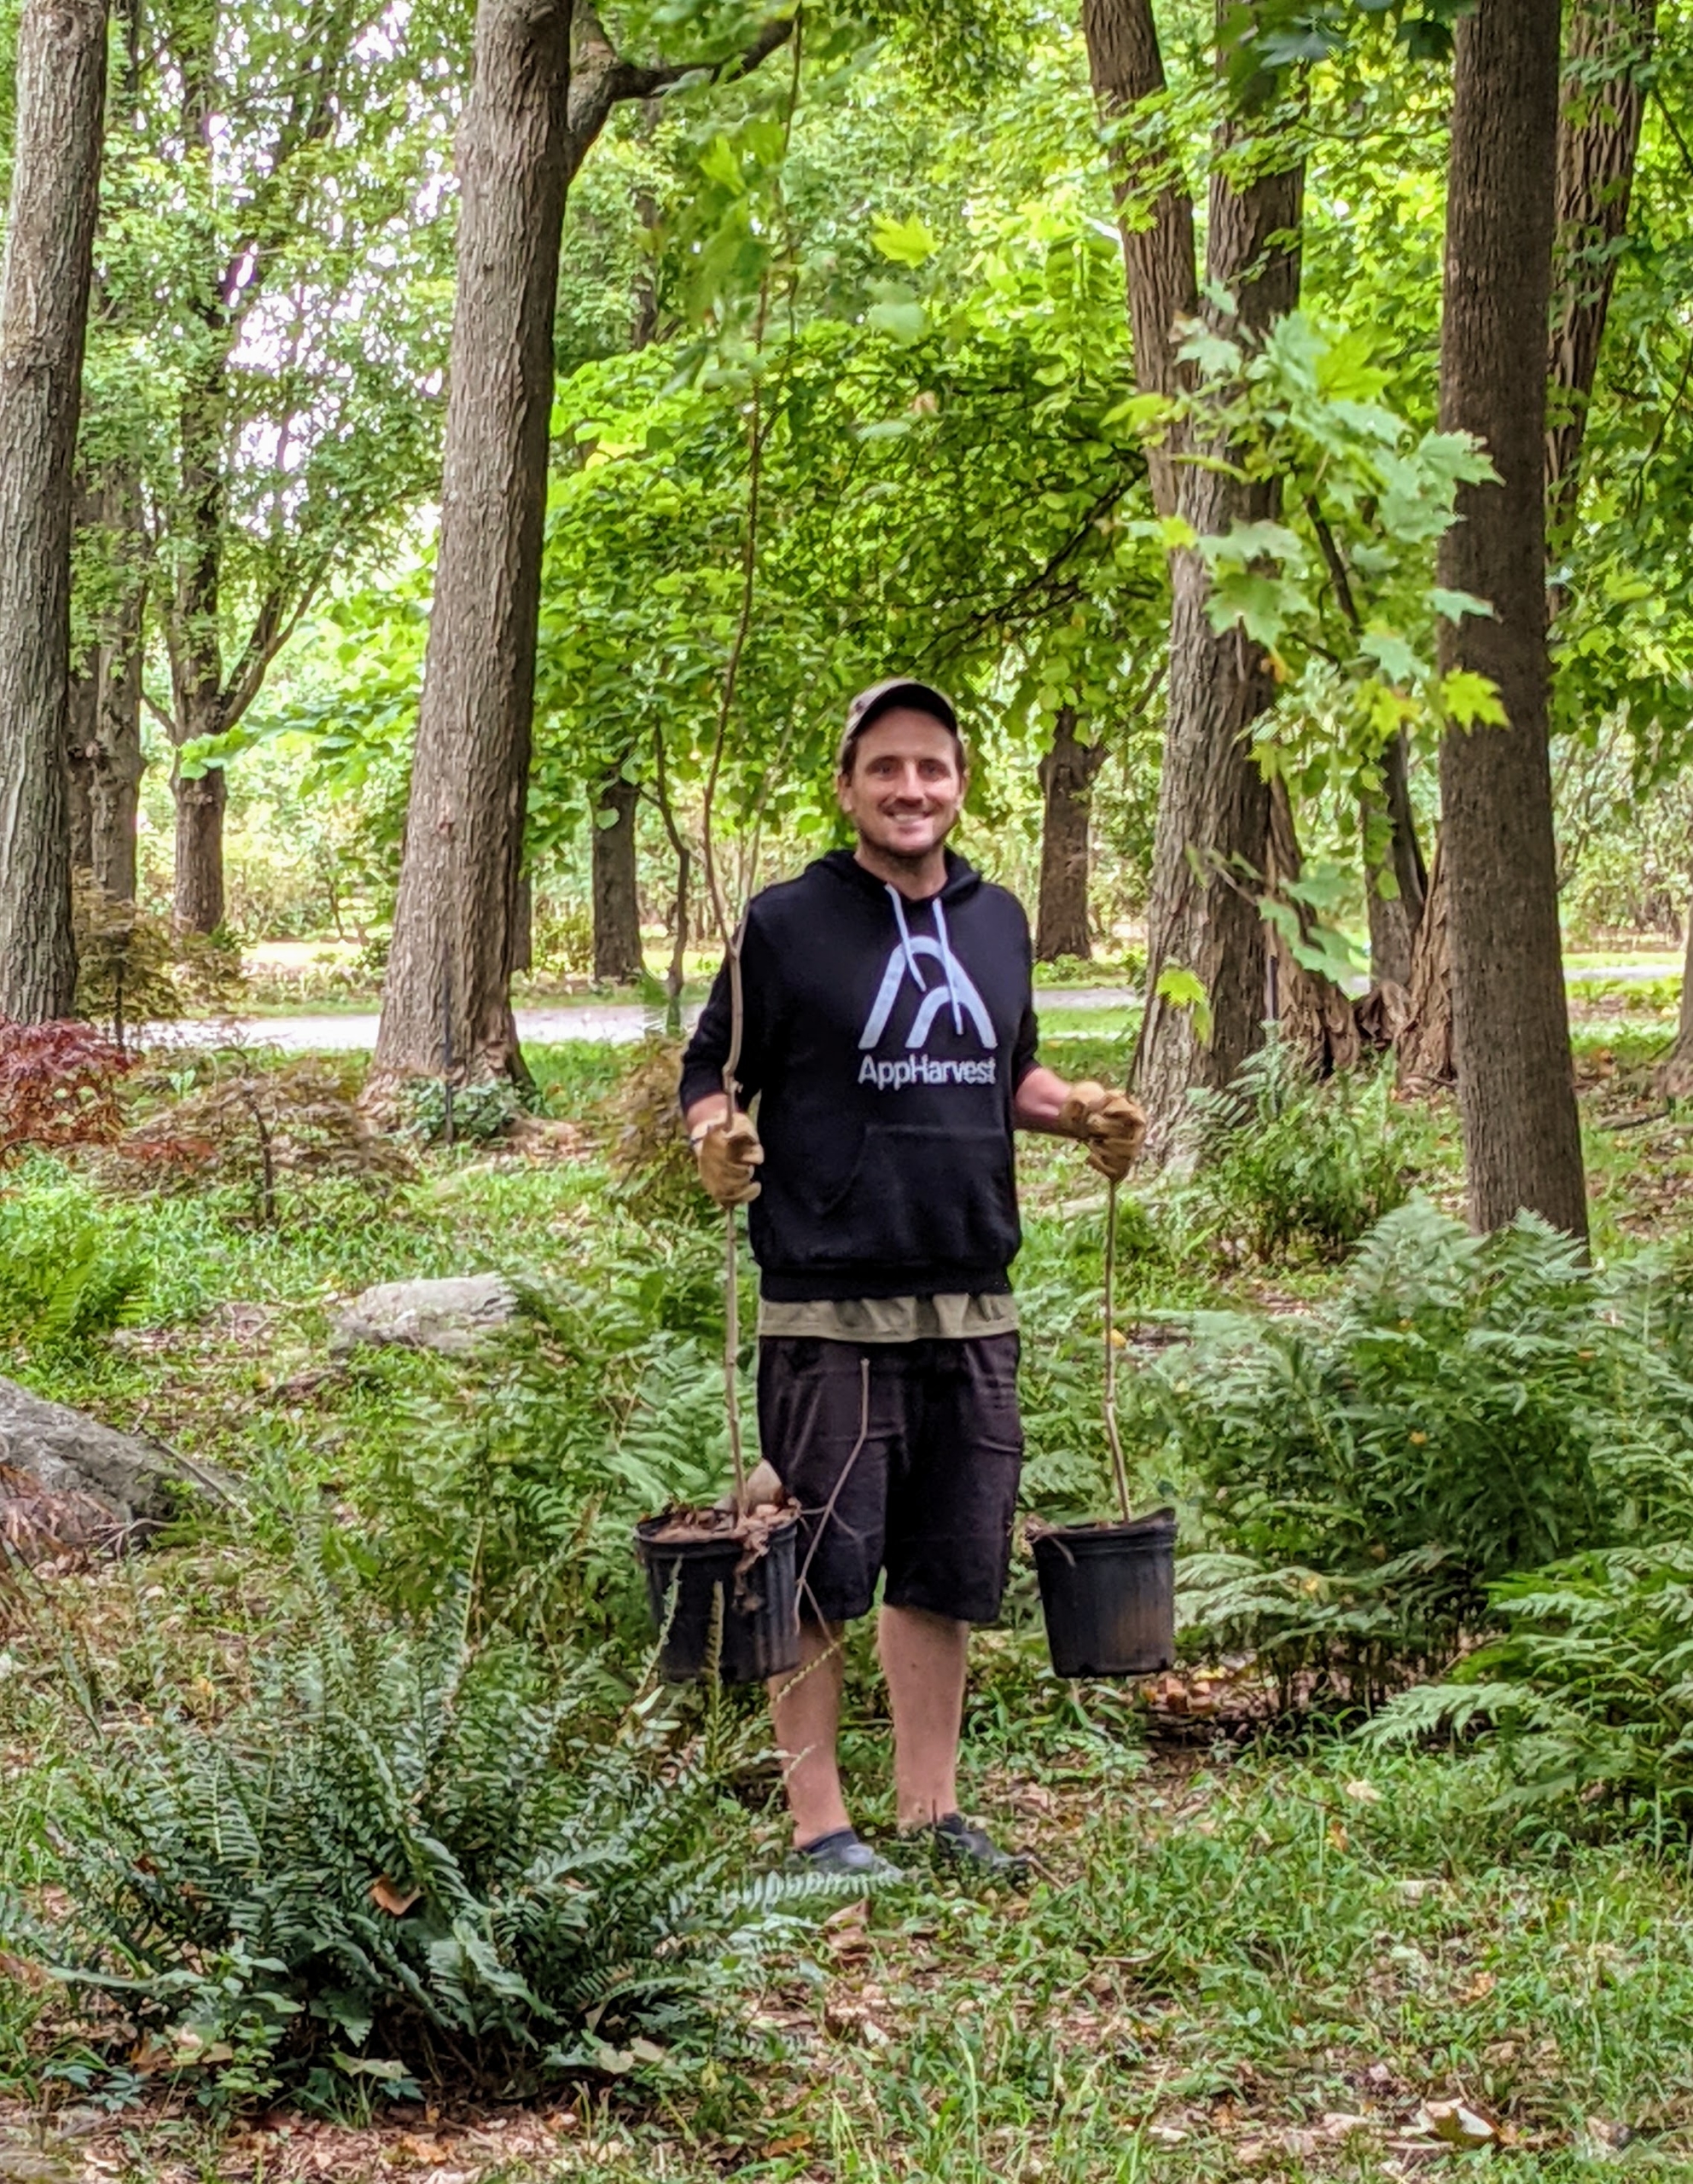
On this day, the crew loaded up lots of black locust trees to plant in a large wooded area below my Japanese Maple Woodland. These are the leaflets of the black locust – pinnate with seven to 21 oval leaflets on each leaf branch. A leaflet, occasionally called foliole, in botany is a leaf-like part of a compound leaf. Though it resembles an entire leaf, a leaflet is not borne on a main plant stem or branch, as a leaf is, but rather on a petiole or a branch of the leaf.
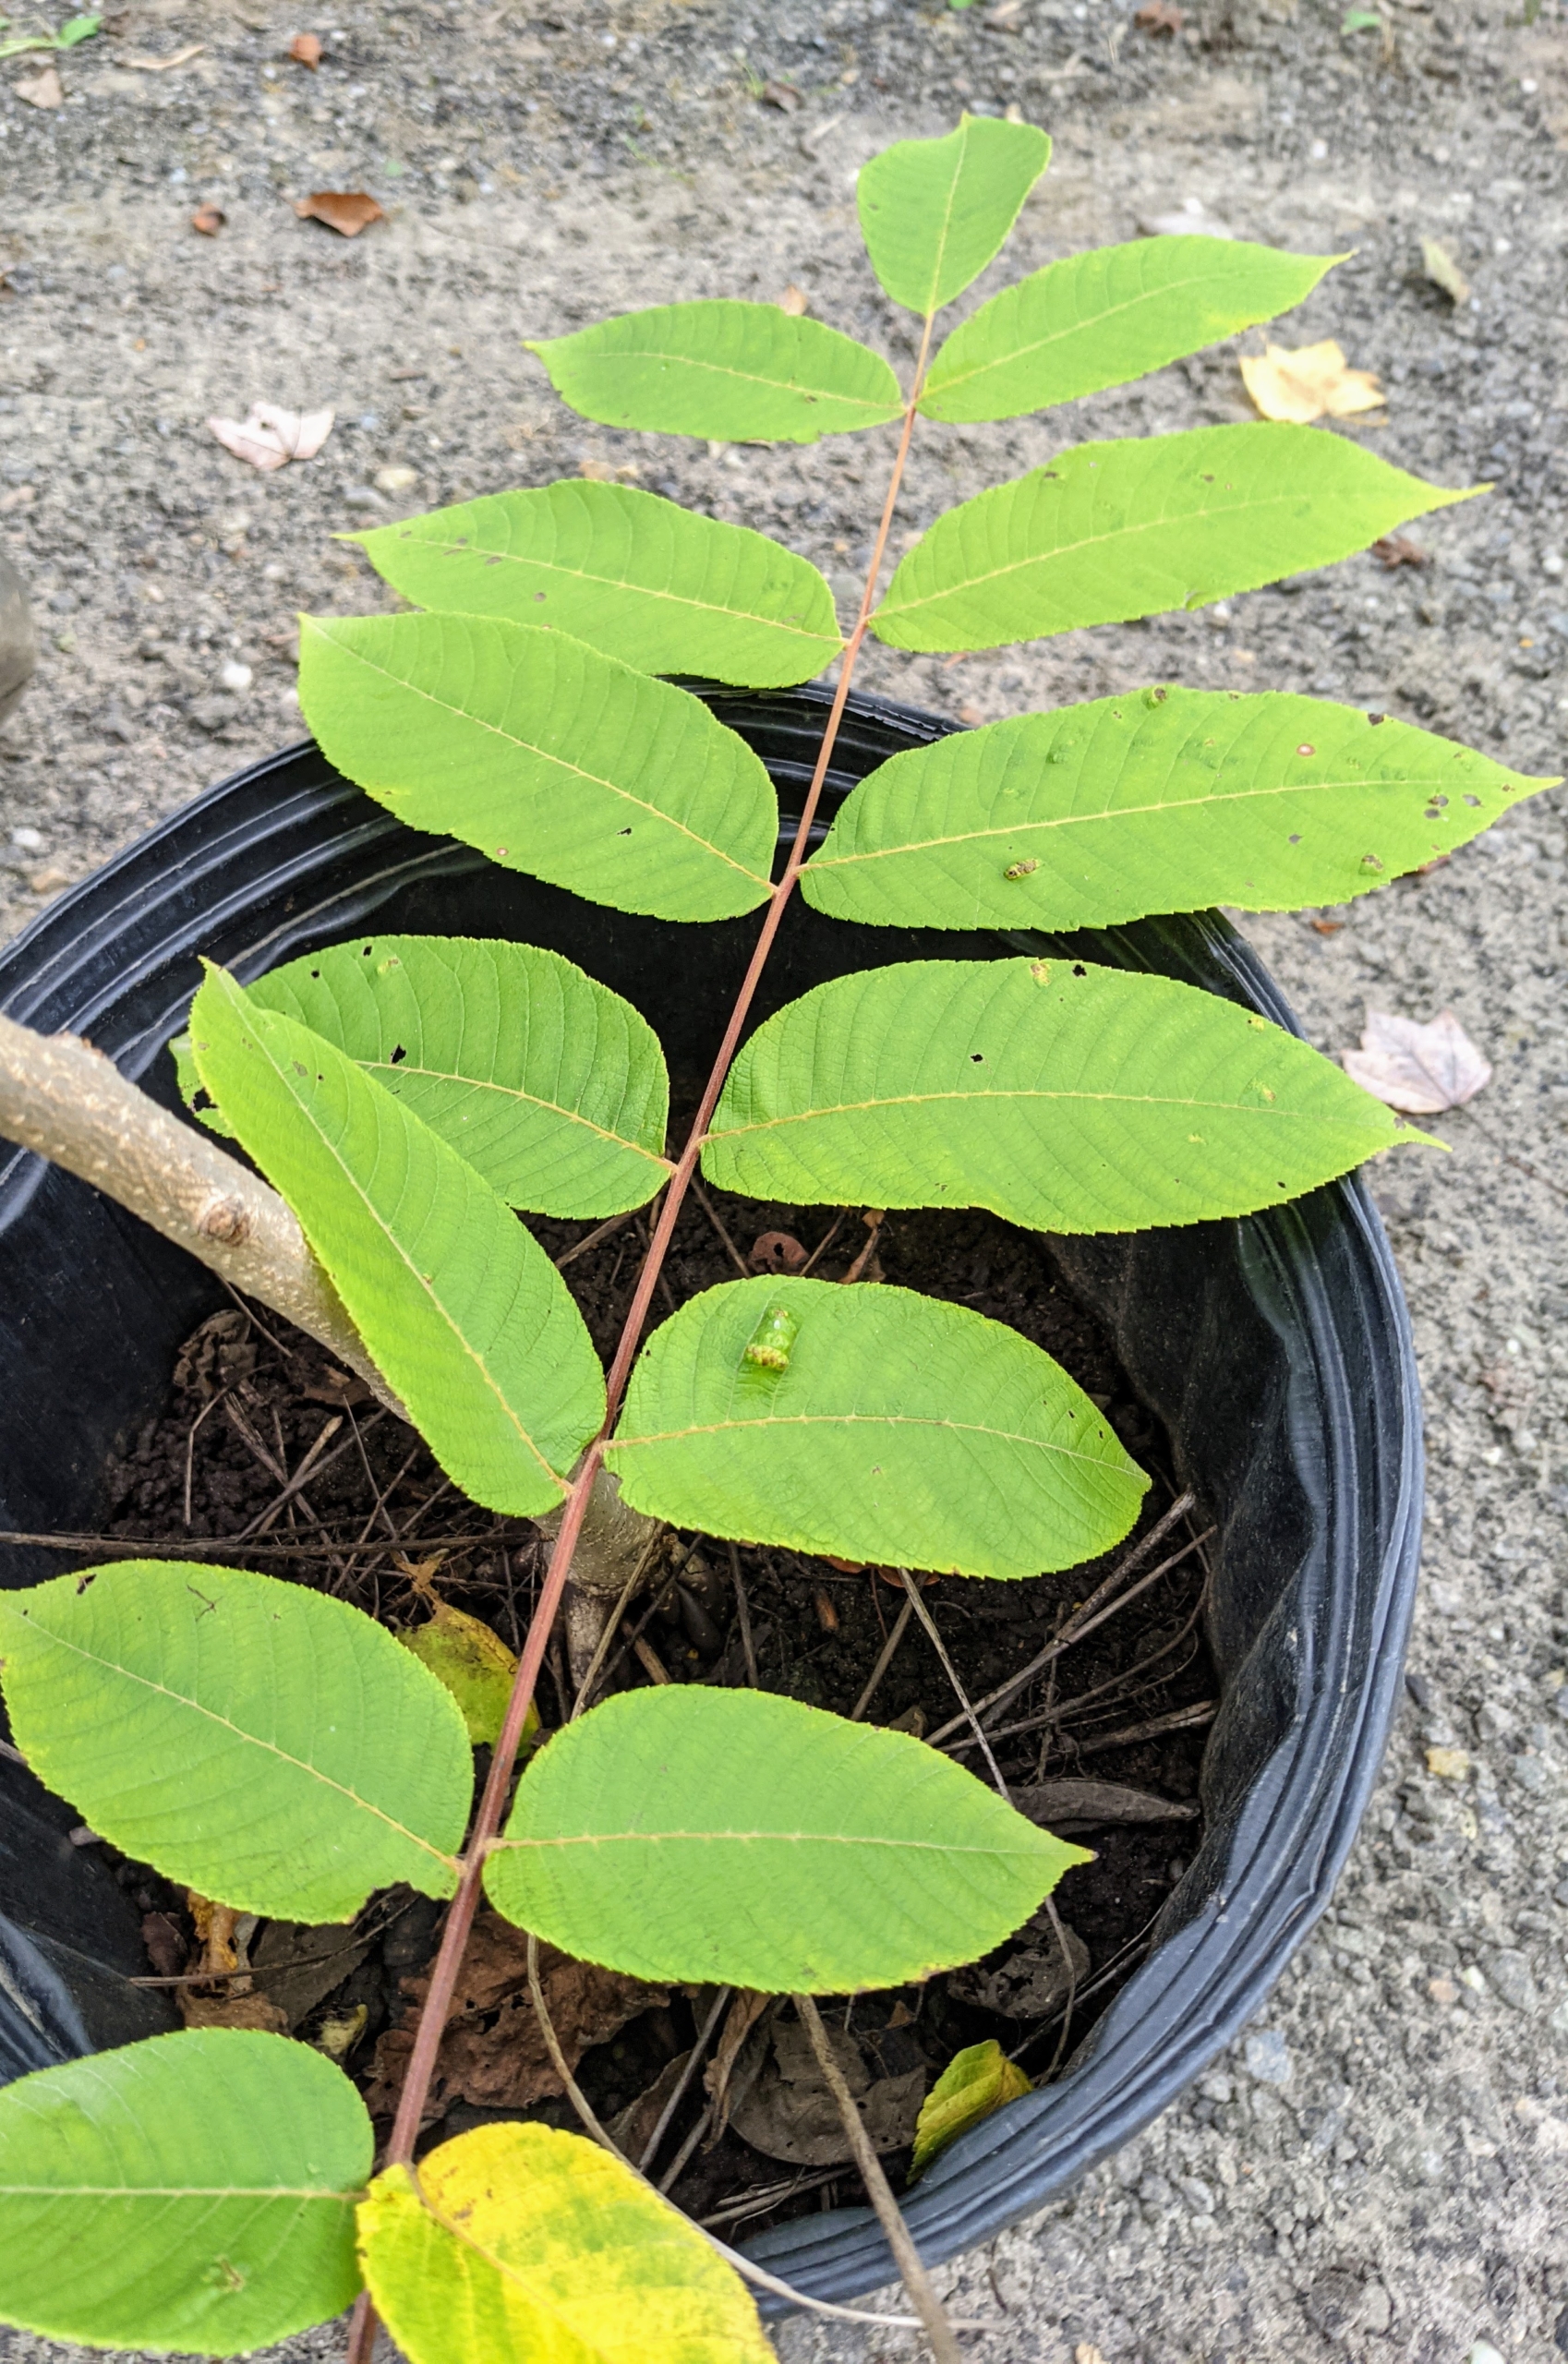
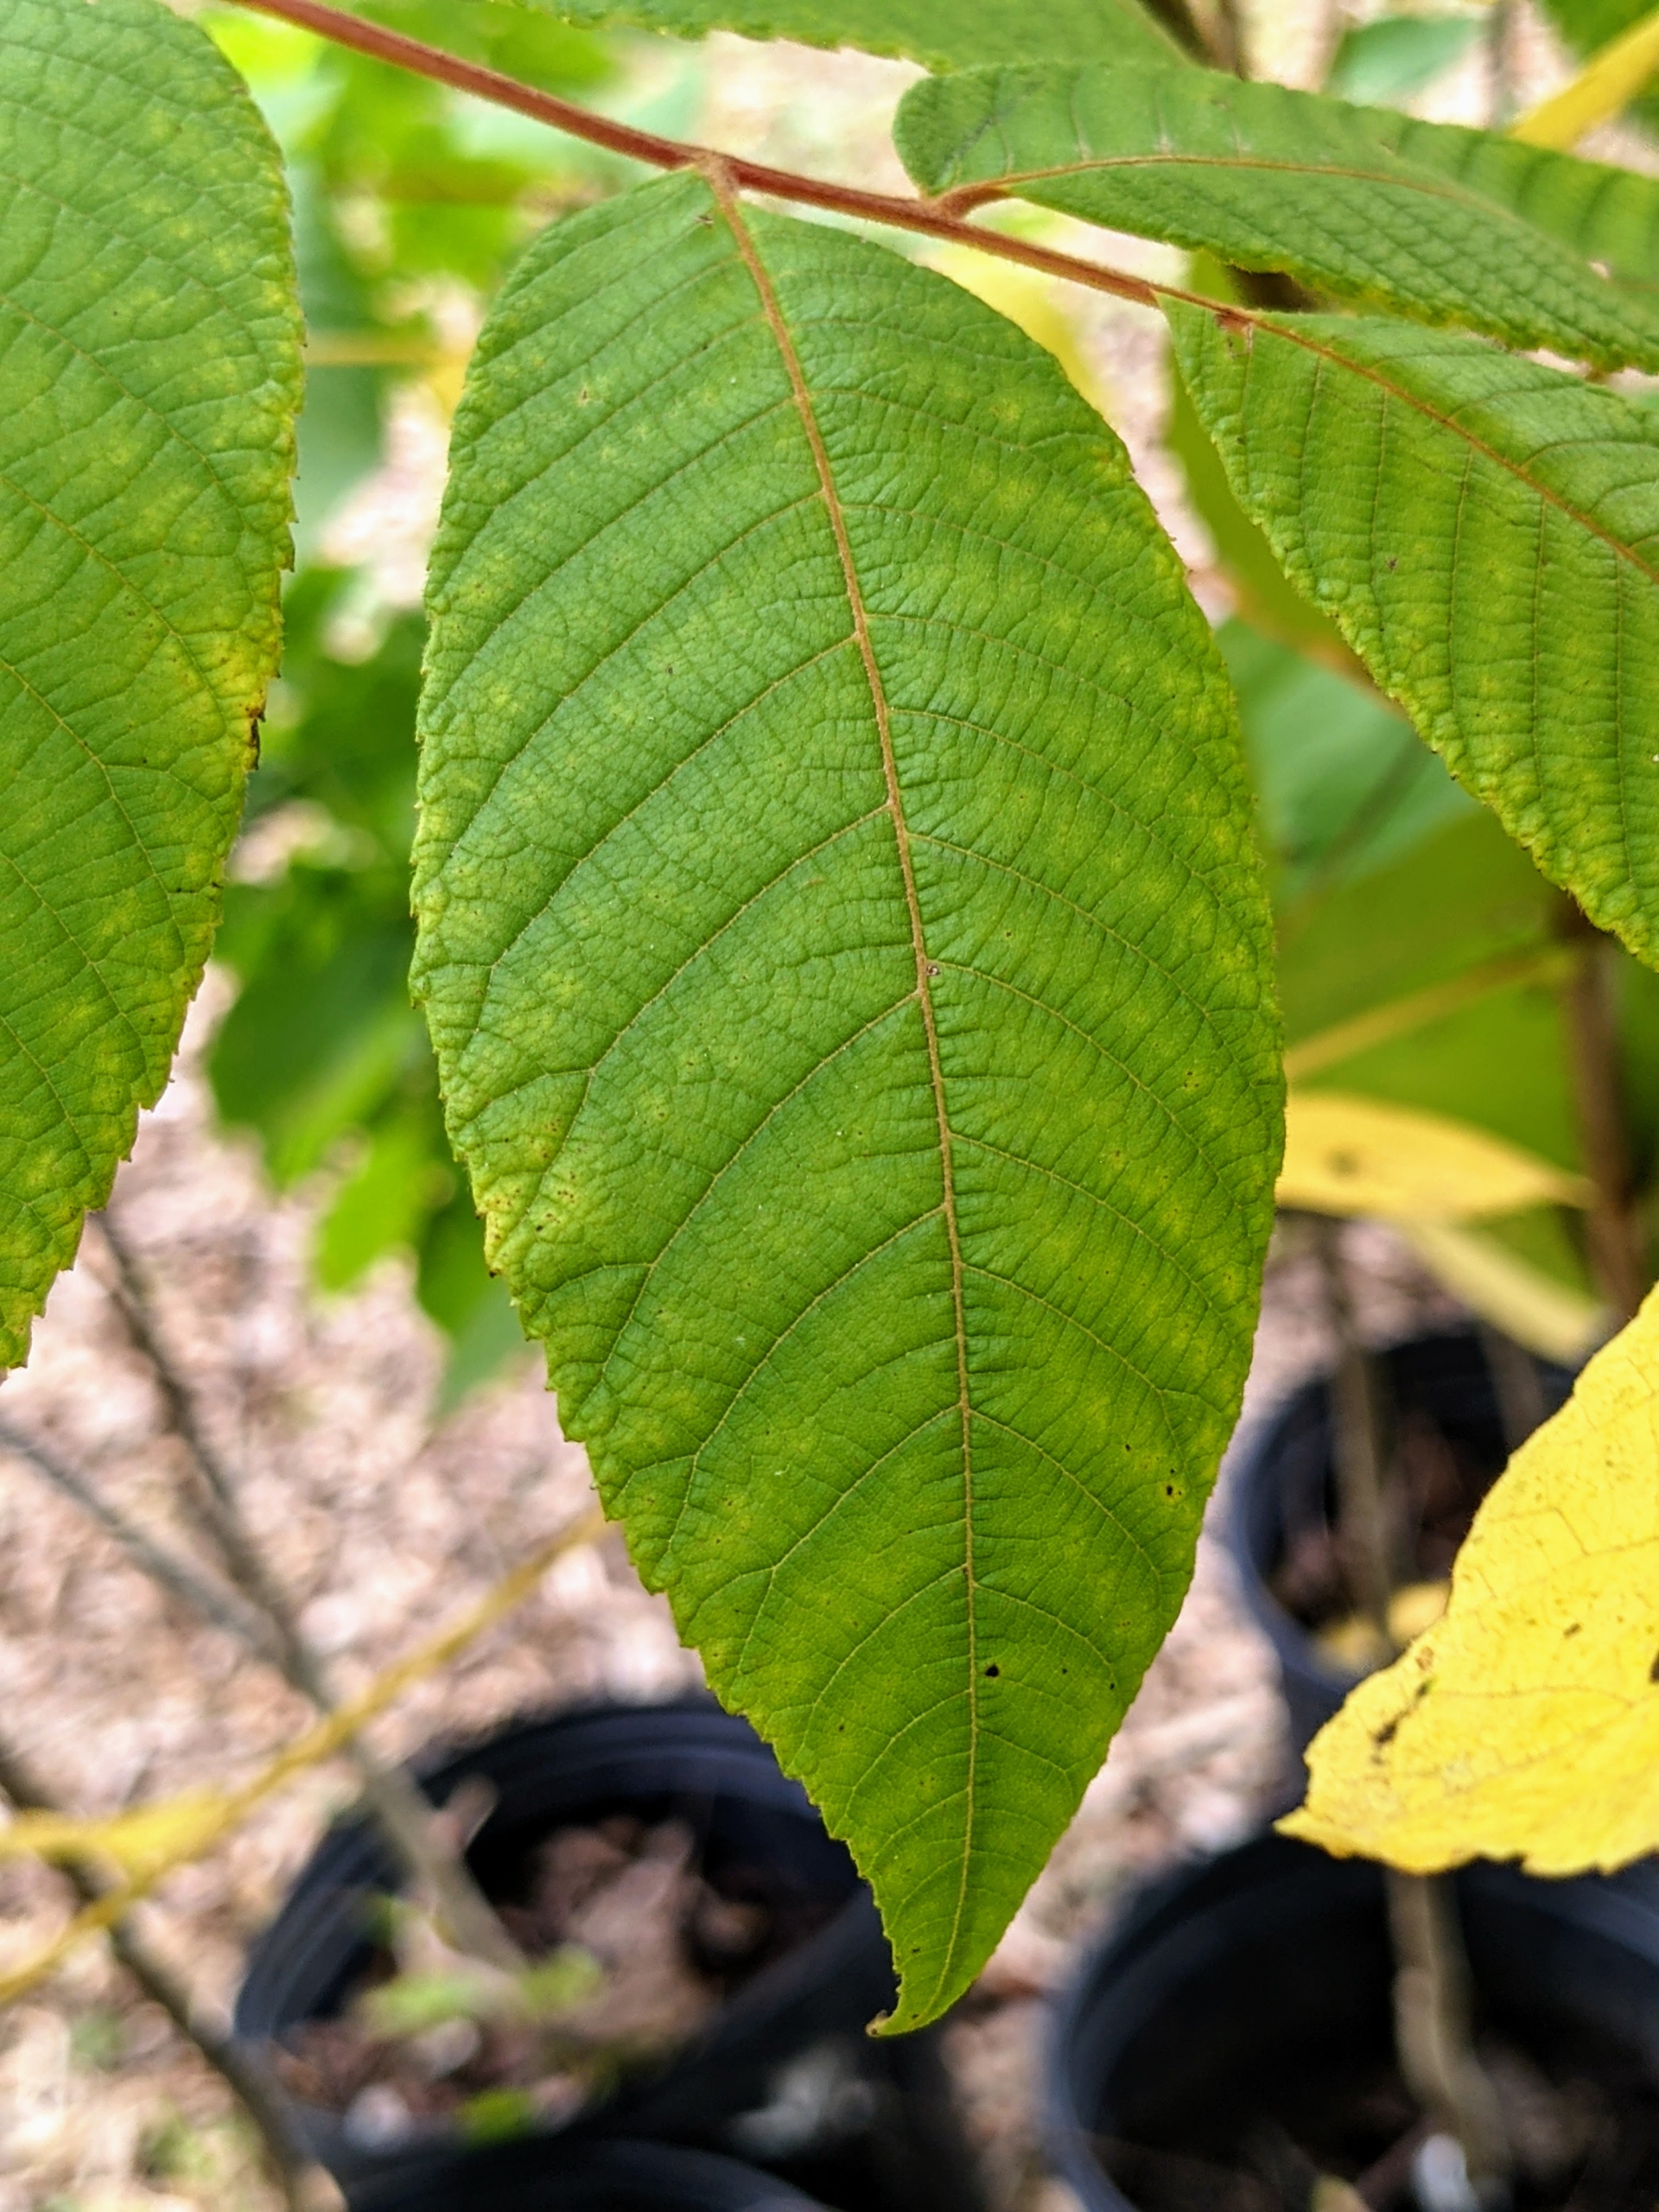
Ryan also pulled some butternut trees to plant in this area. Butternut tree leaves are compound and made up of 11 to 17 leaflets, each growing nine to 15 centimeters long. The compound leaf is usually tipped with a single leaflet as large as the lateral leaflets.
Each leaflet is finely toothed, wrinkled above, and hairy on the lower surface.
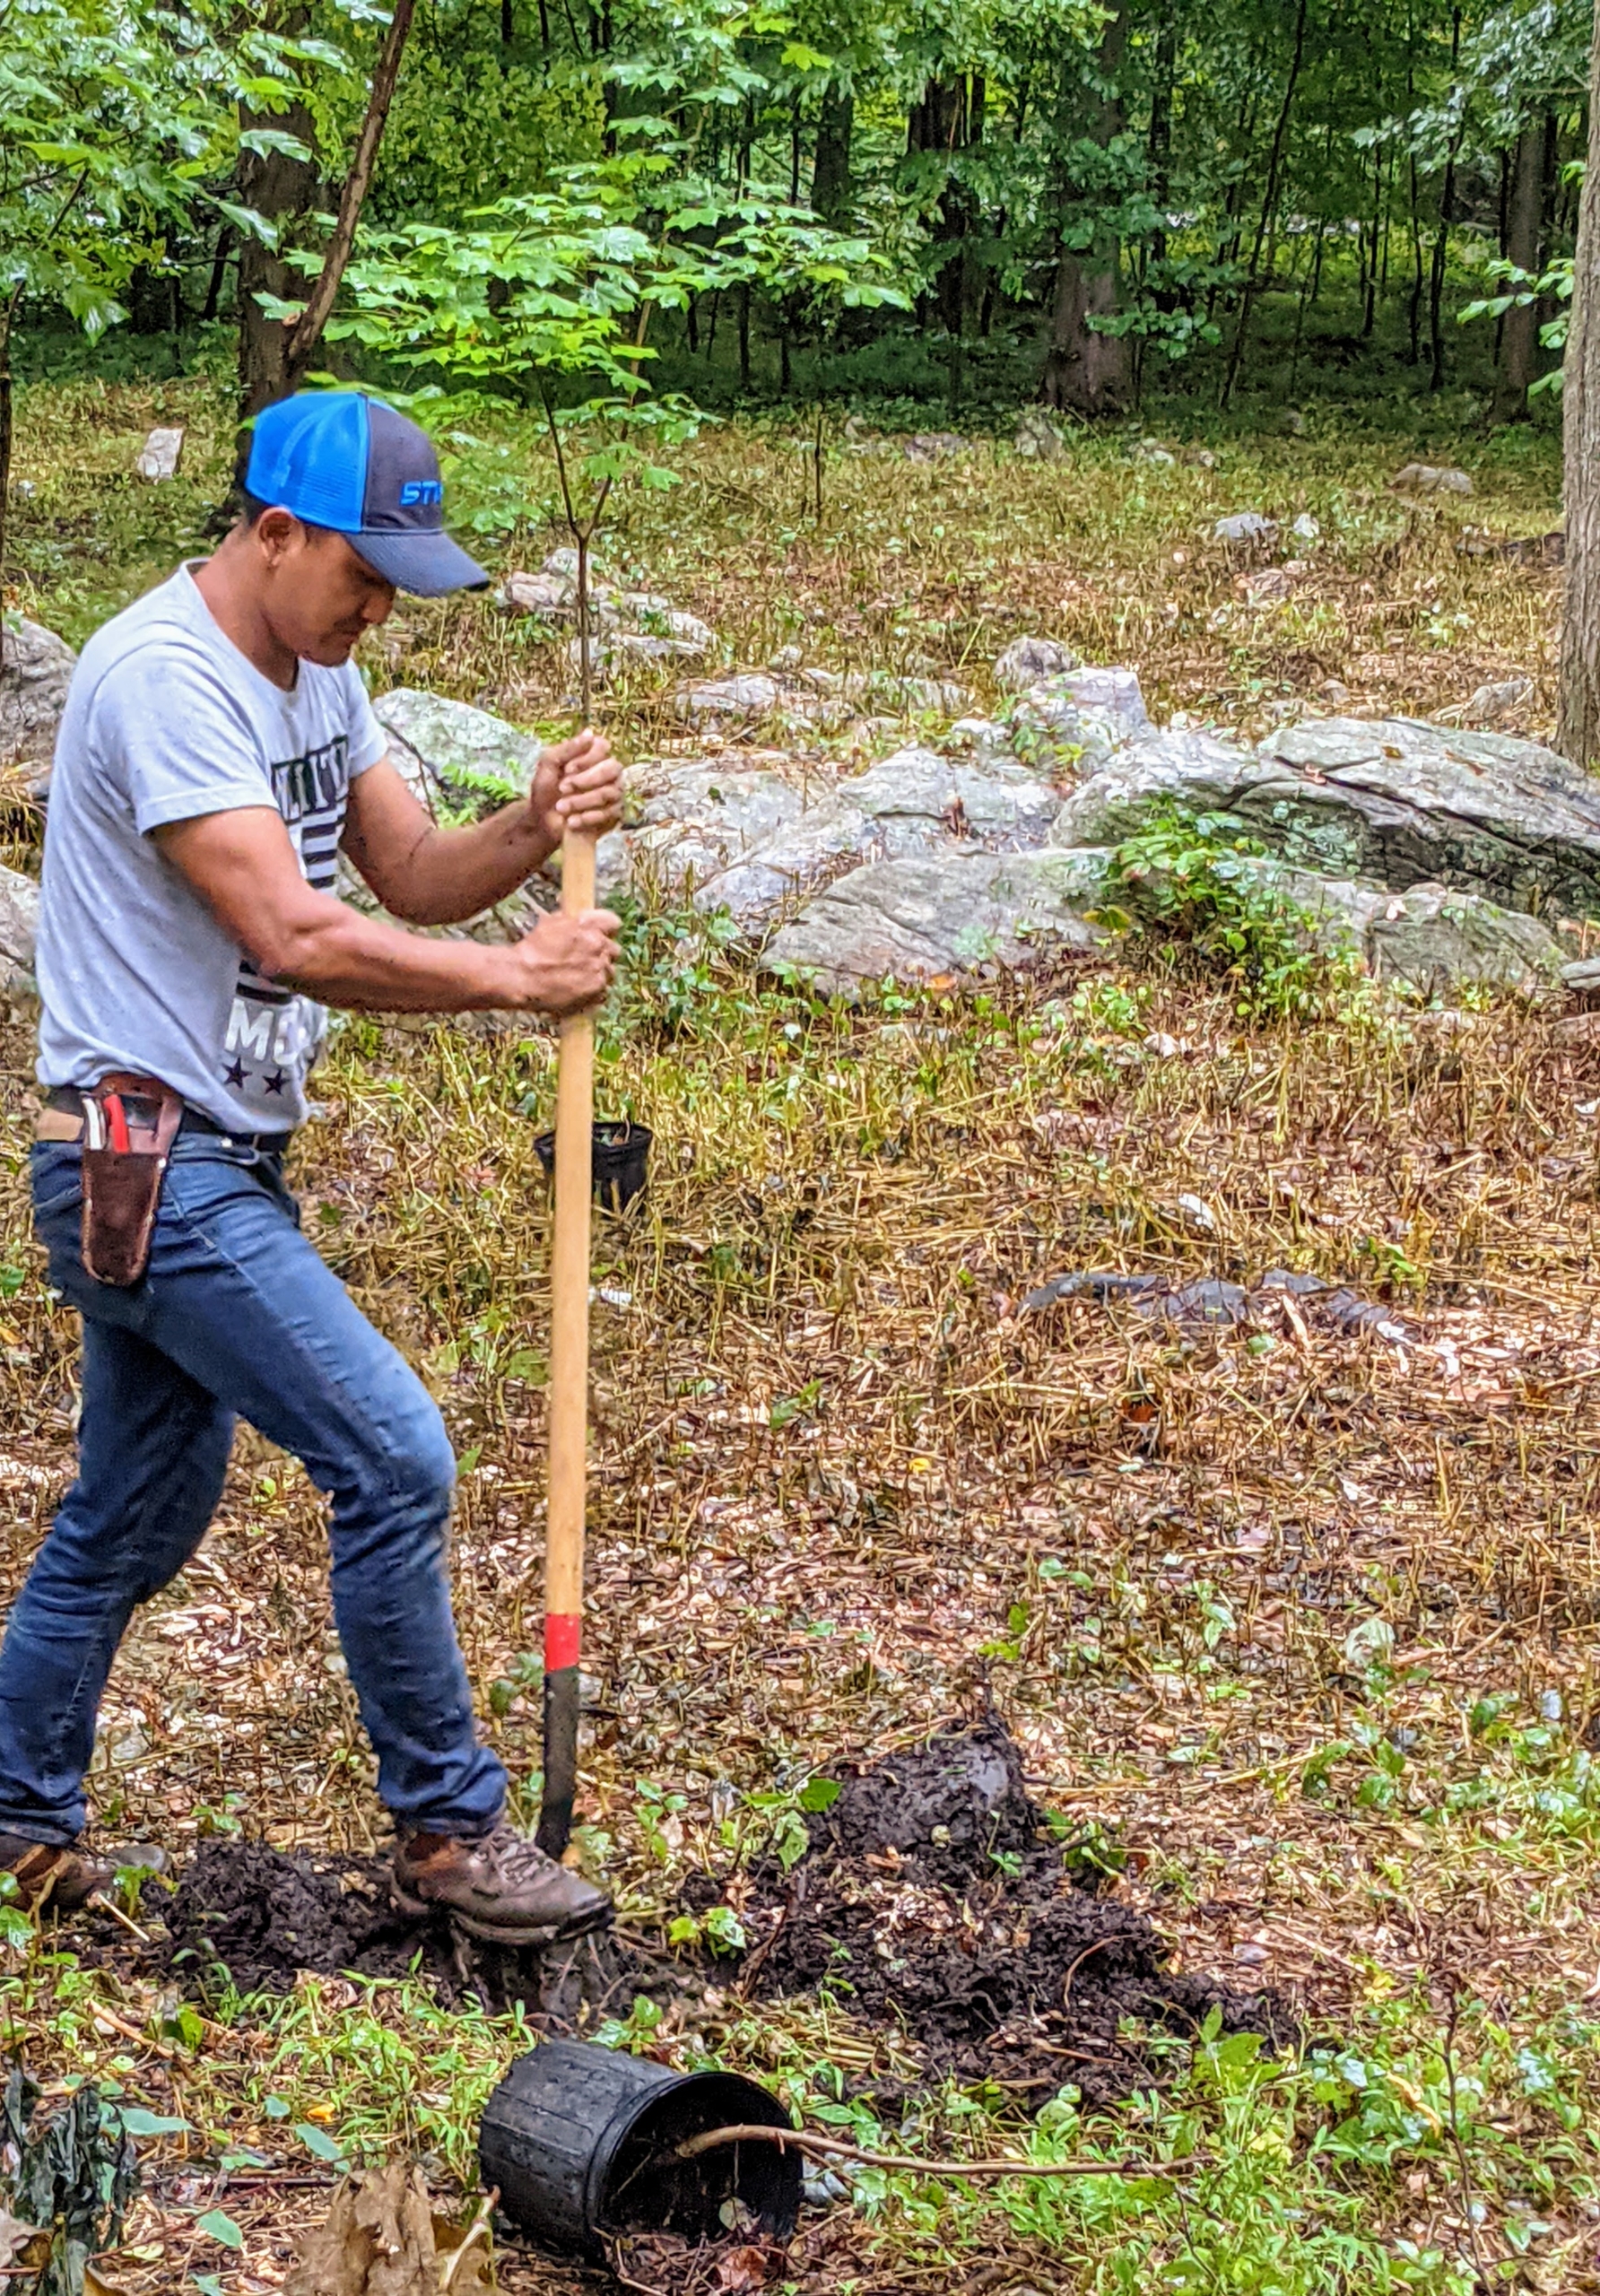
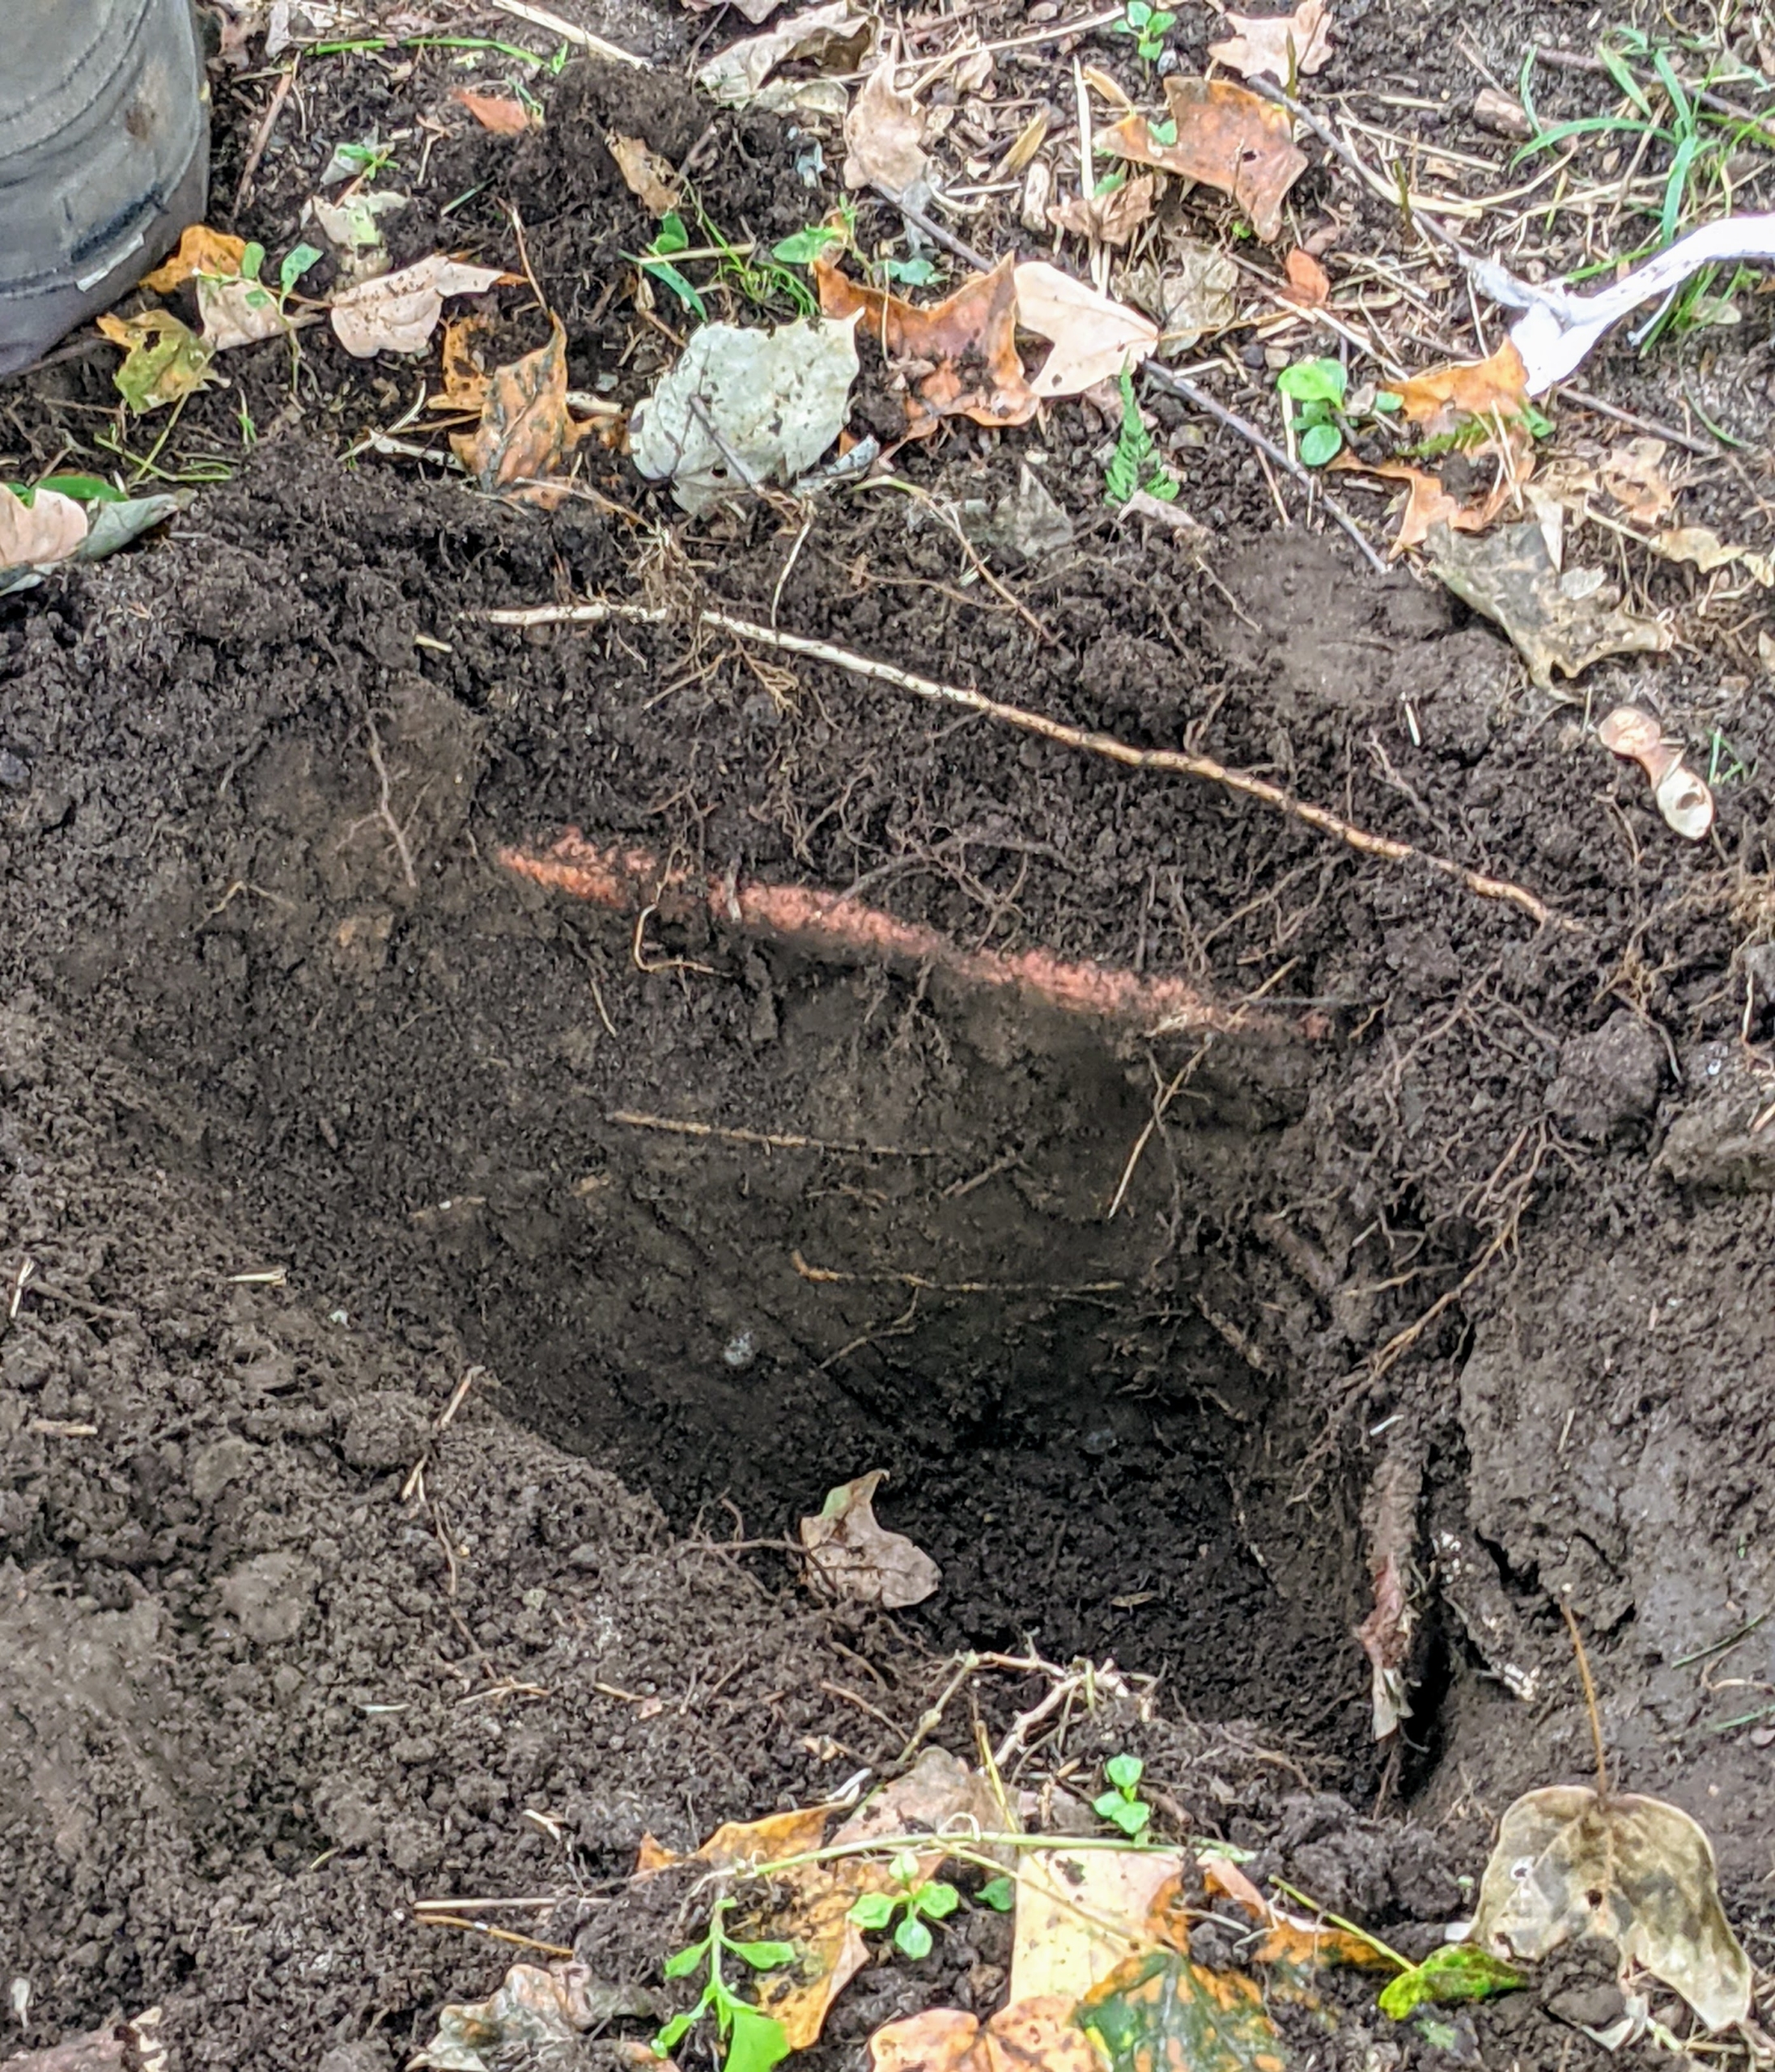
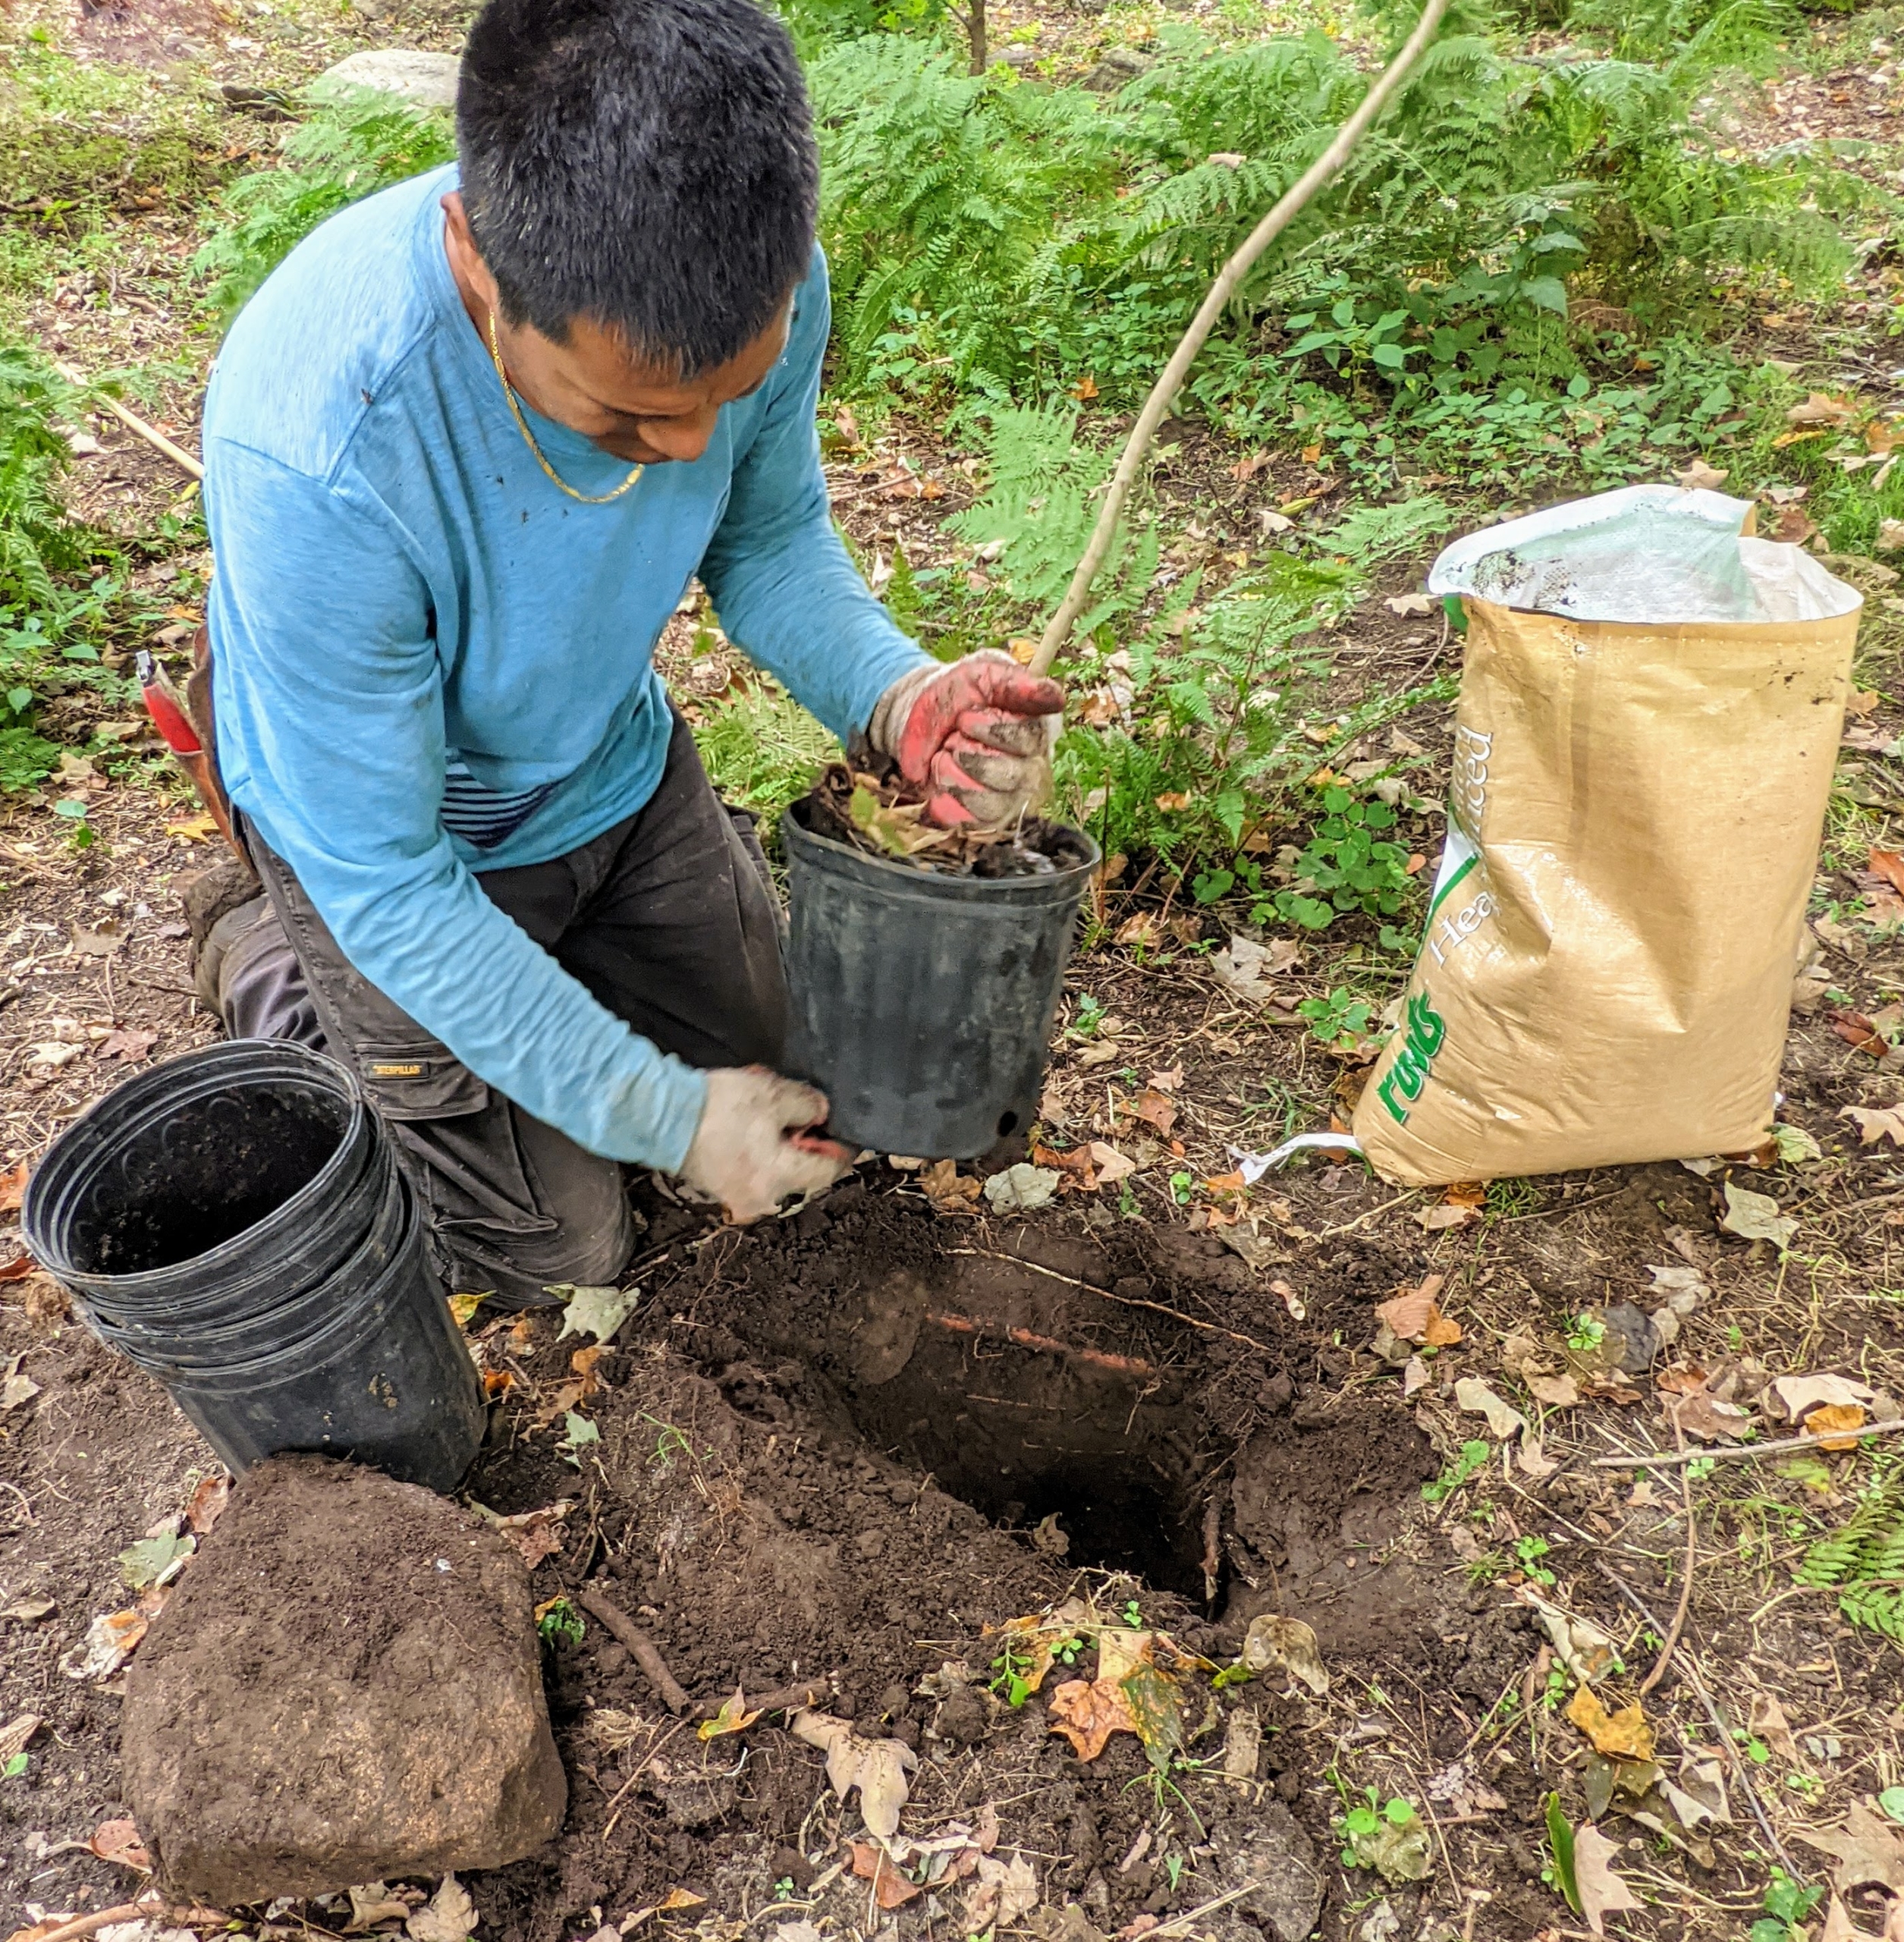
The crew is very experienced at planting many trees at a time. To help planting go quickly and smoothly, the crew works in an assembly line process. Domi digs all the holes for planting – each about 10 inches deep.
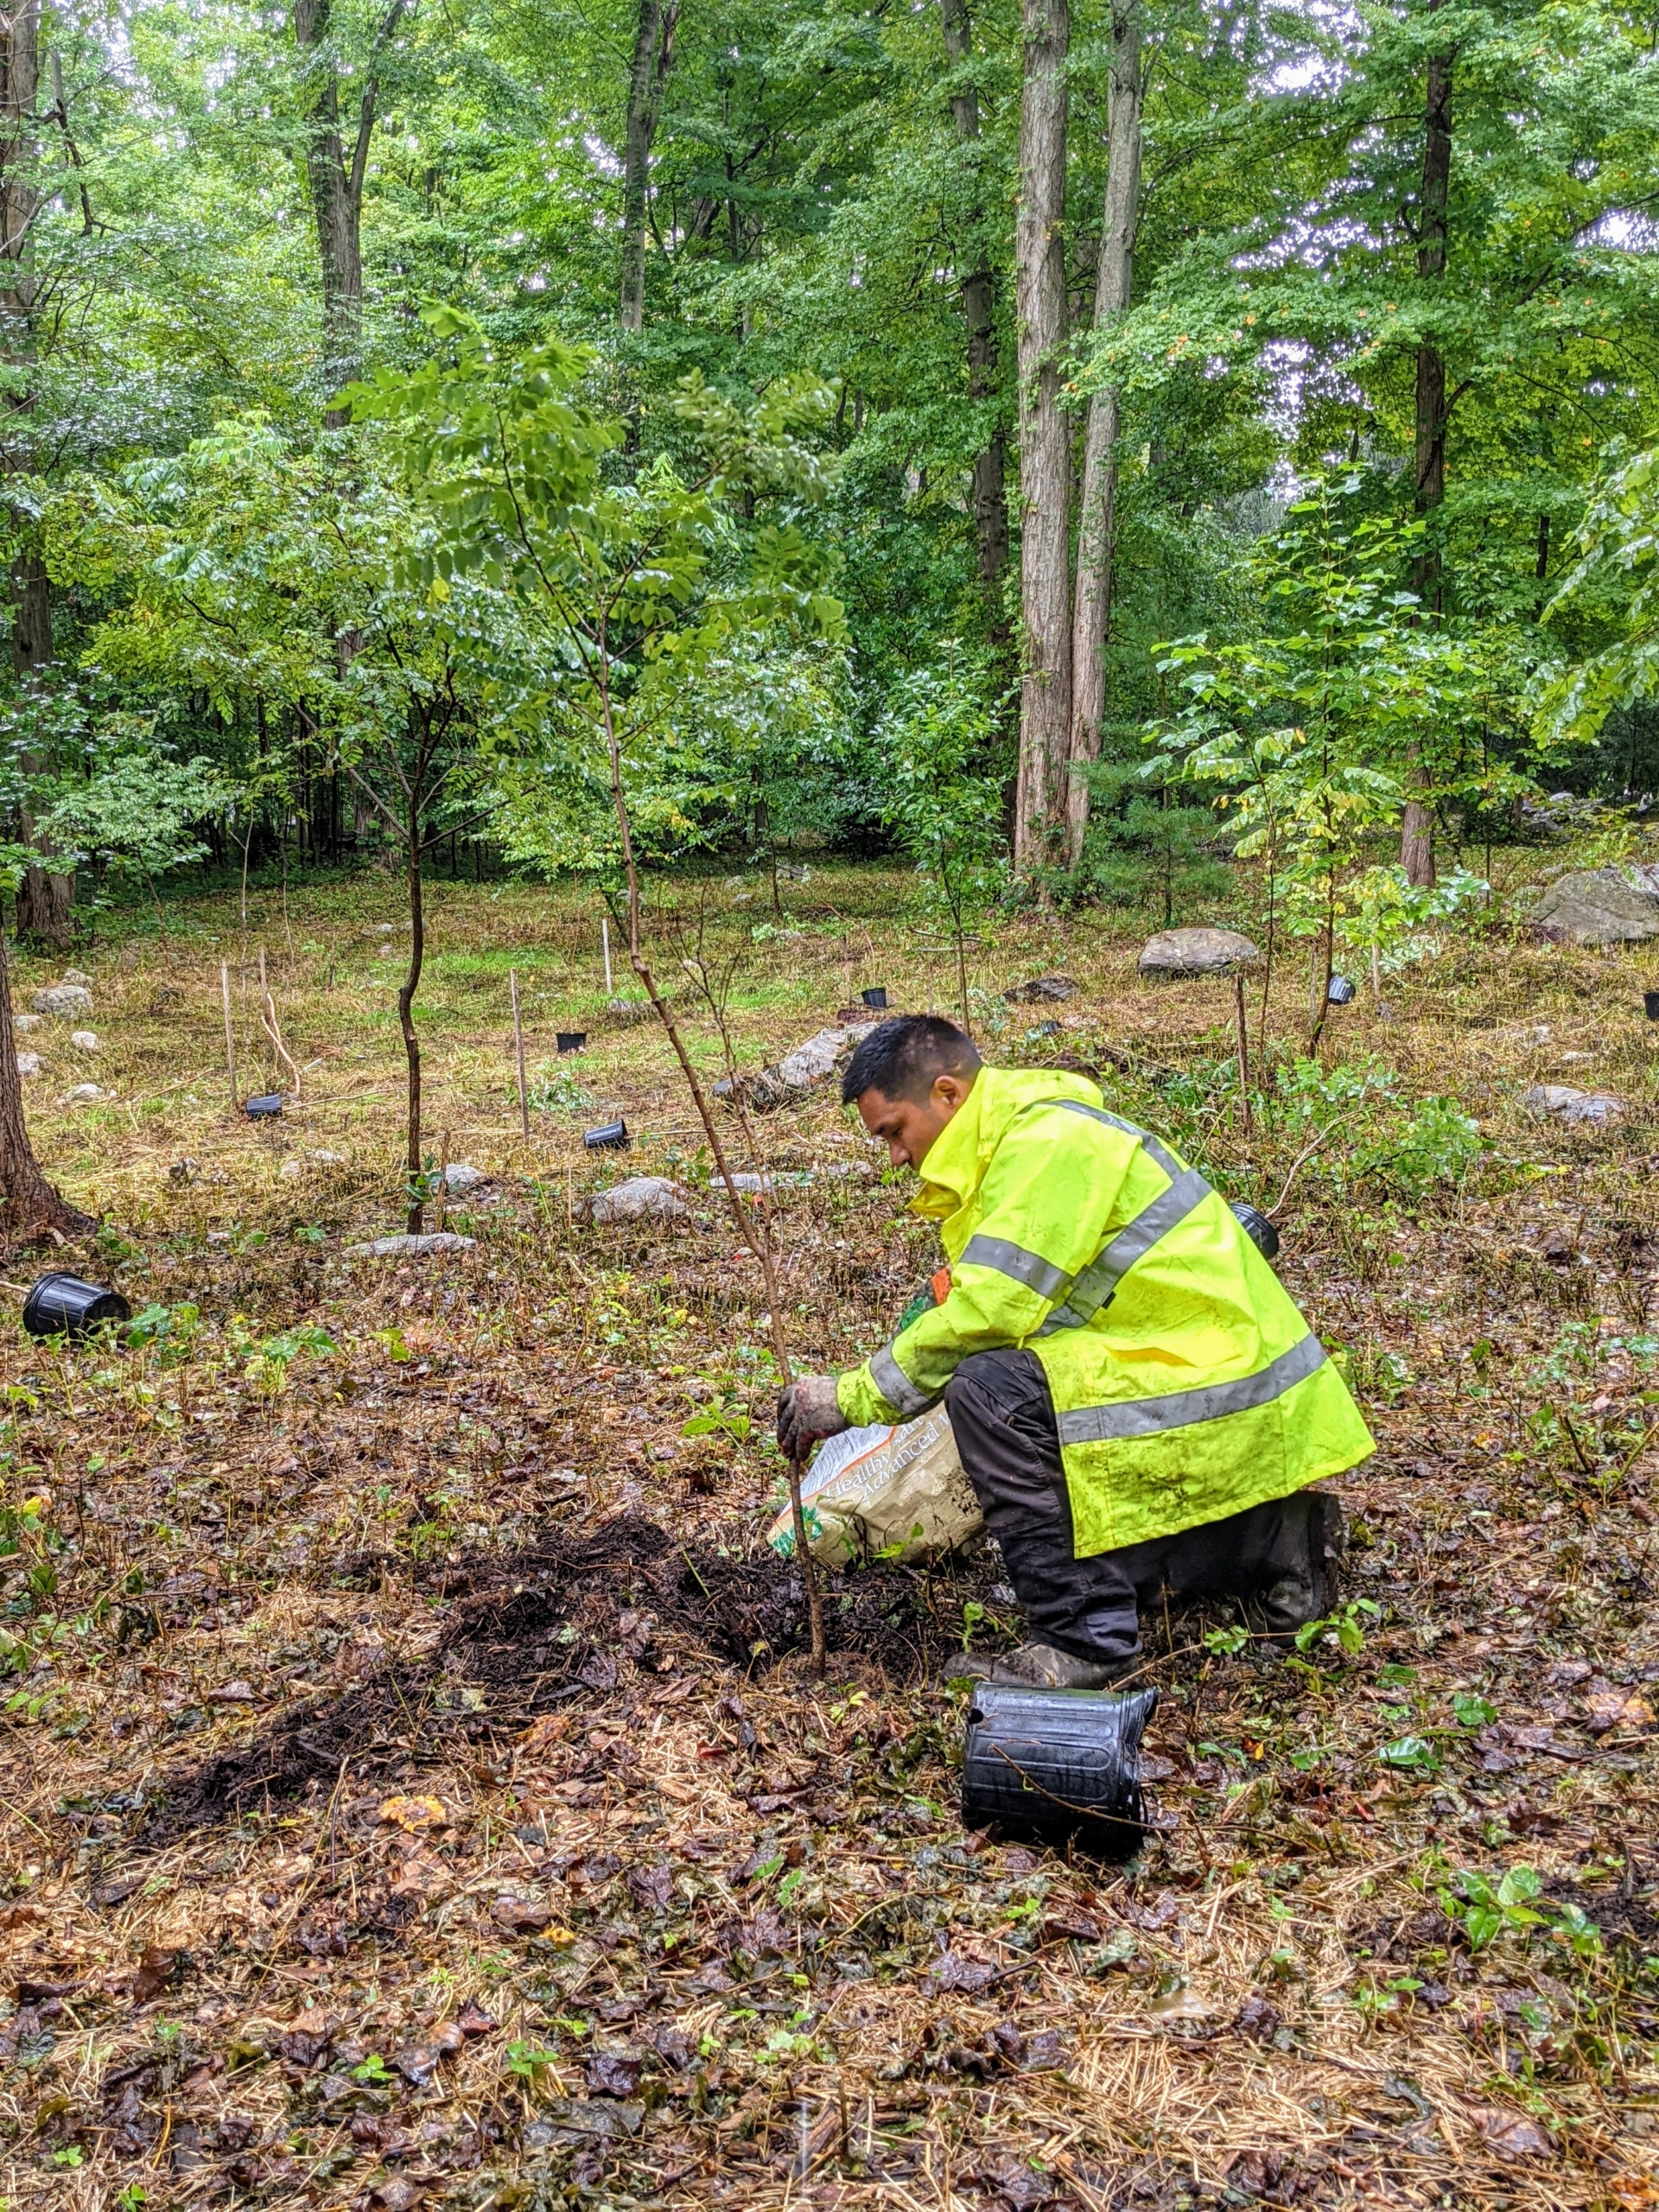
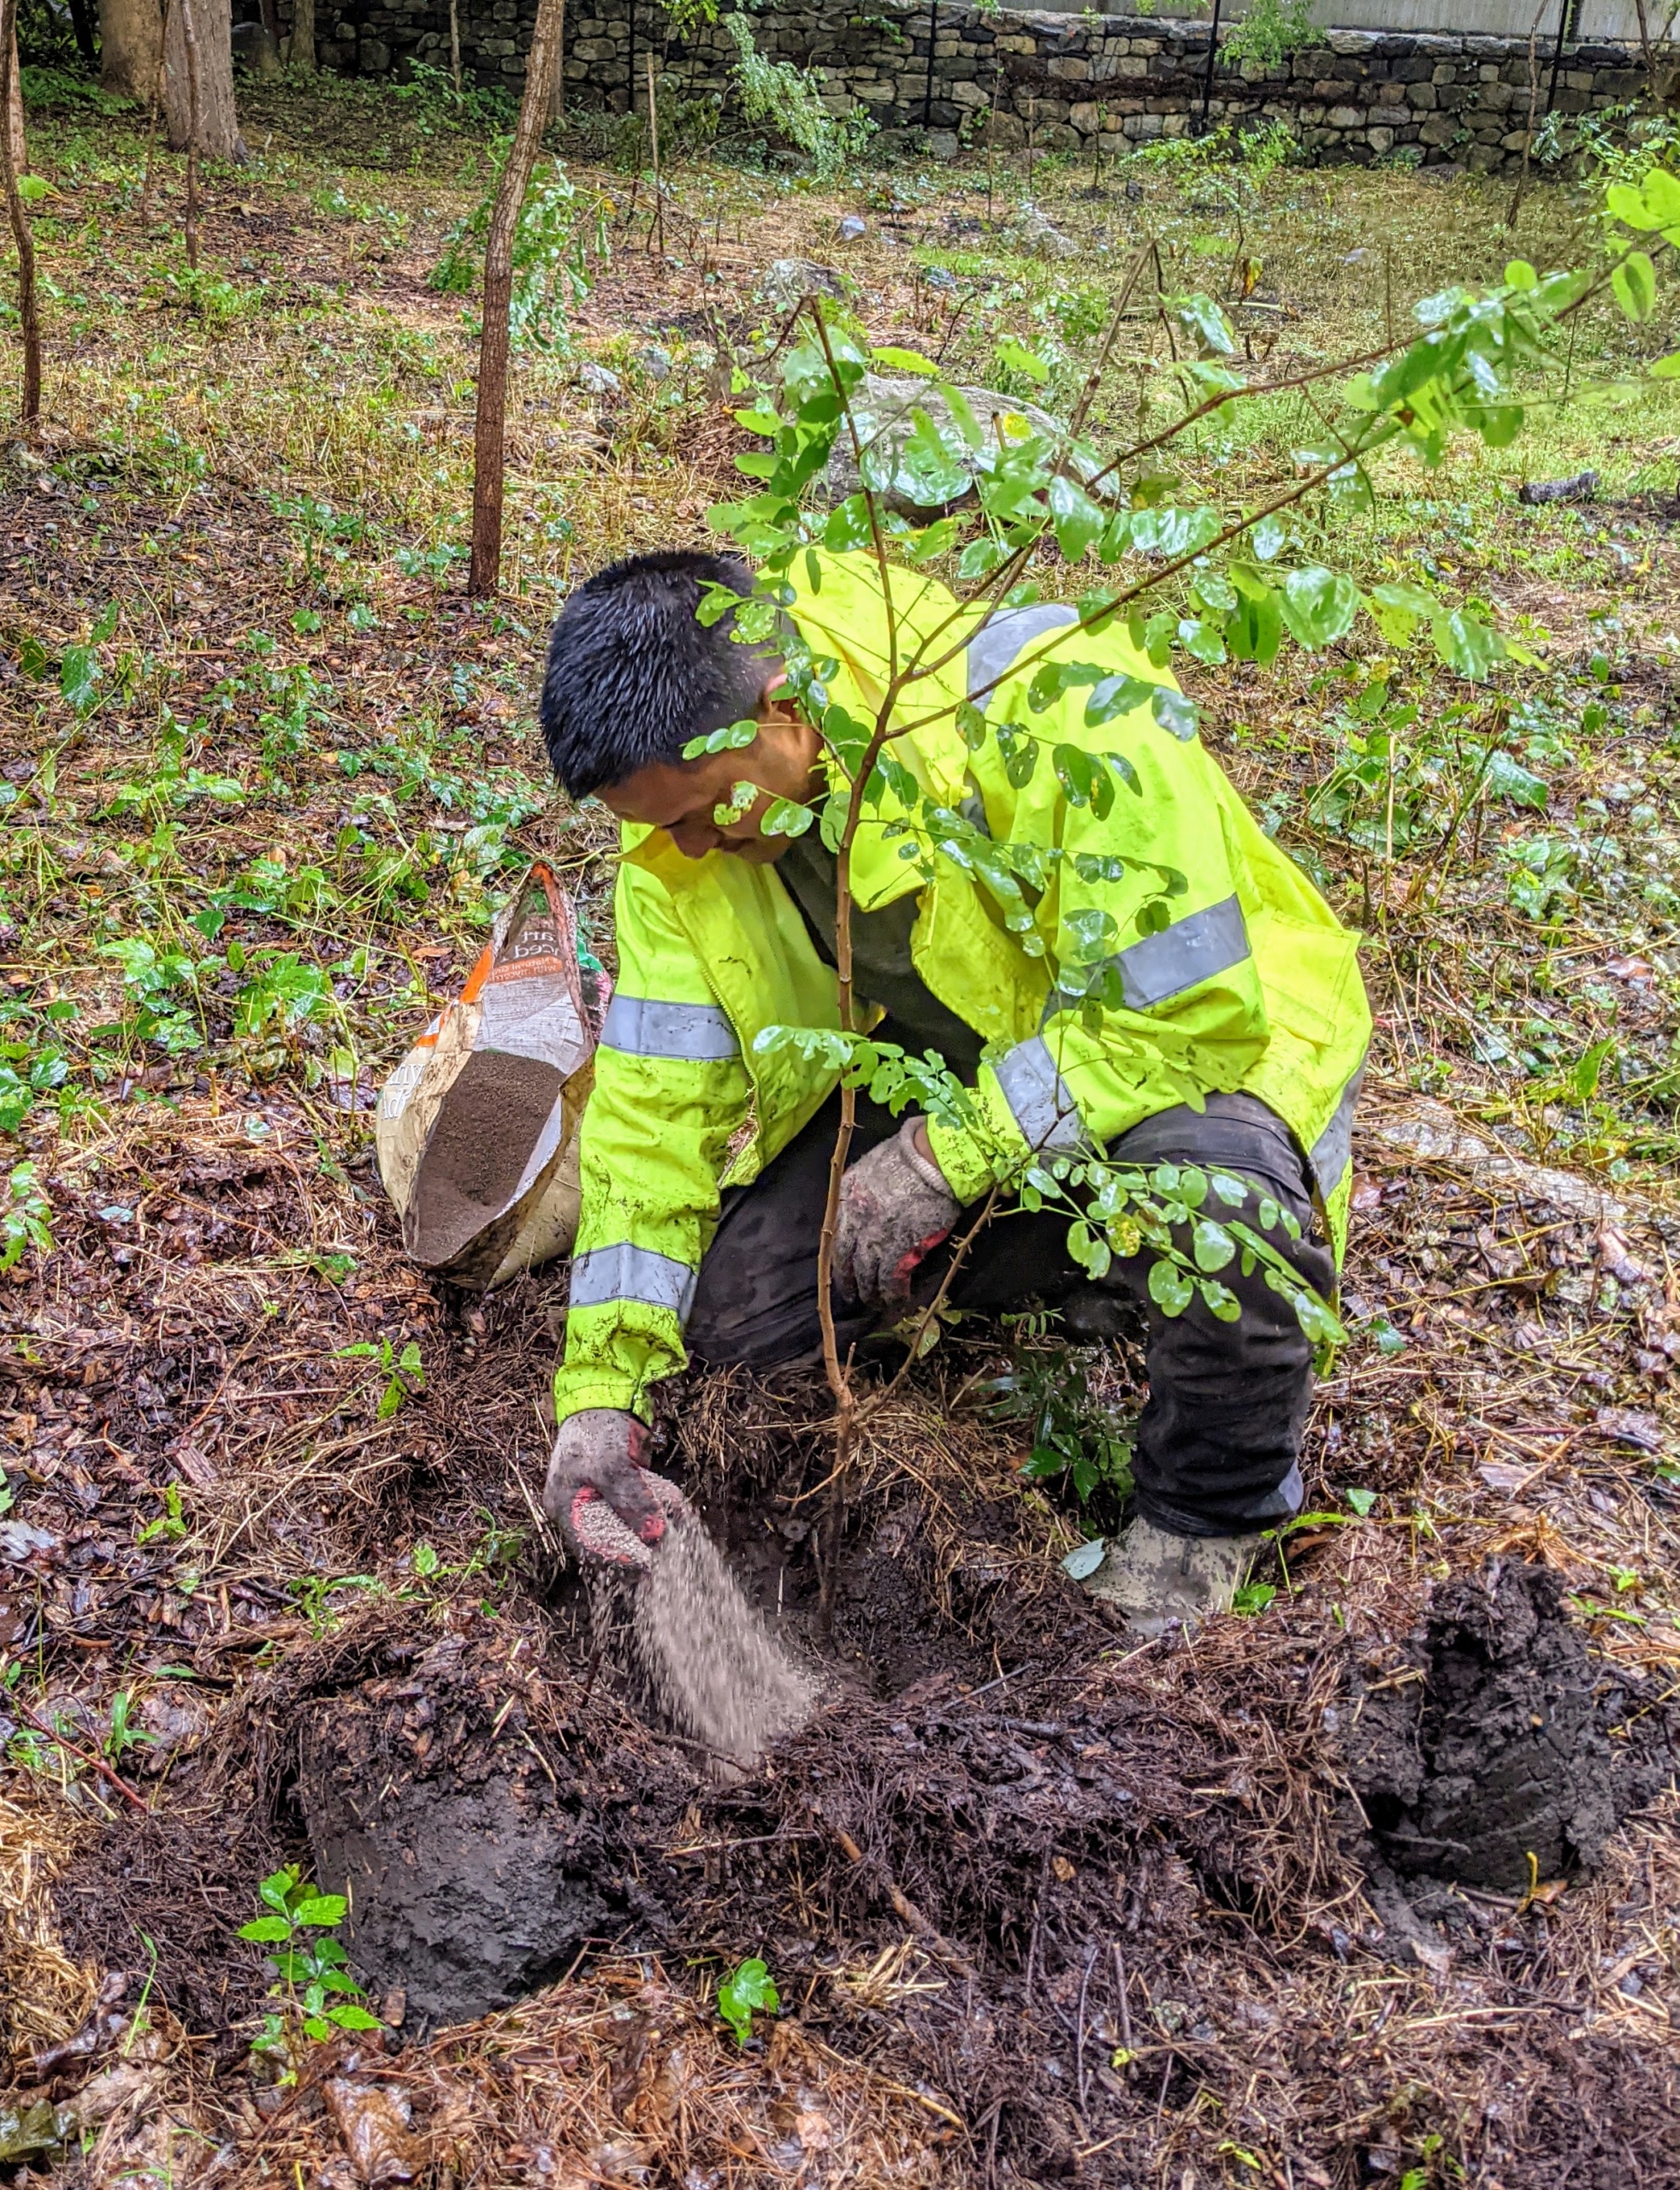
Then Pasang follows behind to plant each tree previously positioned in its proper location – these trees should be planted at least six to eight feet apart.
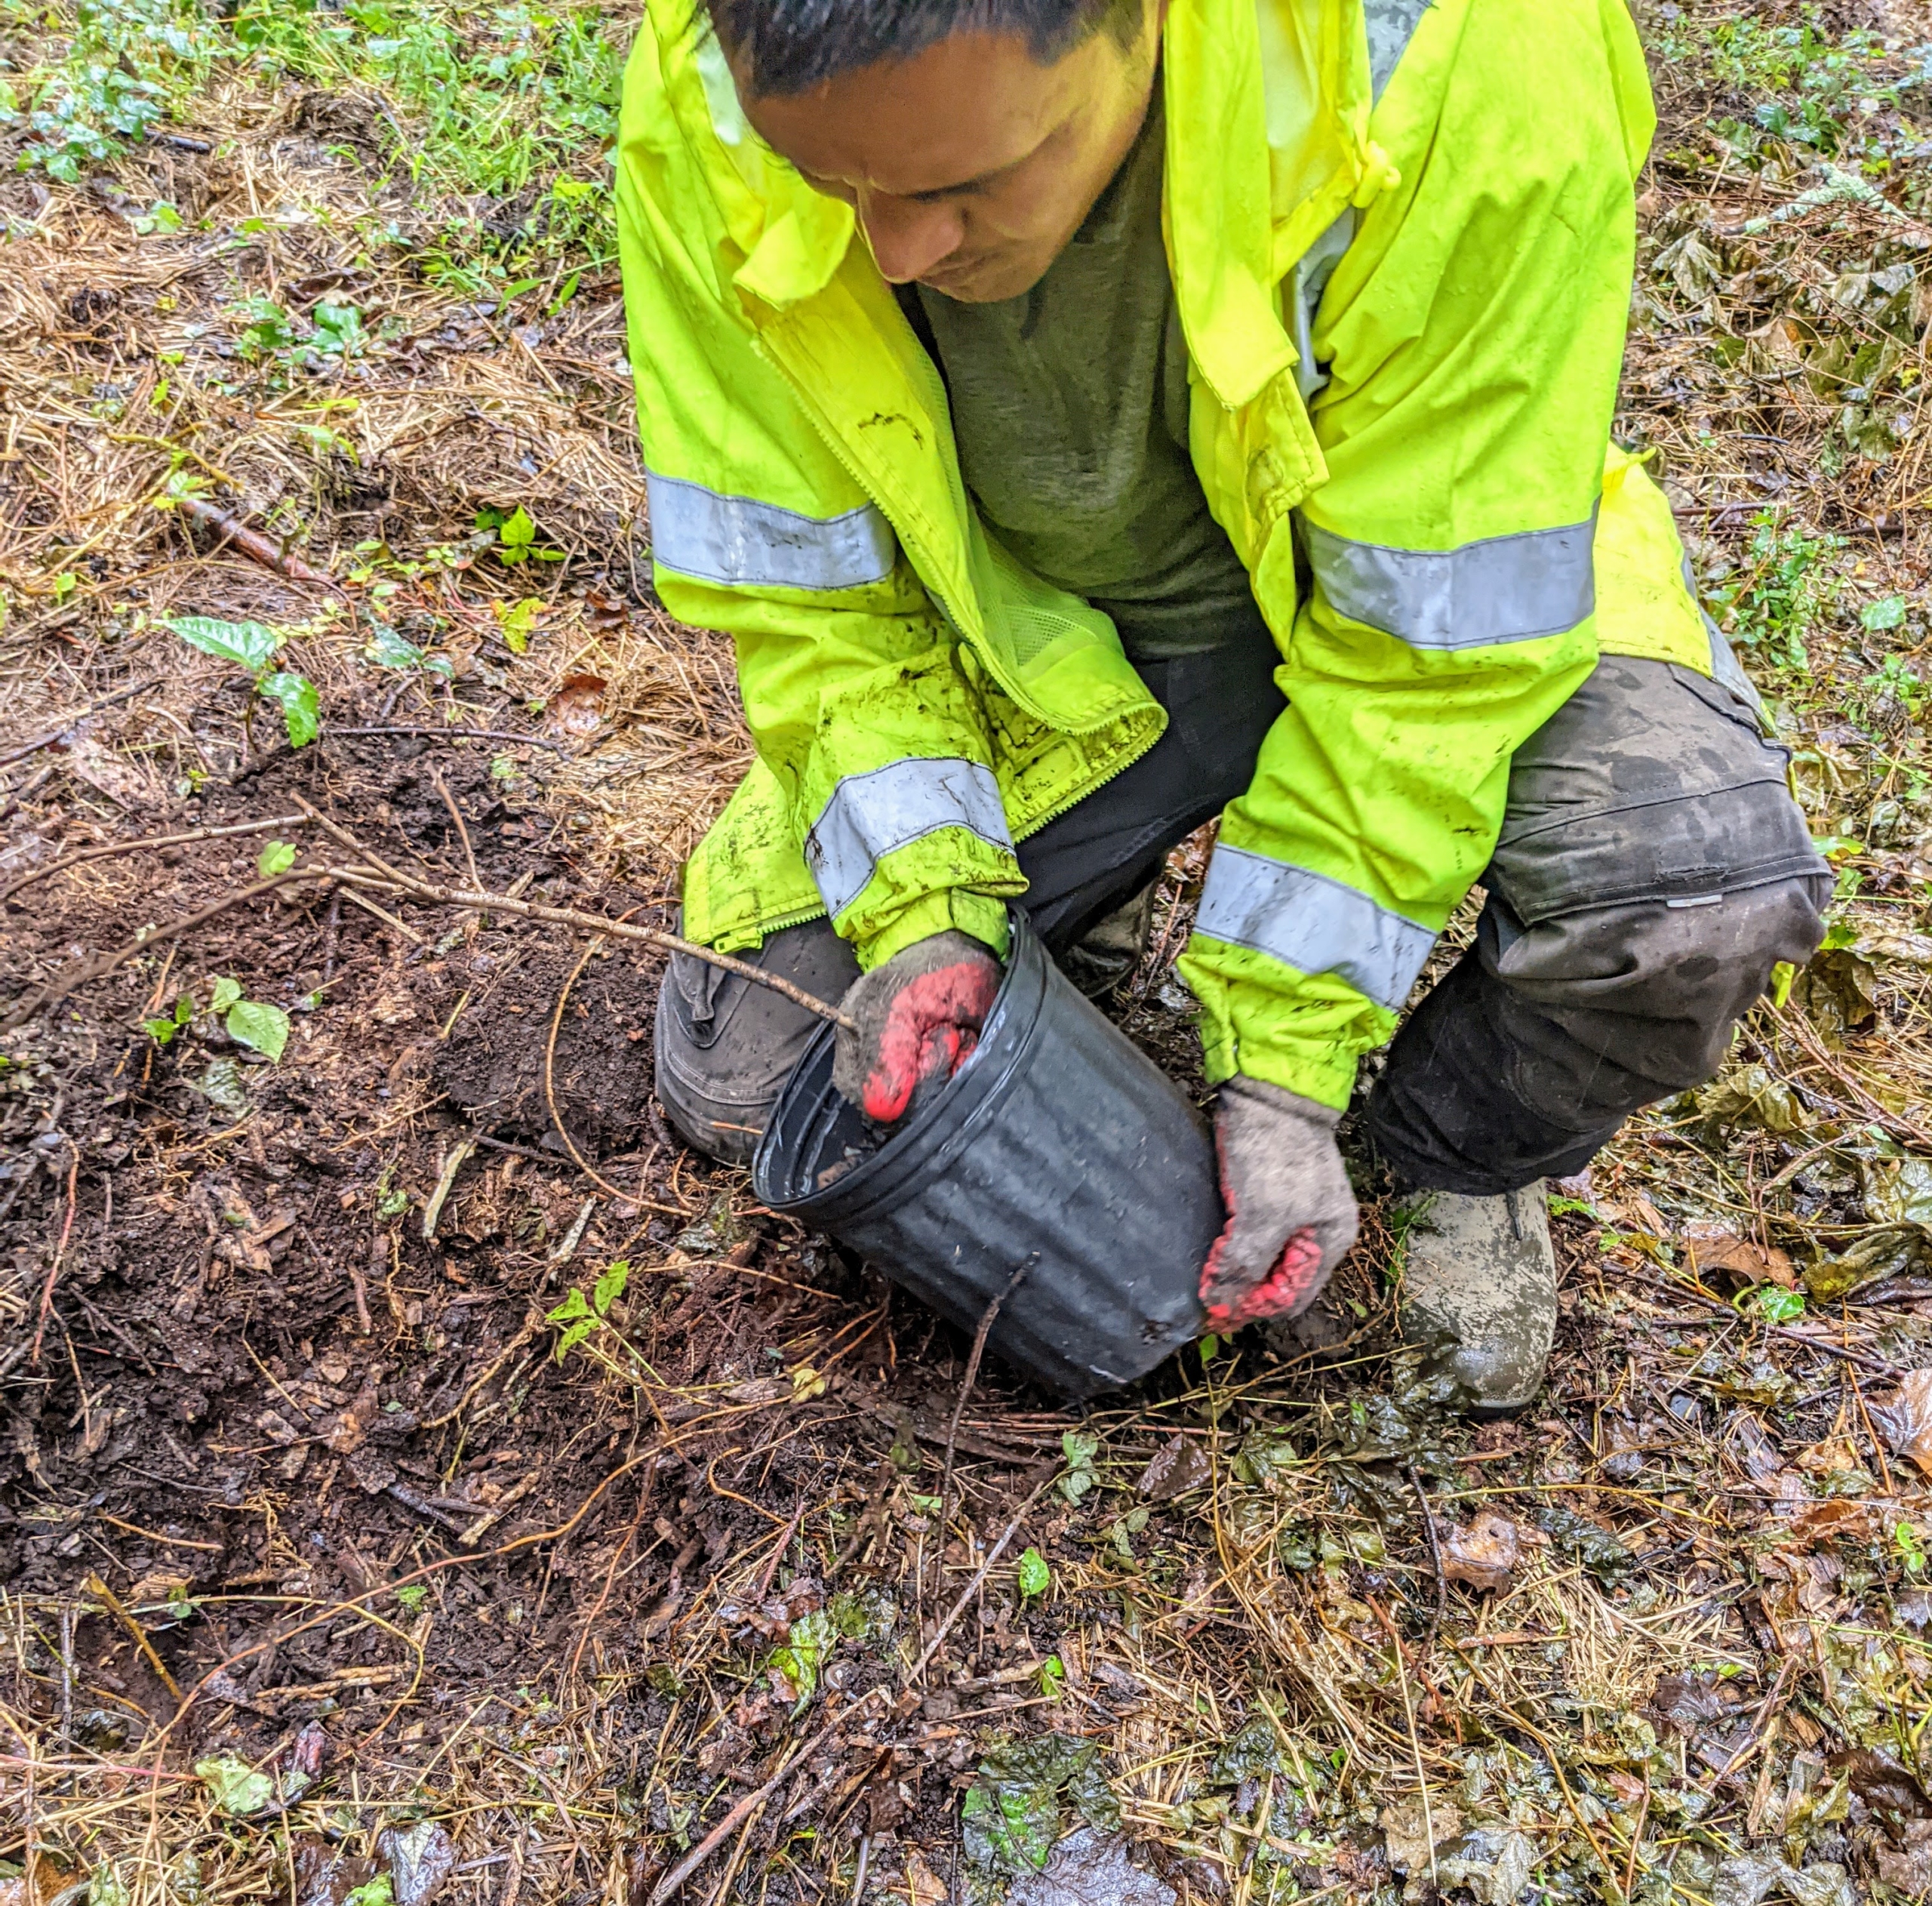
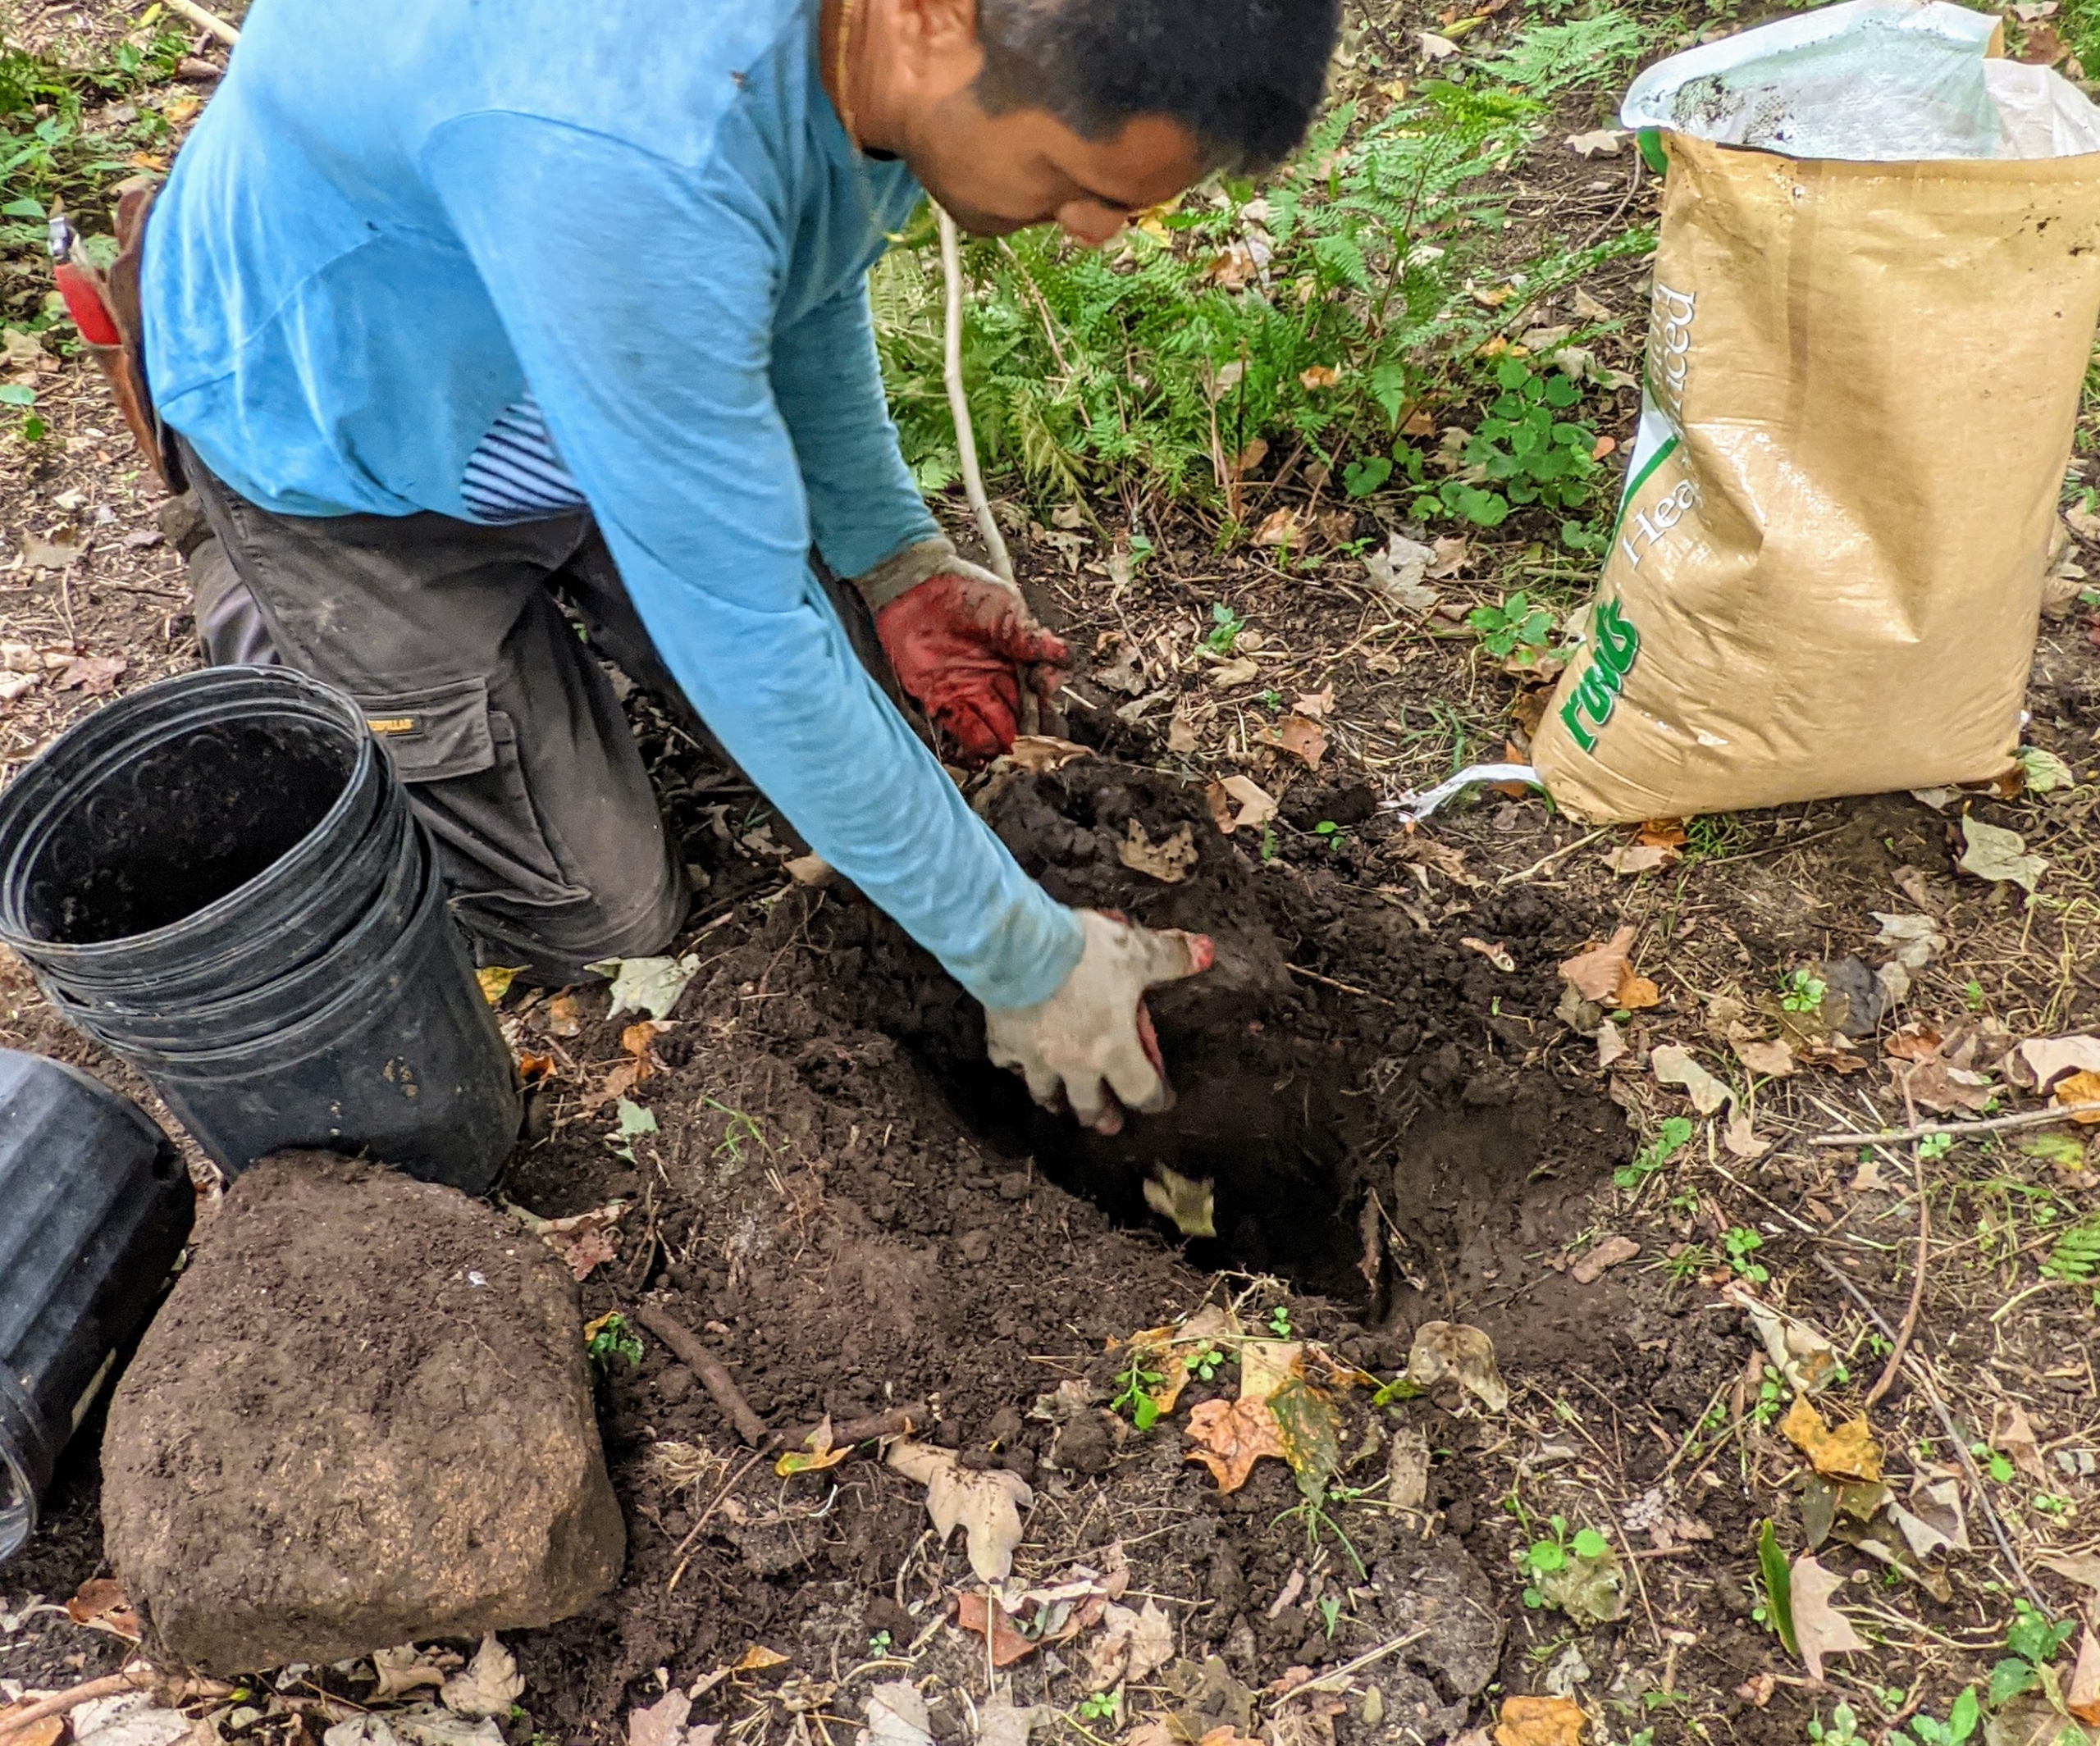
Pasang carefully removes each tree and its root ball. Each tree is planted to the height it was in the pot.
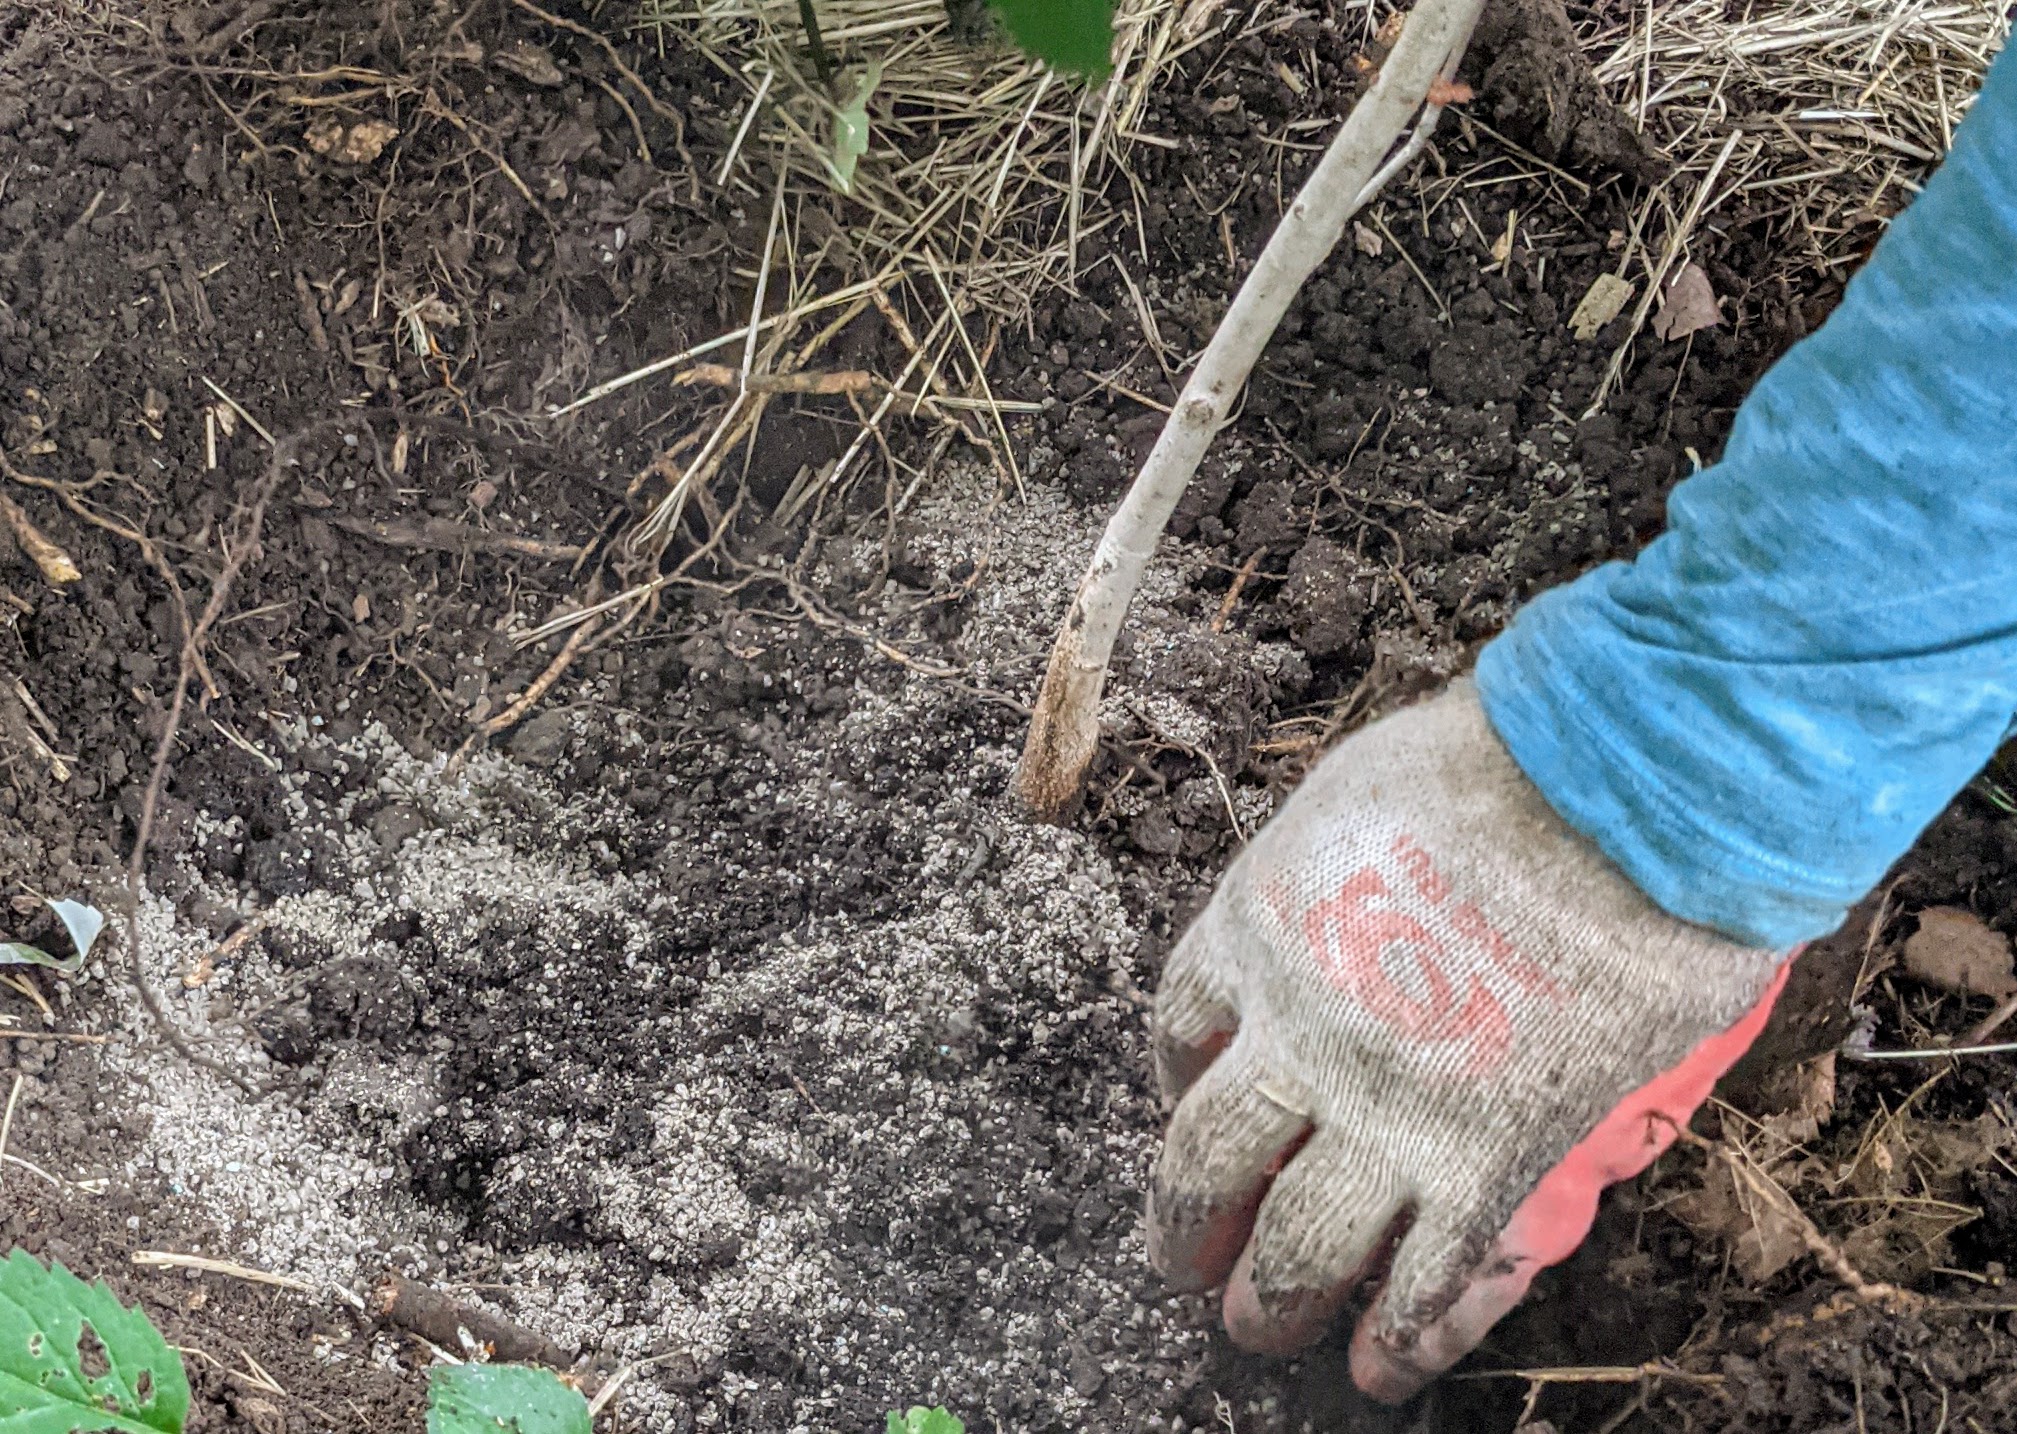
Pasang then loosens the roots and places the tree into the hole along with a good scoop of appropriate fertilizer.
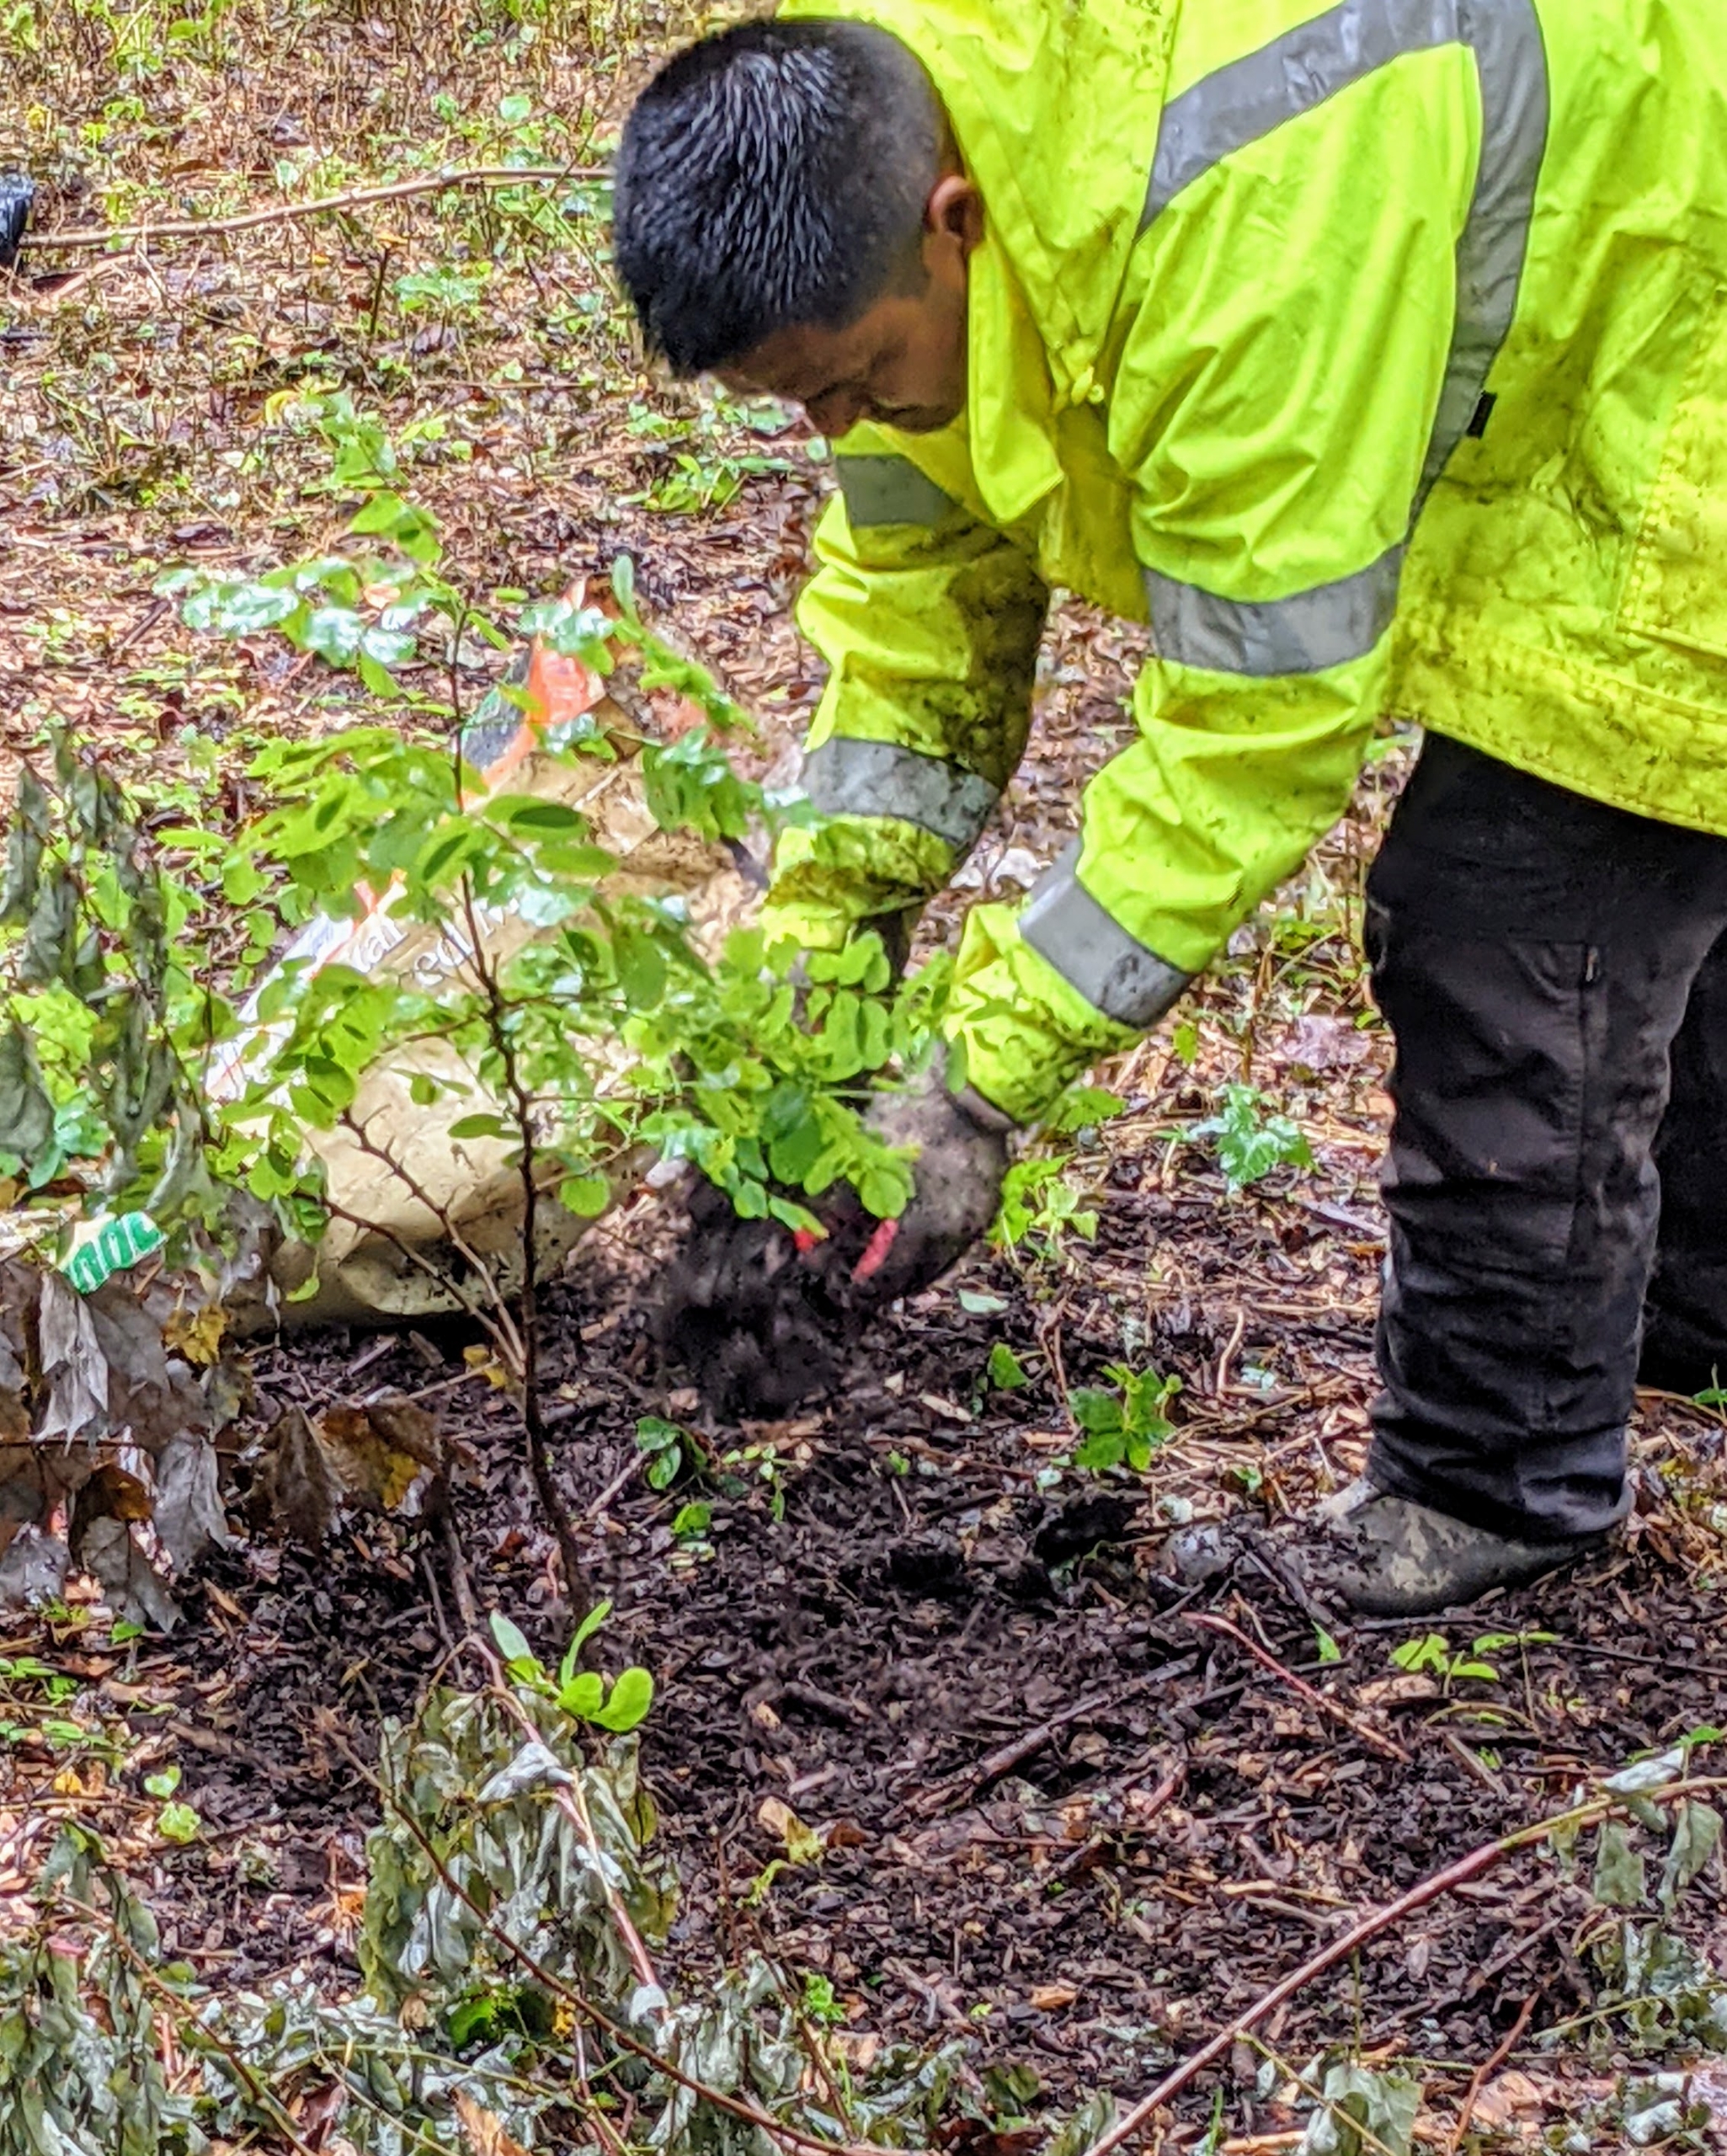
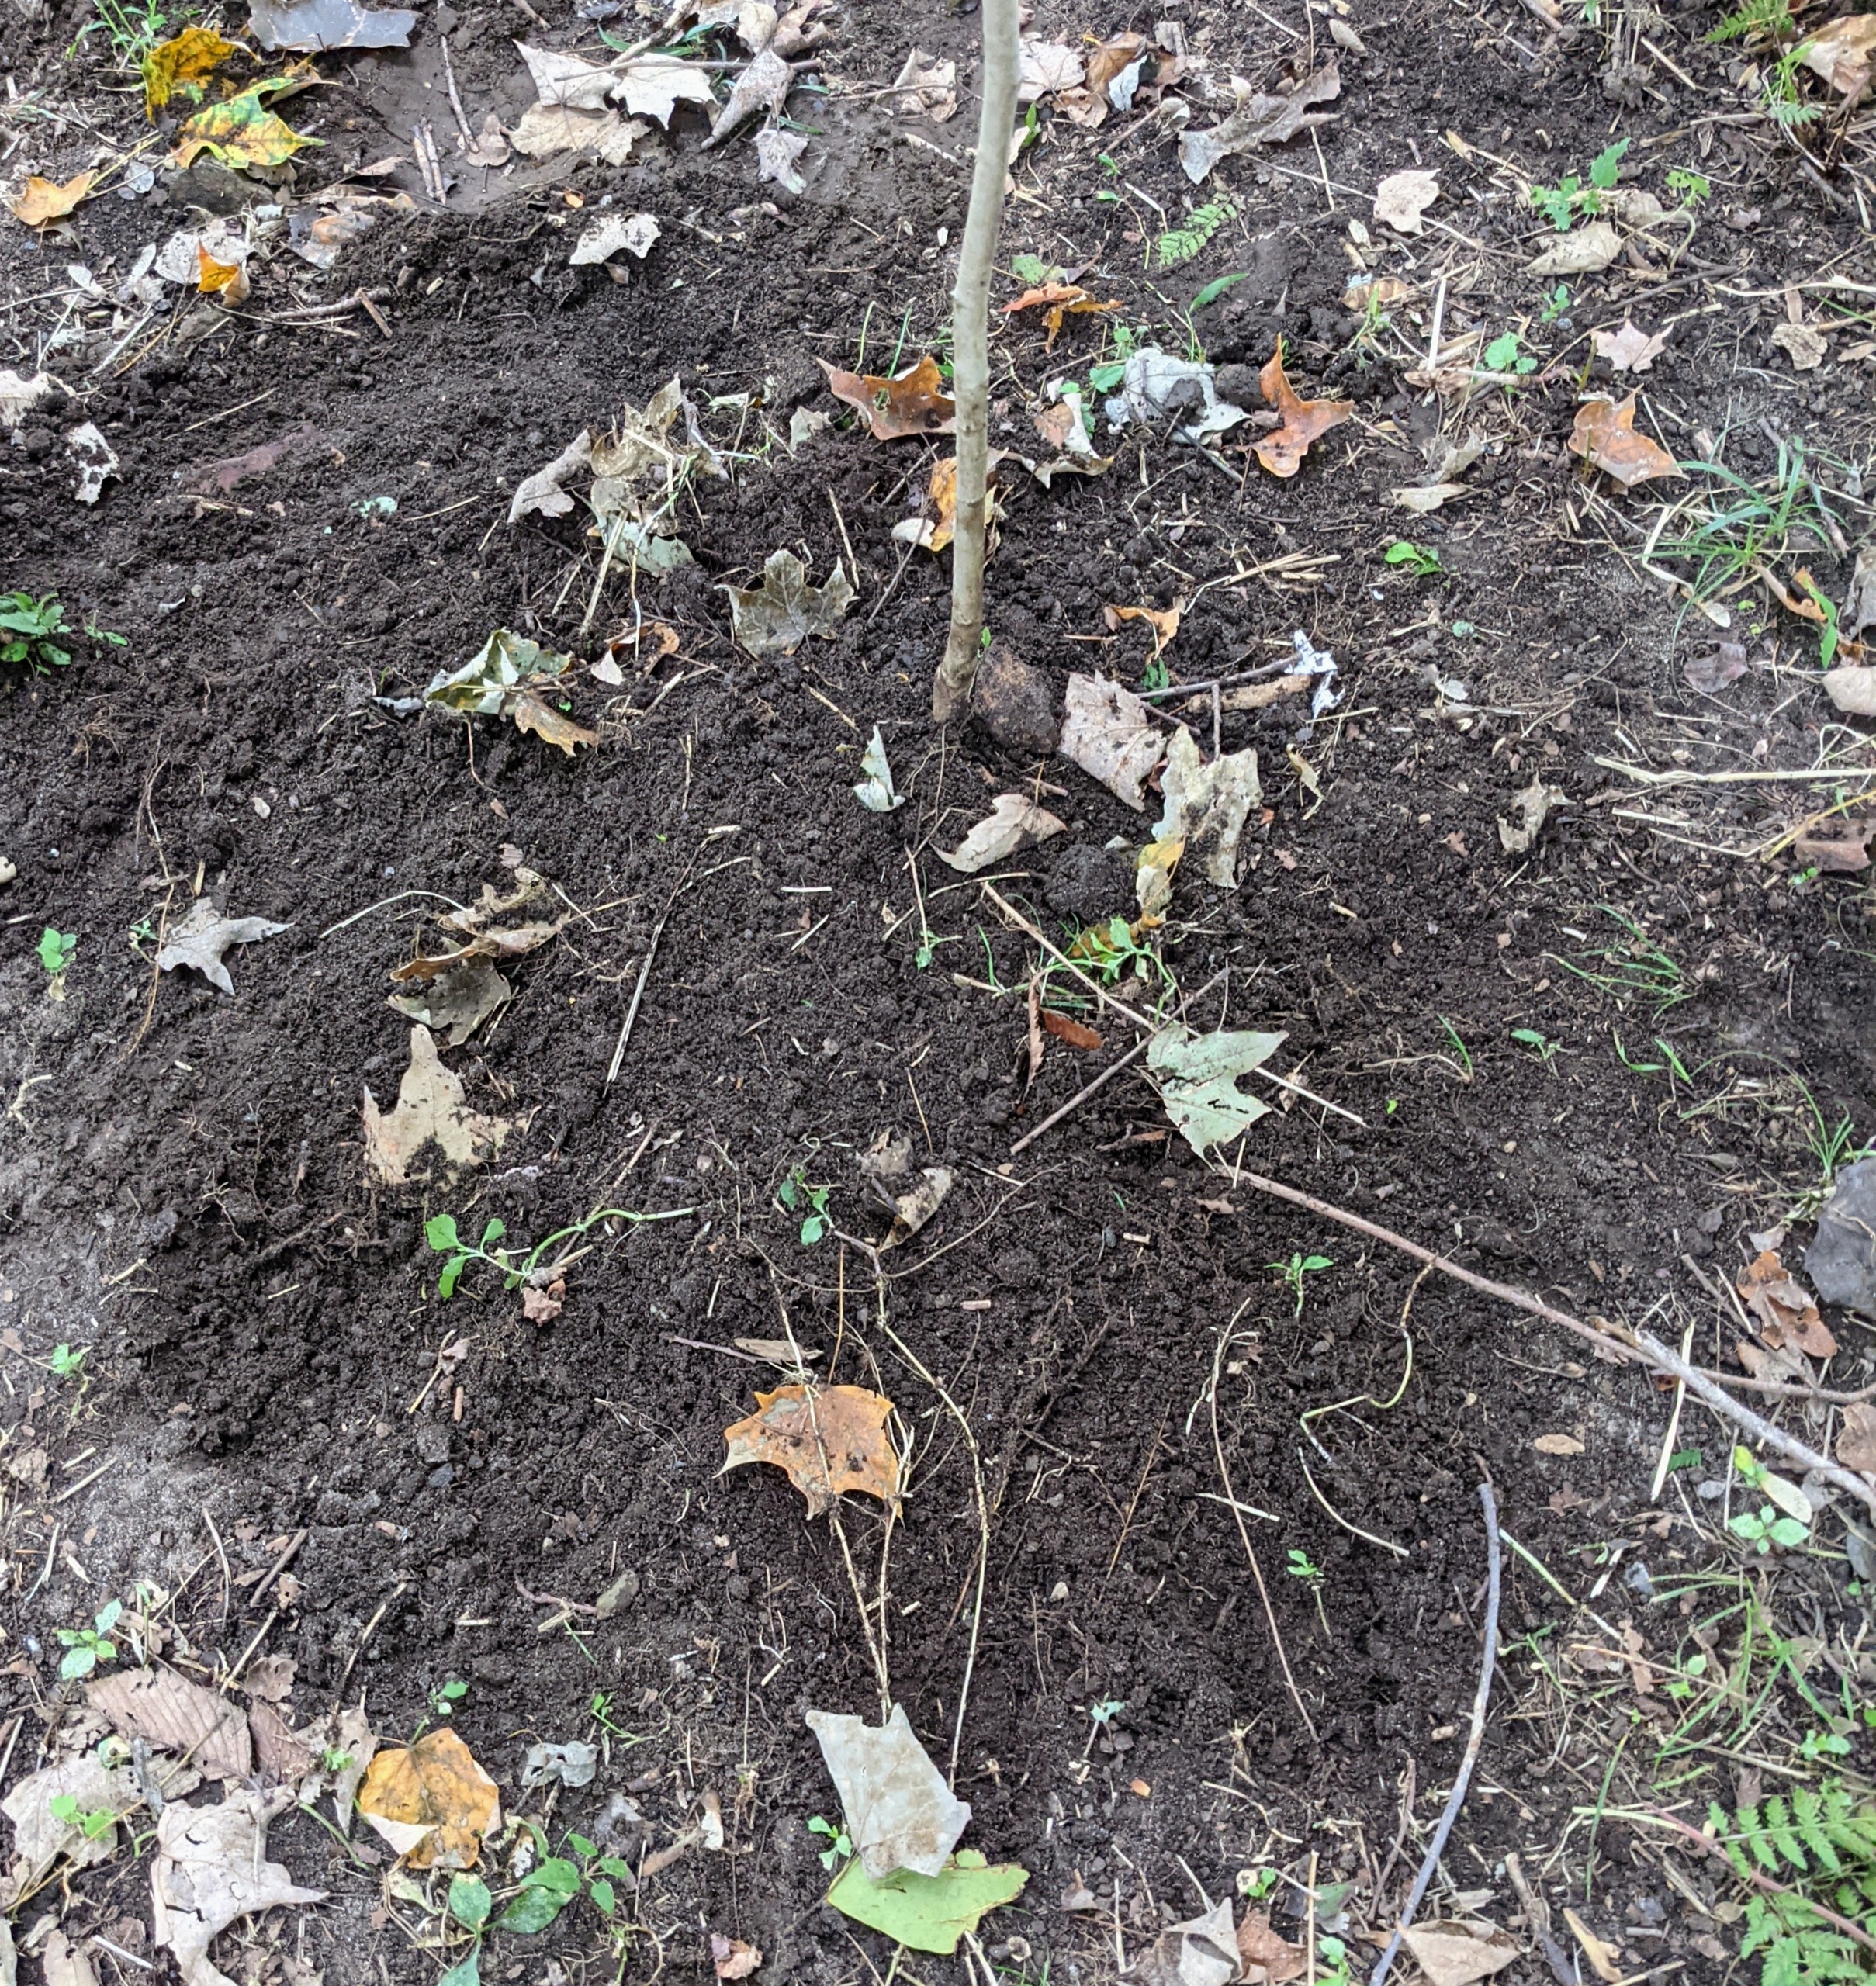
Then he backfills the hole making sure it is still “bare to the flare.” Pasang looks for the root collar or root flare – the bulge just above the root system where the roots begin to branch away from the trunk. The root flare should be just above the soil surface.
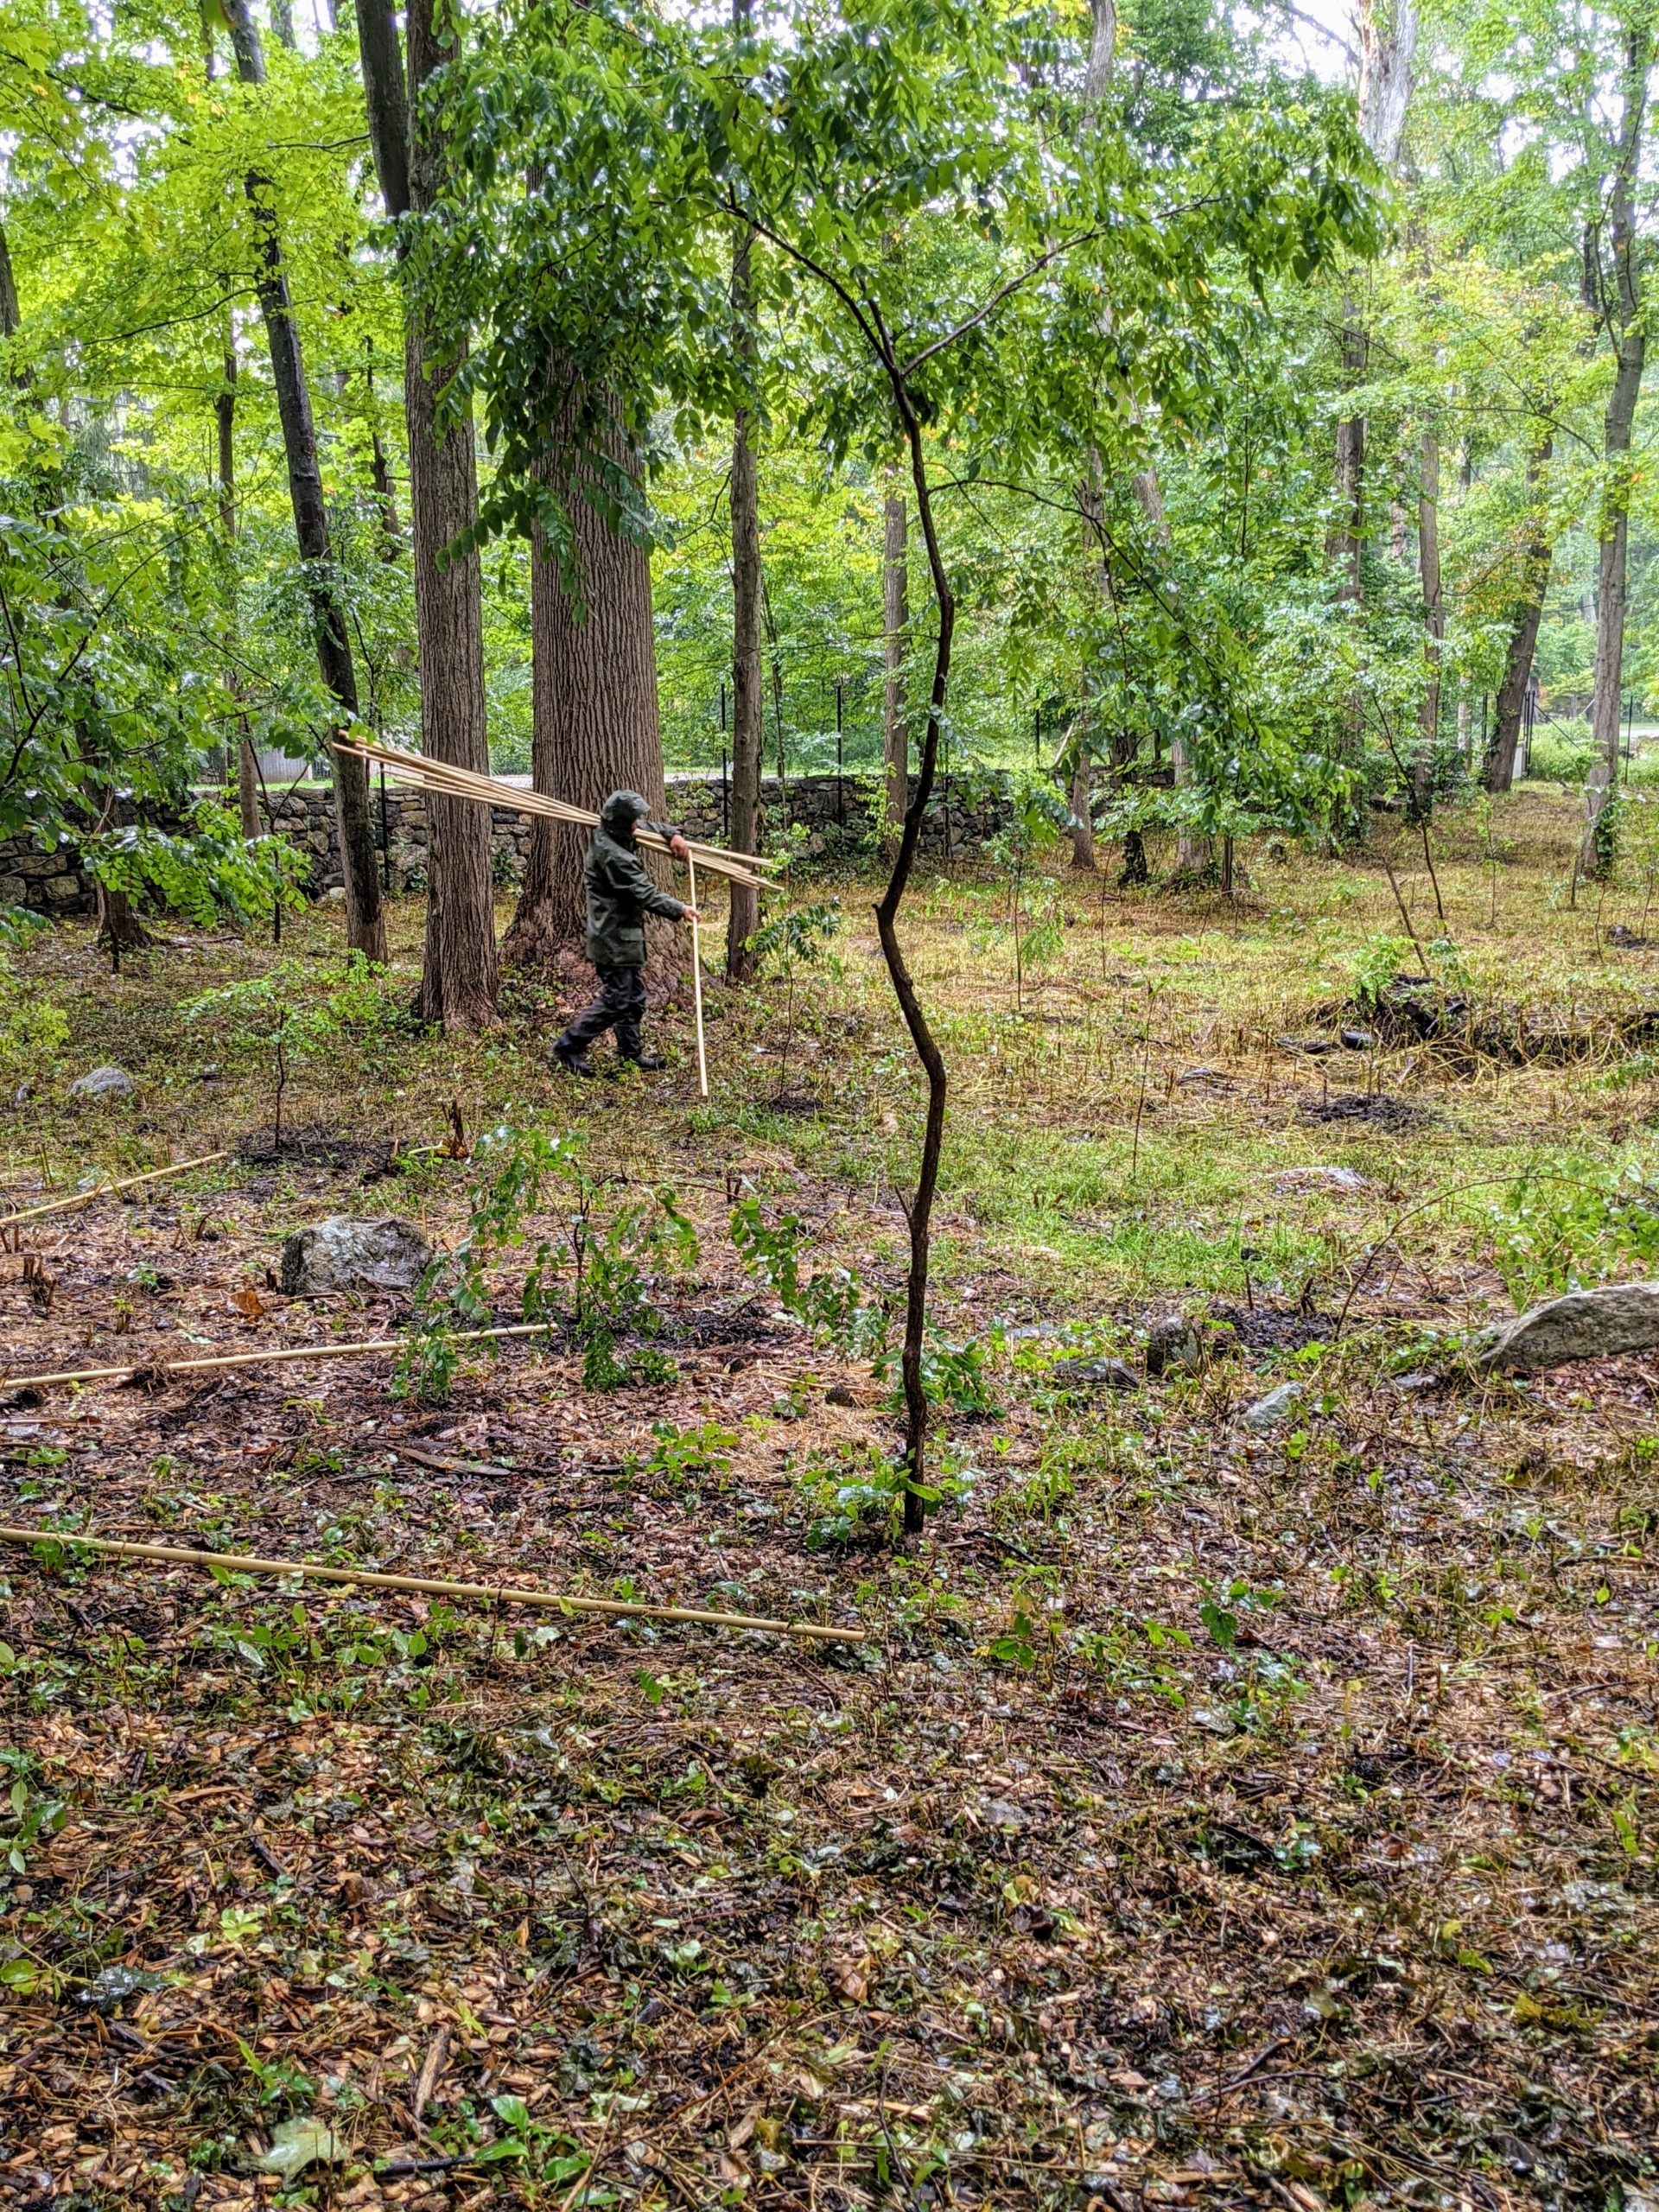
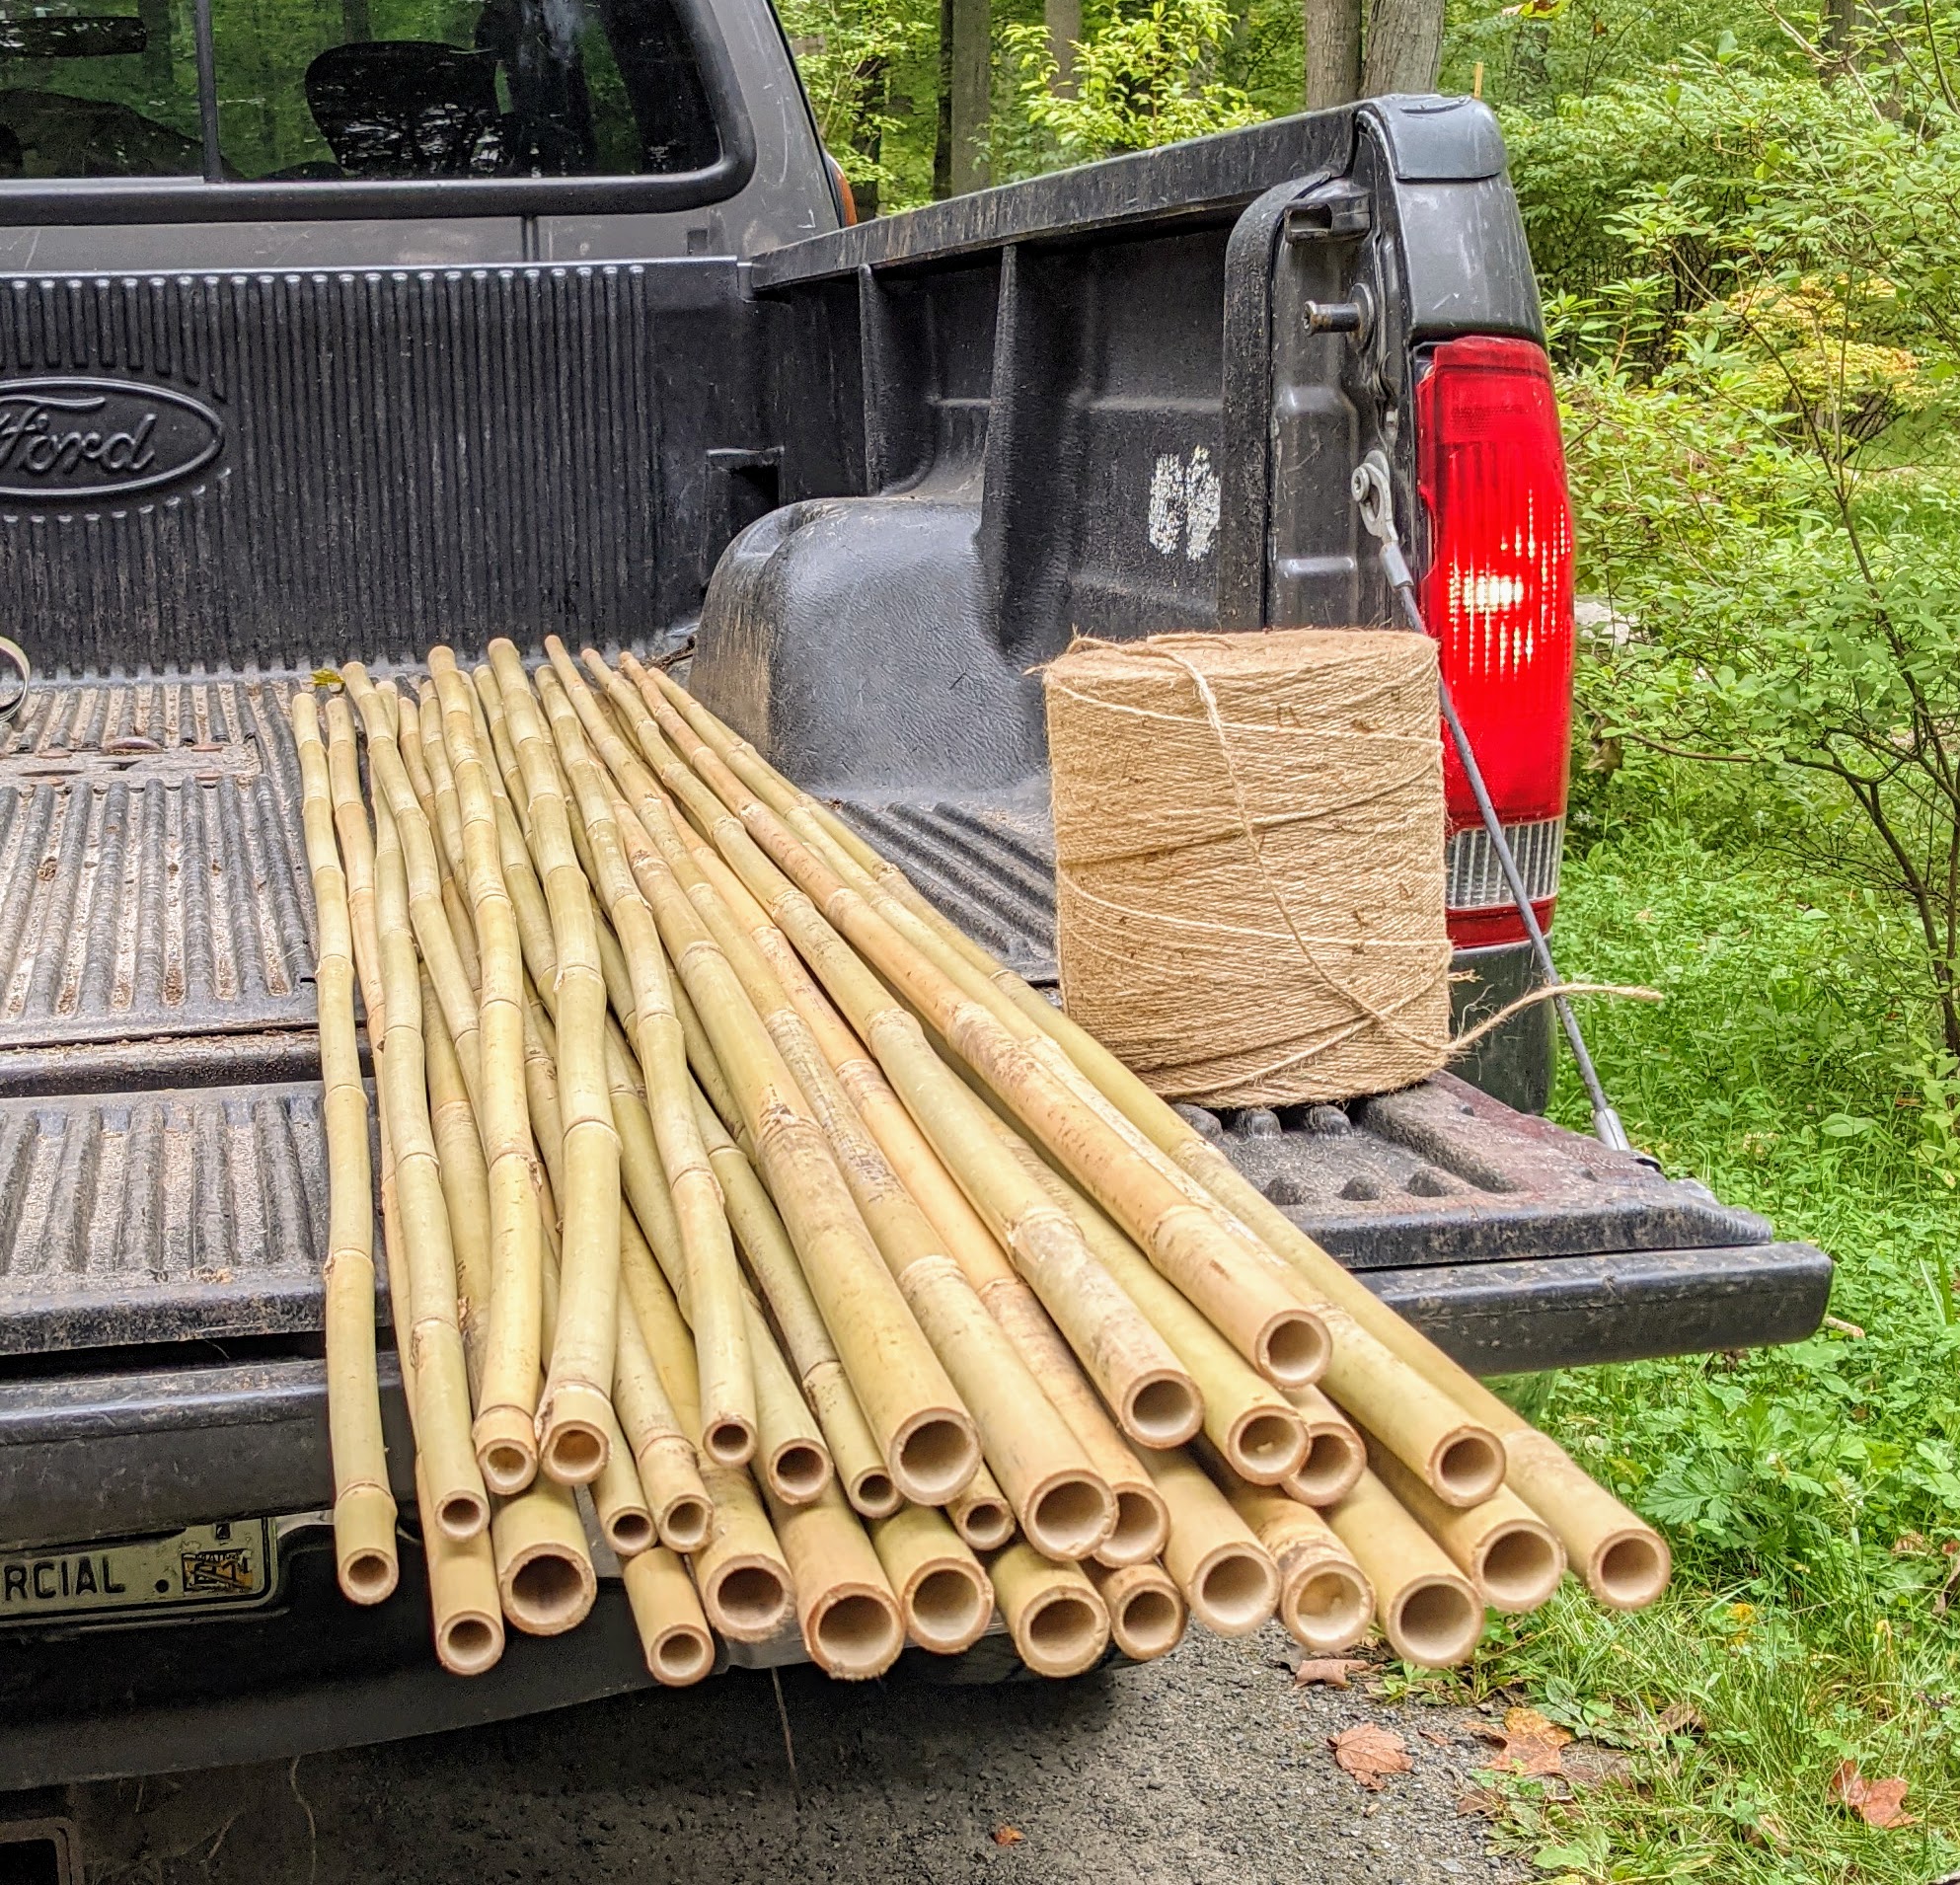
Meanwhile, Chhiring distributes stakes – one next to each planted tree. All the growing trees are staked to protect them as they develop. Because some of these trees are so tall, we use bamboo stakes to secure them.
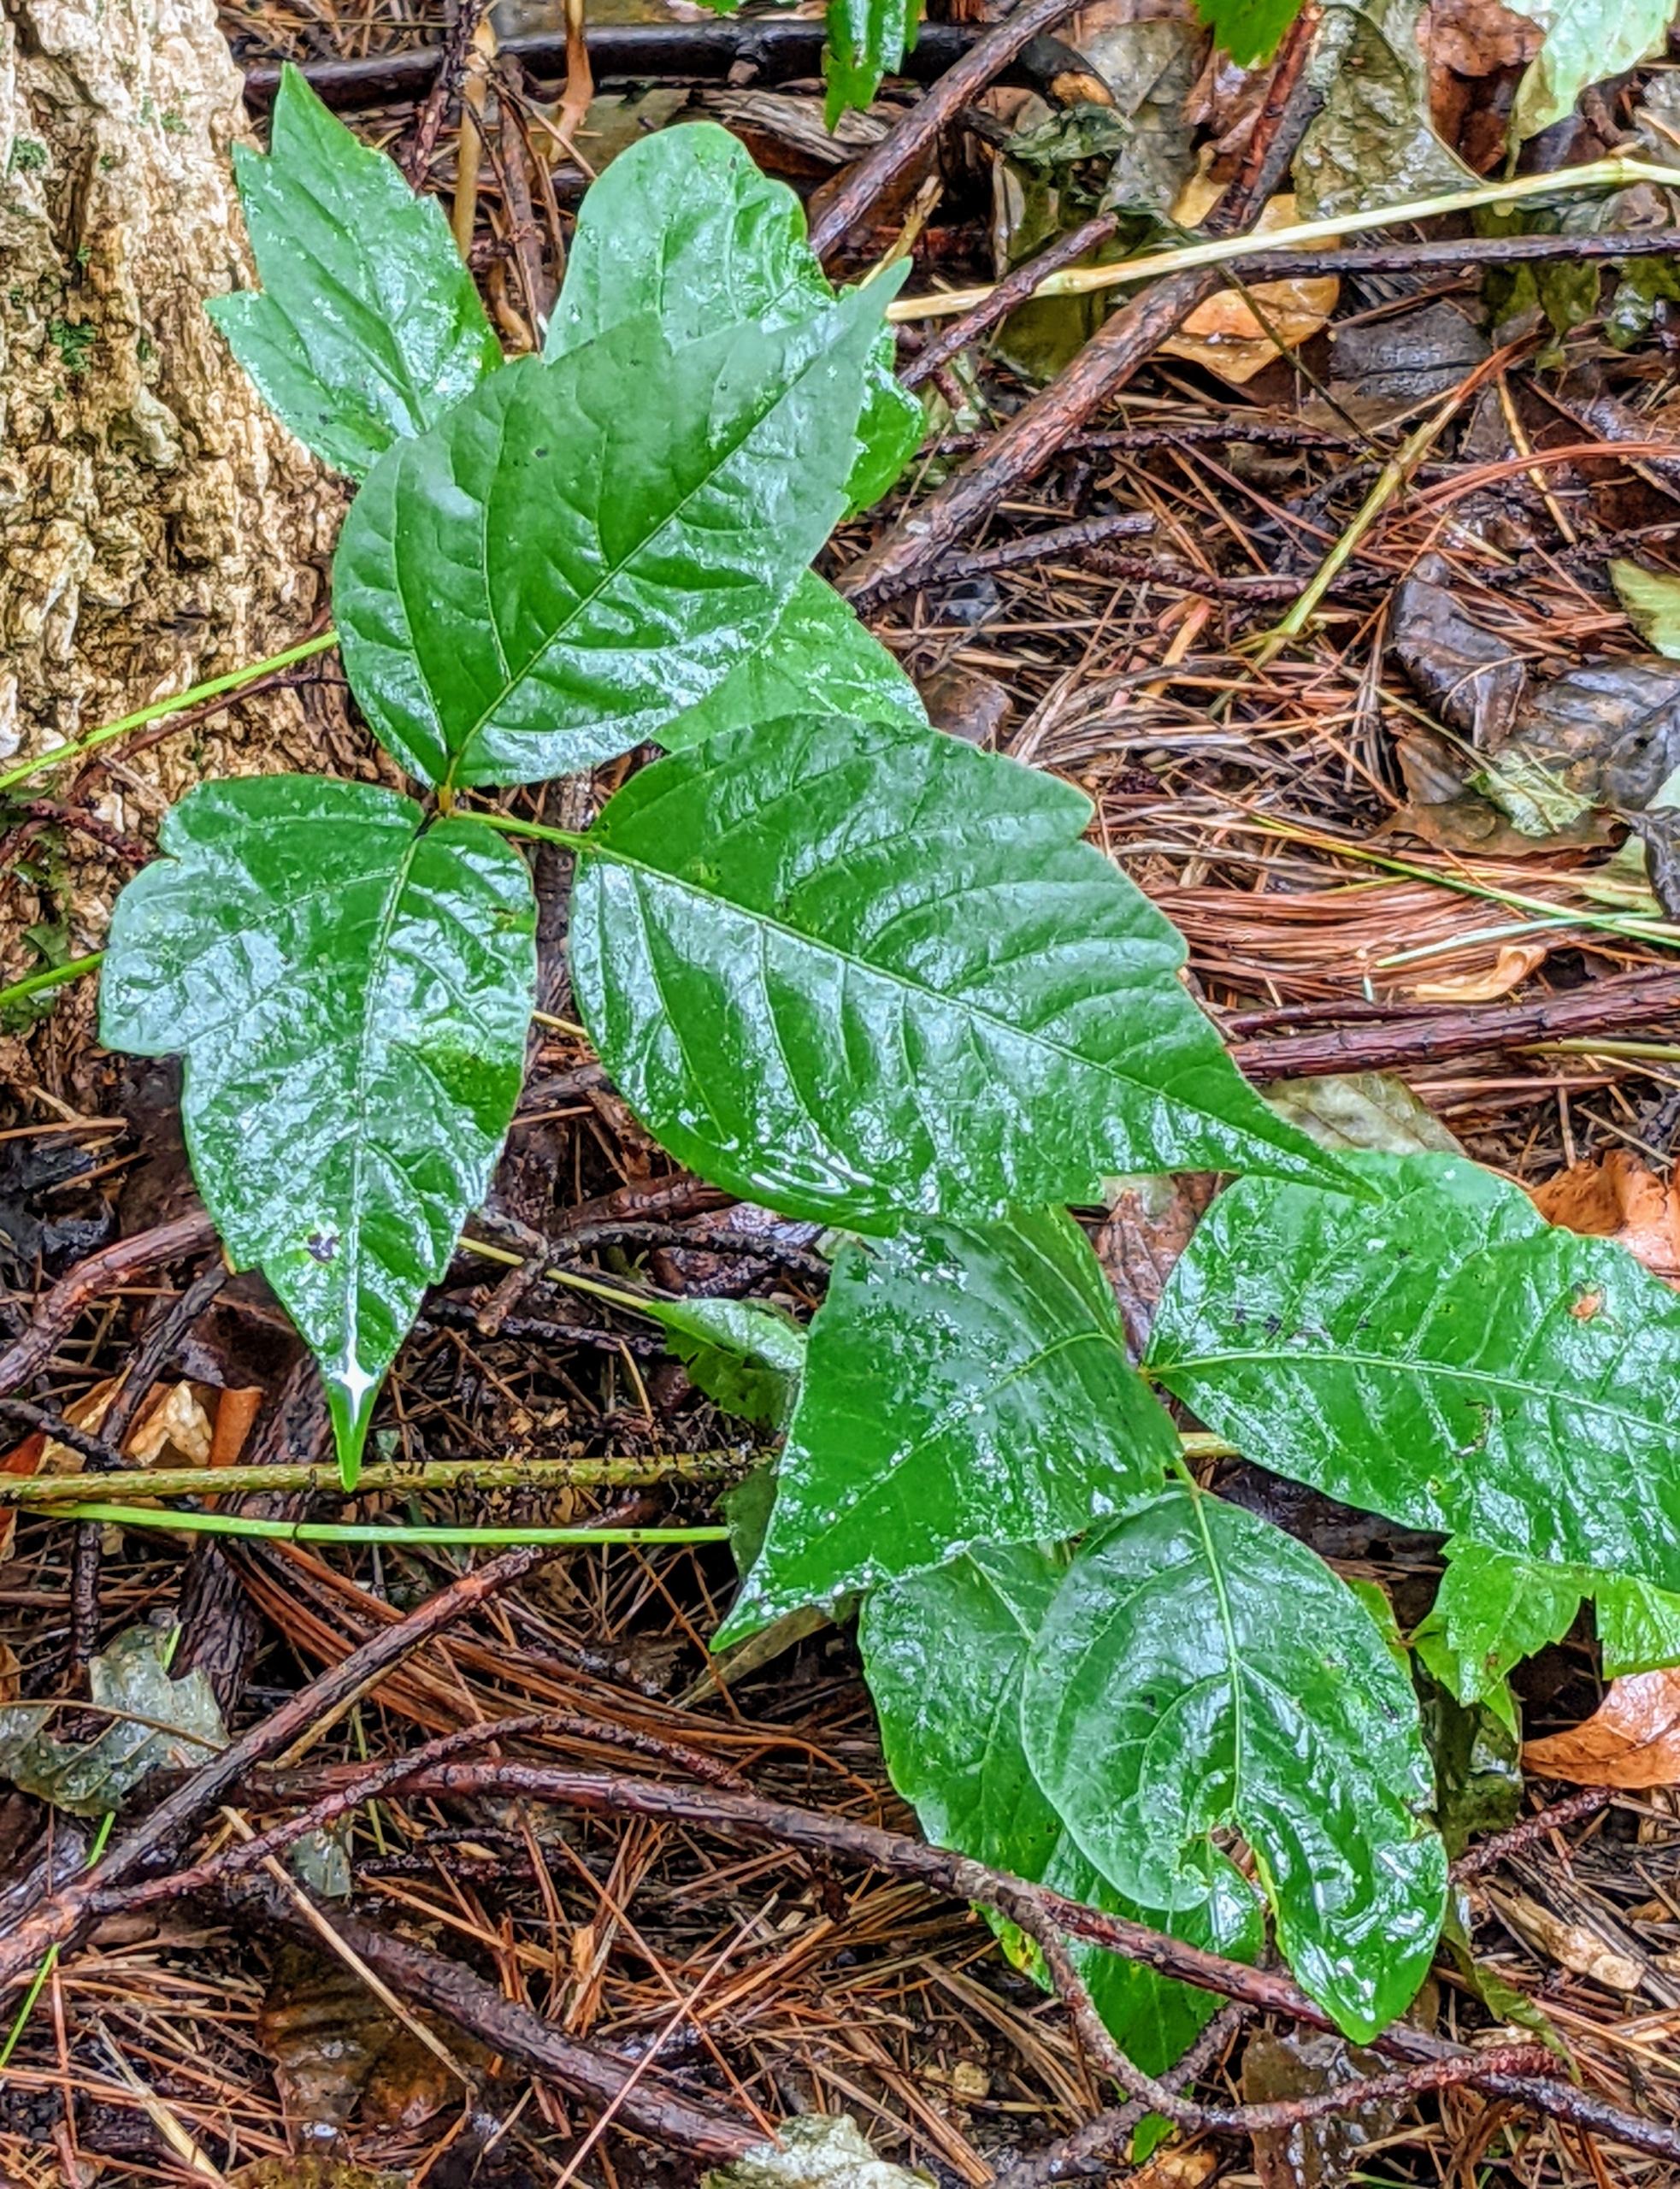
Here’s an important tip – because this is a wooded area, one must beware of the growing poison ivy. “Leaves of three, leave it be.” Poison ivy rash is caused by an allergic reaction to an oily resin called urushiol. The oily resin is in the leaves, stems and roots of the plant. Poison ivy has pointy leaves, smooth or toothed edges, but not deeply lobed or serrated, and it is generally shiny on top. The middle leaf is also the largest of the three. Some are more sensitive to poison ivy than others, but if not sure, it’s best just to stay away from it.
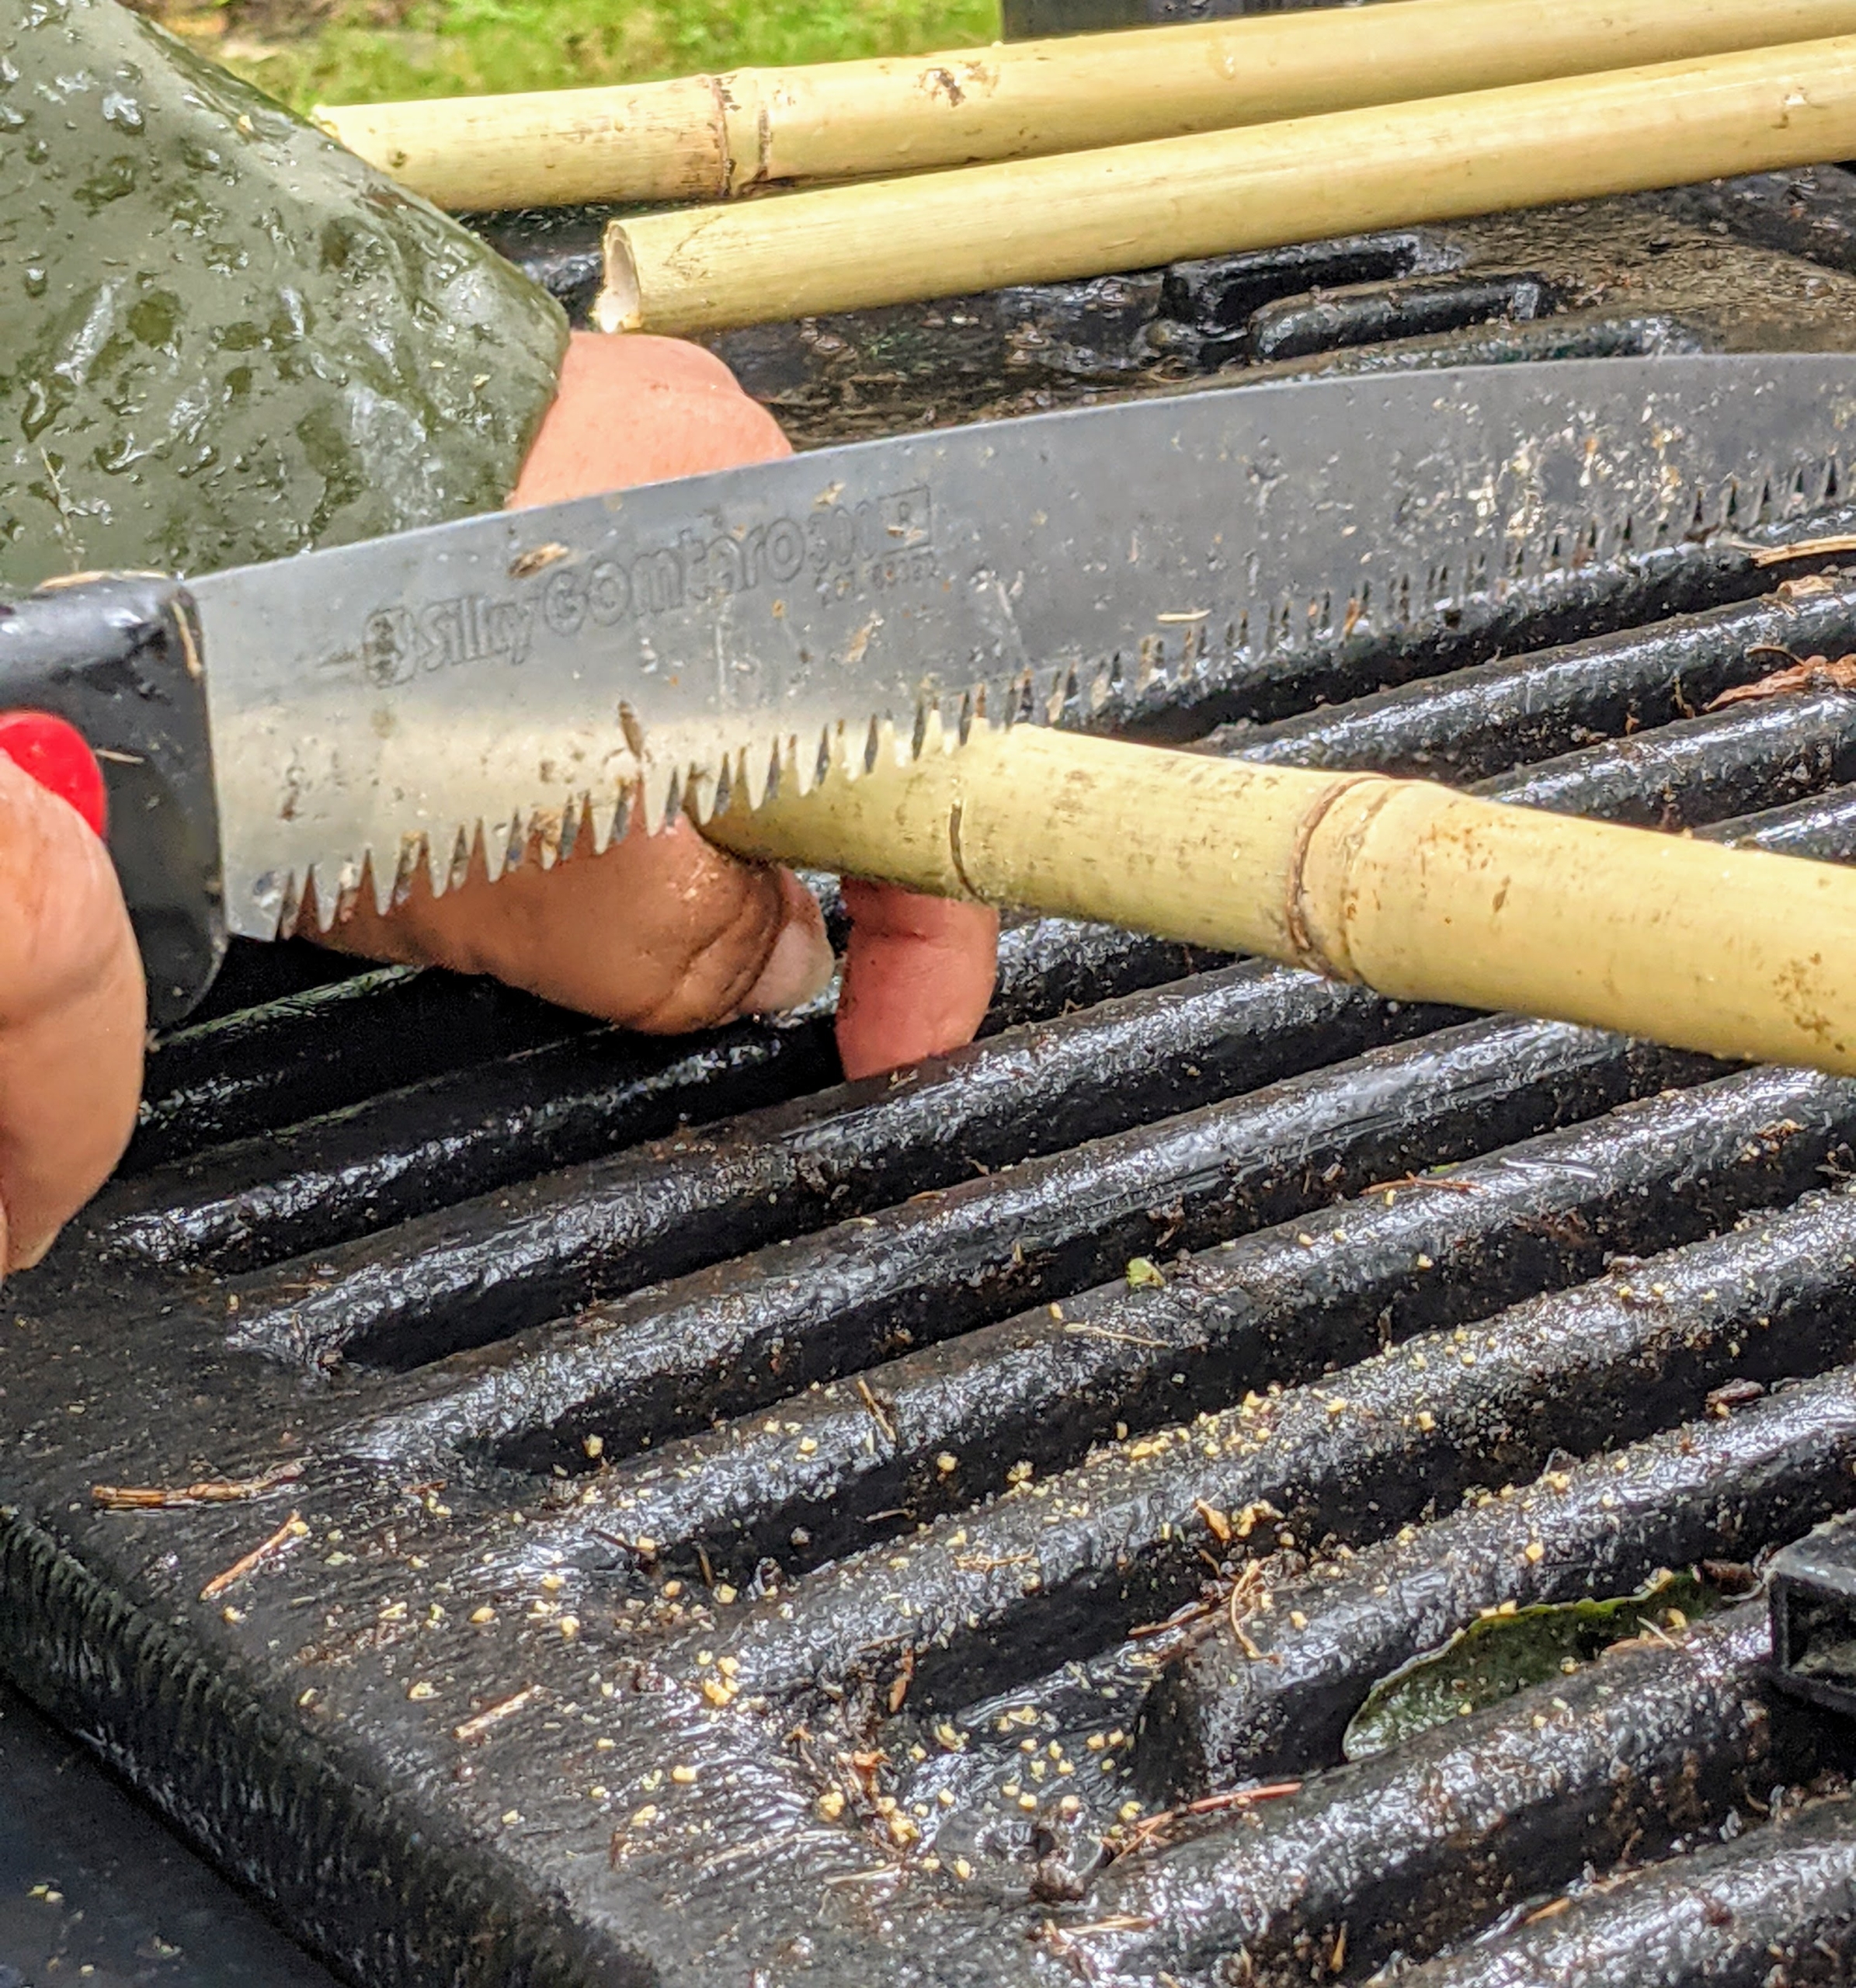
Chhiring cuts down bamboo for some of the shorter trees. Bamboo poles can be cut easily with a hand saw.
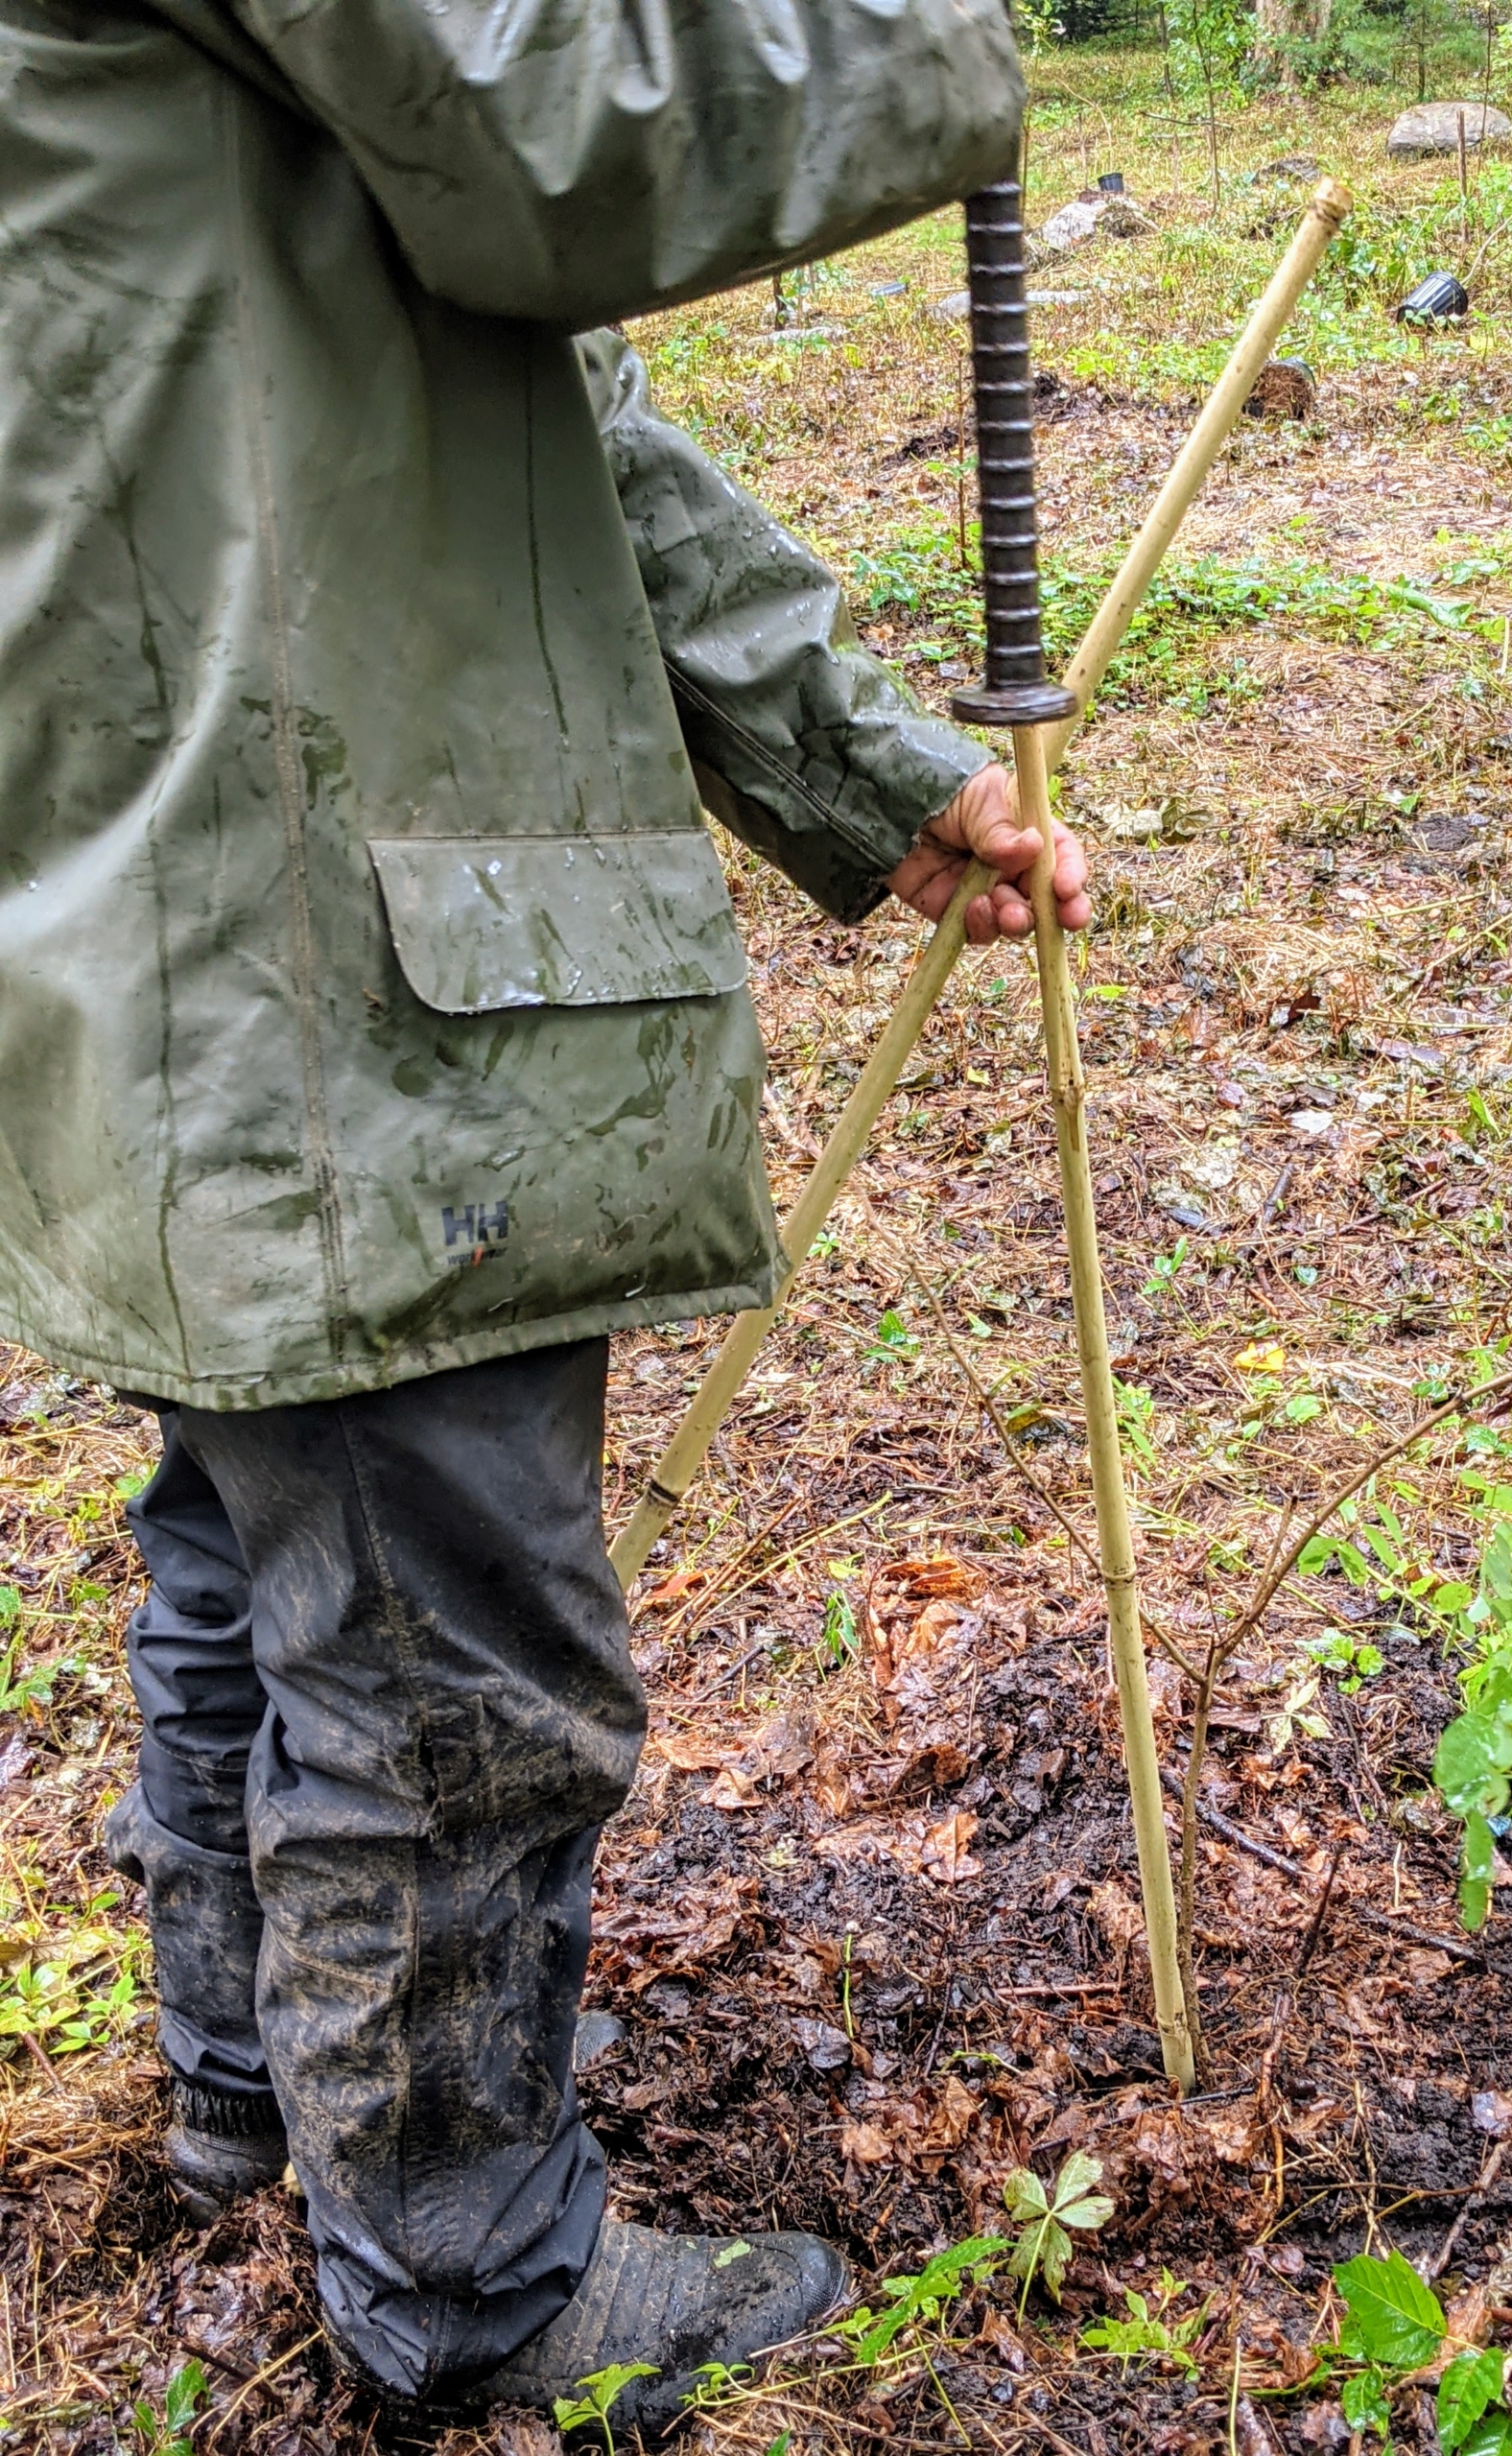
Then Chhiring pounds the bamboo securely into the ground – about a foot deep to make sure it can withstand any winds that blow through the area.
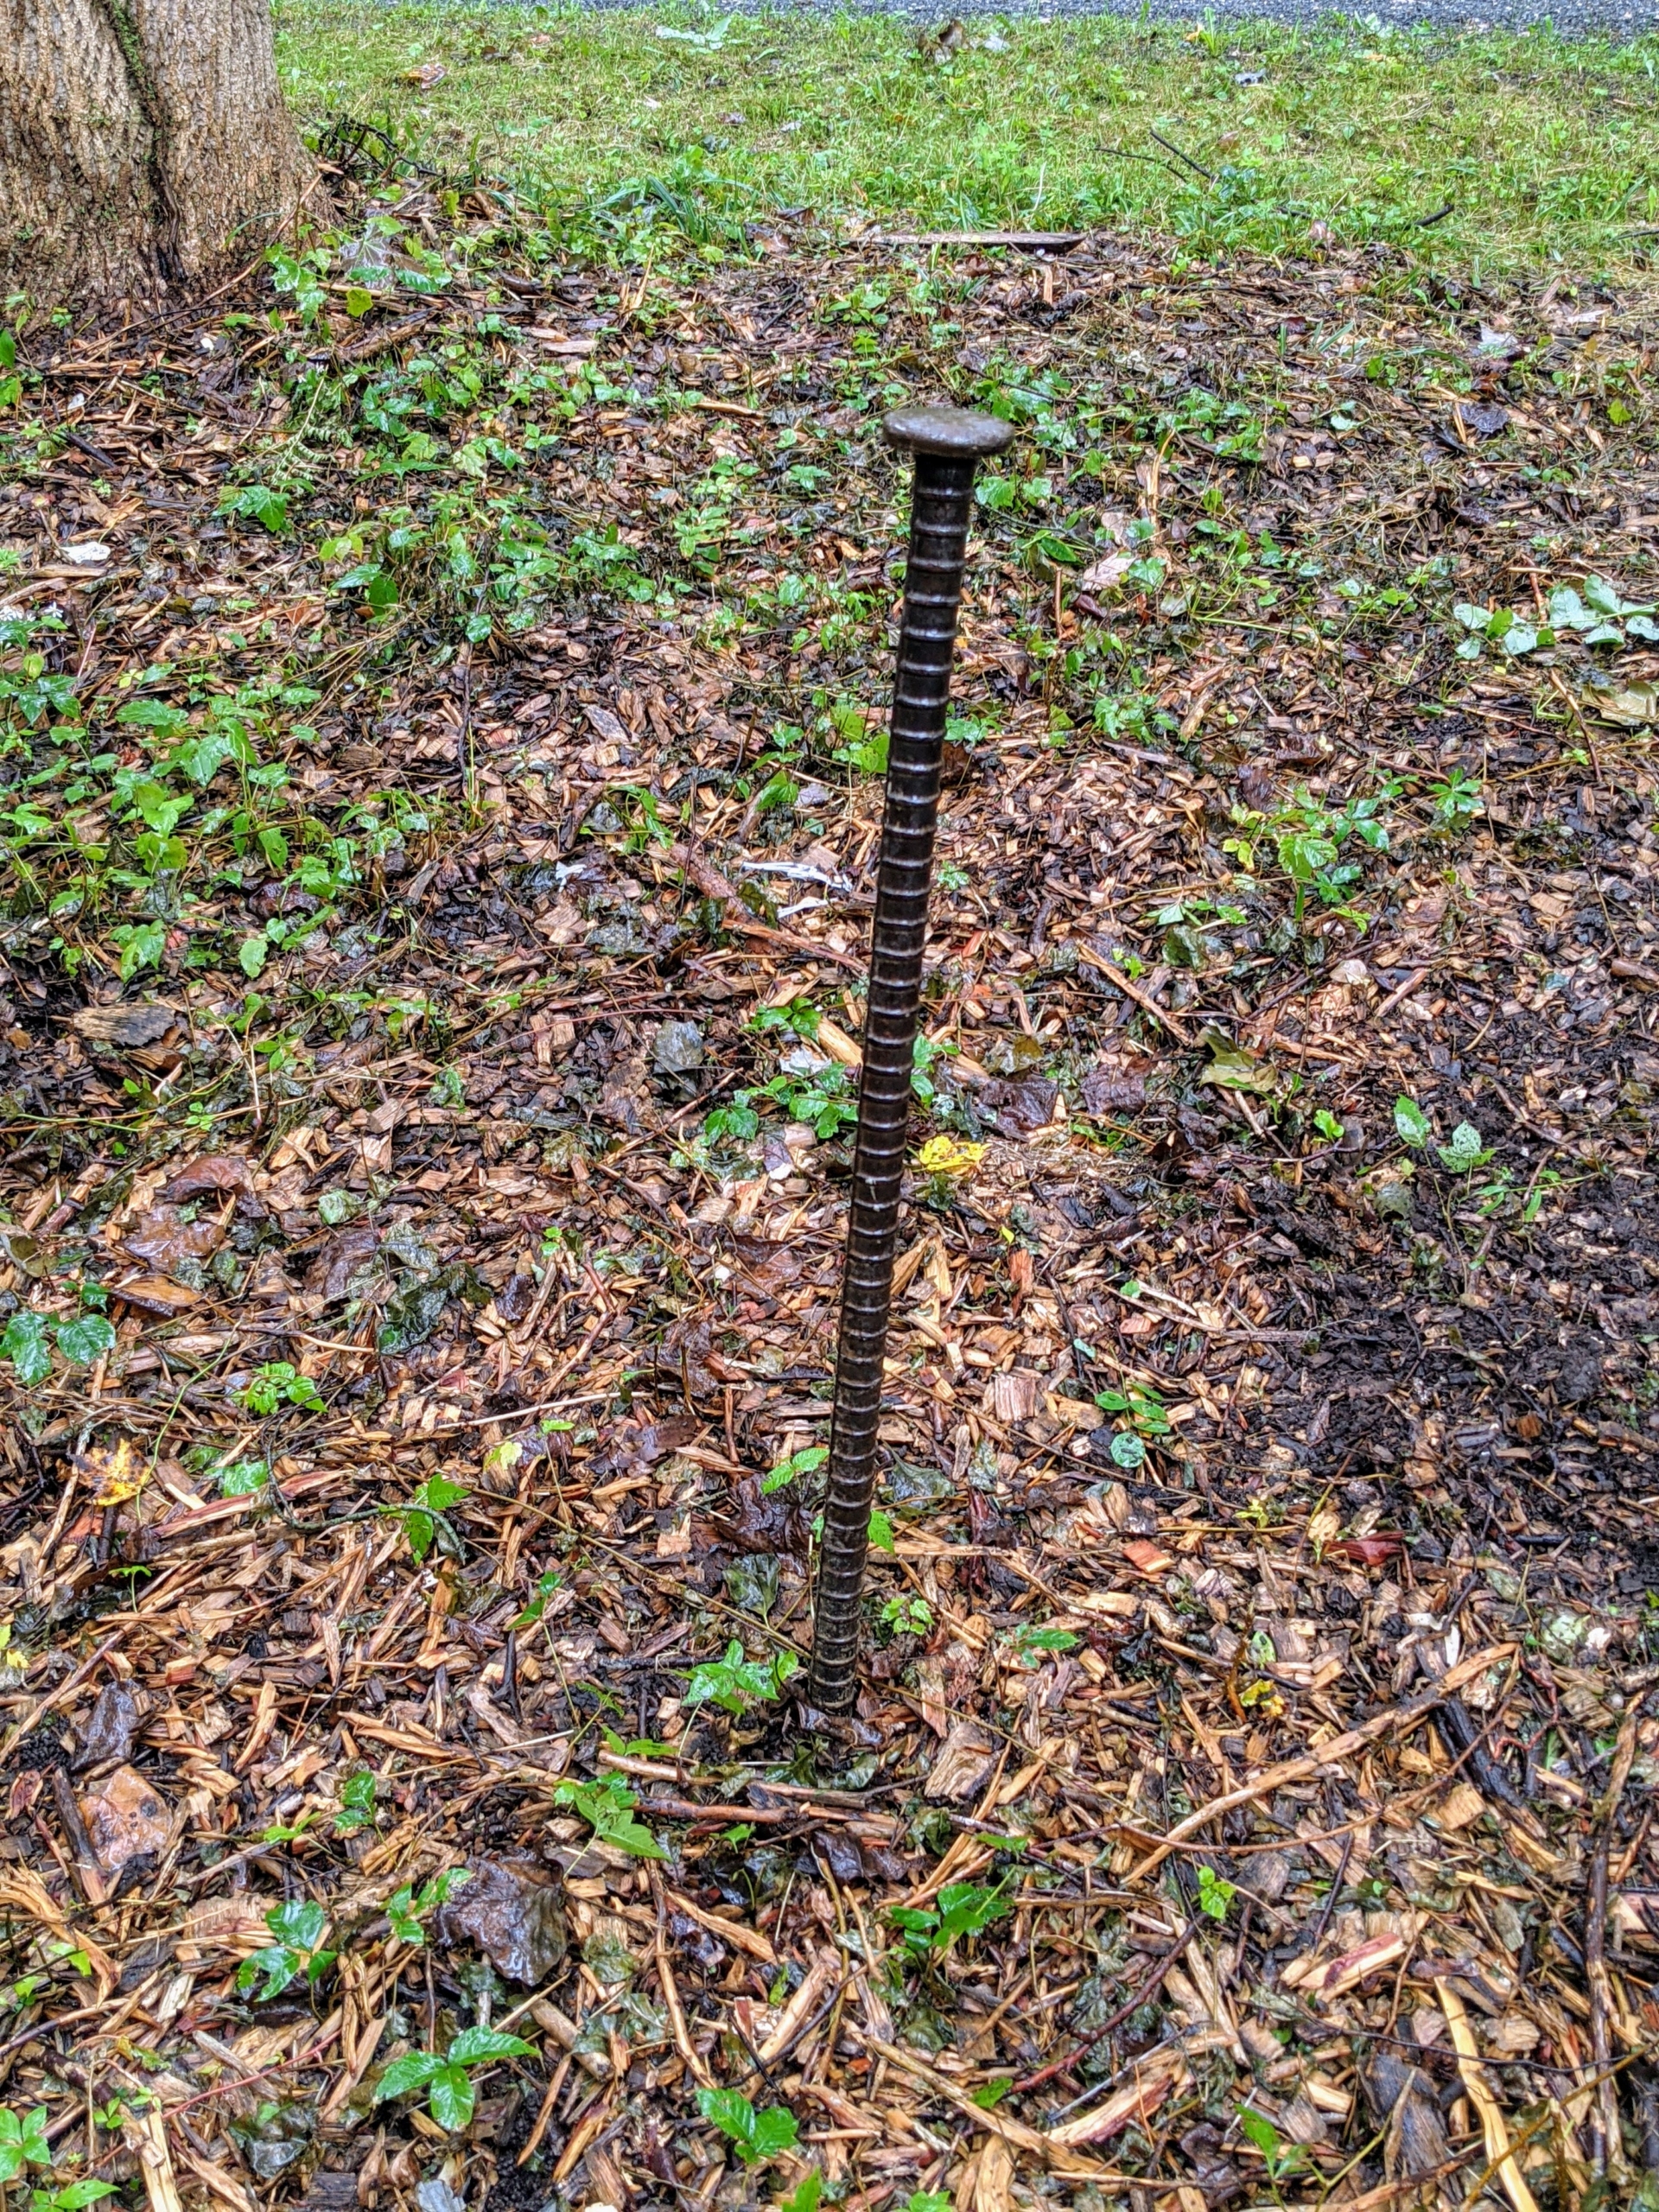
This heavy bar helps to dig the holes for the bamboo stakes. The flat end also helps to hammer them deep into the ground so they are secure.
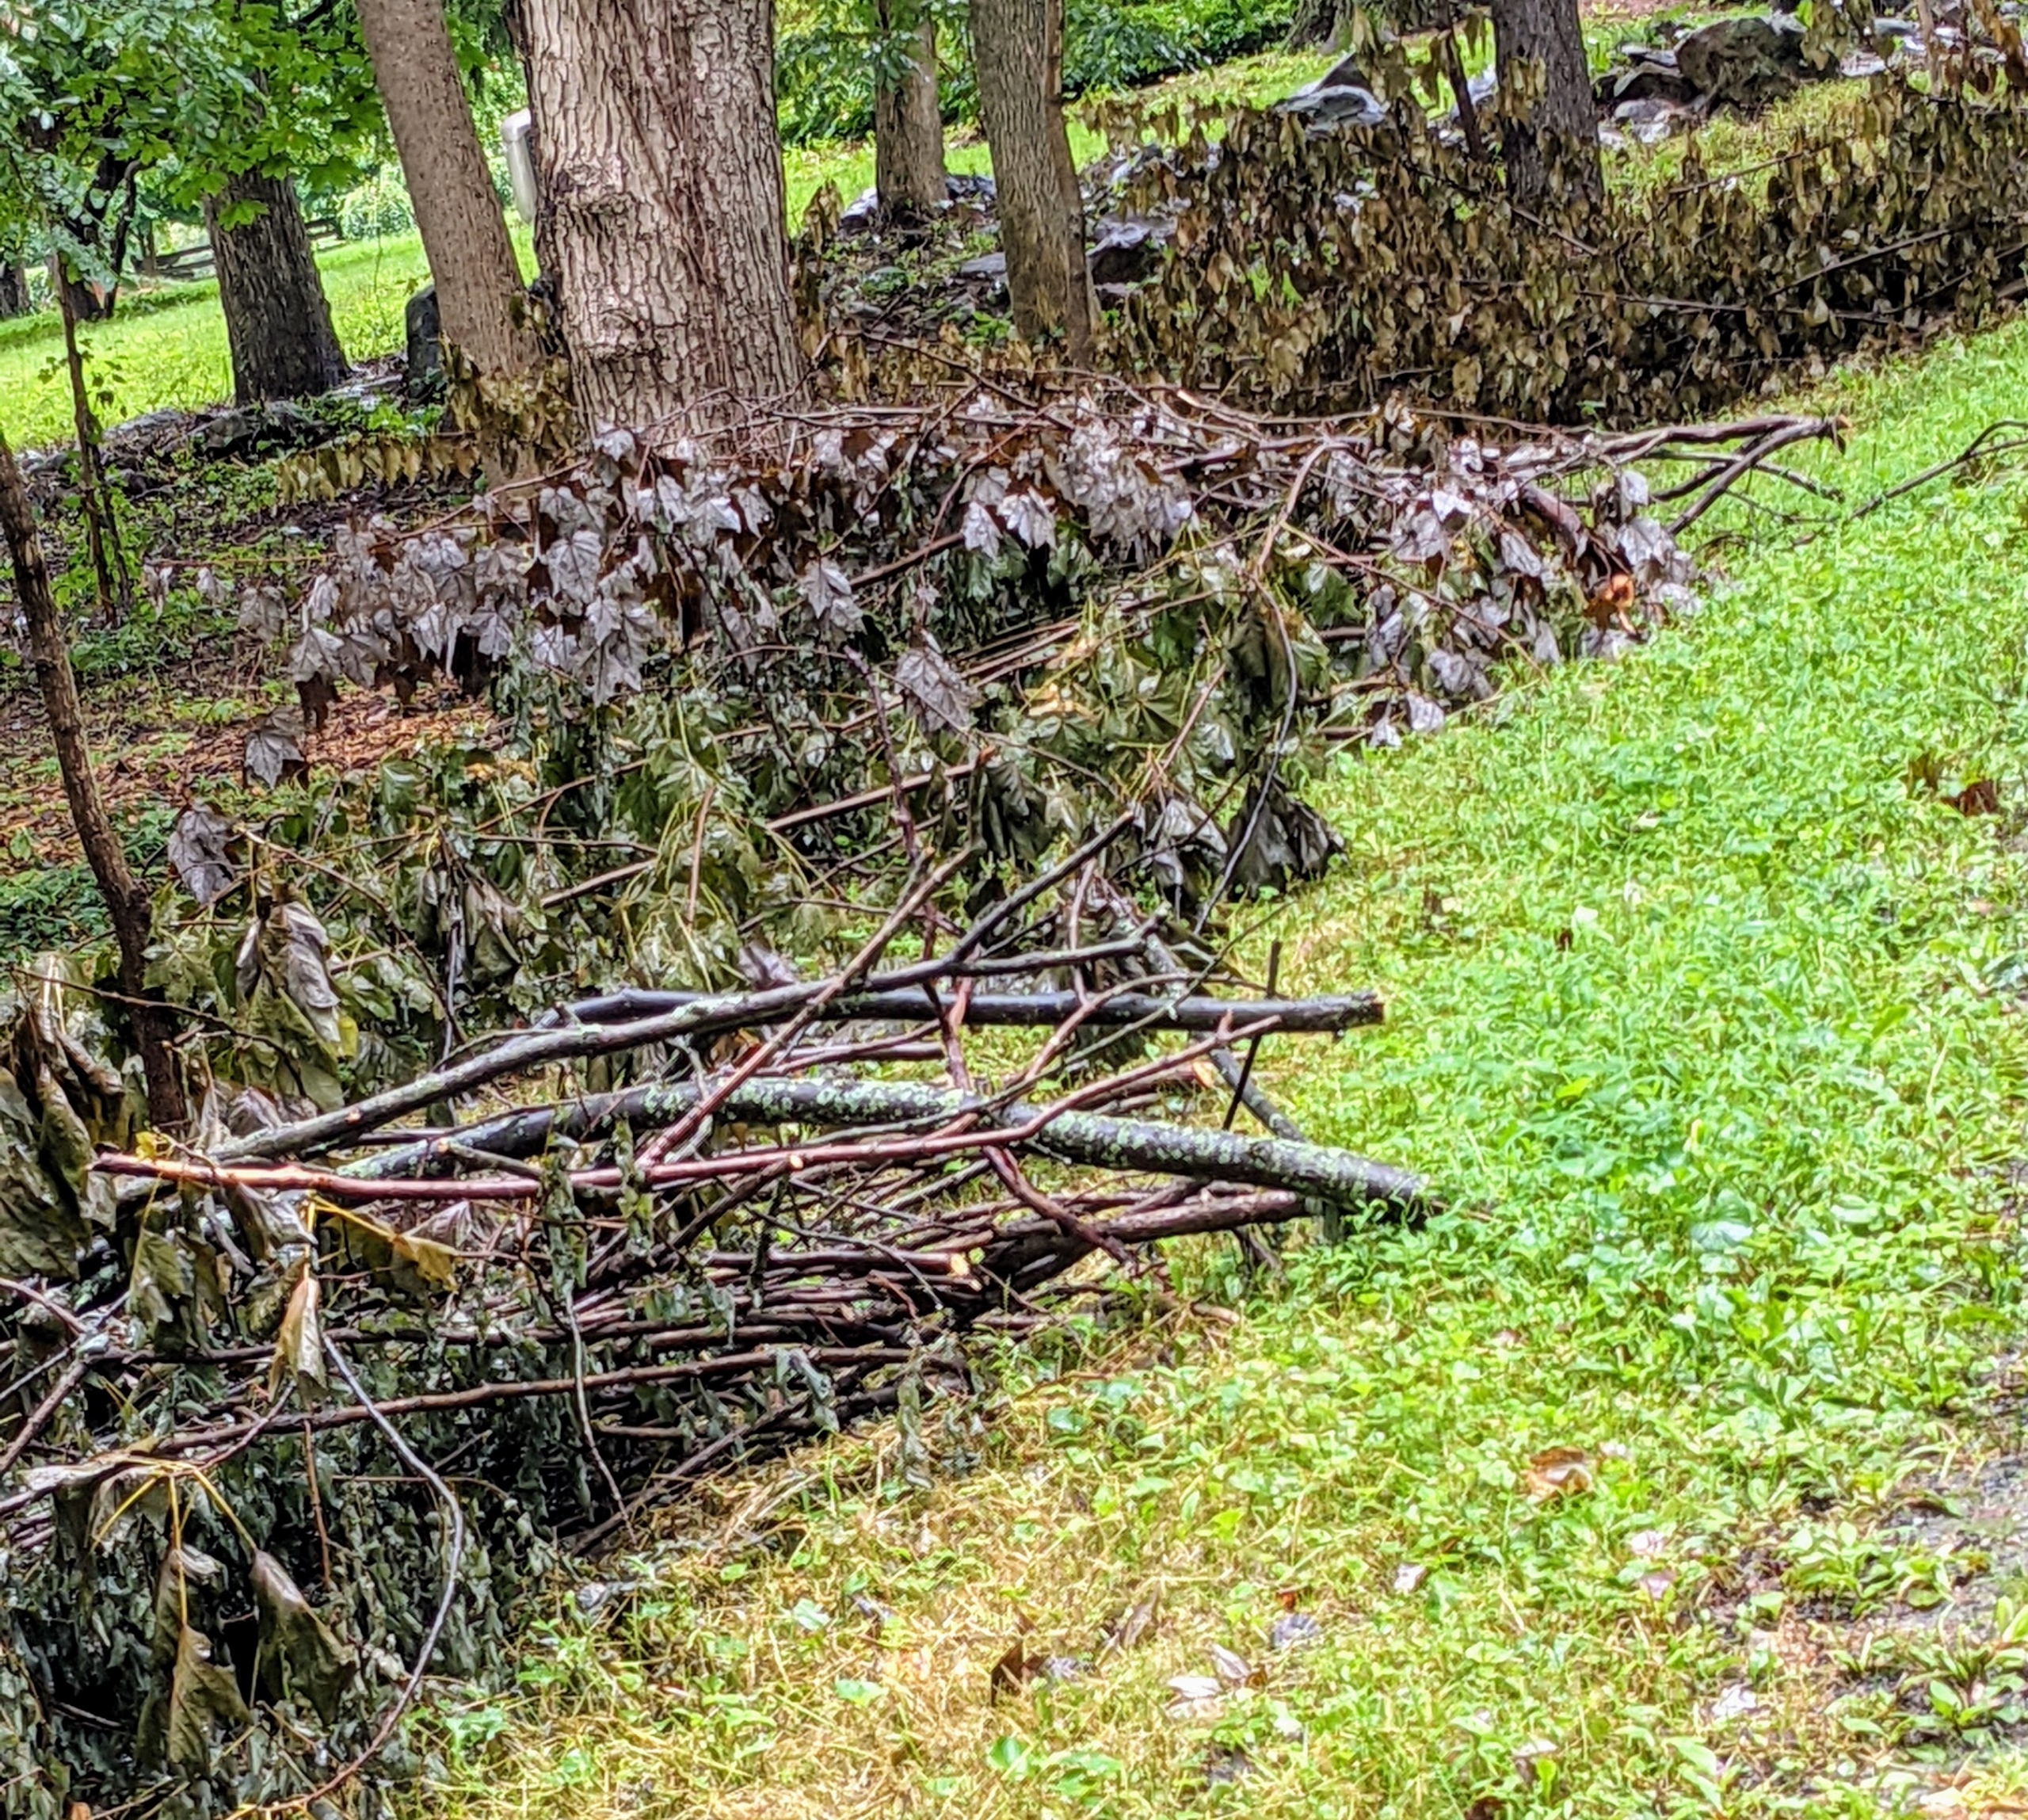
Any fallen or cut branches are neatly placed on the side of the carriage road, so they can be picked up later and chipped for top dressing.
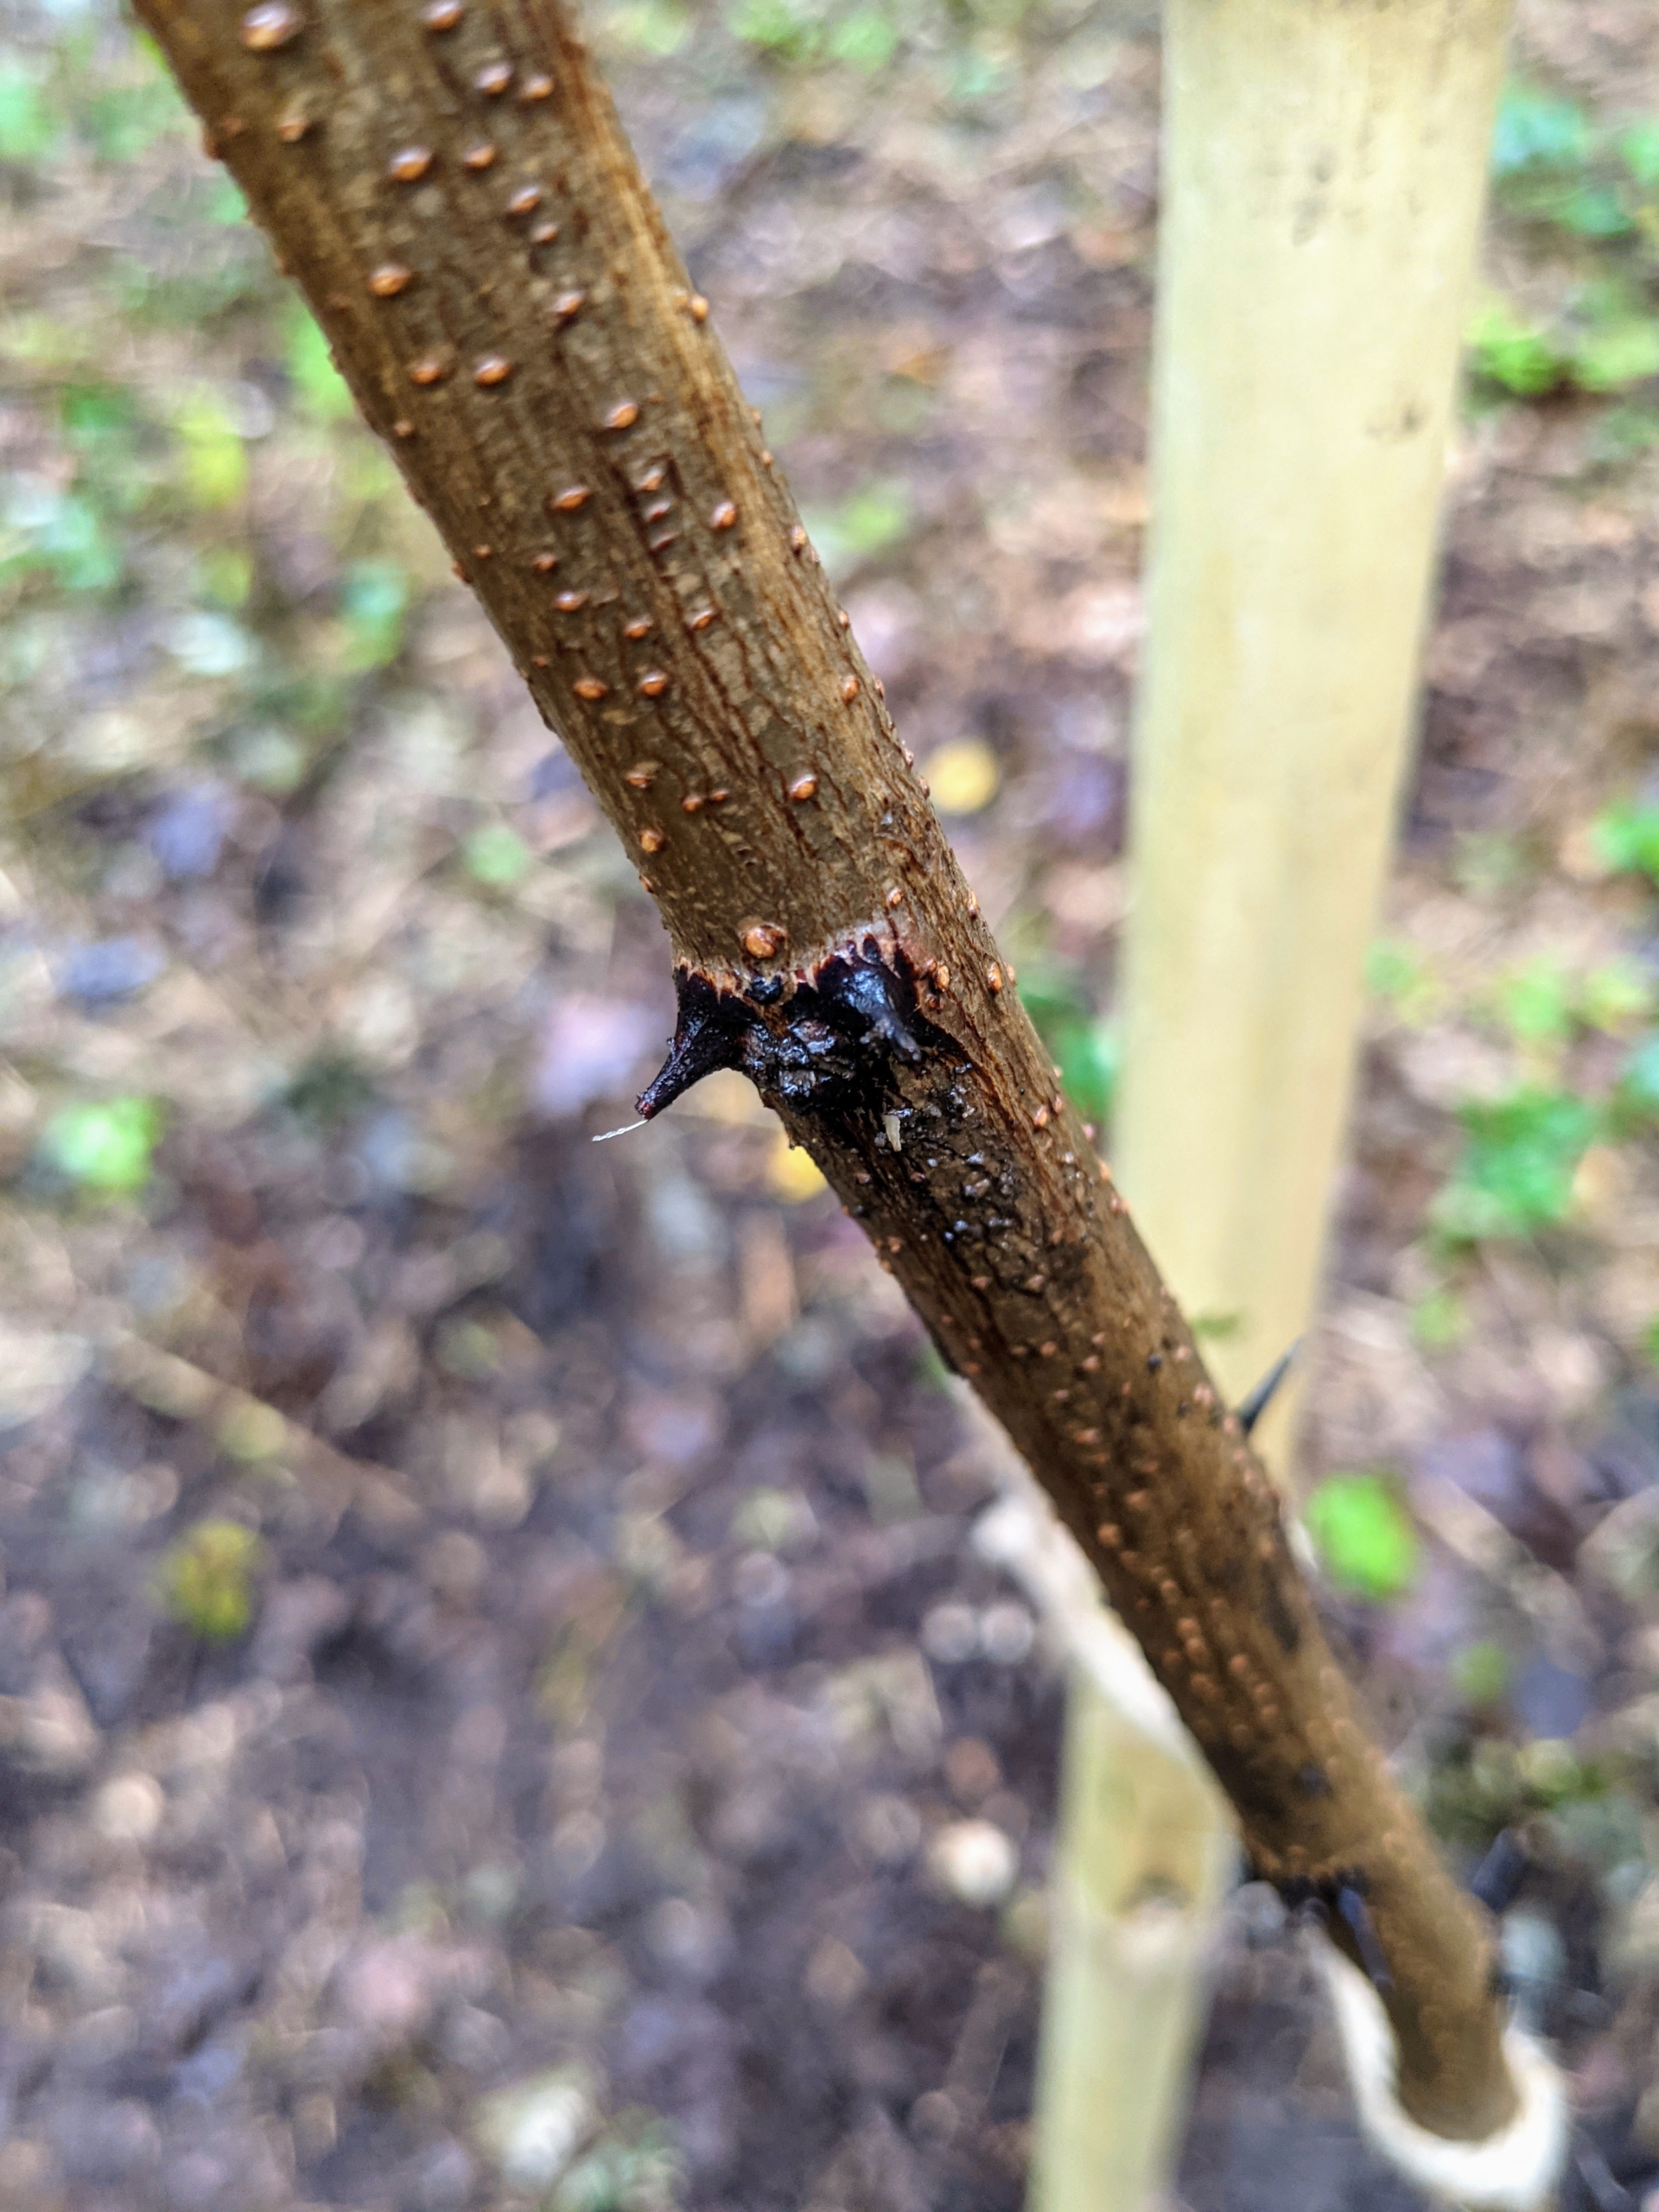
The black locust has dangerous thorns. Black locust tree thorns are poisonous and sharp, growing up to two inches in length.
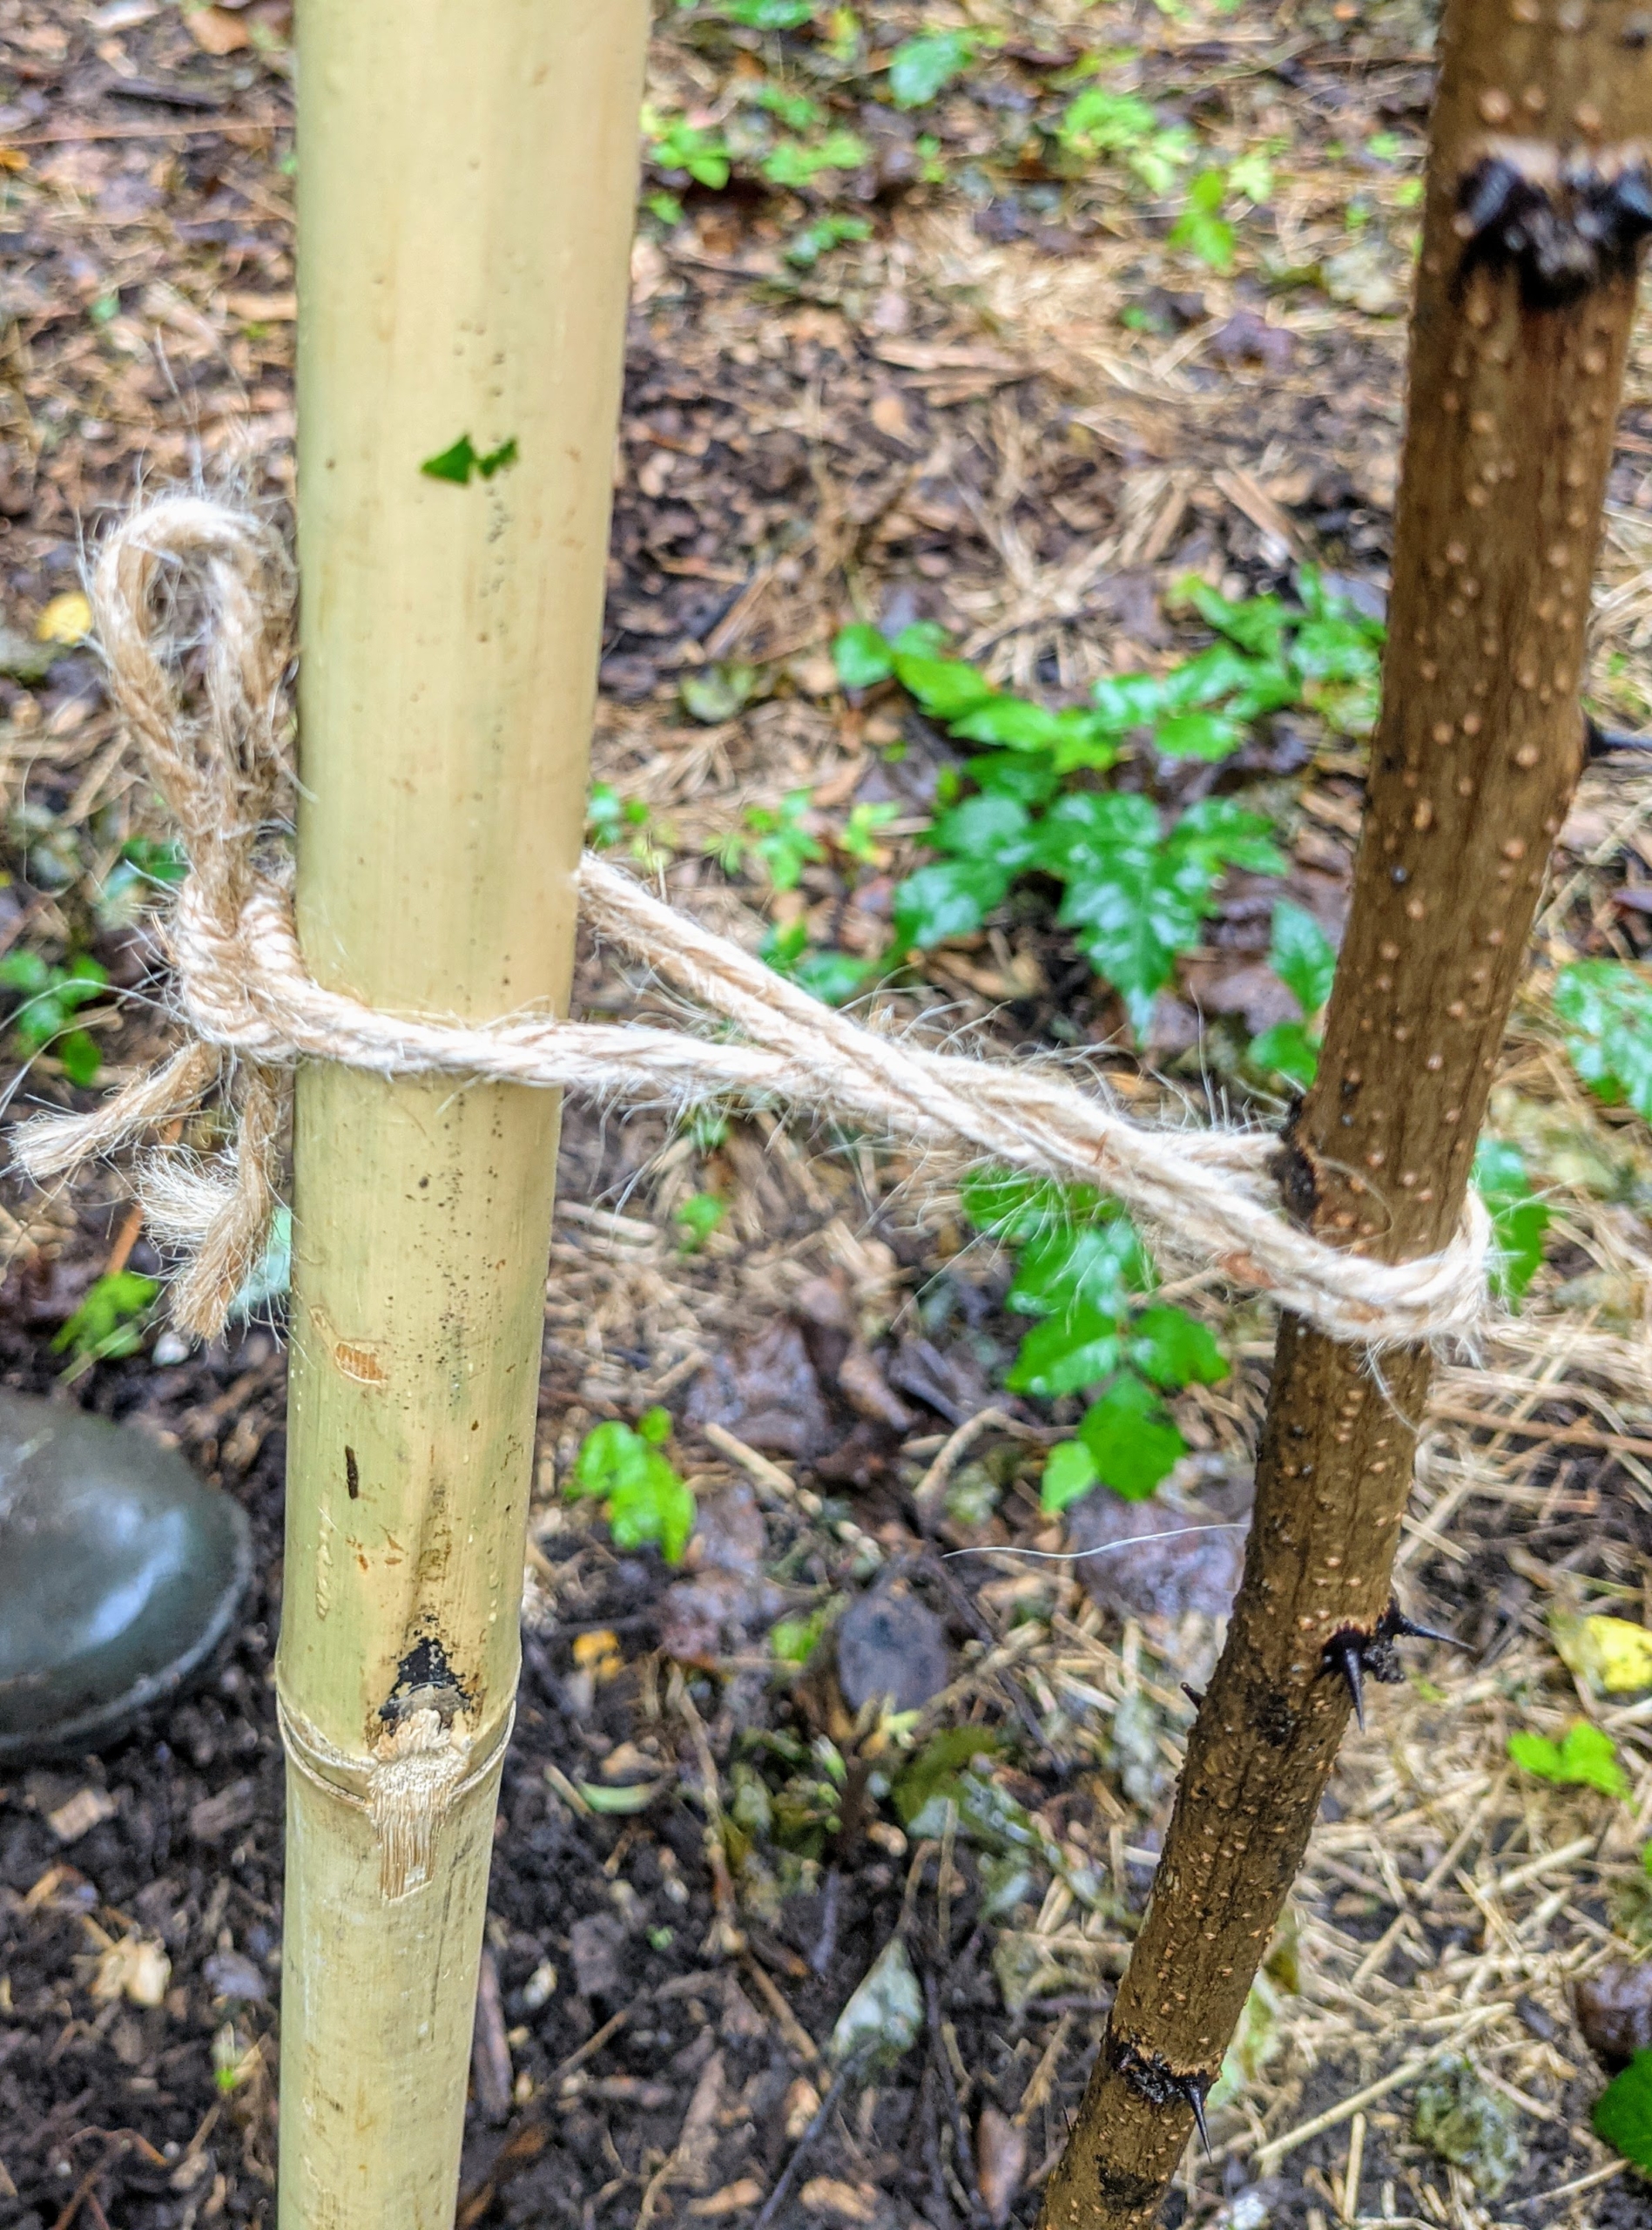
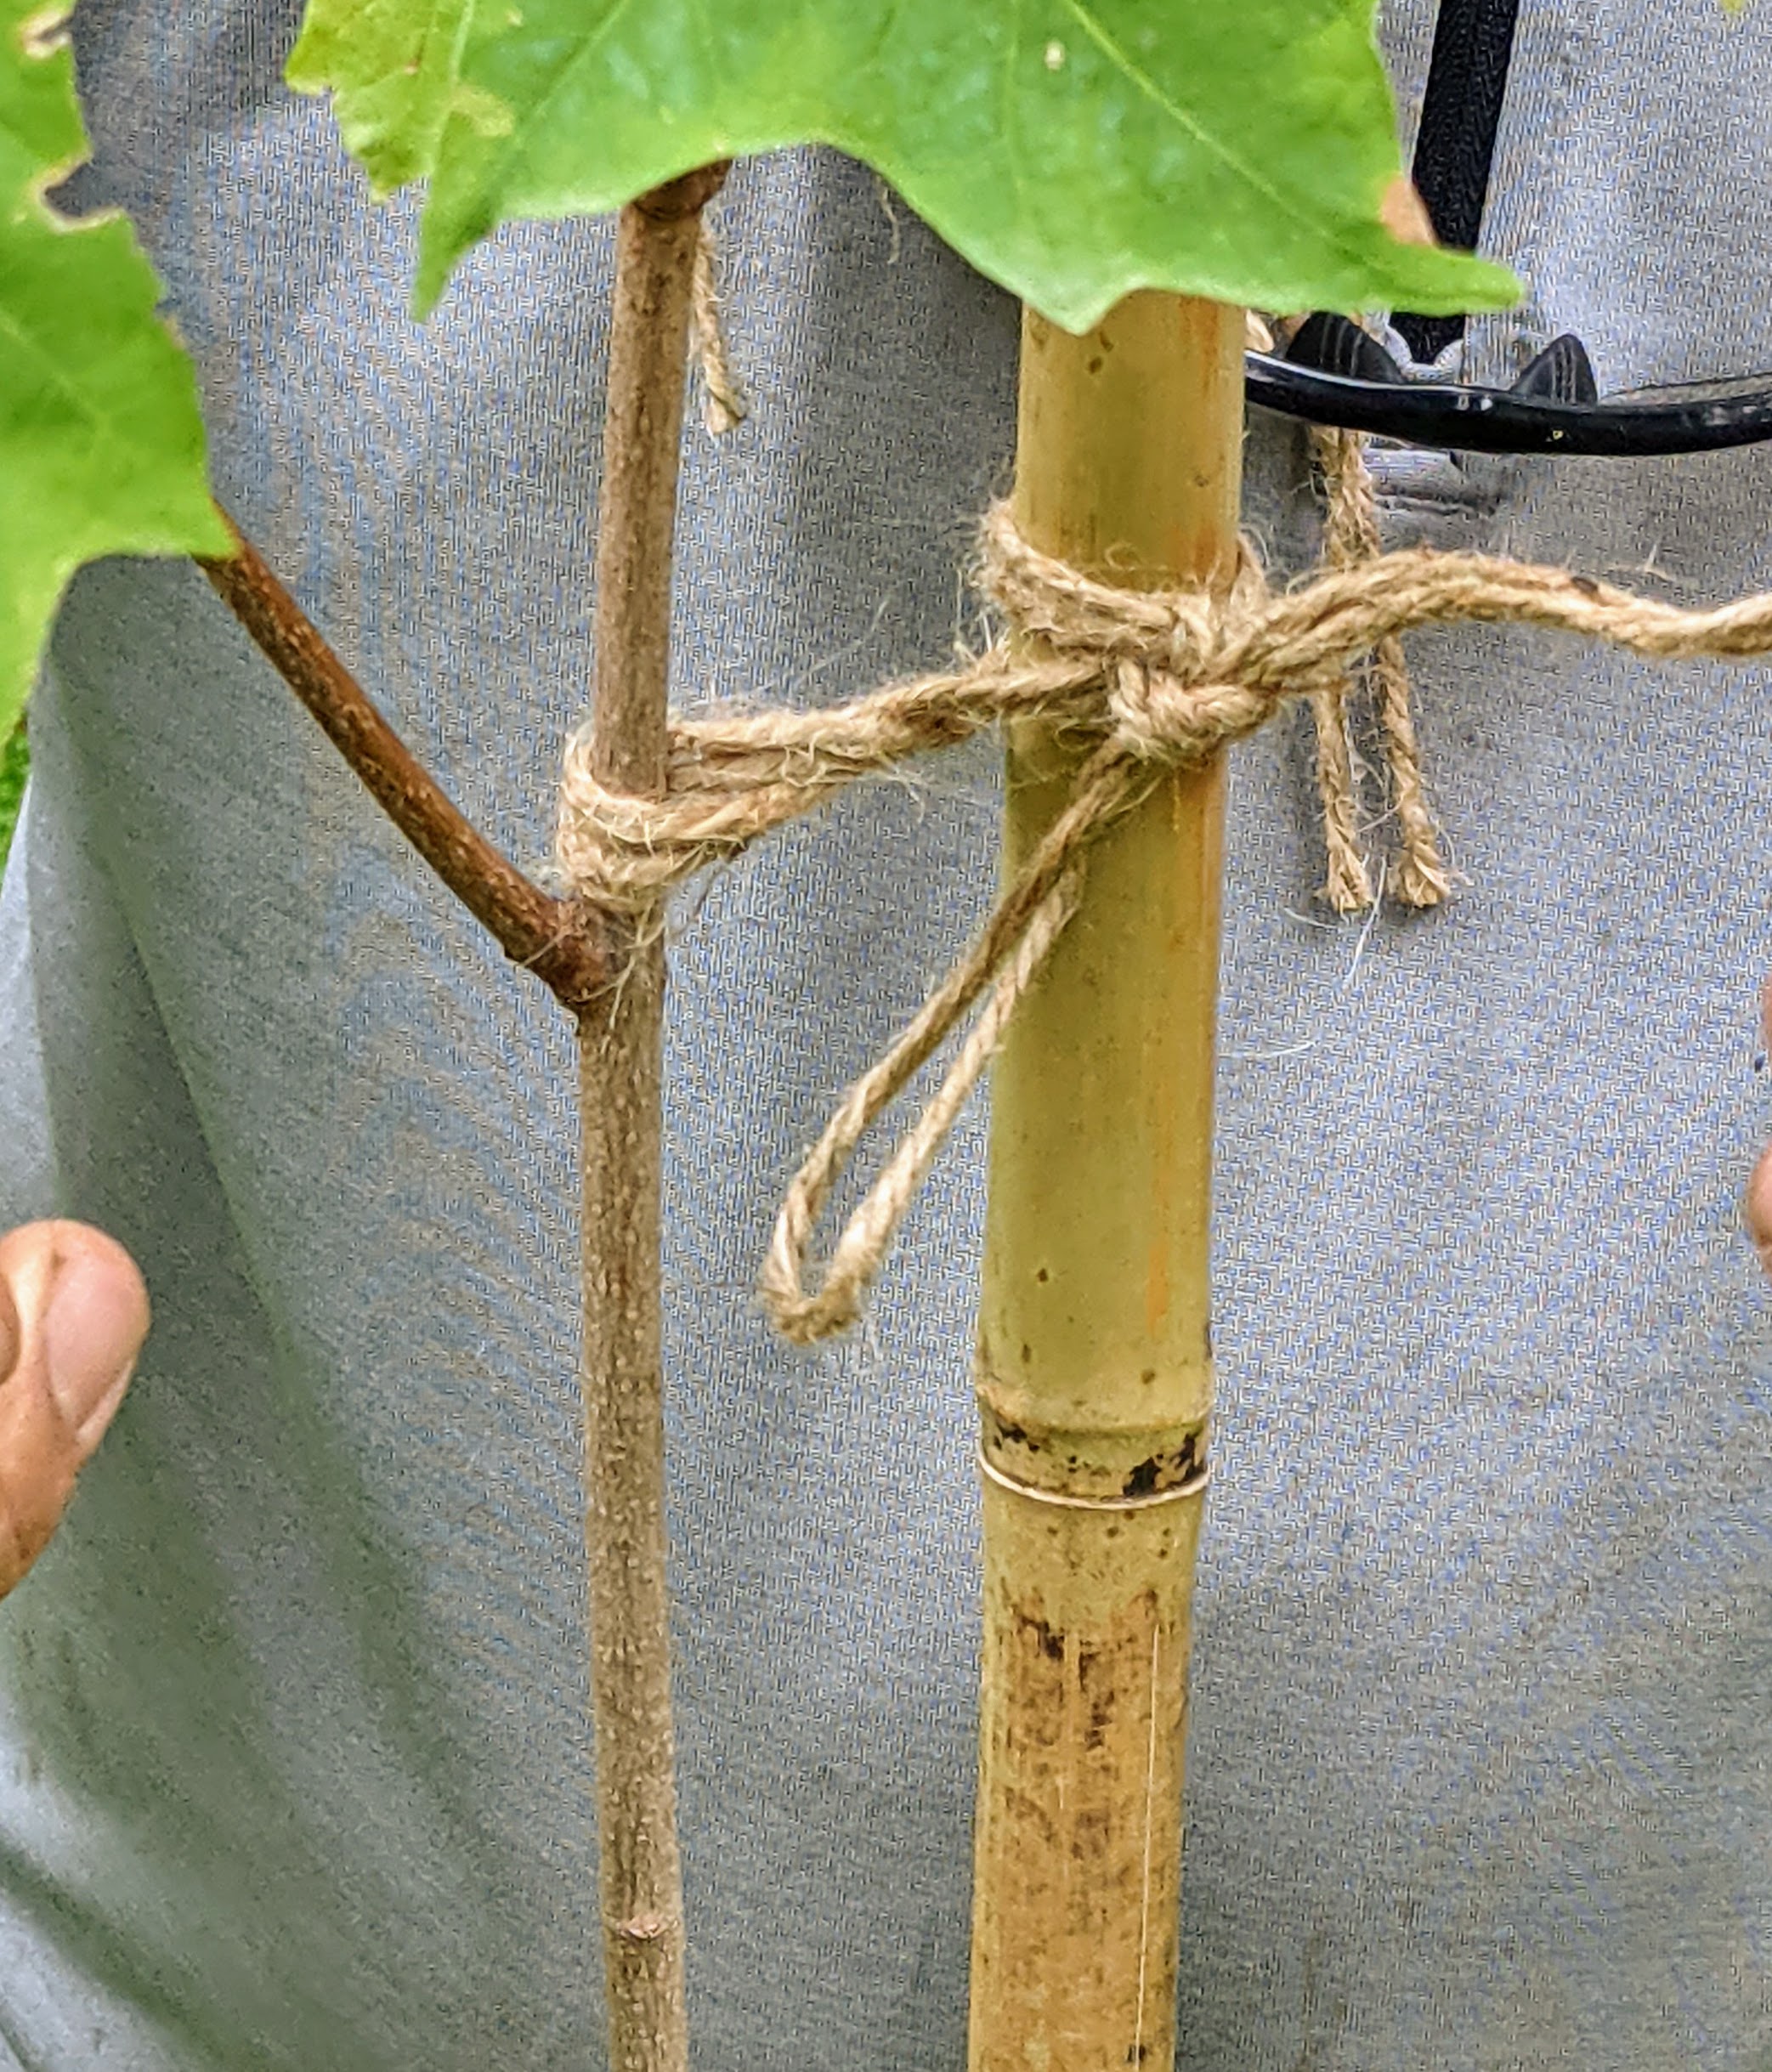
Chhiring carefully secures each tree to its designated stake using the same figure eight formation and knot I taught every crew member. This prevents the twine from chocking the tree as it grows.
We plant hundreds and hundreds of trees each year – in groves and allees, near my home, and in the woodlands. Fortunately, this planting day ended with a good rain shower – perfect timing after getting all these trees into the ground. I know they will thrive here.
My Bedford, New York farm continues to transform with the planting of many beautiful and interesting trees.
Every year I try to add a few trees in my Japanese Maple Woodland. I love this area of the farm and am always thinking about what plants and trees would look best. There are hundreds of Japanese maples planted here already and because they prefer sun-dappled, part shade, I purposely planted them beneath older, larger trees - the varying heights add a nice texture to the grove. This week, my outdoor grounds crew planted another collection of these taller varieties such as maples and tulip trees, which will one day grow up to more than 120-feet tall.
Enjoy these photos, and please see my story on my Japanese Maple Woodland in the October issue of our magazine, "Living."
Every year around this time, my gardeners, outdoor grounds crew, and I carefully plan where we will plant hundreds of young trees. I get many of my trees as bare-root cuttings and then nurture them in pots before they are transplanted in more permanent locations. Here are some of trees waiting to be positioned and planted in the Japanese Maple Woodland.
This woodland is one of my favorite areas of the farm. It is located near my chicken coops and vegetable garden. Hundreds of rare and interesting Japanese maples are planted here and growing excellently. A Japanese maple is a small tree or large shrub in the Maple family that is native to the Asian countries of China, Korea and Japan. It is highly prized as a garden tree for its great ornamental beauty.
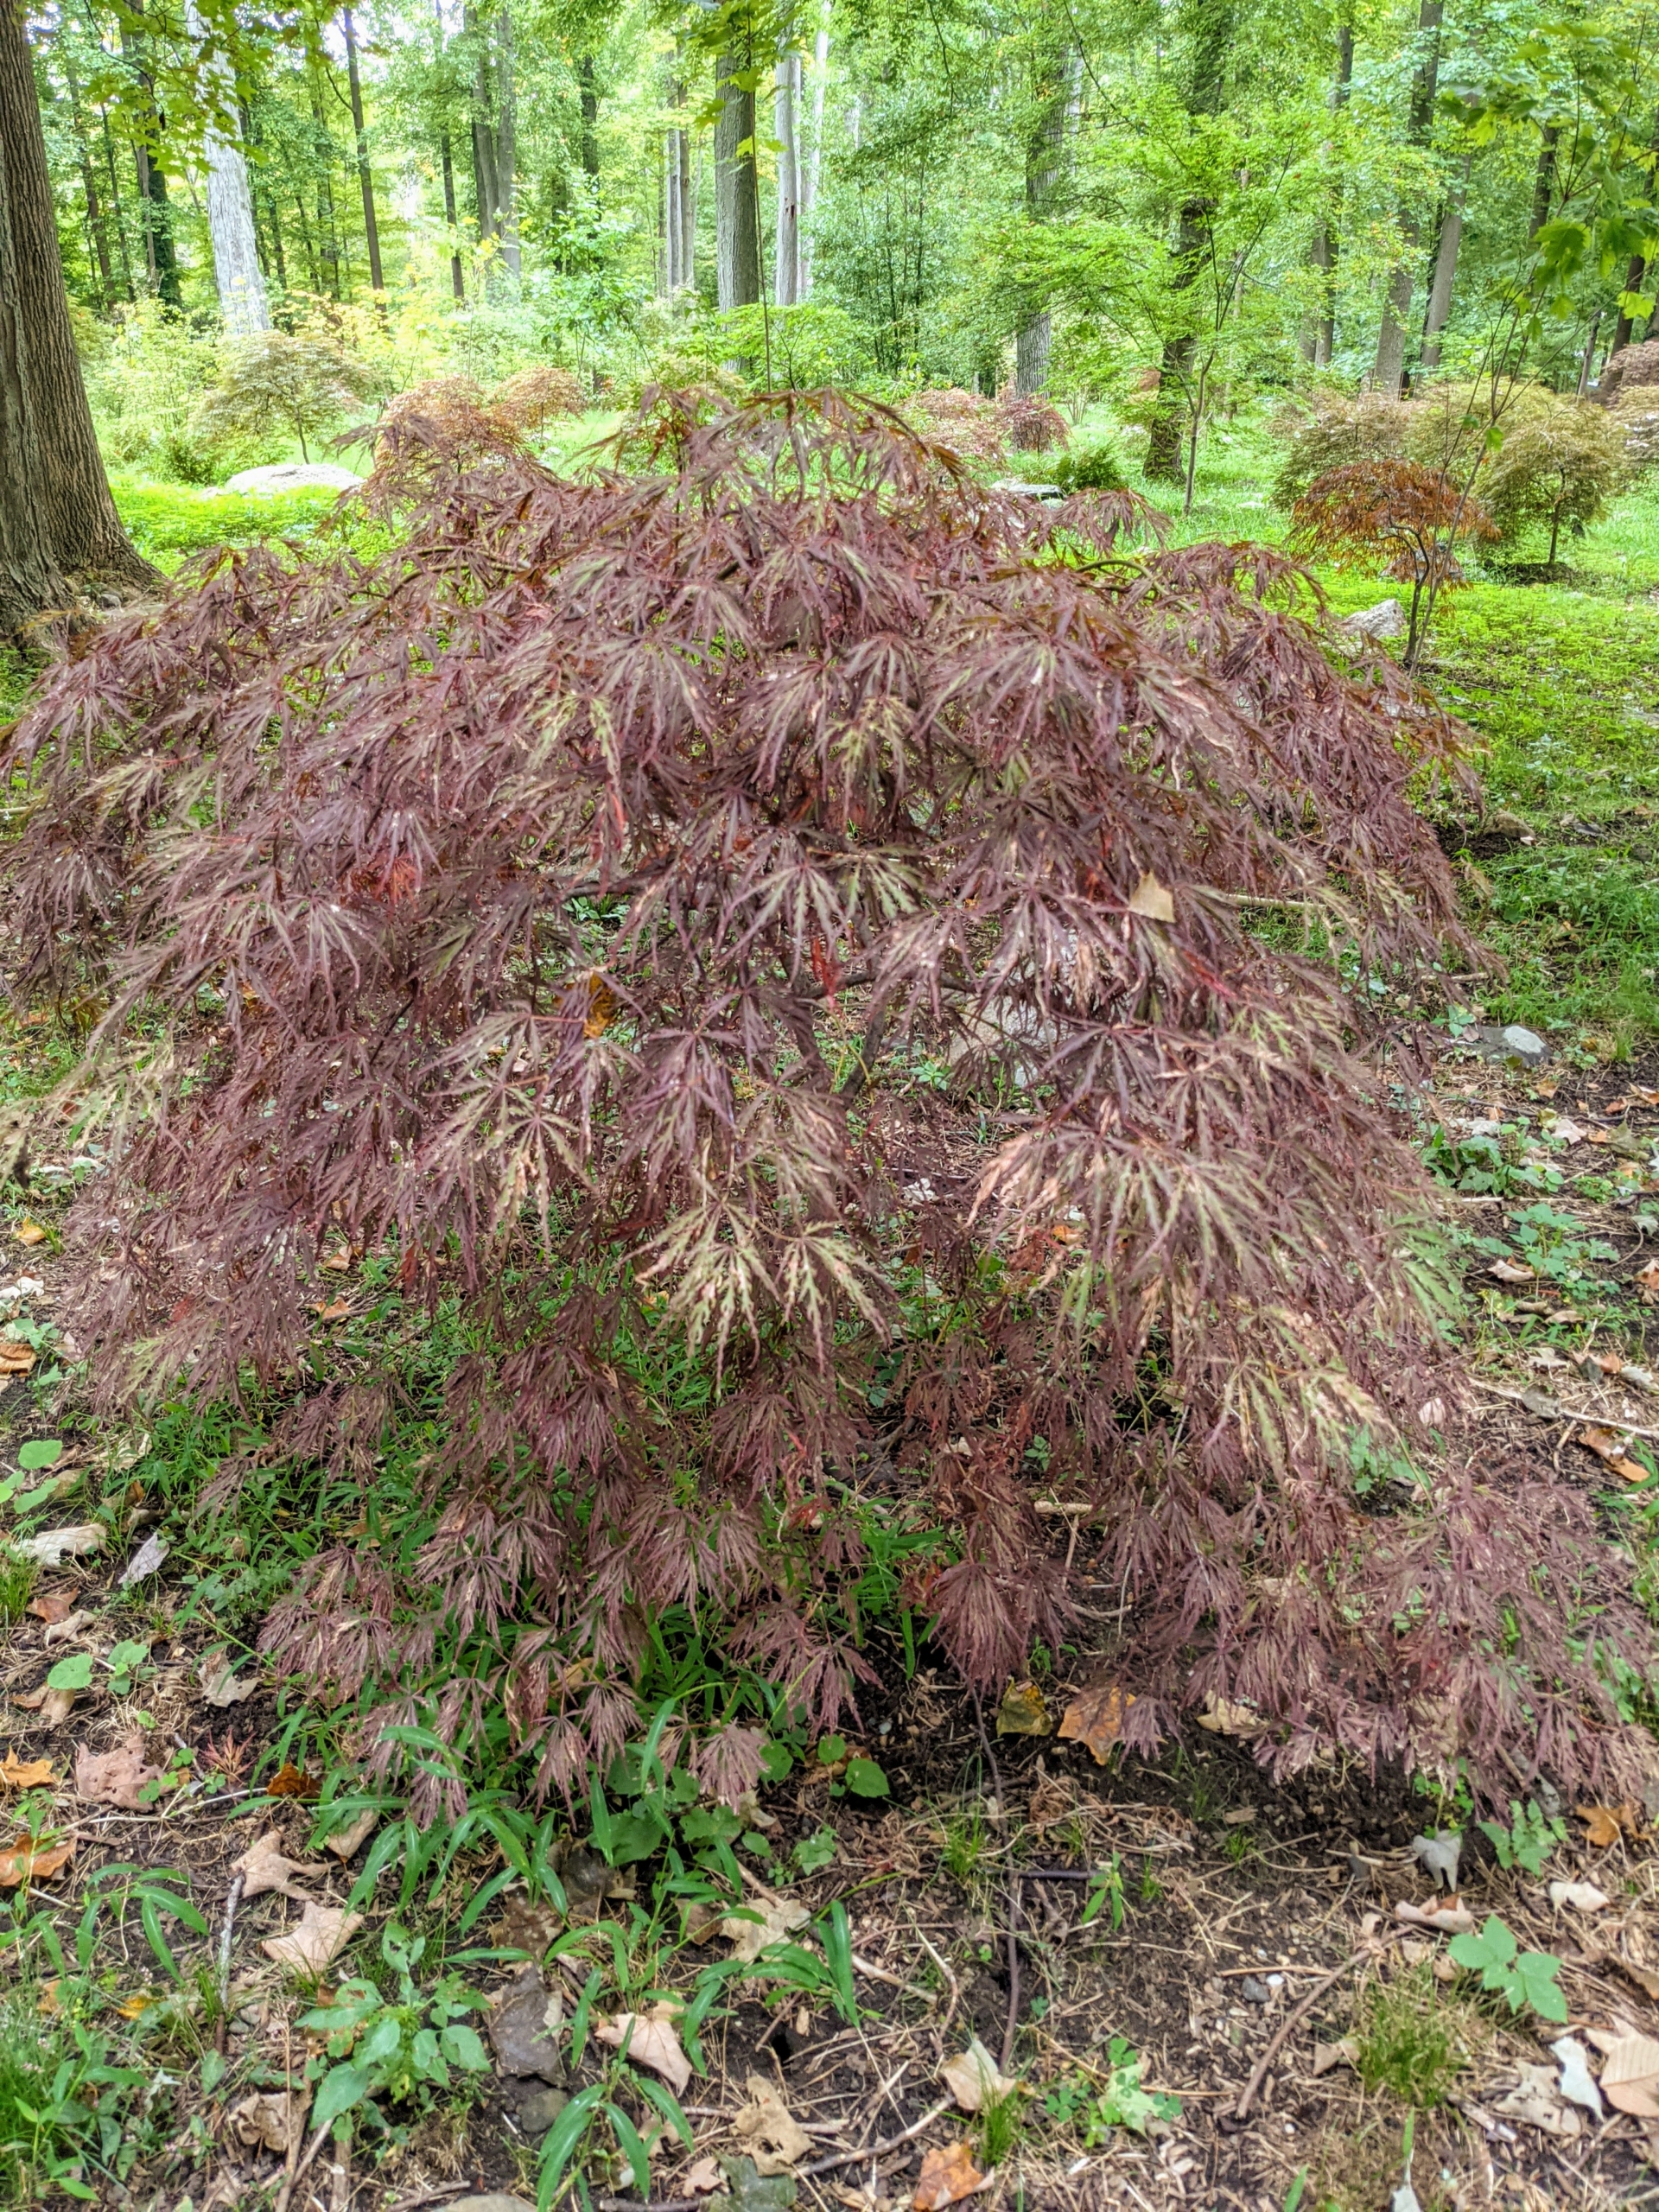
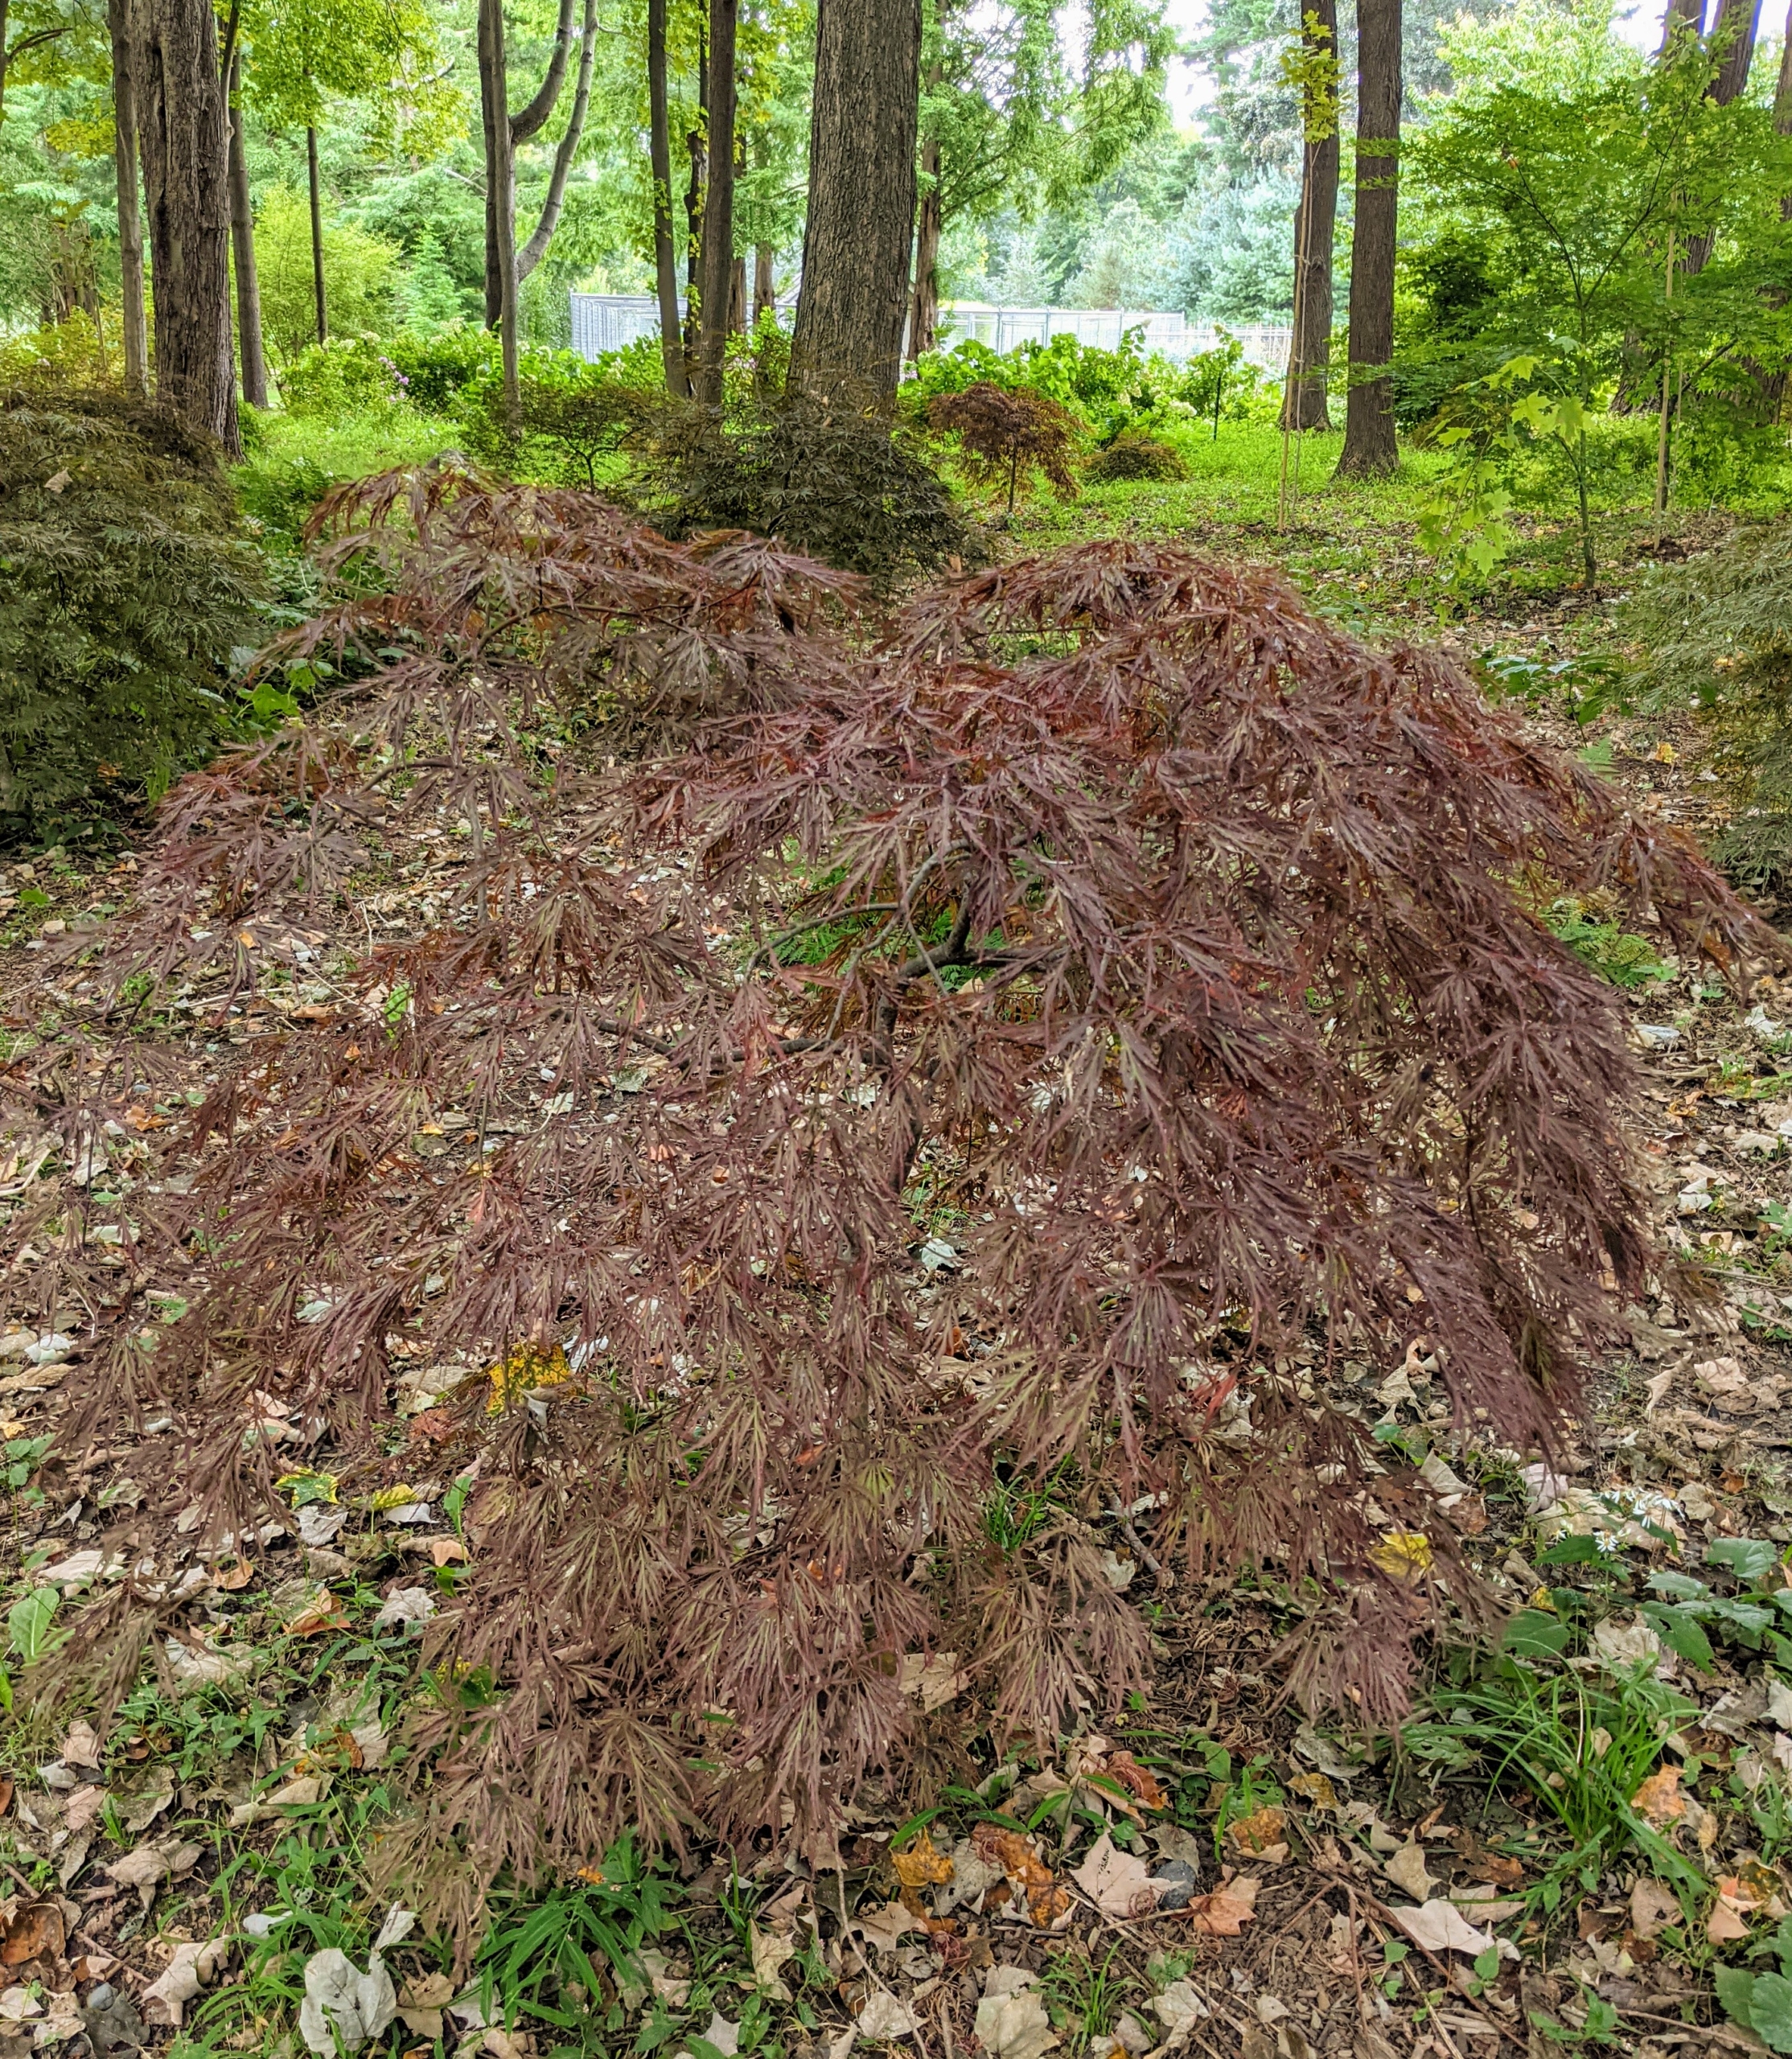
Many of my Japanese maples are varieties of Acer palmatum – trees that have been cultivated in Japanese gardens for centuries. These specimens provide countless variations in size, leaf shape, and color, creating a landscape of beauty and texture.
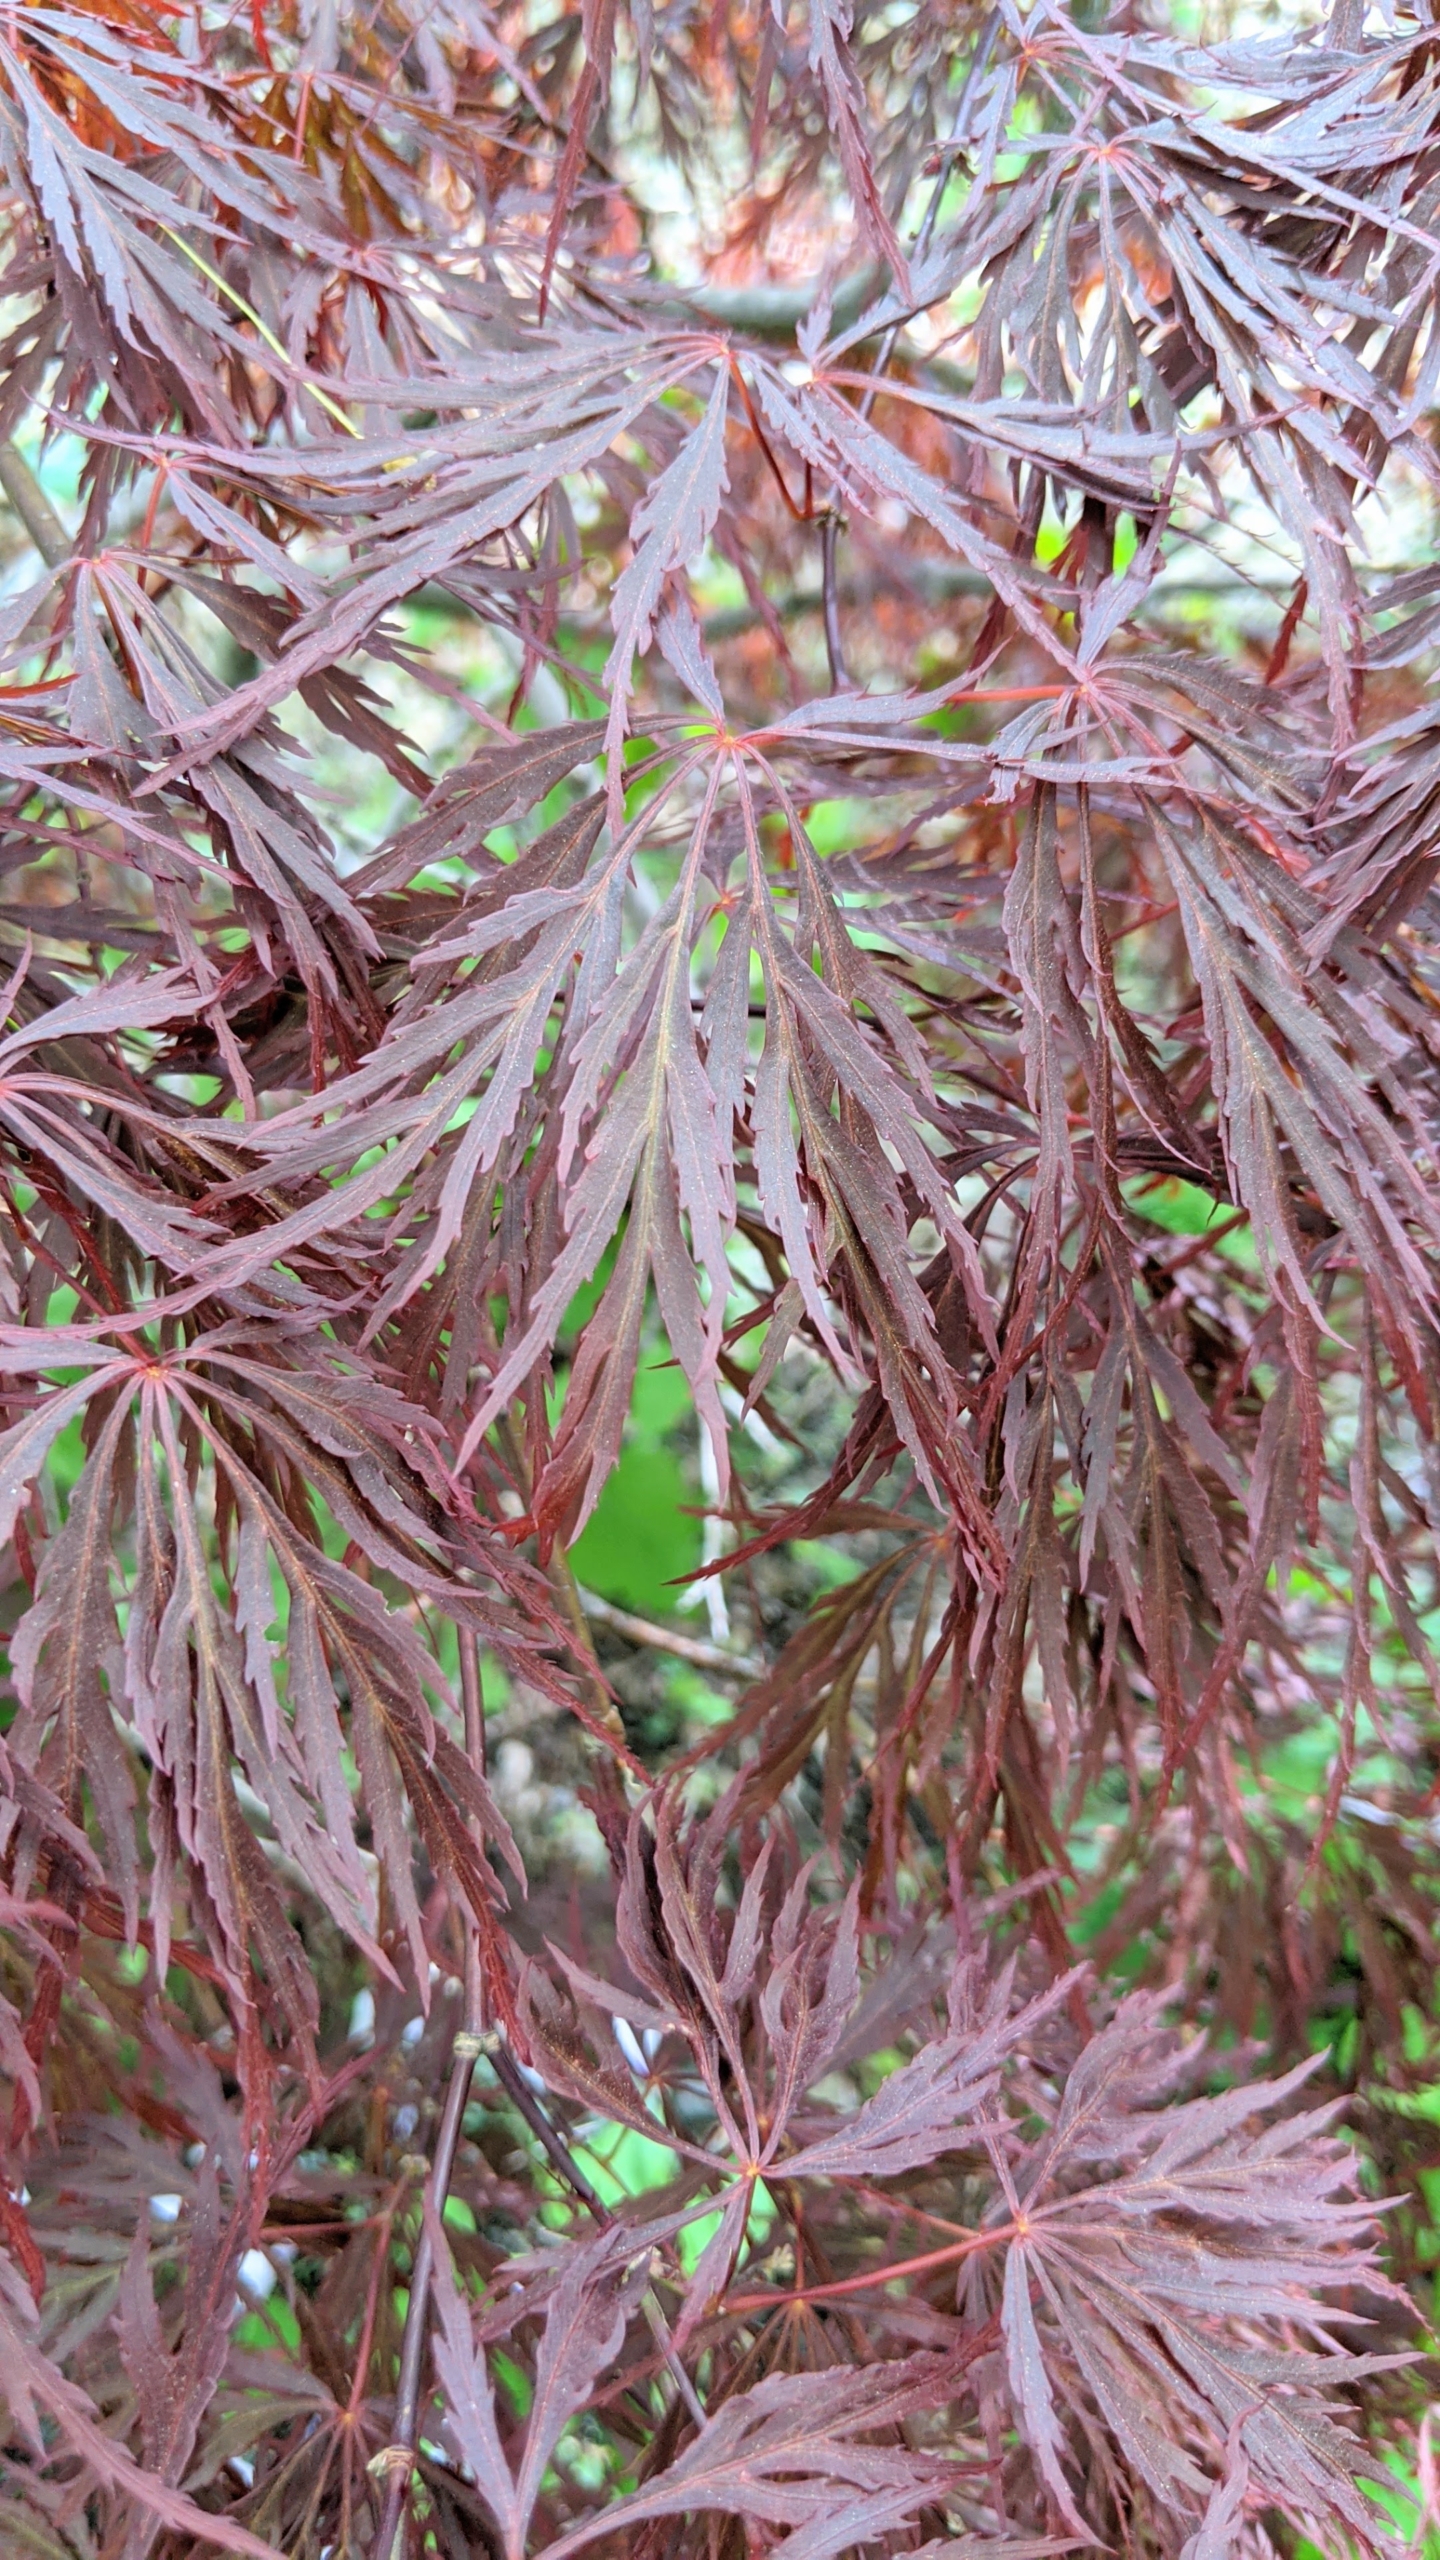
Red leafed cultivars are the most popular, followed by green shrubs with deeply dissected leaves. These leaves are deeply divided, but each lobe is also dissected, giving them a lacy effect.
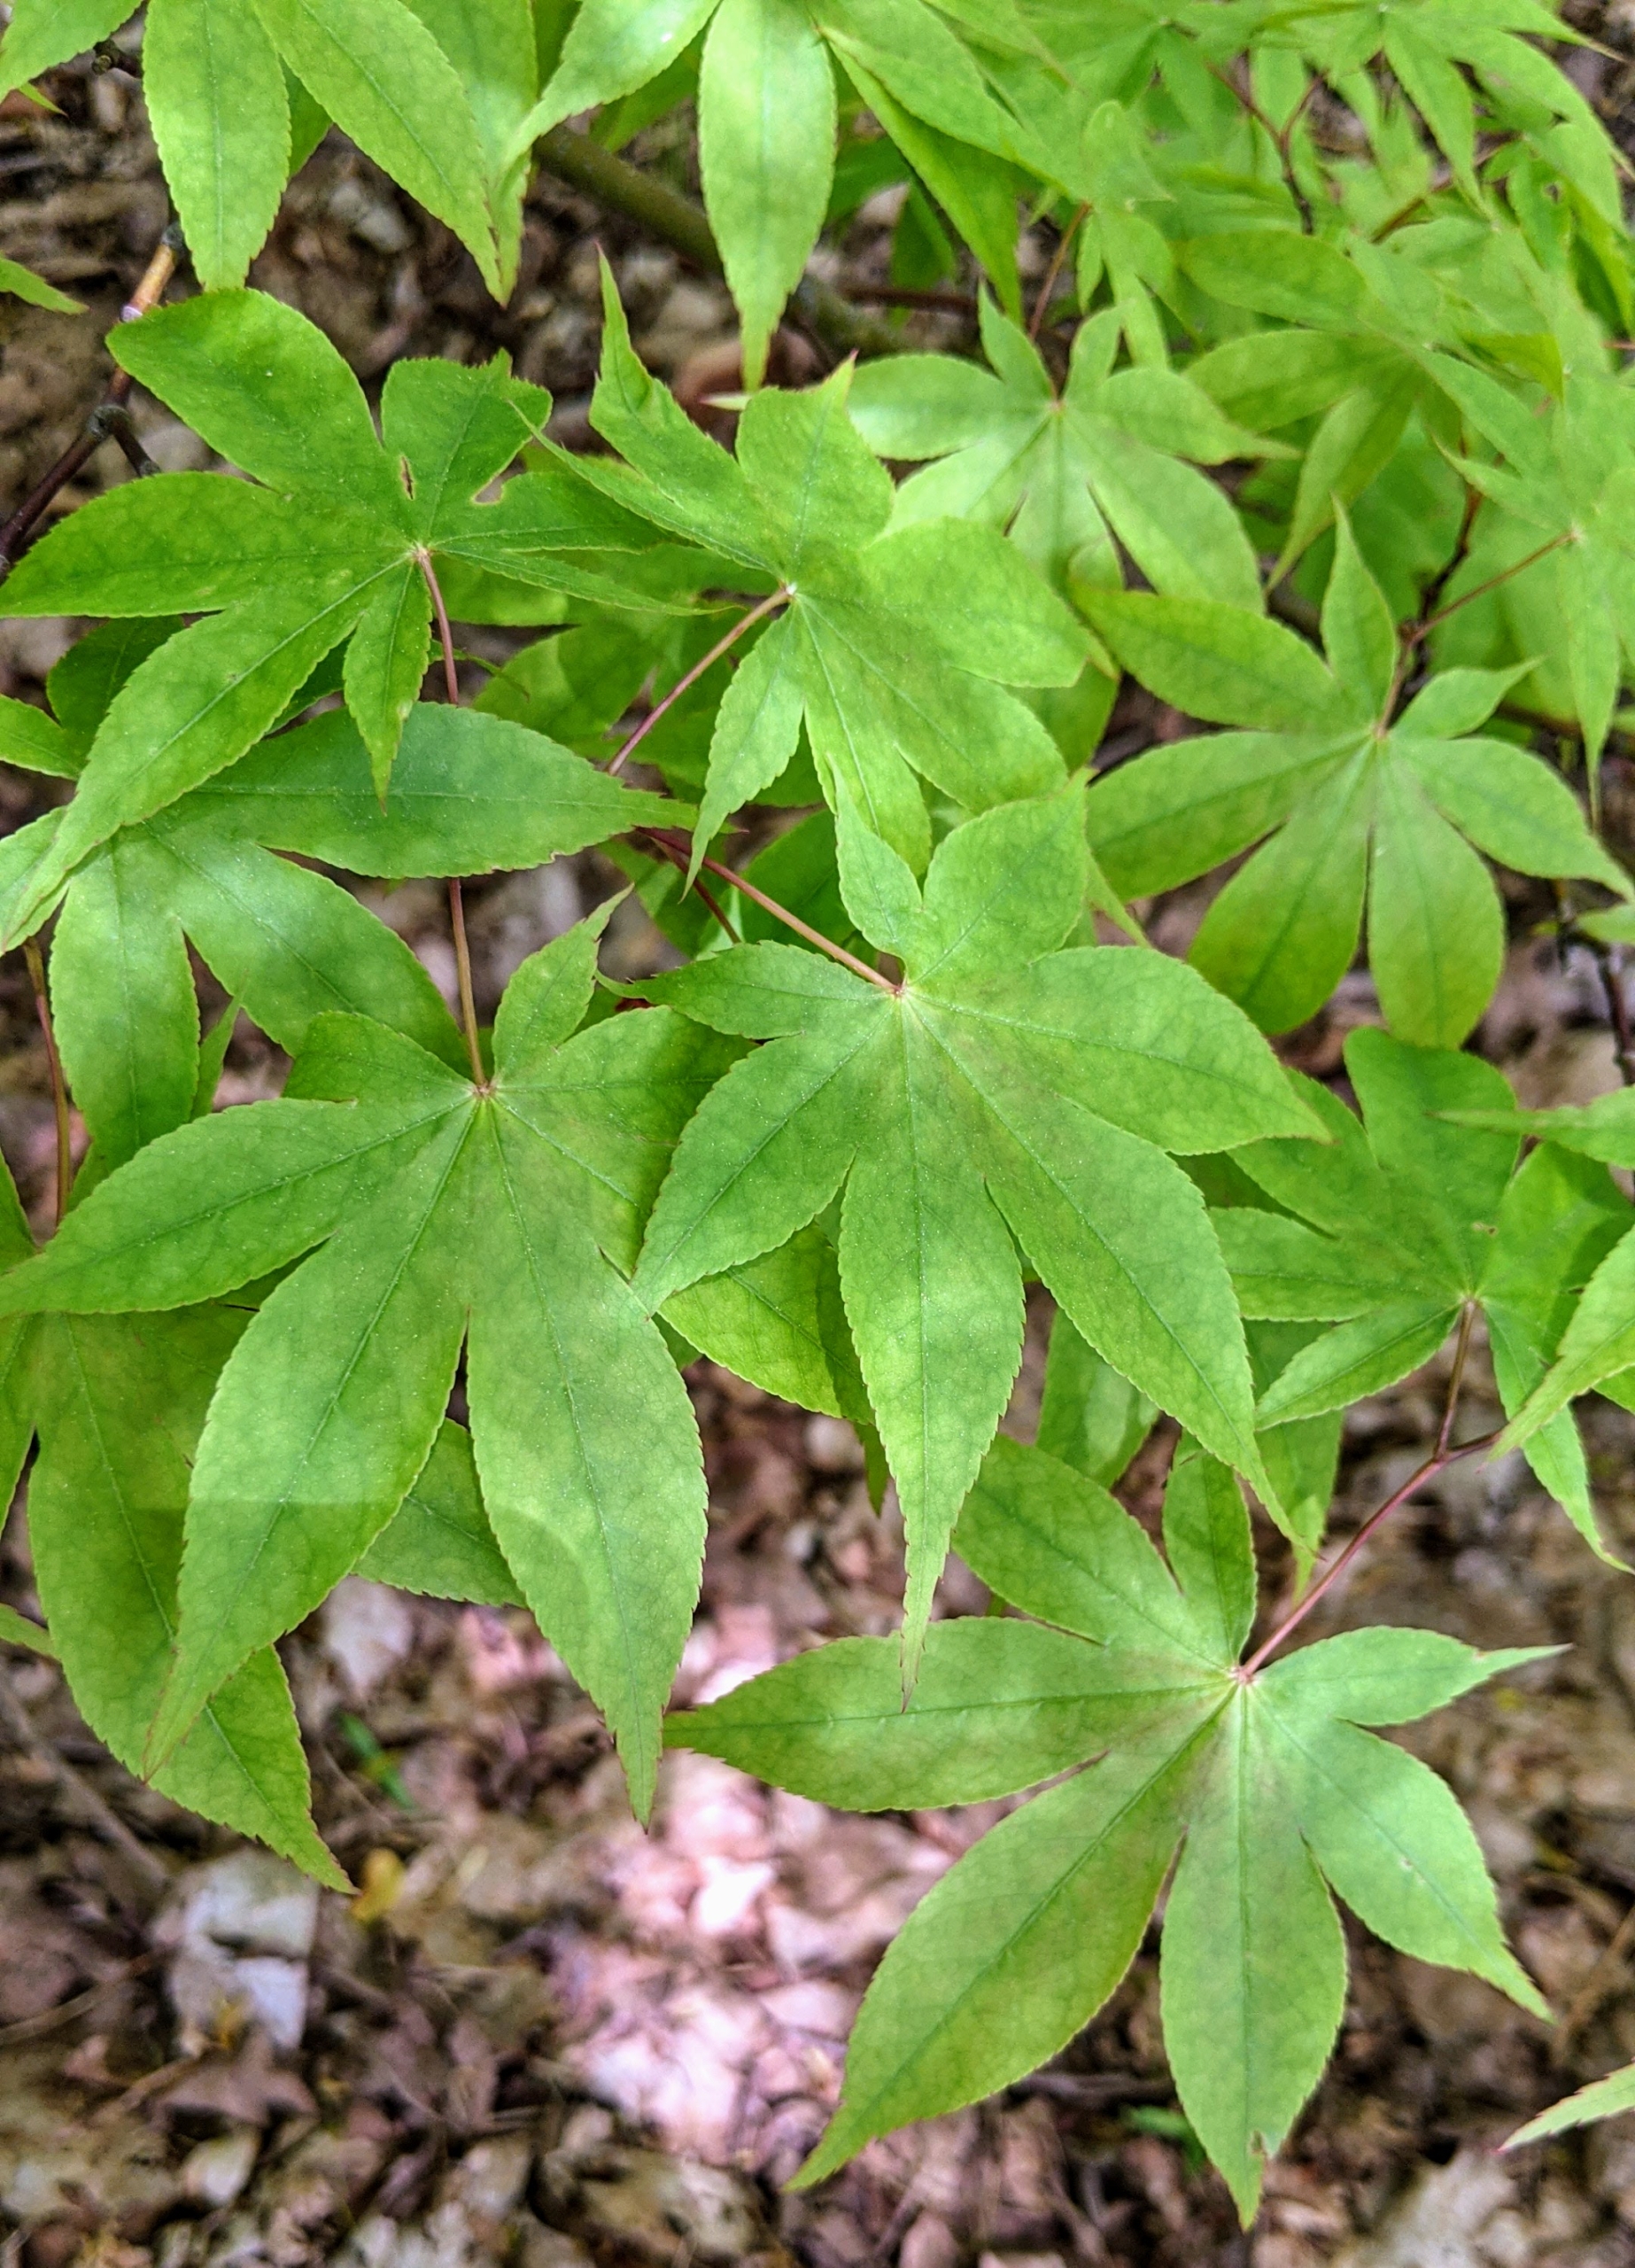
And here is a green leafed version, ‘Osaka Suki.’ Japanese maple trees are particularly suitable for borders and ornamental paths because their root systems are compact and not invasive.
These trees are planted beneath the canopy of larger trees, but we needed a few more to fill the area.
Here’s Ryan placing a couple of the trees where they will be planted – many of them are going in an open space where older trees had fallen after Hurricane Sandy in 2012.
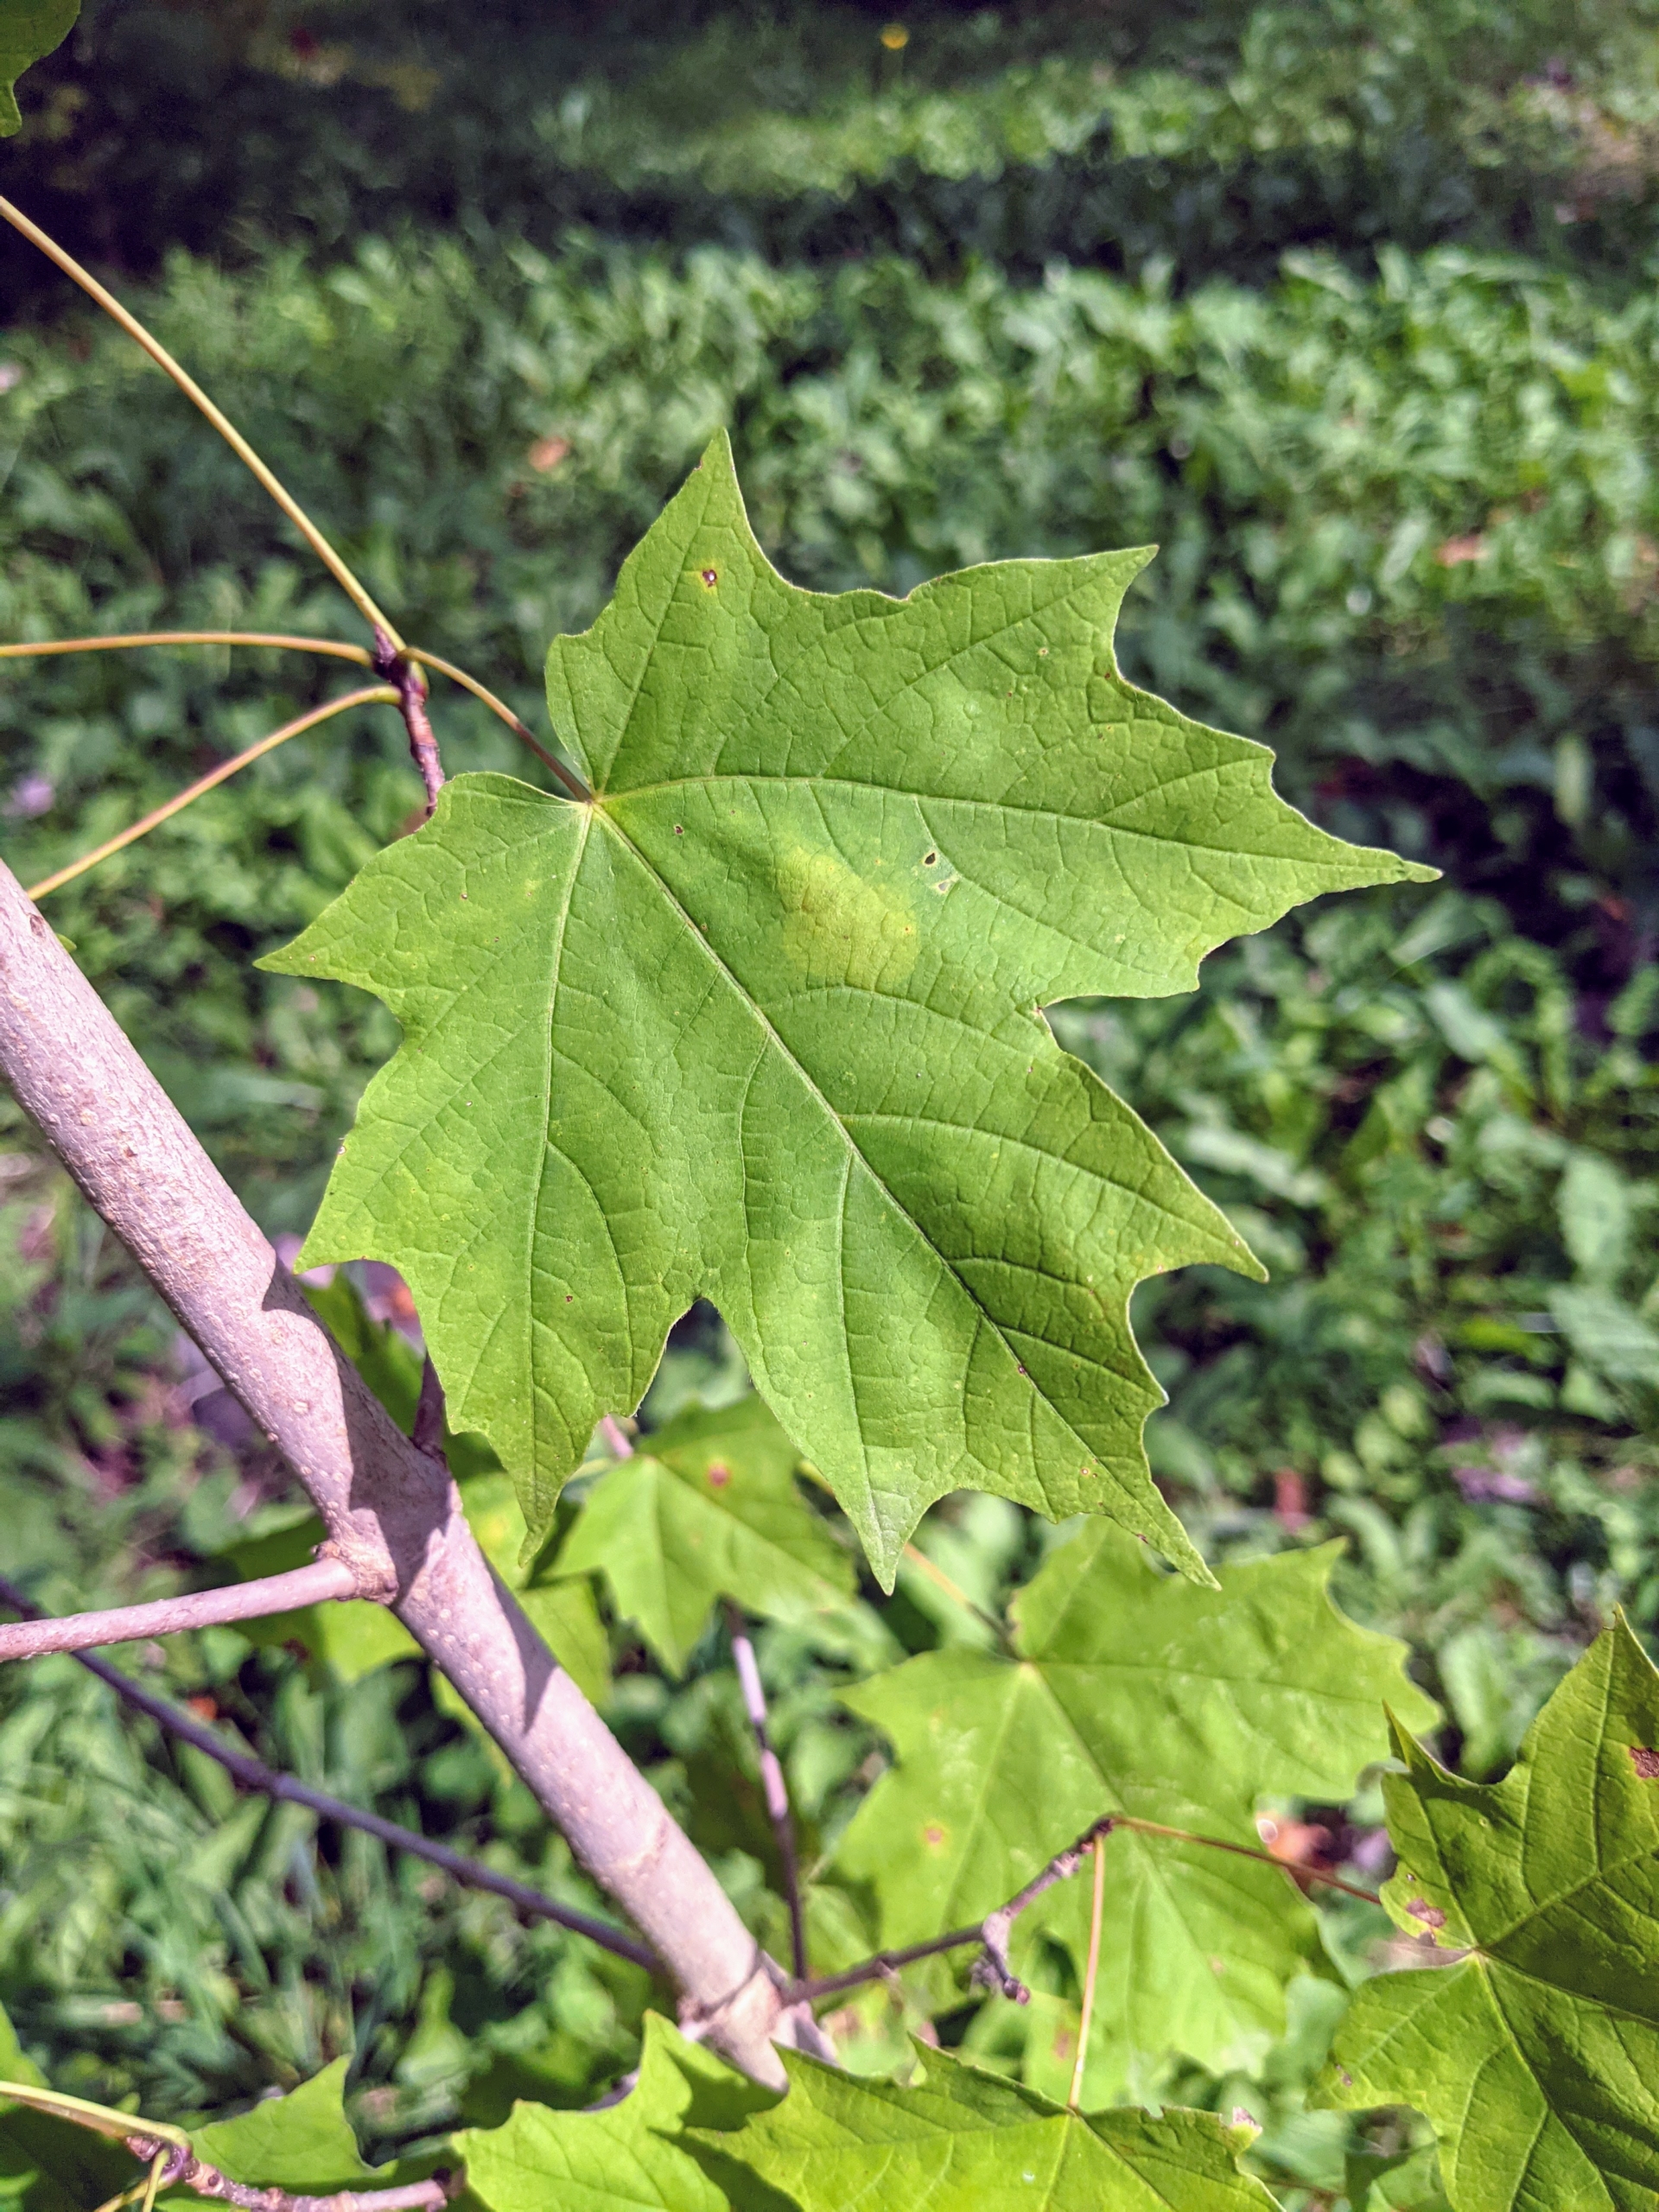
Among the trees being planted – maples. The maple tree, Acer, has leaves with pointed lobes and with deep indentations between the lobes. The leaves are a bold green color.
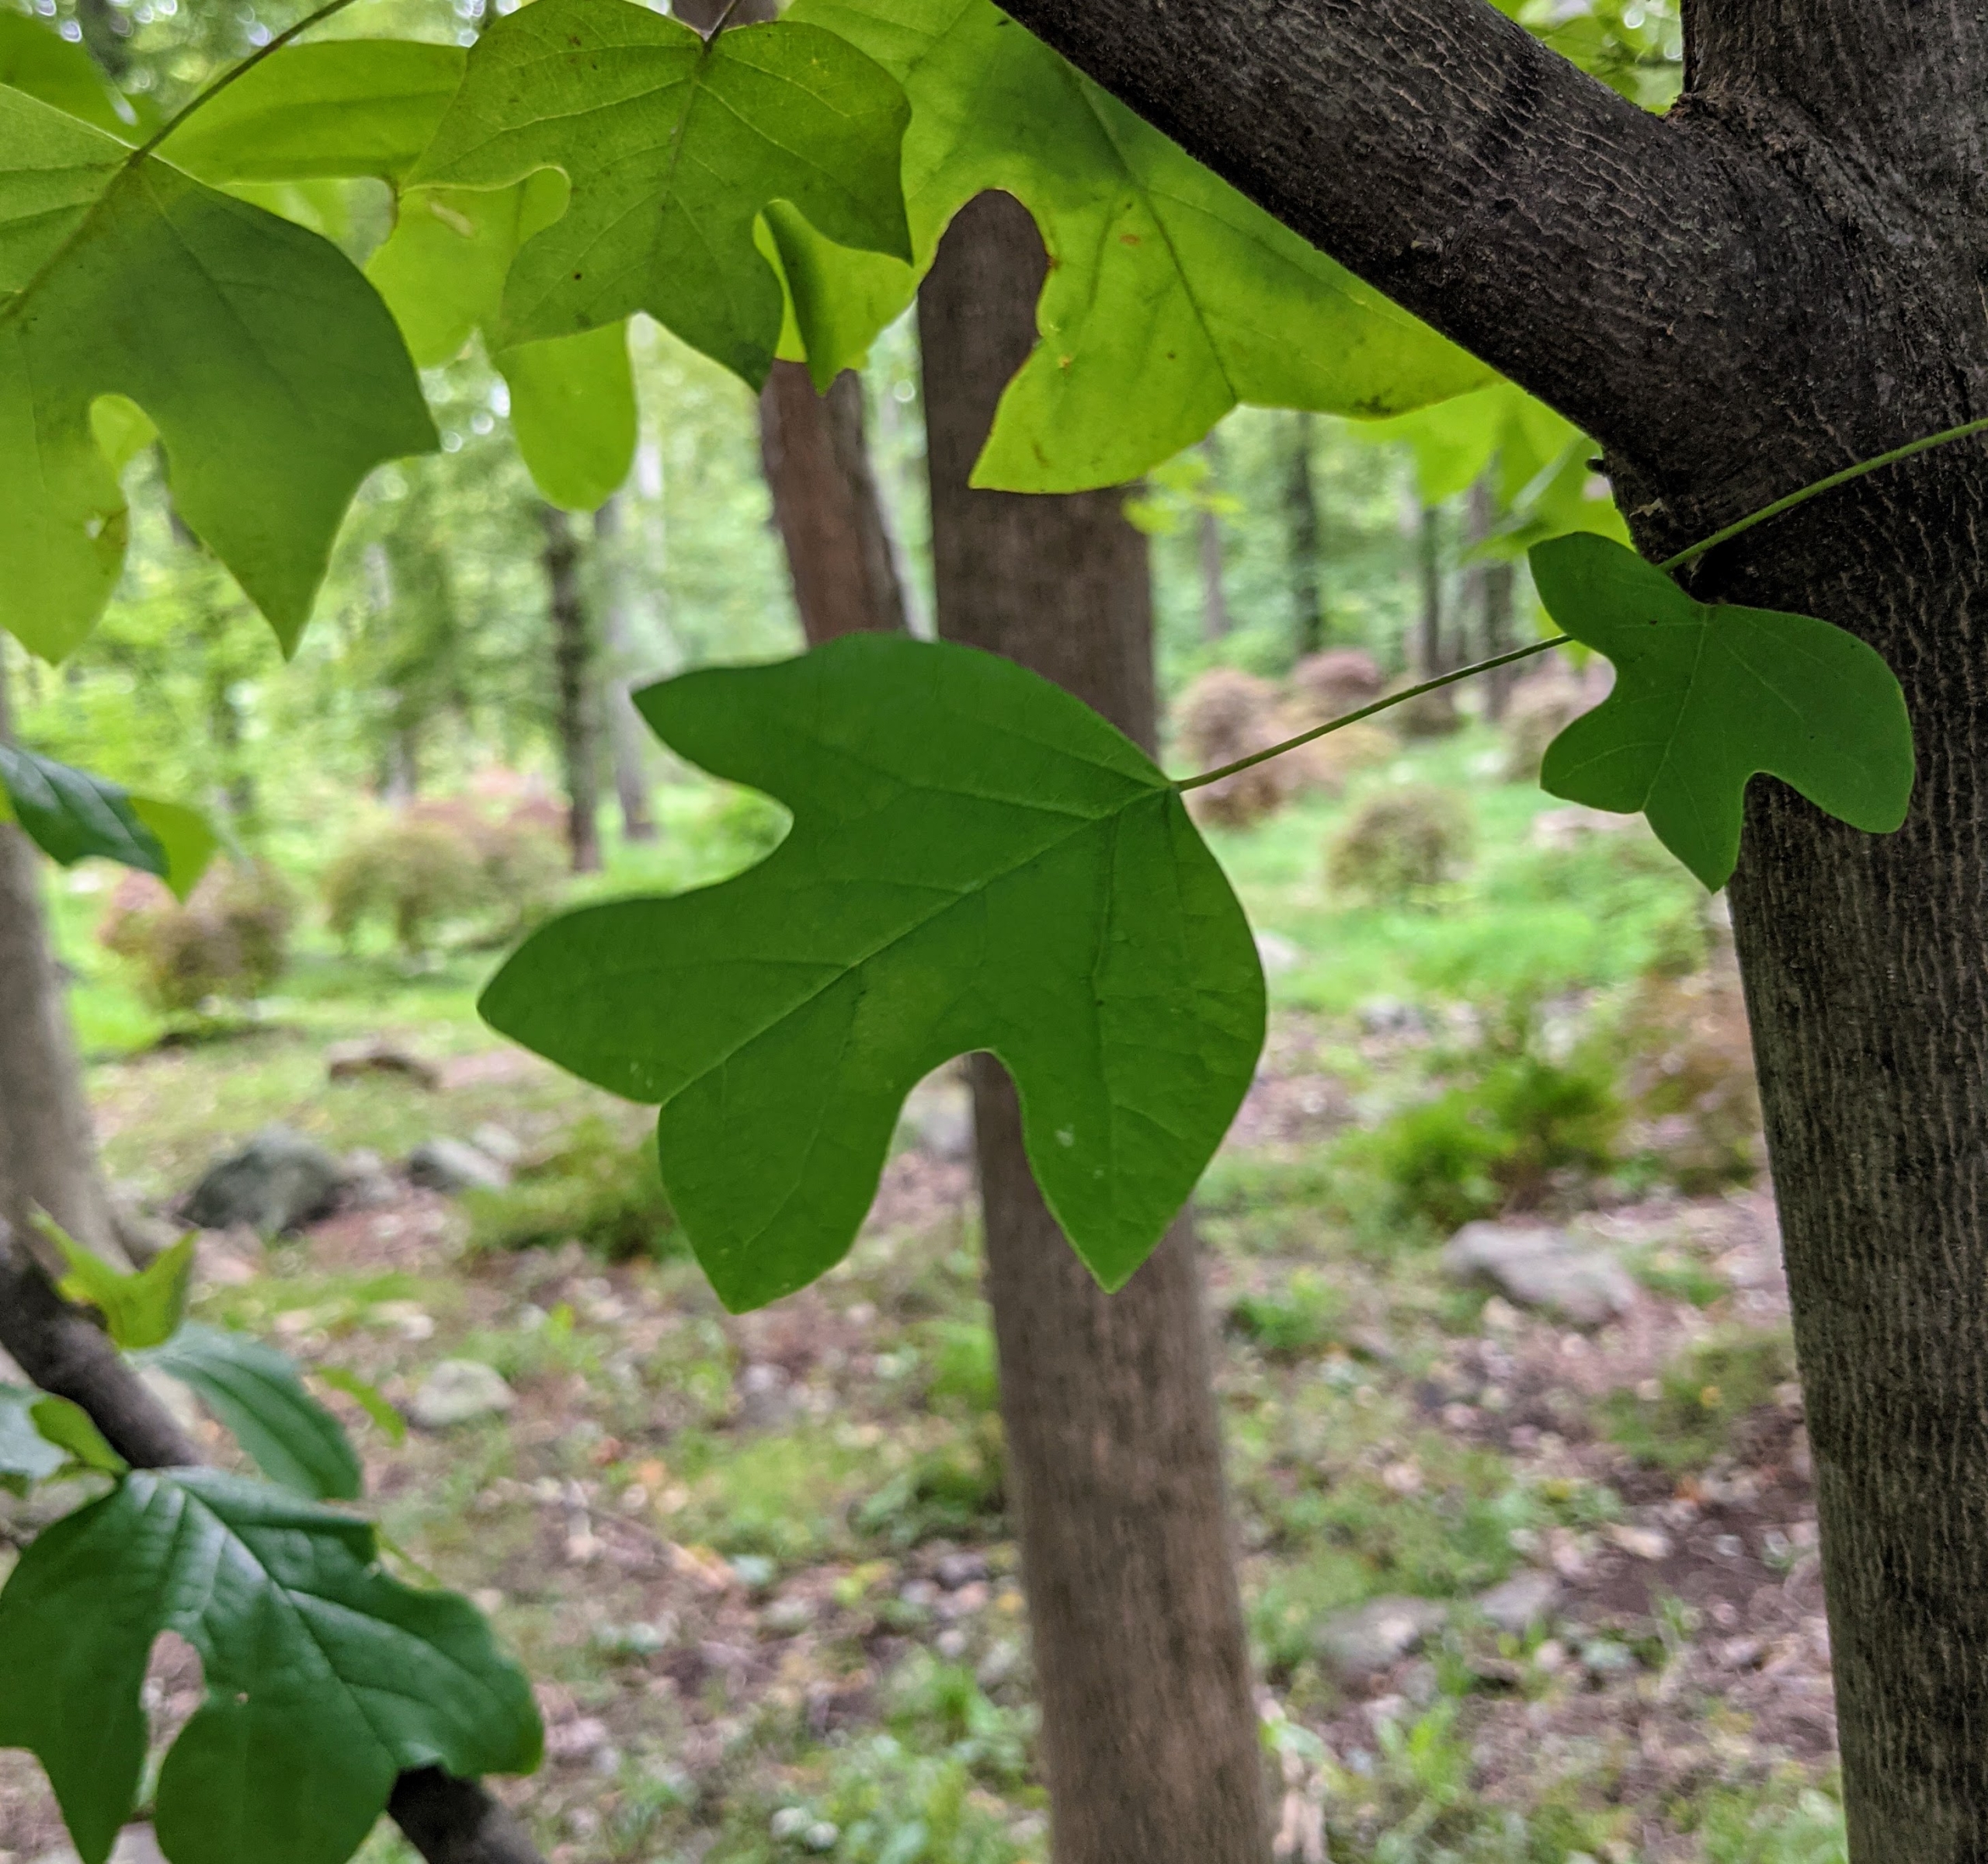
The crew is also planting some tulip trees. This is the leaf of the tulip tree. Our tulip trees are the tallest at the farm – these trees can grow more than 120-feet. In the late spring bright yellowish-green and orange flowers bloom. They resemble tulips in shape. The silhouette of the tree’s leaves is also tulip-shaped. Together, these features give the tulip tree its name. The tulip tree is also known as tulip poplar, yellow poplar, whitewood, and tulip magnolia. Some of these names can be deceiving, as the tree is not a true poplar. Instead, it belongs to the magnolia family.
The tulip tree’s bark on its large trunk is colored light grayish brown. It is corky and has vertical to slightly wavering vertical furrows.
Each tree is planted to the height it was in the pot. Domi digs each hole next to the tree – about
10 inches deep. Trees do so well here at the farm because of the rich well-drained soil.
Pasang then plants the trees. Here, he carefully removes the tree from its pot.
And then breaks up the root ball to stimulate root growth. Essentially, Pasang loosens the roots a bit and creates some beneficial injuries. This helps the plant become established more quickly in its new environment.
A scoop of good fertilizer is sprinkled on the surrounding soil.
“Bare to the flare” is the rule of thumb. Look for the root collar or root flare – the bulge just above the root system where the roots begin to branch away from the trunk. The root flare should be just above the soil surface.
Once the tree is planted, it is staked to protect it as it develops. Because these trees are so tall, we use bamboo stakes to secure the trees. Bamboo comes in a variety of lengths and is easy to find at garden supply stores. We use natural jute twine for many of our projects. Jute twine is a vegetable fiber that can be spun into coarse, strong threads. It is 100-percent biodegradable and pollution-free.
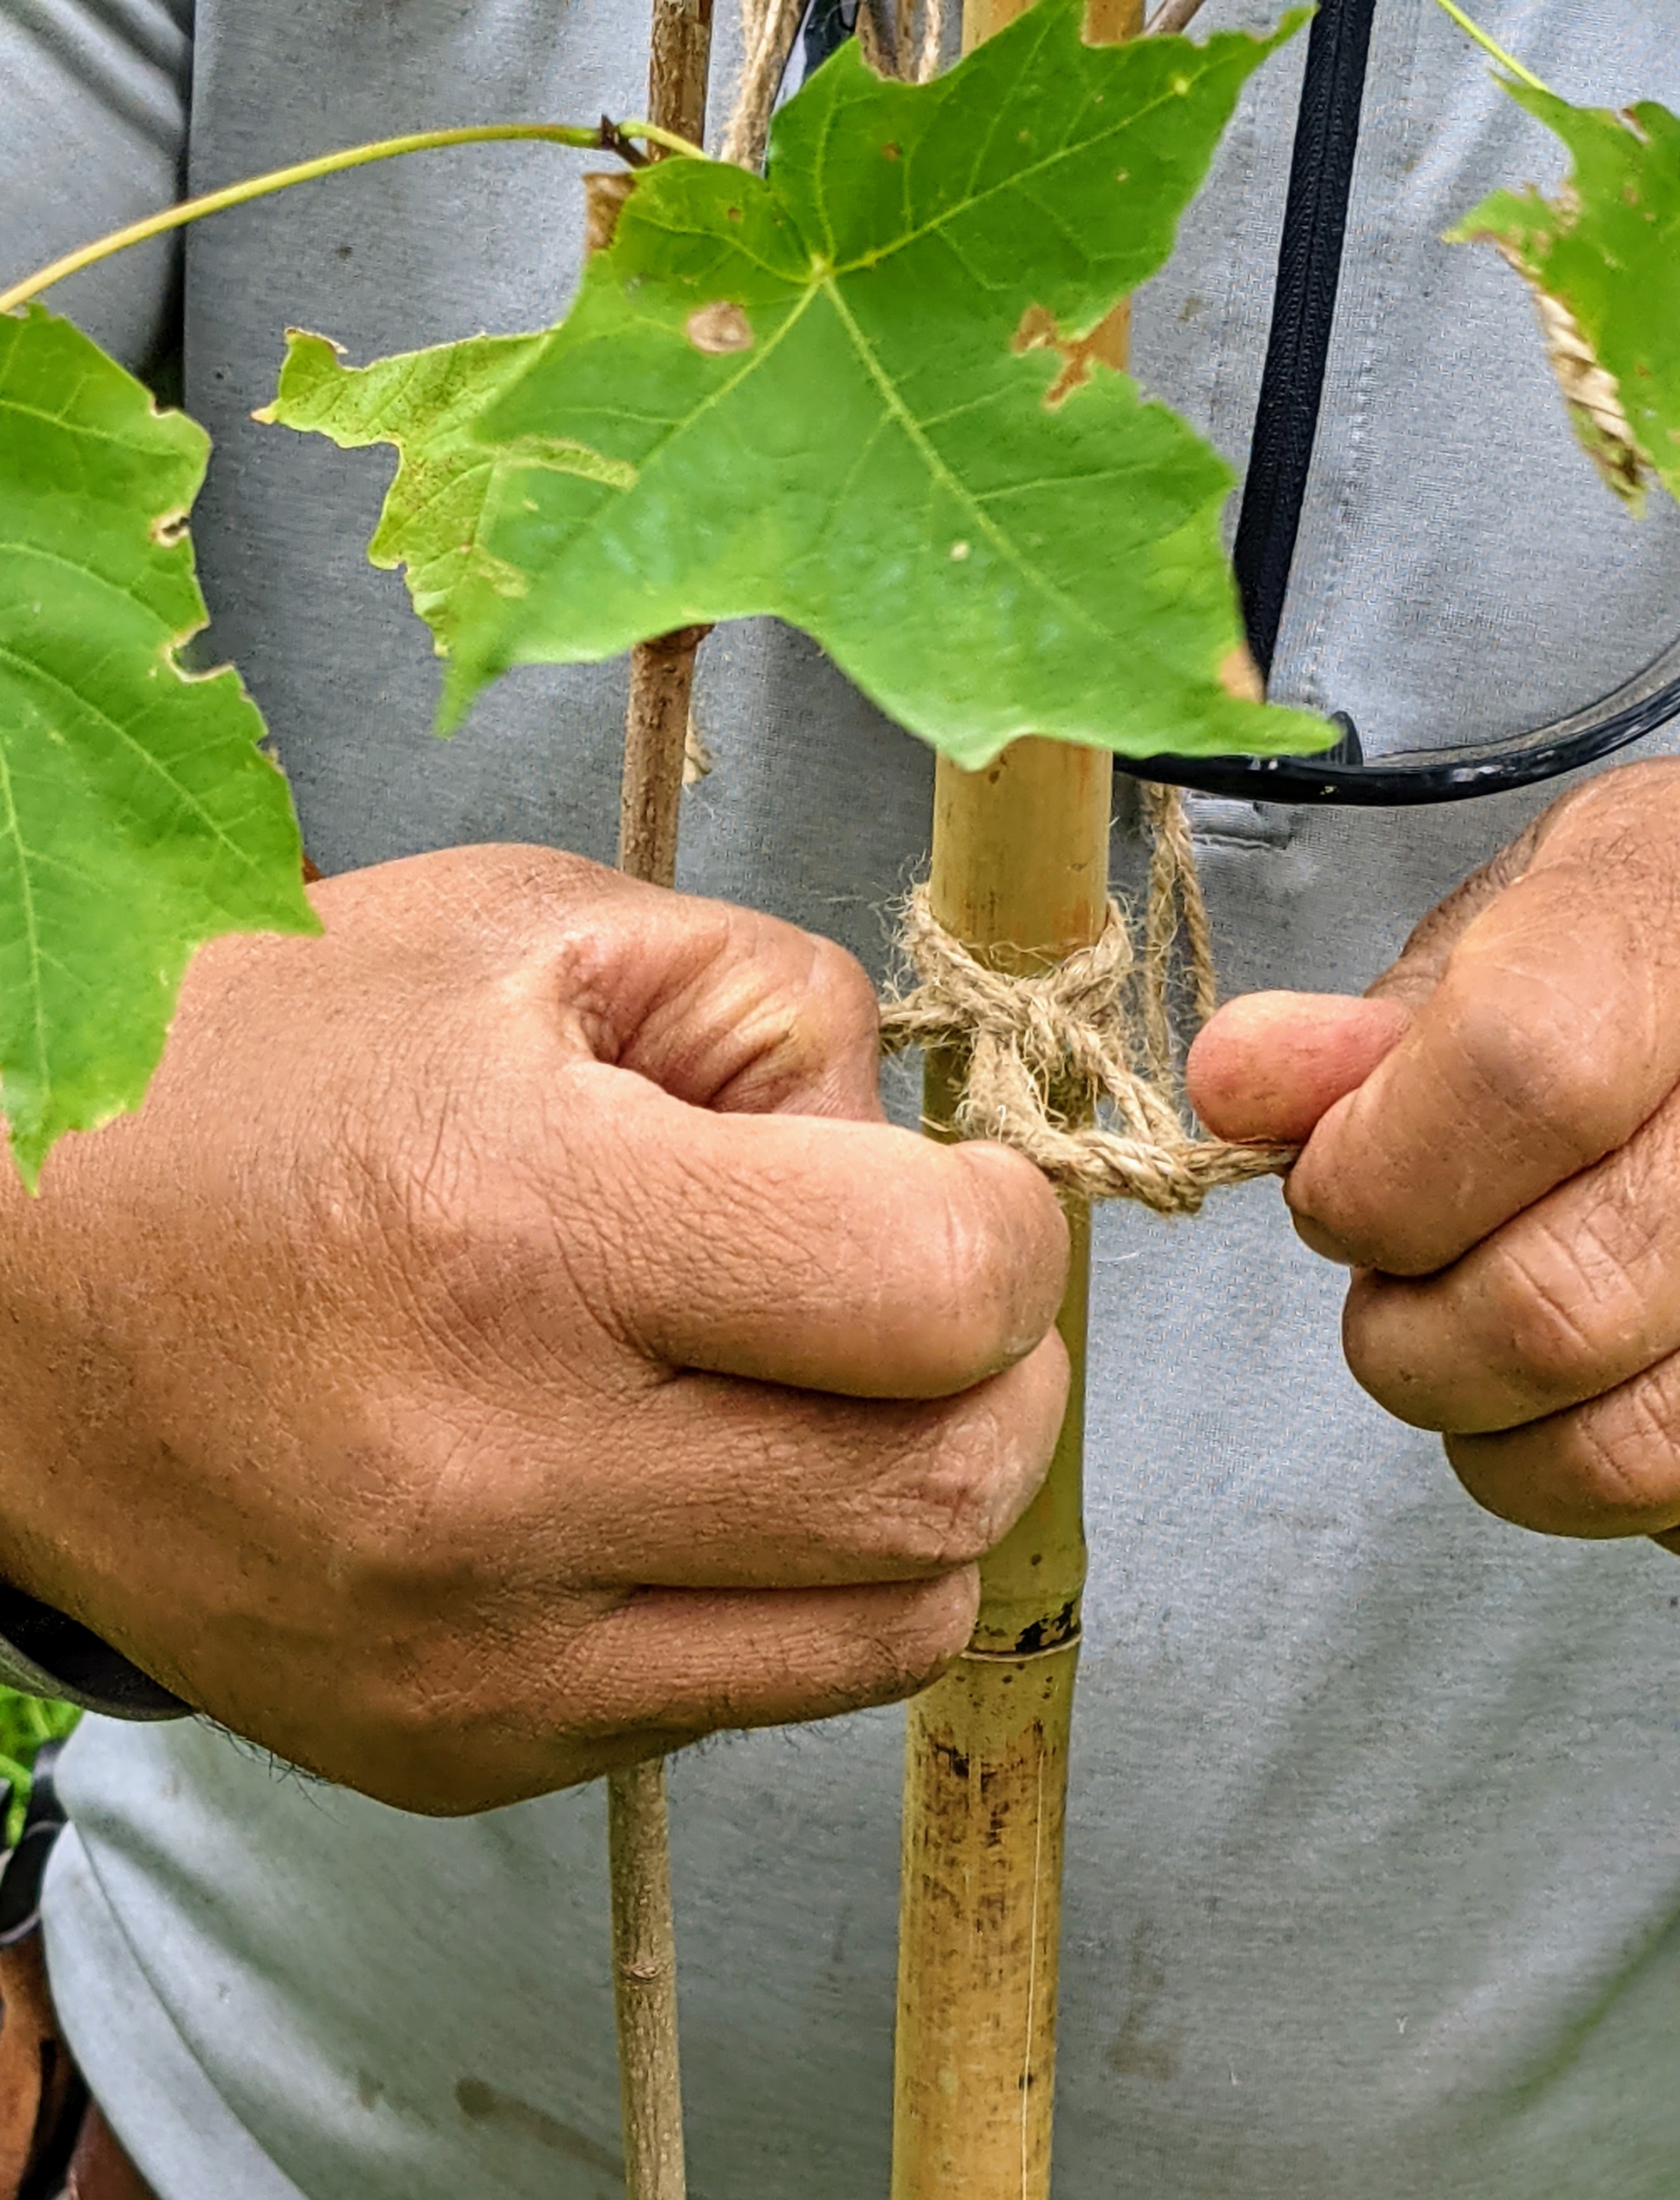
Chhiring ties garden twine in three places – this will ensure the tree is well supported and directed as it grows.
I always teach every member of the crew to twist the twine before knotting, so the tree or vine or cane is not crushed or strangled.
I like to tie the twine in a figure-eight formation. Each piece is tied just tight enough to keep the tree secure, but not break it. And, we double the twine to provide added security in case of strong winds.
The young trees will one day be as tall as their mature neighbors, providing a canopy of high shade for all the plantings below – it will be most beautiful. Please take a look at my story on Japanese maples in the October issue of “Living” – it’s on newsstands now. And stay tuned for a future blog later this fall when the Japanese maple trees show off their gorgeous amber red colors.
Now is a good time to take care of some of those lawn maintenance chores.
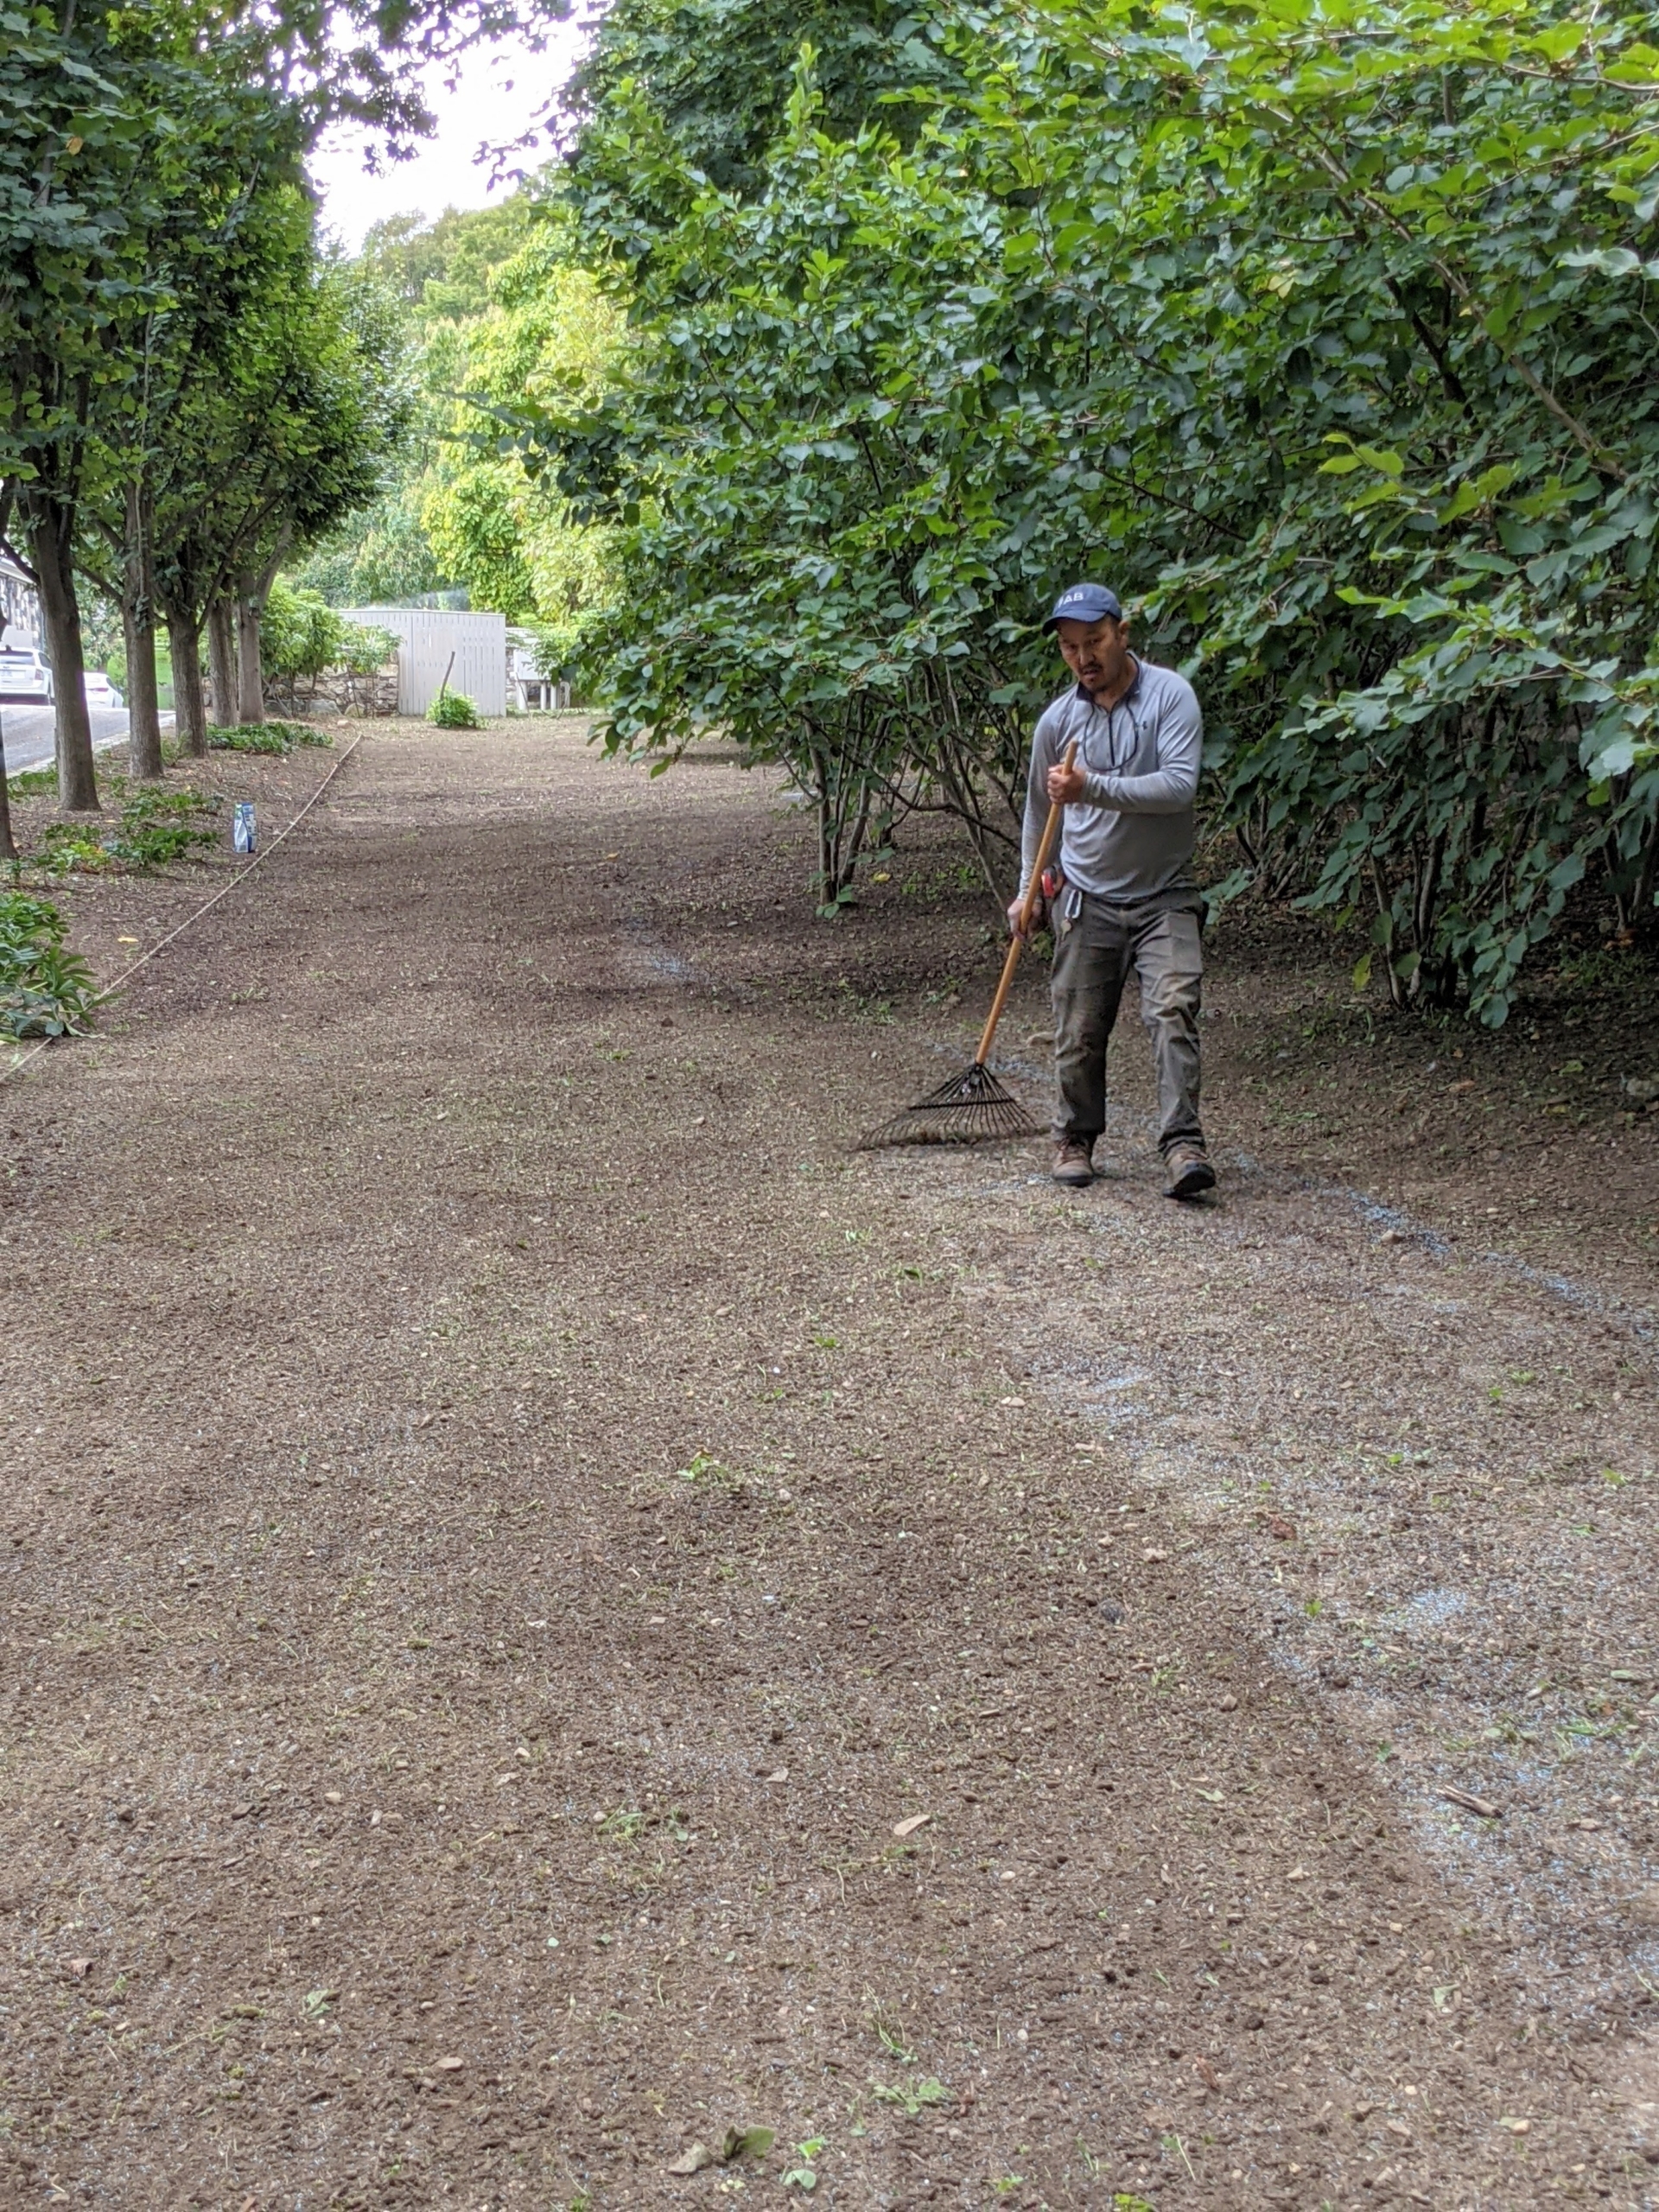
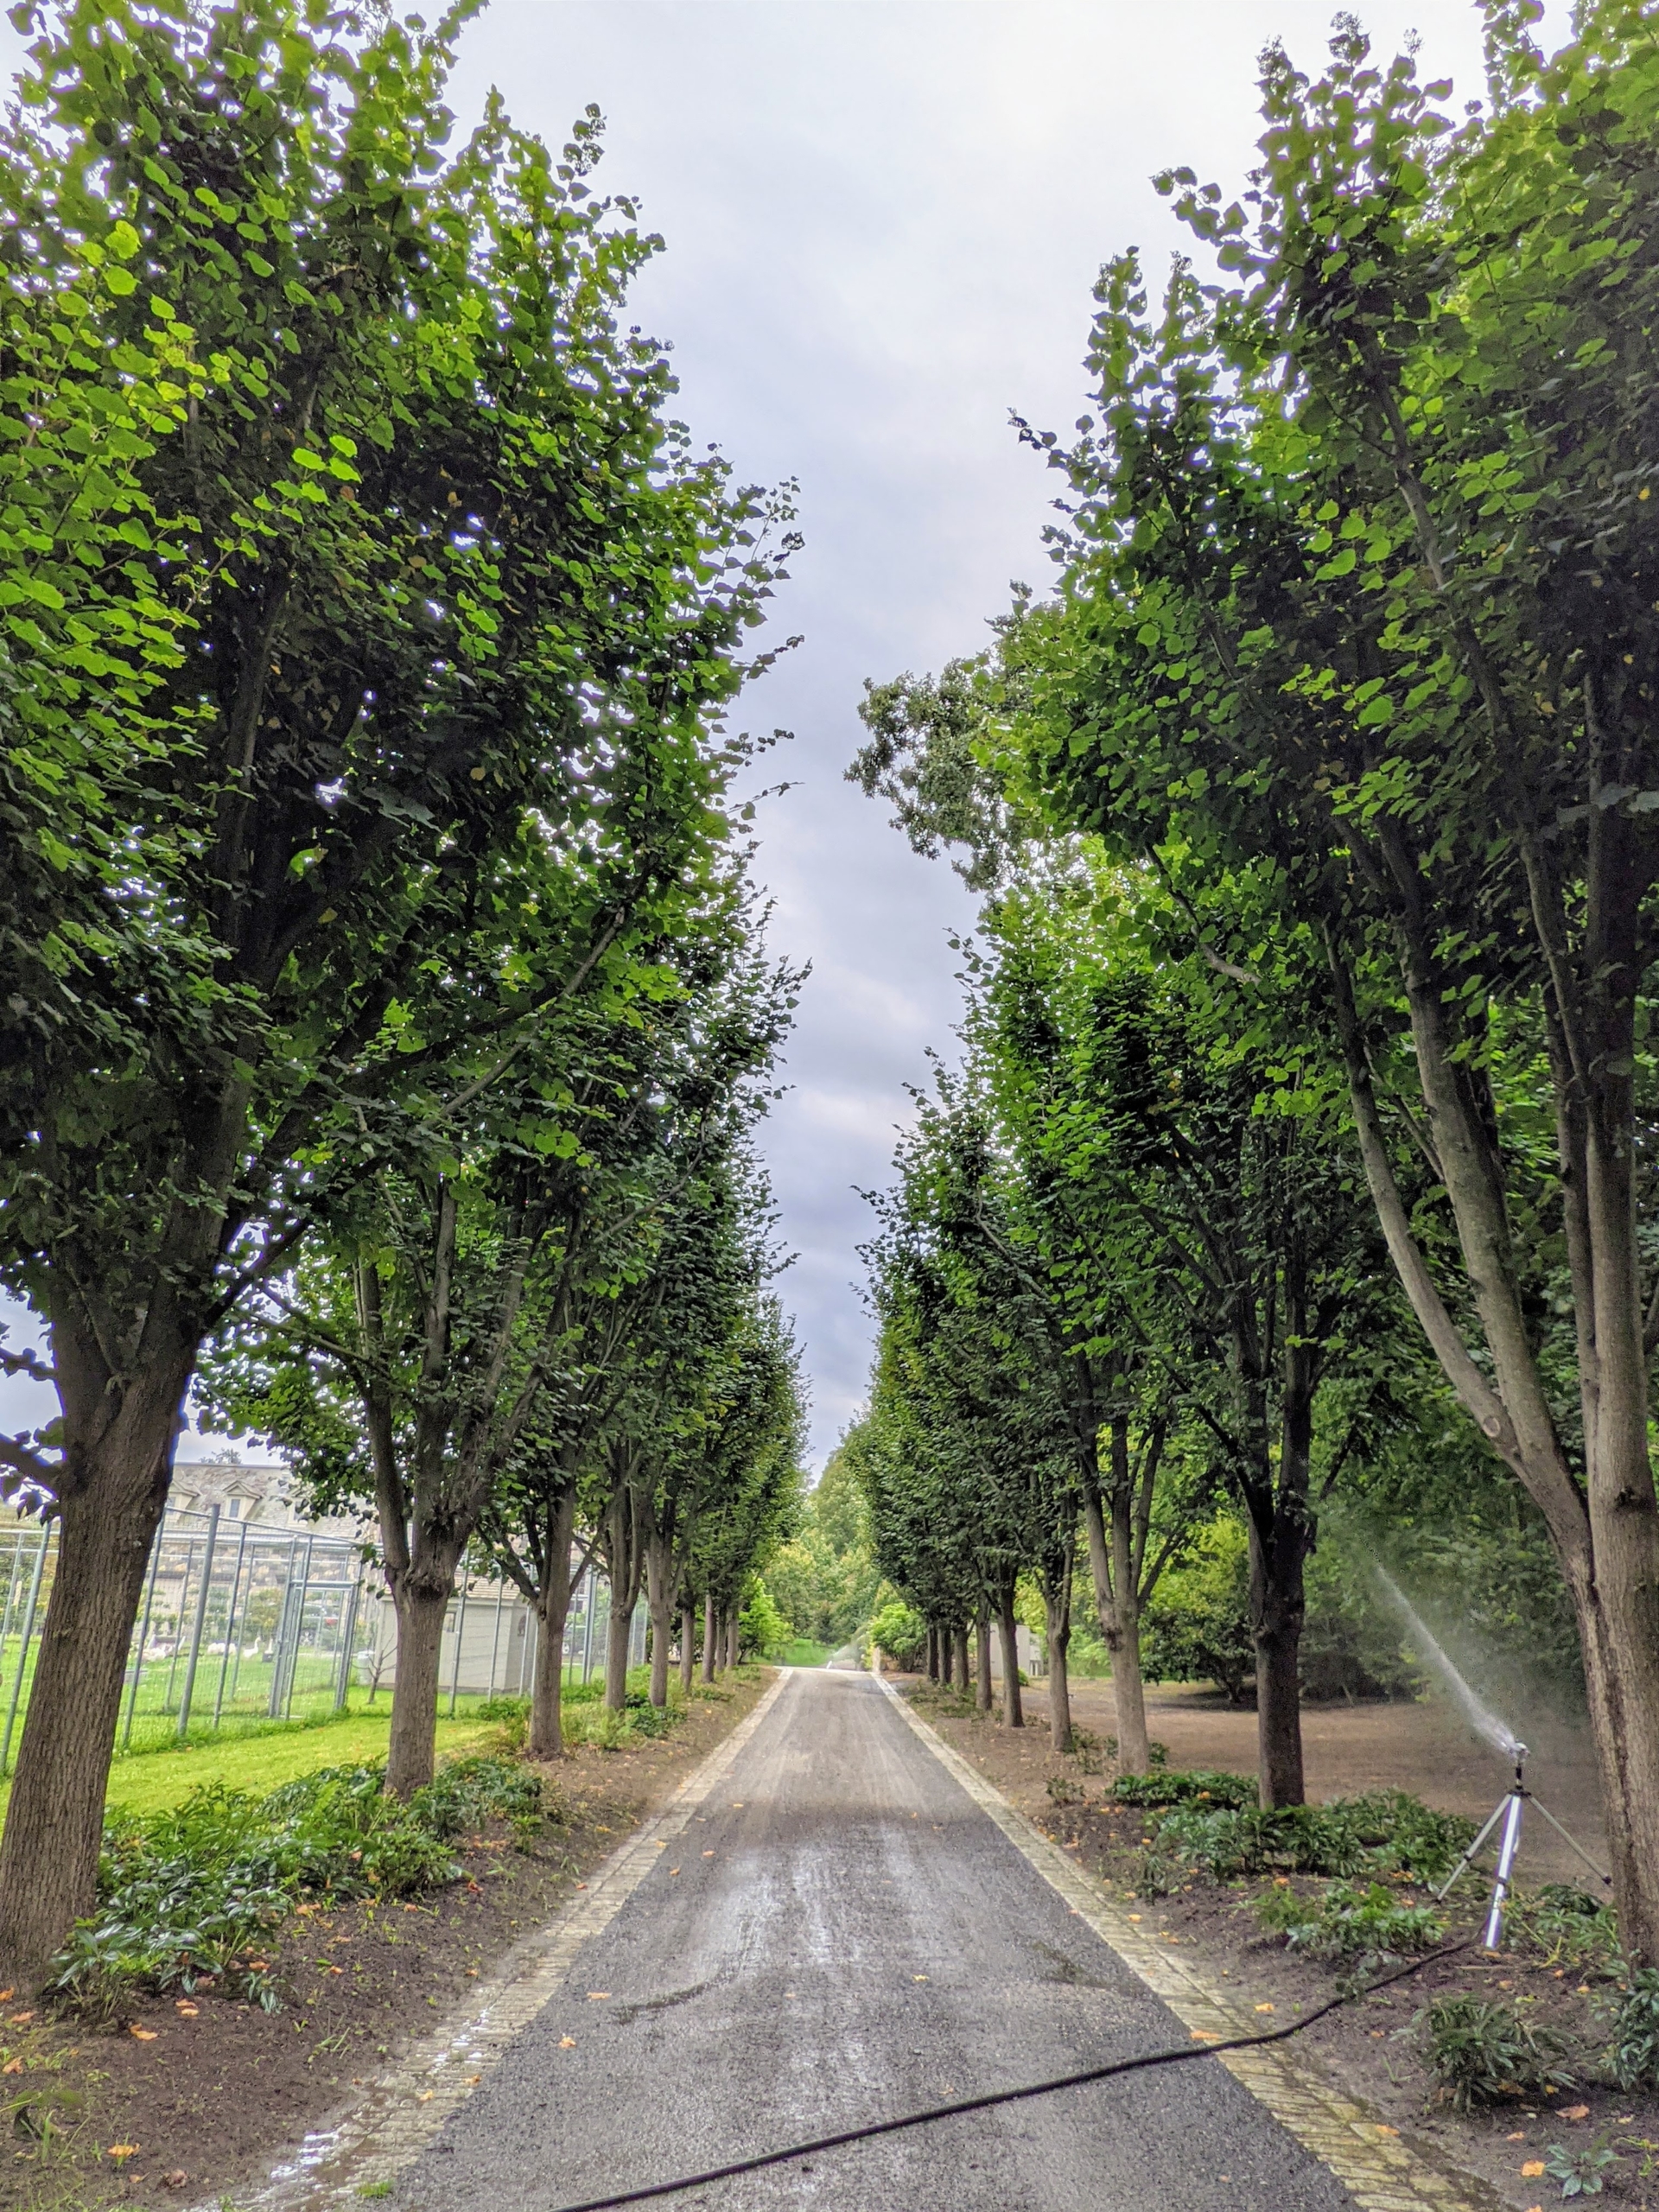
Yesterday, my outdoor grounds crew foreman, Chhiring Sherpa, took on the task of seeding a small area adjacent to my allee of Lindens. The space is already planted with a variety of spring blooming daffodils, but the area also needed some green grass. Chhiring cleared the space of any debris, raked the soil, dropped the grass seed and organic fertilizer, and then gave it a good drink.
Here are some photos, enjoy.
In spring, the area on one side of my Linden allee is filled with gorgeous daffodil blooms, but I decided this garden bed would look even better on a bed of grass to cover any bare spots in between the daffodil varieties.
Now is a good time to seed the space while everything is dormant underground, so the area was first weed-whacked and cleared.
We use grass seed made by Scott’s. This versatile mix stays green through the year in either dense shade or full sun. You can also find some of Scott’s other products on my new e-commerce site at Martha.com.
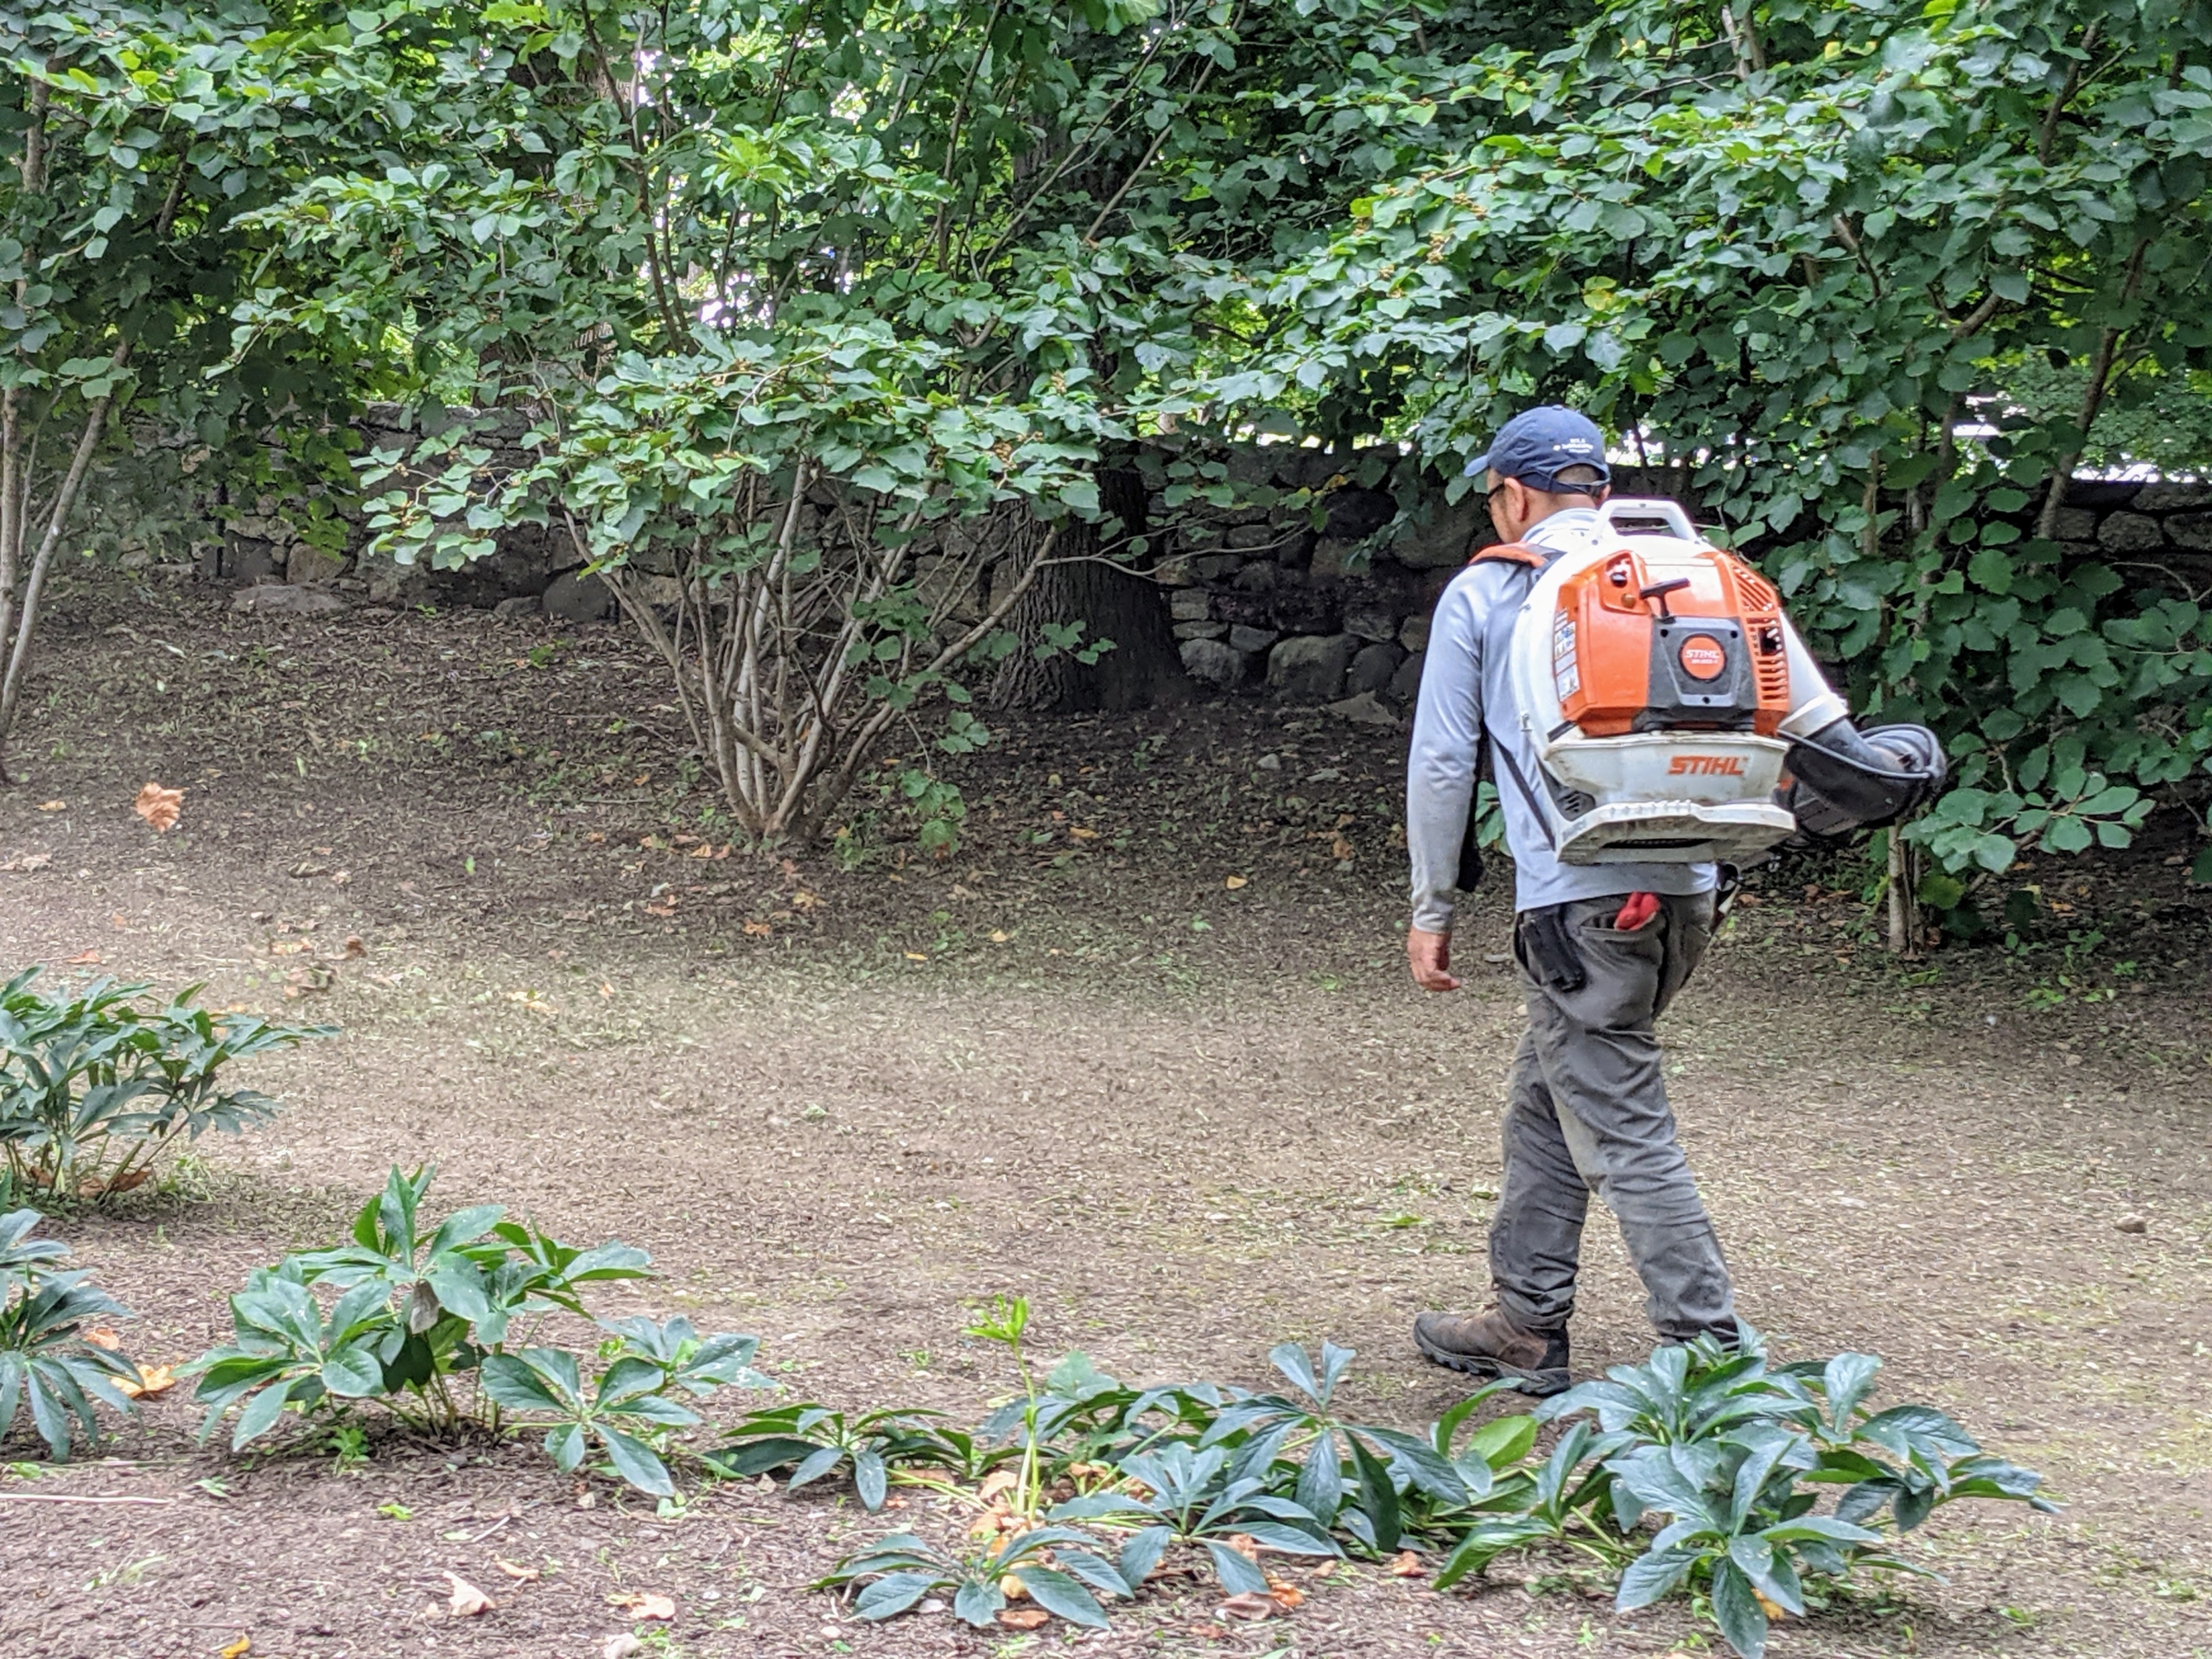
Chhiring uses a STIHL backpack leaf blower and goes over the area once again to make sure it is completely clean. We’ve been using STIHL’s backpack blowers for years here at my farm. These blowers are powerful and fuel-efficient. The gasoline-powered engines provide enough rugged power to tackle debris while delivering much lower emissions.
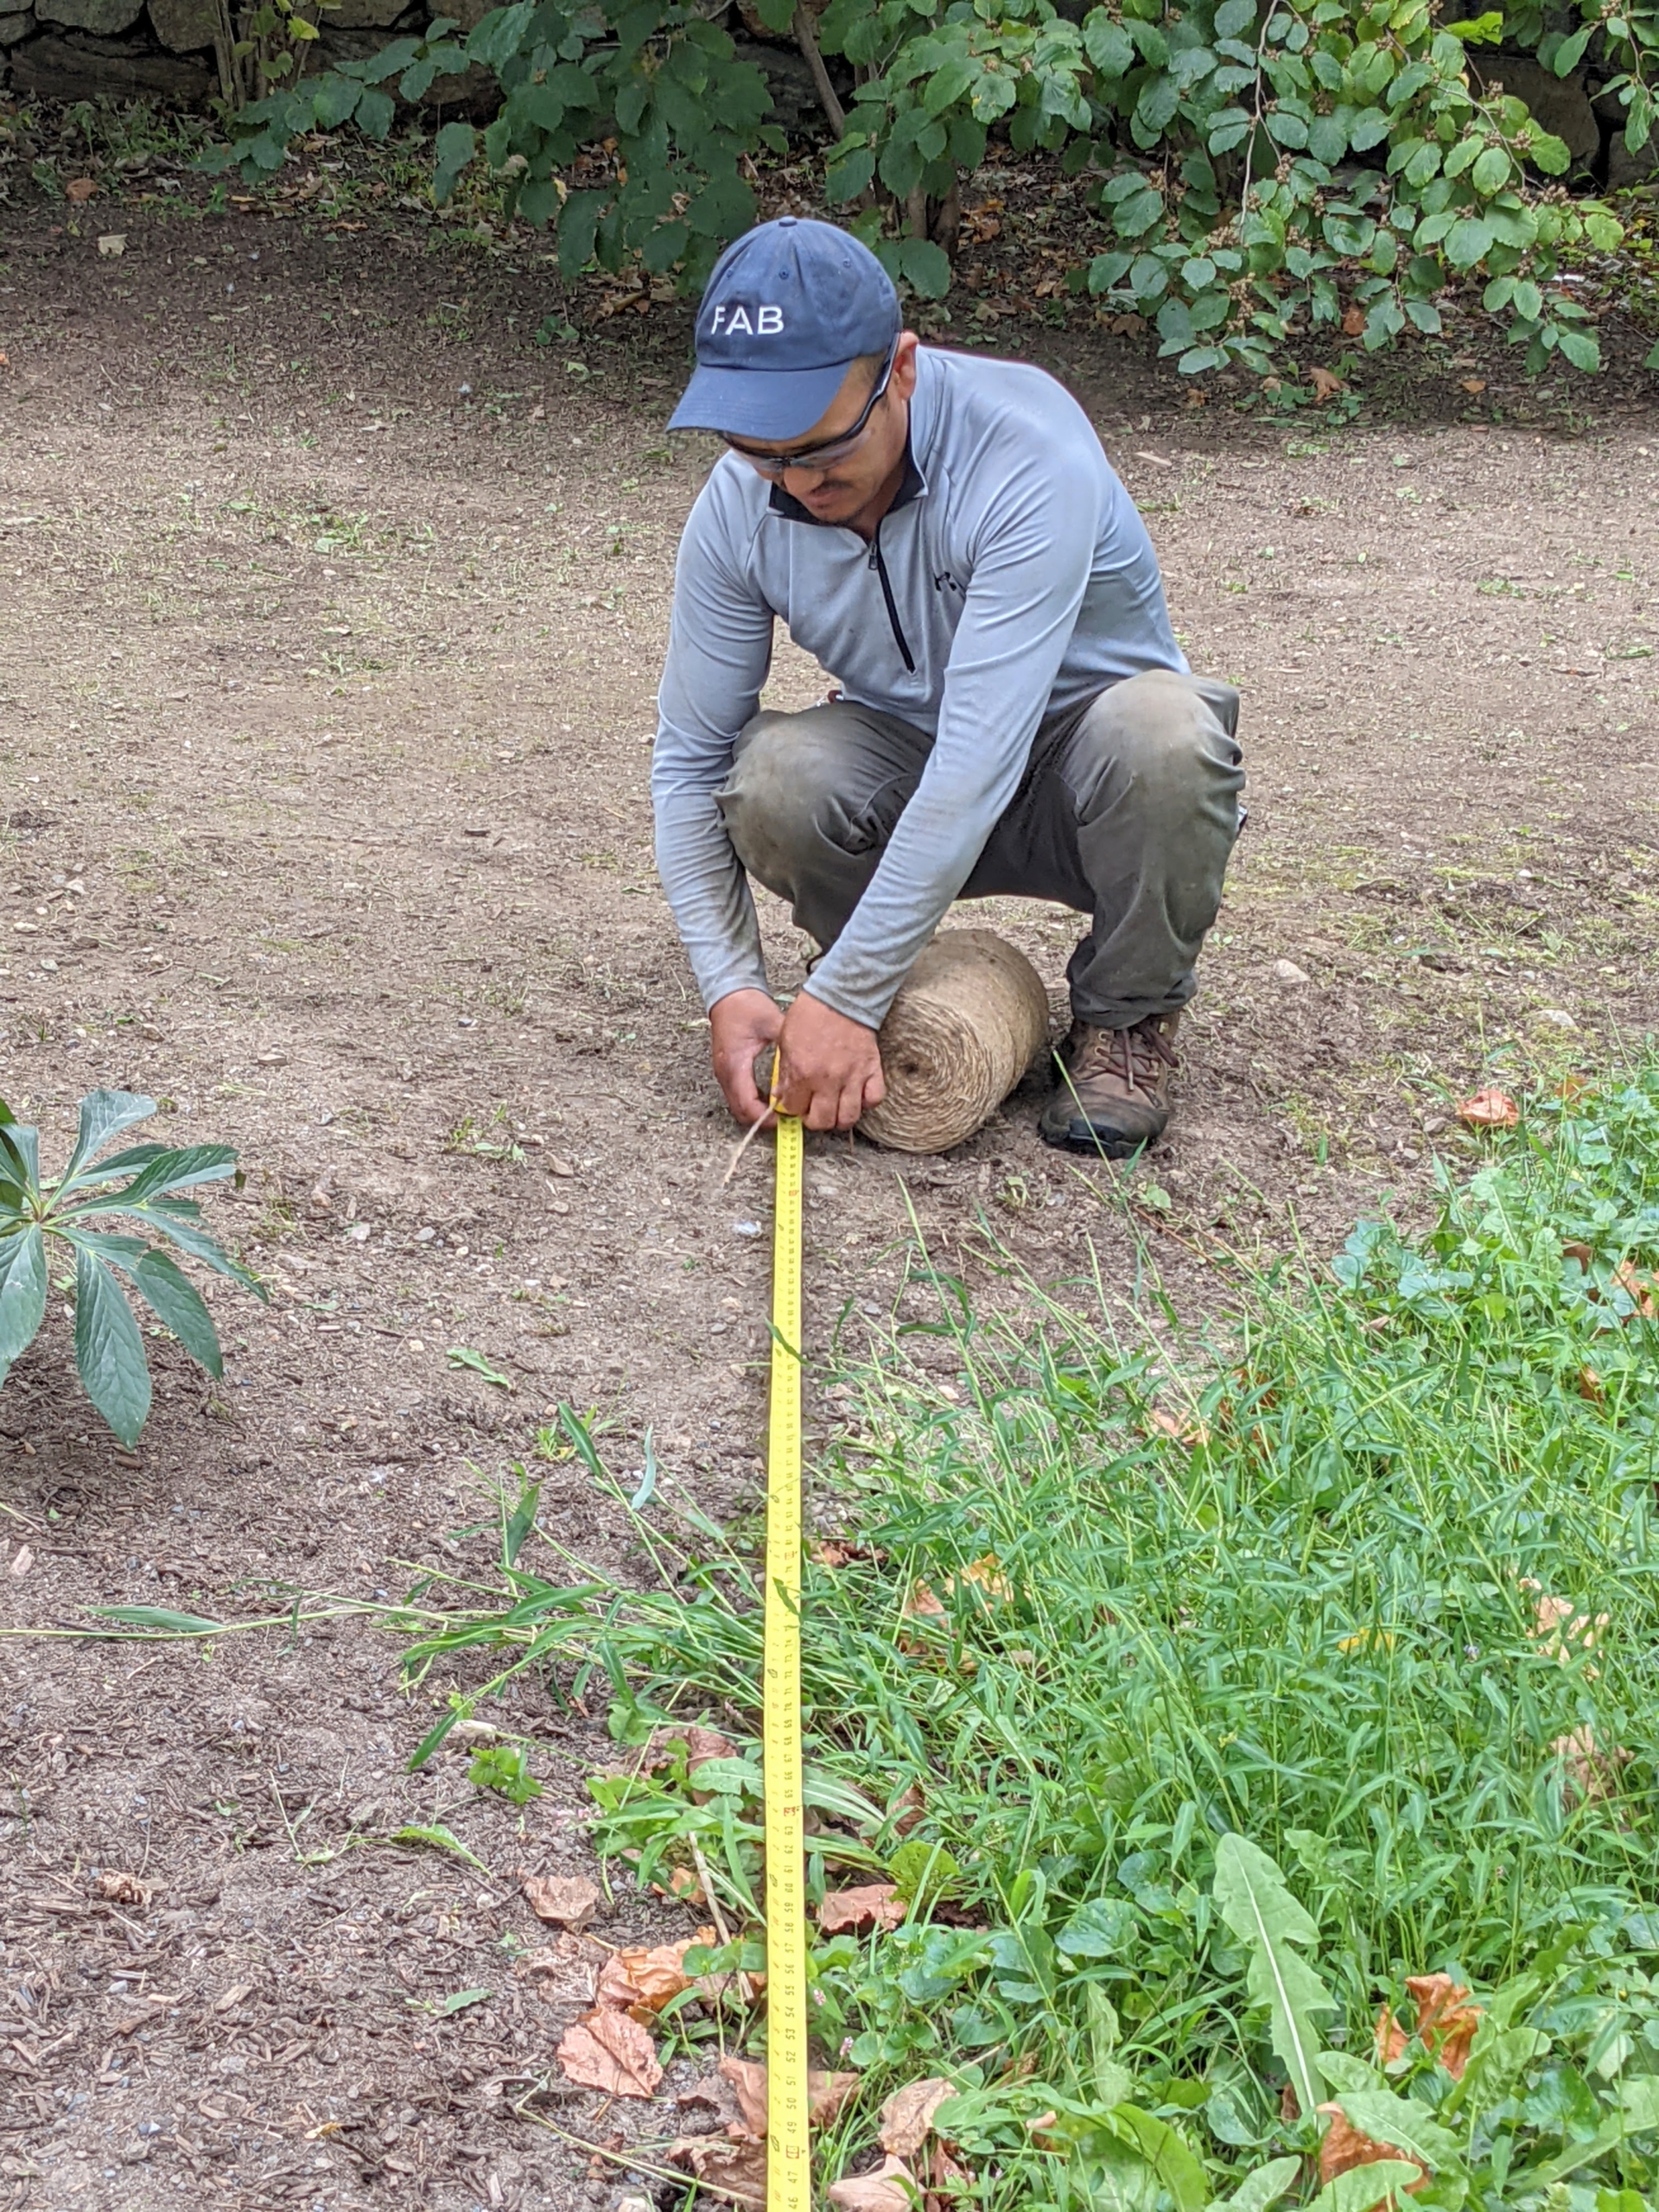
I did not want any grass growing in the beds directly beneath the lindens, so Chhiring measures the space, so it can be well marked.
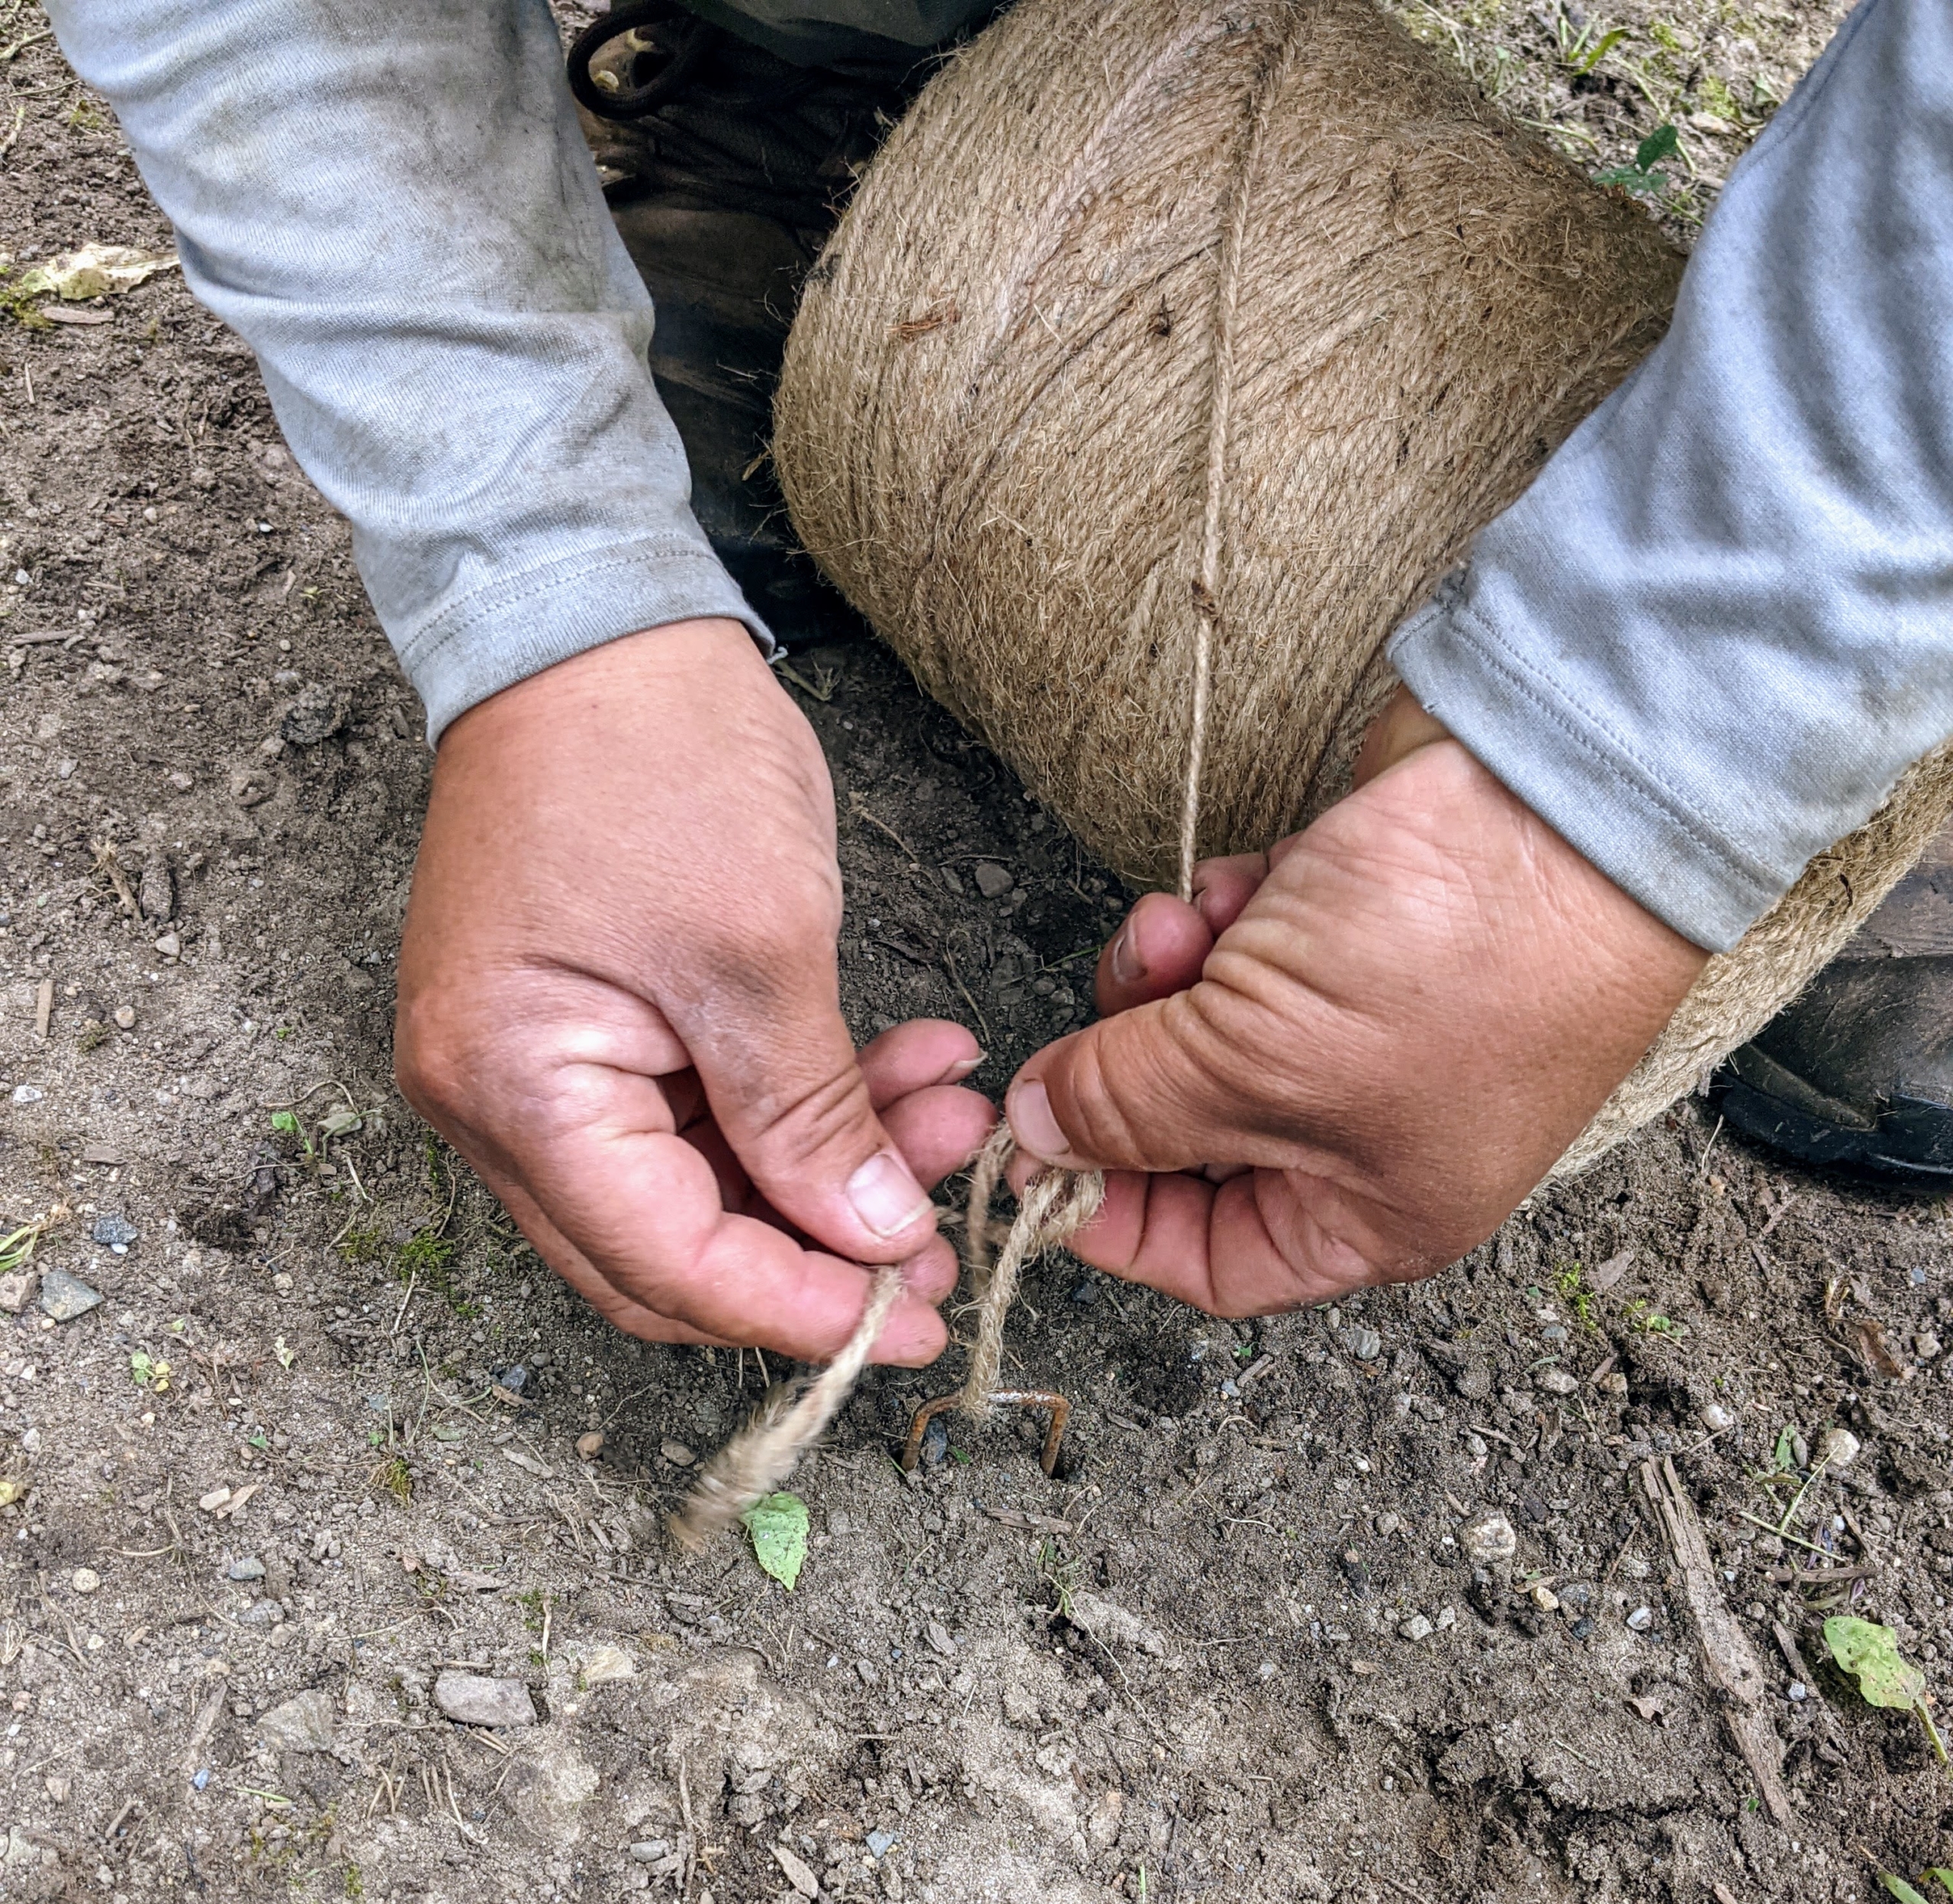
Chhiring uses jute twine and sod staples to indicate the section to avoid when seeding.
Chhiring pulls the jute twine along the length of the allee.
The area on the left will be seeded and the garden bed on the right will not.
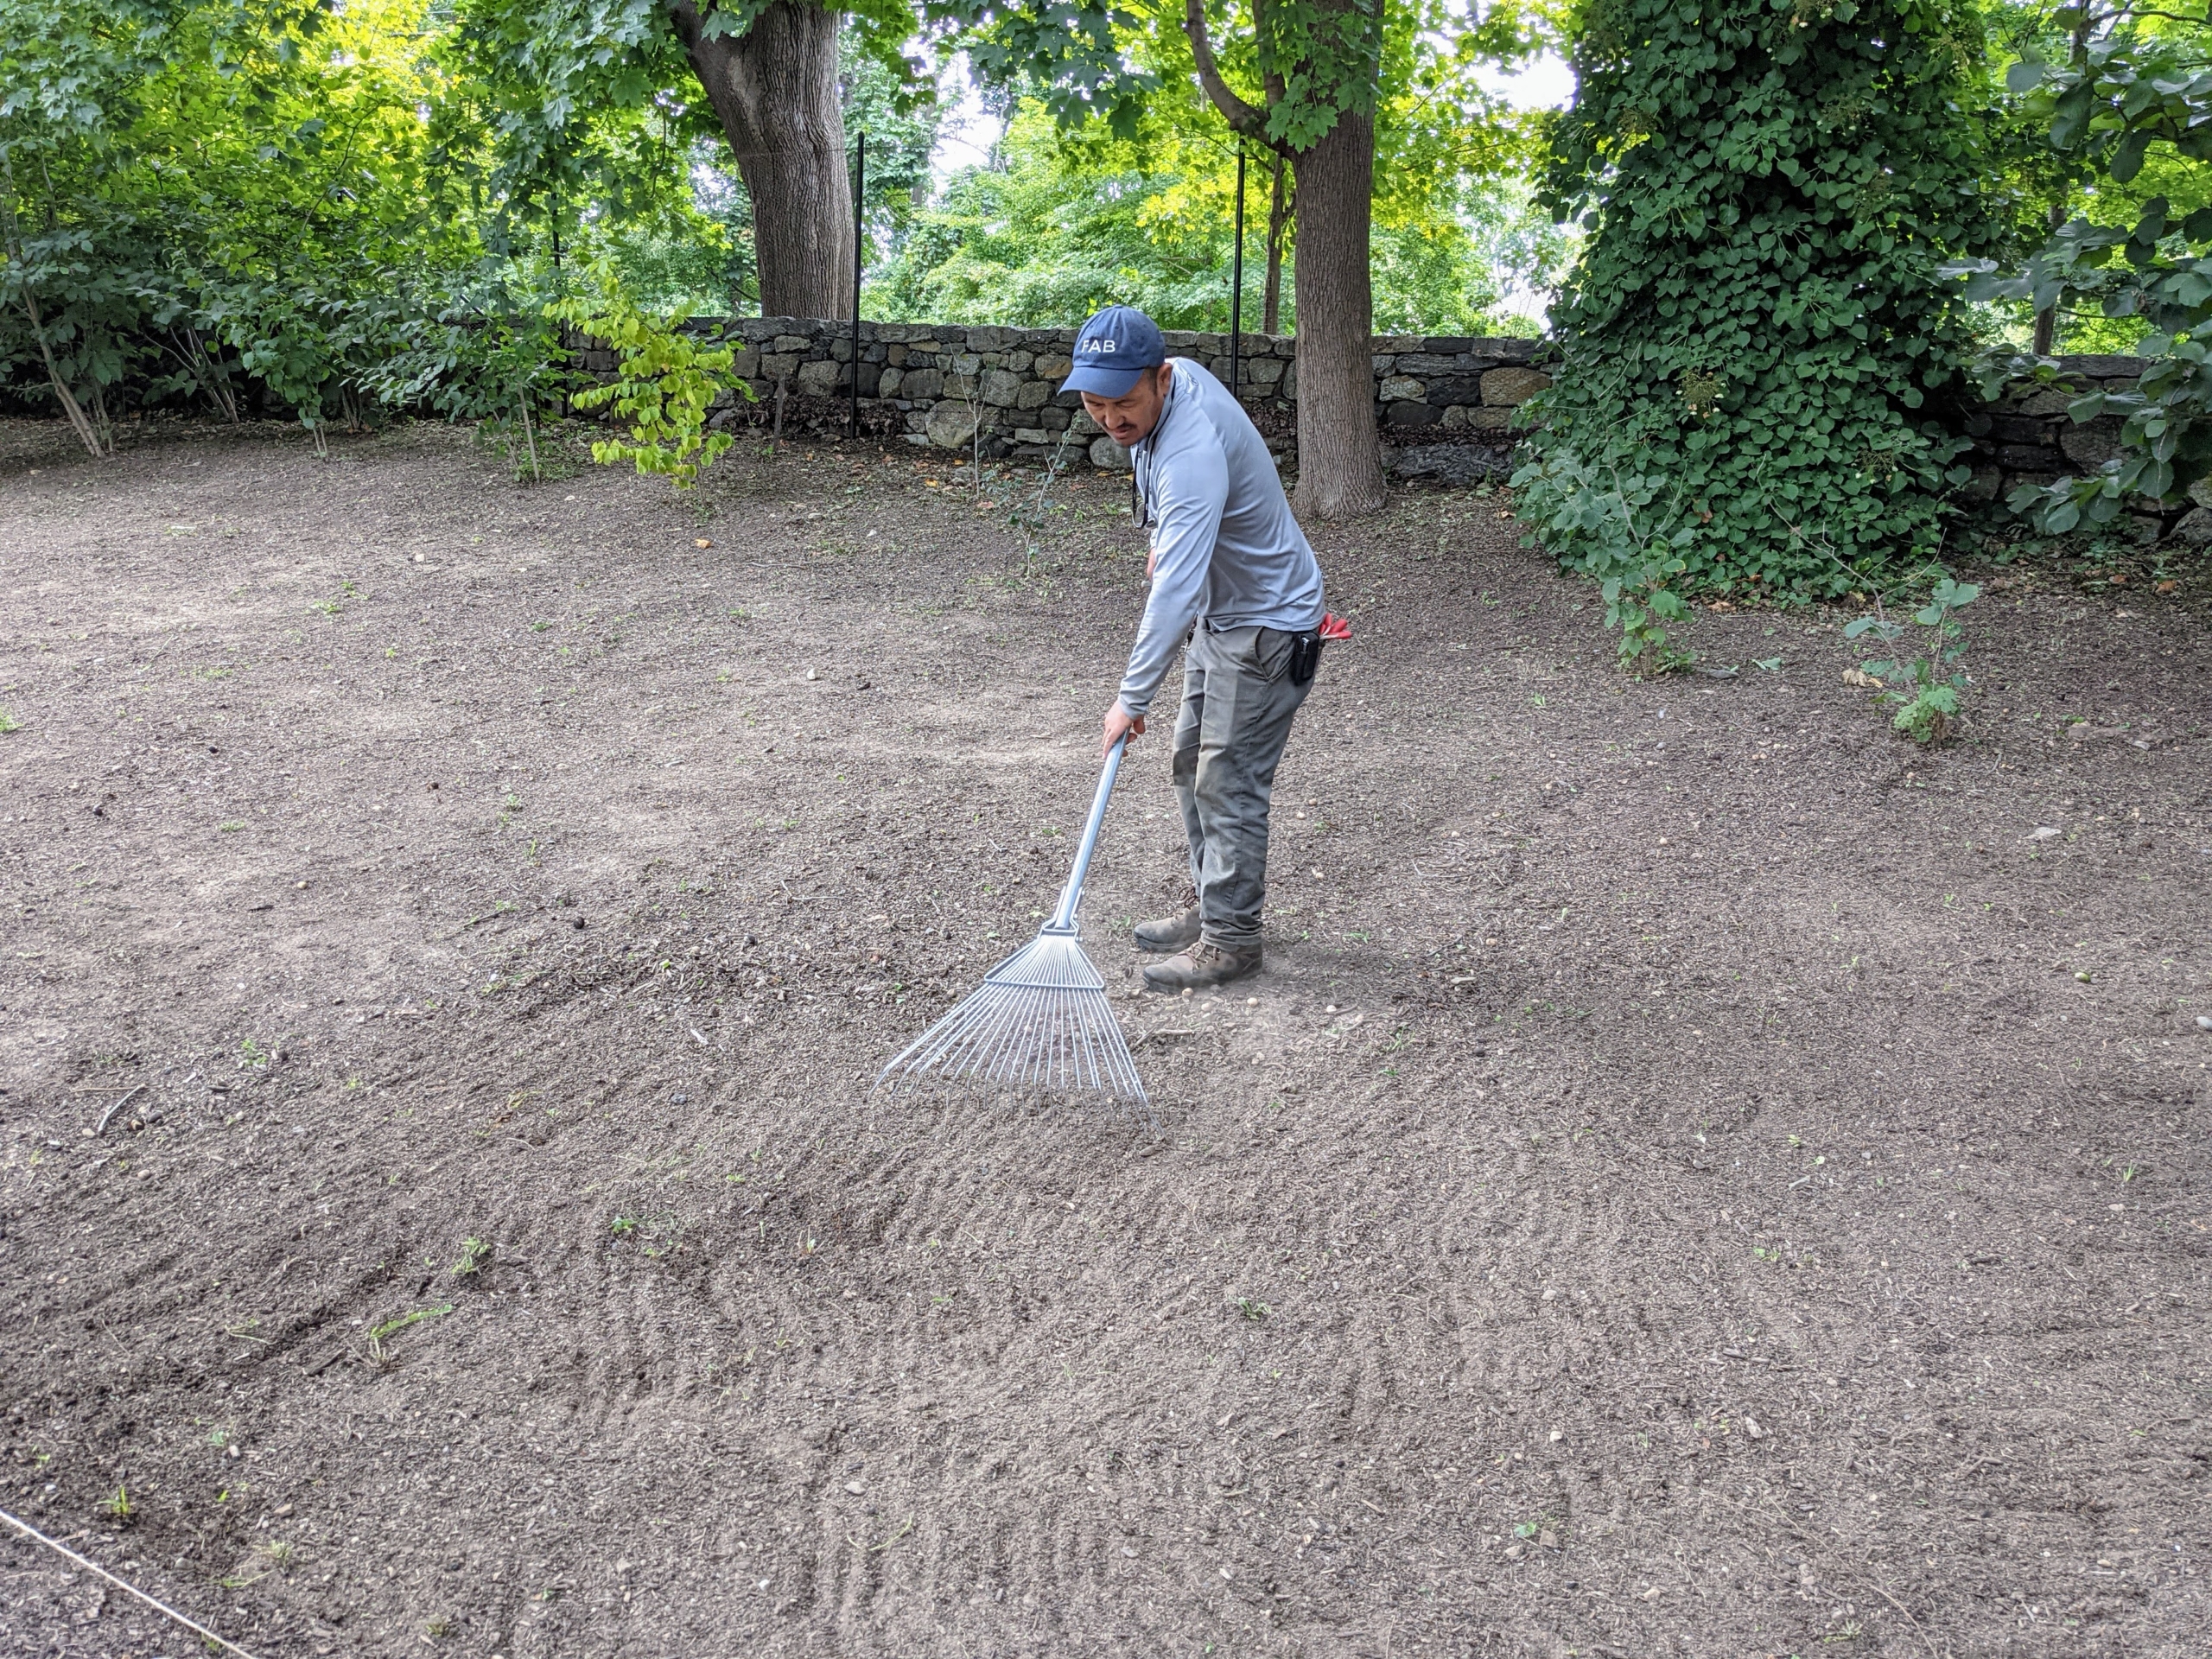
Next, Chhiring uses a soft rake over the entire space to loosen the top layer of soil. This gives the grass seed direct access to the soil so it can root more easily after germinating.
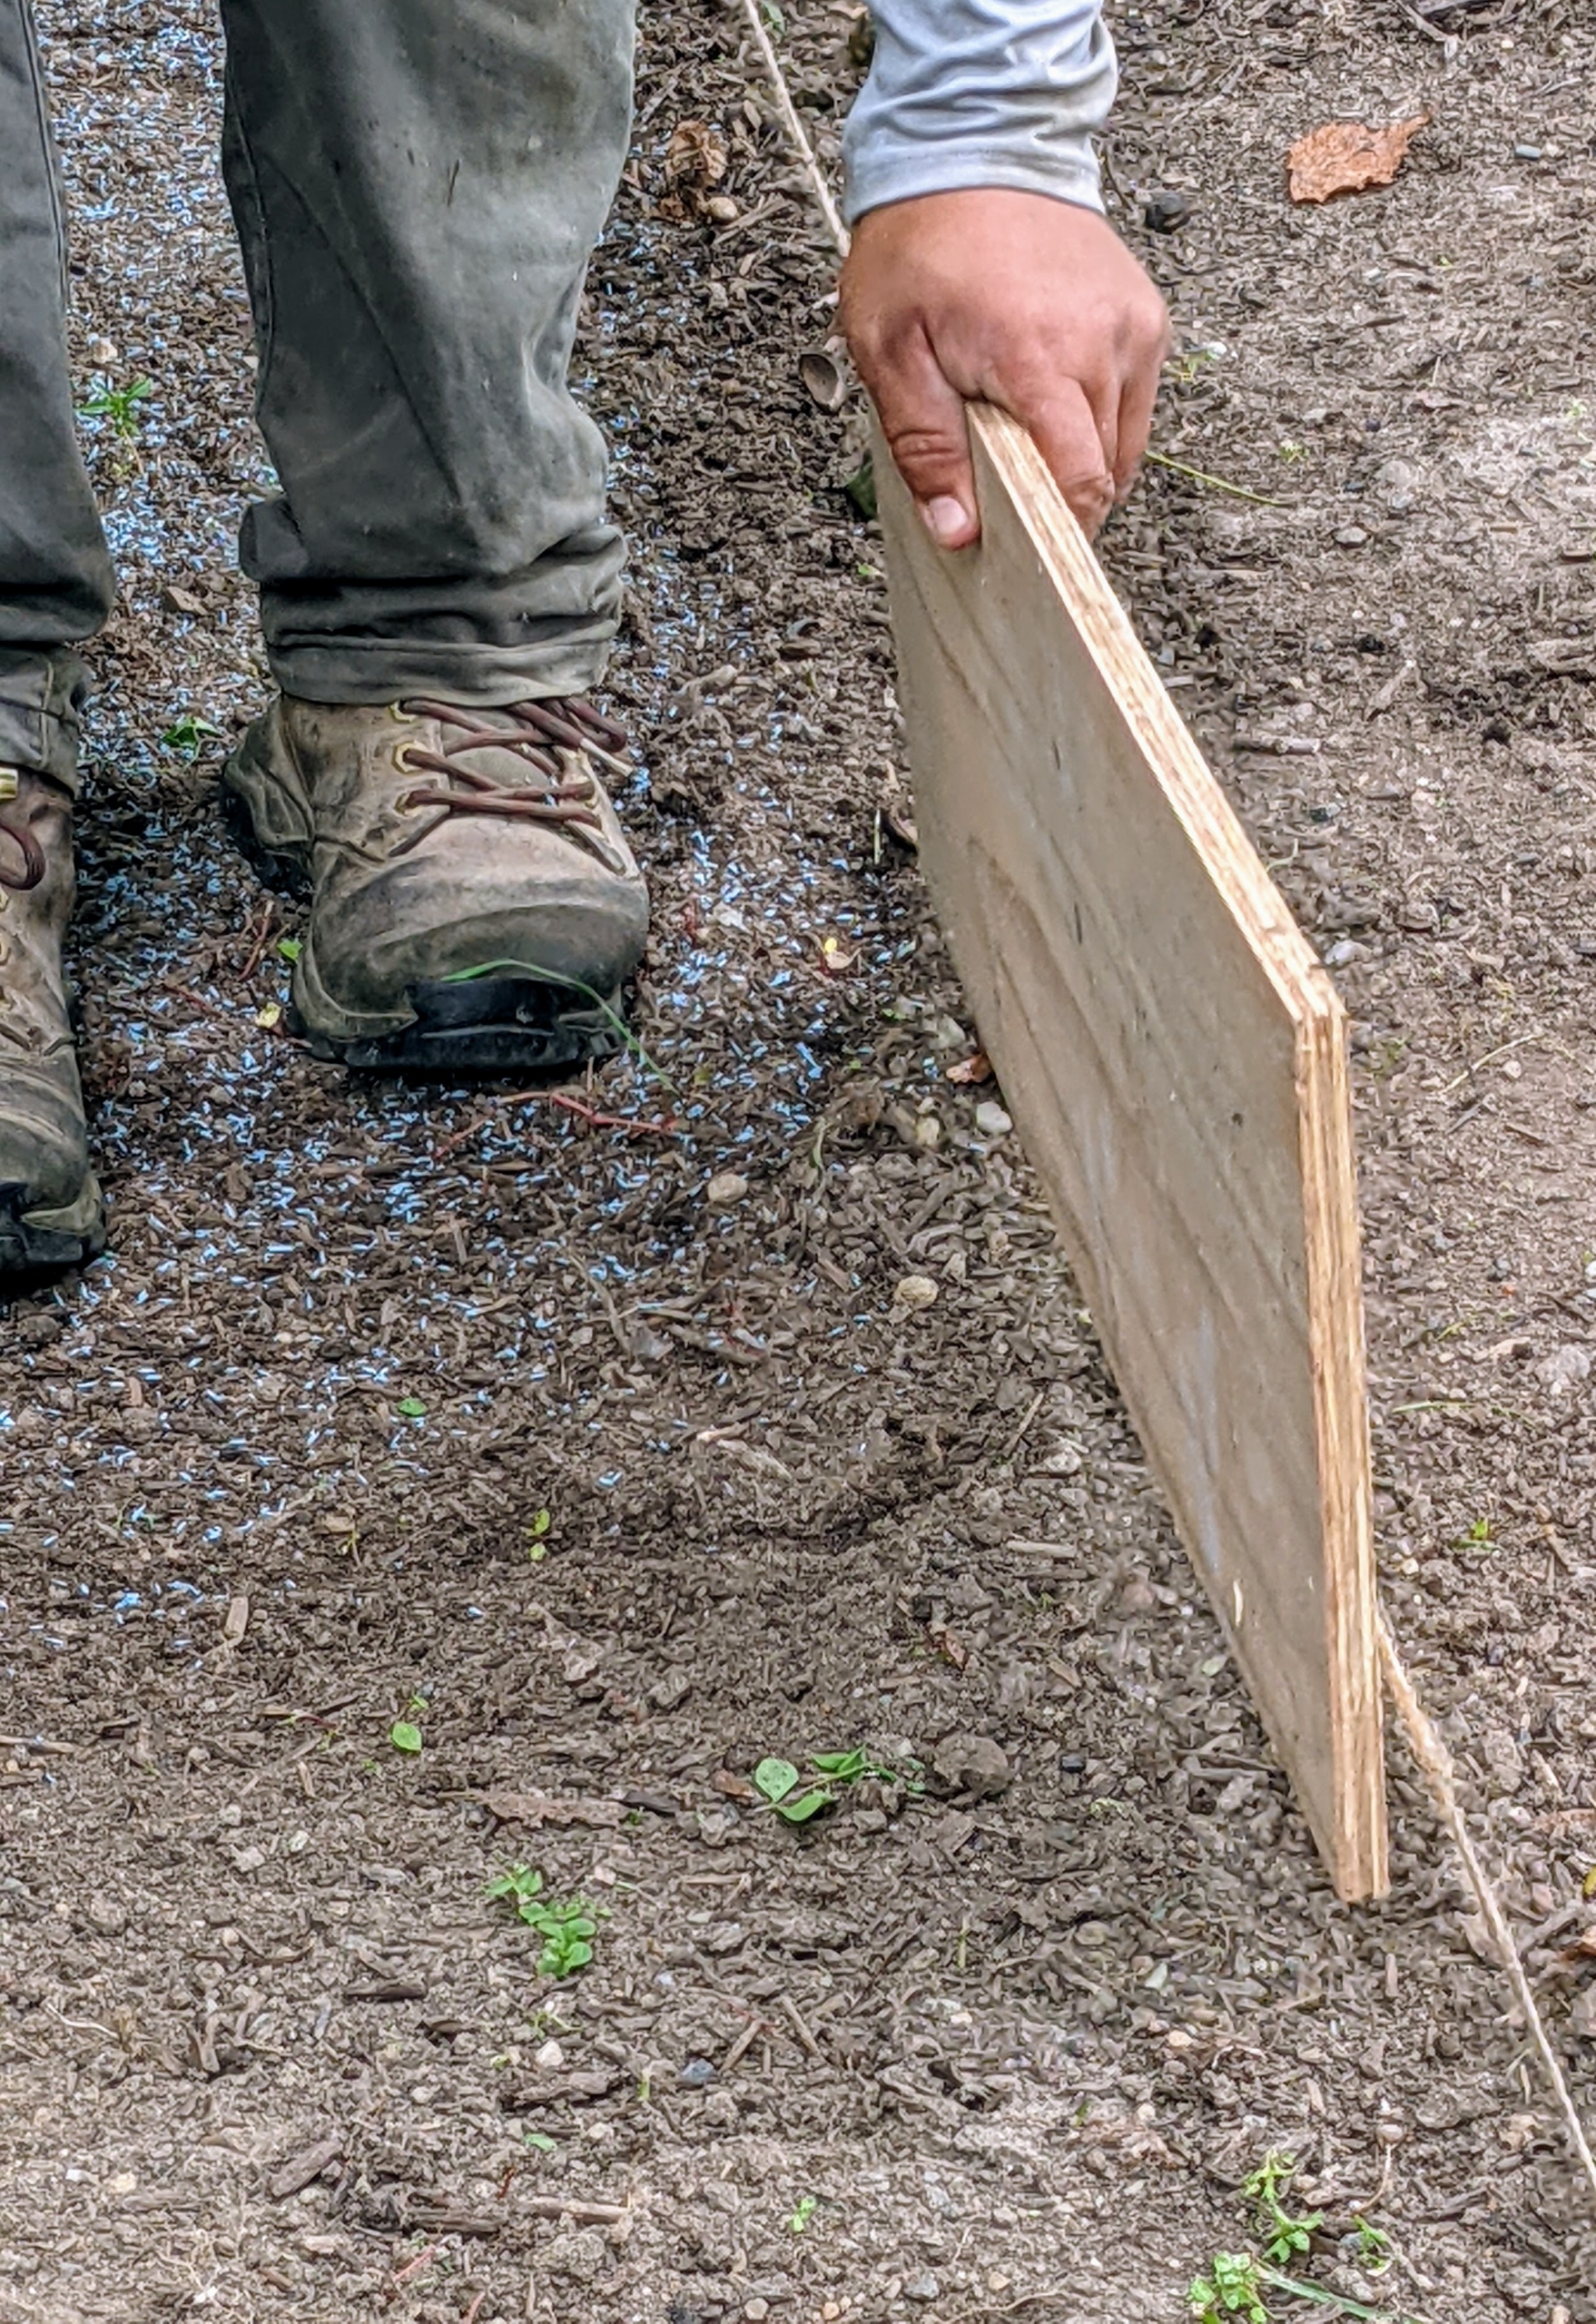
To ensure no grass is seeded in the garden bed marked, Chhiring uses a piece of plywood to divide the two spaces while applying the seed.
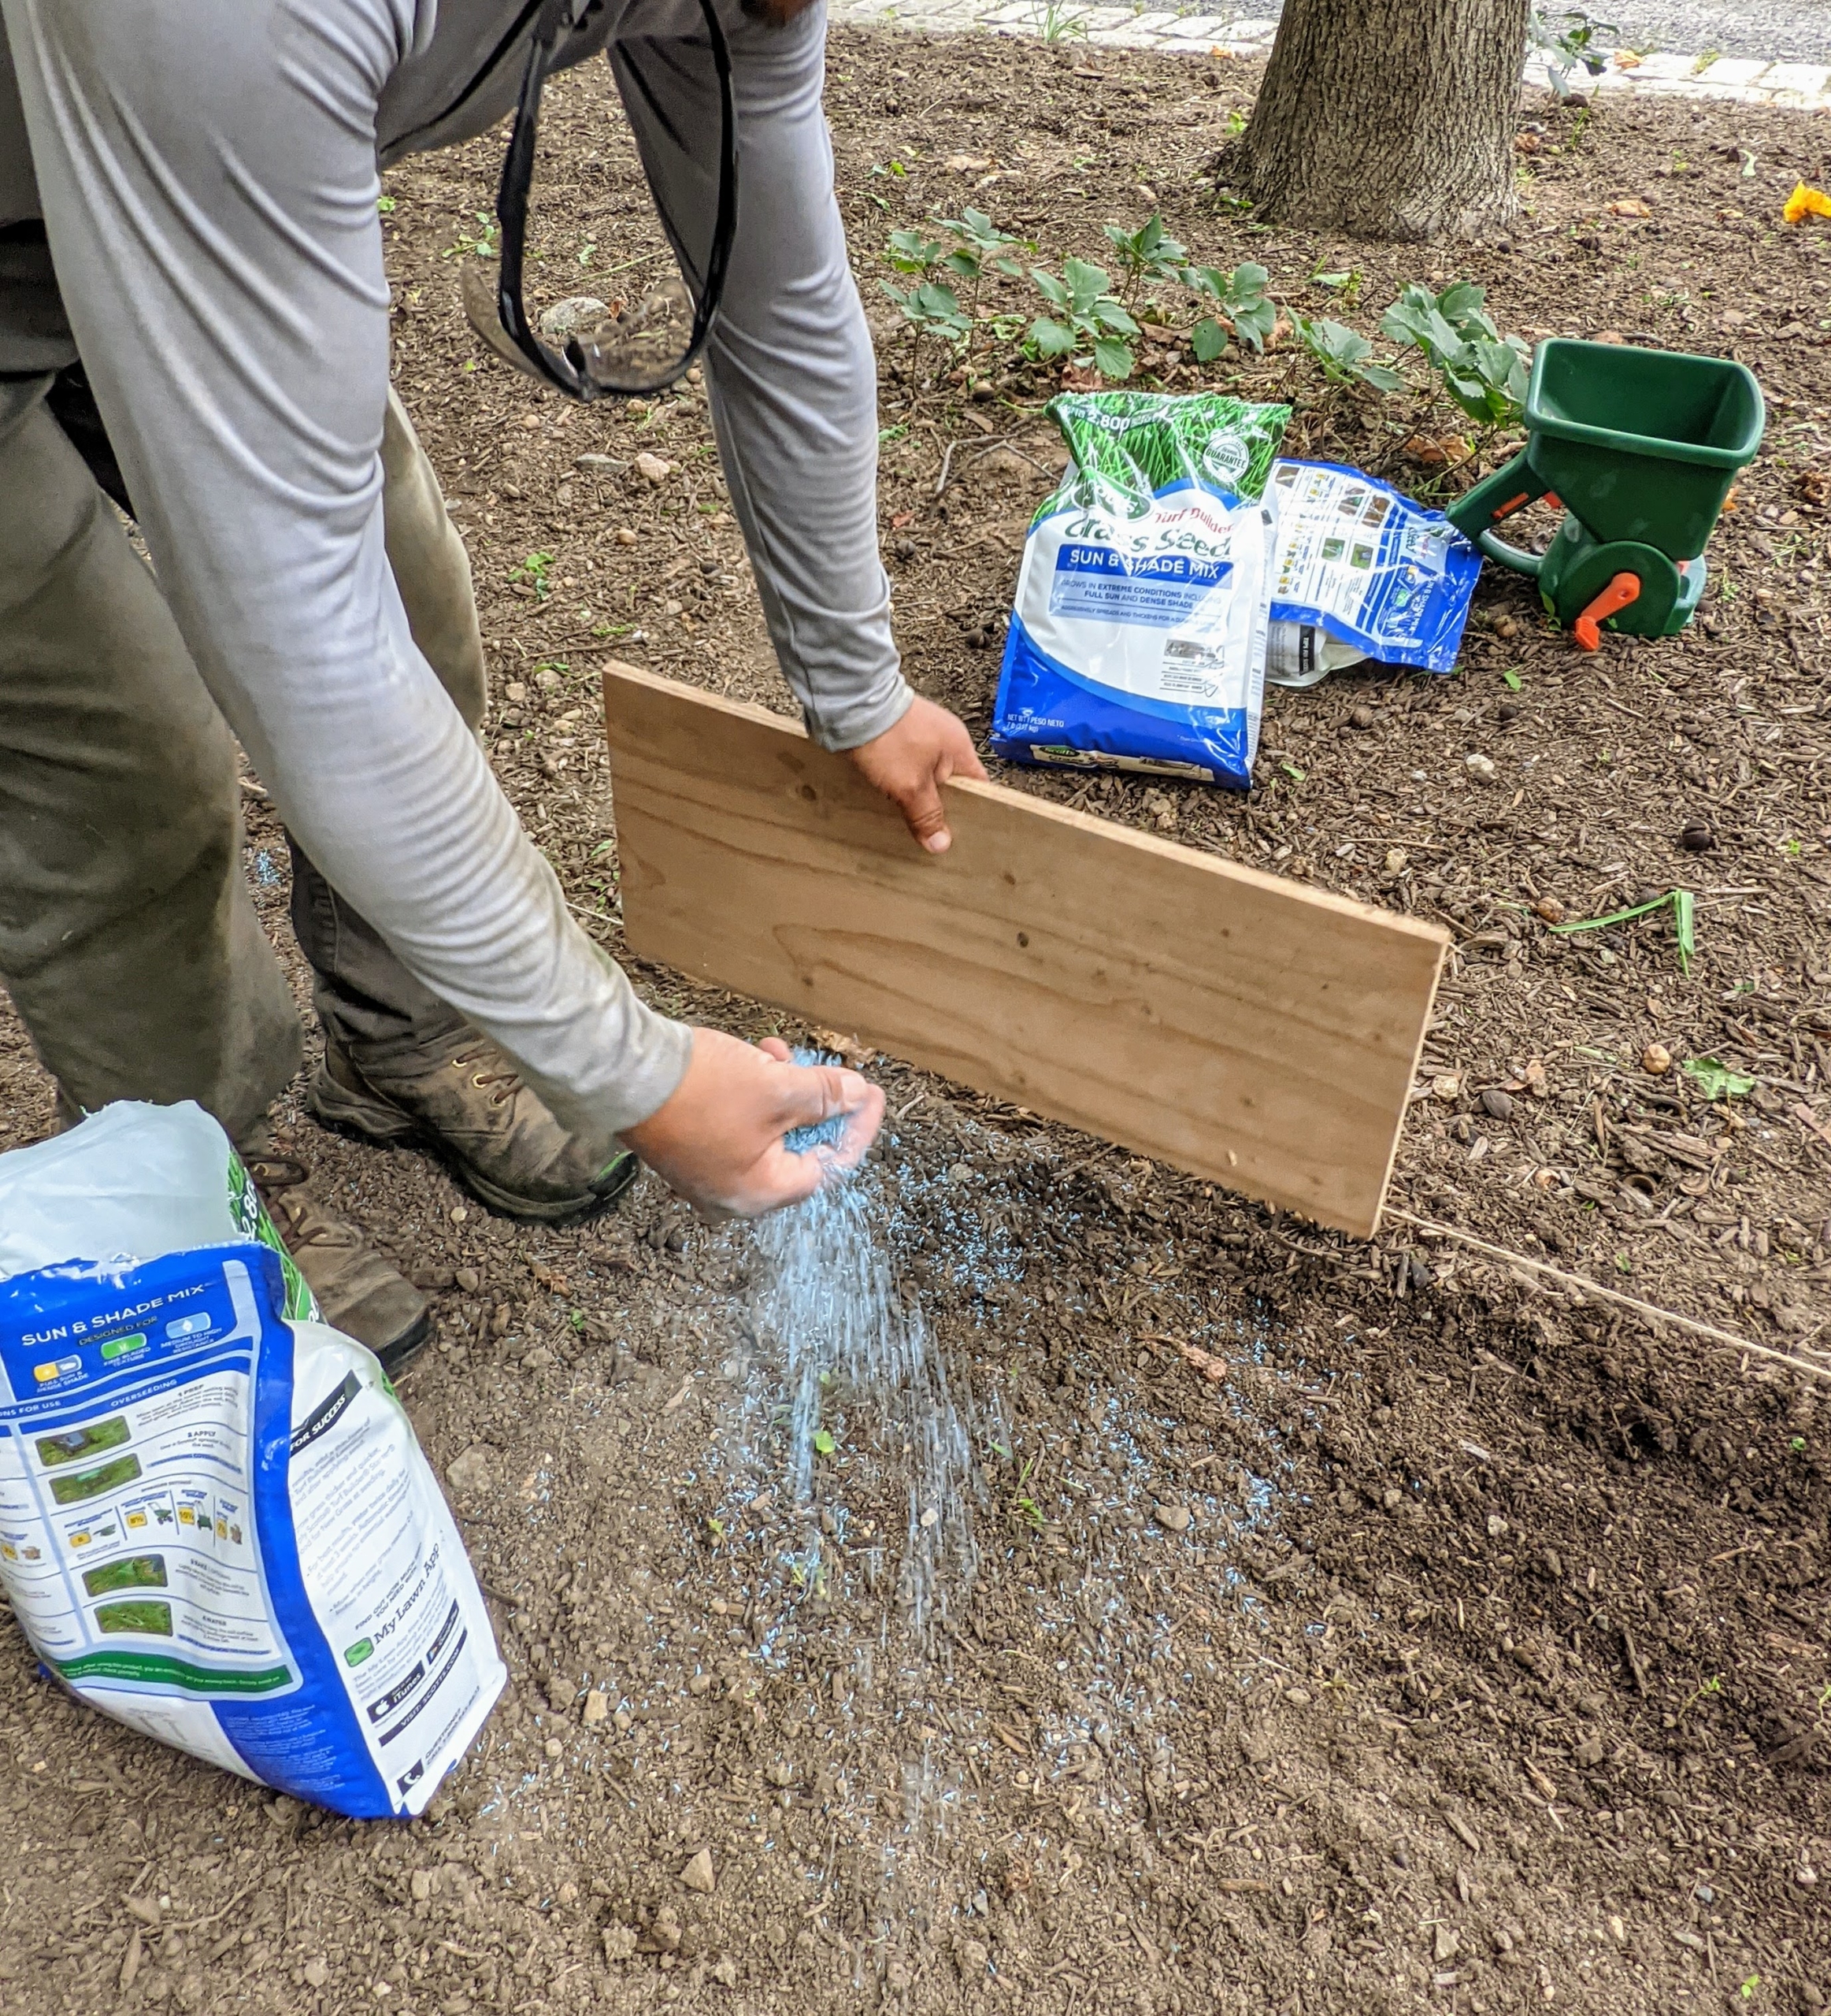
He carefully starts dropping the grass seed on one side of the board – there is absolutely no grass touching the area behind the wood.
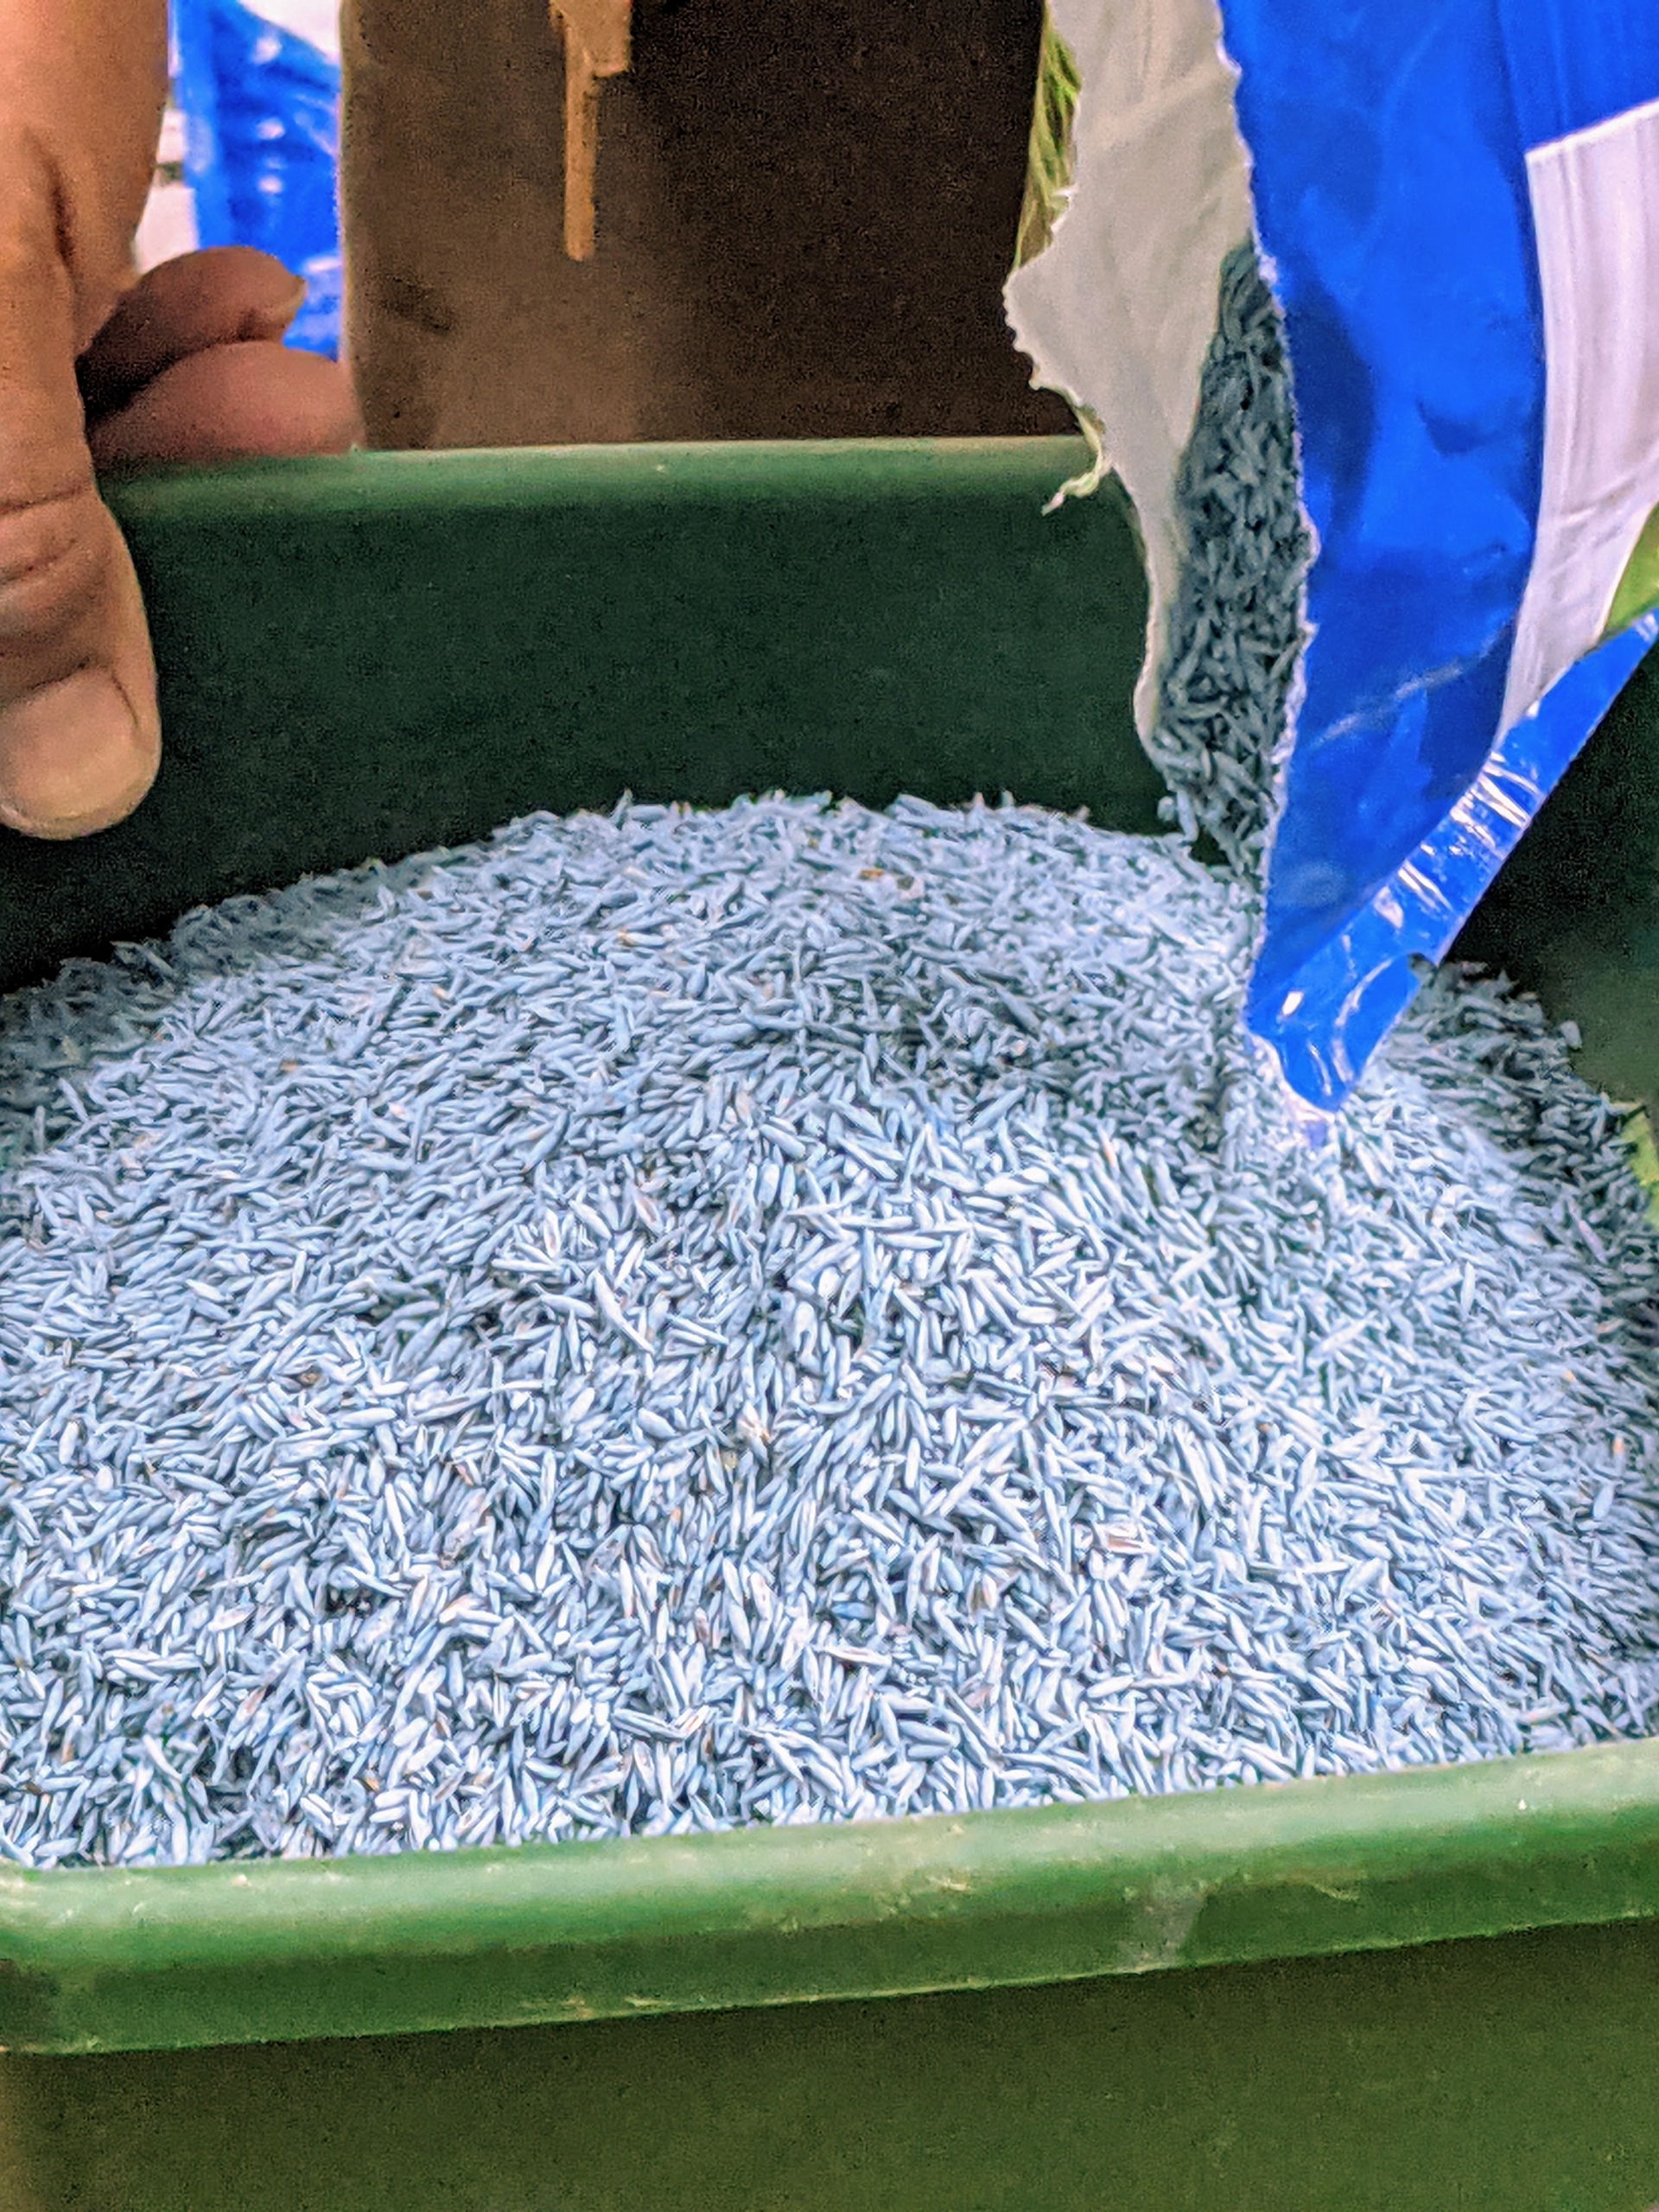
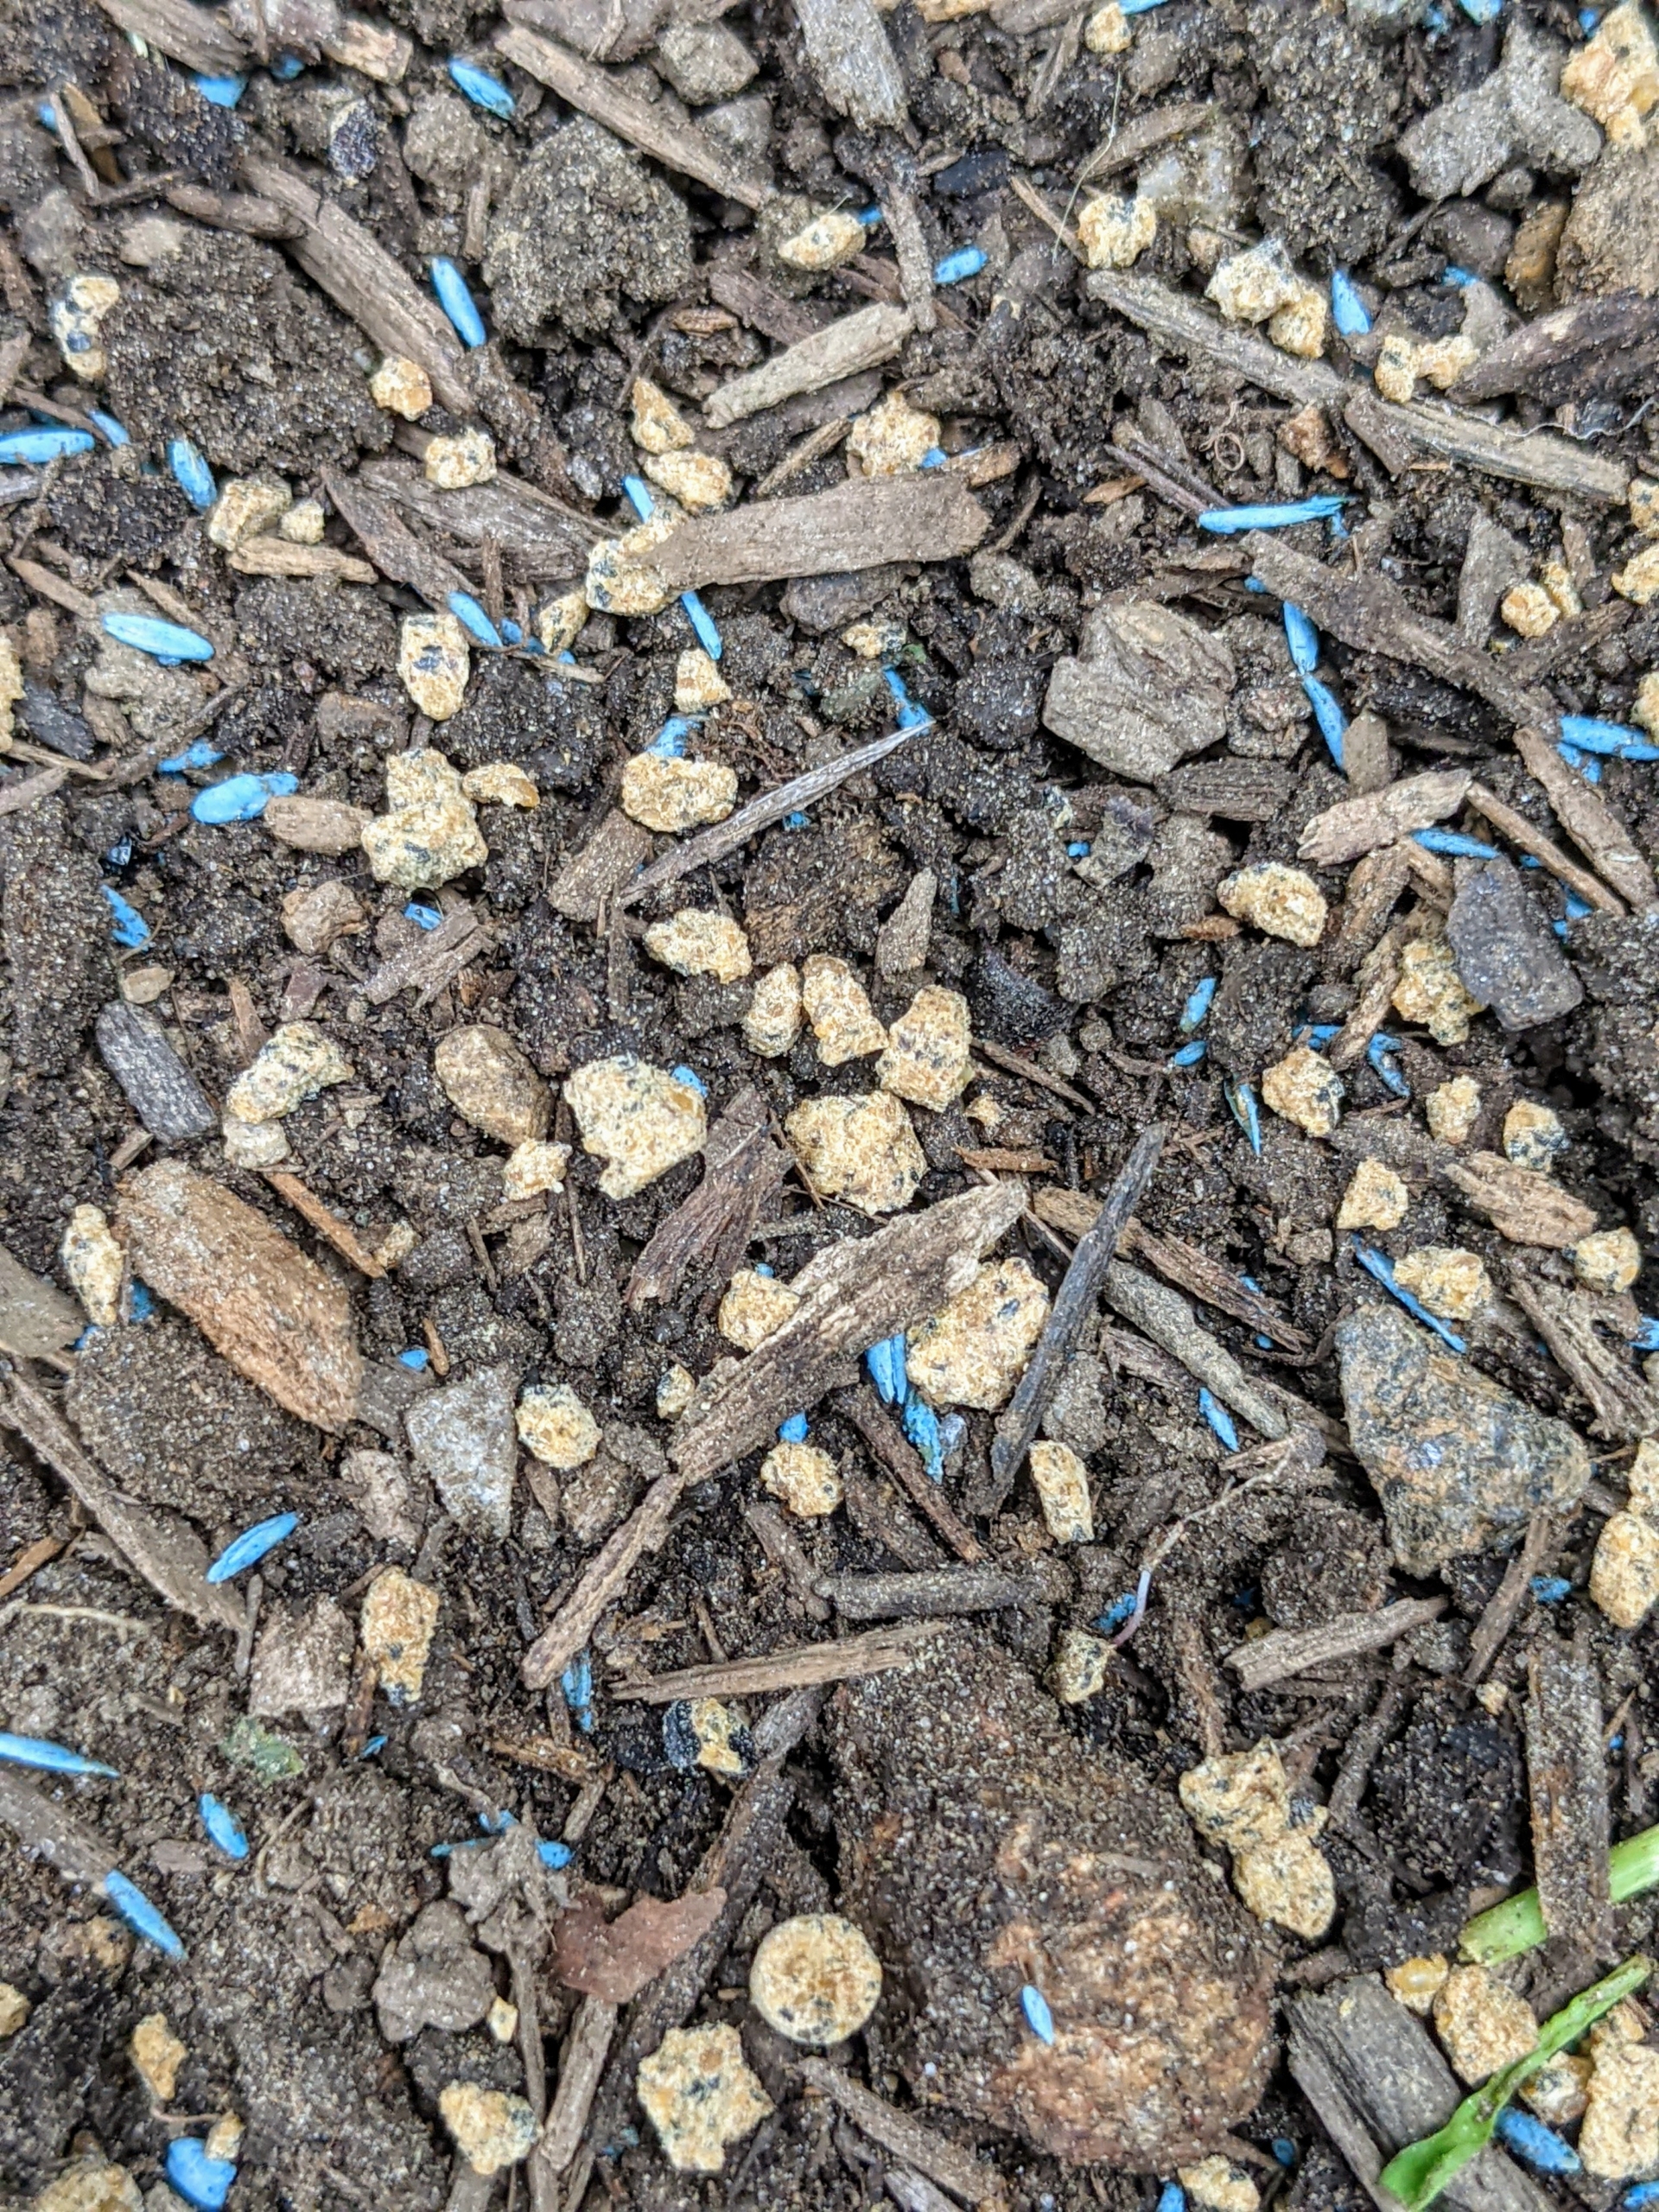
Scott’s wraps each seed in a unique WaterSmart® PLUS Coating that absorbs more water and provides added essential nutrients to help protect the seedlings from disease. The light blue coating also helps to see where seed has been dropped during the process.
Chhiring does this along the entire side of the bed. This is an easy way to create a straight and clean border.
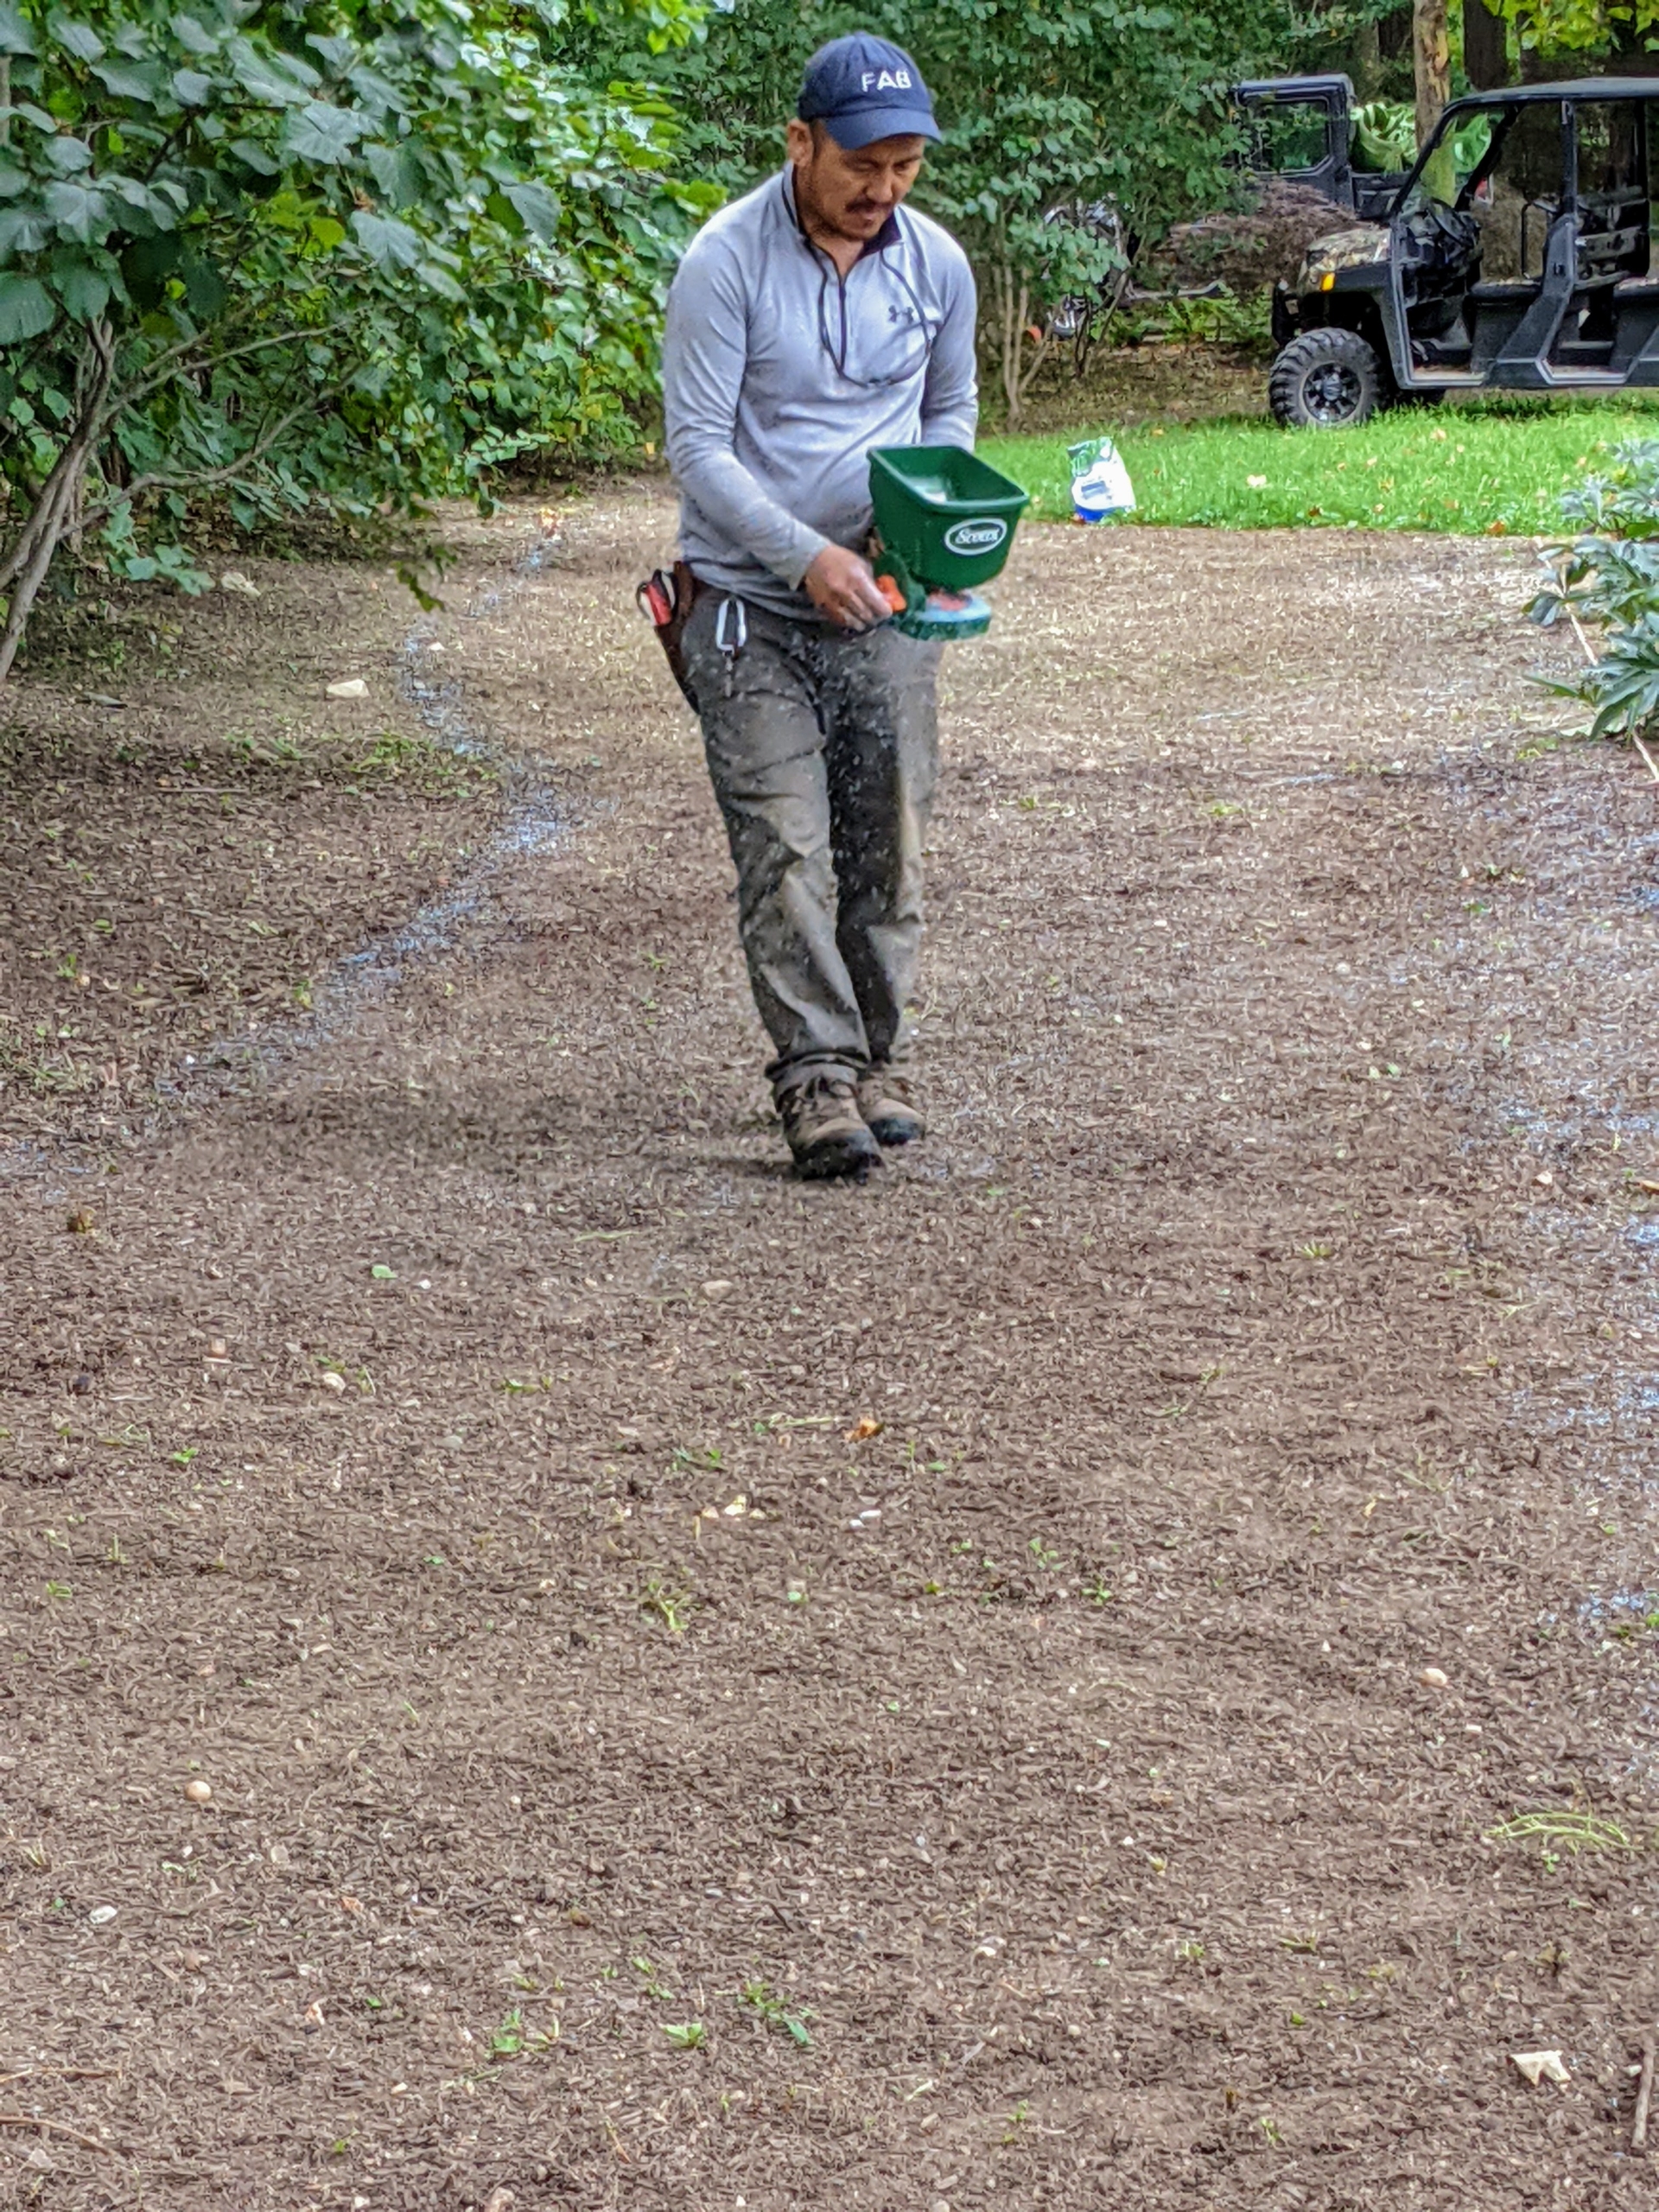
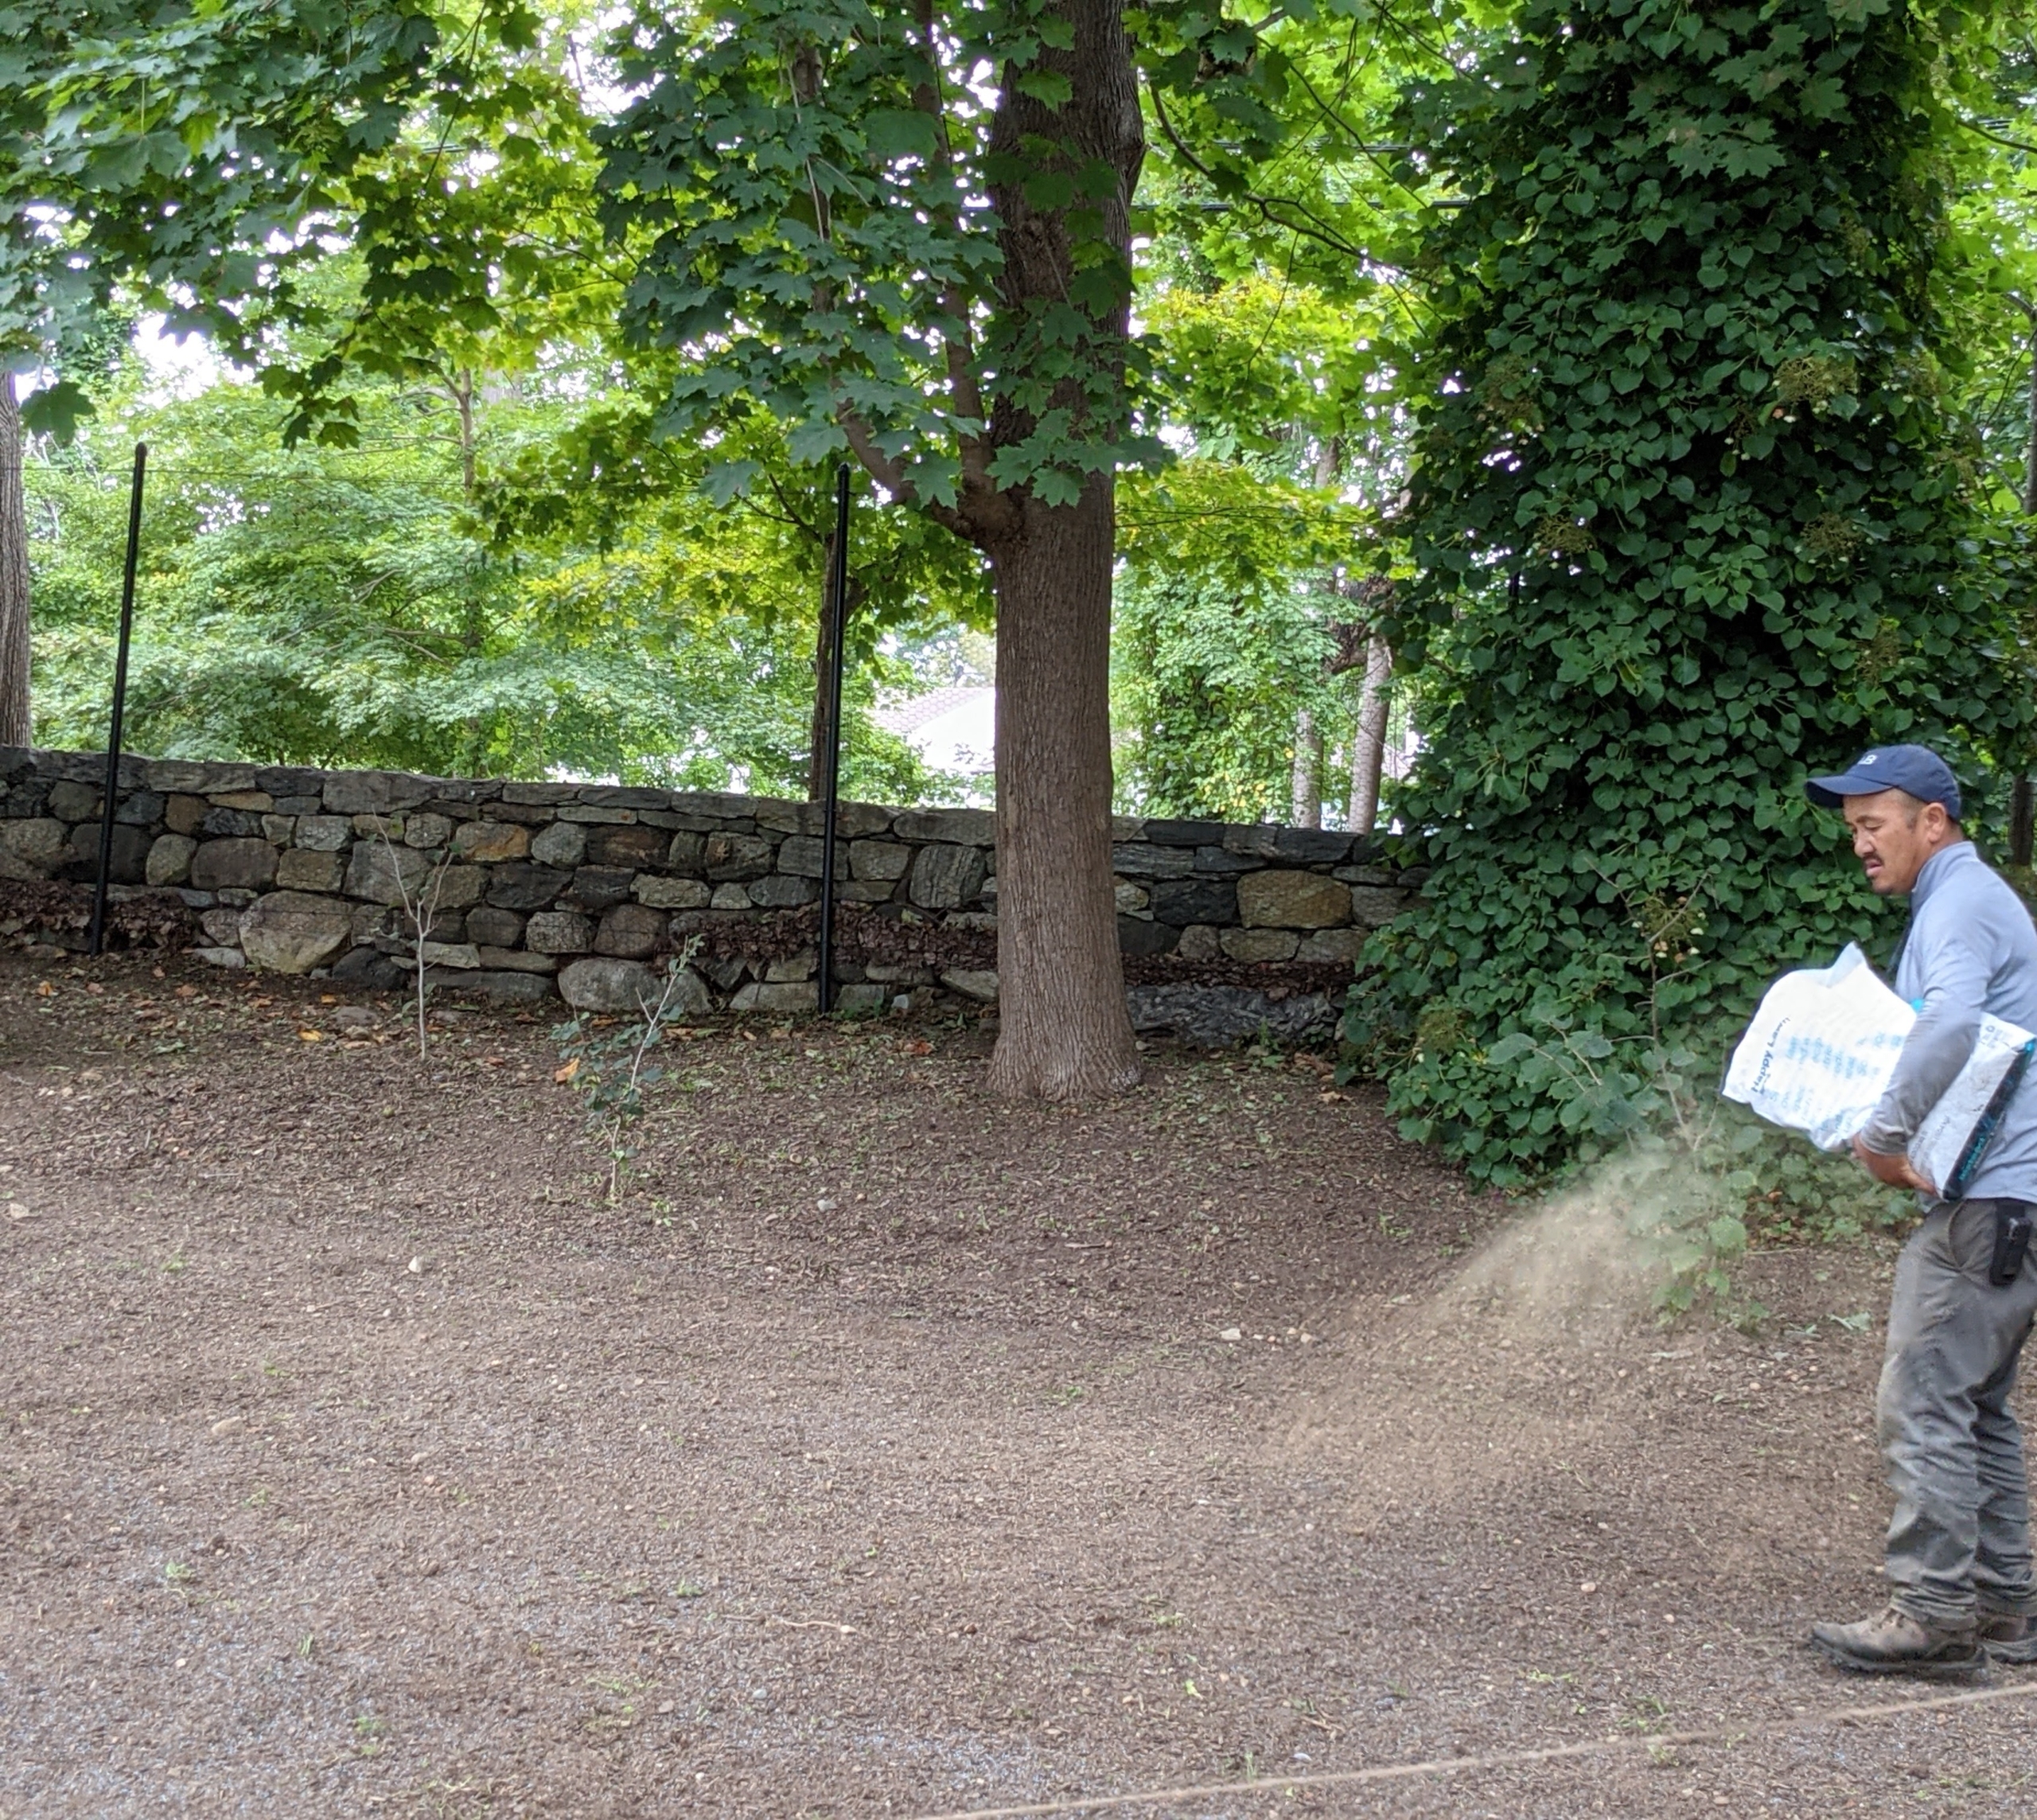
Next, Chhiring fills the Scott’s hand-held broadcast spreader with more seed.
And then drops the seed in the middle of the space. This spreader has an ergonomic design and is easy to use and operate.
The next step is to rake the area again, so every part is evenly covered with seed.
Then, Chhiring applies an appropriate fertilizer. We’re using The Happy Lawn™ Fertilizer – a custom mix of never-burn ingredients like wheat flour, feather meal, and molasses, all designed to enrich the soil this time of year. It’s available on my site at Martha.com.
This granule fertilizer is safe for all grass types and completely safe around people and pets.
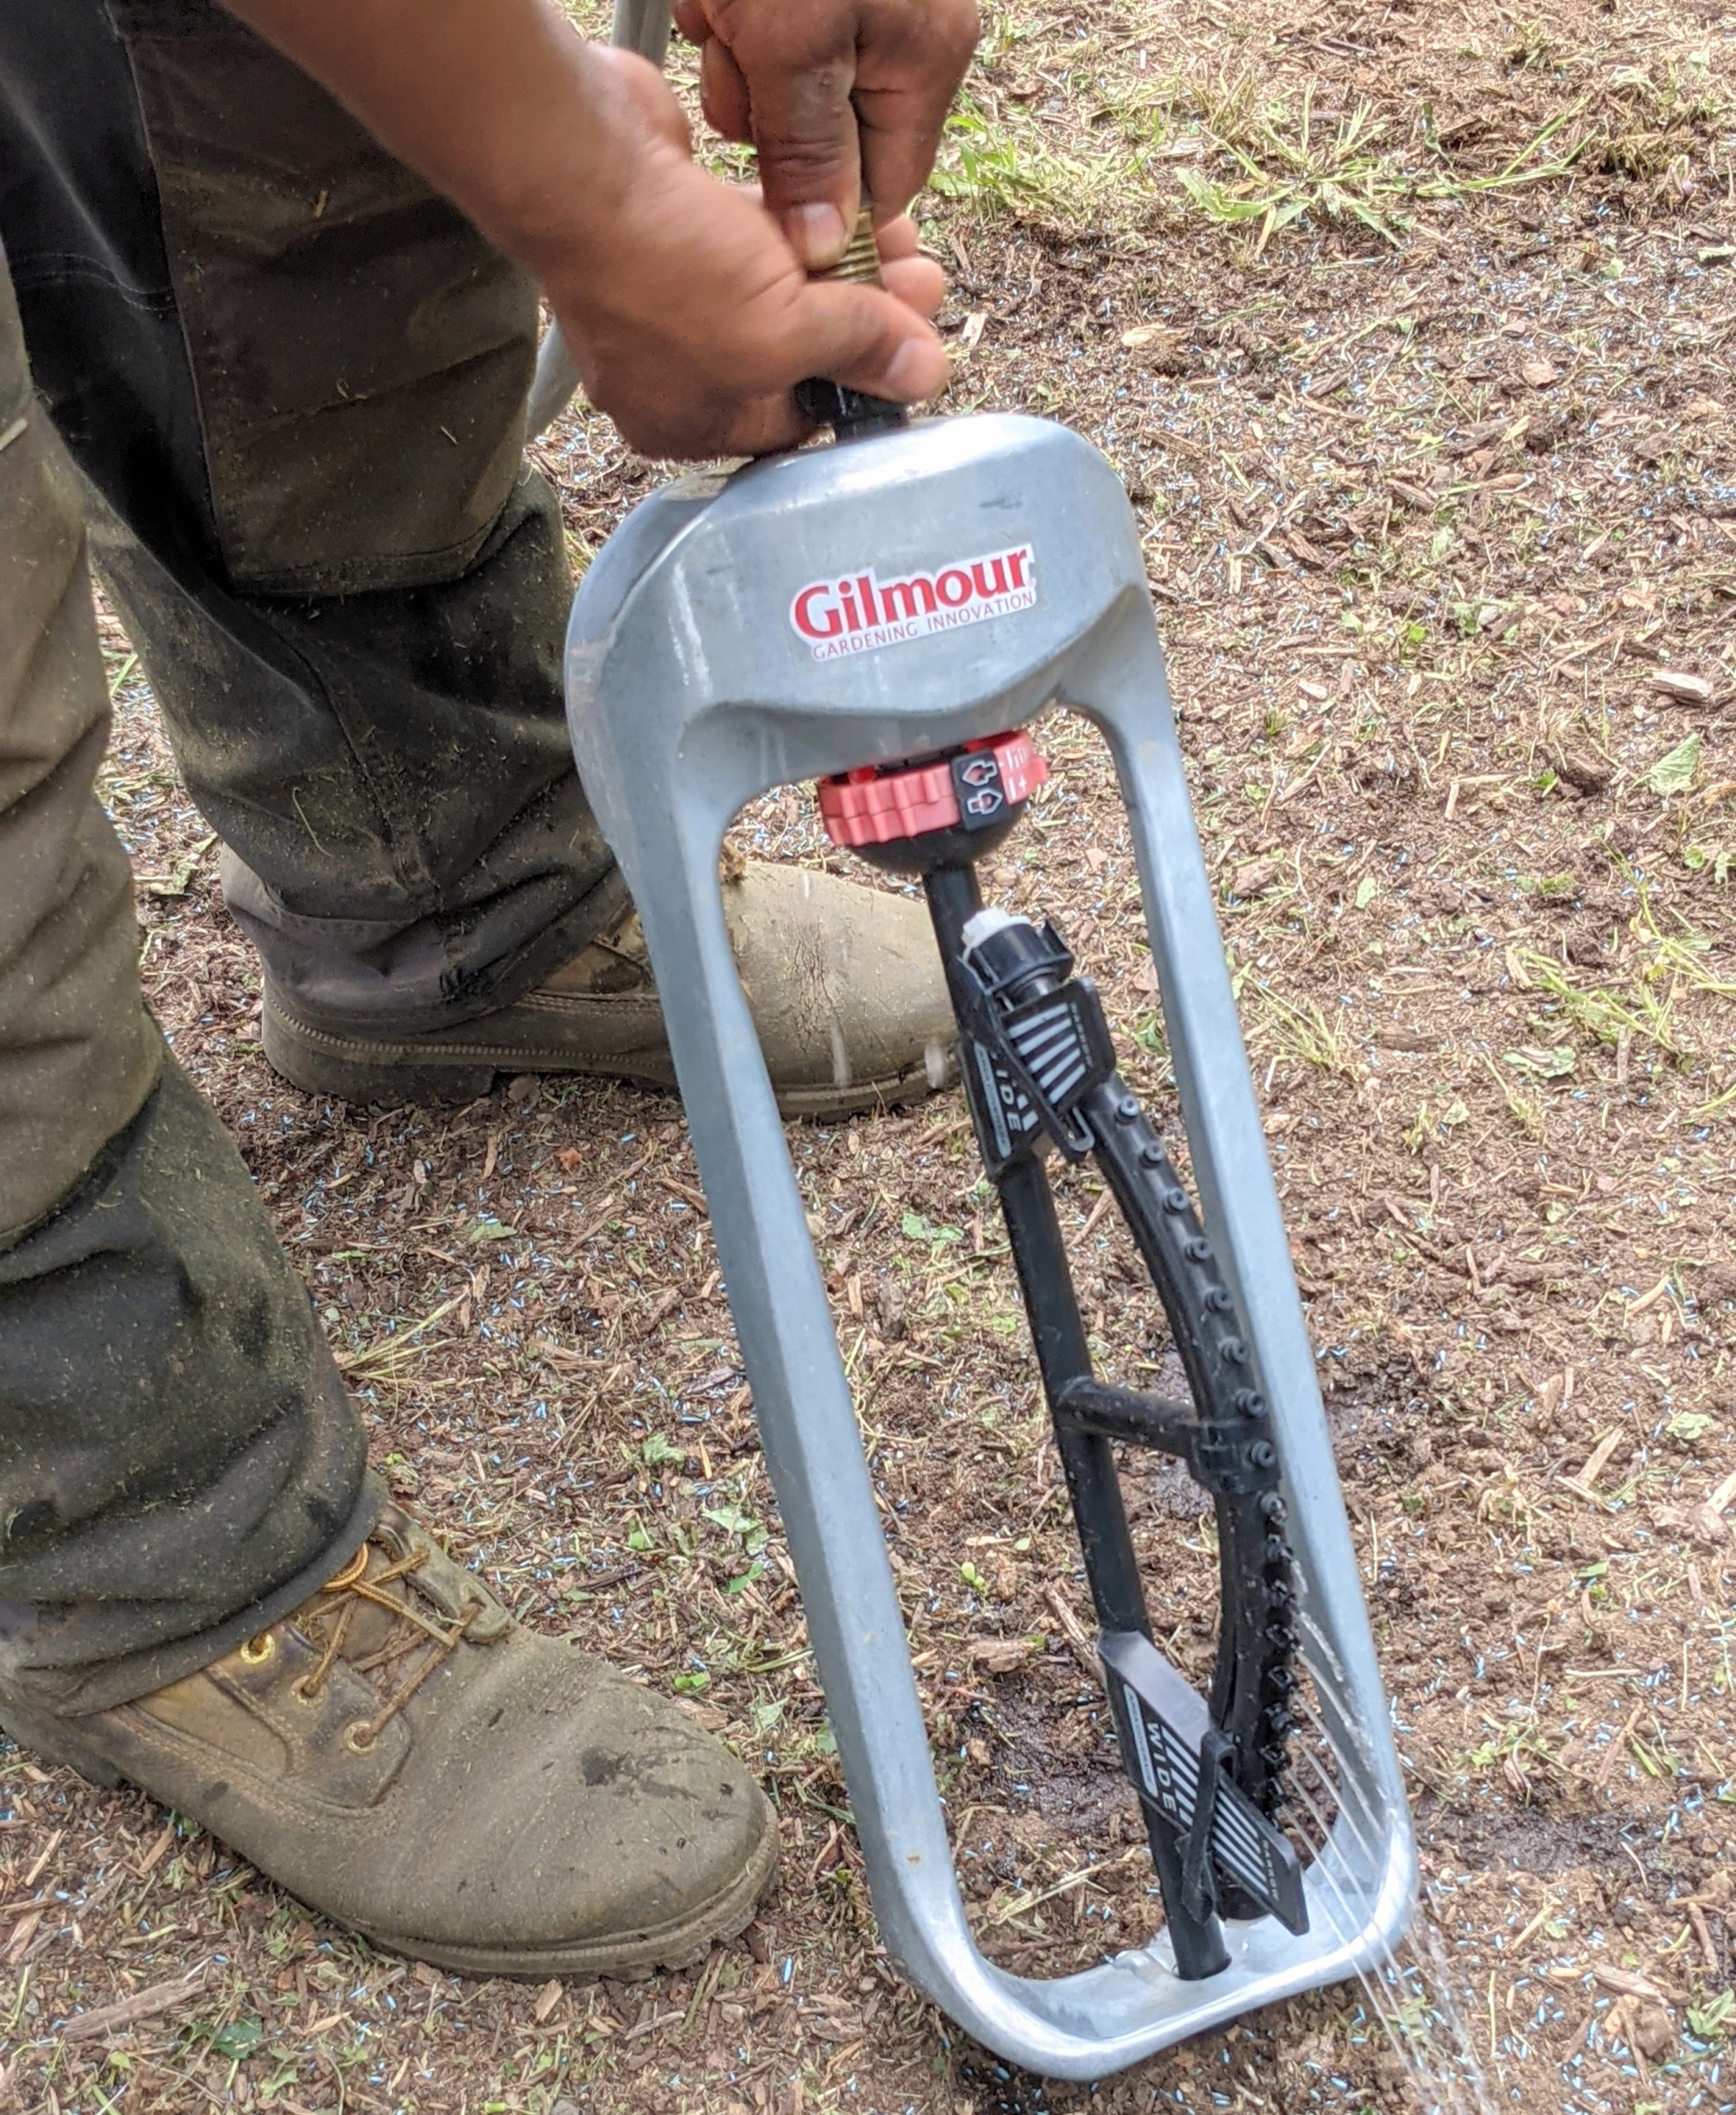
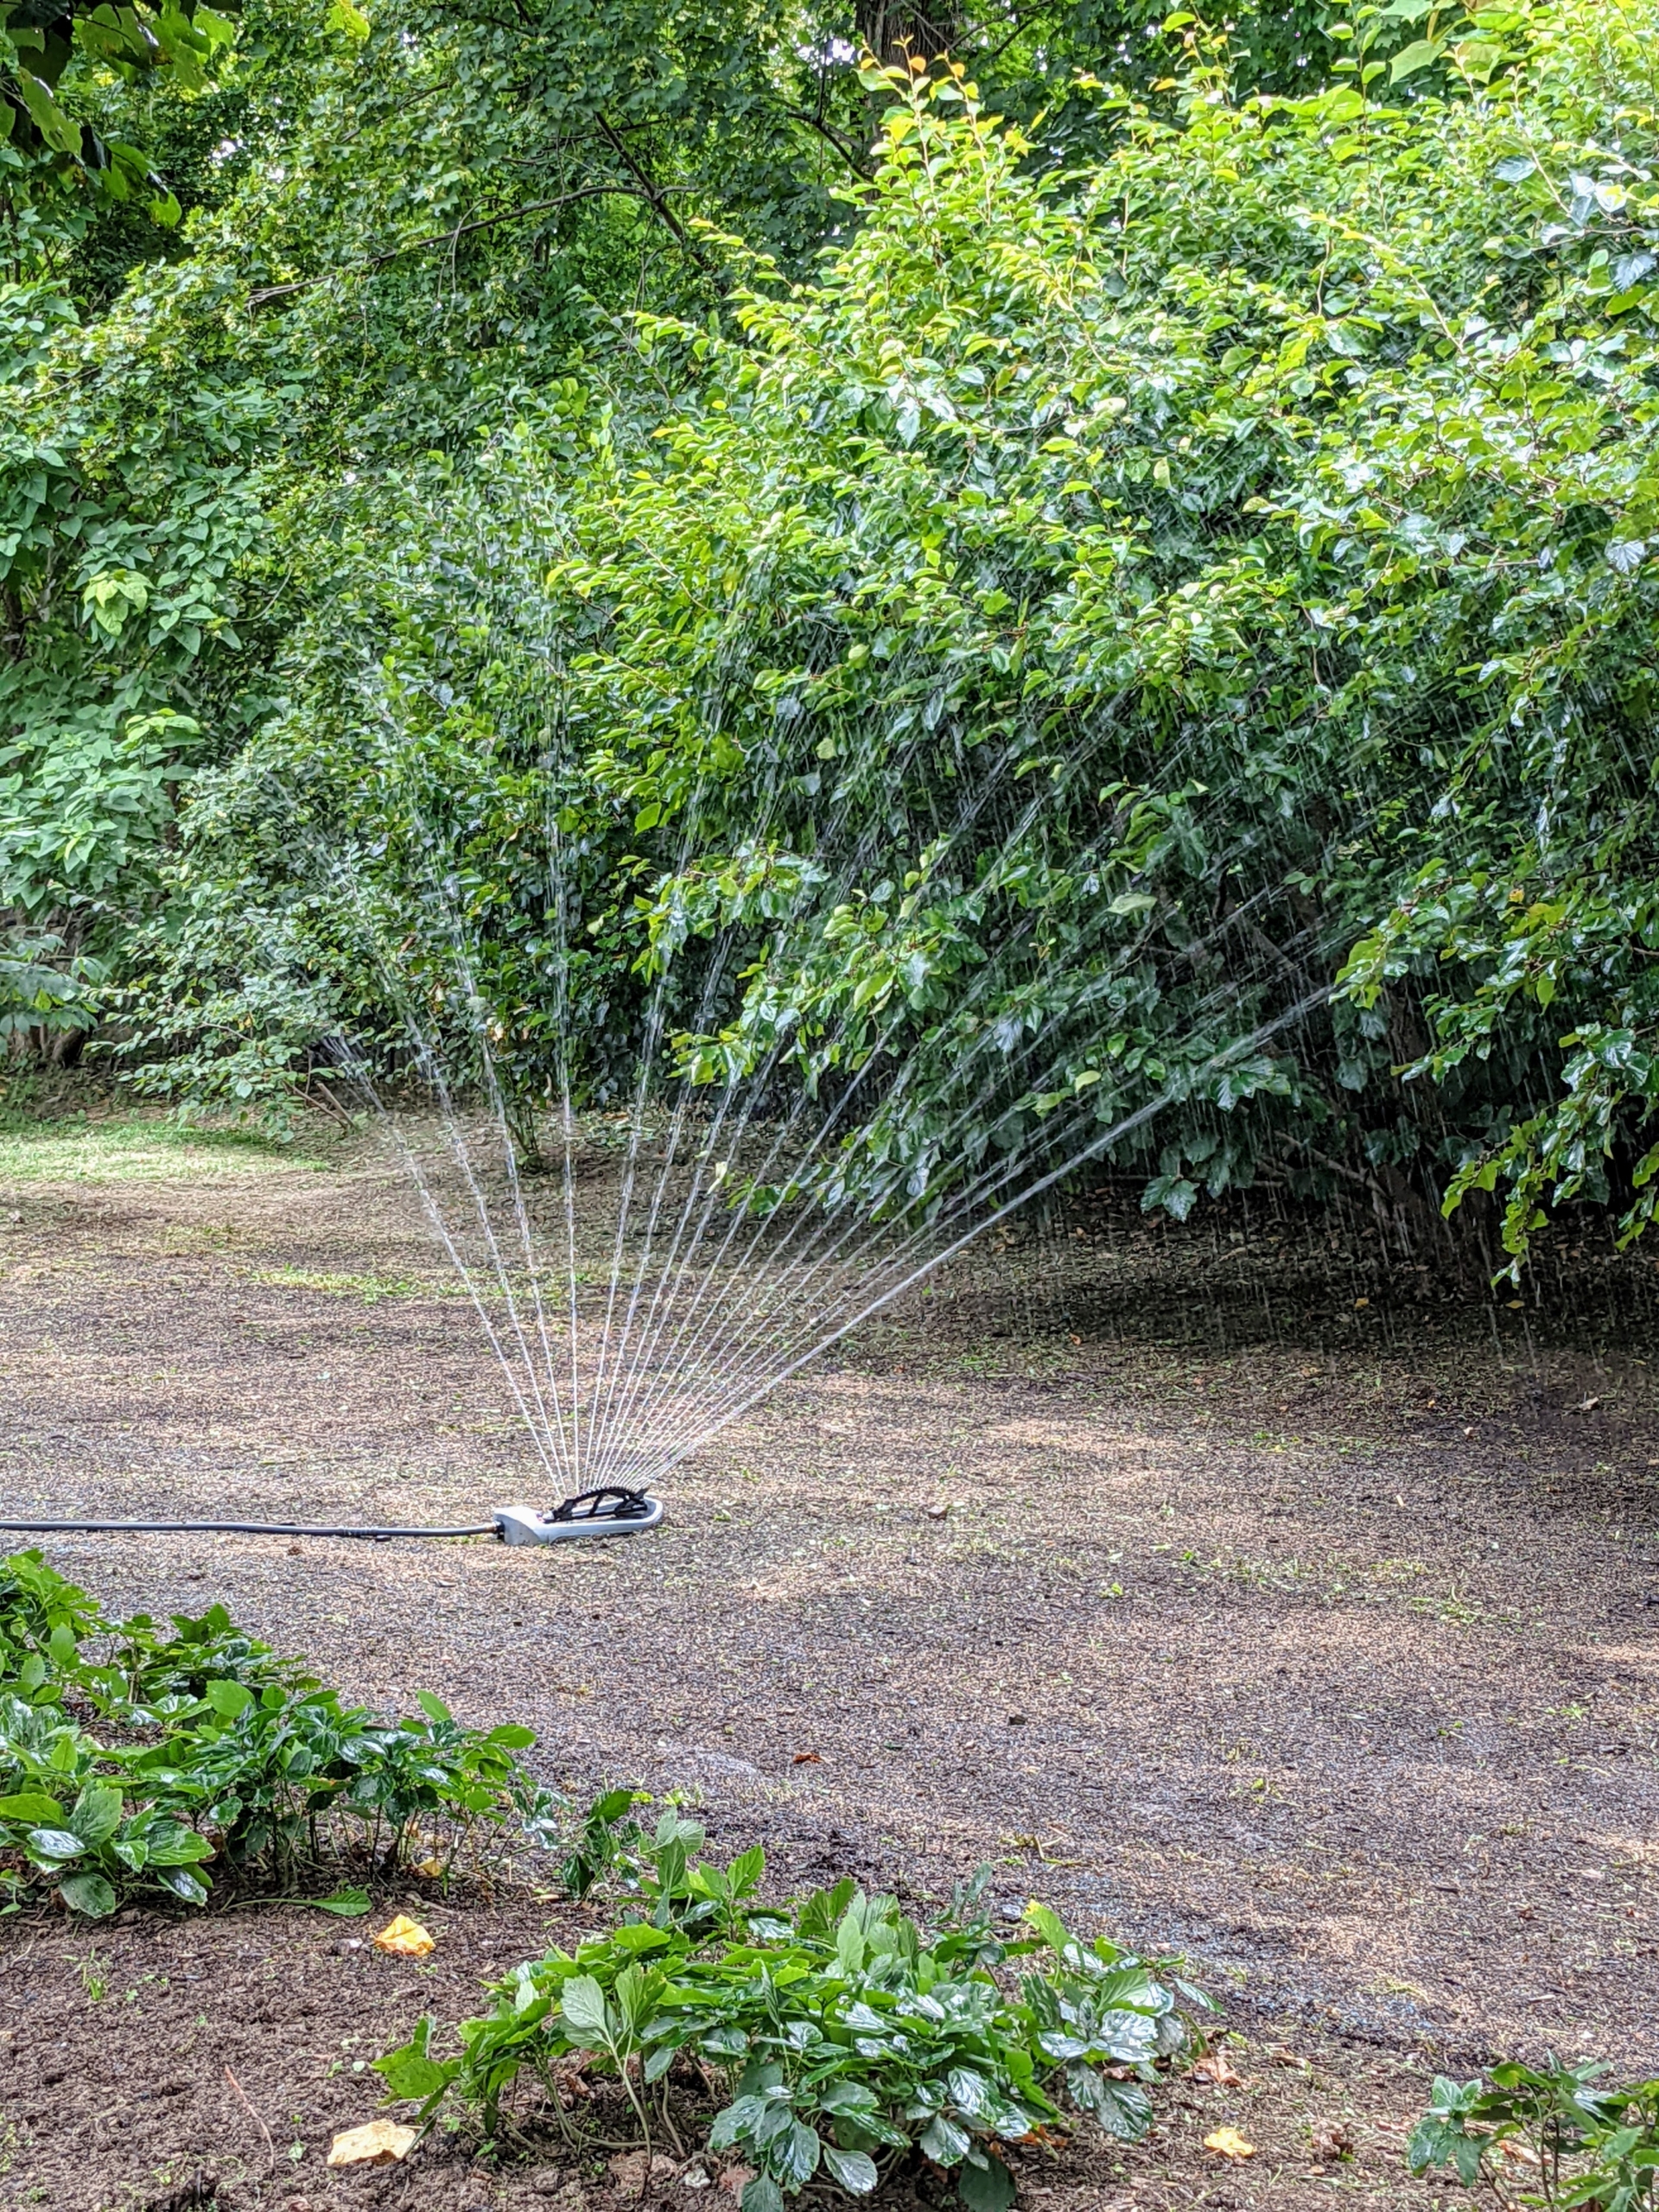
And finally, the area is watered. We use my trusted Gilmour oscillating sprinkler. These sprinklers are easy to control in a variety of areas – they provide thousands of square feet in water coverage and feature a tube with multiple openings that move back and forth to provide even watering. I use several around the farm for gently watering ground covering plants and lawns.
When watering new grass seed, it must watered deeply every day to get the best results.
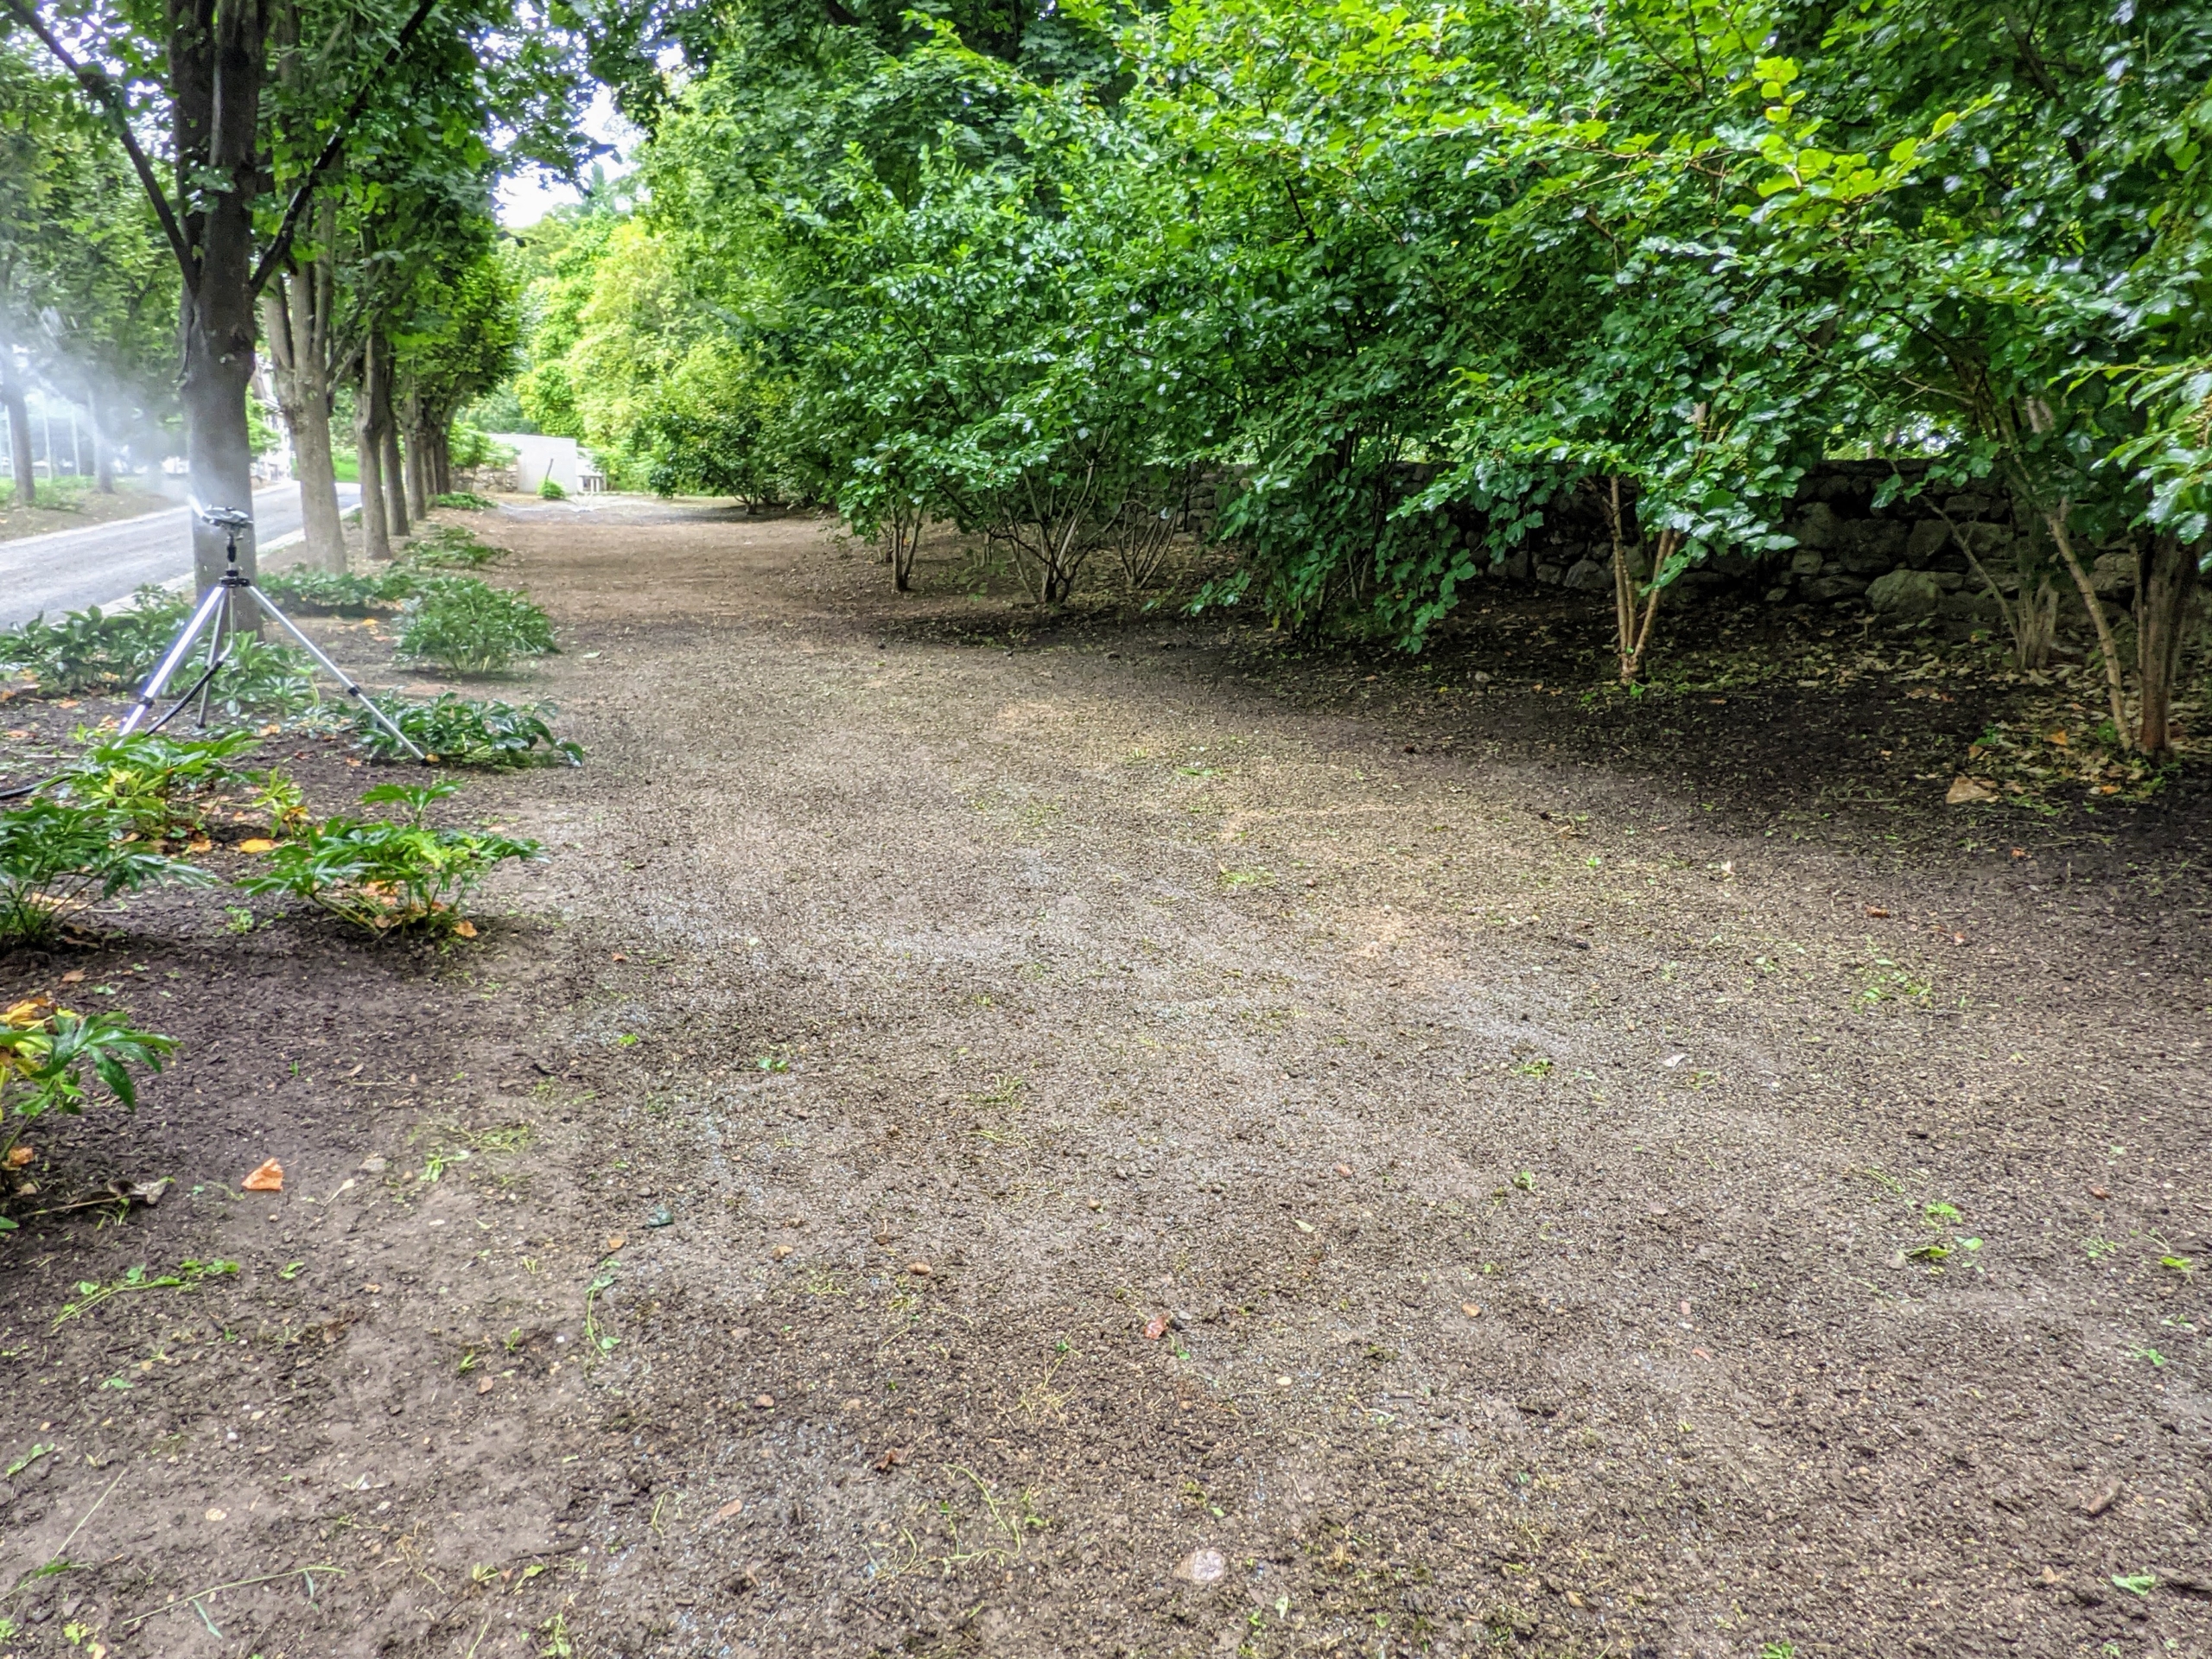
We’re also using the Gilmour tripod sprinkler. The adjustable tripod can reach a height of 58-inches and can water everything from above. Once all the watering is done, it’s important to turn off the water at the source. Just turning off at the sprinkler puts a lot of pressure on the hoses and pipes.
This Linden allee is a favorite spot on the farm – I only wish it was longer. Right now, the leaves are this gorgeous dark green color. In autumn, they turn a beautiful shade of yellow. I’ll be sure to show you more photos as the foliage changes and when the new lawn is grown. Stay tuned.