My horses are already enjoying some of the newly baled hay.
Hay is a harvested plant that’s dried and cured after being cut in the field. In most cases, hay is cut during the late bud or early bloom stage to maximize its nutritional value. This week, my outdoor grounds crew cut, tedded, raked, and then baled the hay from one of my three fields. This second cut of the season is greener, more dense, and filled with lots of protein - my horses love it.
Enjoy these photos and the short video at the end.
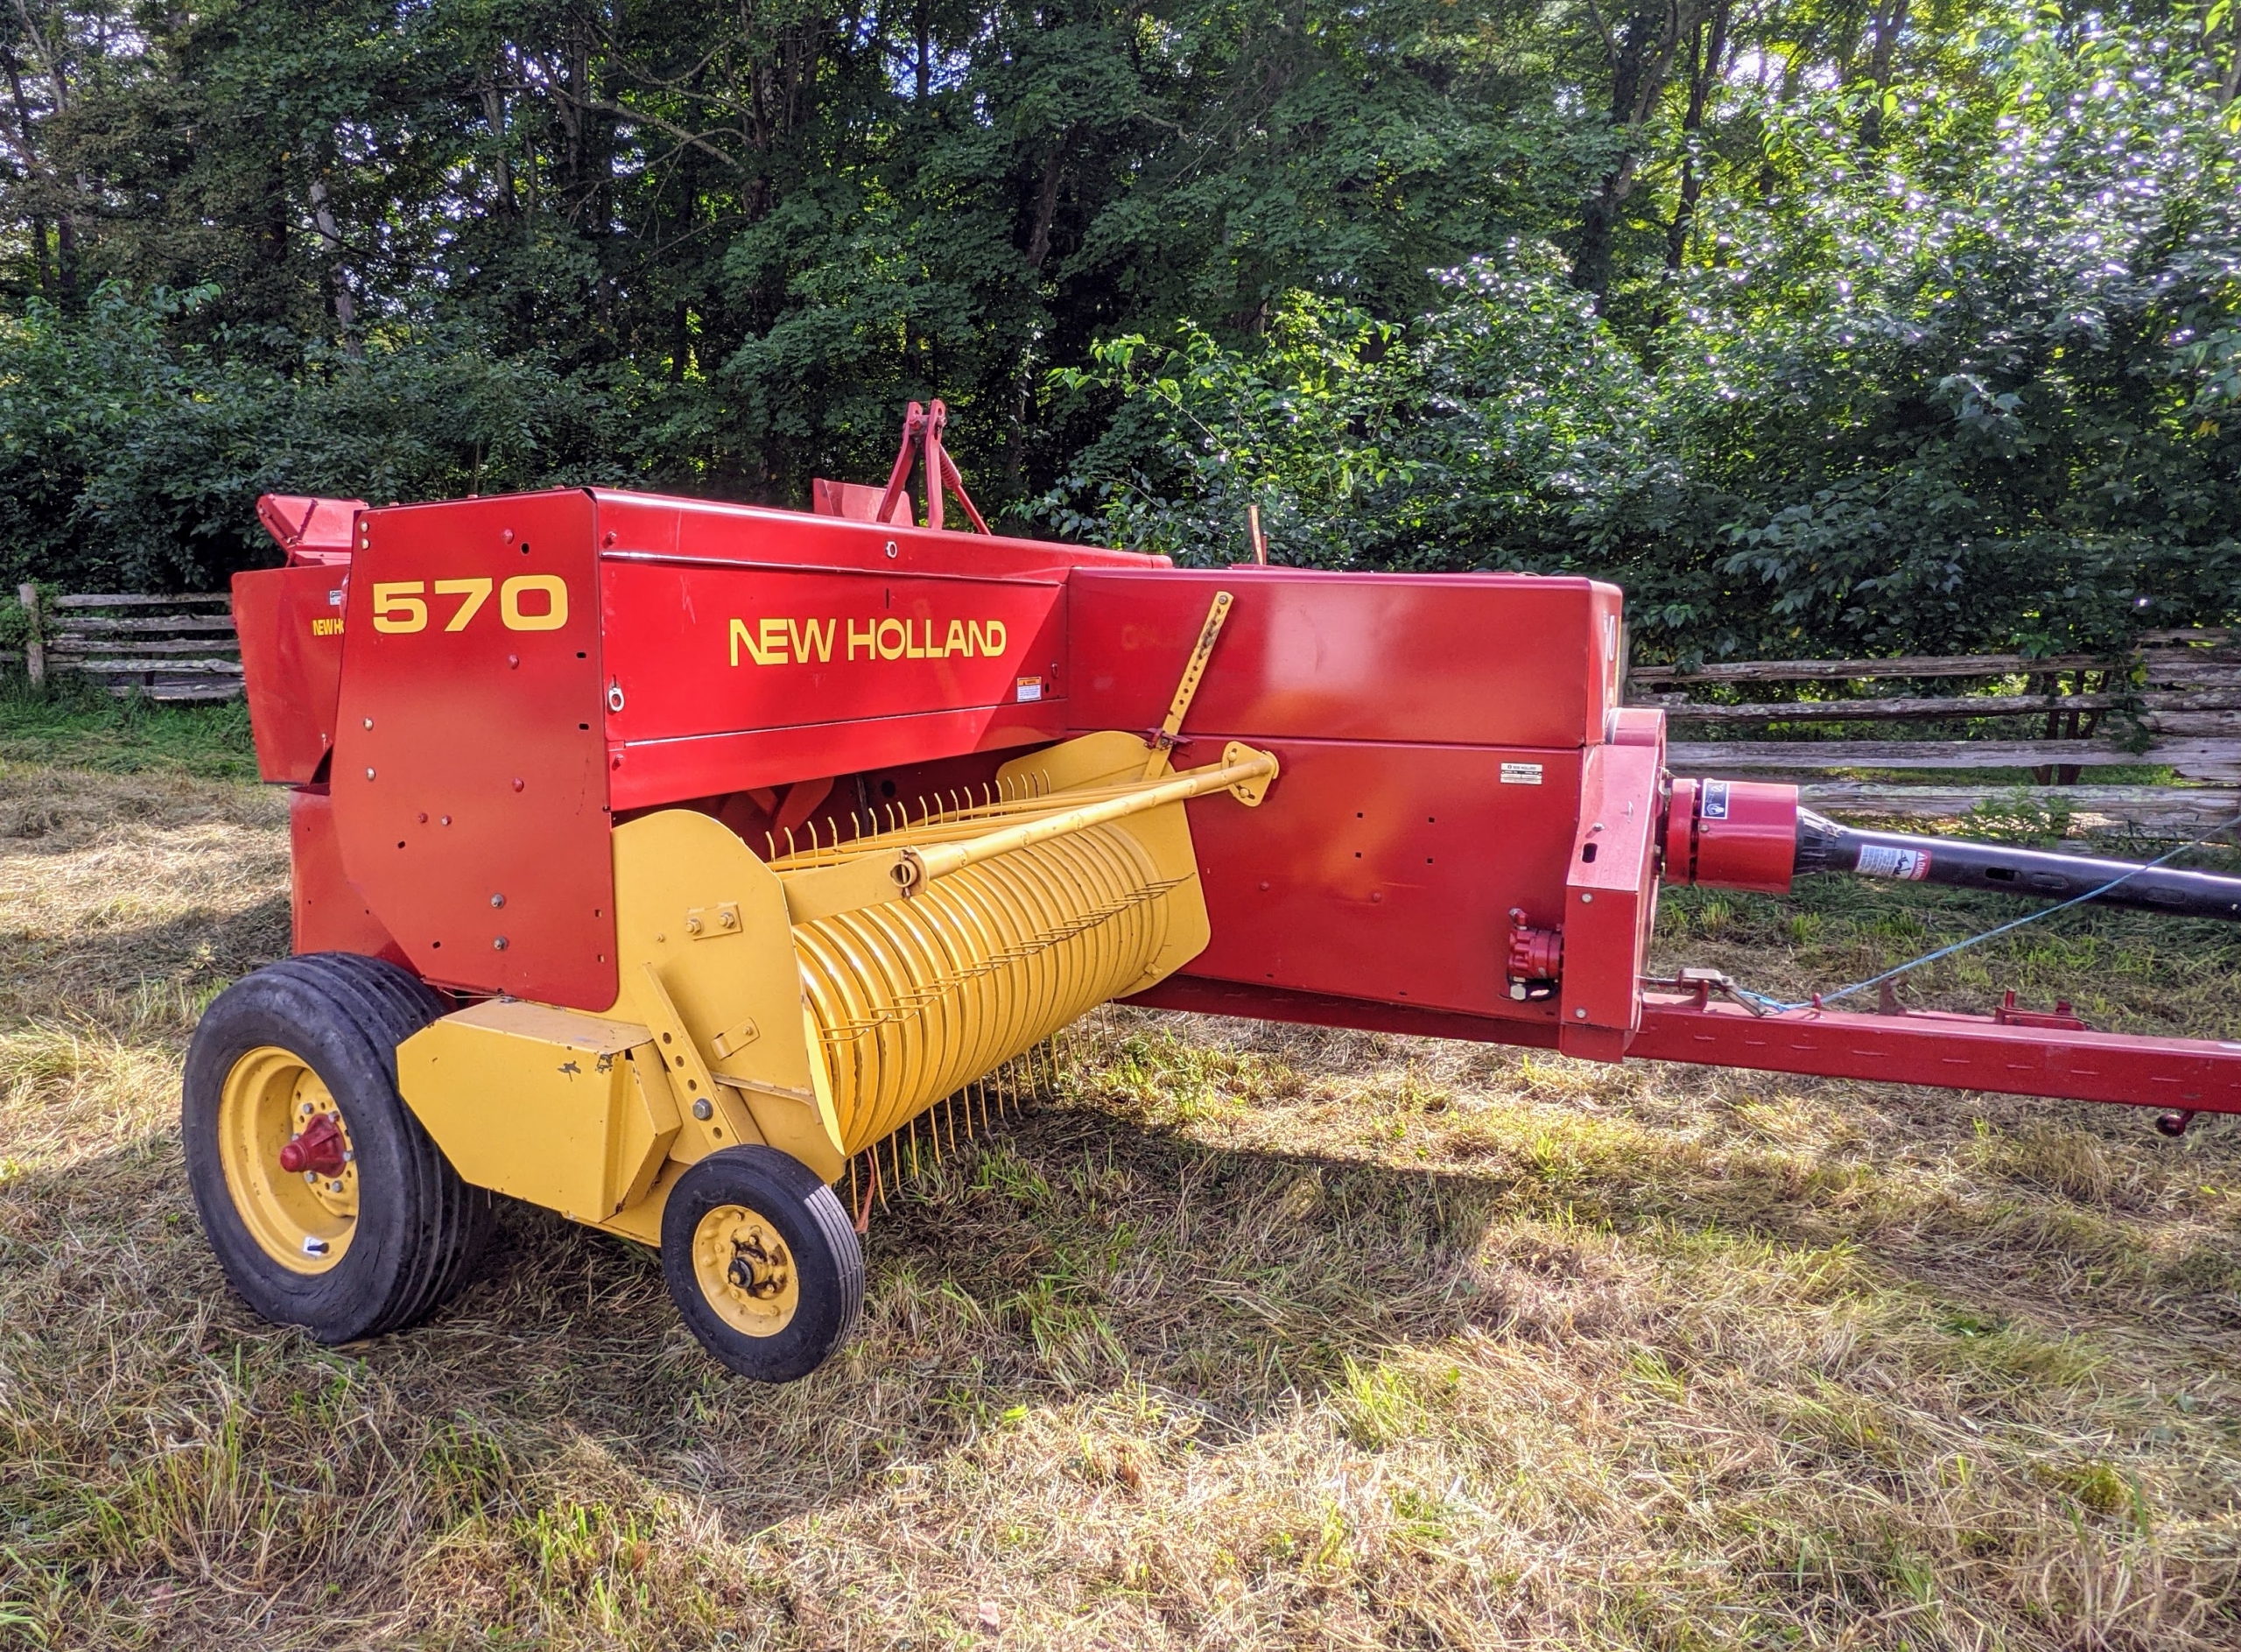
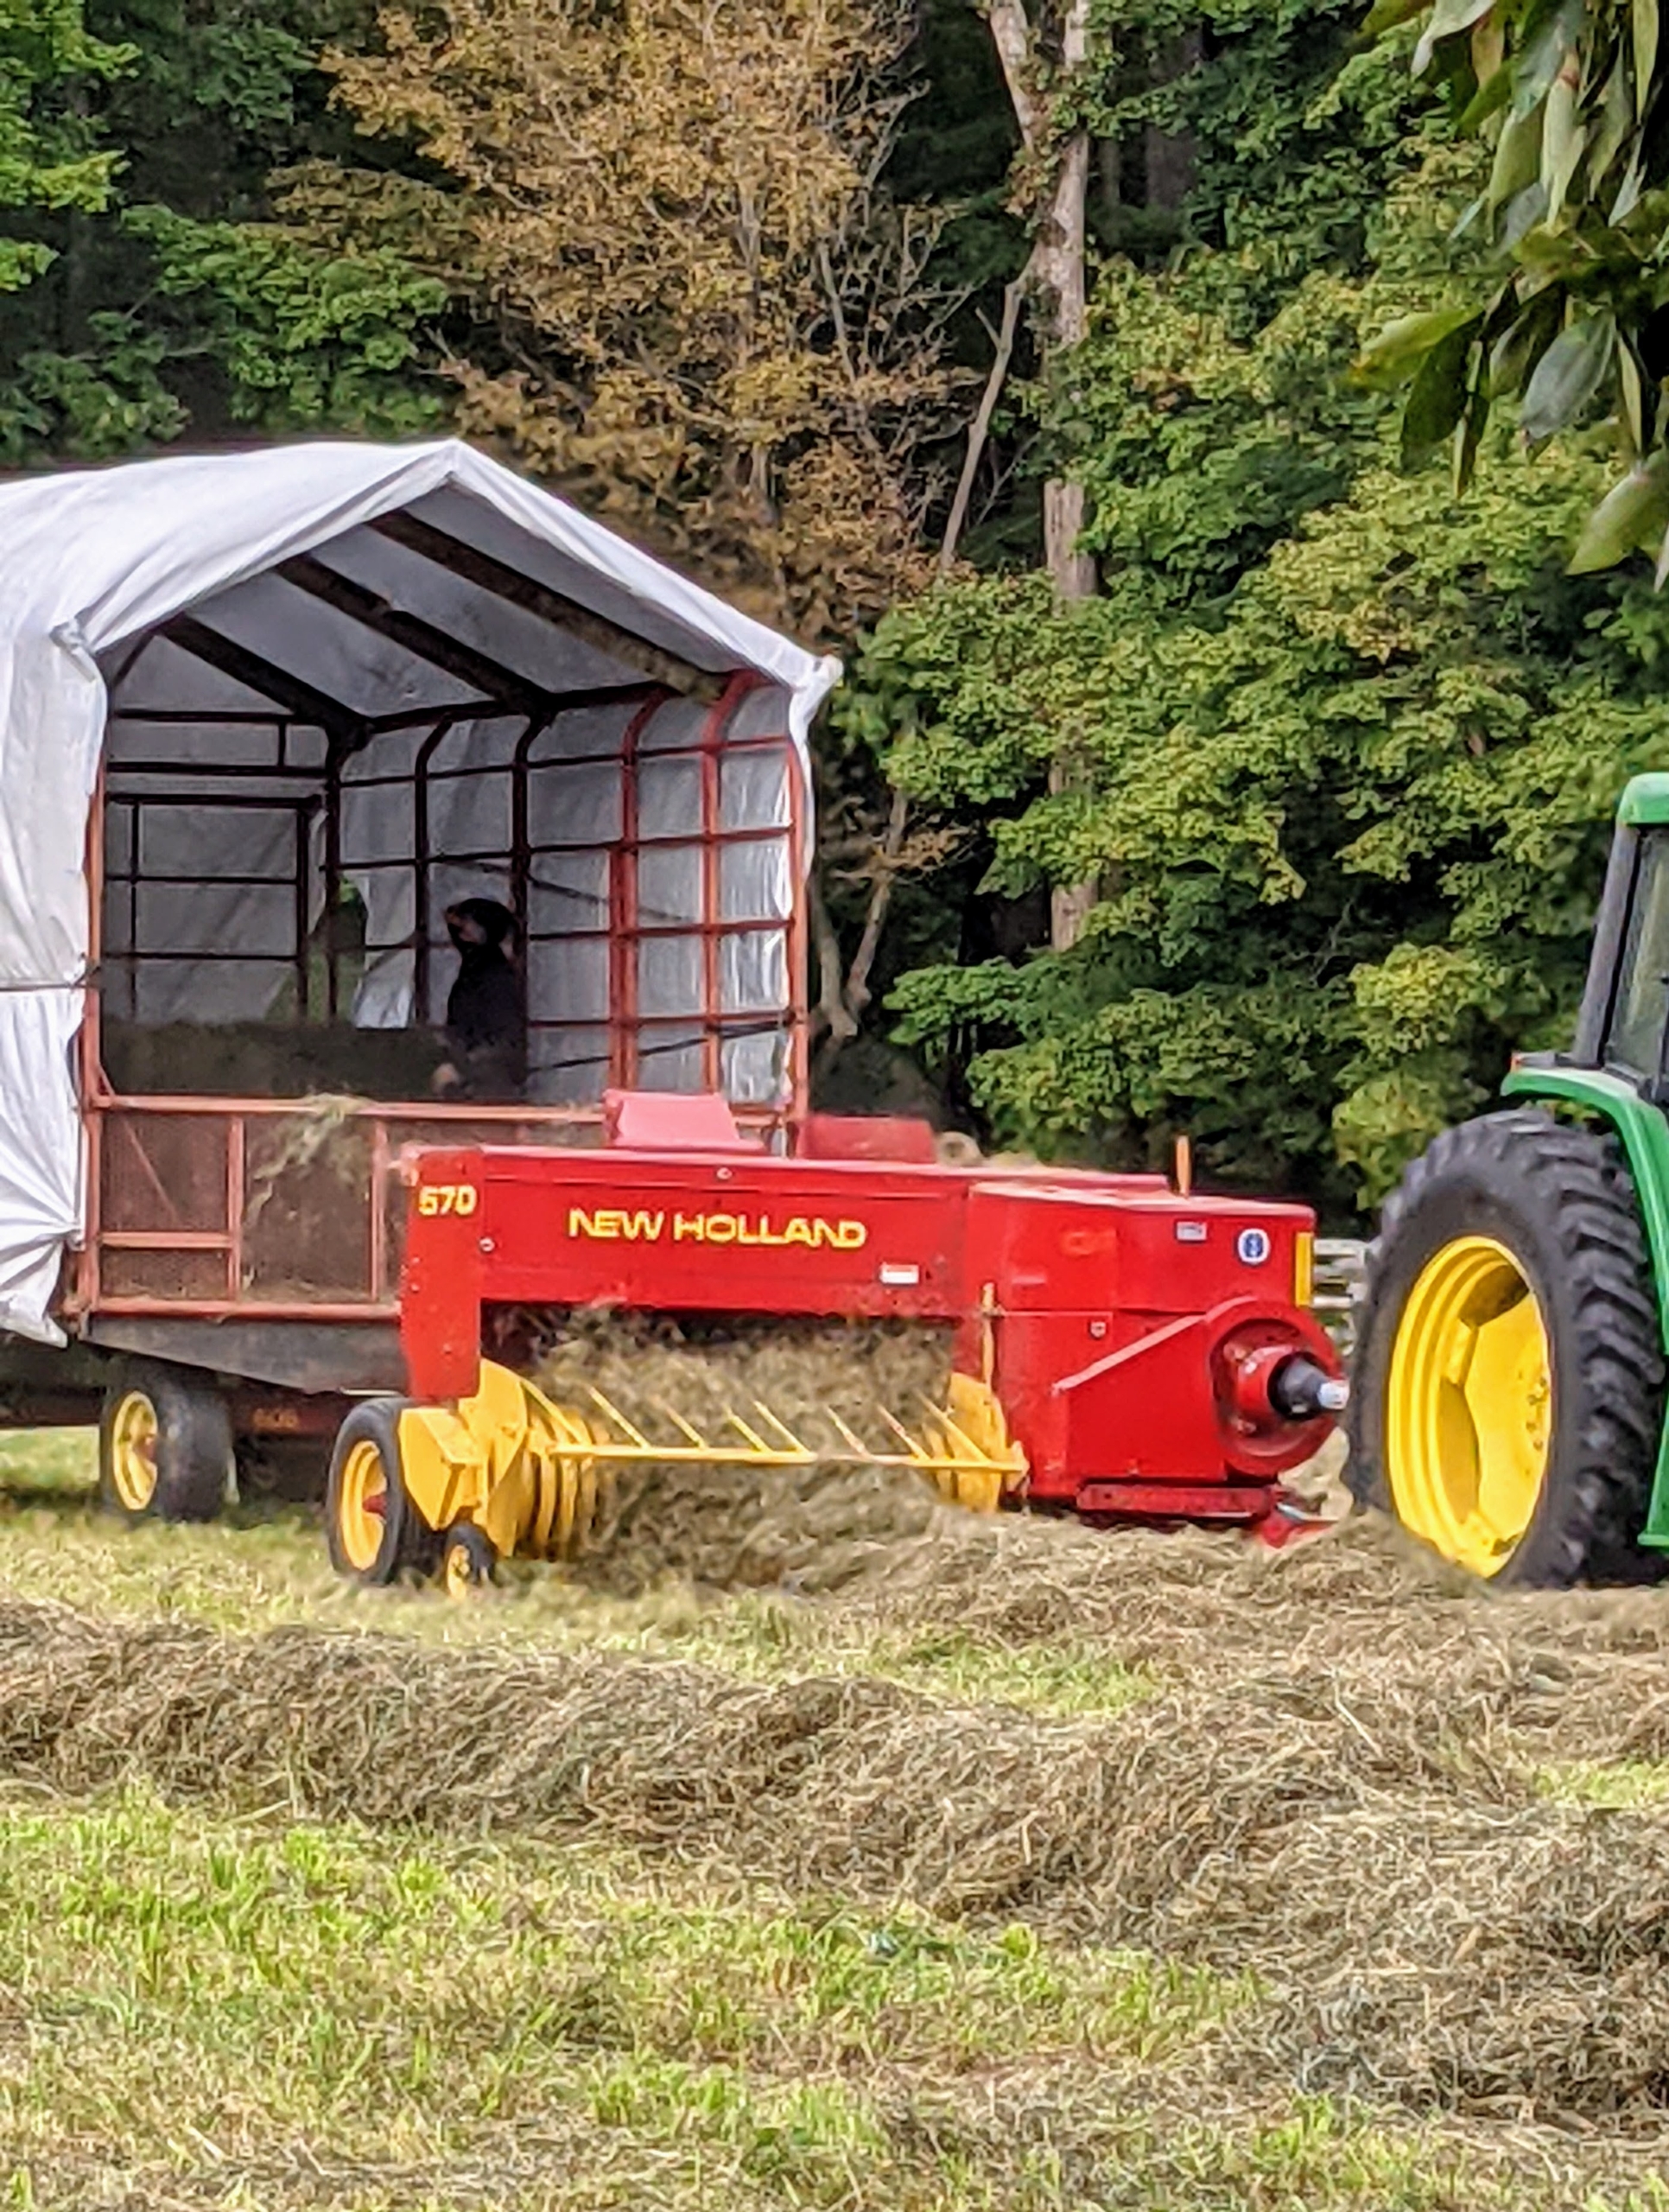
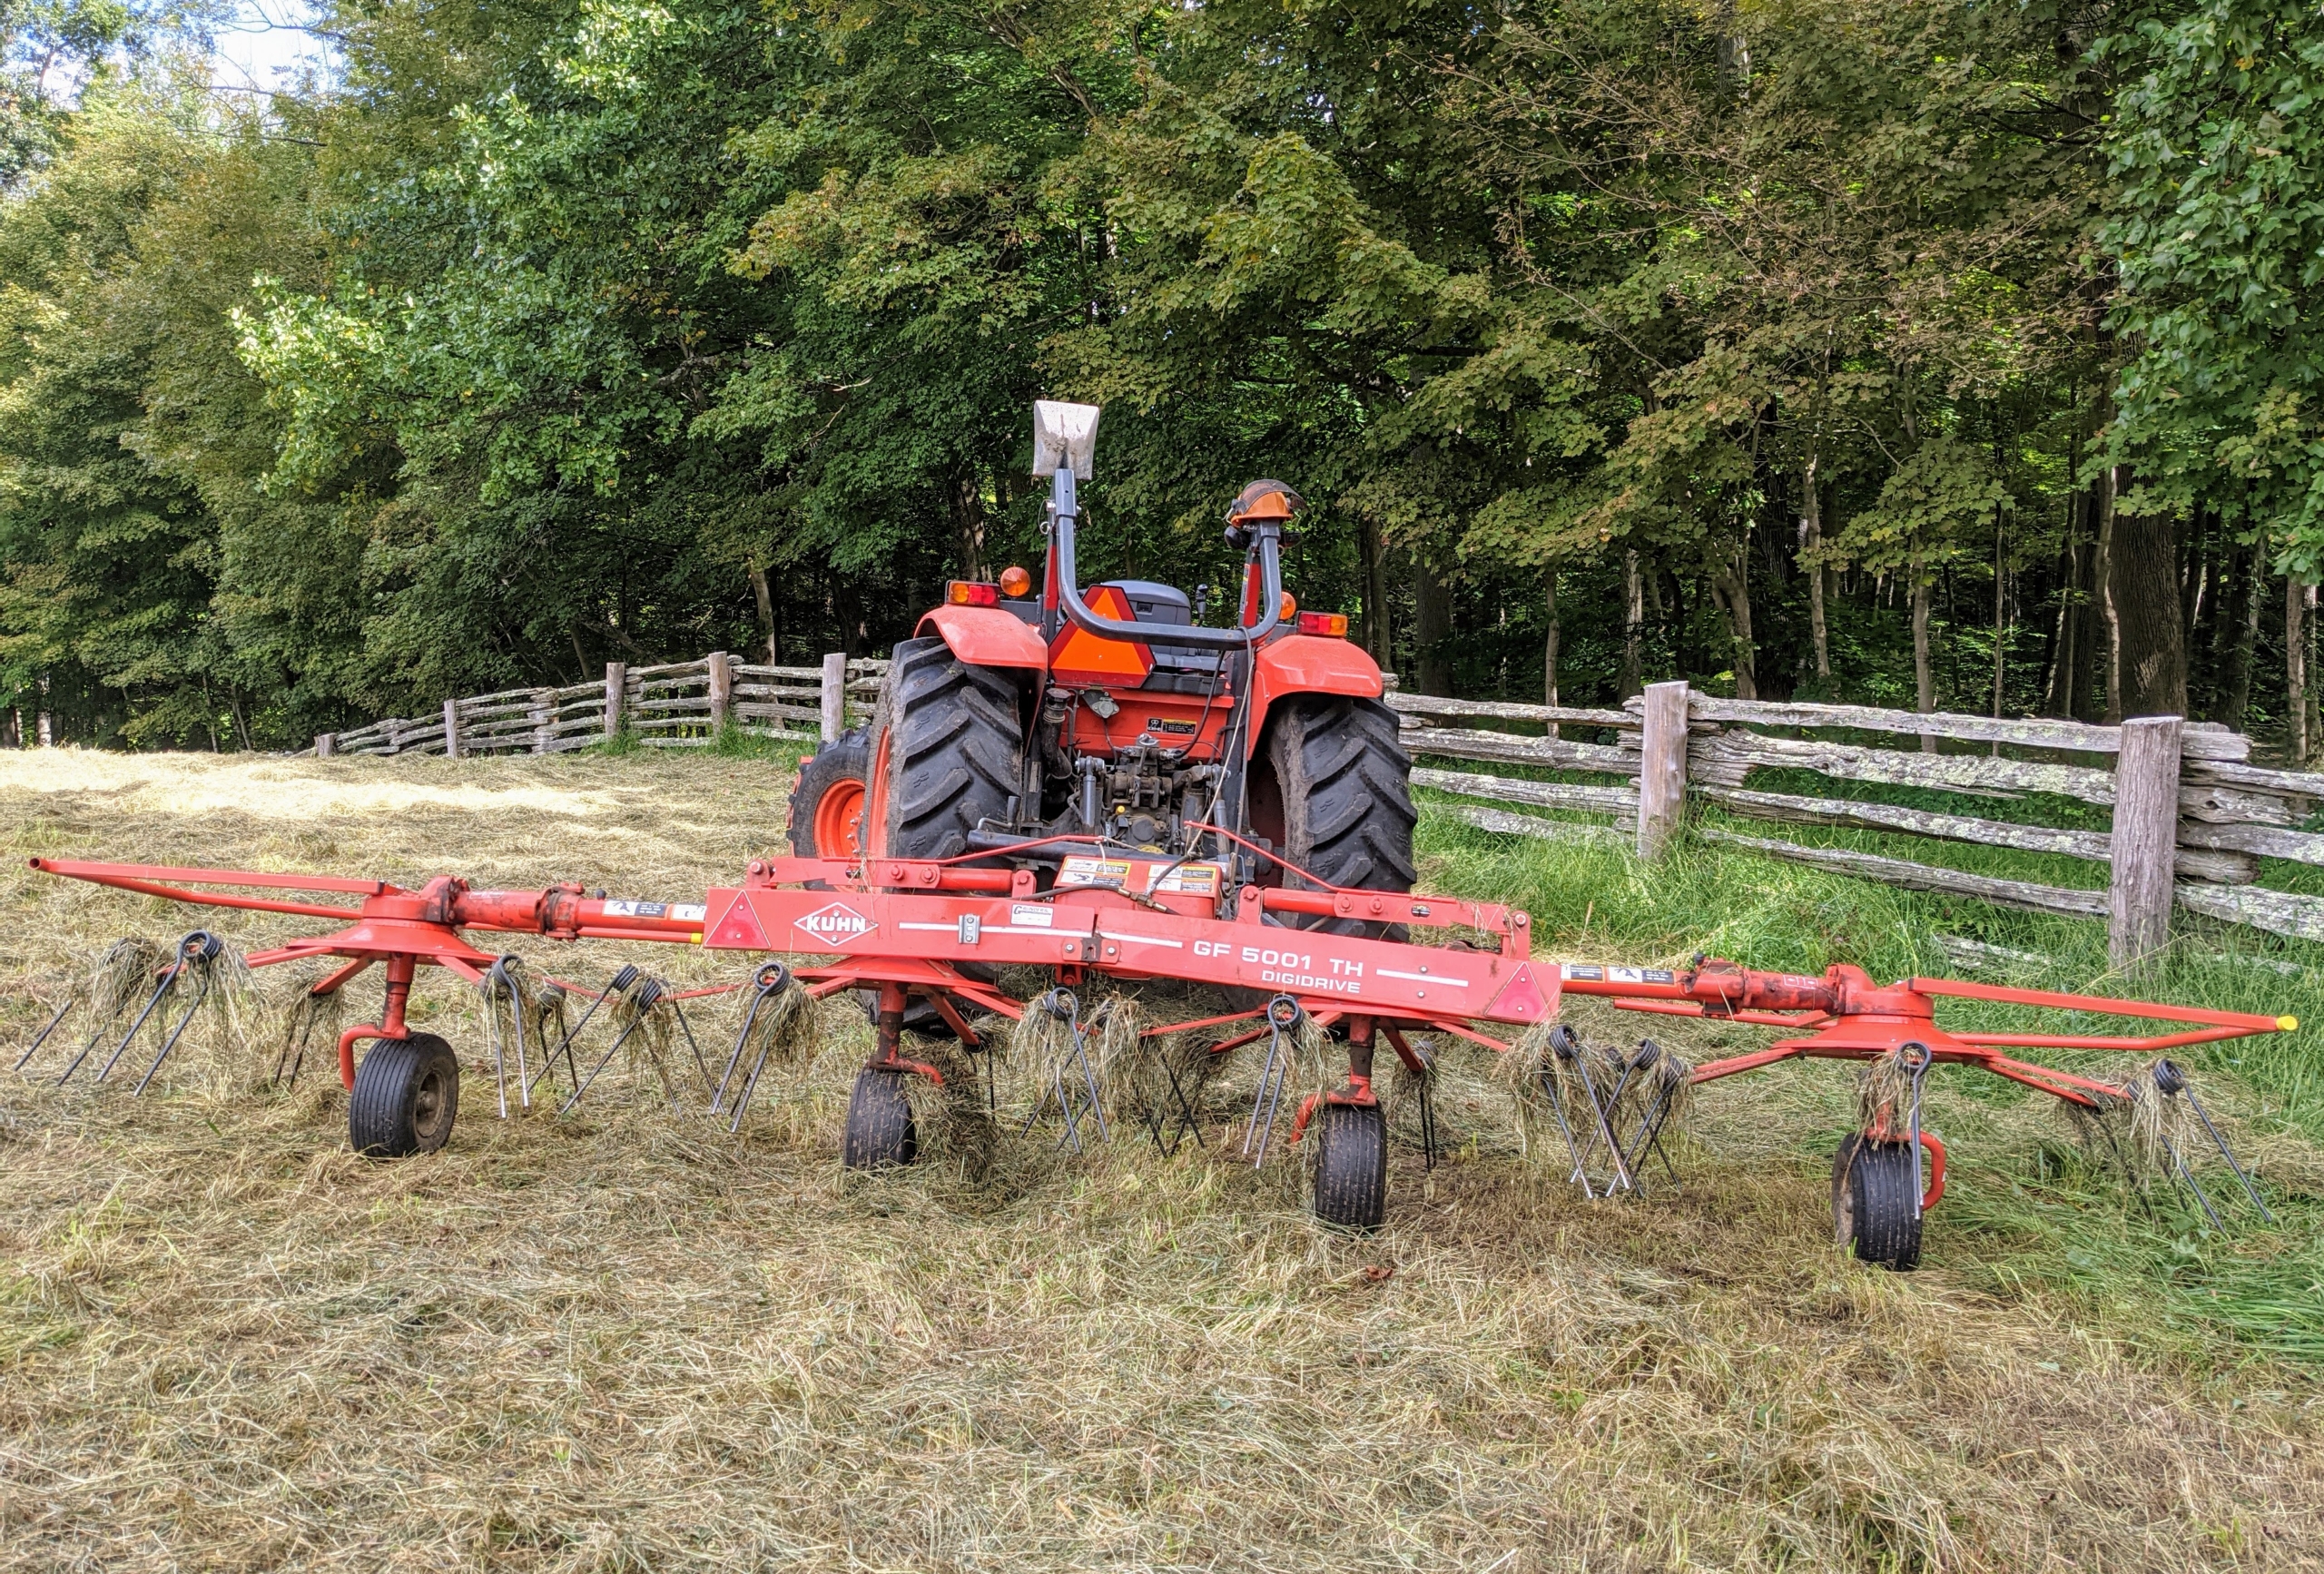
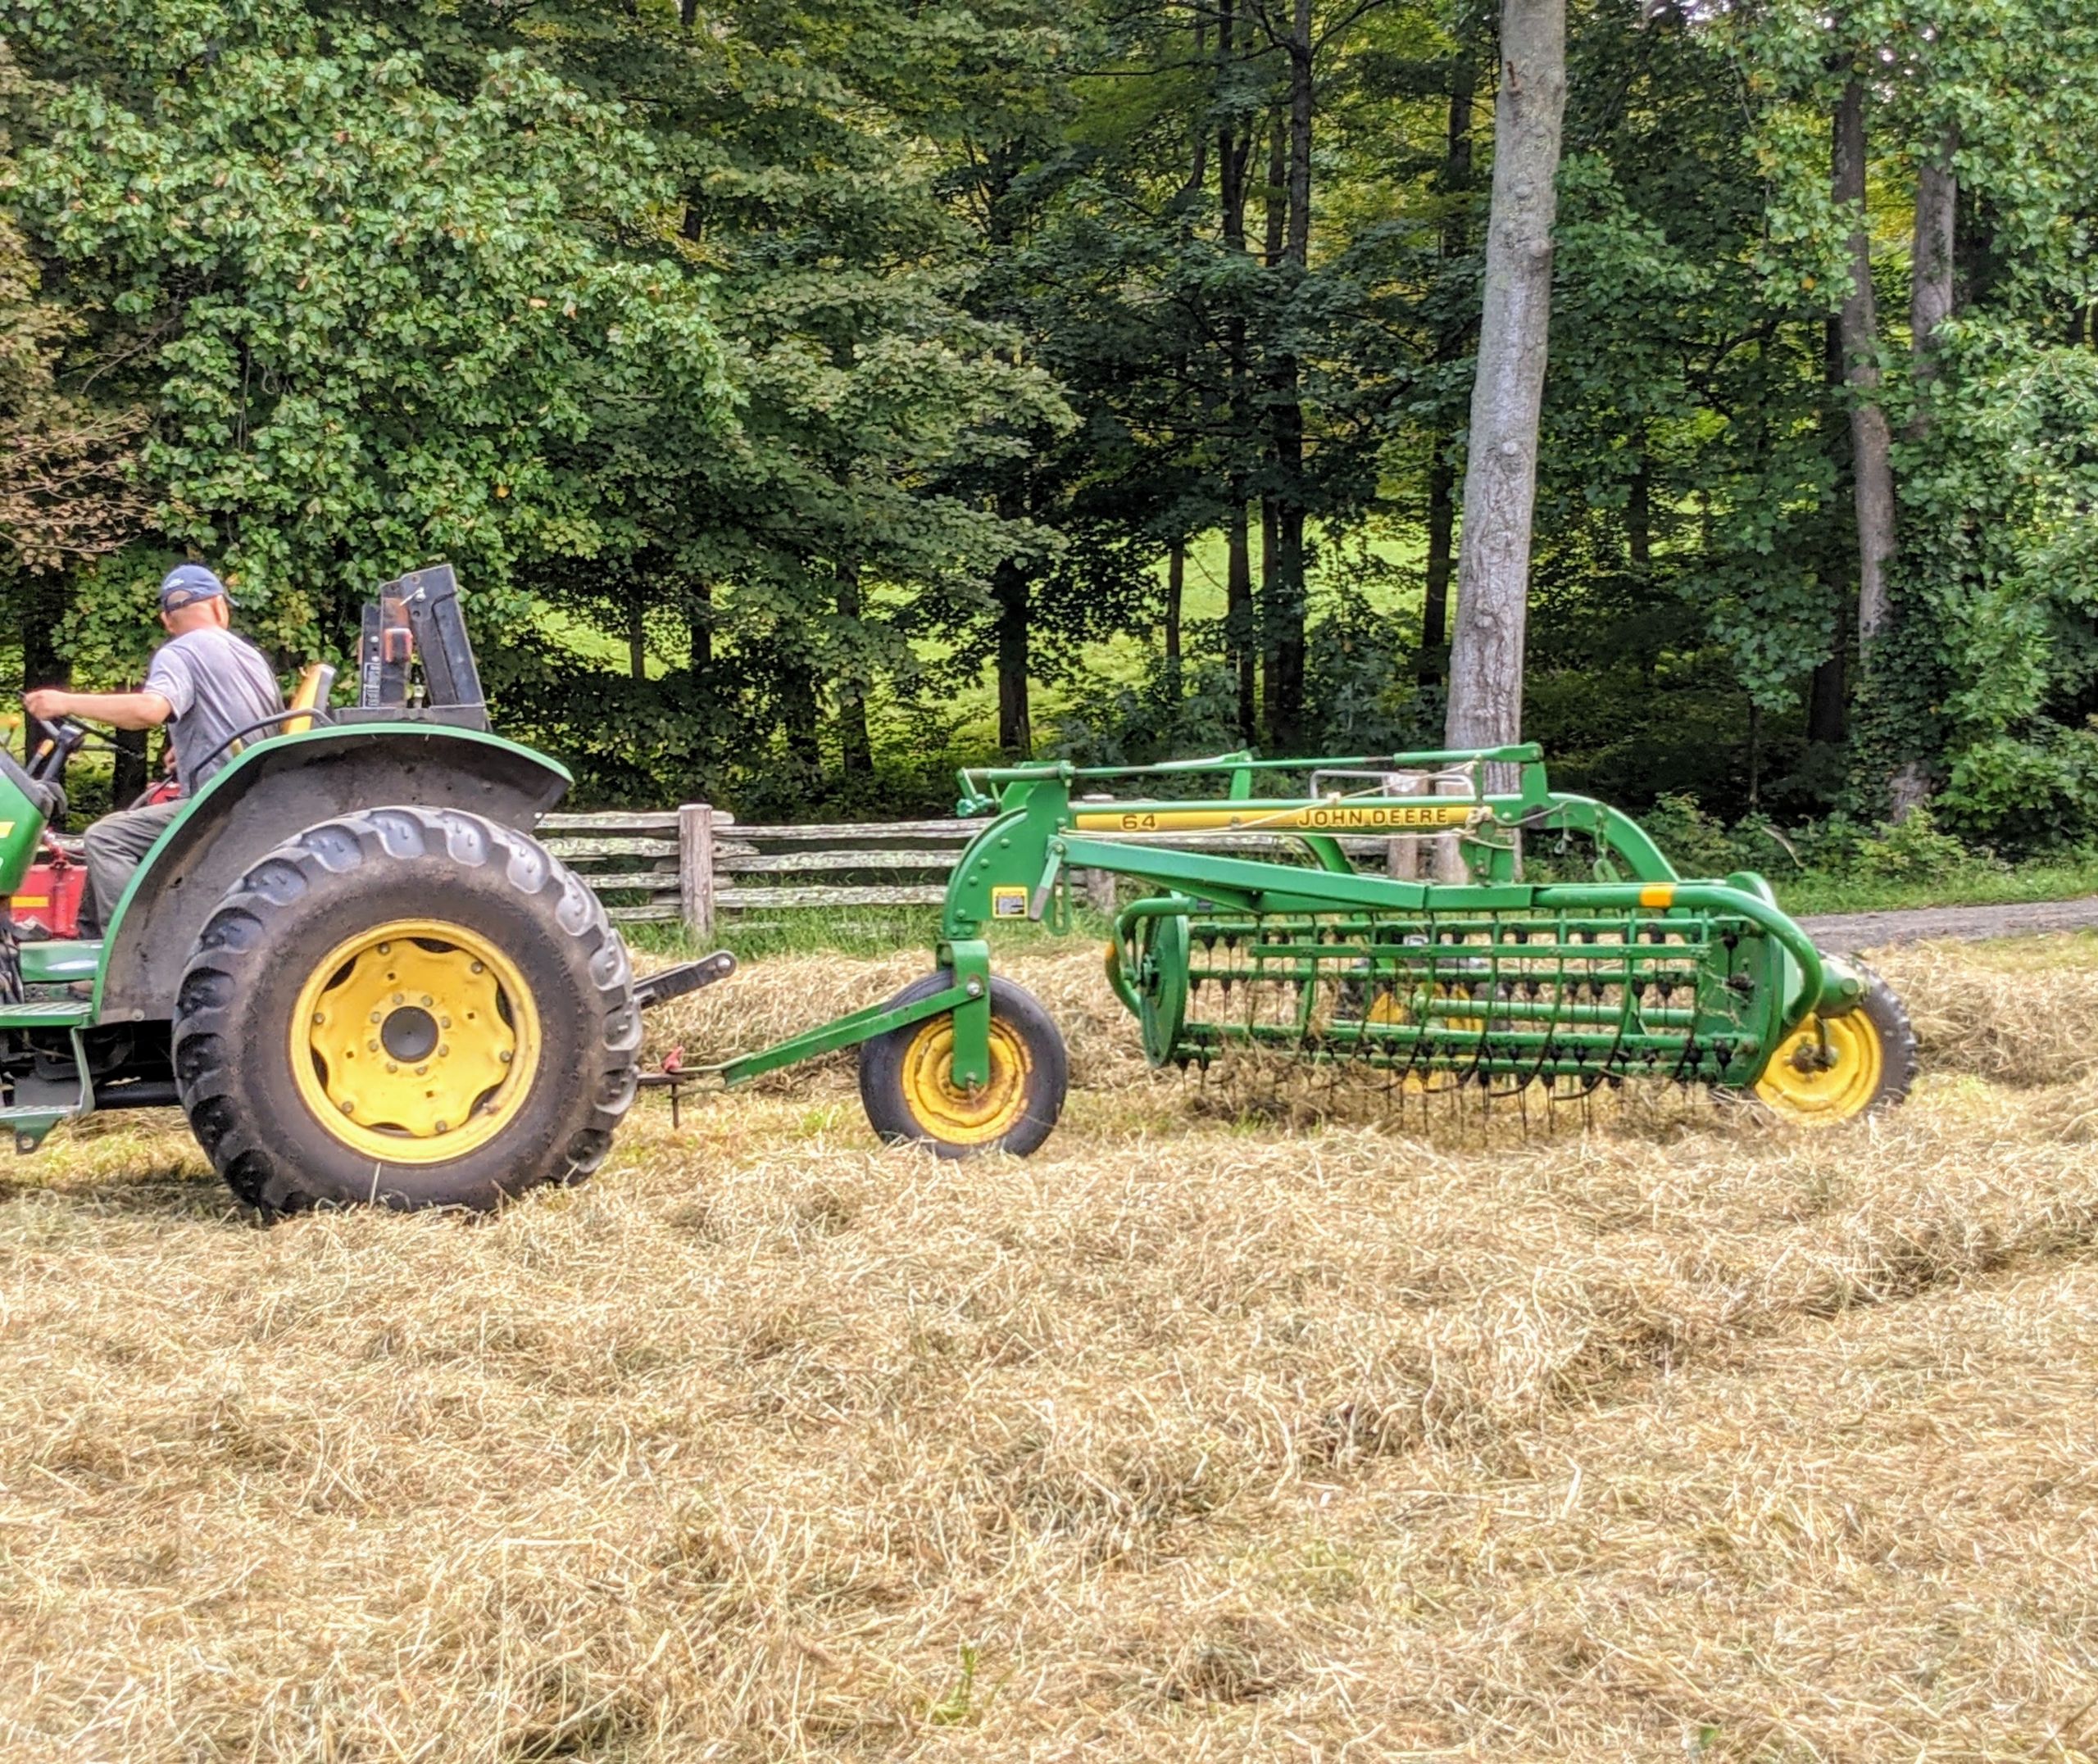
A baler is a piece of farm machinery used to compress a cut and raked crop into compact bales that are easy to handle, transport, and store.
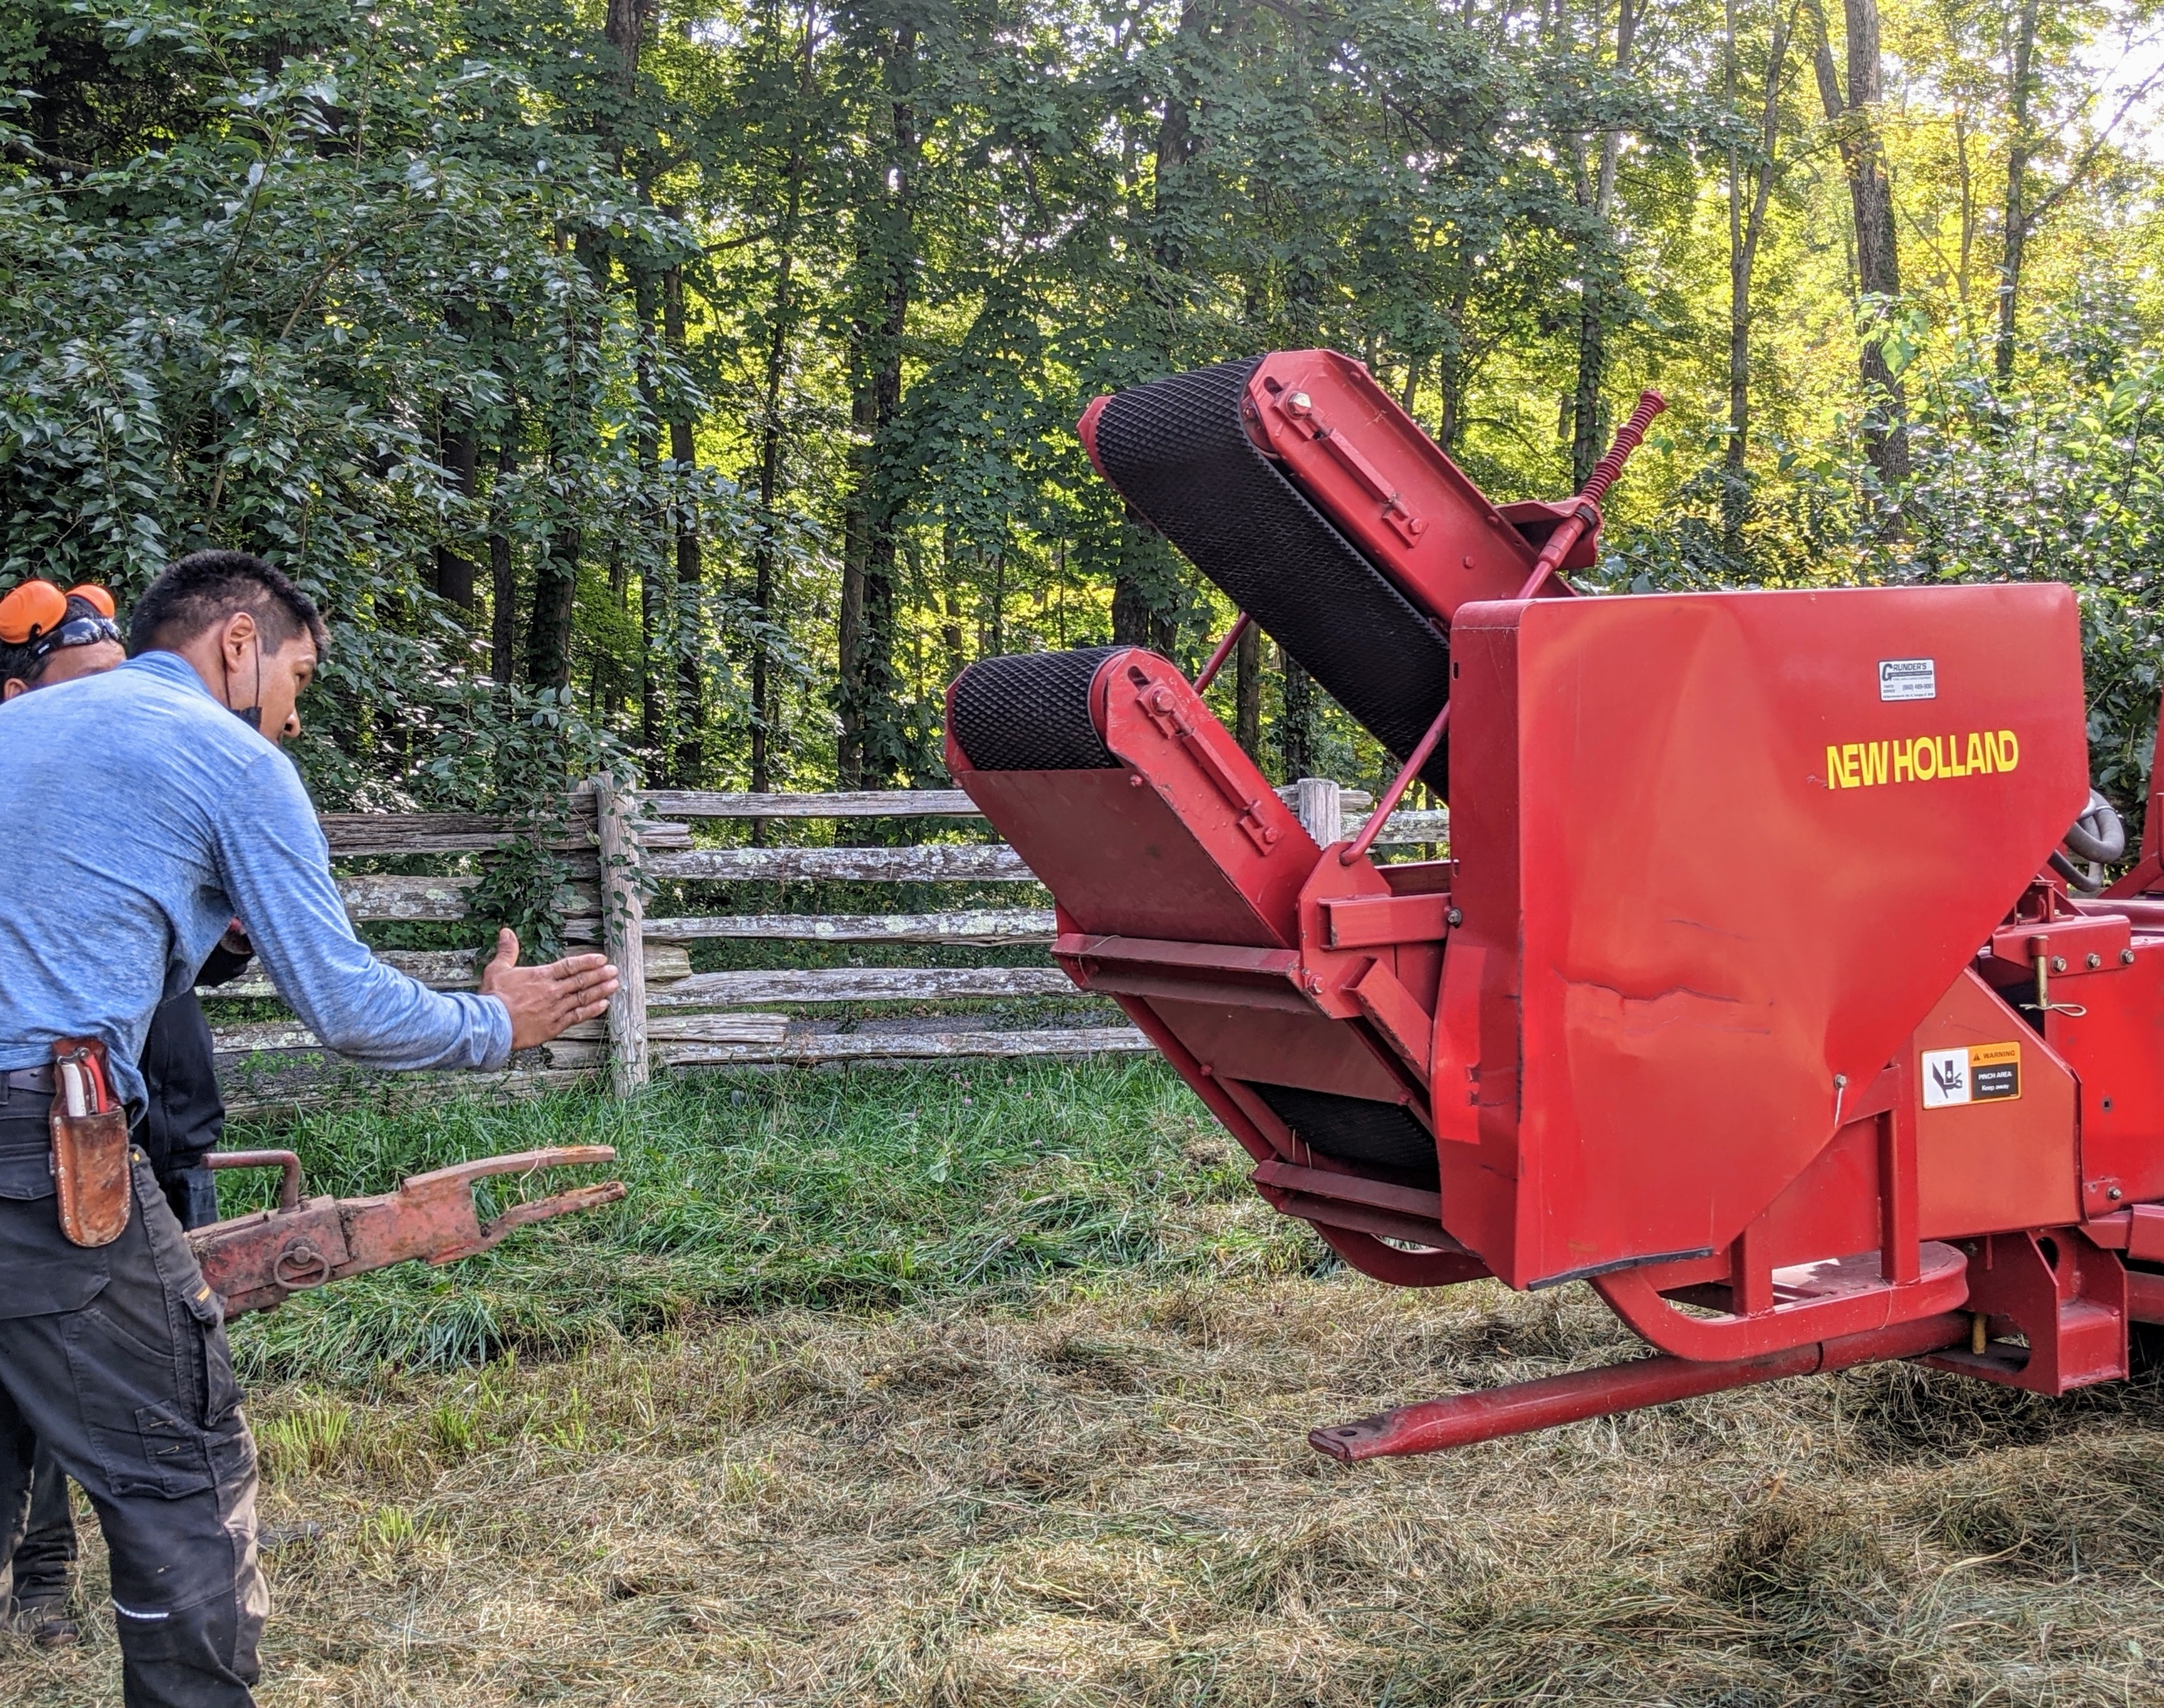
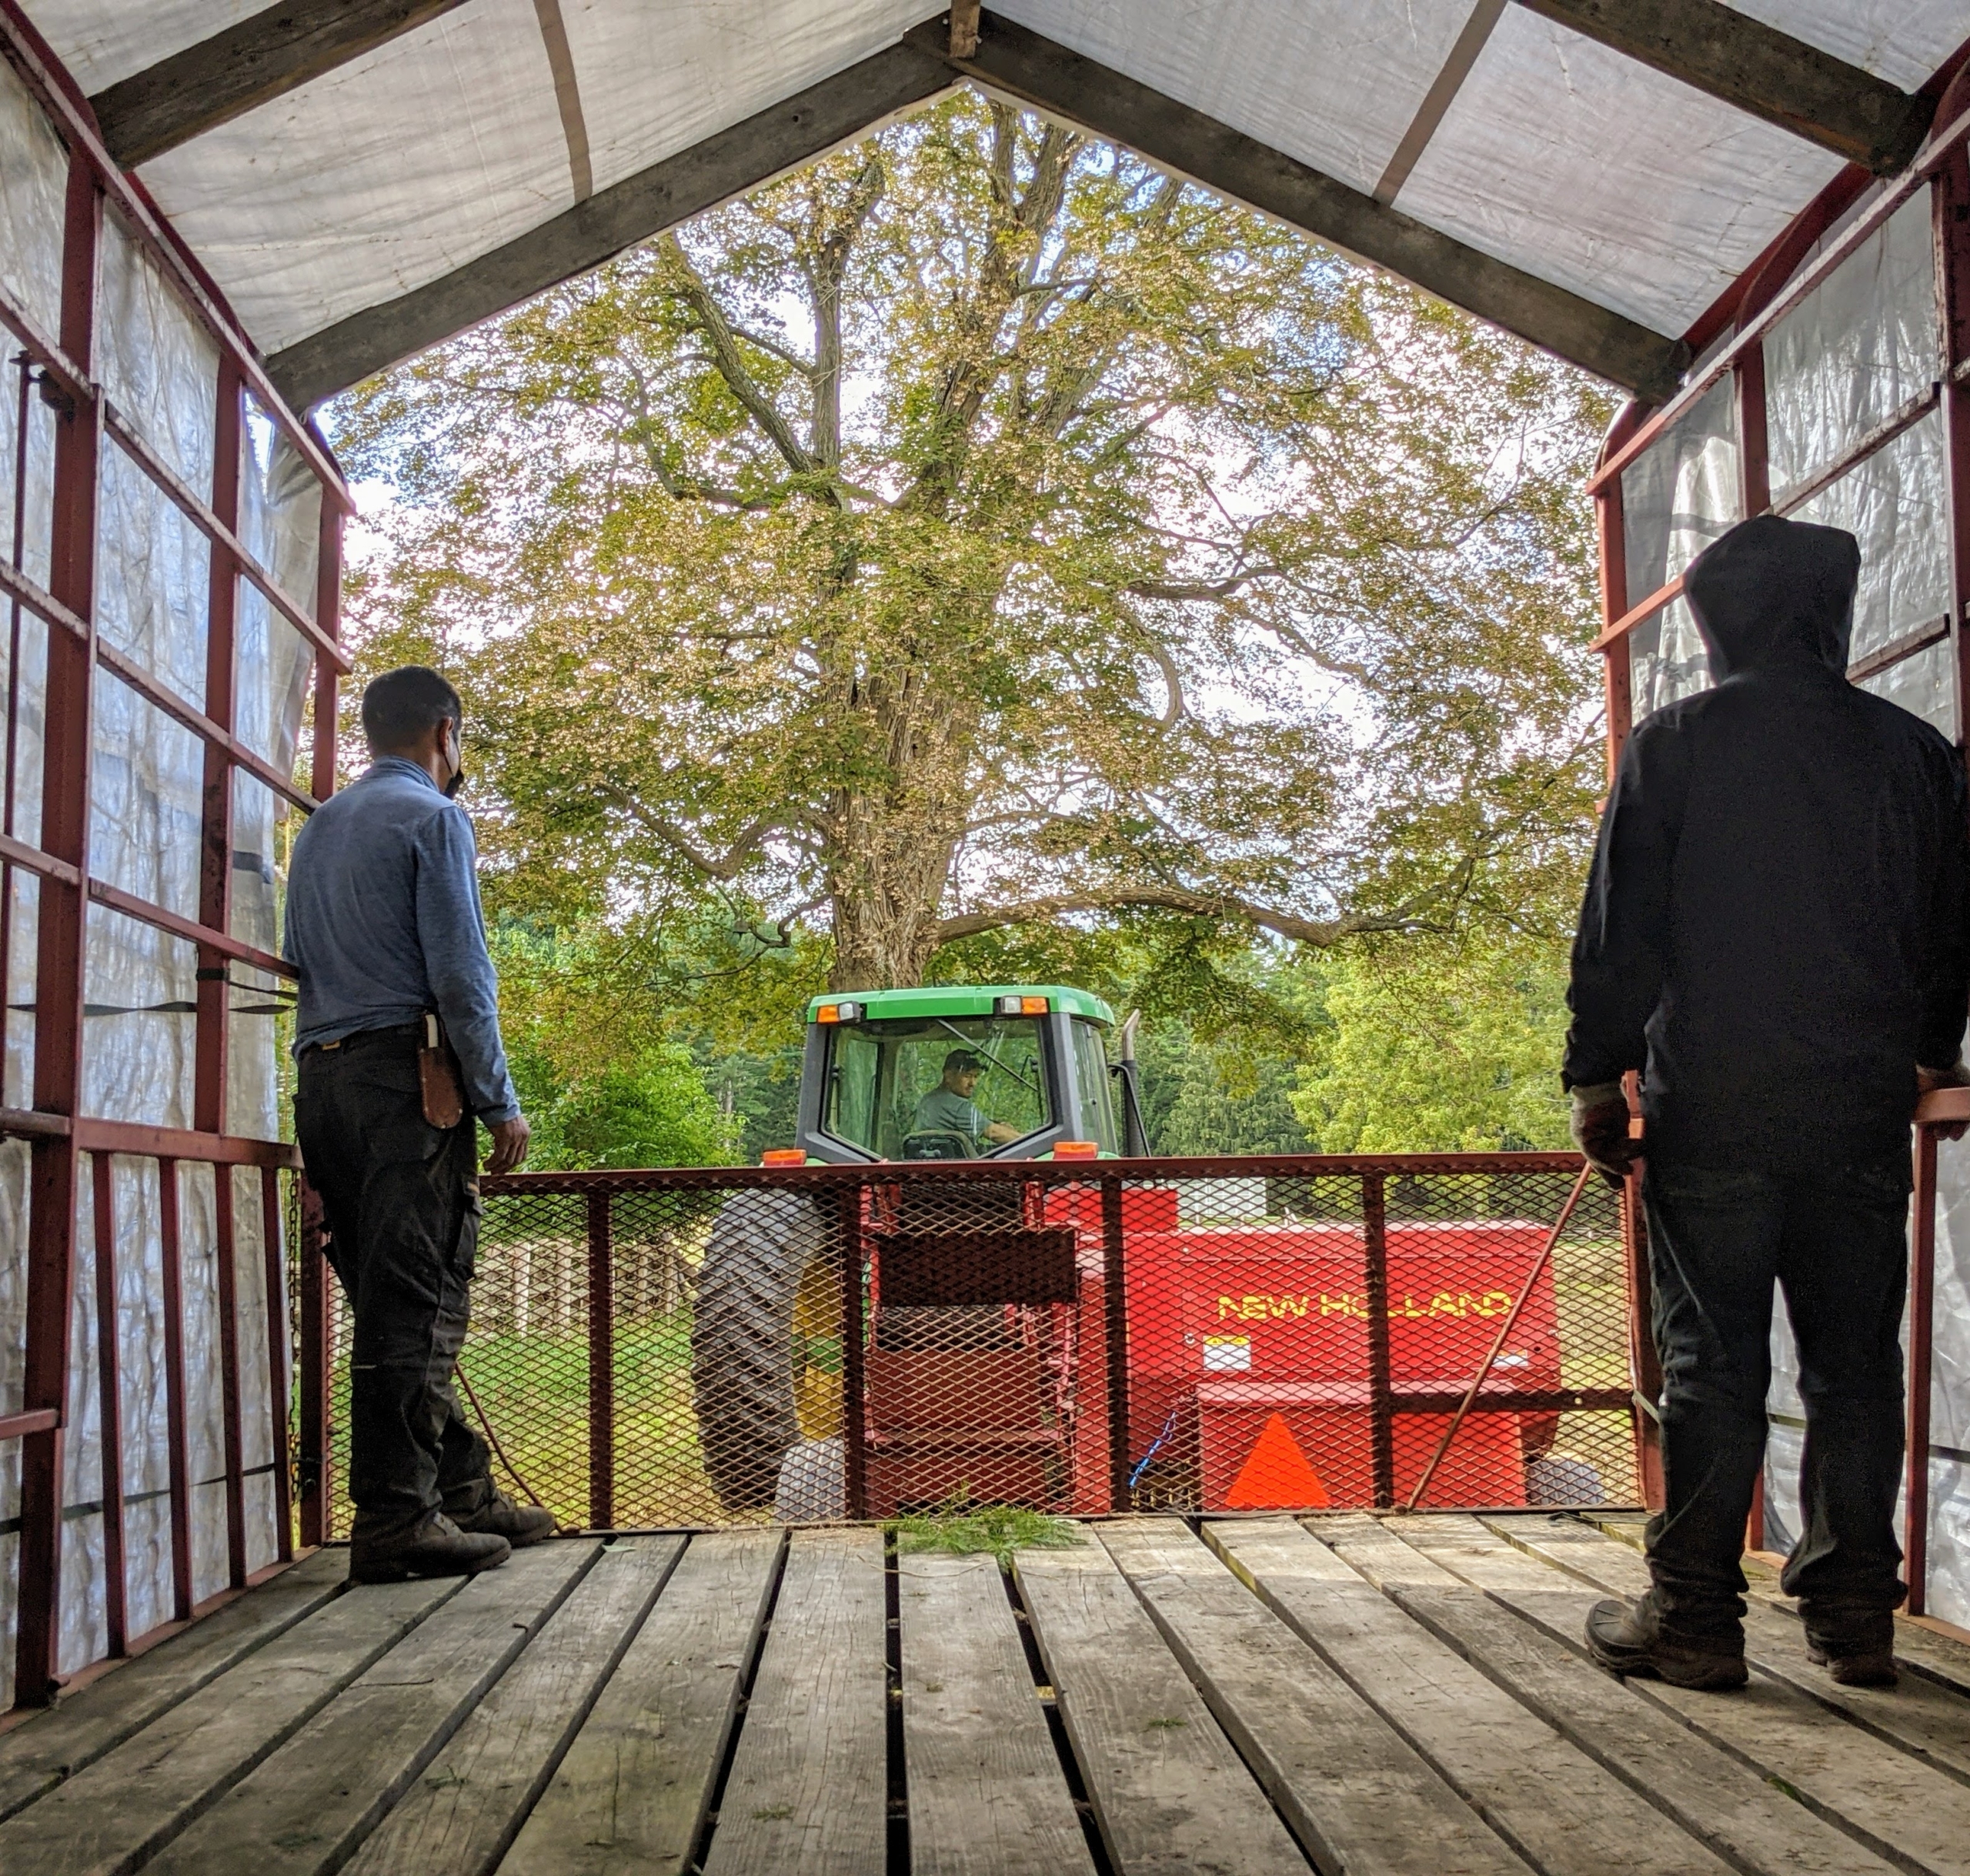
Here is Pasang guiding the baler as it is moved and positioned behind the tractor.
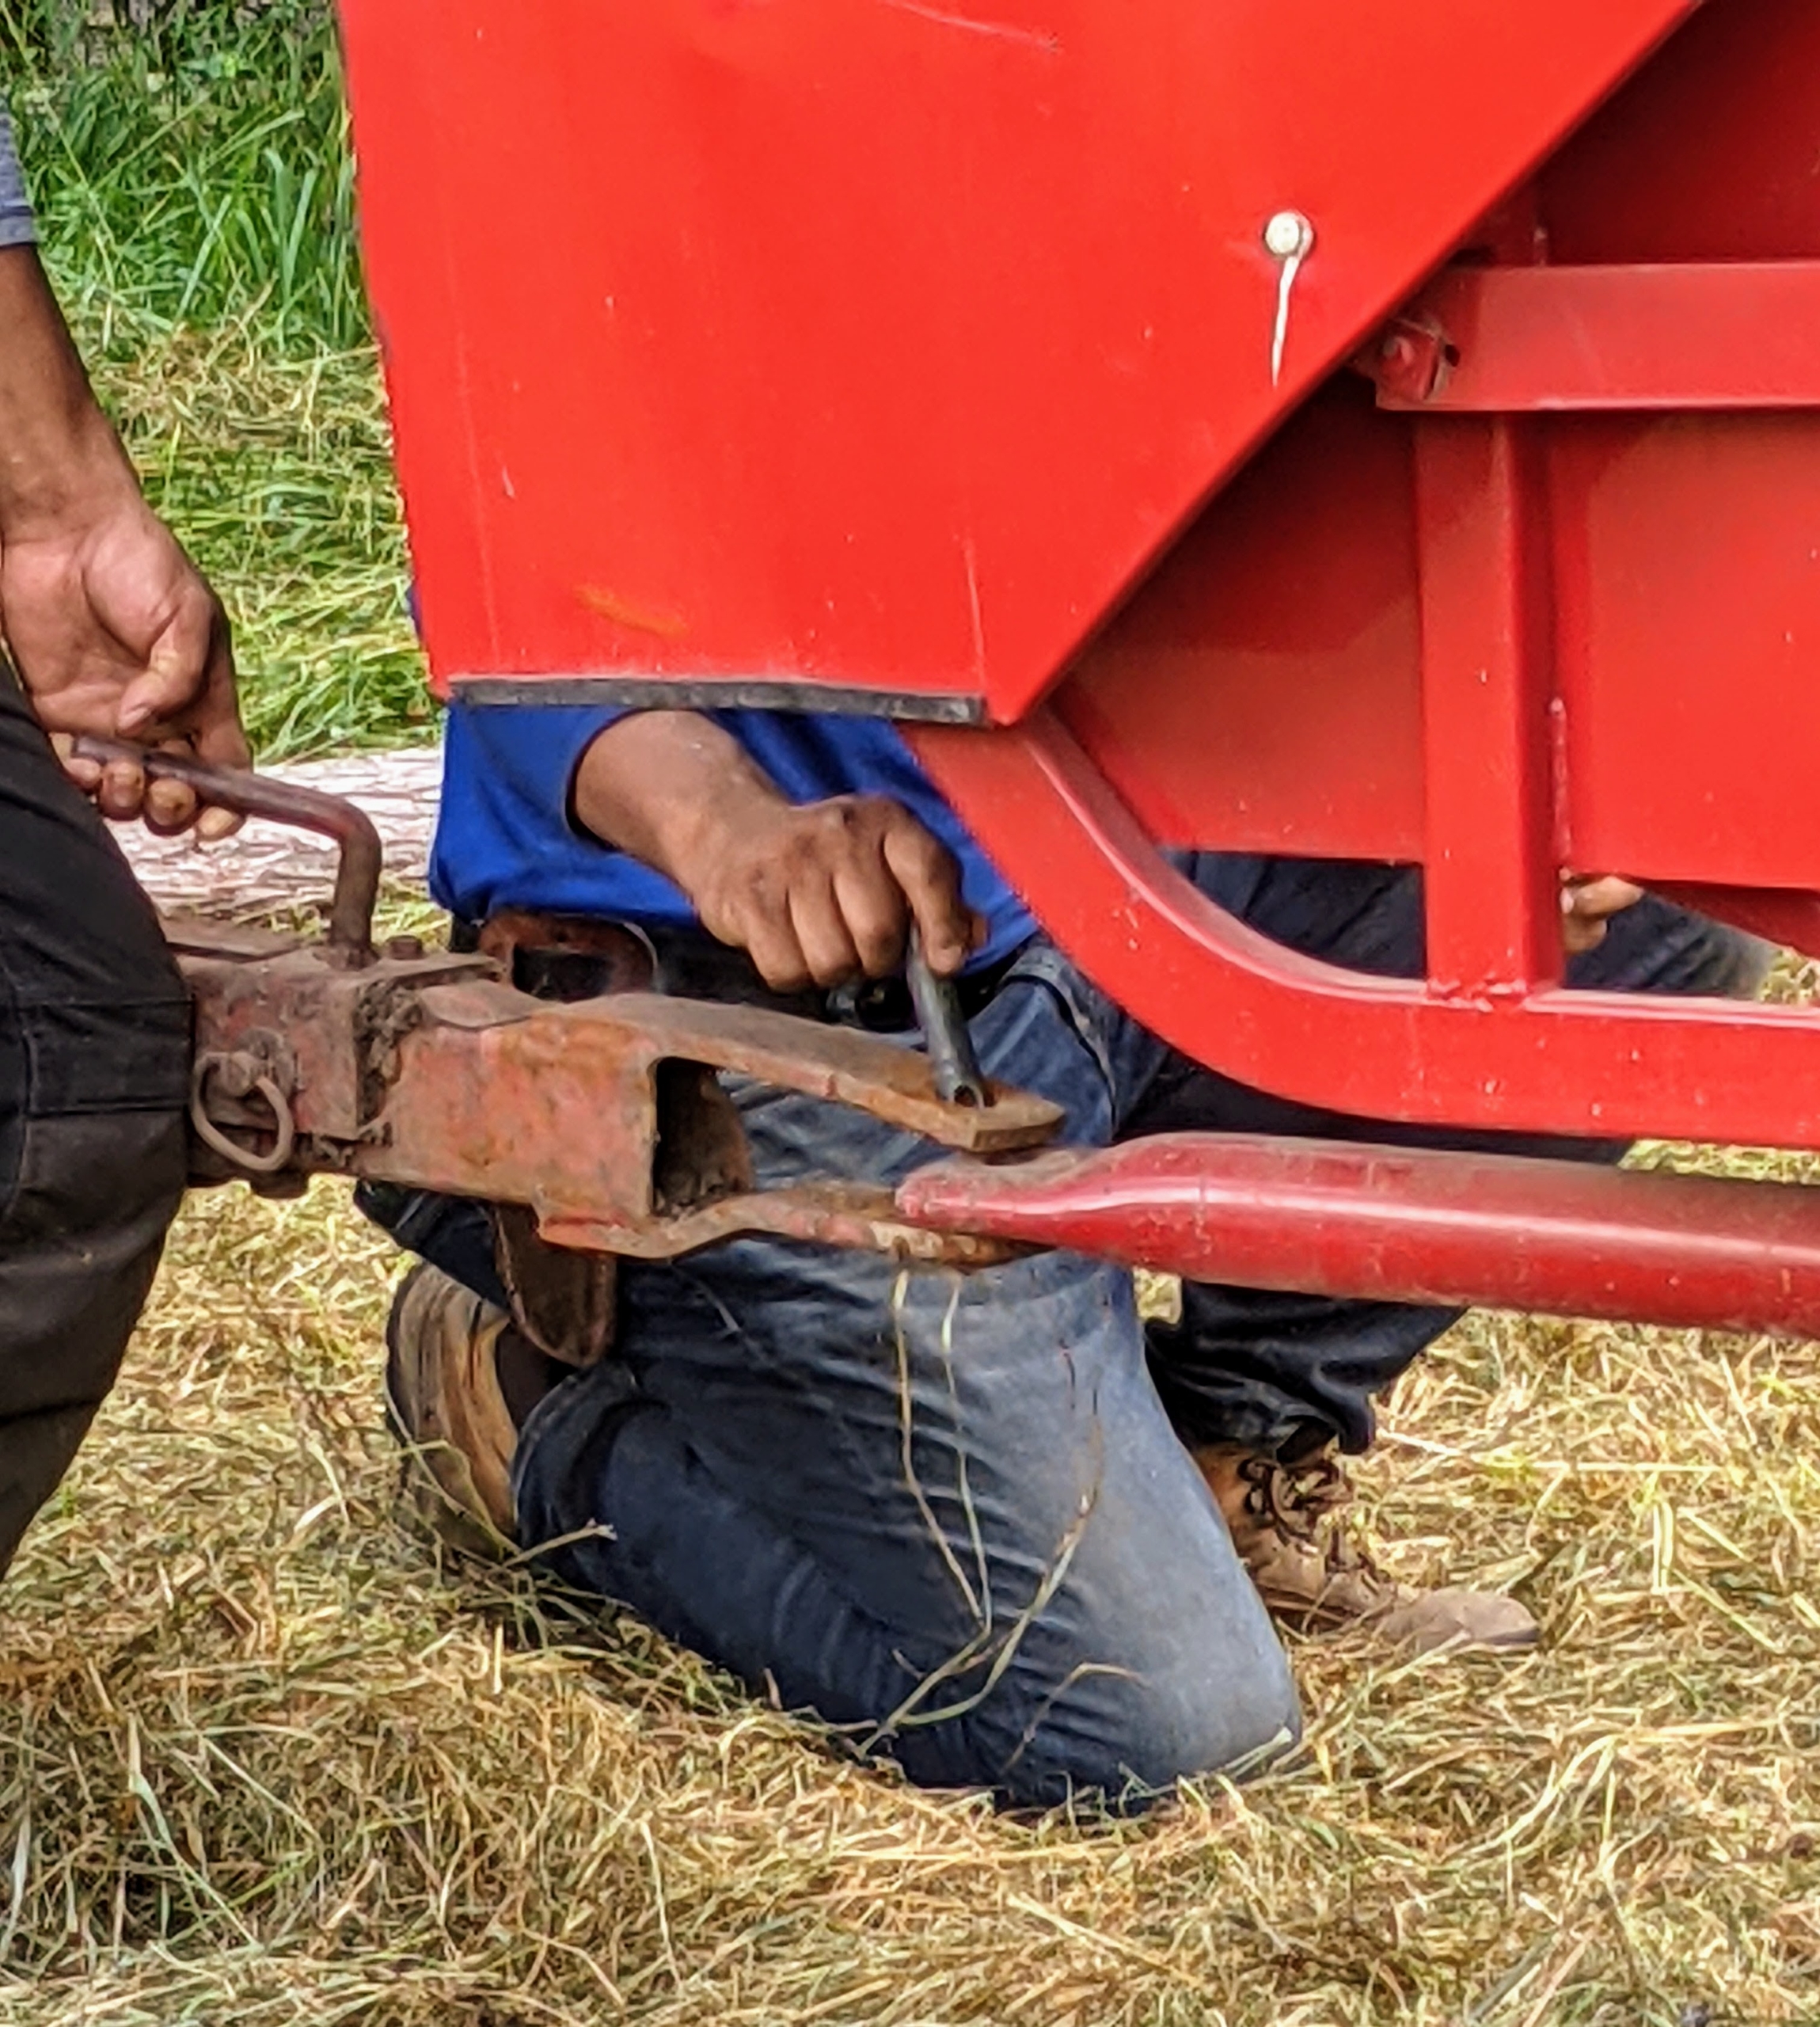
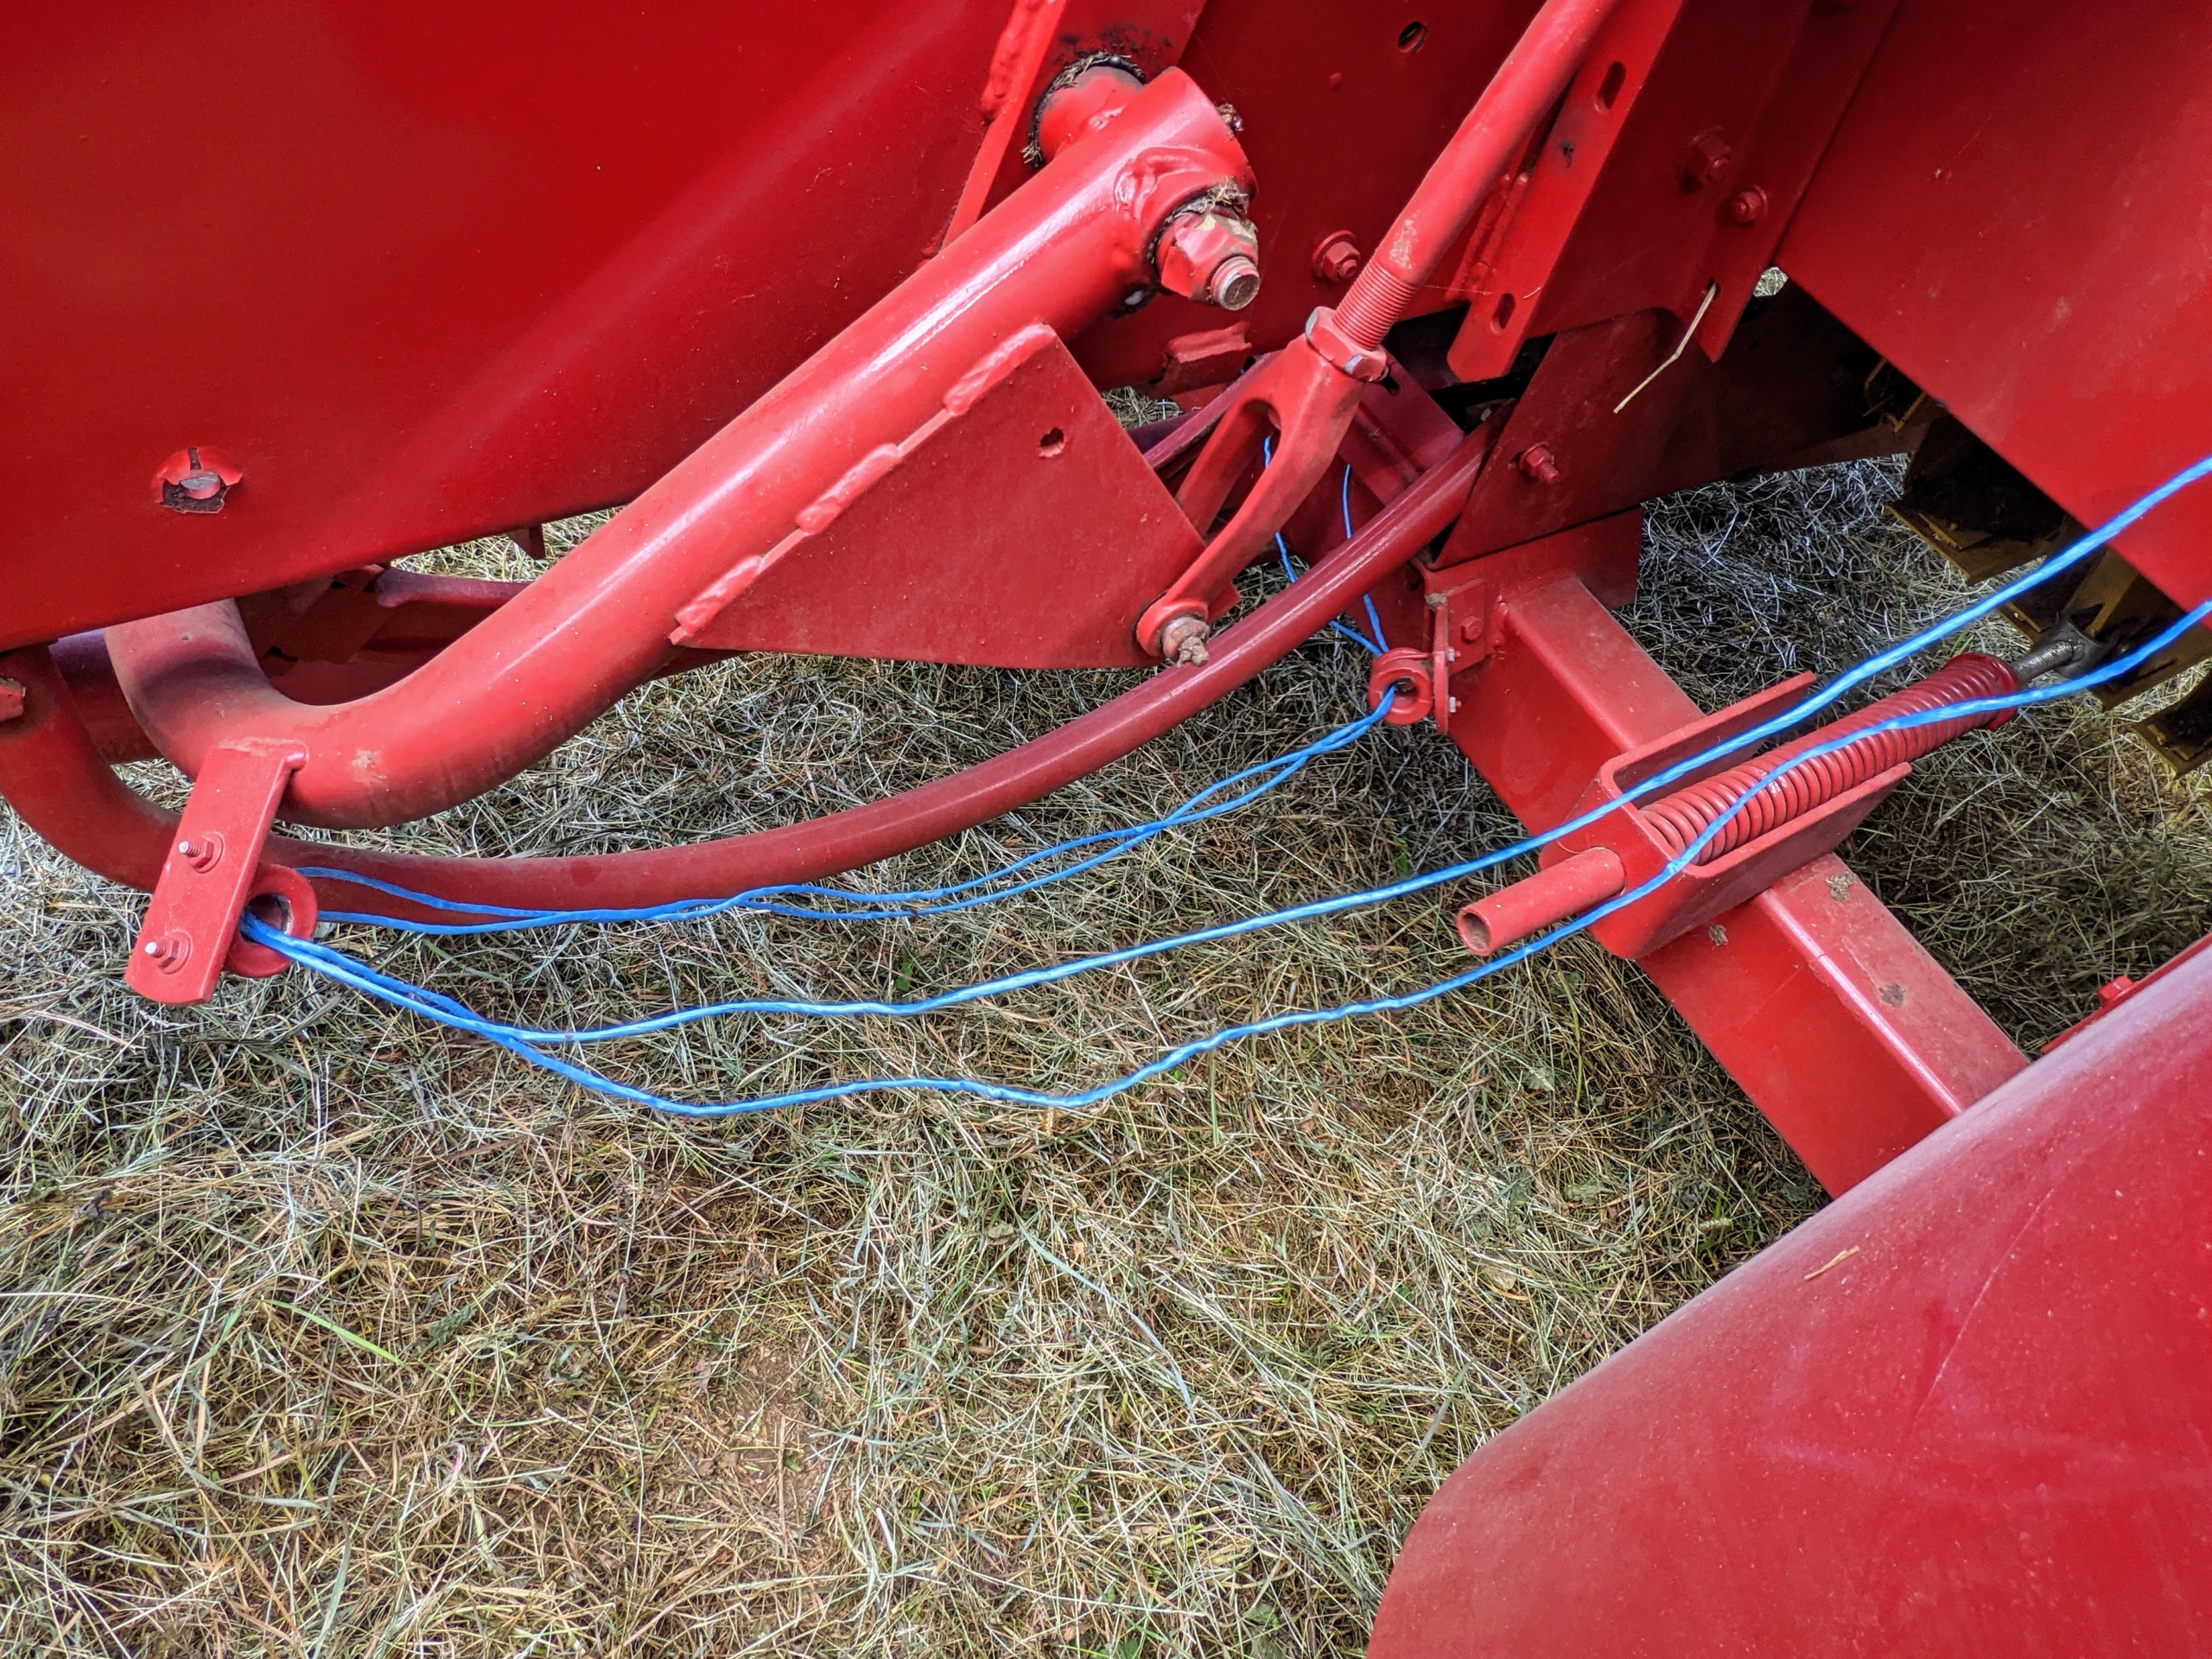
The baler and tractor are connected by a simple trailer hitch pin and clip.
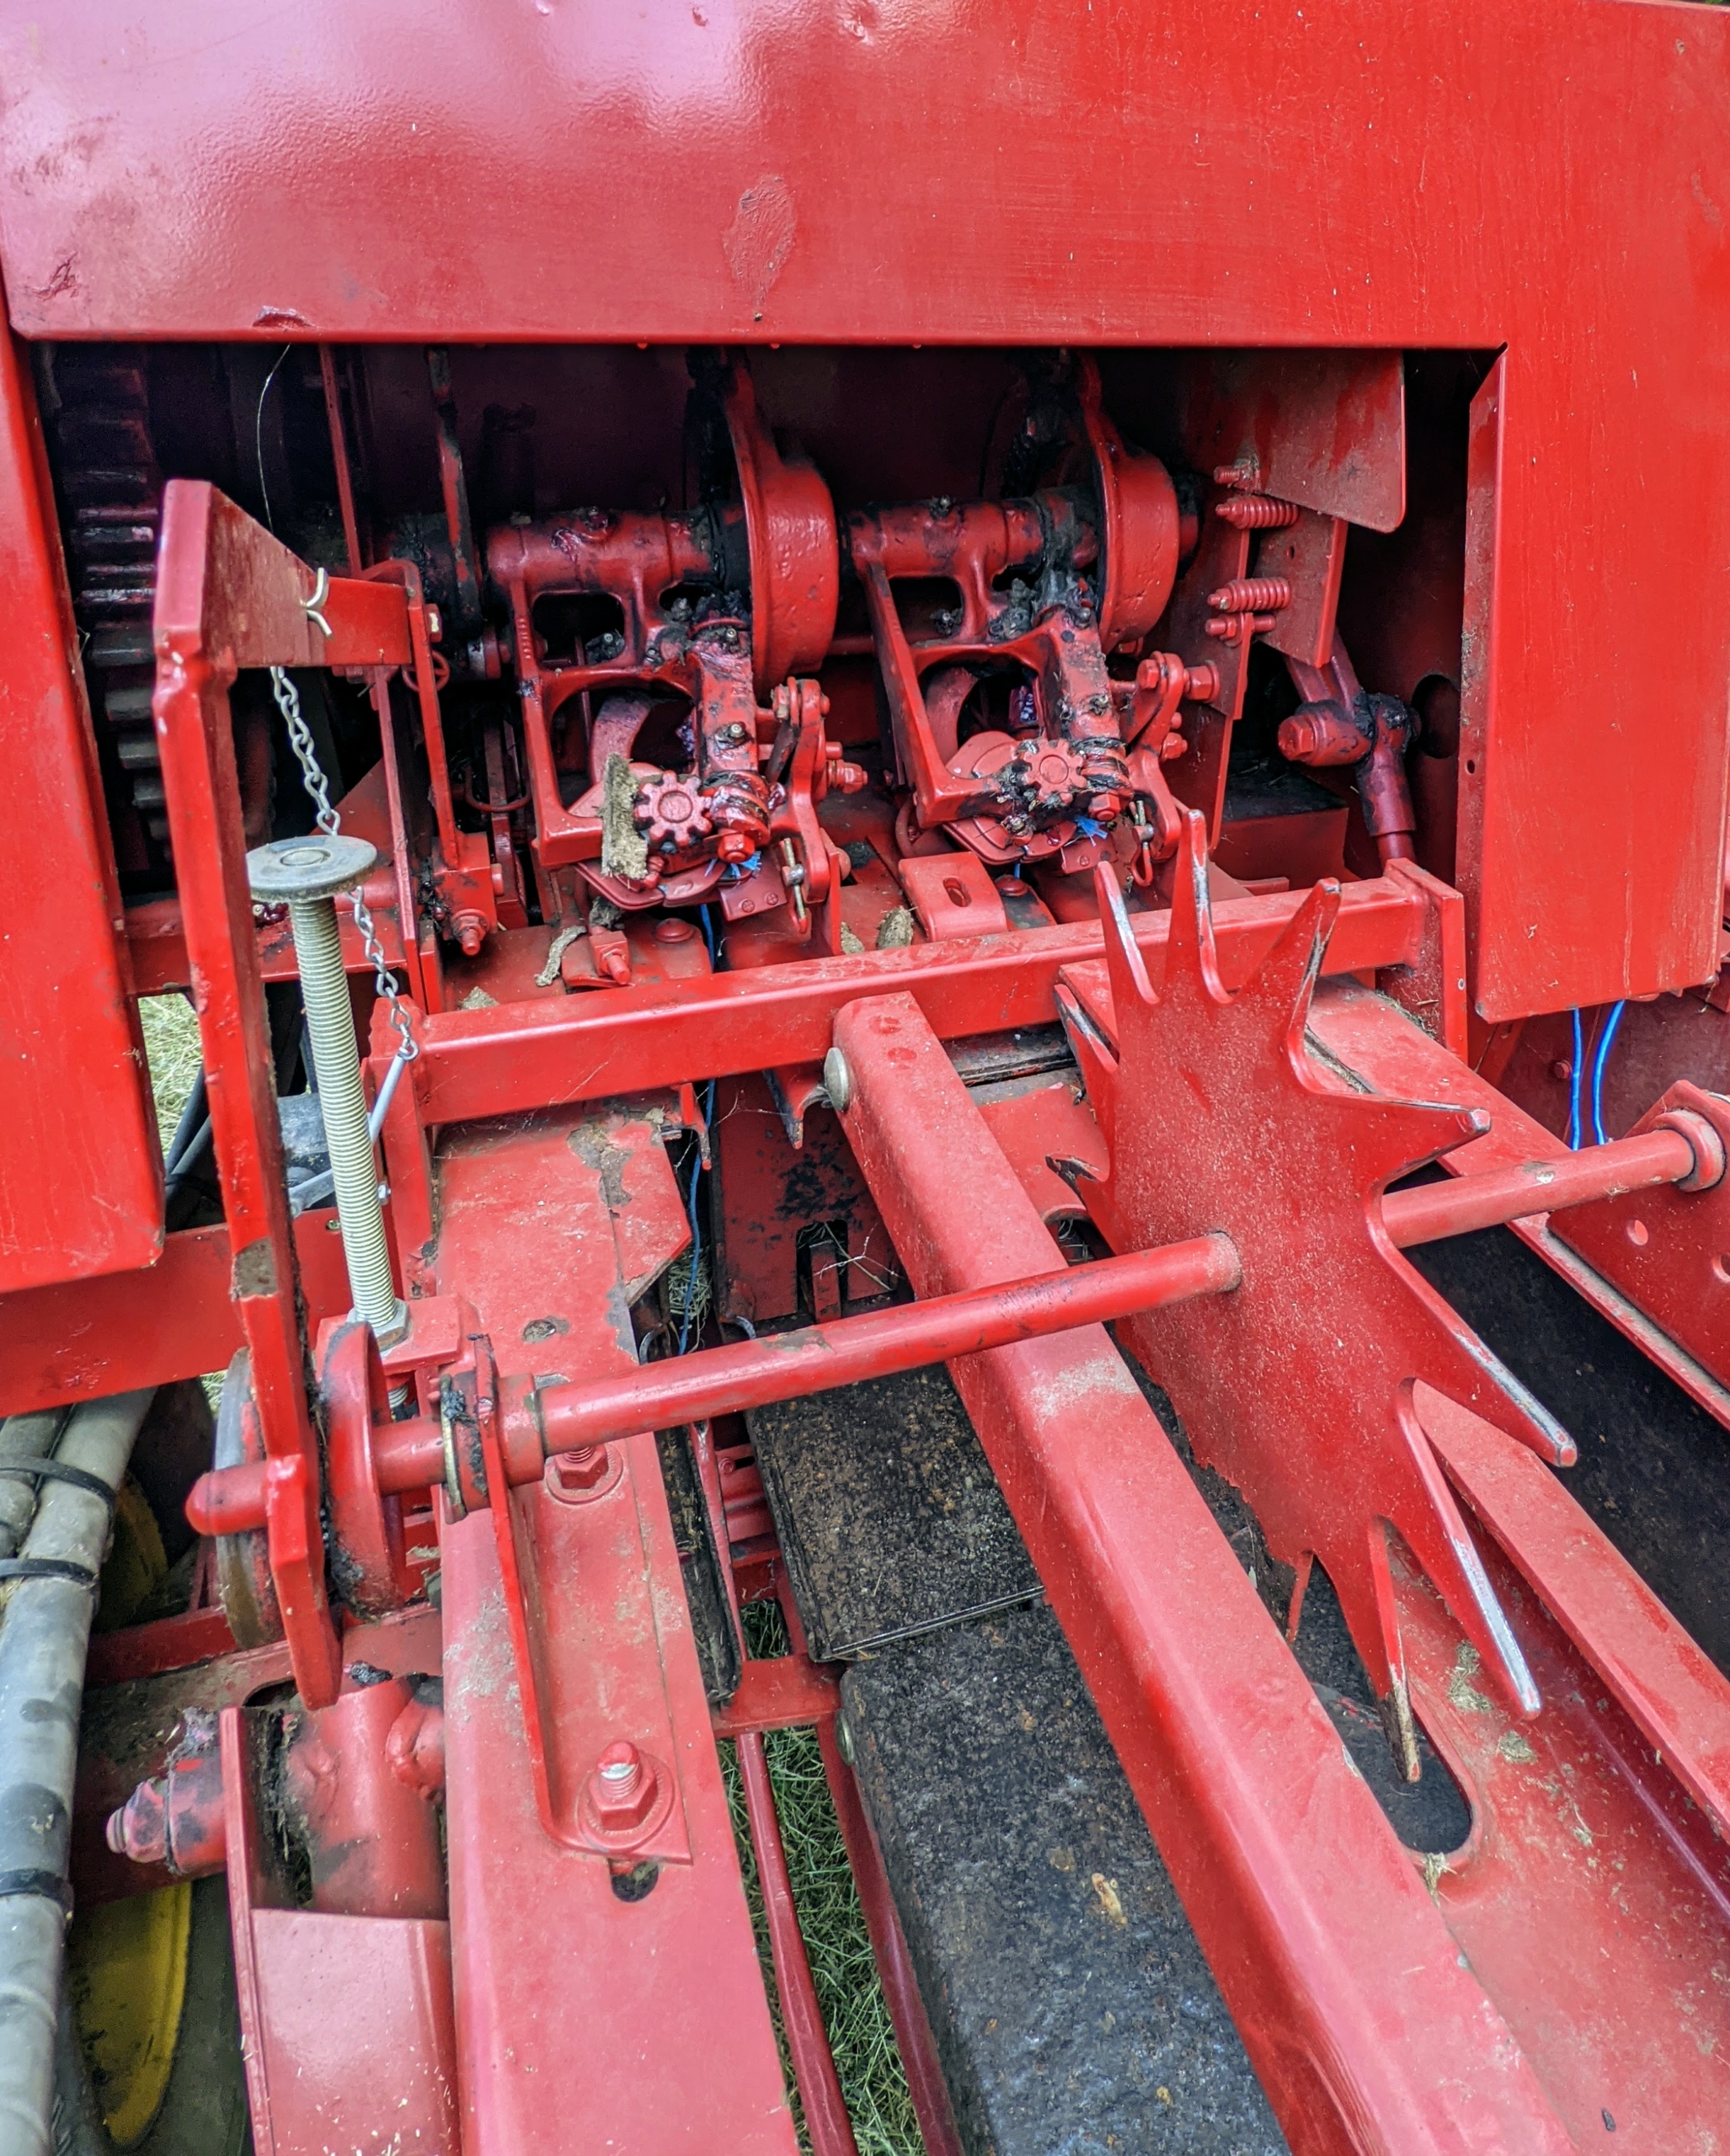
Here is the motor that helps to move and propel the bales into the wagon.
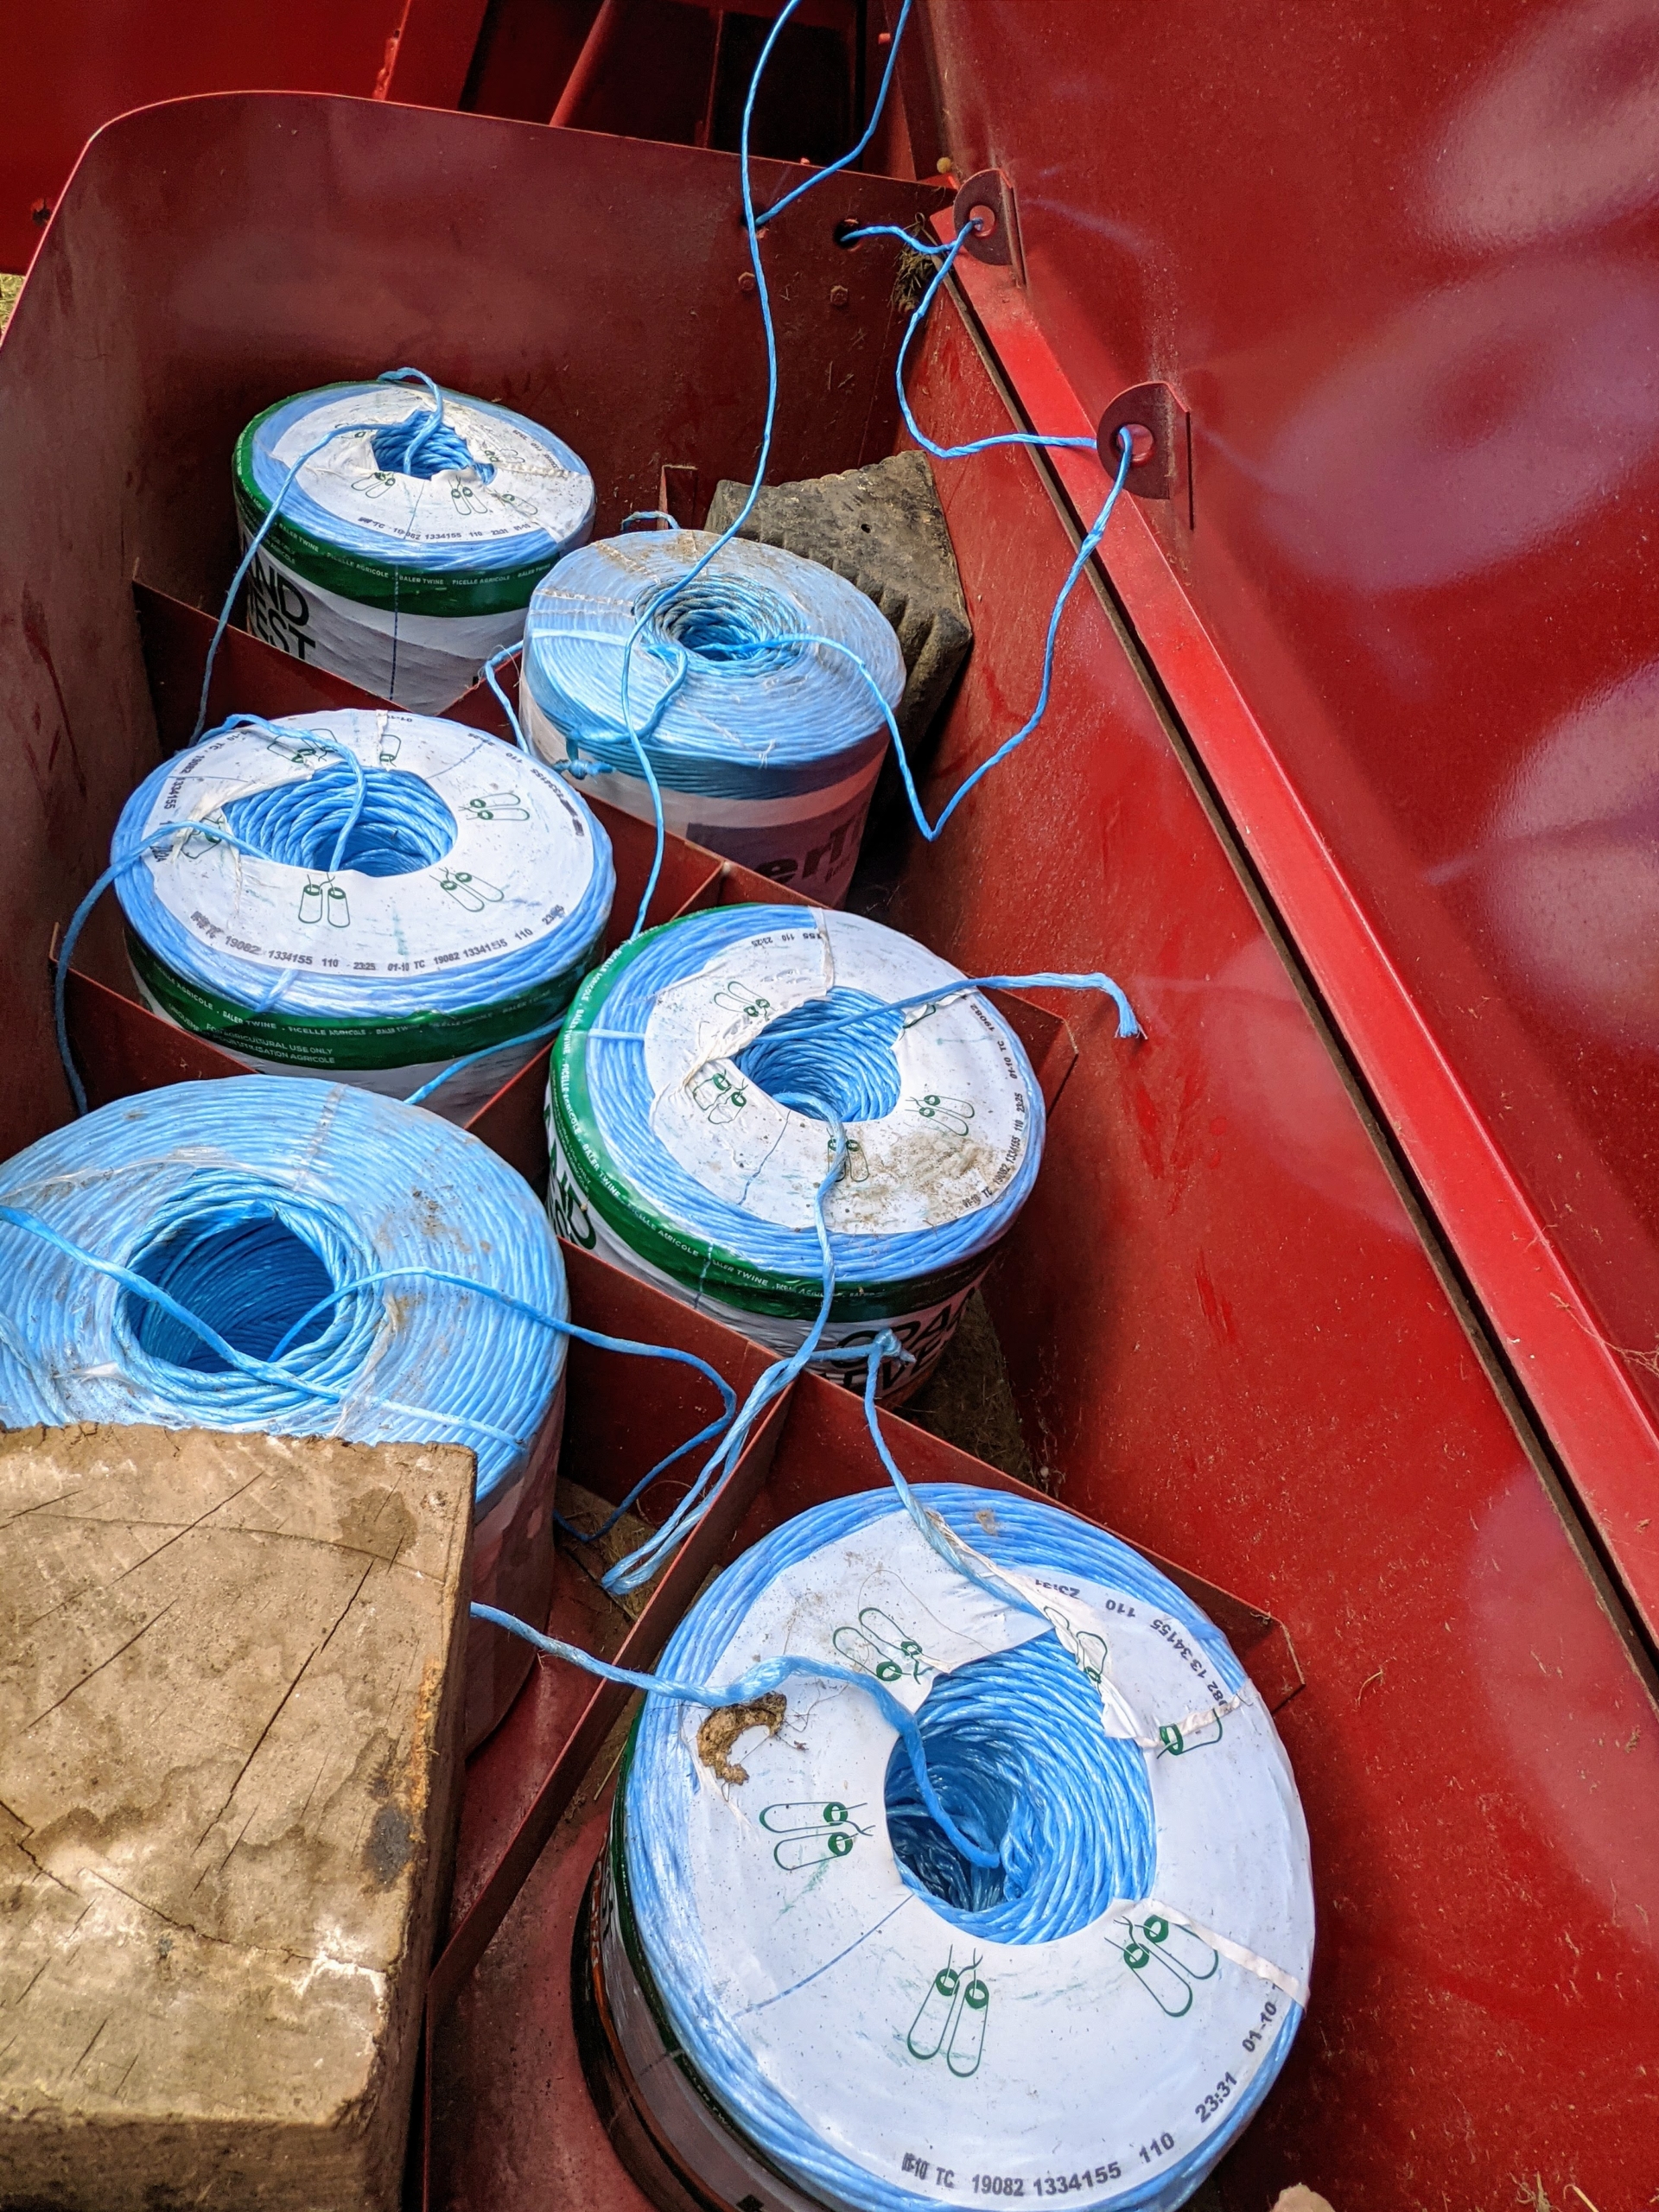
Large rolls of twine are positioned and tied to each other, so they can feed into the baler and secure the hay just before it shoots out into the trailer. There are three choices of materials to wrap bales – twine, net wrap, or plastic wrap. If properly baled and stored, hay can last a long time without degrading in quality.
These are the twine strands that unravel and wrap as the bales move through the baling machine. A measuring device—normally a spiked wheel that is turned by the emerging bales—measures the amount of material that is being compressed and then knotters wrap the twine around the bale and tie it off.
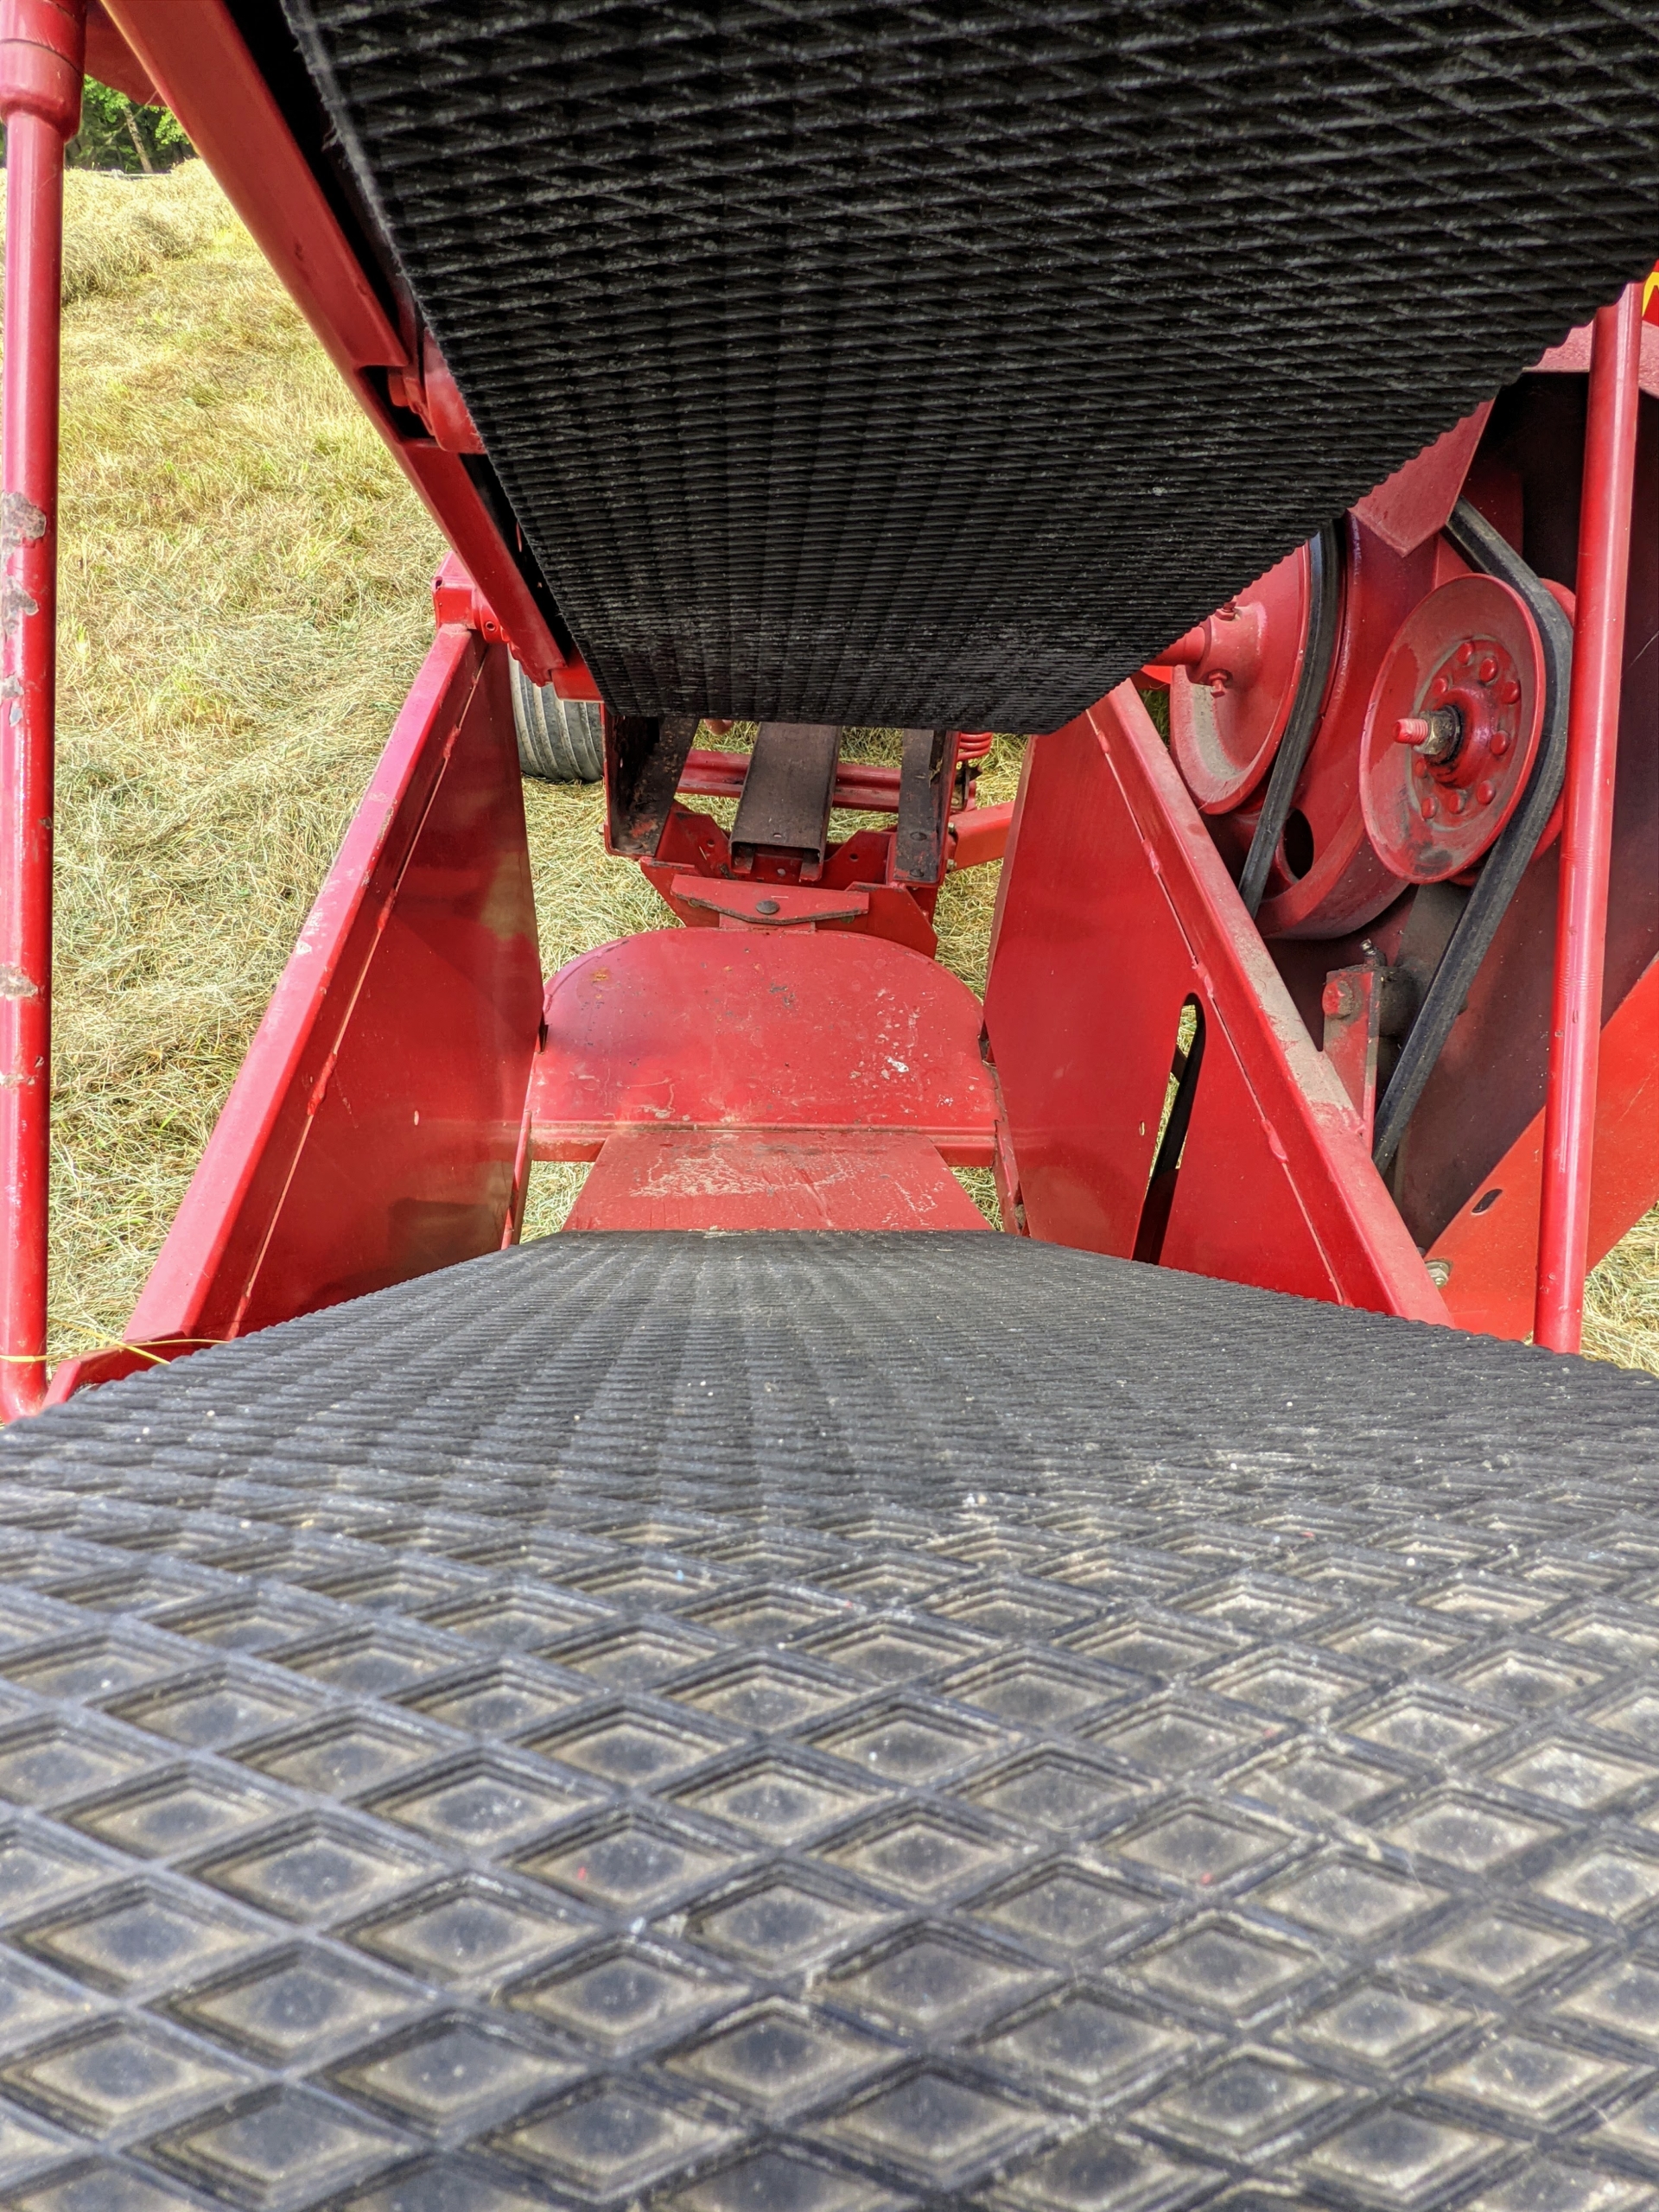
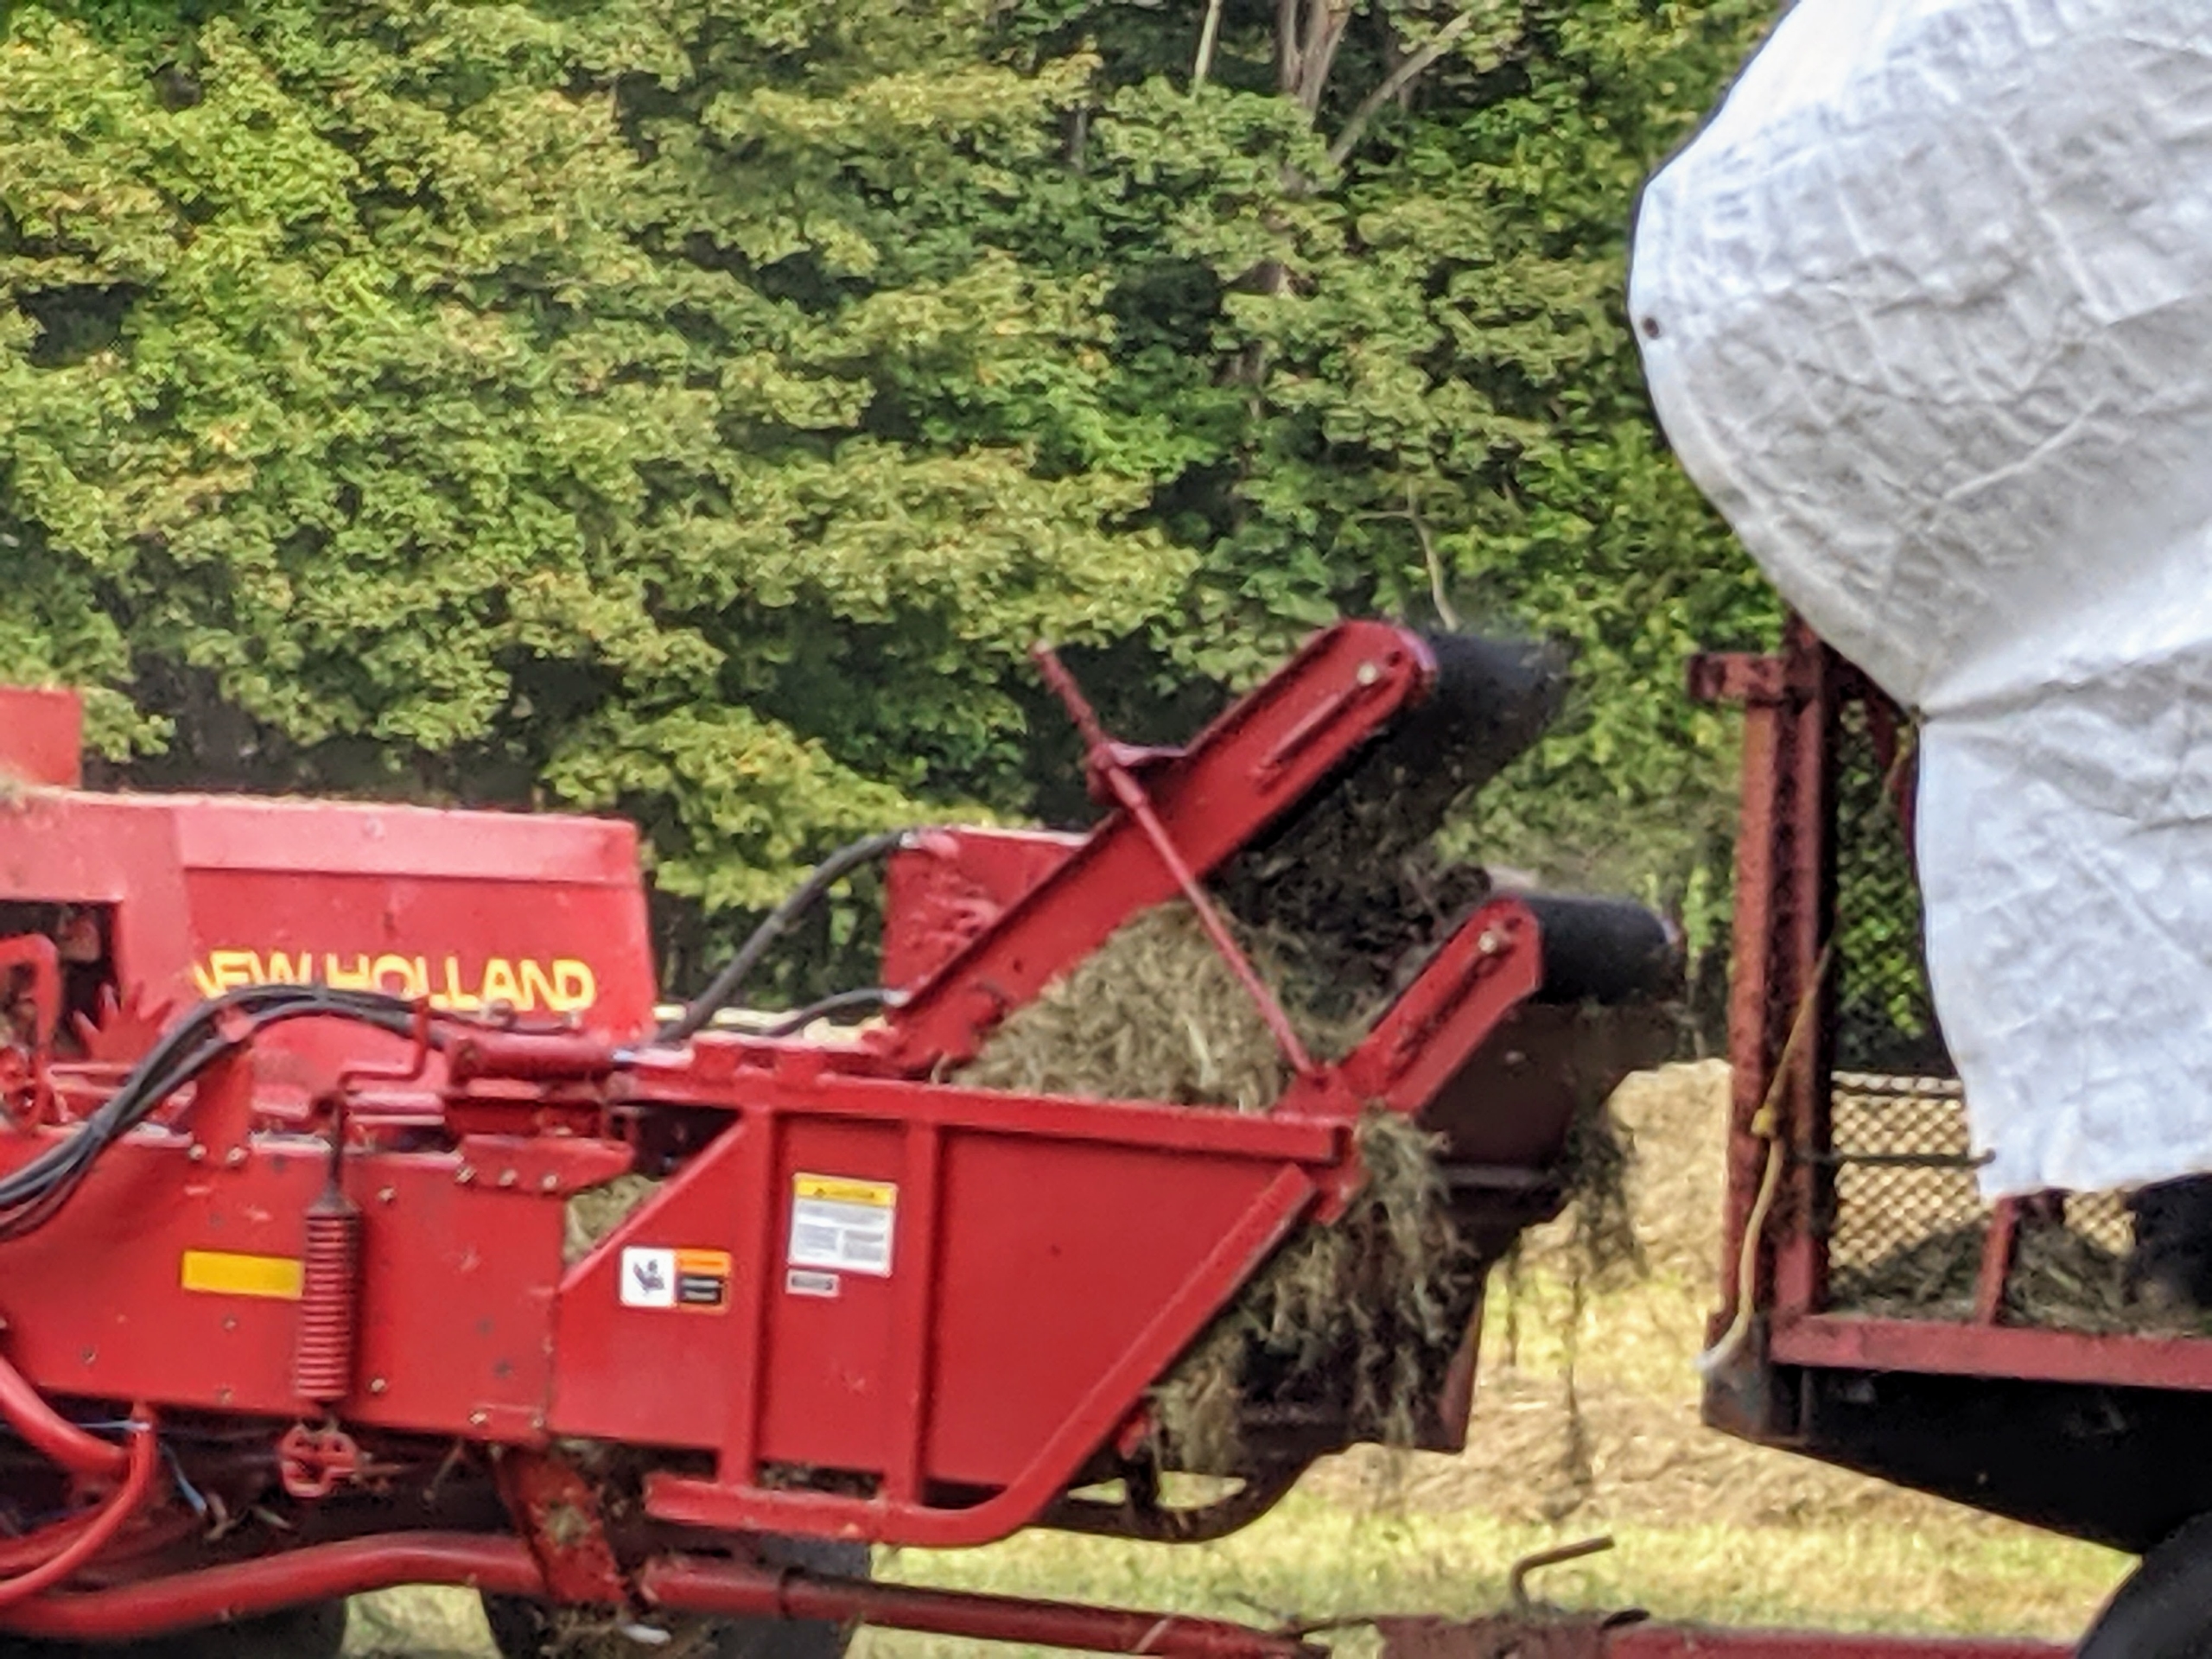
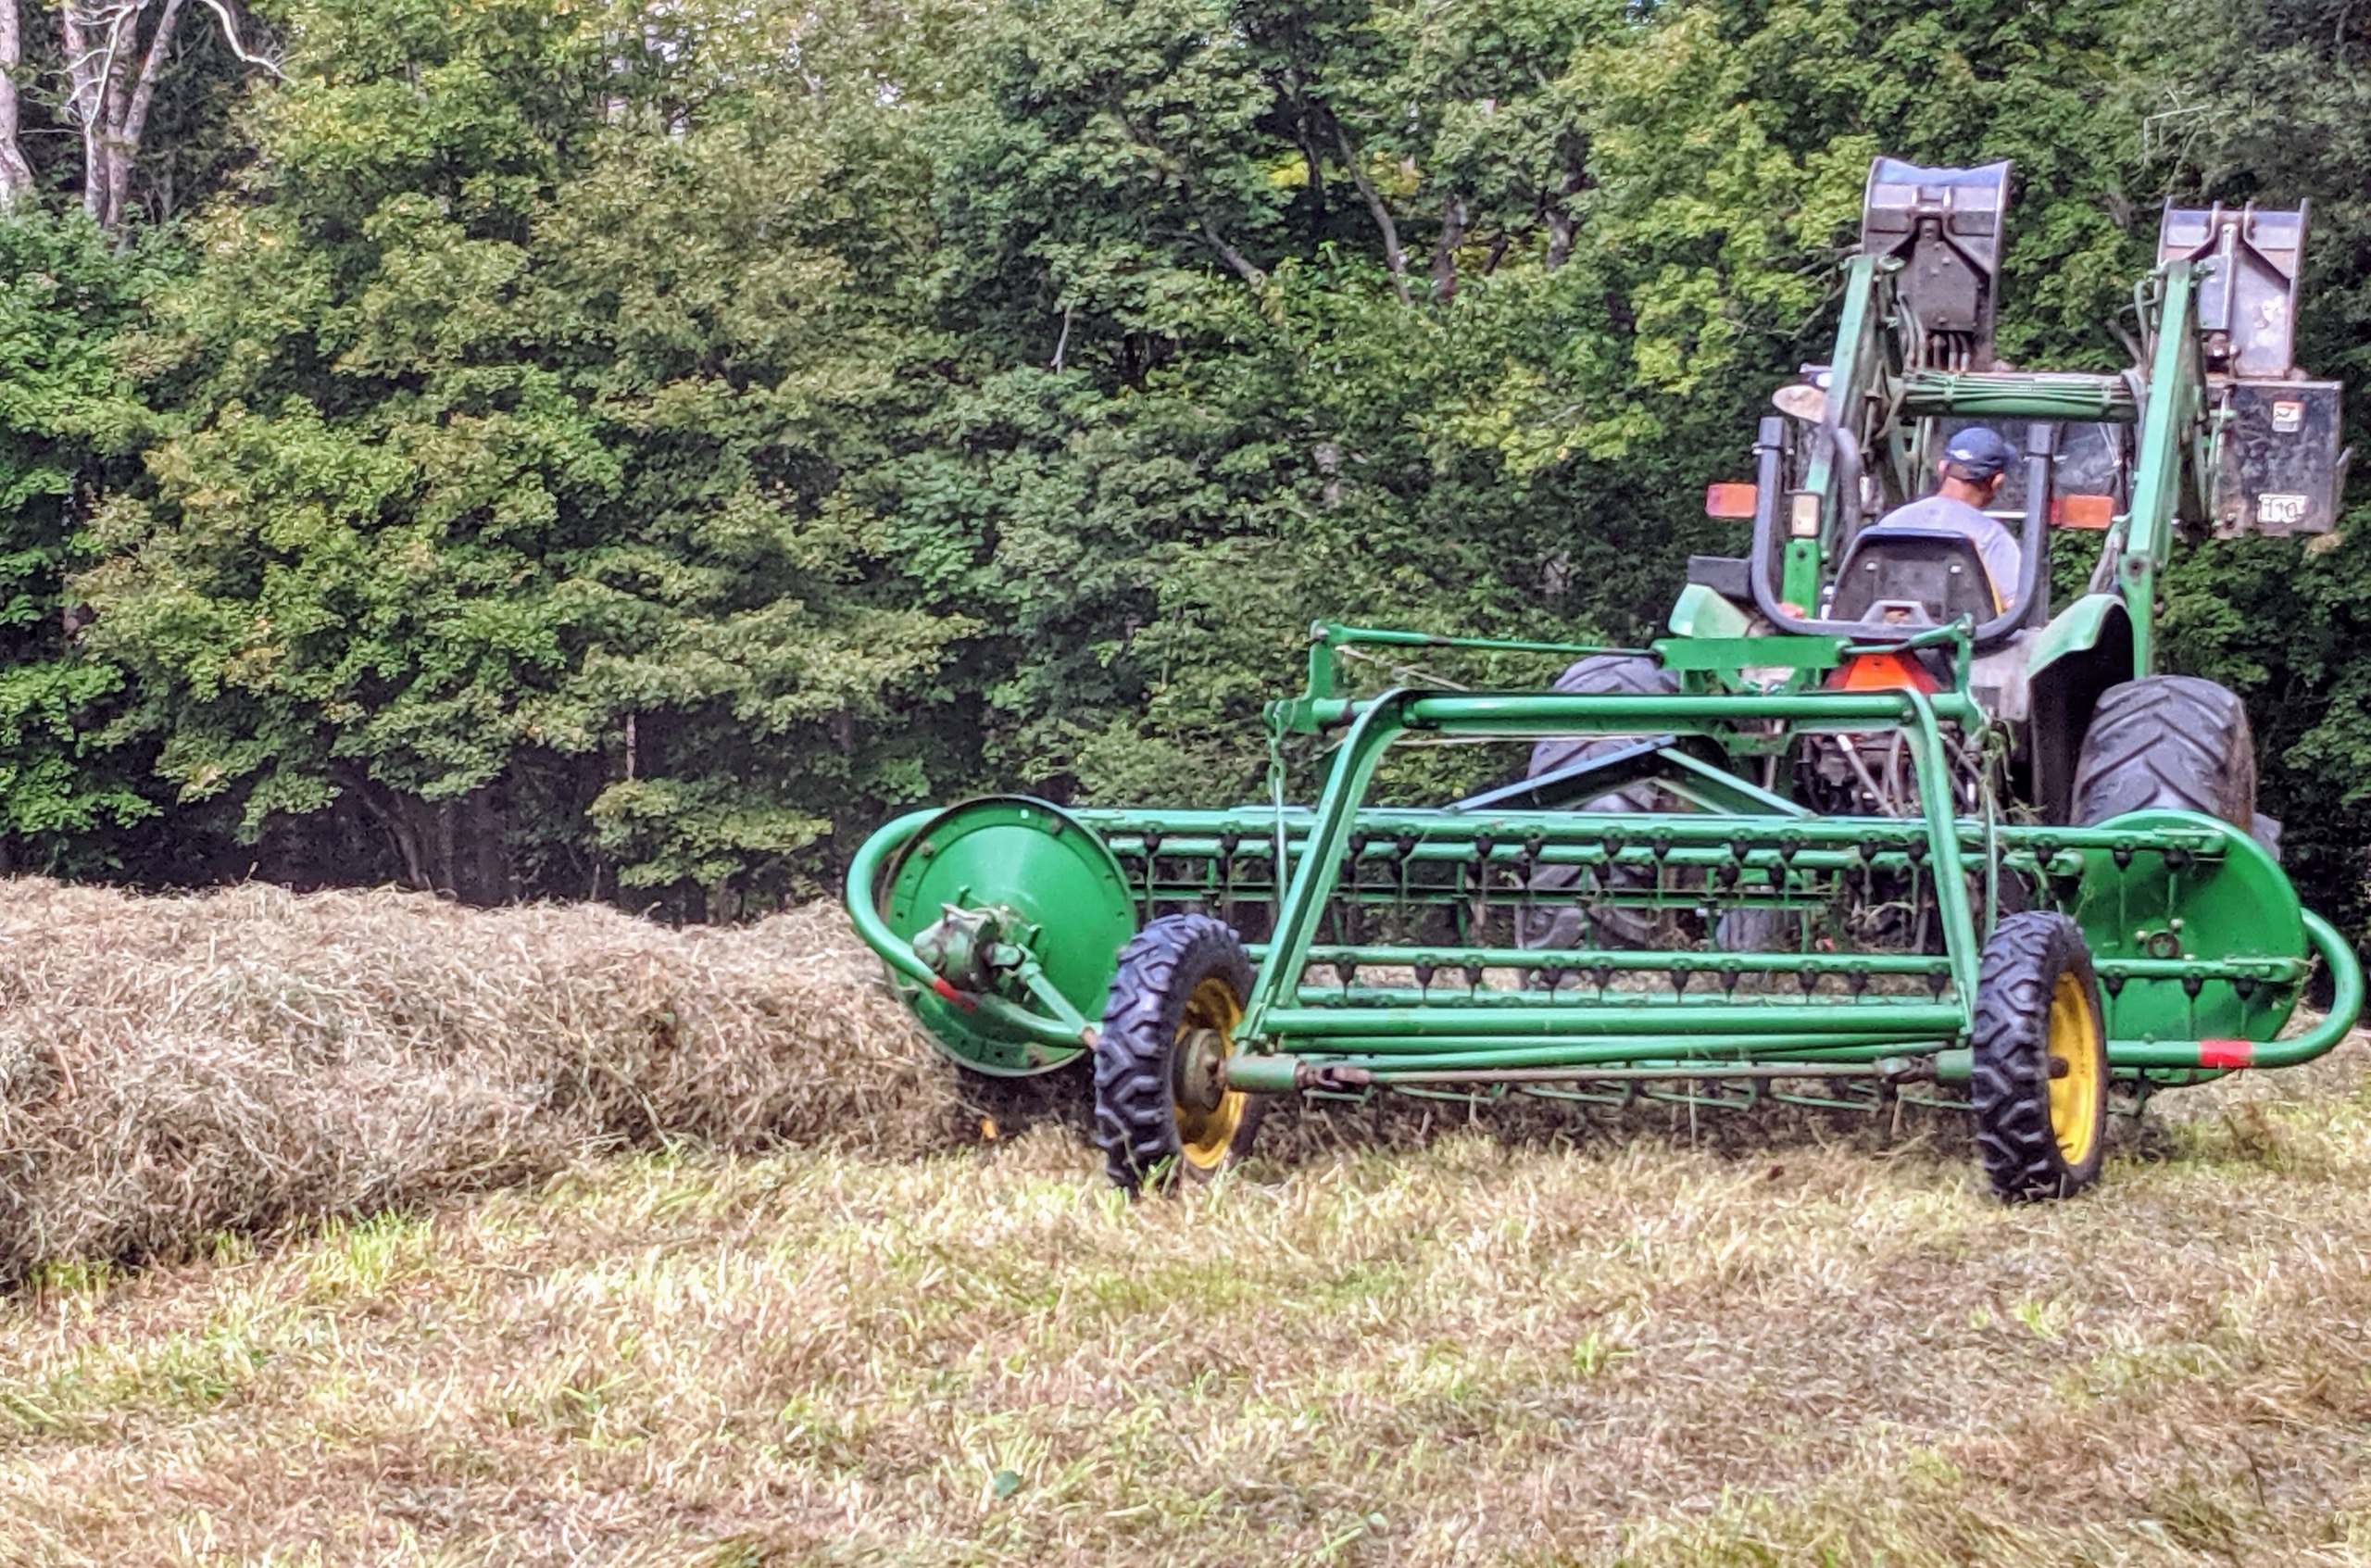
Once it is tied, it moves up this conveyor belt…
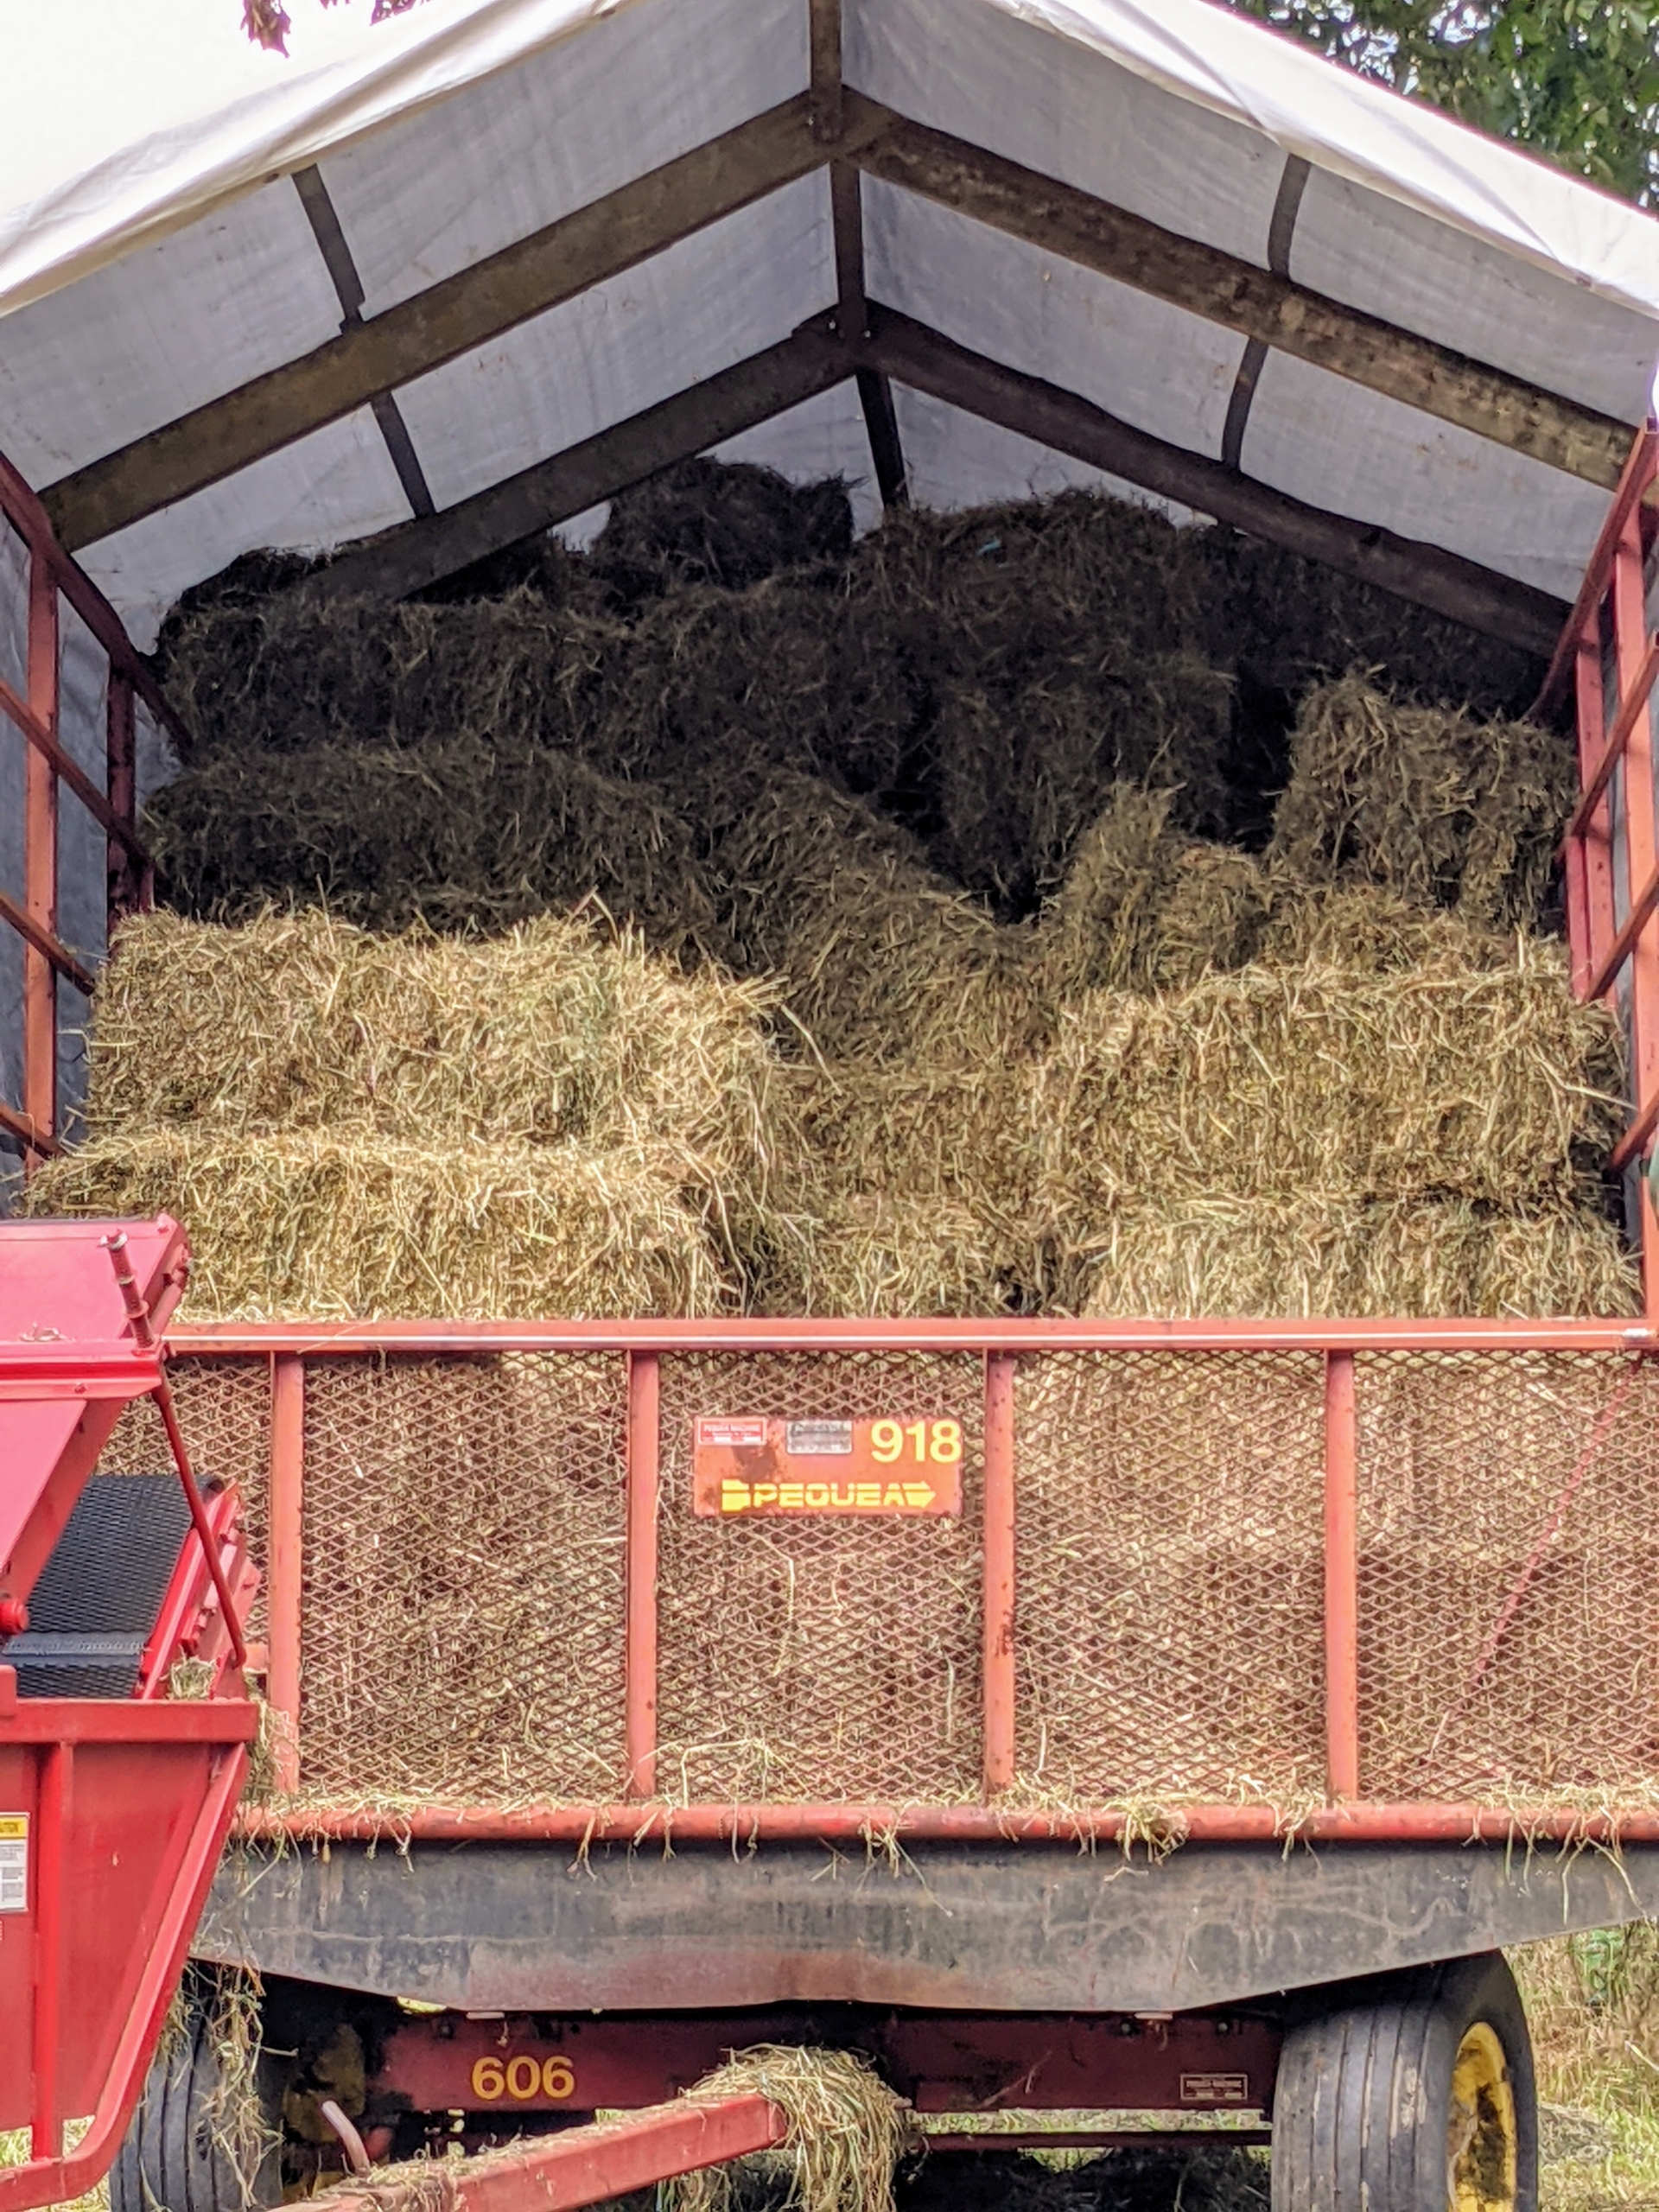
…and then gets thrown into this trailer where Pasang and Phurba work together to grab the bales and stack them. Our wagon is covered to protect the bales from any unexpected rain and to offer shade to the crew stacking the bales as they are thrown.
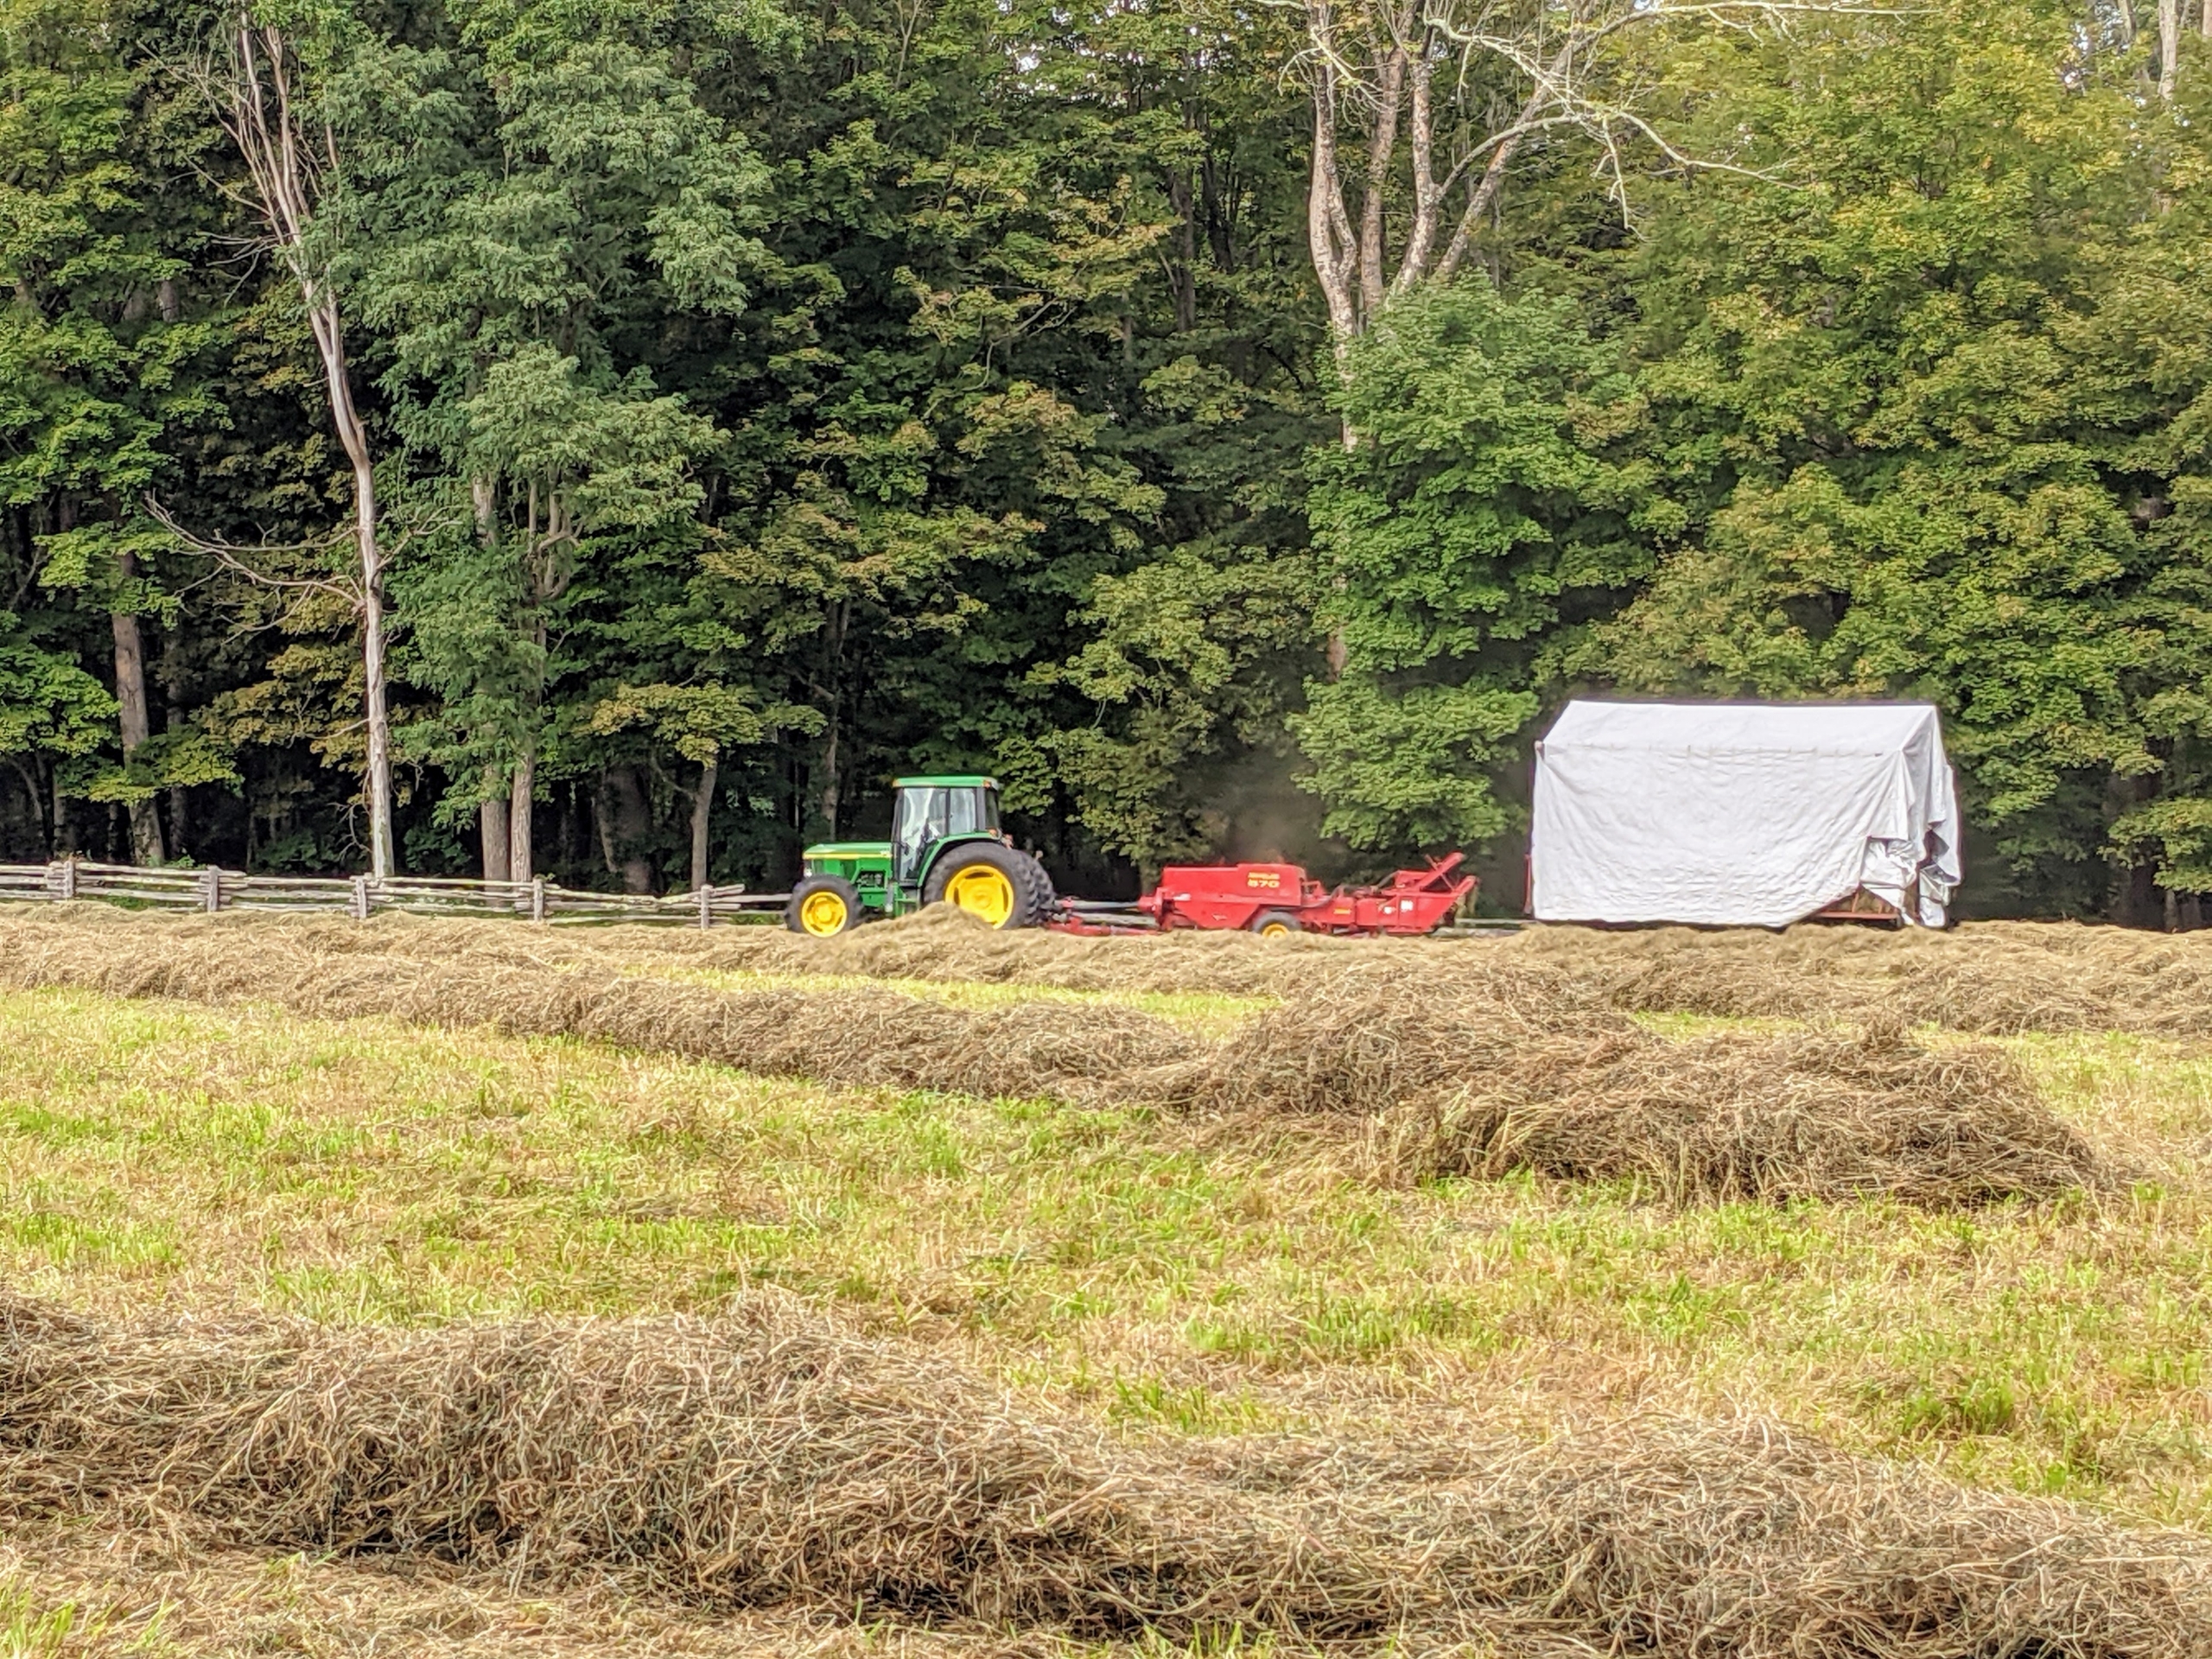
Chhiring drives the tractor and starts the process midday when there is the least amount of moisture. The tractor rides to one side of the windrow while the baler passes directly over it to collect the hay.
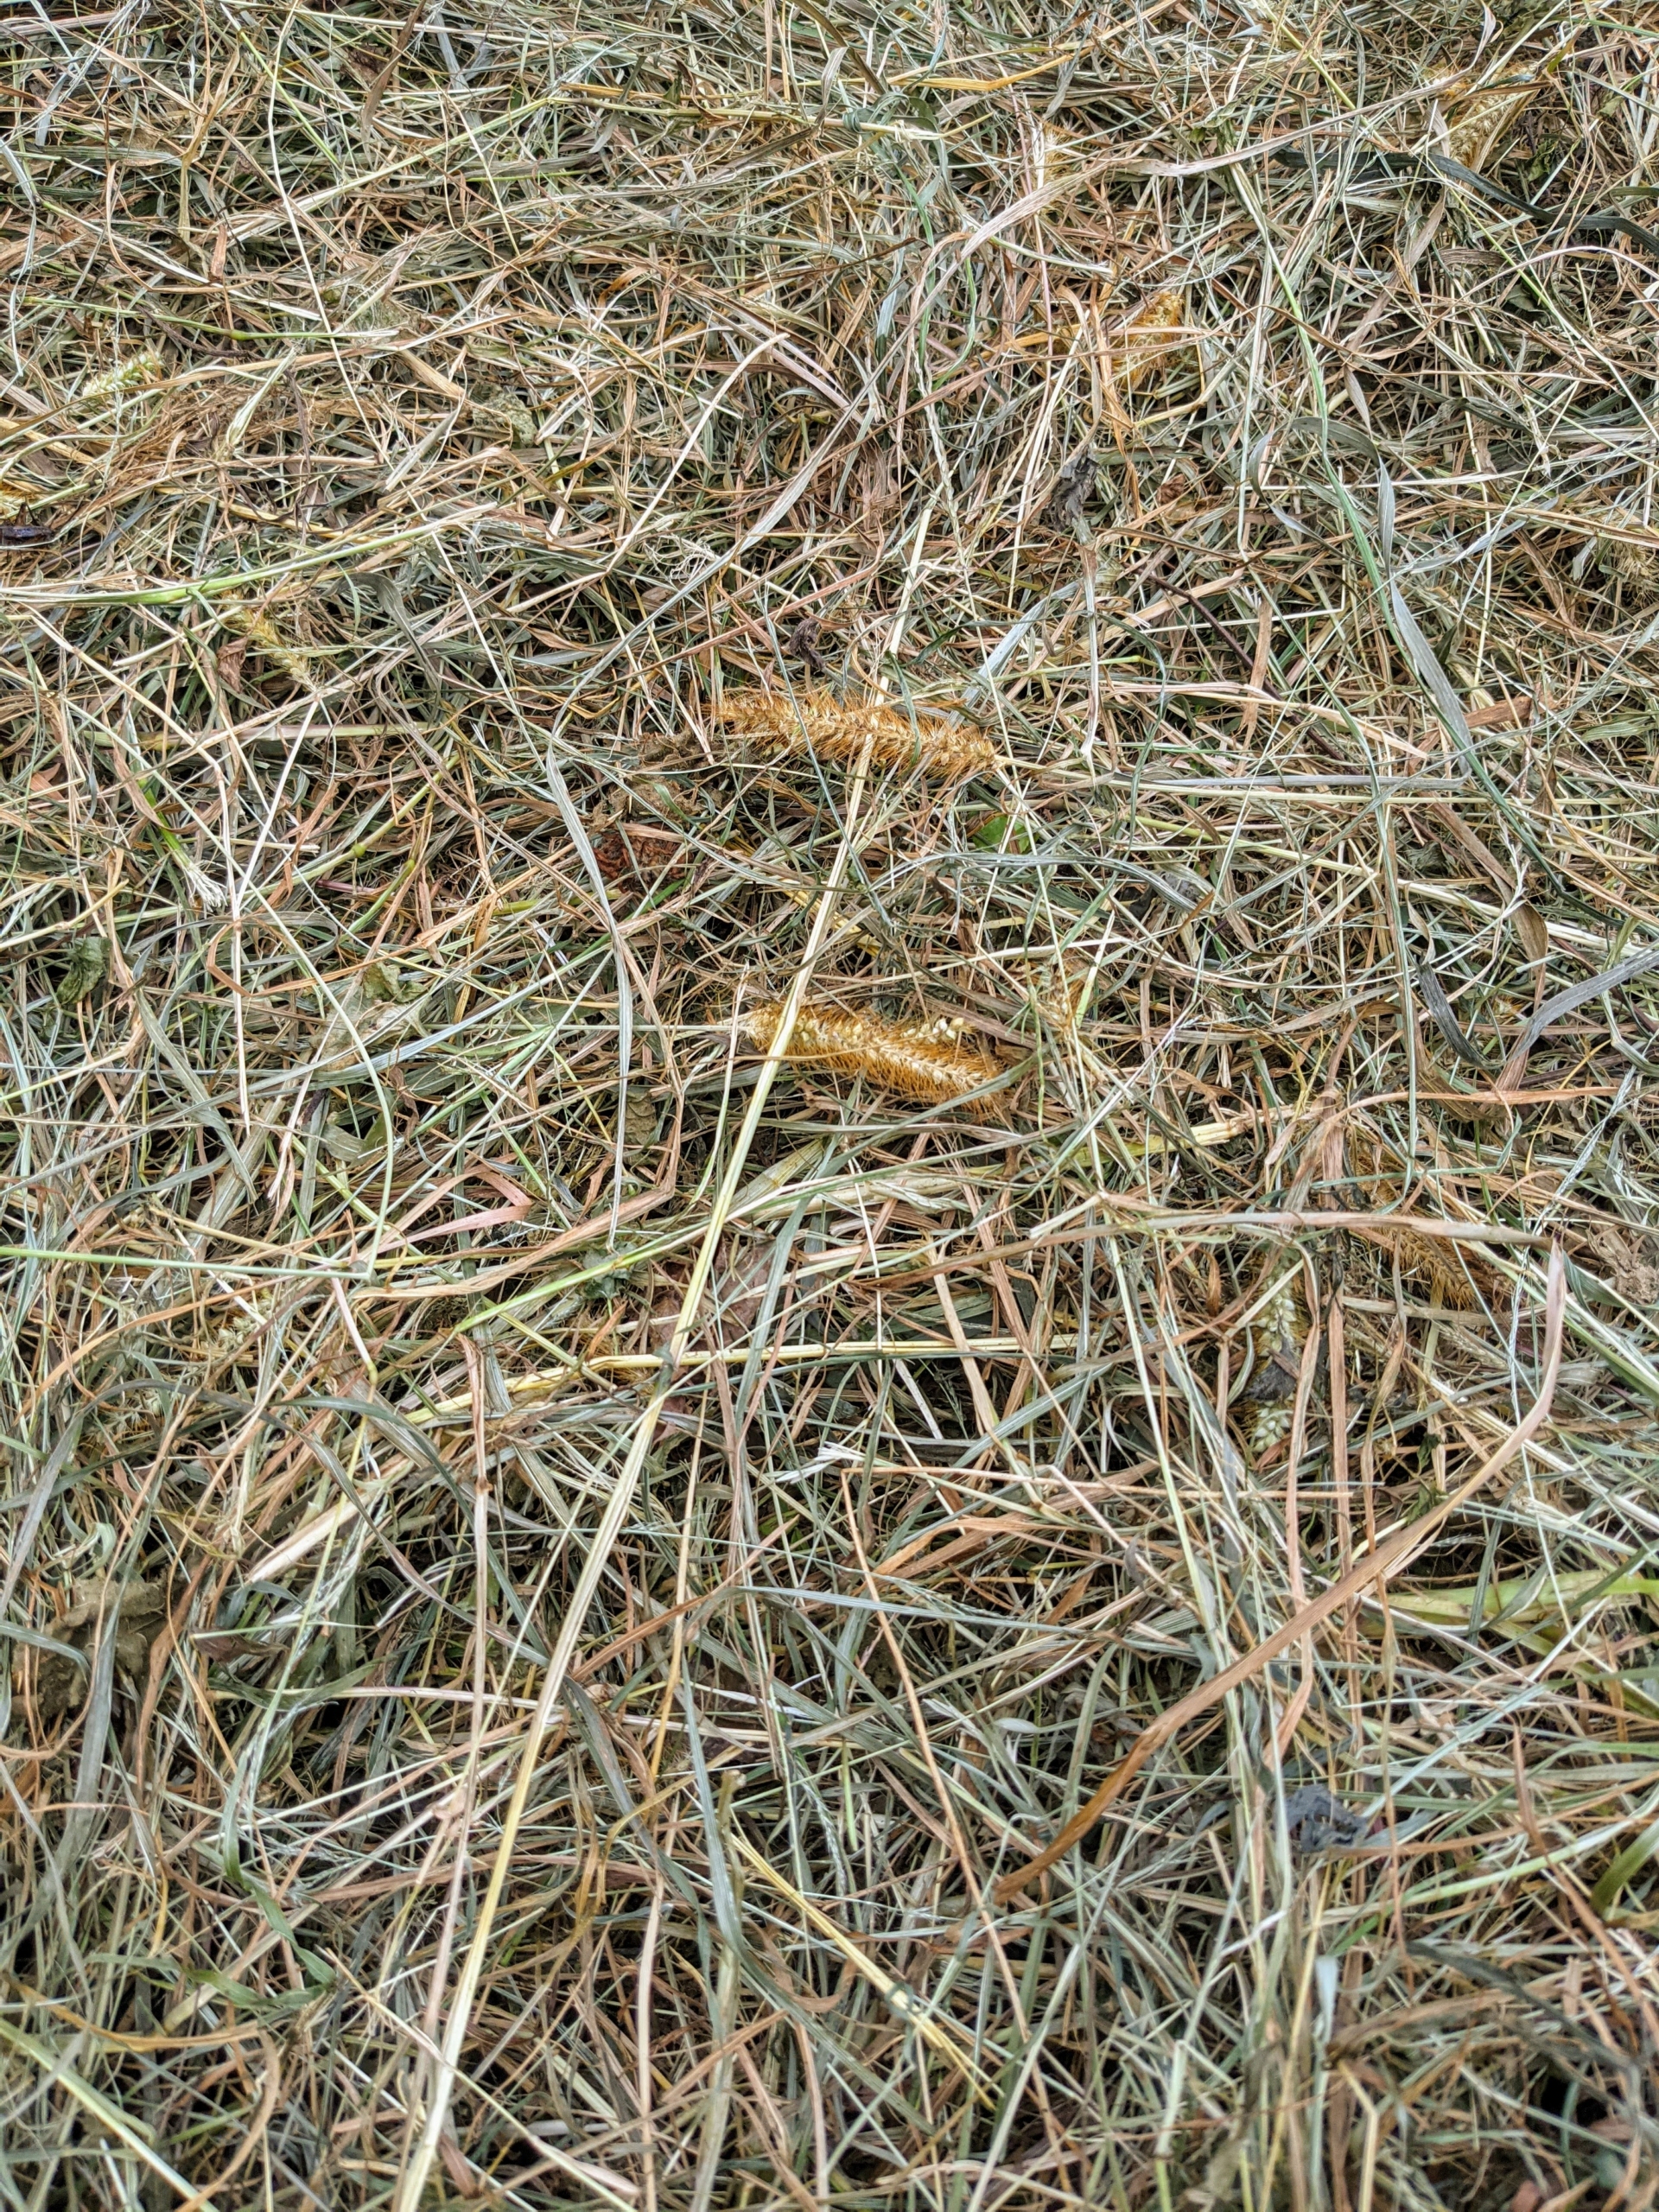
Here is a closer look at a row of hay ready to bale. I have three separate areas for growing hay. They are all planted with a mixture of timothy, orchard grass, Kentucky bluegrass, ryegrass, and clovers – all great for producing good quality hay.
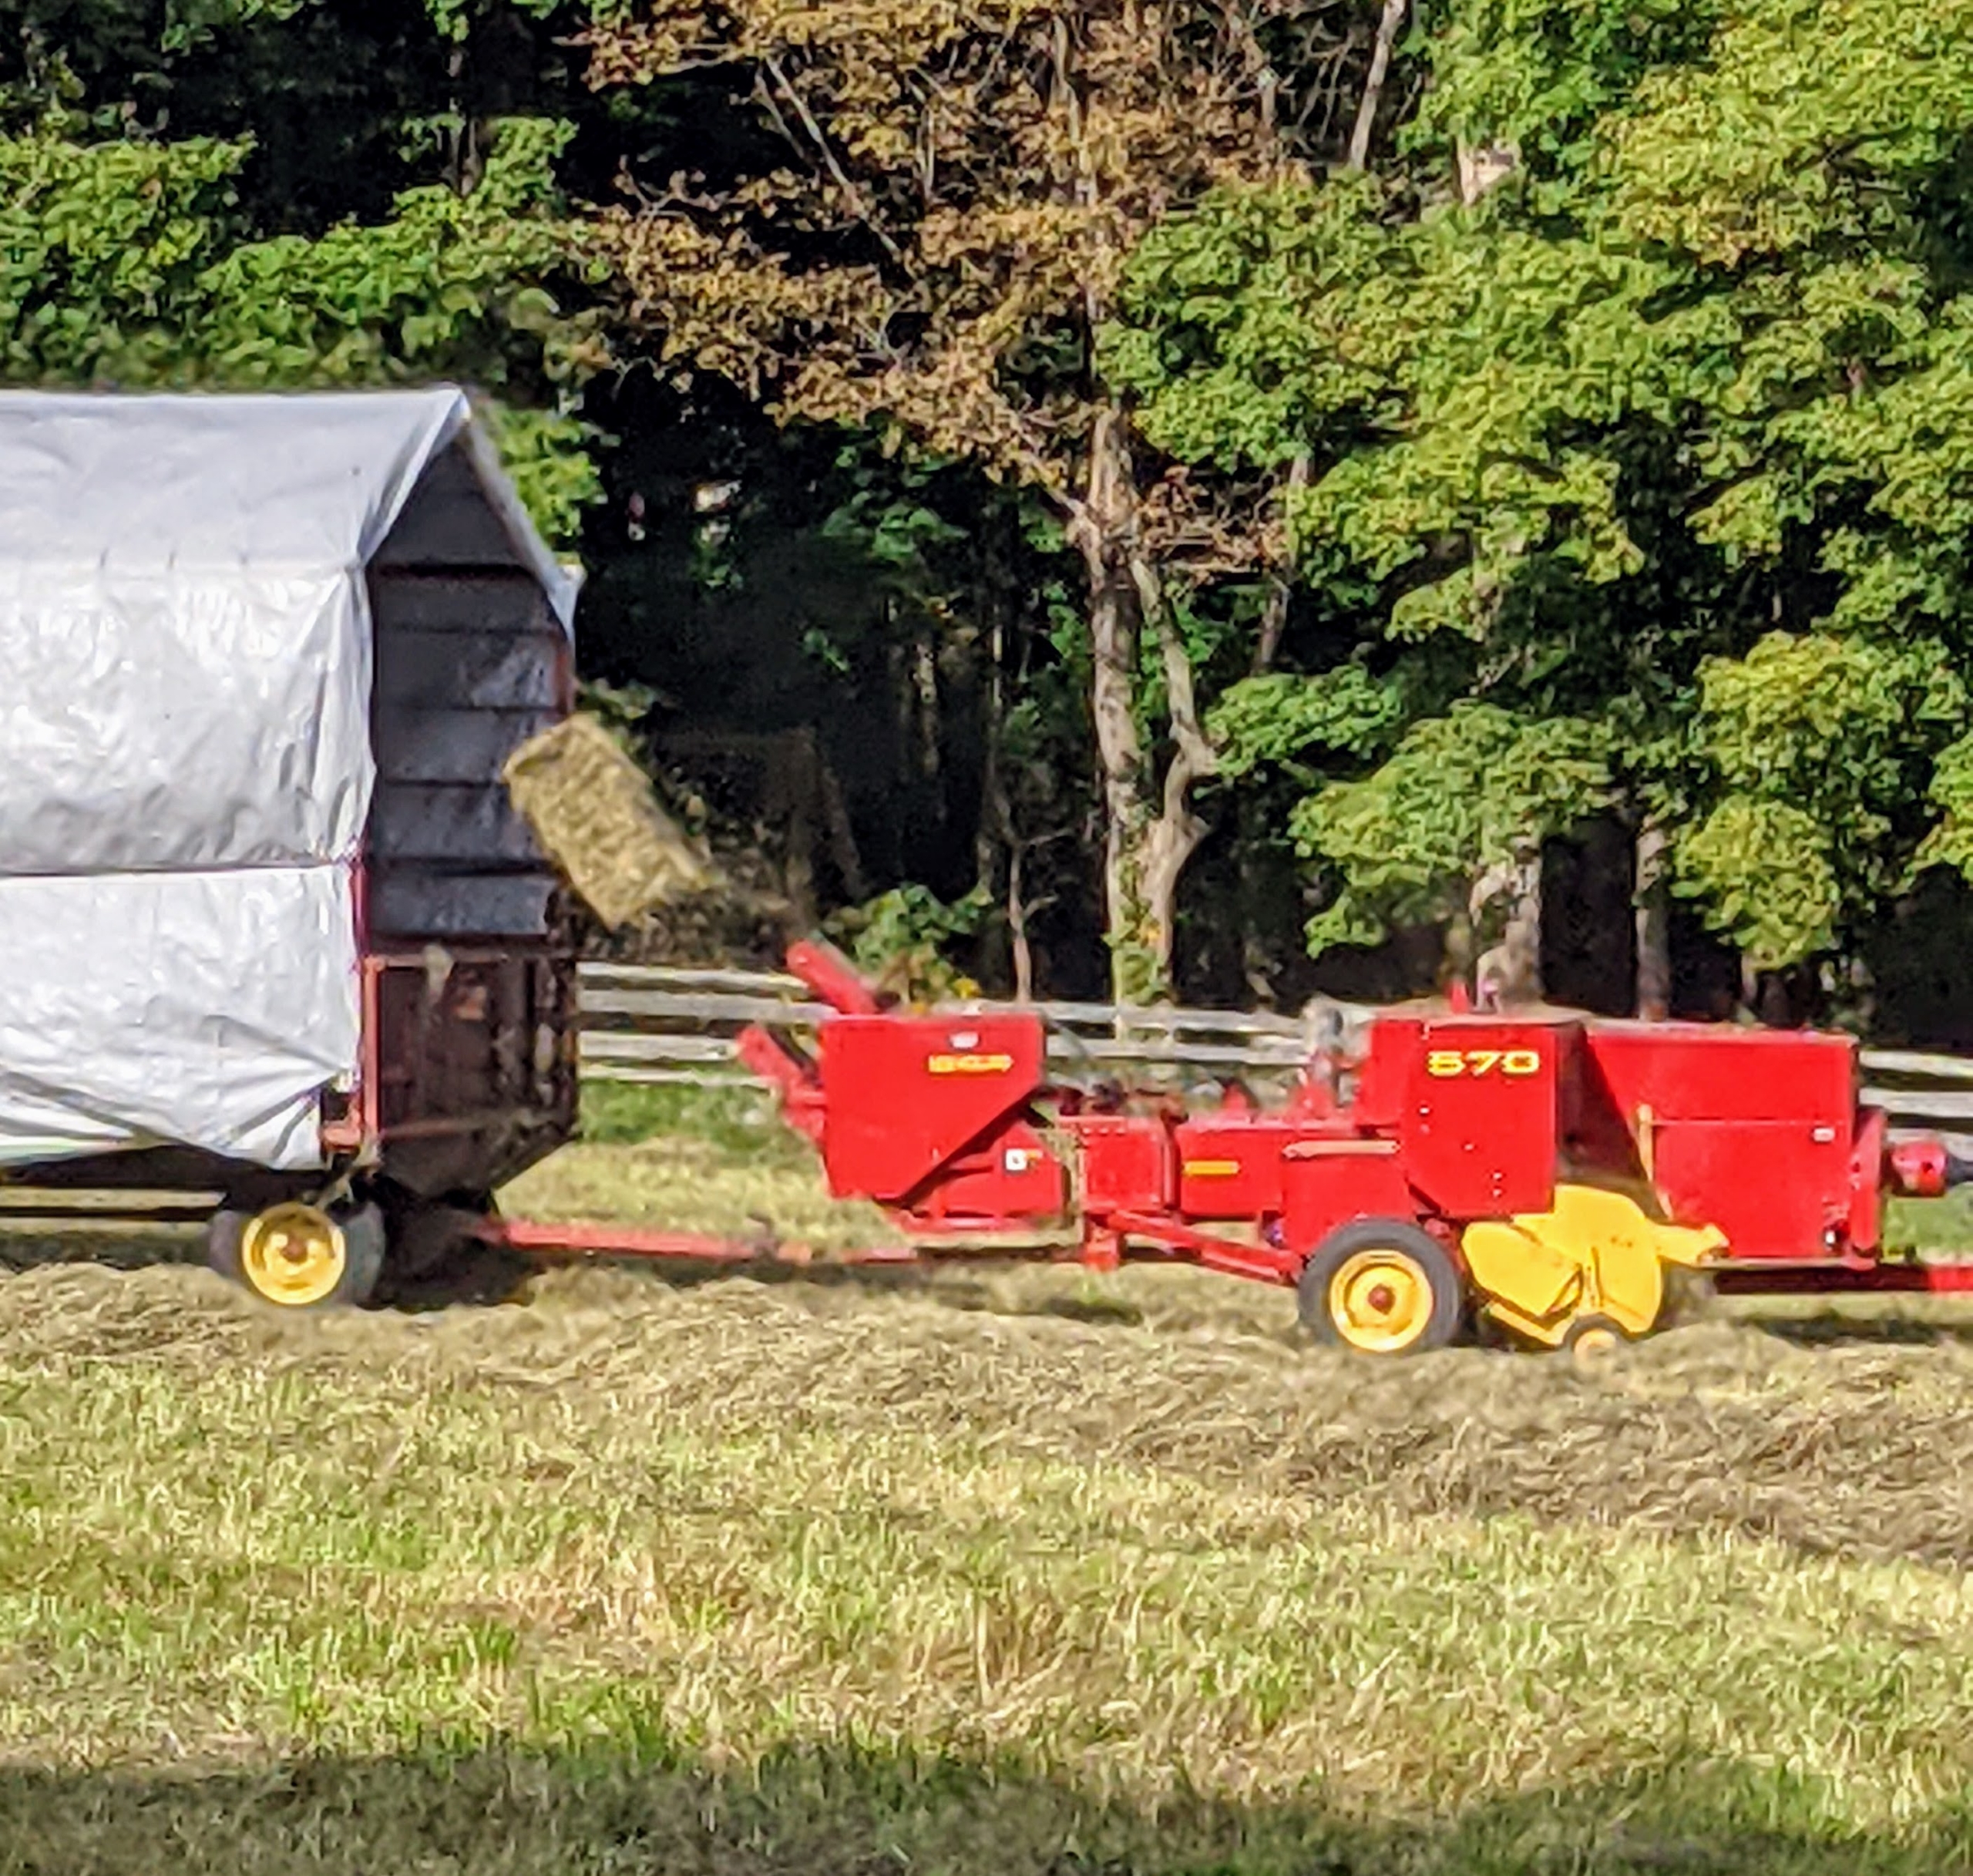
Here is a bale of hay as it is lifted in the baler’s reel and moved up the conveyor belt.
And then propelled into the wagon by a mechanical arm called a thrower or a kicker. The bales are manageable for one person to handle, about 45 to 60 pounds each.
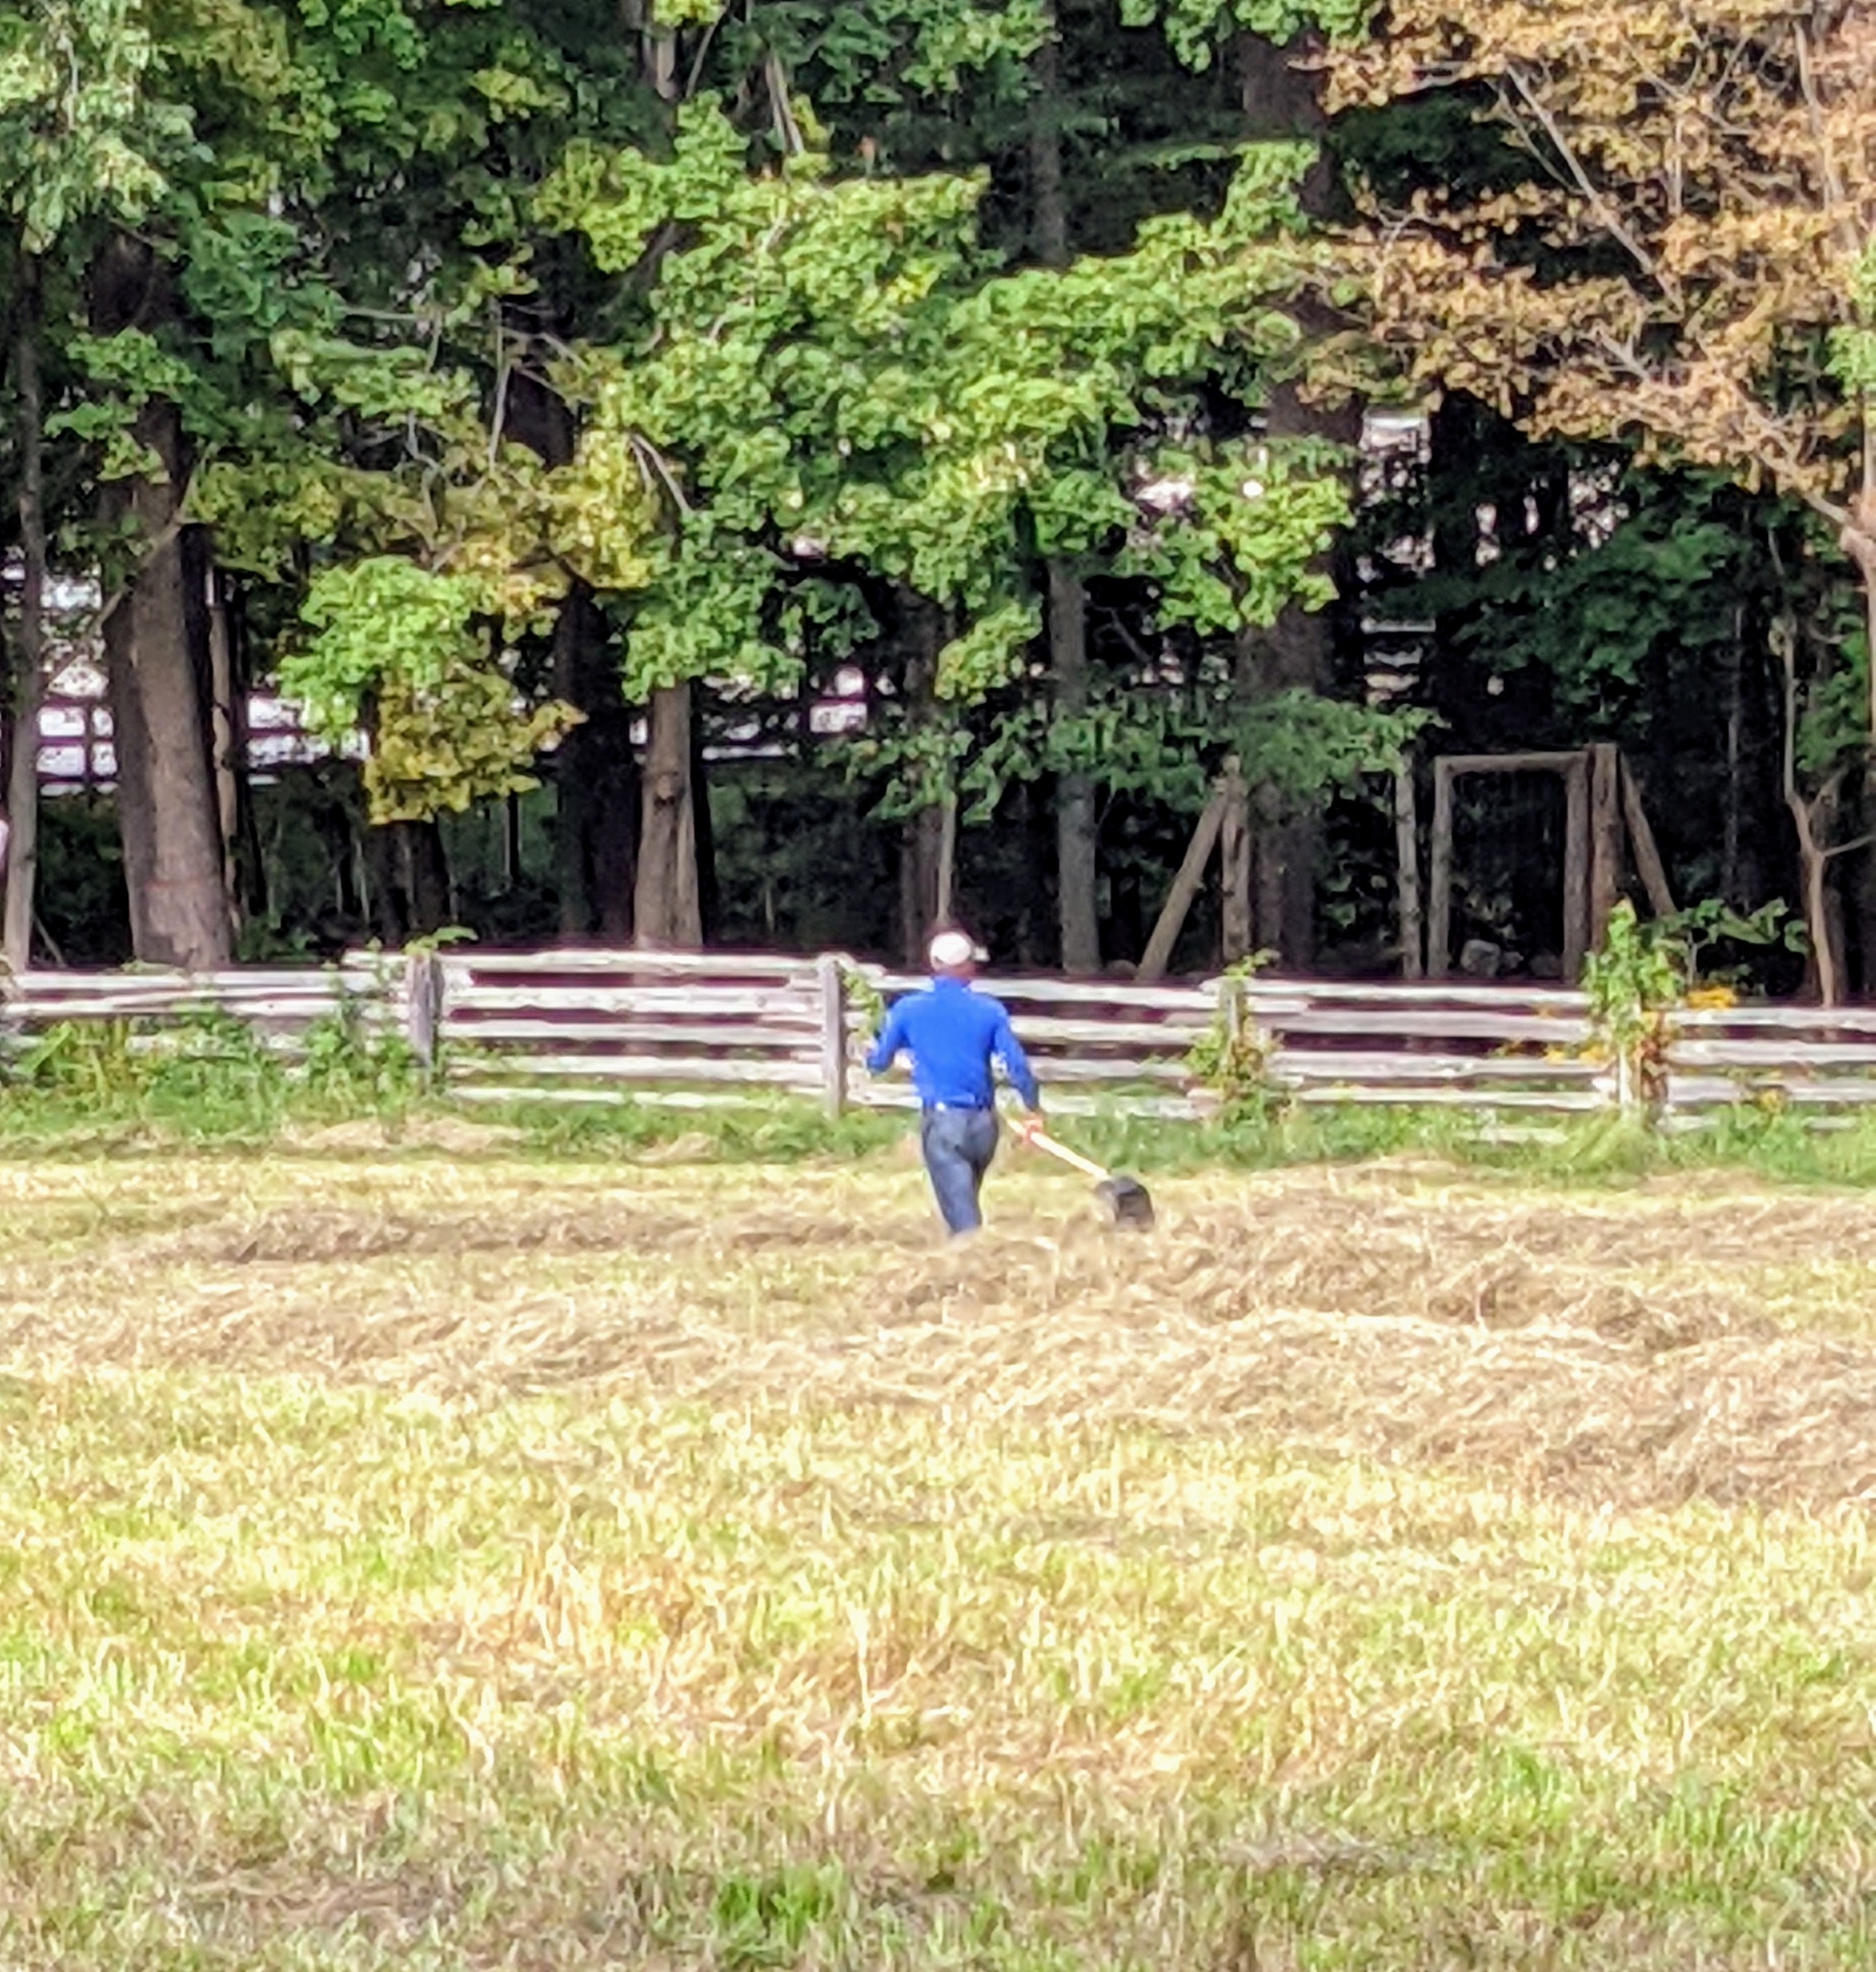
Domi walks behind the baler to rake up any hay that was not picked up by the machine.
Chhiring drives the baler slowly over every windrow. All the hay is dry and passing through the machine smoothly. If the hay is properly dried, the baler will work continuously down each row. Hay that is too damp tends to clog up the baler.
In less than an hour, the wagon is almost completely filled with bales of hay. Each bale is about 15 by 18 by 40 inches large. The number of flakes in the bale is determined by a setting in the baler. Many balers are set for 10 to 12 flakes per bale. I have two hay trailers. Each one can hold about 150-bales.
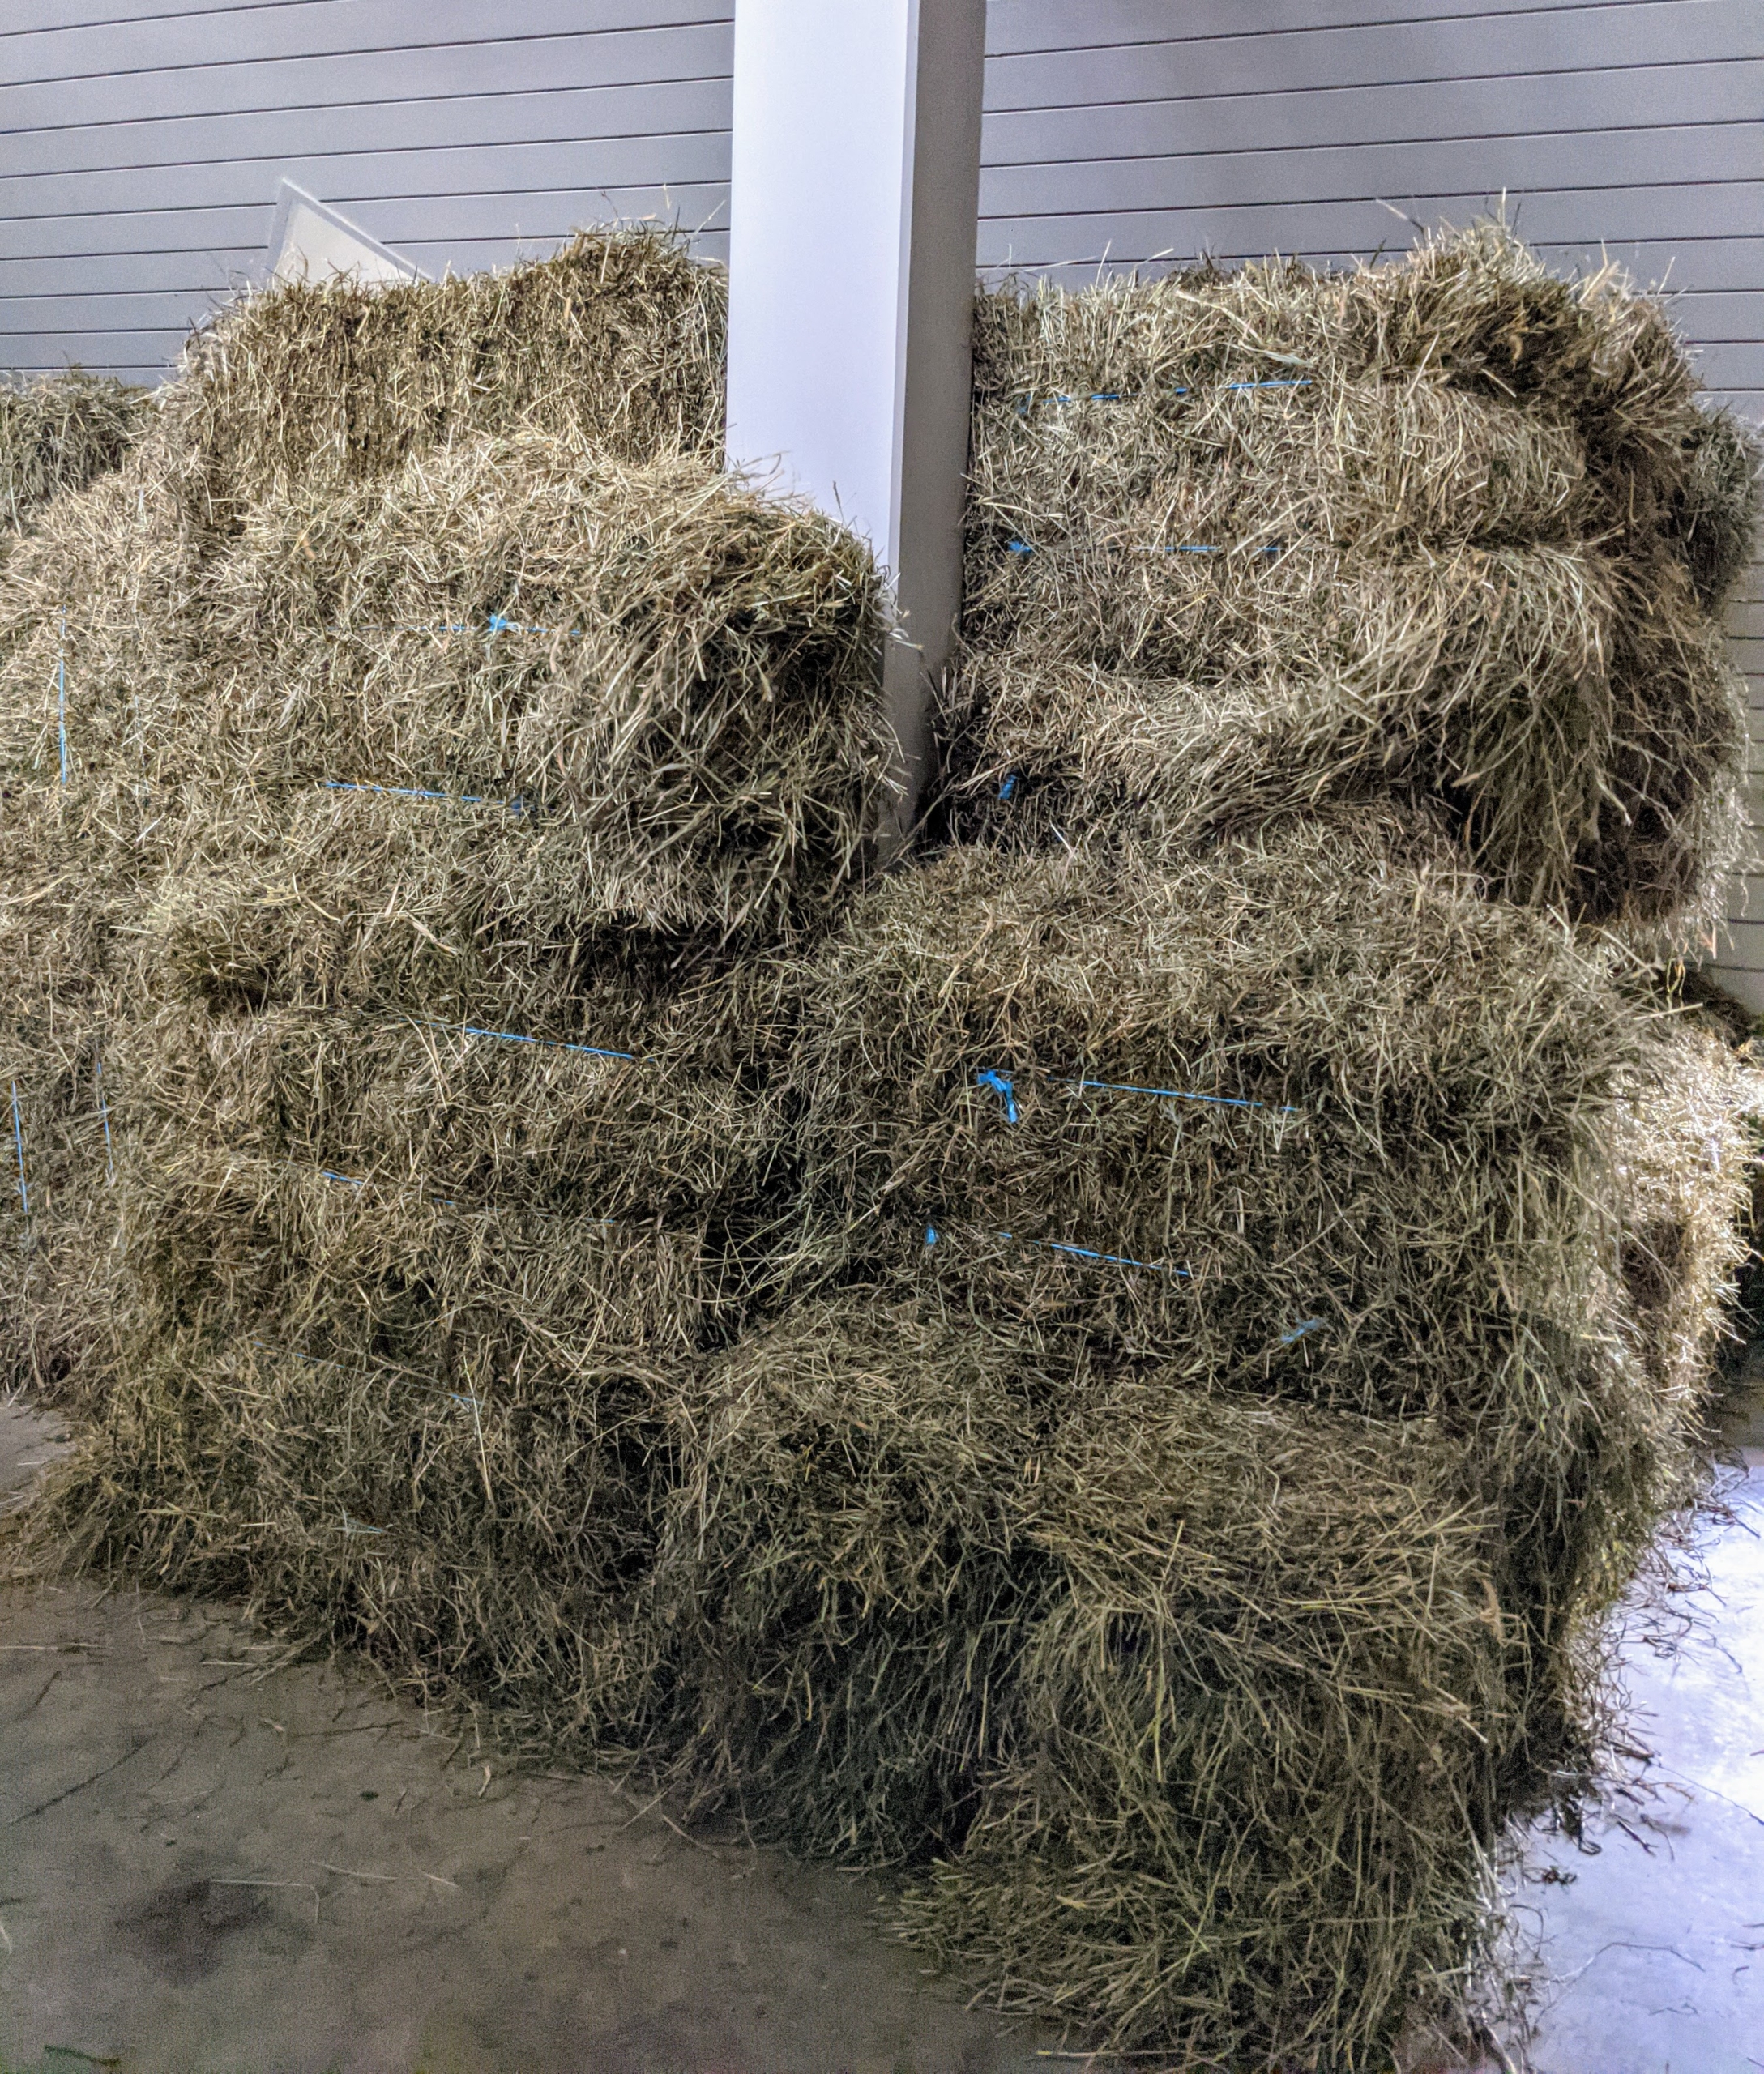
Once the trailer is full, it is brought to the stable, where the hay is unloaded and stored in the hayloft.
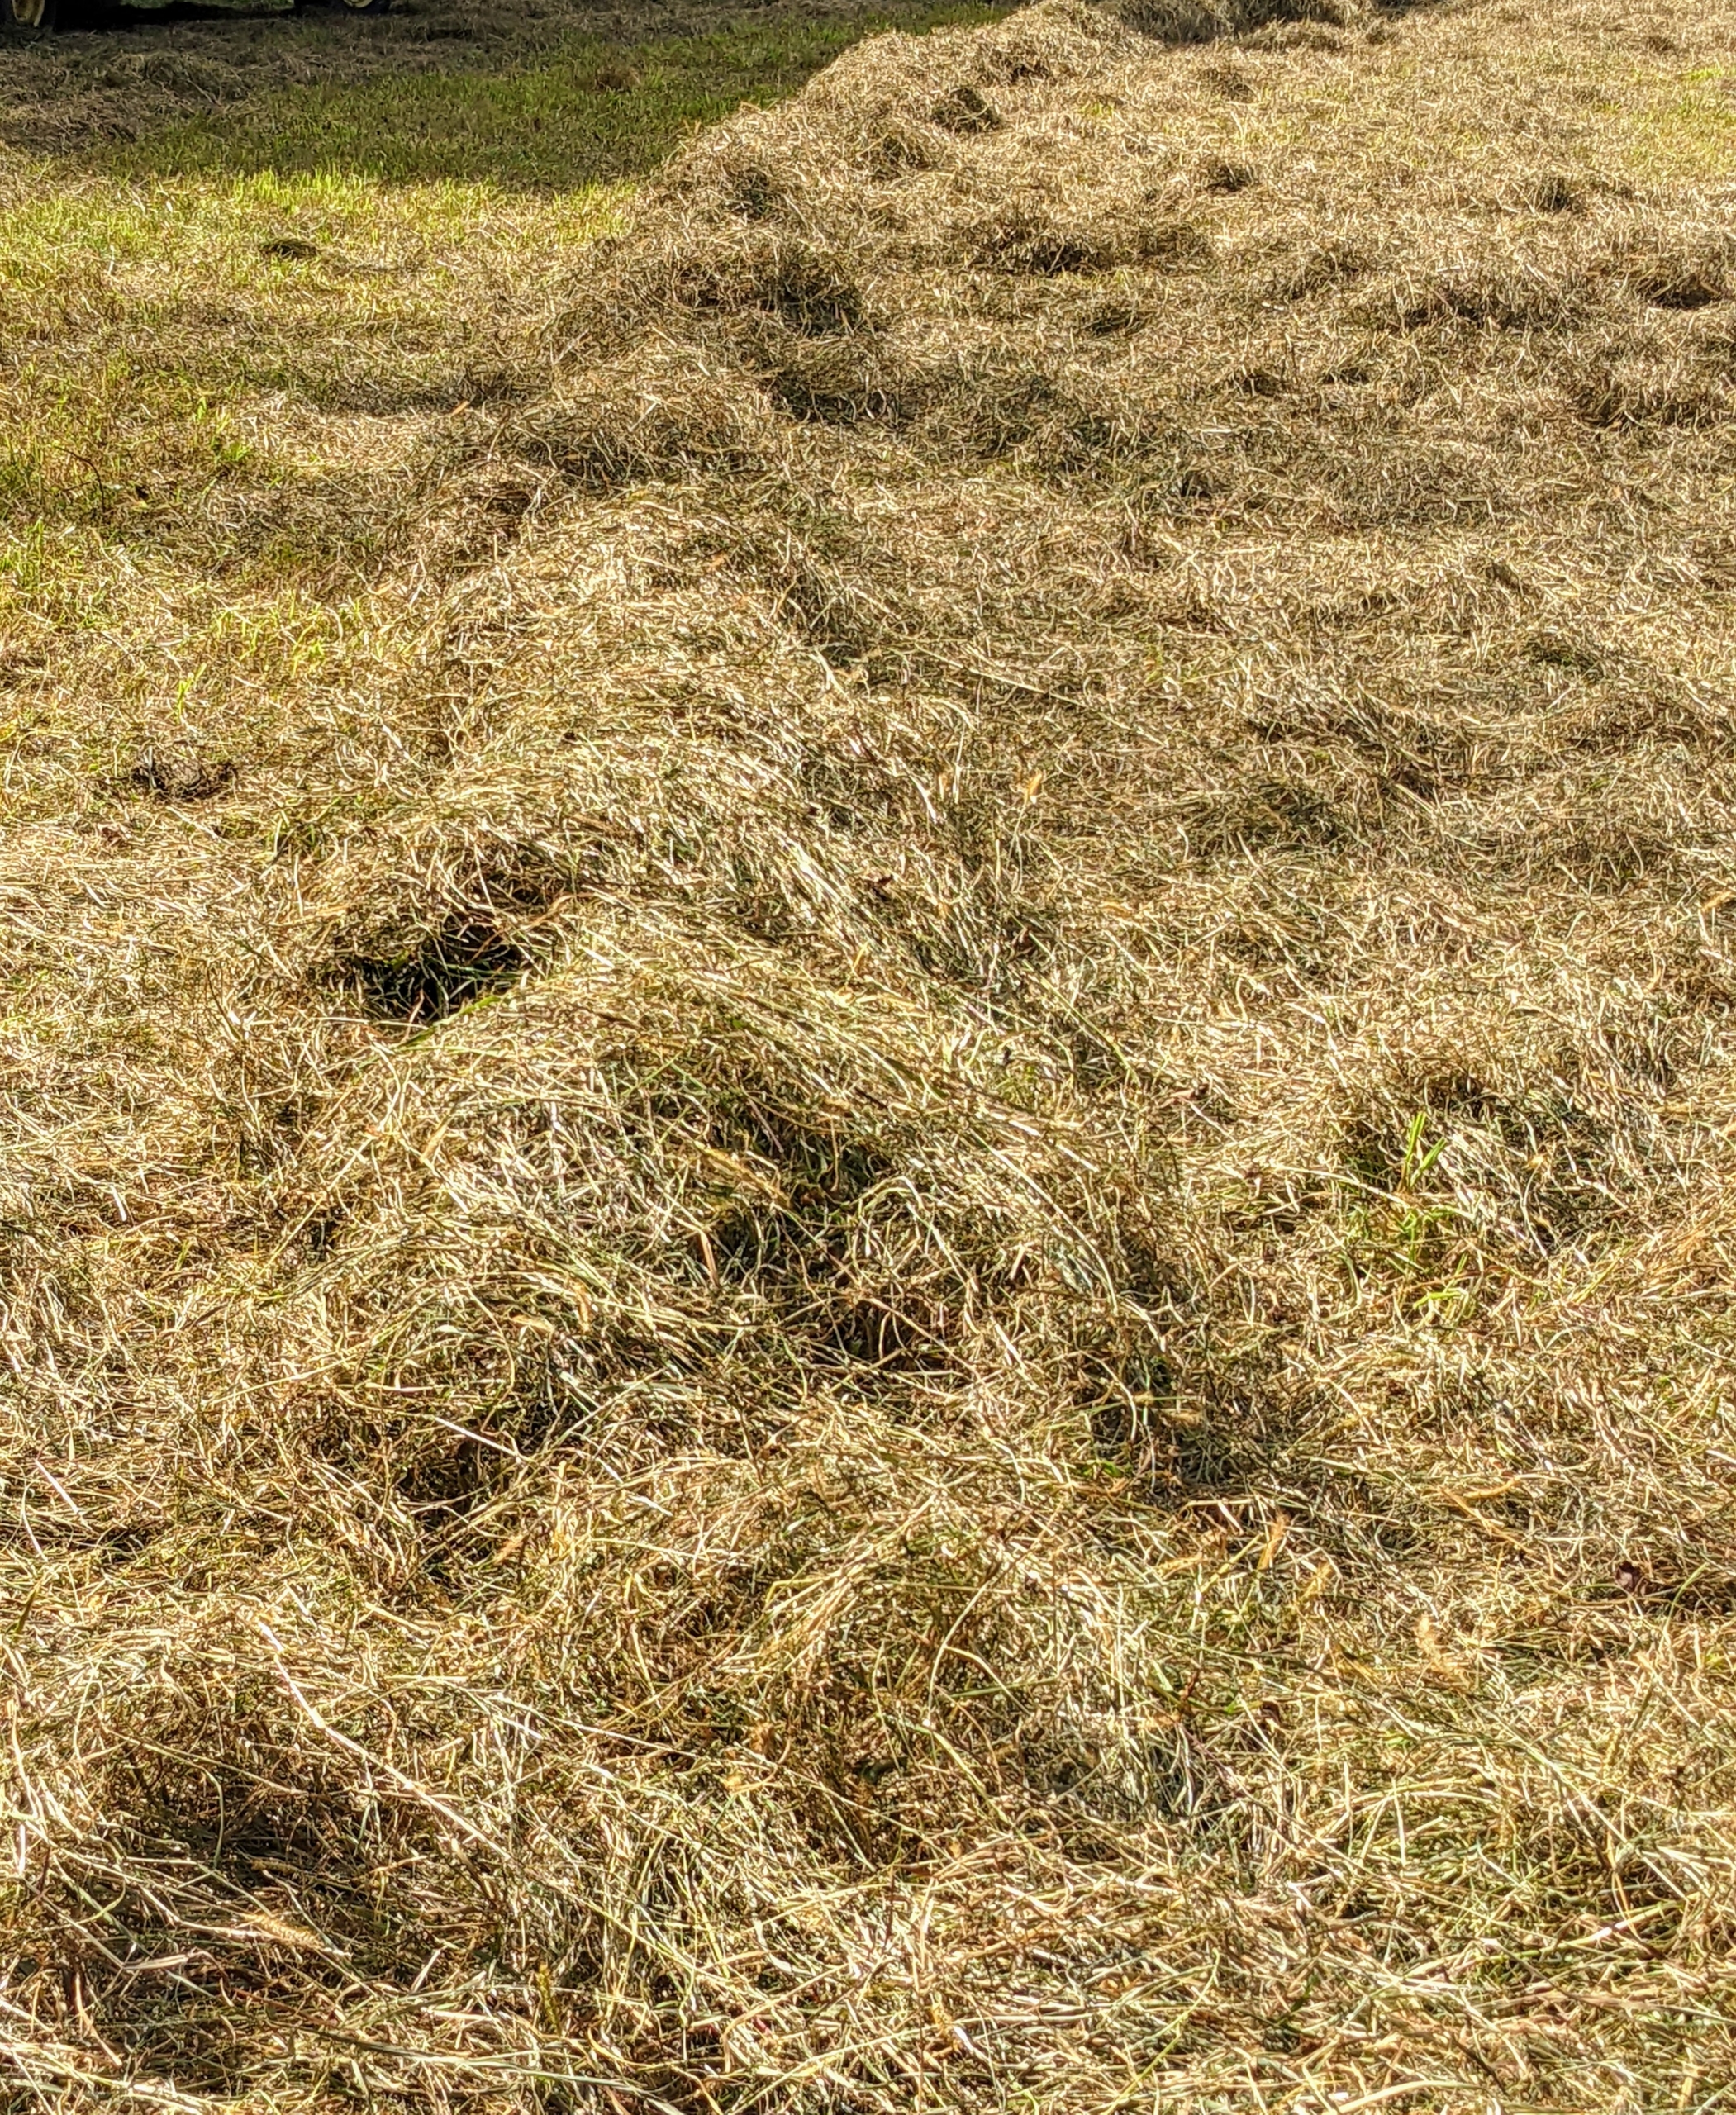
Here’s some of the hay already placed into a wheelbarrow for the horses. The second cut of hay has a finer texture and usually, a greener color and heavier leaves. It is more dense, the leaves are more tender and if cut at the right maturity, it is healthier with lots of protein.
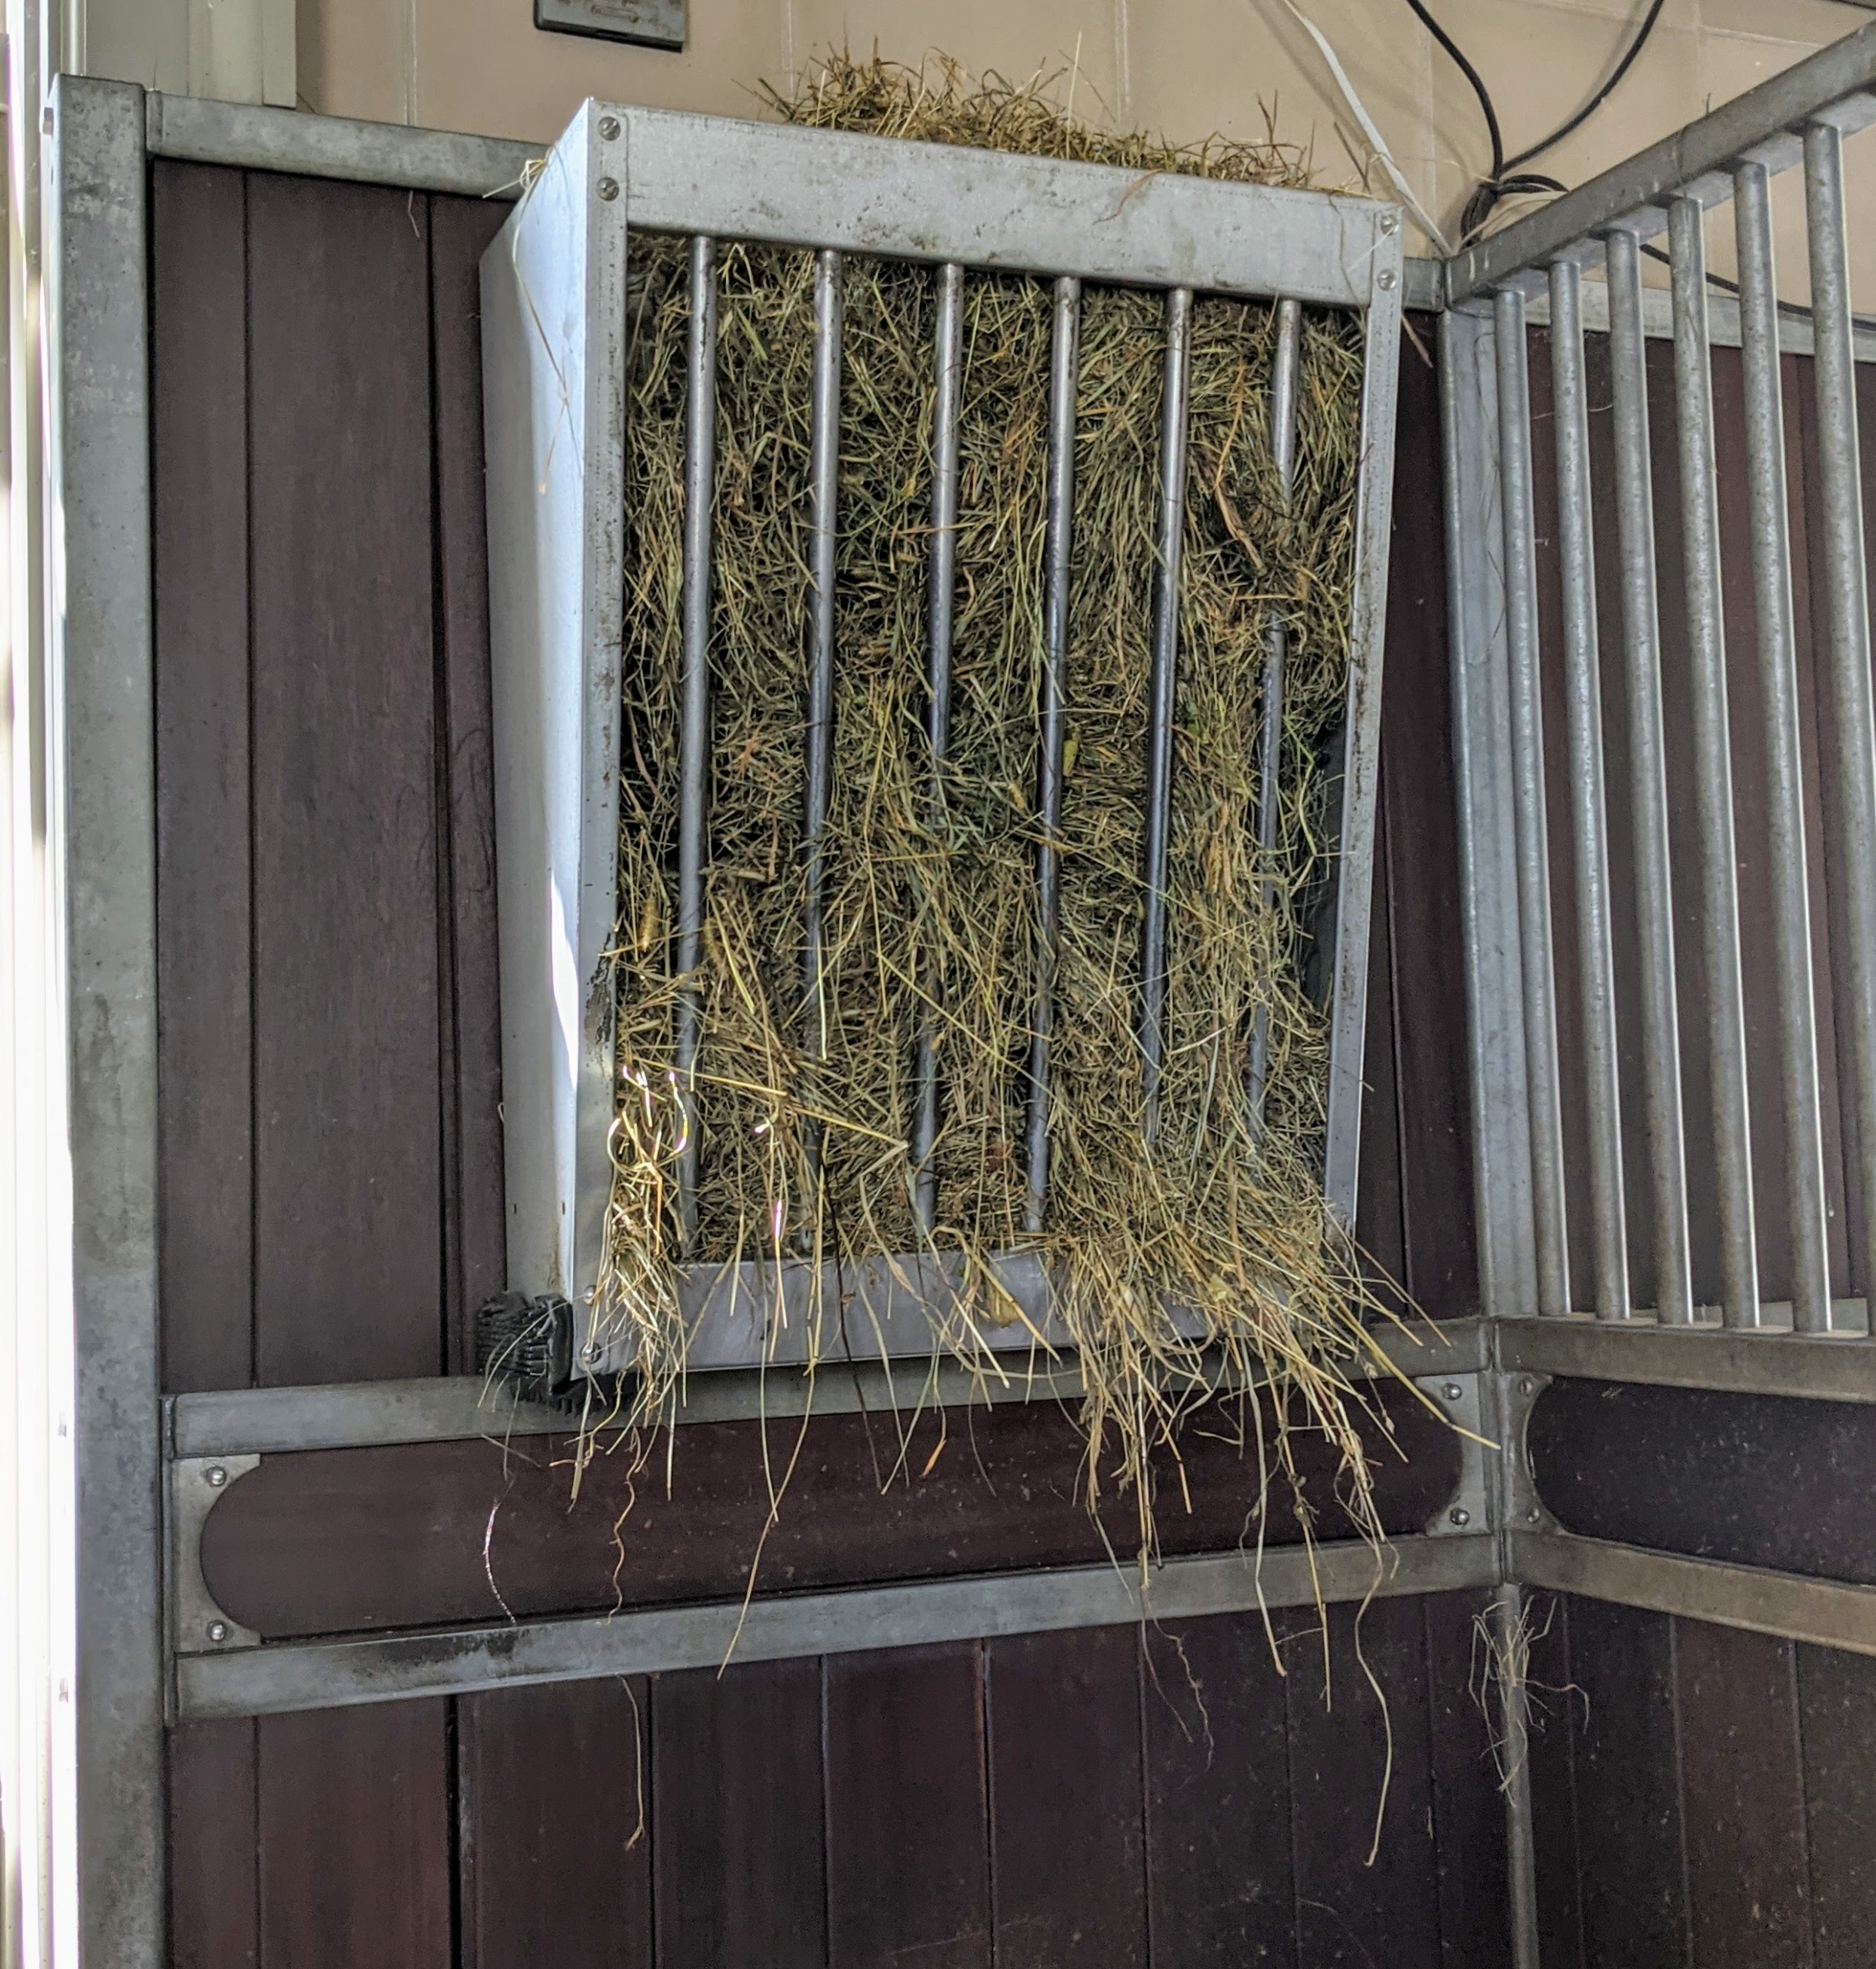
We use these galvanized wall mounted horse feeders in the stalls. They’re from RAMM Horse Fencing & Stalls, a 30-year old family-owned business located in Swanton, Ohio. The feeders hold up to two flakes of hay each.
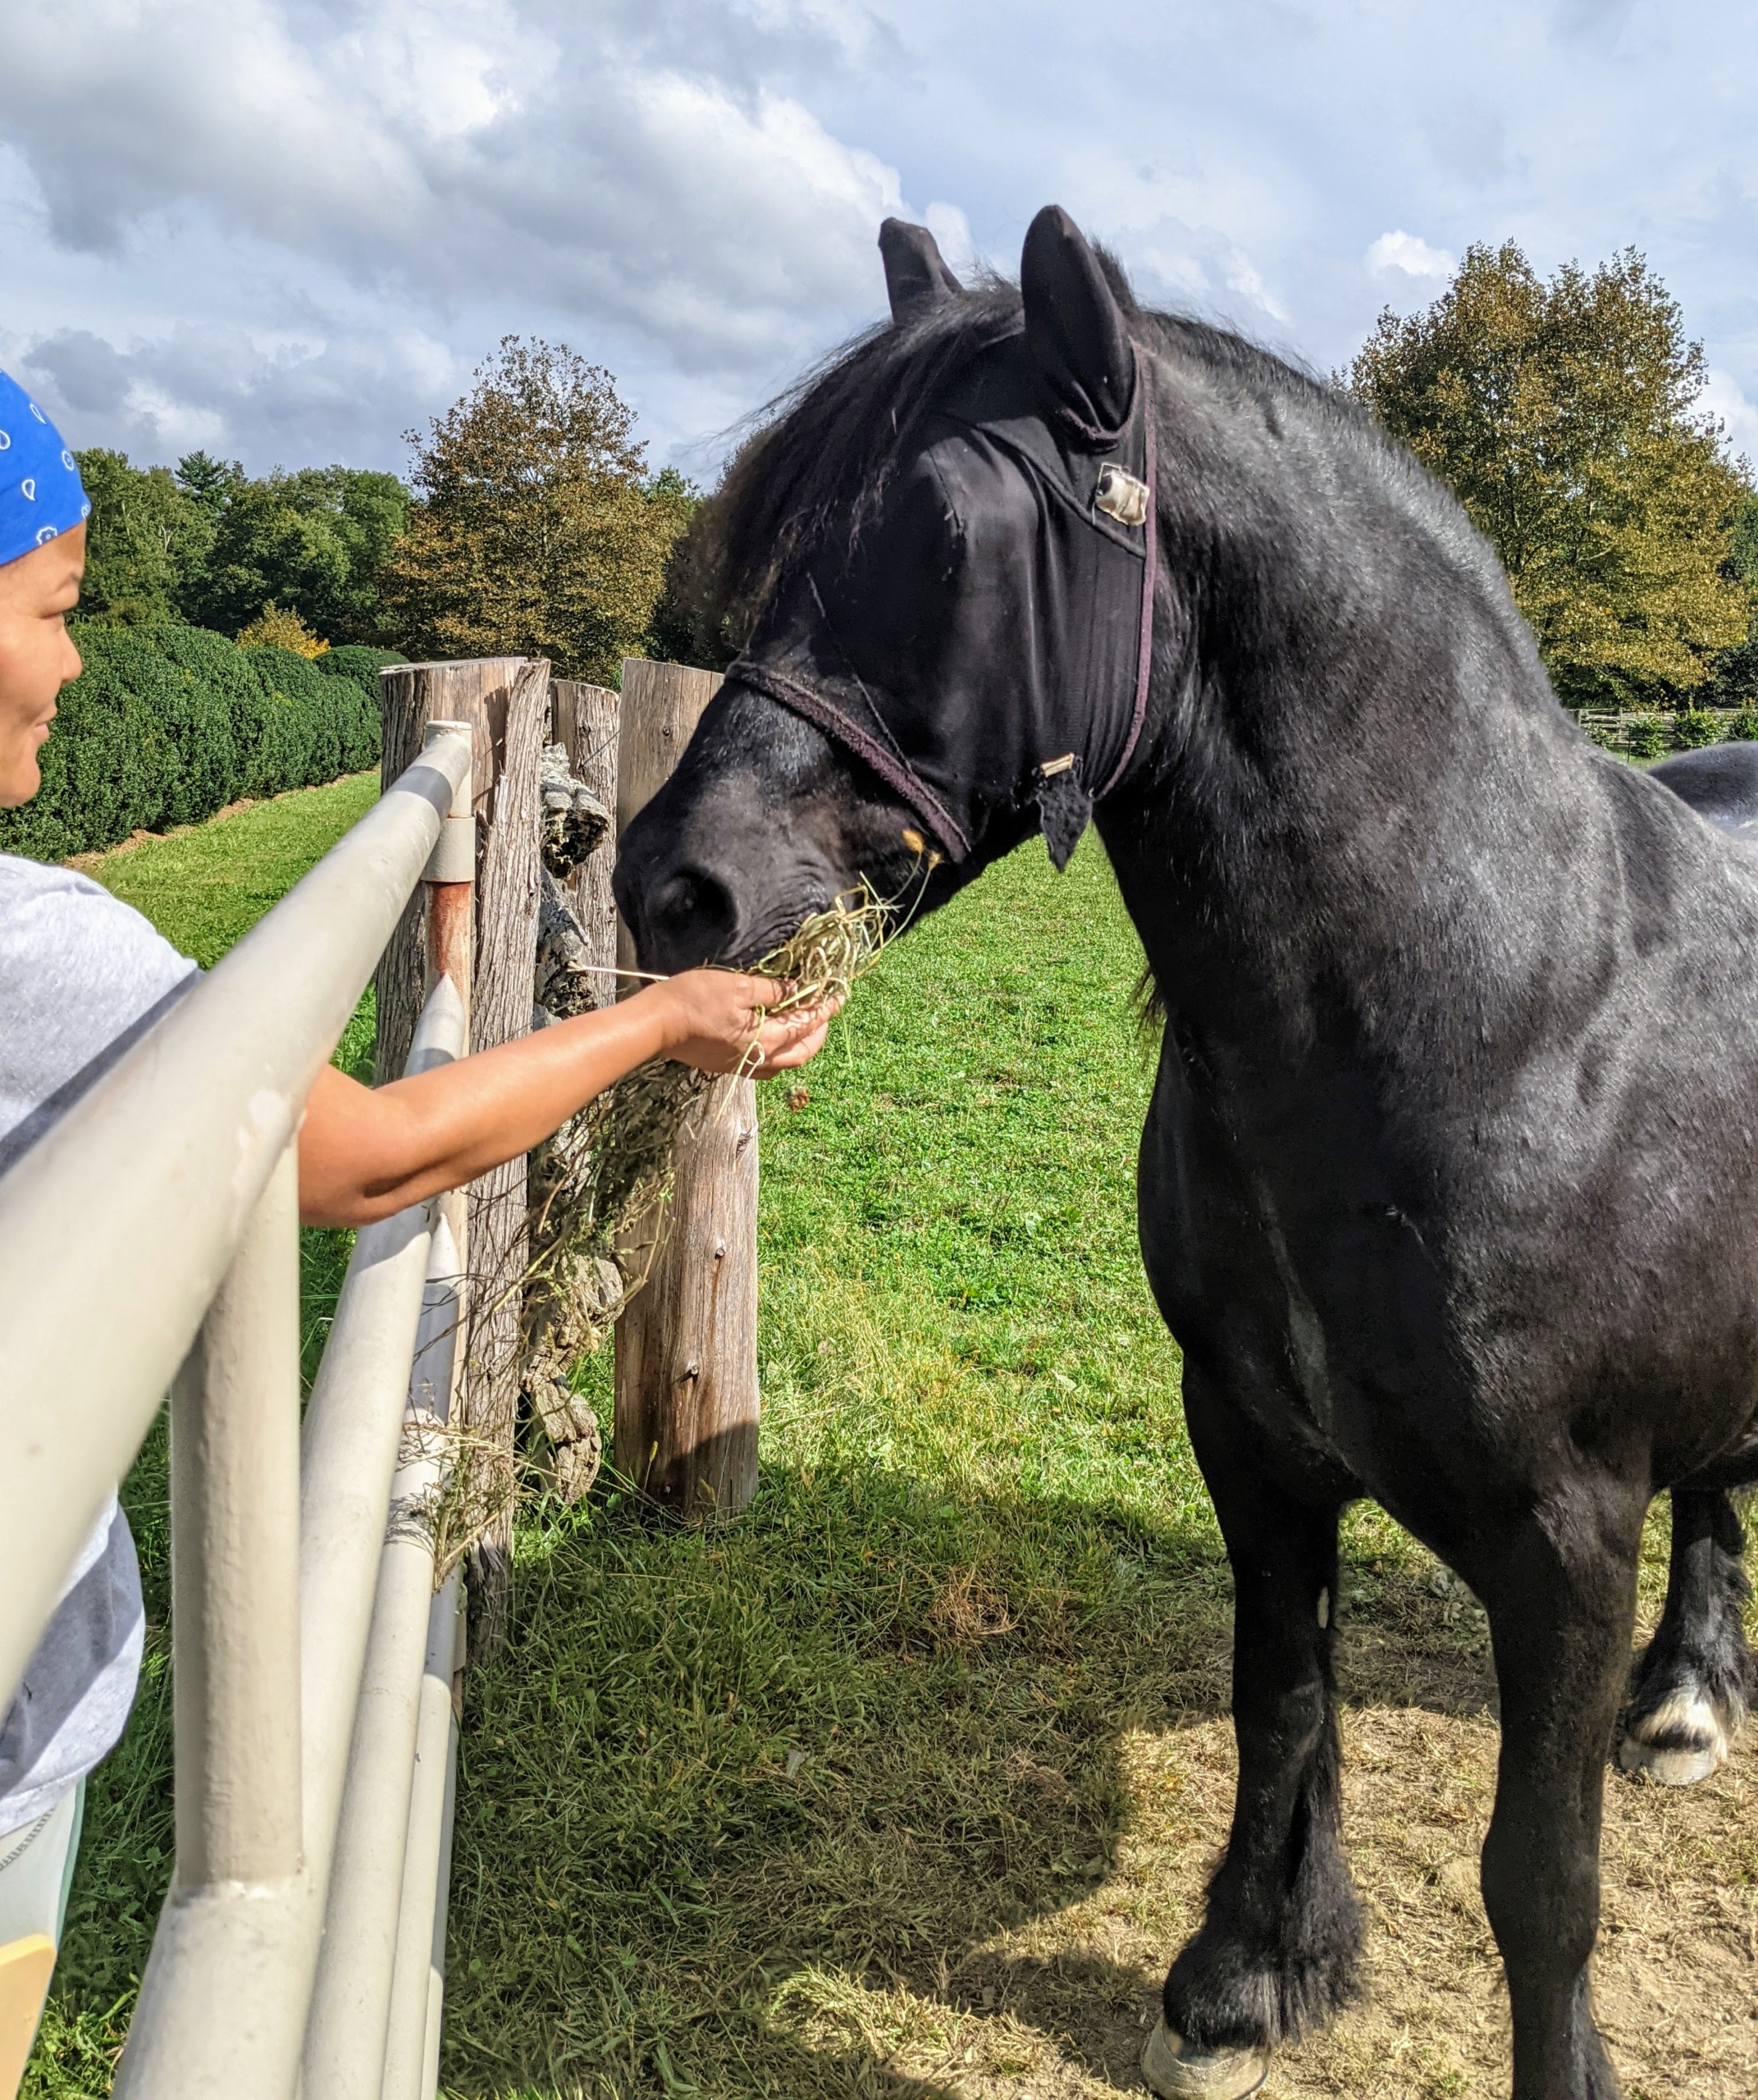
But here’s the true test – Dolma offers some of the newly cut hay to Banchunch, my Fell pony. The verdict: he and the other horses love it. It makes me so happy to know I can grow good, nutritious hay for my horses right here at my farm.
And here is a short video showing how the machine picks up the hay, bales it, and then throws it into the wagon.
Here in the Northeast, we're expecting cloudy skies and rain showers today with temperatures in the high 70s - just one day after my outdoor grounds crew worked hard to cut, dry, and bale another good amount of hay for my horses.
When I moved to my farm in Bedford, New York, I designated three separate areas as hayfields and planted them with a mixture of timothy, orchard grass, Kentucky bluegrass, ryegrass, and clovers - all great for producing quality hay. This past weekend, we cut the hay in one field and then tossed the grass to begin the crucial drying process in preparation for baling. Yesterday, the crew tedded the hay again, raked it into windrows, and baled wagons filled with hay.
Here are some photos, enjoy.
This time every year, we always hope for at least several days of good, dry weather, so we can get a nice cut of hay from the fields. Timing is everything when cutting the hay crop. The last few days have been perfect for this year’s second cutting.
The best time to do any cutting is when grasses have reached what is called the “late boot stage”. This stage is typically reached after six to eight weeks of growth after a previous cutting. The “late boot stage” is when the seed head of the grasses first pops out of the sheath. Second cut hay has a finer texture and usually, a greener color and heavier leaves. It is more dense, the leaves are more tender and if cut at the right maturity, it is healthier with lots of protein. This field was cut over the weekend and left to dry for a couple of days.
This is a hay tedder. A tedder spreads and fluffs the hay in a uniform swath after it is cut. It basically turns the hay, so it can dry completely.
The tedder uses a rotary motion to grab the hay with spinning tines and then cast it out the back of the machine.
Here is a closer look at the tines, or moving forks, which aerate or “wuffle” the hay and speed up the drying process.
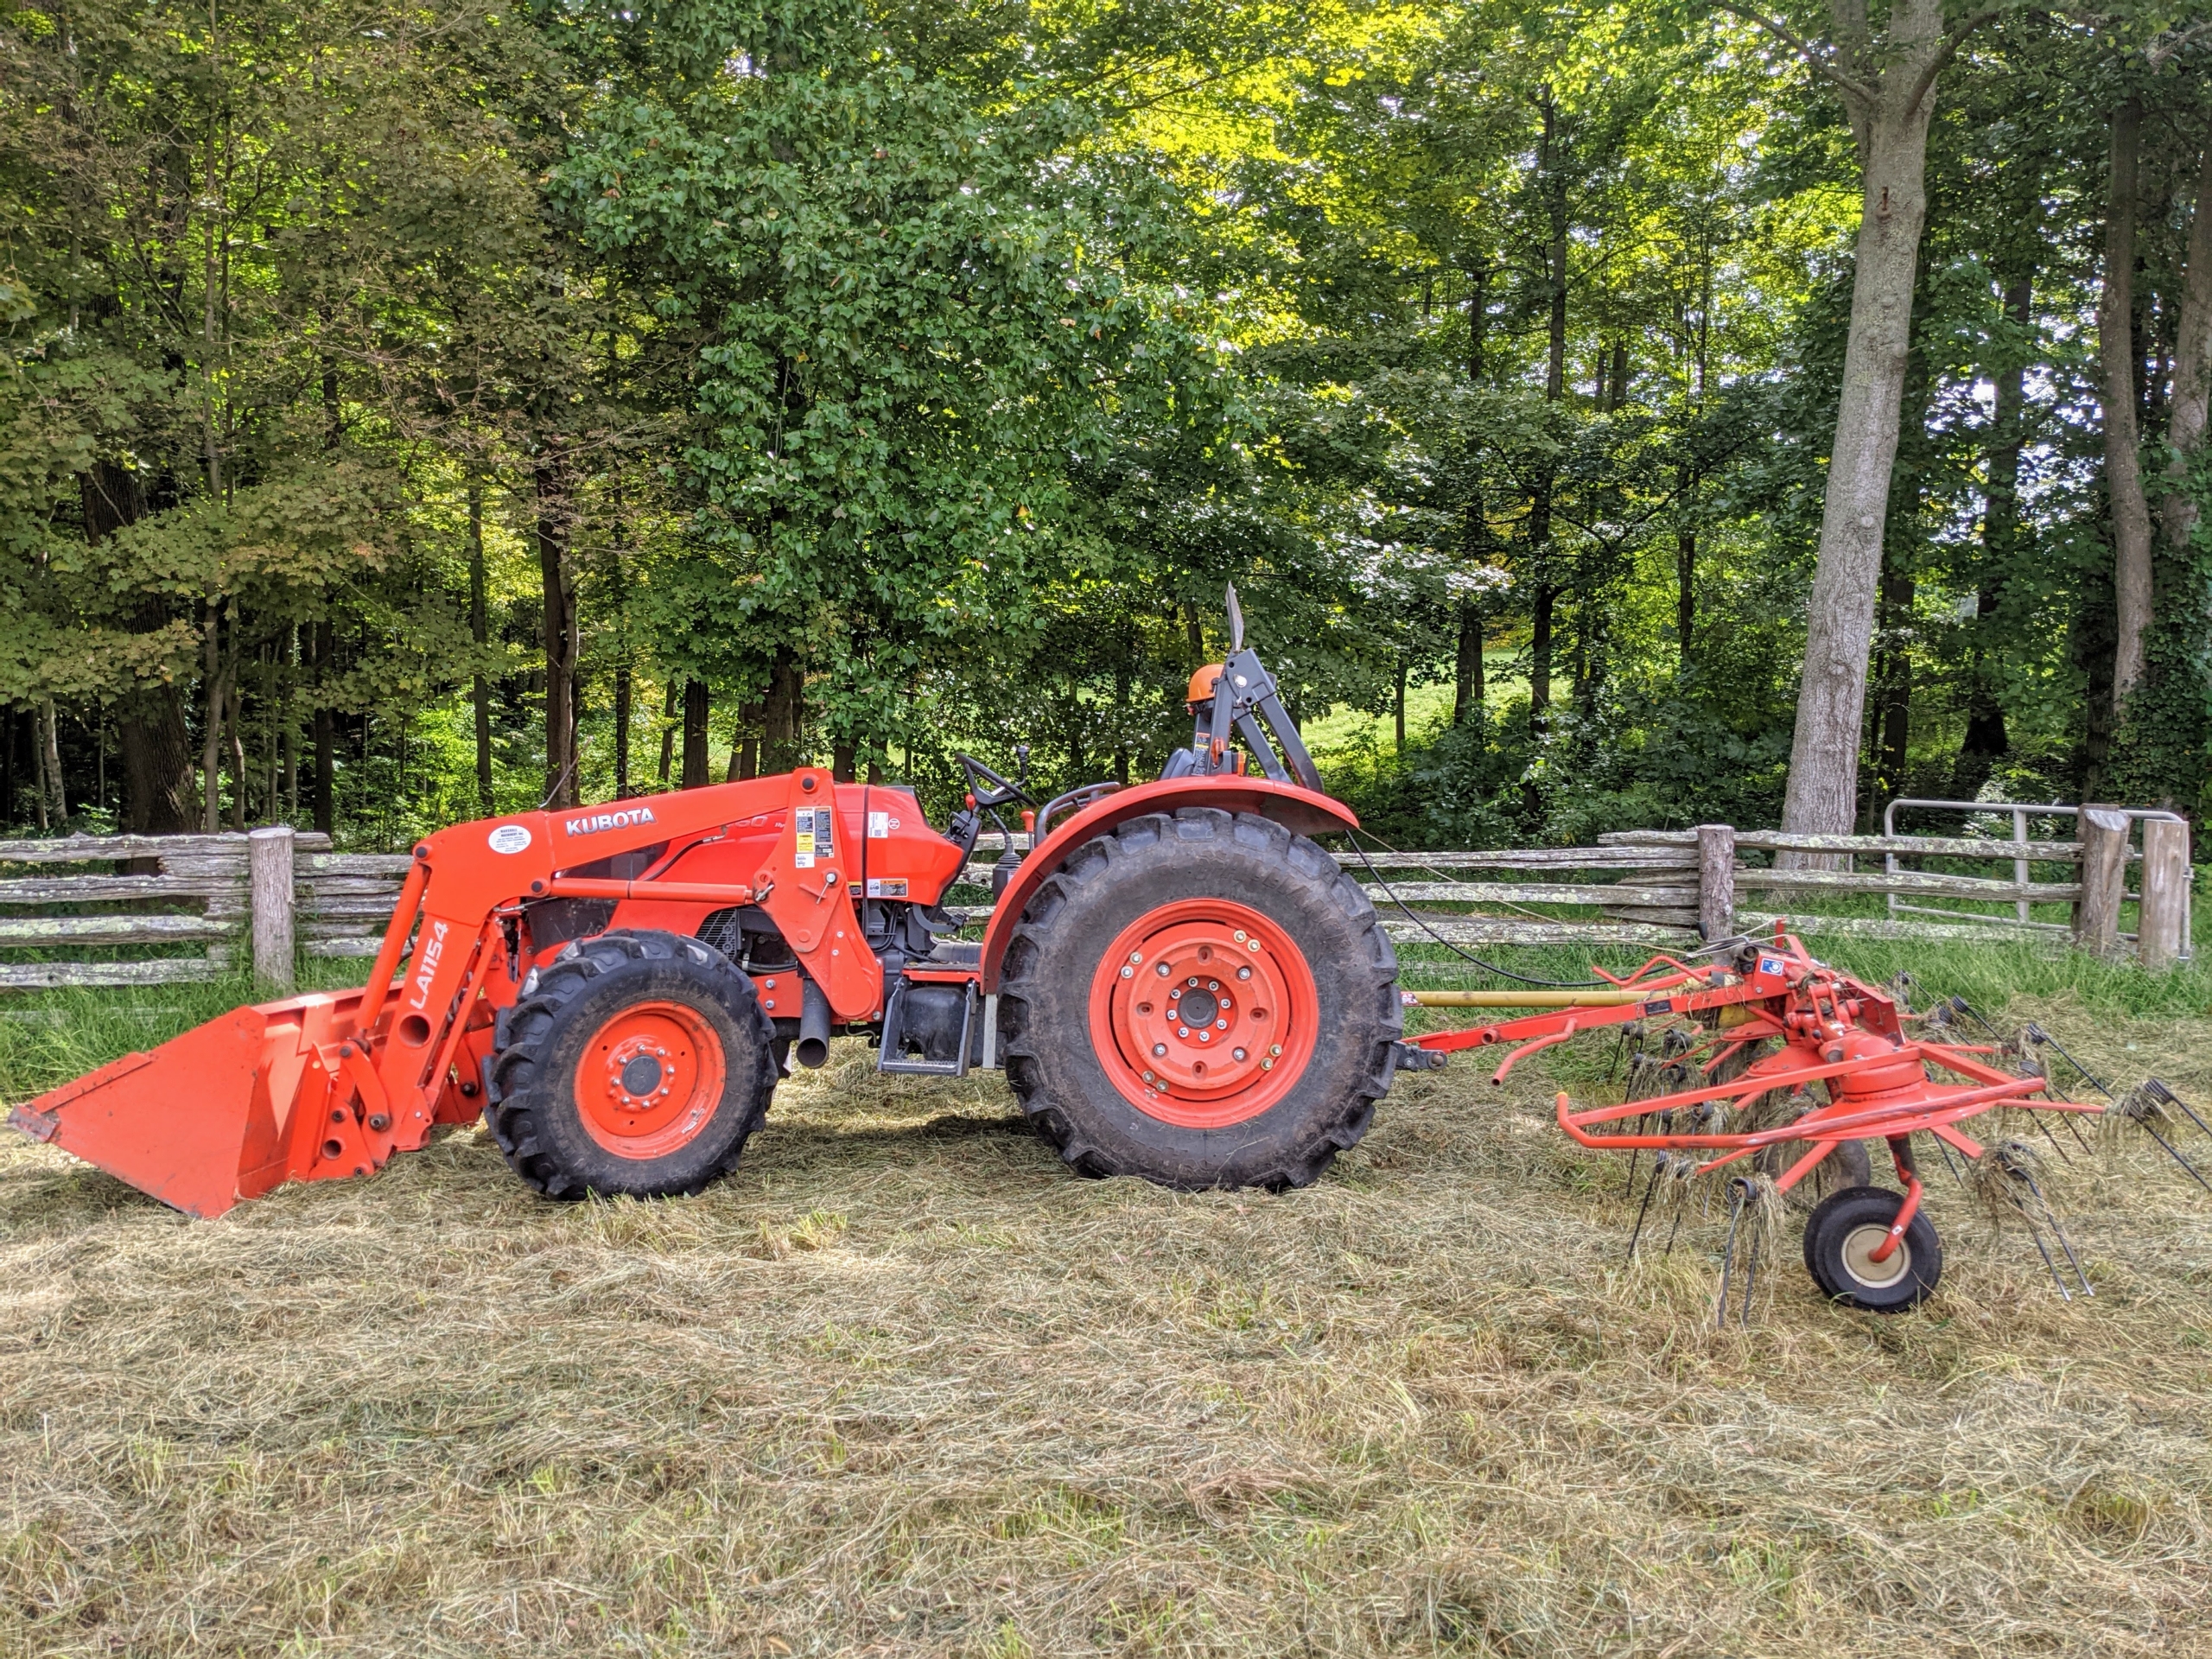
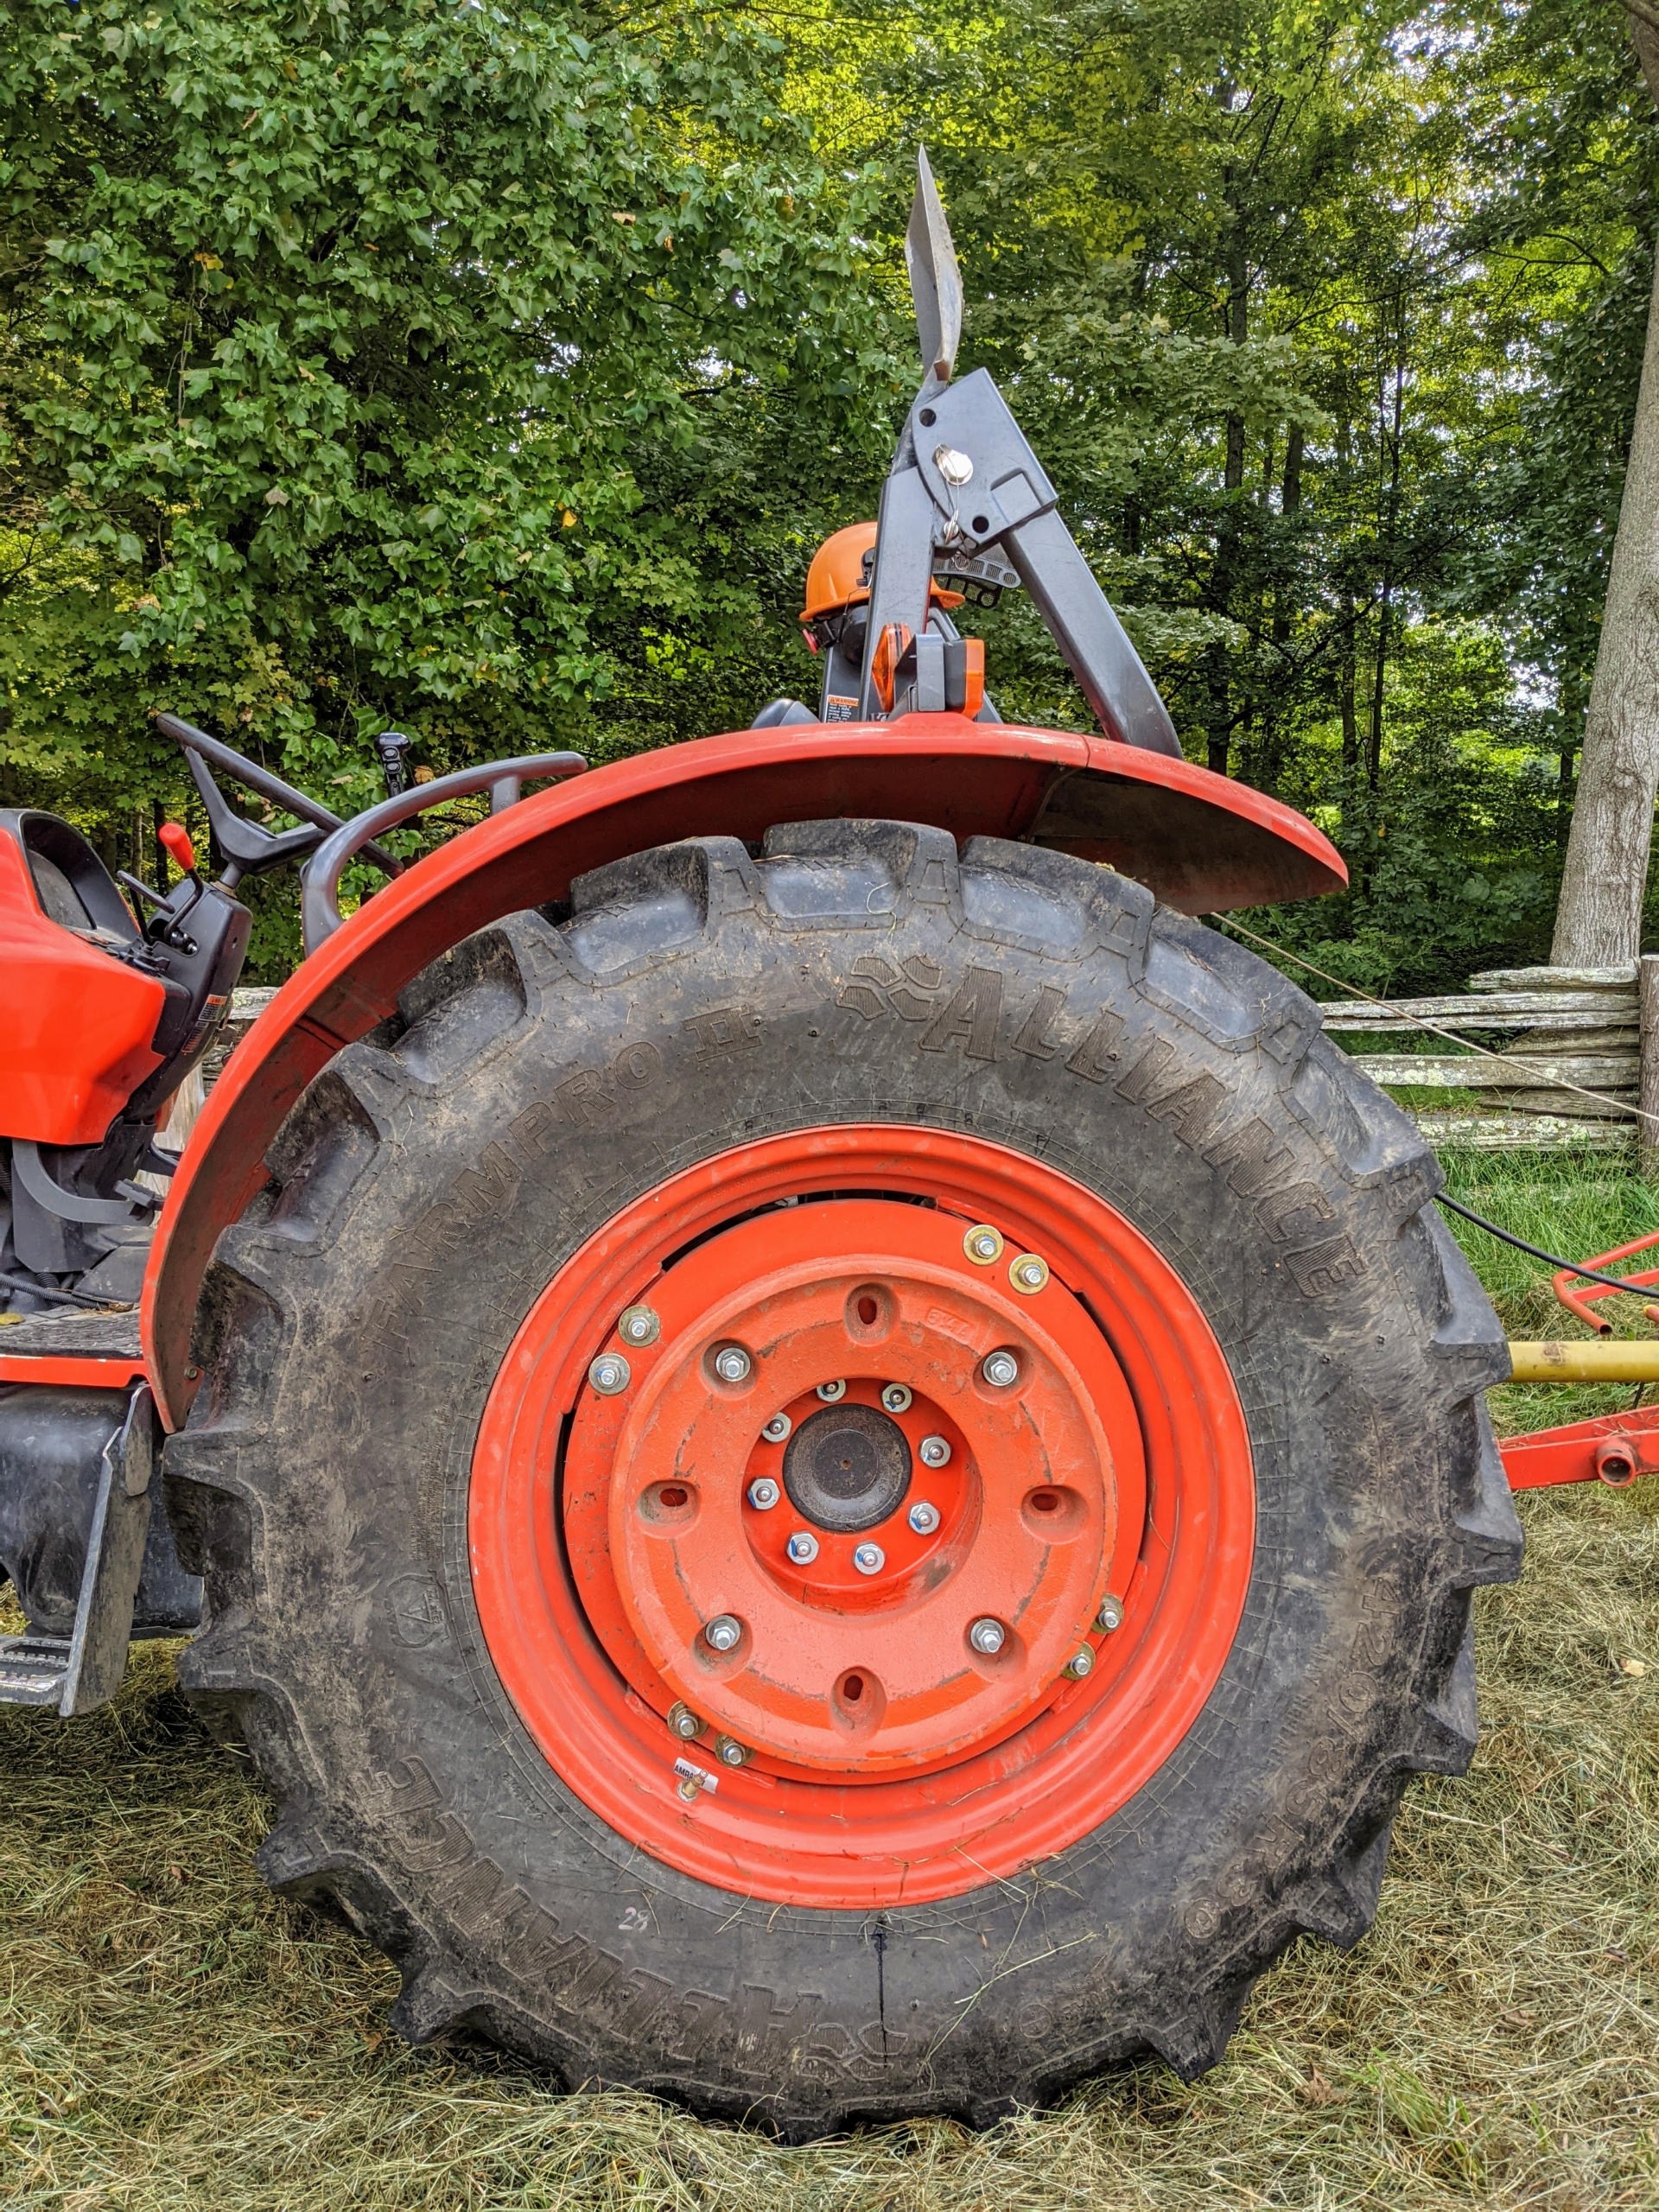
The tedder is attached to our trusted Kubota M7060HD12 tractor – a vehicle that is used every day here at the farm.
Look at the giant tires on this tractor – they are about five feet tall.
Here is Domi driving the tedder up and down the field as the machine takes all the greener hay from the bottom and turns it over to dry.
Here is another view – look how the tedder picks up and fluffs the hay with its forks.
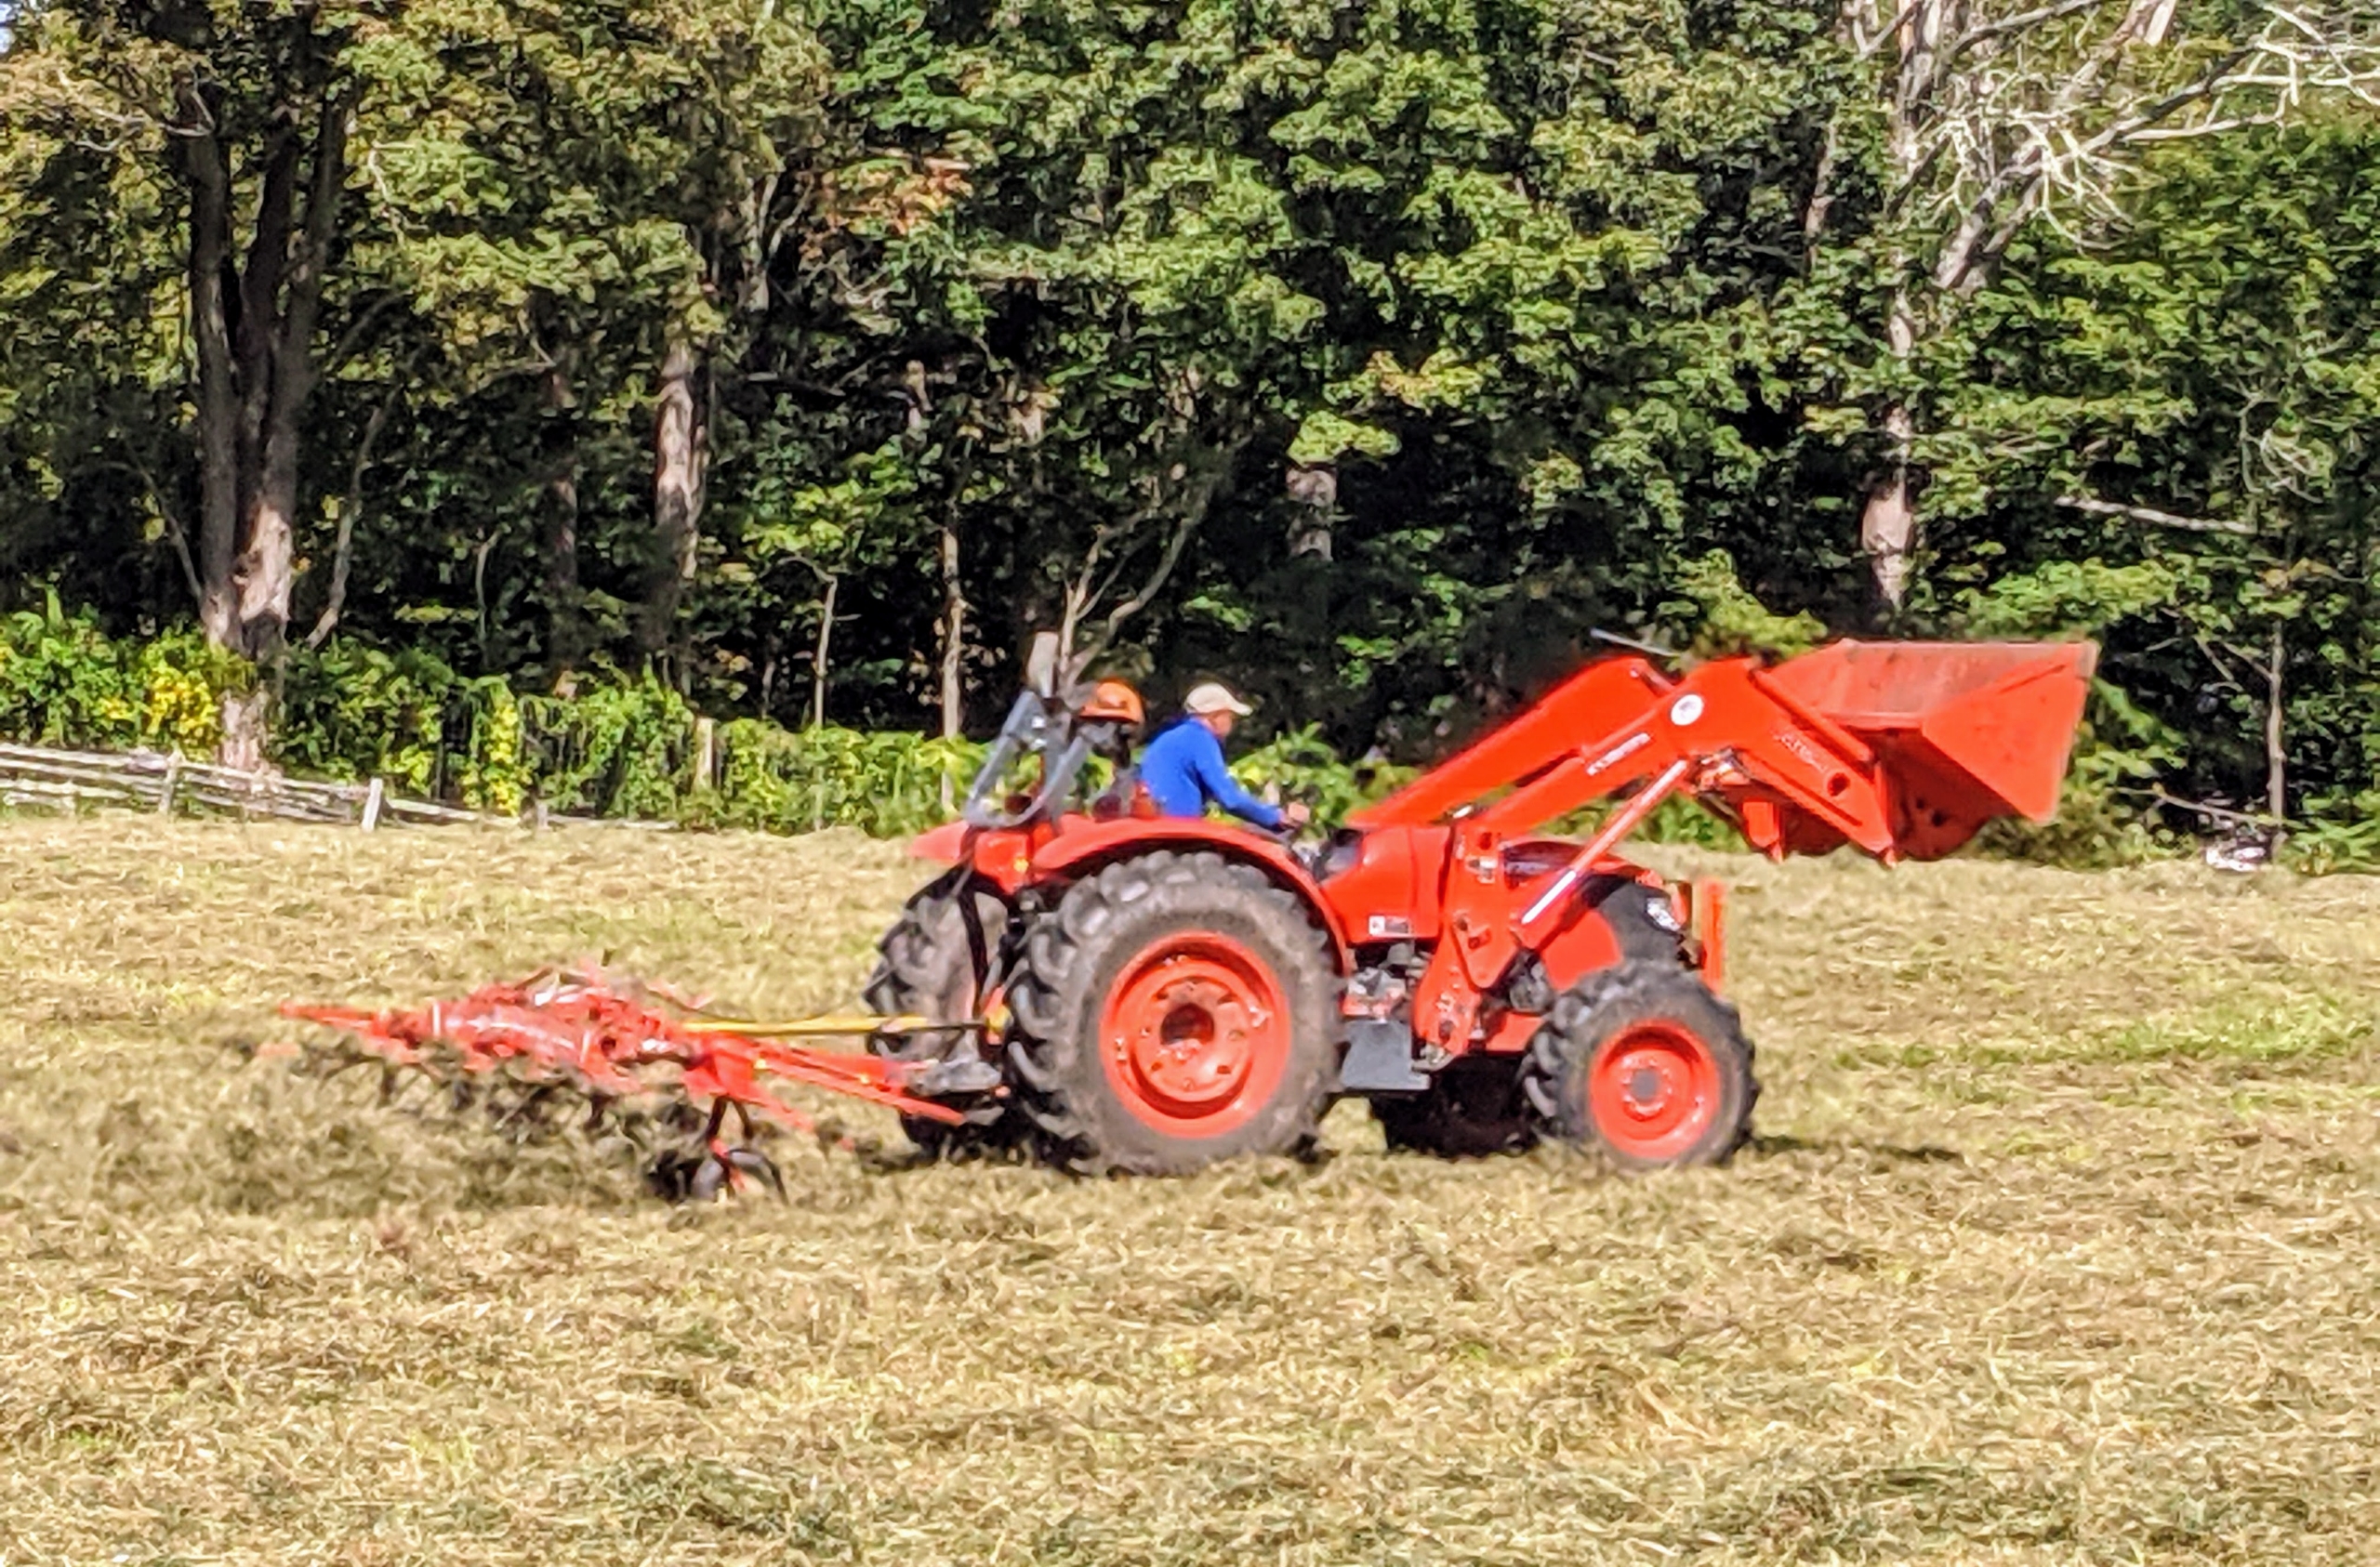
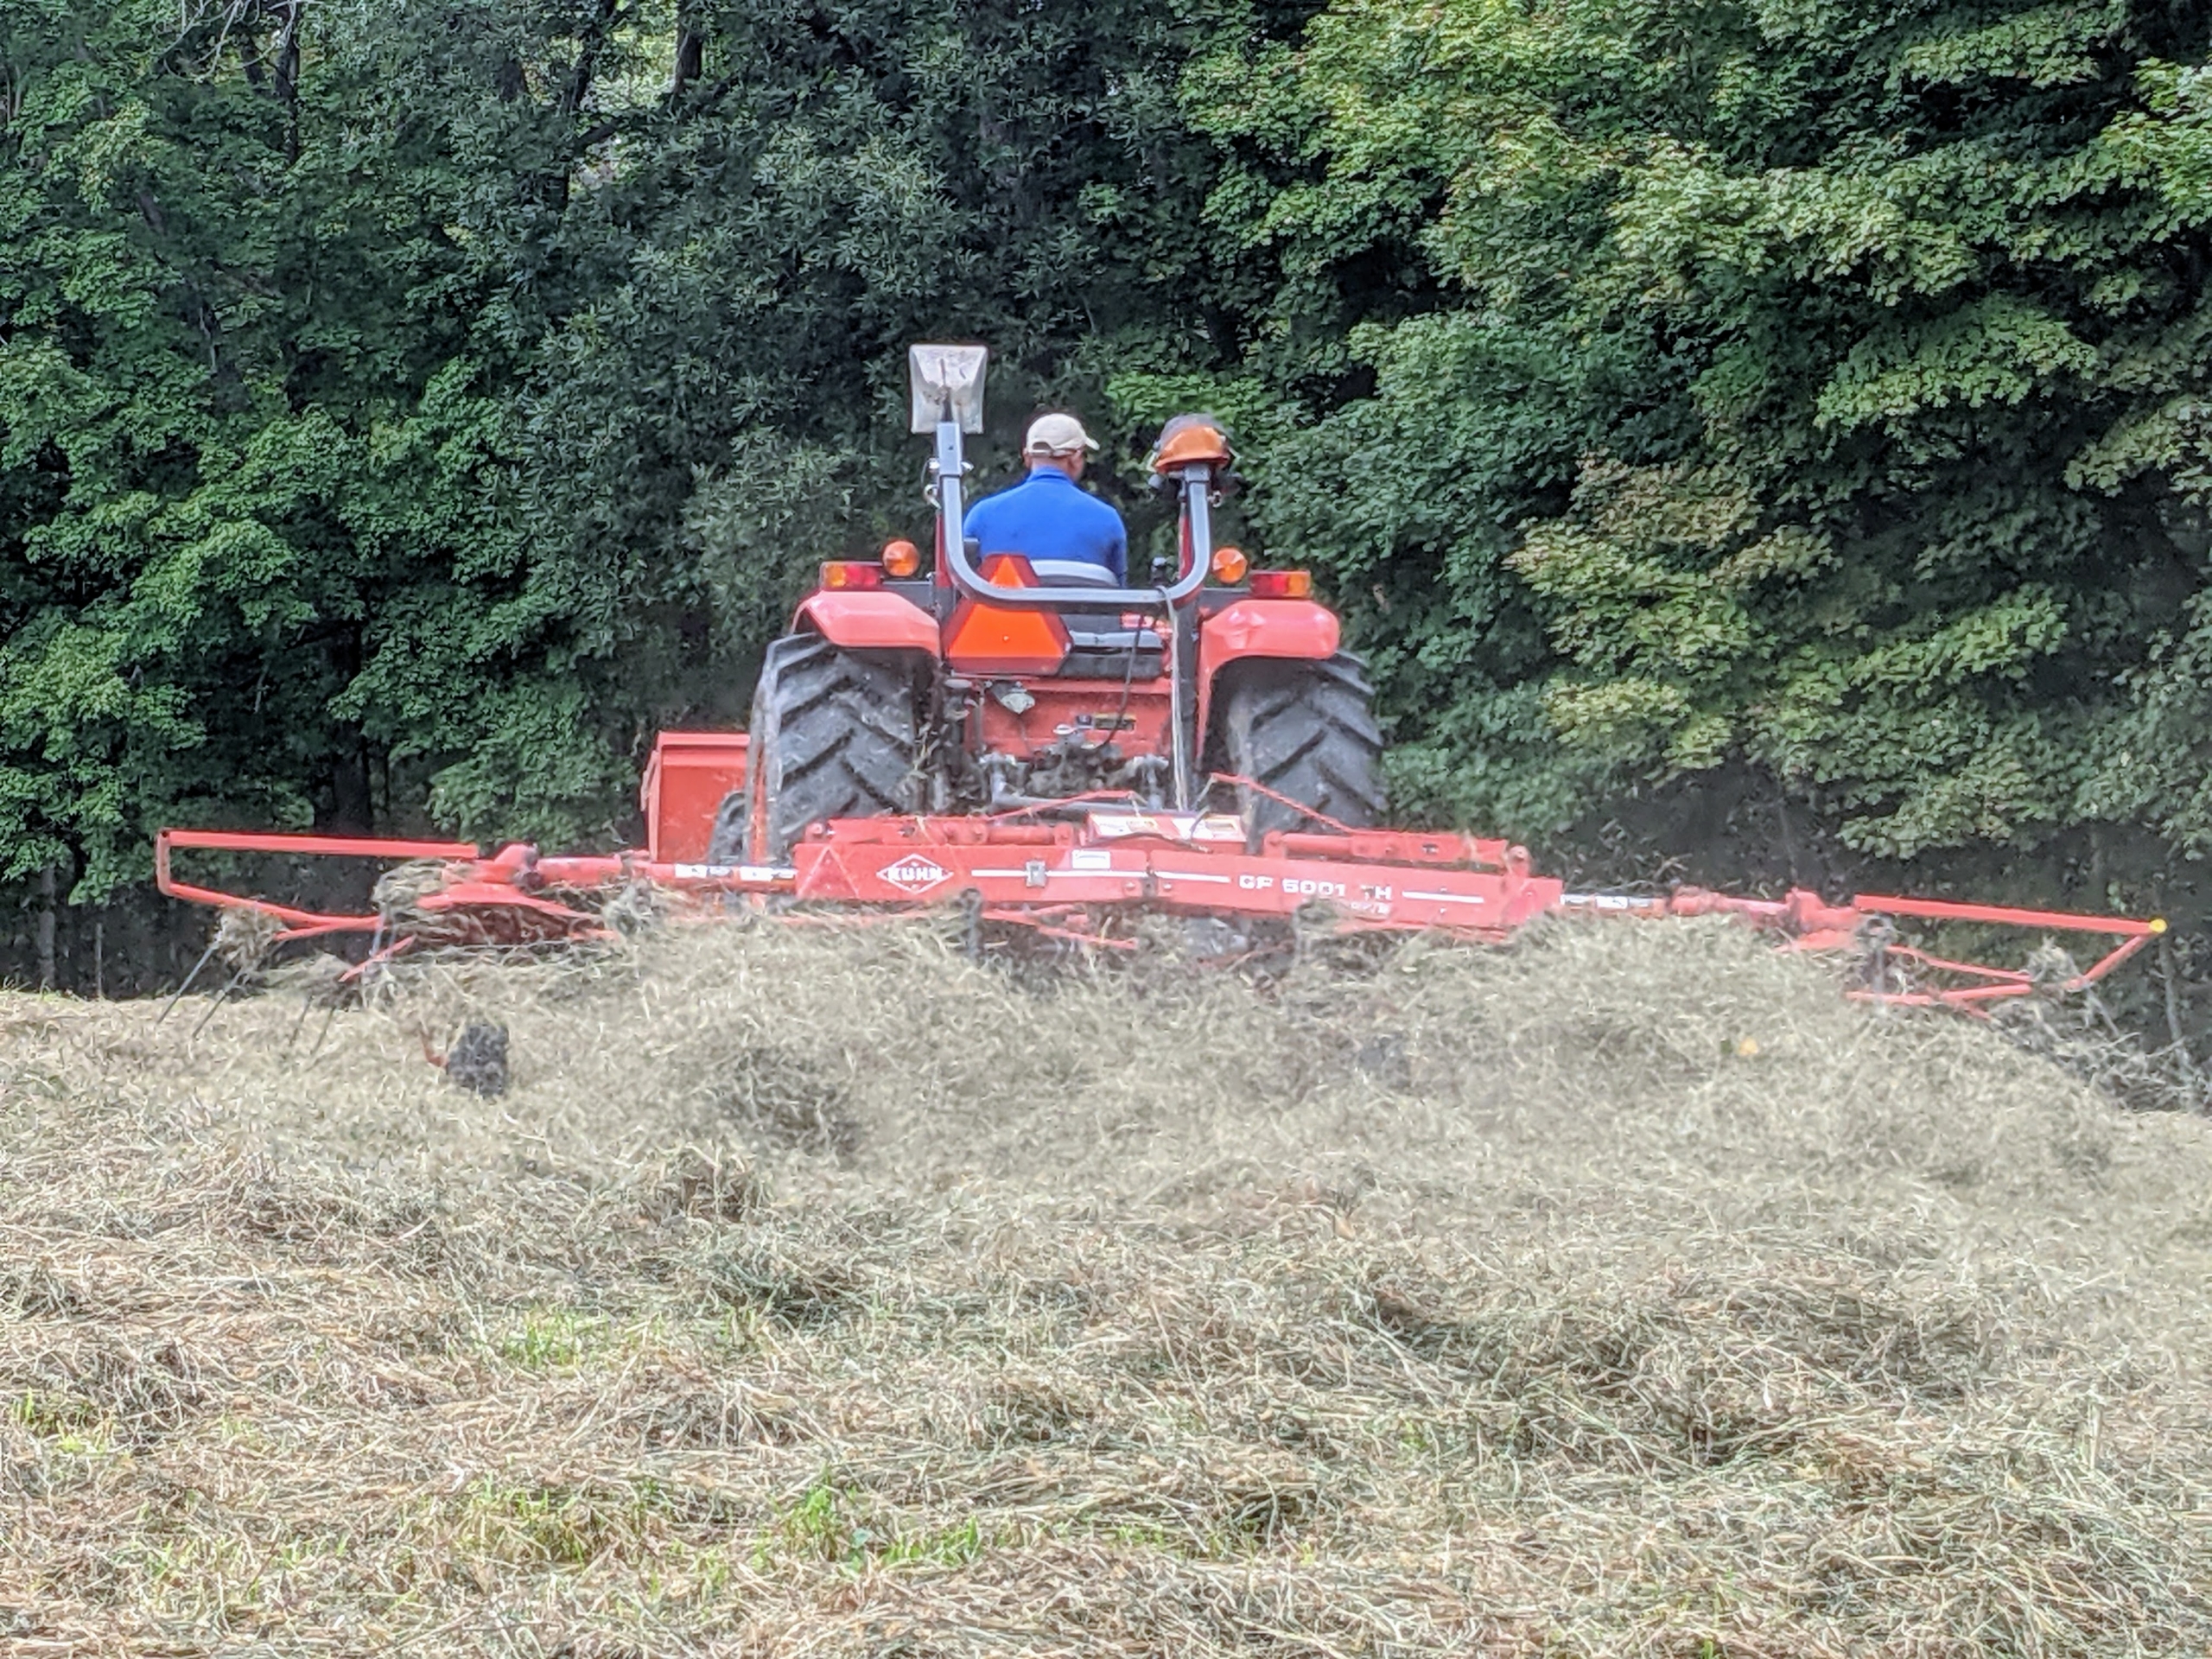
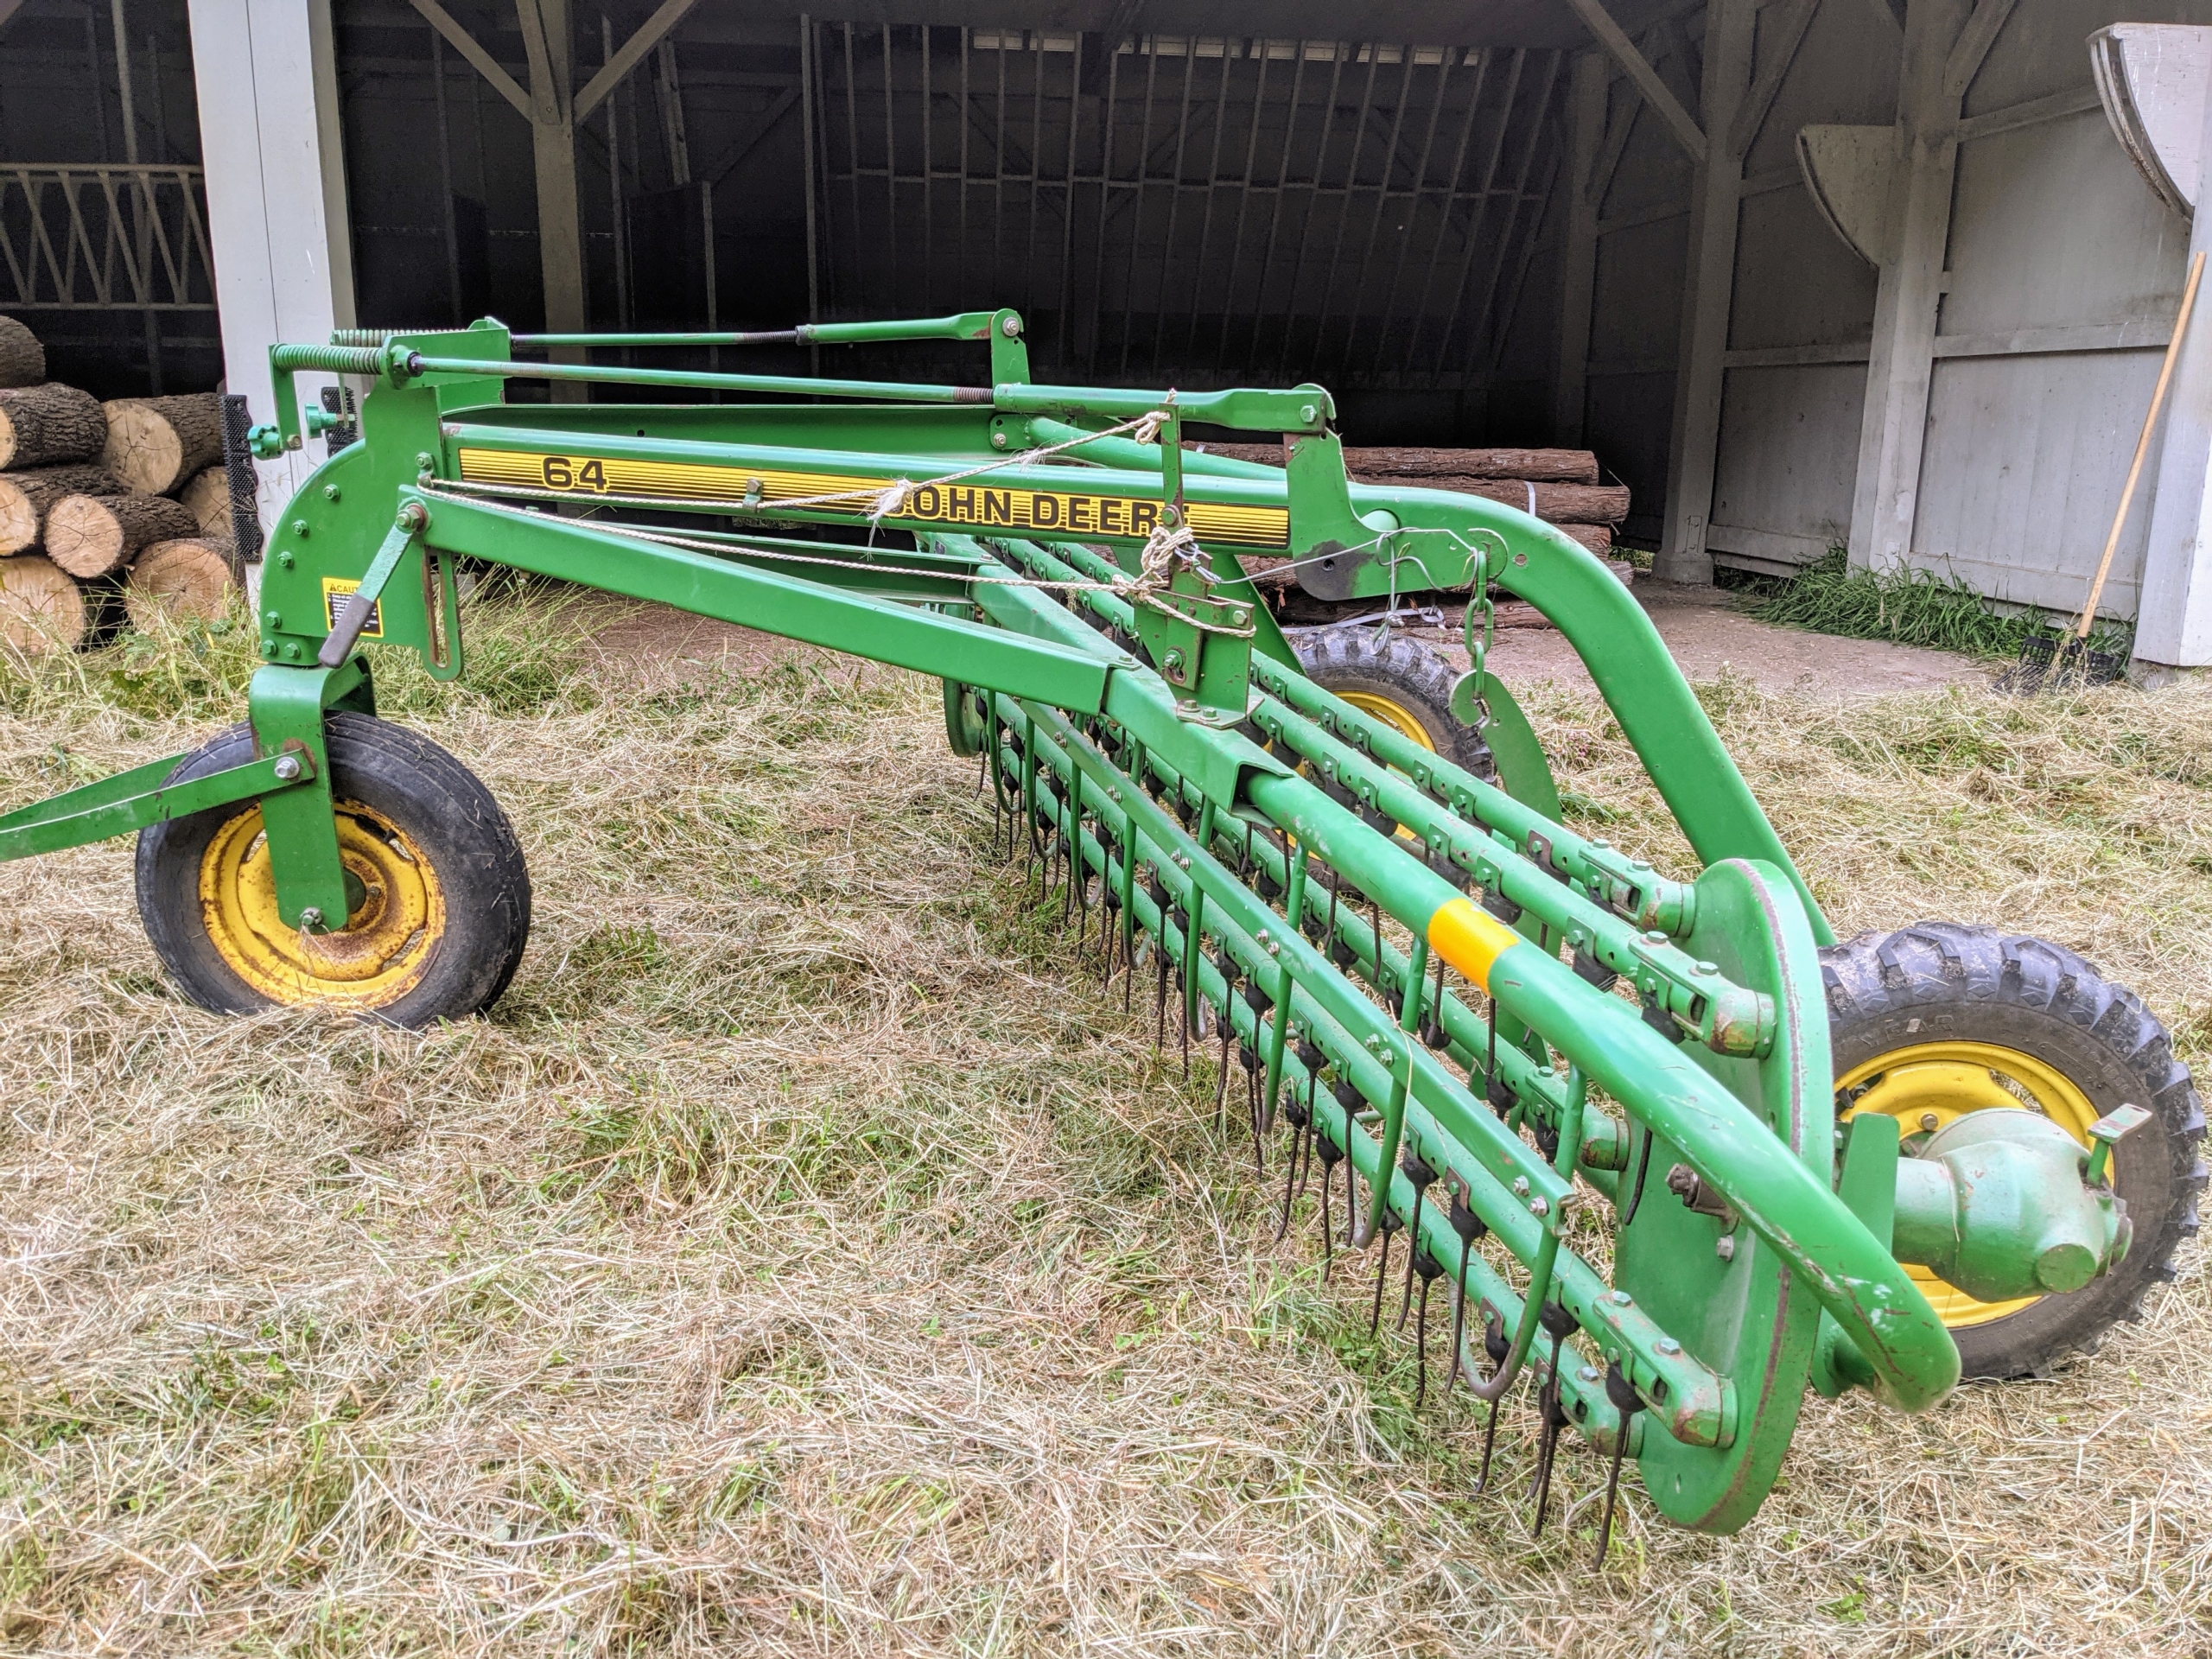
After the hay is tedded, it is then raked. Raking the hay is the fastest part of the process. There are different kinds of rakes – they include wheel rakes, rotary rakes and parallel bar or basket rakes. This is a parallel bar rake. This type uses a gentle raking action with a lower chance of soil contamination than the wheel rake.
The parallel bar rake picks up the cut and drying hay and rakes it into windrows that can be baled. A windrow is a long line of raked hay laid out to dry in the wind.
A side view shows the hay being gathered together by the rake’s tines.
The hay rake is pulled at a slight angle to the tractor as it moves.
Chhiring moves at about six to eight miles per hour. The speed actually makes a difference in creating the windrows – slower speed results in a wider windrow that is not well filled in the middle. High speed results in a narrower windrow that is over filled in the middle.
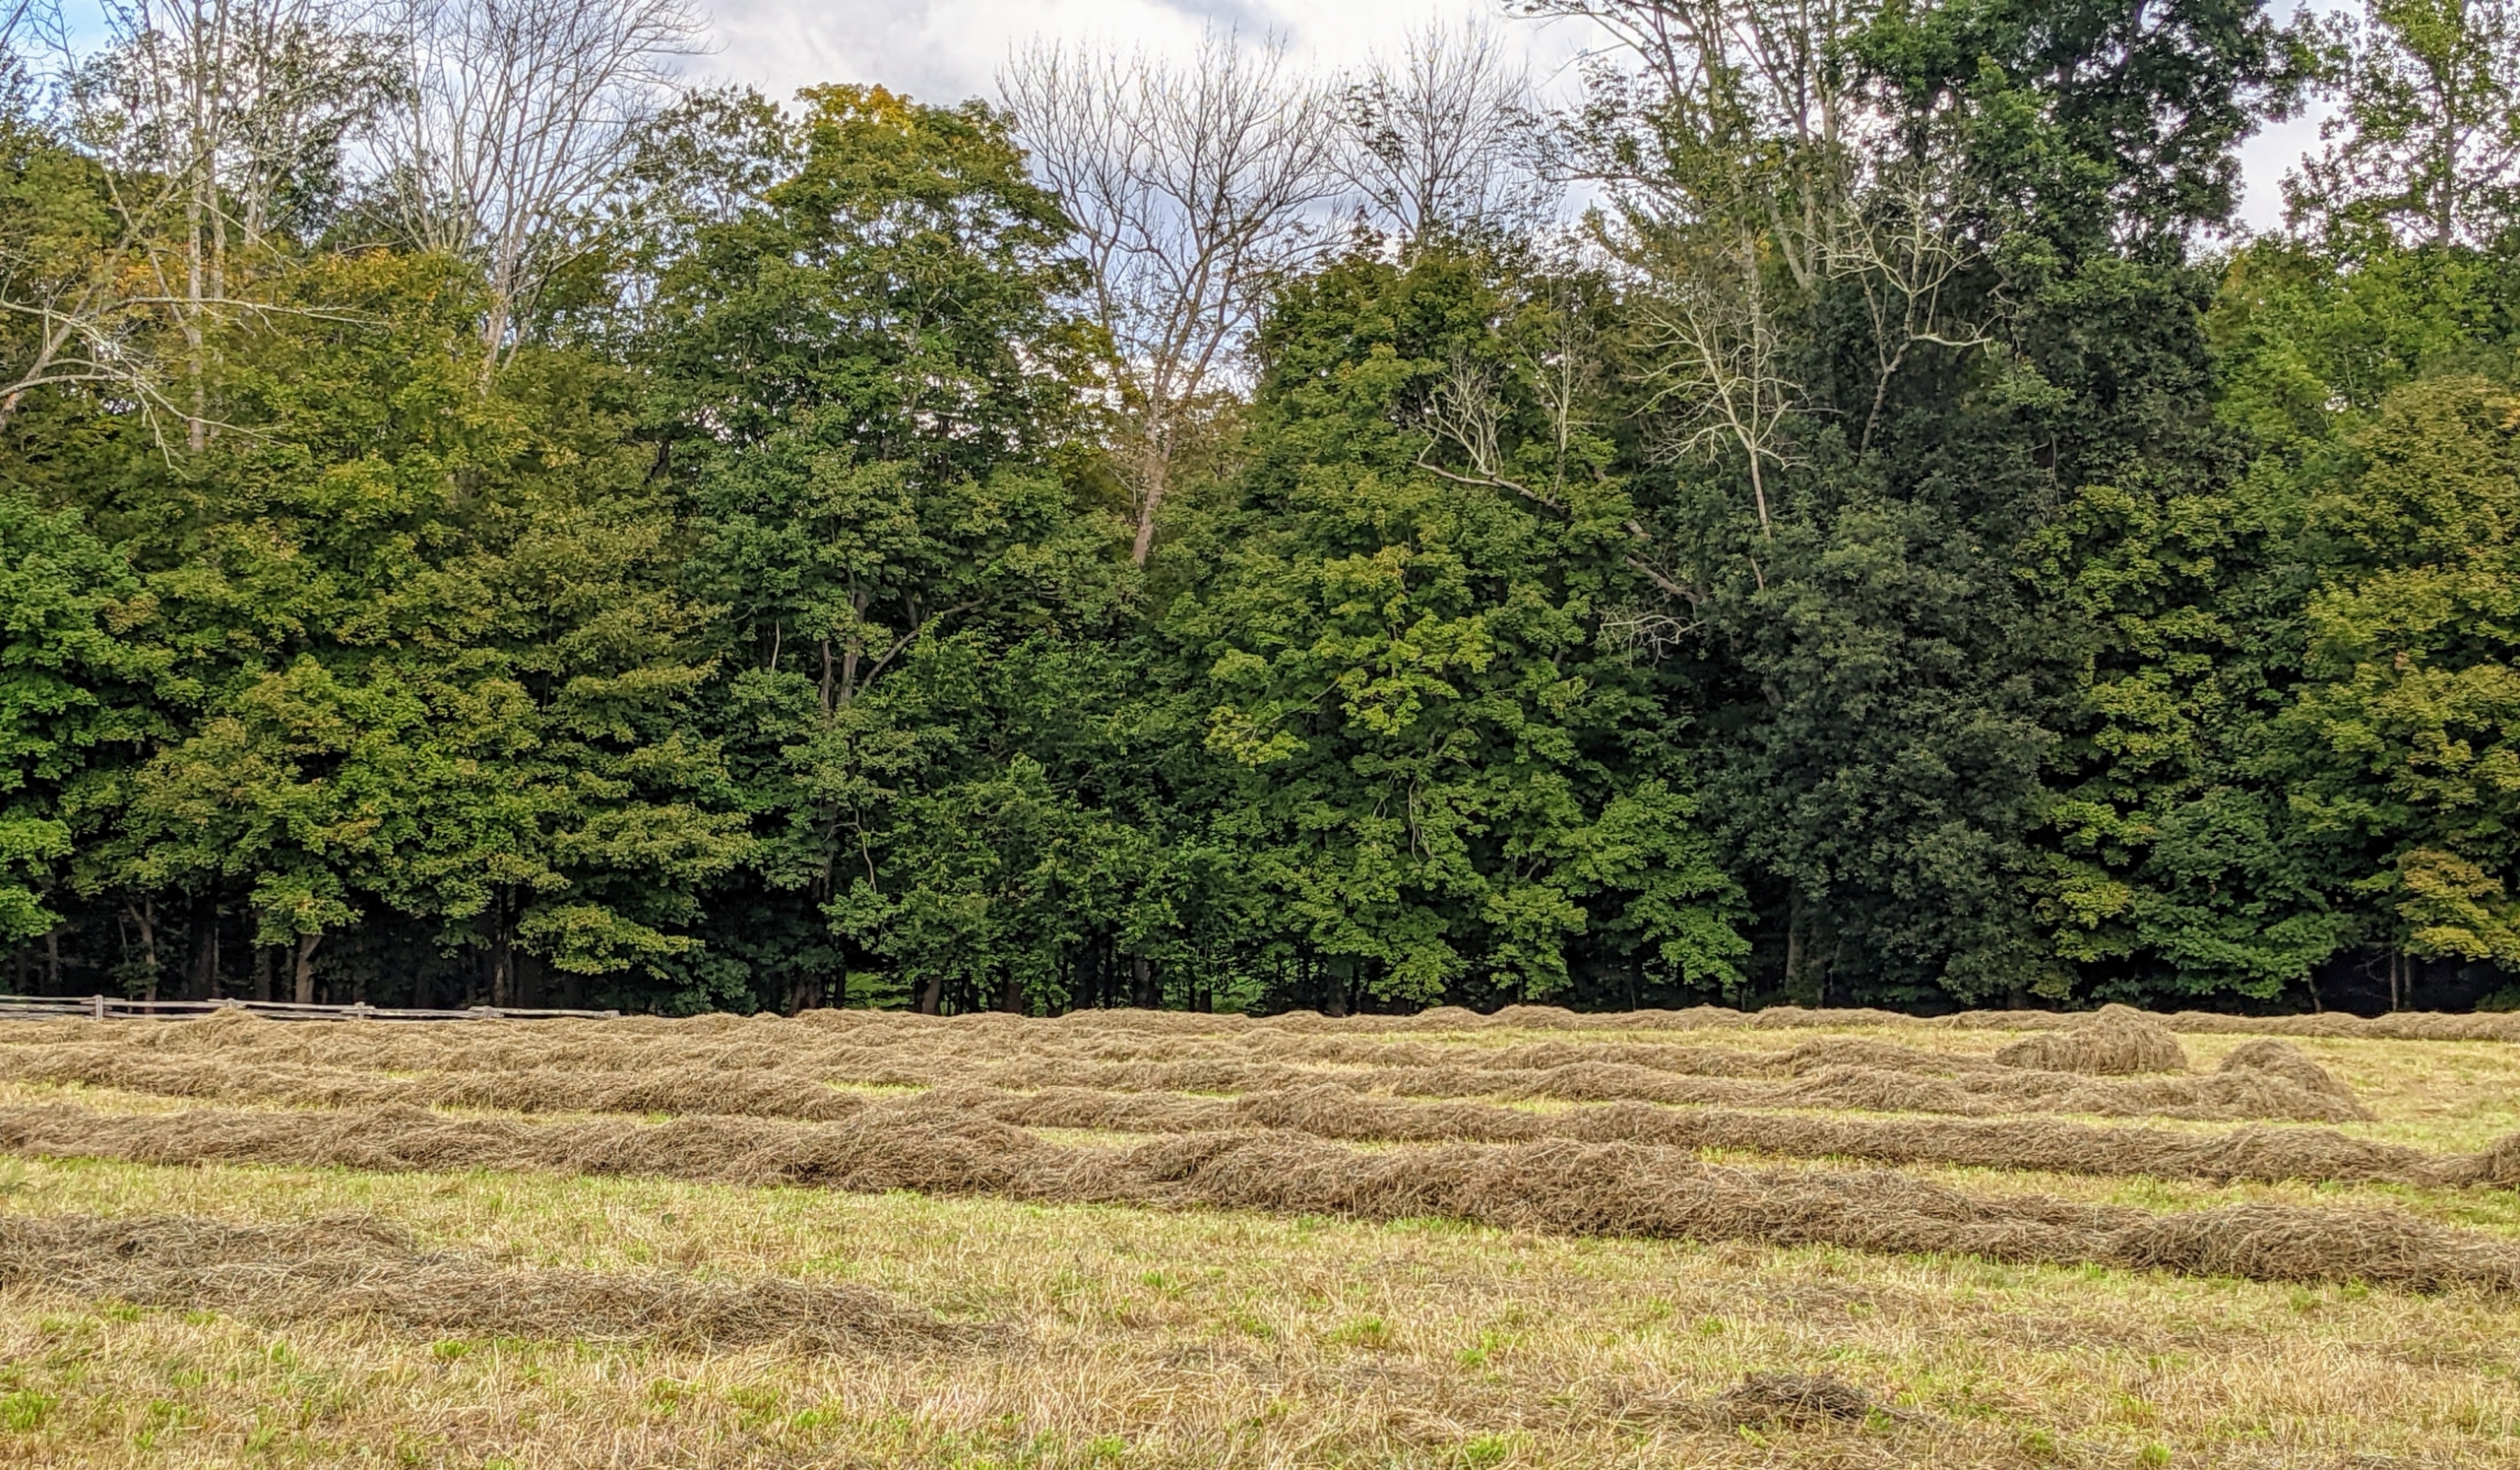
And here, one can see the windrow after it’s made.
Chhiring goes over the entire hayfield to make as many wide, fluffy windrows as possible.
And here is the top of the first windrow ready for the last stage – baling.
The entire process of raking this field takes about 45-minutes. By the look at these windrows, we should have some good quality bales for the horses.
The windrows are done. I am excited to see how many bales of hay we get from this cutting. I’ll share the very interesting process of baling hay in my next blog. Stay tuned.
There's always something interesting going on at my Bedford, New York farm.
Some time ago, I decided to transform my blog studio into a more useable room for me and my family. I moved a very large, long marble topped table into the space. The top was made of three marble sections glued together - it was extremely heavy. Unfortunately, during transport the marble broke - at both seams and at one of the middle corners. Marble is a very beautiful and durable material, but like all stone, it can crack and break. Last week, a team from Precision Stone, Marble & Granite in nearby Greenwich Connecticut, came by to repair it. And the results were amazing.
Here are some photos, enjoy.
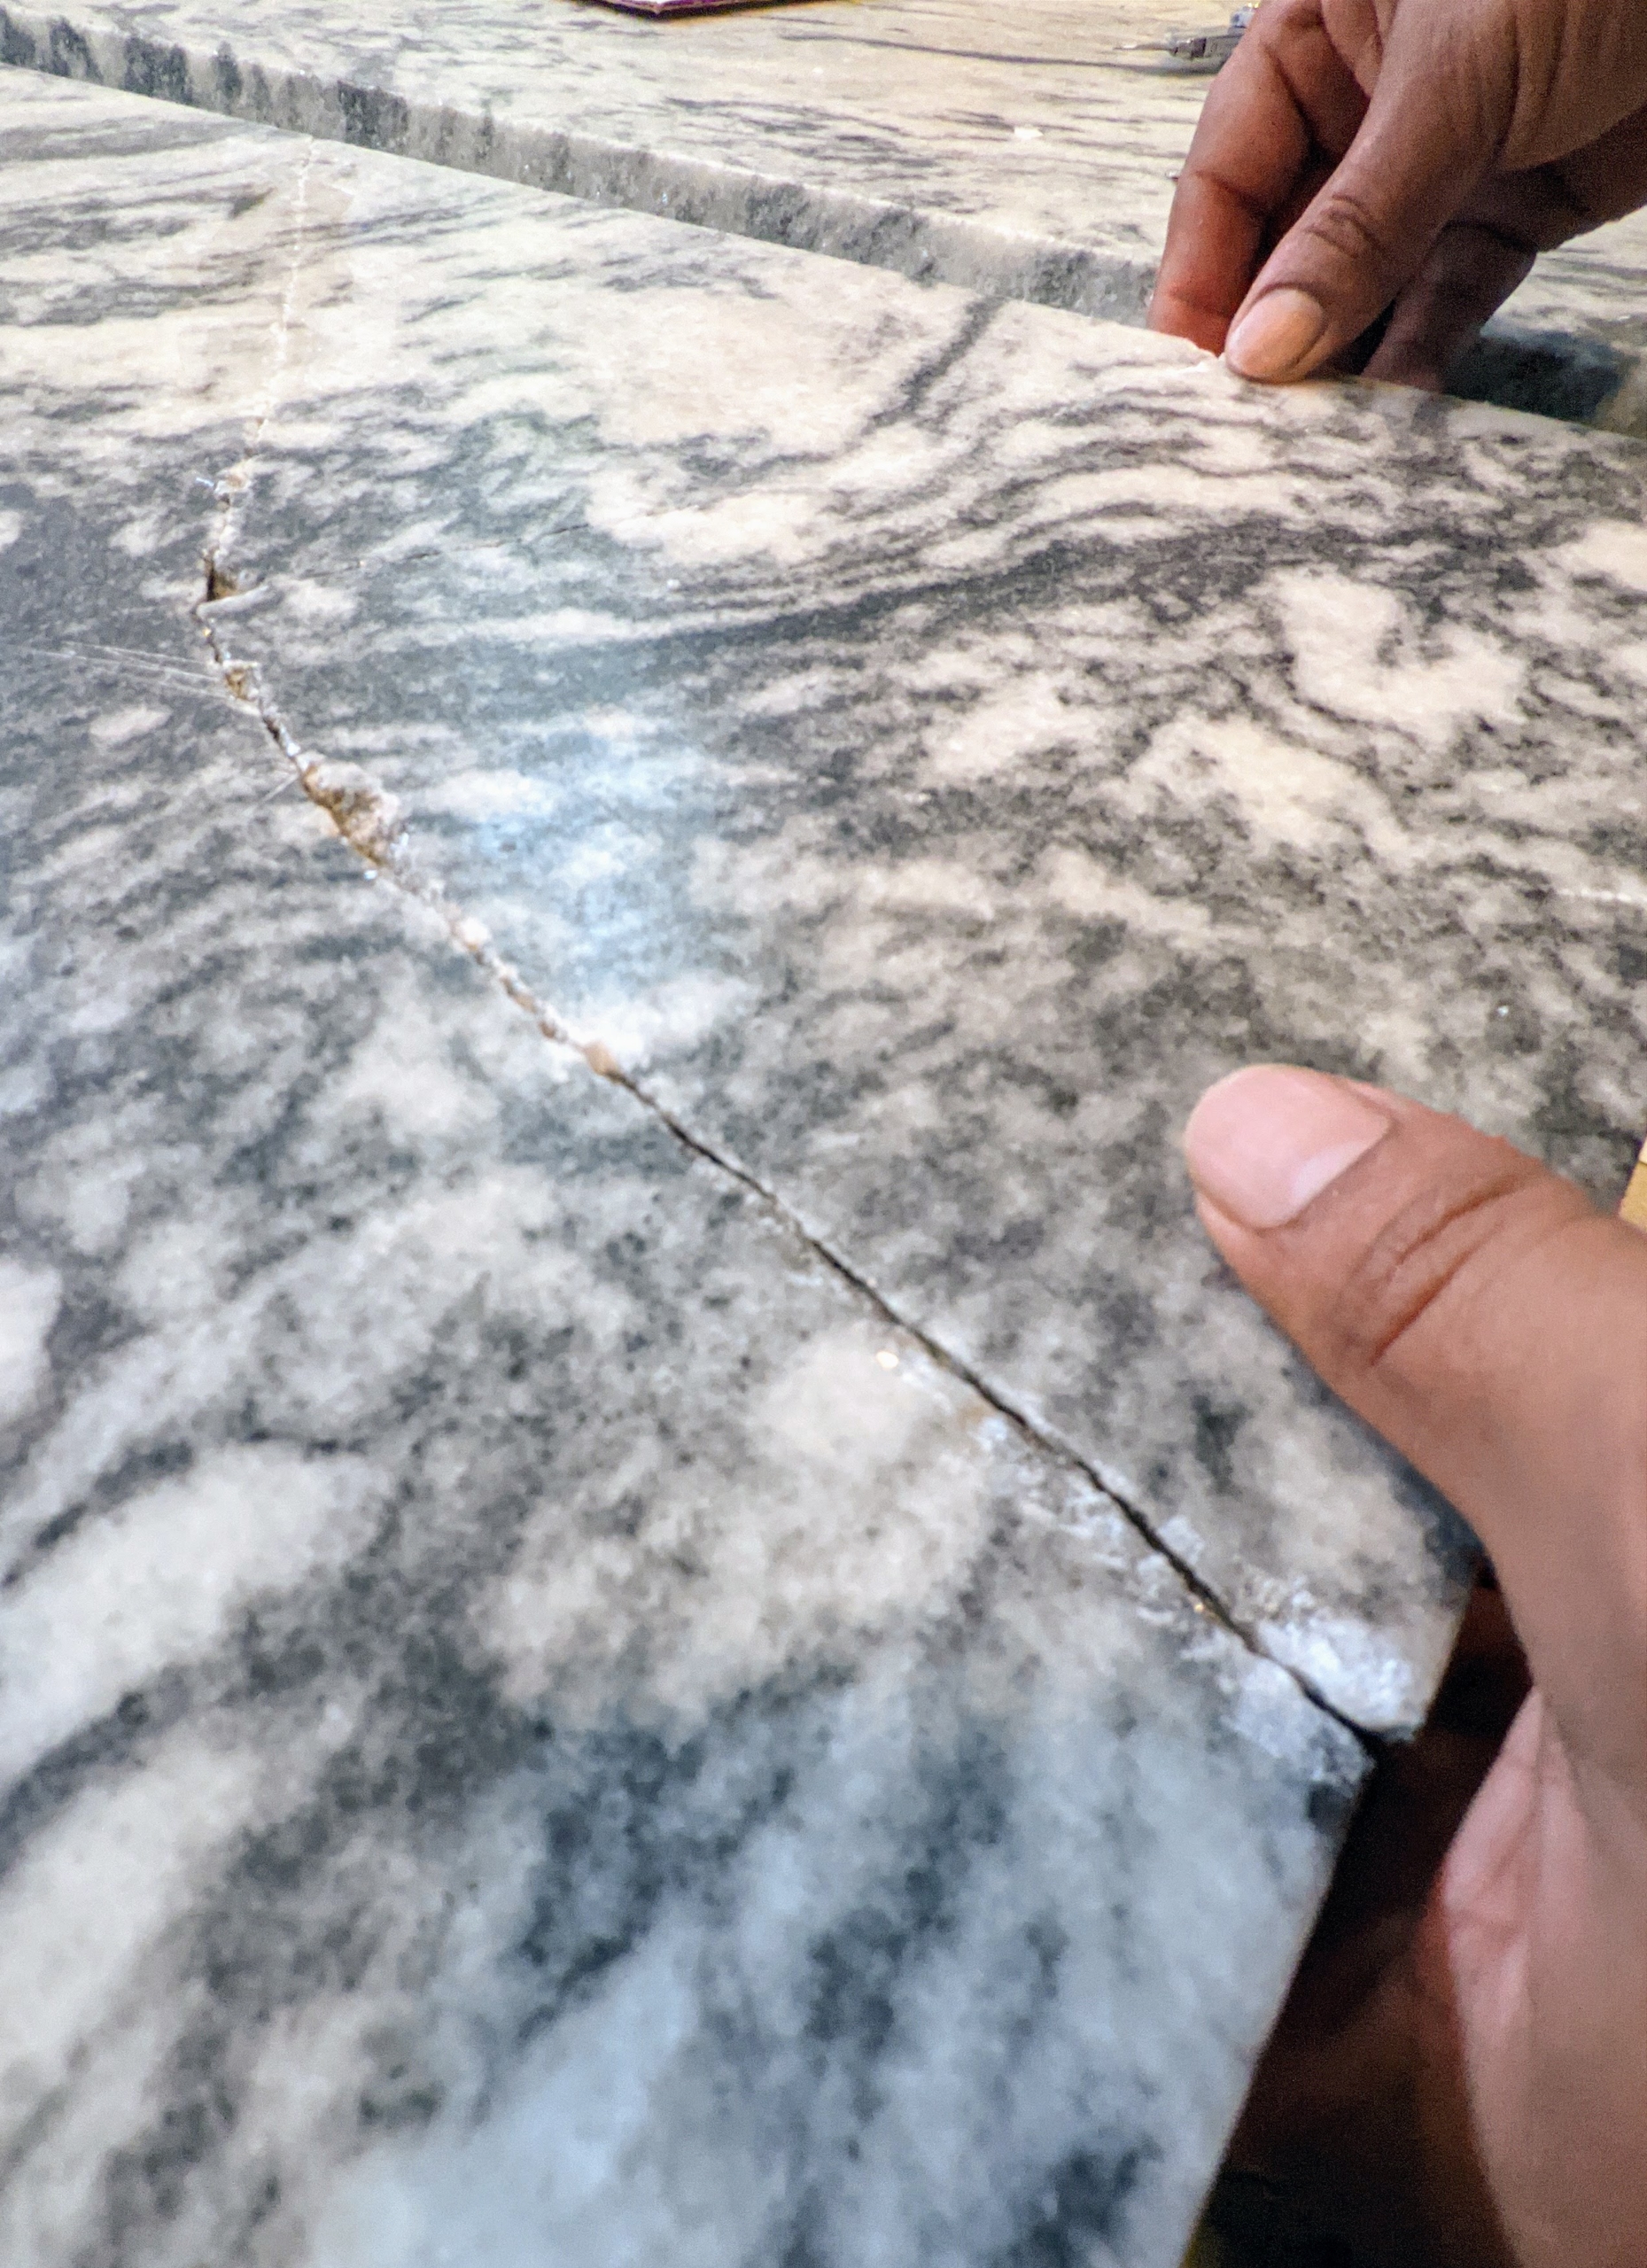
Marble is a hard crystalline metamorphic form of limestone, typically white with mottlings or streaks of color. Marble has been used for centuries – for buildings and monuments, interior decoration, statuary, table tops, and other architectural pieces. This is one of the breaks in the marble top – at the seam where two pieces were connected.
Here is another crack – this chunk was completely broken off. This marble top is a combination of marble and black granite – it is a beautiful and very valuable piece.
The first step was to remove all the old epoxy from the sides of the break.
Here, one can see the chips of old epoxy that were removed. It is very important to clean all the surfaces, so the new epoxy can take firm hold. Epoxy resin is a very strong adhesive when used properly.
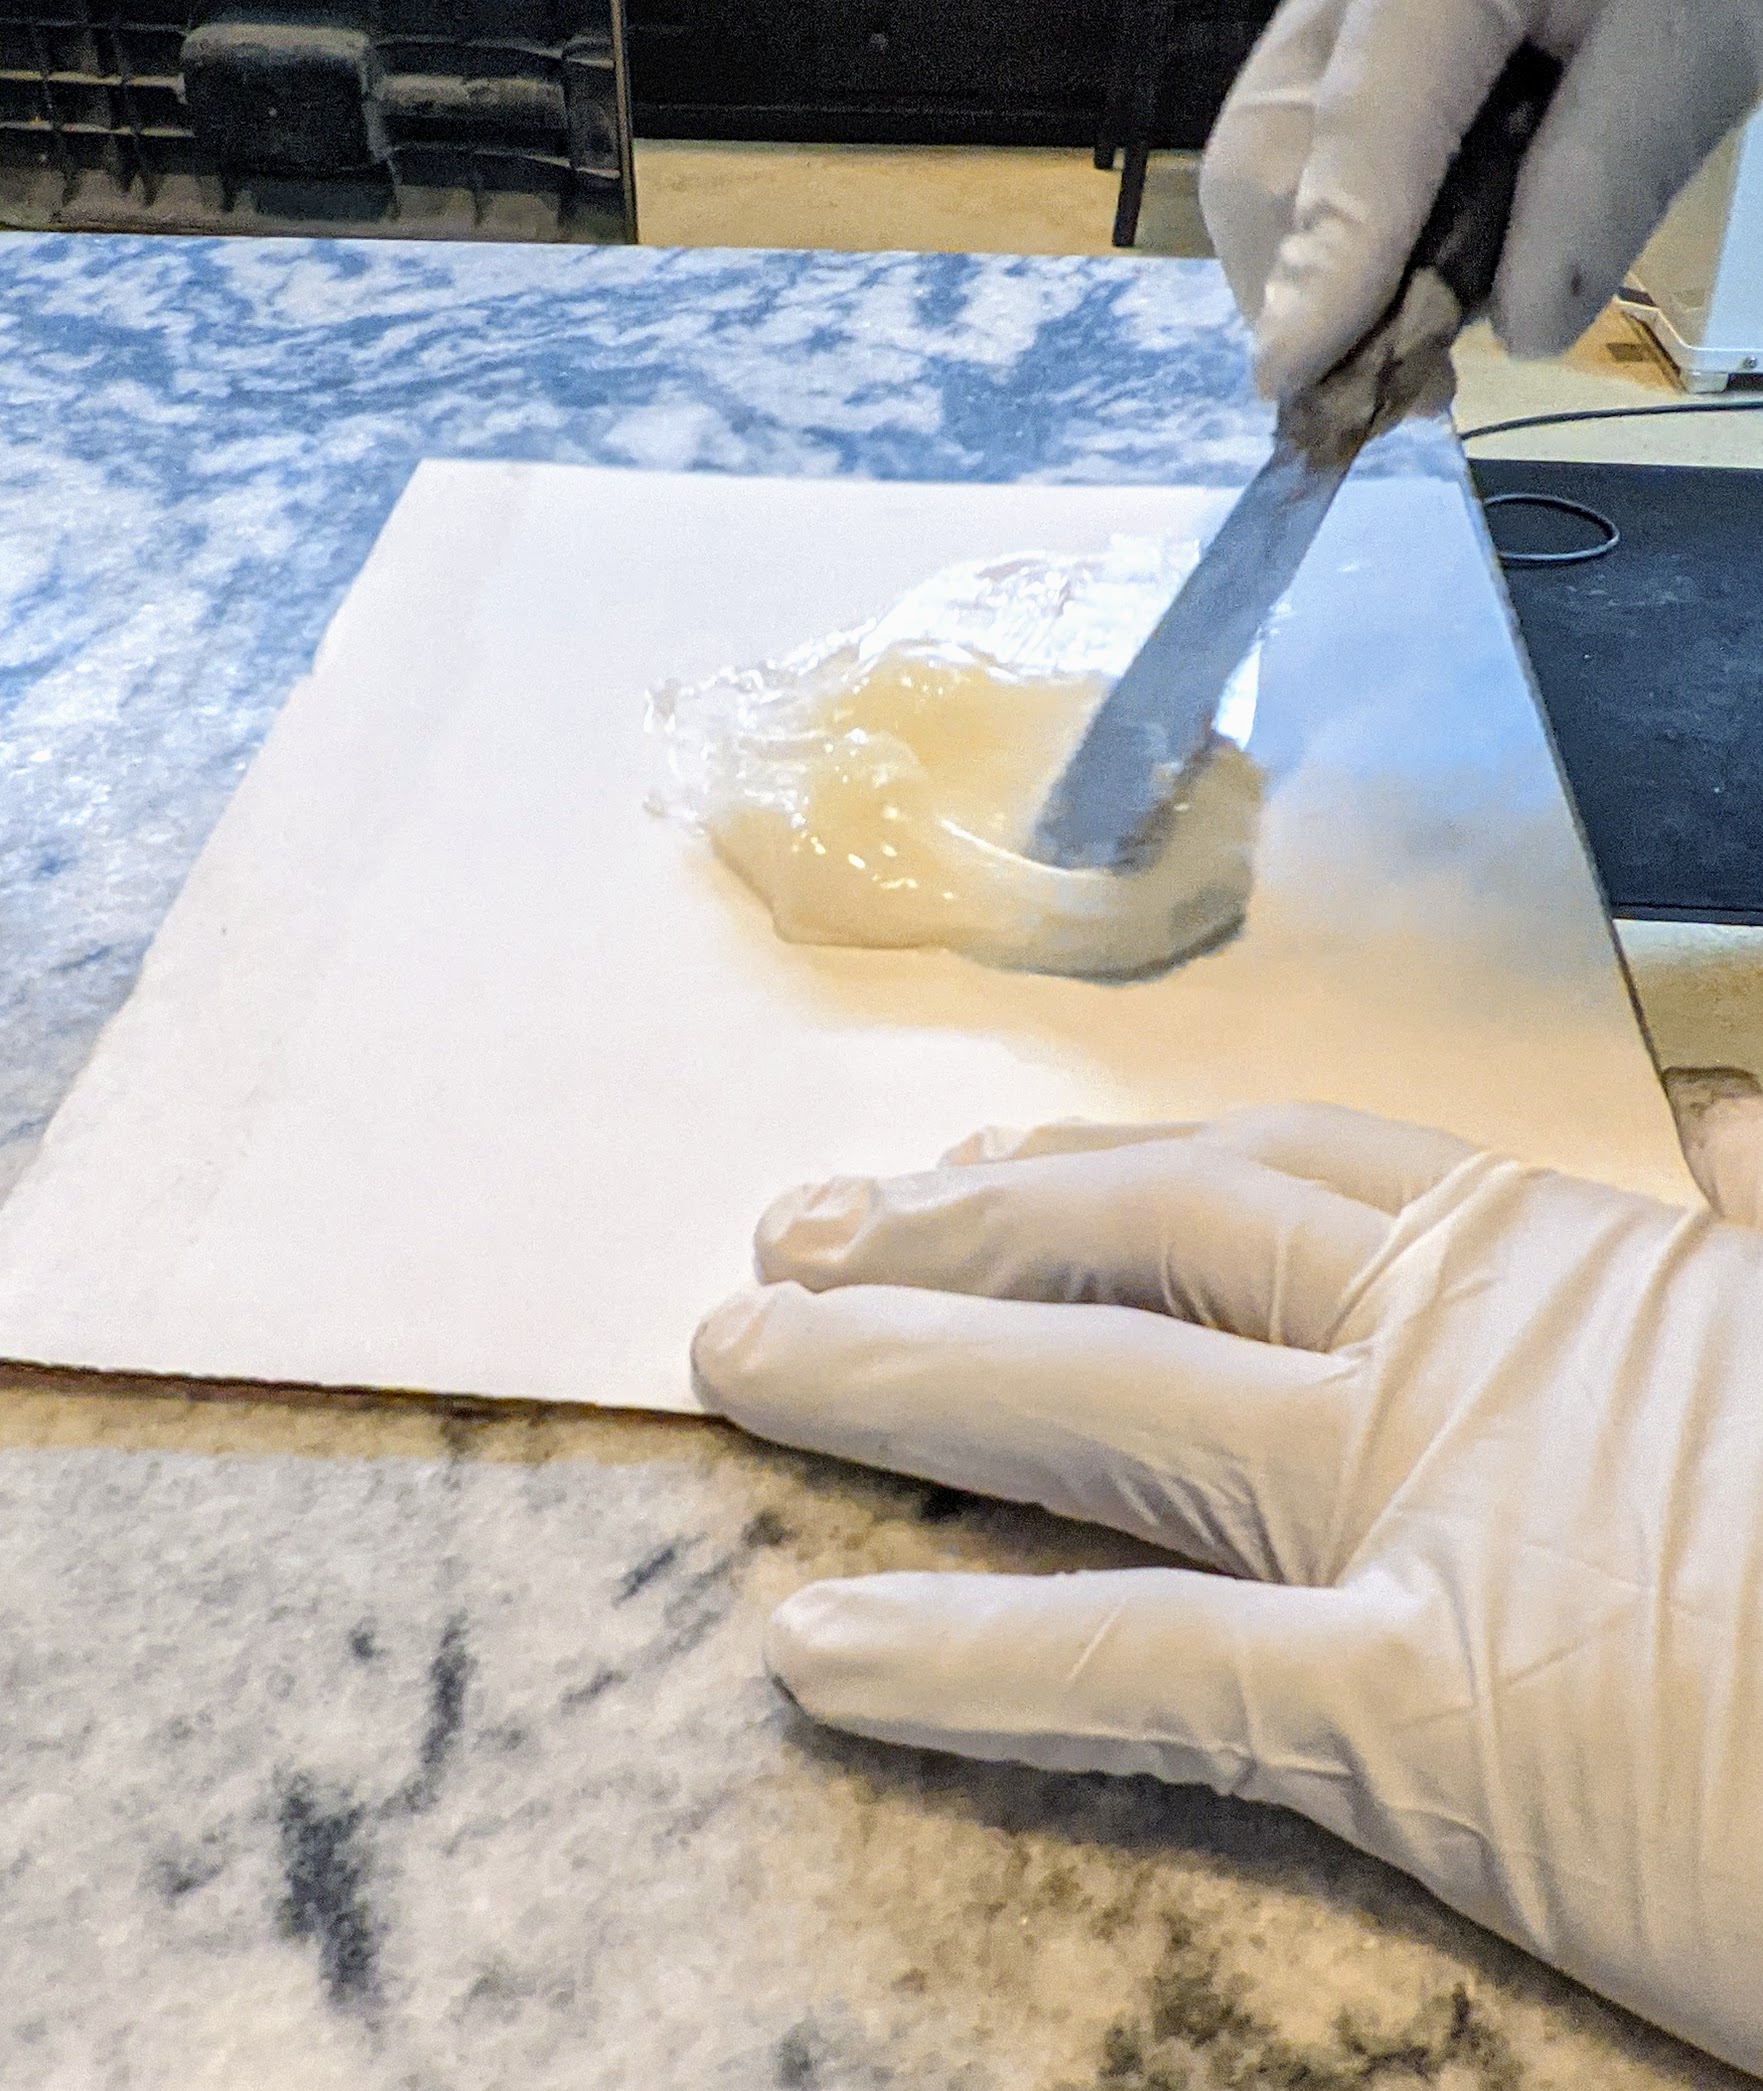
This is a clear epoxy that won’t be seen when the repair is complete.
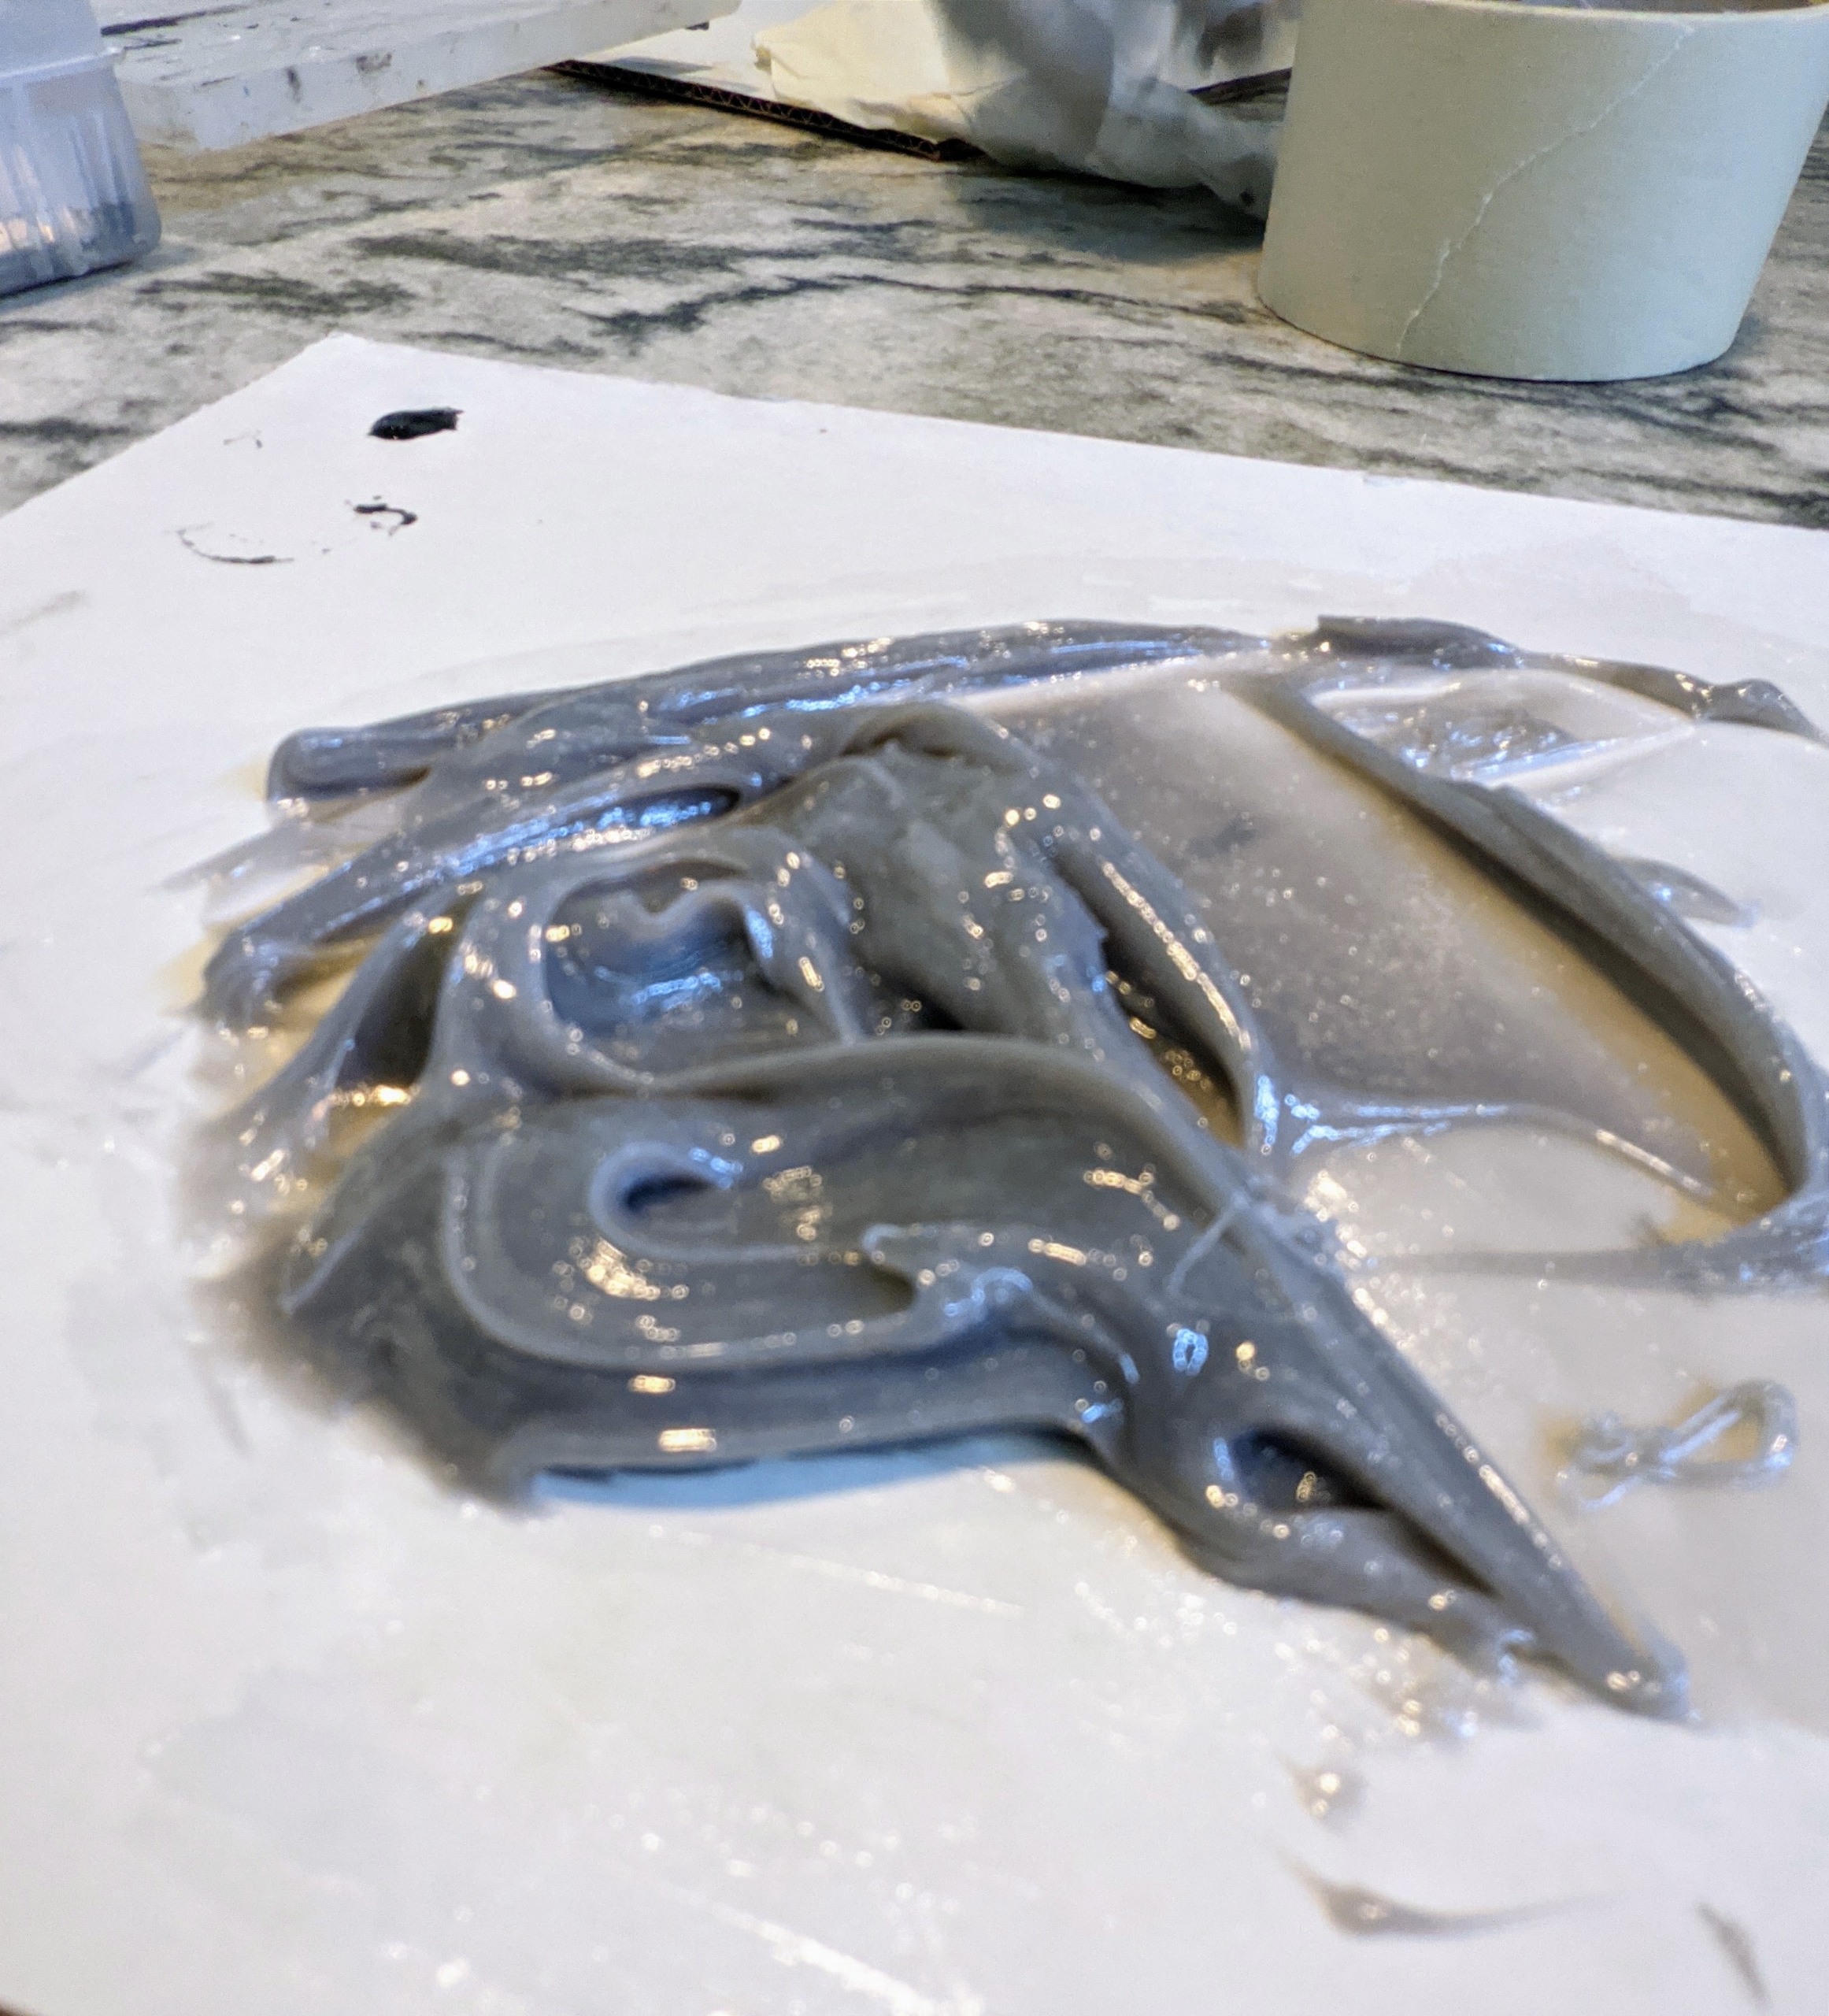
For darker areas, Benicio mixes the clear with some gray to match the table top colors exactly.
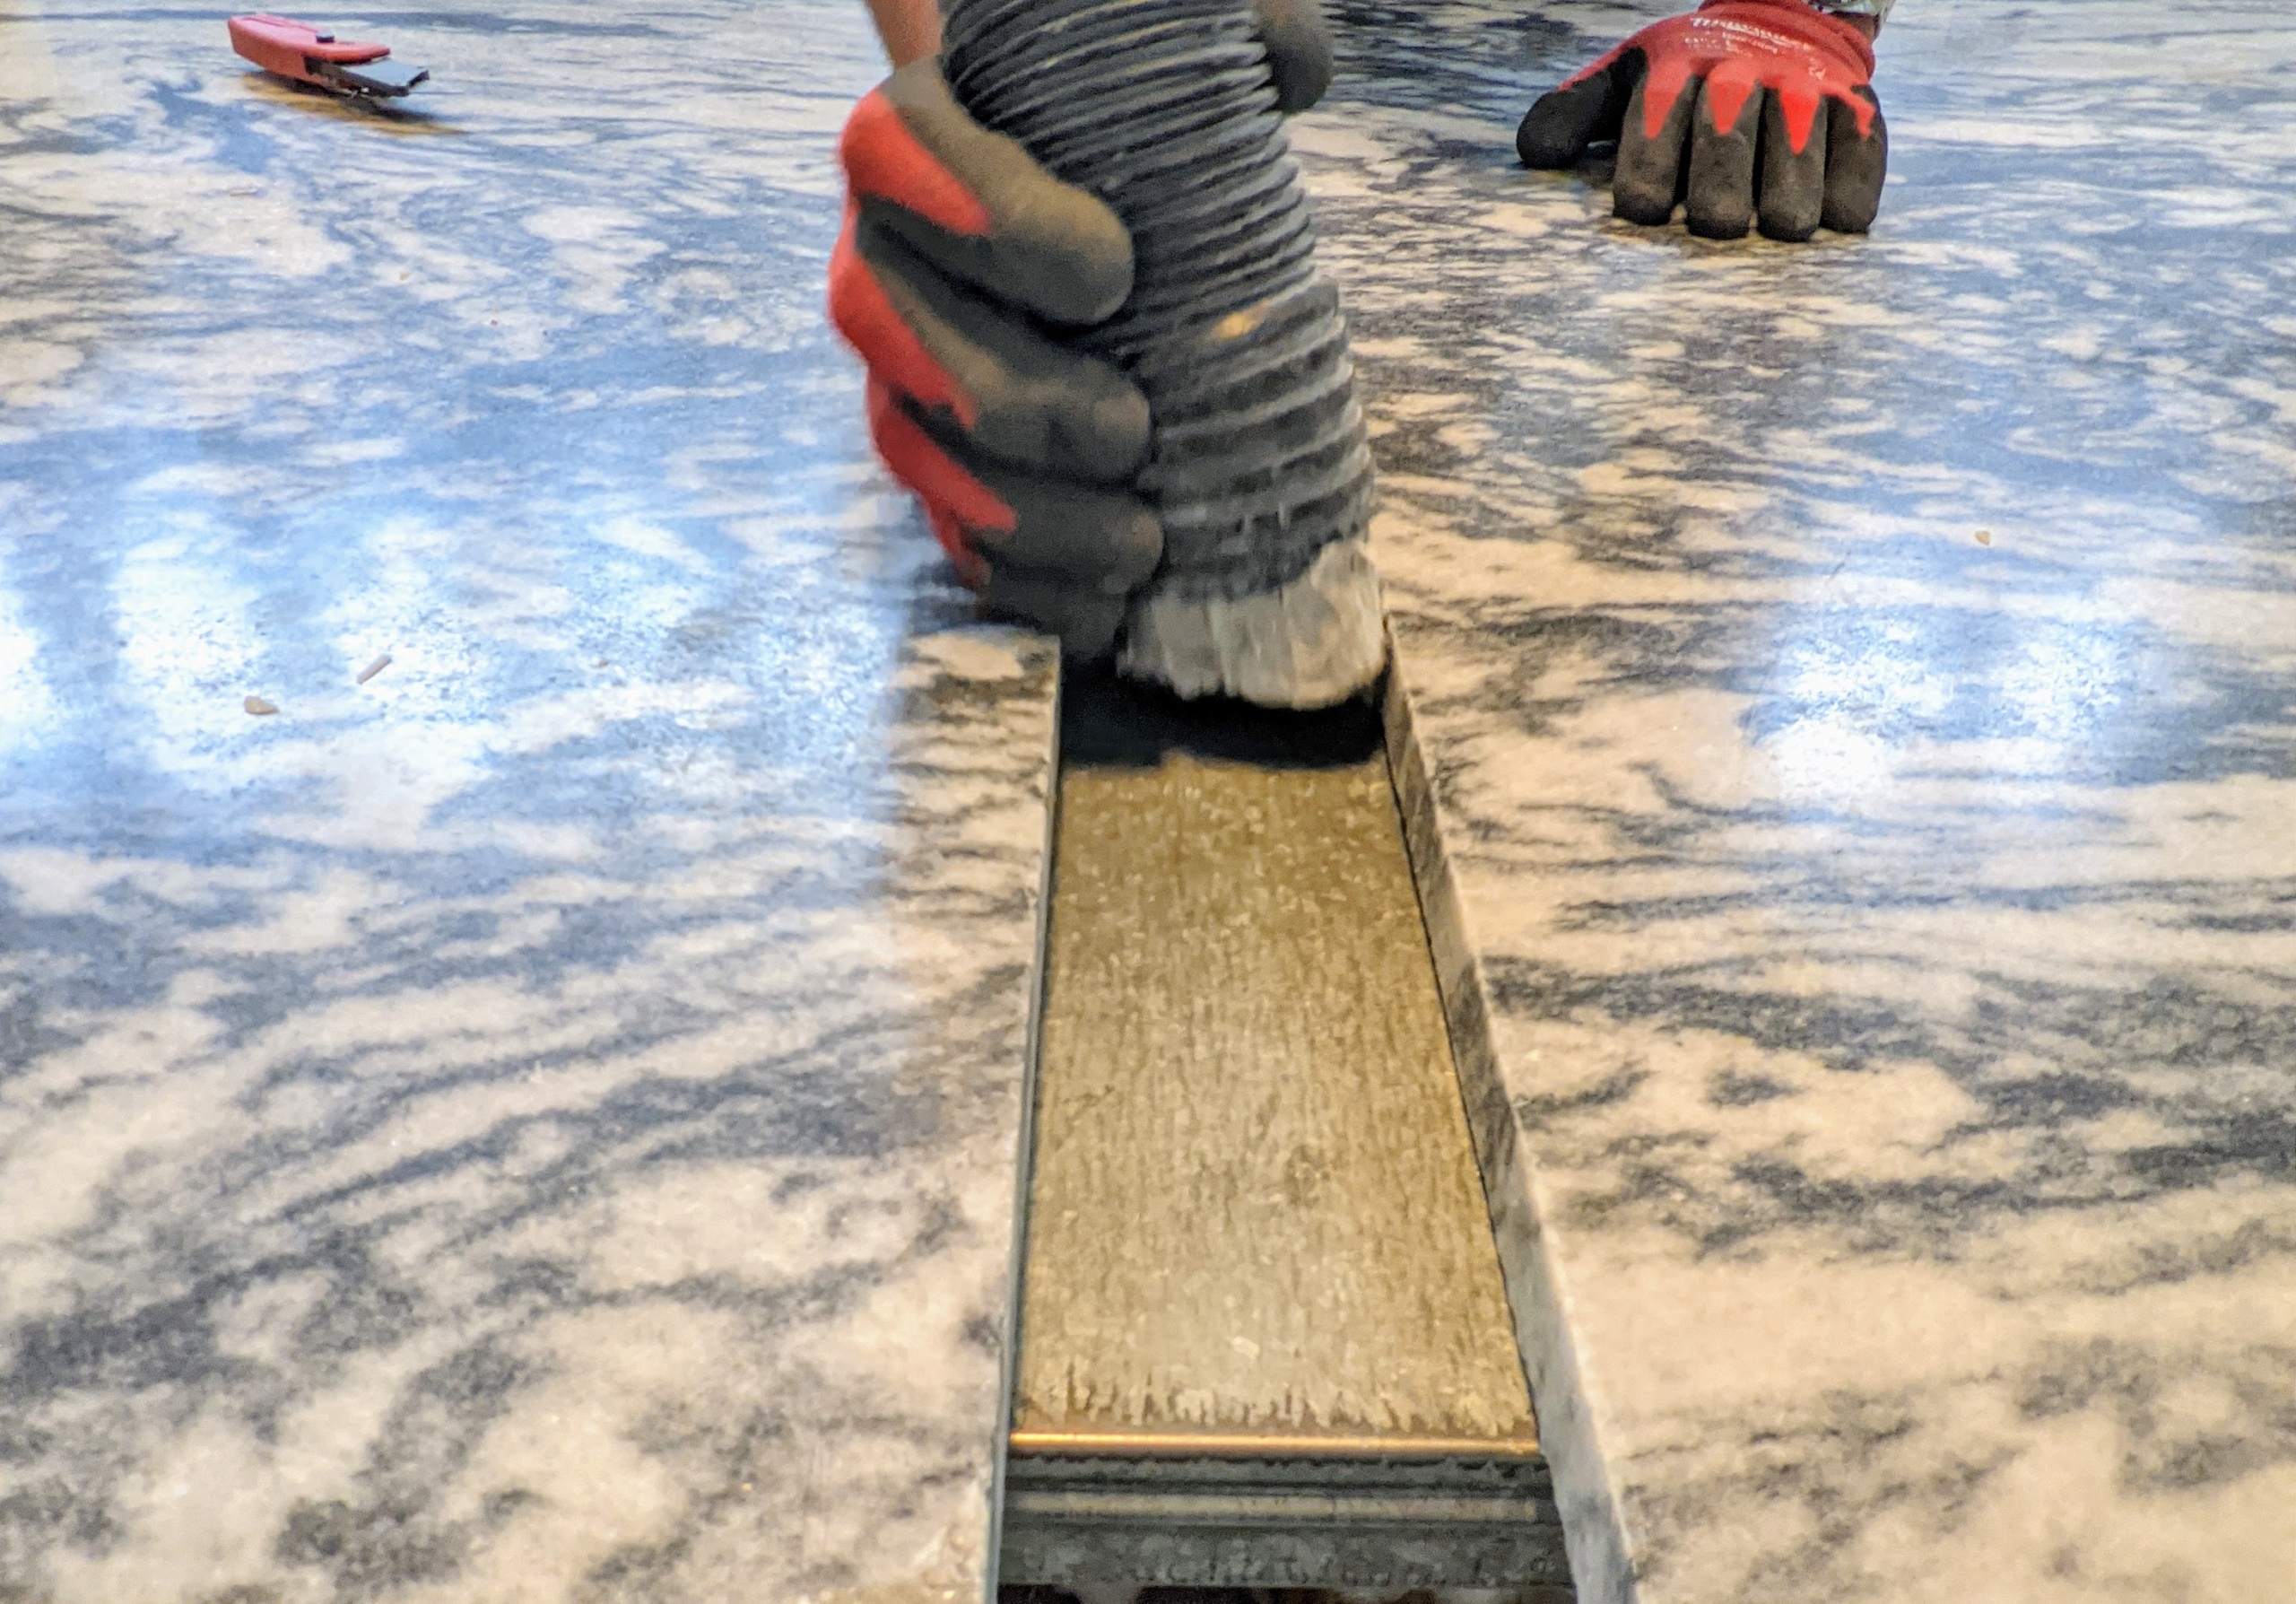
Meanwhile, the team vacuums the area of any debris – leaving both sides of the marble clean and ready for repair. It is also wiped down with acetone, the same liquid solvent used in nail polish remover.
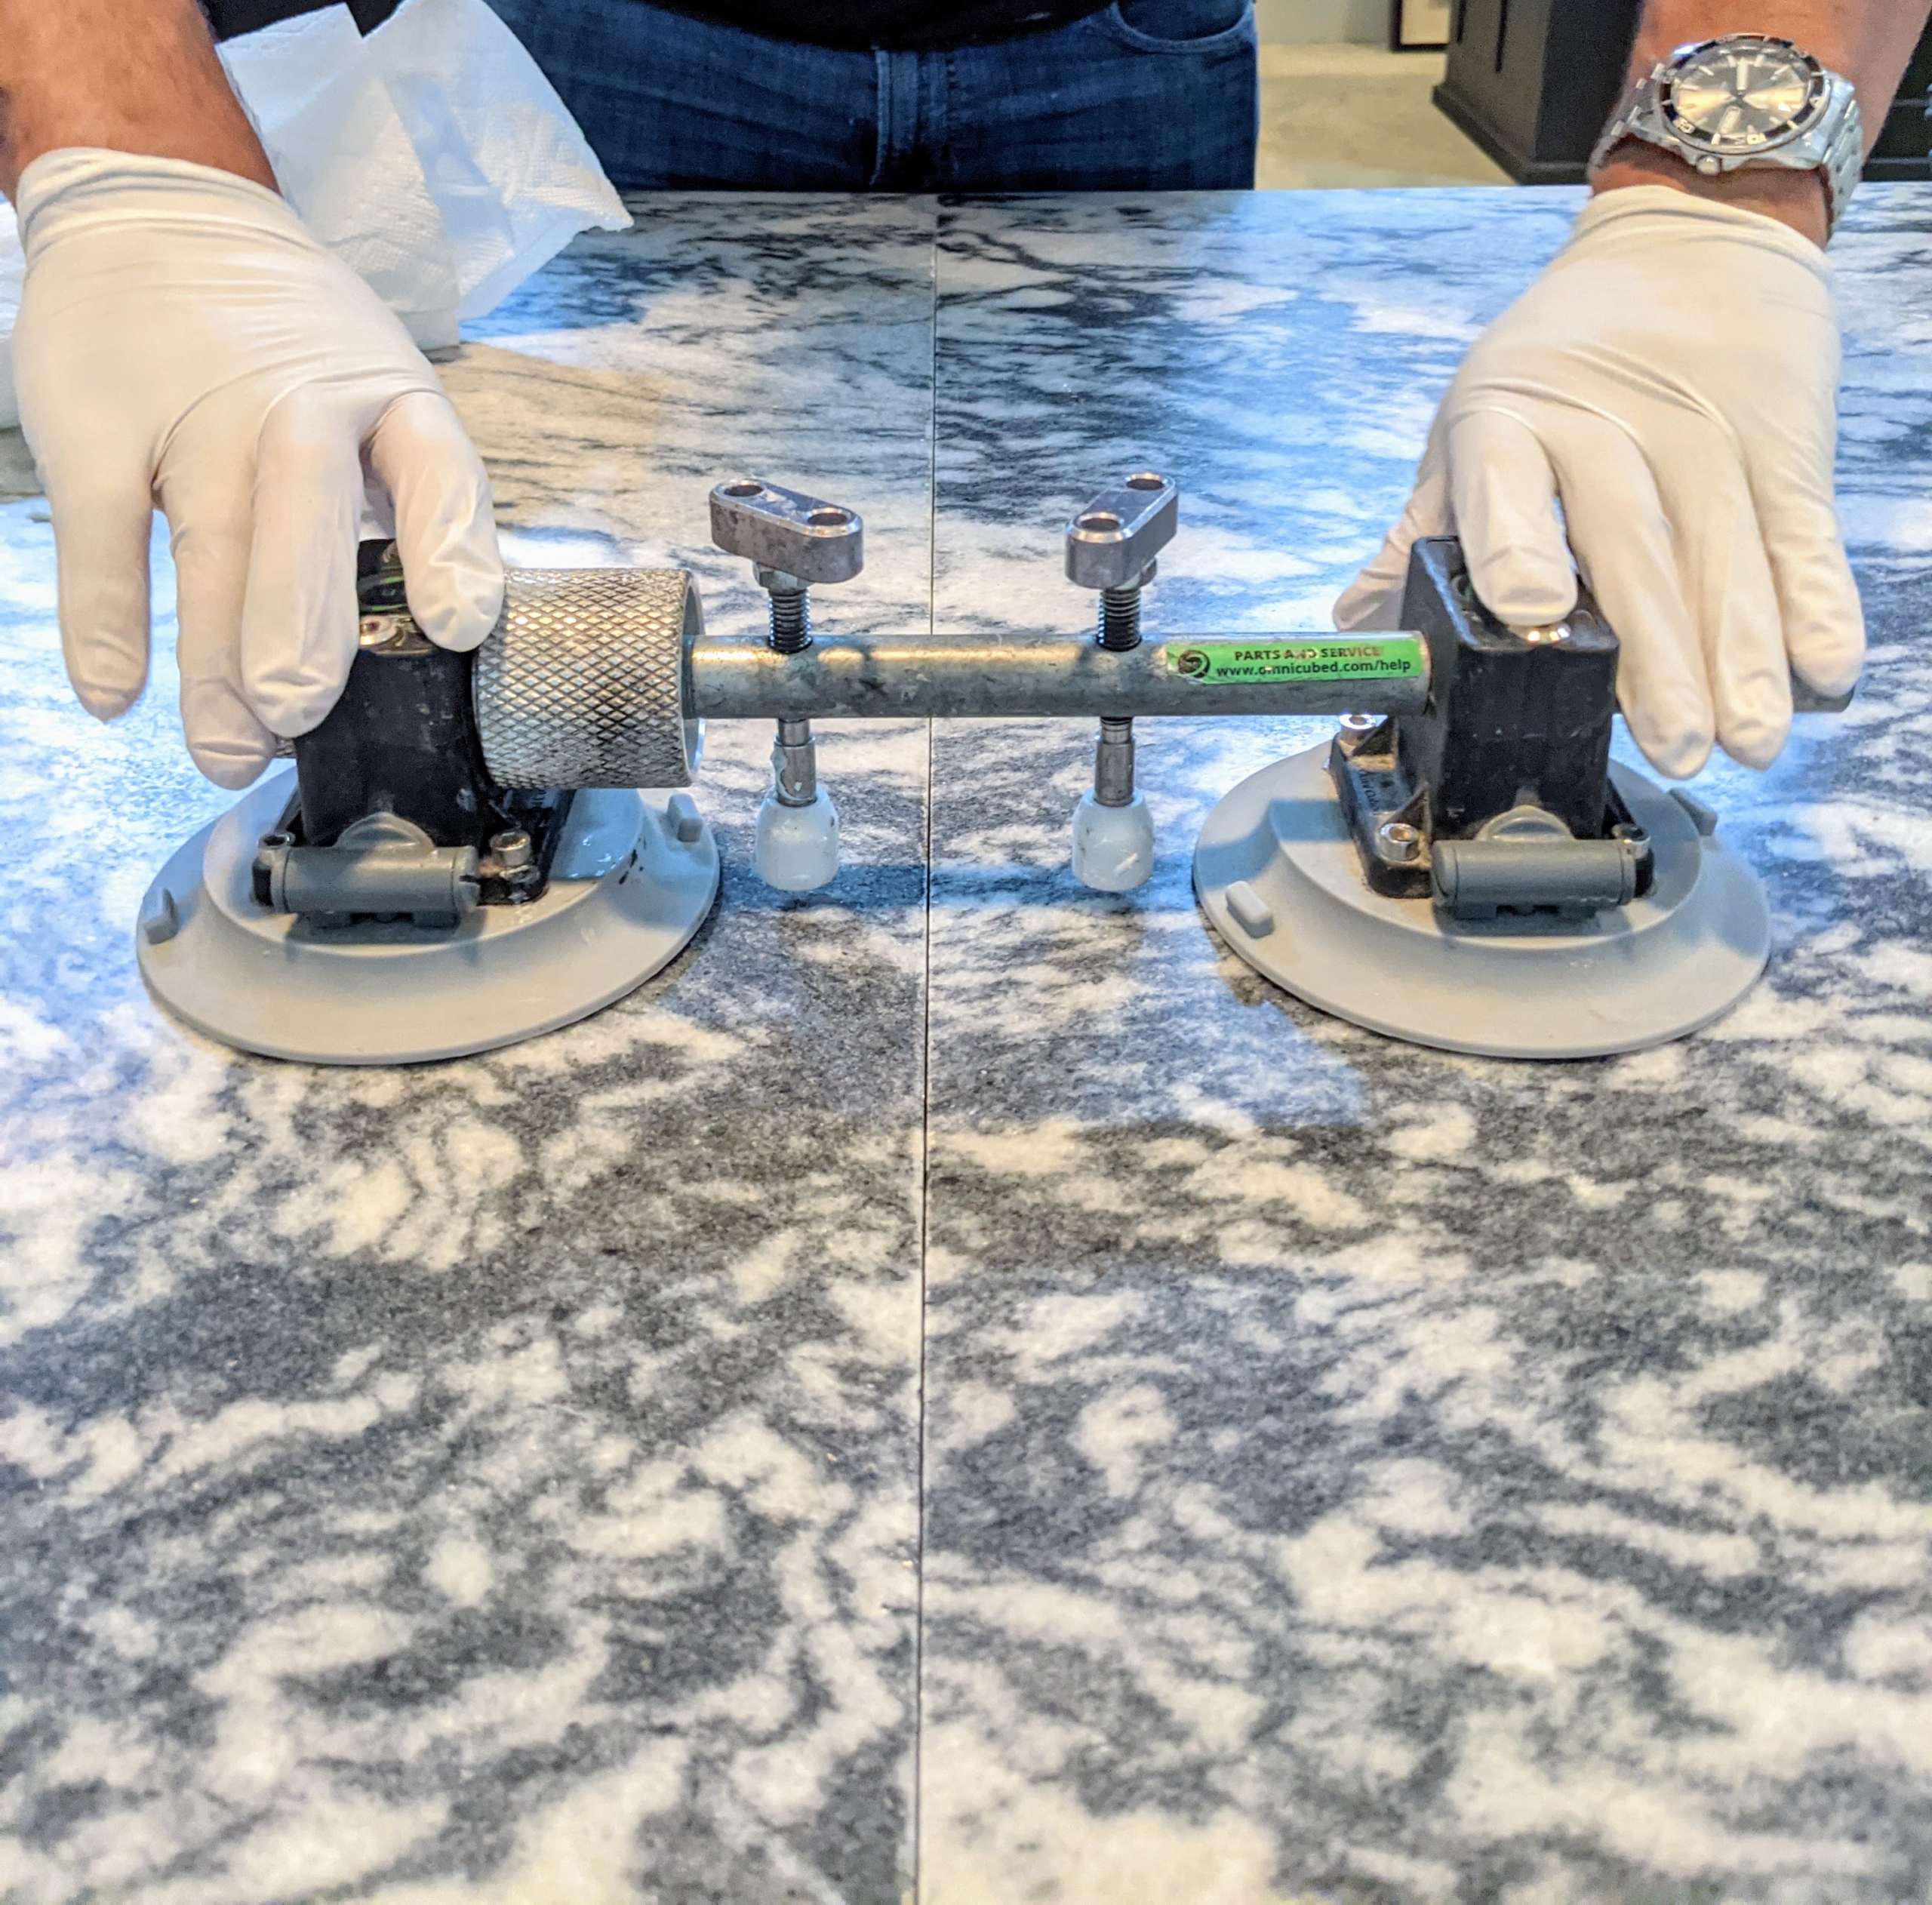
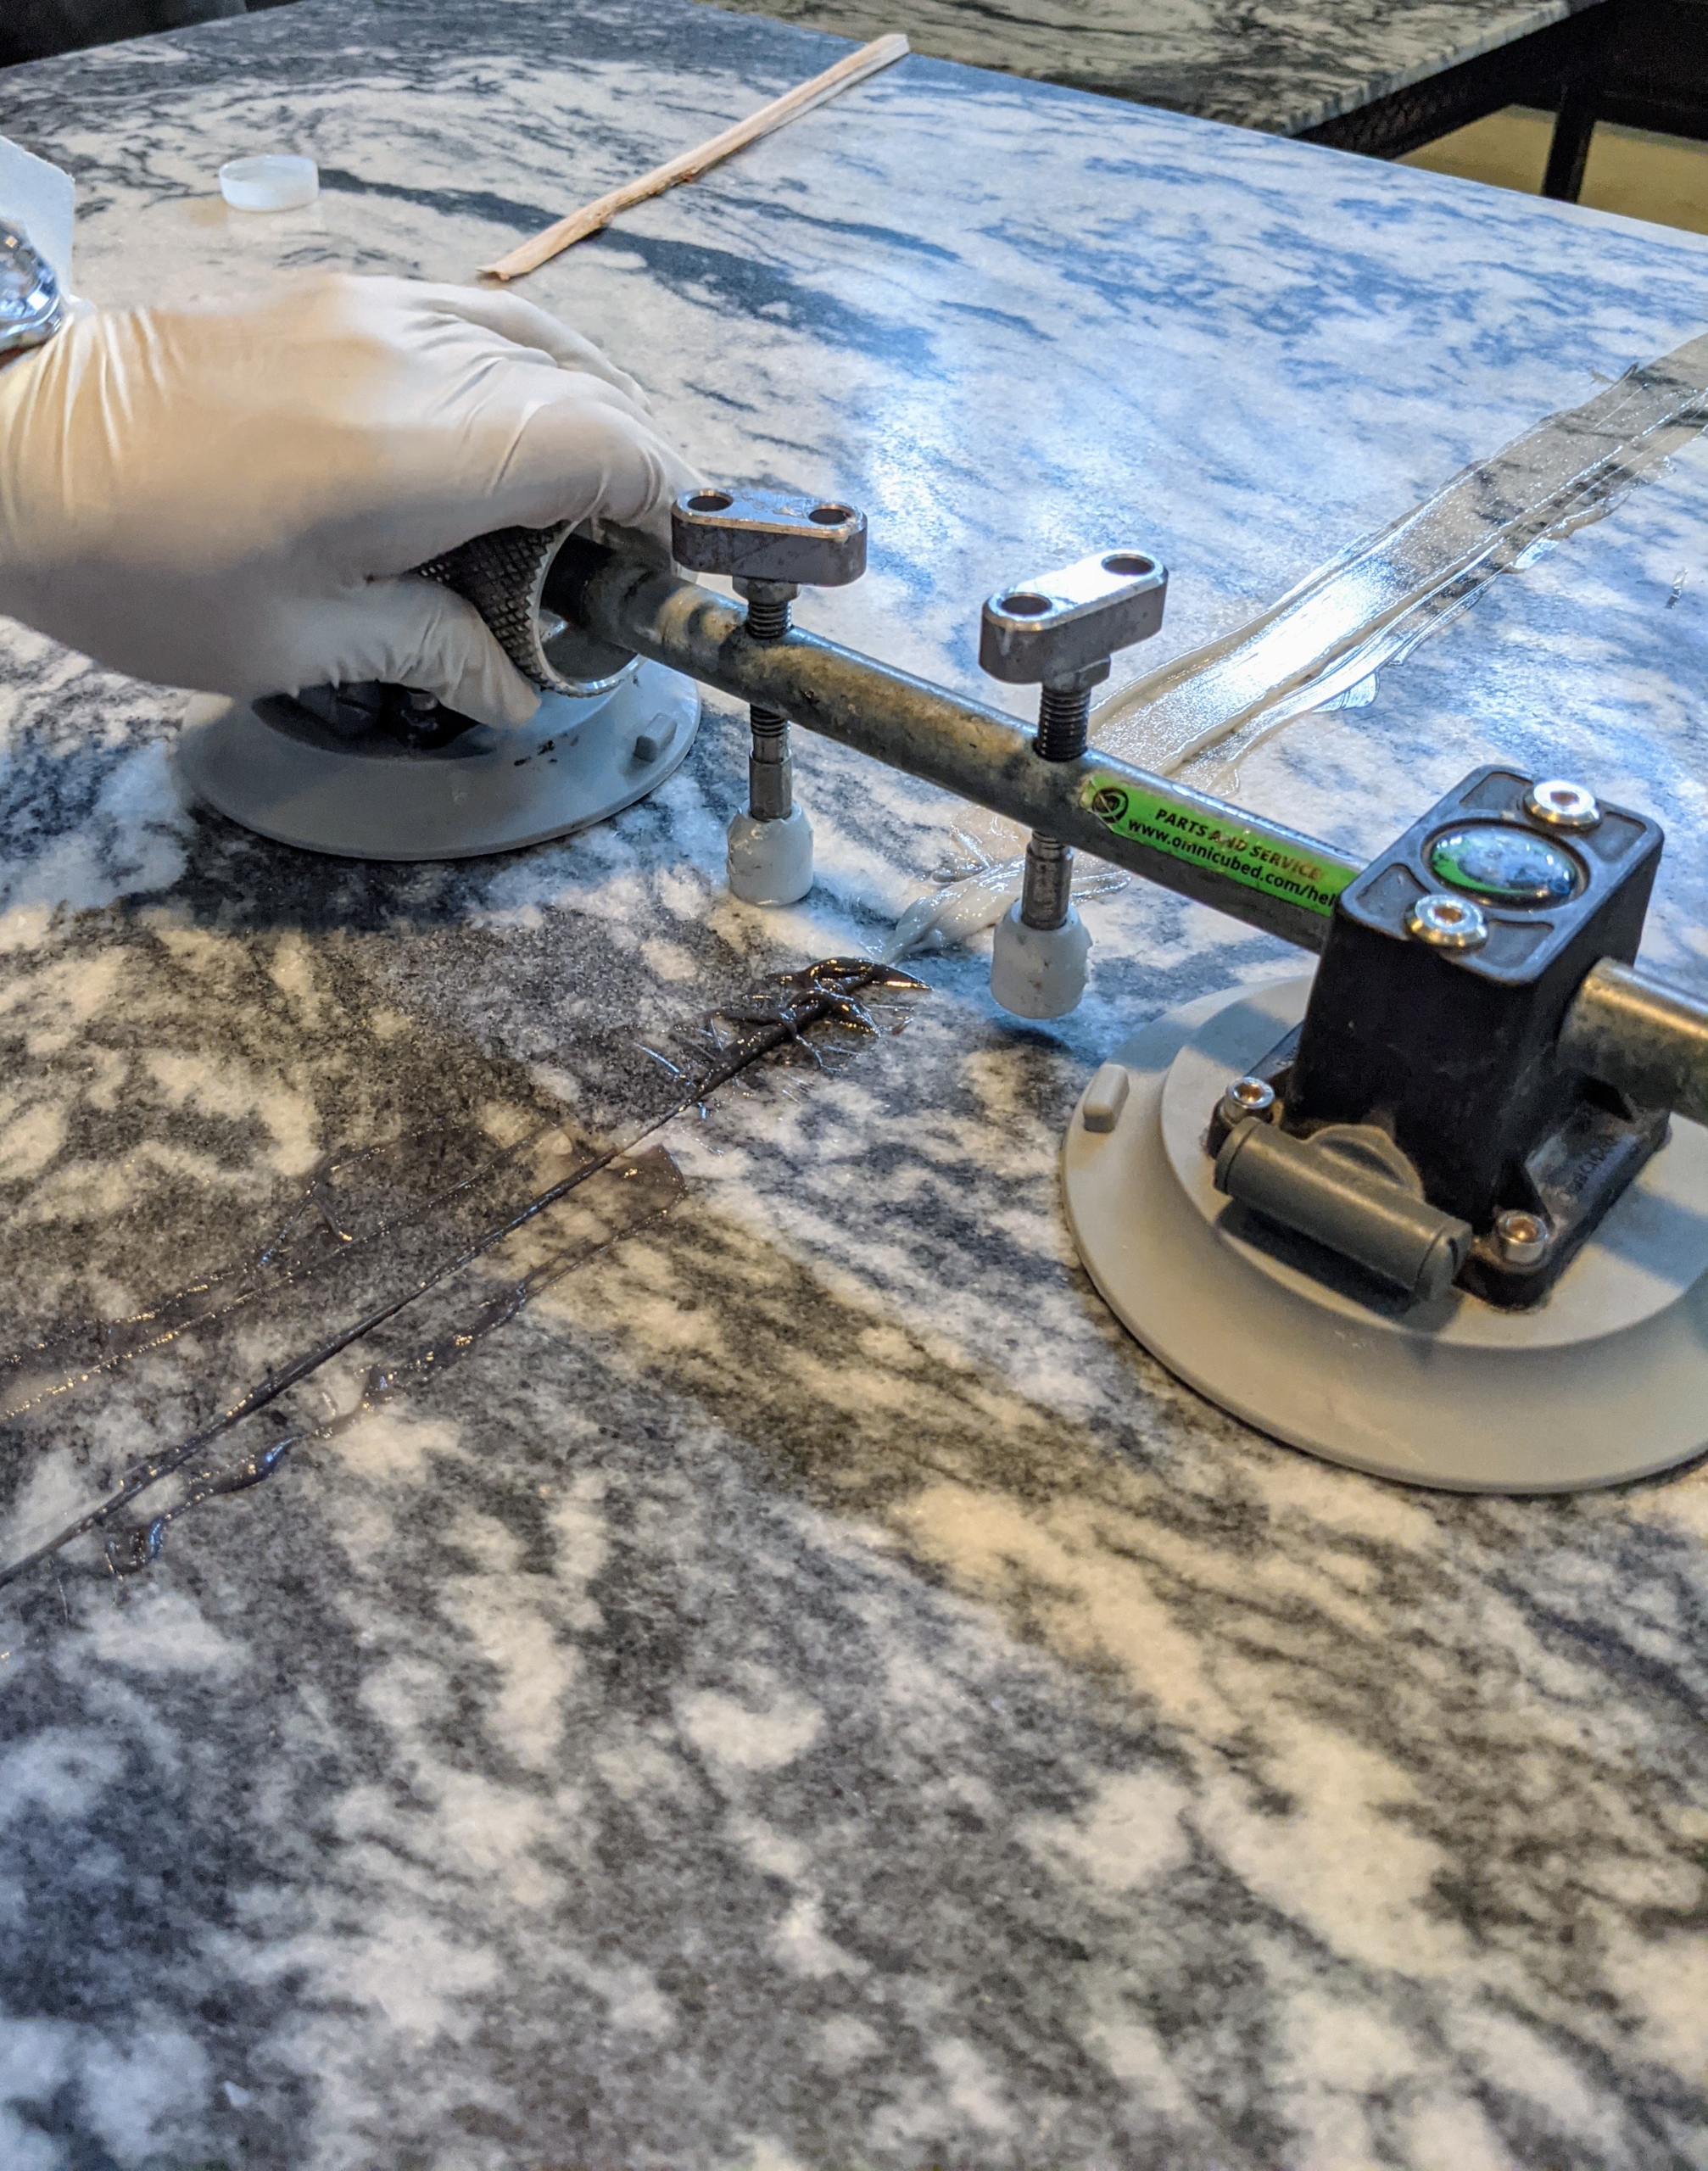
Carlos uses a heavy duty suction cup stone setter to hold the pieces together.
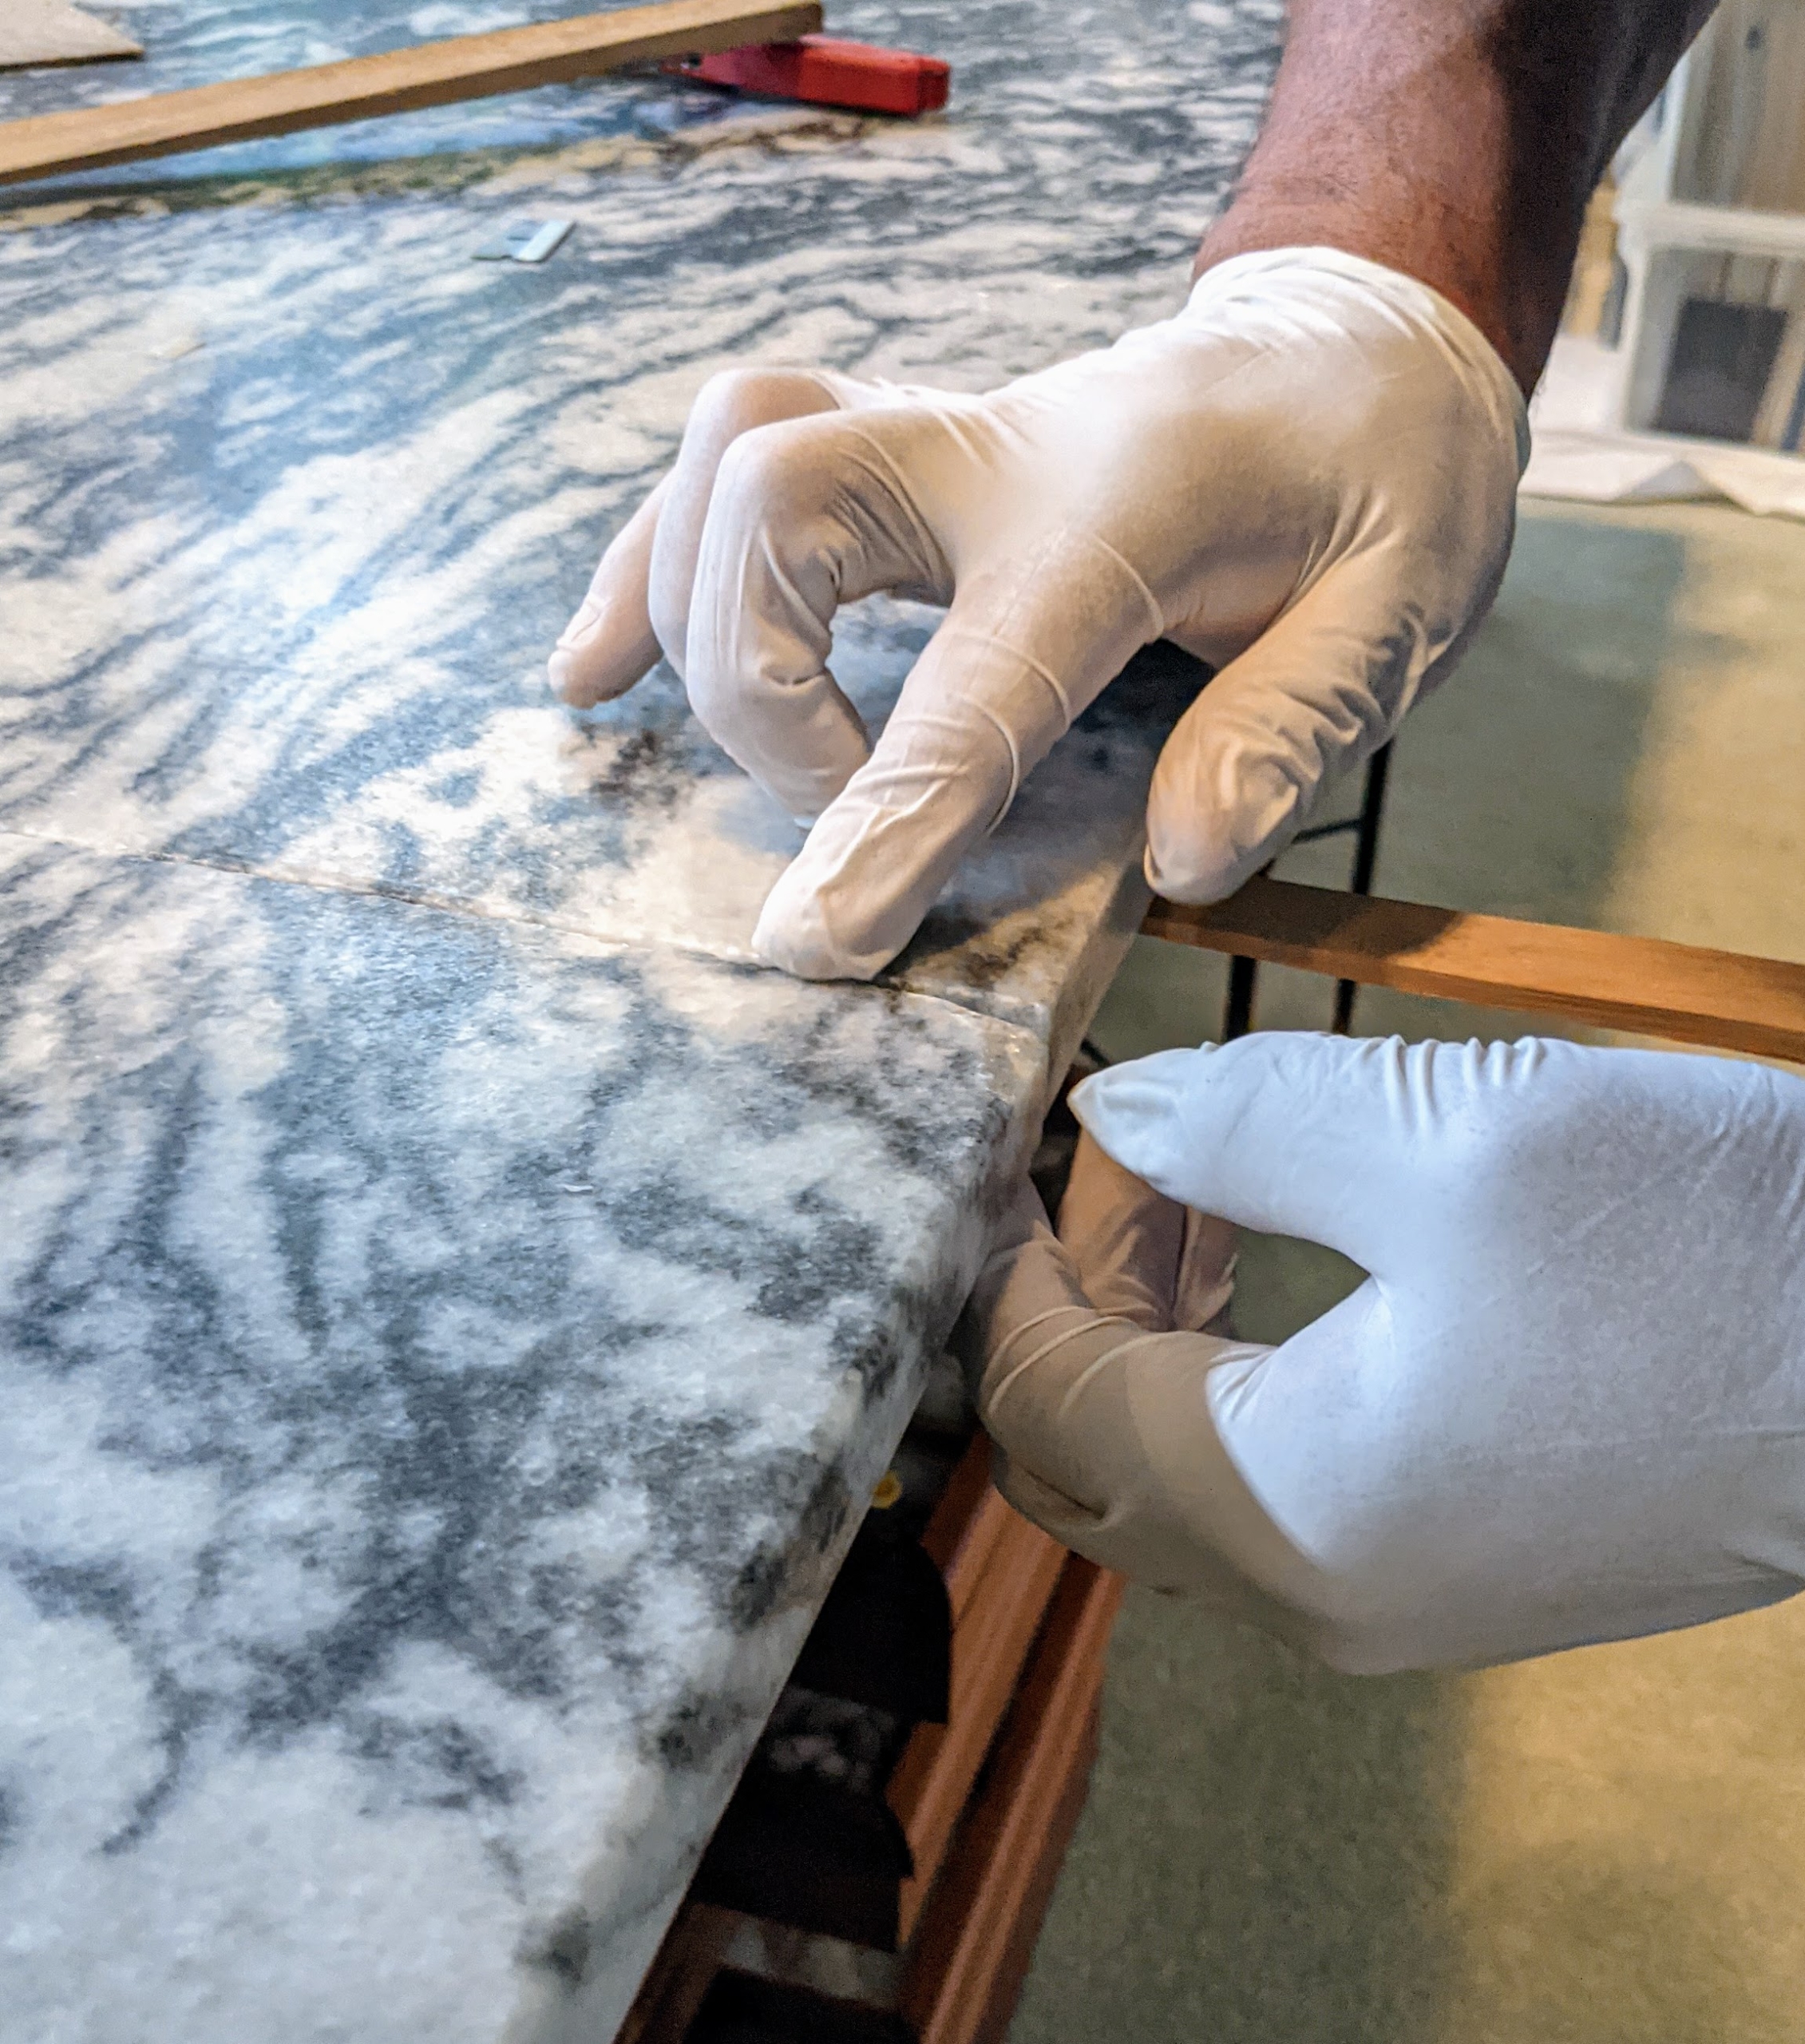
The two pieces must be level before they are glued. Carlos uses a wooden shim to level the pieces. This shim will be removed later. Then, he feels the two pieces to see if they are both aligned just right.
Carlos uses a simple utility razor blade to gently check the level of the pieces. Carlos feels for unevenness or irregularities by going over the seam in several spots with the blade.
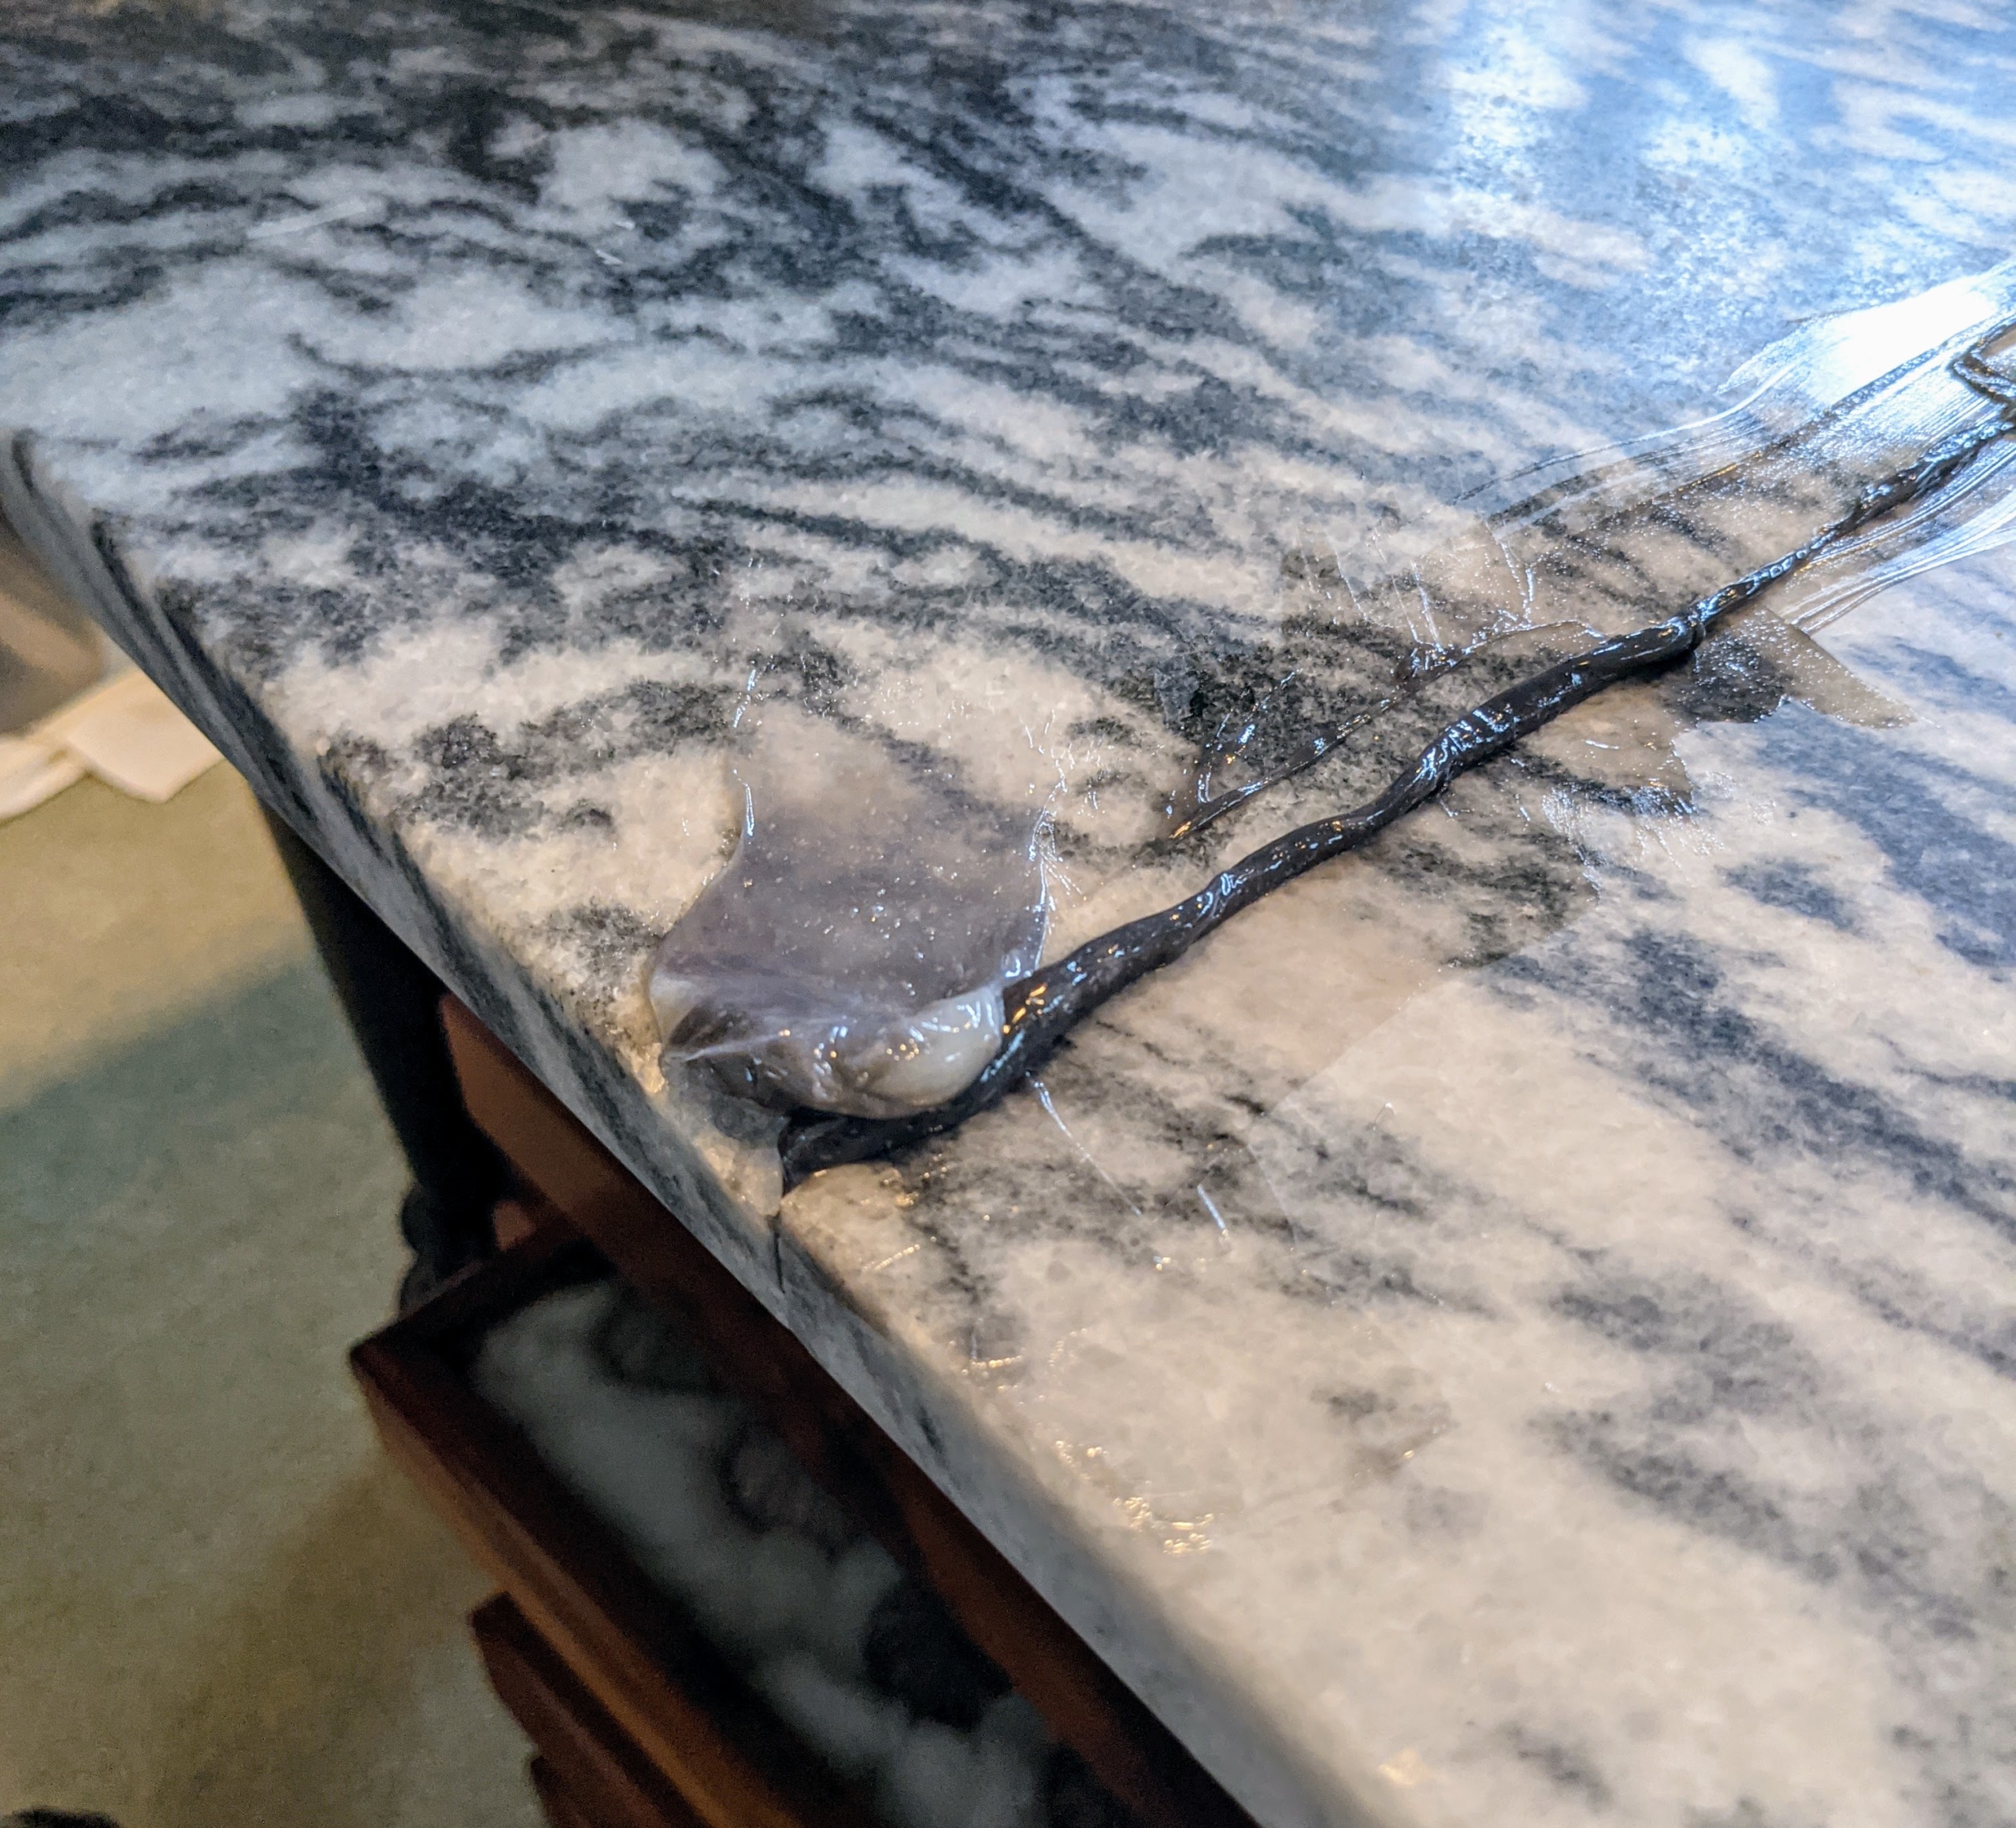
Once the two pieces are completely level, Benicio spreads the epoxy in the crack and pushes it in as deeply as possible.
Here, one can see the epoxy in the seam. It is left to dry for about 15-minutes.
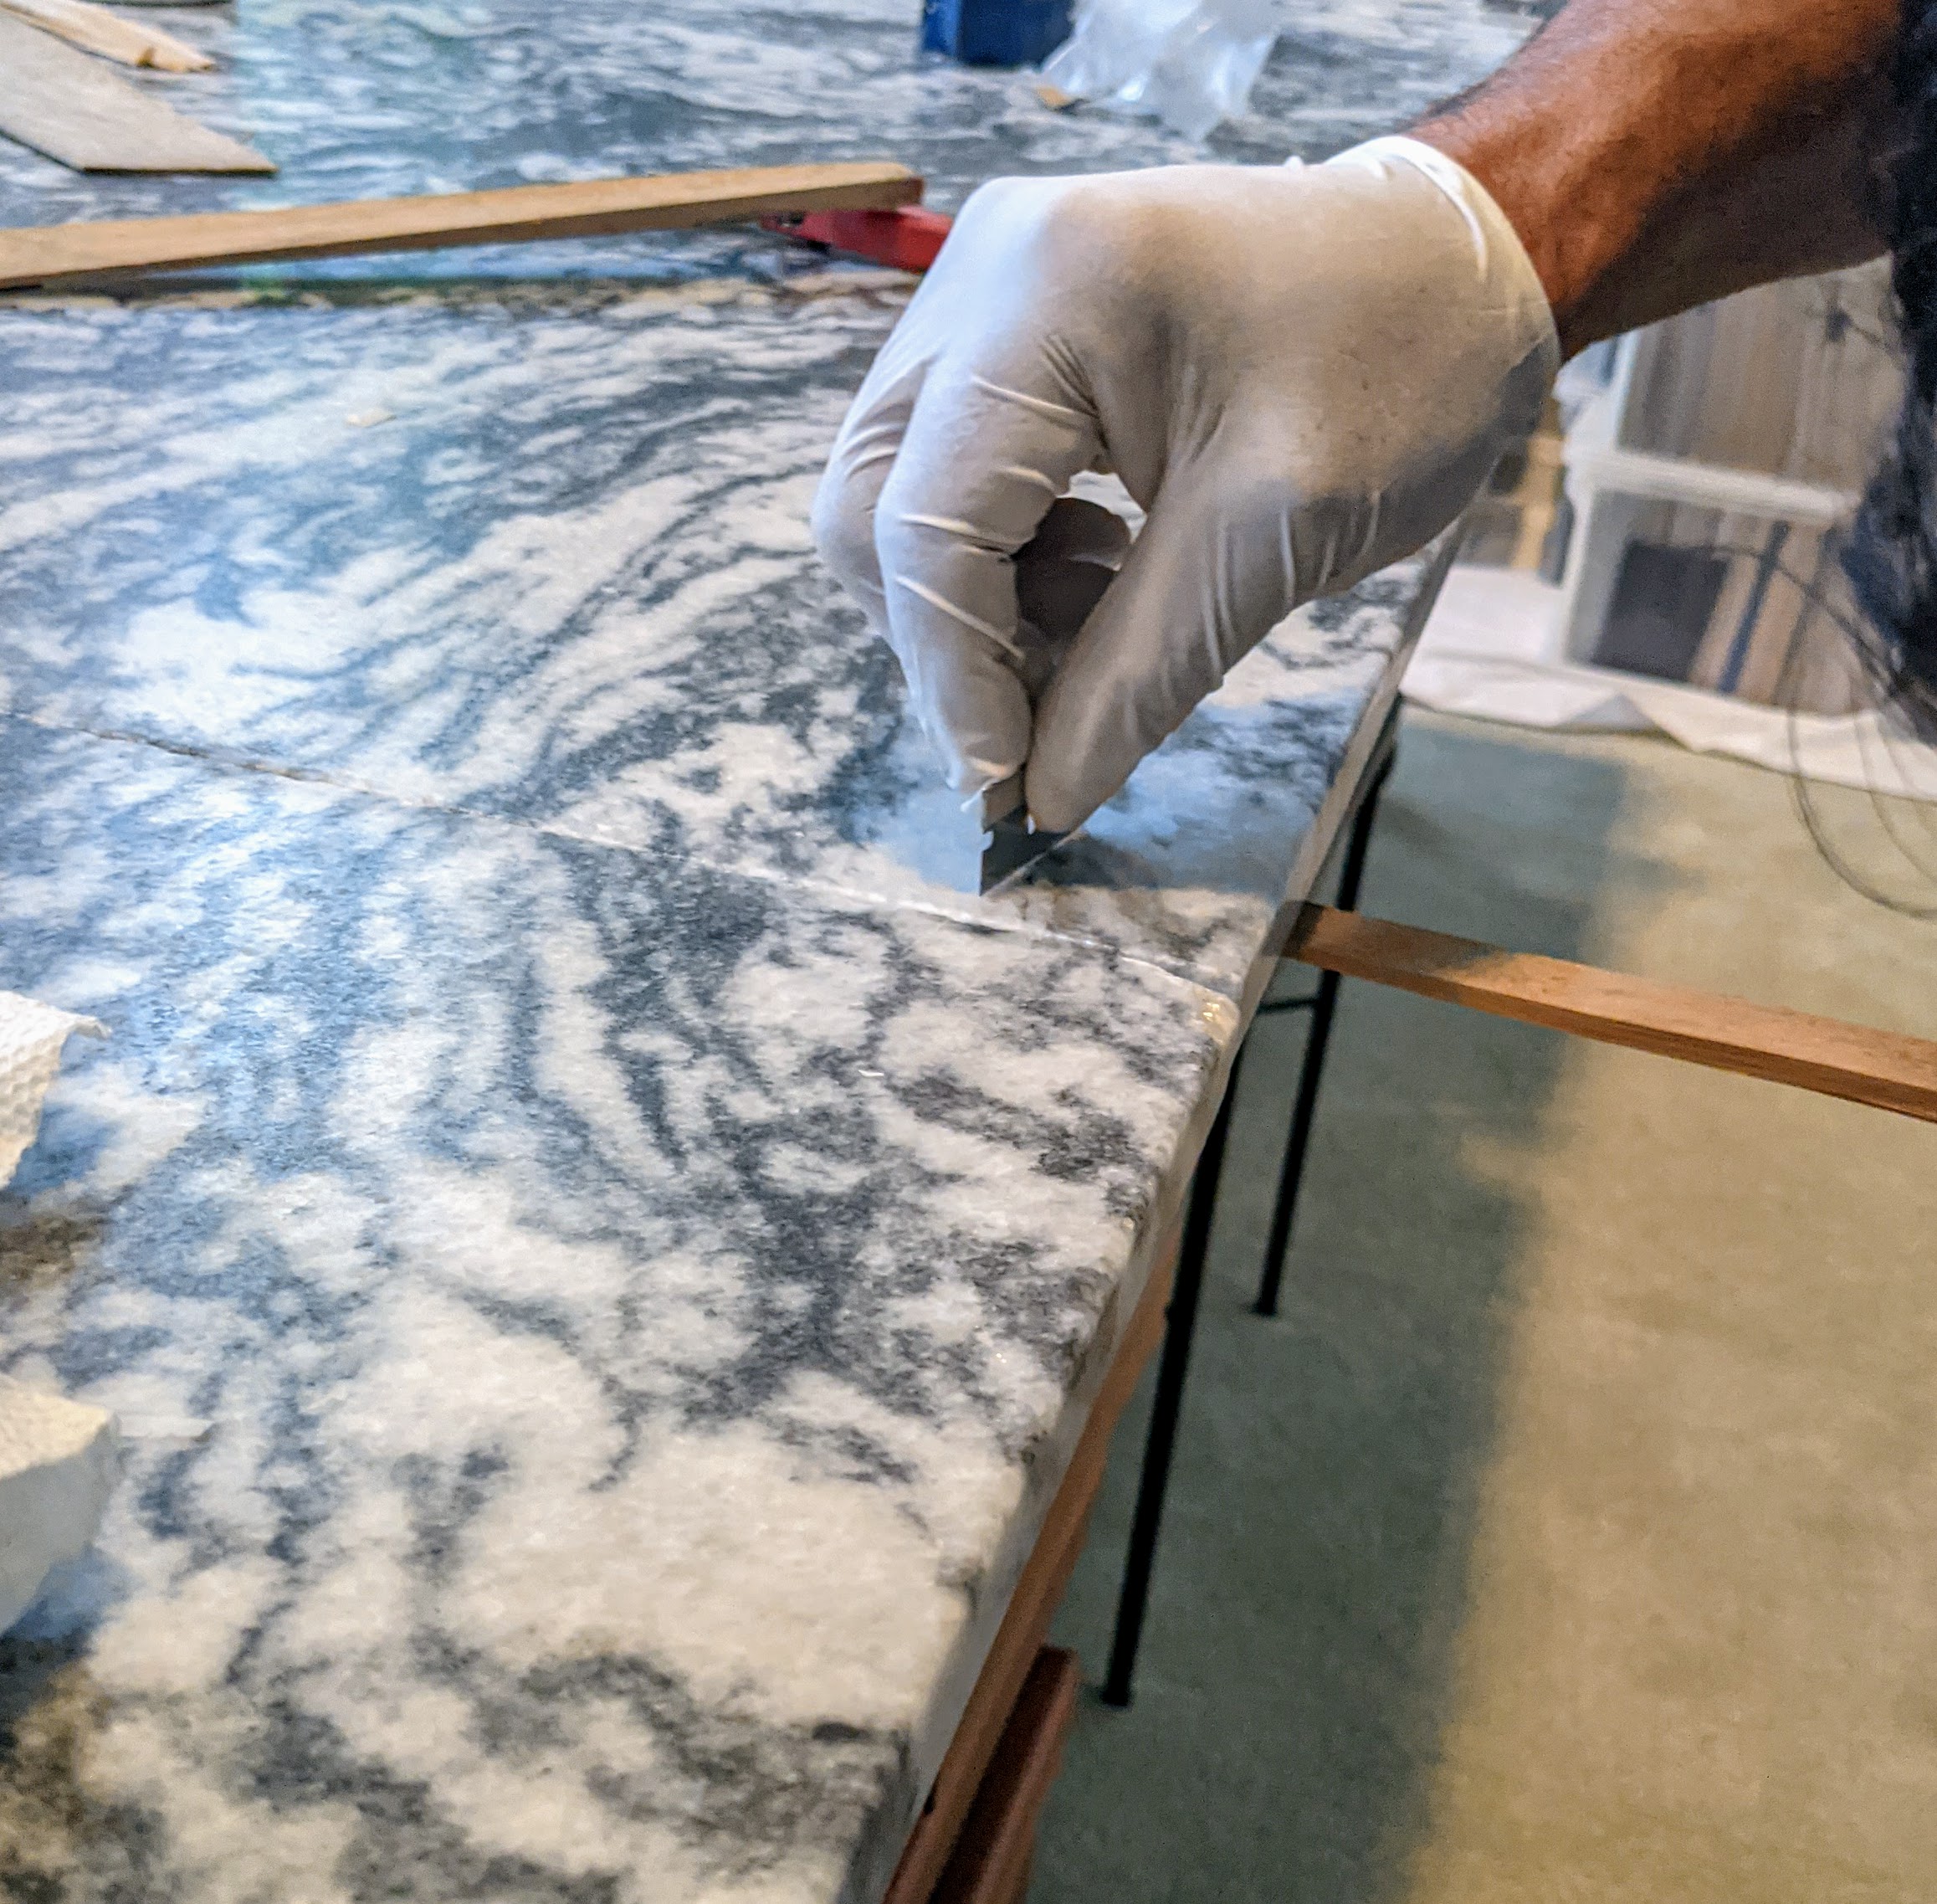
Any excess is carefully scraped off with the blade.
The suction cups are tightened to ensure the two pieces adhere properly.
Jerry uses the same process for the crack.
Here, there was also a small chip at the side of the table. The clear epoxy was used to repair it and then Benicio goes over the fixed area with the blade to make sure it is smooth.
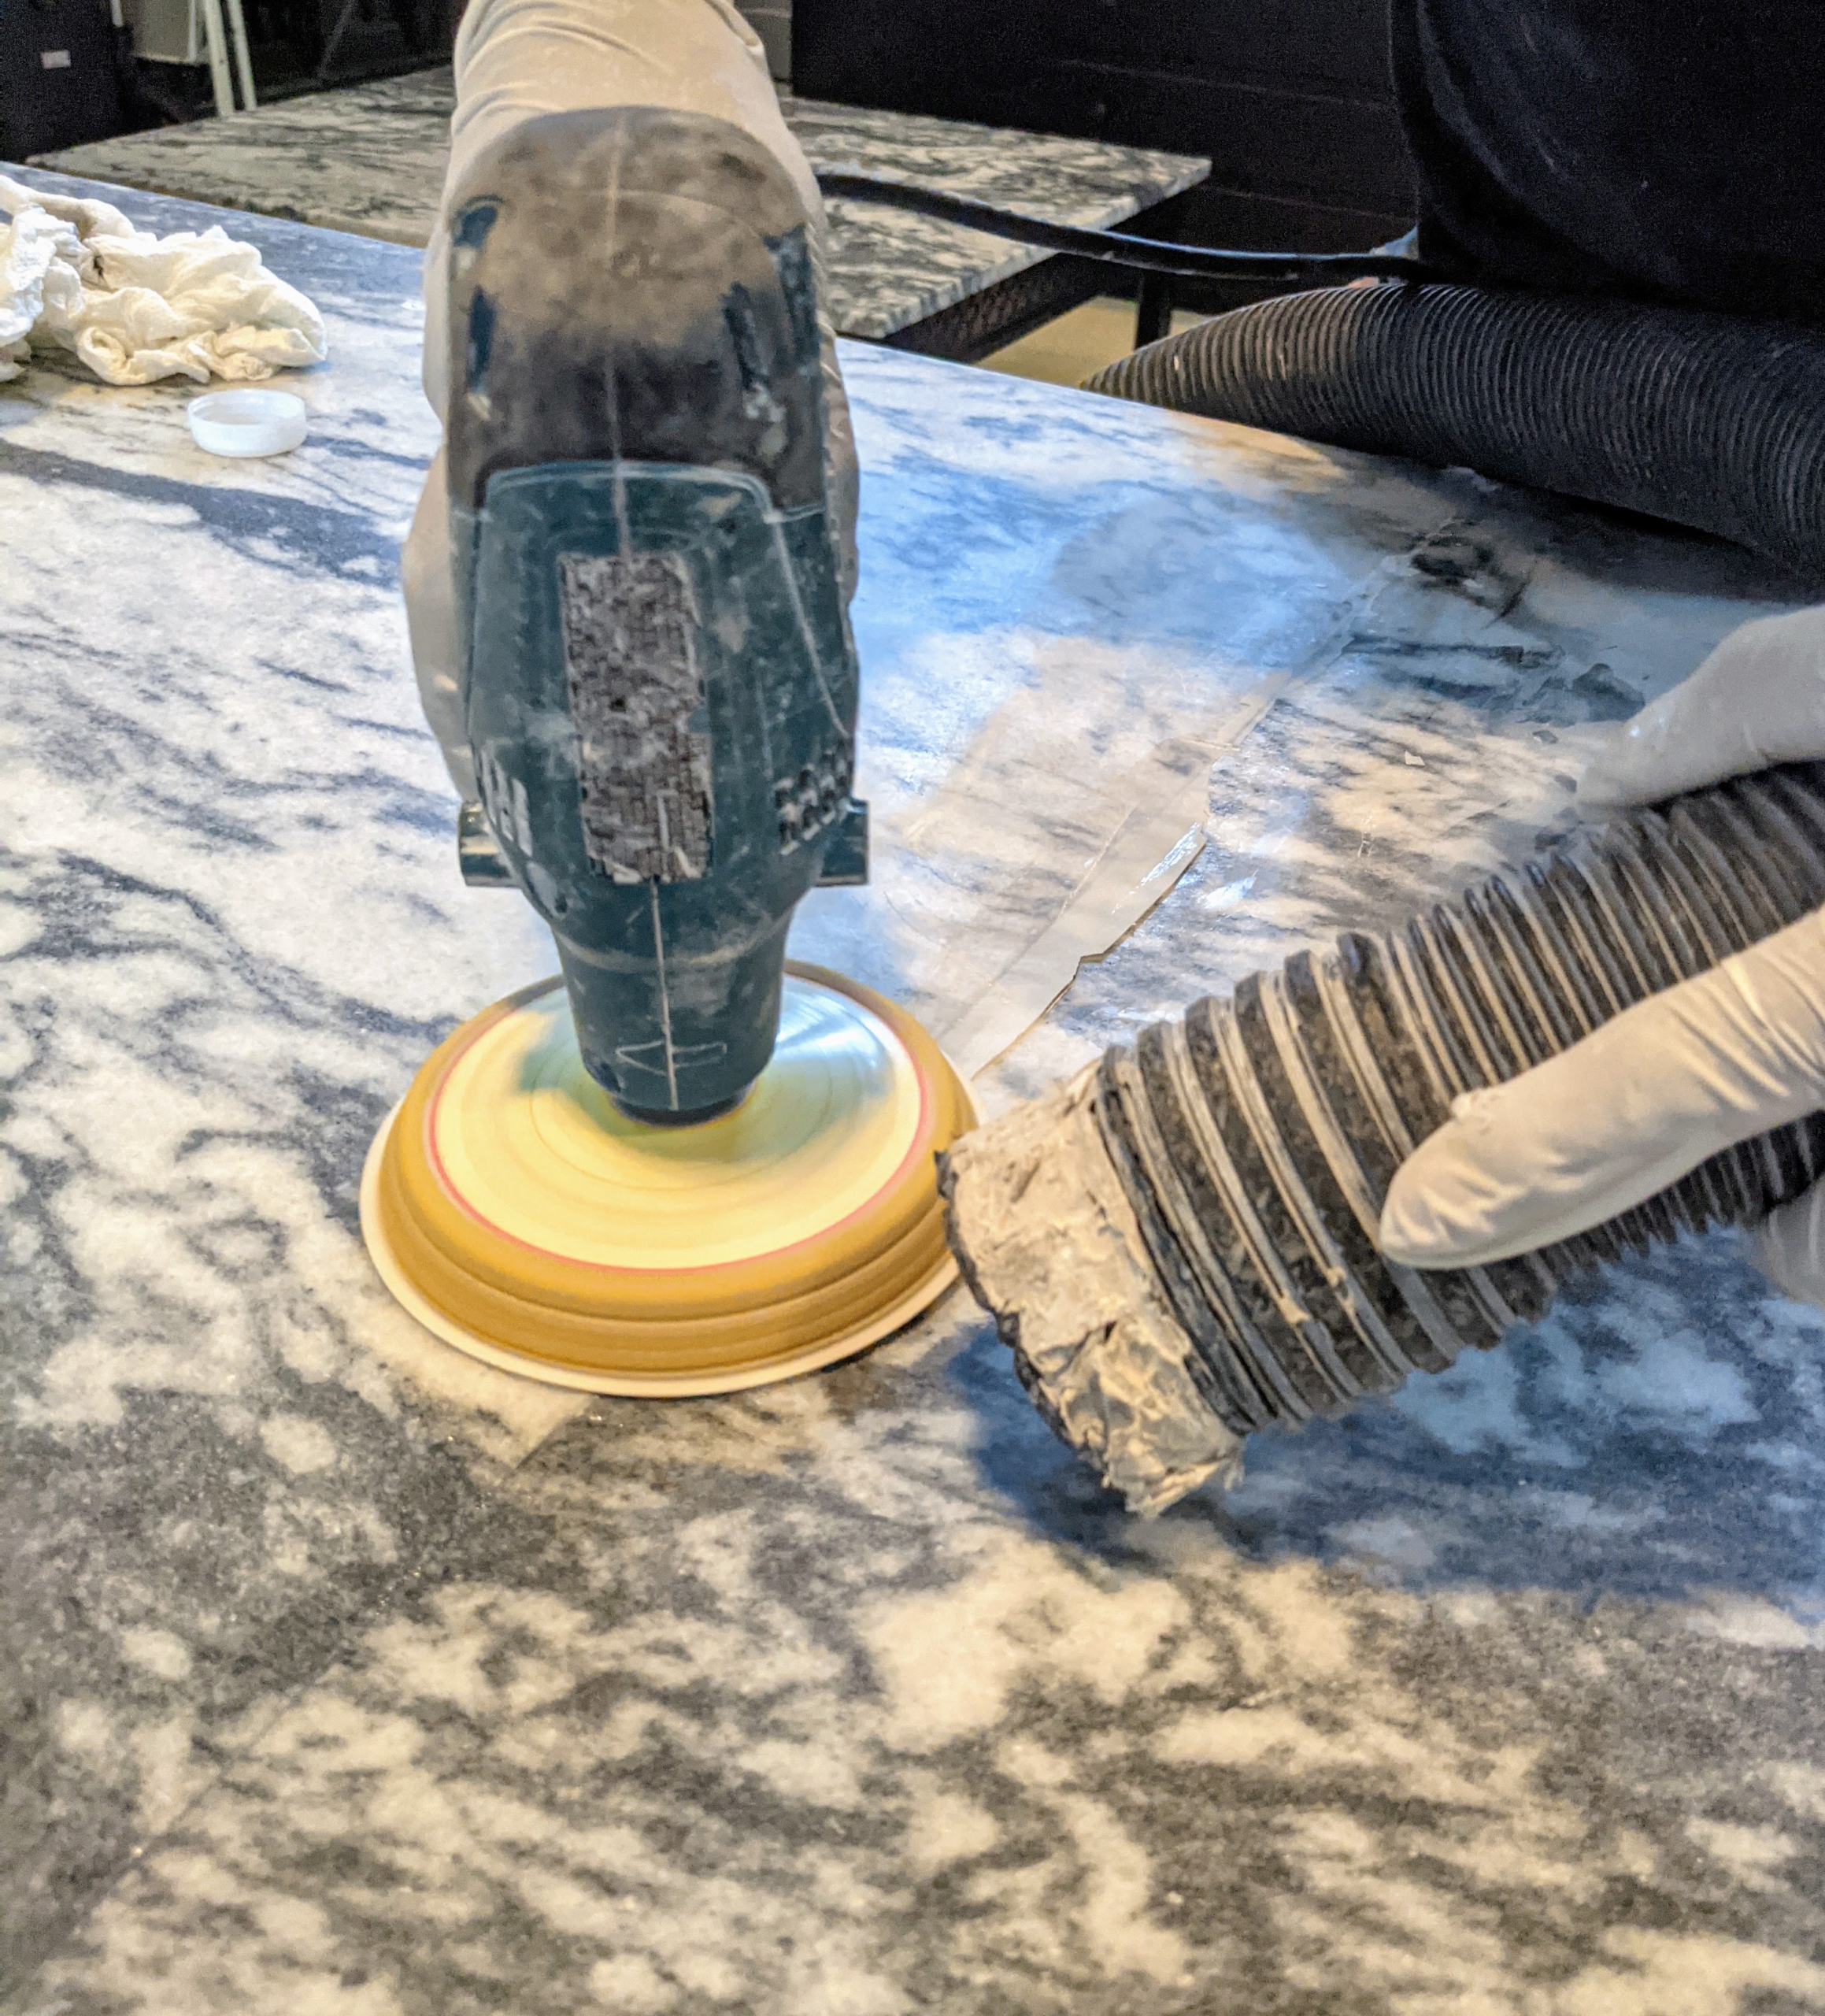
Next, Benicio uses a very fine grit sandpaper over the seams to make sure any remaining epoxy is removed and the two surfaces are even and smooth. A vacuum is used alongside the sander to remove any dust.
The area is checked again with a razor blade.
The seam needs a little more sanding.
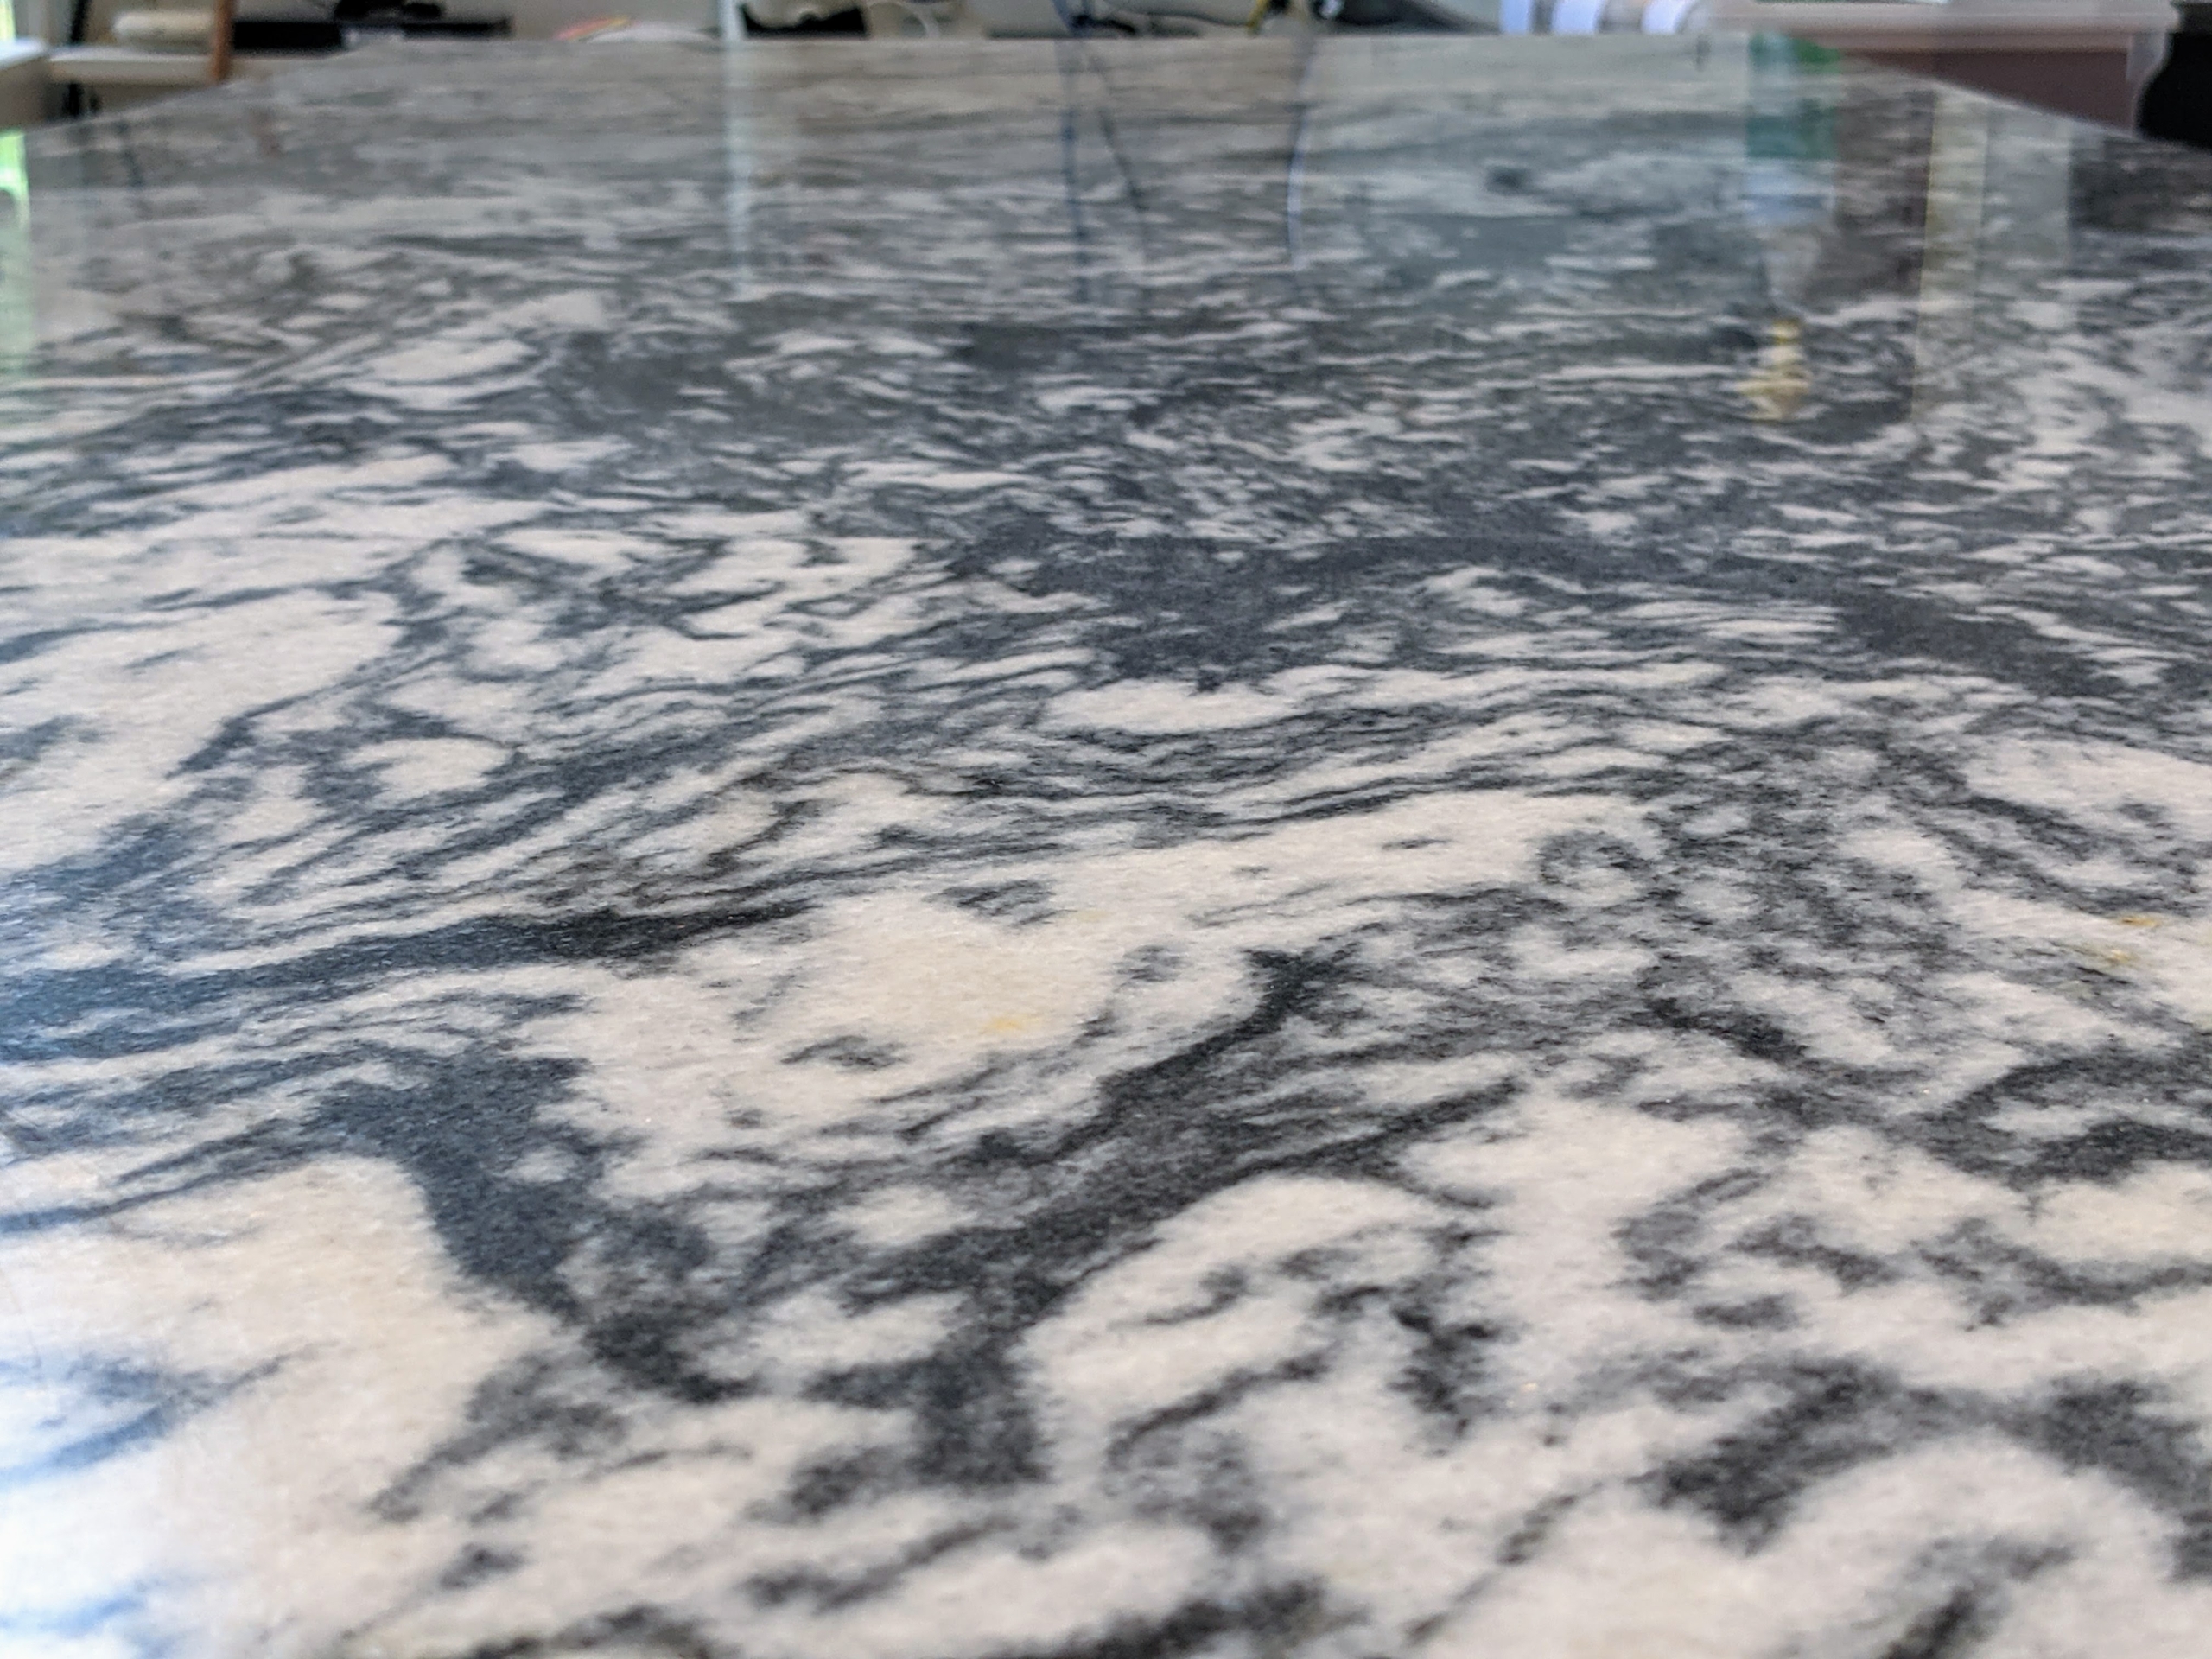
After some time, one cannot even see where the work was done.
Lastly, Carlos wipes the entire table with a heavy duty exterior sealer made especially for stone.
The table looks like new. What a great job! The entire process took just a little more than an hour to complete, and it looks great. Thanks Carlos, Jerry, and Benicio. Please visit the Precision Stone, Marble & Granite web site for more information. I’ll share more photos from this room’s transformation in a future blog.