If you're entertaining at home this winter, don't forget to take time to polish the silver.
Last week, my housekeeper Enma Sandoval took on the task of cleaning and polishing some of the silver in my Winter House Brown Room - a couple days ahead of a small dinner party I hosted. There are several ways to clean silver. One nontoxic method is to fill an aluminum pan with hot water, salt and baking soda, stir until it is all dissolved, and then soak the pieces until a chemical reaction occurs that removes the tarnish. This technique is faster than hand cleaning, but may cause pitting and remove the more desirable tarnish called patina. Experts recommend using a good-quality, non-abrasive commercial silver polish. Silver cleaning cloths made especially for removing tarnish from precious metals are also available.
Enjoy these photos.
Polishing silver three or four times a year is generally sufficient to keep it in good condition, but if you’re entertaining and planning to use some pieces, give them a little extra attention before the event.
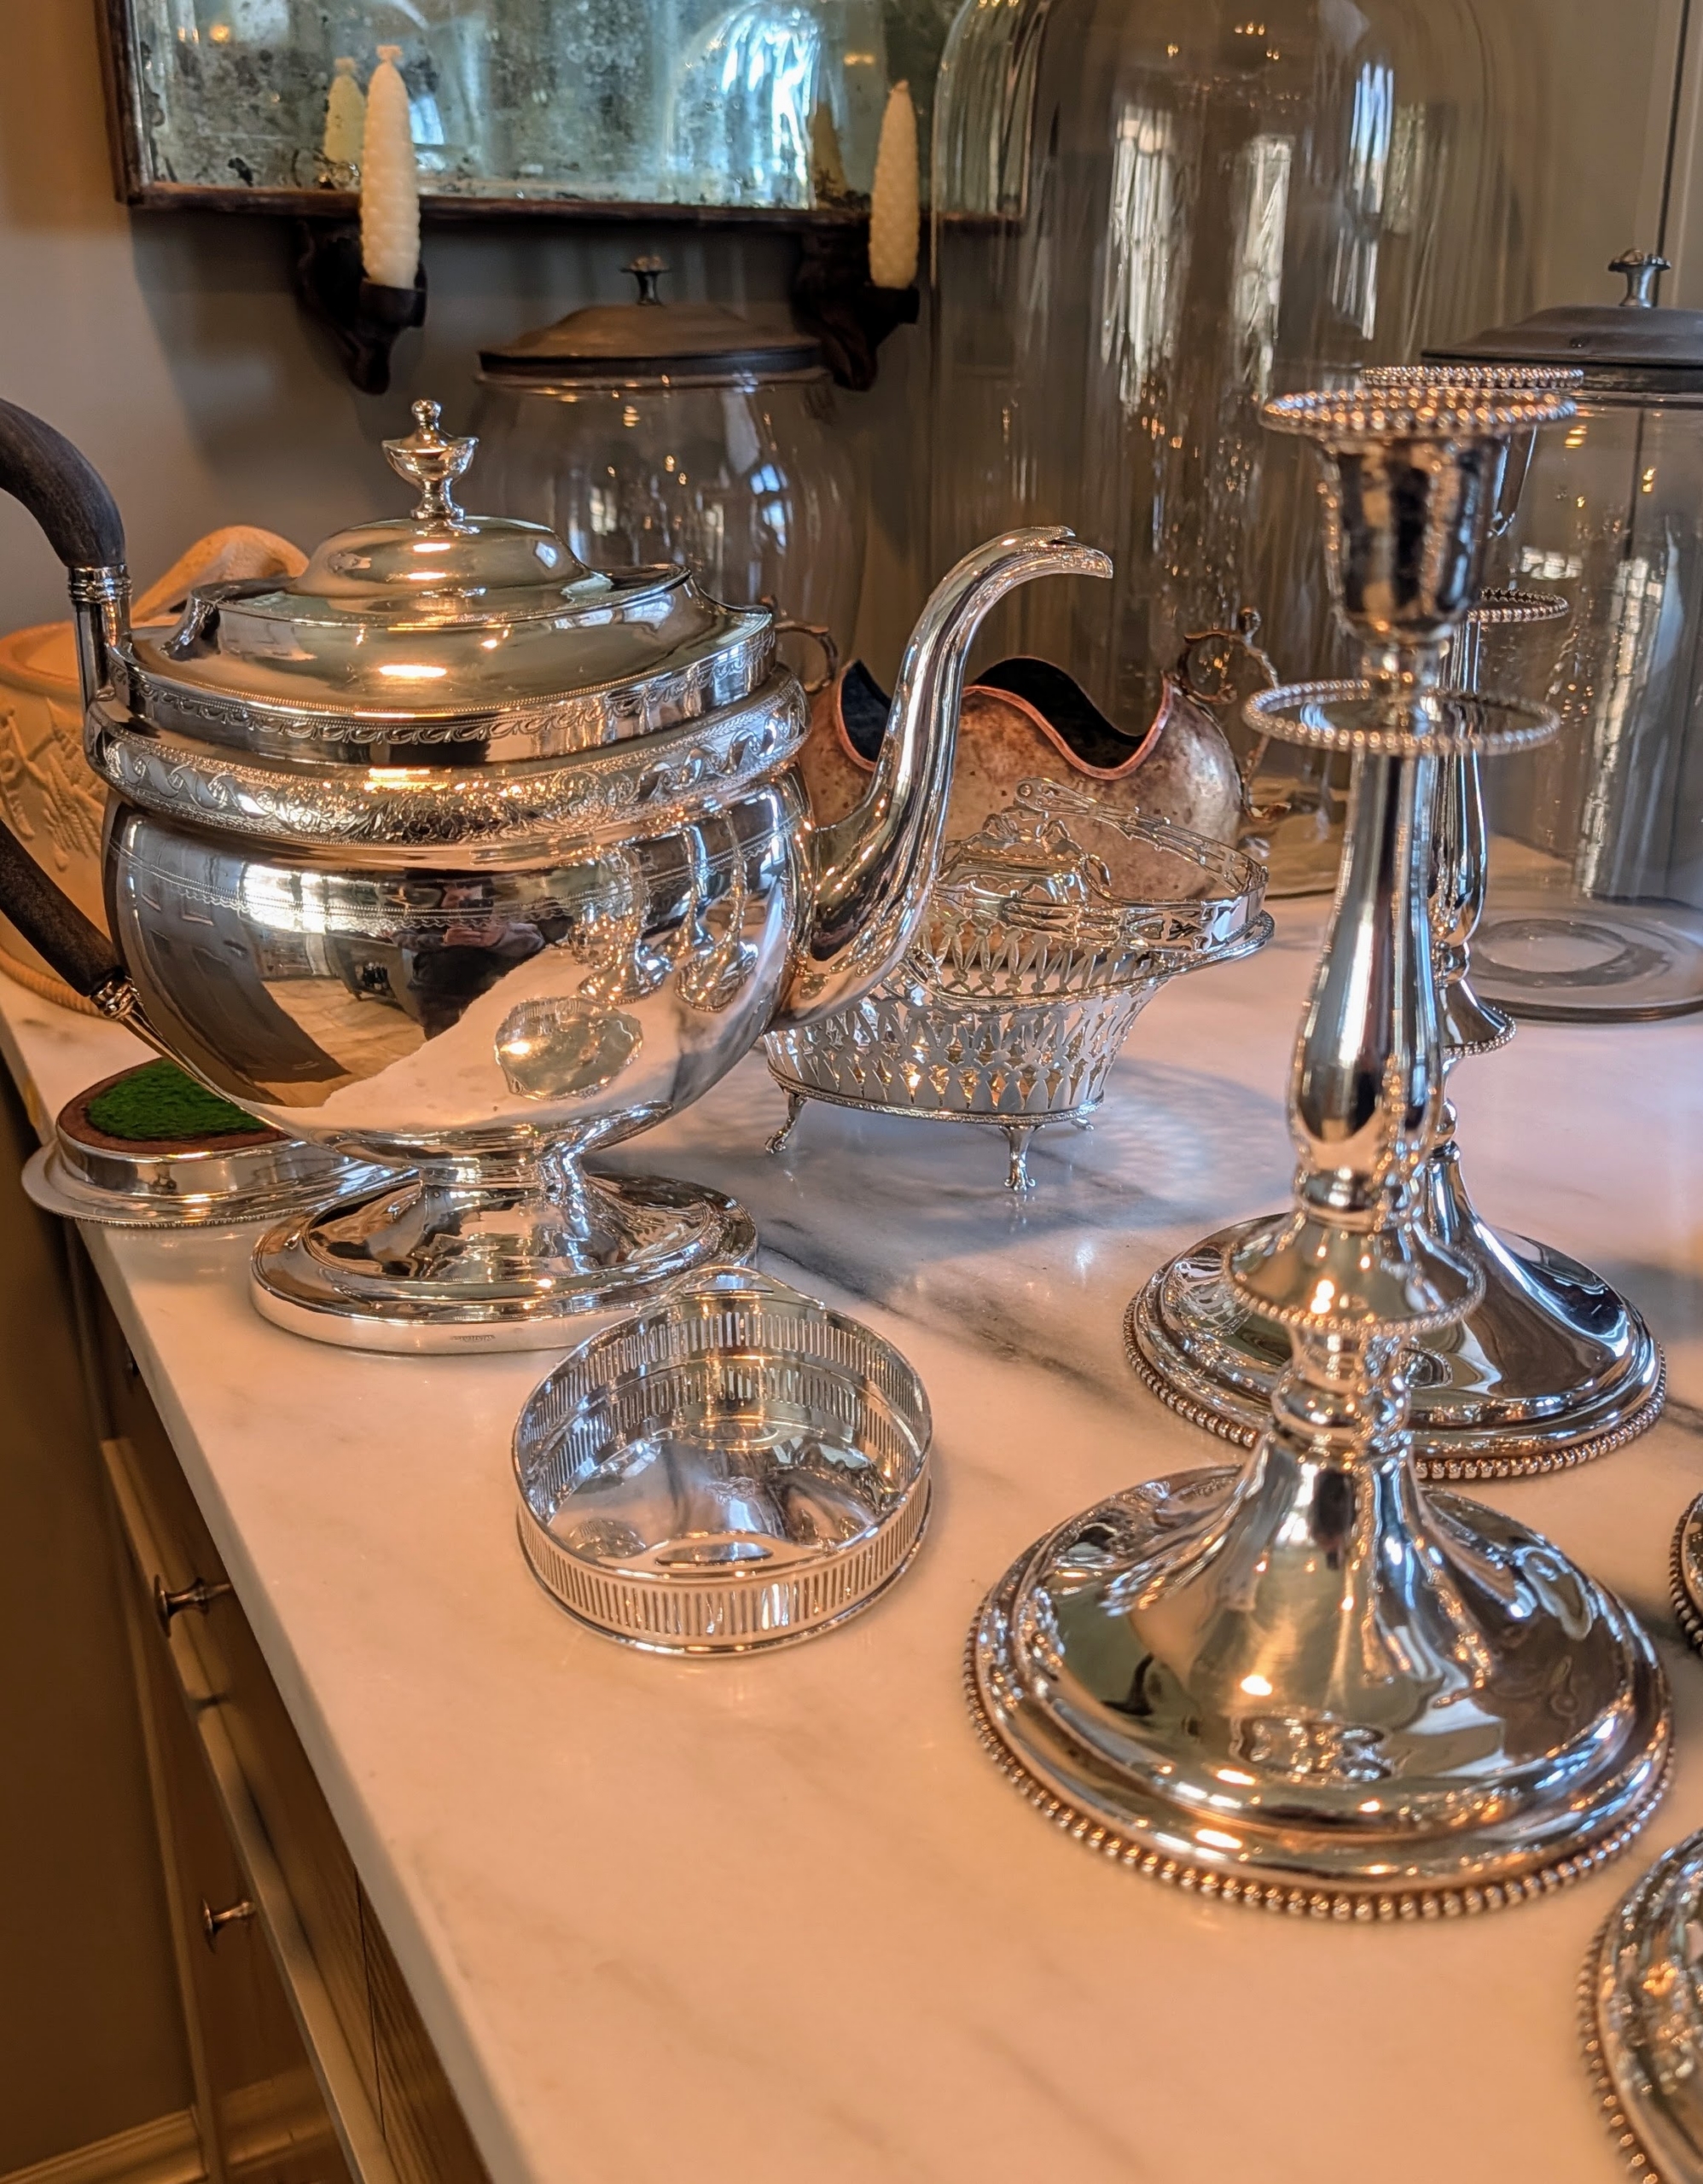
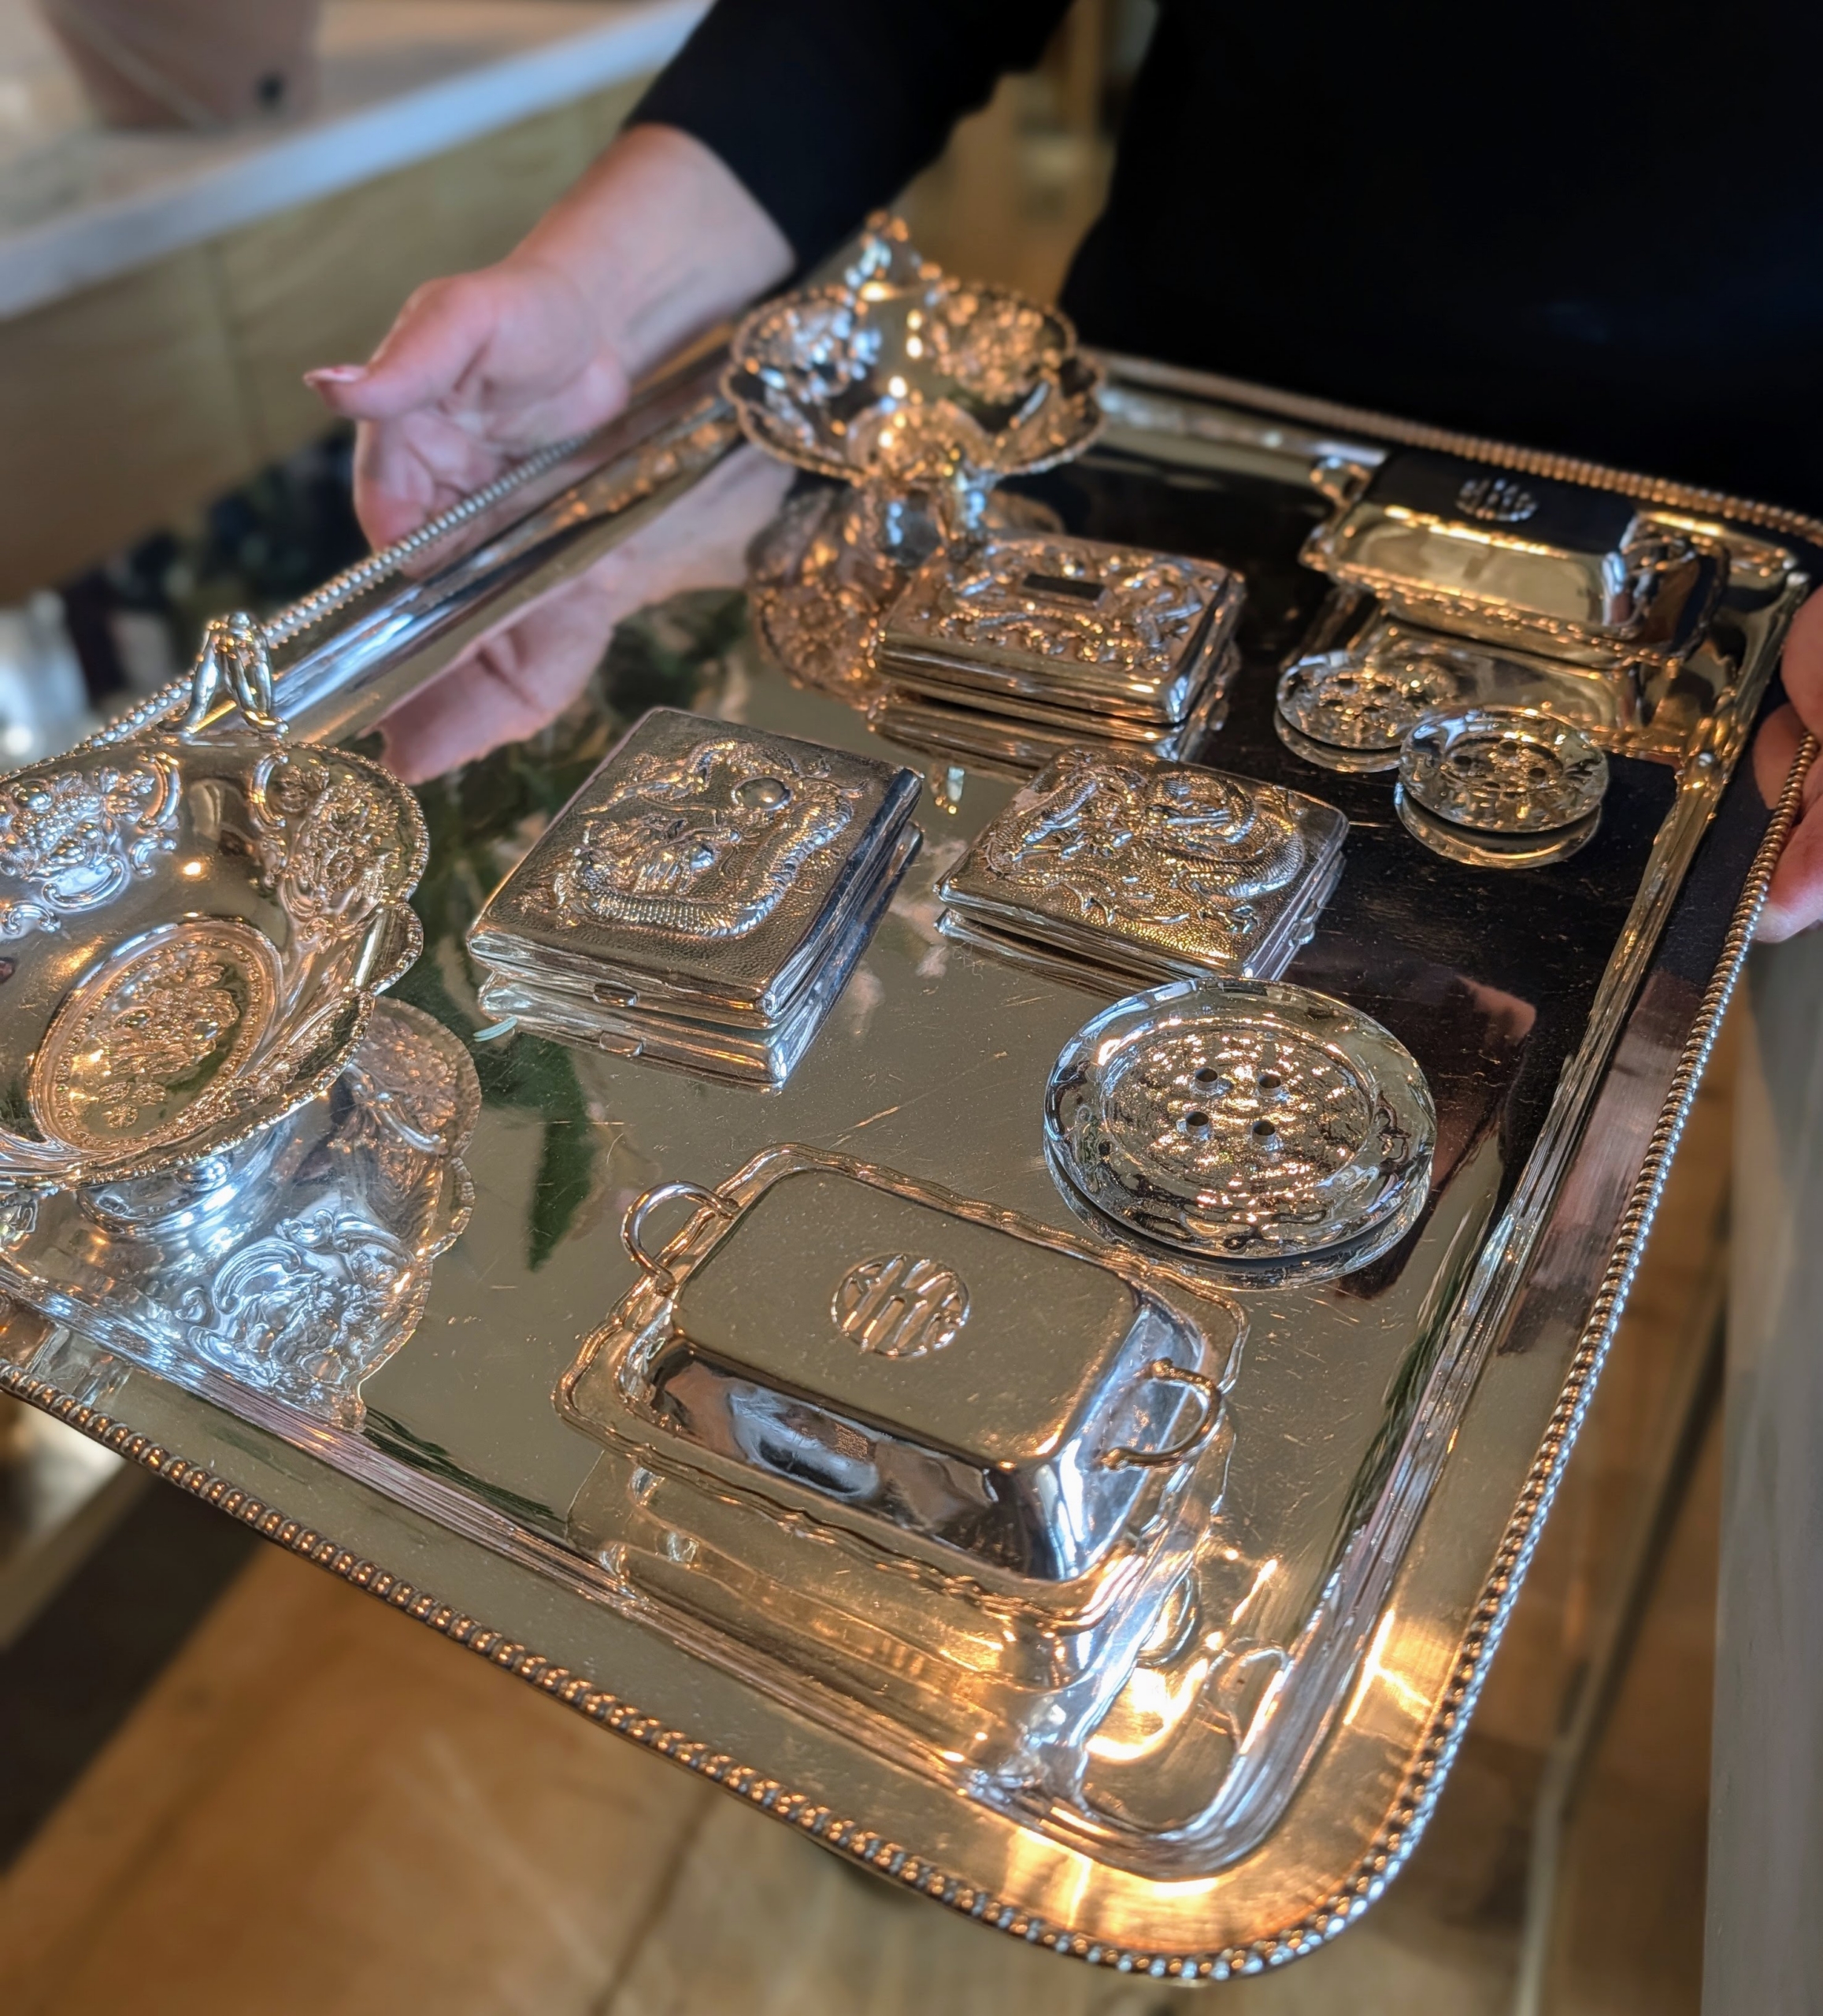
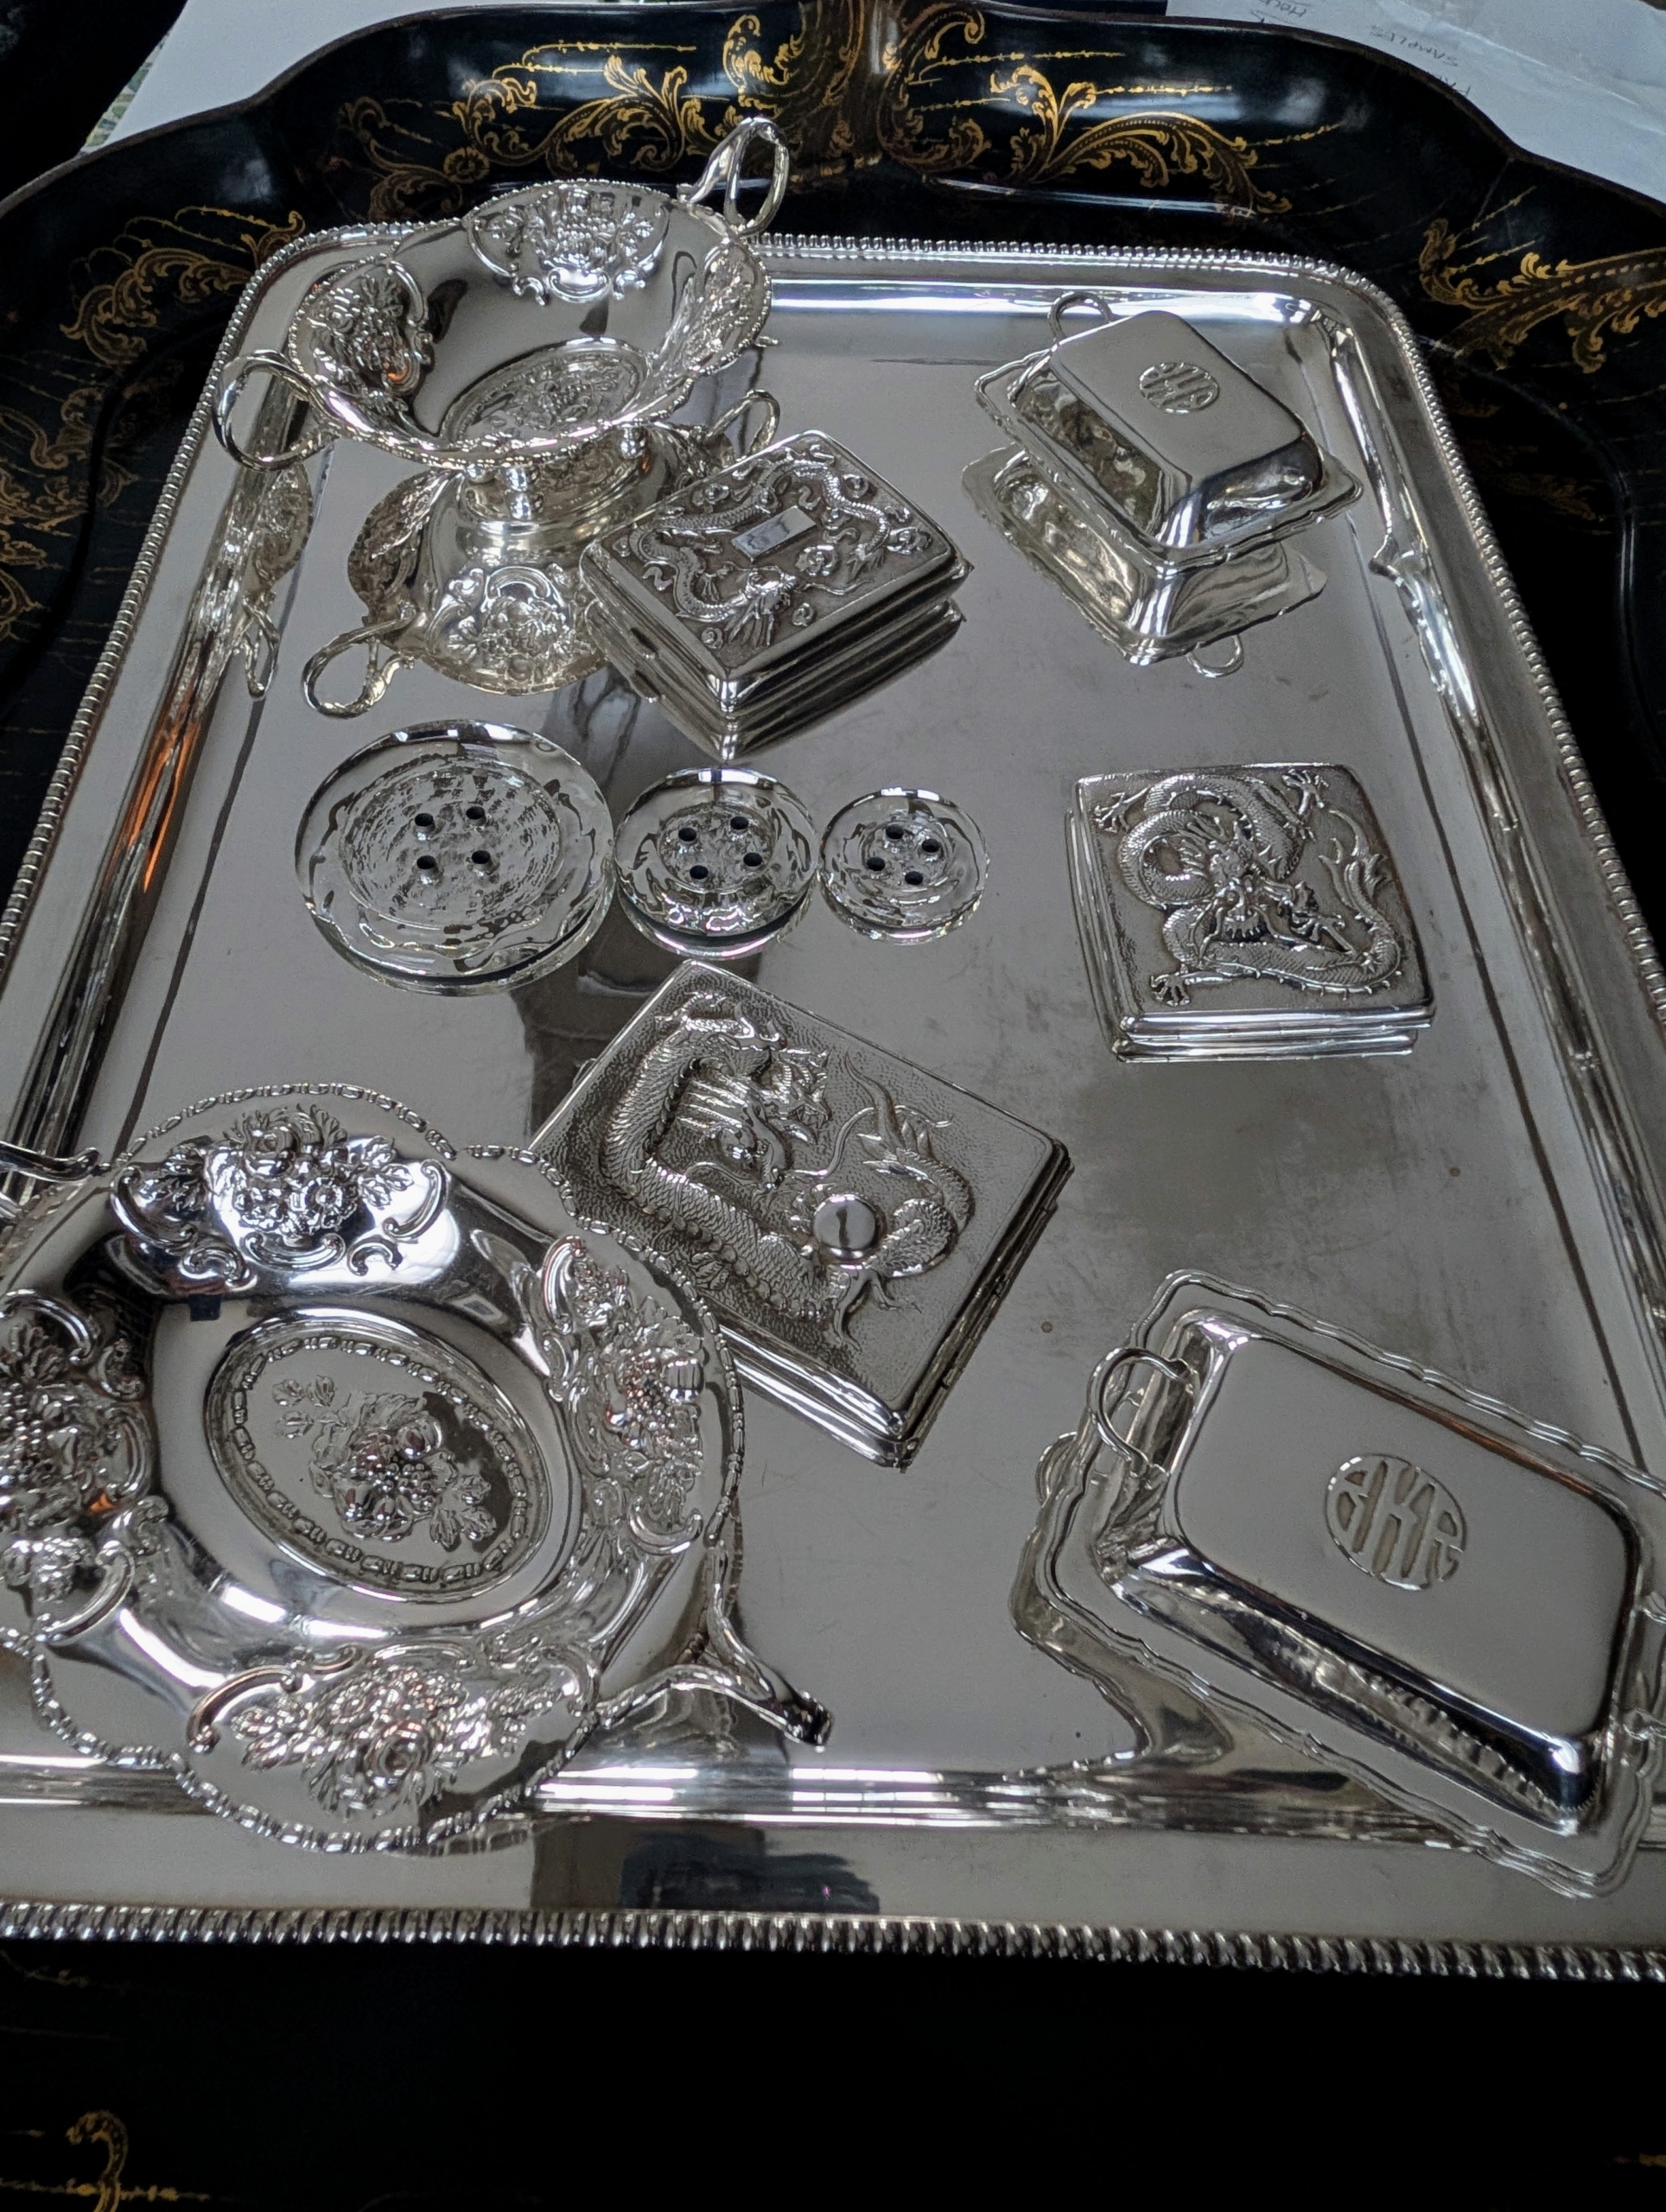
I hosted a small dinner party for 12 over the weekend and asked my housekeeper to polish some of the pieces in my Brown Room. These are already finished and look so beautiful.
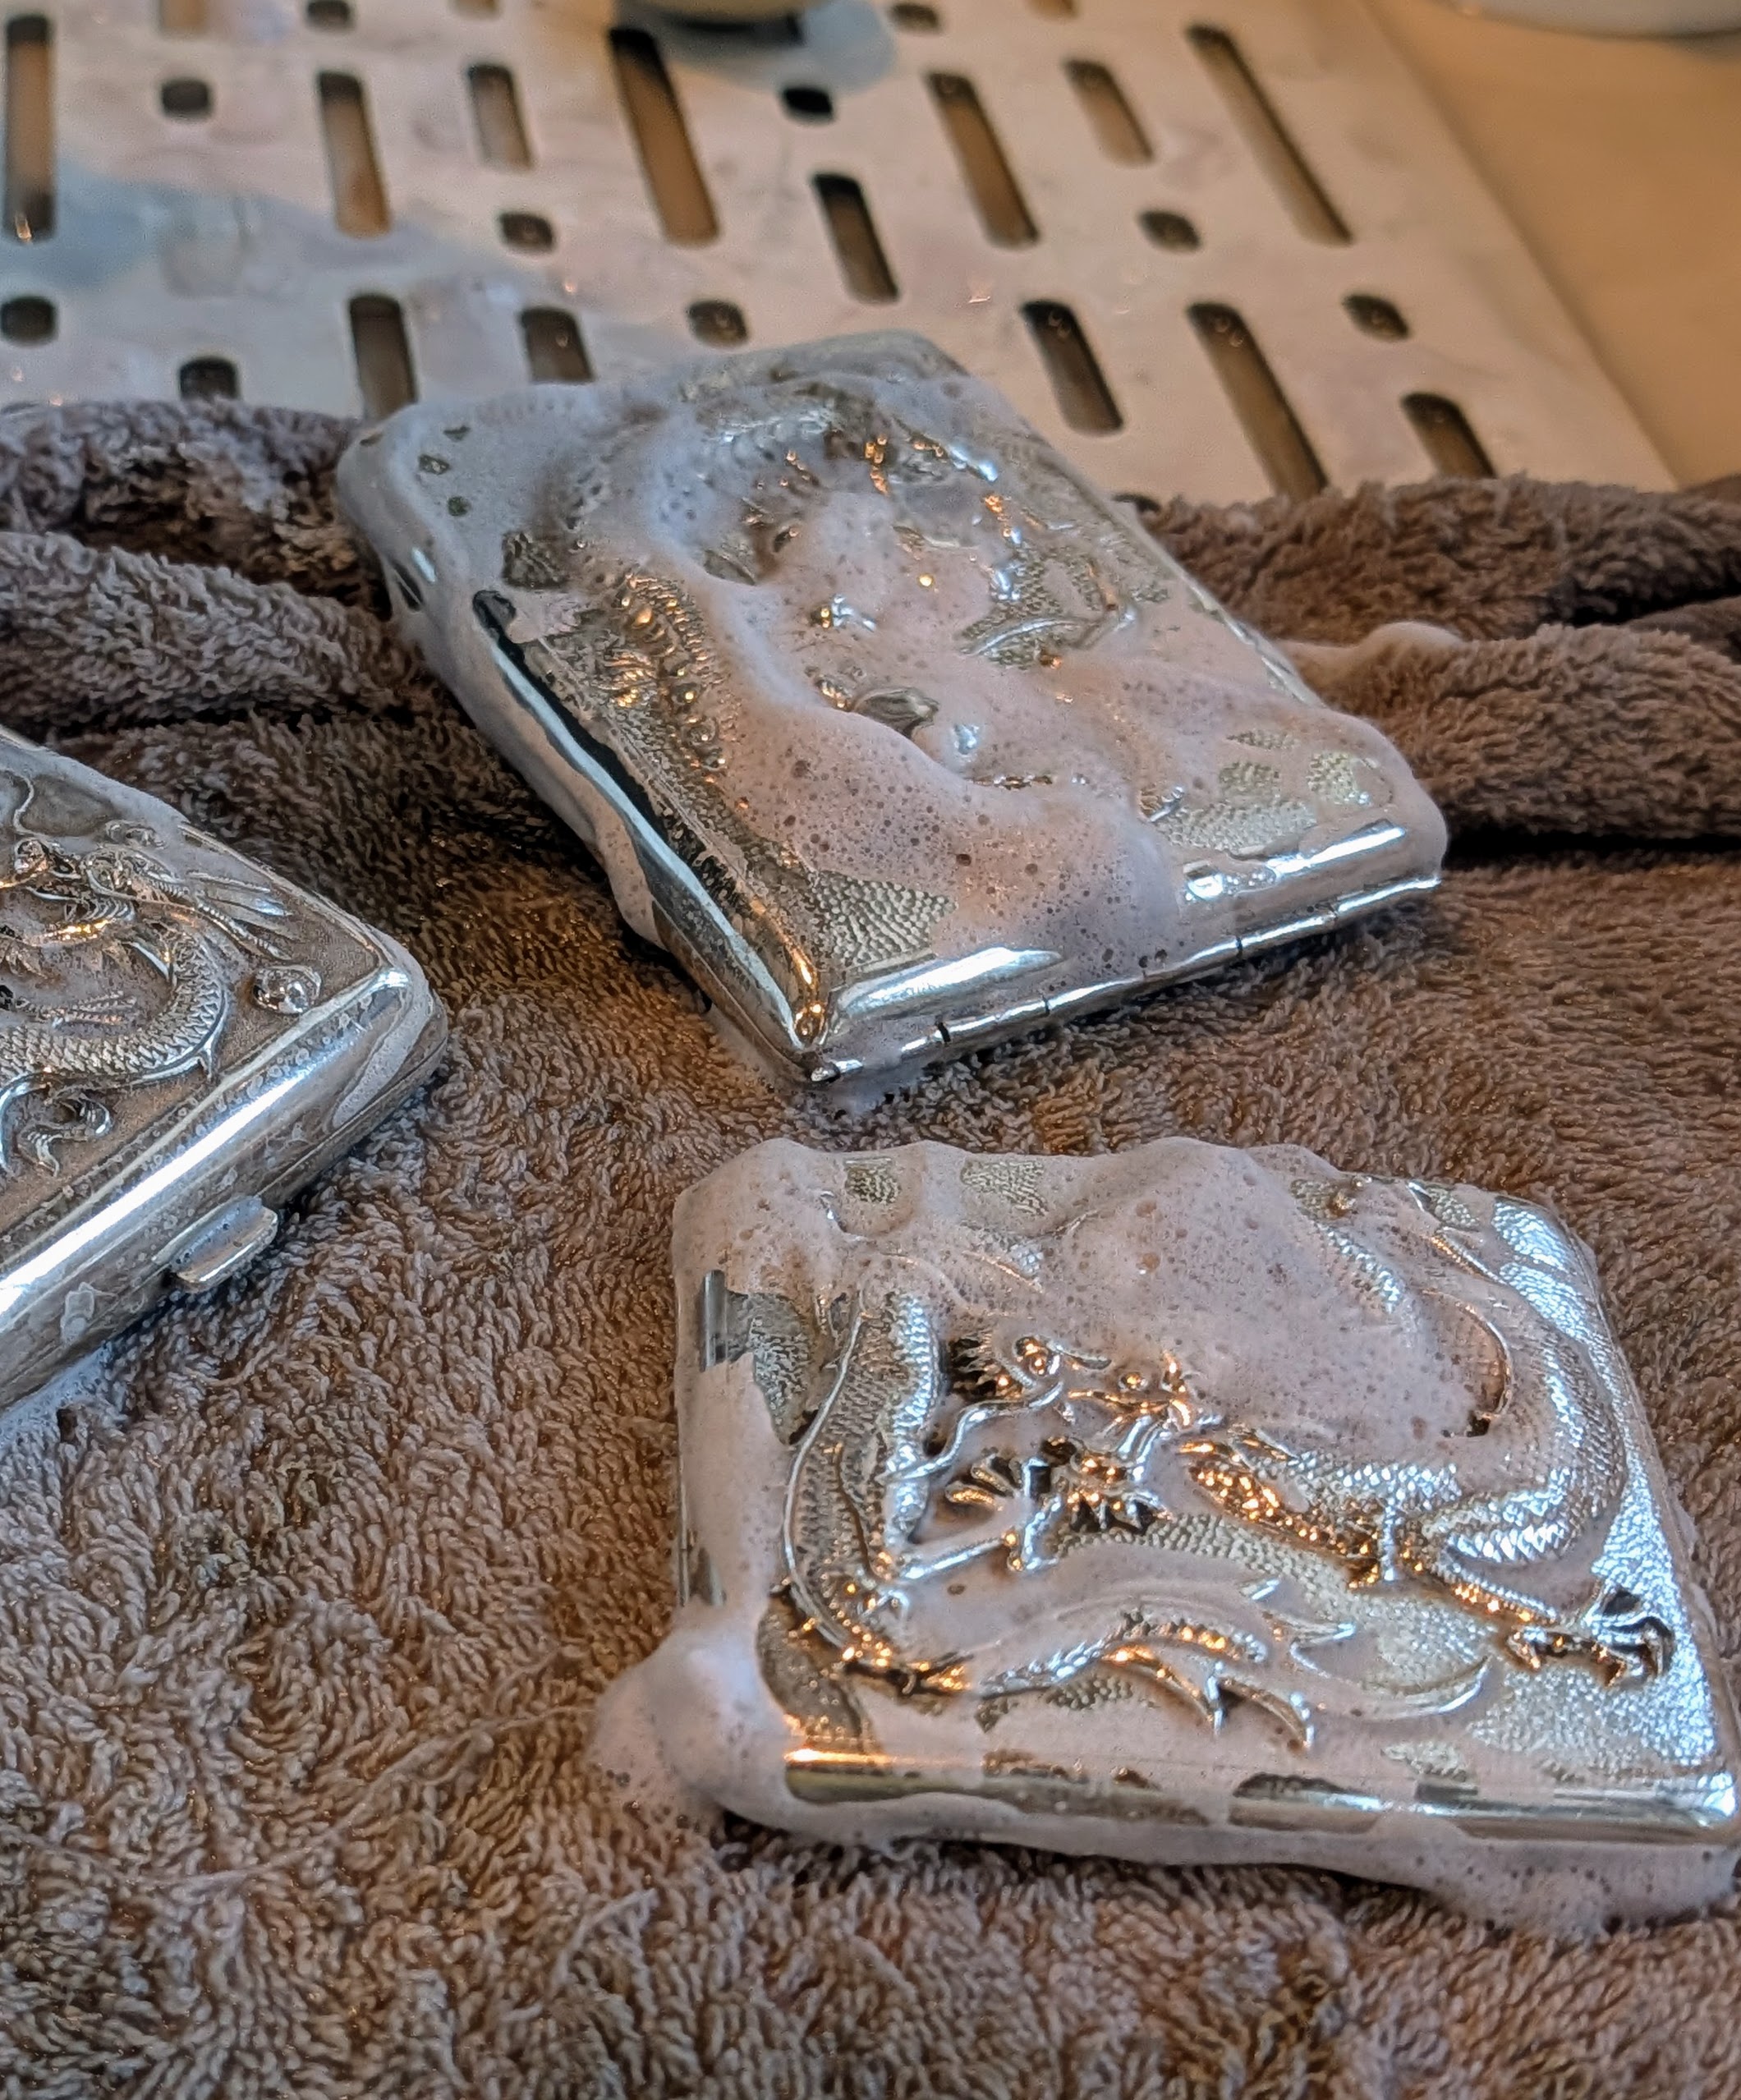
These pieces are very lightly tarnished – some pieces don’t even look tarnished at all.
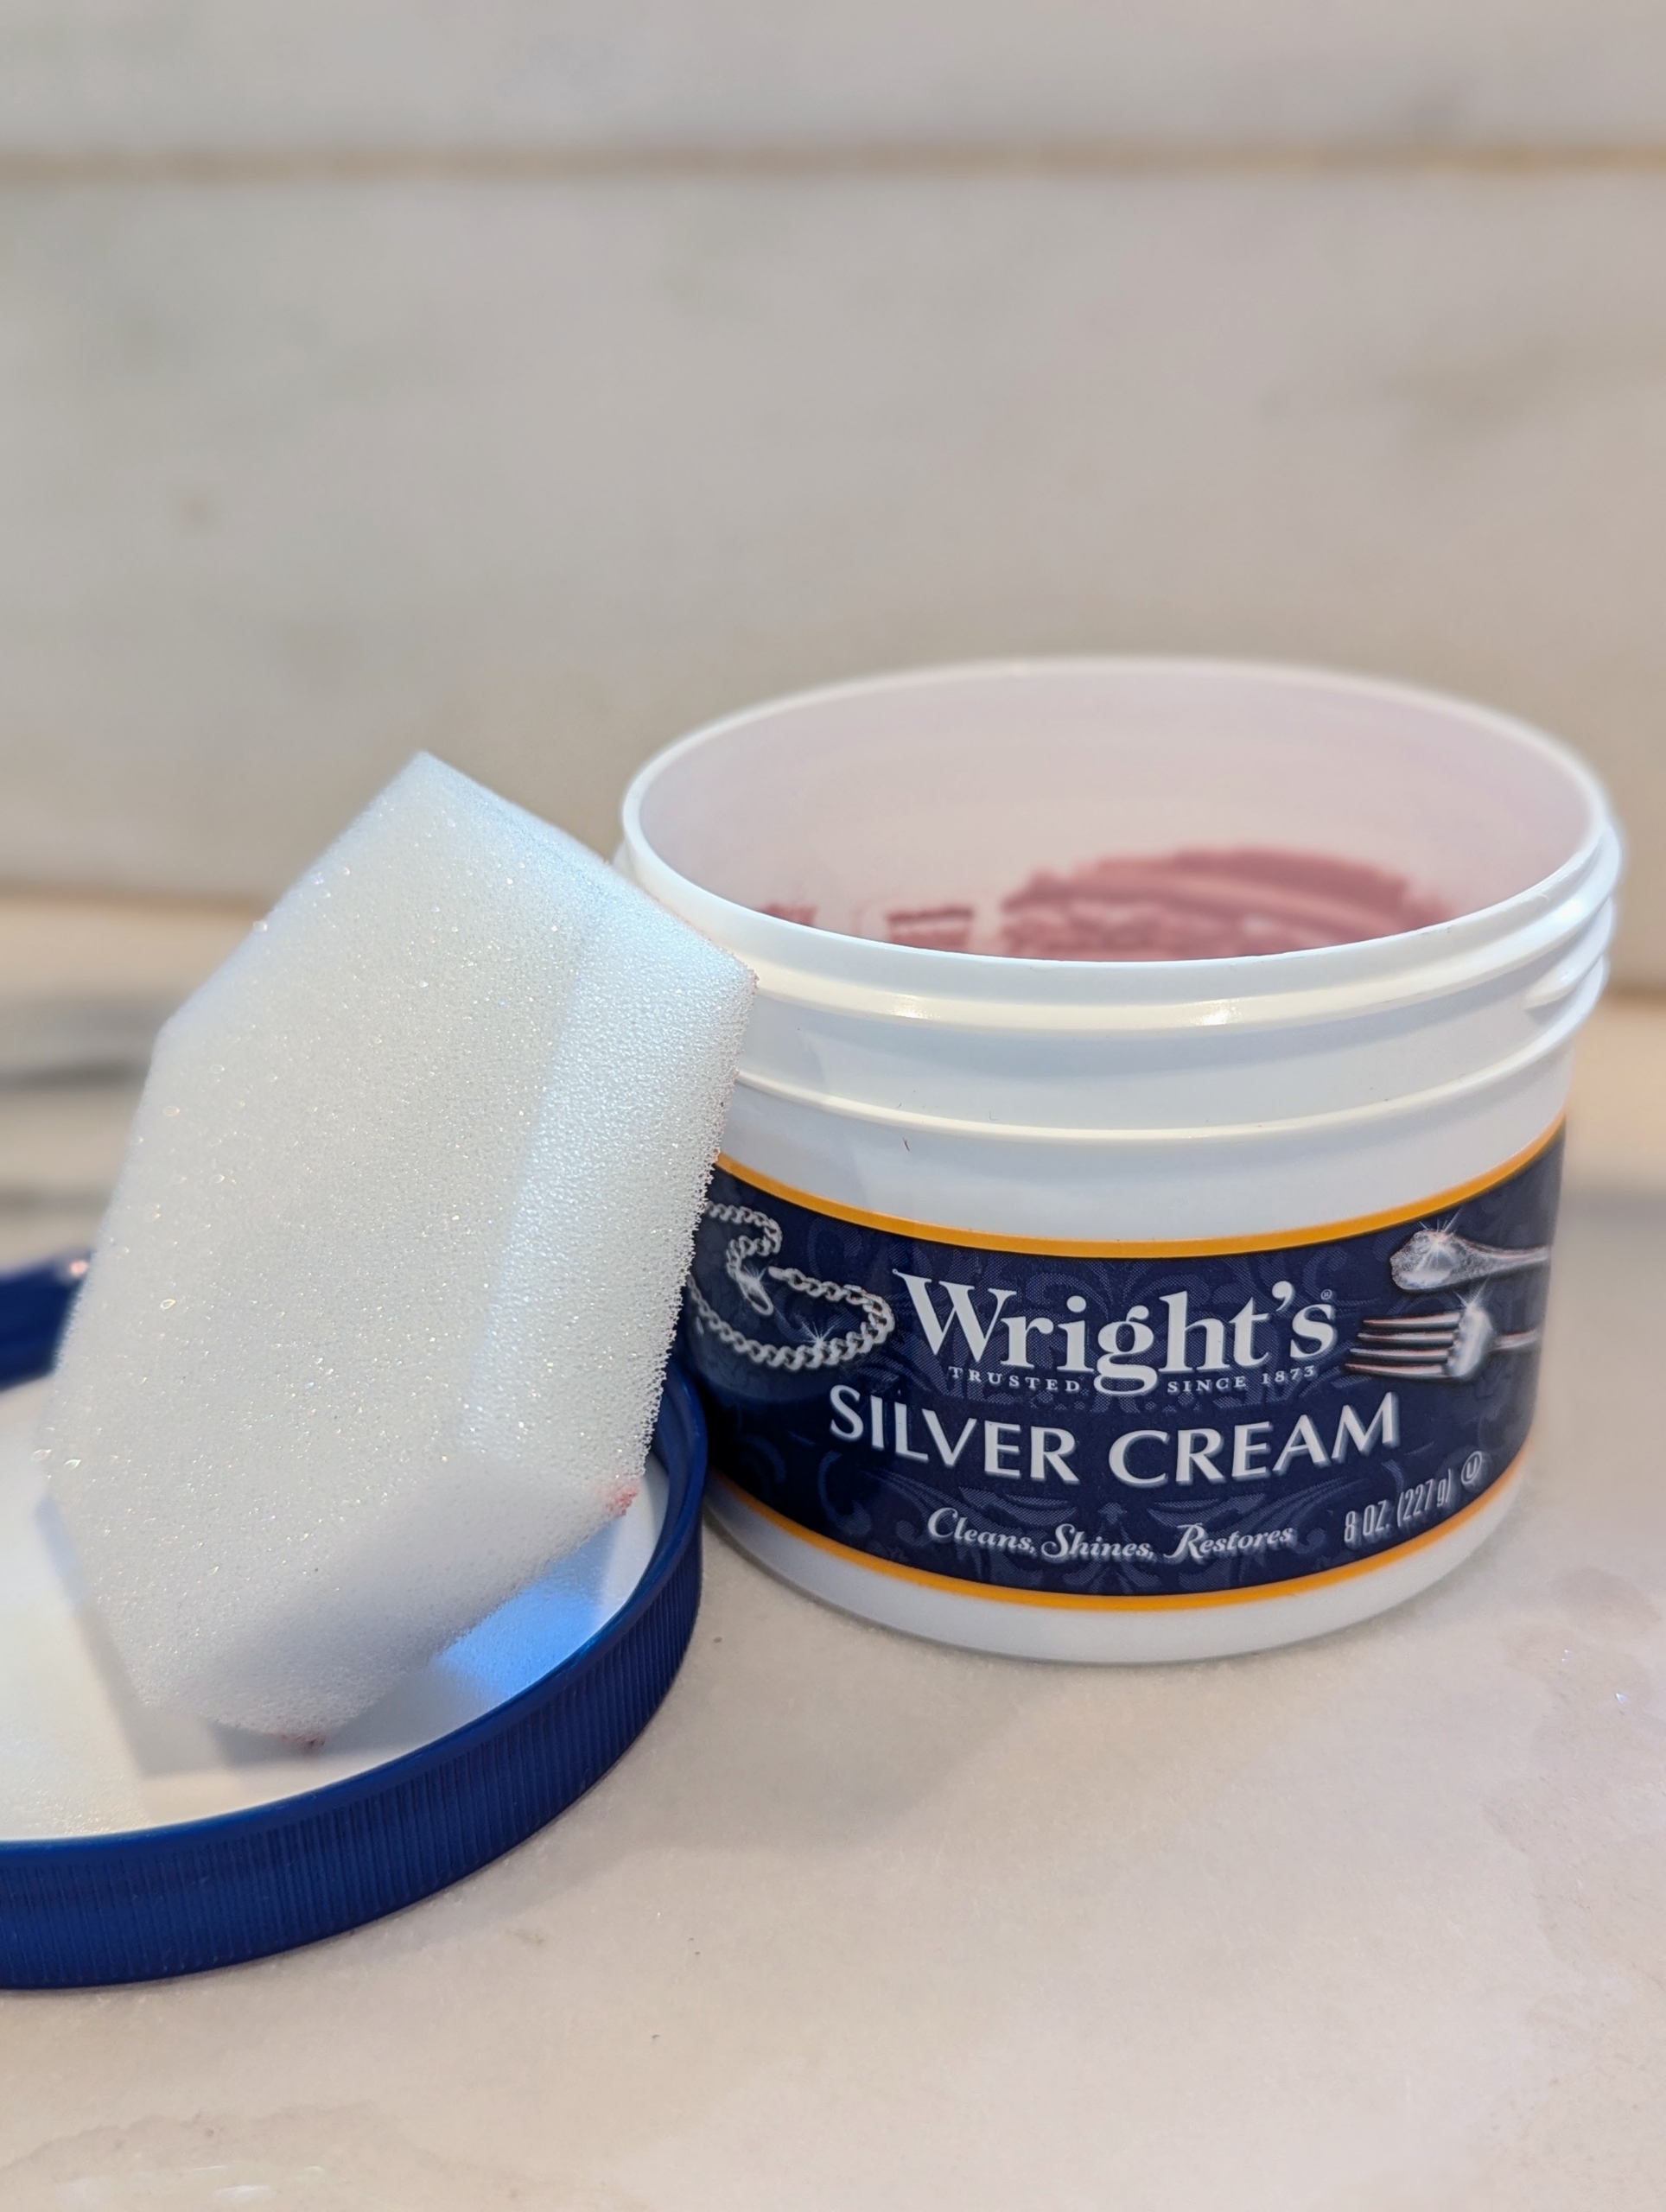
I’ve used Wright’s Silver Cream for years. Wright’s Silver Cream is a gentle all-purpose polish that works on all types of silver. It also works nicely on stainless steel and chrome.
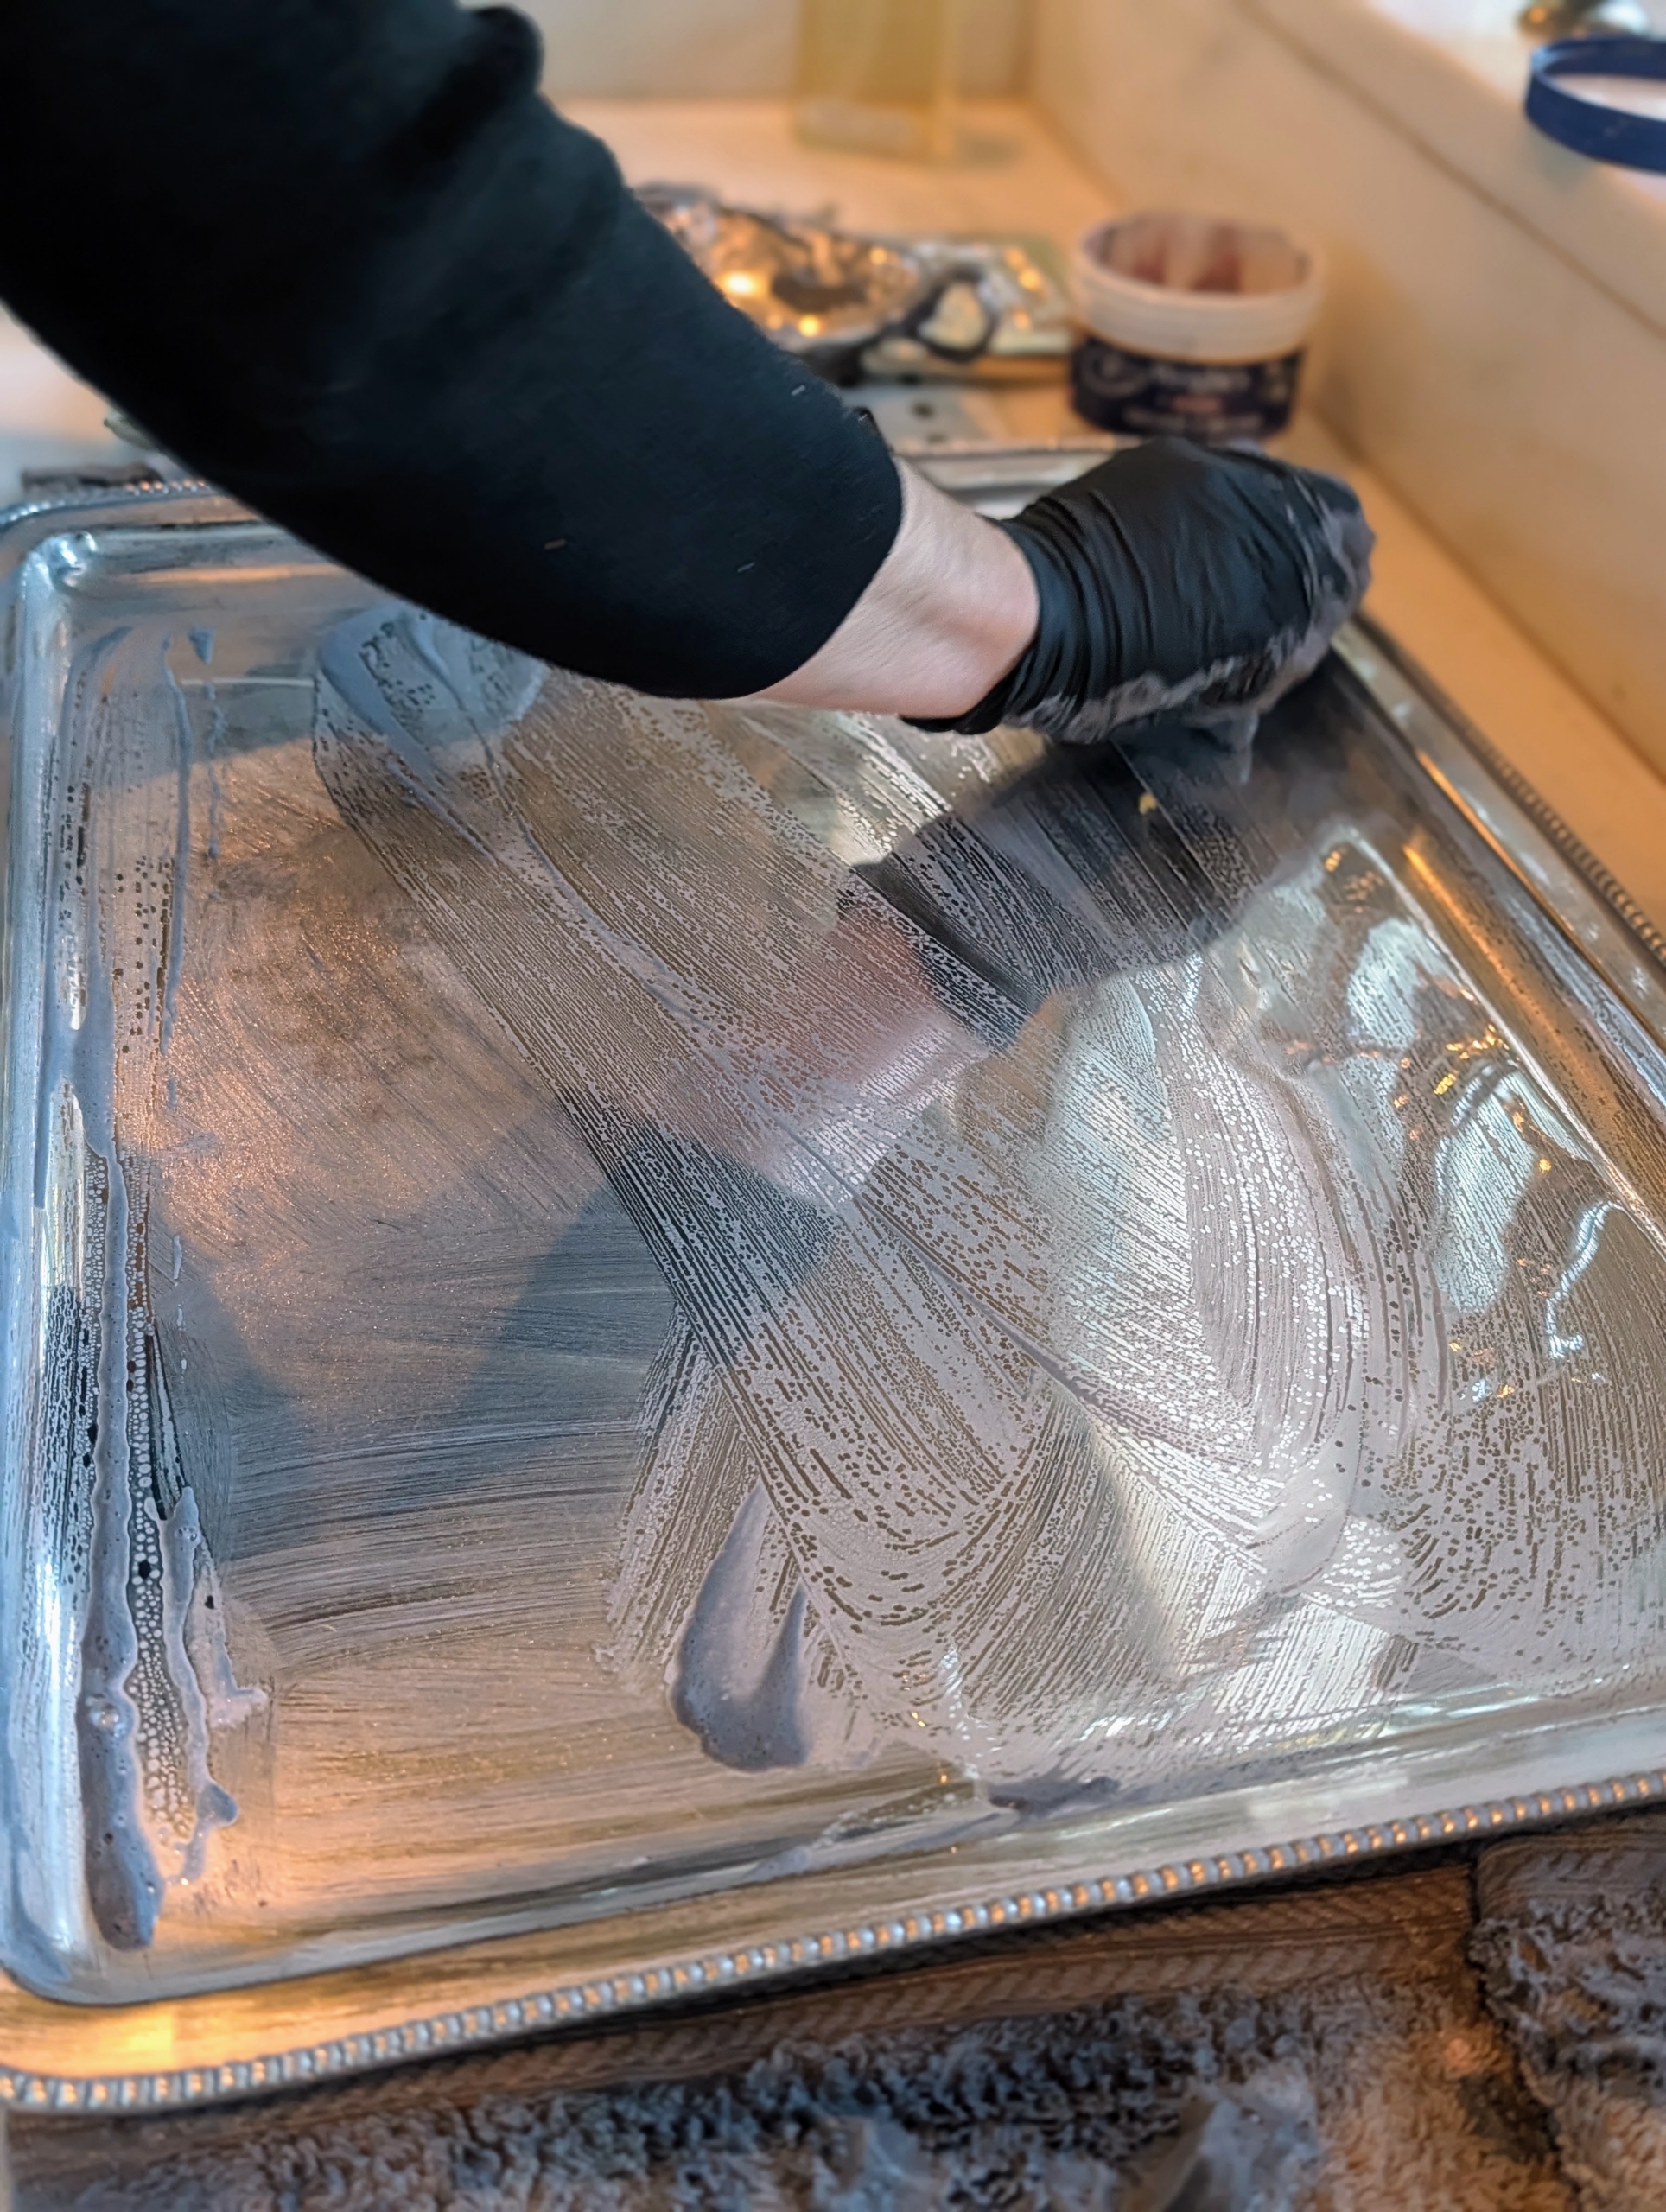
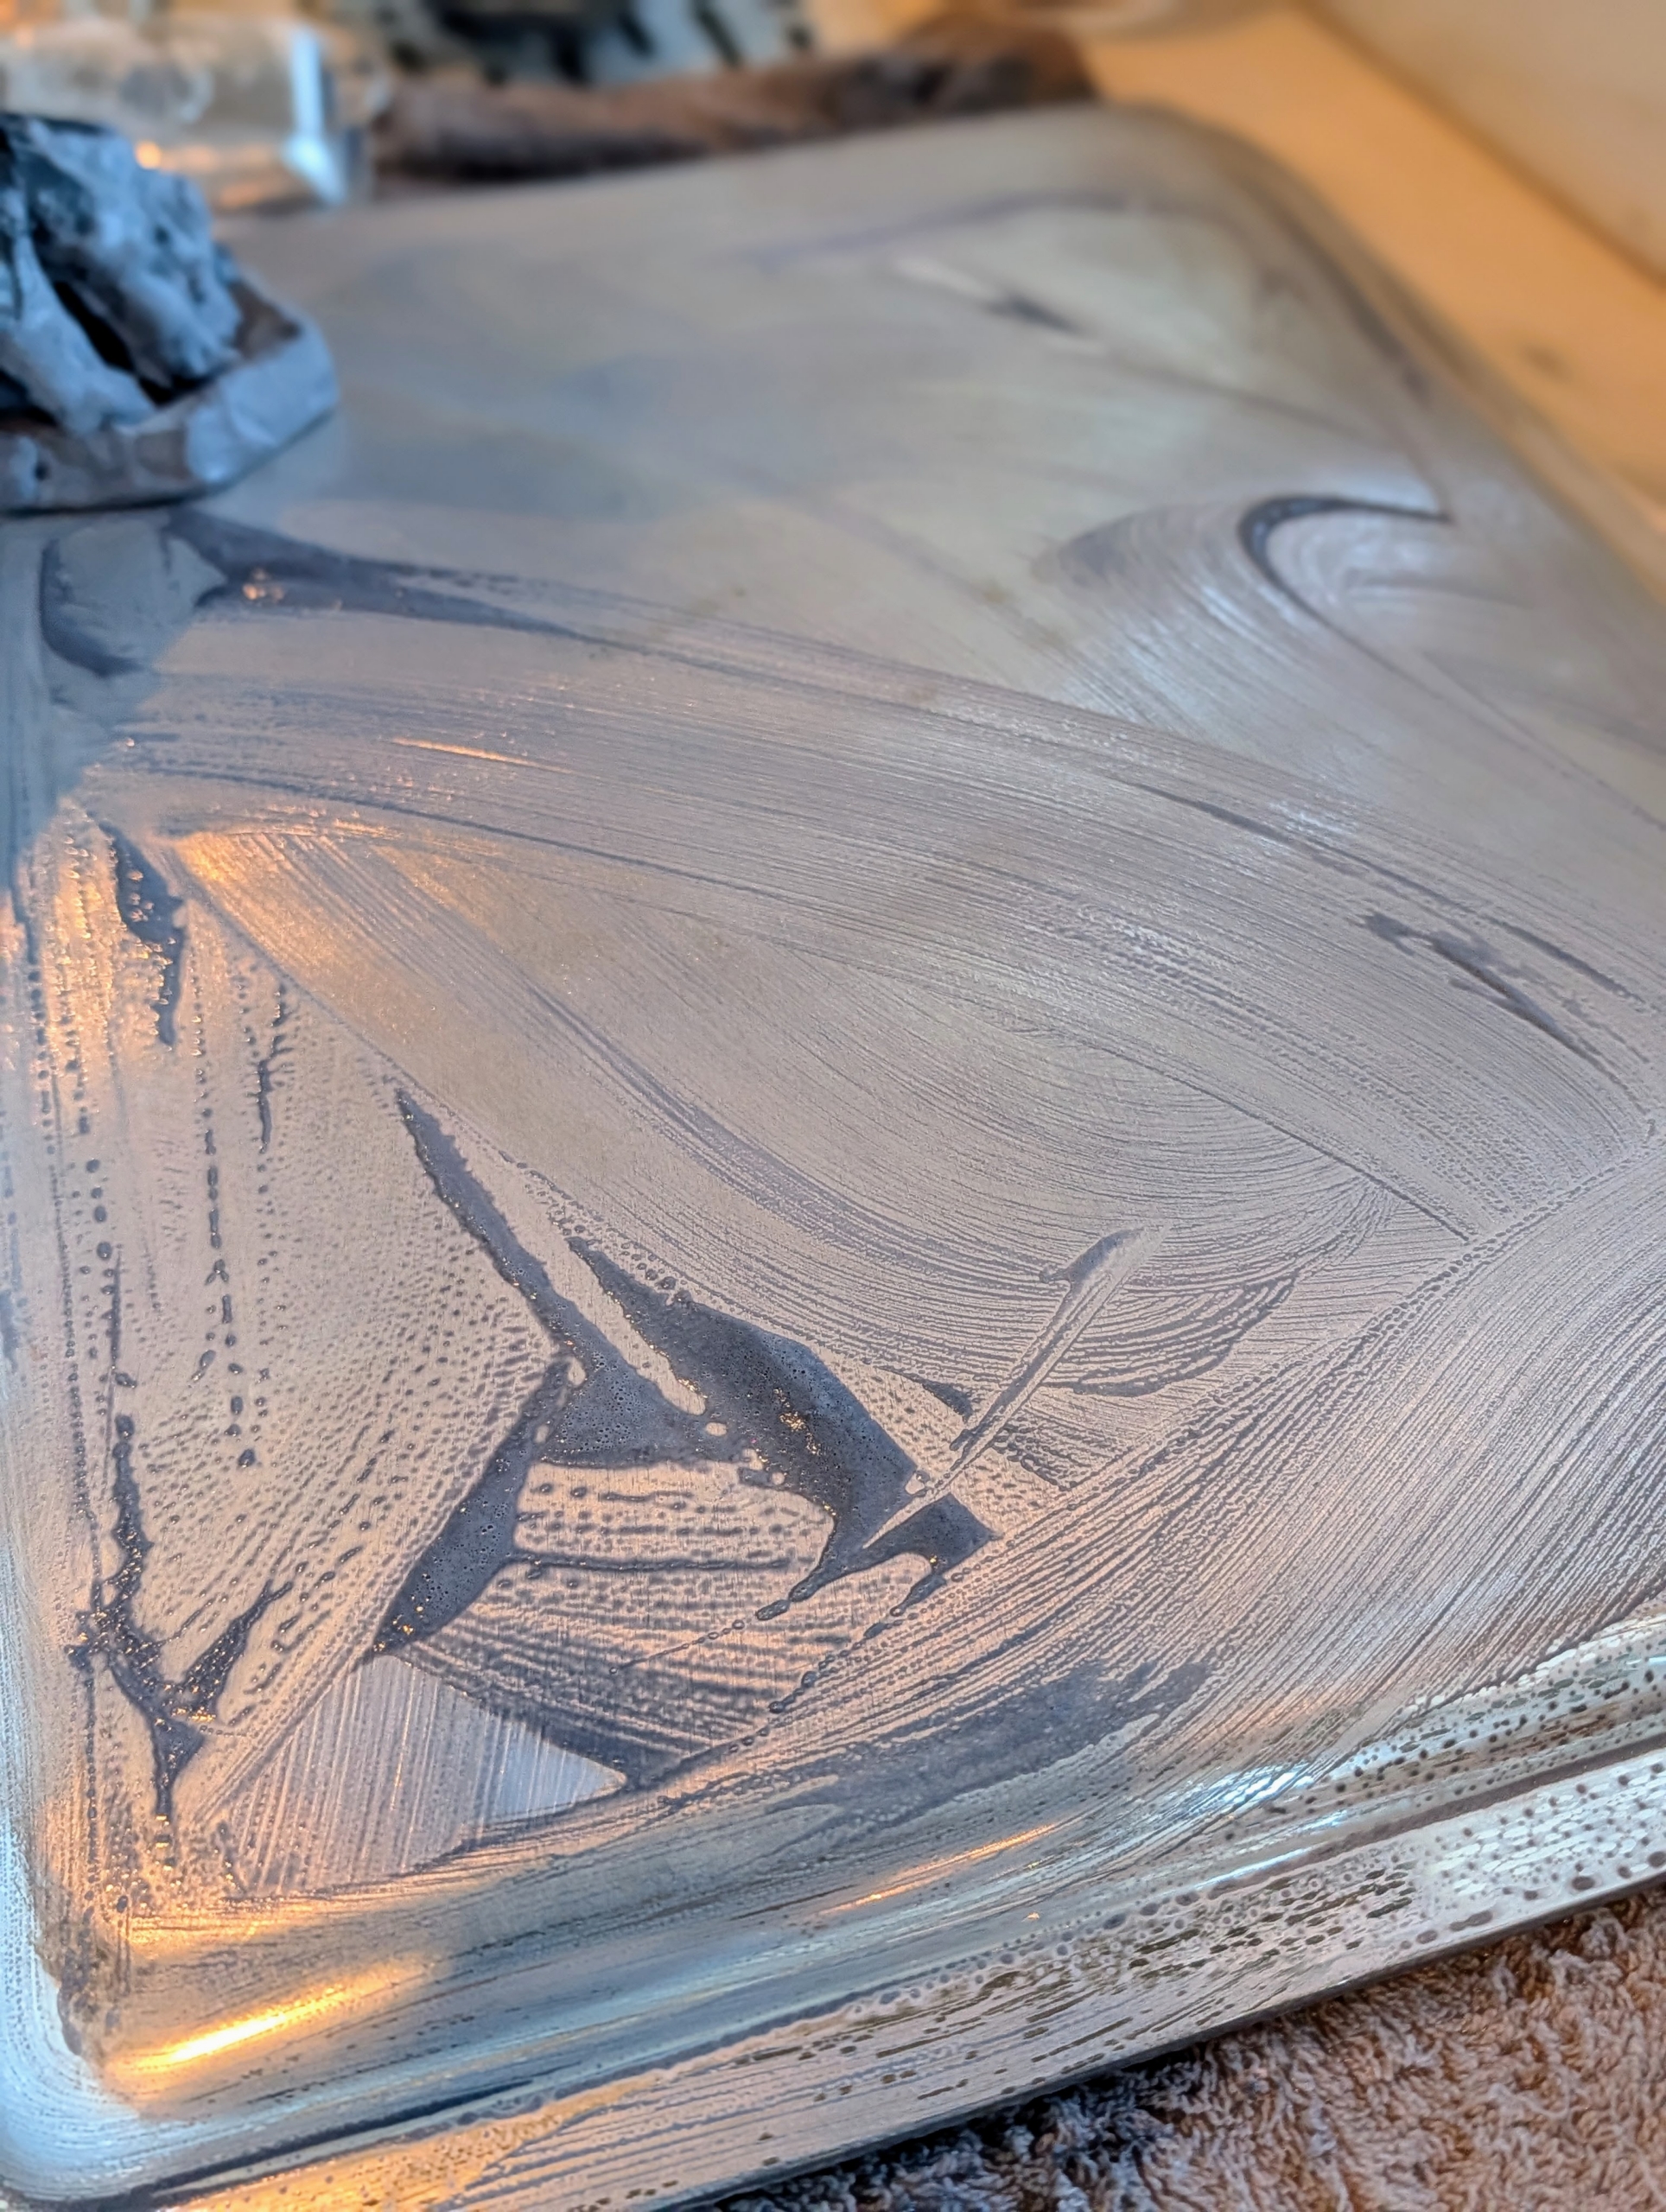
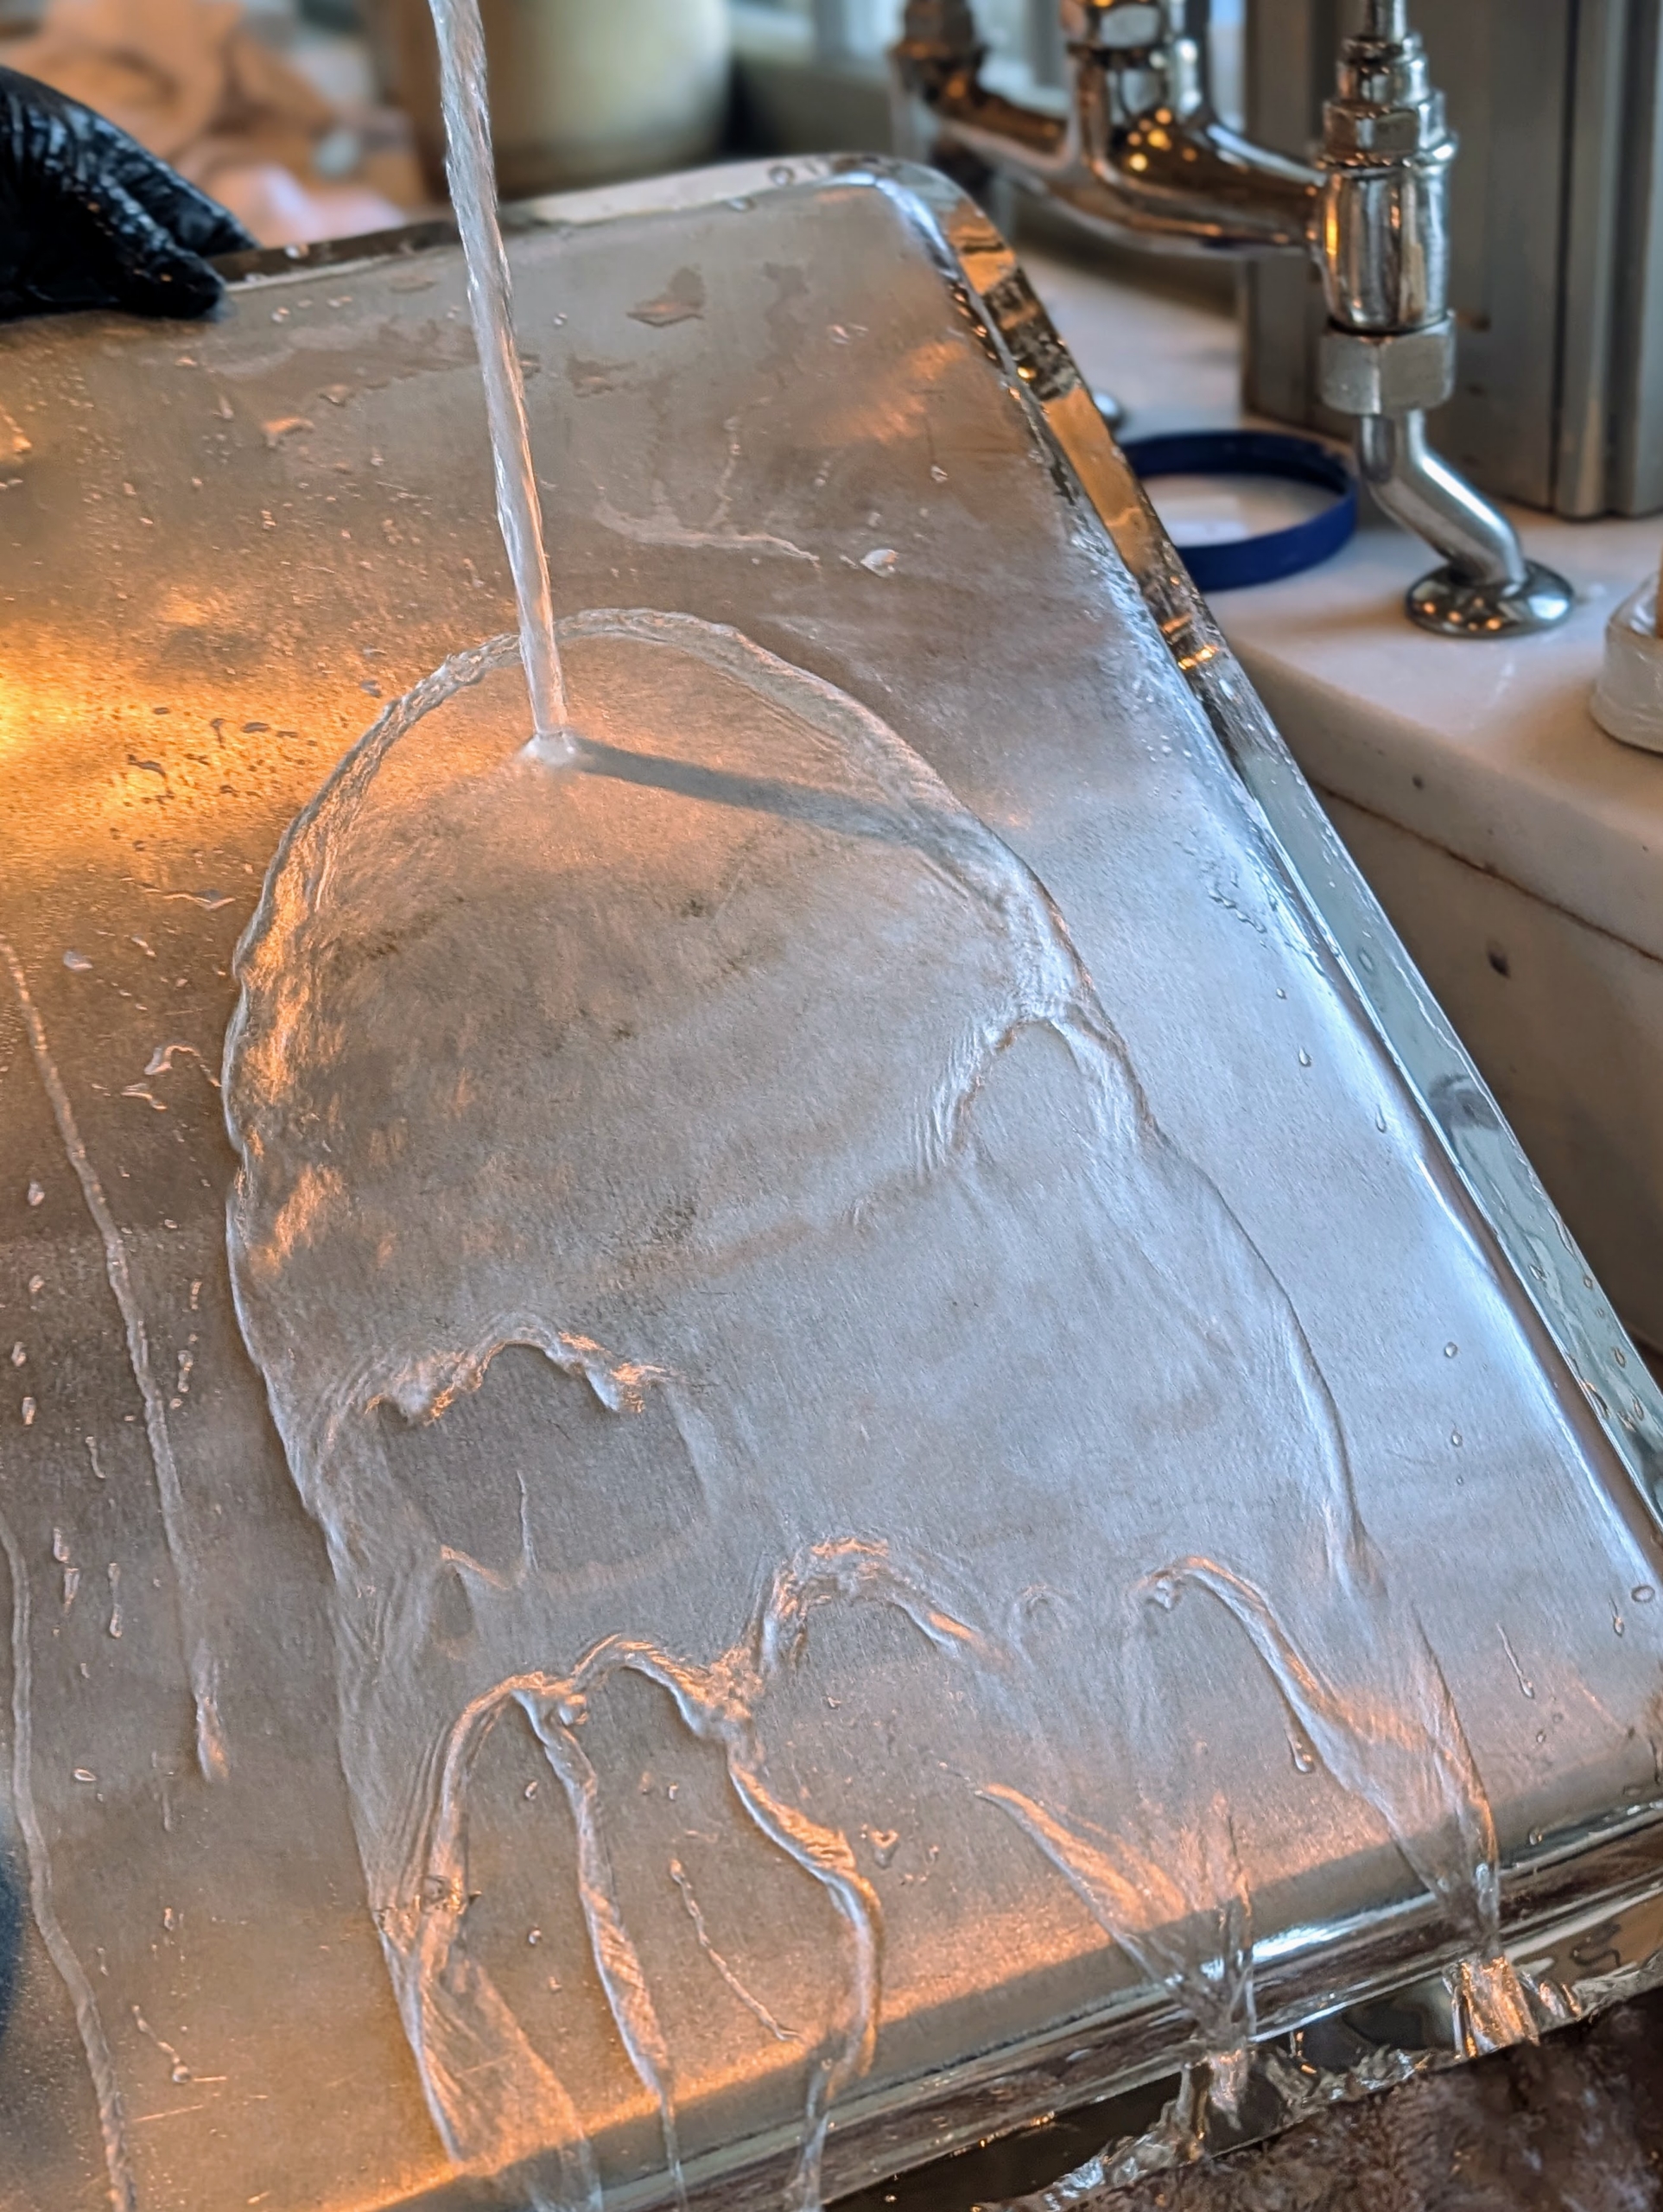
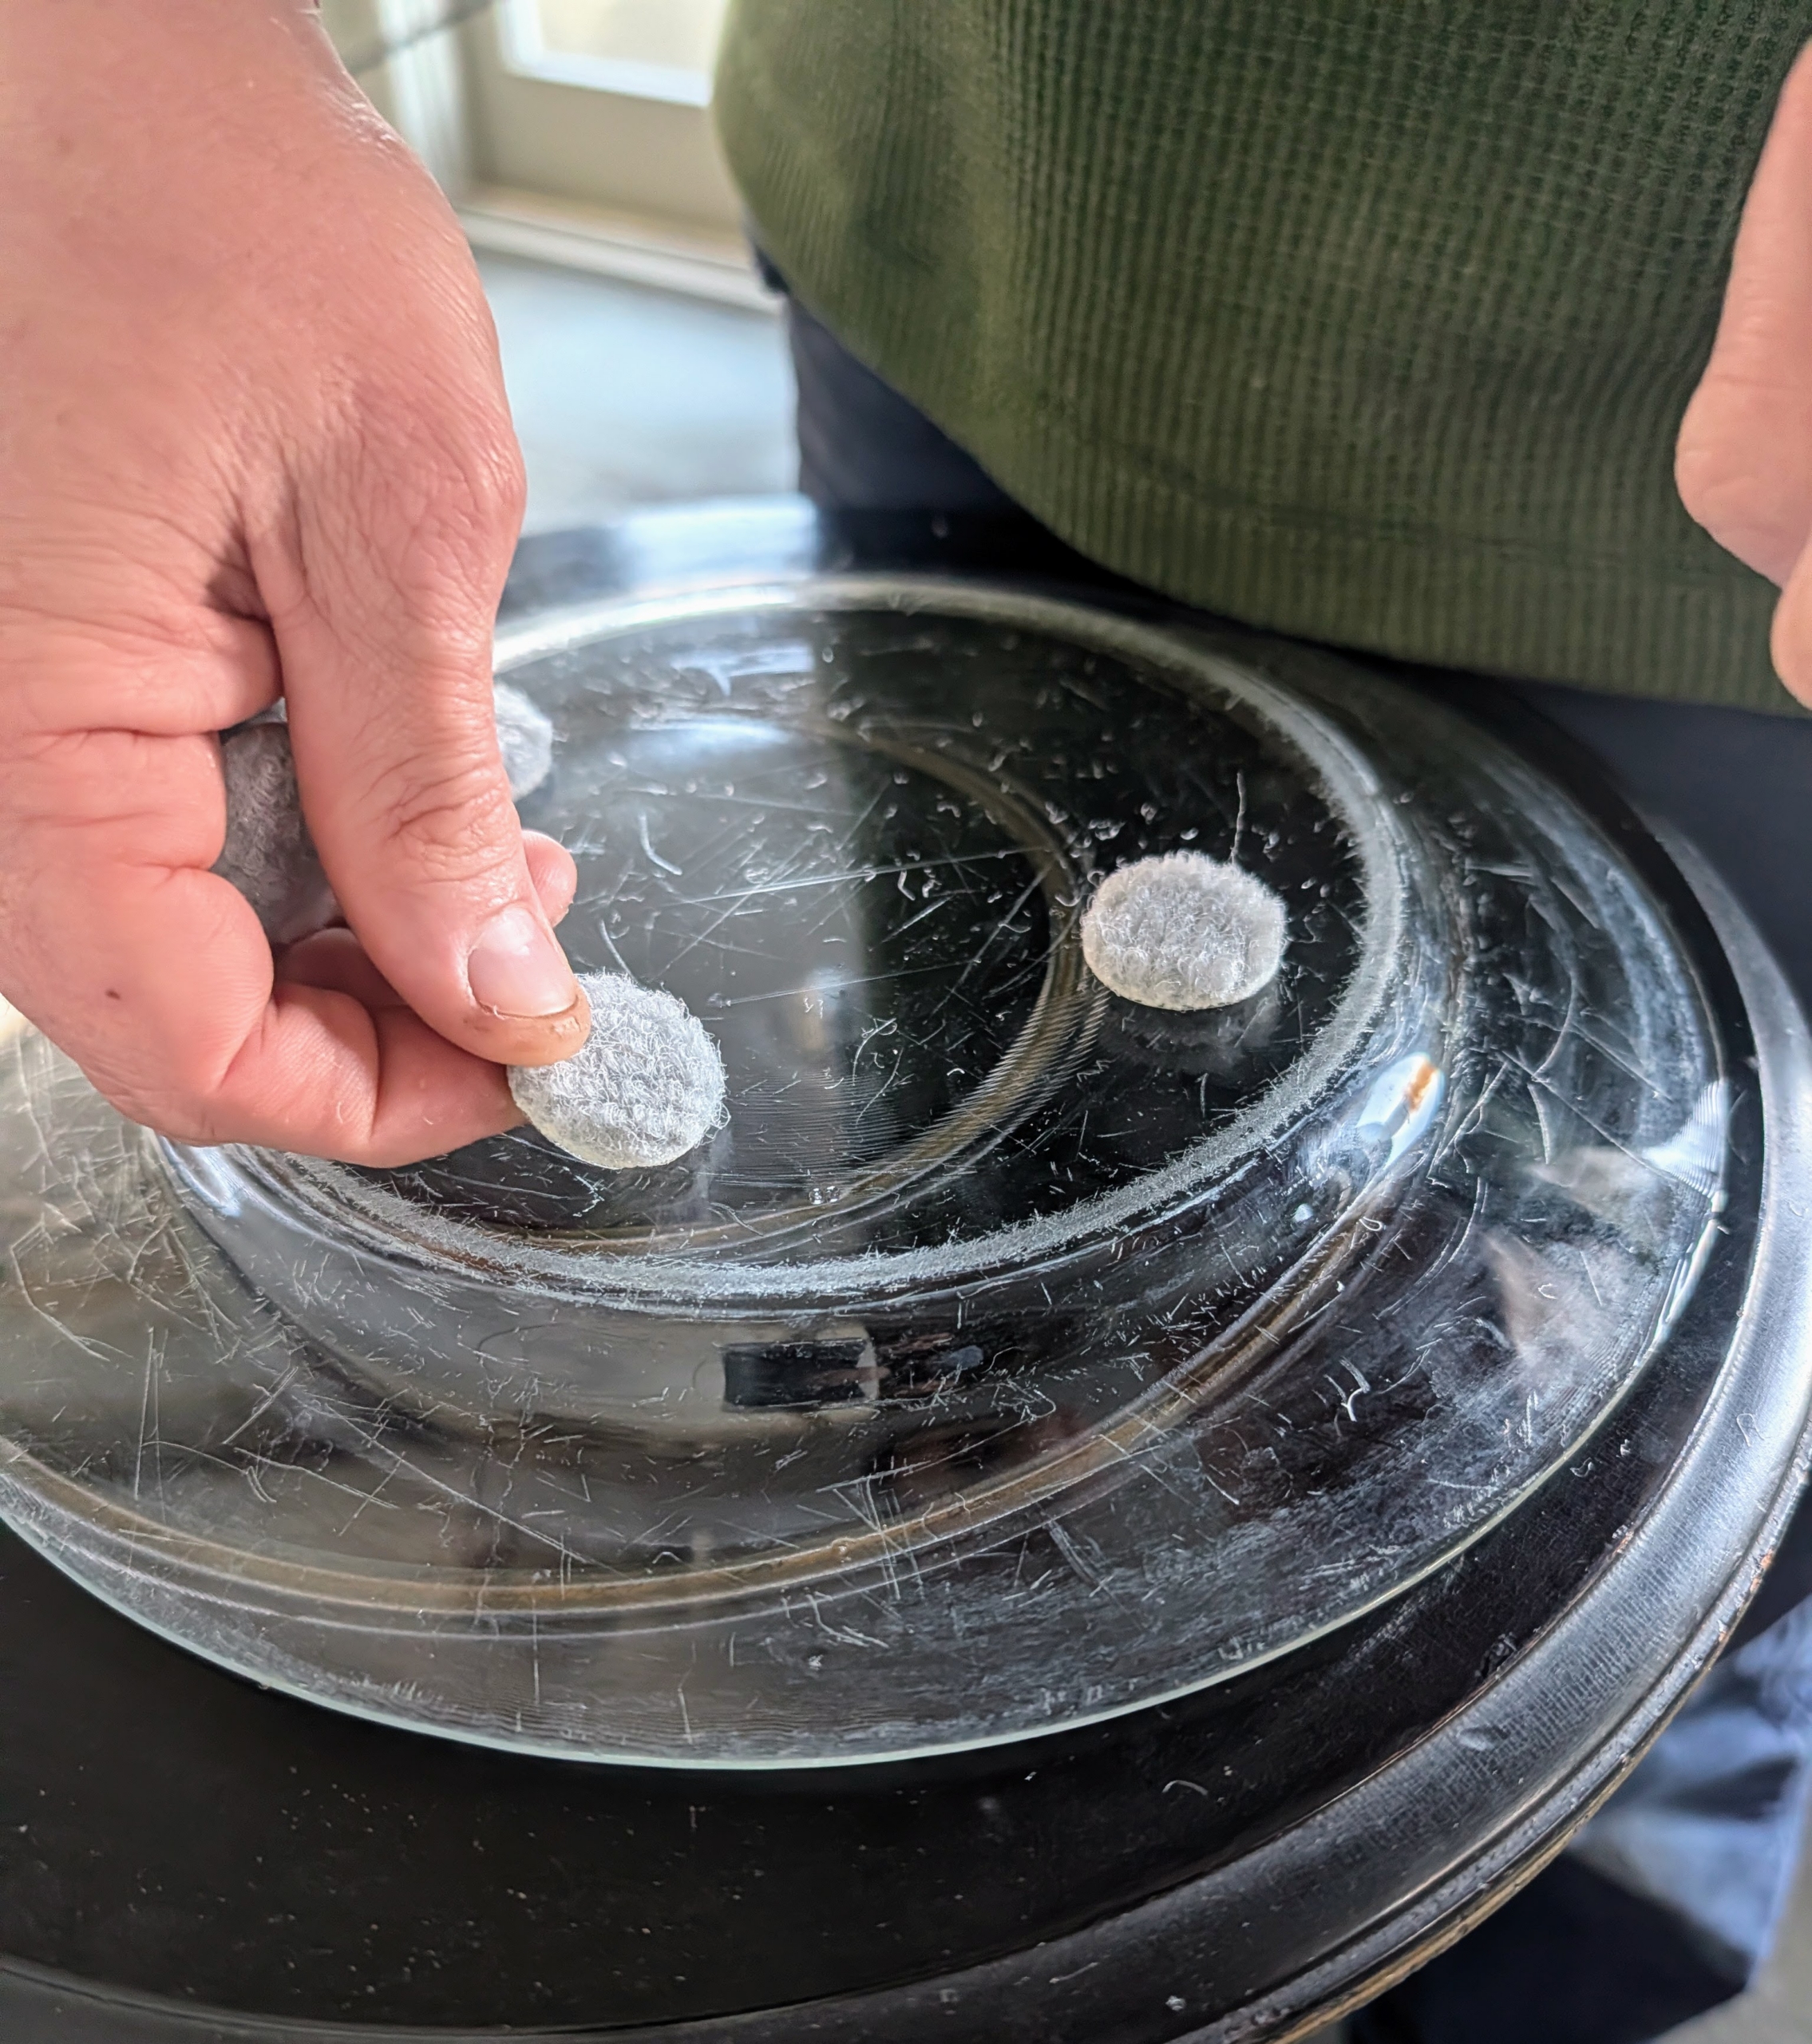
After washing this silver serving tray with dish soap and warm water to remove any dust, Enma applies a small amount of silver cream.
Enma rubs both sides of the tray. Tarnish ranges in color from a light yellowy gold to almost black, depending on how long it has been allowed to develop. In addition to using soft sponges and rags, use cotton swabs to apply the cream to tight spots and crevices when cleaning.
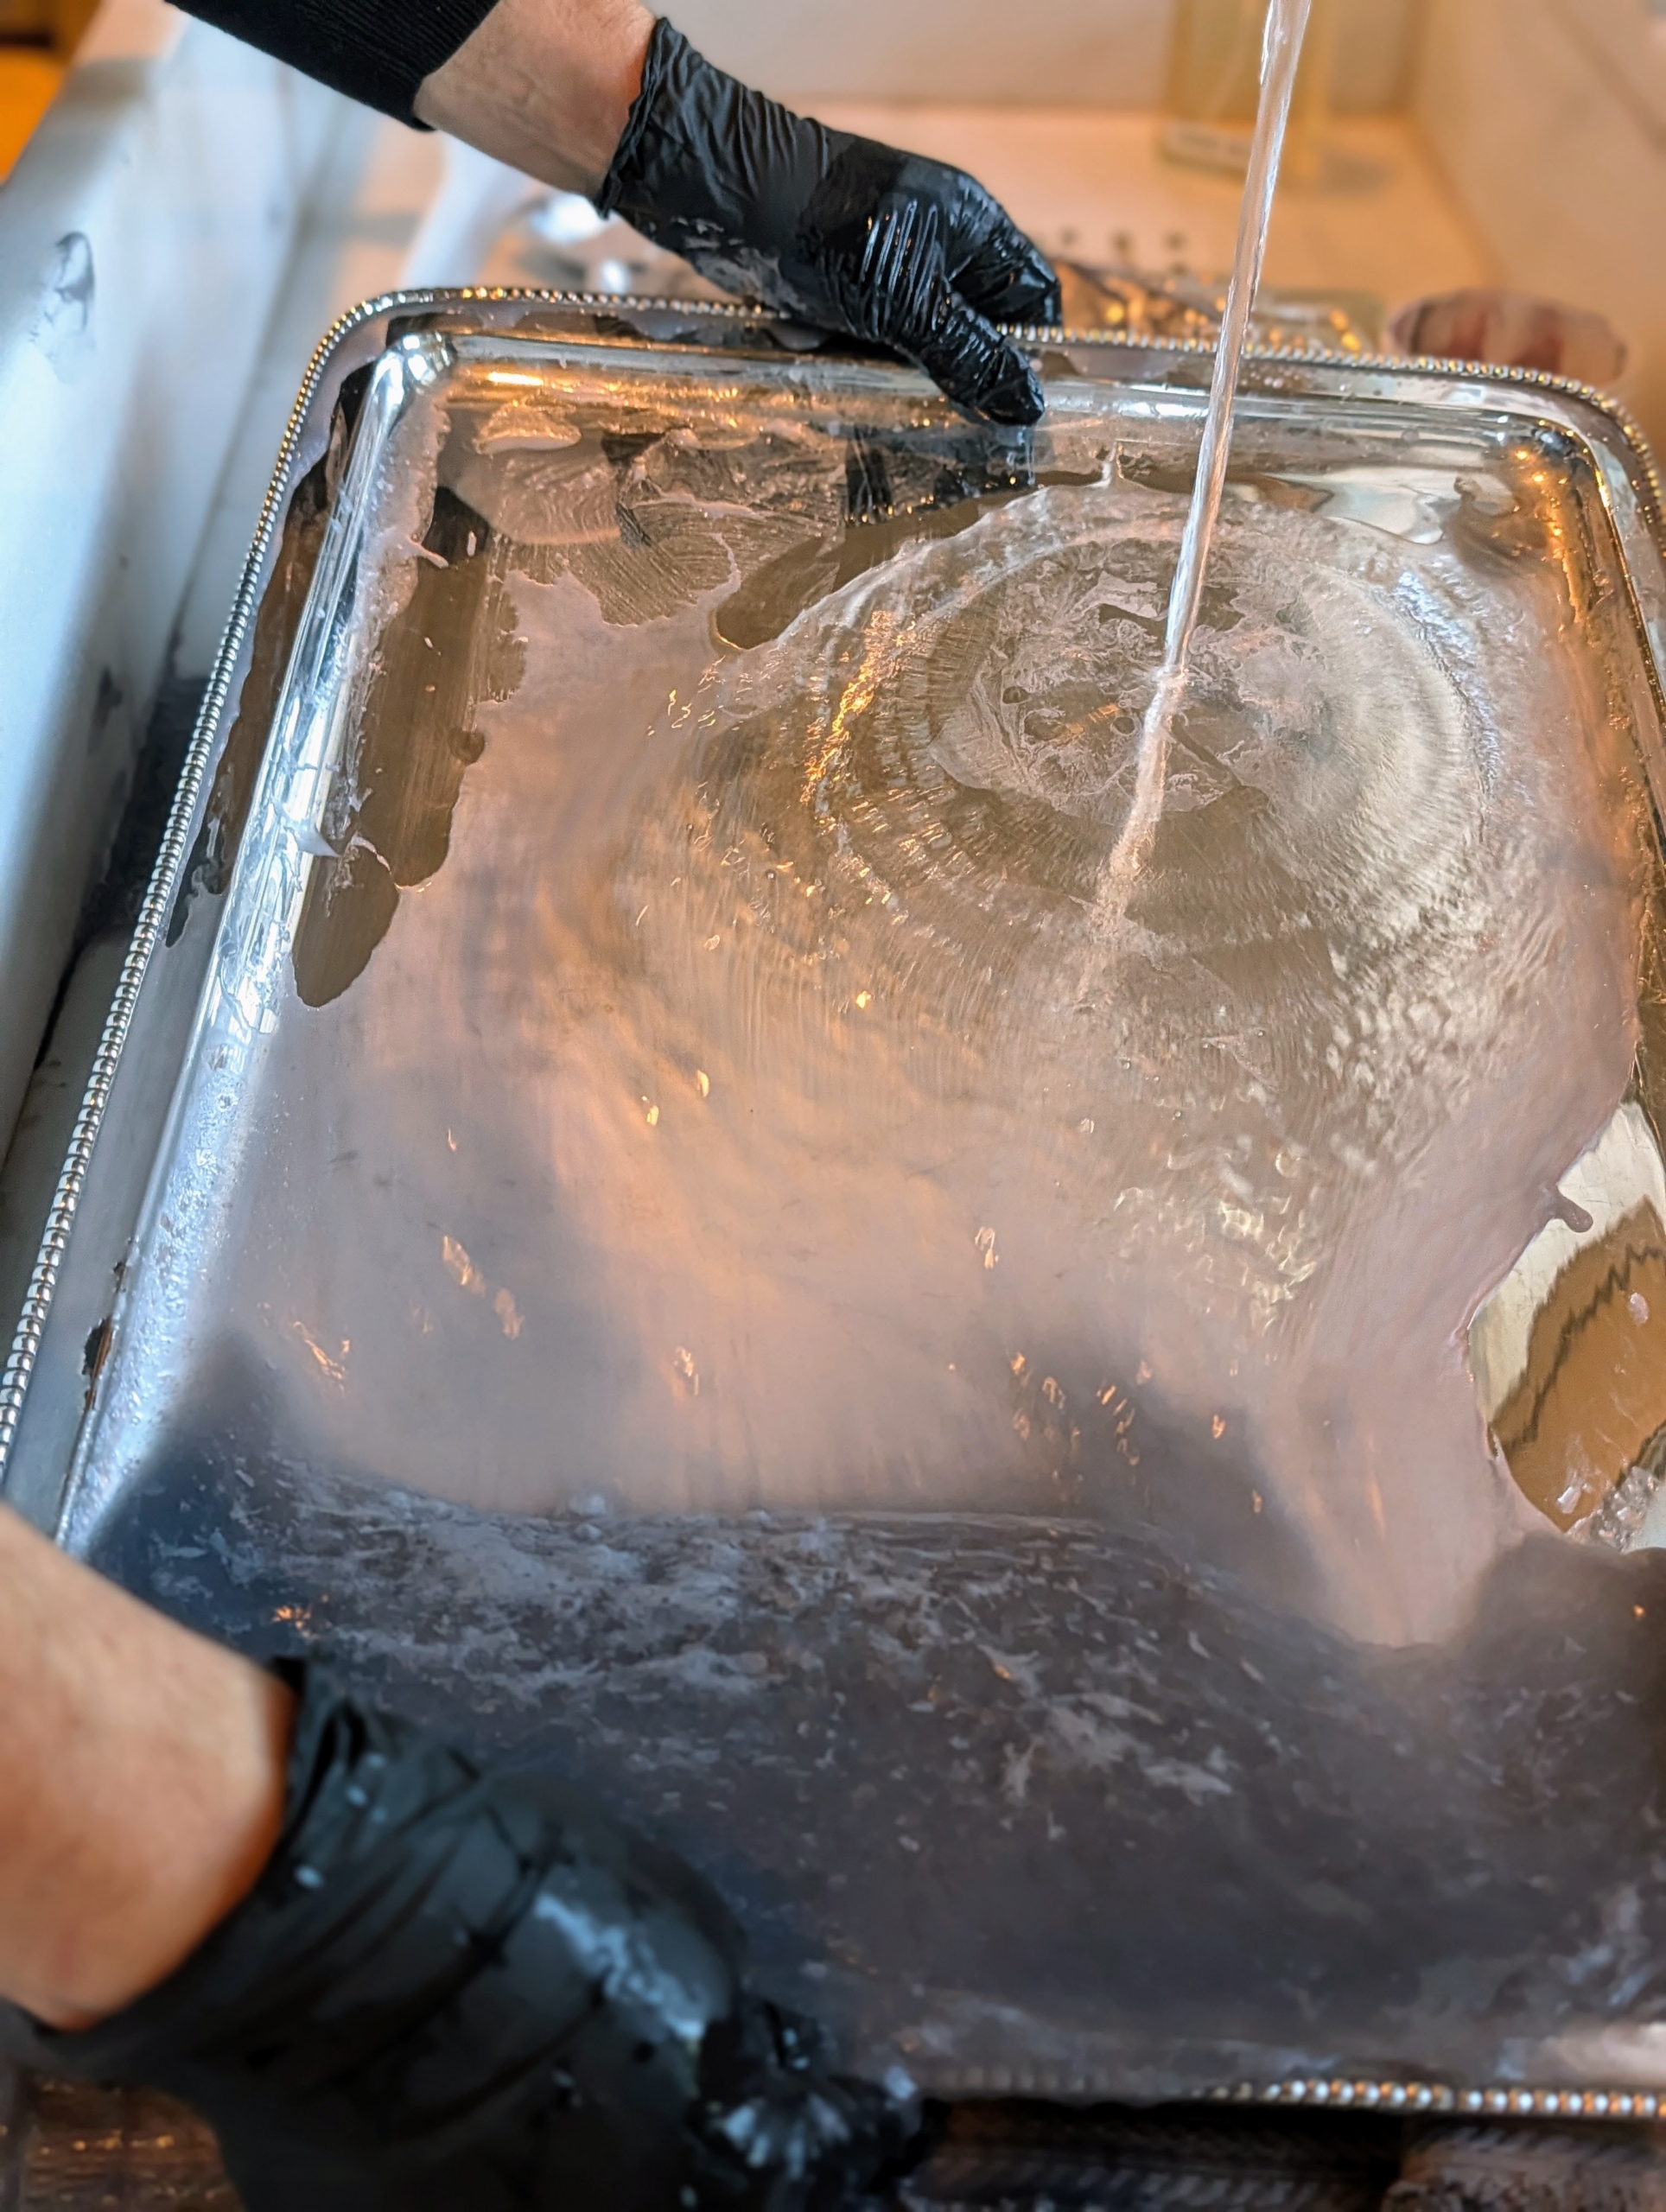
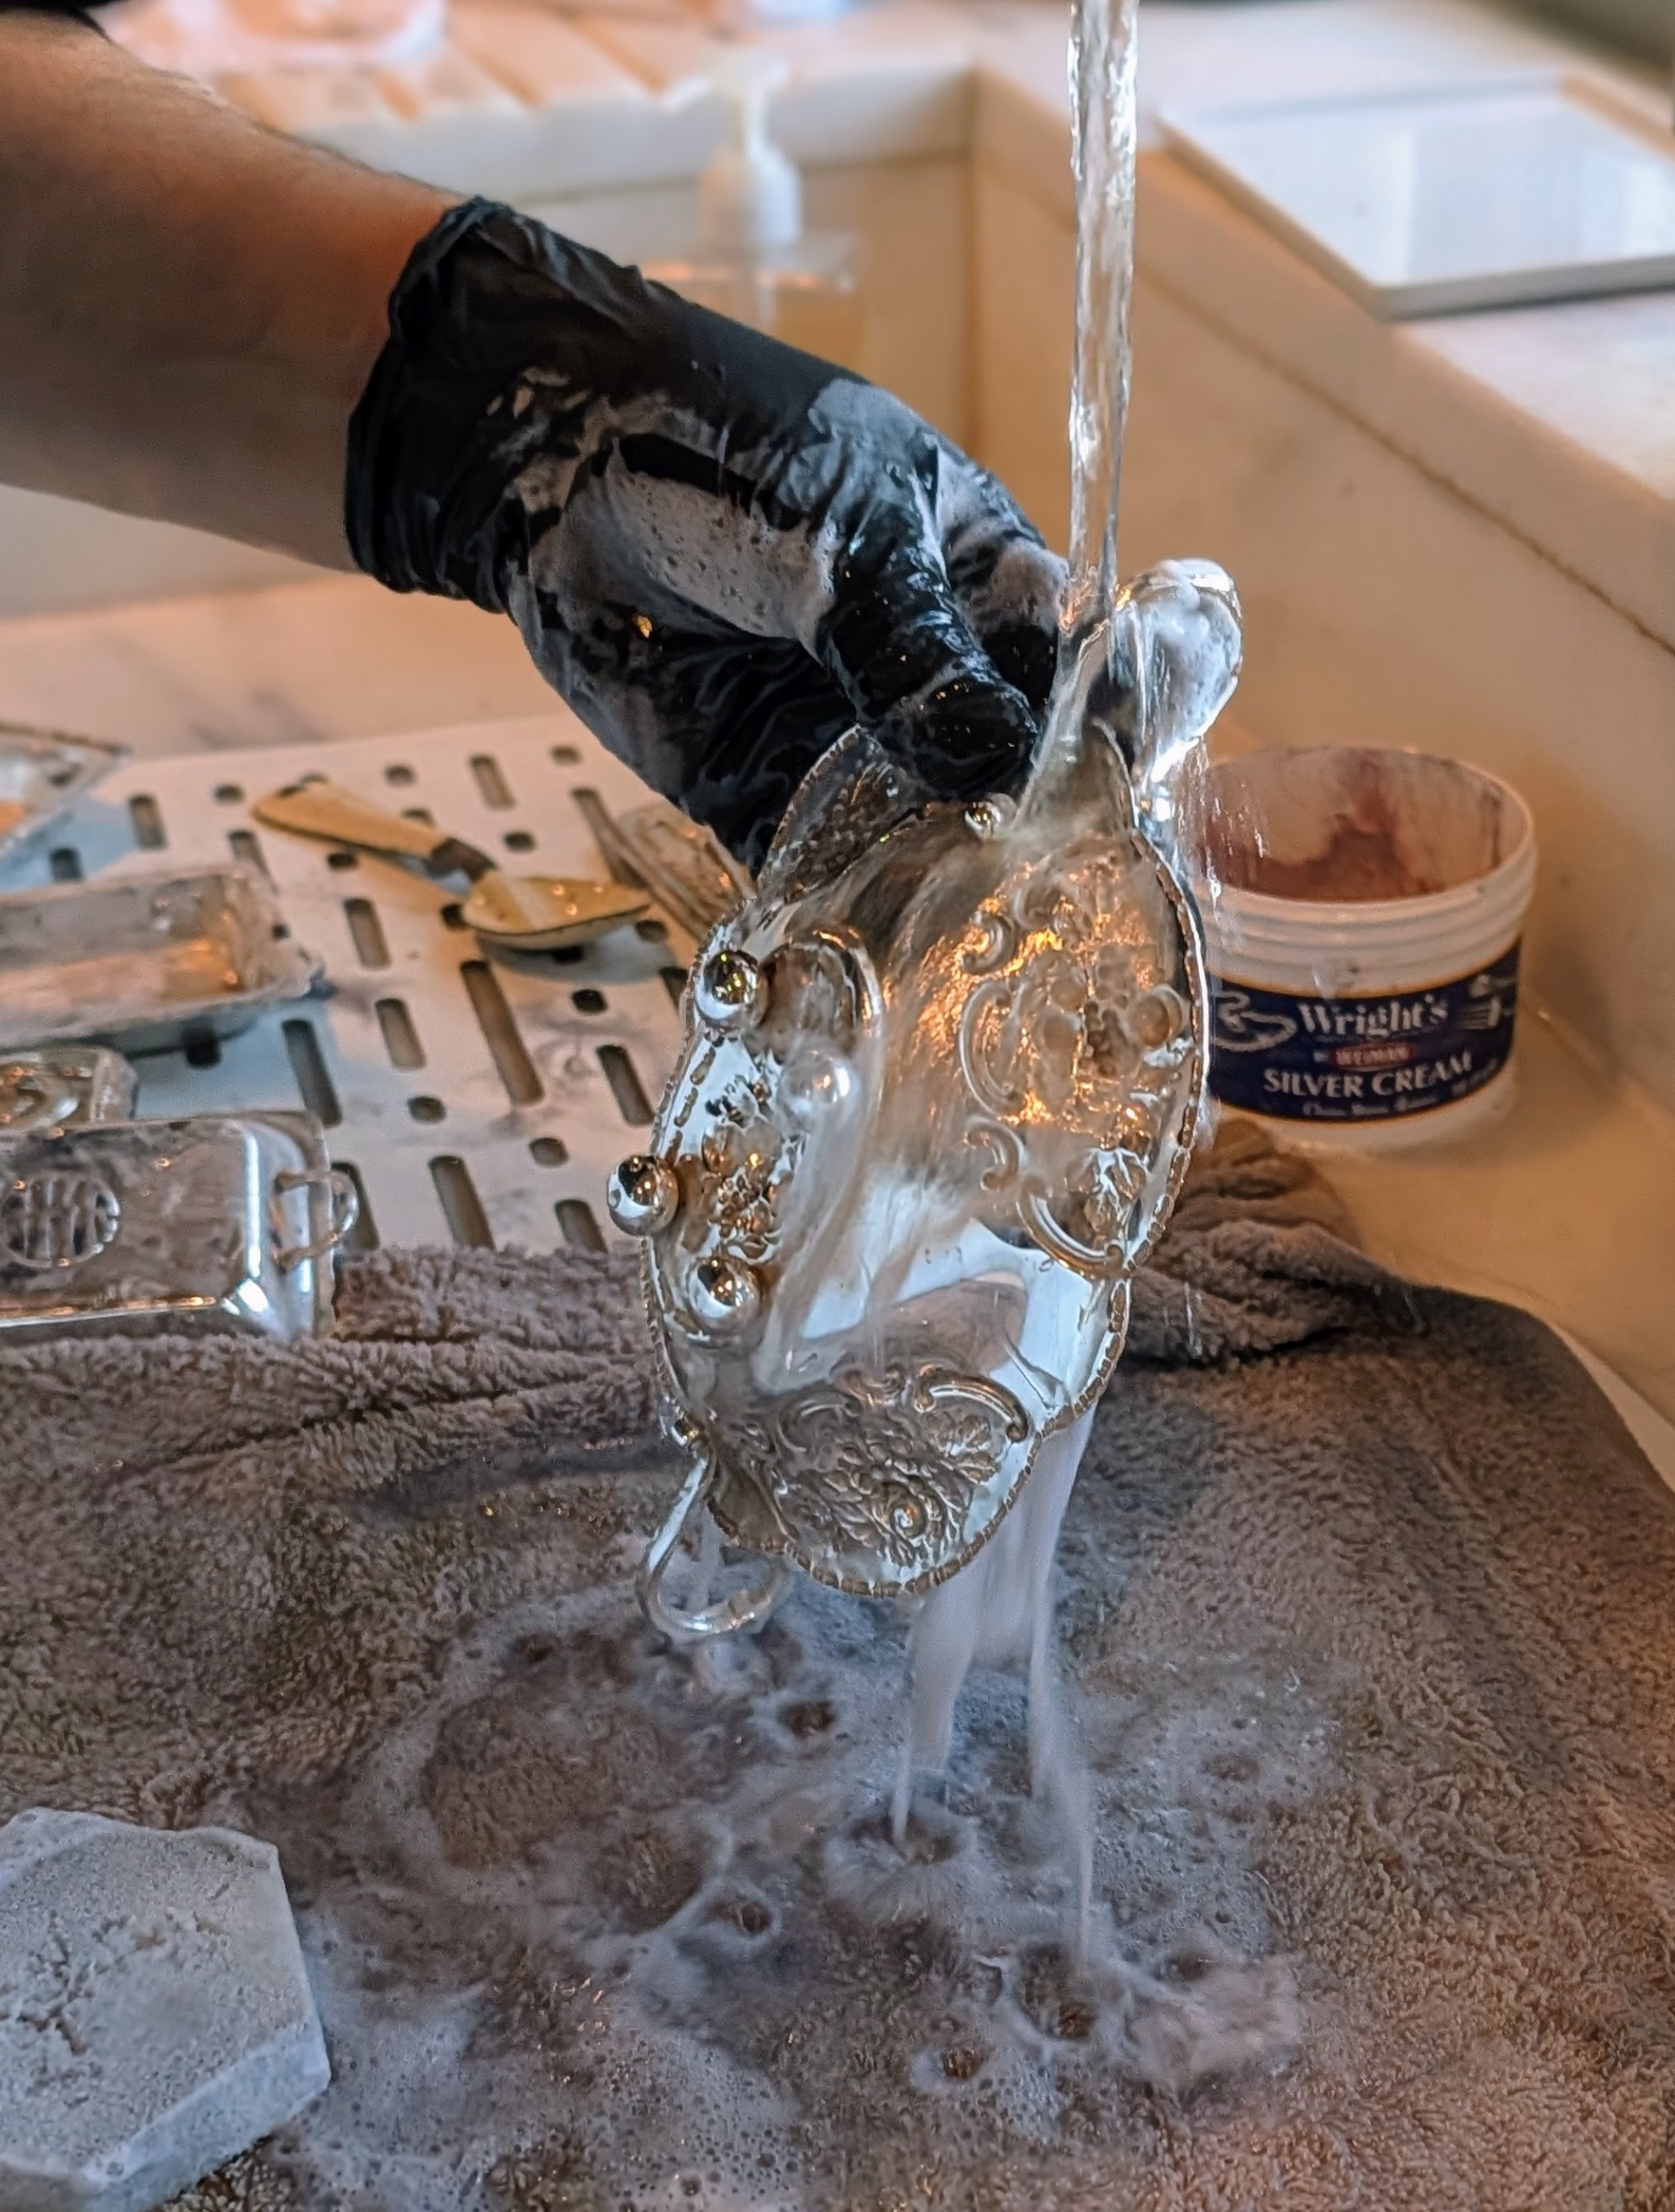
After rubbing the piece with silver cream, rinse the piece well.
And then wash it with dish soap and water again to ensure all the cream is removed.
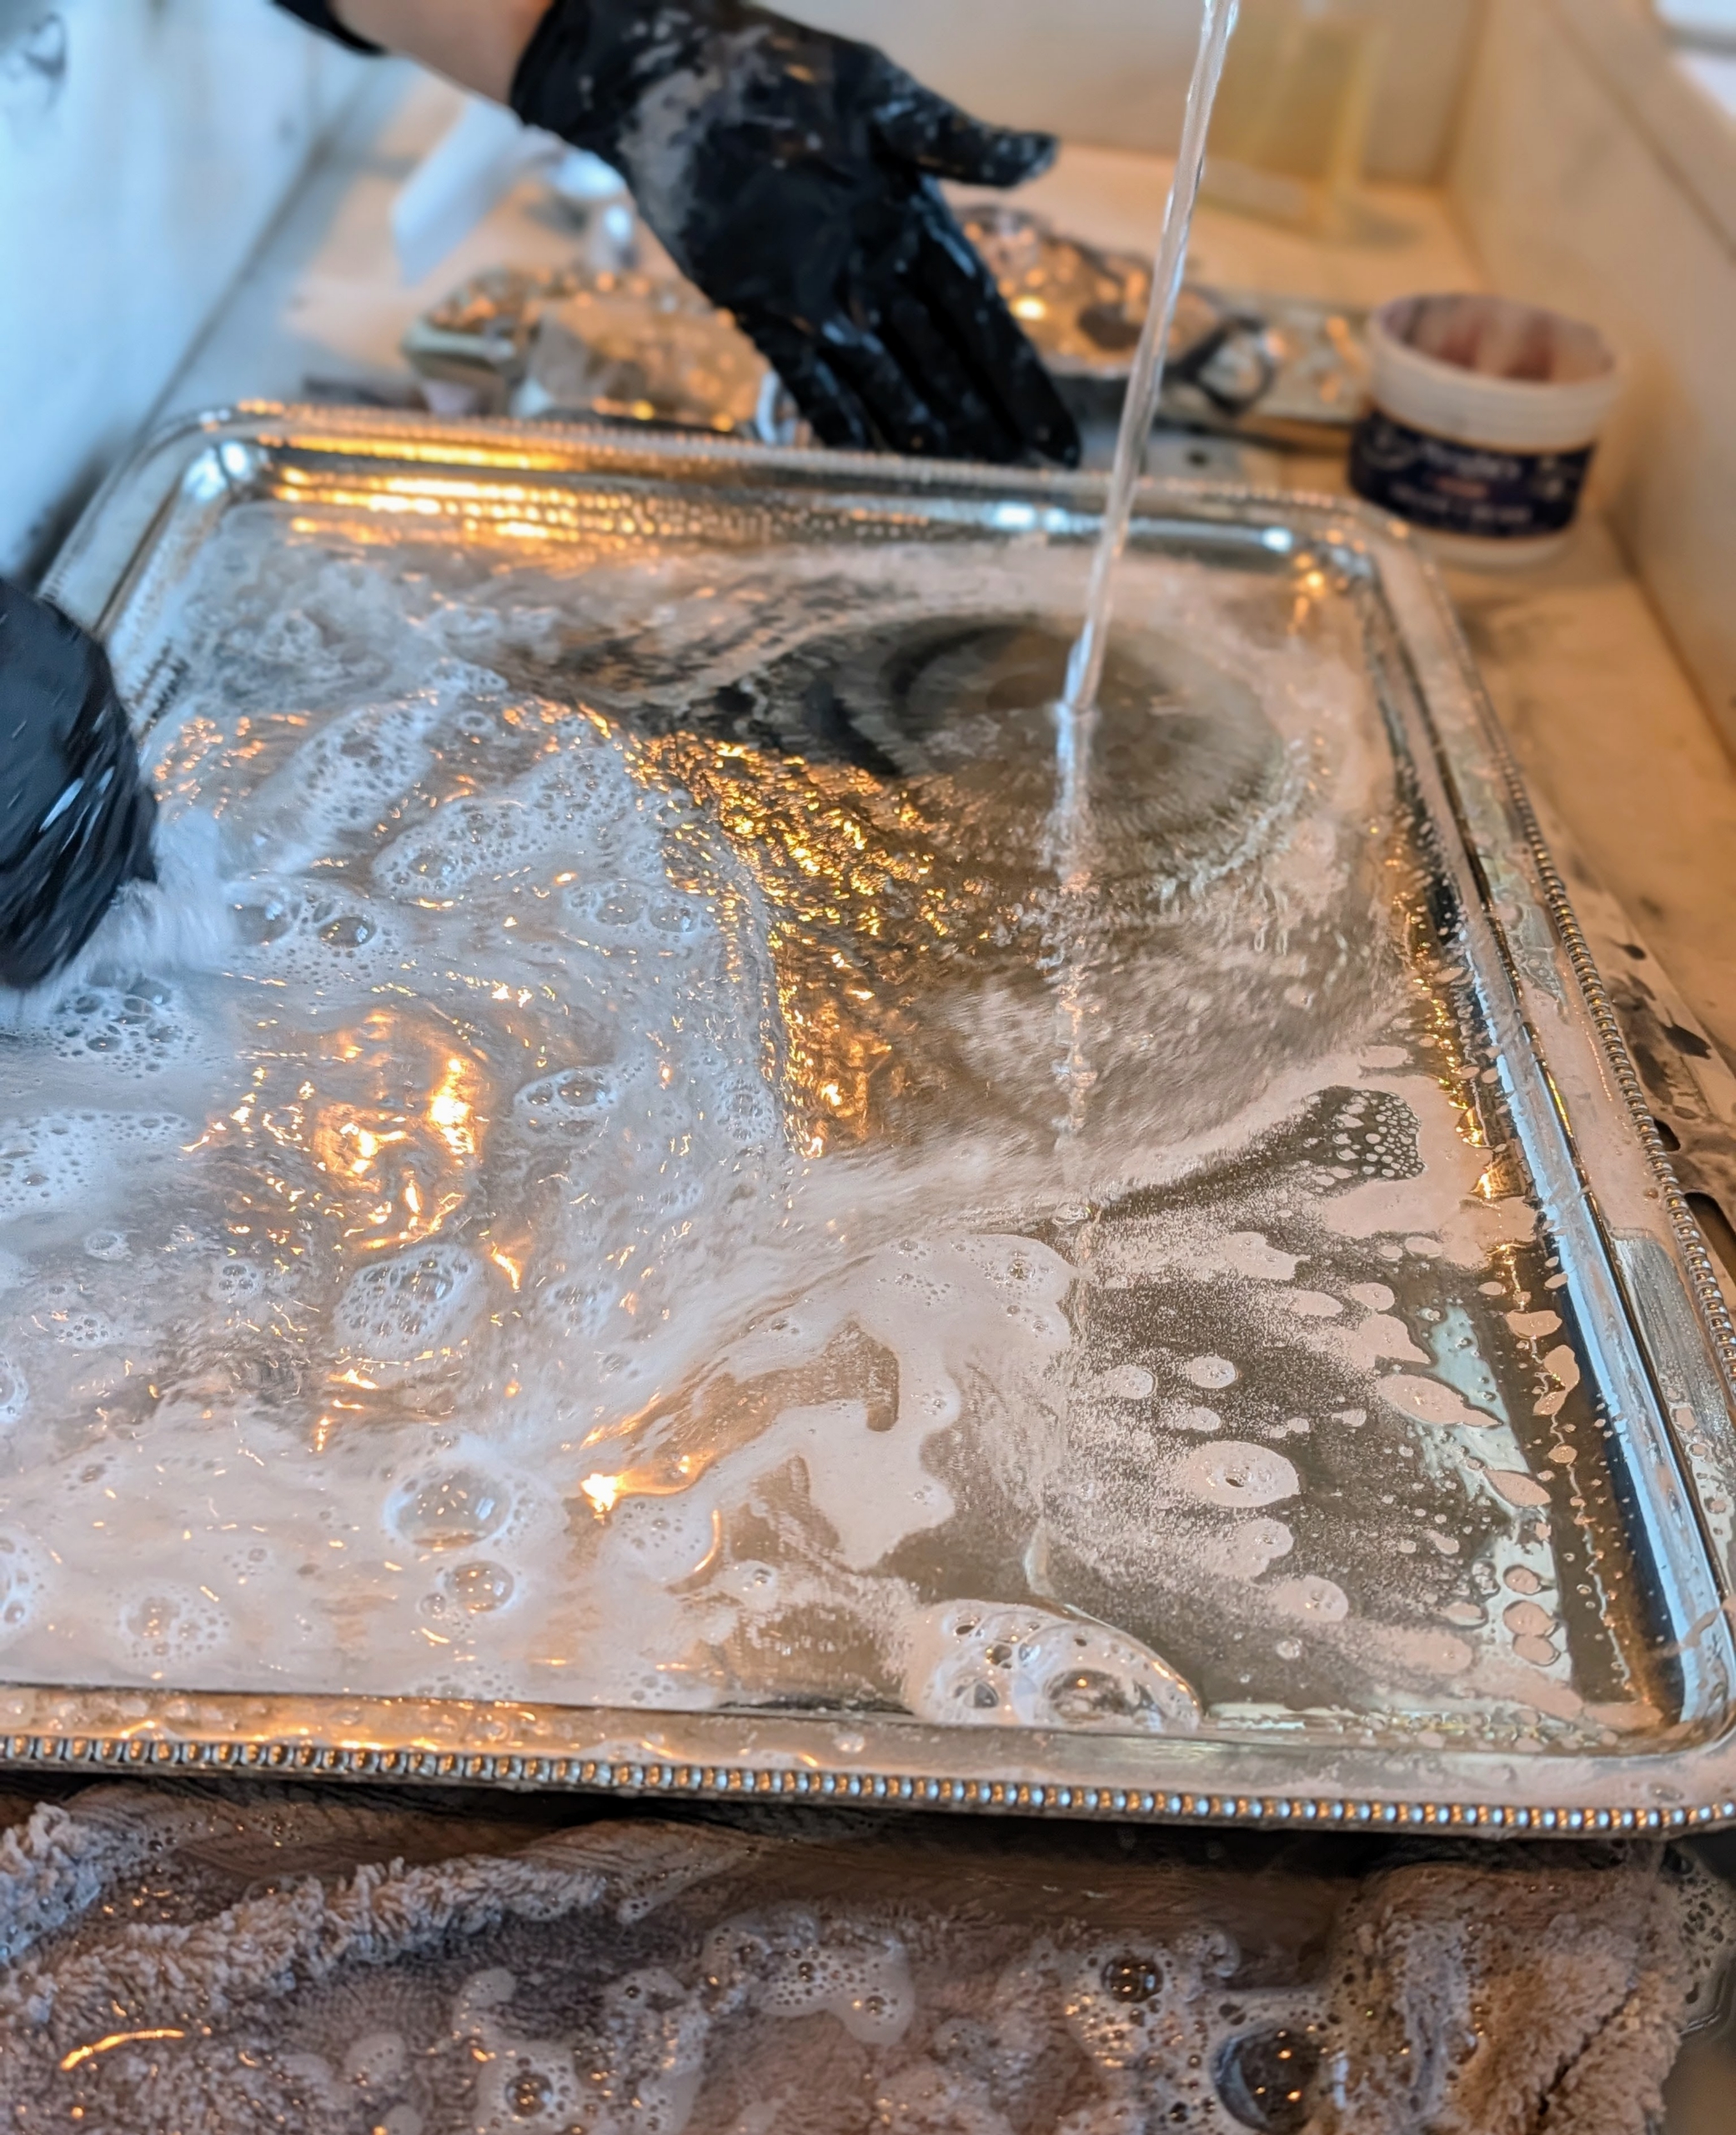
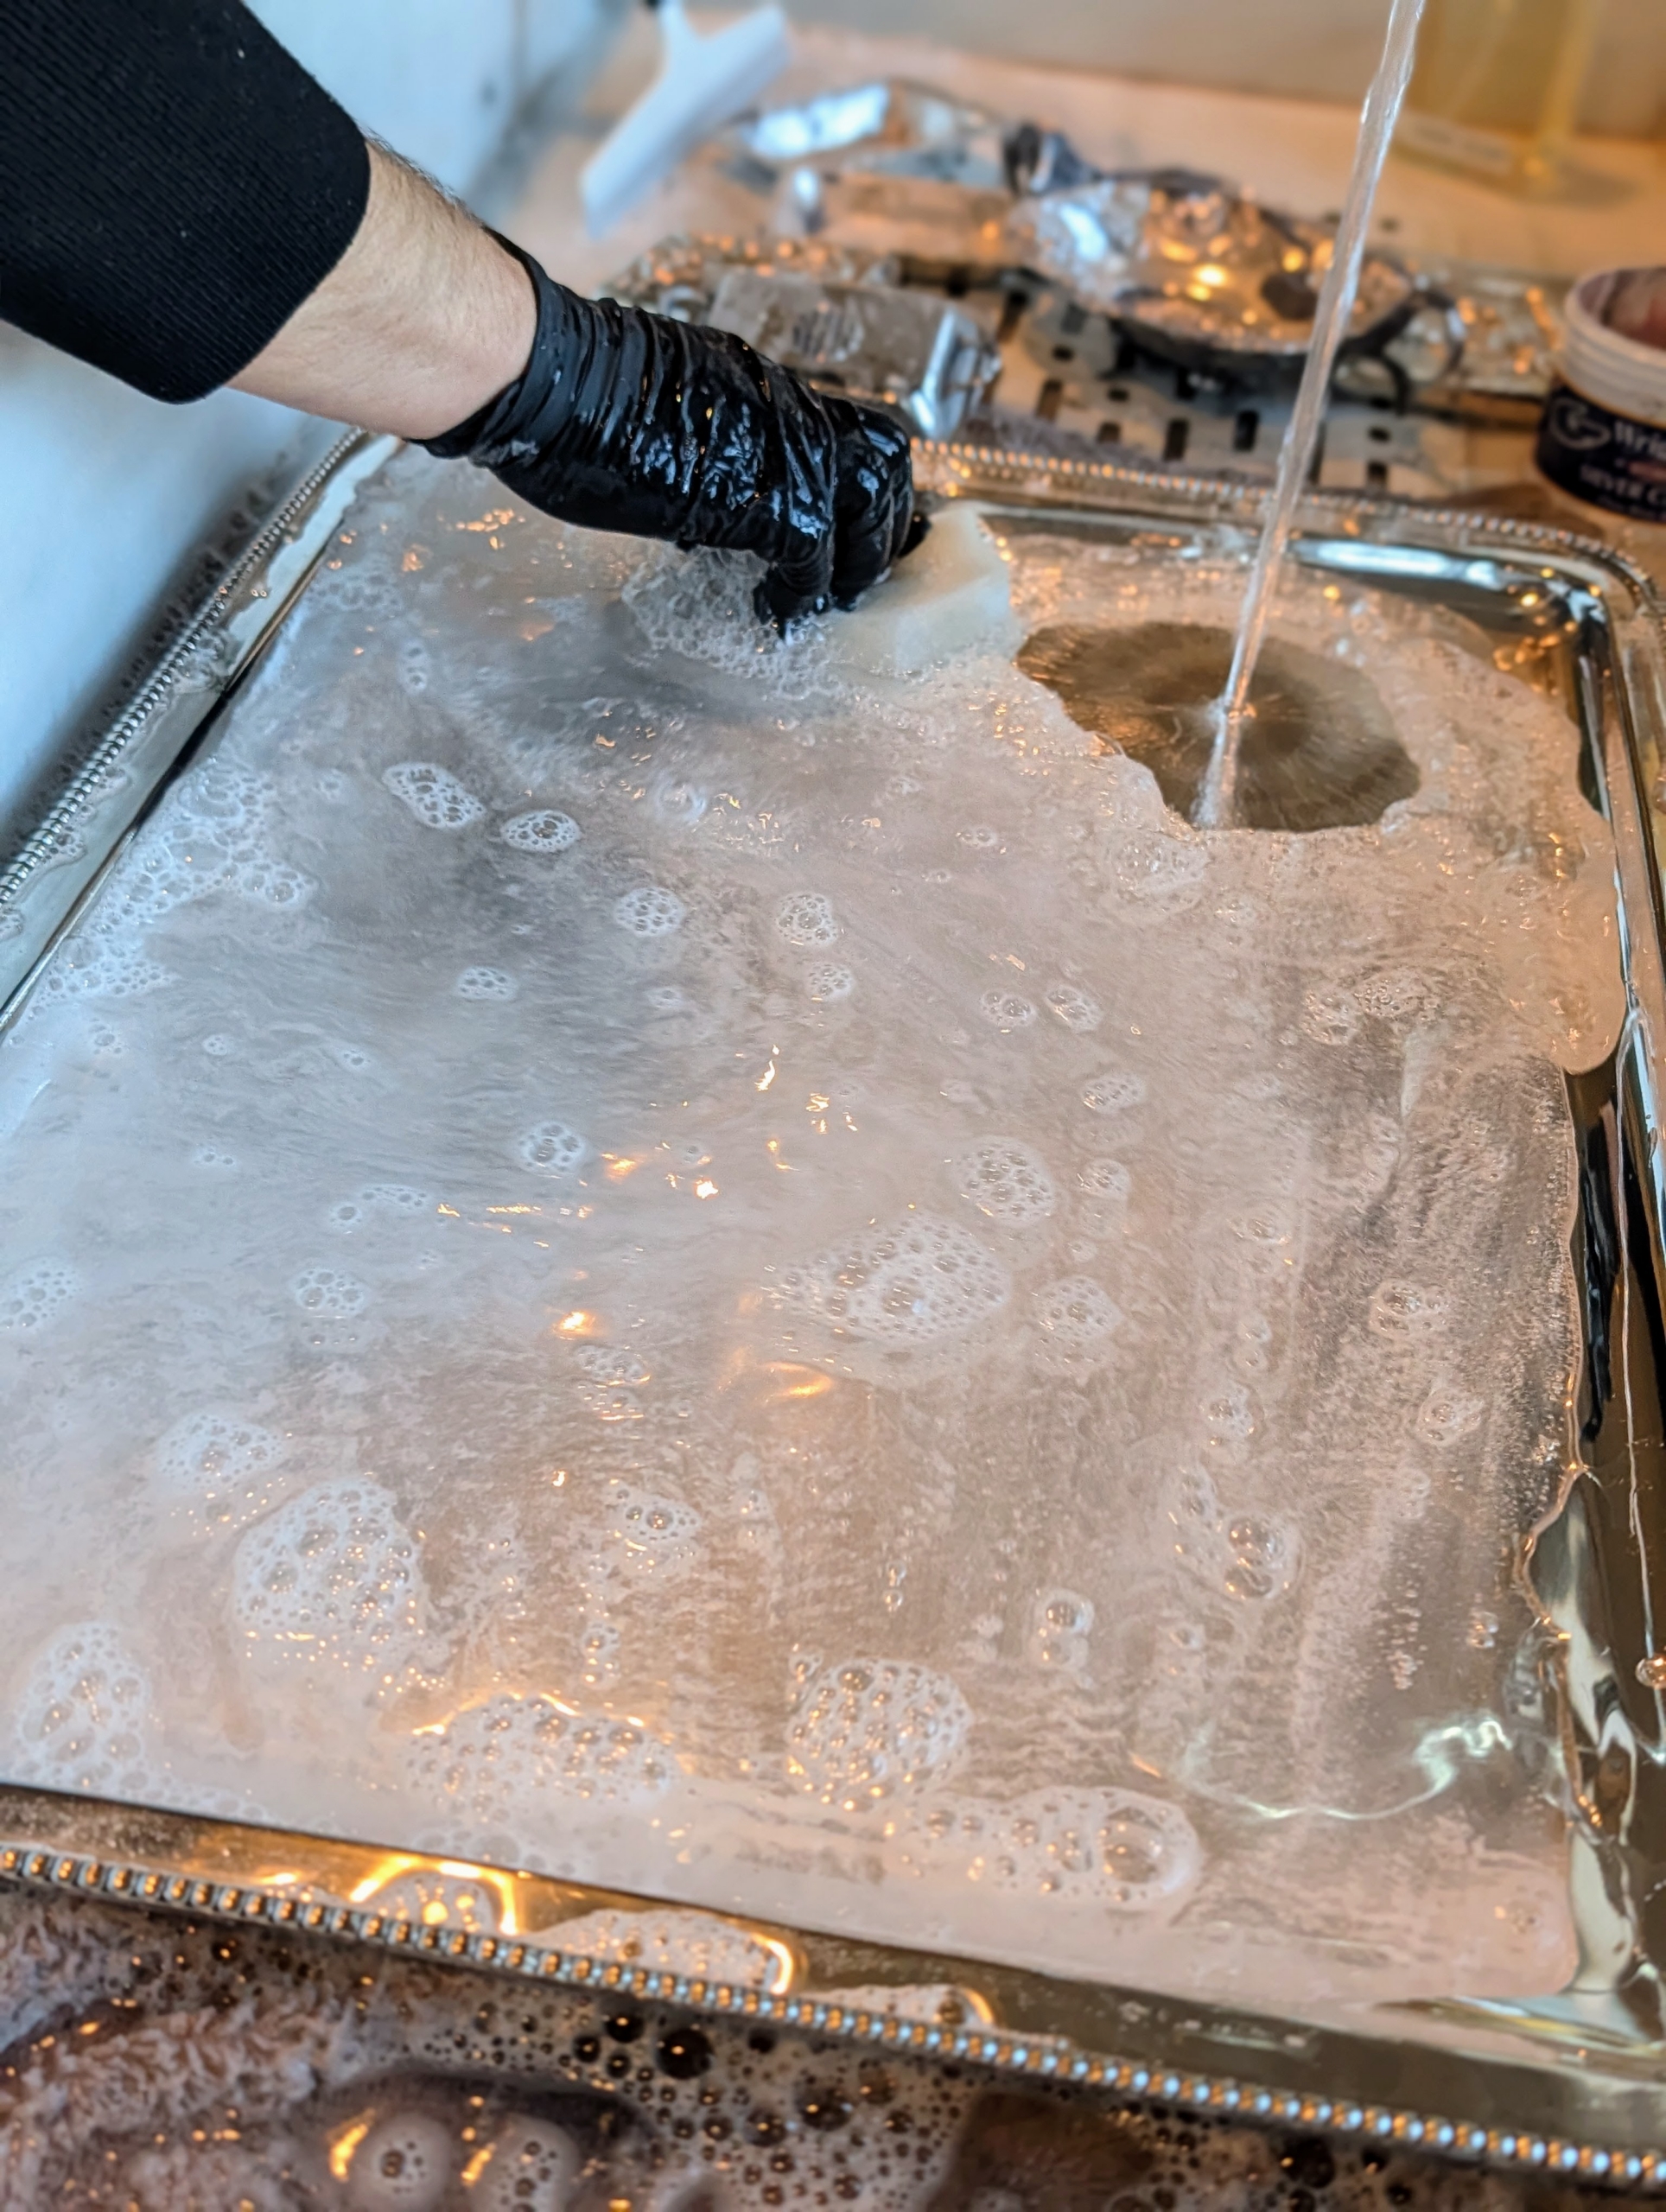
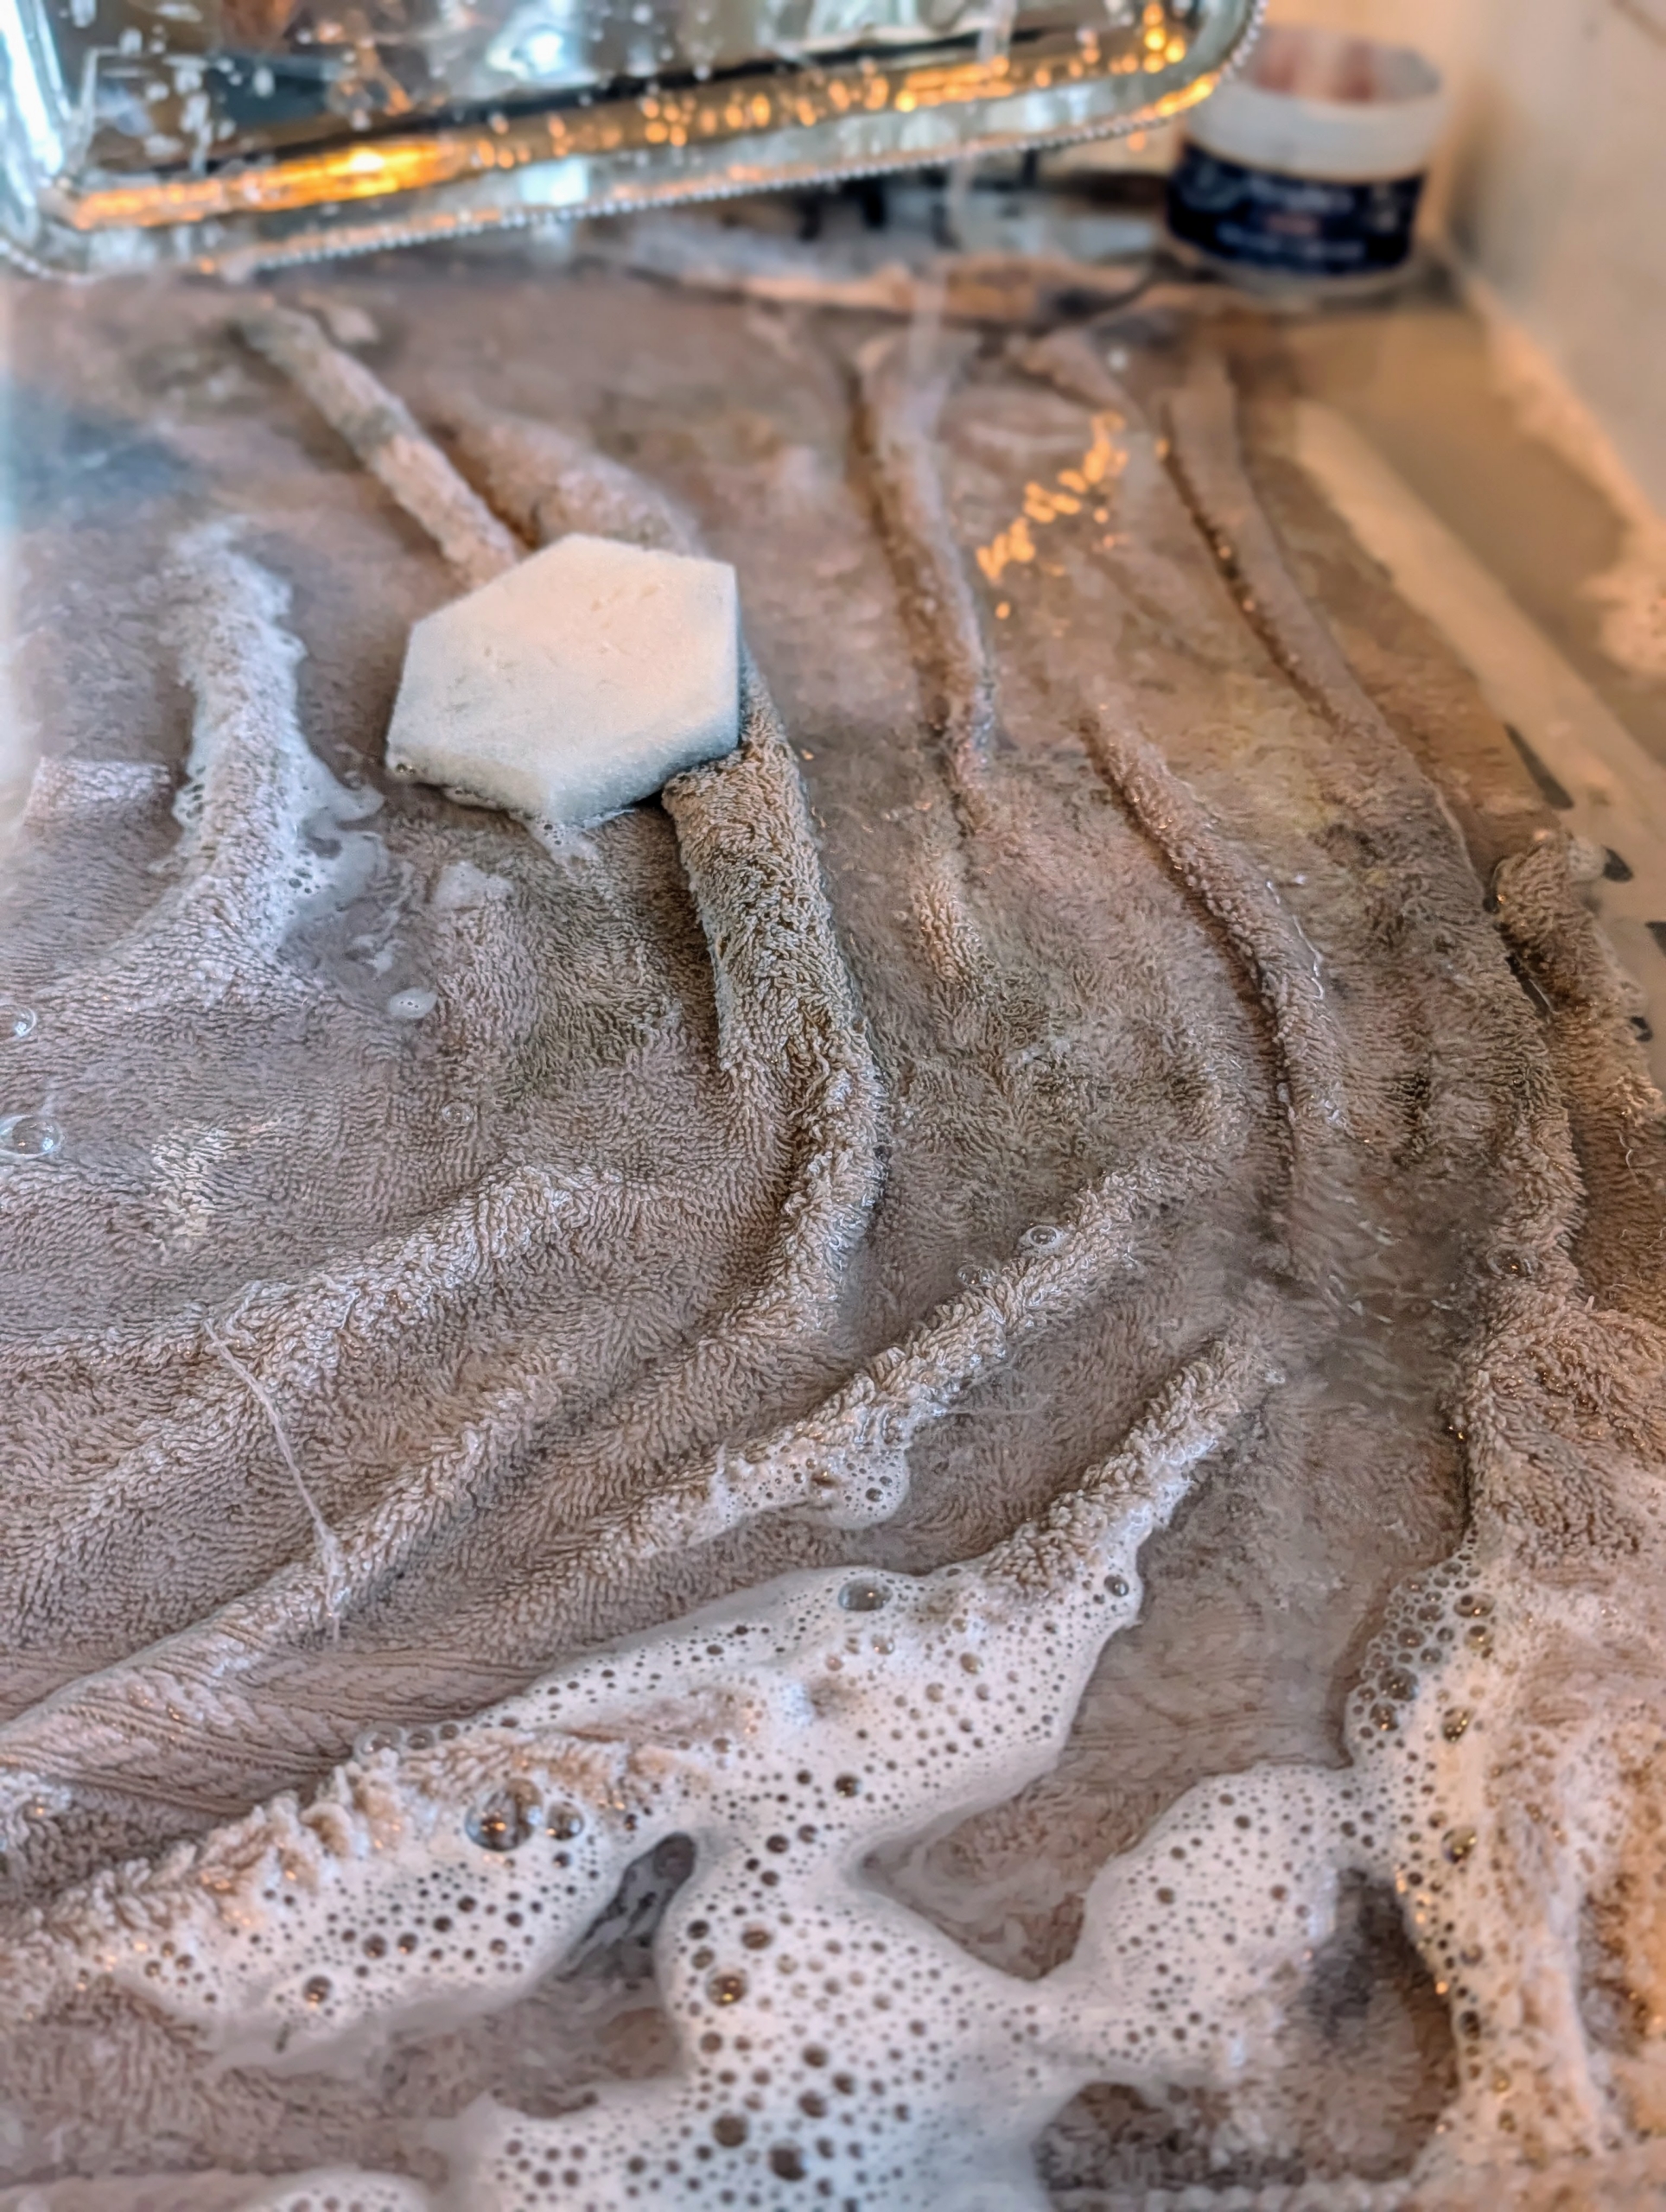
Enma uses the sponge to remove any of the leftover cream.
And she rinses both the top and bottom of the tray thoroughly, so there is no trace of cream left.
All the cleaning is done on a terry cloth towel lining the bottom of the sink, so the metal doesn’t bang against any surfaces. The towel is also a good idea to use when washing special china… just in case anything slips through the fingers.
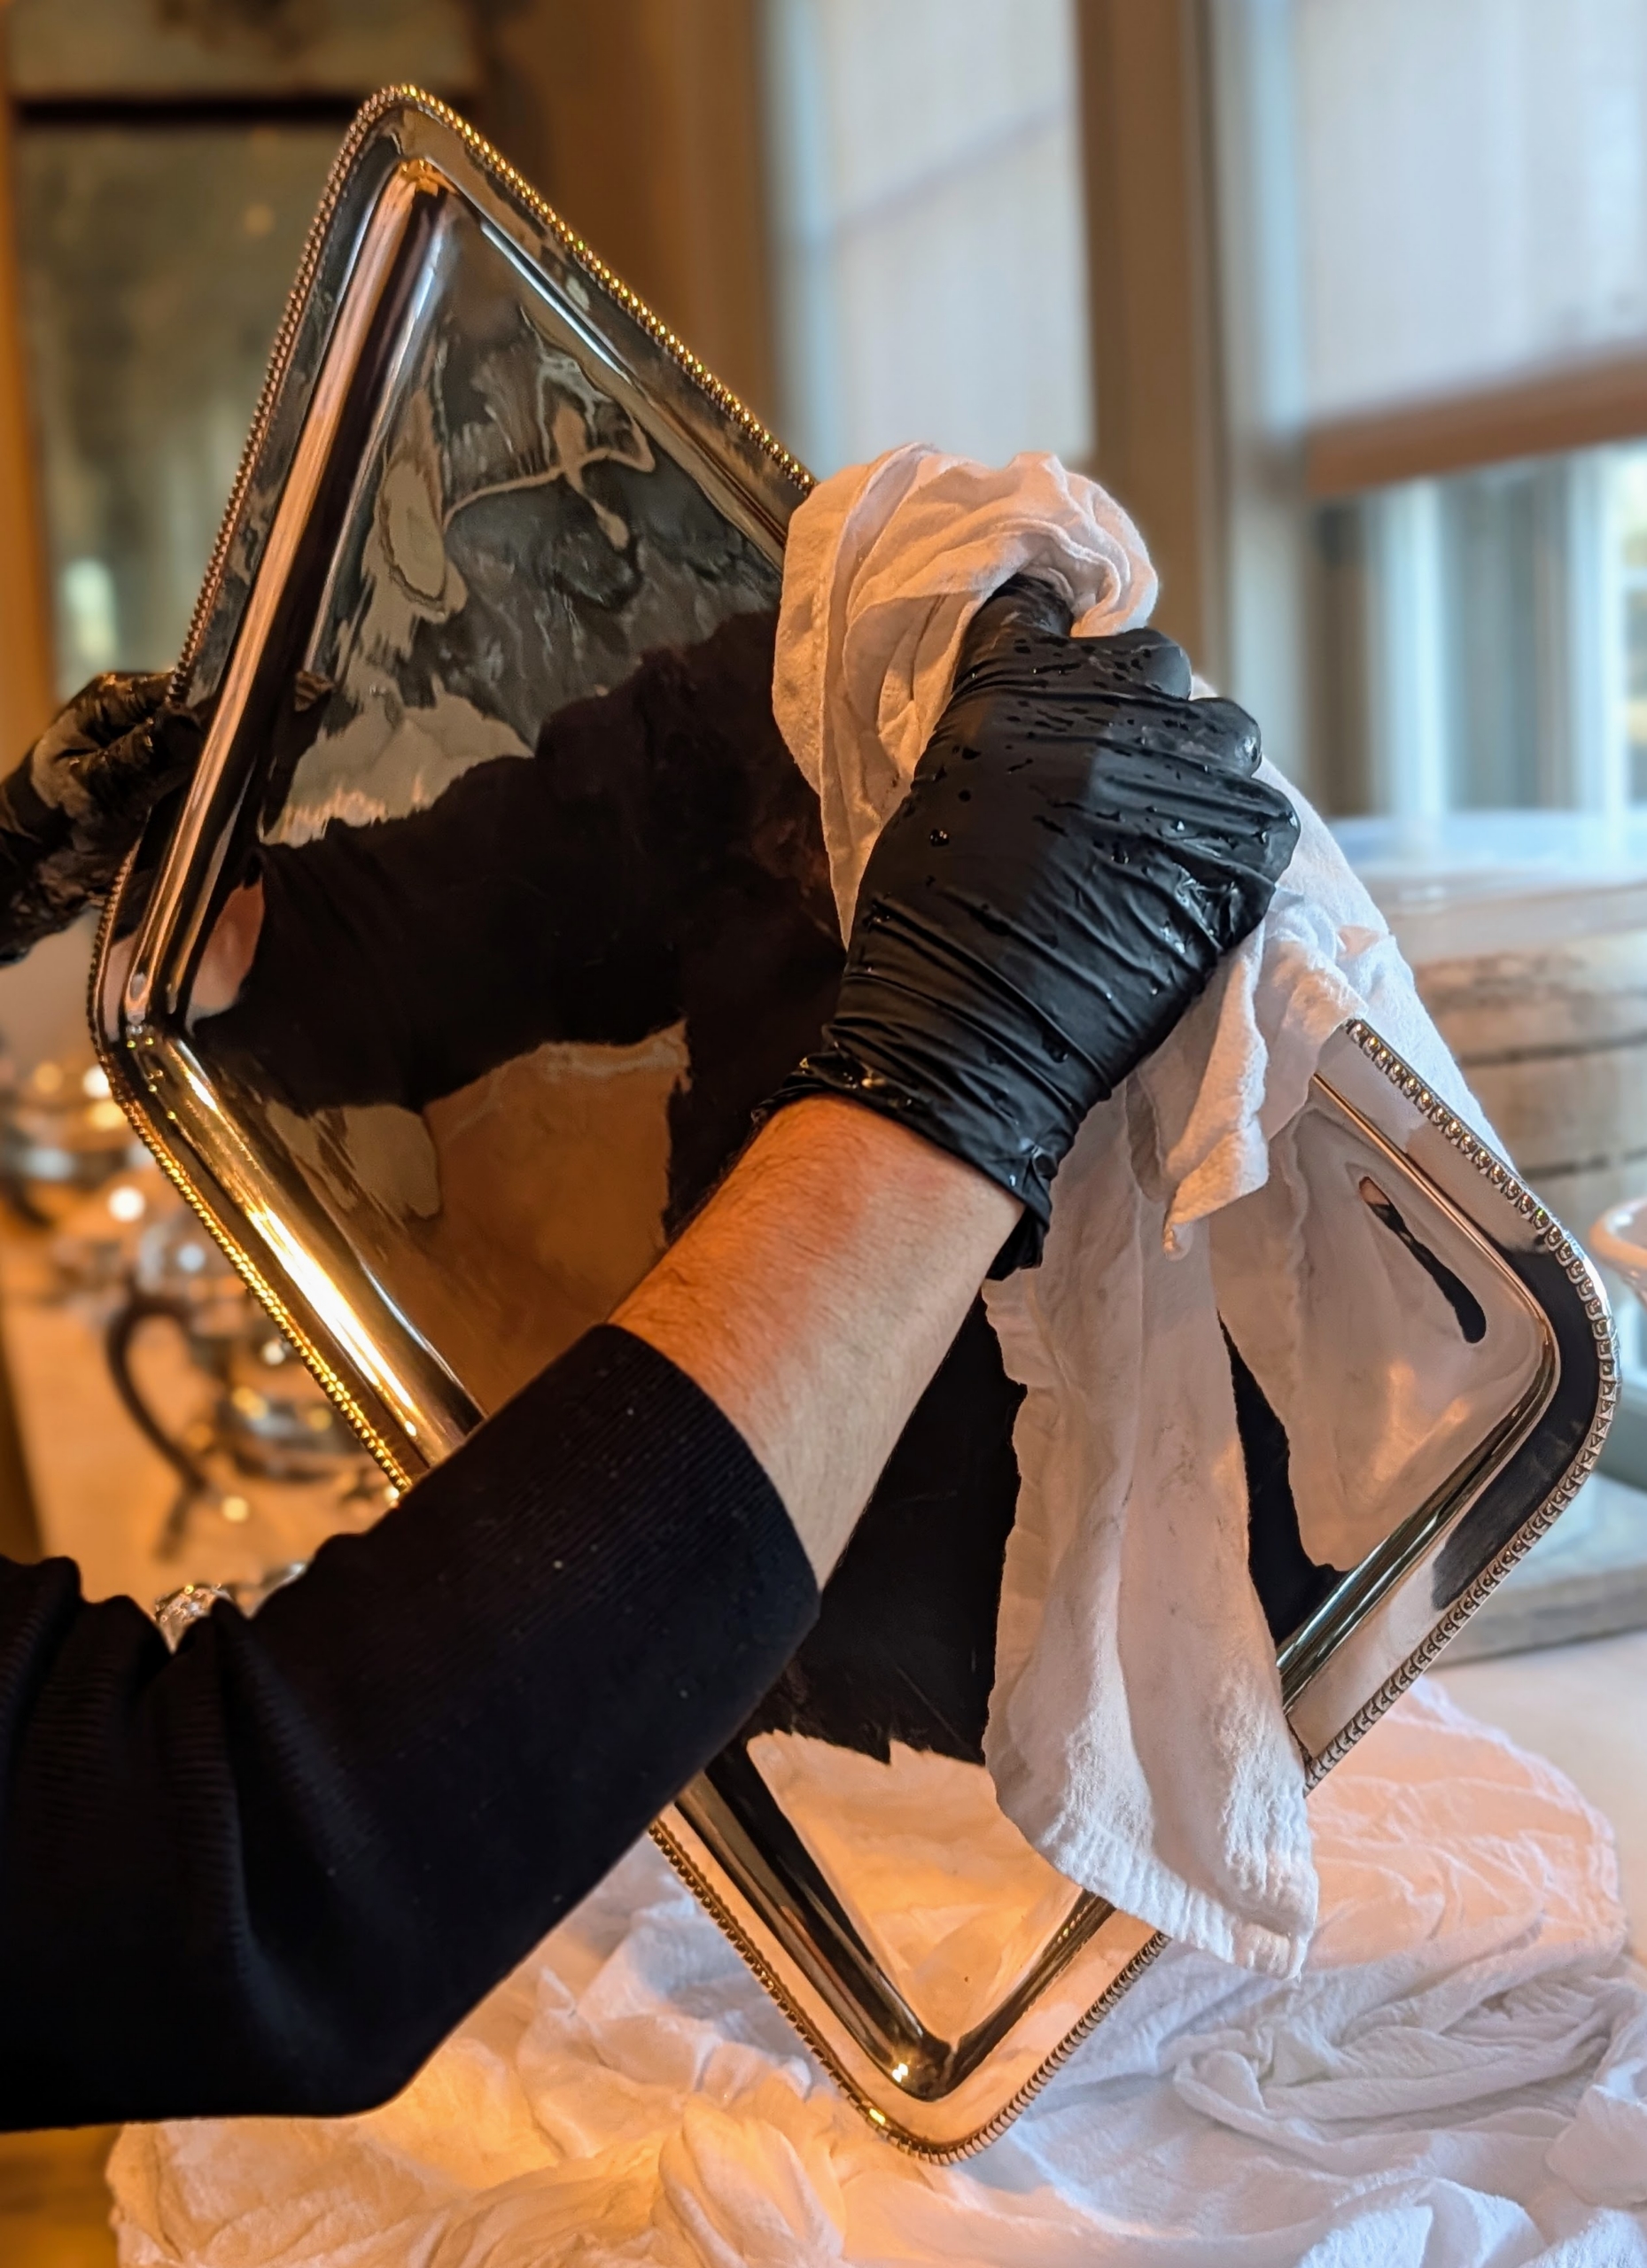
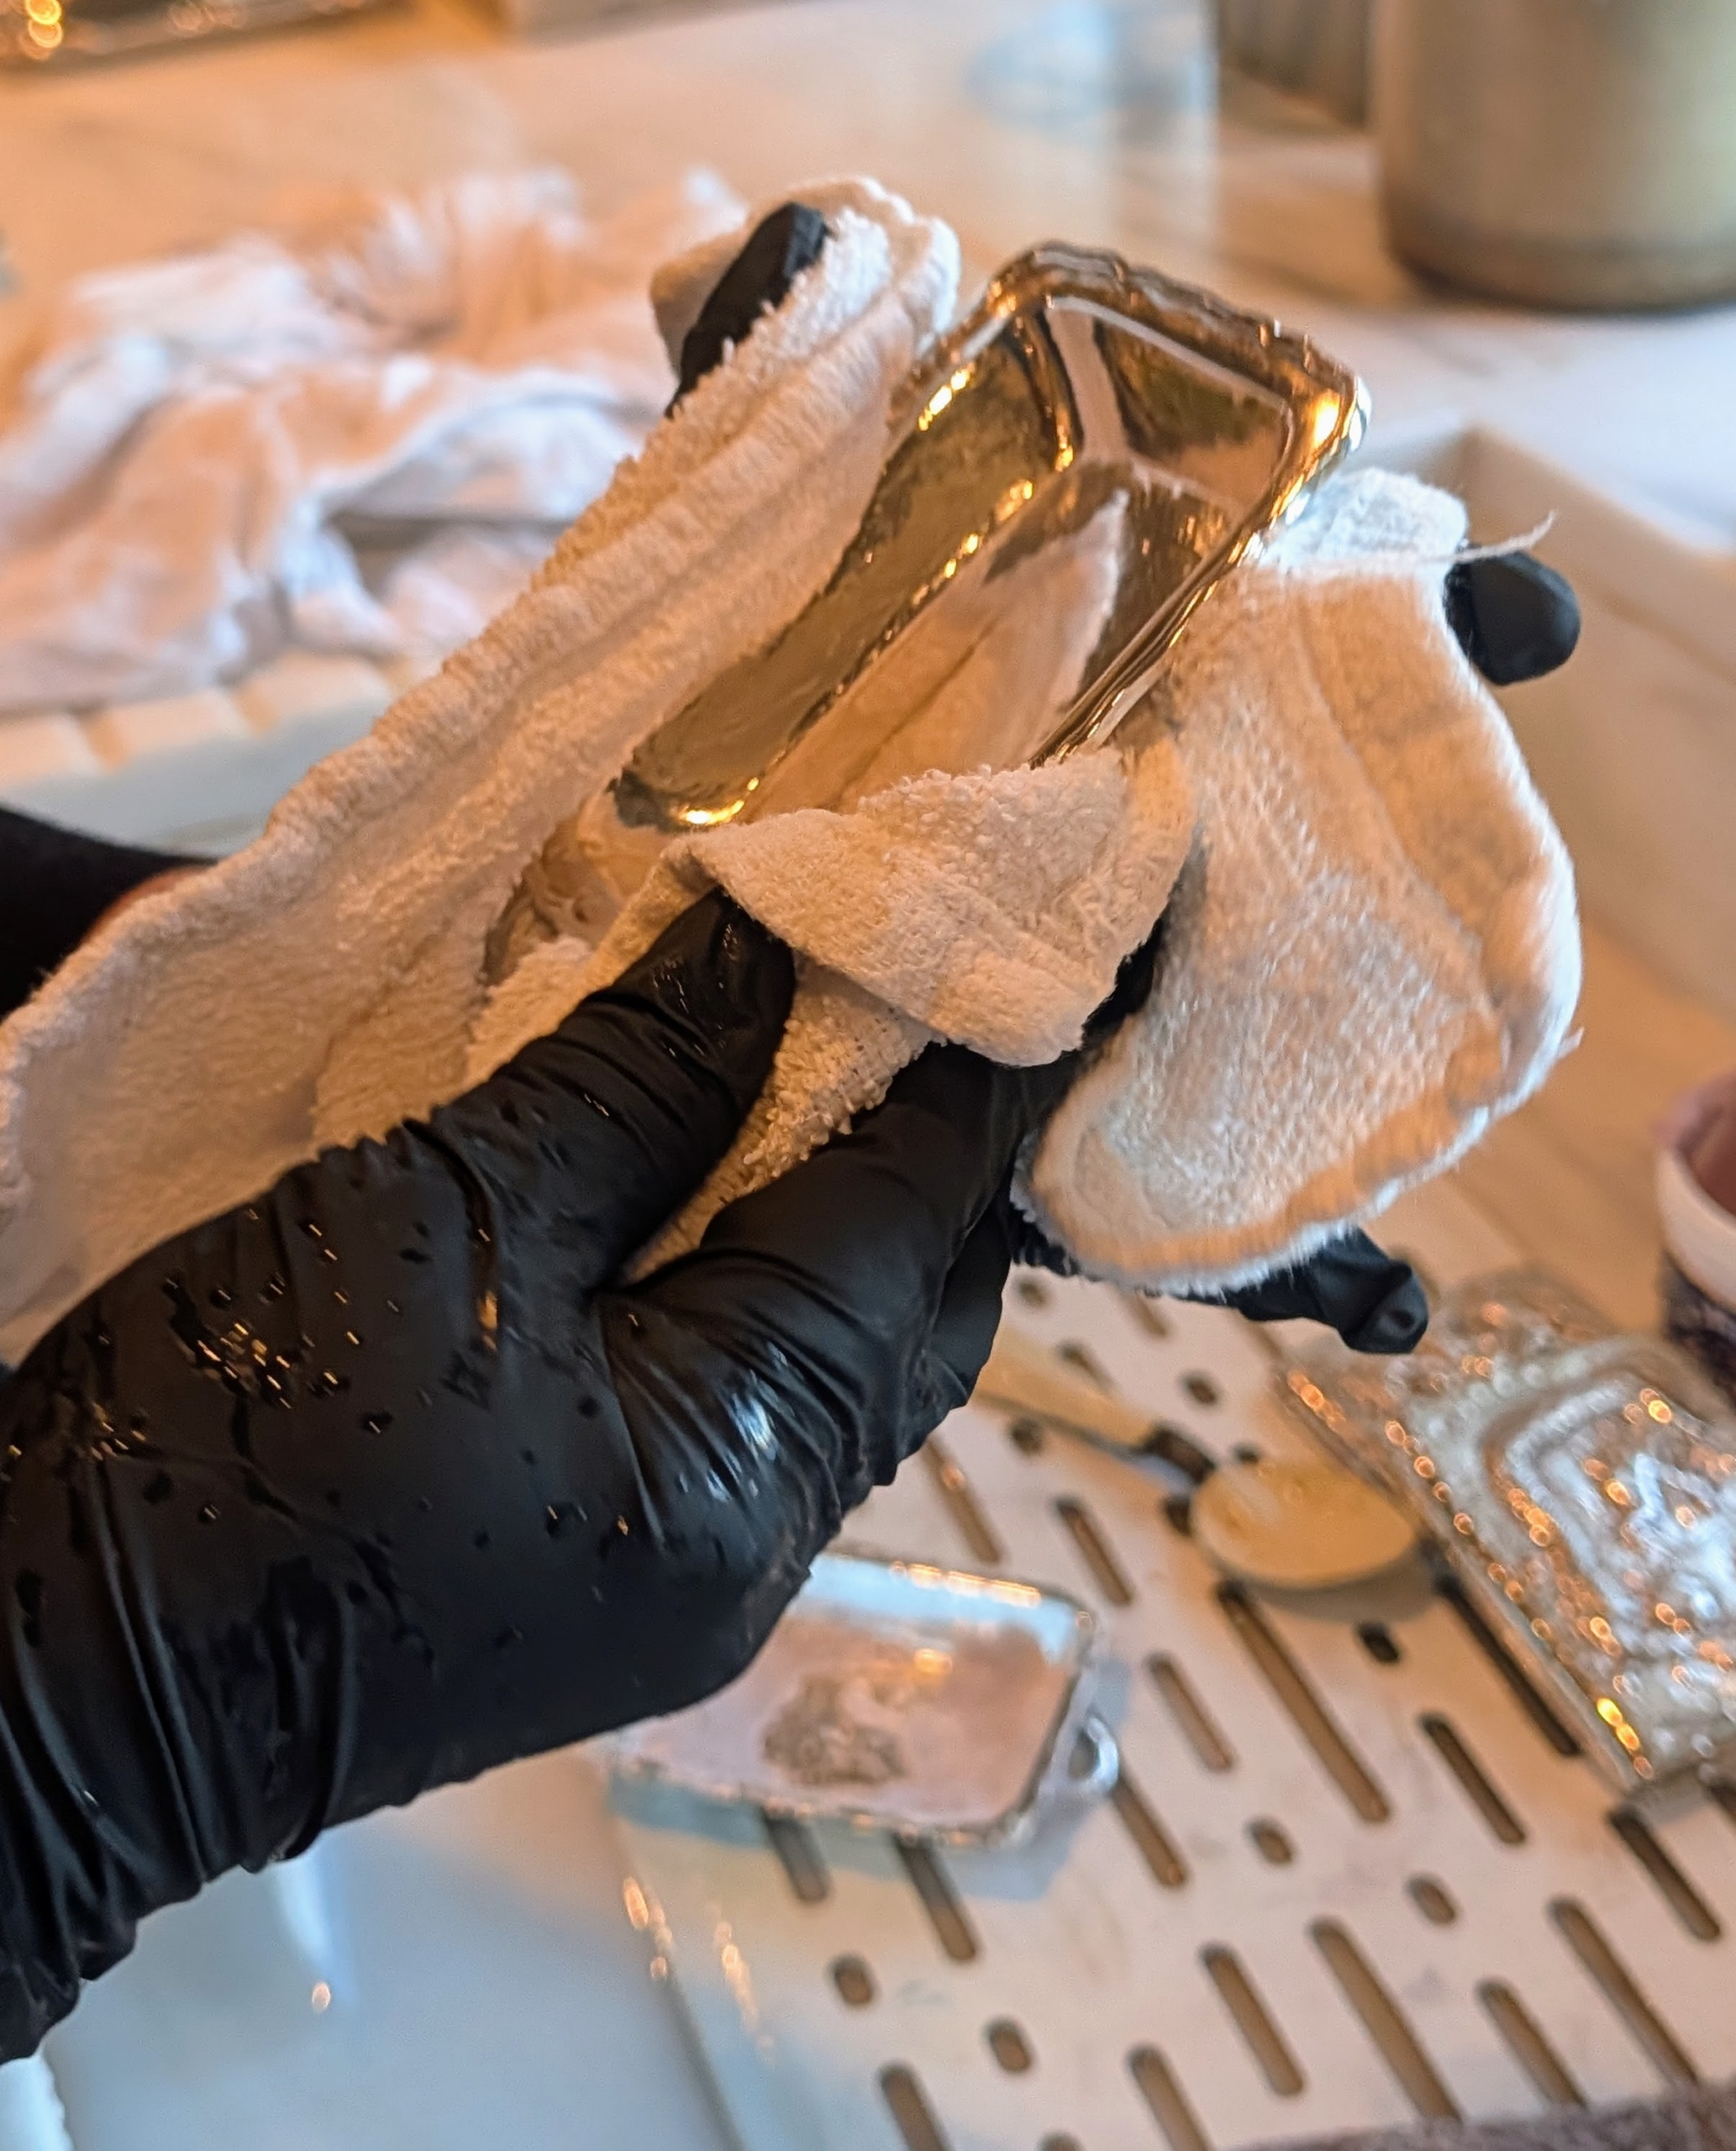
After rinsing, Enma dries the silver right away with a soft absorbent cloth to avoid any water marks.
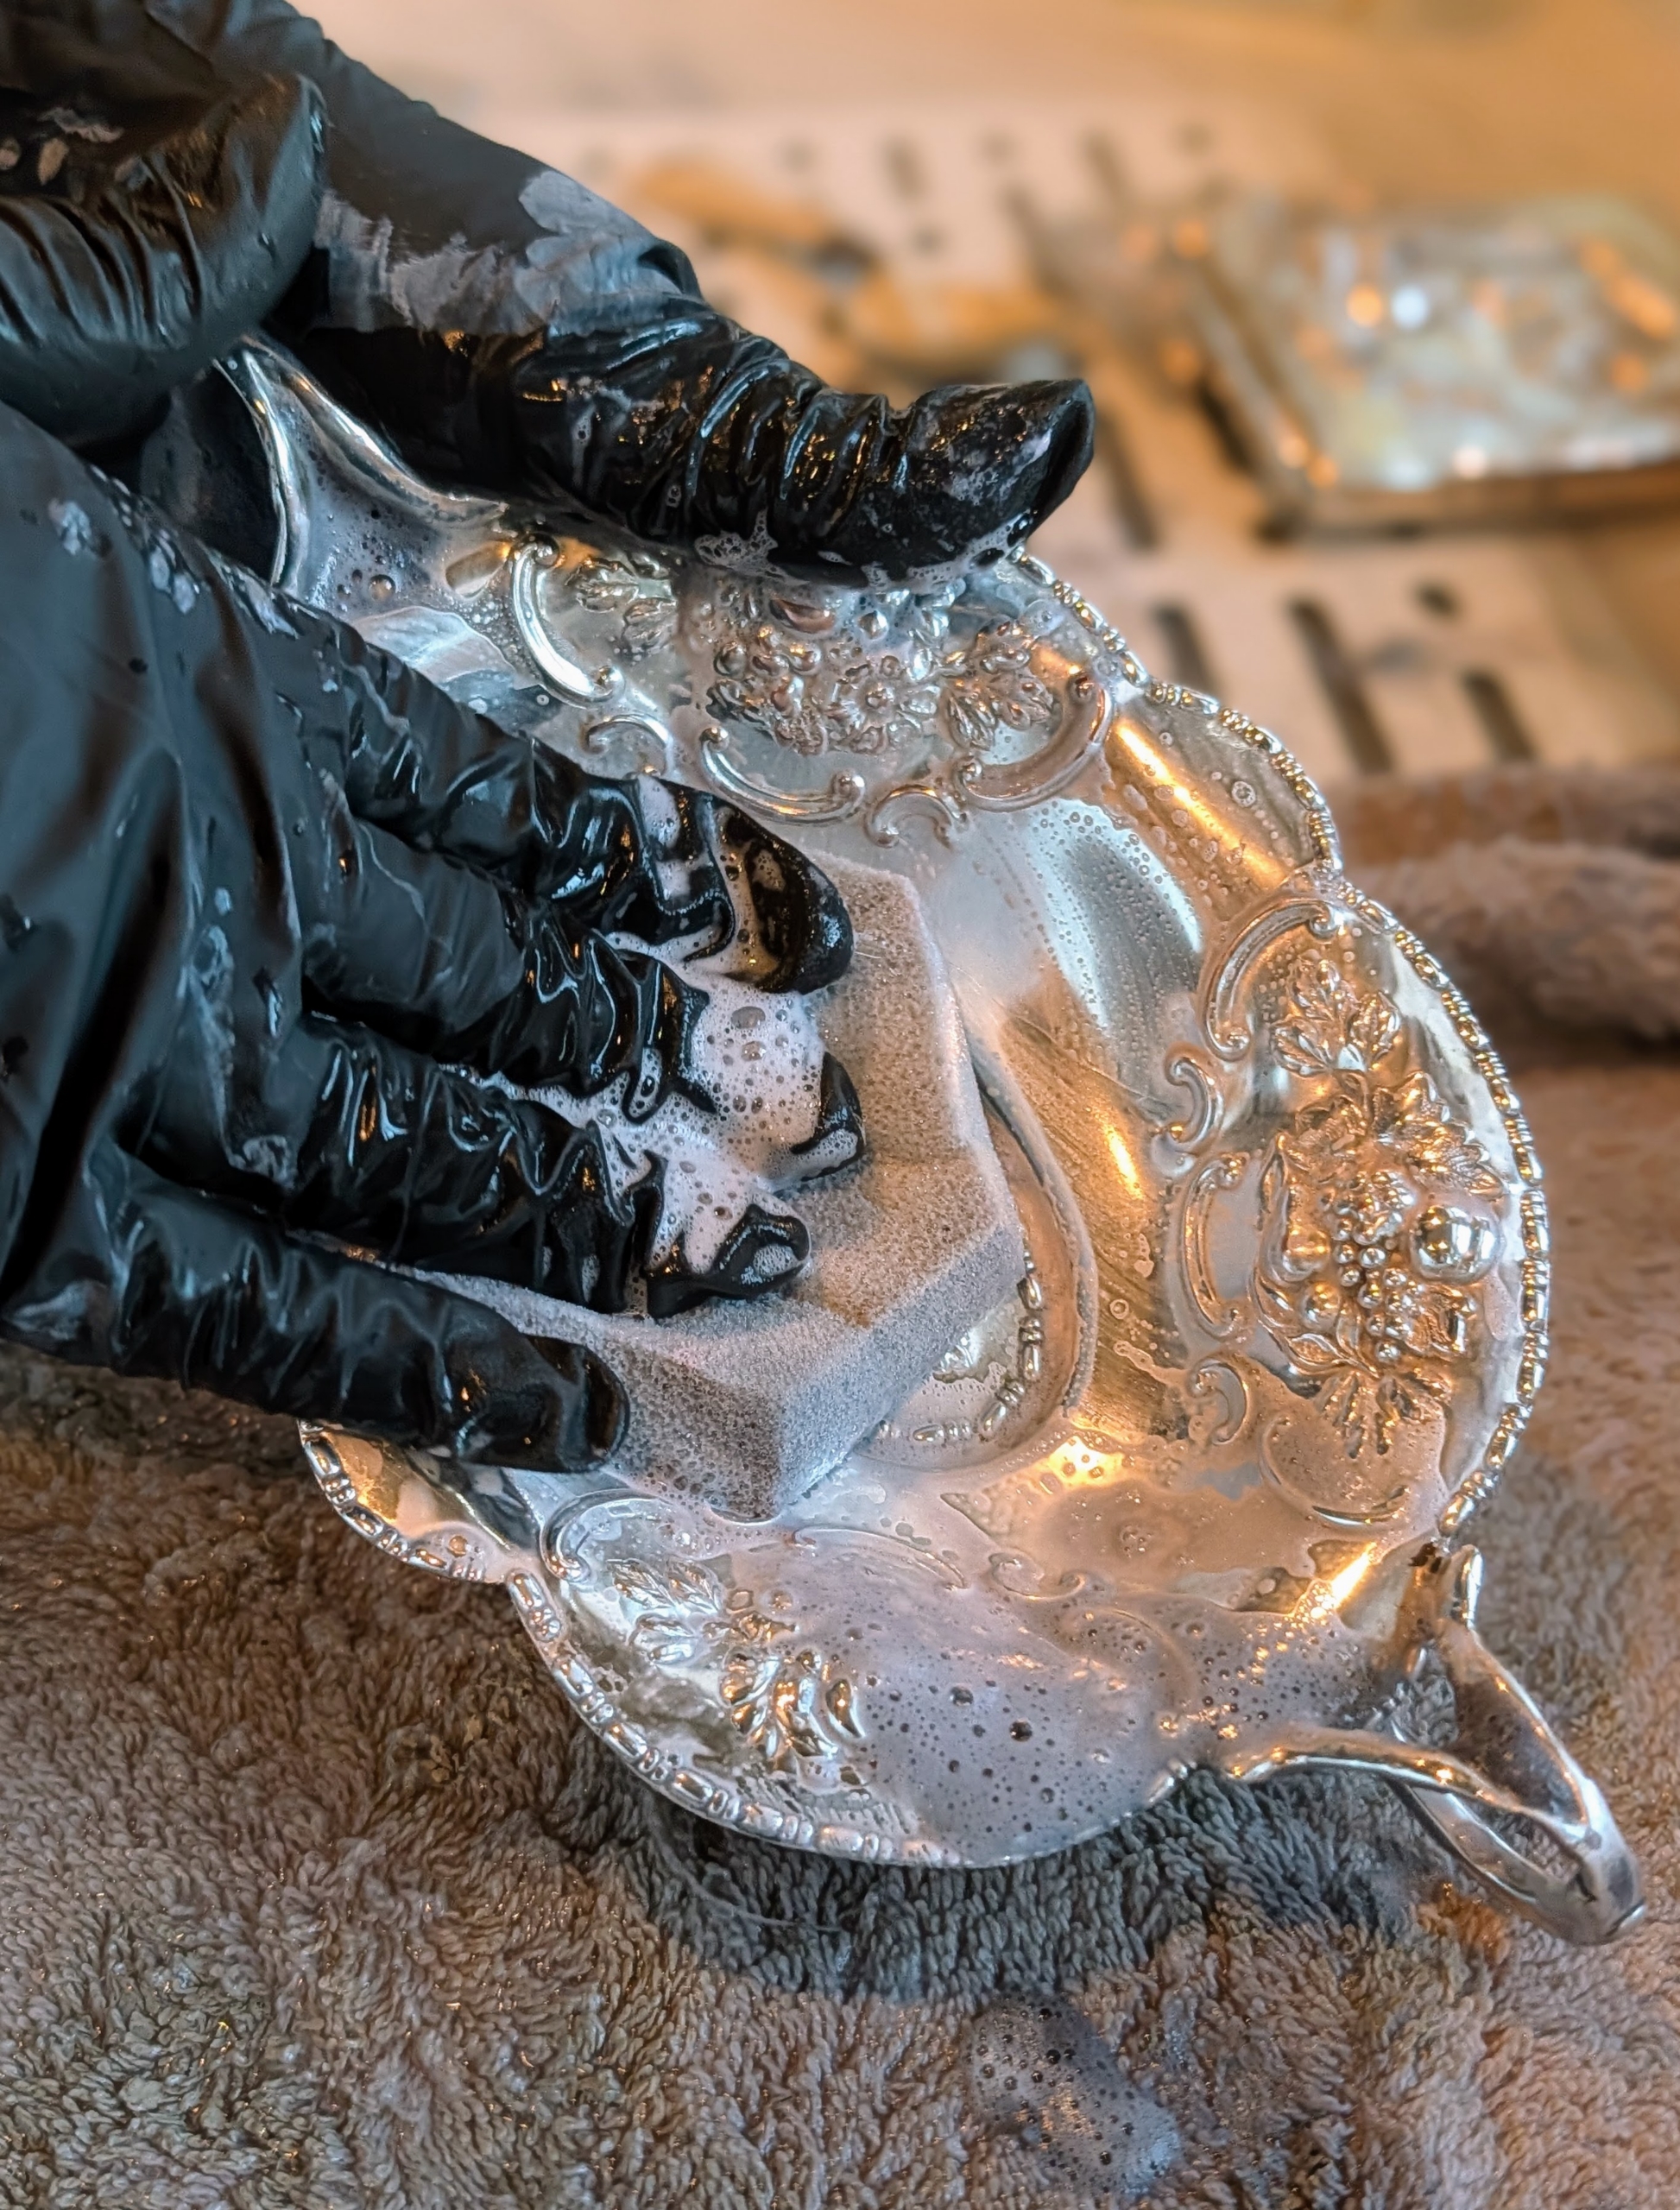
Here she is cleaning a silver dish. It may take a little longer when cleaning a piece with more intricate designs, crevices, or indentations. Enma is sure to wipe every area, getting into the tight spaces carefully. It’s also a good idea to use gloves when taking on this task, so the cleaning cream does not come into contact with the skin.
Completely coat any pieces with the cream. The silver will start to brighten as it is rubbed. Always use silver polishes that are non-abrasive, and opt for formulas, such as creams and gels instead of sprays.
The silver dish is rinsed carefully over the towel and then dried in the same fashion as the silver tray.
Every piece cleaned is buffed to perfection. Do not let your silver air dry, because water left standing can cause spotting.
These pieces will look so lovely in my Brown Room. Another tip – never clean silver in the dishwasher. The detergents’ aggressive chemicals, combined with the washer’s high cleaning temperature, will eventually turn it grey or white, with a dull, non-reflective surface.
Because my silver is cleaned regularly, it doesn’t take too much time to get the job done.
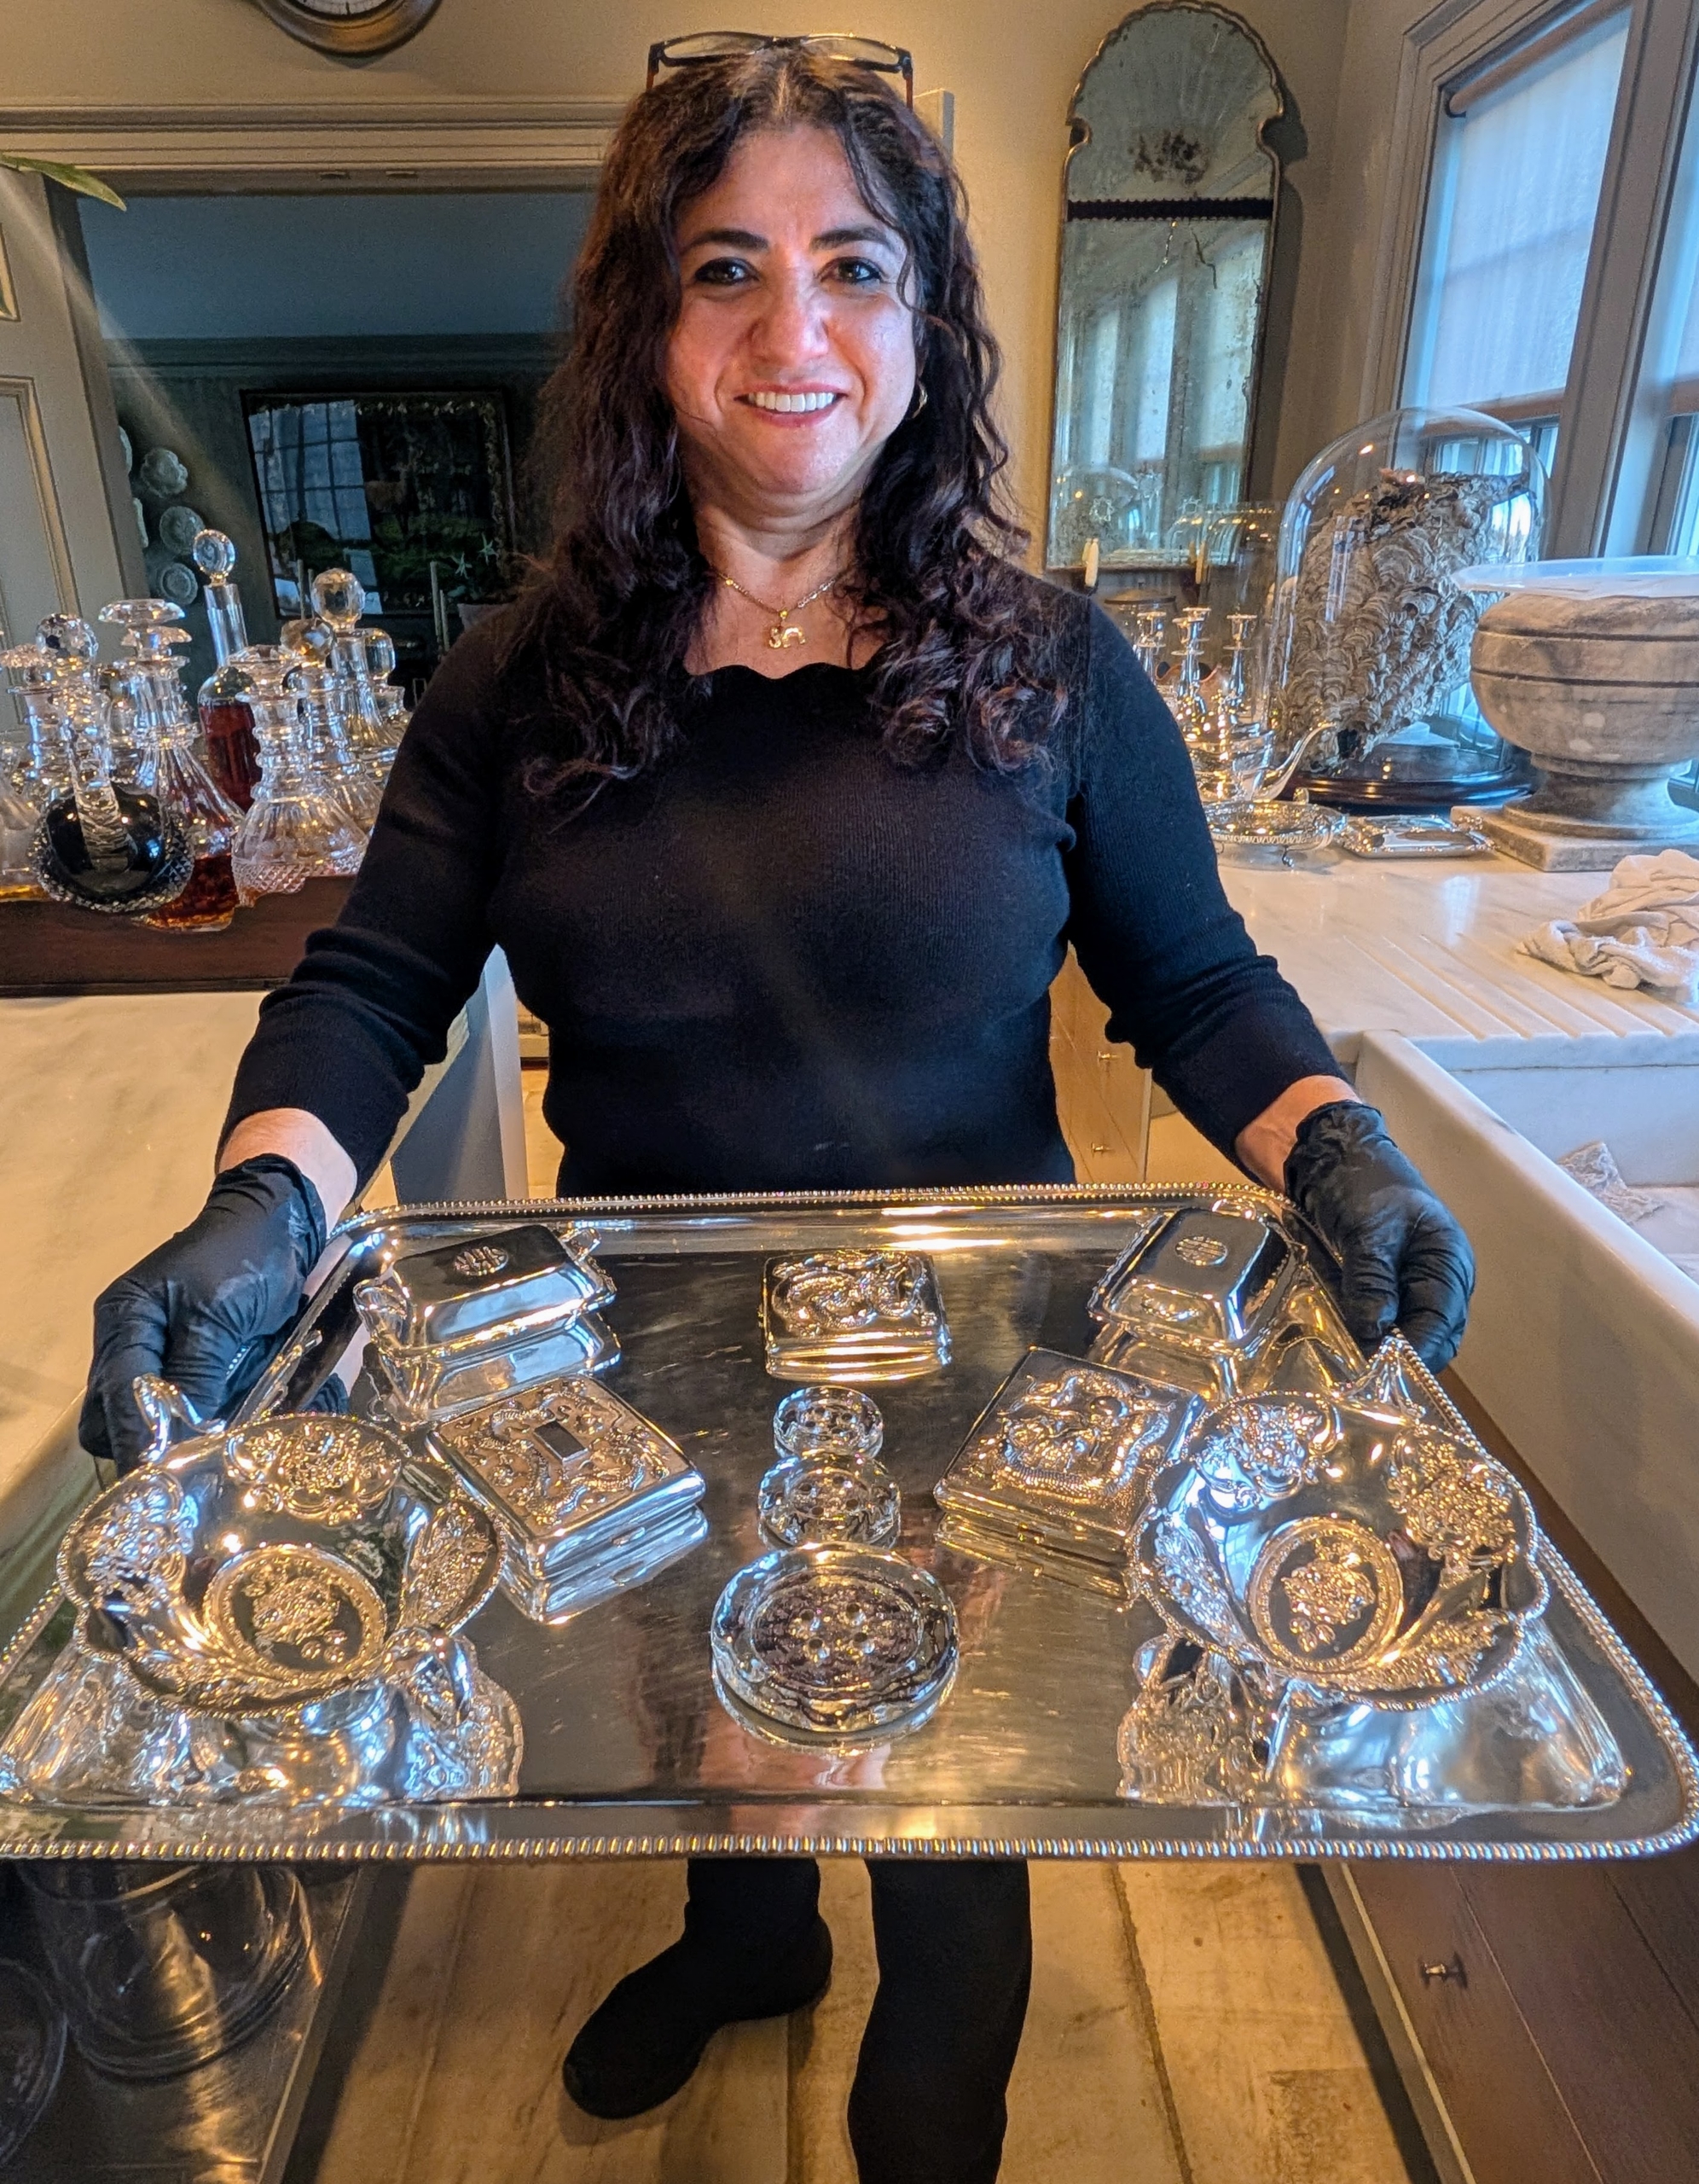
Here’s the same tray with everything newly cleaned and polished – everything looks great.
The tray of silver is displayed in my Brown Room, near my long dining table where guests will see them.
The joy of owning beautiful silver pieces does require some work to keep everything looking beautiful, but it is all well worth the effort.
Houseplants and cut flowers bring life to any room, especially during the cold, dreary days of winter.
Whenever I entertain, I like to decorate with an assortment of potted plants and cut blooms that provide color and interesting and expressive foliage. It’s an inexpensive way to add beauty and texture to any space. My head gardener, Ryan McCallister, brought some beautiful plants to display in my Winter House for a small gathering I am hosting this weekend.
Enjoy these photos.
I have some of the most beautiful orchids displayed on the tables and counters of my Winter House. Orchids come in a range of colors. Cymbidium, Phalaenopsis, and Dendrobium orchids come in blue, red, pink, white, purple, yellow, orange, and green.
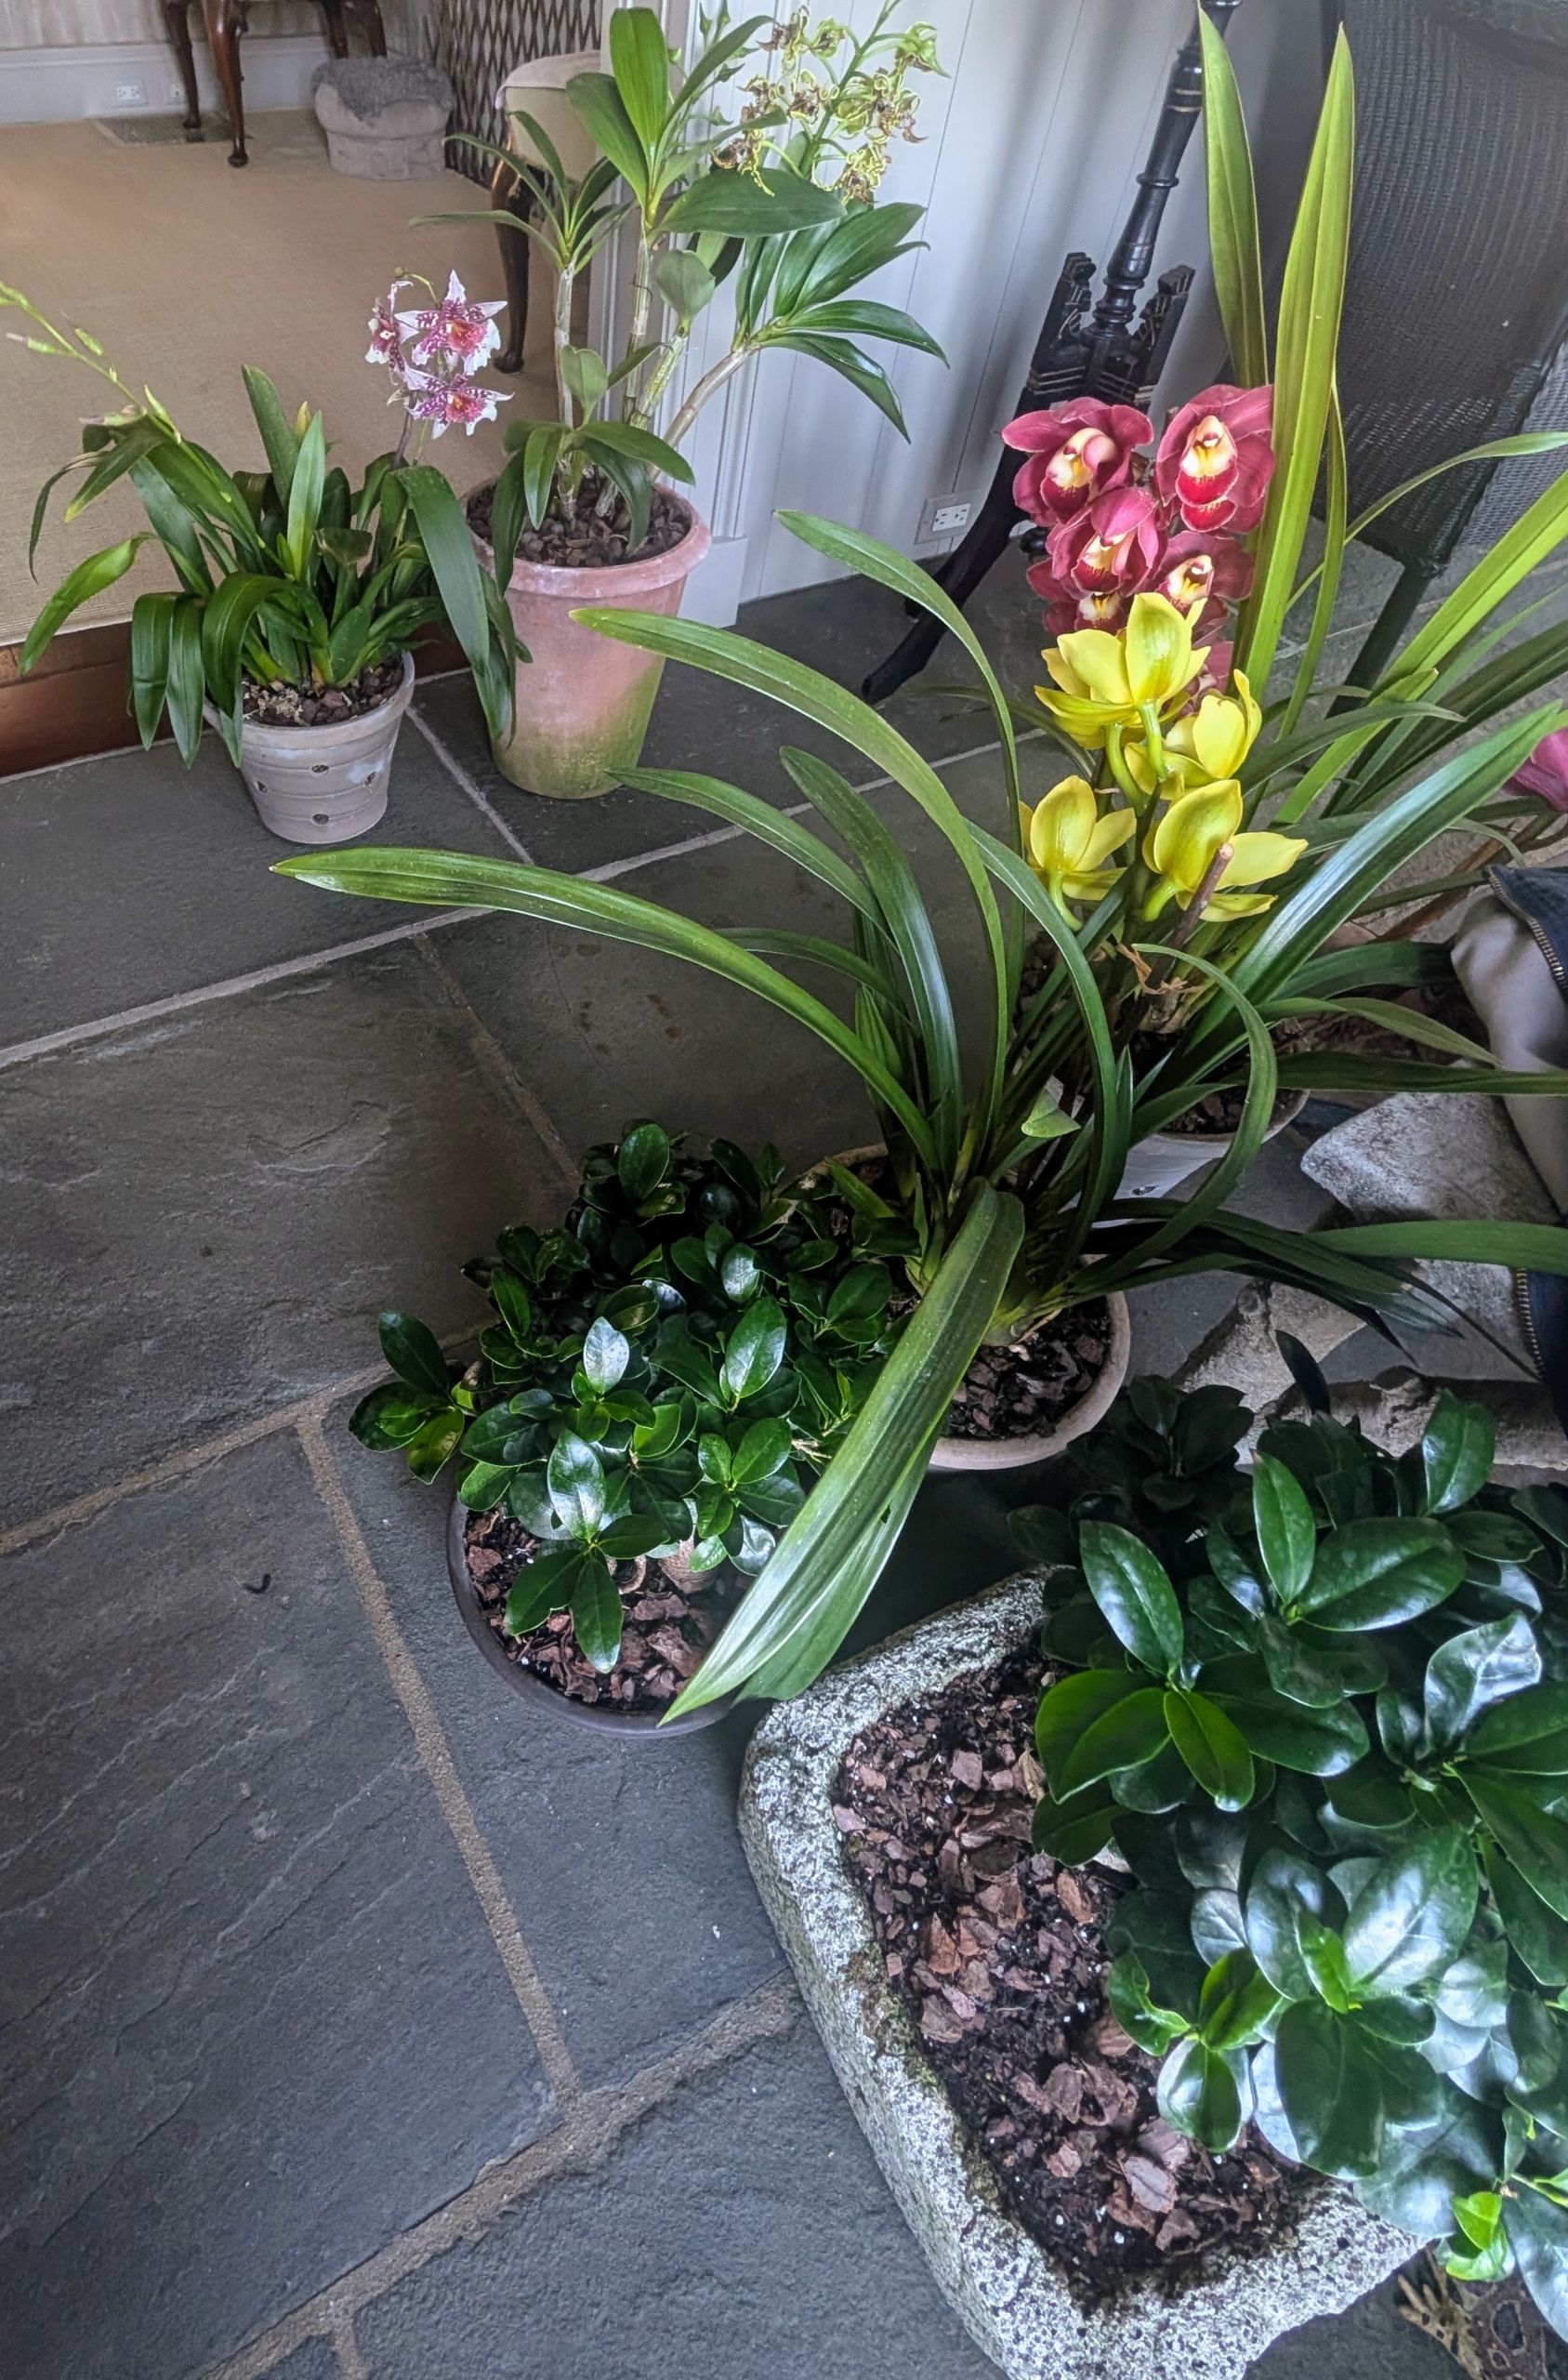
Ryan brings the group of selected potted specimens in through my enclosed porch. Ryan selects those specimens that are blooming or looking especially lush. He also selects where they will be placed depending on size, light needs, and how many of each variety he brings inside.
I use glass, silver, or copper plates purchased from tag sales or antiques fairs, under the pots to catch any water. I find them more decorative than the clay saucers that come with the pots. Here, Ryan also puts furniture protectors on the bottom, so the plates do not scratch any furniture.
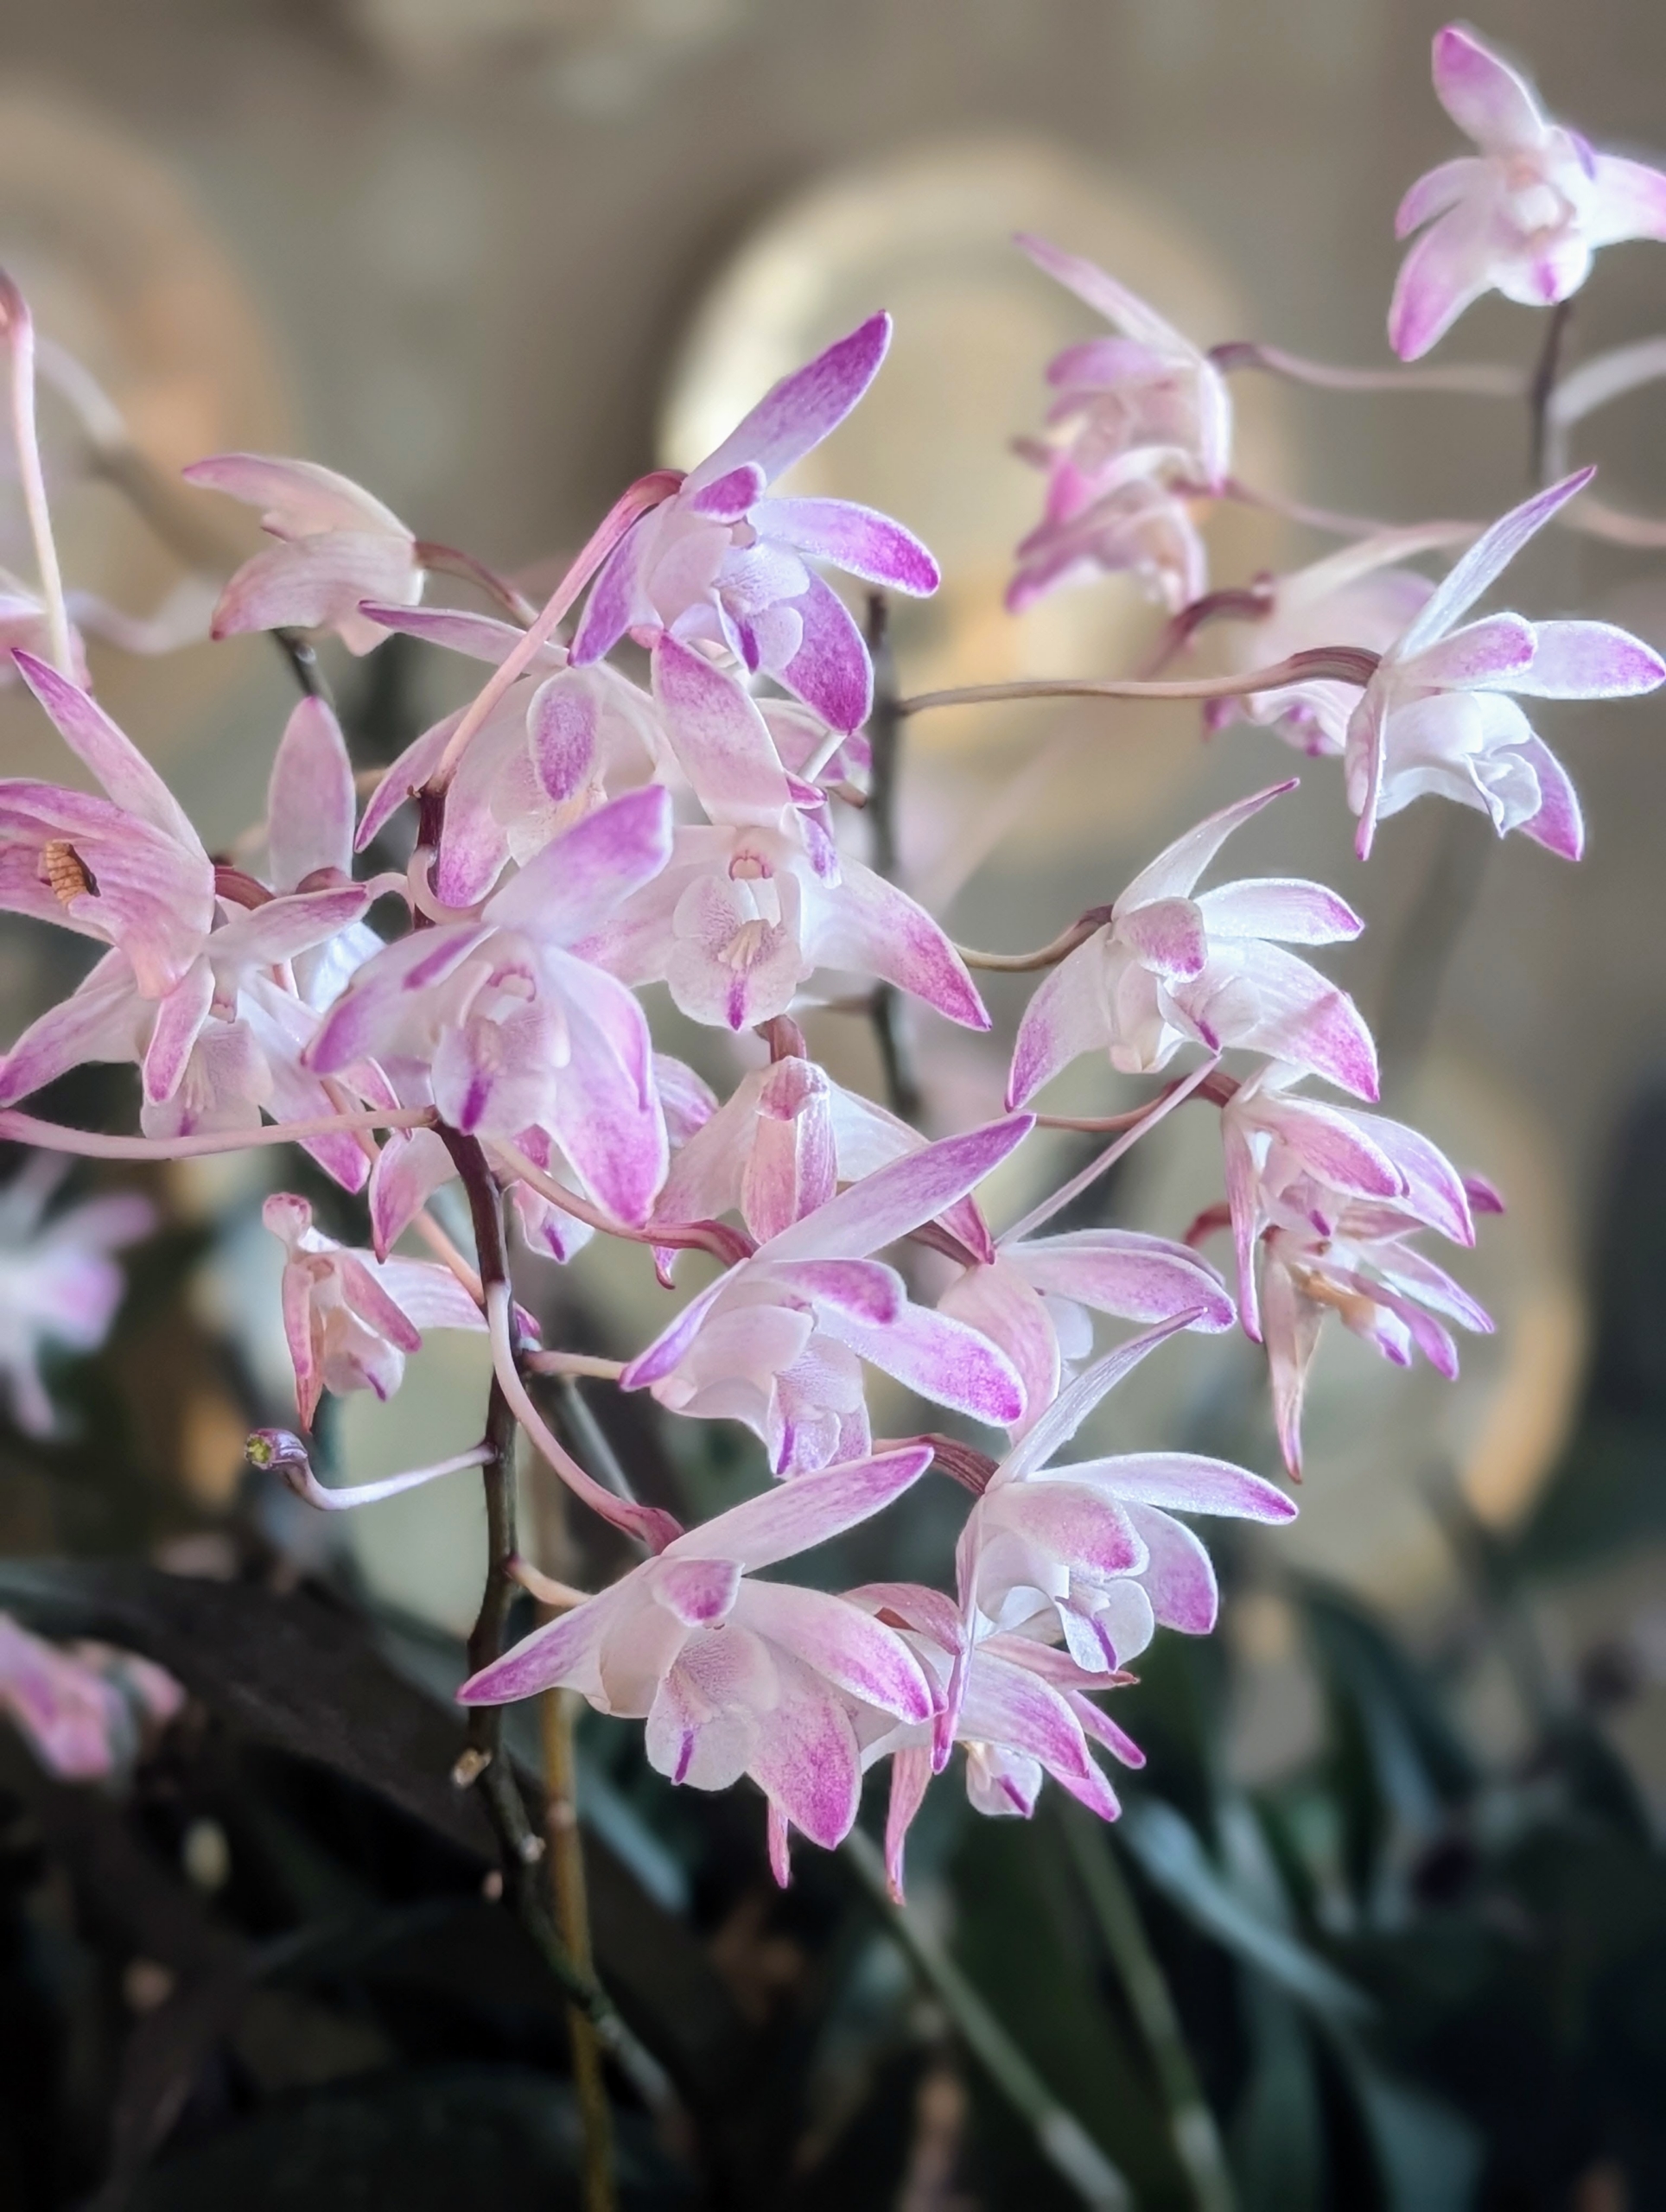
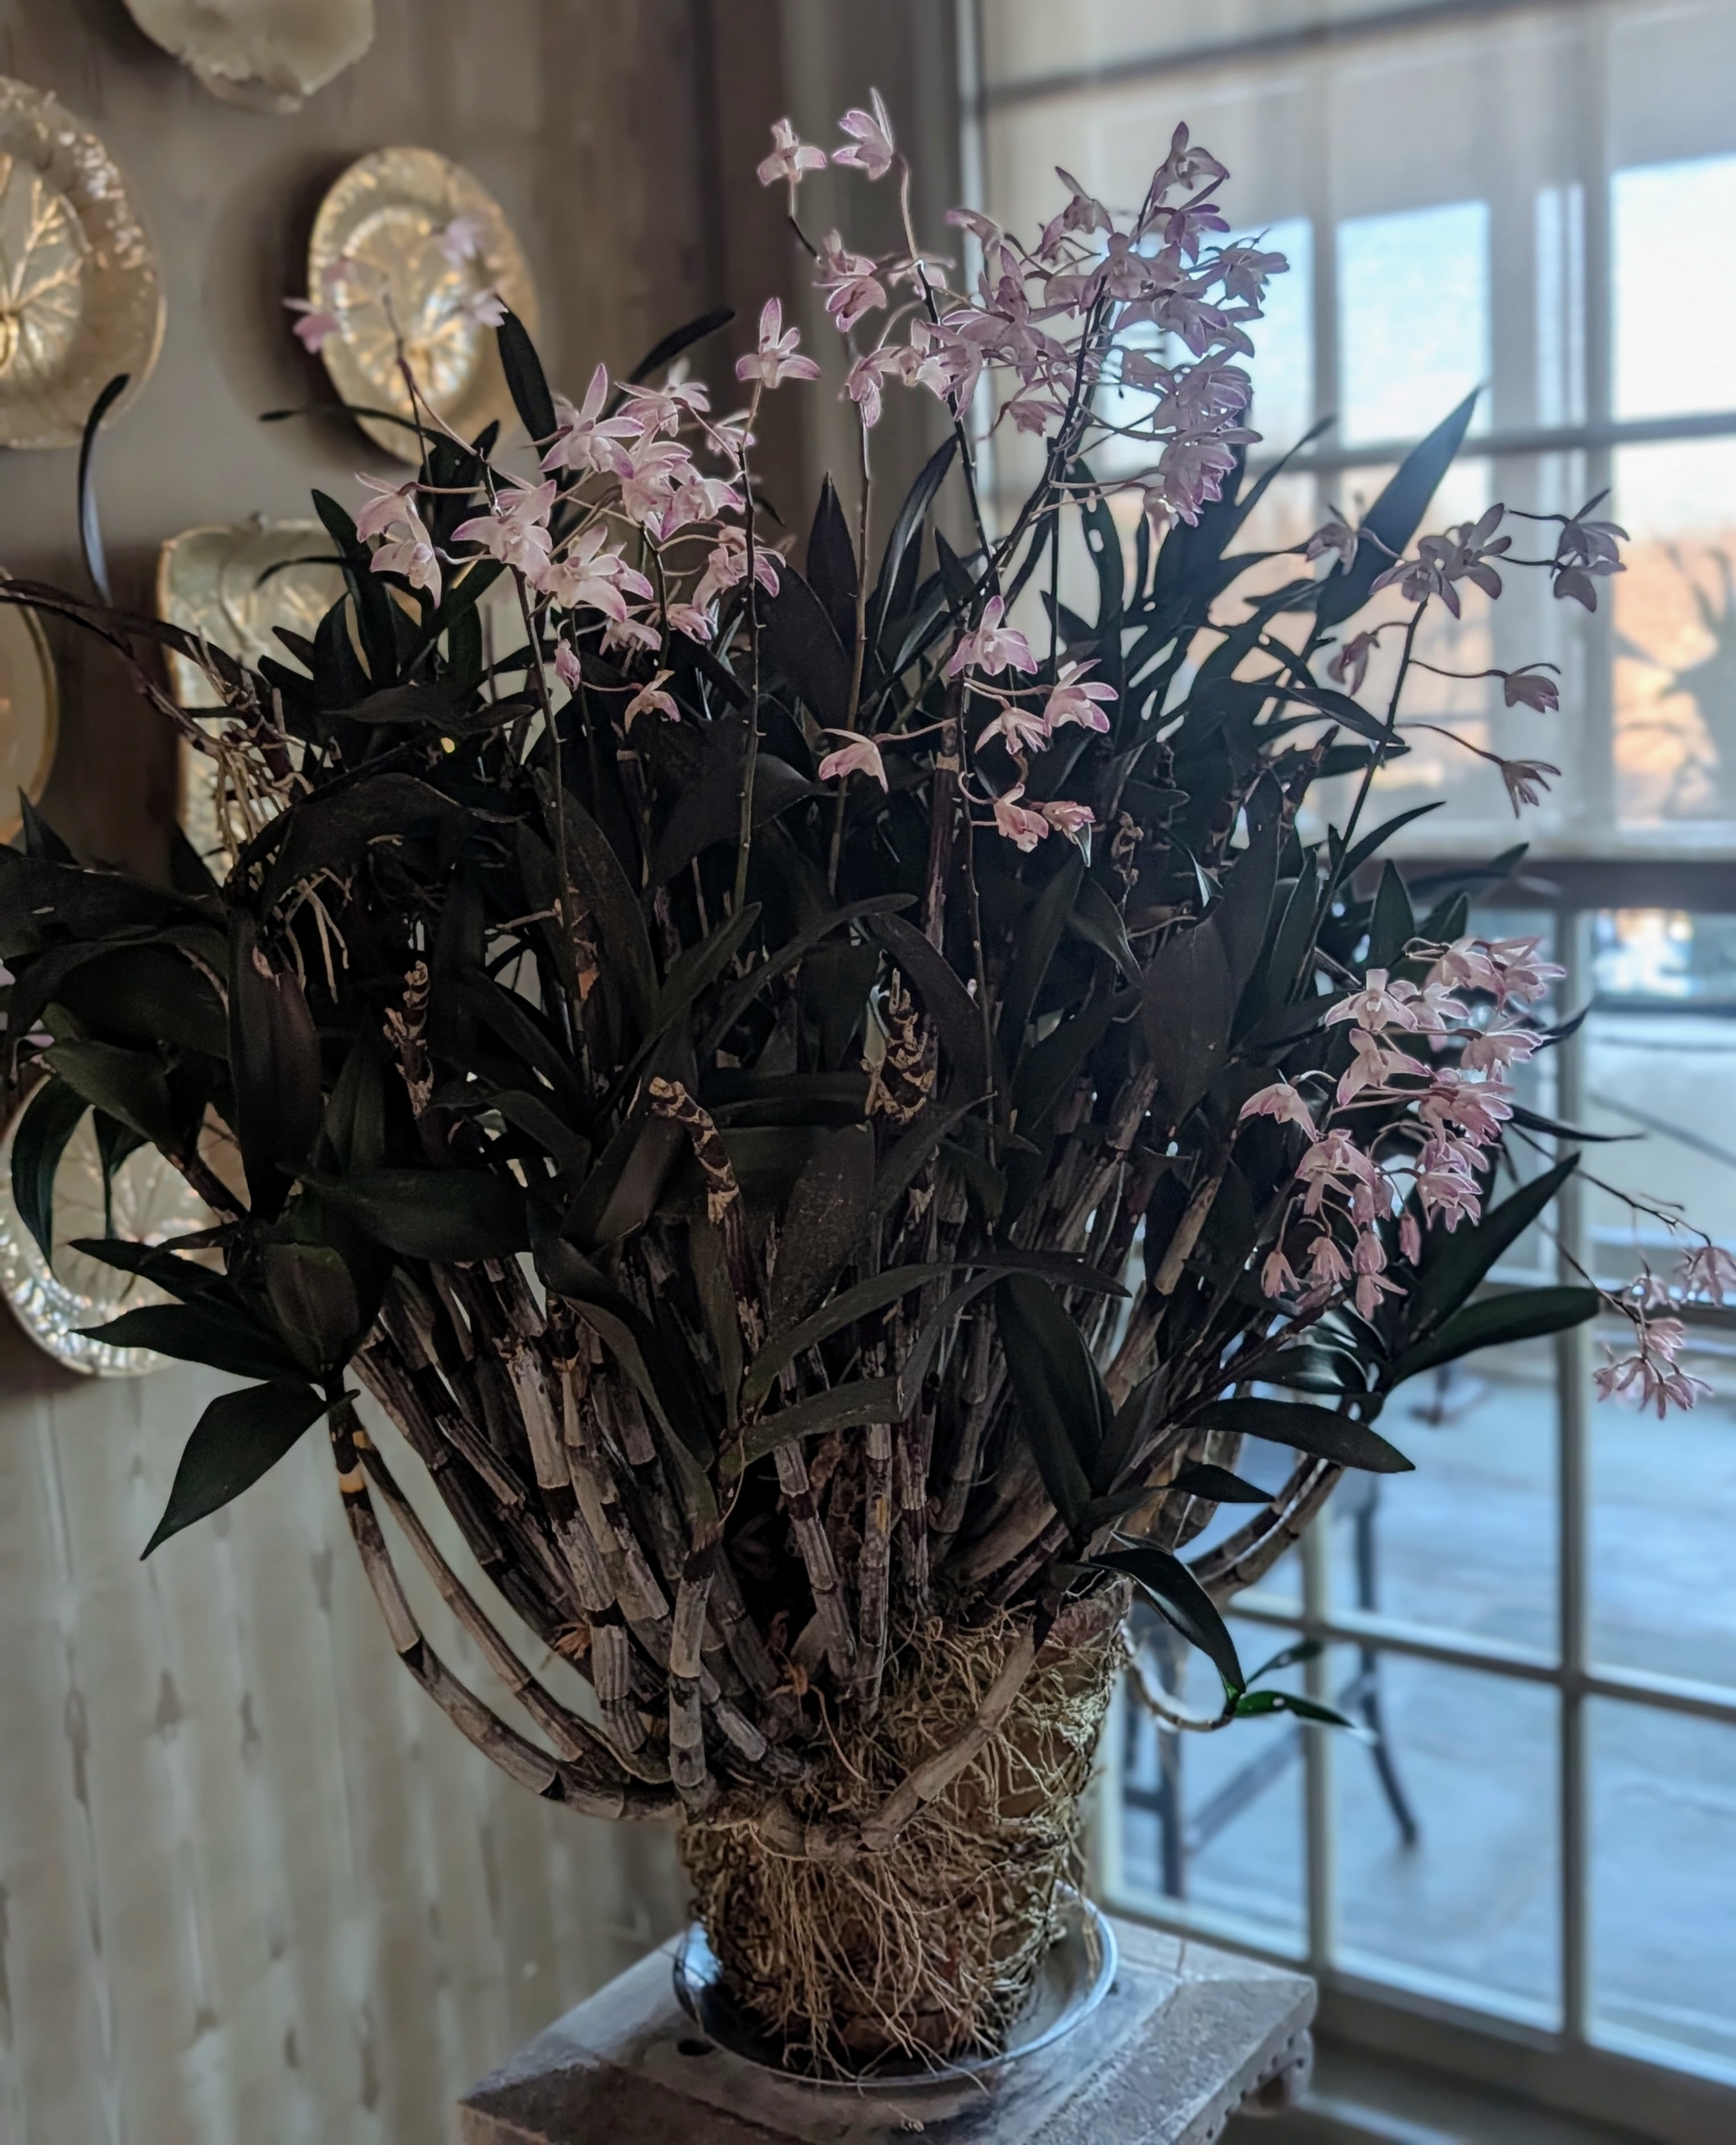
Here is Ryan with a blooming Dendrobium orchid. All Dendrobiums are epiphytes, which means they grow on other plants. In nature, they grow on the branches of trees.
Dendrobium flowers are bright, showy, and fragrant. Native to Southeast Asia, the genus Dendrobium is among the largest of all orchid groups.
This Dedrobium is positioned on a strong stone pedestal where it can be seen when I walk through my sitting room.
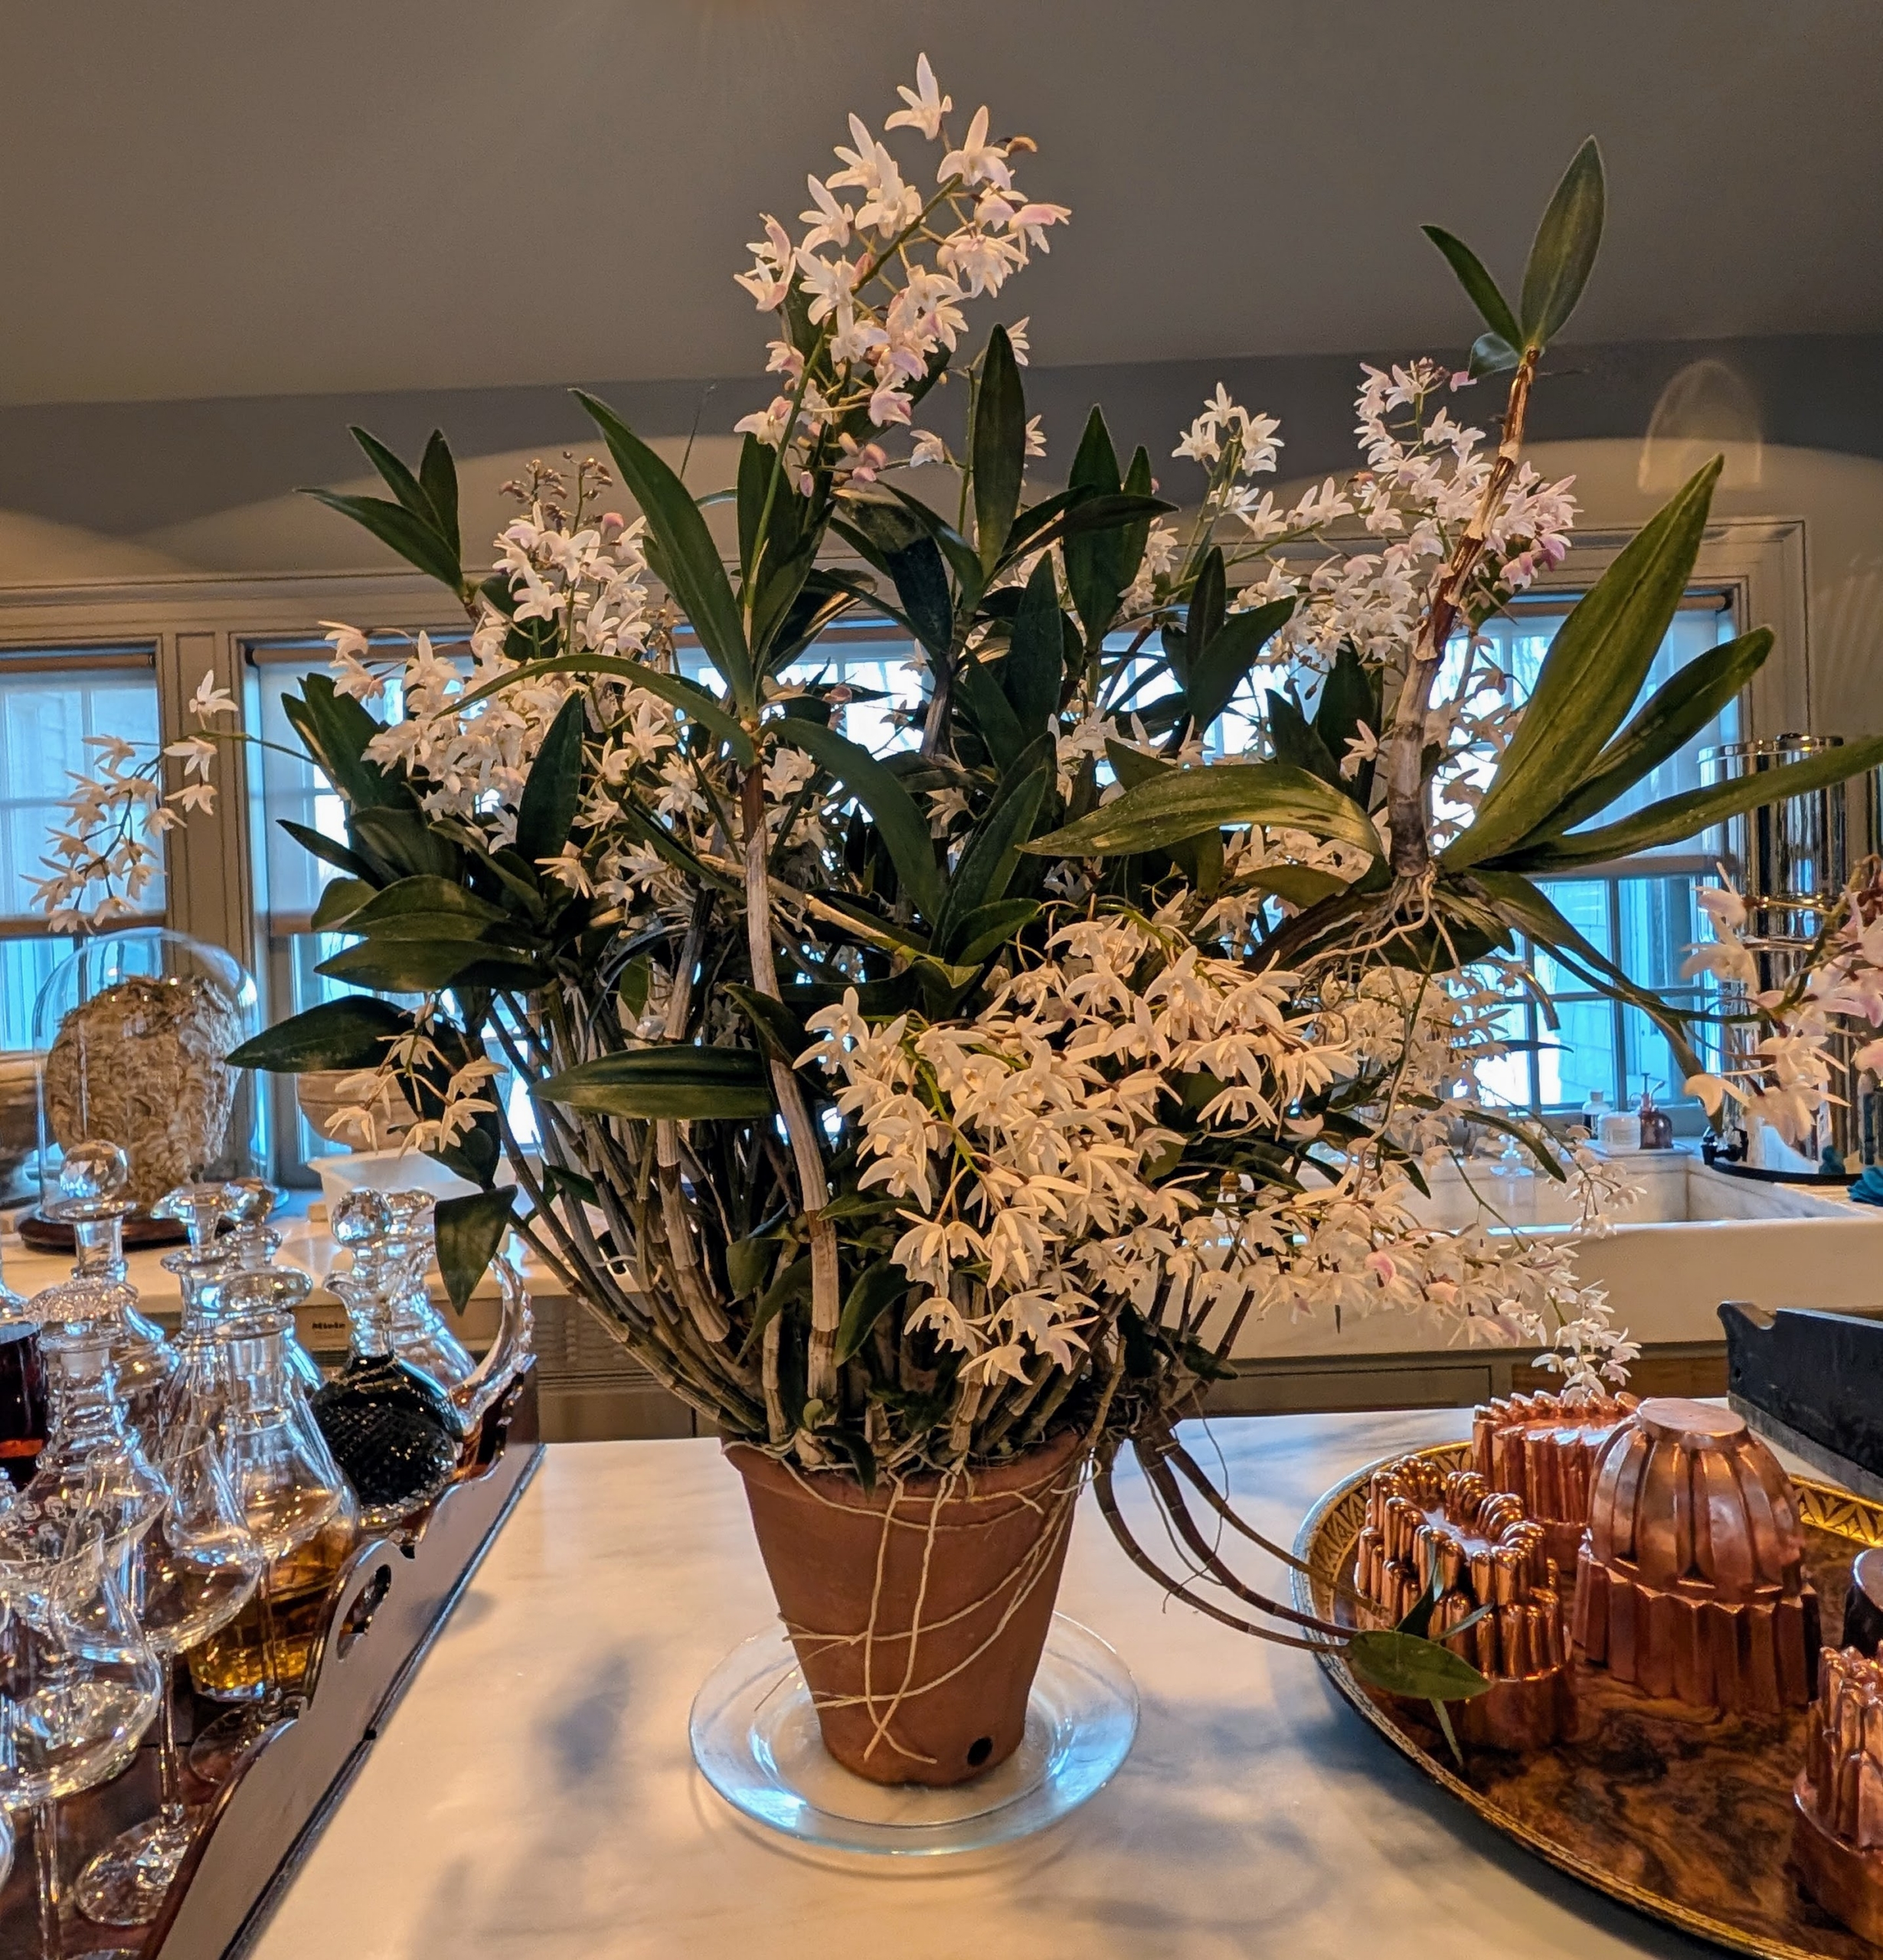
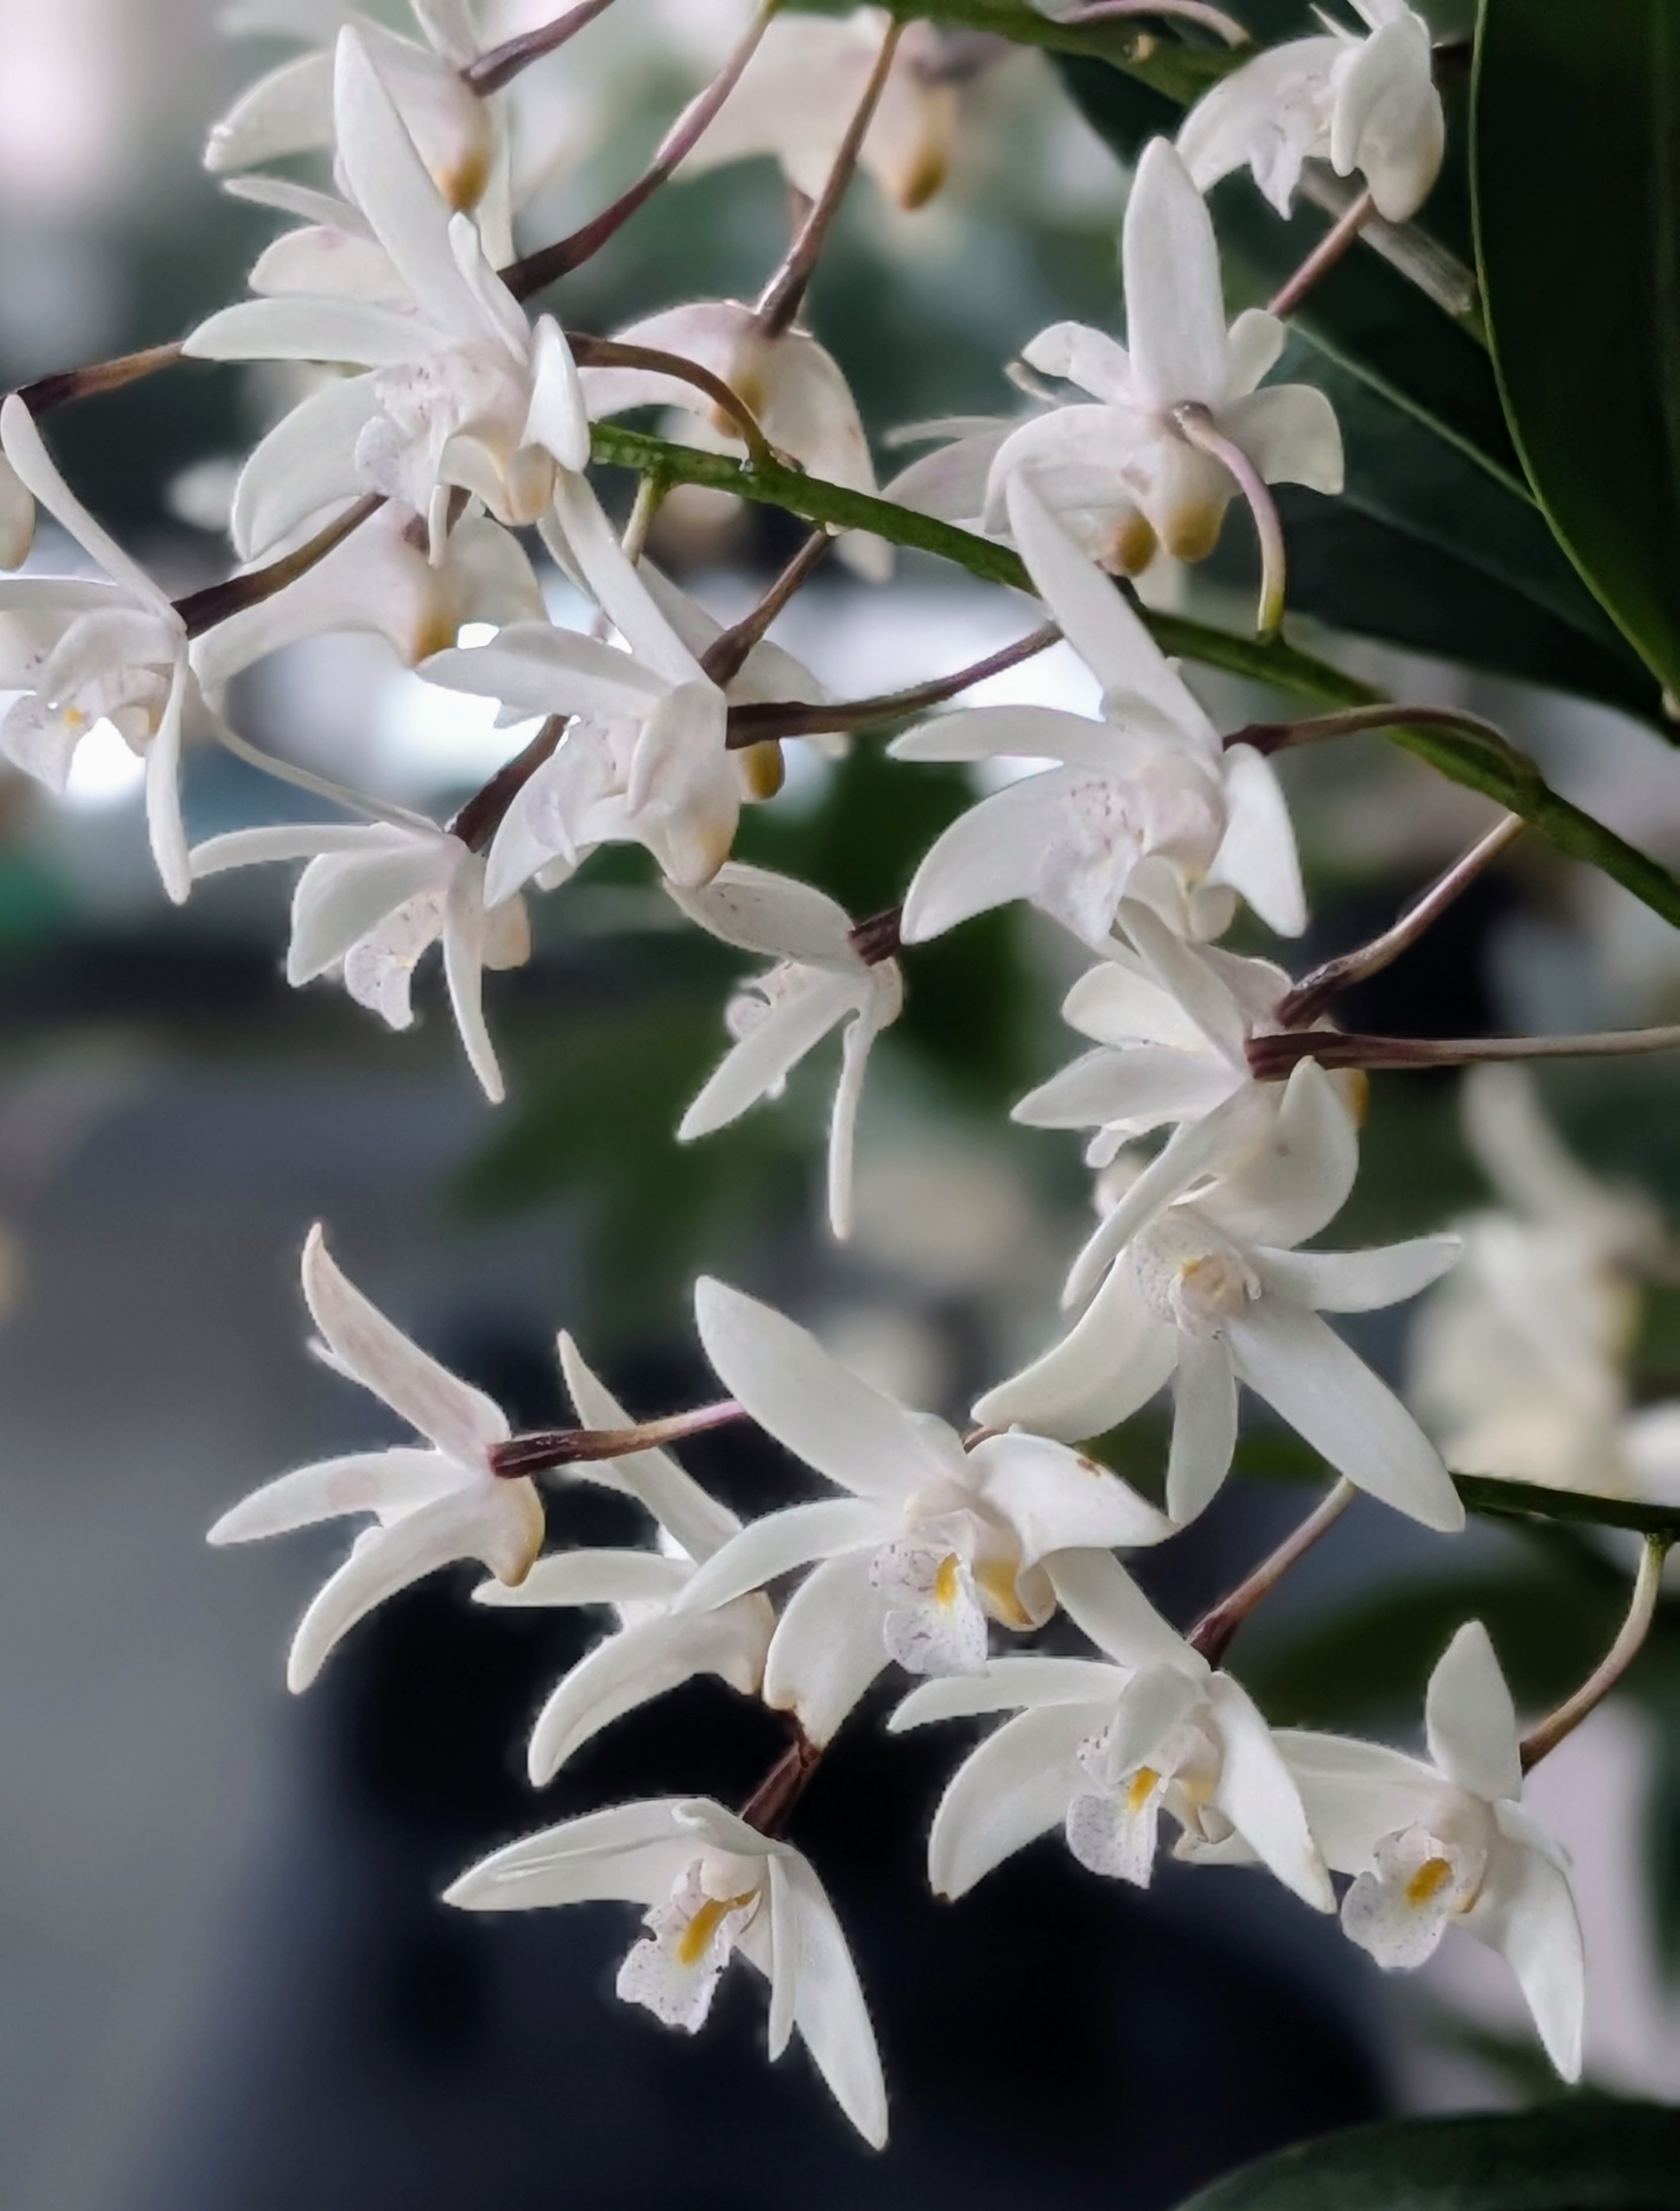
This white Dendrobium is on my servery counter. The evergreen canes are topped by five inch long inflorescence, or cluster of flowers, each one producing four to eight blooms.
Dendrobium flowers are smaller orchid blooms. They have a butterfly-like shape and are about three inches across.
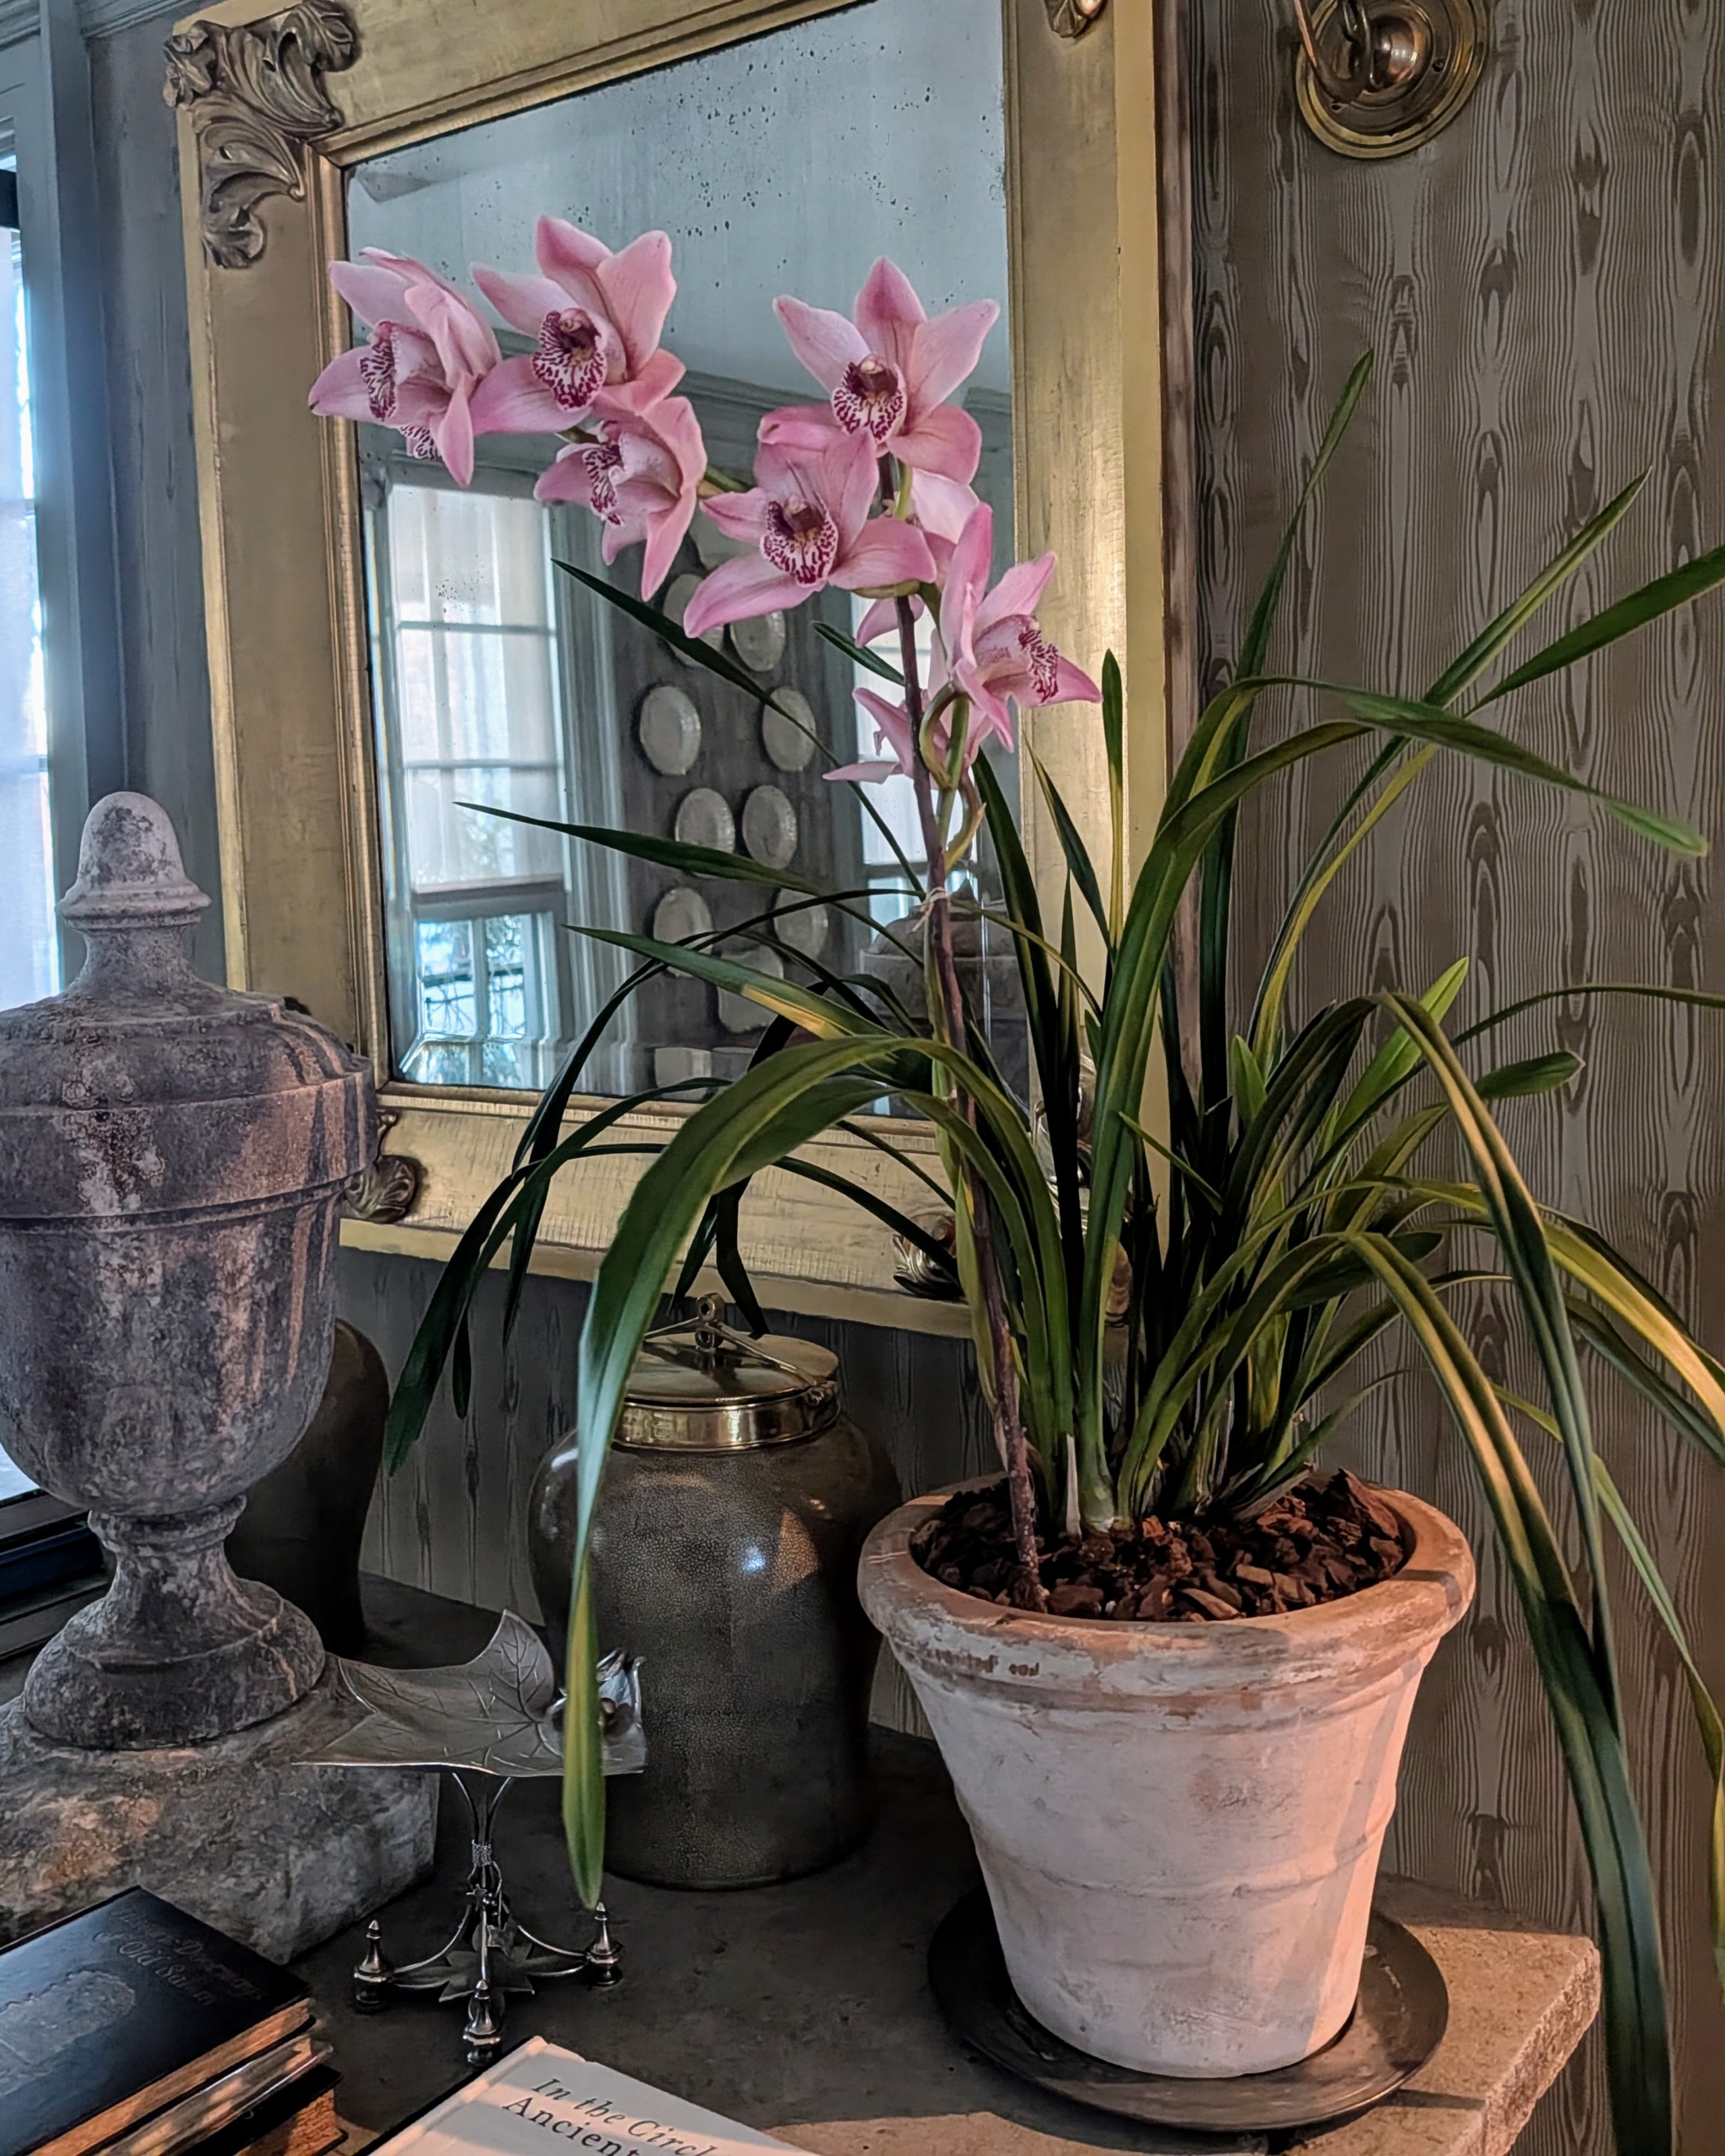
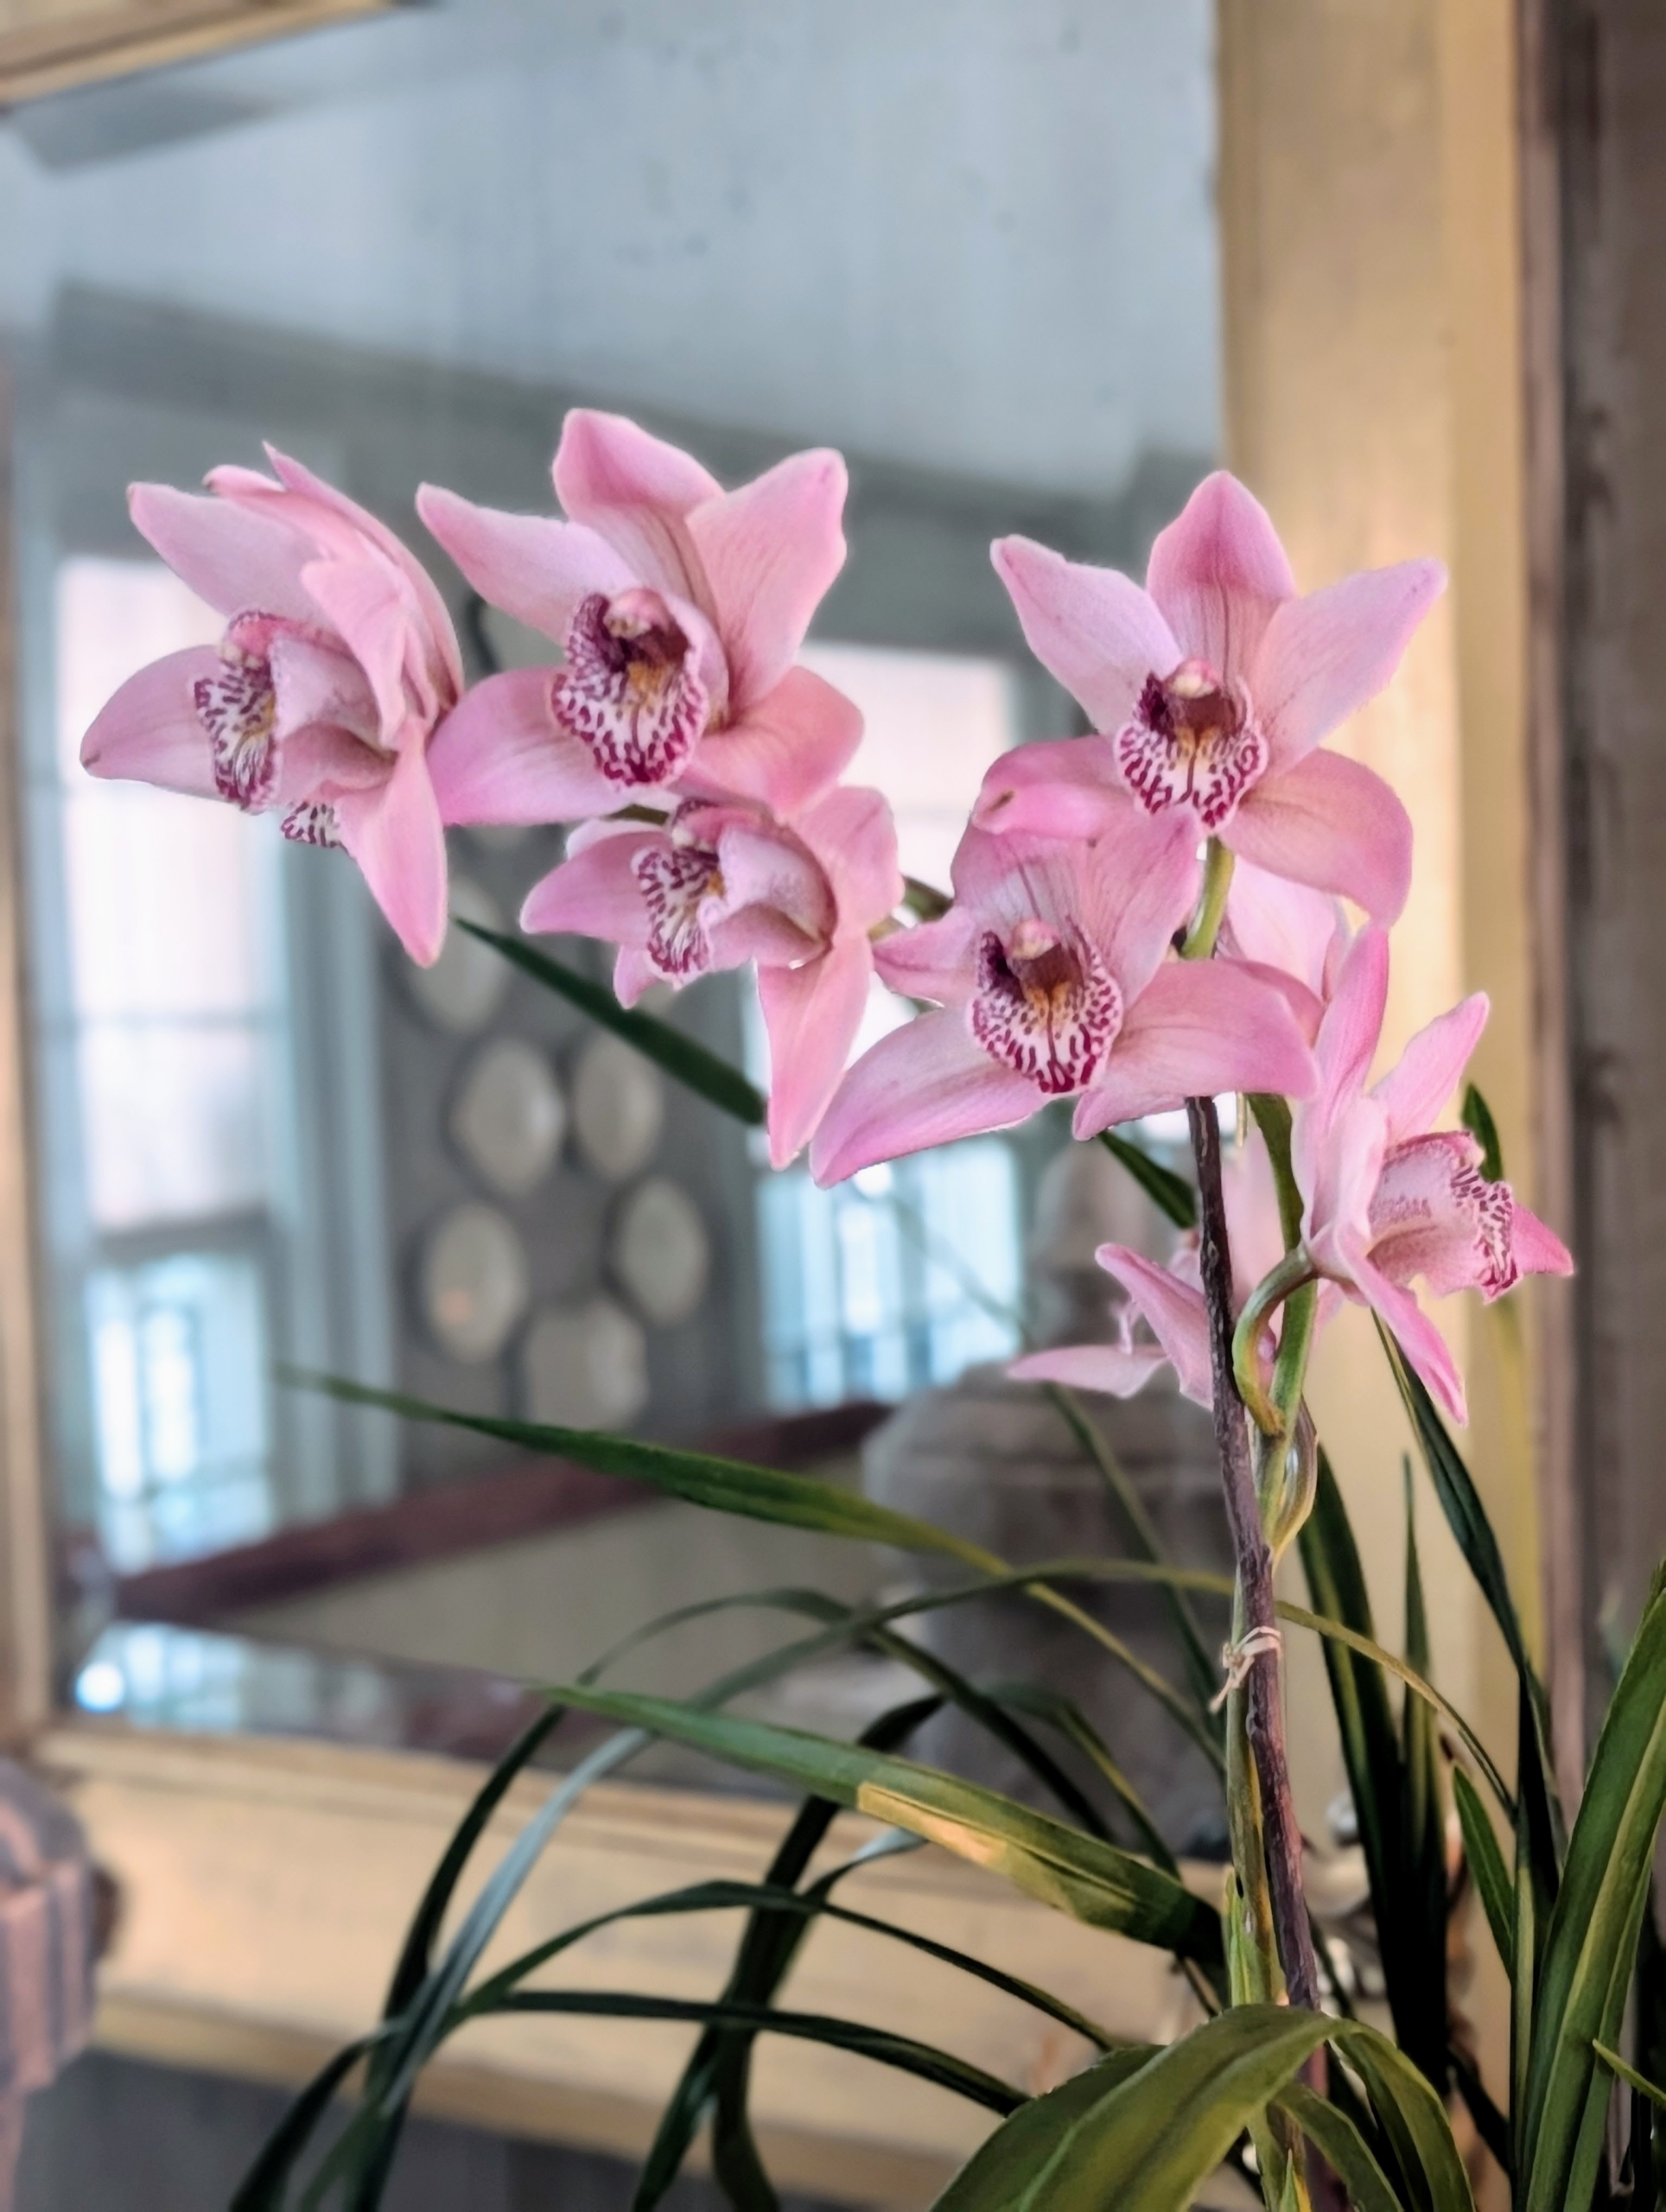
Cymbidium orchids are prized for their sprays of long-lasting flowers. This is a Cymbidium hybrid – Cymbidium ‘Solana Star,’ Cymbidium Wood Wilson ‘White Knight,’ x Cymbidium Solana Rose ‘Nancy.’
The flowers typically have three sepals and two petals each with a prominent three-lobed labellum making them appear “boat like.”
When keeping orchids in the home, south and east-facing windows work best. When provided with a proper balance of light, humidity, and temperature, these plants will have healthy bright green leaves.
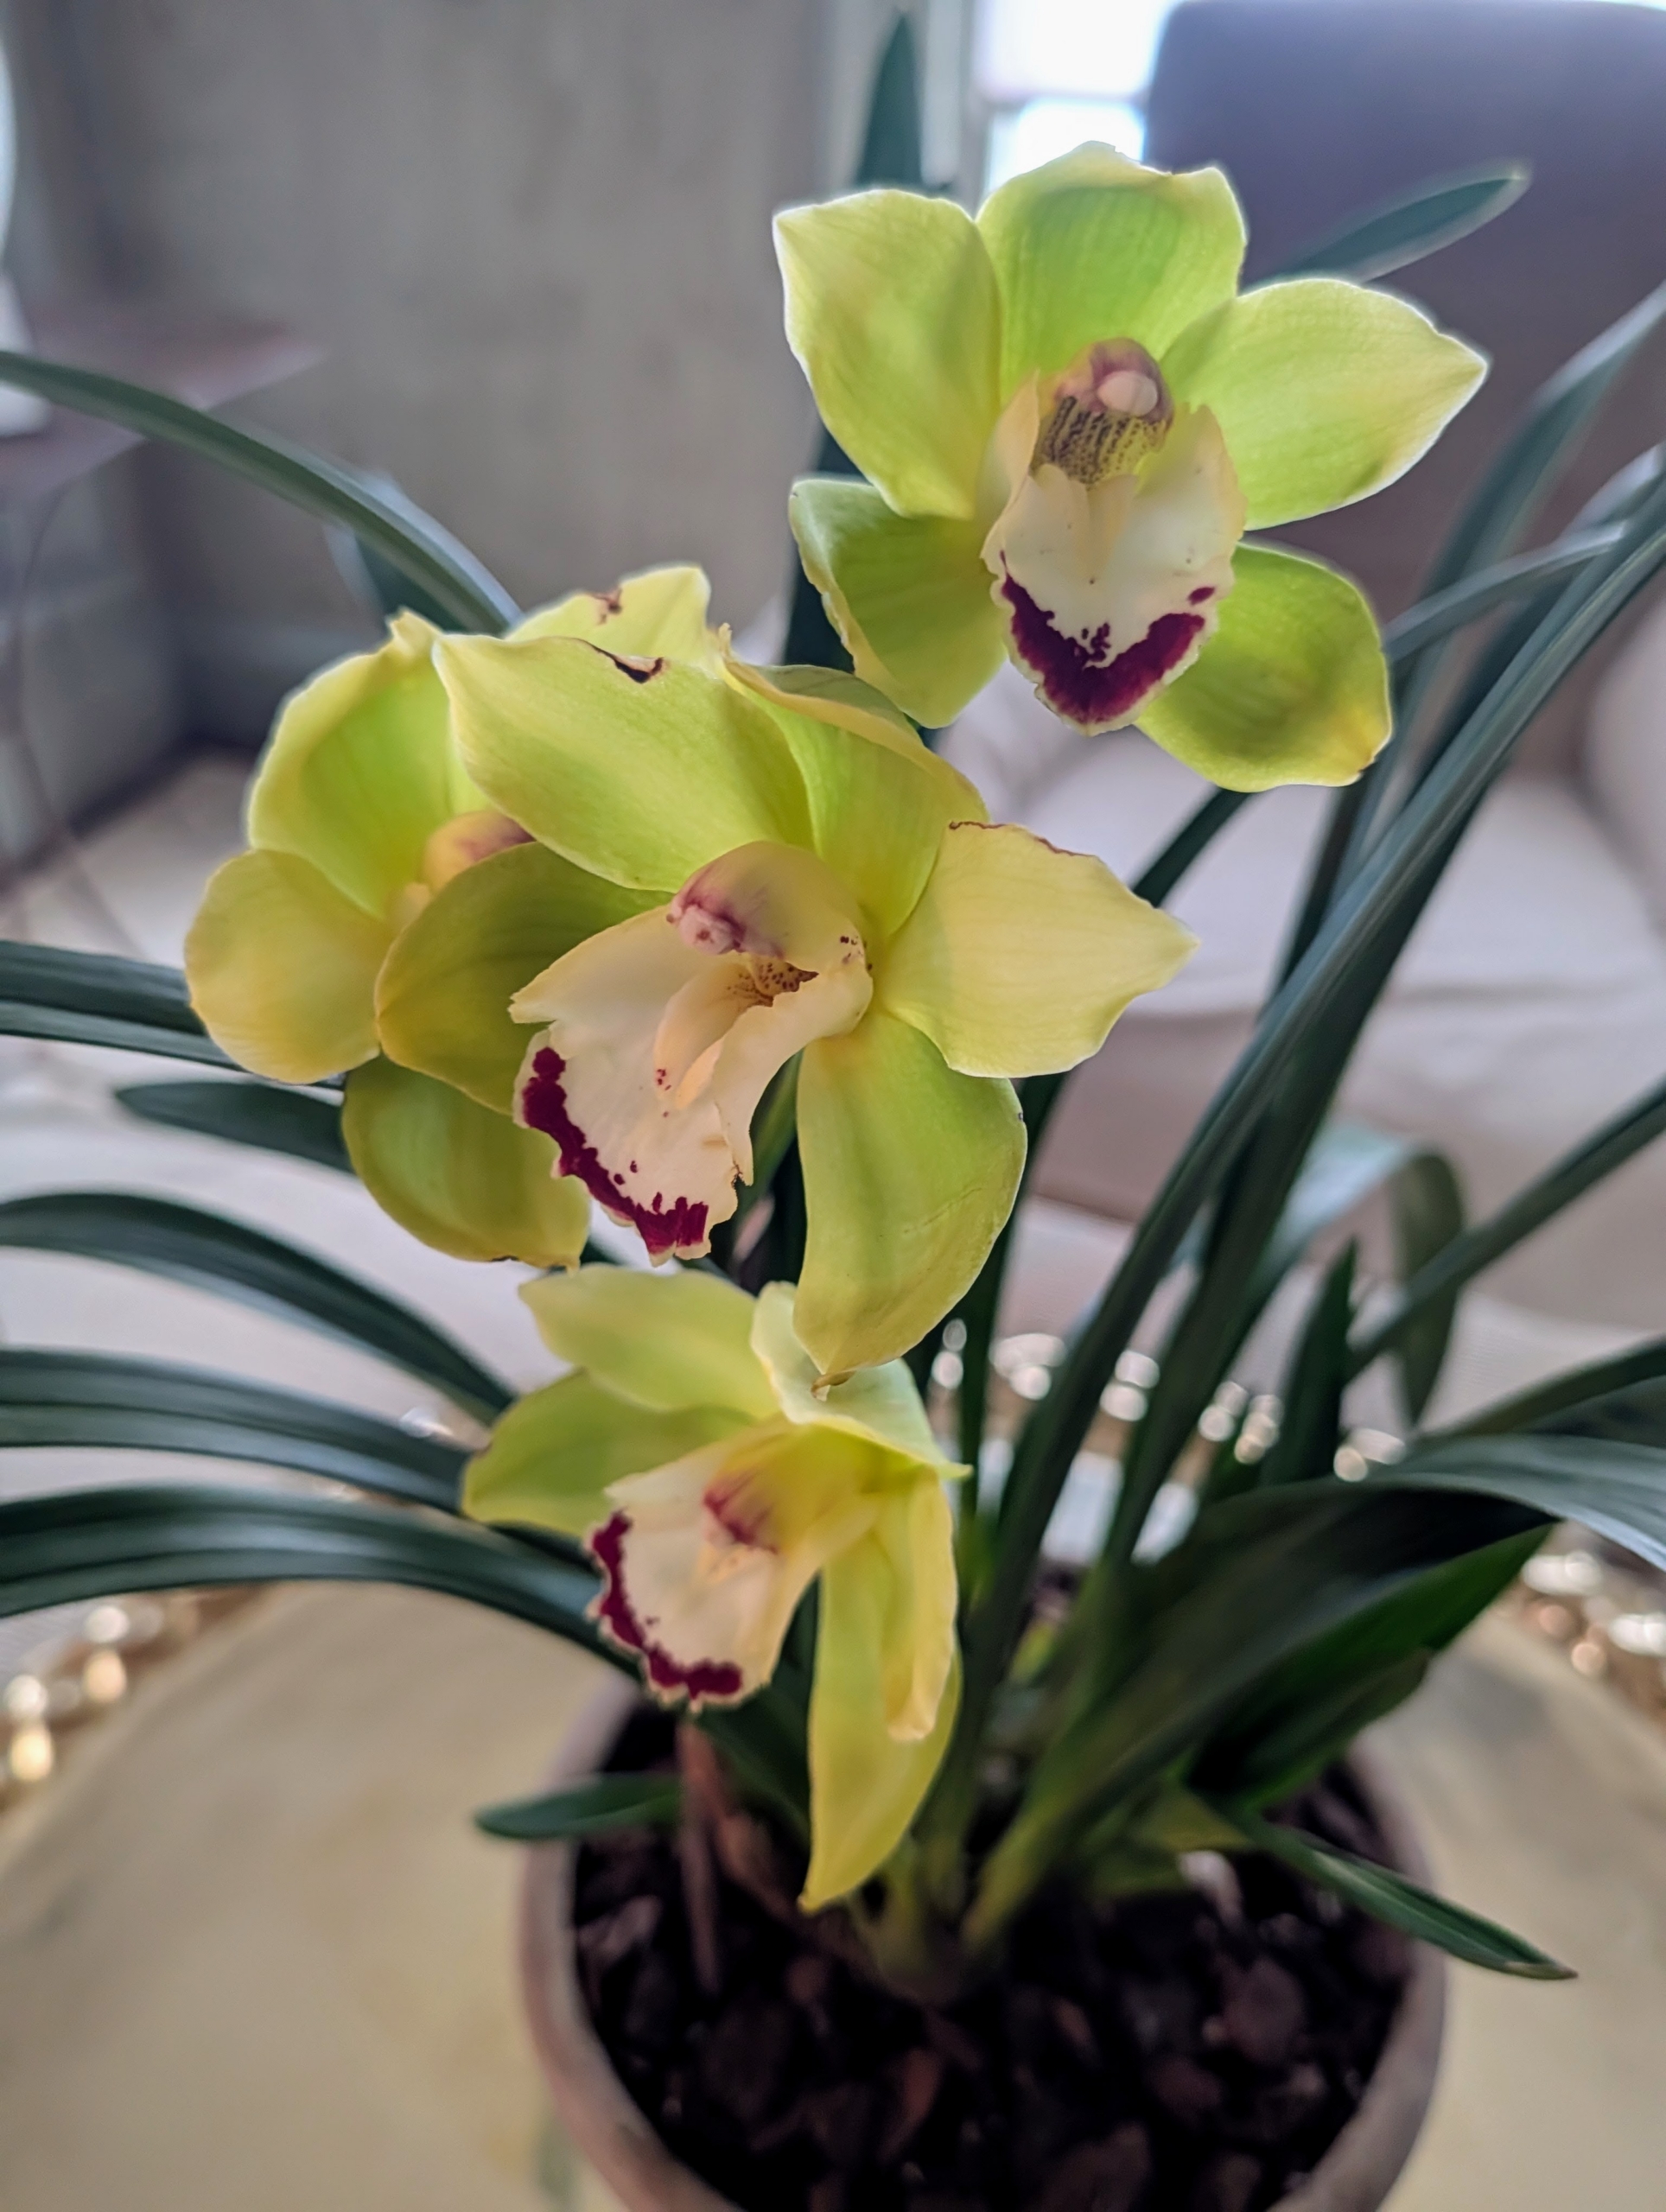
I put this on a brass coffee table in my sitting room. It is Cymbidium ‘Jade.’
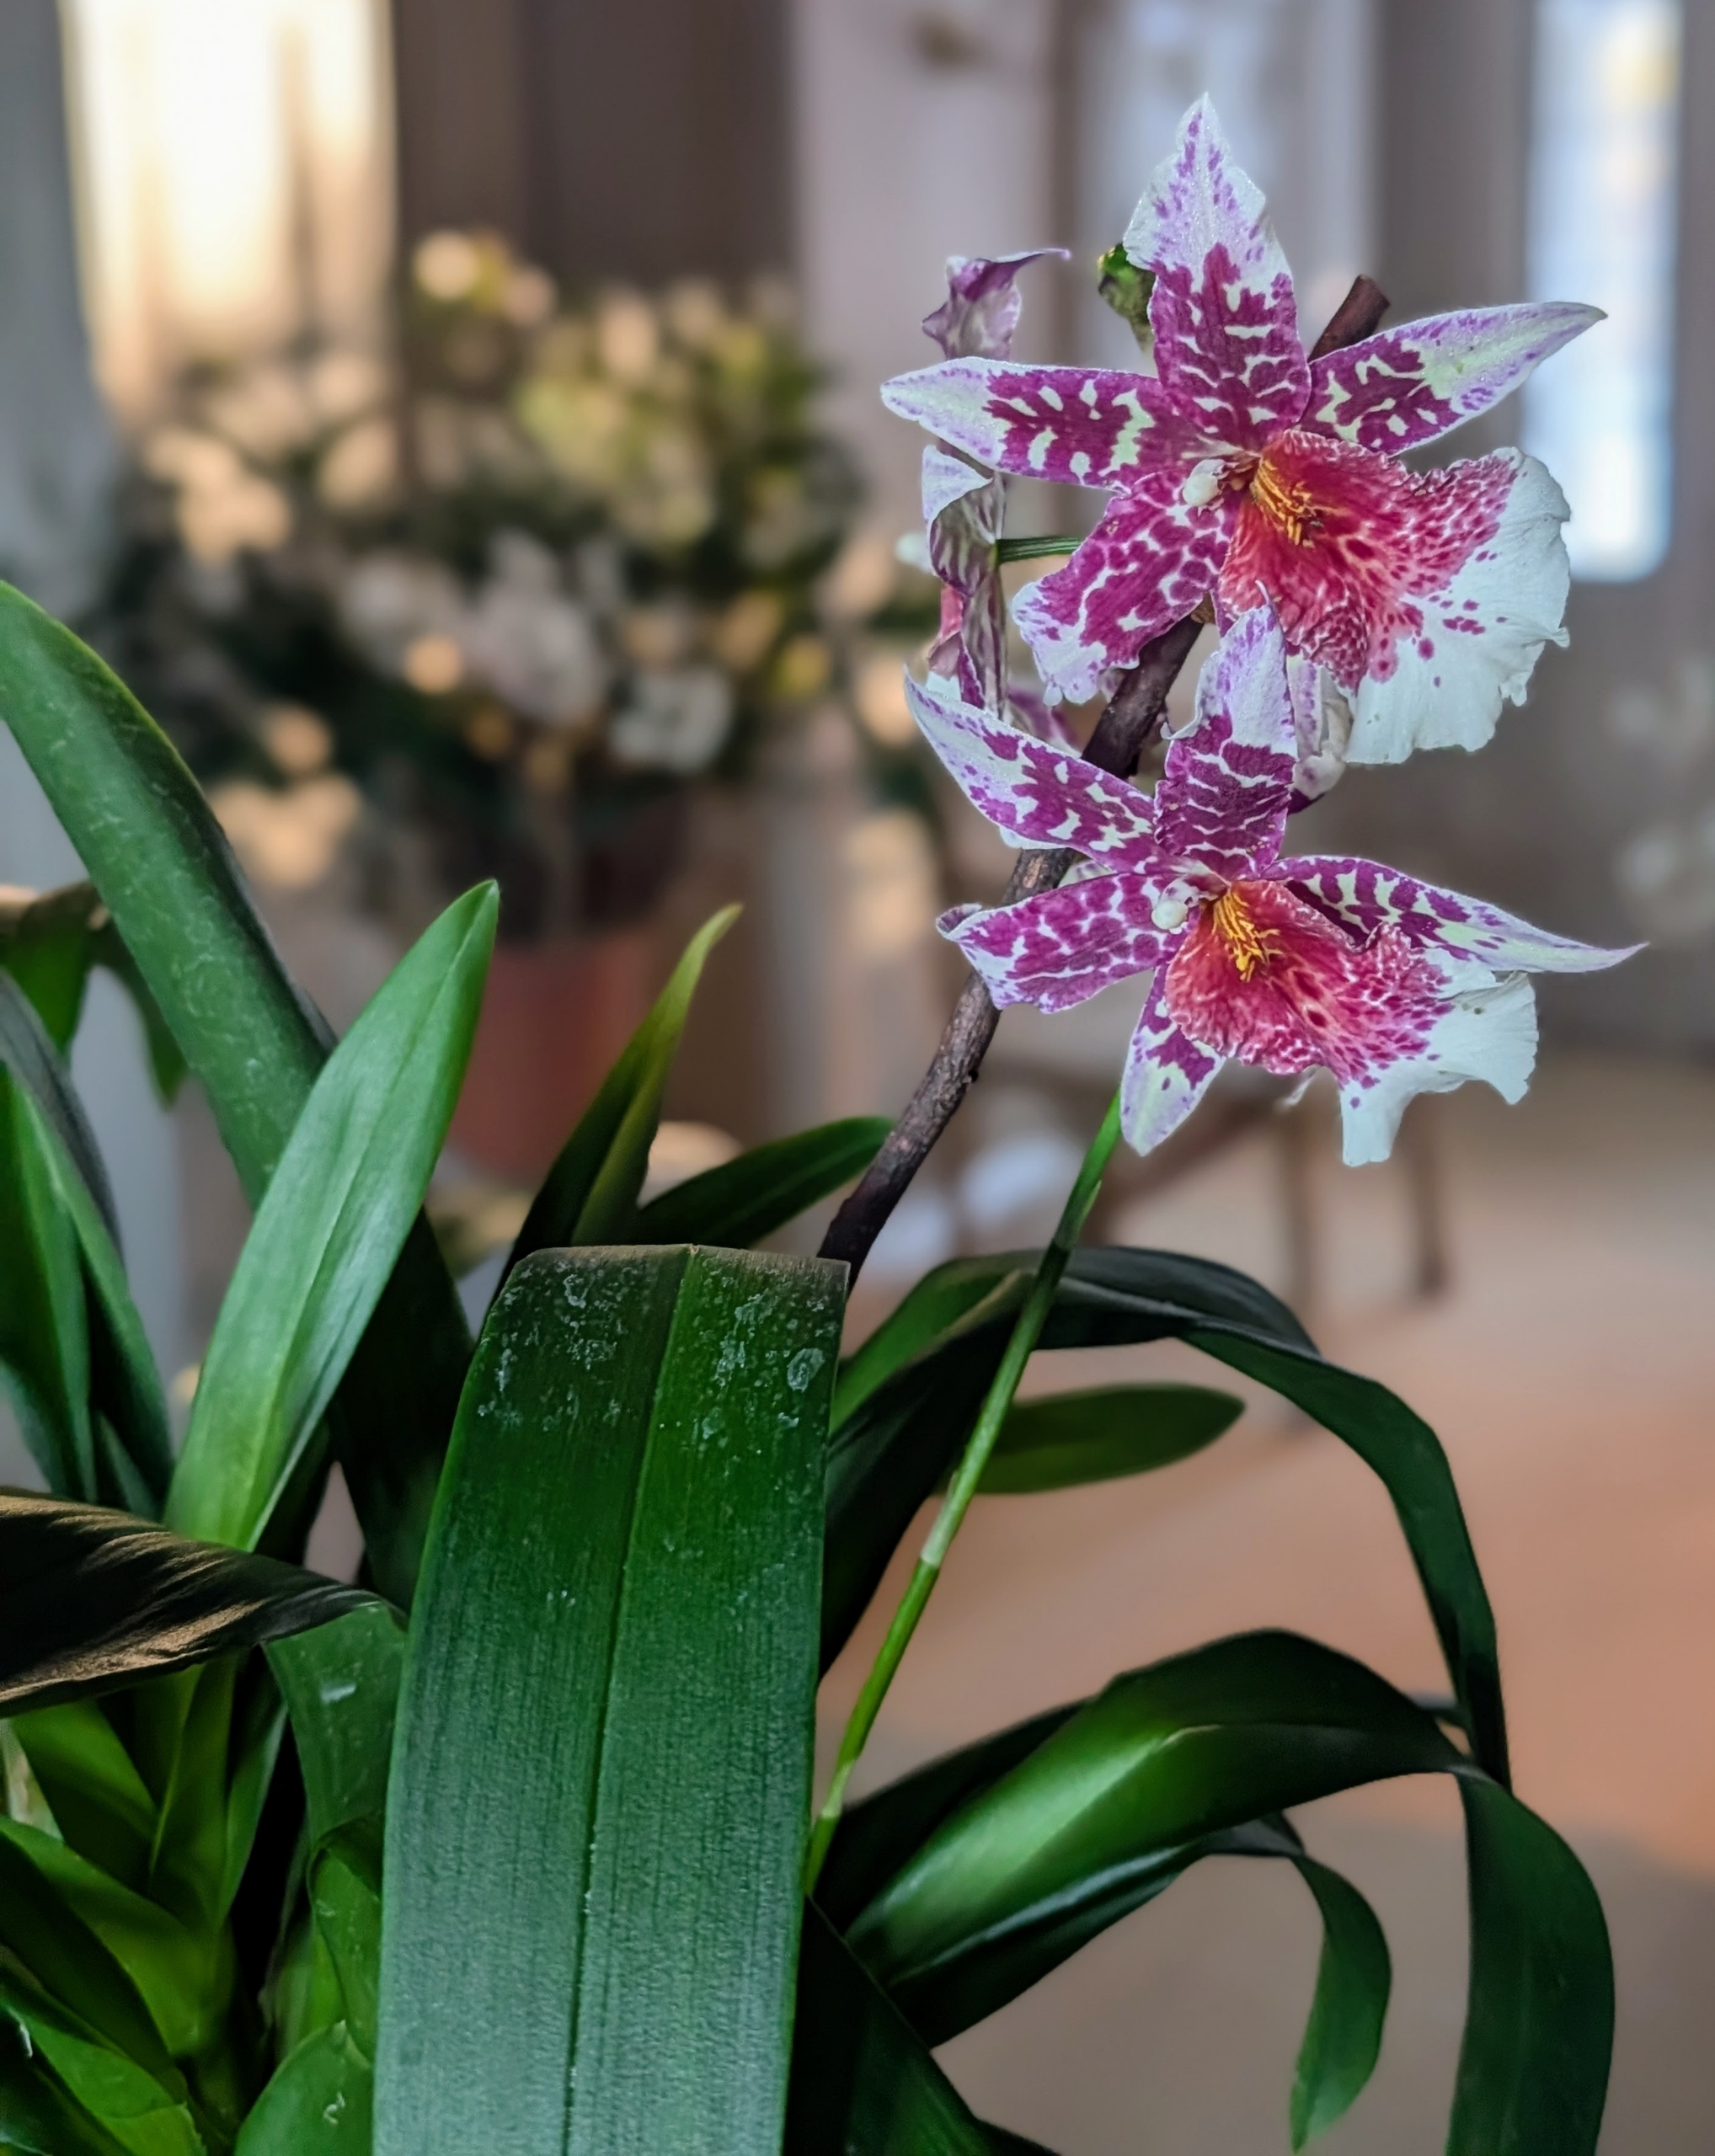
Beallara Marfitch ‘Howard’s Dream’ AM/AOS is a stunning Oncidium orchid hybrid. It features striking psychedelic colored blooms in pink, purple and white. And, it can bloom twice a year when cared for properly.
Here is my silver shaded Persian, Magnolia. She enjoys lounging in my enclosed porch and watching the placement of every plant. Magnolia is one of four cats that live with me in my Winter House.
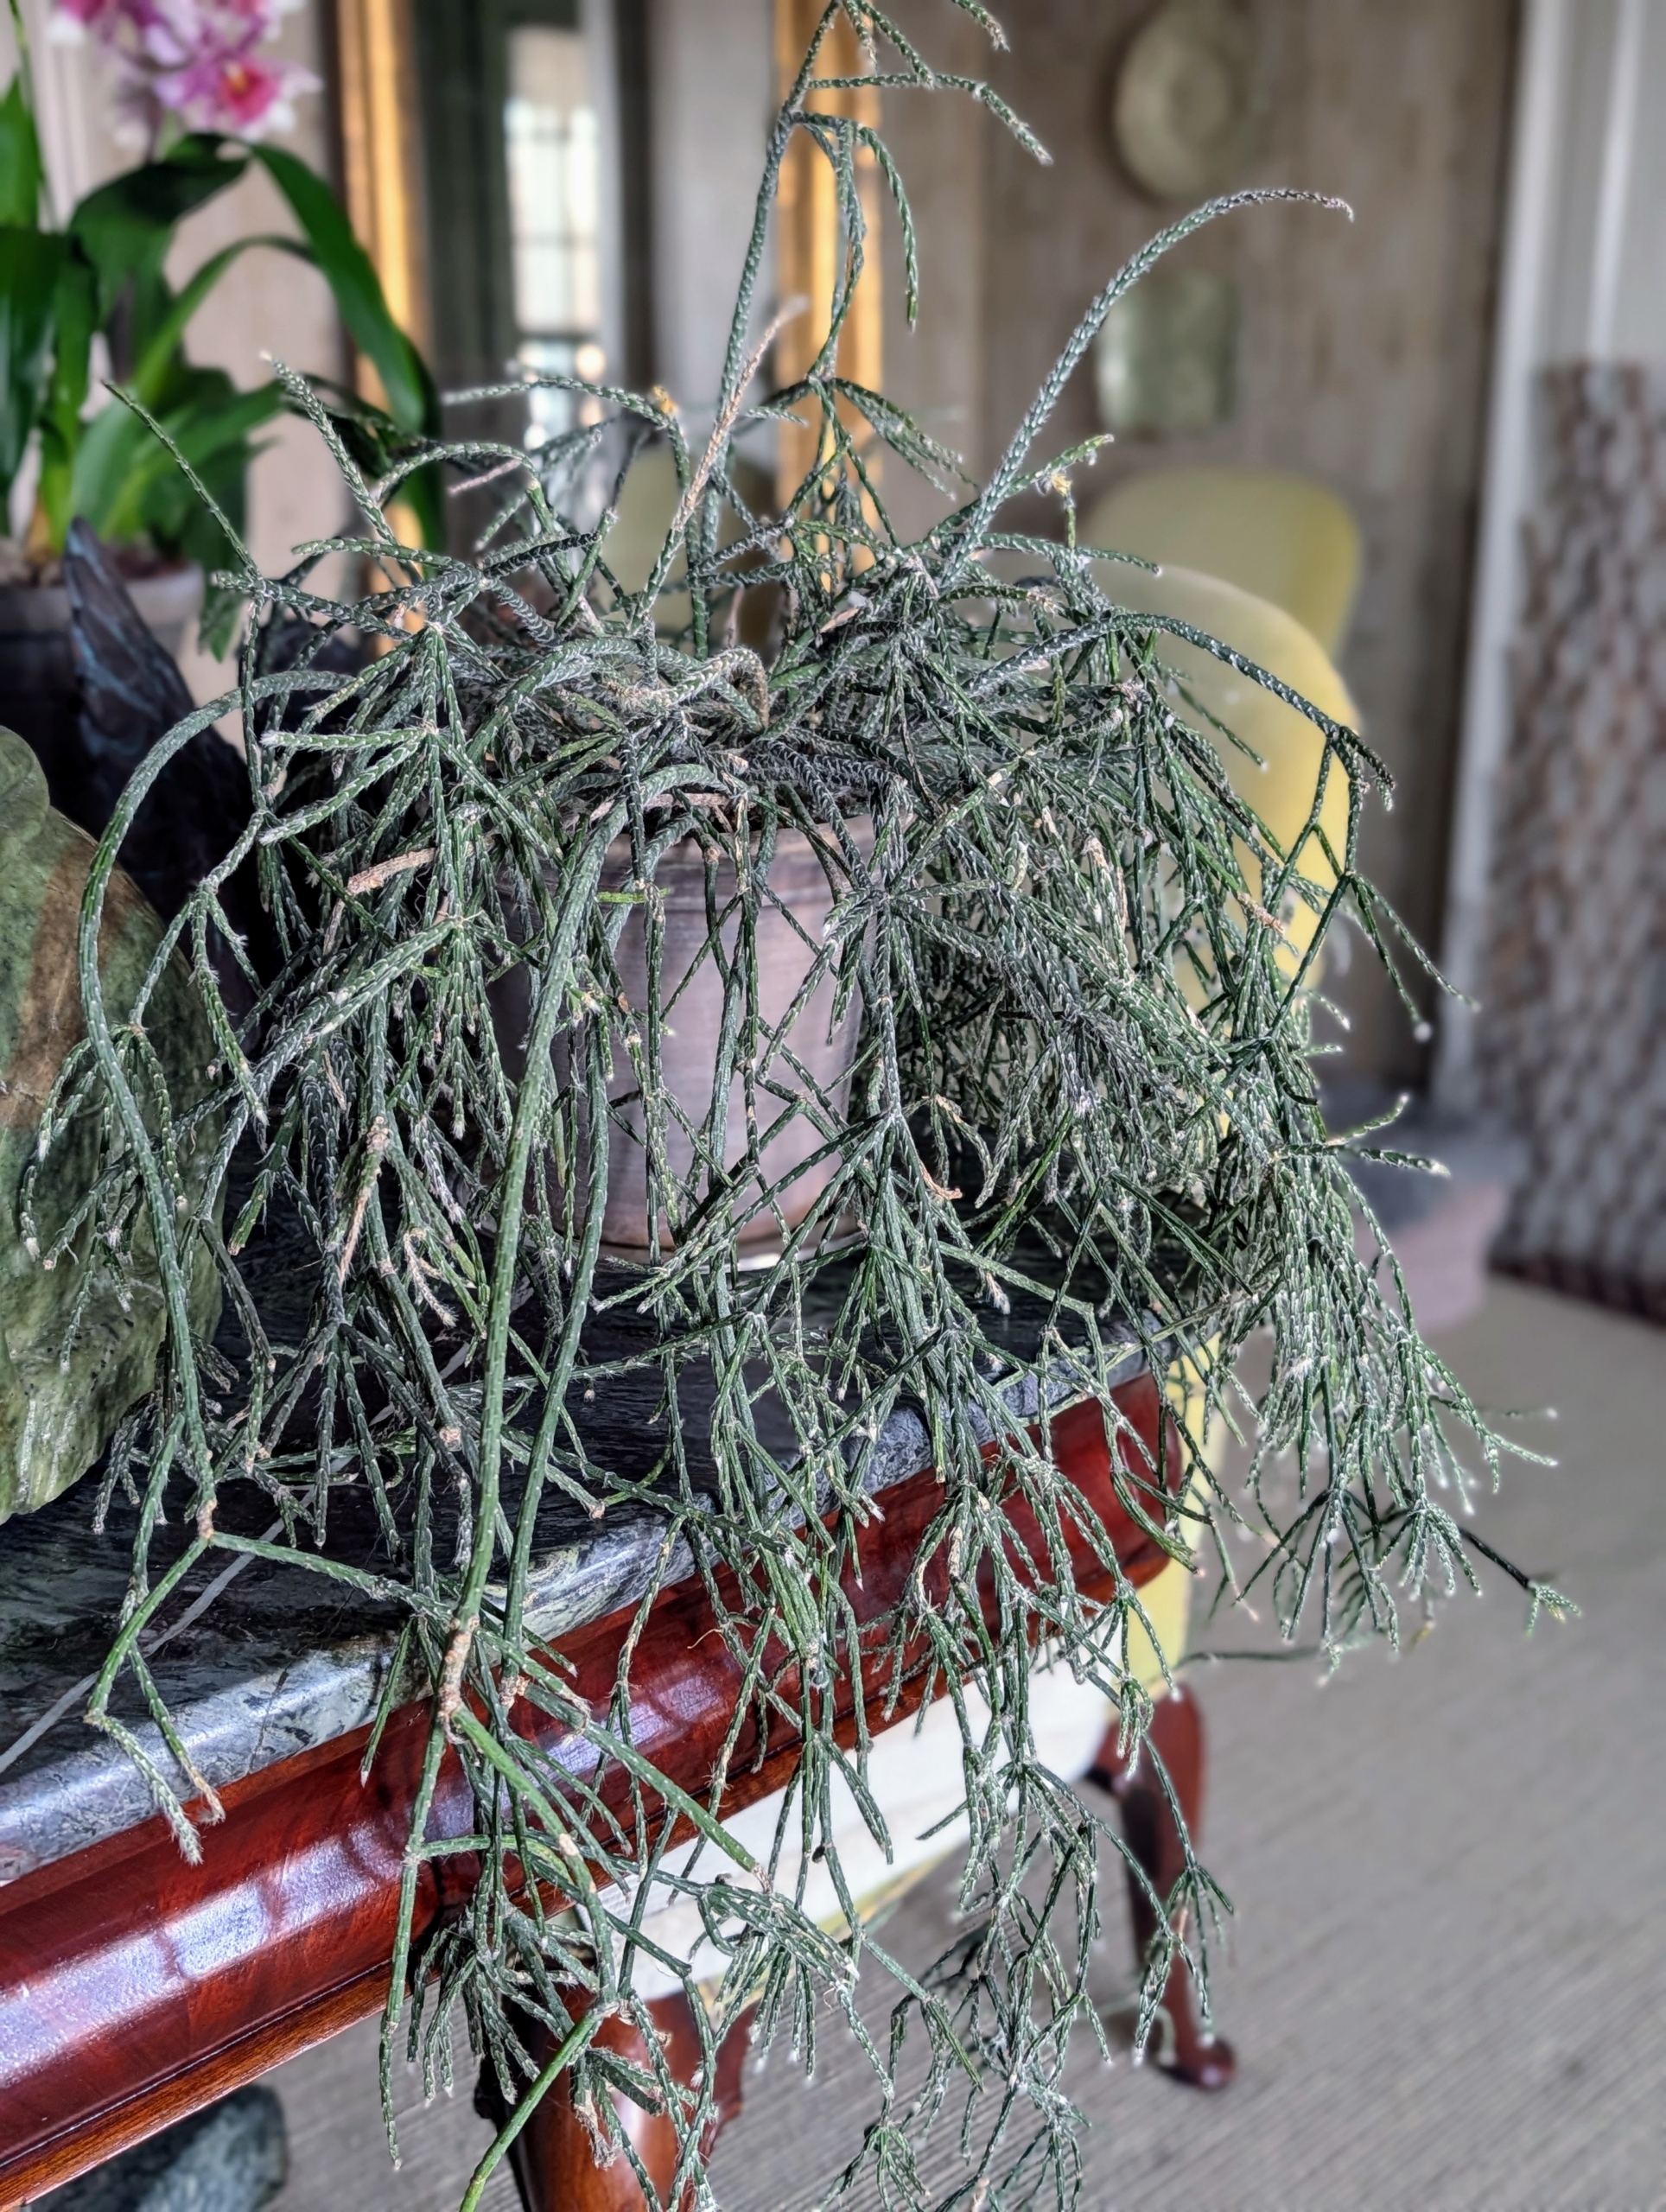
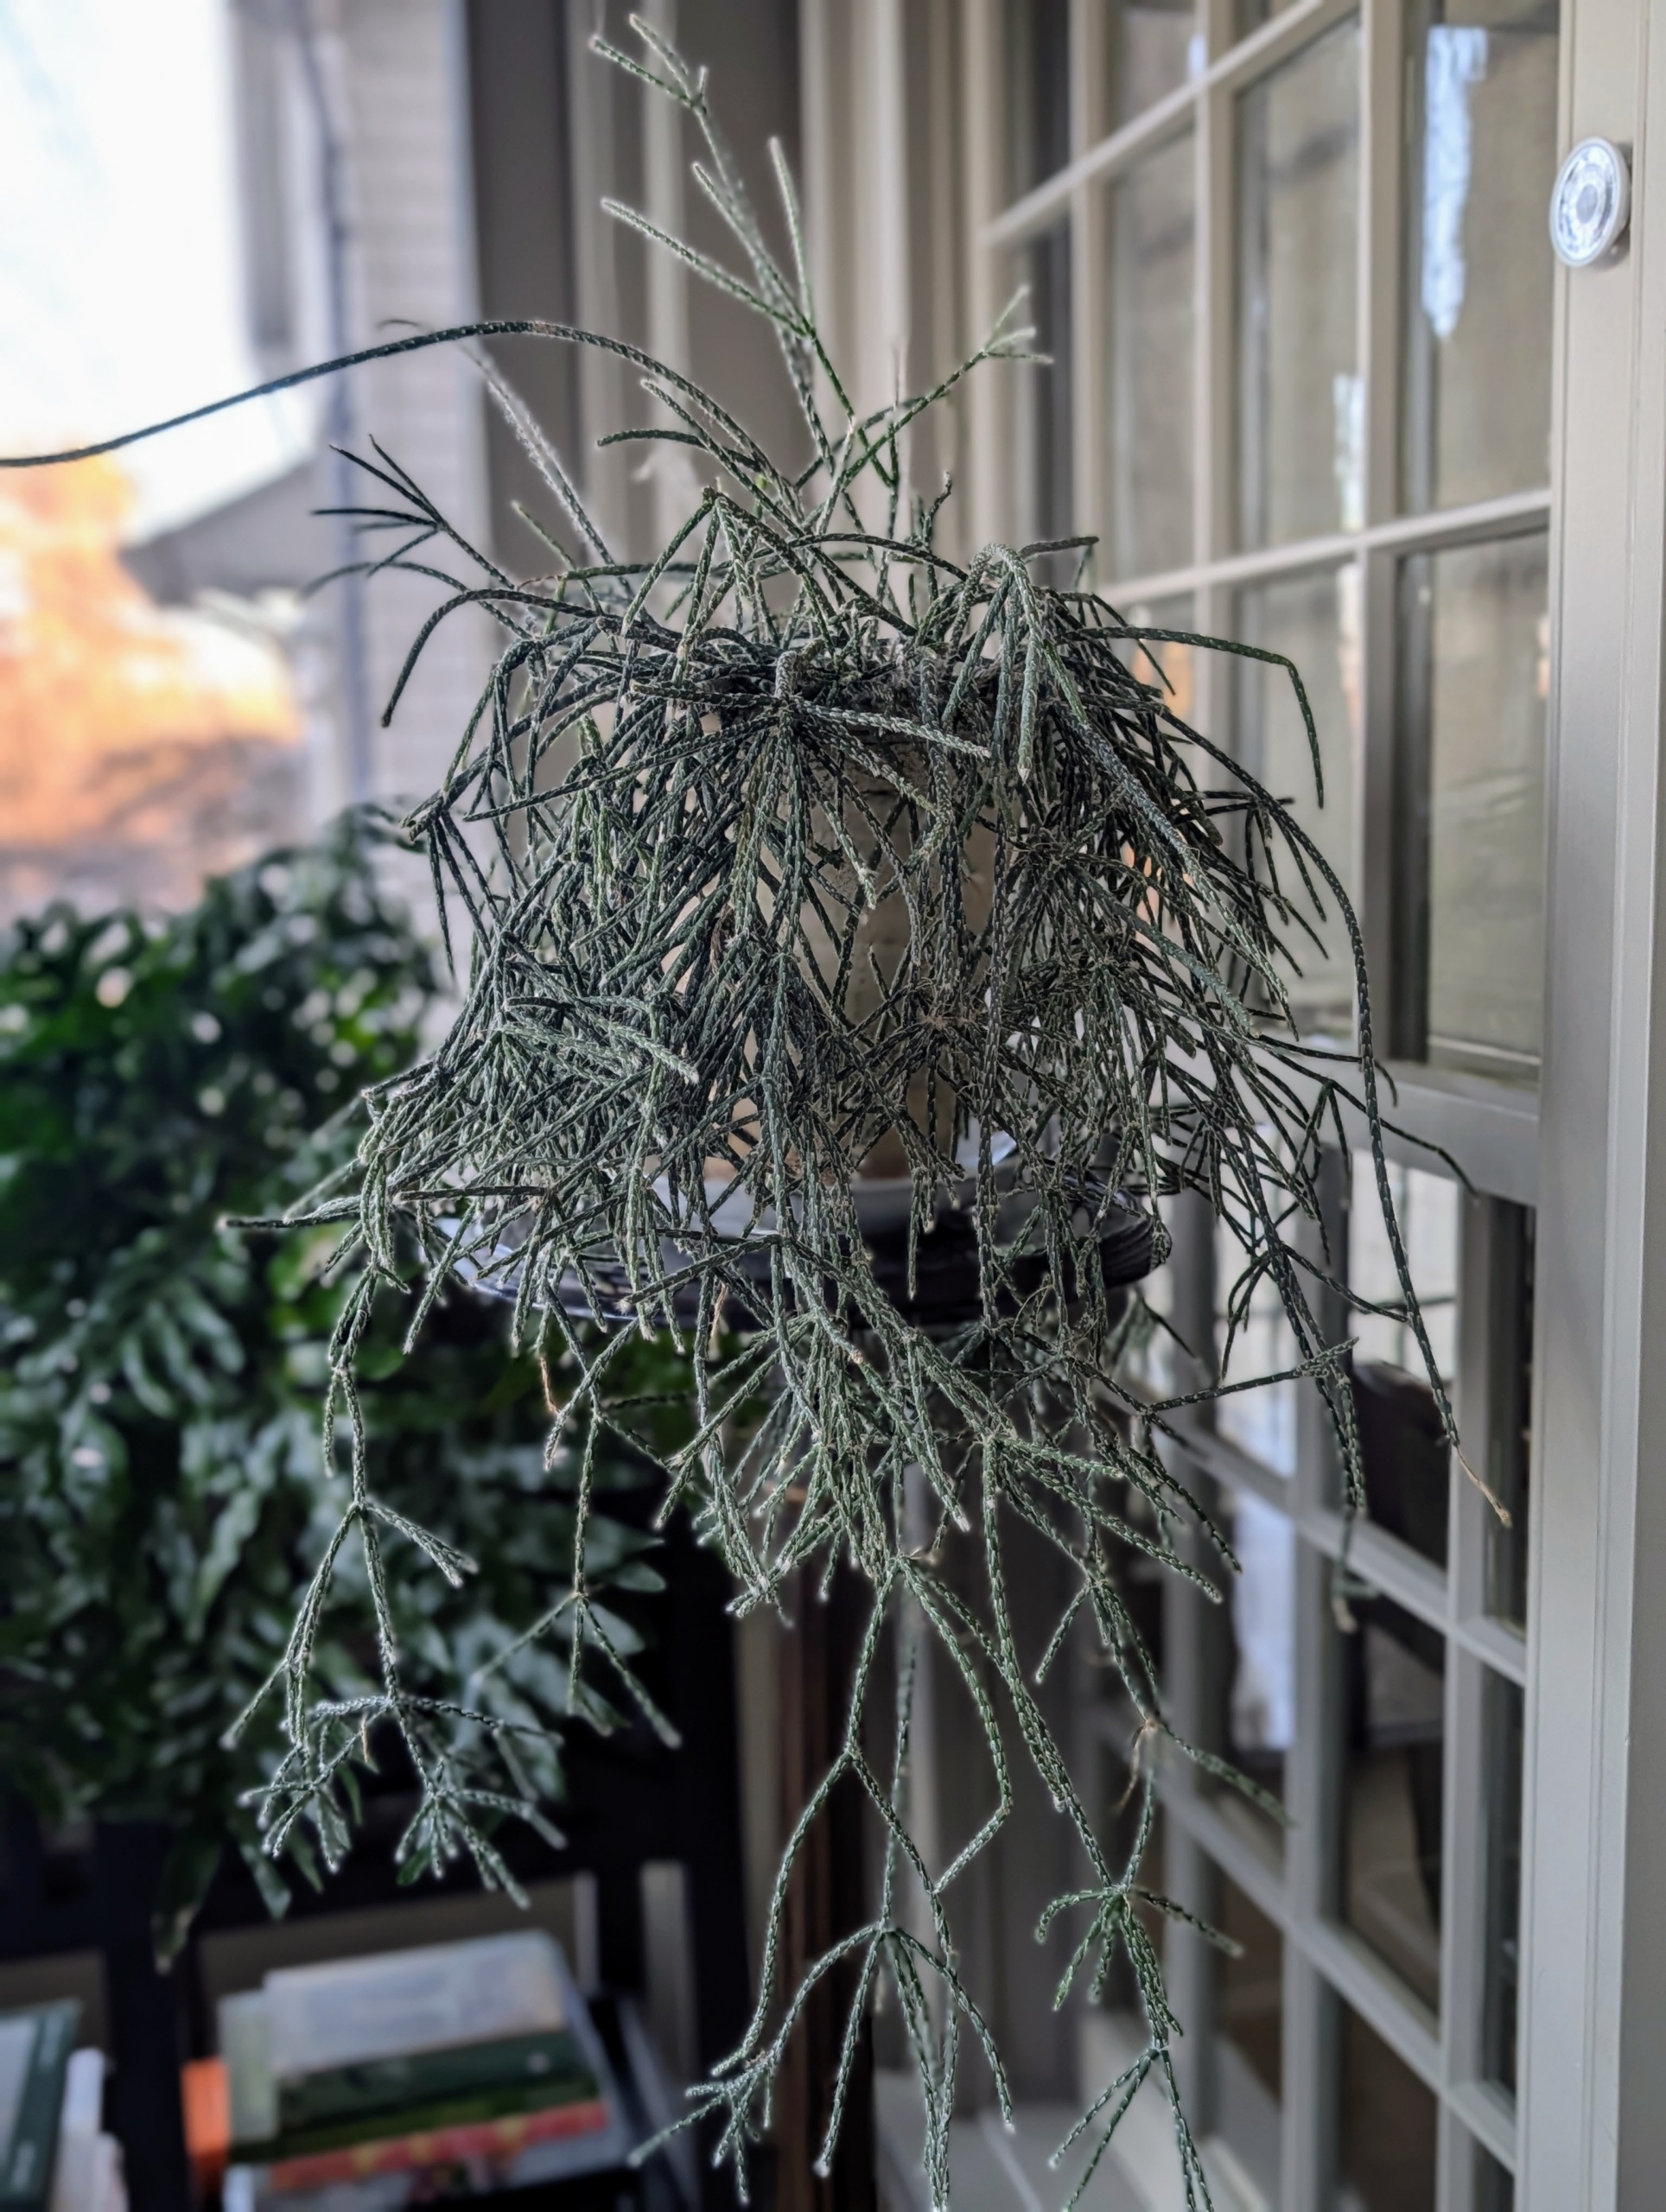
This is a potted rhipsalis, native to the rainforests of South America, the Caribbean and Central America. Rhipsalis is a cacti genus with approximately 35 distinct species. I have many types of rhipsalis growing in my greenhouse. Rhipsalis specimens have long, trailing stems making them perfect choices as indoor plants on pedestals or tall tables.
Also known as chain cactus or mistletoe cactus, the thread-like succulent stems are narrow, green and can grow several feet long.
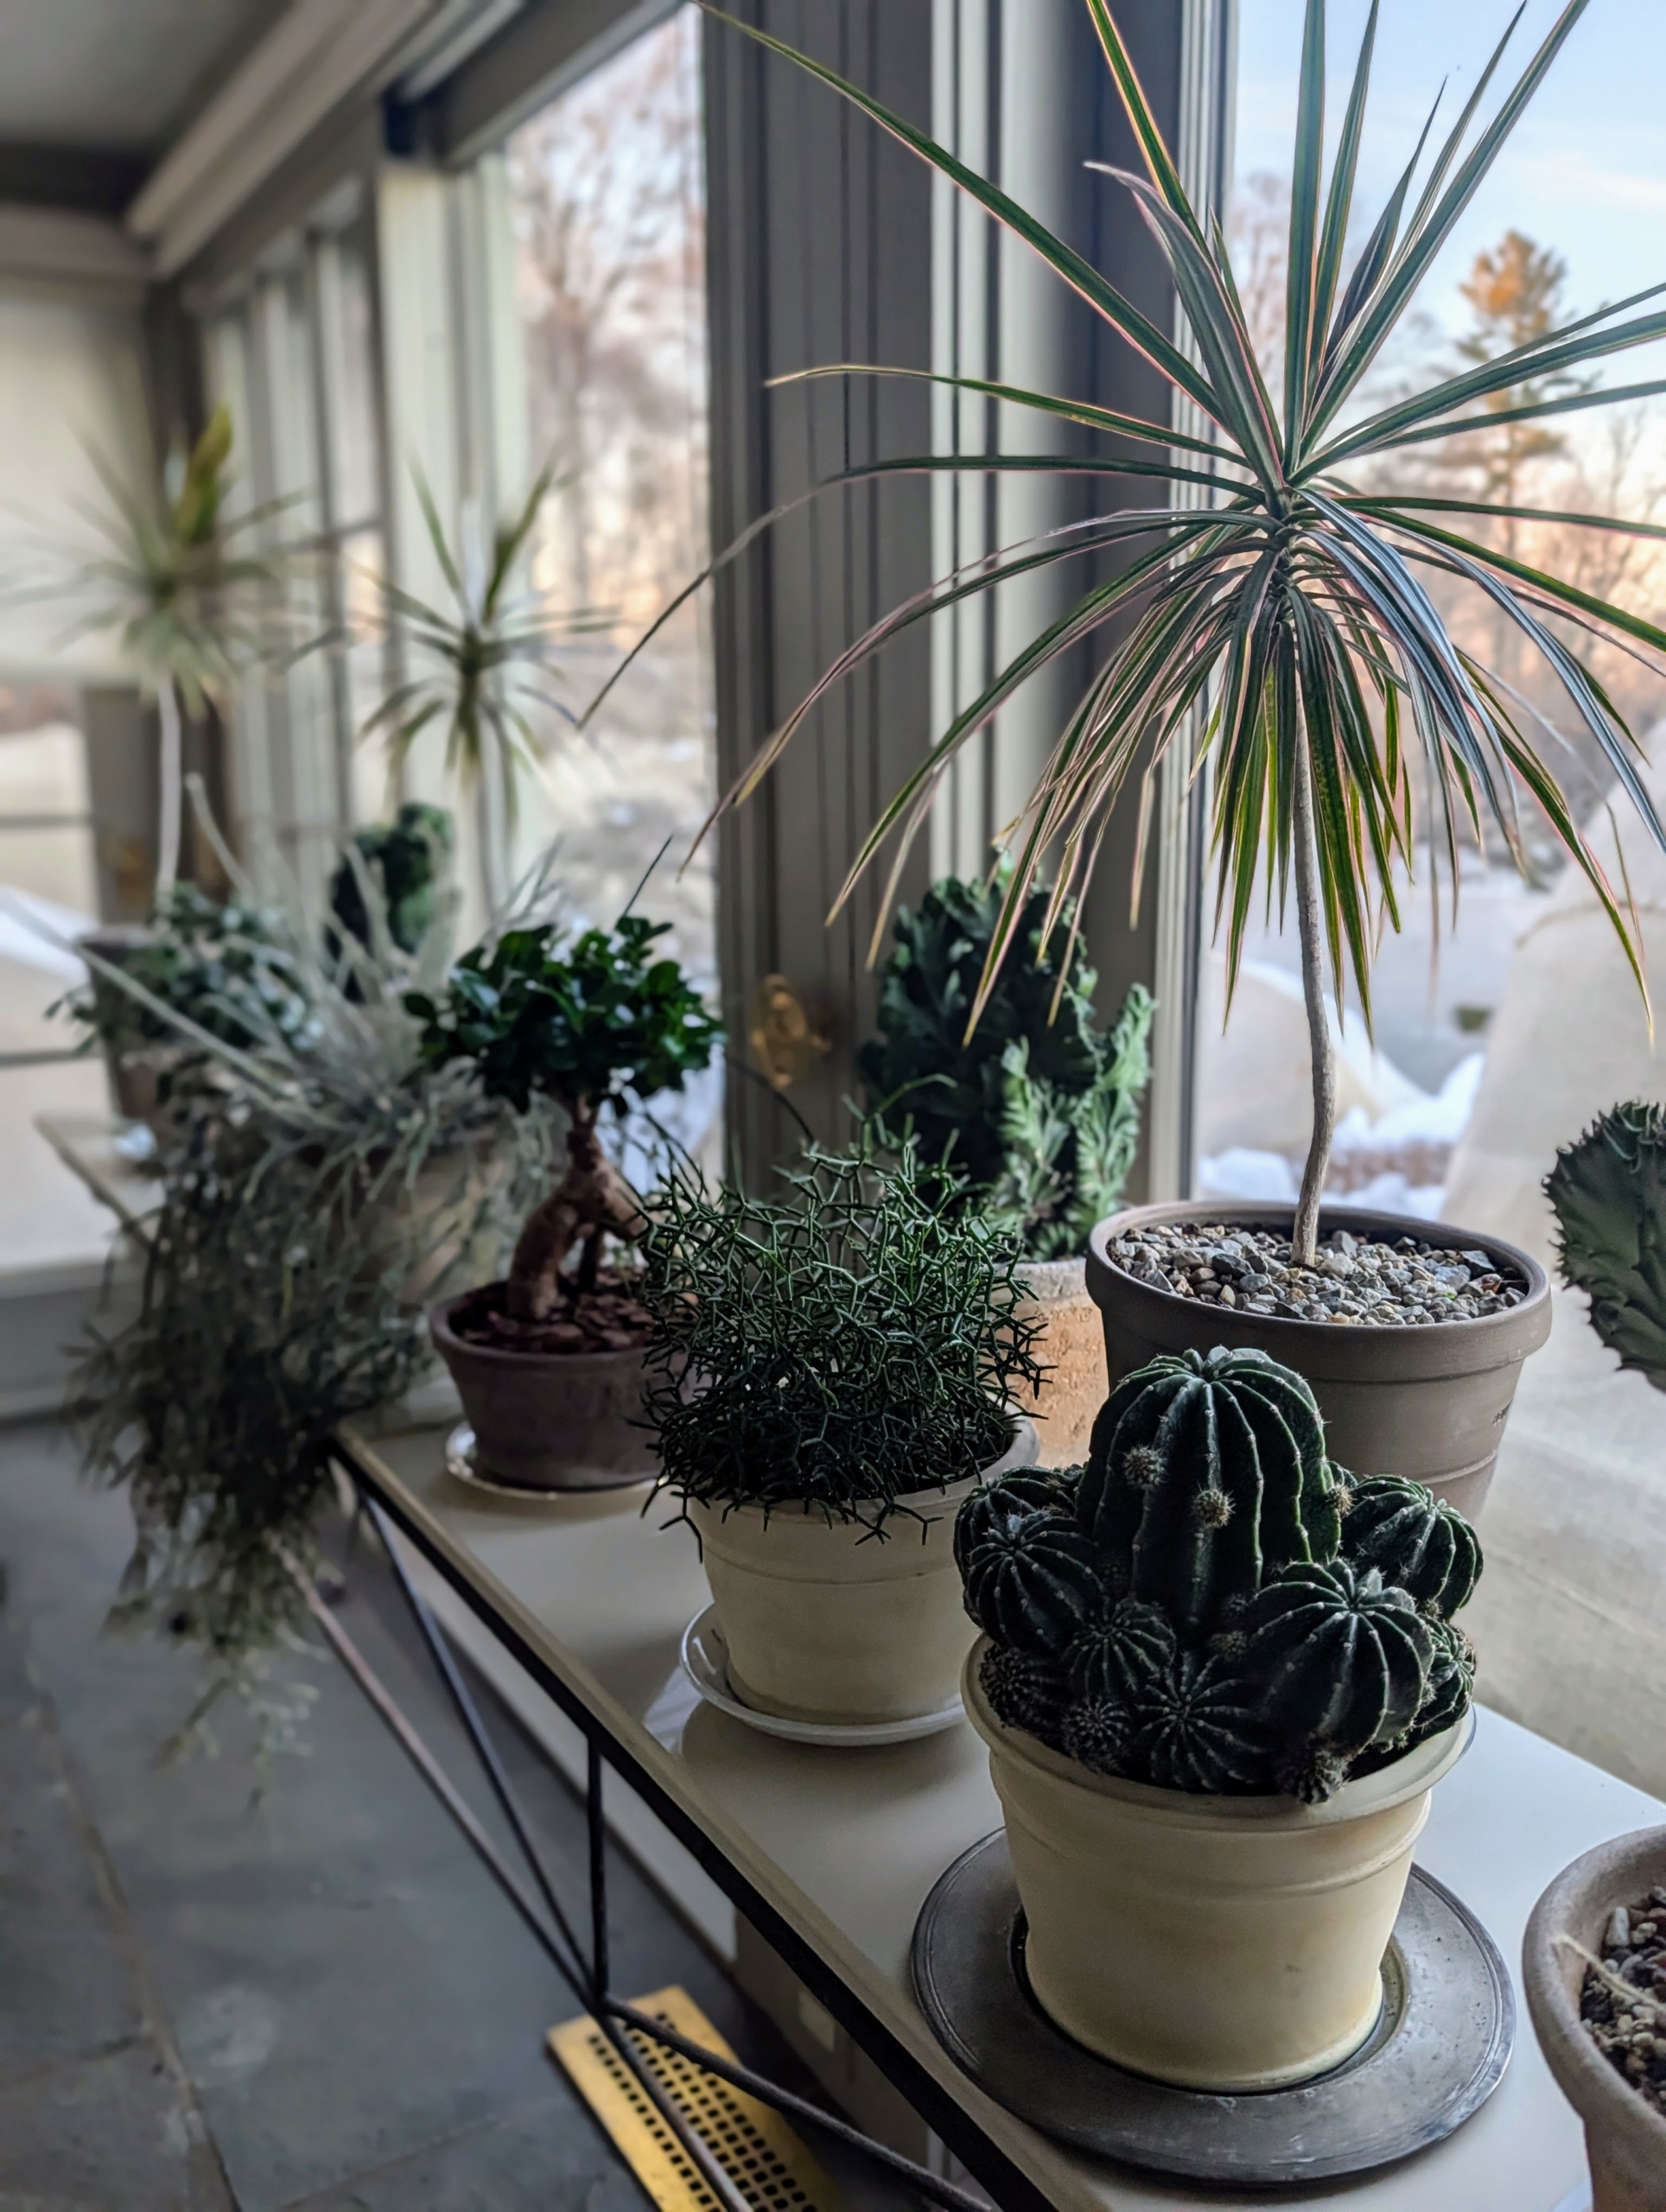
My porch is a lovely space for displaying houseplants. The floor to ceiling windows allow lots of light and the plants surround my desk, where I can enjoy them while writing or while attending remote meetings.
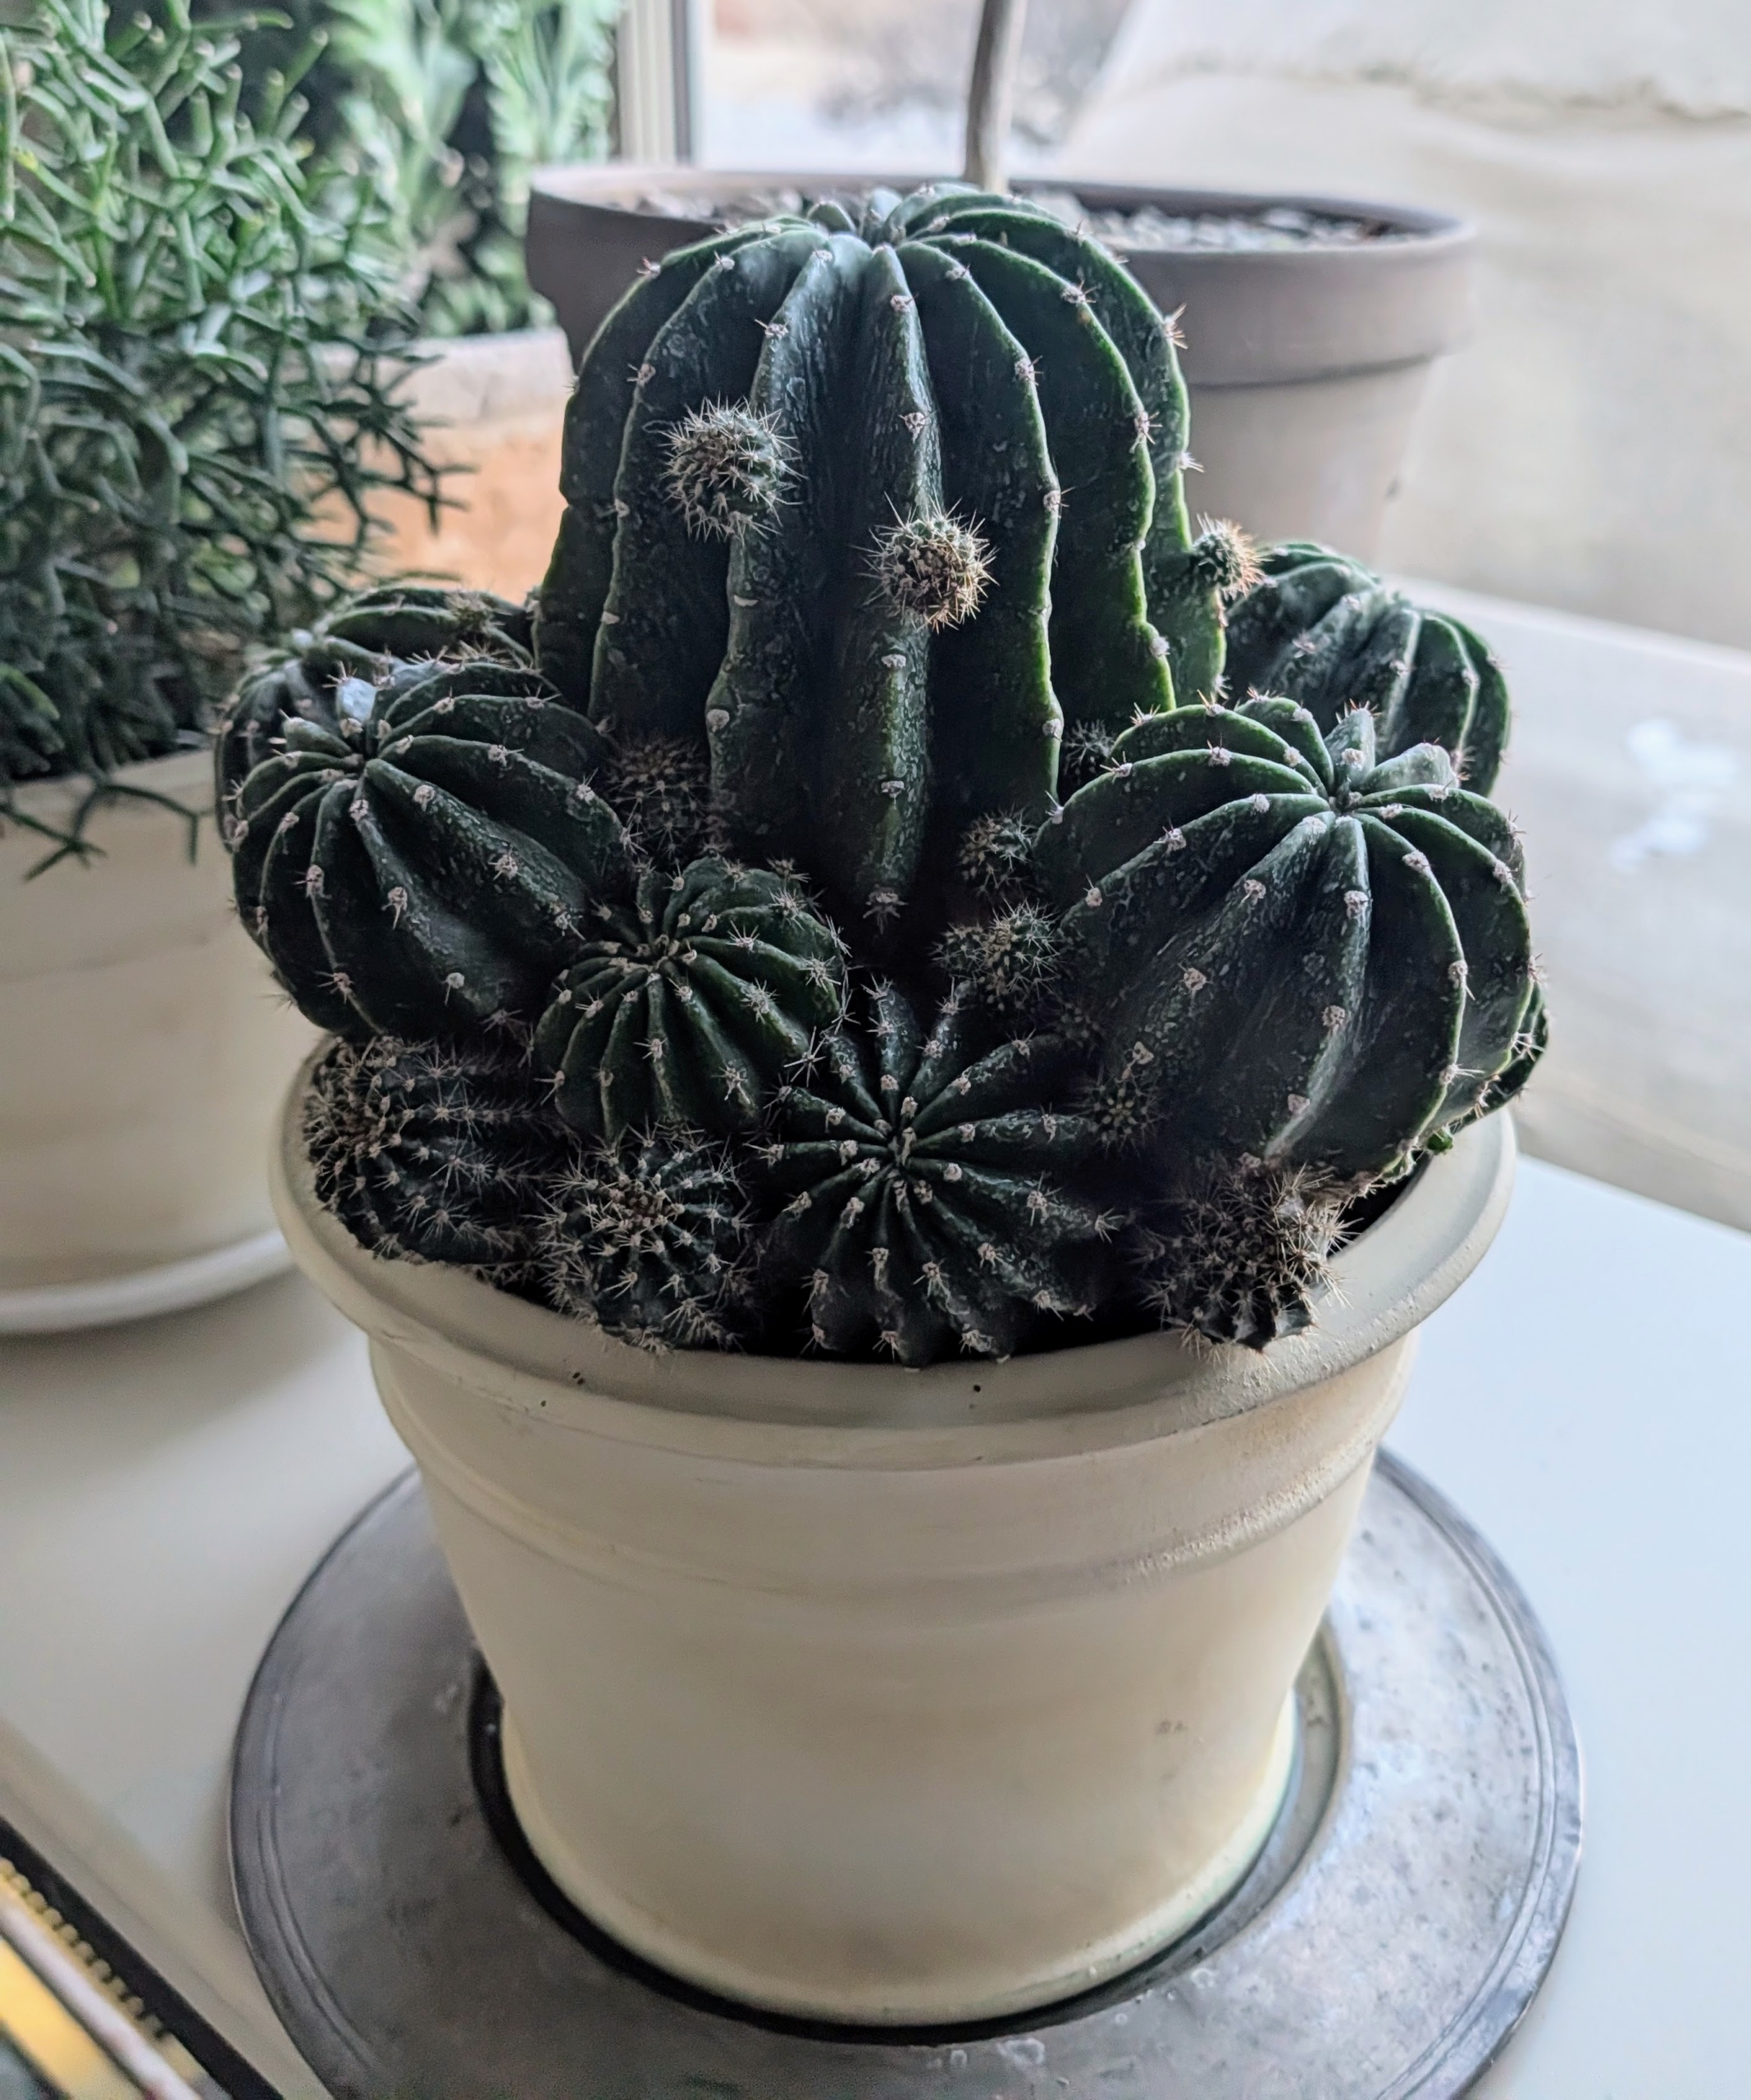
If you like growing plants, but don’t really have a lot of time to care for them, consider growing succulents. Succulents, which includes the cactus family, require very little maintenance. These plants are able to survive prolonged drought because they store moisture in their fleshy stems, roots, and leaves.
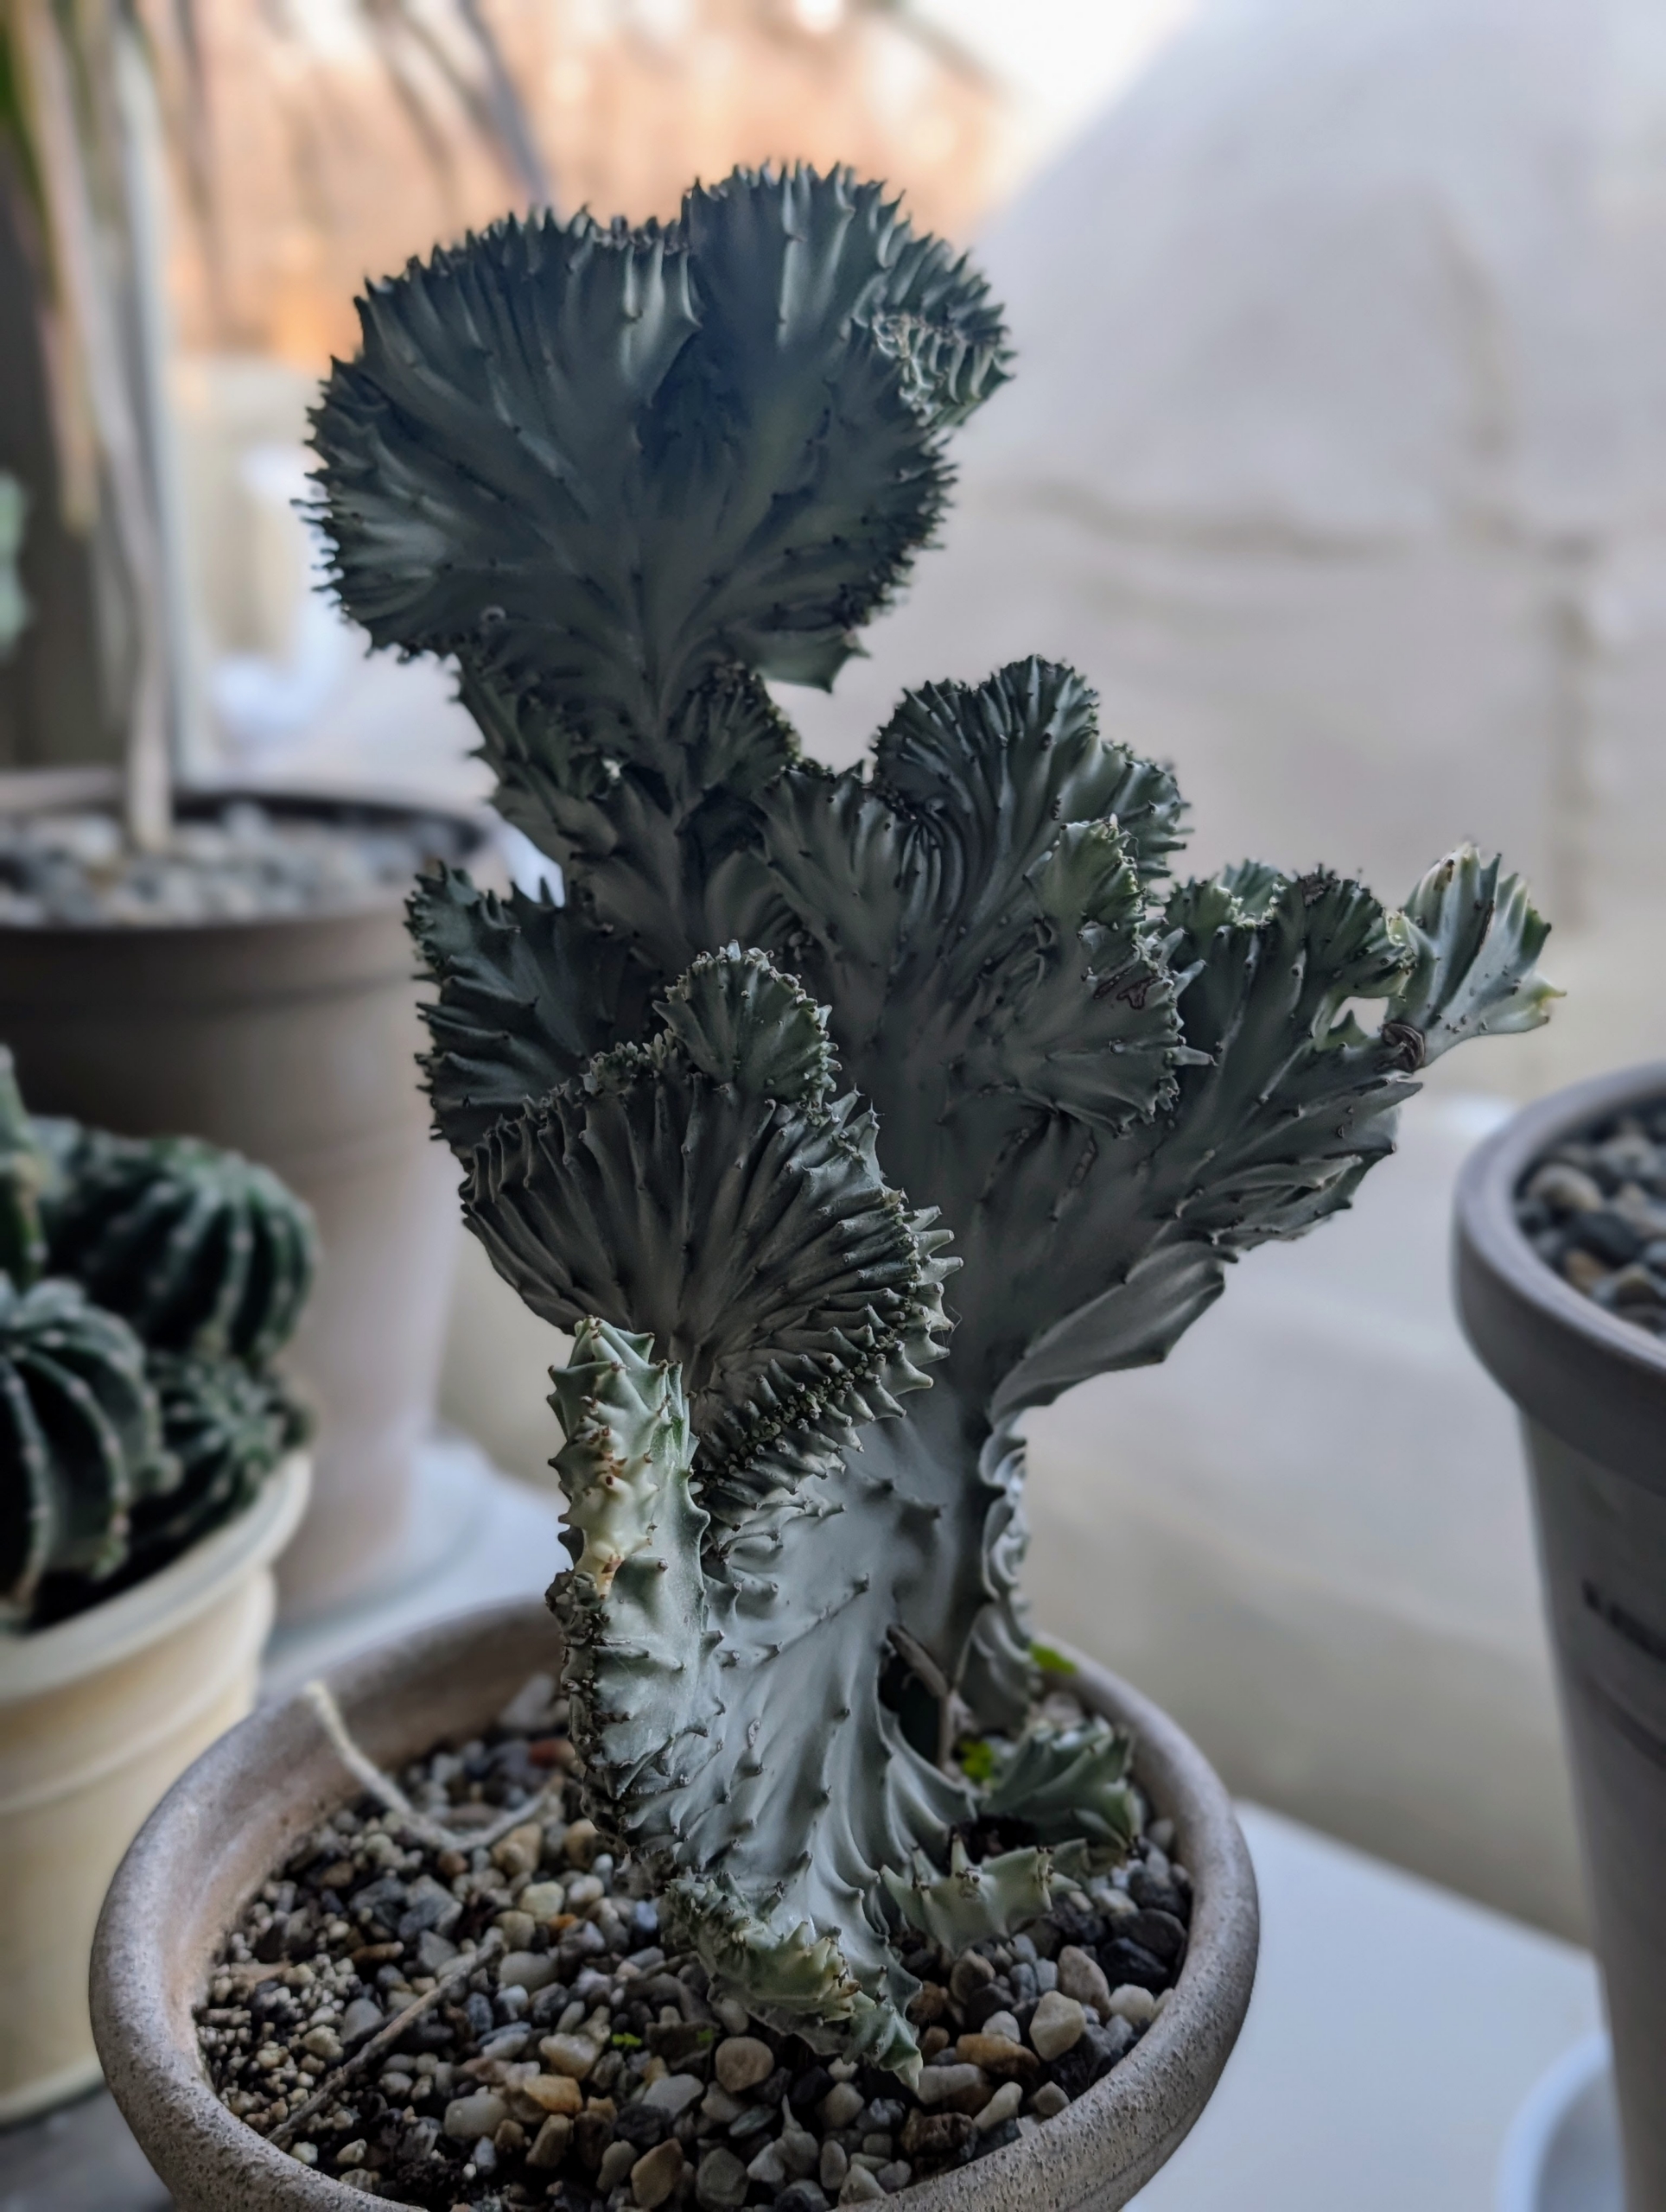
This Euphorbia lactea is a cactus-like succulent known for its interesting shape and spiny ridges.
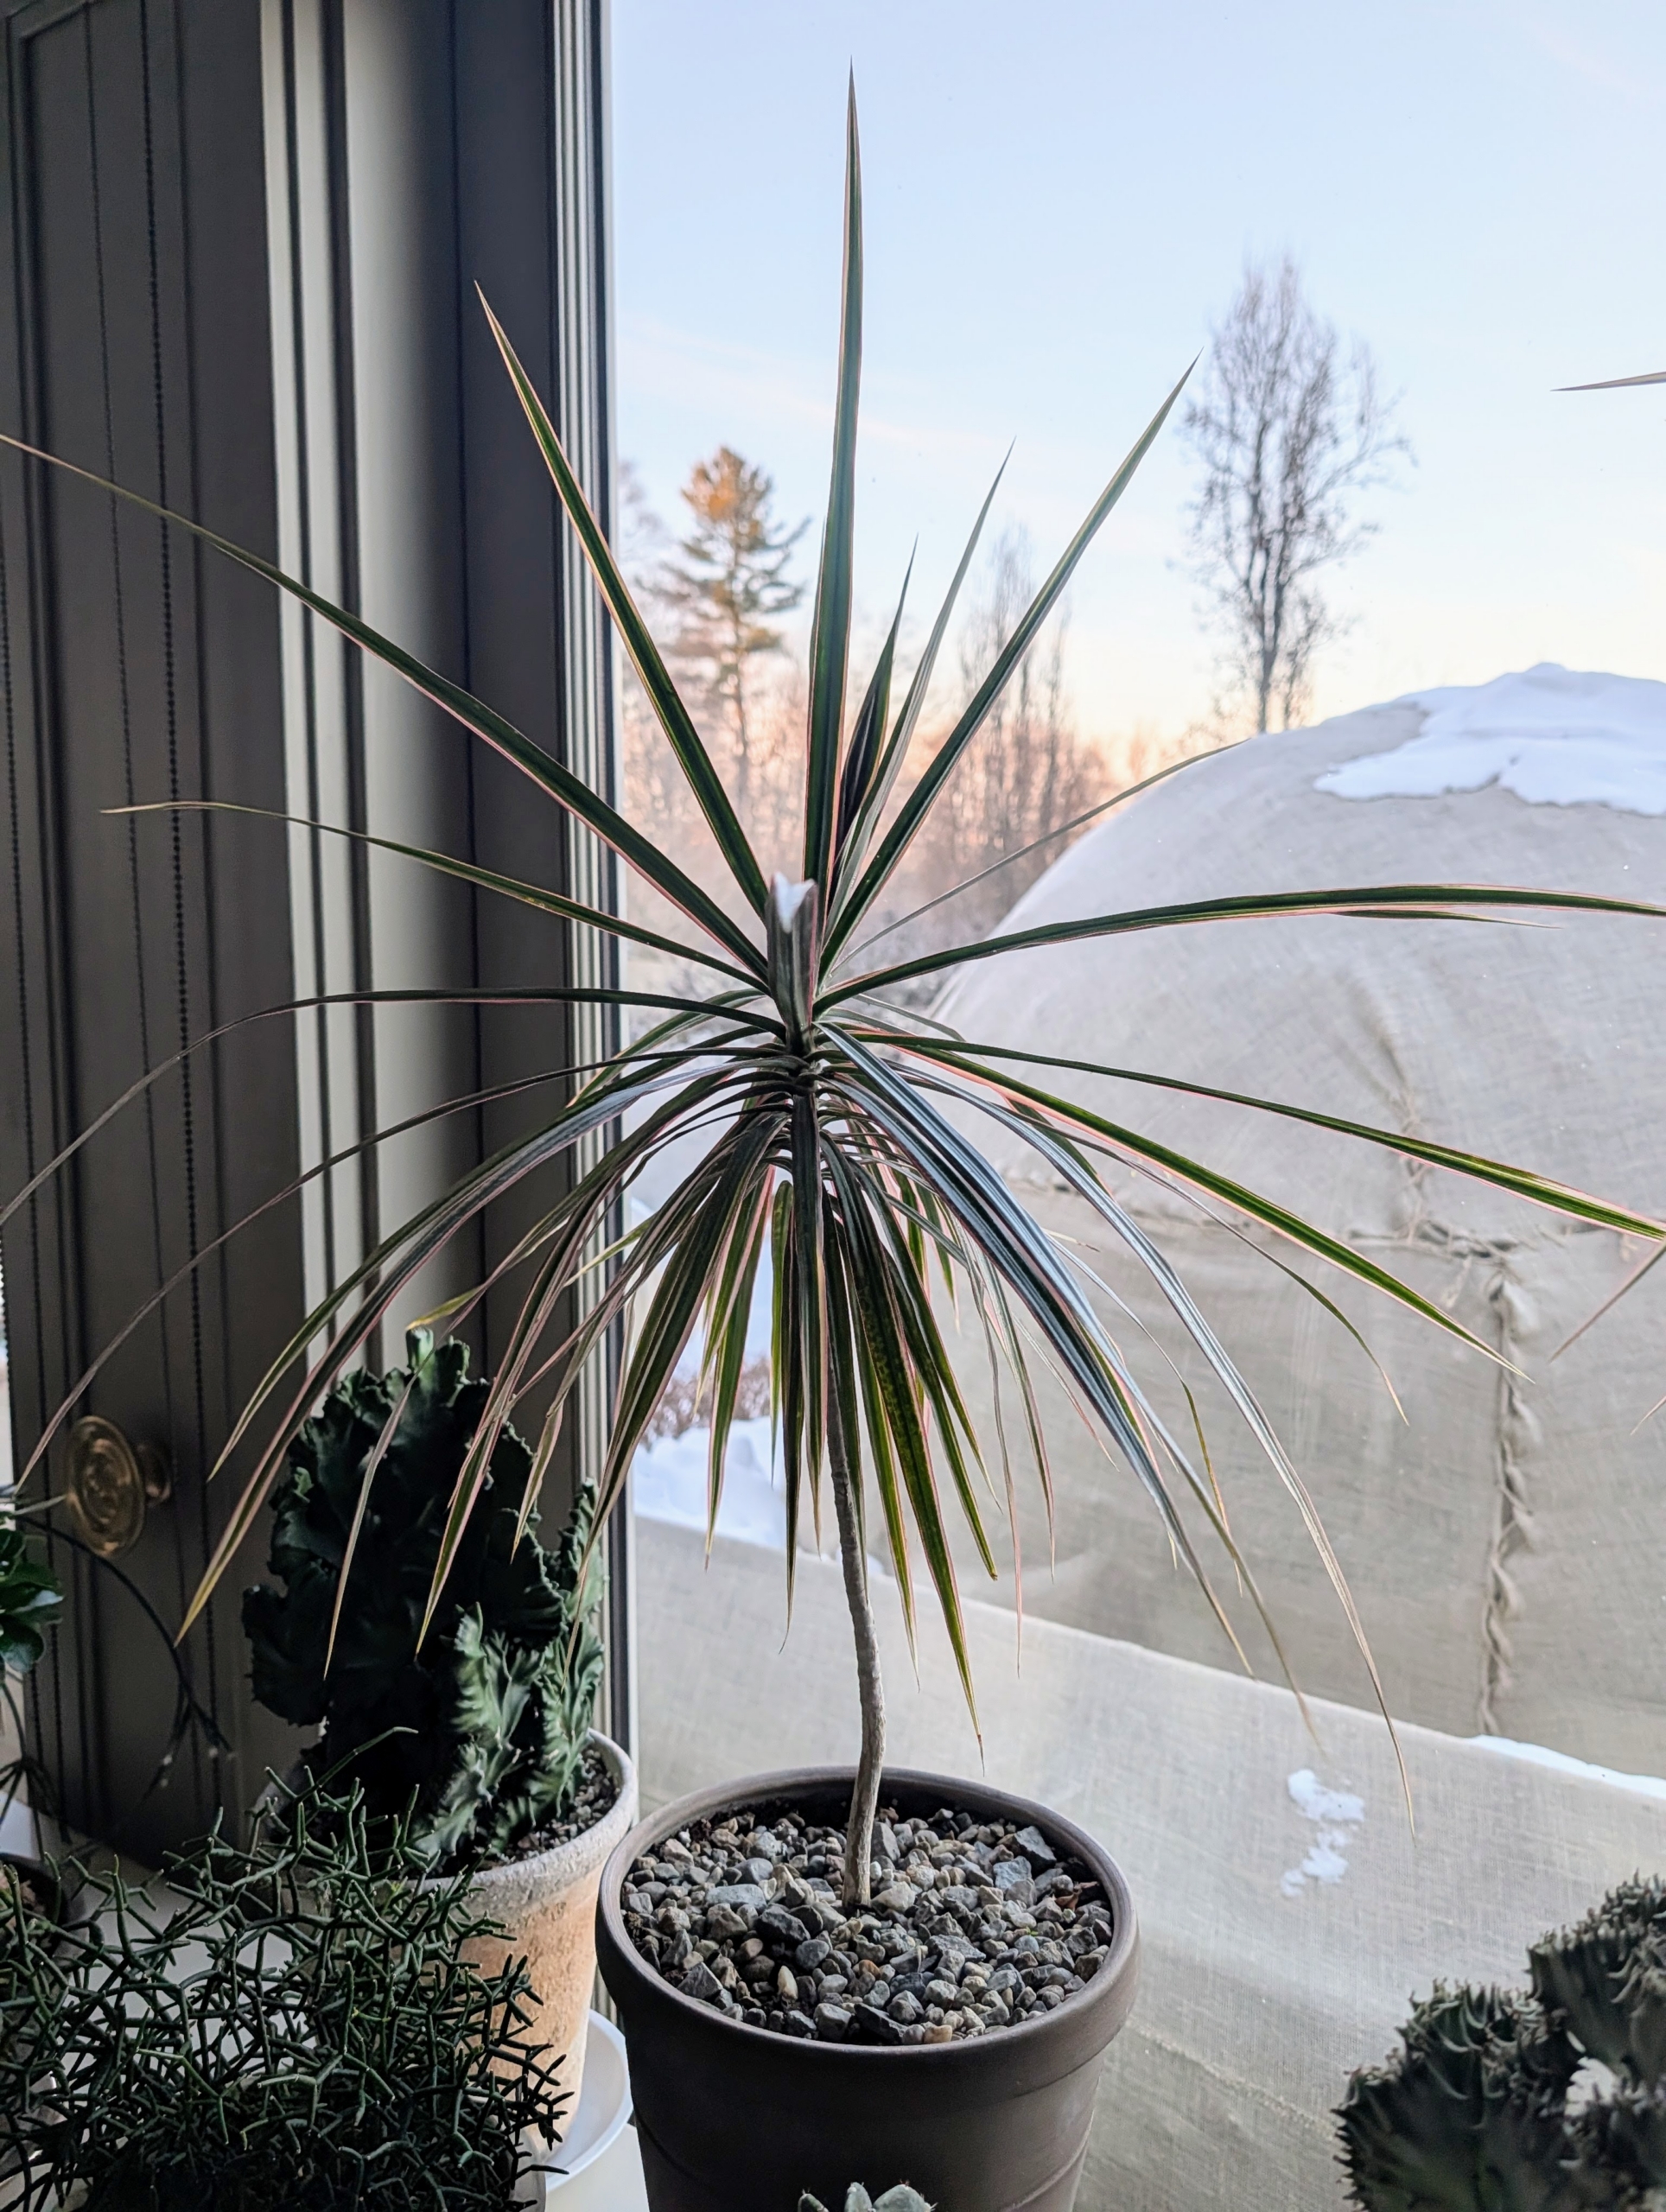
Dracaena’s narrow foliage may be completely green or may include stripes or edges of green, cream, red, or yellow.
And my beautiful Lilium, my brown Persian longhaired cat. Always be sure any plants displayed inside are safe around pets. Fortunately, my pets are not attracted to any plants or flowers. I hope you can enjoy some beautiful plants in your home this winter.
As a passionate gardener, I love adding new and interesting specimens to my plant collections. Most recently - four beautiful and colorful cymbidium orchids.
Cymbidium, or boat orchid, is a genus of more than 50-evergreen species in the orchid family Orchidaceae. Cymbidium orchids are prized for their long-lasting sprays of flowers, used especially as cut flowers or spring corsages. Yesterday, my head gardener Ryan McCallister repotted the orchids in appropriate orchid containers, so they could be displayed in my home.
Enjoy these photos.
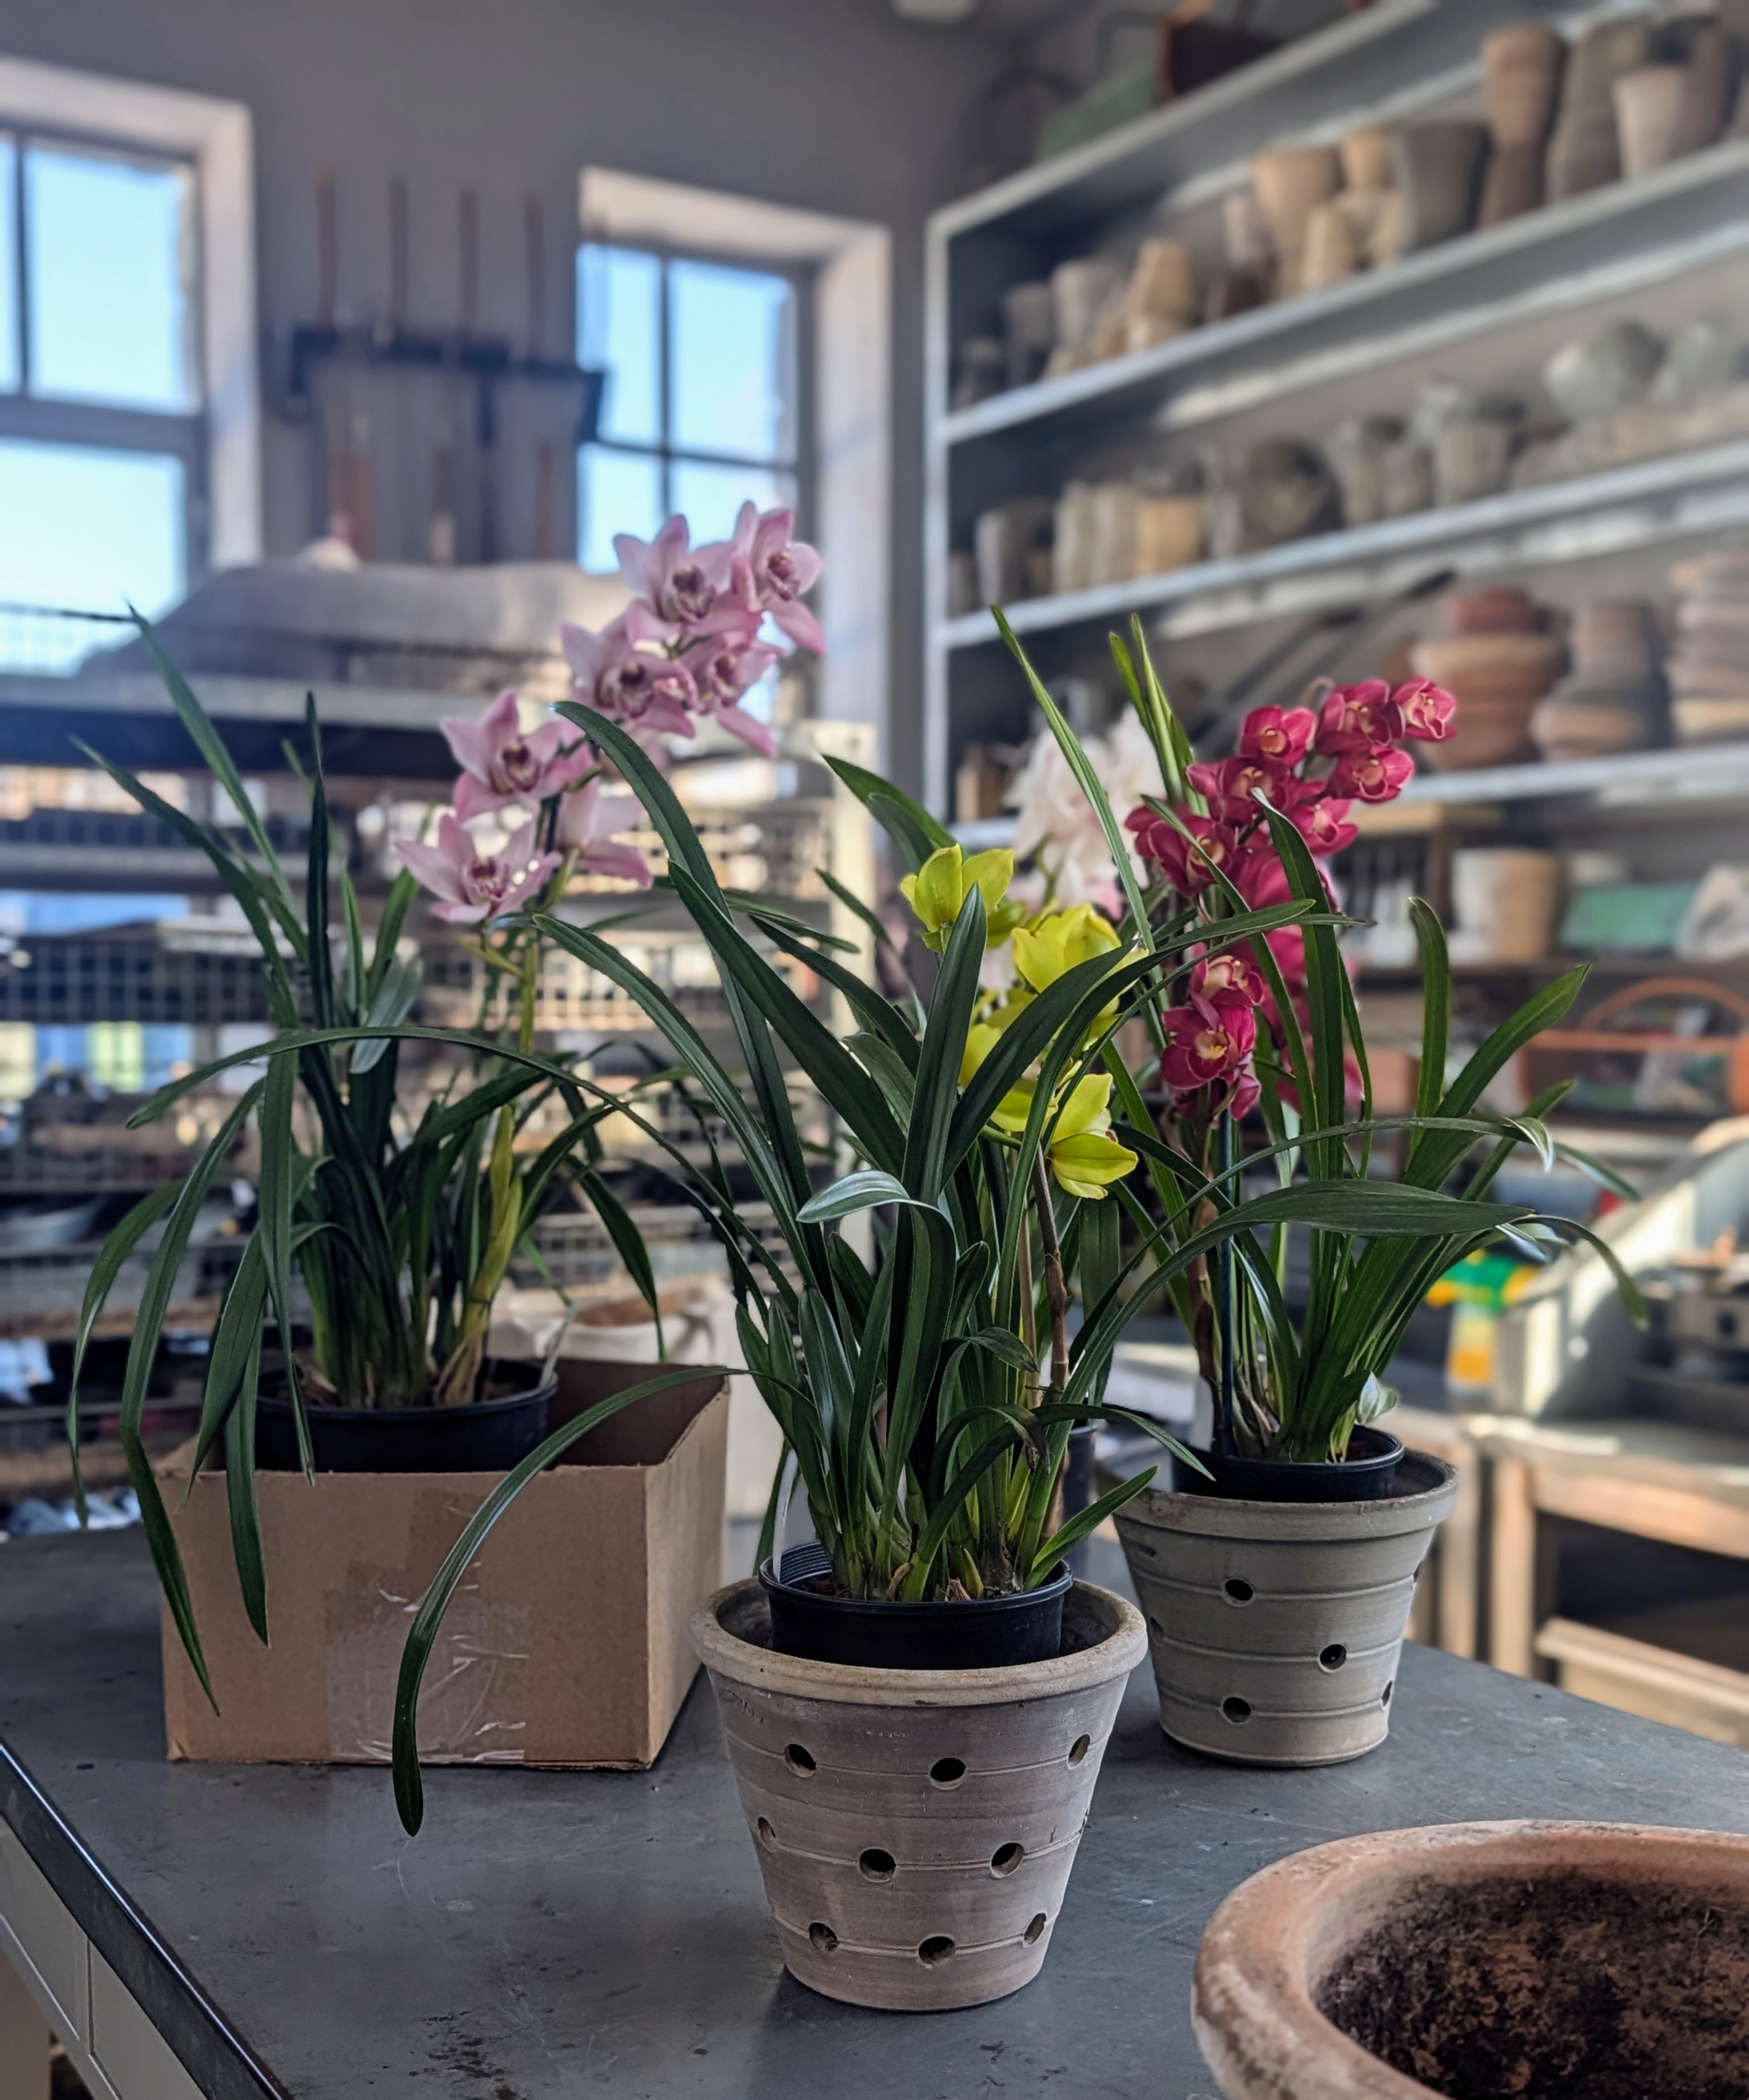
Aren’t these orchids so beautiful? I am a big fan of cymbidium orchids with their gorgeous large flower sprays. I have many in my collection, but not in these colors – these are great additions from White Plains Orchids, a family-operated nursery not far from my farm.
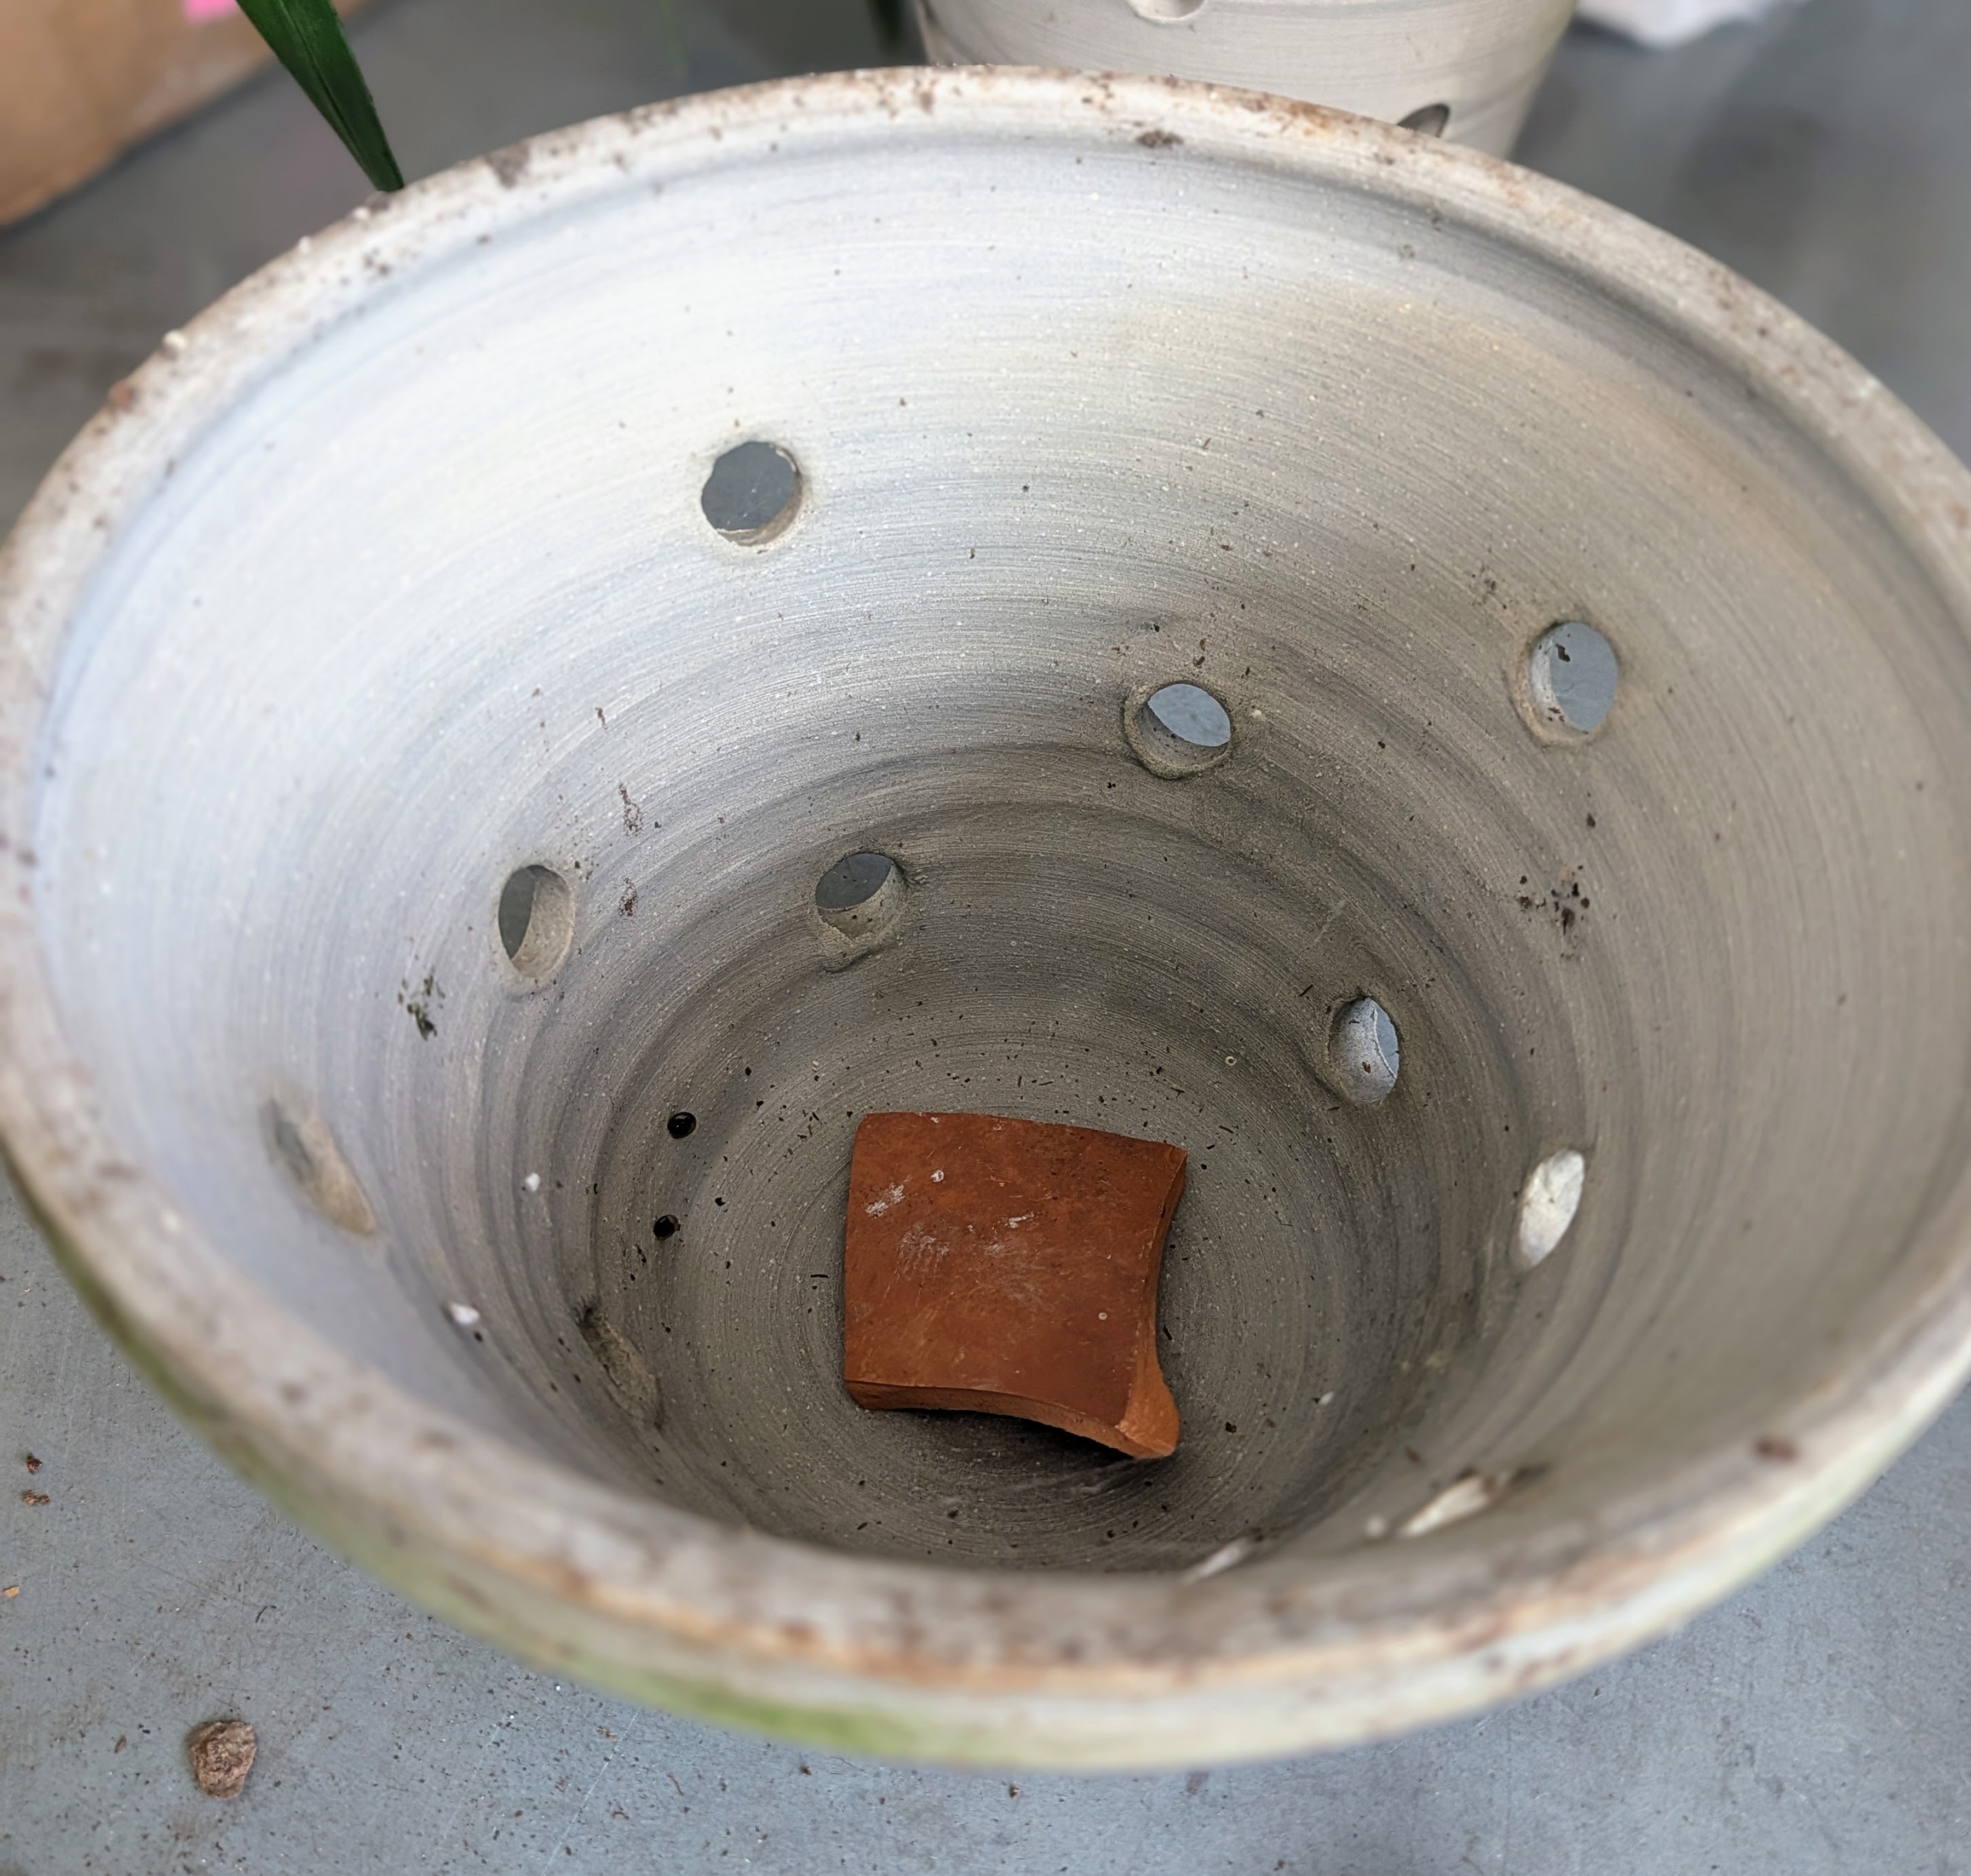
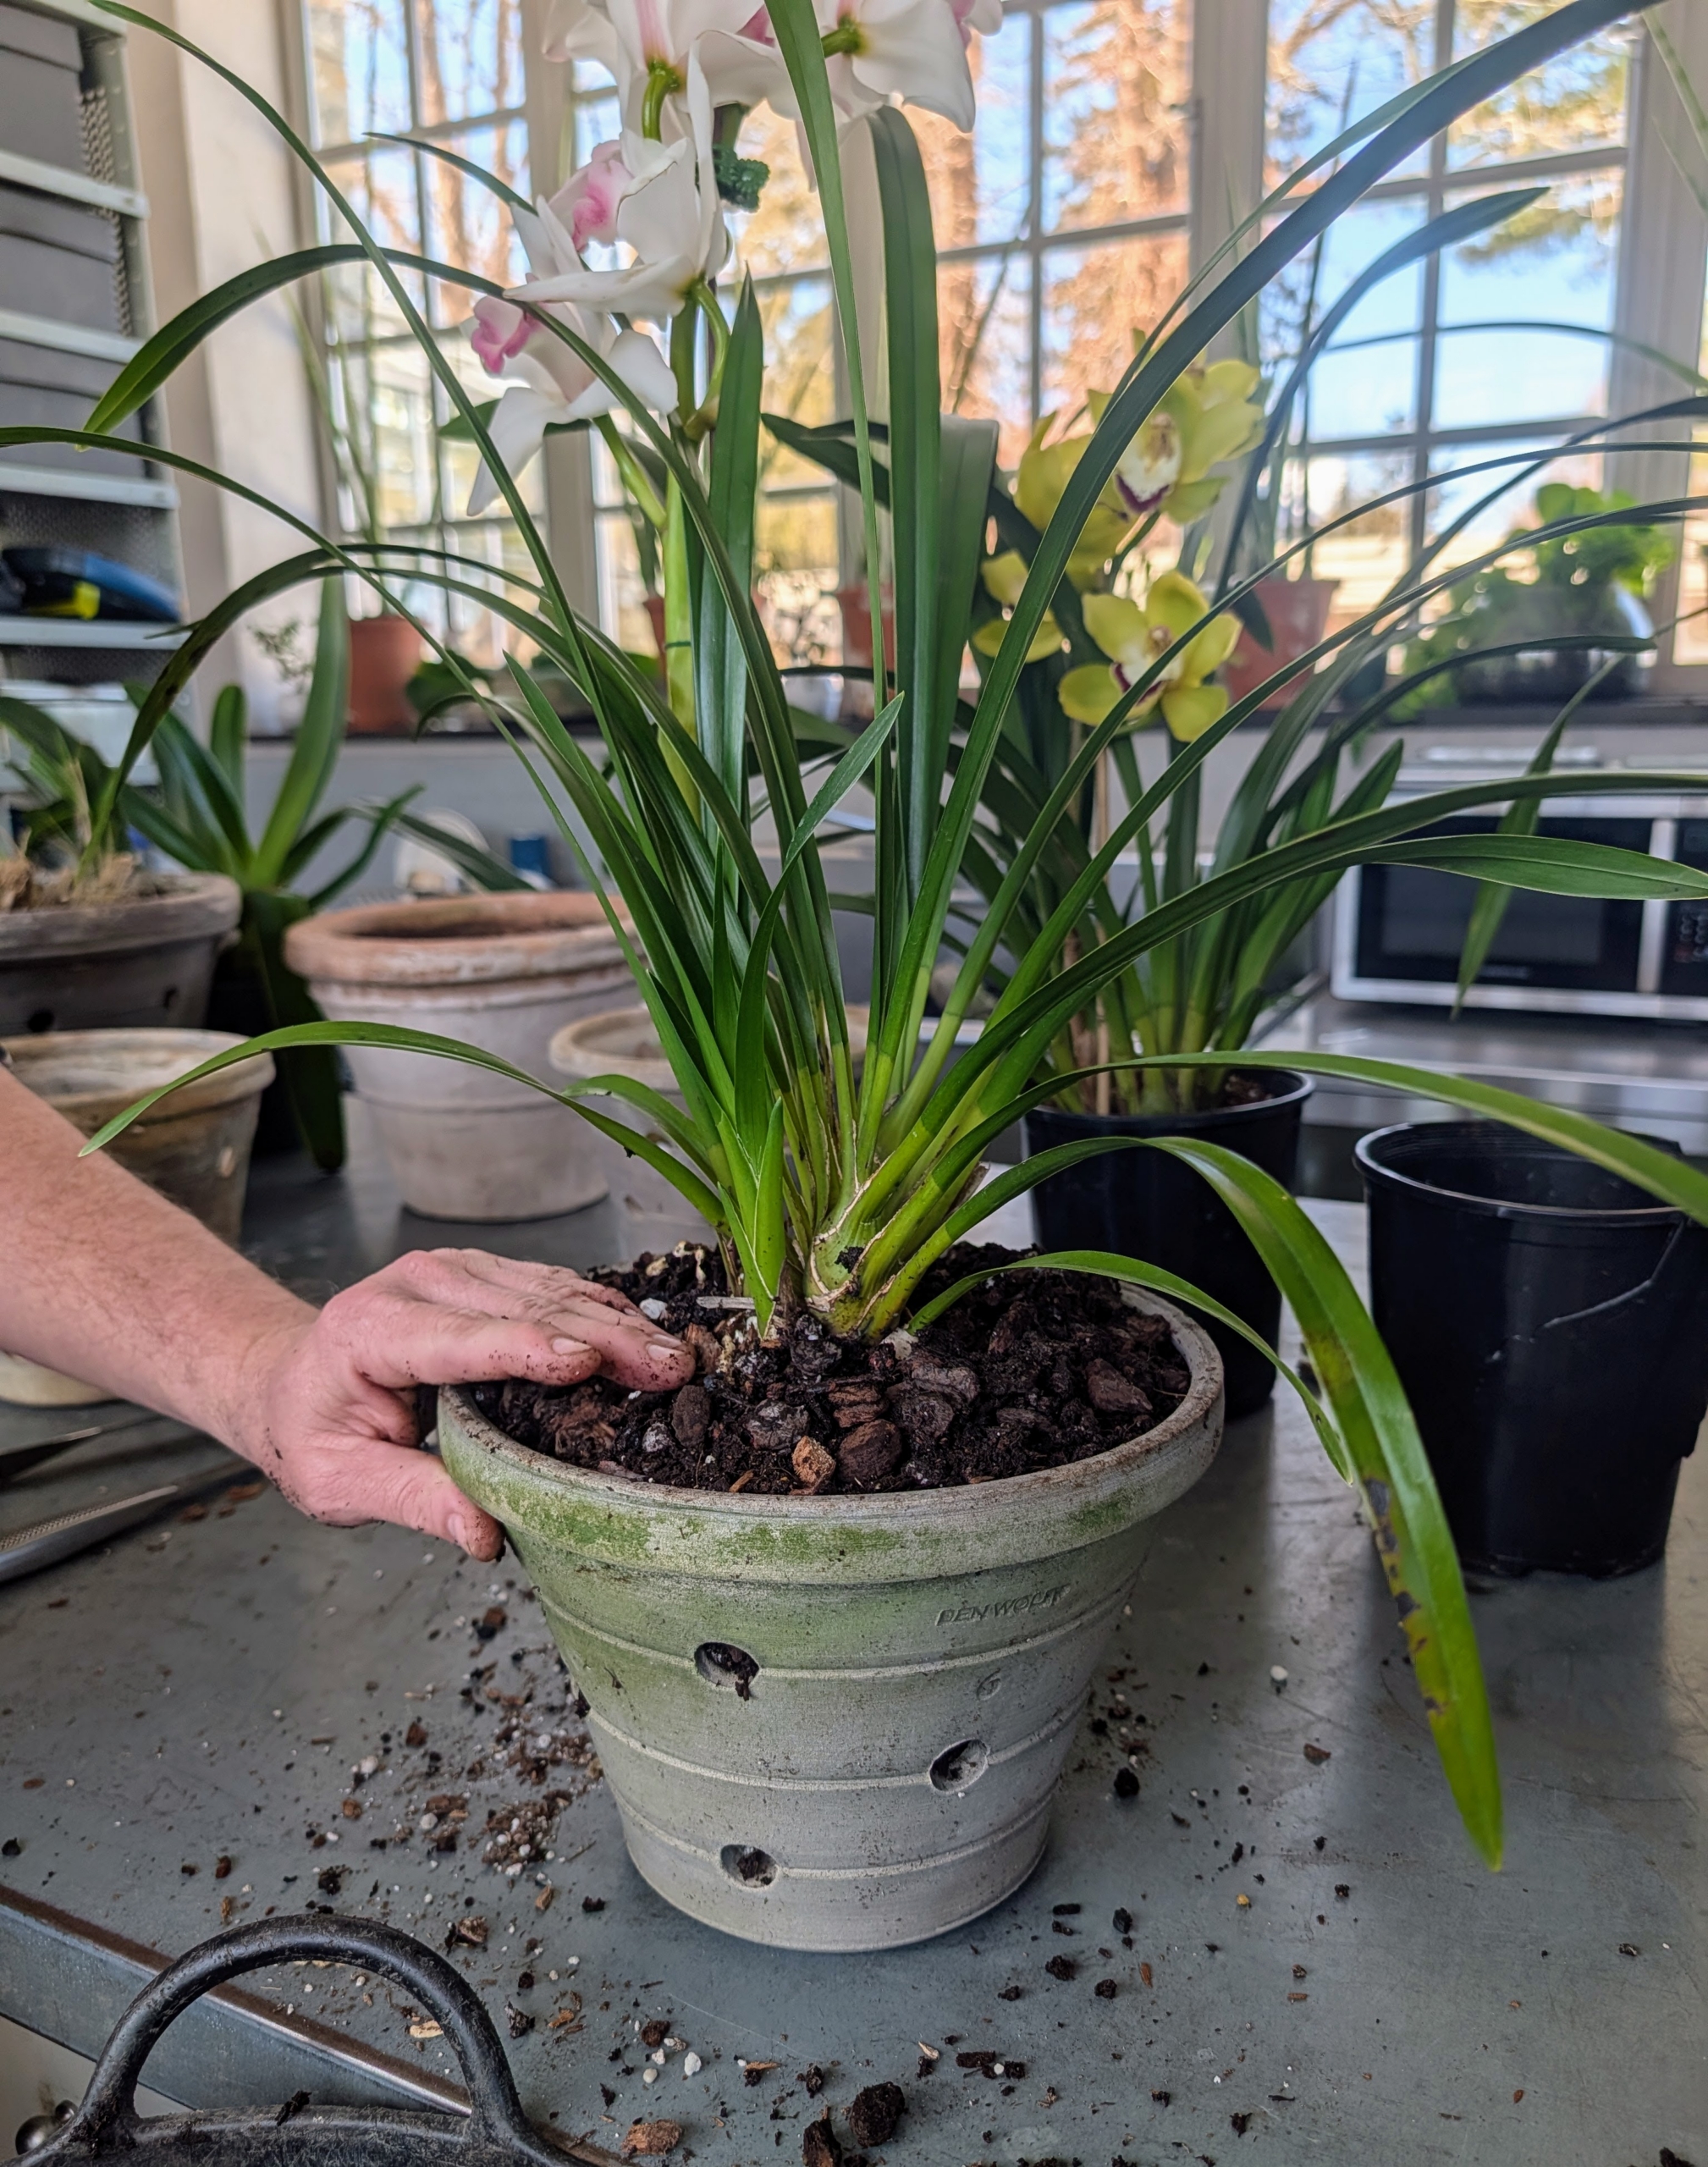
Ryan places the plants in pots to check they are the right size. When potting orchids, choose a pot that can accommodate two years of growth, or about two inches larger than the one before. Specialized orchid containers have holes all around the surface to increase the air circulation in the roots – these are the best. These pots are made by master potter Ben Wolff.
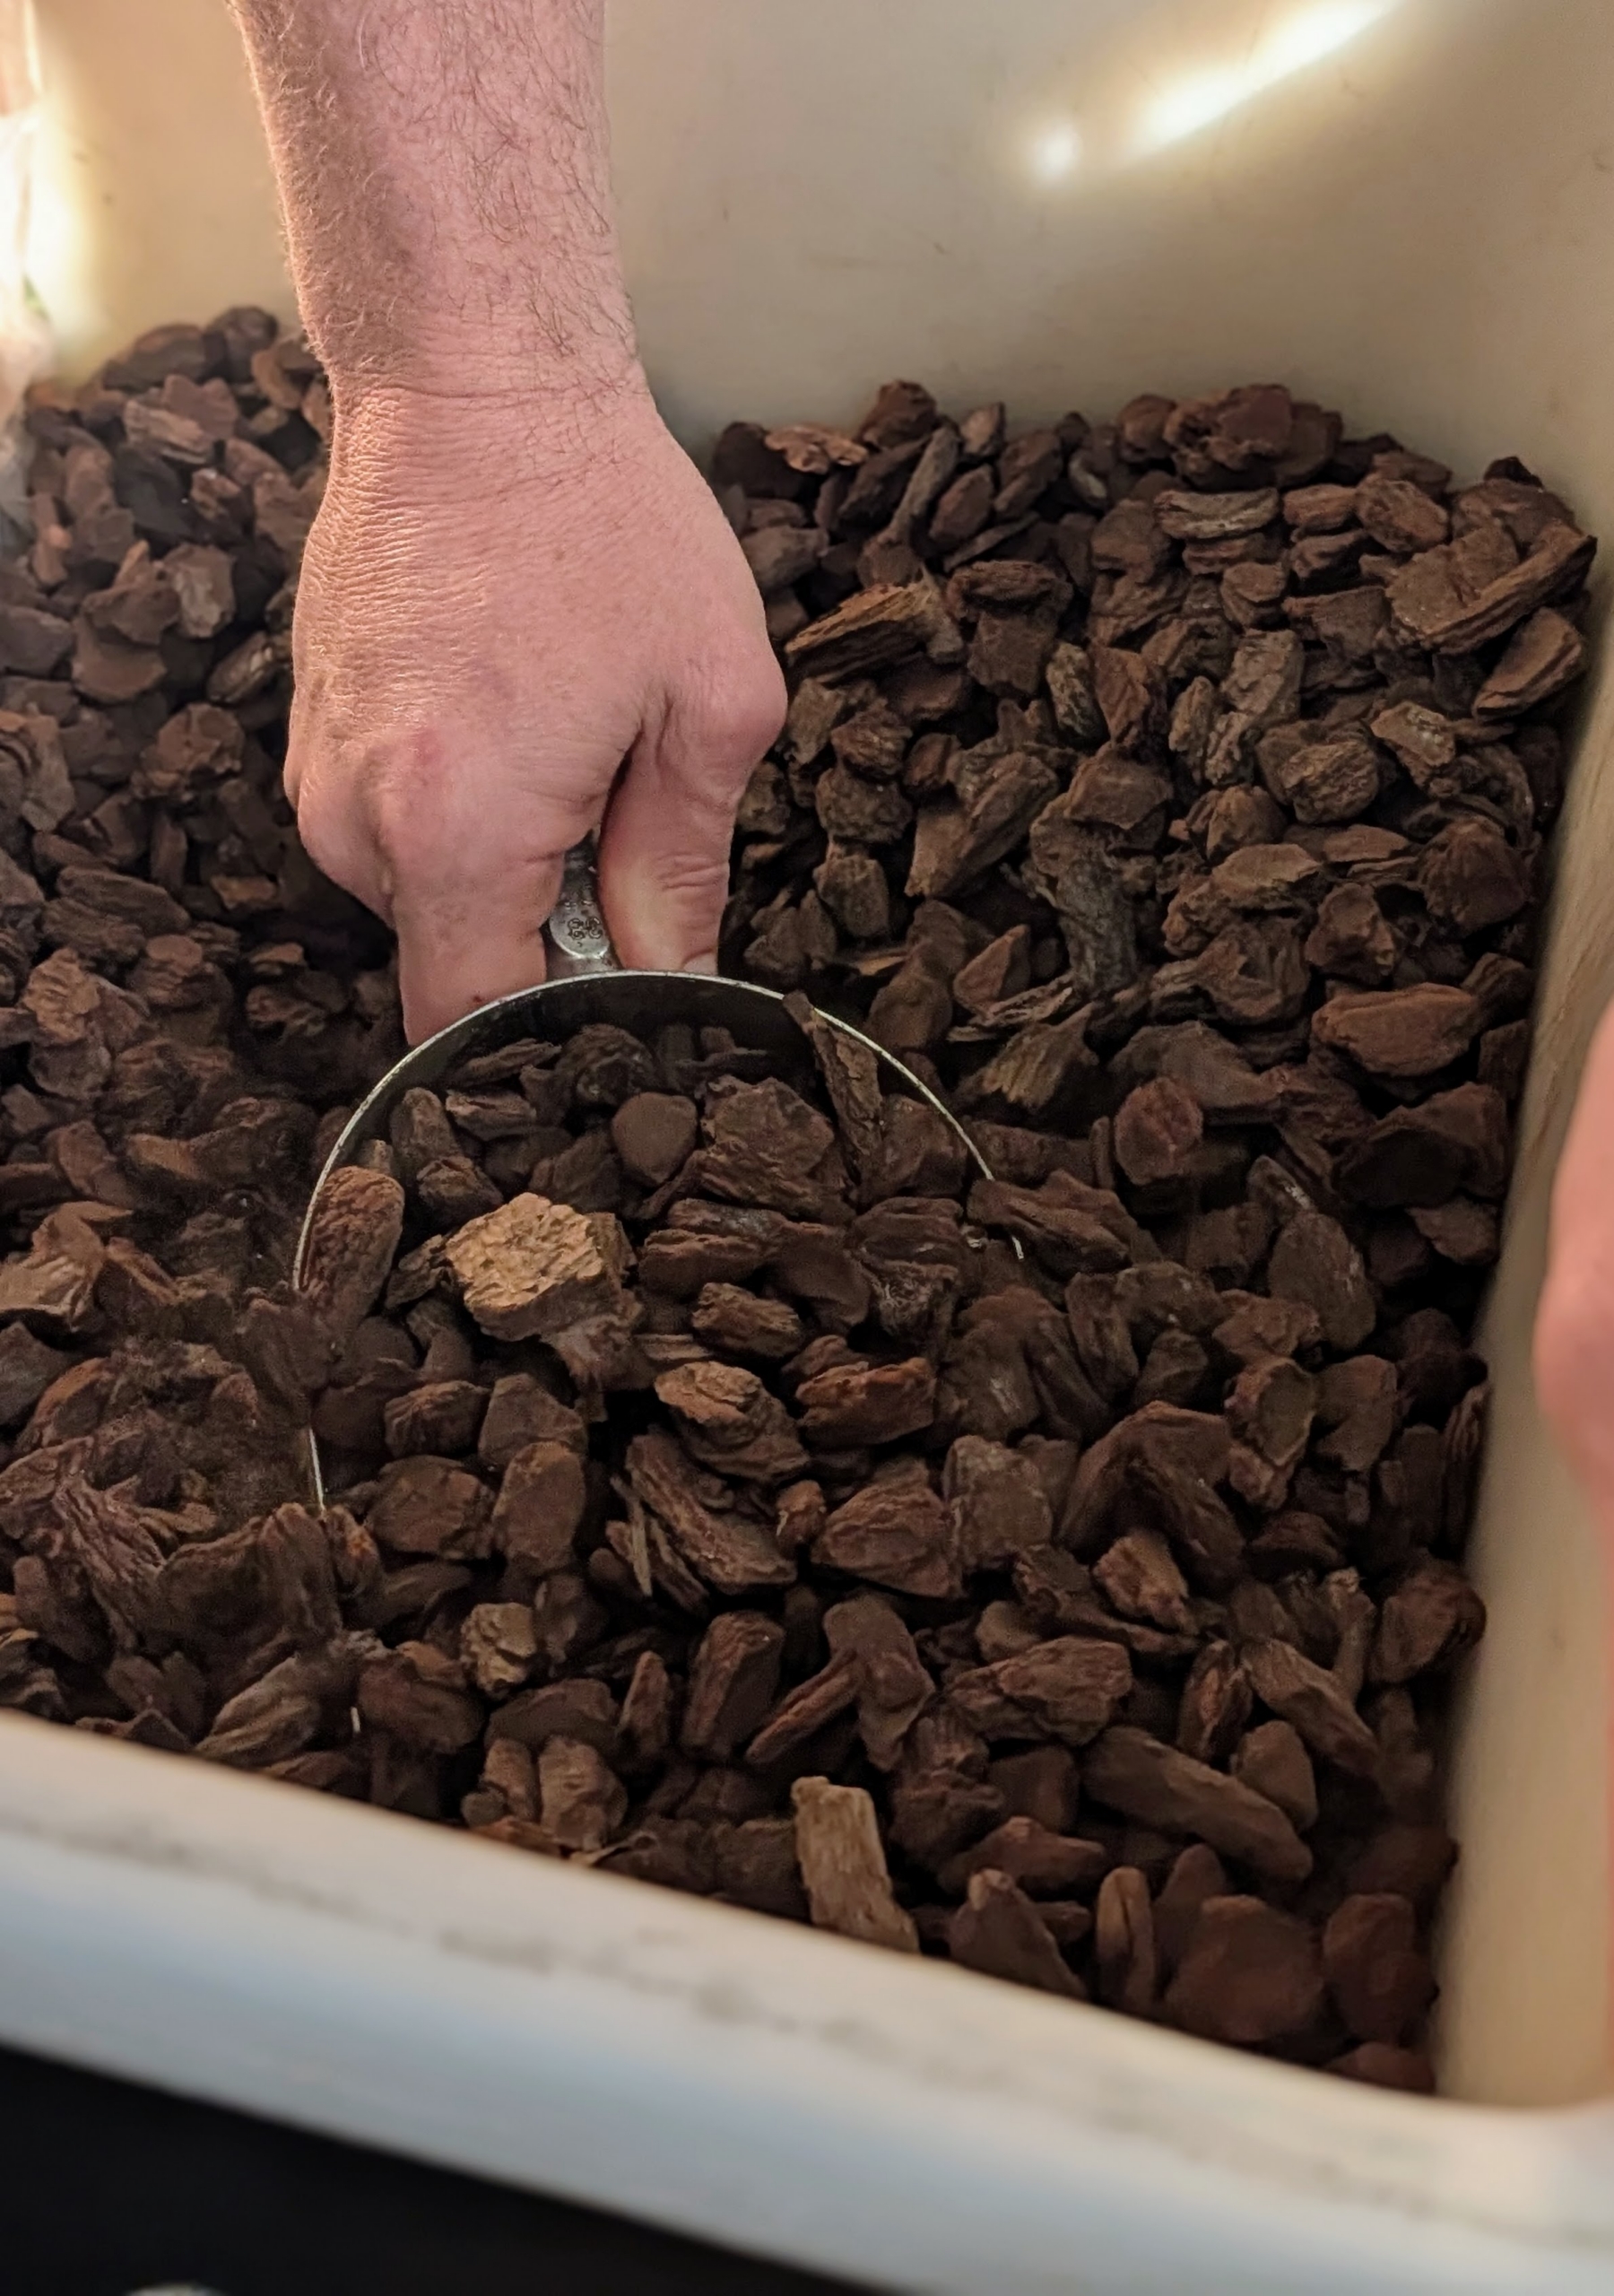
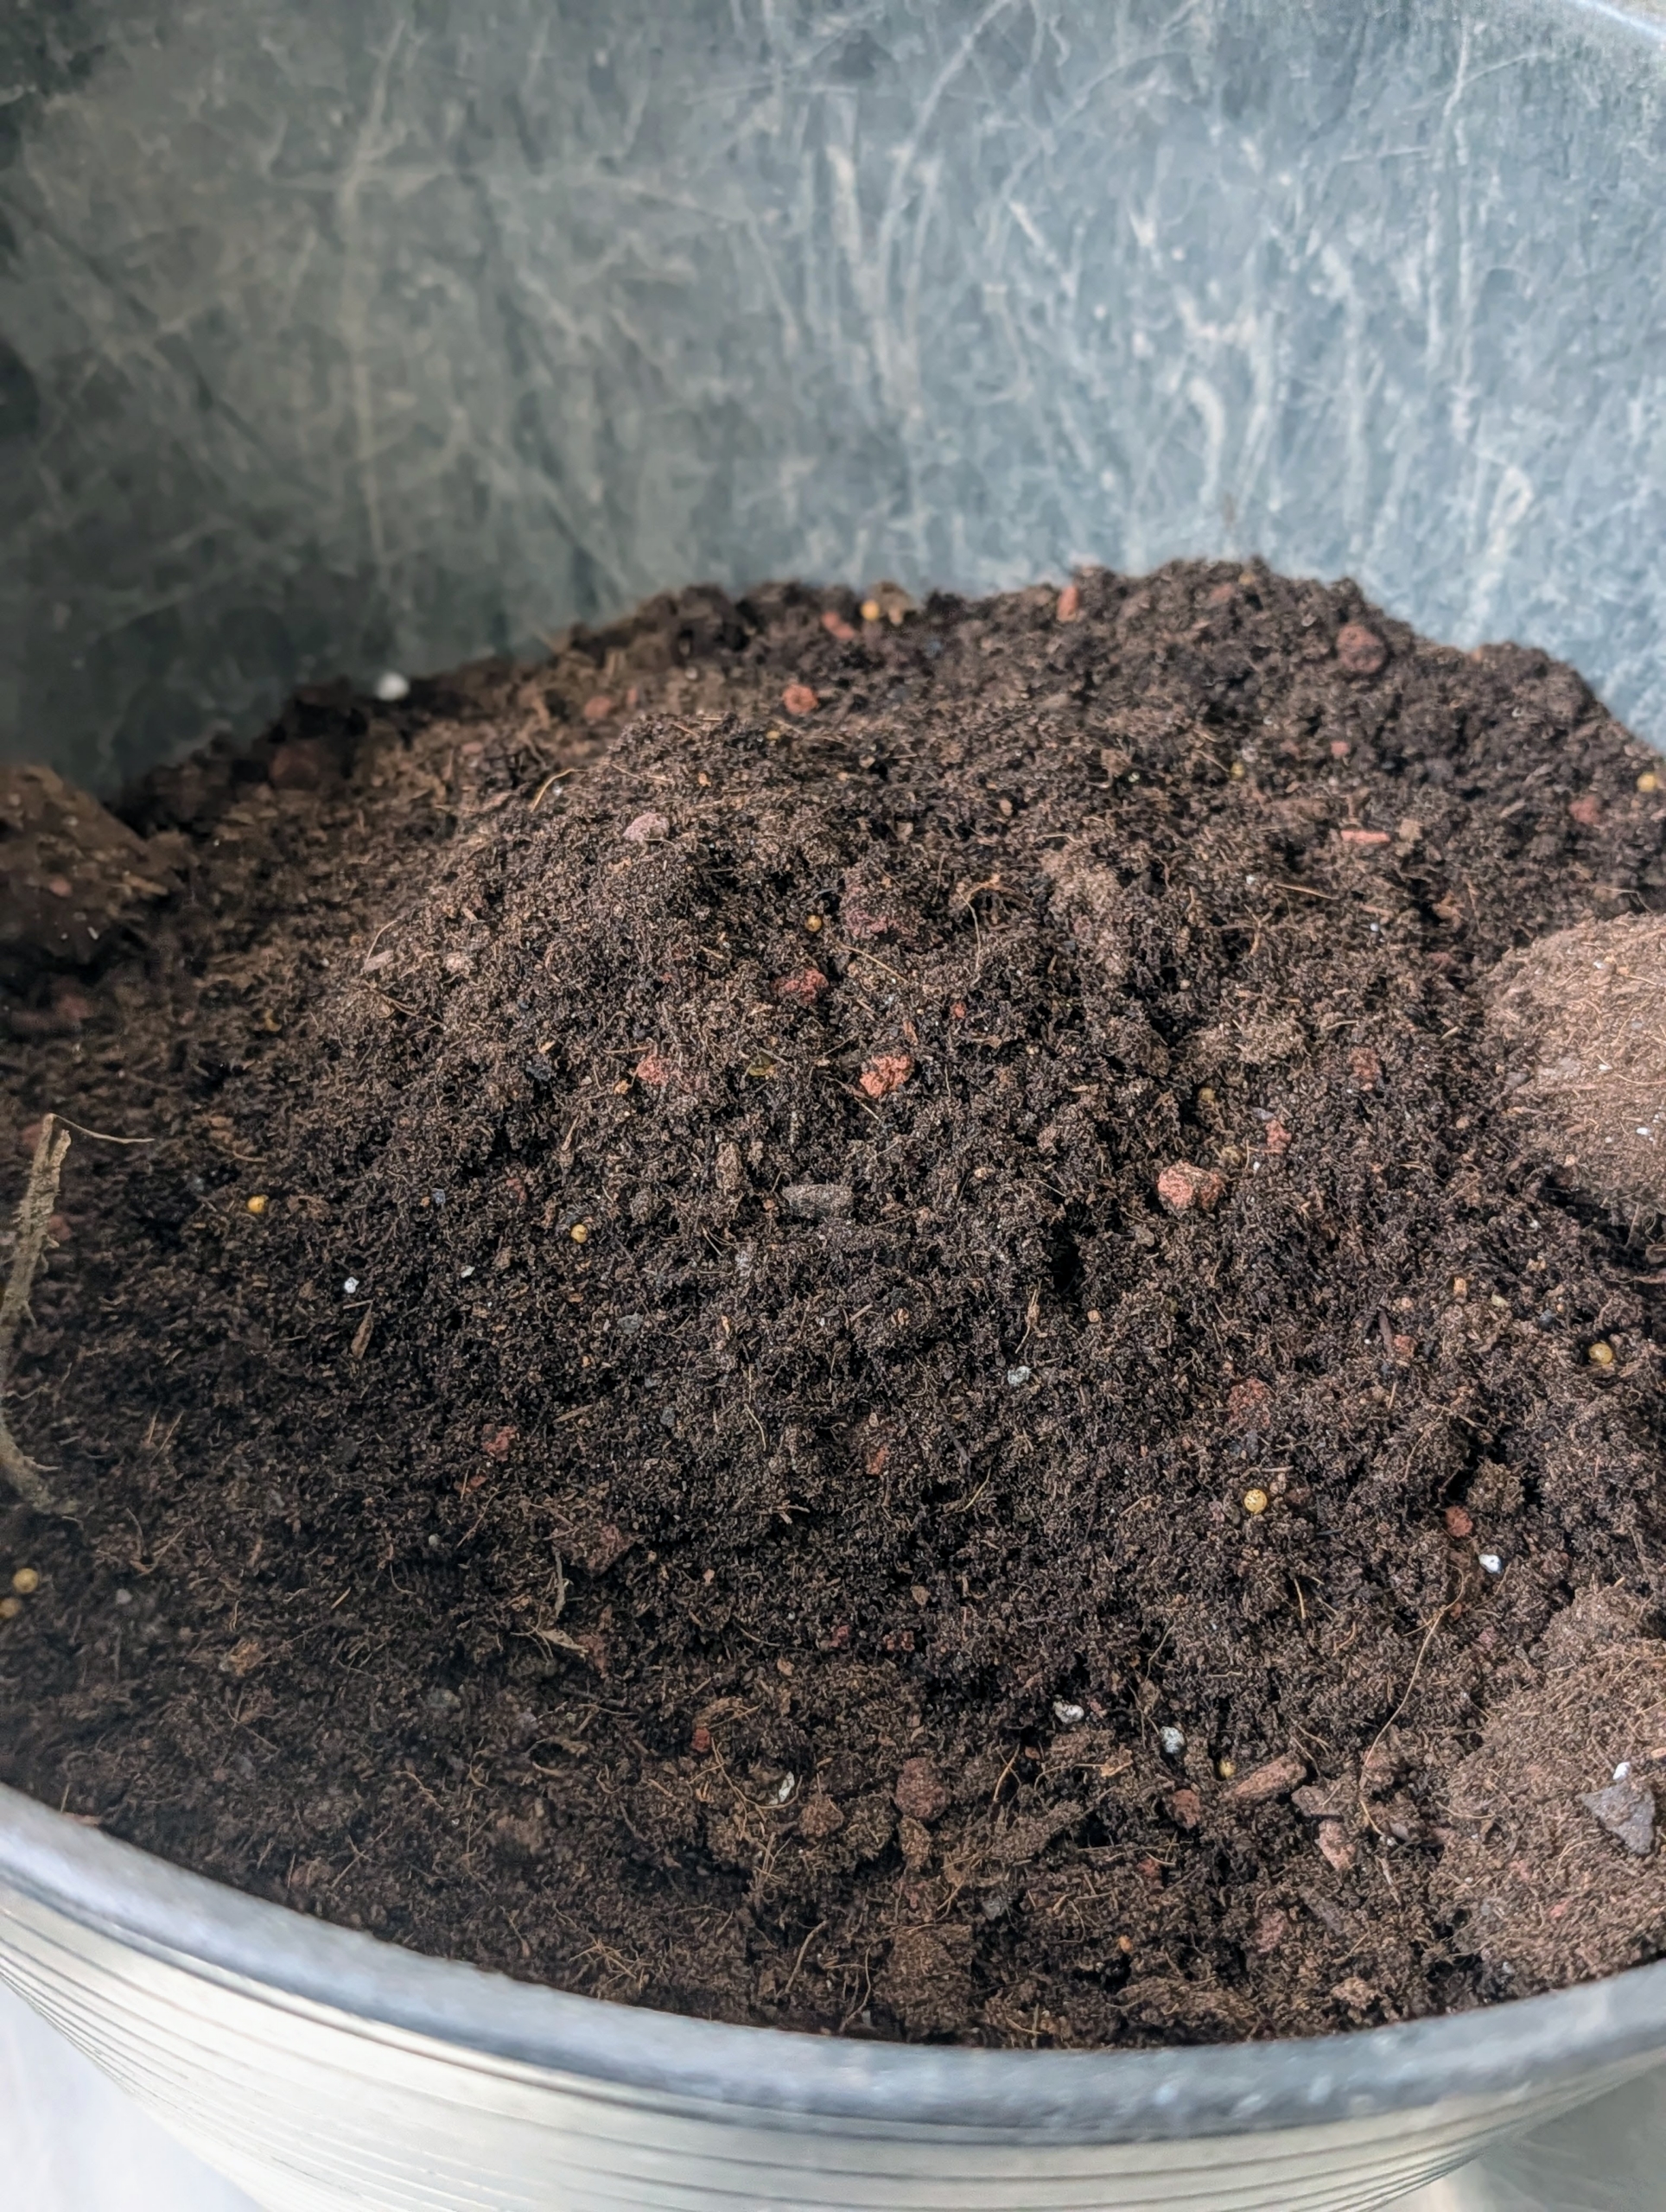
Orchids don’t grow like other potted plants. Instead, they exist in a container of loose materials. I like to create my own mix, but there are pre-made orchid mixes available at garden supply stores. Ryan starts with a good quality coarse orchid bark which allows air to circulate naturally around the roots of the plant.
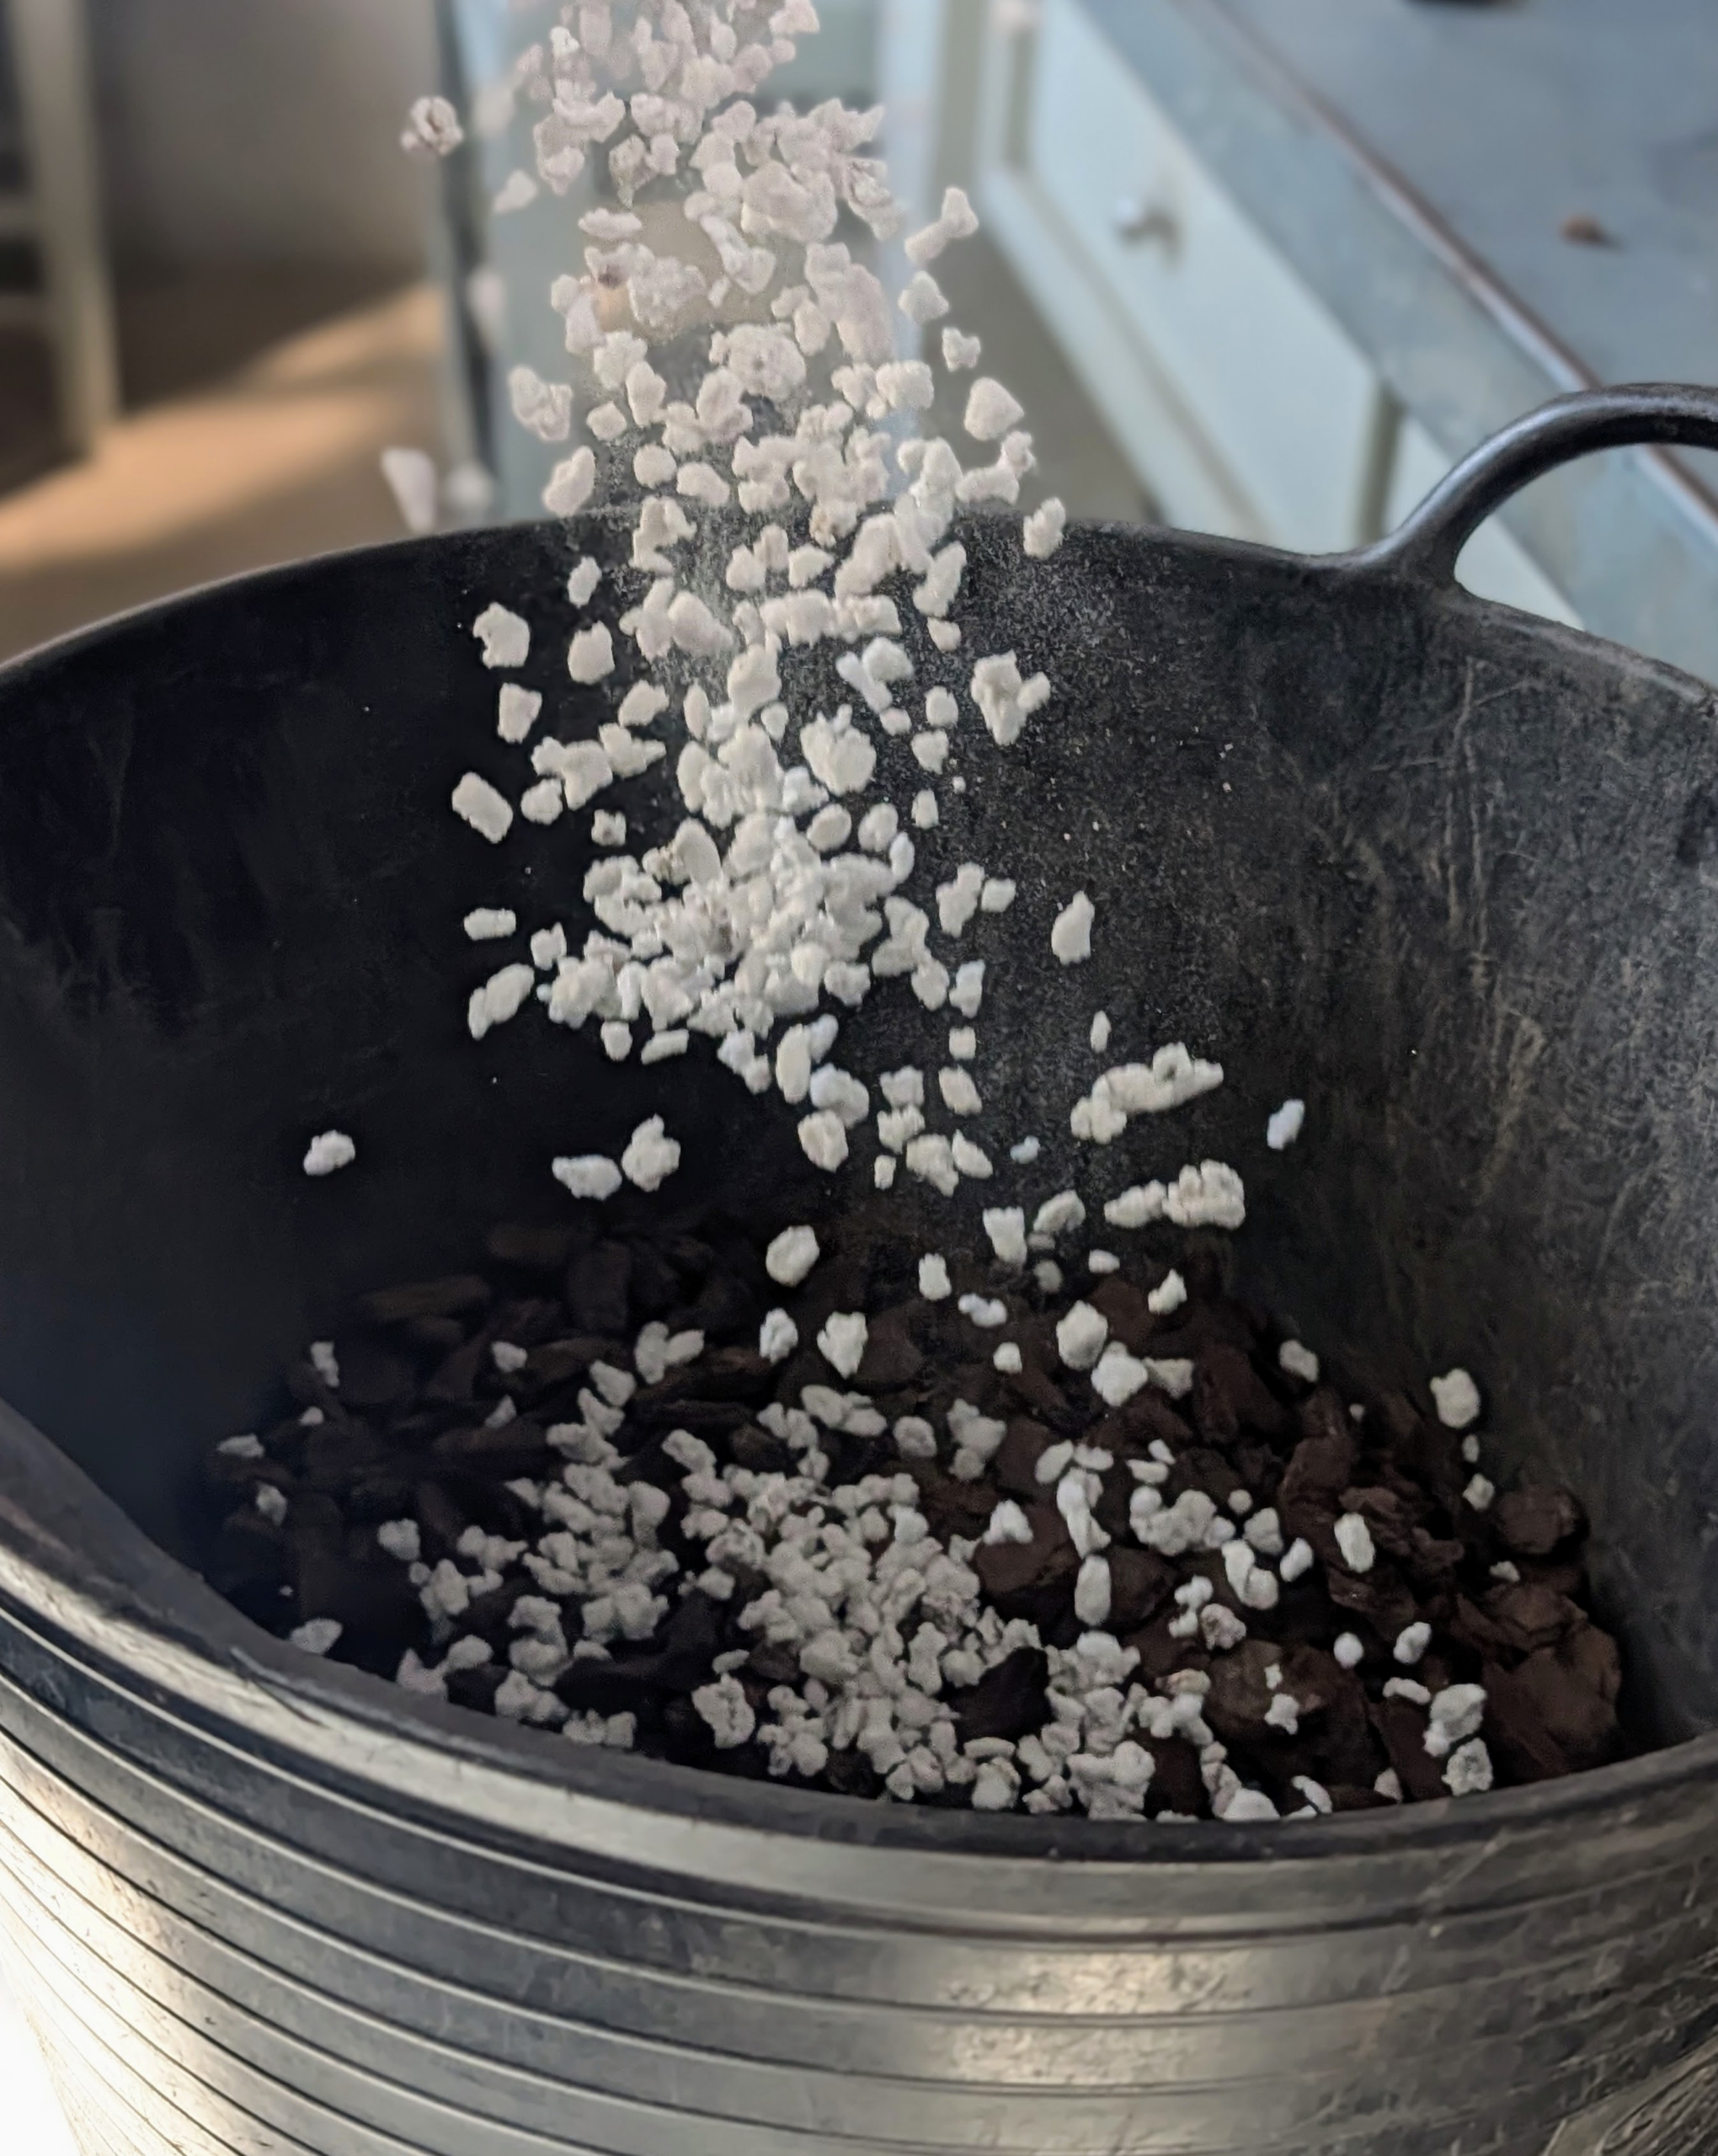
And then he adds perlite – a lightweight, porous volcanic glass used to improve aeration and drainage in soil and other plant mixes.
Cymbidium orchids prefer a little soil because they are semi-terrestrial orchids that naturally grow on trees and rocks in their natural habitat. They require a soil that is well-draining, airy, and slightly acidic, allowing excess water to pass through and prevent root rot.
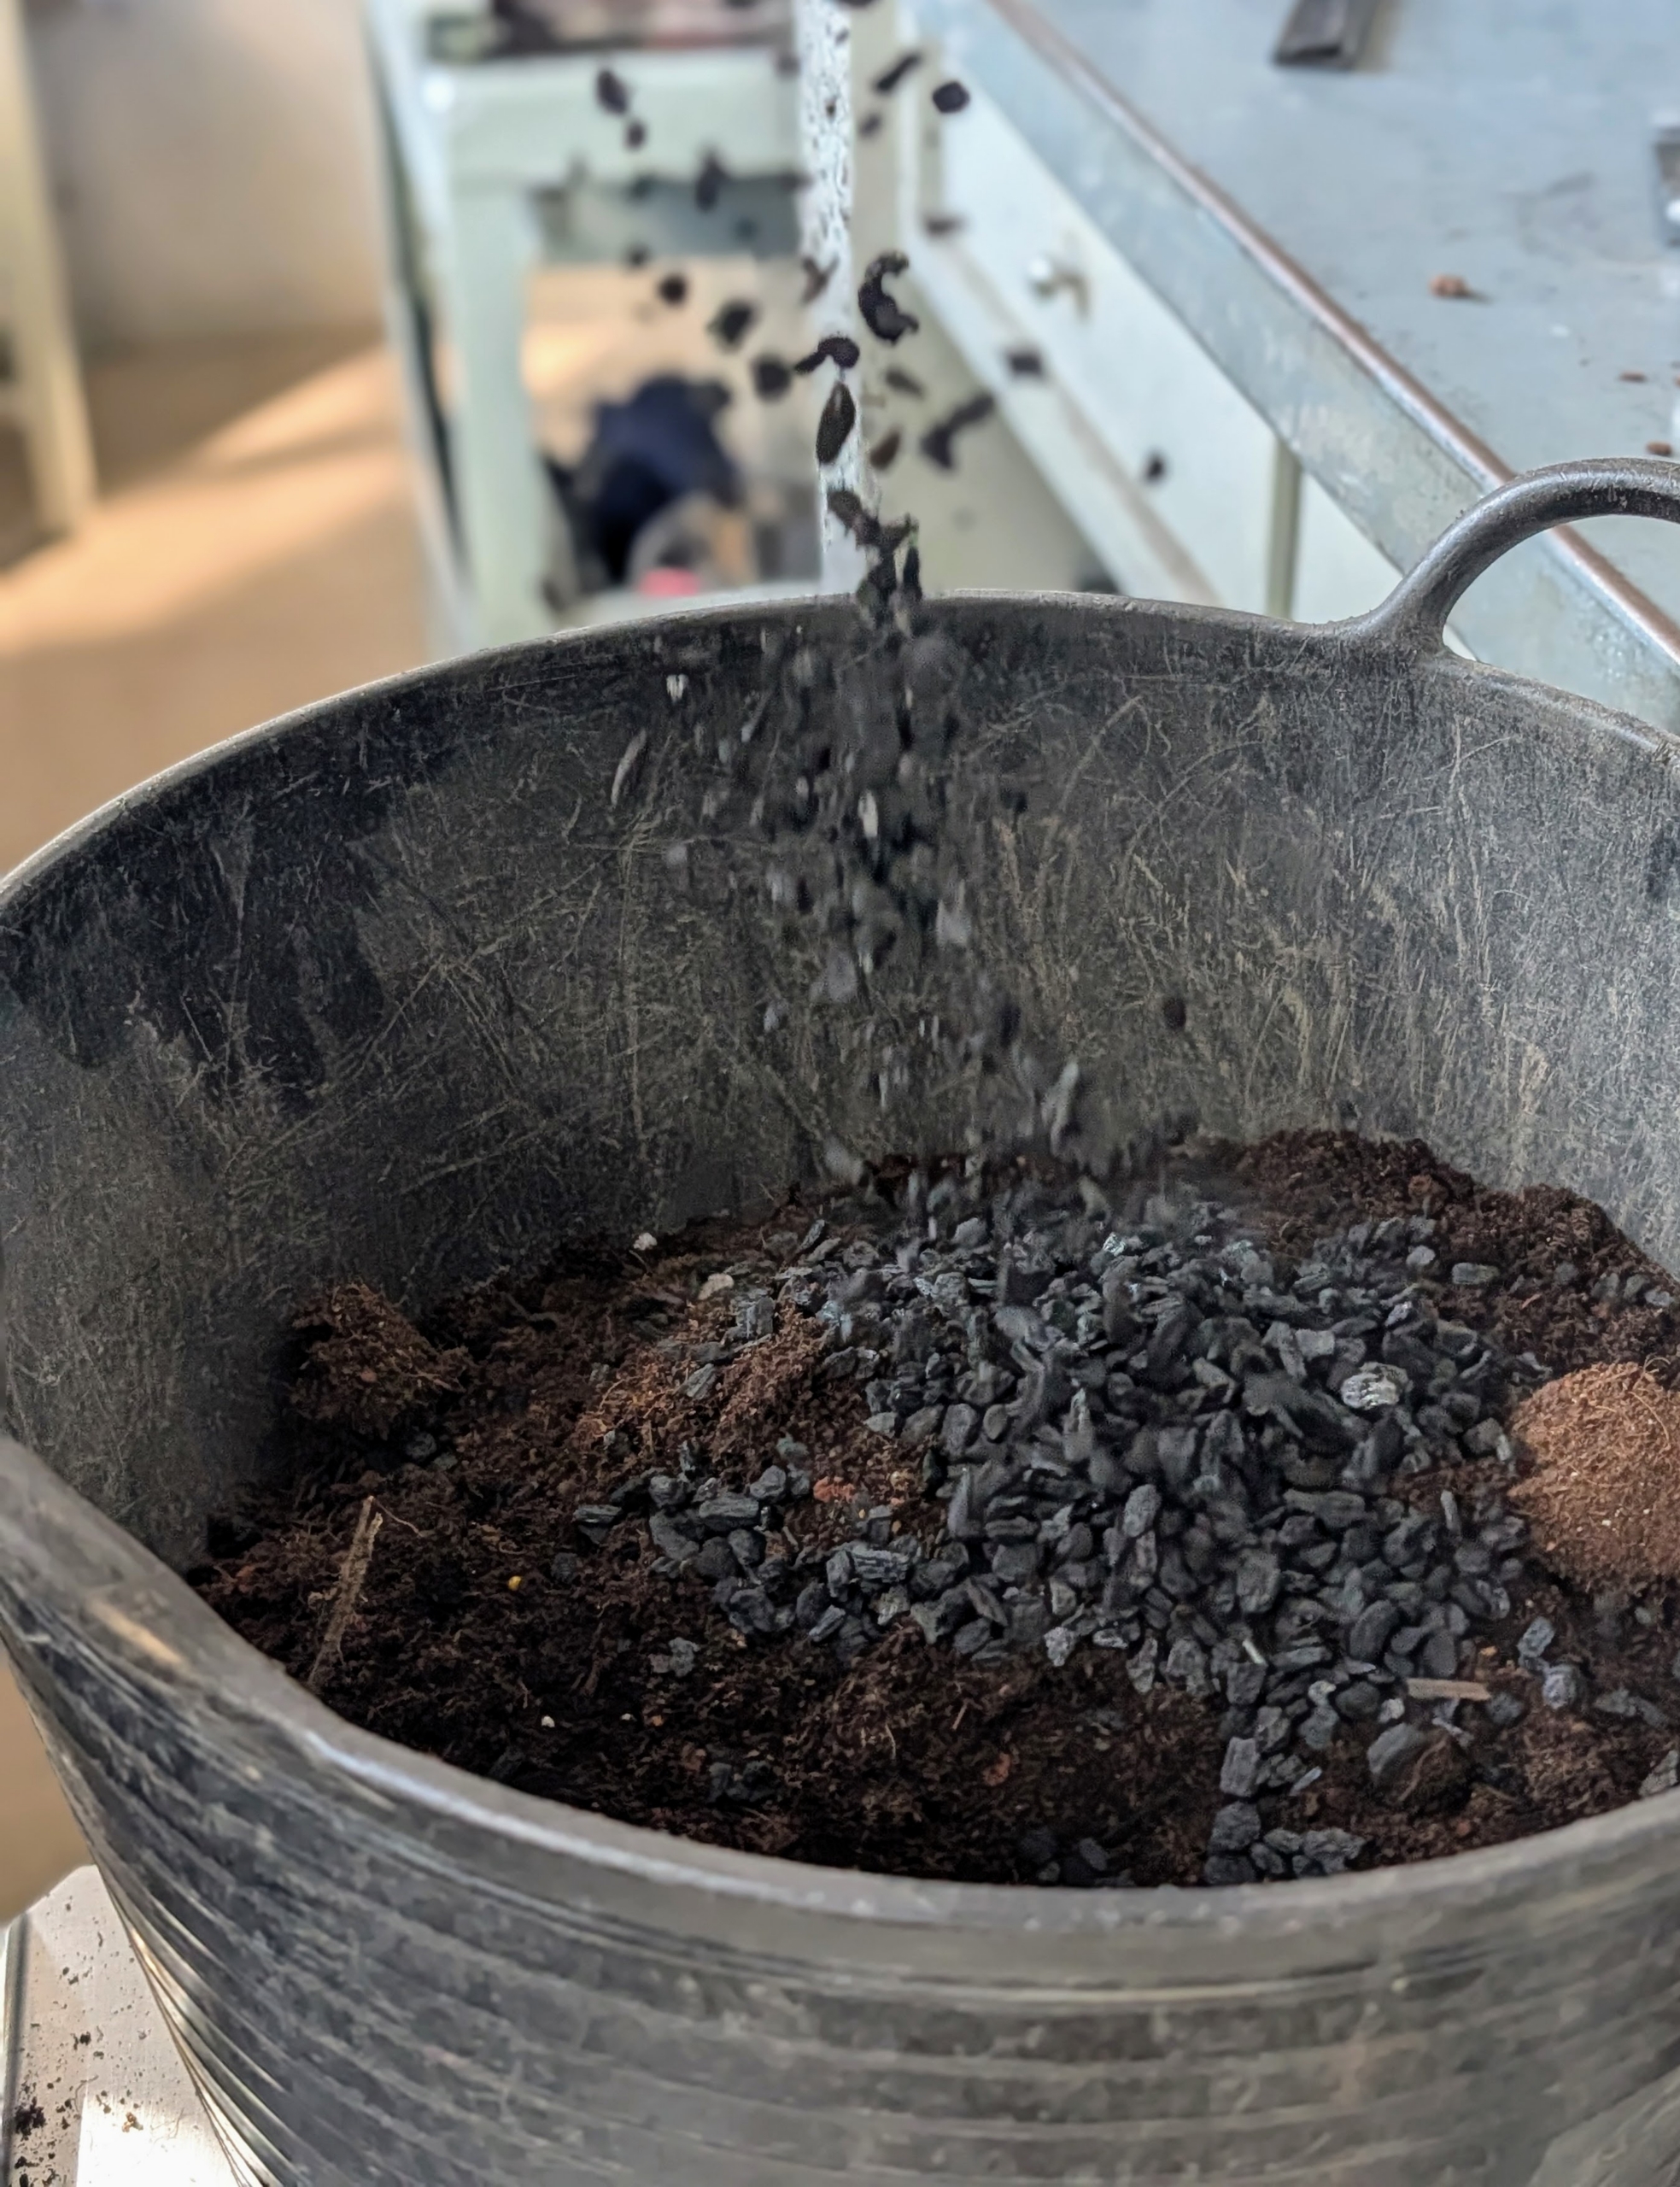
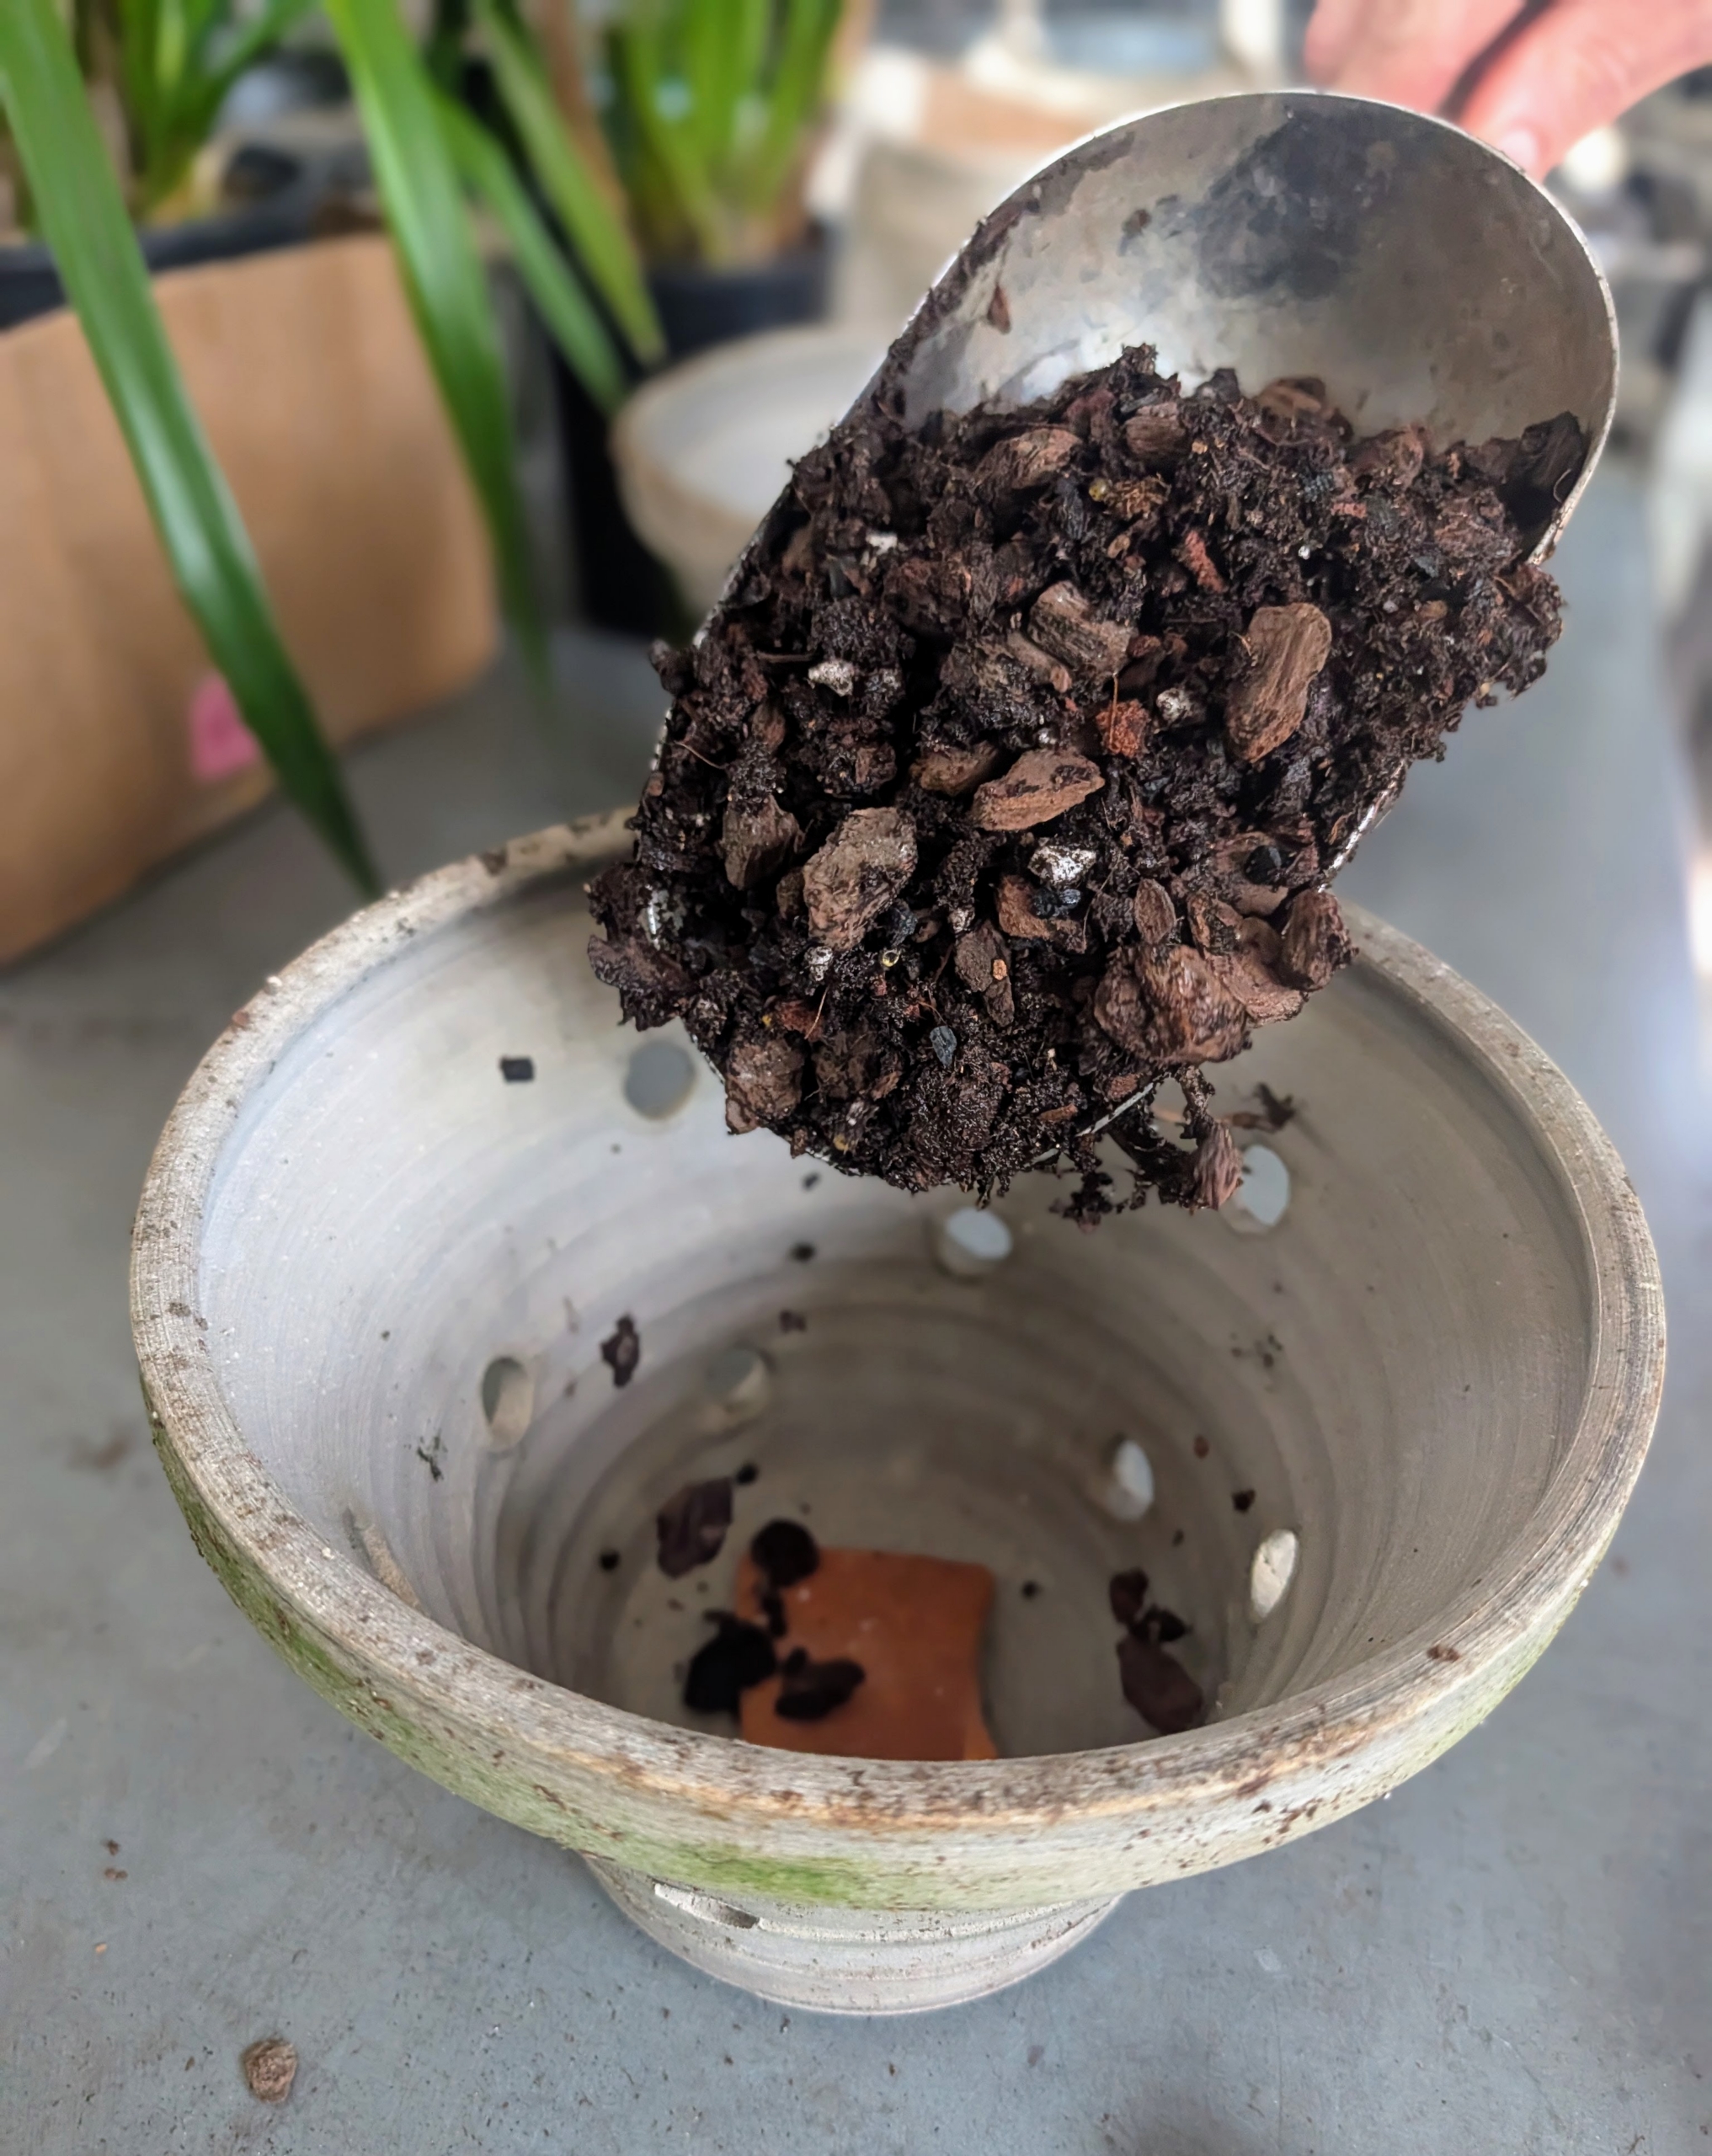
Ryan then adds a couple scoops of charcoal which acts as a natural water filter preventing any buildup of toxins. It also absorbs excess moisture, helps to regulate pH levels, and contributes to a balanced and stable growing environment.
Ryan mixes the materials together with his hands to ensure even distribution. He adjusts proportions as needed. One can also wet the mix slightly to help settle it down.
As with all potted plants, it is important to have proper drainage holes in the pot. I always cover them with a shard, so none of the potting mix falls out.
Ryan covers the bottom third of the pot with the orchid potting mix.
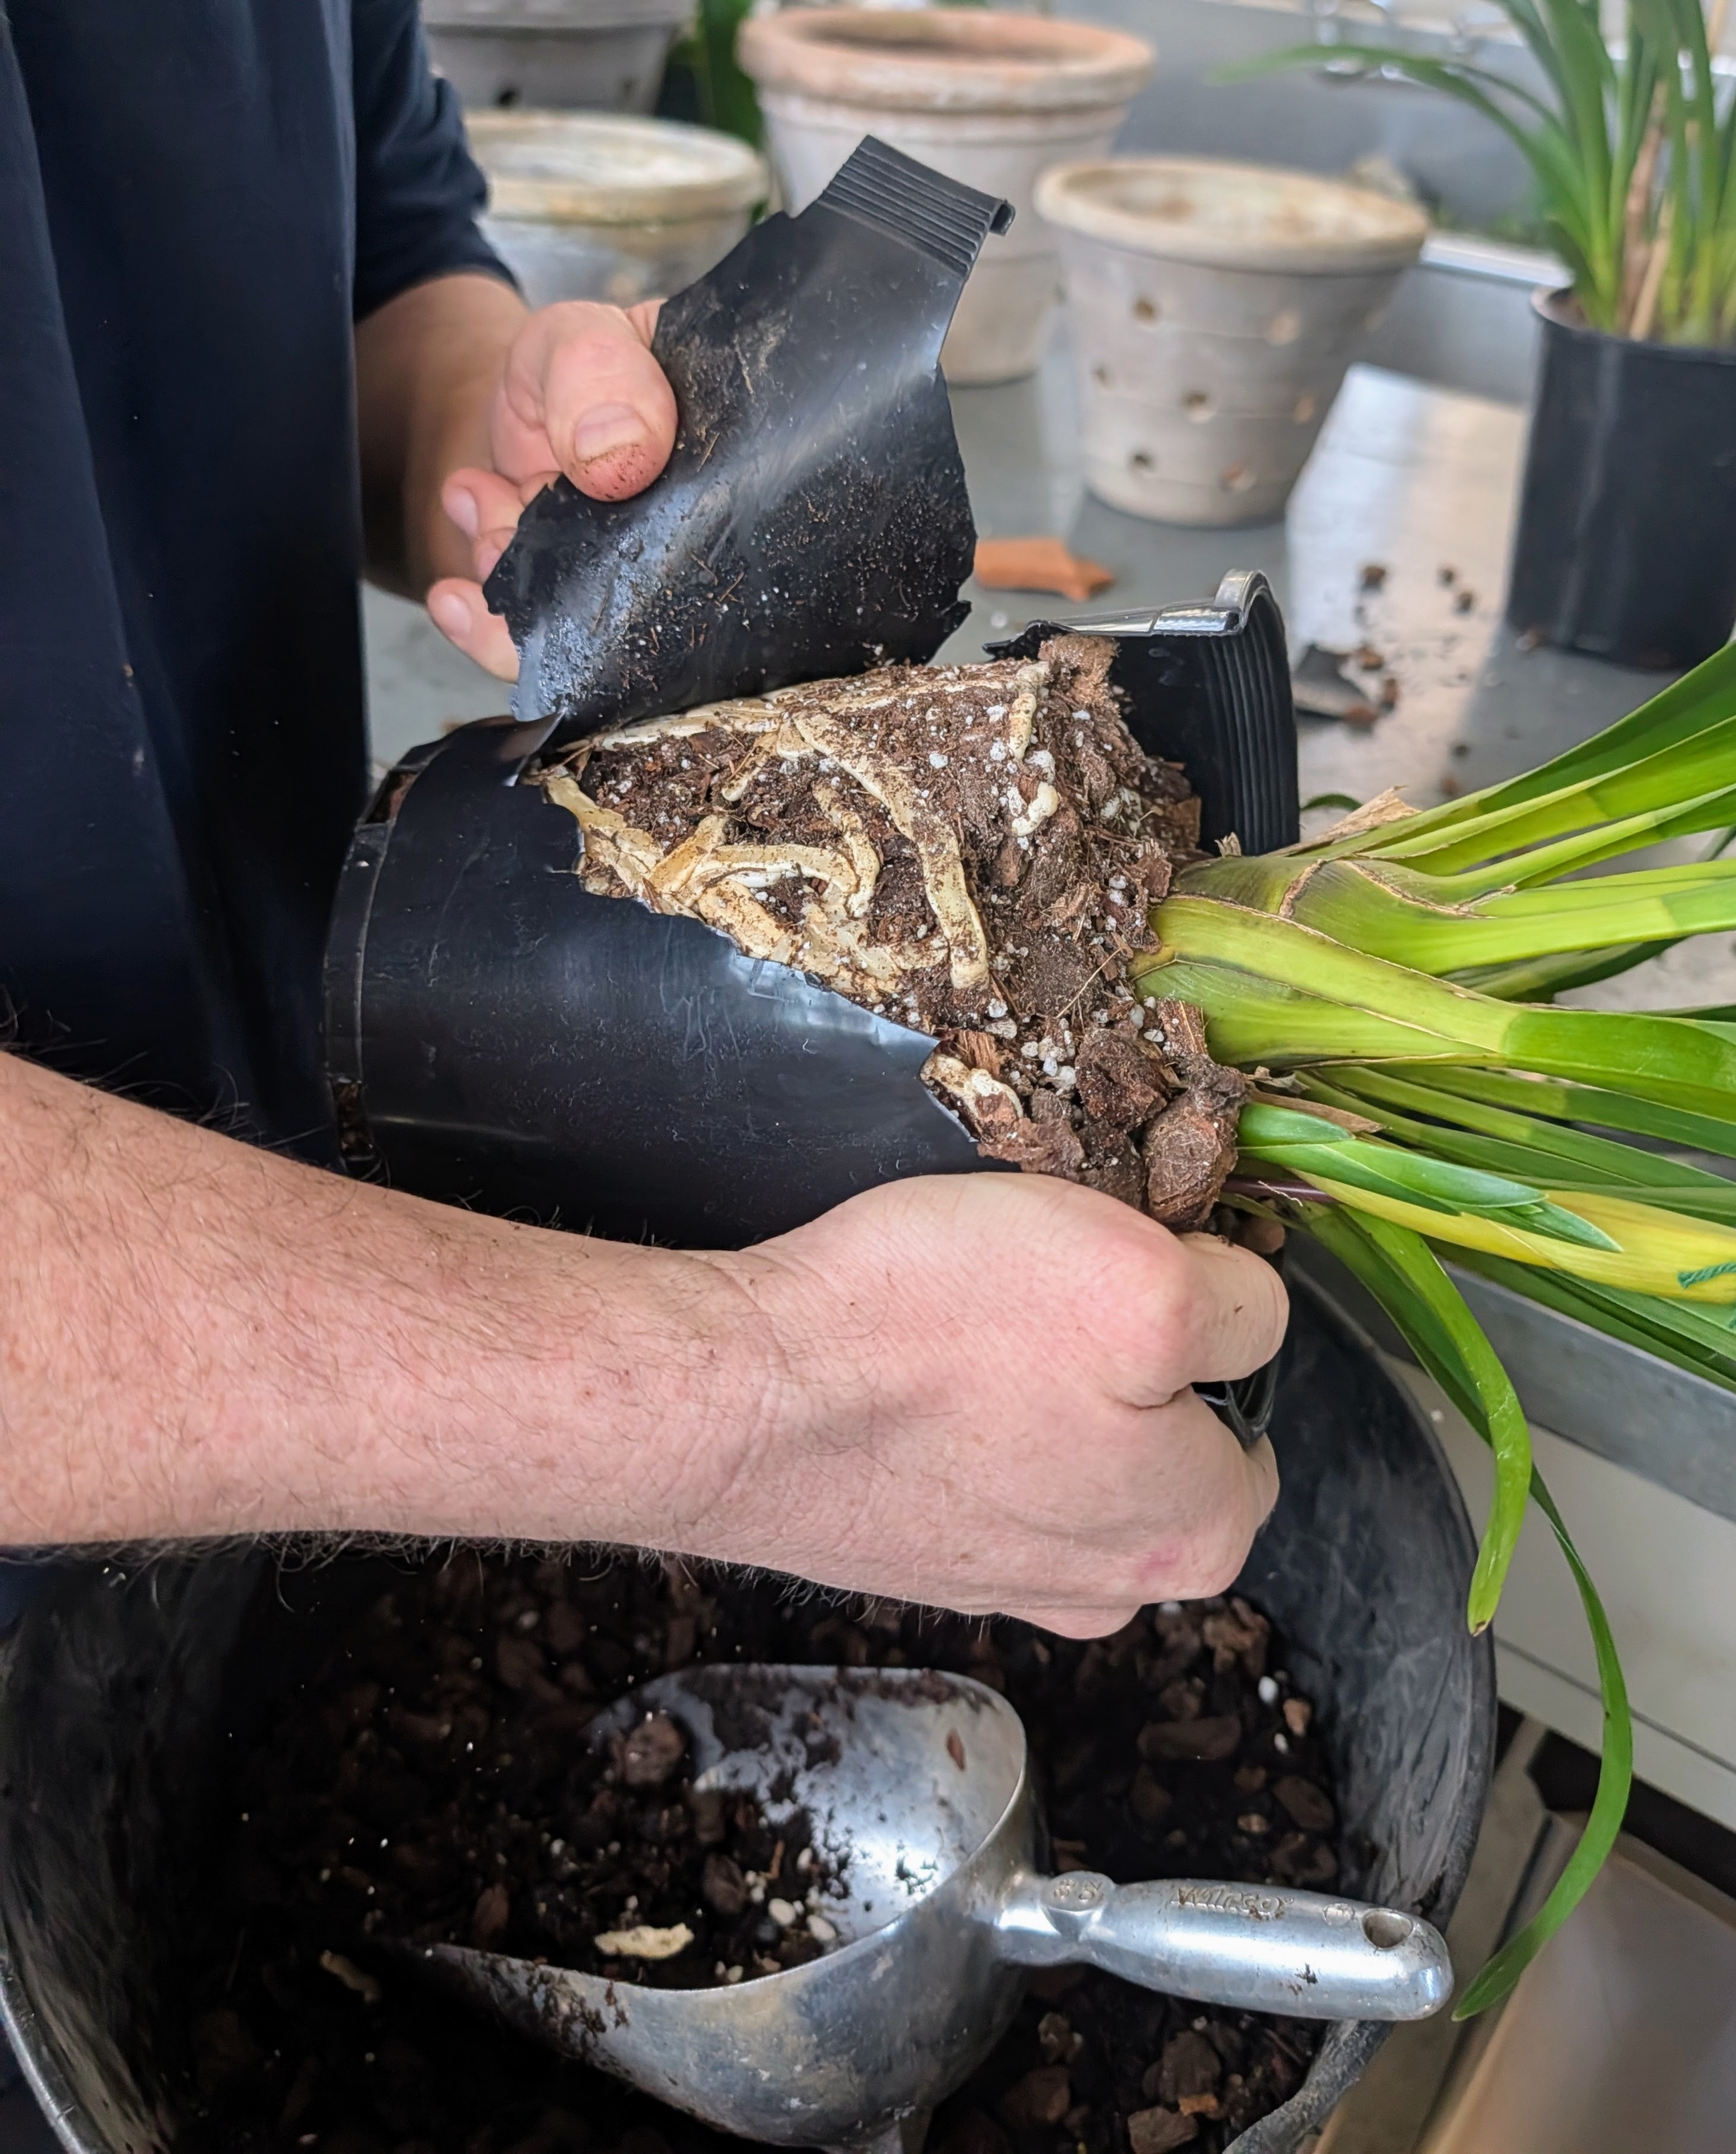
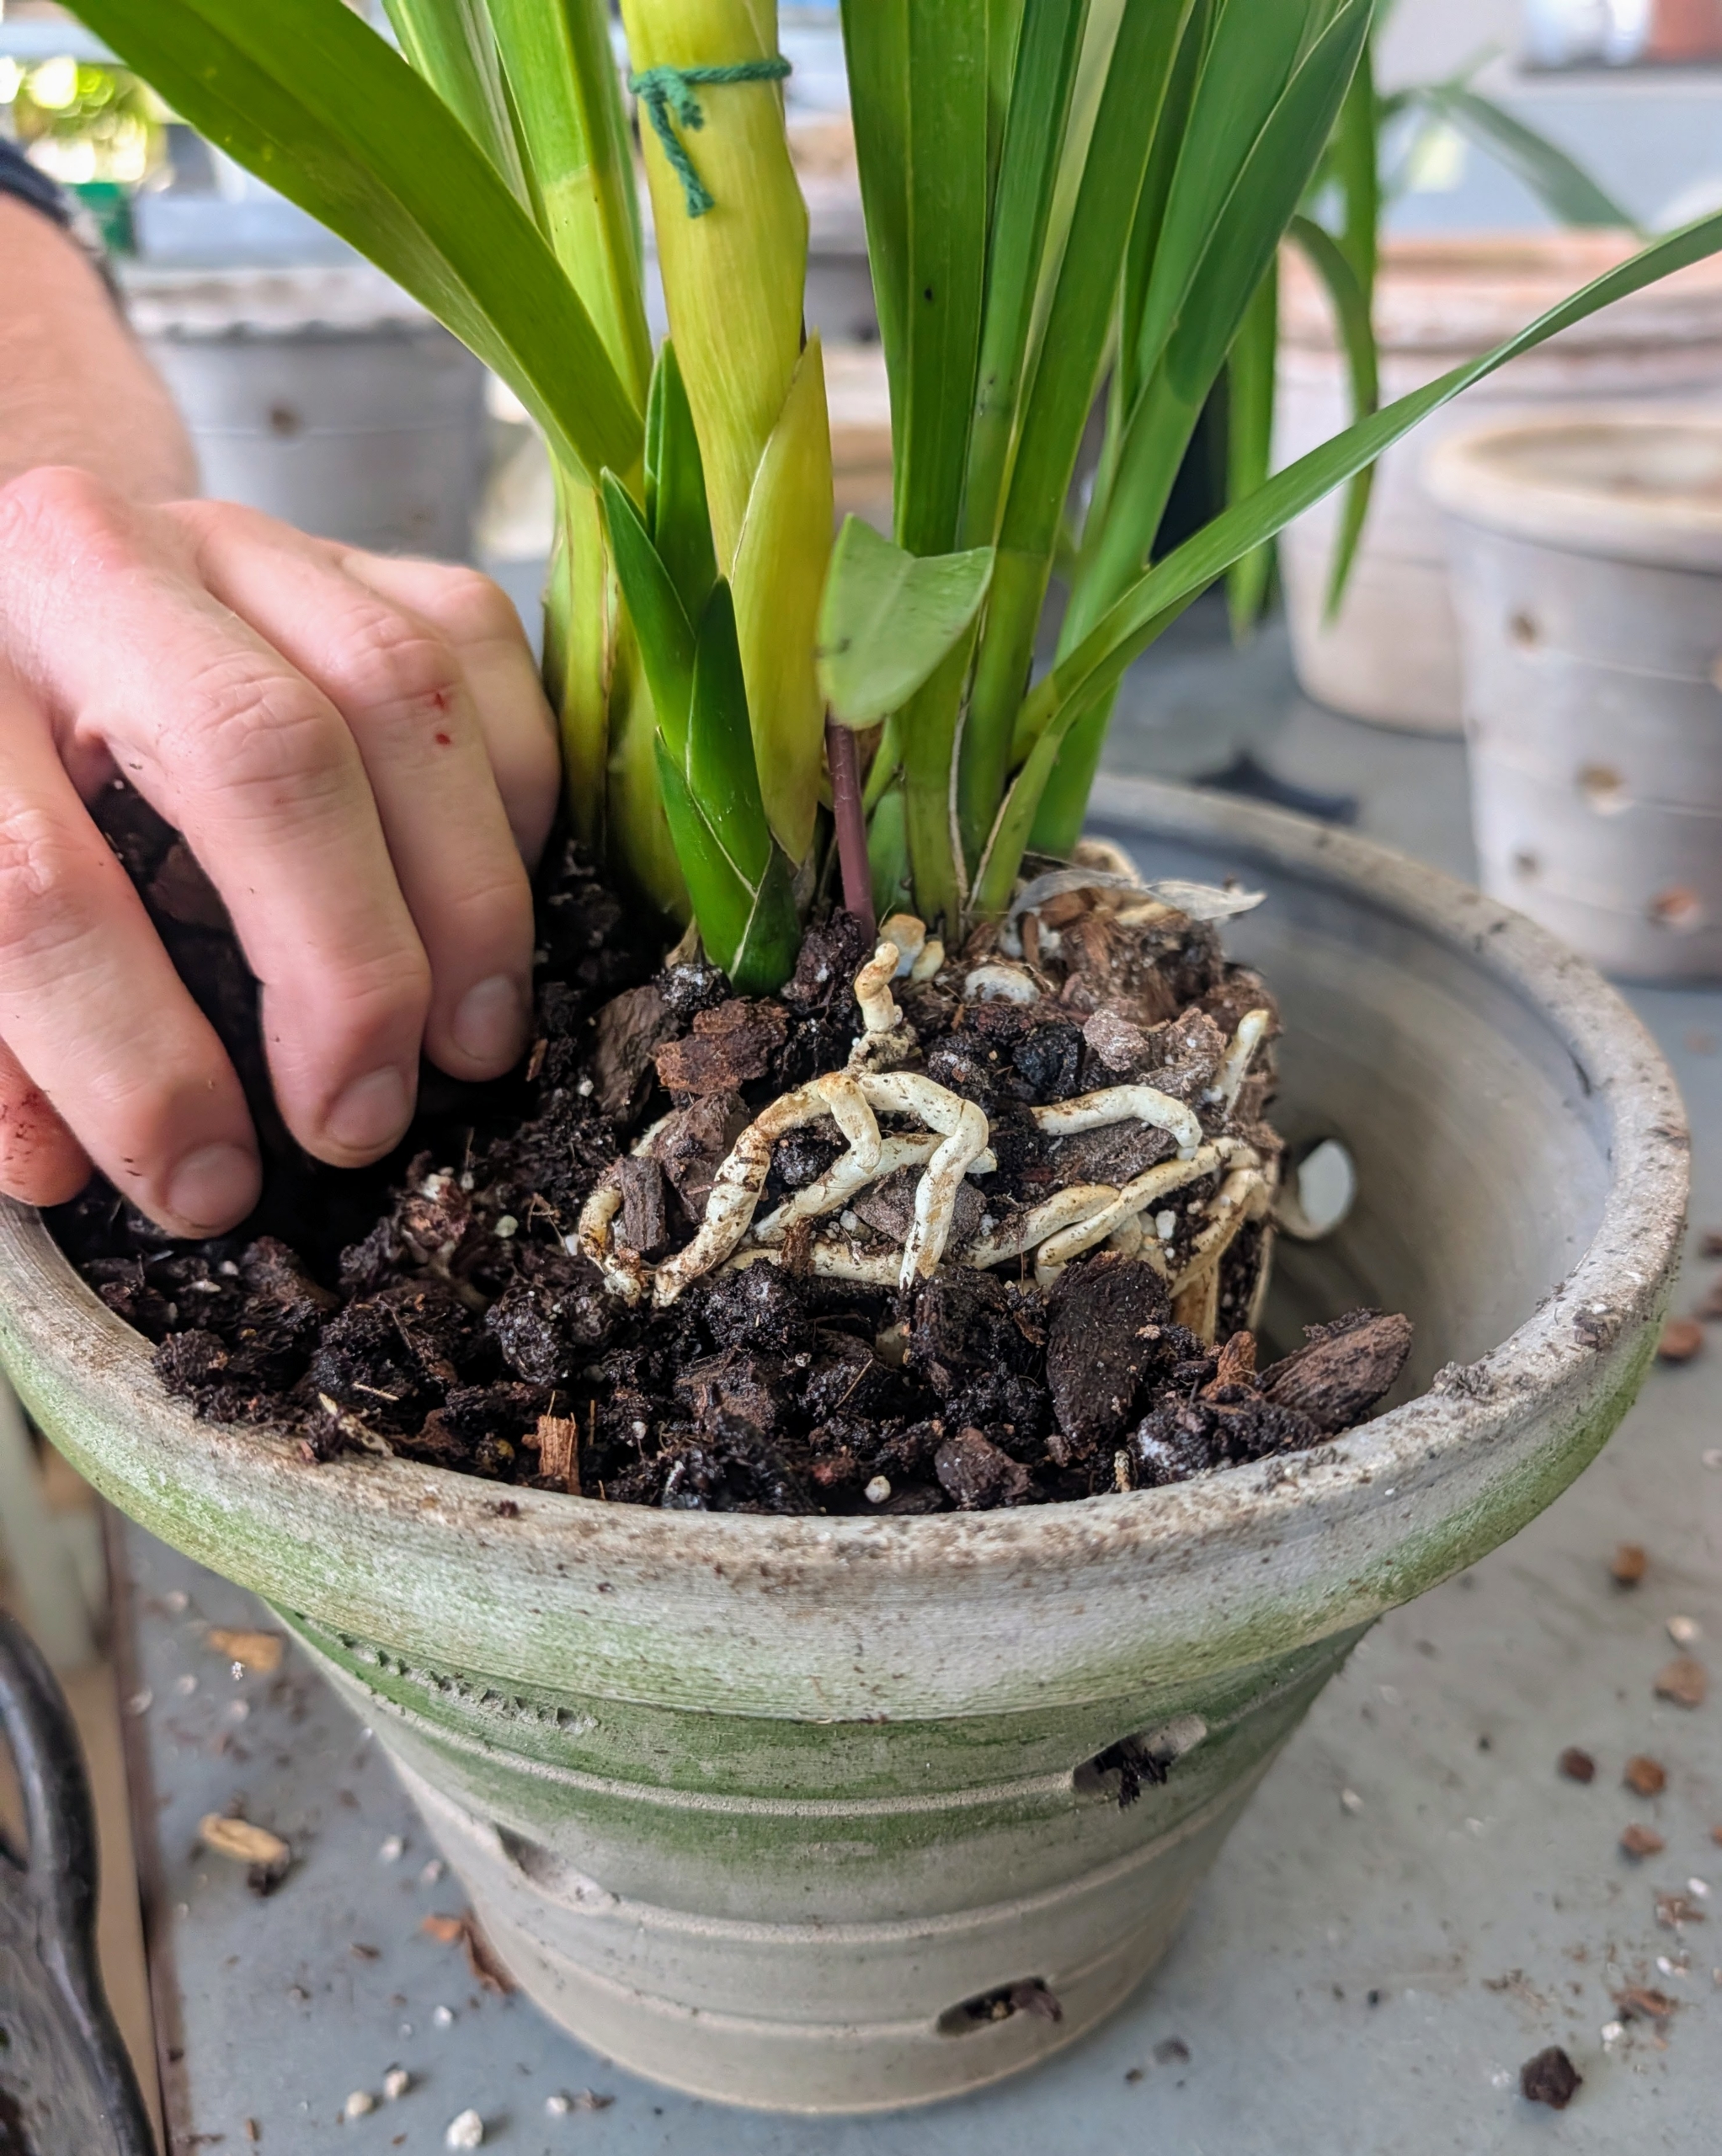
And then he removes the plant from its plastic pot. This orchid was too snug in its pot, so to make sure the root ball remained intact, Ryan had to cut the pot. I like to save plastic pots for reuse, but sometimes that’s just not possible.
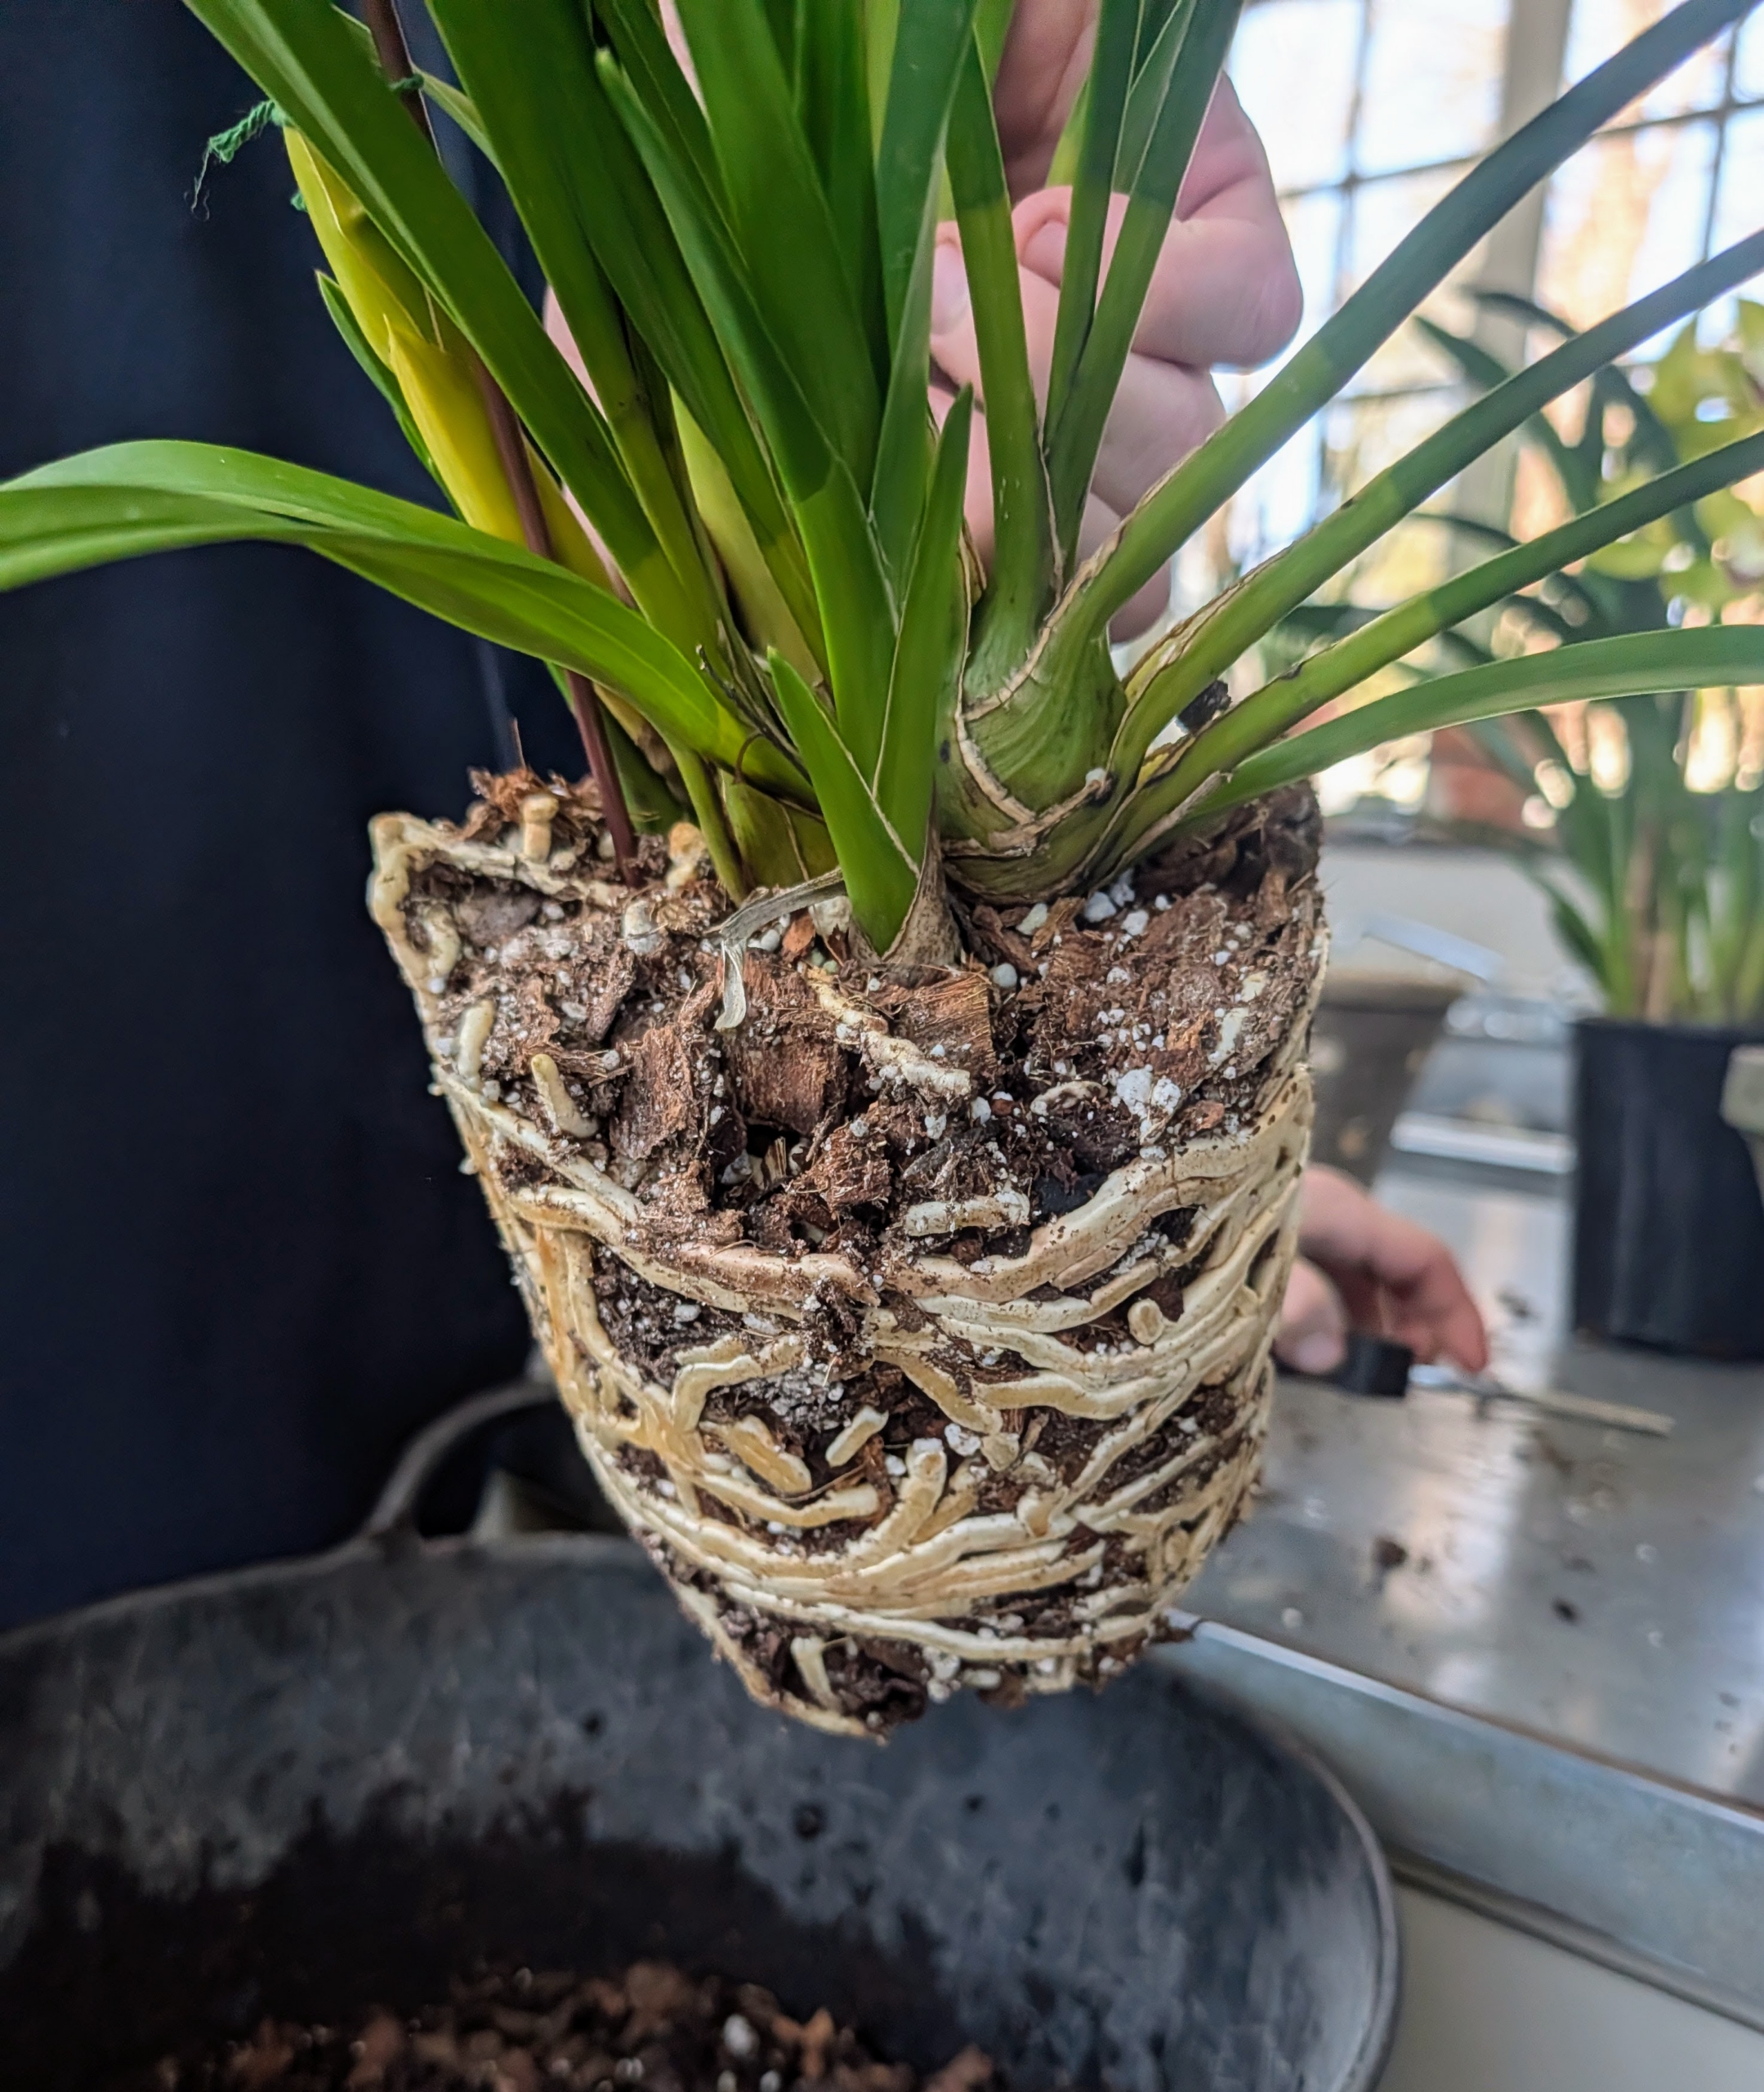
Notice, this root ball is a little pot bound. Cymbidiums actually prefer cooler conditions and can tolerate being slightly pot bound to allow them to absorb moisture and nutrients efficiently, which is crucial for their growth and blooming. It is one of the reasons it is blooming so nicely right now.
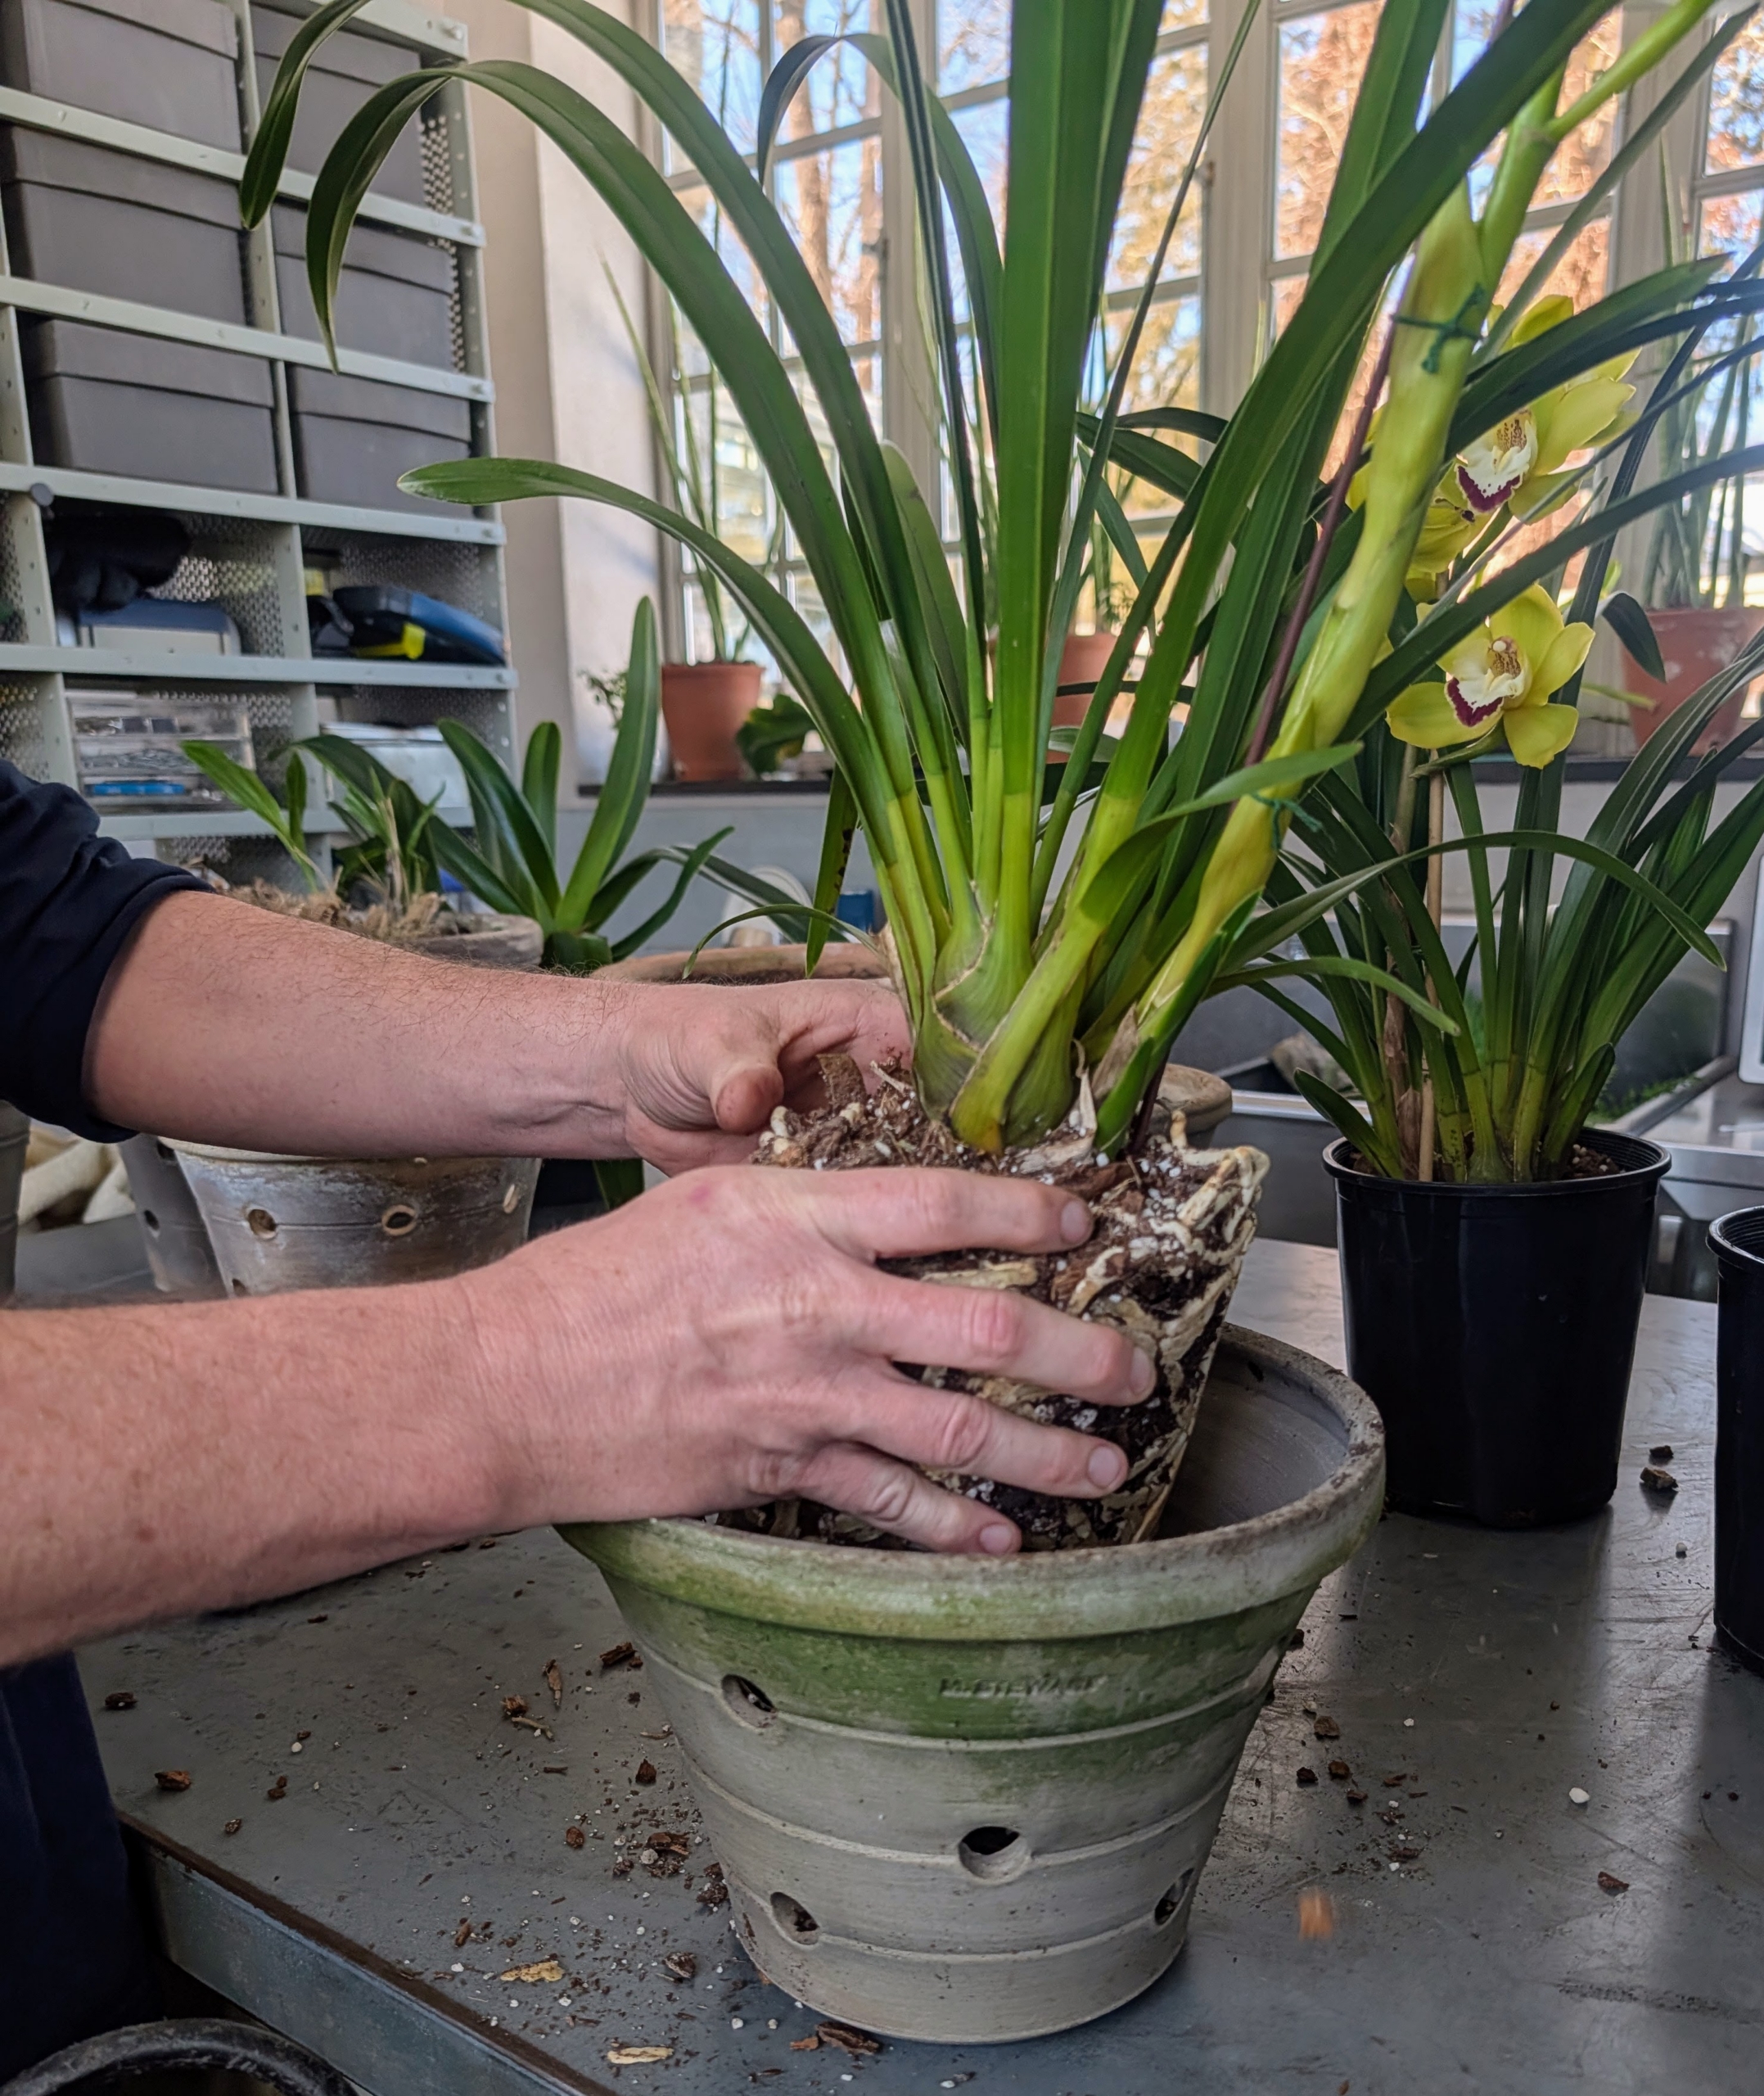
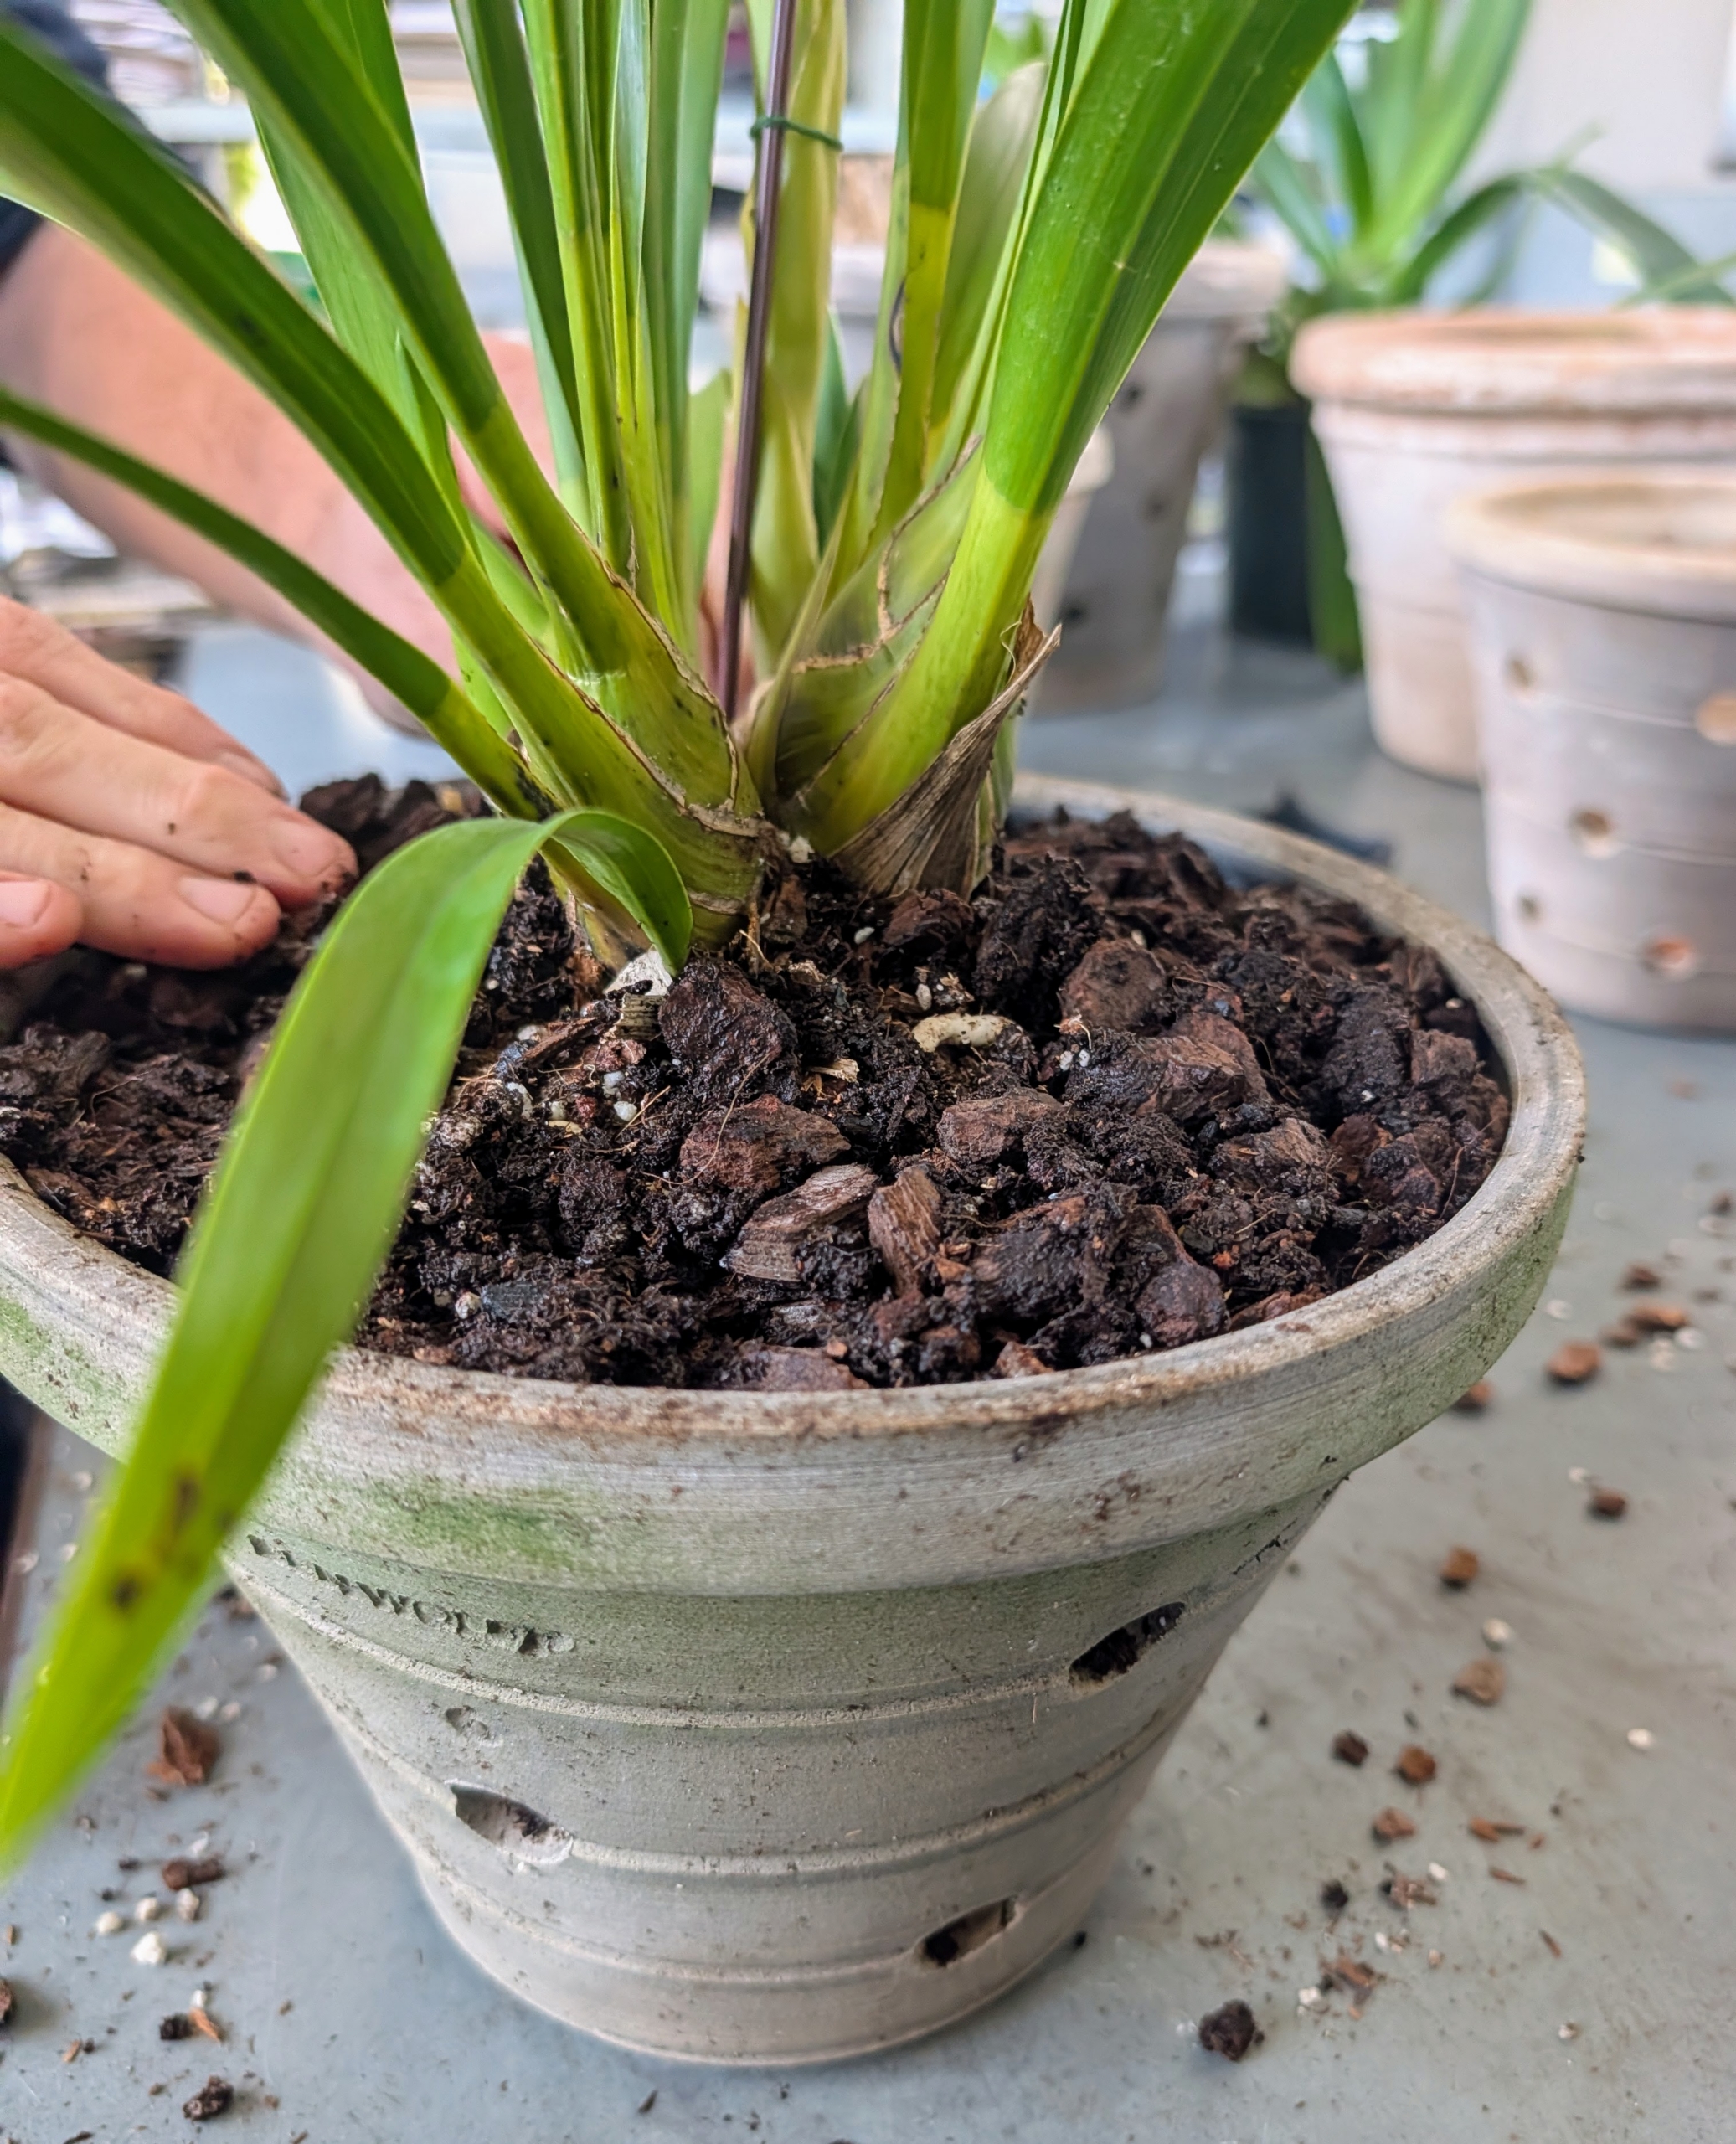
Ryan places the orchid carefully into its new pot, making sure it is at the same height it was in its original container.
The potting mix should be about one-inch below the top of the pot, so none of it overflows when watering.
Ryan gently presses the medium into the pot to ensure it is well packed, adding more potting mix if needed.
While the orchid is in active growth, keep it in slightly damp conditions but never let the medium become soggy.
Here, Ryan finishes up and tamps down some more to make sure plant and mix have good contact.
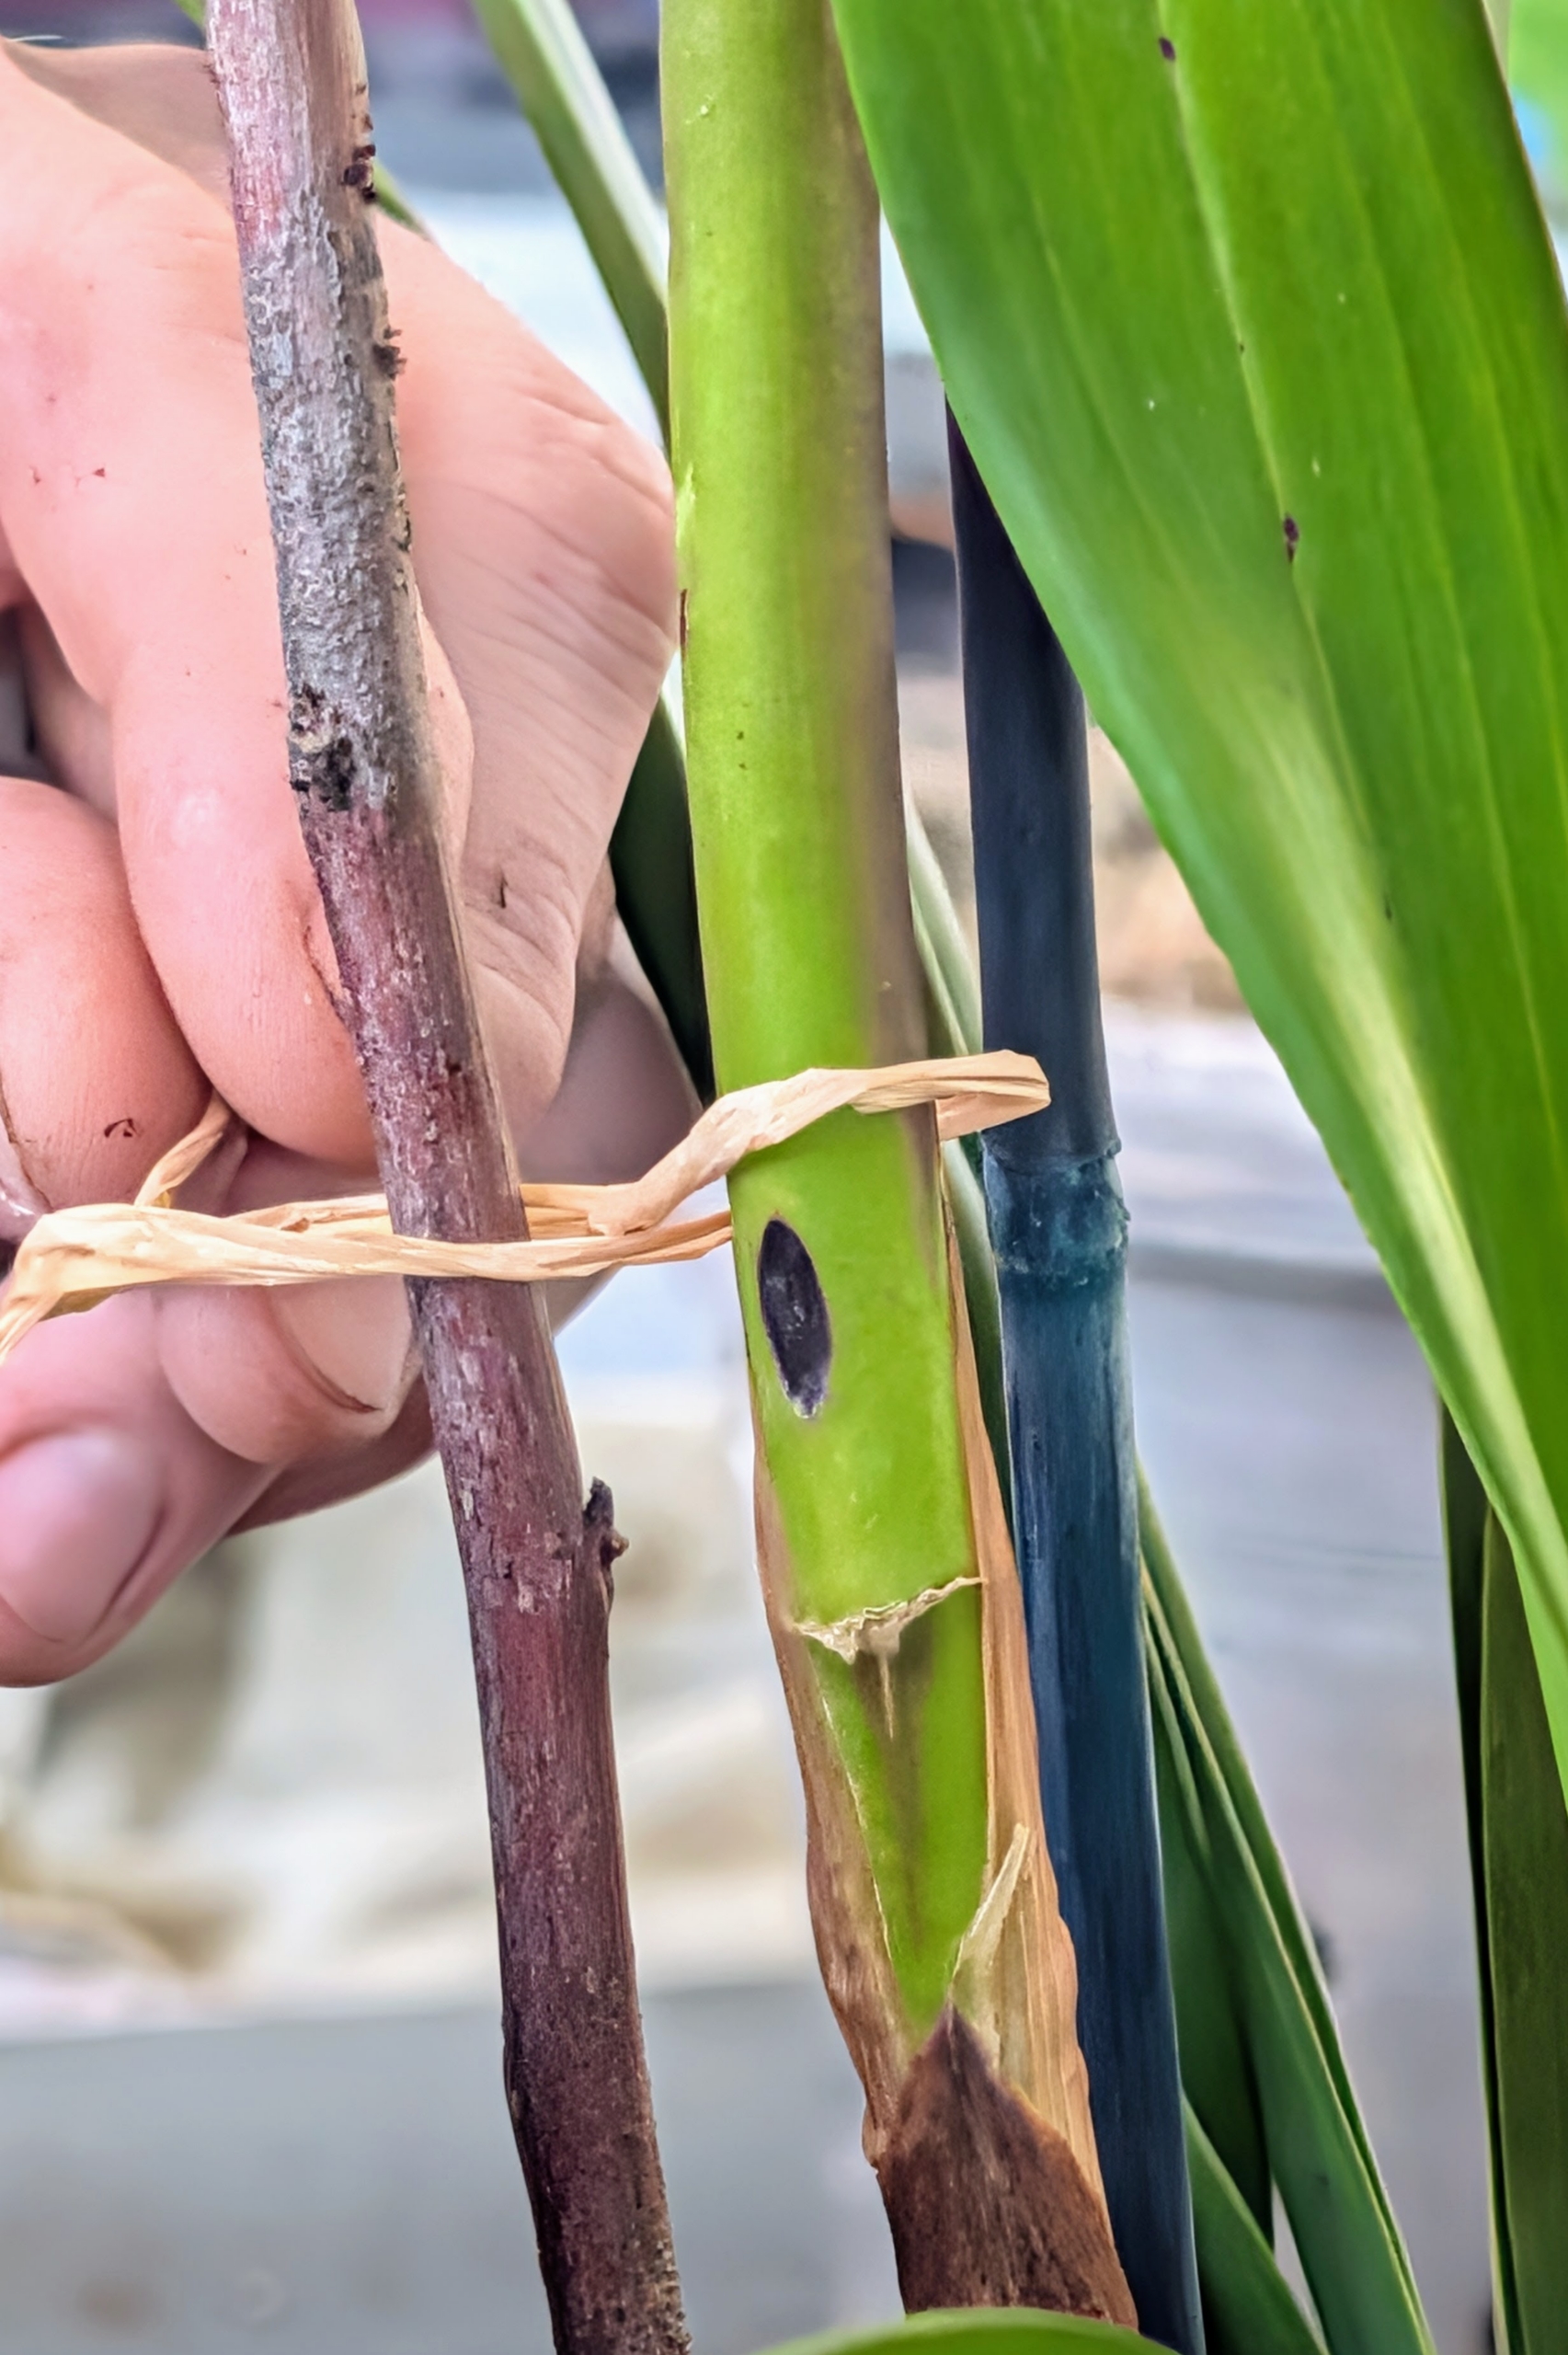
To help support the tall, heavy stems, Ryan secures them to natural colored apple branches using pieces of raffia. I prefer these to the painted bamboo that is sometimes found with nursery orchids.
Cymbidium orchids are prized for their sprays of long-lasting flowers. This one is Cymbidium ‘Jade.’
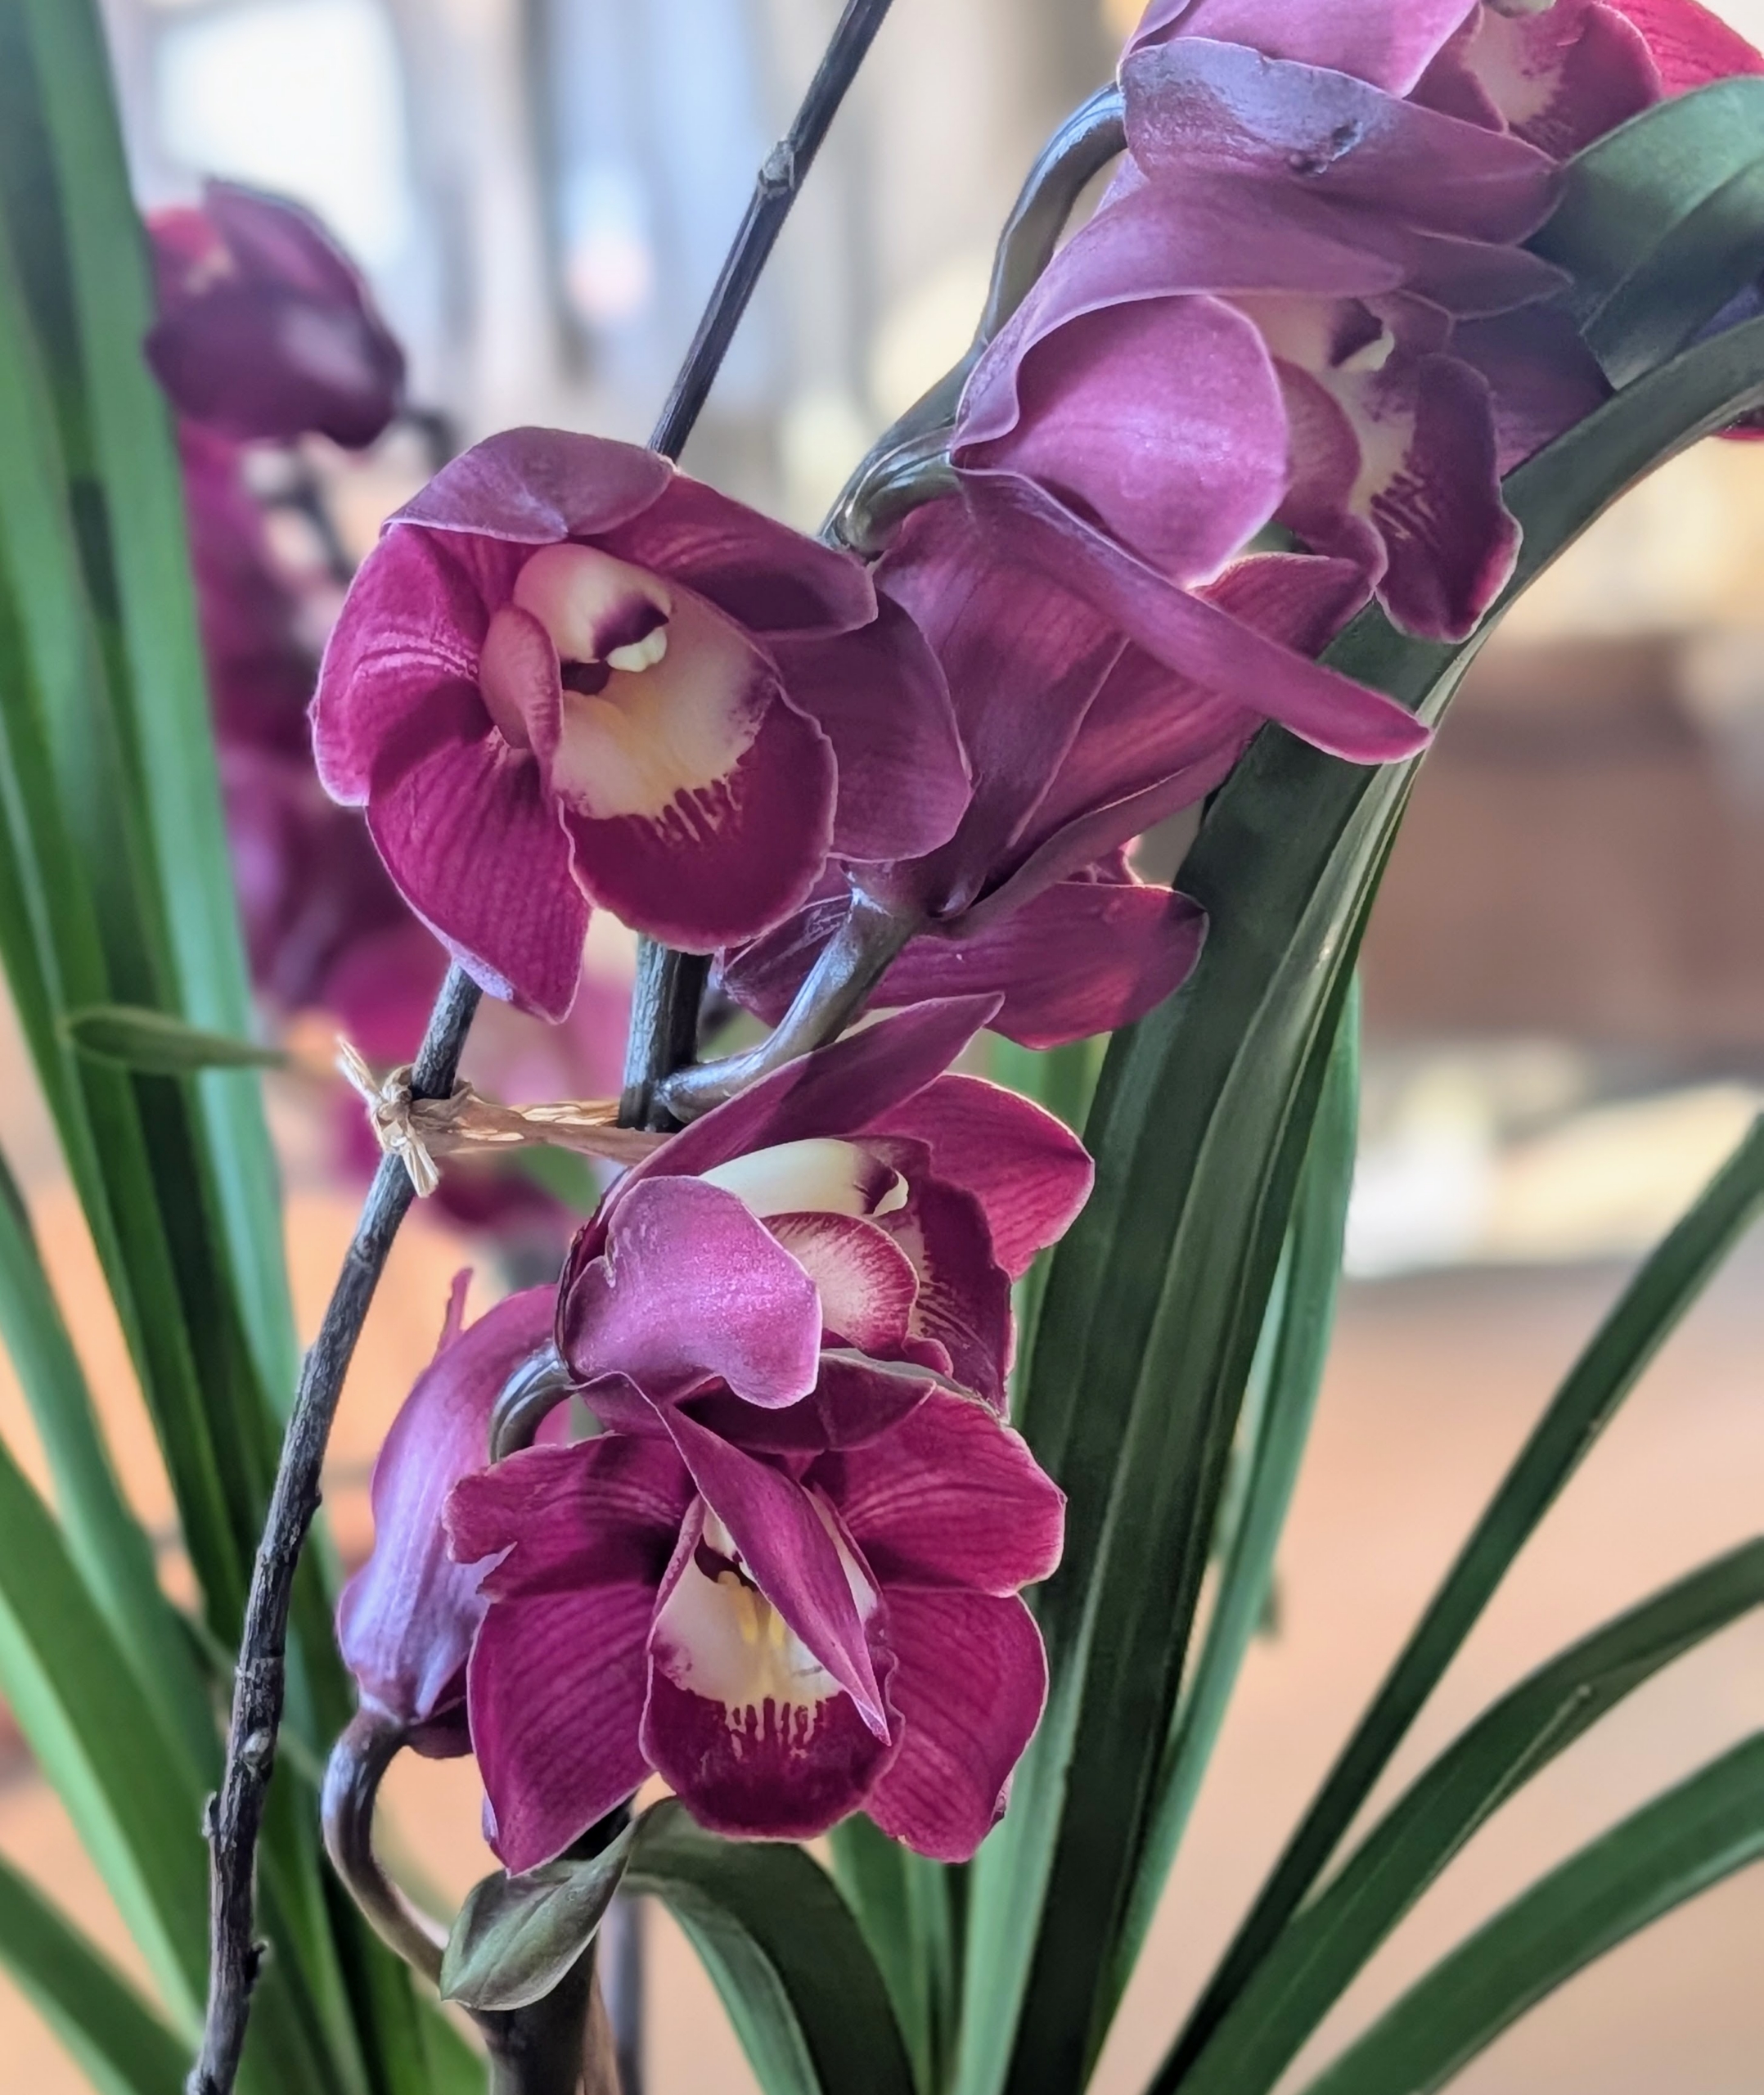
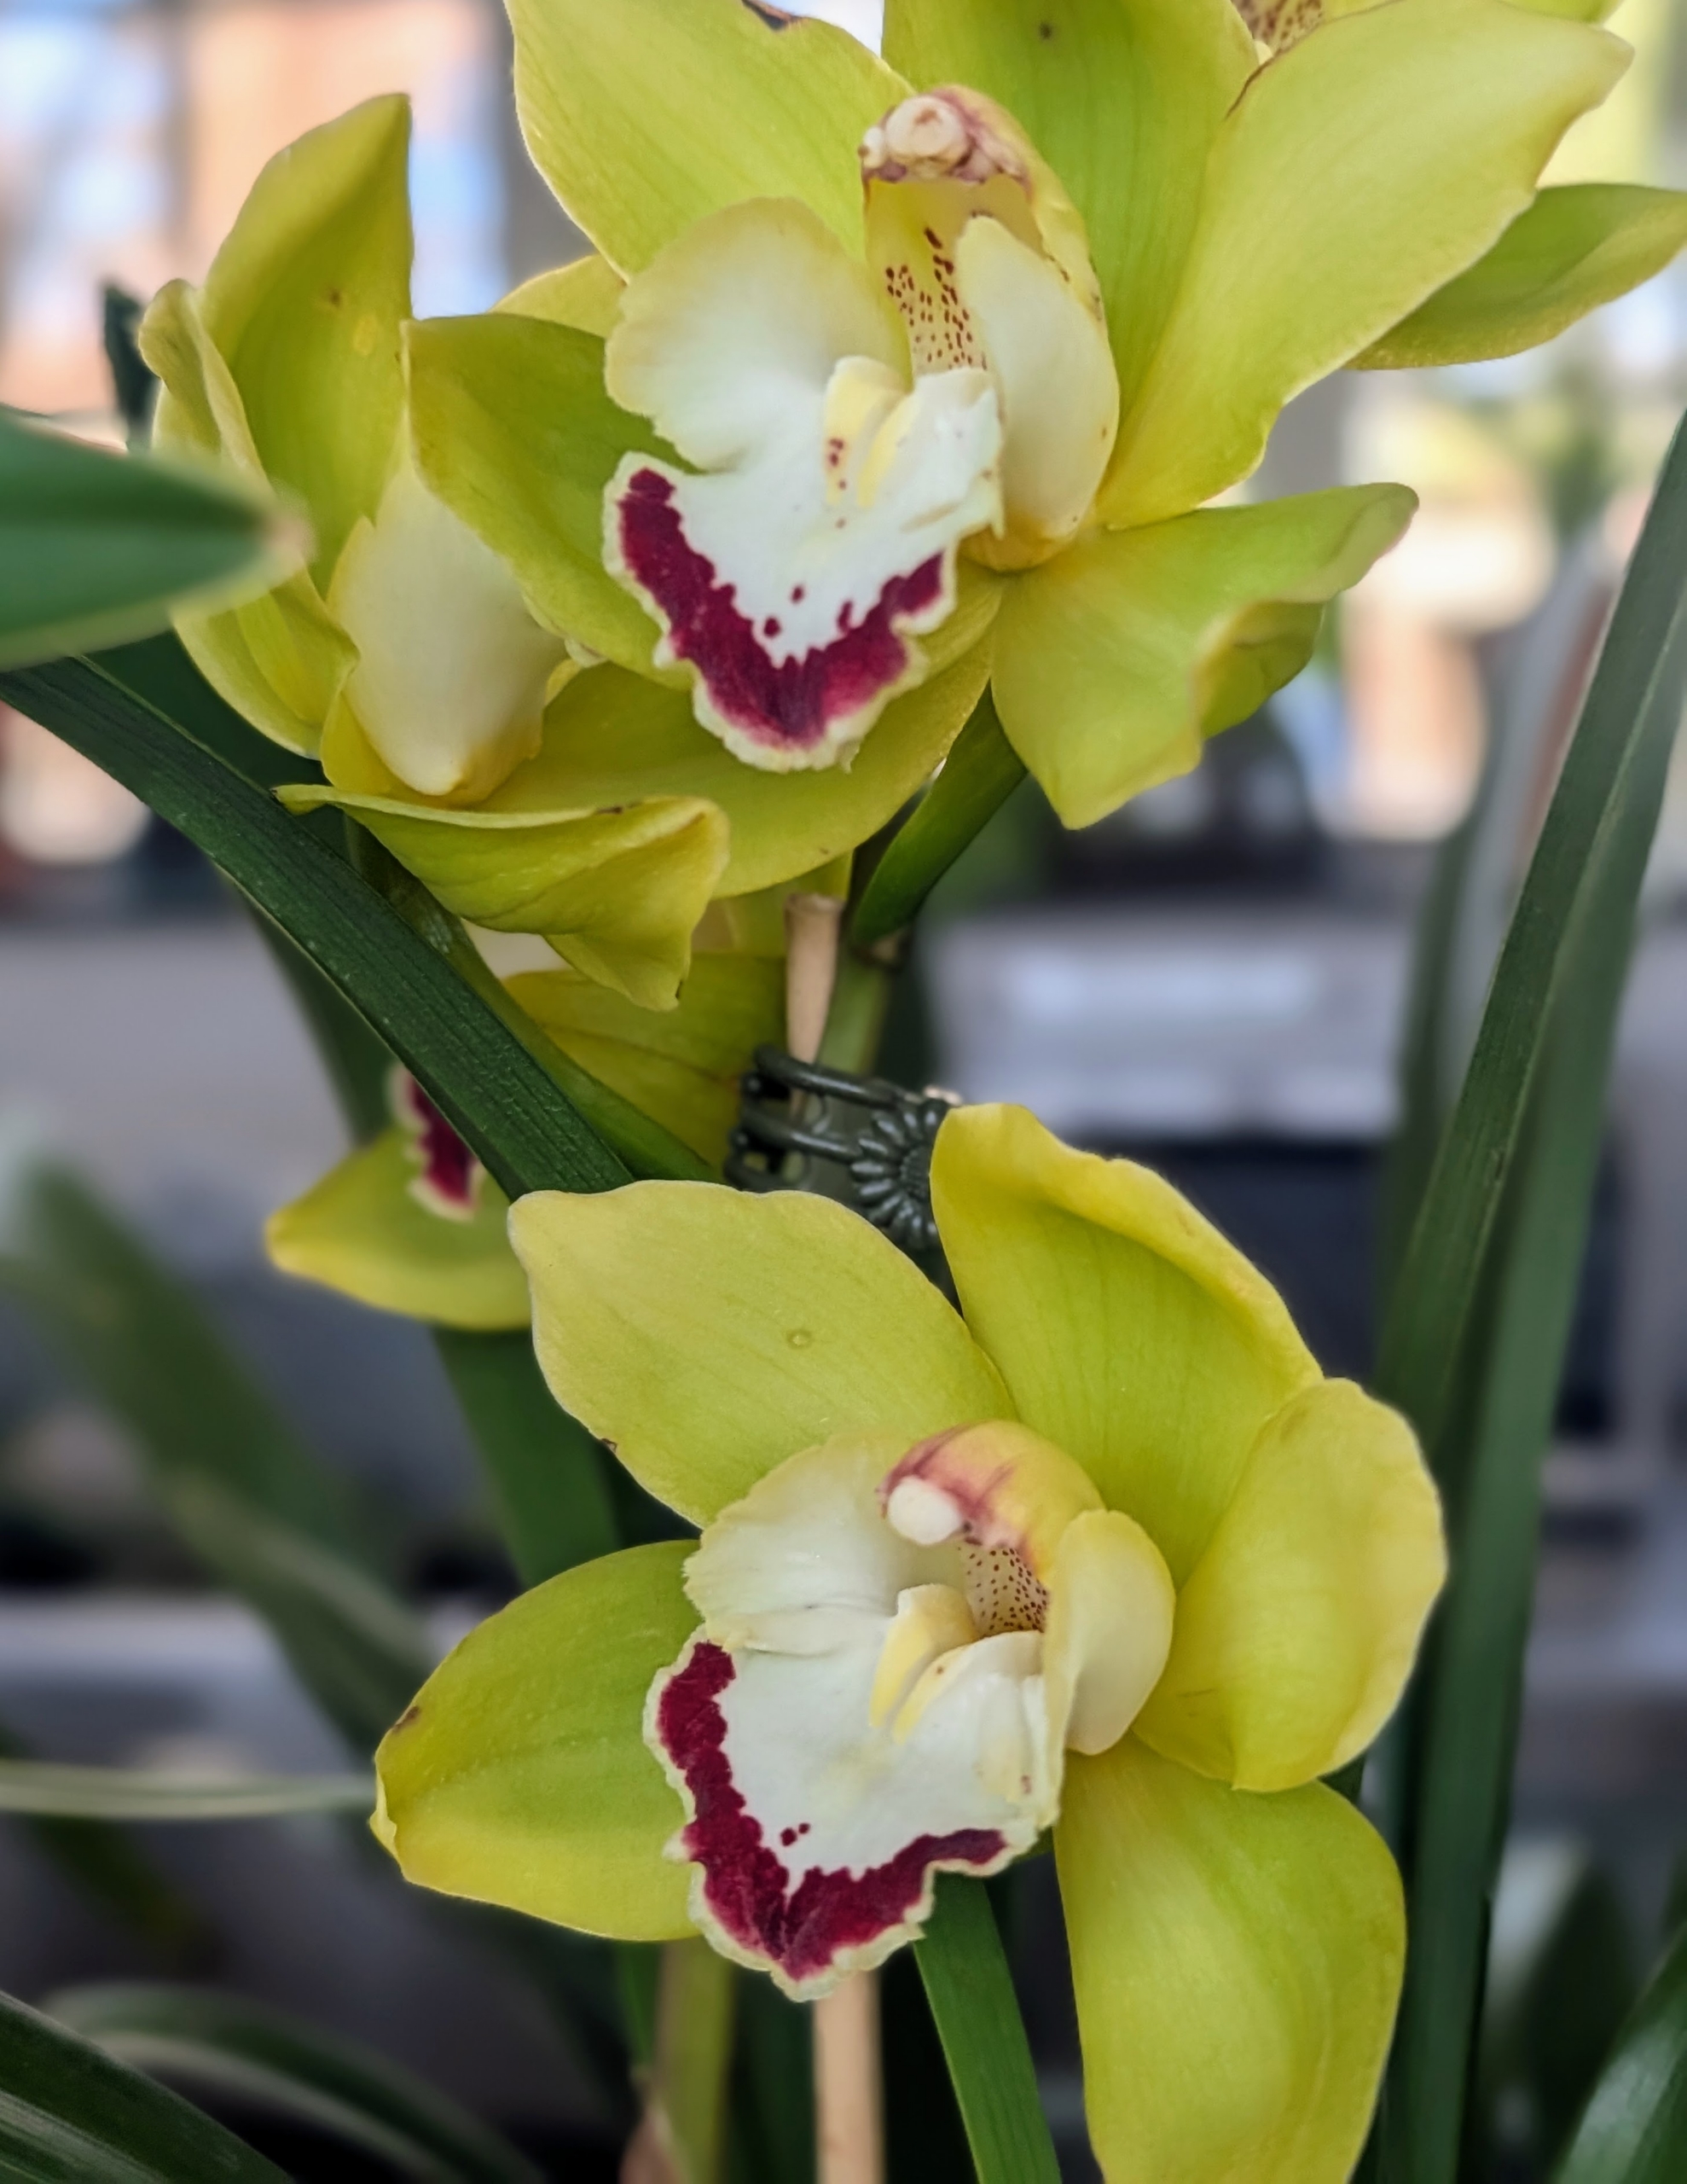
The range of colors for this genus include white, green, yellowish-green, cream, yellow, brown, pink, red and black with a variety of markings of other color shades – every color but blue. This is a Cymbidium hybrid – Cymbidium ‘Solana Star,’ Cymbidium Wood Wilson ‘White Knight,’ x Cymbidium Solana Rose ‘Nancy.’
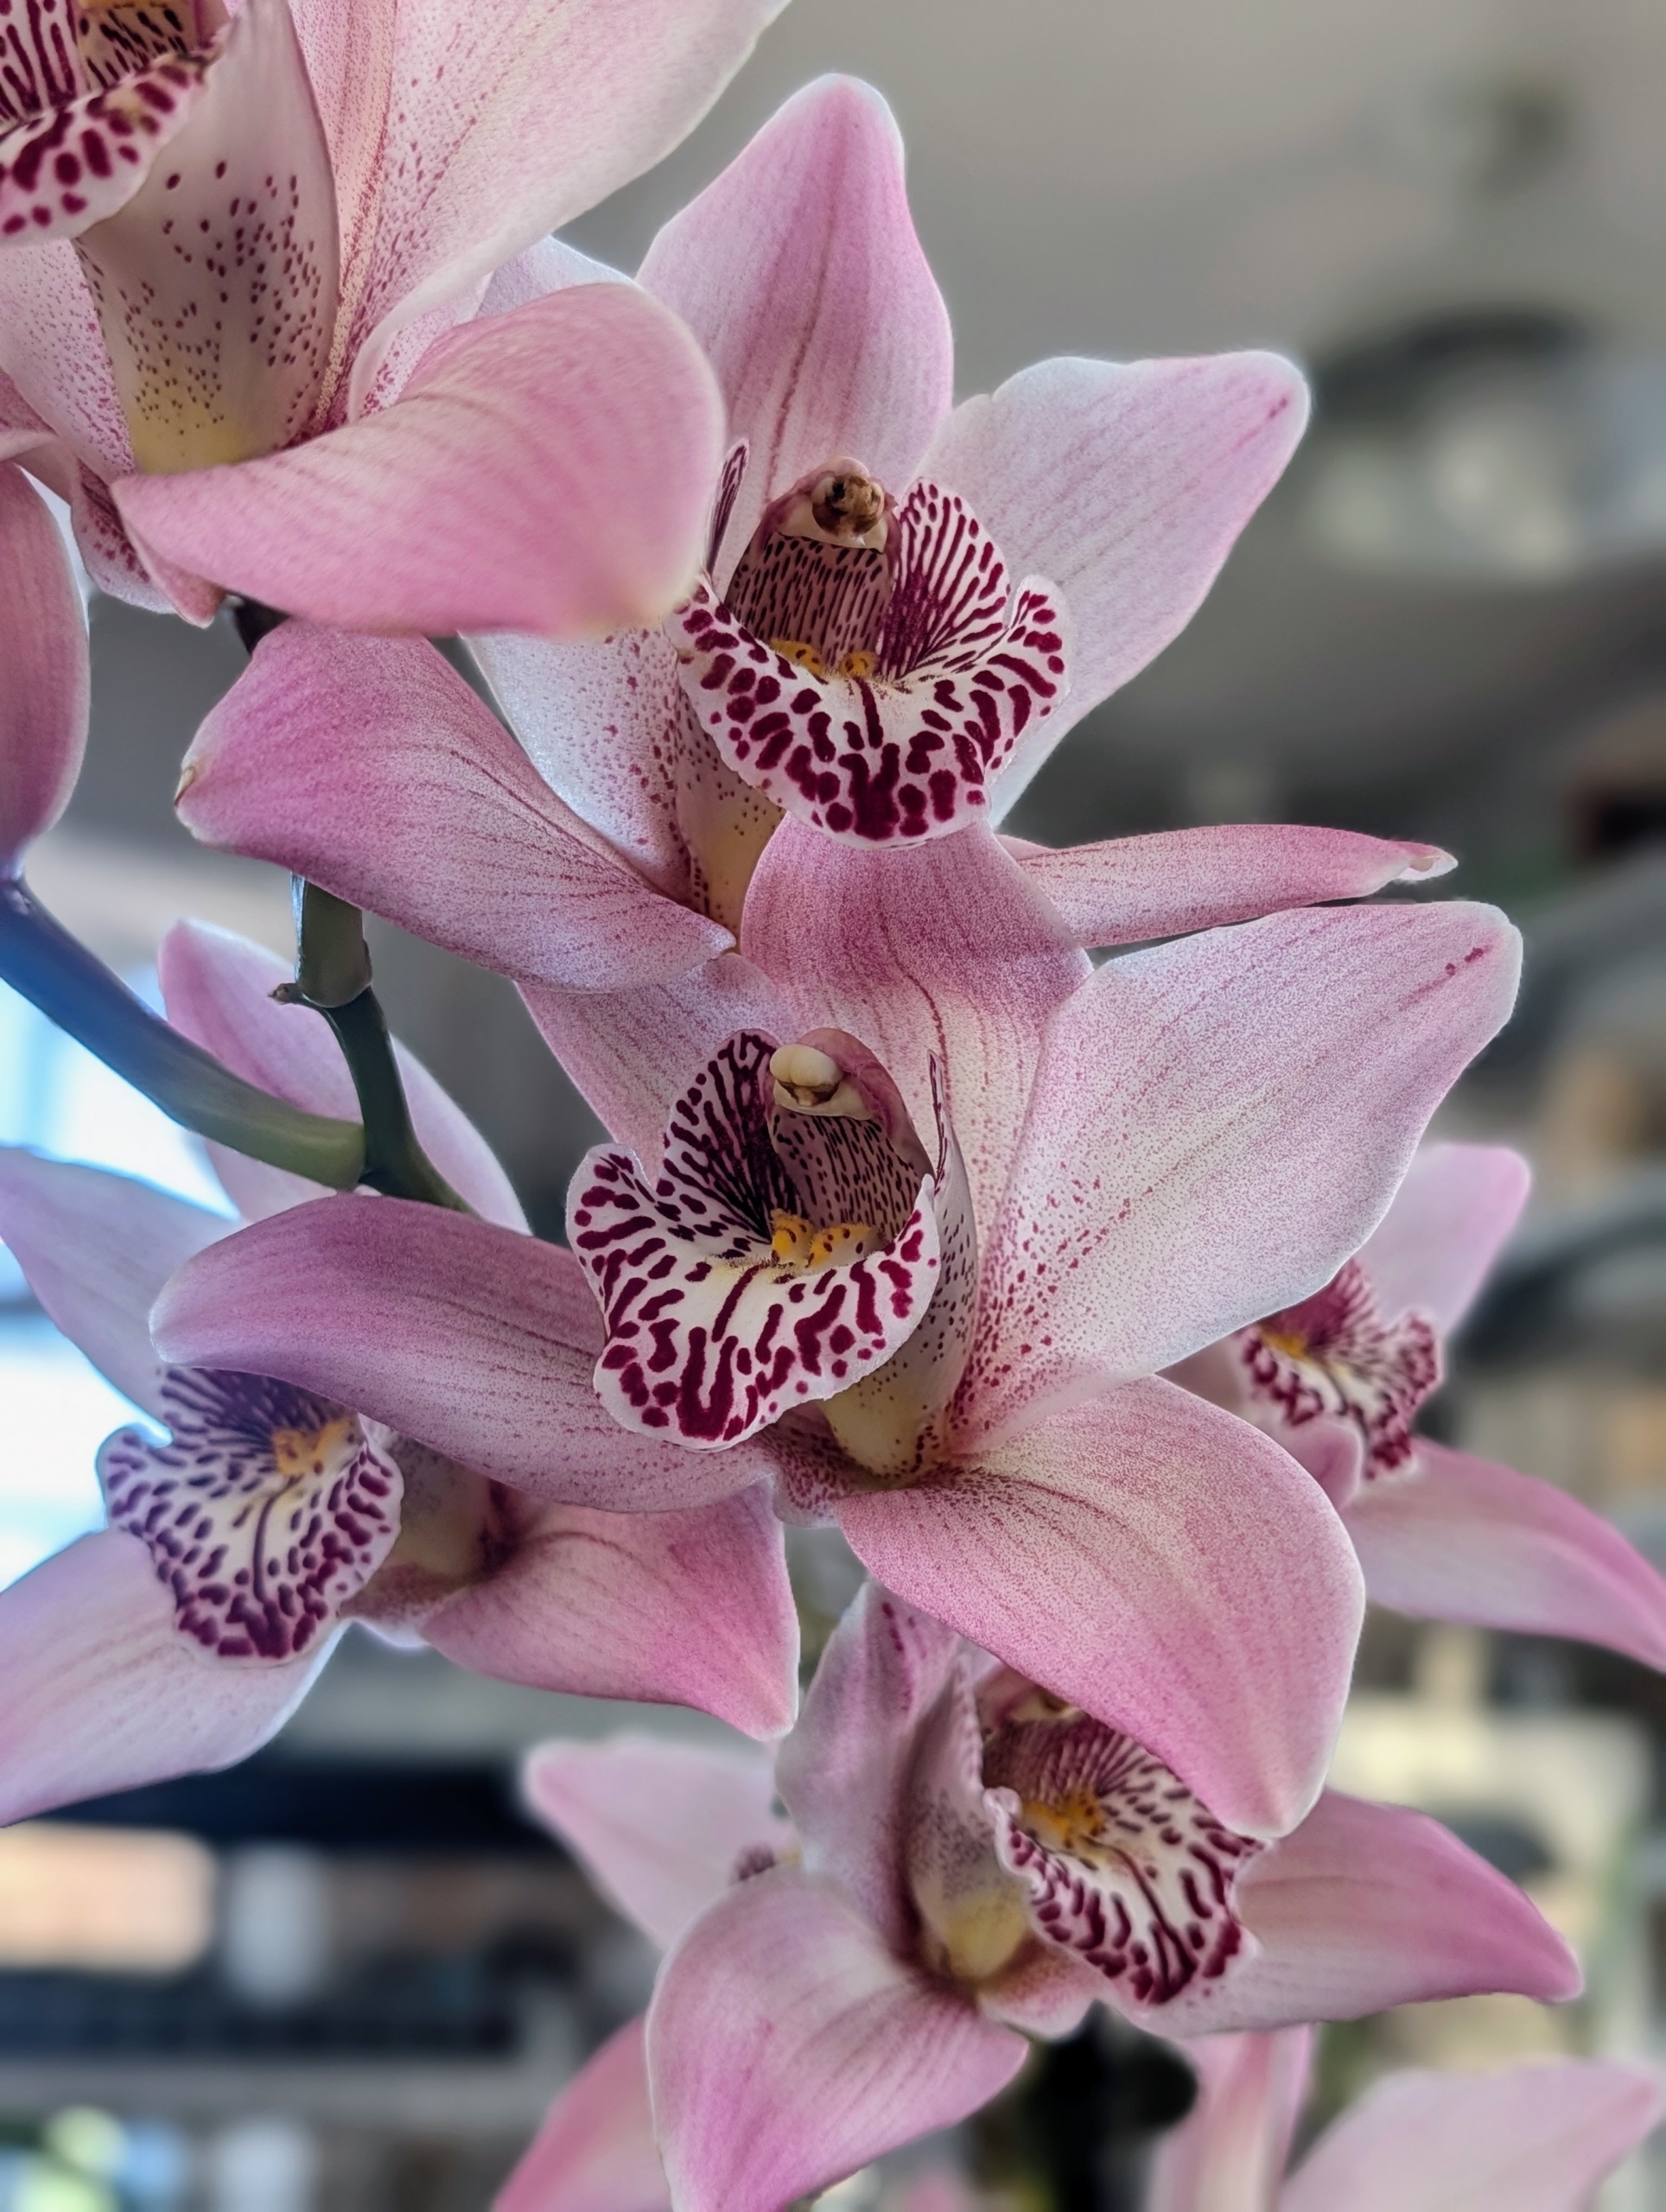
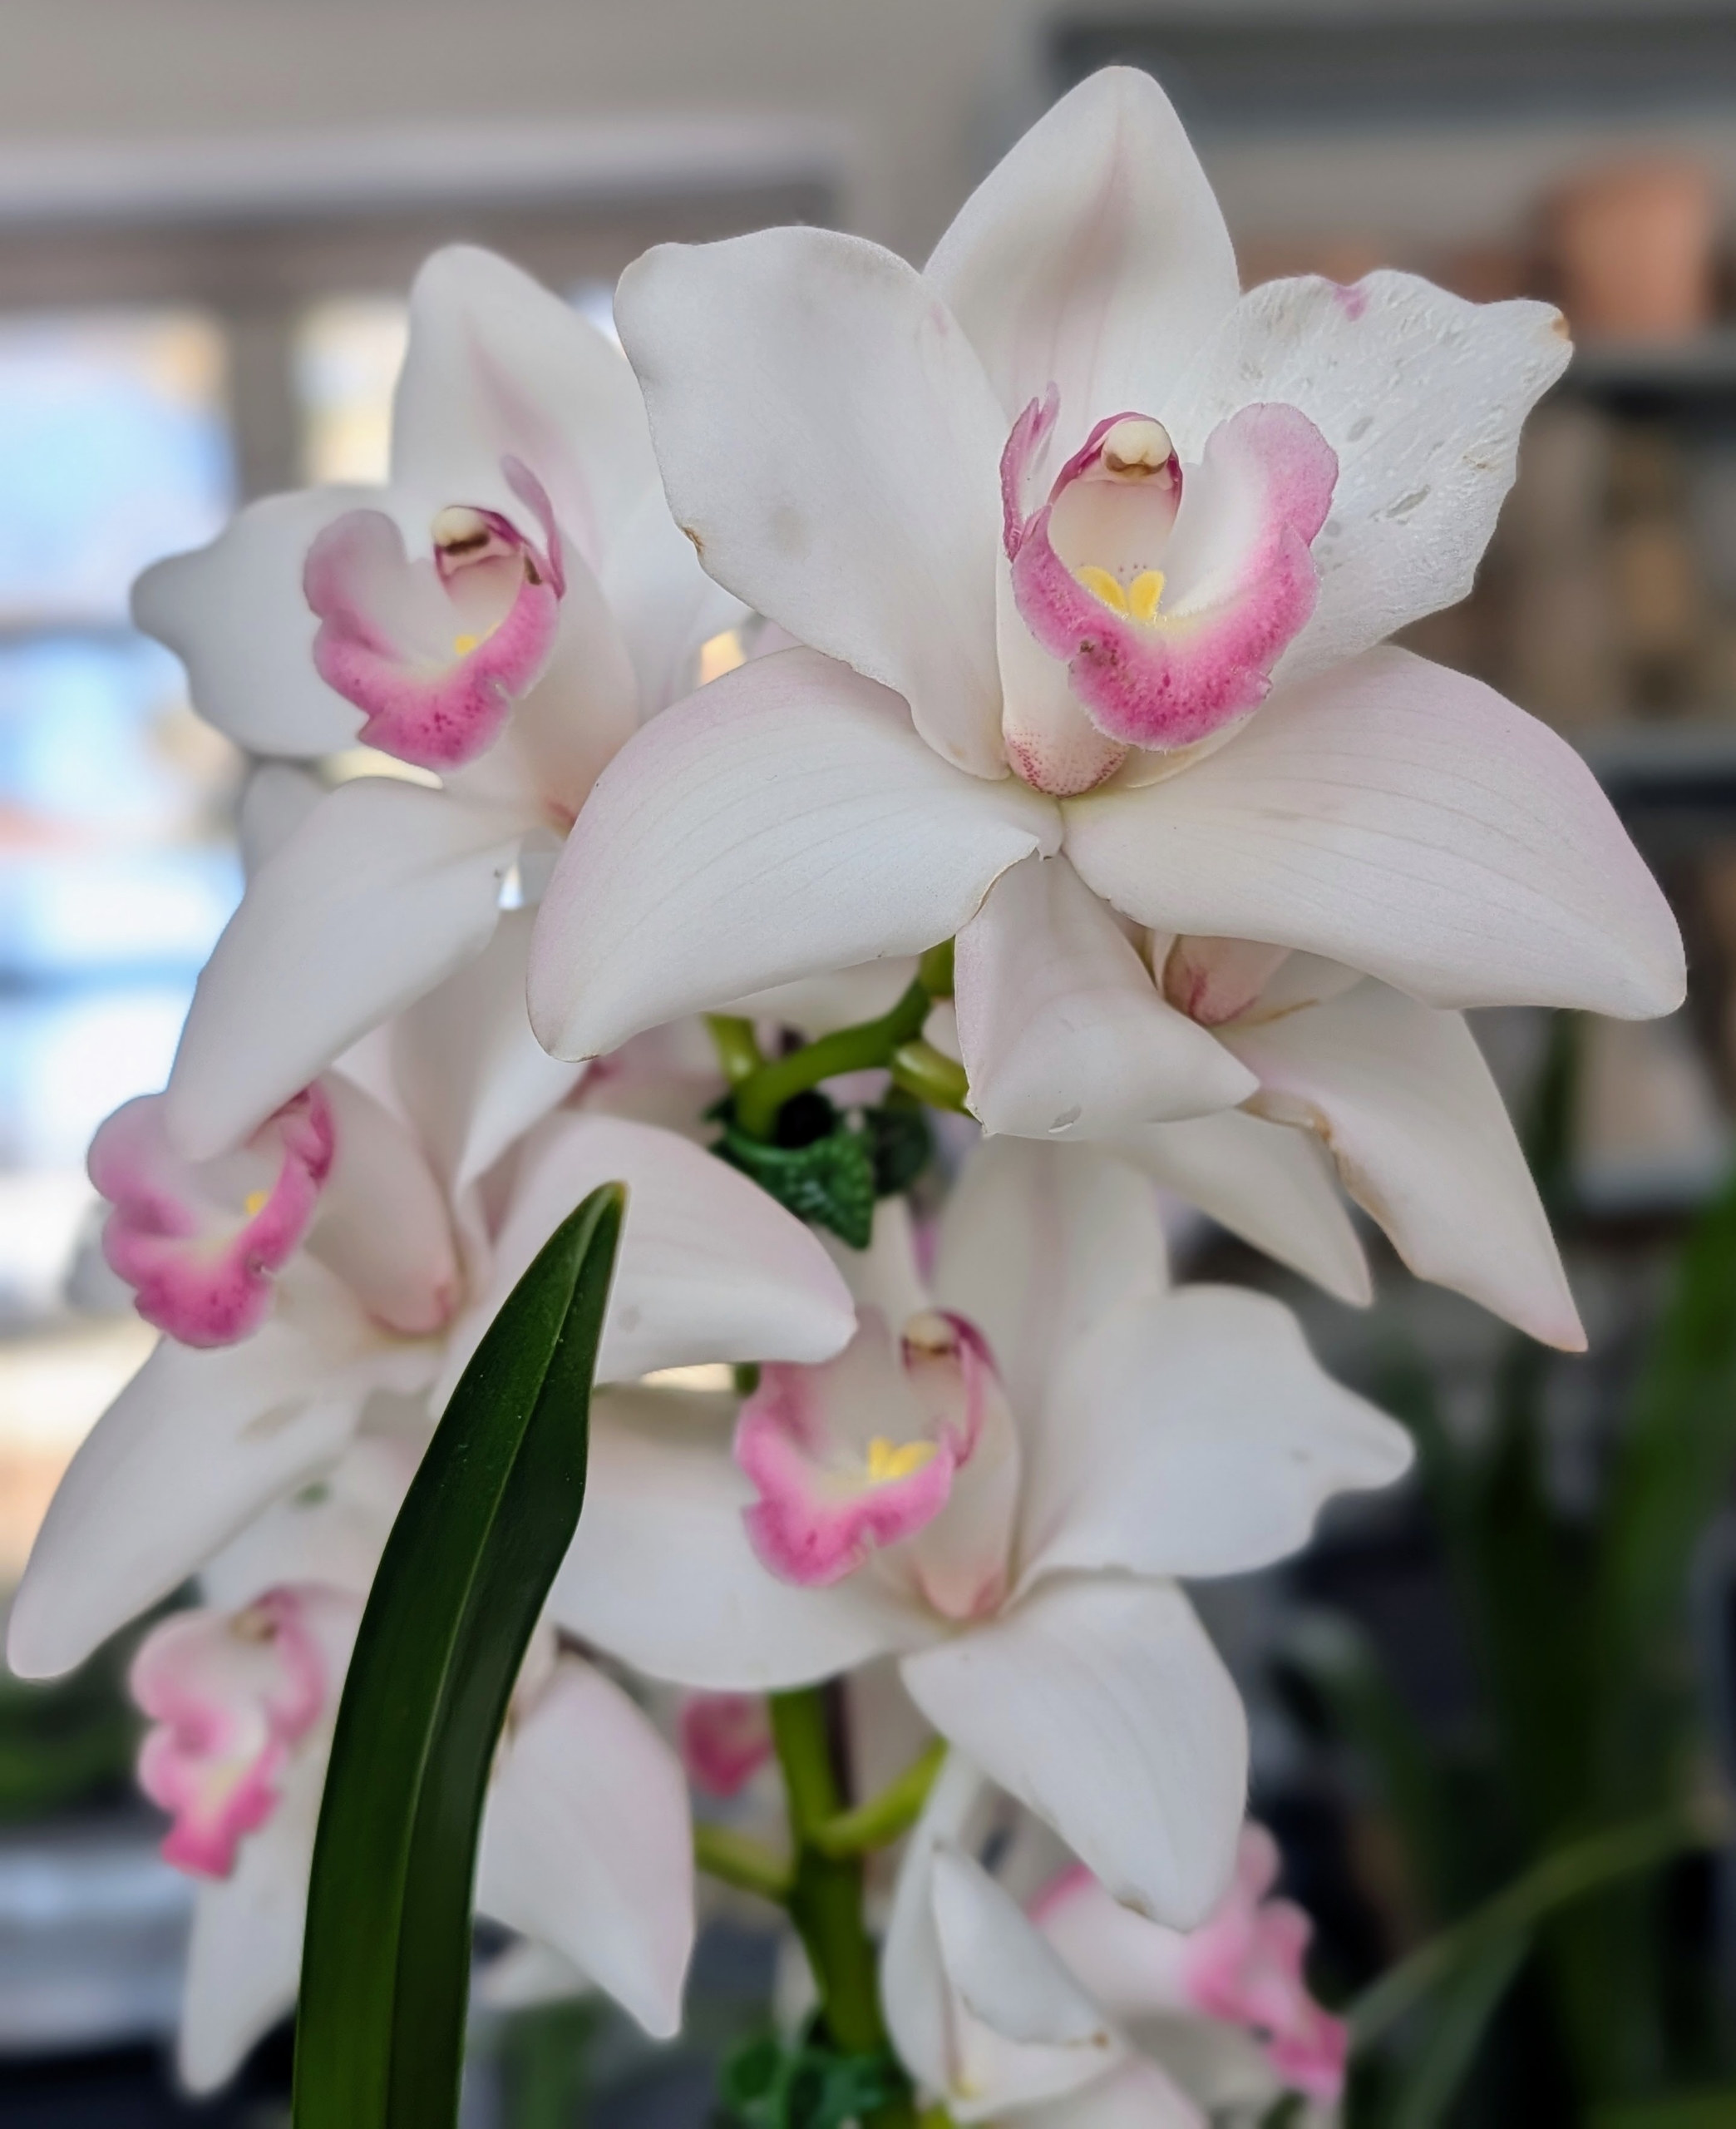
This white and pink plant is Cymbidium ‘White Madame.’ Cymbidium flowers typically have three sepals and two petals each with a prominent three-lobed labellum making them appear “boat like.” The flowers last about 10-weeks.
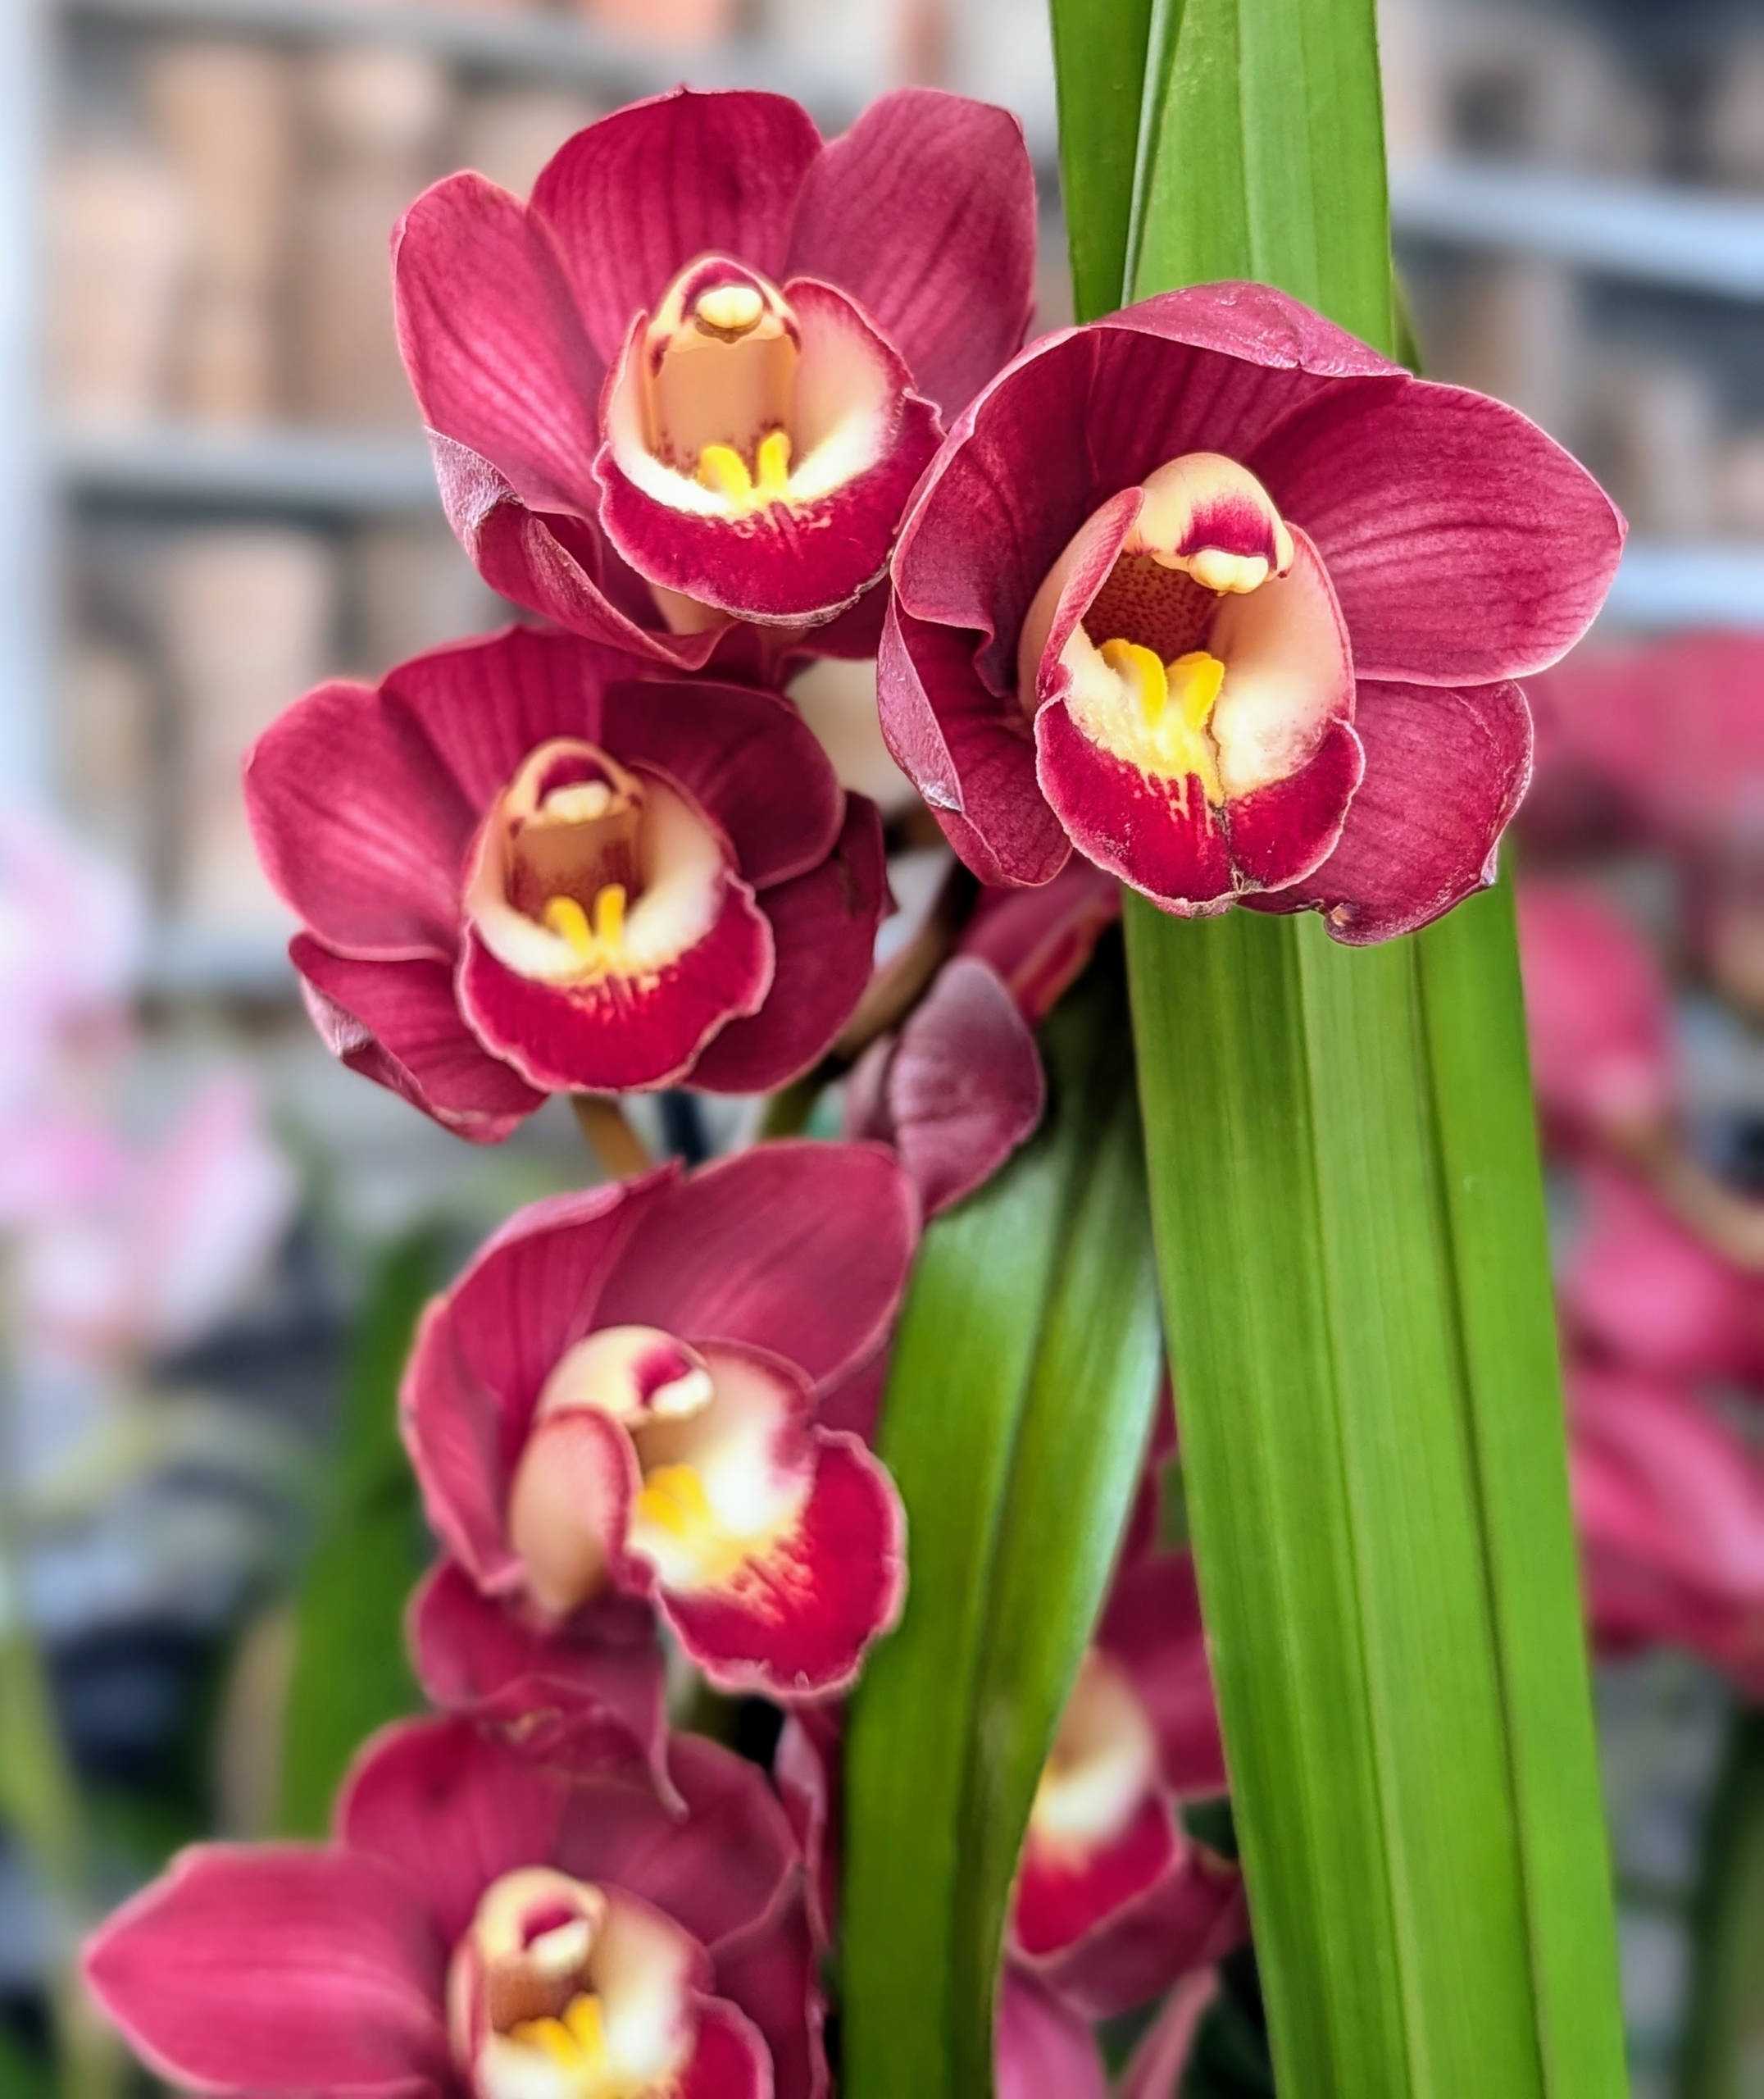
And this is Cymbidium ‘Red Arrow.’ Soon they will all come up to my Winter House for display – and just in time for my weekend dinner party.