I am so fortunate to always have delicious organic produce growing here at my Bedford, New York farm.
As my outdoor grounds crew continues with fall chores, attention is directed toward planting my vegetable greenhouse. I love this greenhouse - its construction several years ago was inspired by Eliot Coleman, an expert in four-season farming. It uses minimal artificial heat - in fact, most of its energy comes directly from the sun, and it successfully grows a variety of cold-hardy crops. Recently, my head gardener, Ryan McCallister, planted the seeds for our next growing period.
Here are some photos, enjoy.
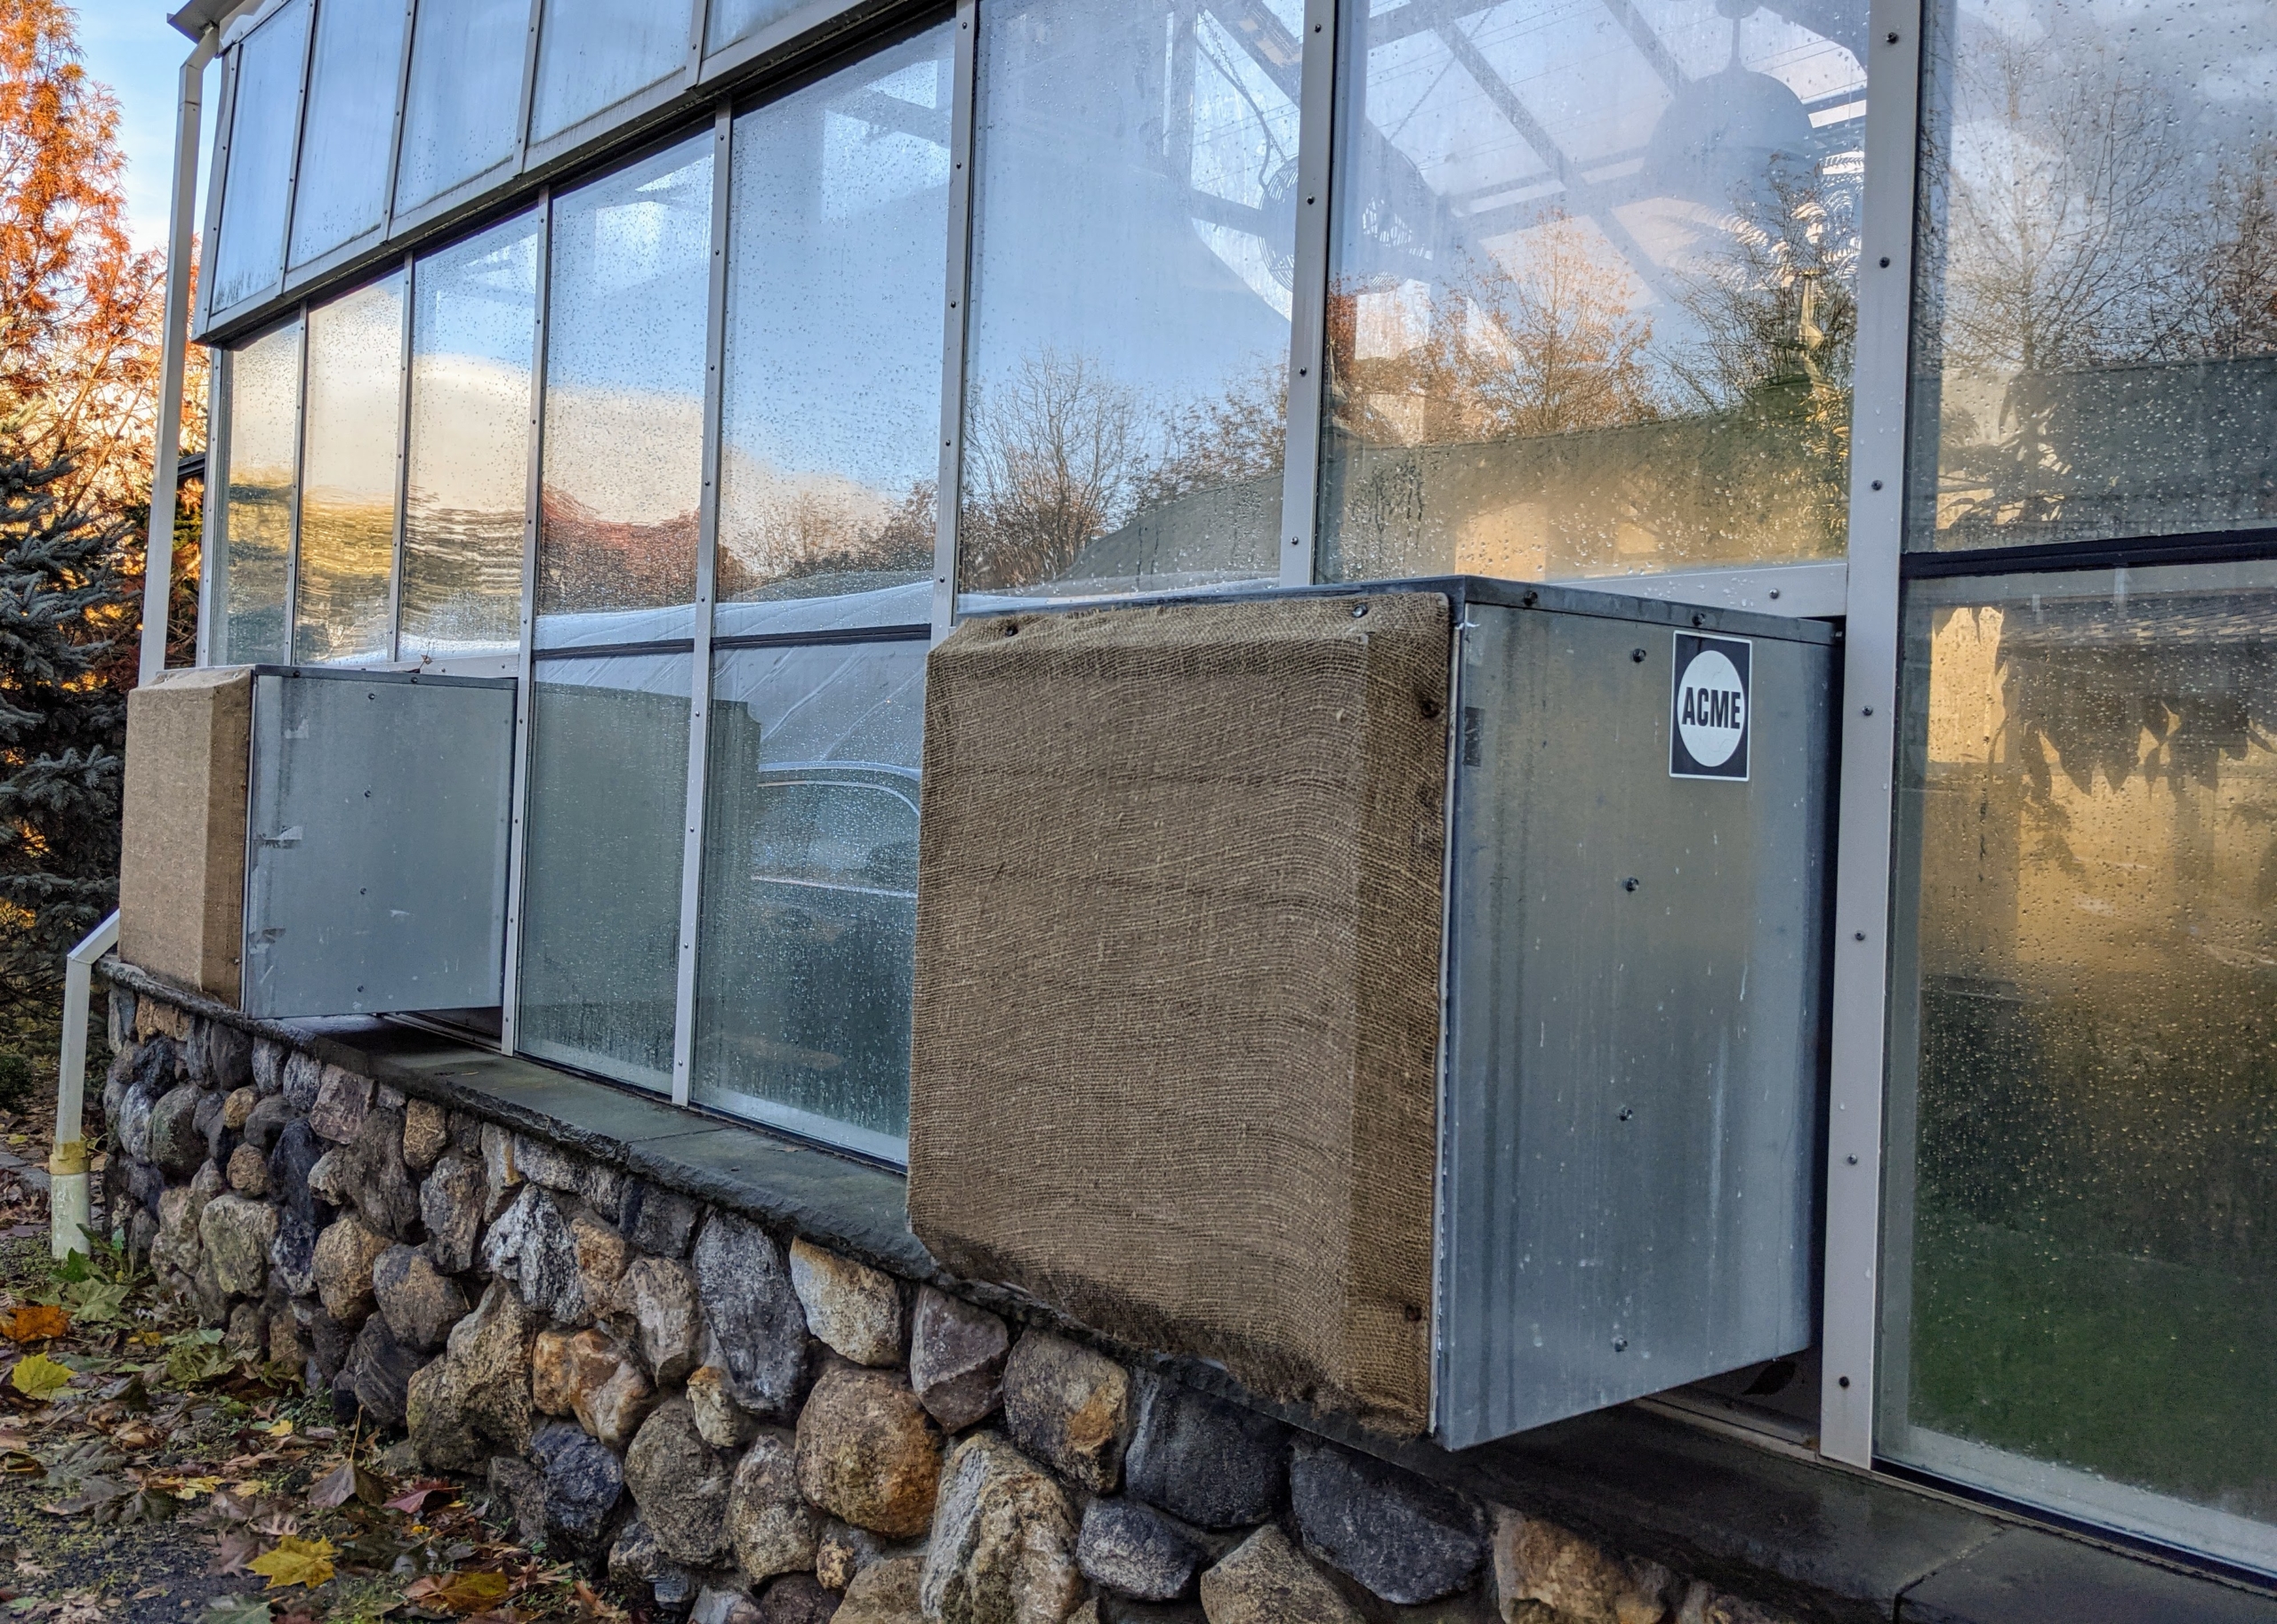
This large vegetable greenhouse is located behind my giant Equipment Barn and next to my tropical hoop house. During the colder months, my gardeners keep a good eye on this vegetable greenhouse – temperatures are monitored and the beds are maintained regularly for all the growing produce inside.
The greenhouse is equipped with heavy-duty aluminum vent systems that automatically open and close when needed to allow hot air to escape while simultaneously allowing fresh air into the space. Now that it is colder, both the inside and the outside of these units are covered to help insulate the greenhouse.
Most of the energy in the greenhouse comes from the sun through these giant windows, which can be programmed to open for ventilation or cooling, when needed.
We have a large thermometer at the entrance to the structure, so the temperature can be checked easily several times a day. The ideal temperature ranges from 64-degrees Fahrenheit to 80-degrees Fahrenheit.
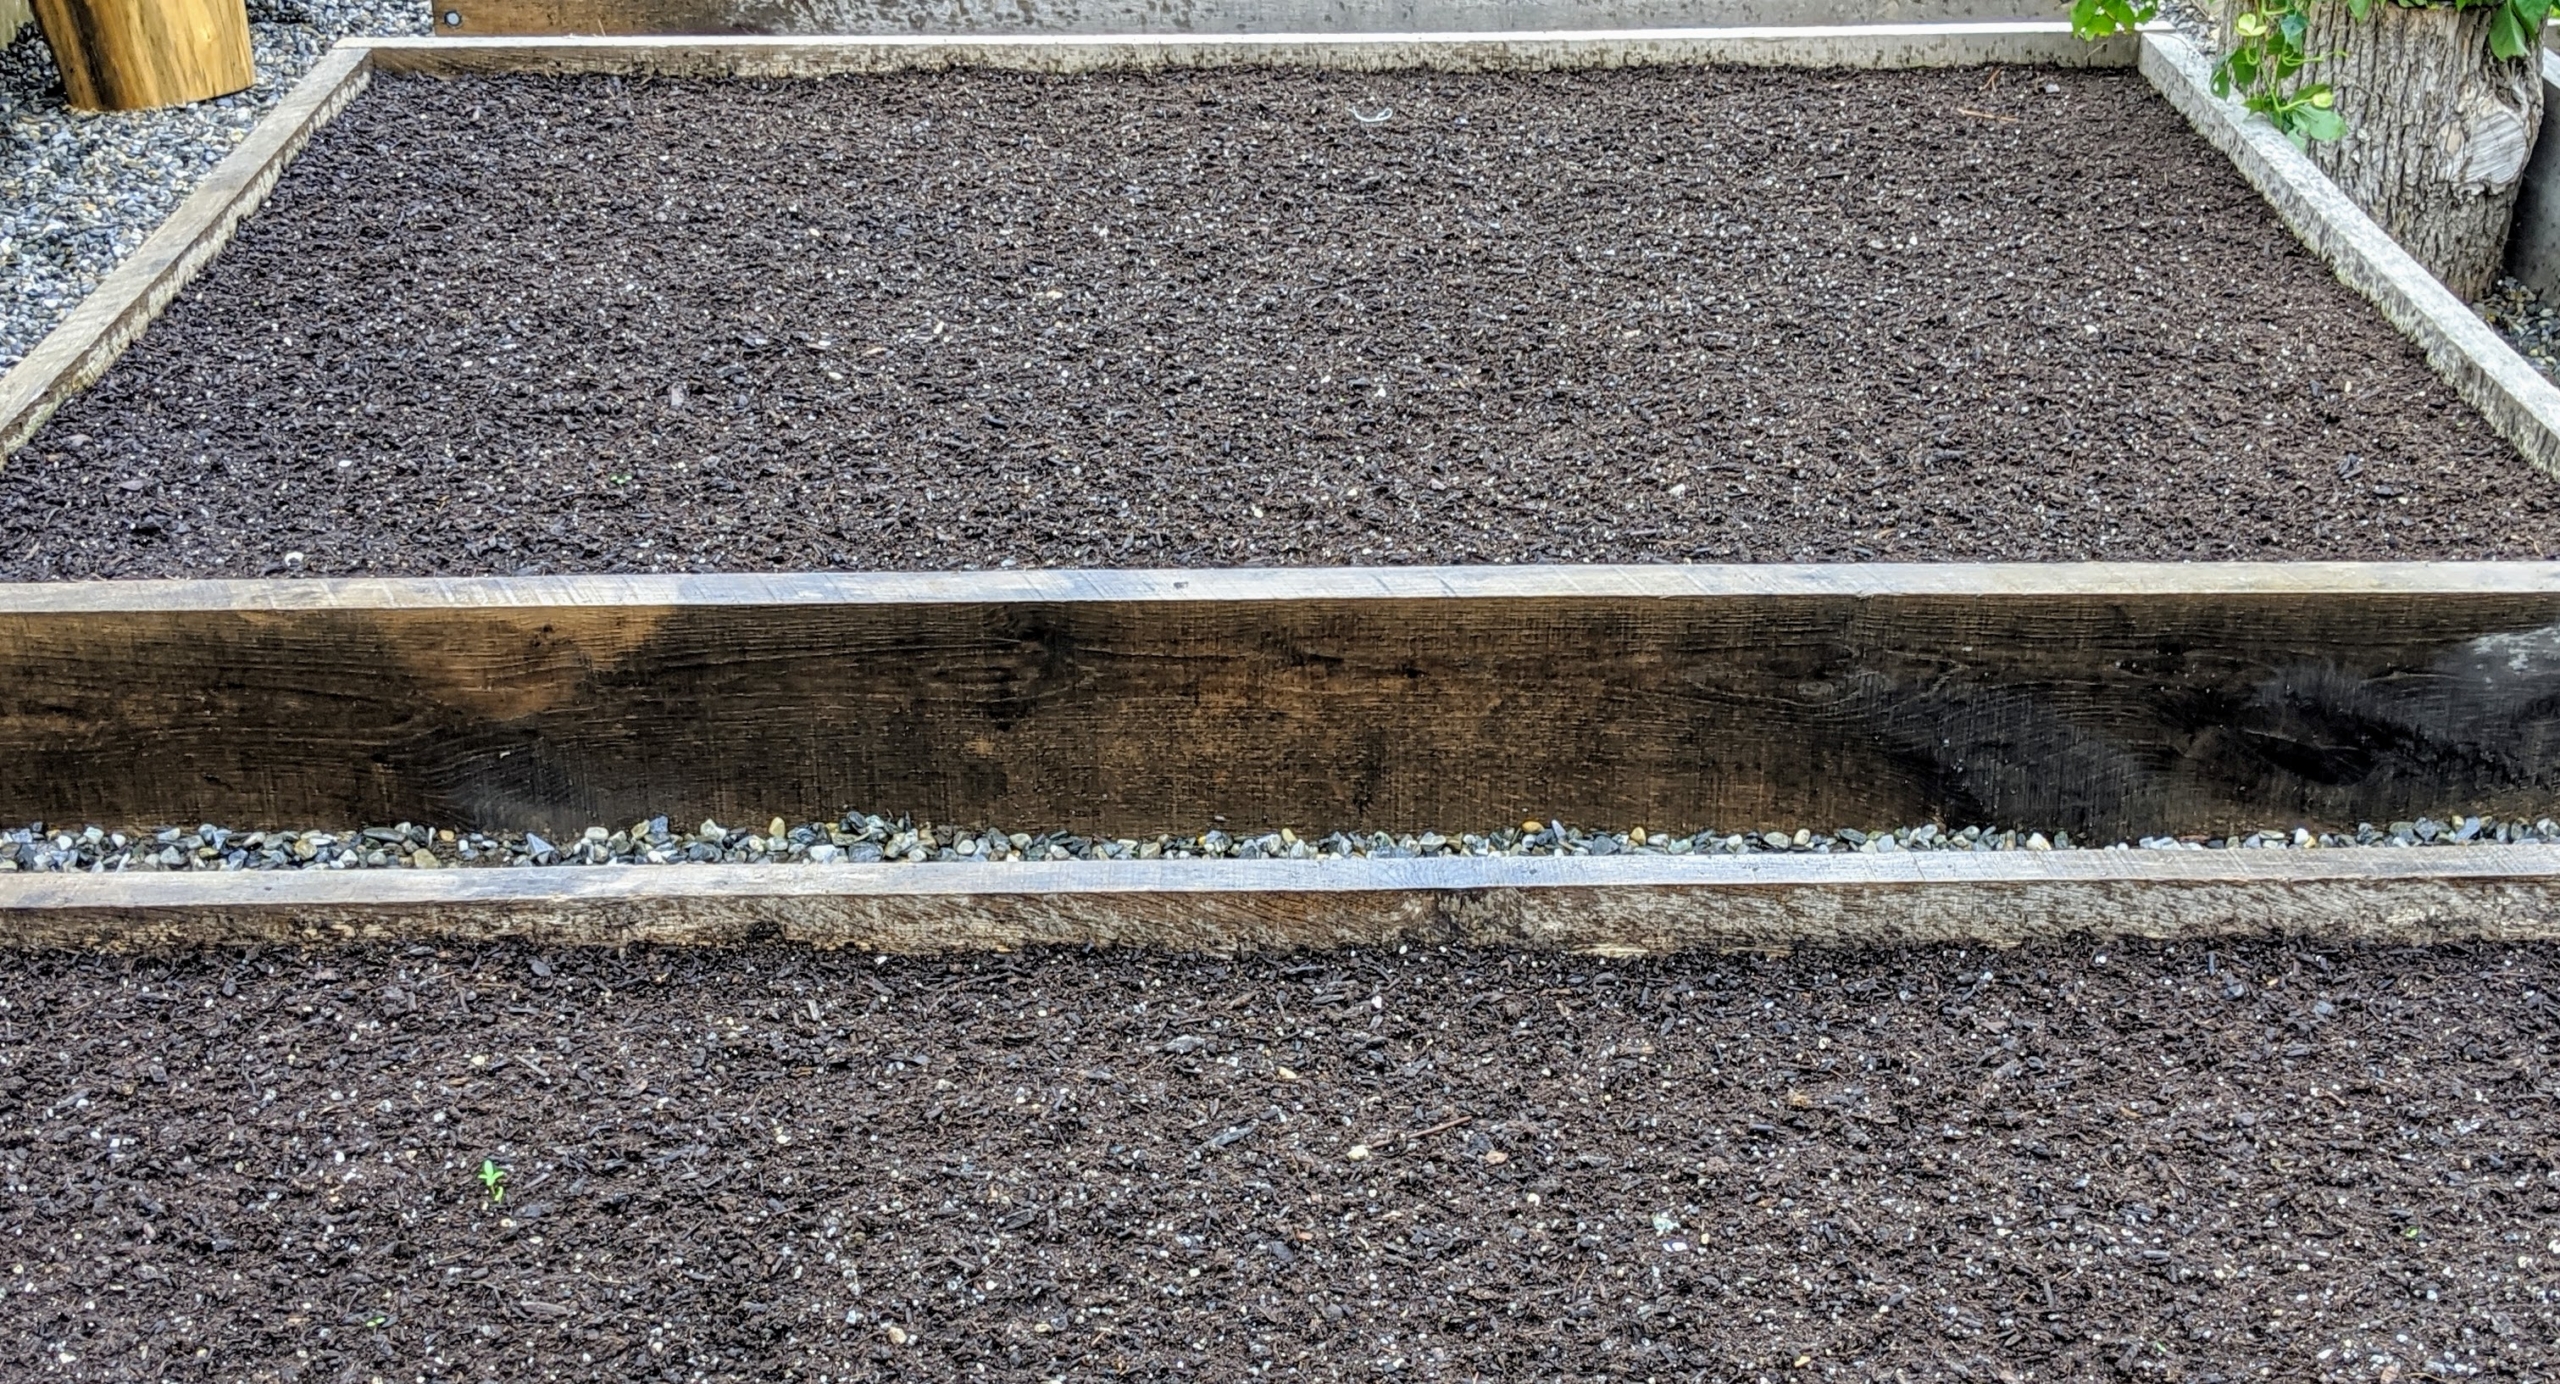
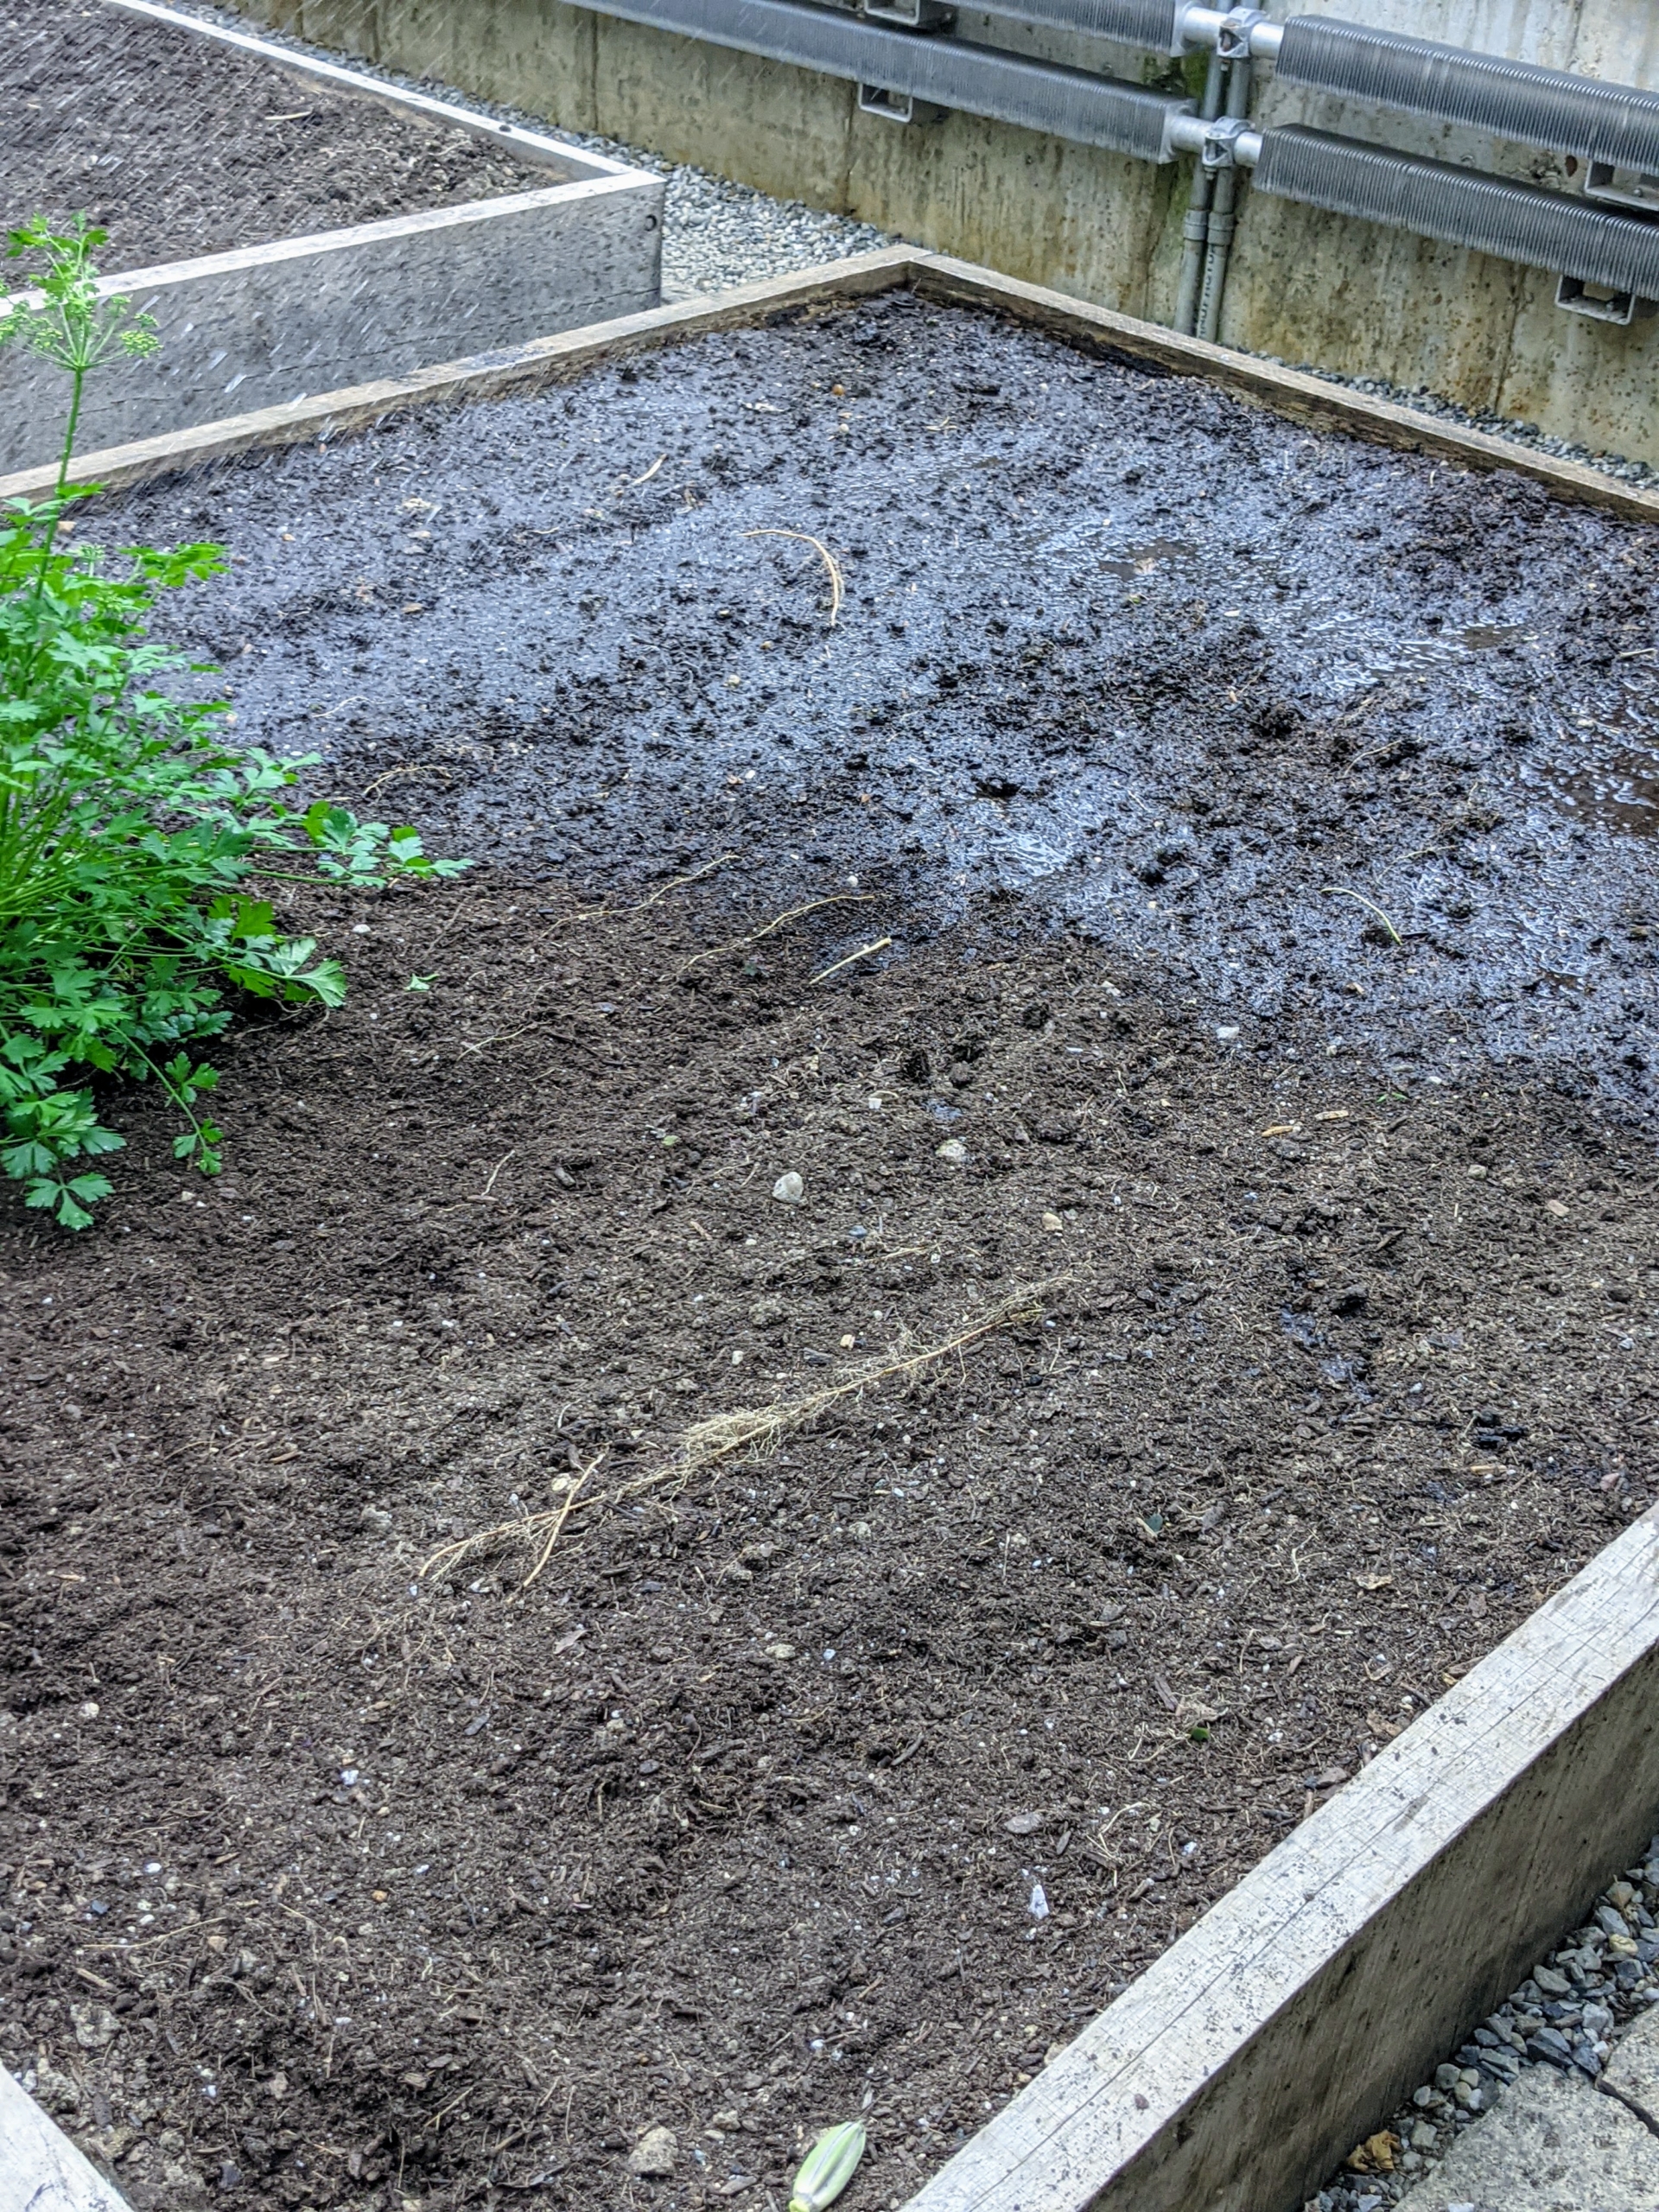
We do a lot of prep work to get the beds ready. In this greenhouse we use a compost-based potting soil mix from the Vermont Compost Company in Montpelier, Vermont. This soil is specifically developed for organic gardening and is called Fort Vee potting mix. In all, we have 16 garden boxes for our indoor crops.
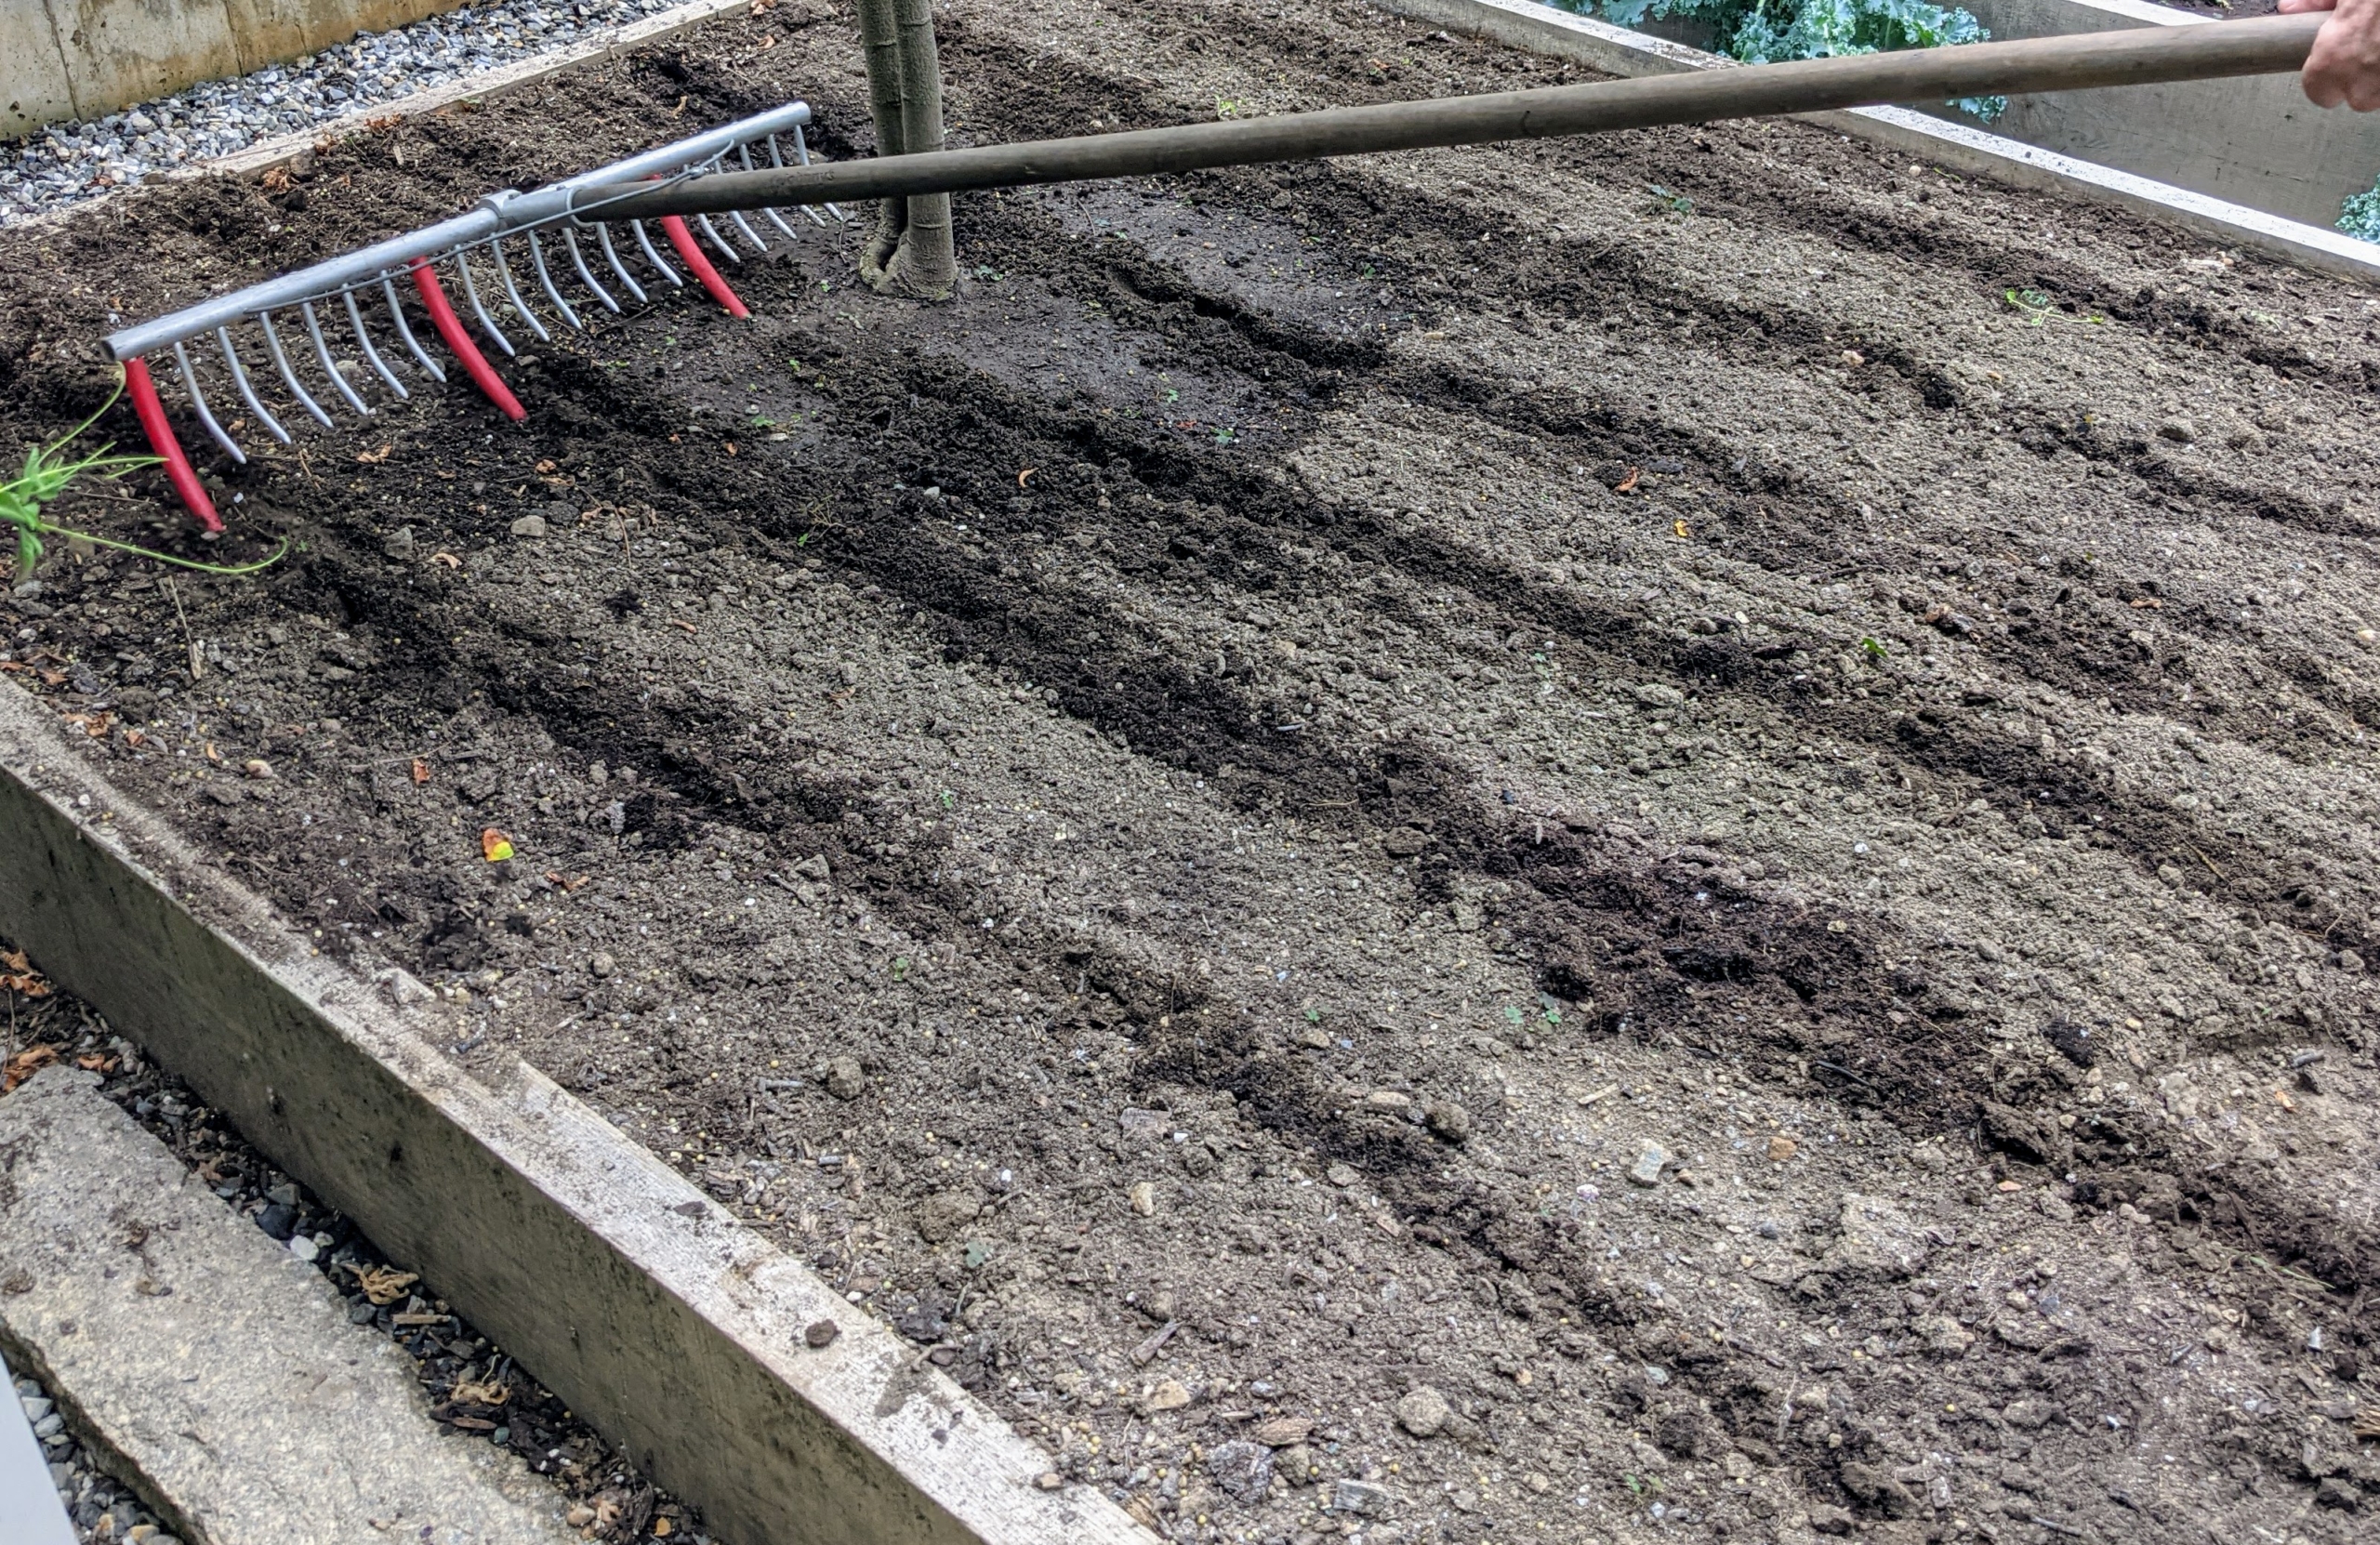
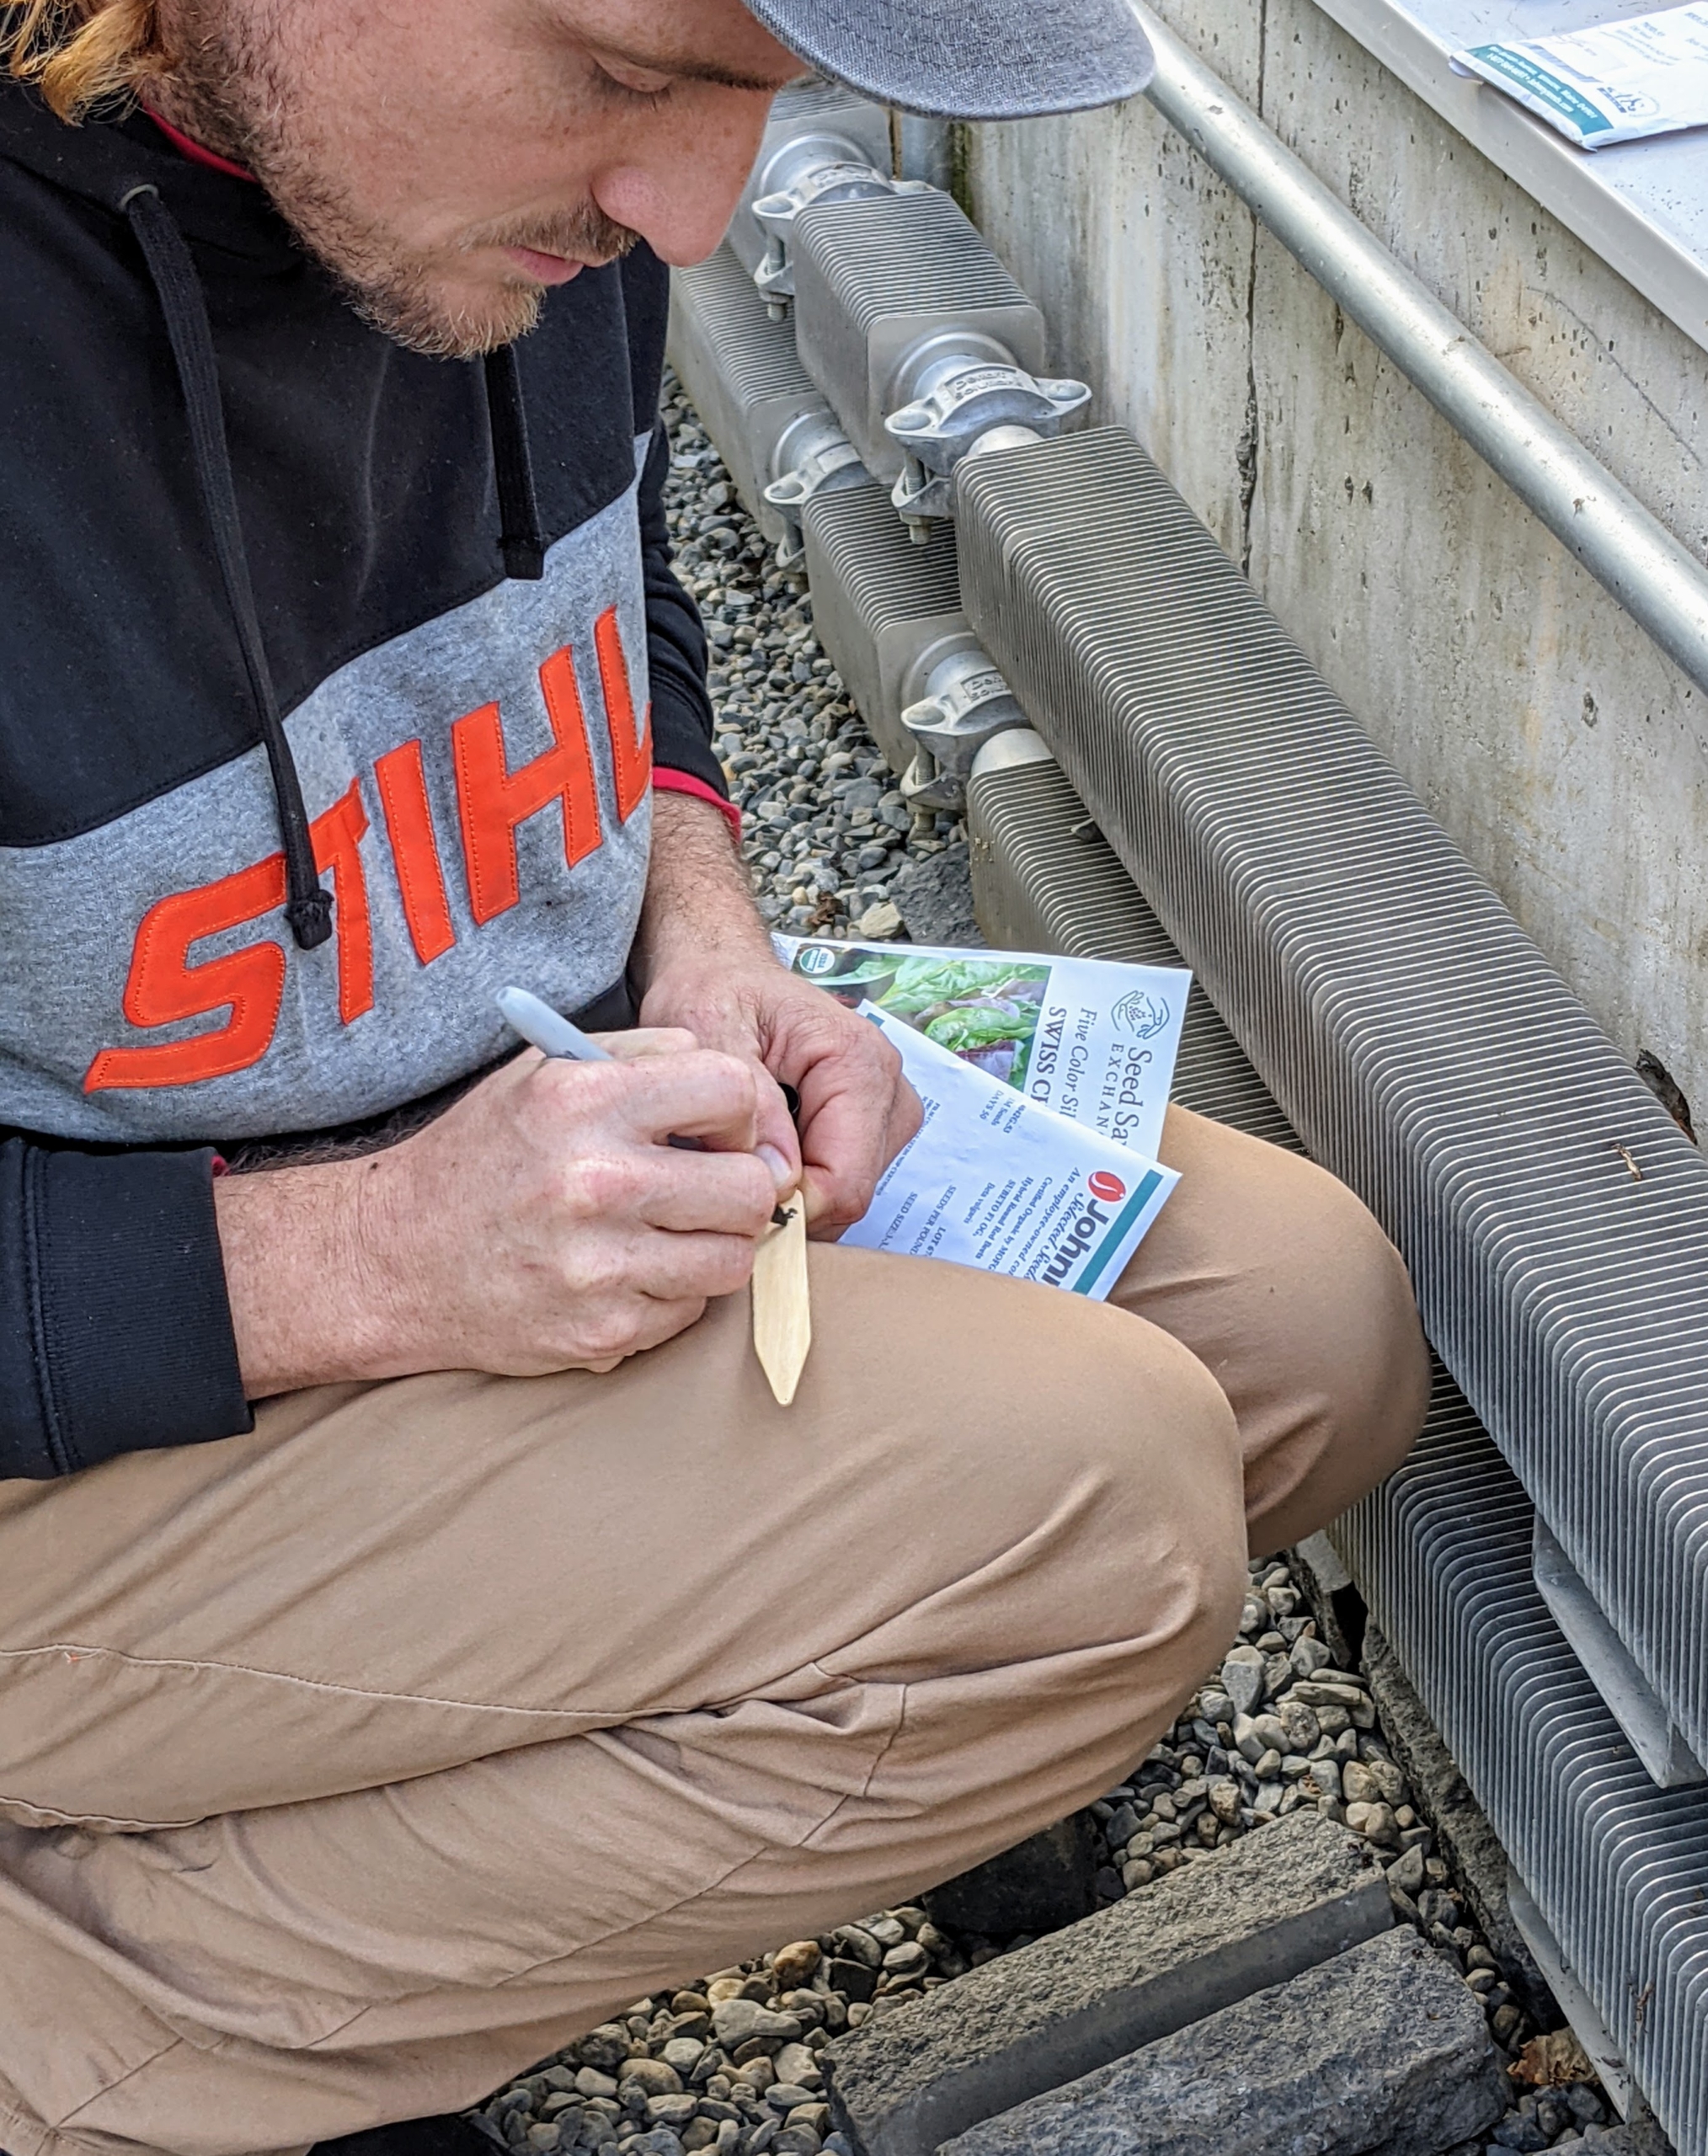
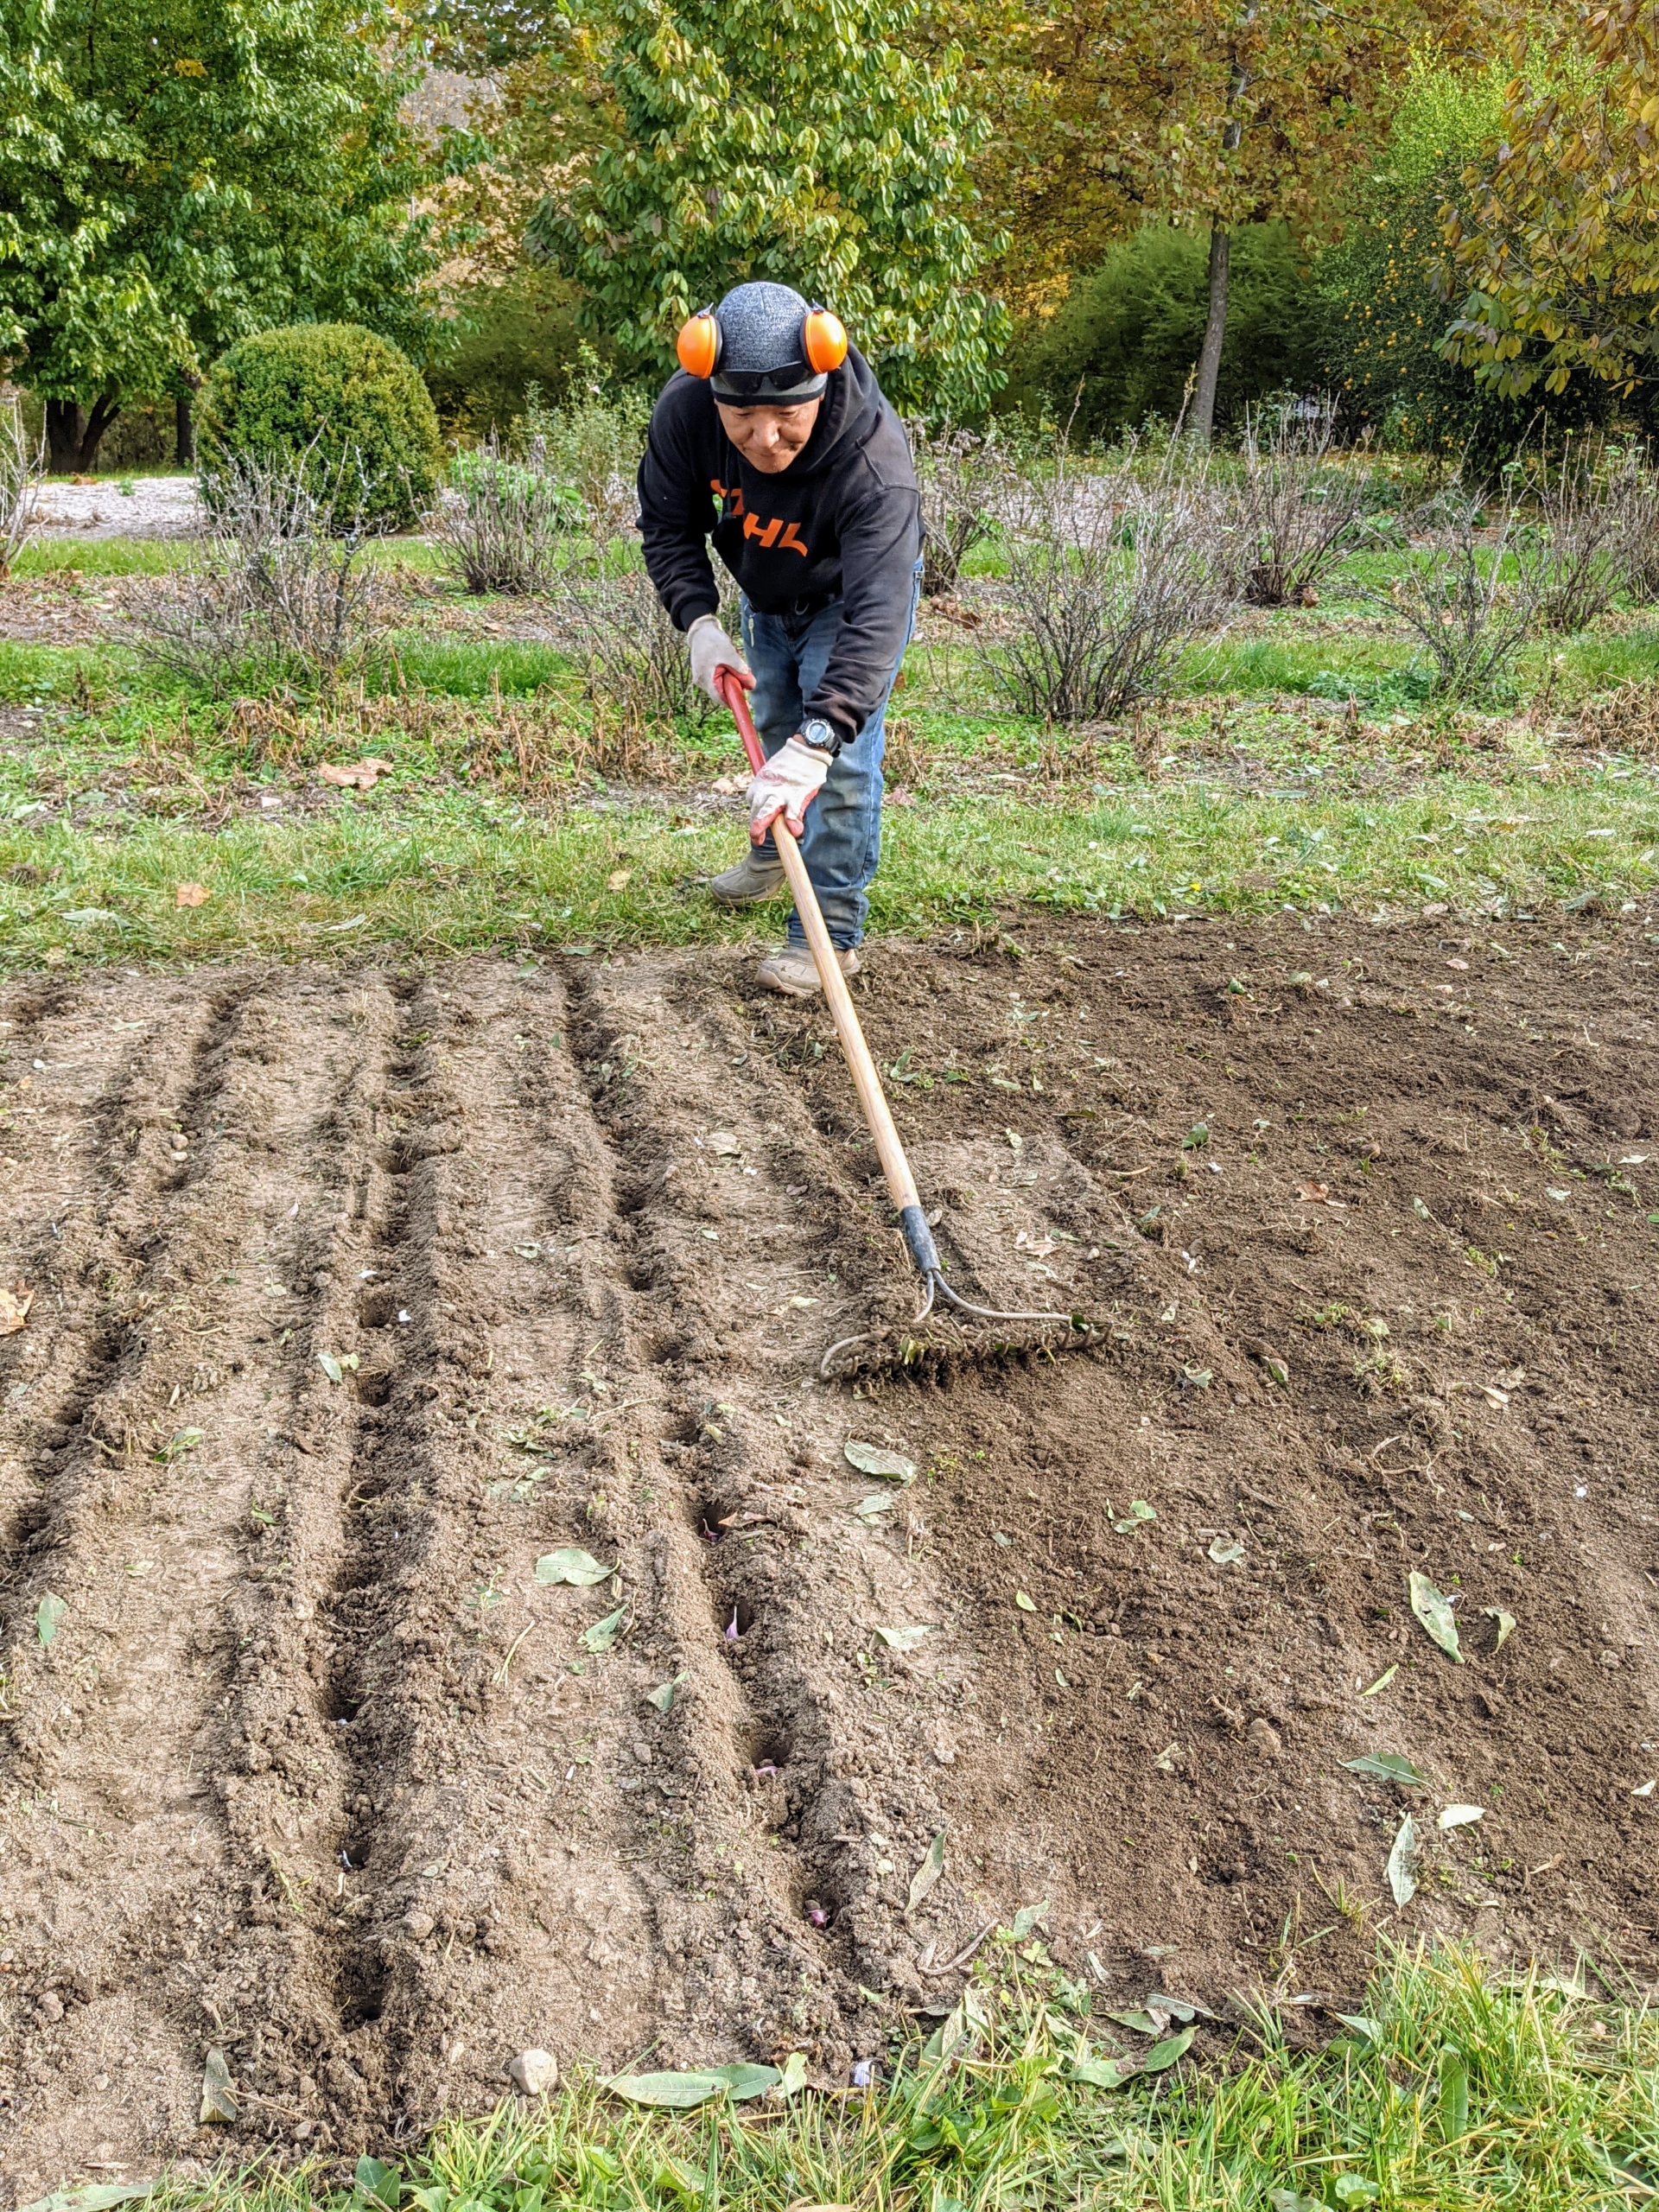
Ryan uses this bed preparation rake from Johnny’s Selected Seeds to create furrows in the soil of each bed.
Hard plastic red tubes slide onto selected teeth of the rake to mark the rows. The furrows don’t have to be deep. In general, seeds should be planted at a depth of two times the width, or diameter, of the seed. A seed that’s about 1/16-of-an-inch thick should be planted an eighth-of-an-inch deep.
We always have a large variety of seeds to grow. I am always on the lookout for different seeds when I travel, but seeds are also widely available online and at garden centers. Many of our seeds are also from Johnny’s Selected Seeds. Ryan keeps track of what seeds do well at the farm – indoors and out.
Ryan creates markers to identify what bed contains what vegetables. He also makes smaller markers for the end of each row indicating the plant variety.
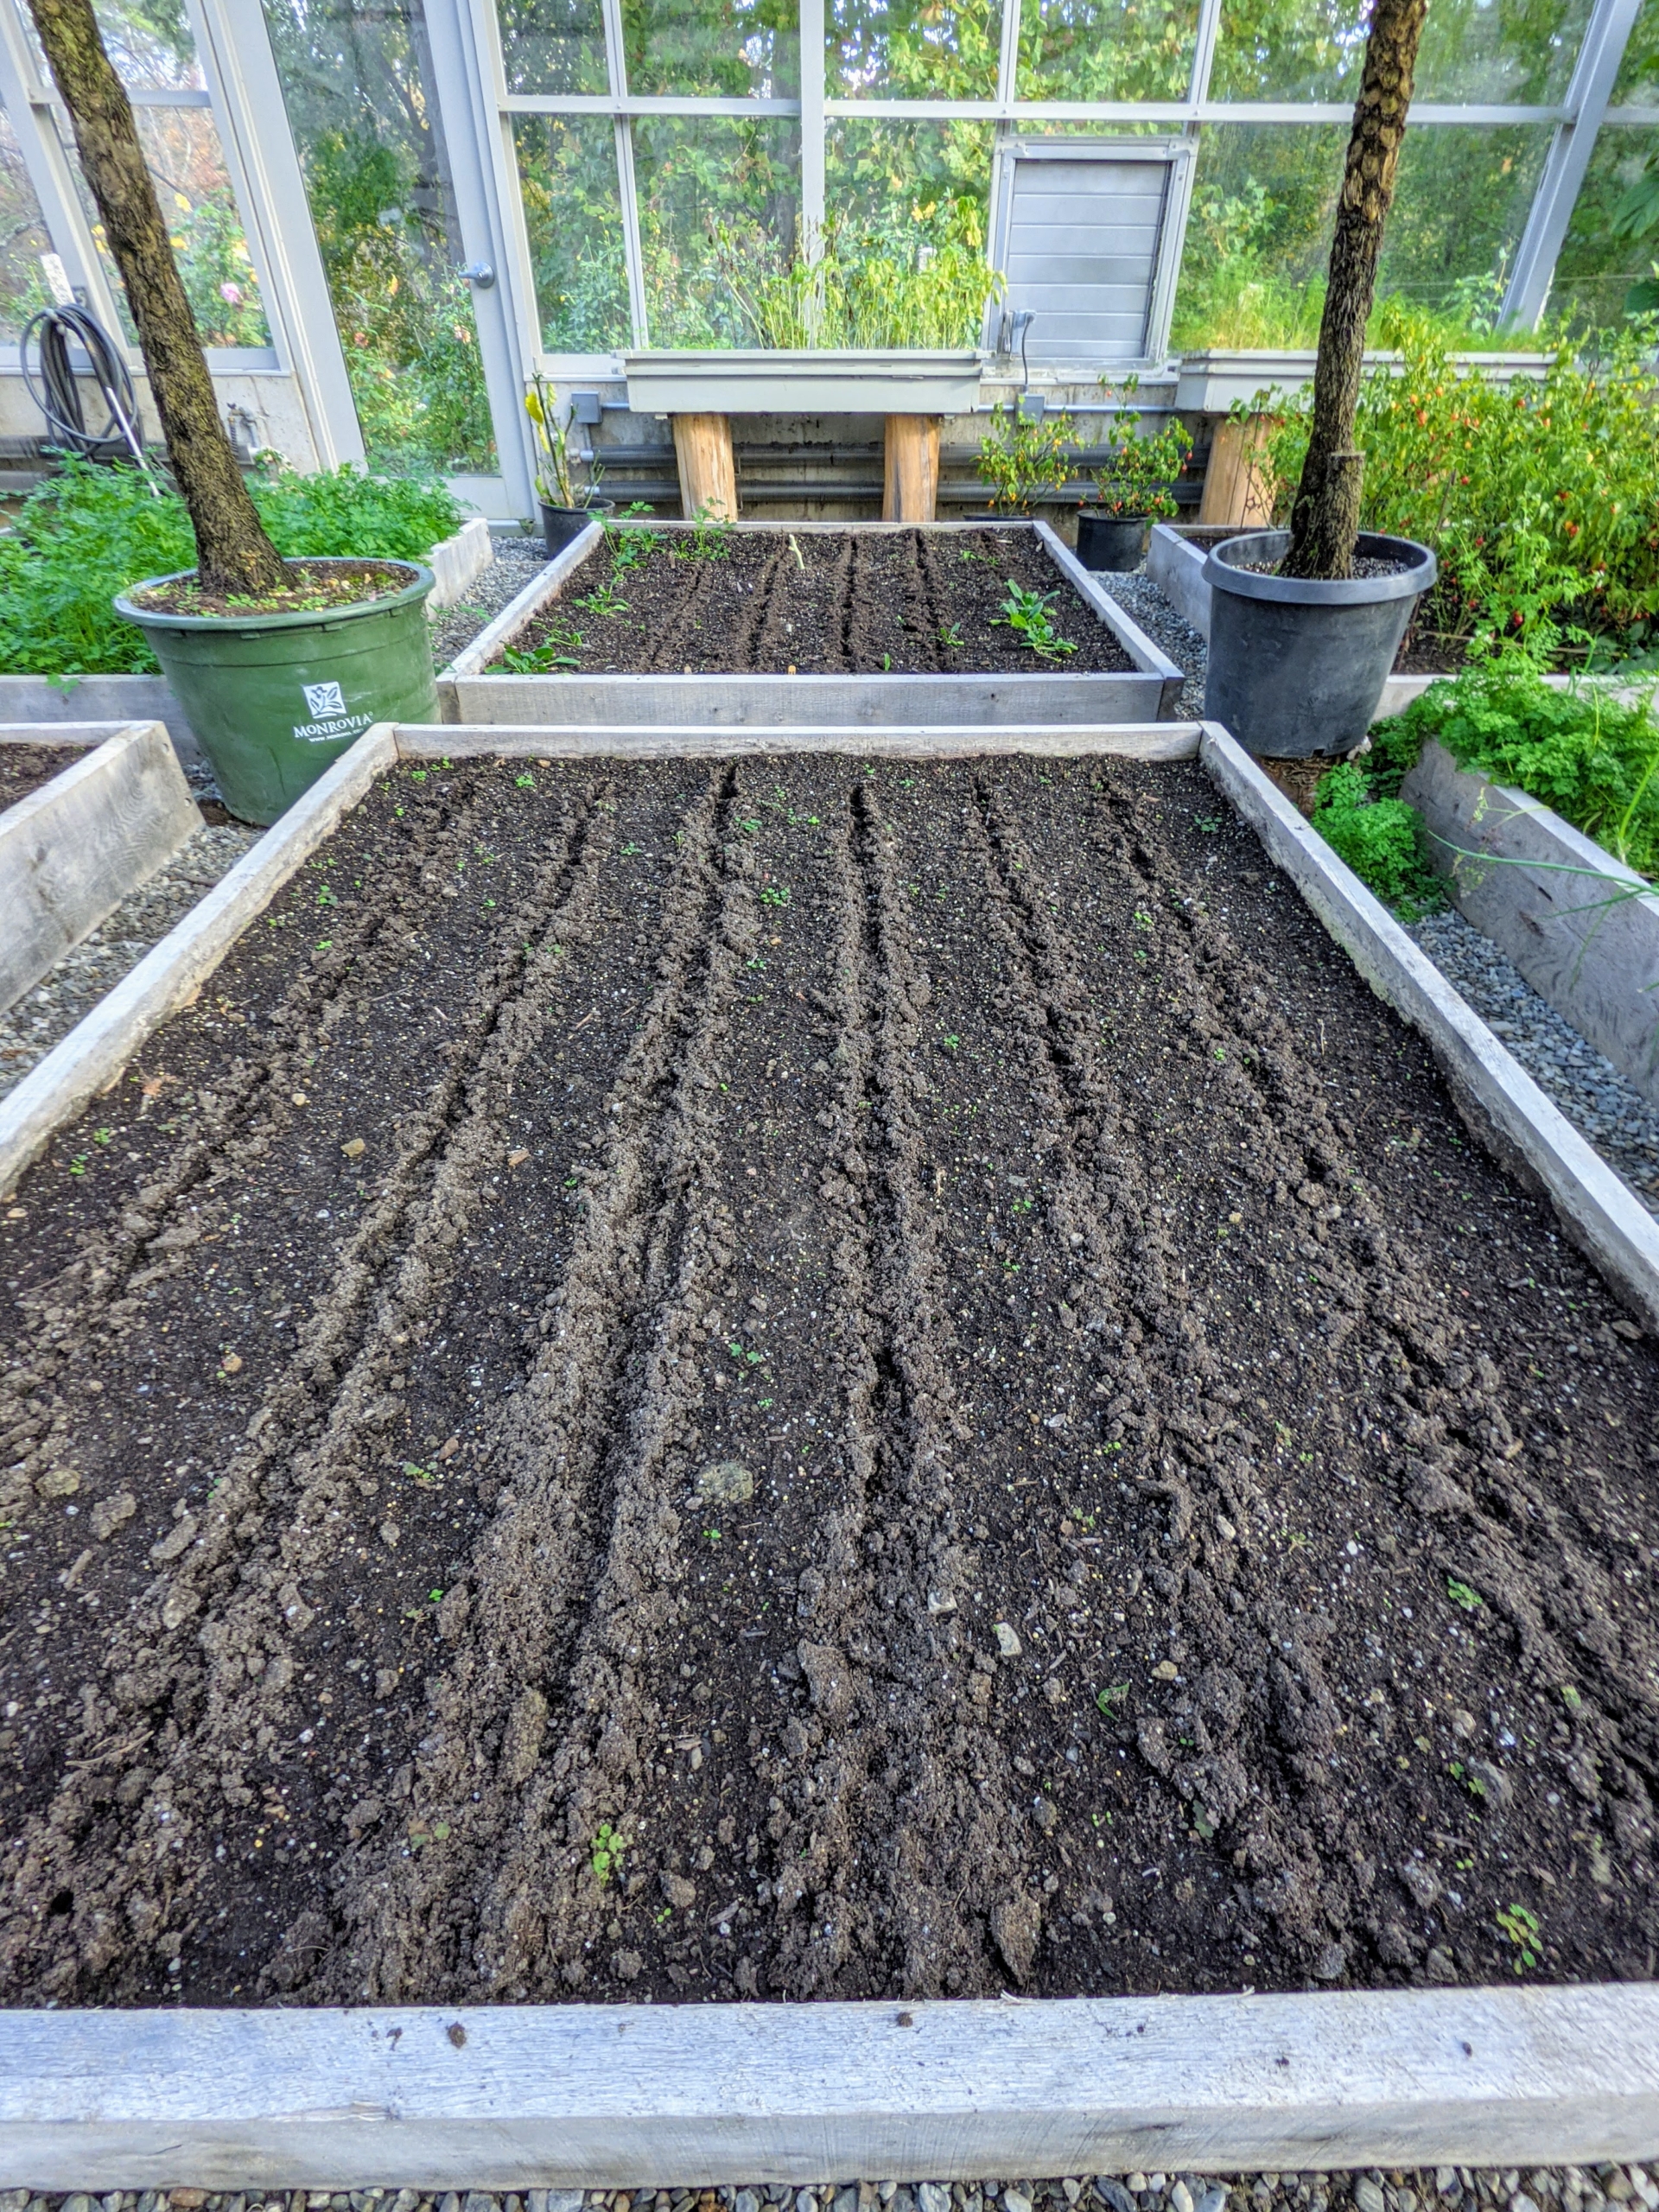
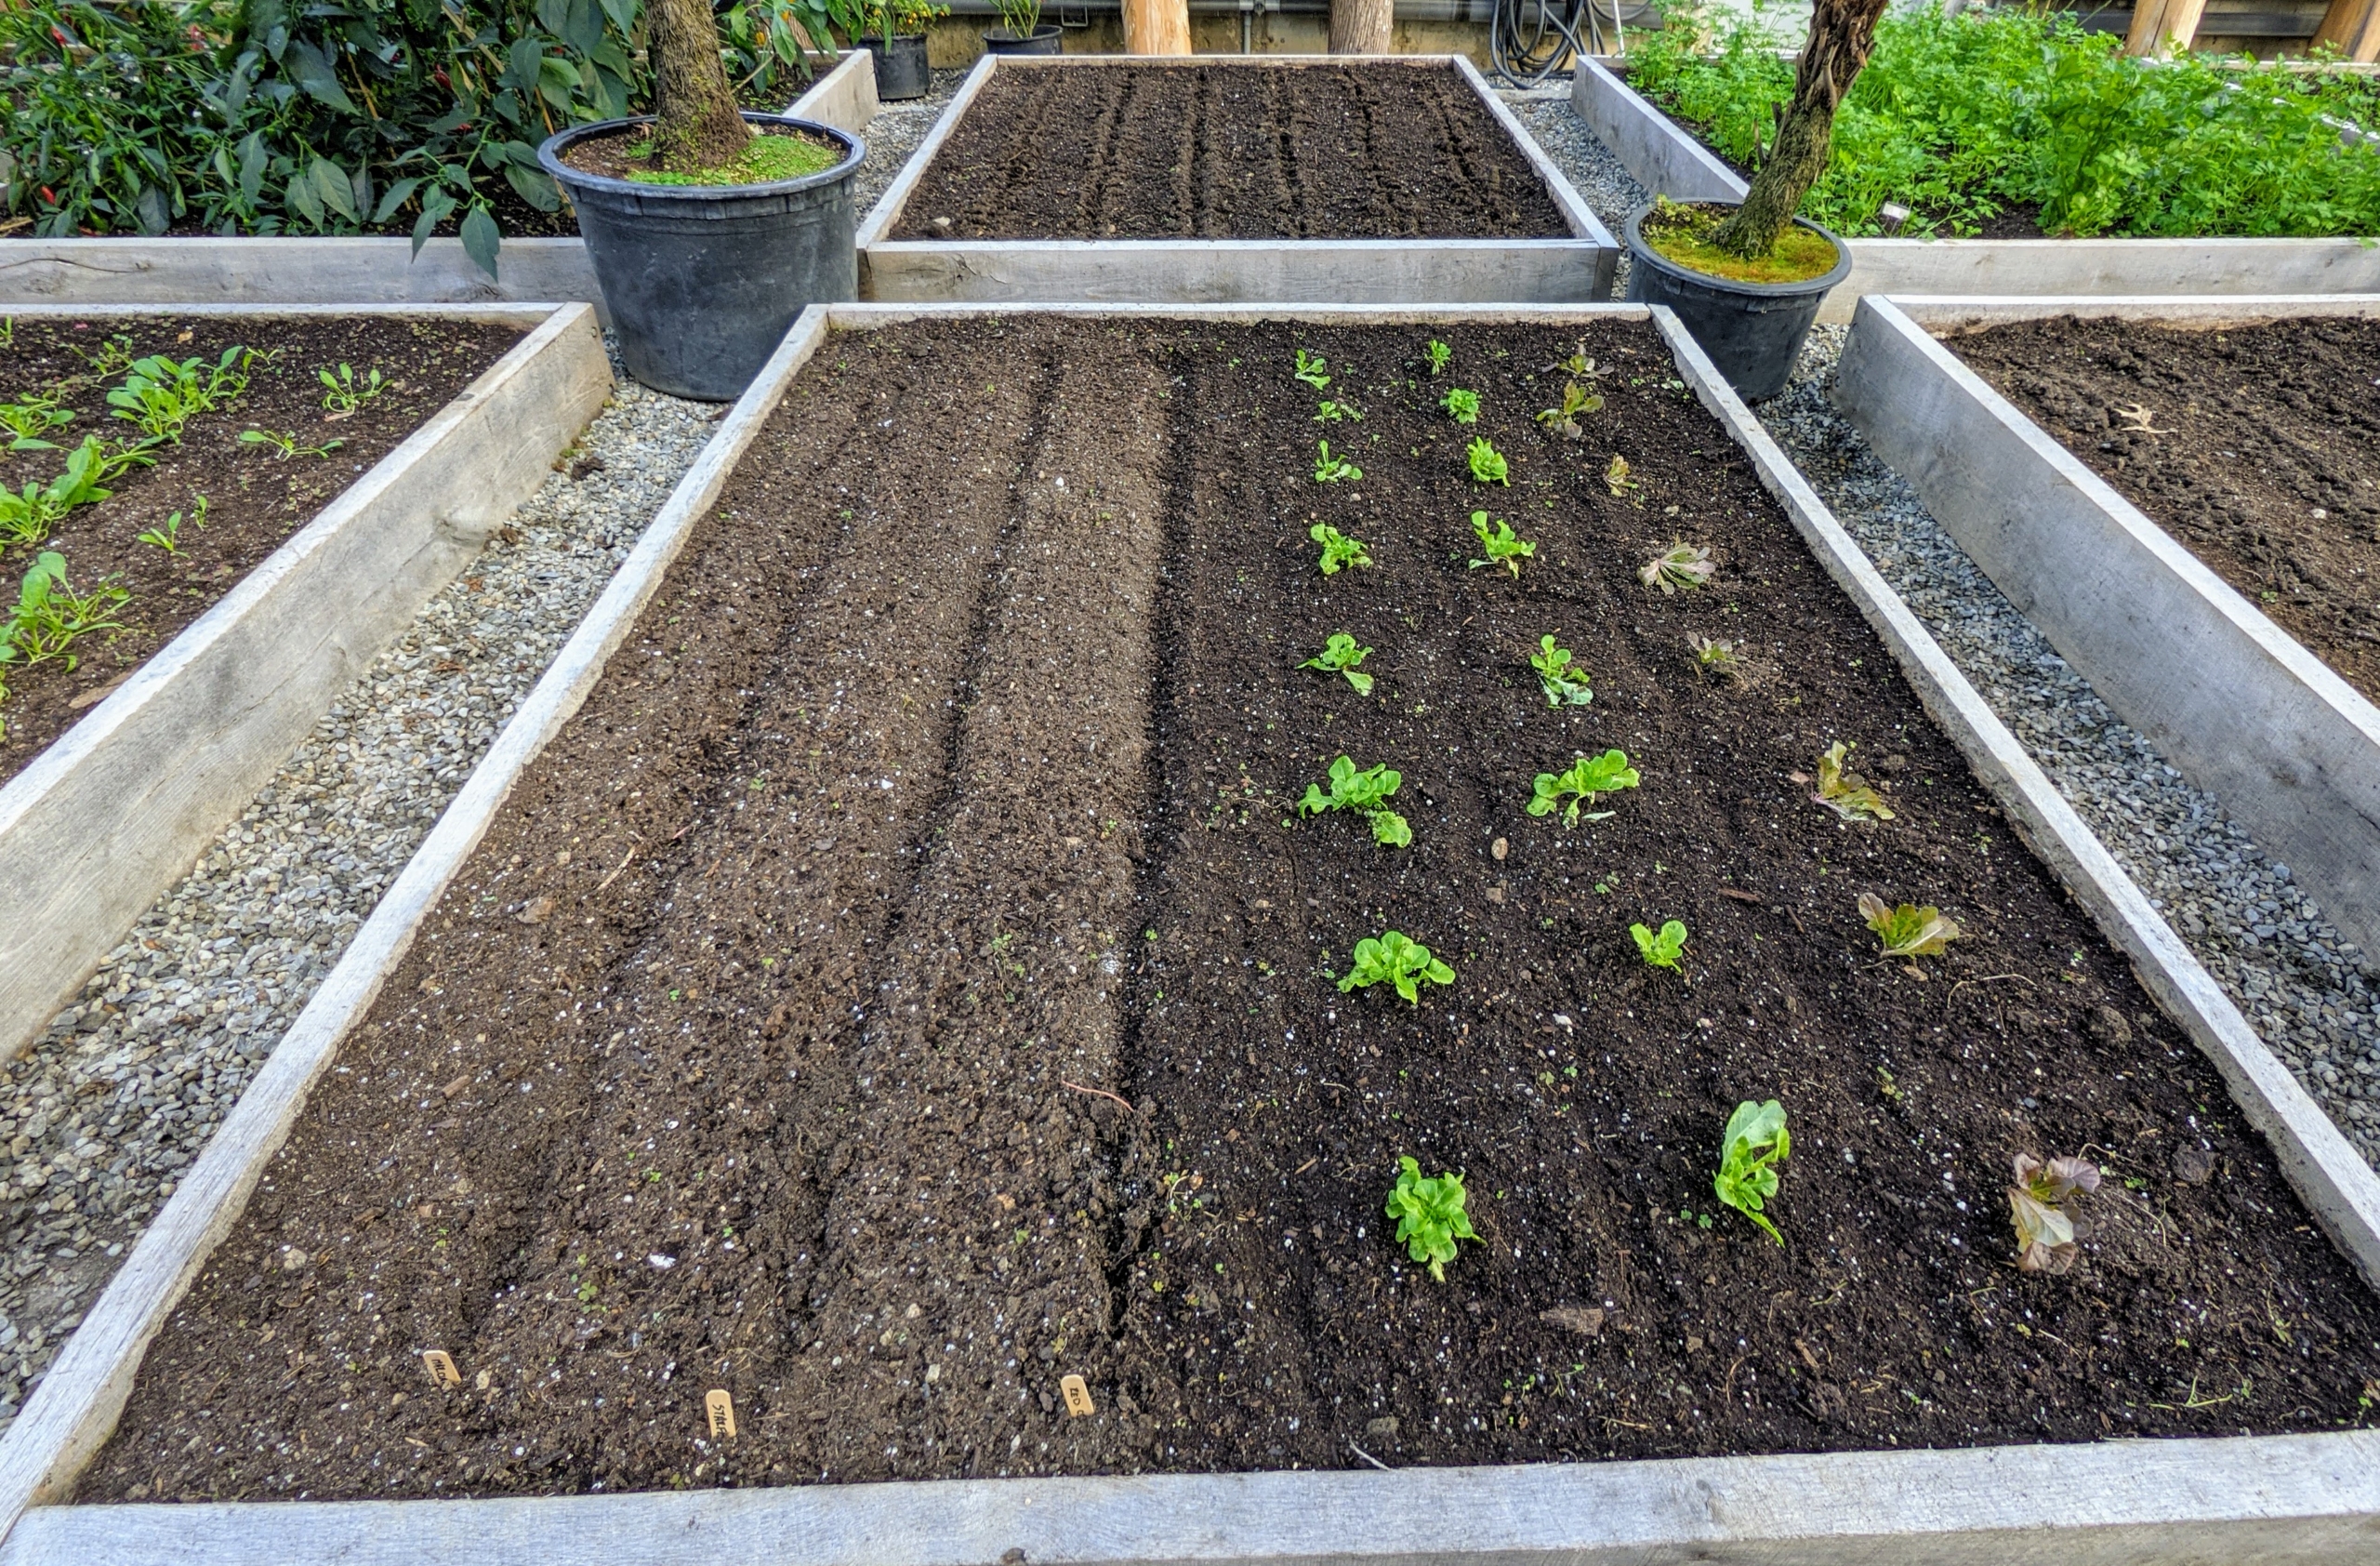
Here are two garden boxes all ready for planting.
Ryan starts planting in one of the raised beds. Raised bed gardening allows good drainage, prevents soil compaction, and provides protection for those plants that may otherwise get trampled.
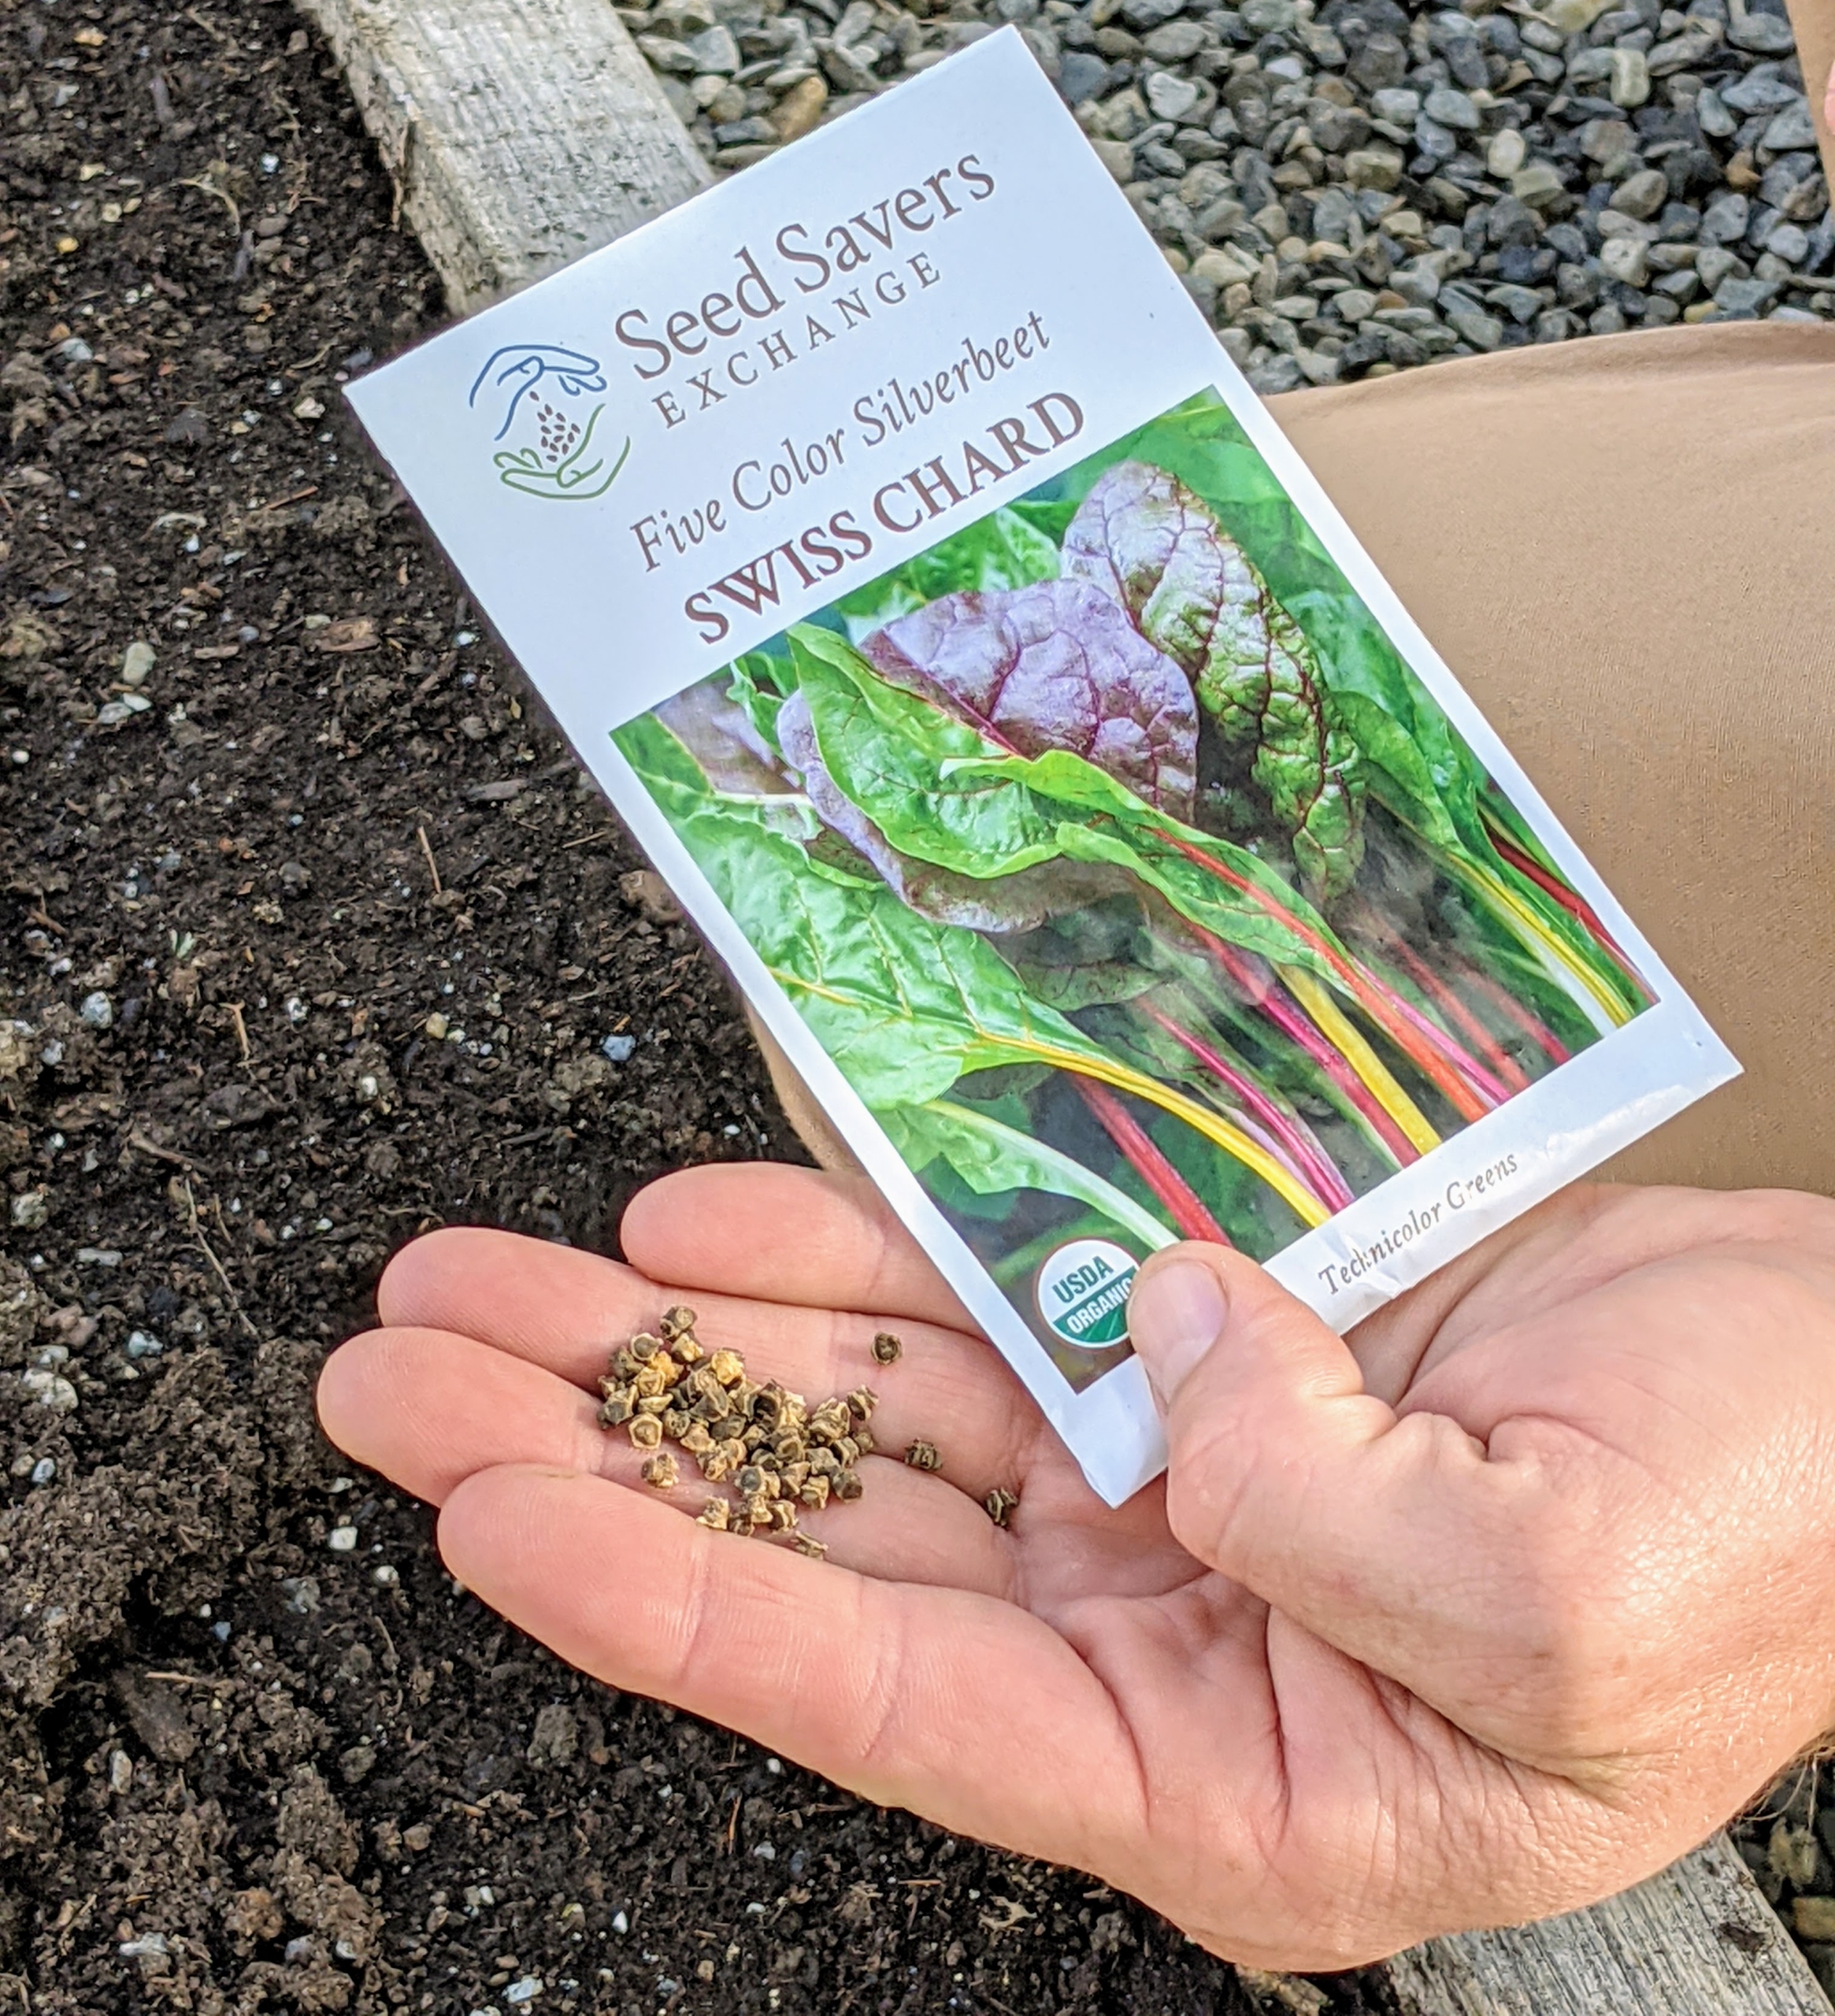
These seeds are five color silverbeet Swiss chard. These particular seeds also come from a great source – Seed Savers Exchange, a non-profit organization based near Decorah, Iowa, that preserves heirloom plant varieties through regeneration, distribution and seed exchange. It is one of the largest nongovernmental seed banks in the United States.
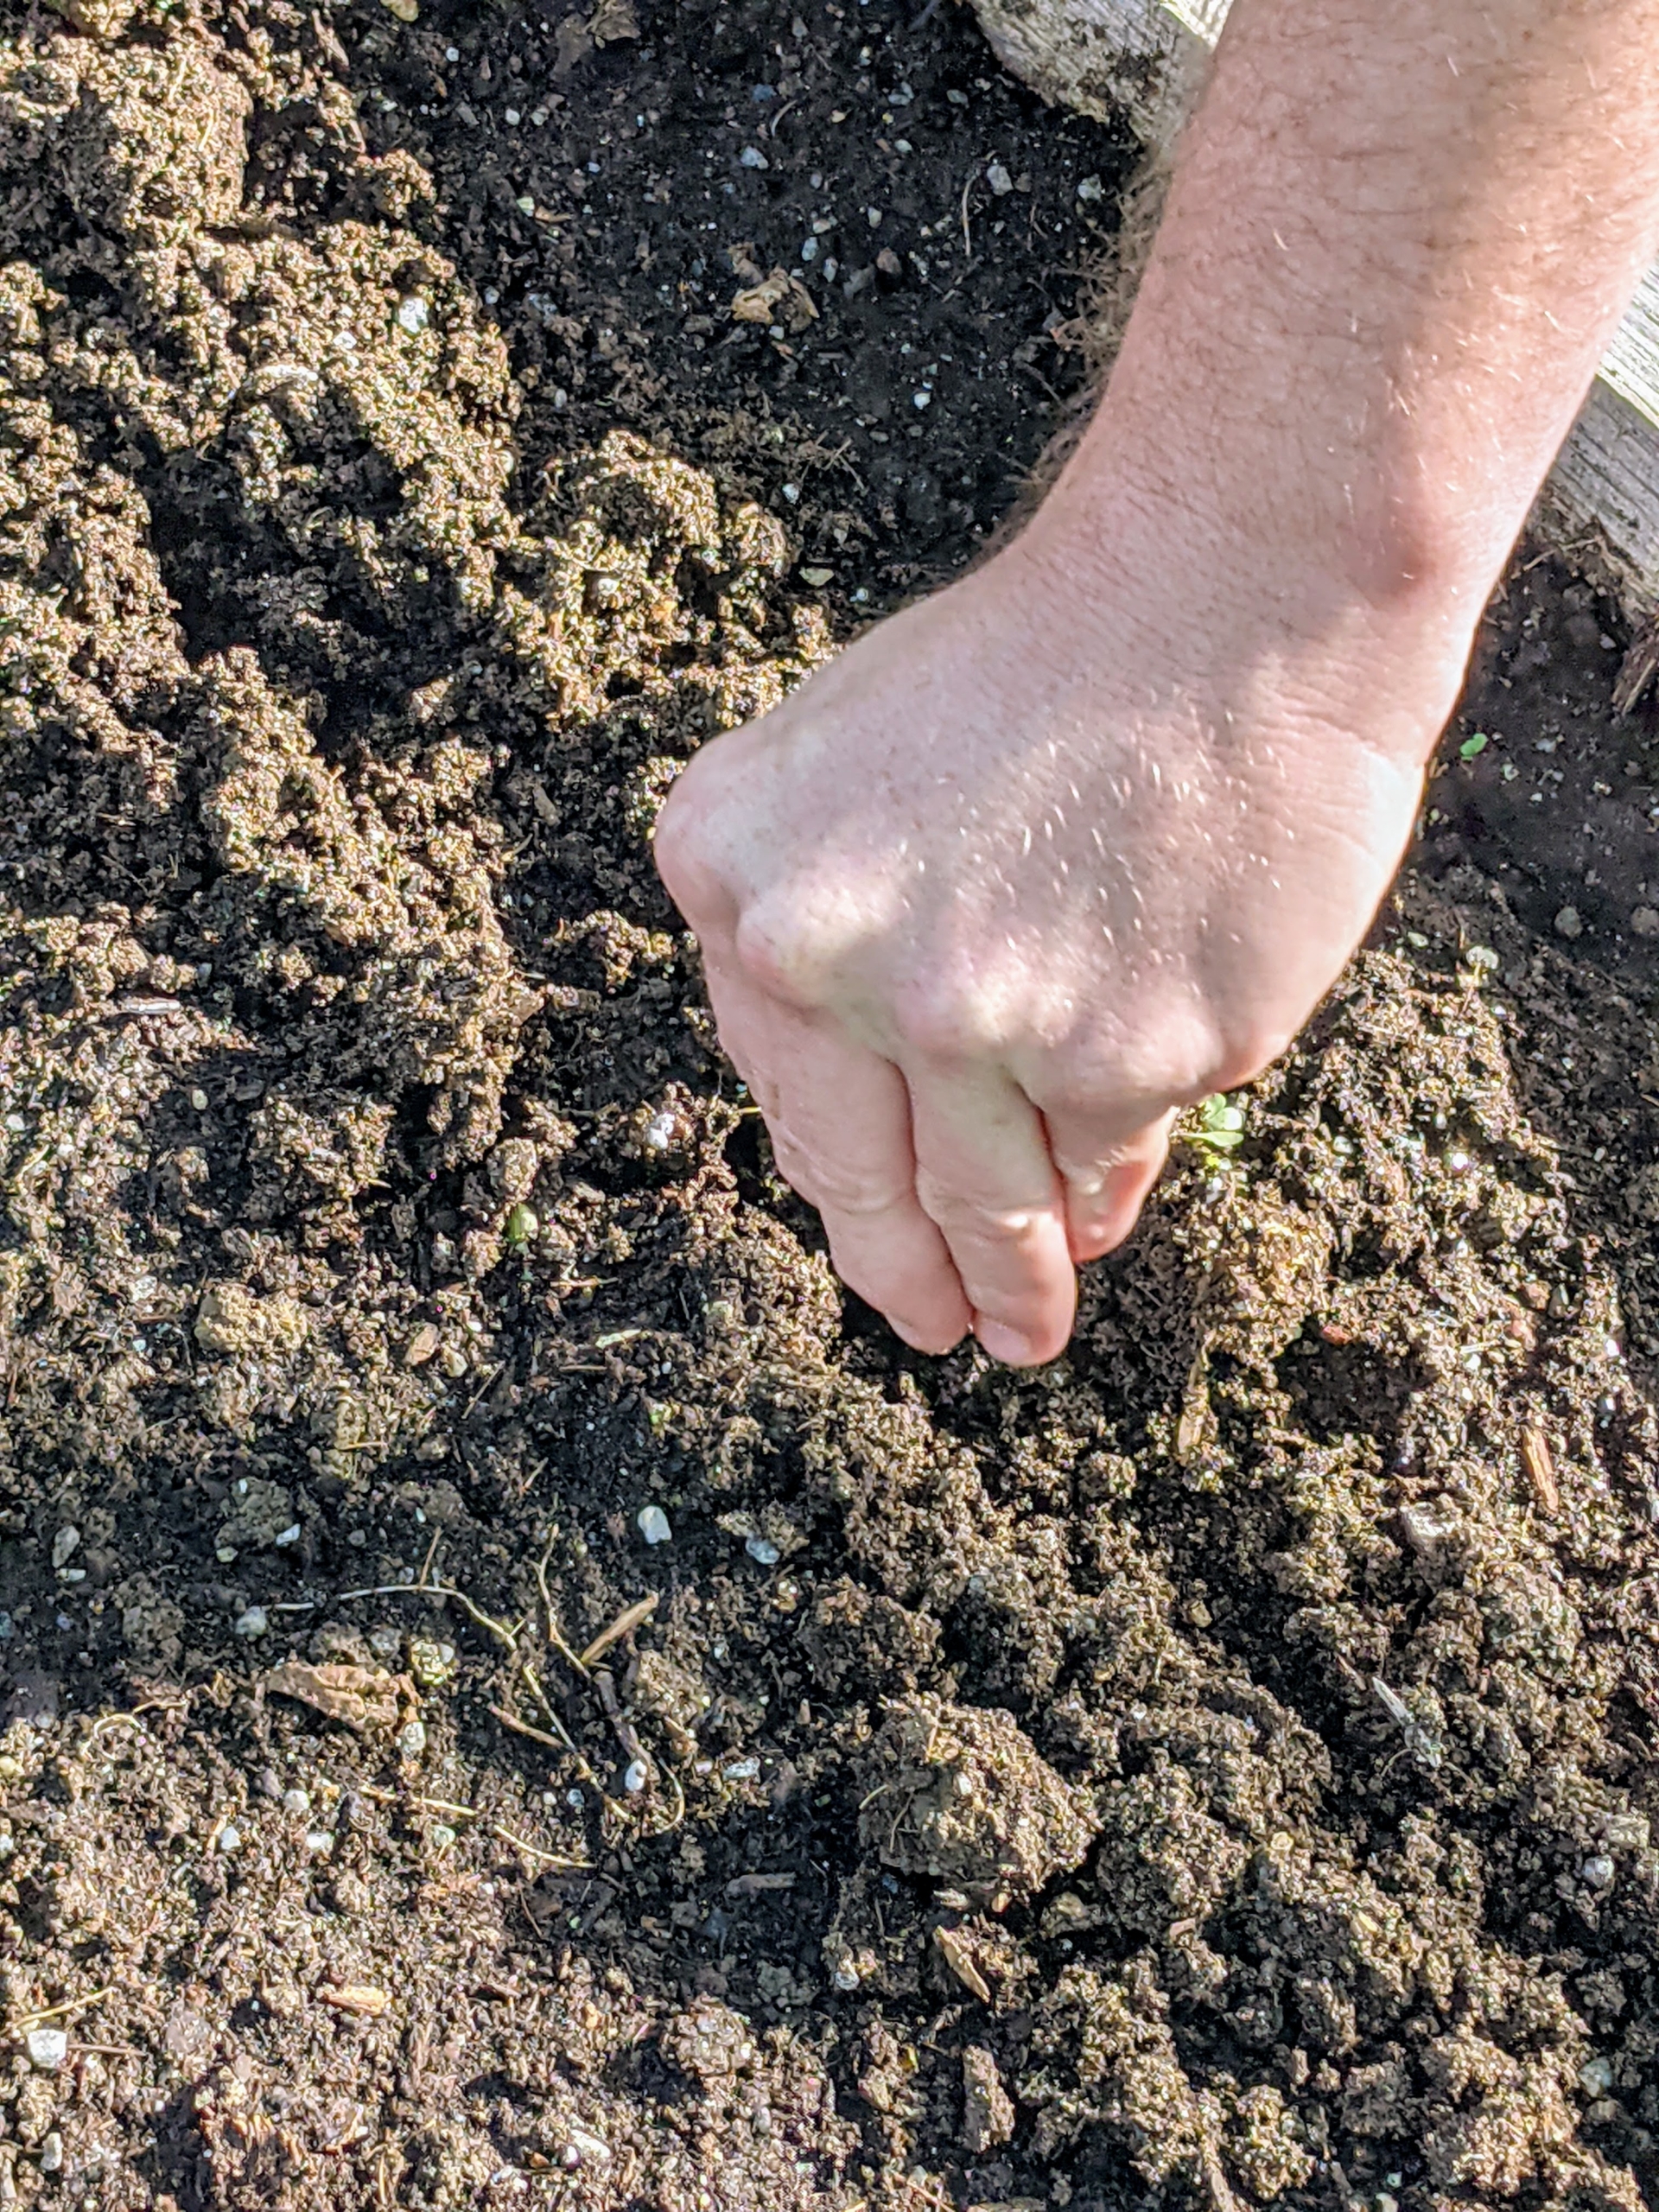
Ryan sprinkles the seeds in the furrows. These raised beds were designed for easy reach from all sides.
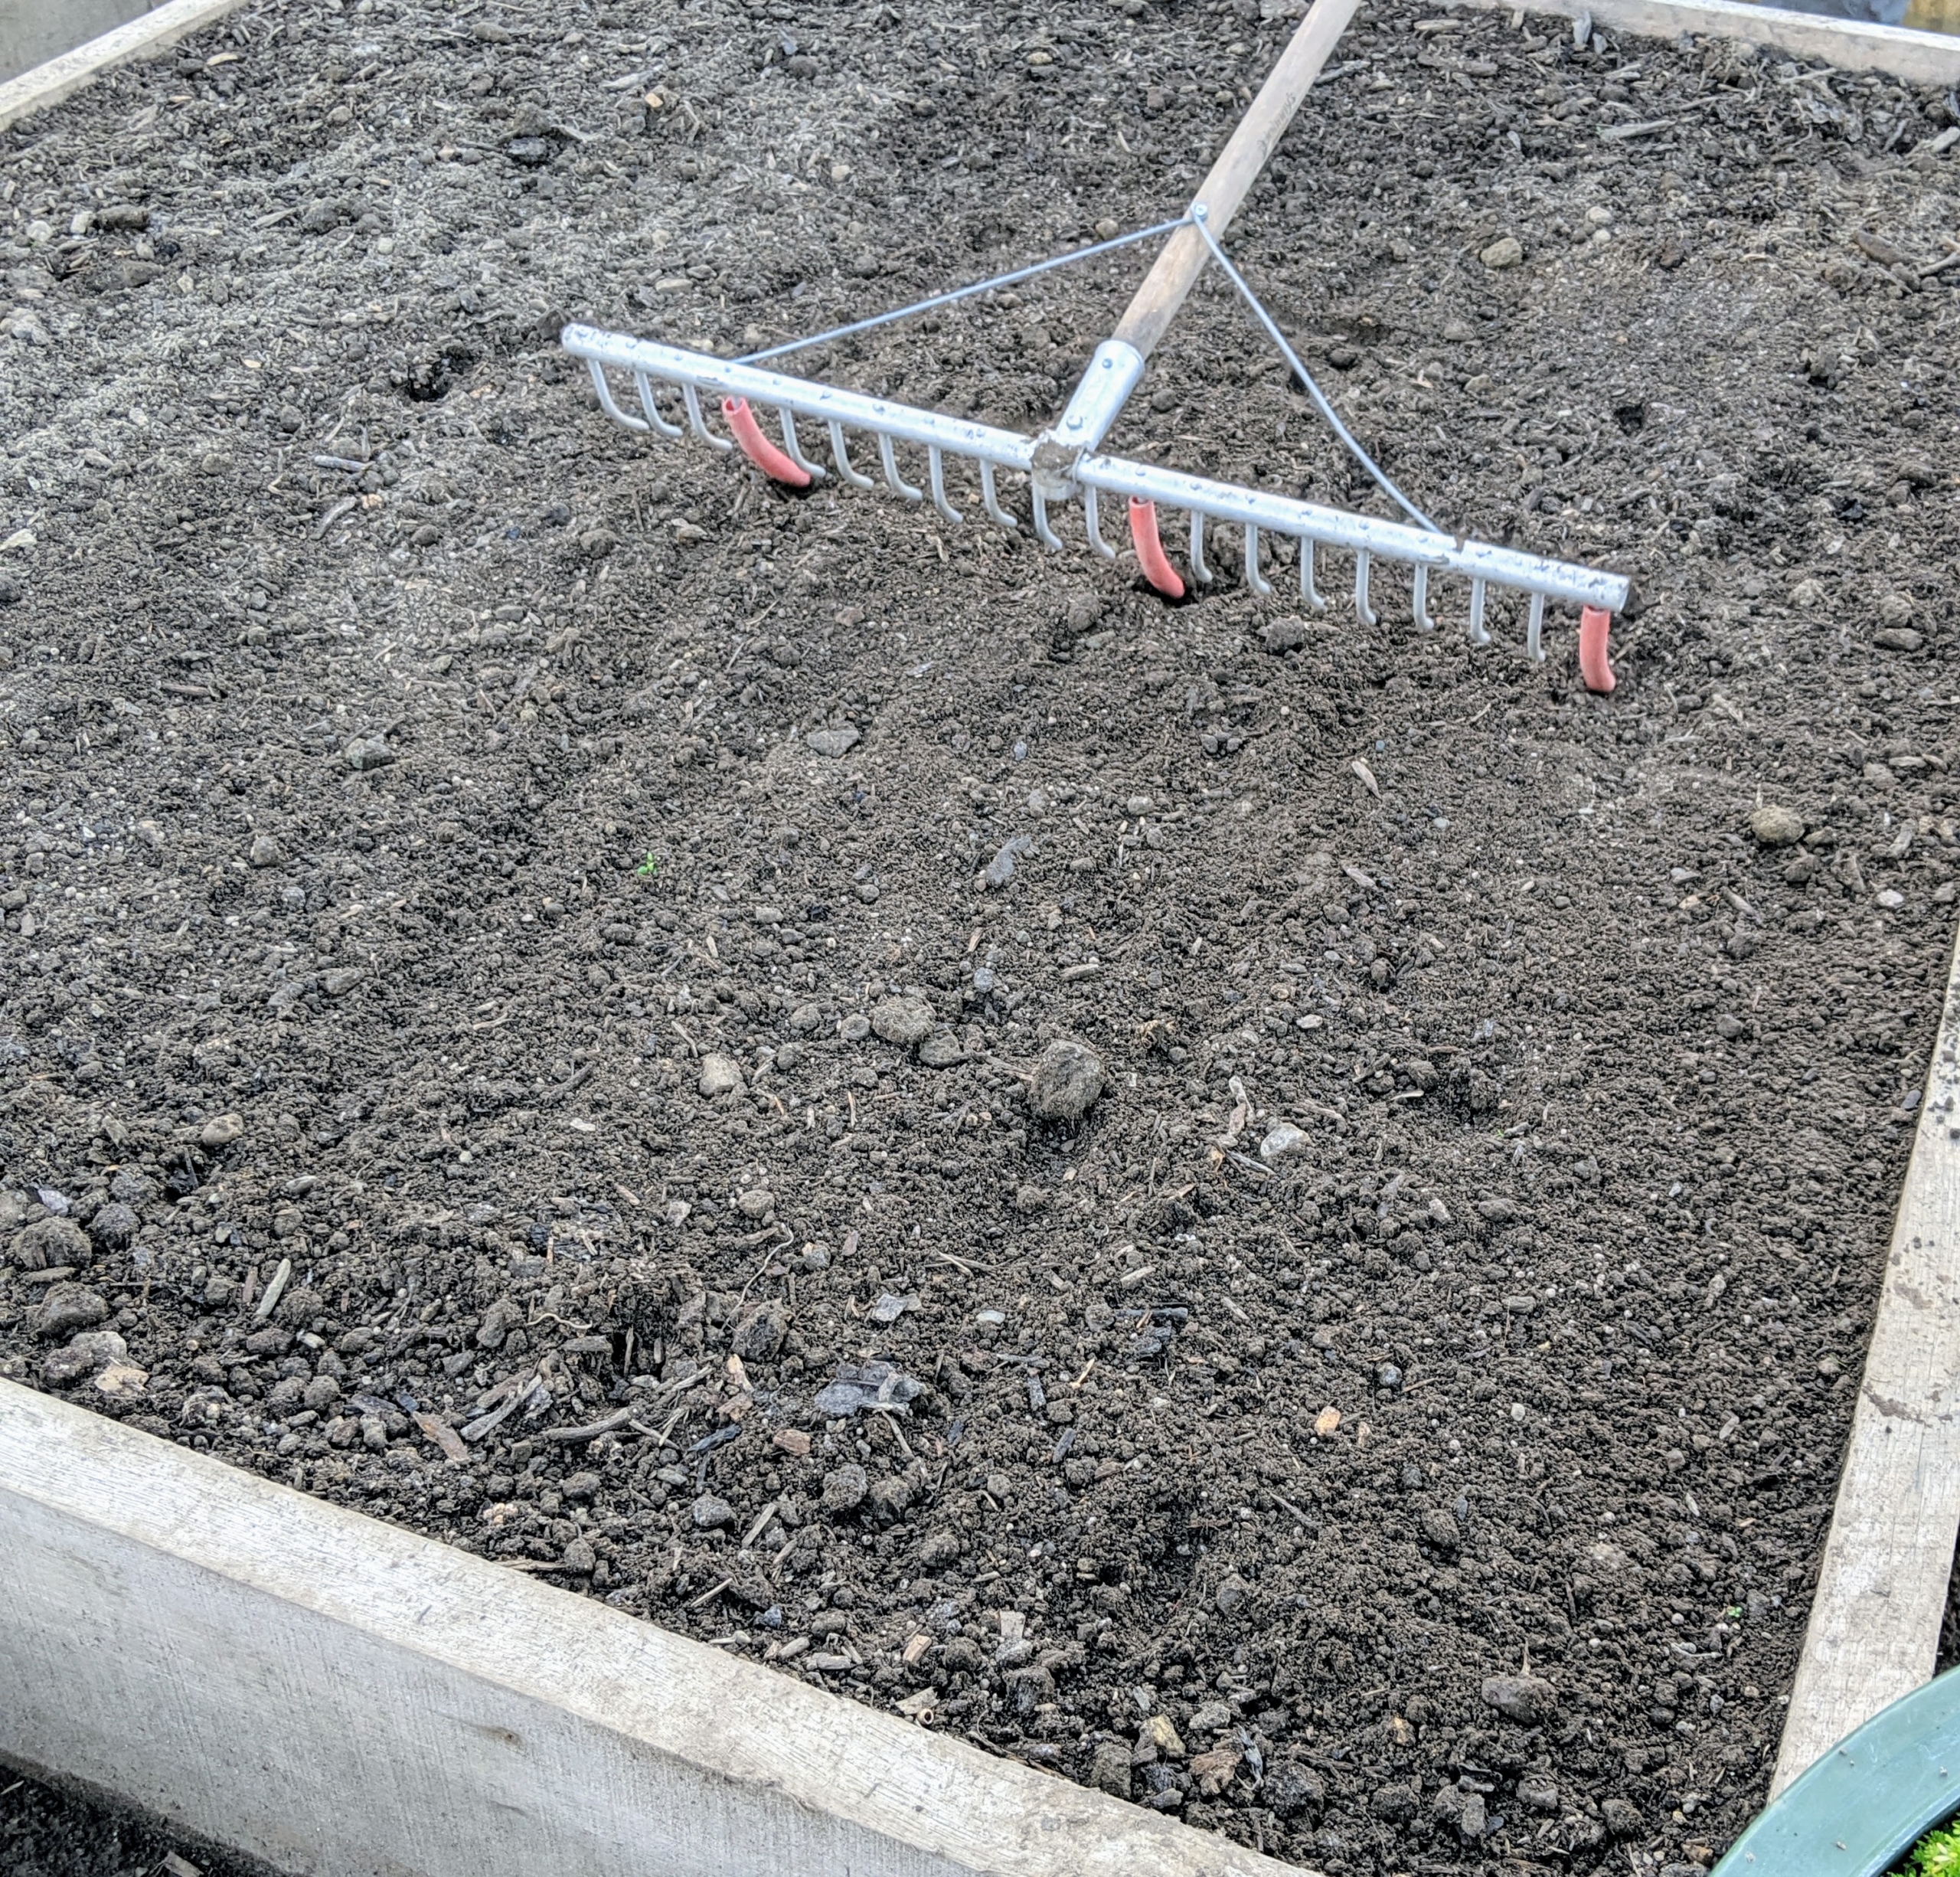
Once all the seeds are dropped into their various beds, Ryan uses the back of a tine weeding rake, also from Johnny’s Seeds, to backfill all the furrows. This model is also good for working in tight areas.
And then everything is given a thorough drink of water. In several weeks, we’ll have gorgeous, nutritious vegetables to eat, share, and enjoy.
We also plant in succession, meaning we stagger the plantings, so there is always something growing and something to harvest.
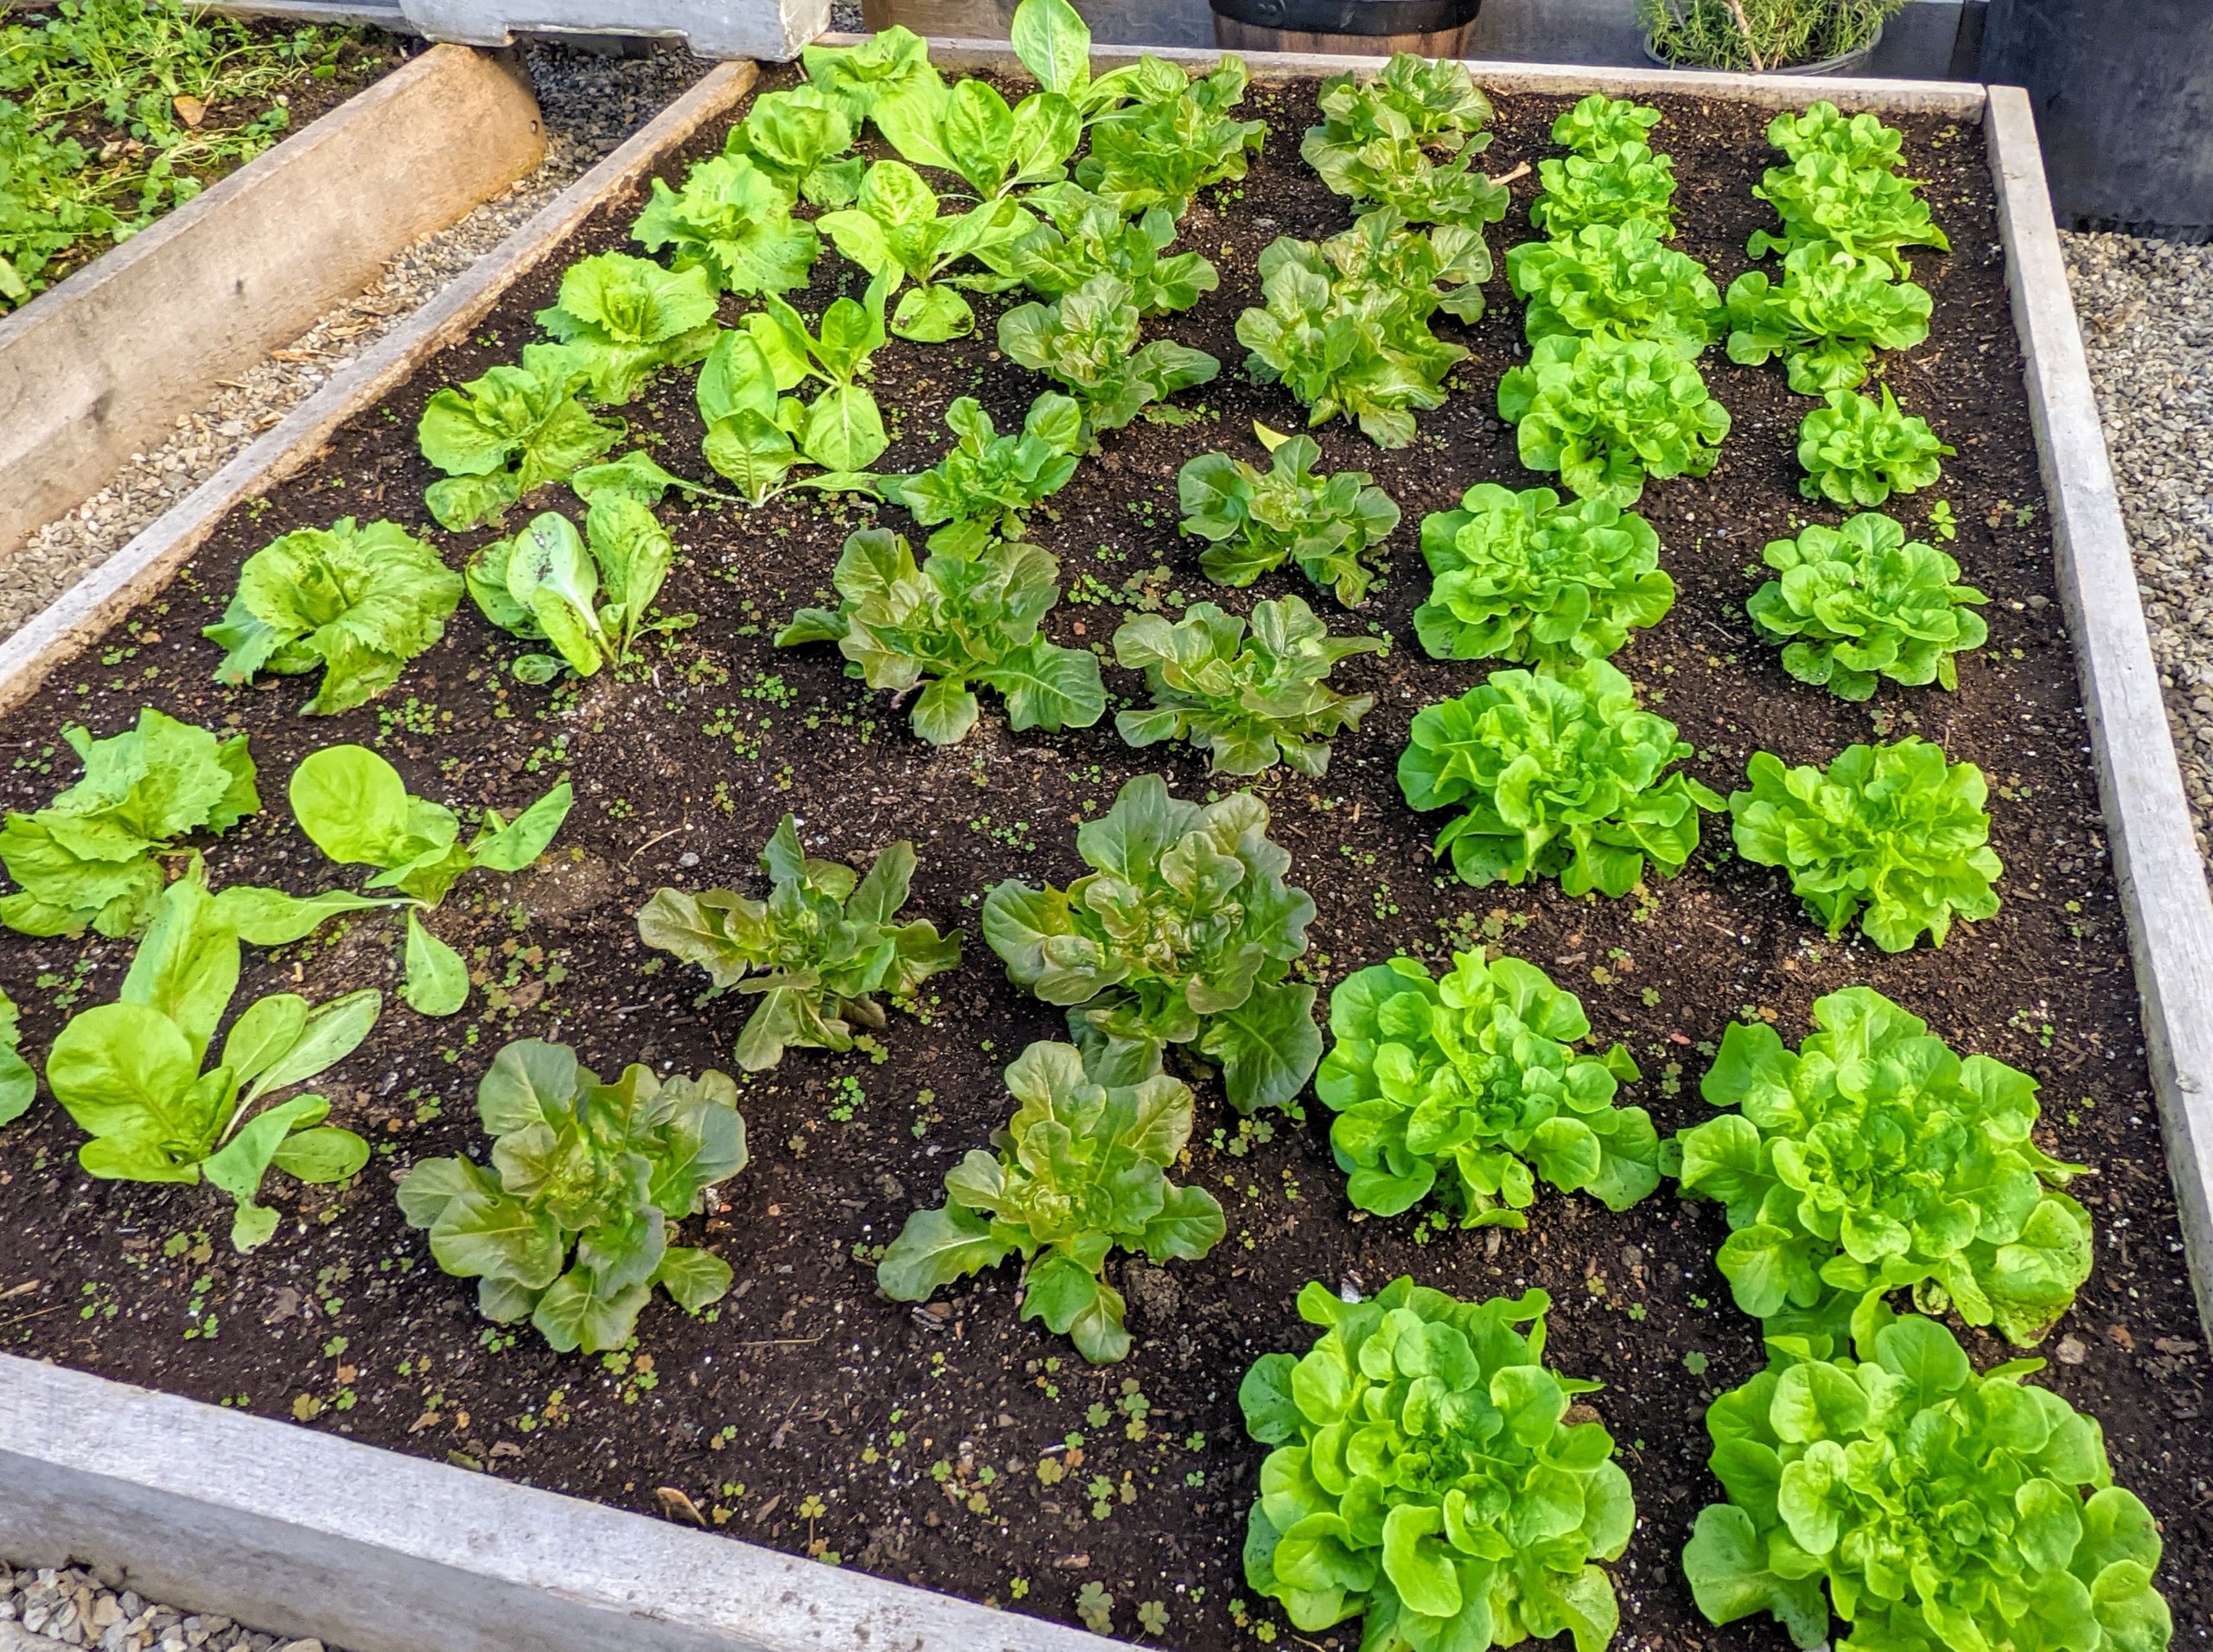
All my plants are grown organically and have no chemical taste at all. I love fresh lettuce. It’s a real treat to have lettuce like this all year long.
Lettuce is most often used for salads, although it is also seen in other kinds of dishes, such as soups, sandwiches and wraps; it can also be grilled.
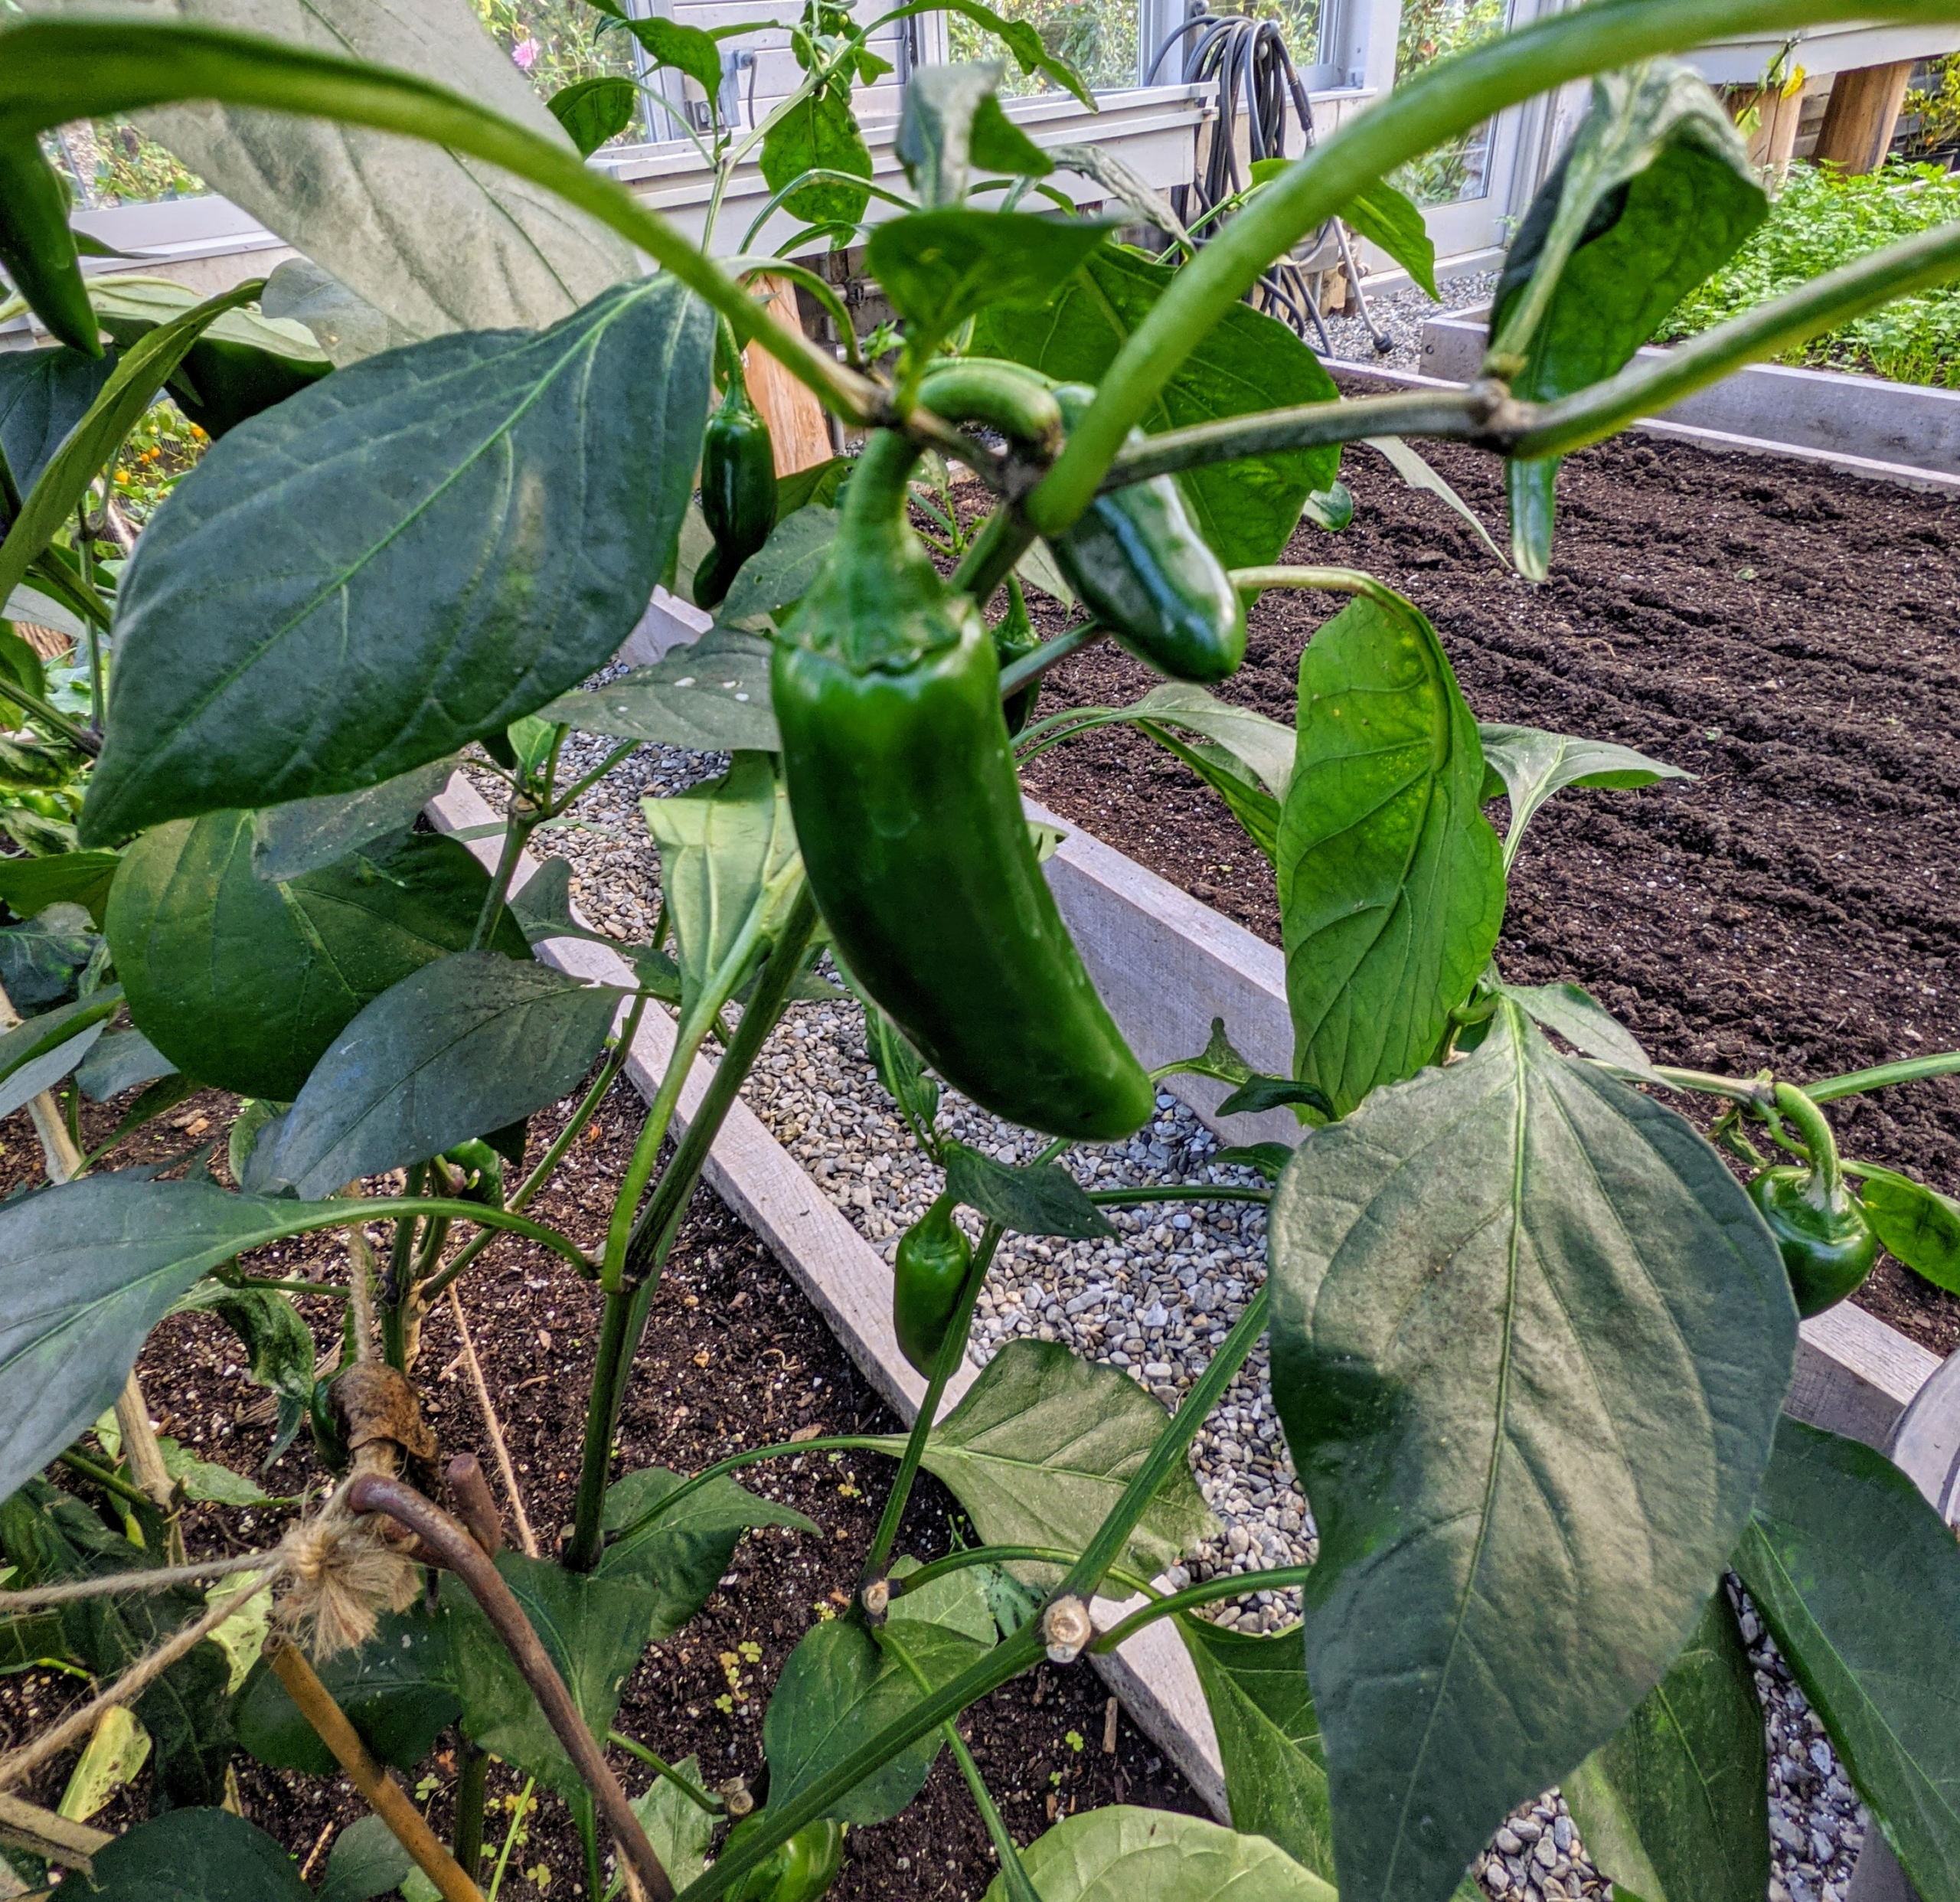
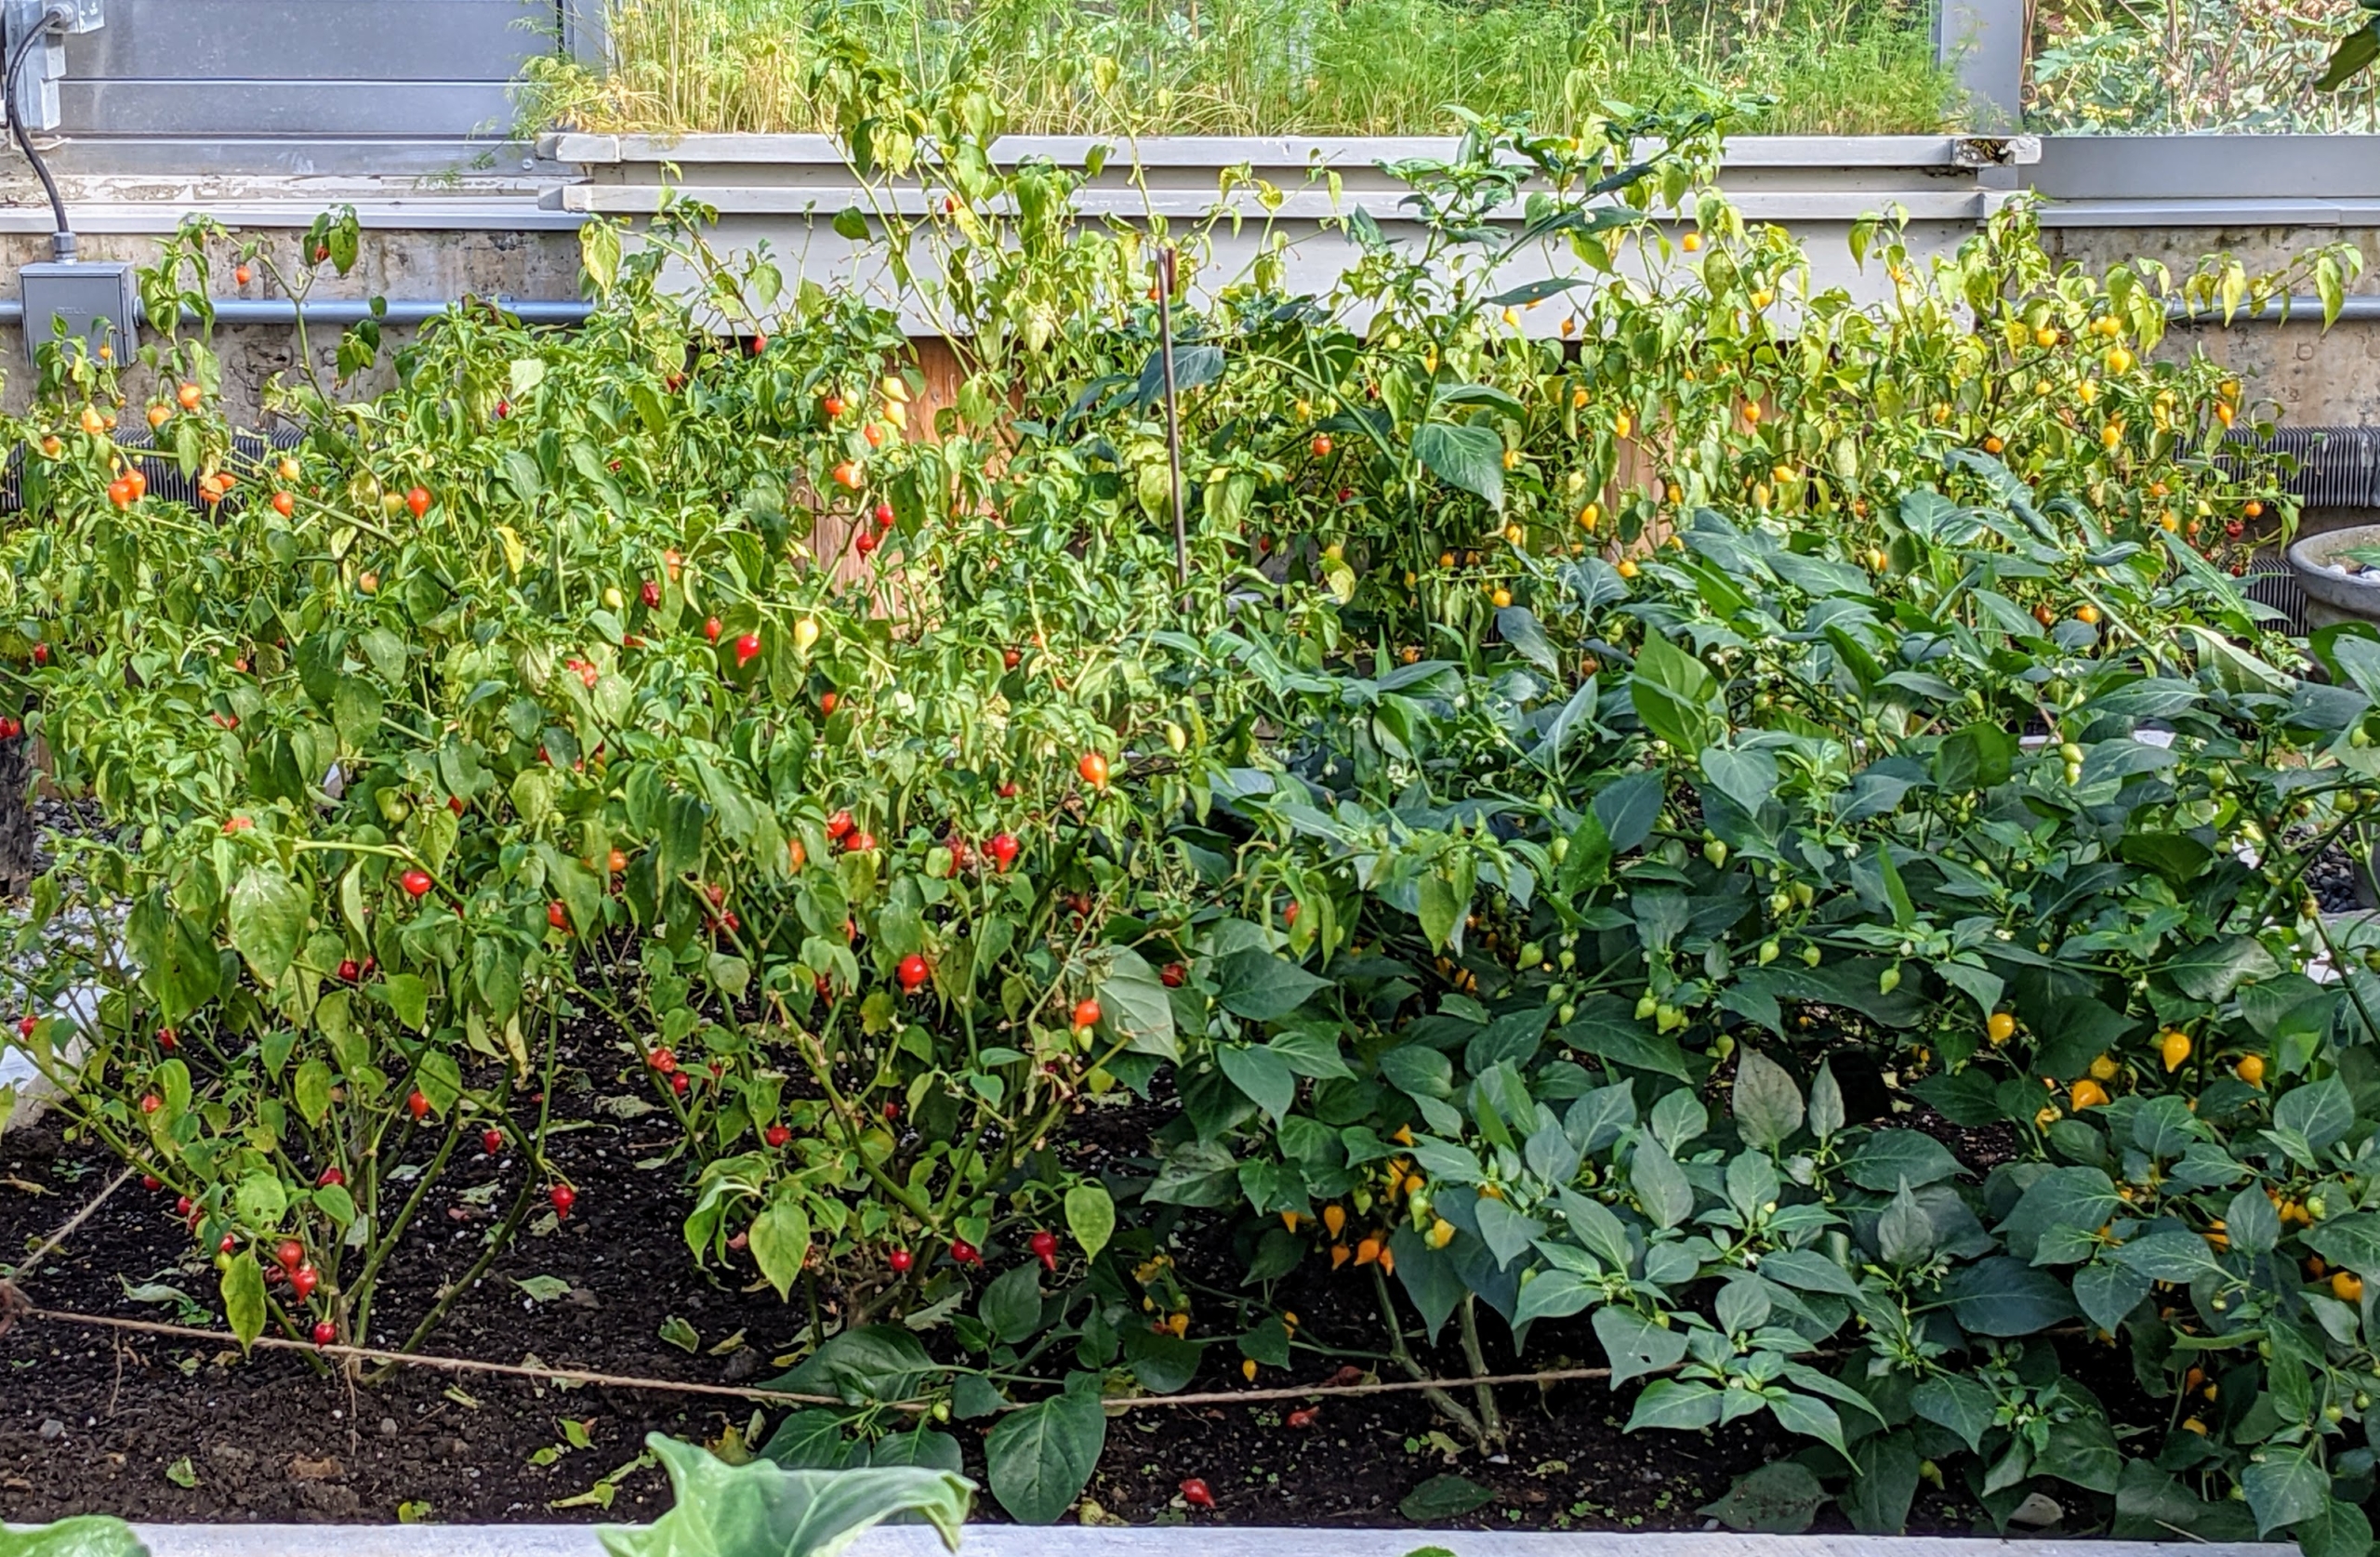
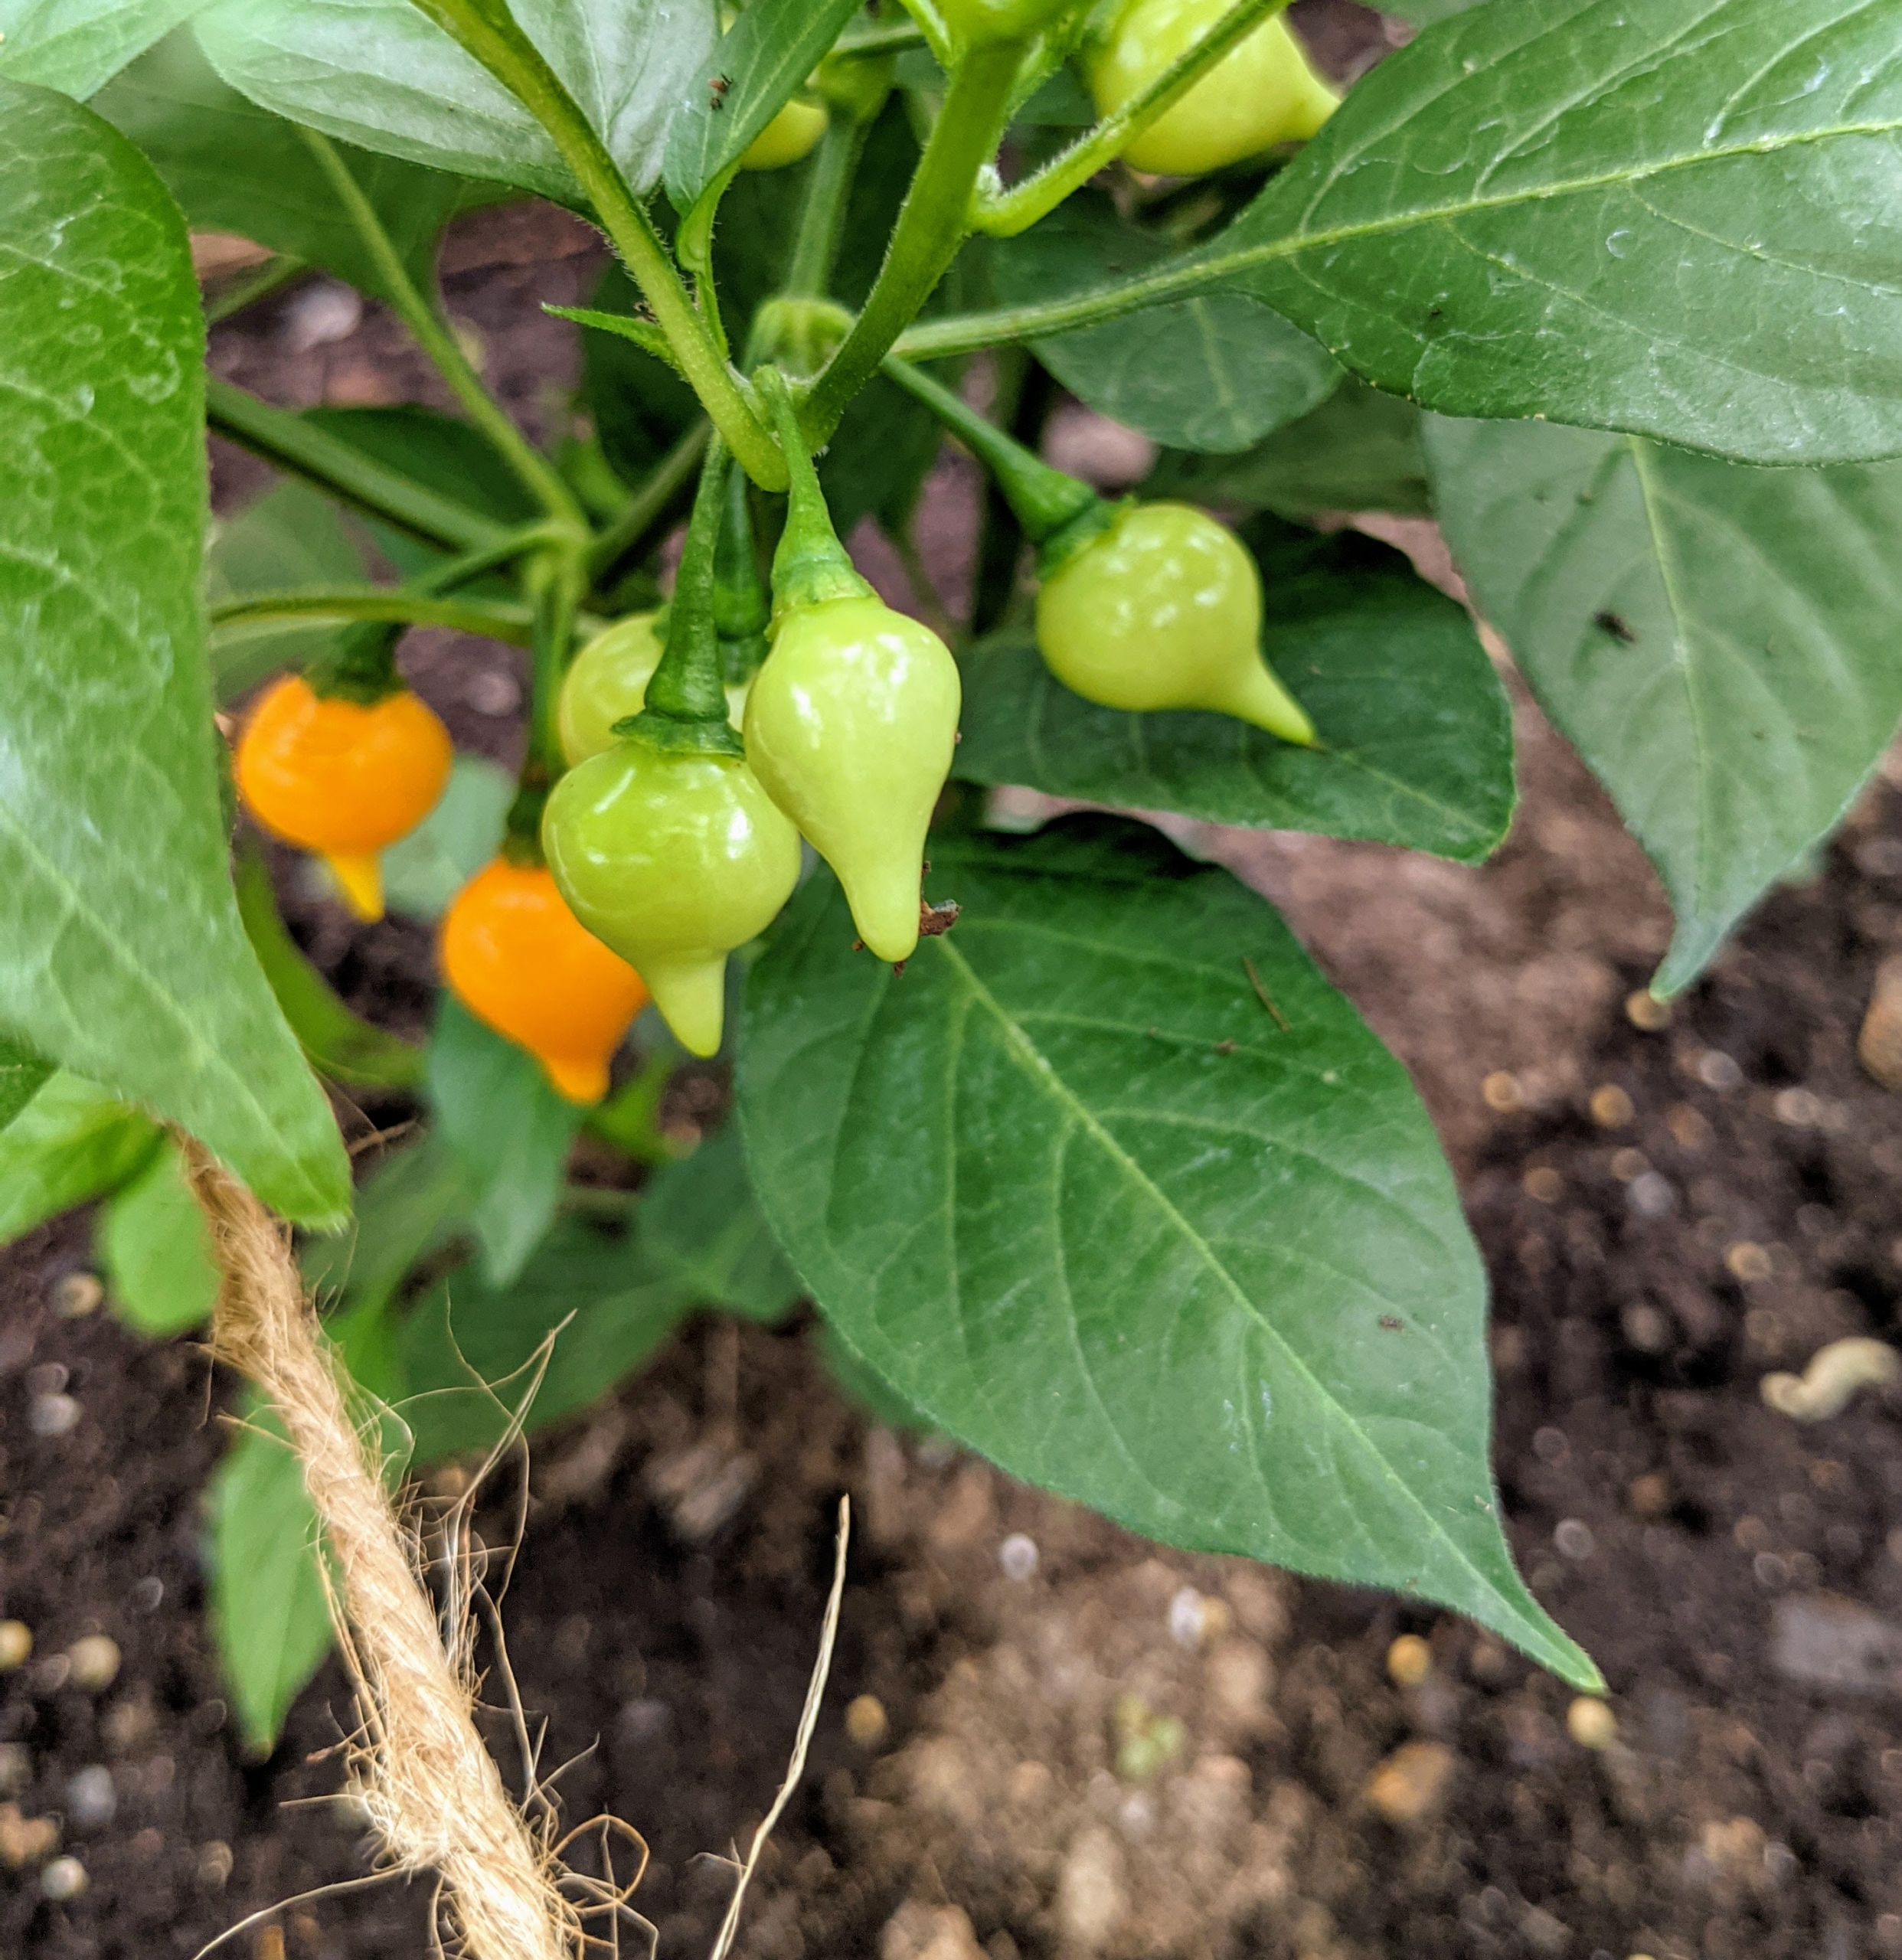
In another bed, we also have a maturing crop of peppers. Everything grows so well in this greenhouse.
Pronounced bee-KEE-nyo, the name of this pepper from Brazil means “little beak,” and adds great flavor to many dishes.
The bright one-inch pods taper to a point like an inverted teardrop. The pepper has the distinctive smoky flavor like other members of this species, but also a rich fruitiness that is enhanced by sugar or sweet-and-sour marinades. It also makes the perfect garnish for barbecues and pickles. My family loves these peppers. We pickle them every year.
The scallions are also growing wonderfully. Growing scallions is actually easier than growing onions since they have a much shorter growth period.
Many people ask me what I do with all my many vegetables. I always share my produce with my daughter and grandchildren, as well as friends and colleagues. I also use fresh vegetables for my daily green juice. And, when needed, I bring them to the office for use in our photoshoots. I am so proud of this greenhouse and all the wonderful greens that grow inside from year to year.
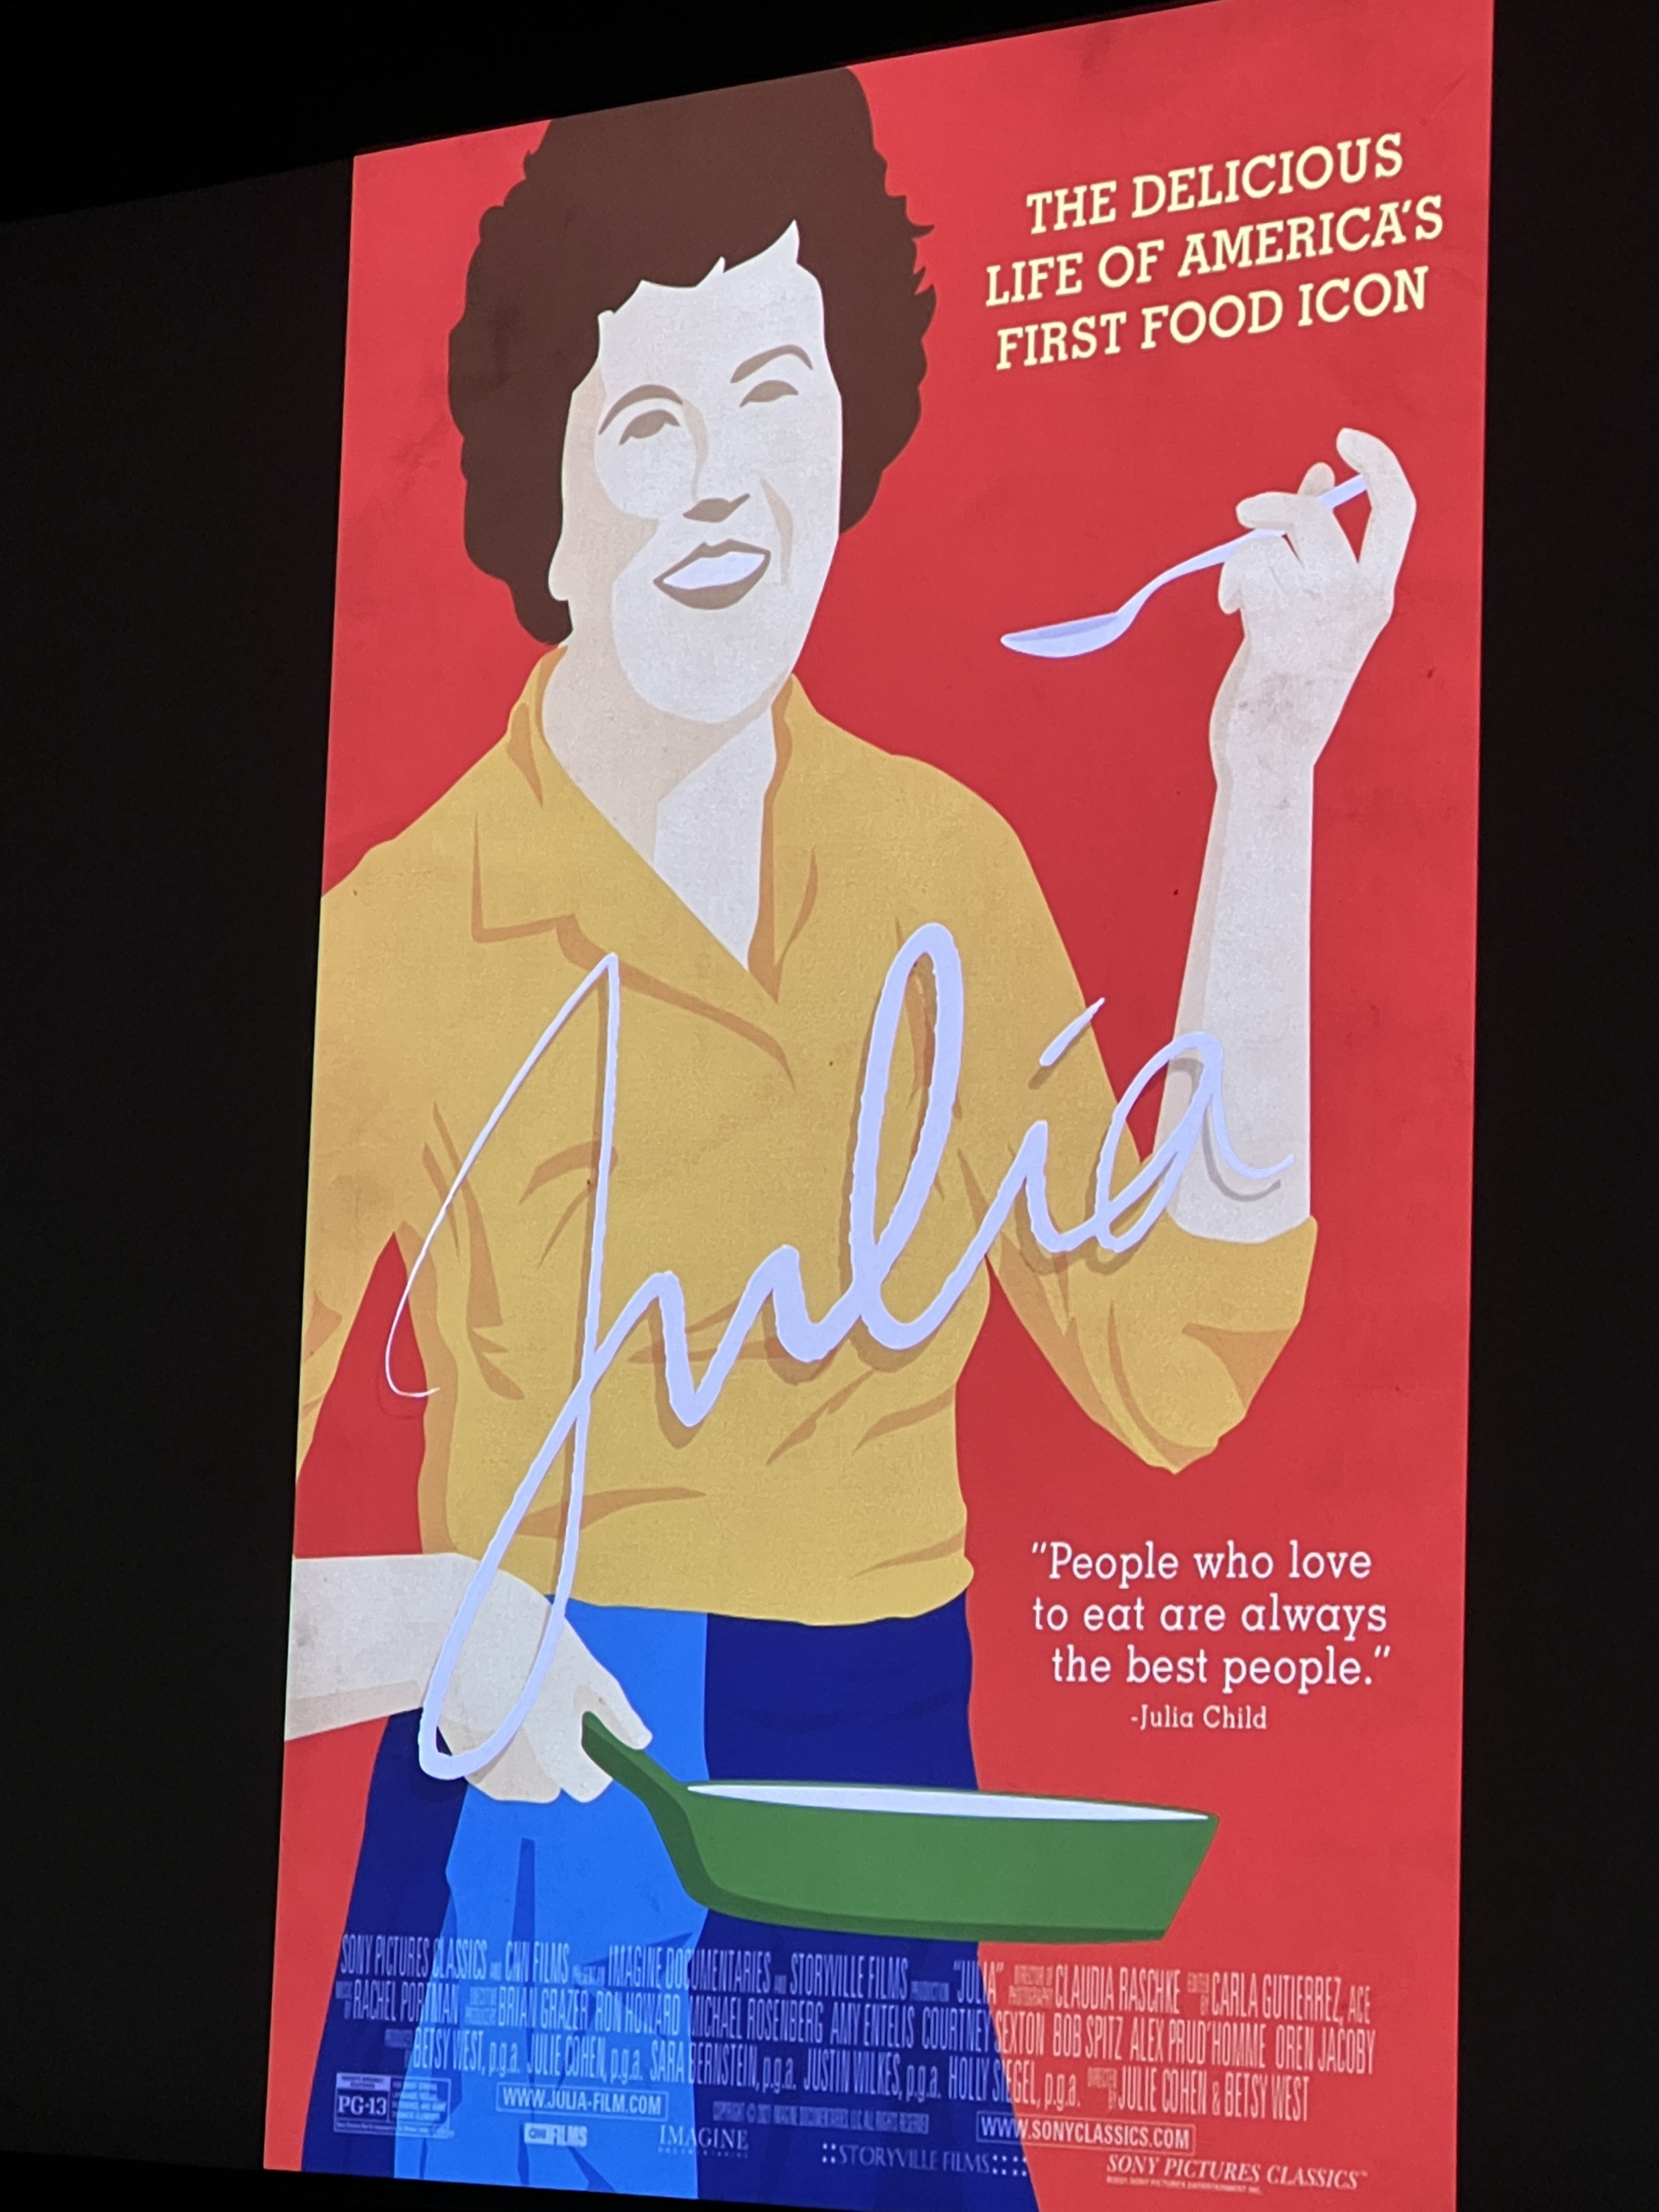
The beautifully produced documentary, "Julia" is now playing in theaters - I encourage you all to see it.
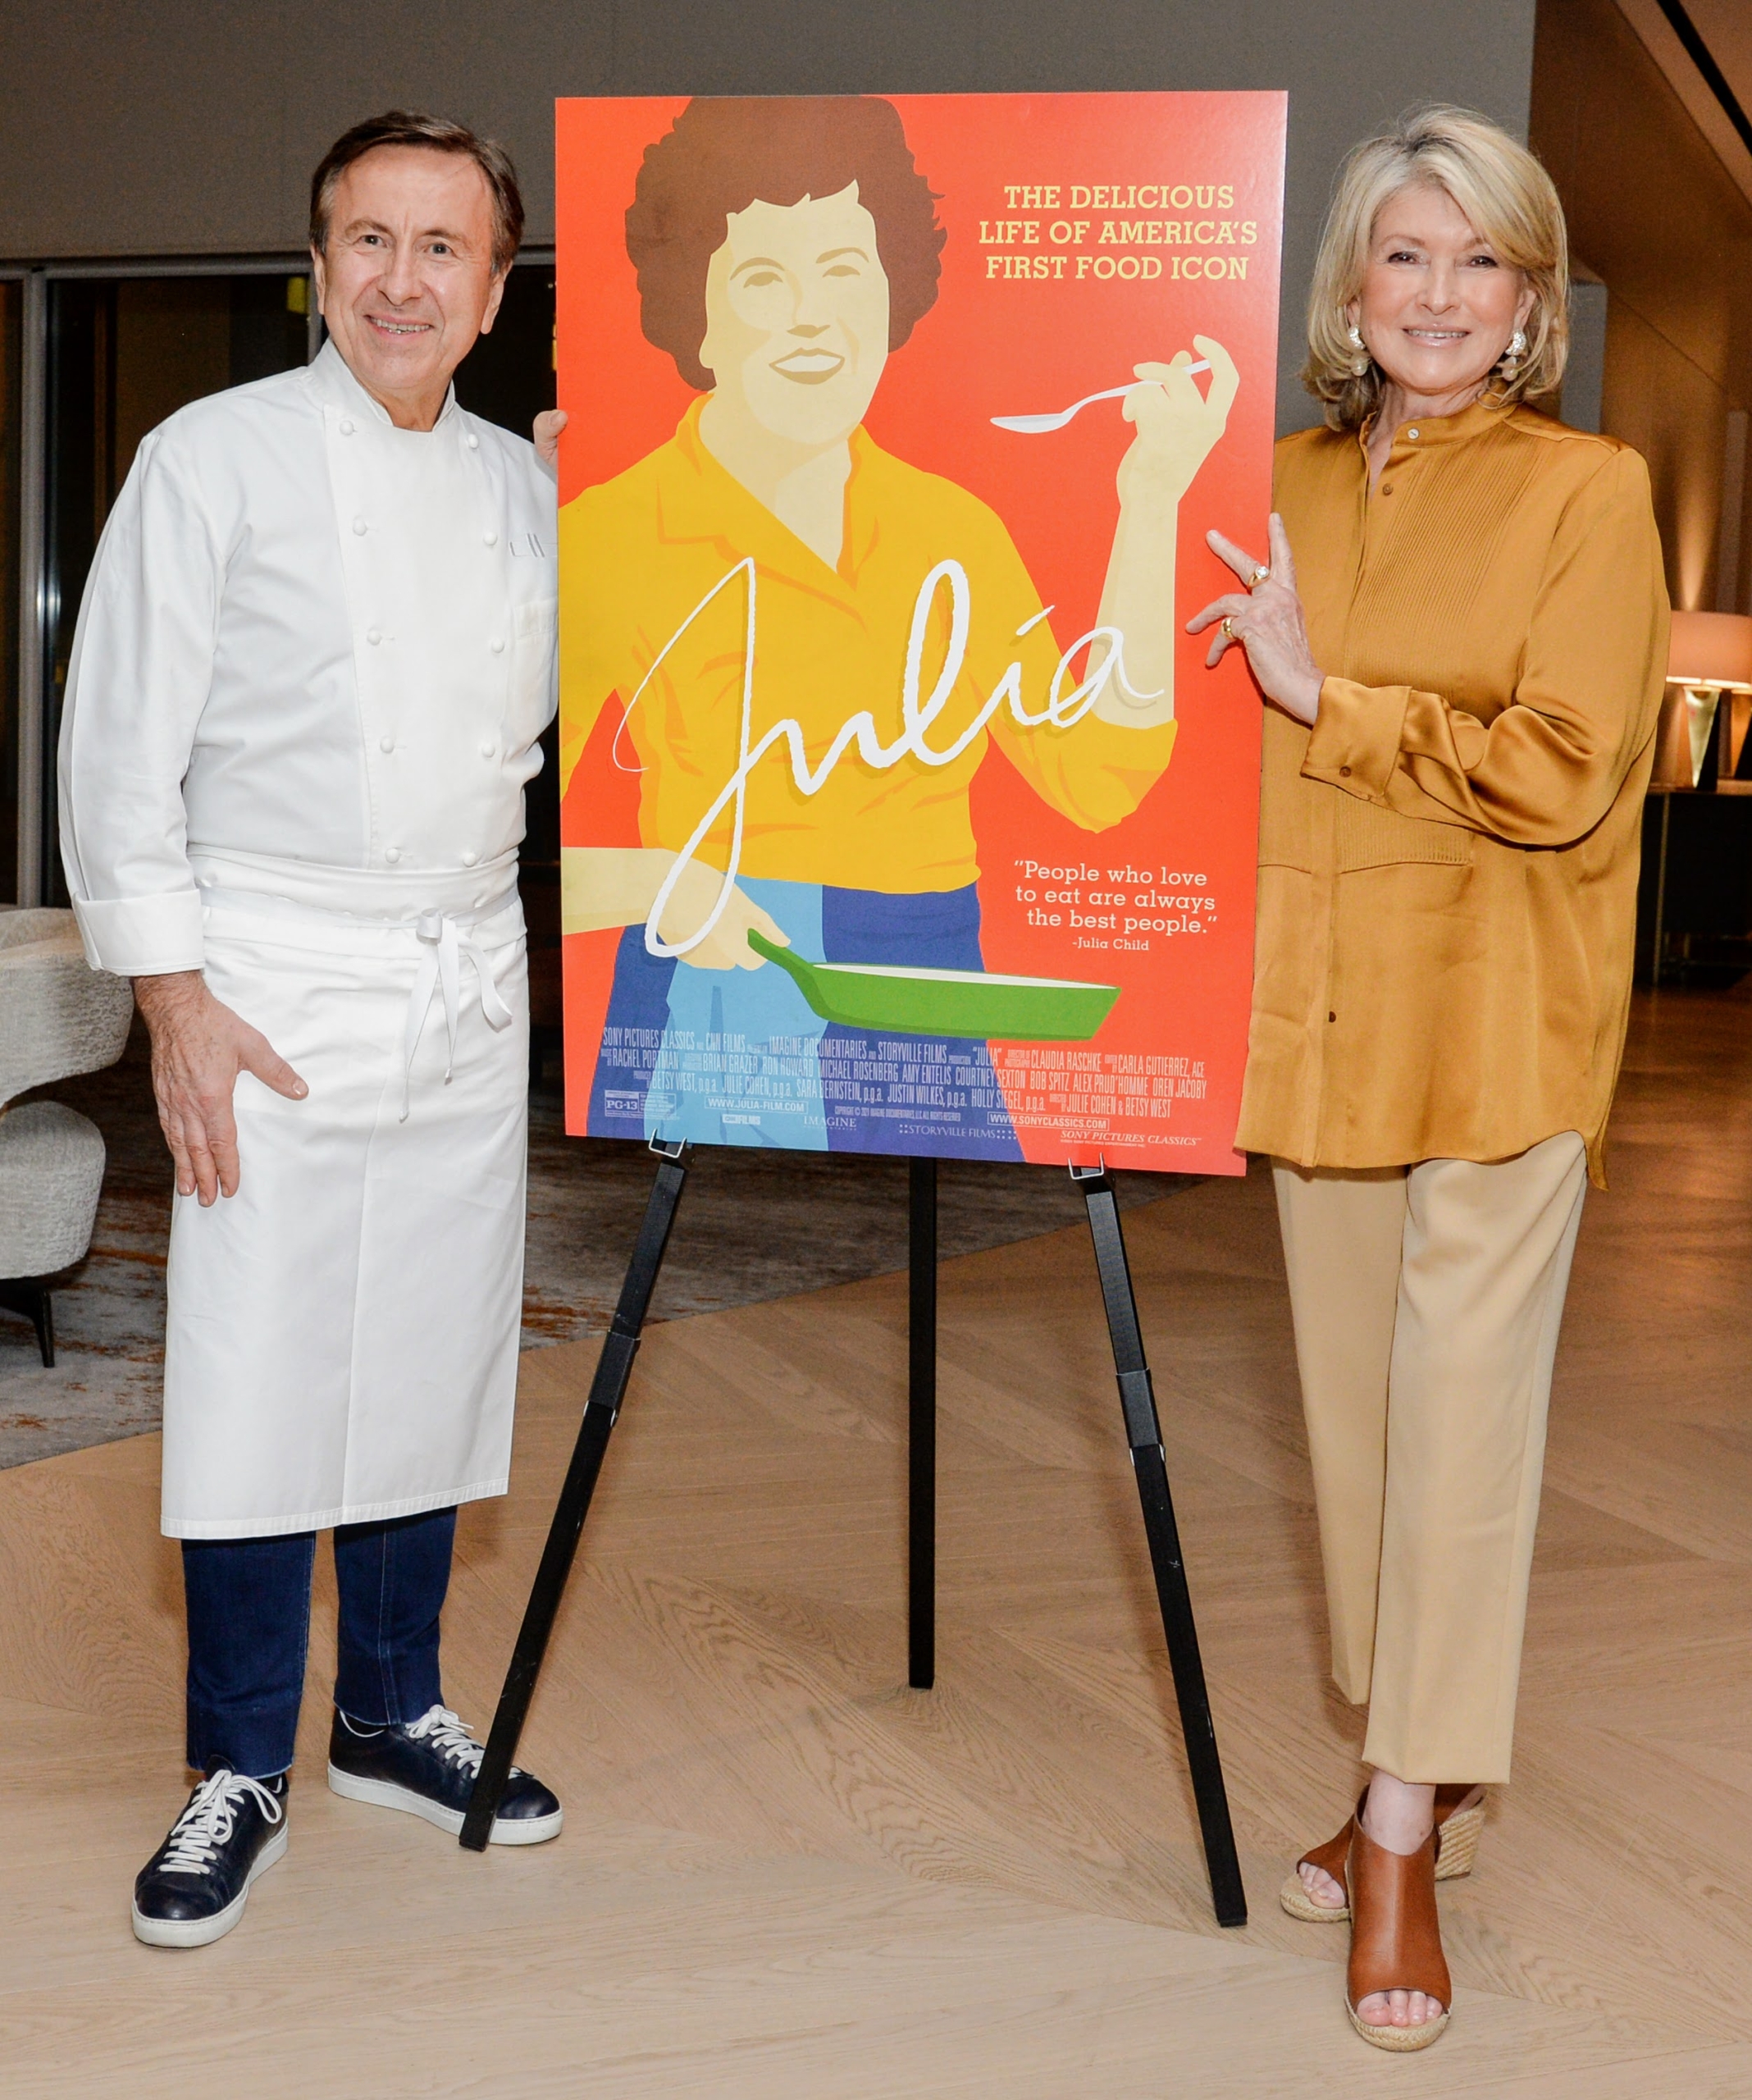
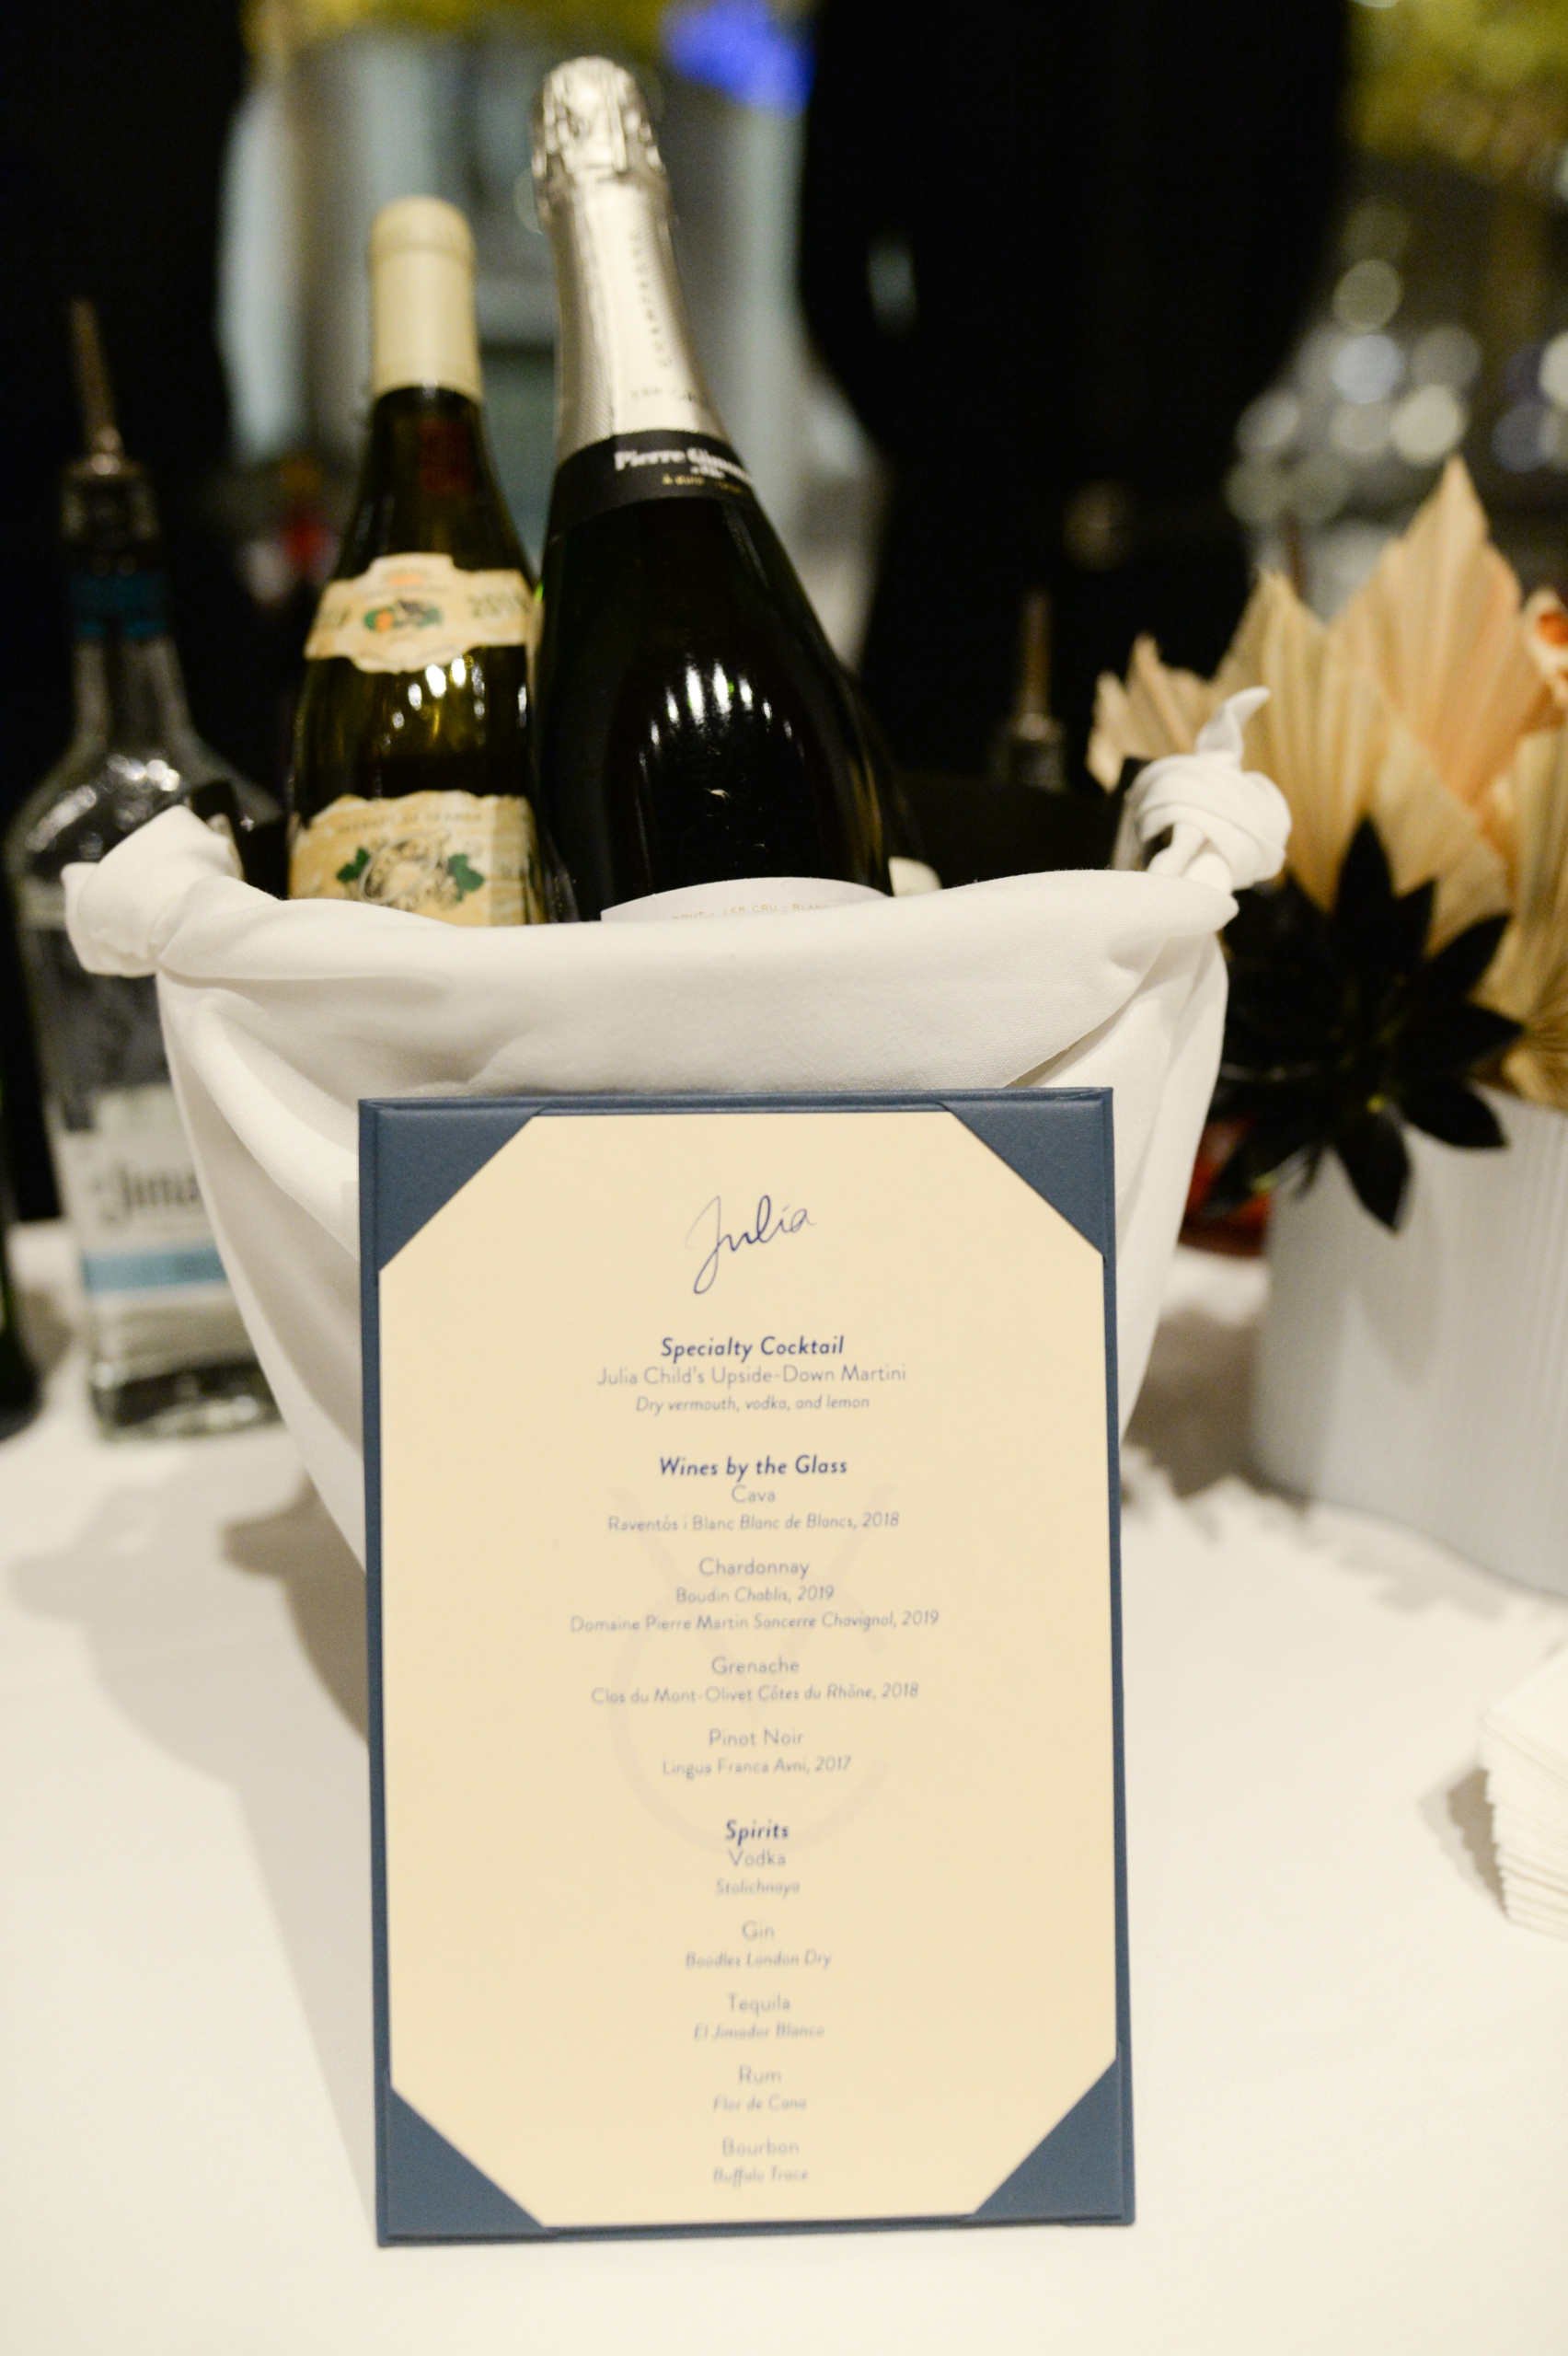
Earlier this week, Cinema Society, Chef Daniel Boulud, and I hosted a reception celebrating Julia Child and the new documentary directed by Julie Cohen and Betsy West, and executive-produced by Ron Howard, Alex Prud'homme, and Brian Grazer under Imagine Entertainment and CNN Films. The event was held in New York City. Chef Daniel and I curated a wonderful menu filled with many of the delicious dishes Julia taught us all how to make in her landmark books and television shows, including Beef Bourguignon, Potato Gratin Dauphinois, Moules à la Marinière, and Pâté en Croûte. And for dessert, we enjoyed Apple Tart Tatins and Chocolate Mousse. It was an honor to co-host the gathering and to celebrate the life of such an incredible chef and teacher -- Julia Child.
Here are some photos.
The event was held at One Vanderbilt, a New York City skyscraper near the iconic Grand Central Terminal. Here I am with Chef Daniel Boulud next to the poster for the new documentary “Julia” – about the legendary cookbook author and television superstar who changed the way Americans think about food. (Photo by Madison McGaw/BFA.com)
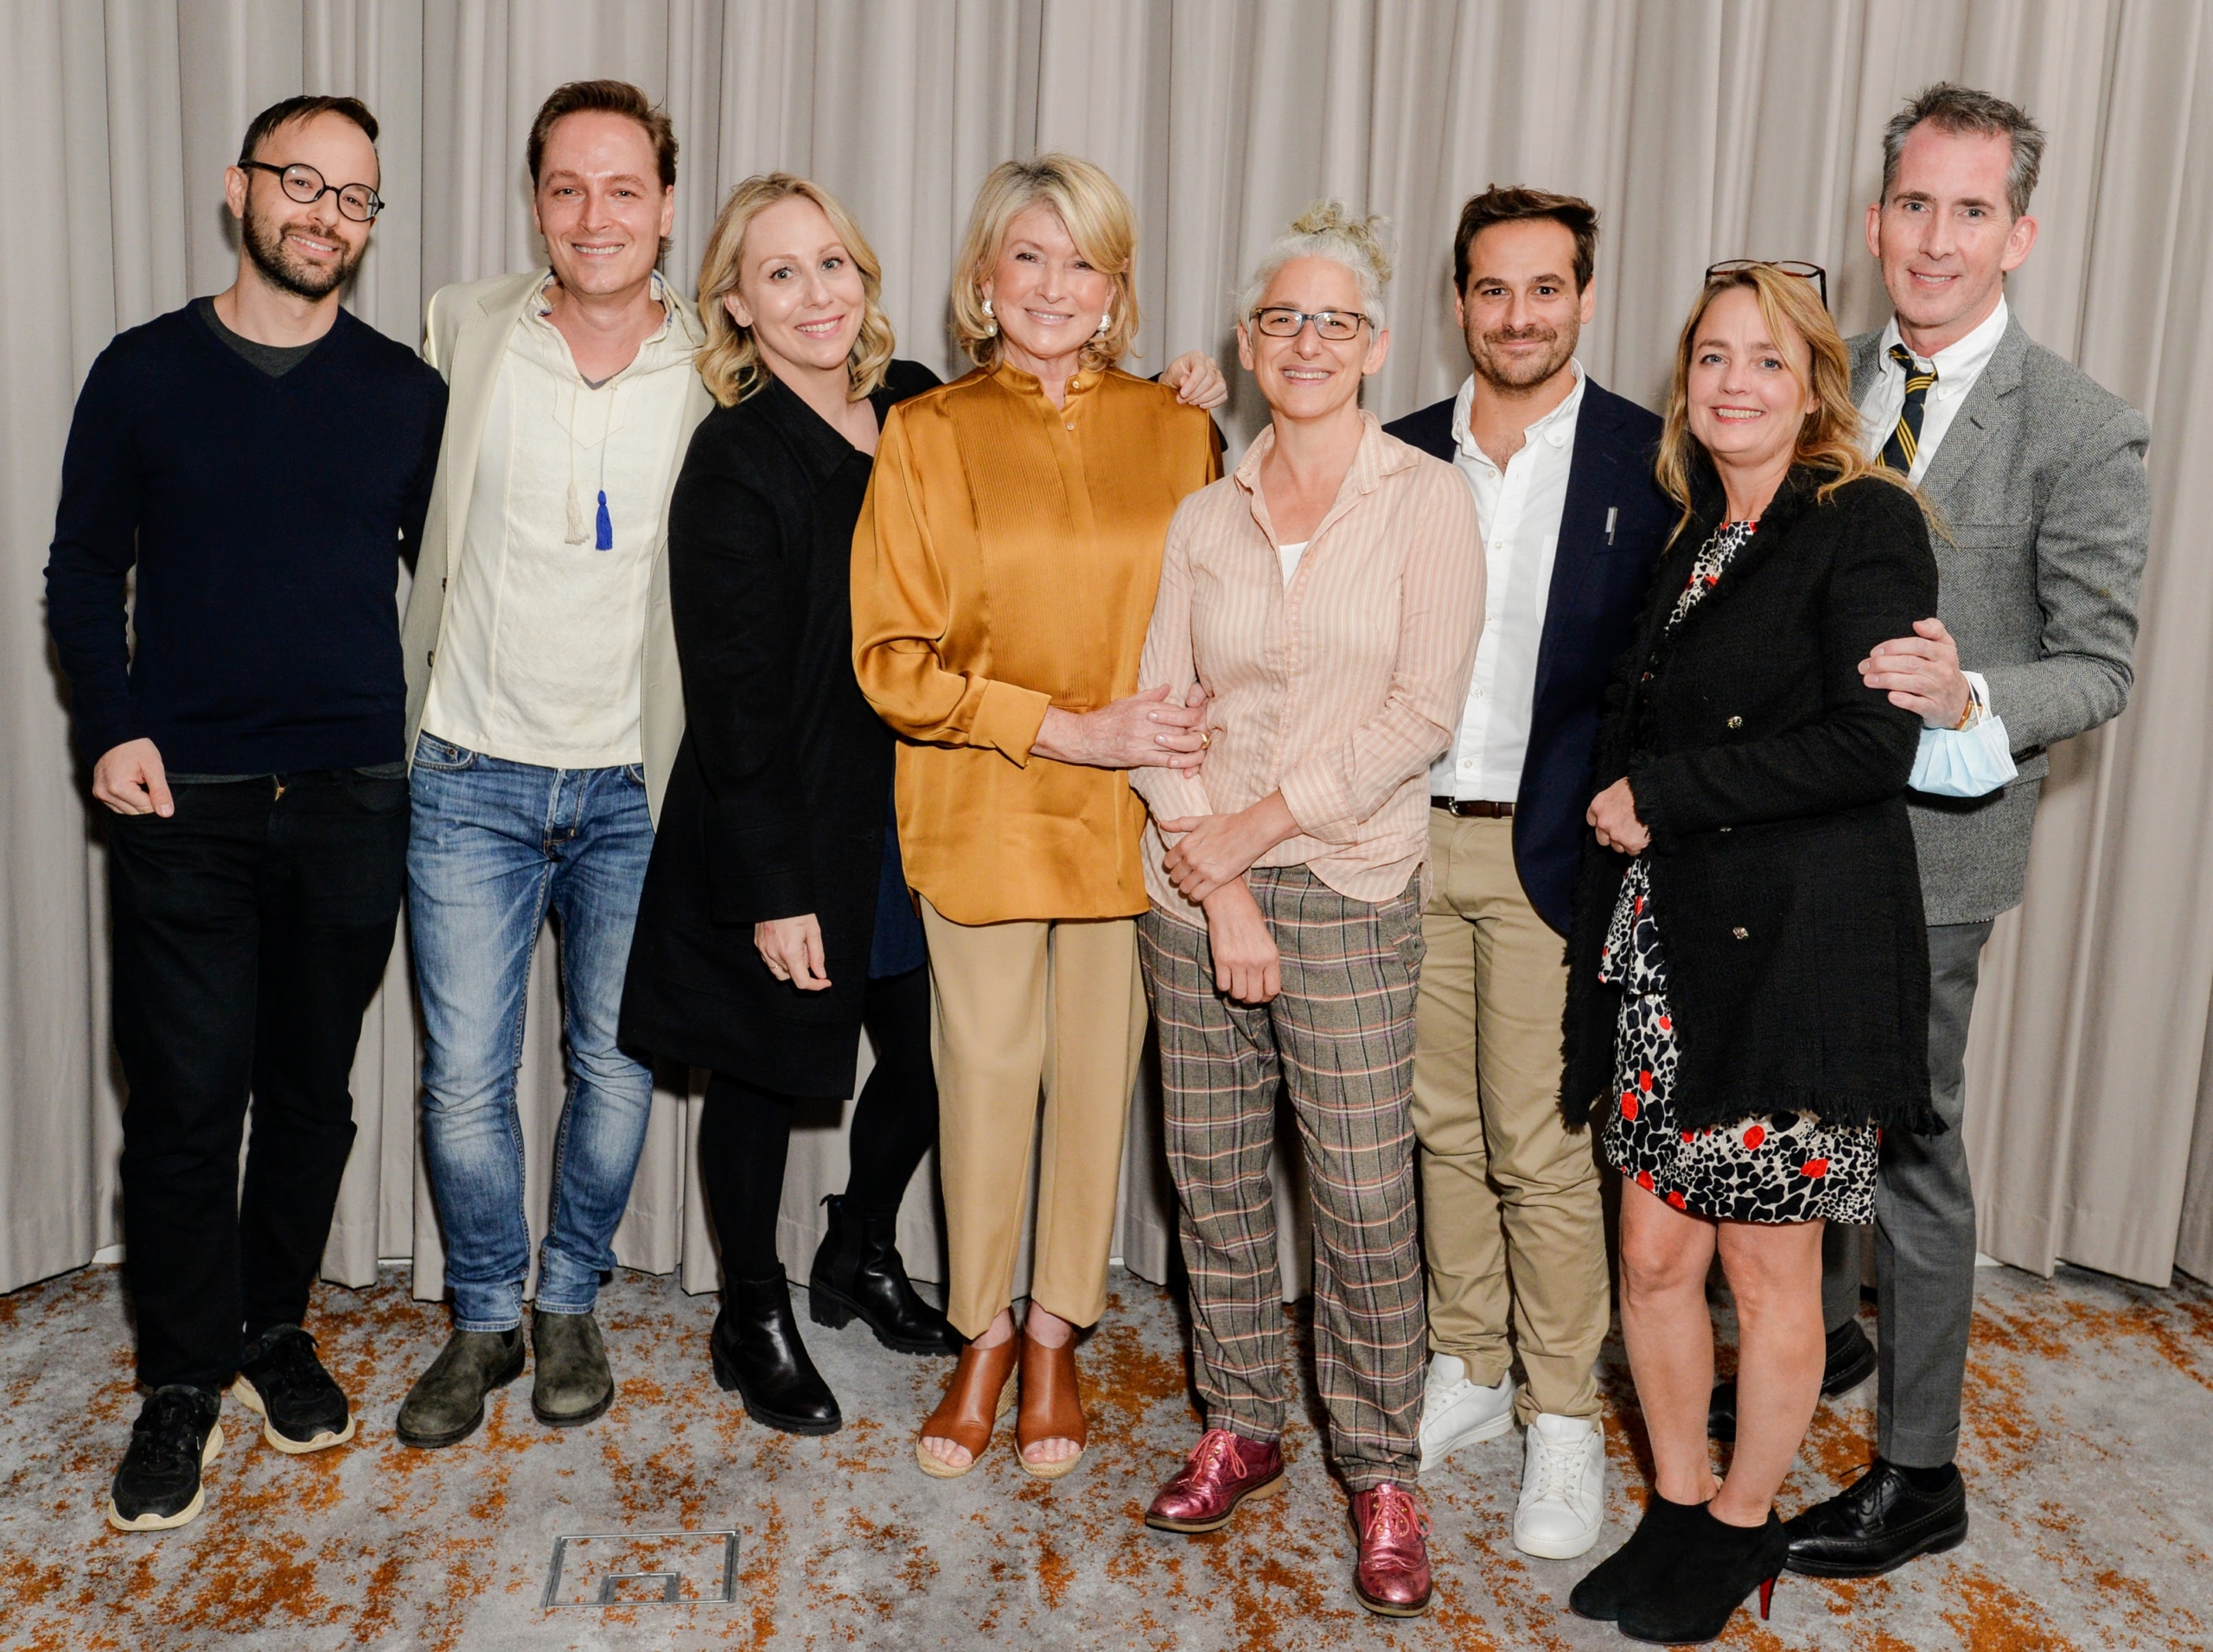
It was so nice to see our own team gathered together for the event. Here I am with Jason Schrieber, Greg Lofts, Molly Wenk, Sarah Carey, Thomas Joseph, Heather Kirkland, and Kevin Sharkey. (Photo by Madison McGaw/BFA.com)
Cocktails included Julia Child’s “Upside Down Martini” and a selection of wines and spirits. (Photo by Madison McGaw/BFA.com)
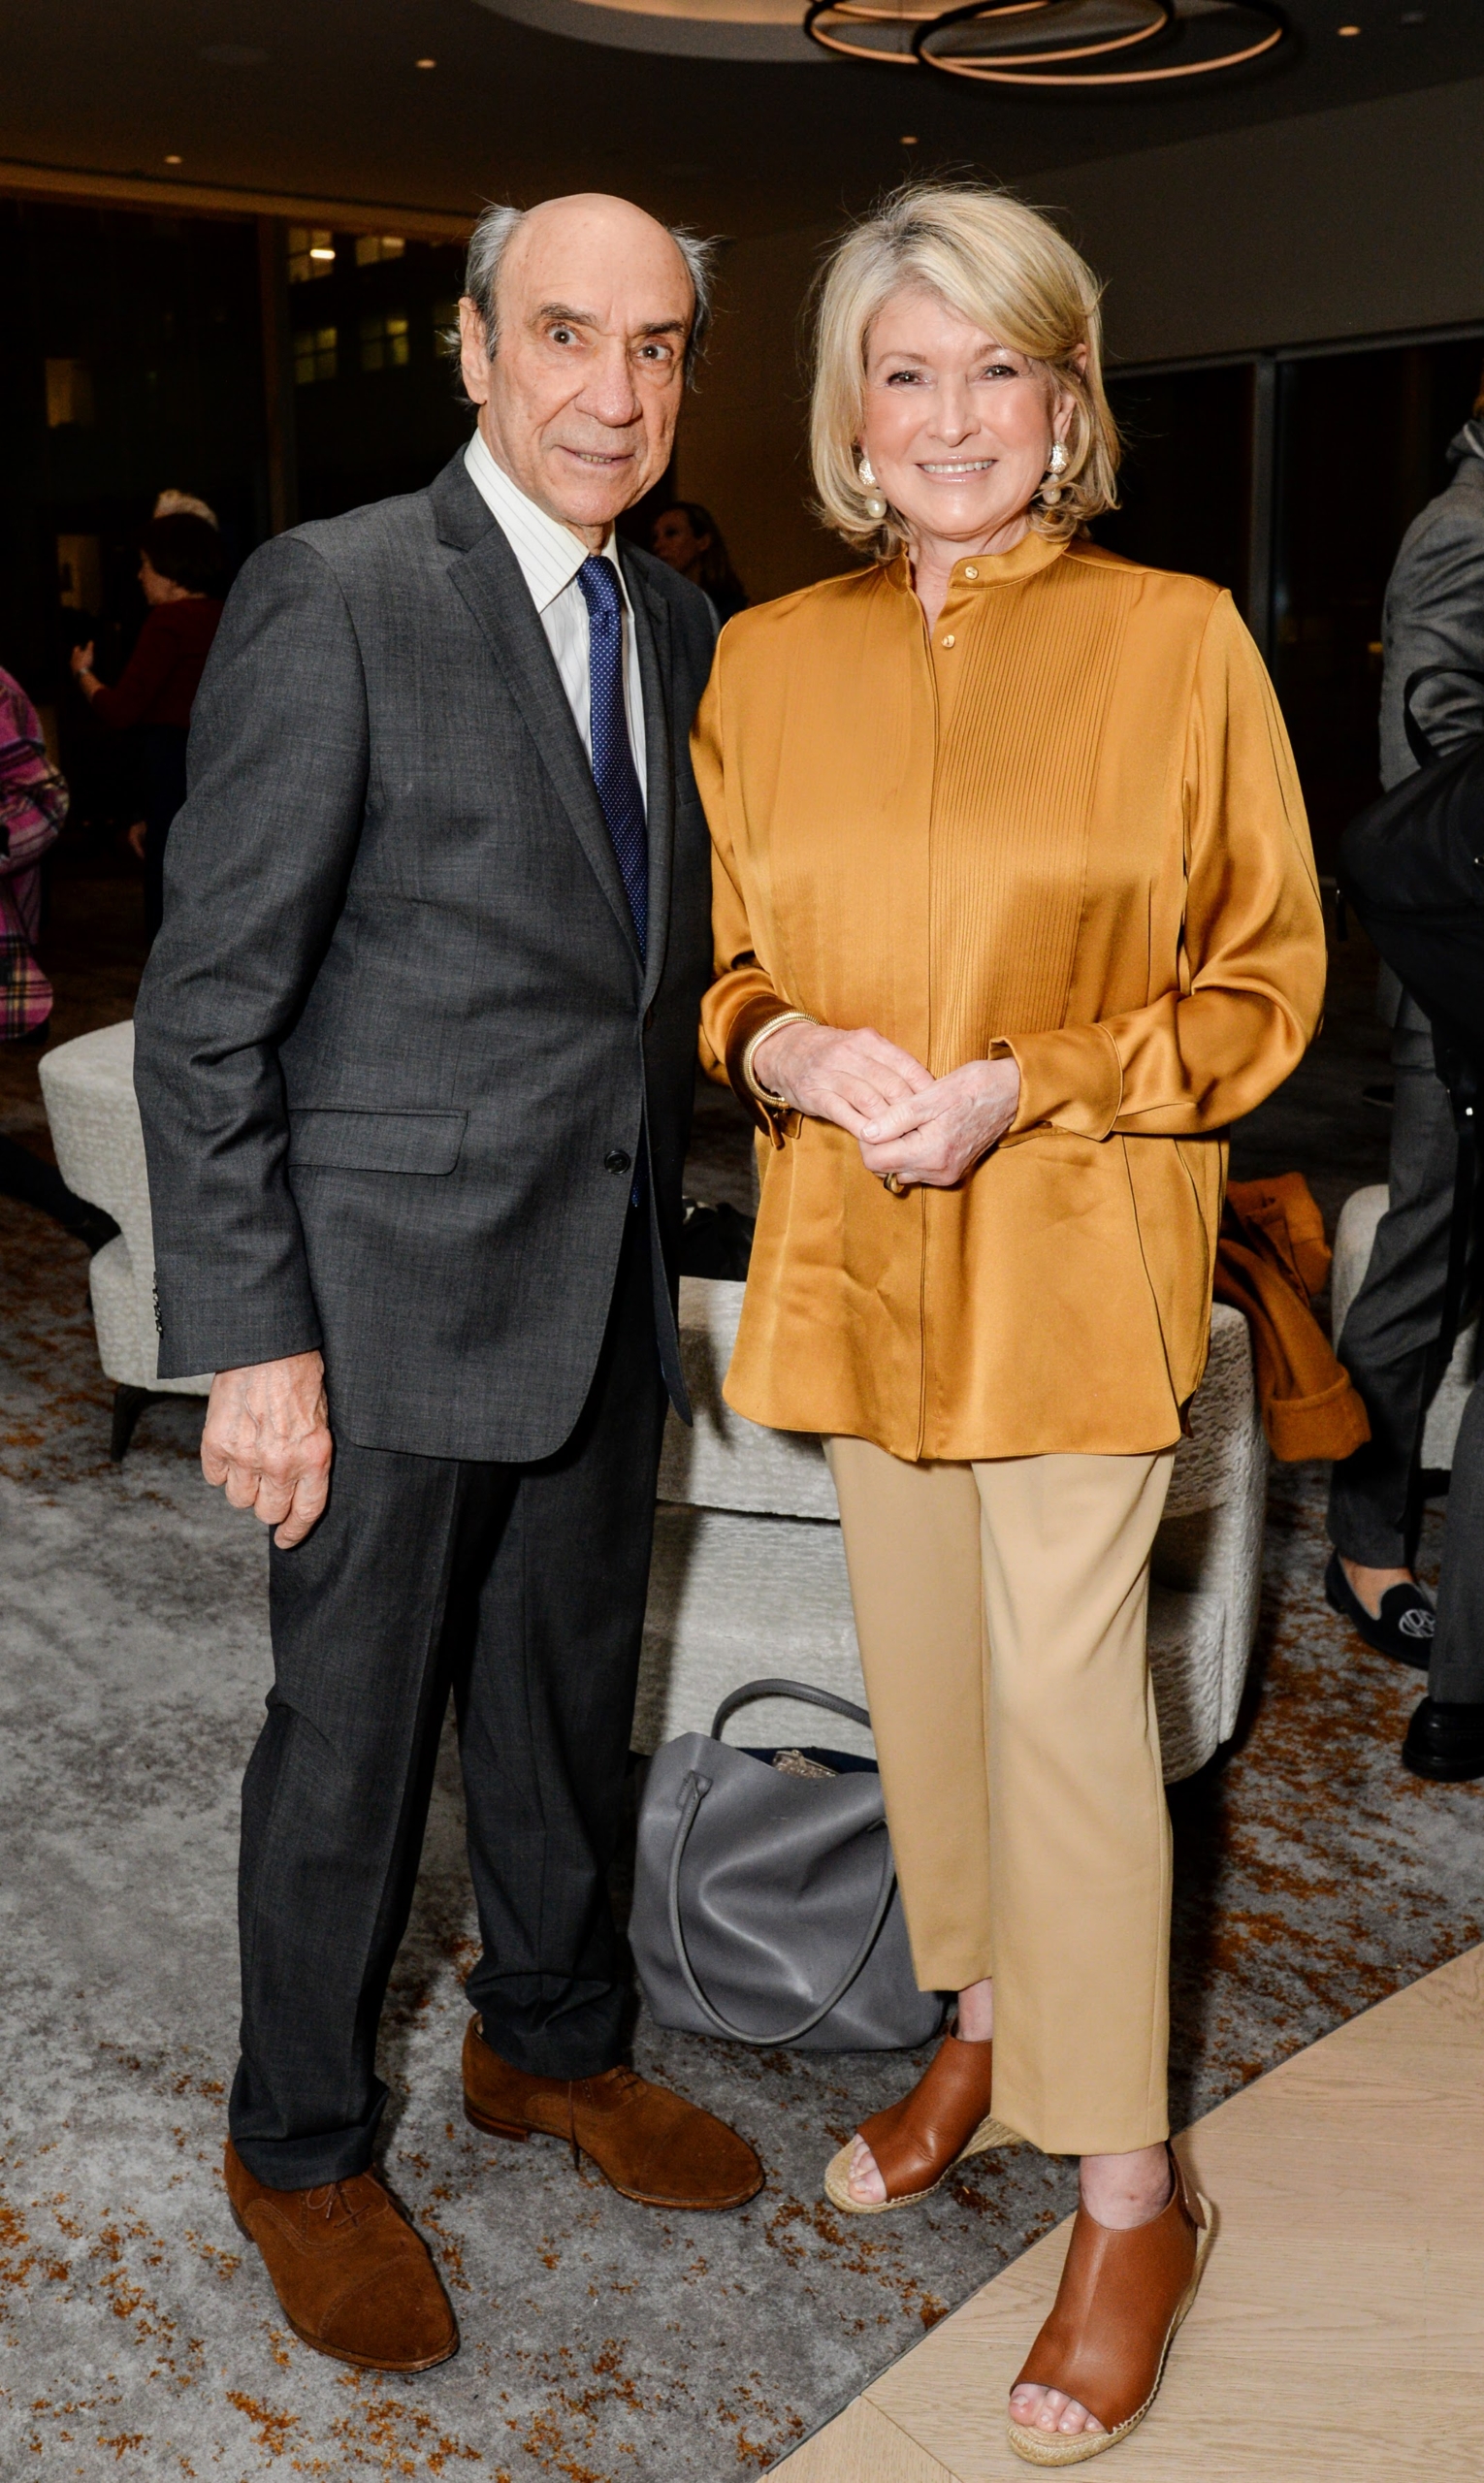
Here I am with award winning actor, F. Murray Abraham. You may recall him in the leading role as Antonio Salieri in the drama film, Amadeus, for which he won an Oscar. (Photo by Madison McGaw/BFA.com)
Here’s a lovely snapshot of Cinema Society’s Andrew Saffir, Kevin, my longtime publicist Susan Magrino, and Daniel Benedict. (Photo by Madison McGaw/BFA.com)
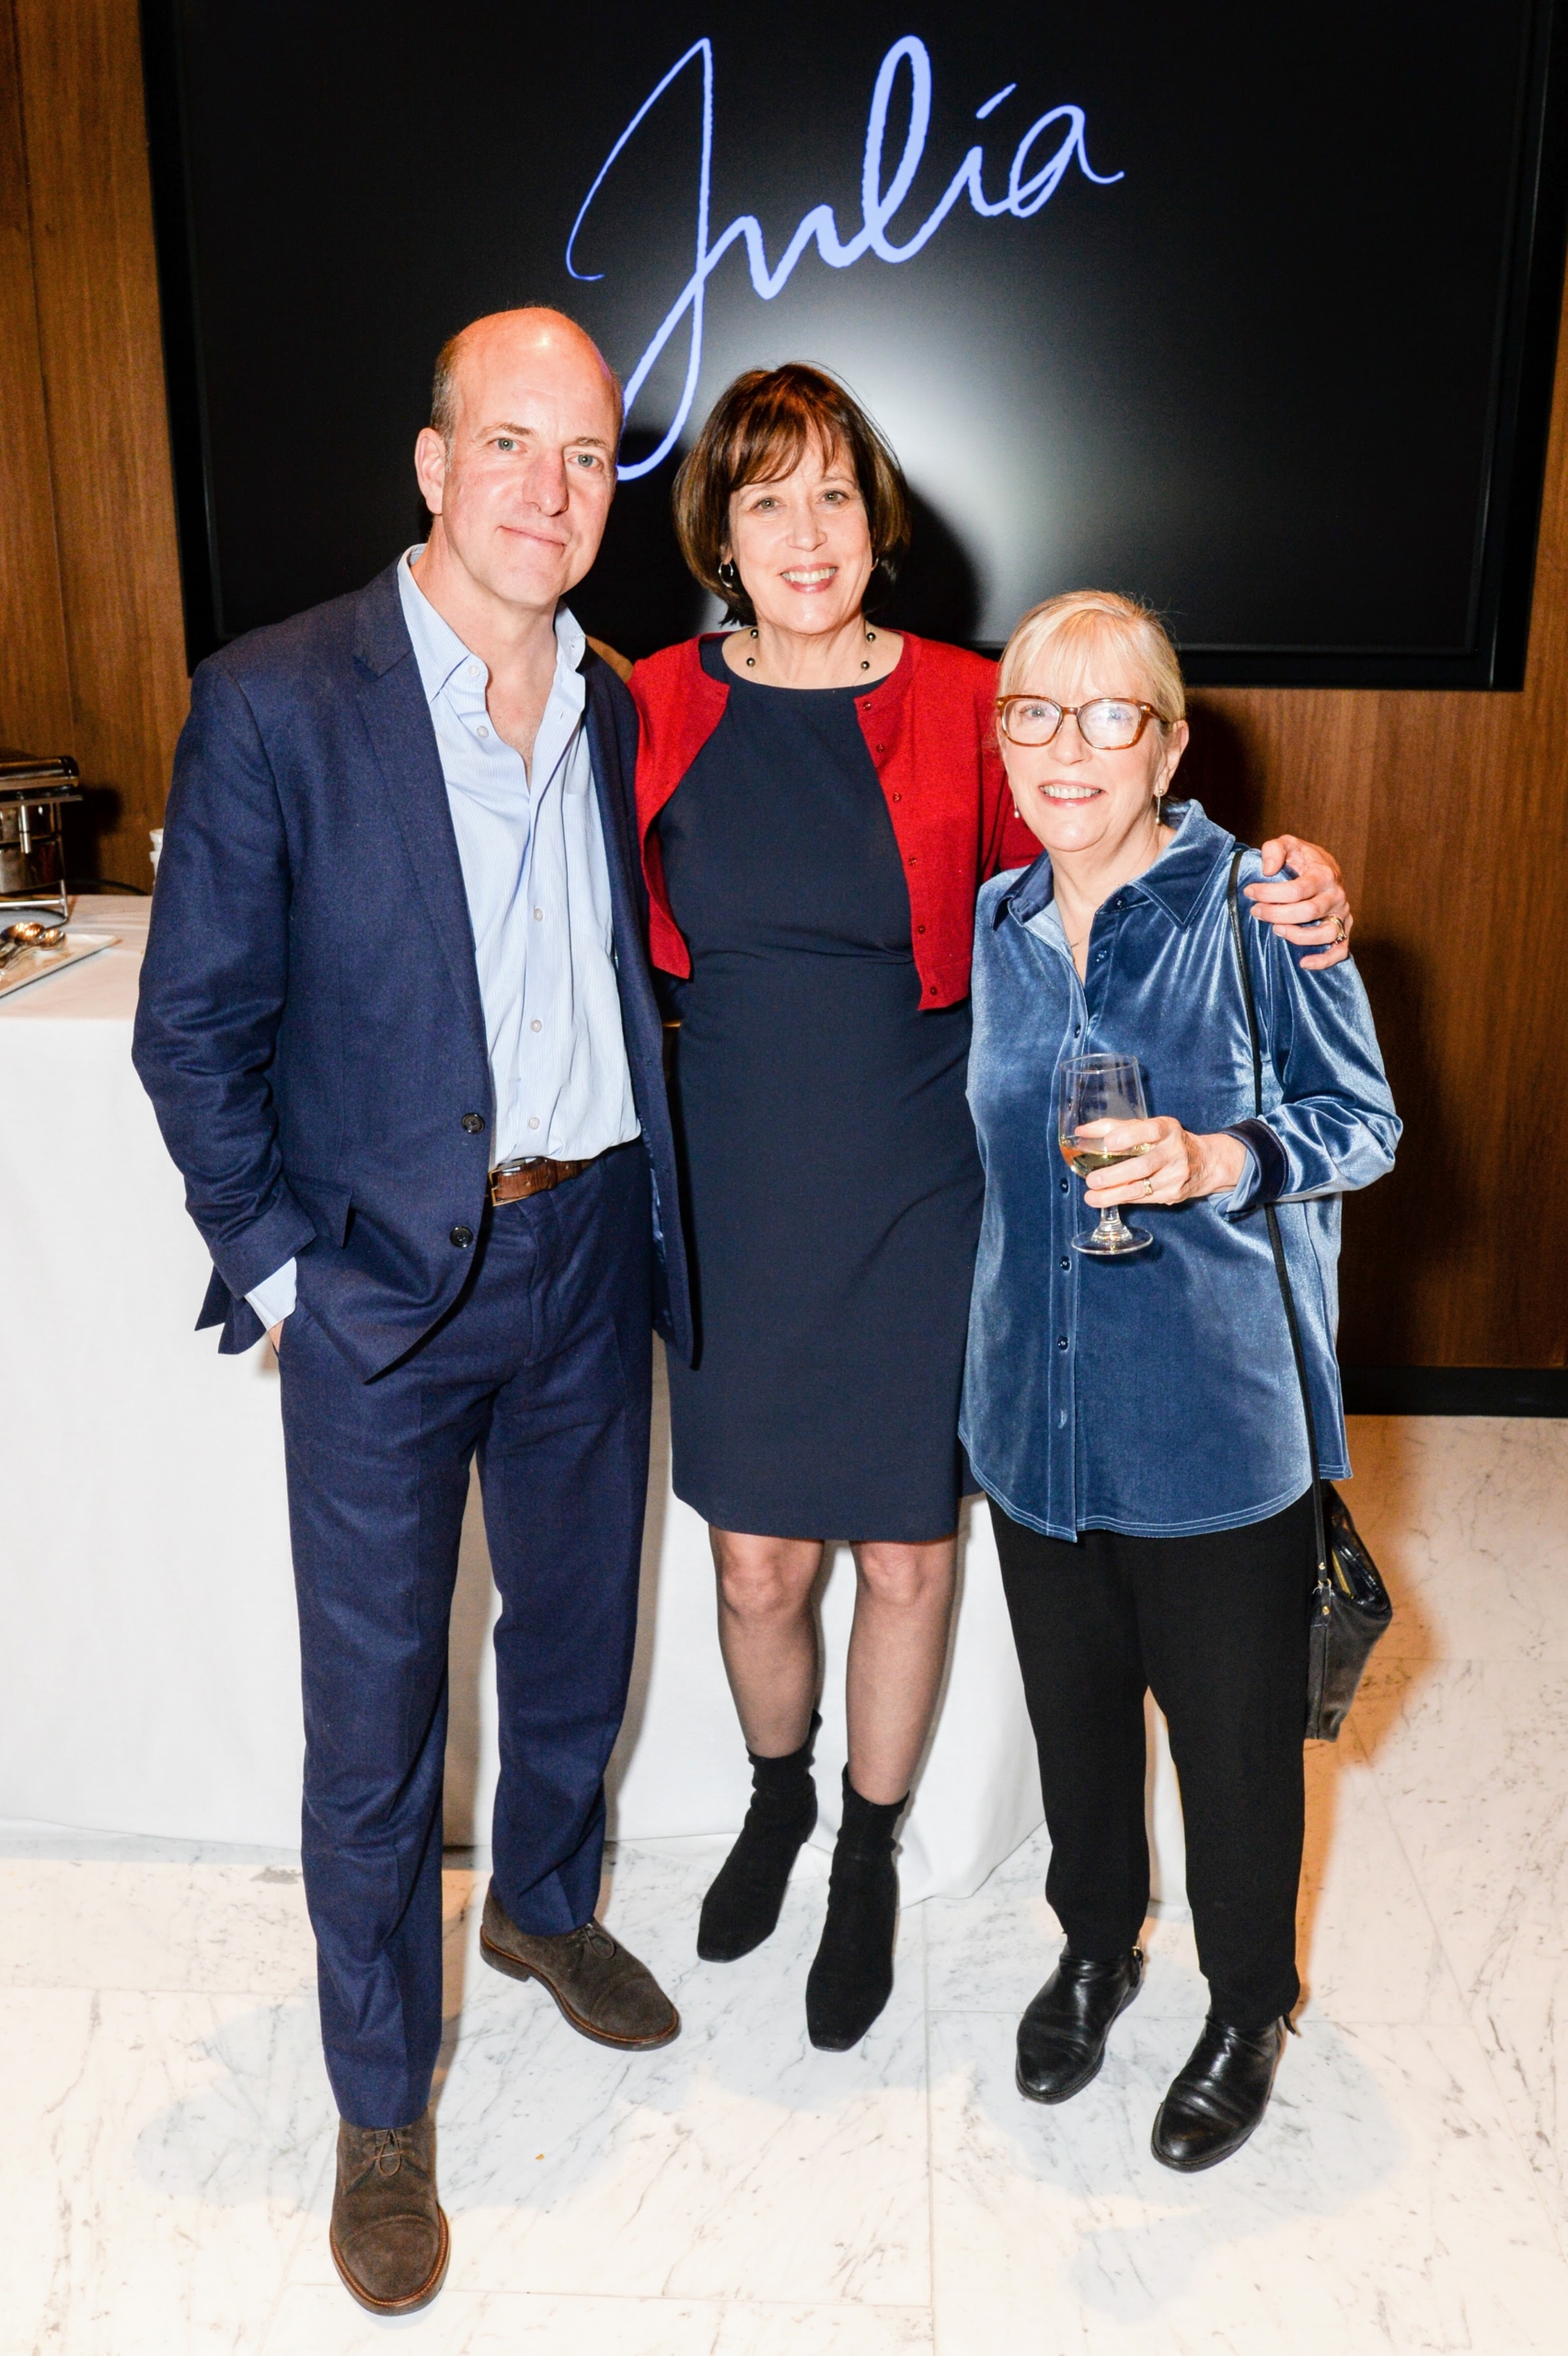
Also in attendance – “Julia” executive producer, Alex Prud’homme, director Betsy West, and chef and cookbook author, Sara Moulton. (Photo by Madison McGaw/BFA.com)
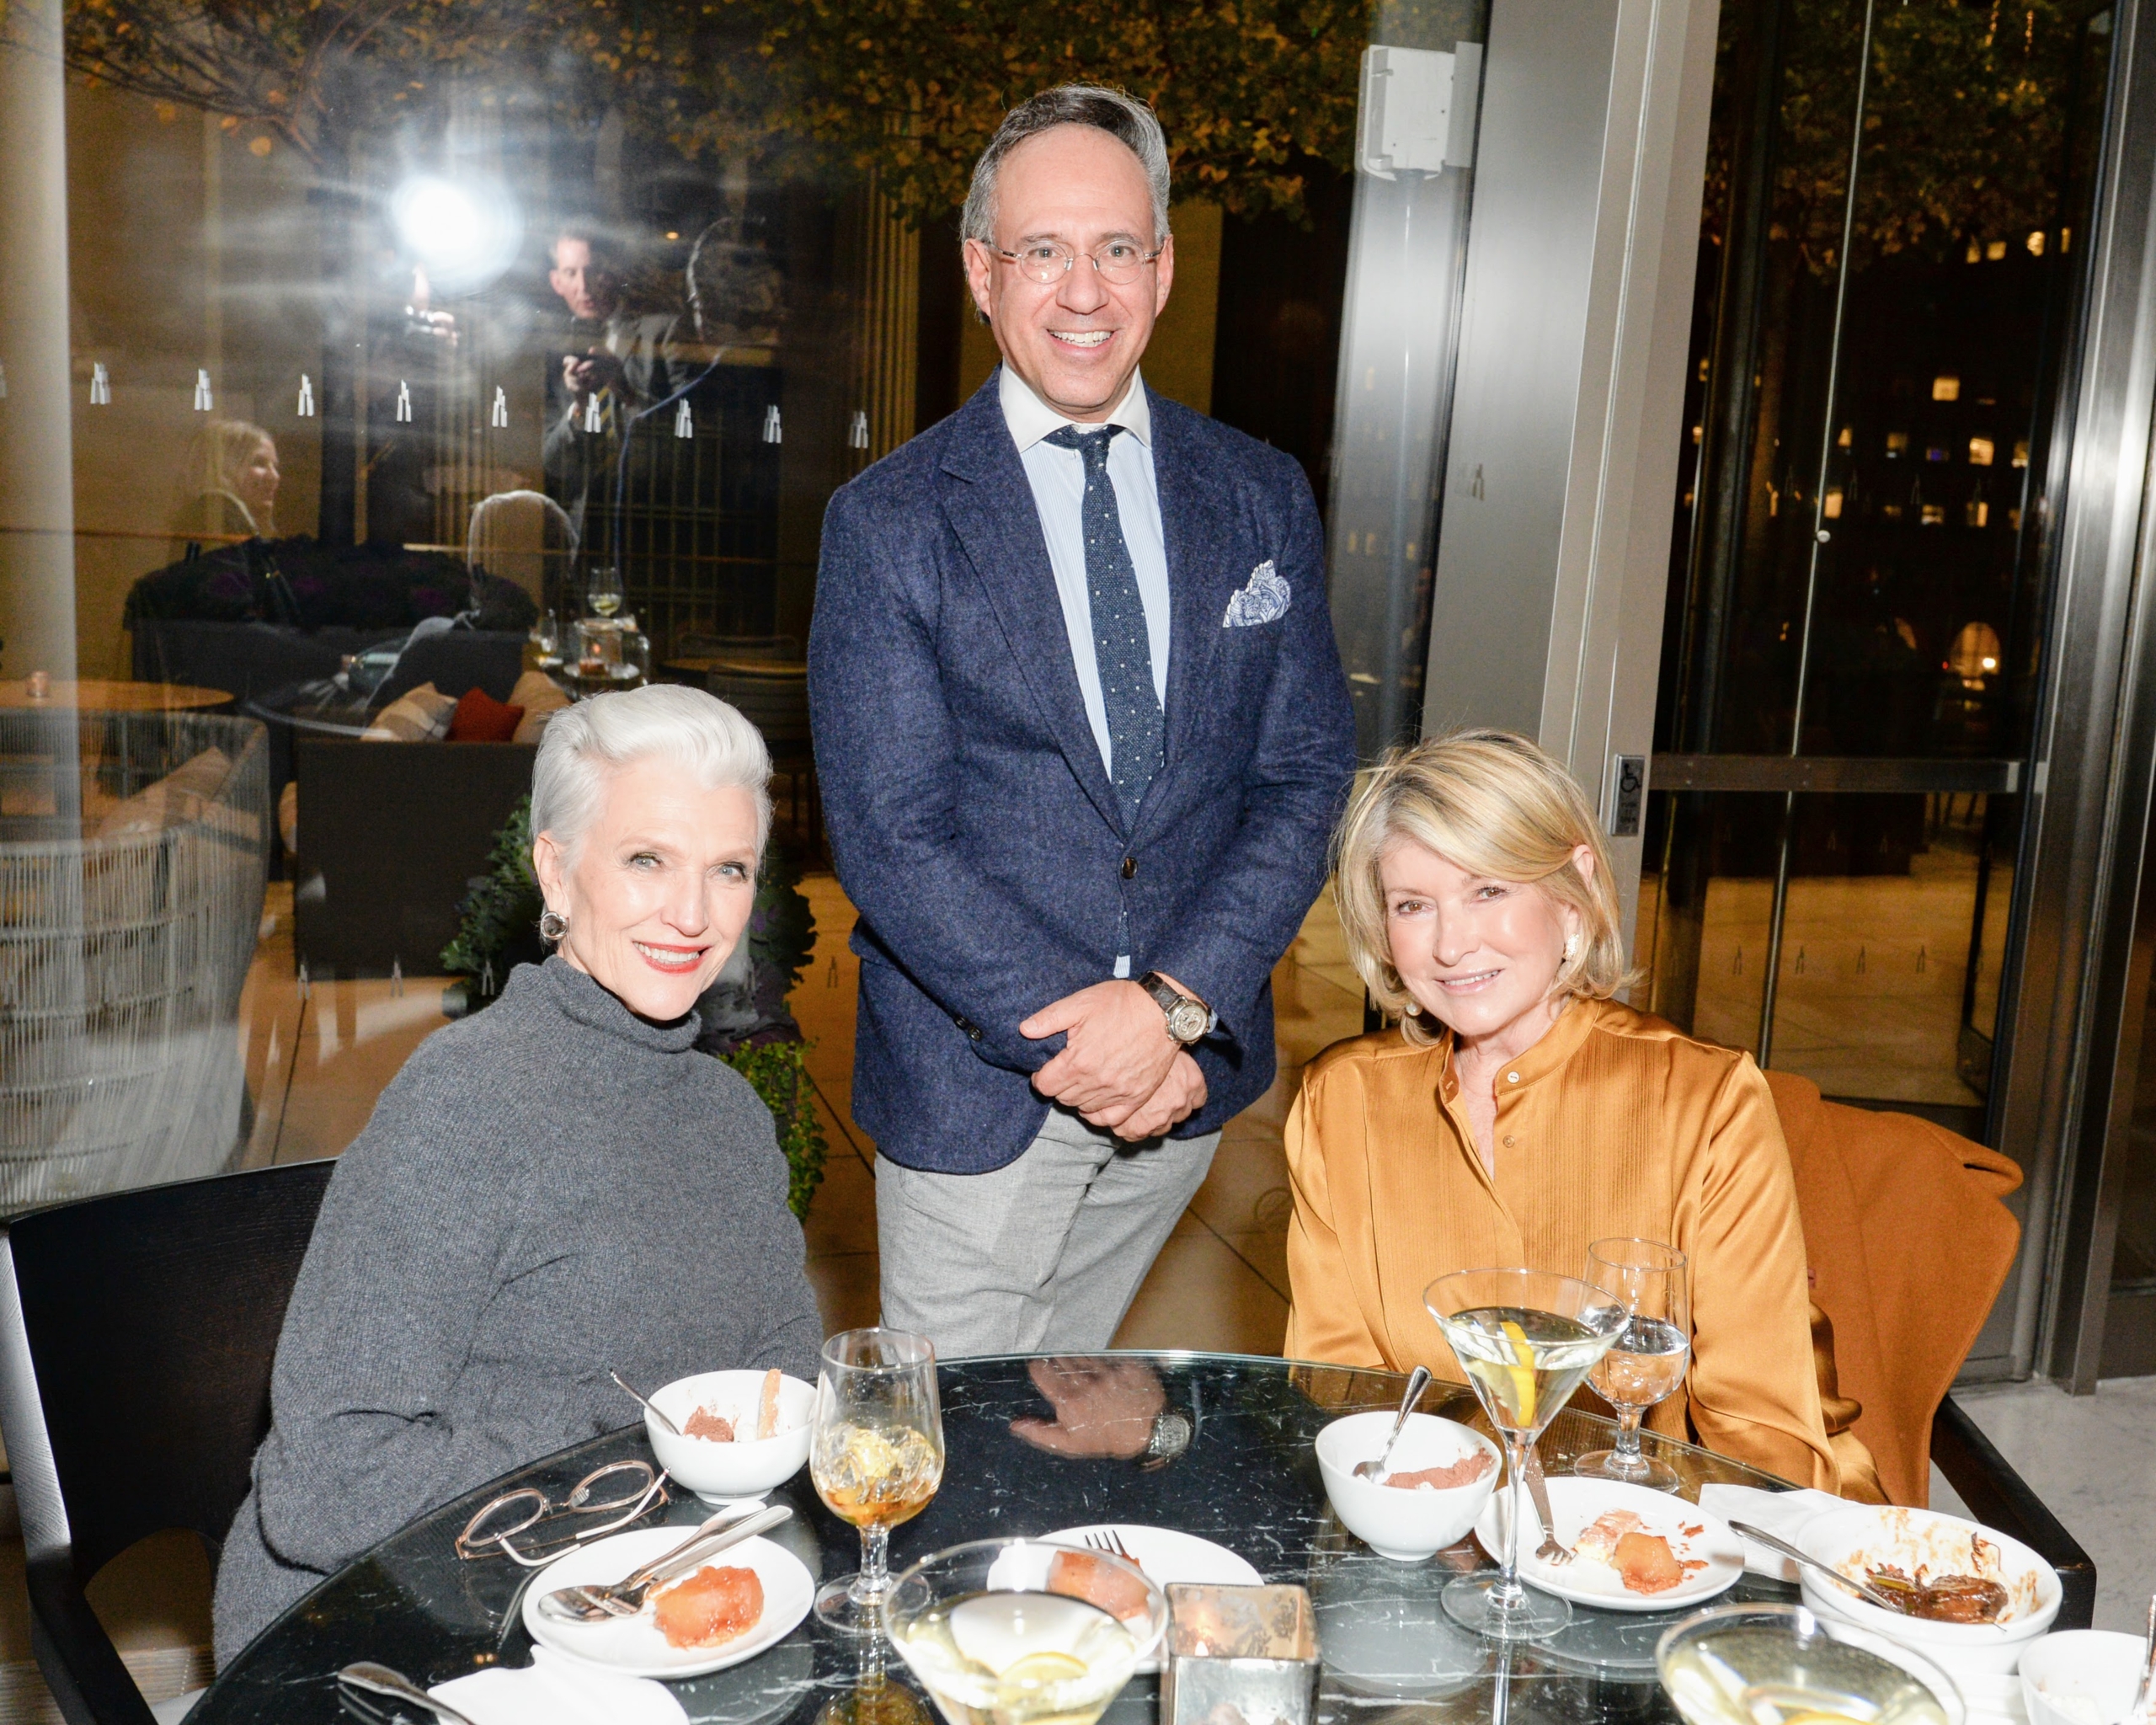
Andrew and I stopped for this snapshot with model Maye Musk. Maye is also the mother of business entrepreneur, Elon Musk, the founder, CEO, and Chief Engineer at SpaceX and an early-stage investor, CEO, and Product Architect of Tesla, Inc. (Photo by Madison McGaw/BFA.com)
Jonathan Cheban, also known as Foodgod, is an American reality television personality, and entrepreneur. (Photo by Madison McGaw/BFA.com)
Here I am joined by fashion designer, Donna Karan. (Photo by Madison McGaw/BFA.com)
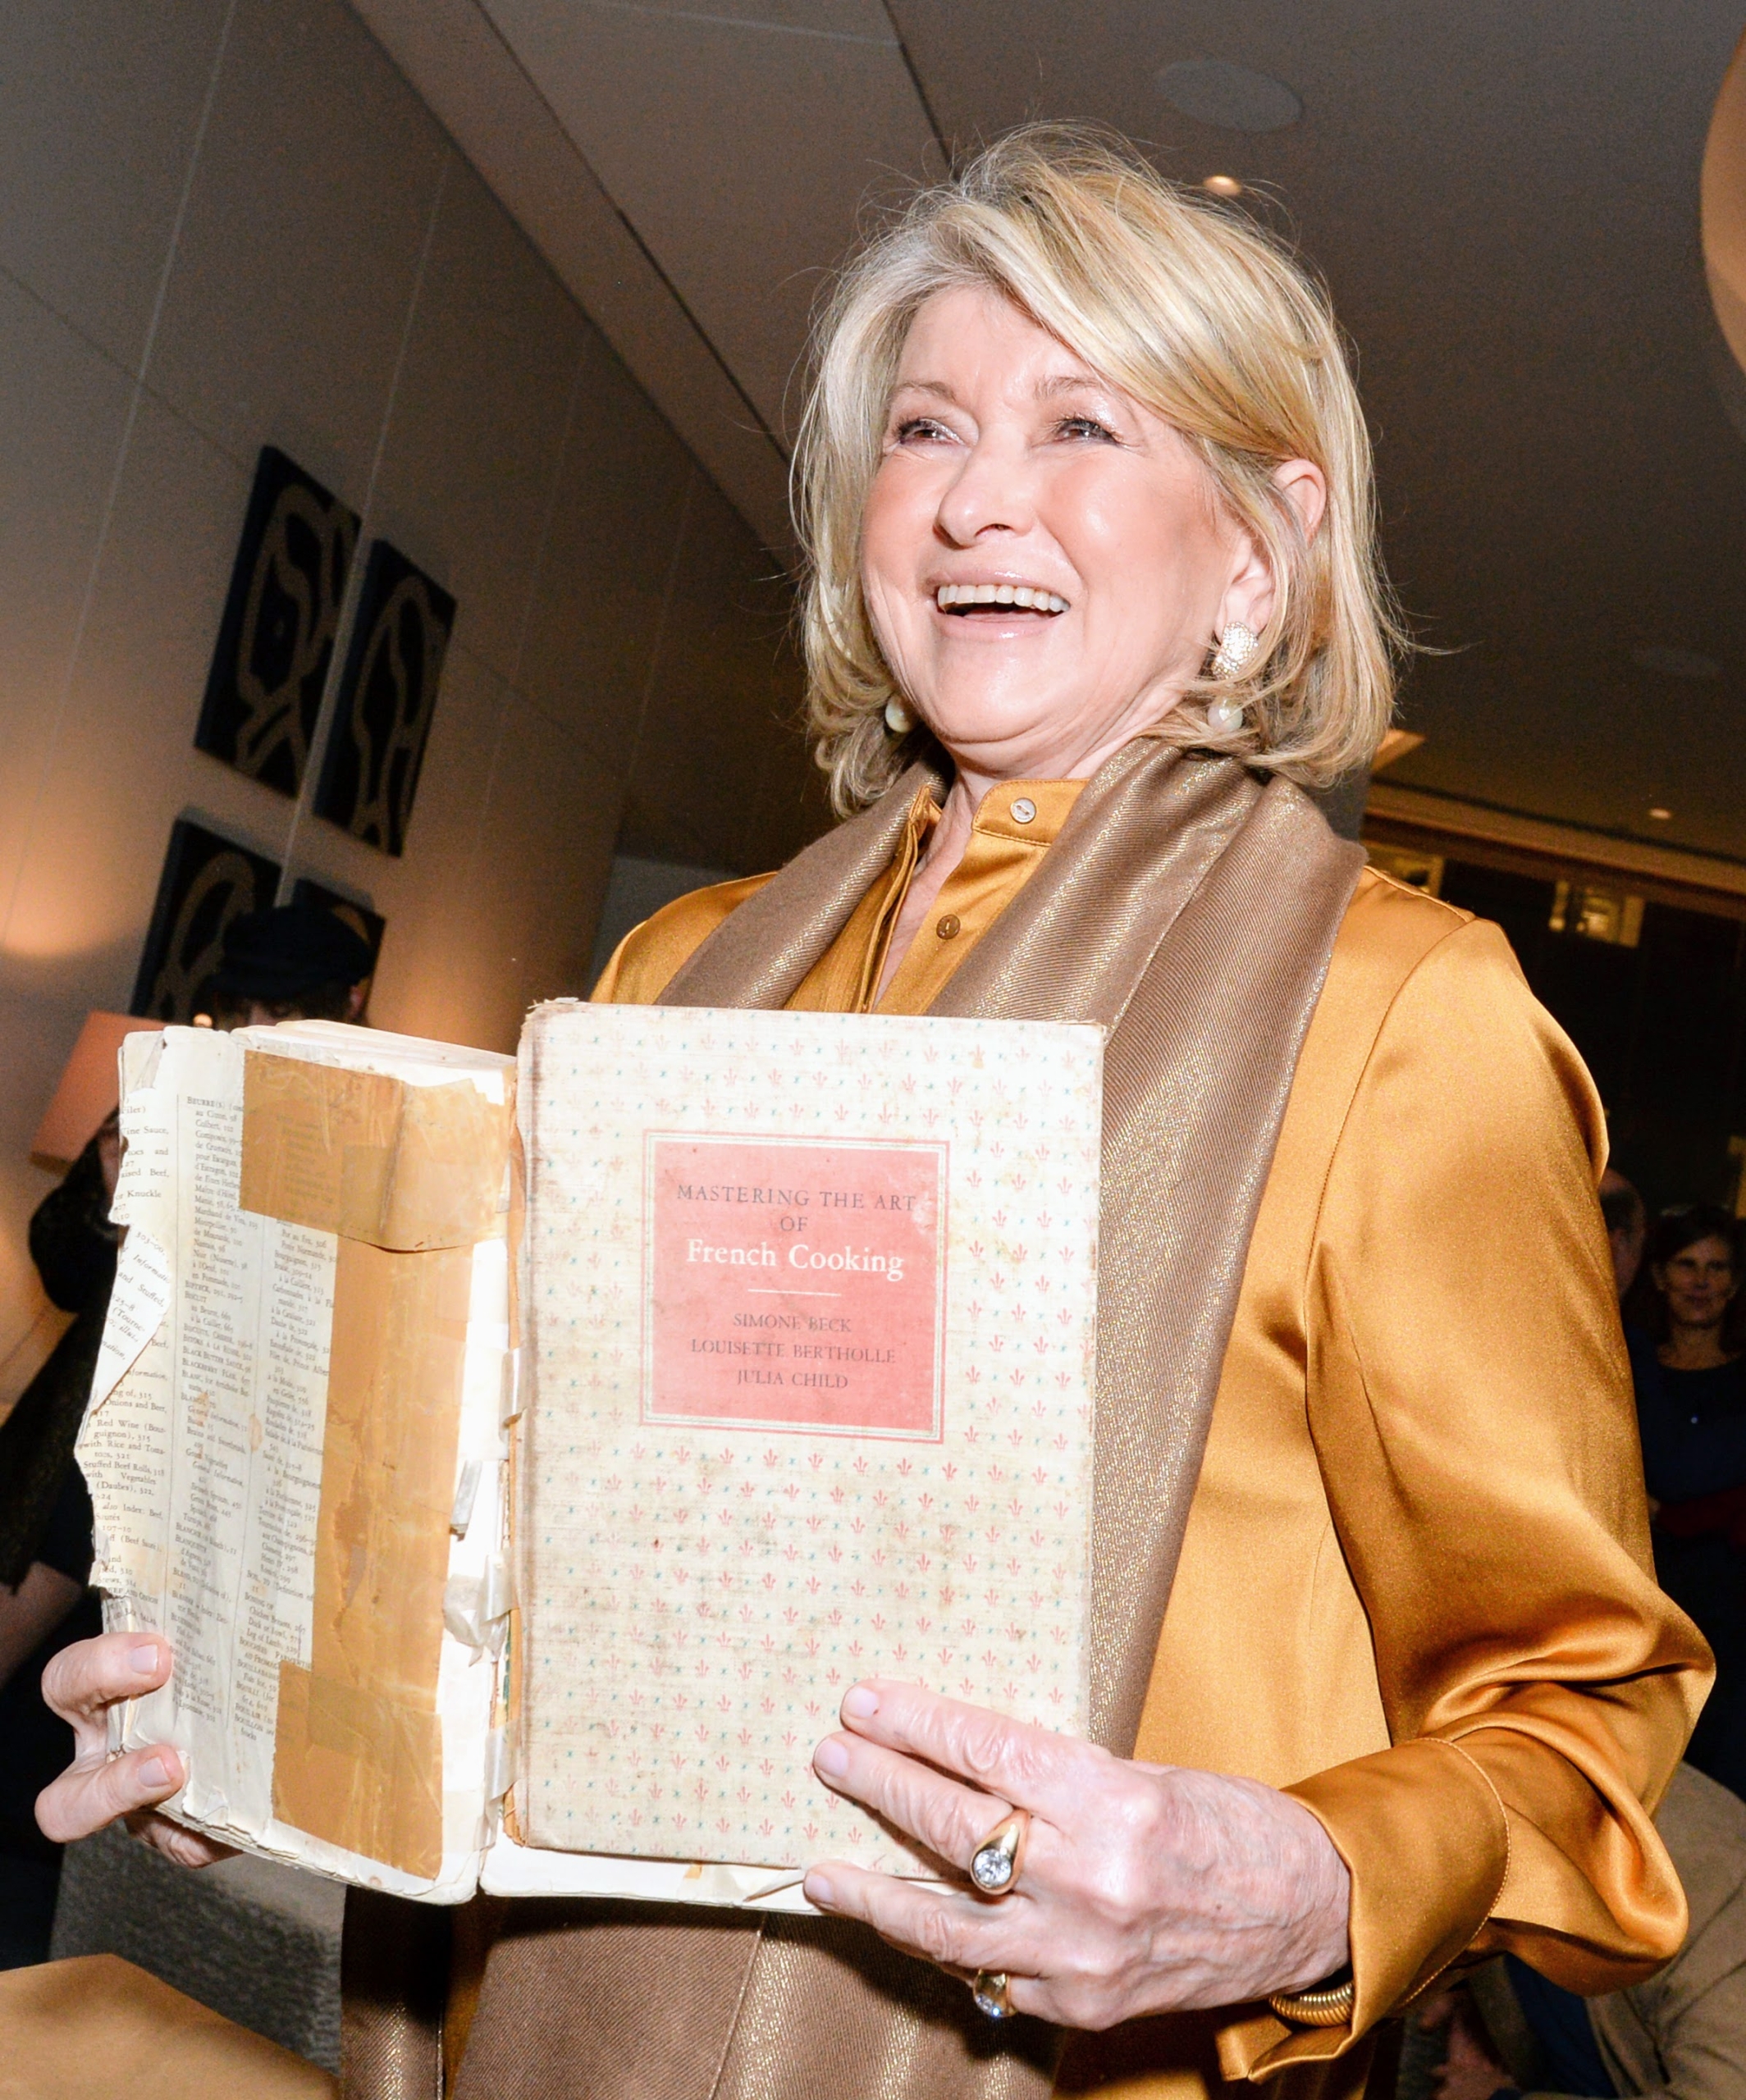
I brought with me the dog-eared first edition of Julia’s cookbook, “Mastering the Art of French Cooking” that I purchased in the 1960s. I used it countless times and now keep it in a very special place in my cookbook library for reference. (Photo by Madison McGaw/BFA.com)
Before the screening began, Betsy addressed the audience and welcomed everyone to the event. At just 95 minutes, this film chronicled Child’s life, much of it told through her own archival interviews and personal letters and diary entries. I also made some opening remarks that included my personal thoughts and stories about Julia. (Photo by Madison McGaw/BFA.com)
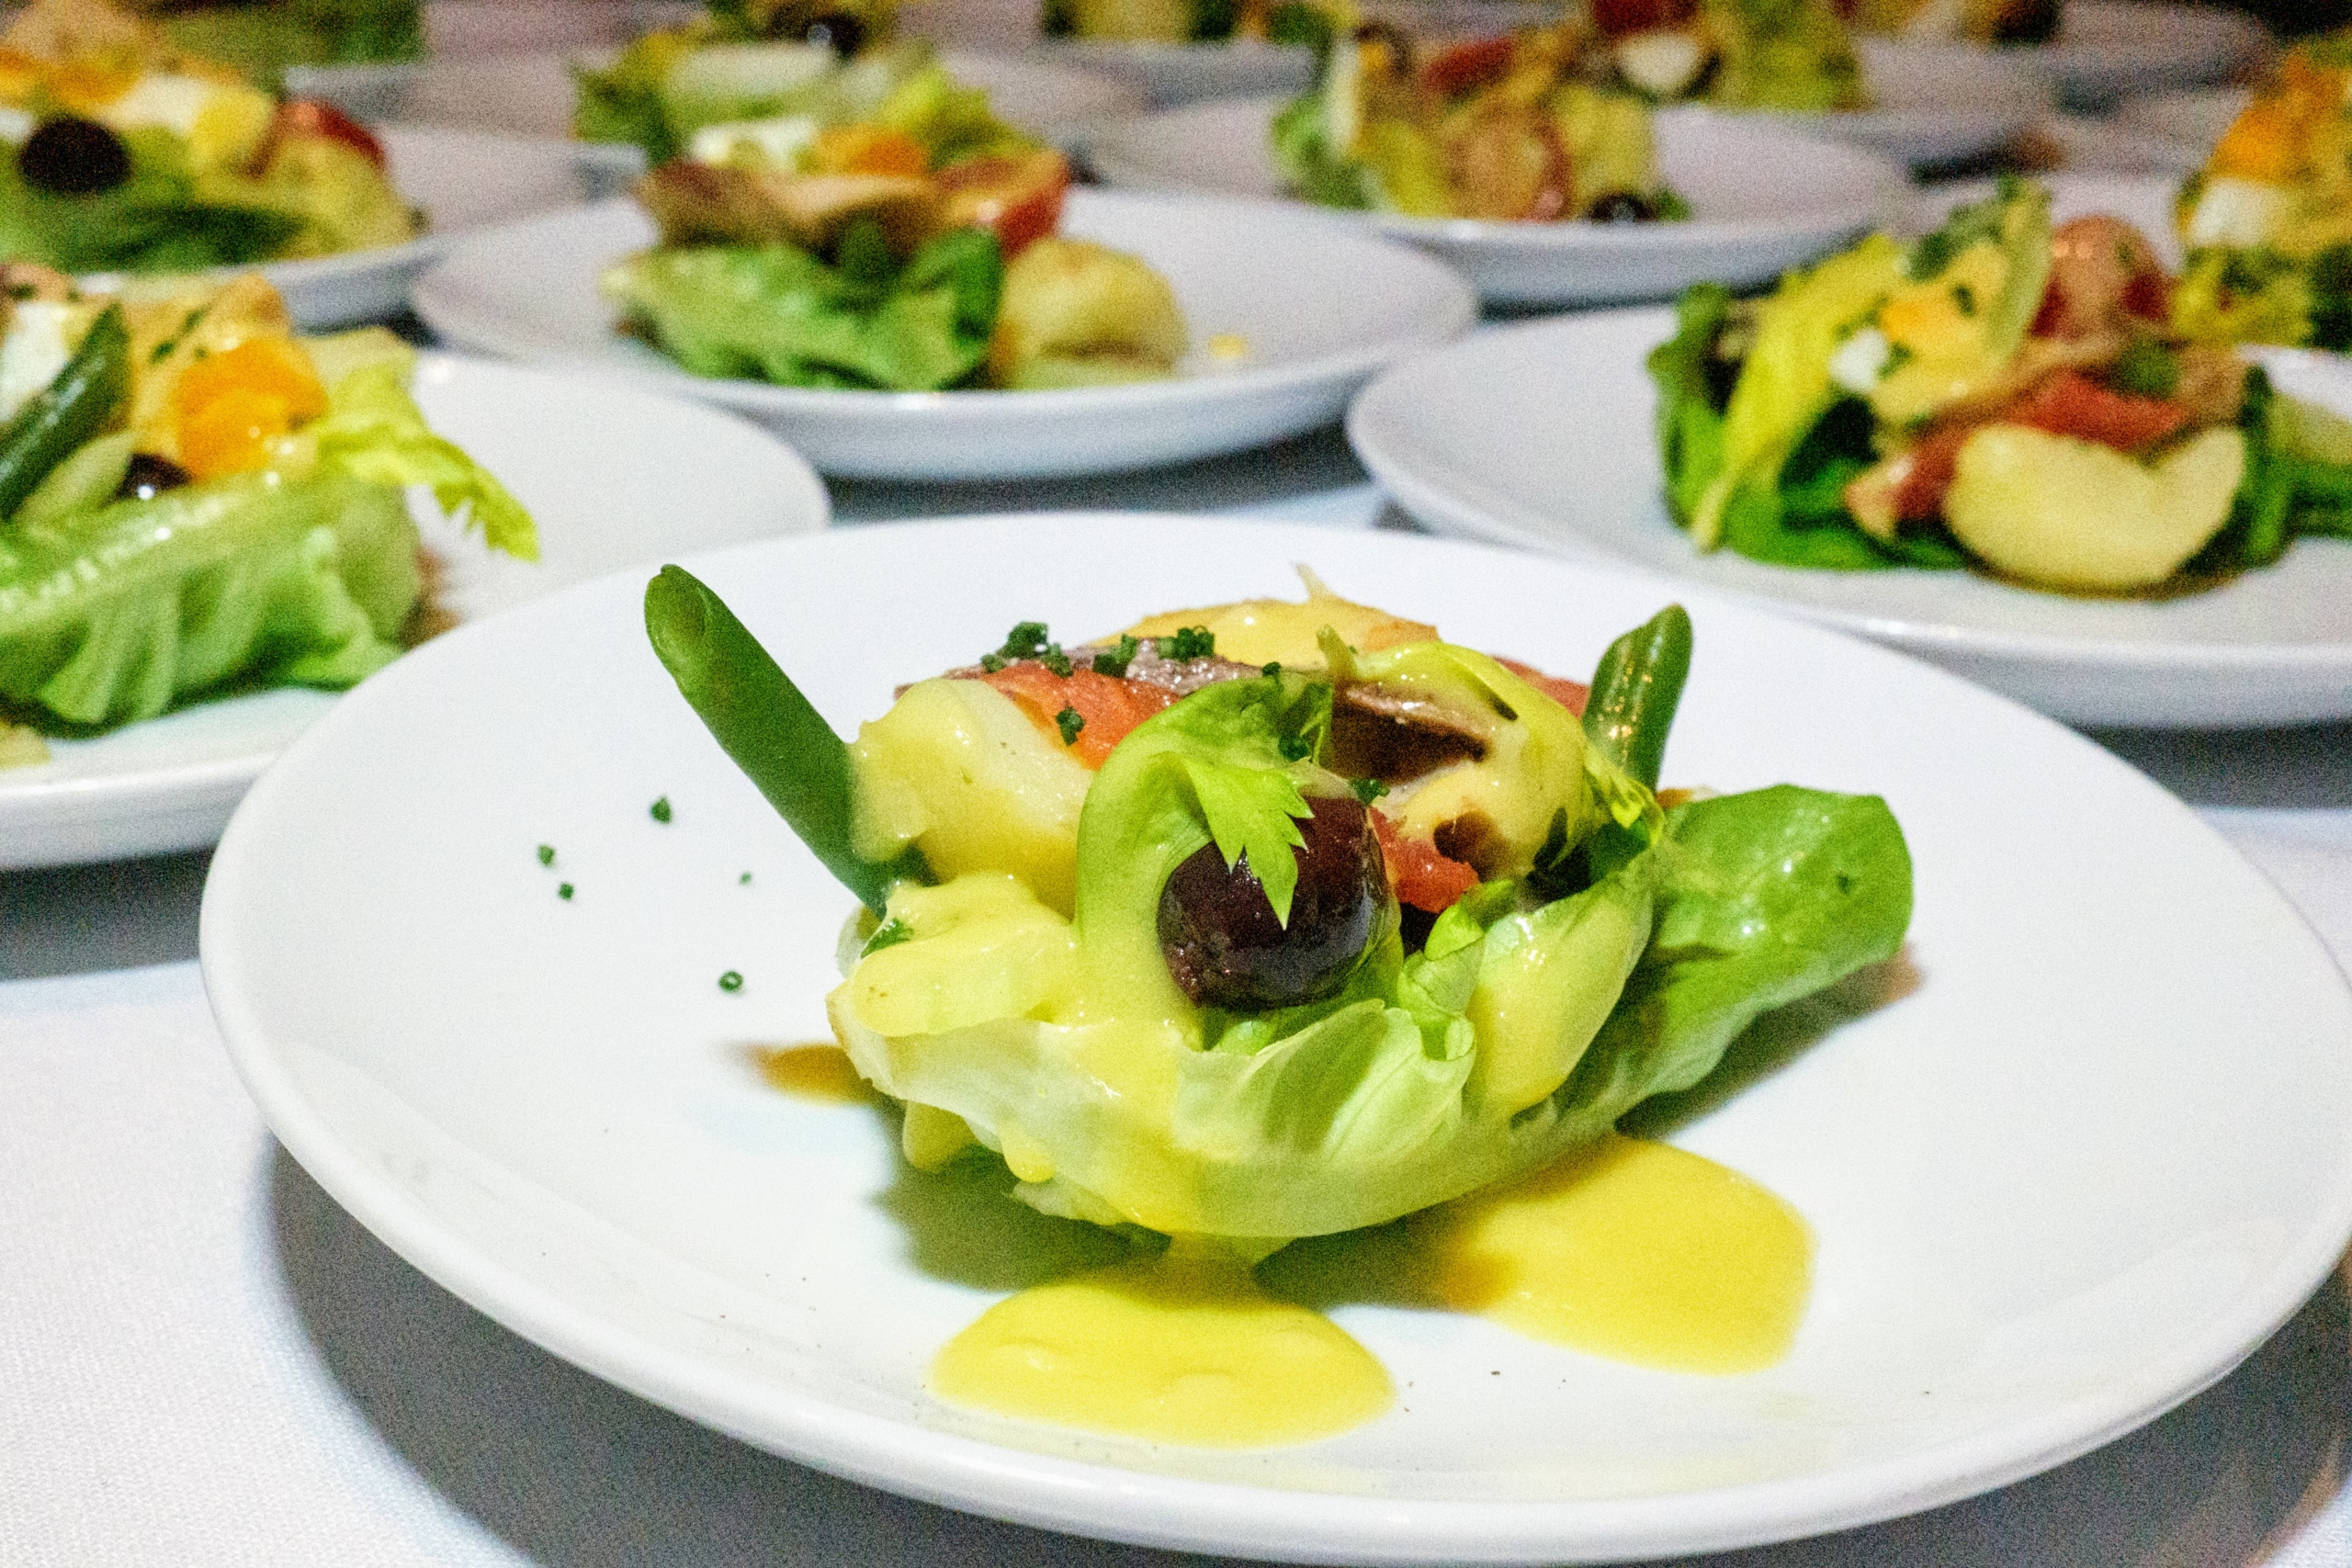
Afterwards, we enjoyed dishes inspired by Julia Child herself. These are Nicoise Lettuce Wraps. (Photo by Madison McGaw/BFA.com)
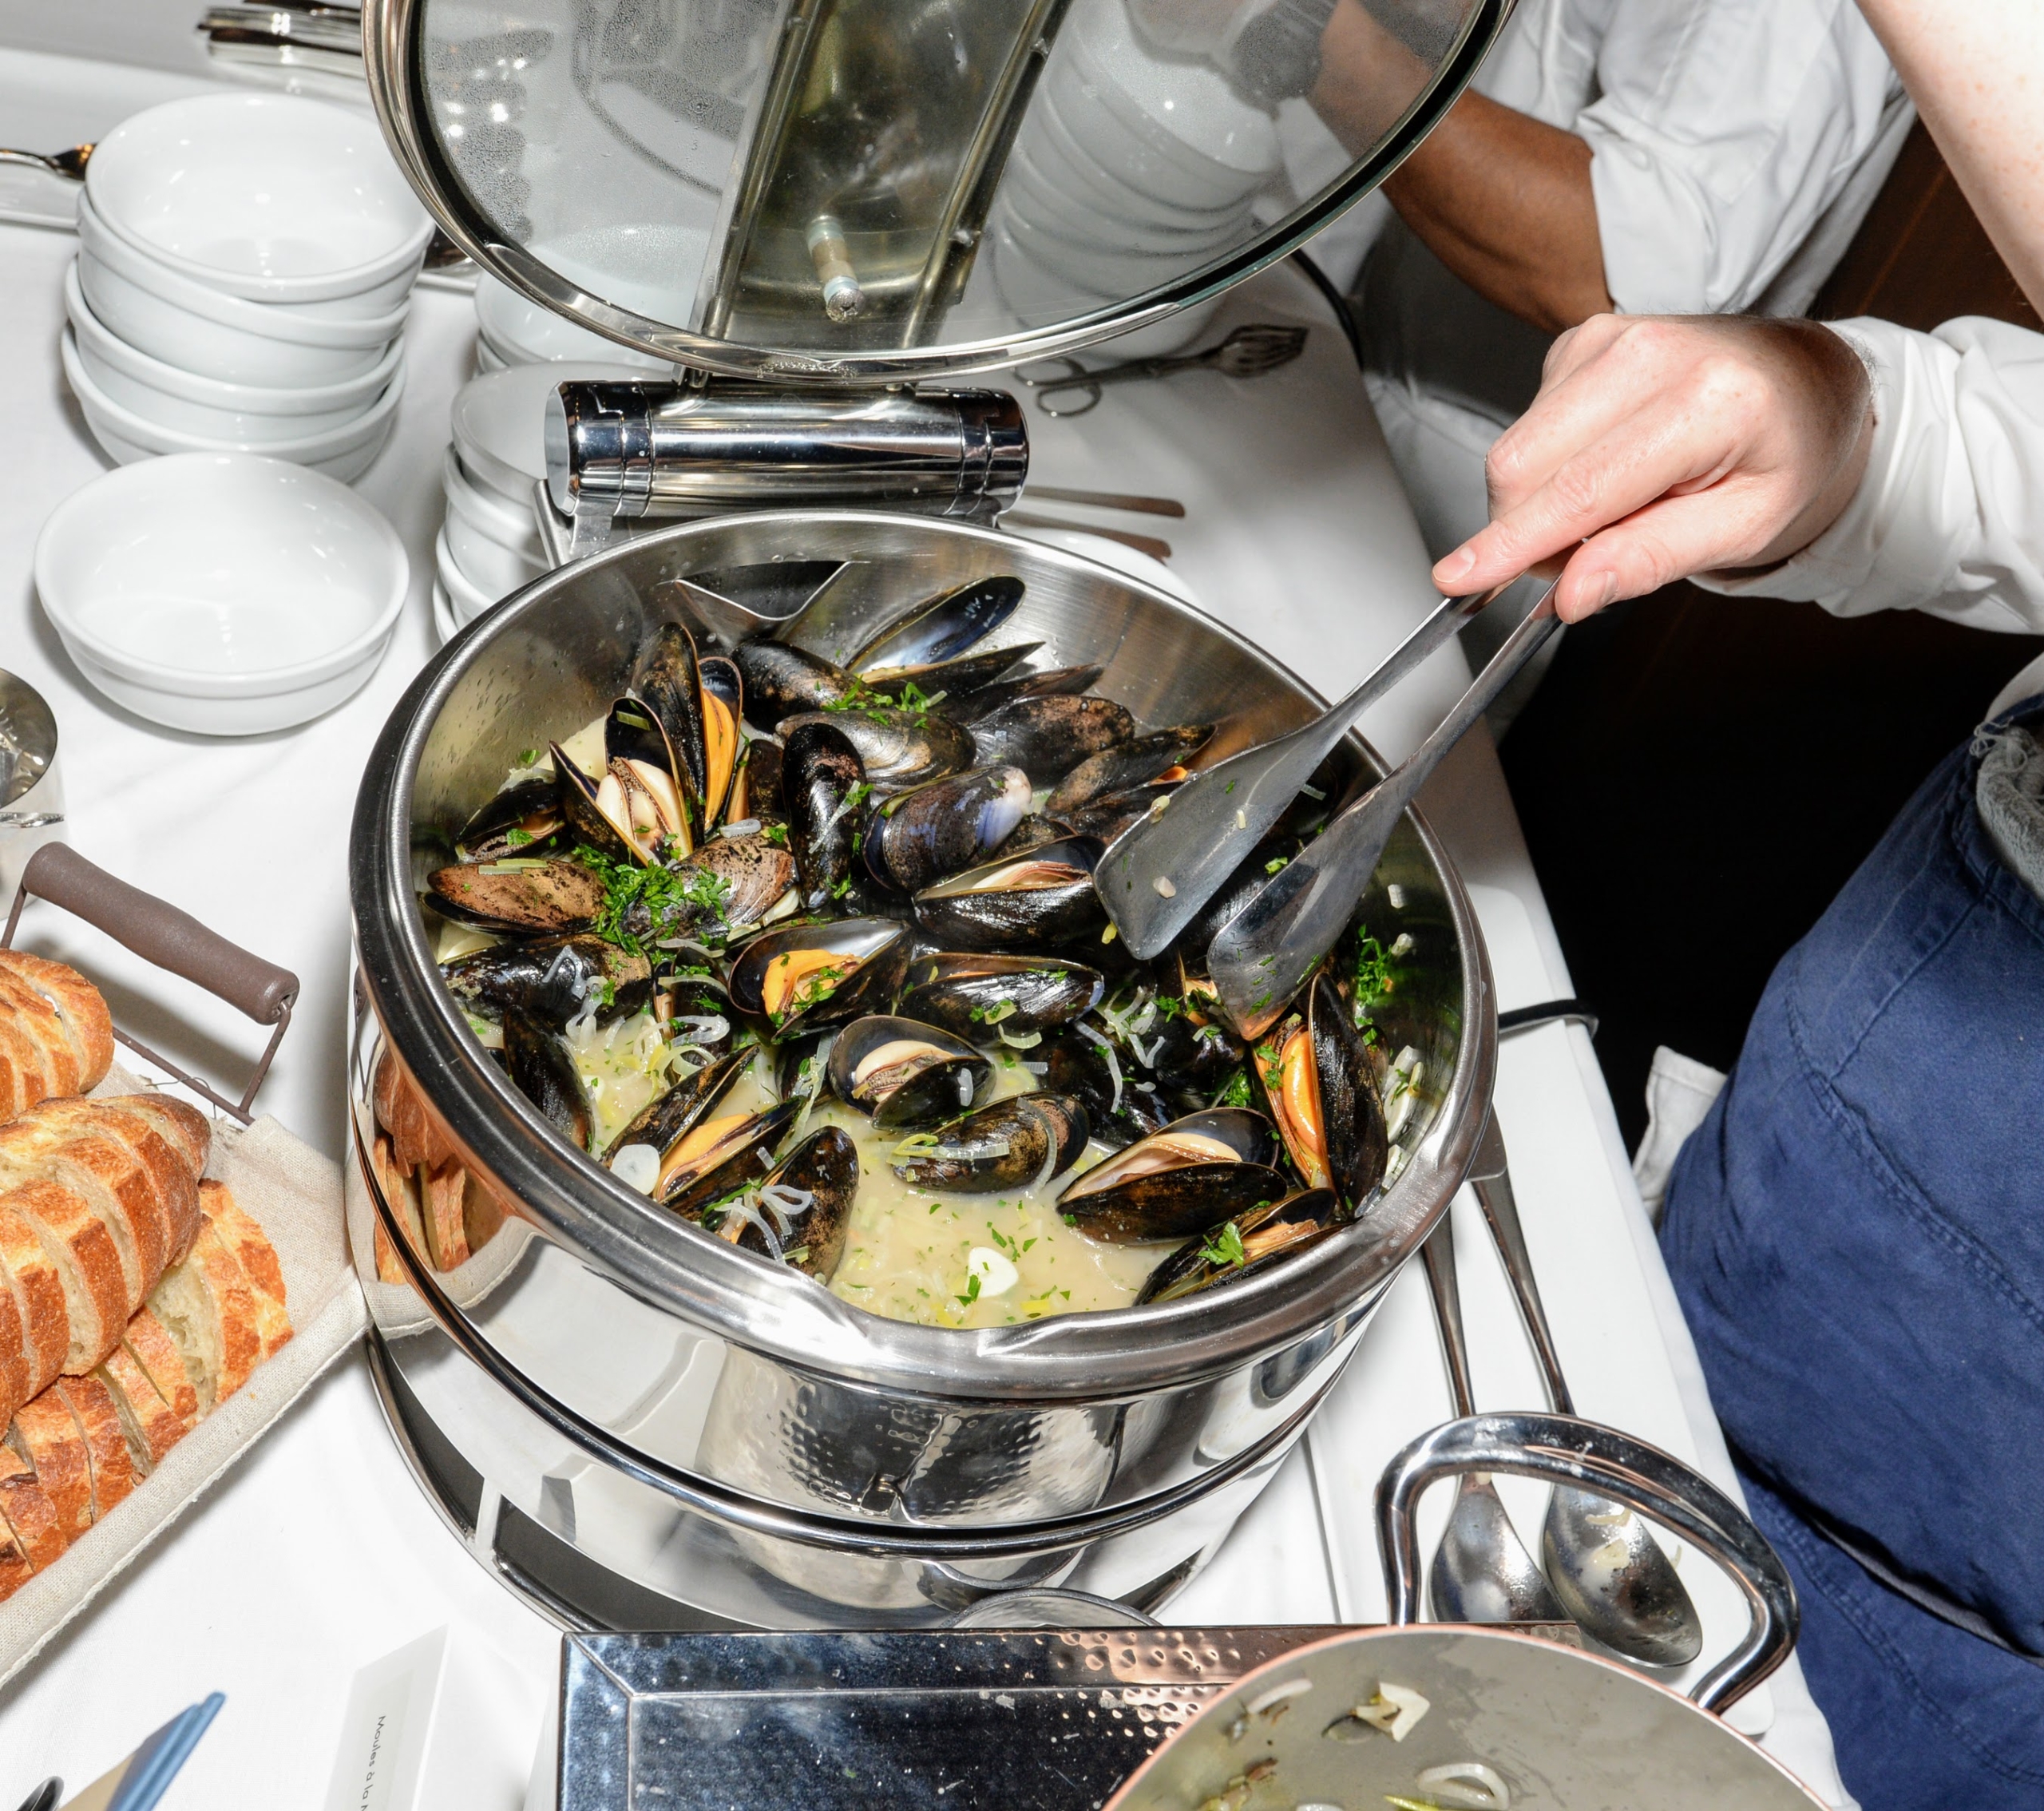
The Moules à la Marinière was a big favorite. Moules à la marinière is a classic French dish that consists of mussels cooked in cider or wine-based sauces. The dish is typically made with shallots, garlic, and herbs. (Photo by Madison McGaw/BFA.com)
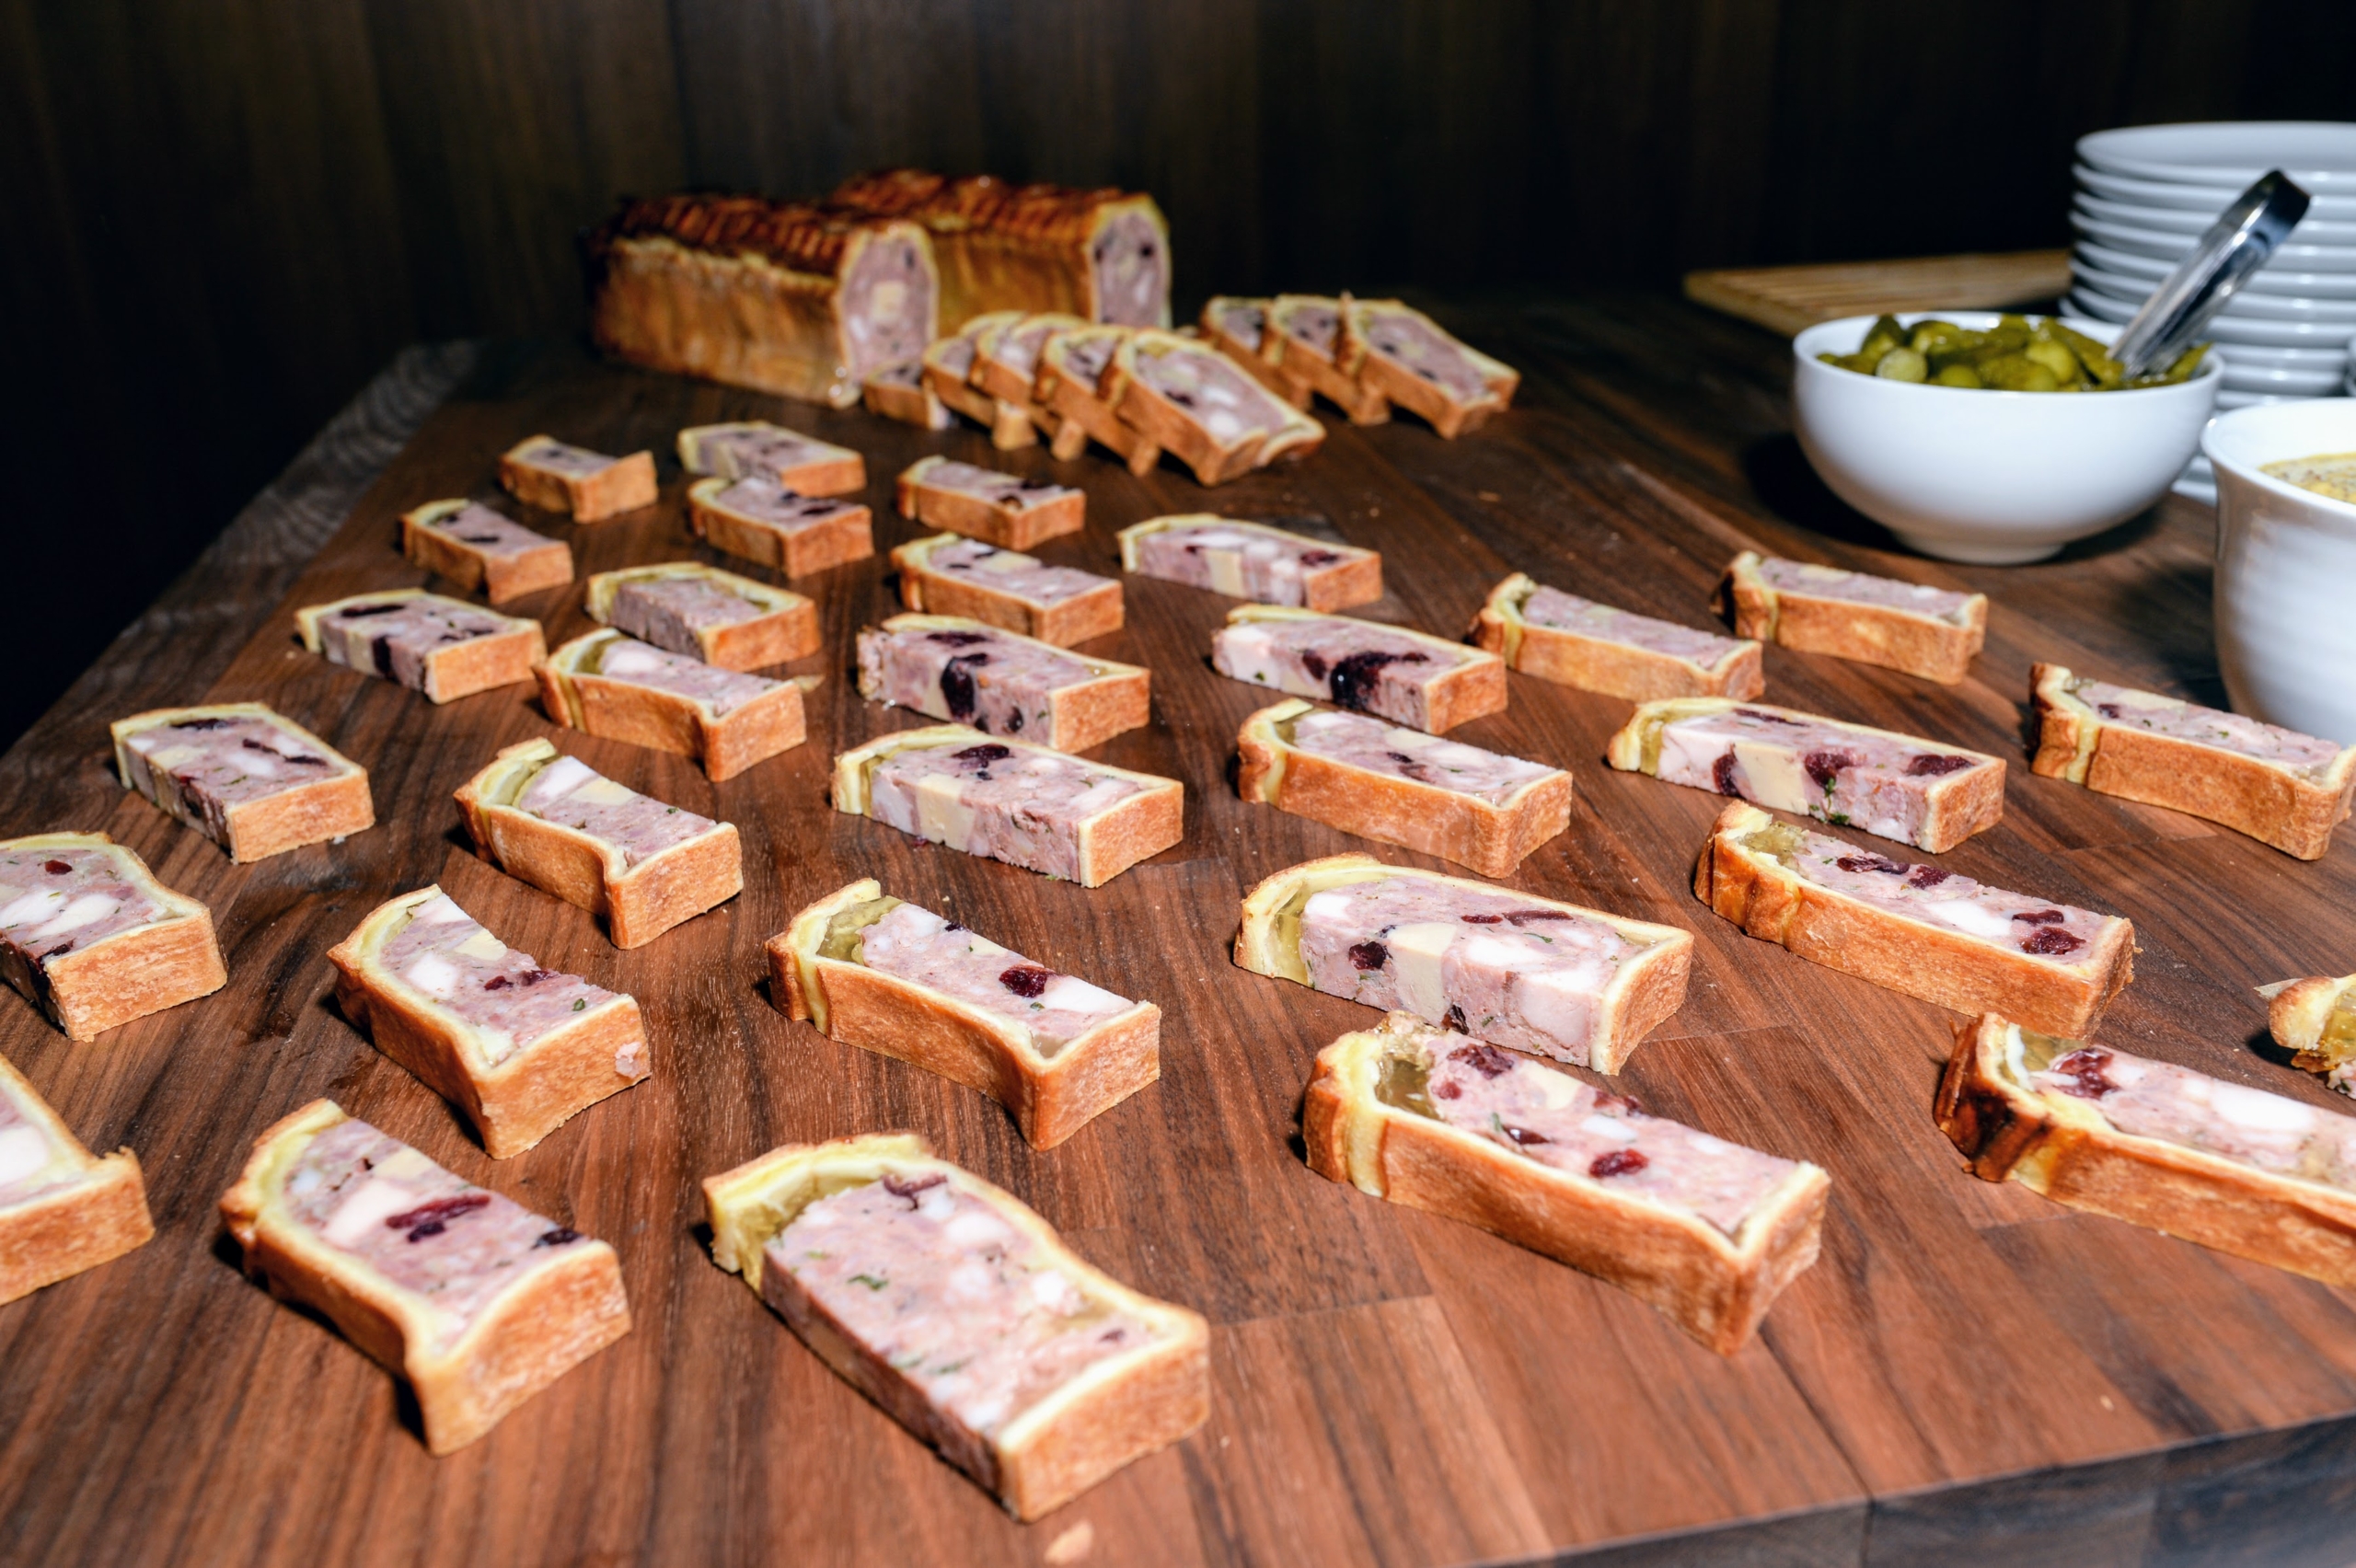
This is called Pâté en Croute – pâté cooked in a puff pastry and served as a cold starter. (Photo by Madison McGaw/BFA.com)
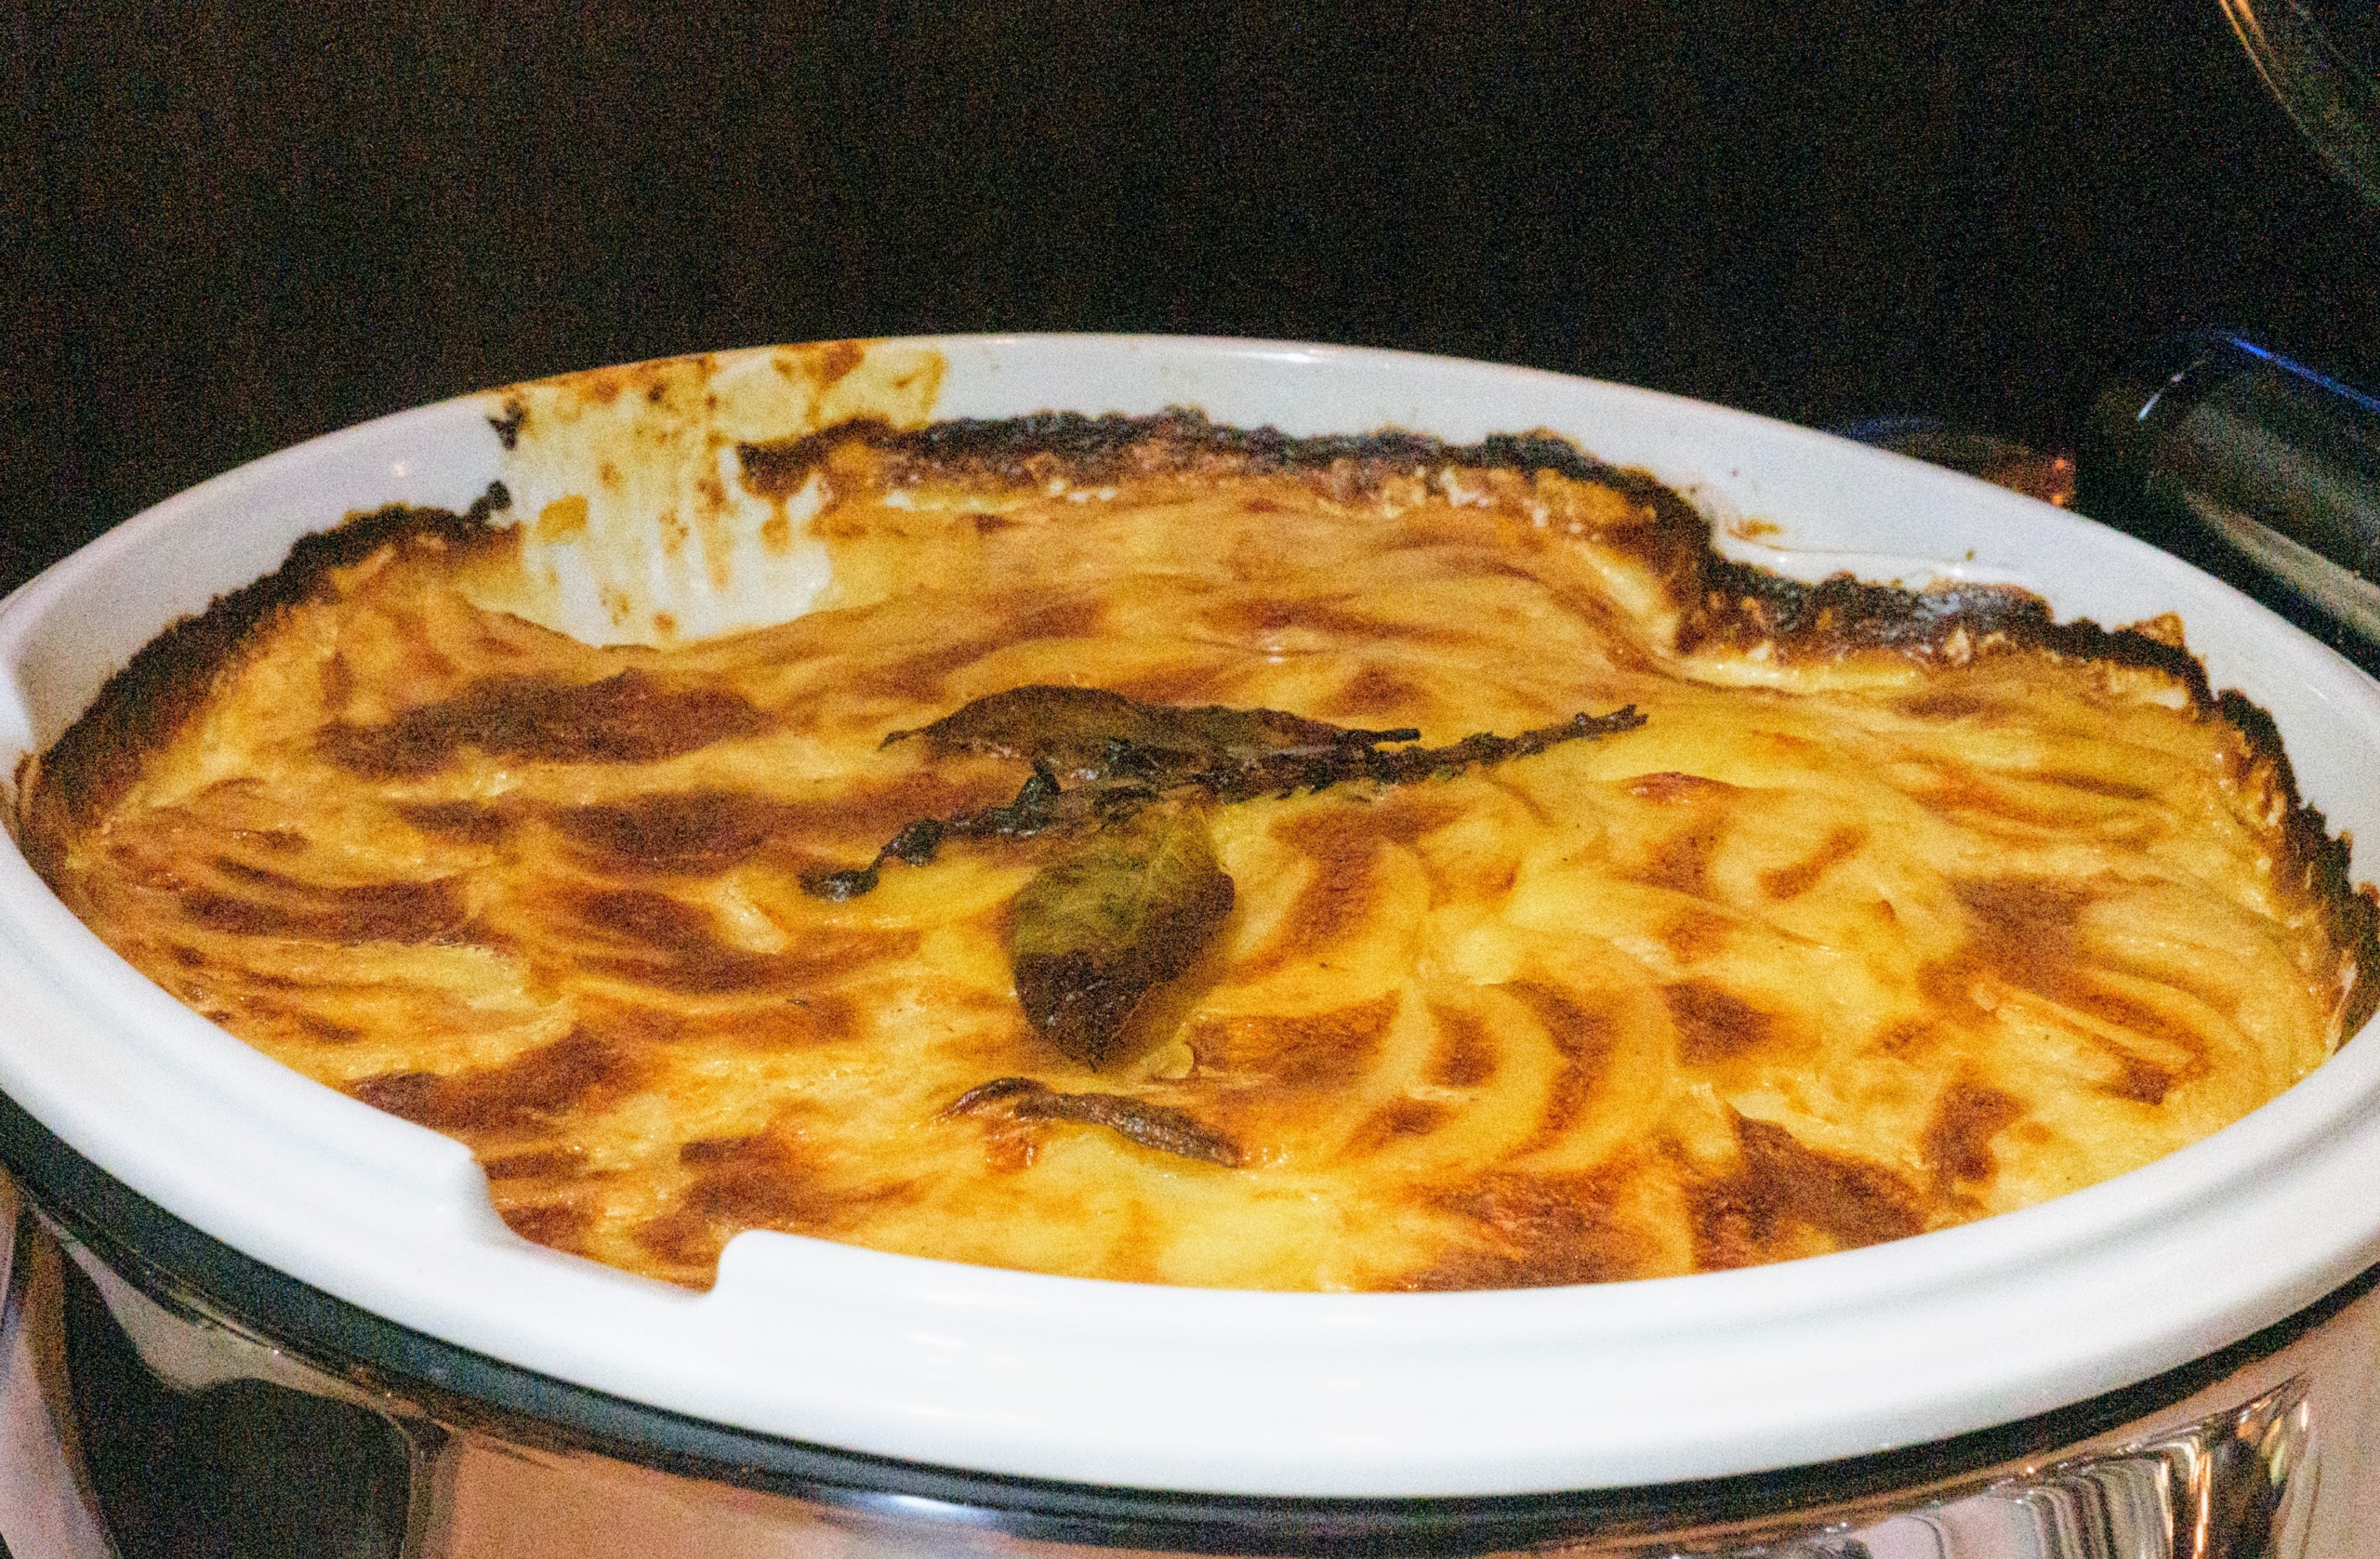
Potato Gratin dauphinois is a French dish of sliced potatoes baked in milk or cream, using the gratin technique, from the Dauphiné region in south-eastern France. (Photo by Madison McGaw/BFA.com)
Here is Chef Daniel with a large platter of Beef Bourguignon – one of Julia’s specialties. Beef Bourguignon is a beef stew braised in red wine, often red Burgundy, and beef stock, typically flavored with carrots, onions, garlic, and a bouquet garni, and garnished with pearl onions, mushrooms, and bacon. (Photo by Madison McGaw/BFA.com)
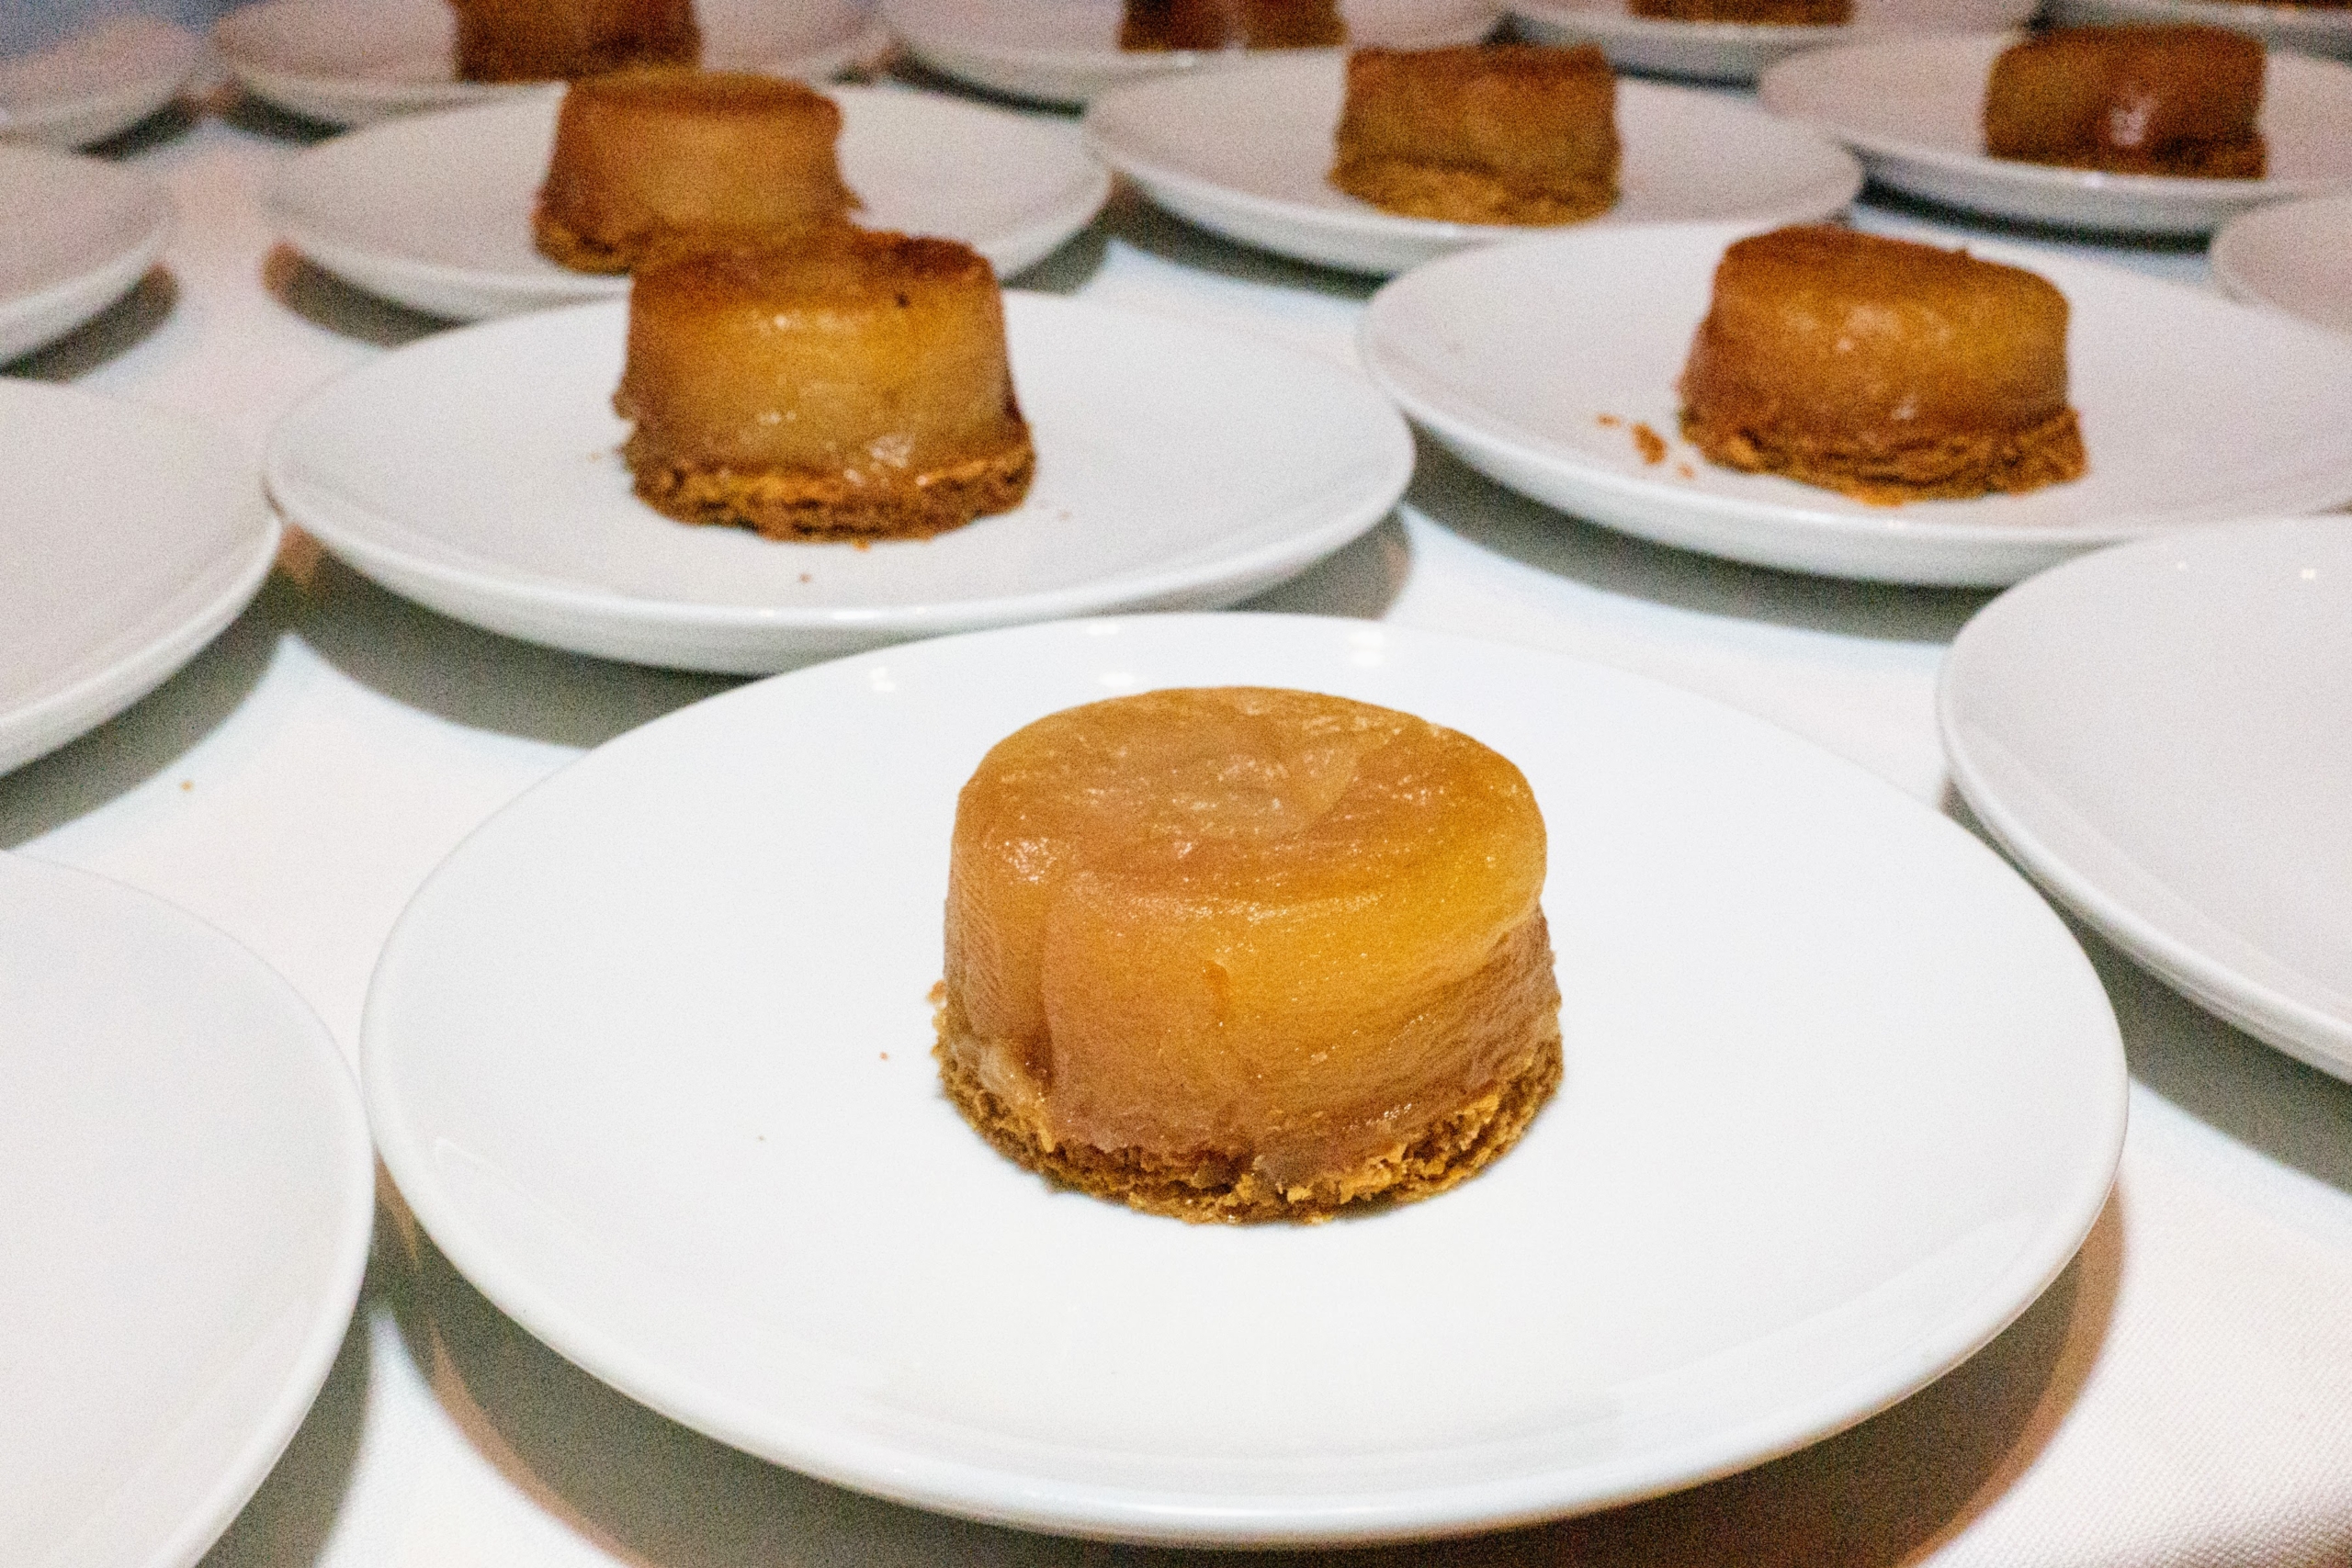
For dessert, guests enjoyed Apple Tarte Tatin – a pastry in which the fruit is caramelized in butter and sugar before the tart is baked. It was among Julia’s most loved recipes. (Photo by Madison McGaw/BFA.com)
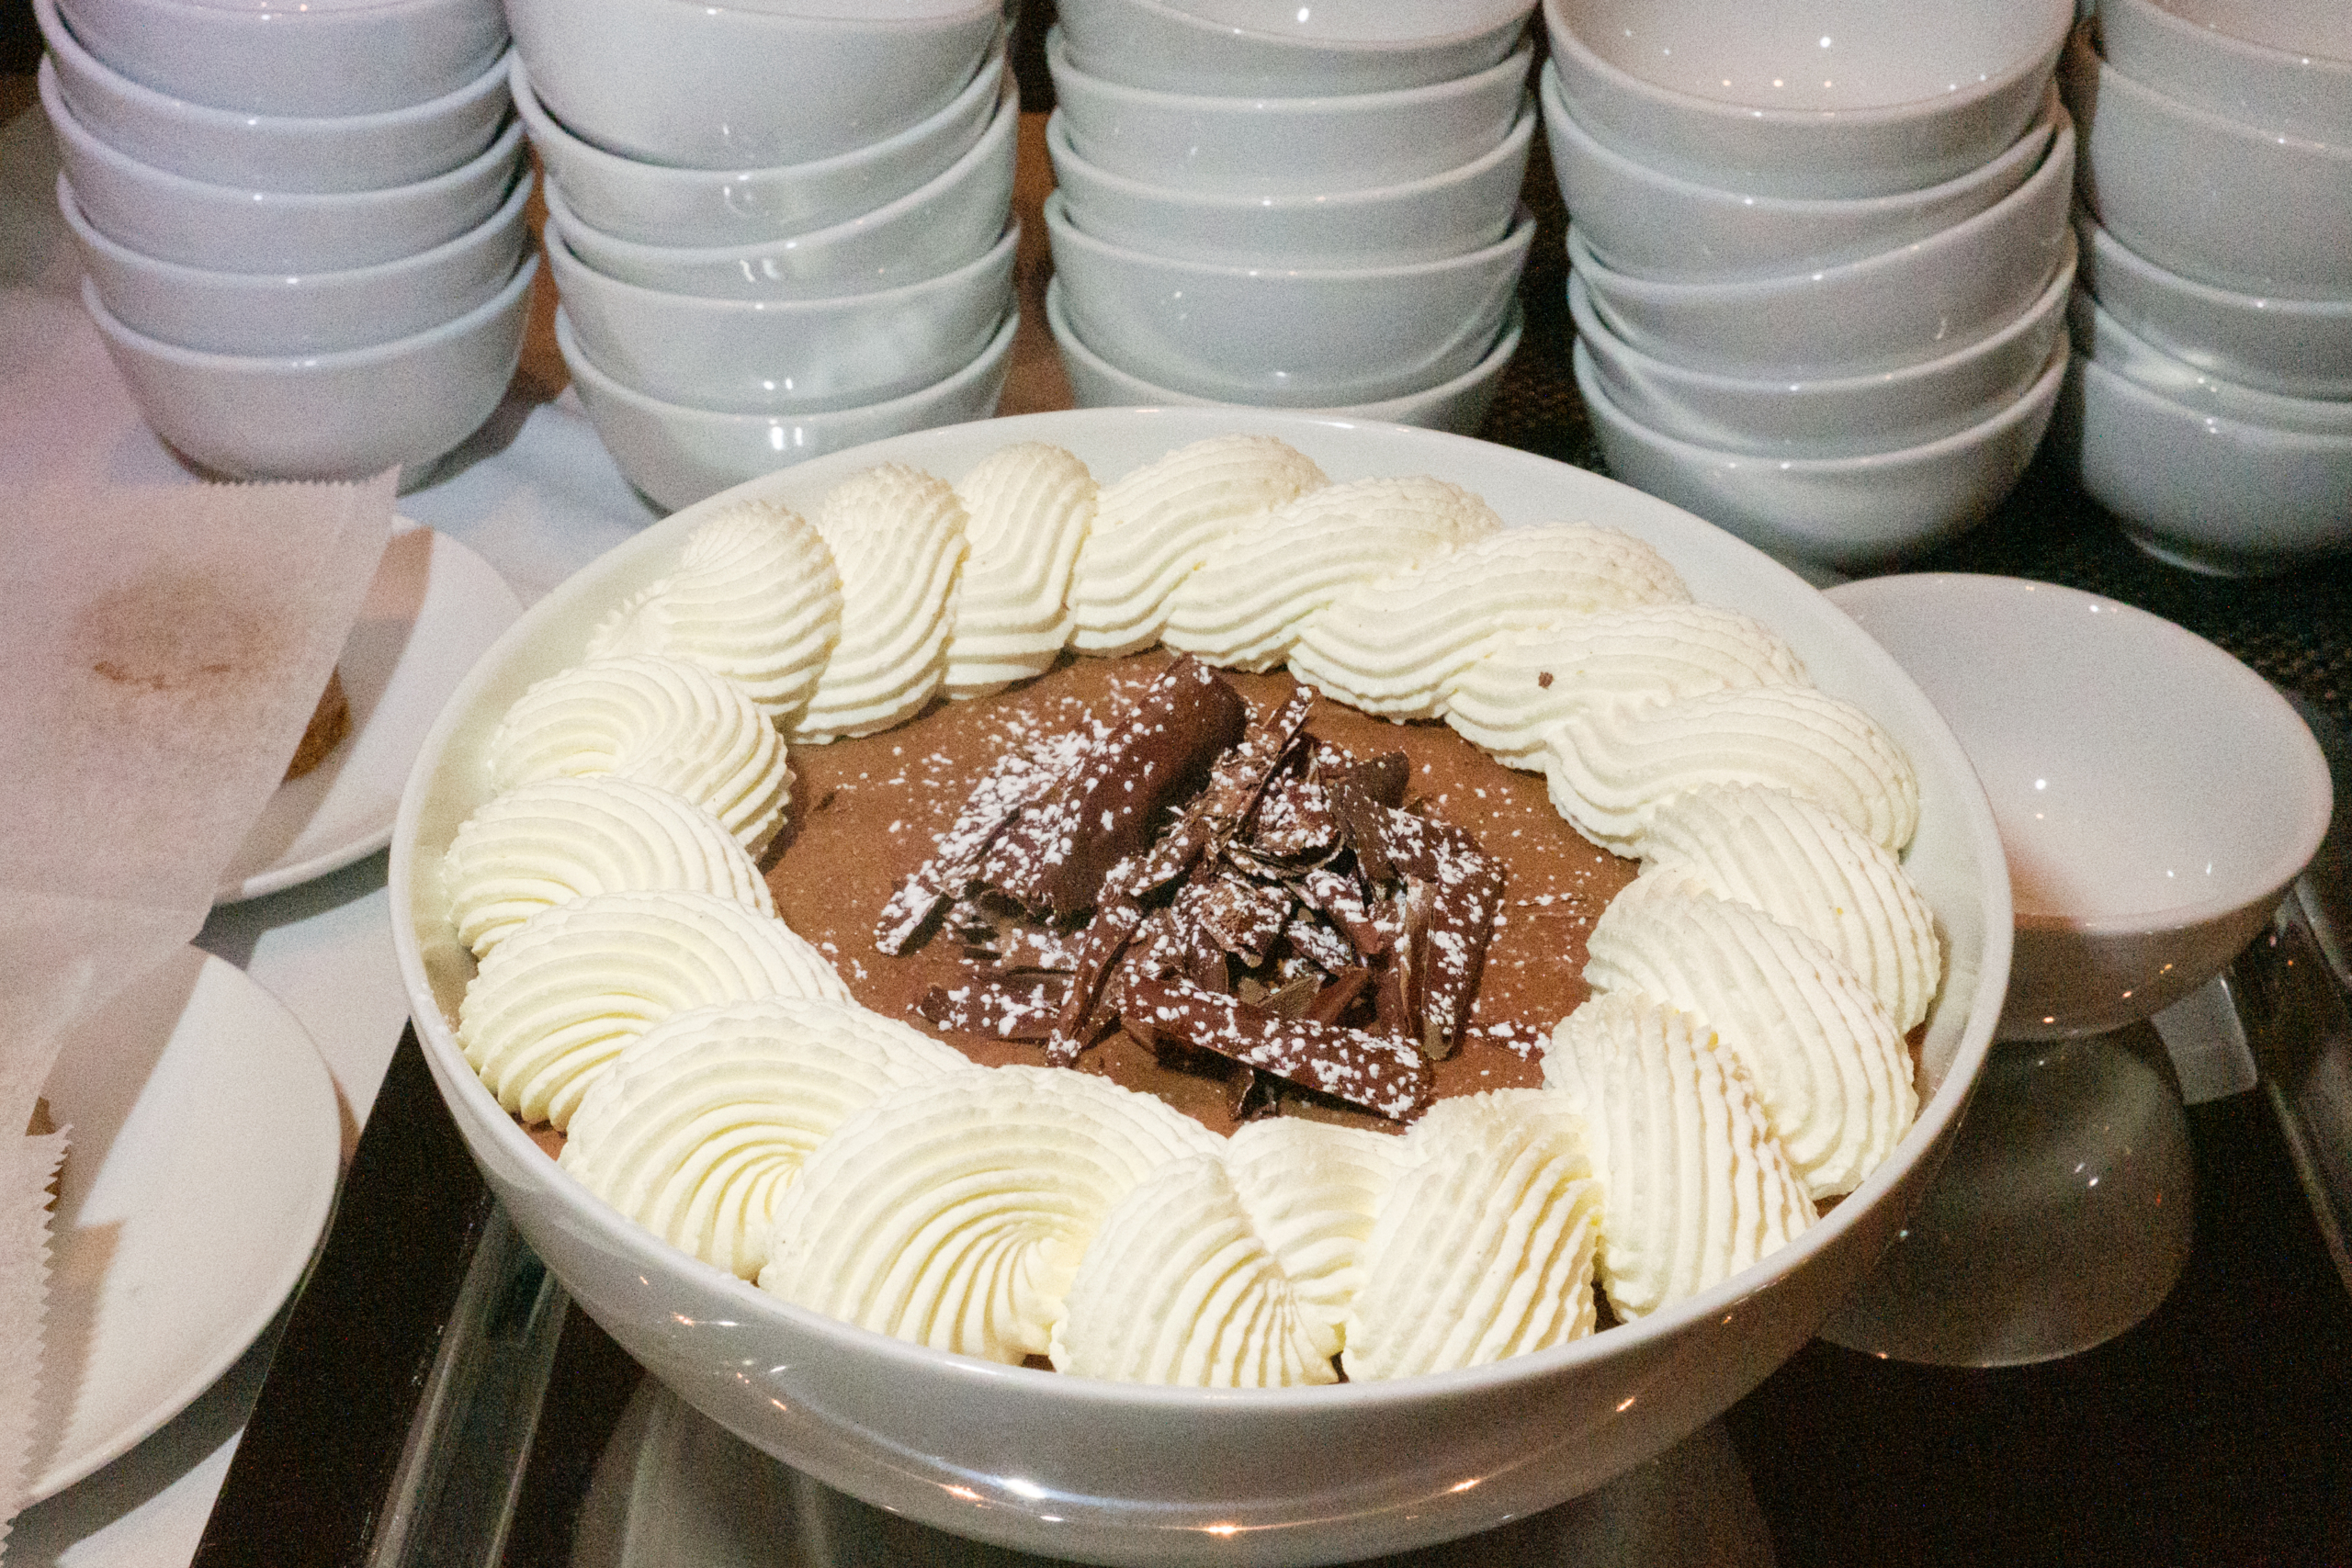
And, a decadent Chocolate Mousse. (Photo by Madison McGaw/BFA.com)
Chef Daniel brought in a photo of himself and Julia standing in a kitchen years ago. (Photo by Madison McGaw/BFA.com)
It was a wonderful event and a beautiful tribute to the very special, very talented, and very inspiring Julia Child. I hope you all go out to see the documentary.
Our big autumn planting project continues at my Bedford, New York farm with the next crop of garlic.
Although this can be done in the spring as soon as the ground can be worked, fall planting is recommended for most gardeners. This allows extra time for the garlic bulbs to grow and become more flavorful for the summer harvest. Every year, we plant garlic from Keene Organics, a family owned farm in Wisconsin that sells certified organic and naturally grown gourmet bulbs for both eating and planting. Garlic is great for cooking and very good for your health. It is known to lower blood pressure as well as cholesterol, and carries many antioxidant properties. Knowing that I also grow the garlic myself makes it even more special.
Enjoy these photos.
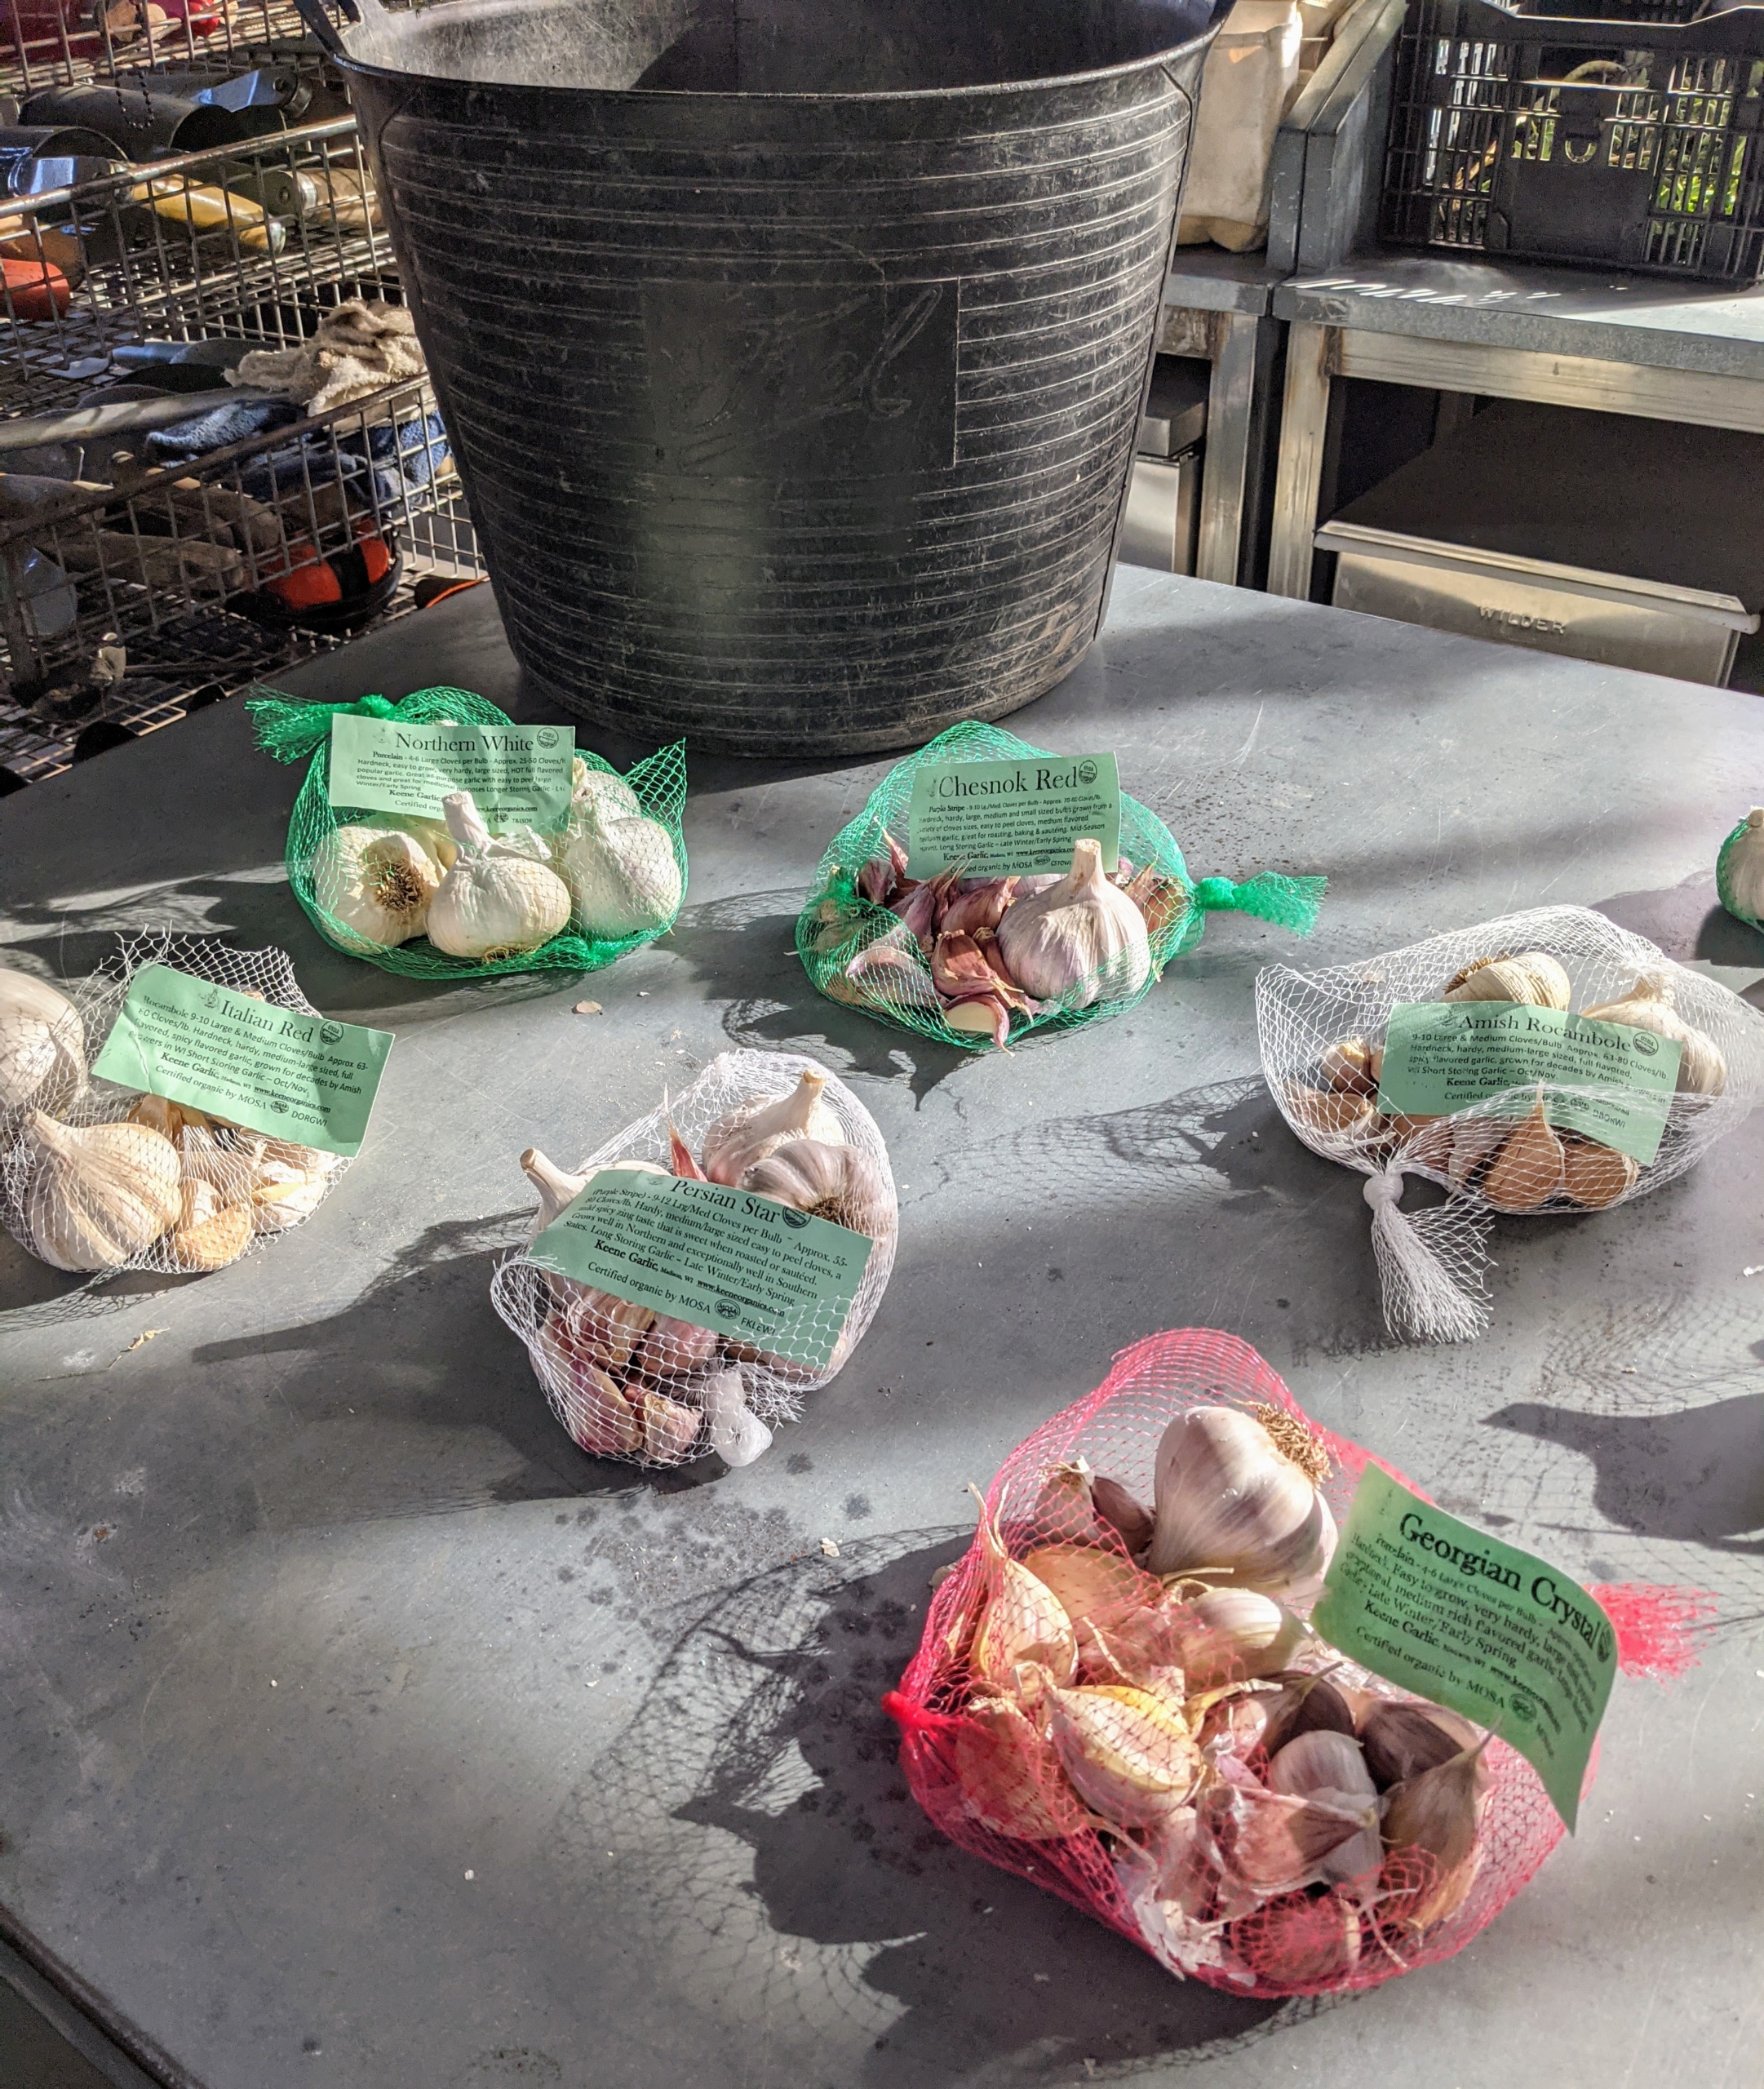
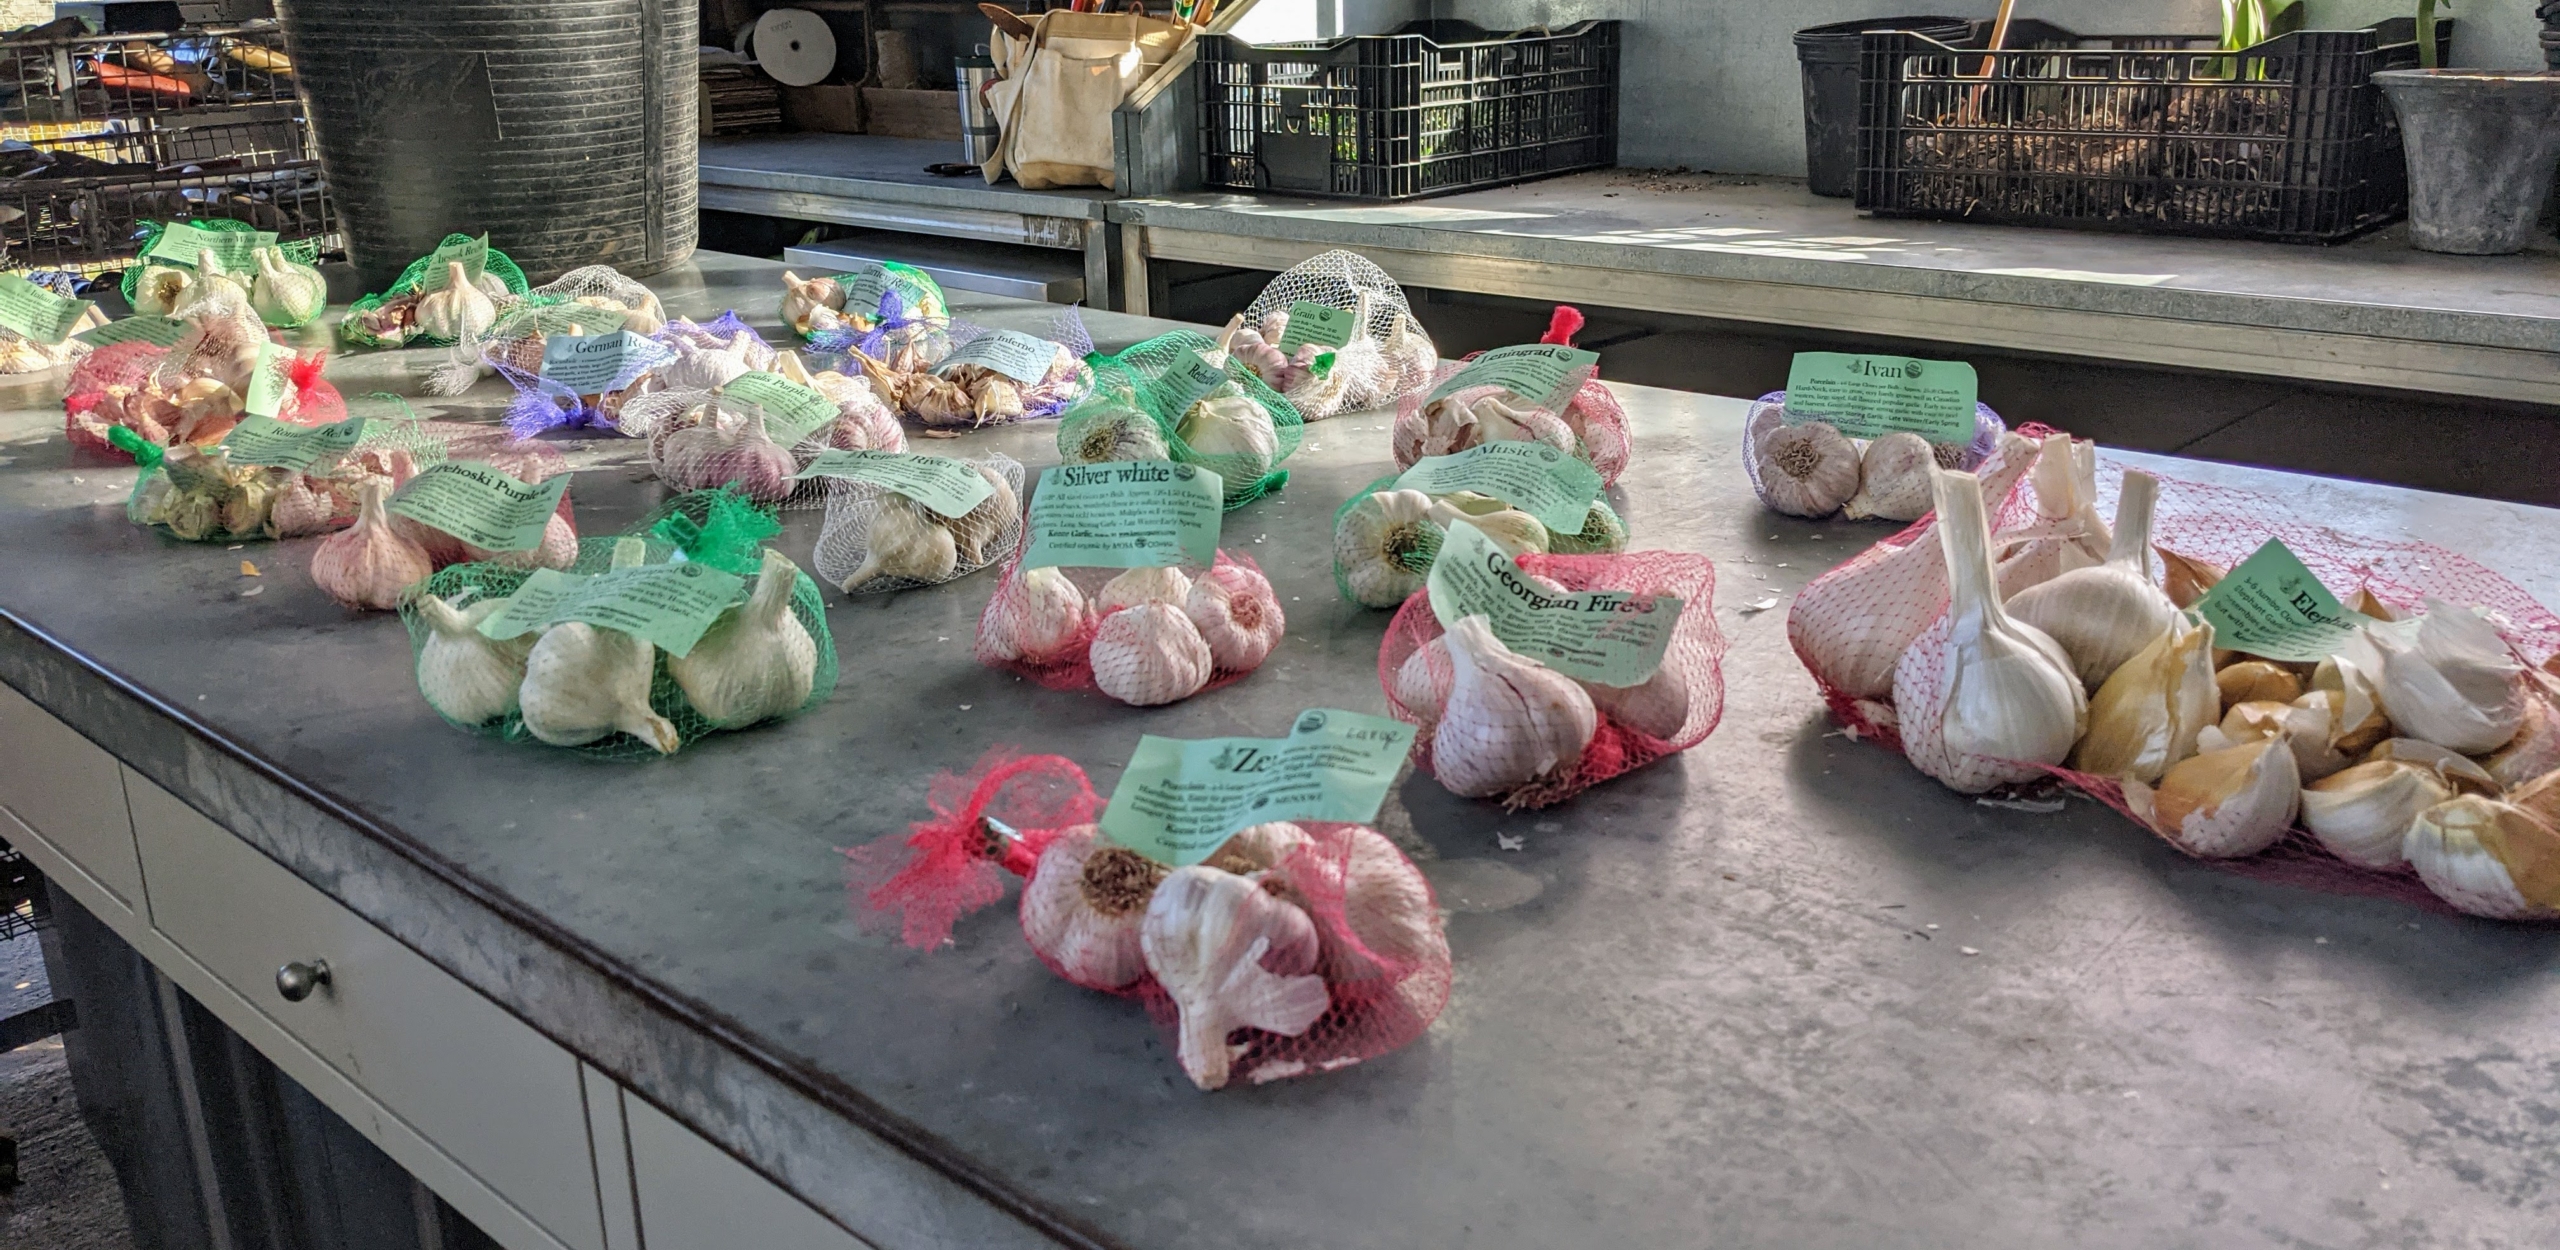
It’s always exciting to get a delivery from Keene Organics filled with a variety of garlic bulbs for my garden. I’ve been planting Keene Organics garlic for several years, and am always so pleased with their growth and taste. The garlic is one of the last crops we plant before winter.
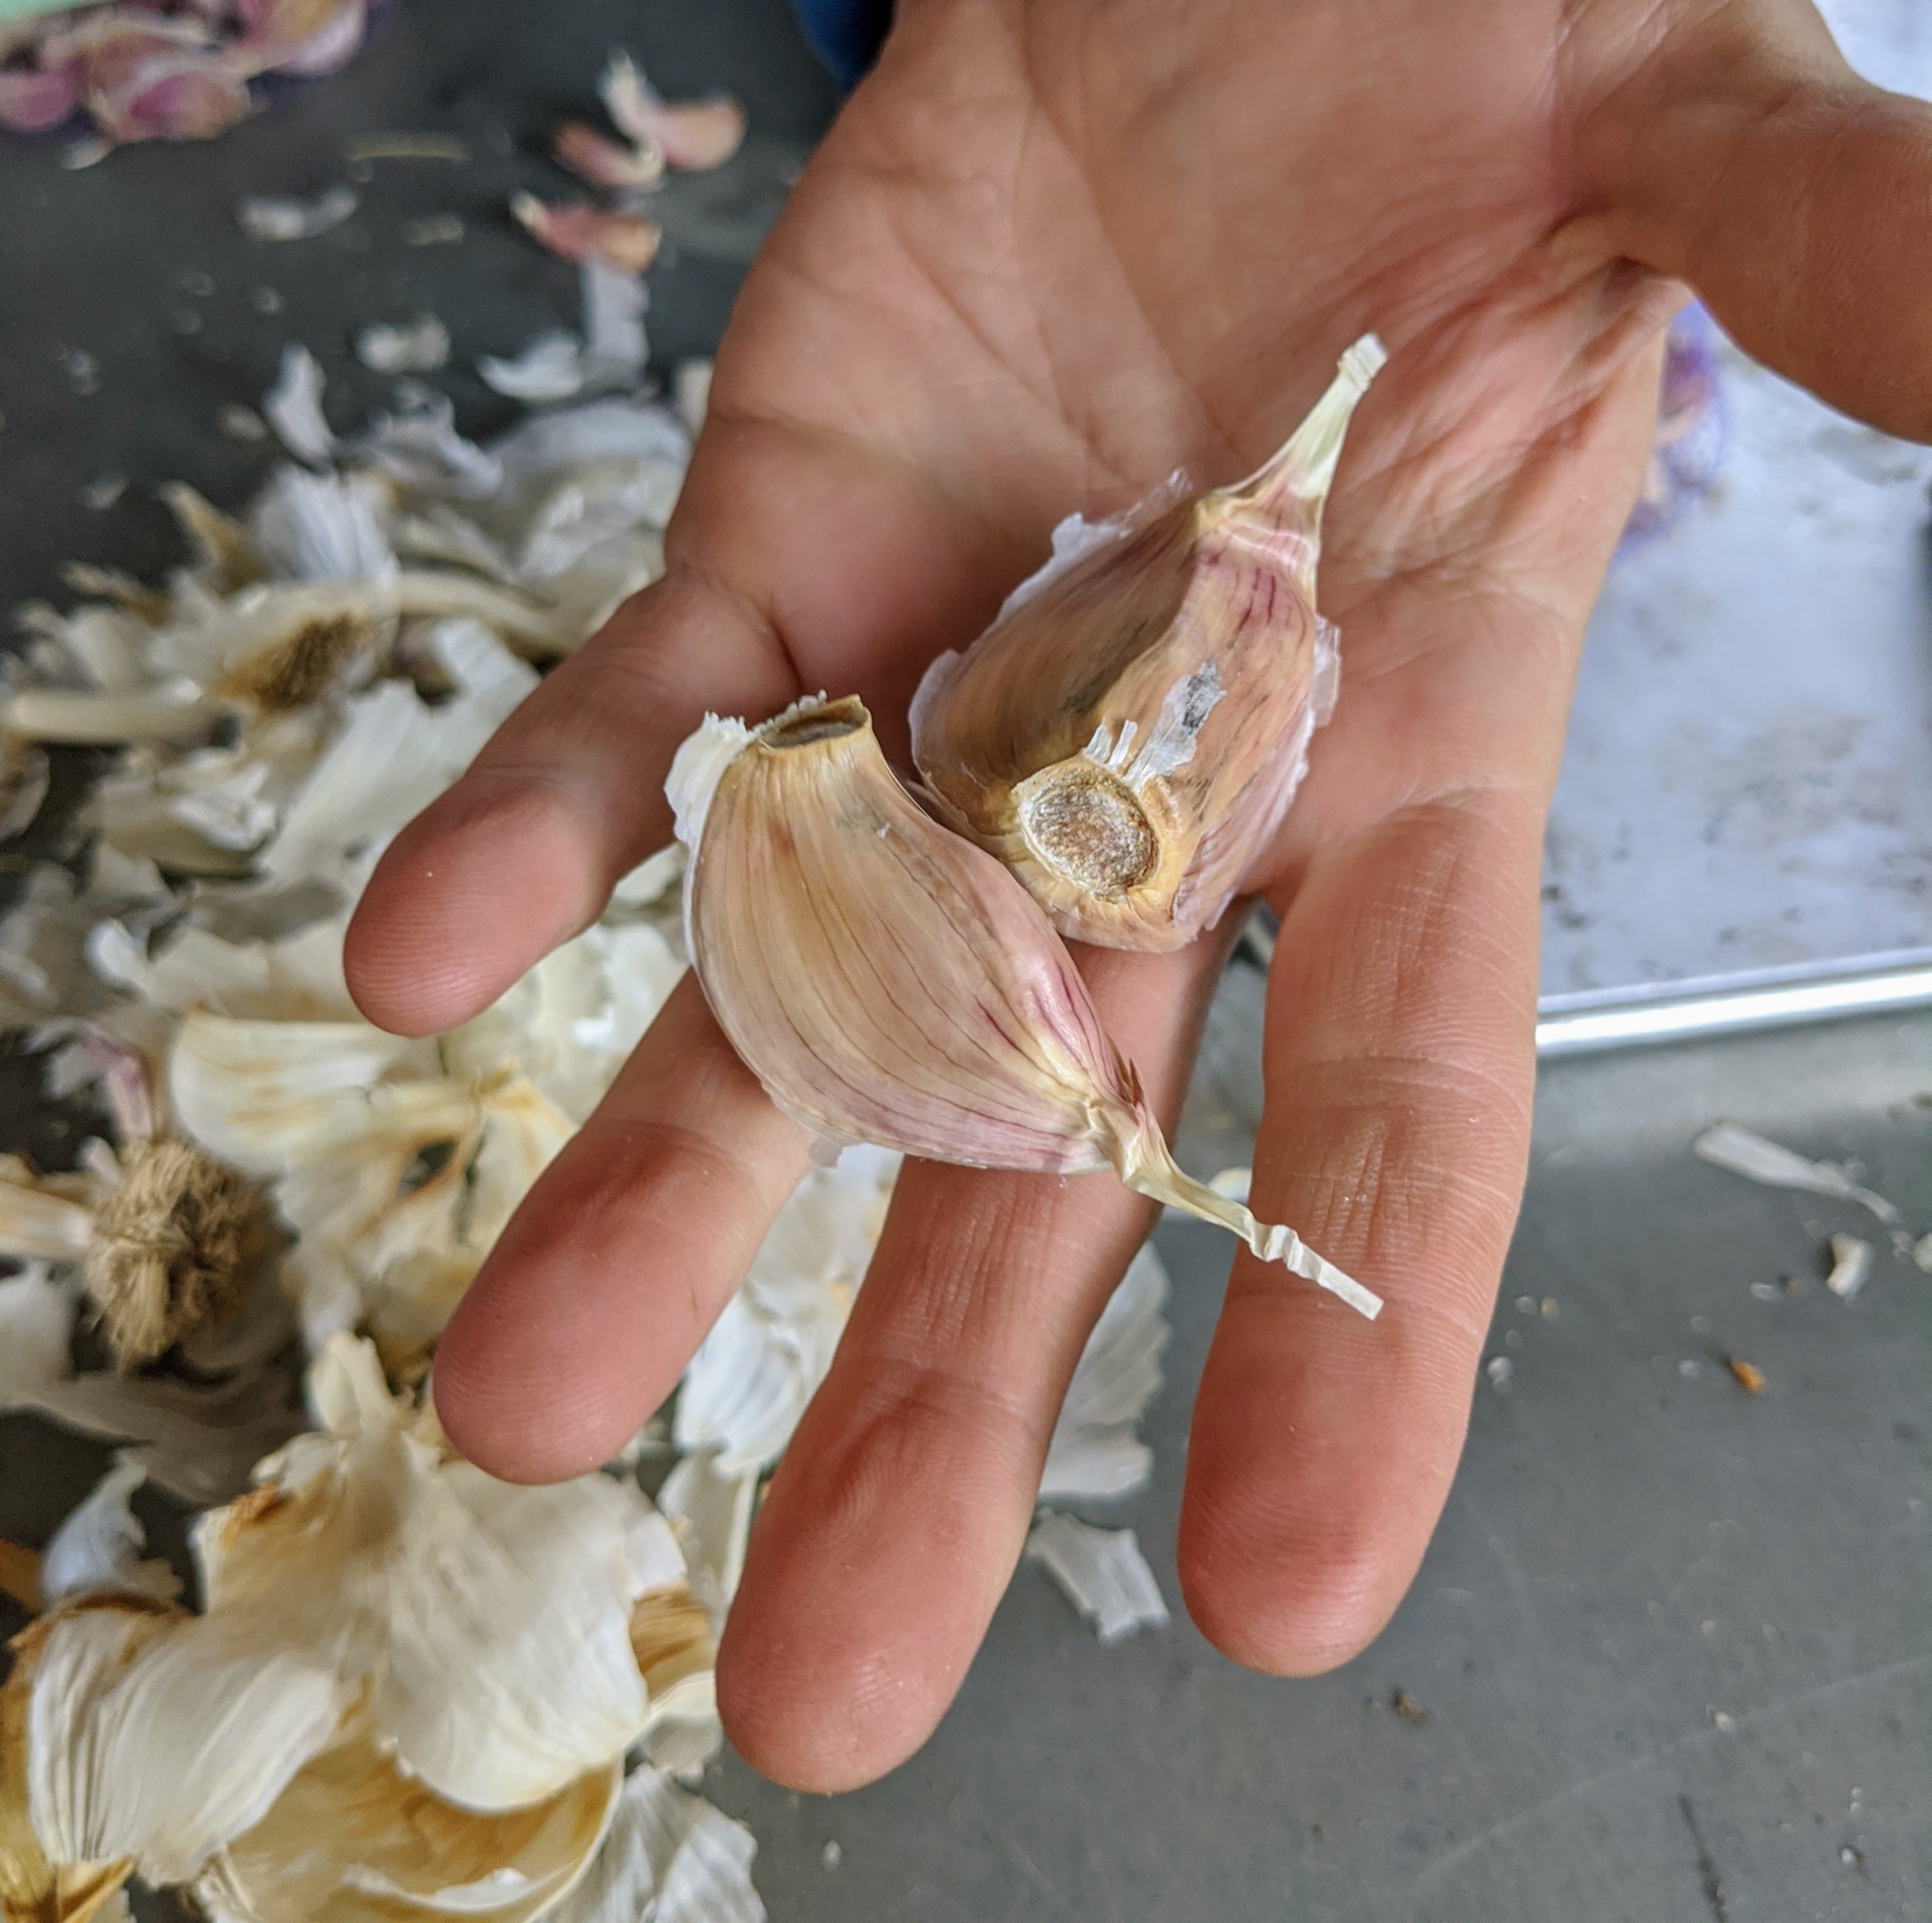
When planting garlic, look for the largest most robust bulbs. There are always about three or four heads in each netted pack, and each one contains at least four to six cloves – some even more. If you’re a little unsure of the terminology, the entire garlic is called a “head” or “knob.” And each small, individual segment of a garlic head is the garlic clove.
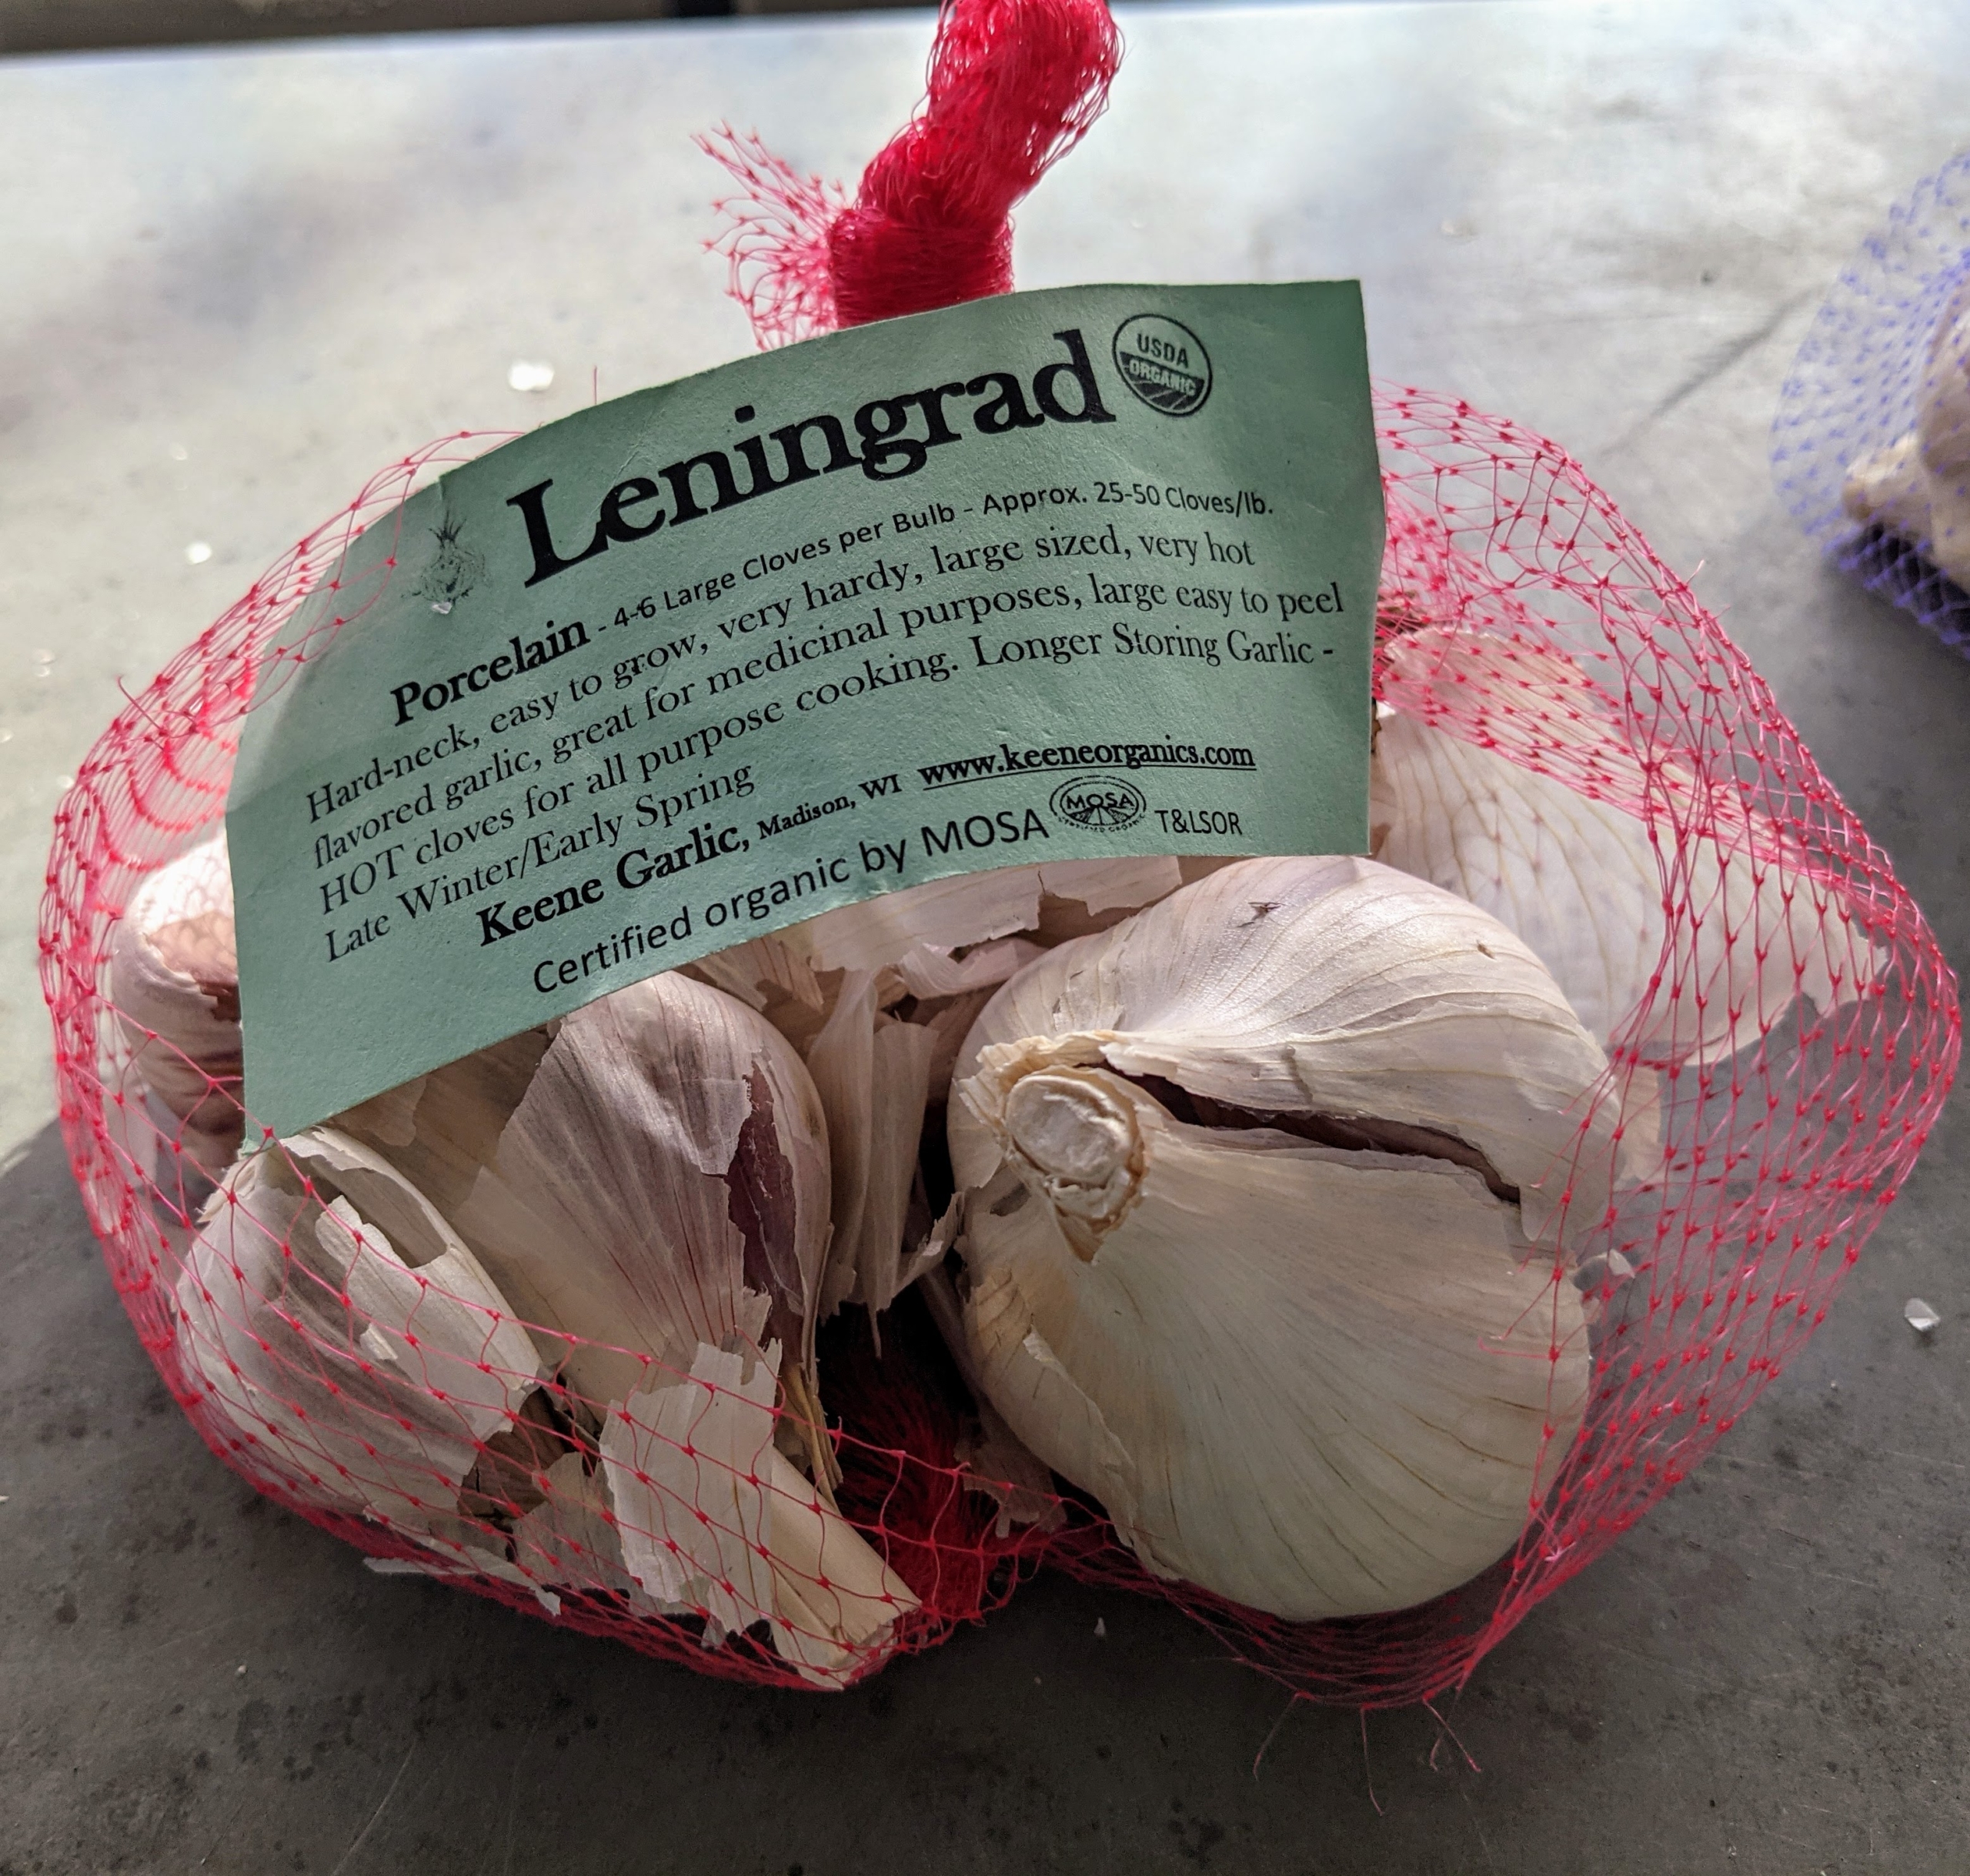
Among the varieties we are planting this year is Leningrad, which has a very rich, hot, strong garlic flavor. It starts off mild and becomes very strong and robust as it is eaten.
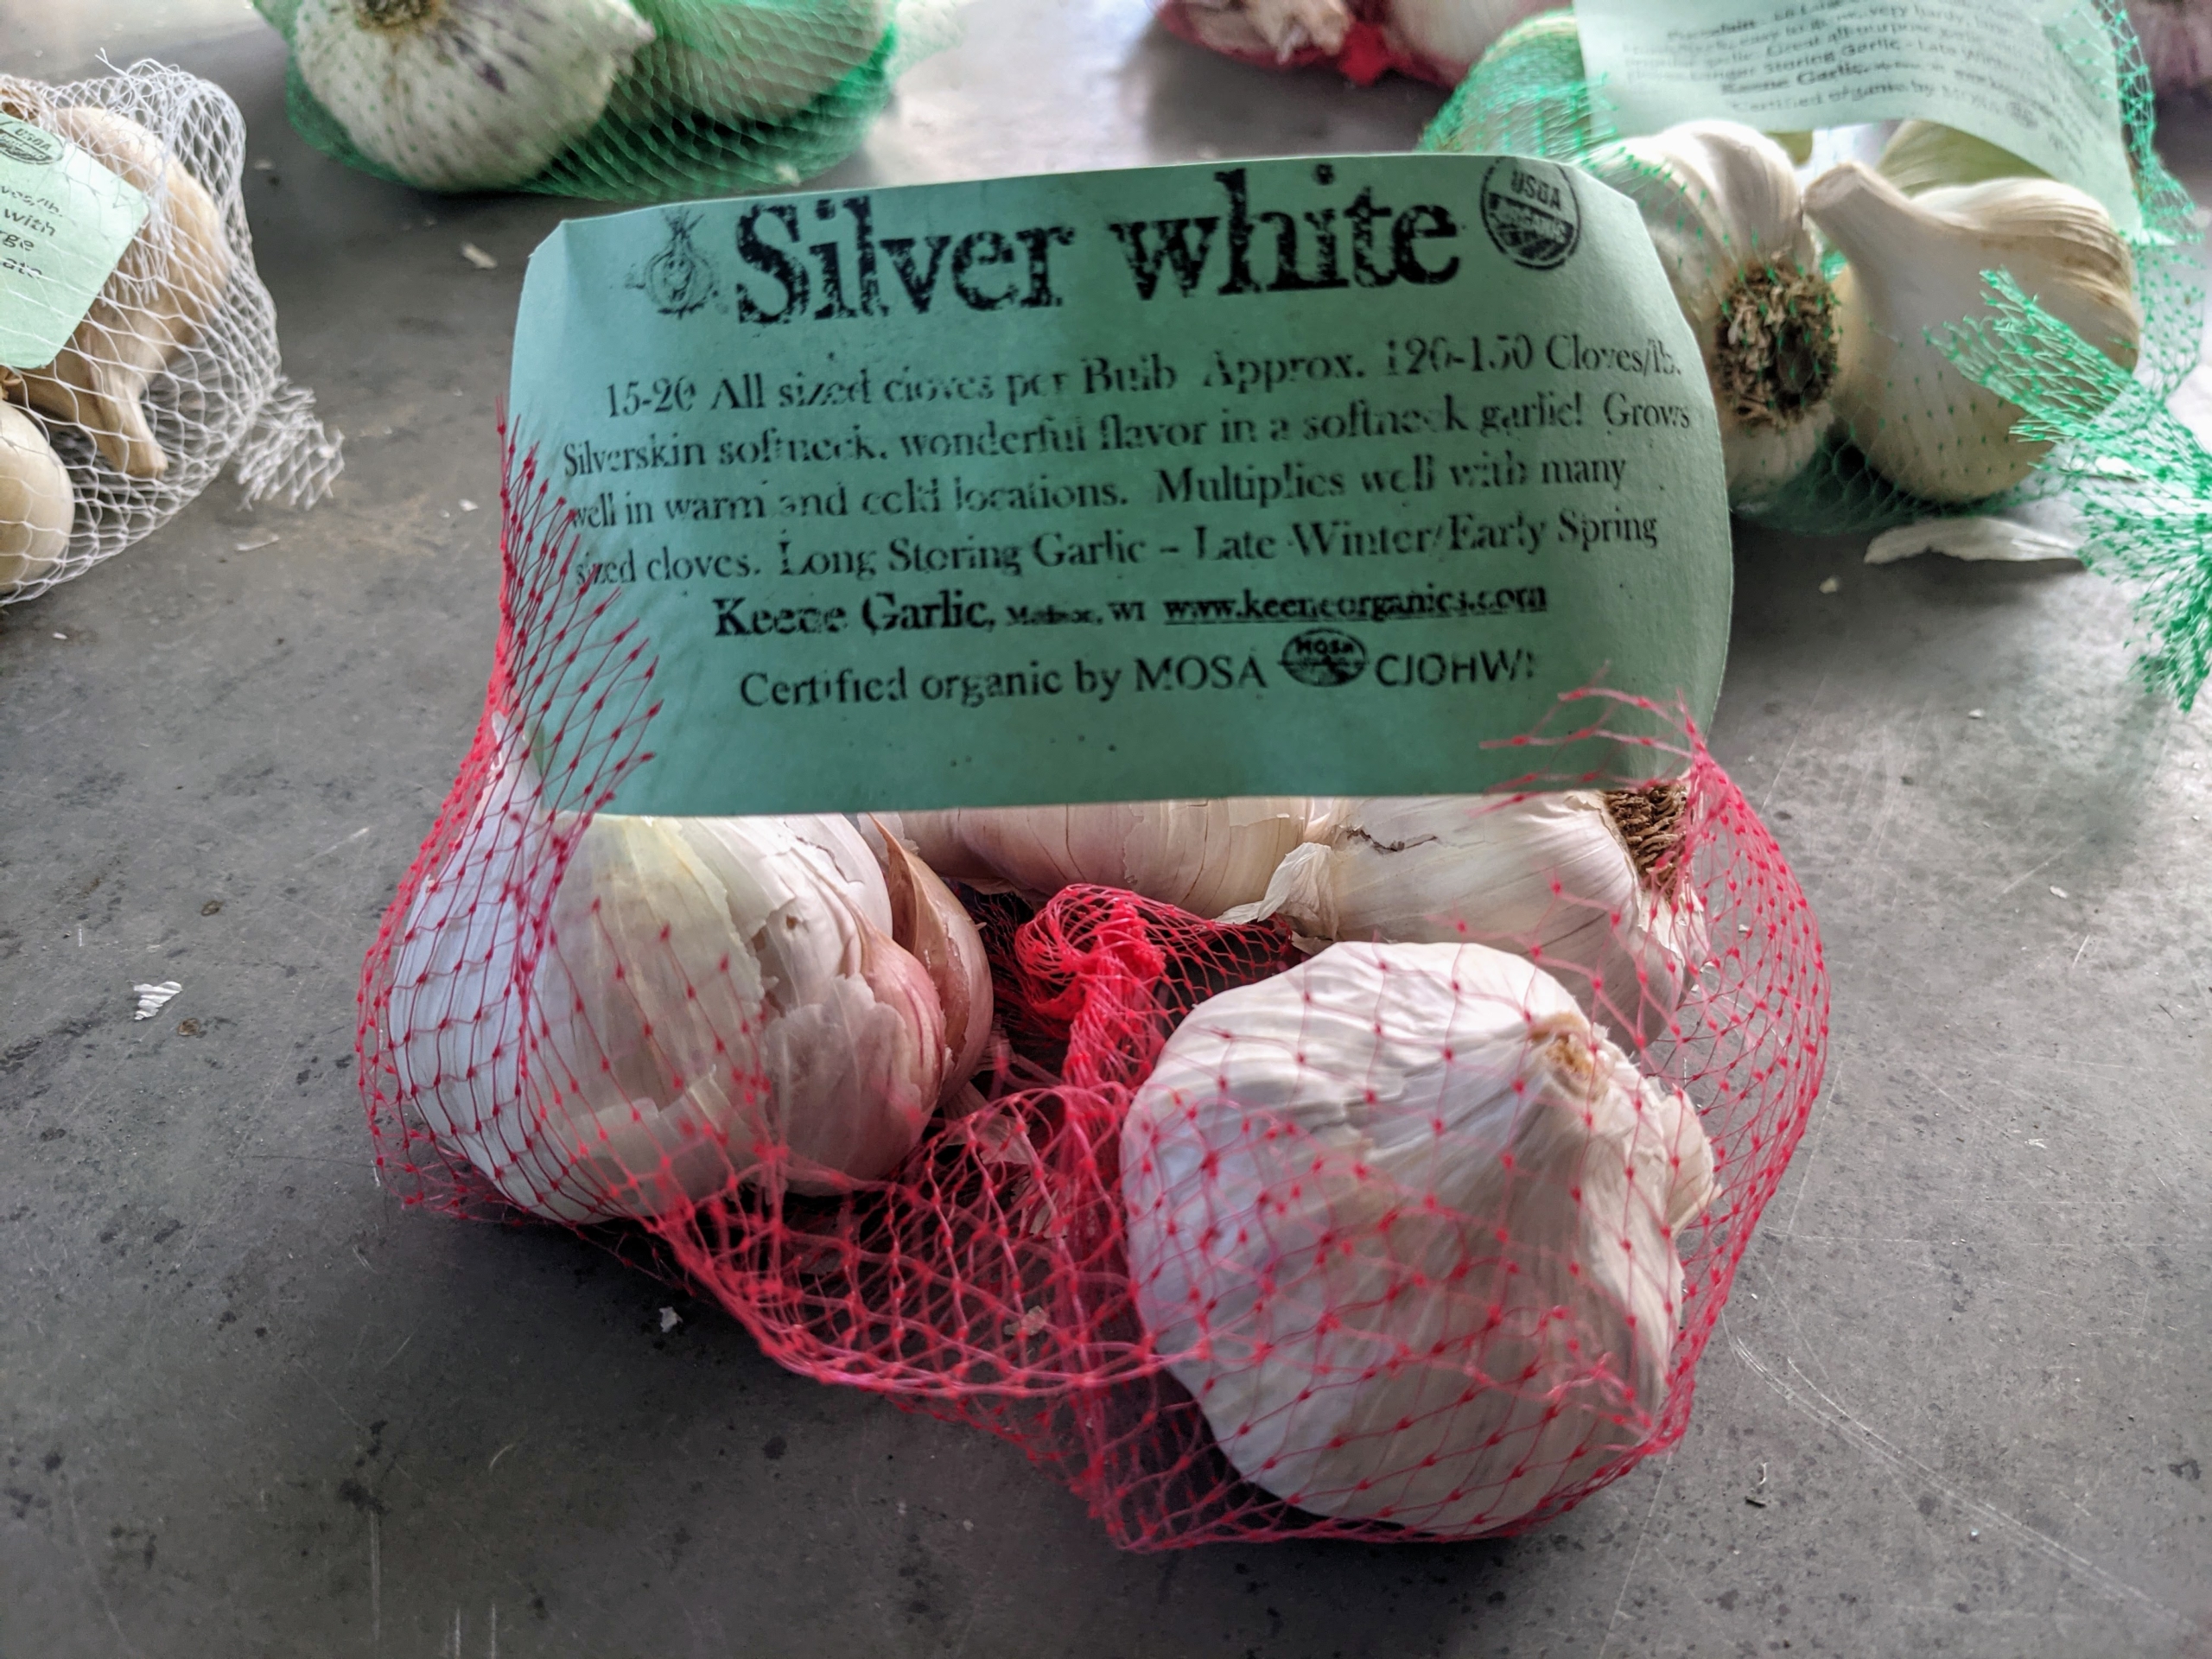
Softneck Silver White is known for being the longest storing garlic. It has large bulbs and pretty coloring. Silver Whites are flavorful, mild and great when baked and roasted.
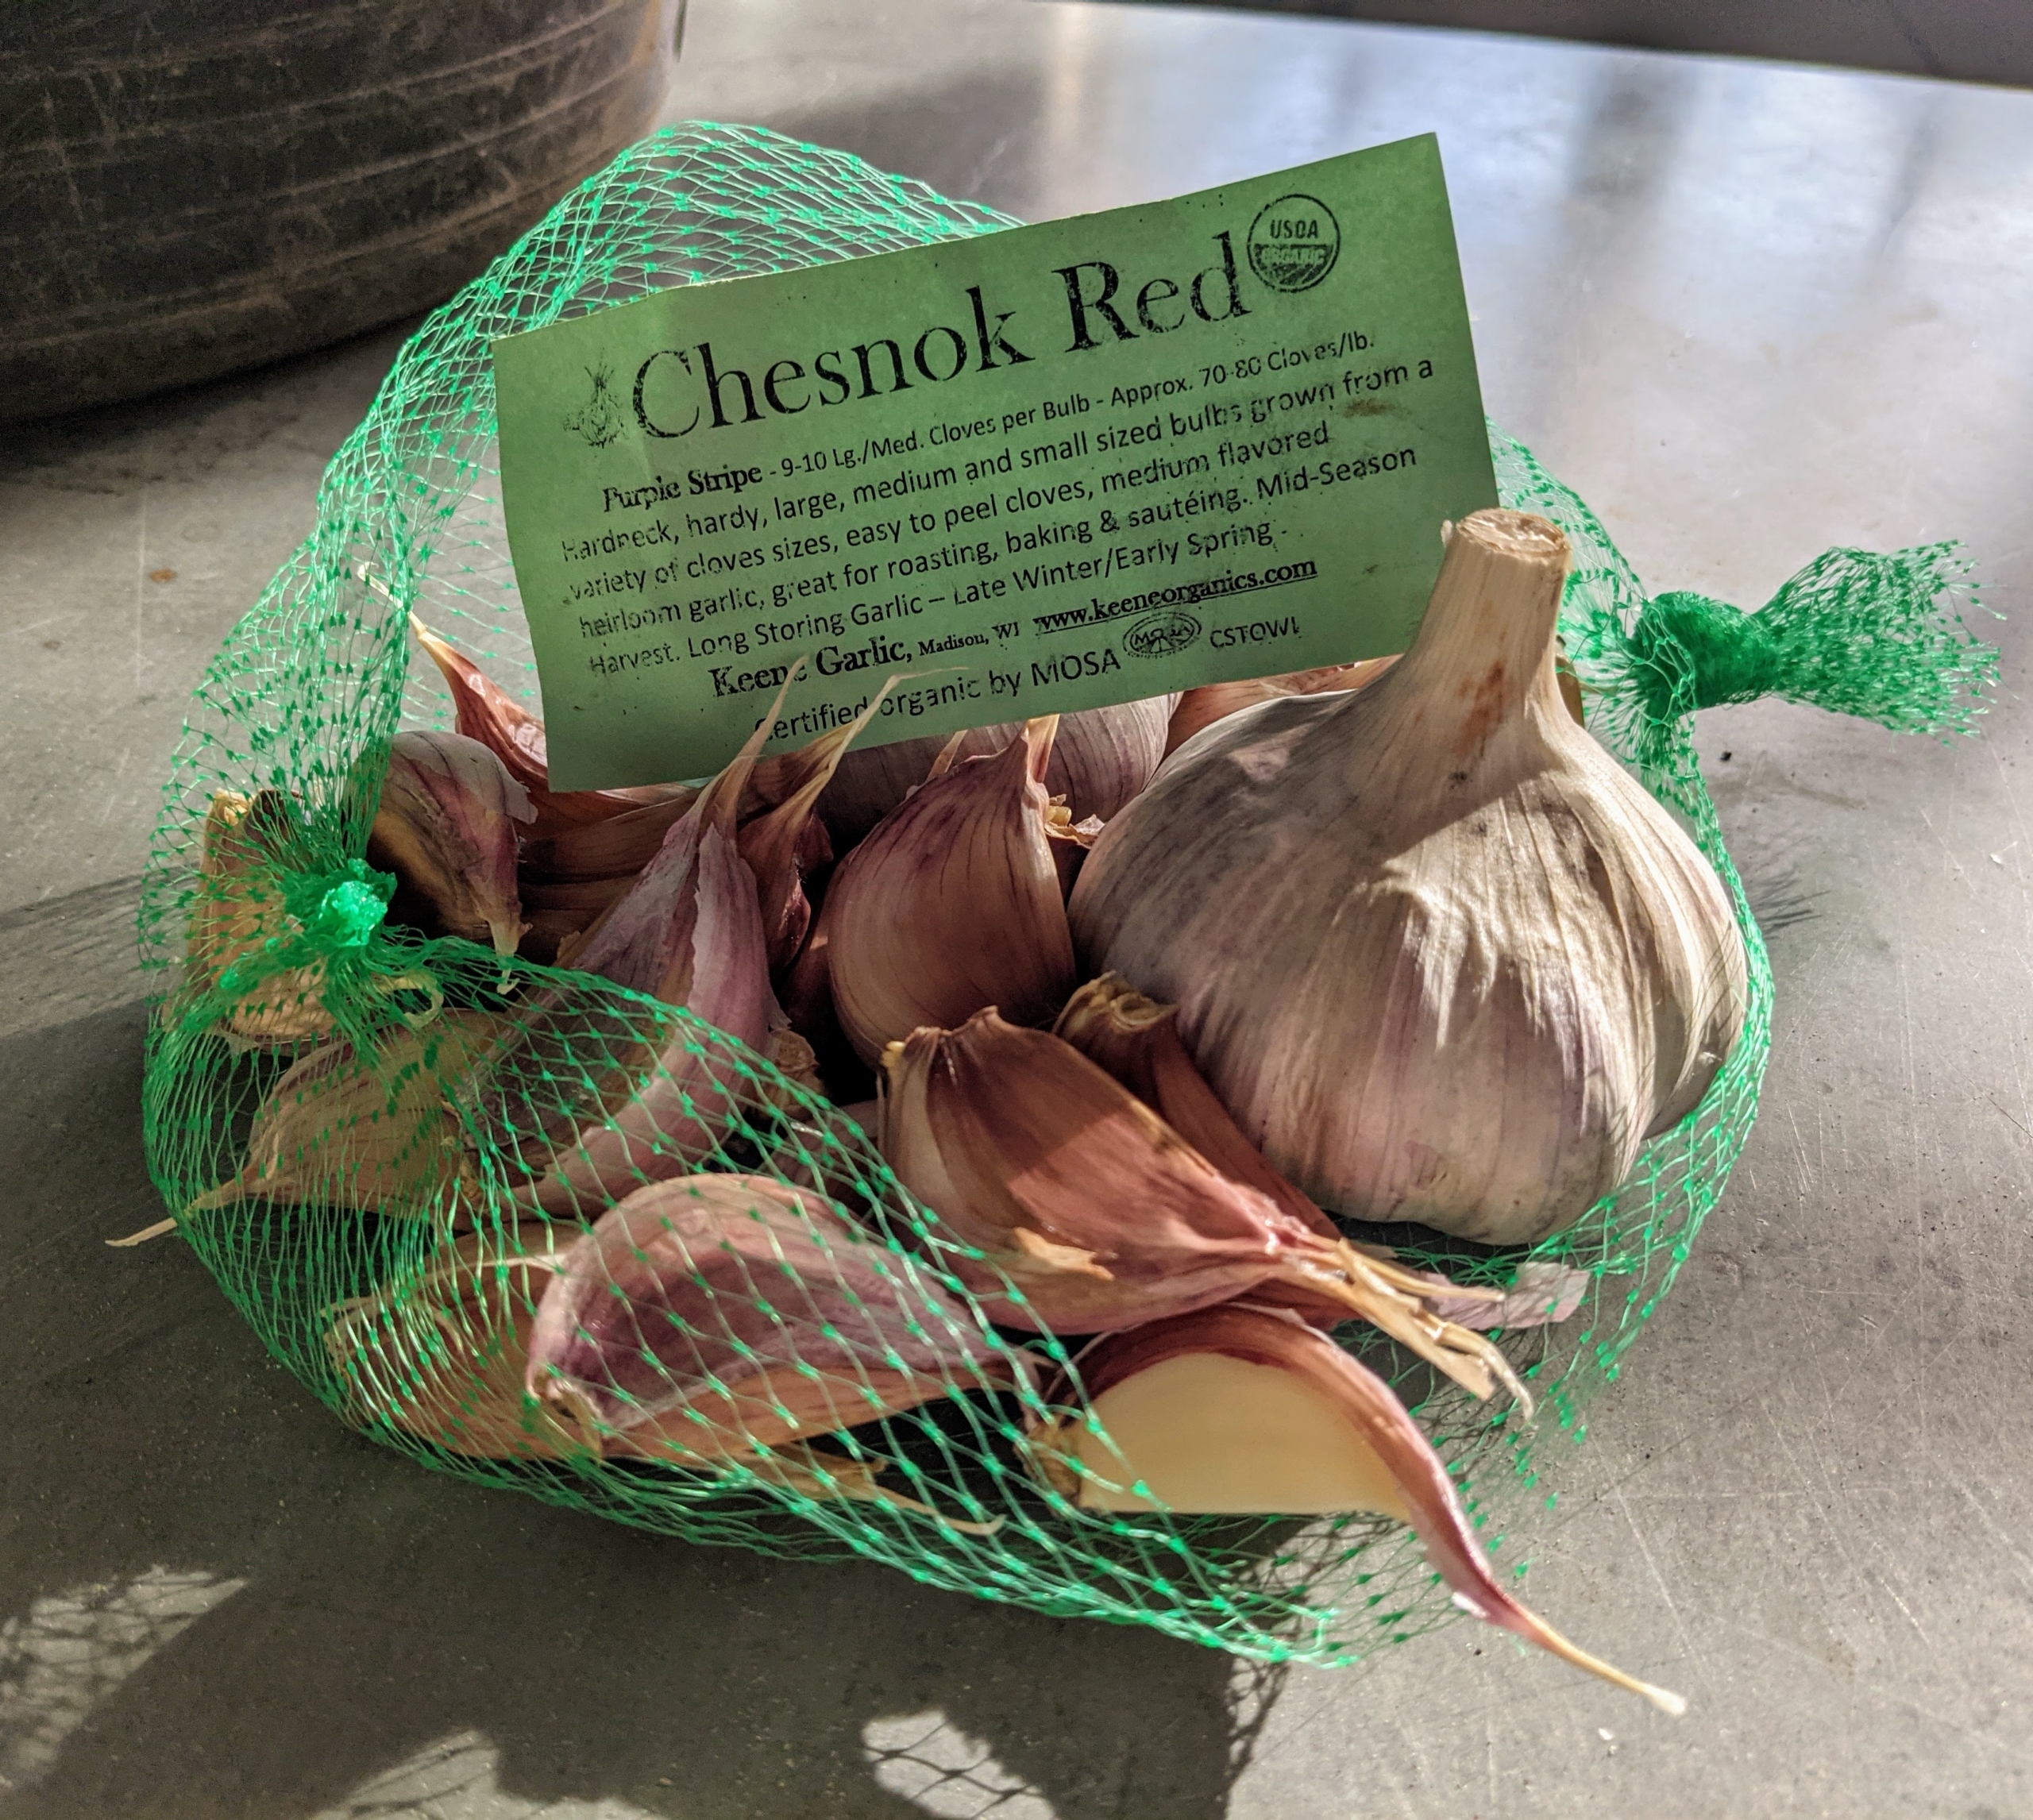
The Chesnok Red garlic is an heirloom variety. It is loved for its rich flavor as an all-purpose cooking garlic. It’s also well known as a superb baking garlic.
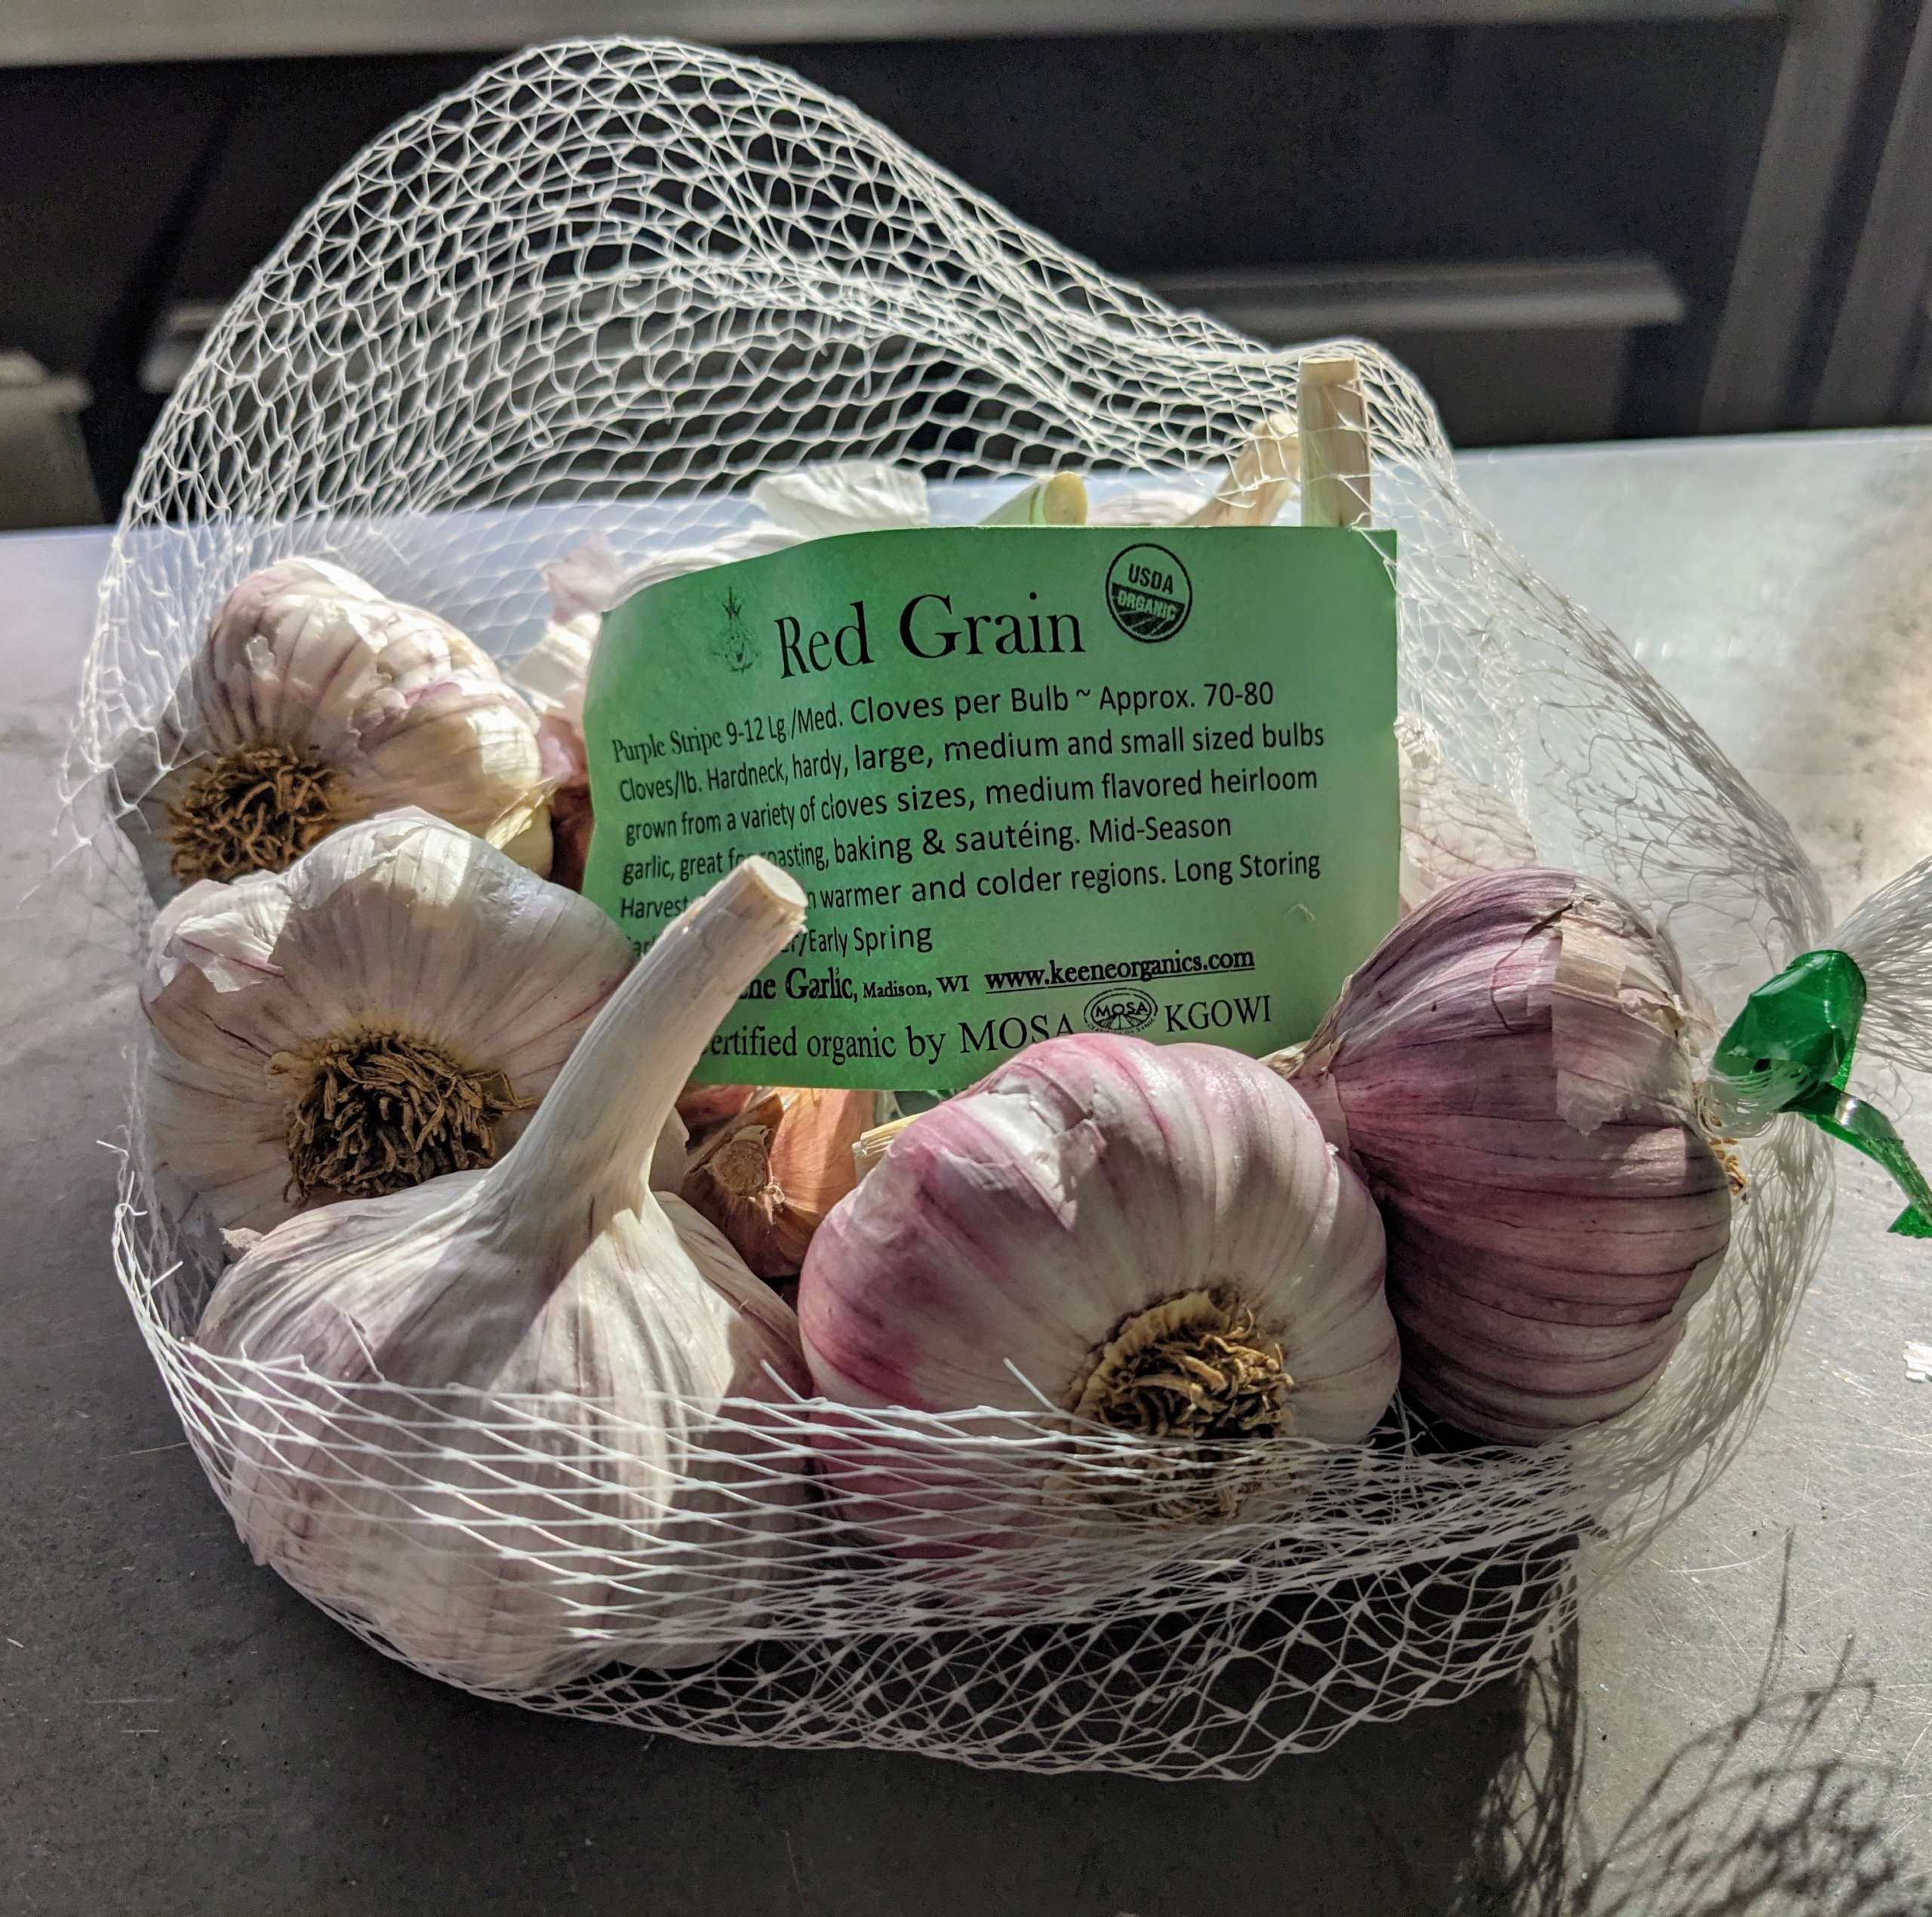
This hardneck Red Grain garlic has a spicy zing and a rich sweet flavor when roasted and sauteed.
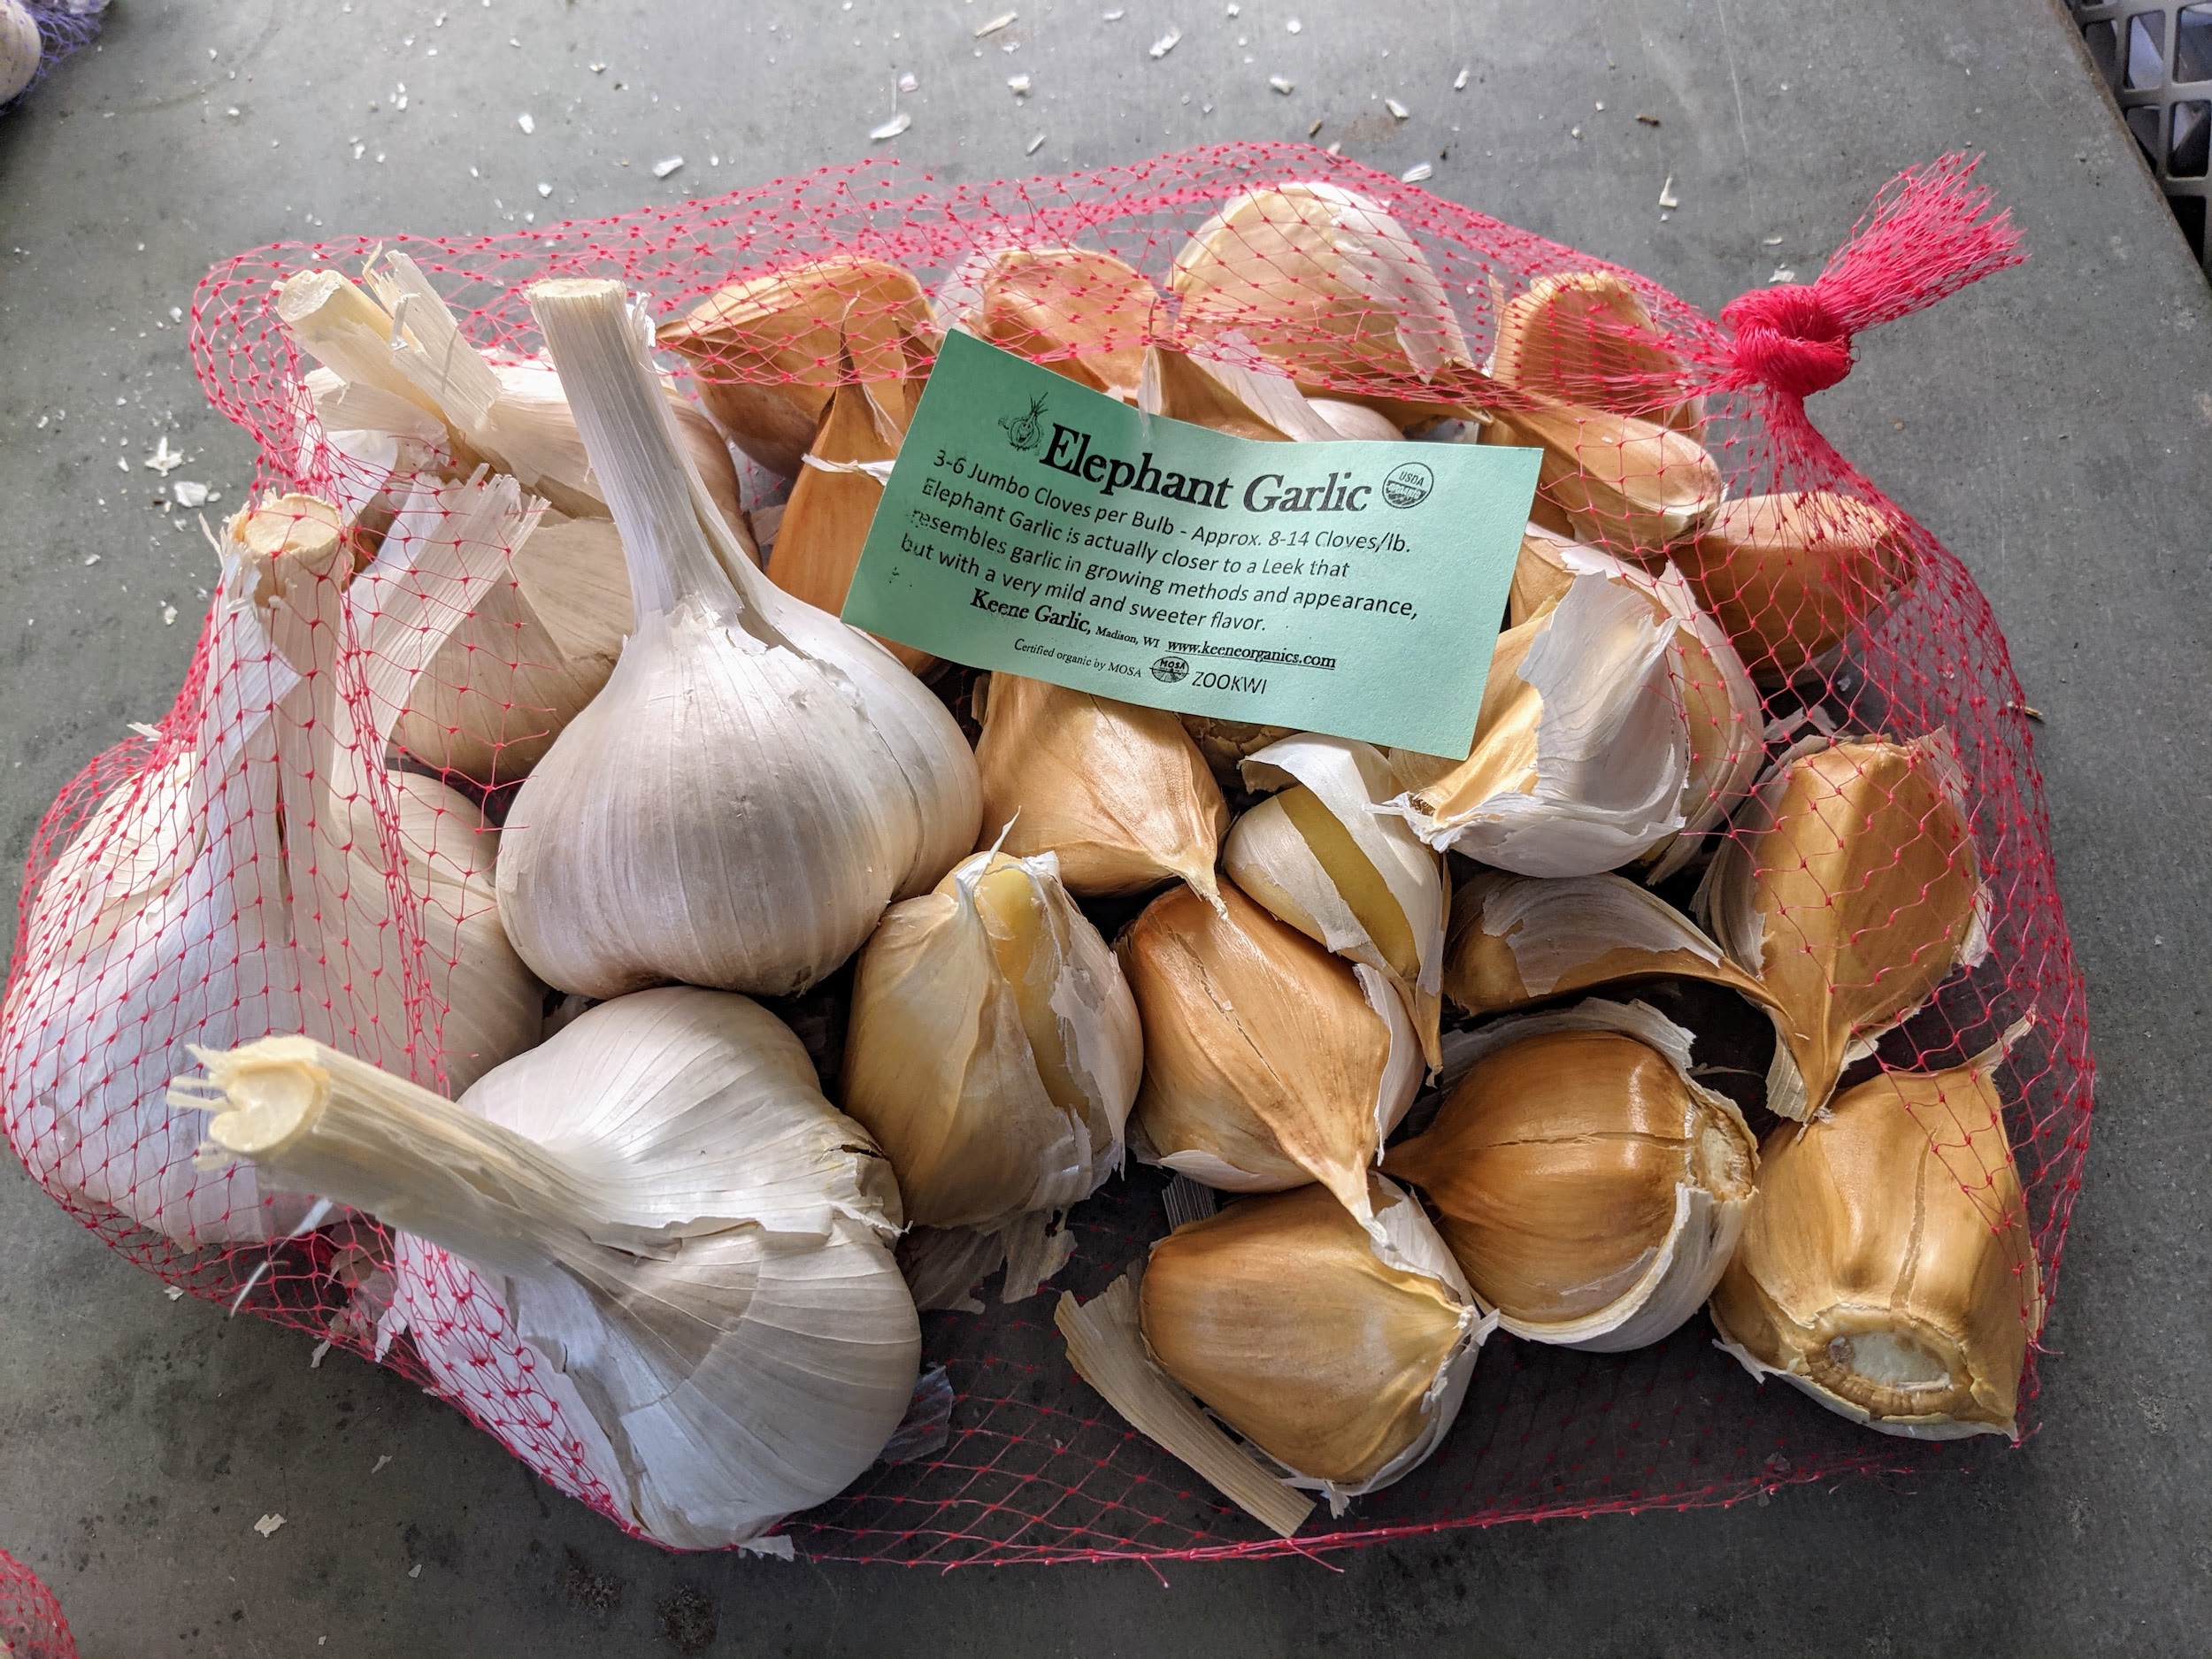
And, Elephant Garlic is actually a leek that resembles garlic in growing and in appearance. It has a very mild flavor. It is most commonly found in grocery stores. It is also larger than the other garlic varieties.
Each head is carefully broken to separate all the cloves and then the cloves are grouped together and placed in plastic containers. For the best results, plant the largest cloves from each bulb and save the smaller ones for eating.
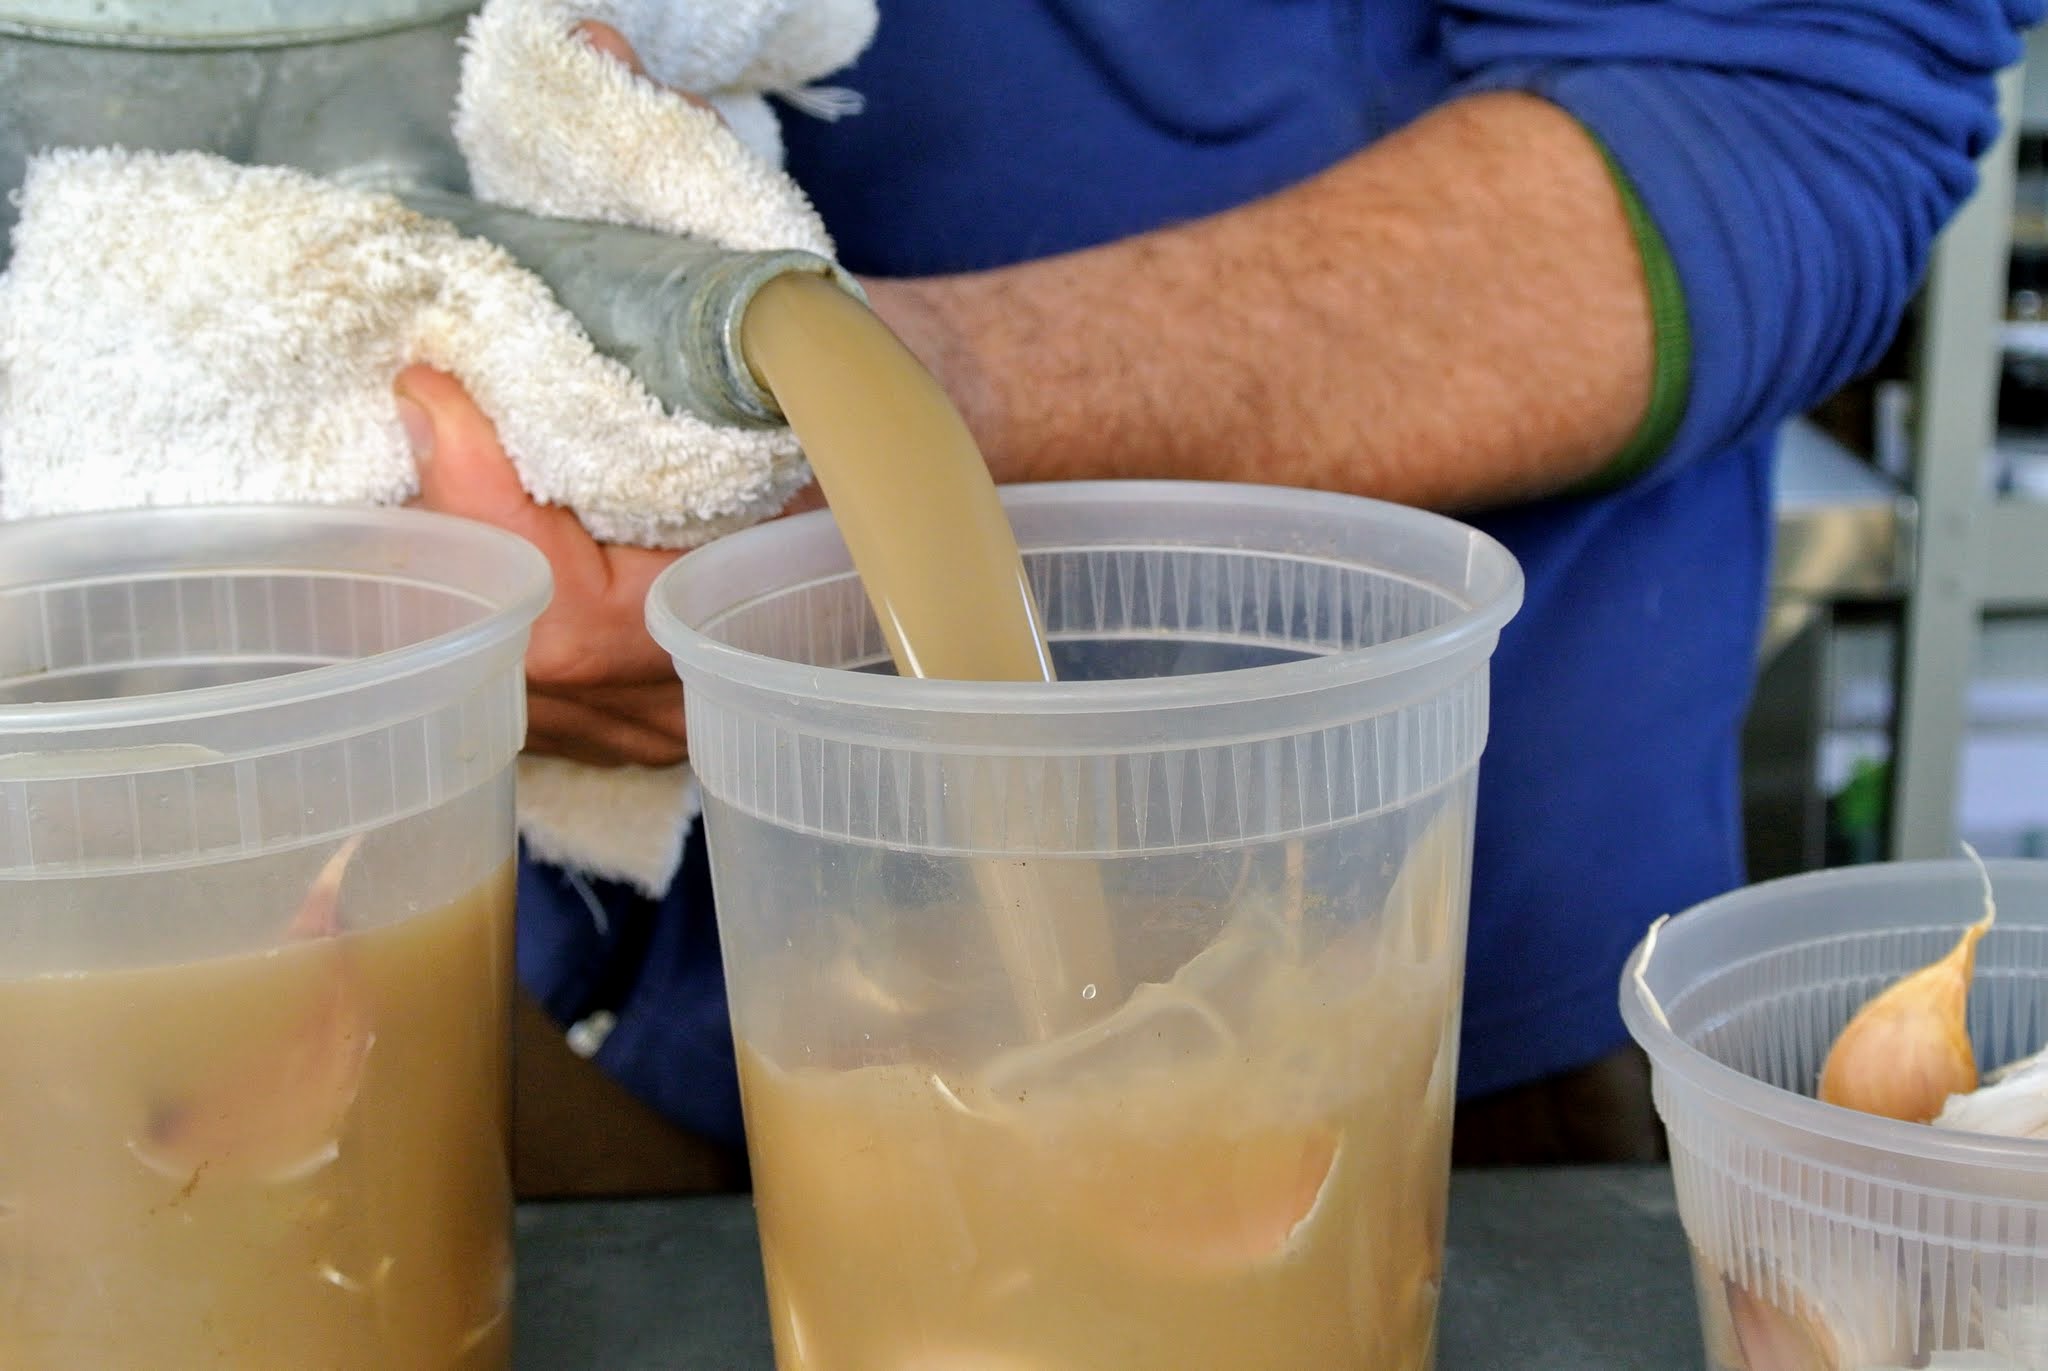
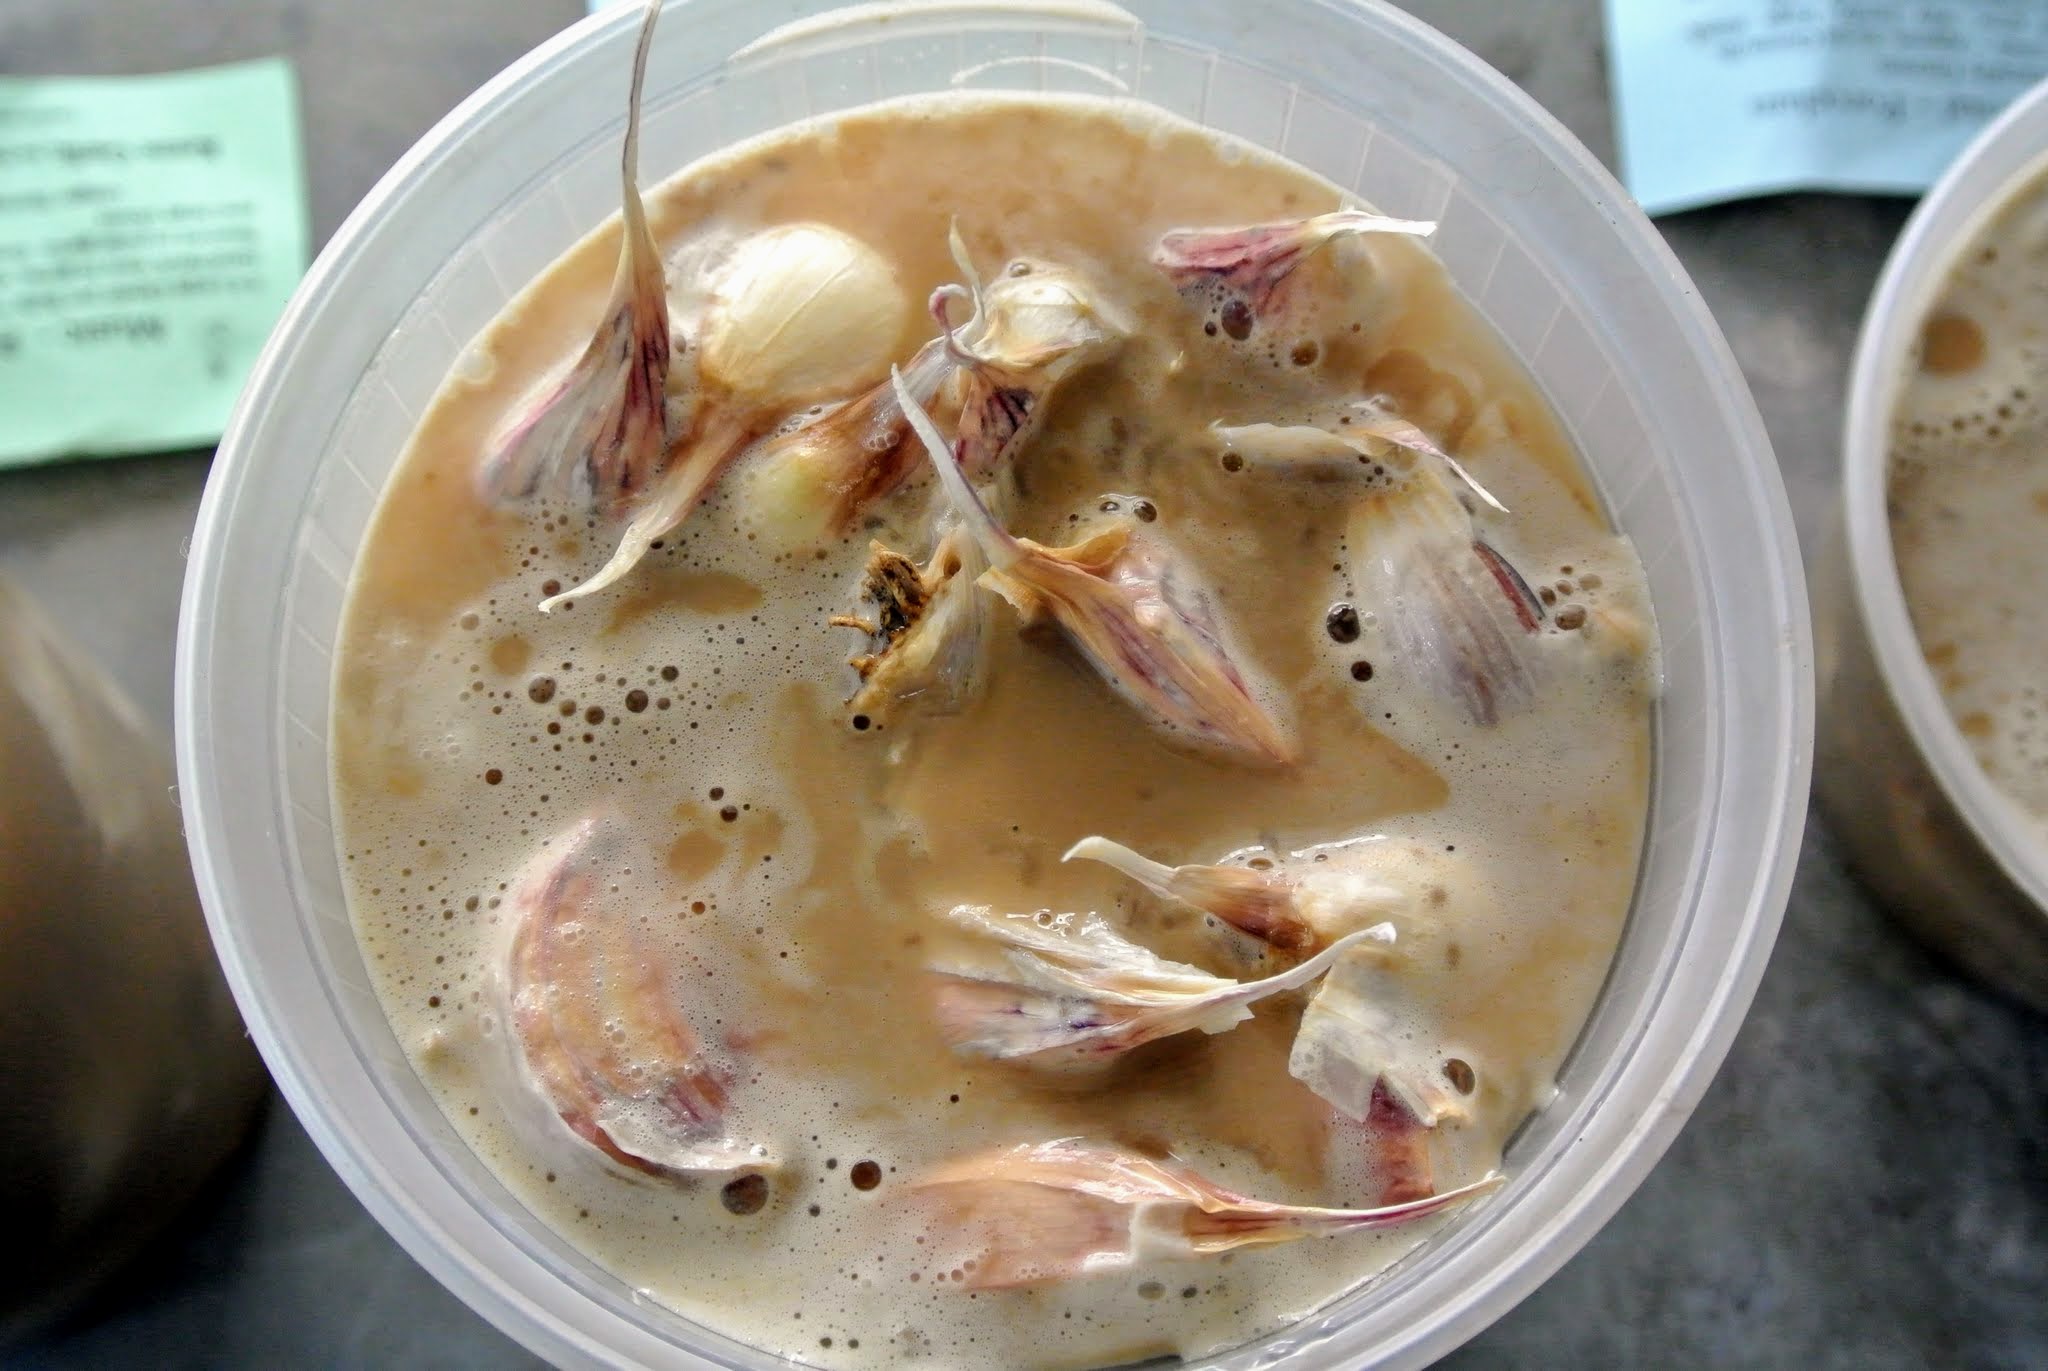
The garlic cloves can be soaked in fish emulsion to give them a fertilizer boost and rid them of possible diseases, which could have been carried by the garlic.
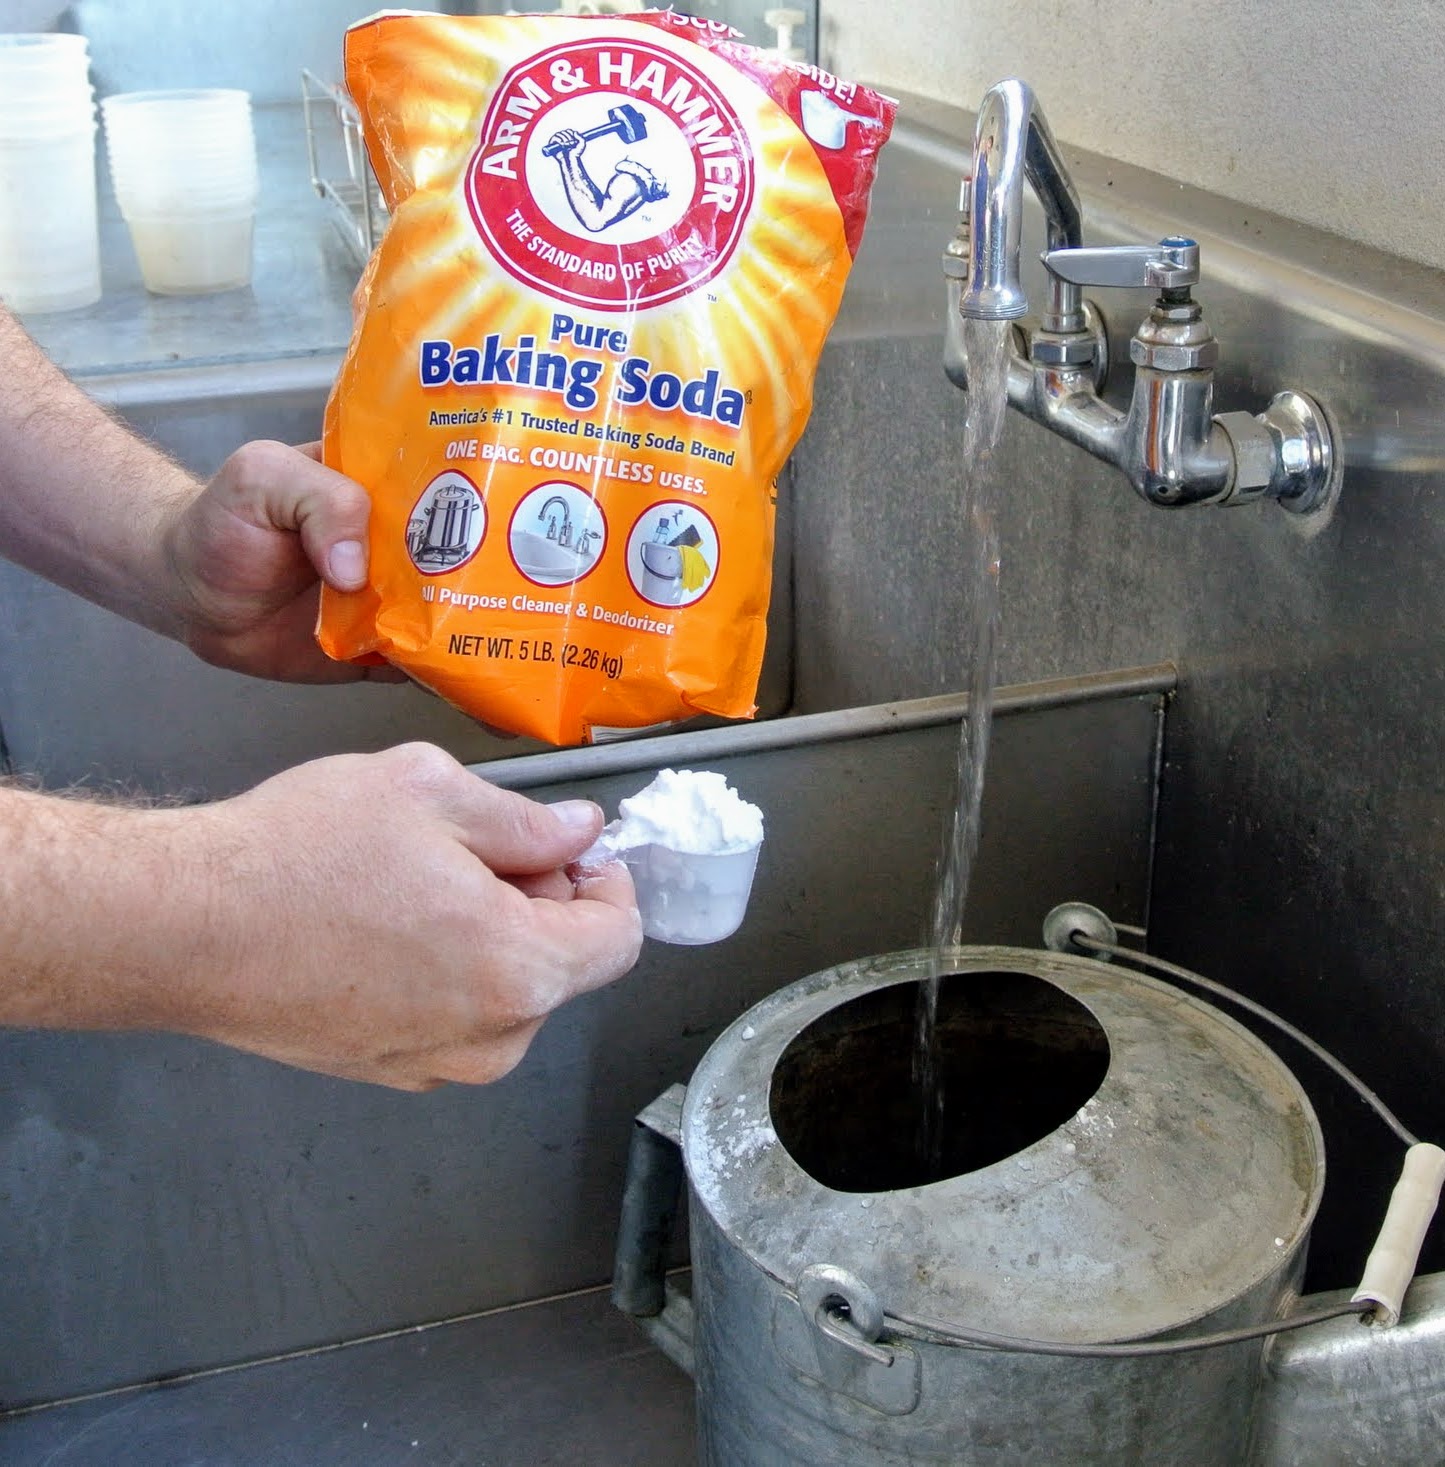
To prepare the solution to treat the garlic cloves, Ryan drops a scoop of baking soda into a watering can and then adds the fish emulsion into the same container. He also adds water until the can is filled.
The baking soda and fish emulsion water solution is then poured into containers of garlic.
The cloves are kept submerged until they have absorbed enough of the mix.
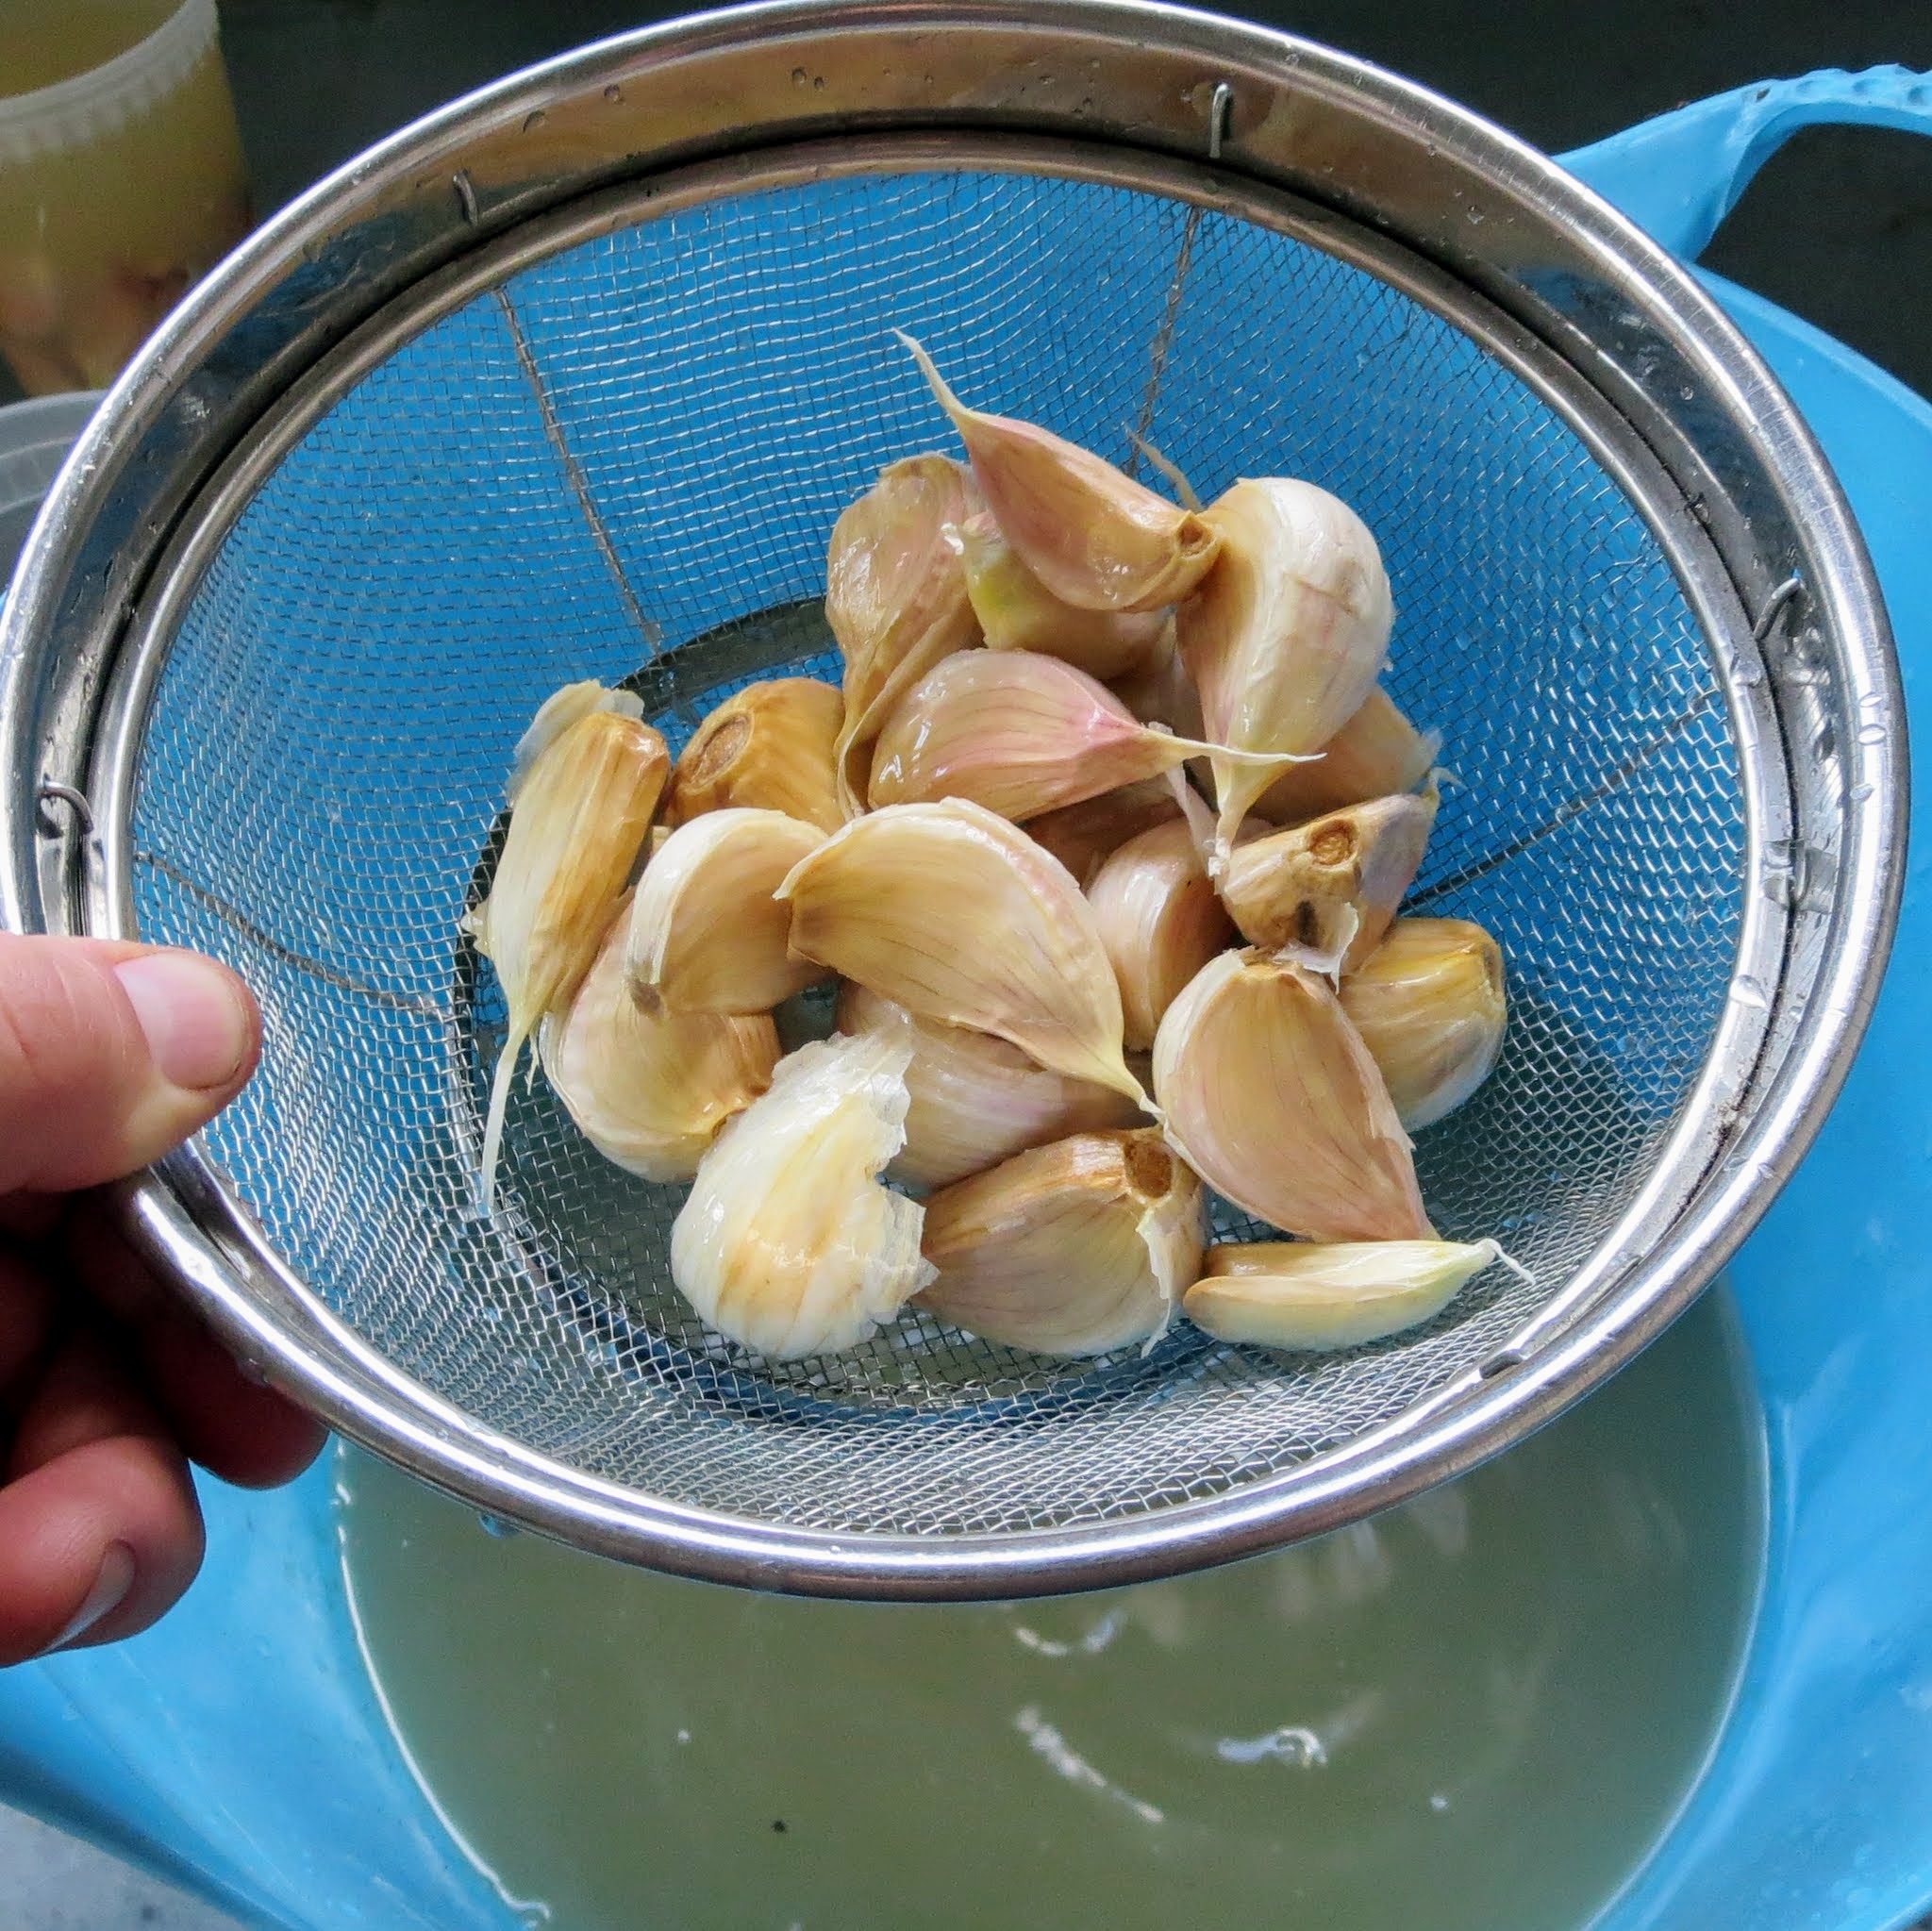
Next, the garlic is strained and left to dry for a few minutes and then sprayed with isopropyl or rubbing alcohol. This helps to sterilize the cloves. If you don’t have alcohol, you can also use hydrogen peroxide or vodka.
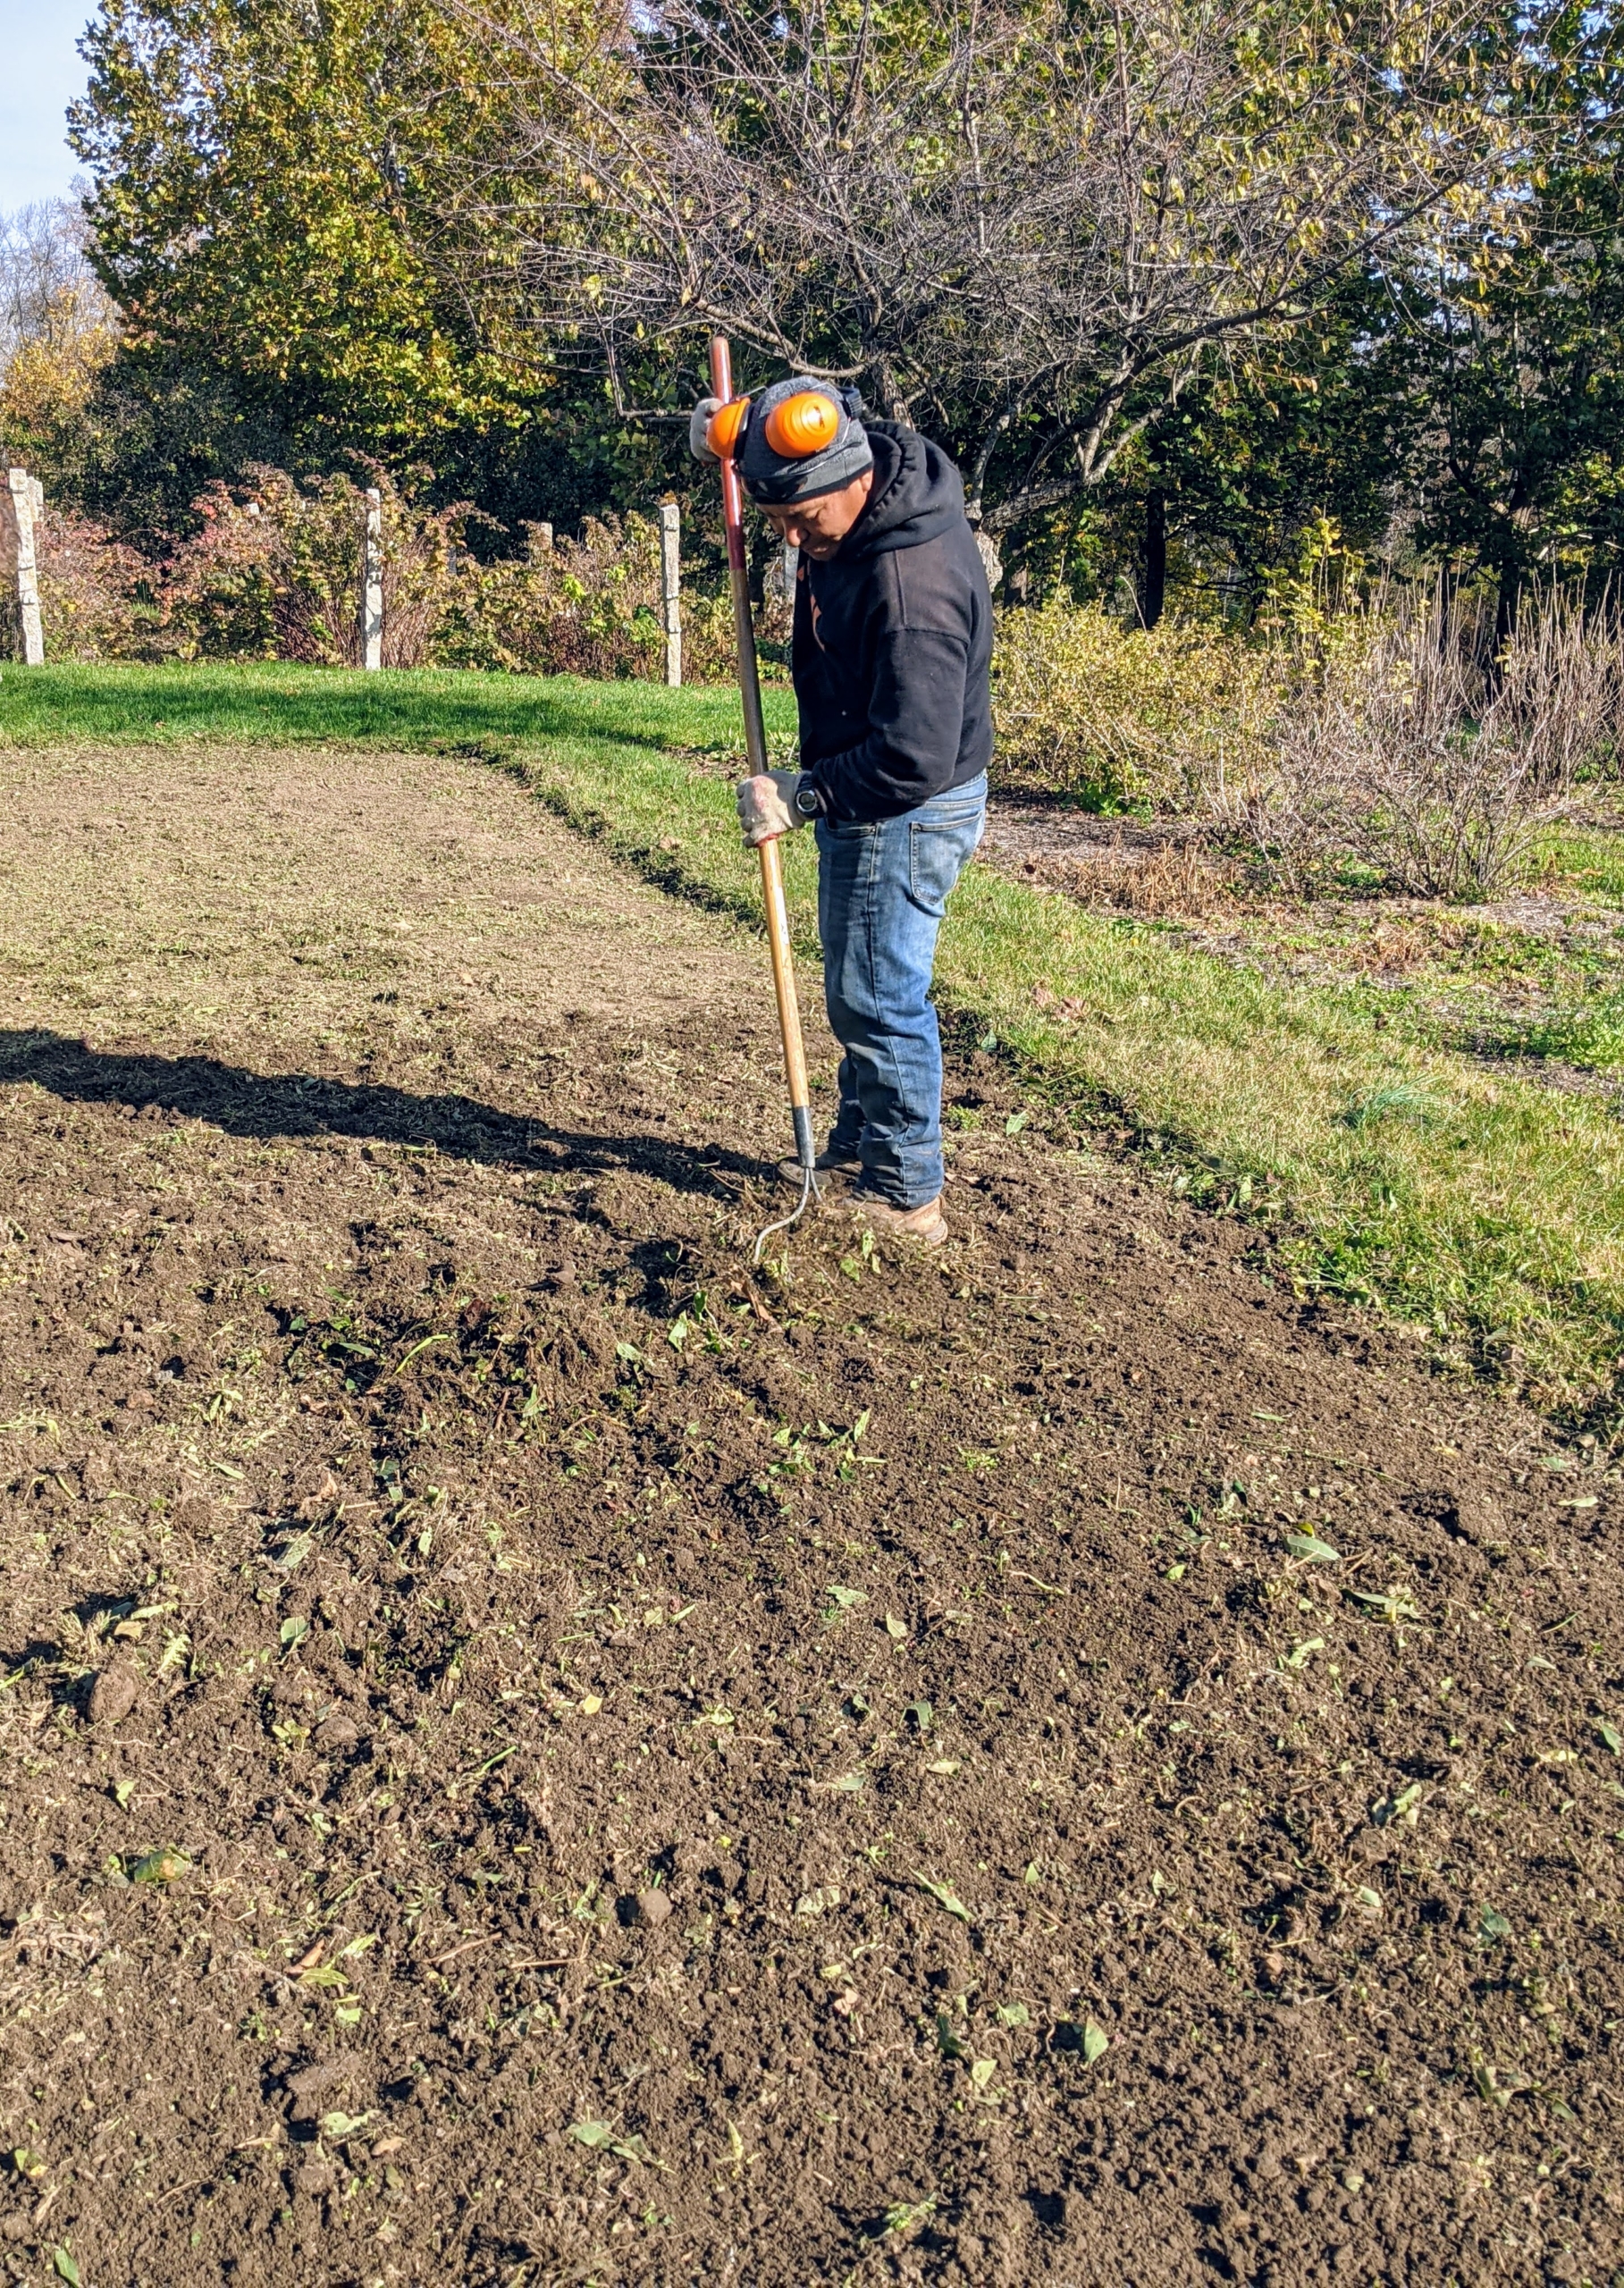
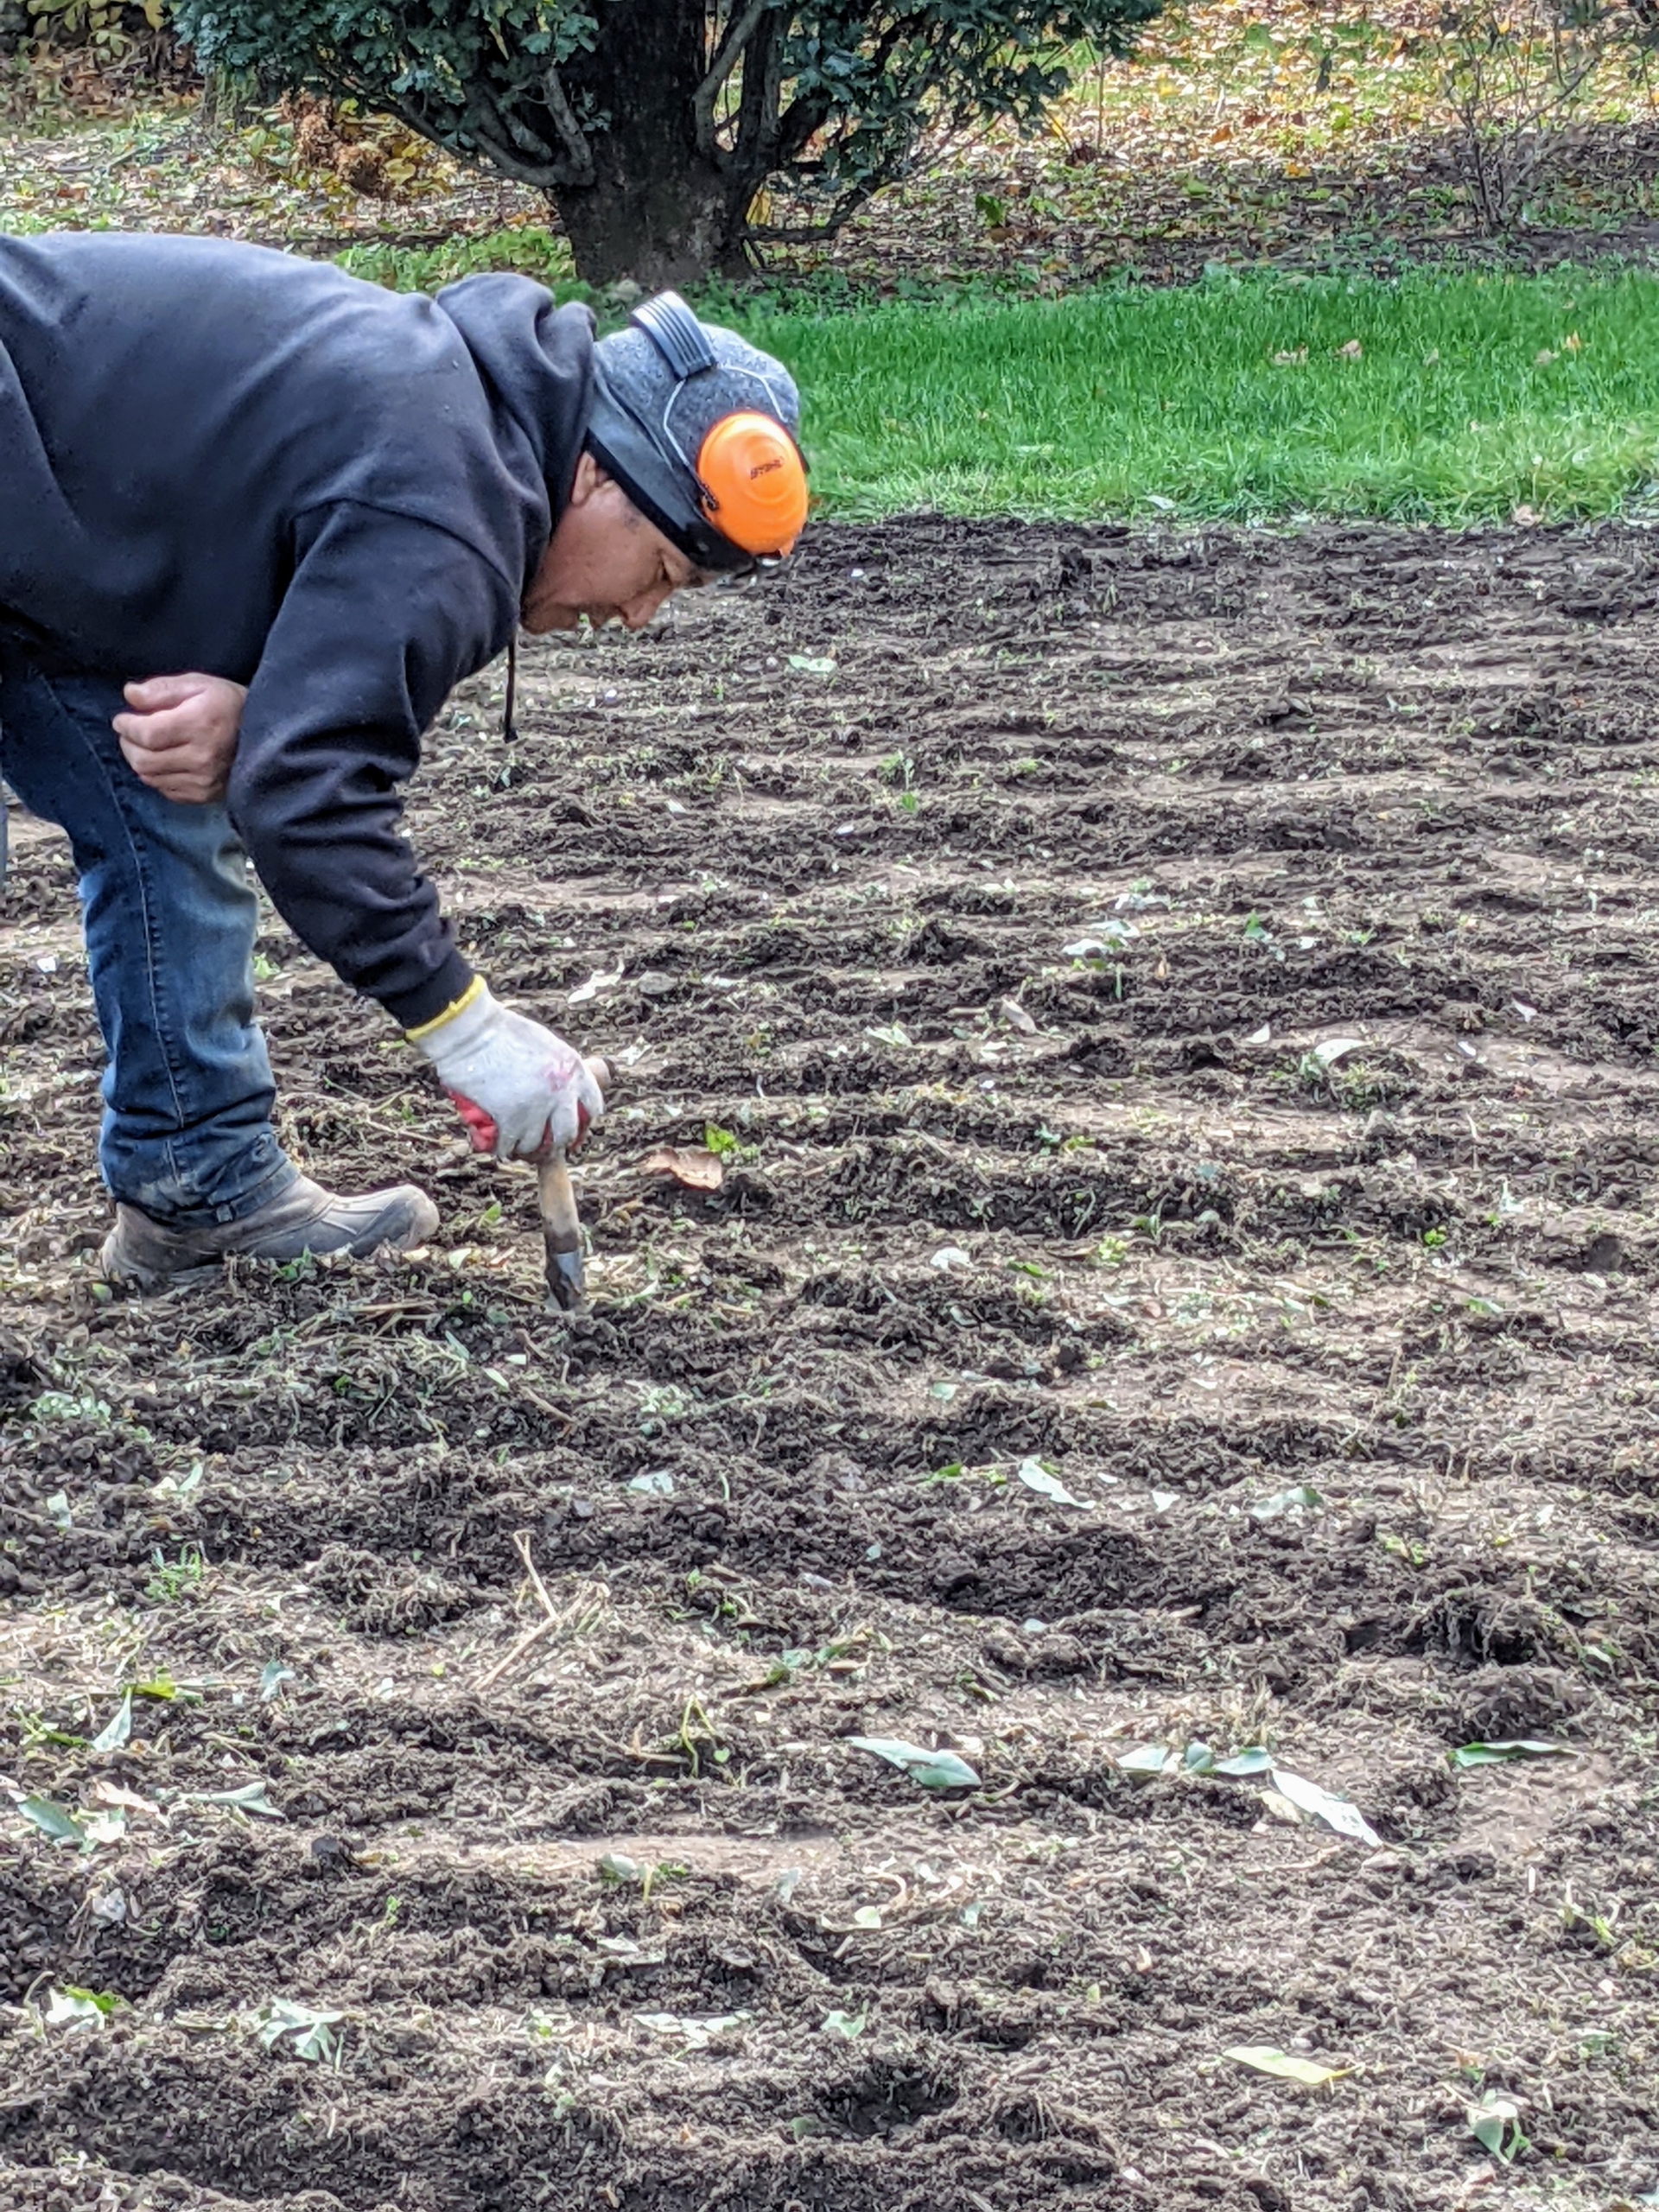
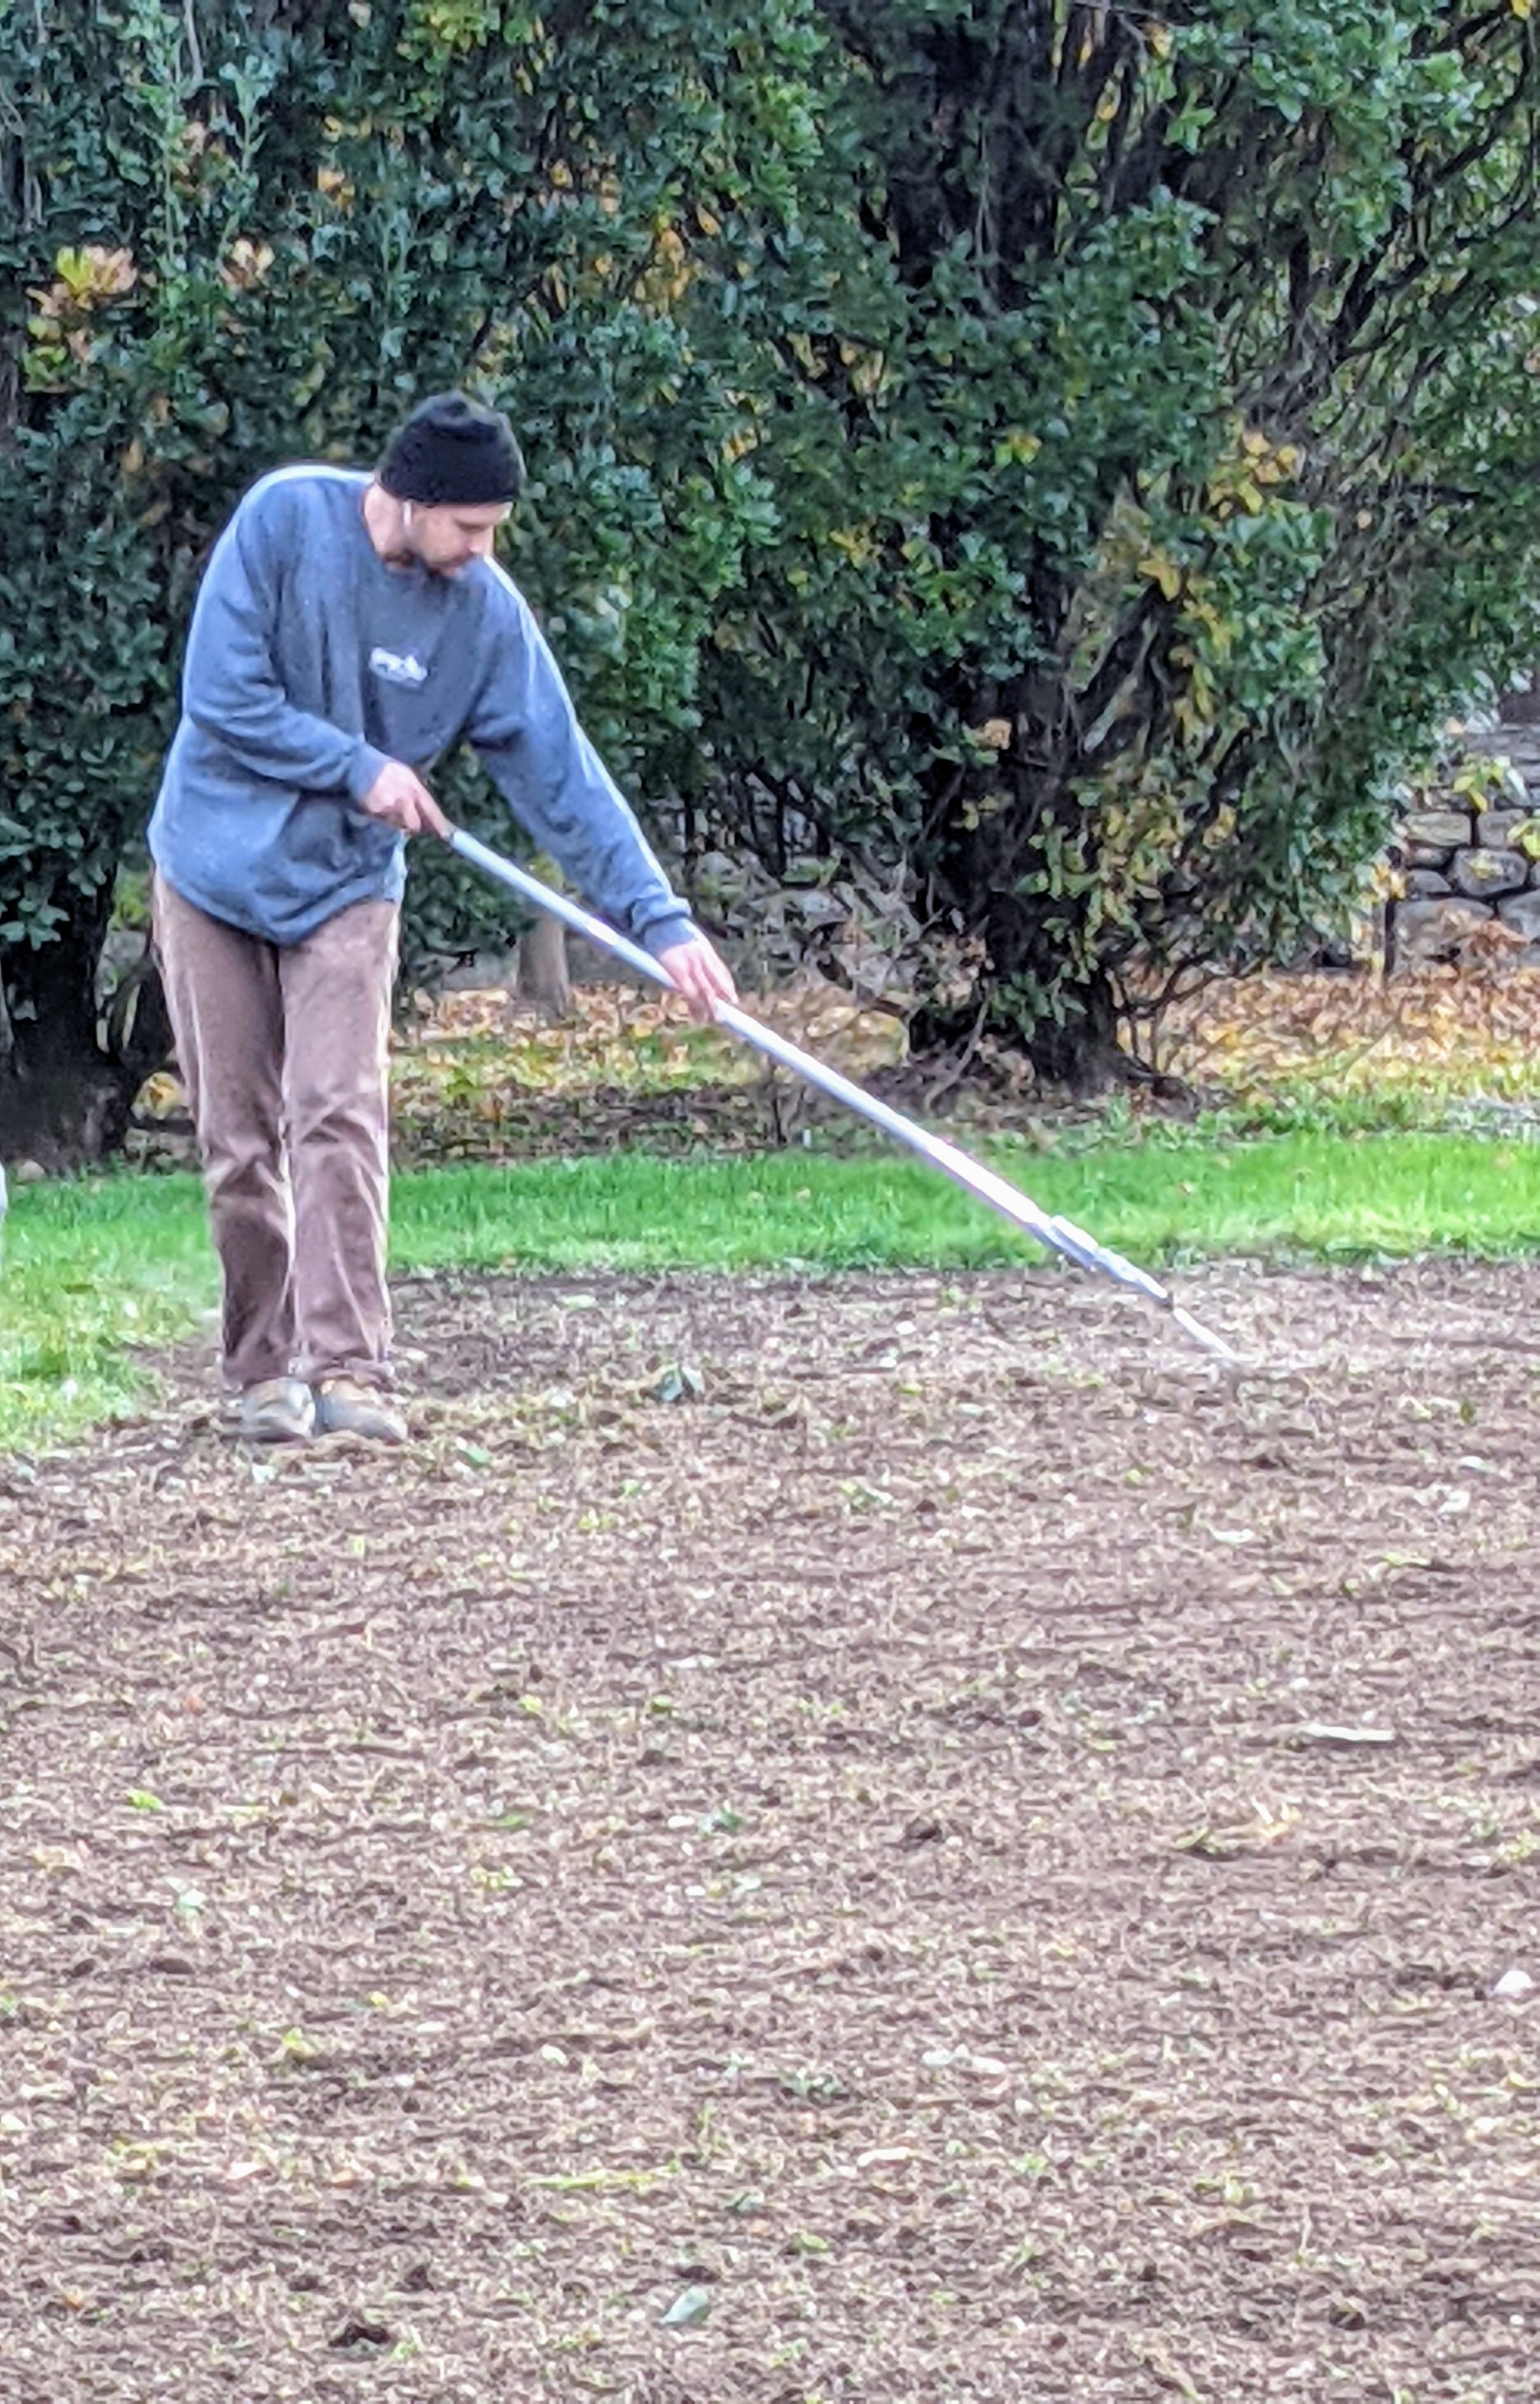
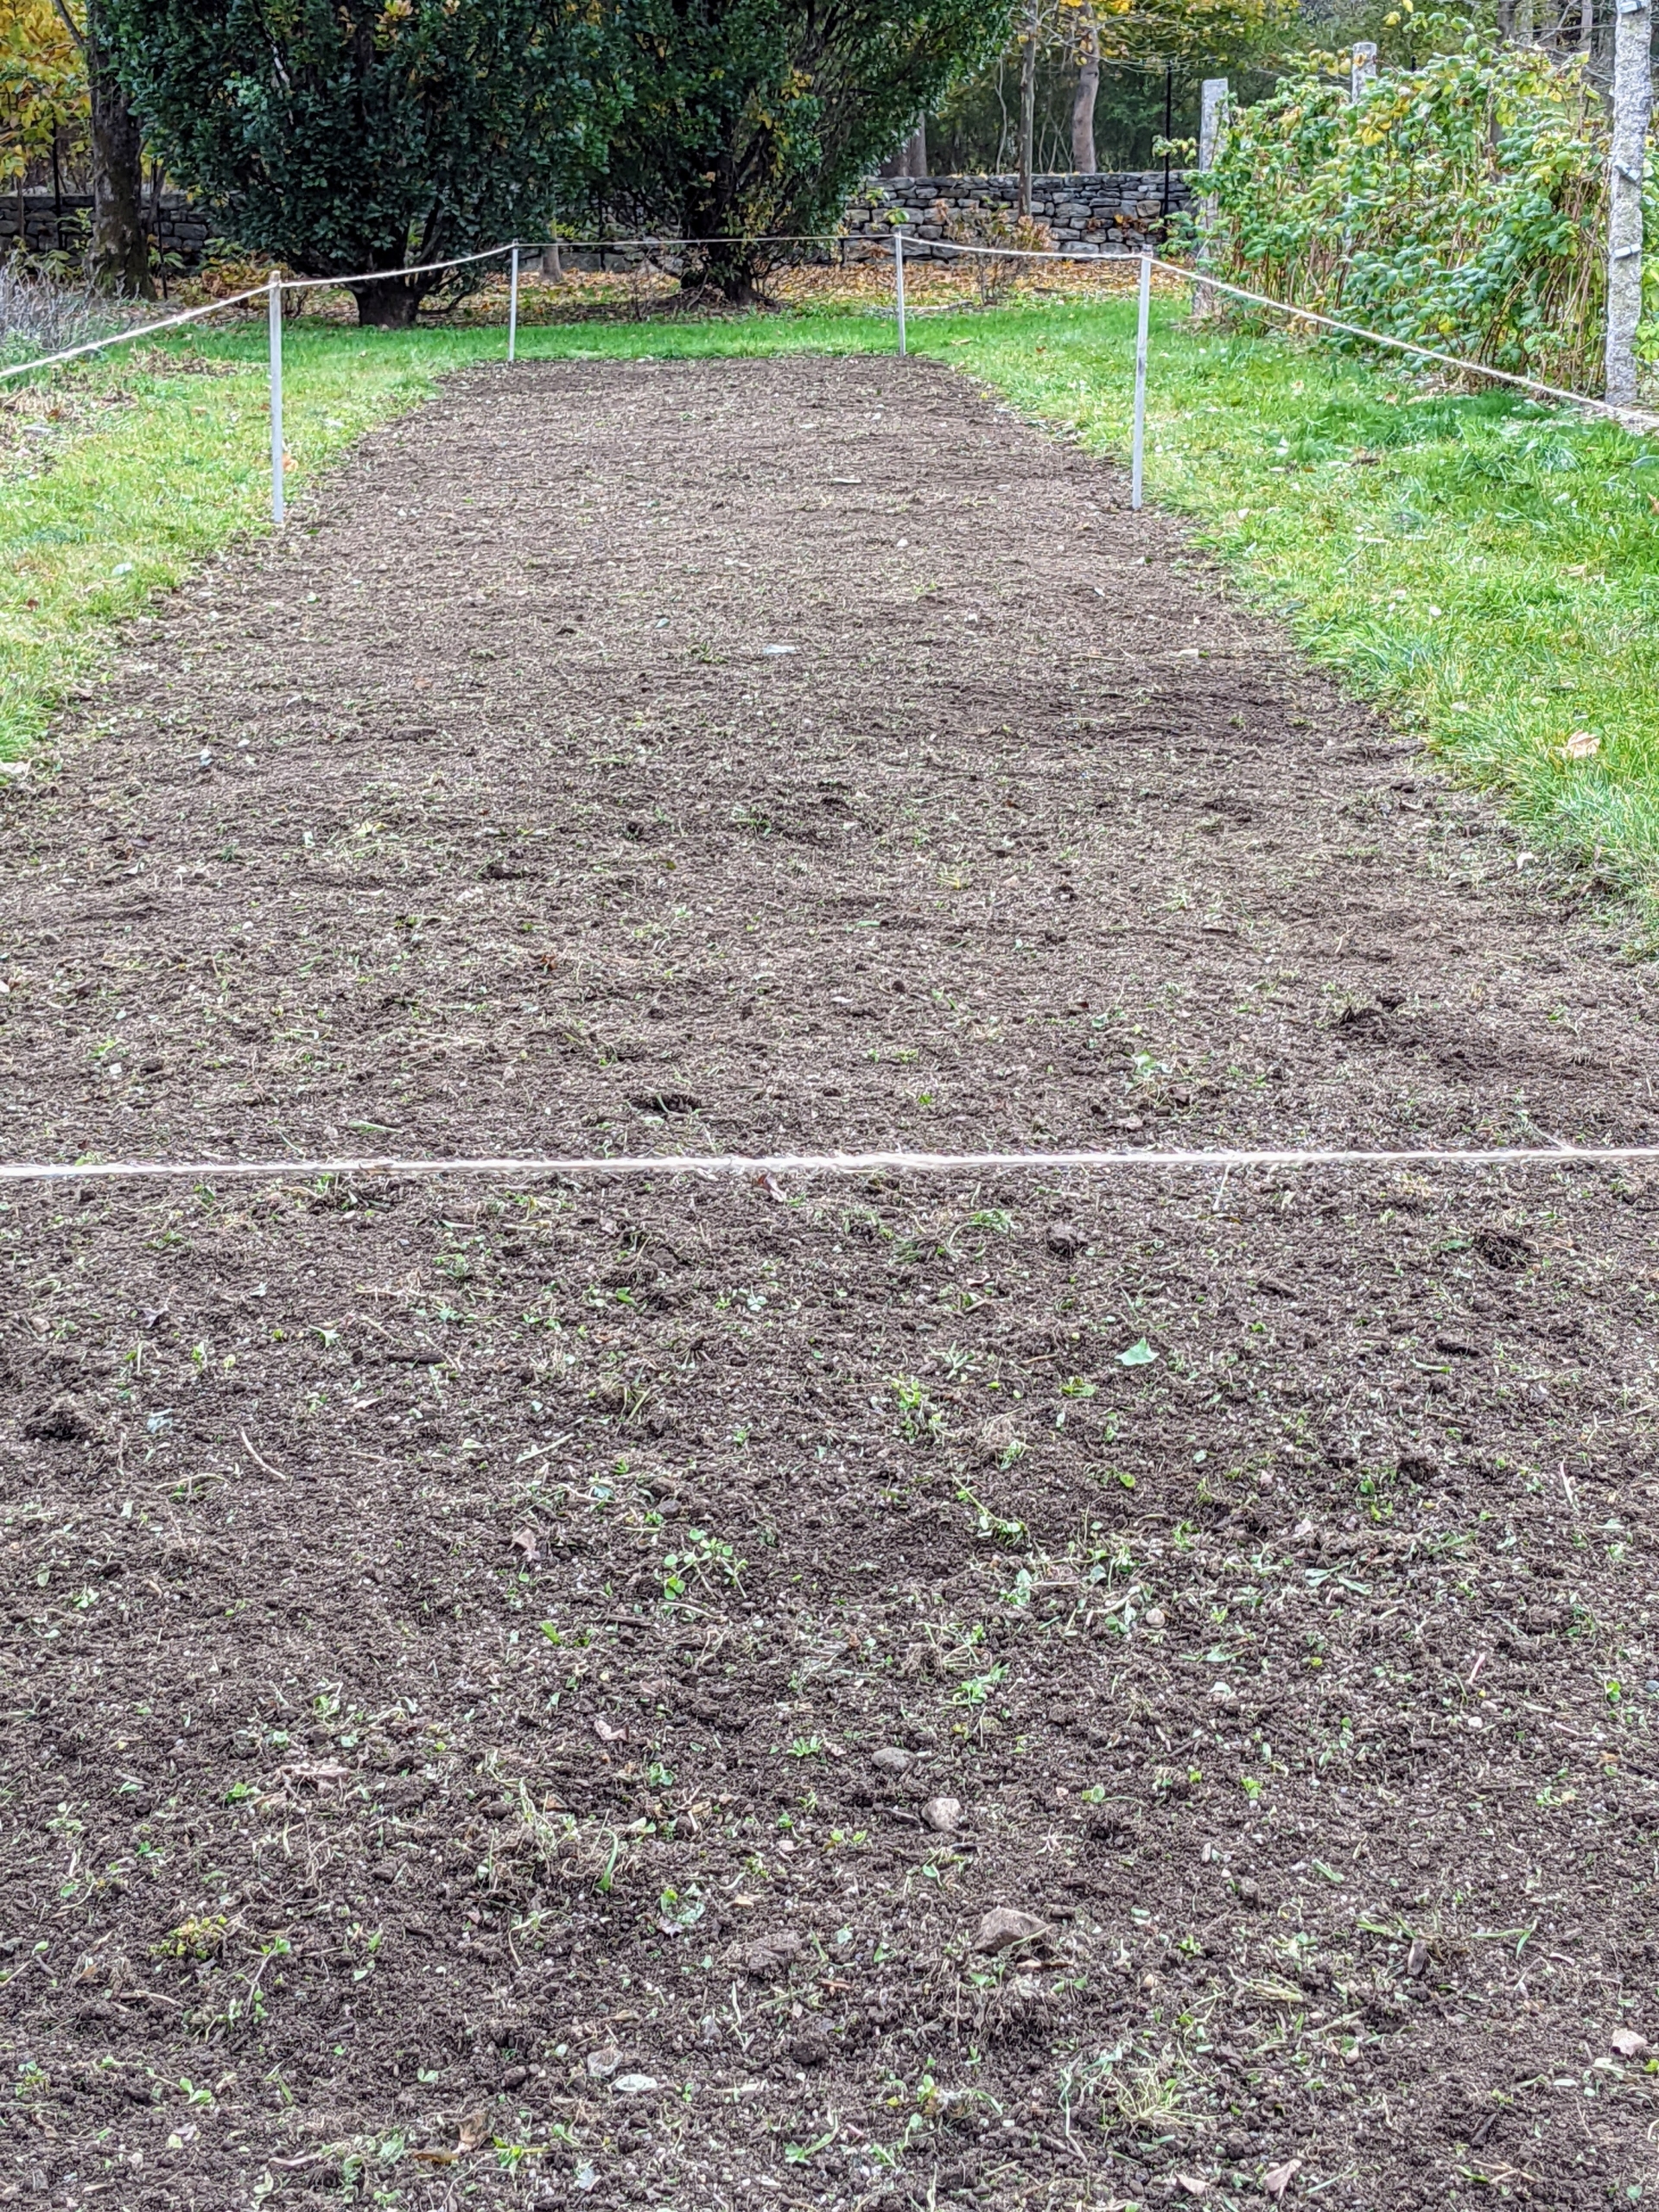
Meanwhile, here is where the garlic will be planted – in a bed behind my main greenhouse. While the garlic is soaking, Phurba cultivates the earth. Cultivating accomplishes two things: removing any weeds from the garden bed and loosening the soil to optimize the retention and penetration of air, water and nutrients for the plants. Building up the soil is the most important part of preparing a garden for growing vegetables and flowers. A deep, organically rich soil will encourage and support the growth of healthy root systems.
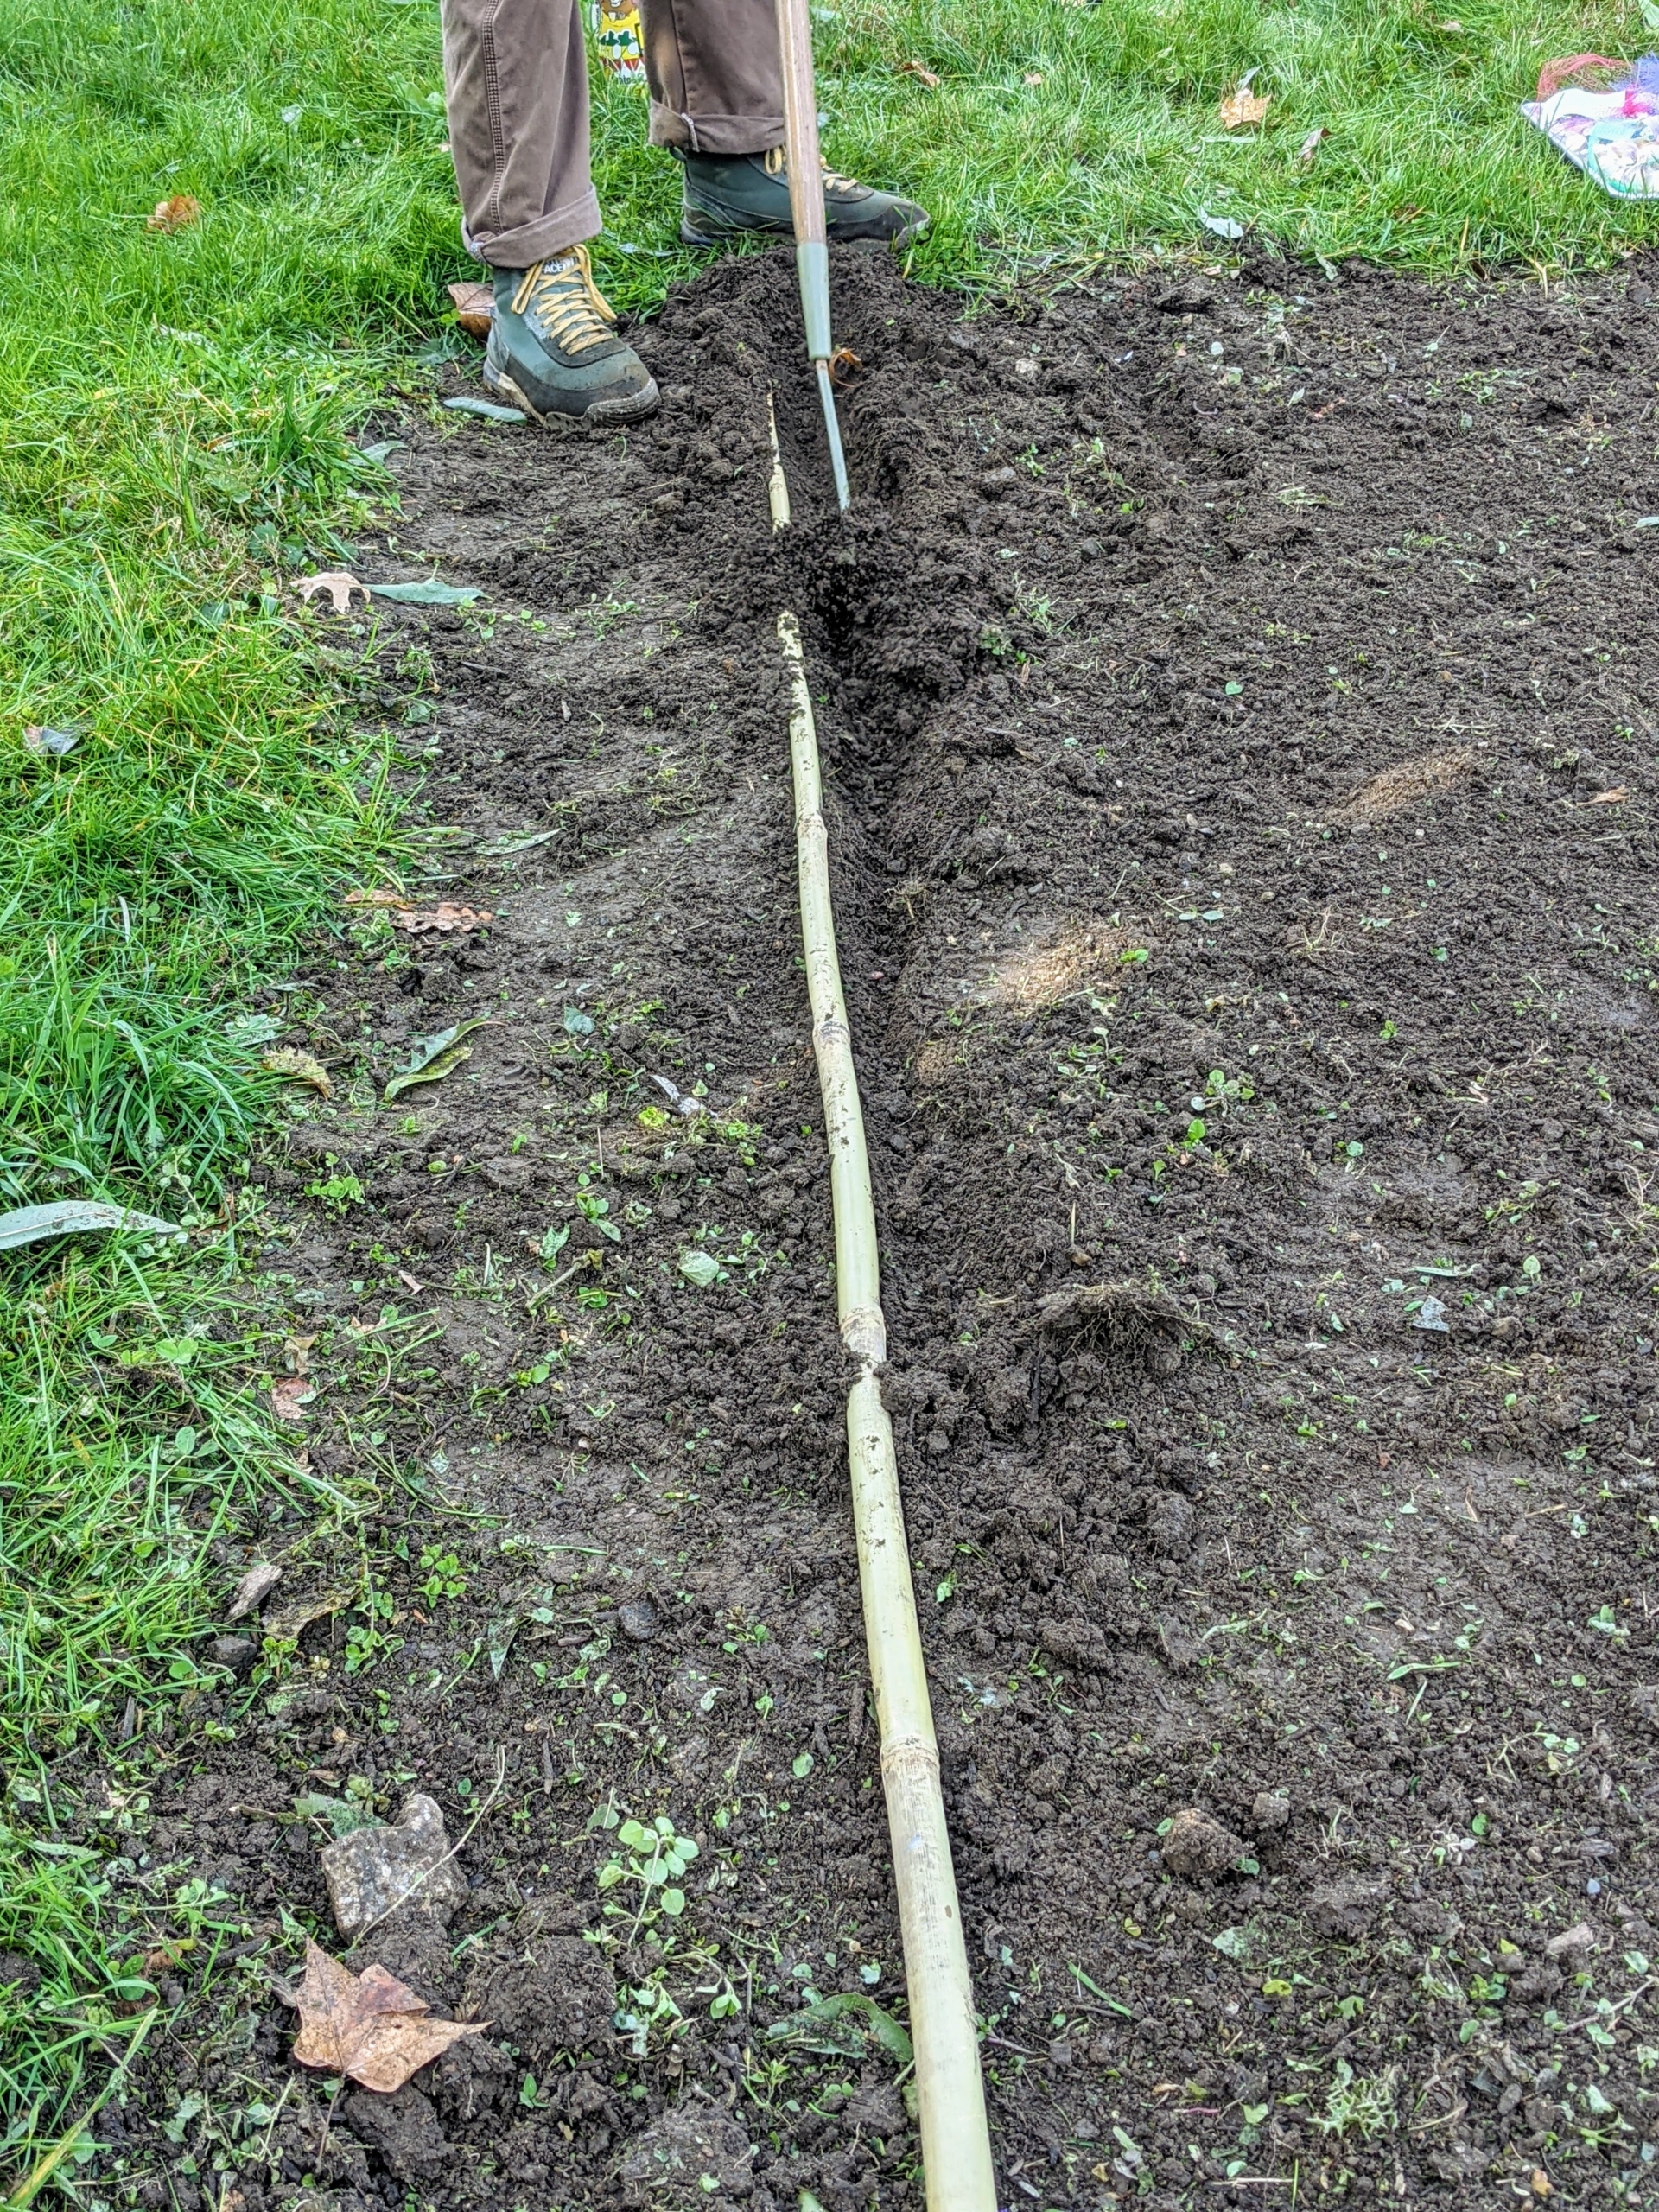
To make sure all the cloves are spaced evenly, Brian uses a long bamboo stick to measure out where the garlic will be planted. Doing this creates straight, pretty rows, but it is also important to give each clove enough room to grow and develop.
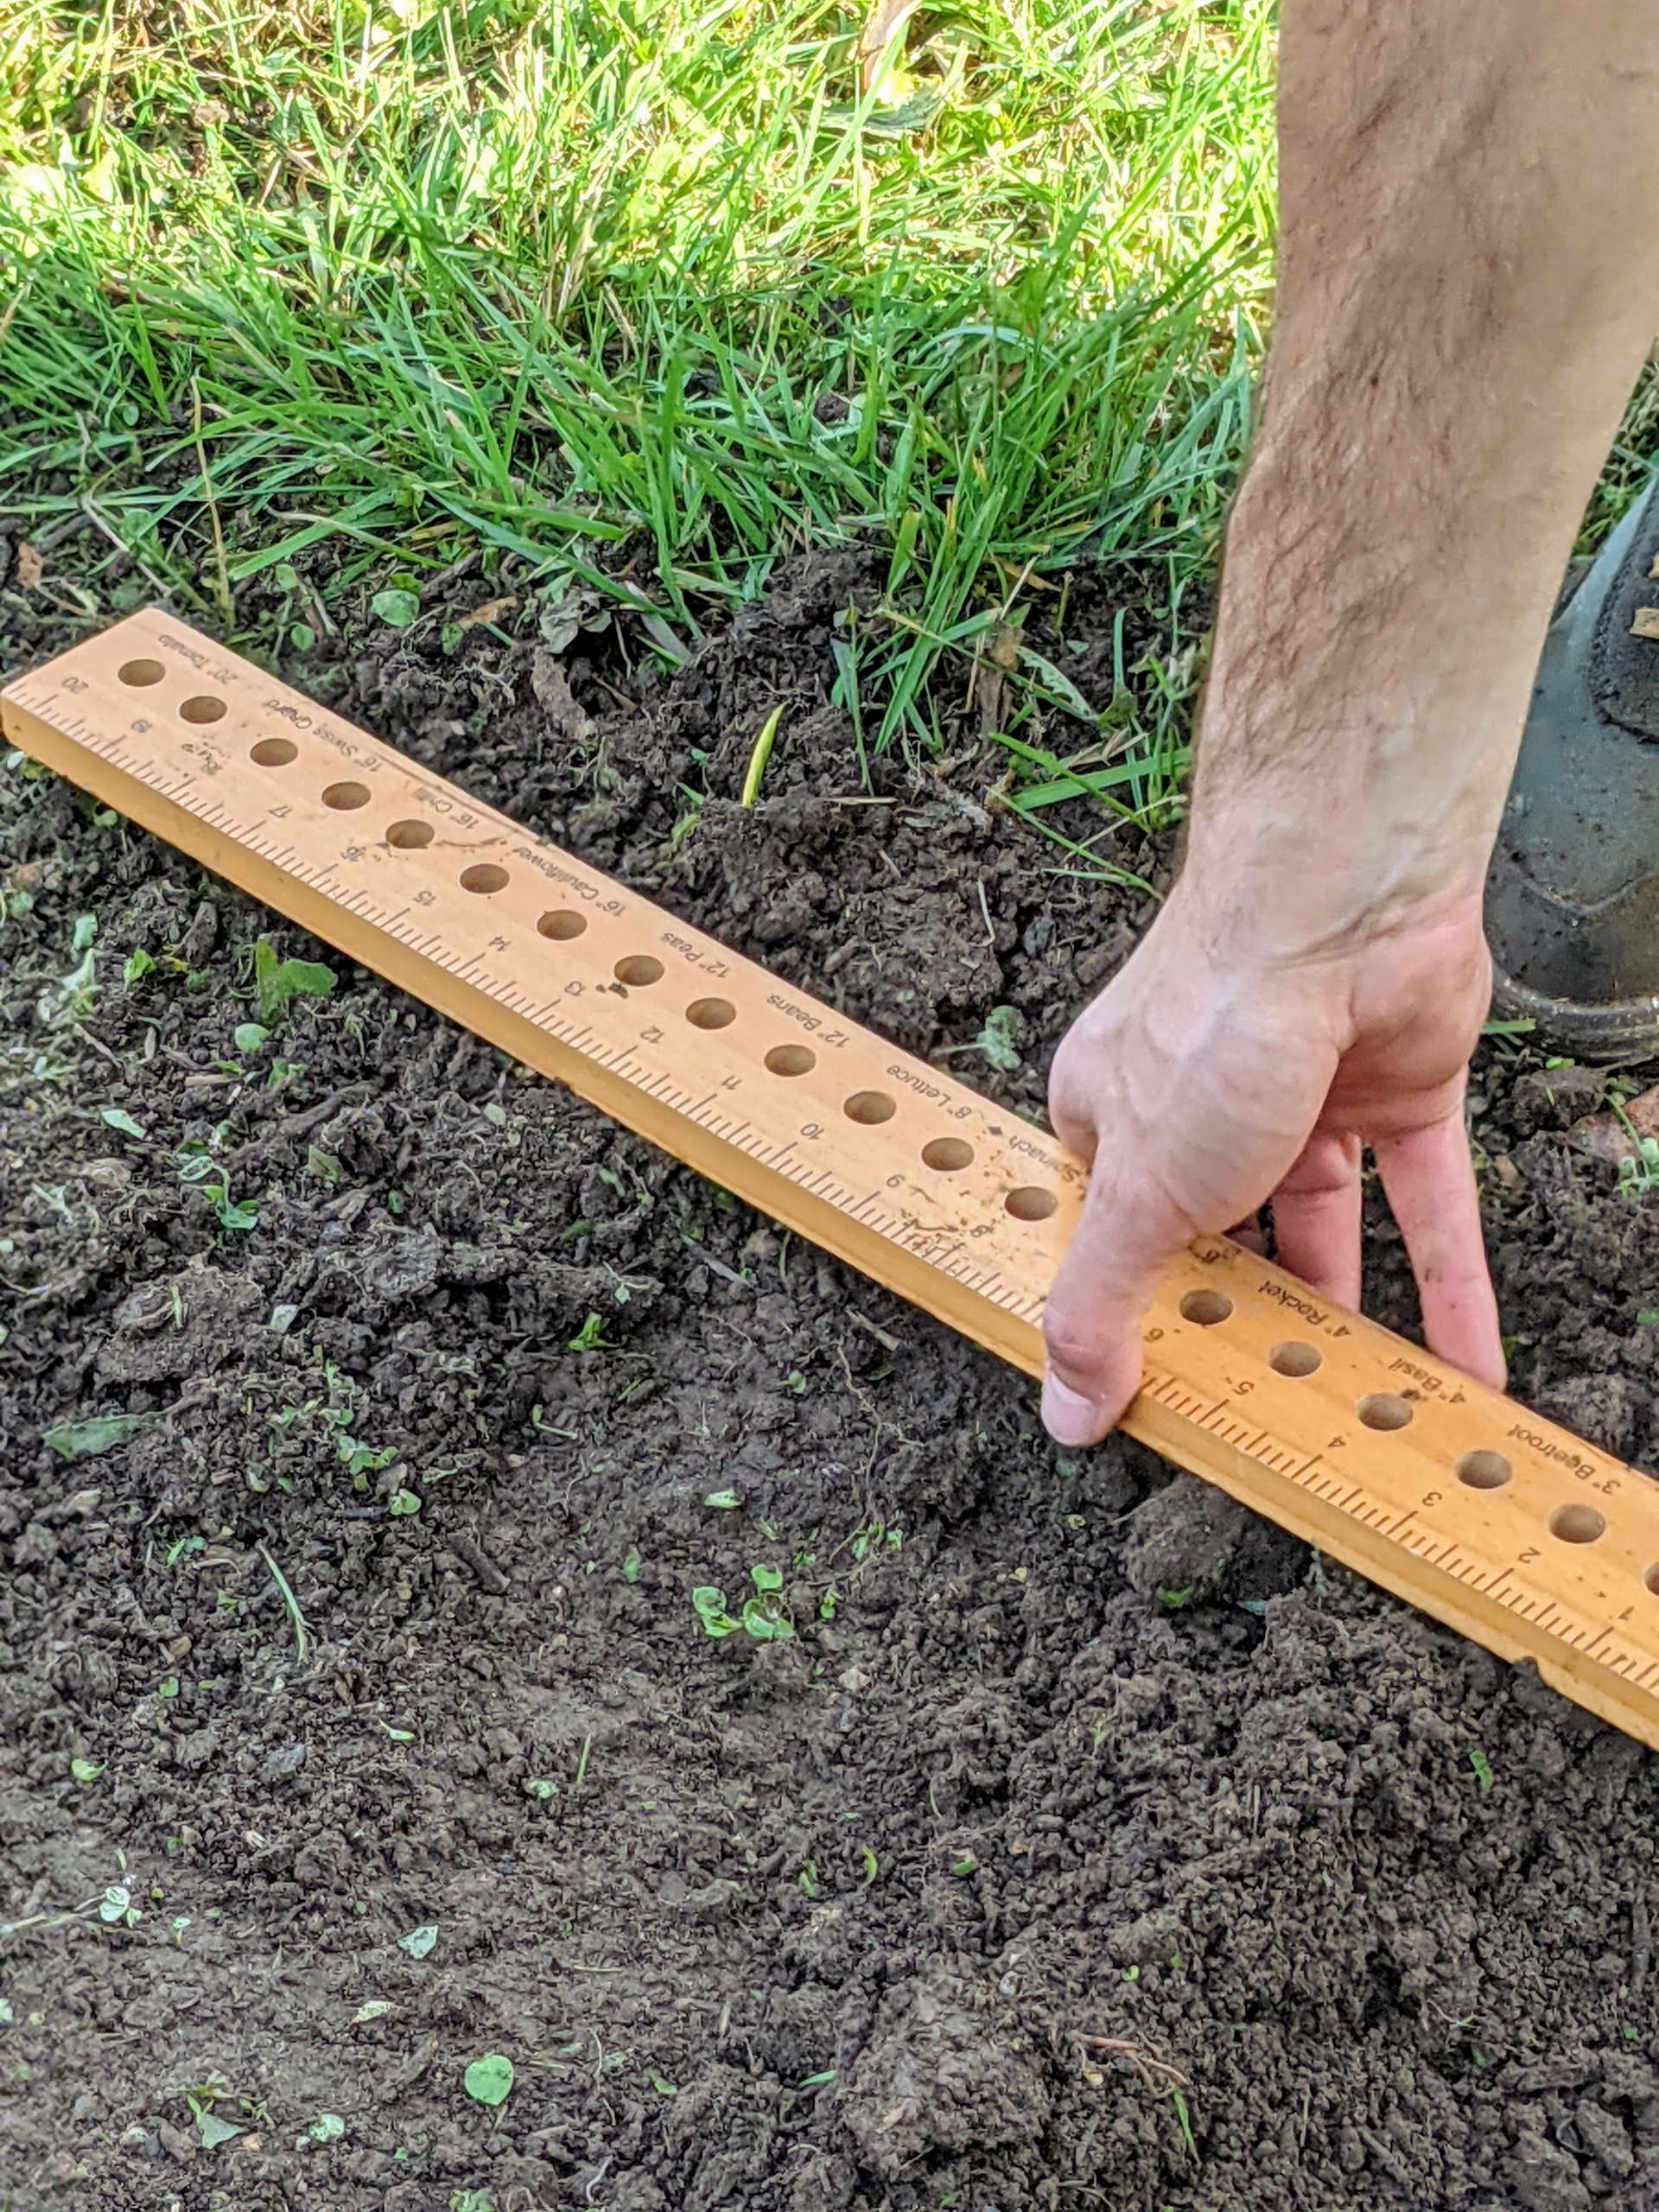
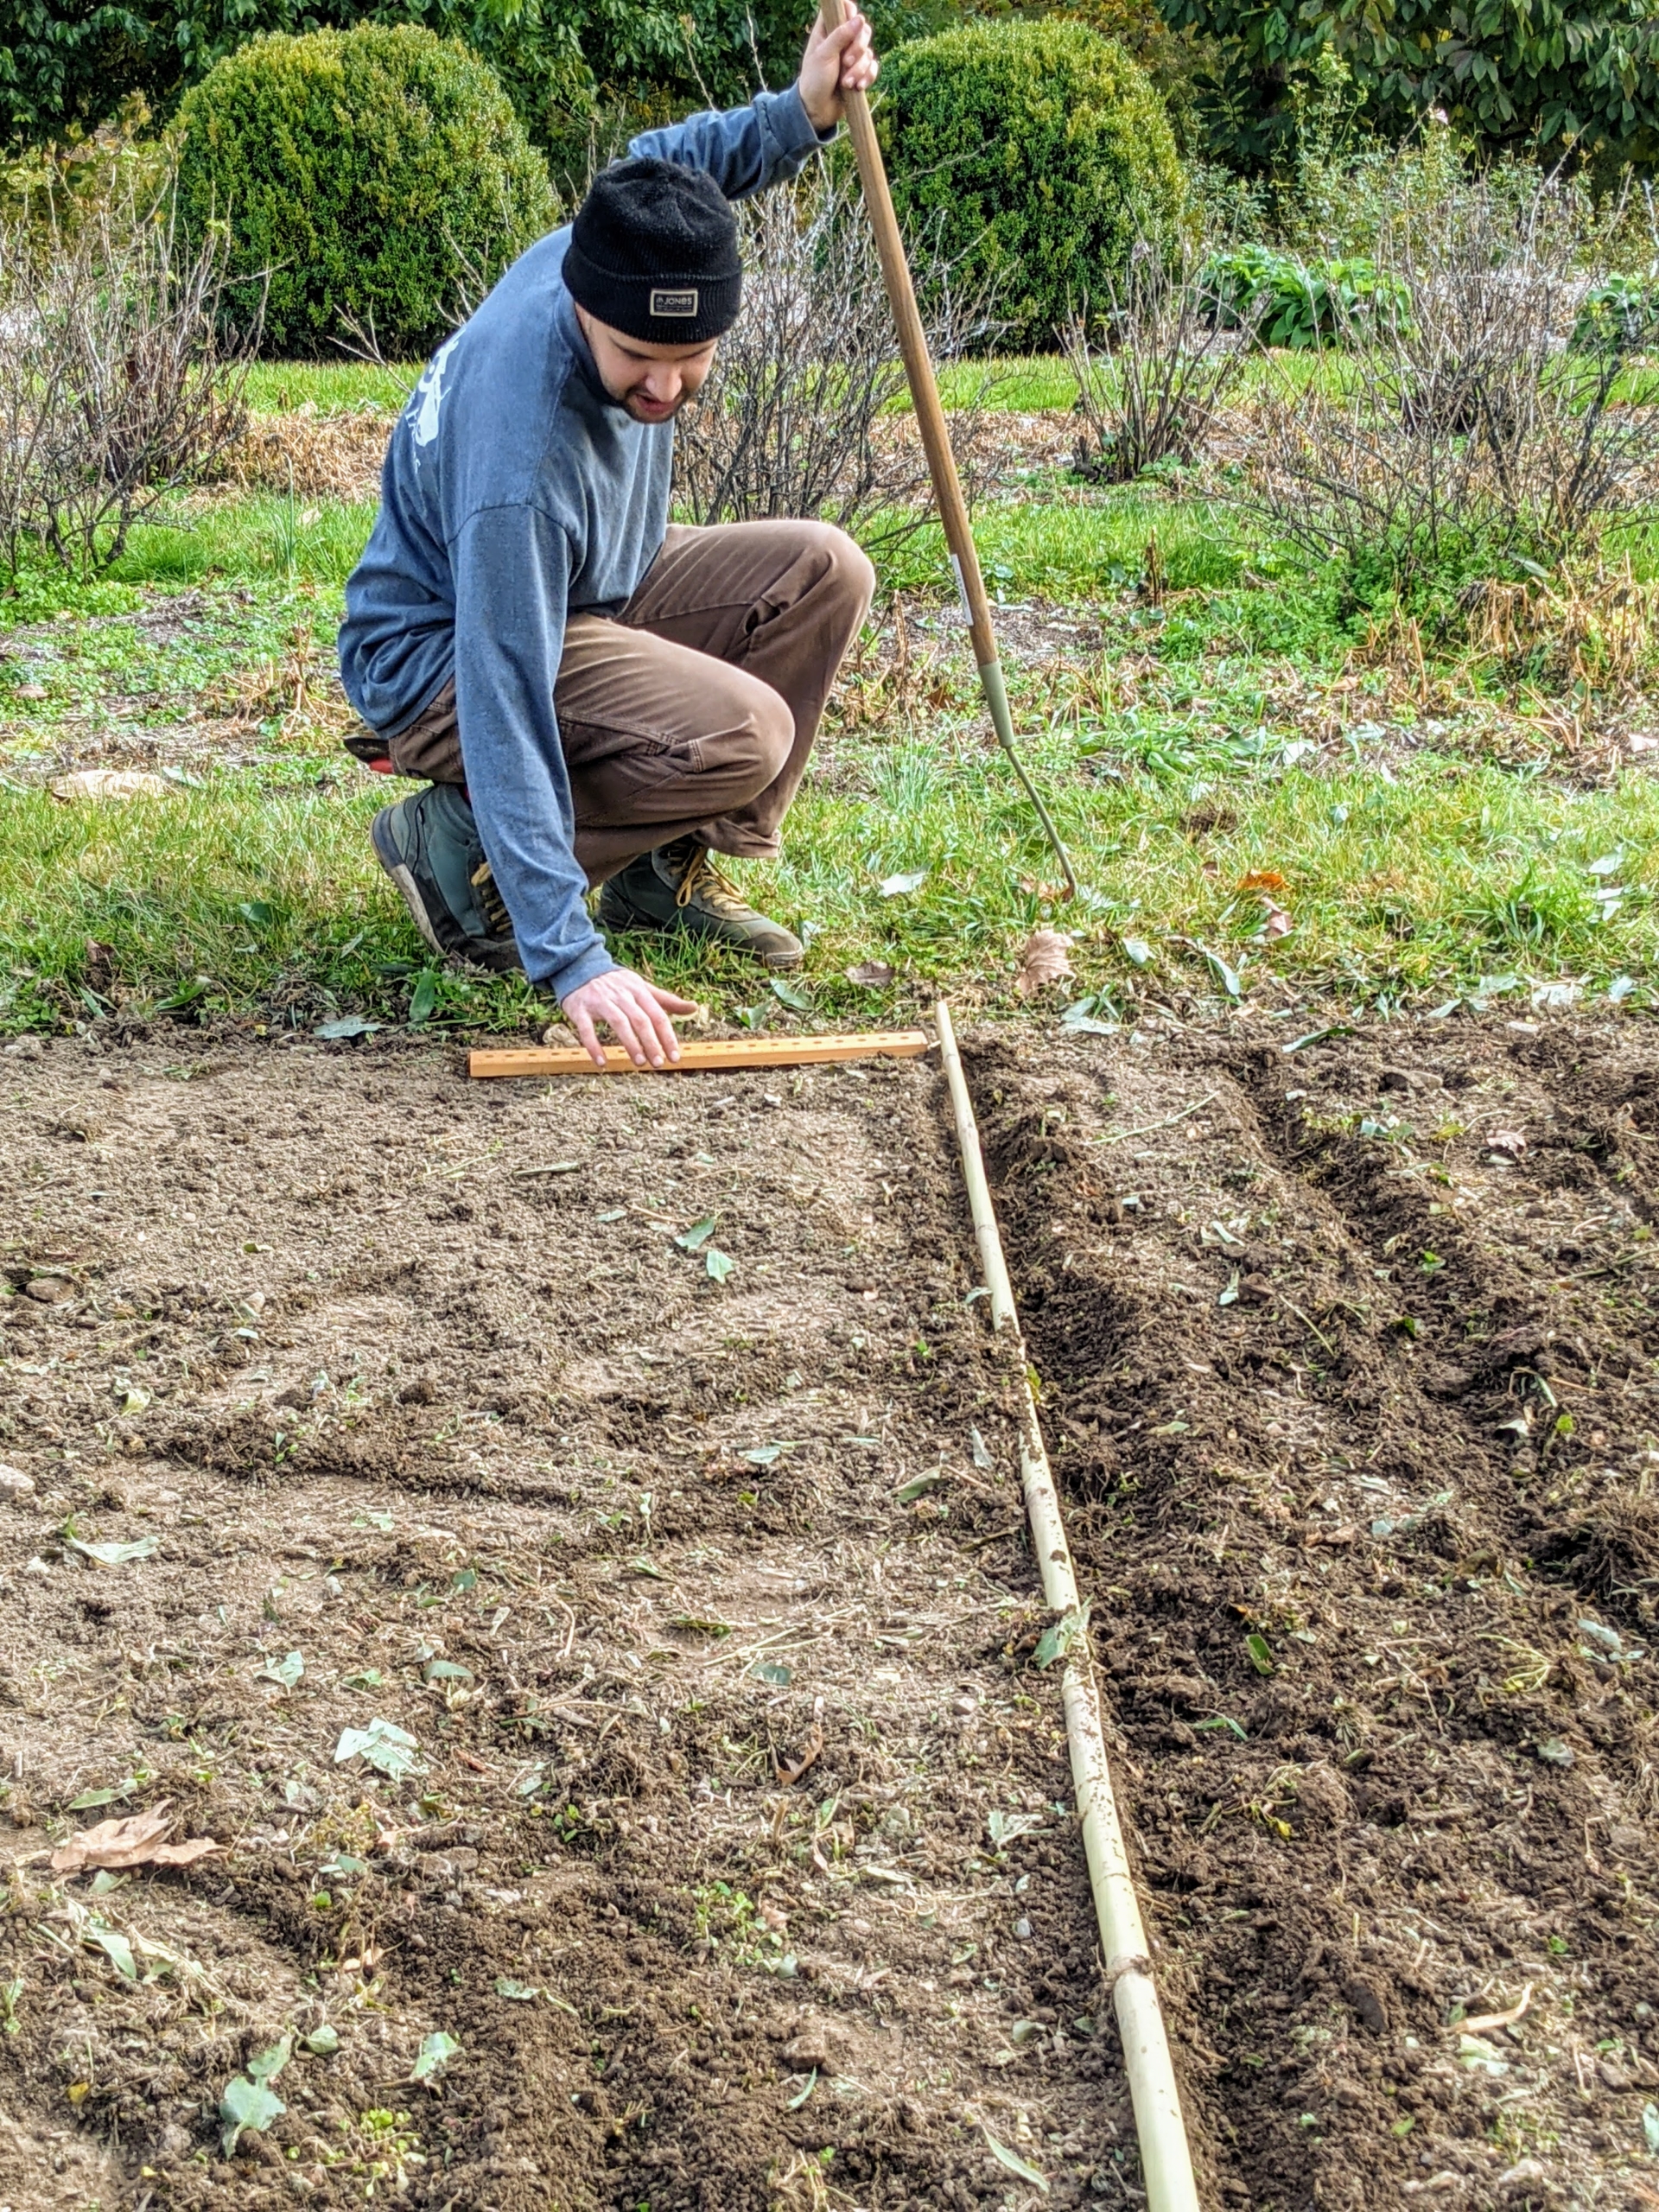
When planting multiple rows of garlic, be sure the rows are at least one-foot apart. Brian uses a ruler specifically designed for planting crops.
Brian measures both ends of the row to ensure the rows are straight – we have a lot of garlic to plant. Measuring carefully guides where the next row will go.
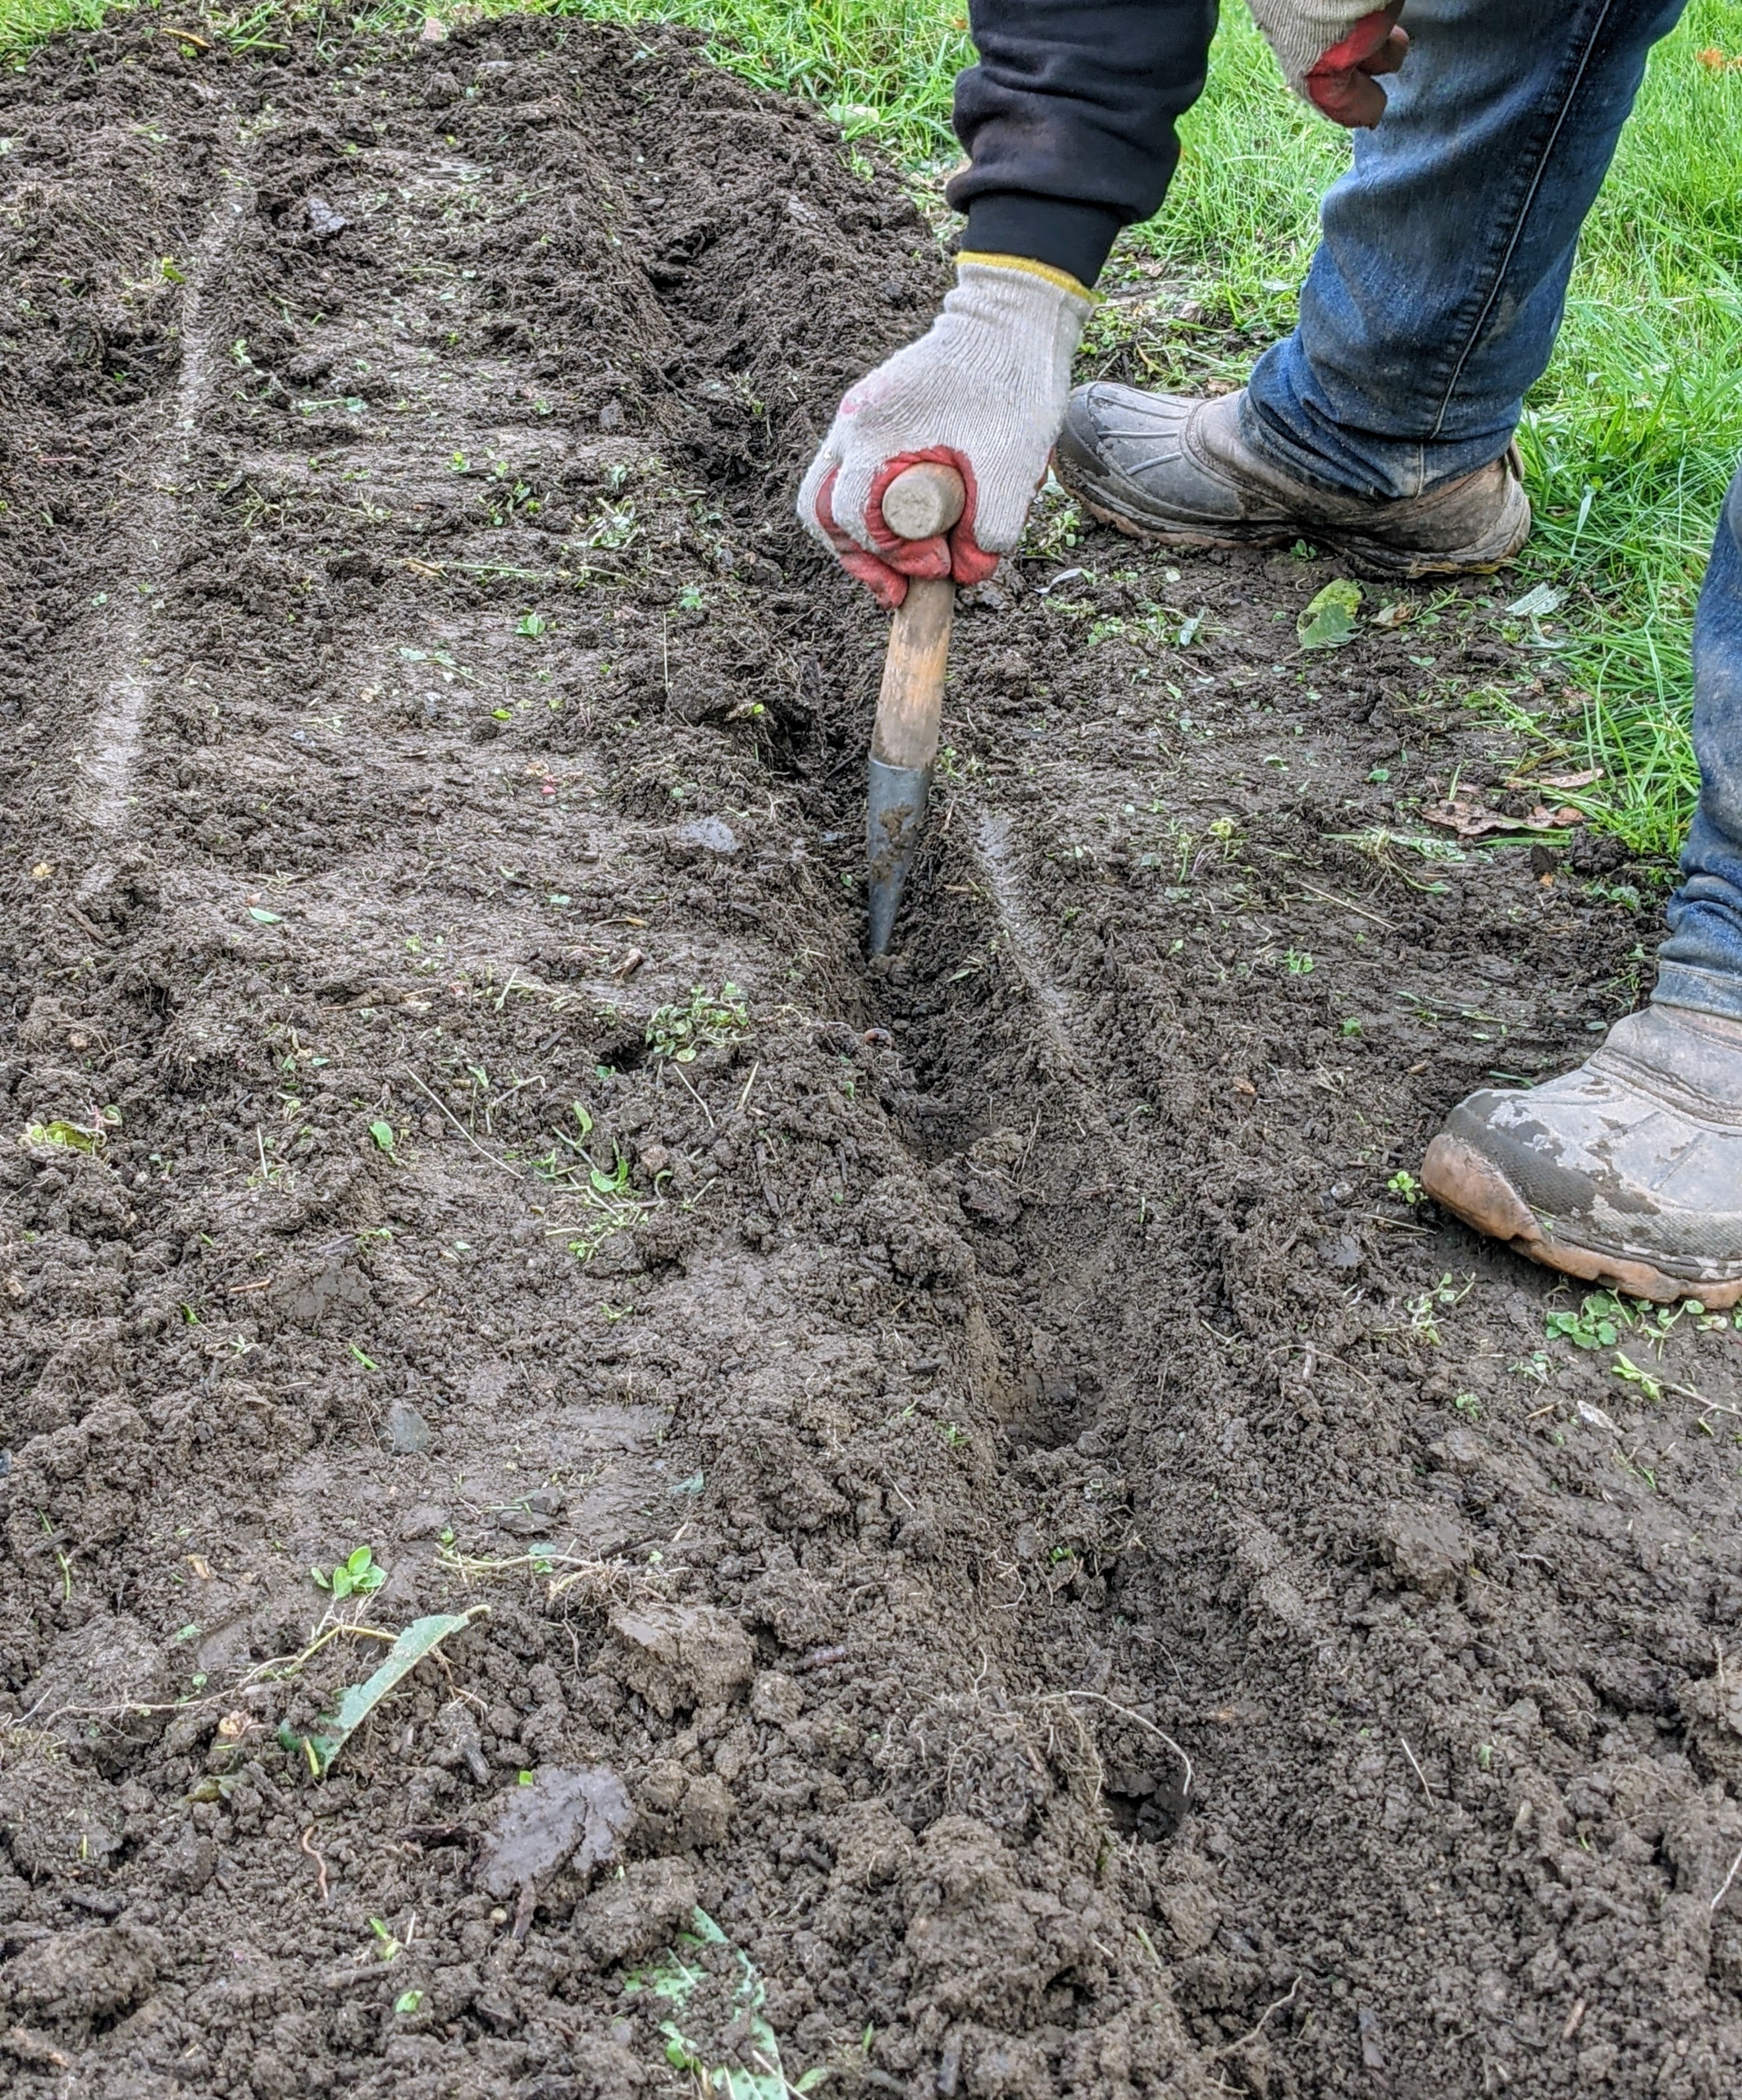
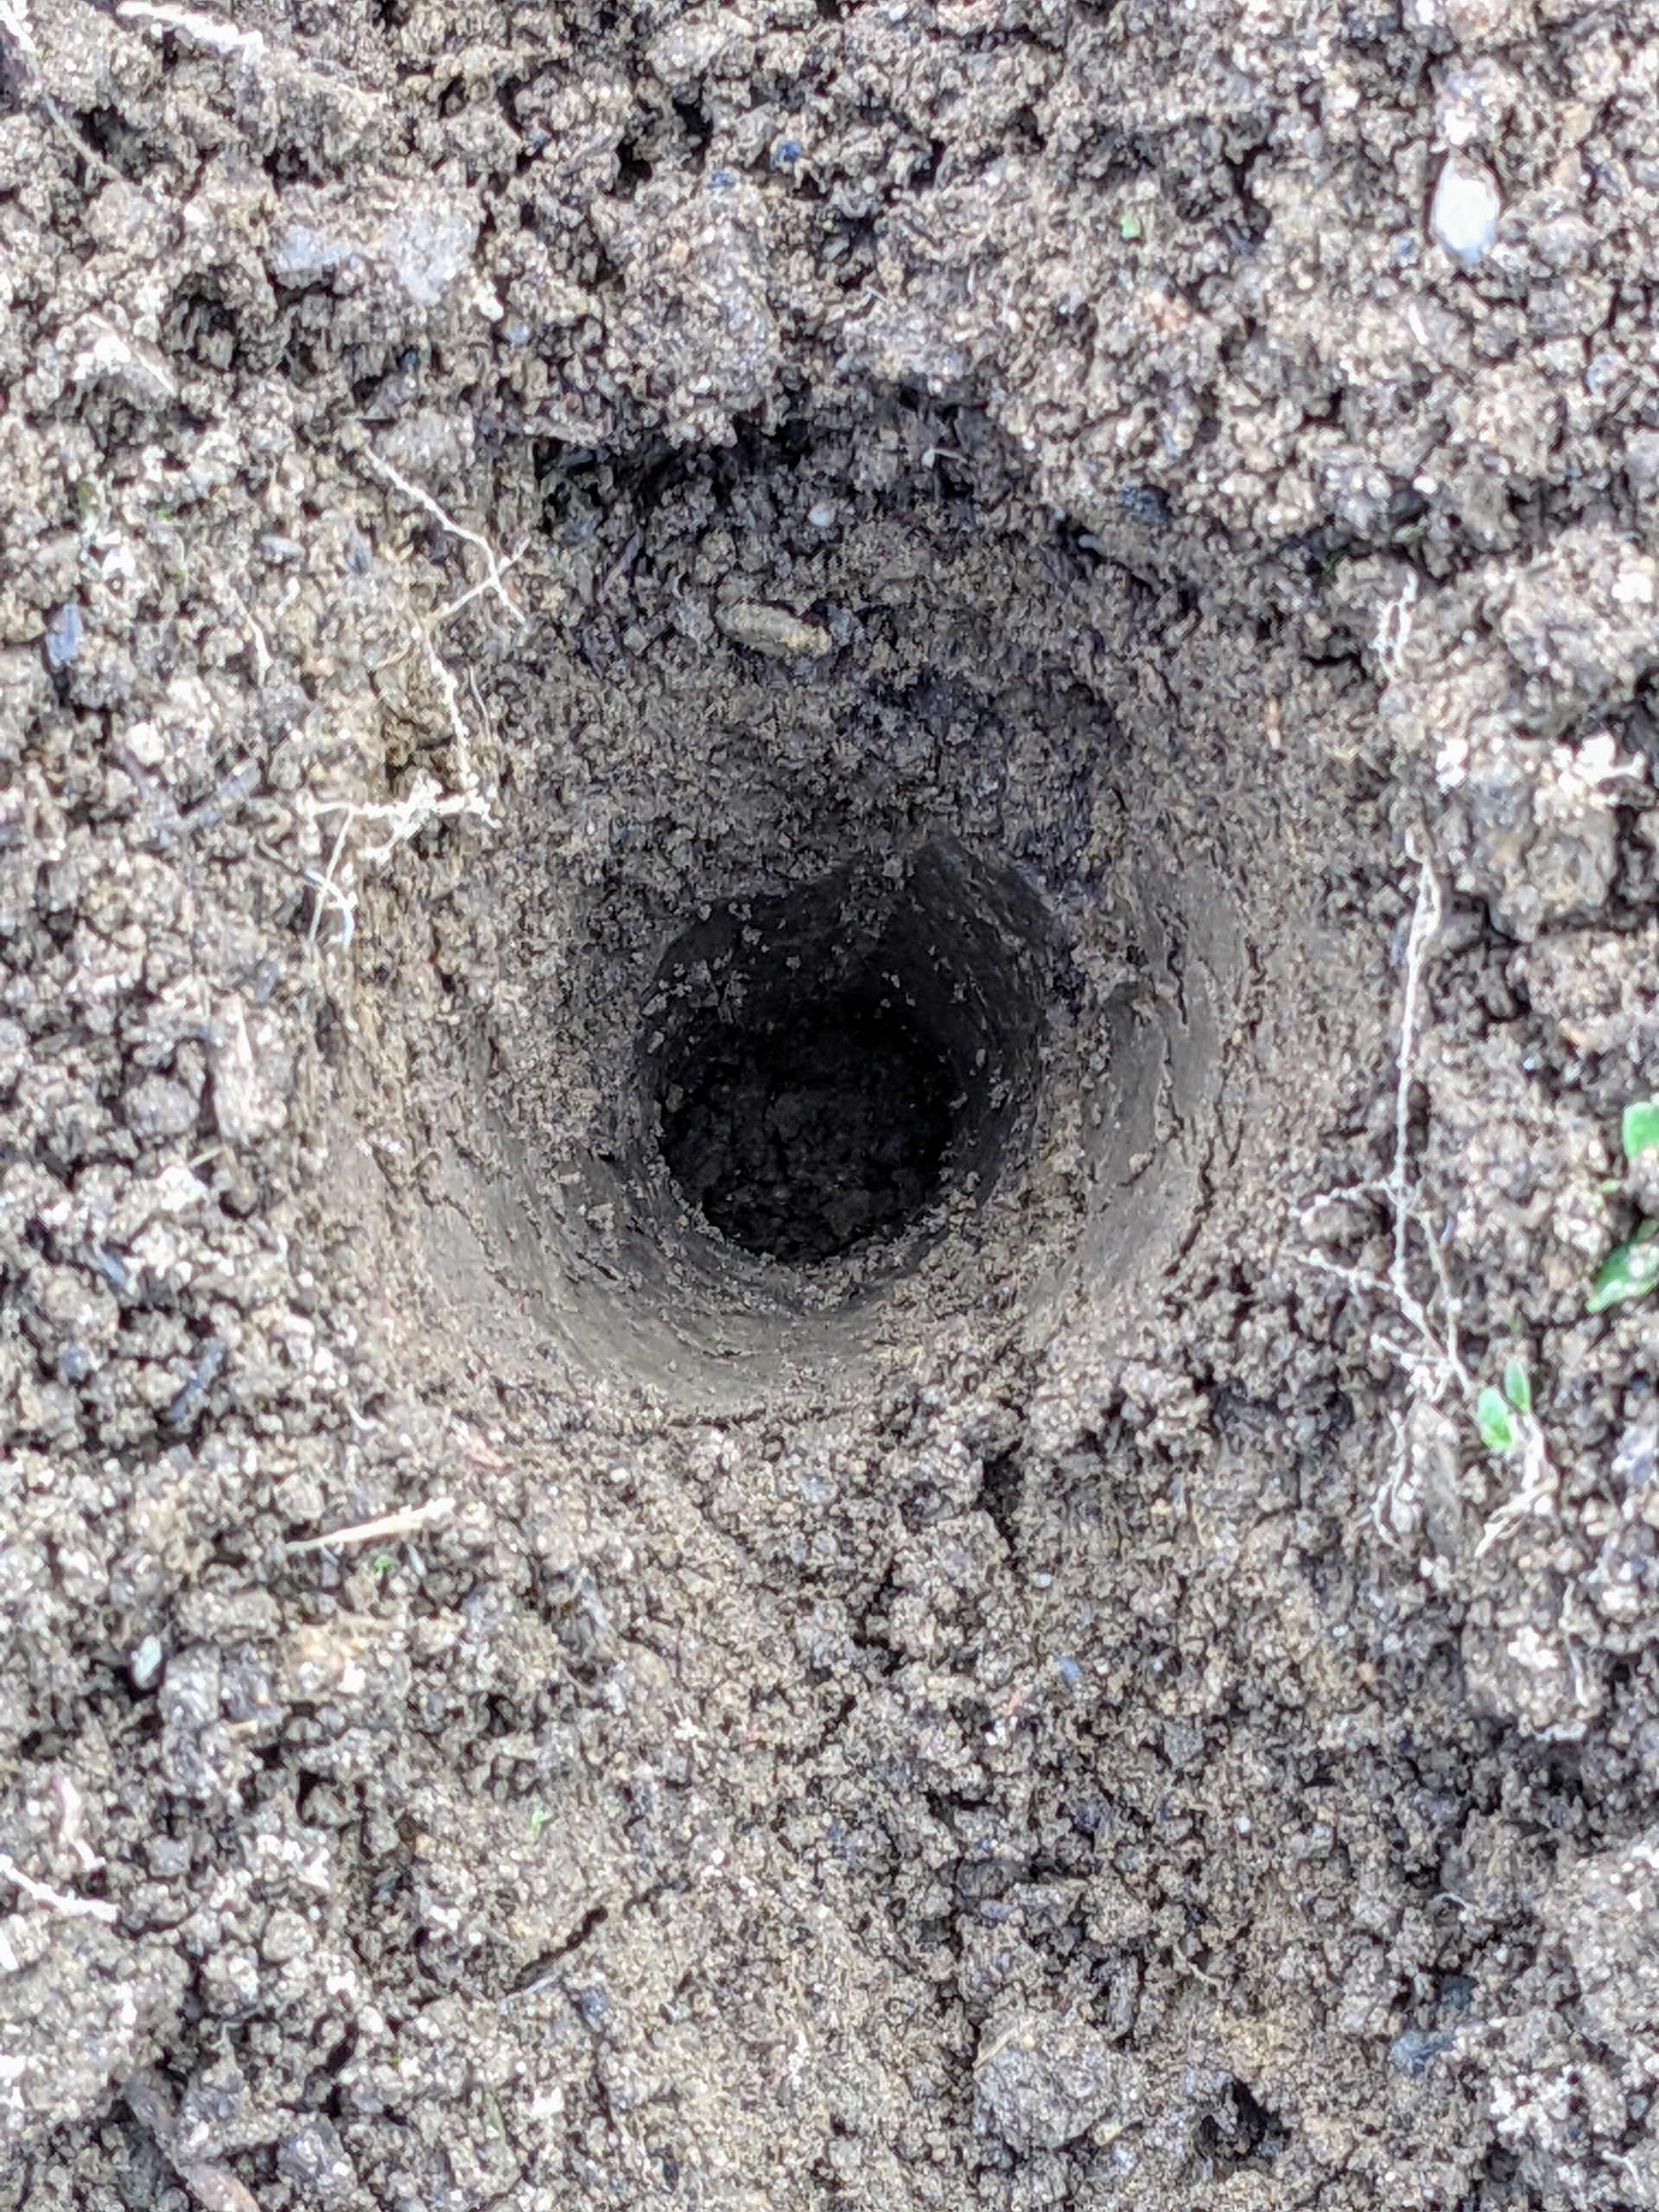
Phurba follows behind with a dibber, making holes in each row – six inches apart. The T-grip on the dibber allows the planter to apply enough pressure to create a consistent depth for each hole.
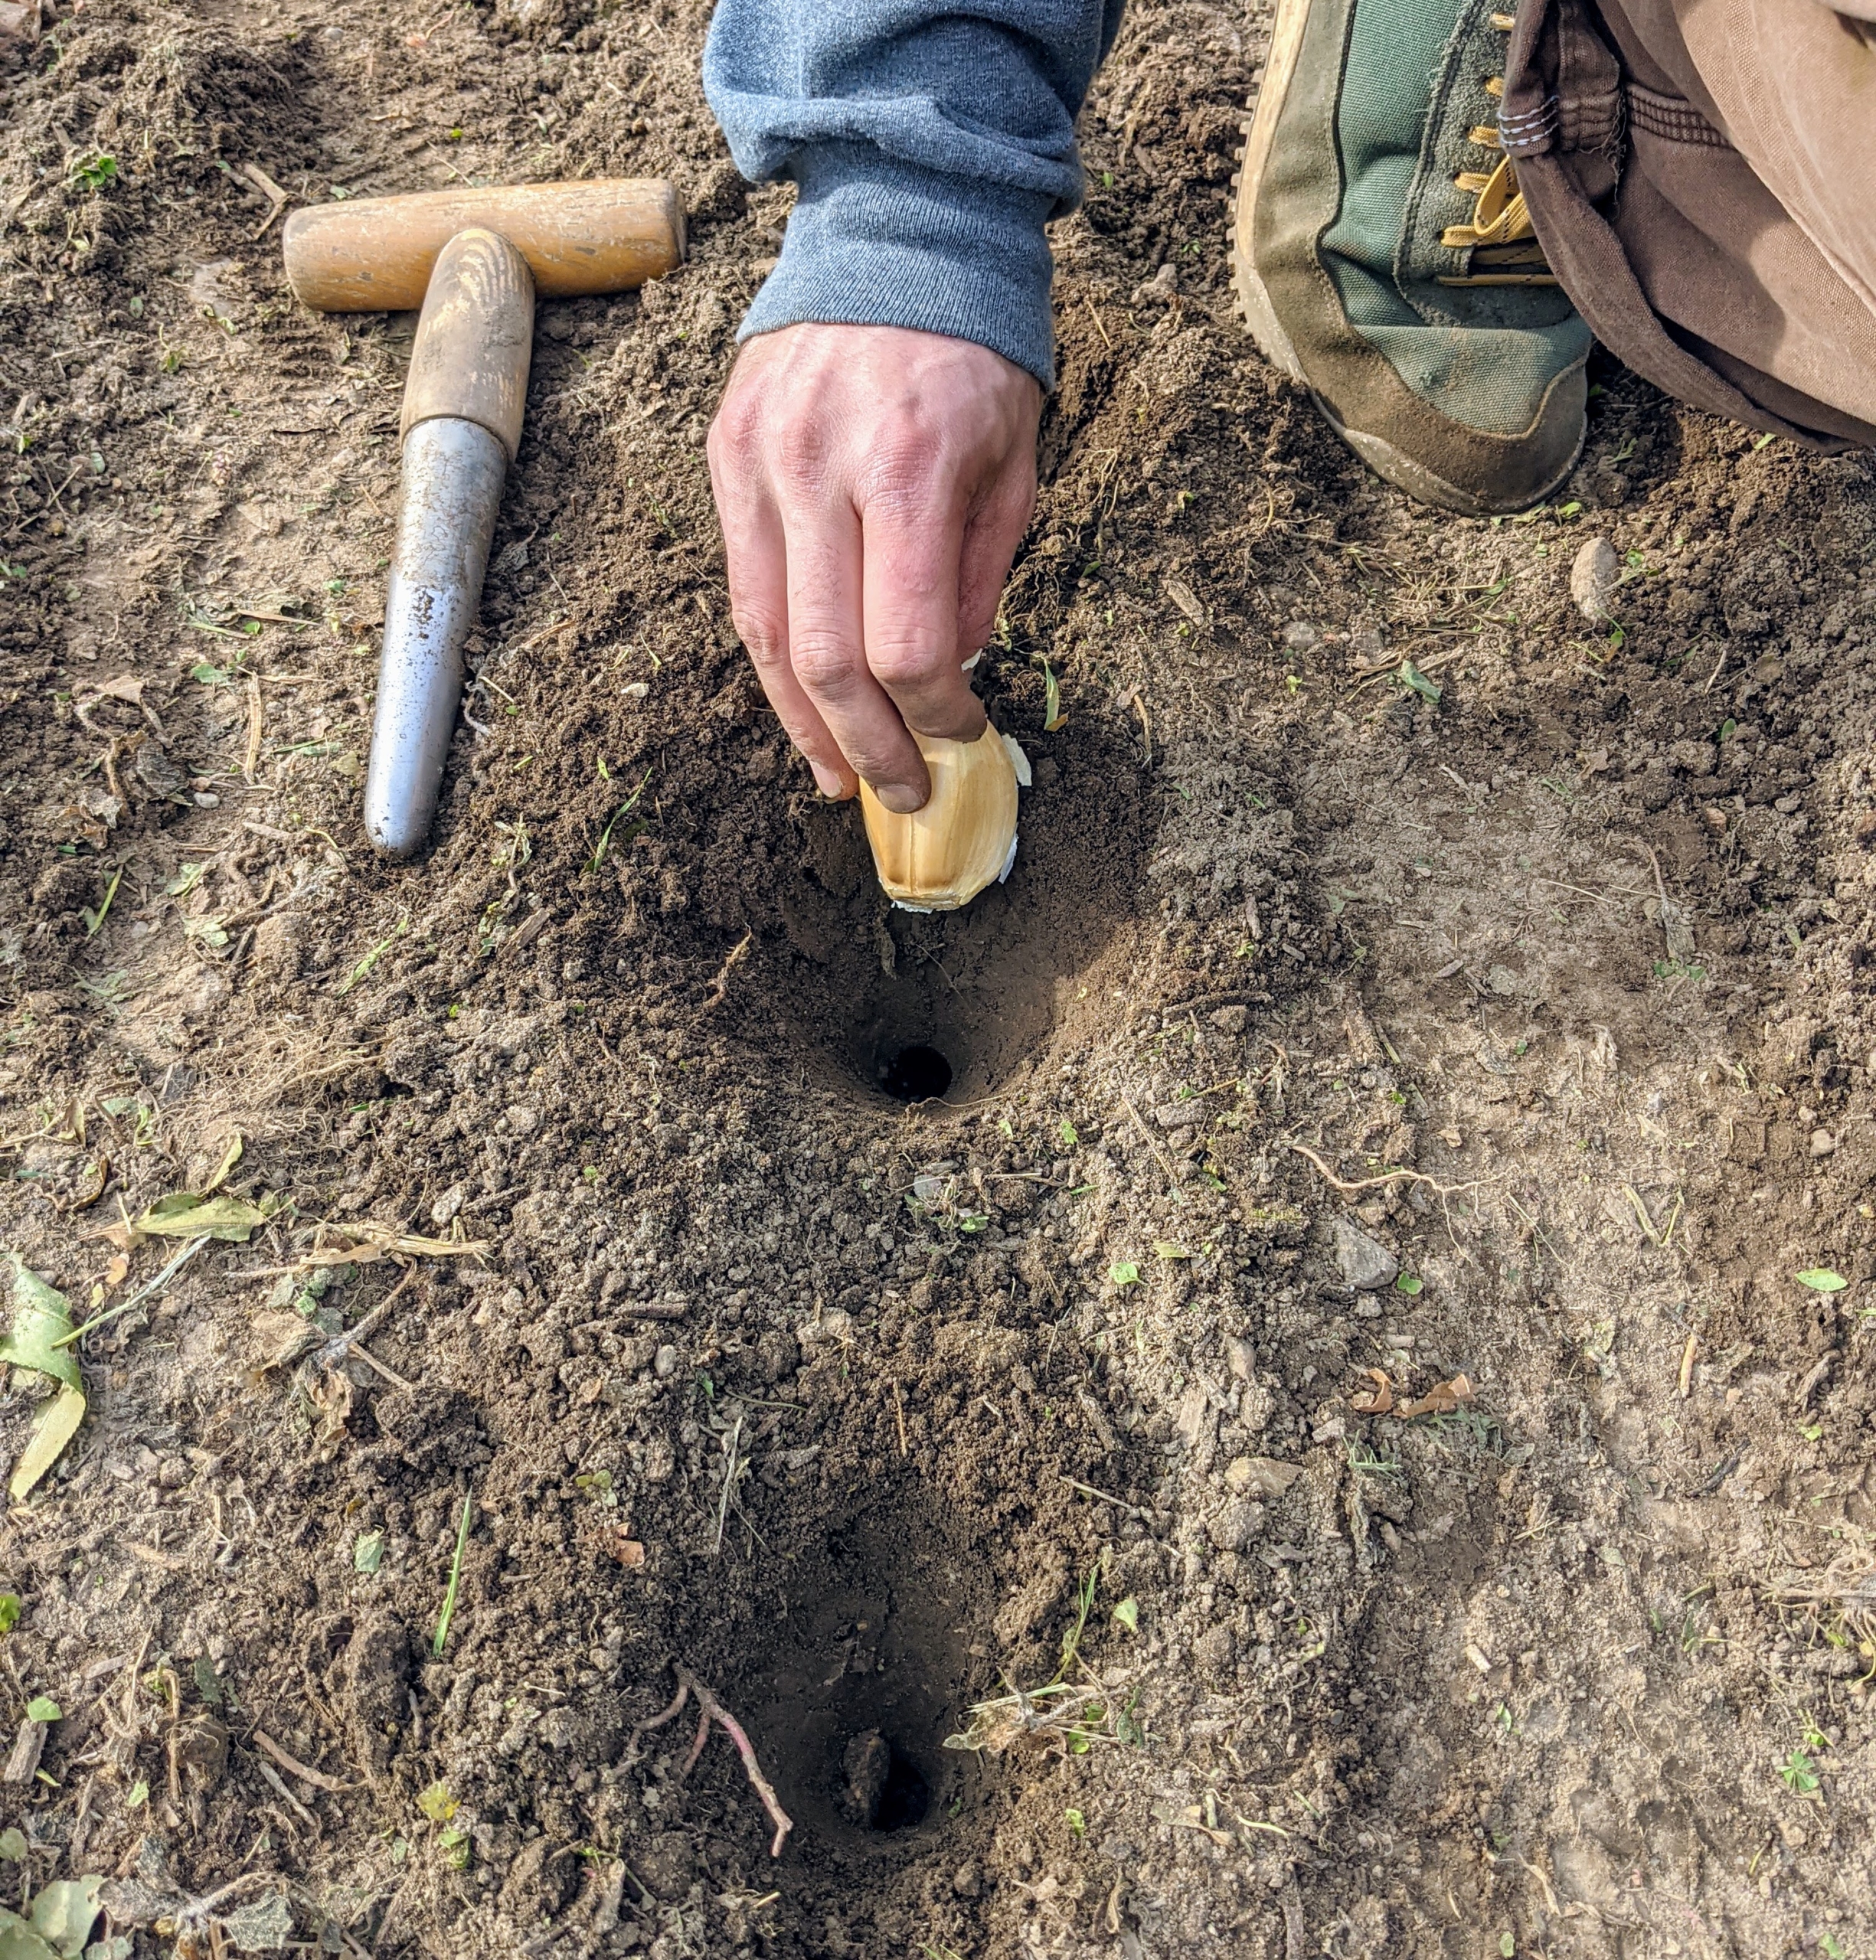
Each hole is also about four inches deep.
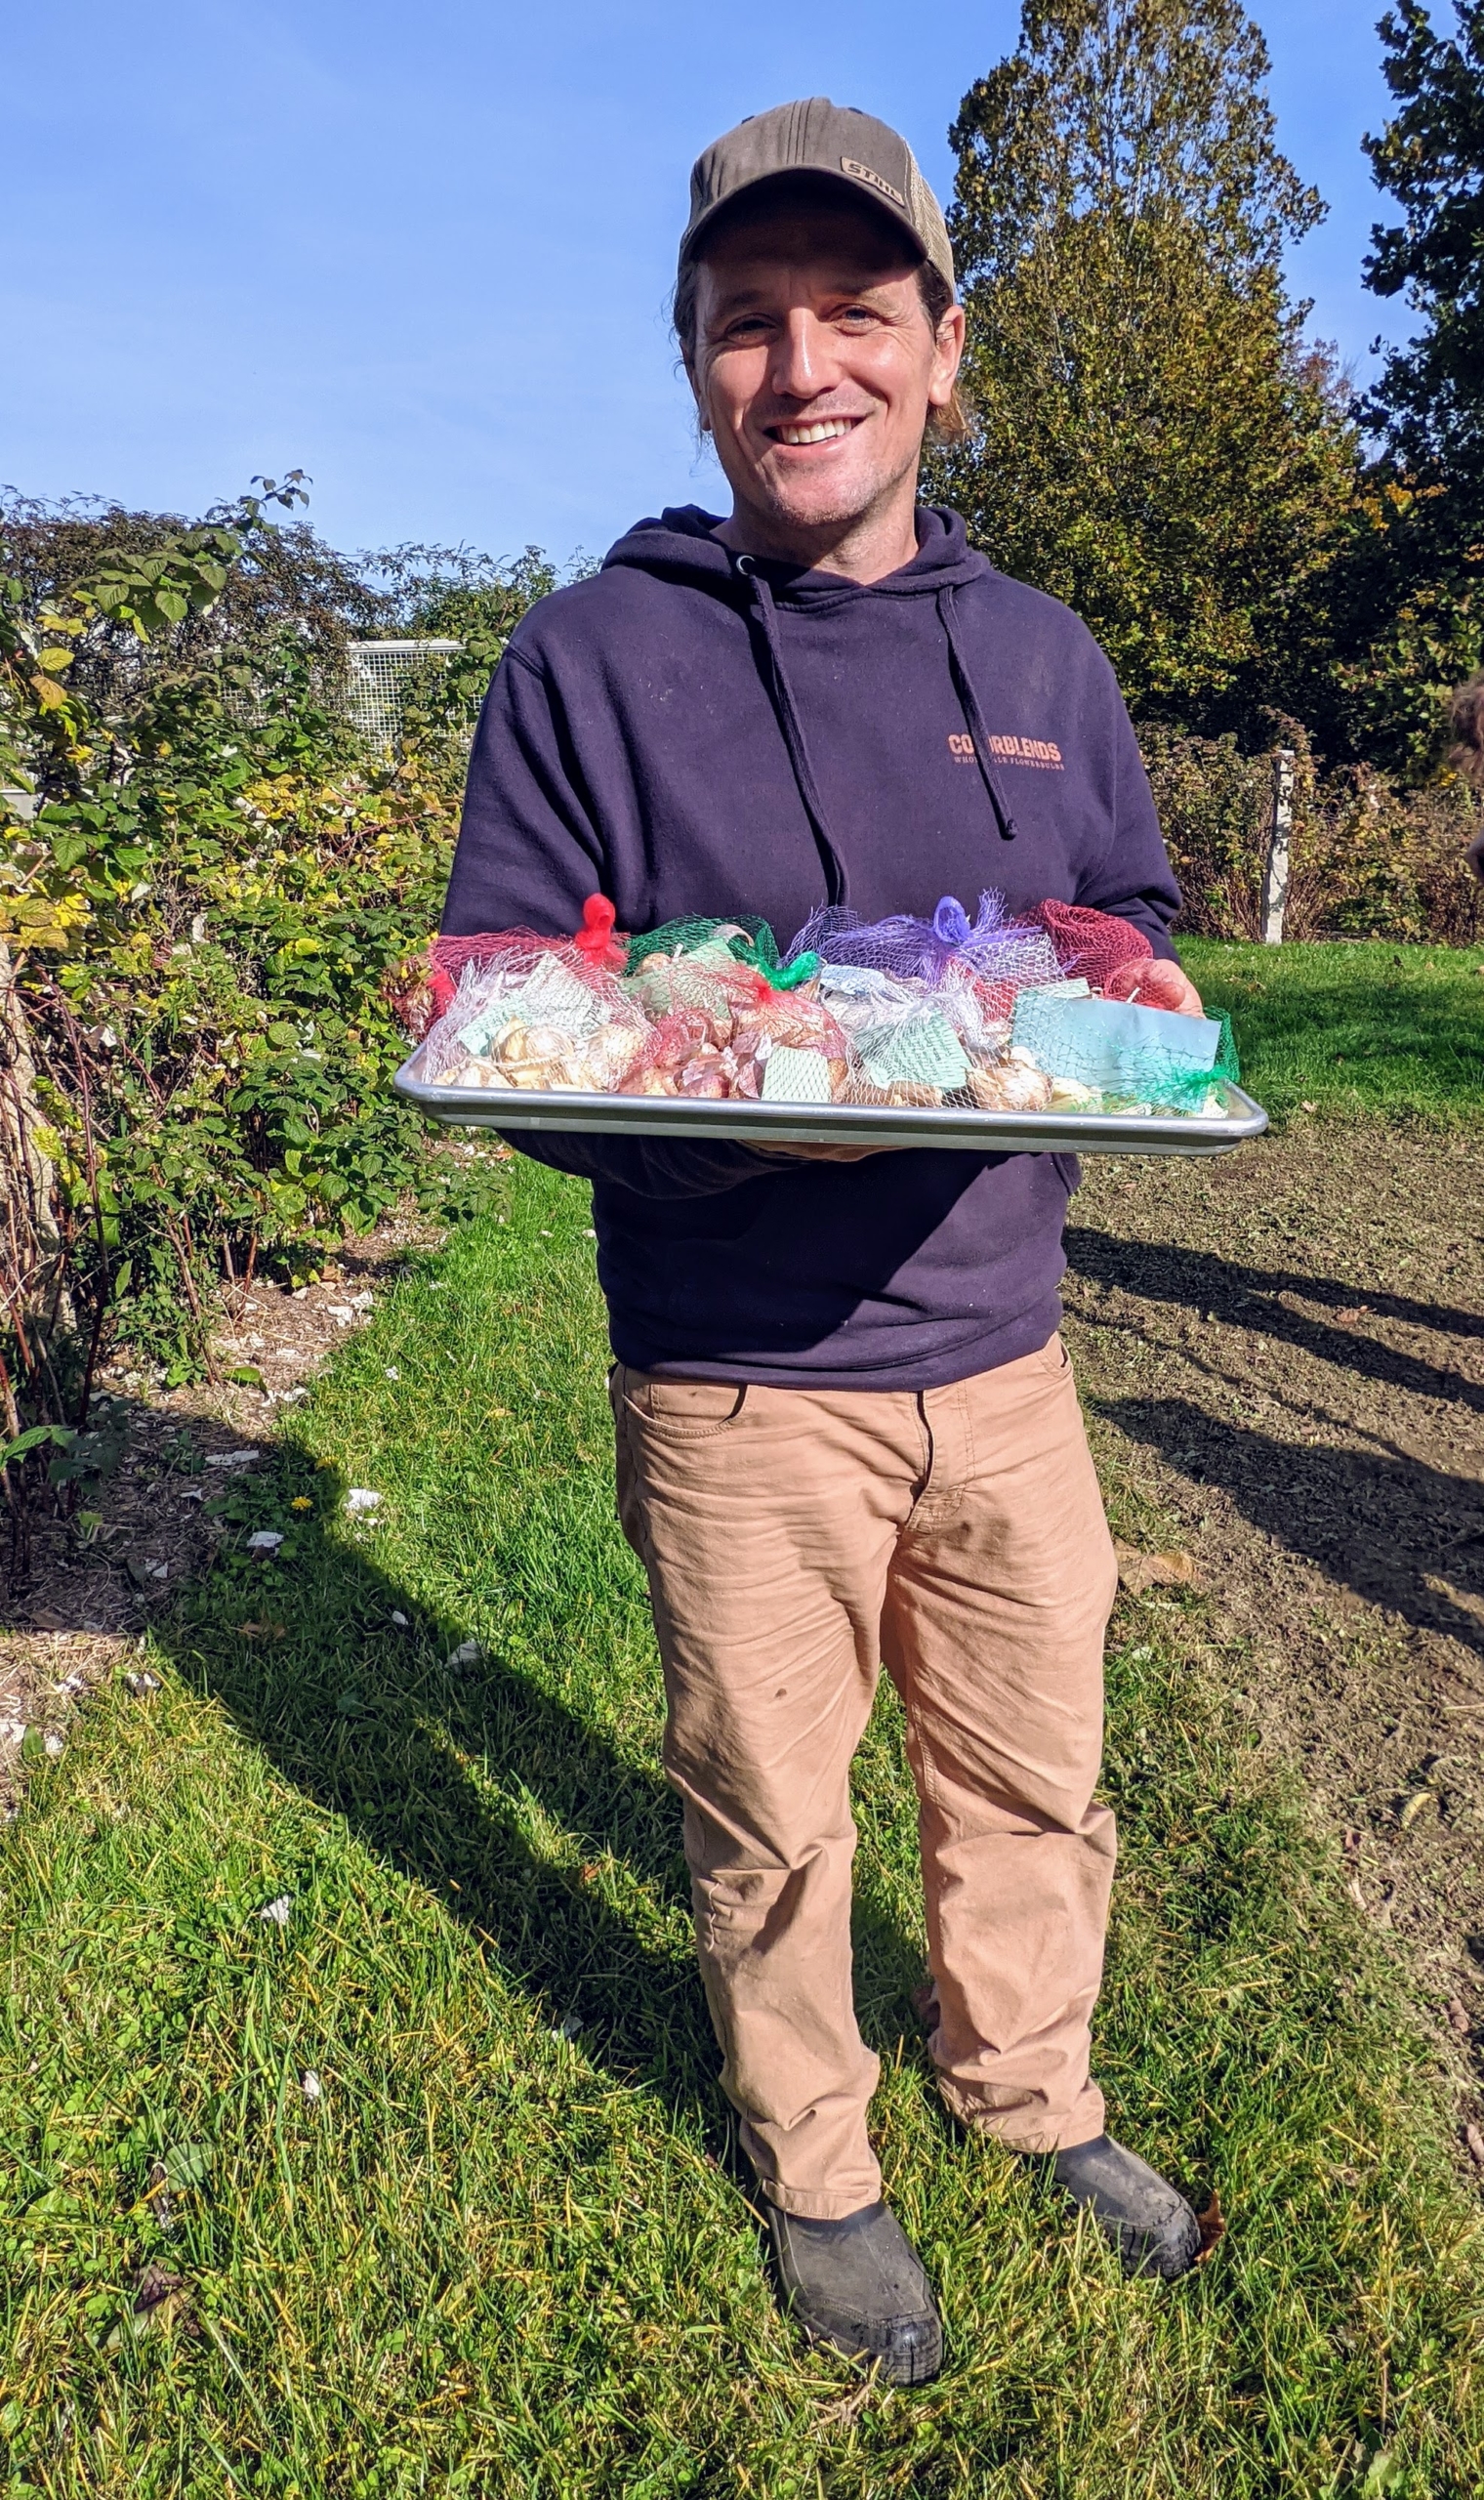
Ryan brings out the prepared garlic cloves – all in their labeled netted sacks, so varieties stay grouped together.
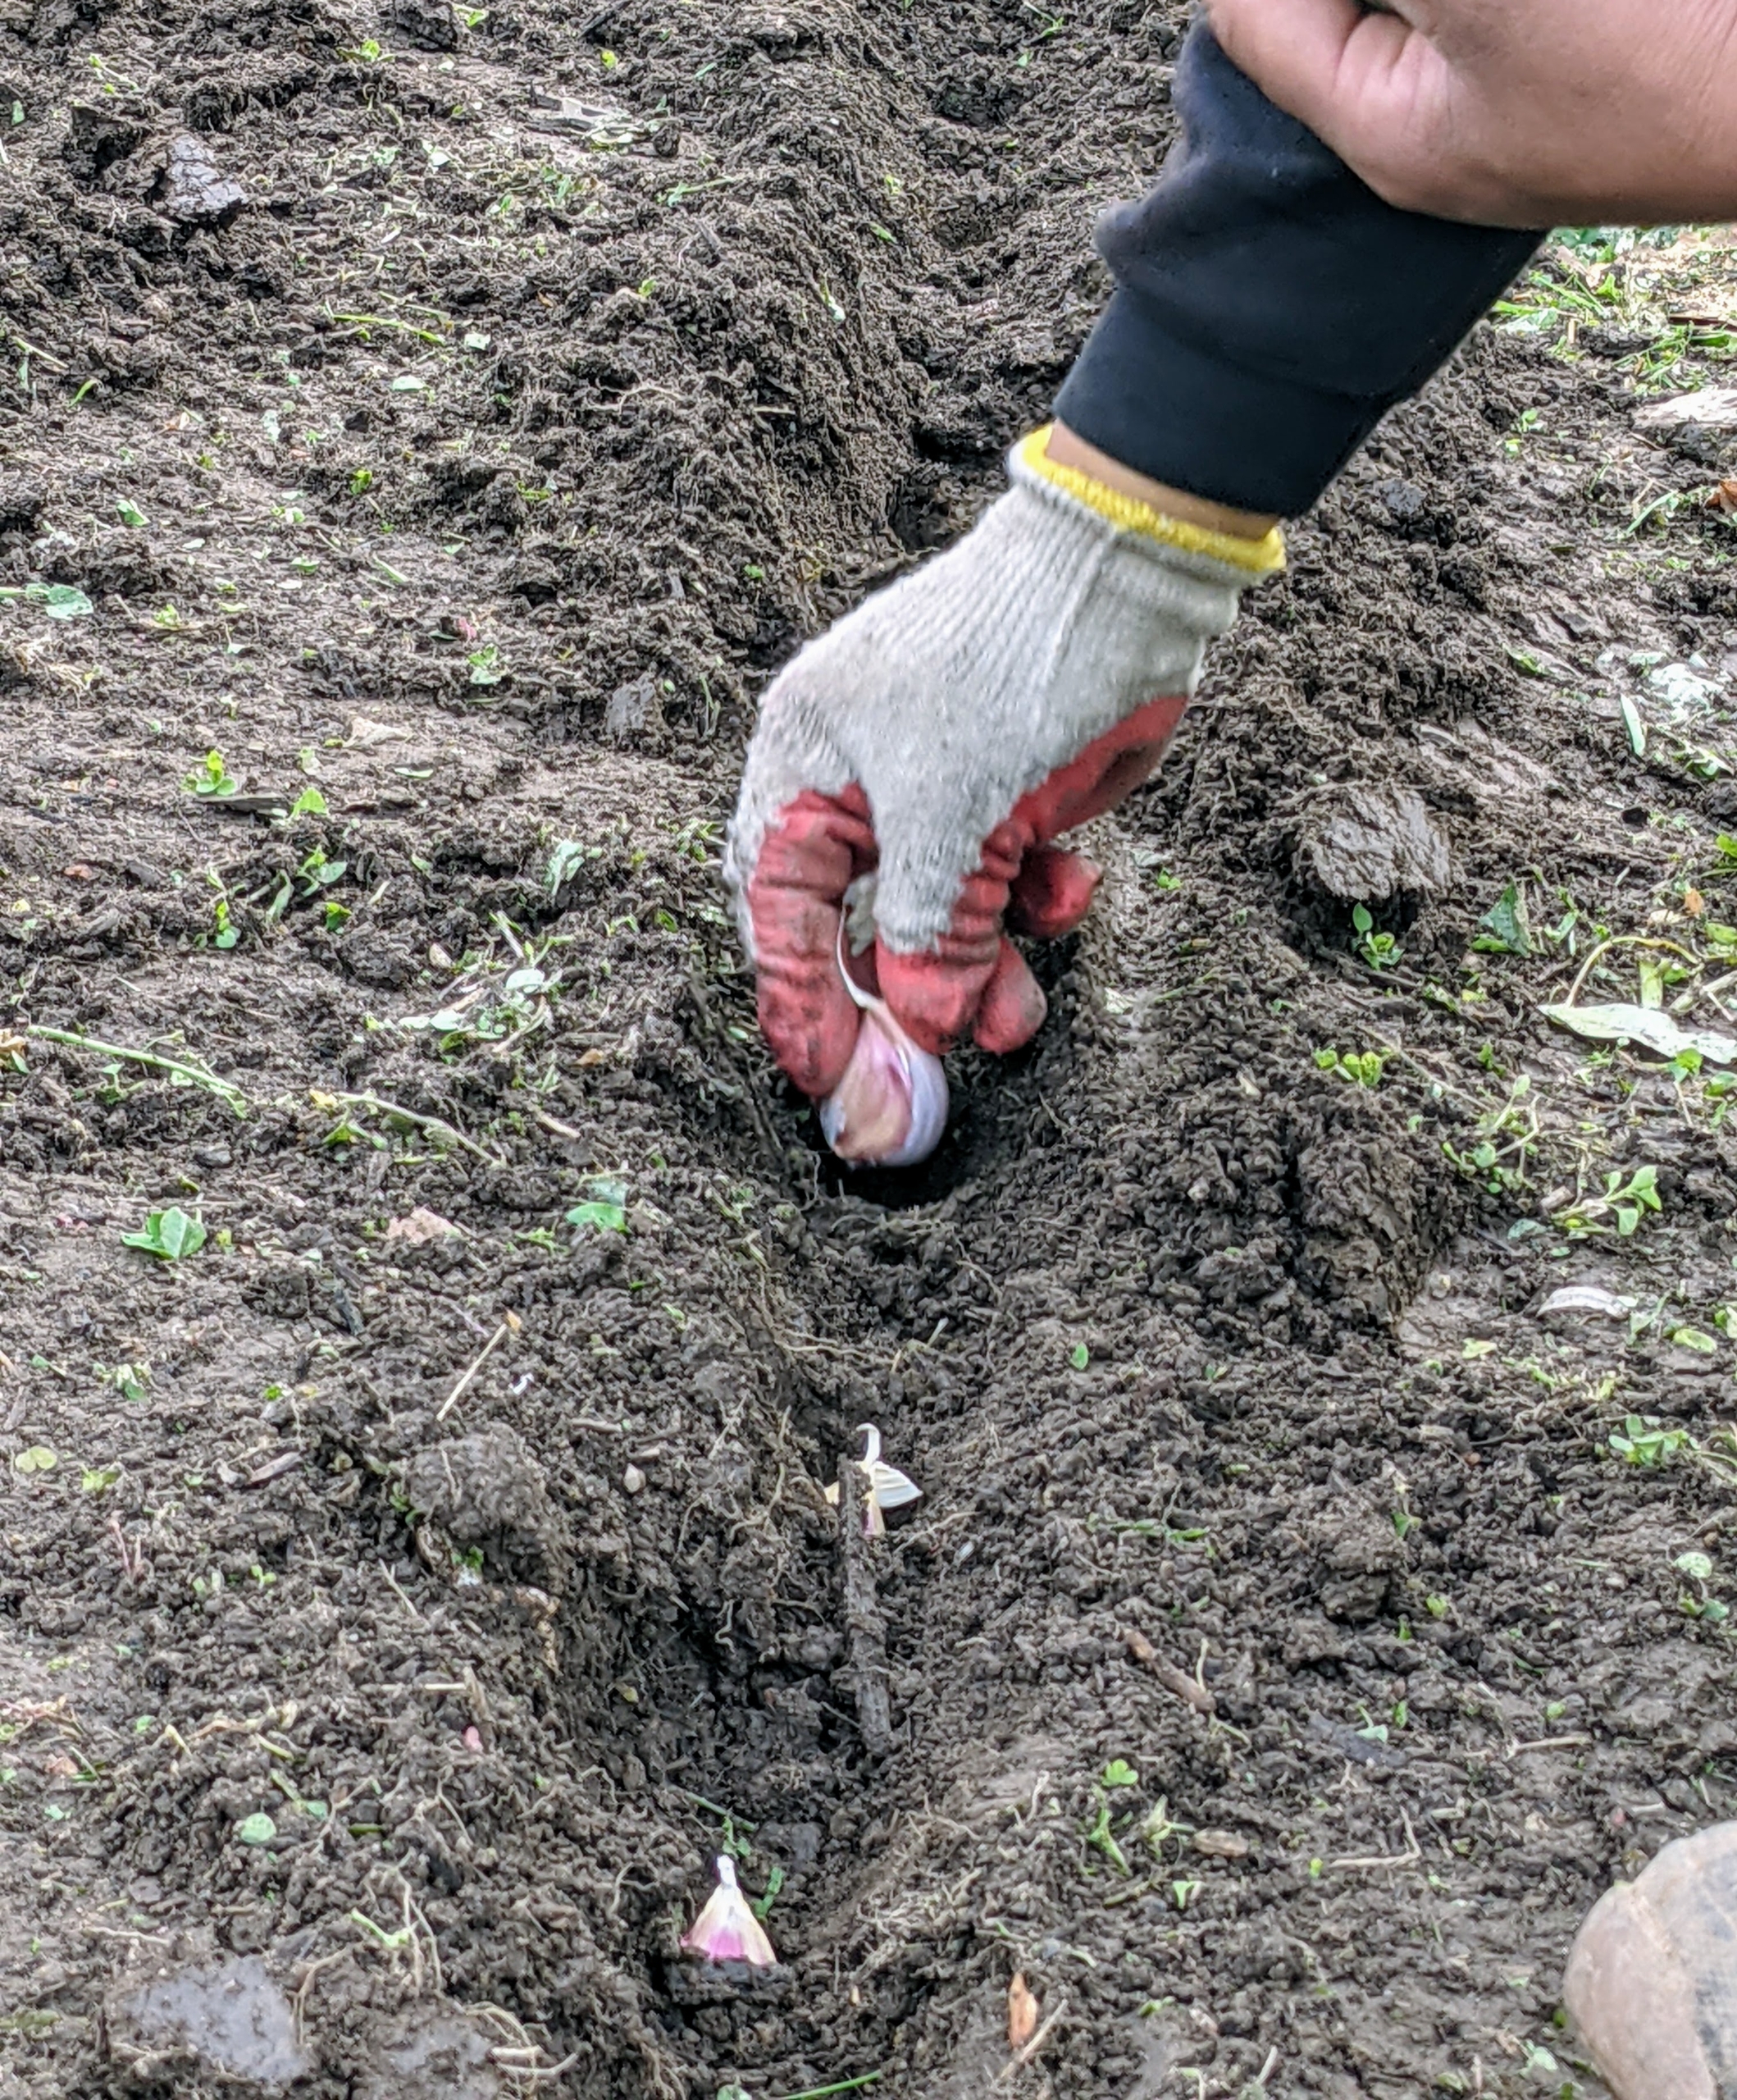
Phurba plants the cloves – each one faced up, and the root side faced down.
If the soil is well cultivated, this should be a fast and easy process.
At the end of the bed, Brian uses a dibber to make slightly bigger holes for planting the Elephant garlic.
Once all the garlic is planted, using a hard rake, Phurba carefully backfills all the holes at once.
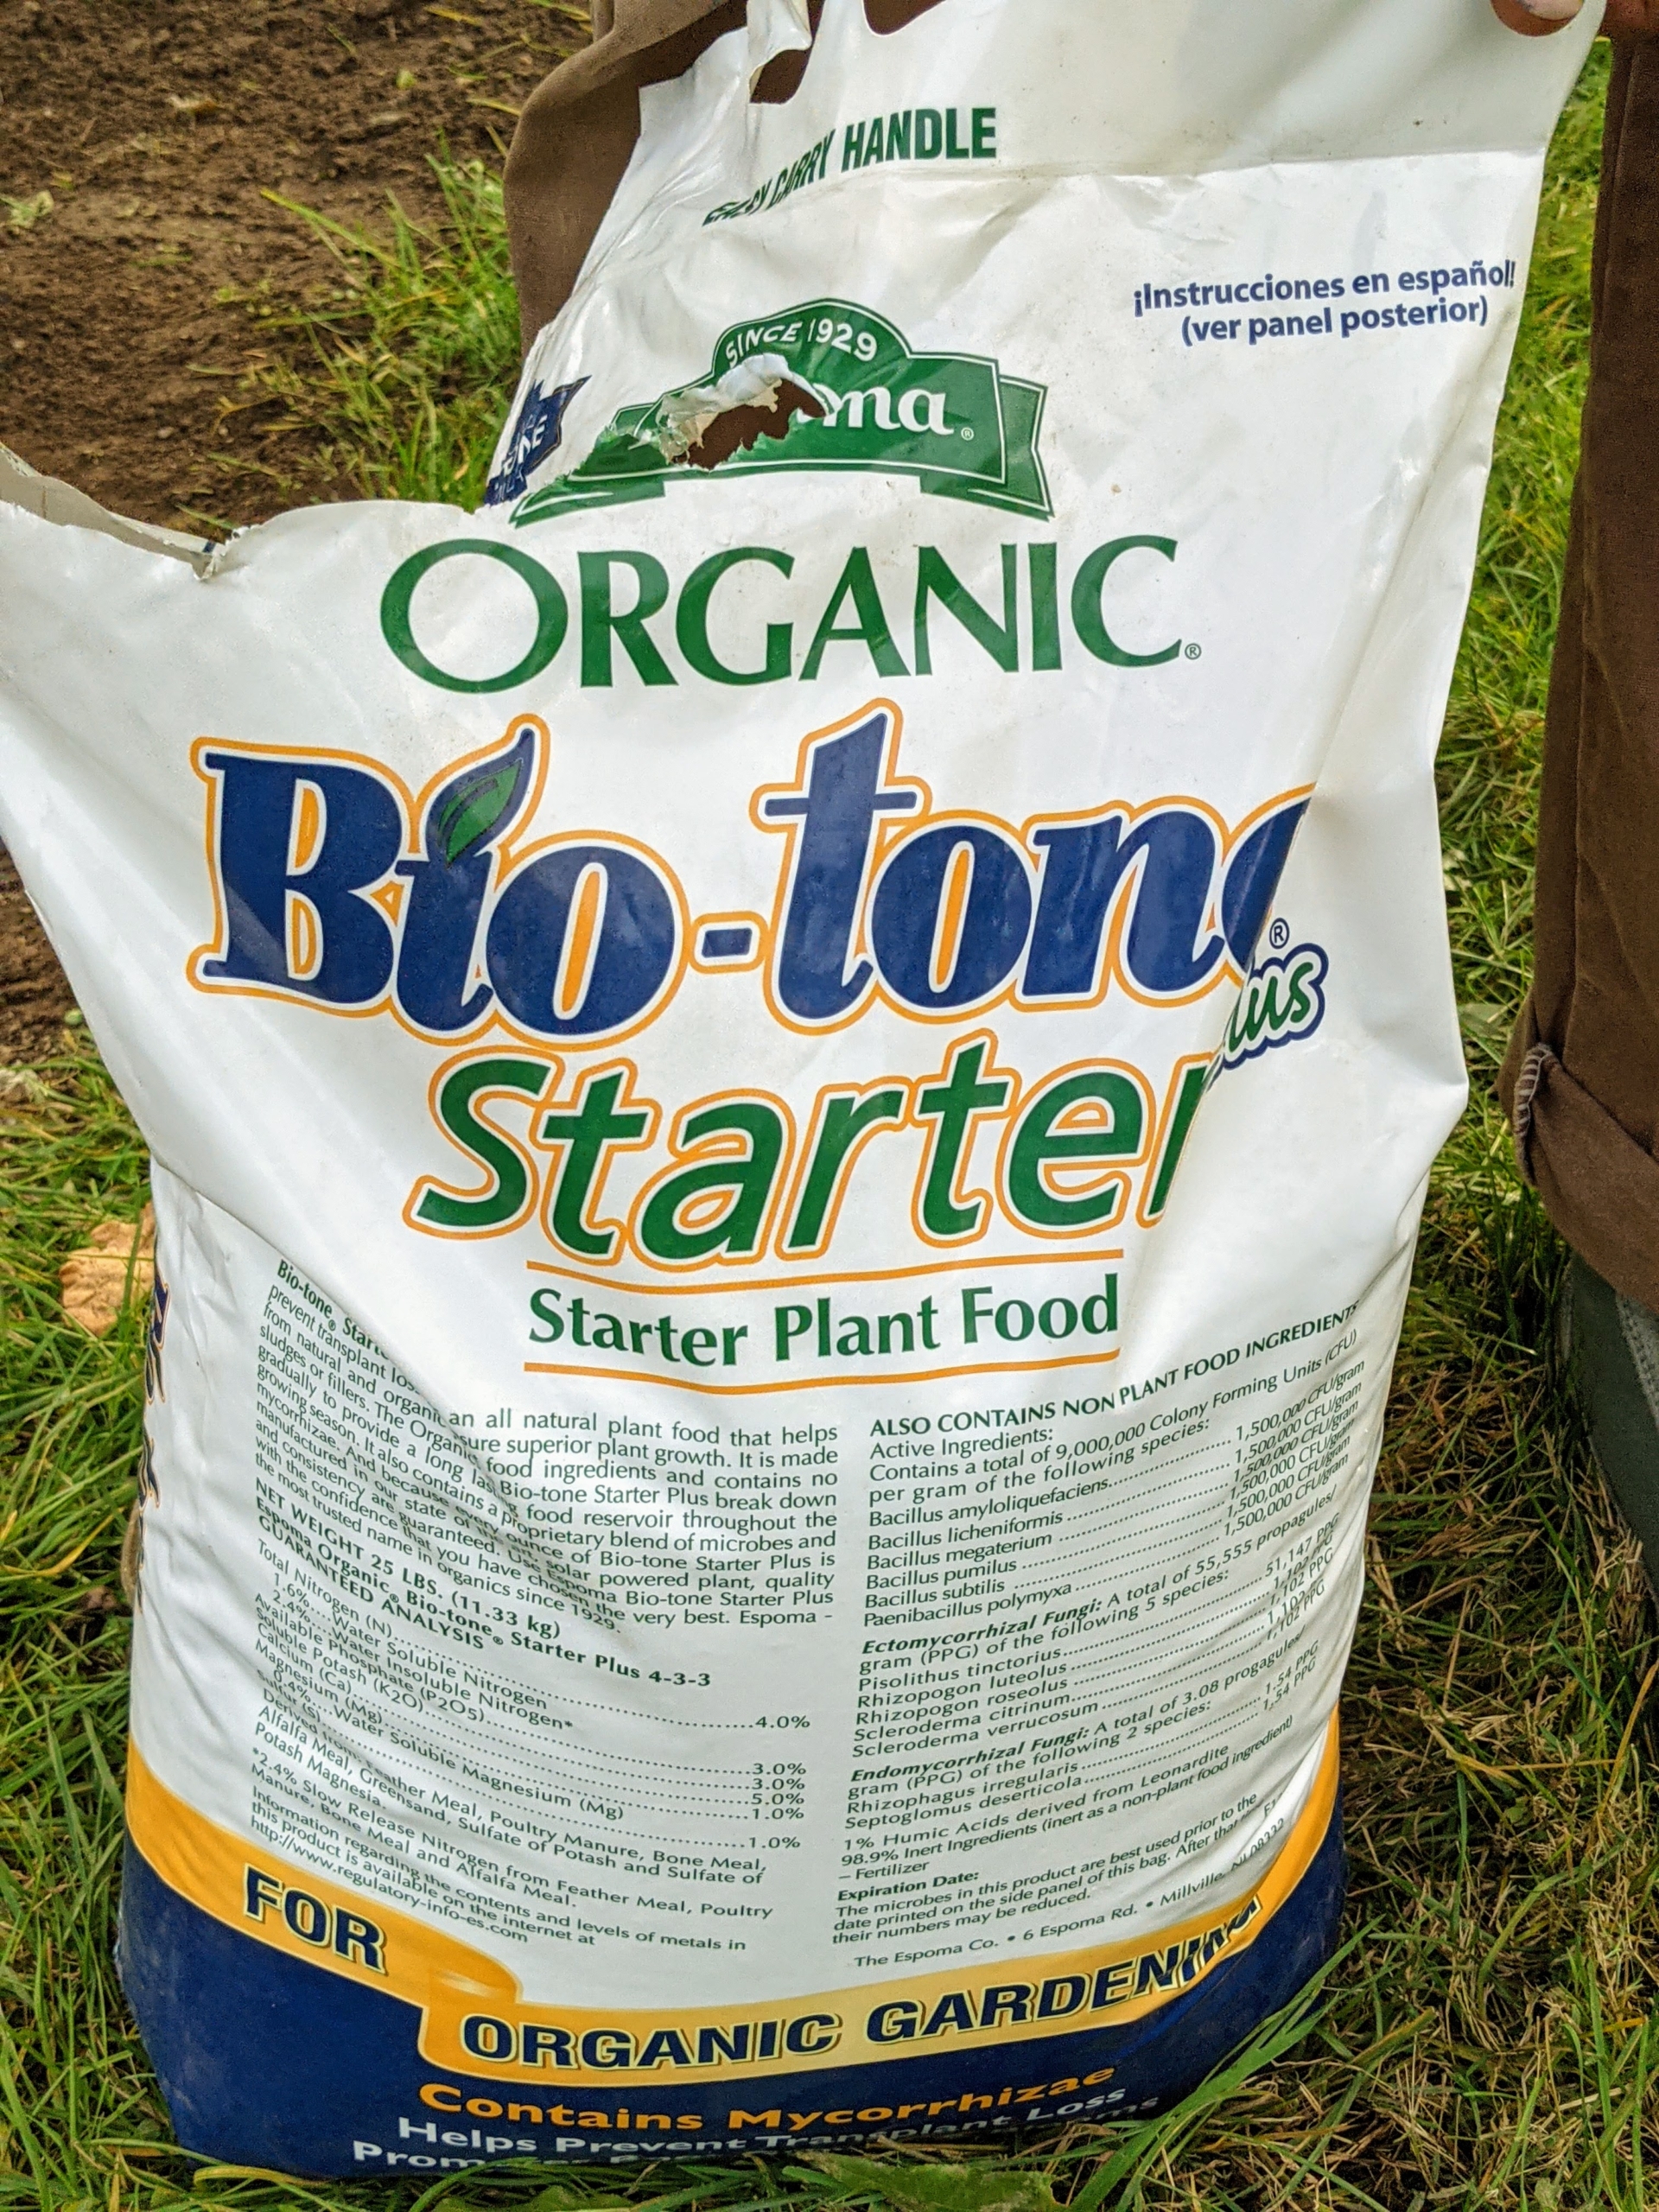
Next, Brian sprinkles a coating of organic fertilizer over the entire bed.
We use Bio-tone Starter which grows larger root masses to help plants establish faster. It also provides all natural nutrients and is fortified with Bio-tone microbes and mycorrhizae.
Using a soft garden rake, Brian goes over the area again to make sure the fertilizer is well-mixed over the newly planted crop. We’re expecting a good rain overnight, so the bed will get a nice drink.
Phurba then stakes the area to remind passers-by that the bed is planted – and no walking.
The garlic crop will tolerate some shade but prefers full sun. This garlic will be ready to harvest mid-July to August. I can’t wait.