Here at my Bedford, New York farm, the outdoor grounds crew is busy "burlapping" - a term we use for covering all my winter-sensitive boxwood with burlap.
I am a big supporter of "burlapping" shrubbery for the cold season. Burlap covers protect the tender branches from splaying and breaking under heavy ice and snow while shielding the foliage from strong winds. Burlap is also more effective than plastic because it allows air to circulate through the plants. "Burlapping" is a practice I've followed for many years, and I think it also provides a cozy and pretty look to the winter landscape. This week, the crew finished the biggest part of this project - my long Boxwood Allee.
Enjoy these photos.
My long Boxwood Allee extends from the east paddocks and the woodland carriage road all the way to the stone stable. It has developed beautifully over the years, growing larger every season. Here it is in July when all the foliage is bold, beautiful, and green.
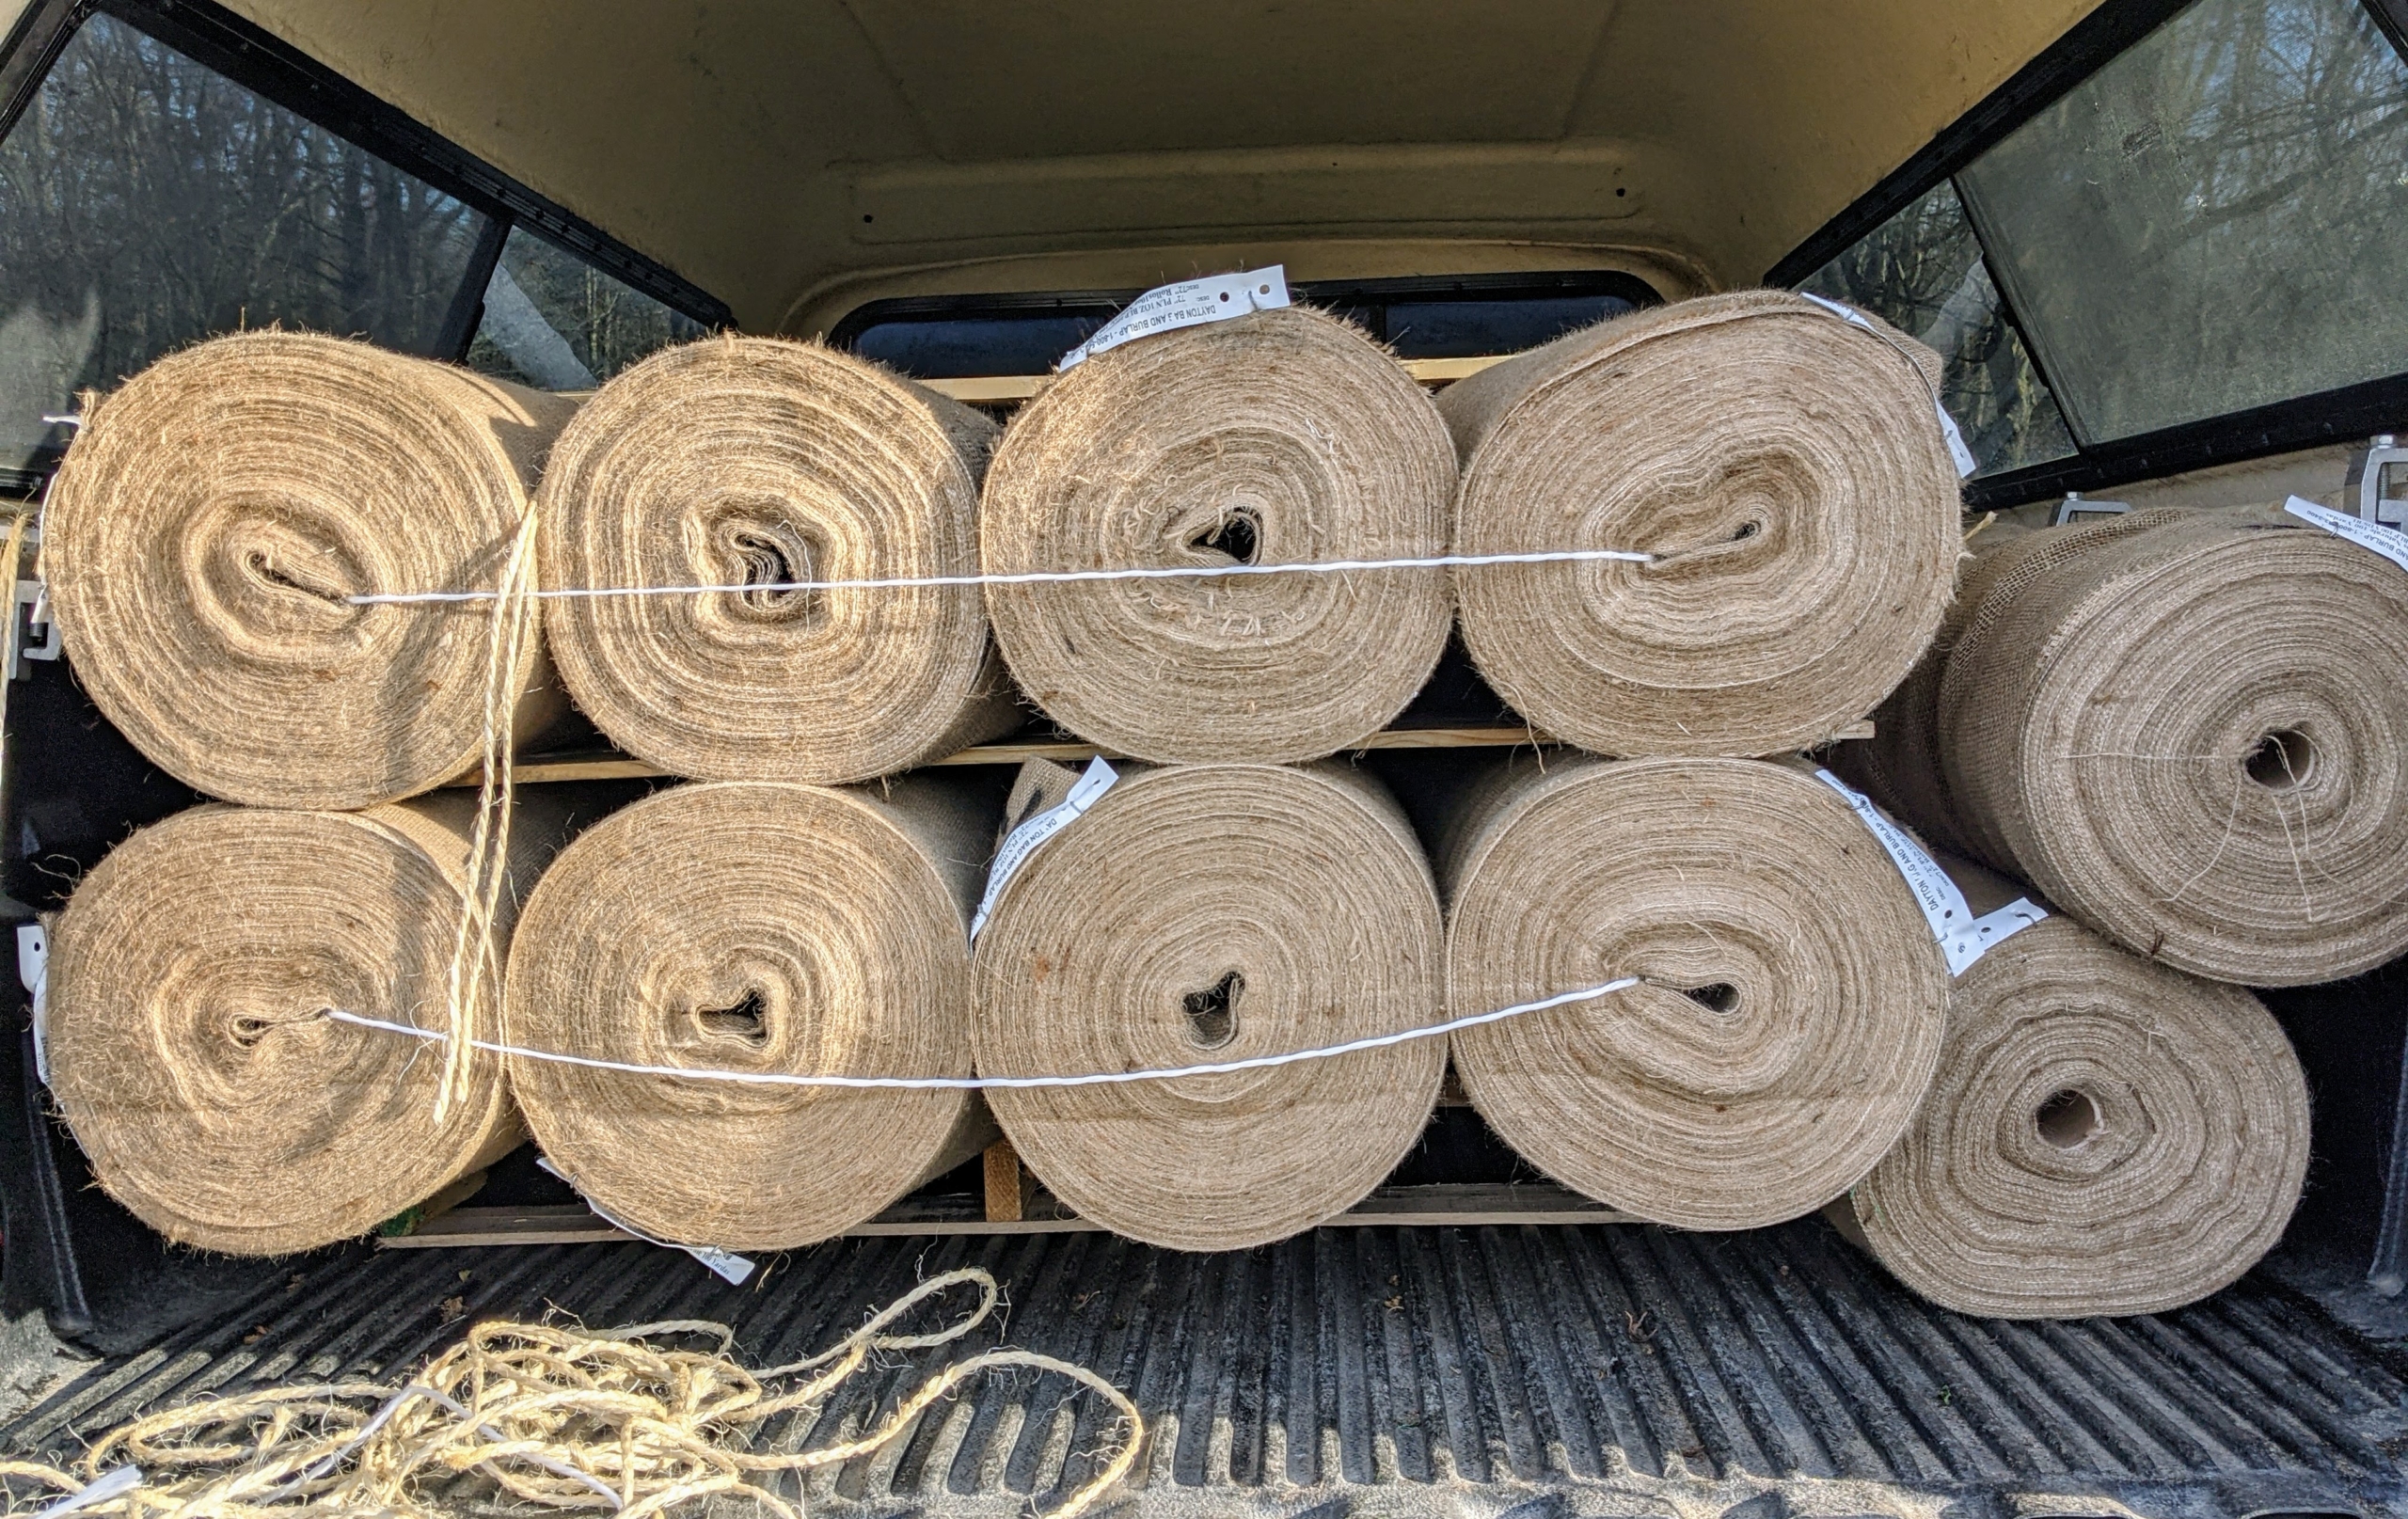
In late autumn, just before the holidays, my outdoor grounds crew begins the arduous task of covering all the boxwood with burlap – woven fabric usually made from skin of the jute plant or sisal fibers. When it isn’t possible to use older pieces, we create new covers. This year, we needed a fresh supply of burlap. They come in large industrial rolls.
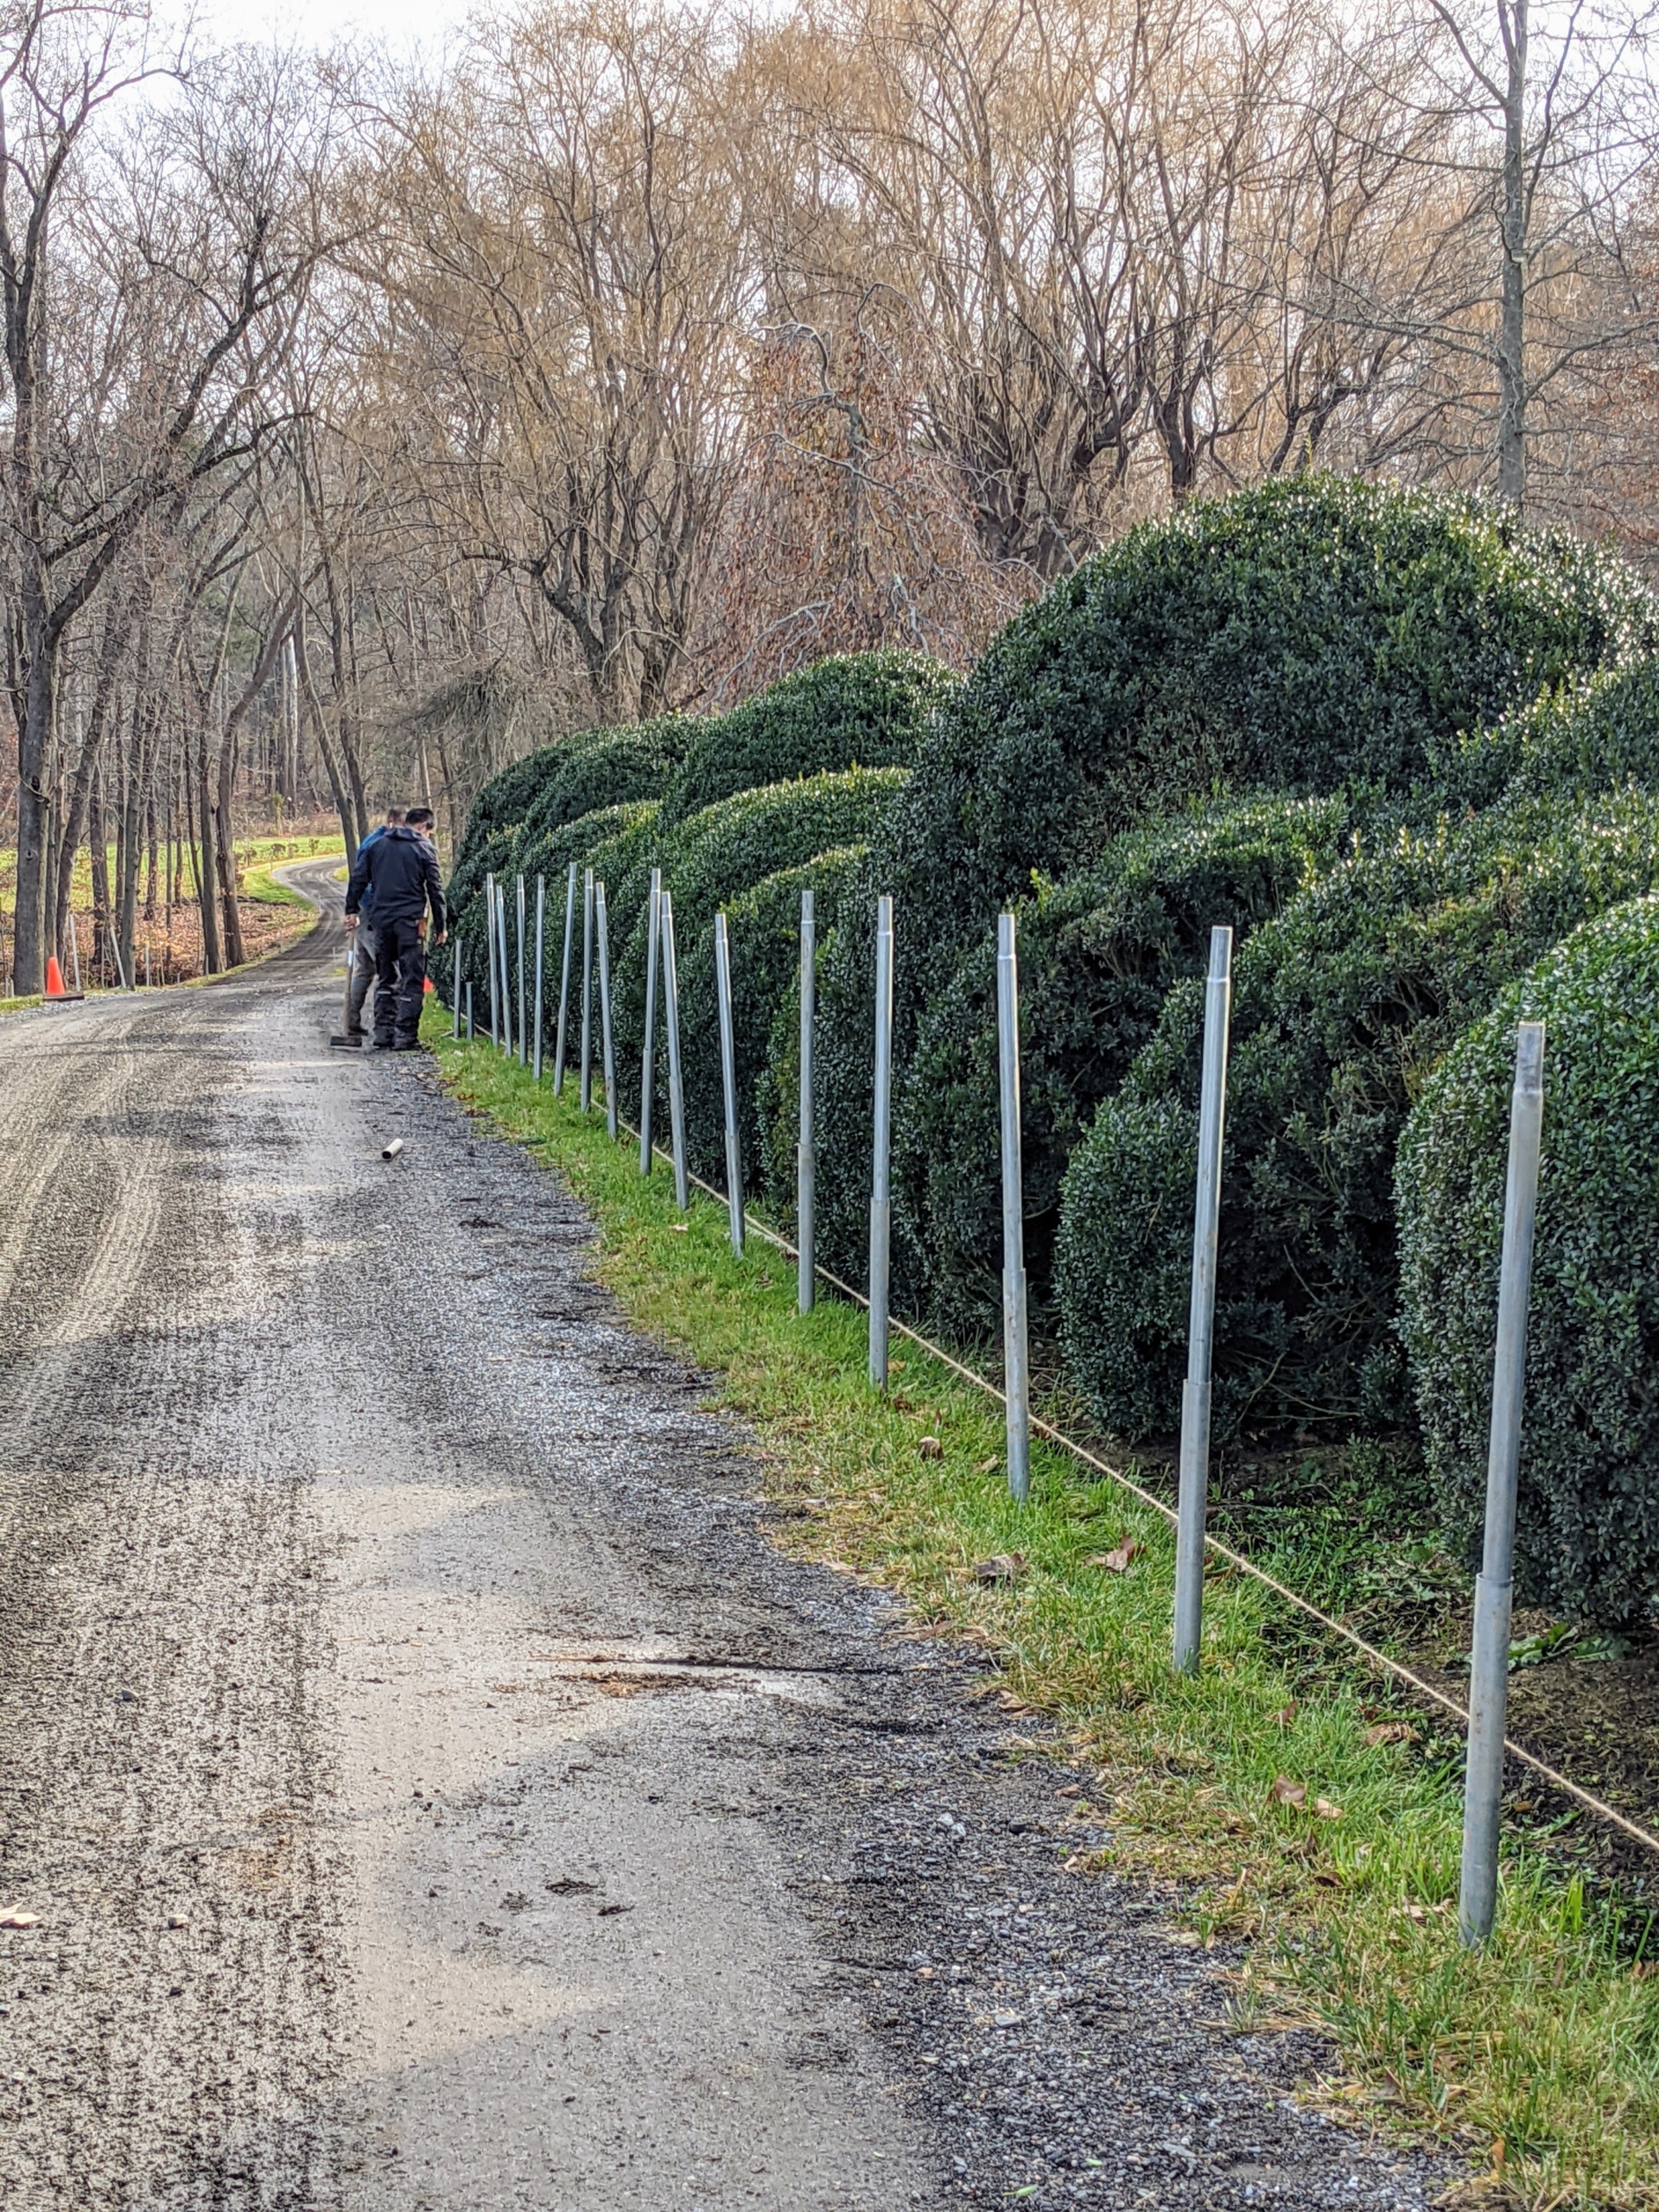
The first step is to build the frame structures for the burlap. These pipes are made from rolled galvanized 16 gauge industrial tubing. In all, hundreds of ground stakes, purlin pipes, connectors, nuts, and bolts are used for the project. They are actually parts for greenhouse hoop houses. I knew they would be perfect for the Boxwood Allee.
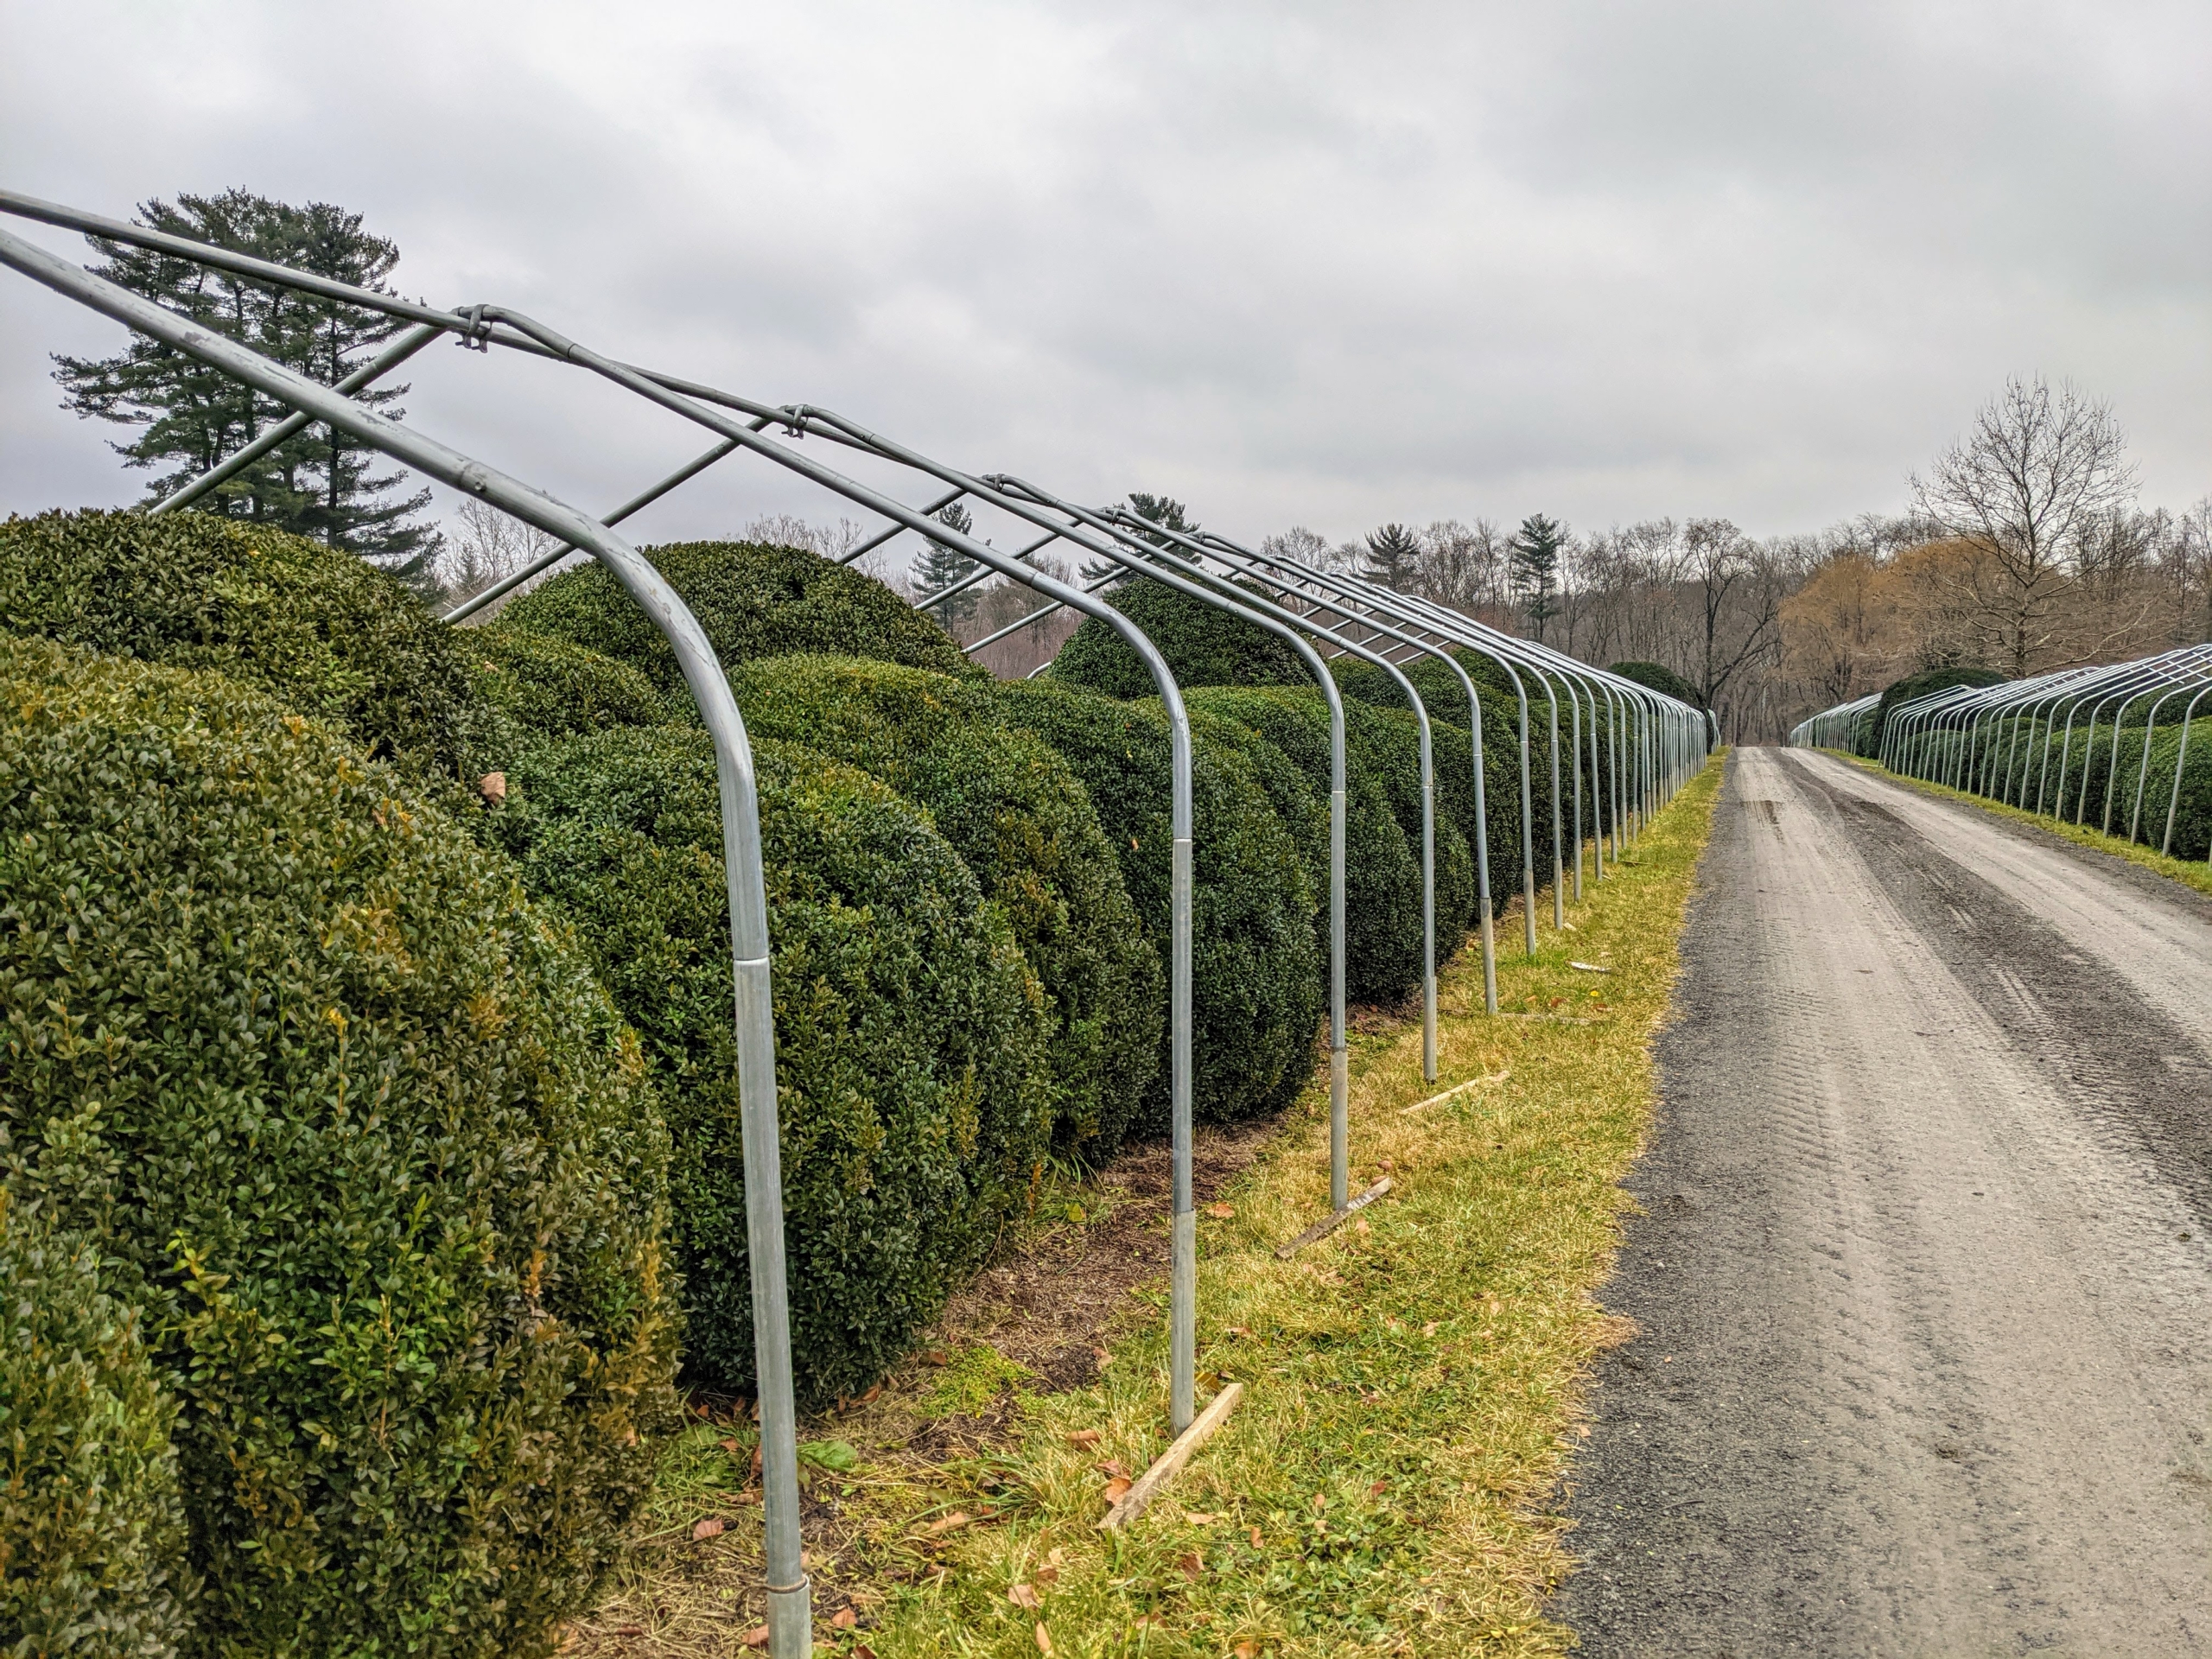
Ground pipes are installed every four feet along the allee. These hollow pipes will anchor the supports. Once the ground pipes are in place, the crew secures taller pipes along the allee.
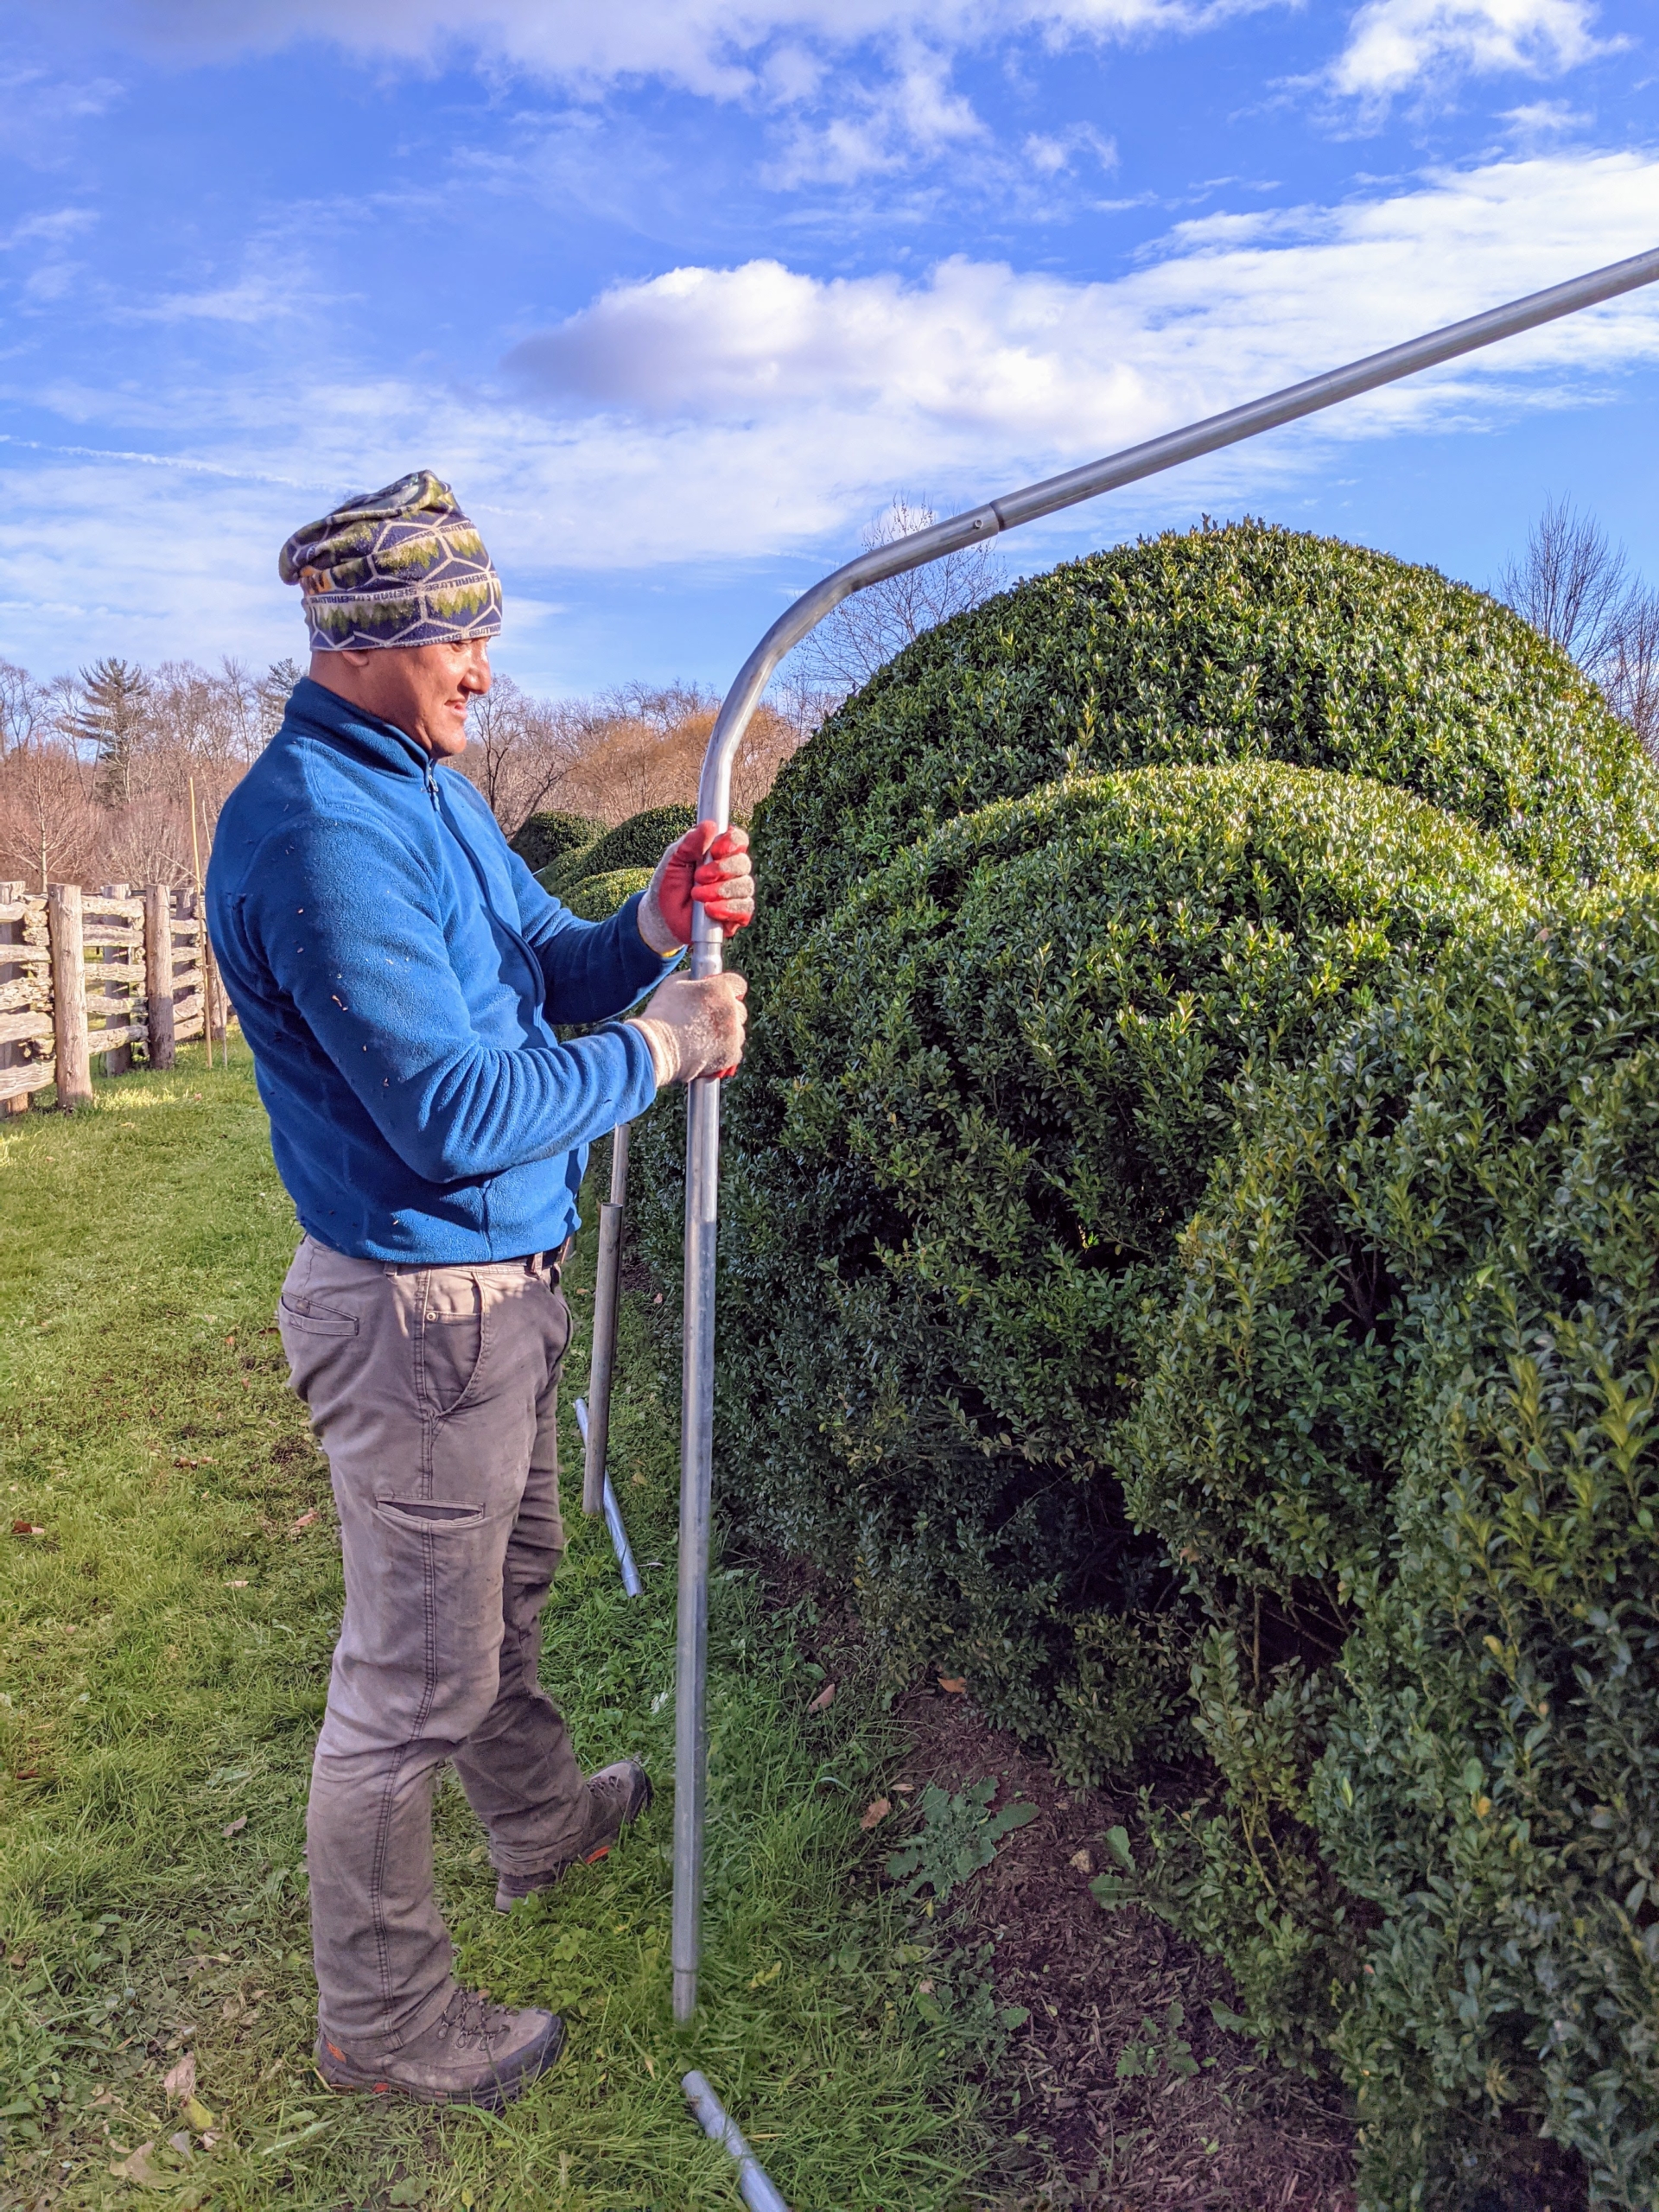
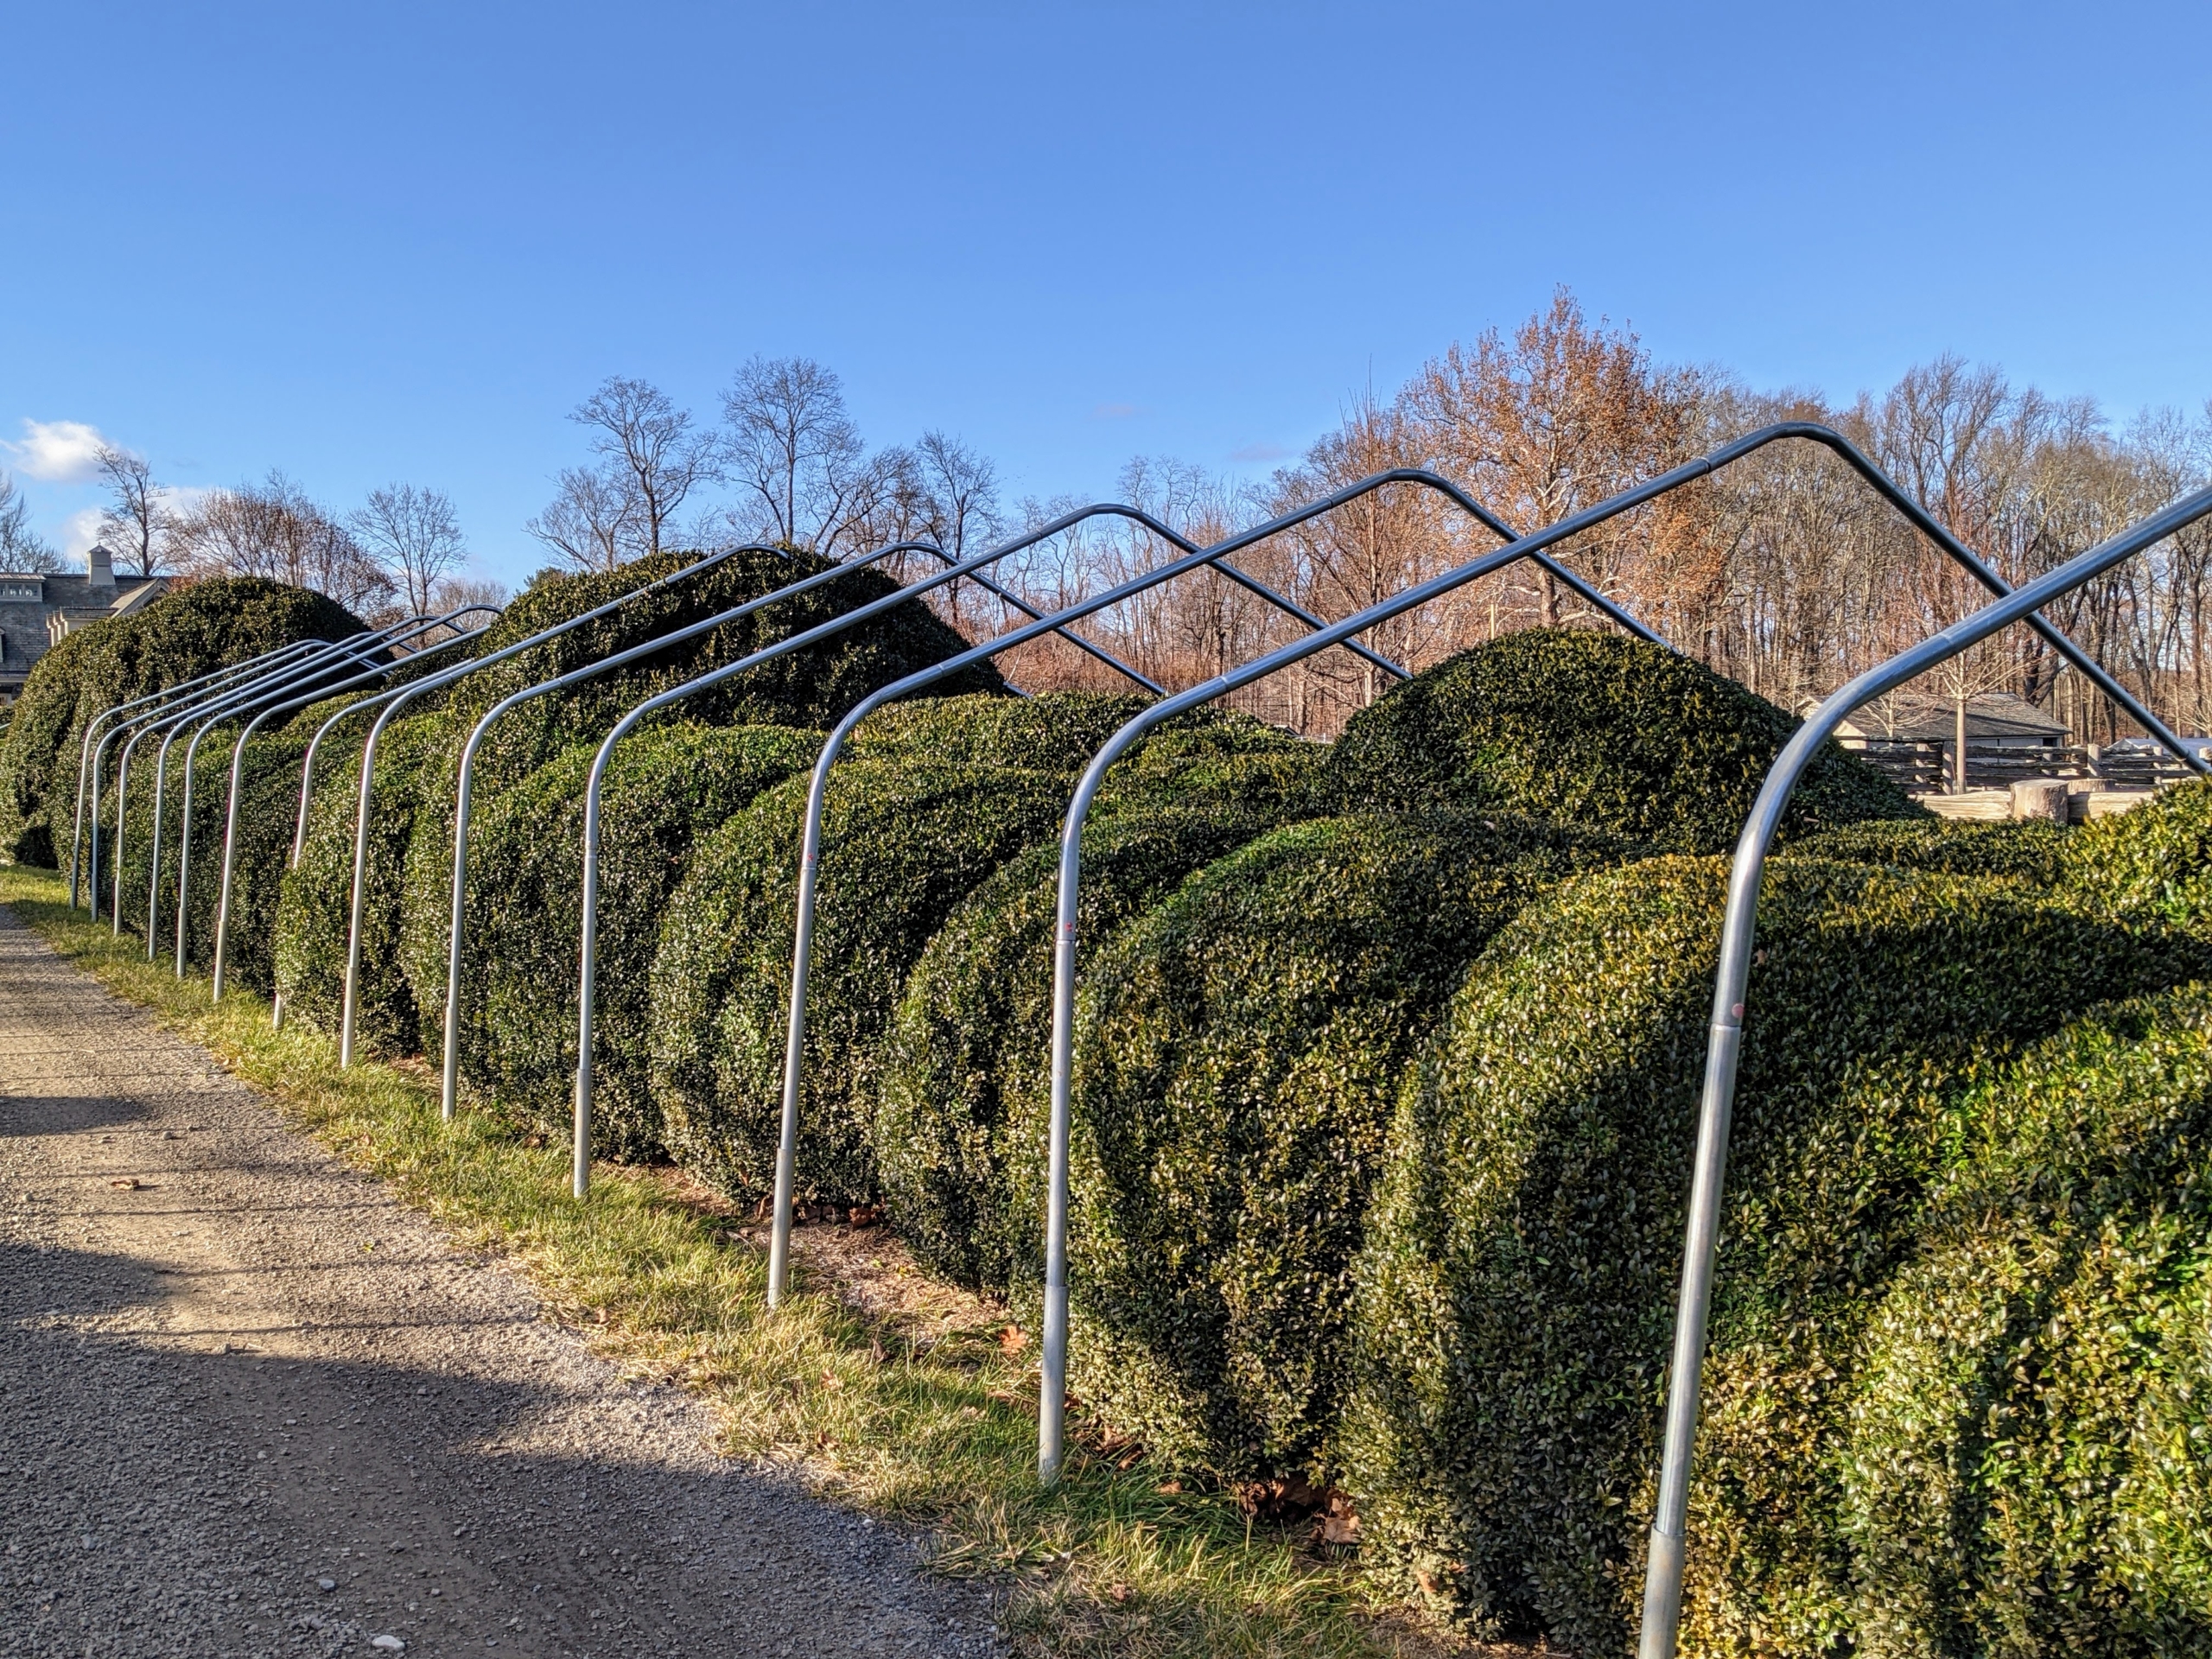
These are 10-foot wide bow sections – they will last quite awhile and give the boxwood a lot of room to grow. Building the frame at least a foot taller than the boxwood protects any heavy snow from weighing down onto the tender foliage.
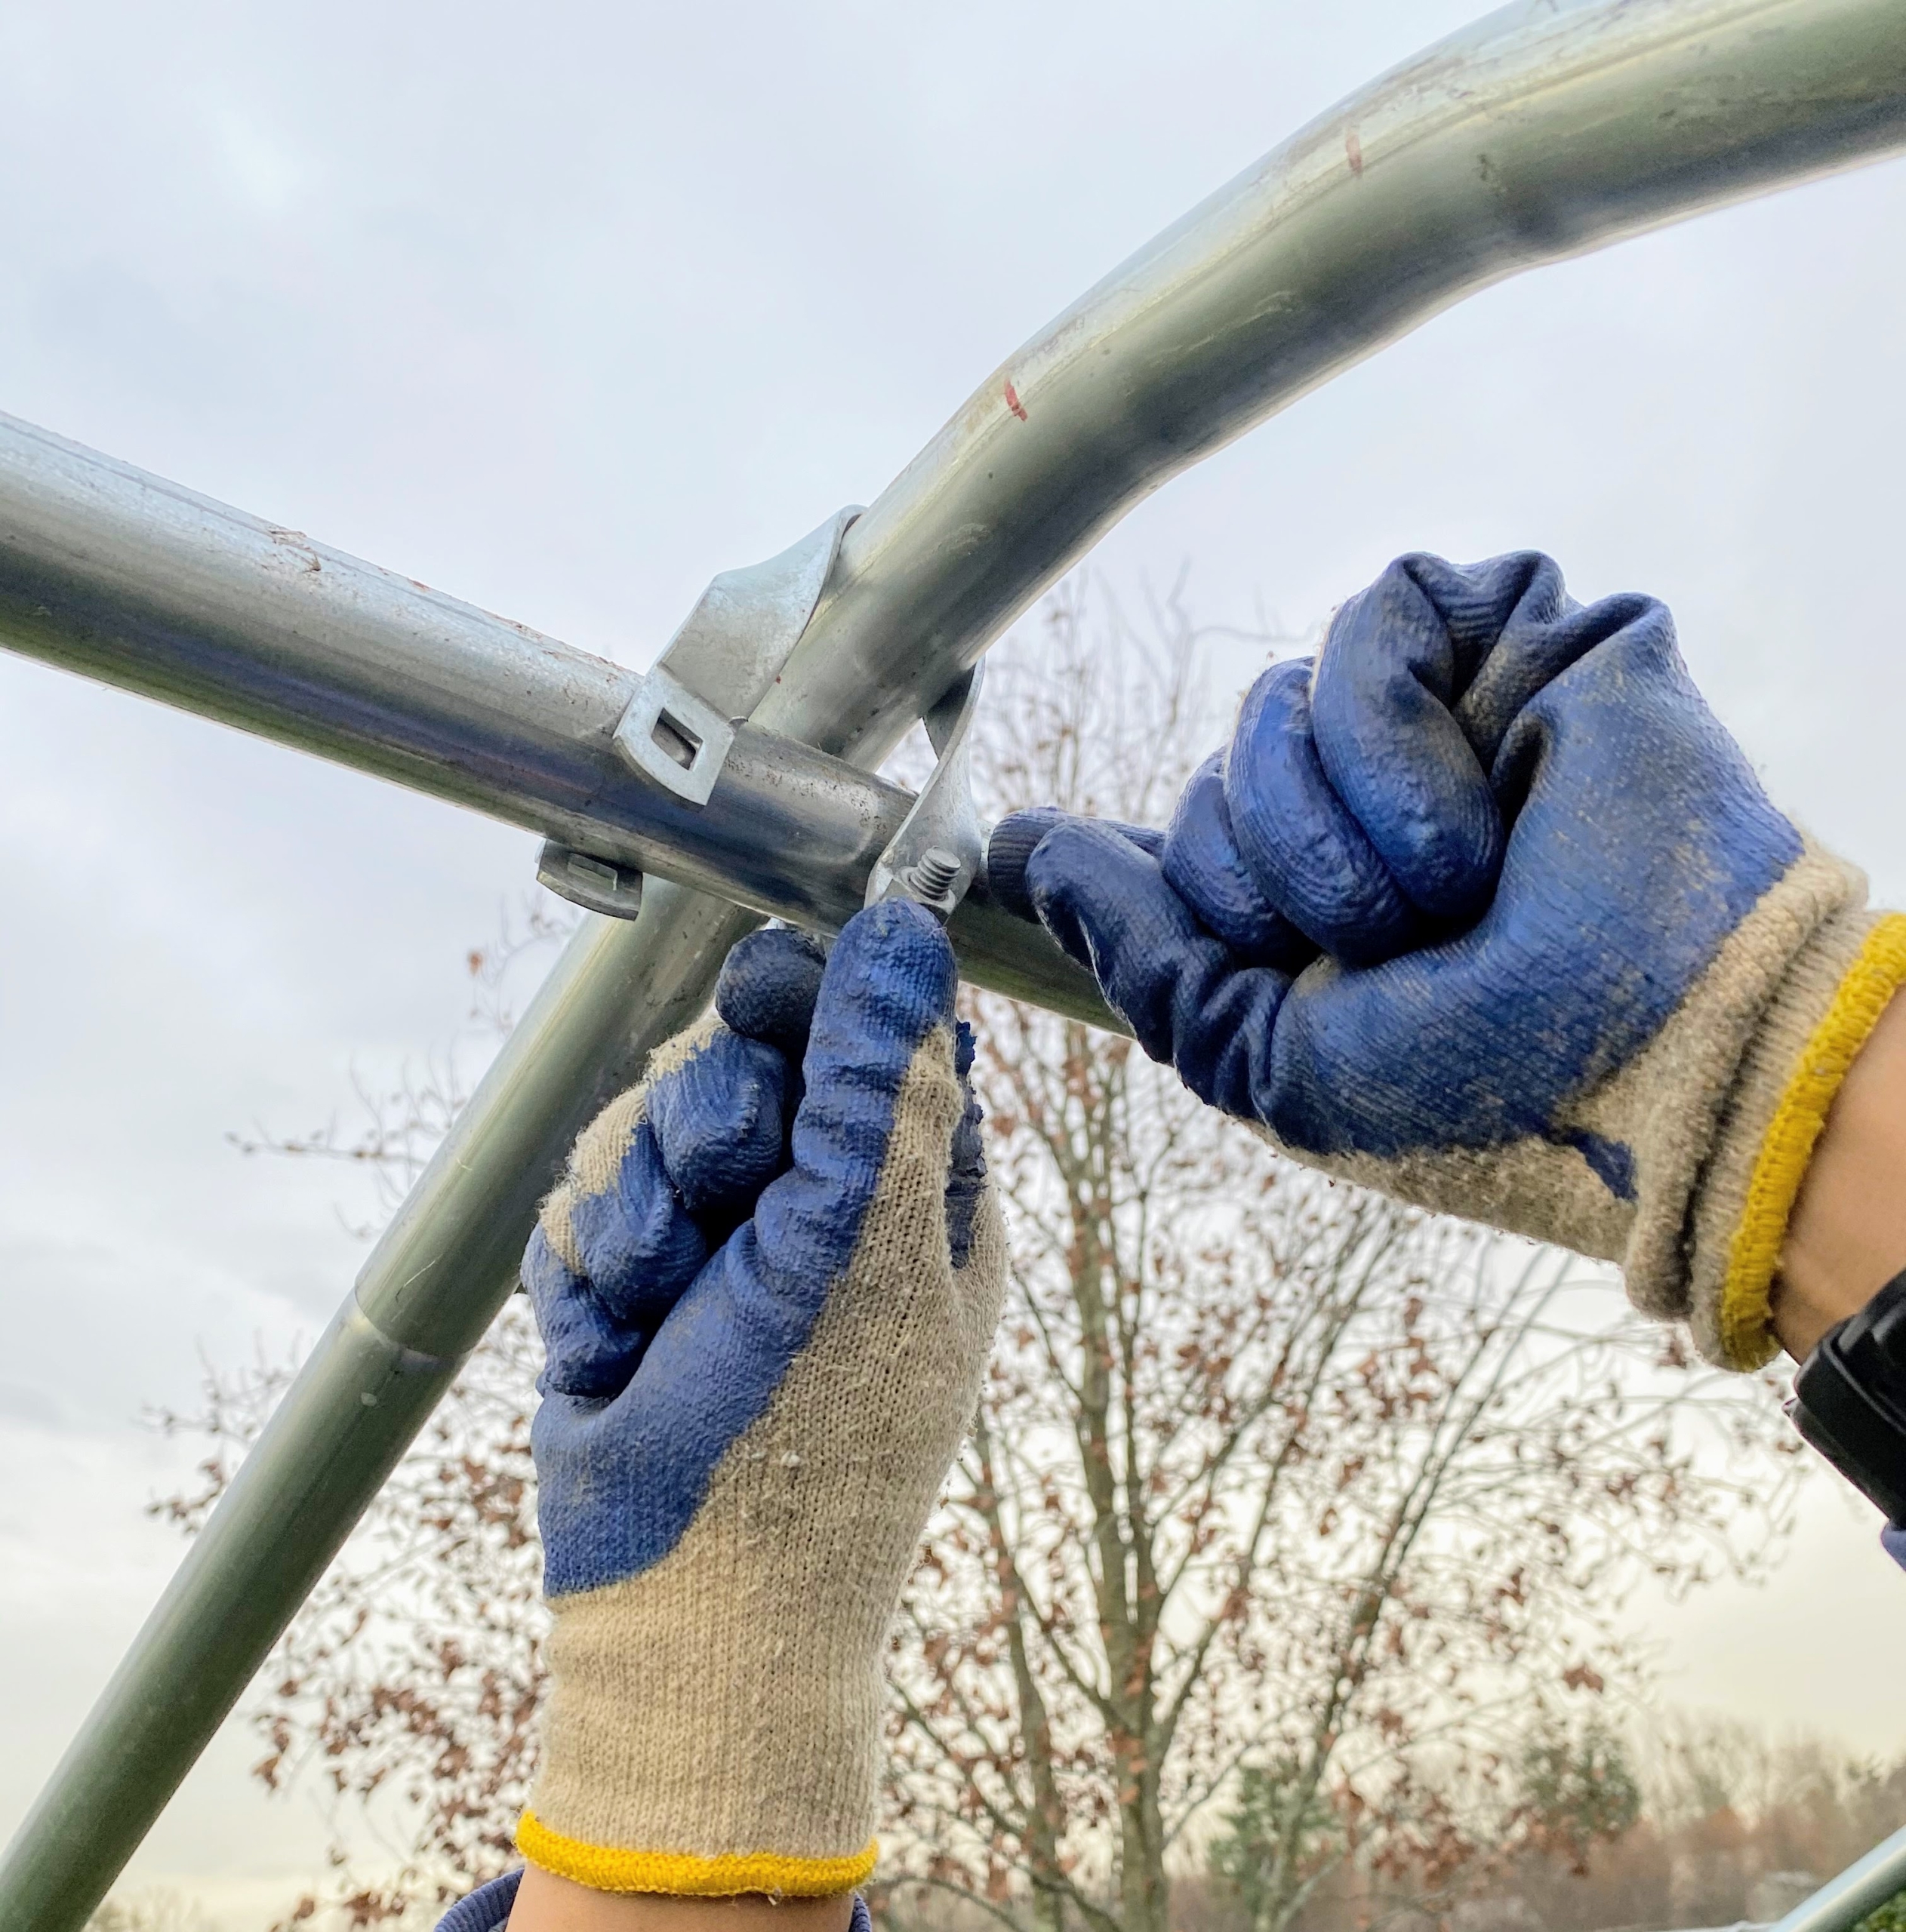
Domi begins securing the bow sections. One can see how much room the boxwood has under the framing. This will allow for good air circulation during the season.
Constructing the frame for the burlap takes several days to complete, but the process is well worth the effort during cold snaps, high winds, and snowstorms.
Domi connects the tension purlin brackets. They connect the center piping to the bow sections.
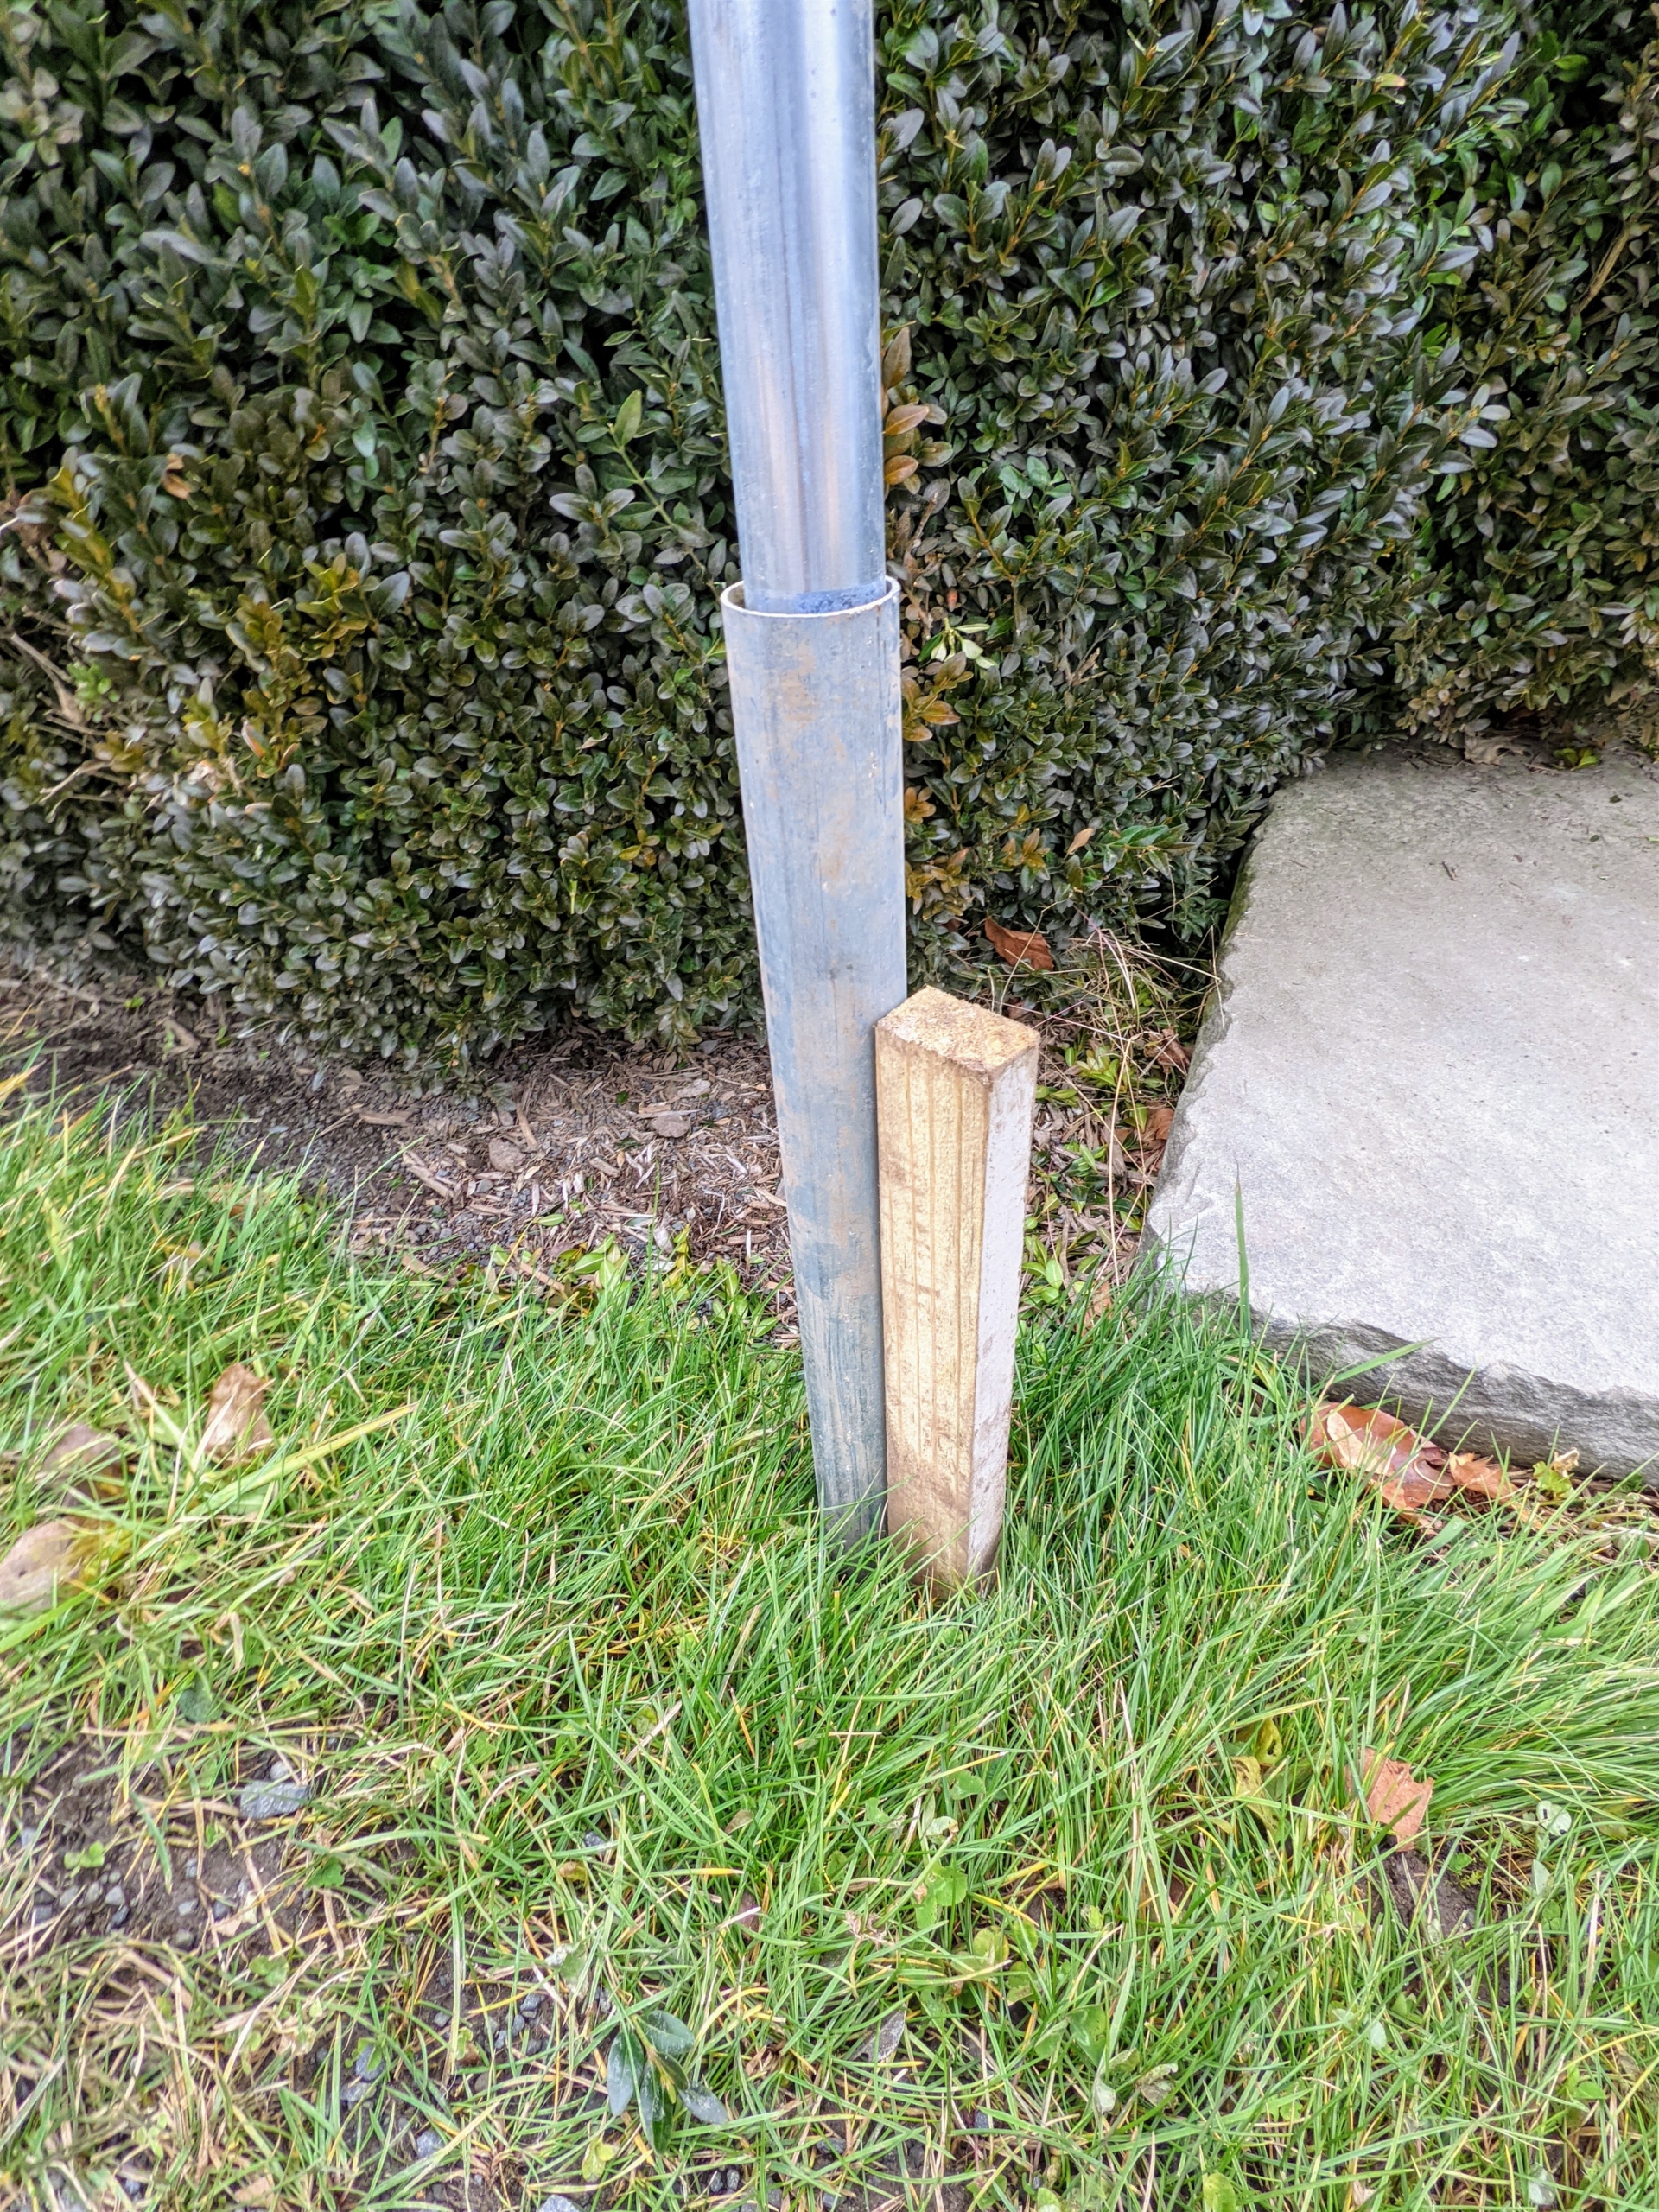
Then, smaller stakes are dropped next to each frame.
These are pounded into the ground next to each steel ground stake. The short wooden stakes provide points at which the burlap can be secured once it is draped over the frames.
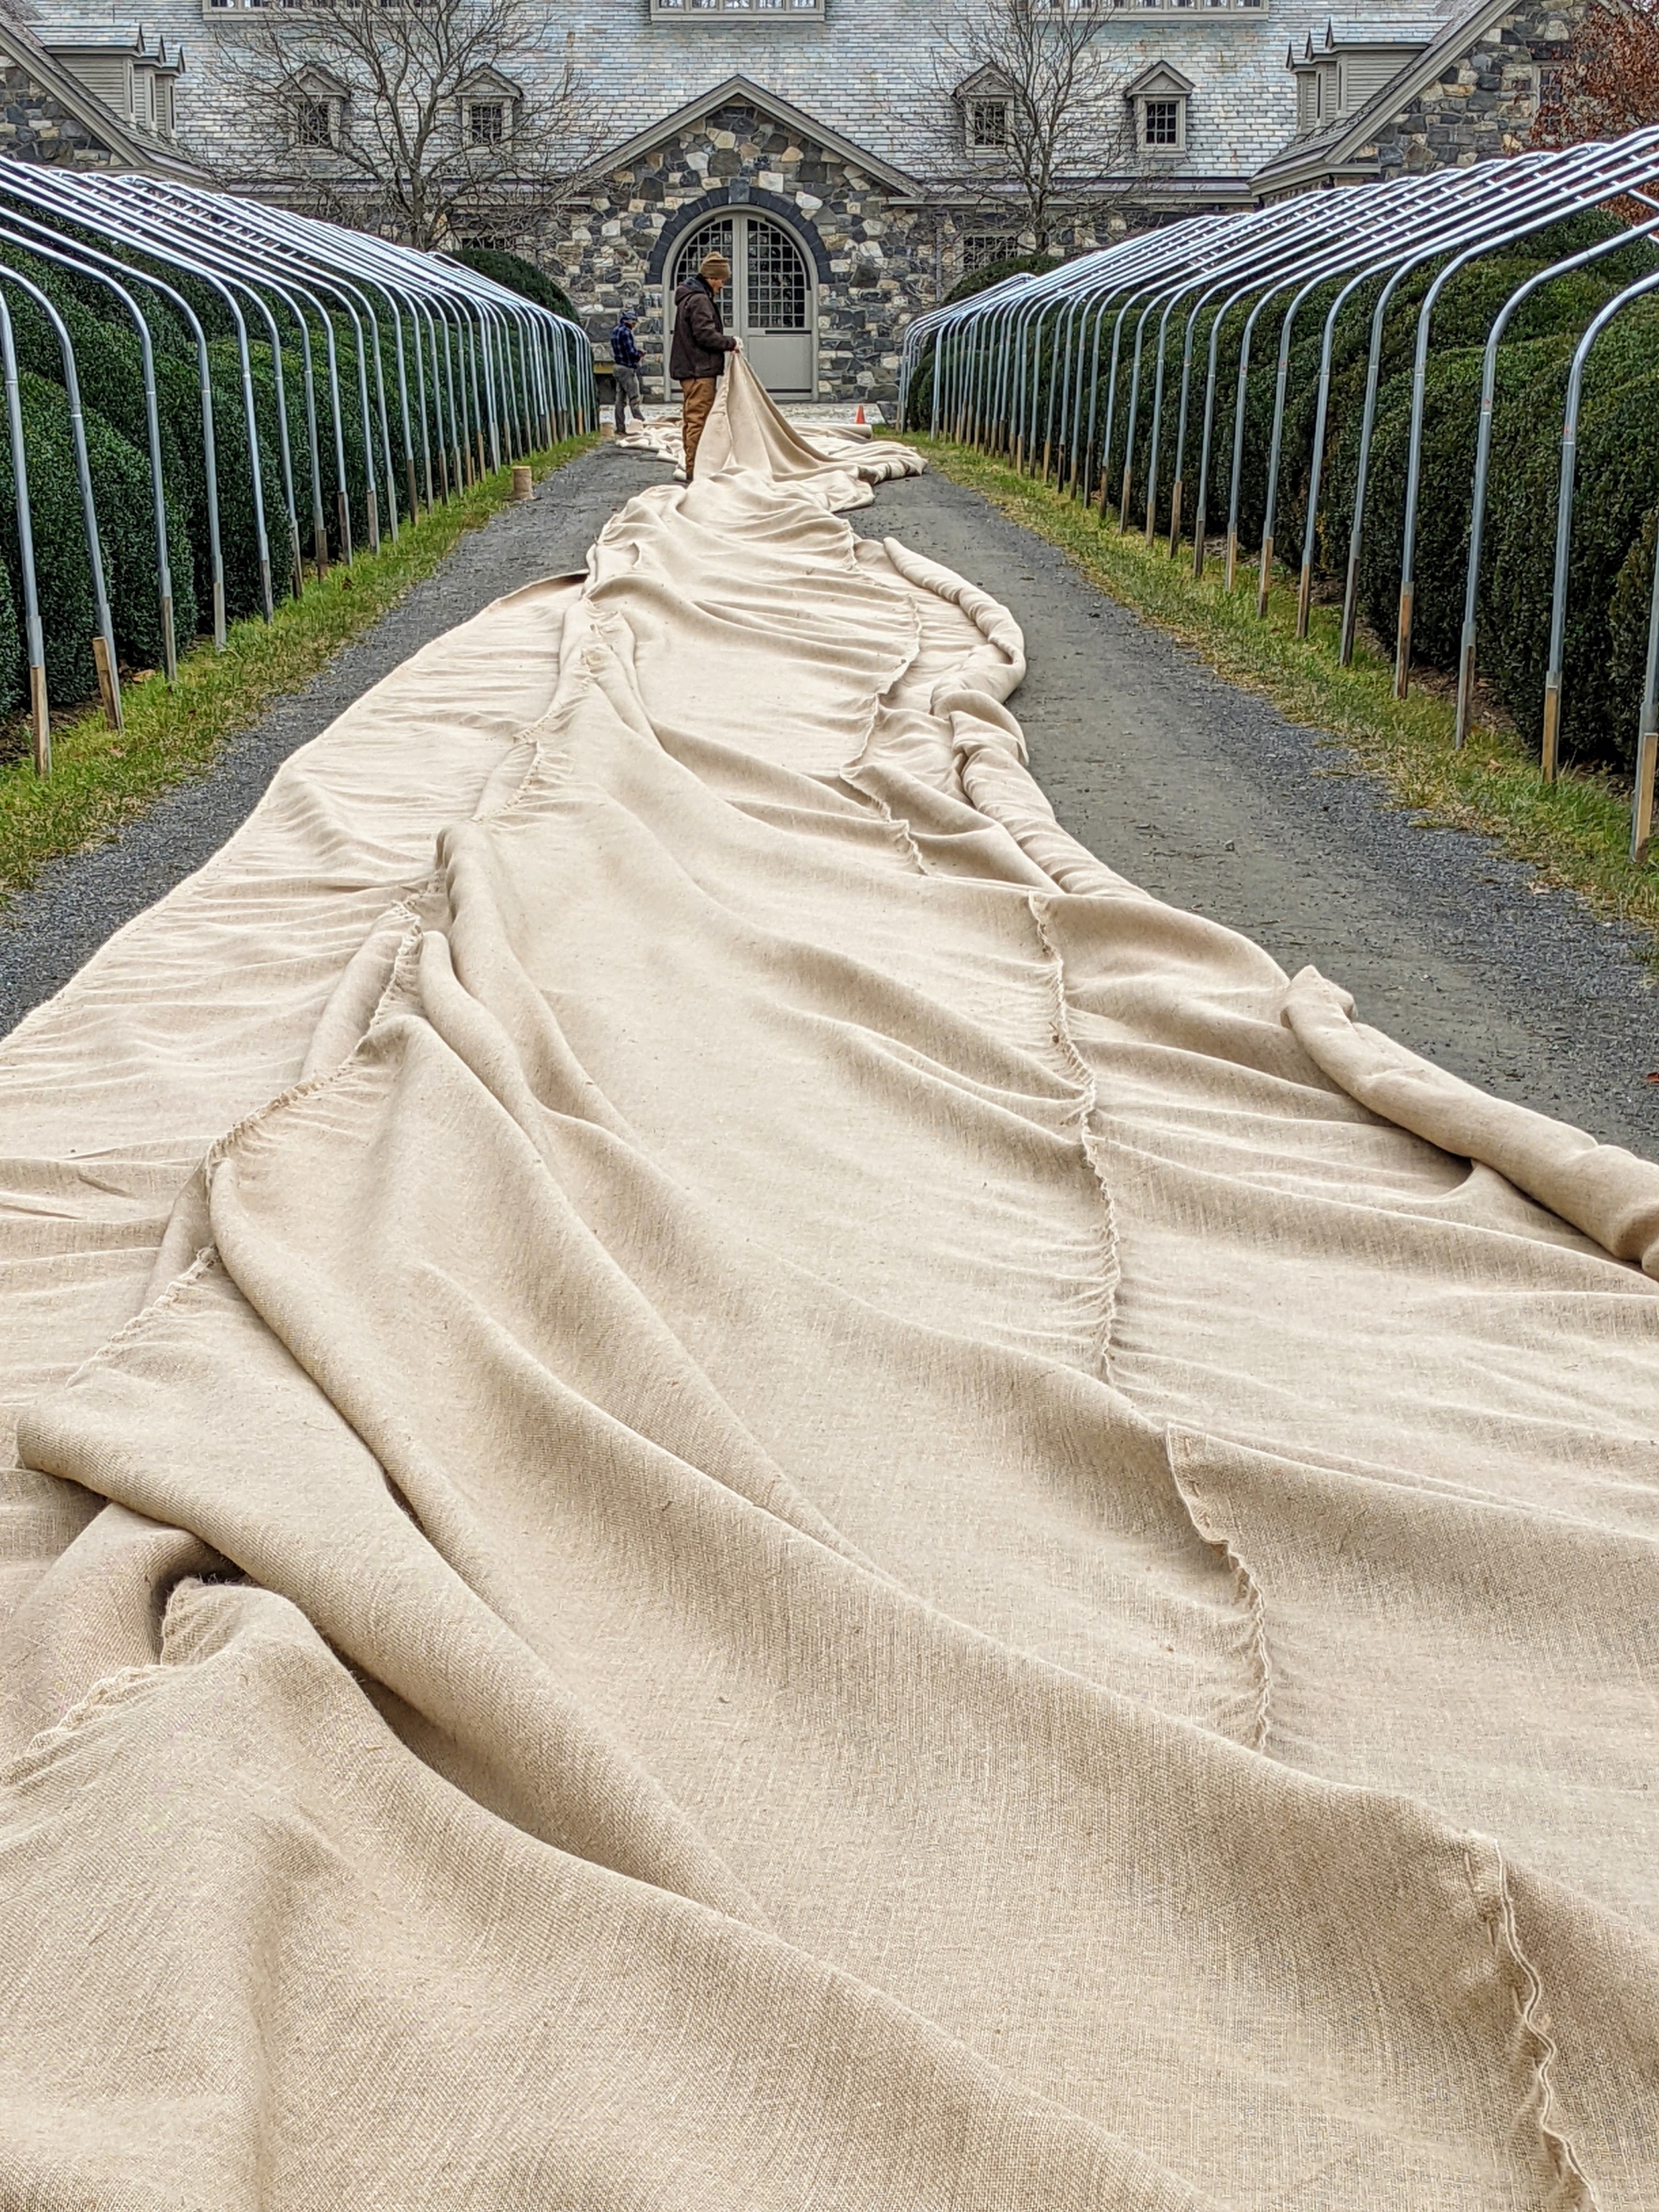
Meanwhile, Chhiring rolls out sections of burlap to be sewn. The long pieces of burlap are measured to fit each section. After it is removed in spring, it will be labeled, folded and stored in a dry place for use the following year.
Because the burlap comes in 48-inch wide and 60-inch wide rolls, it’s necessary to sew lengths of burlap, so it is wide enough to cover the boxwood.
Chhiring sews works from one end, while Phurba and Domi work from another. The long sections are all sewn together by hand – five lengths of burlap for each side.
The great “burlapping” project requires rolls and rolls of jute twine. Jute twine is a firmly constructed twine that can easily be twisted into rope that holds up against tremendous weight and friction. It’s extremely lightweight and resistant to the effects of intense heat.
The project also needs needles – Chhiring actually made this one out of a piece of strong wire. He copied the design from needles specially designed for sewing jute. Every grounds crew member has a needle for sewing.
Chhiring has excellent sewing skills – I’ve taught everyone on the outdoor grounds crew how to sew.
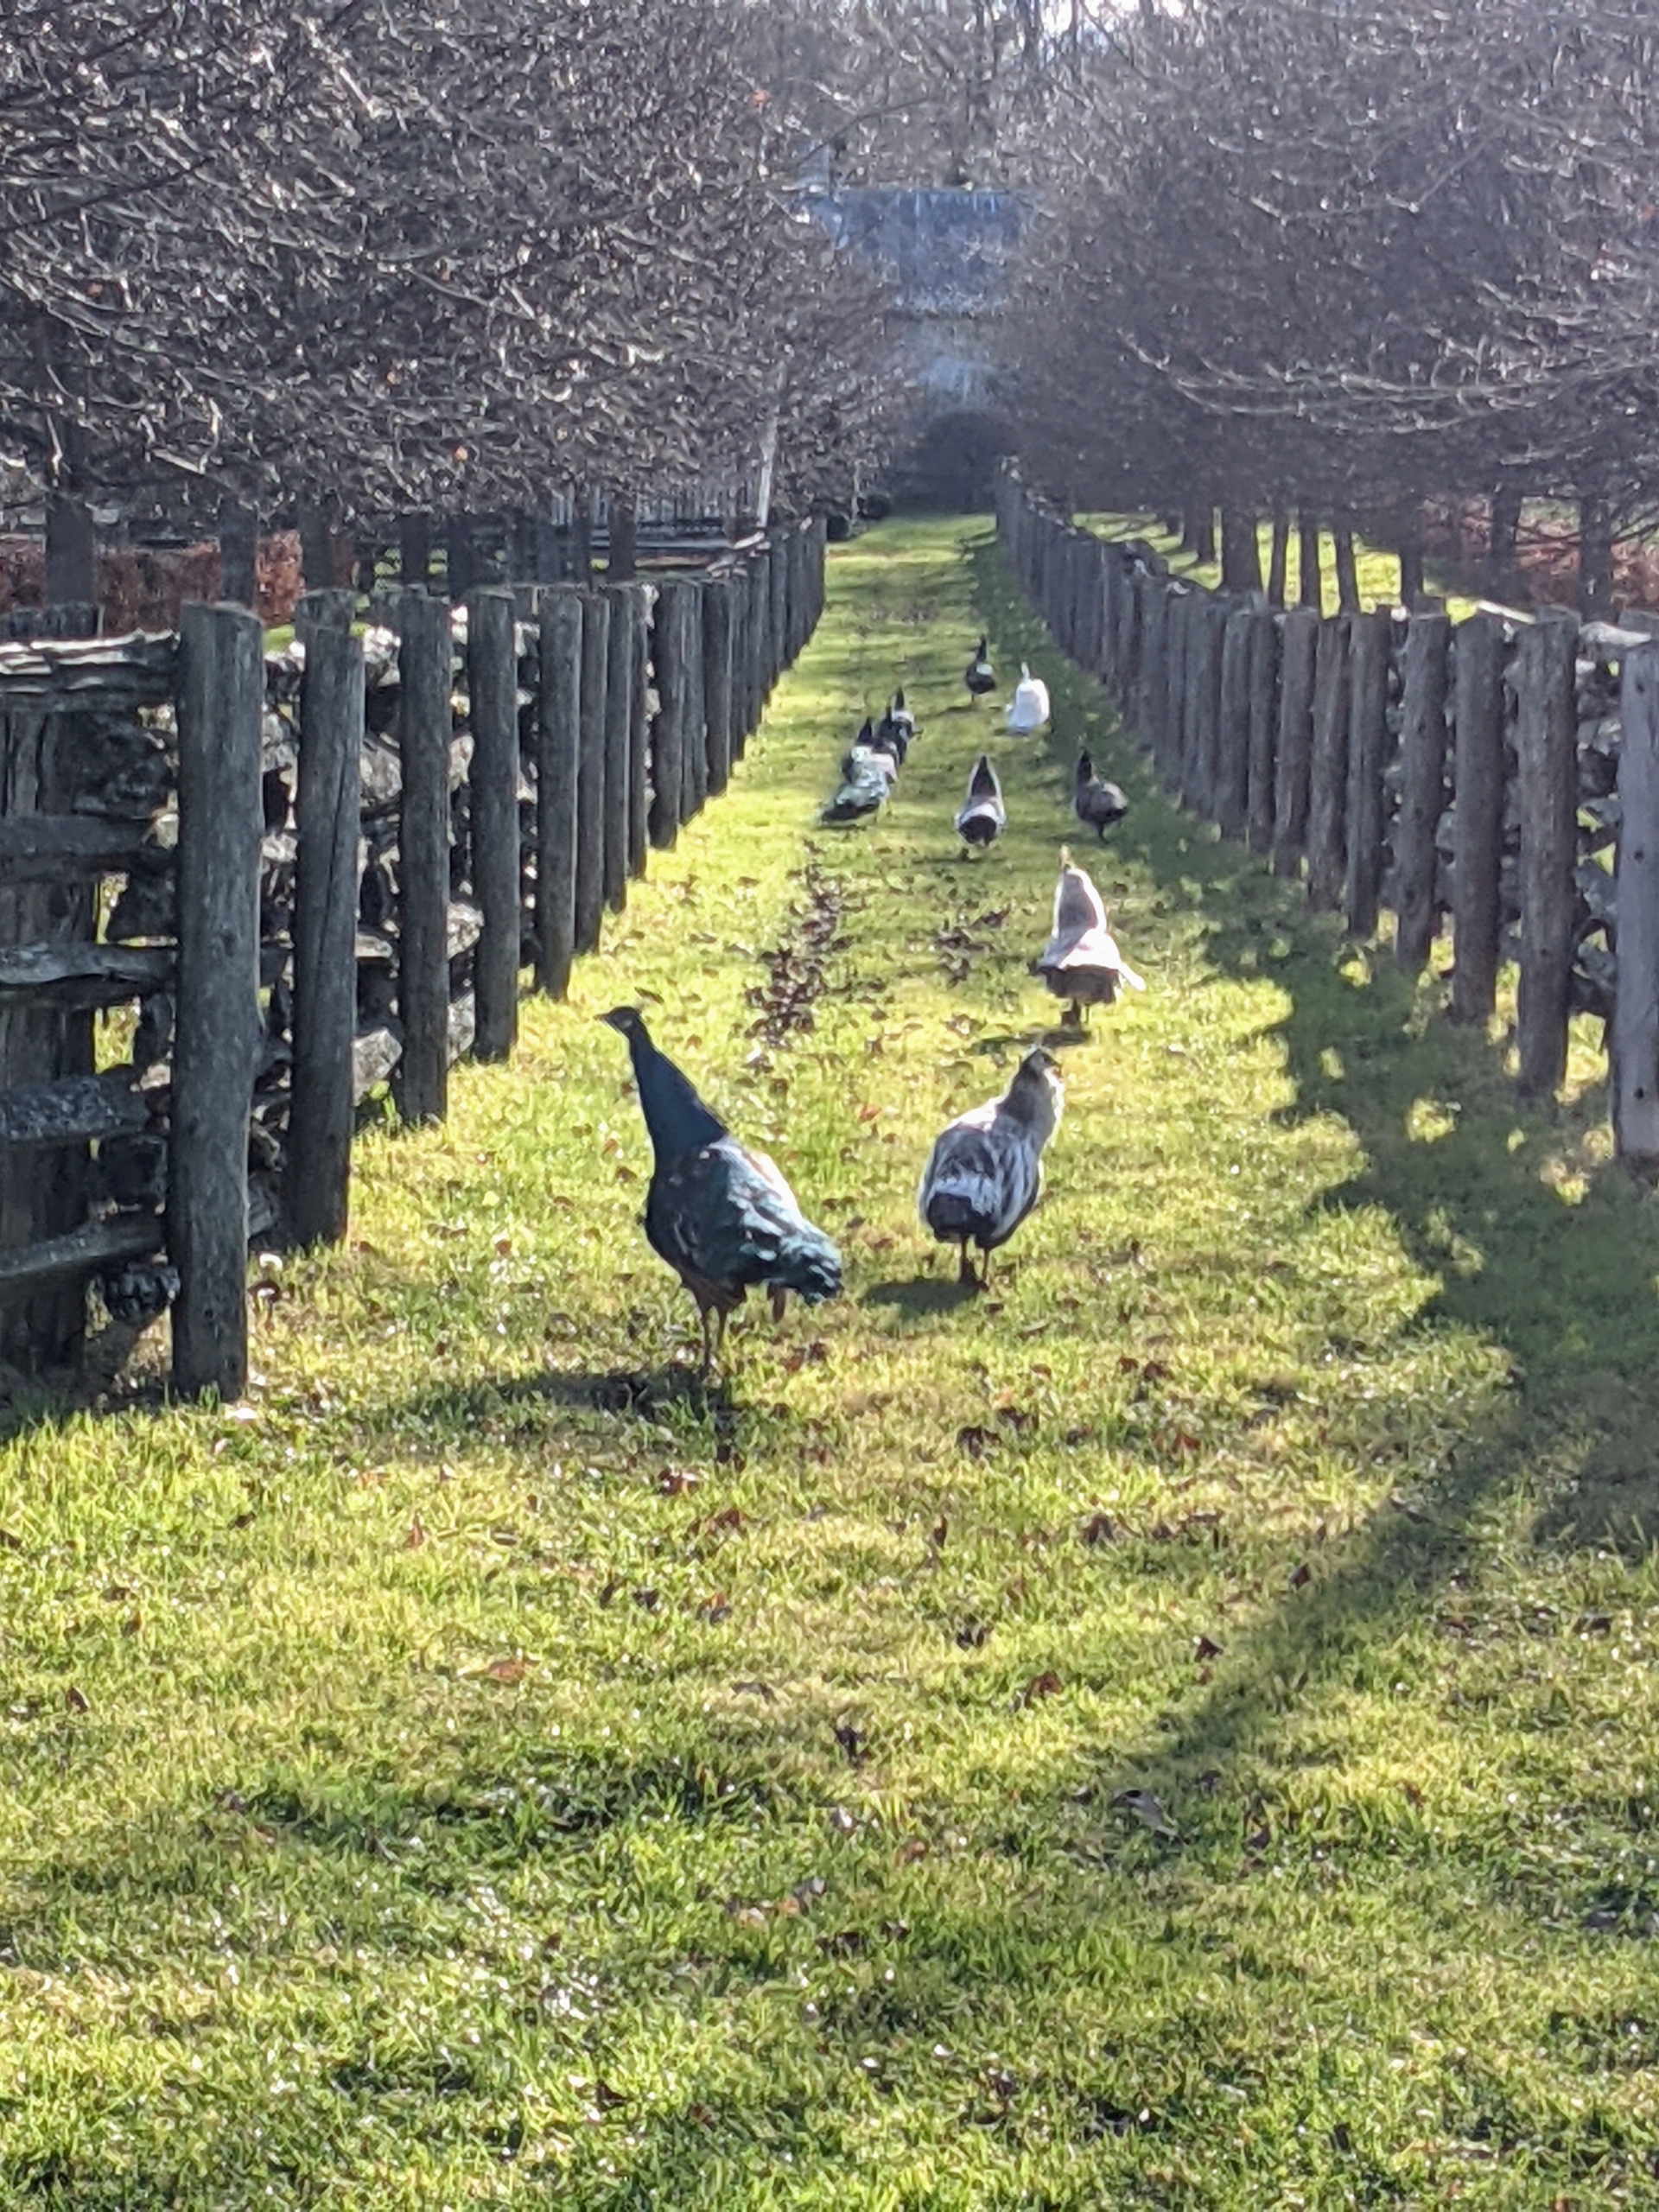
Hello, my peafowl. The peacocks and peahens are not phased at all by the “burlapping.” Here they are walking up the path from the allee to my Winter House – probably looking for me and some treats.
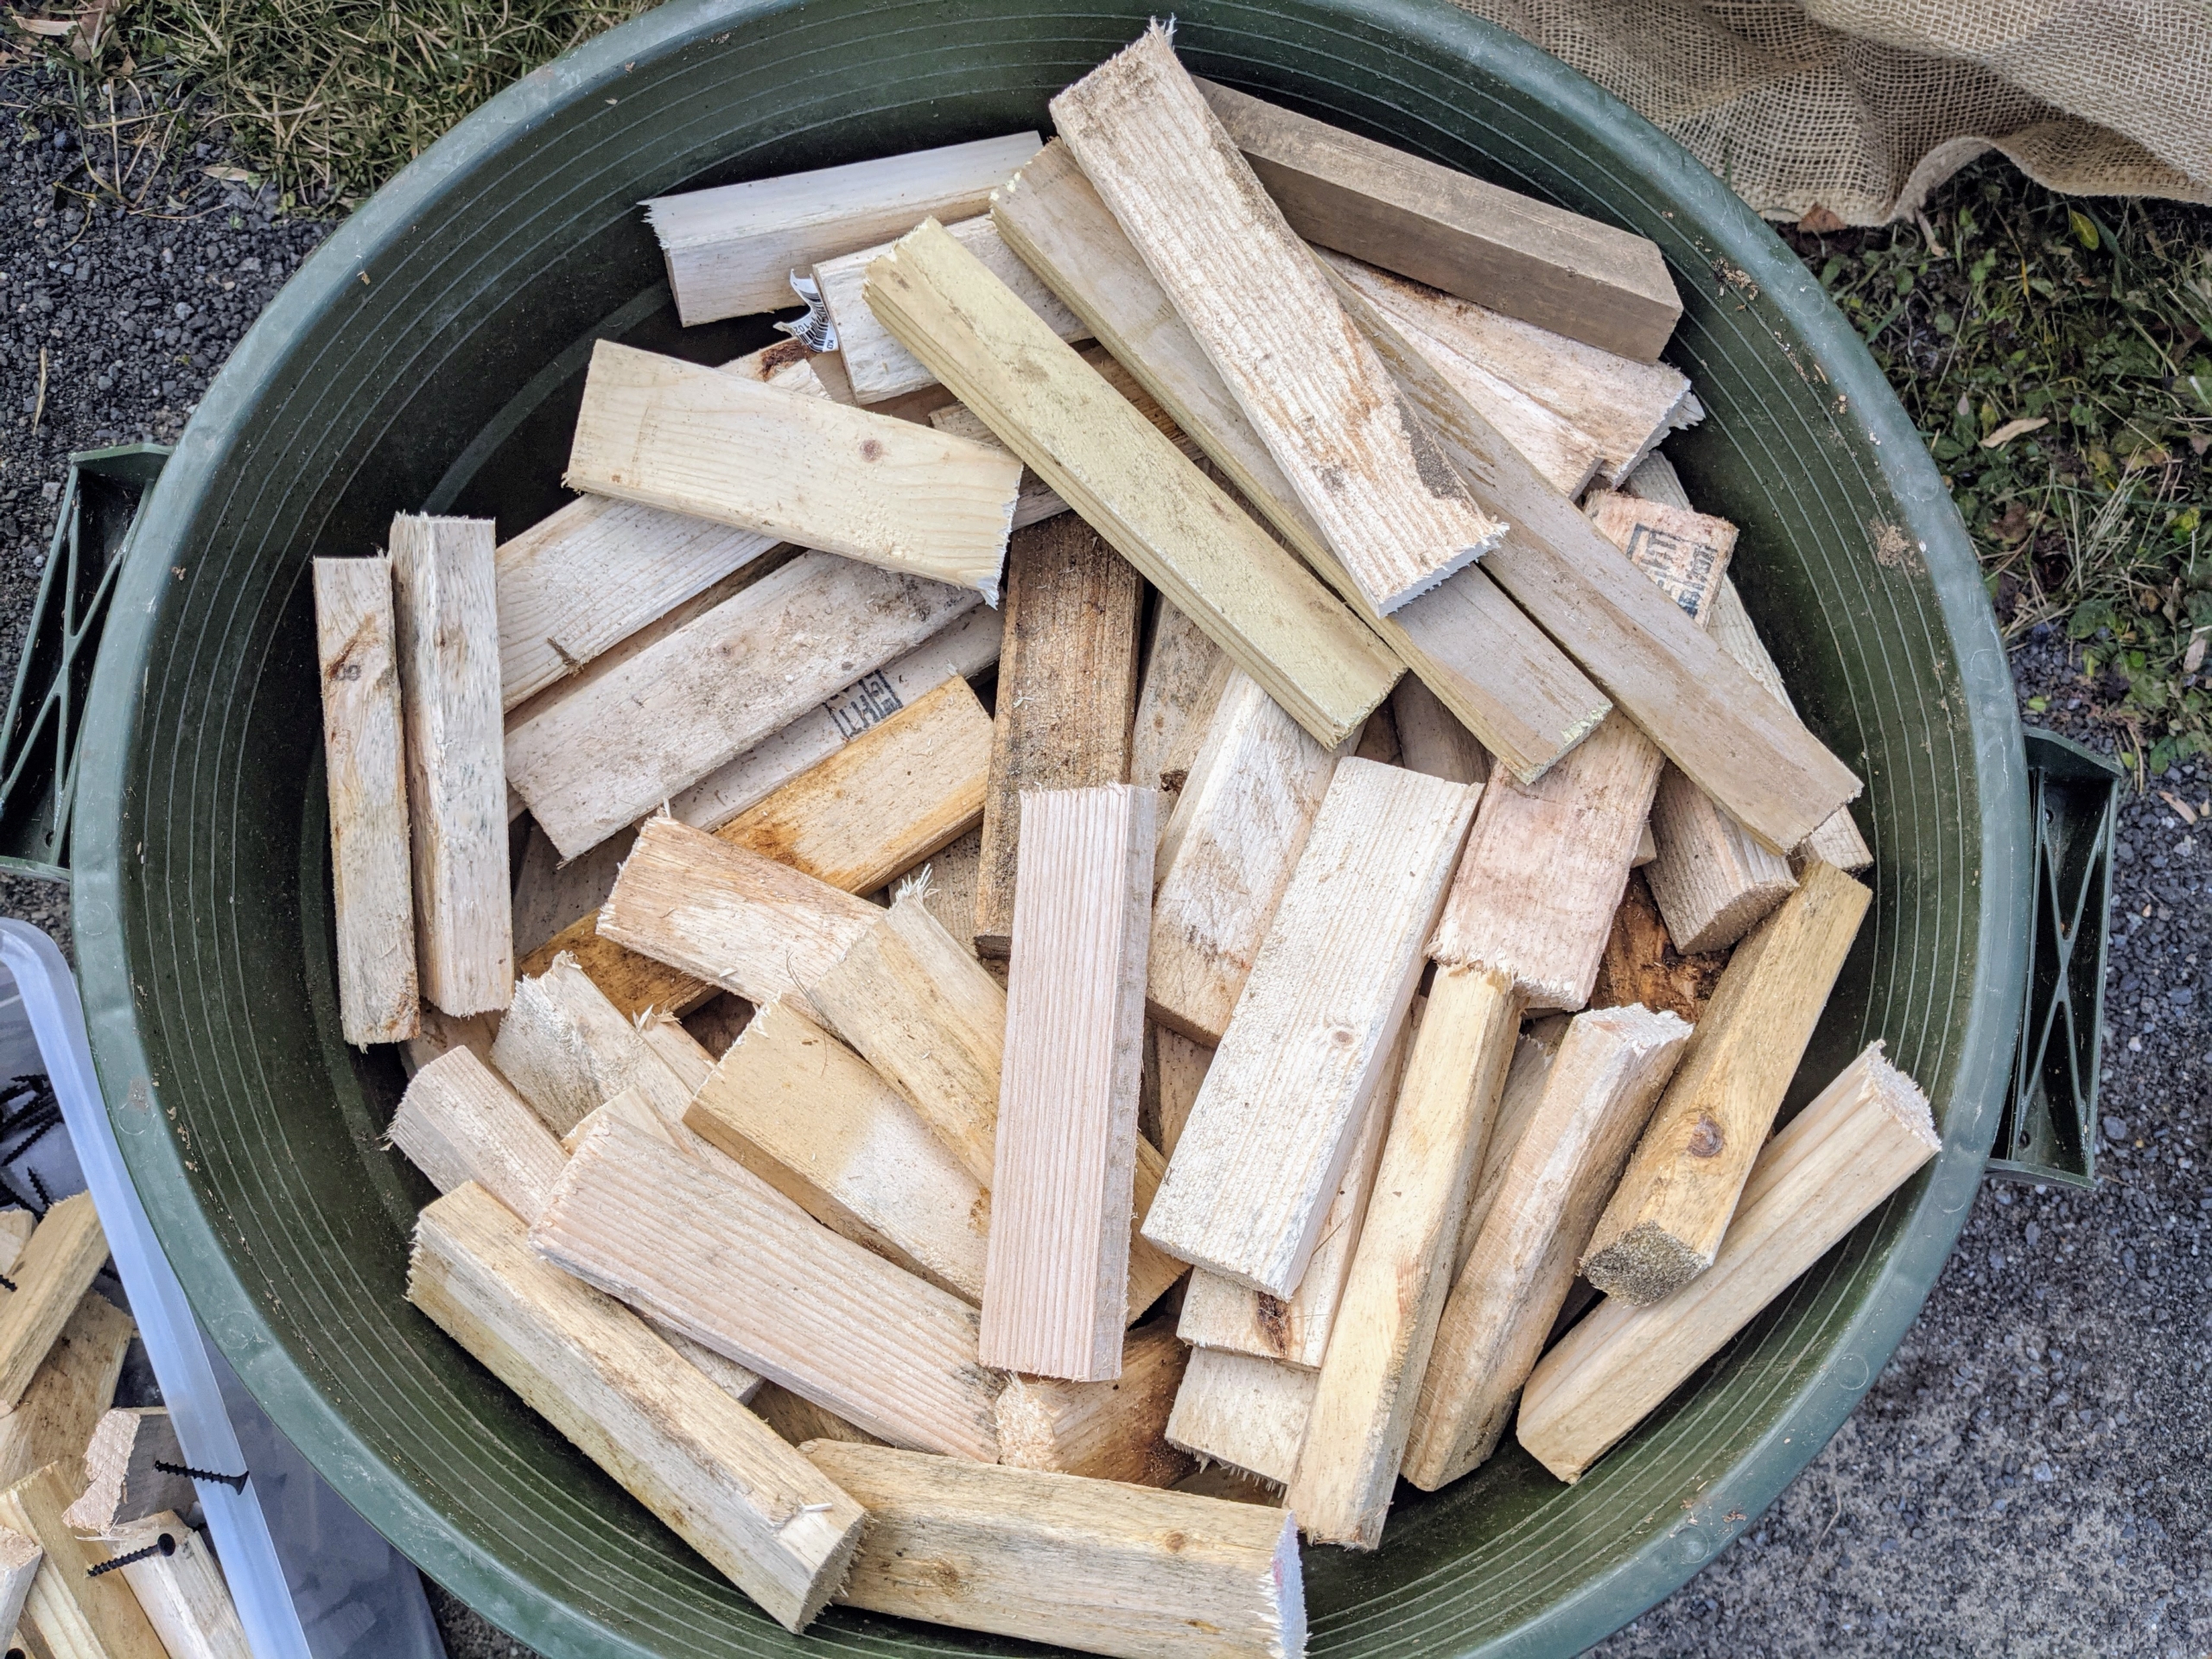
Even scraps of wood can be repurposed for various projects. Here, we cut long wooden stakes into small strips. The strips are about six to eight inches long – just long enough to accommodate two screws that will keep the burlap in place.
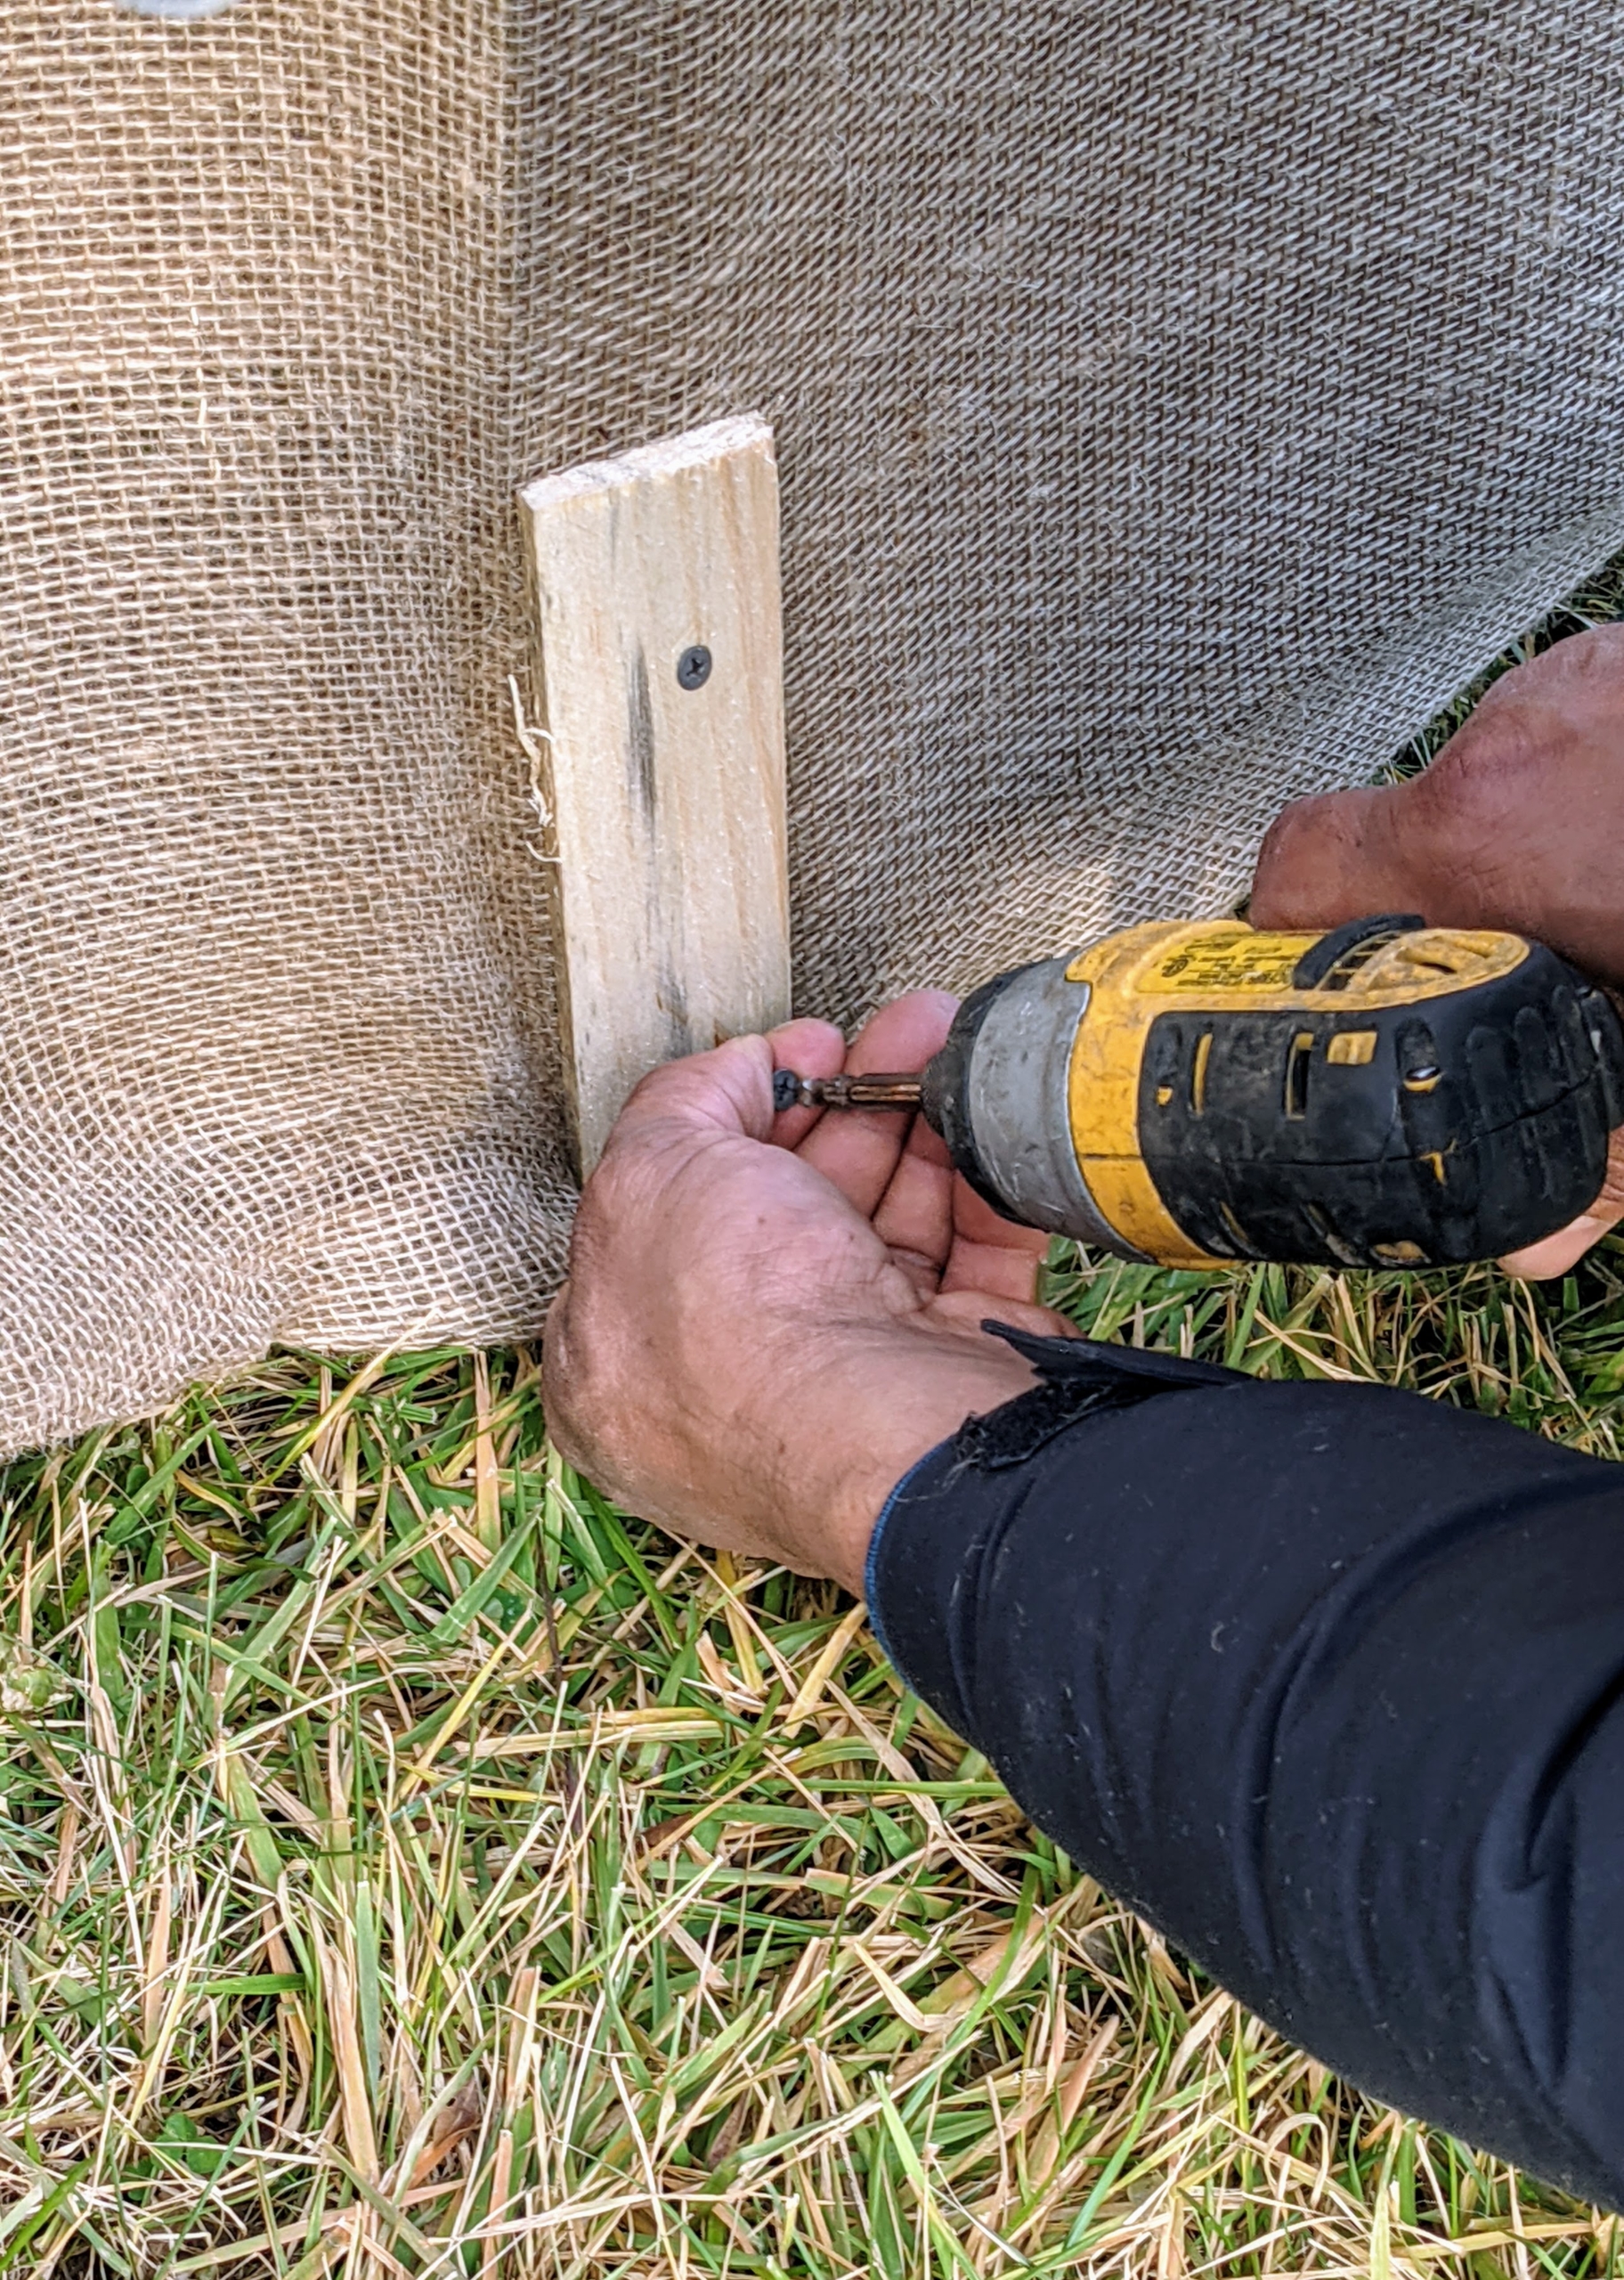
The burlap is pulled down and attached to the ground stakes using the strips and screws.
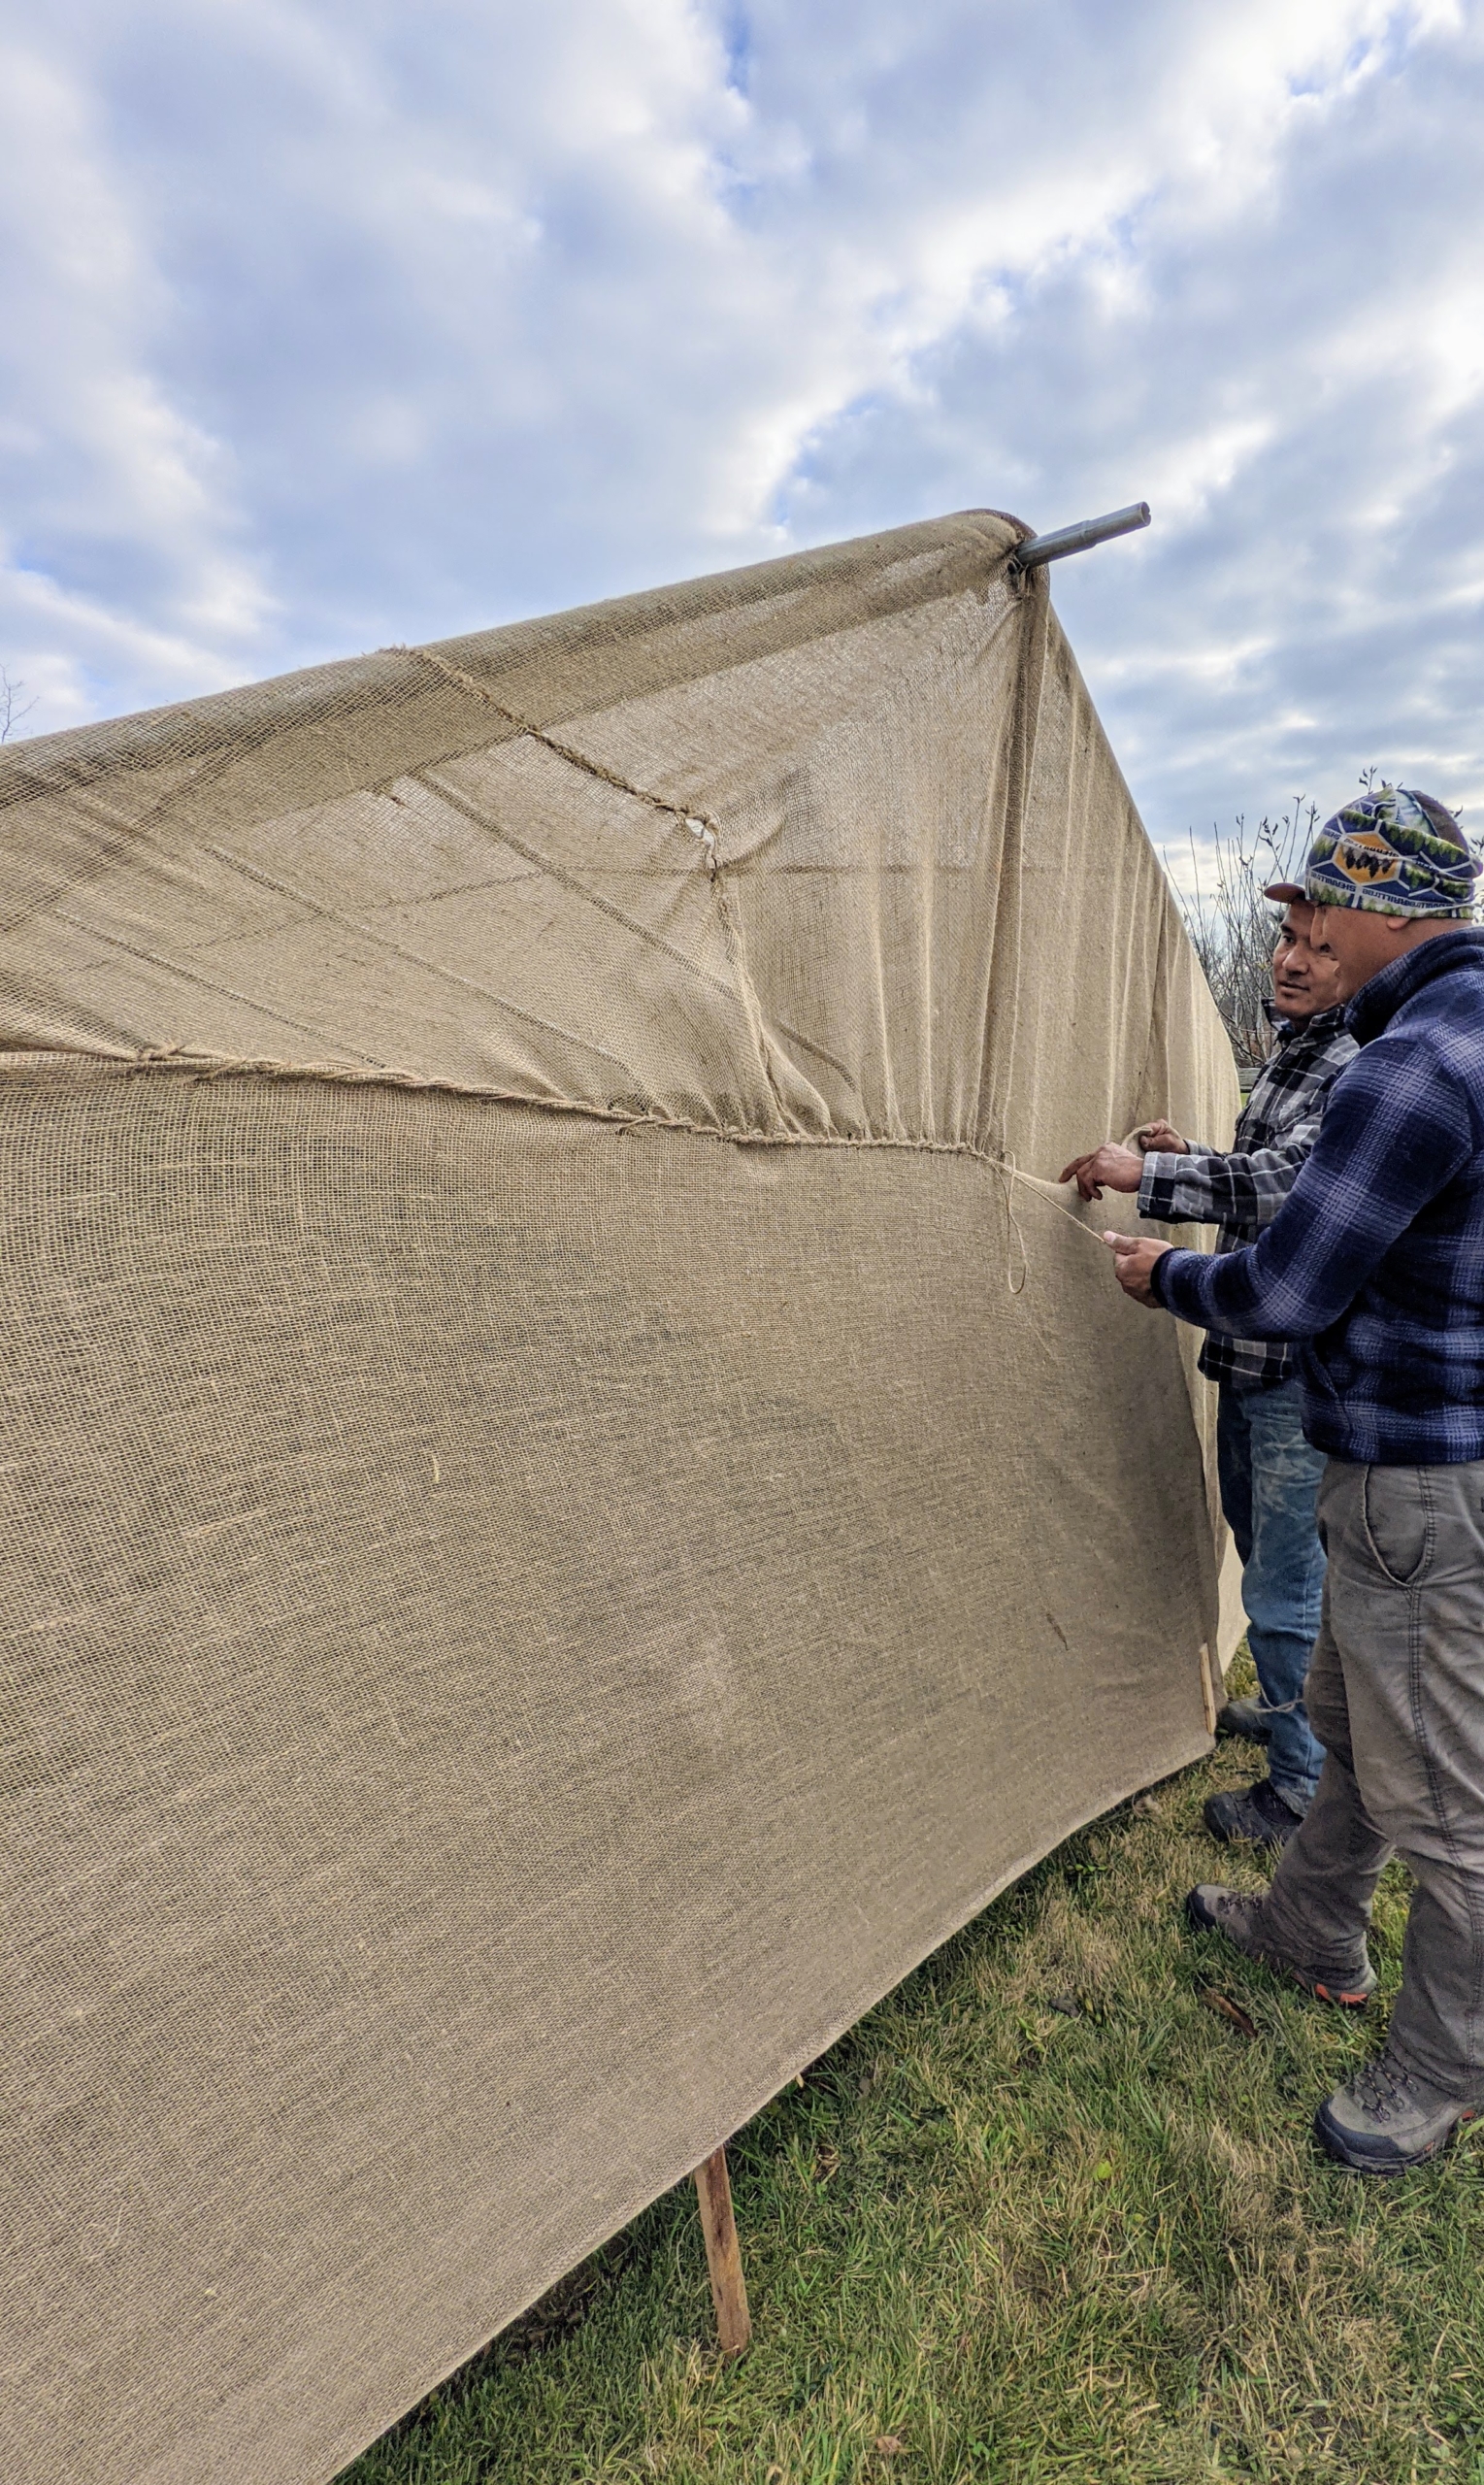
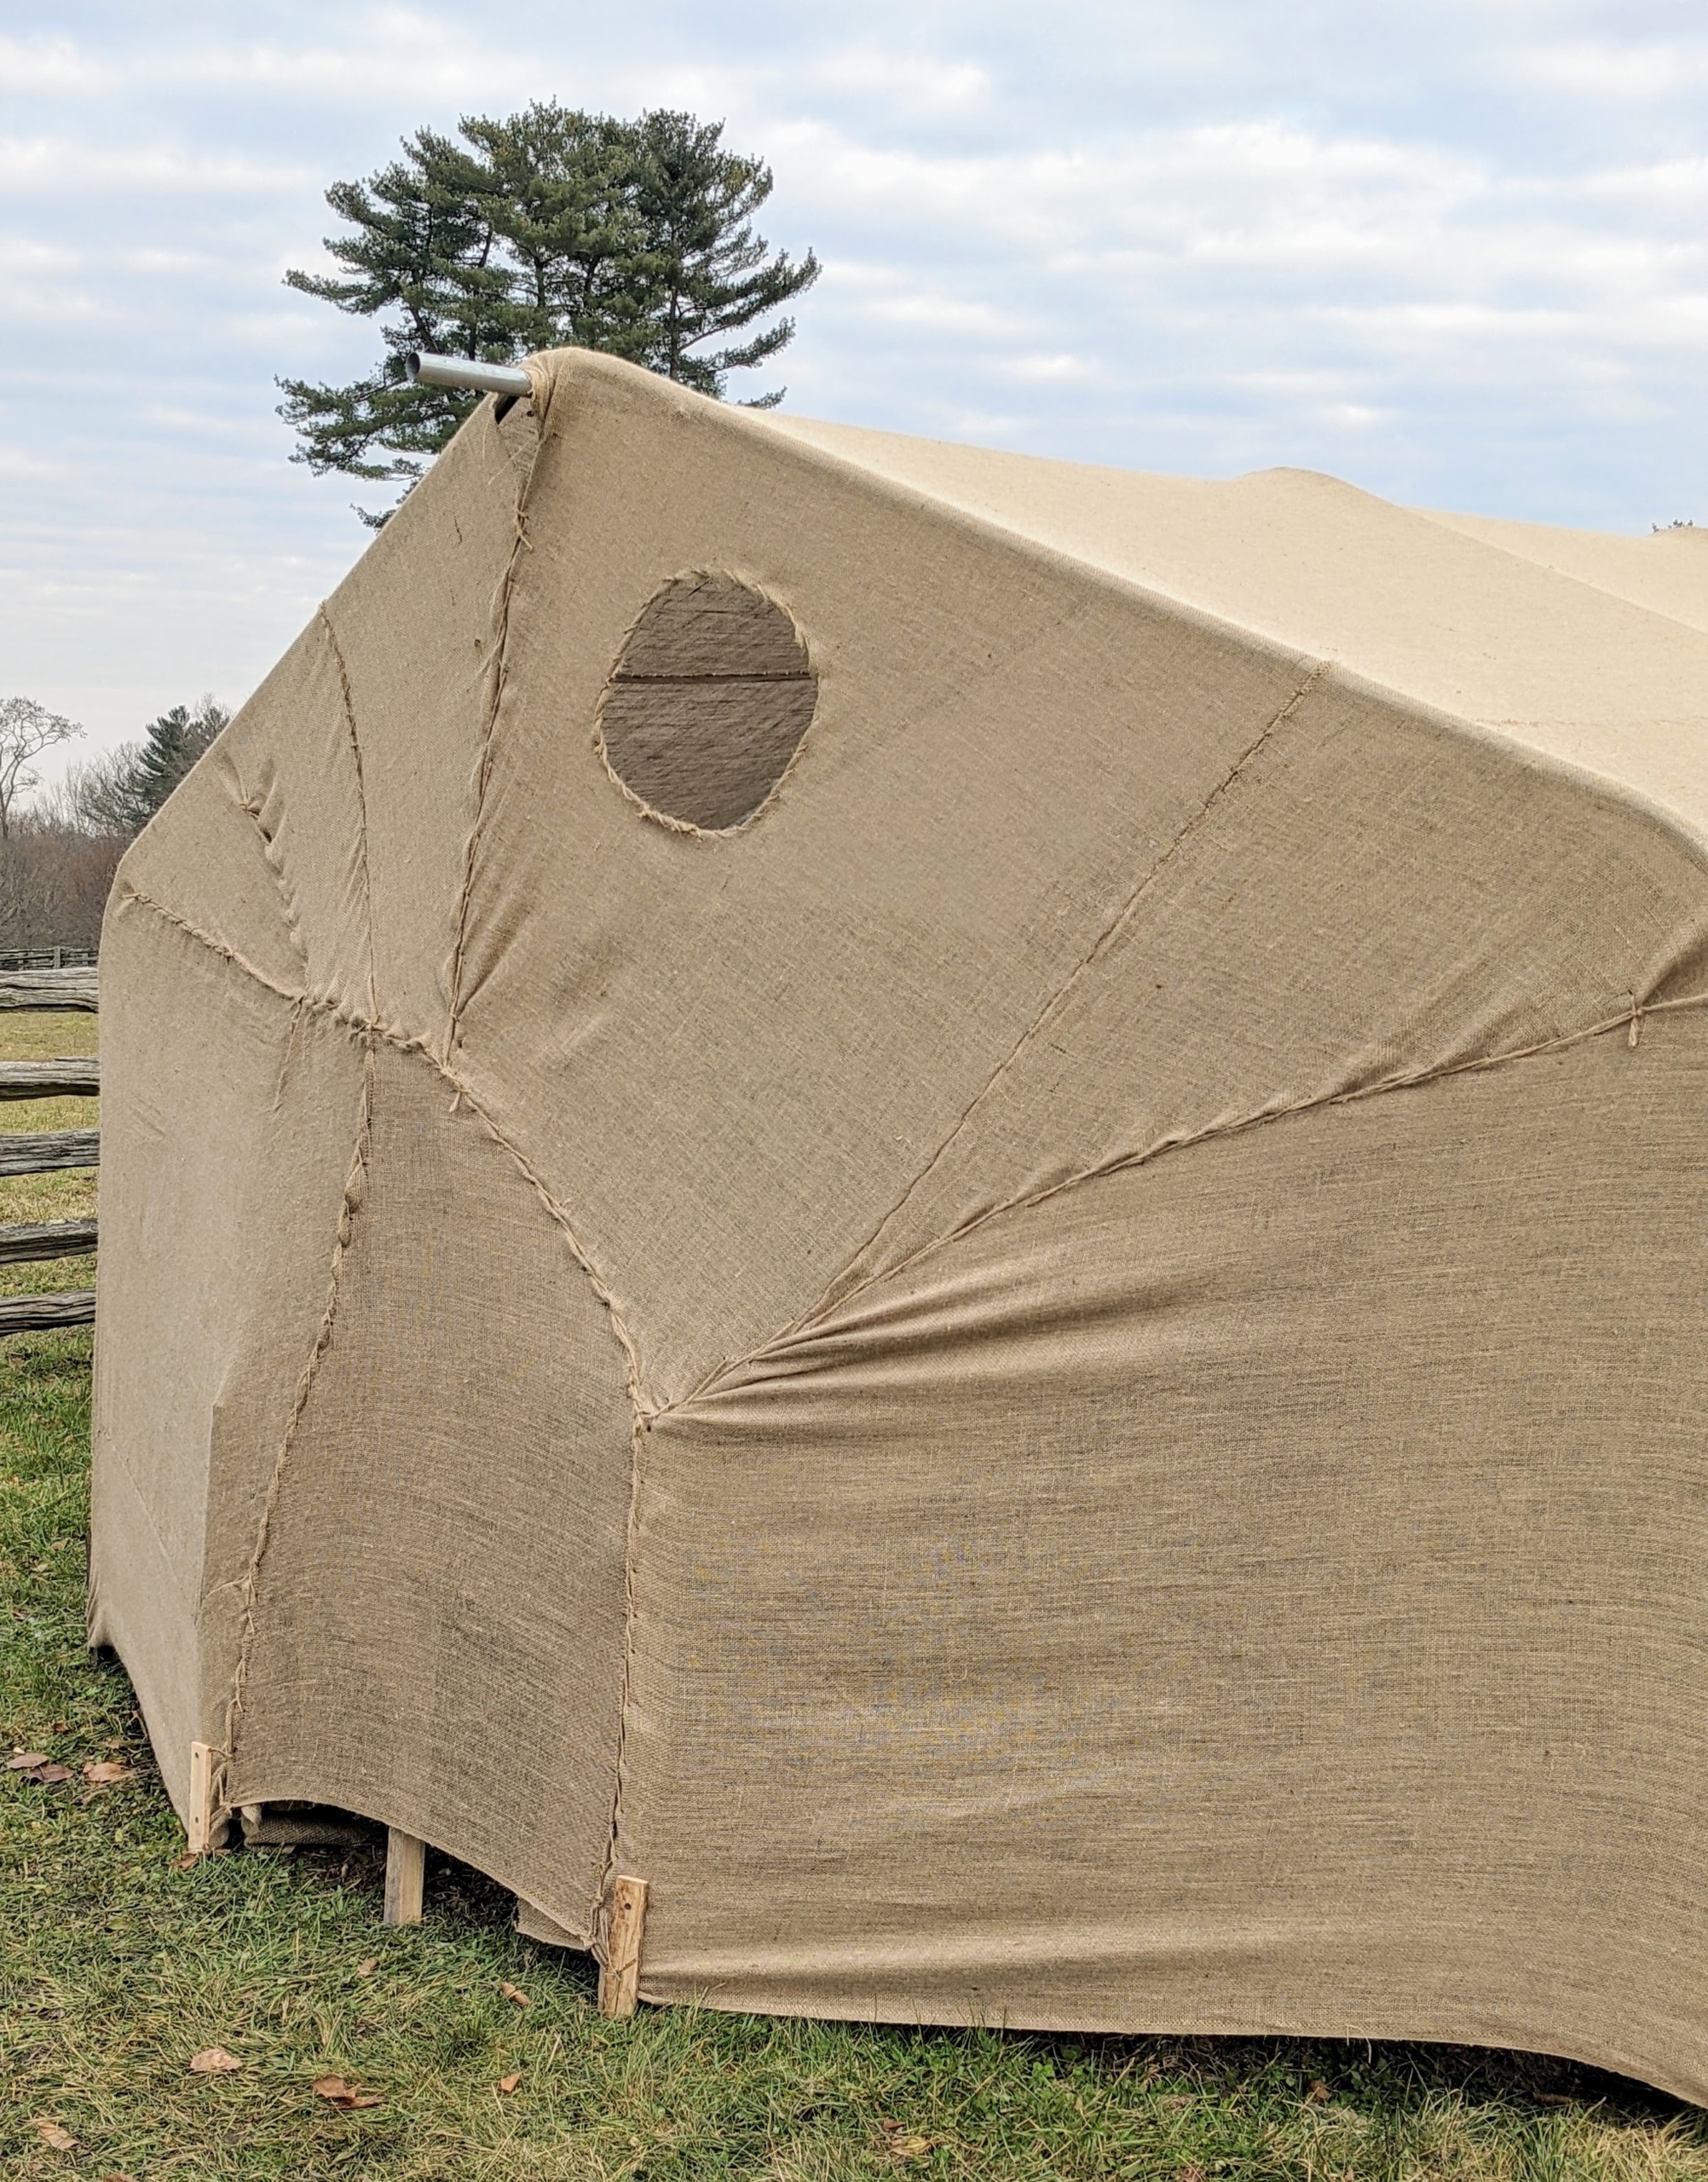
Here is one of the ends, pulled together and sewn closed.
At various points, holes are purposely made for any birds that wish to escape the cold and wind.
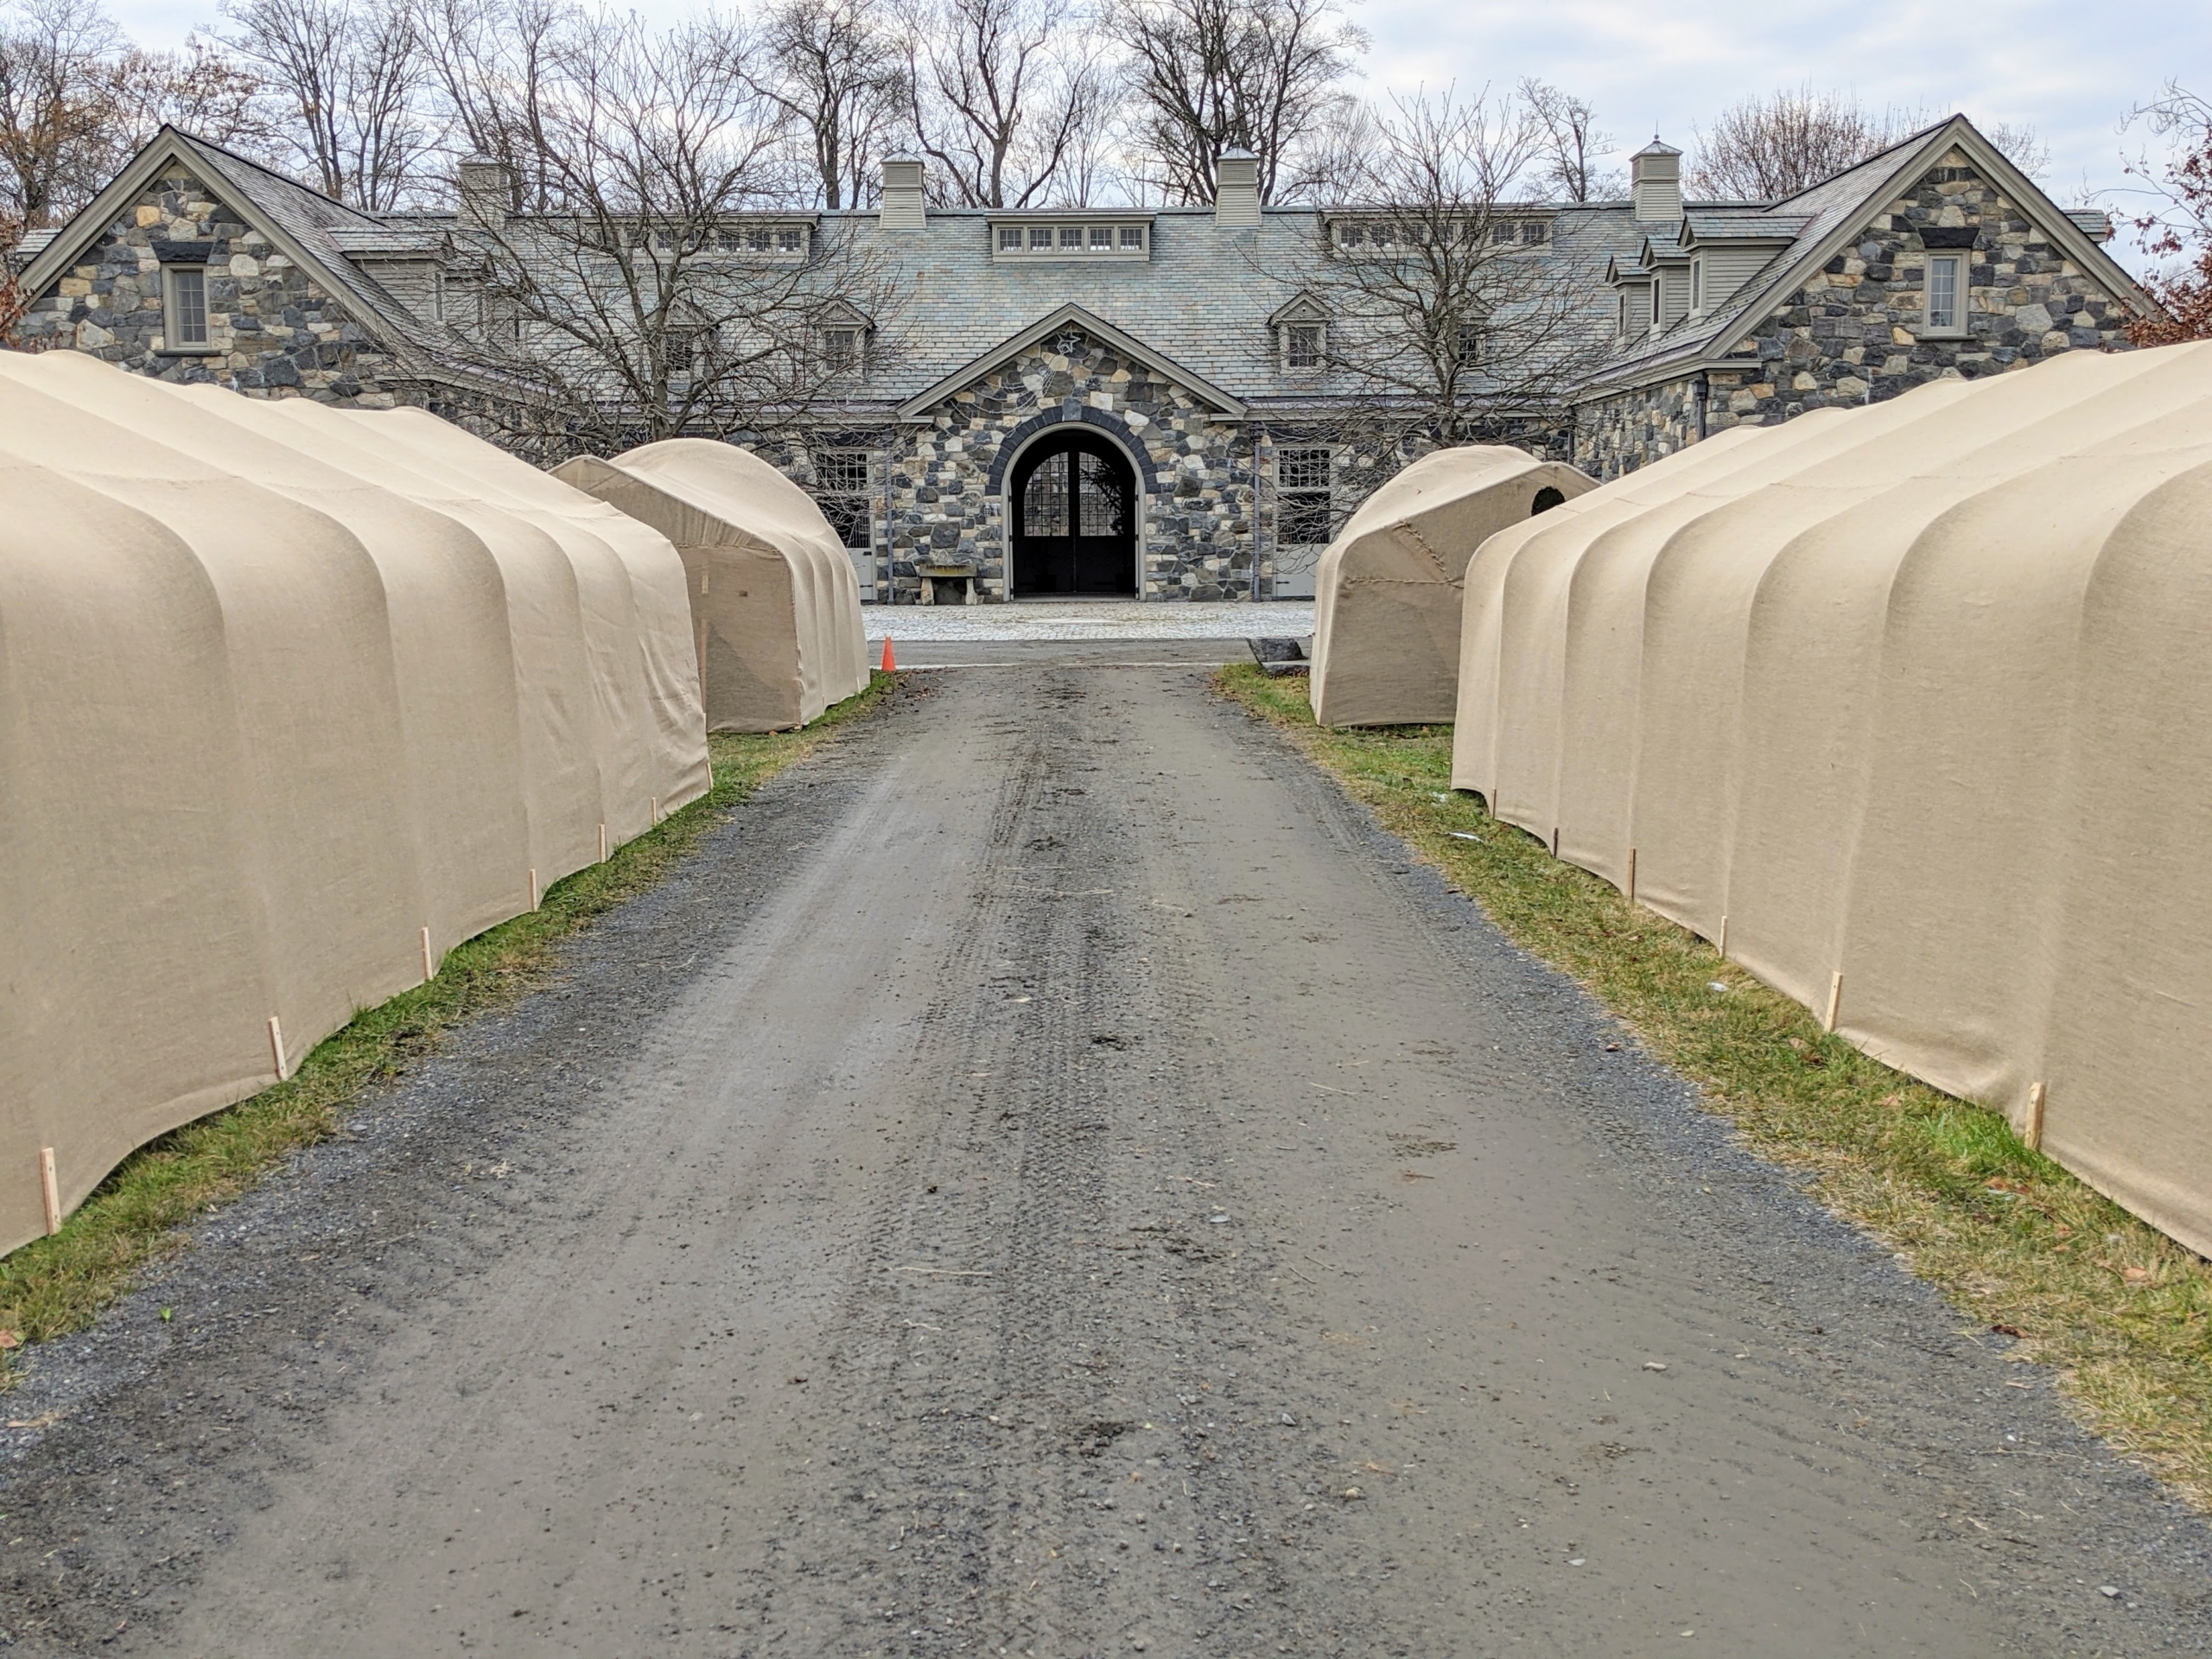
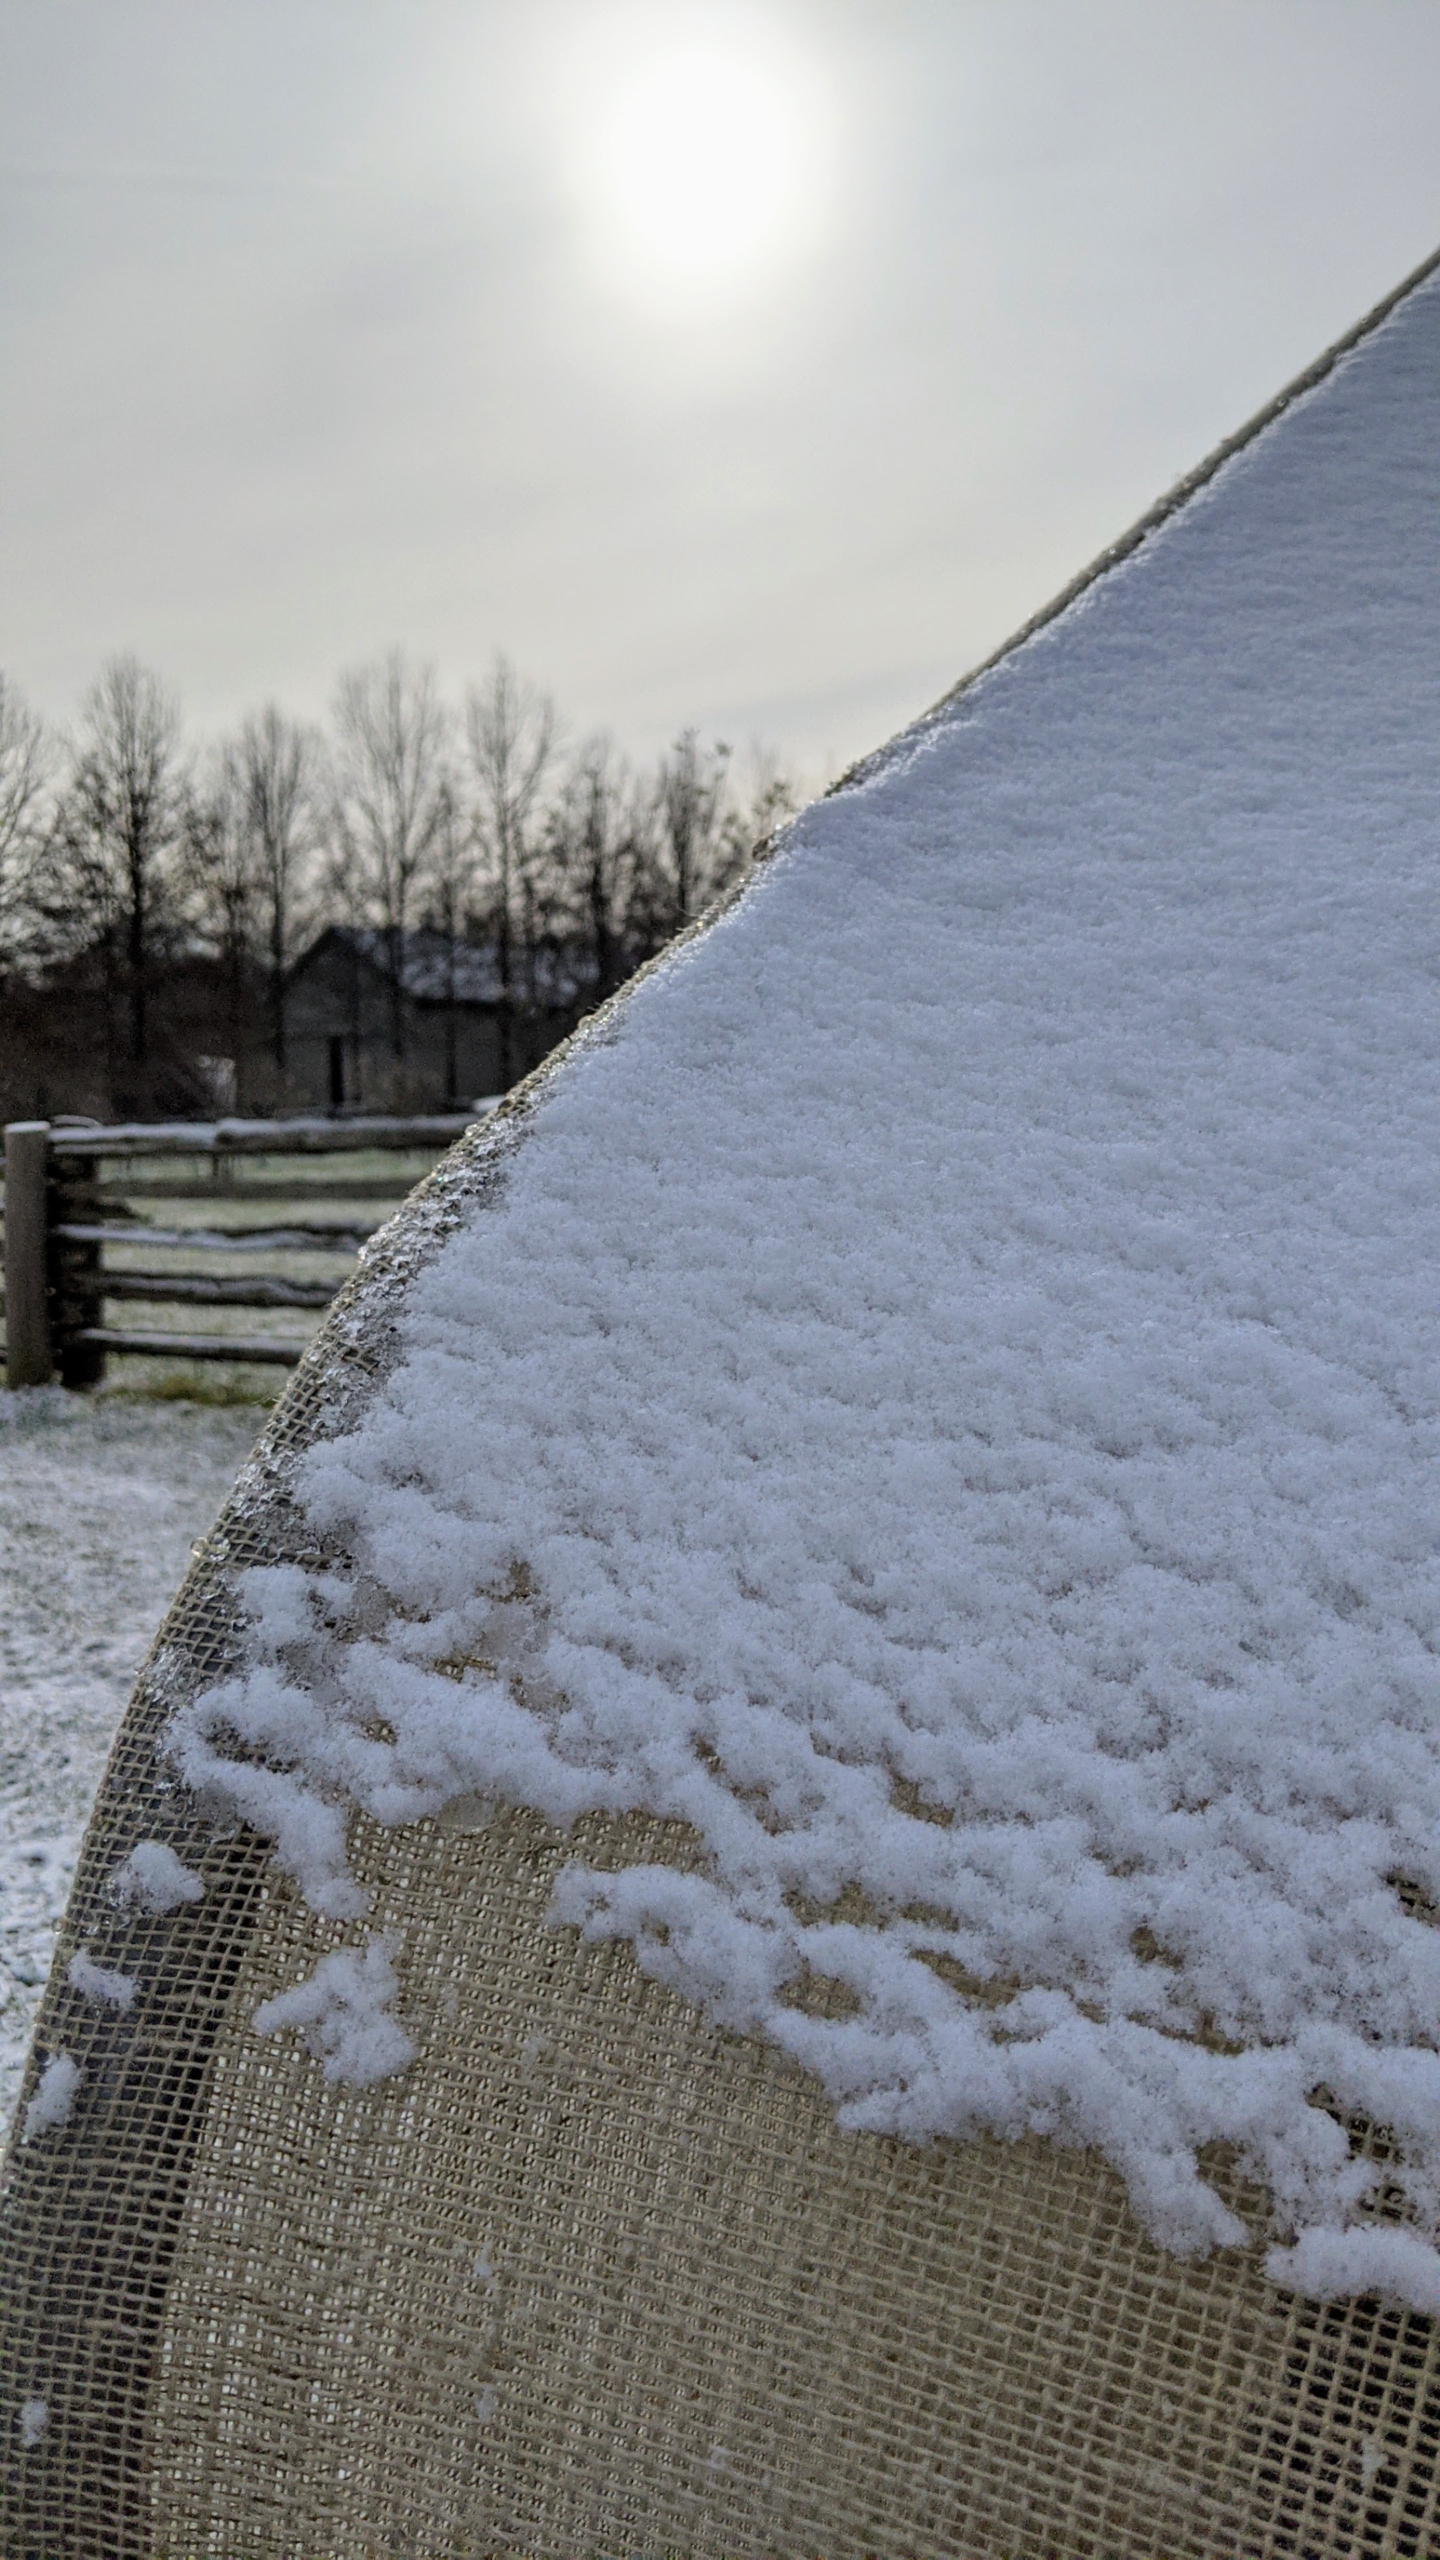
Here is one finished section of the Boxwood Allee. The burlap still allows the boxwood to “breathe”, and get sunlight, which is important even during the colder months. It is actually very pretty, and gives the allee a whole new look for winter. Any snow that accumulates on top of the finished structures will slide down the sides.
These structures will provide strong protection through the winter and until everything is removed again in spring.
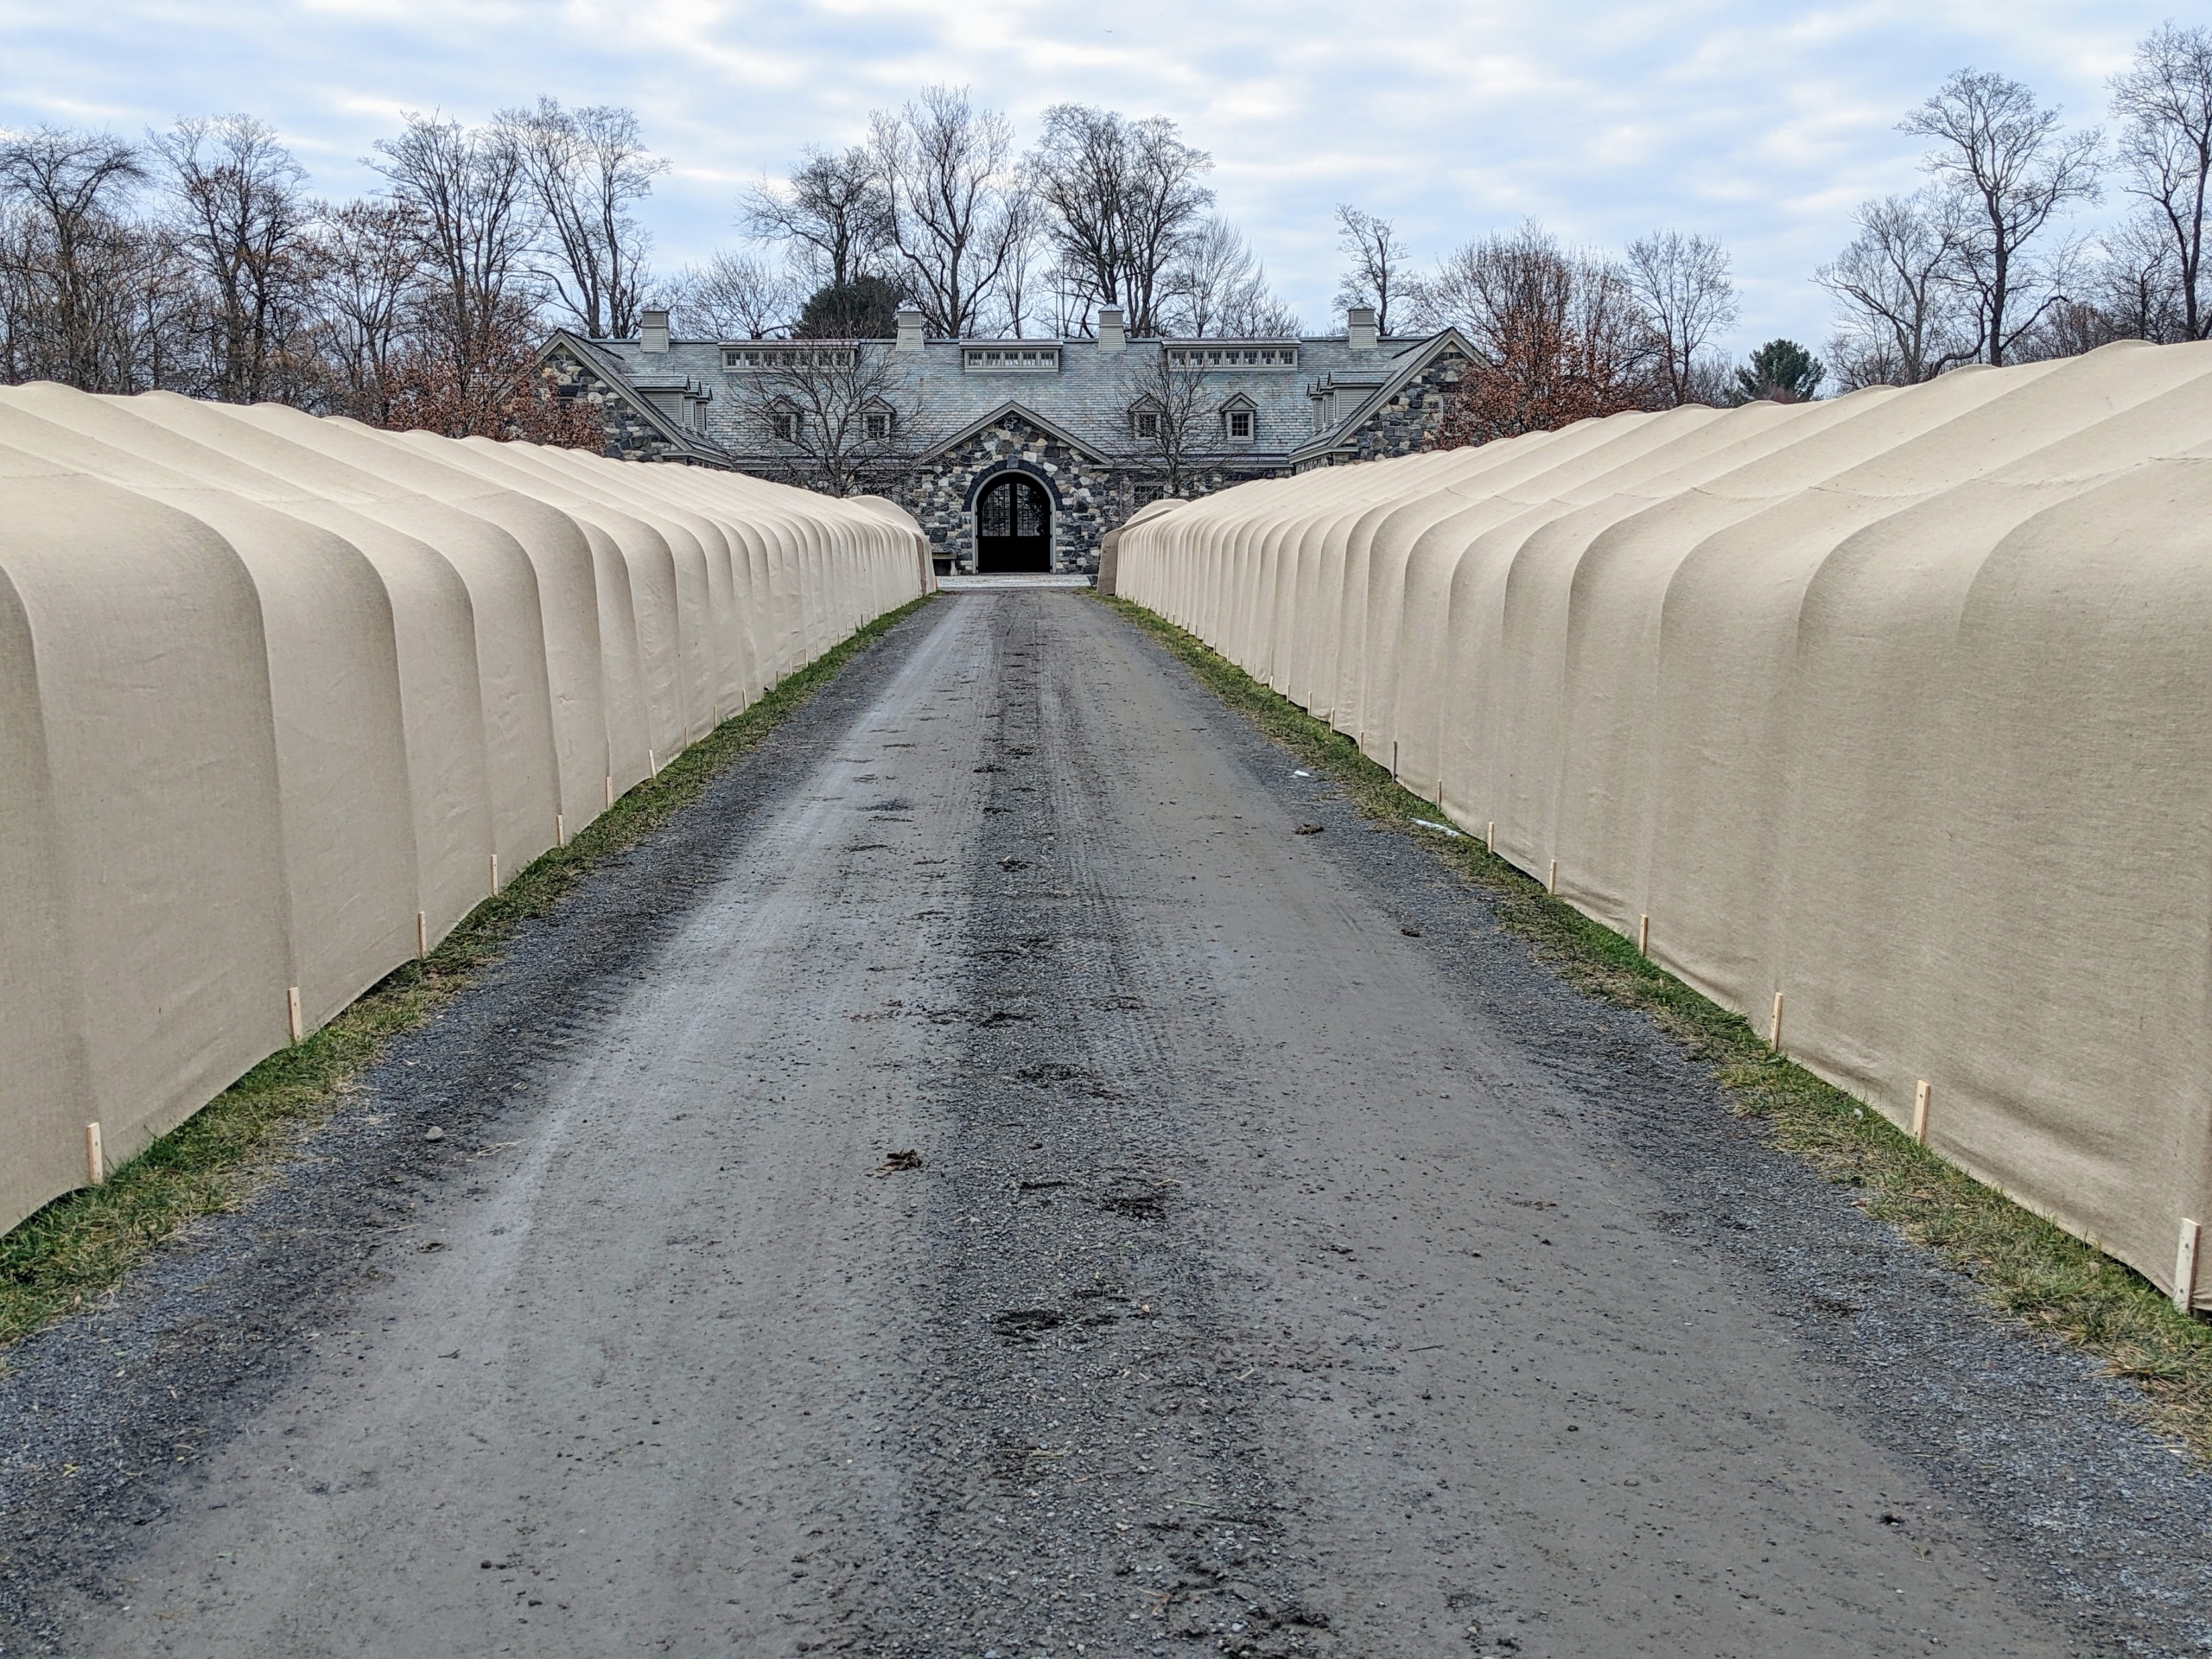
And here’s the entire length of the allee completely enshrouded in protective burlap. I’ve been “burlapping” for many years and find that this is really the most reliable way to protect my hedges and shrubs. Covering this allee with burlap gives me comfort that all will survive the winter unscathed. What are you “burlapping” this weekend? Share with me in the comments section below.
Here at my Bedford, New York farm, we're expecting temperatures in the 60s this weekend - almost springlike after a day of light snow.
Even if you’re not a big fan of cold weather, it's hard not to love a gorgeous snow-covered landscape. Yesterday, we got a light coating of white powder. Thankfully, my tropical plants are tucked away in temperature-controlled greenhouses, but we're still in the process of covering all my precious boxwood shrubs and hedges with protective burlap.
Enjoy these photos.
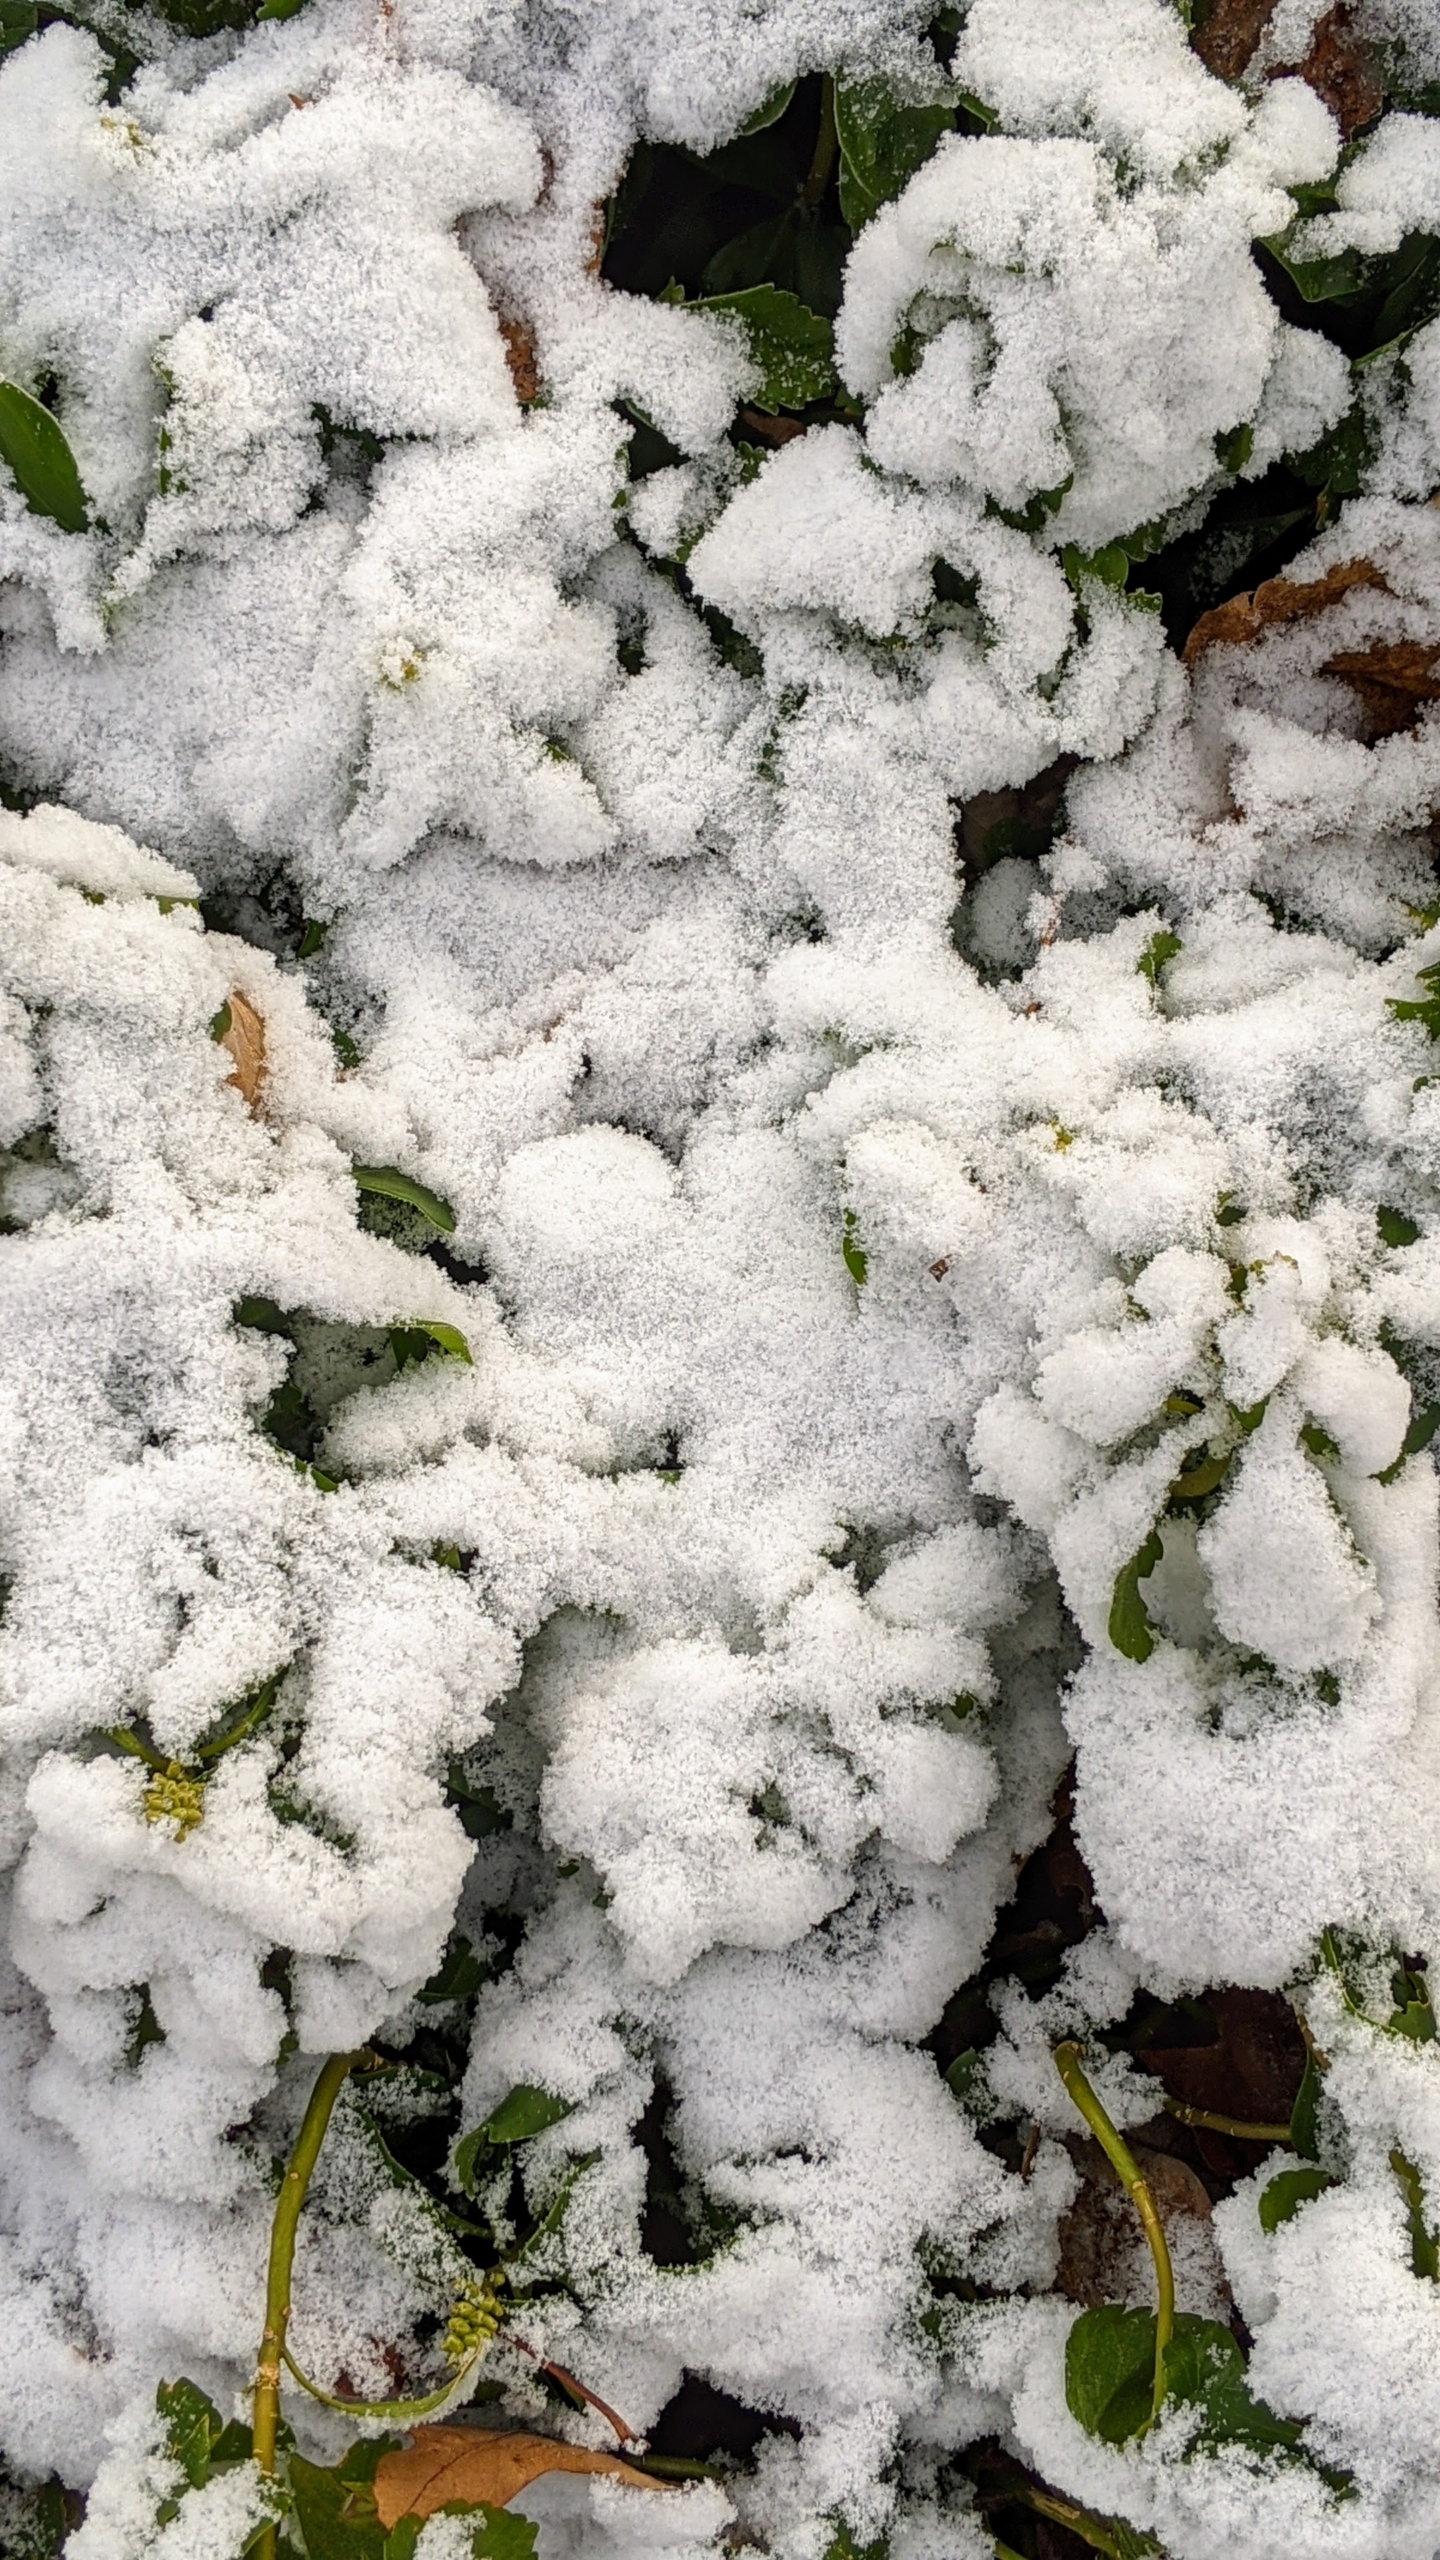
There’s always a bit of excitement with the first snow. The area got just a coating, but enough to cover almost everything in white. The light fluffy snow forms when all layers of the atmosphere are below freezing. Because the air is cold, all the way down to the surface, snowflakes don’t melt. It was just about 32-degrees Fahrenheit in the early morning with temperatures rising to nearly 40-degrees by midday. Hard to tell this is pachysandra underneath the snow.
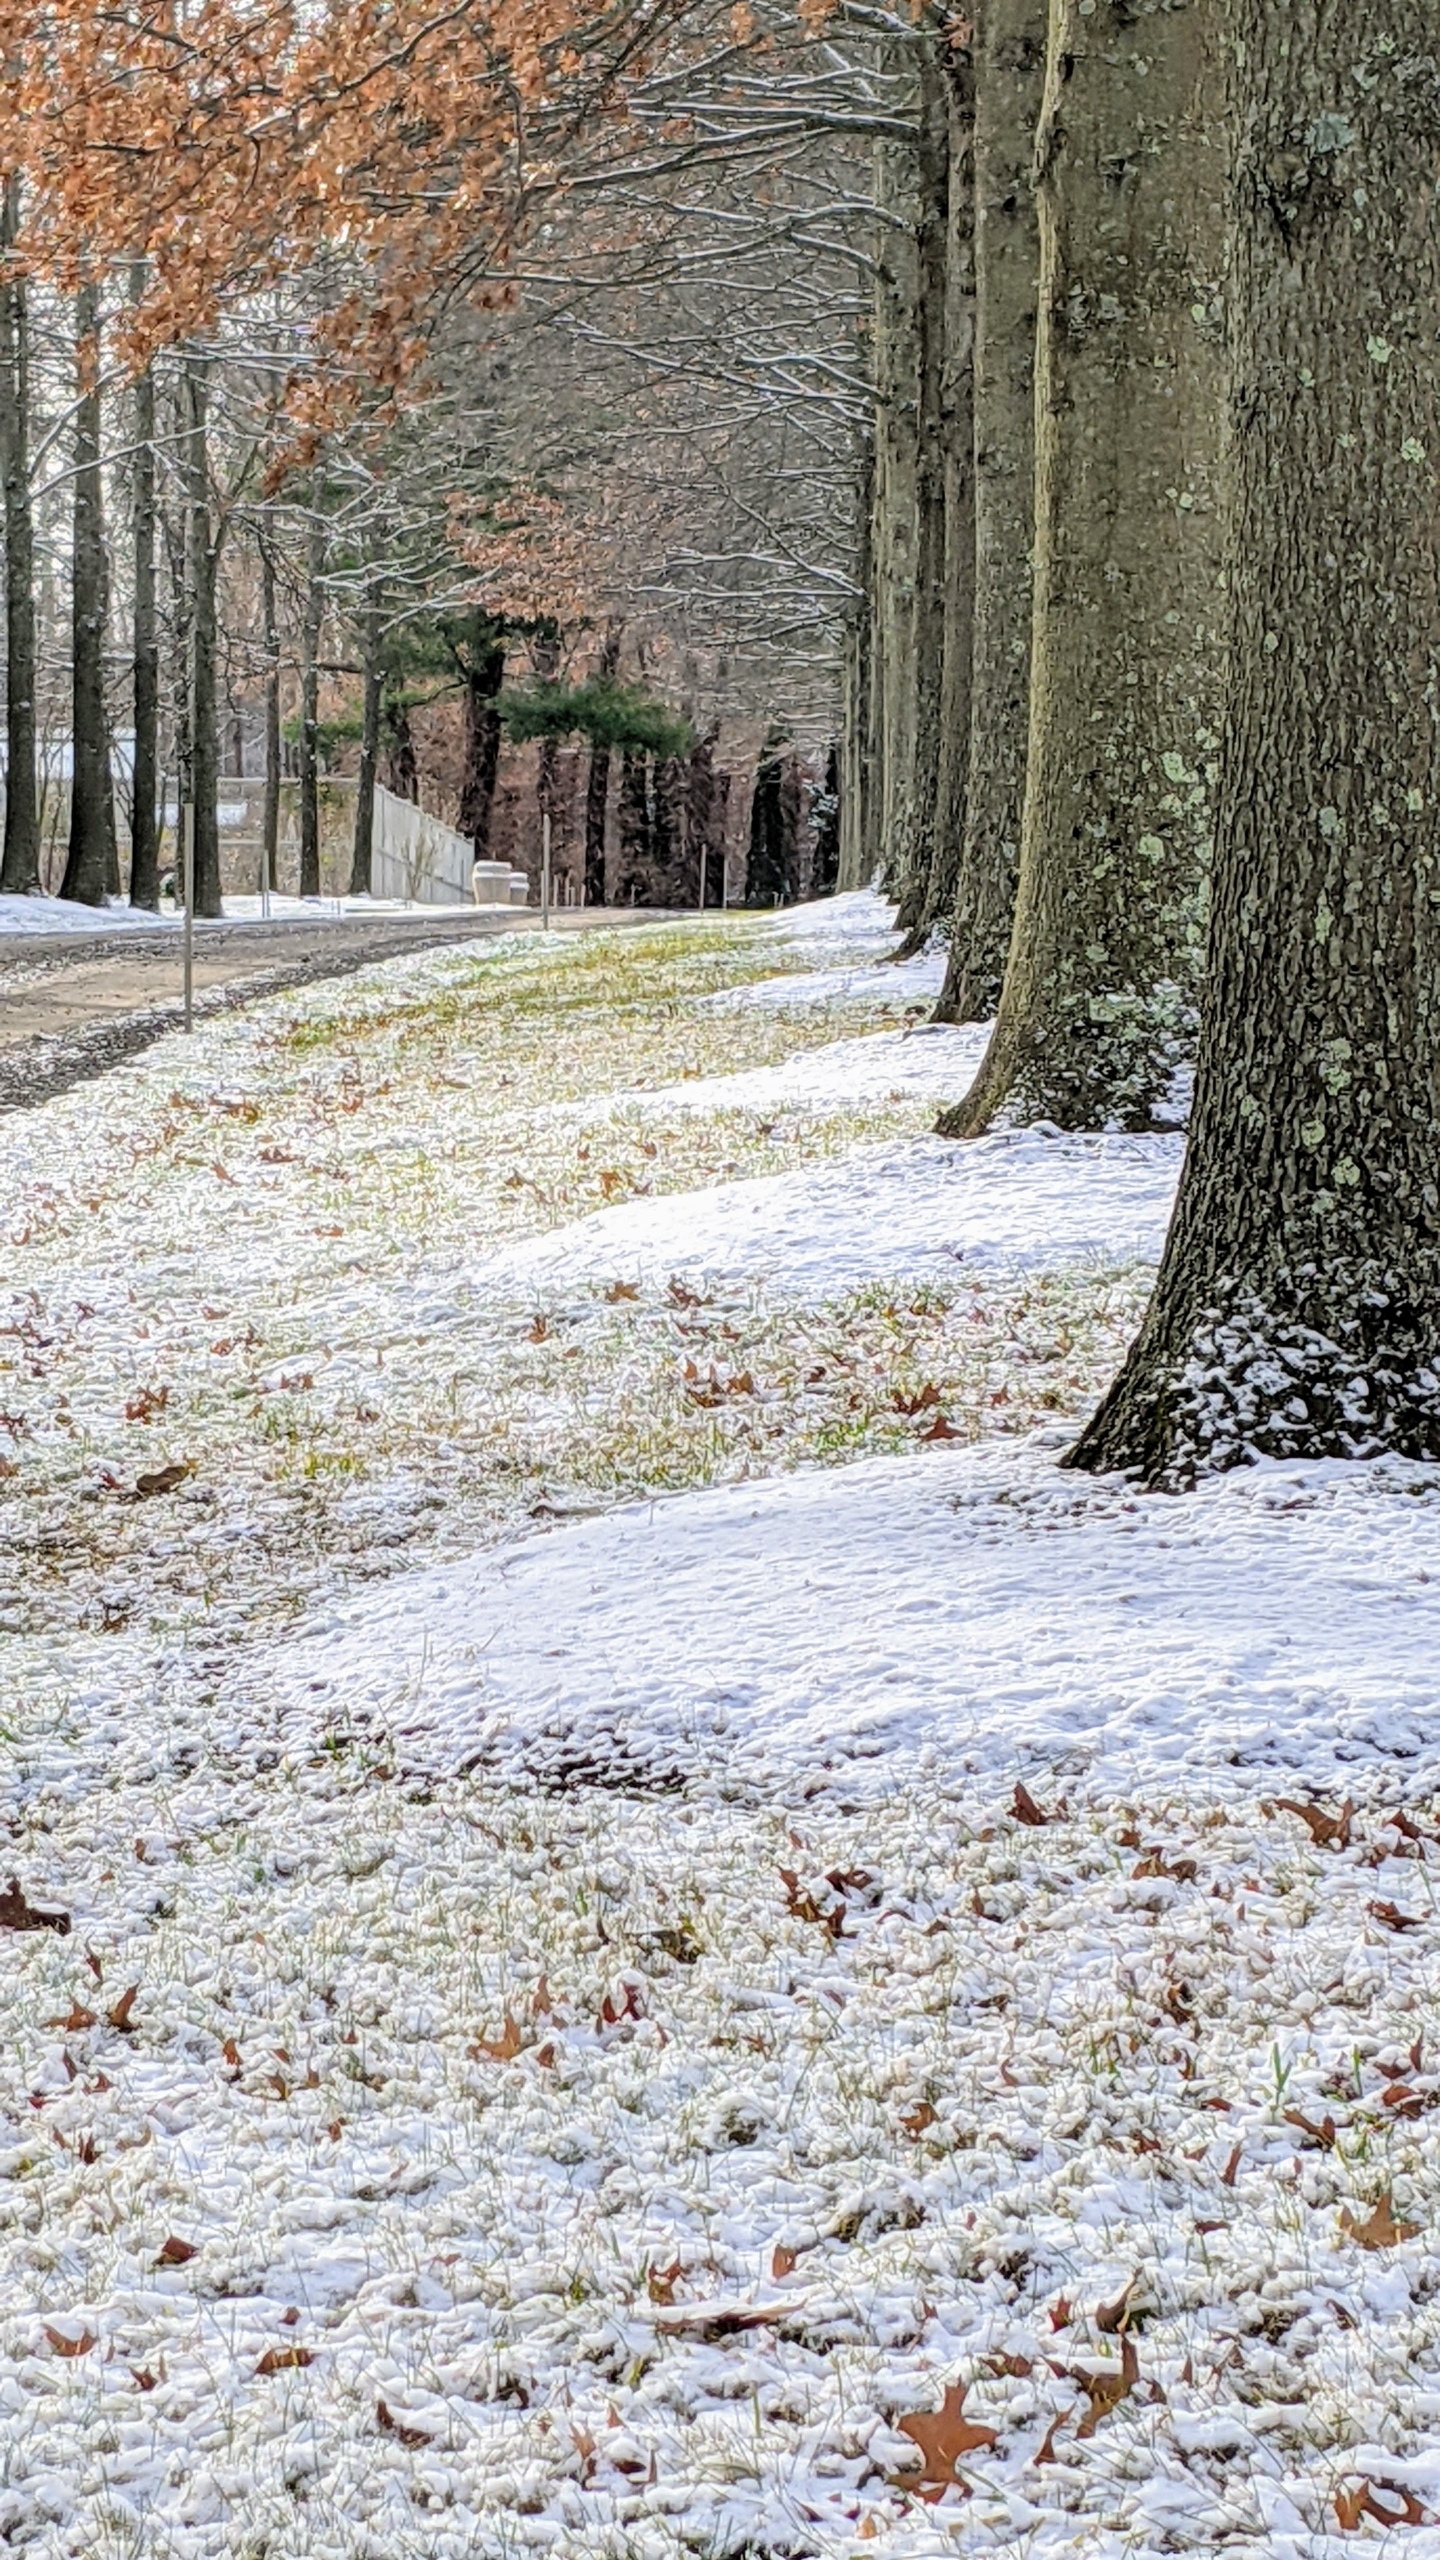
We got enough snow just to cover the ground. Here are the trunks of the mighty pin oaks that grow alongside my large Equipment Barn. One can see the rounded tree pits clearly marked by the snow.
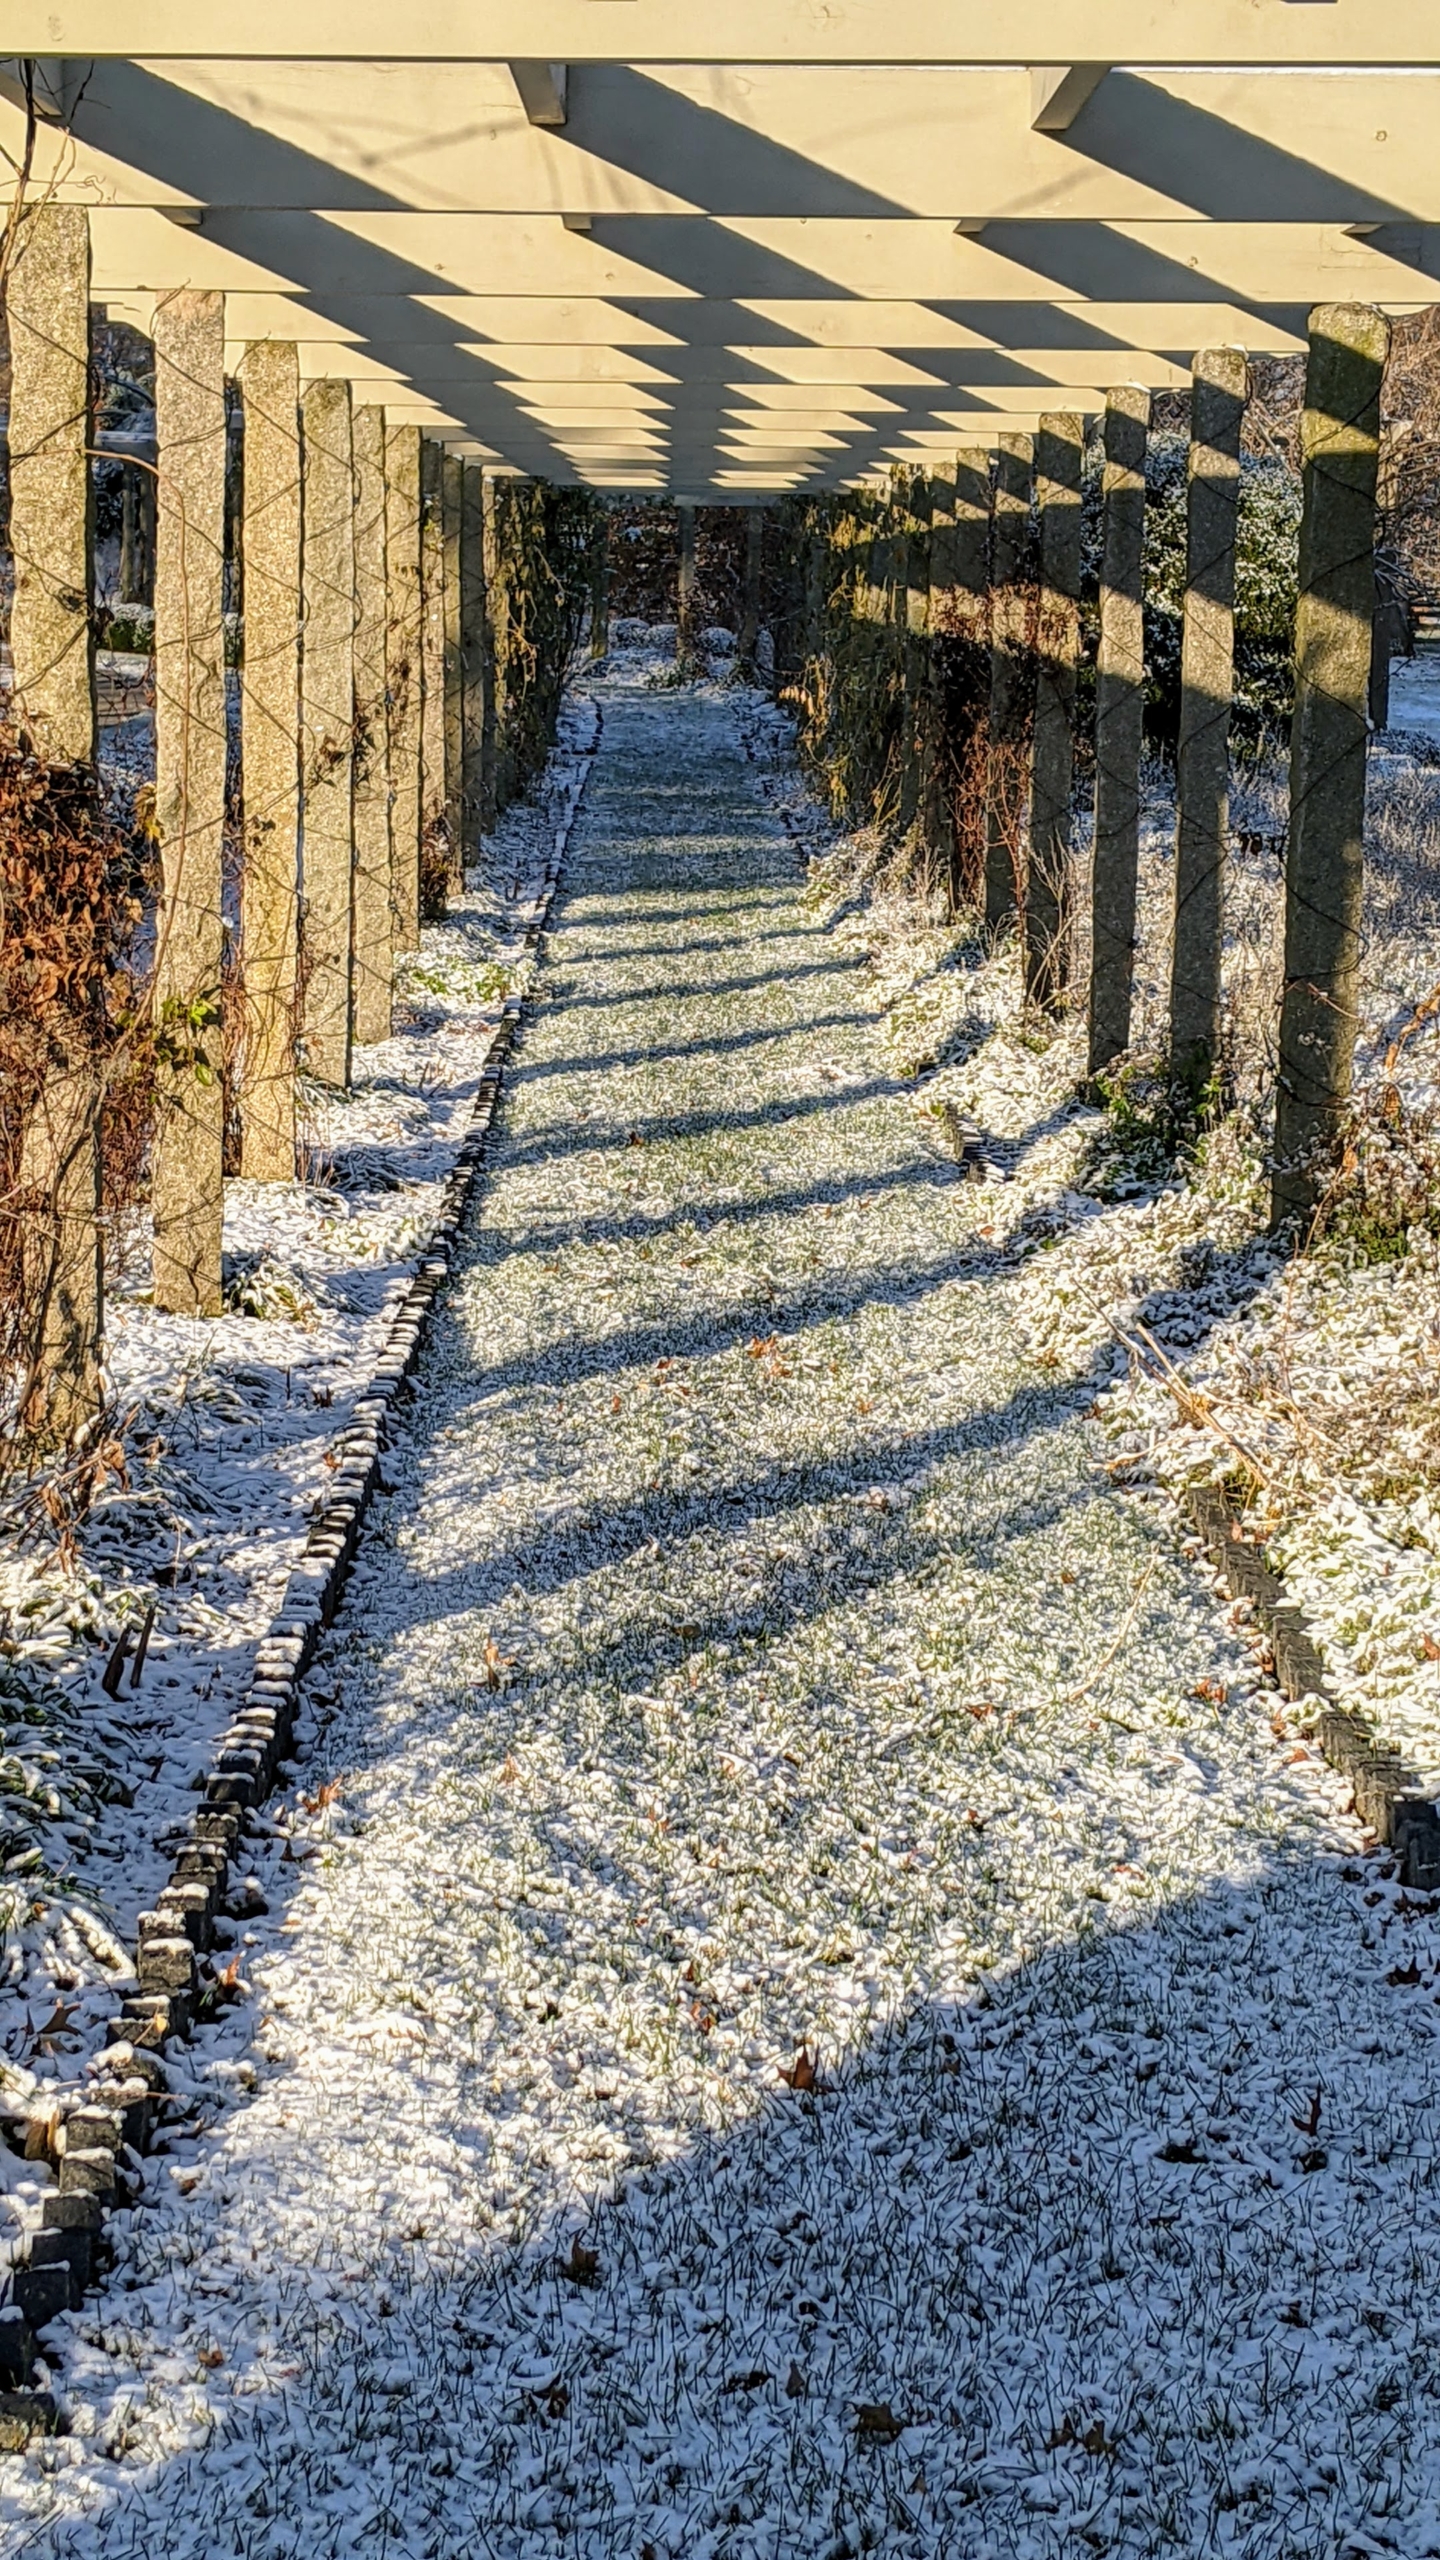
This is a view looking down from the end of my clematis pergola. The uprights for this pergola are antique granite posts from China – originally used as grape supports. They’re perfect as posts because they don’t rot over time like the wood overhead. I love the shadows these uprights cast on the ground below.
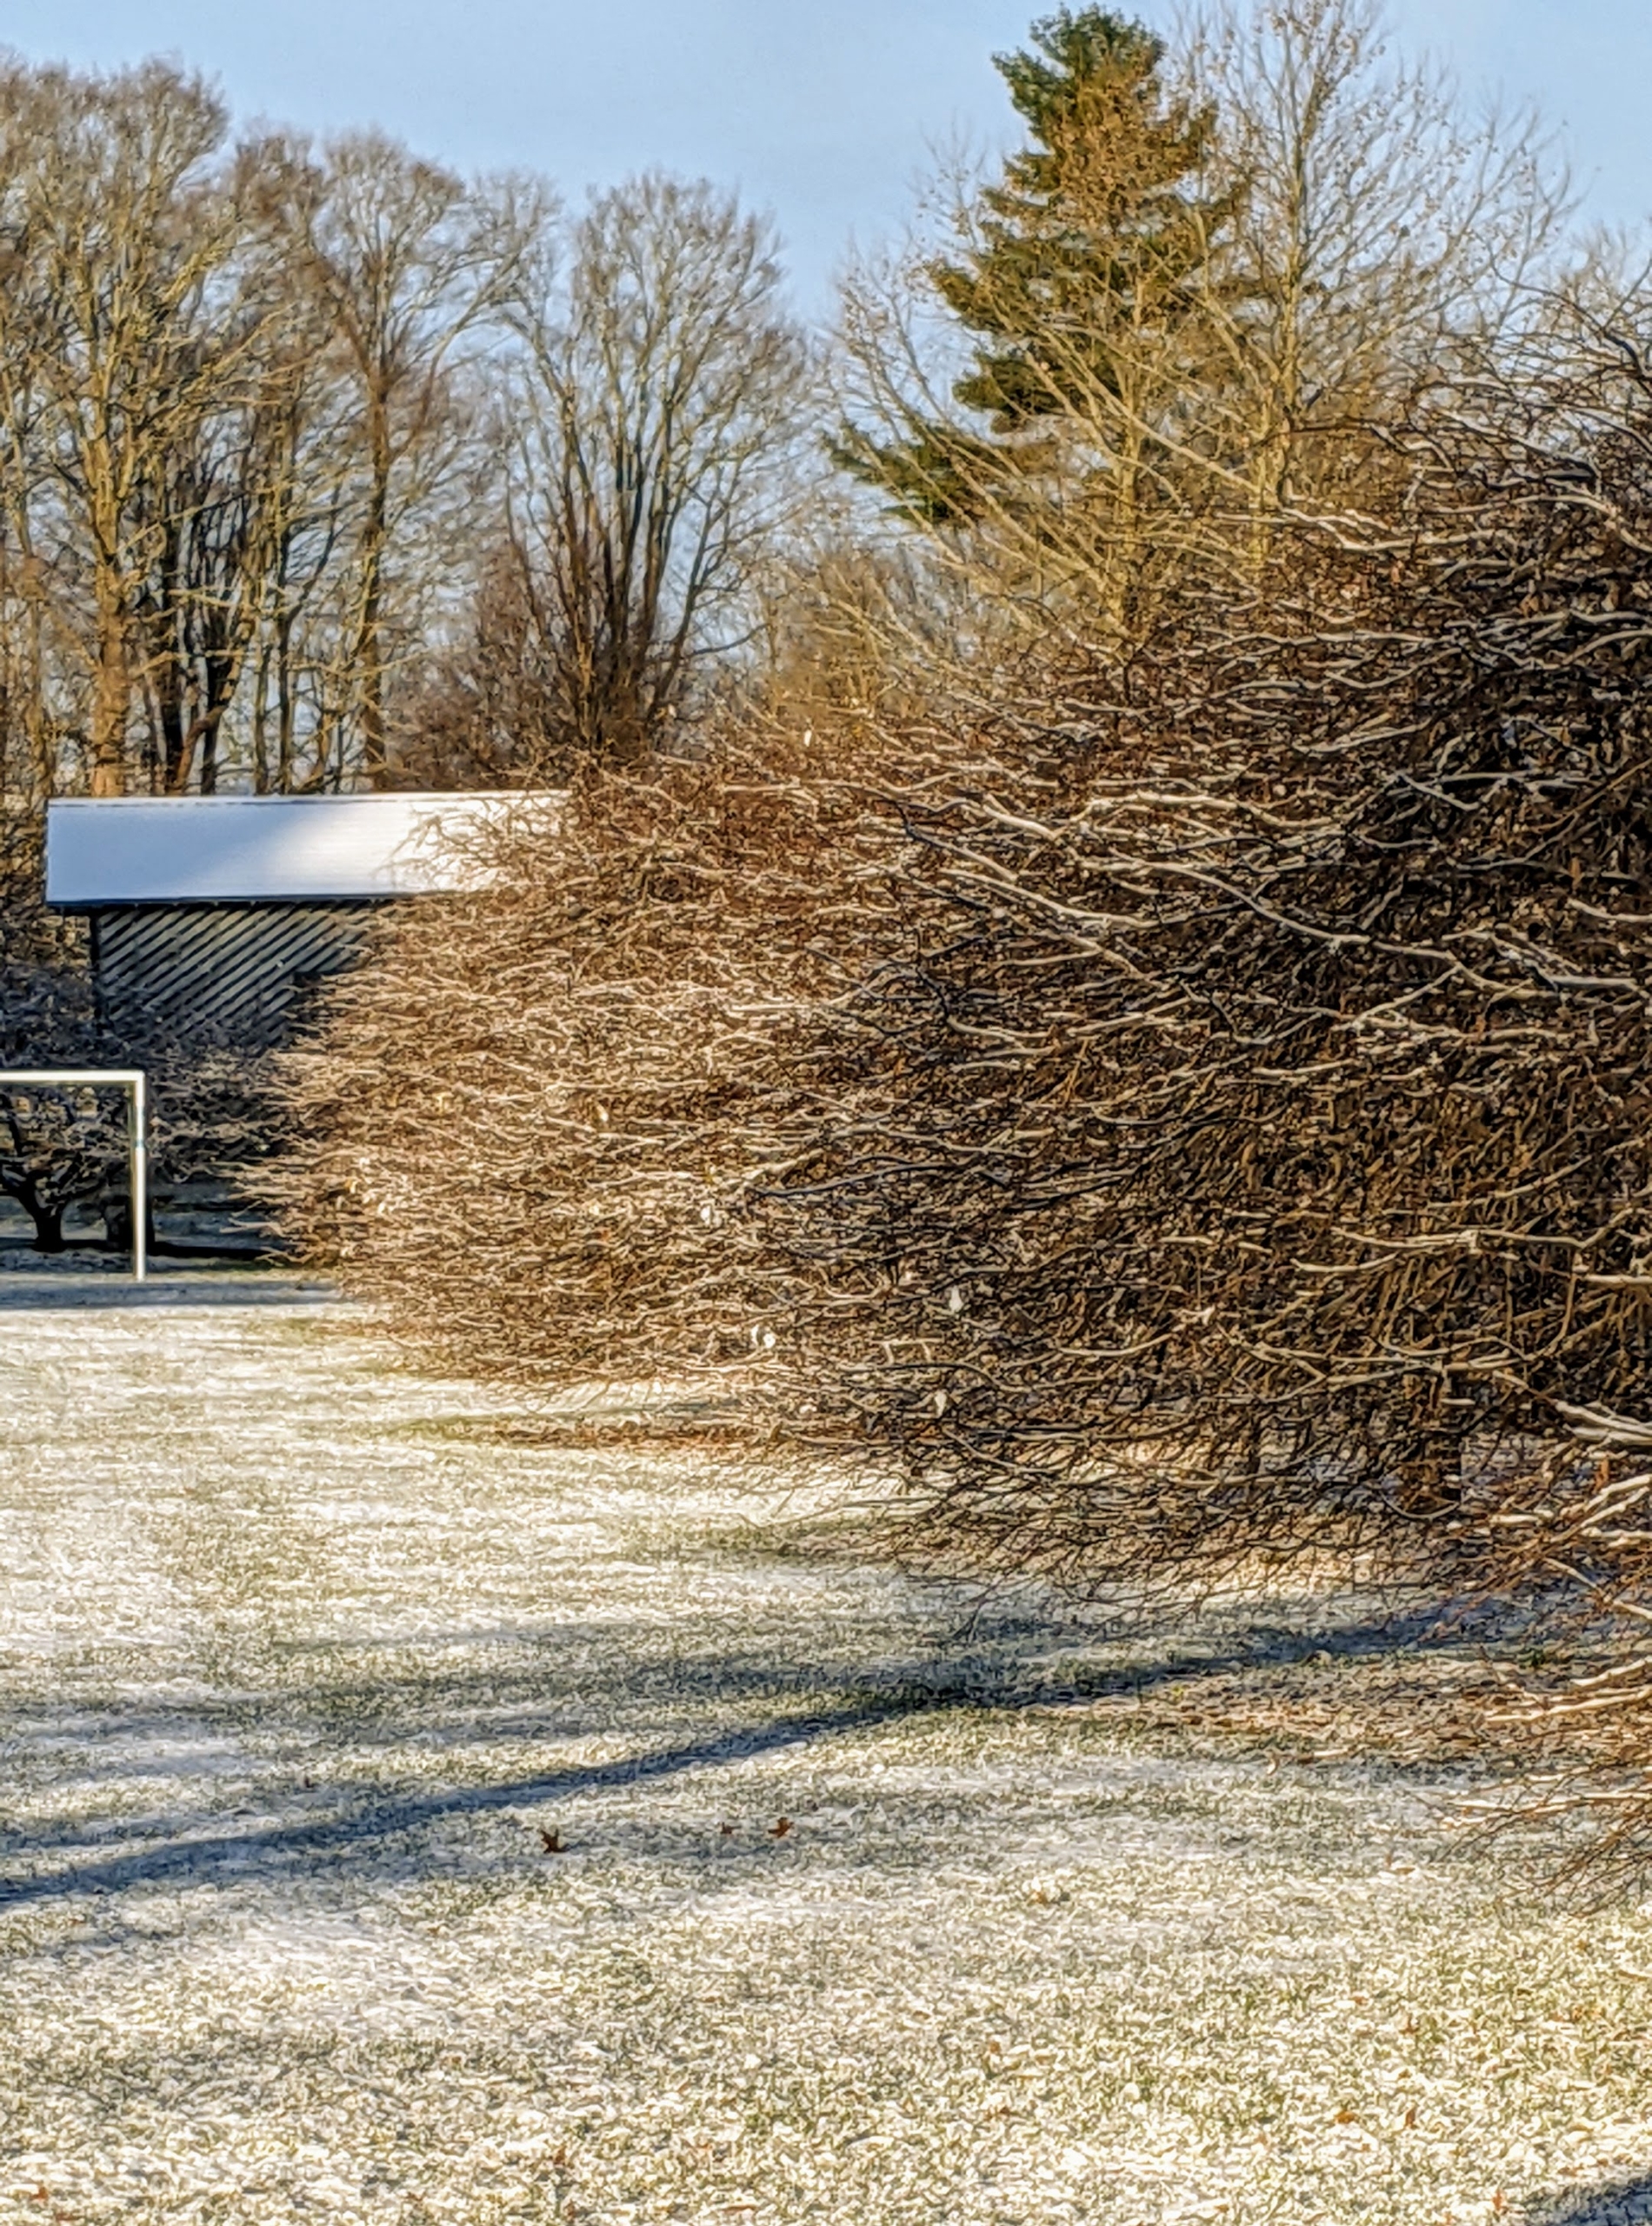
This is a row of six weeping hornbeams, Carpinus betulus Pendula. They line one side of my soccer field and the archery range I set up for my grandson, Truman.
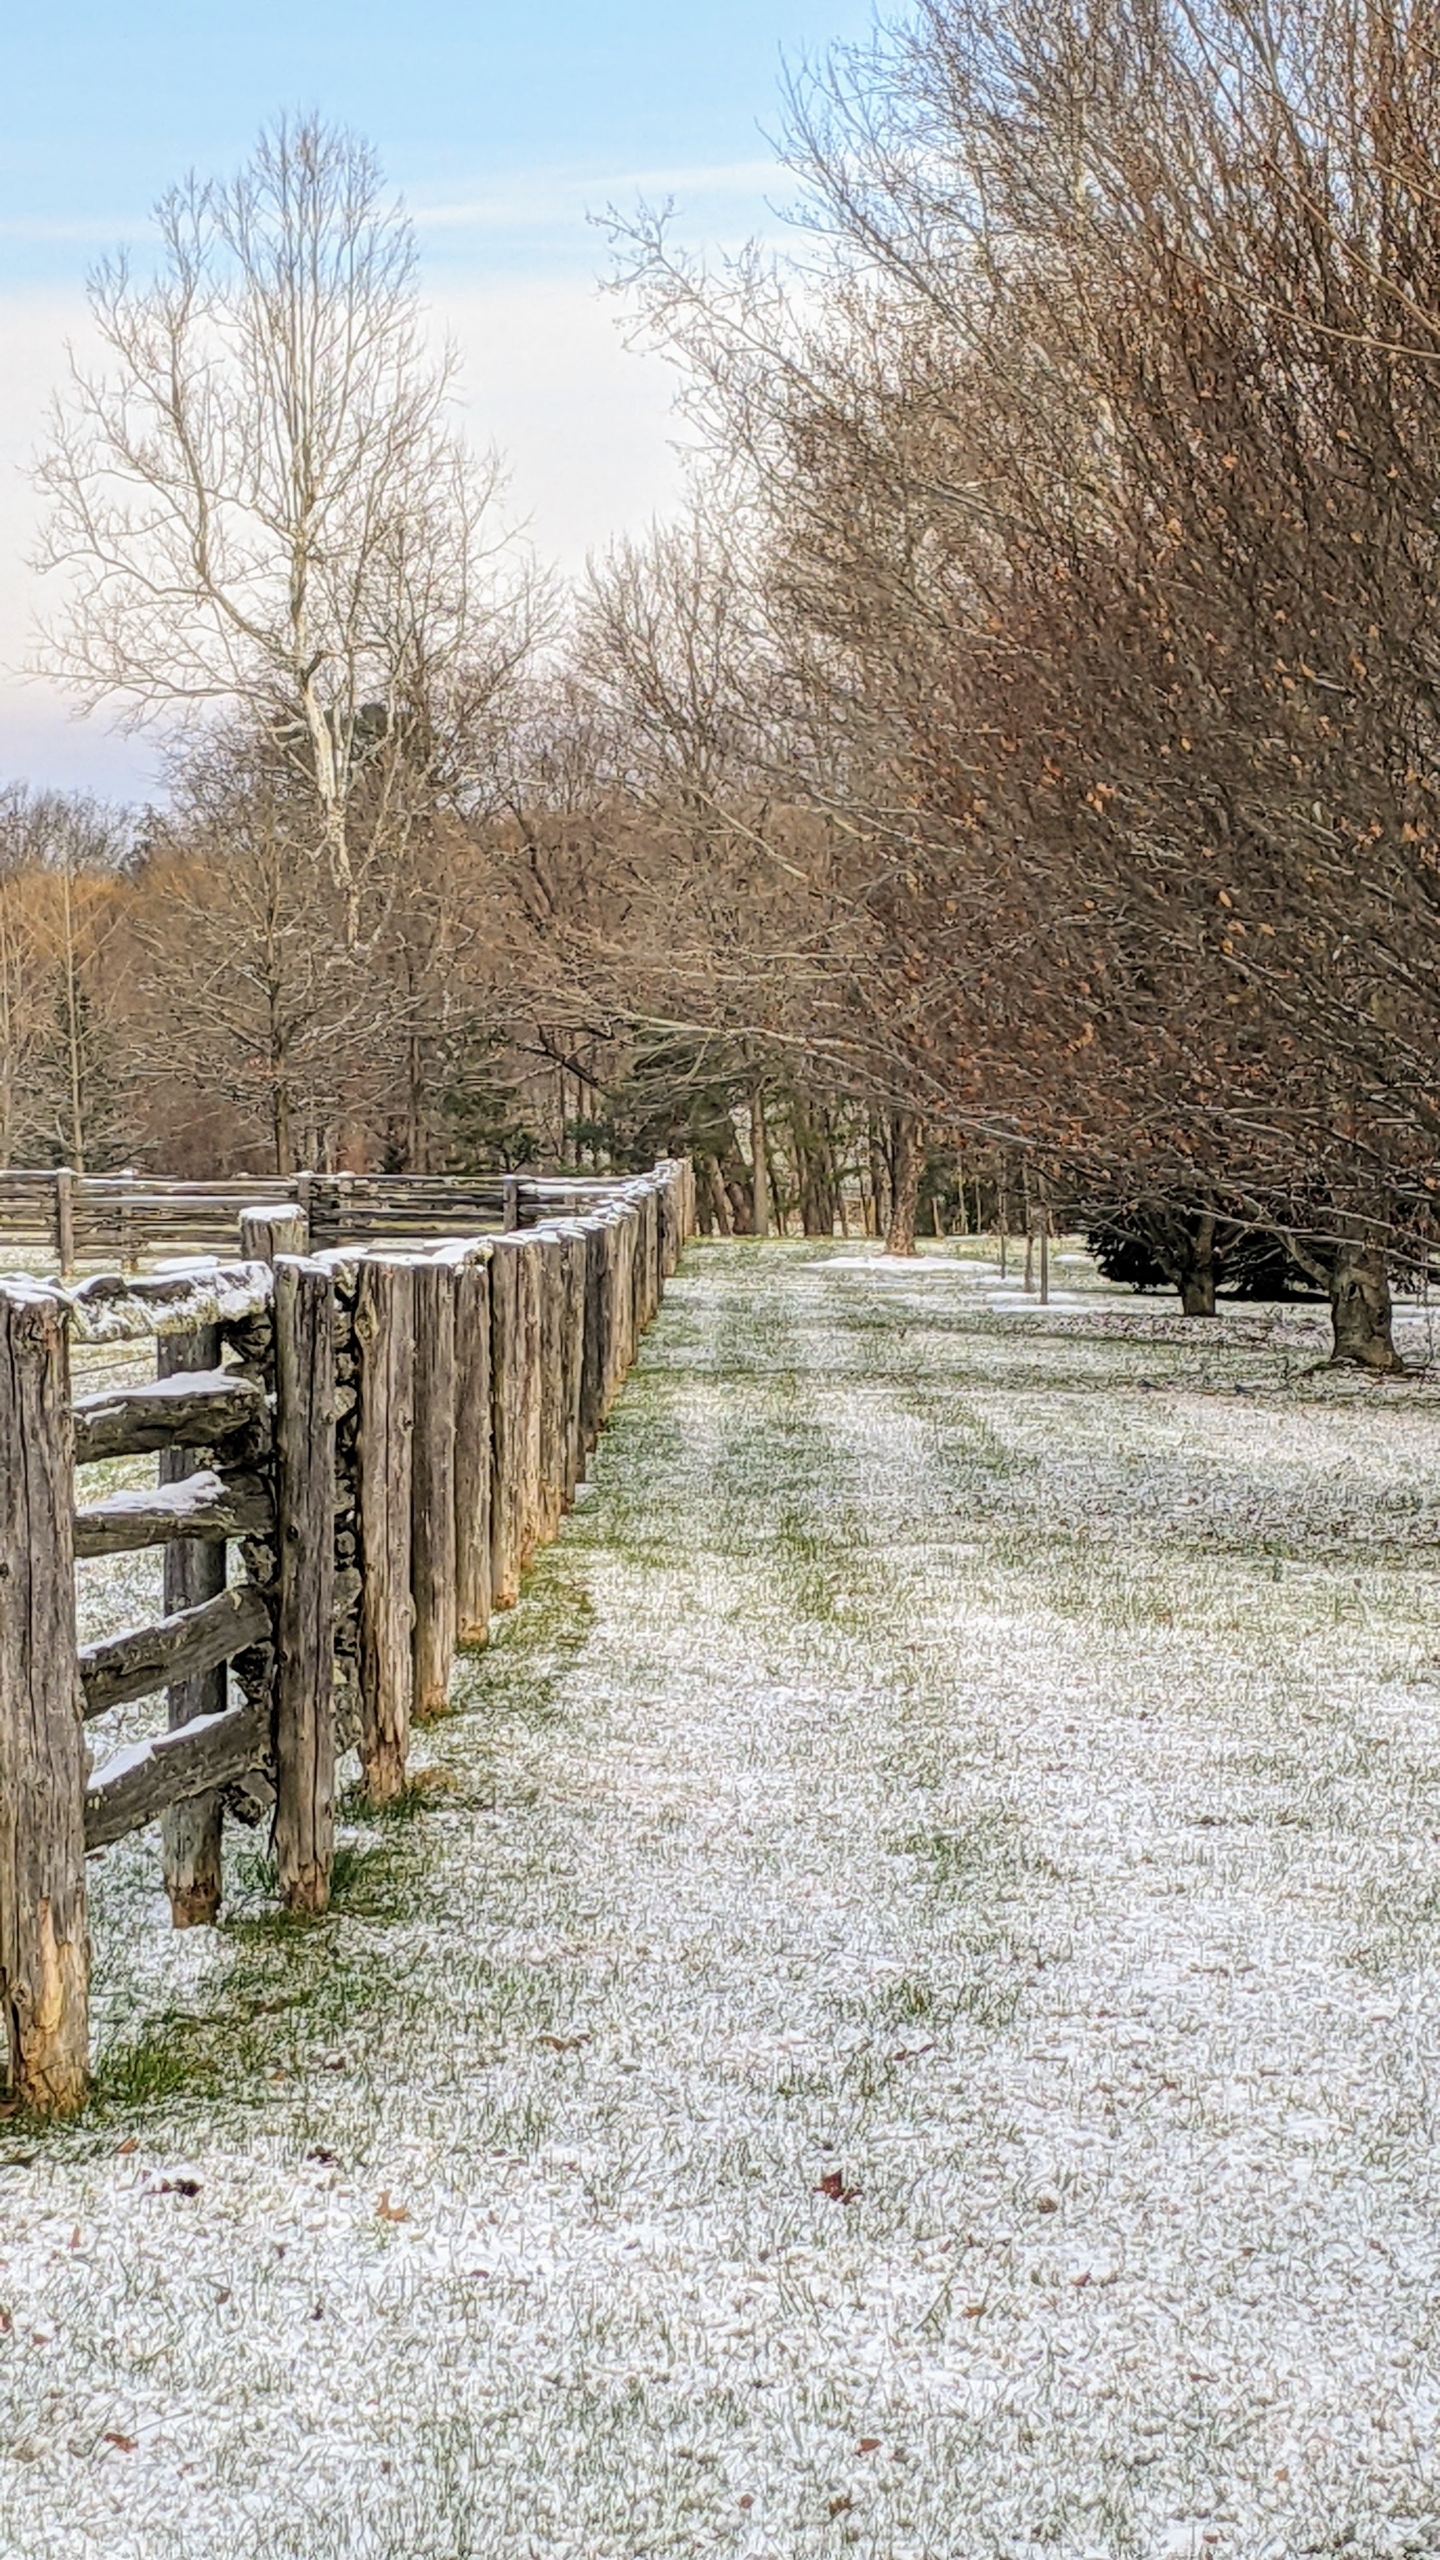
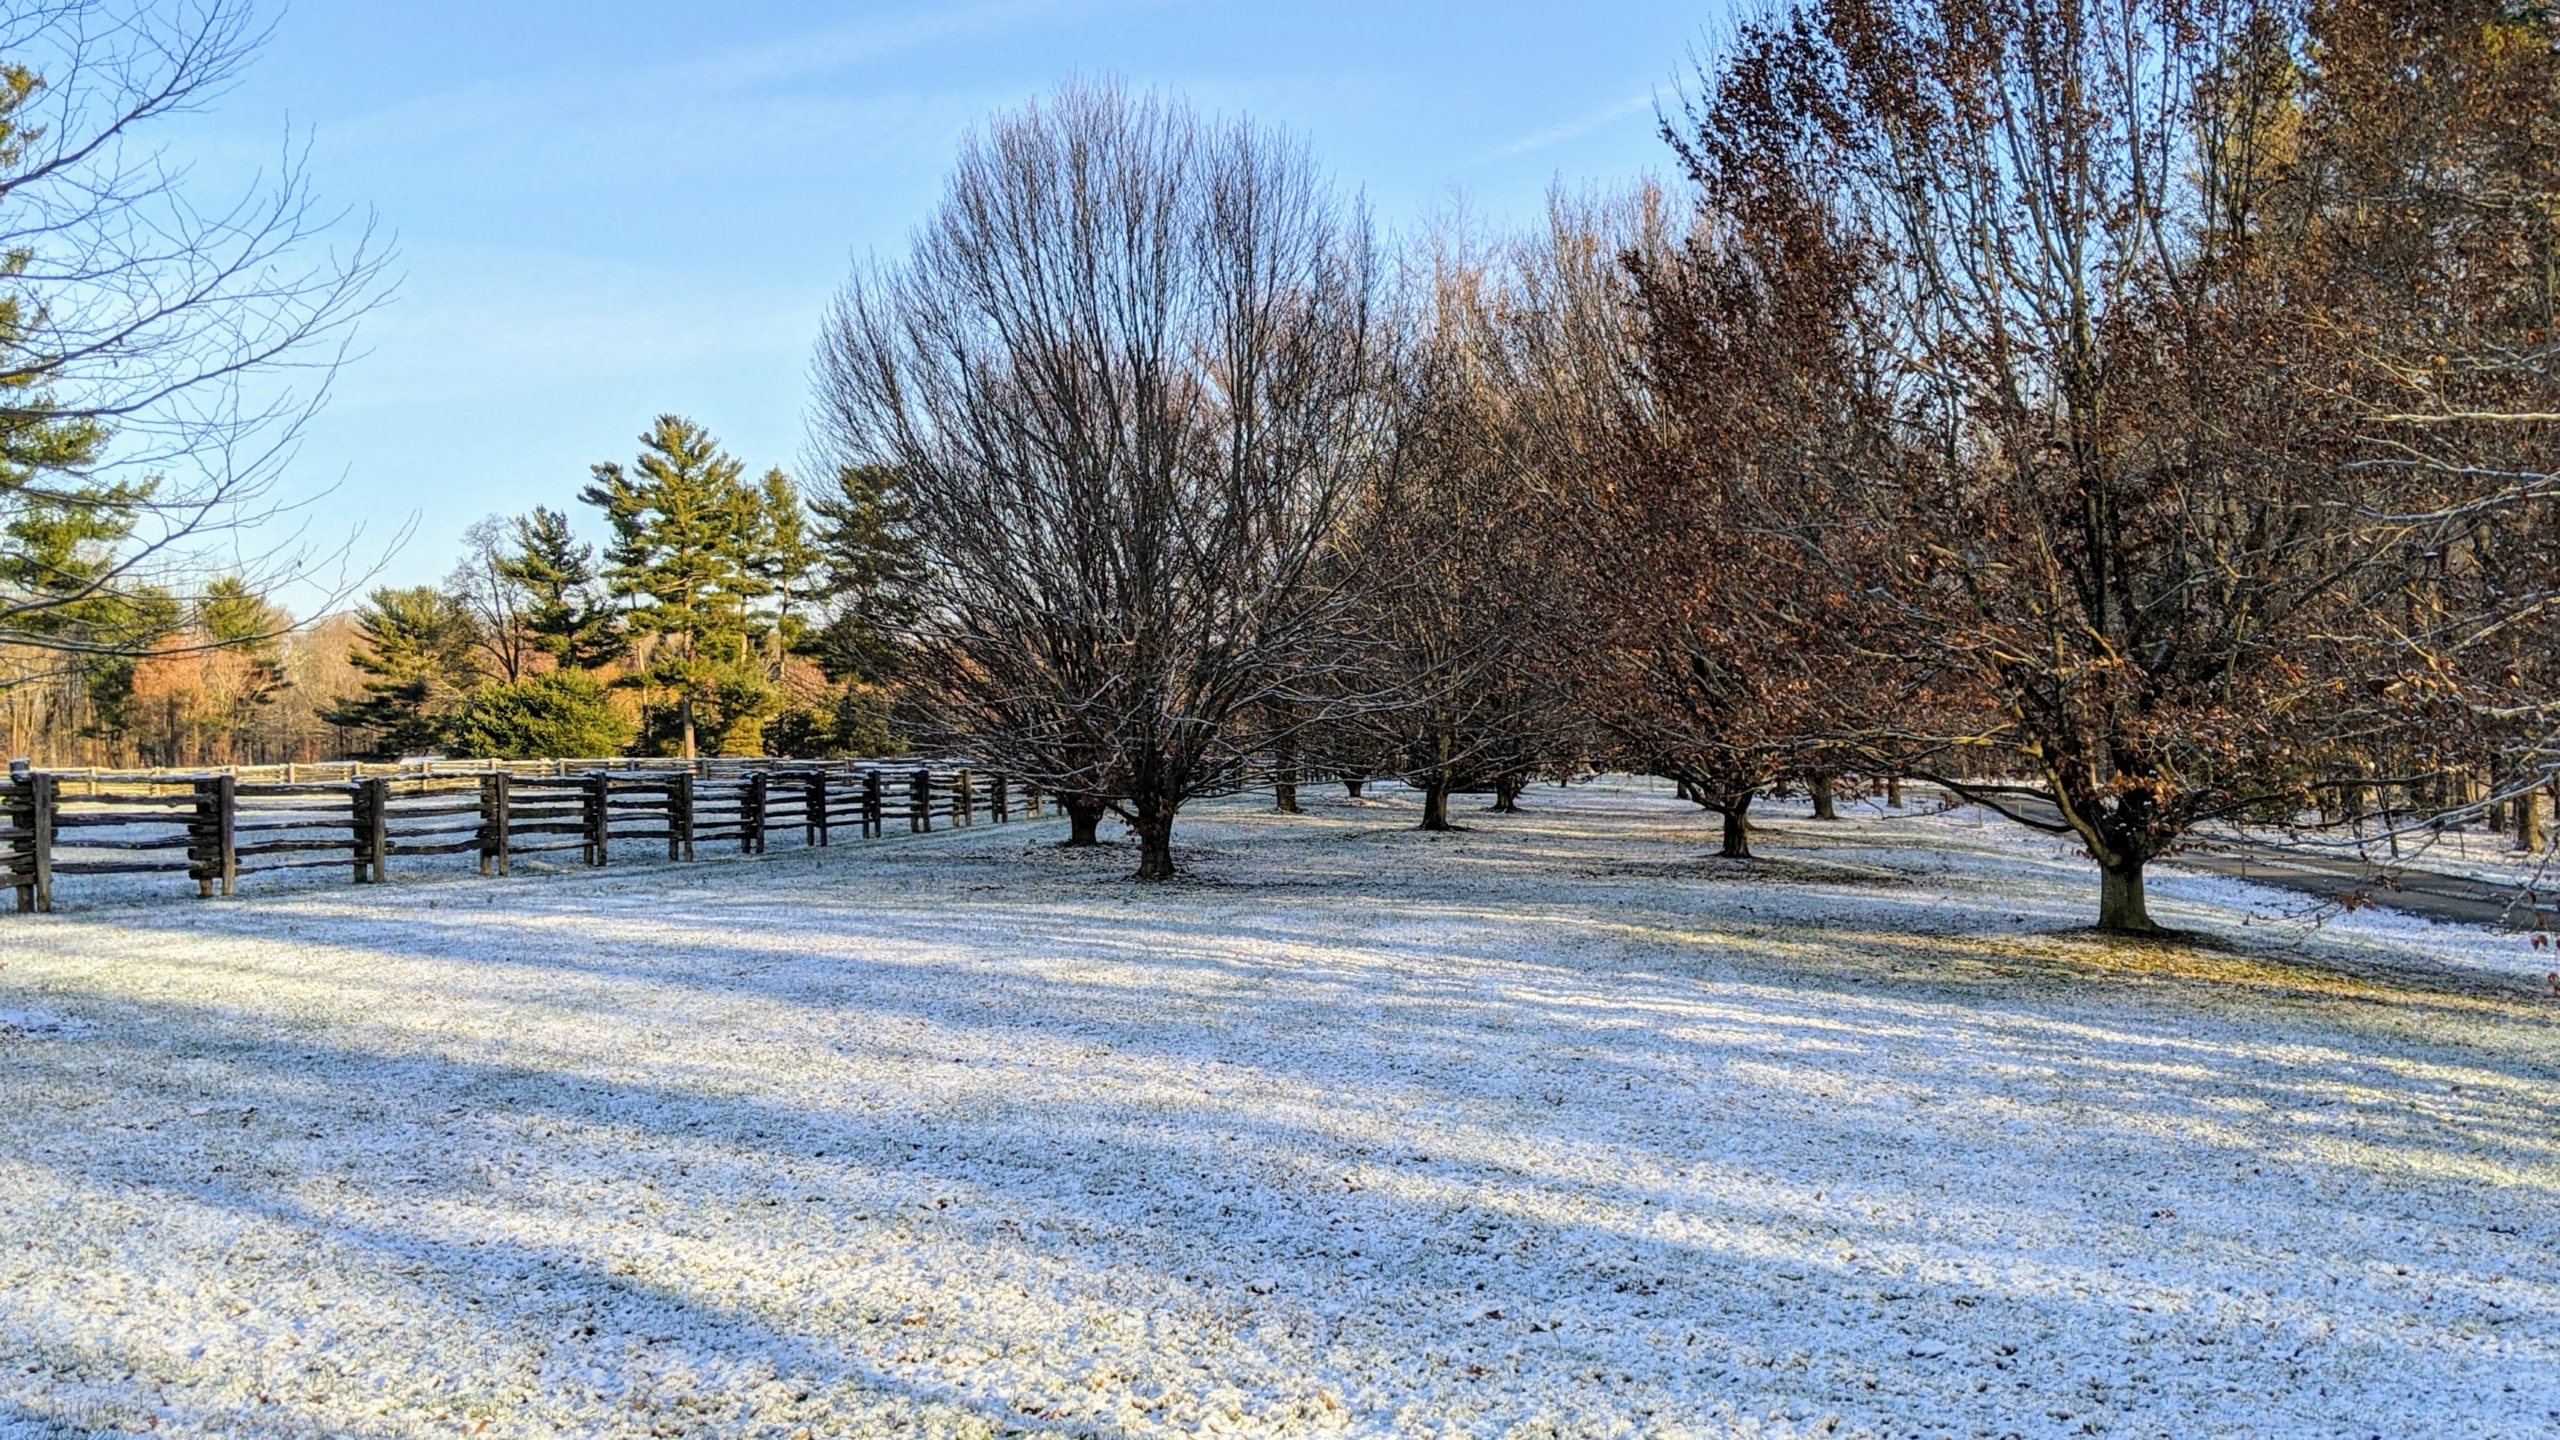
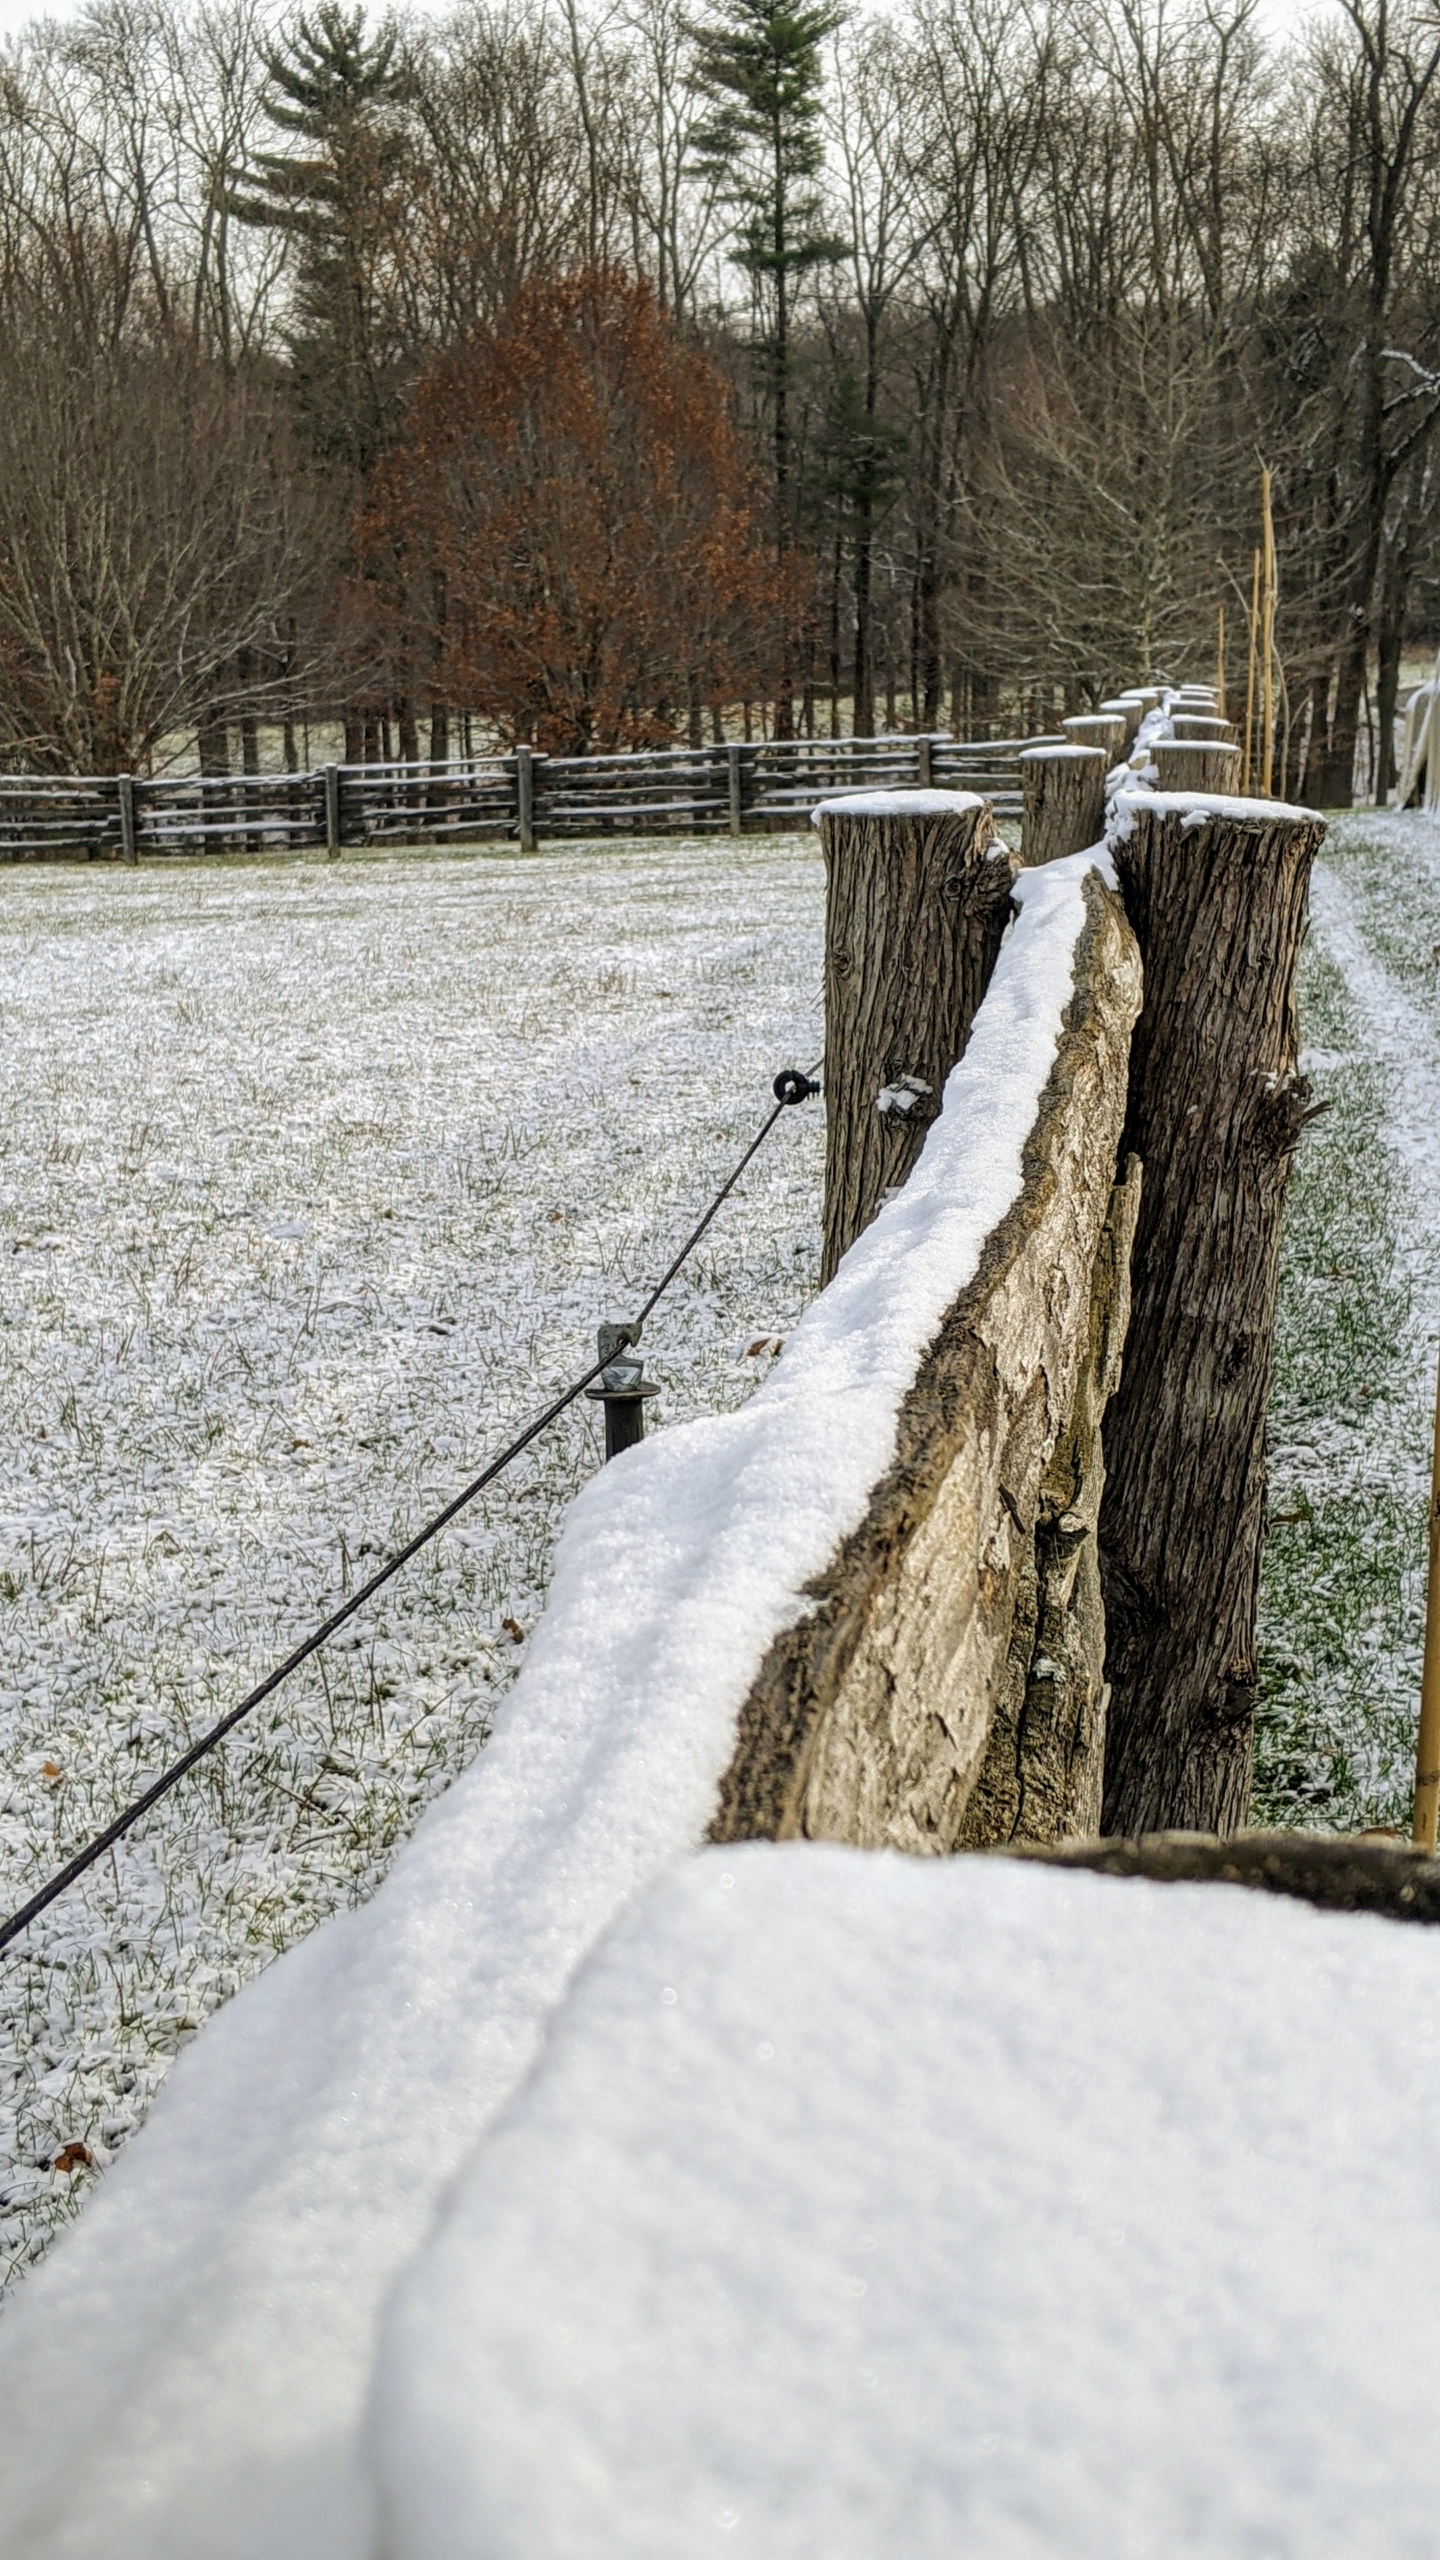
This paddock fence borders my grove of American beech trees, Fagus grandifolia. The snow covers the area showing just a hint of the green grassy lawn.
American beech trees are slow to grow, but can live up to 300-years. It’s interesting how some drop all their leaves, while others hold onto them as long as possible.
Tucked away between the Equipment Barn and a grove of weeping willows is my pinetum where I keep a wonderful collection of evergreens I started planting about 12-years ago. This area includes pines, spruces, firs, and others. The Alaska cedar is an interesting medium-sized evergreen tree with gray-green to blue-green foliage that droops from widely spaced branches.
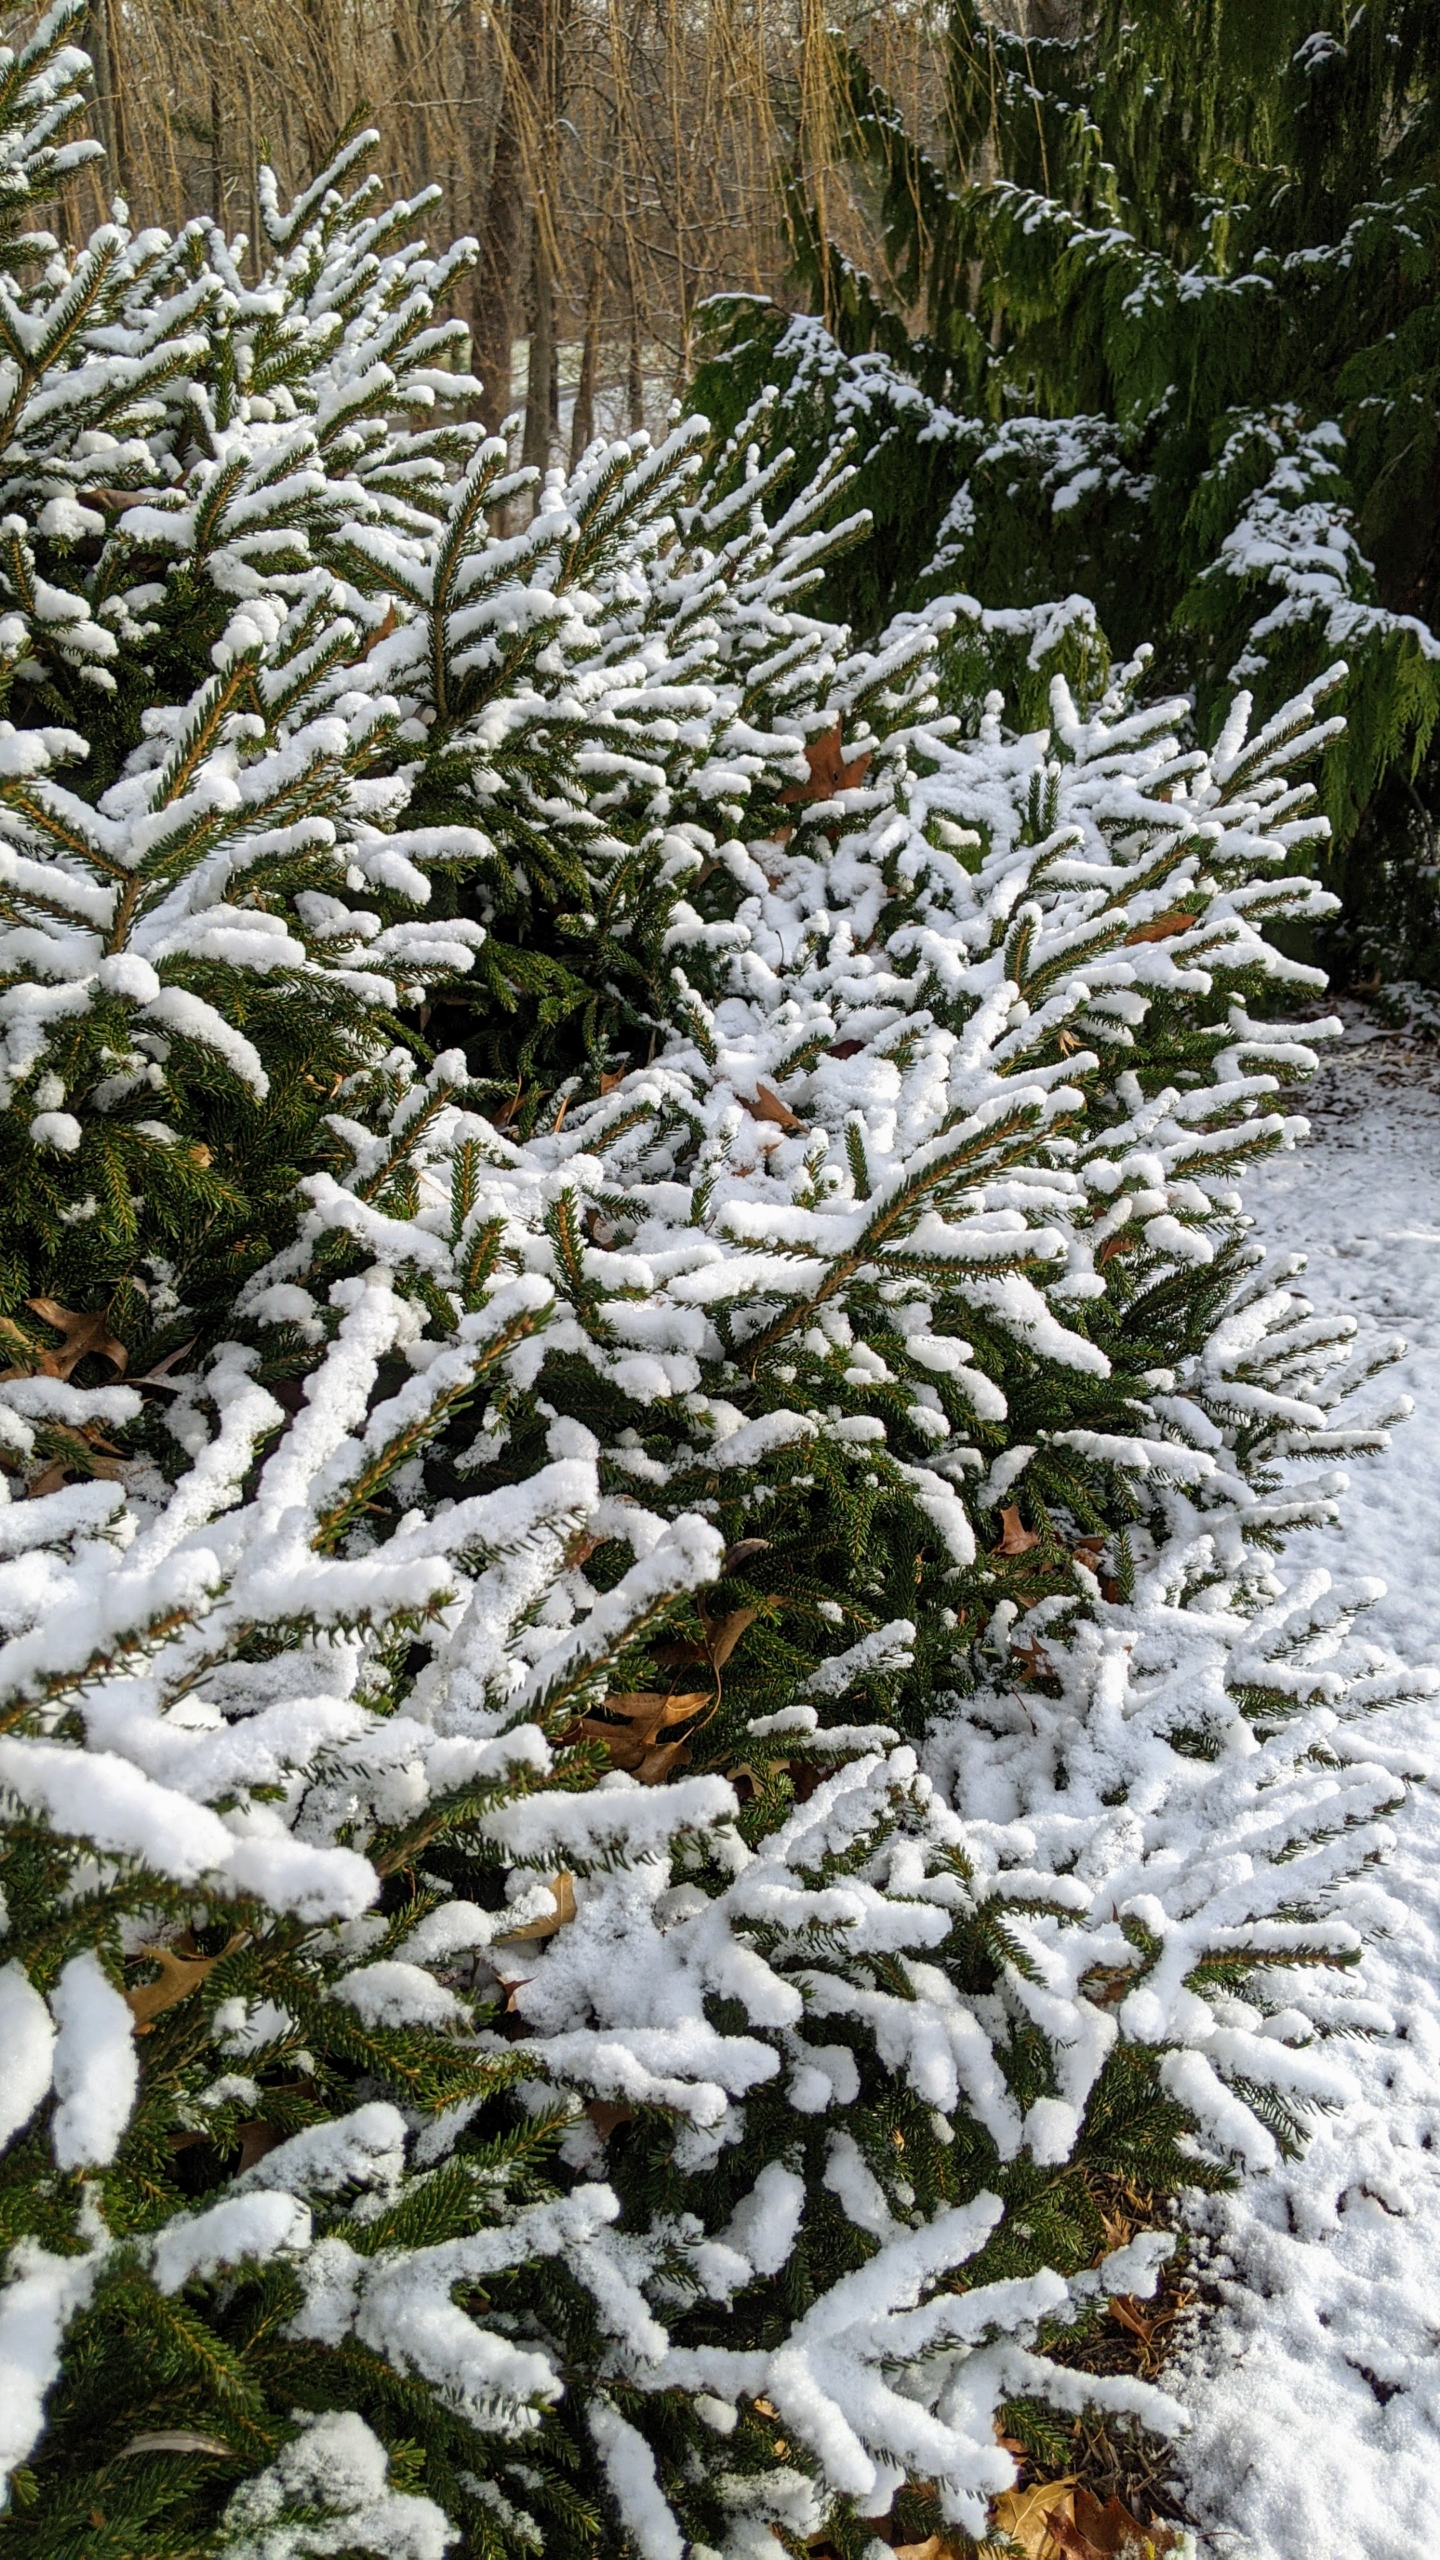
The snow accumulated on almost every branch of this oriental spruce, but did not weigh any down too much.
The bright white snow looks so pretty against the golden-green foliage.
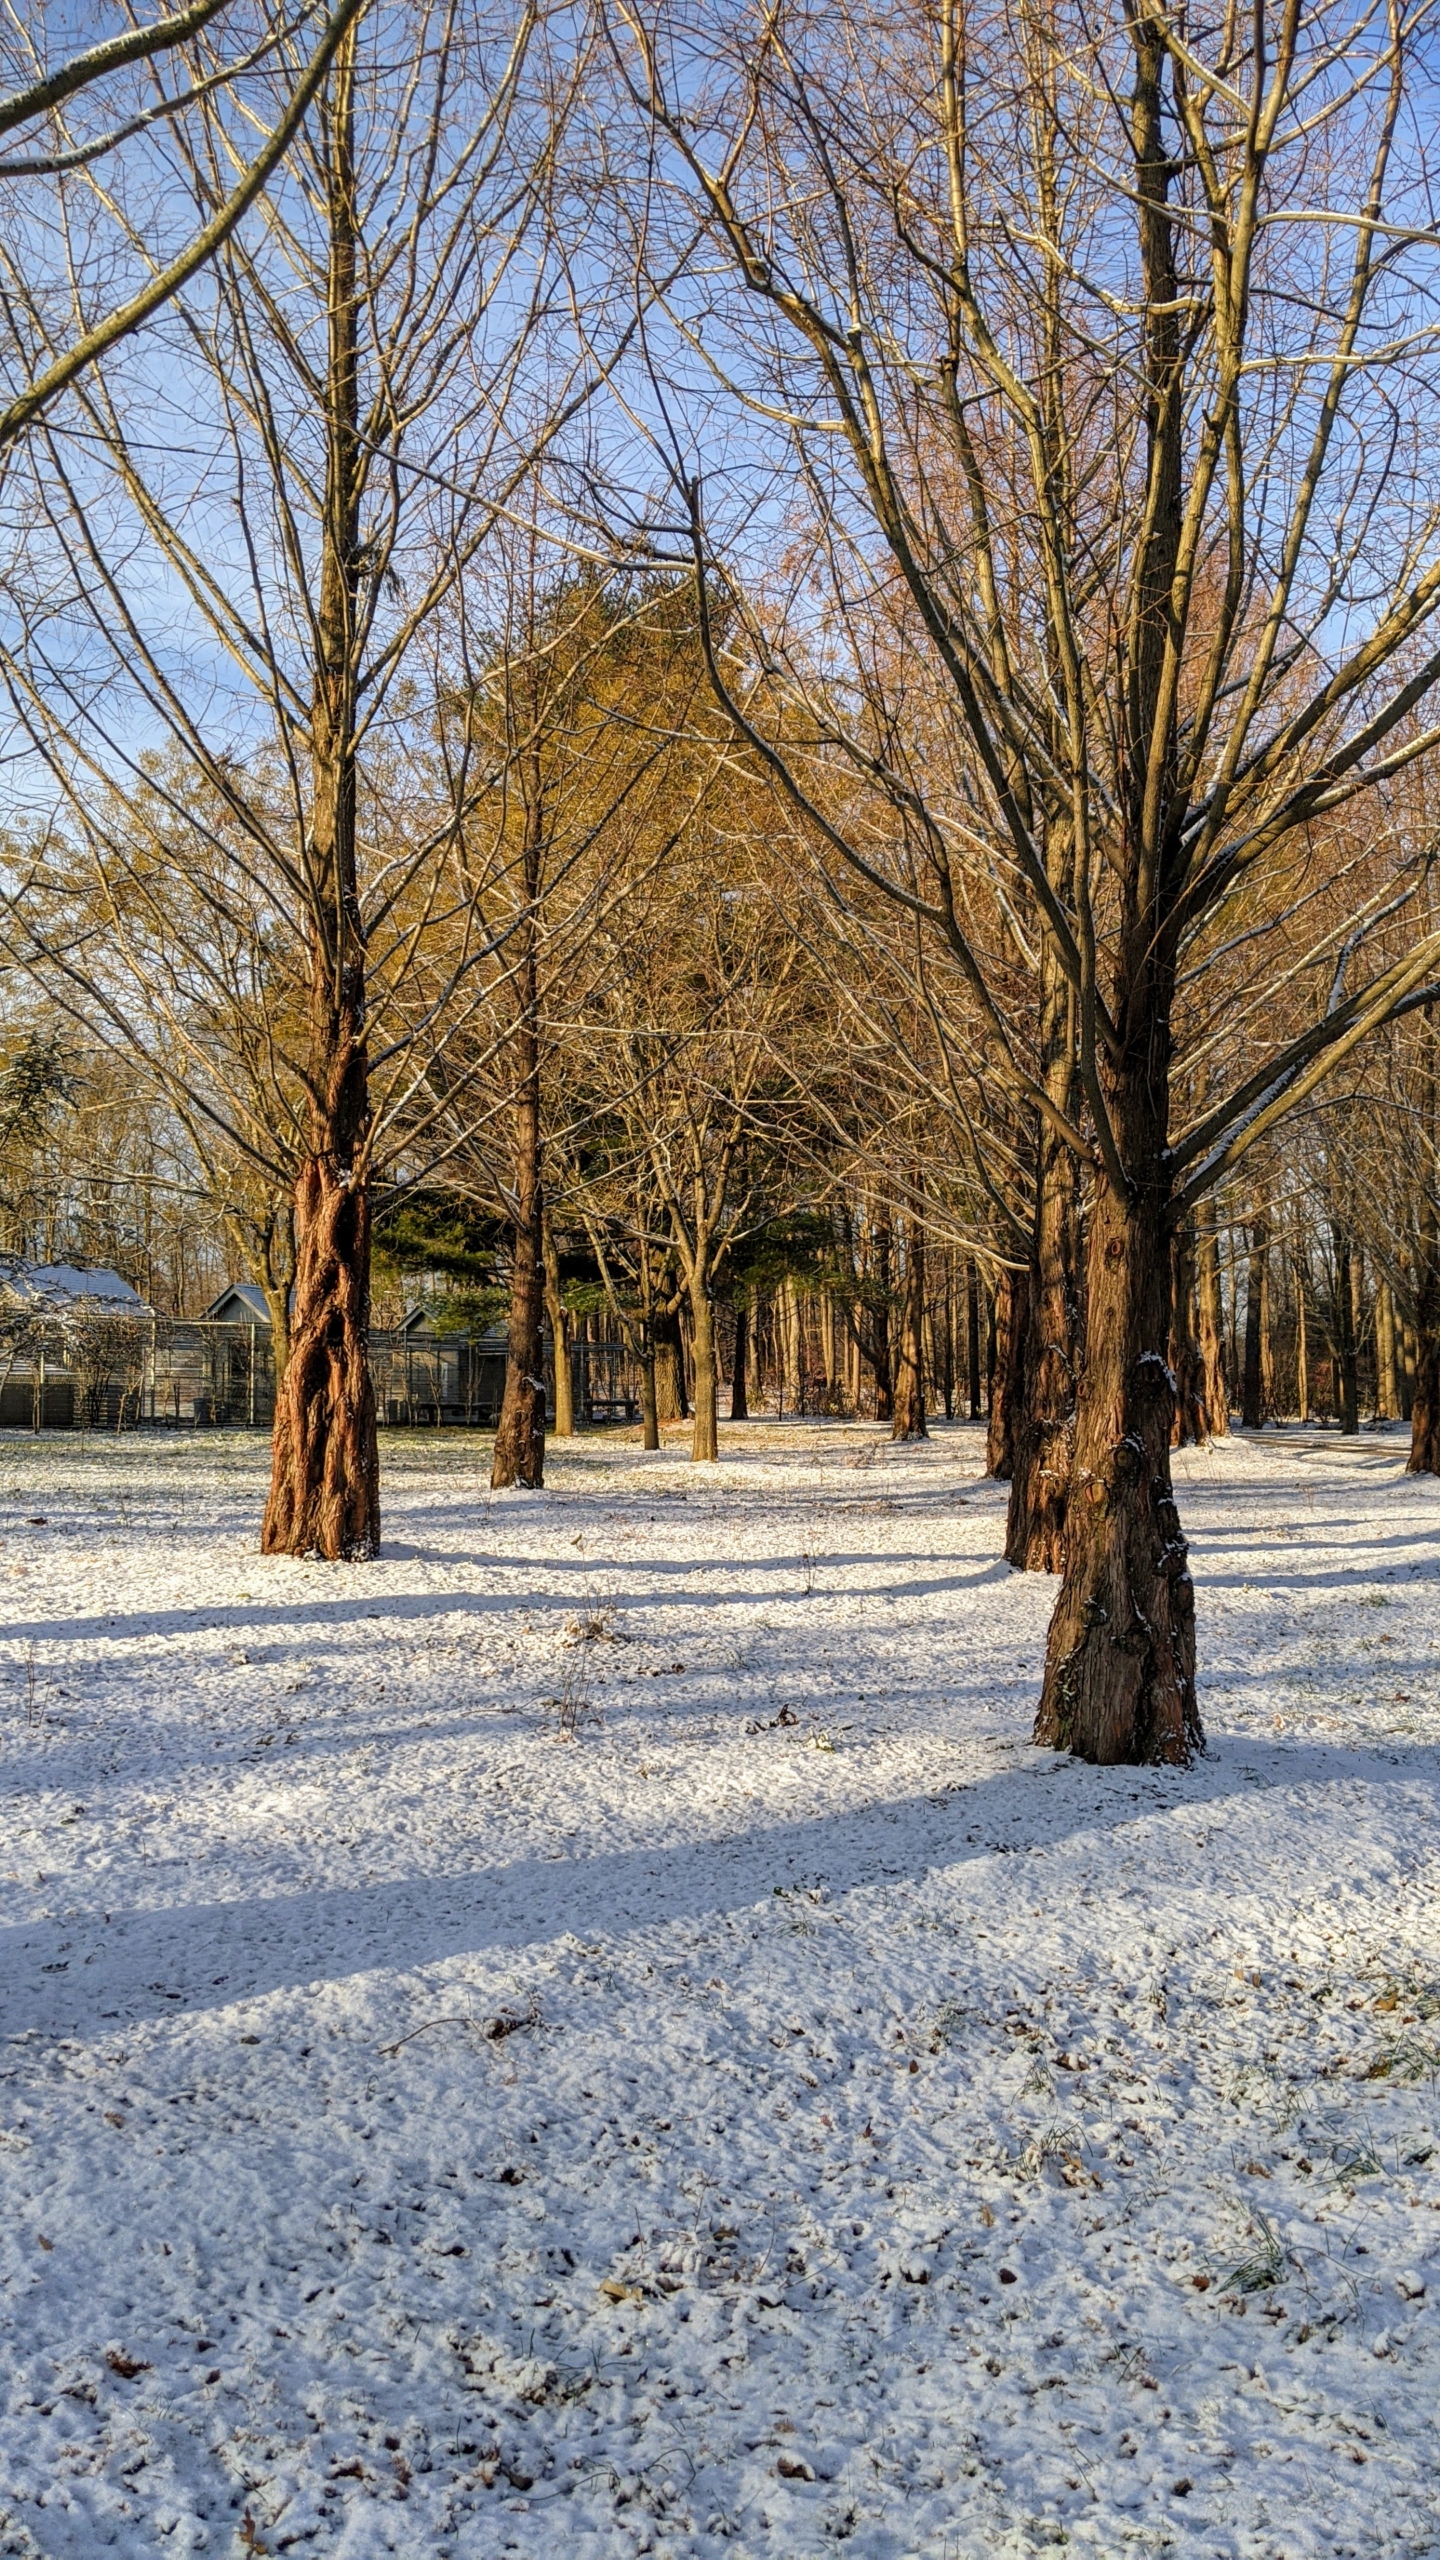
Just off the carriage road leading to my tennis court, is this stand of dawn redwoods, Metasequoia, with their straight trunks. They are impressive trees by any standard, and beautiful in any season.
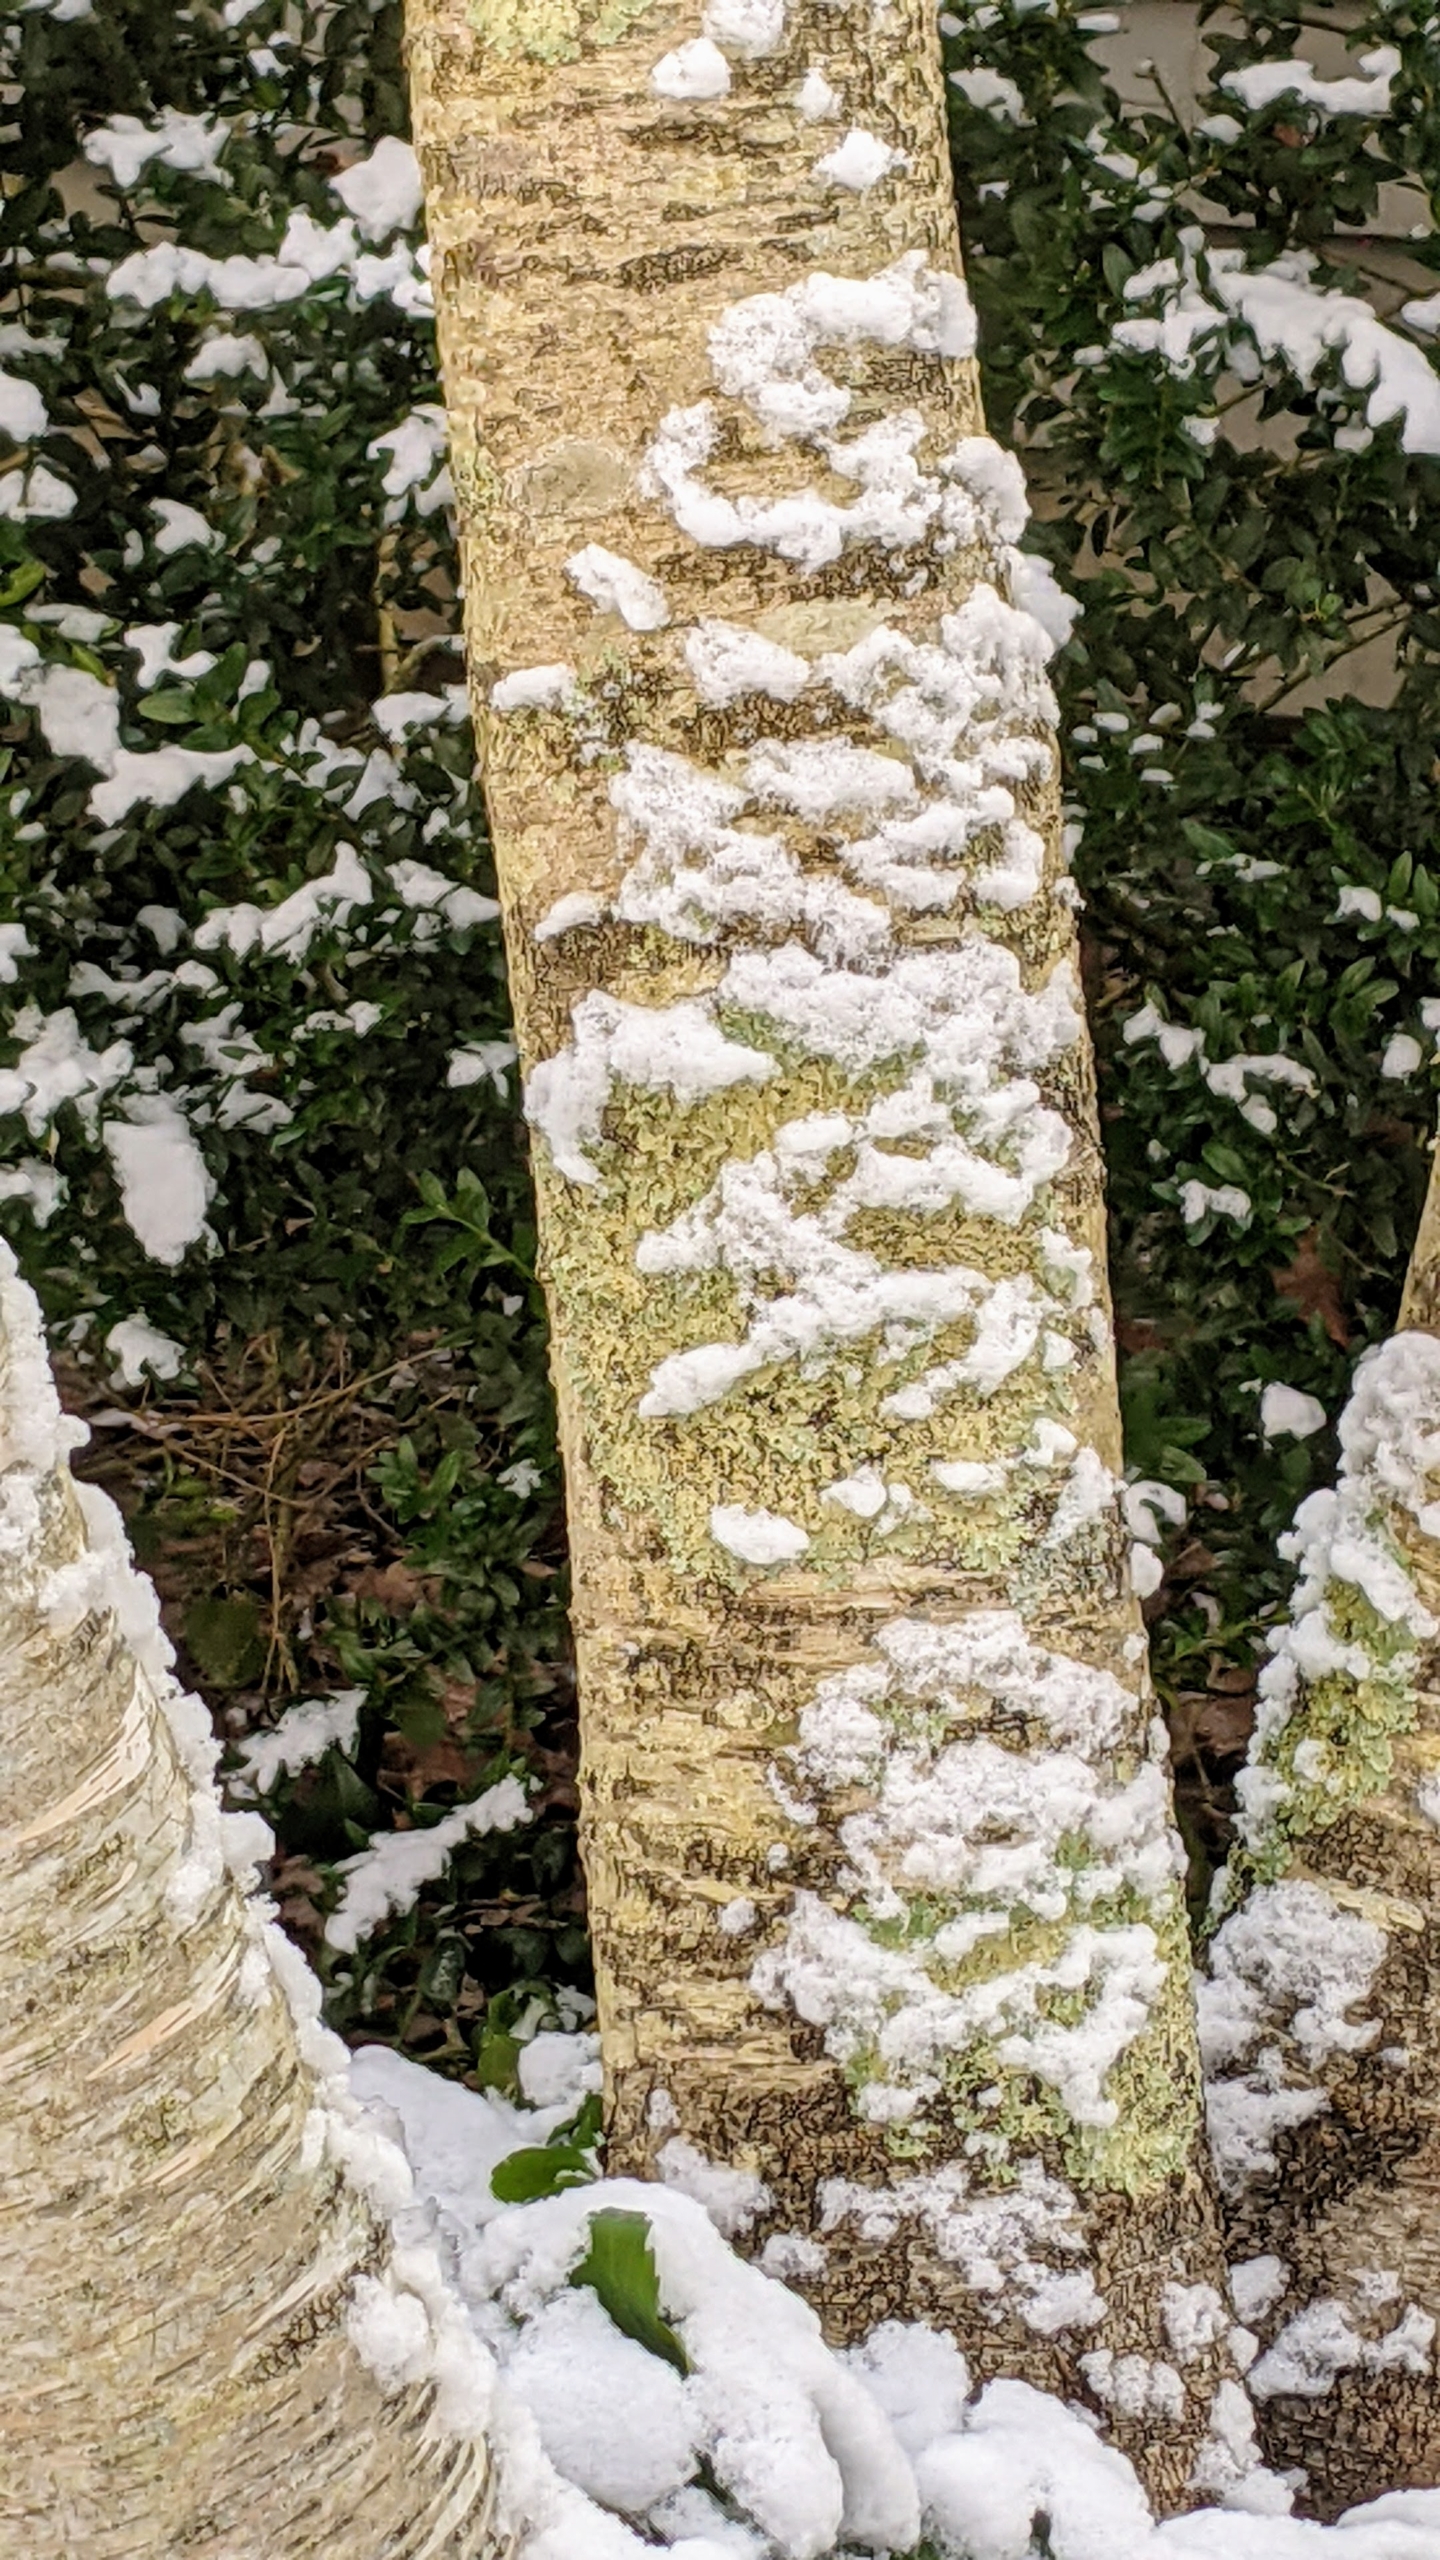
One can sometimes tell the direction of the wind by the way the snow collects on the trees – it creates such interesting patterns on the tree trunks.
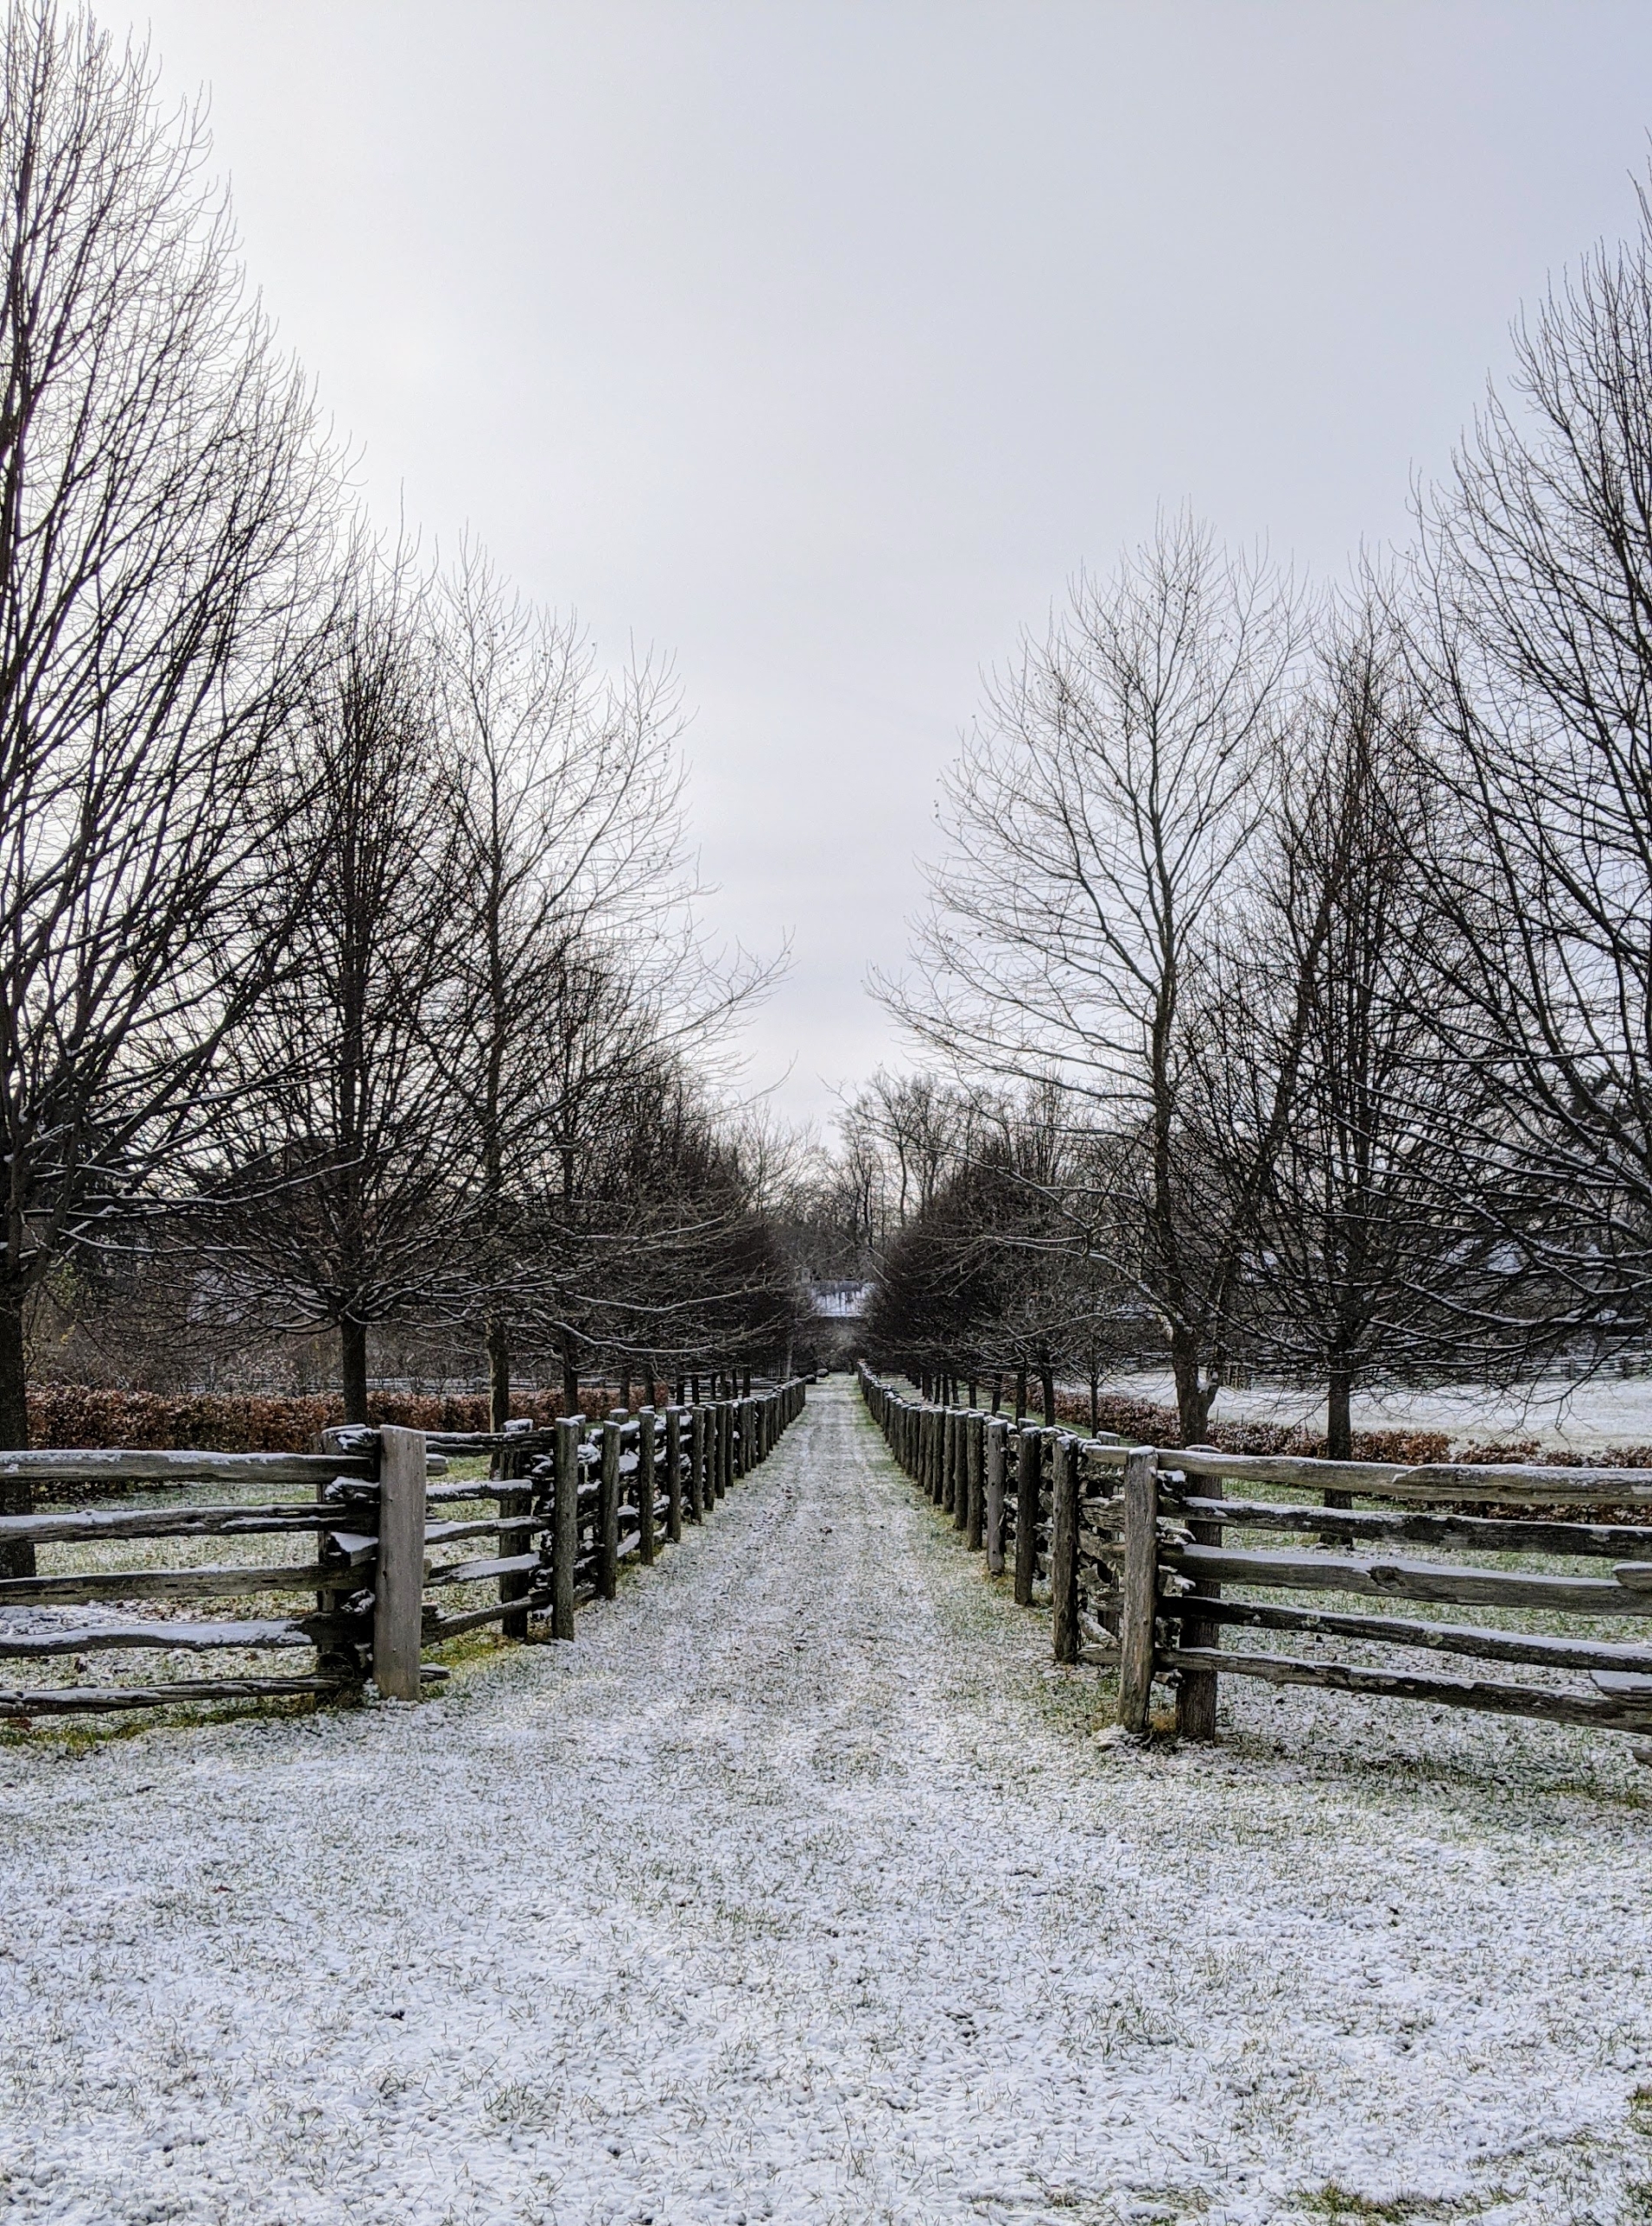
I love how snow piles on this 100-year old white spruce fencing I purchased in Canada.
Here is one of my five greenhouses not far from my stable and chicken coops. My citrus plants have been ready for winter for quite some time – we moved them into this temperature controlled structure back in October. Bales of hay are placed around the greenhouse to keep it more insulated.
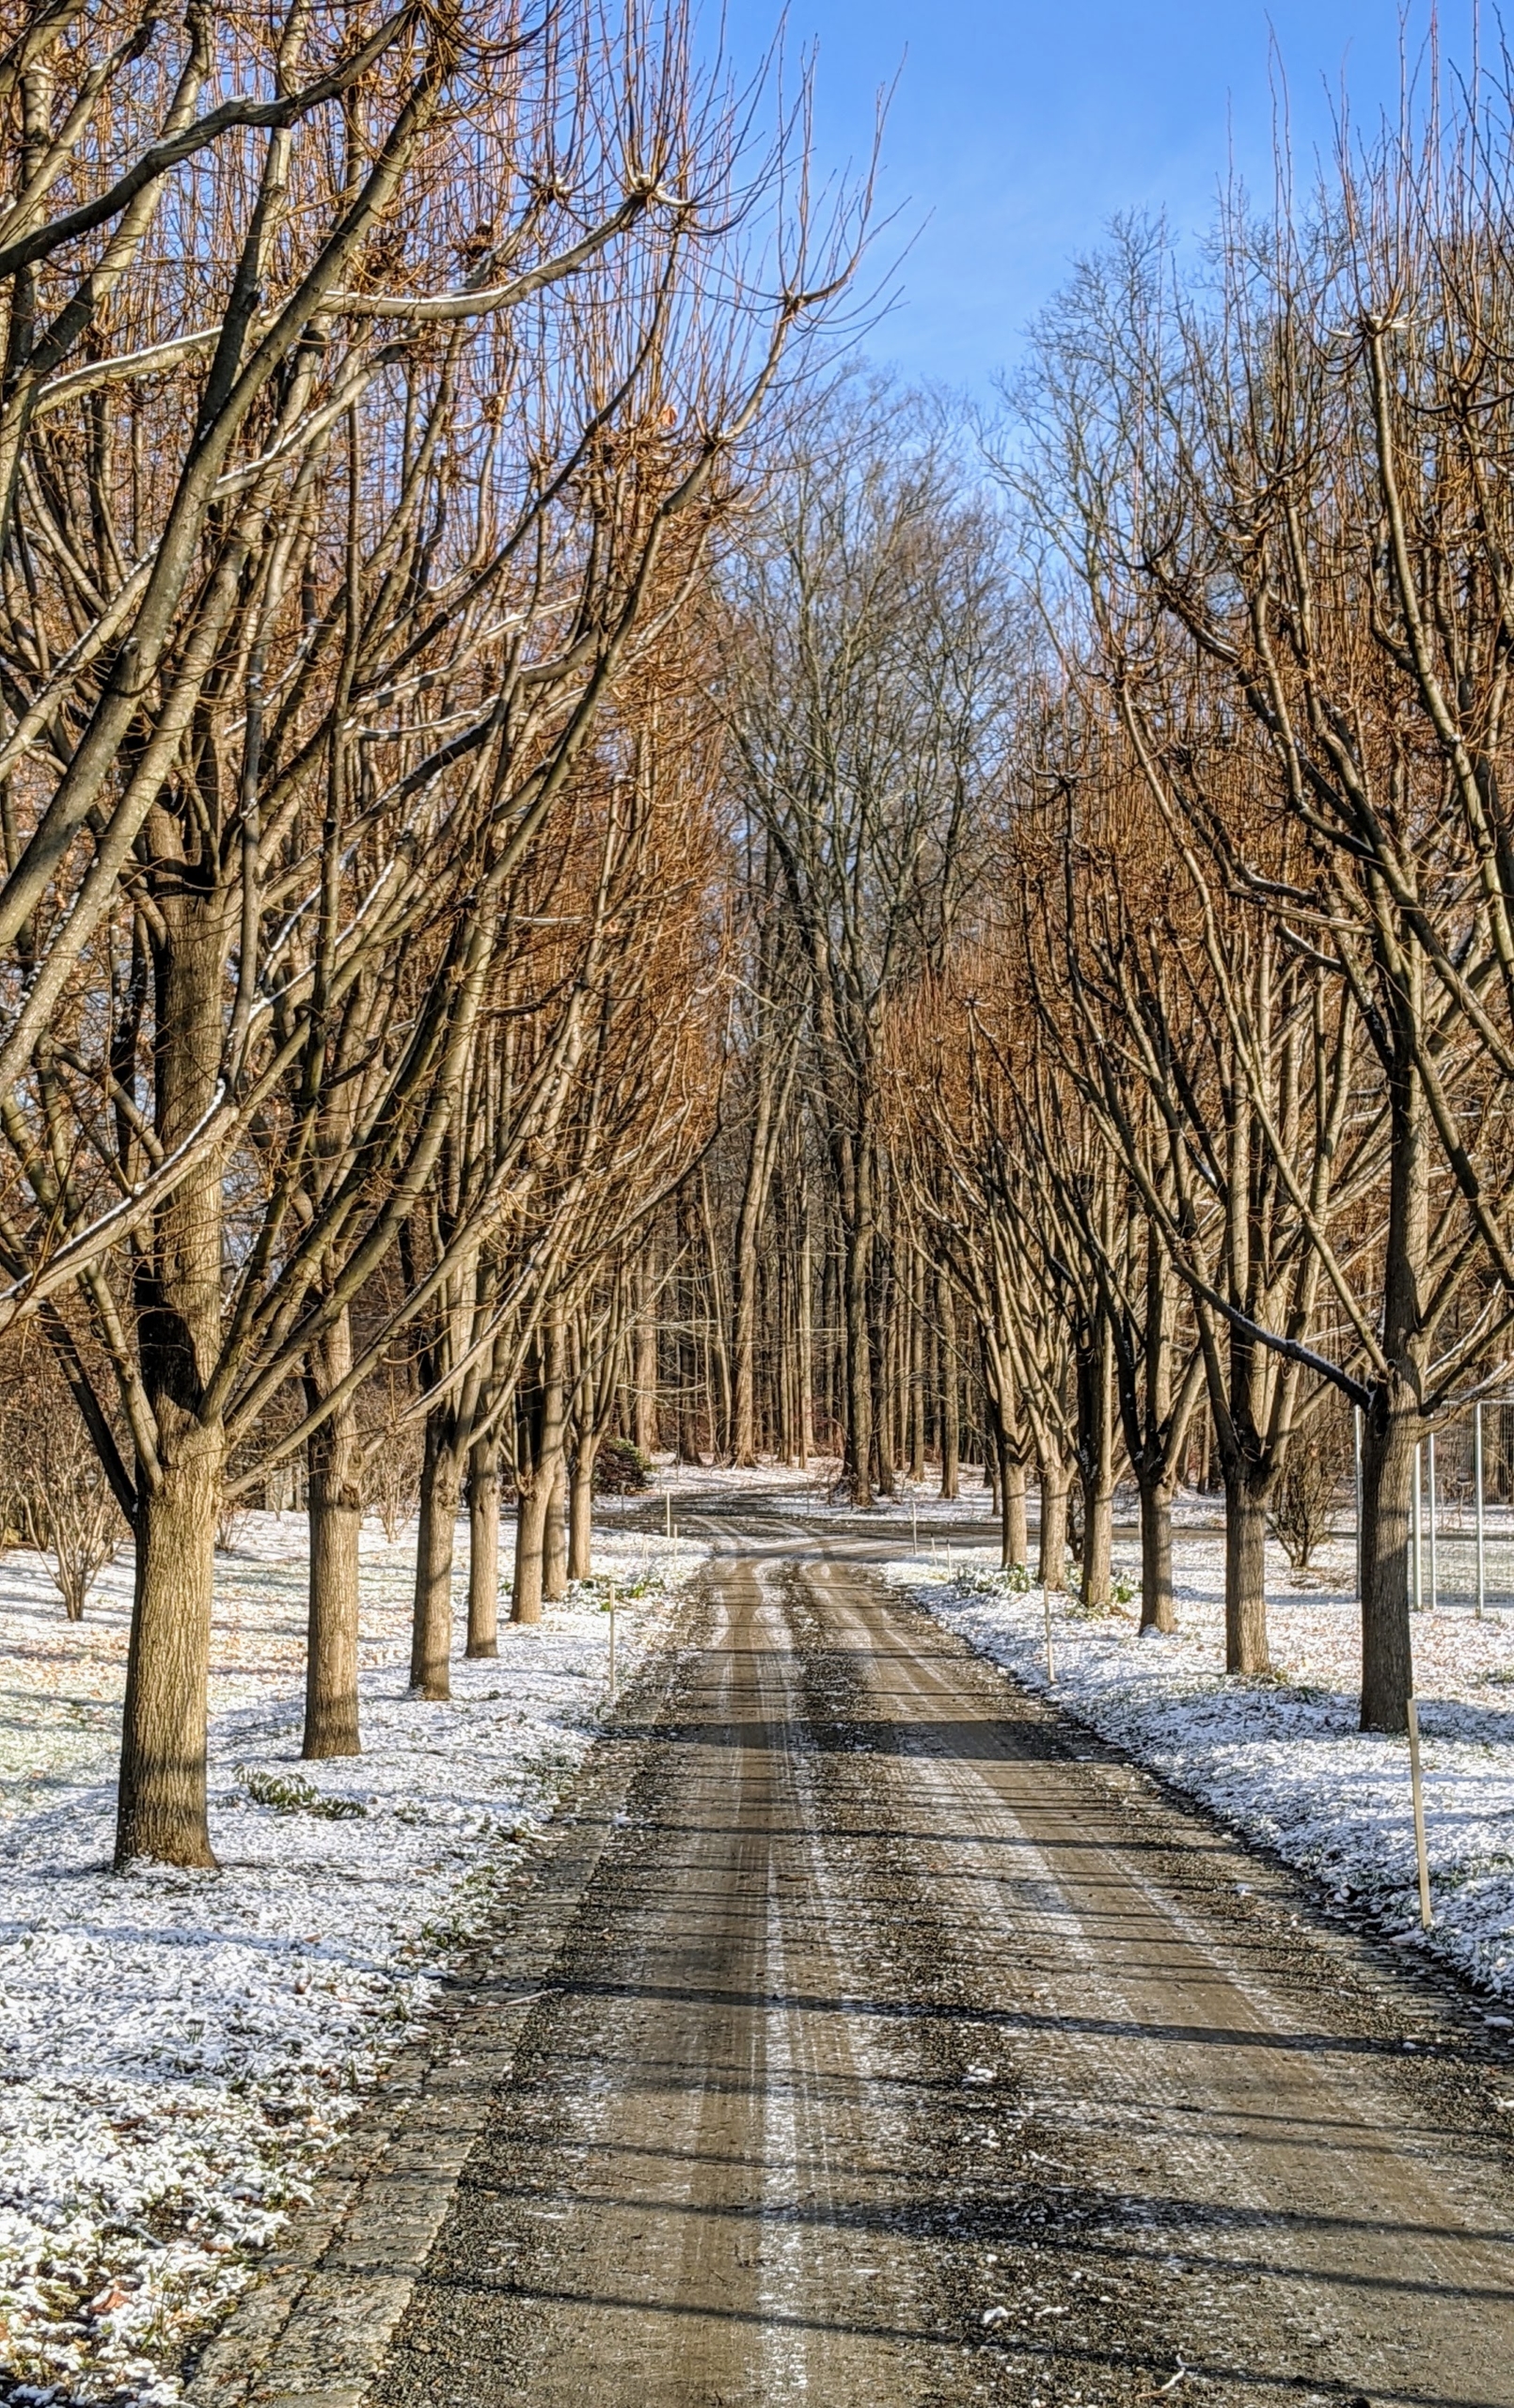
This is my original Allee of Lindens. As these trees grow, the trunks stand like pillars with their branches covered with dense foliage, making them a great choice for a beautifully sculpted allee.
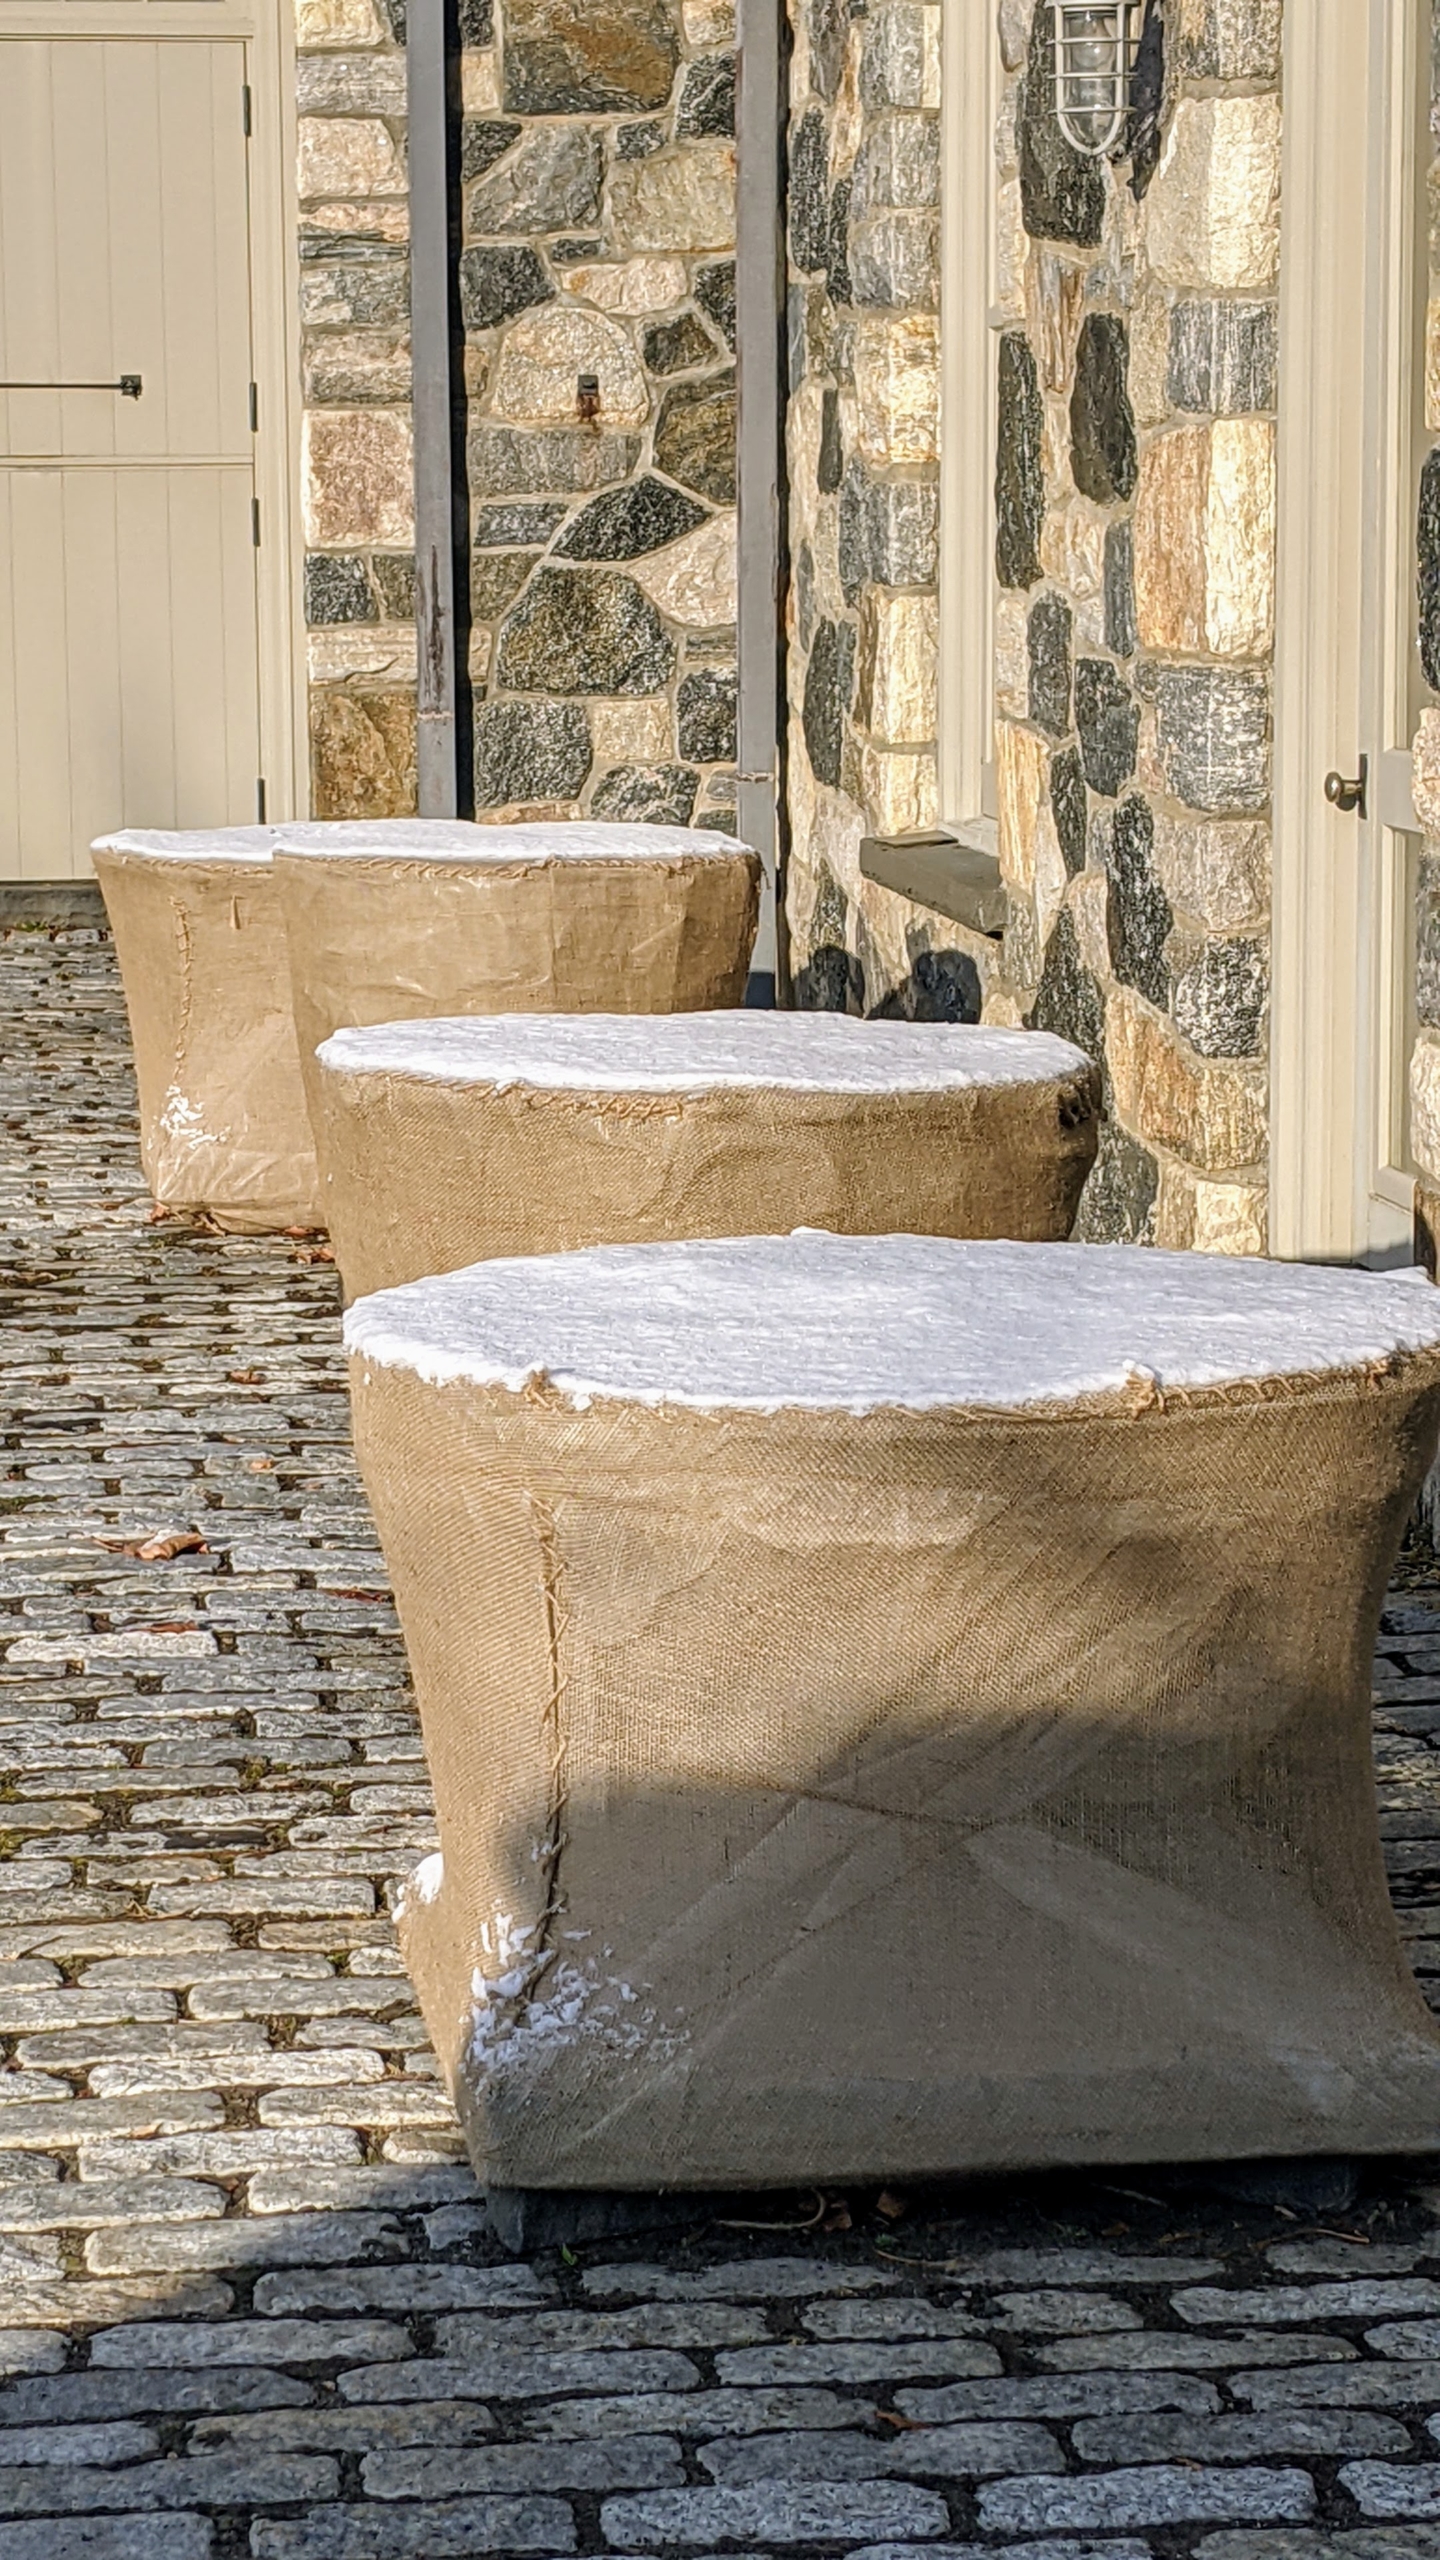
All the ornamental urns, birdbaths, and troughs are well-covered with burlap. These three vessels are located in front of my stable office, where my property director, operations manager, and business manager have their offices.
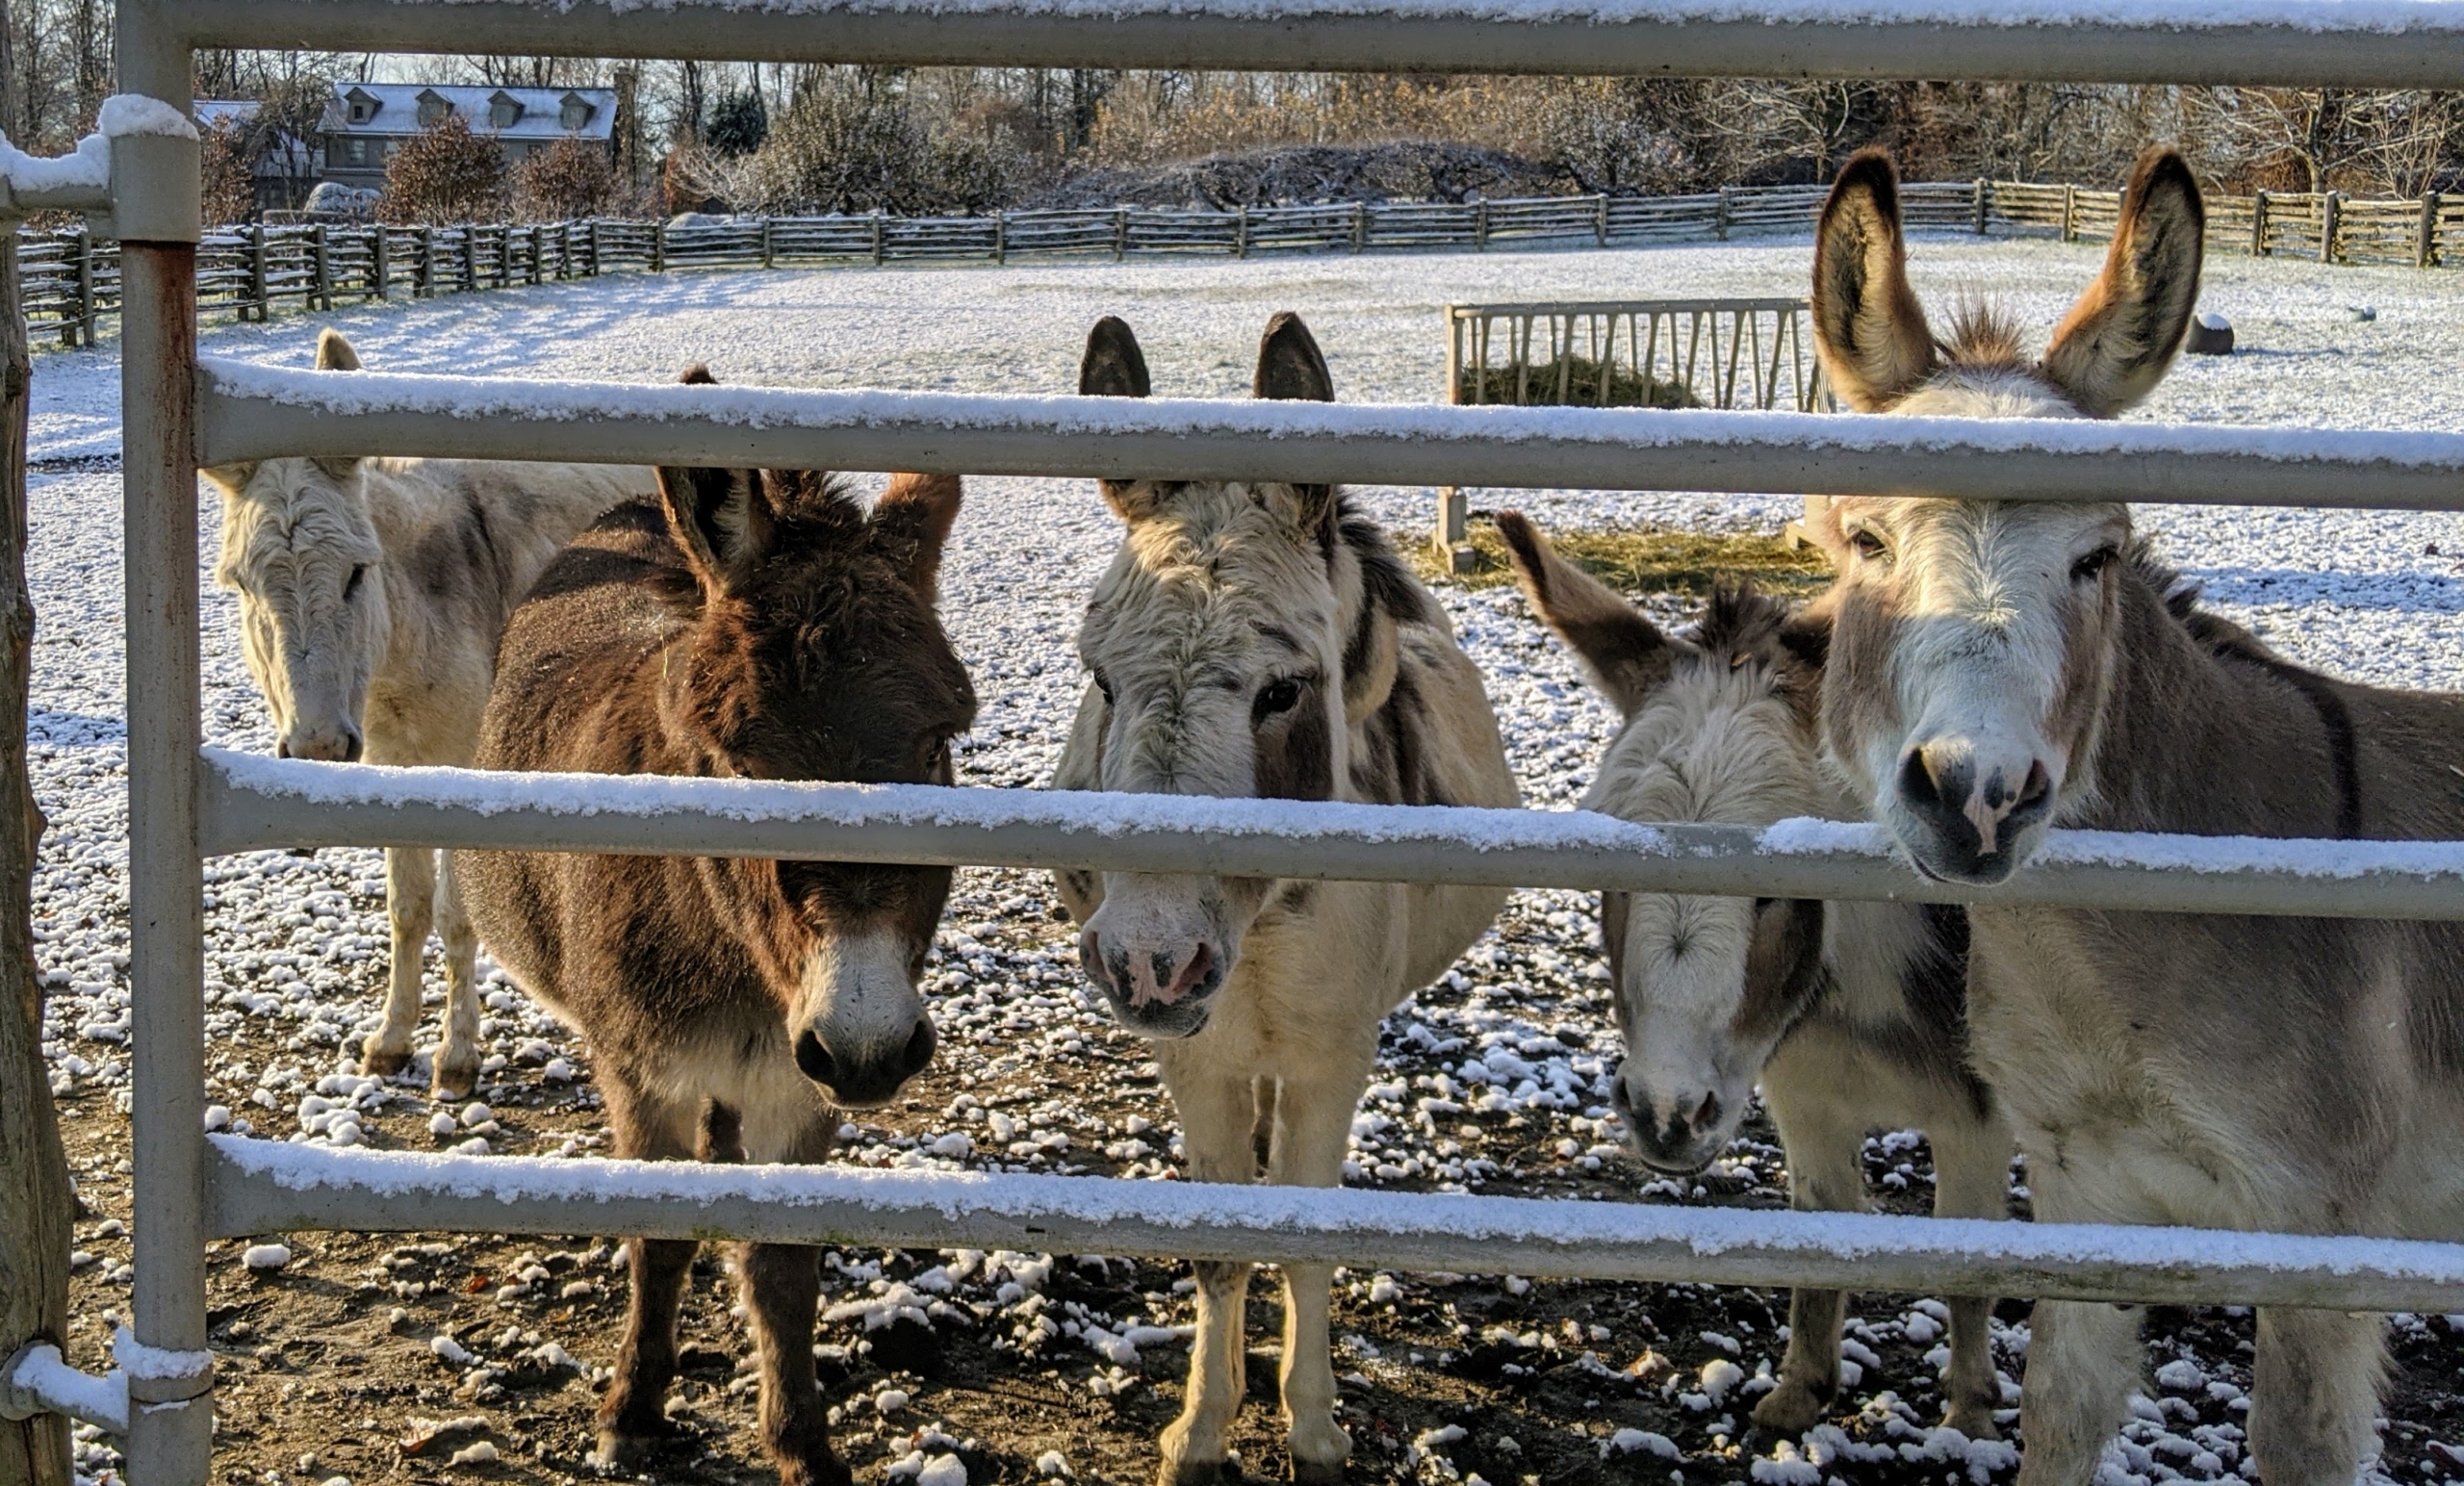
And just up the hill is the donkey paddock, where Truman “TJ” Junior, Rufus, Jude “JJ” Junior, Billie, and Clive stay during the day. They love this weather and have naturally thick coats that protect them in the cold.
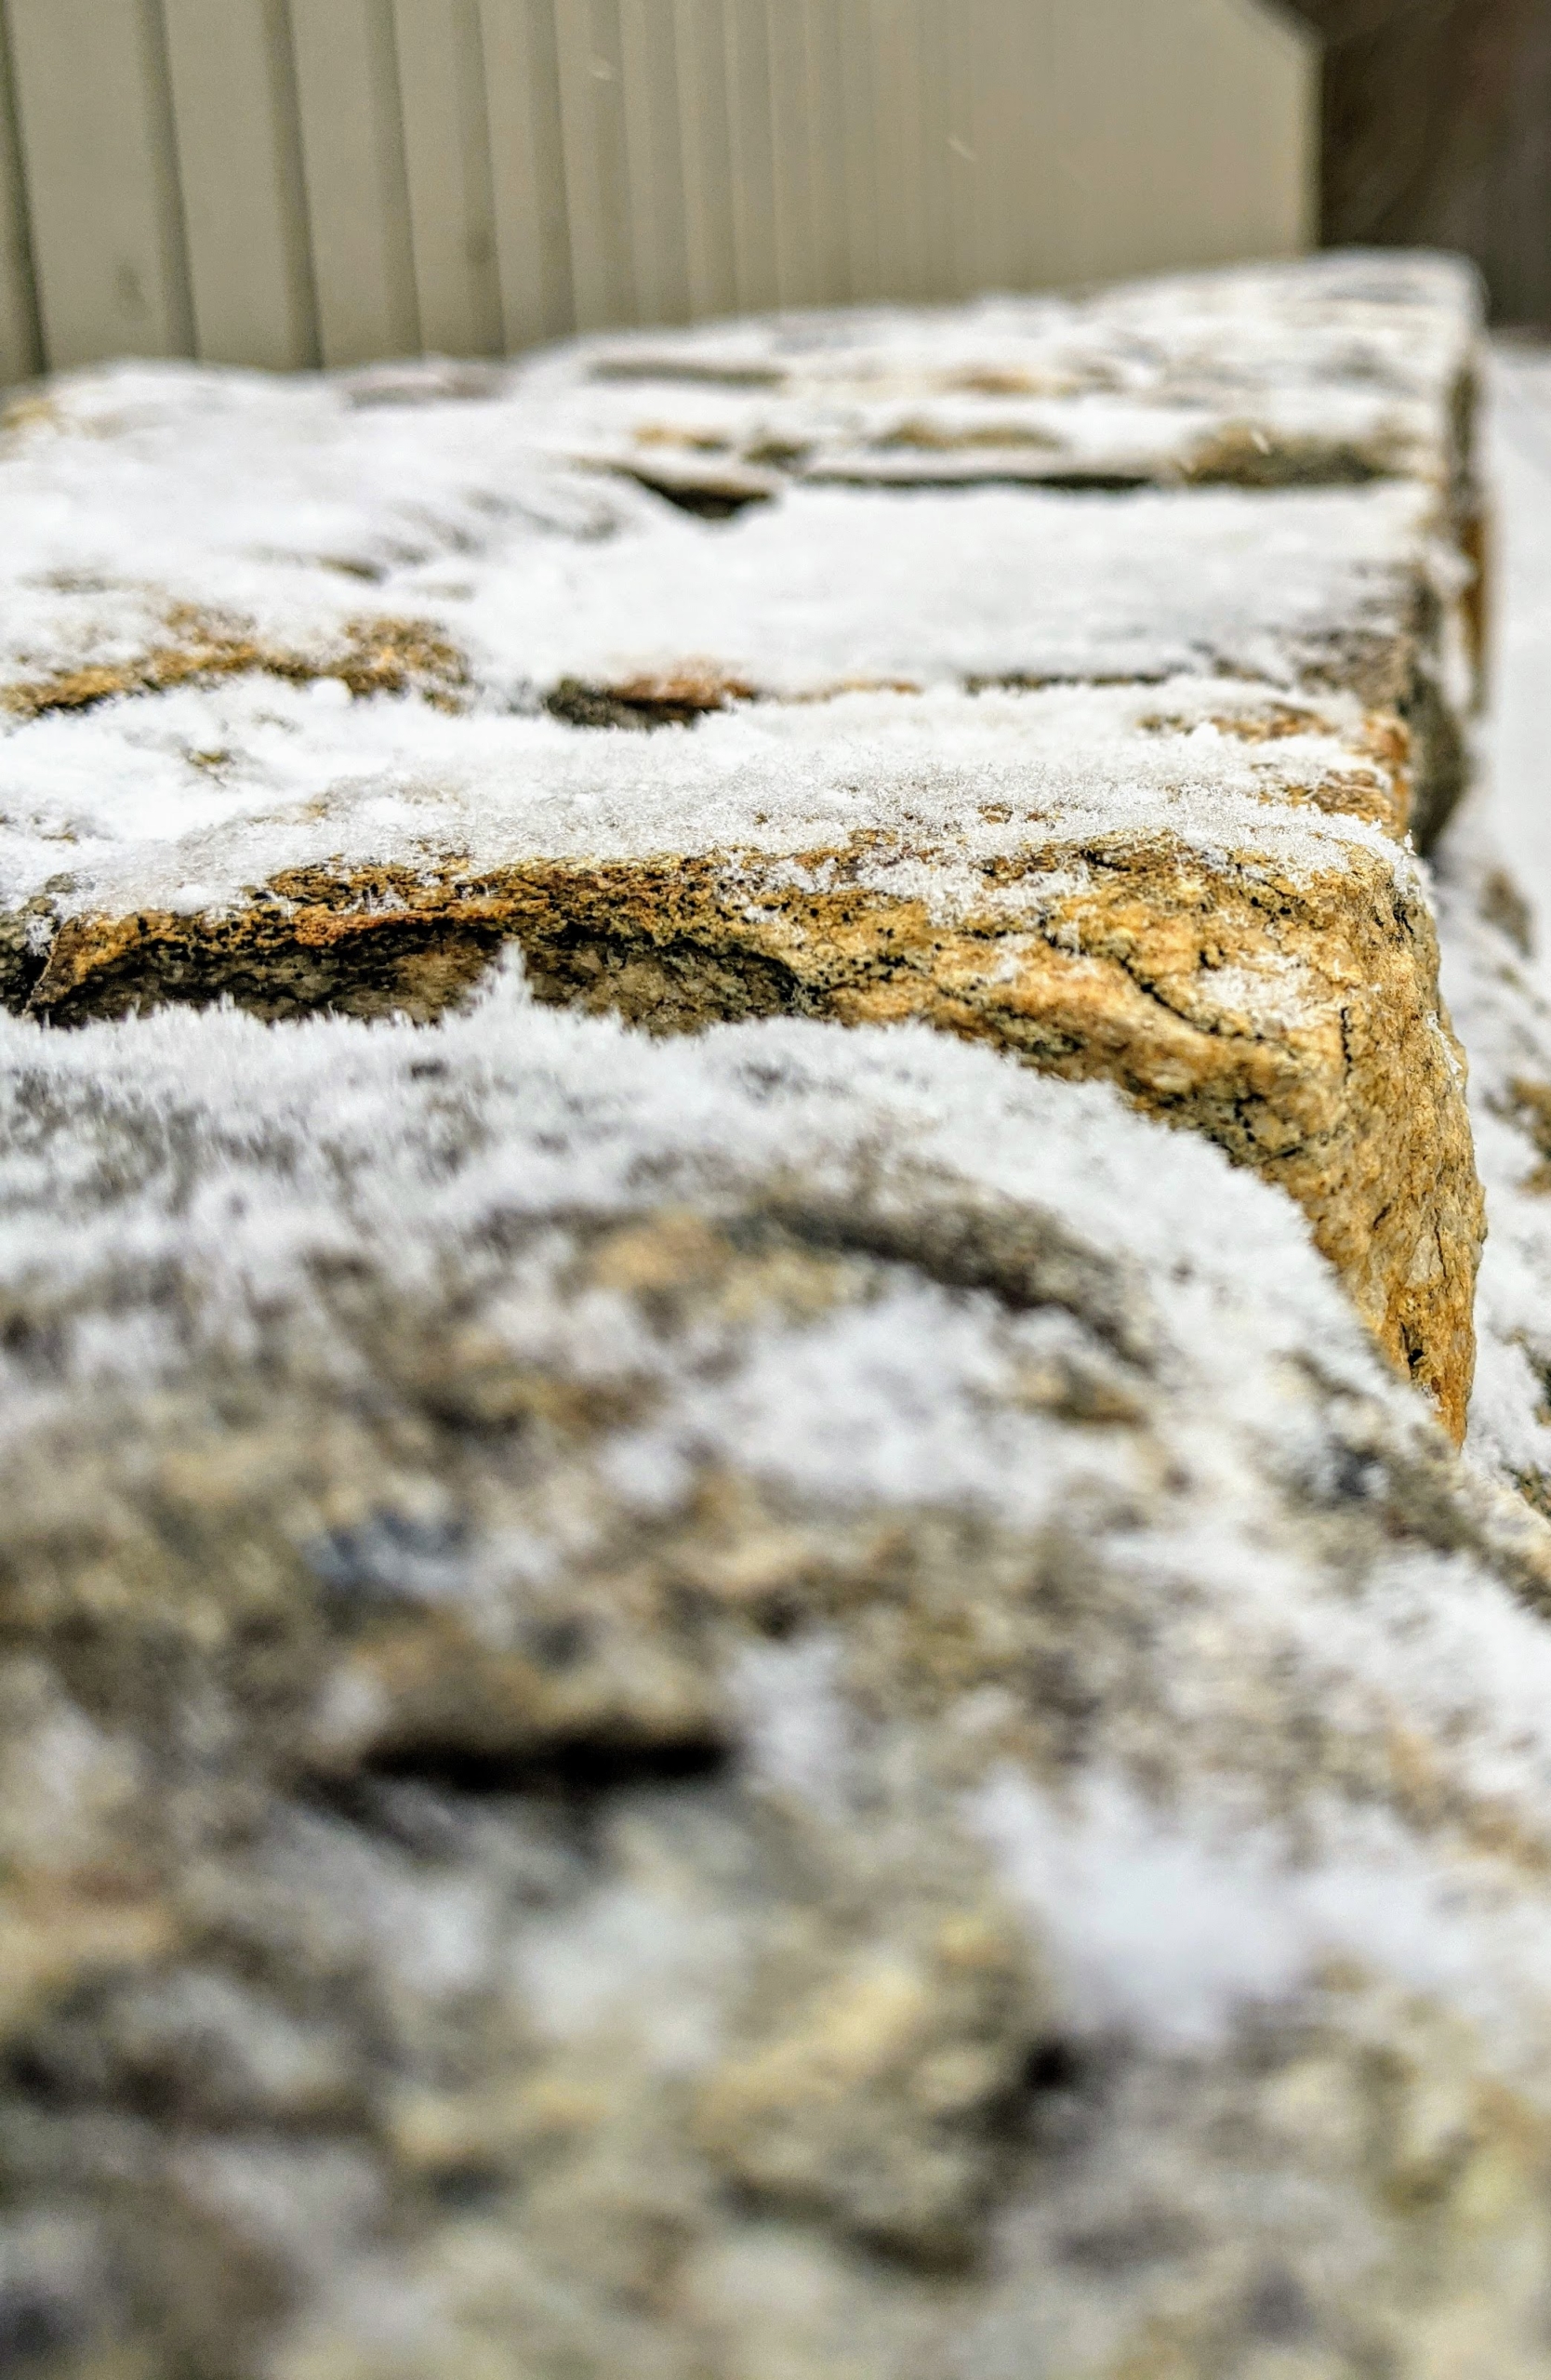
The snow lightly coated the stone walls. Temperatures remained in the 30s through the day with a mix of sun and clouds.
Here is an allee between the paddocks. The long building at the end contains a four-bay carport, a flower room, a generator room, and my studio.
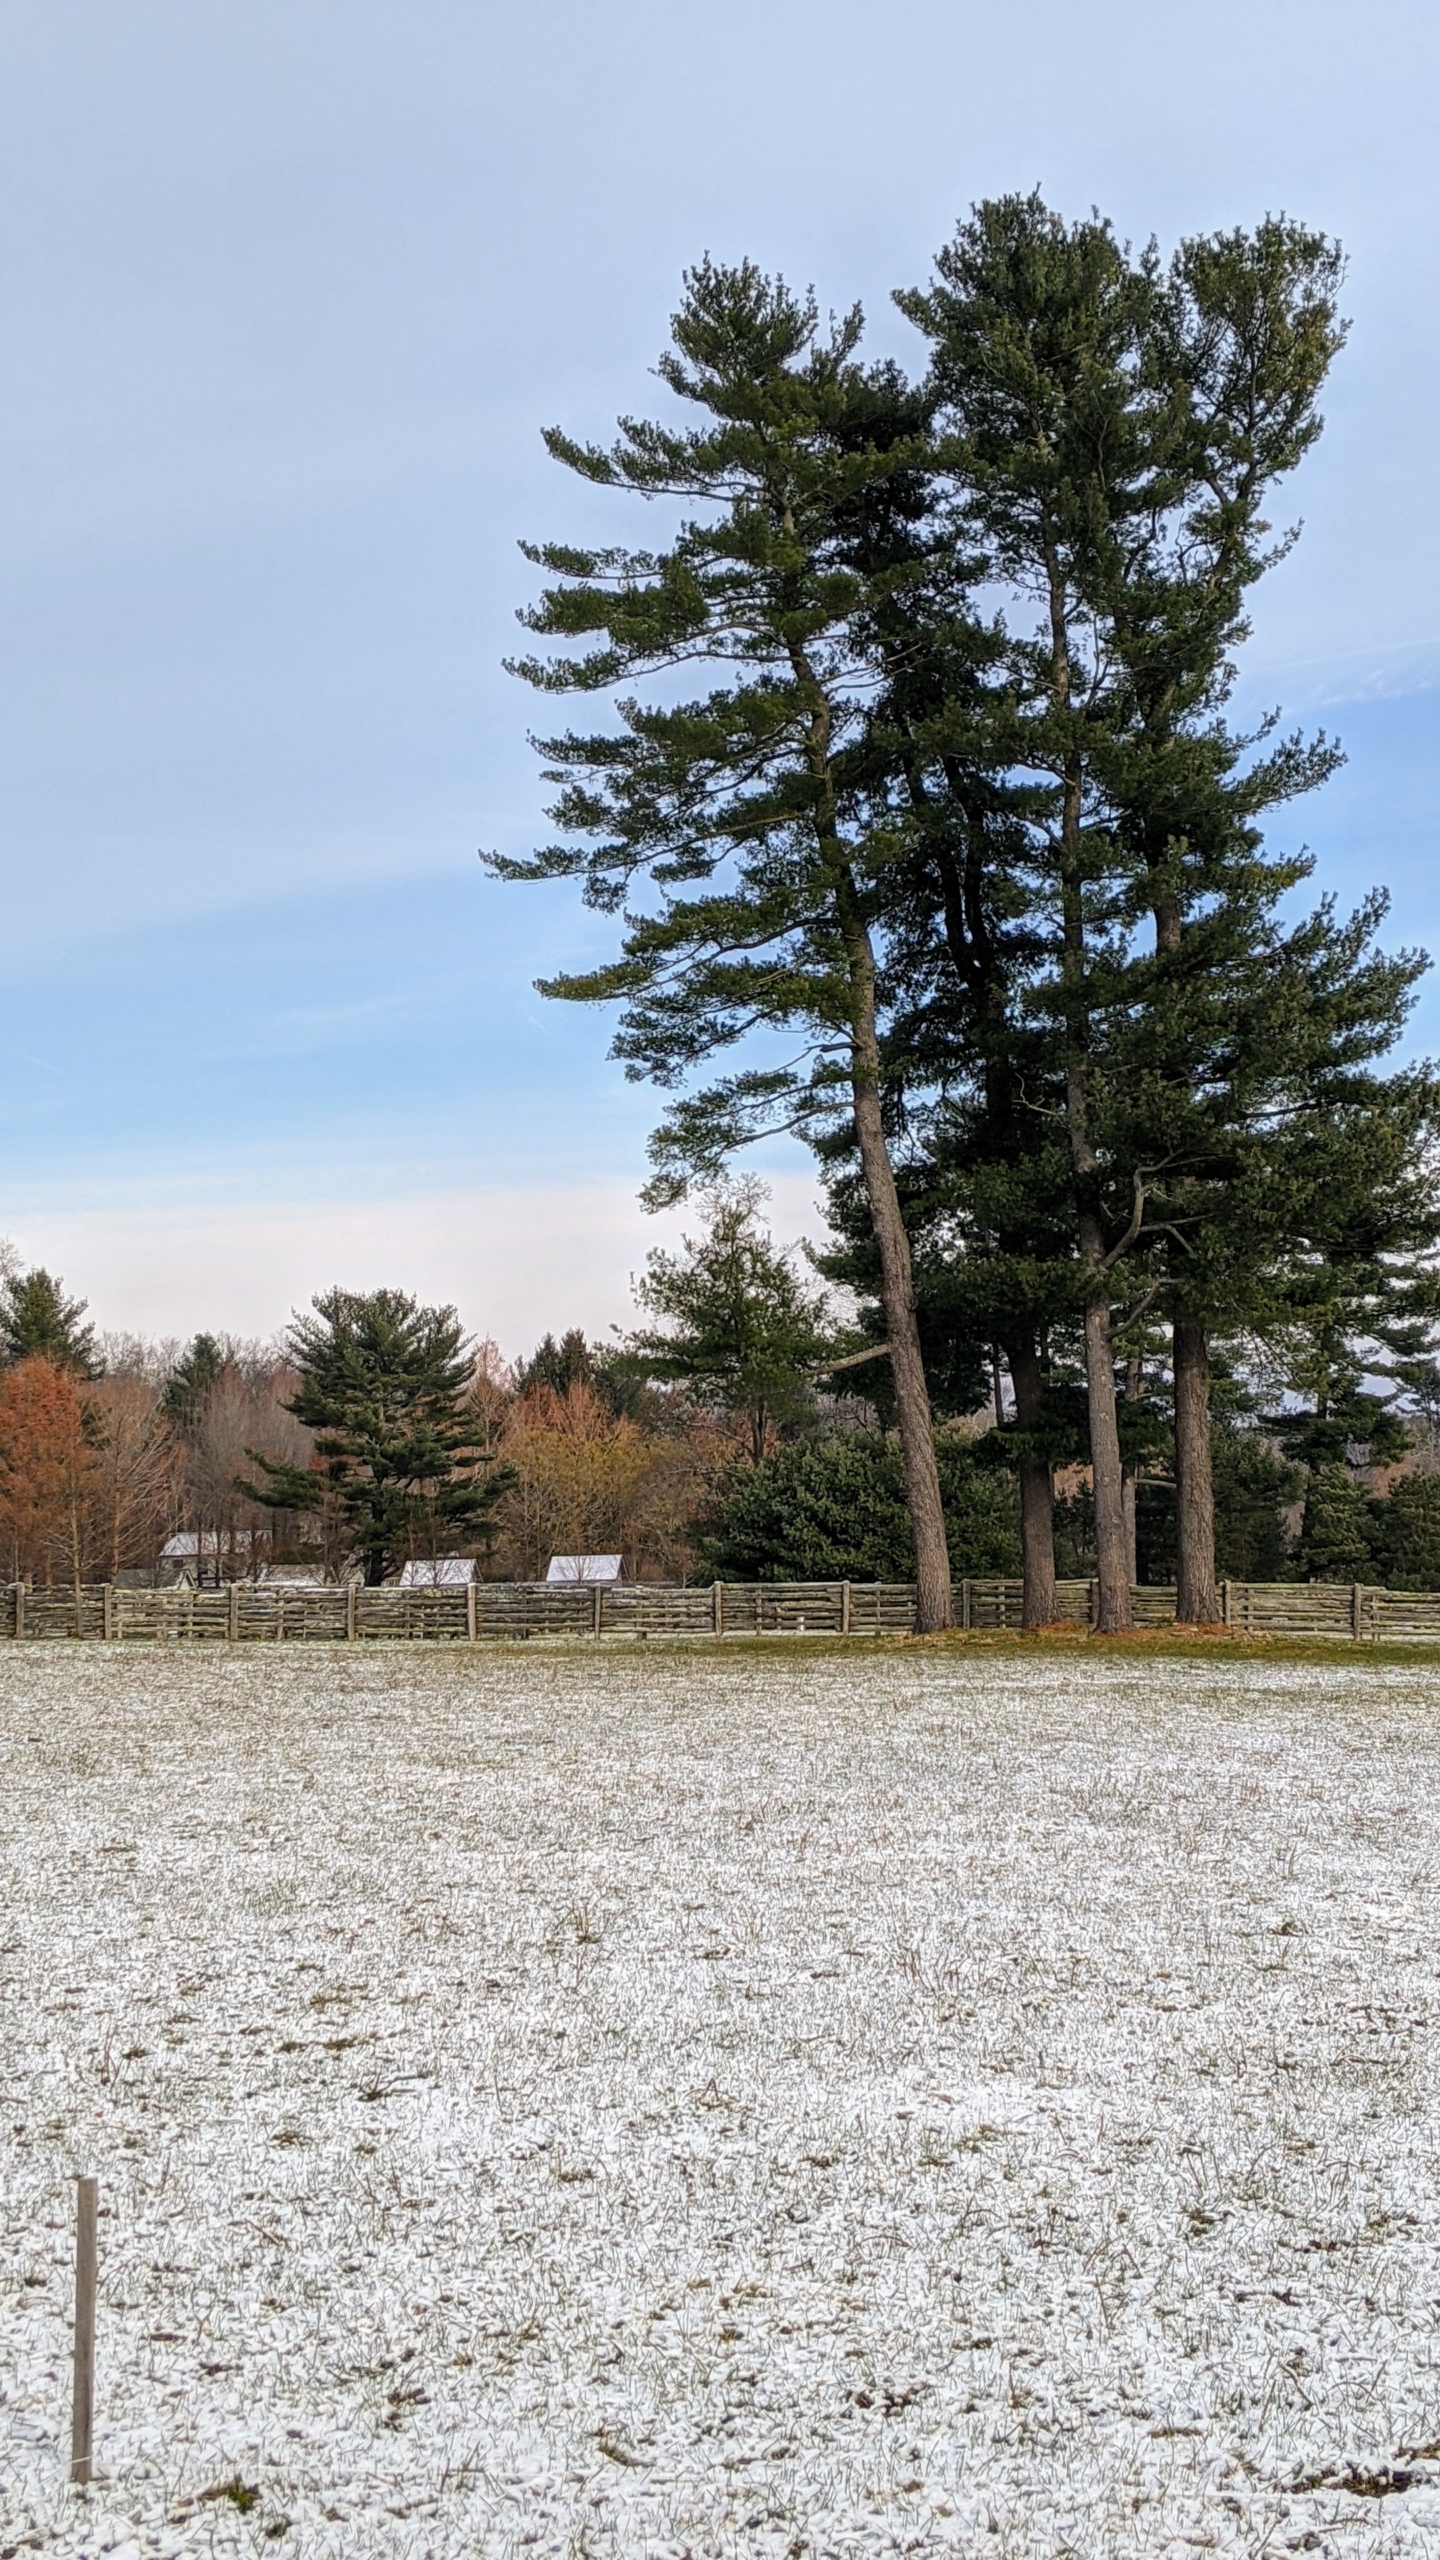
In the center of this part of my farm, it is hard to miss the stand of eastern white pine trees, Pinus strobus. White pines are the tallest trees in eastern North America. To the left – the snow covered roofs of the chicken coops.
The snow fell overnight, stopping by early morning. Here, one can see the sun trying to shine through the clouds. The Boxwood Allee looks so different in winter. Wait until you see it all covered under burlap shrouds to keep everything protected from the snow. Warmer weather is on its way. We’re expecting to hit 62-degrees Fahrenheit tomorrow at my farm.
My dahlia tubers are now well-protected for the winter... I hope.
When in bloom, dahlias provide some of the garden's biggest and most spectacular flowers in many different sizes, forms, and colors. However, native to Mexico, dahlias are not winter-hardy and tend to split in freezing temperatures or mold in soggy, wet soil. In most areas outside the warmest regions of the United States, dahlia tubers must be dug up and stored or covered before the cold season. In previous years, we've always uprooted our dahlias and kept them indoors for the winter. This year, in an effort to find an easier and more efficient way to protect them, we covered the entire bed with burlap and a very thick layer of hay - in hopes that it is enough to ensure we have viable plants come spring.
Here are some photos, enjoy.
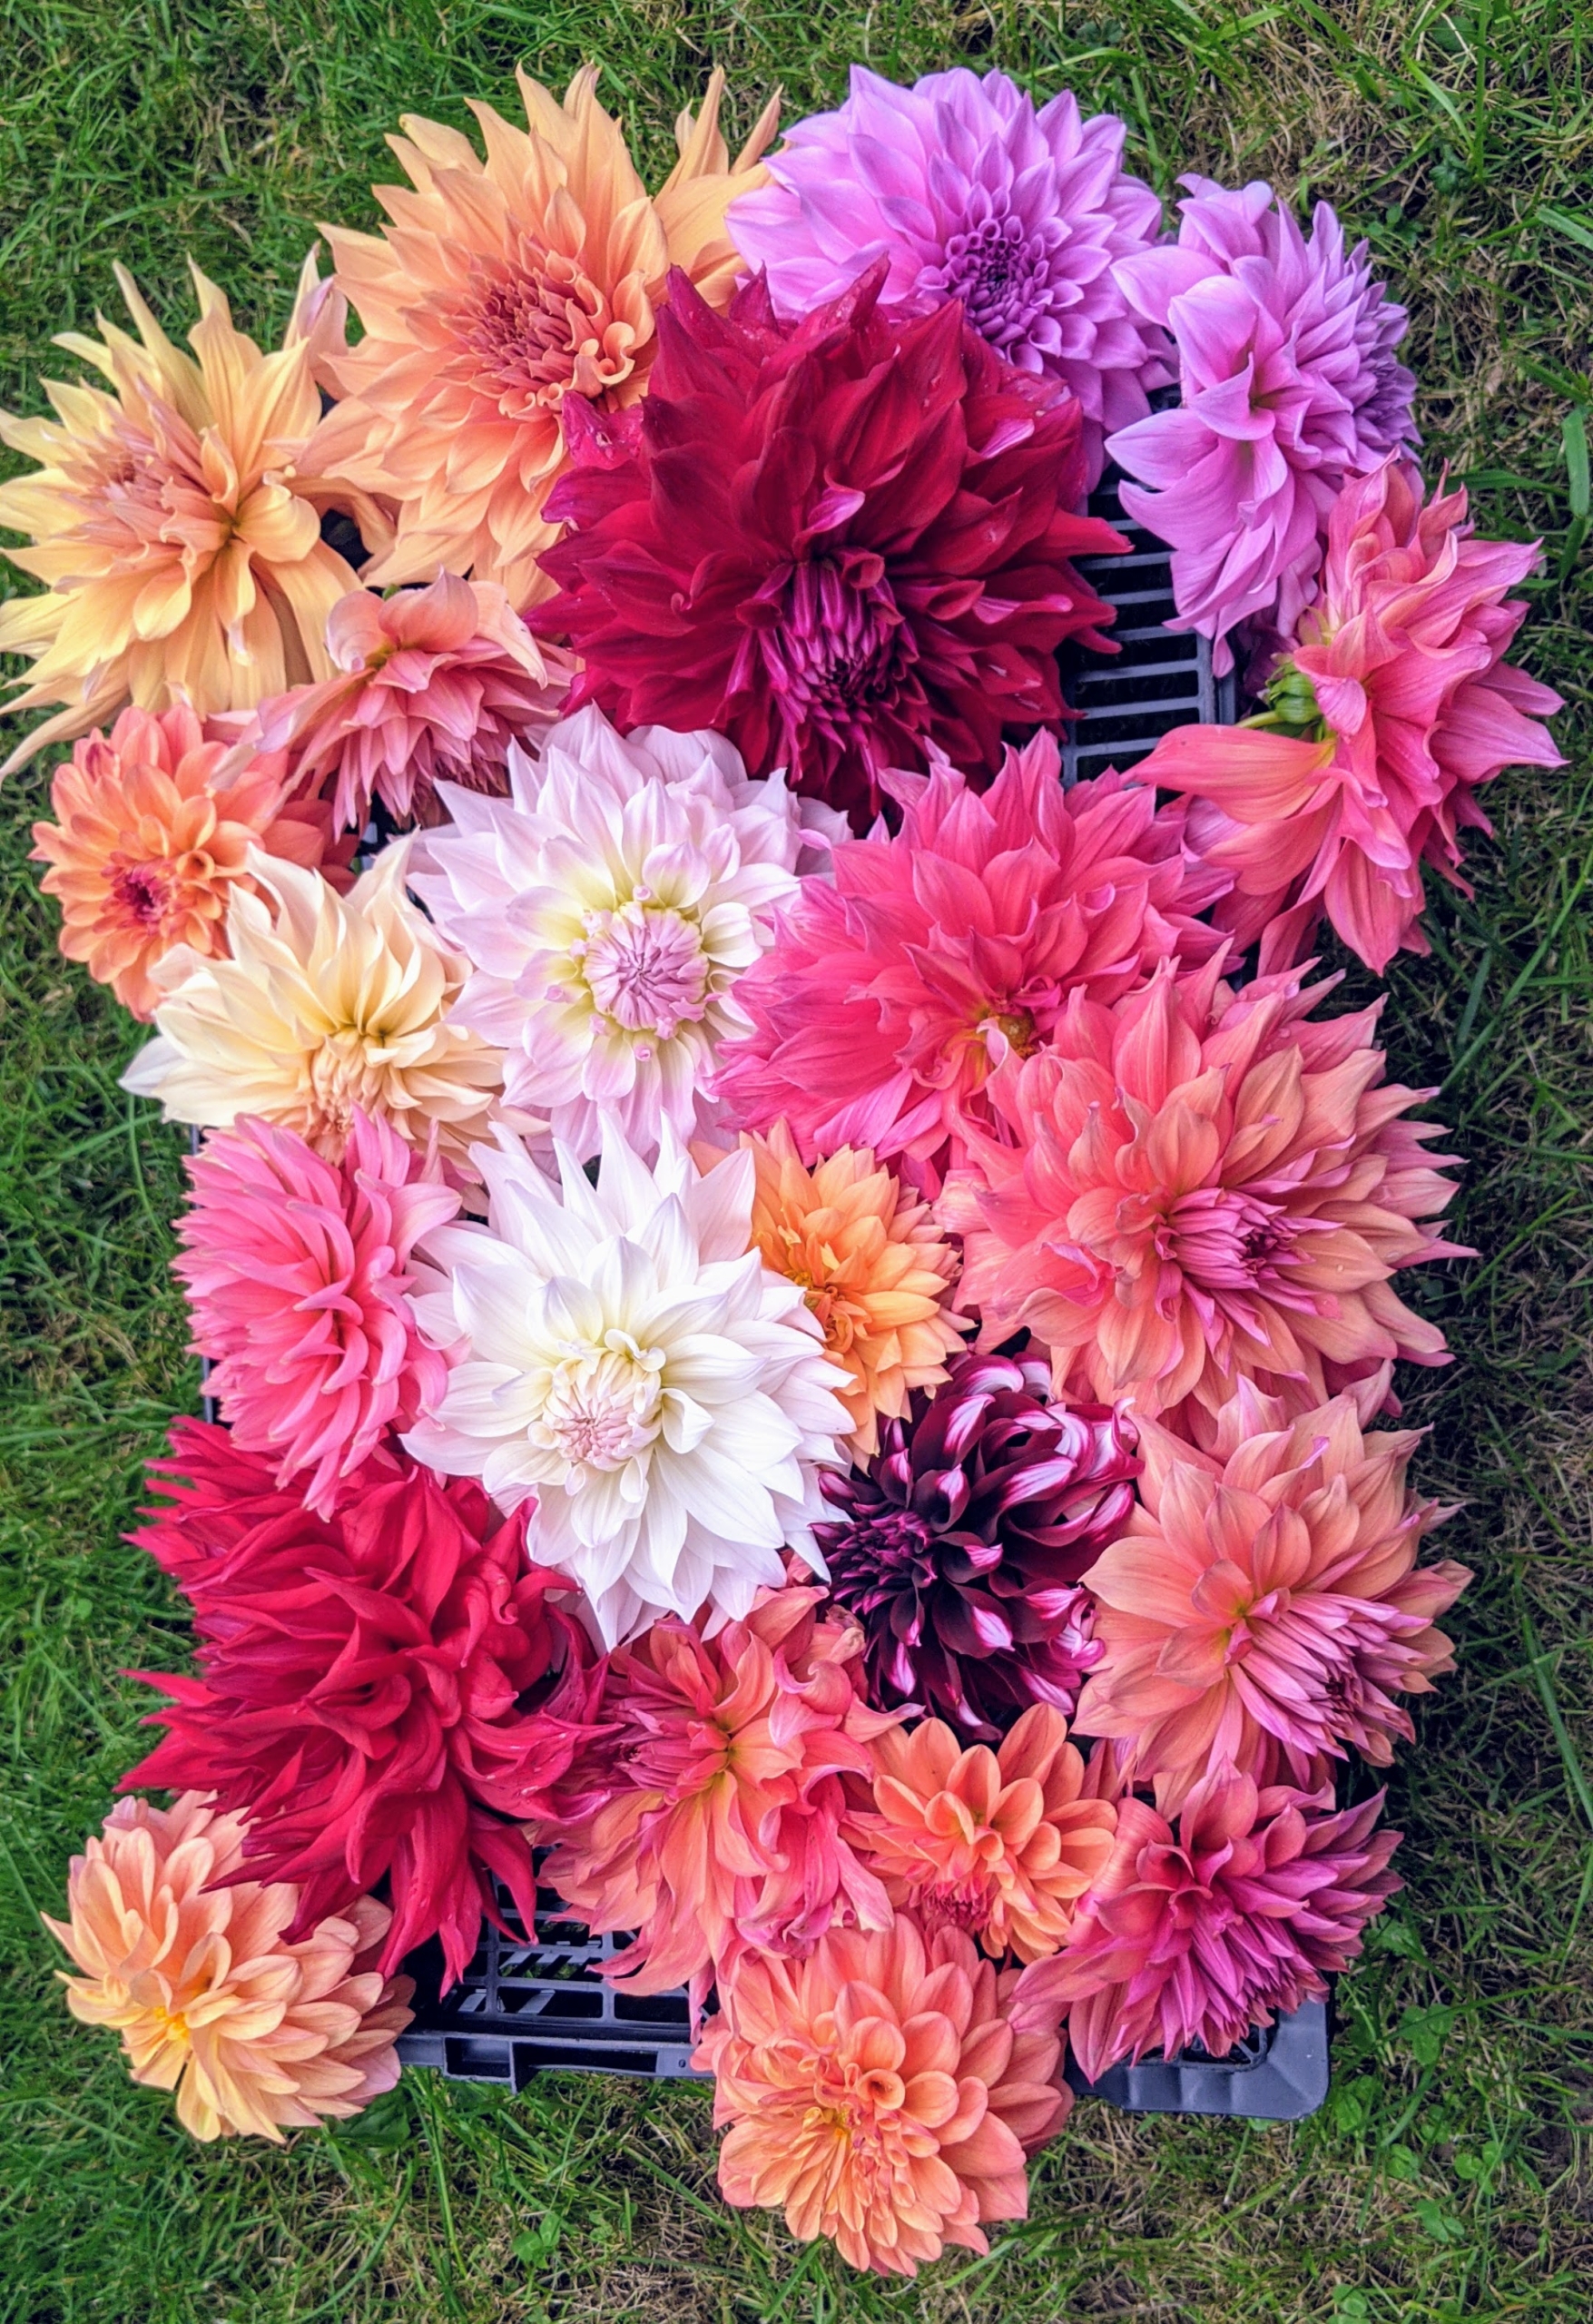
Remember all the gorgeous, colorful dahlias we had this year? Dahlias are among my favorite flowers. They begin to bloom with great profusion just as other plants pass their prime, and they last right up until the first frost.
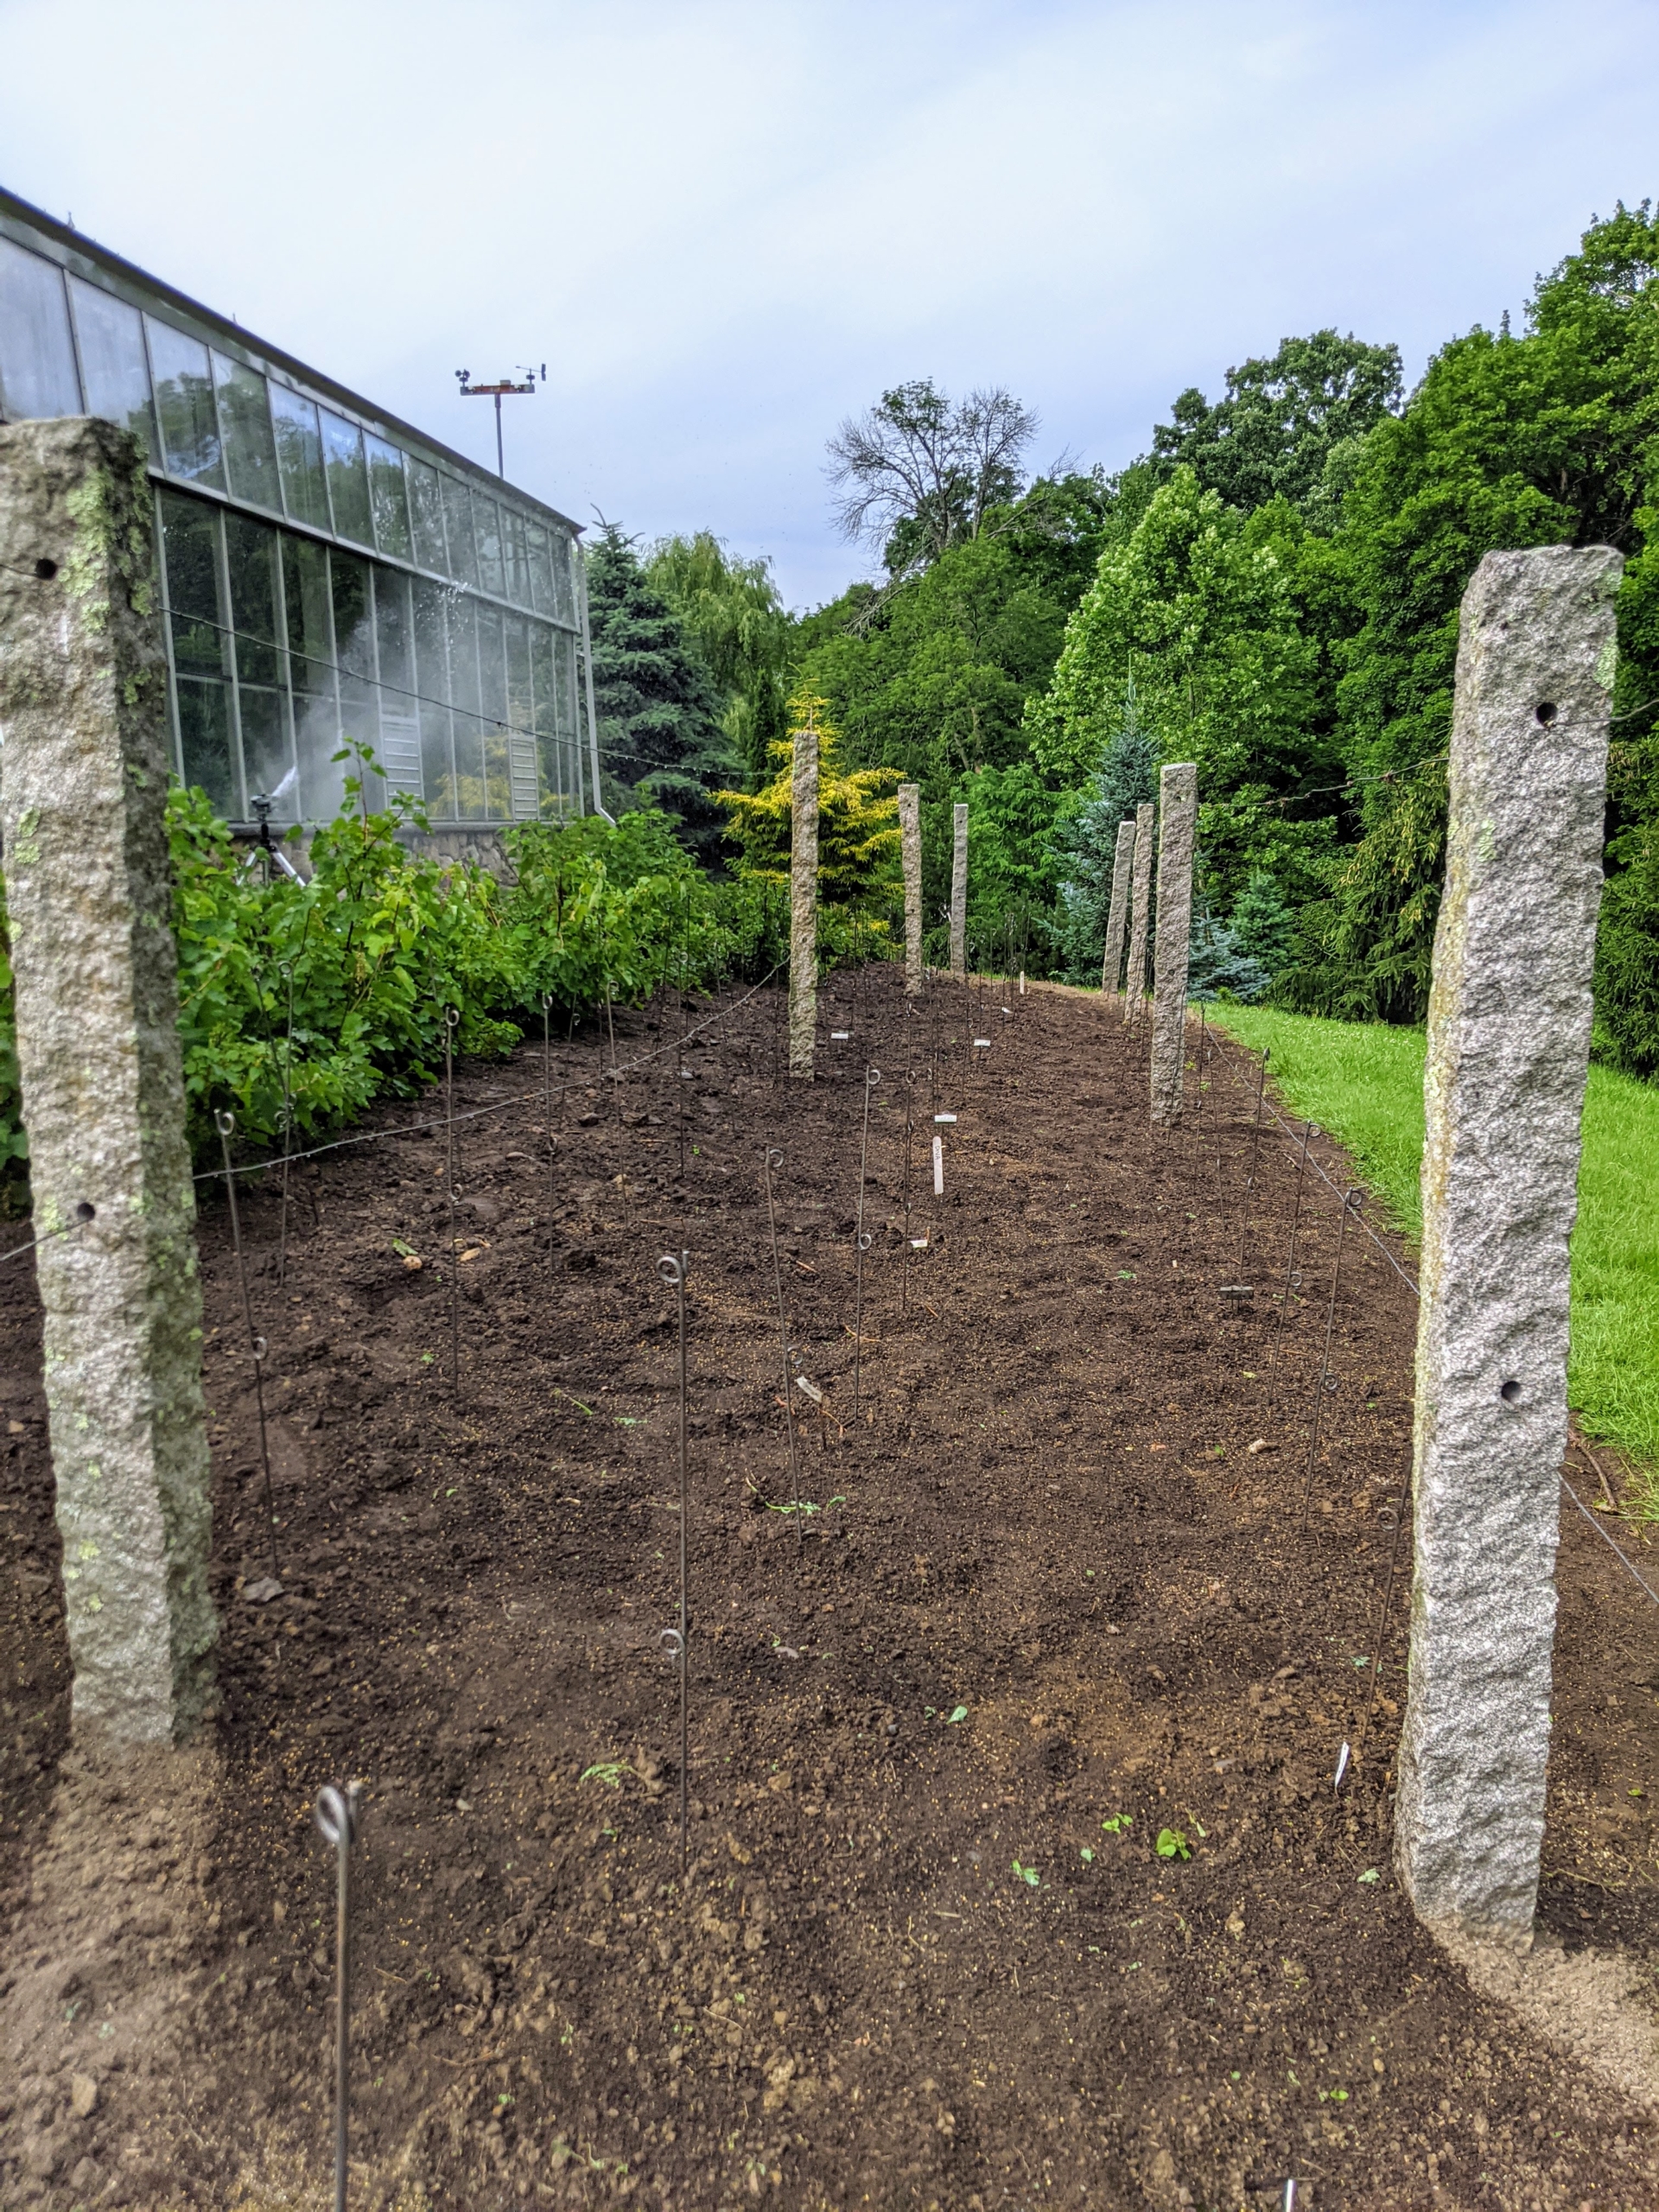
This summer, I decided to move the dahlia garden to this area behind my vegetable greenhouse. In early June, we cleaned and cultivated the soil. This area was previously used for growing grapes. On the left are a few berry bushes.
In mid-June, we took out all the dahlia tubers that had been stored in our greenhouse basement and planted them. This spot gets great sun, and dahlias grow more blooms with six to eight hours of direct sunlight. And because the area is behind this large structure, it is also protected from strong winds.
By September, we had a bed filled with gorgeous blooms. Dahlias typically last through October in this area – as long as we’re not hit with an early killing frost.
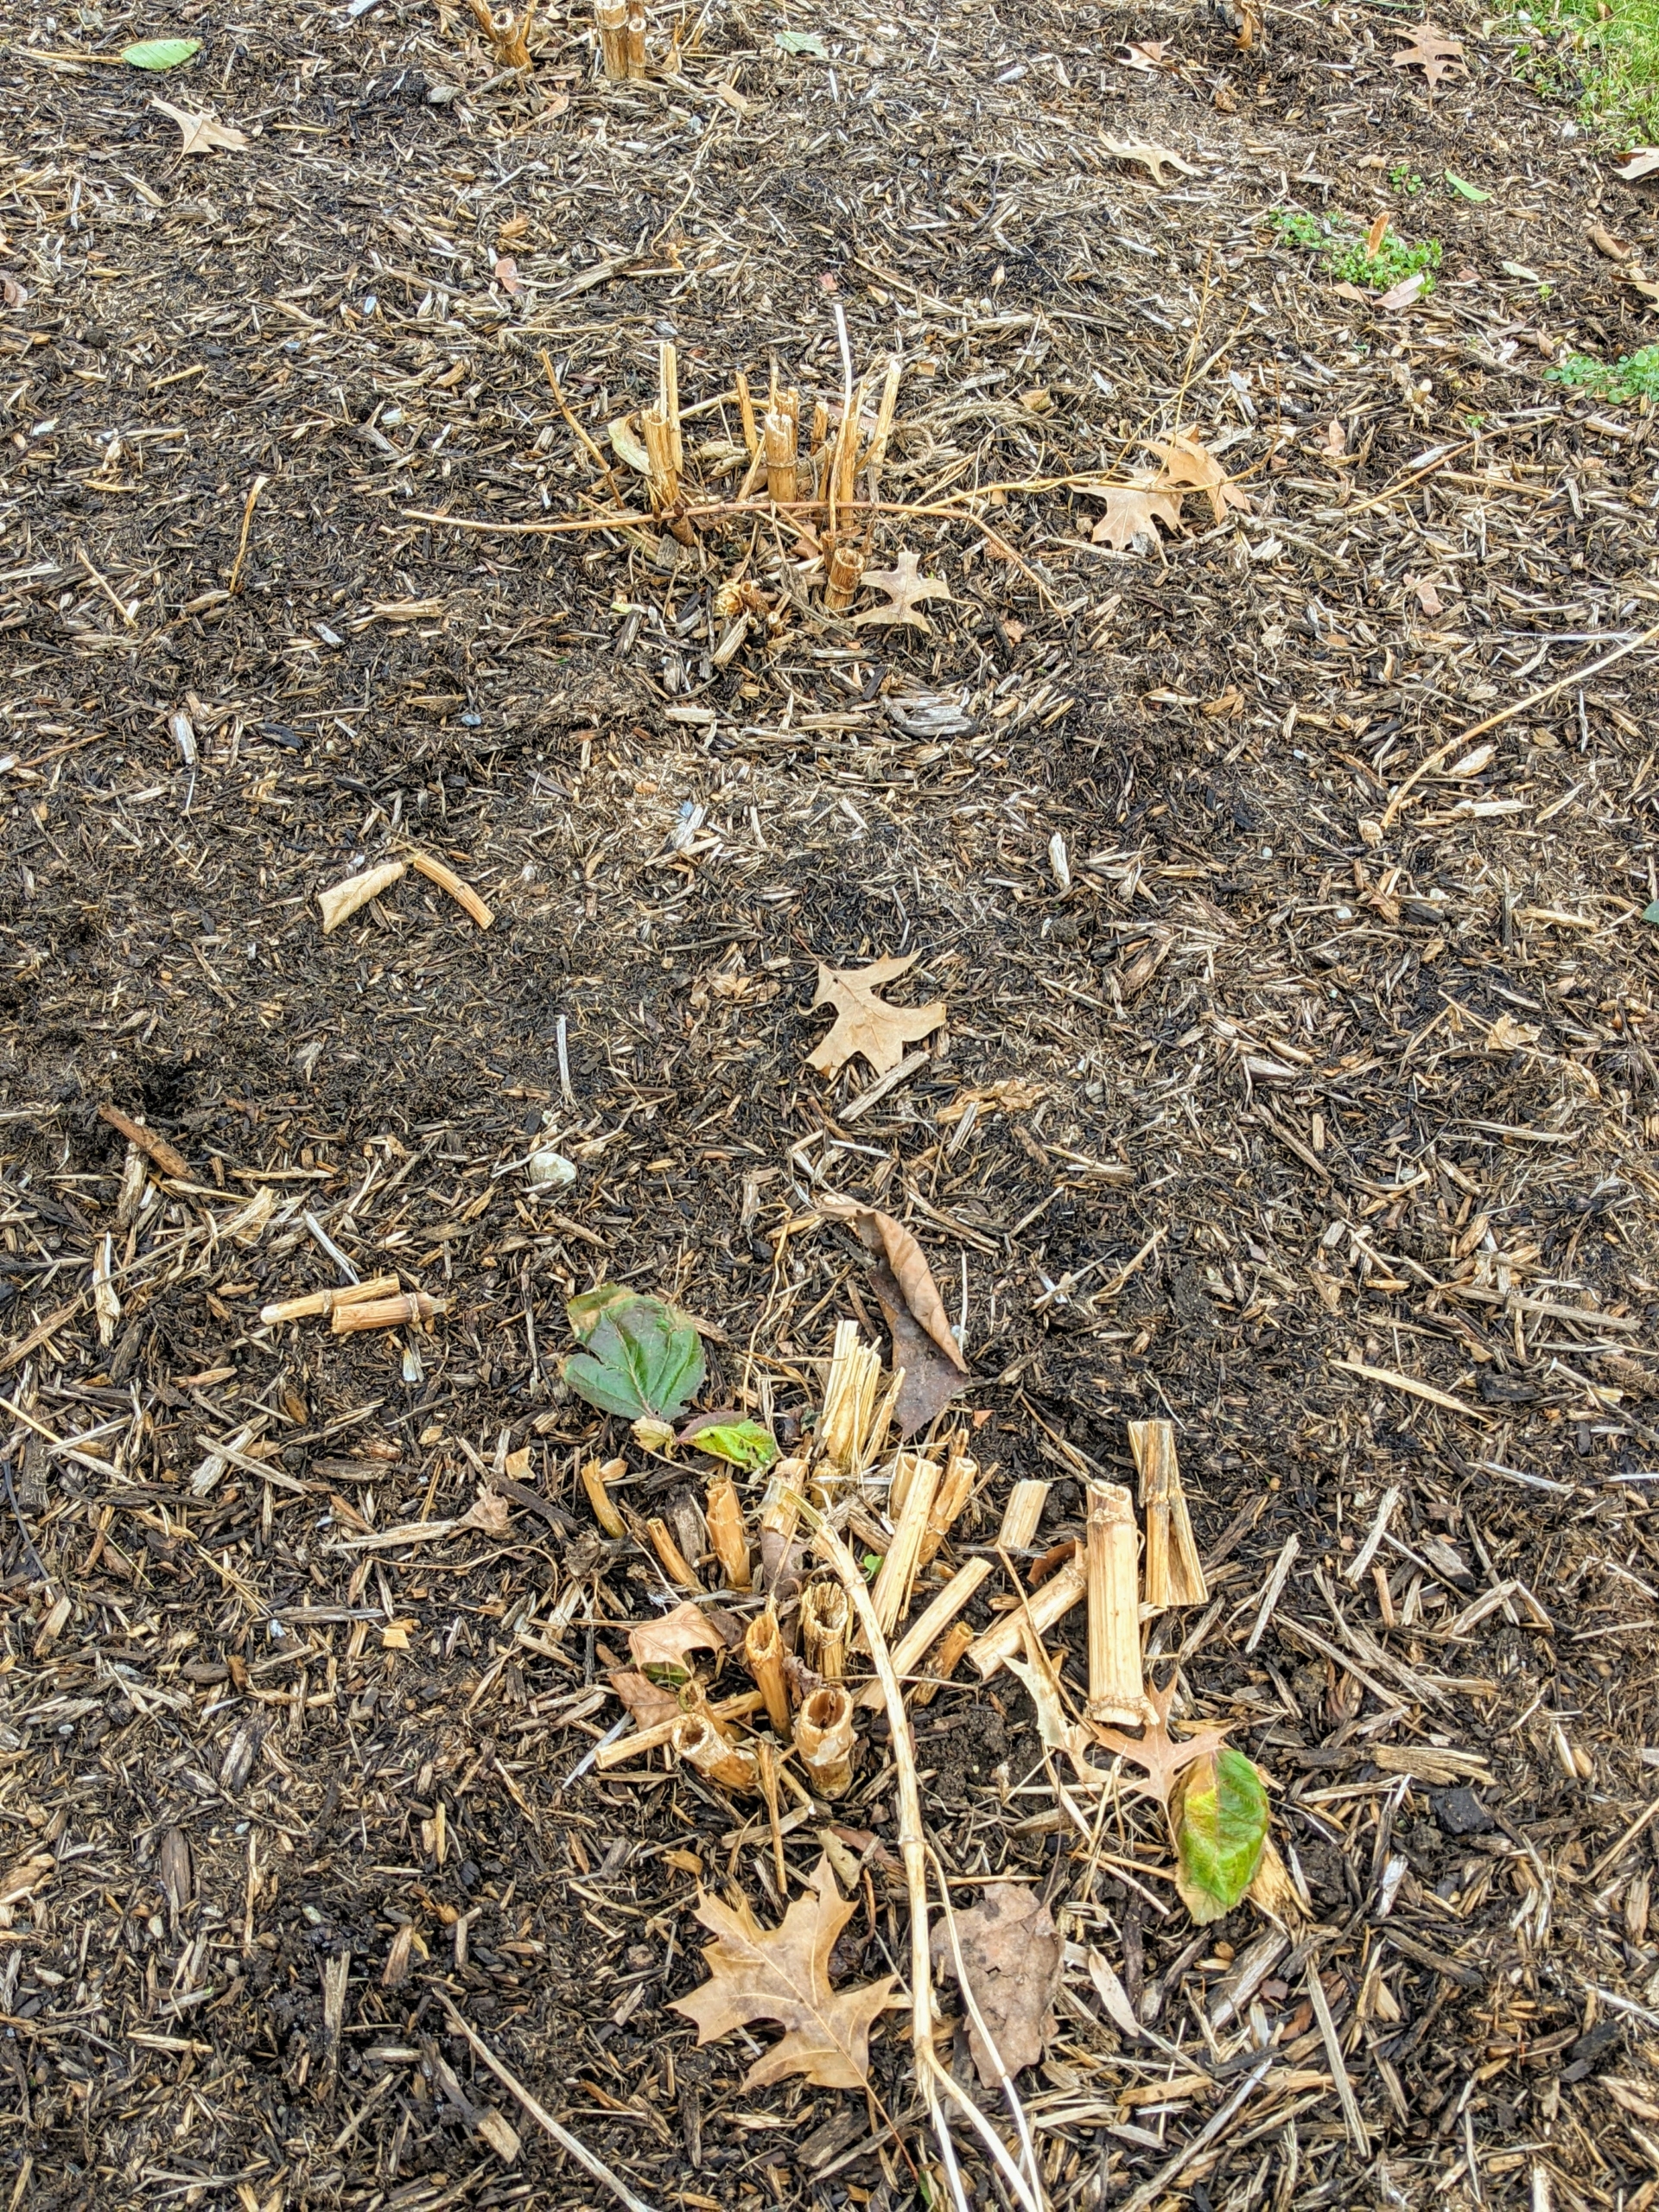
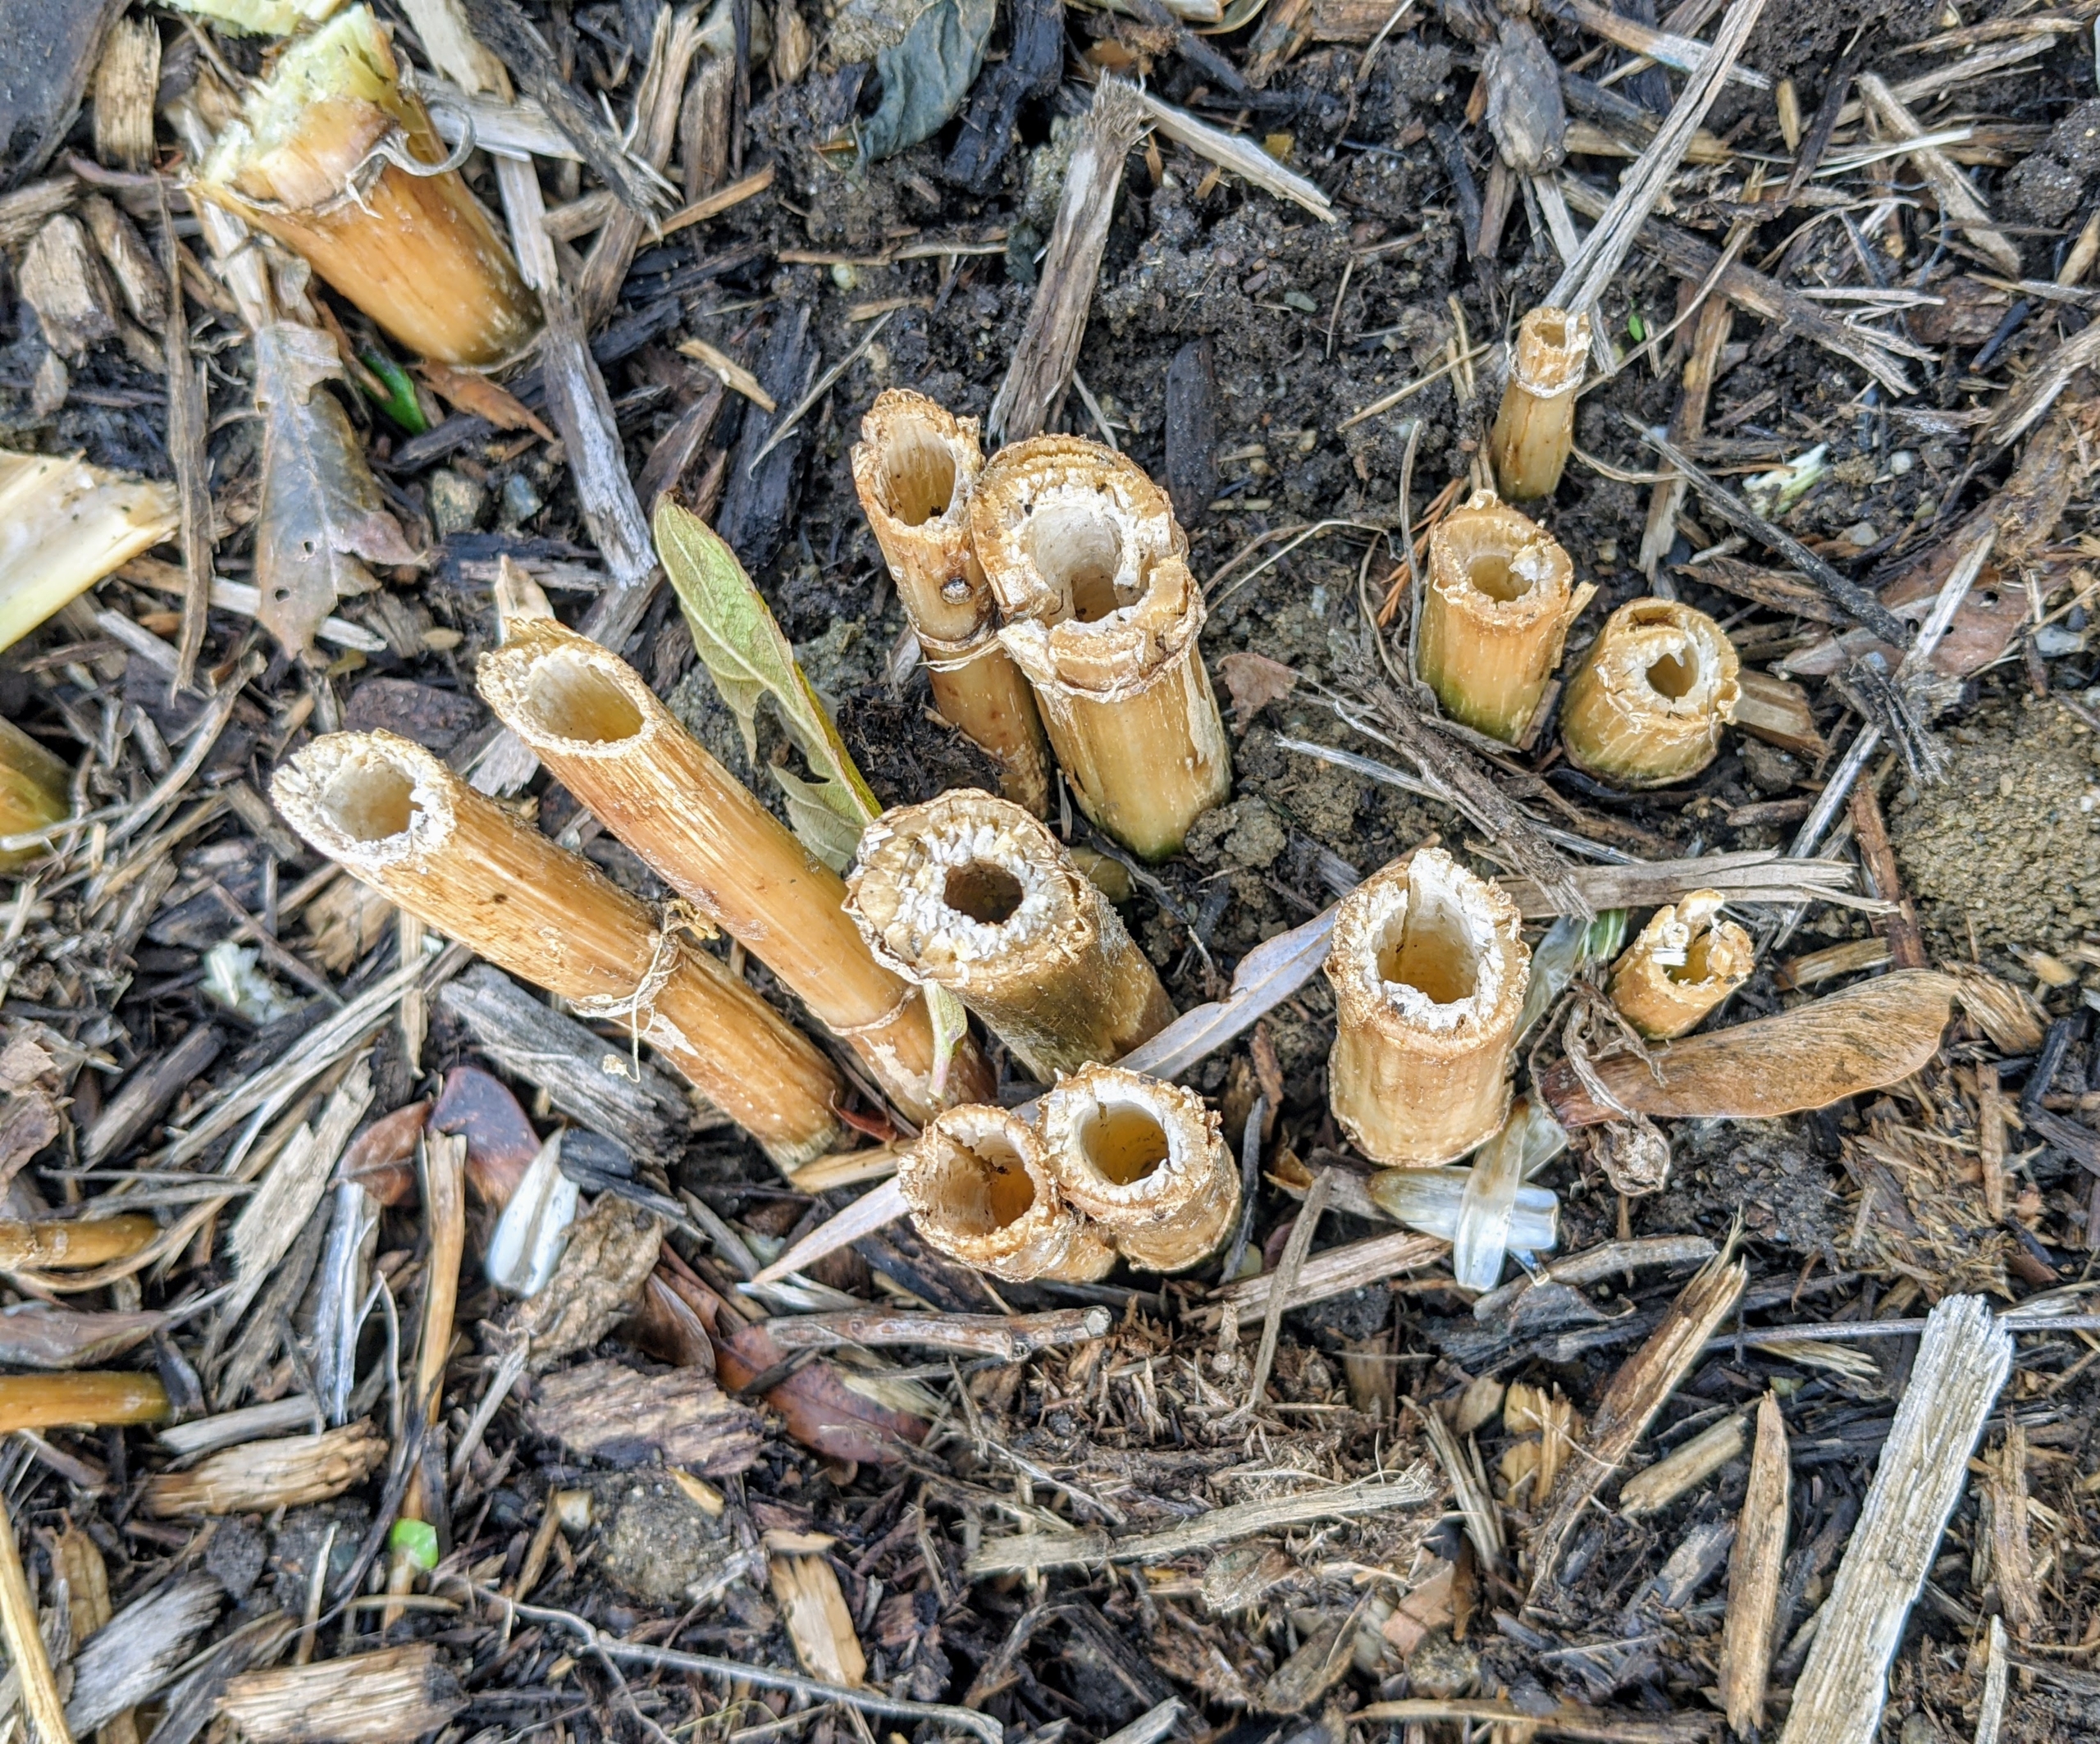
In November, Ryan and Brian cut all the stems down leaving about five to six inches of the main stems and then left them to dry. Always wait until the foliage has turned brown before any winterizing. This is important so that the plant can gather energy for the following year. It will store starches in the tuber which will fuel initial sprouting in summer. The best time is a couple weeks after the first frost when they’re well into dormancy yet haven’t been harmed by the cold.
Dahlia stems are hollow making them quickly susceptible to rot. This is also why dahlias often have to be staked to help support their very large flowers.
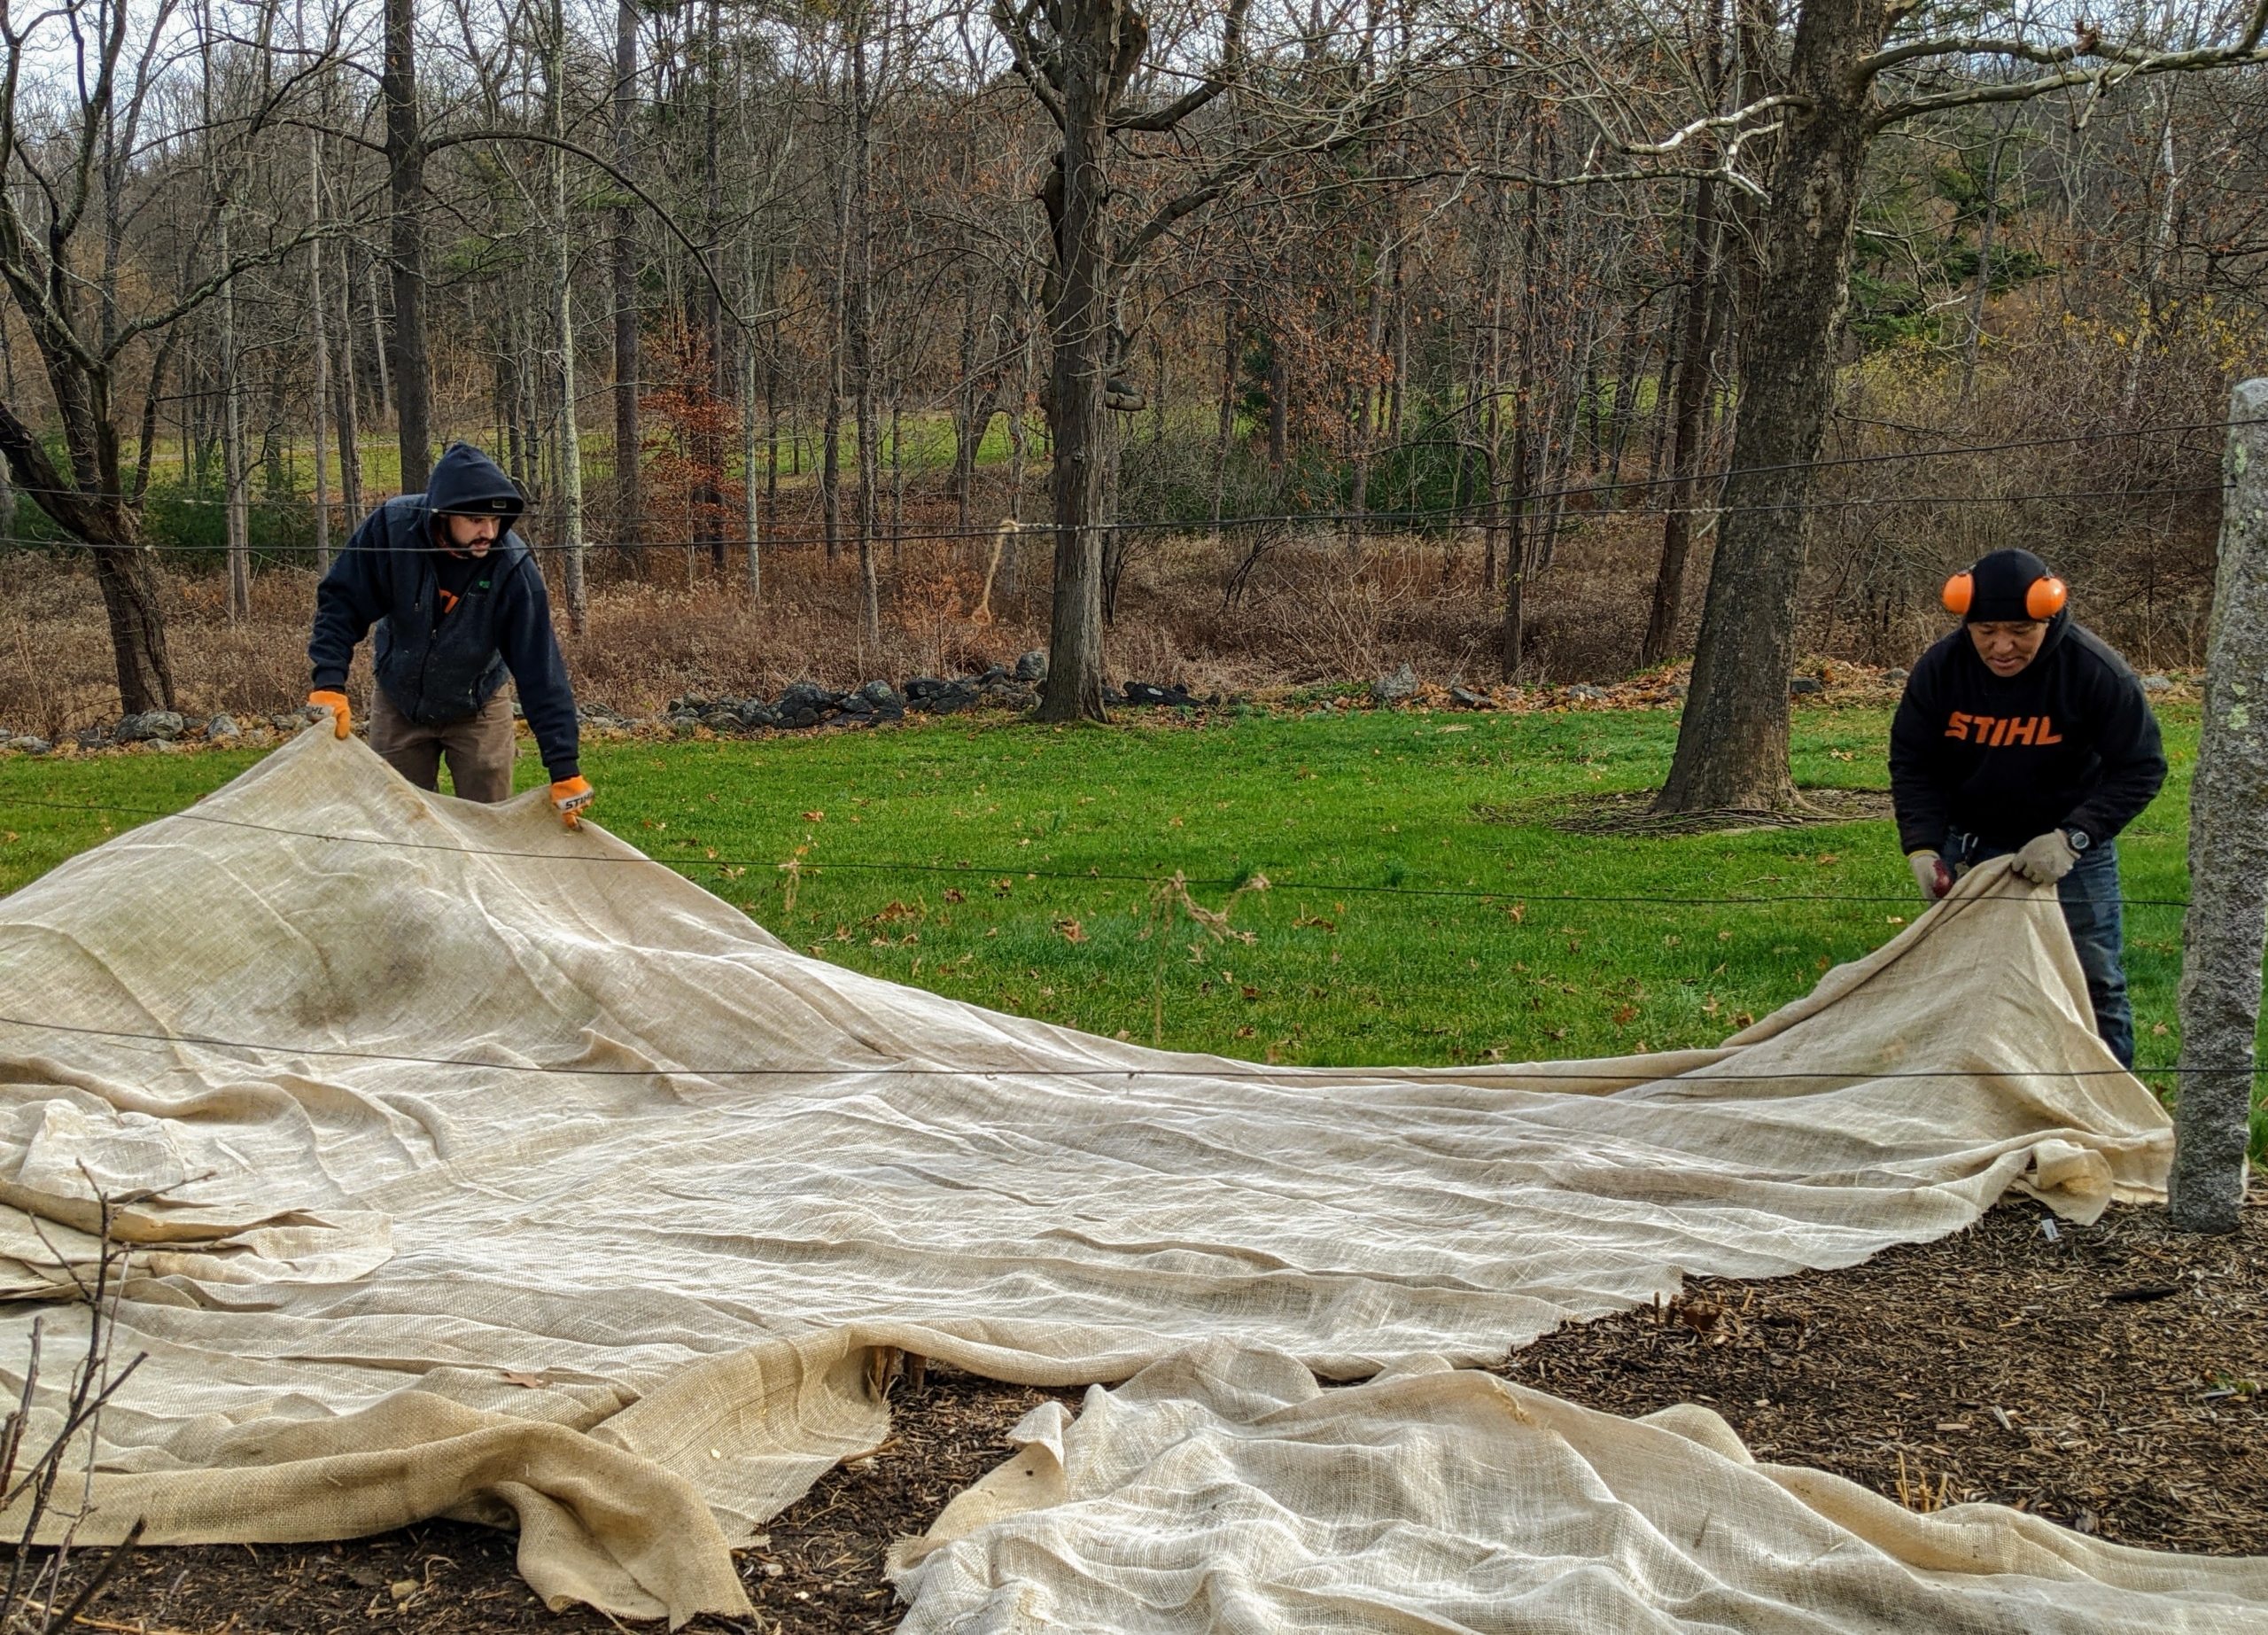
This year, we wanted to keep the dahlias in place, so we decided to try a different method for protecting them. First, Phurba and Brian covered the bed with old burlap – burlap fabric that was too timeworn to use as boxwood coverings. We save these older pieces in a dry area of barn, so they can be repurposed. I always try to reuse, repurpose or recycle everything at the farm.
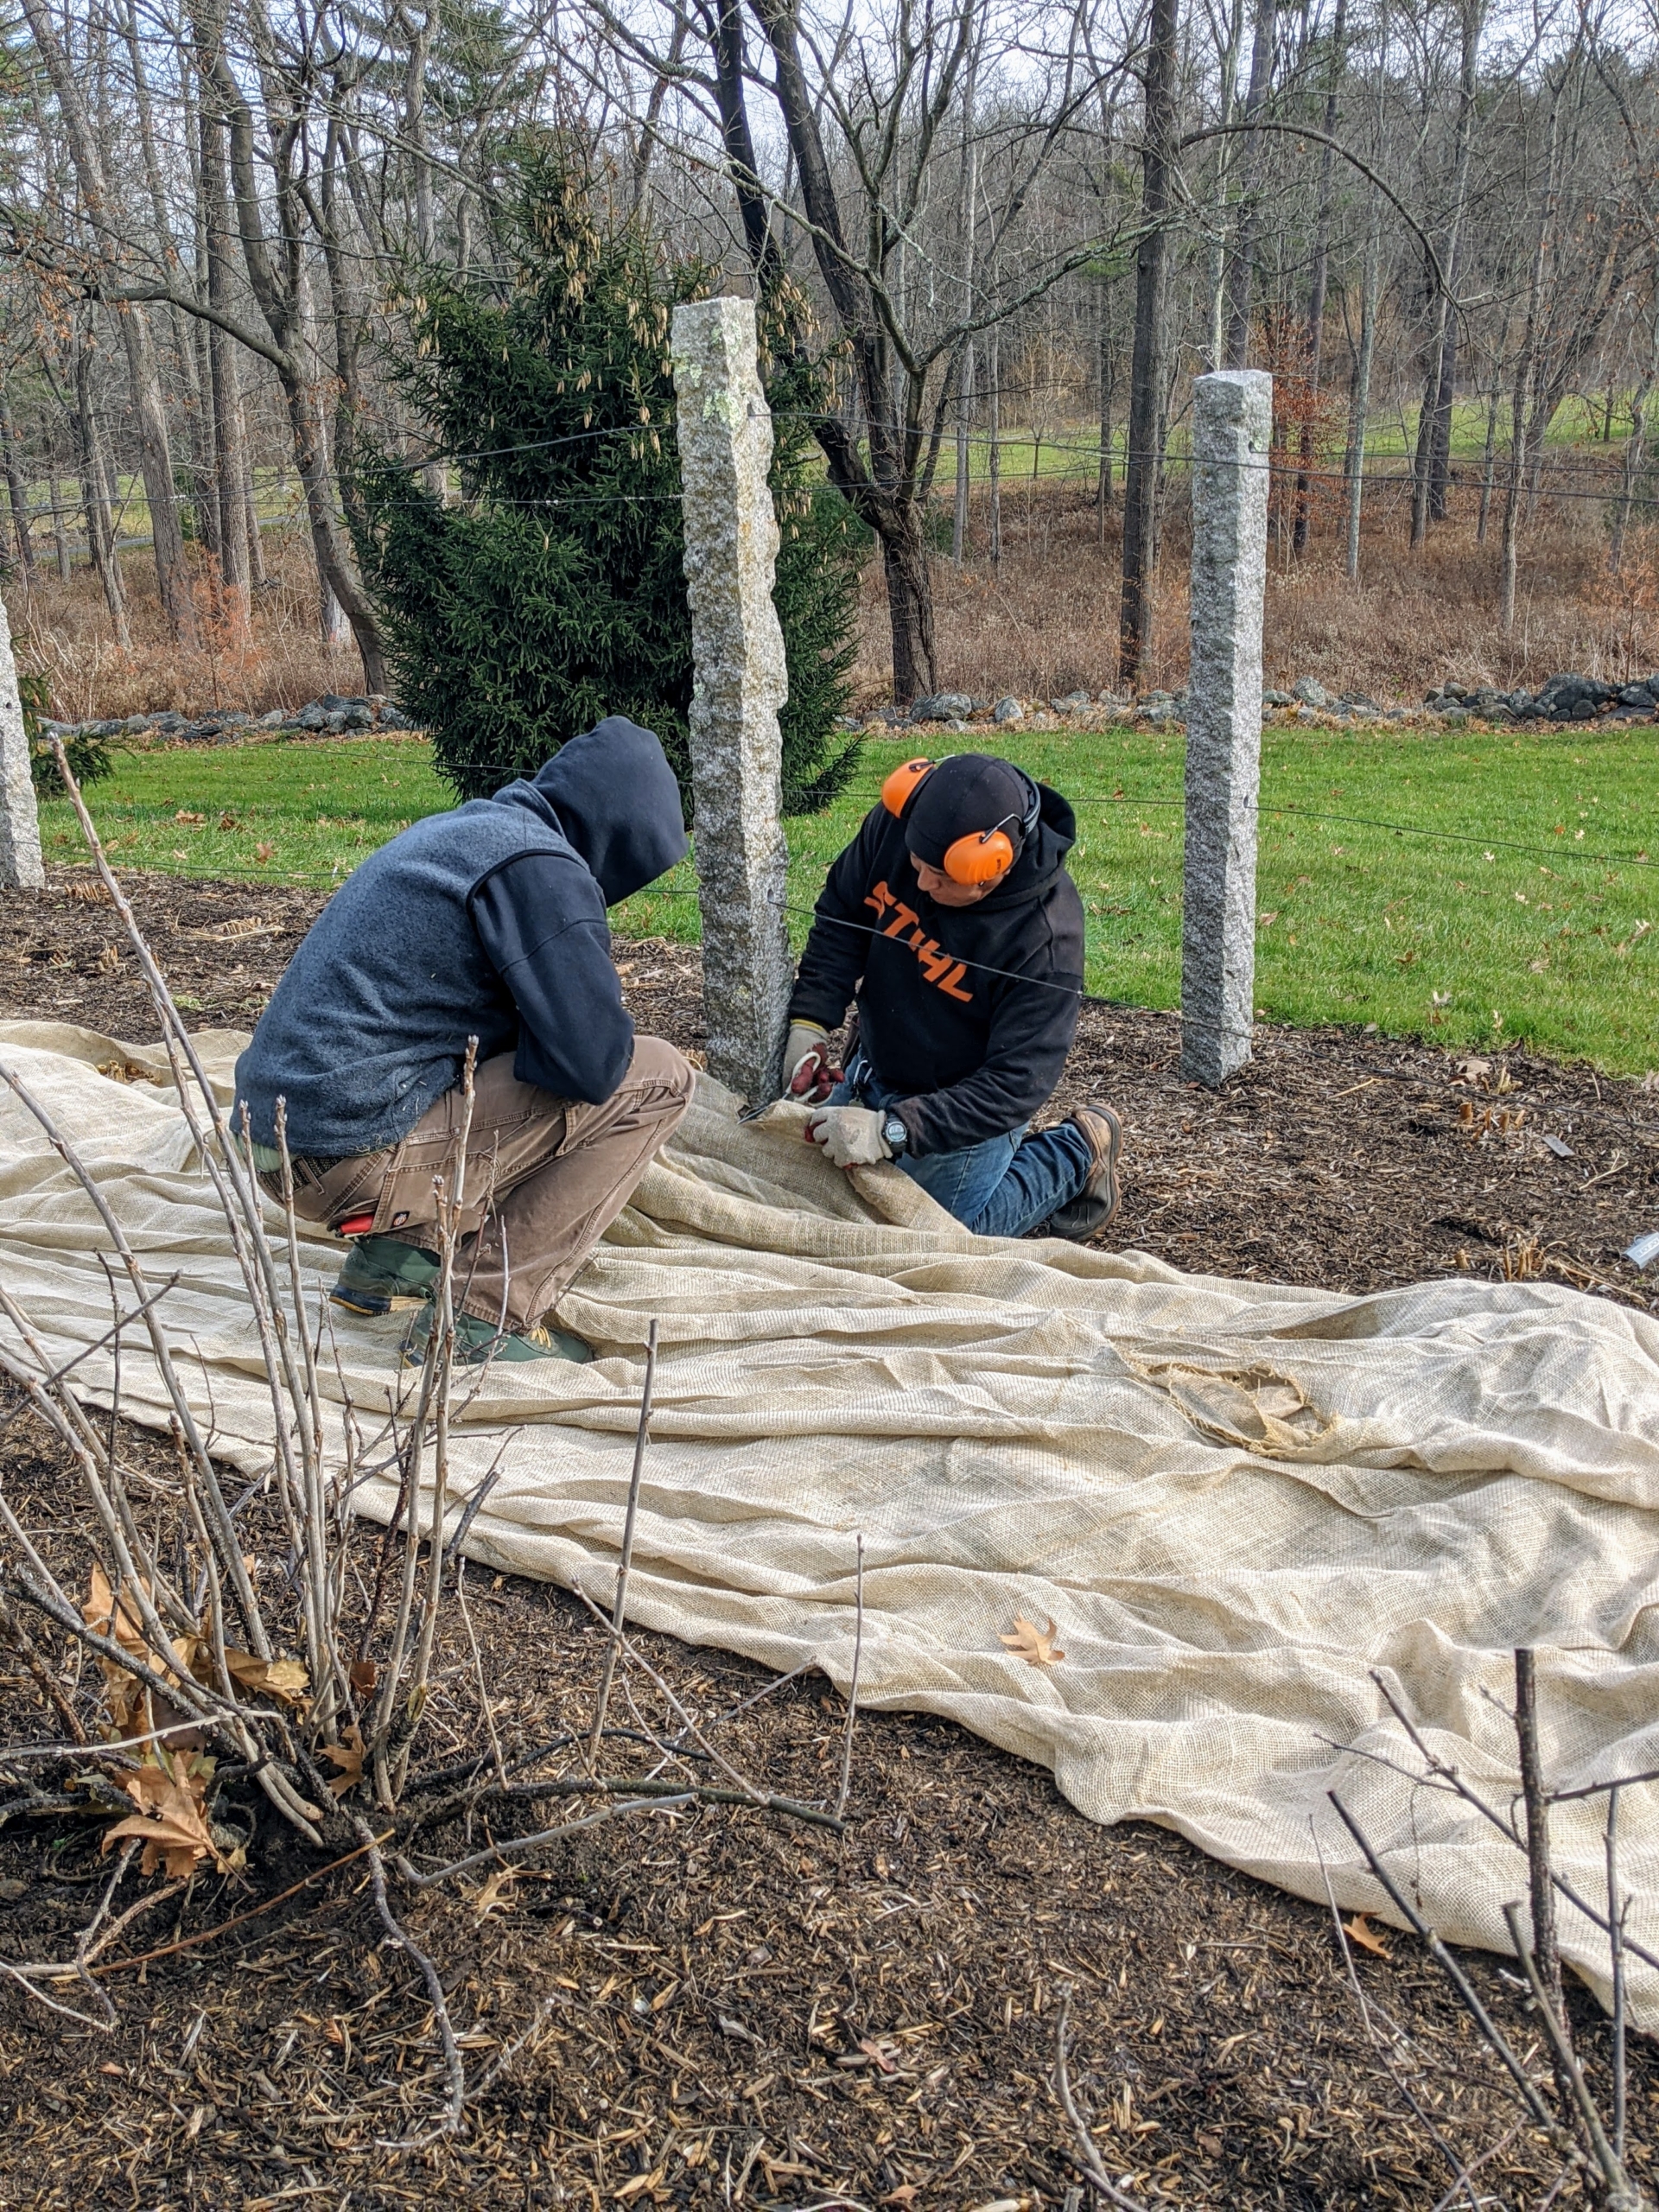
Brian and Phurba carefully line the entire bed cutting small slits around the granite posts.
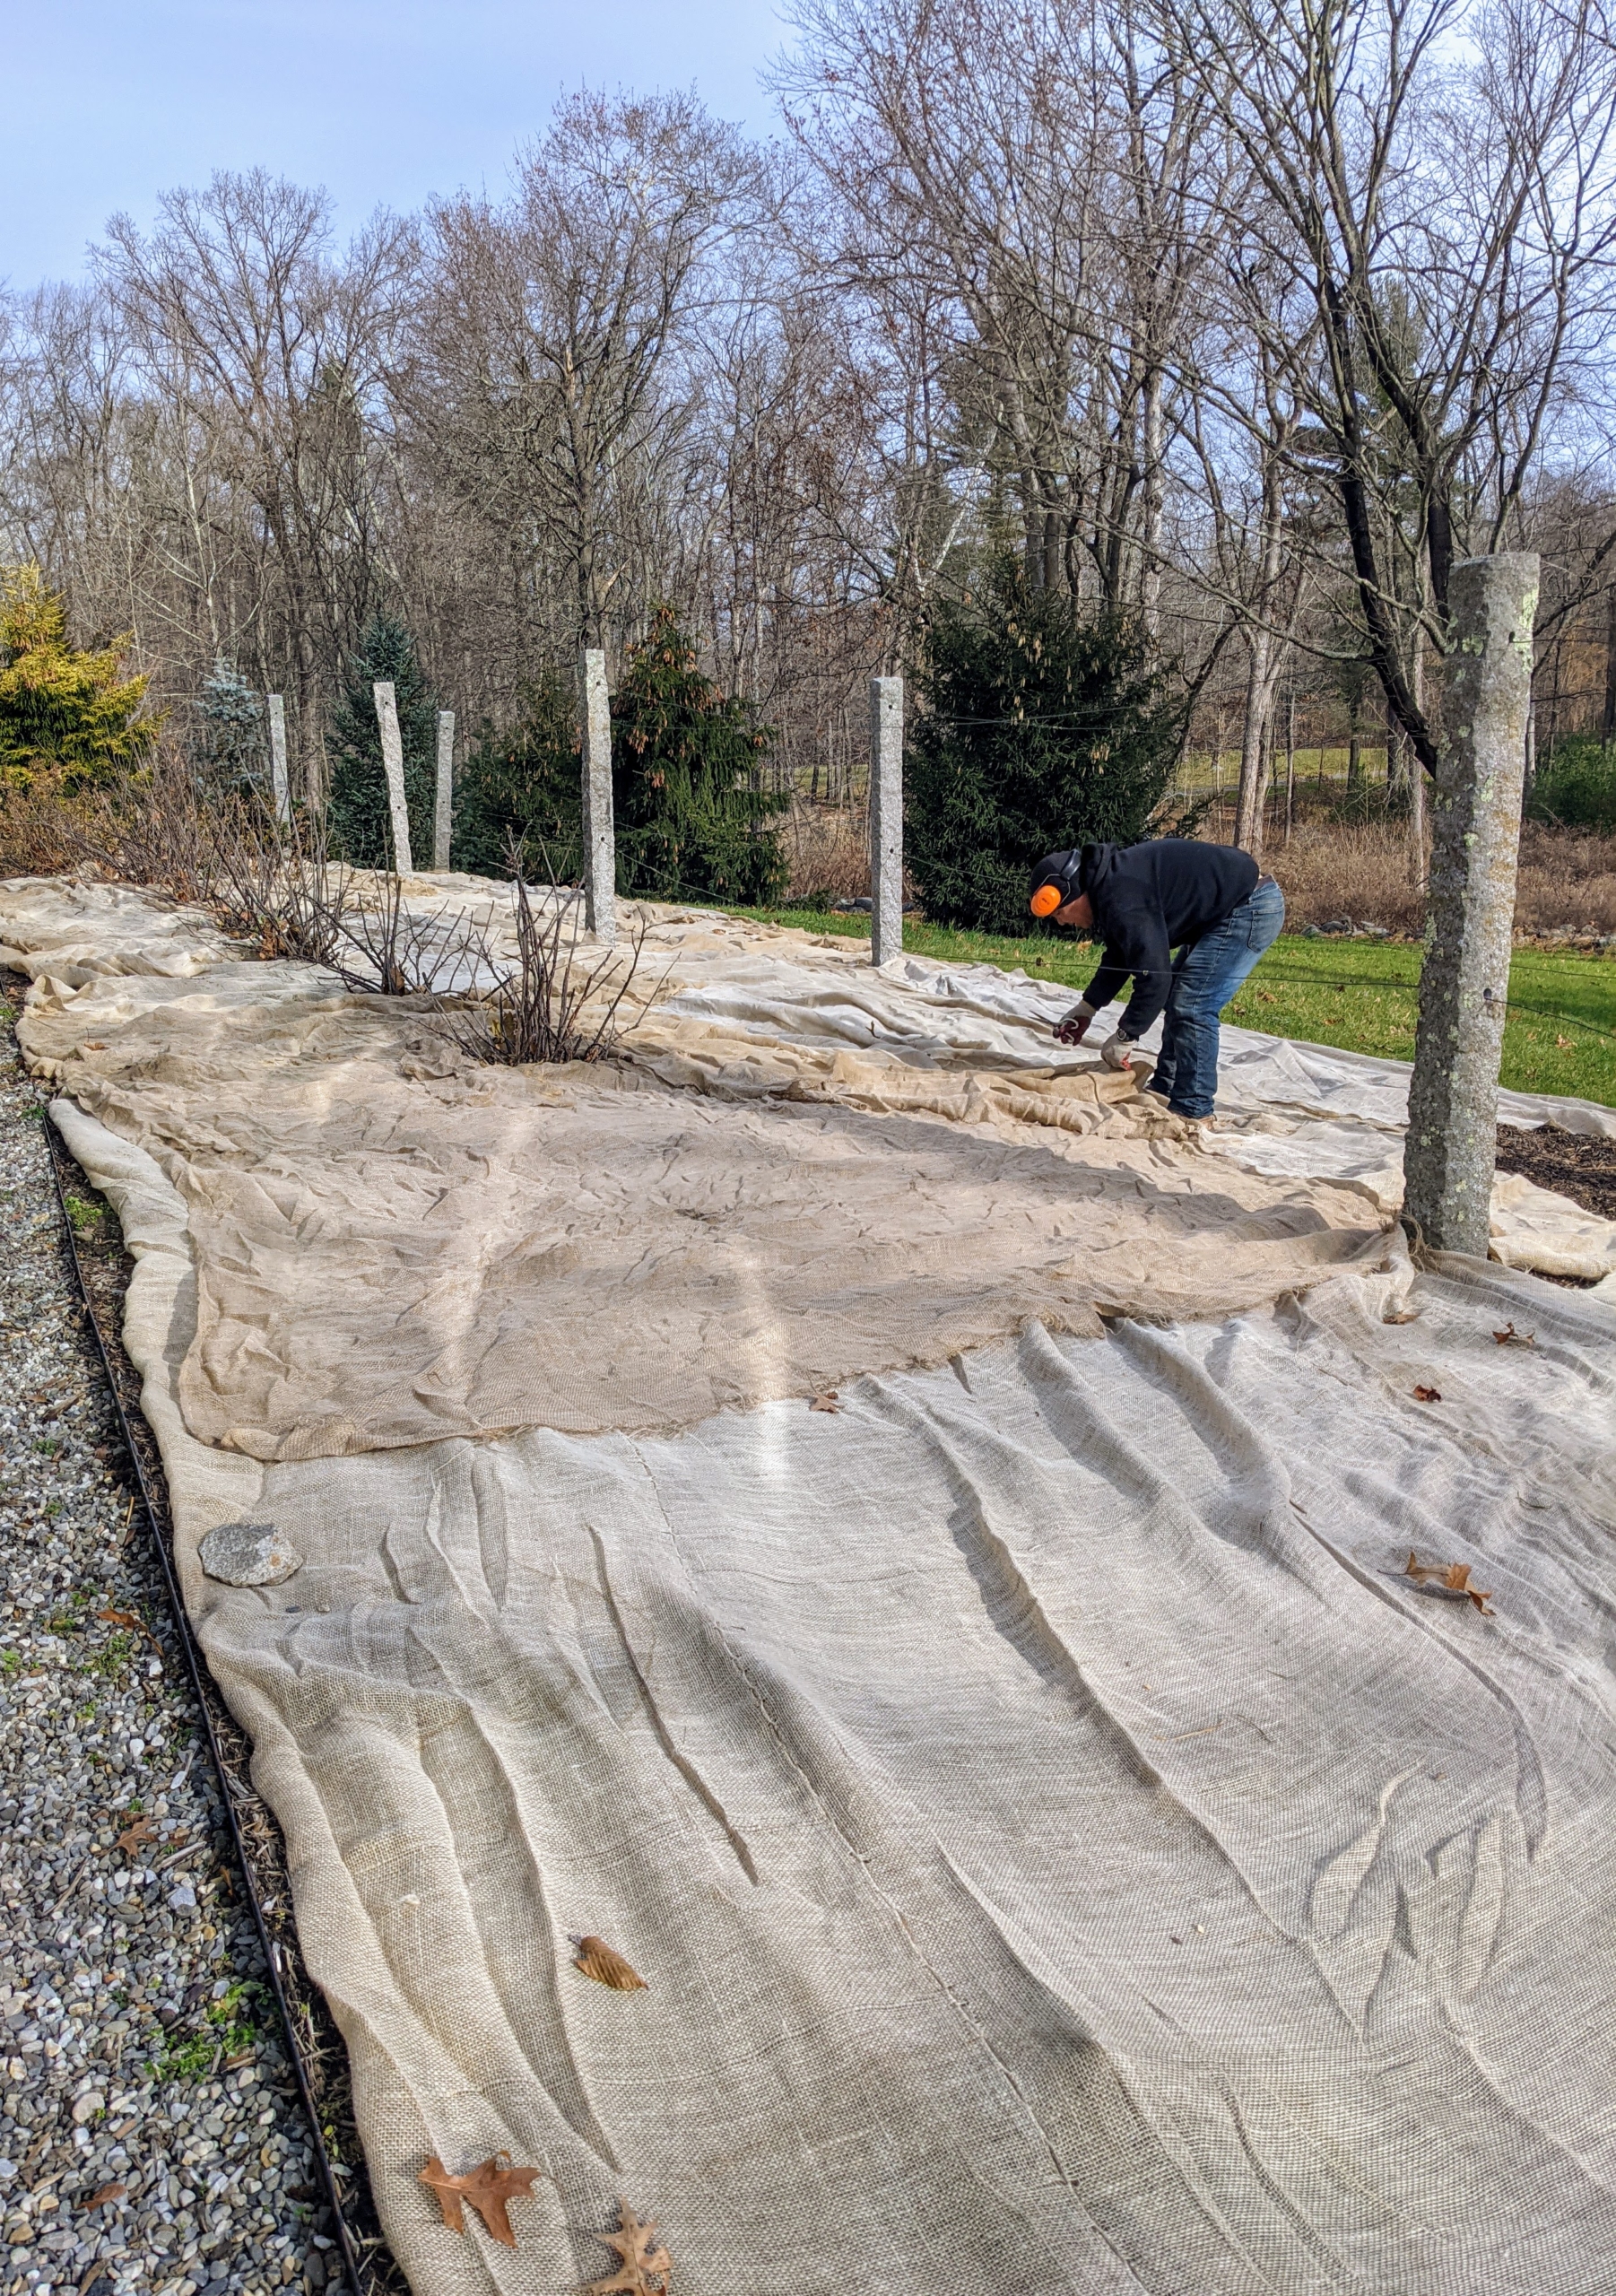
Phurba goes over the entire space, making sure every dahlia is covered.
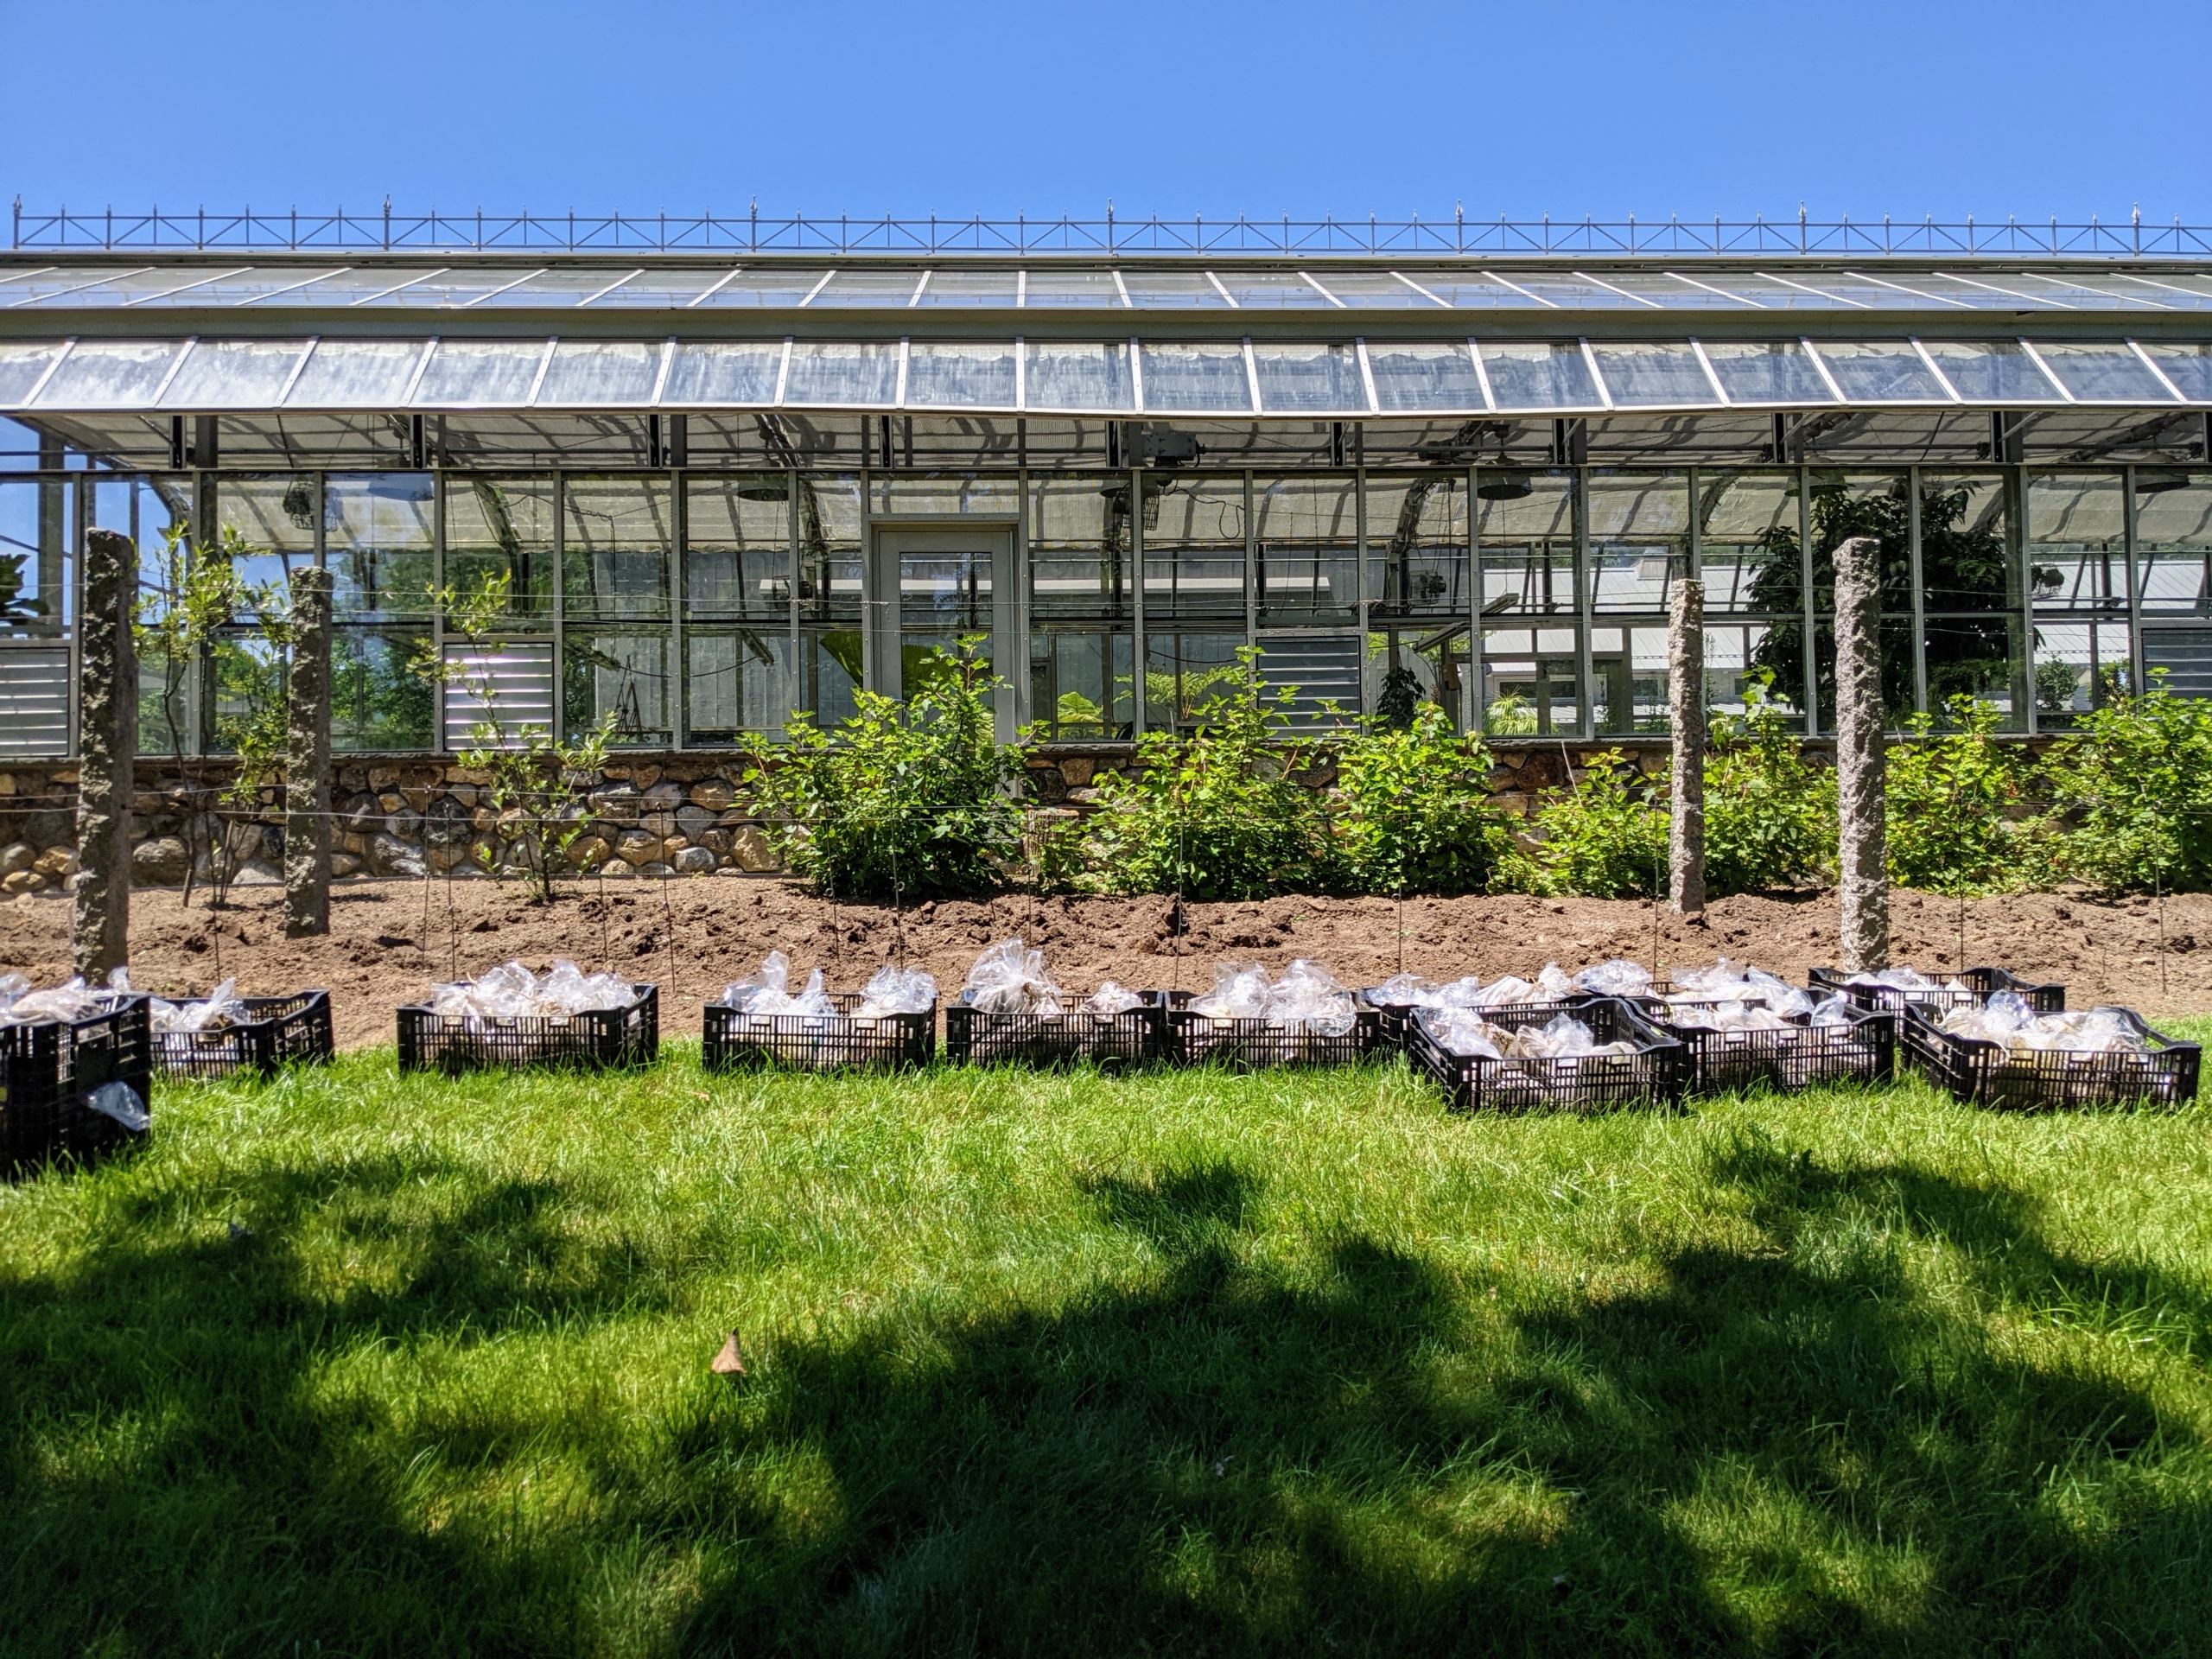
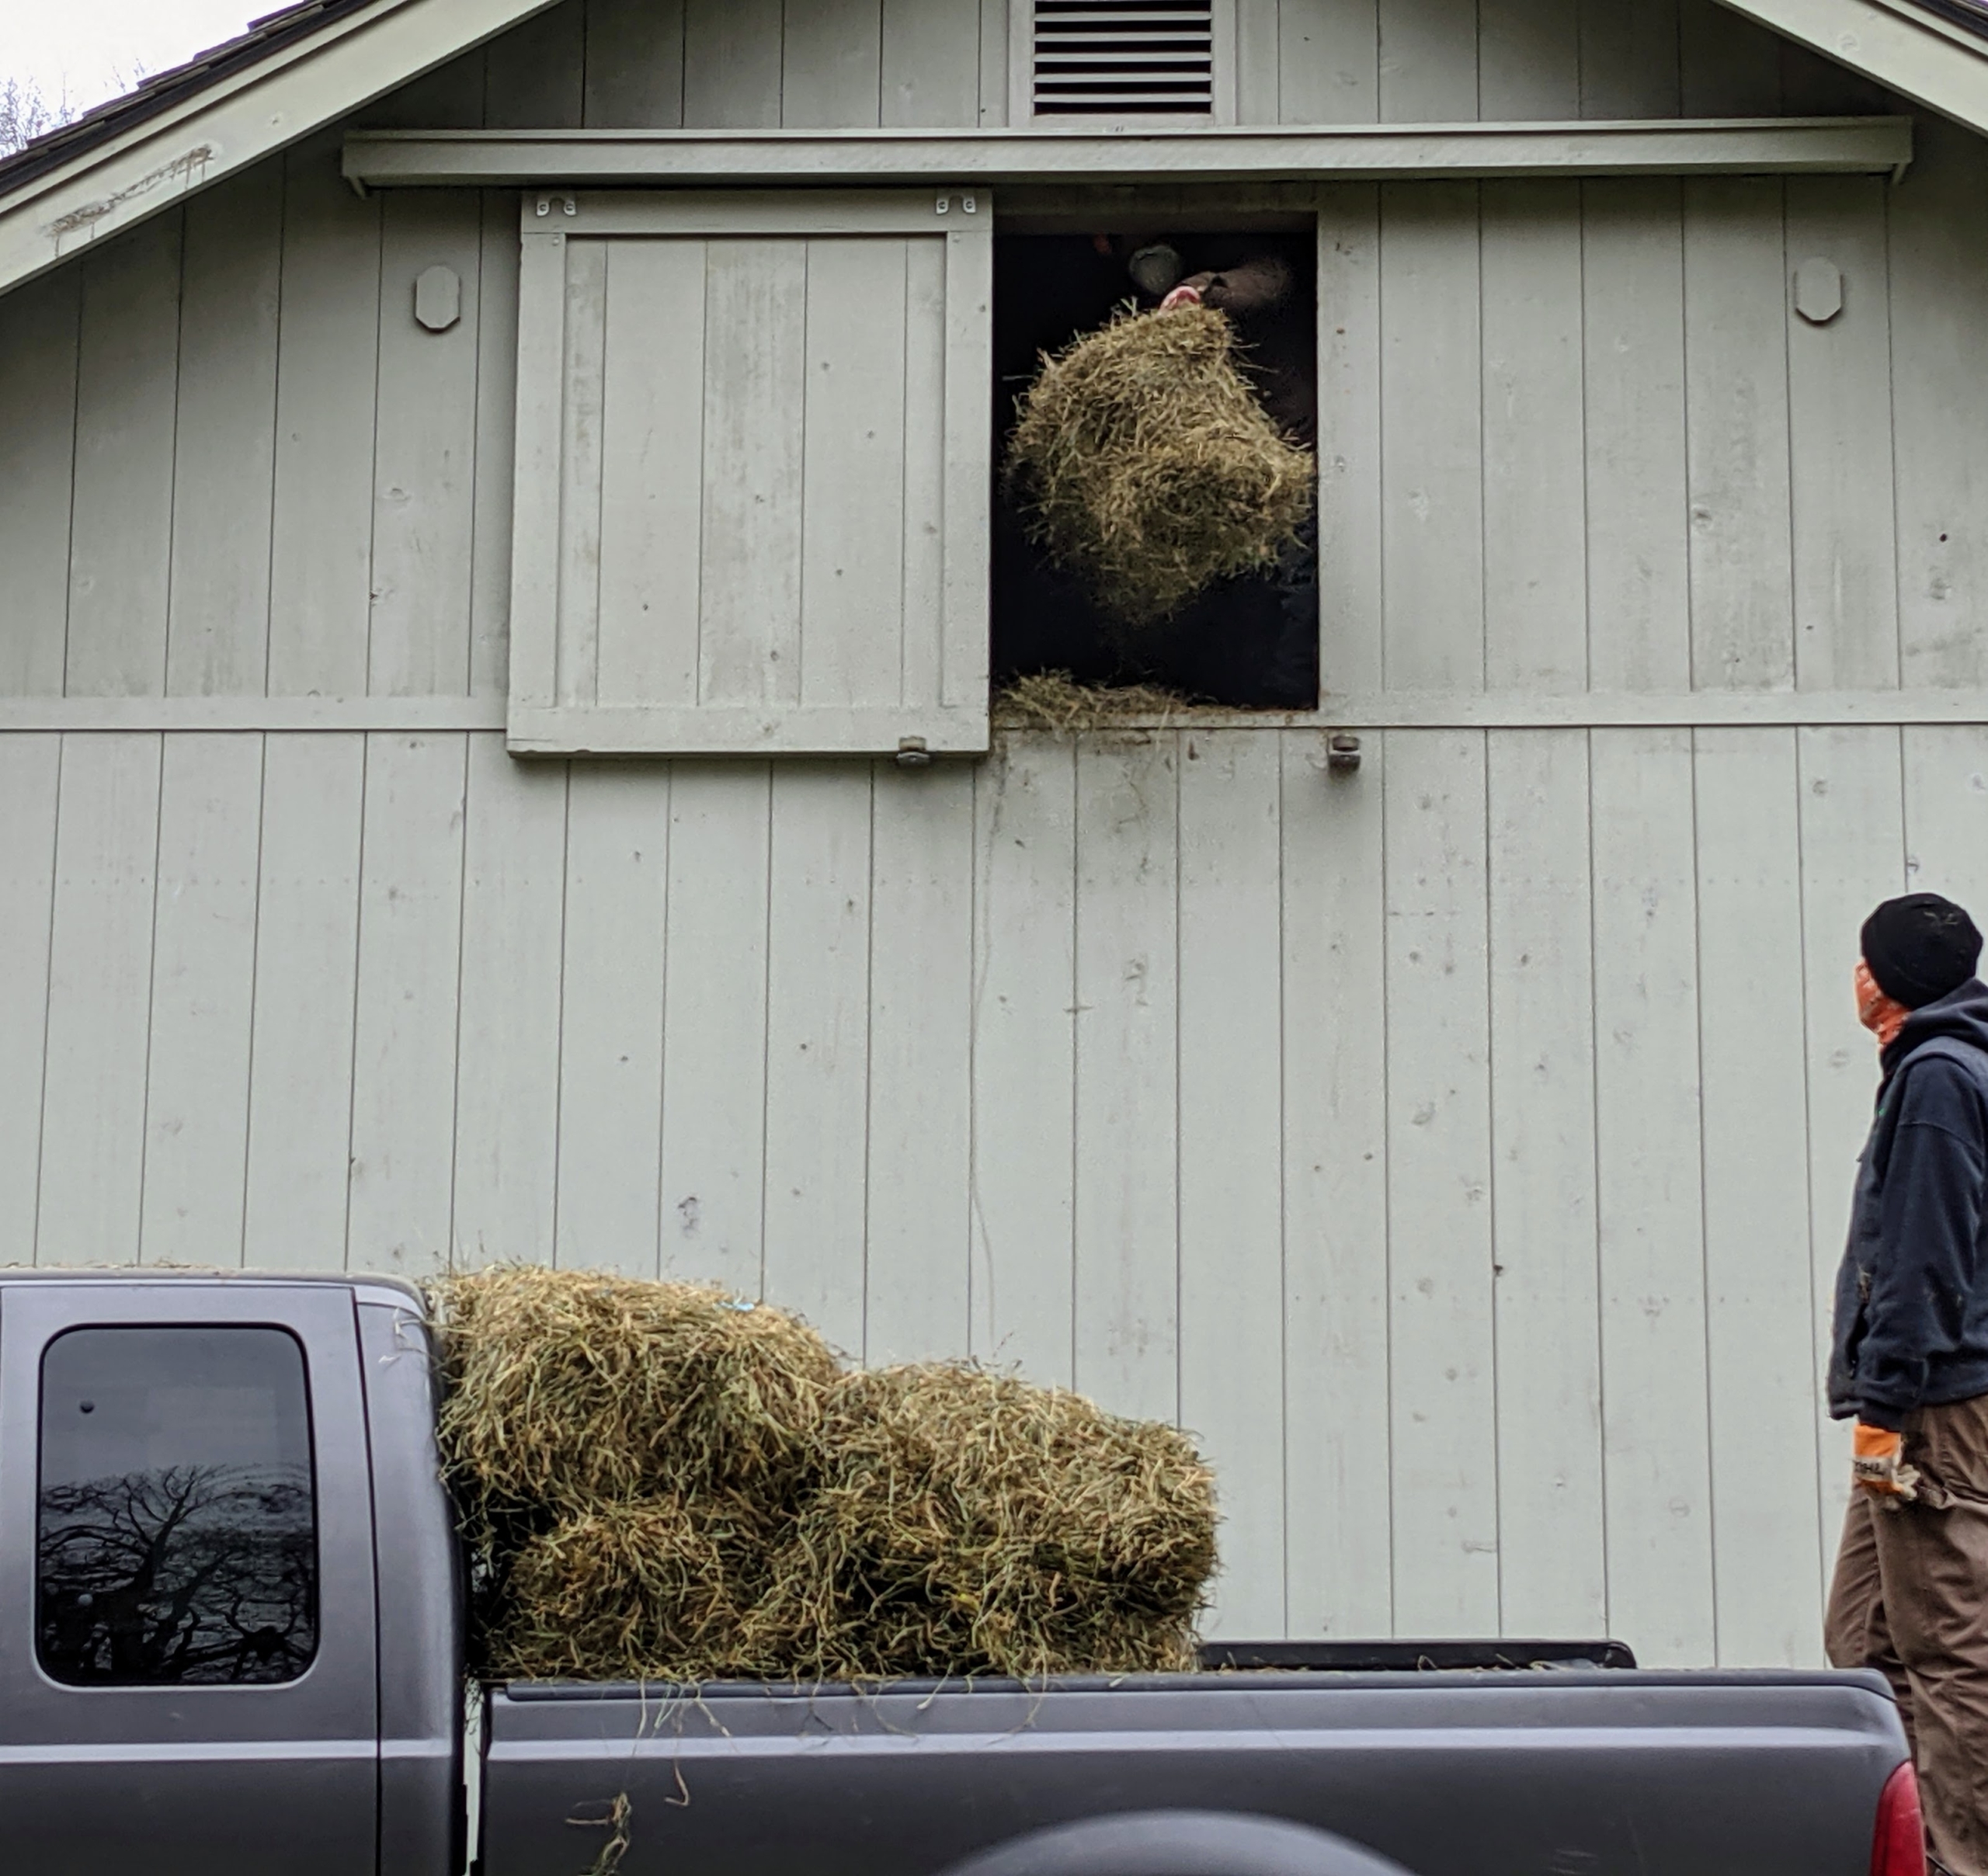
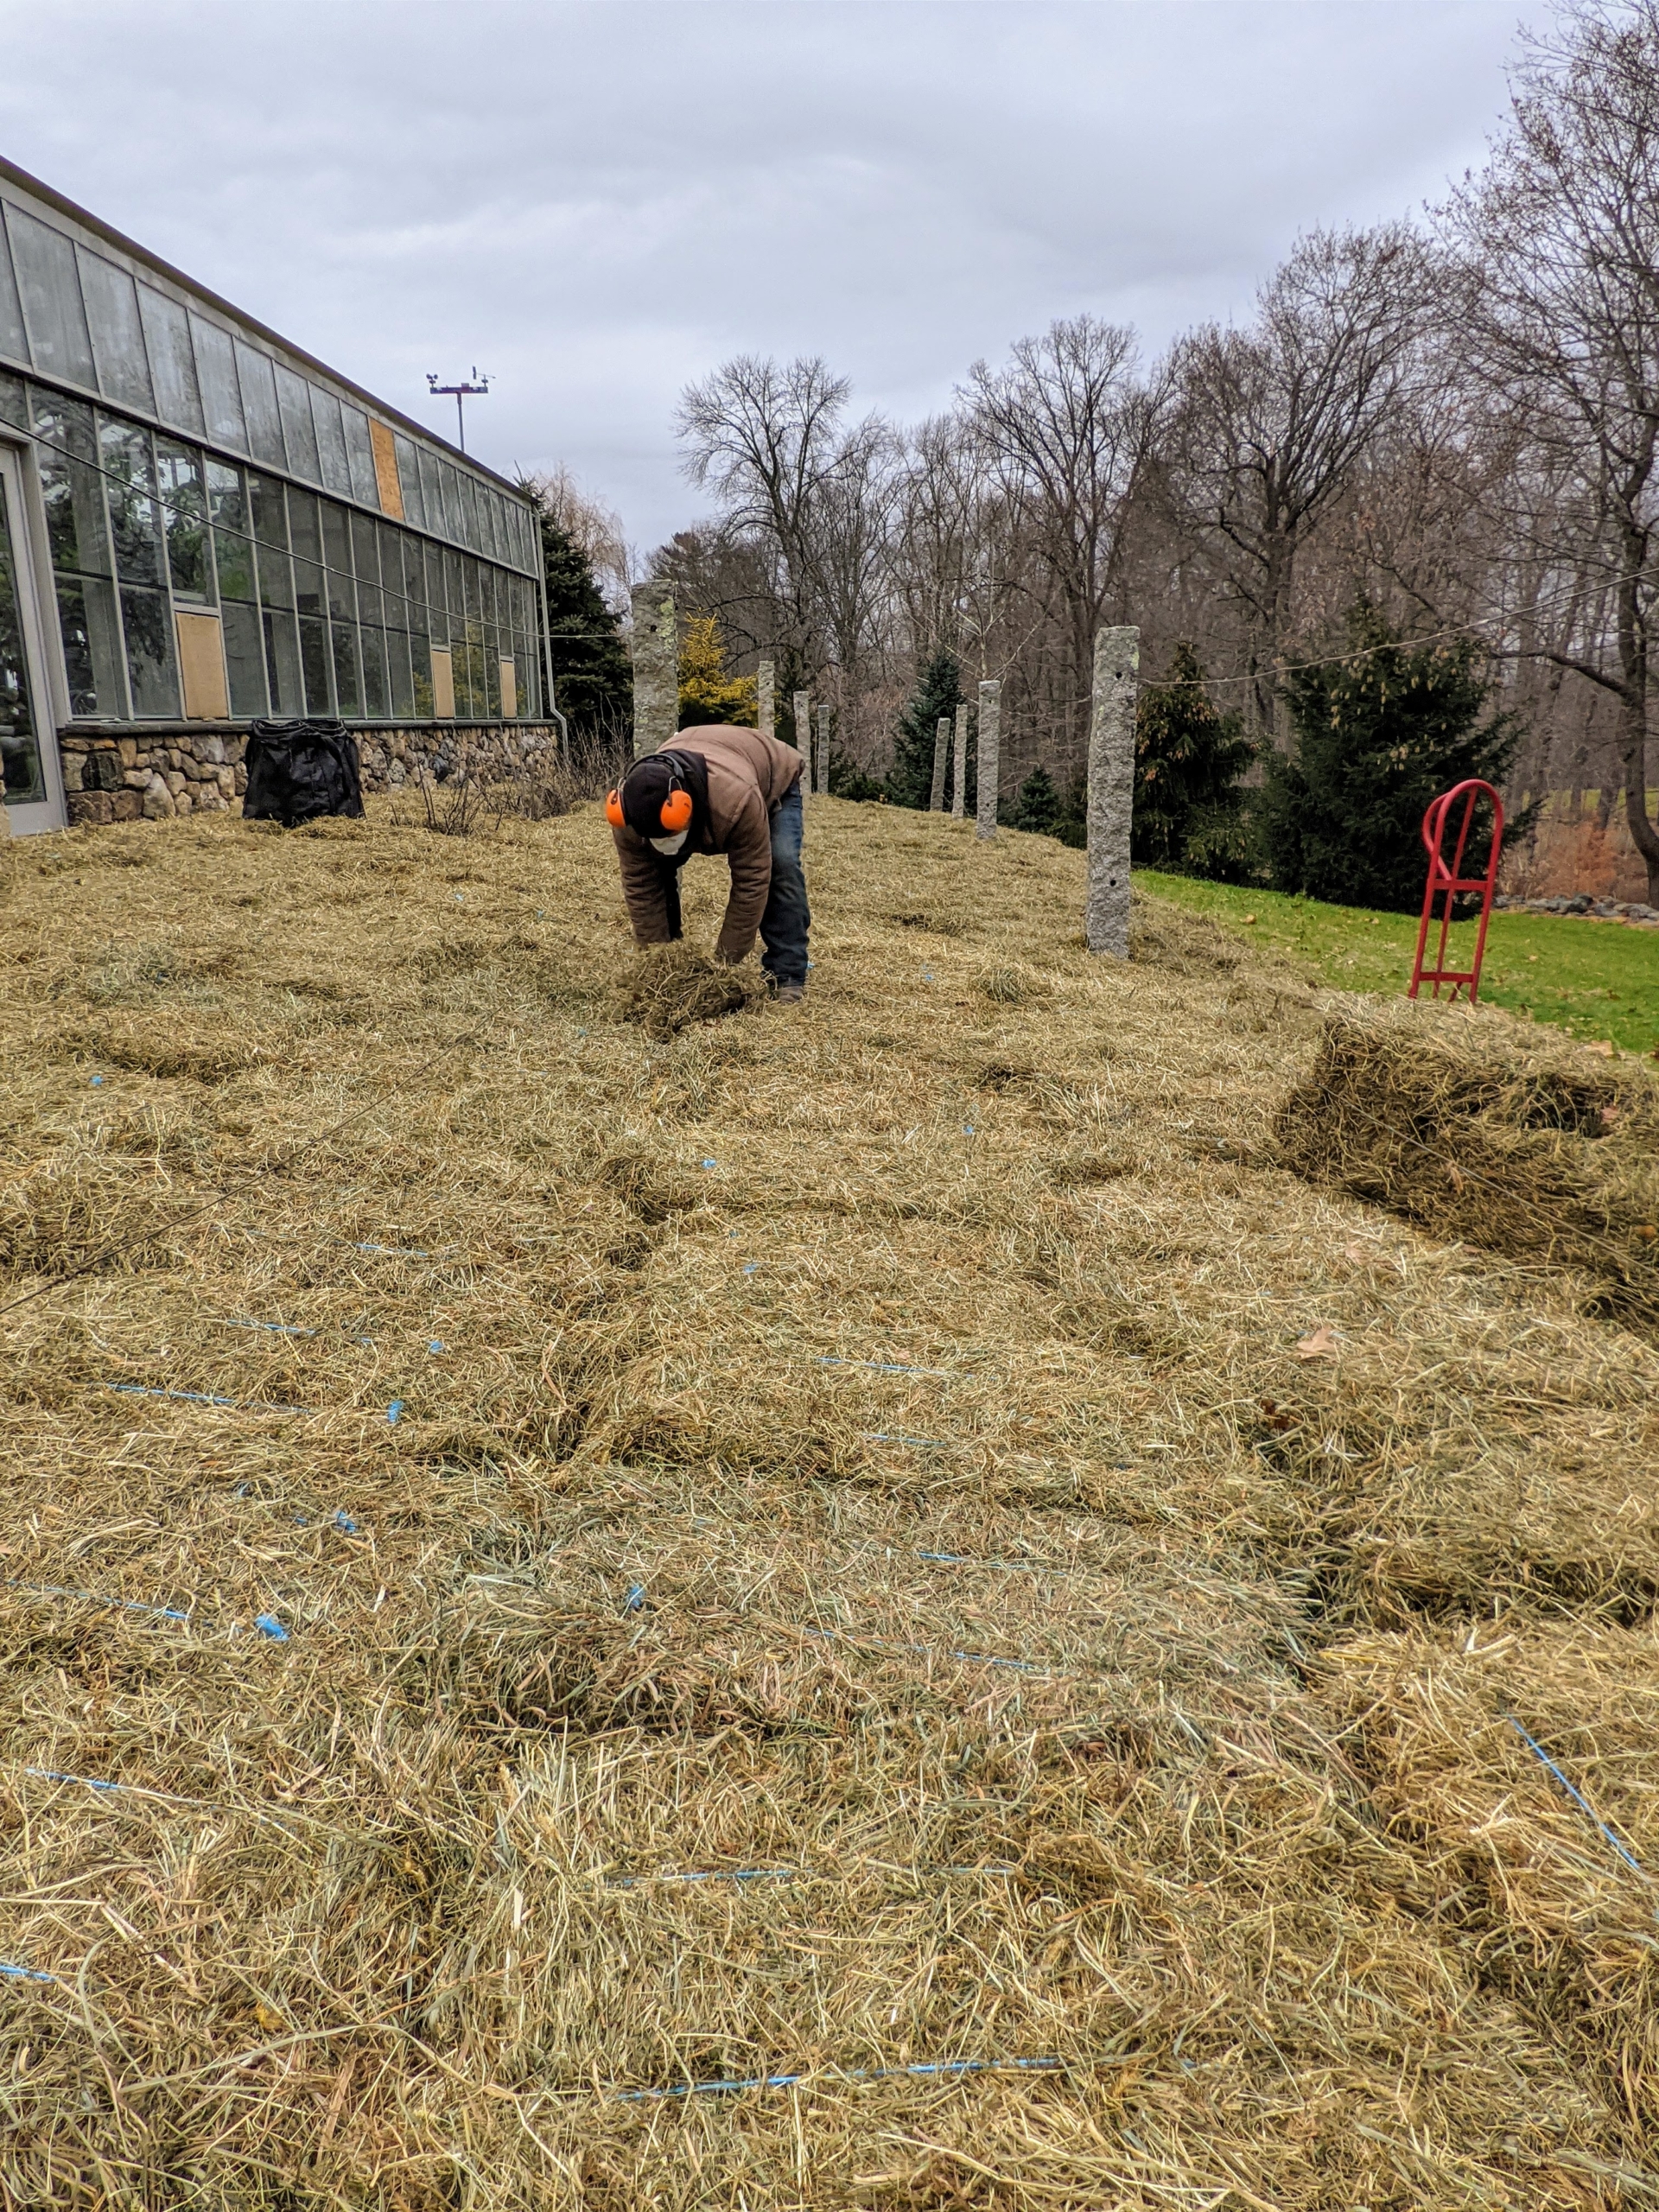
I grow a lot of hay here at the farm. The newer bales for my horses are kept in the stable hayloft; however, the older bales that my horses won’t eat are stored here above my run-in shed. This hay is saved and used to help winterize the hoop houses – and now our precious dahlia tubers.
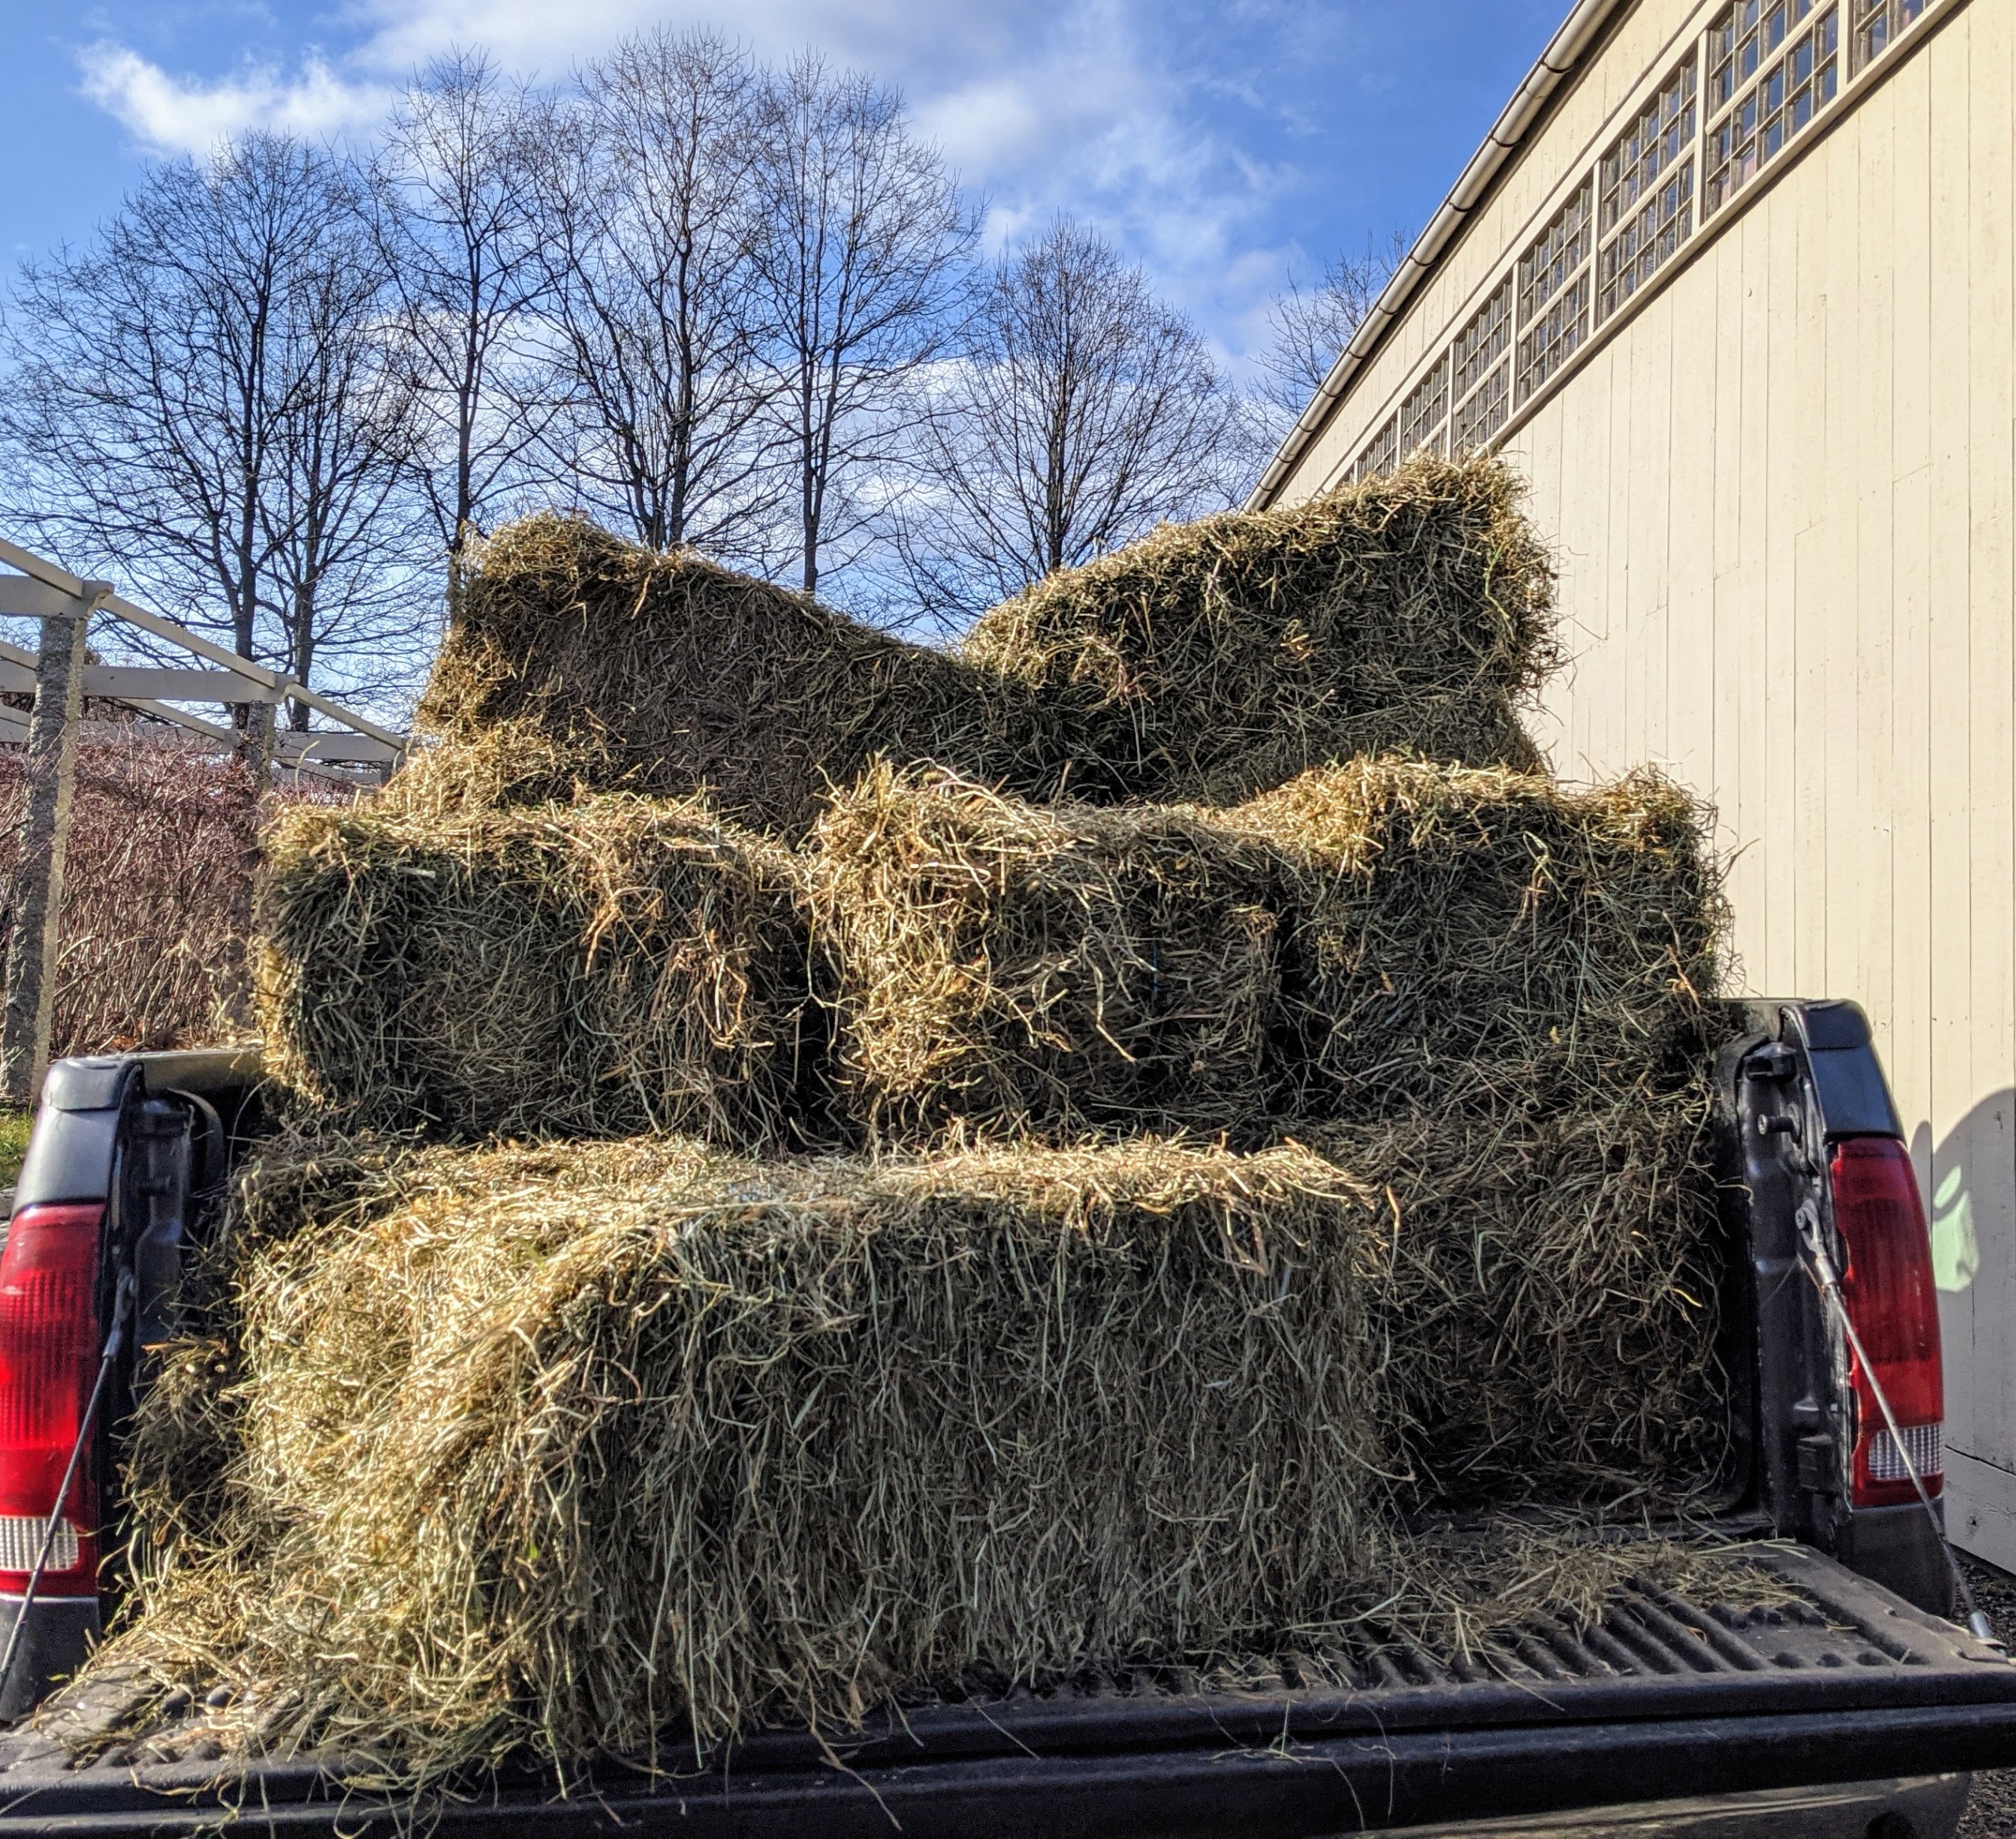
Bales are delivered to the dahlia garden in large batches.
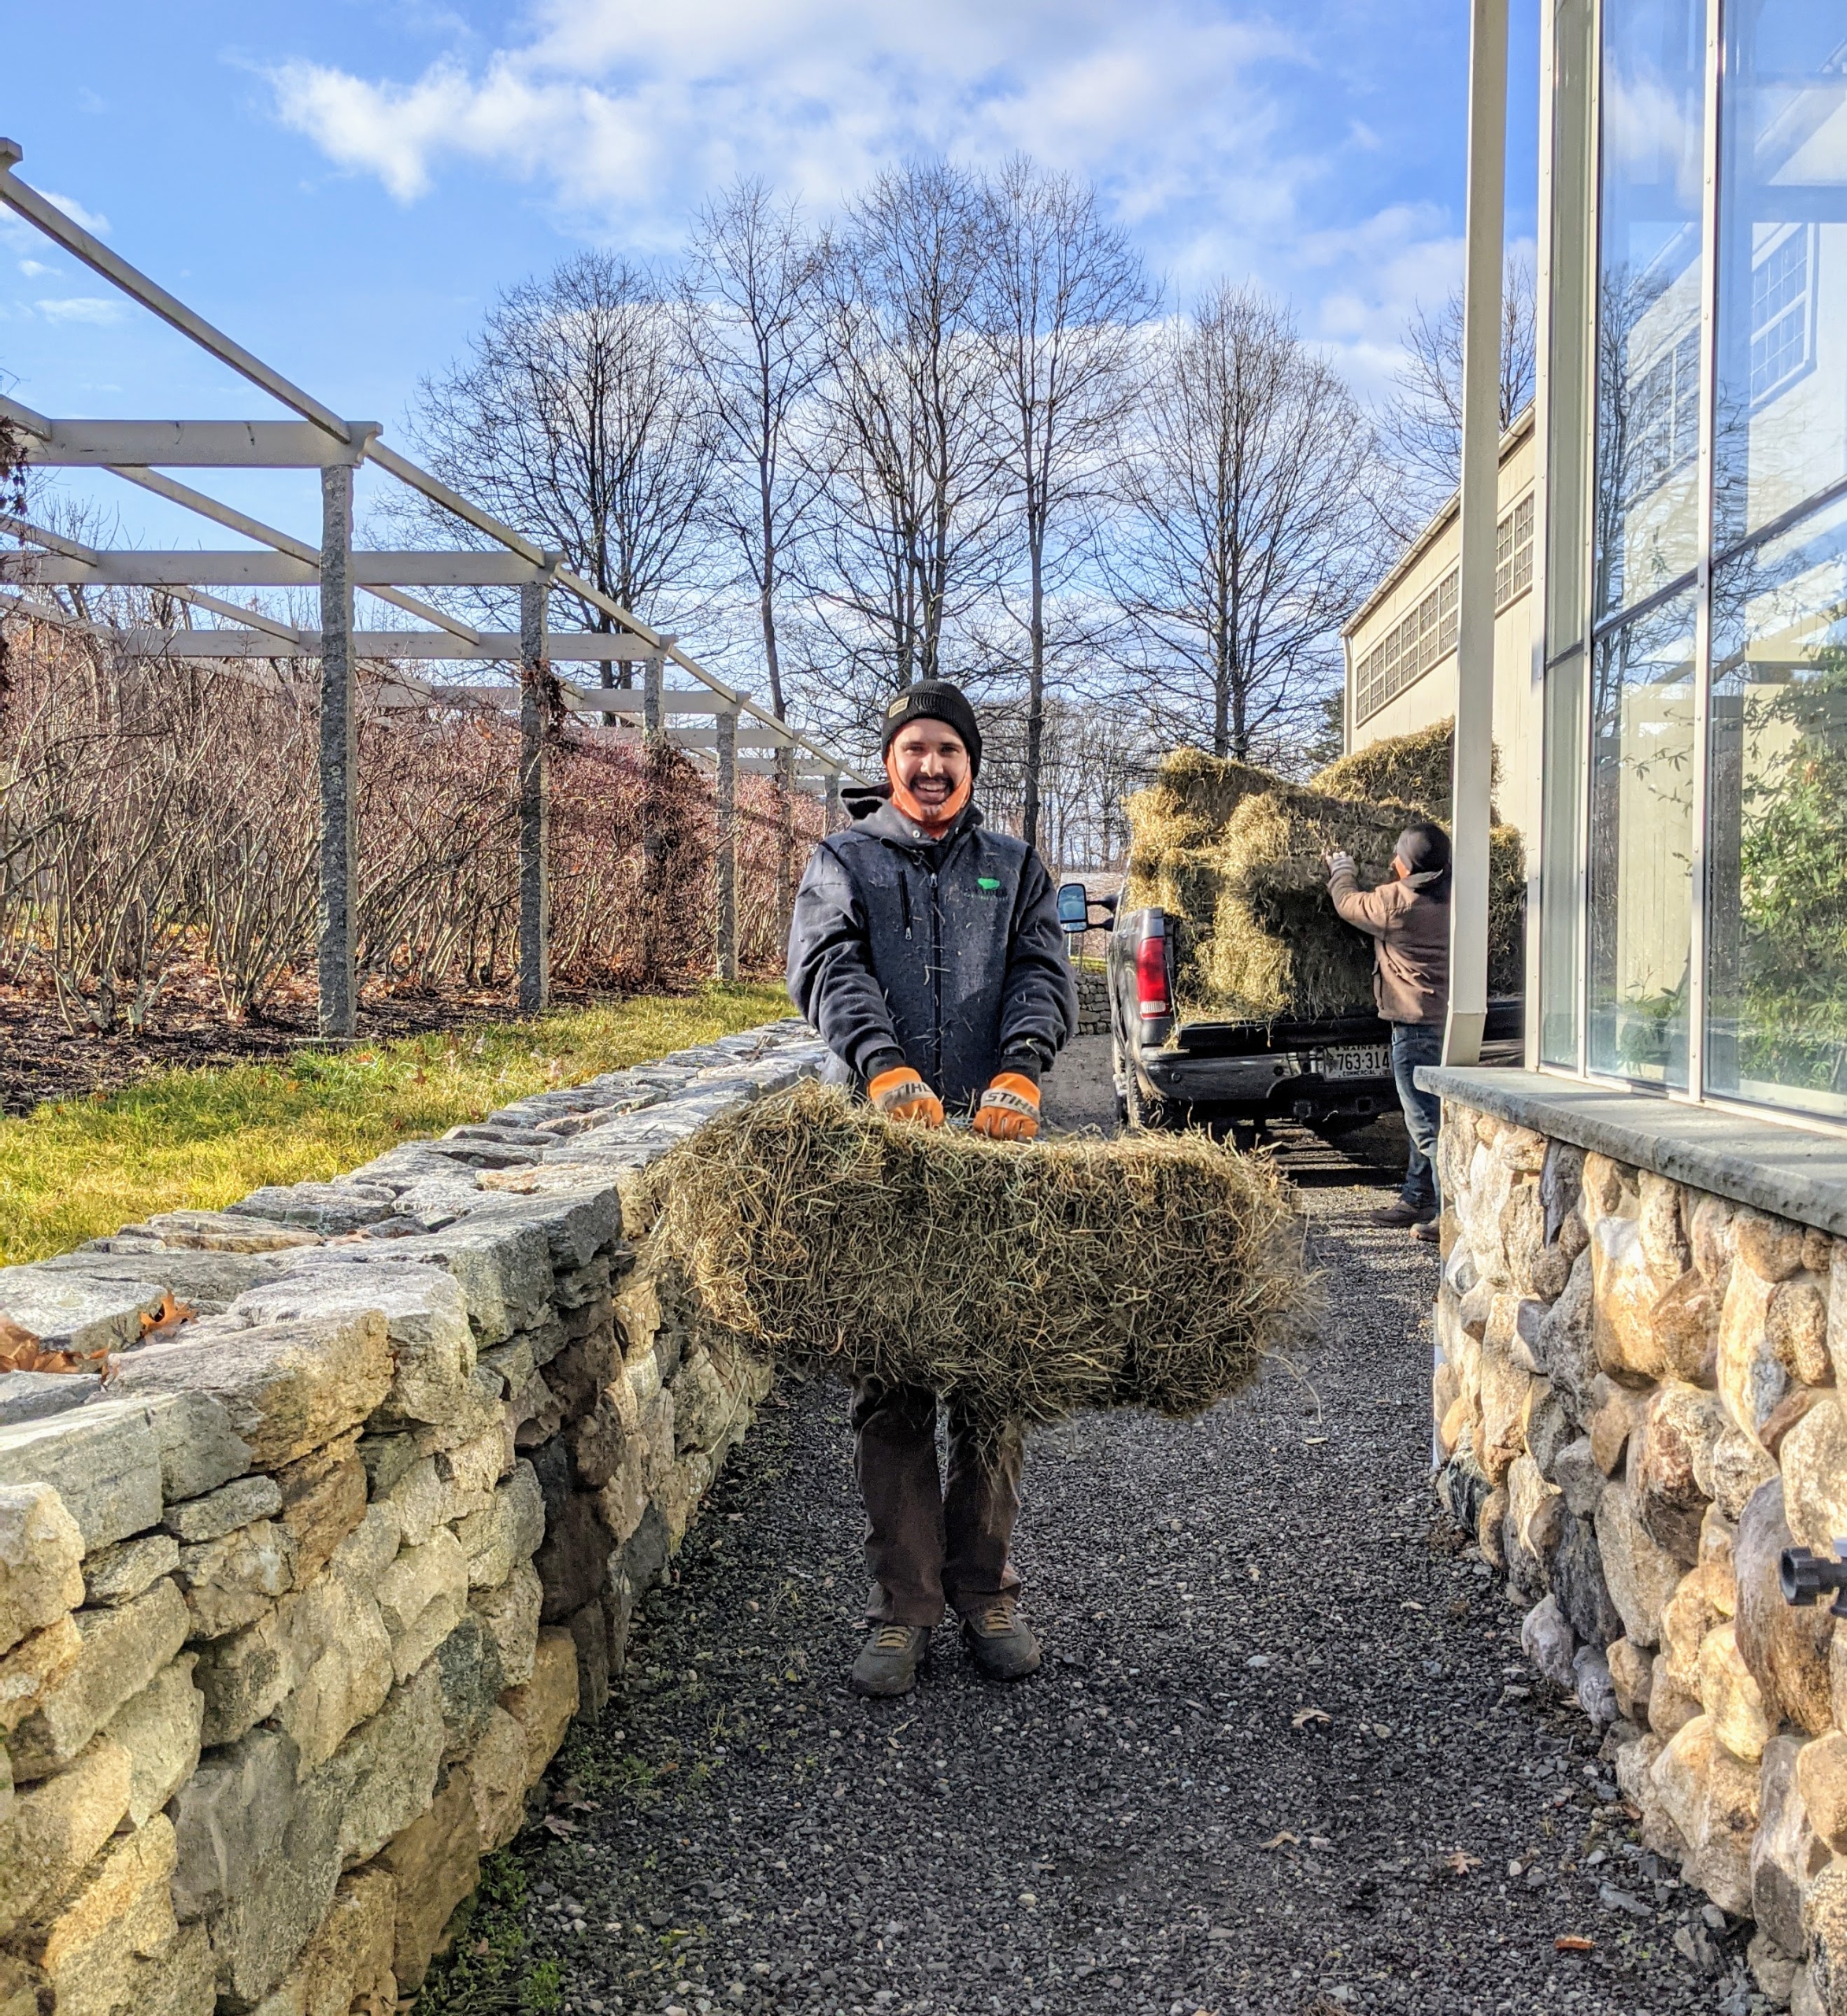
A standard two-string square hay bale weighs between 40 and 75 pounds. Brian and Phurba carry them to the garden bed one by one.
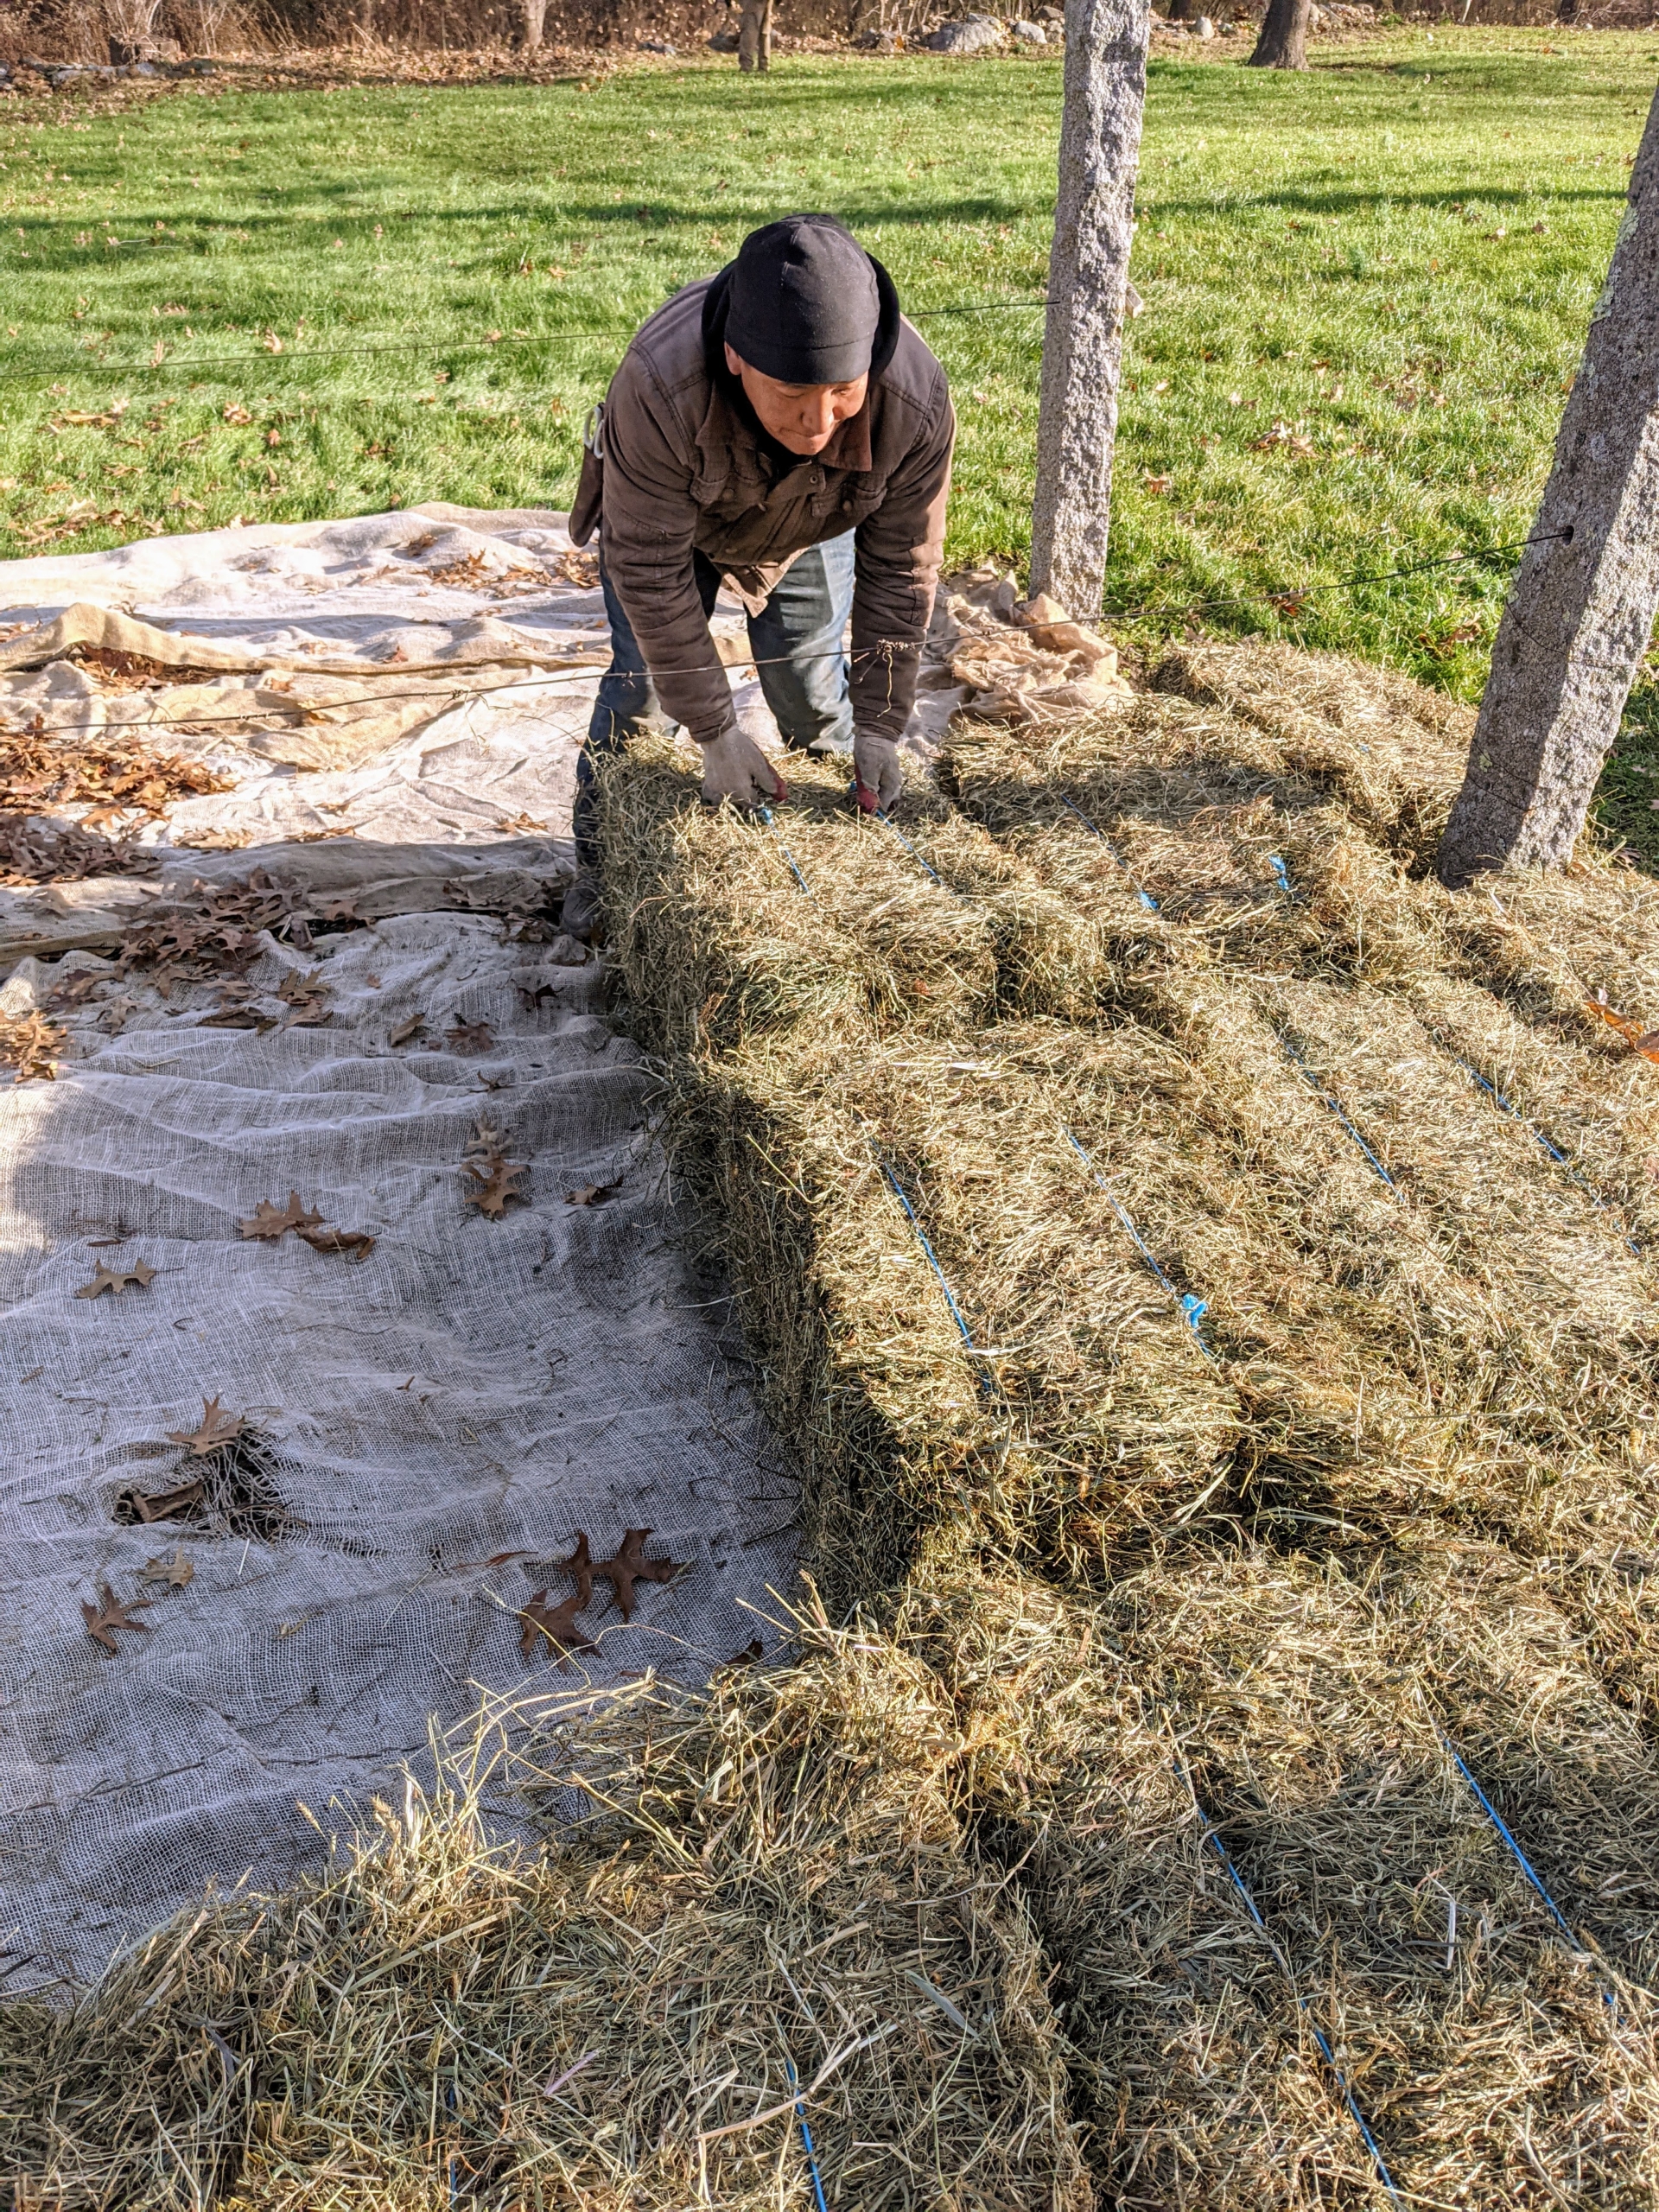
And then place them on top of the burlap. Phurba ensures the bales are positioned tightly together – it is important to cover the area completely, so the tubers are well-insulated.
This thick layer of hay acts as a barrier to protect the plants, much like a thick layer of soil or mulch would do.
Any spaces between the bales are filled with loose flakes of hay.
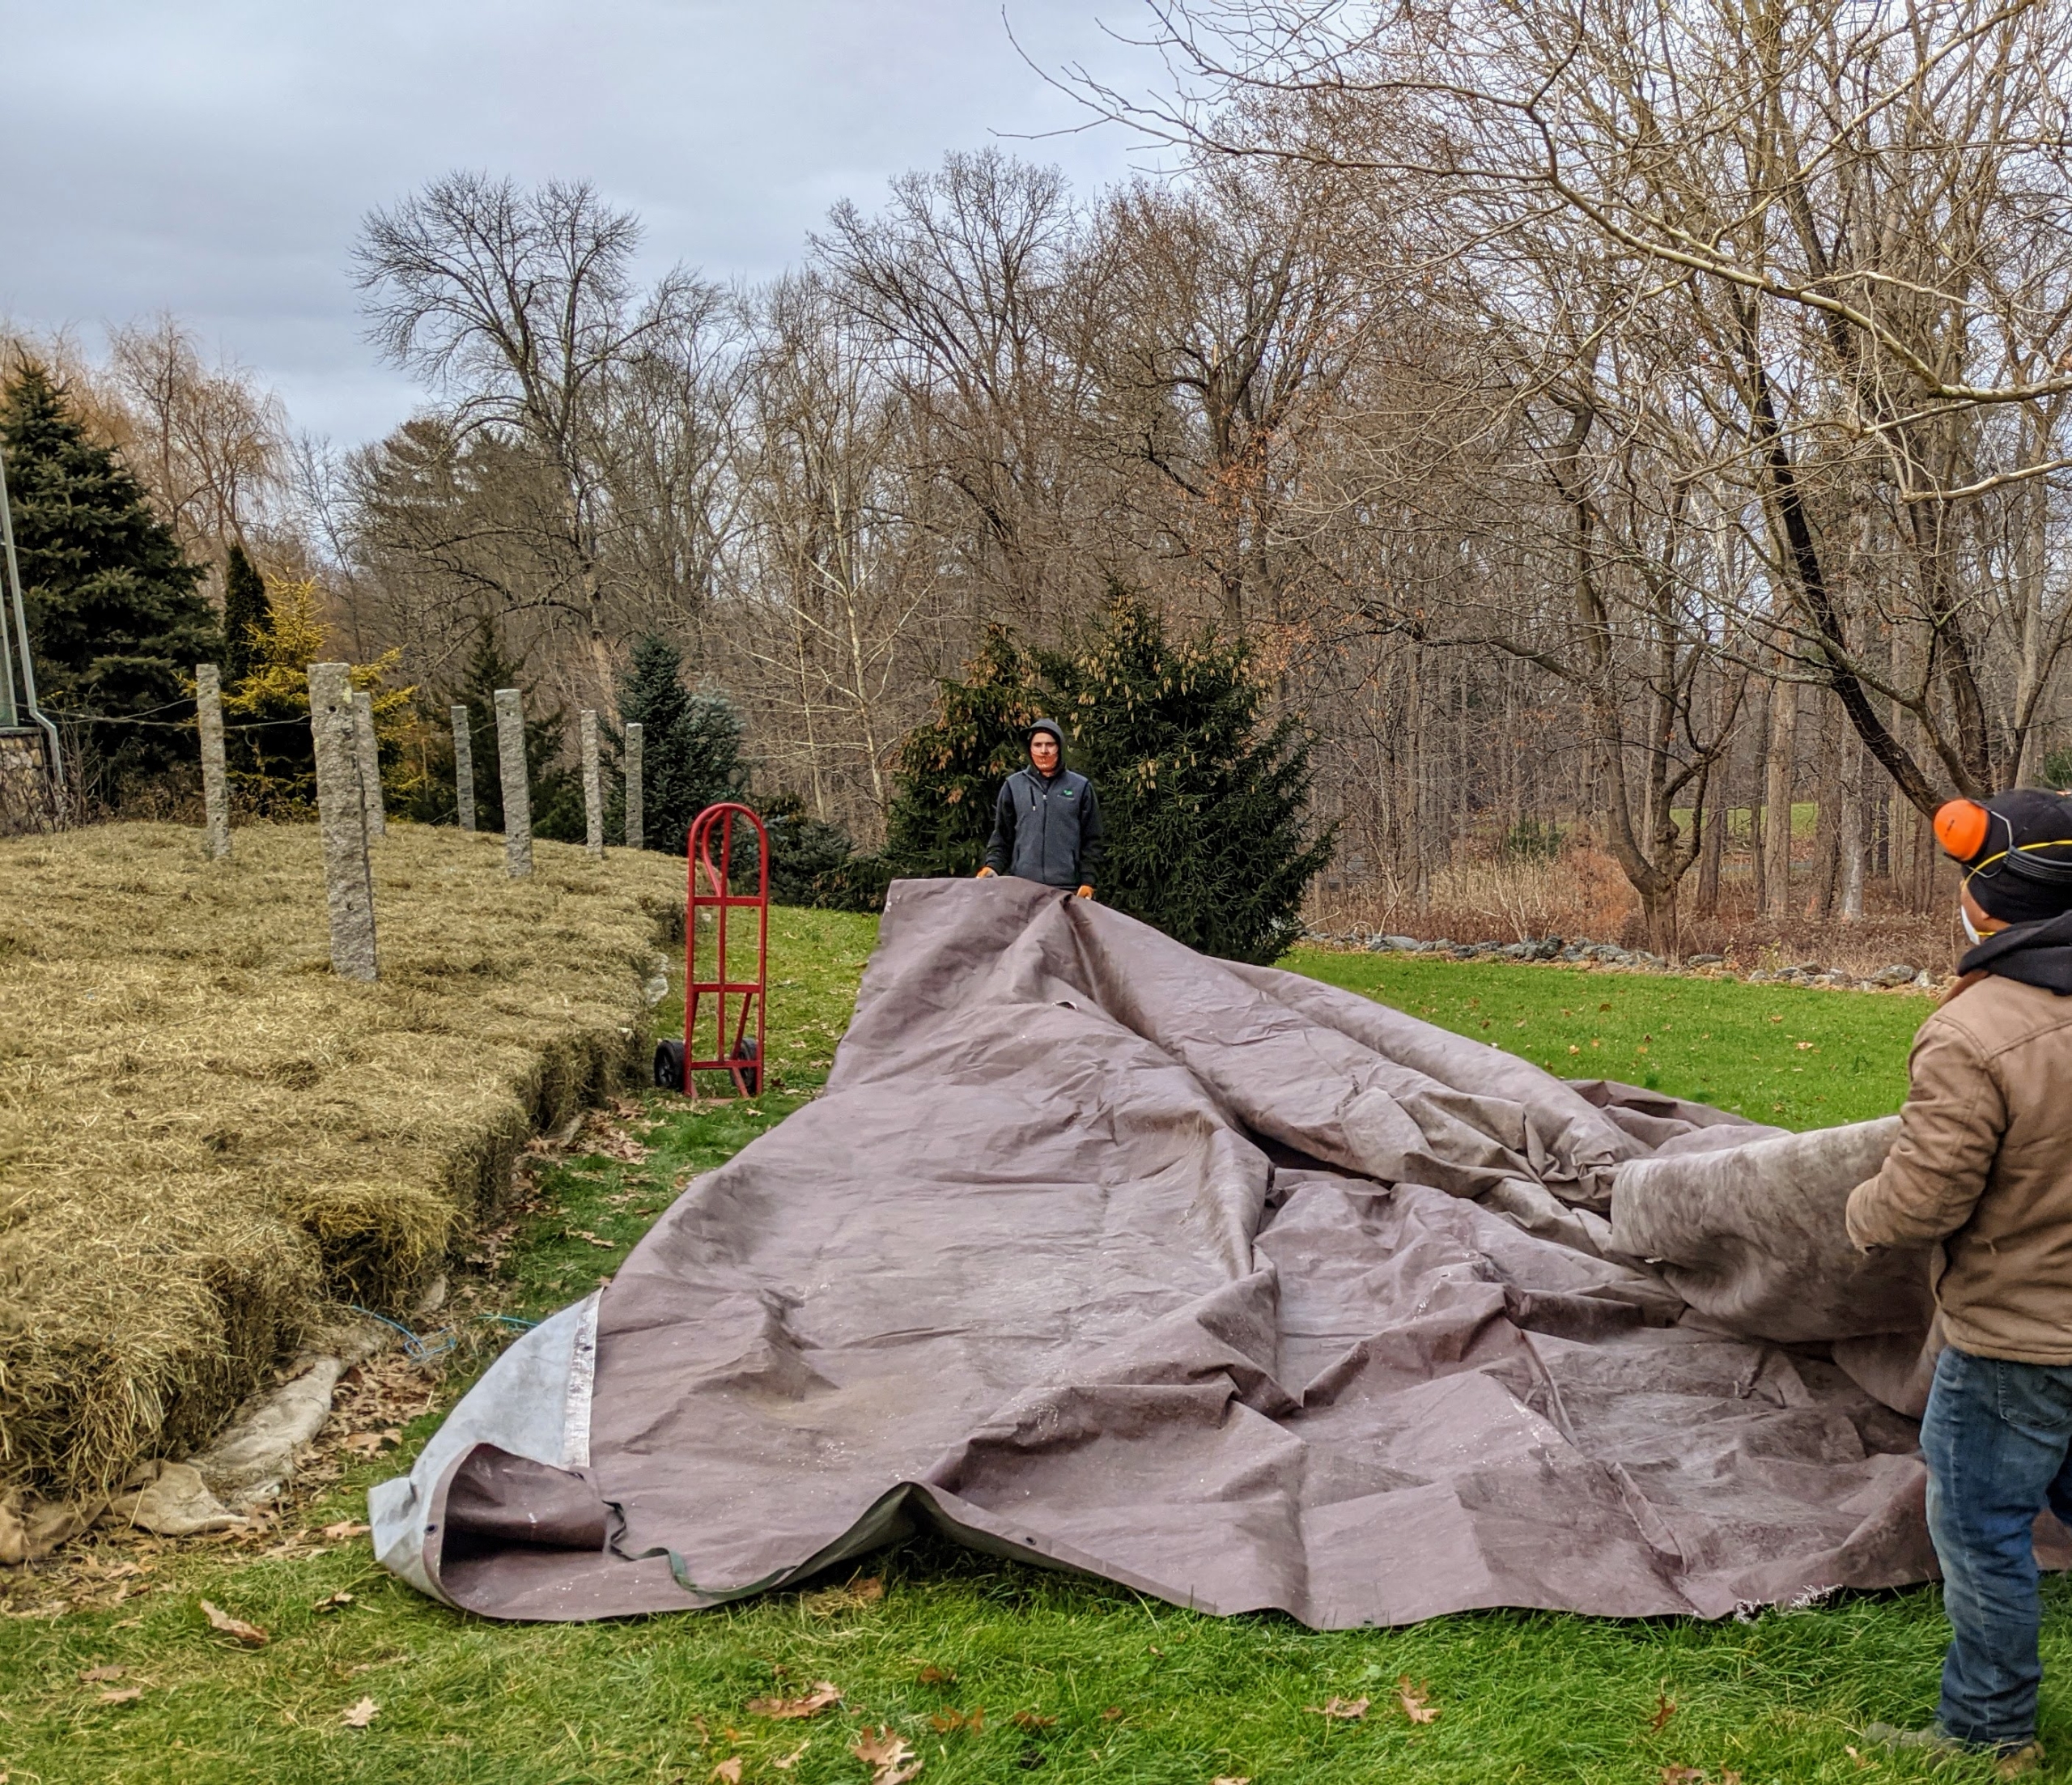
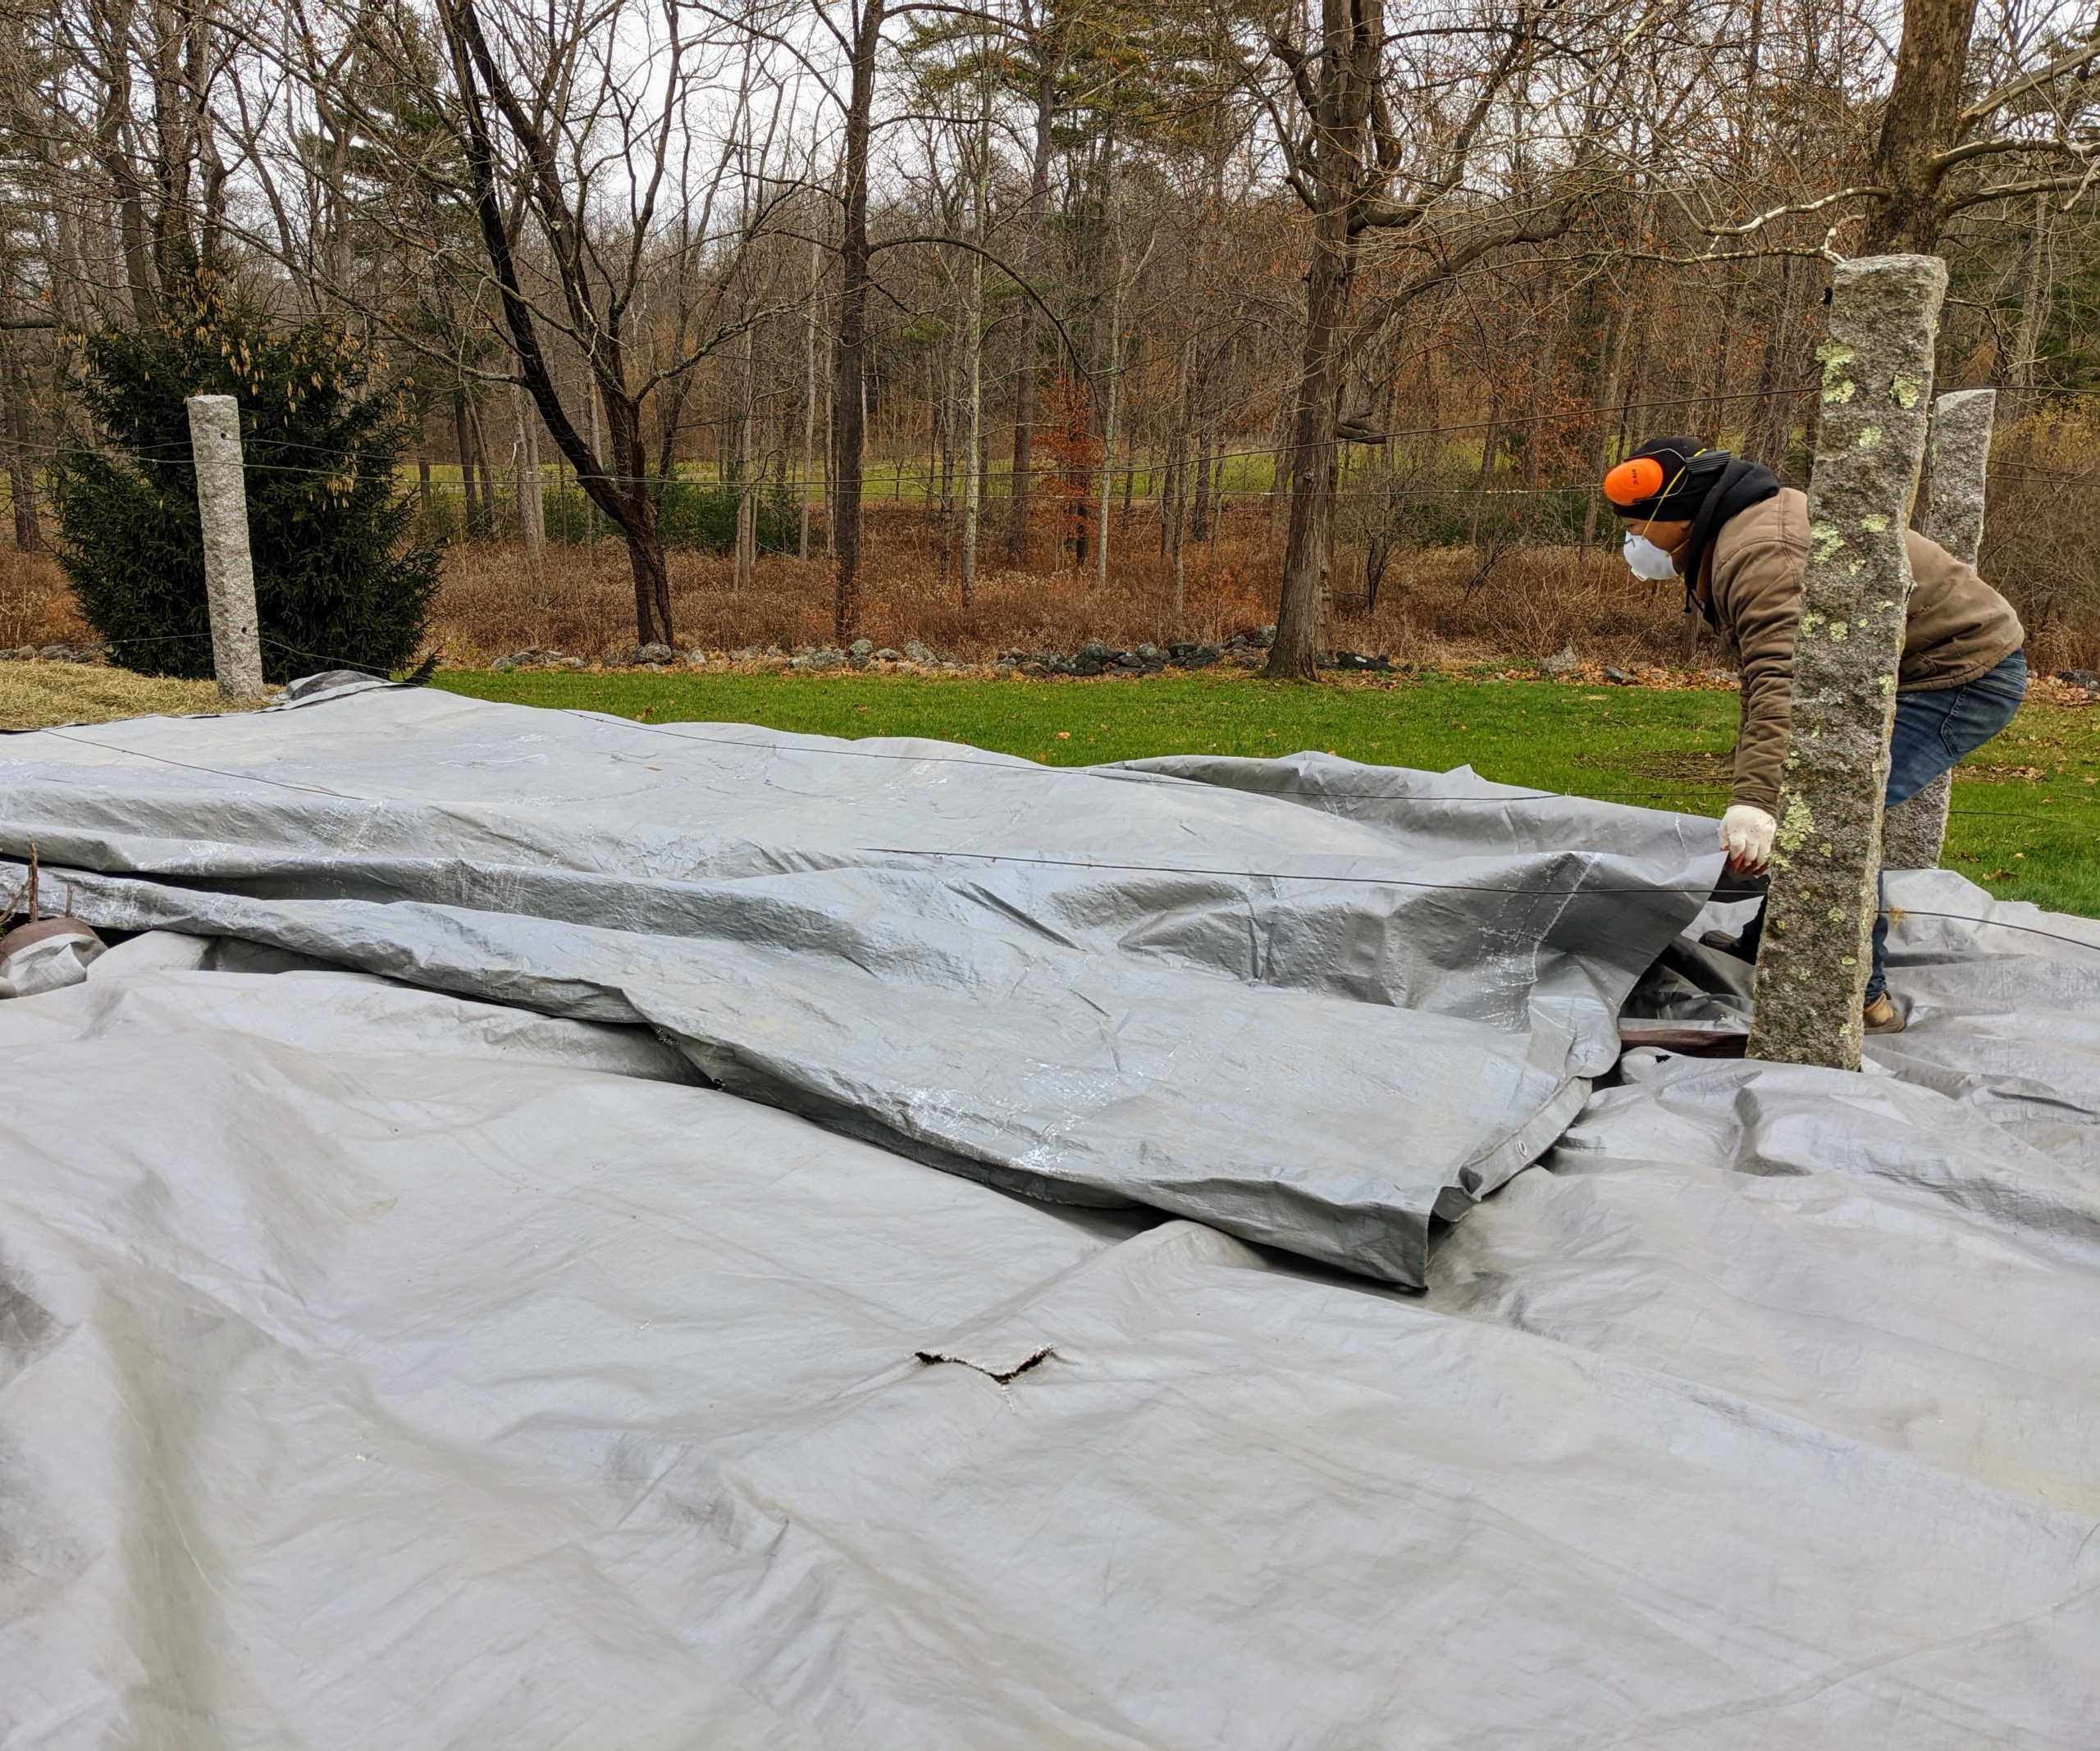
To keep excess moisture from saturating the tubers, I then instructed the crew to also cover the bales. The crew uses old tarps, also saved from another project, to cover the hay.
Brian and Phurba spread the tarps across the bed and in between the posts.
Phurba and Brian put down another tarp, overlapping it slightly with the first one and making sure it all looks neat, tidy, and covered.
To keep them in place, the tarps will be weighed down with logs cut from felled trees right here at the farm. And hopefully we’ll have lots of healthy plants next spring. How are you protecting your dahlias? Share your methods with me in the comments section below.
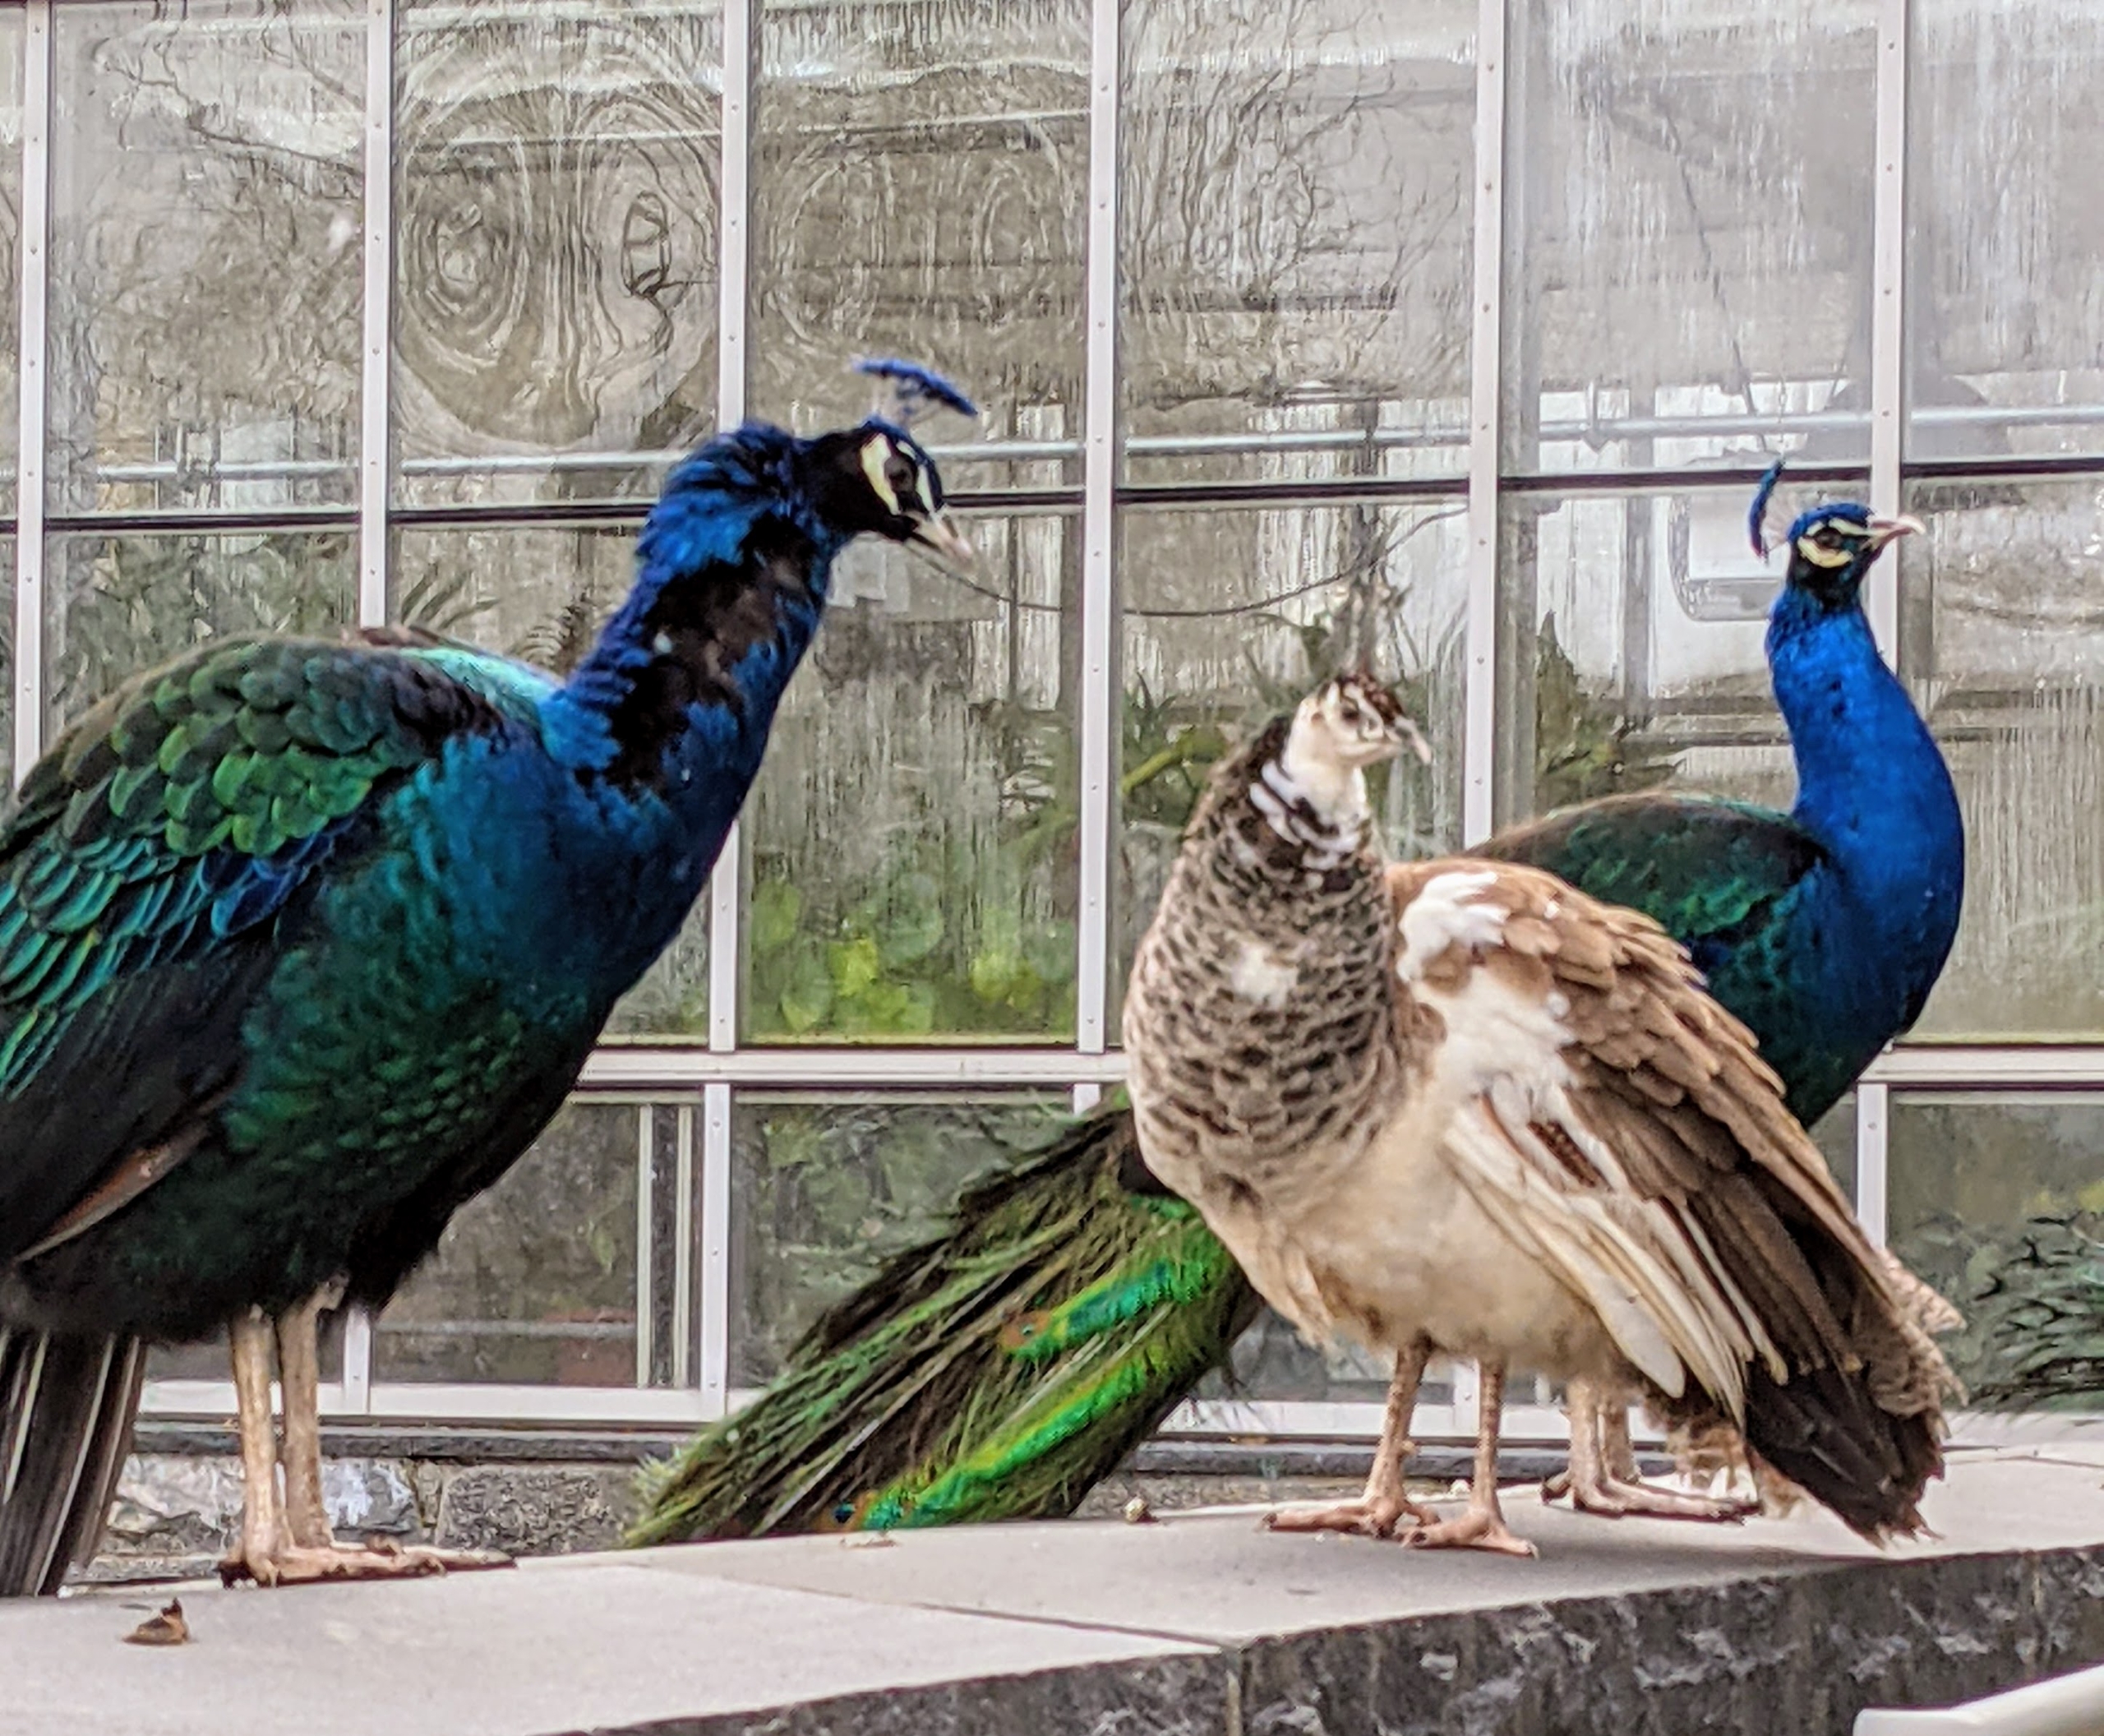
And what do you think, my peafowl friends? My peacocks and peahens are back behind the greenhouse sitting on the ledge watching all the activity around the farm.