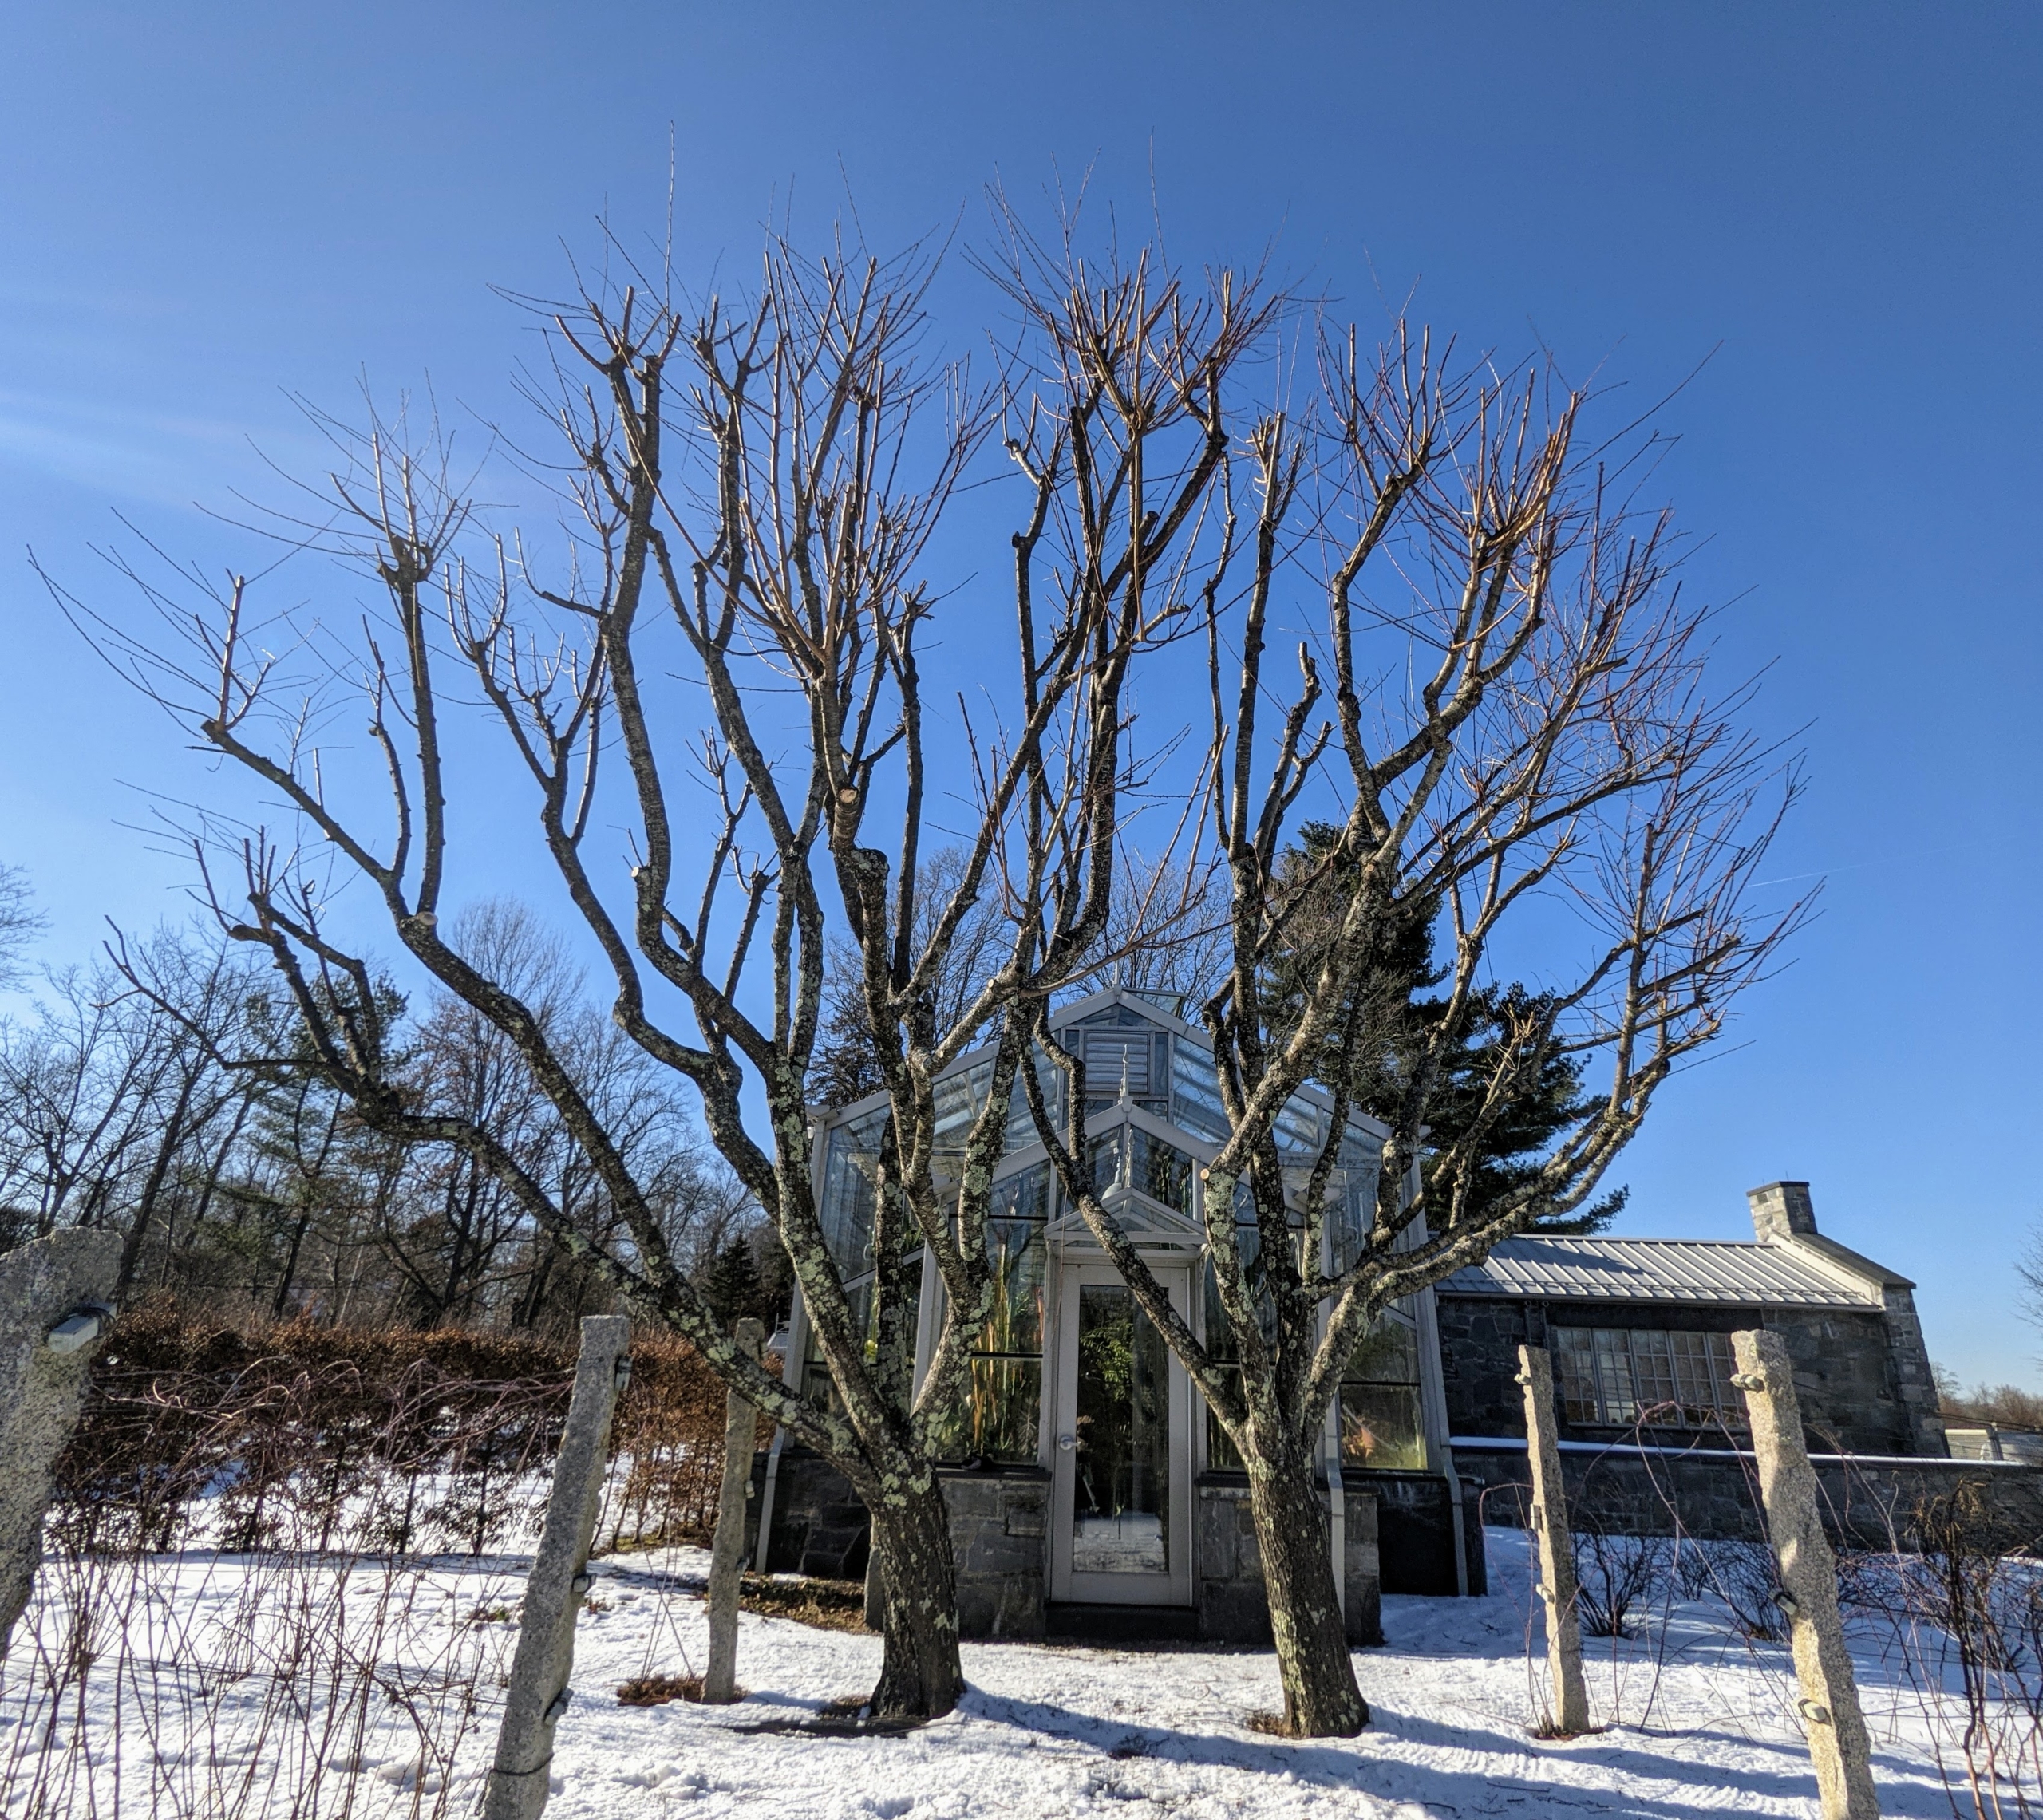
If you grow almond trees, the best time to prune them is now - in winter - when the trees are dormant. Pruning not only helps to develop proper shape and form, but also encourages new growth, promotes high fruit yield, and maintains good tree health. At my Bedford, New York farm, we spend a lot of time maintaining the many, many trees - pruning their branches, limbing them up, and improving their shape at least once a year. Last week, my outdoor grounds crew tackled the two almond trees located just outside my main greenhouse.
Enjoy these photos.
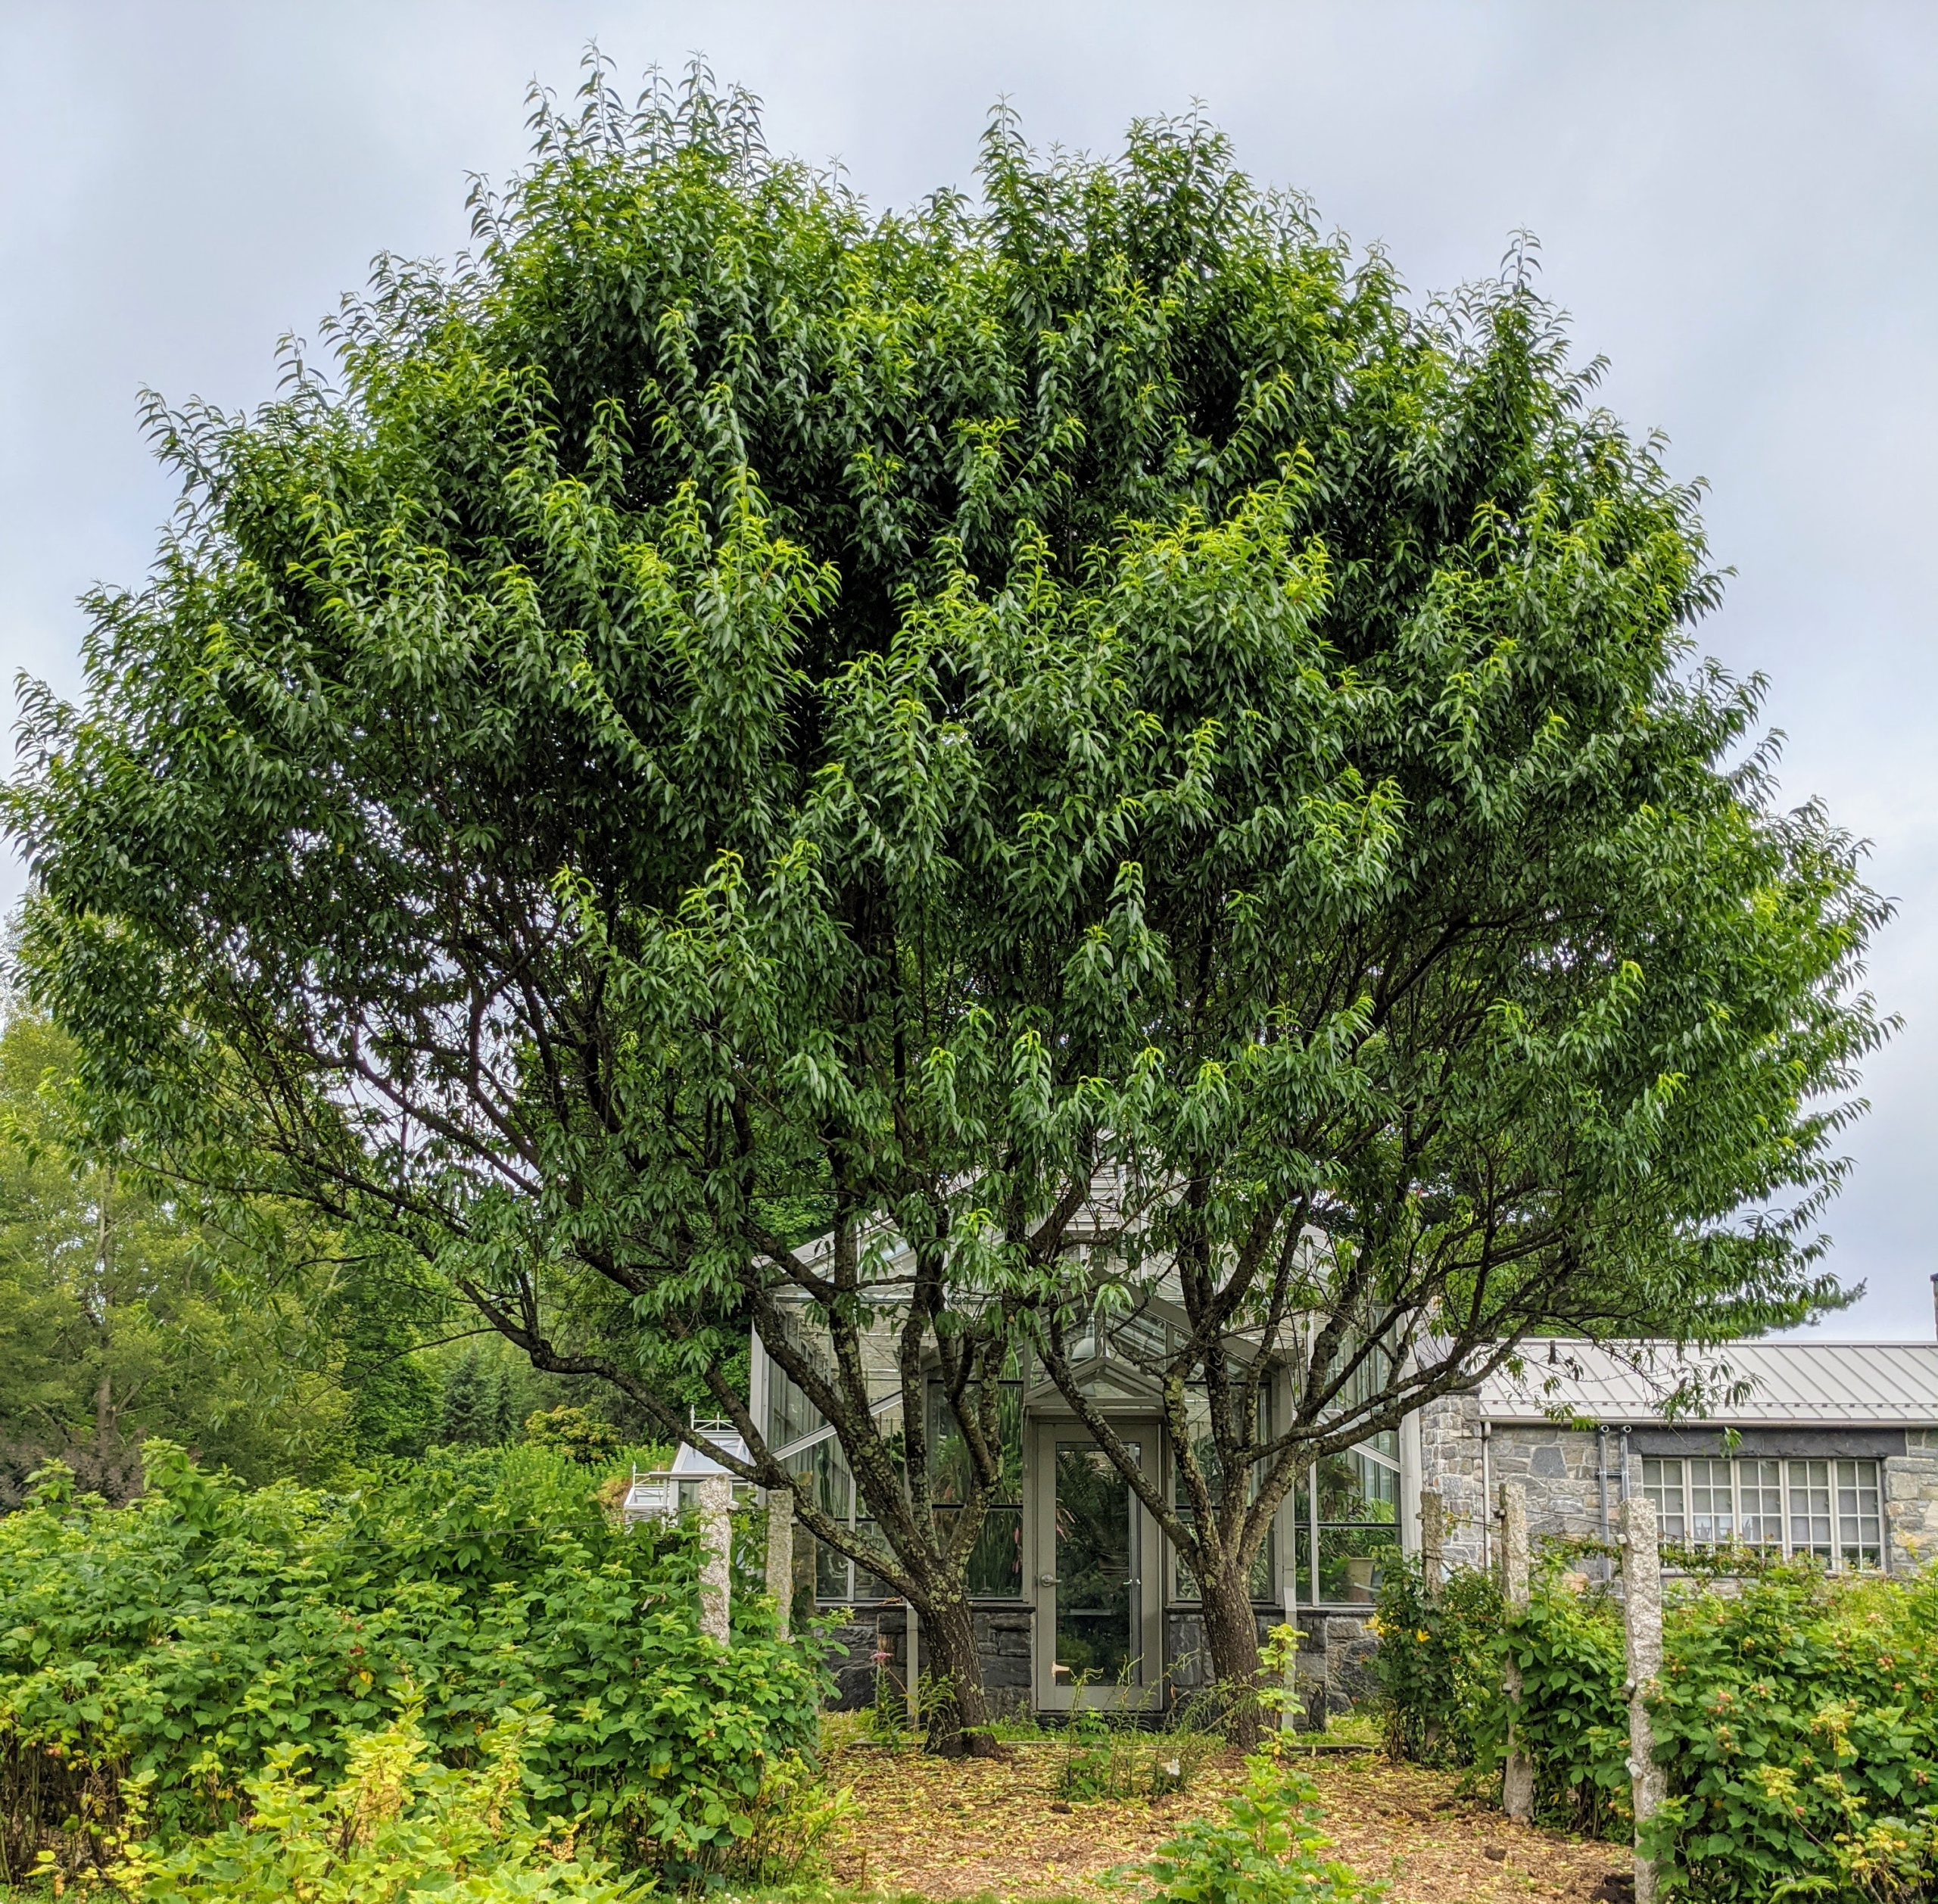
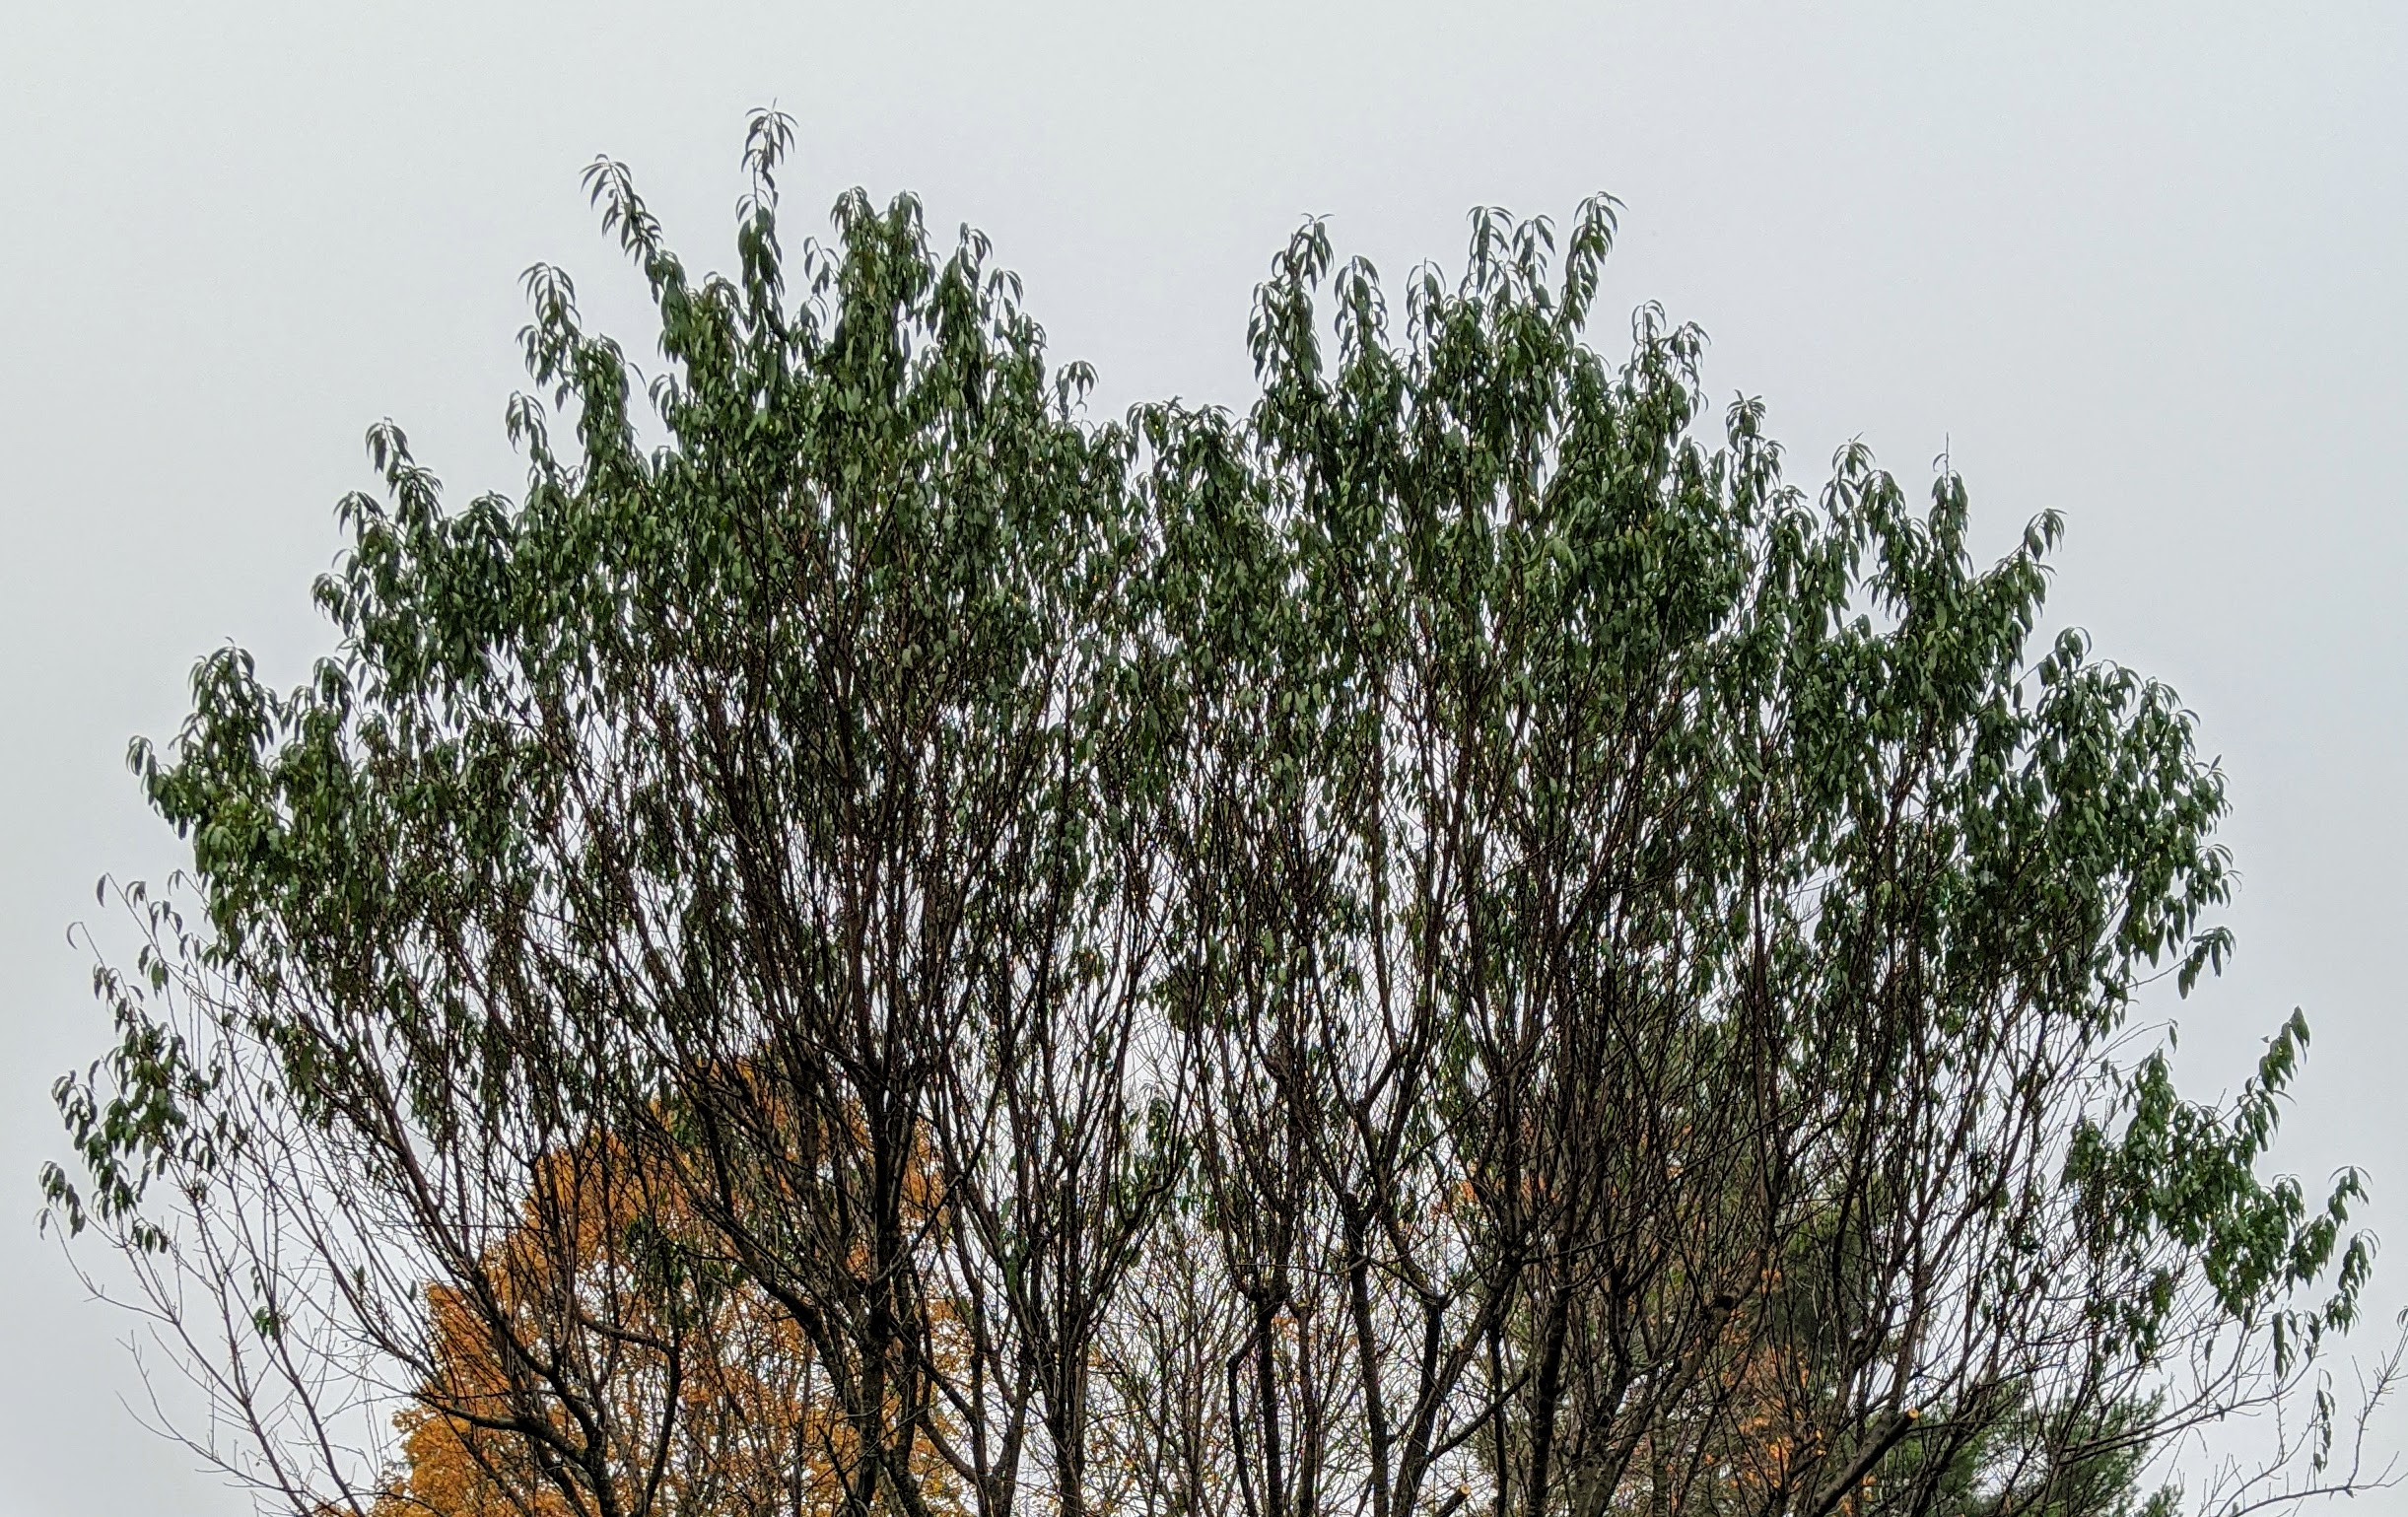
Here are my two almond trees. This photo was taken in July when they were full of leaves. These trees thrive in mild, wet winters, and hot, dry summers. The almond belongs to the rose family Rosaceae, making it a relative of several well-known fruit trees. There are different types, ranging from small ornamental shrubs, Prunus glandulosa, grown only for their pretty flowers to medium-sized trees, Prunus dulcis, that produce edible nuts, such as these.
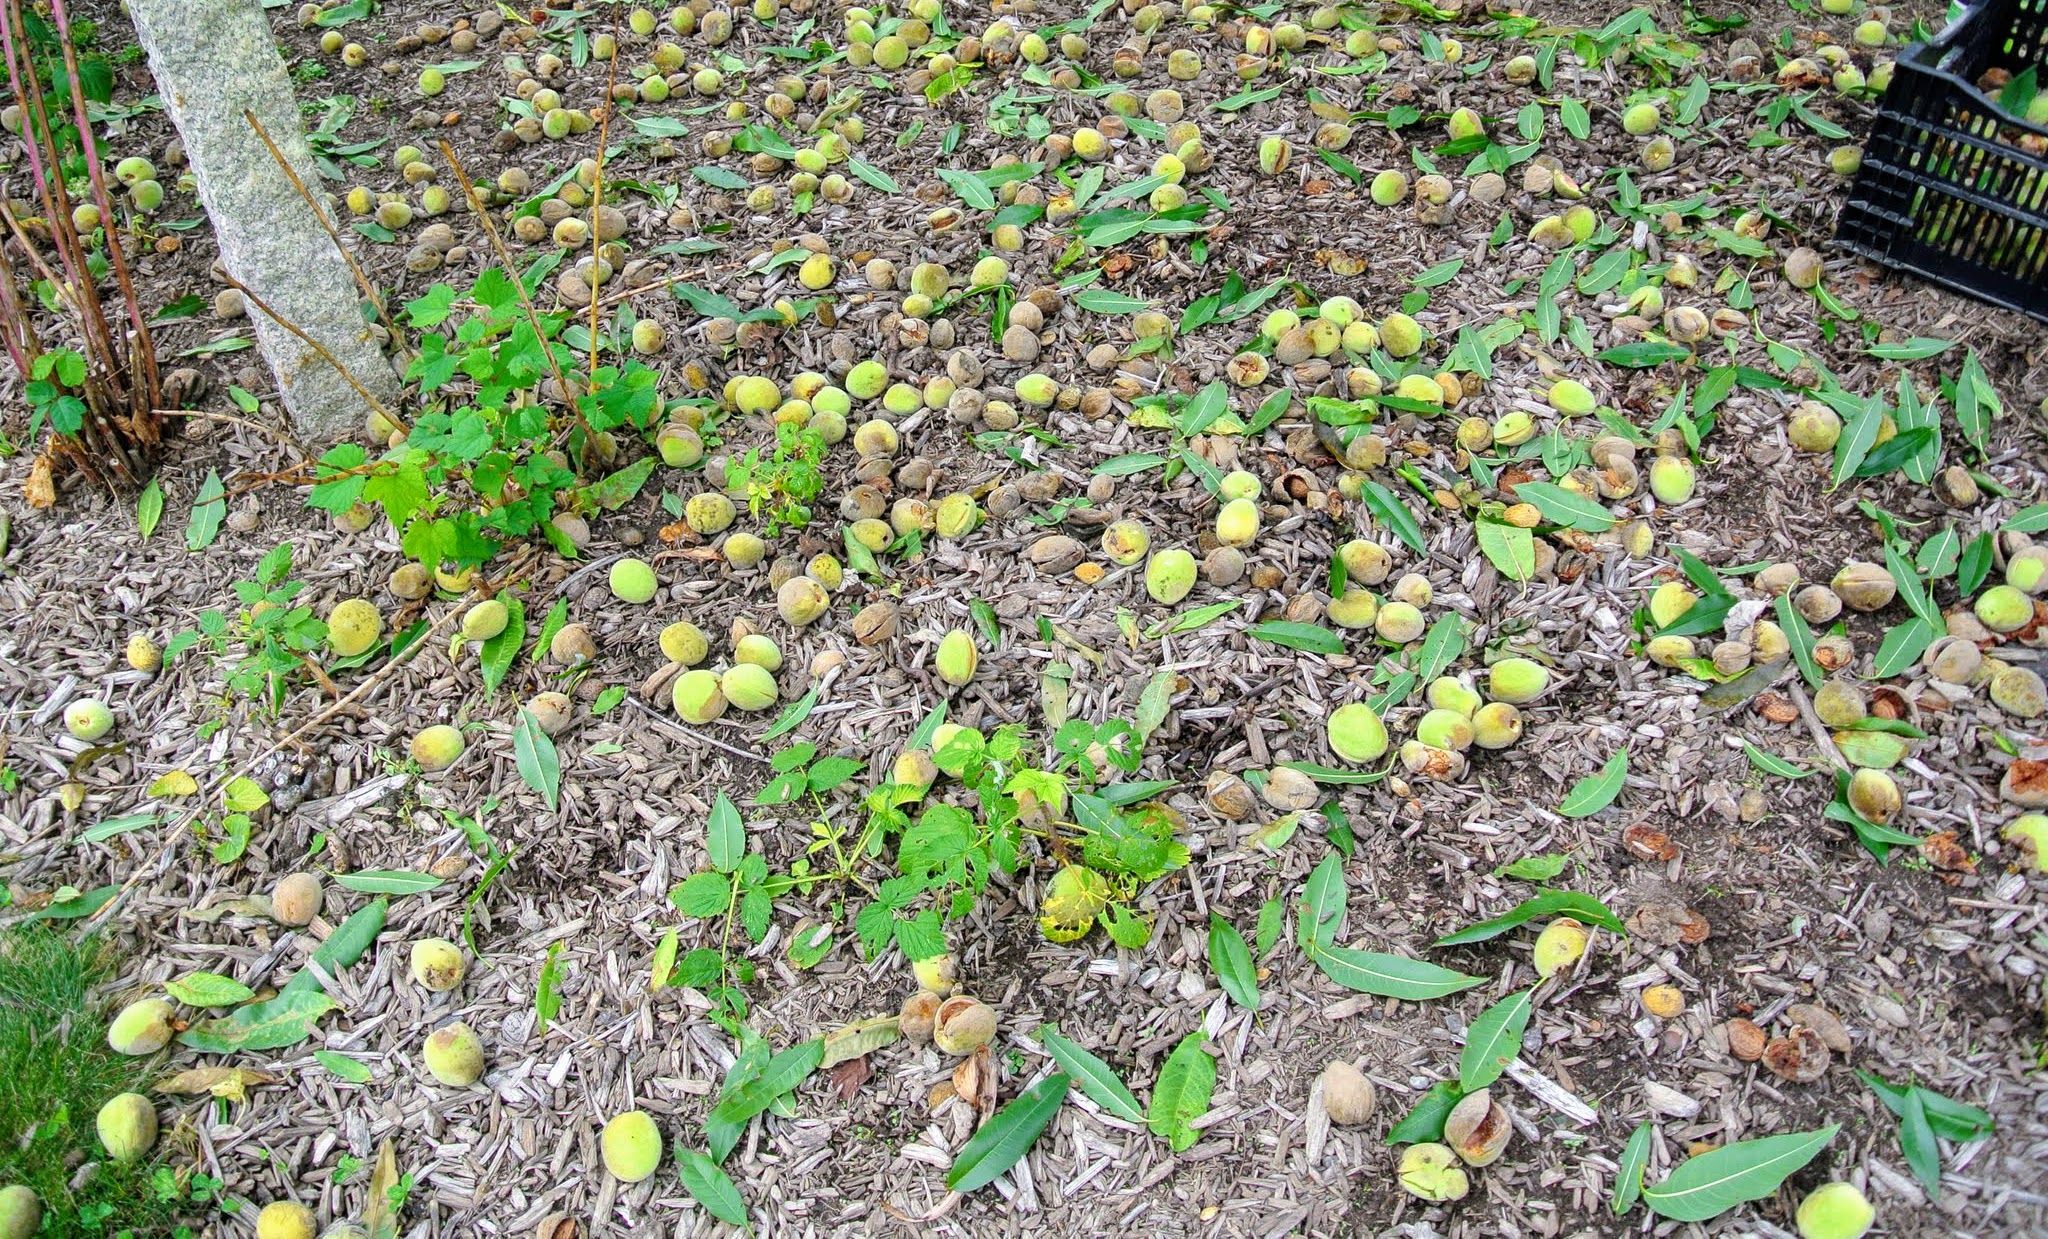
Almond trees produce drupes. These drupes grow from fertilized flowers and mature in autumn. In previous years, we’ve harvested hundreds and hundreds of almonds. The hairy, green fruits are oblong in shape and the leaves of the almond tree are long – about three to five inches.
Many of the drupes fall to the ground in October. The almond fruit measures about two inches long and is not edible.
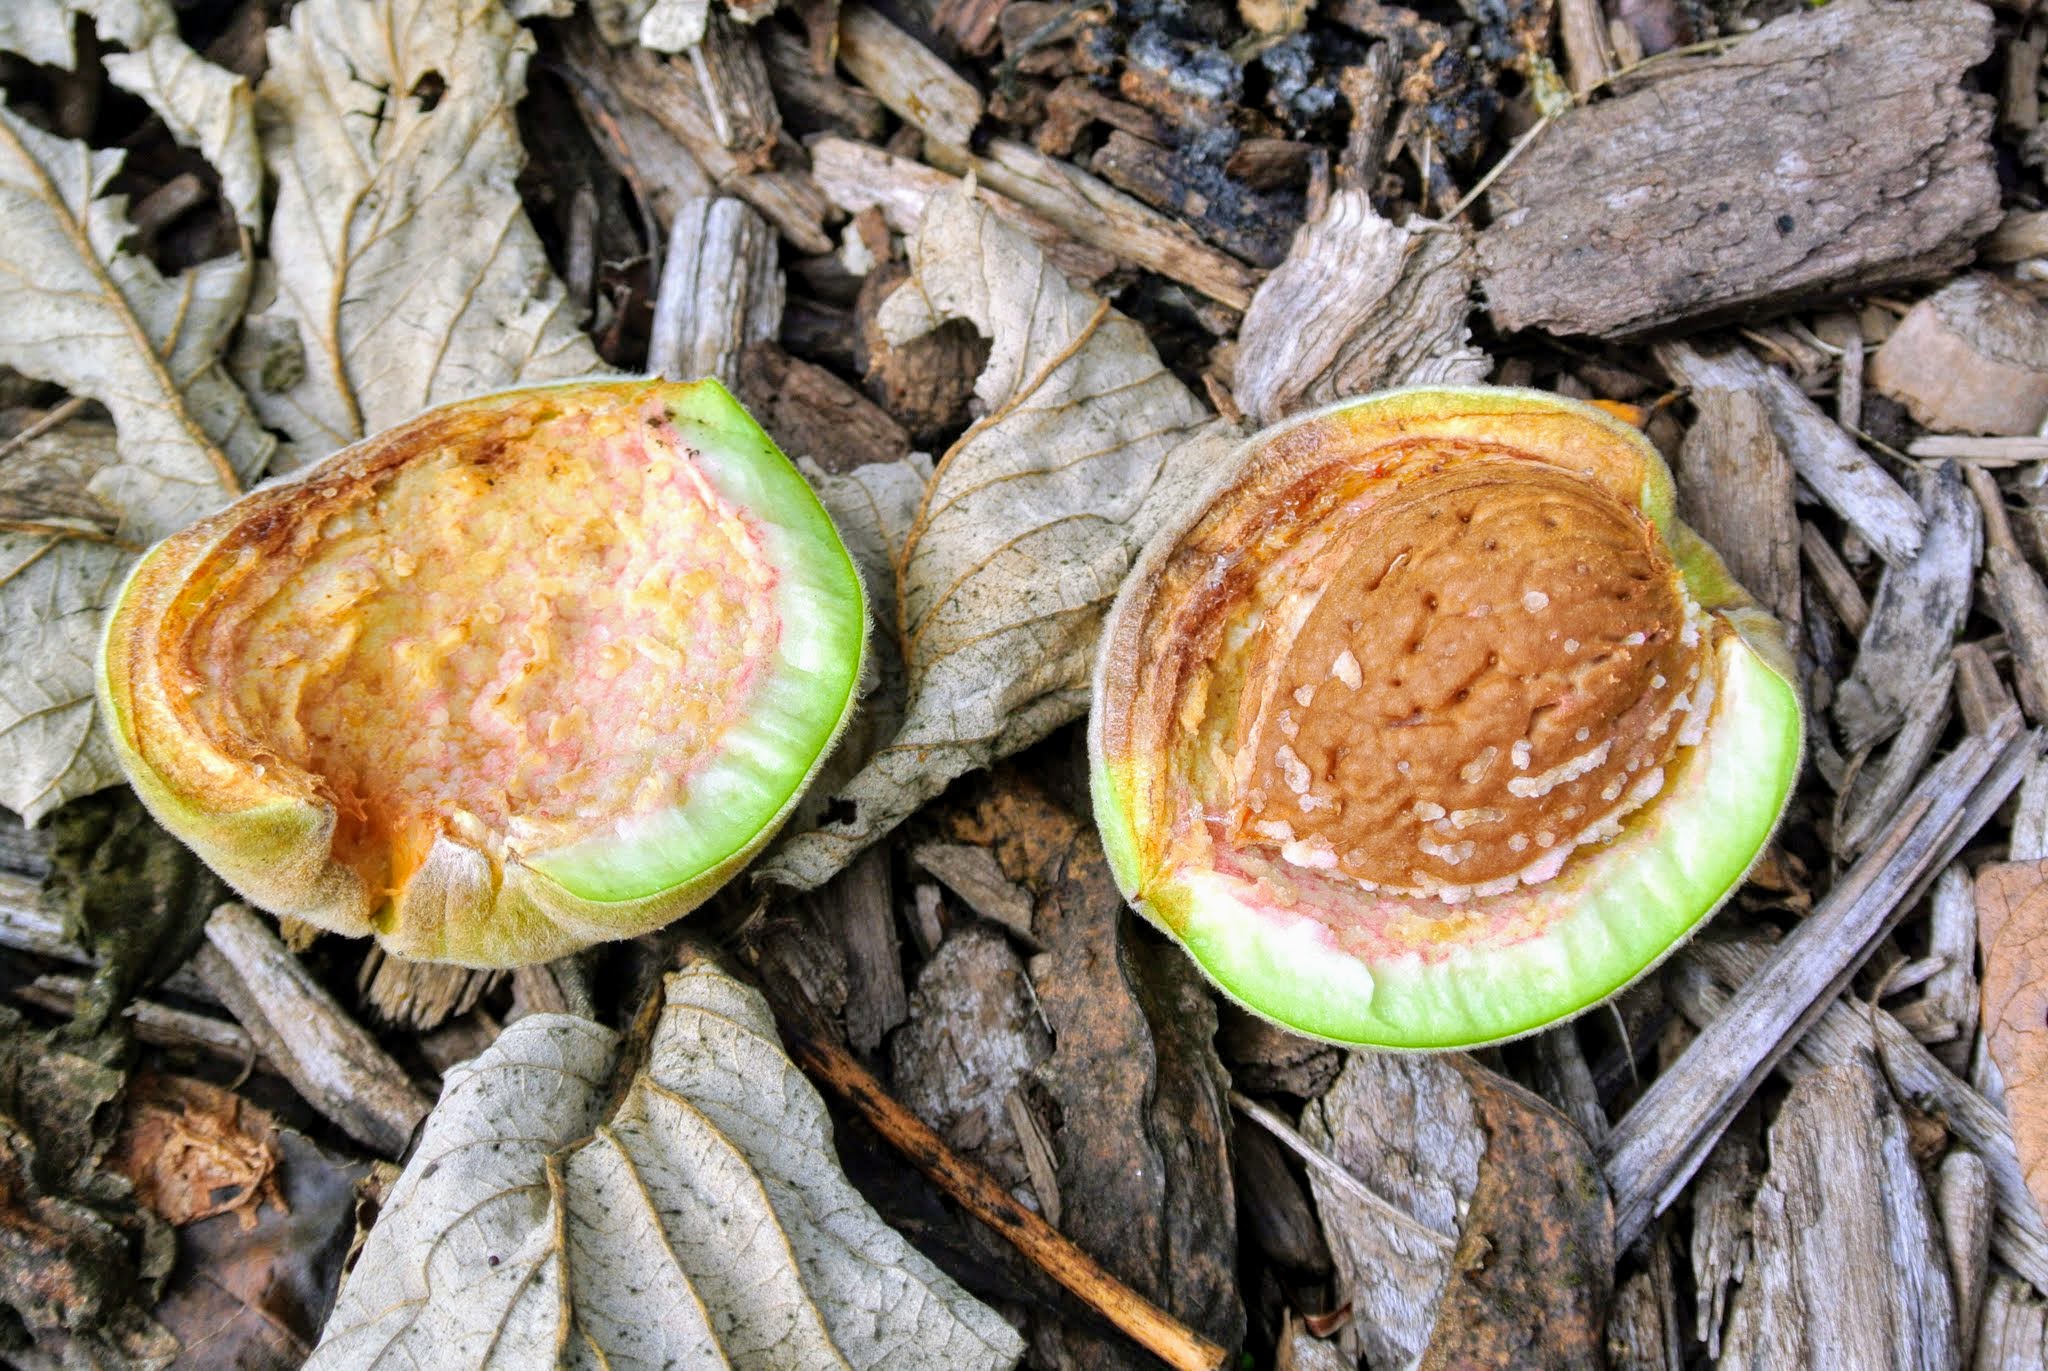
Some of the drupes will open on their own, exposing the shells, but most will have to be opened manually. At maturity, the flesh of the fruit becomes leathery and splits to reveal the hull.
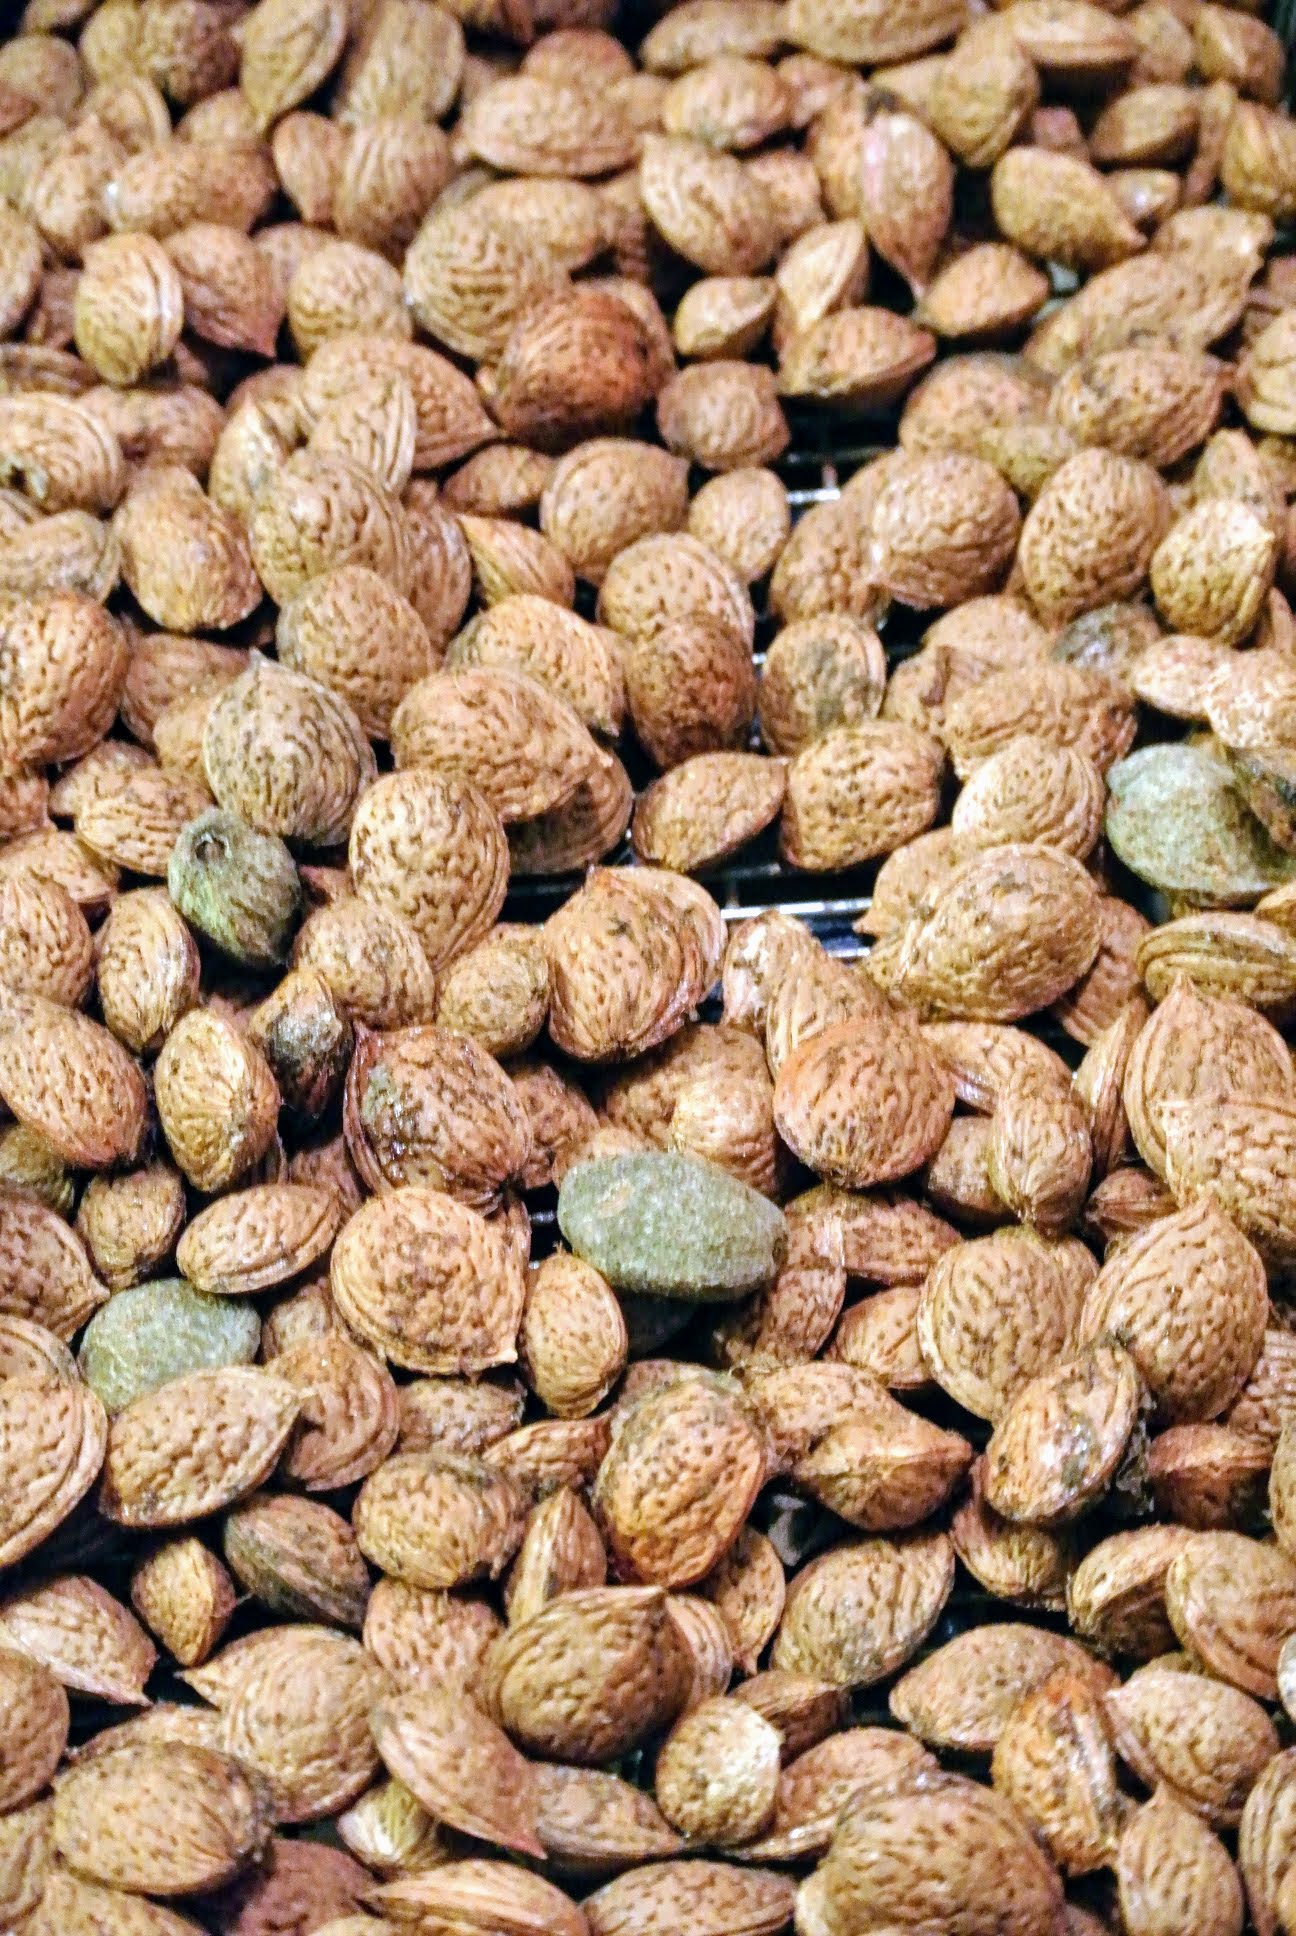
Once dried, they are shelled. Shelling almonds refers to removing the hull to reveal the seed, which is what is eaten. I always have multiple crates full of these almonds ready to shell and enjoy.
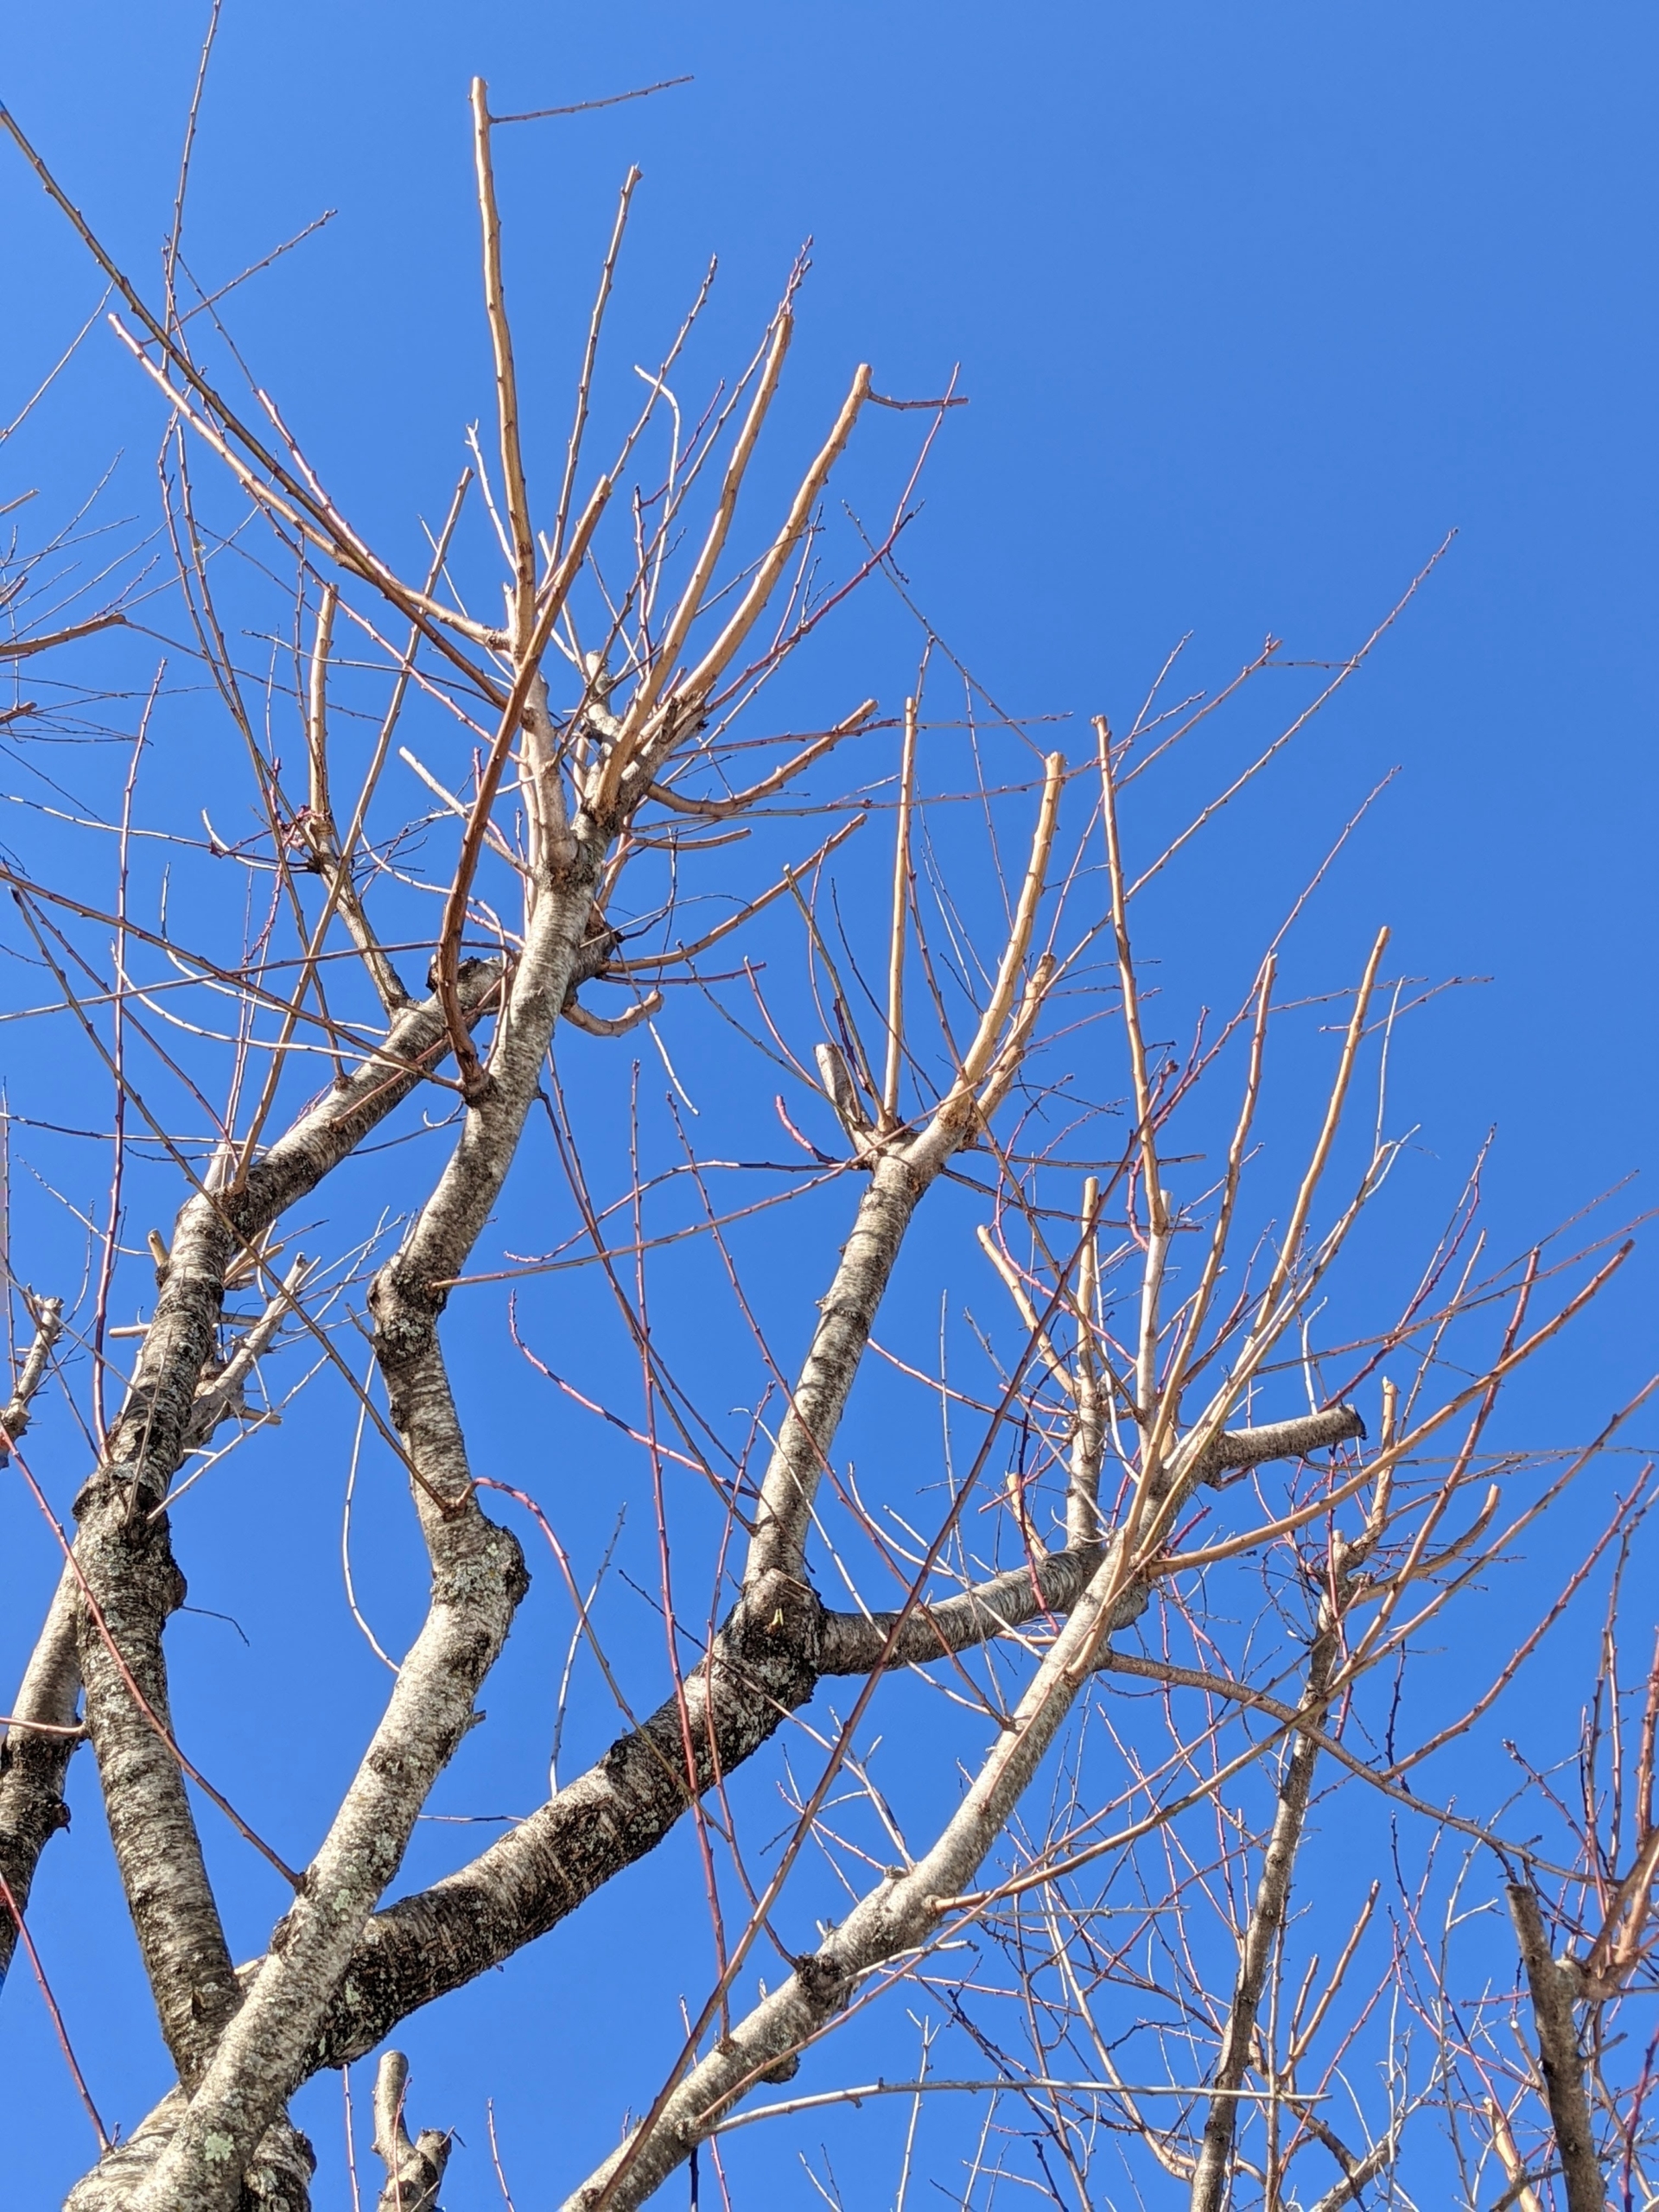
In this late fall photo, one can see that the trees need trimming to maintain good shape and to improve air circulation through the centers.
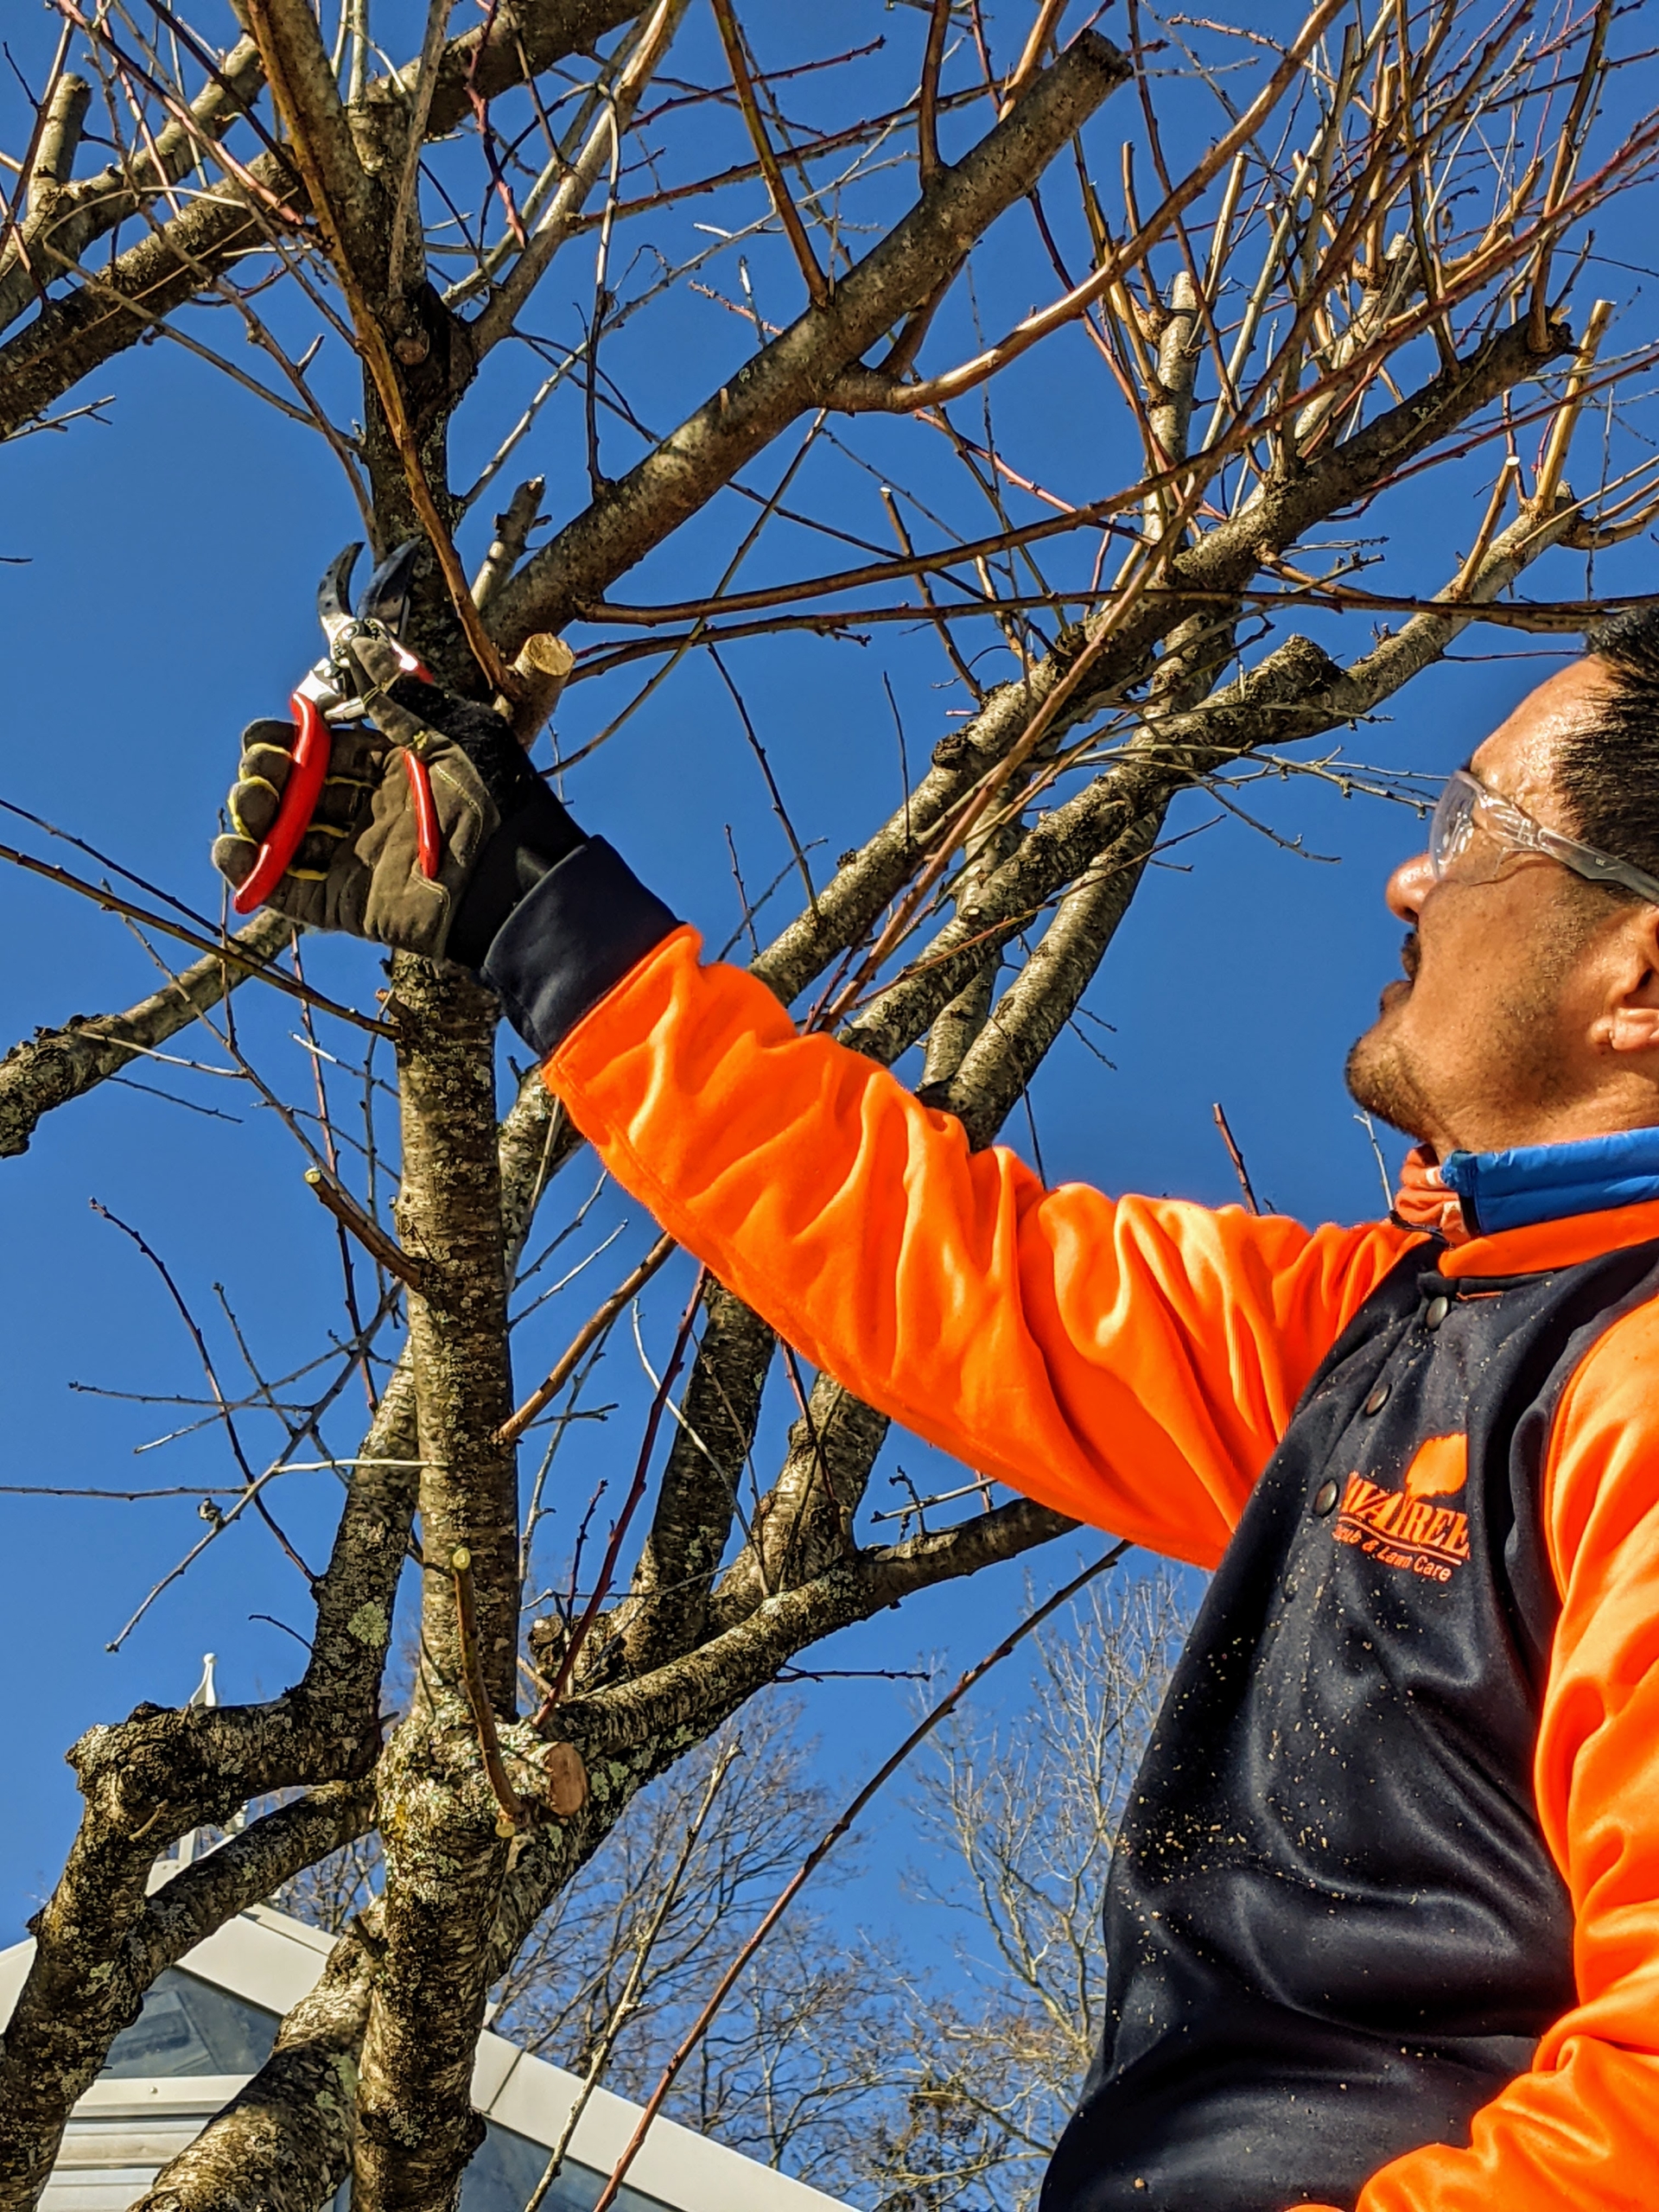
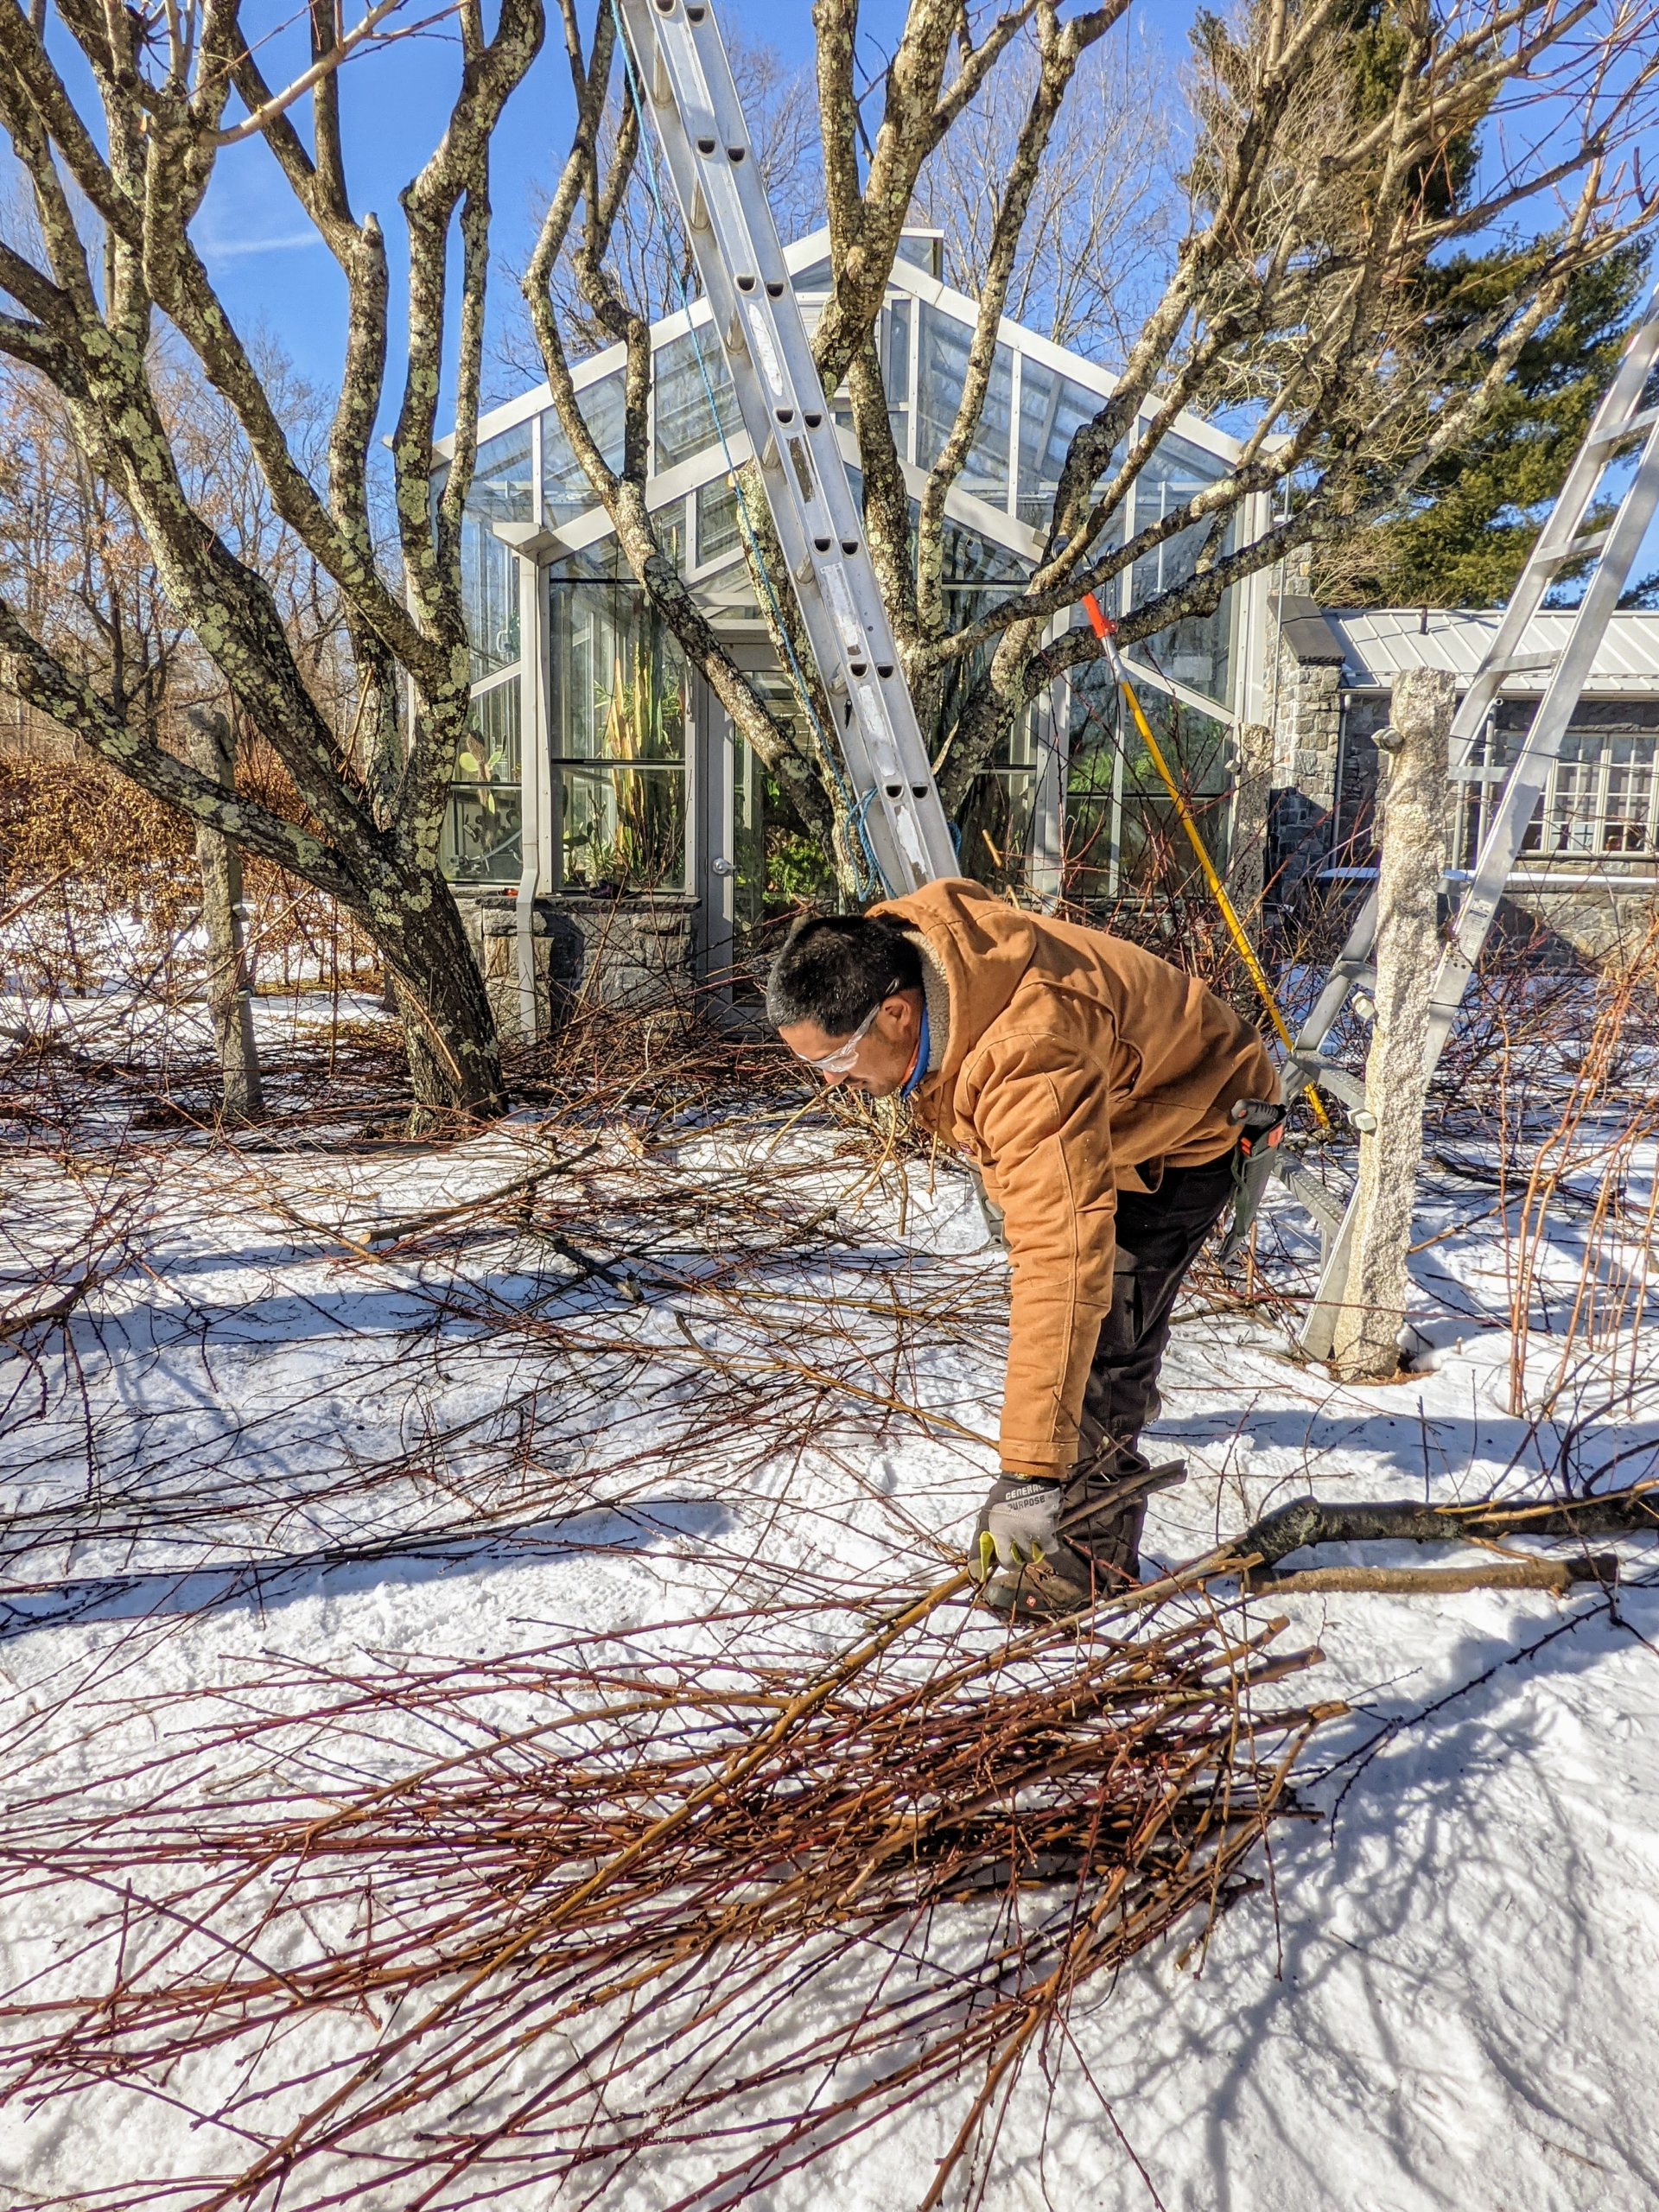
And now that the trees are bare and dormant, the crew can easily maintain these handsome specimens. Here is Pasang, our resident tree expert. As with any tree, when pruning it is important to remove any damaged, dead or diseased limbs as well as those that are disruptive – branches that crisscross and impede air or light circulation.
He uses his handy STIHL Pruning Saw. We use a lot of STIHL tools here at my farm – they are durable, dependable, and easy to use.
Here’s my outdoor grounds crew foreman, Chhiring, stopping for a quick photo. He was here when I first planted these almond trees, when they were just a few feet tall.
There are two basic types of pruning cuts, thinning cuts and heading cuts. Thinning cuts reduce the number of branches to allow more air and sunlight through the specimen. Heading cuts remove just a portion of an existing branch encouraging new side growth.
It is also crucial to always use sharp tools whenever pruning so that the cuts are clean. Dull tools are difficult to use and could even damage the tree. A straight, clean-cut promotes quick healing of the wound and reduces stress on the specimen.
Pasang uses his Okatsune bypass shears to cut thin suckers – those fast growing, vertical stems that originate from the root system. Pasang trims them cleanly as close to the tree as possible, leaving the collar, where the tree sucker meets the tree, to help speed the wound recovery.
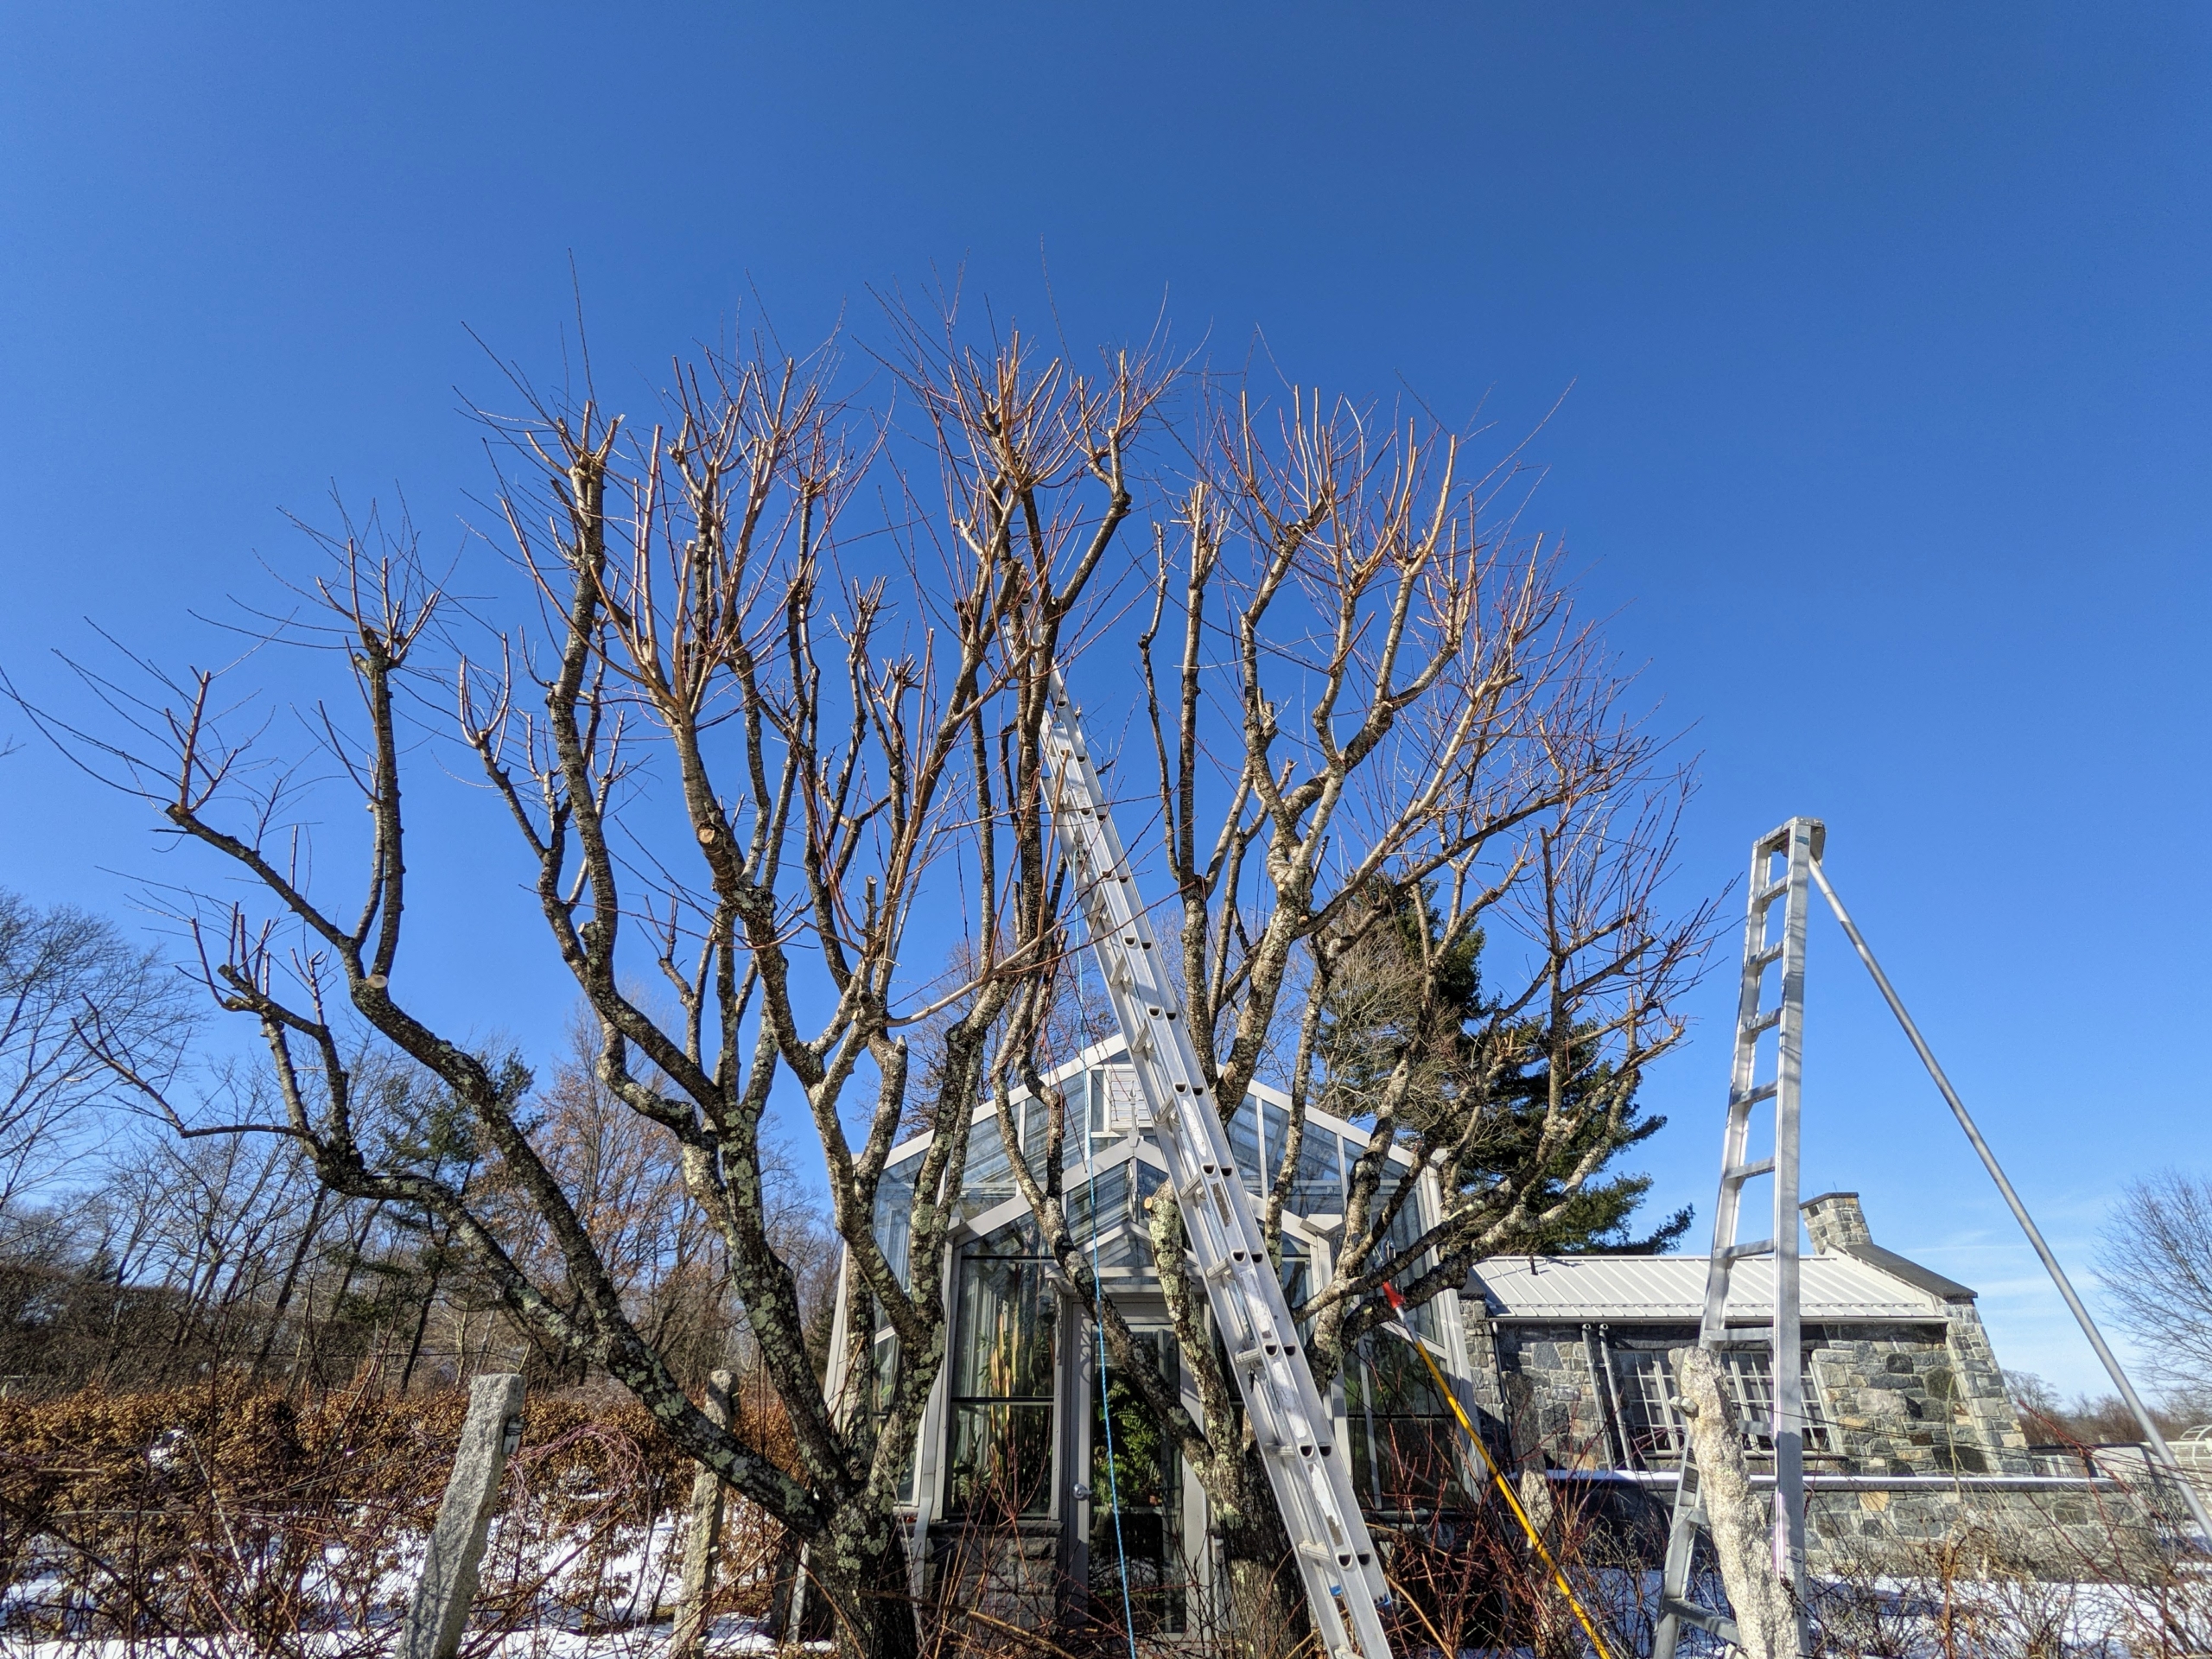
Here, one can see the left side is pruned and the right side still needs work.
These trees did not take long to do – look how much was pruned before lunch.
Chhiring uses a telescoping pole pruner for harder-to-reach branches. This tool is great for trimming branches that are at least an inch thick. As I always say – the right tool for the right job.
During the pruning process, Pasang stops periodically to assess the shape of the tree and to see where he needs to prune next. They are looking so much better already. Well maintained almond trees can live for at least 40 to 50 years. And careful, regular pruning will encourage good shape and ensure a long productive life.
As a rule of thumb, 20-percent of the canopy should be pruned back each year in order to allow new wood to grow.
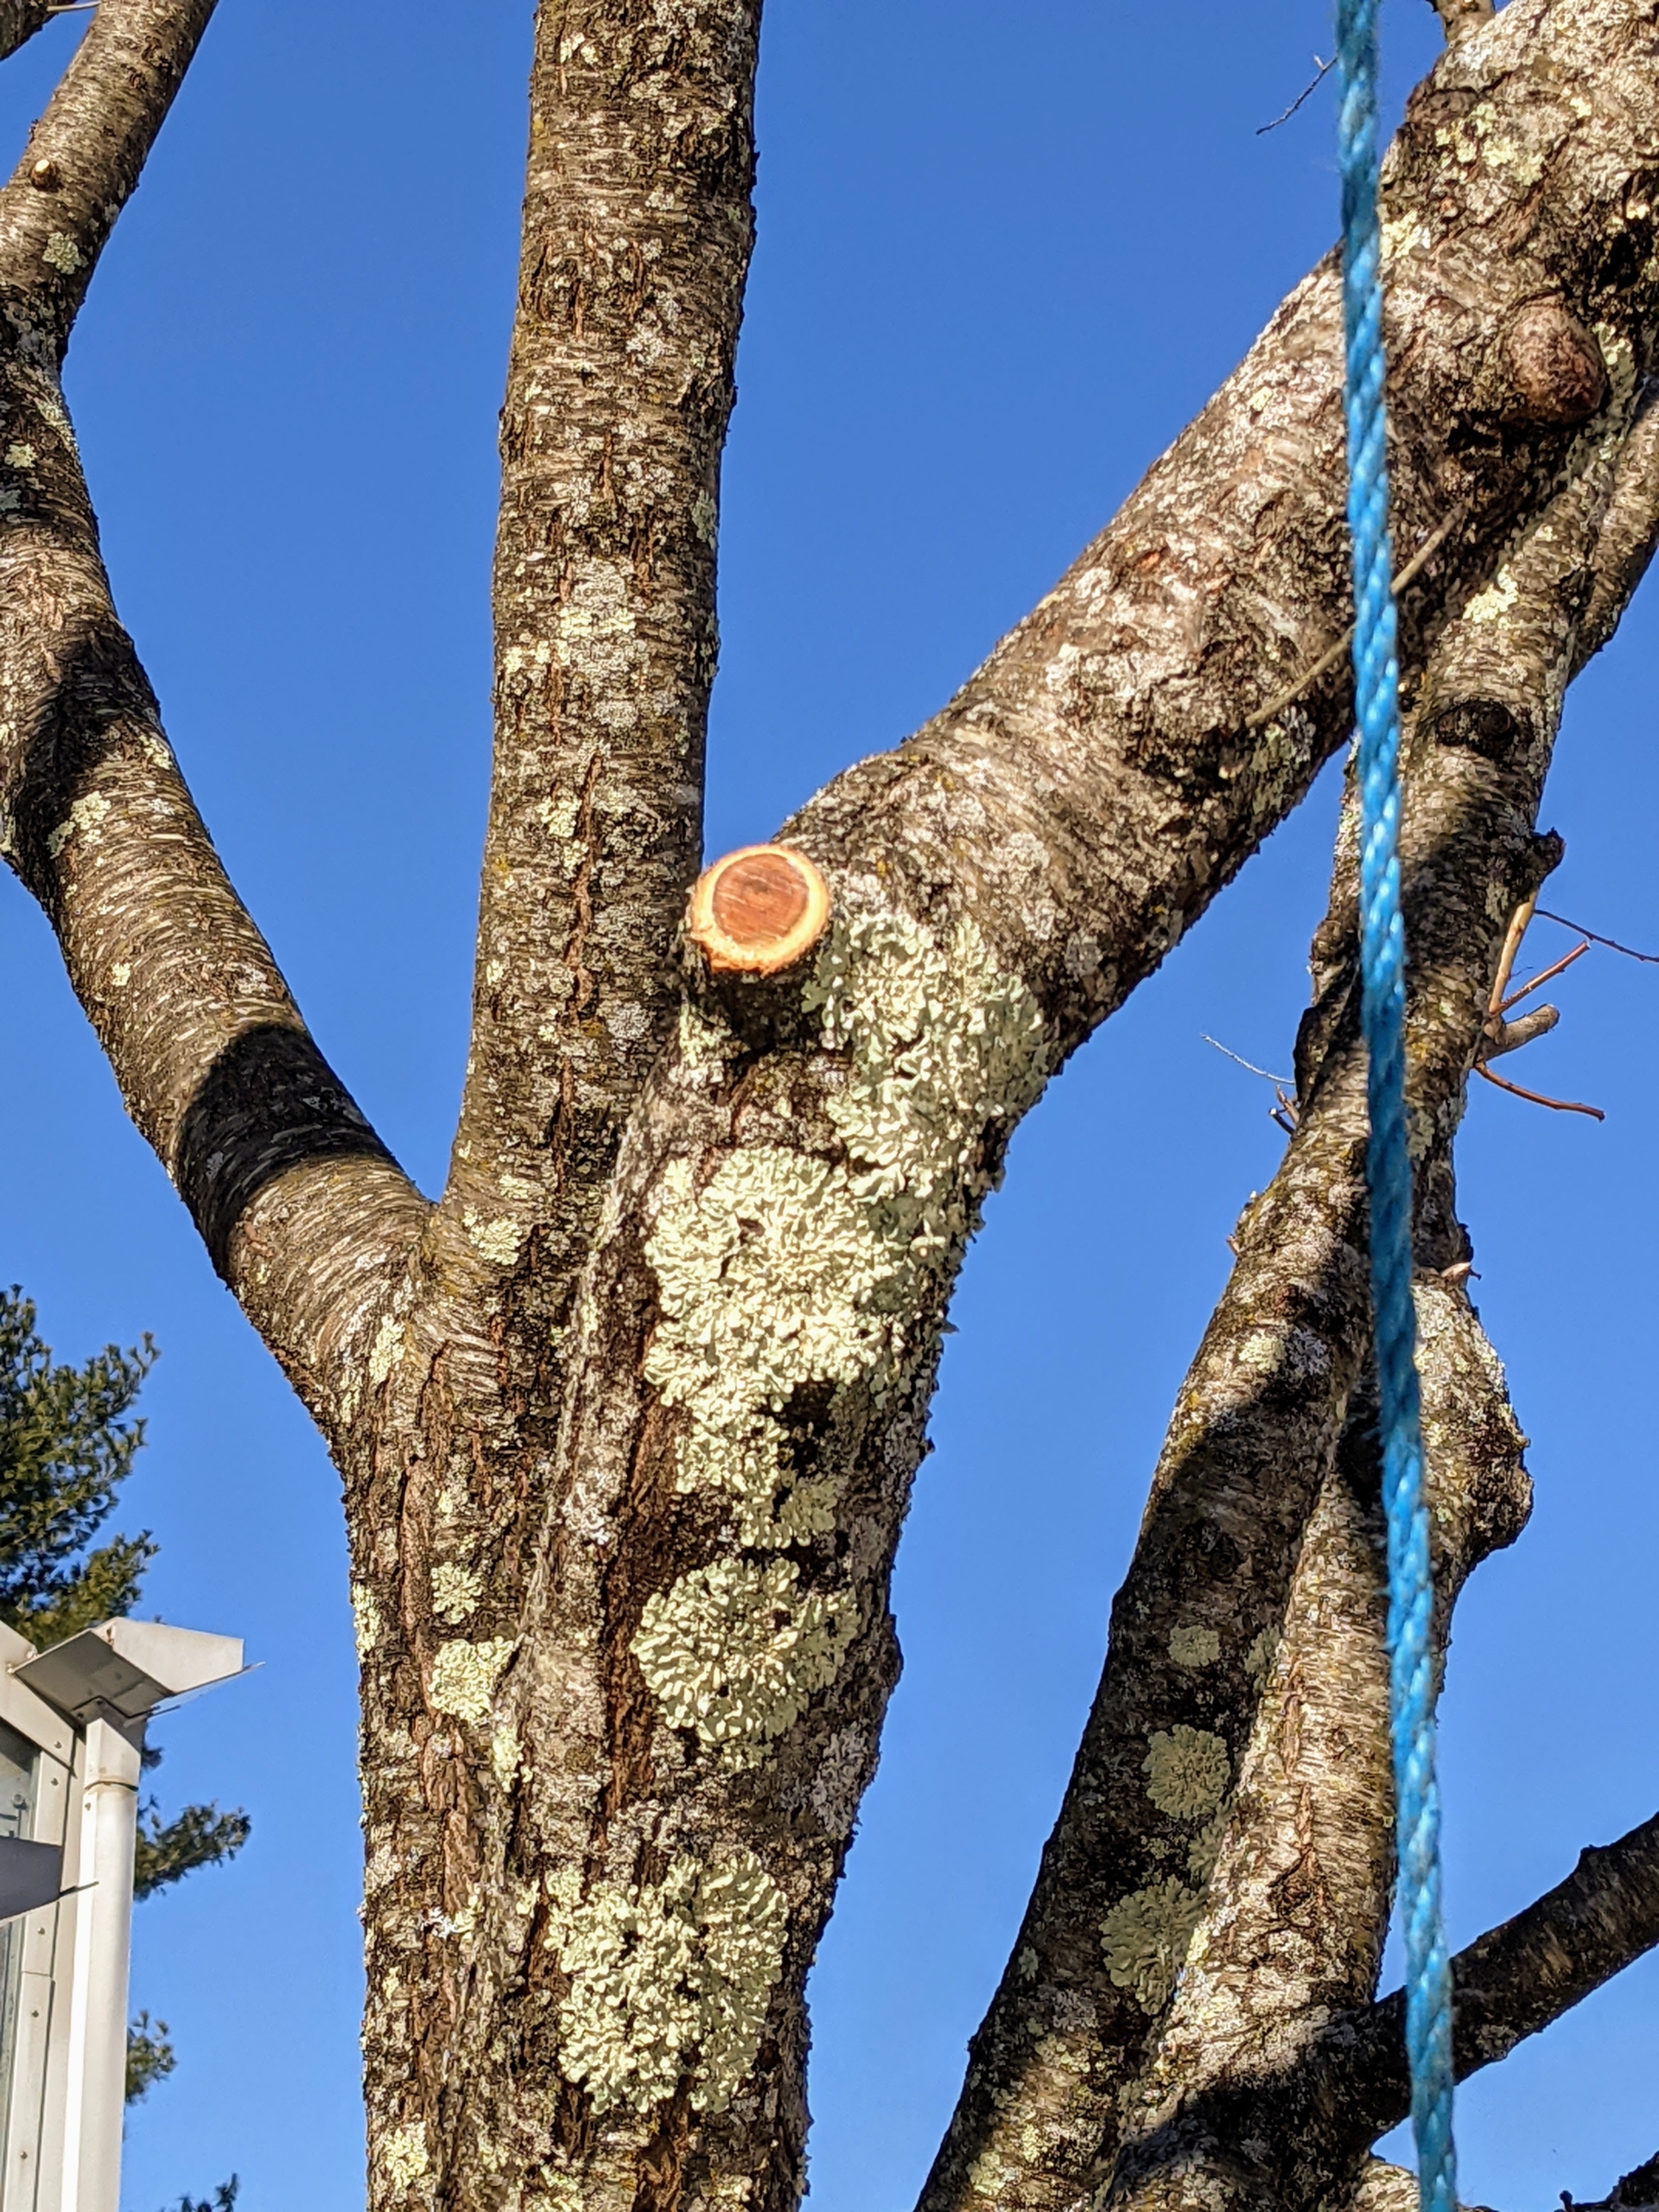
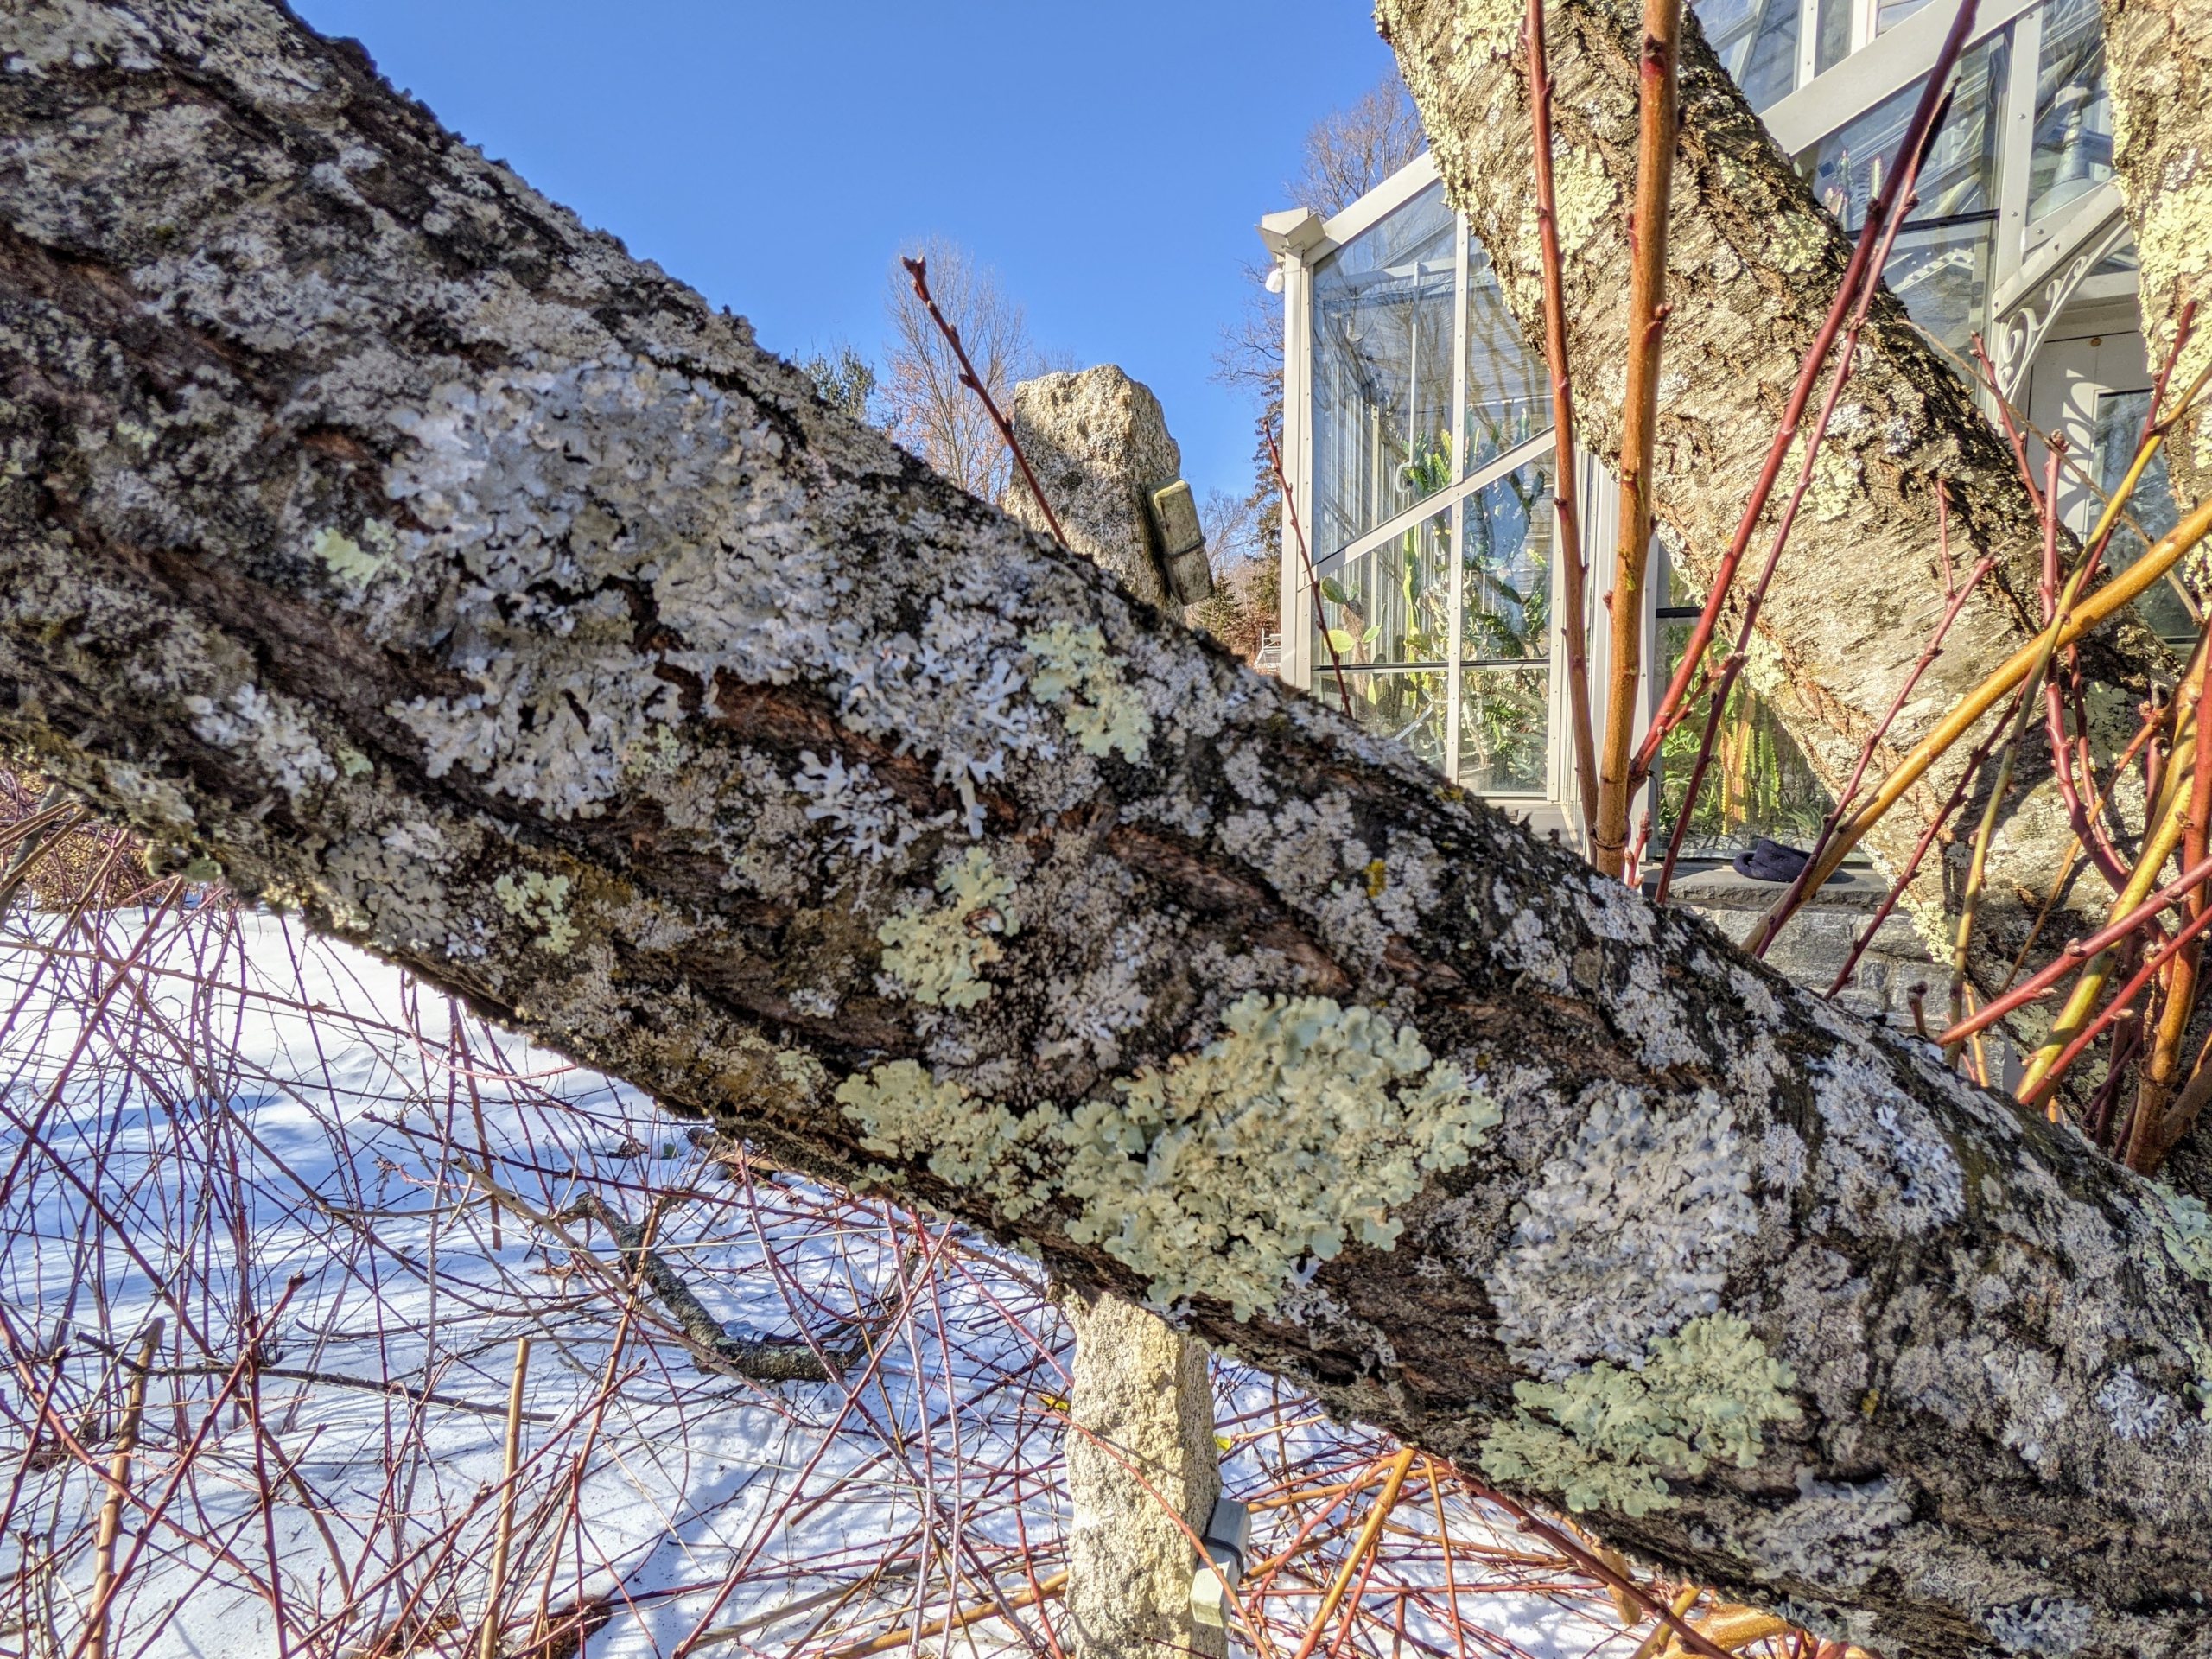
Almond trees have brown or gray bark. These trees trees also have lichens growing. Lichens are often found on tree trunks, branches and twigs as the bark provides a stable place to grow and get needed sunlight, rainwater and air. Lichens are simple slow-growing plants that form low crusty, leaflike, or branching growths on rocks, walls, and trees.
All the pruned branches are collected and added to our large pile for chipping.
When deciding to grow almond trees, keep in mind, they do not fruit the first couple of years. Almond trees do not produce a good yield until the 6th or 7th year. These mature trees produce lots and lots of almonds.
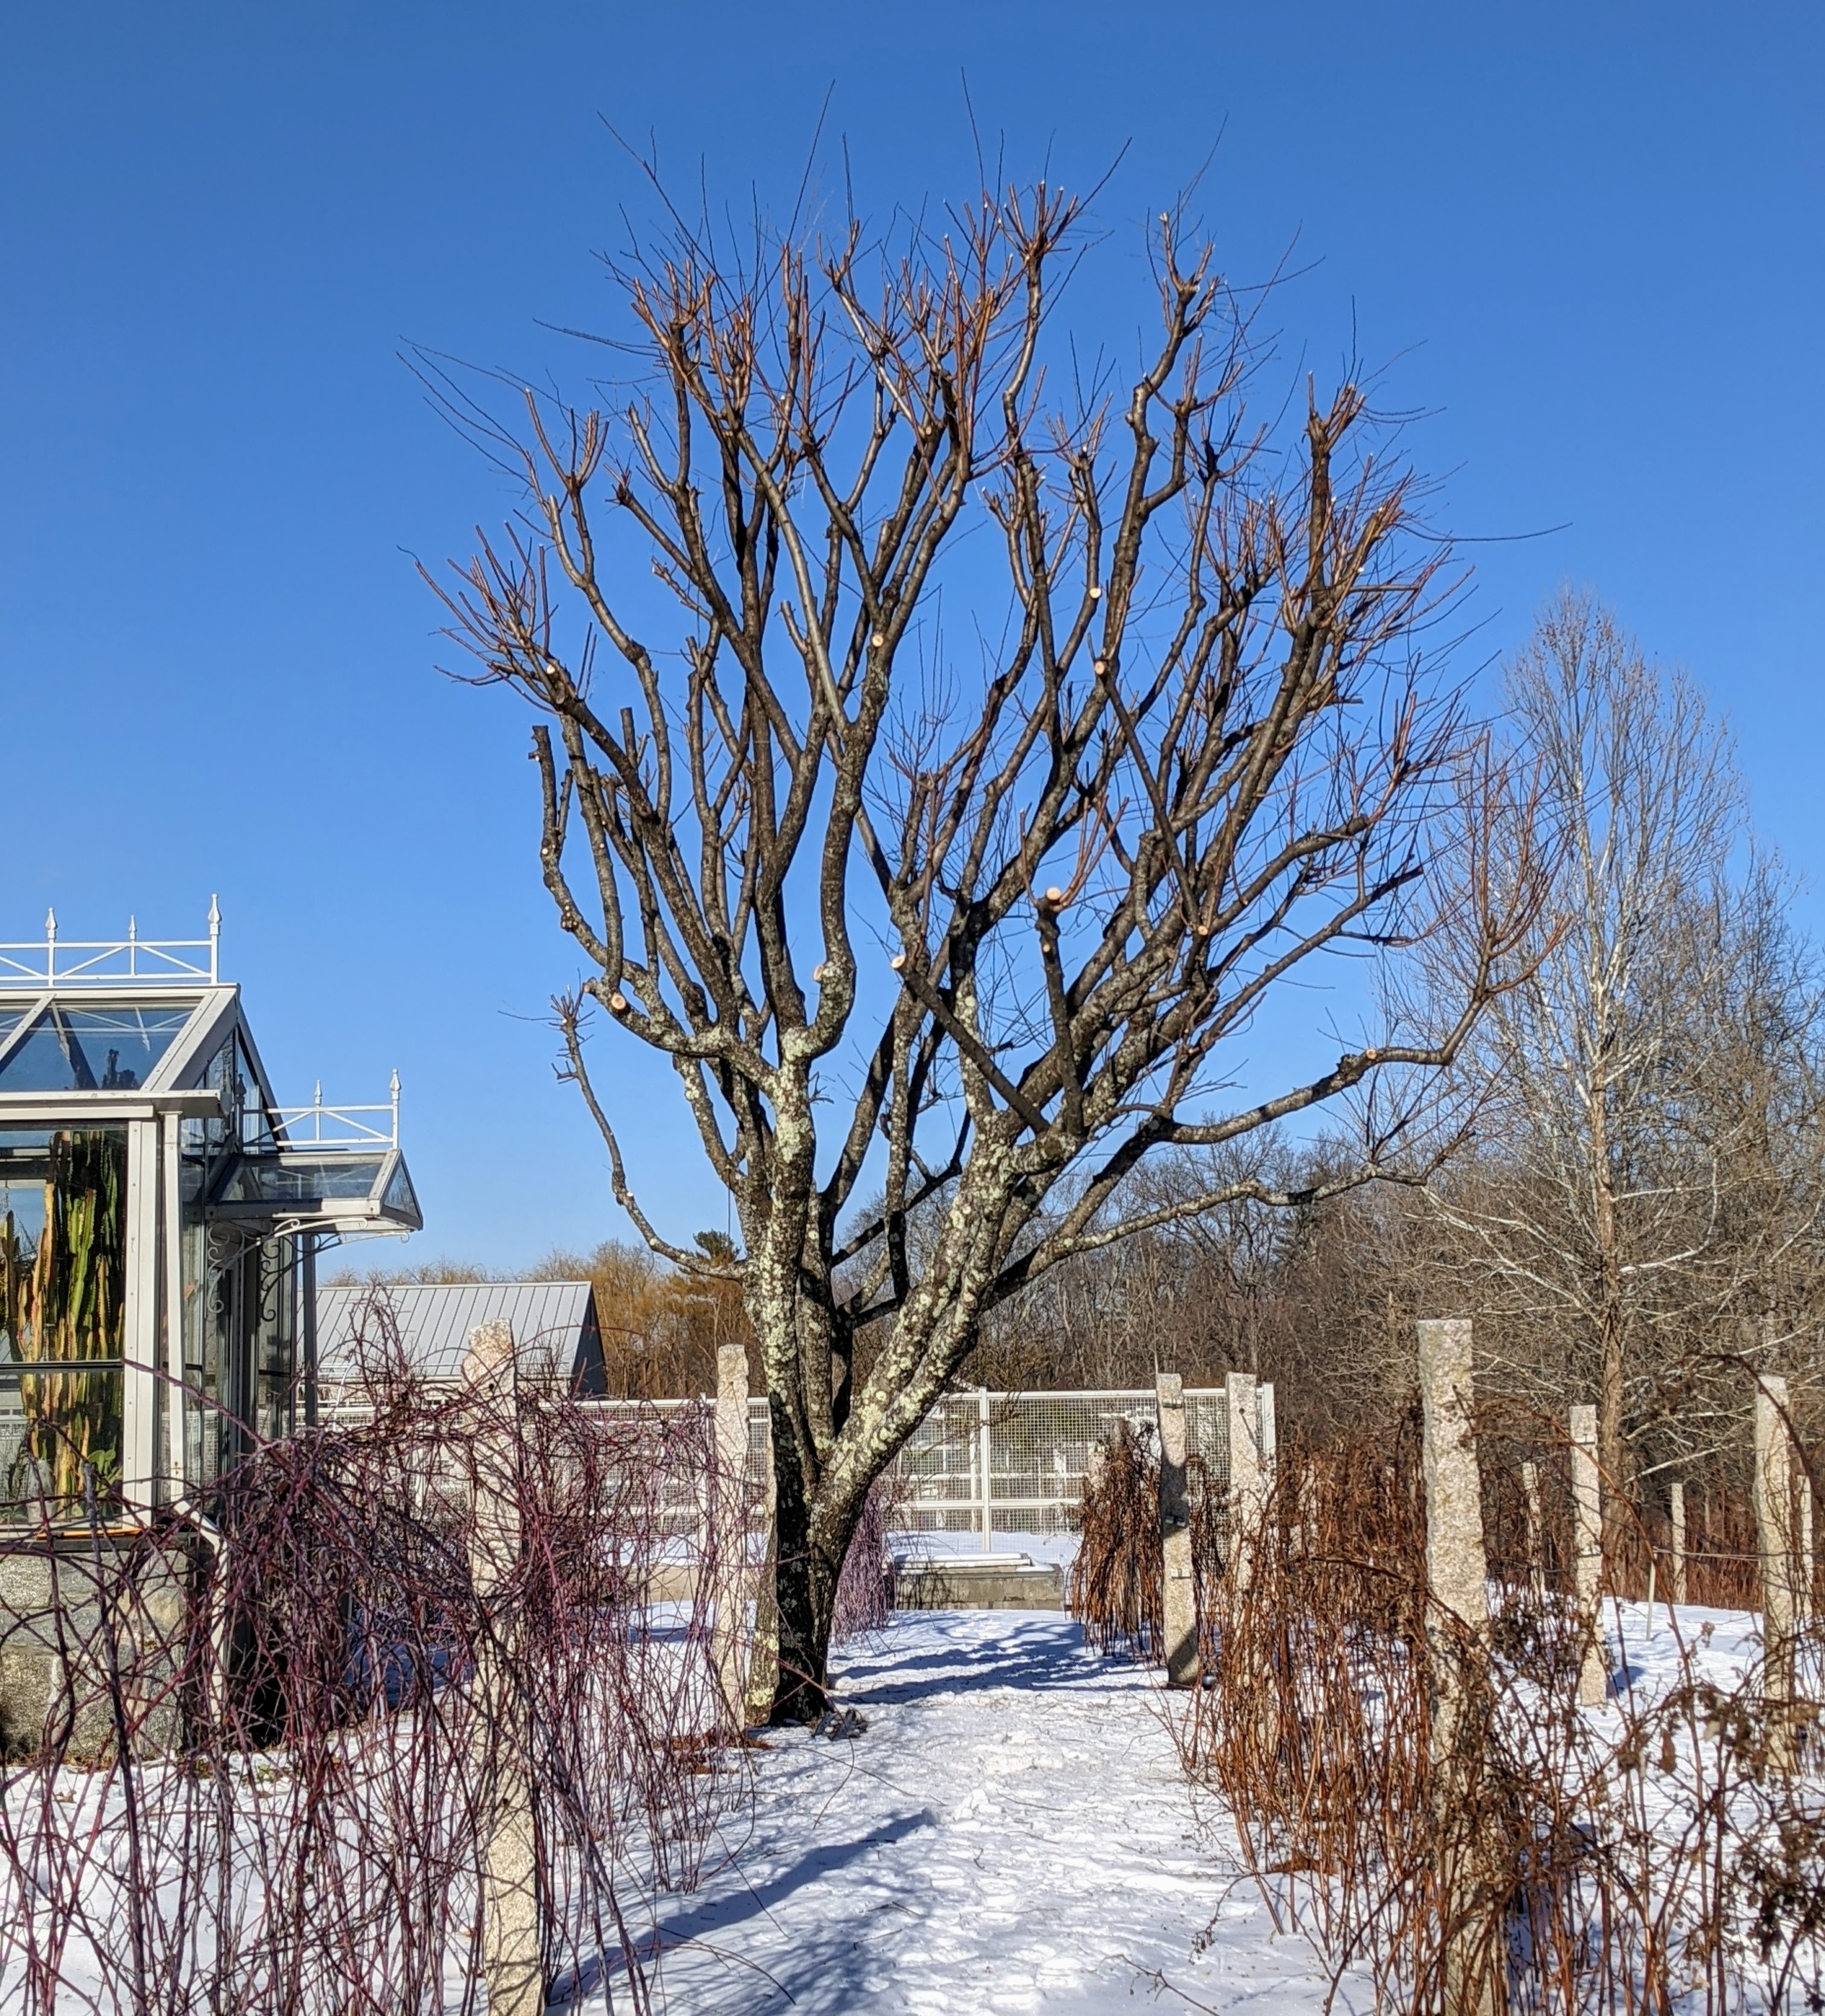
After a good pruning, these trees look so much better – round and full in shape. I am looking forward to seeing these bloom with white to pale pink flowers in spring and then lots of natural delicious and nutritious nuts next fall.
Temperatures here in the Northeast are expected to reach only 30-degrees Fahrenheit today, but rise to the mid-40s by week's end, hopefully melting a good portion of the snow from the year's first nor'easter.
This latest storm dropped about 10-inches of white powder over my Bedford, New York farm with snow drifts as high as two-and-a-half feet. Officials called it a “bomb cyclone” which occurs when air pressure drops and the storm rapidly intensifies. This one strengthened very quickly, bringing driving snow, punishing winds, and whiteout conditions as it moved up the east coast. The winter weather system crippled much of the region, but it left a beautiful coating of white across the landscape.
Enjoy these photos.
Earlier in the day before the storm was very gray with little wind. Flurries started mid-morning, then picked up later that night. Here, above the donkey paddock is the sun covered by the winter clouds.
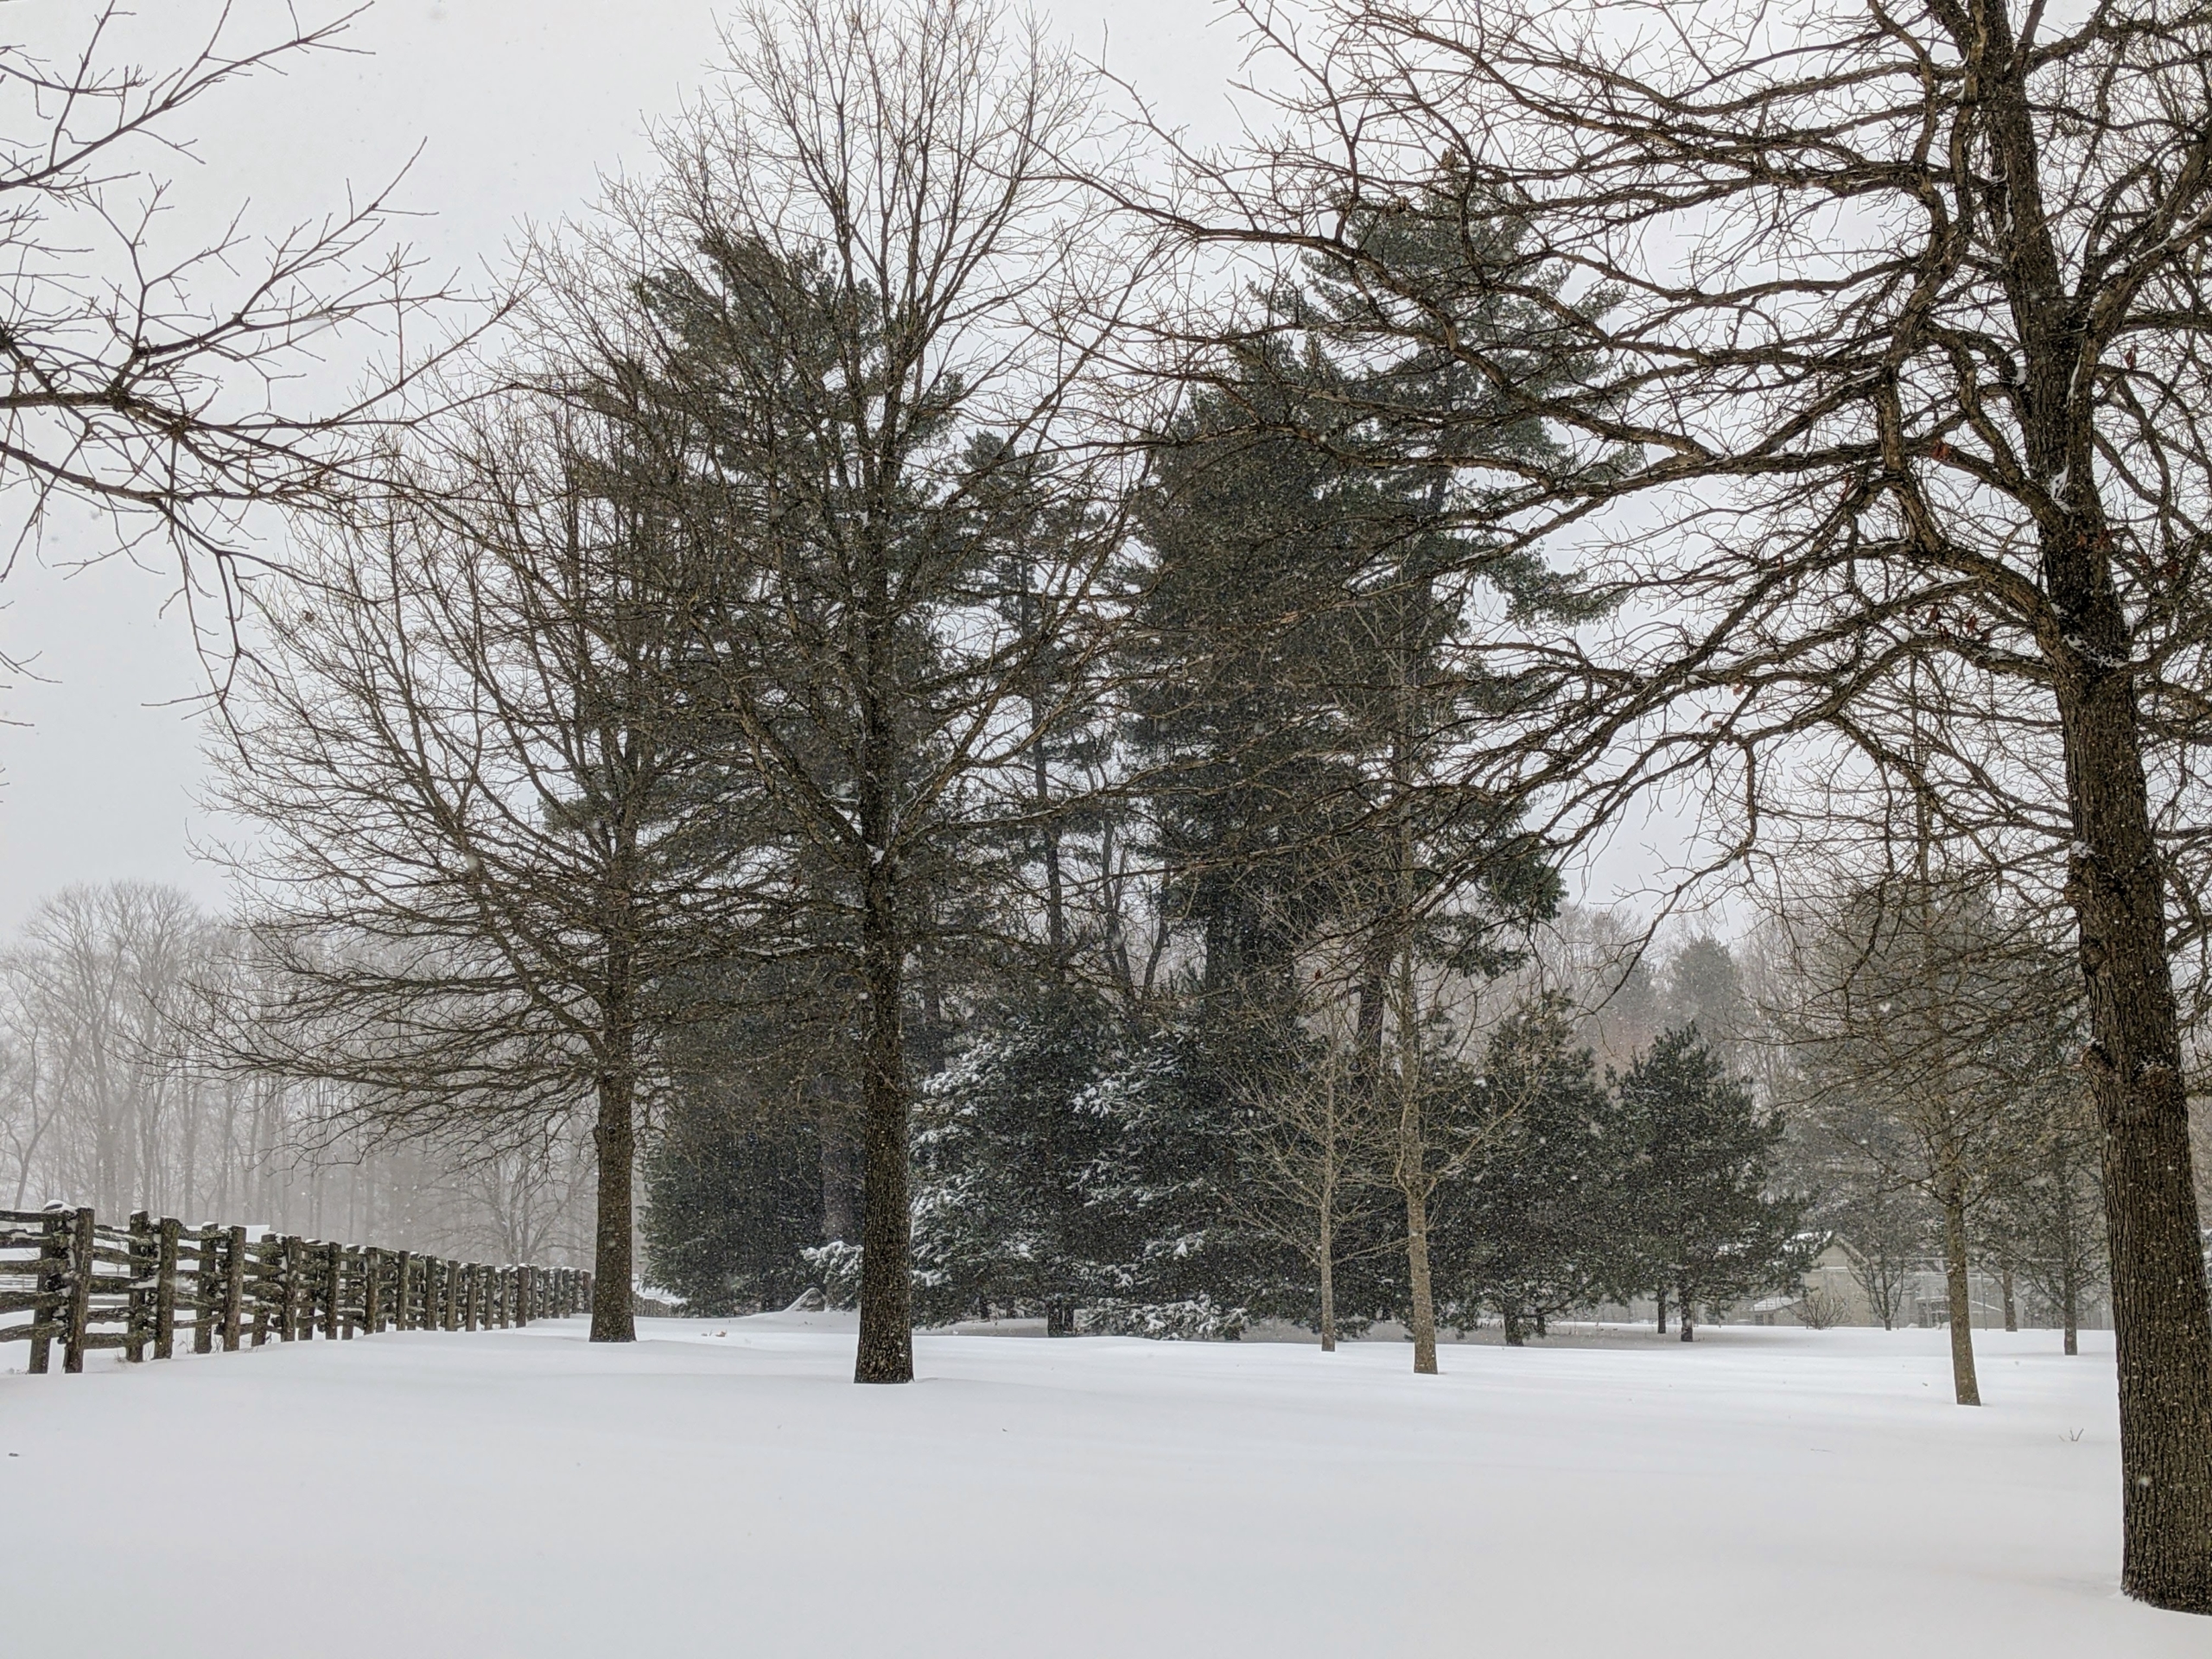
Here’s a view across one of my paddocks and the stand of great eastern white pine trees, Pinus strobus, on the right. White pines are the tallest trees in eastern North America.
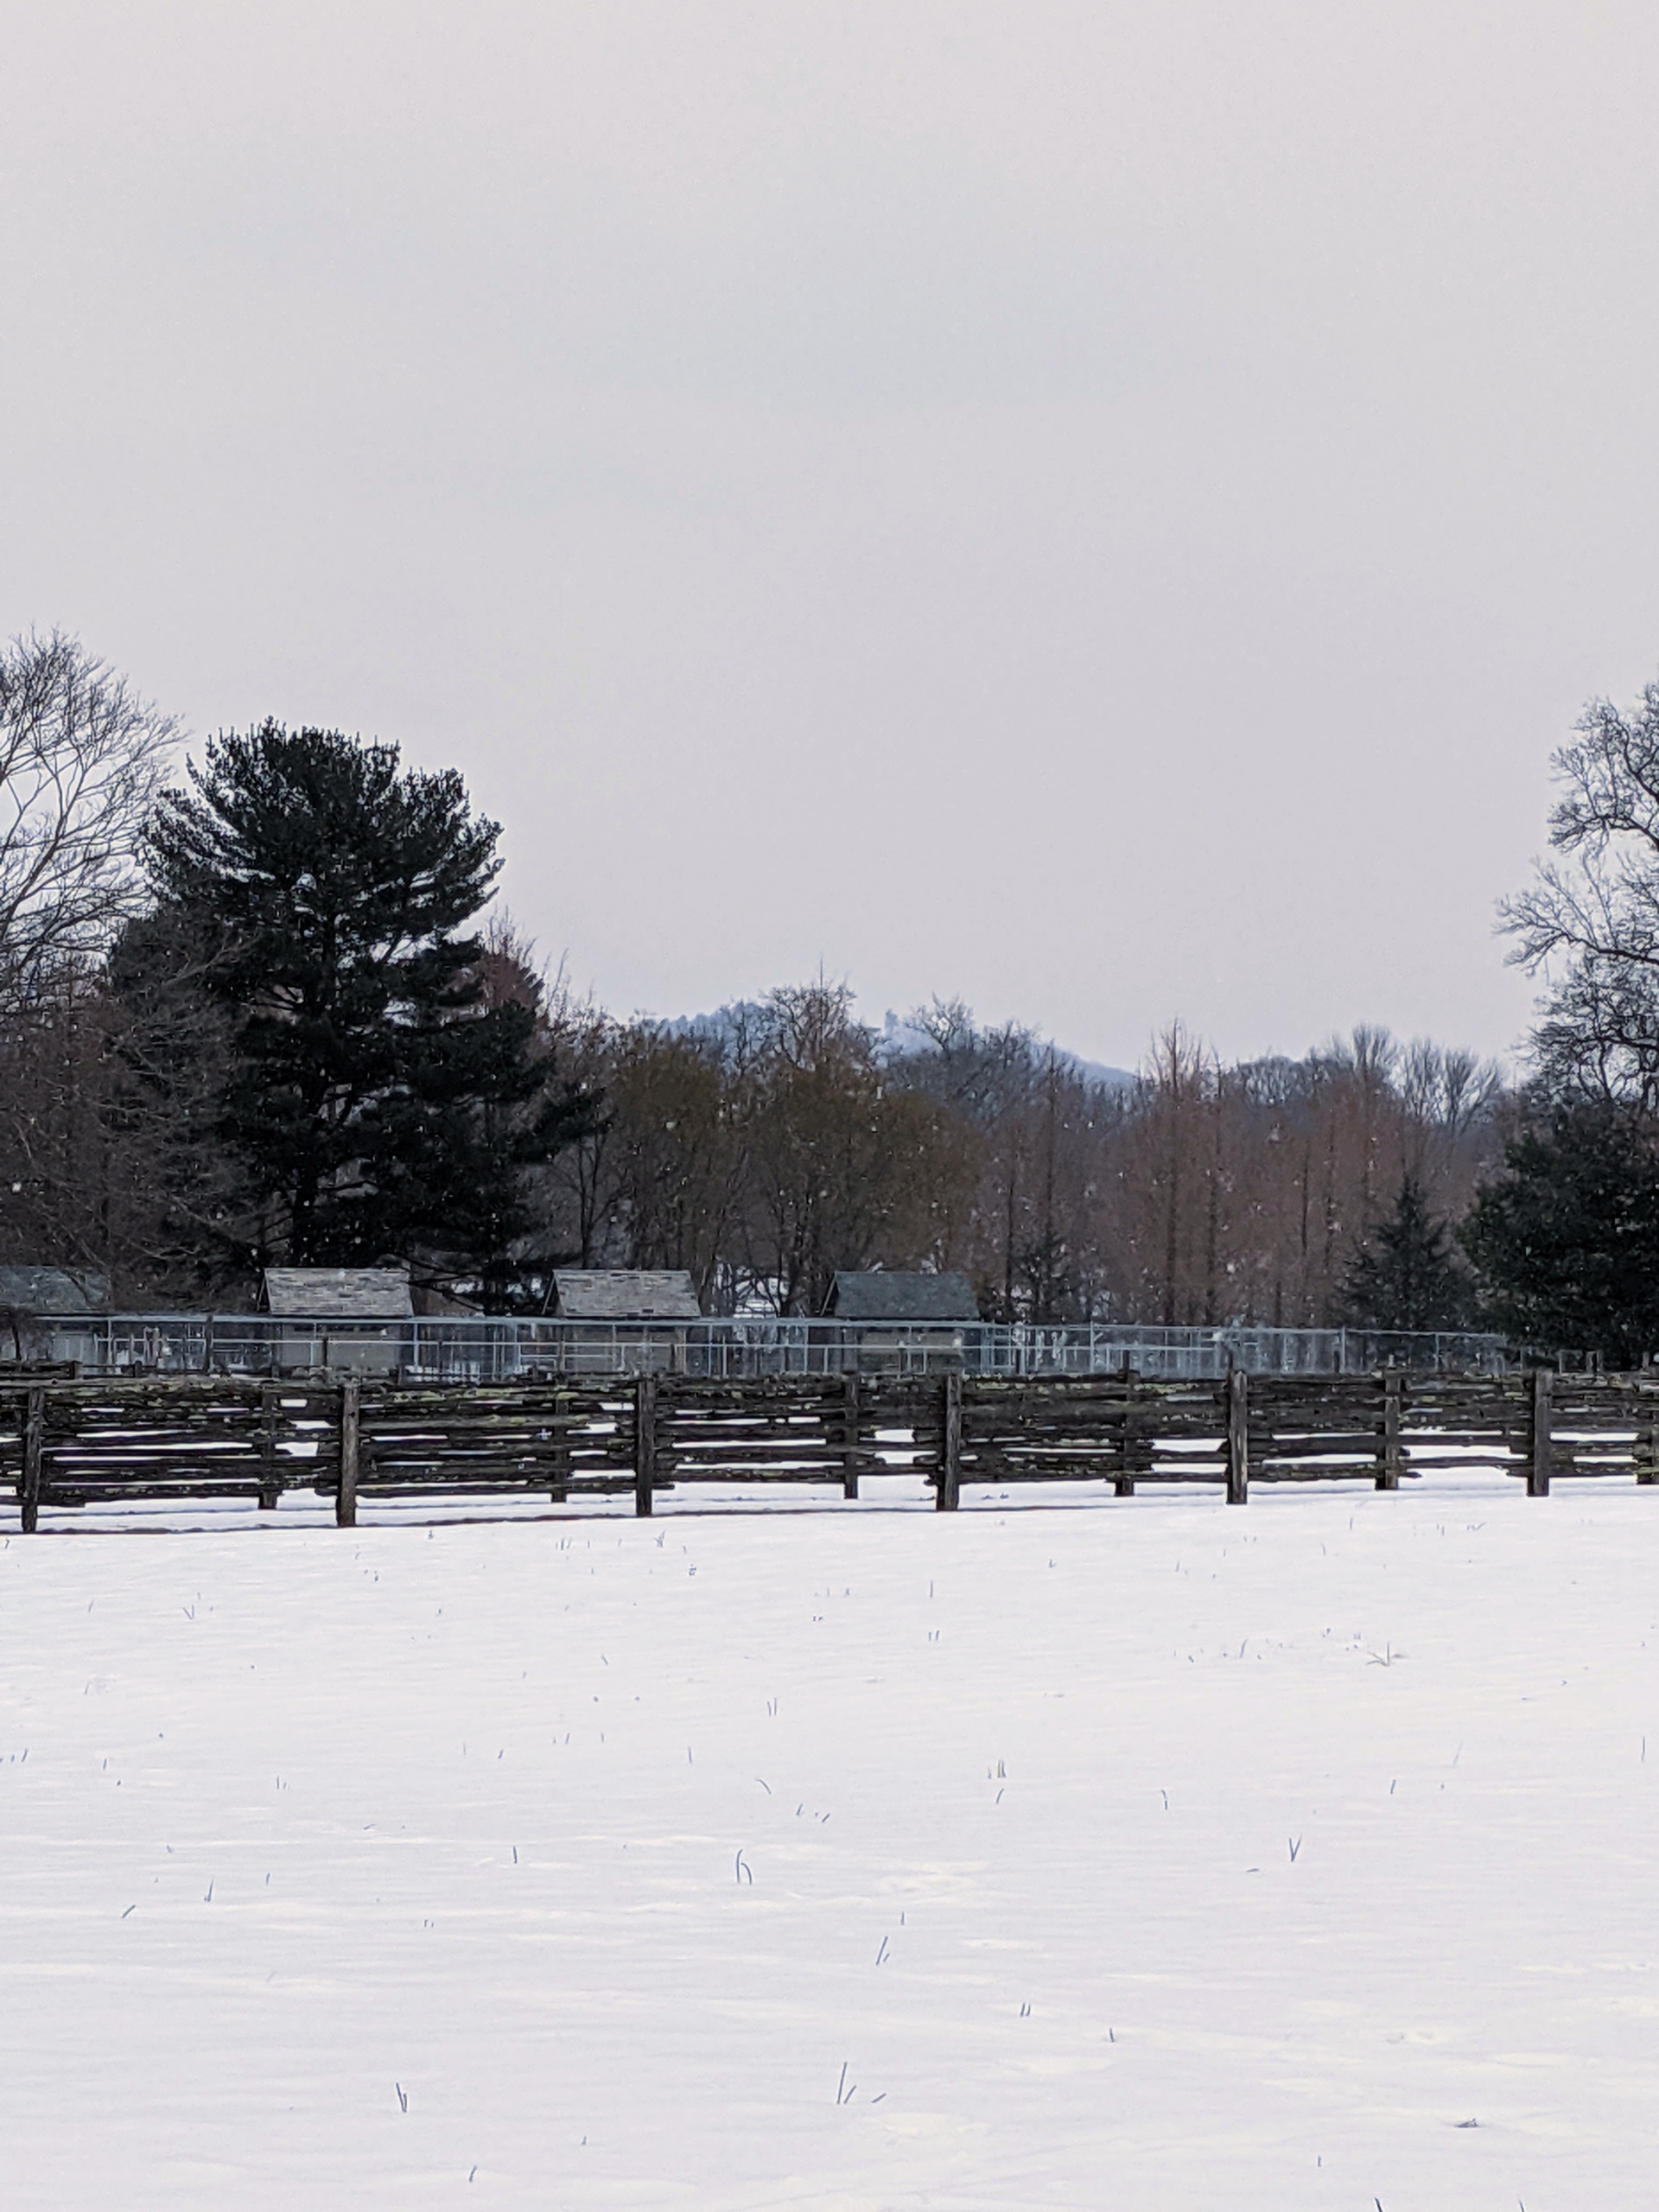
The snow did not seem to start accumulating until late afternoon. Here, the tops of the chicken coops have a light dusting of snow.
We already had several inches of snow leftover from the last storm. The front of my stable is always shoveled first, so my horses have a clear path from the pastures to the stalls.
This photo was taken the next day, after the snow had already been cleared at least once. By this time, strong winds were causing snow drifts to form around all the buildings.
This snow was very light and powdery. Light snow forms when all layers of the atmosphere are below freezing. Because the air is cold, all the way down to the surface, snowflakes don’t melt. It was about 25-degrees Fahrenheit all day.
Here, one can see the snow falling – but this light and powdery snow is useless for snowballs, it’s just too cold.
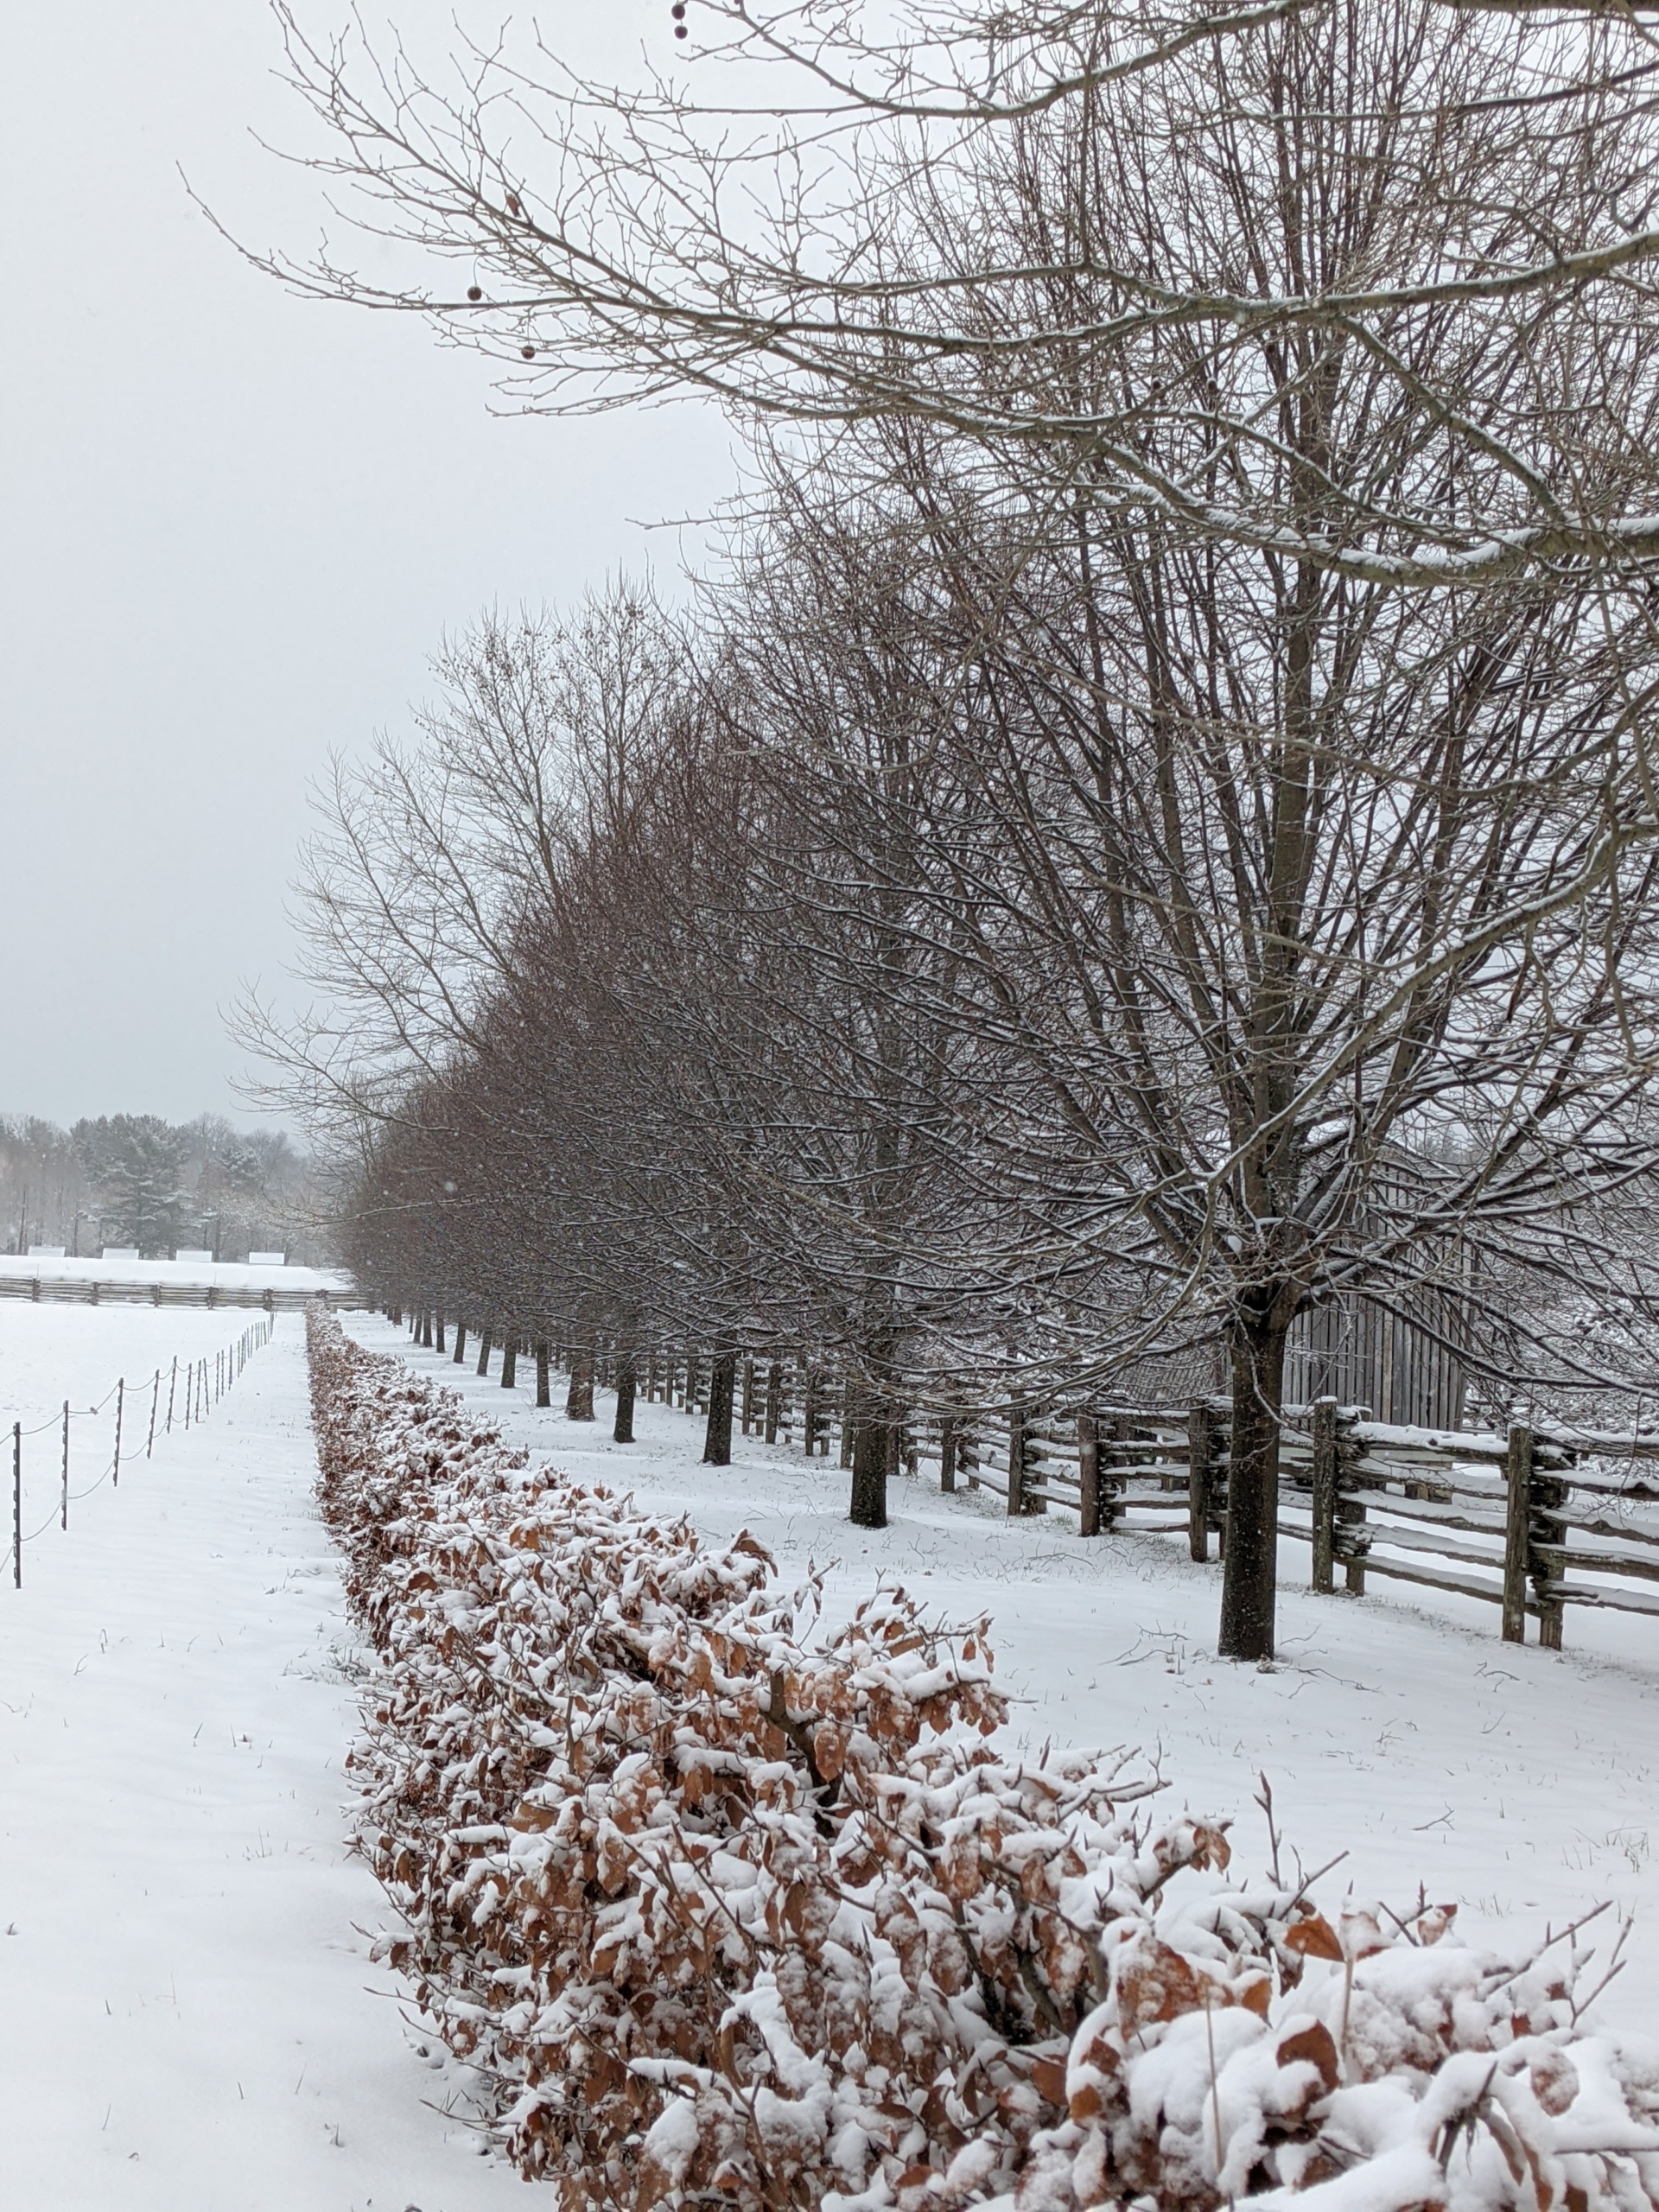
Here is the Linden Allee just beyond the stable. The linden tree, Tilia, is also referred to as basswood or lime, though it is not related at all to the lime fruit. They are straight stemmed trees with smooth bark. The gravel covered carriage road below is now completely coated in white powder.
This is the carriage road to my tennis court. Along both sides of the road we planted ‘Marley’s Pink Parasol’ Japanese Snowbell trees and a collection of Styrax ‘Evening Light’ trees. They are all growing very nicely. The dark evergreens in the distance look so pretty covered in snow.
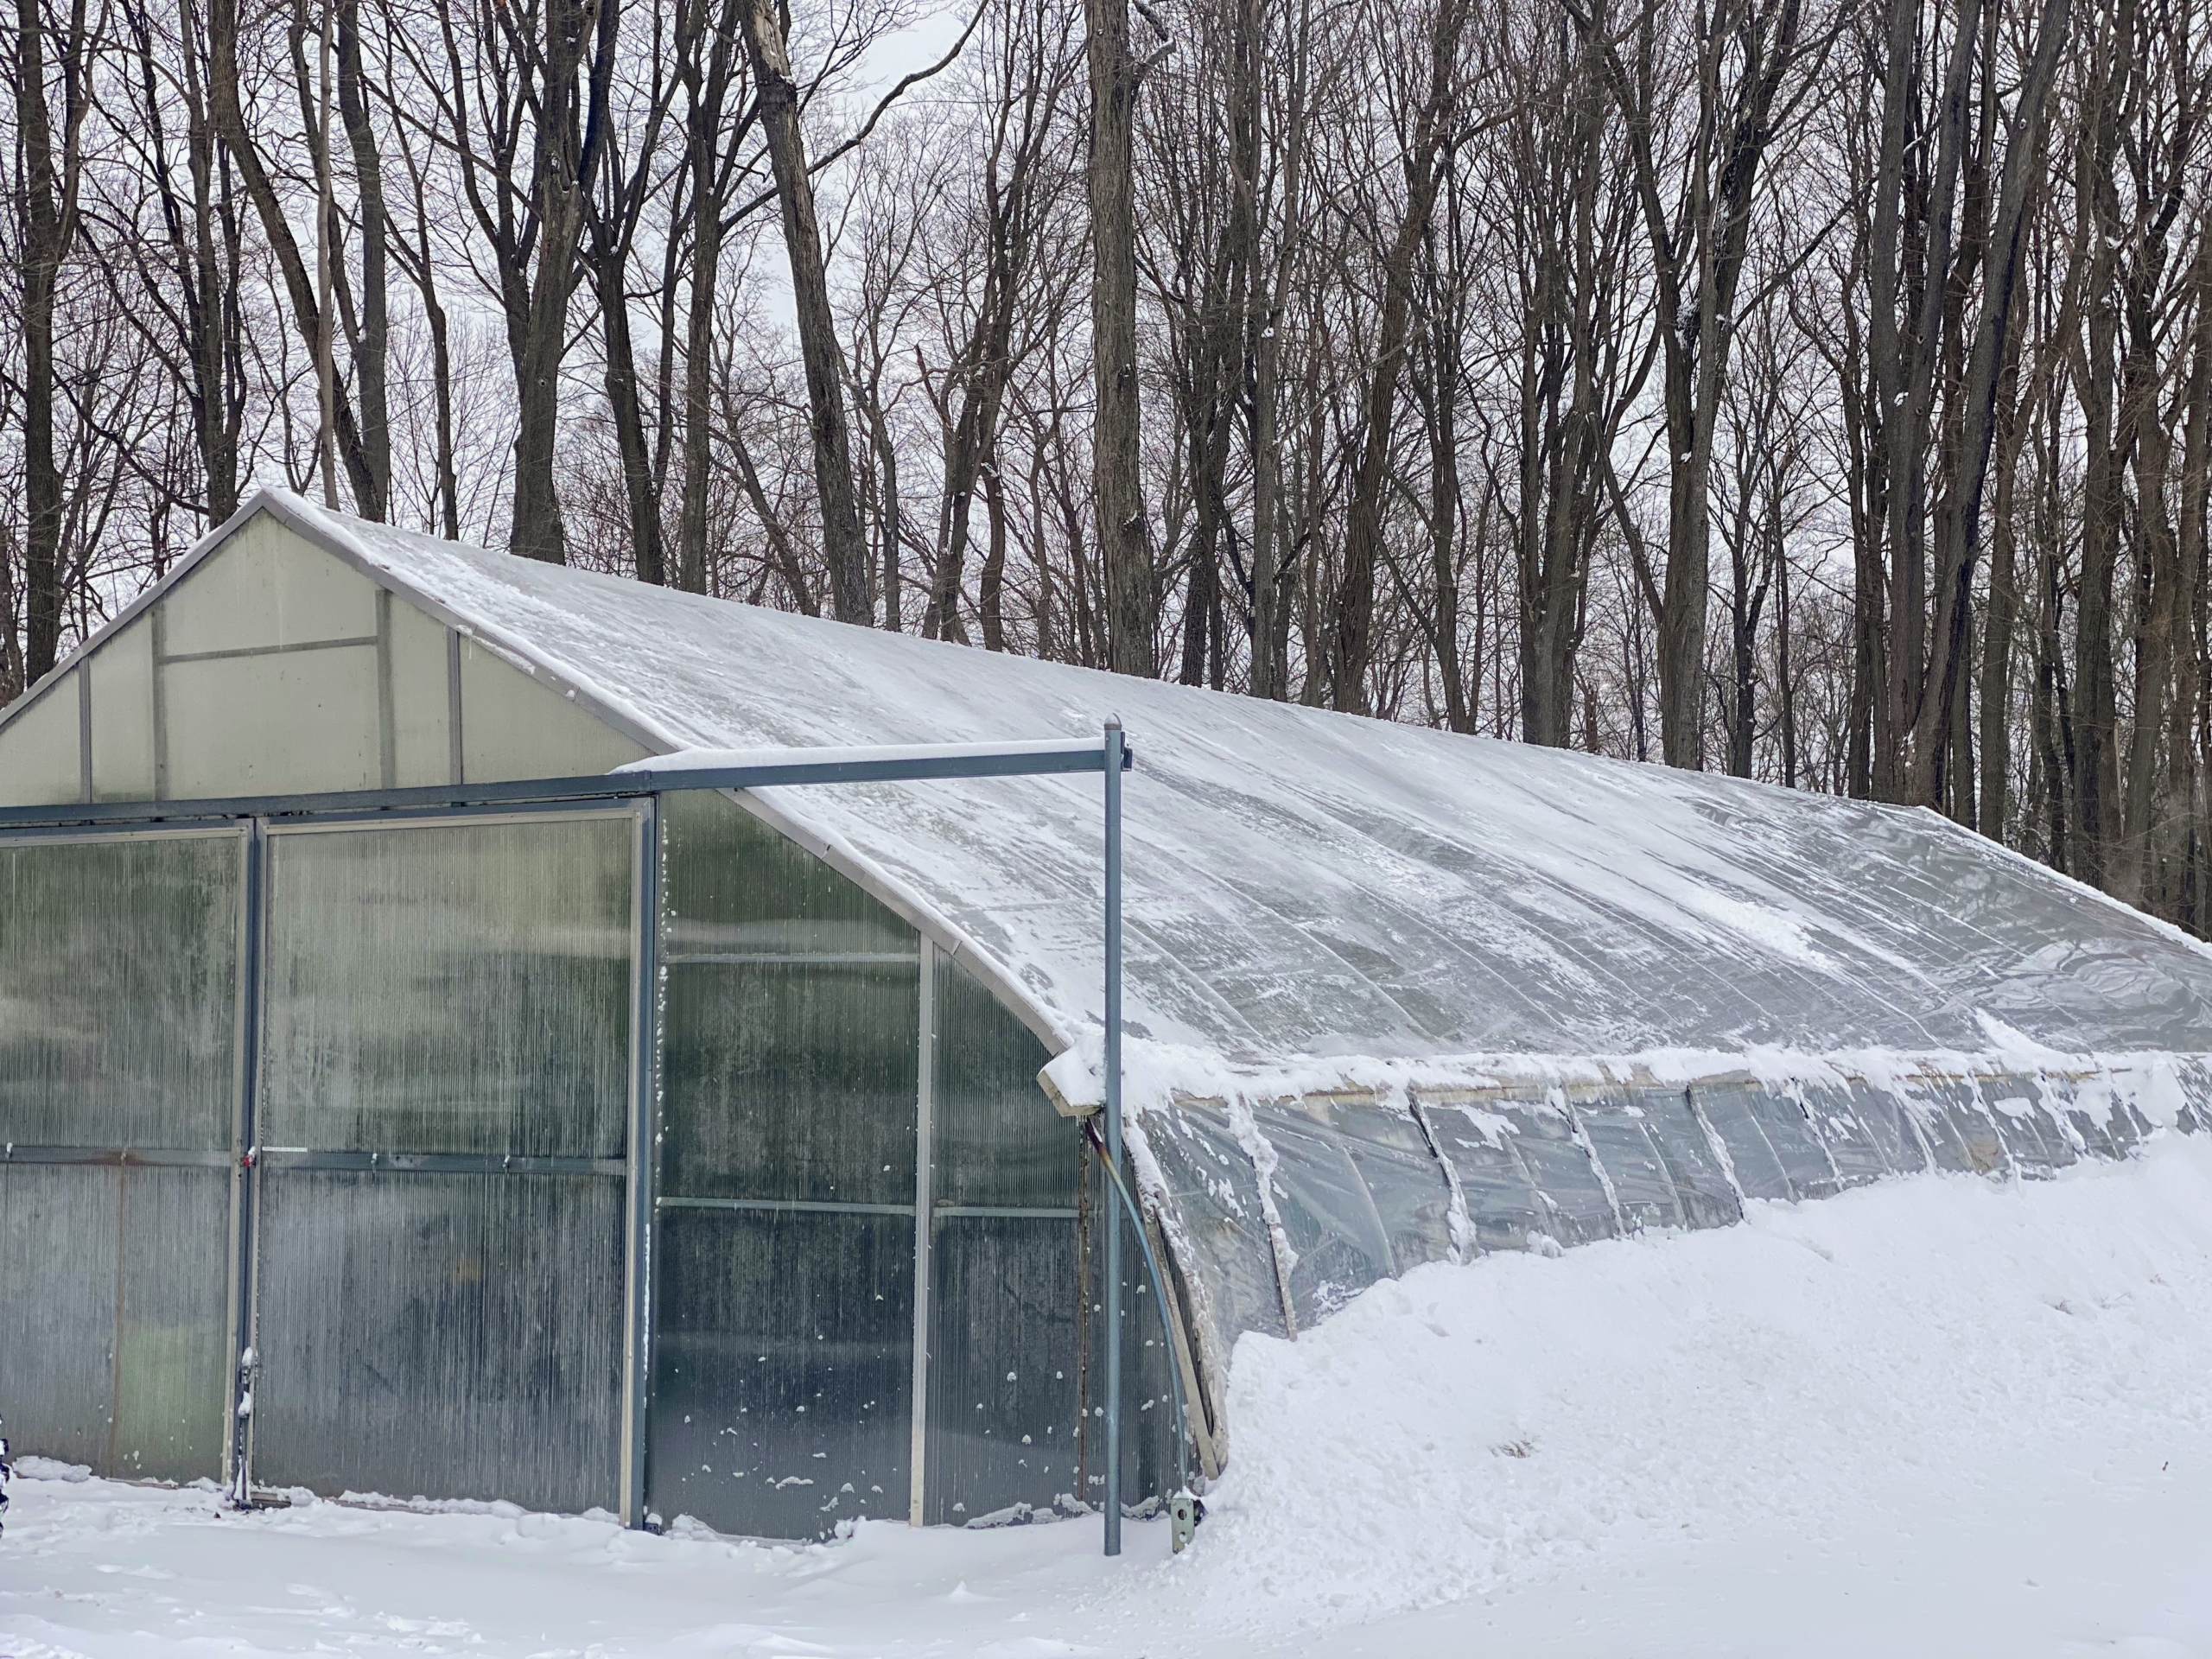
I am glad all my precious tropical plants are safe inside their heated hoop houses. This one stores my citrus collection – lemon trees, lime trees, cumquat, calamondin, and orange trees – all growing so wonderfully here at the farm.
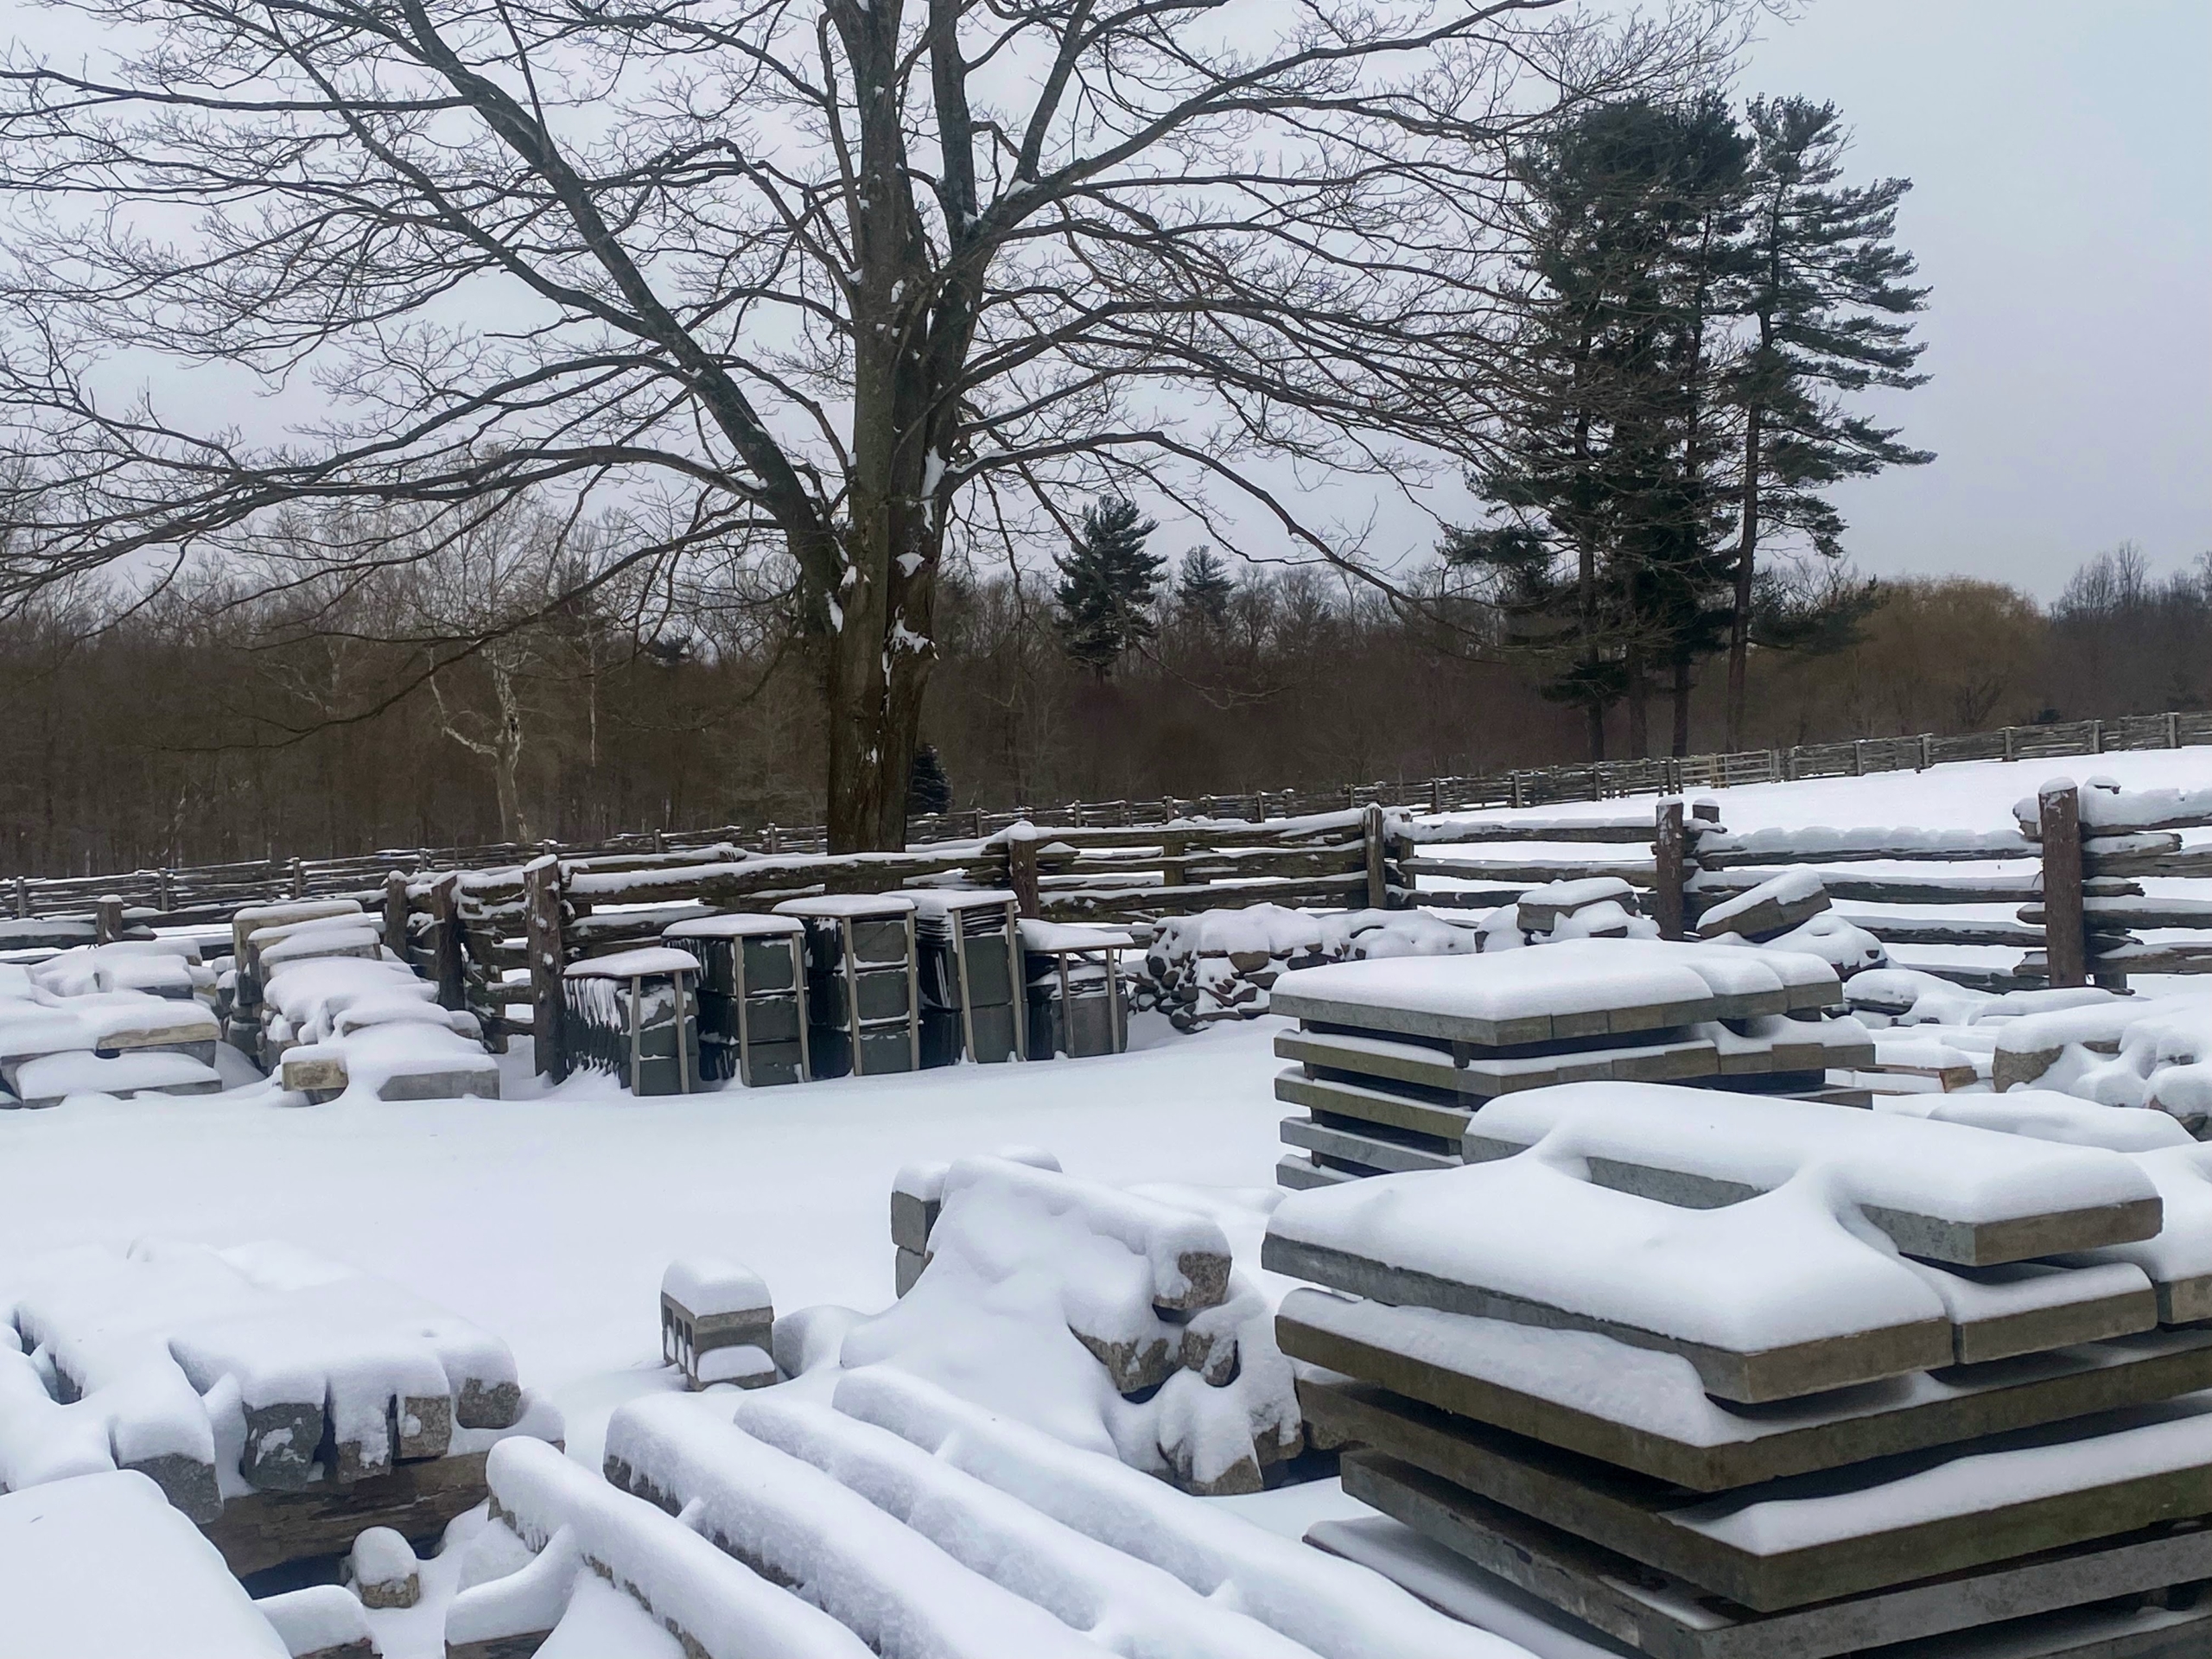
Here is my newly organized stone yard – also covered in white. This is where extra inventory of the many types of stones used at the farm are kept – slate shingles, marble flooring, granite posts, etc.
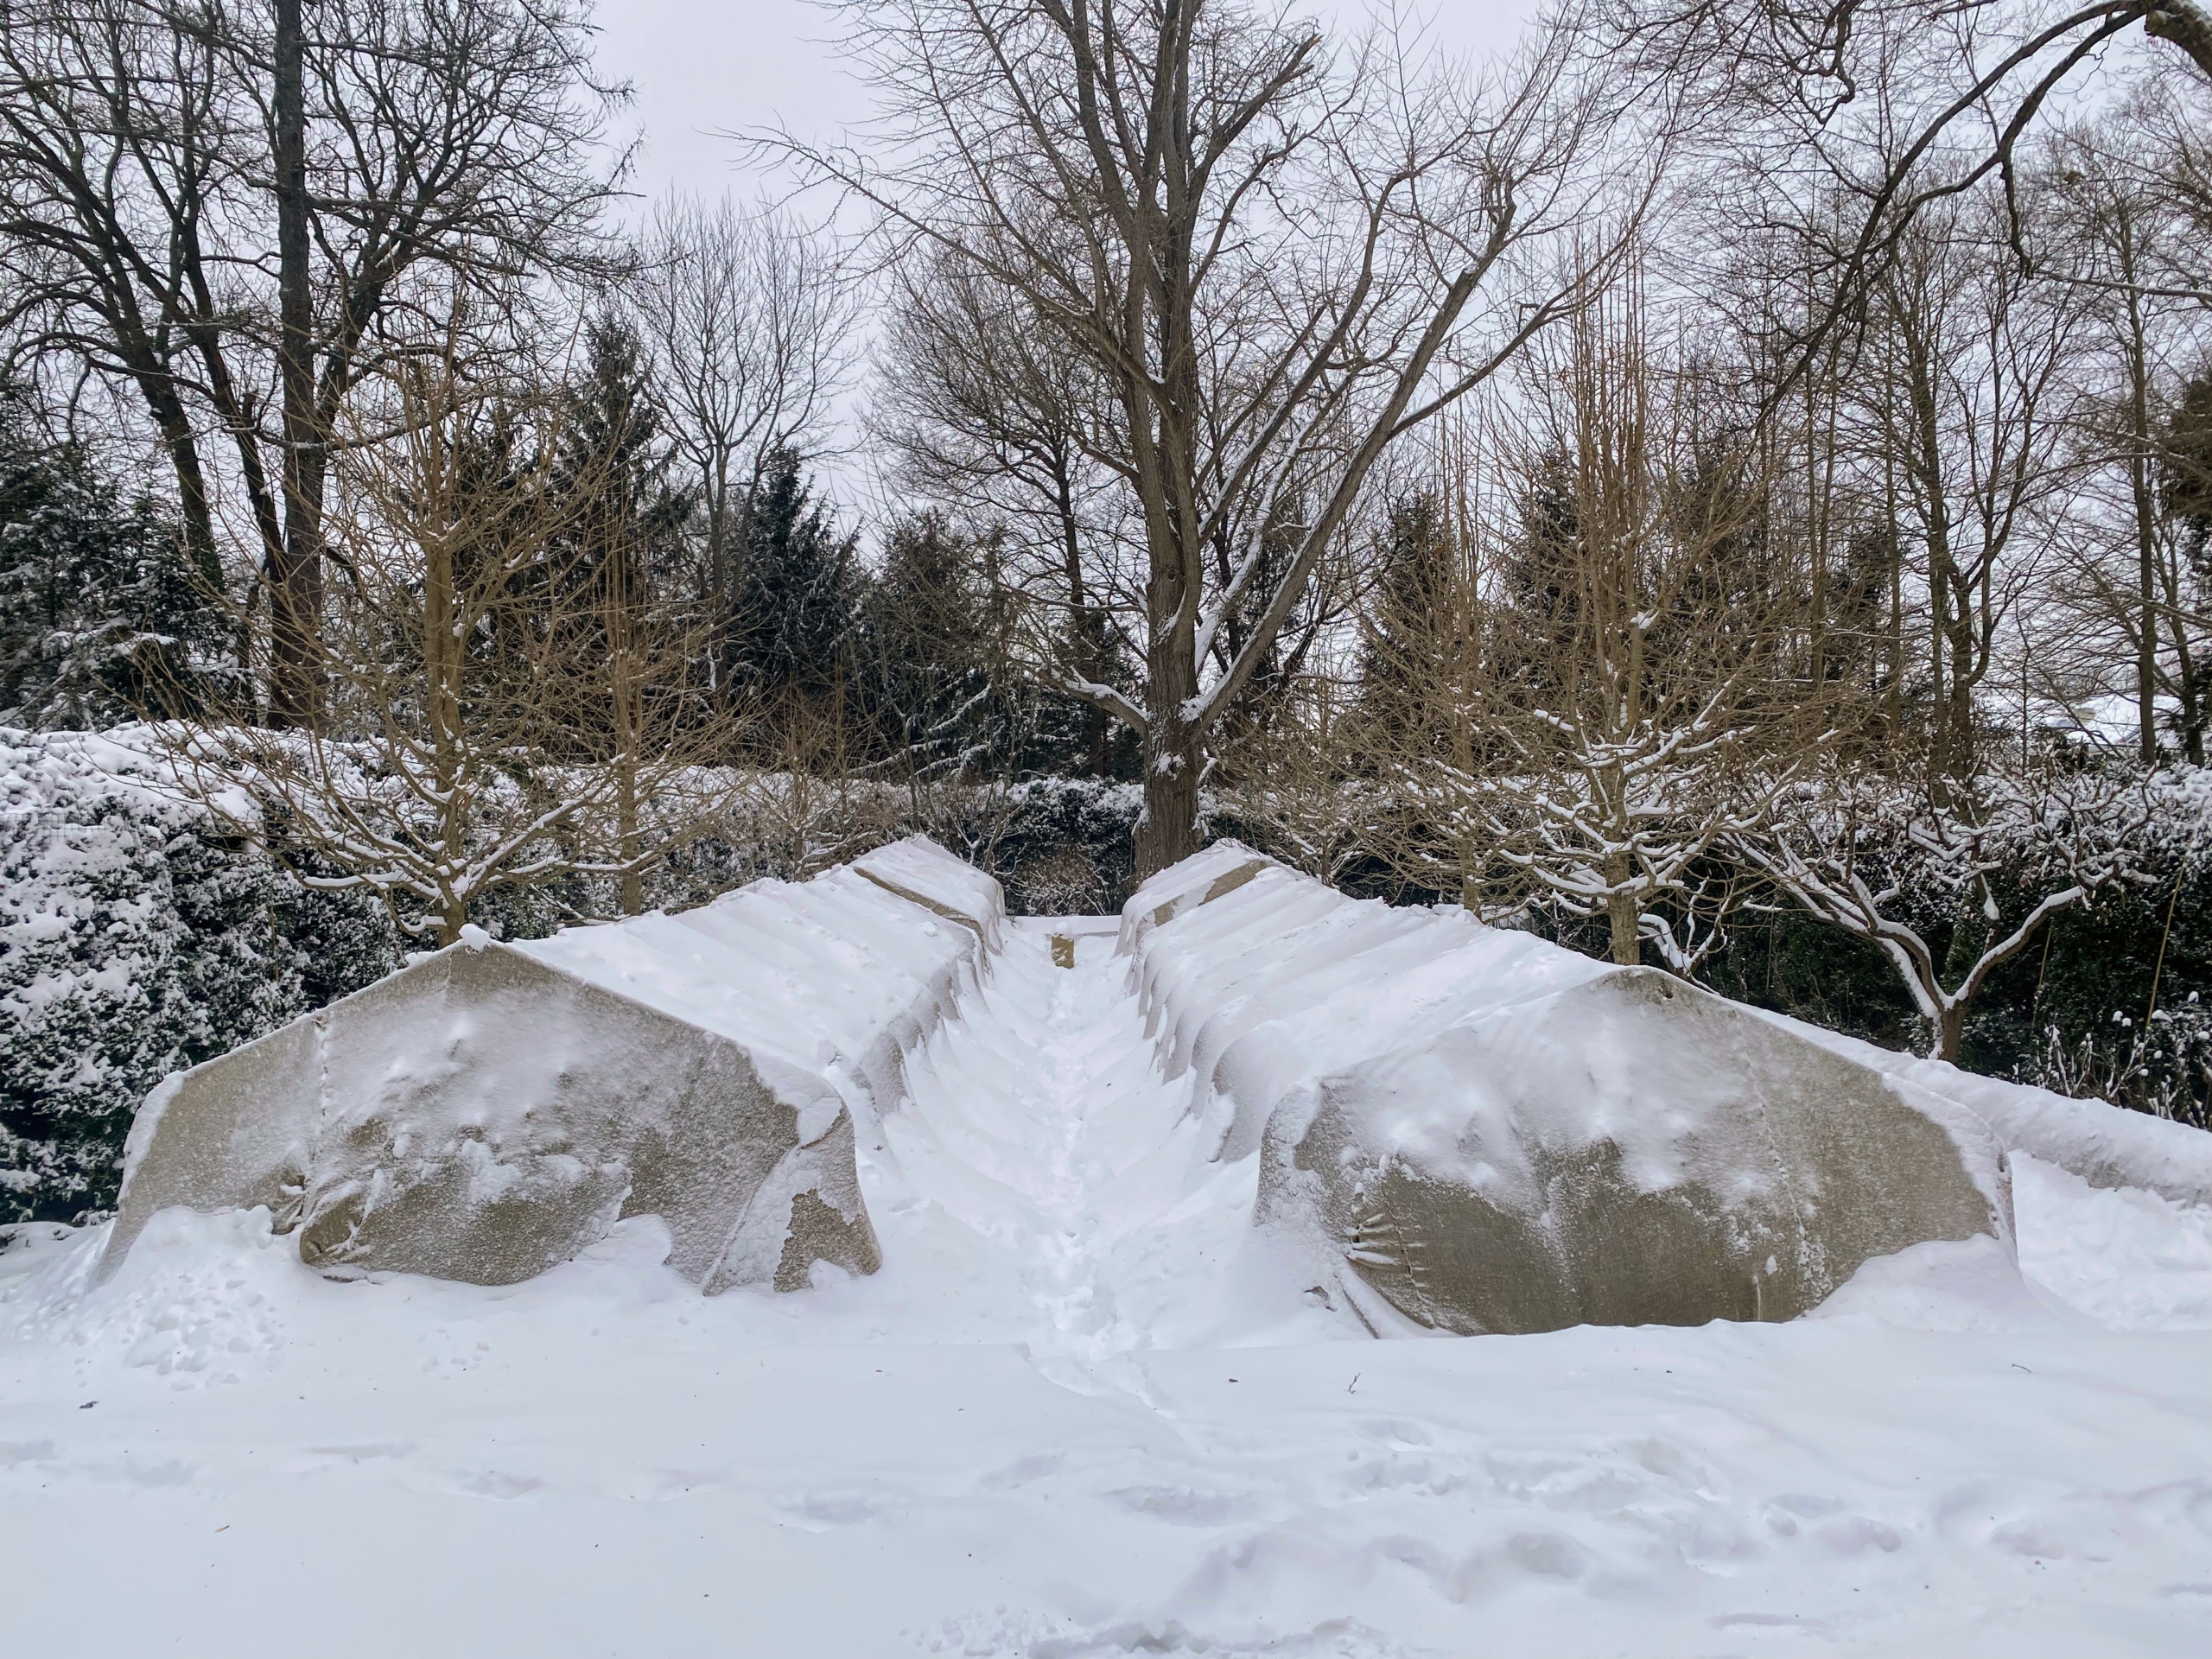
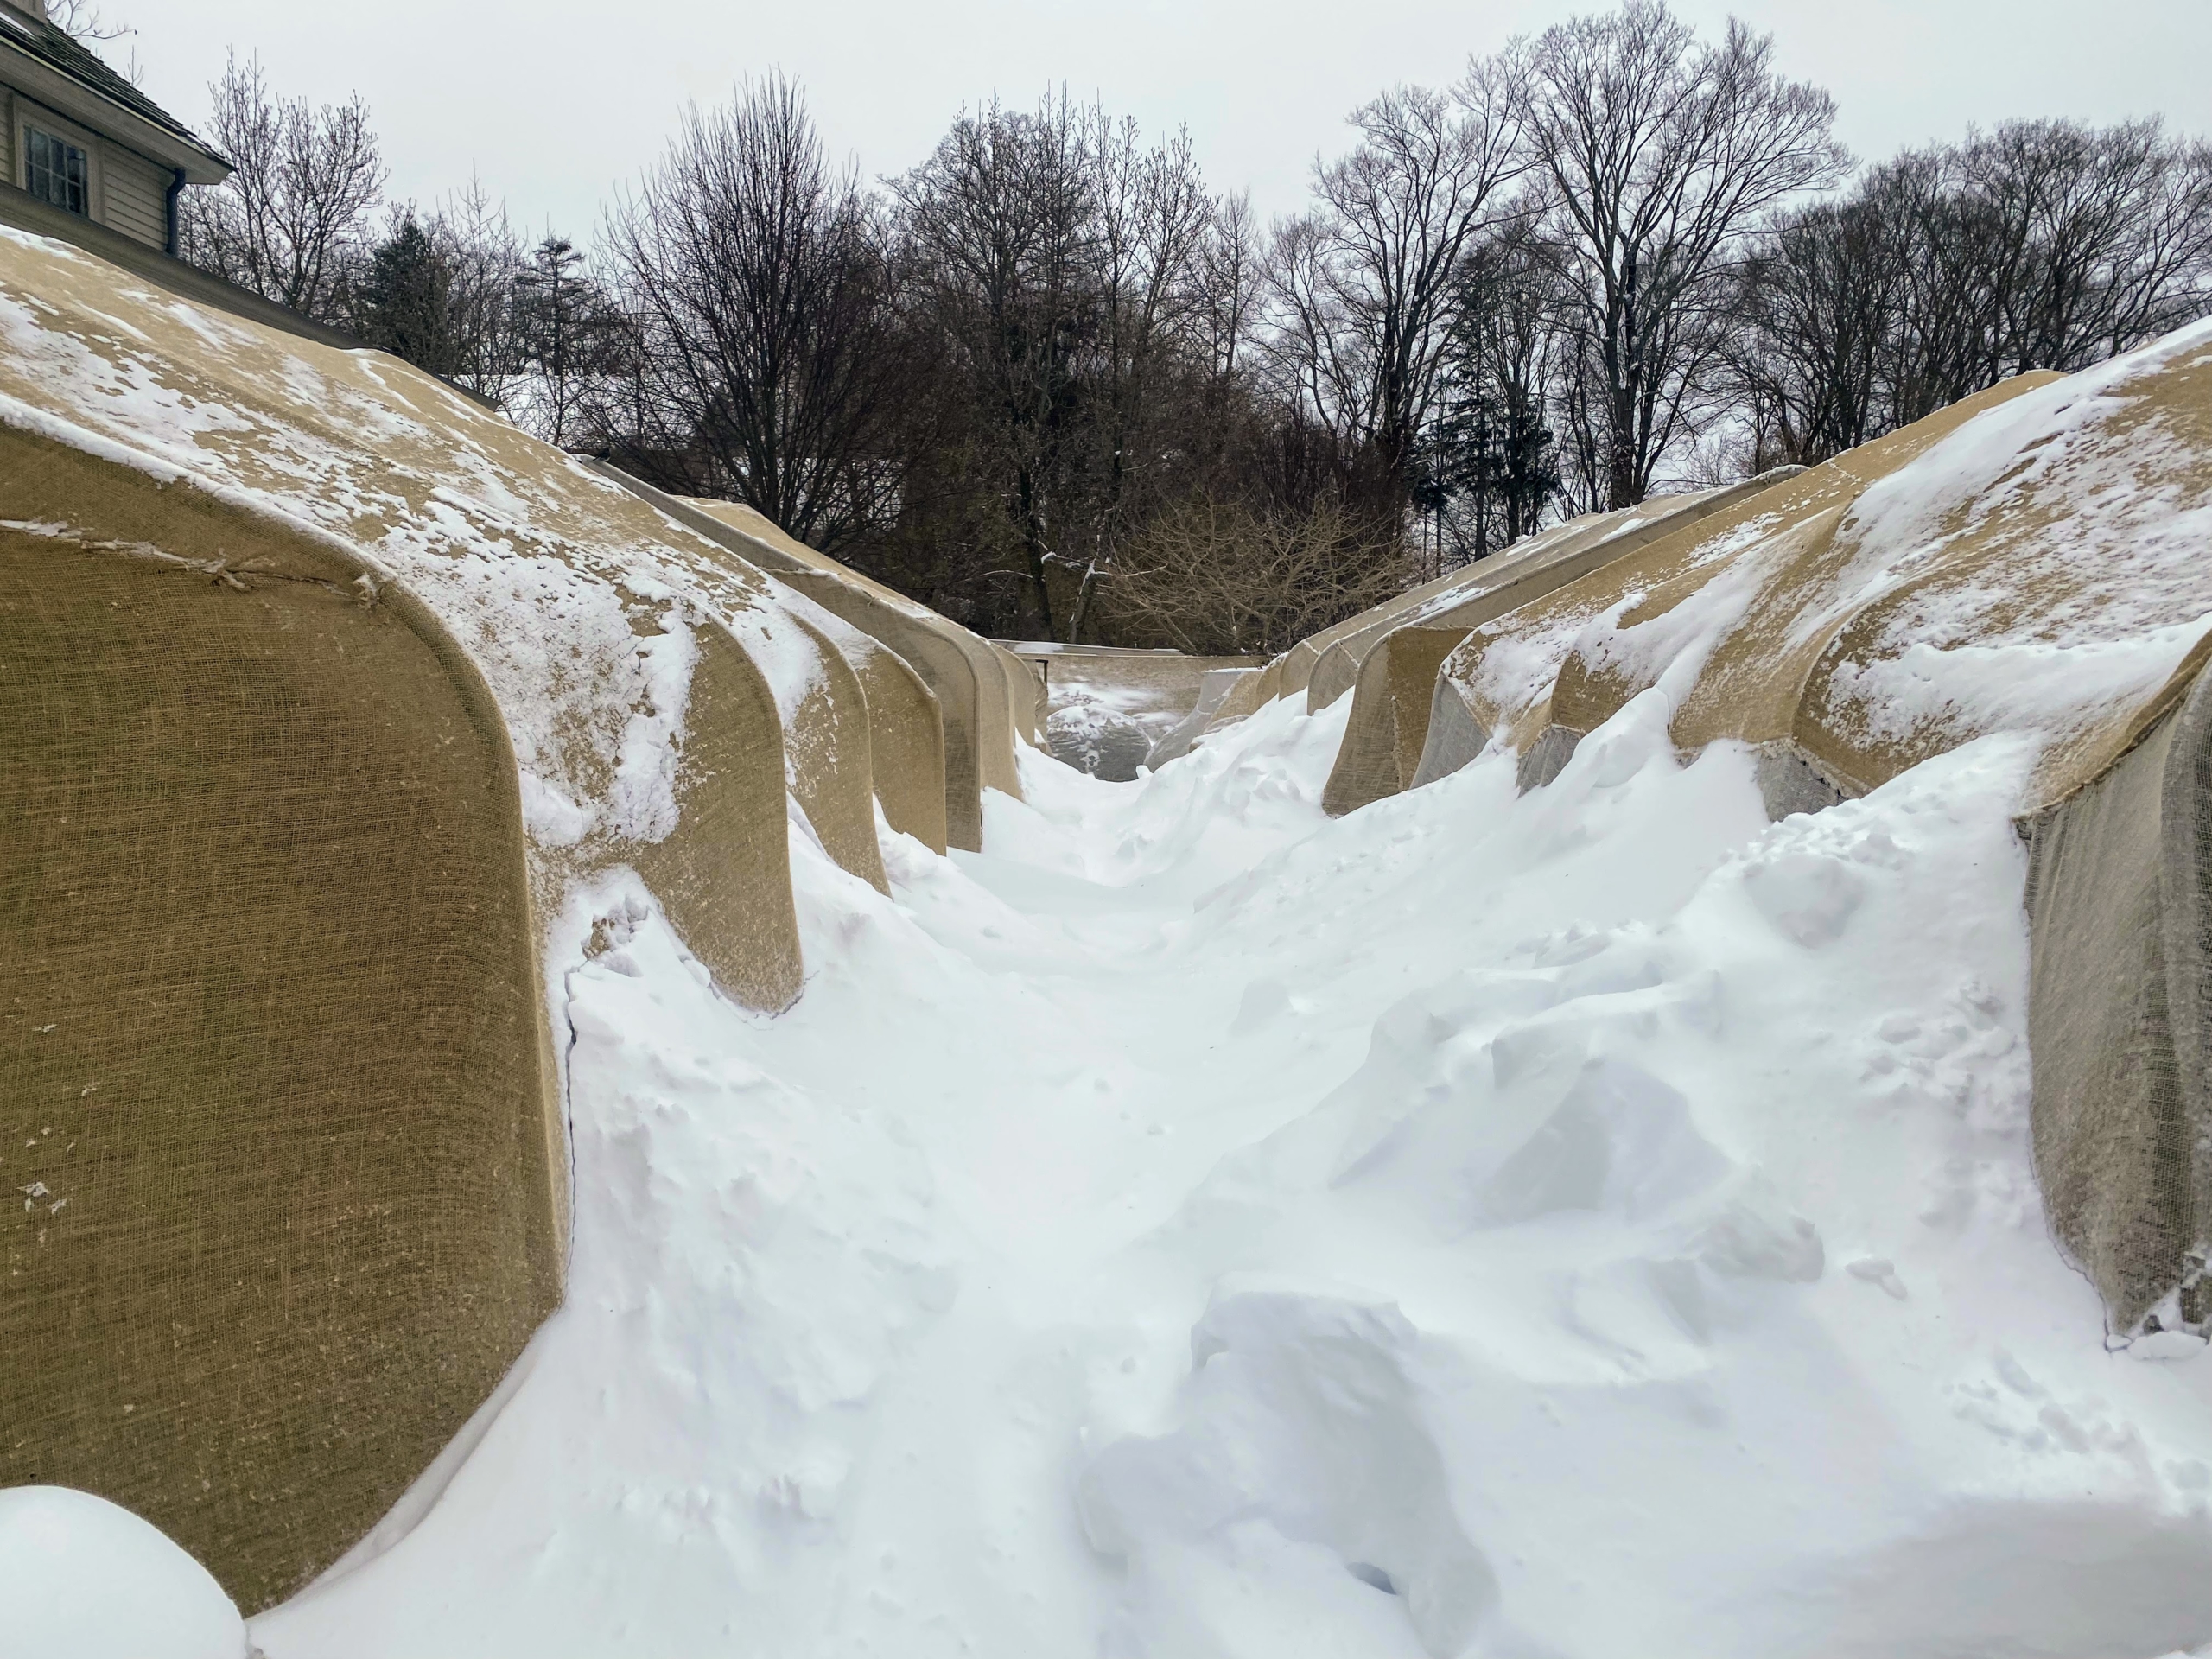
In my herbaceous peony bed, one can see the ripple-like snow drifts against the burlap covered boxwood.
The large linden trees are part of an allee I planted several years ago. The specimens below are all European beech trees, Fagus sylvatica, or the common beech – they hold tight to their leaves.
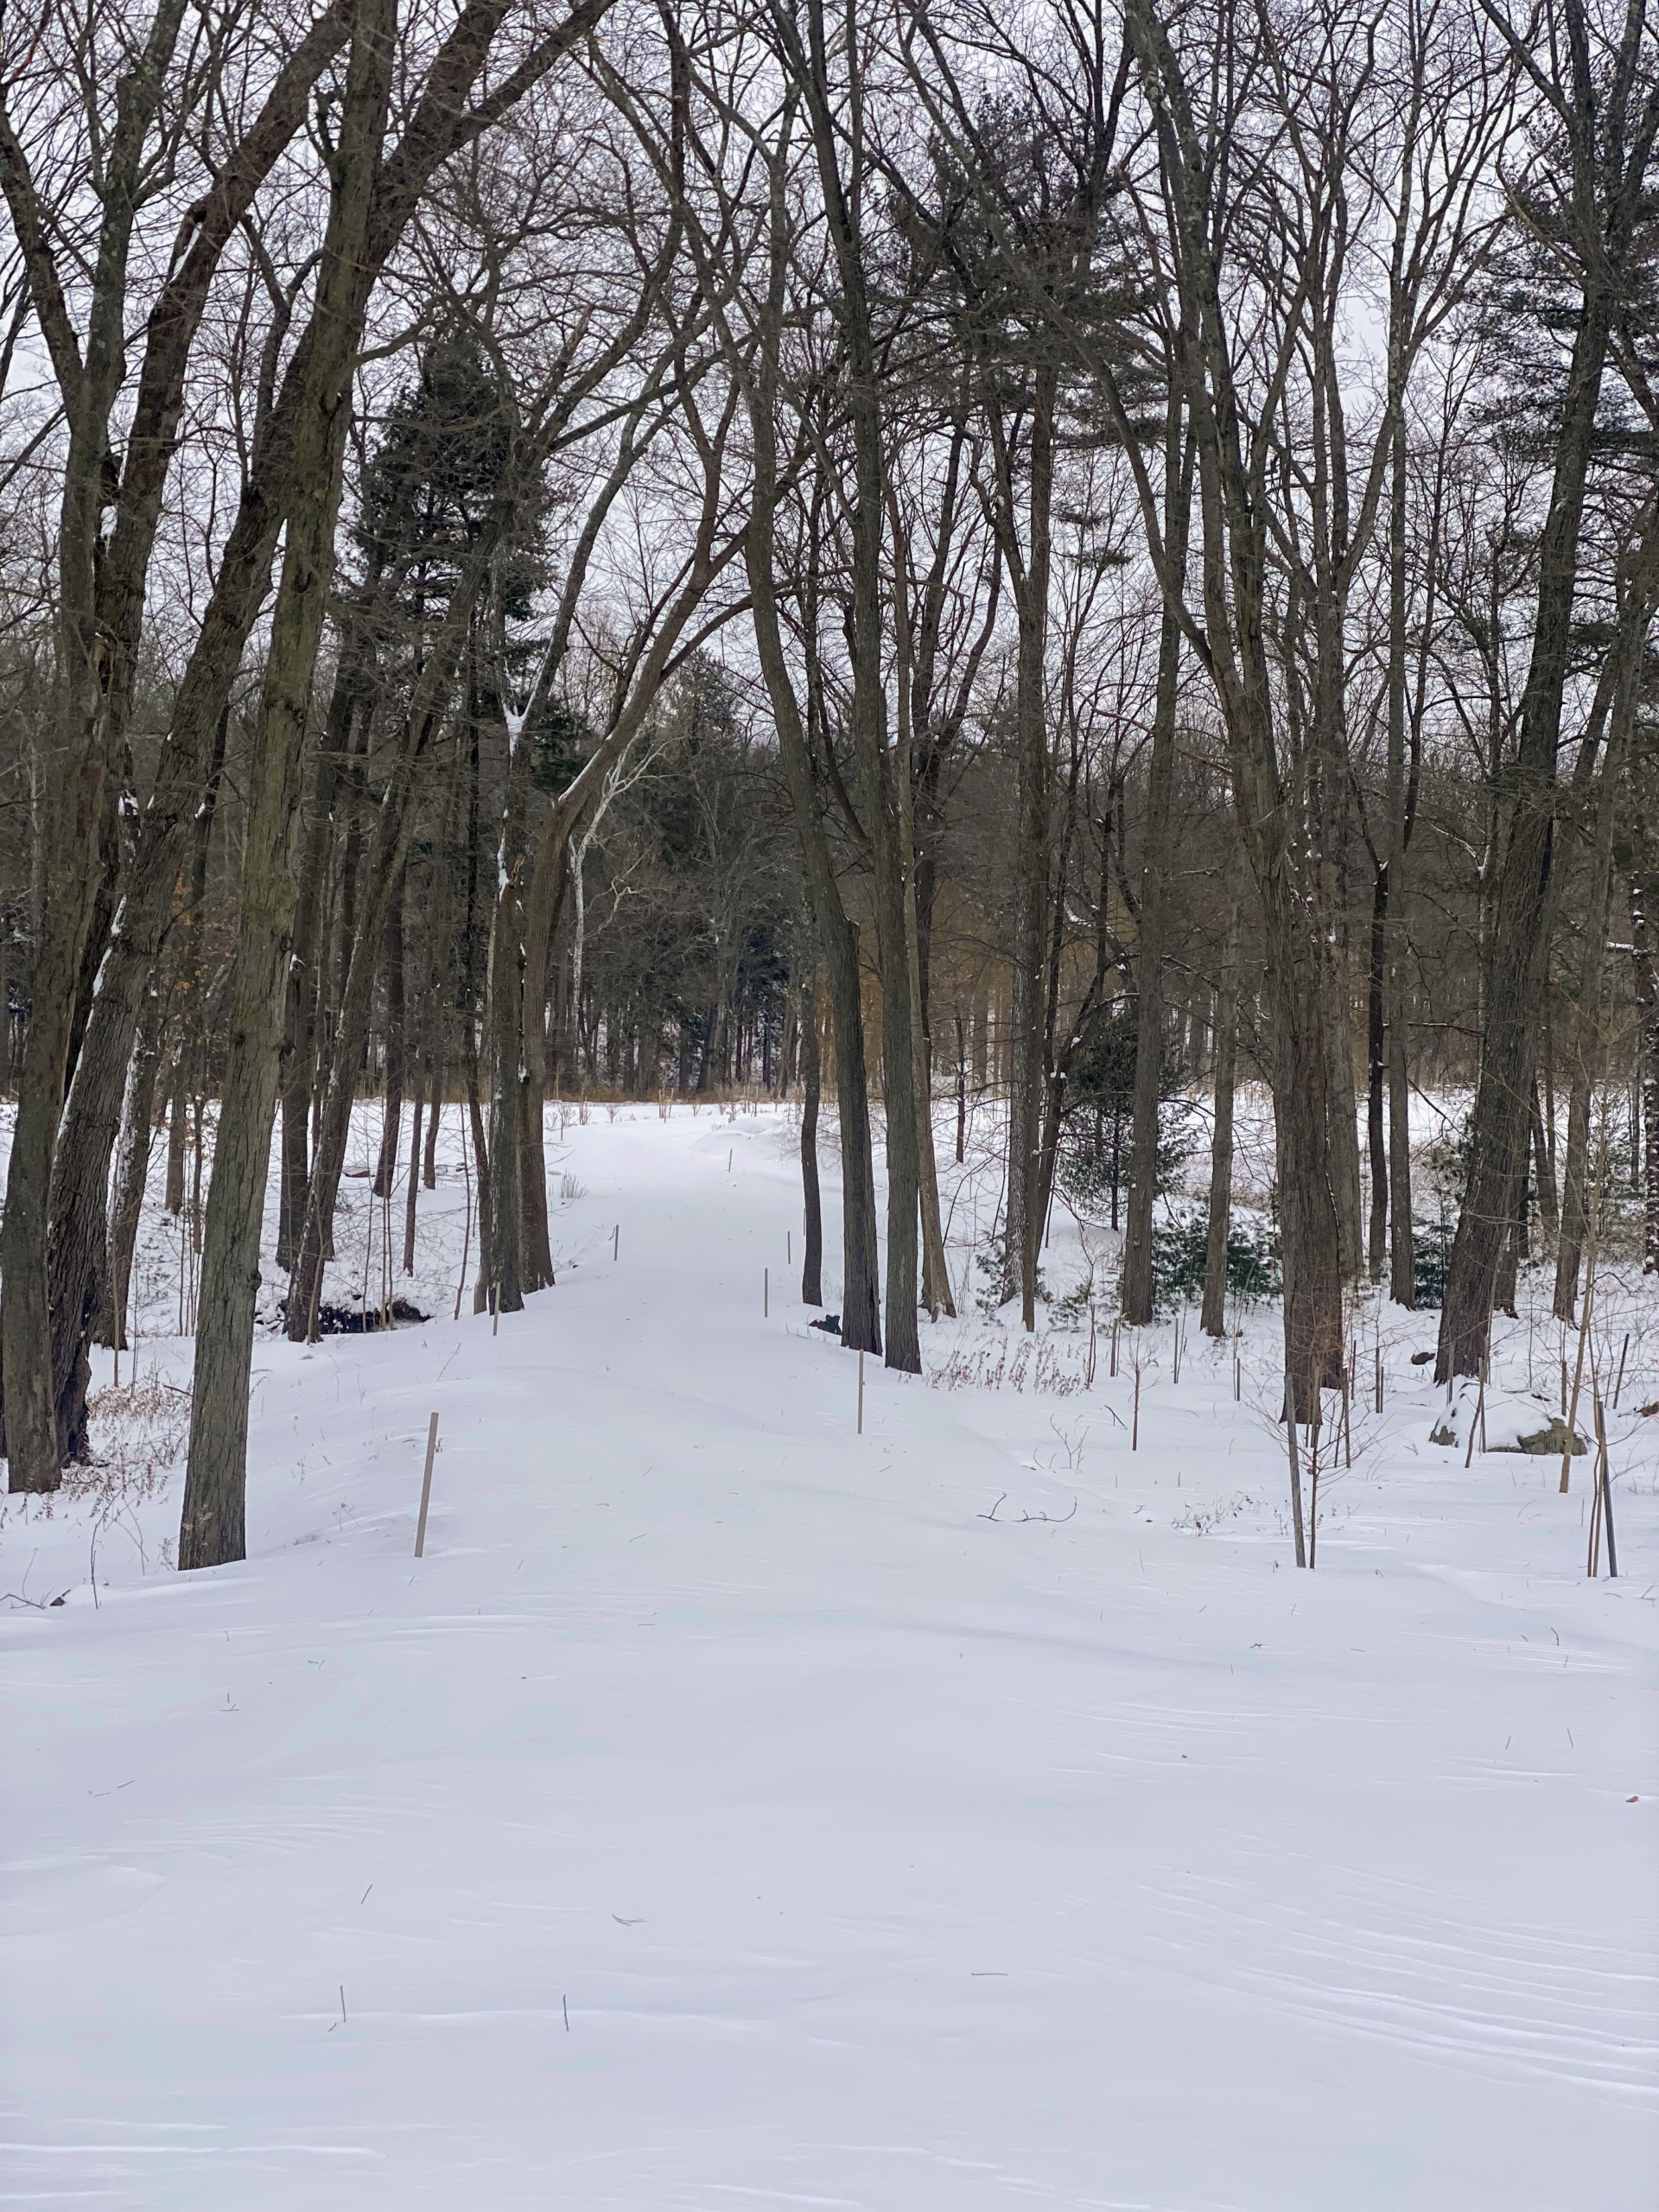
Here is the carriage road to the woodlands, almost unrecognizable except for the wooden stakes marking its edges.
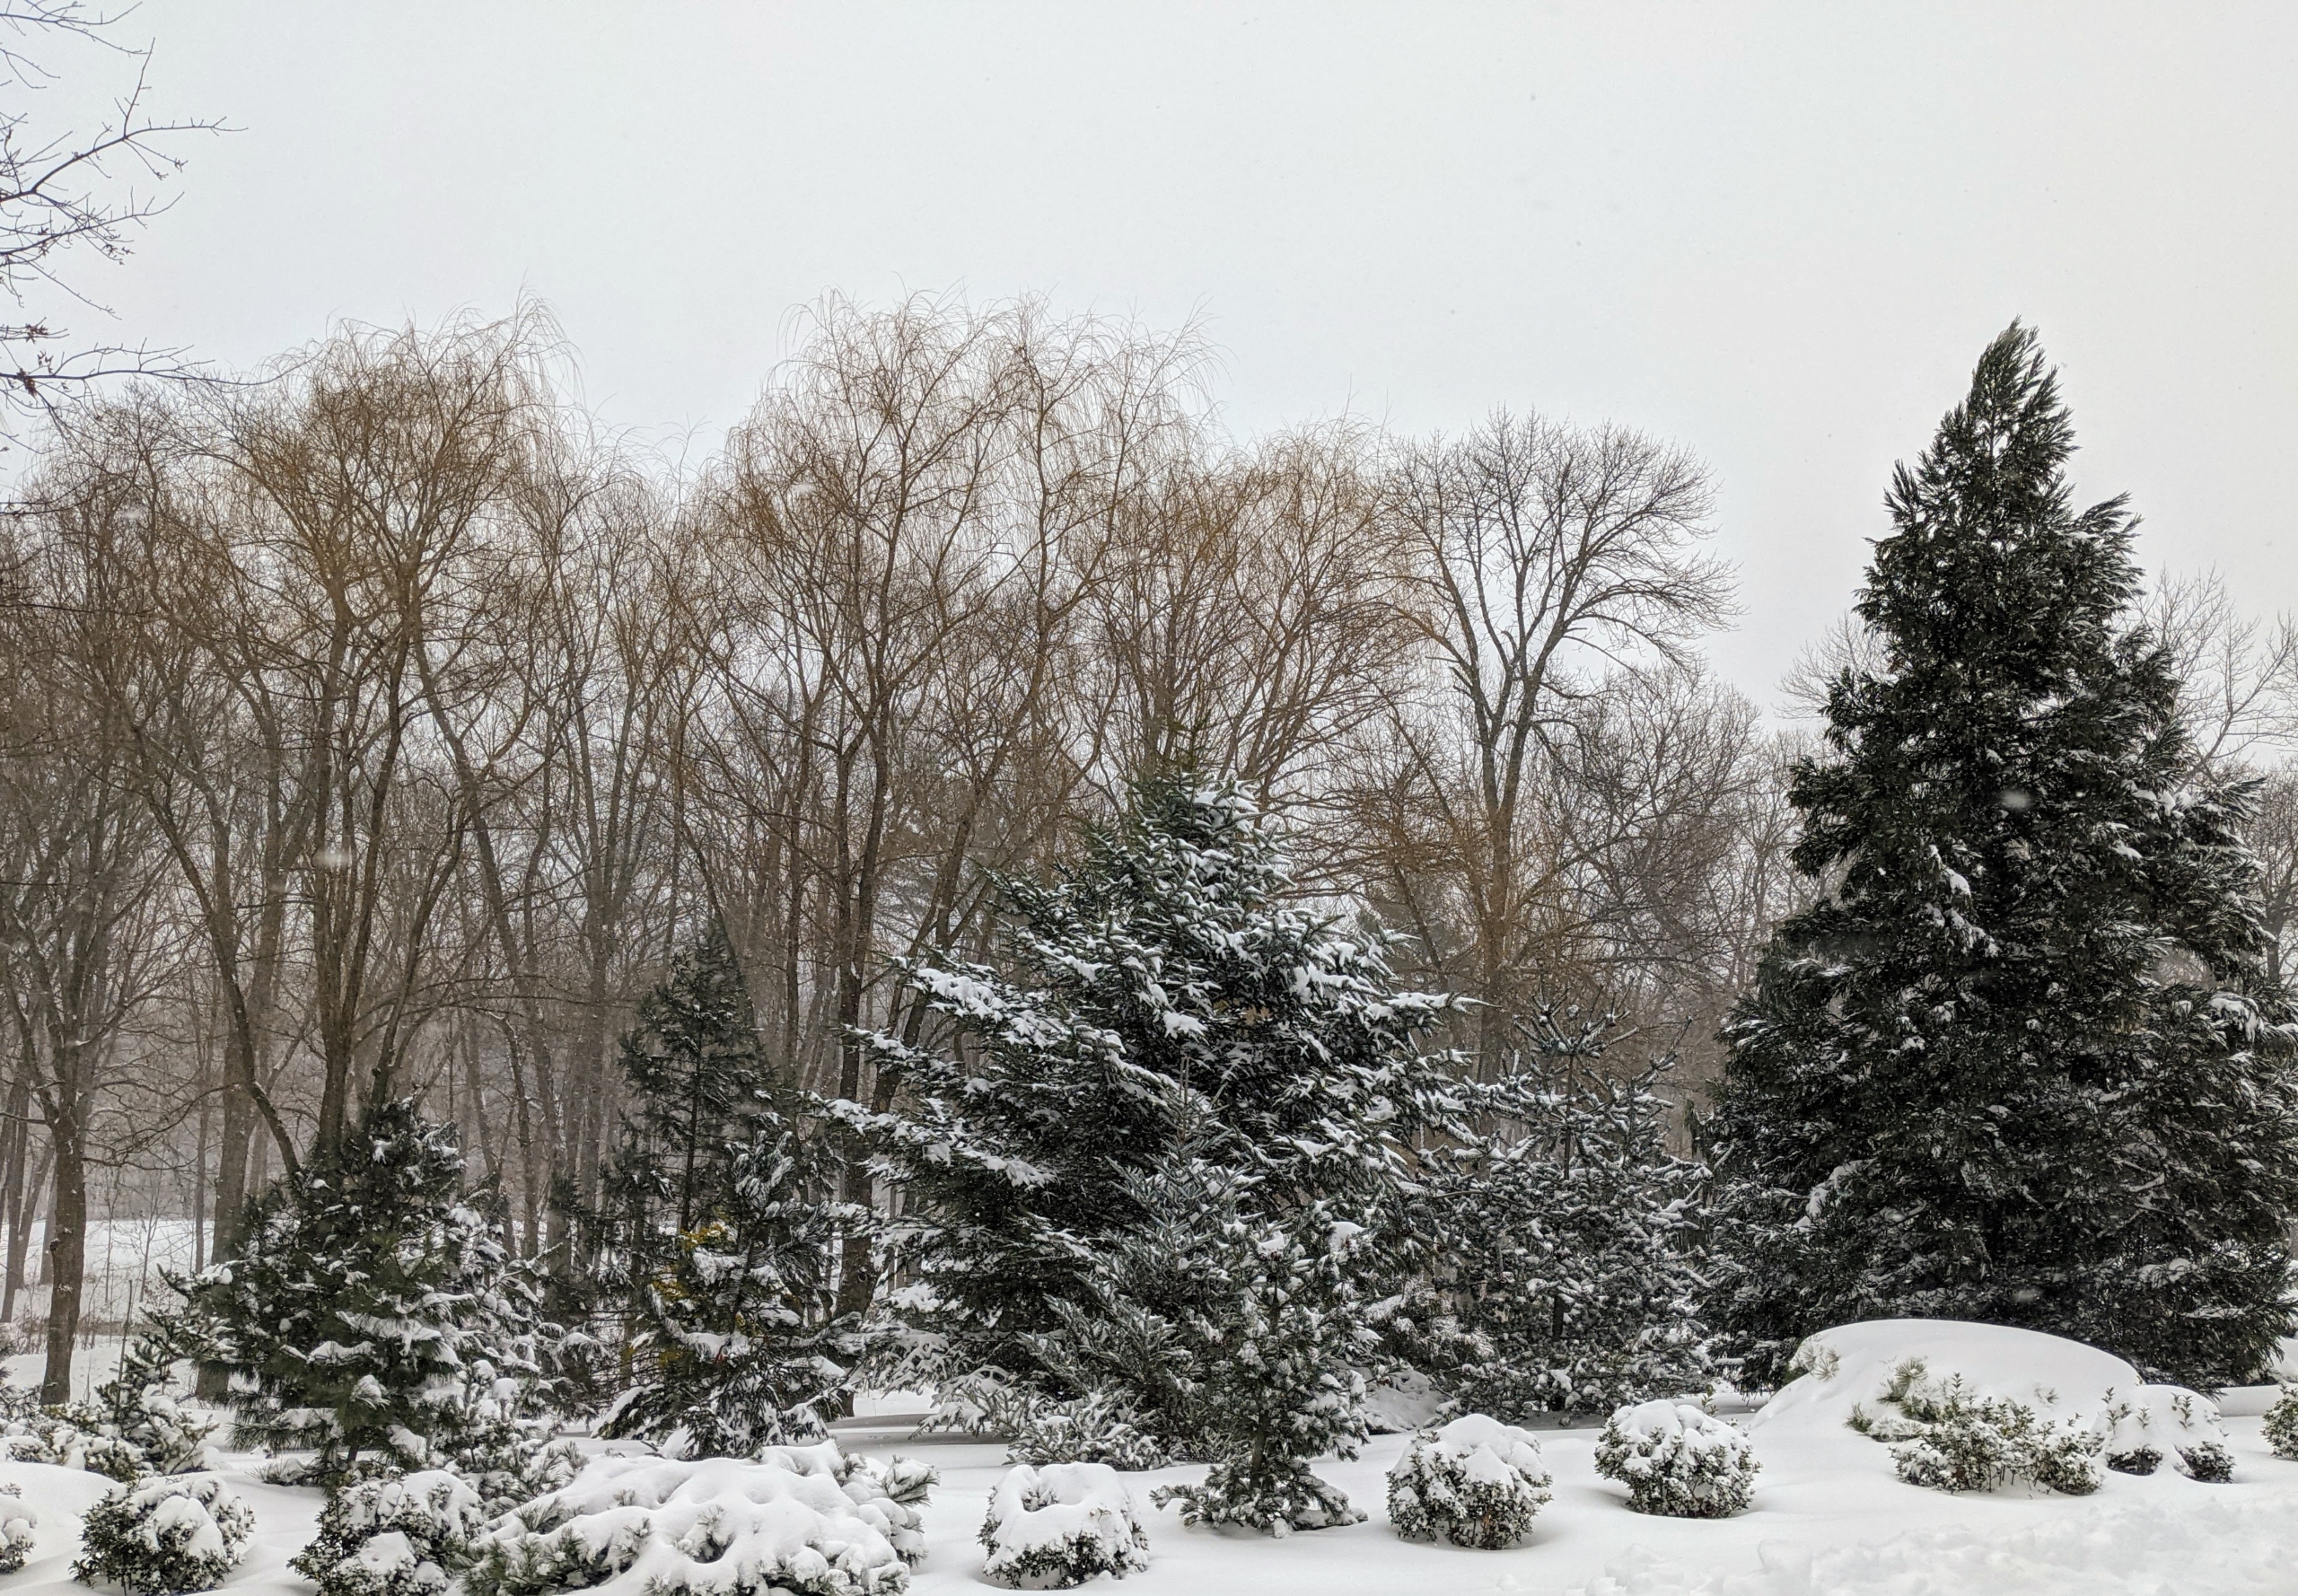
Tucked away between the Equipment Barn and a grove of weeping willows is my pinetum. It includes pines, spruces, and firs, as well as other evergreens.
These stakes mark my catch basins. We paint the tips black to differentiate them from the road stakes. And we mark them, so they can be found quickly and, if needed, the side openings can be cleared.
This is the sunken garden behind my Summer House – the footpath covered in white, but all the boxwood hedges protected with galvanized steel frames and burlap.
And can you guess where this is? It is actually the terrace parterre just outside my Winter House. The snow collected more than two feet high in between the covered boxwood shrubs. Fortunately, despite the gusty winds, this storm did not cause any serious damage at the farm.
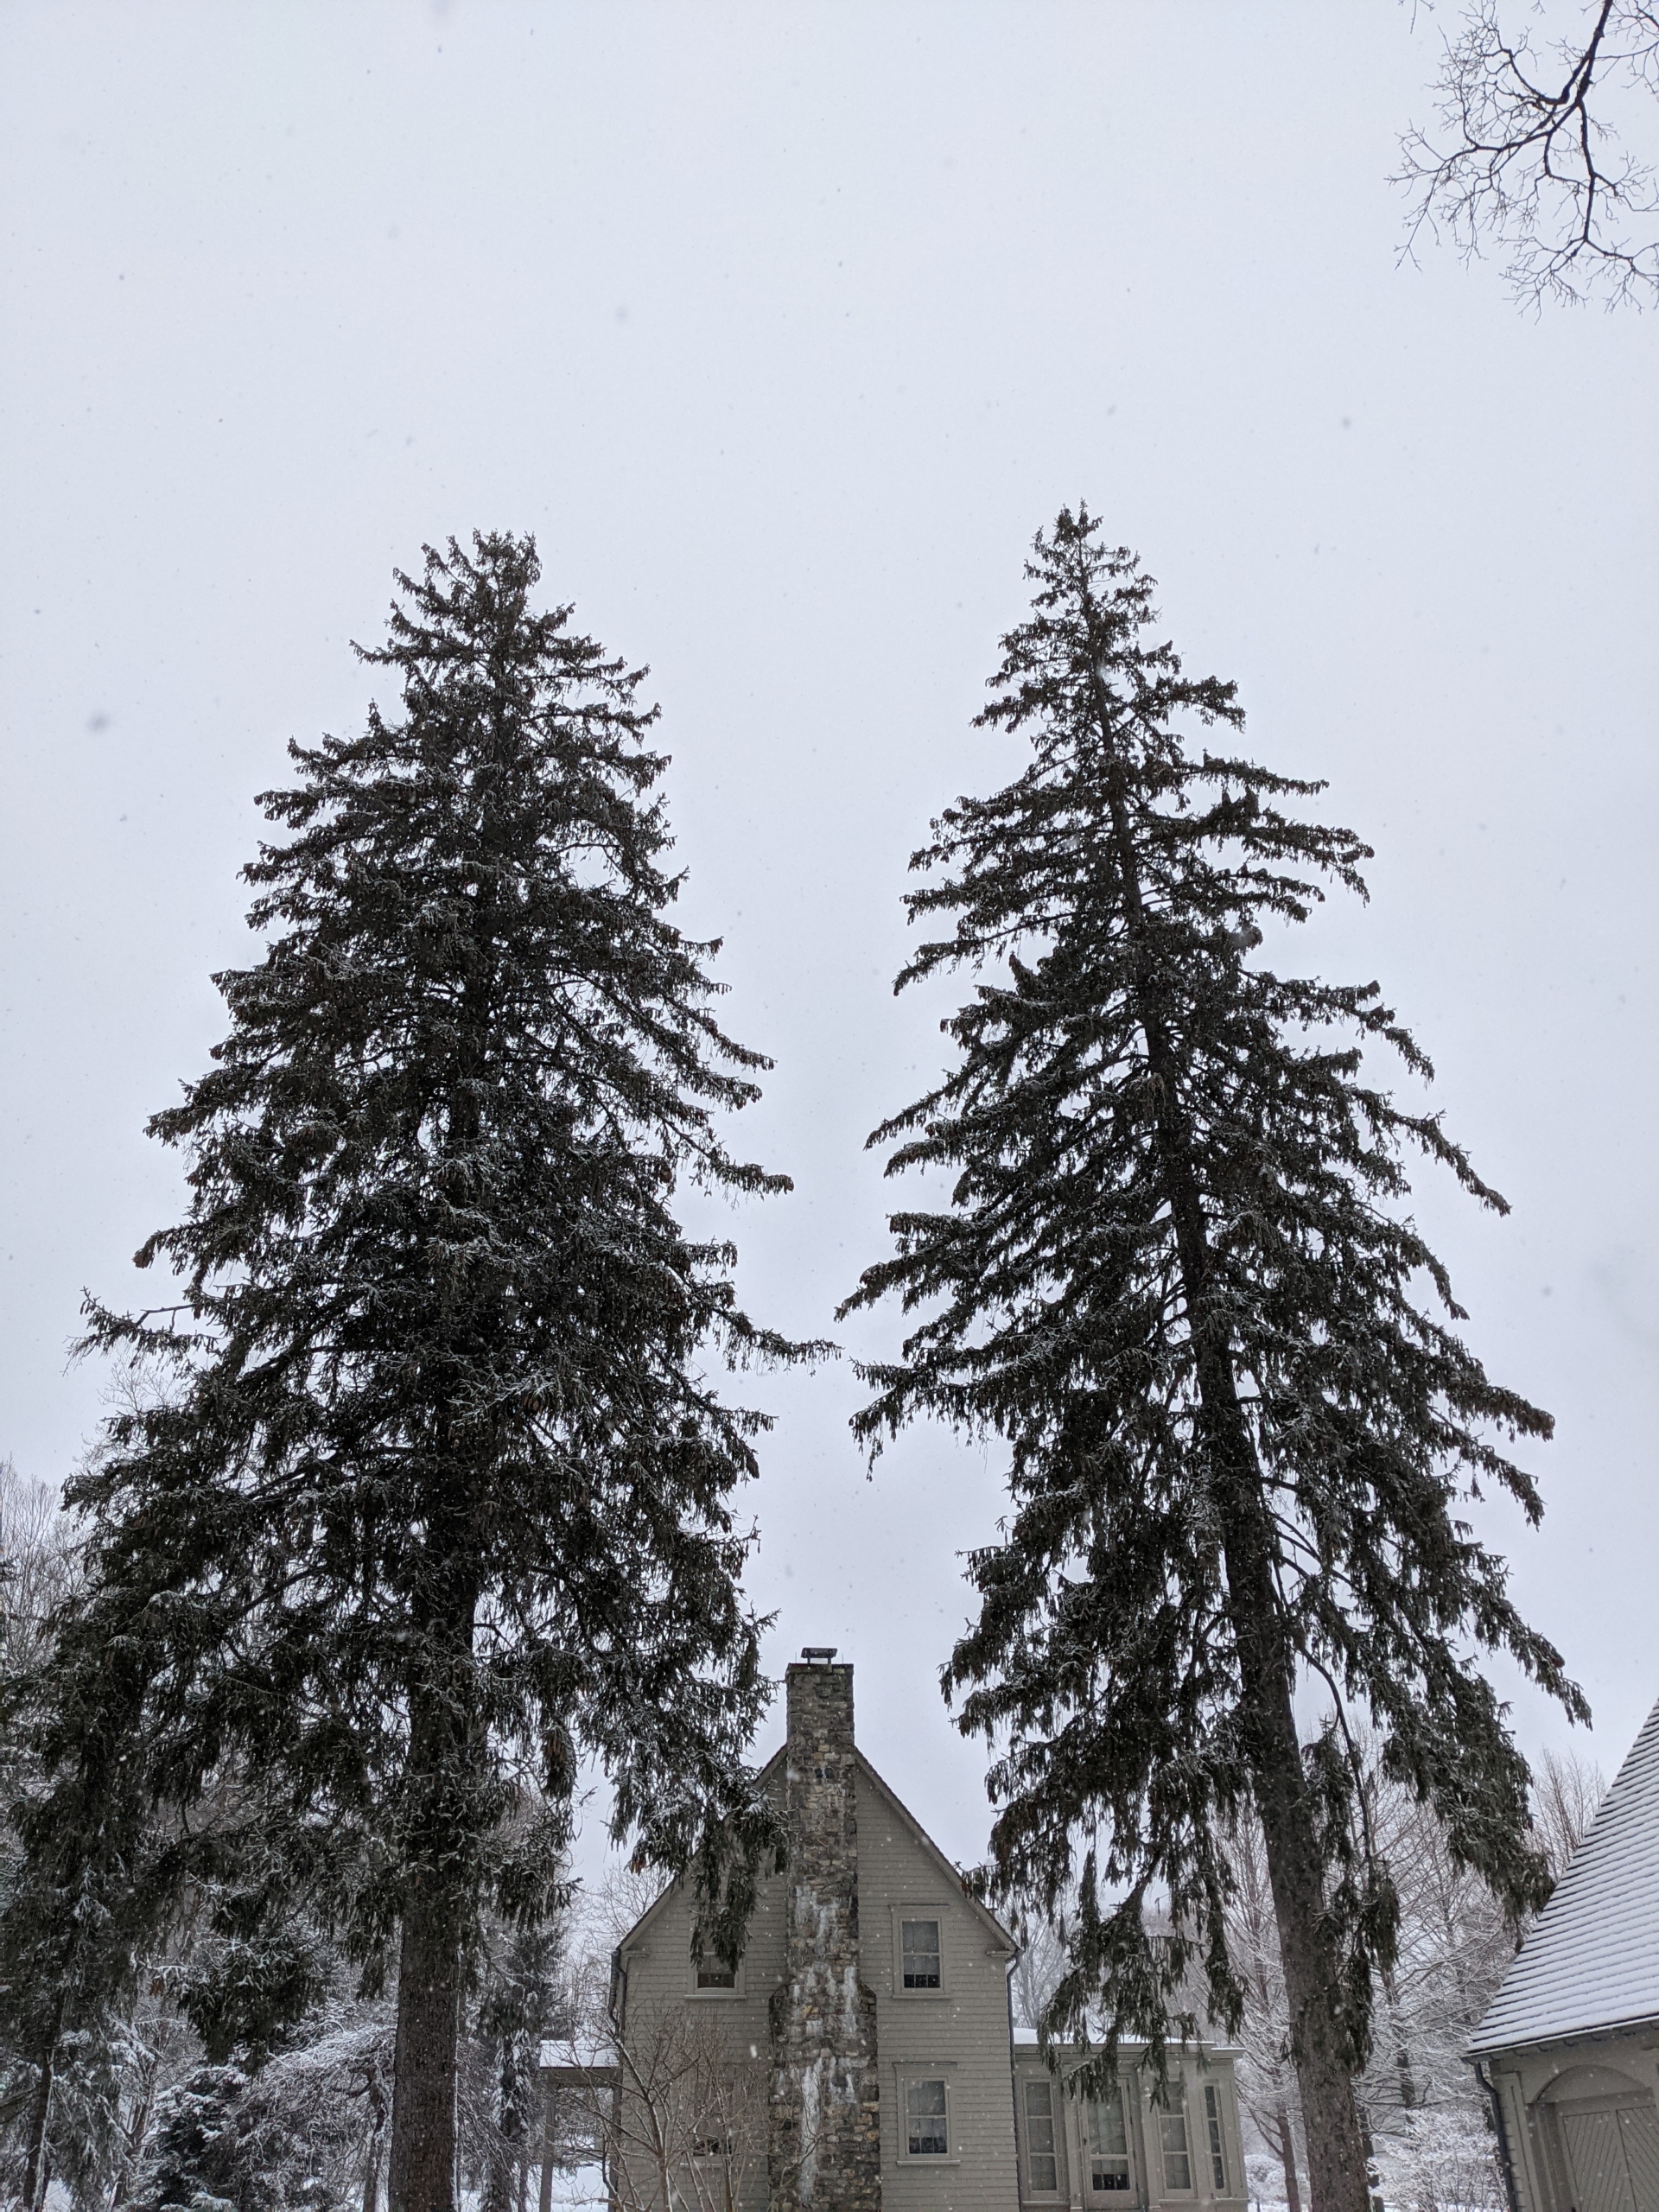
Here are two giant evergreens outside my Tenant House. Thankfully, they stood strong and remained intact during the storm.
During a late afternoon tour of the property, one of the members of my security team made hearts in the snow – a little whimsy during a storm. Groundhog Day is a couple days away – that popular tradition derived from the Pennsylvania Dutch superstition that if a groundhog emerging from its burrow on this day sees its shadow, it will retreat to its den and winter will persist for six more weeks; if it does not see its shadow, spring will arrive early. What’s your prediction for this season?
Whenever I am home, I love spending time in my greenhouse caring for my large collection of houseplants - among my favorites are my orchids.
Caring for orchids is a daunting process for many, but if one takes the time to understand their basic needs, and to use all the proper orchid care supplies, there’s no reason why these beautiful plants won’t continue to thrive and bloom. Not long ago, in between my busy day of Zoom meetings and phone calls, I had a little time to spend in my head-house to pot some of my newer specimens.
Here are some photos.
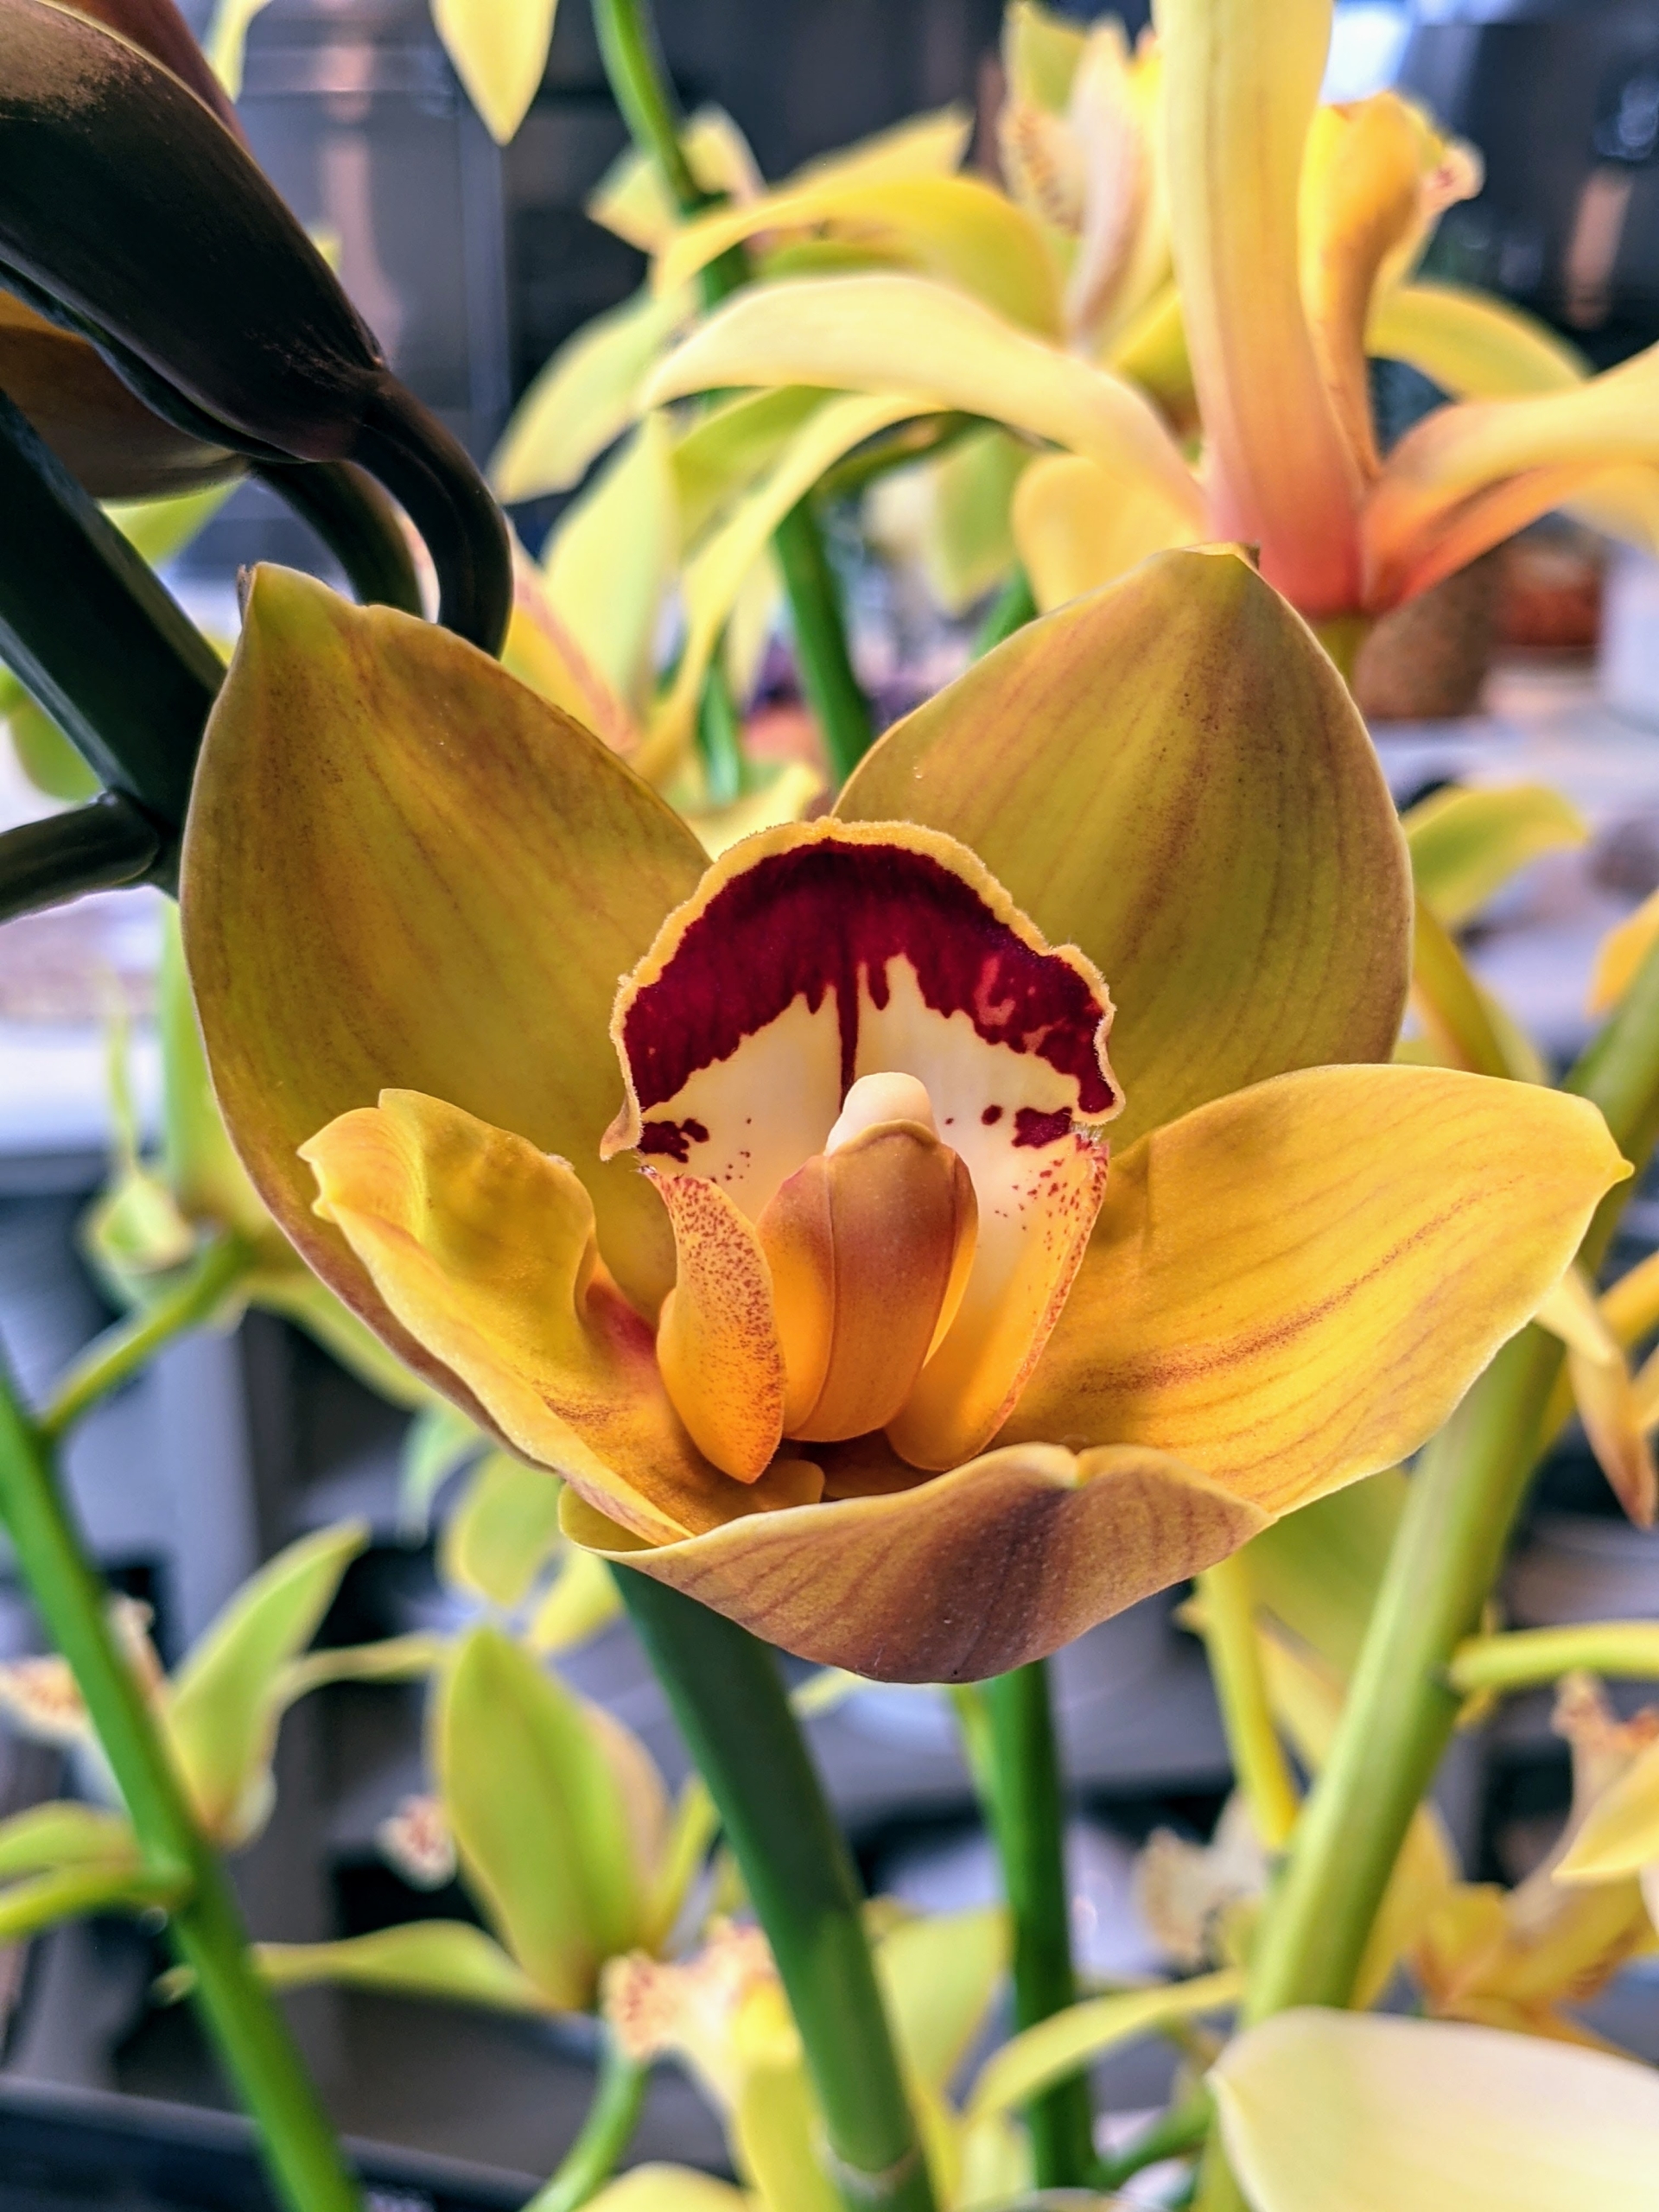
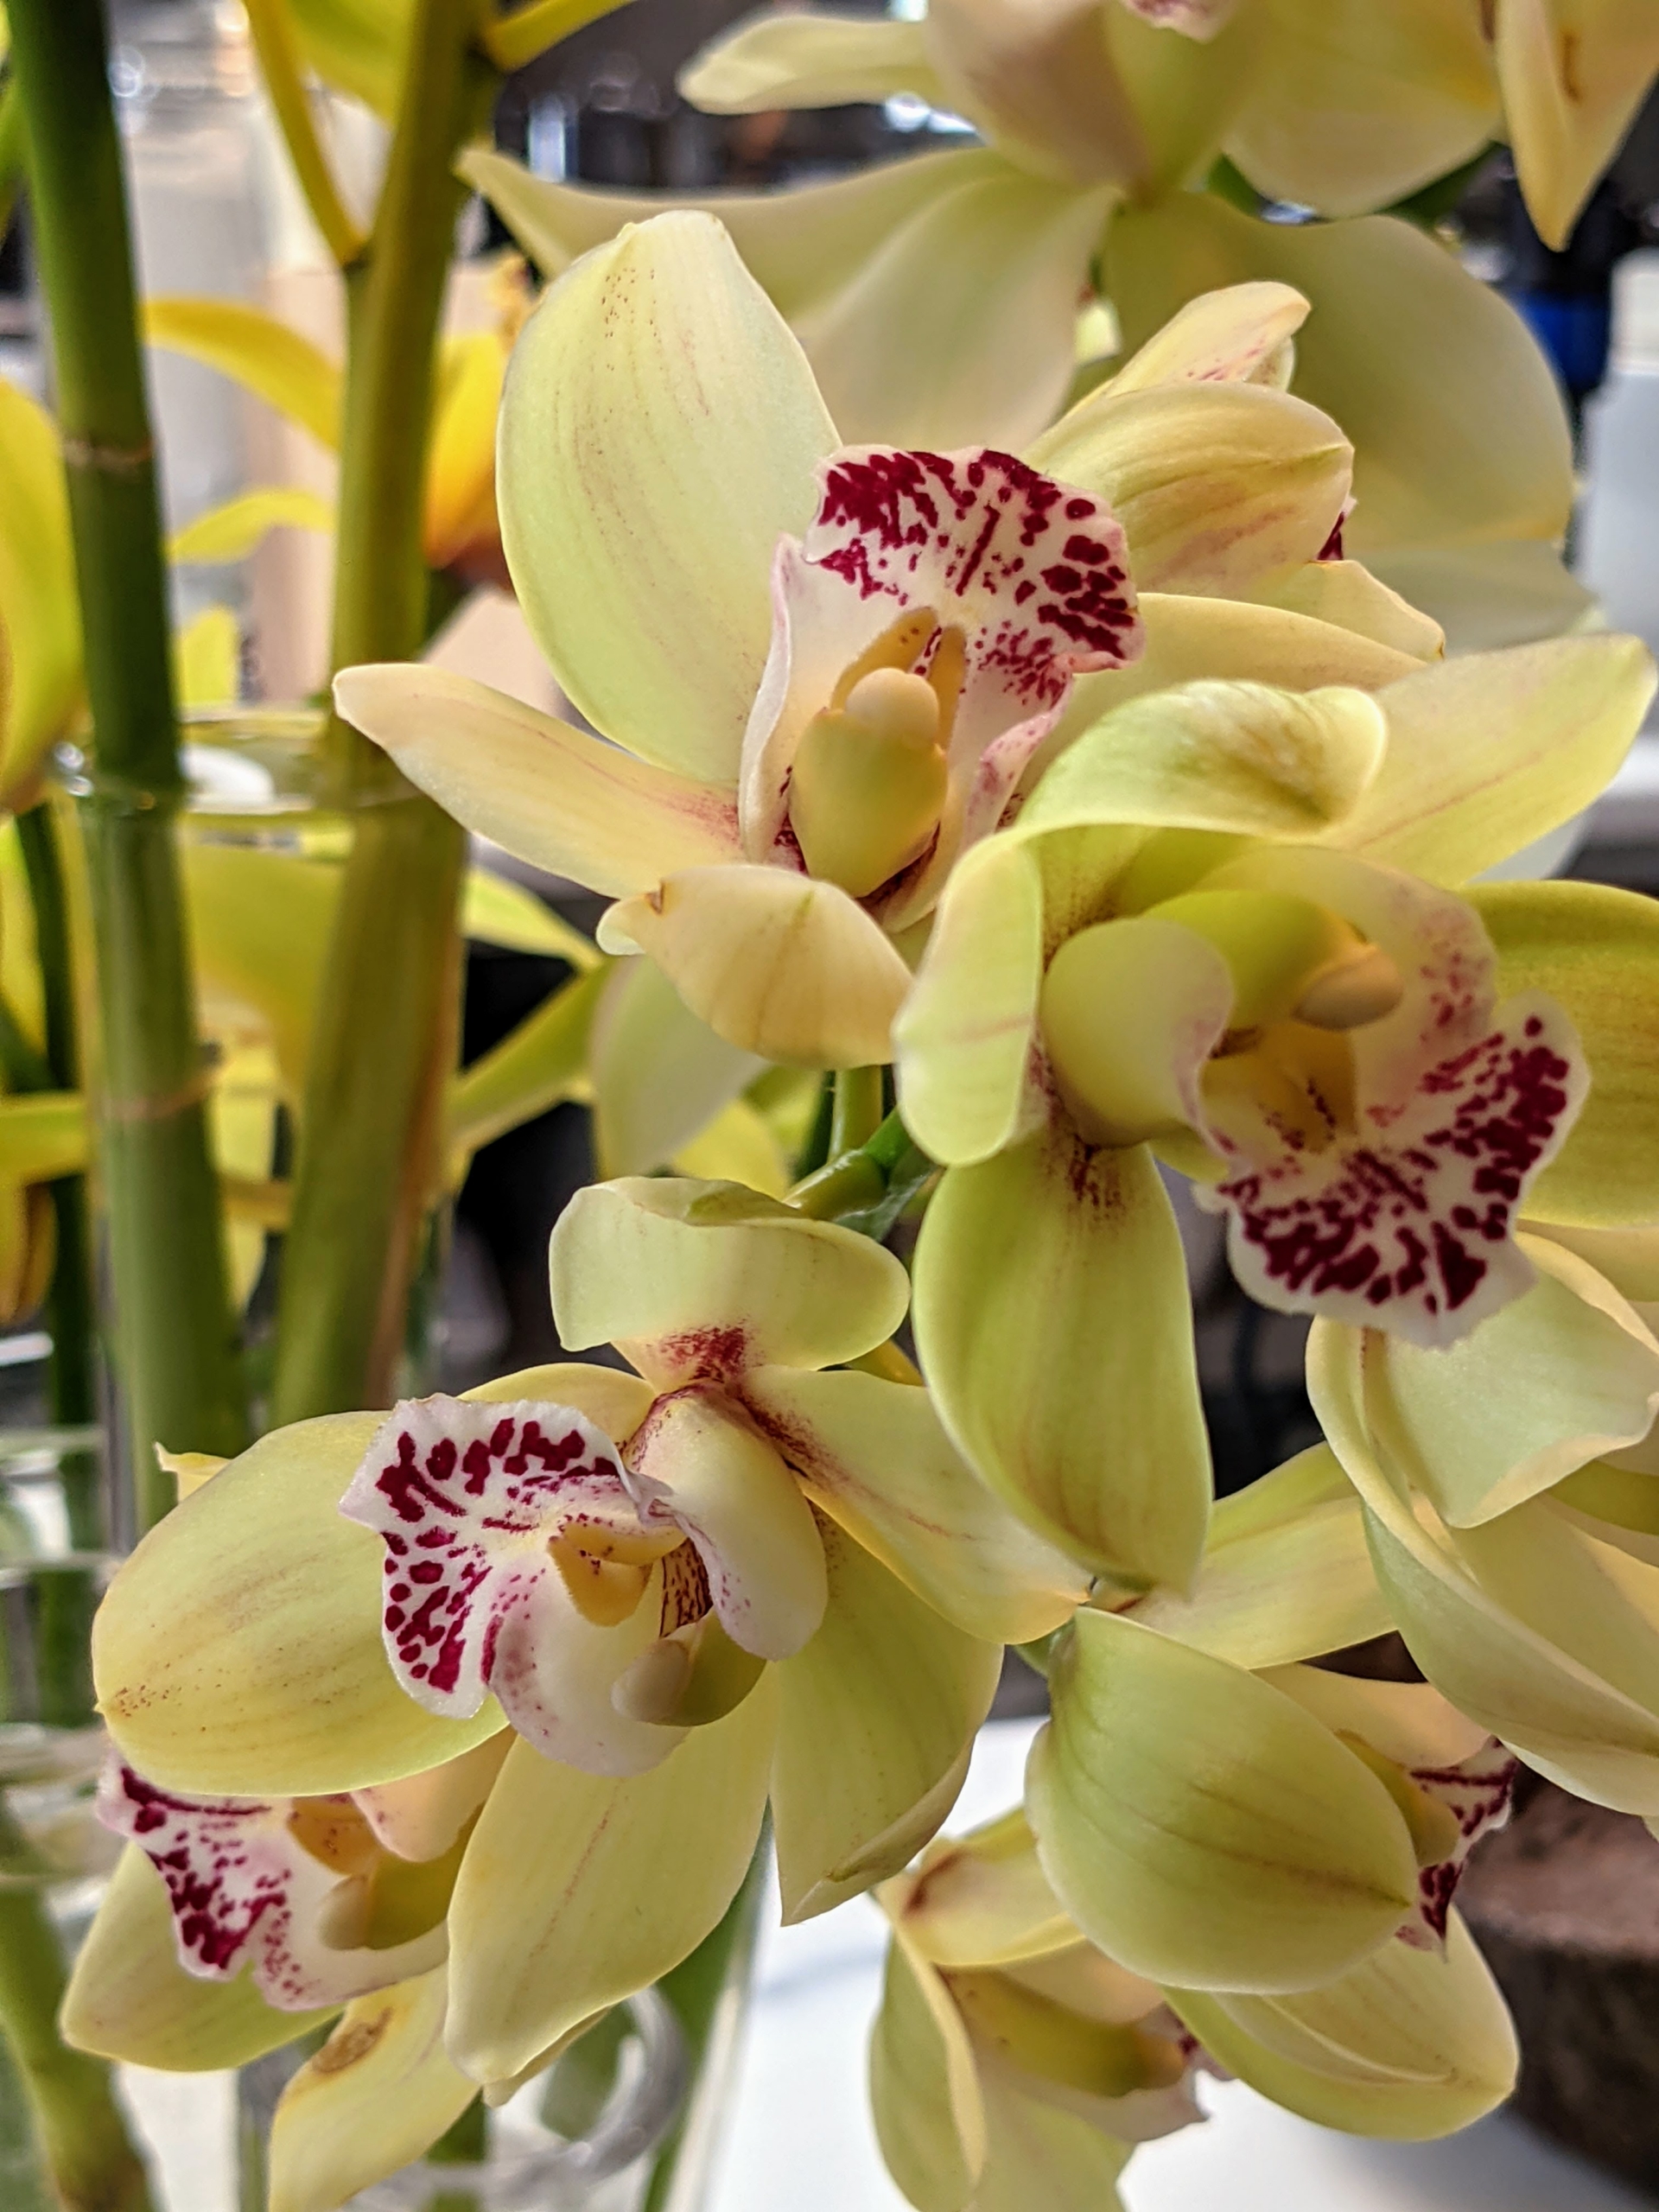
Right now, I have some of the most beautiful cut orchids displayed on the kitchen counter of my Winter House. I love seeing these gorgeous blooms, especially during the dreary days of the cold season.
Orchids grow on every continent except Antarctica. They are native to the tropical regions of Asia, Australia, the Himalayas, and the Philippines. The orchid forms one of the largest families in the plant kingdom, with more than 25,000 species worldwide.
The size of orchids depends on the species. They can be quite small or very large. However, every orchid flower is bilaterally symmetrical, which means it can be divided into two equal parts.
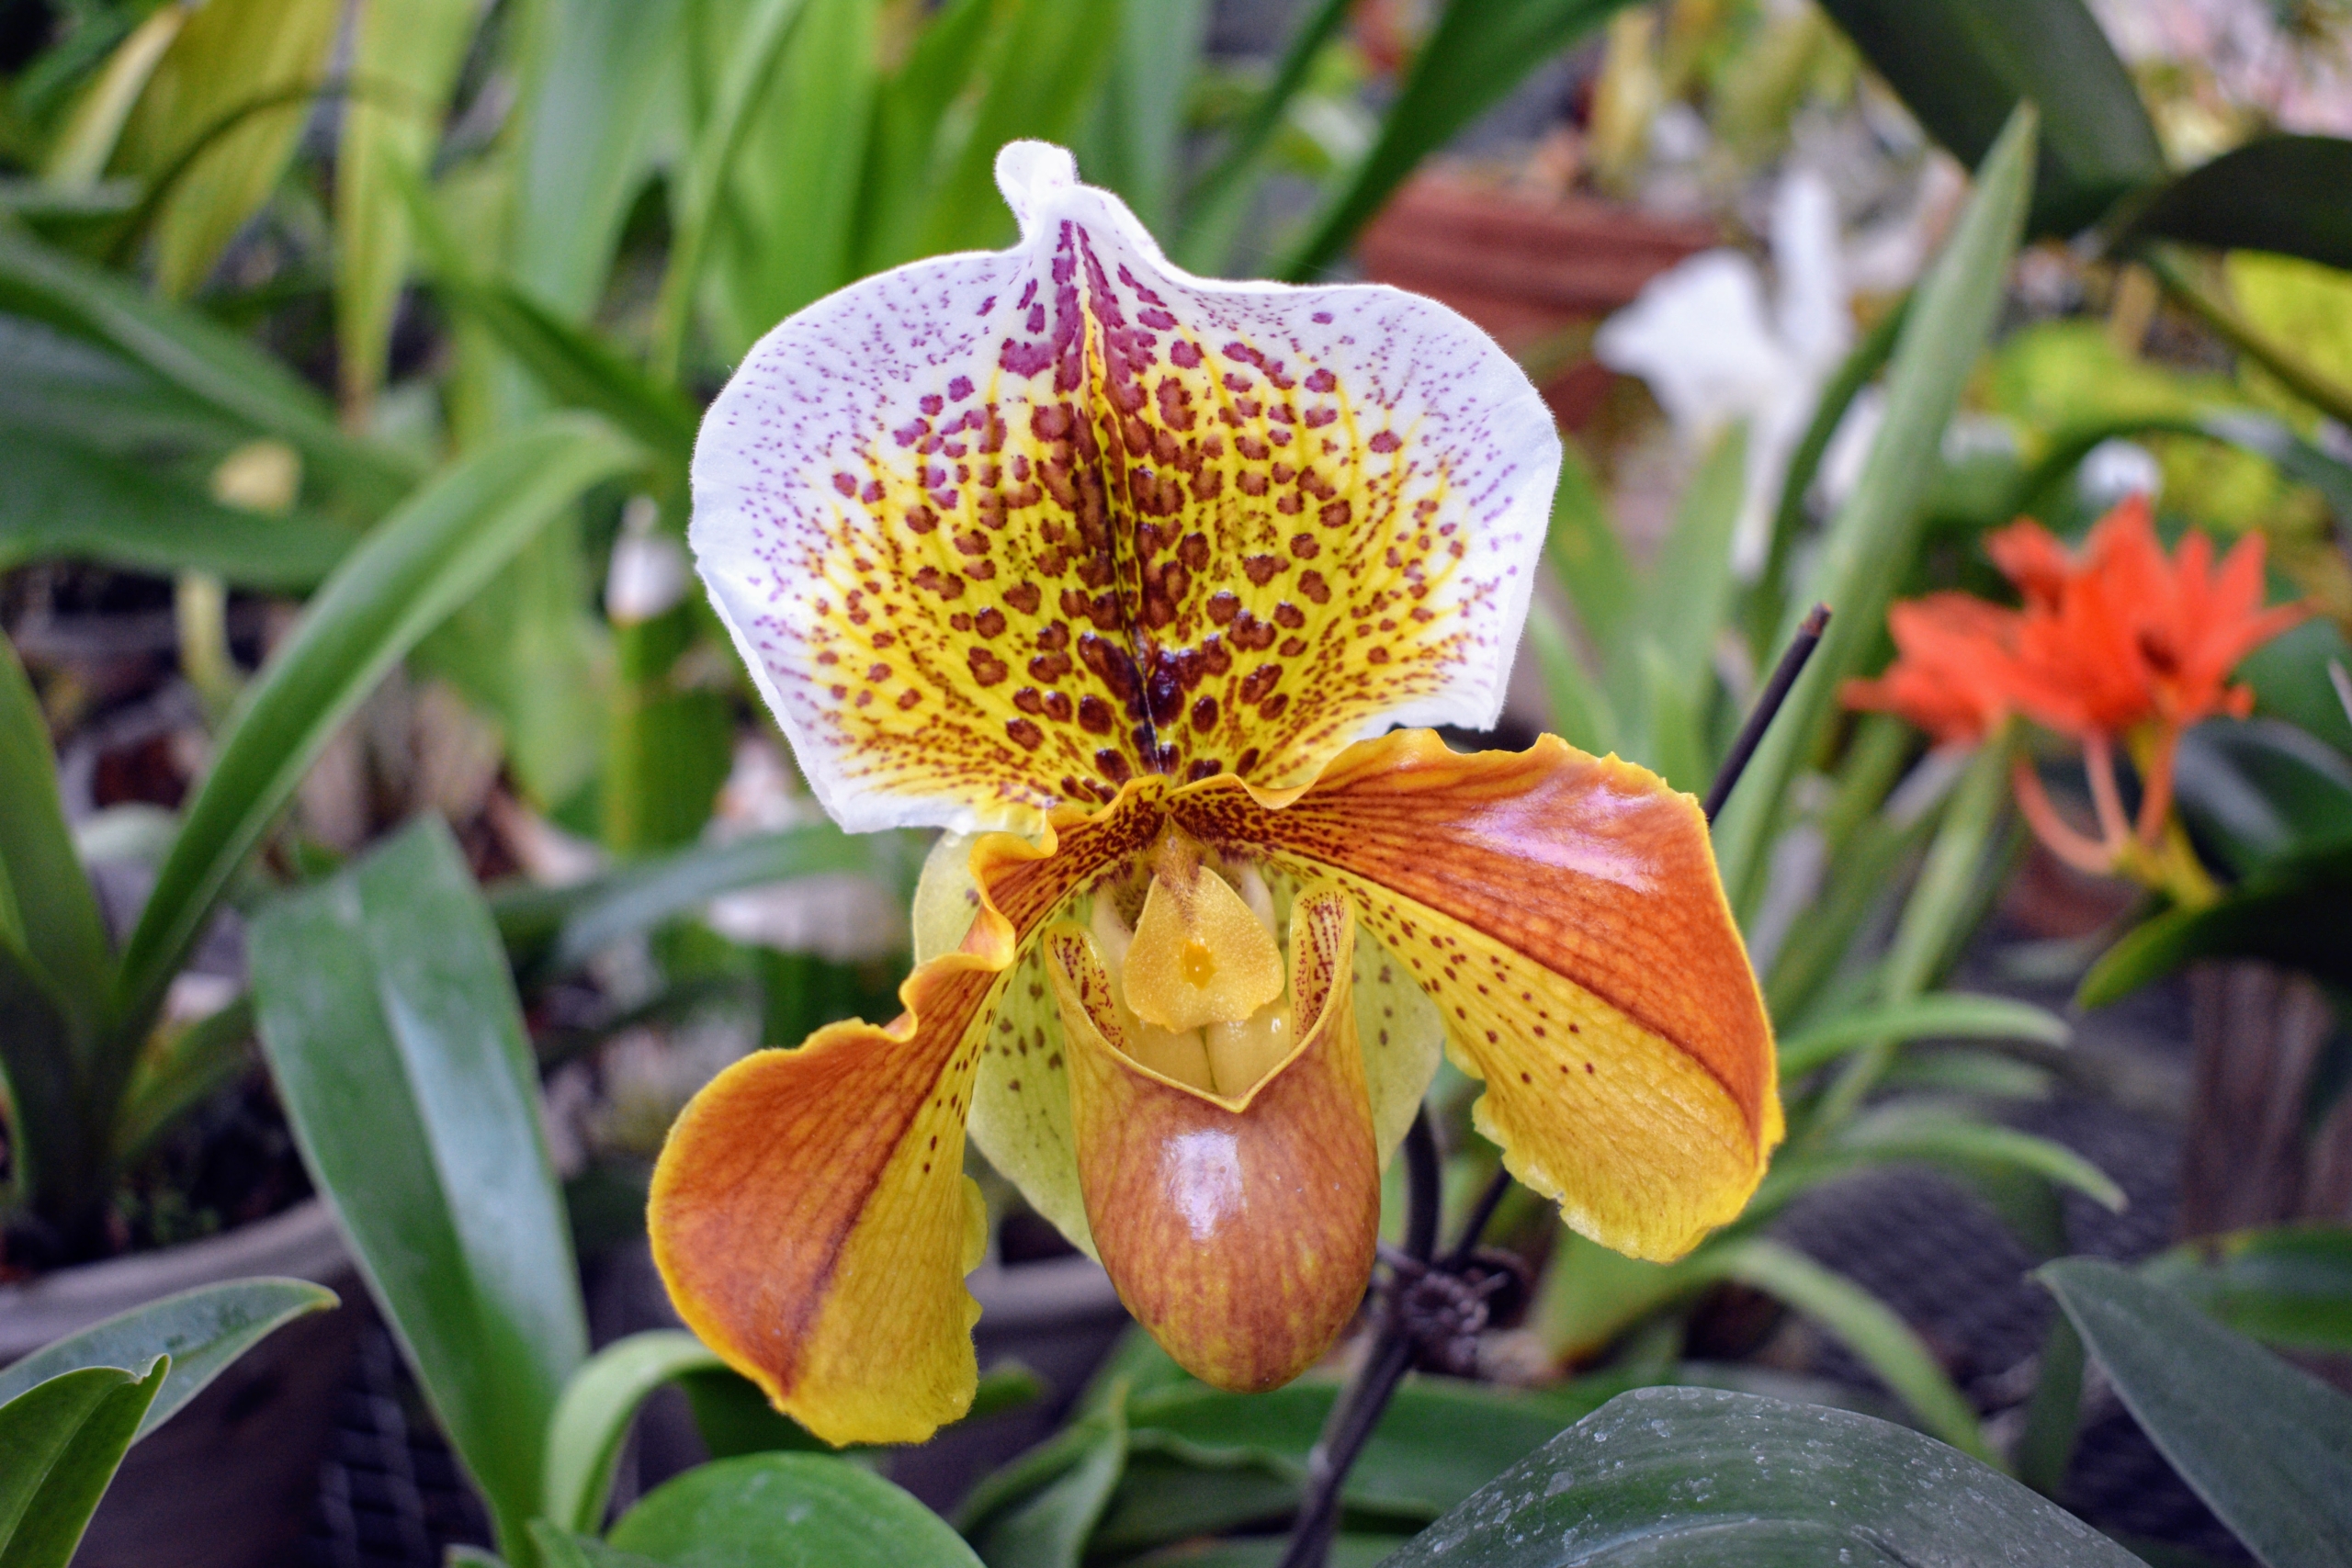
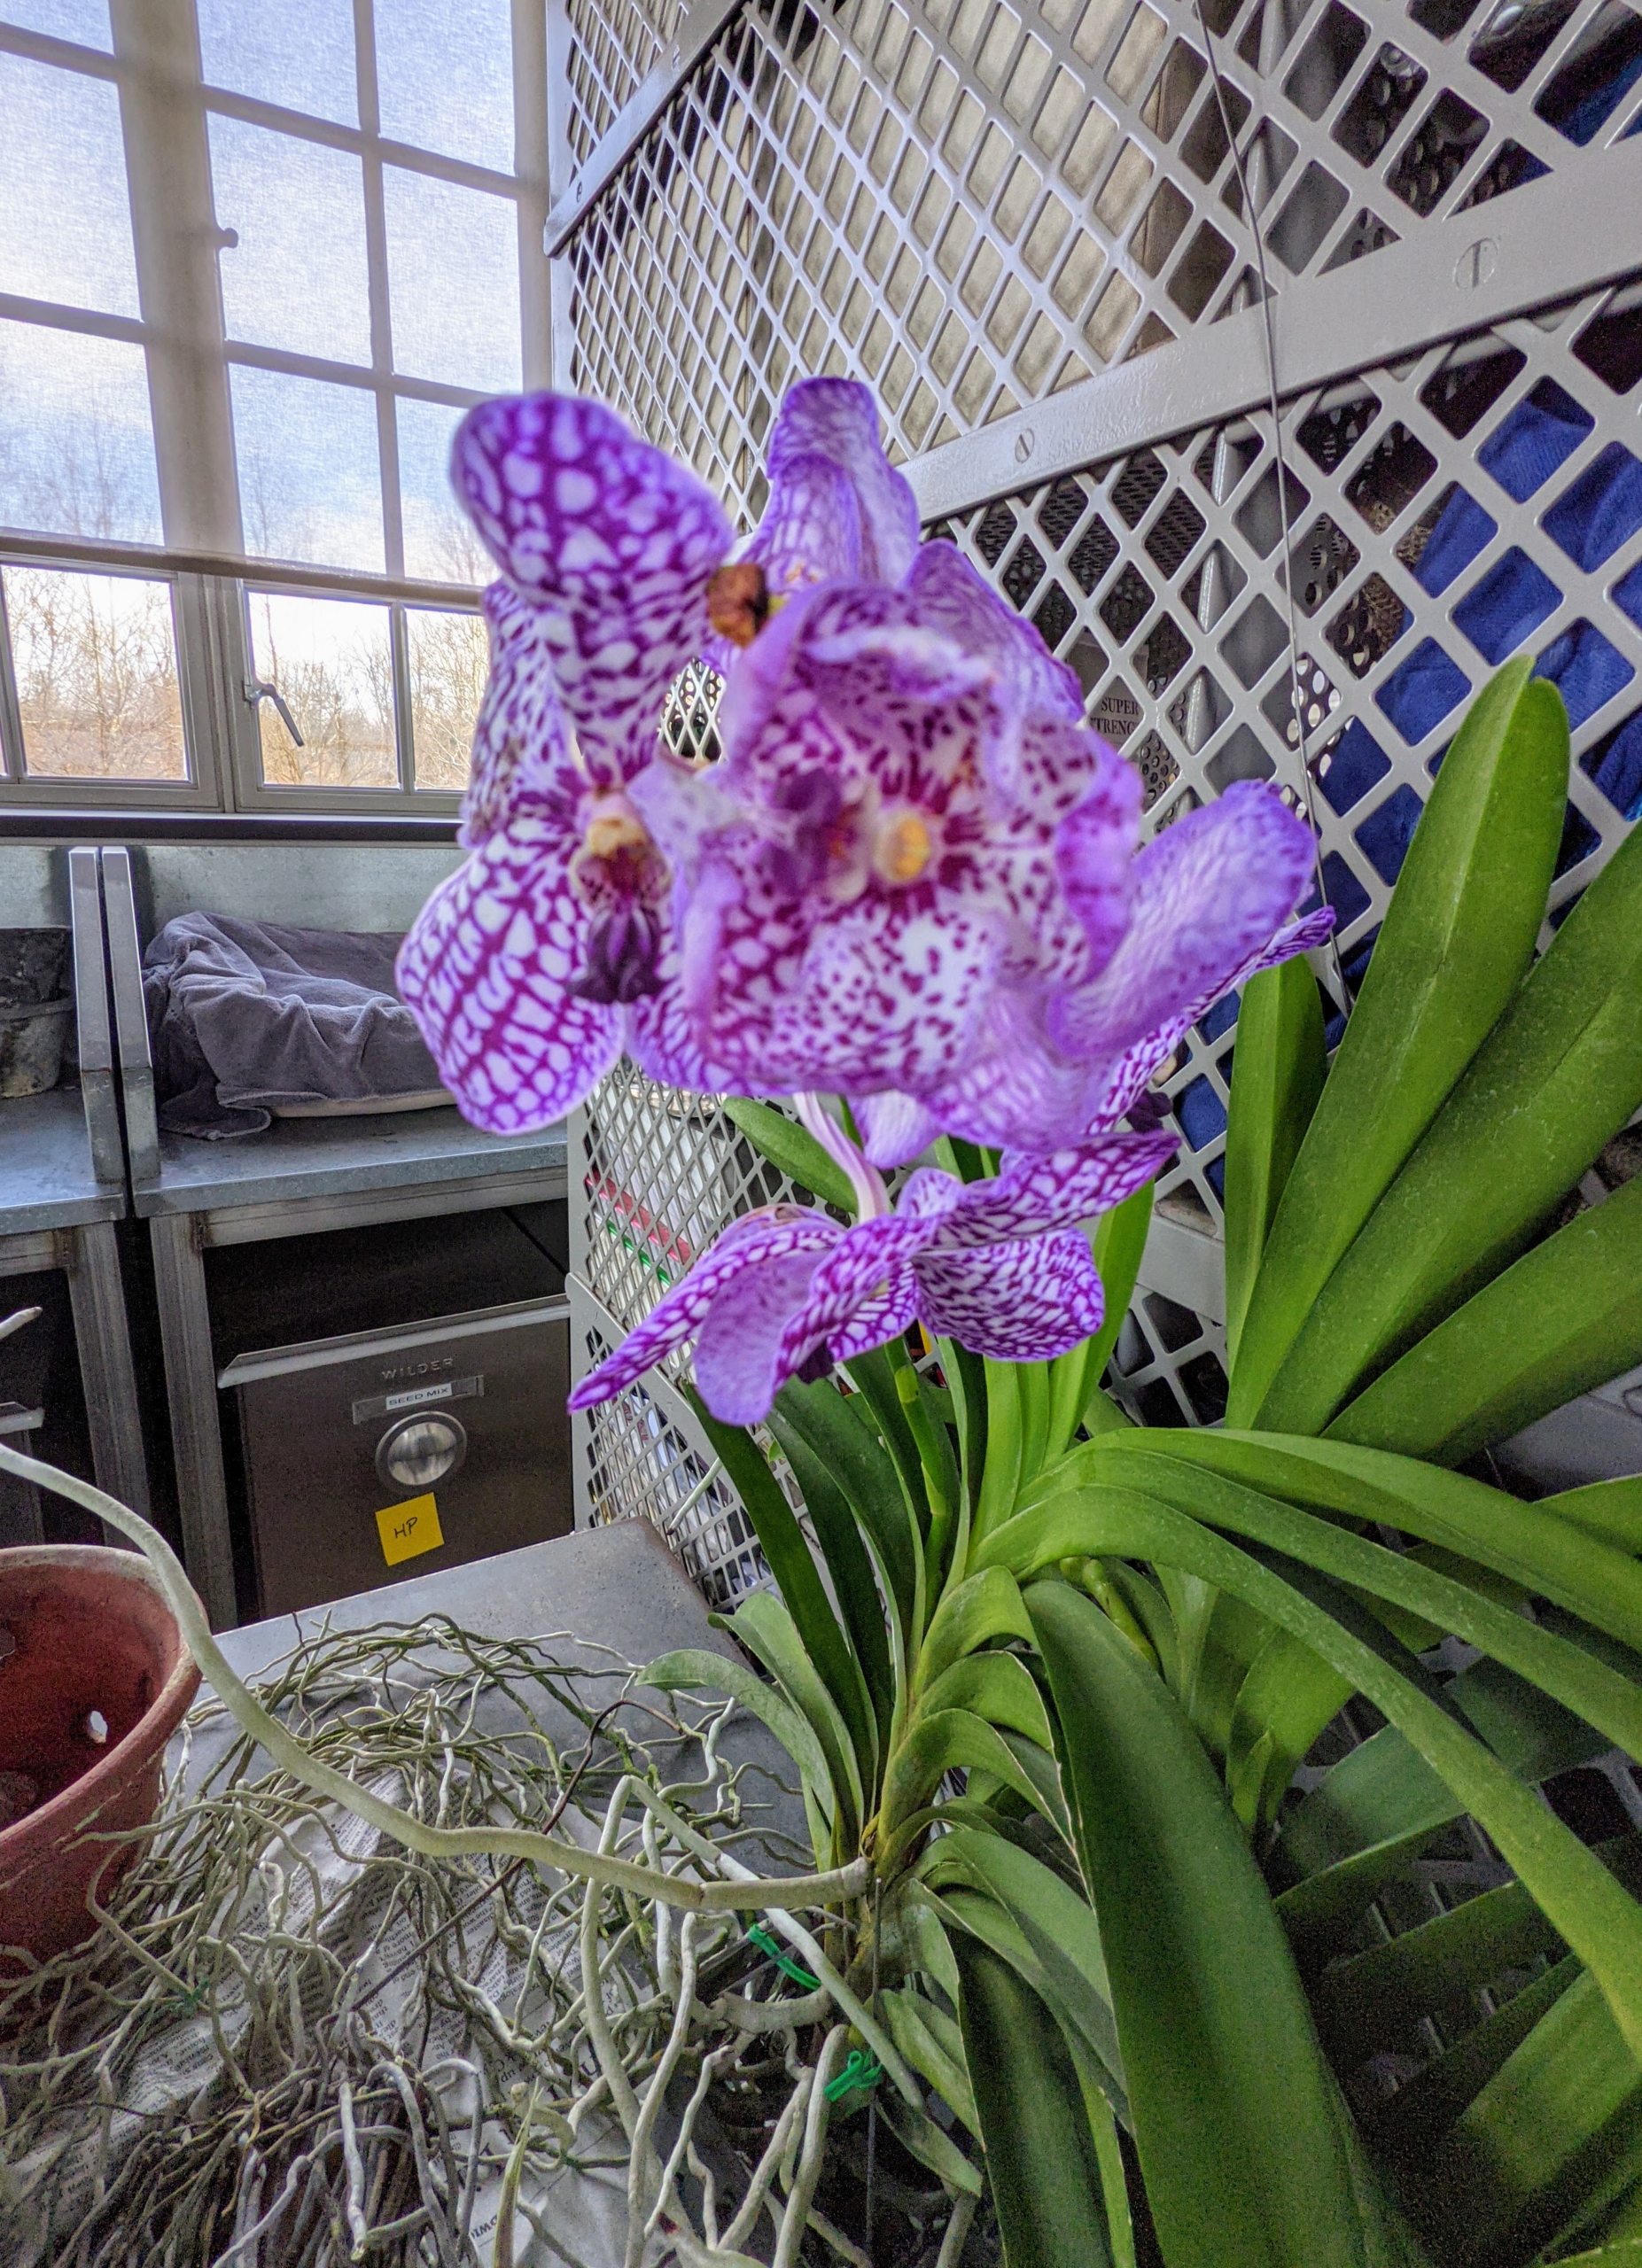
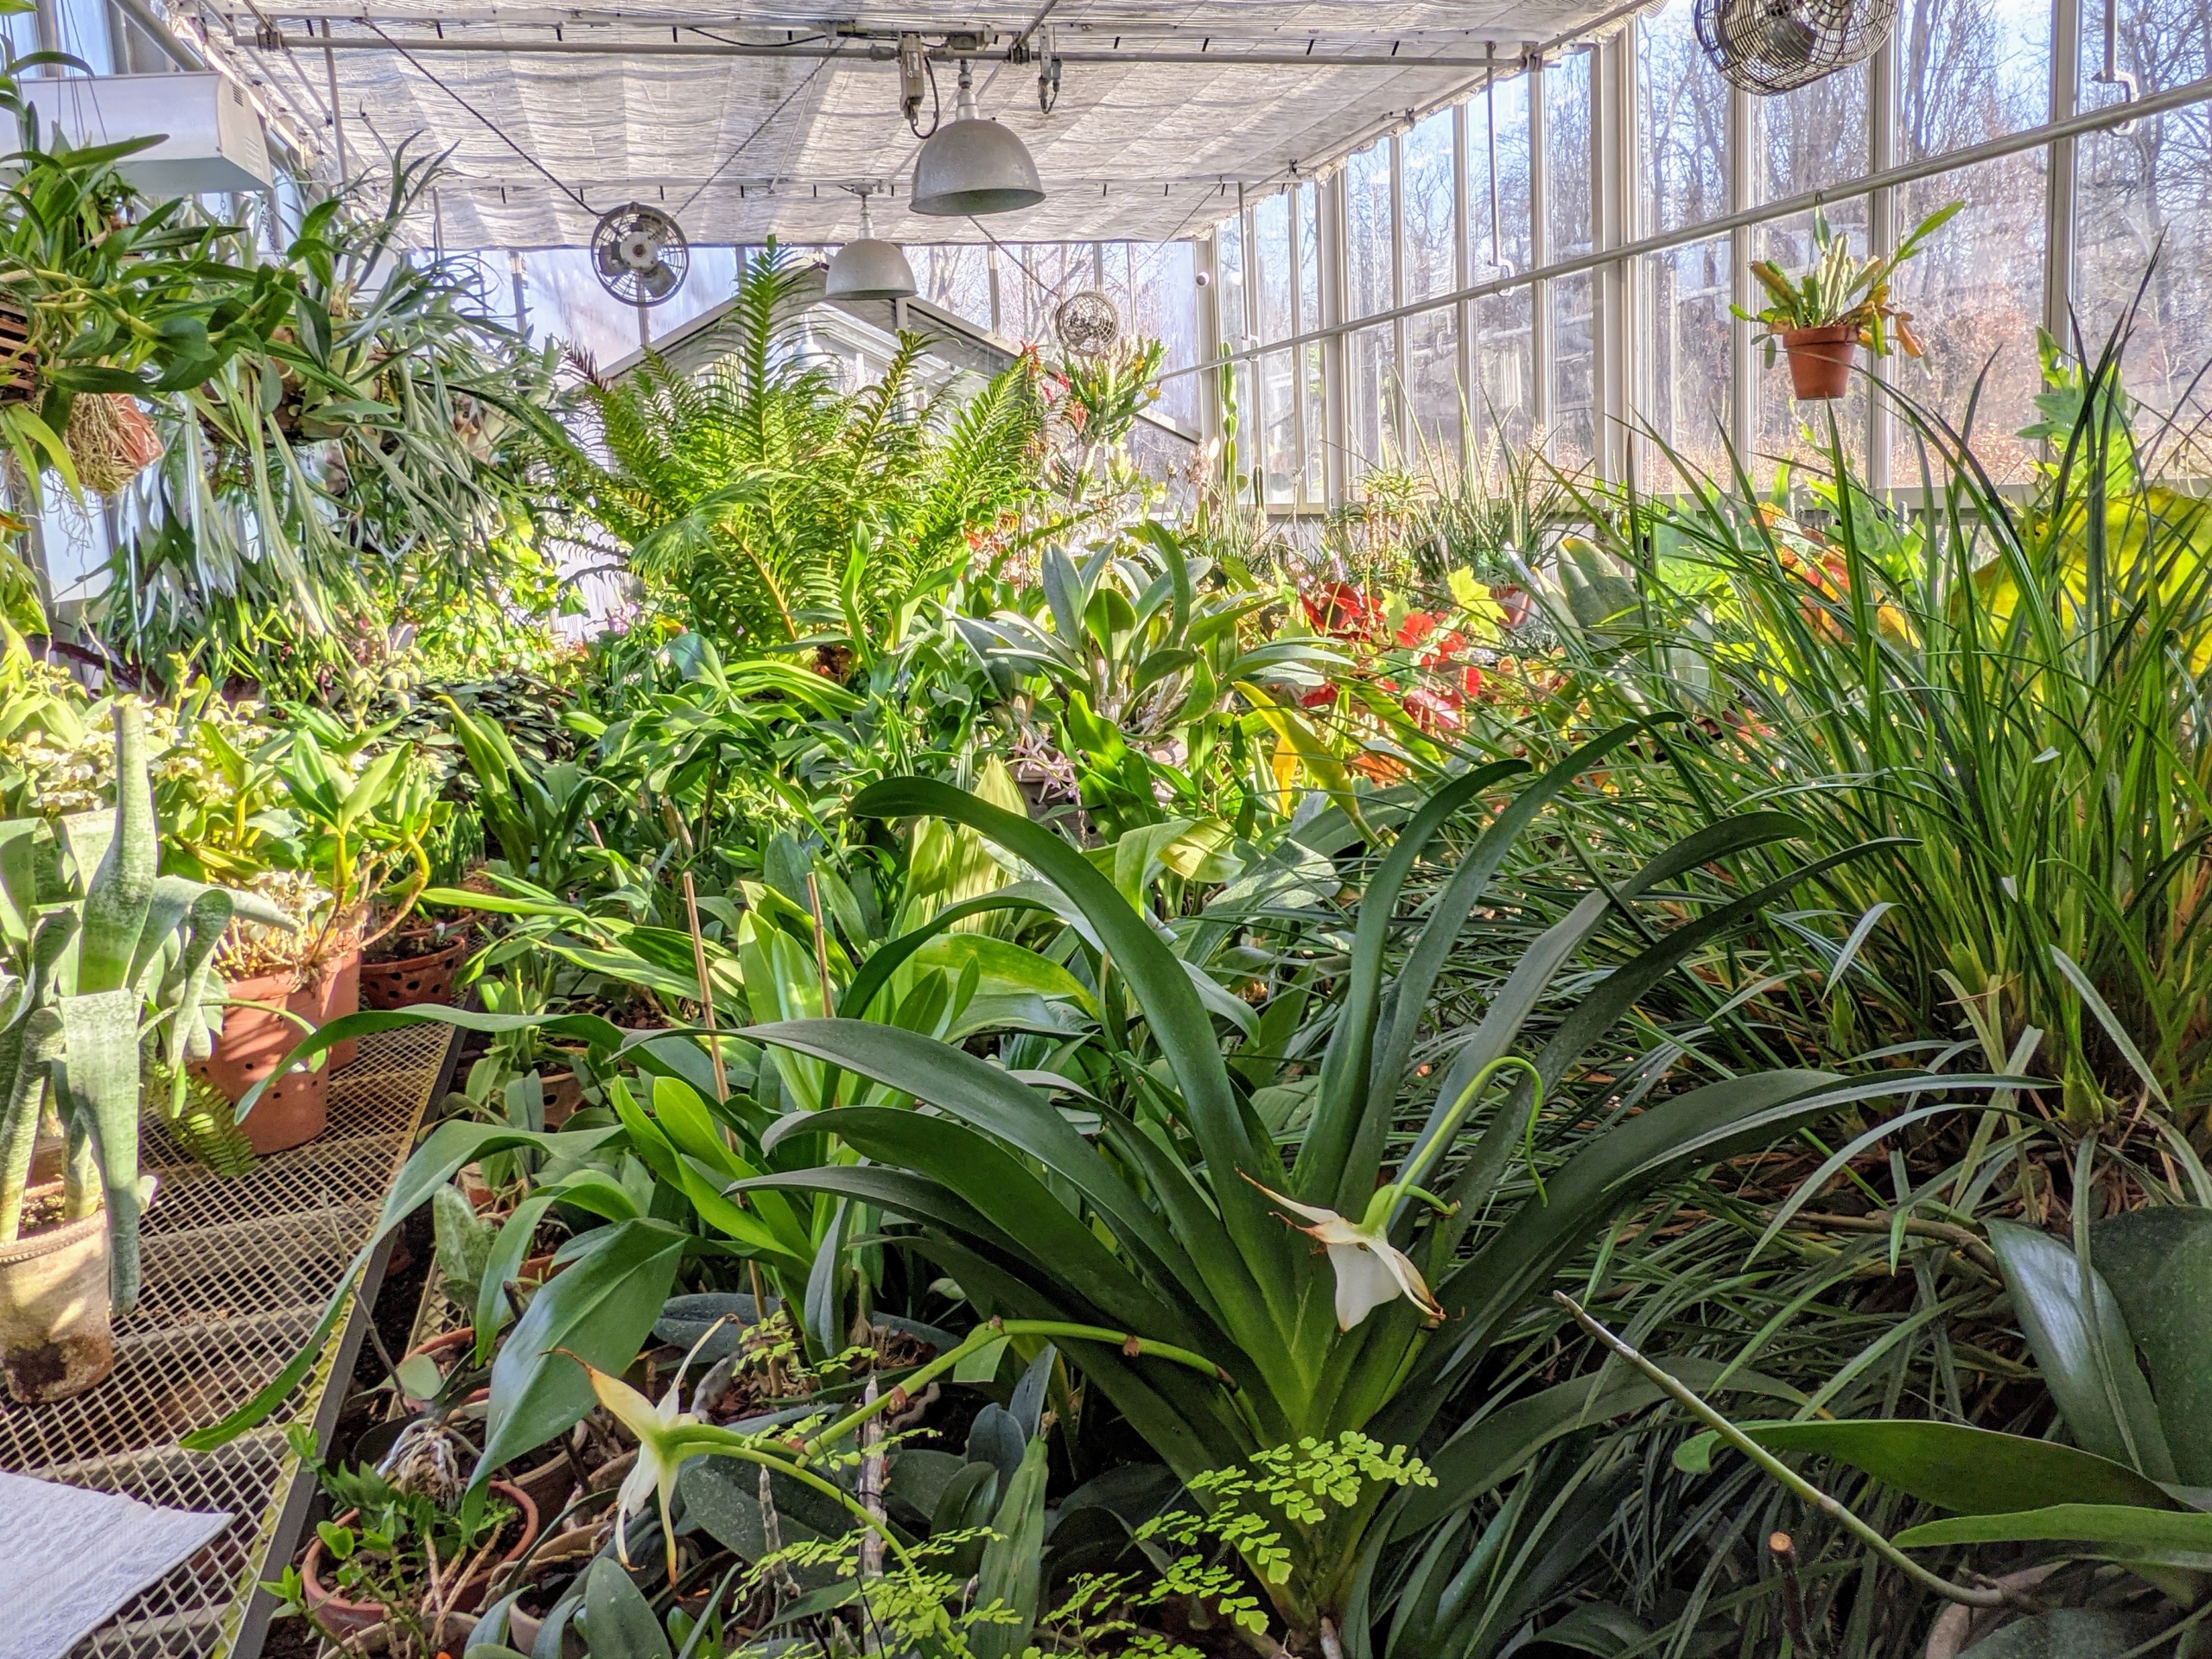
My growing orchid collection takes up space on long tables in the greenhouse. When blooming, visitors always stop by to take a look – this photo was taken last year. Paphiopedilum orchids are often called ‘lady slippers’ or ‘slipper orchids’ because of their unique pouch-like flowers.
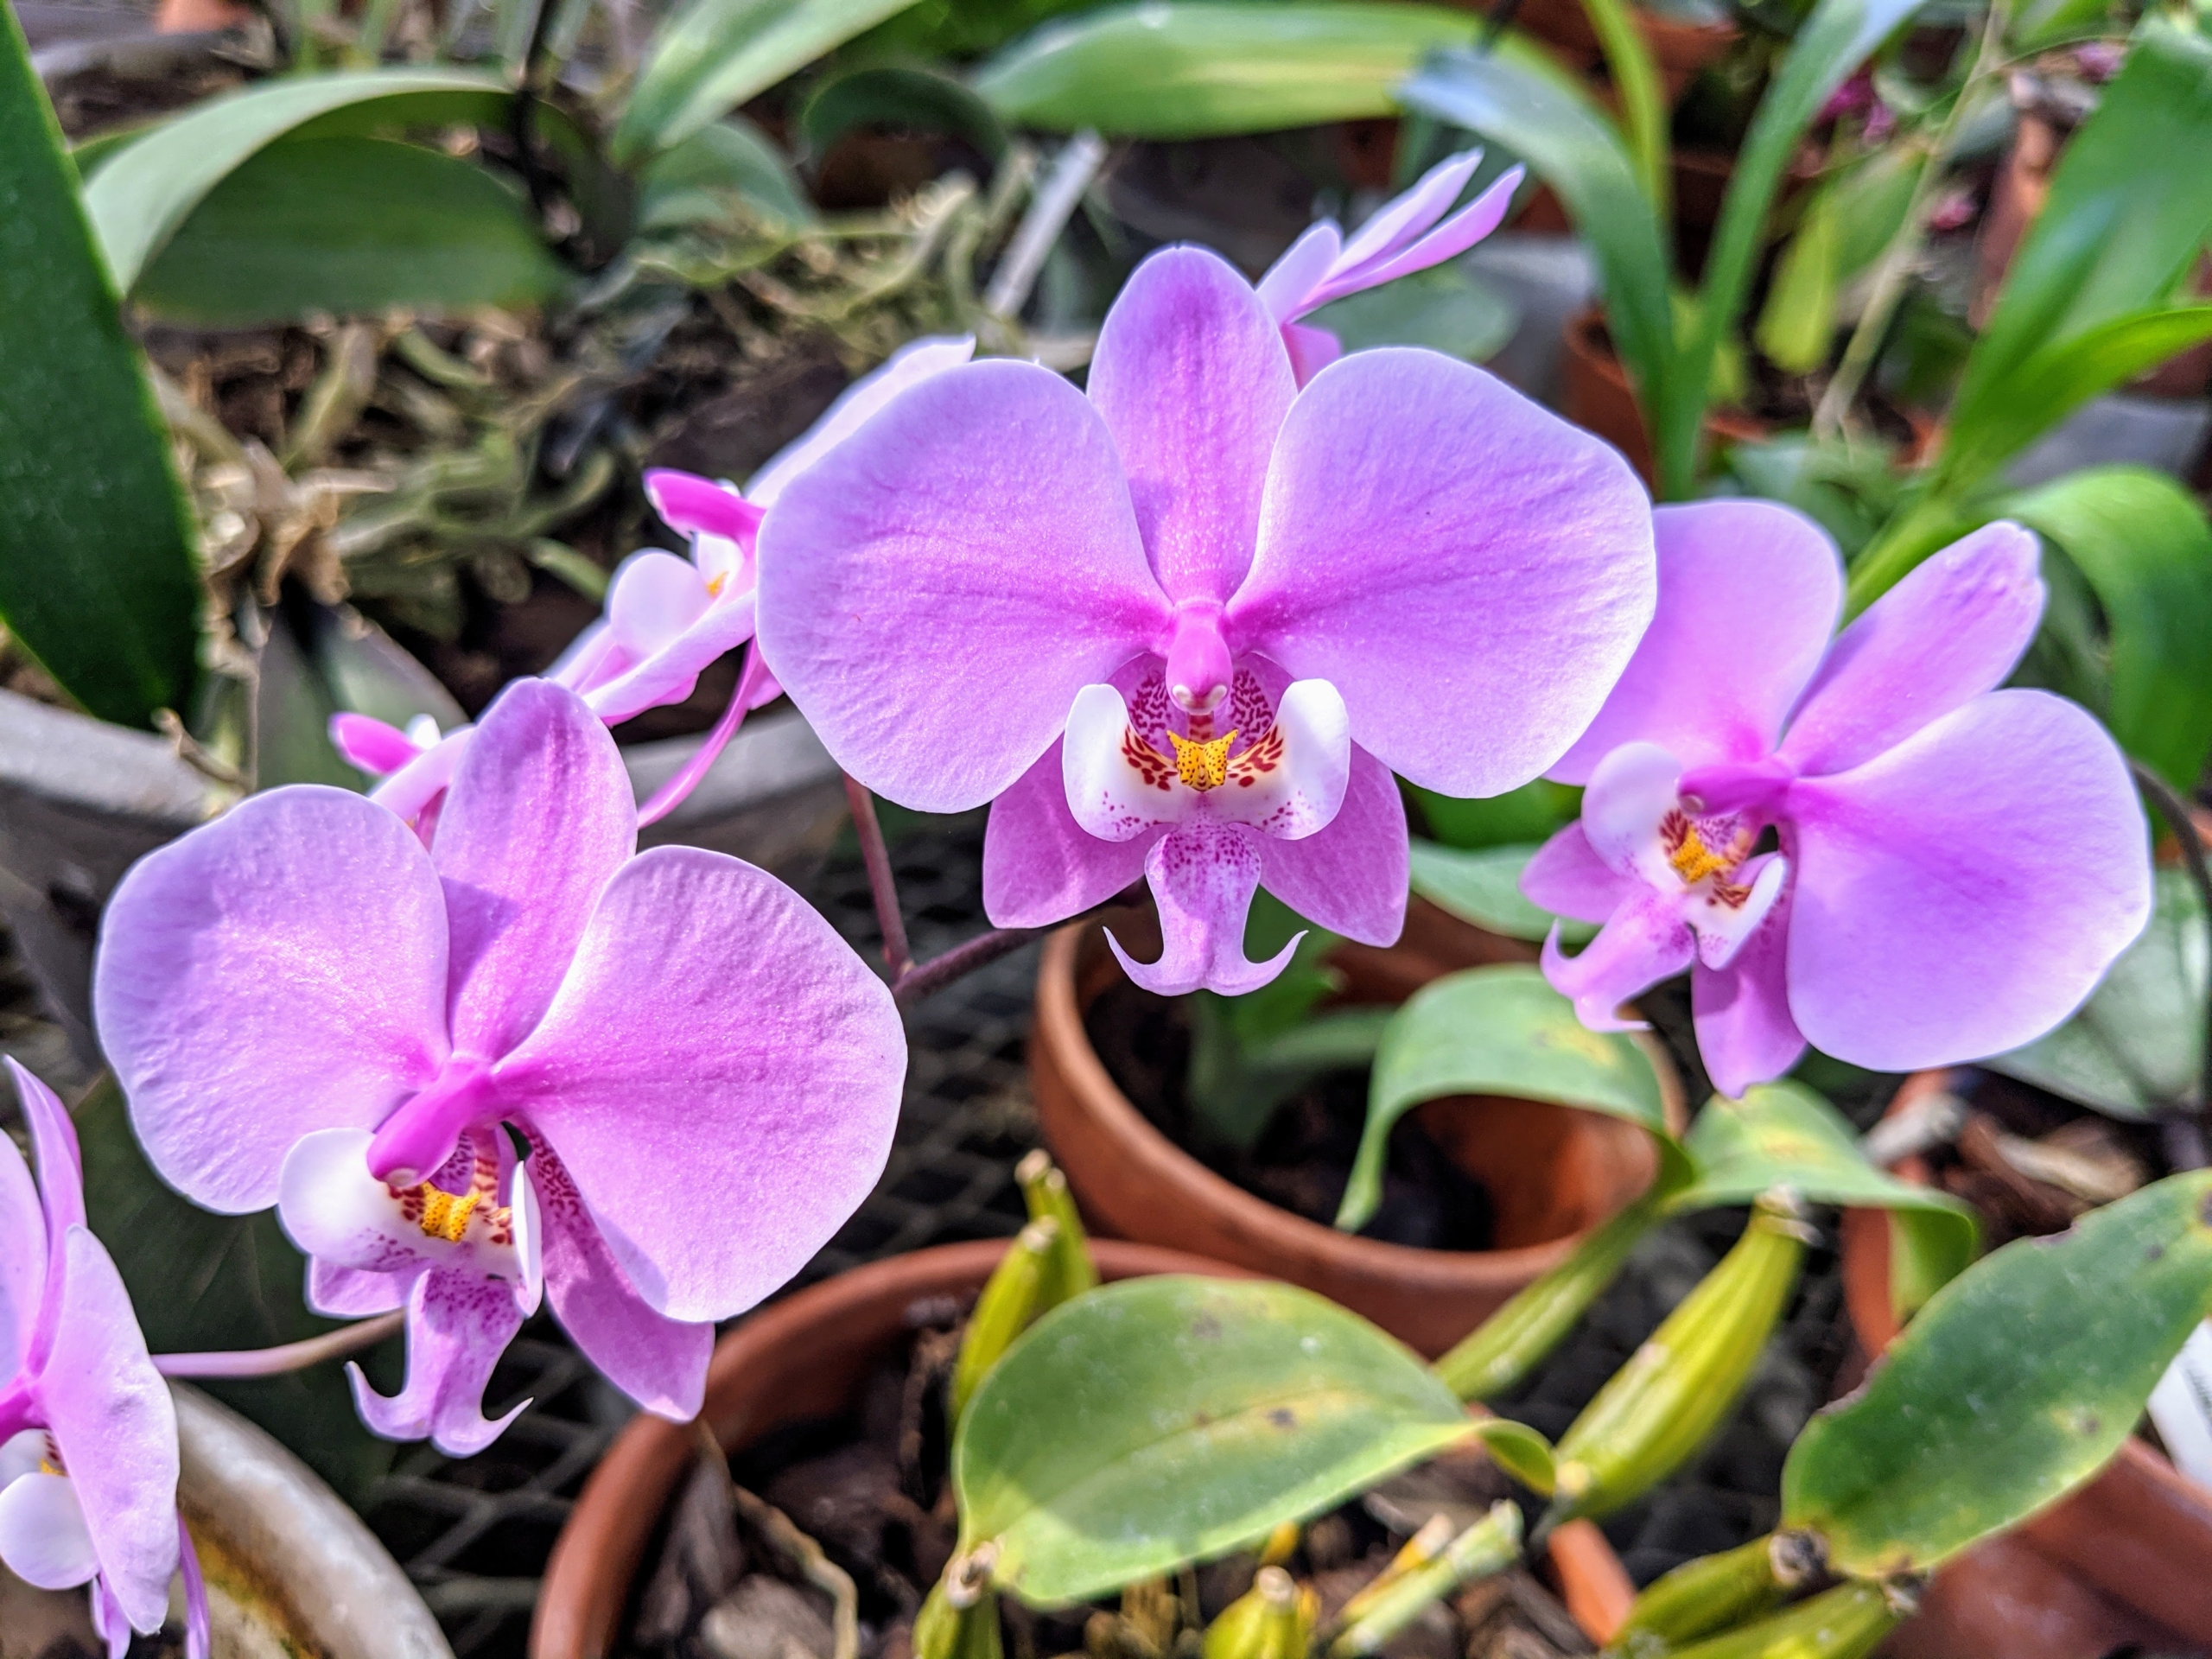
Another big bloomer last year was this Phalaenopsis schilleriana ‘Wilson’. Phalaenopsis, the moth orchid, is perhaps the best orchid for growing in the home and is a favorite with greenhouse growers. Well-grown plants can flower often, sometimes with a few flowers throughout the year, though the main season is late winter into spring. The key to growing these plants is to keep the root systems strong and healthy. These plants have no bulbs or stems to store moisture and nutrients, so it is important to maintain their roots.
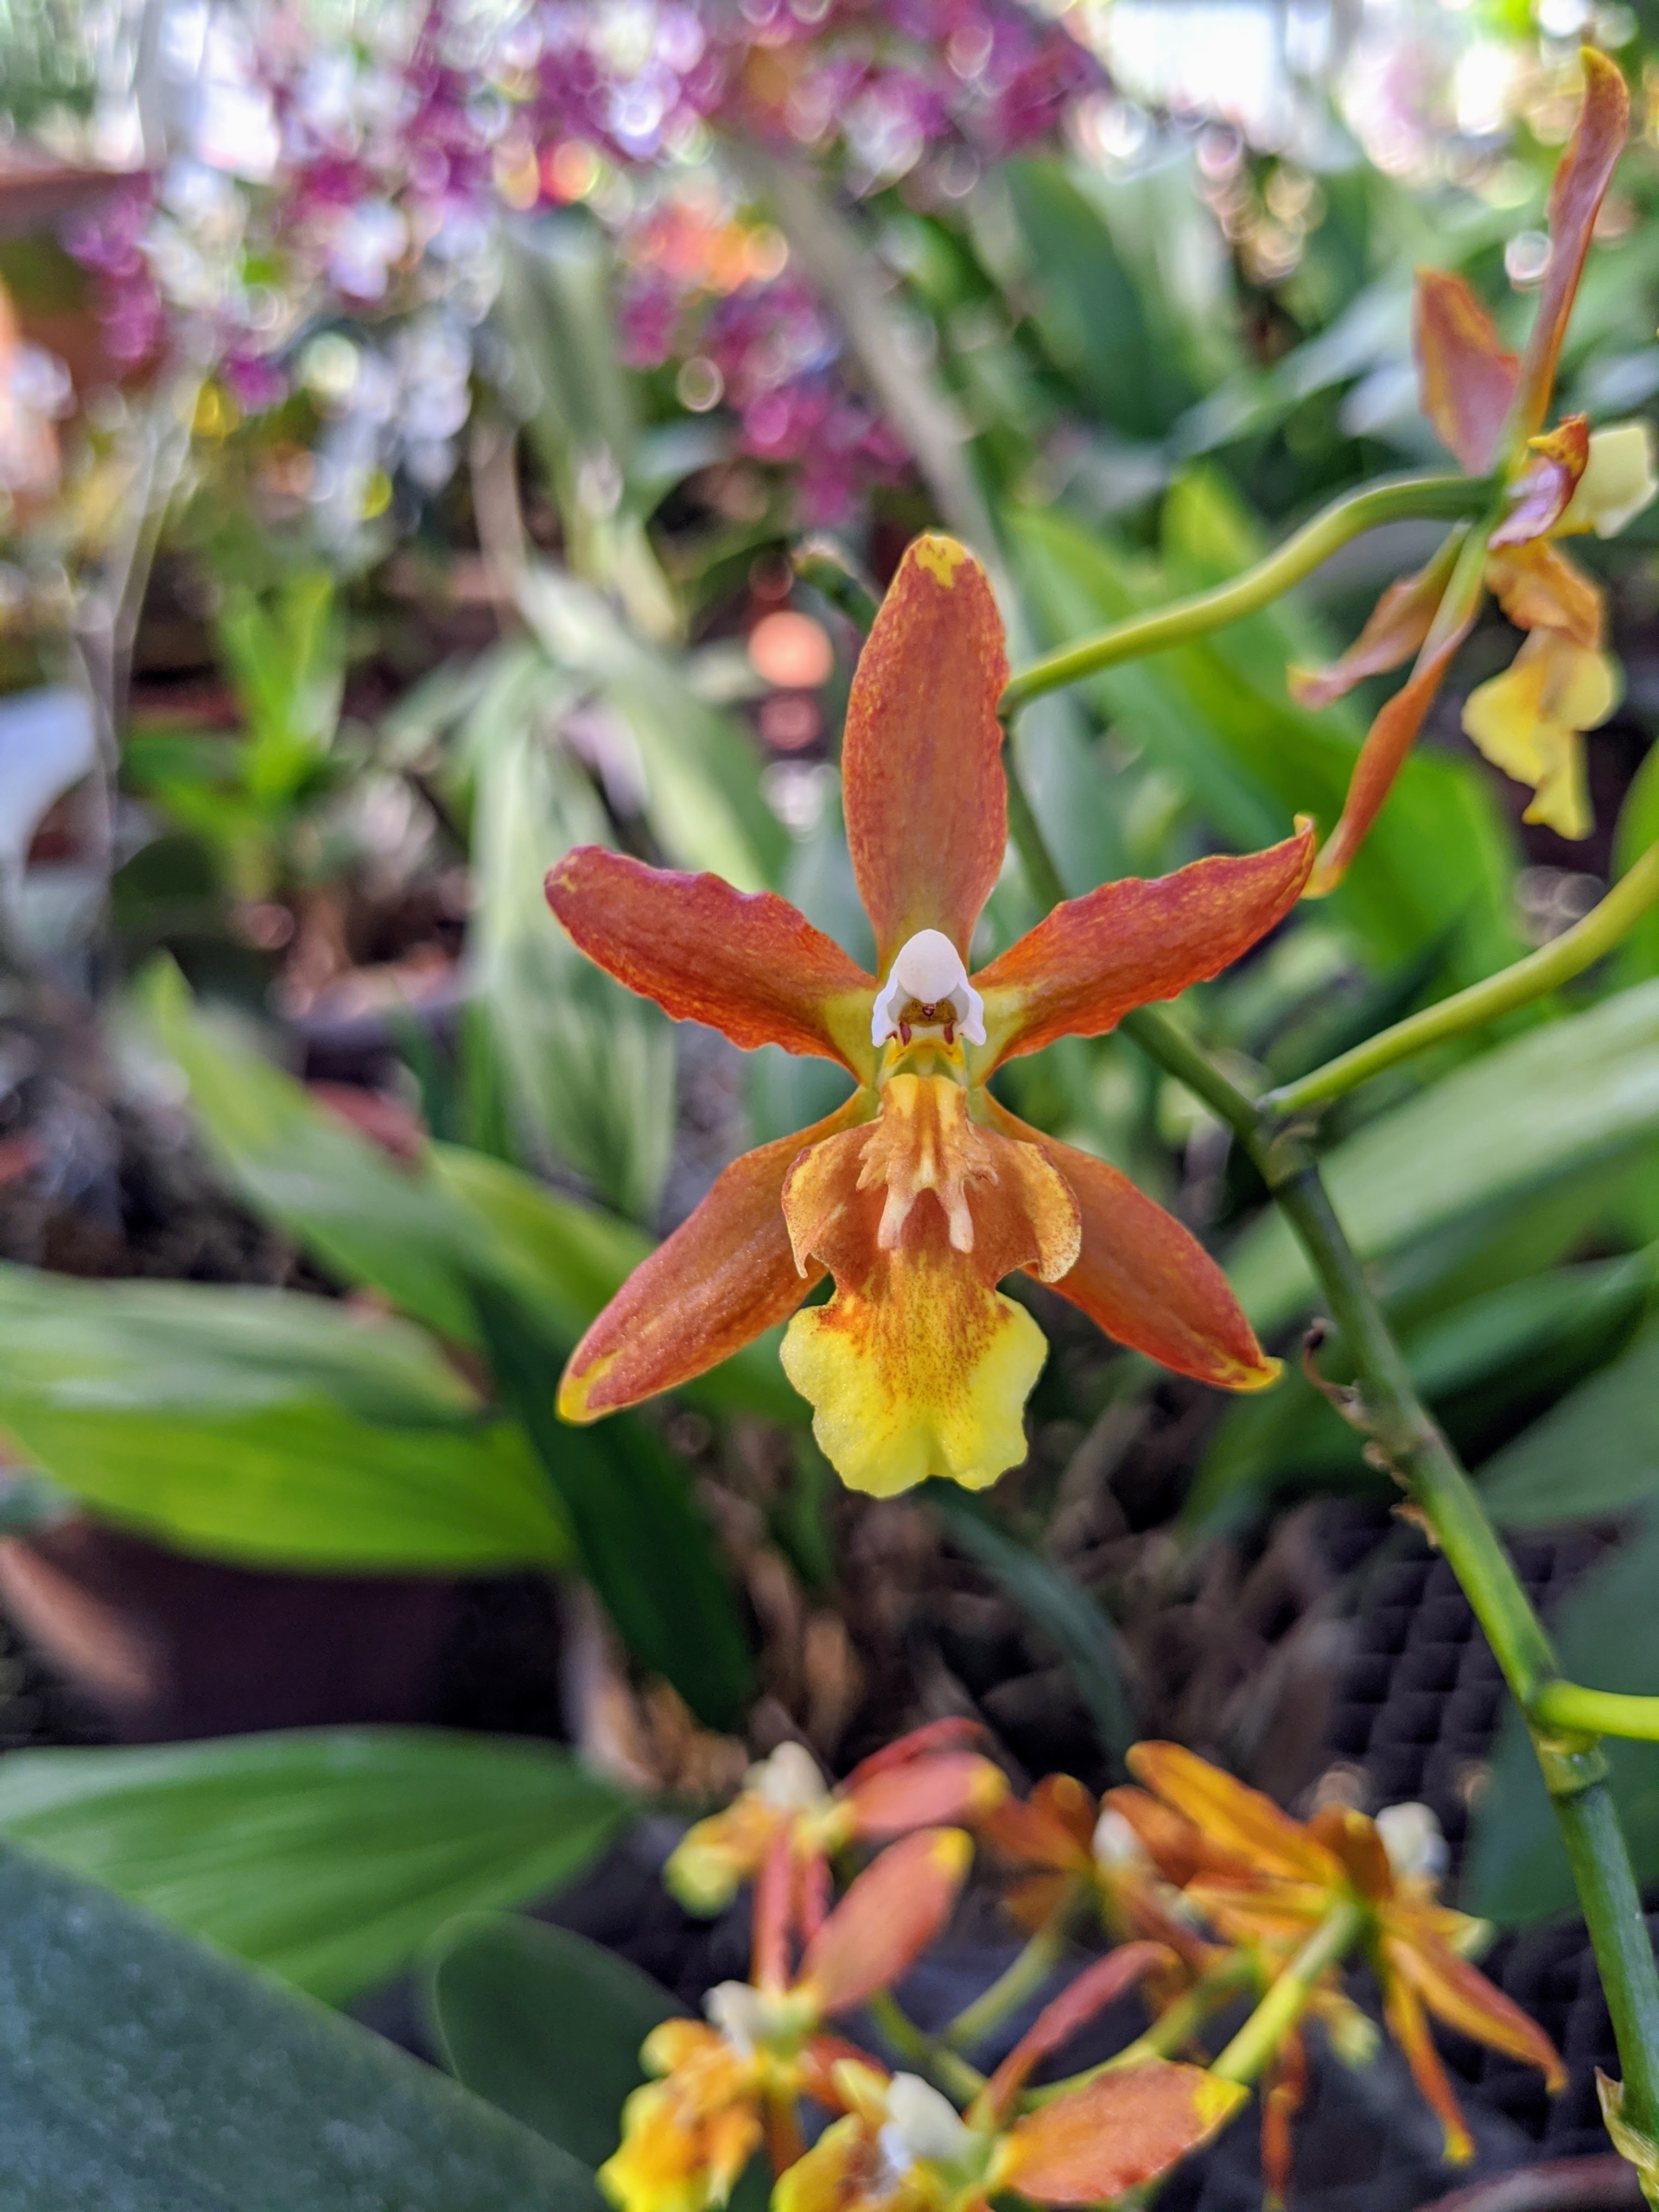
Oncidium orchids are popular indoor orchids because of their large sprays of flowers. A large, well-grown Oncidium will have several branched sprays of beautiful, colorful blooms.
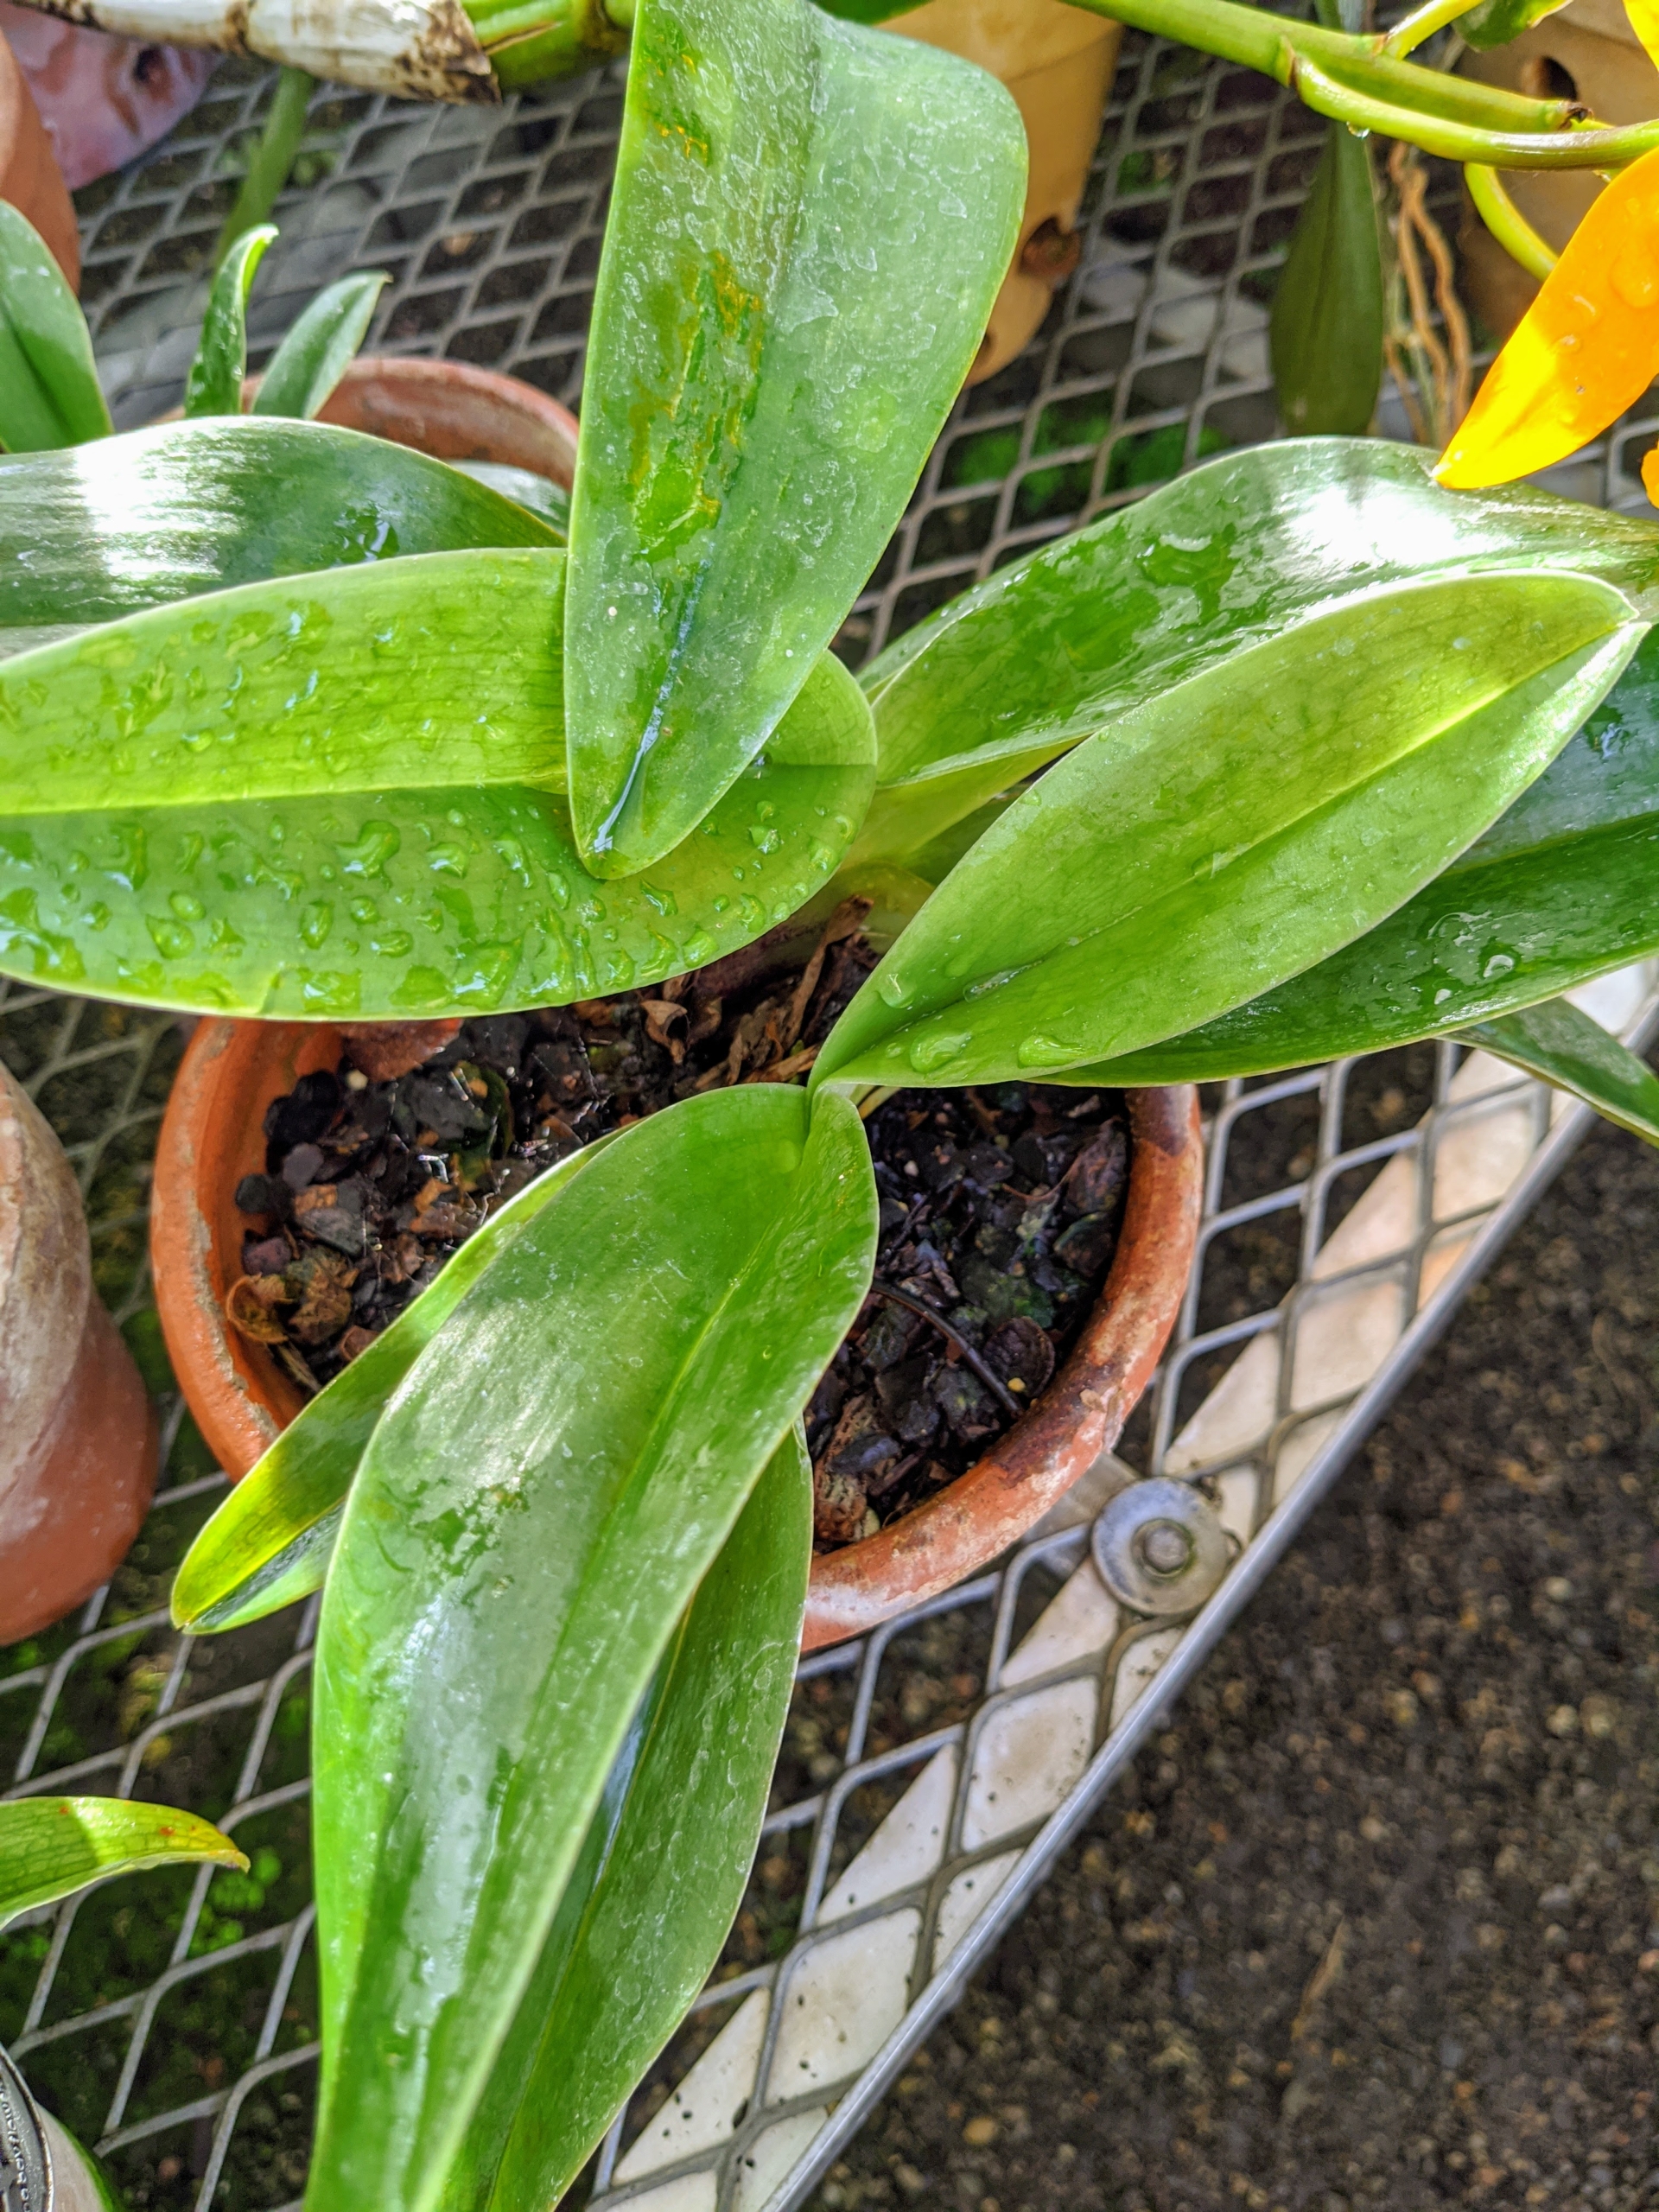
Rule of thumb – orchids that receive a proper balance of light, humidity and temperature will have healthy bright green leaves. Too little light would make the leaves very dark. The size, shape, and texture of leaves depend on the habitat. Orchids that live in dry climate have large, thick leaves covered with wax, while species that live in warm and humid areas have thin, elongated leaves. And certain species of orchids do not have leaves at all.
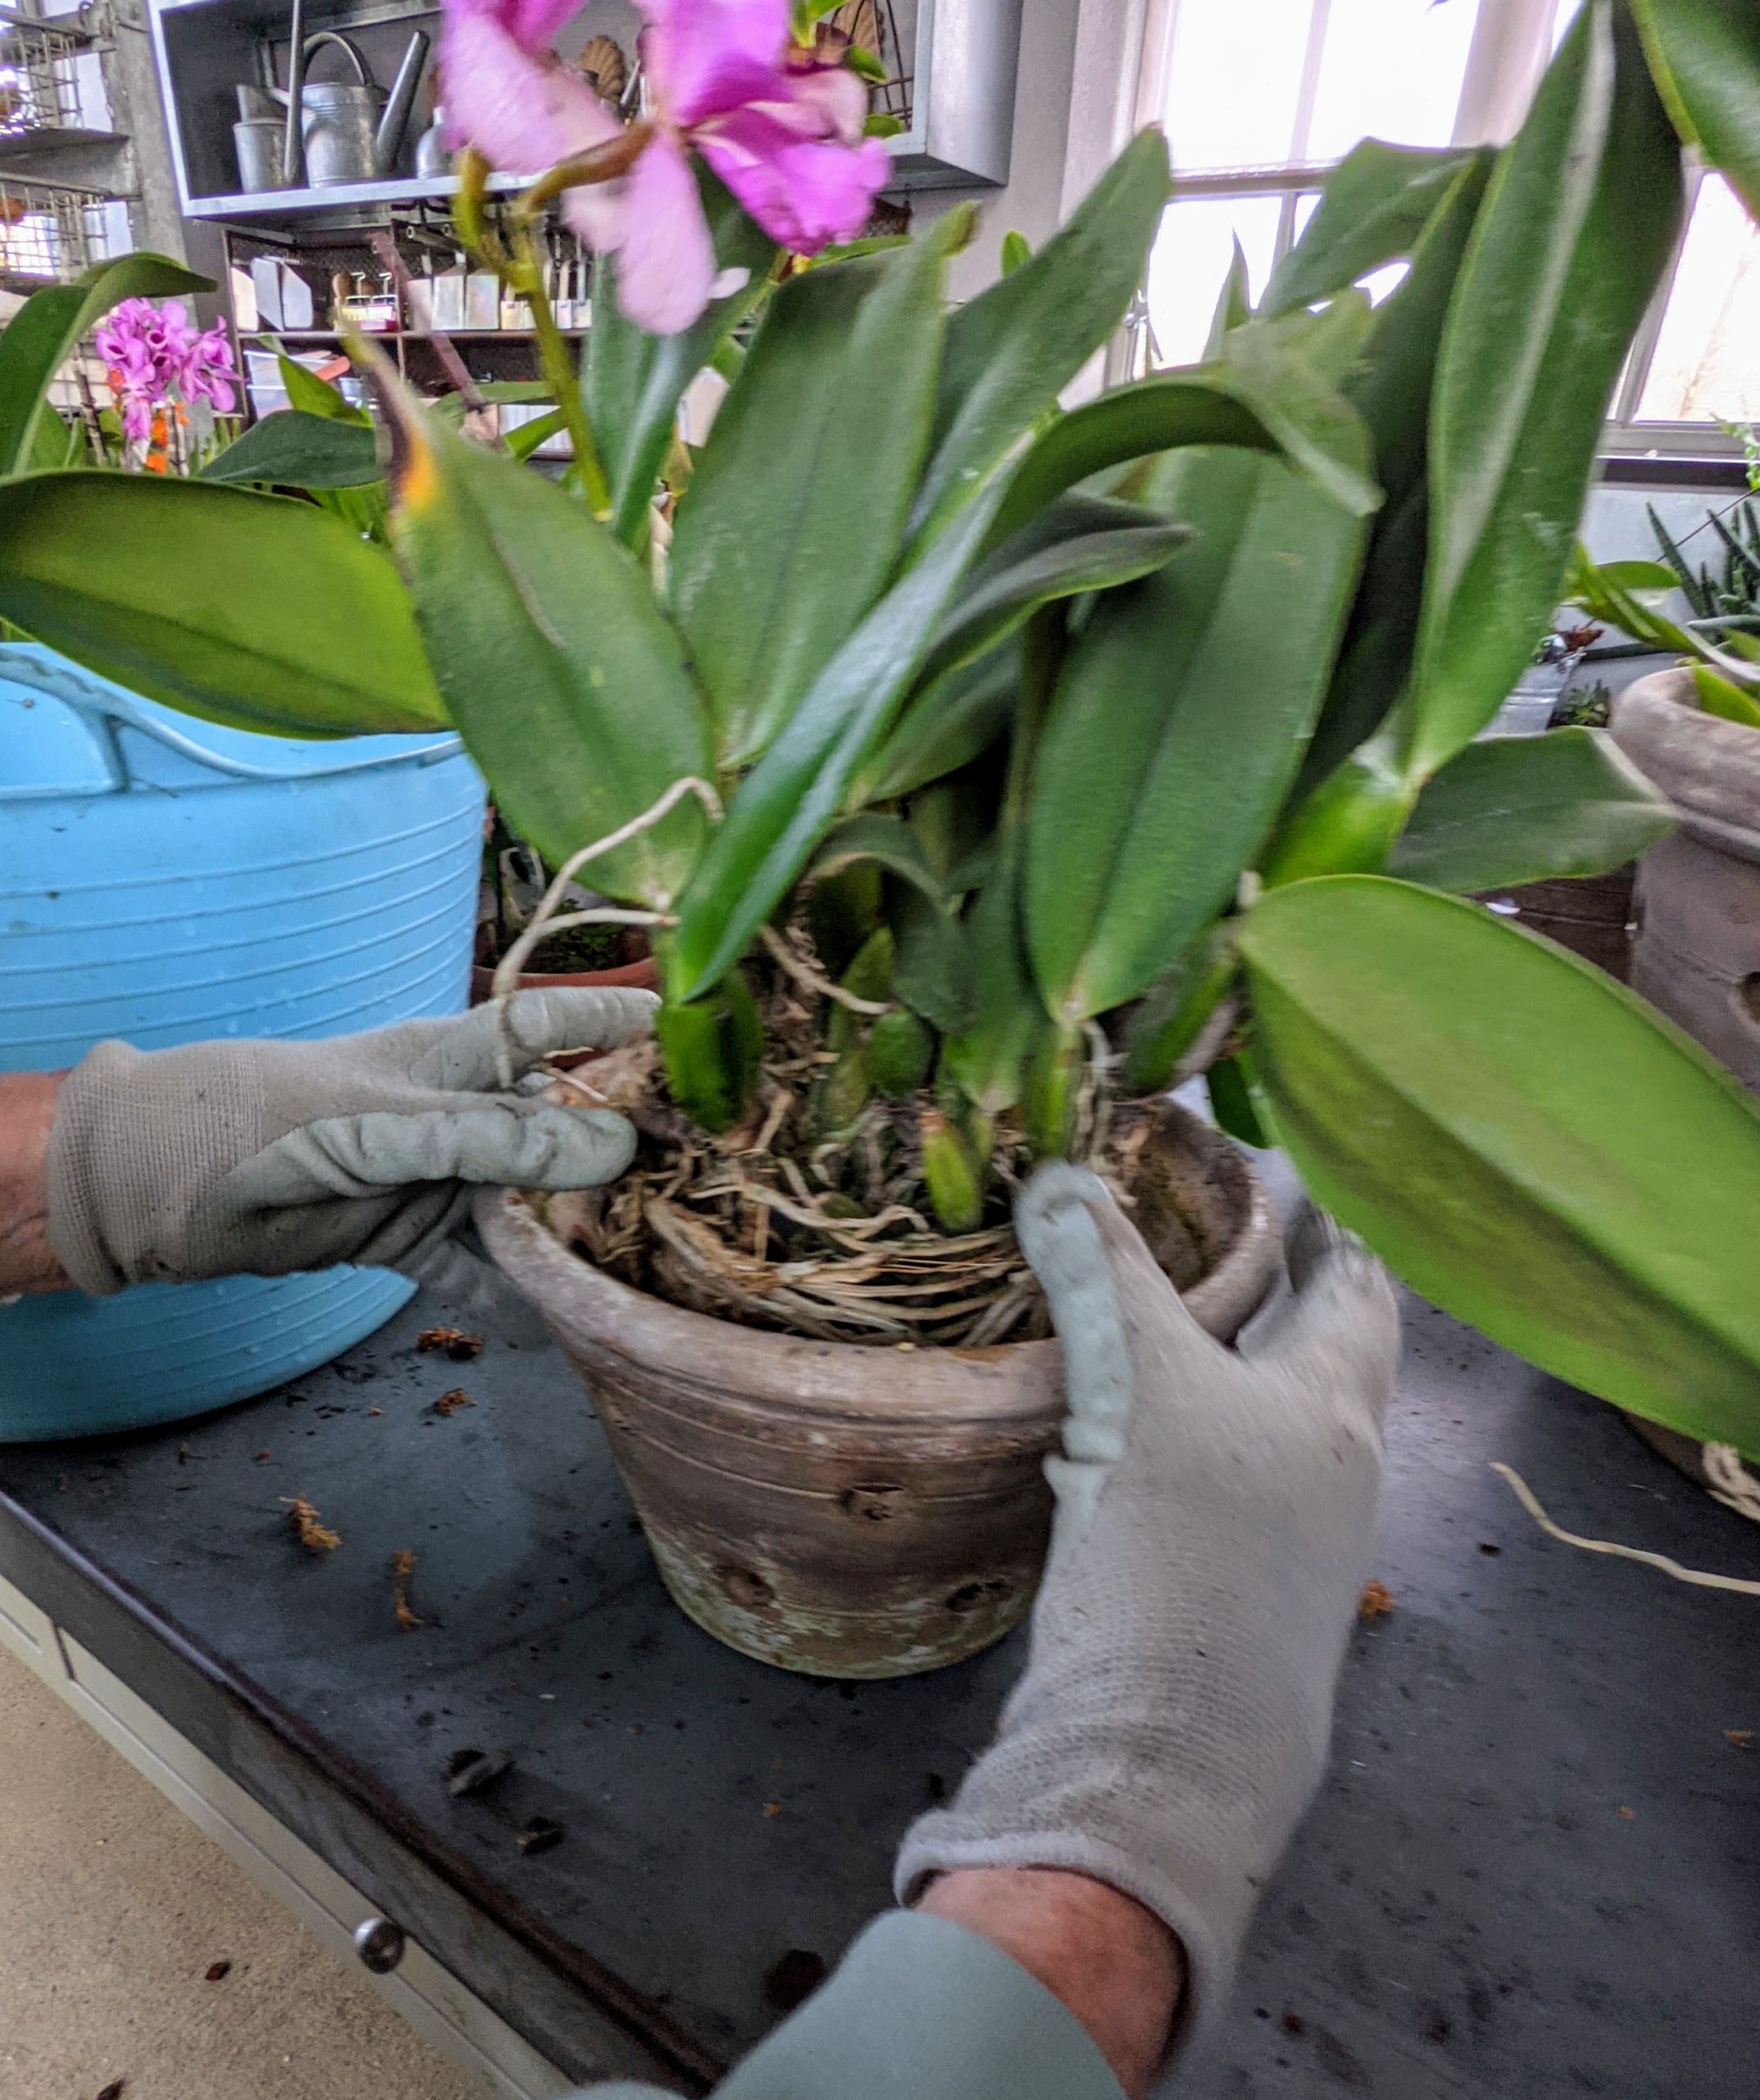
This is one of my newer specimens. Whenever possible, I love working in the head-house and tending to my plants. A head-house is an addition or section of the greenhouse that serves as the “work center.” Optimum temperatures for orchids in winter are 45 to 55-degrees Fahrenheit at night and 65 to 75-degrees Fahrenheit during the day. When plants are in bud, temperatures must be as constant as possible. I am fortunate to have greenhouses, where temperatures and humidity levels can be closely monitored.
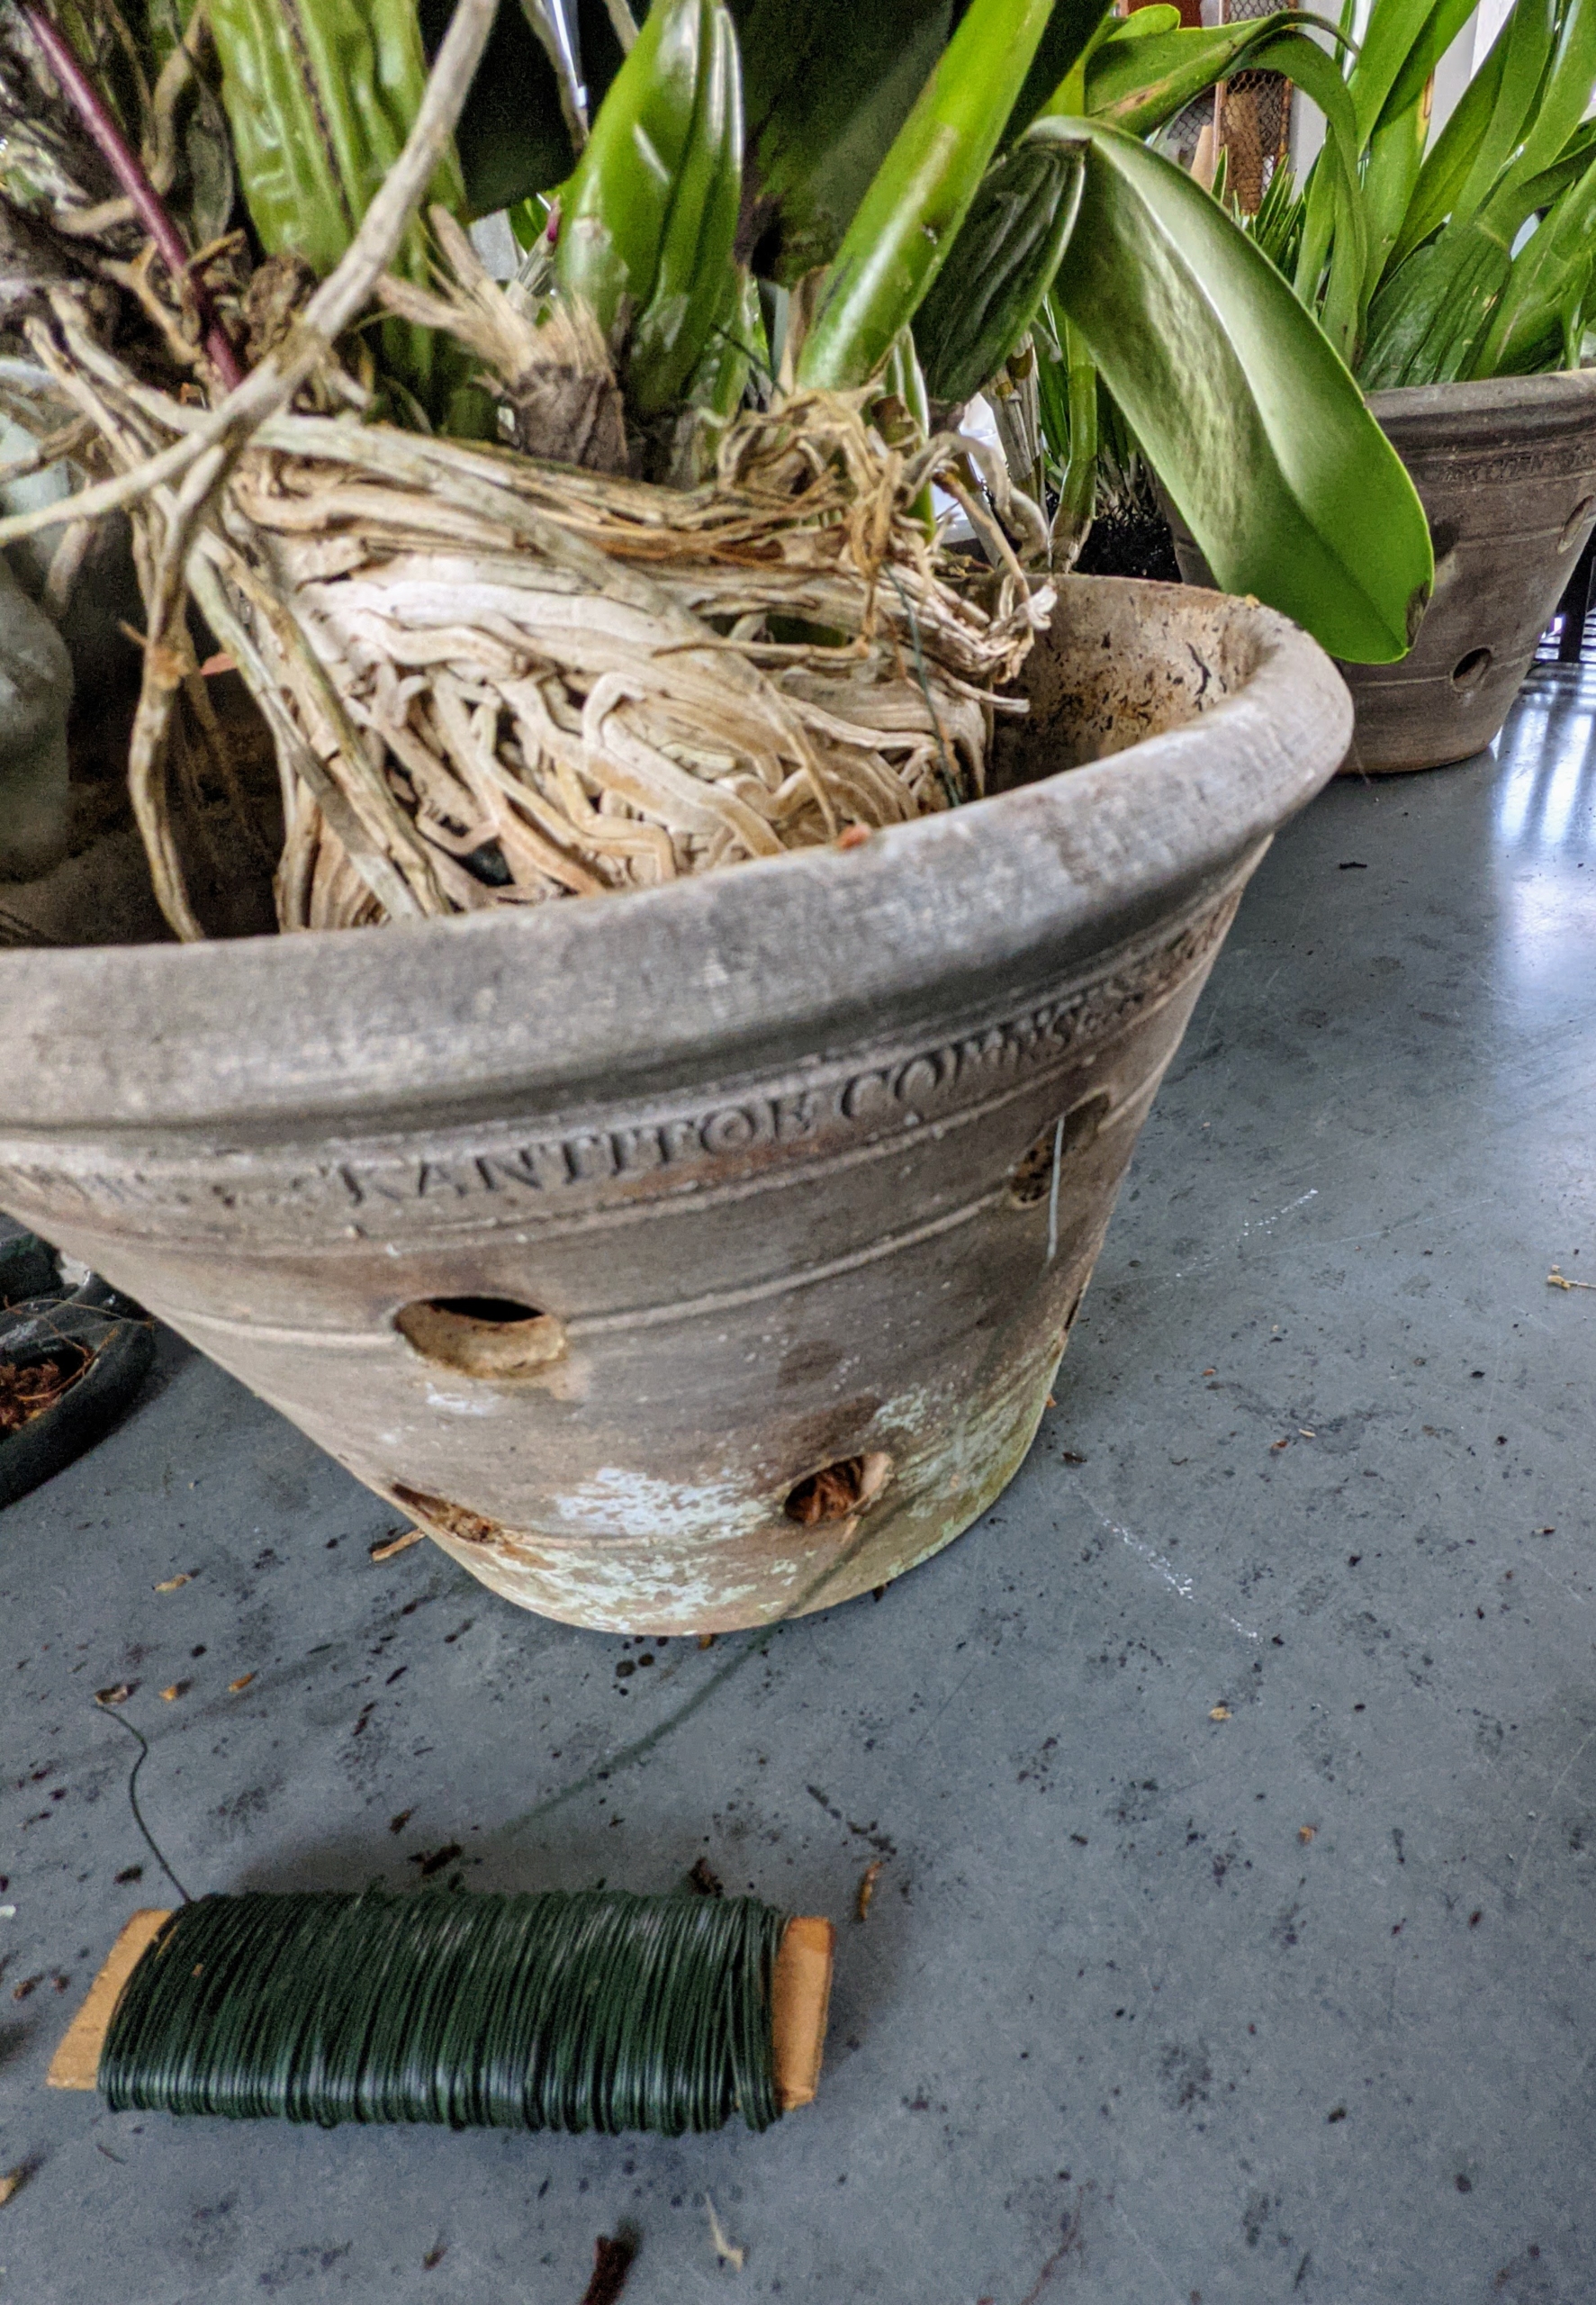
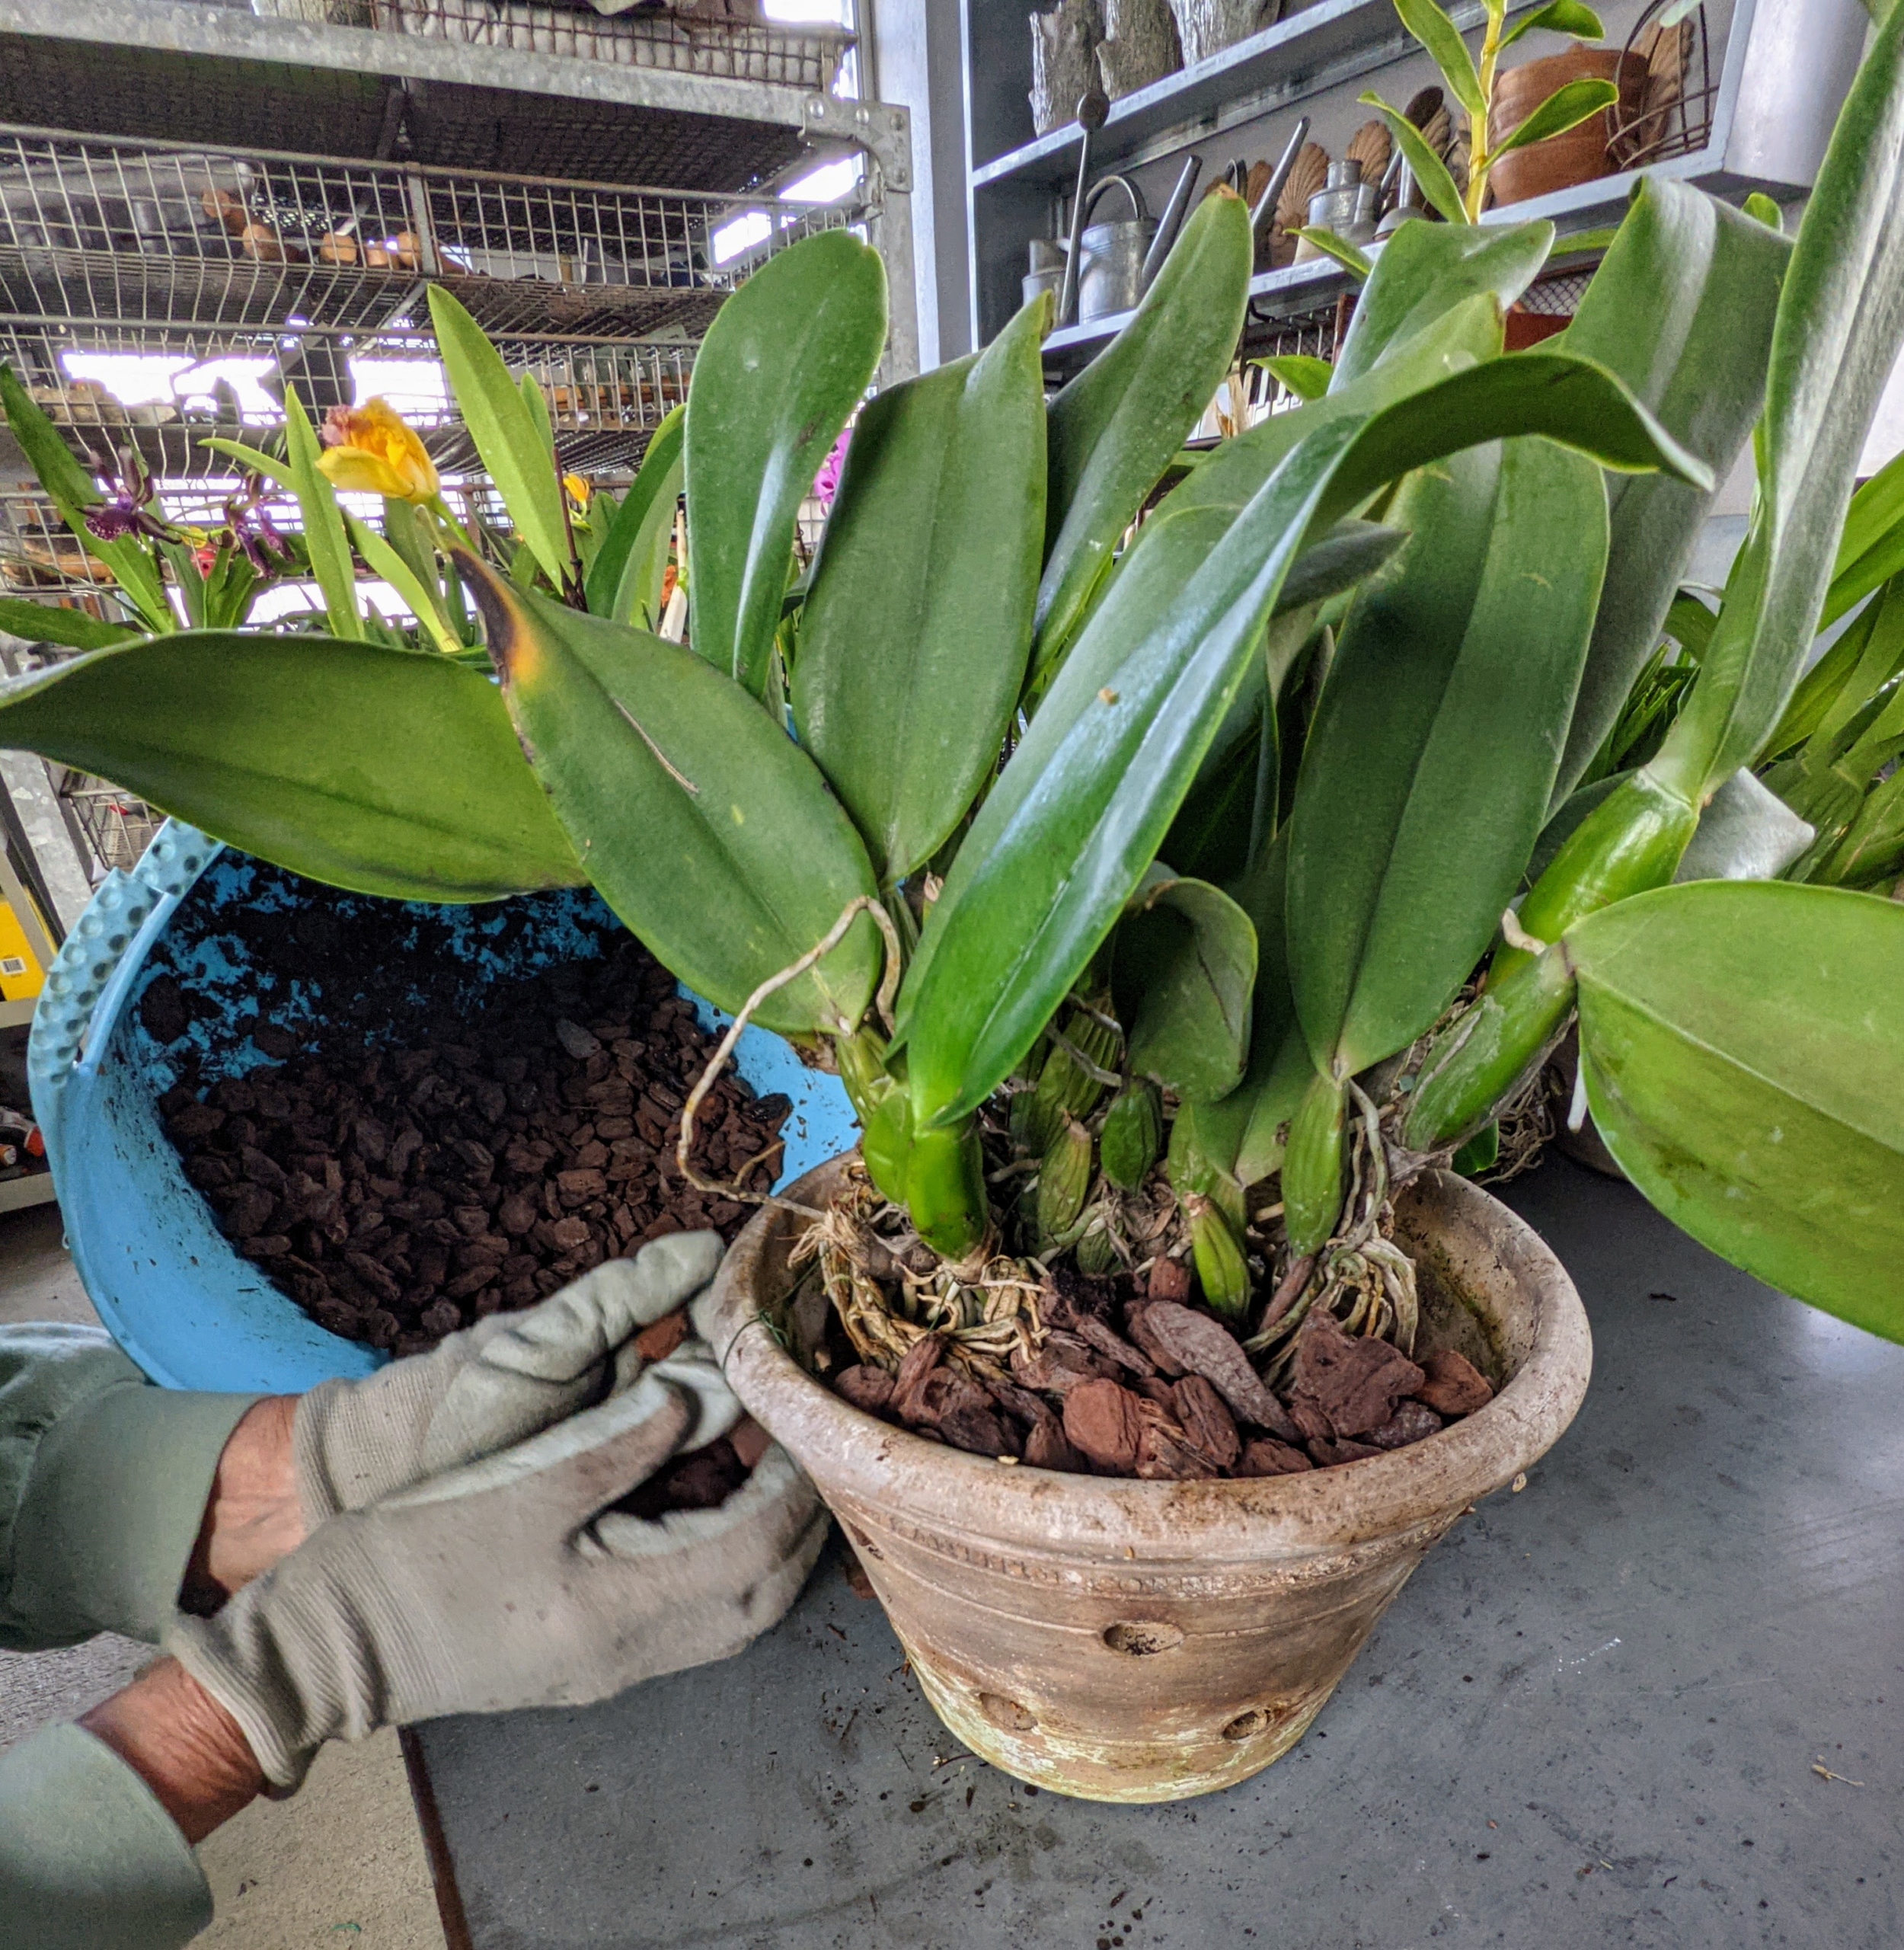
When potting orchids, choose a pot that can accommodate two years of growth, or about two inches larger than the one before. Specialized orchid containers have holes all around the surface to increase the air circulation in the roots – these are the best.
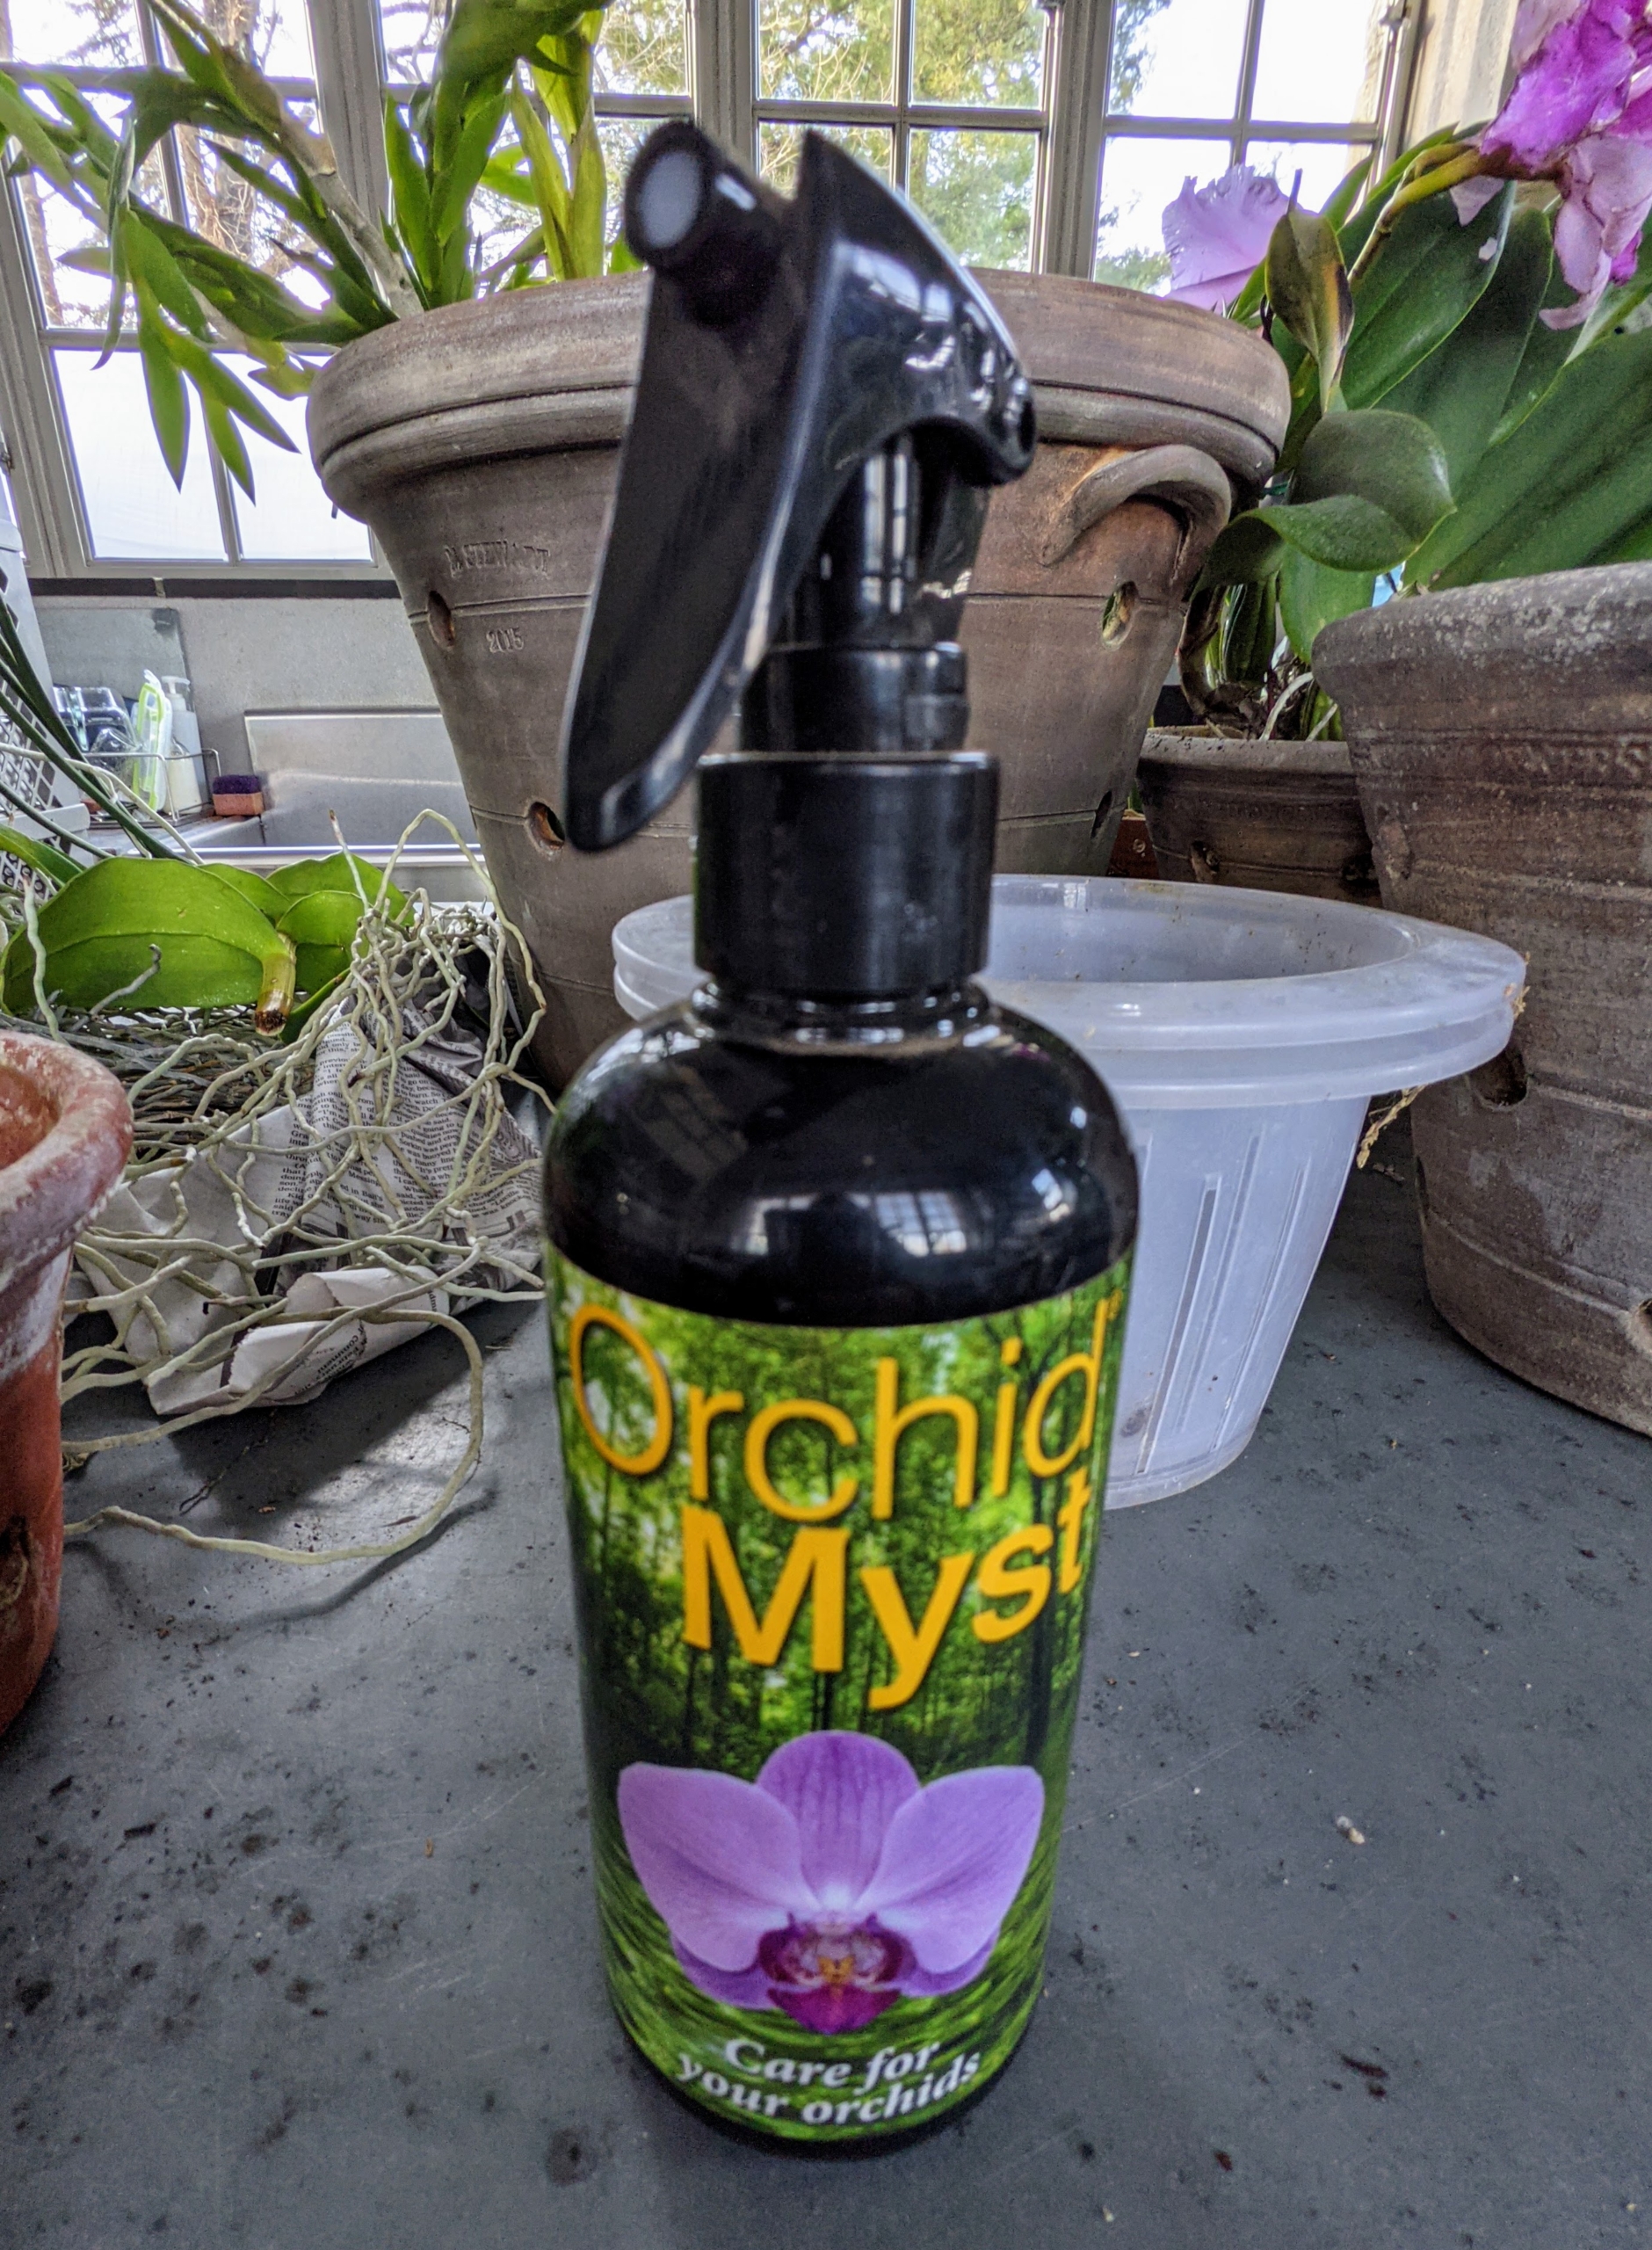
Orchid Myst is a ready-to-use nutrient solution that replicates how an orchid receives fertilizer in the natural environment. It contains mineral and organic nutrients, marine plant extracts, humic acid, fulvic acid, and pure plant oils and acts as a fertilizer and growth enhancer, as well as a plant tonic.
Orchids don’t grow like other houseplants. Instead, they exist in a container of loose materials such as bark, charcoal, and moss.
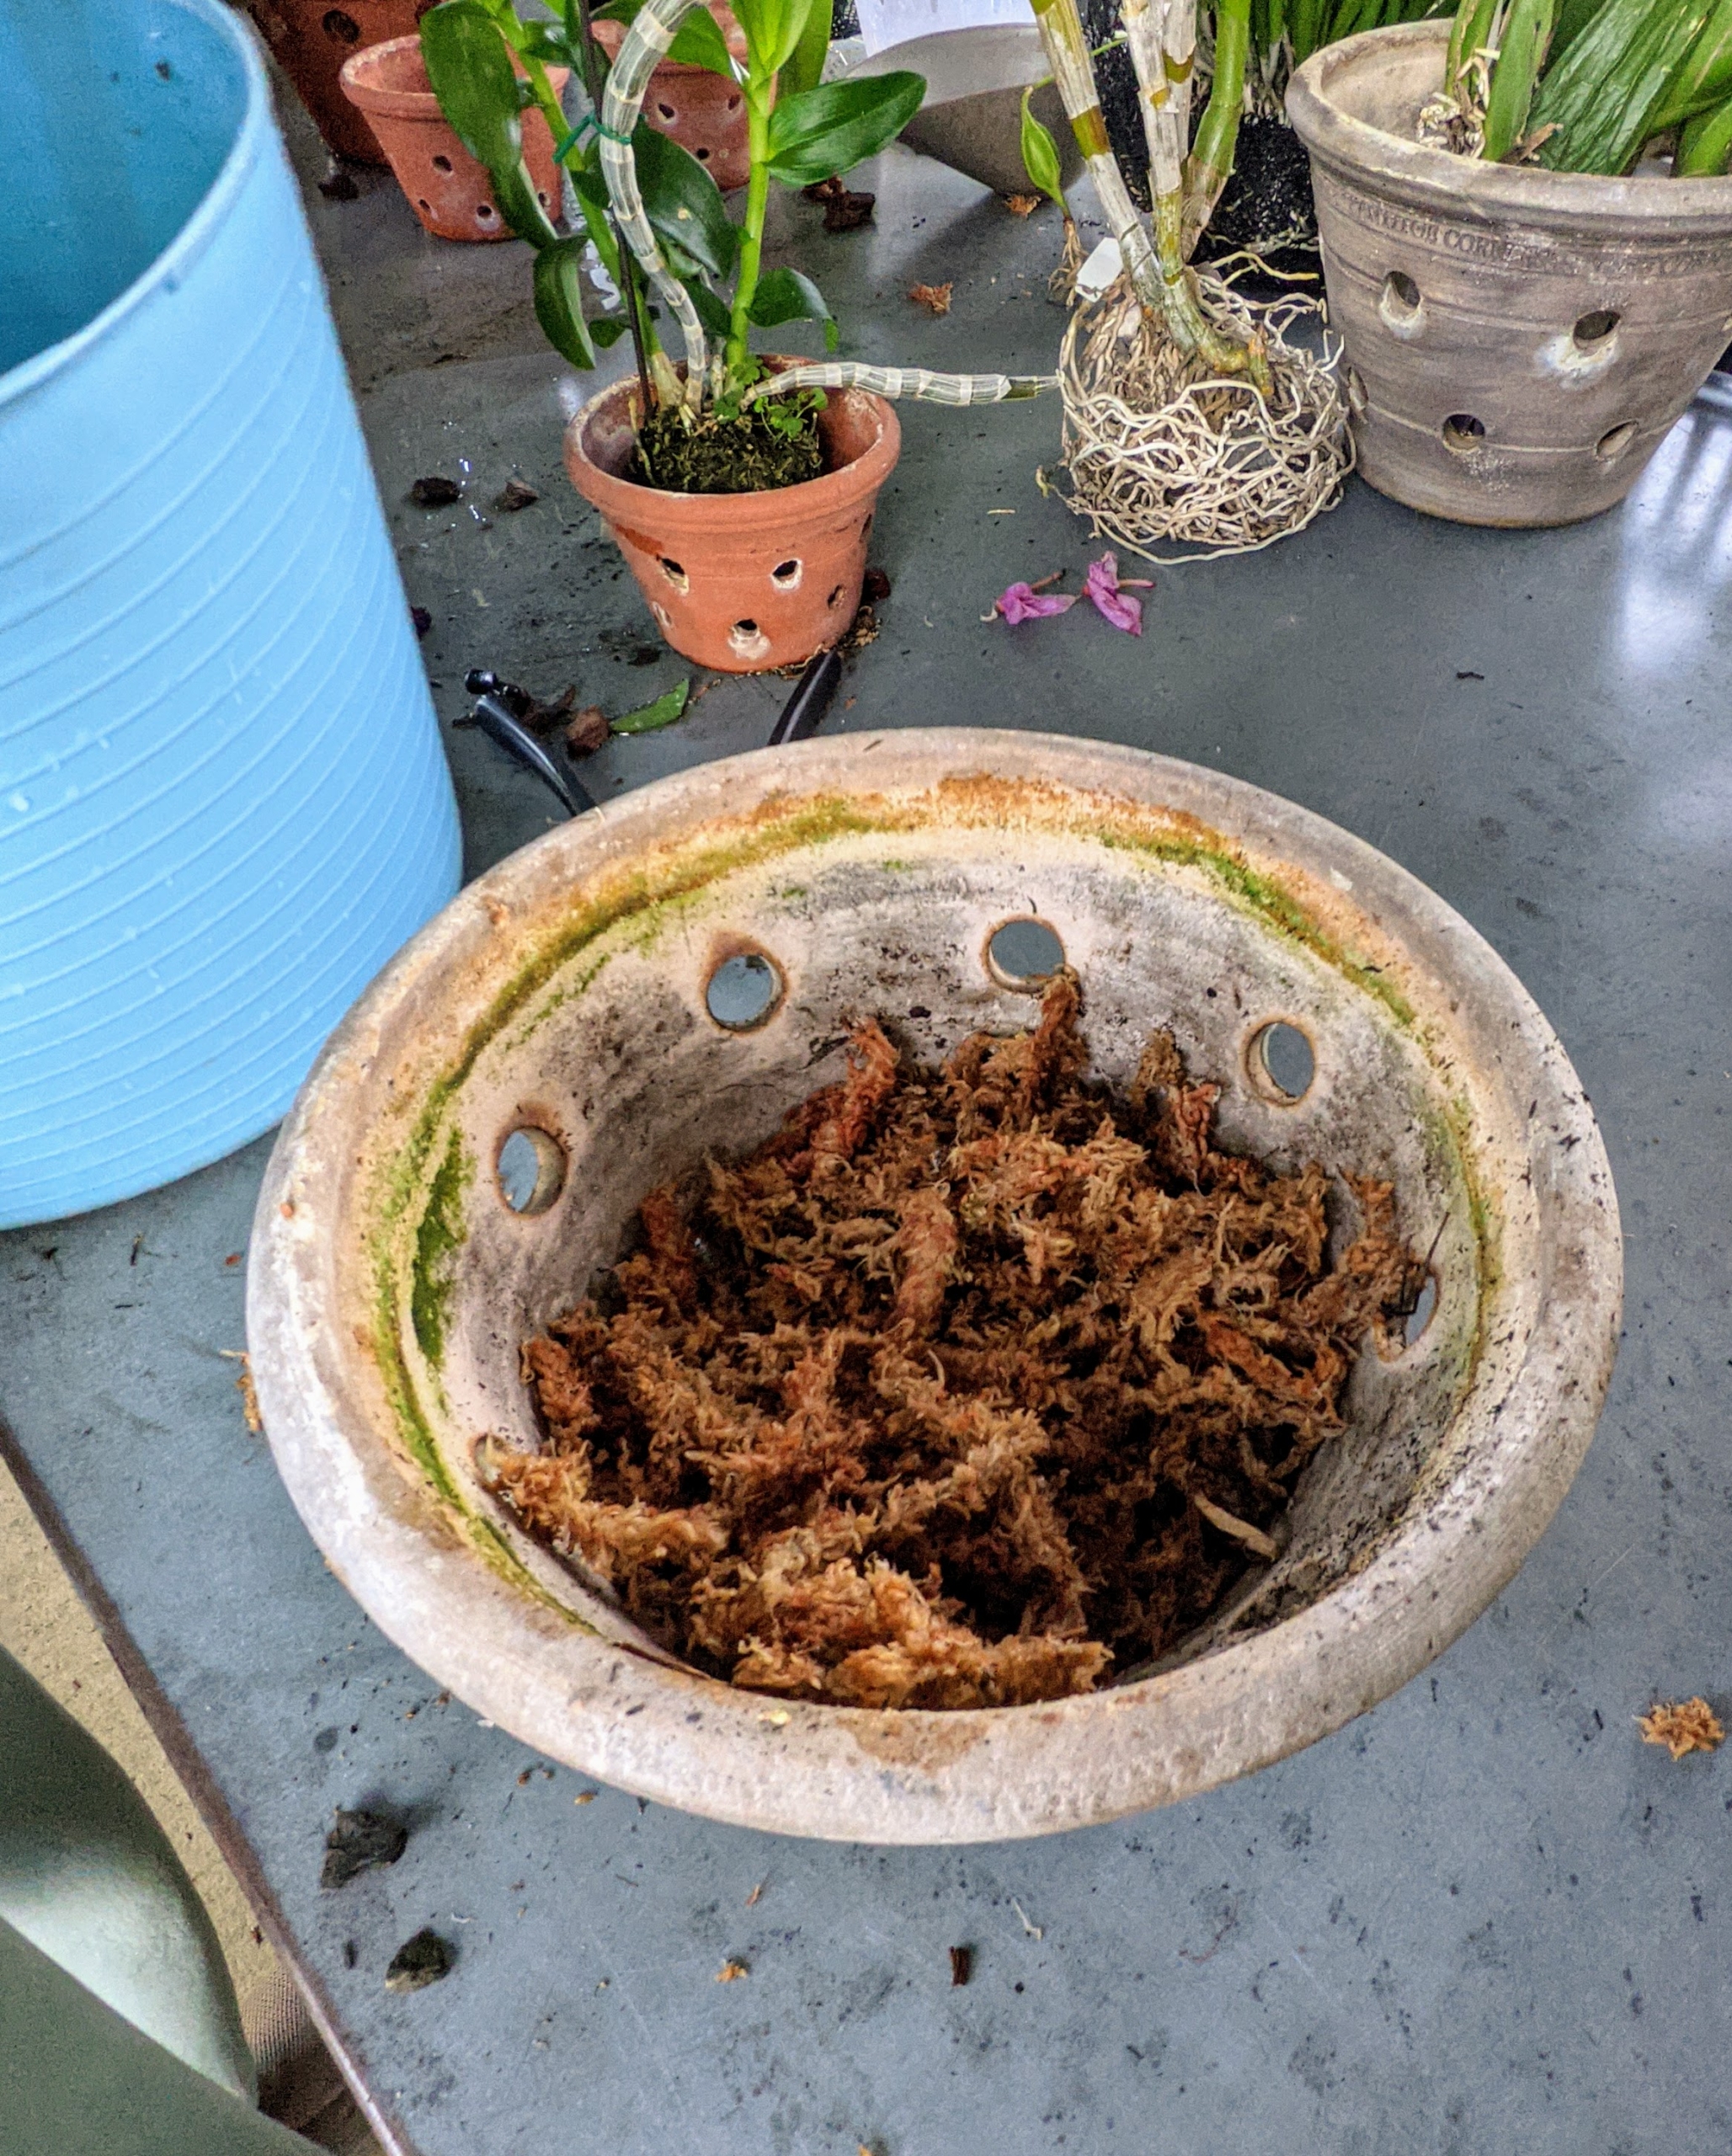
At the bottom of this pot I placed some sphagnum moss. Sphagnum moss is a fine substrate. Its water retention ability makes it an excellent potting material for young orchids.
Then I put in a layer of a coarse orchid bark mix, which will allow air to circulate naturally around the roots of the orchid.
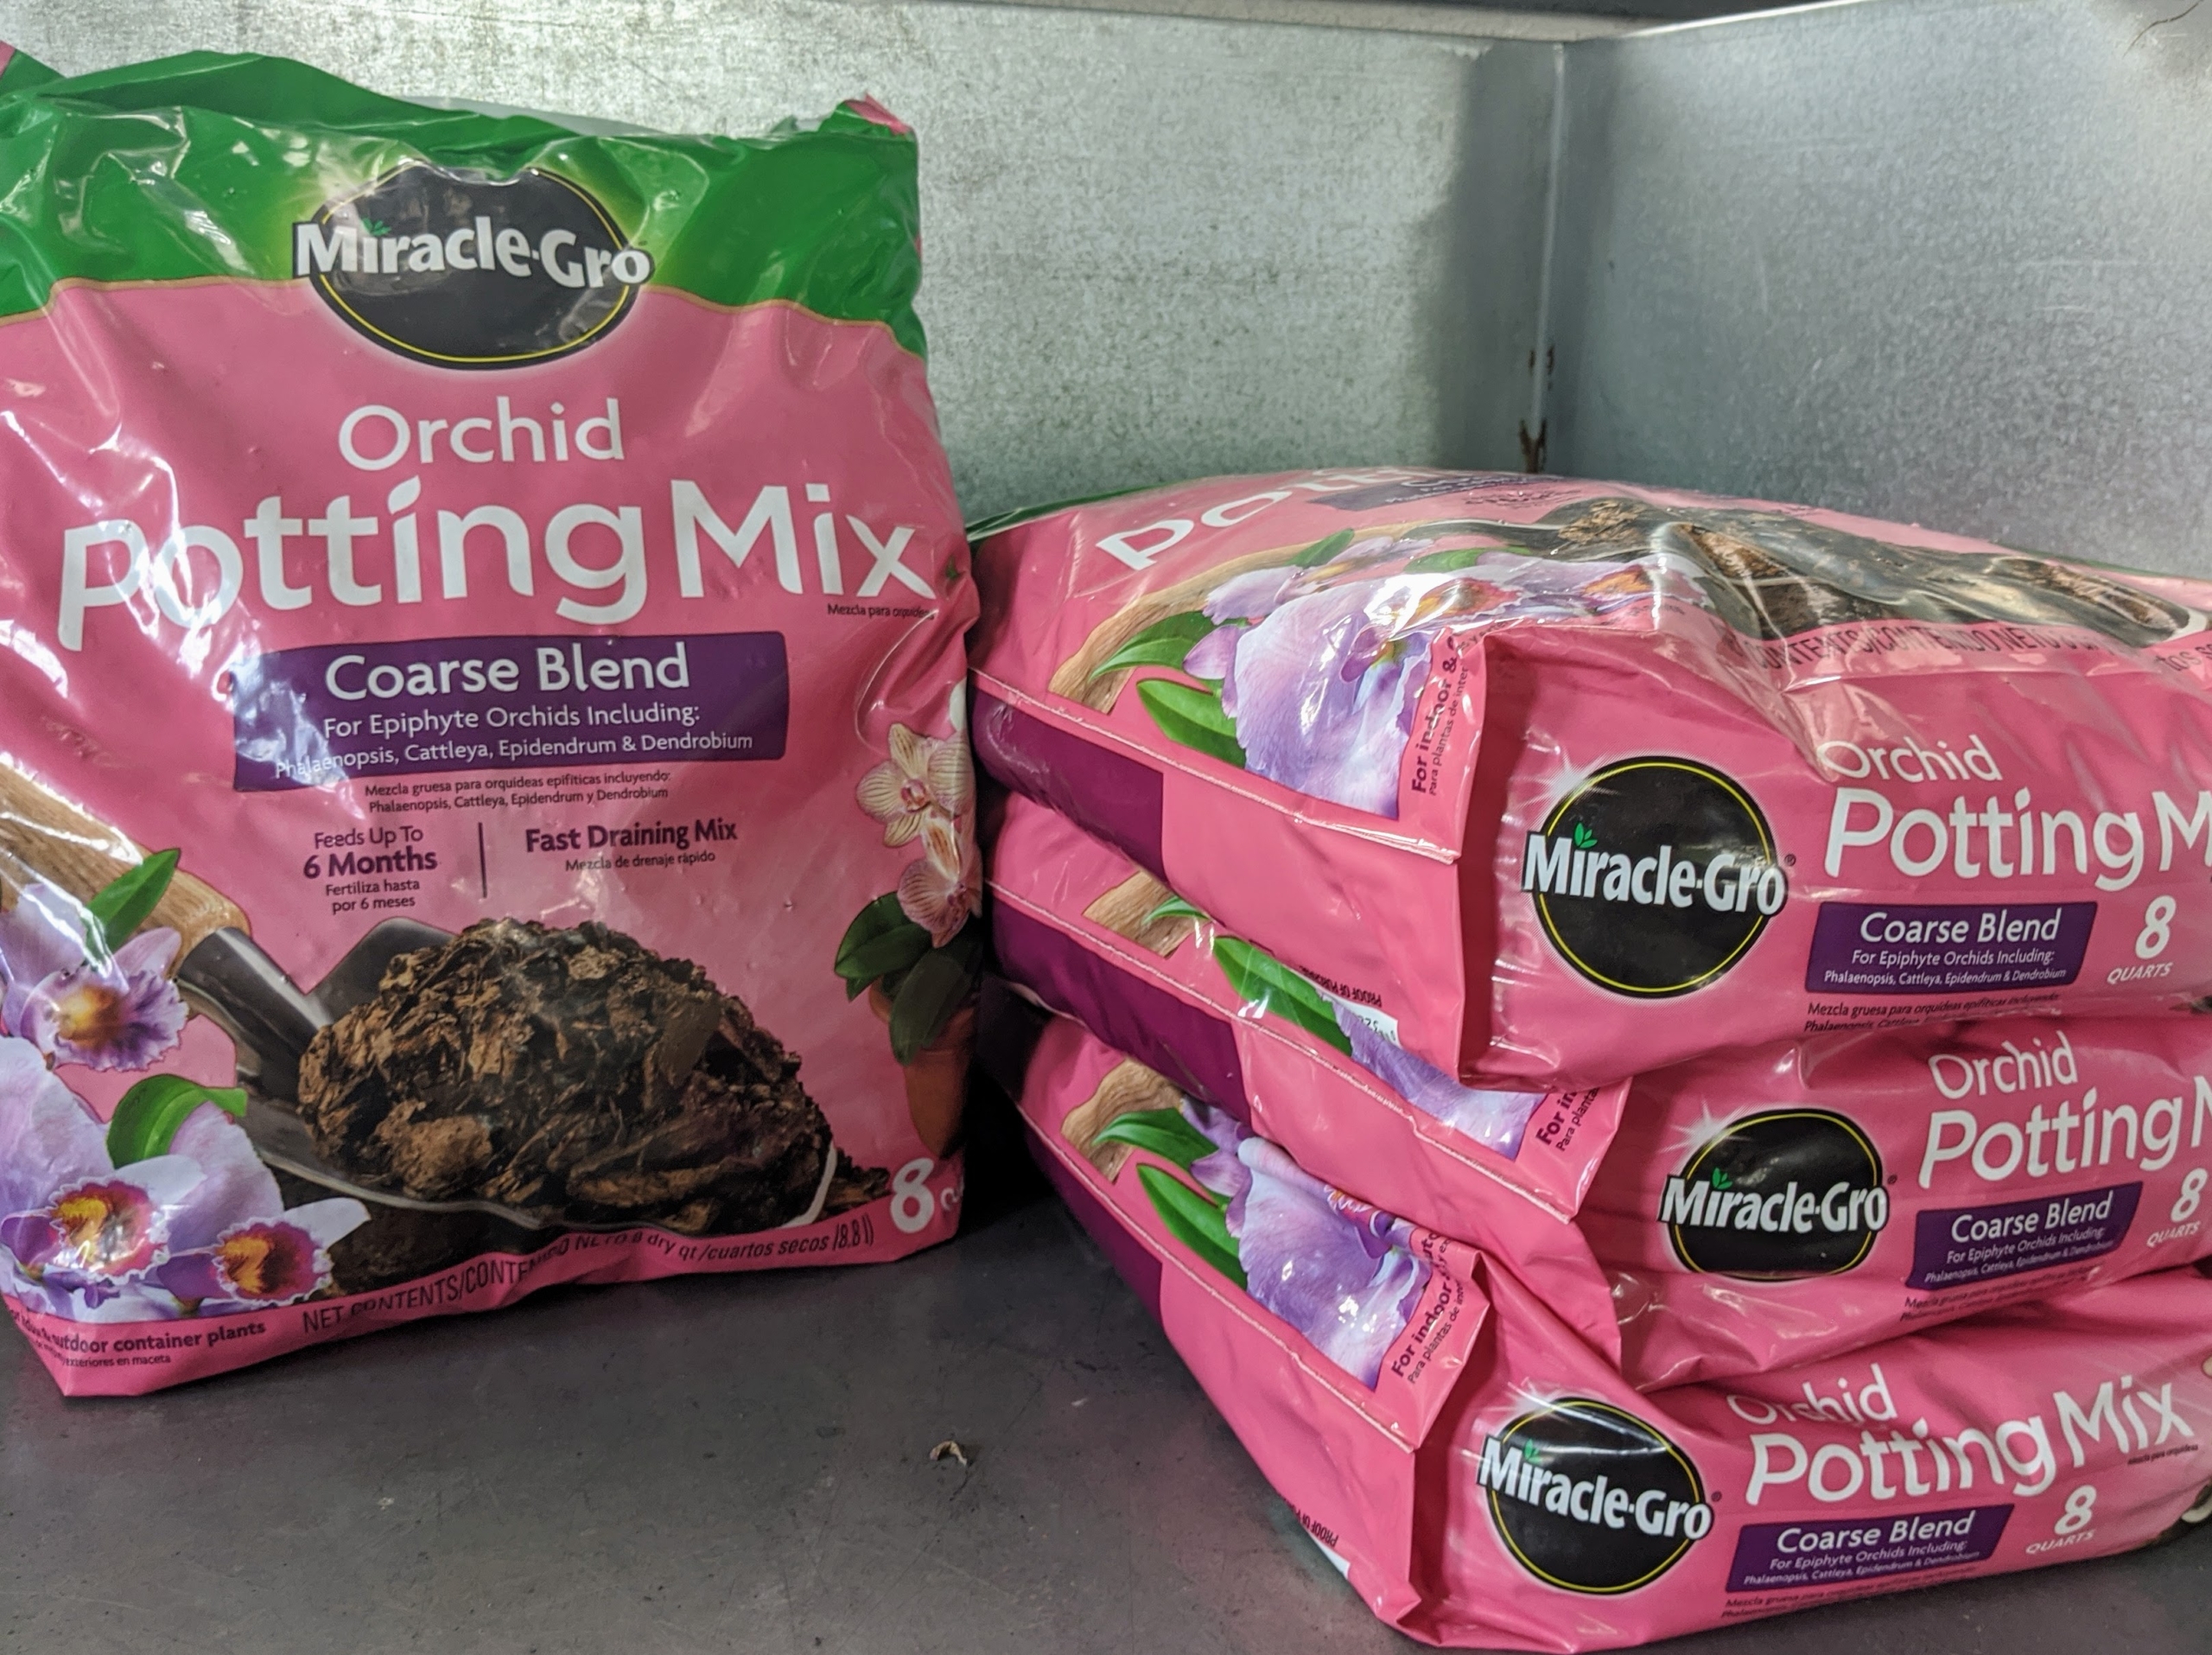
The specially formulated mix in Miracle-Gro Orchid Potting Mix Coarse Blend is blended specifically for epiphyte orchids, including Phalaenopsis, Cattleya, Epidendrum, and Dendrobium. It includes Canadian sphagnum moss, moss chunks, charcoal orchid bark, and lava rock mix. Get a bag on Martha.com.
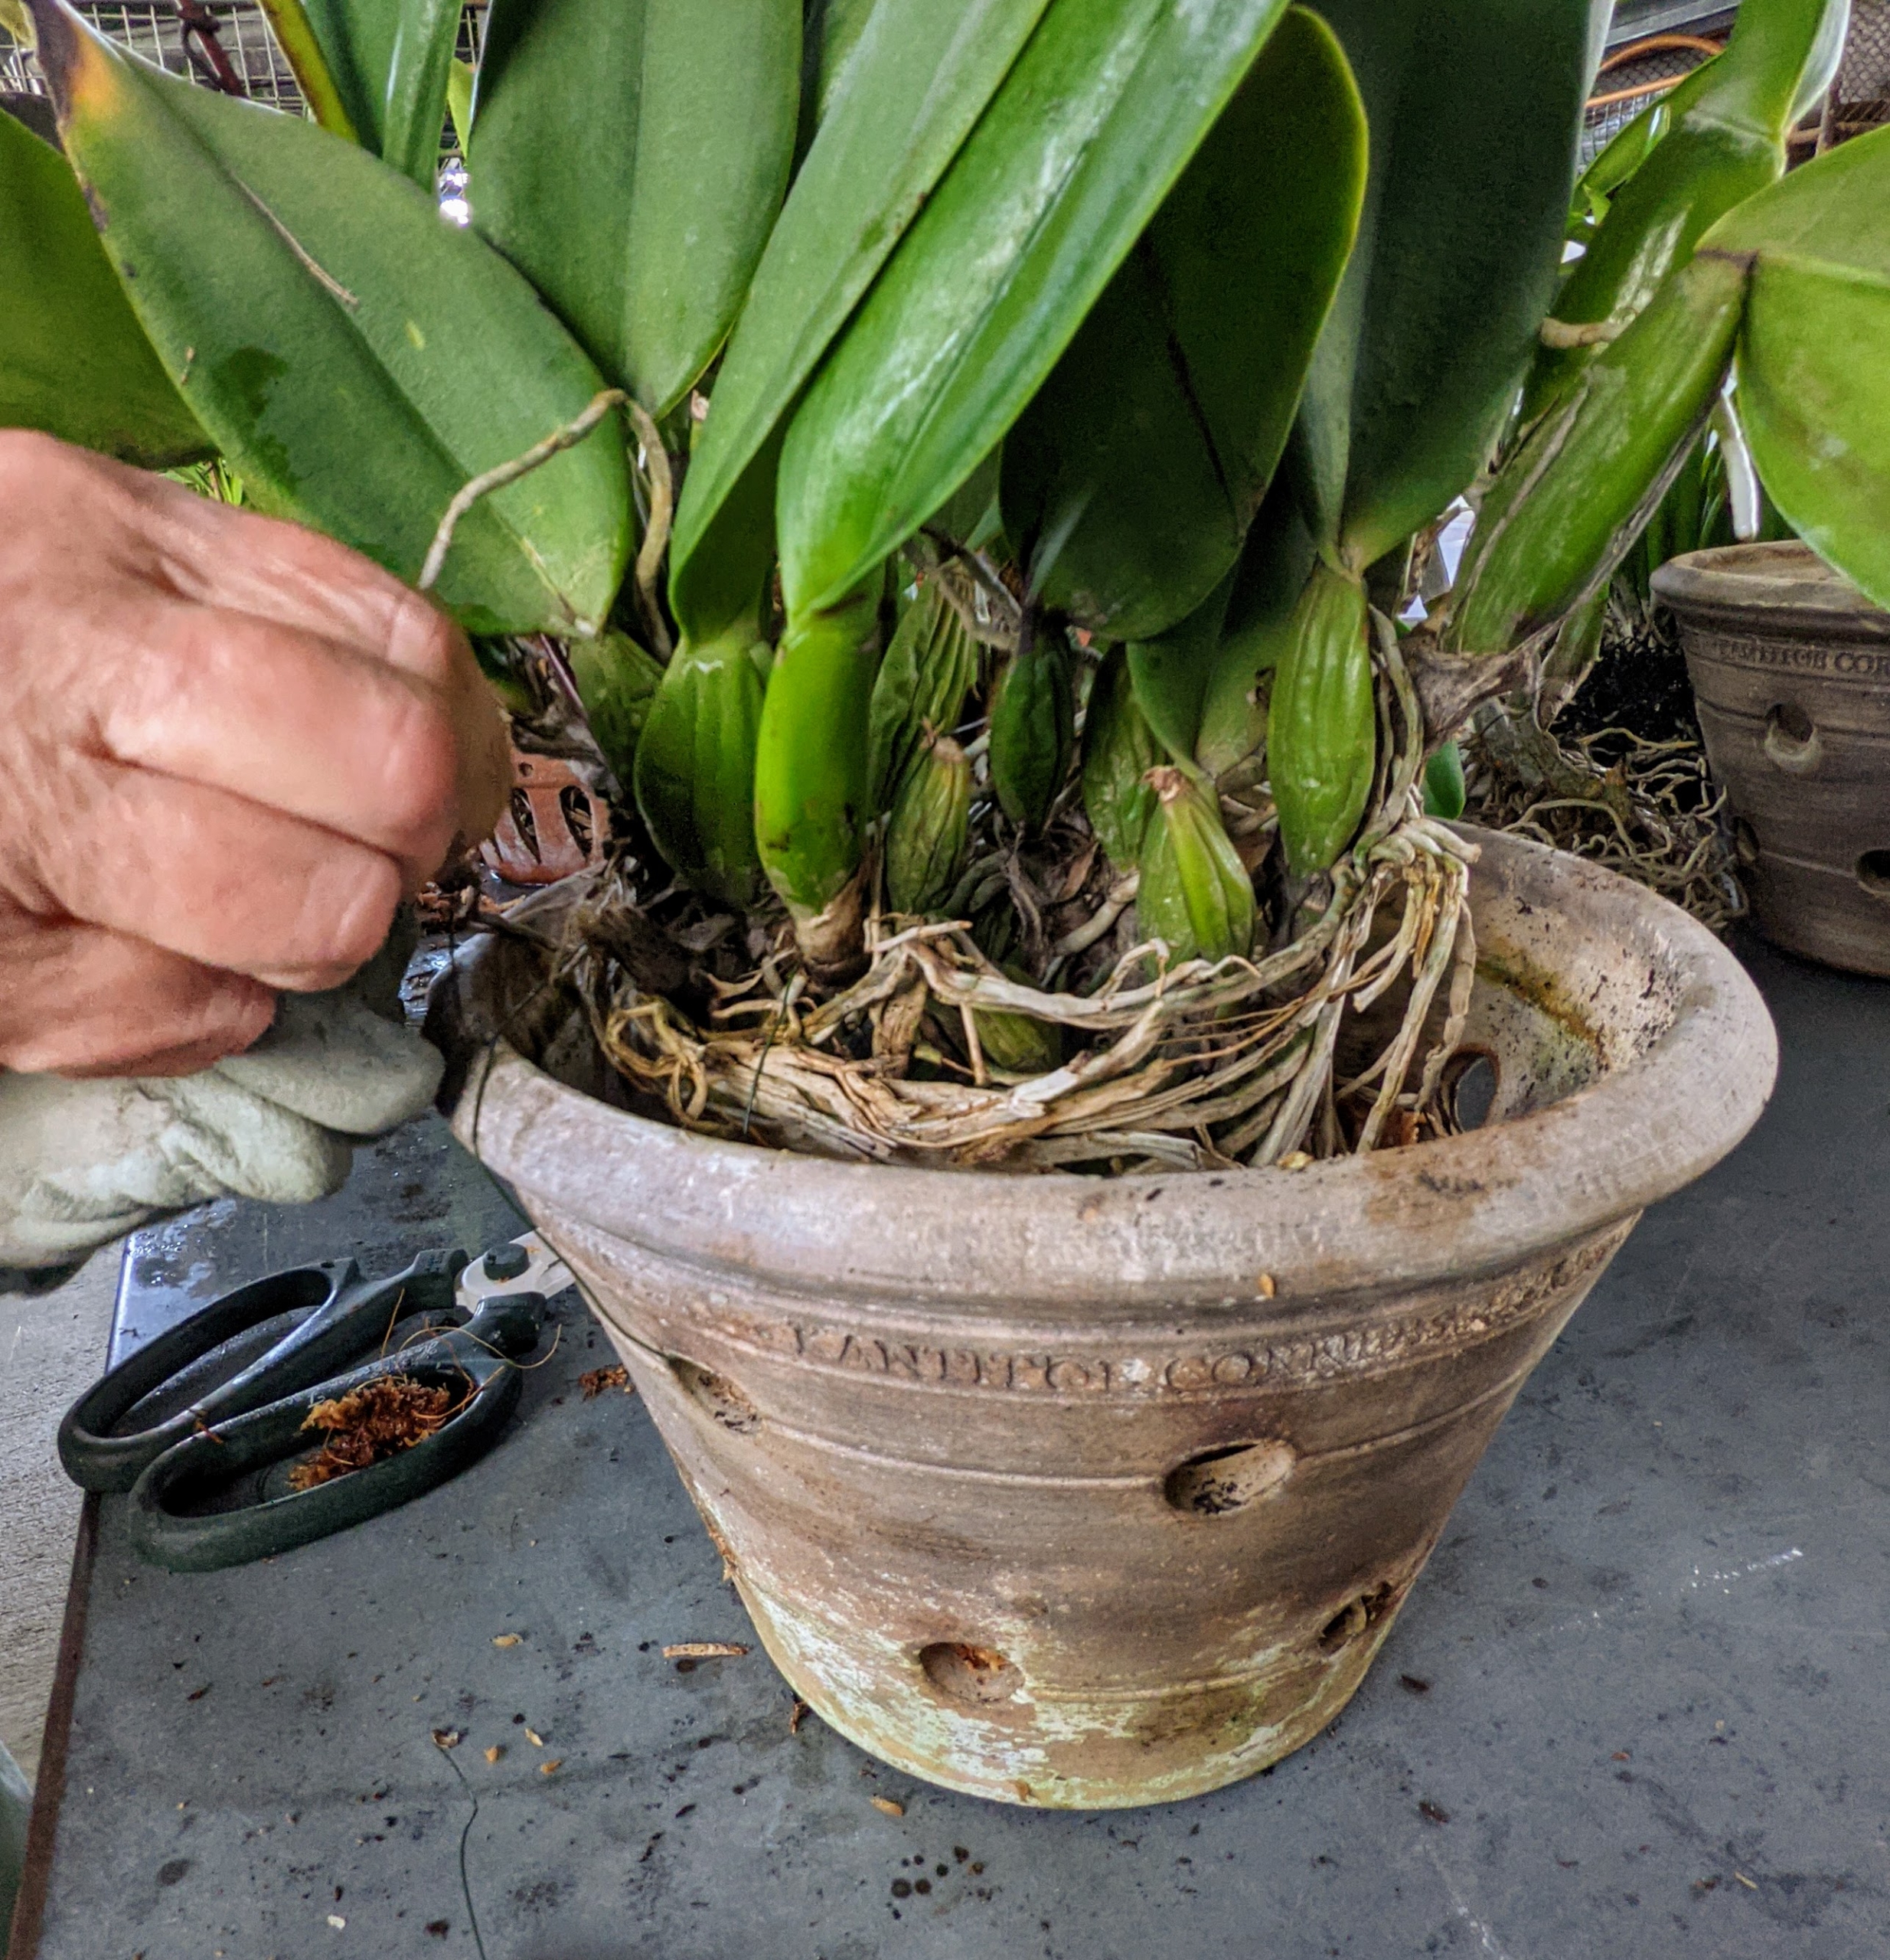
I place the orchid inside the pot to see if it is sitting properly – it should be at the same height as it was in the original container. If it is too high, I just take some of the medium out from underneath the plant.
Healthy orchid roots are firm to the touch and white to green in color.
I also used just a little floral wire to anchor this orchid securely to the pot.
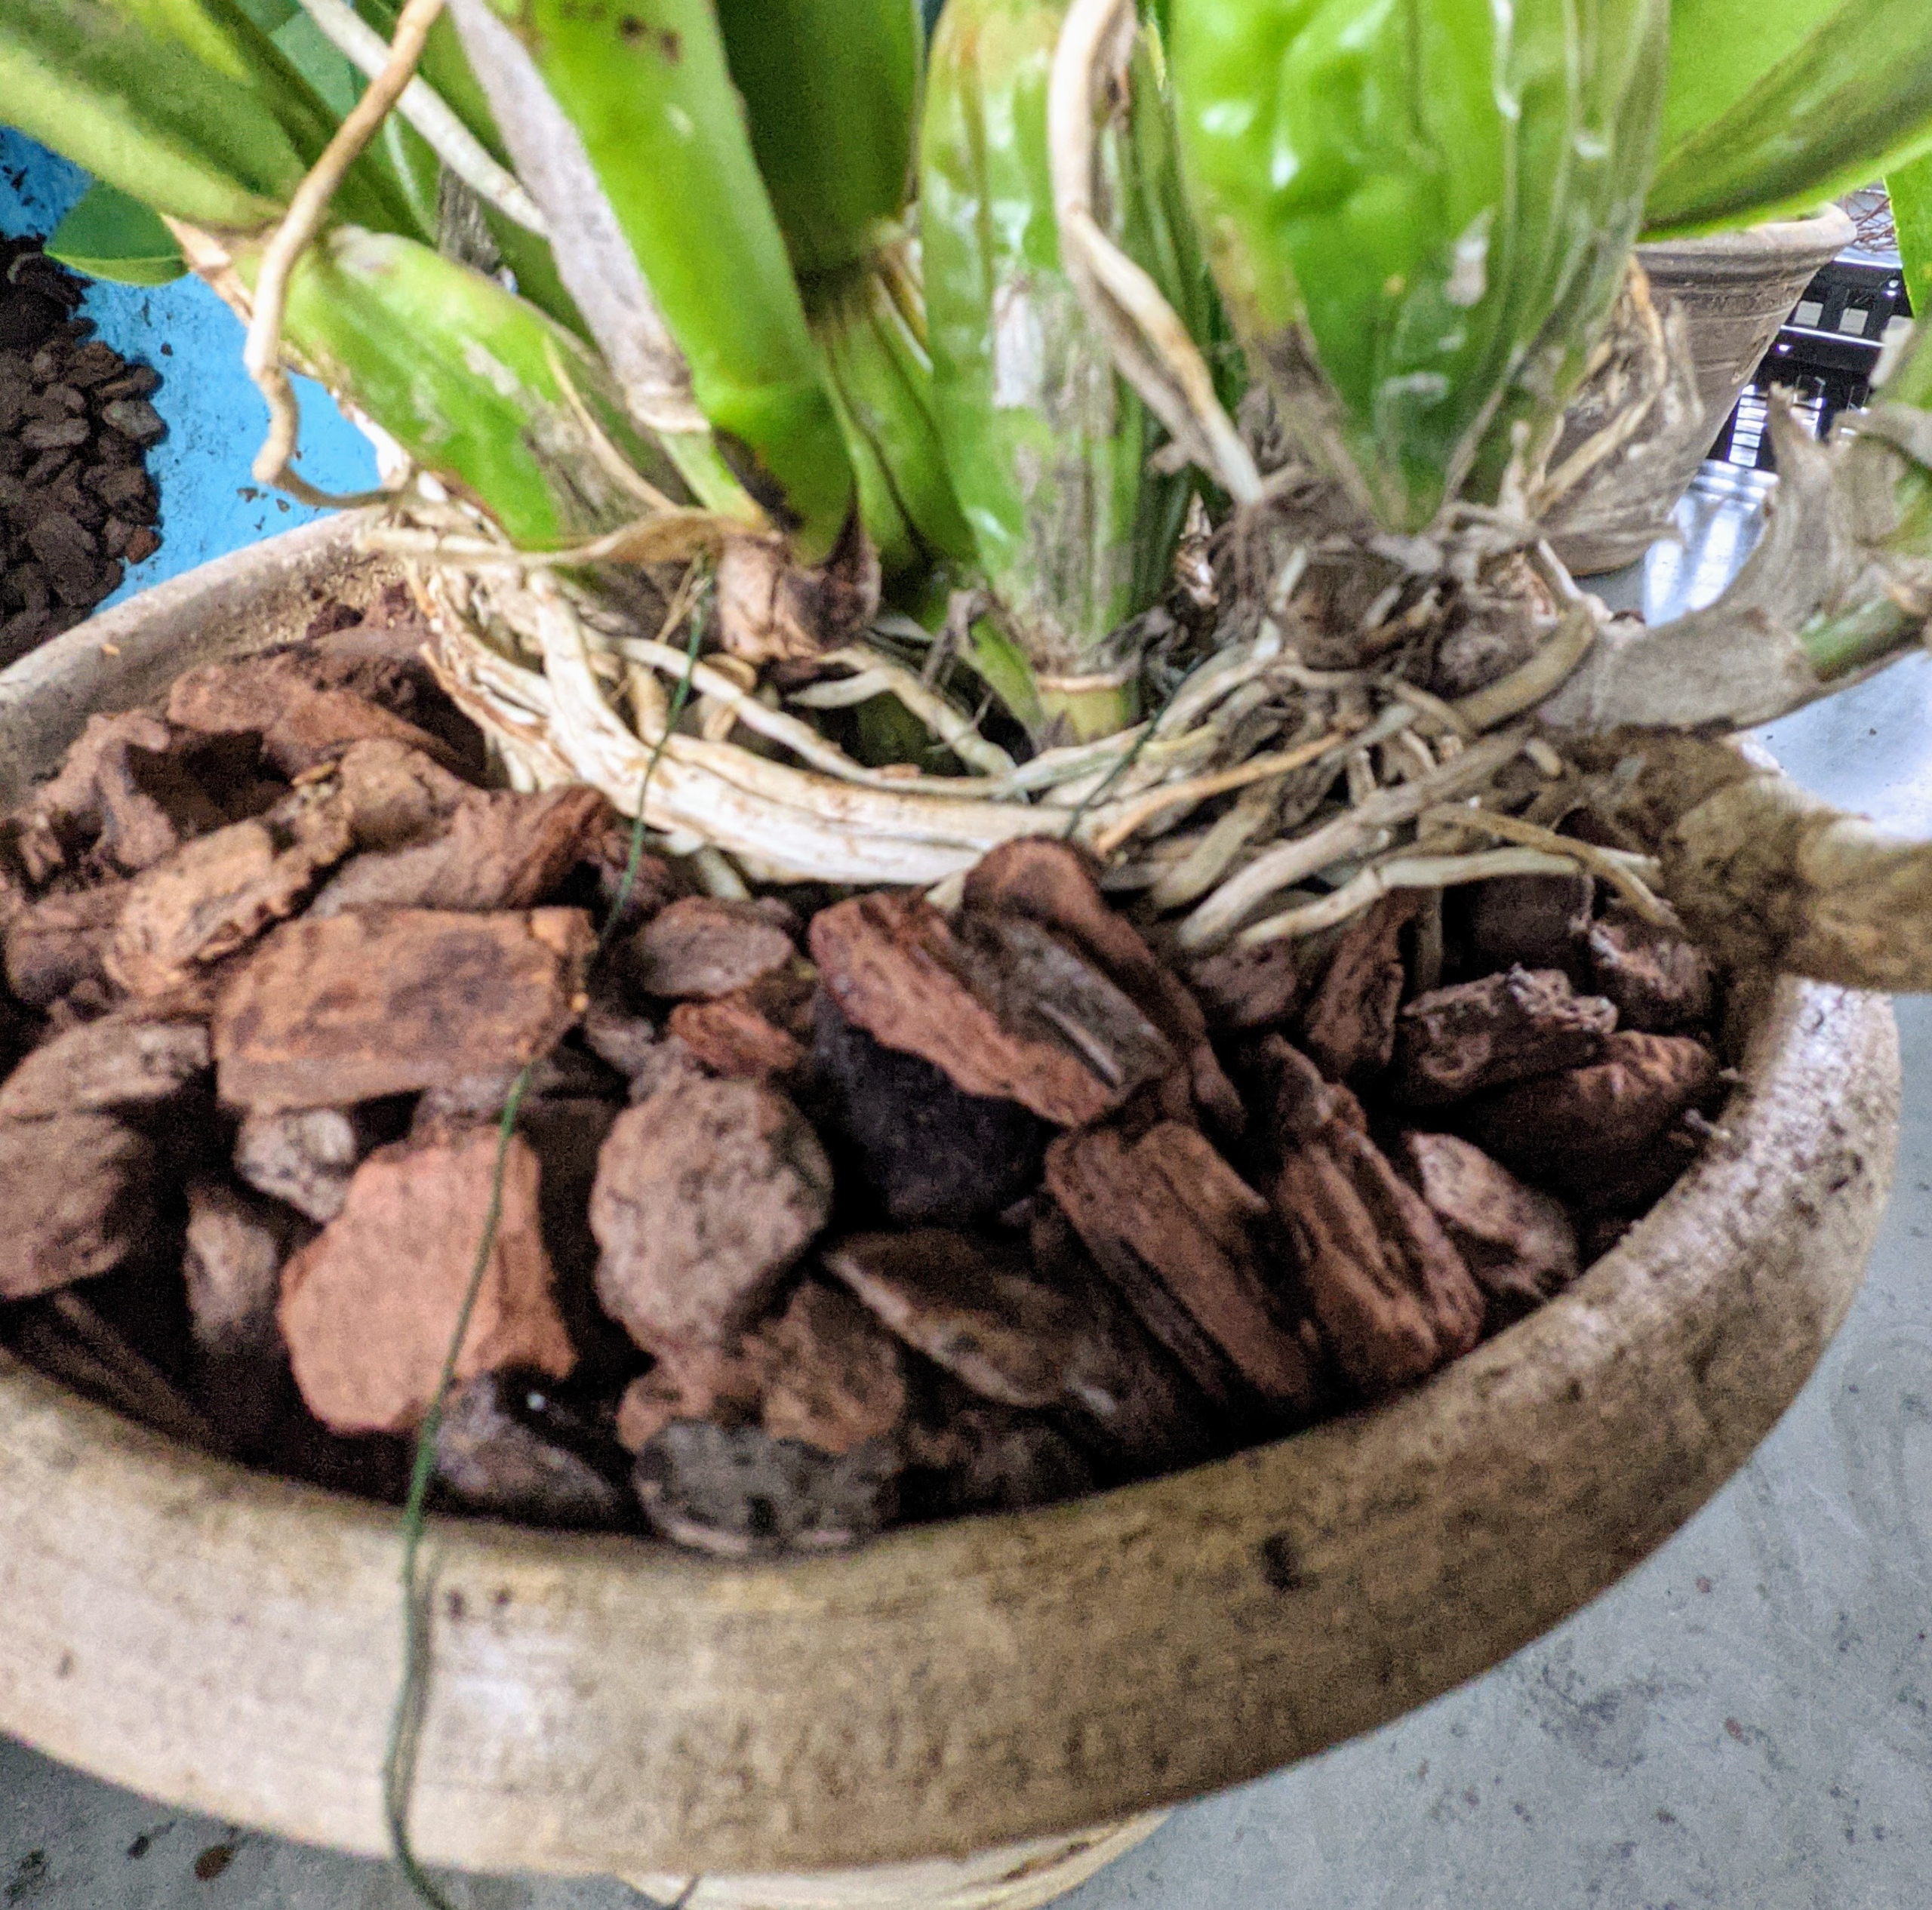
Place bark mix around the roots and firm the bark down, making sure the orchid rhizome or crown of the plant is flush with the top of the bark. I like to also place a straight apple branch from my trees as a stake to keep the orchid from leaning. It can be secured to the stem, or stems, with natural, thin raffia.
Here is a closer look at the base of this orchid. Potting bark and other potting mediums need to be replaced every two years or so.
Lastly, a bit more sphagnum moss to top the bark. When watering, it should be thorough and the medium should be dry at least half way through before watering again.
Orchids are such gorgeous plants – the new ones will be added to my giant greenhouse collection of interesting plant specimens. I love getting rare and unusual orchids. I will be sure to share photos when more of them bloom in the coming weeks.