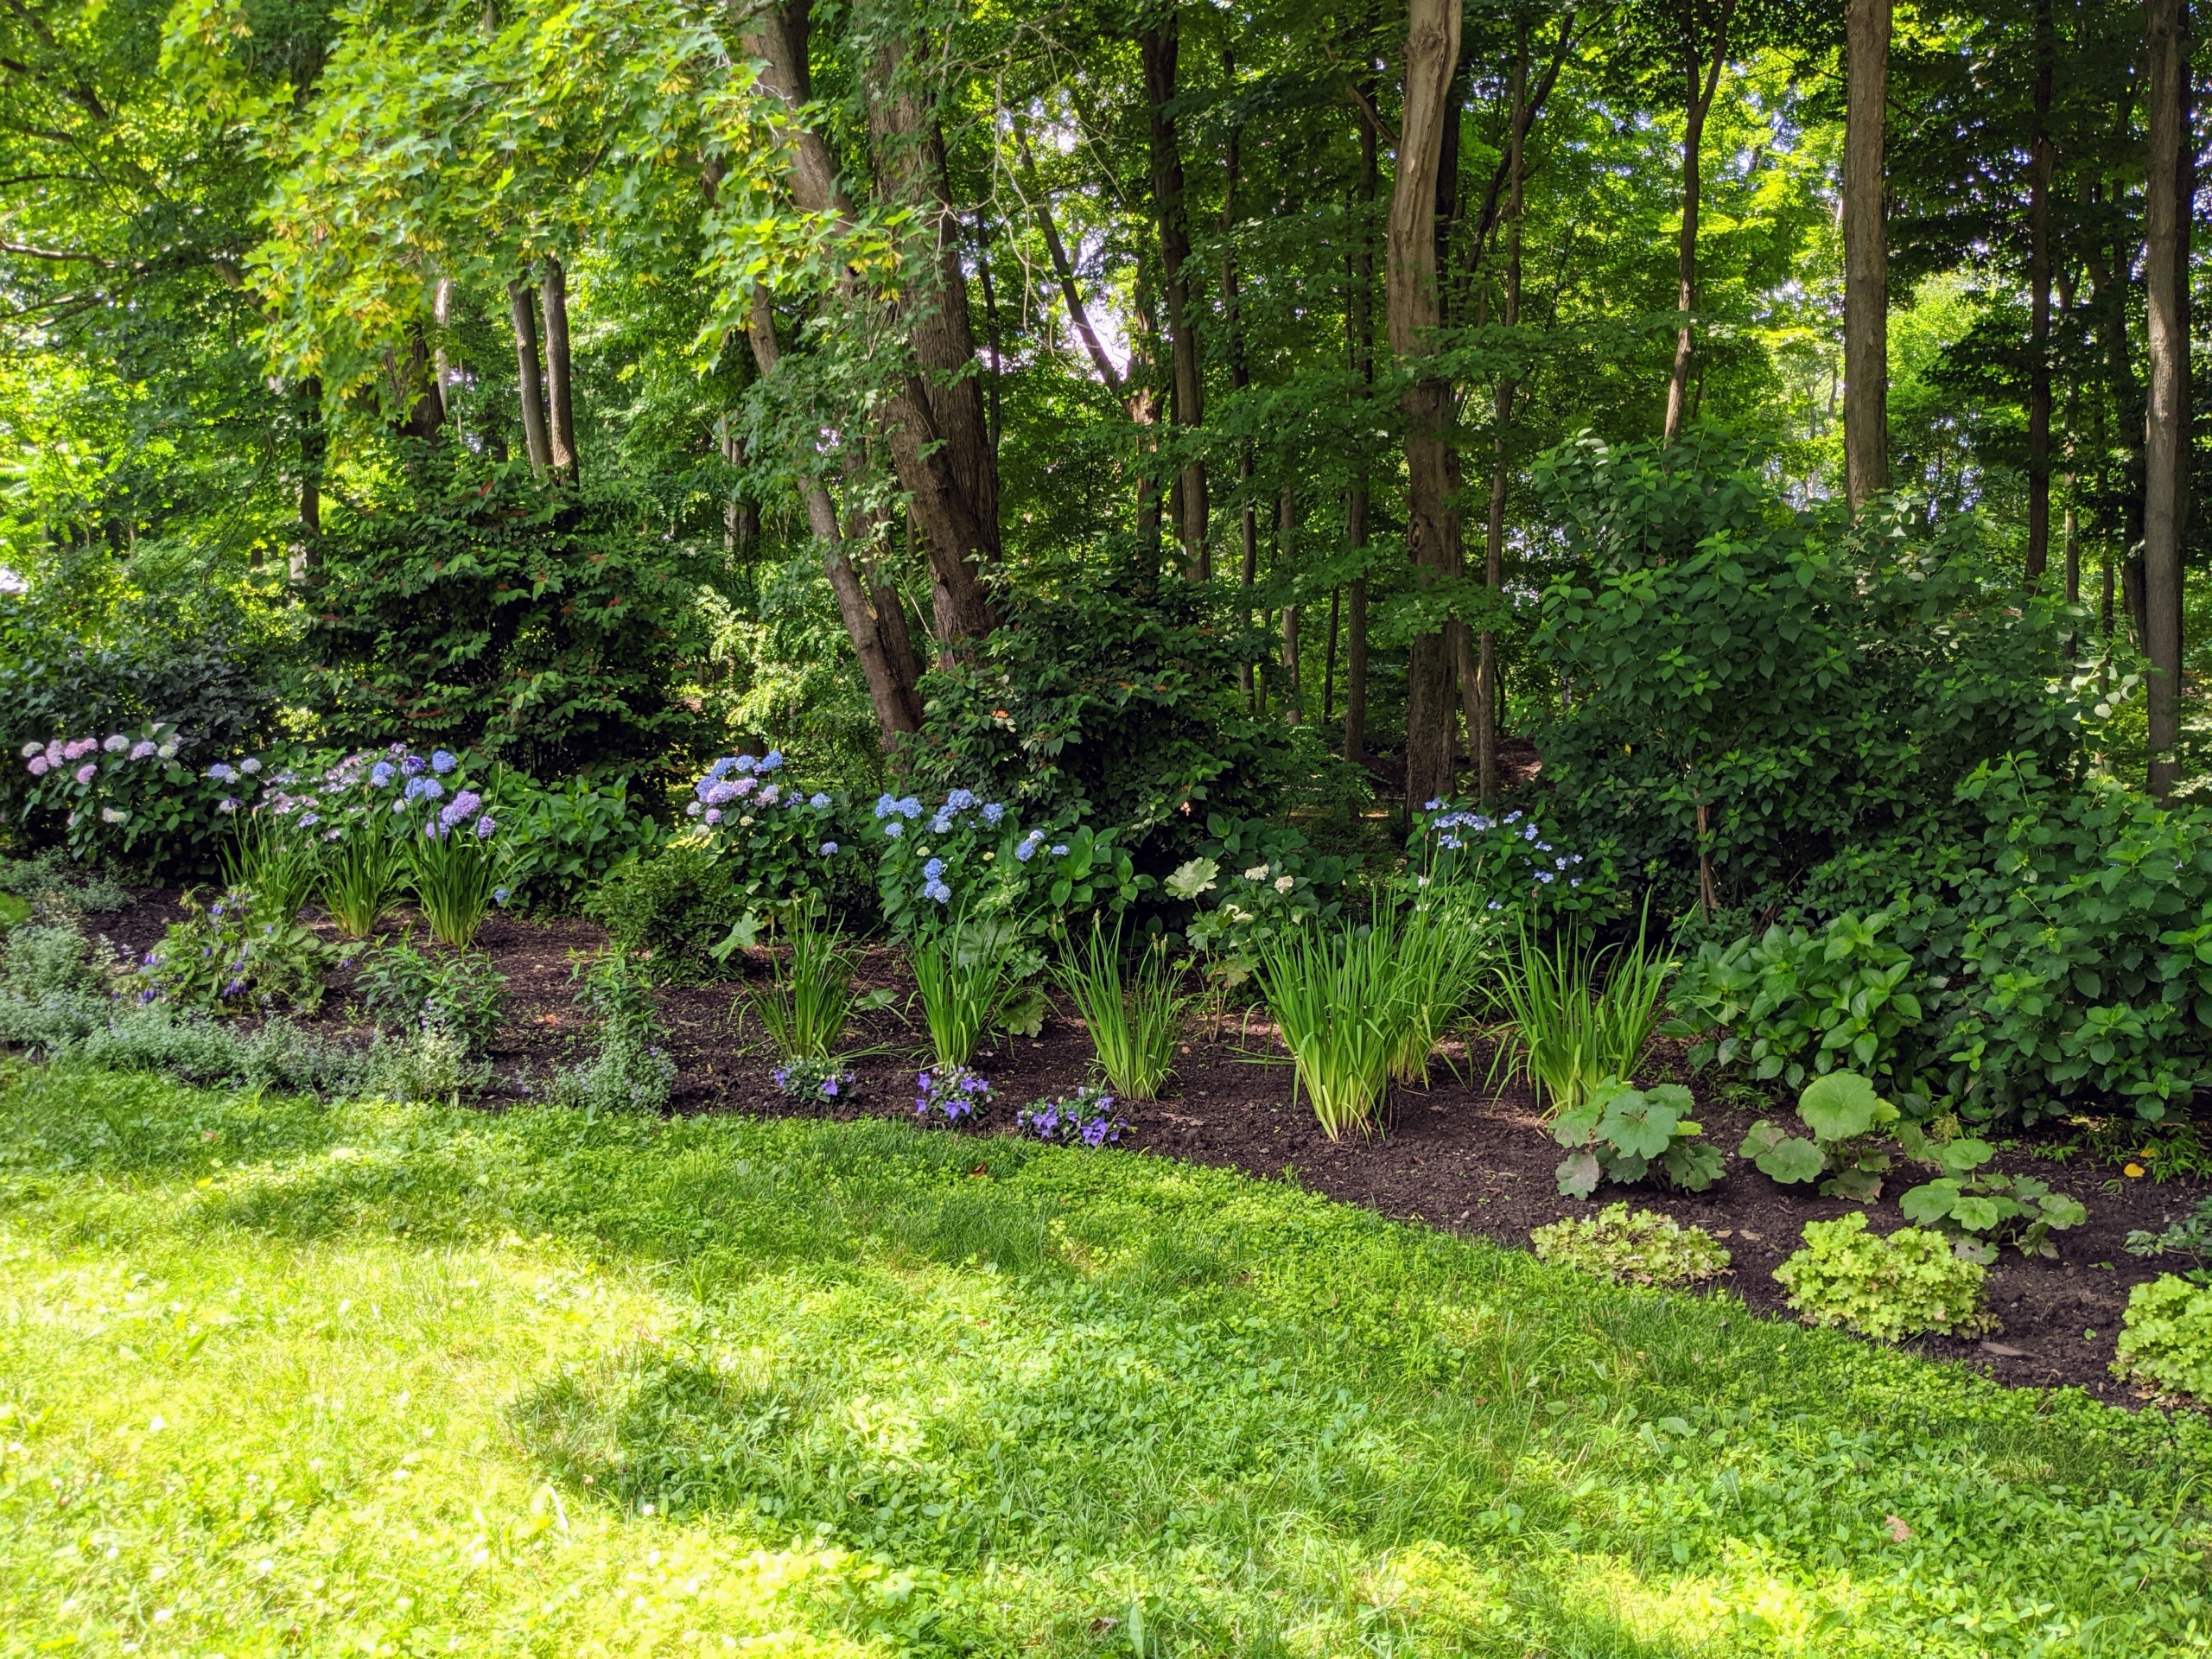
Creating a perennial garden takes time, patience, and thoughtful planning. The perennial bed located across from my chicken coops is several years old and thriving - looking more and more beautiful every summer.
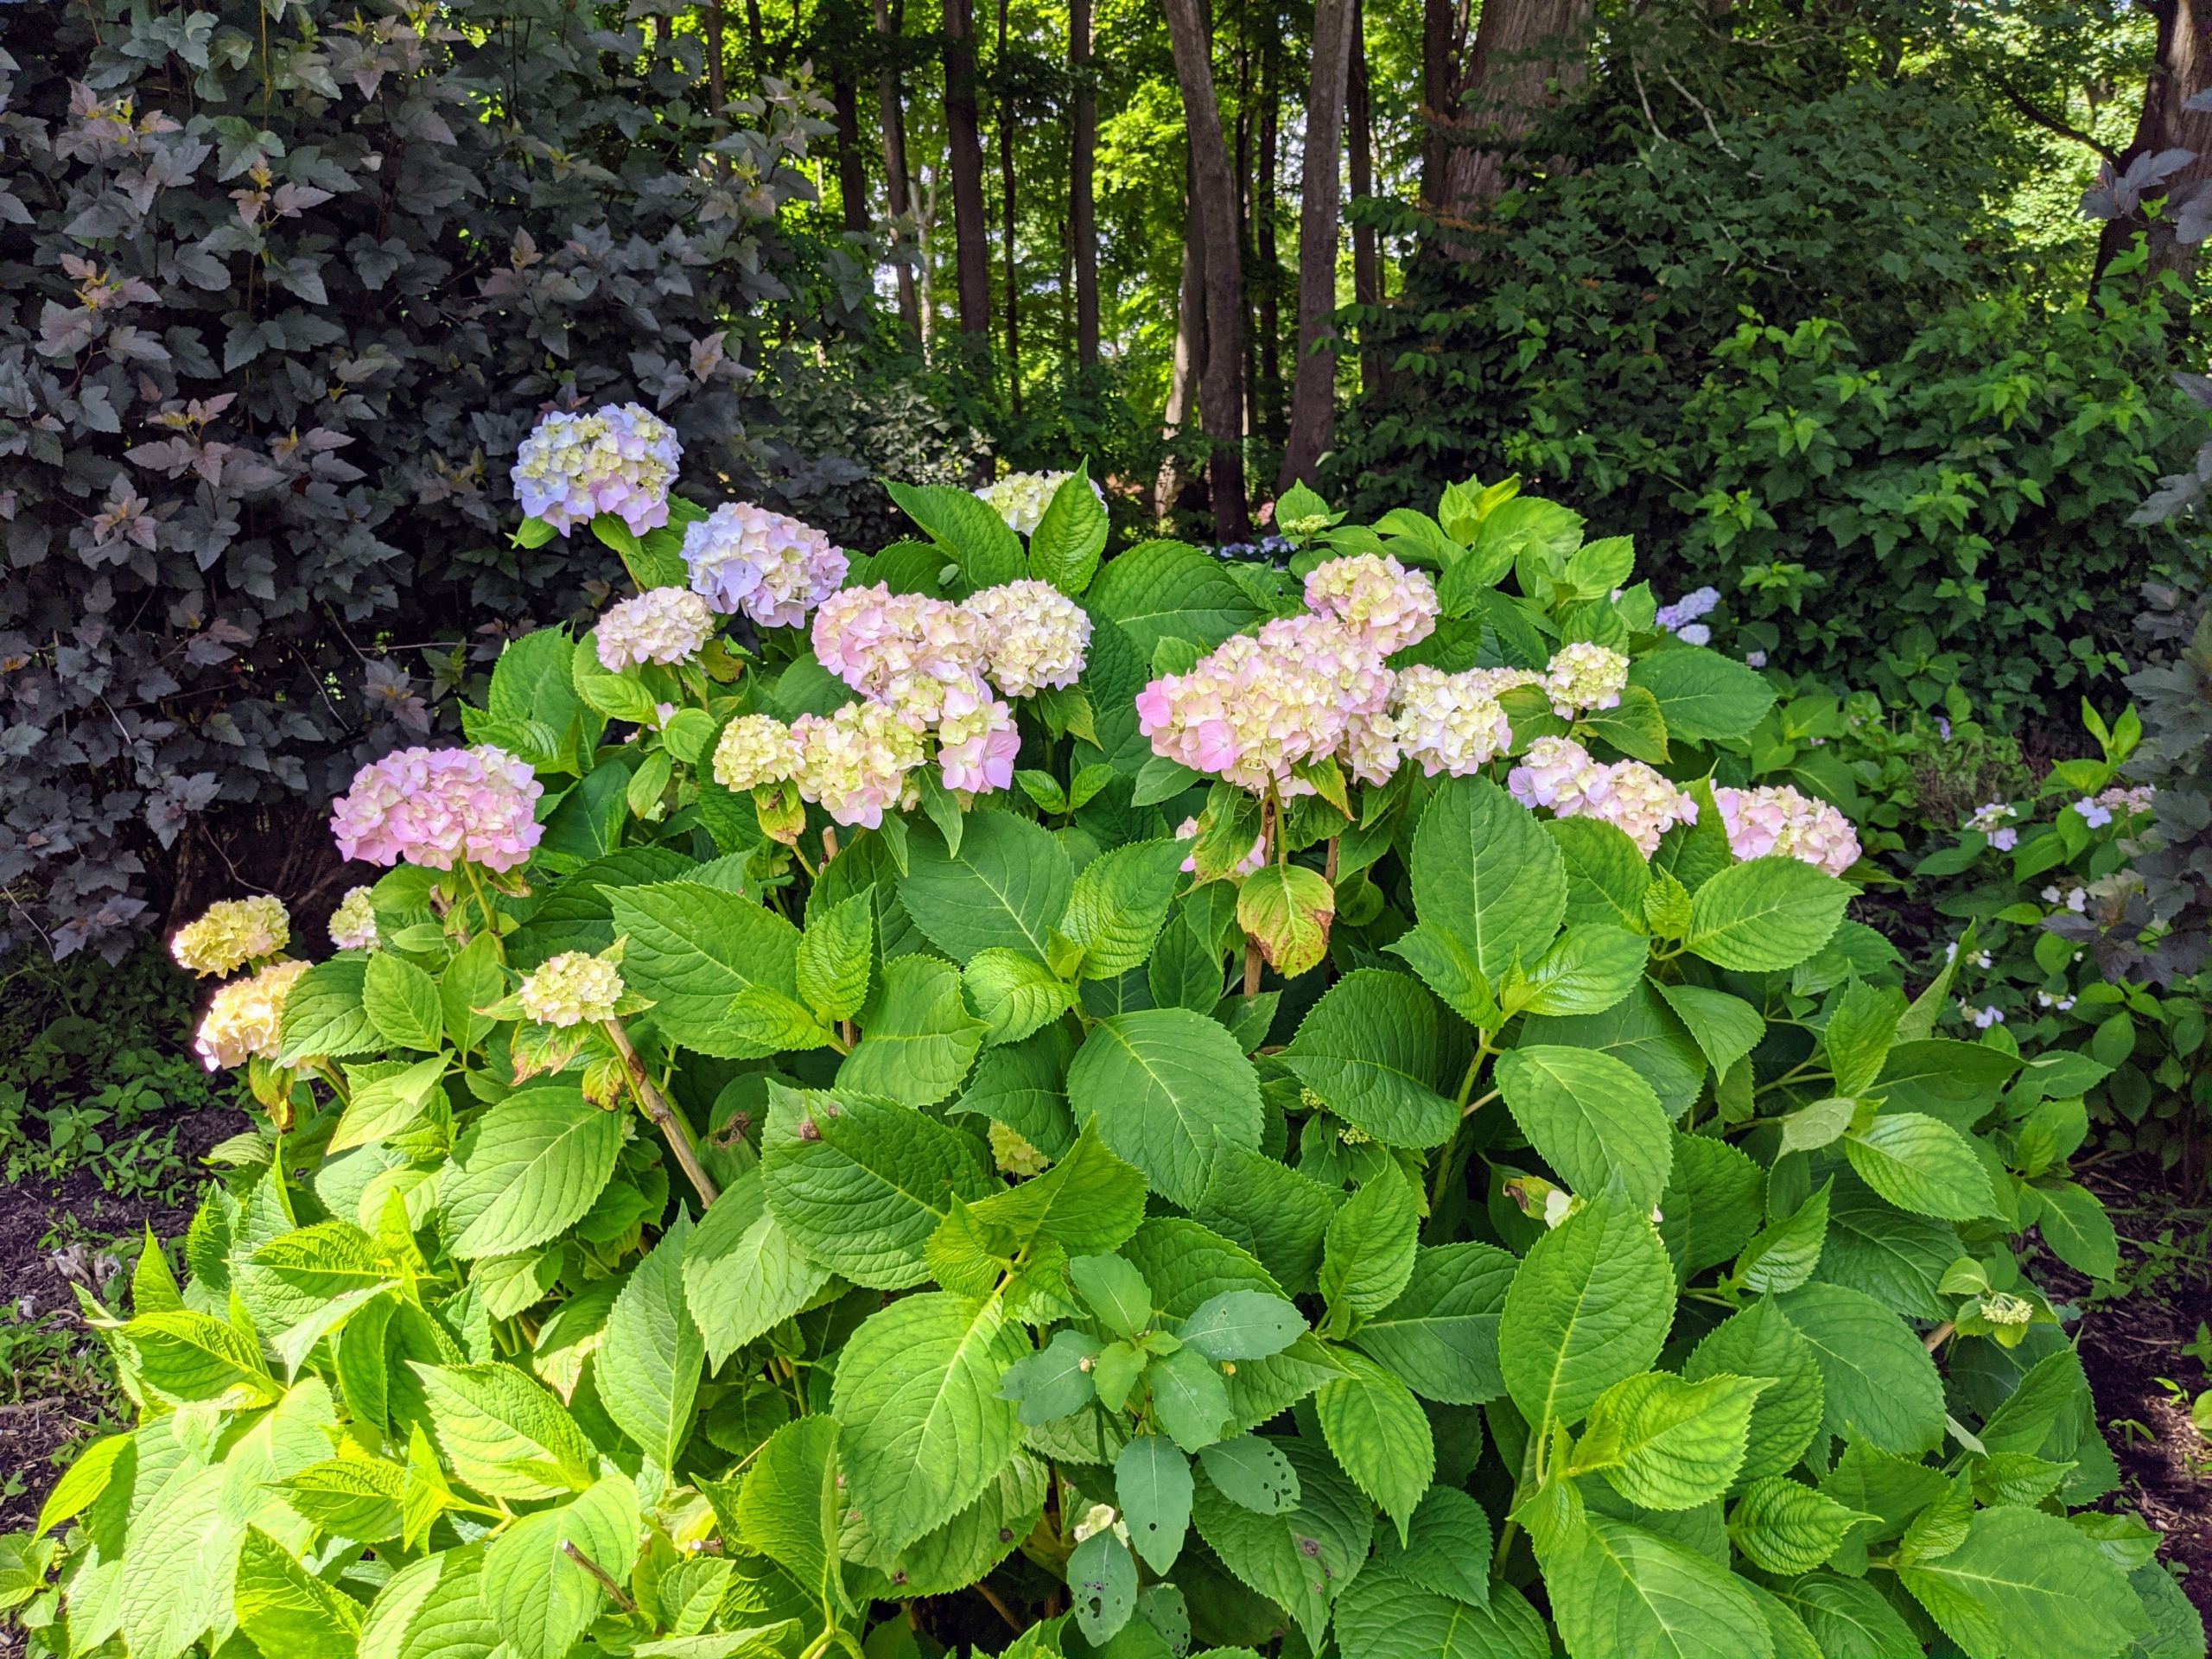
This garden, my perennial hydrangea border, had long been home to a selection of colorful hydrangeas including mature mopheads transplanted from my former Lily Pond home in East Hampton. In more recent years, I expanded it and filled it with lots of other plantings, such as irises, ligularia, phlox, Aruncus, Euonymus, catnip, and more. Last week, I added a few more hydrangeas to fill in bare spots, including Hydrangea 'Seaside Serenade Bar Harbor,' and Hydrangea 'Seaside Serenade Martha's Vineyard.' The plants are from Monrovia, one of our sources for quality perennials and shrubs.
Enjoy these photos.
In 2020, I decided it was time to expand this hydrangea border, so we planted a selection of perennials I knew would do well in this location with sunny mornings and shady afternoons.
It’s developed nicely over the years, but my head gardener, Ryan McCallister, and I keep an eye on it and supplement it with other plantings to fill in any voids.
It already has many mature hydrangeas. I love hydrangeas and have been collecting them for quite a long time. Hydrangeas are popular ornamental plants, grown for their large flower heads, which are excellent in cut arrangements and for drying.
Hydrangea is a genus of at least 70-species of flowering plants native to southern and eastern Asia and the Americas. By far the greatest species diversity is in eastern Asia, notably China, Japan, and Korea.
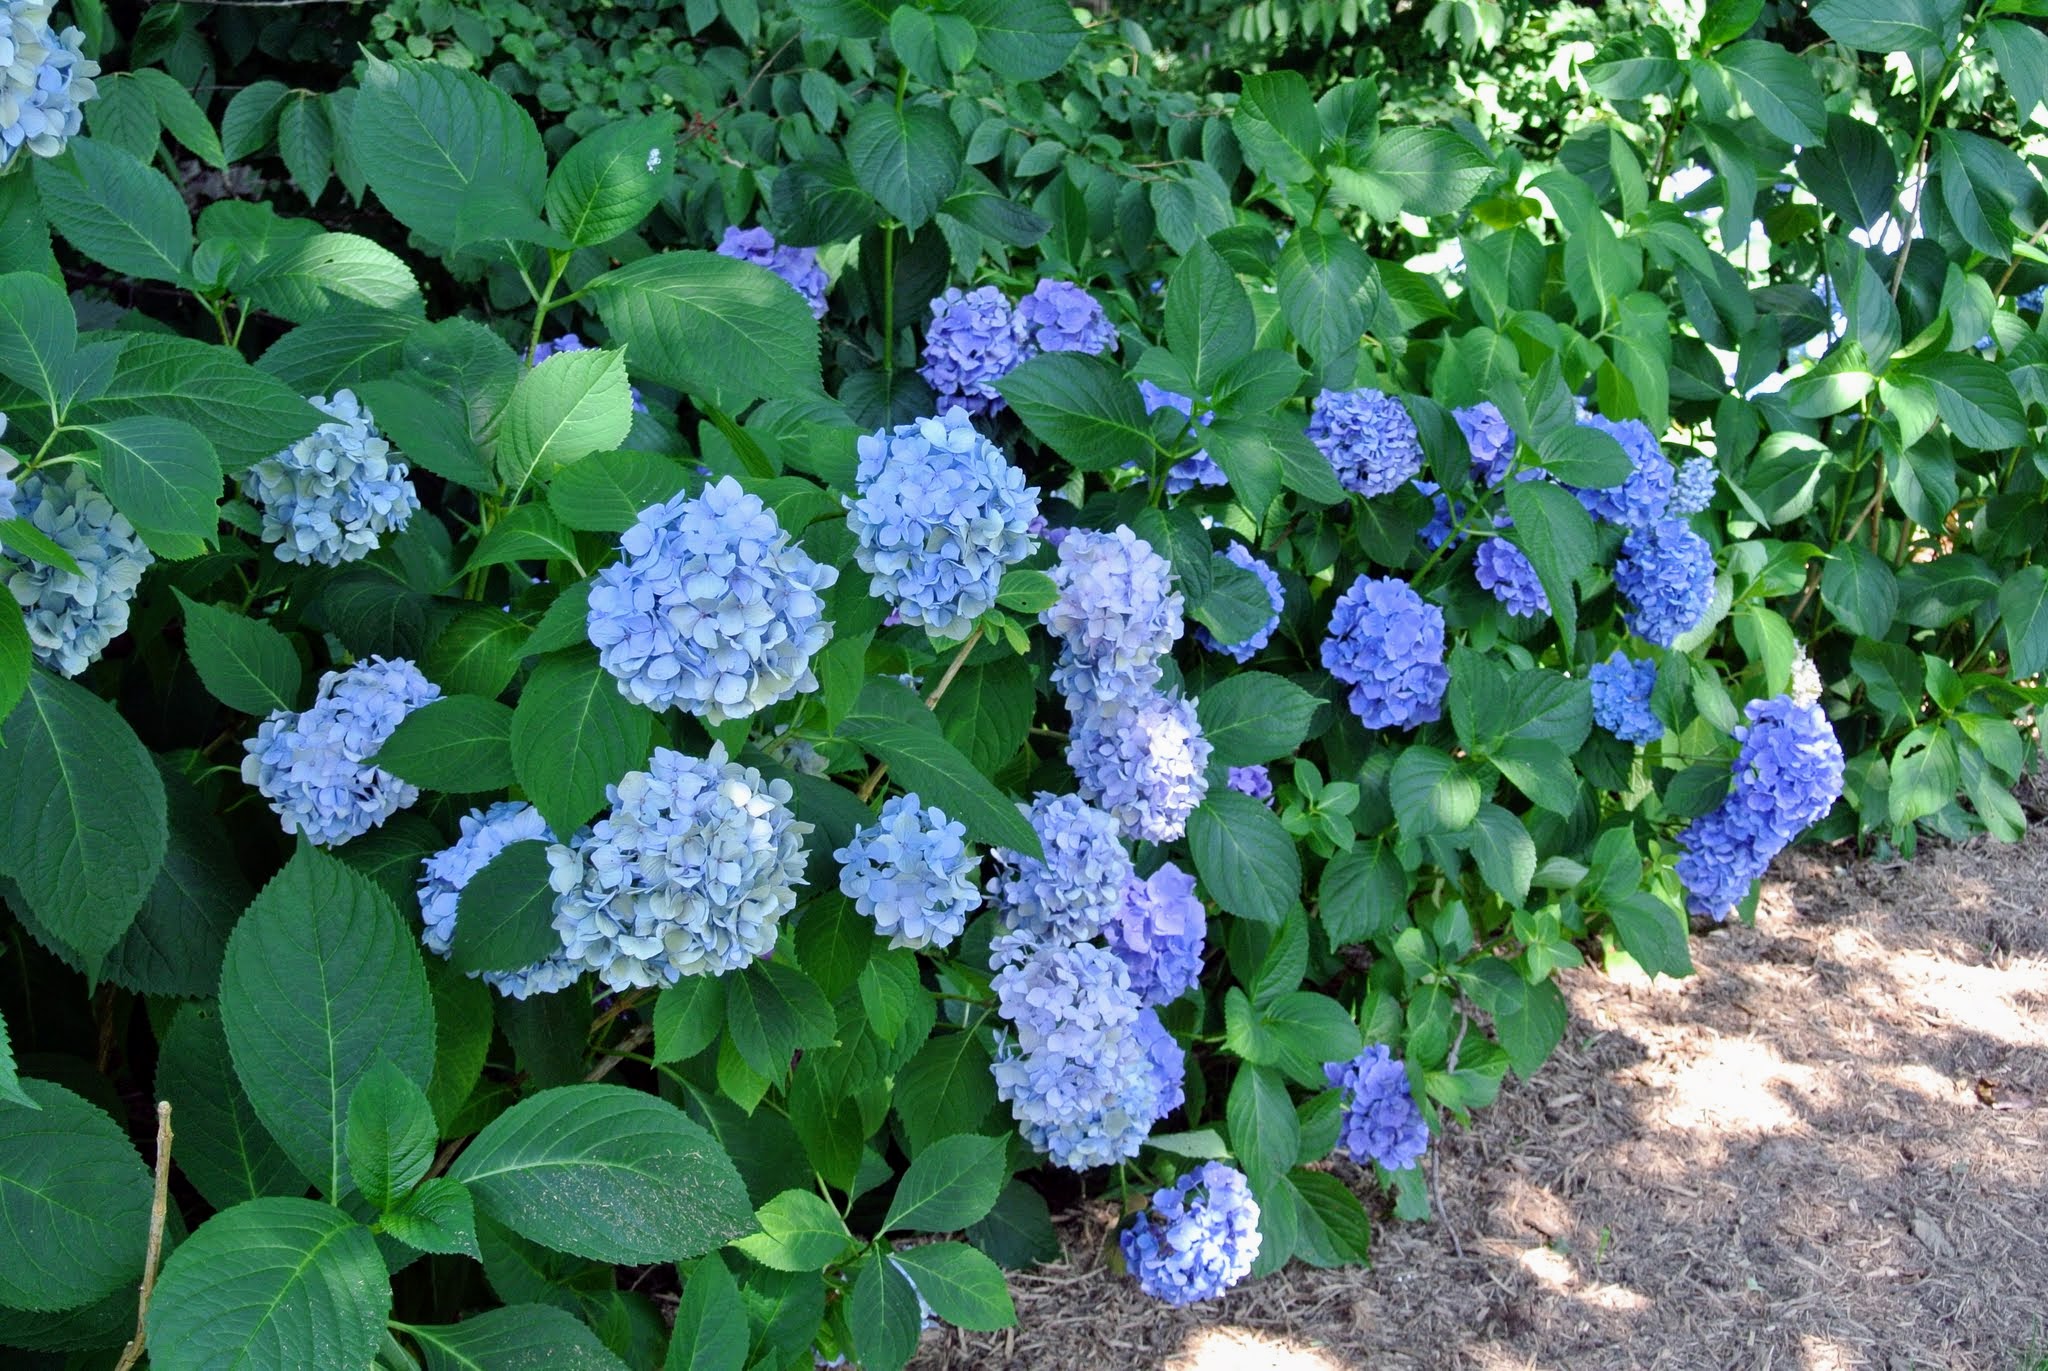
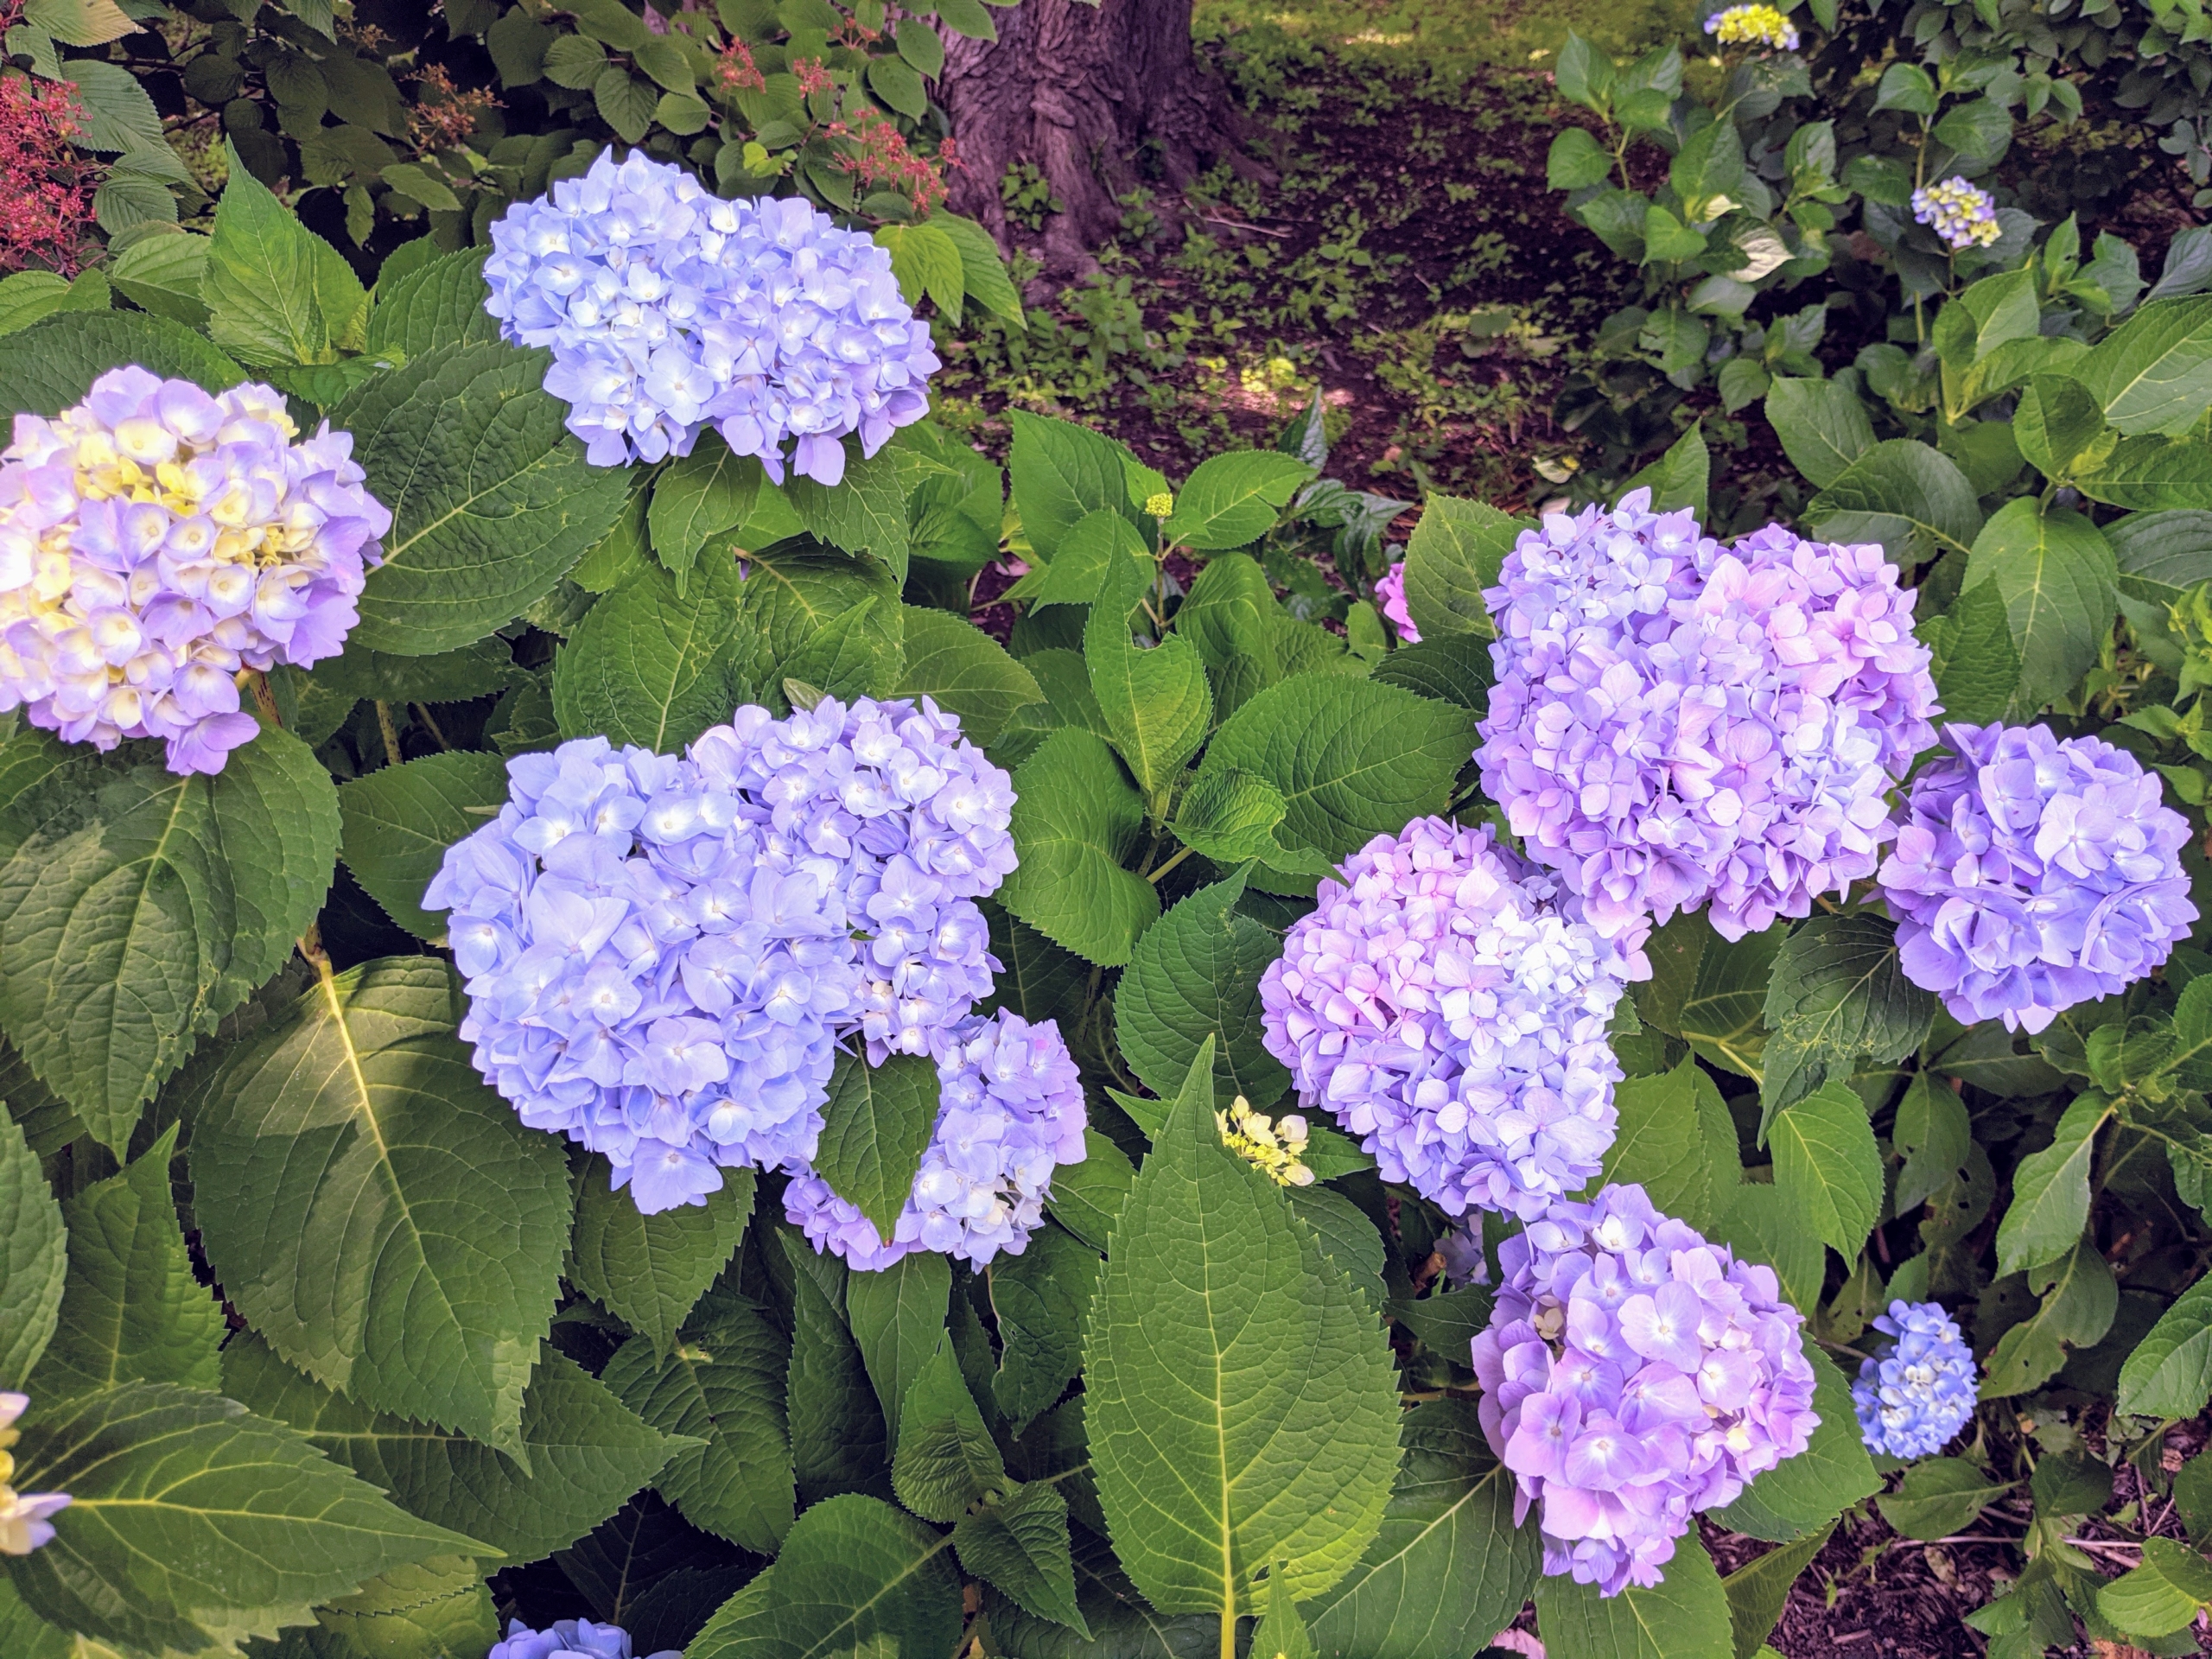
Hydrangeas are long-lived, and extremely vigorous specimens that offer lavish and varied blooms. The most common garden hydrangea shrub is the bigleaf mophead variety, Hydrangea macrophylla. The name hydrangea originates from two Greek words – “hydro” meaning “water” and “angeion” meaning “vessel” or “container.” Together, the rough translation is “water vessel” which refers to their exceptional thirst for water.
The secret to the hydrangea’s color is in the soil, or more specifically, the soil’s pH level. Adjusting the measure of acidity or alkalinity in the soil can influence the color of the hydrangea blossoms. Acidic soils tend to deepen blue shades, while alkaline environments tend to brighten pinks.
Most hydrangeas are shrubs, but some are small trees. They can be either deciduous or evergreen, though the widely cultivated temperate species are all deciduous.
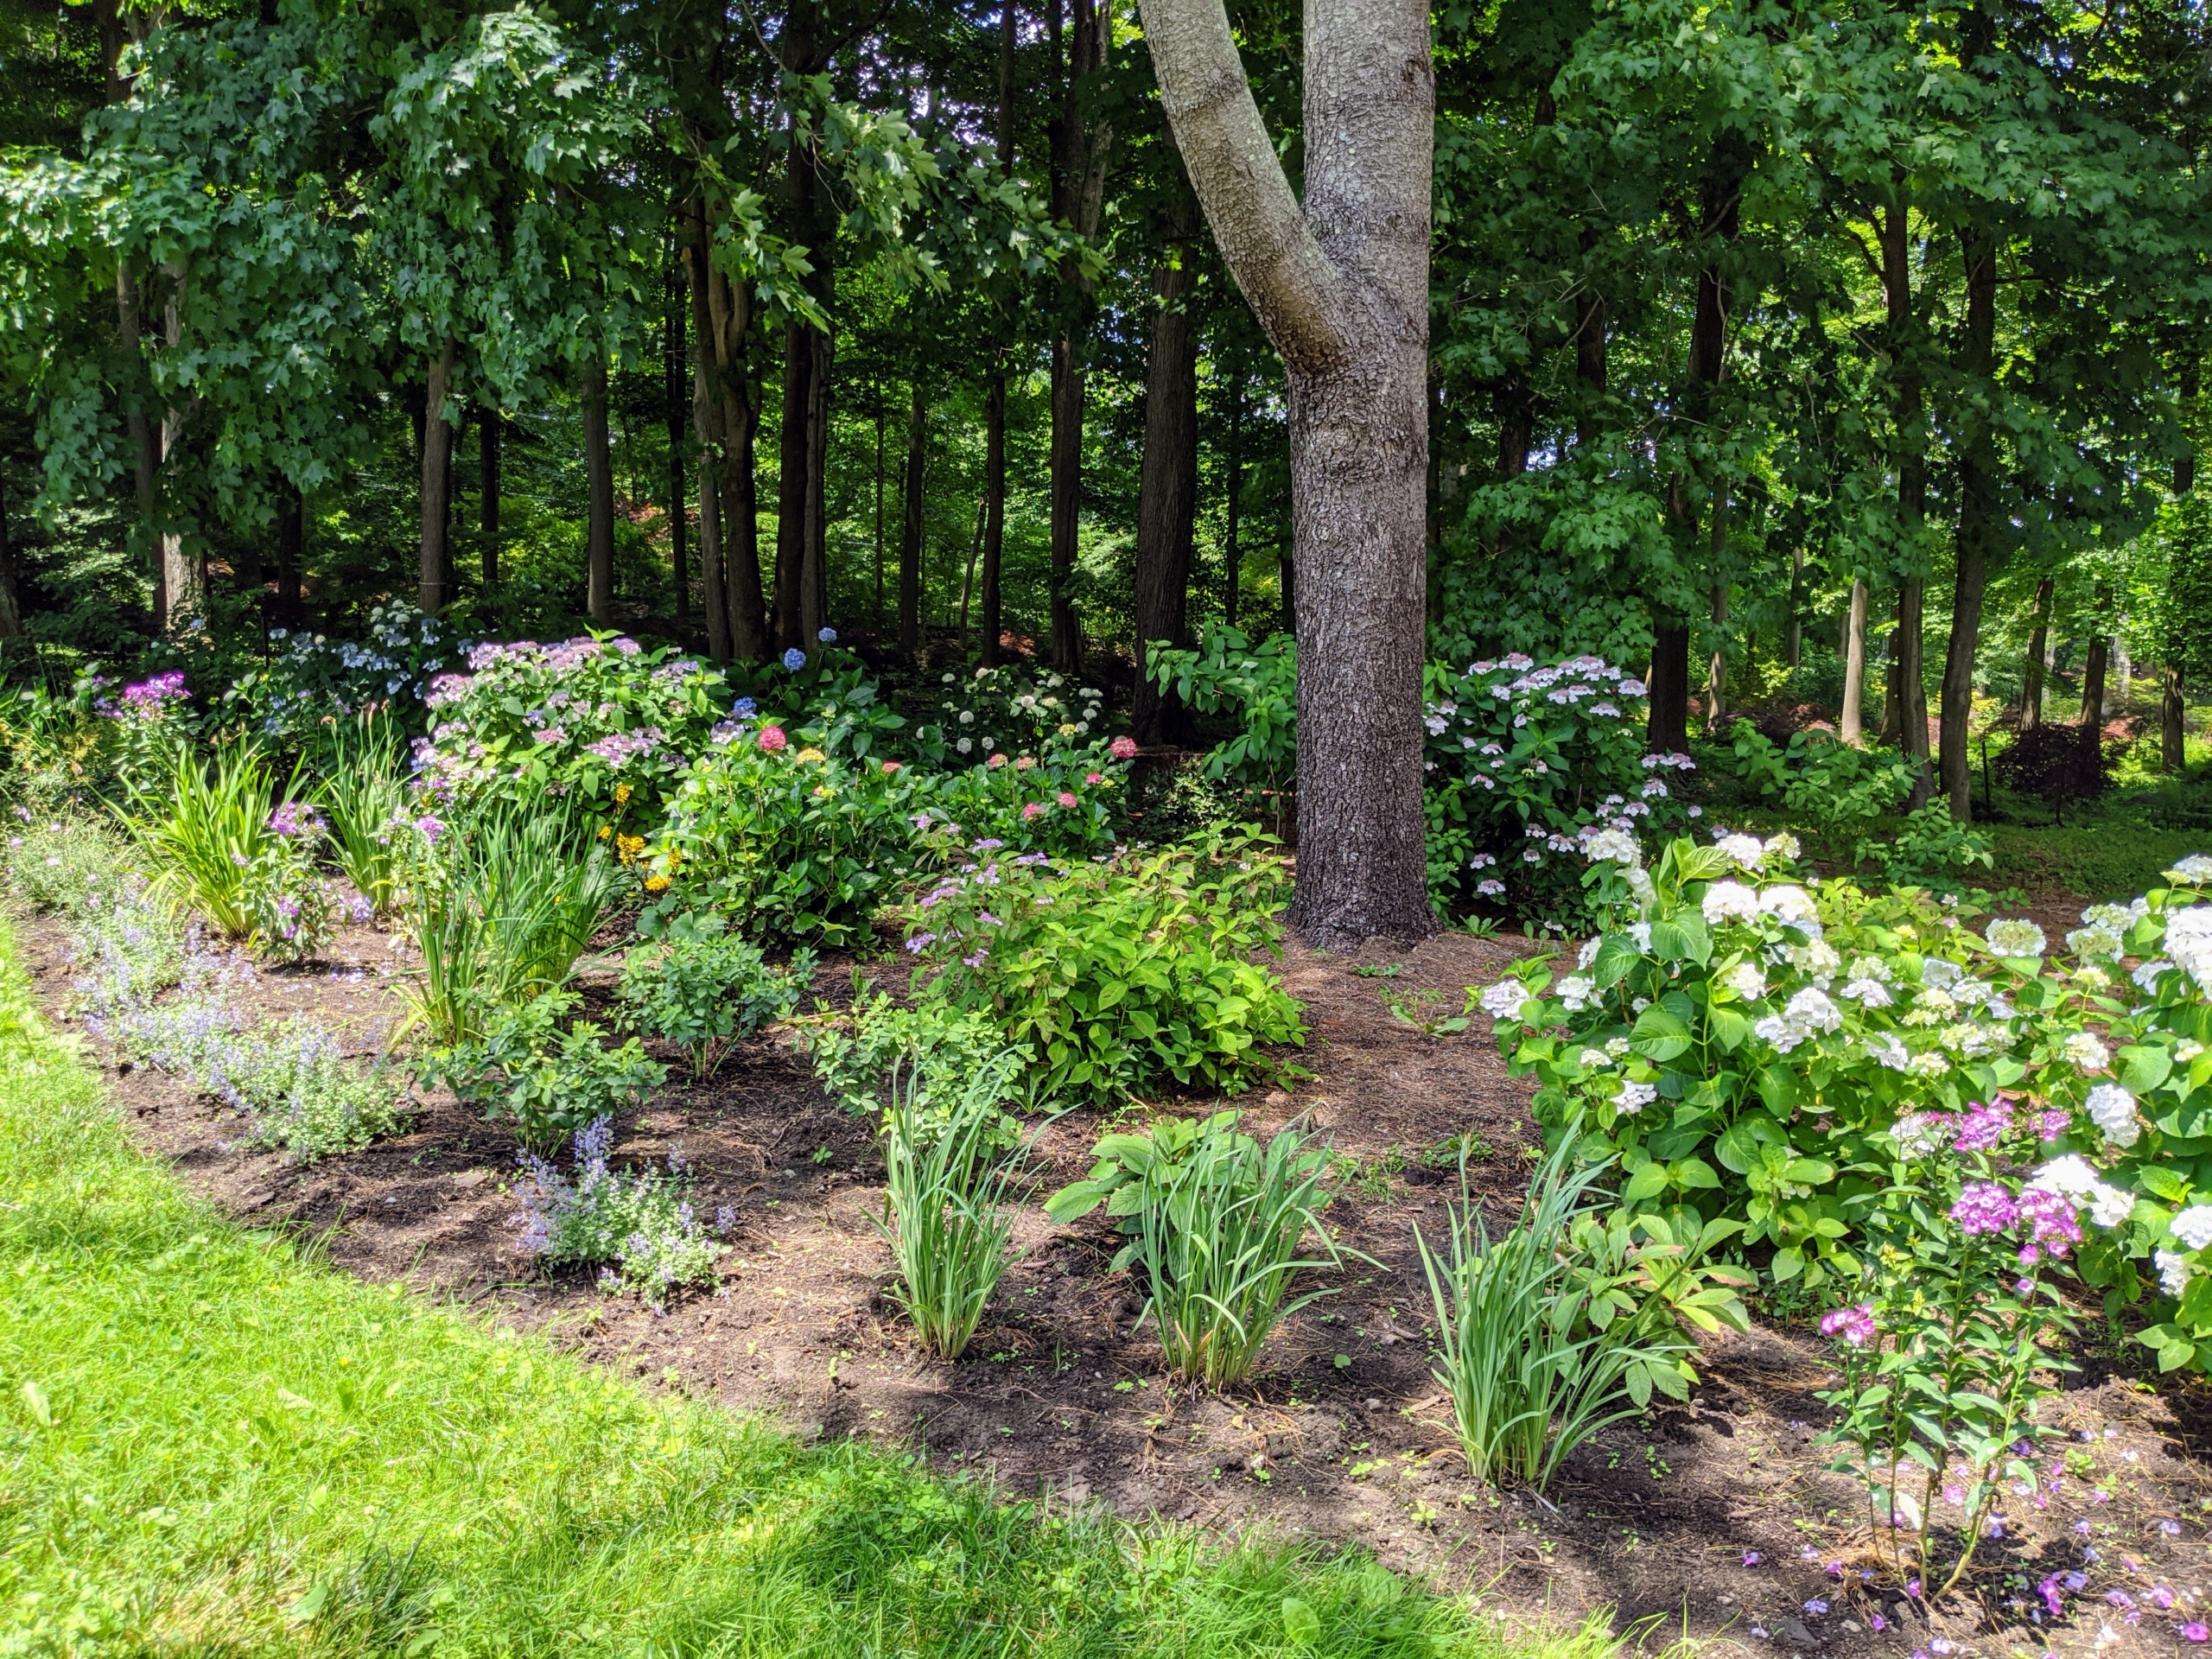
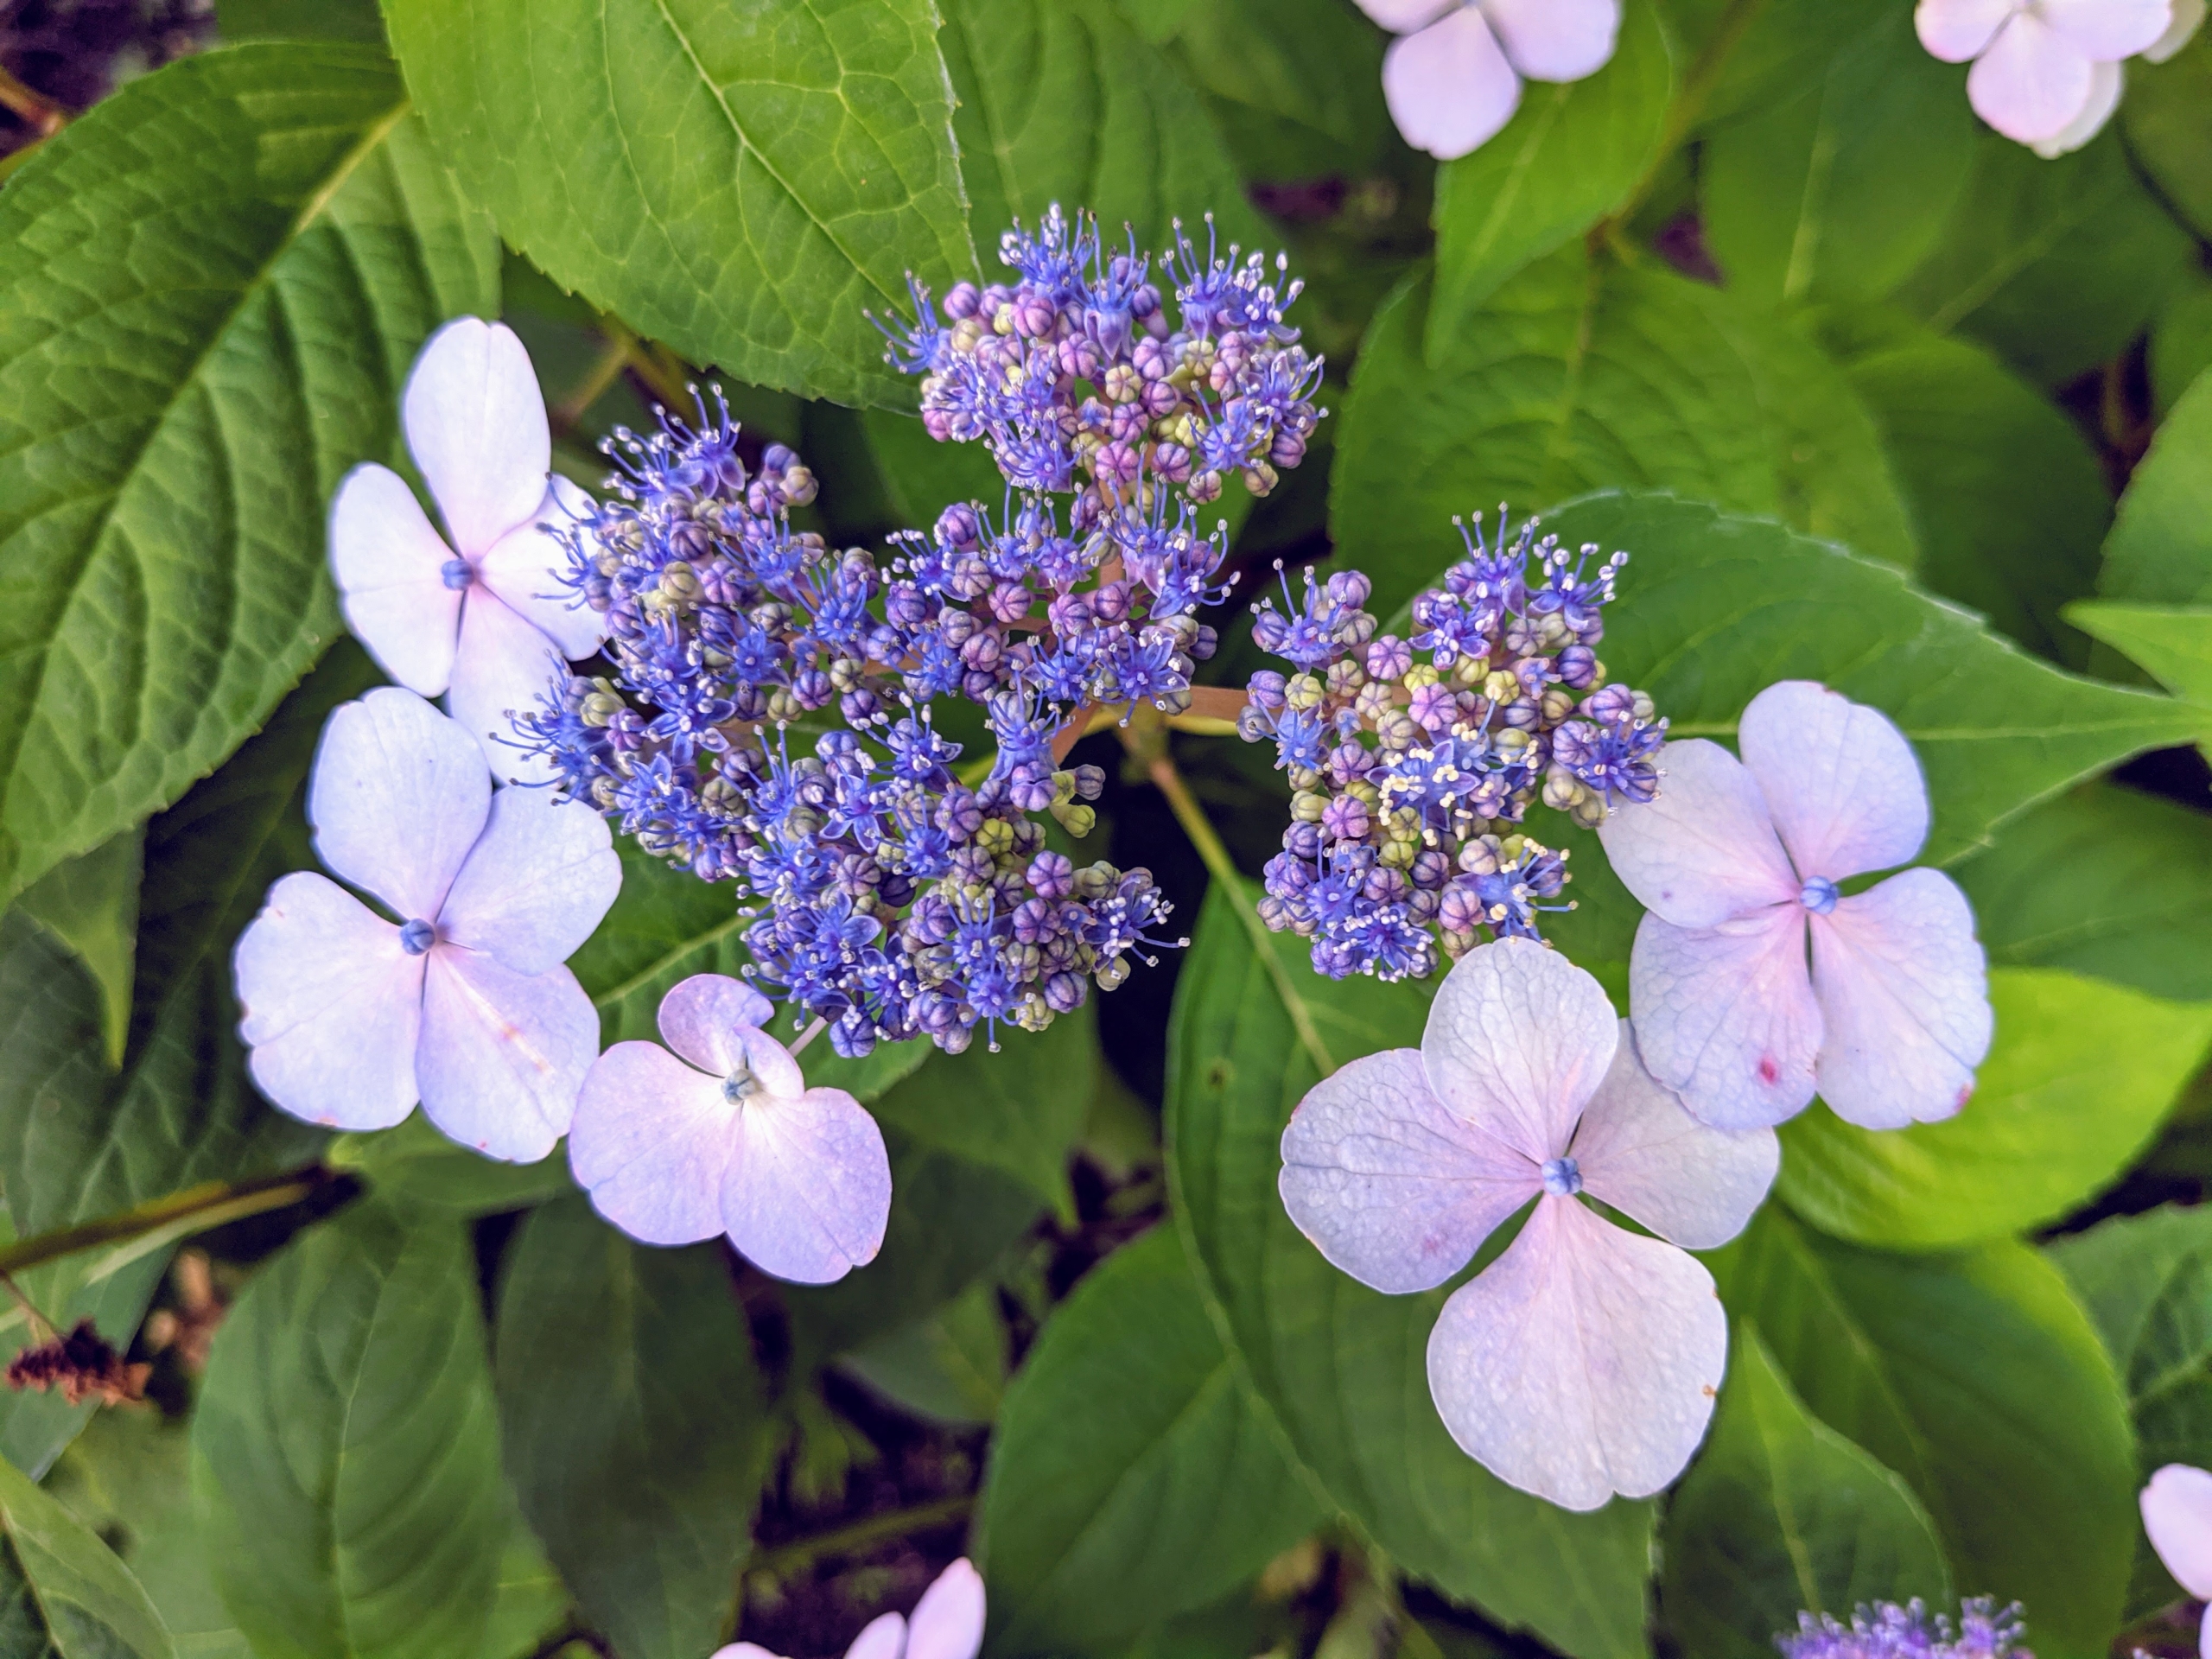
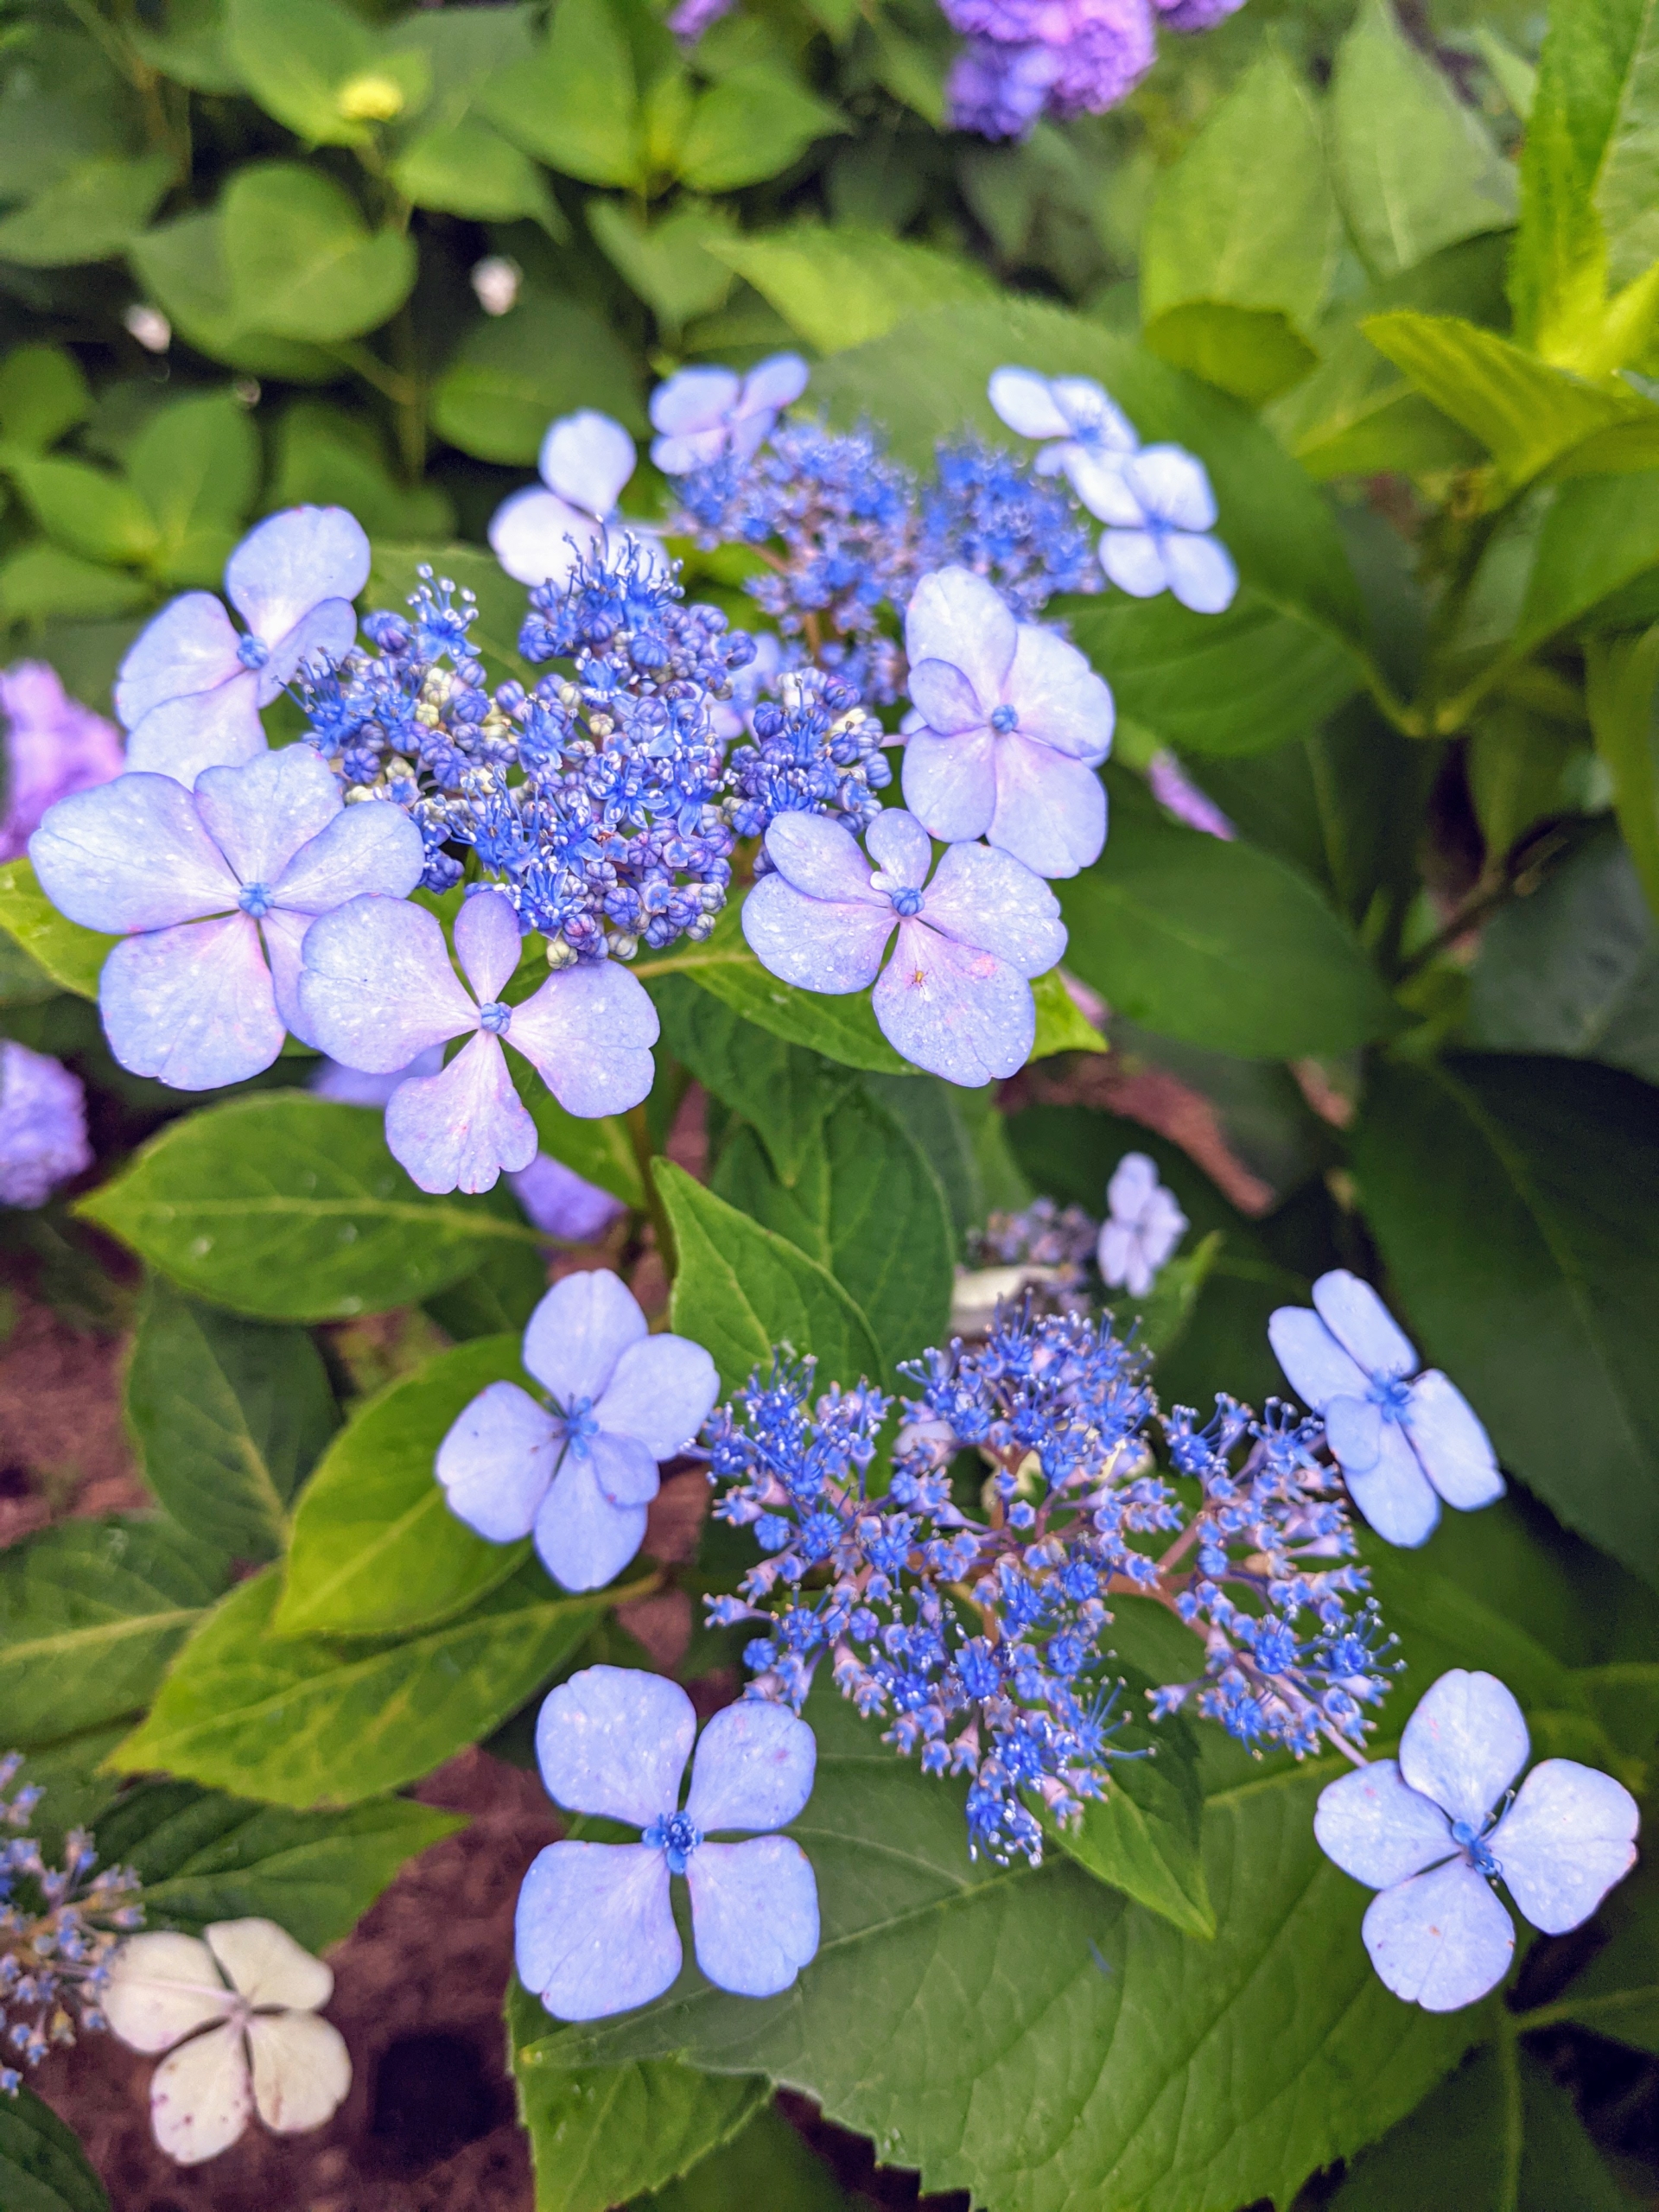
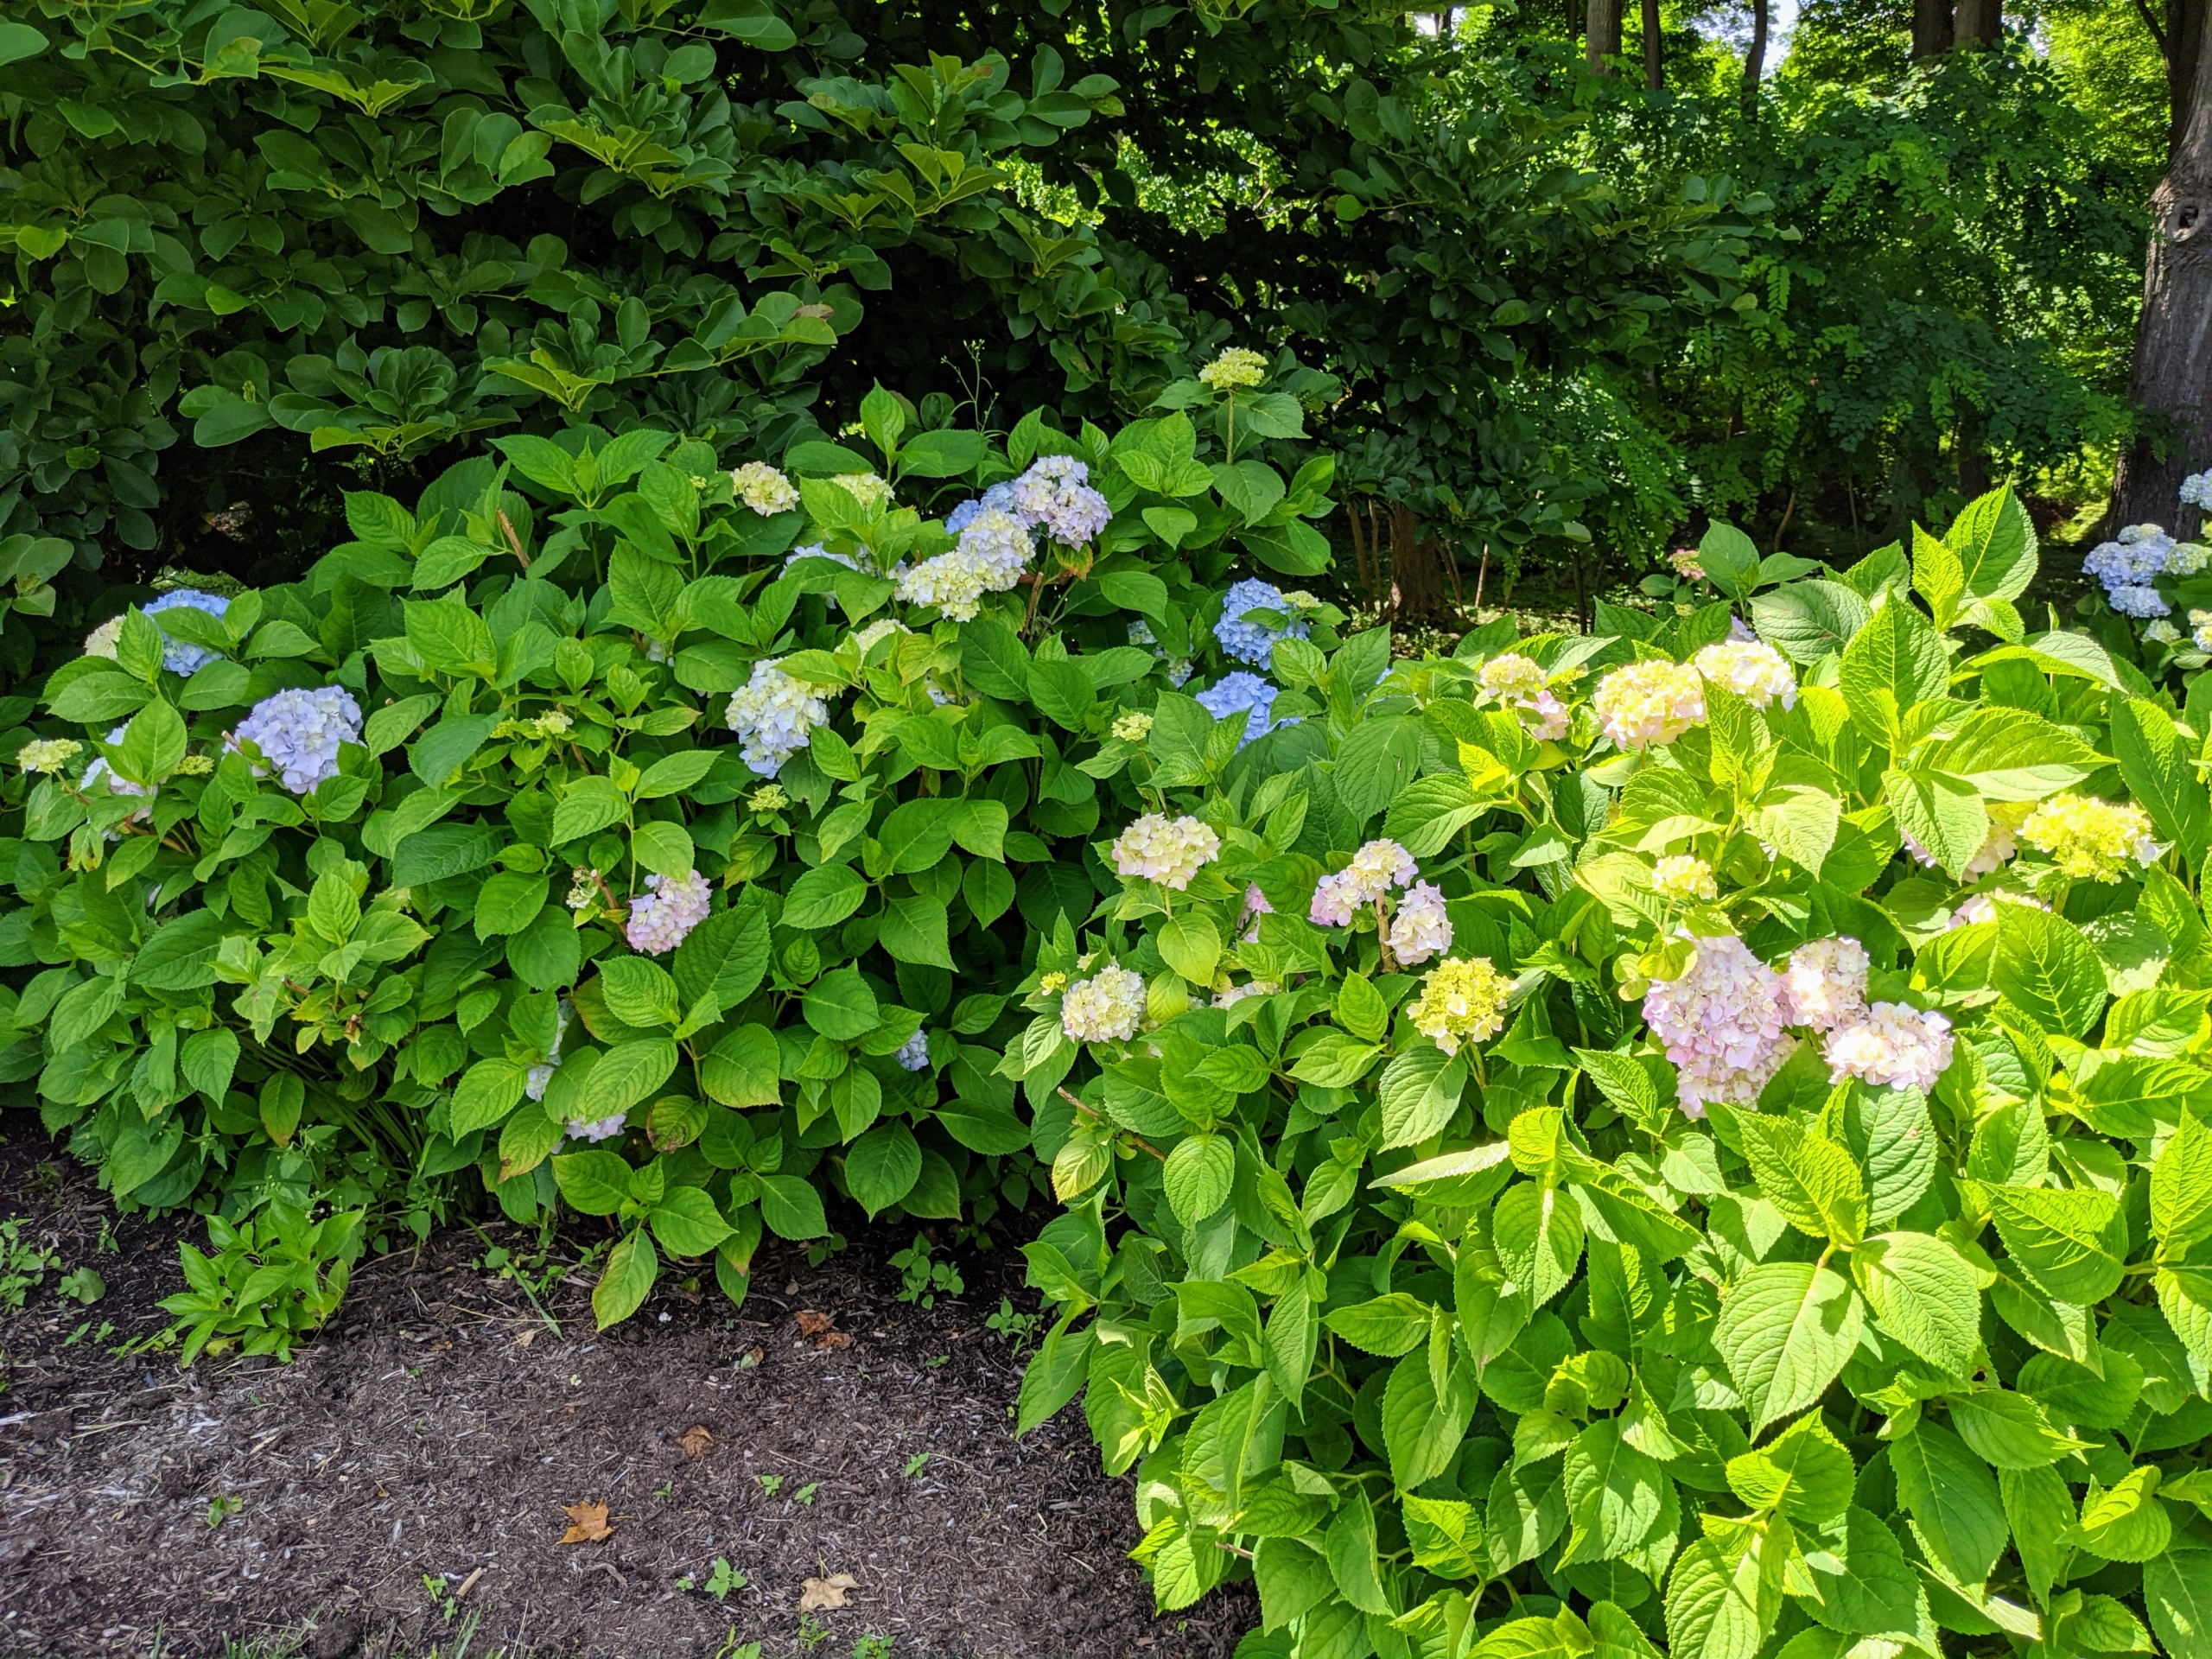
In addition to the mopheads, there are also hydrangeas that bloom in lovely lacecaps in this garden.
The lacecap is very similar to the mophead, but instead of growing round clusters of showy blossoms, this hydrangea grows flowers that resemble flat caps with frilly edges.
All the hydrangeas are doing well. Hydrangeas love the warm morning sun, but they dislike the heat of the afternoon, so this is the most ideal location.
The hydrangea blooming season depends upon the type and cultivar as well as the planting zone. Most new growth hydrangeas put on buds in early summer to bloom in the following spring, summer and early fall seasons.
Recently, we received a selection of pretty hydrangea varieties from Monrovia to add to the border.
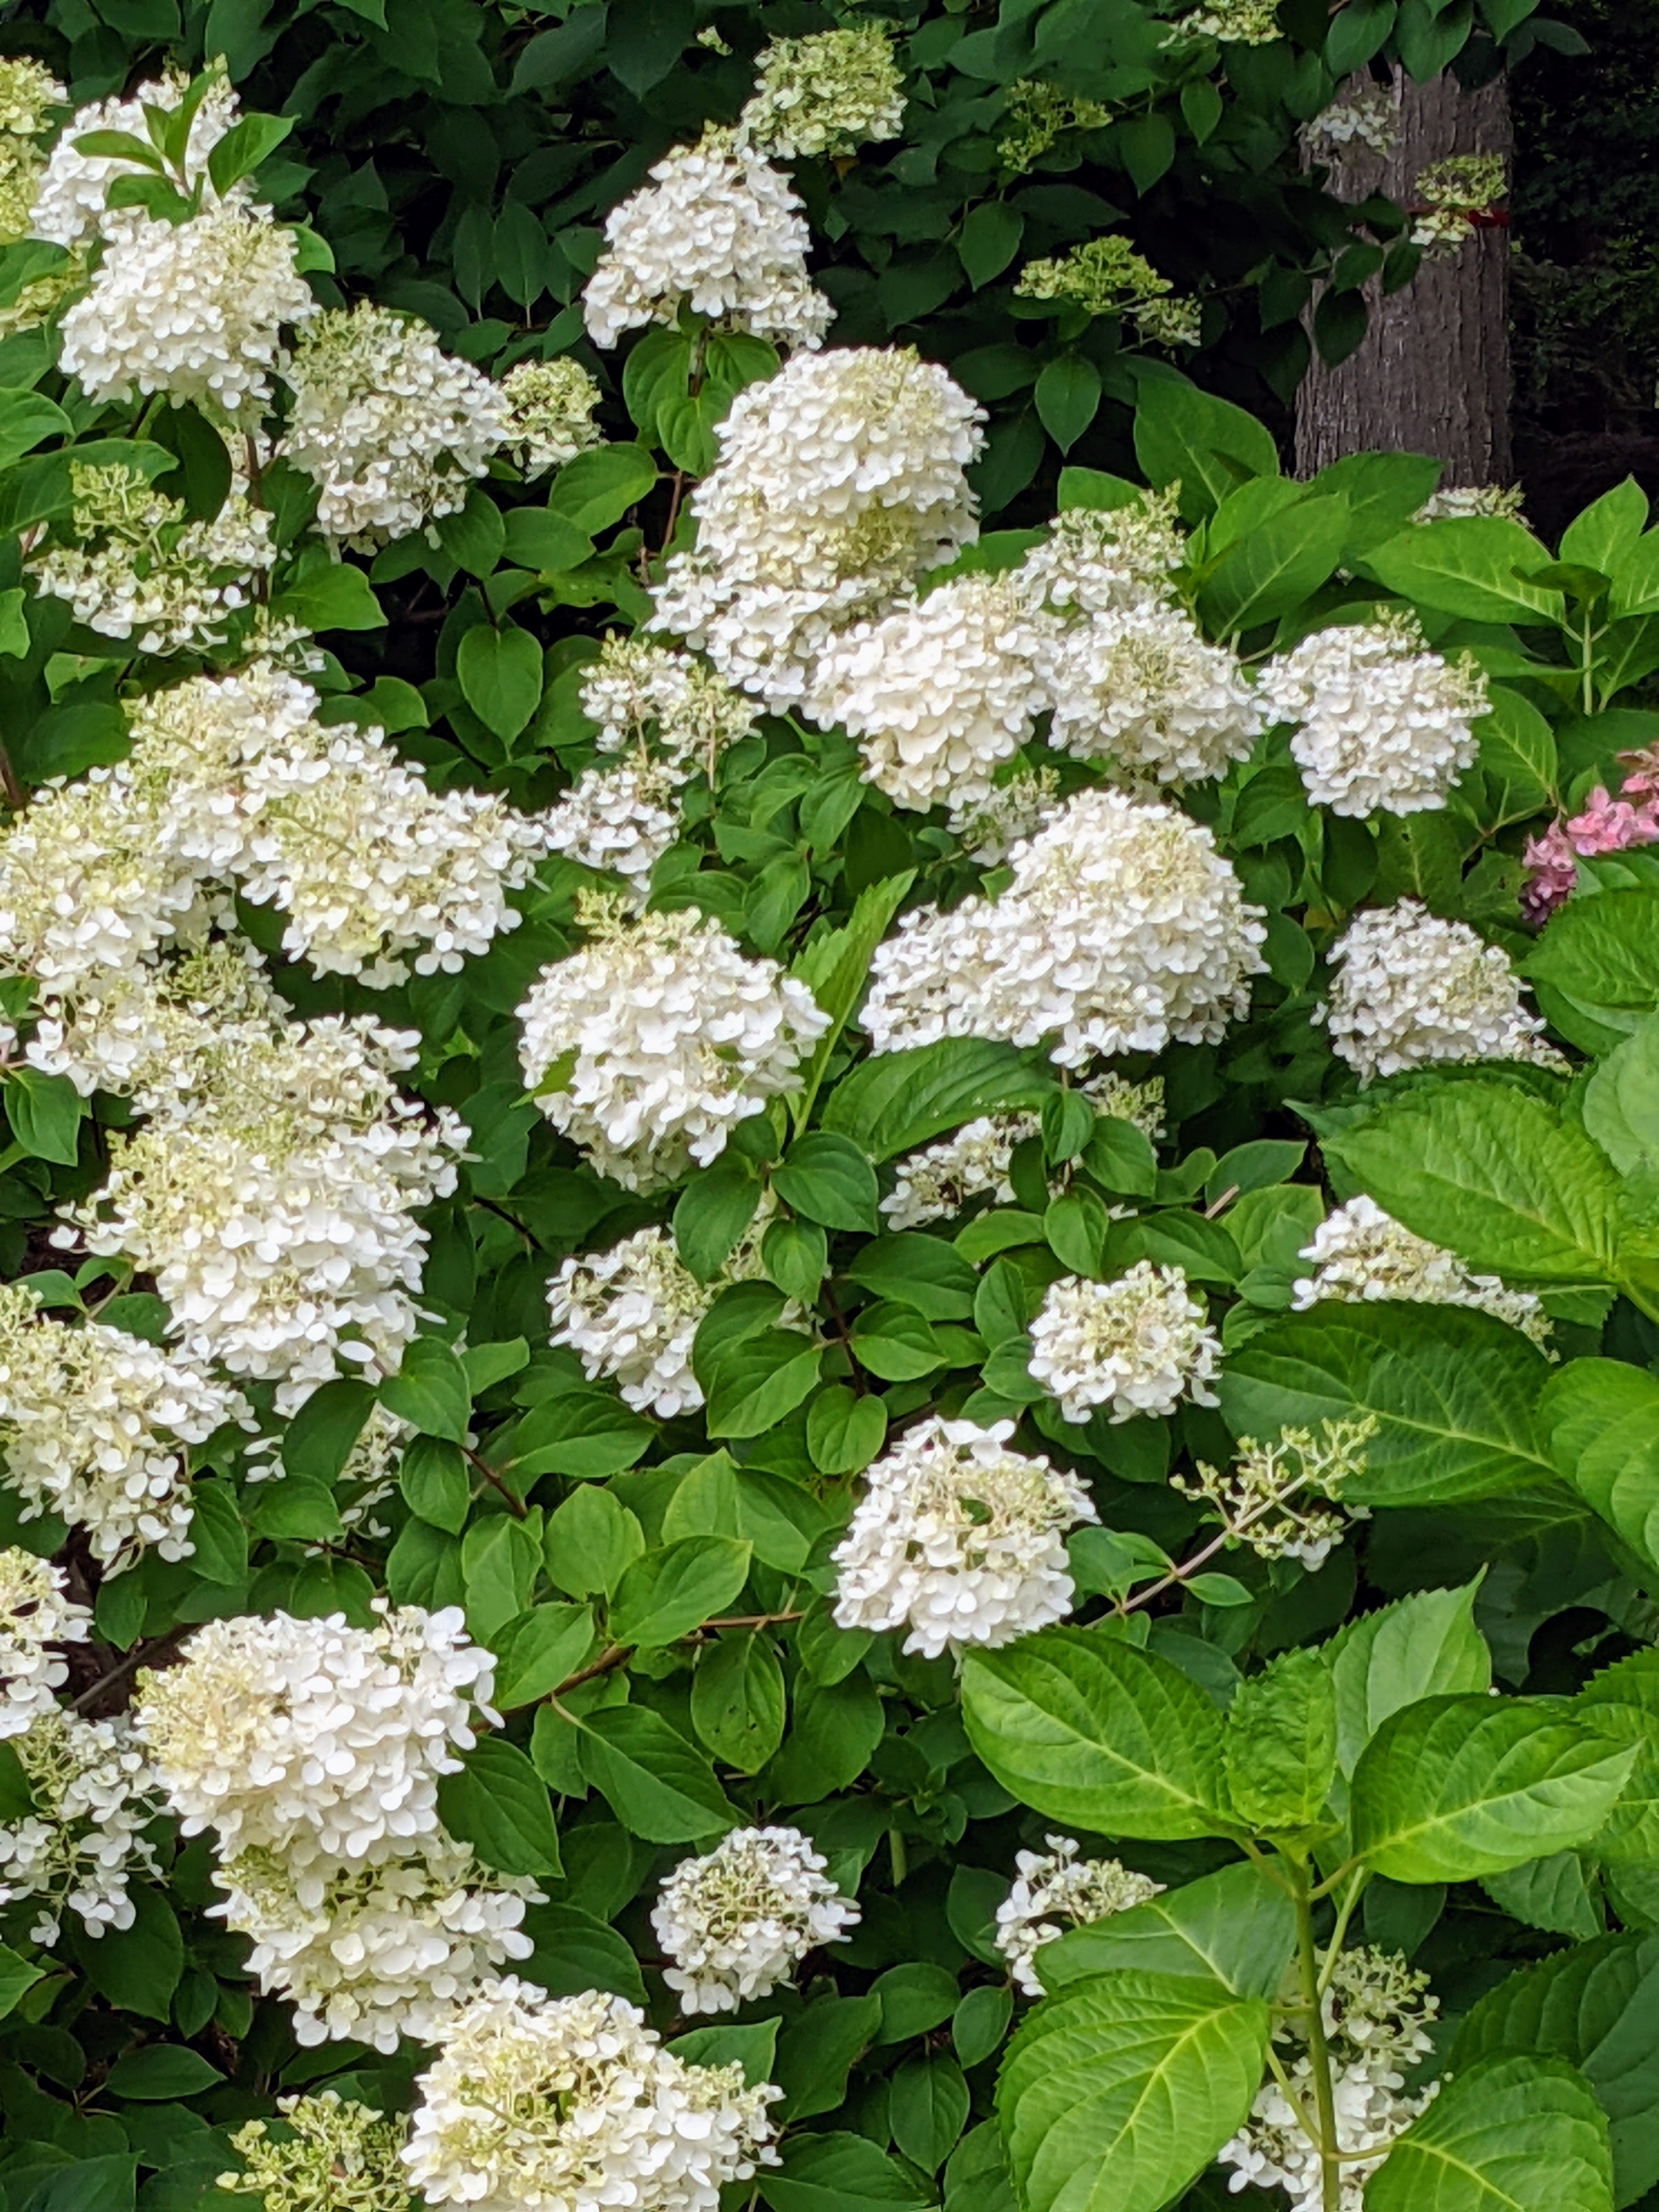
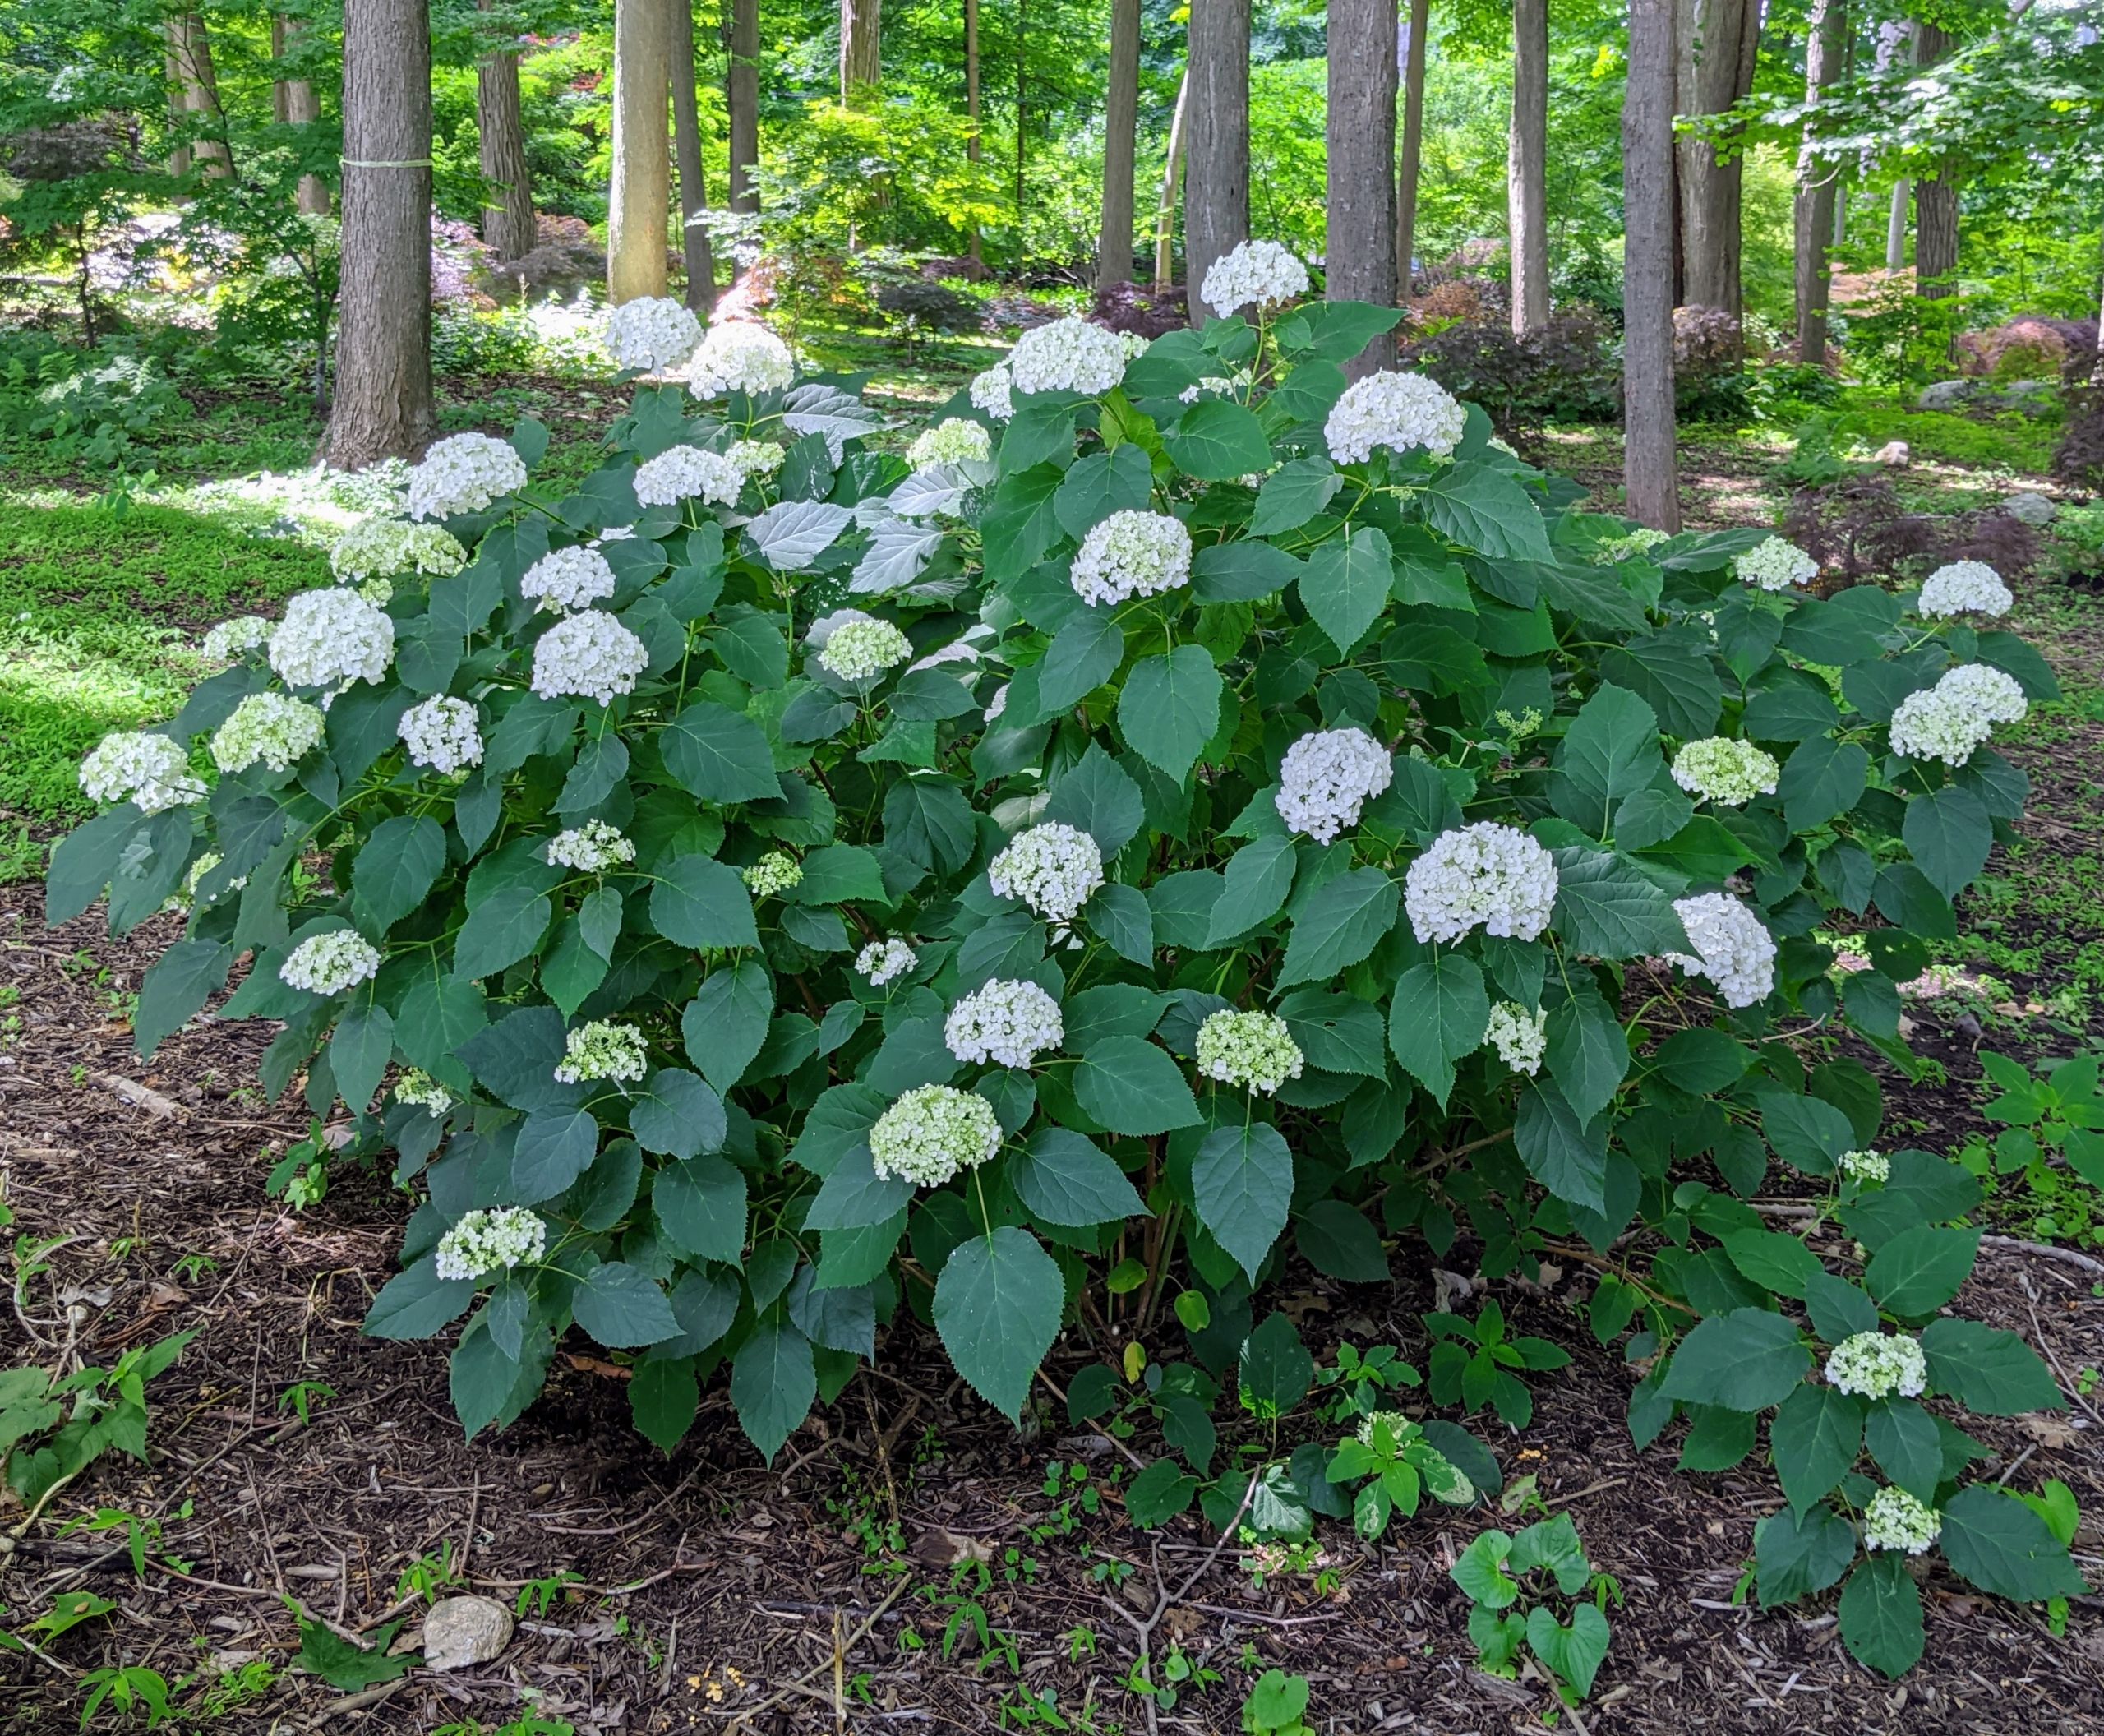
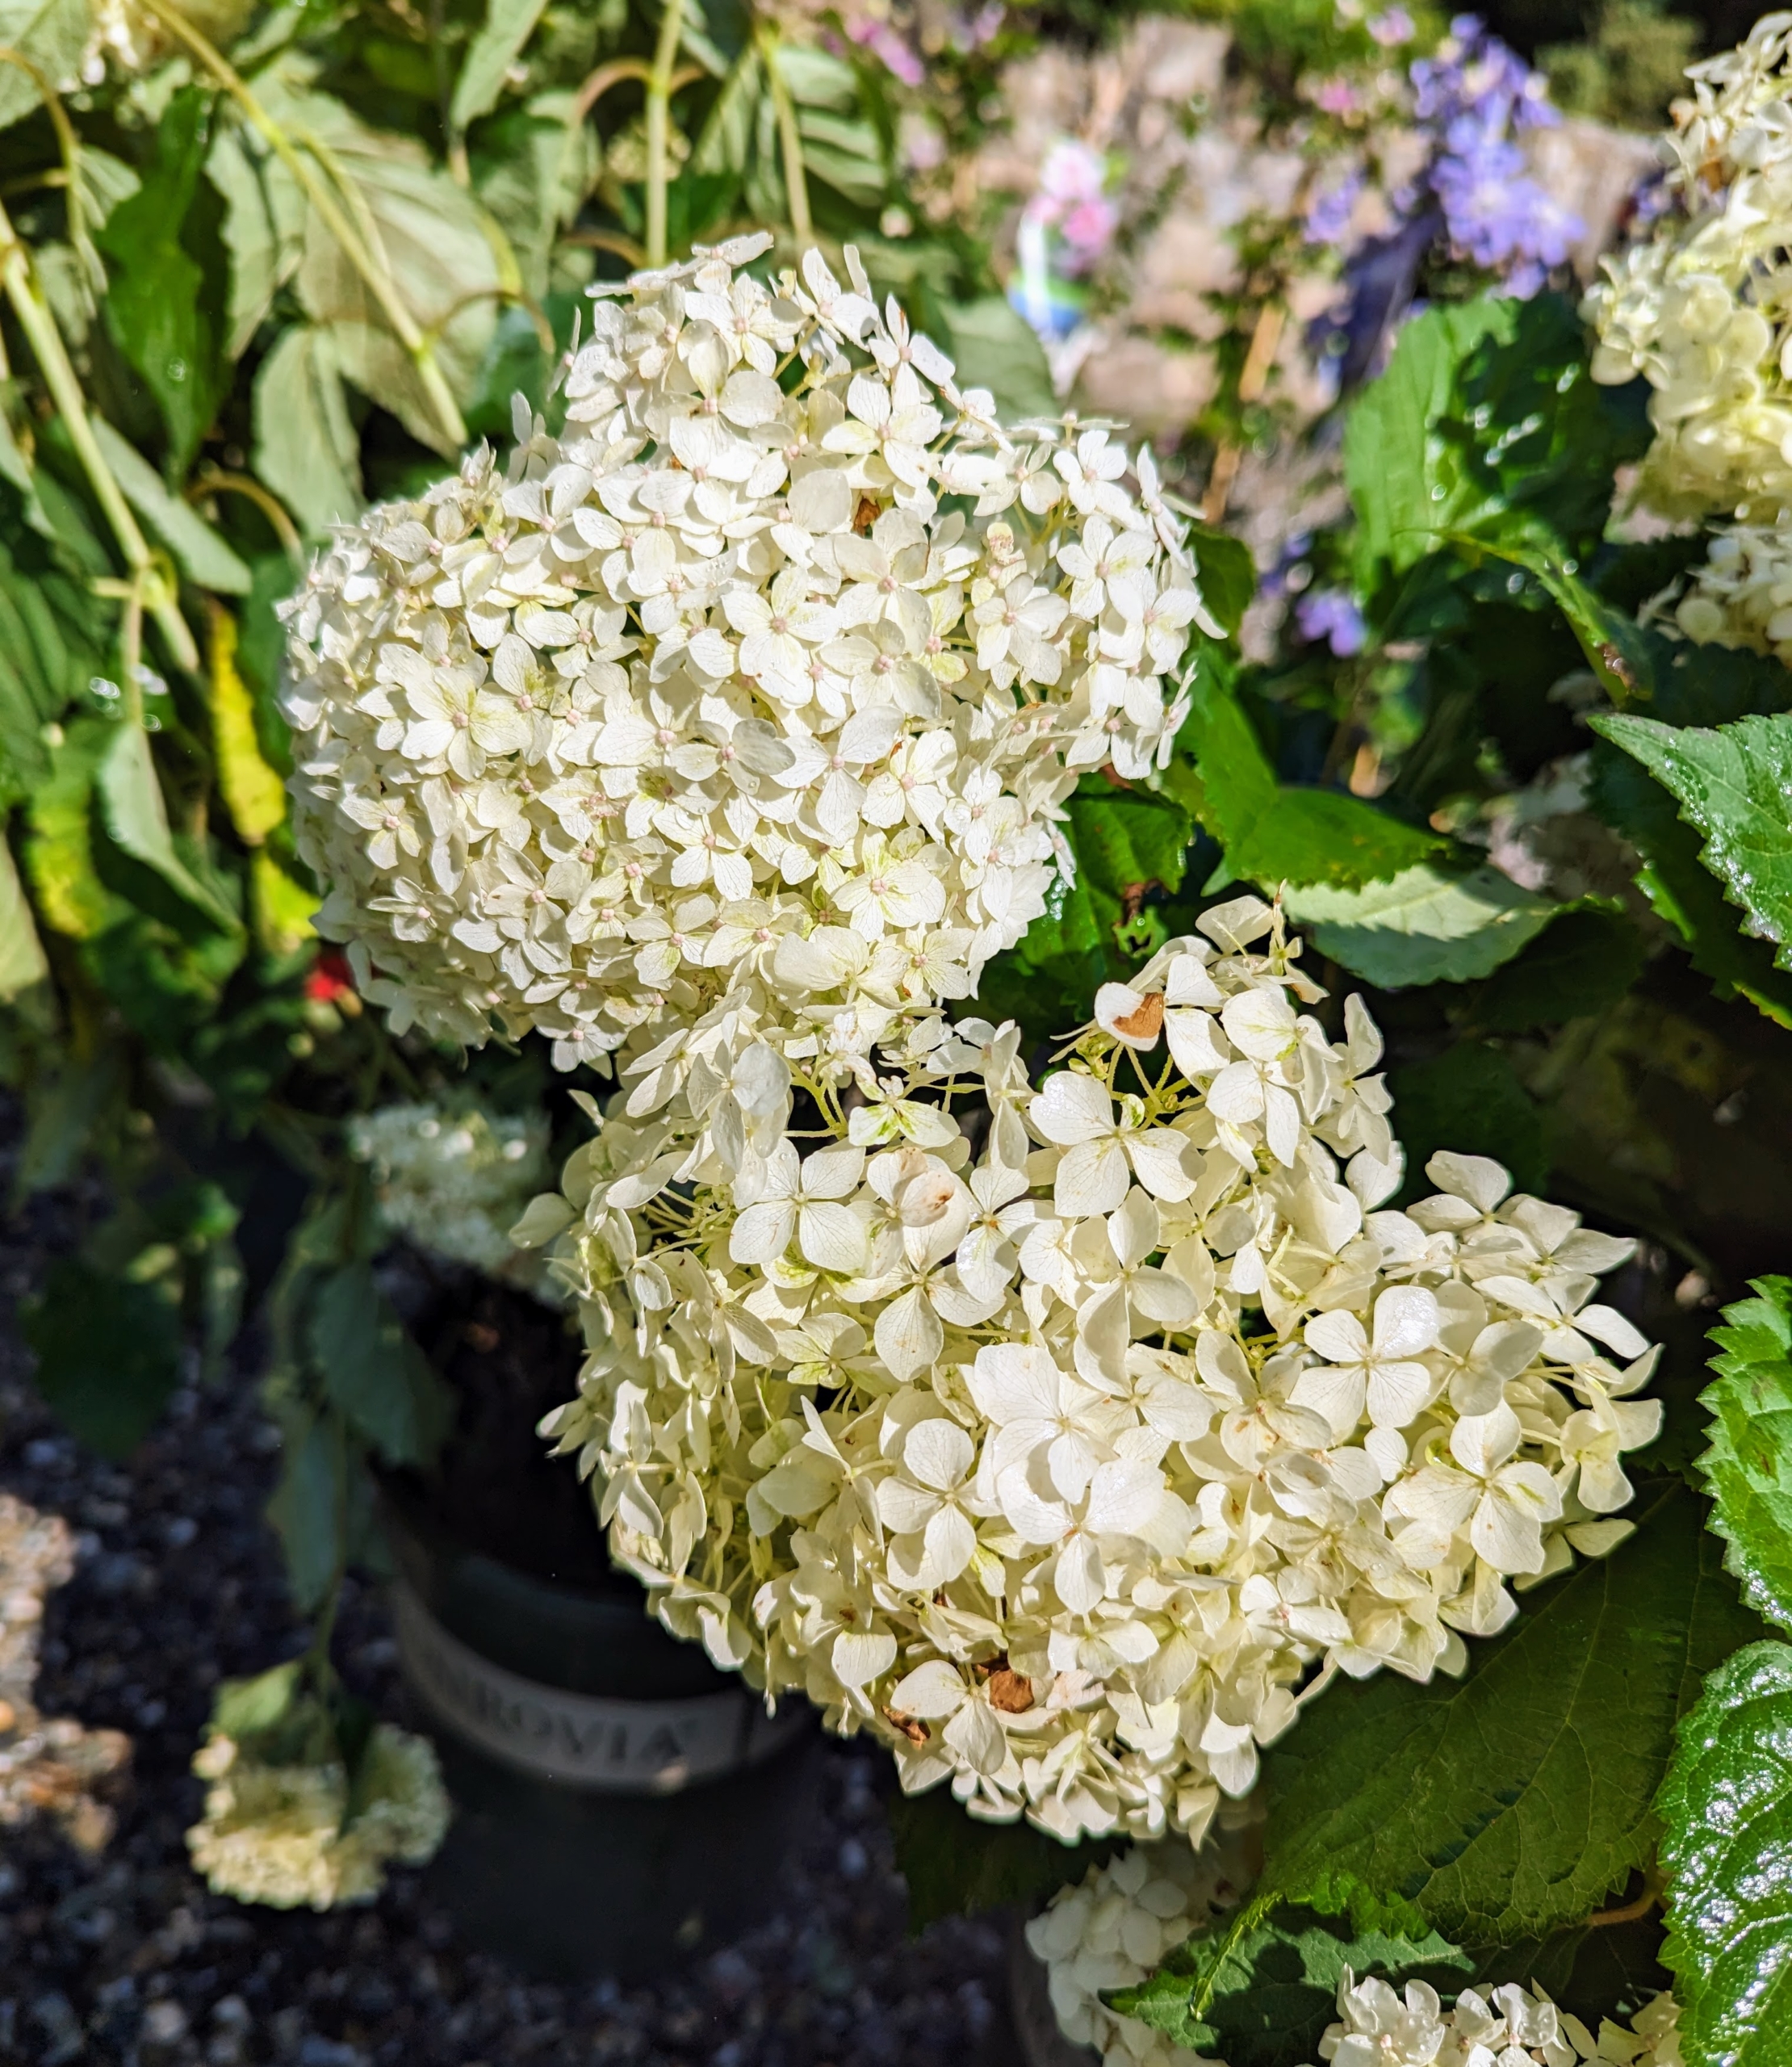
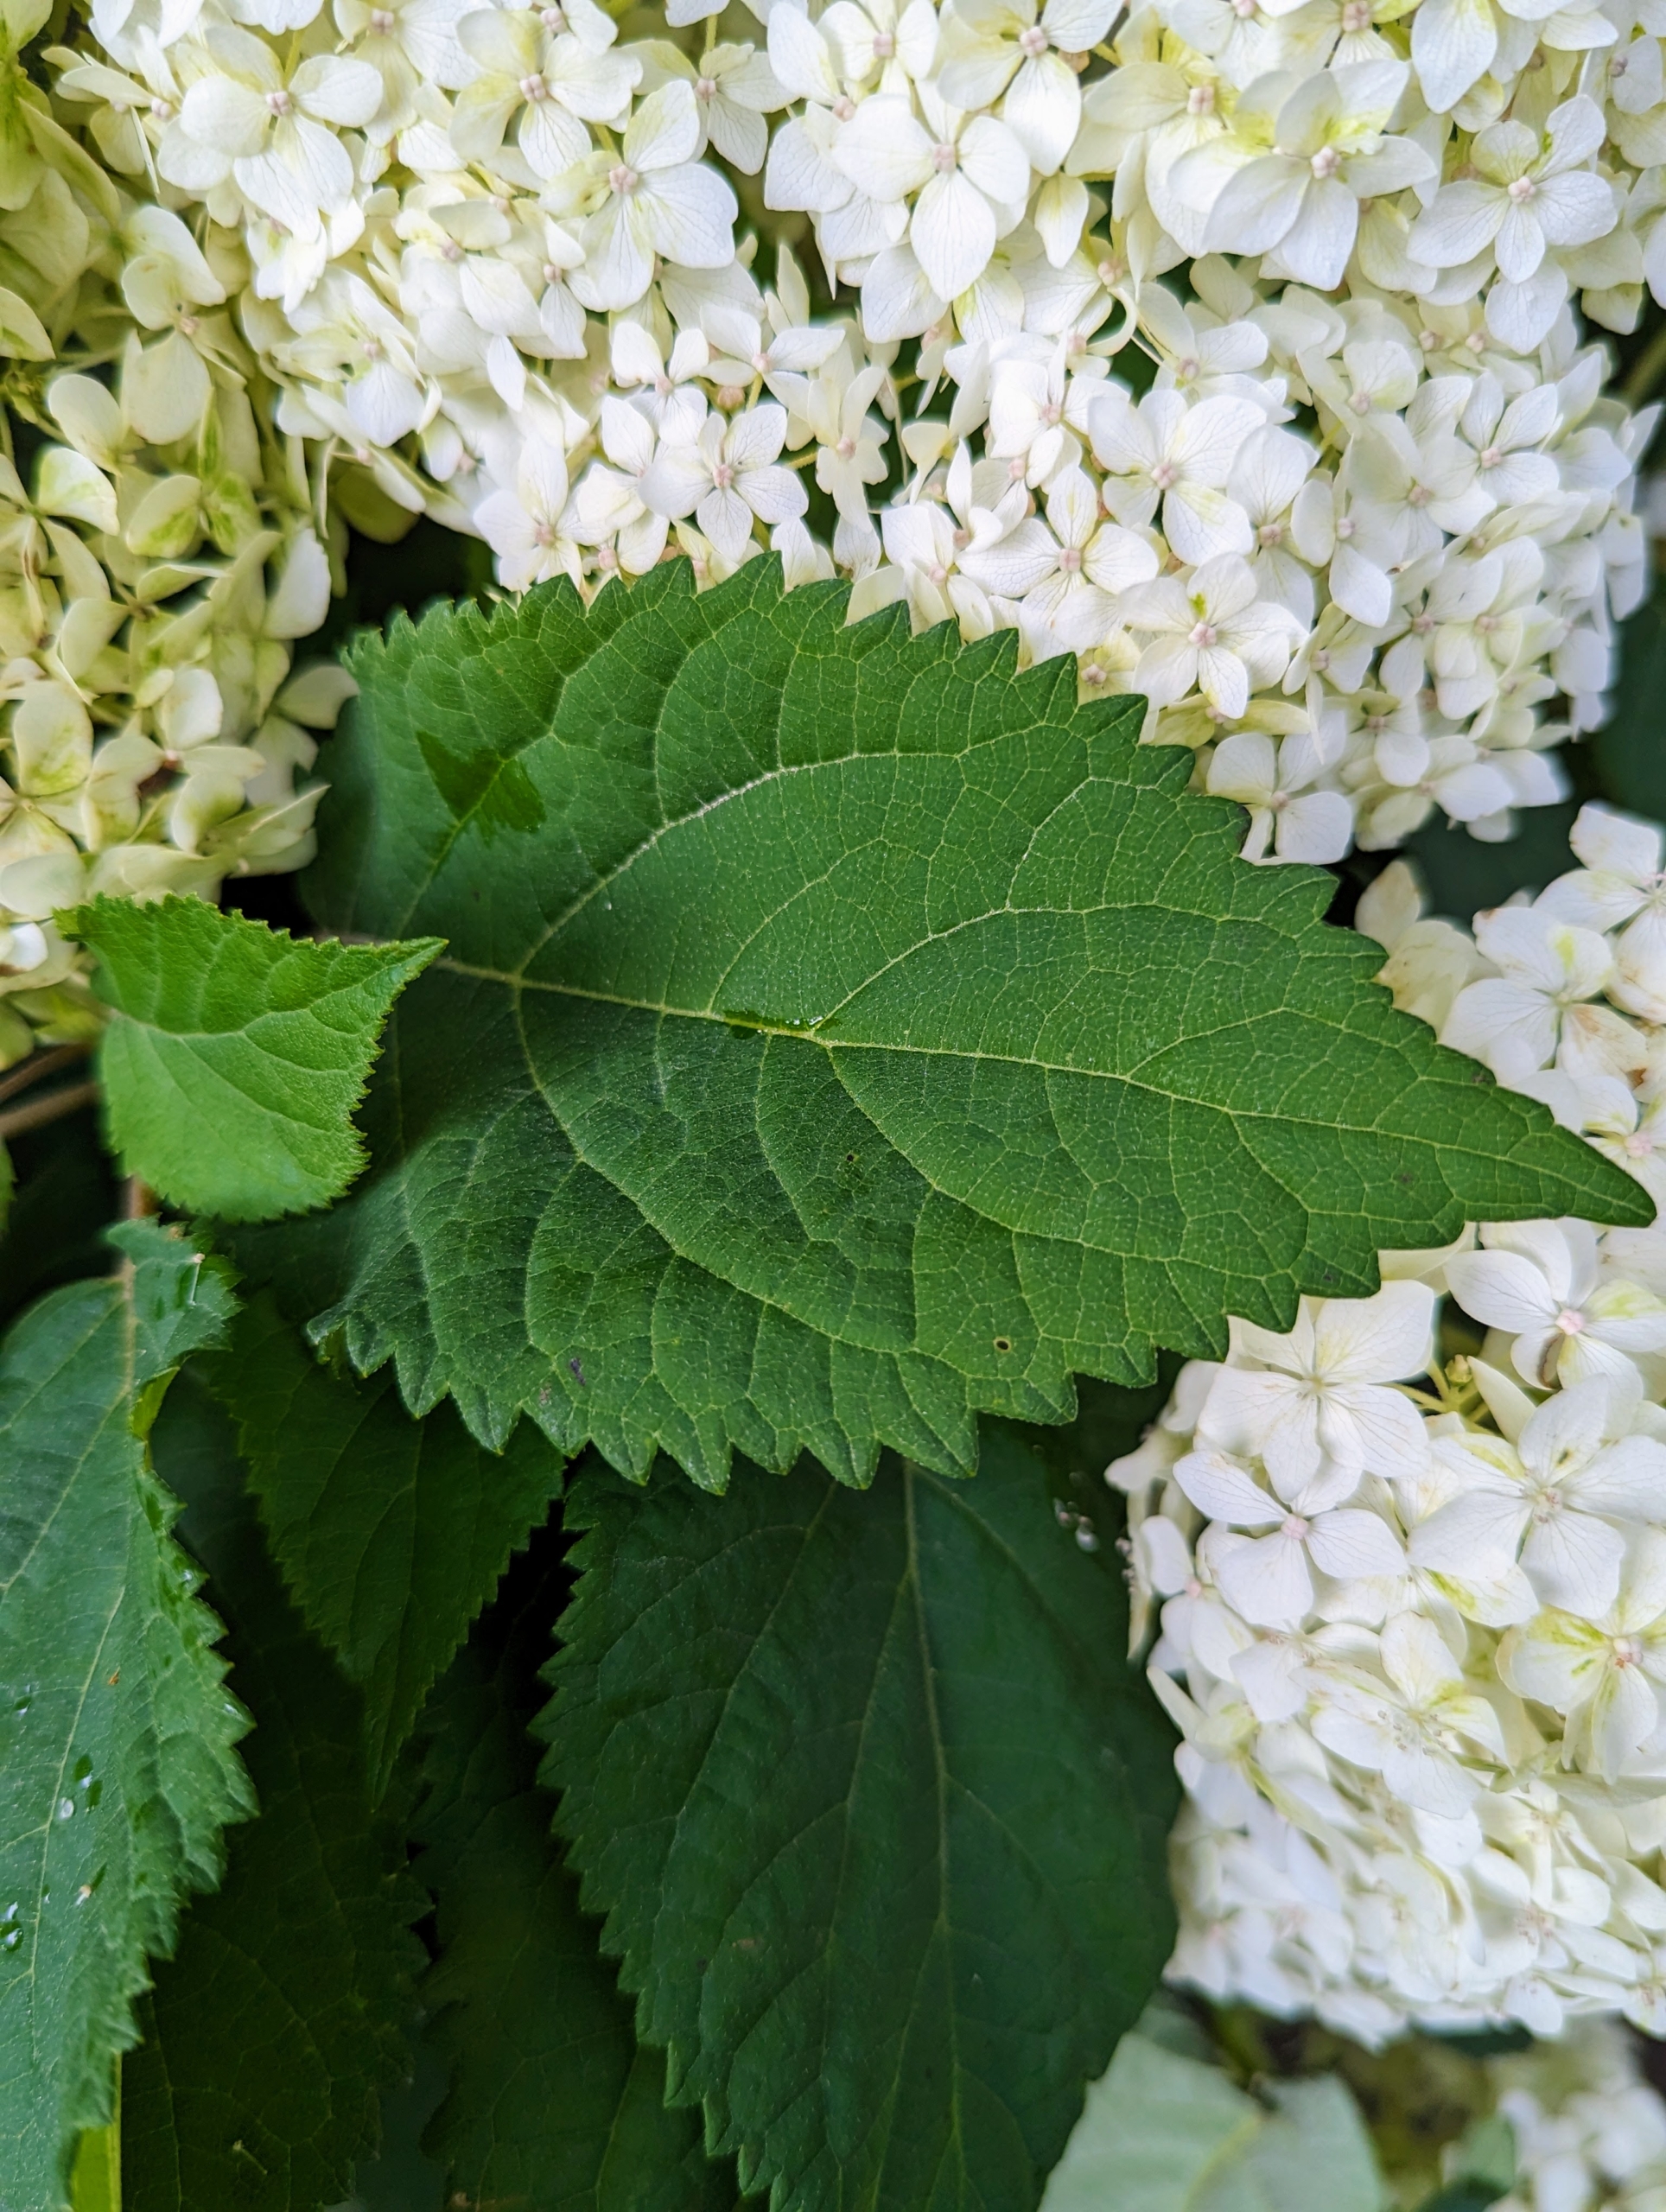
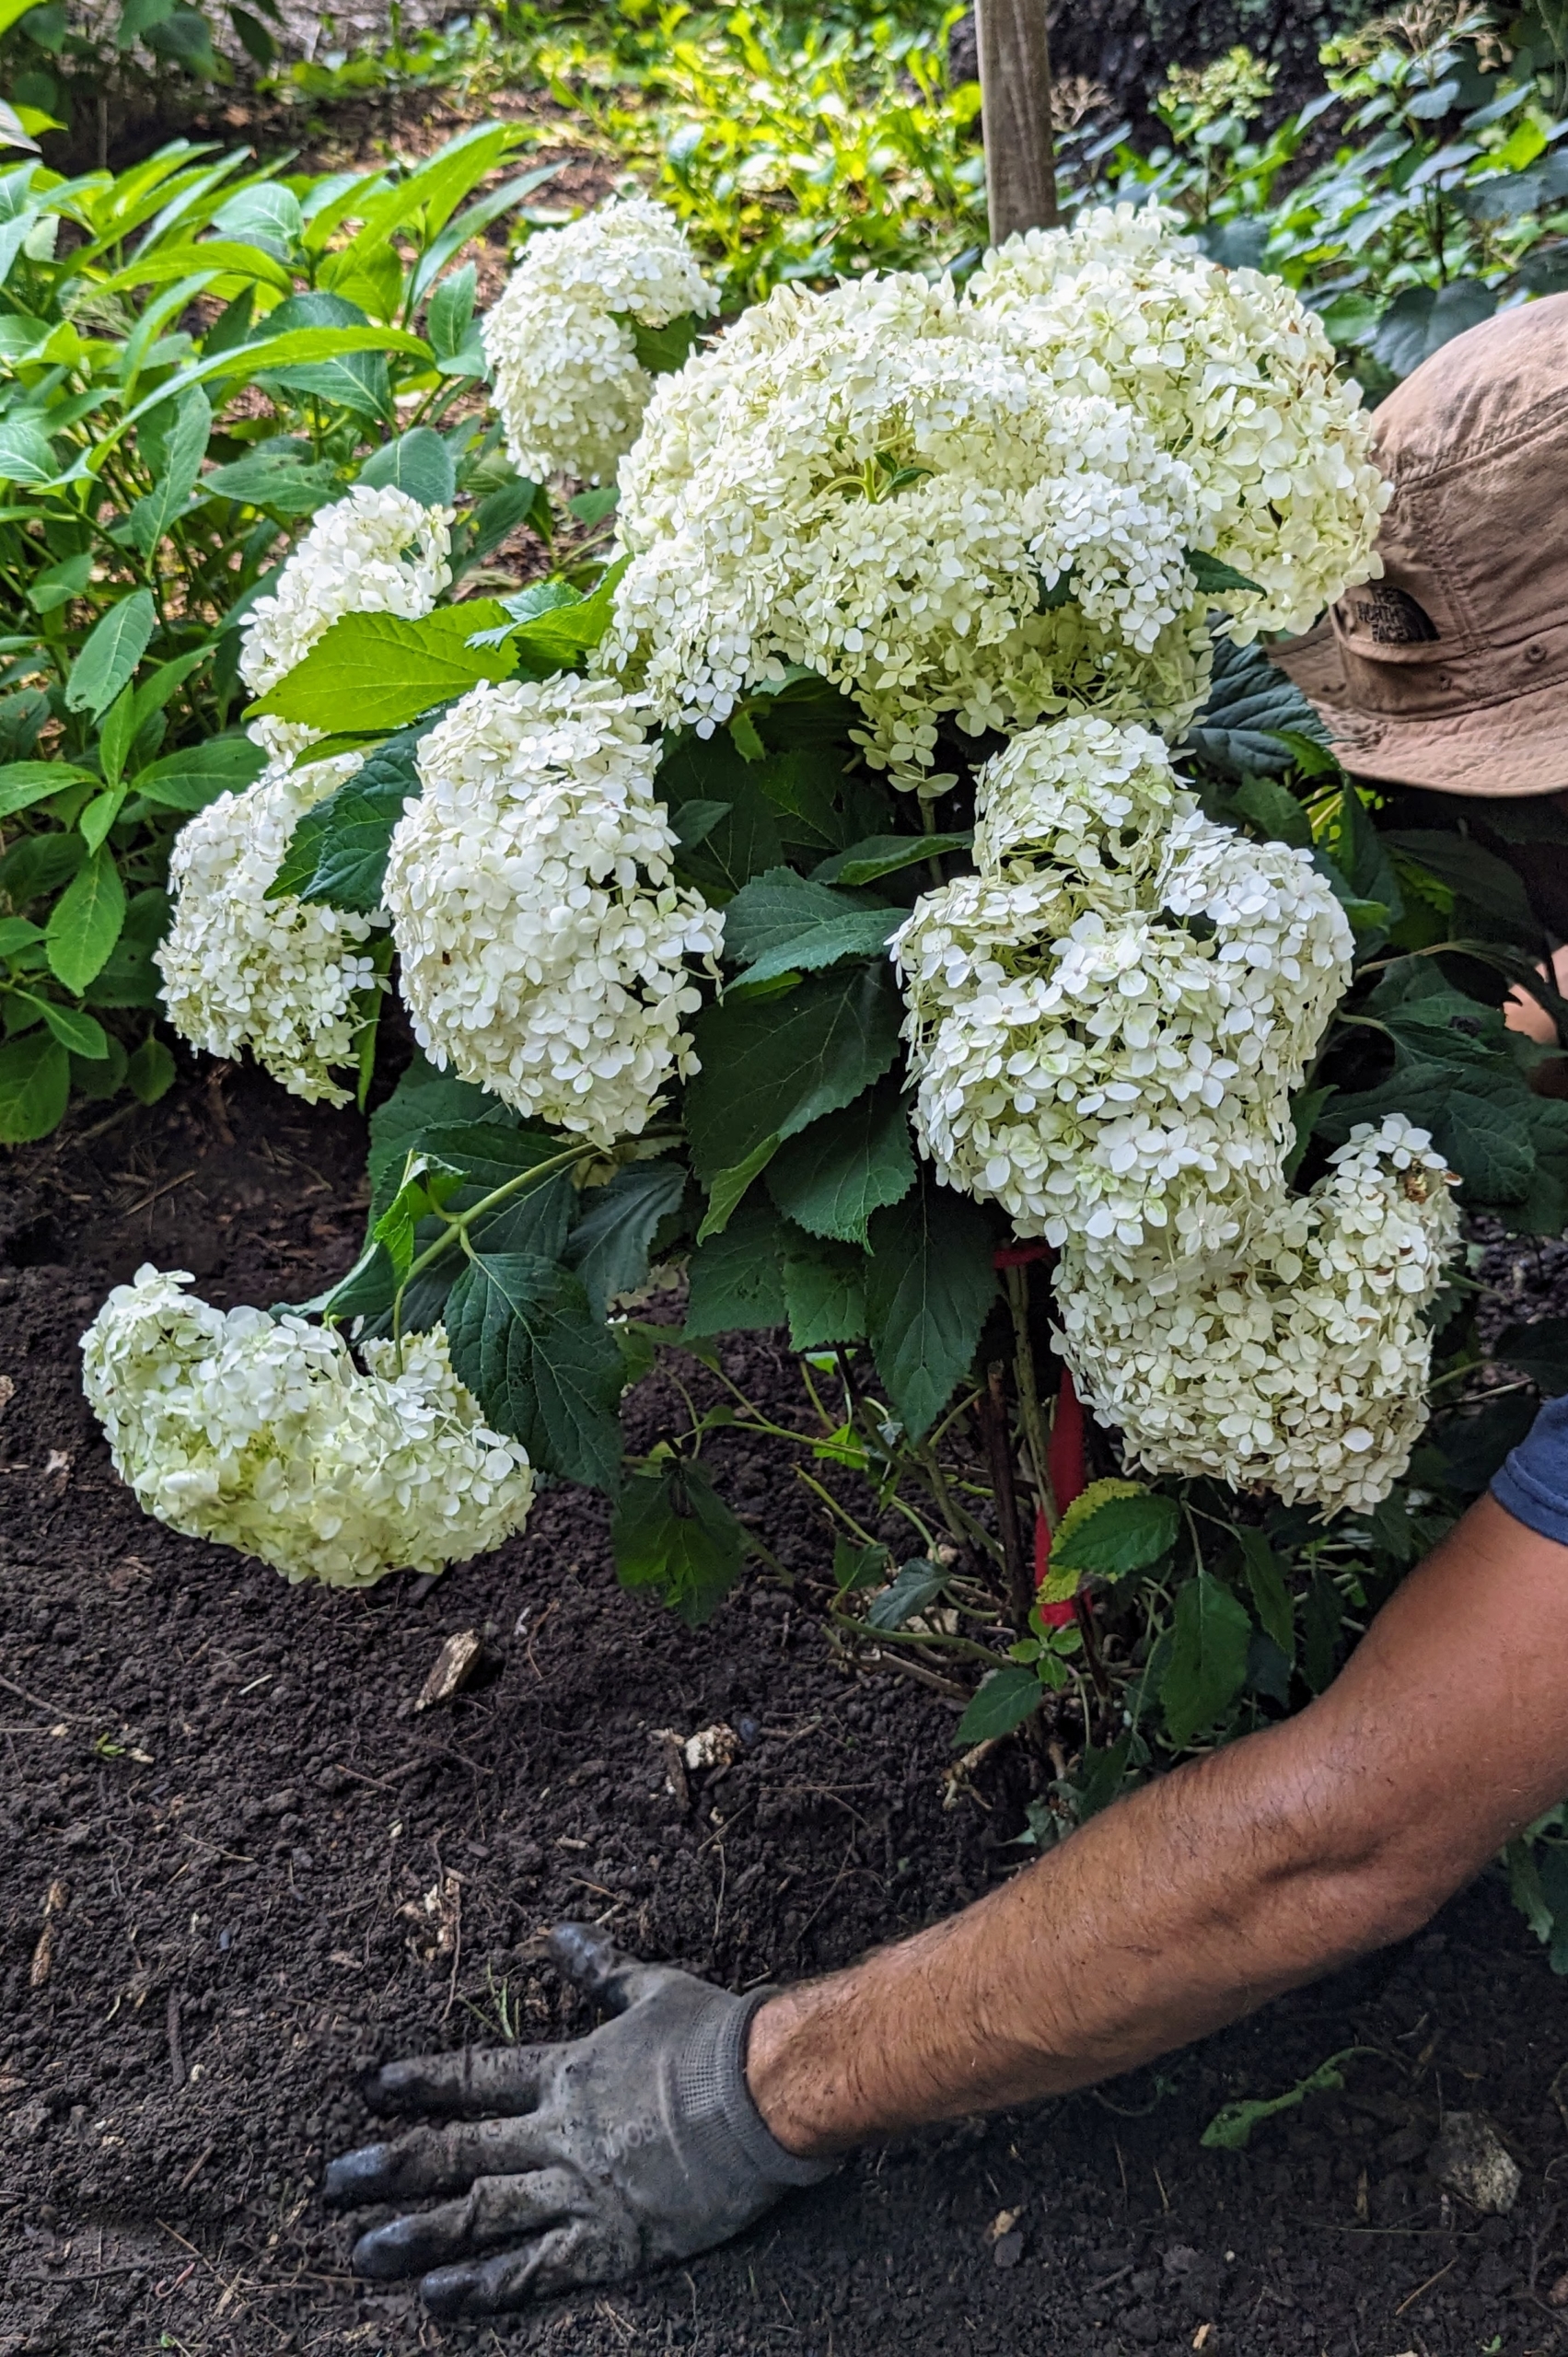
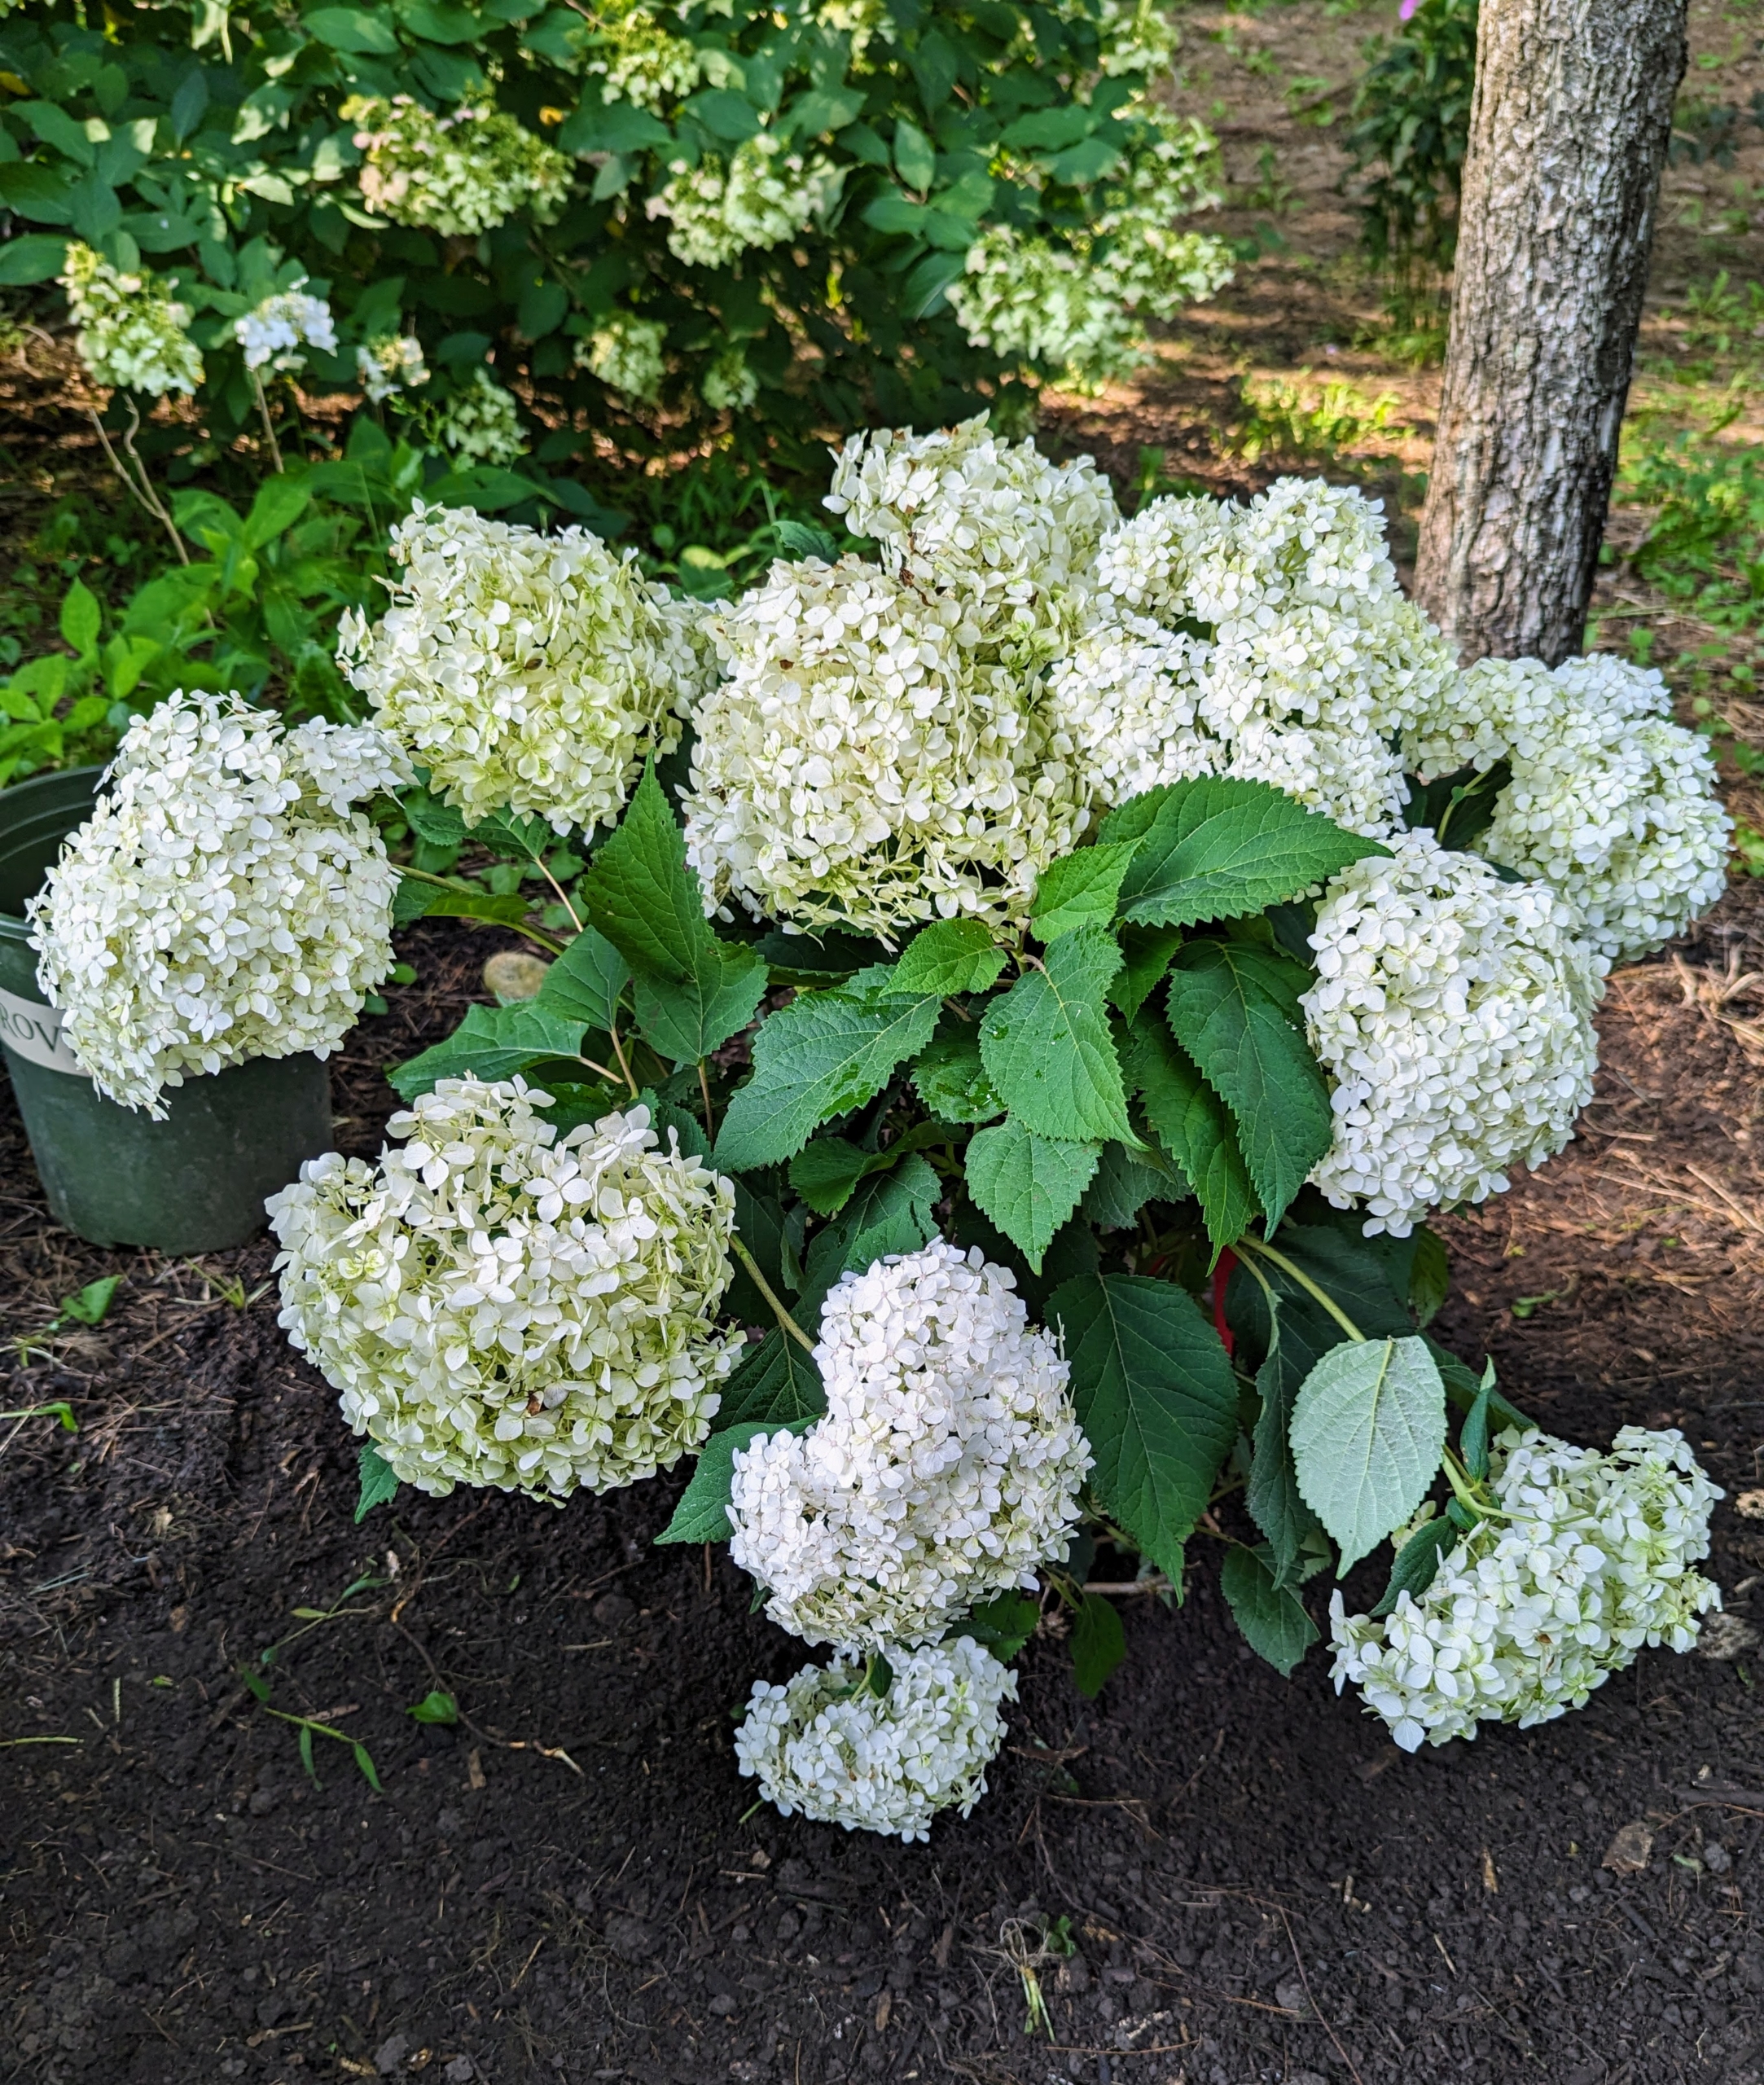
This is Hydrangea ‘Seaside Serenade Bar Habor.’ This relatively new compact form is great for smaller spaces, such as in between the larger hydrangea varieties already established in this garden. It features masses of big, white flower heads throughout summer. Its straight sturdy stems also hold up well in heavy rain.
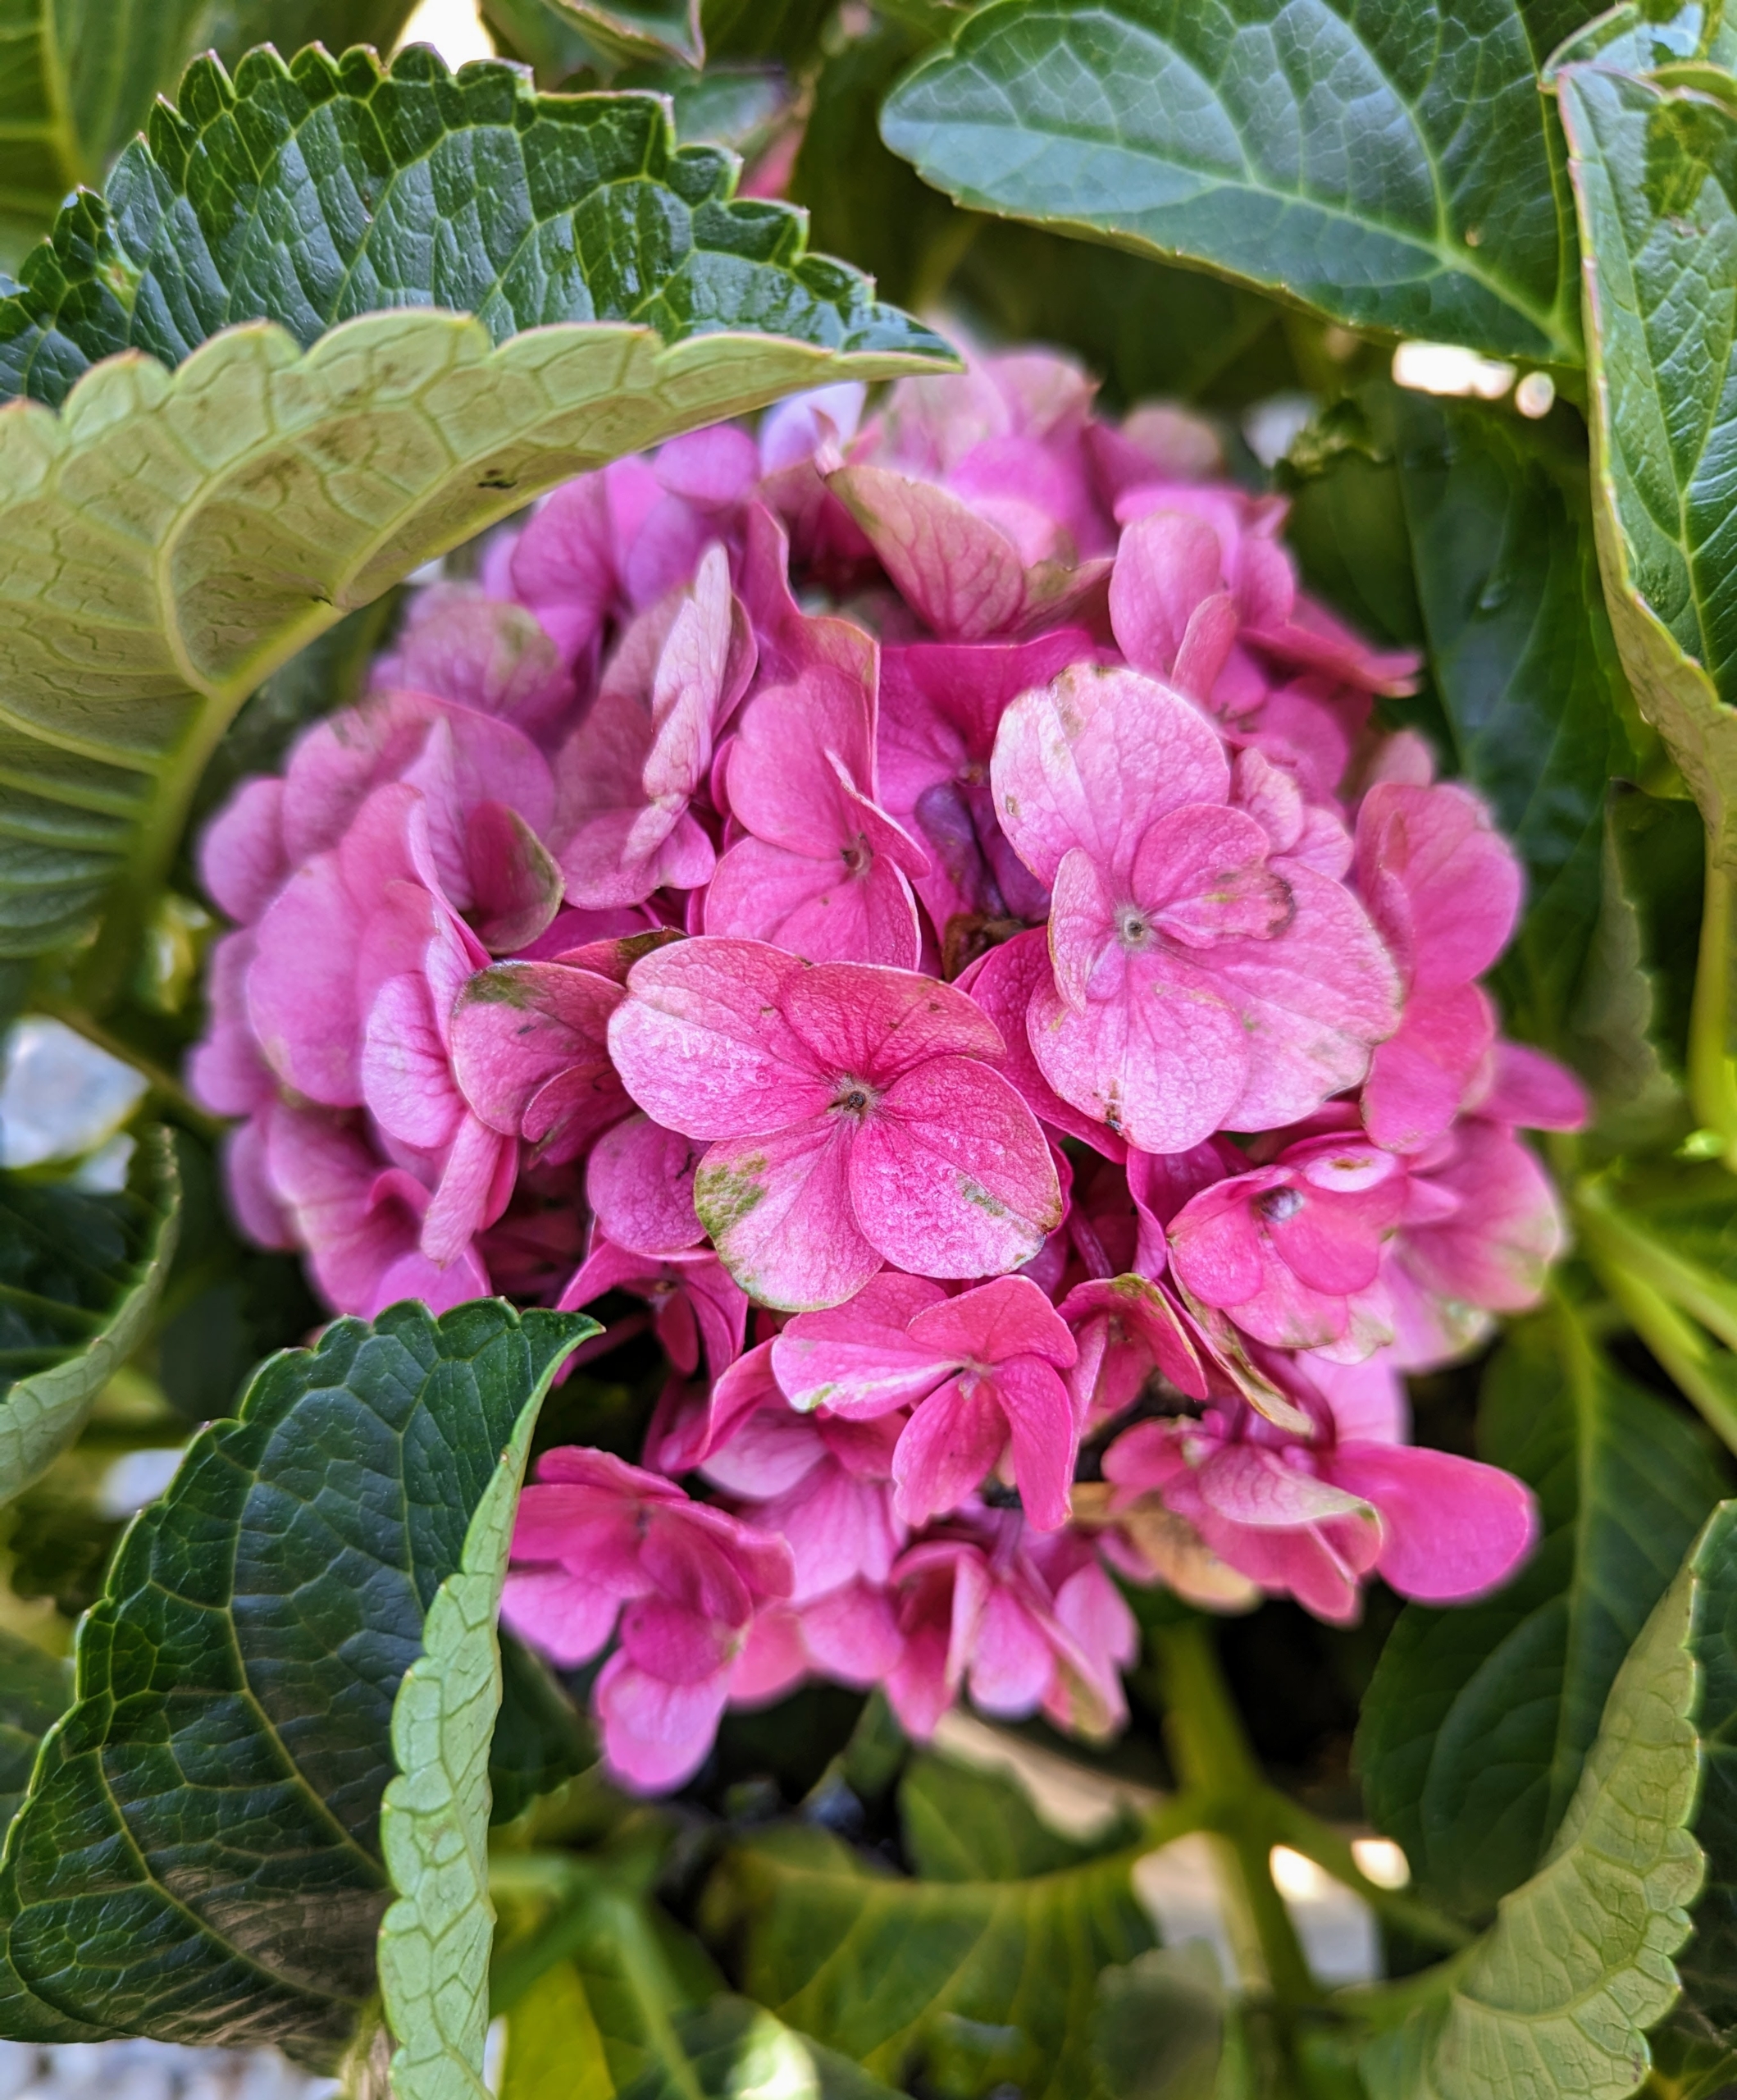
This is Hydrangea ‘Seaside Serenade Martha’s Vineyard.’ This hydrangea shows off long-lasting, bold pink mophead blooms that are not influenced by soil pH. Flowers also develop a lovely green tinge as they age.
Hydrangea leaves are opposite, simple, stalked, pinnate and four to eight inches in long, toothed and sometimes lobed.
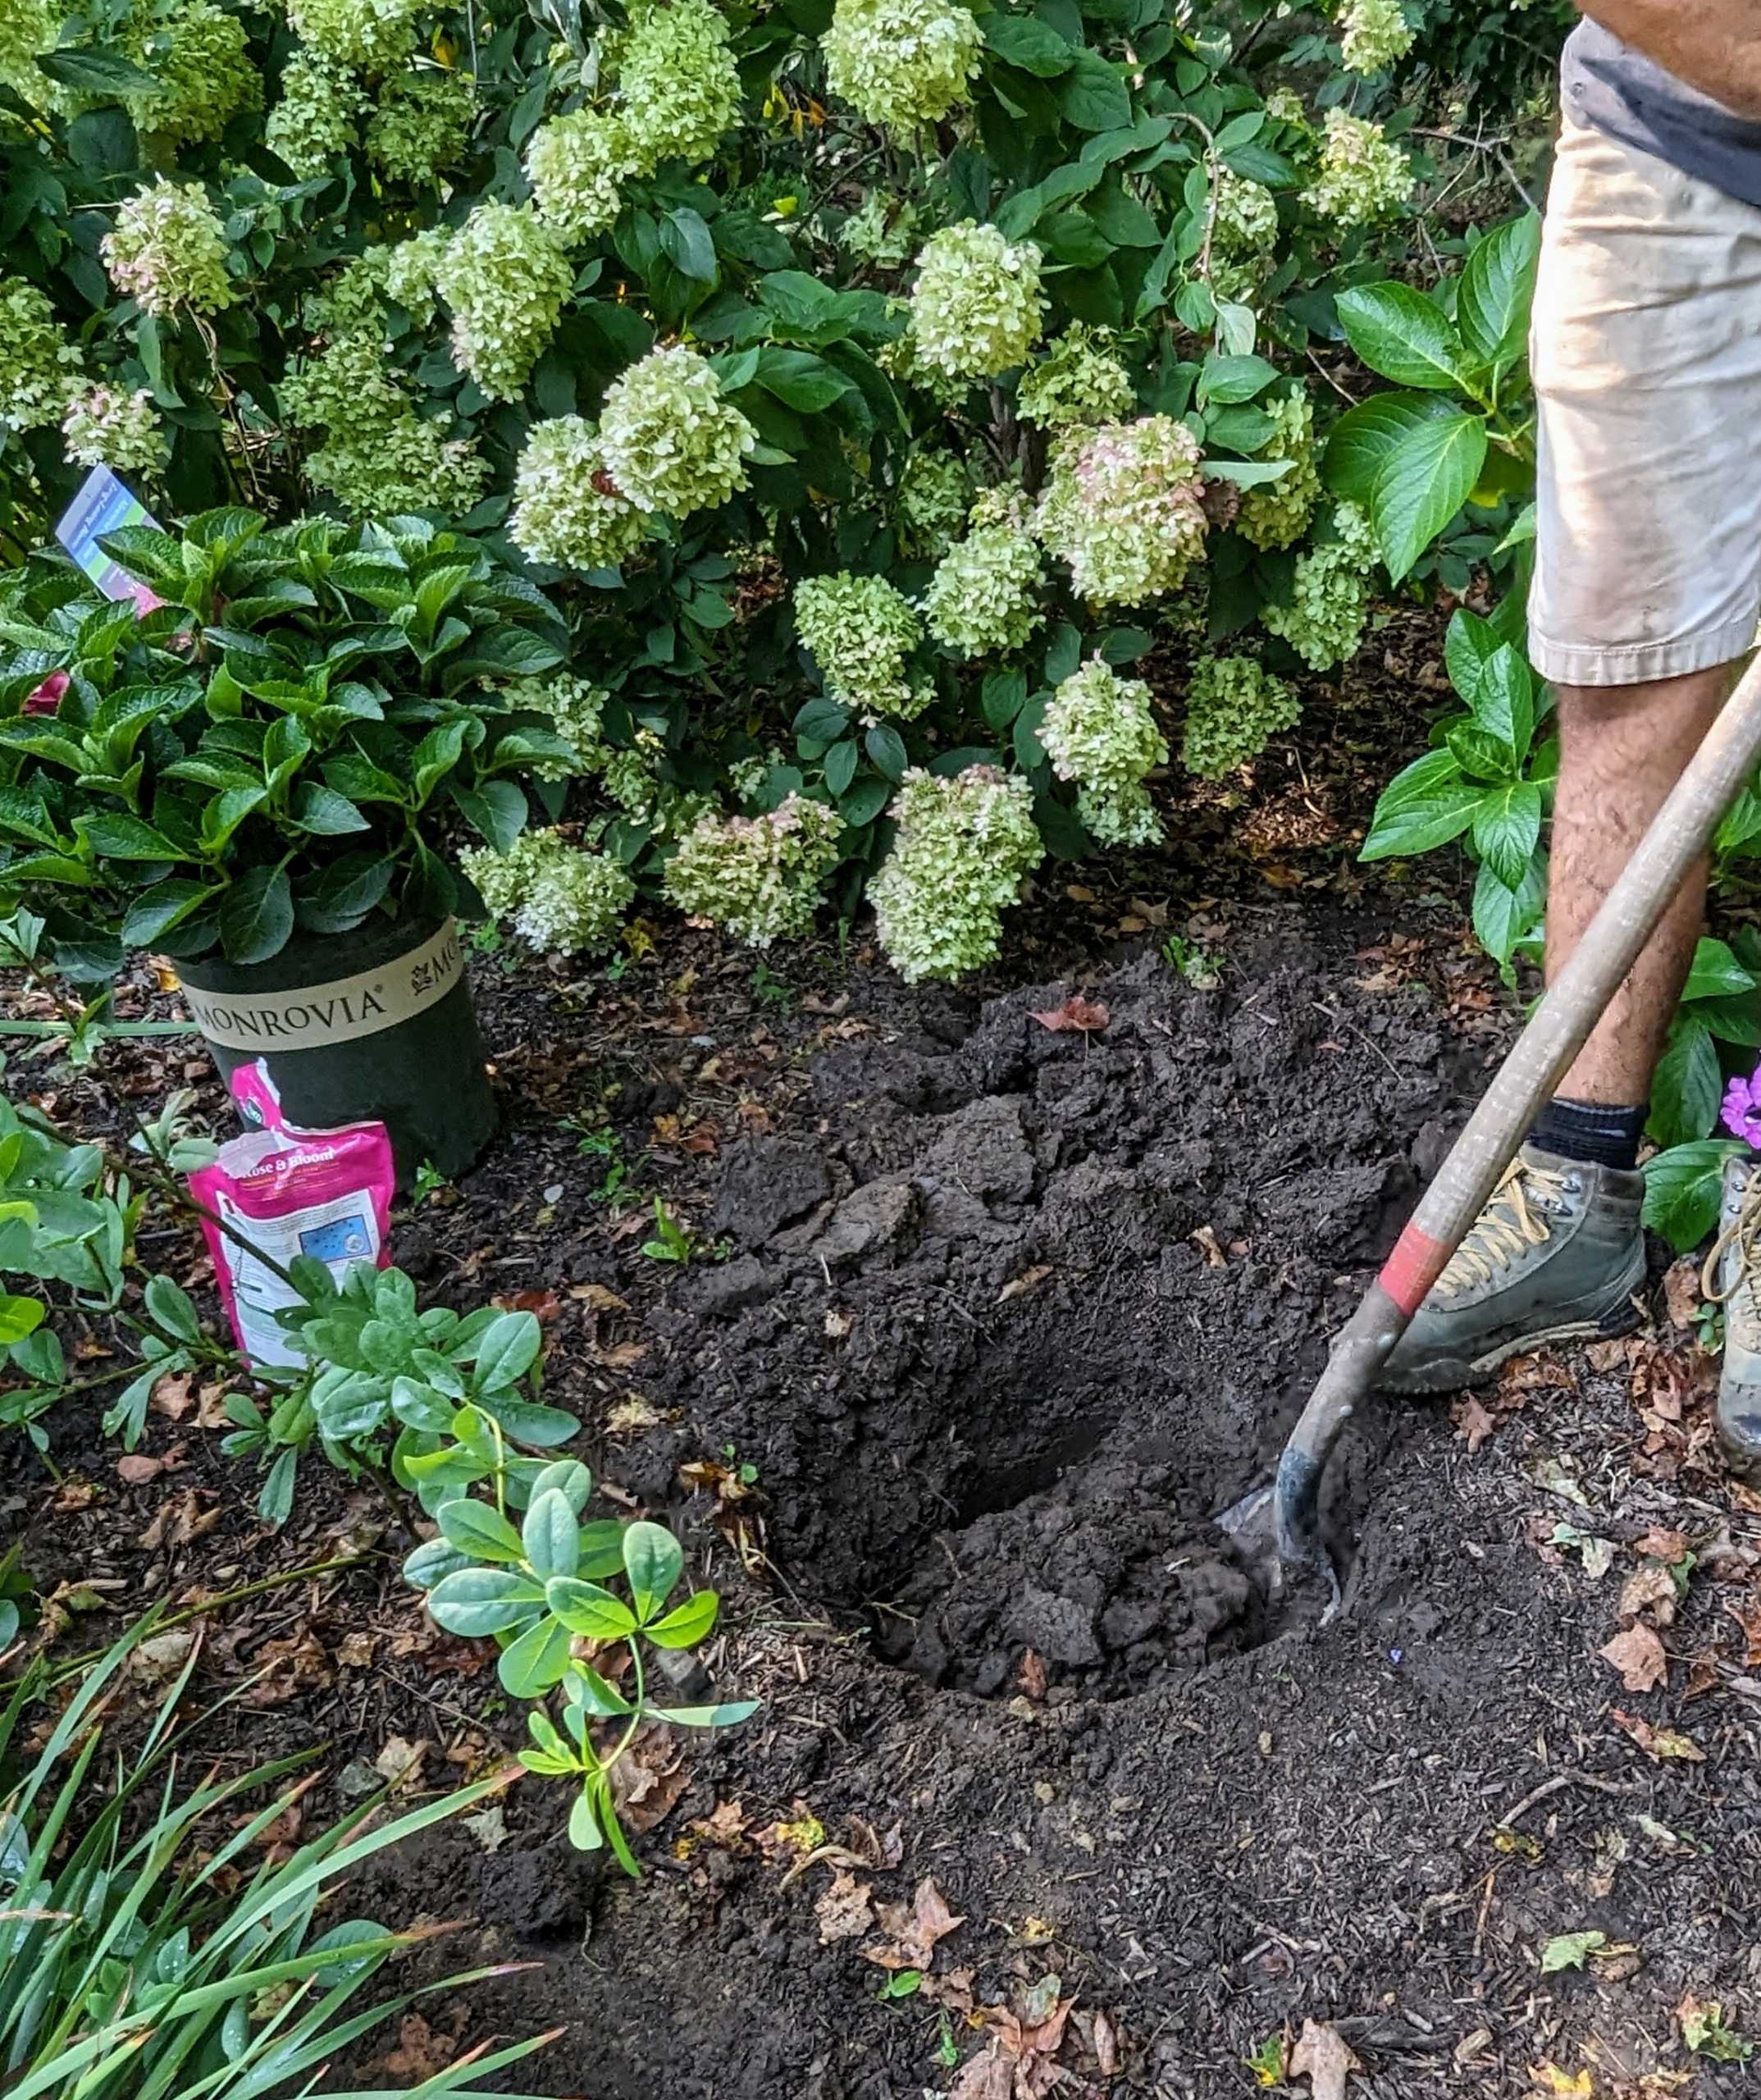
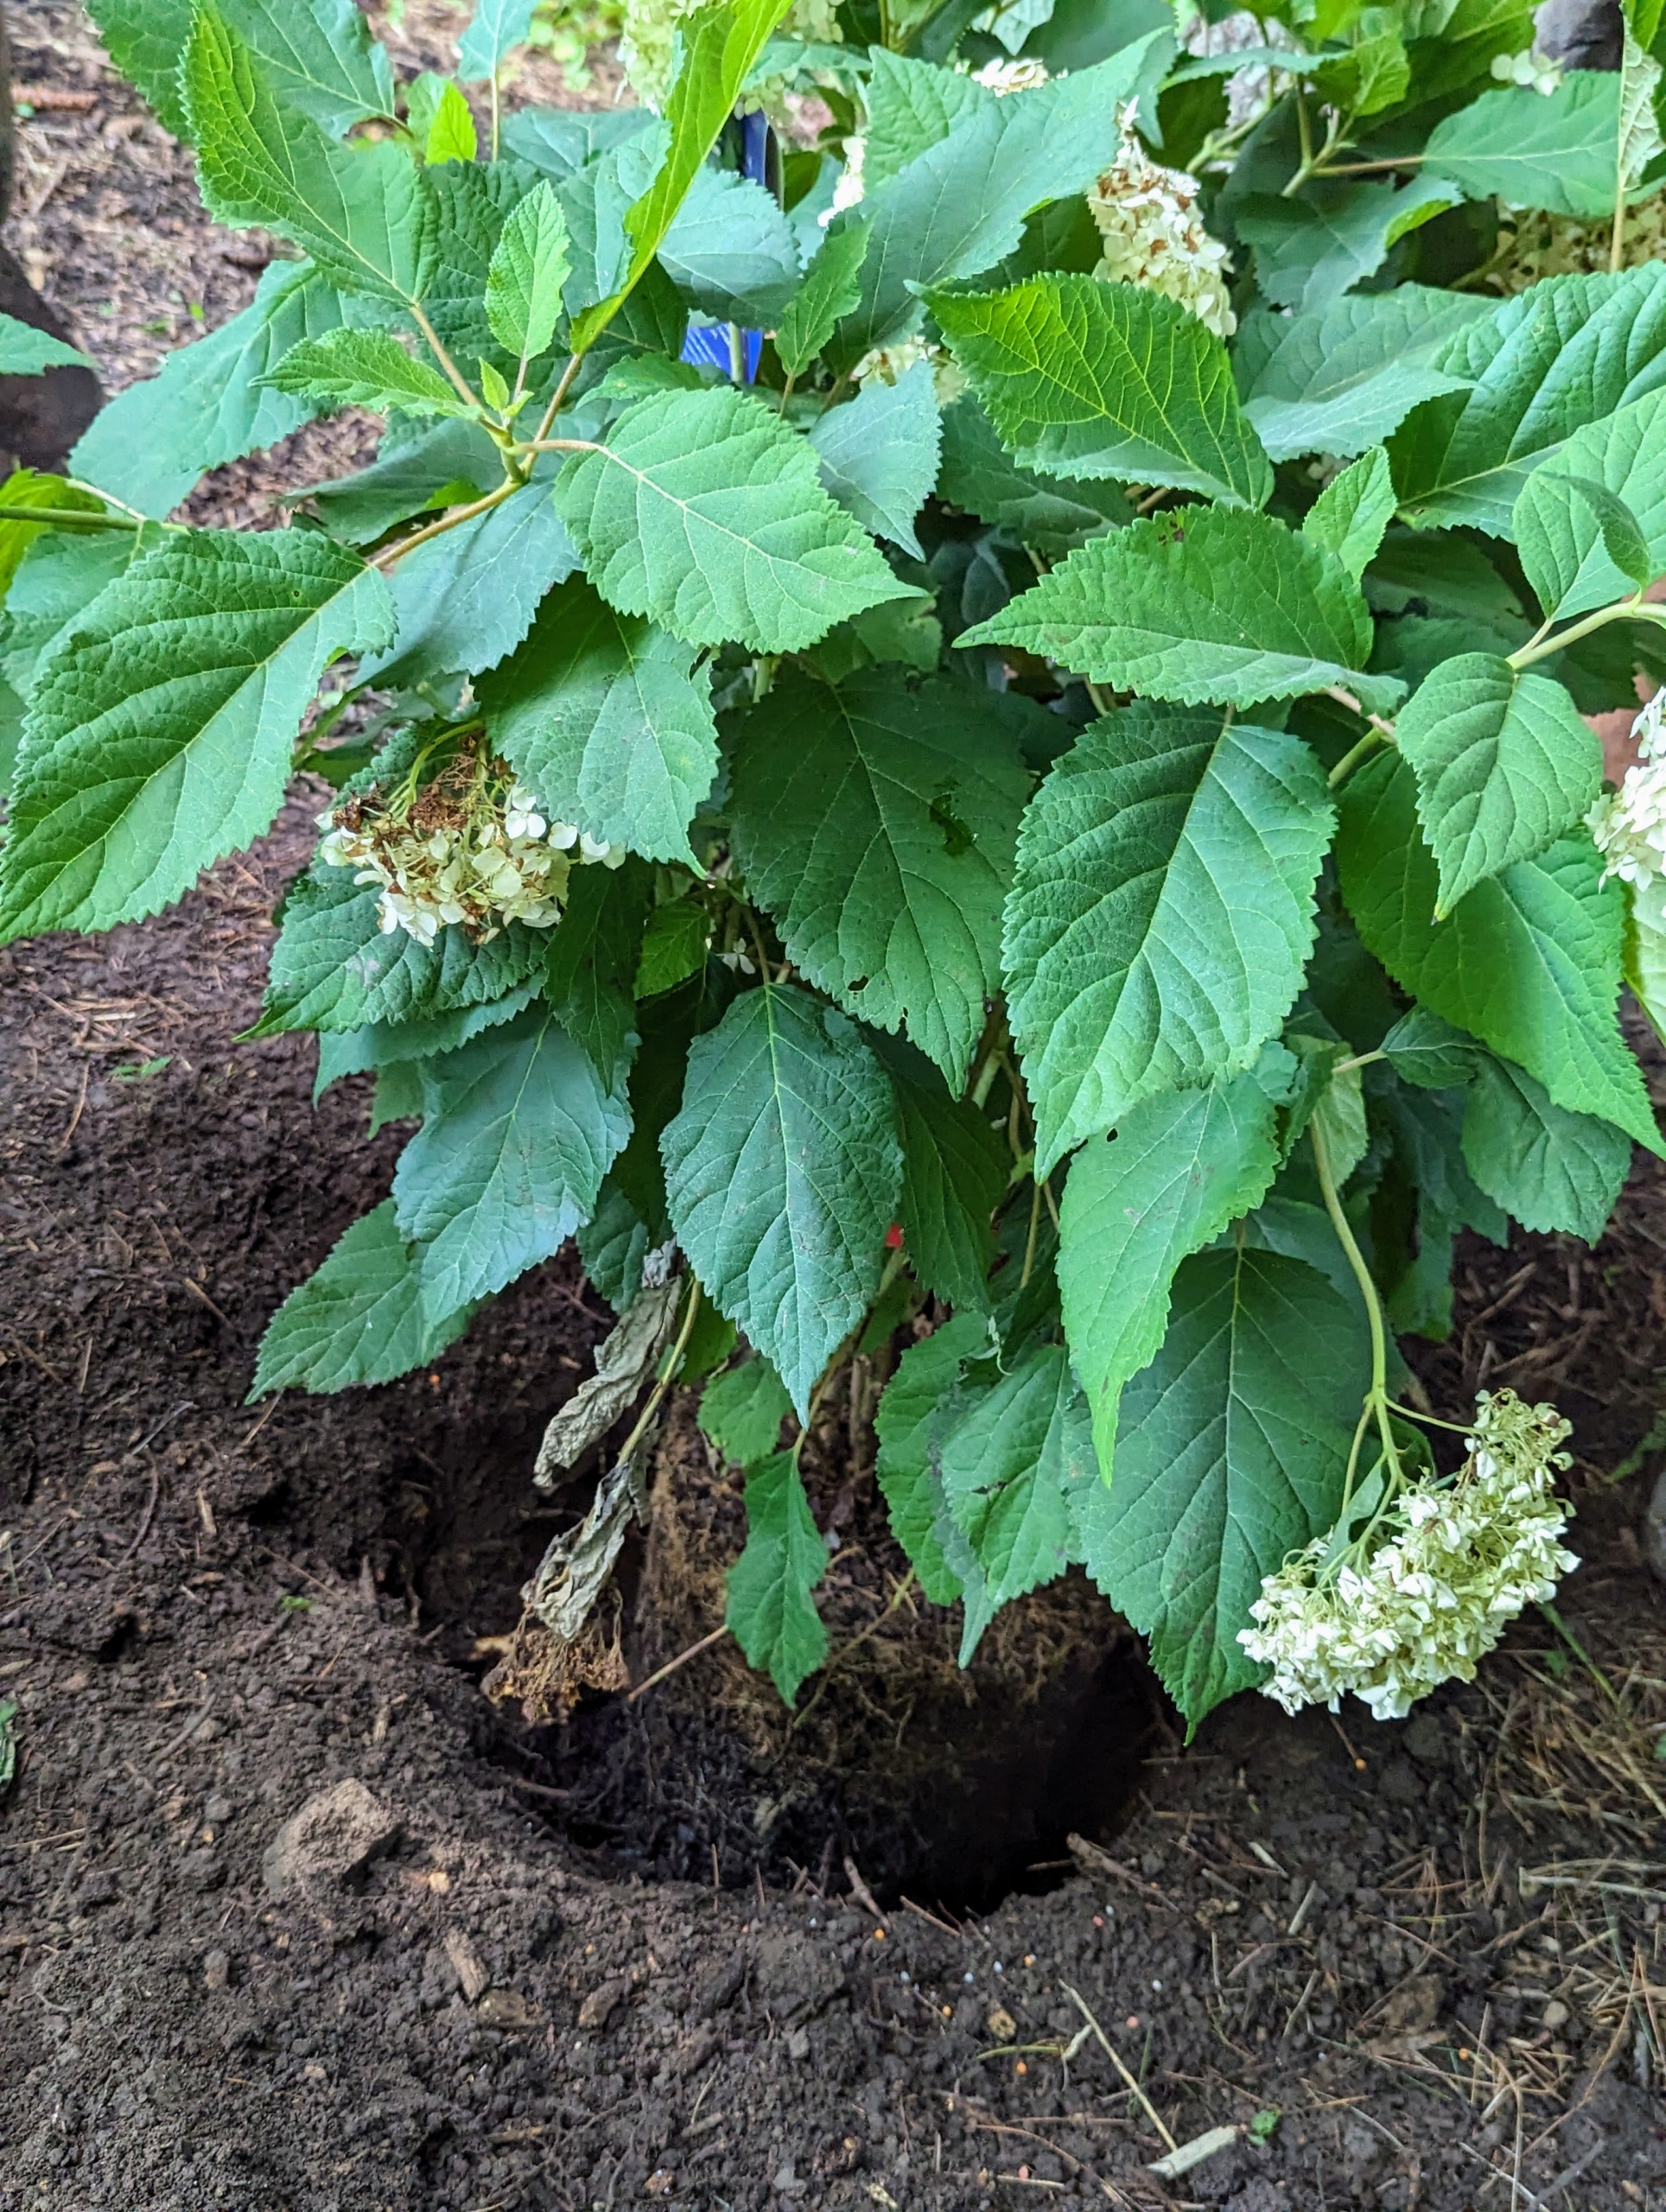
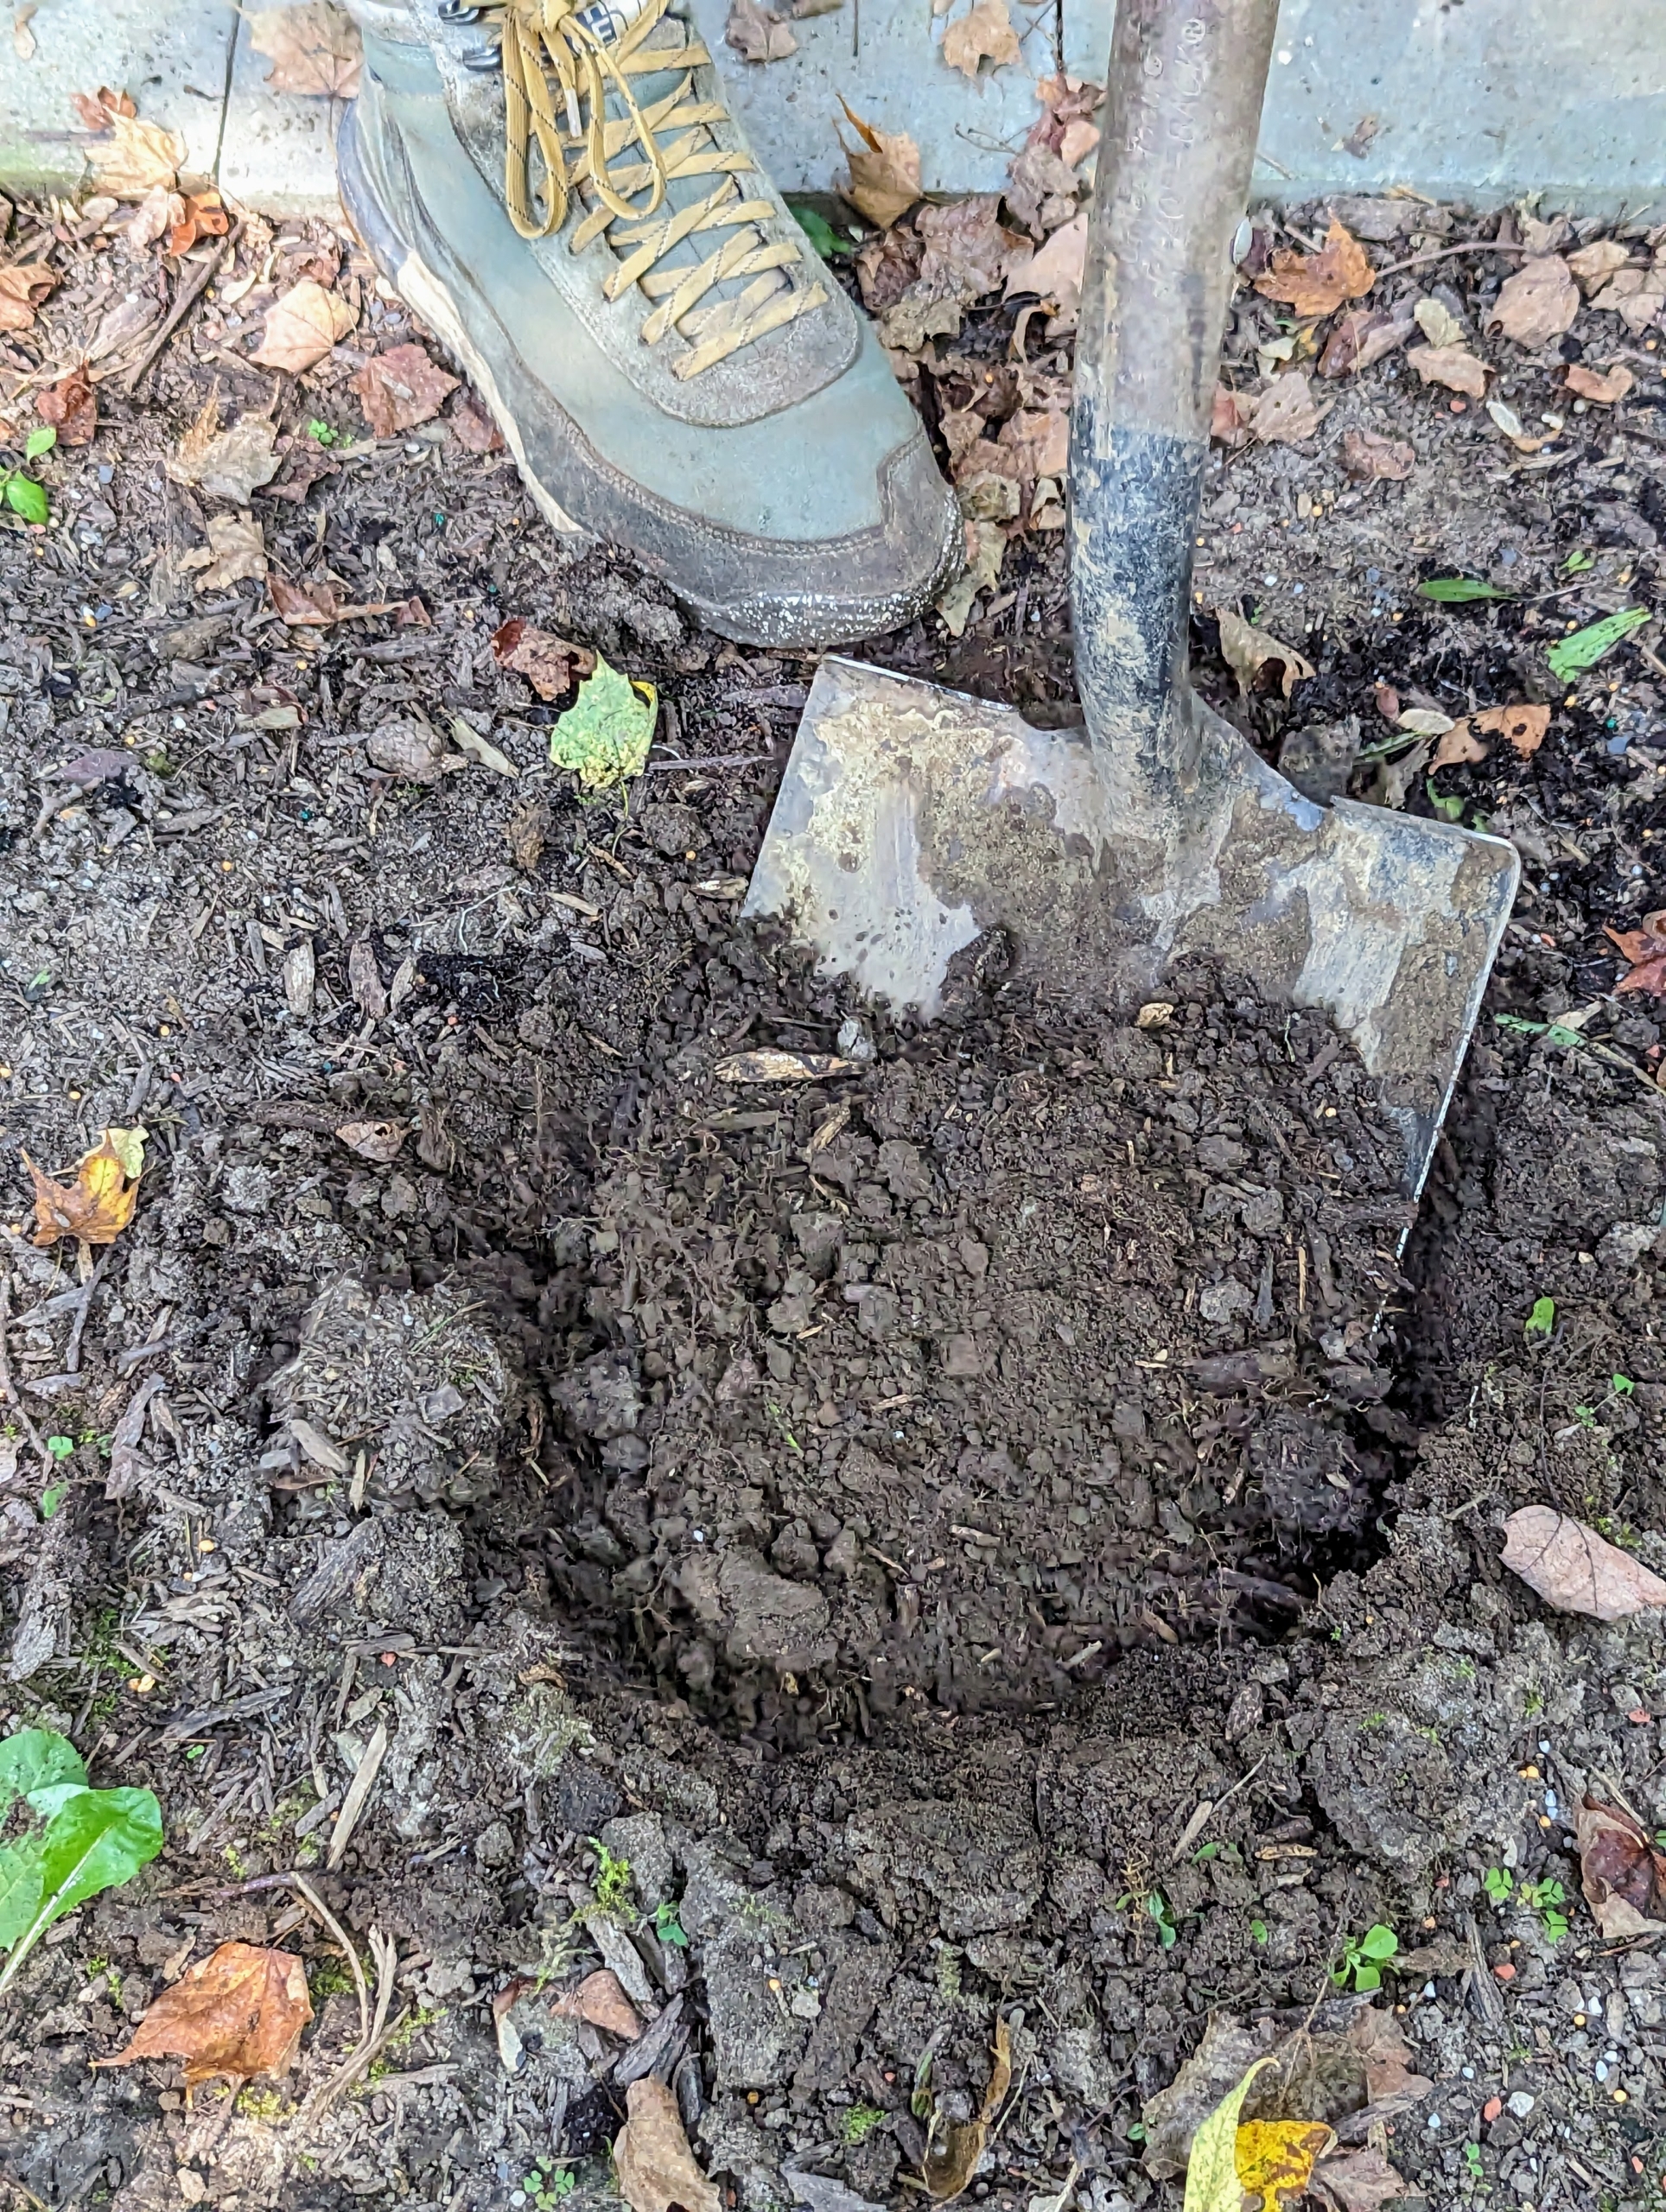
Here, Brian digs the hole for the plant. As always, at least twice the size of the plant’s root ball.
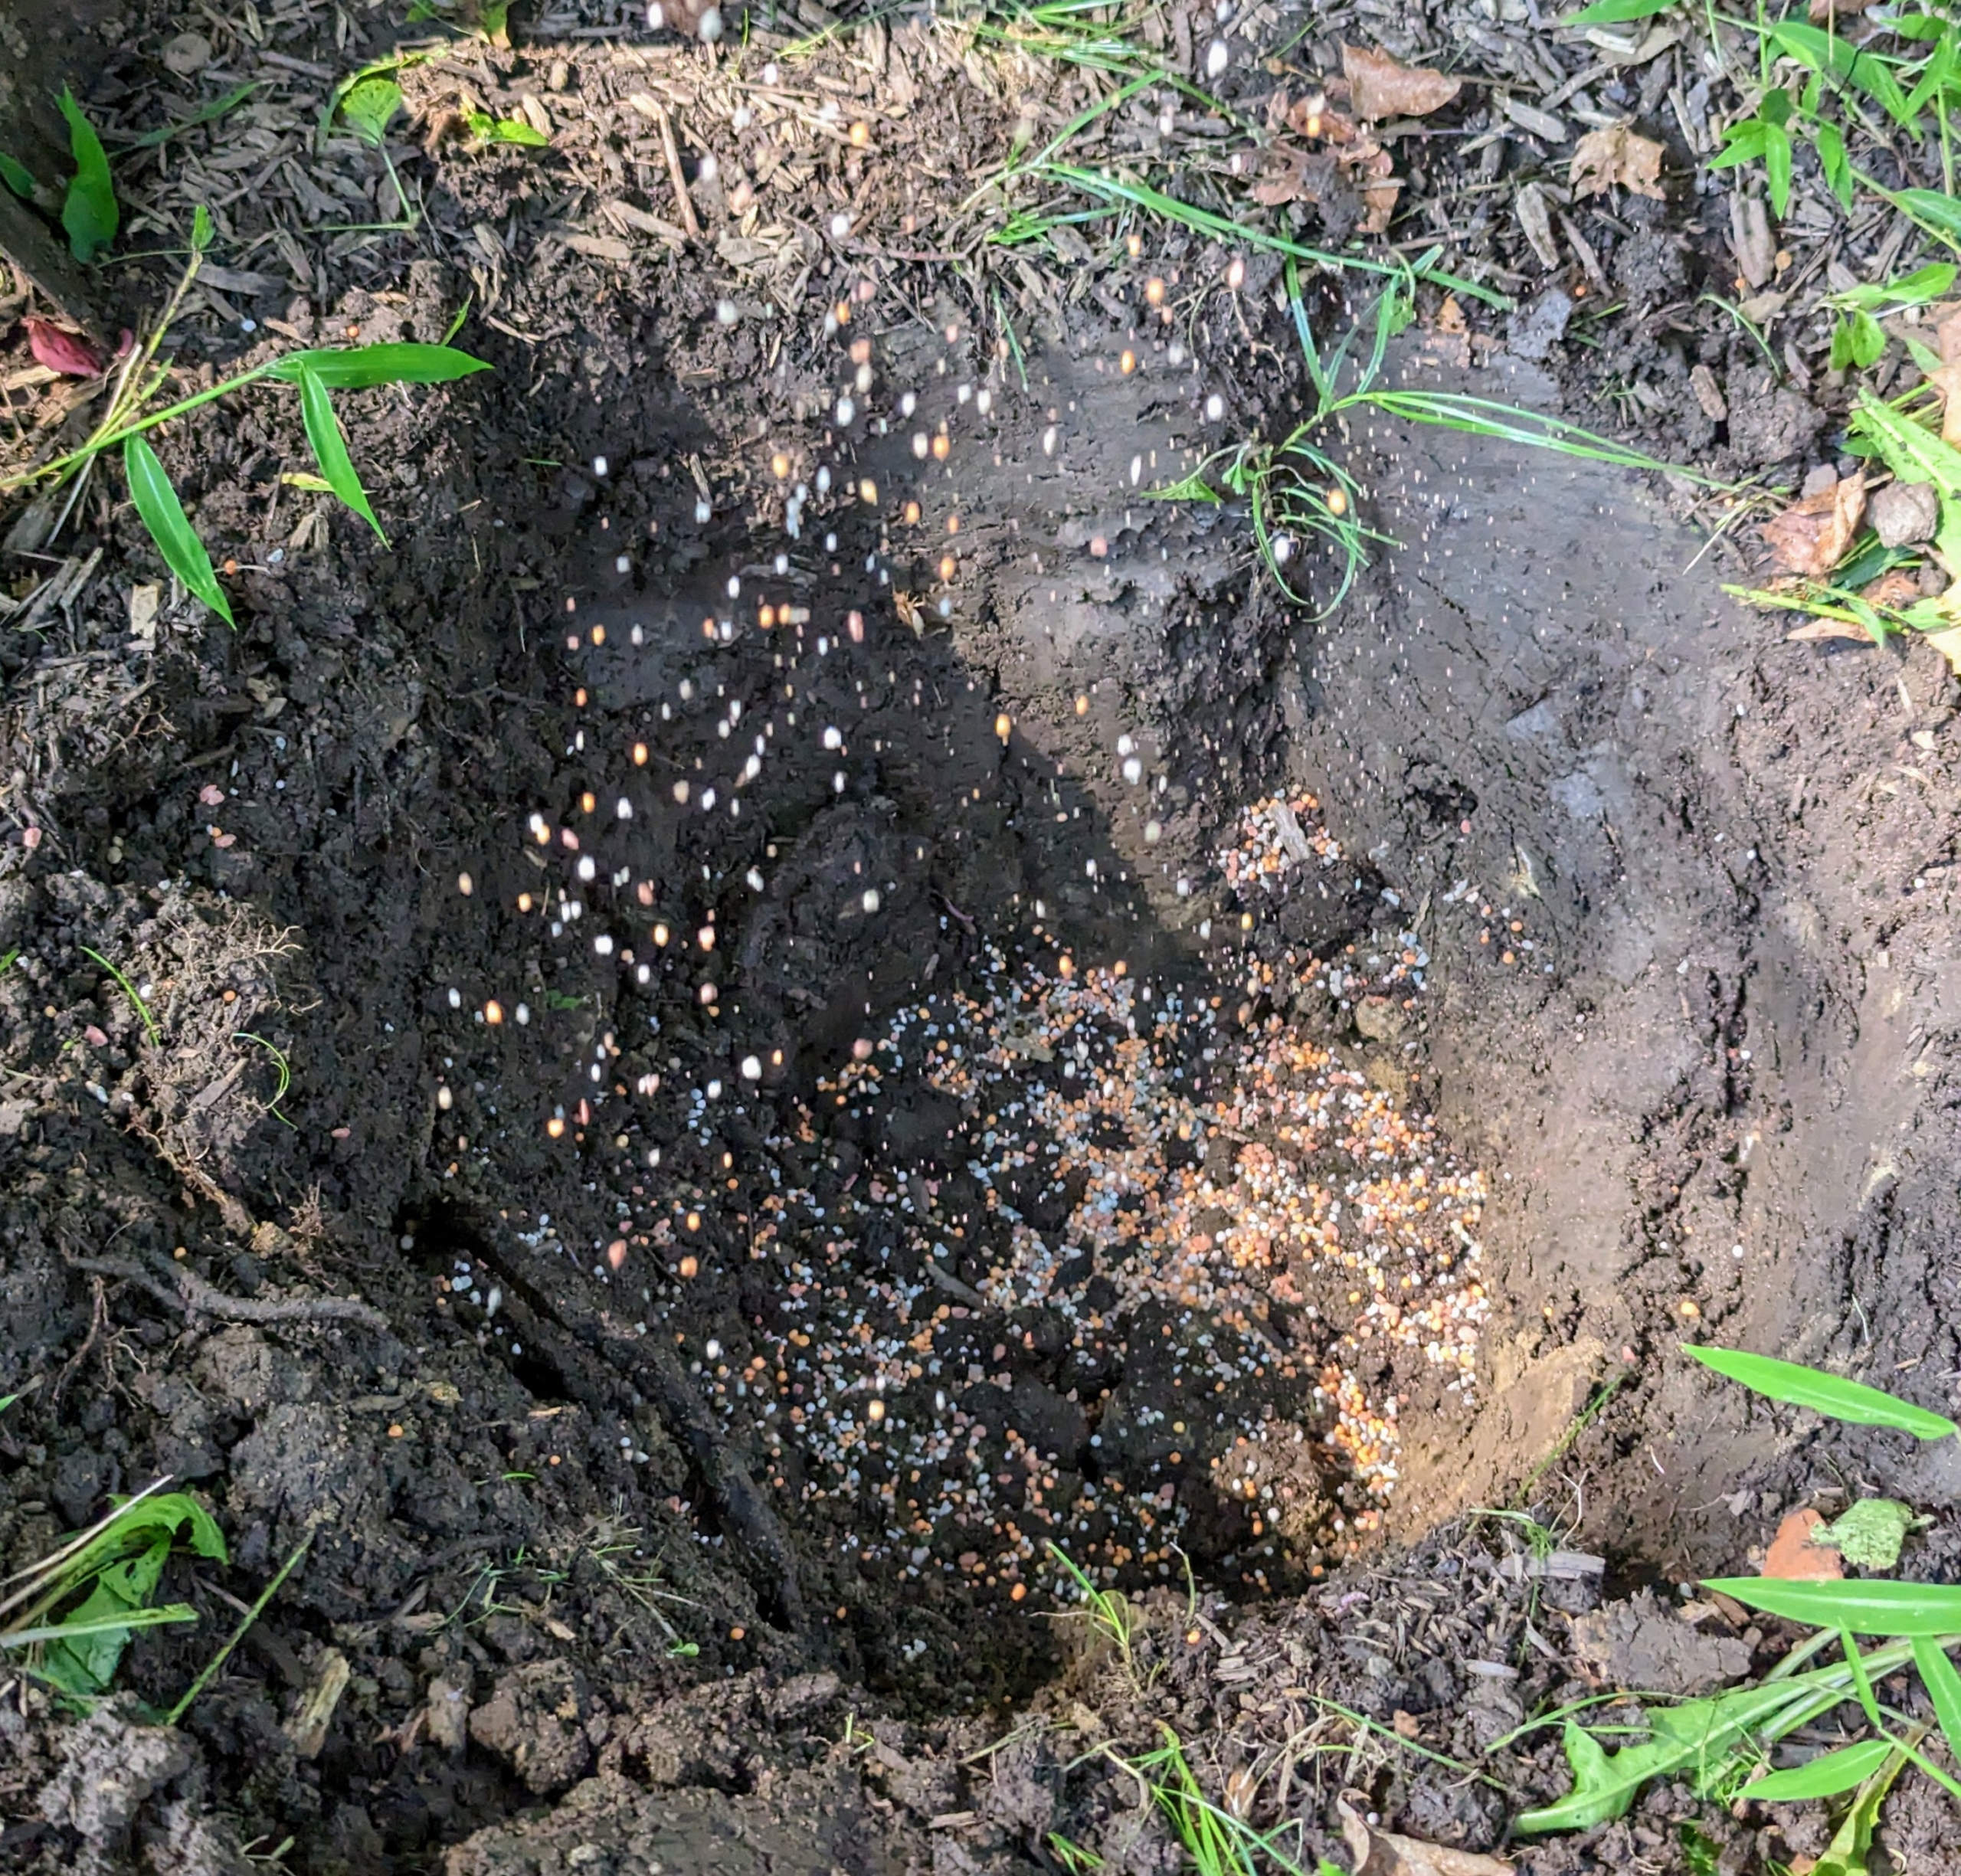
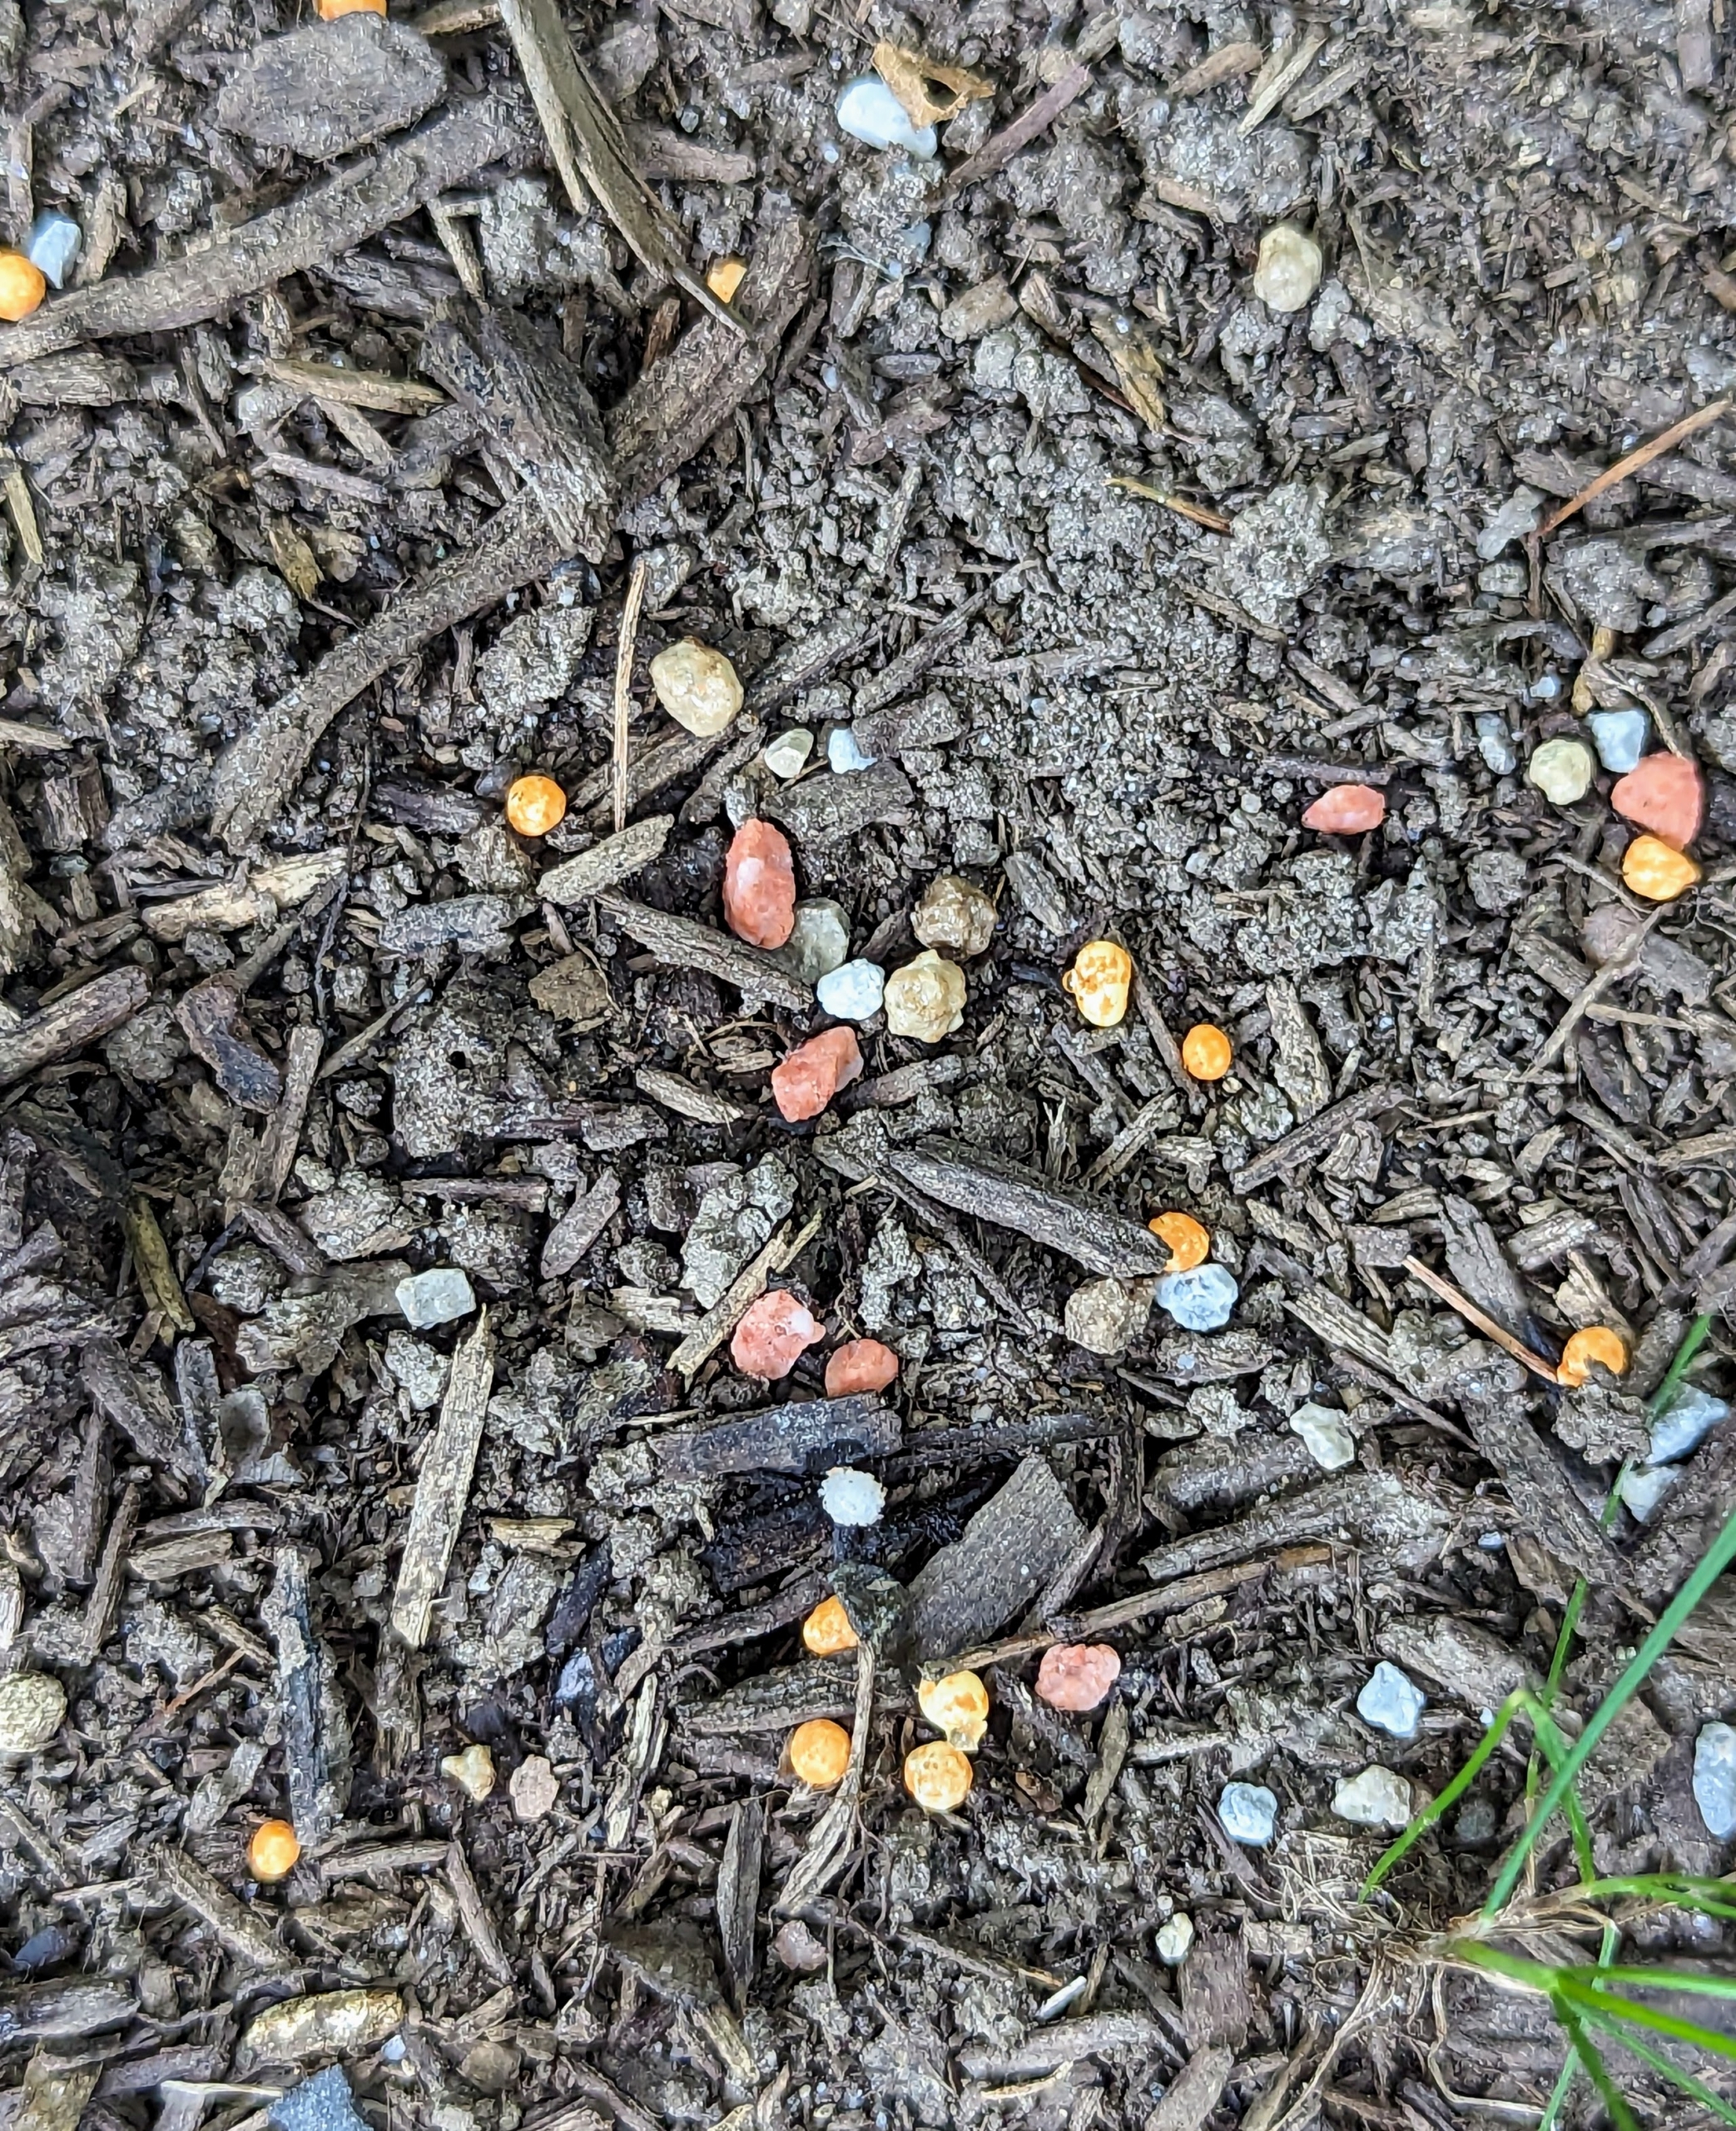
Once dug, Brian sprinkles fertilizer in the hole and in the surrounding soil. For these, we use an all-purpose formula with a good balance of nitrogen, phosphorous and potassium.
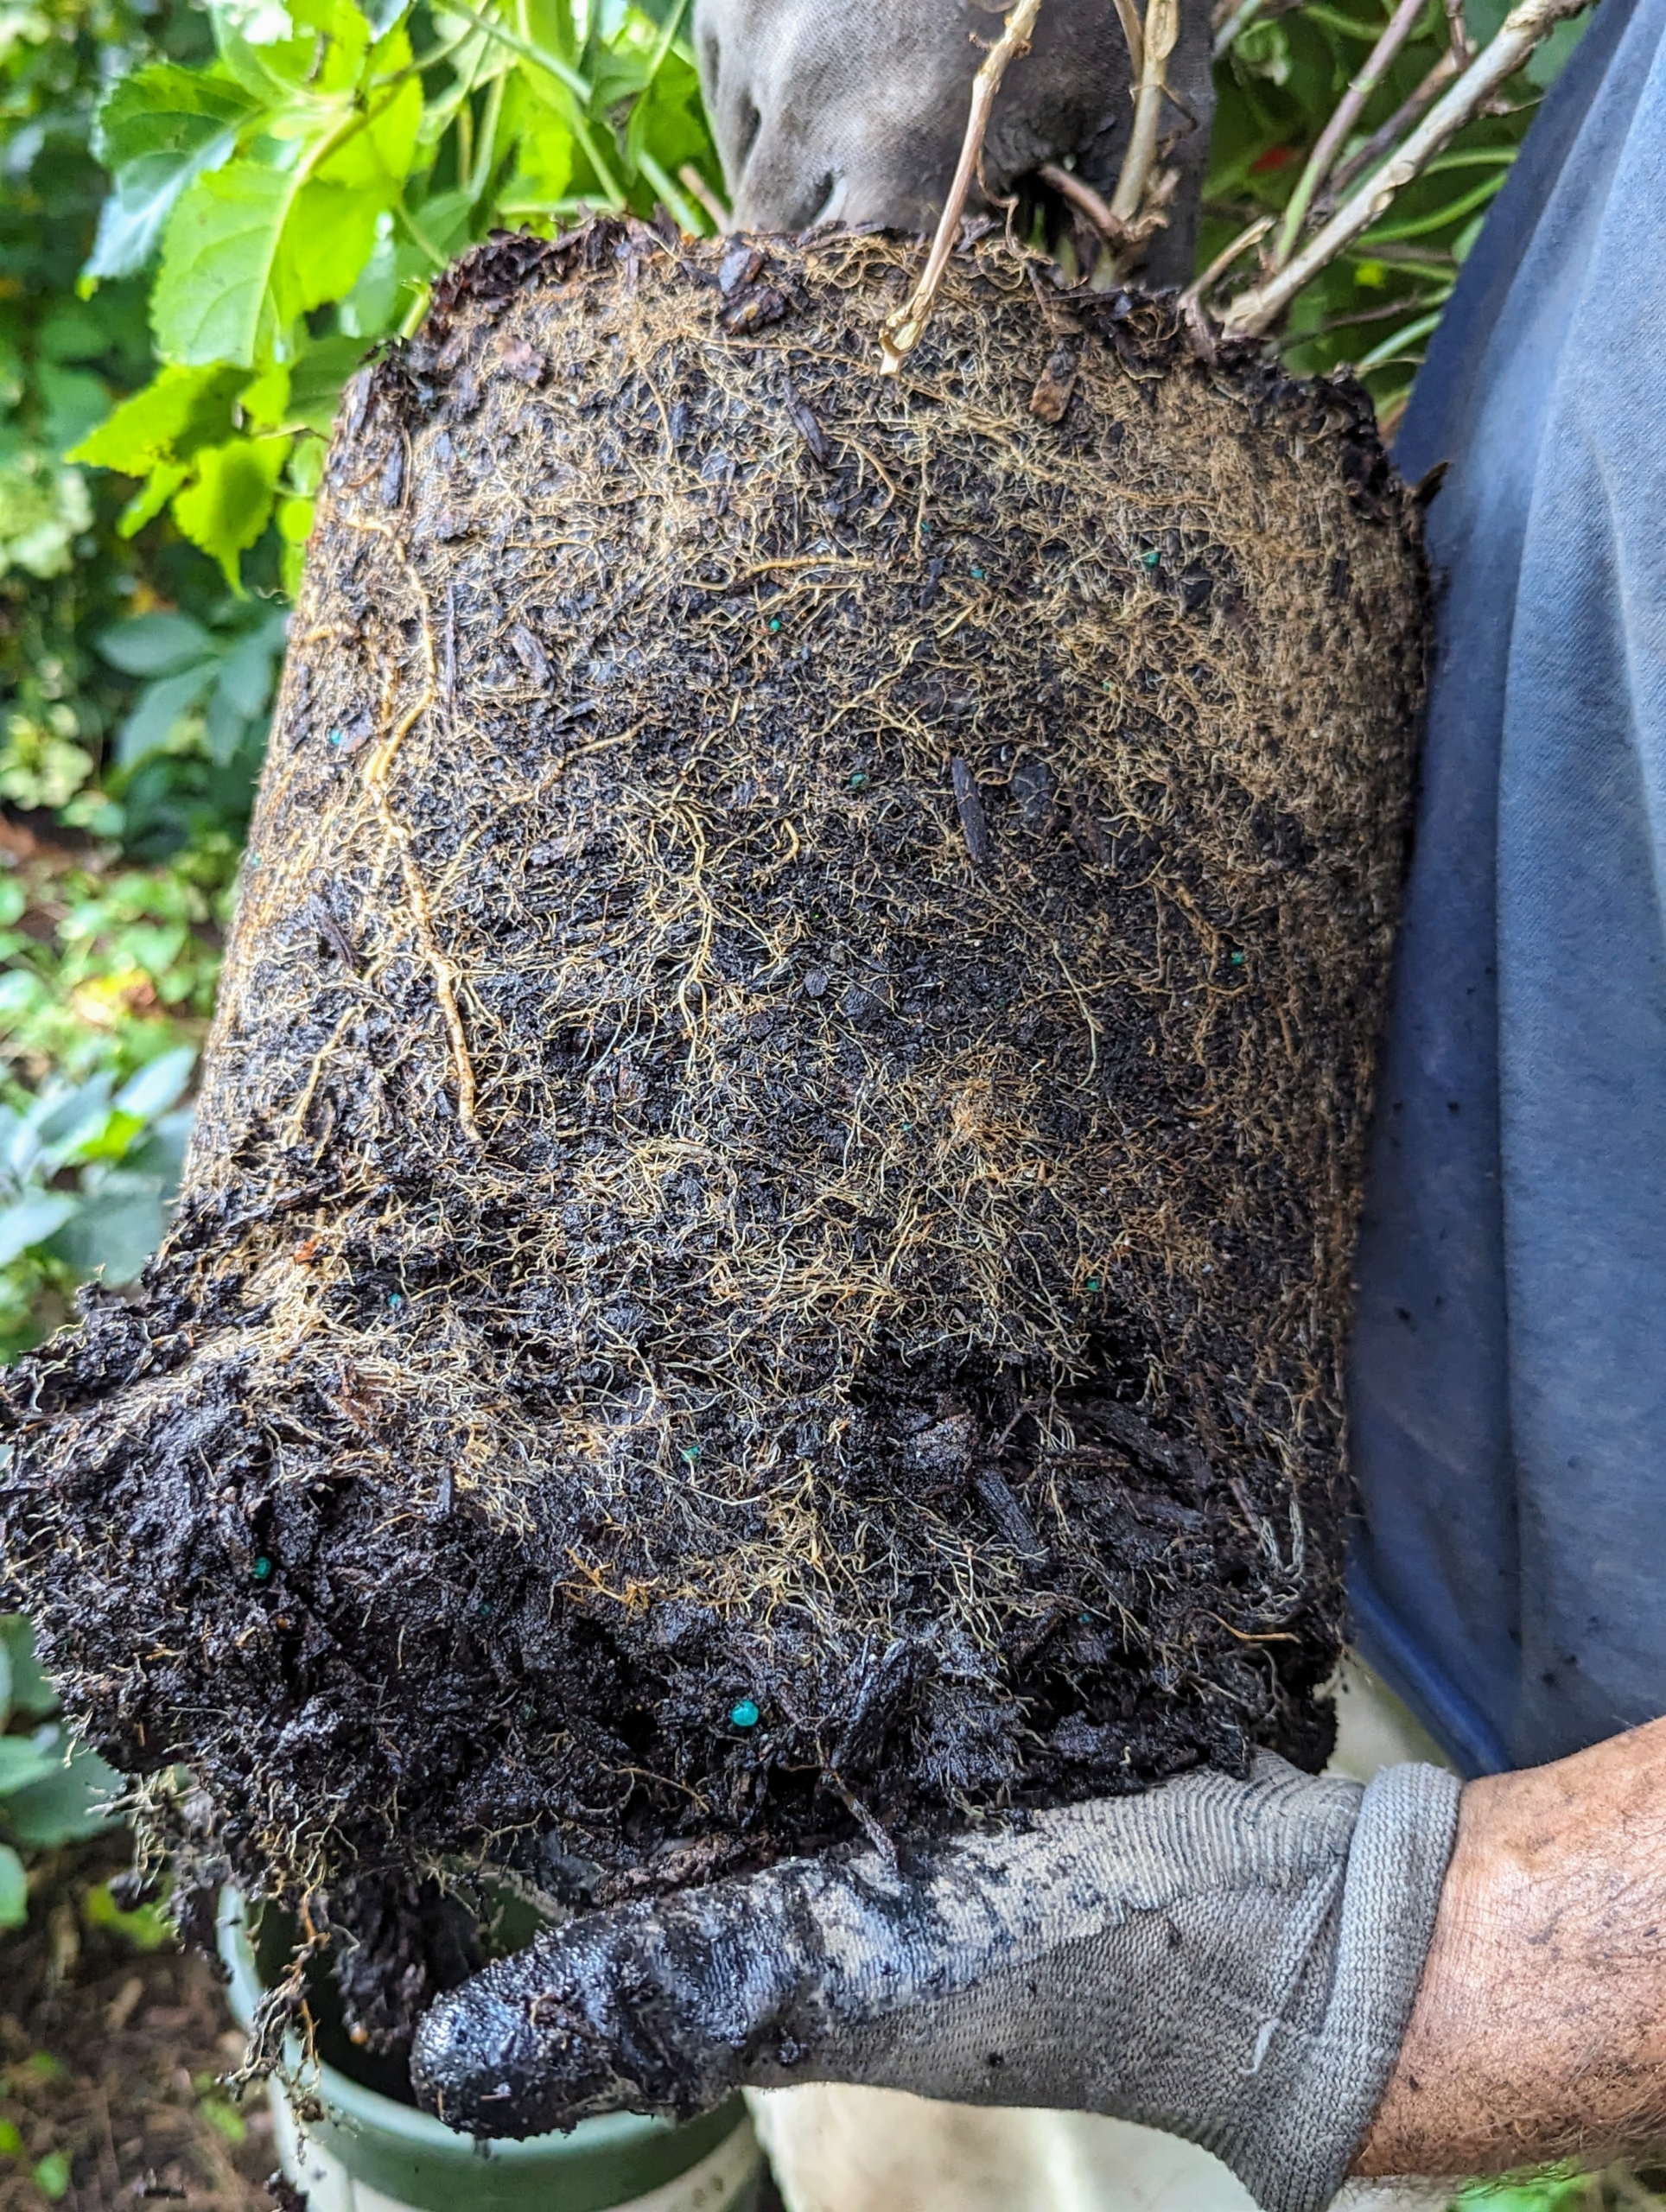
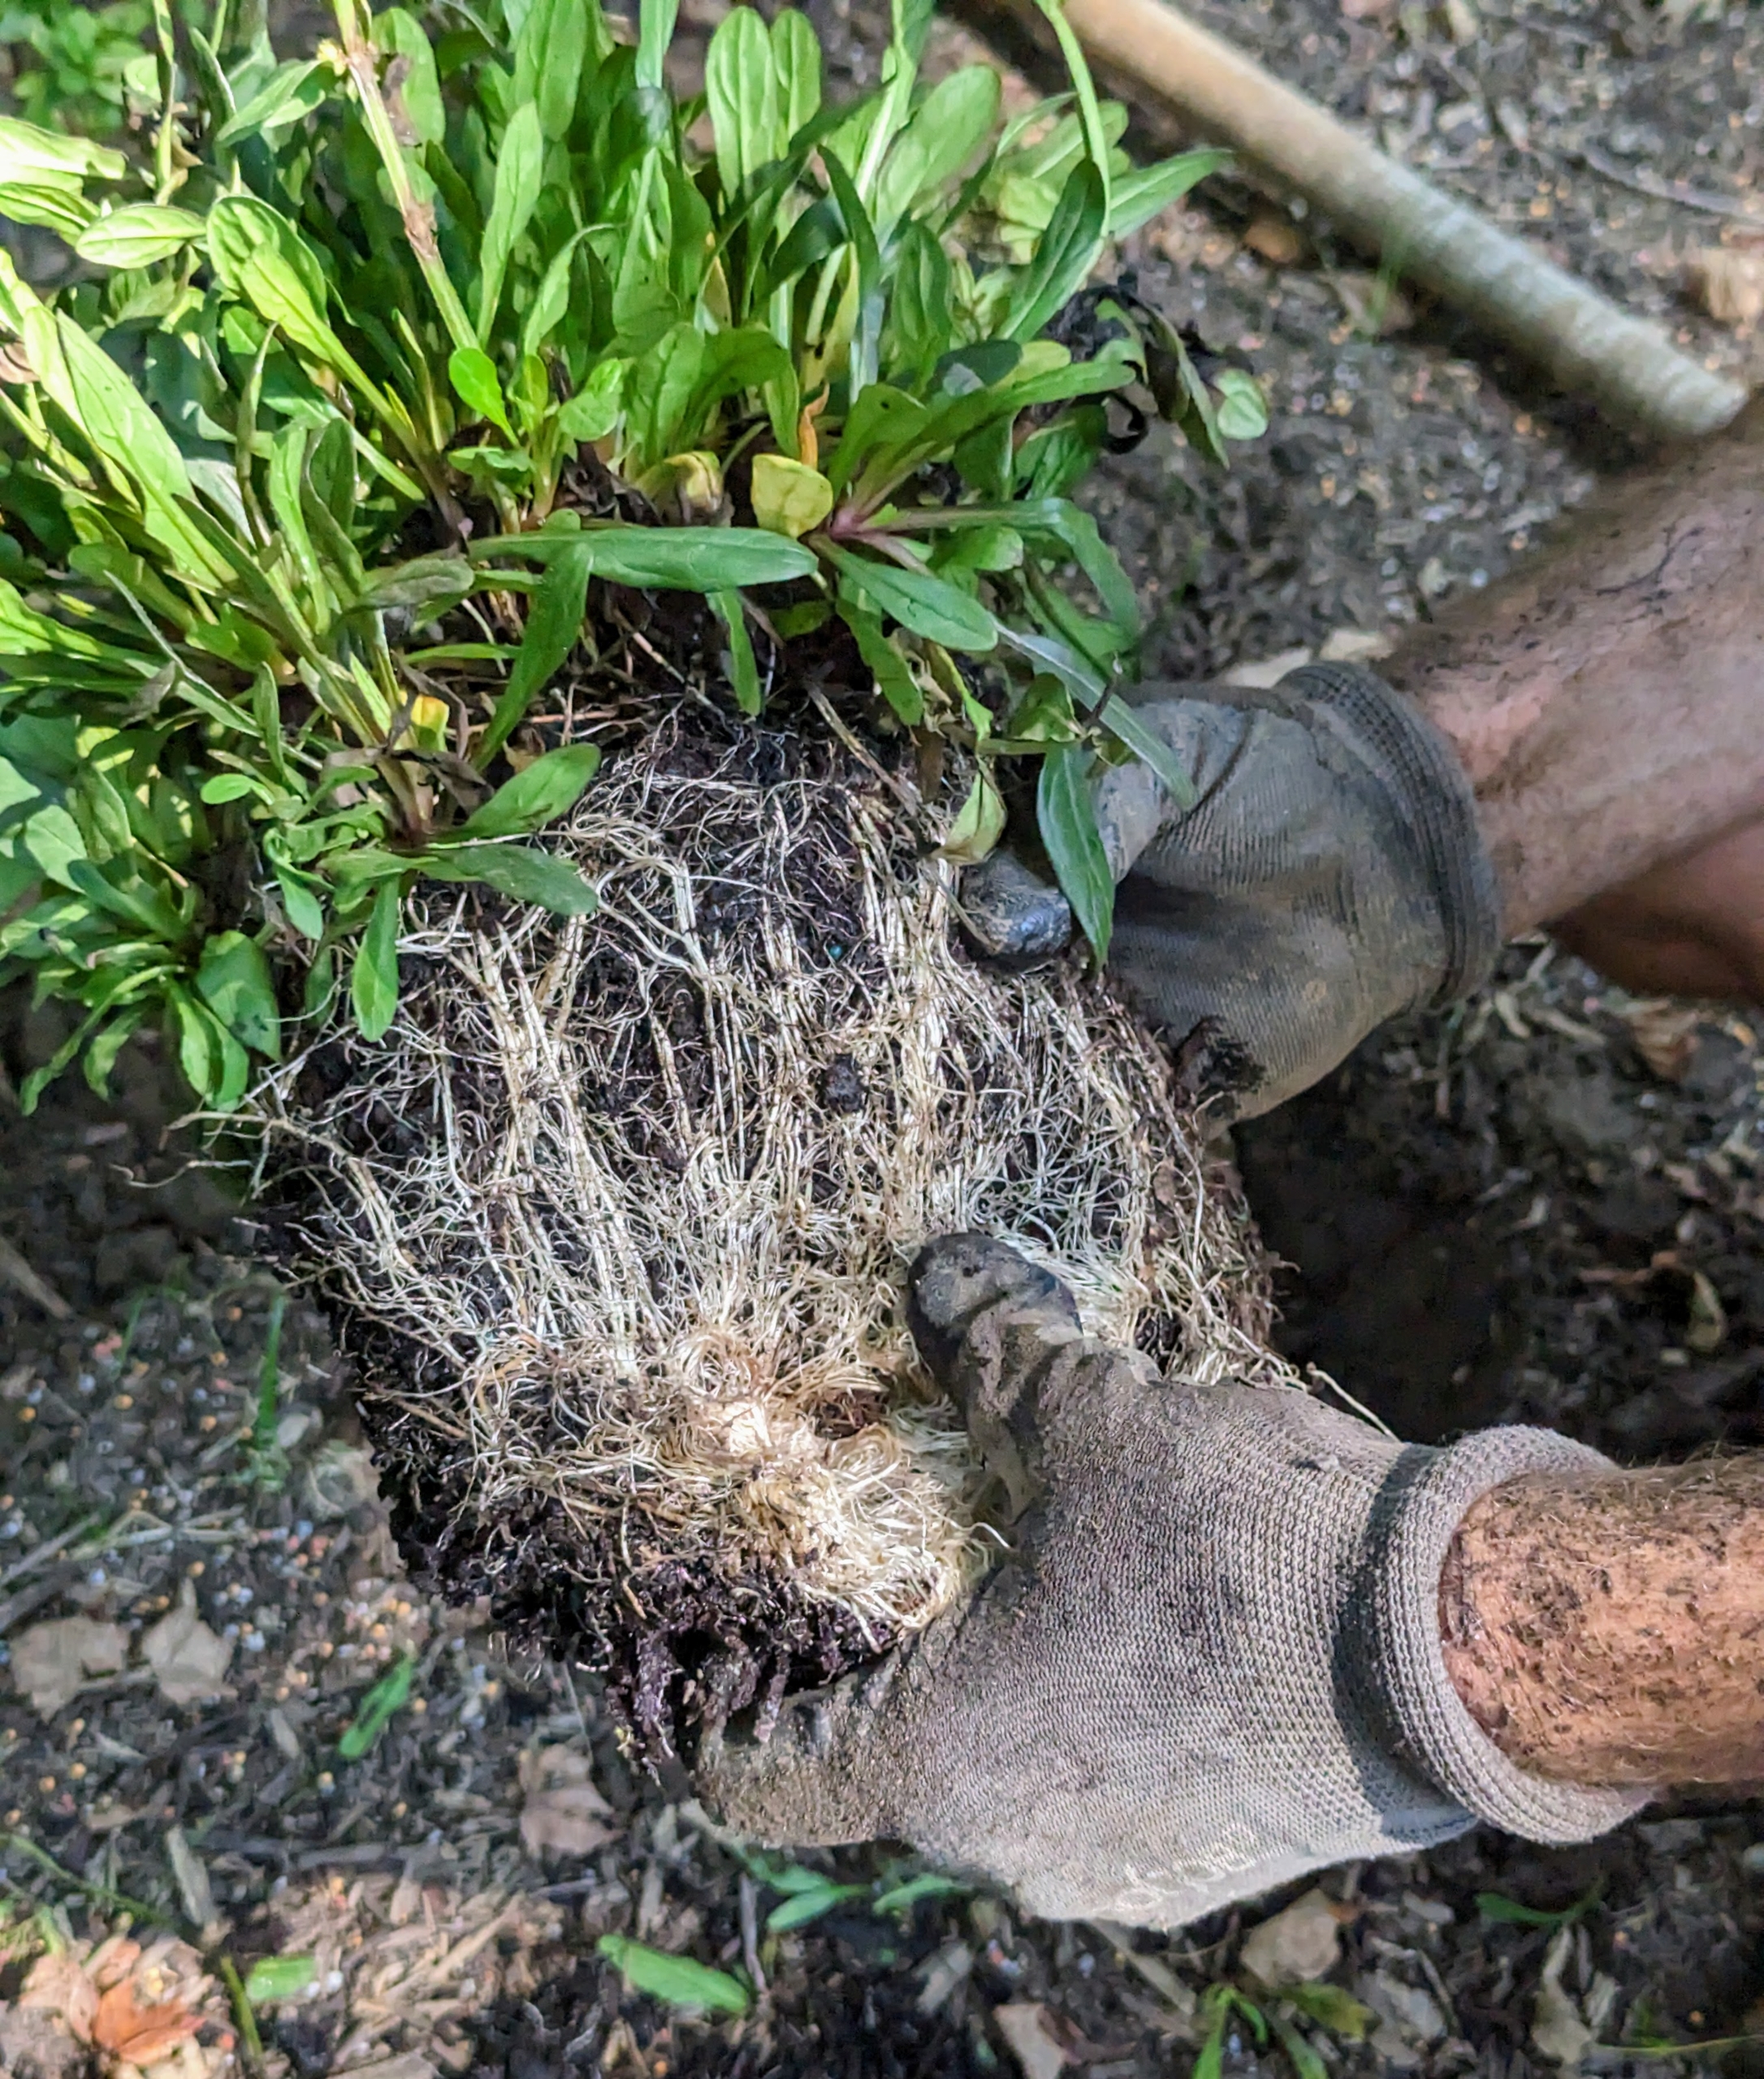
As with any plant, Brian teases the root ball to stimulate growth. This root ball is not root bound, so the soil is softer and easy to scarify, or tease, with his hands.
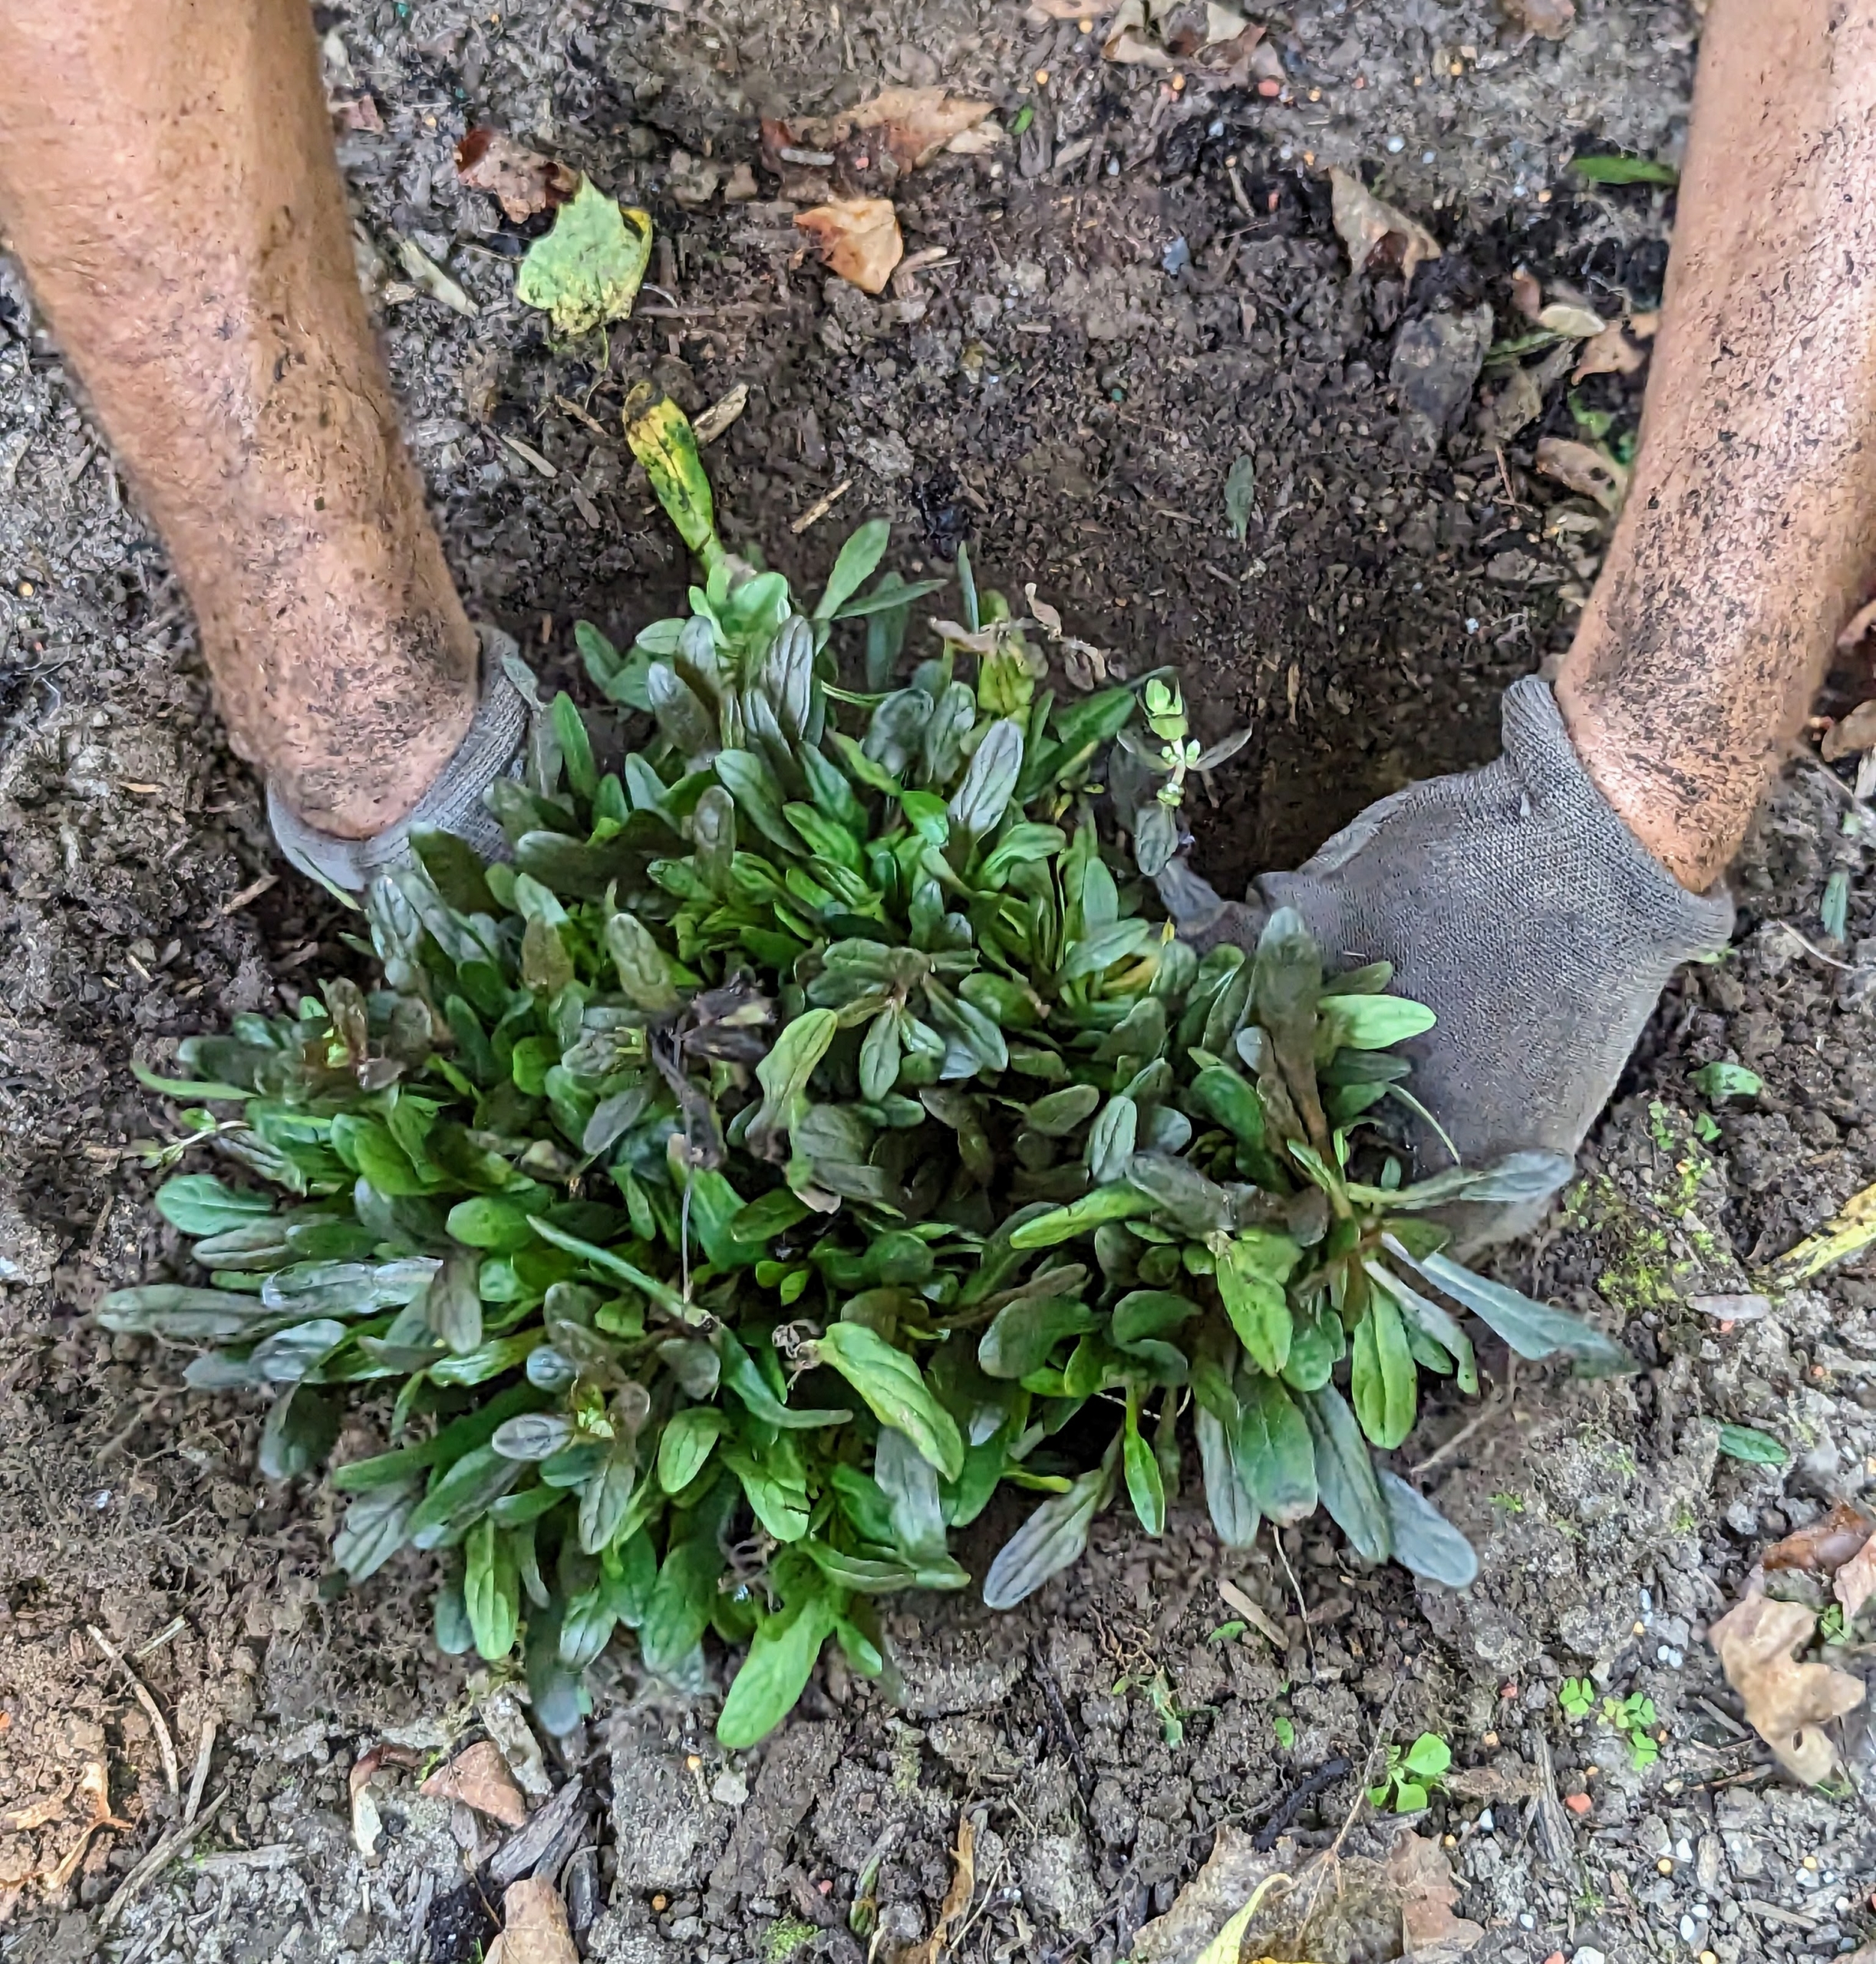
The plant should sit at the same depth it was in the pot.
Next, Brian backfills, tamping the soil lightly at the end to ensure good contact.
These productive plants will flourish in this garden and make nice additions to the already established plants. Remember, perennials grow slowly the first year, faster the second year, and then usually reach full size in the third year. A well-designed perennial garden will provide many years of enjoyment.
My new garden continues to produce bounties of beautiful fresh vegetables. Our latest harvest - potatoes!
Yesterday, before a thunderous rainstorm, my head gardener, Ryan McCallister, harvested the season's first batch of potatoes. Potatoes are from the perennial nightshade, Solanum tuberosum. As the world's fourth-largest food crop, following maize, wheat, and rice, potatoes are grown from “seed potatoes”, which are certified disease-free and specially grown in nurseries for planting purposes. This season’s “seed potatoes” came from High Mowing Organic Seeds, an independently-owned, farm-based seed company in Wolcott, Vermont.
Enjoy these photos.
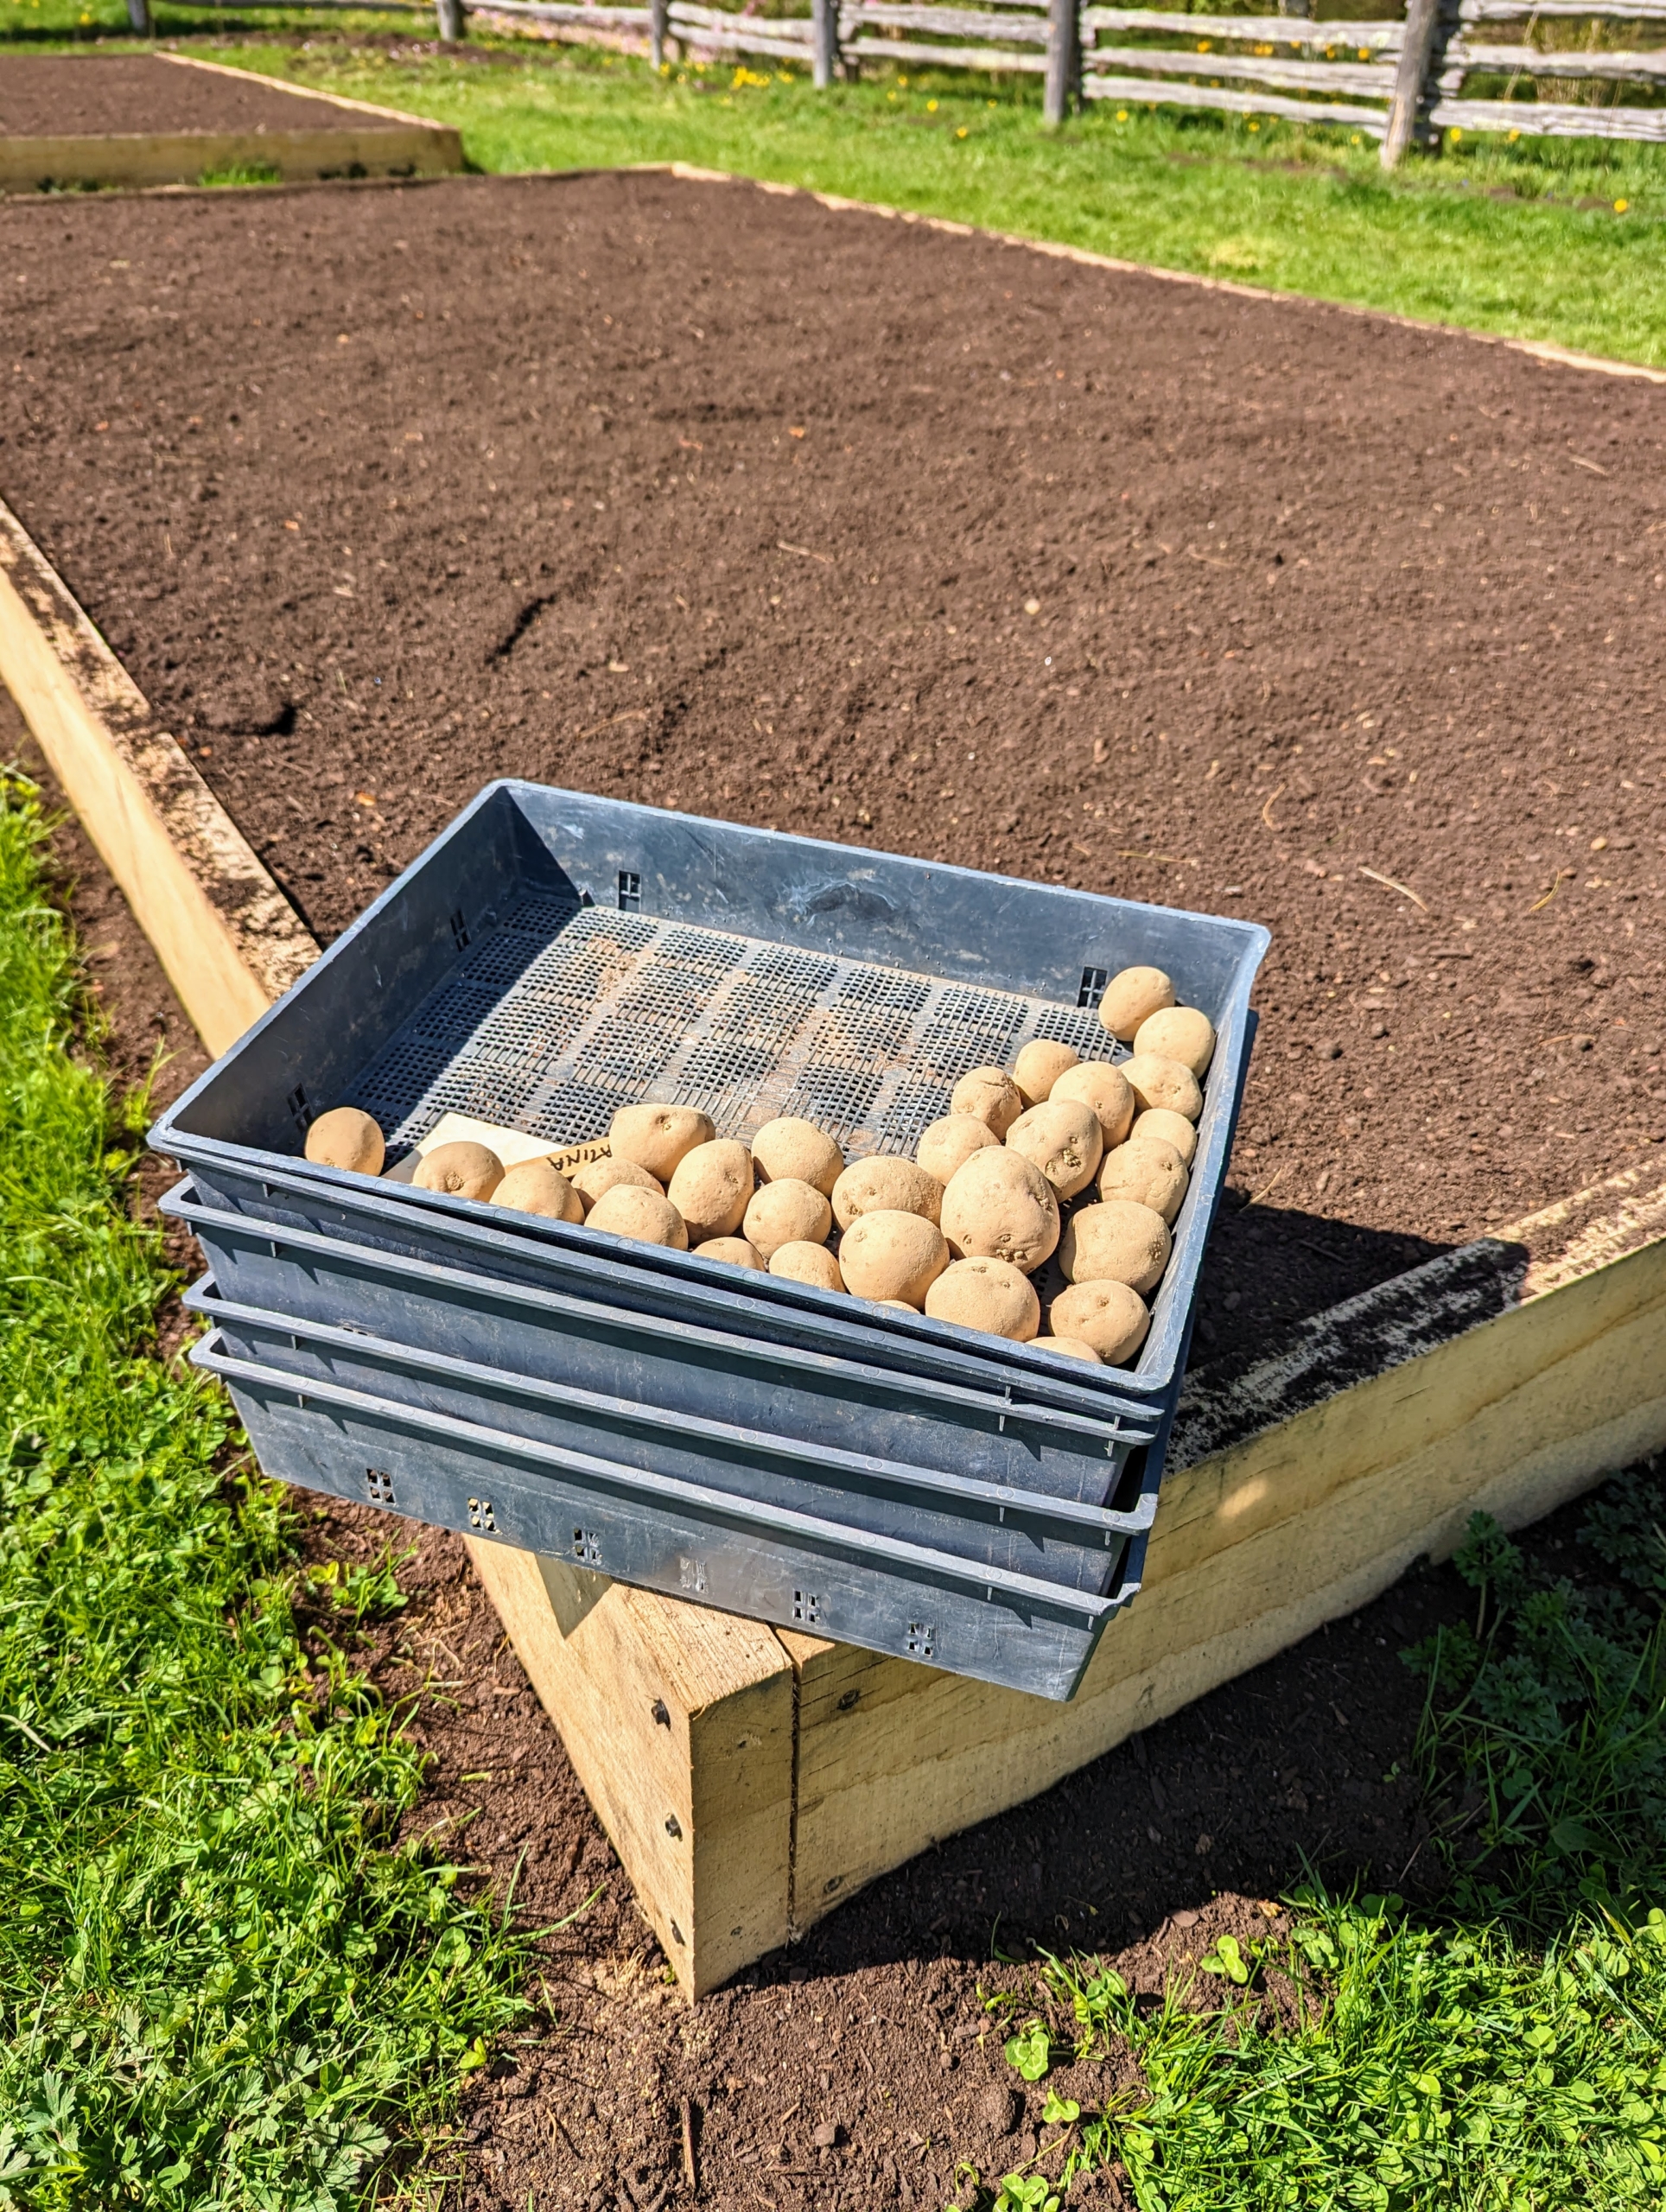
Every year, we order a selection of potatoes to plant. This is the first year we planted them in my new half-acre garden. I chose two of the largest beds, filled them with nutrient-rich compost and then when everything was ready, planted our seed potatoes. This photo is from late April. It generally takes three to four months to grow potatoes.
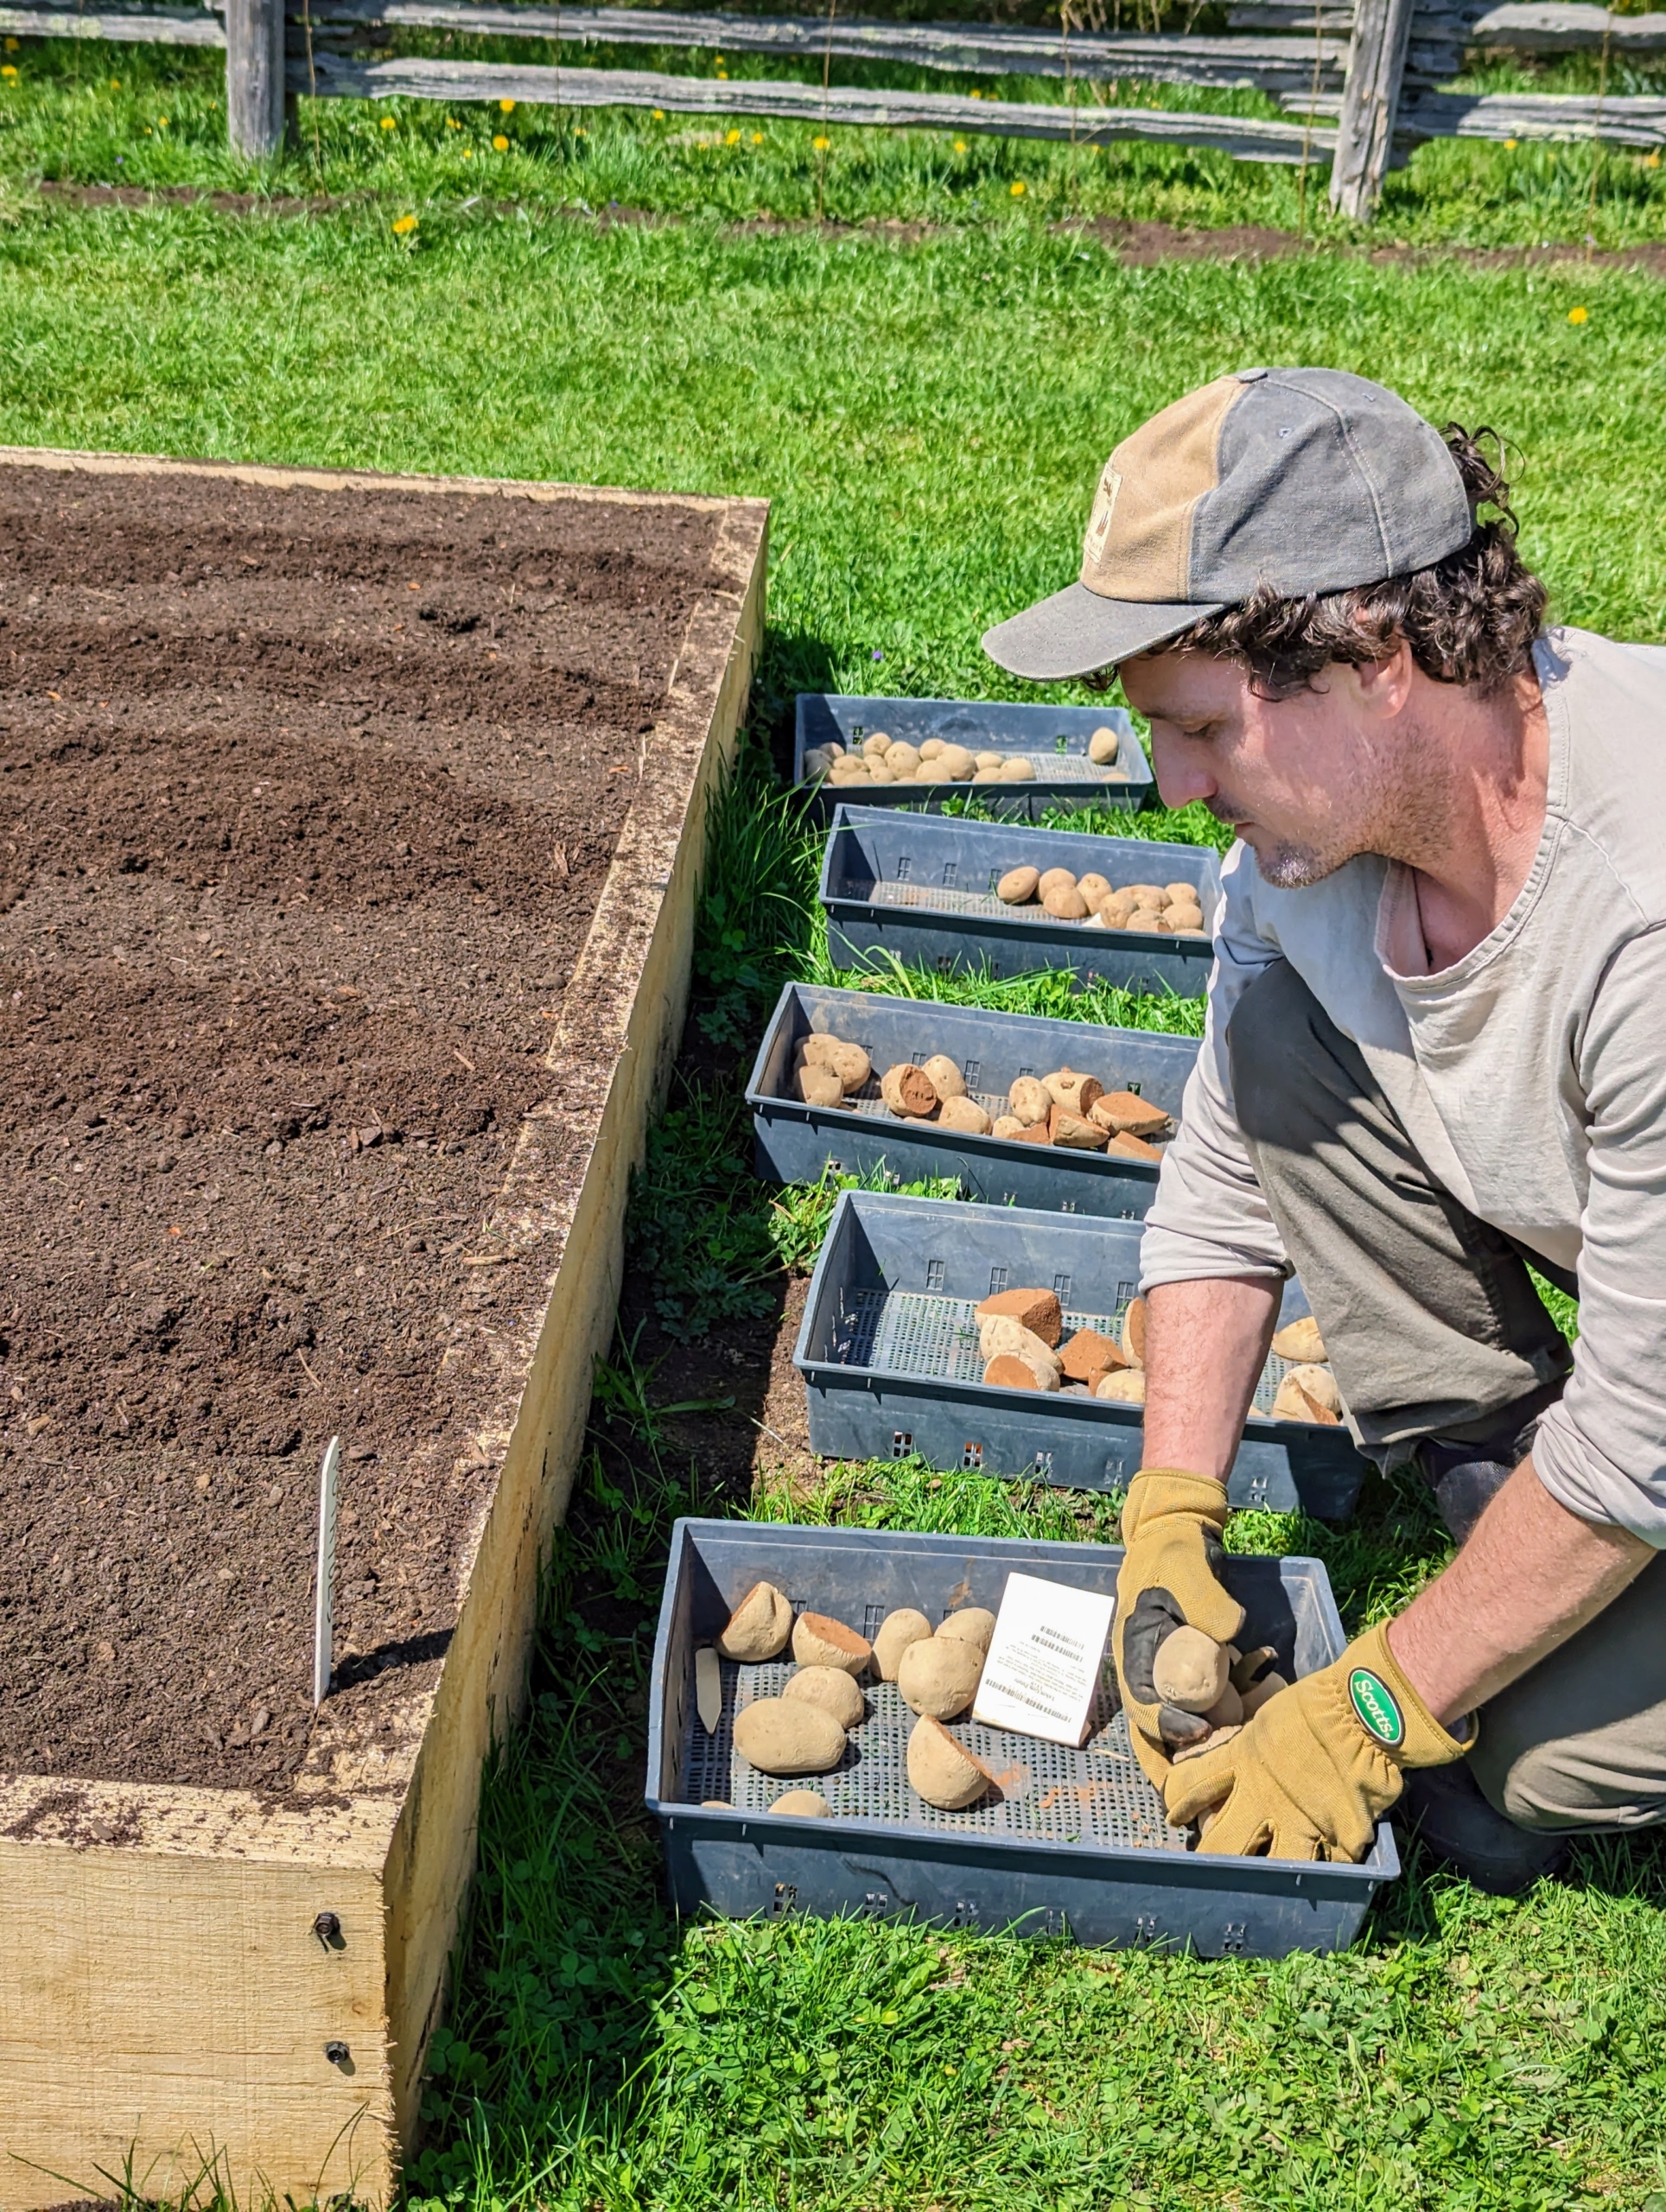
We also carefully select the potatoes we grow, using the varieties that worked for us in years past. This time, some of the varieties include Burbank russet potatoes, dark red Norland potatoes, Elba potatoes, German butterball potatoes, red Chieftain potatoes, Satina potatoes, Yukon gem potatoes, and Yukon Gold potatoes. Here is Ryan preparing to plant the beds.
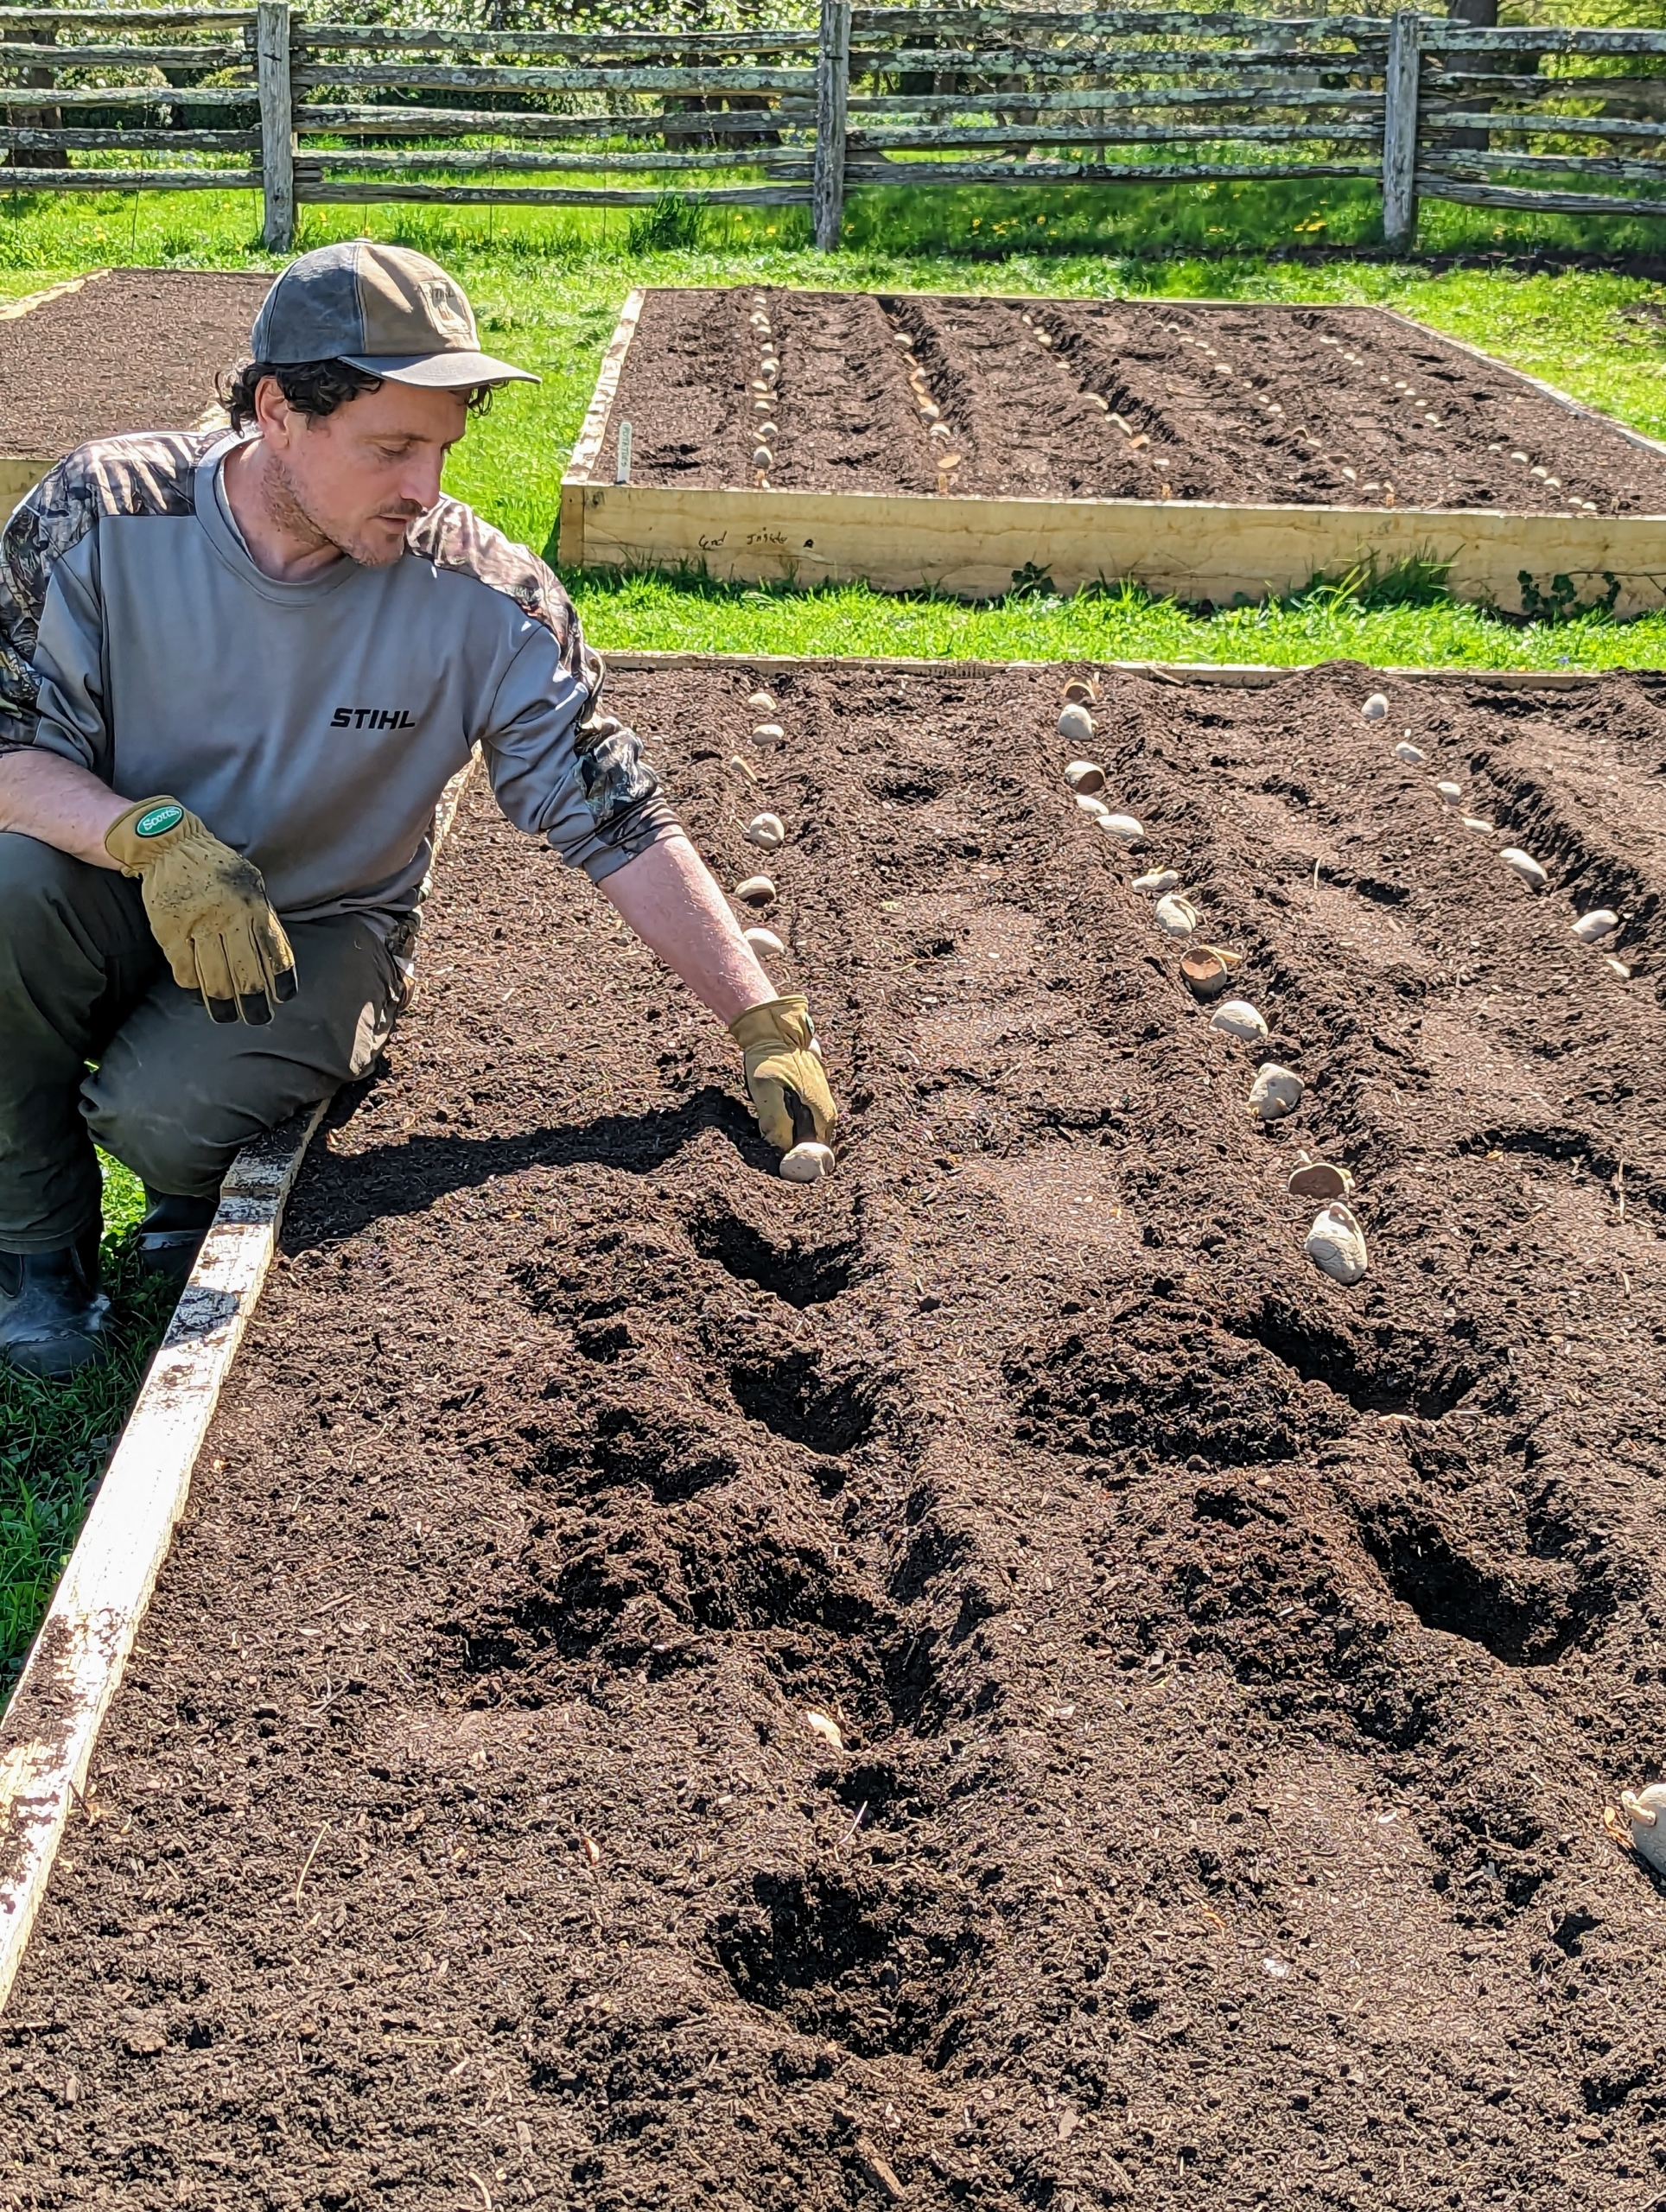
The potatoes are planted in long trenches that run the entire length of each bed and are about five to six inches deep. Potatoes can be planted in cooler soils at least 40-degrees Fahrenheit. Potatoes perform best in soil with pH levels 4.8 to 5.5. Potatoes are easy to grow as long as they have access to full sun and moderate temperatures.
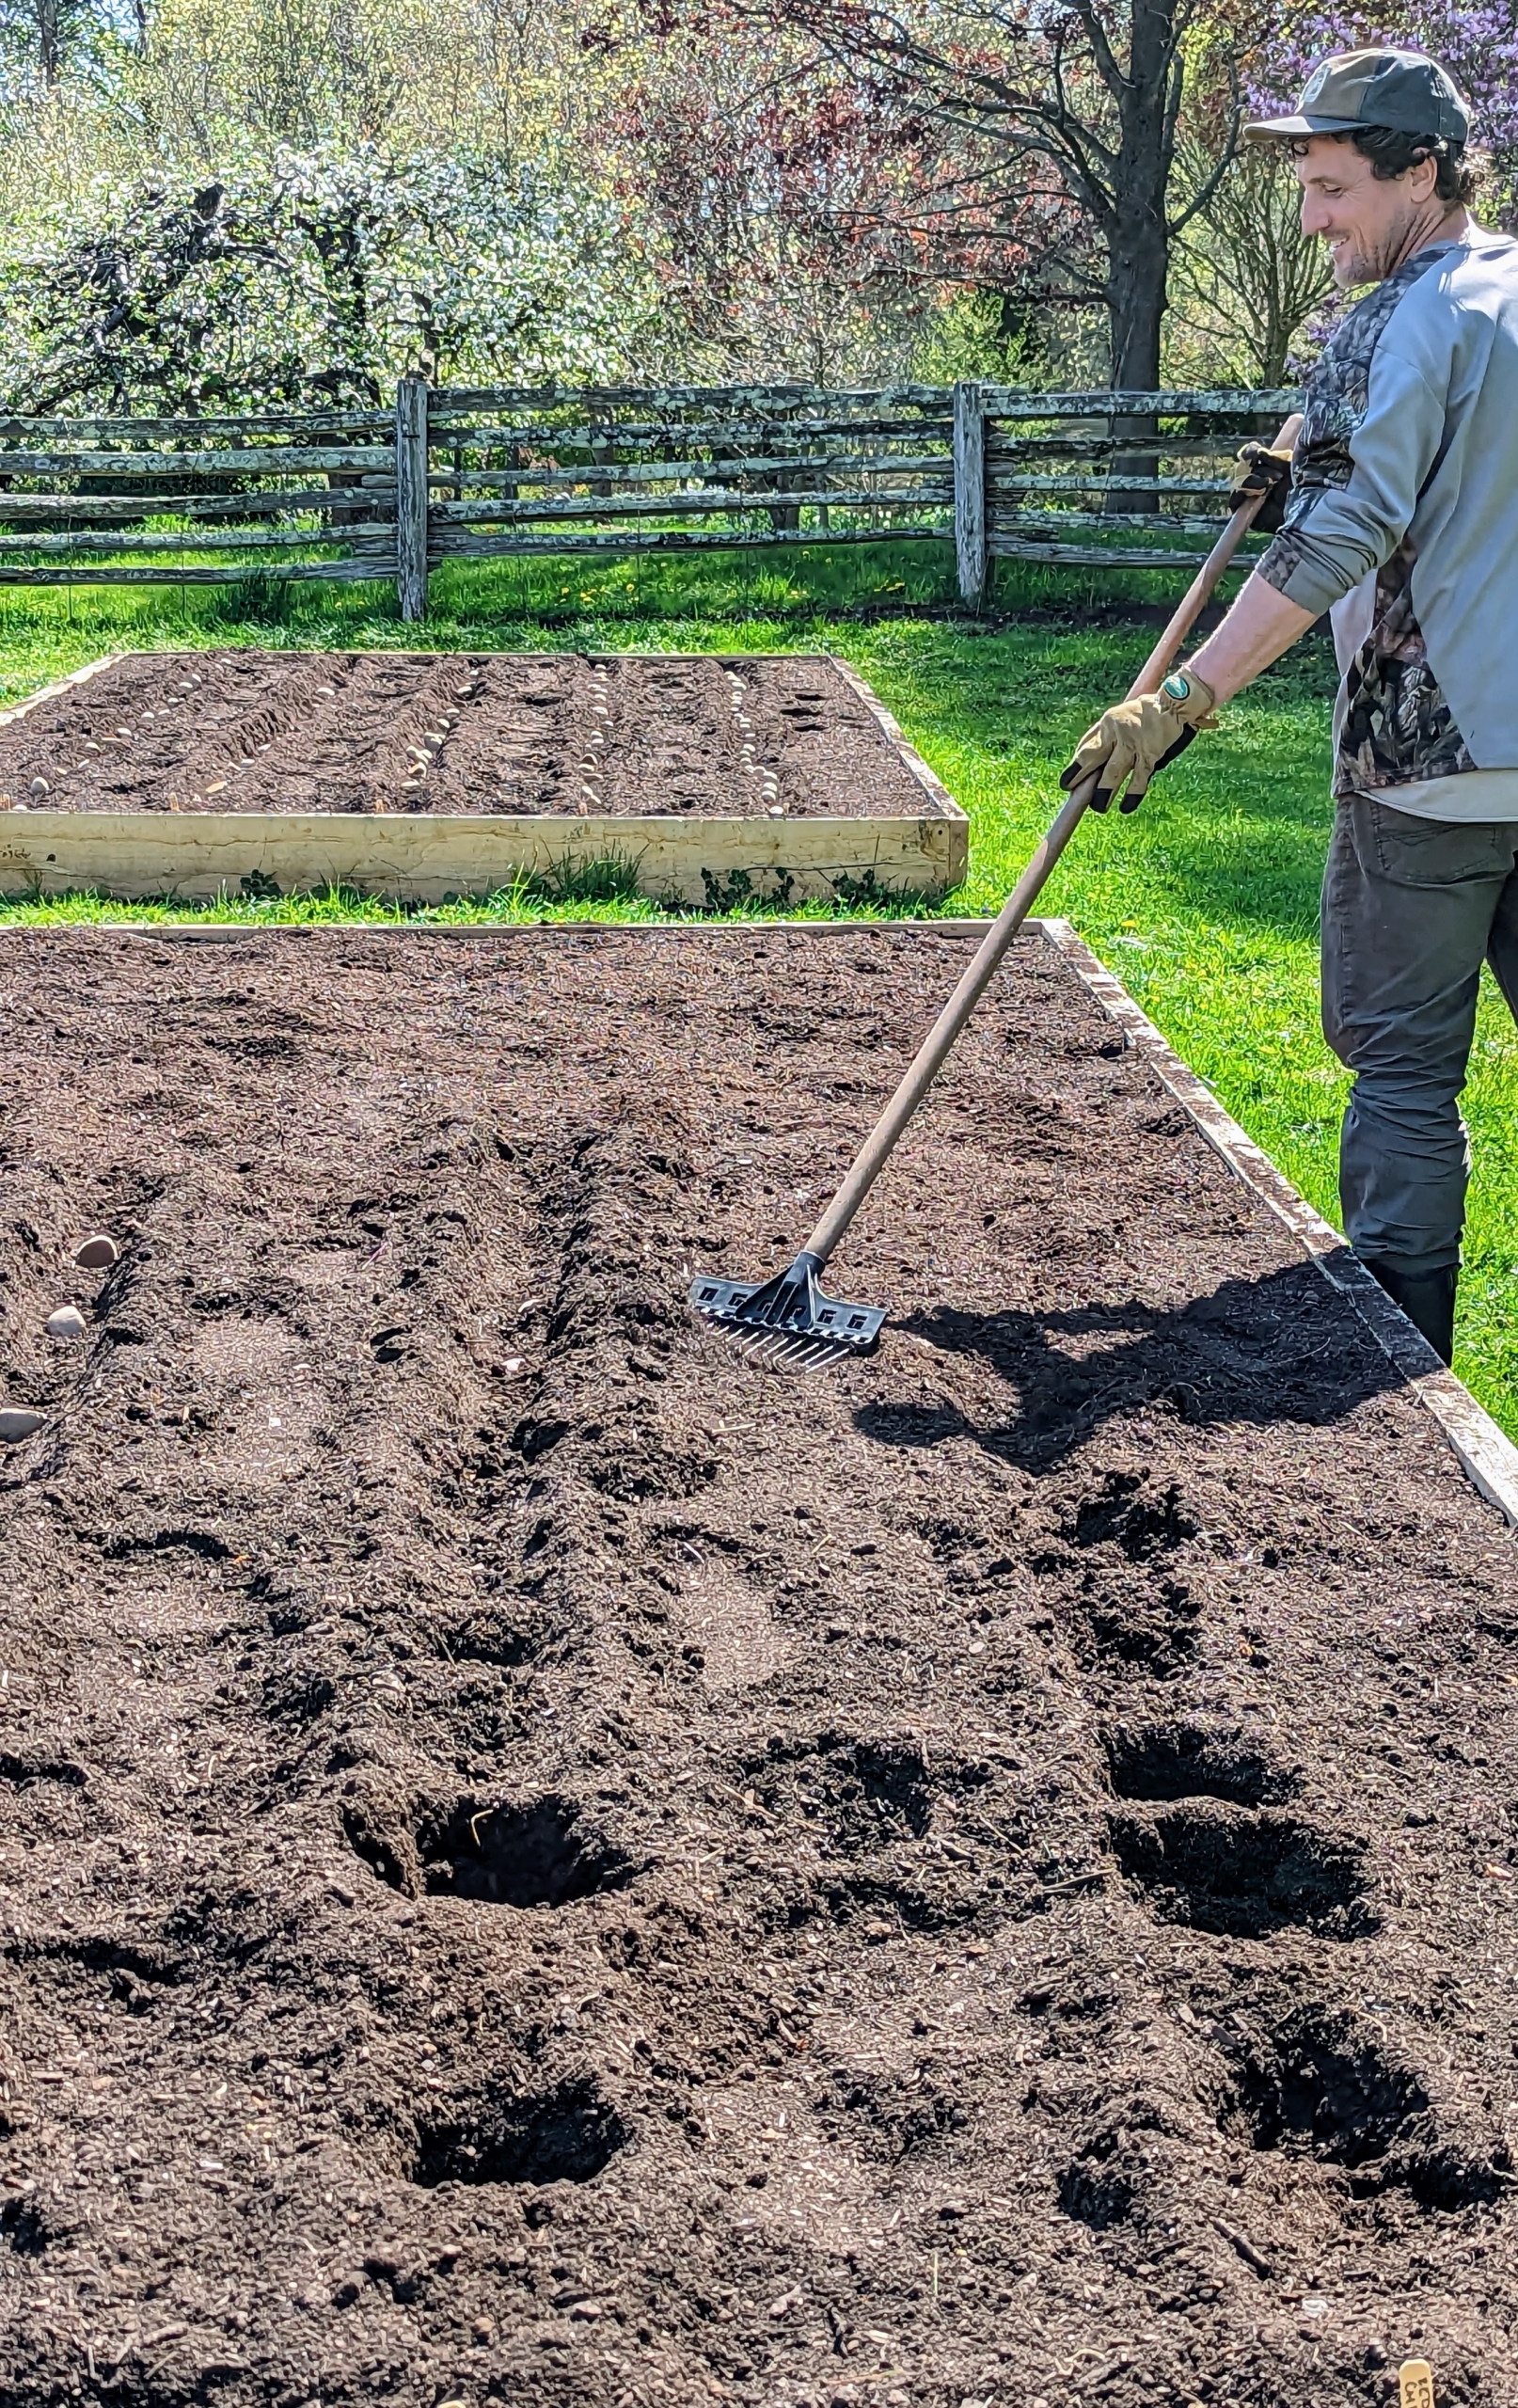
These trenches are at least one to two feet apart to give the potato plants ample room to develop. Here, Ryan backfills the trenches, fully covering the potatoes at least four-inches. Potatoes do best in well-drained, loose soil, and consistent moisture. Little maintenance is needed from this point – just watering.
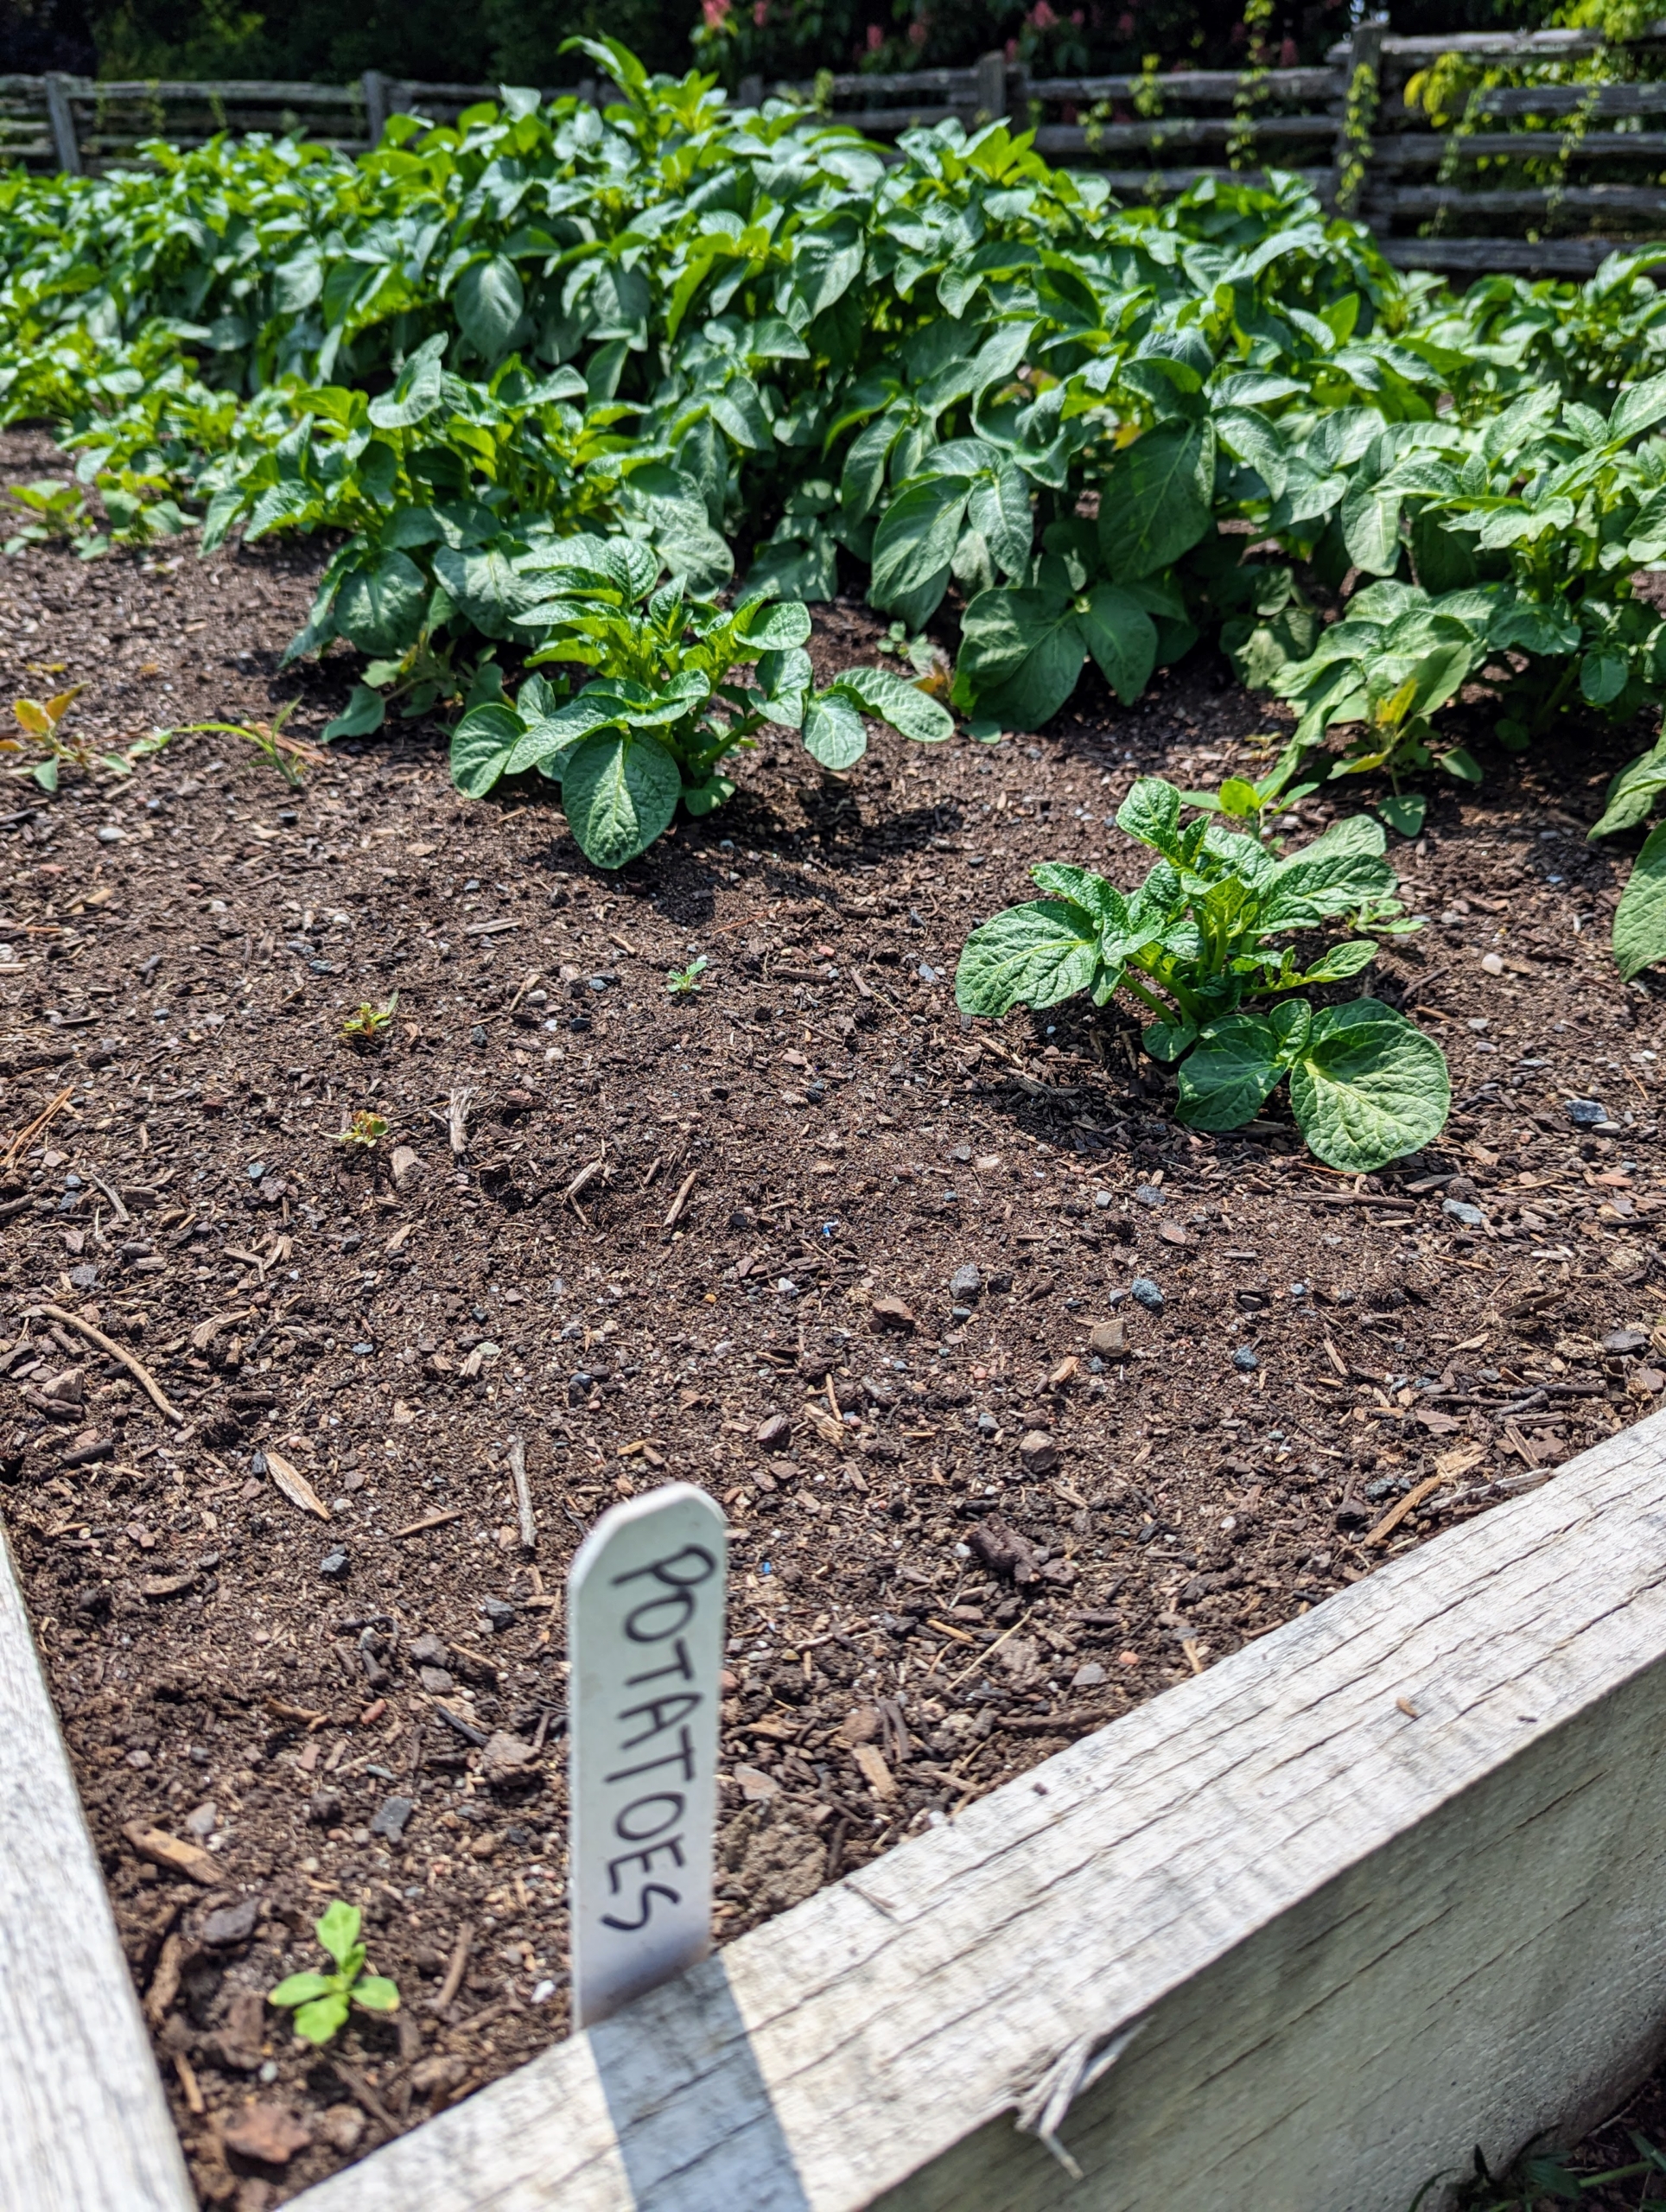
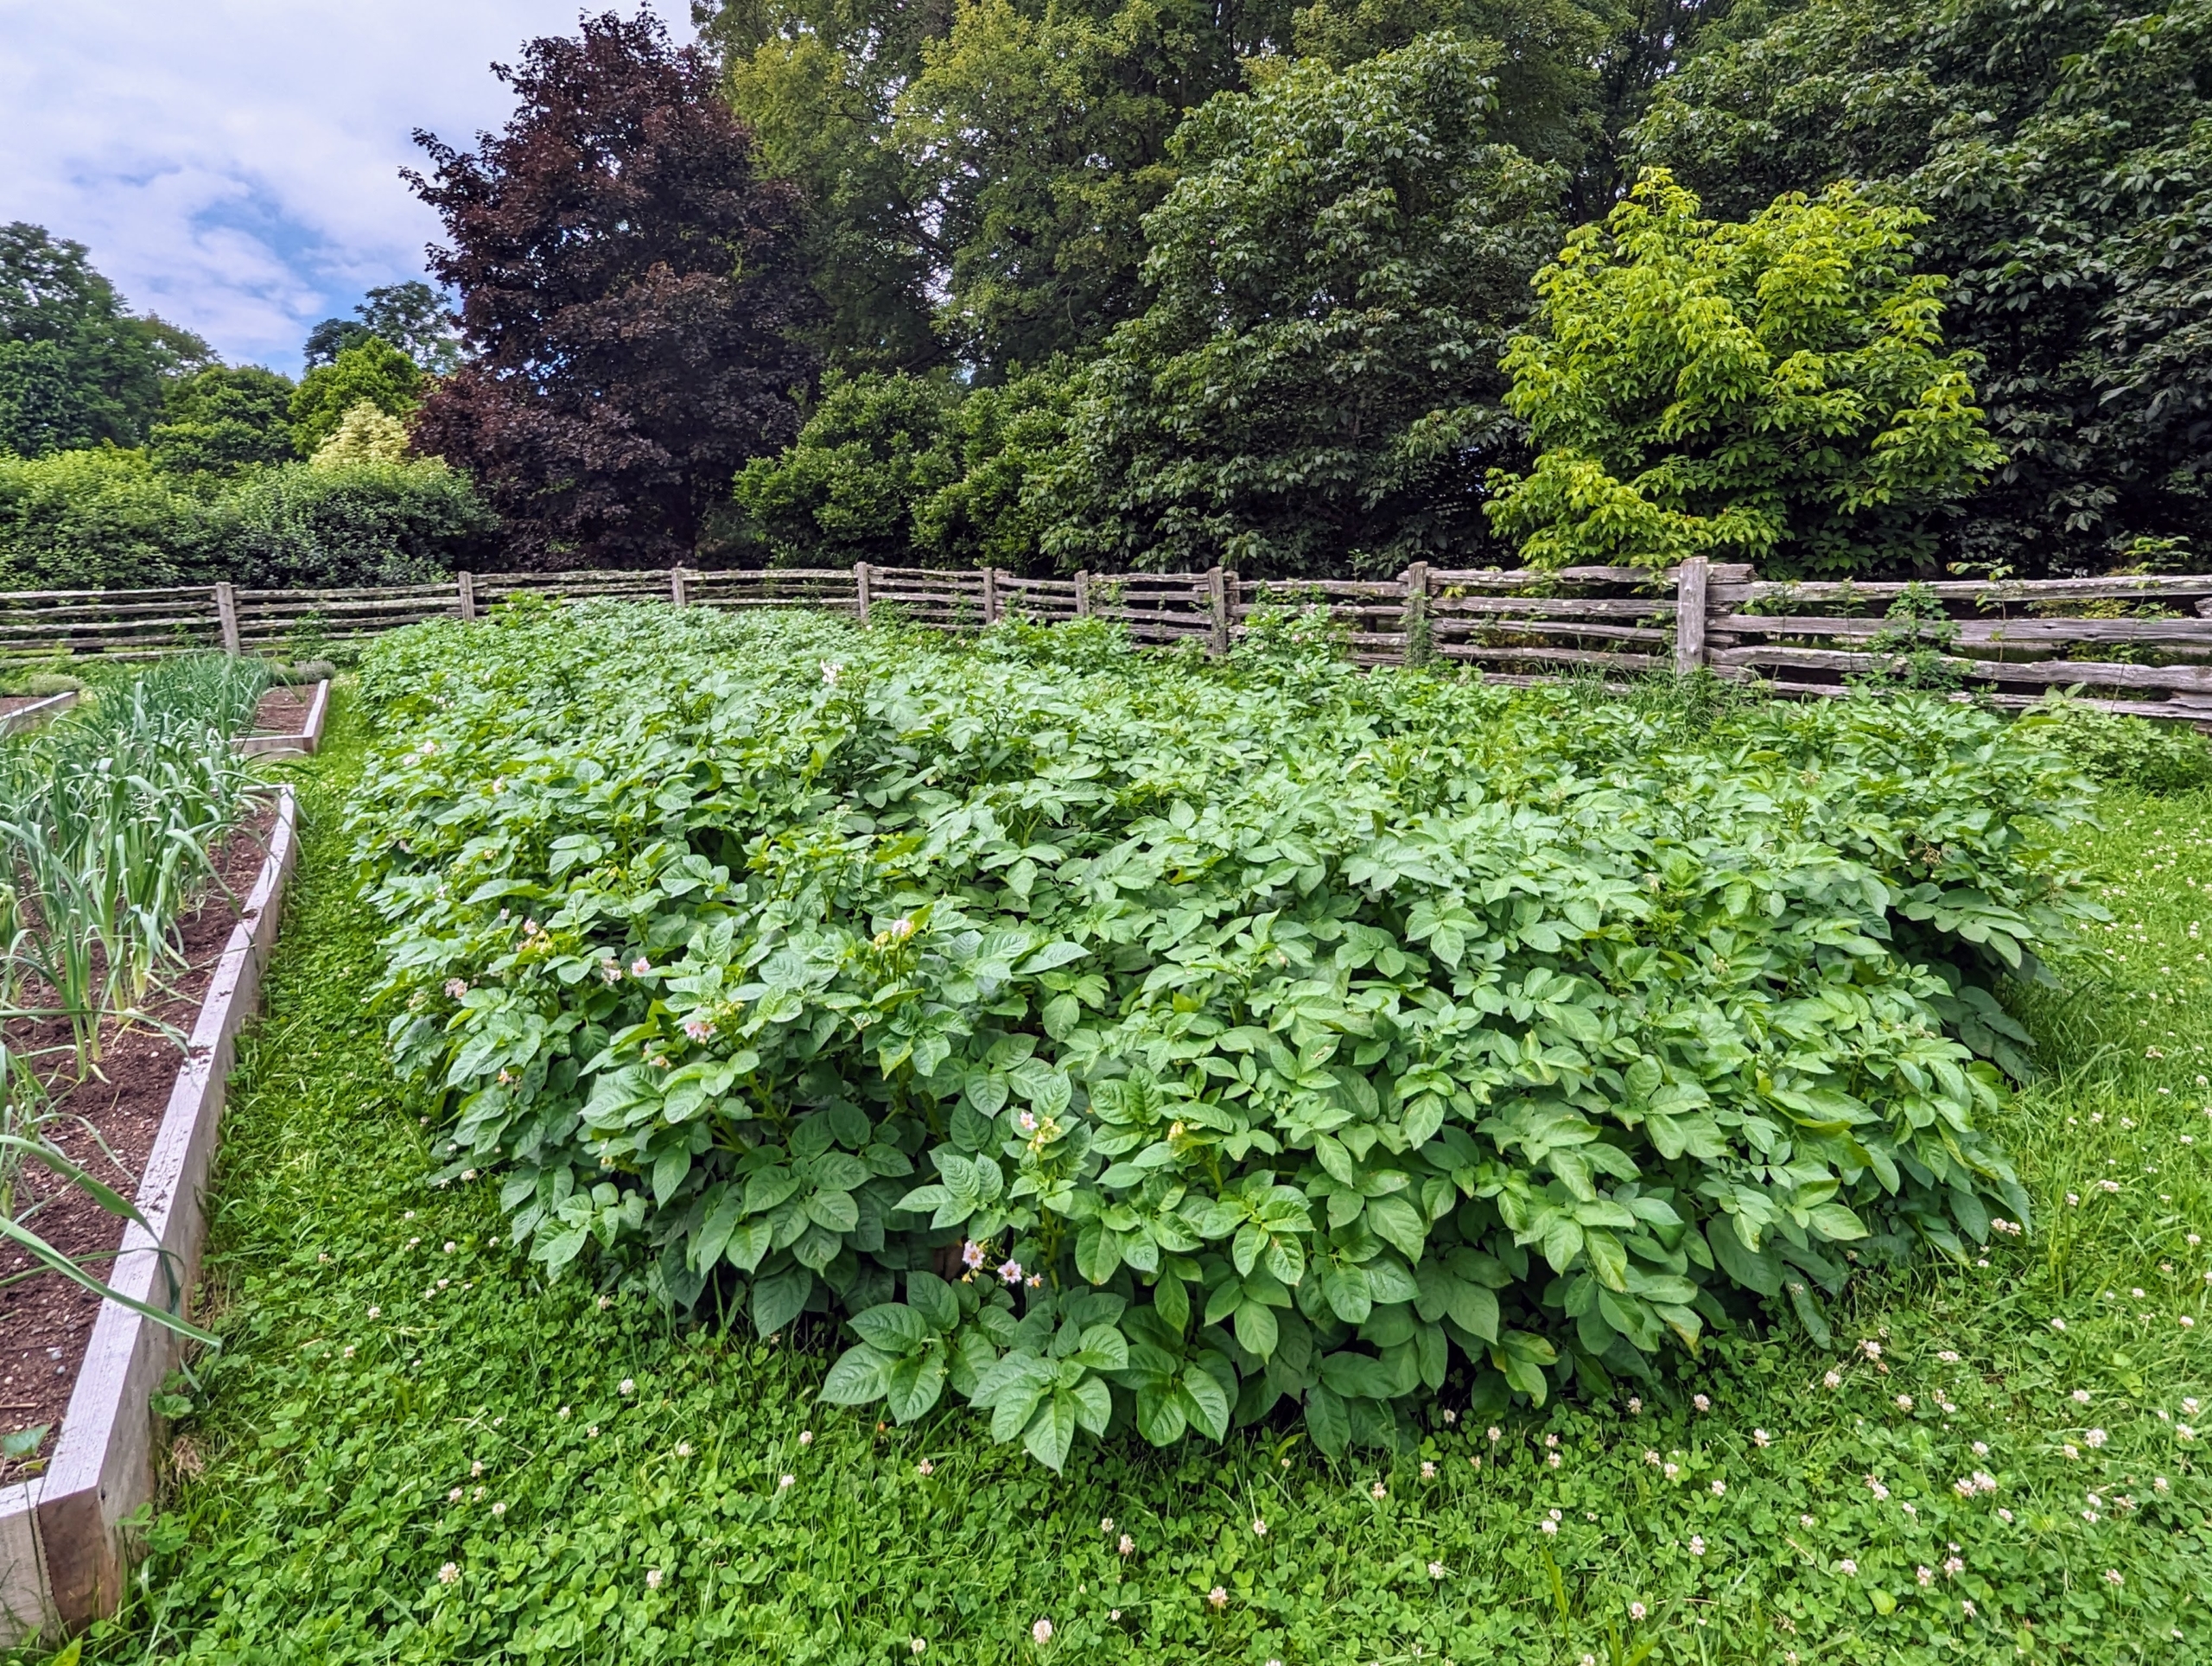
Here is one of the potato beds a month later.
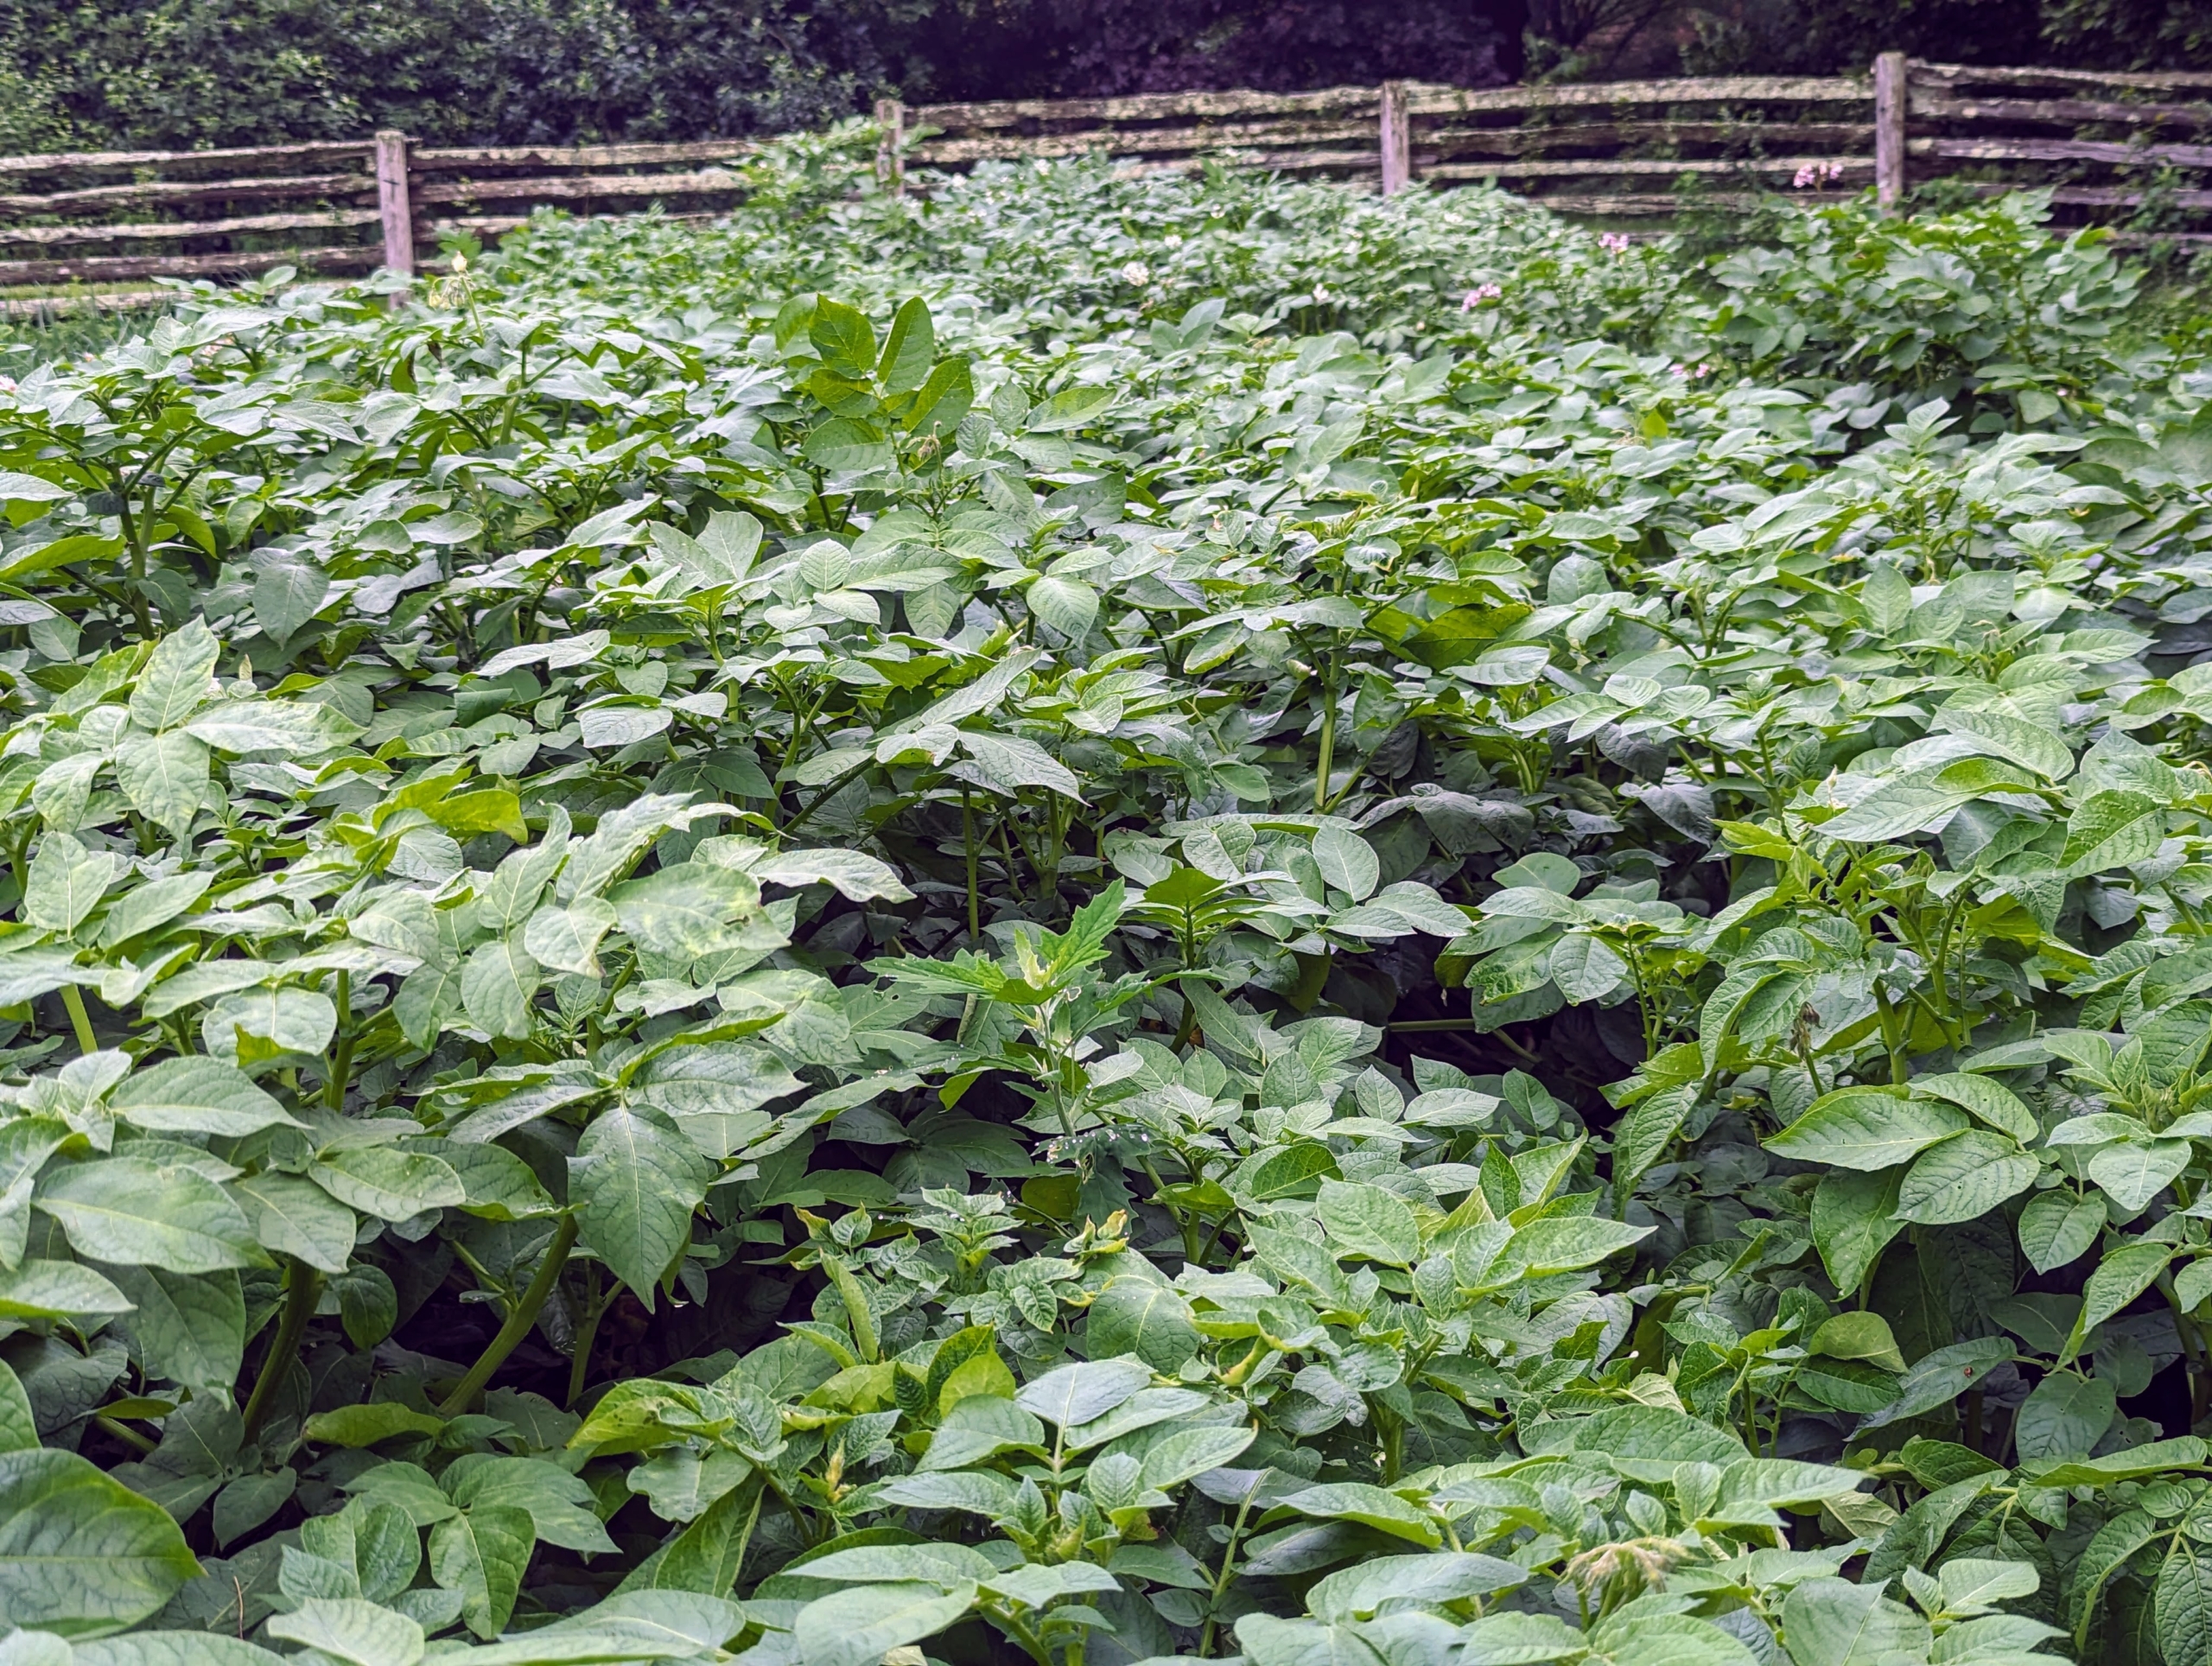
By the end of June, the bed is full of growth and green foliage. The potato grows up to 40 inches tall. As the potato plant grows, its compound leaves manufacture starch that is transferred to the ends of its underground stems or stolons. The stems thicken to form a few or as many as 20 tubers close to the soil surface – those are the potatoes.
Here is another photo of the potato beds this summer – so lush and green.
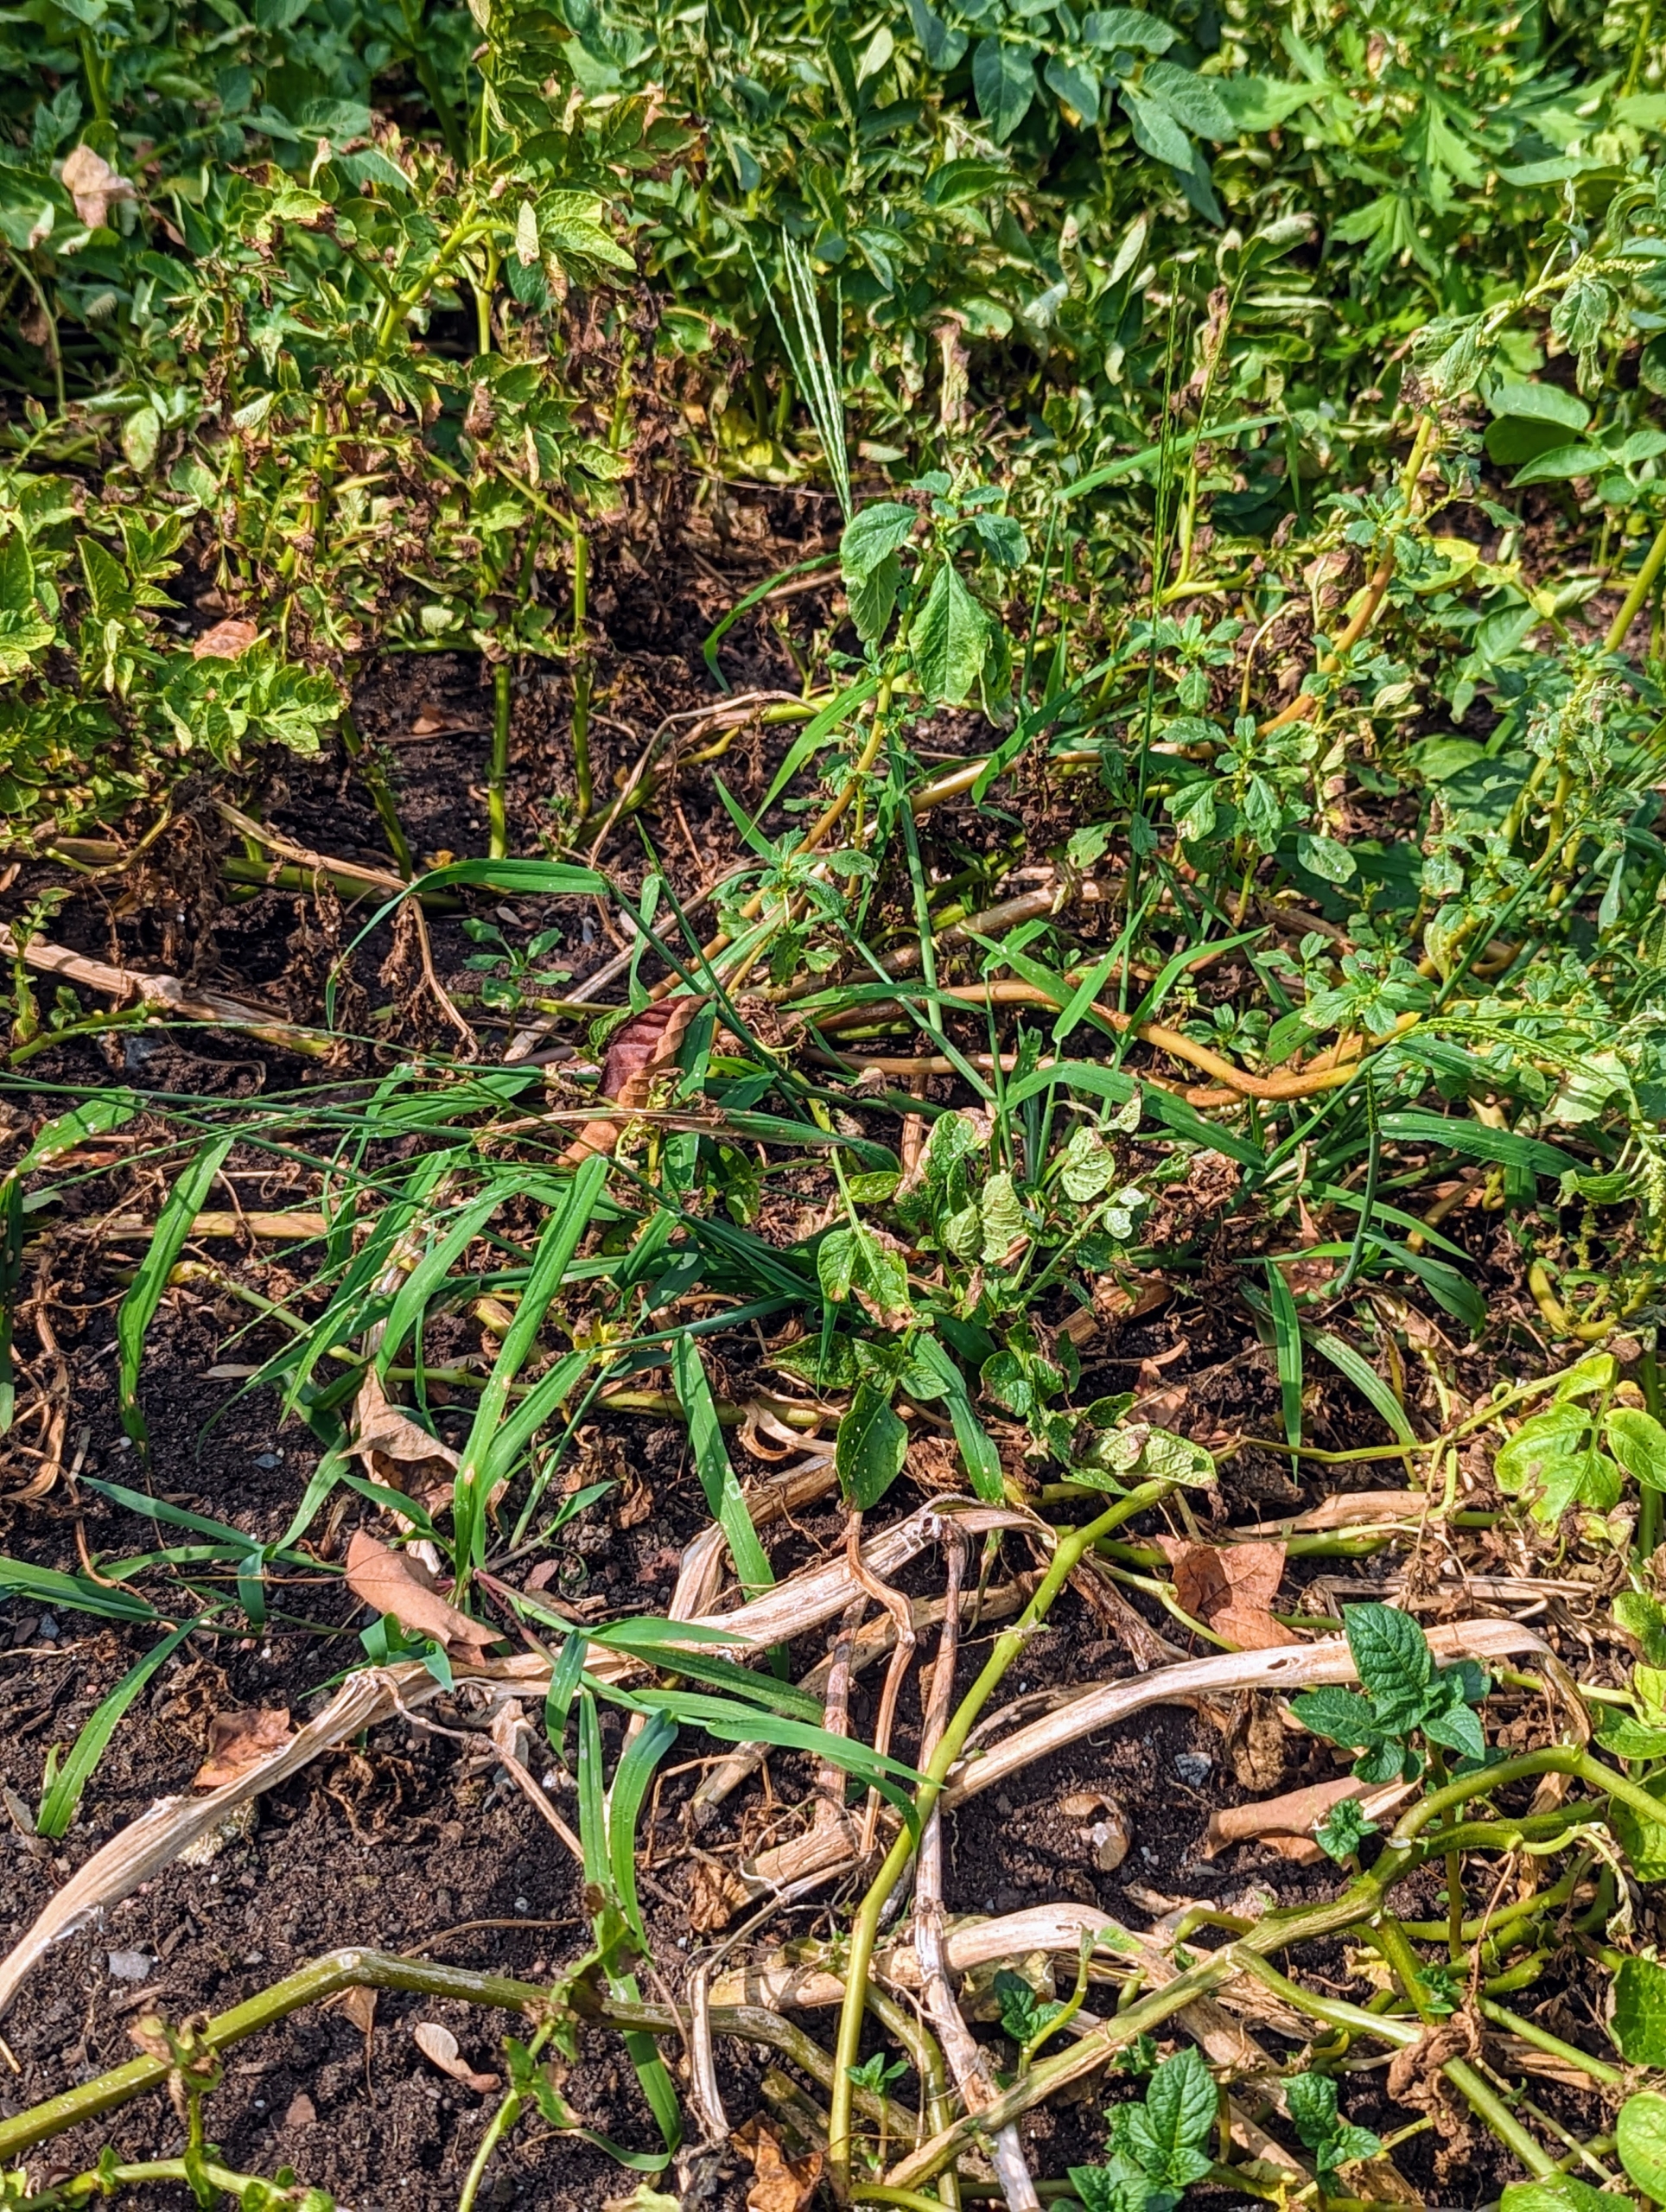
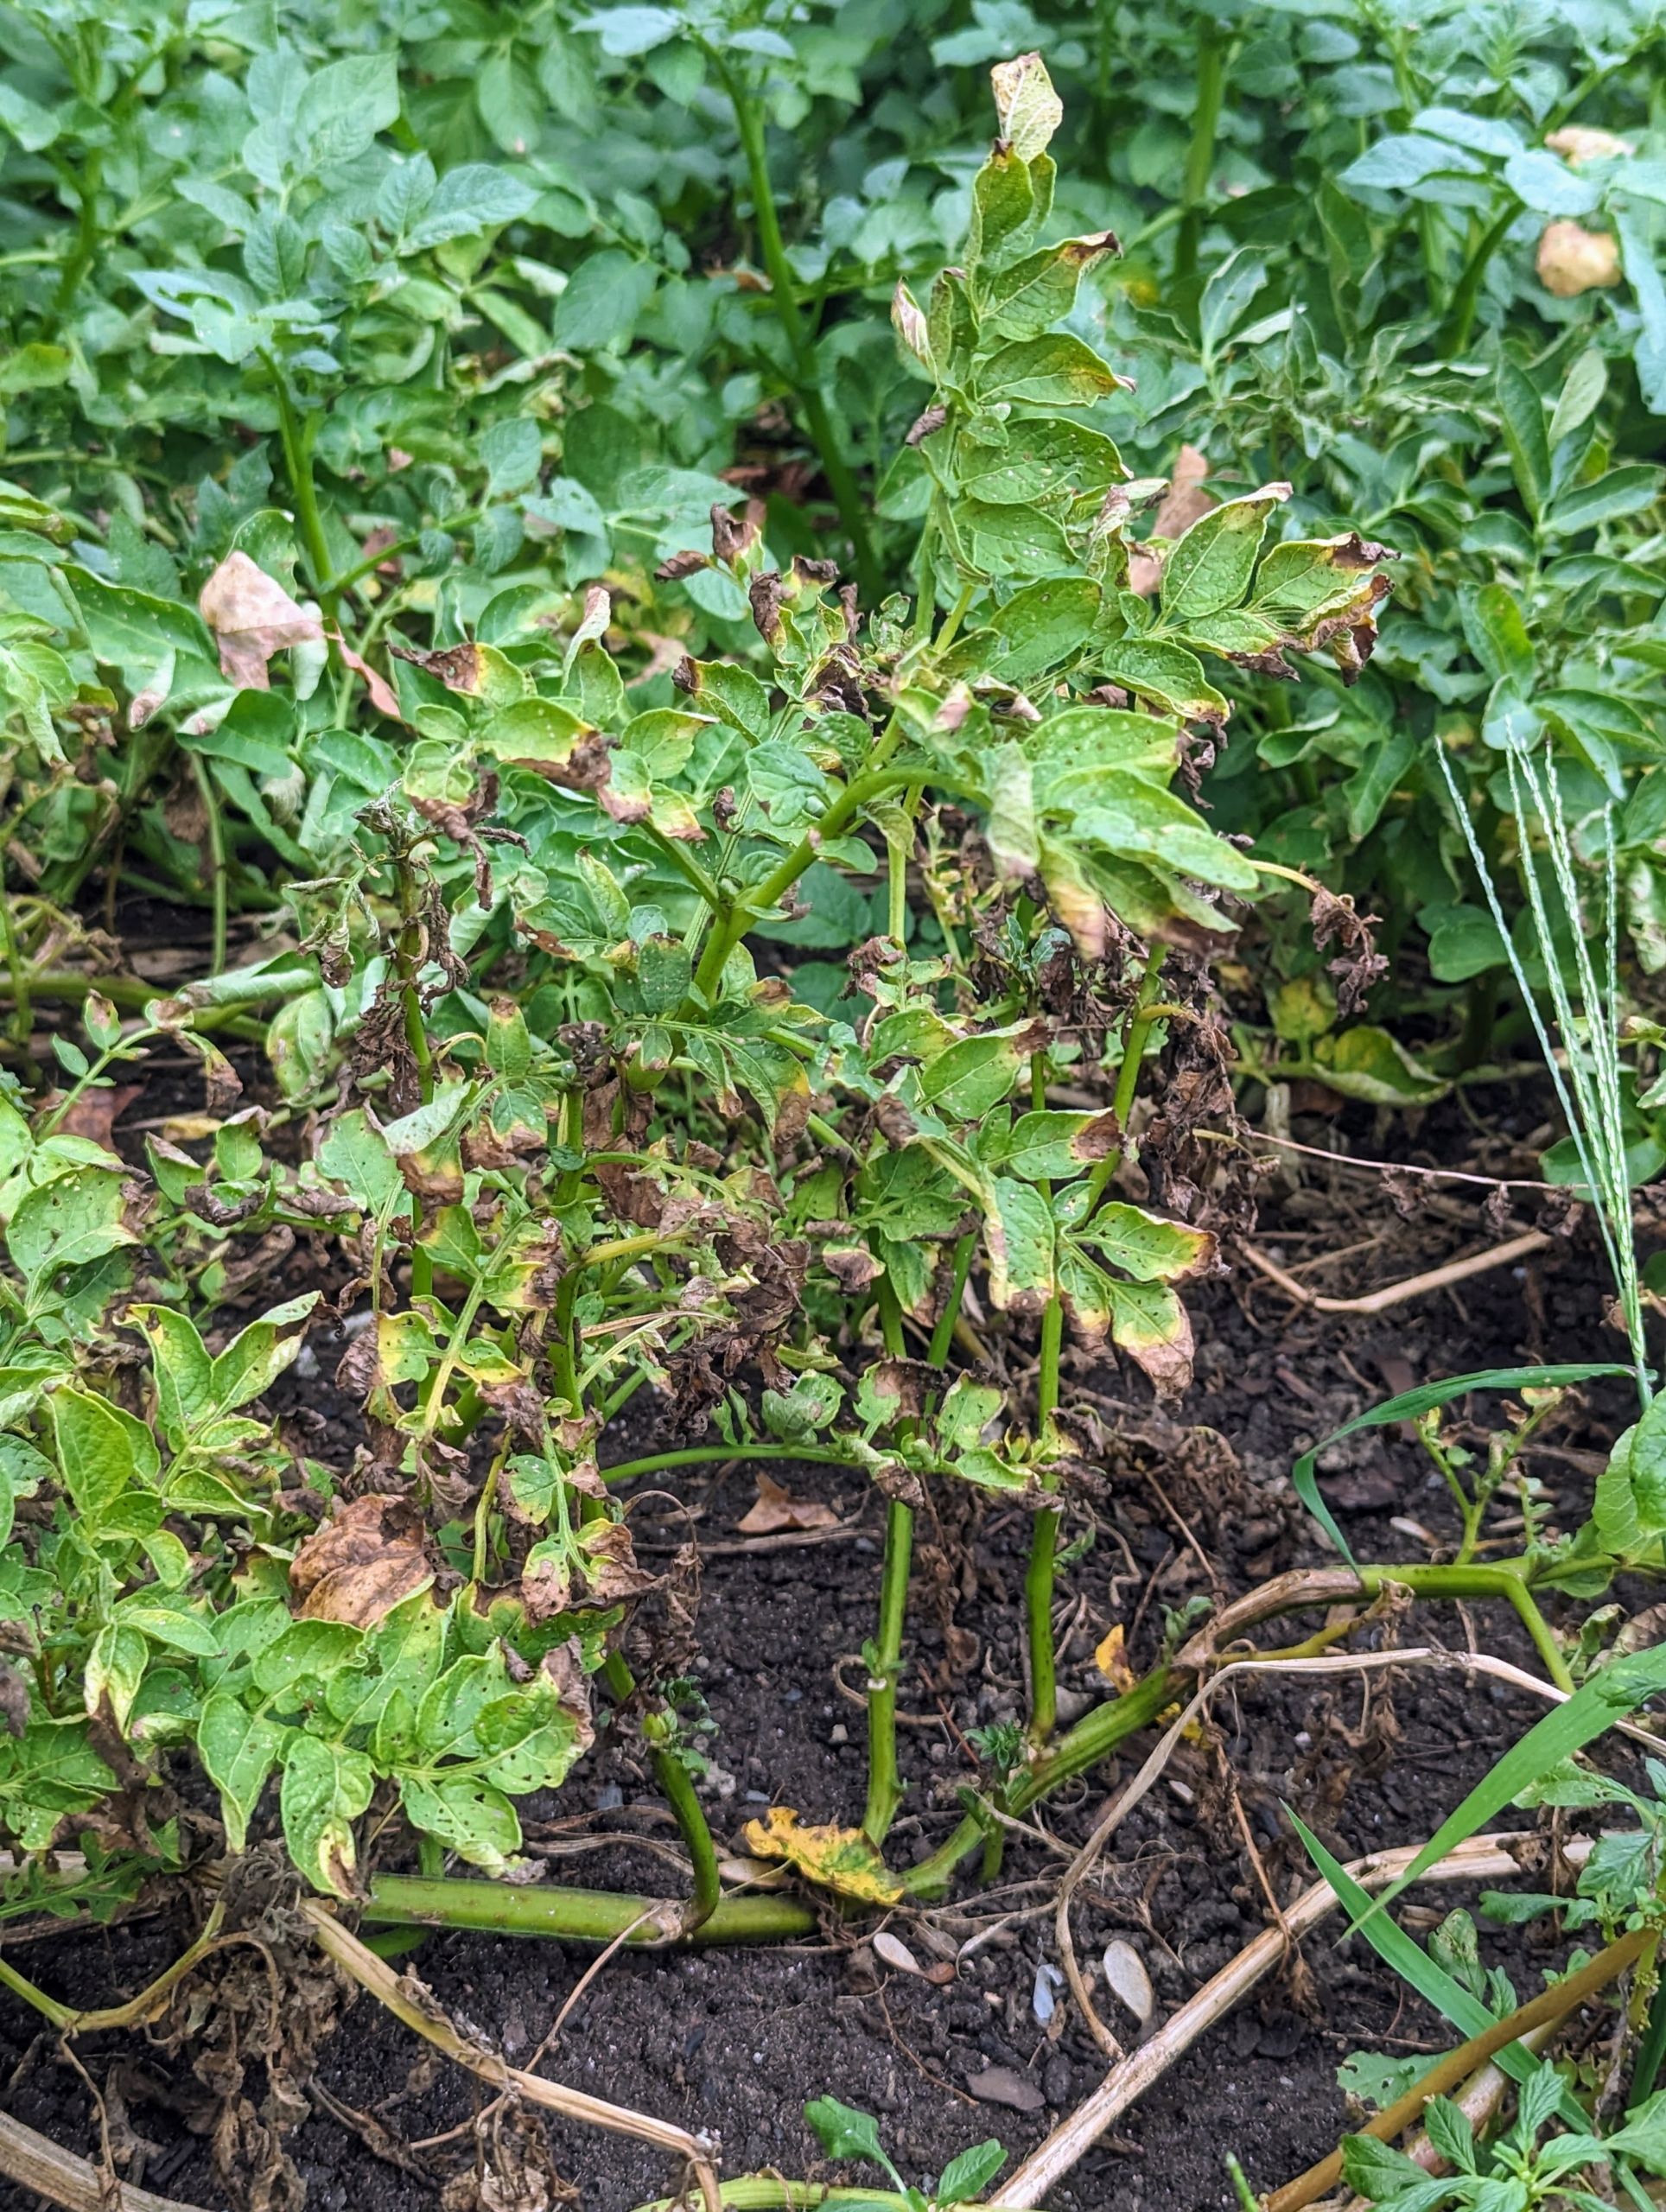
And just yesterday, they looked like this. This is definitely a less attractive sight in the garden, but it is a well-anticipated one because it means the potatoes are ready.
The potatoes are ready once the vines have died back – when the tubers are done growing, and the potato plants have begun to turn yellow and withered. This year, because of all the wet weather, the vines still appear green in many places, but the crop is ready for harvest.
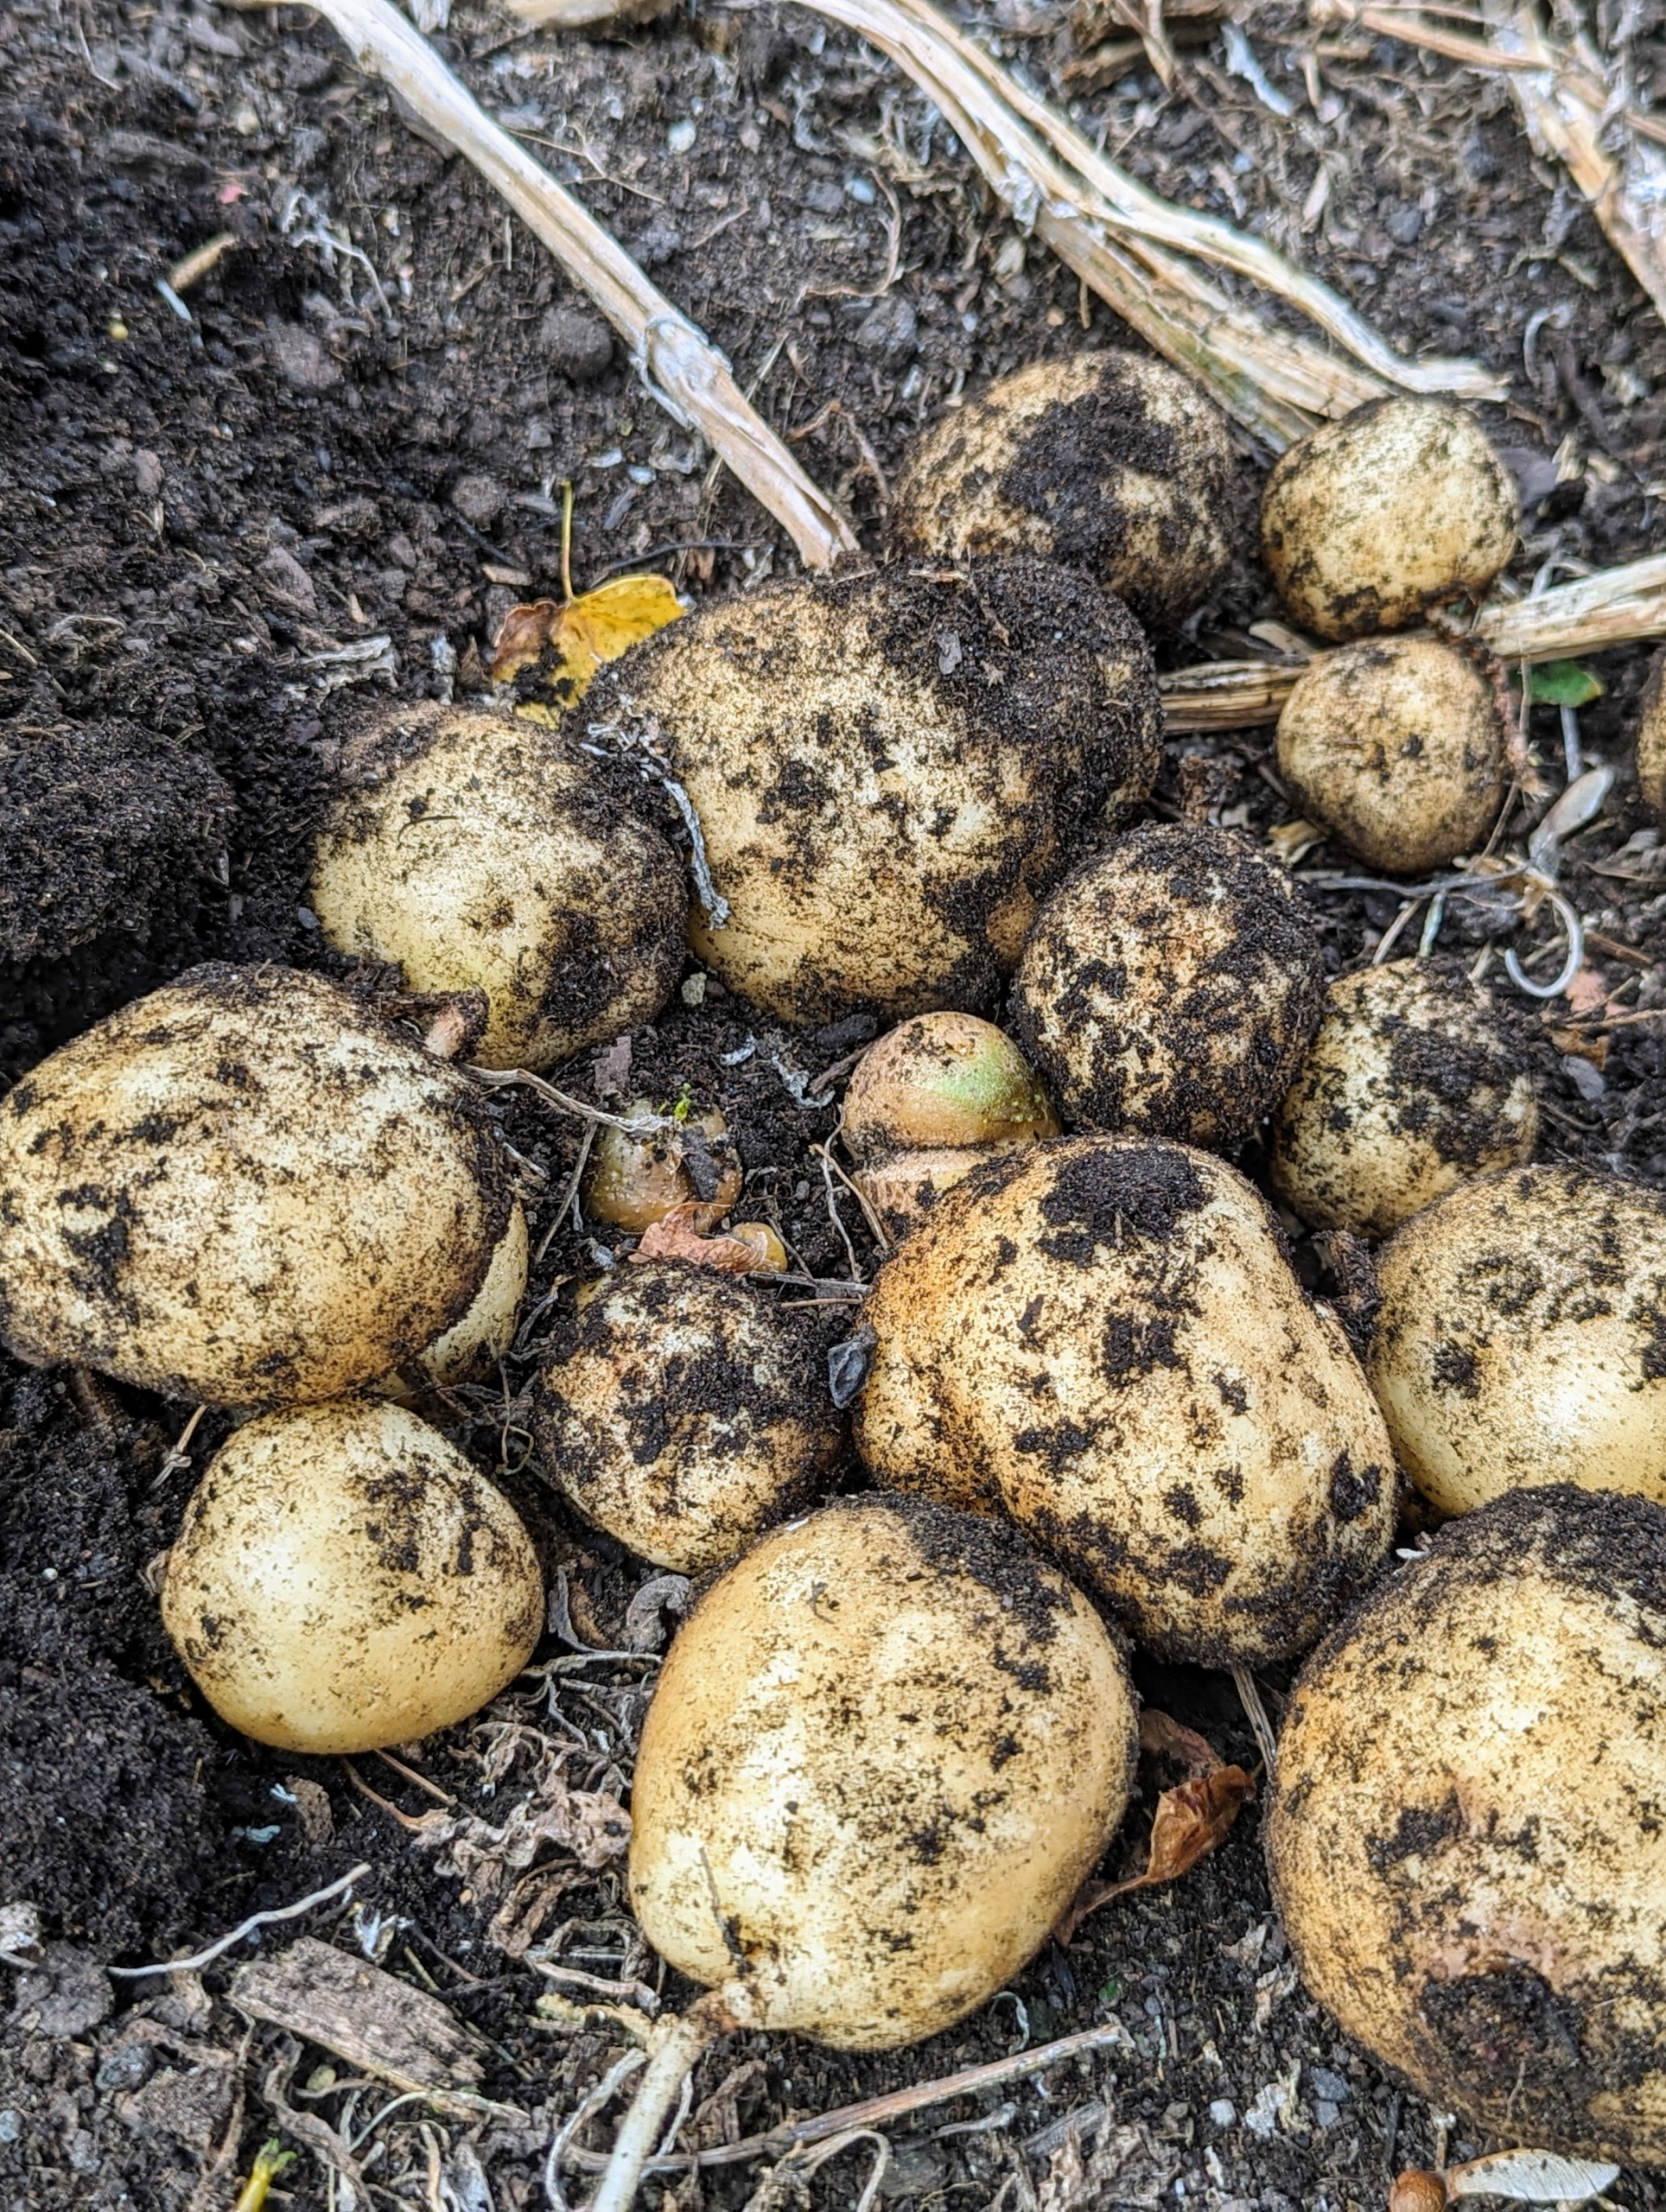
Here is Ryan picking a gold potato – they are all looking great.
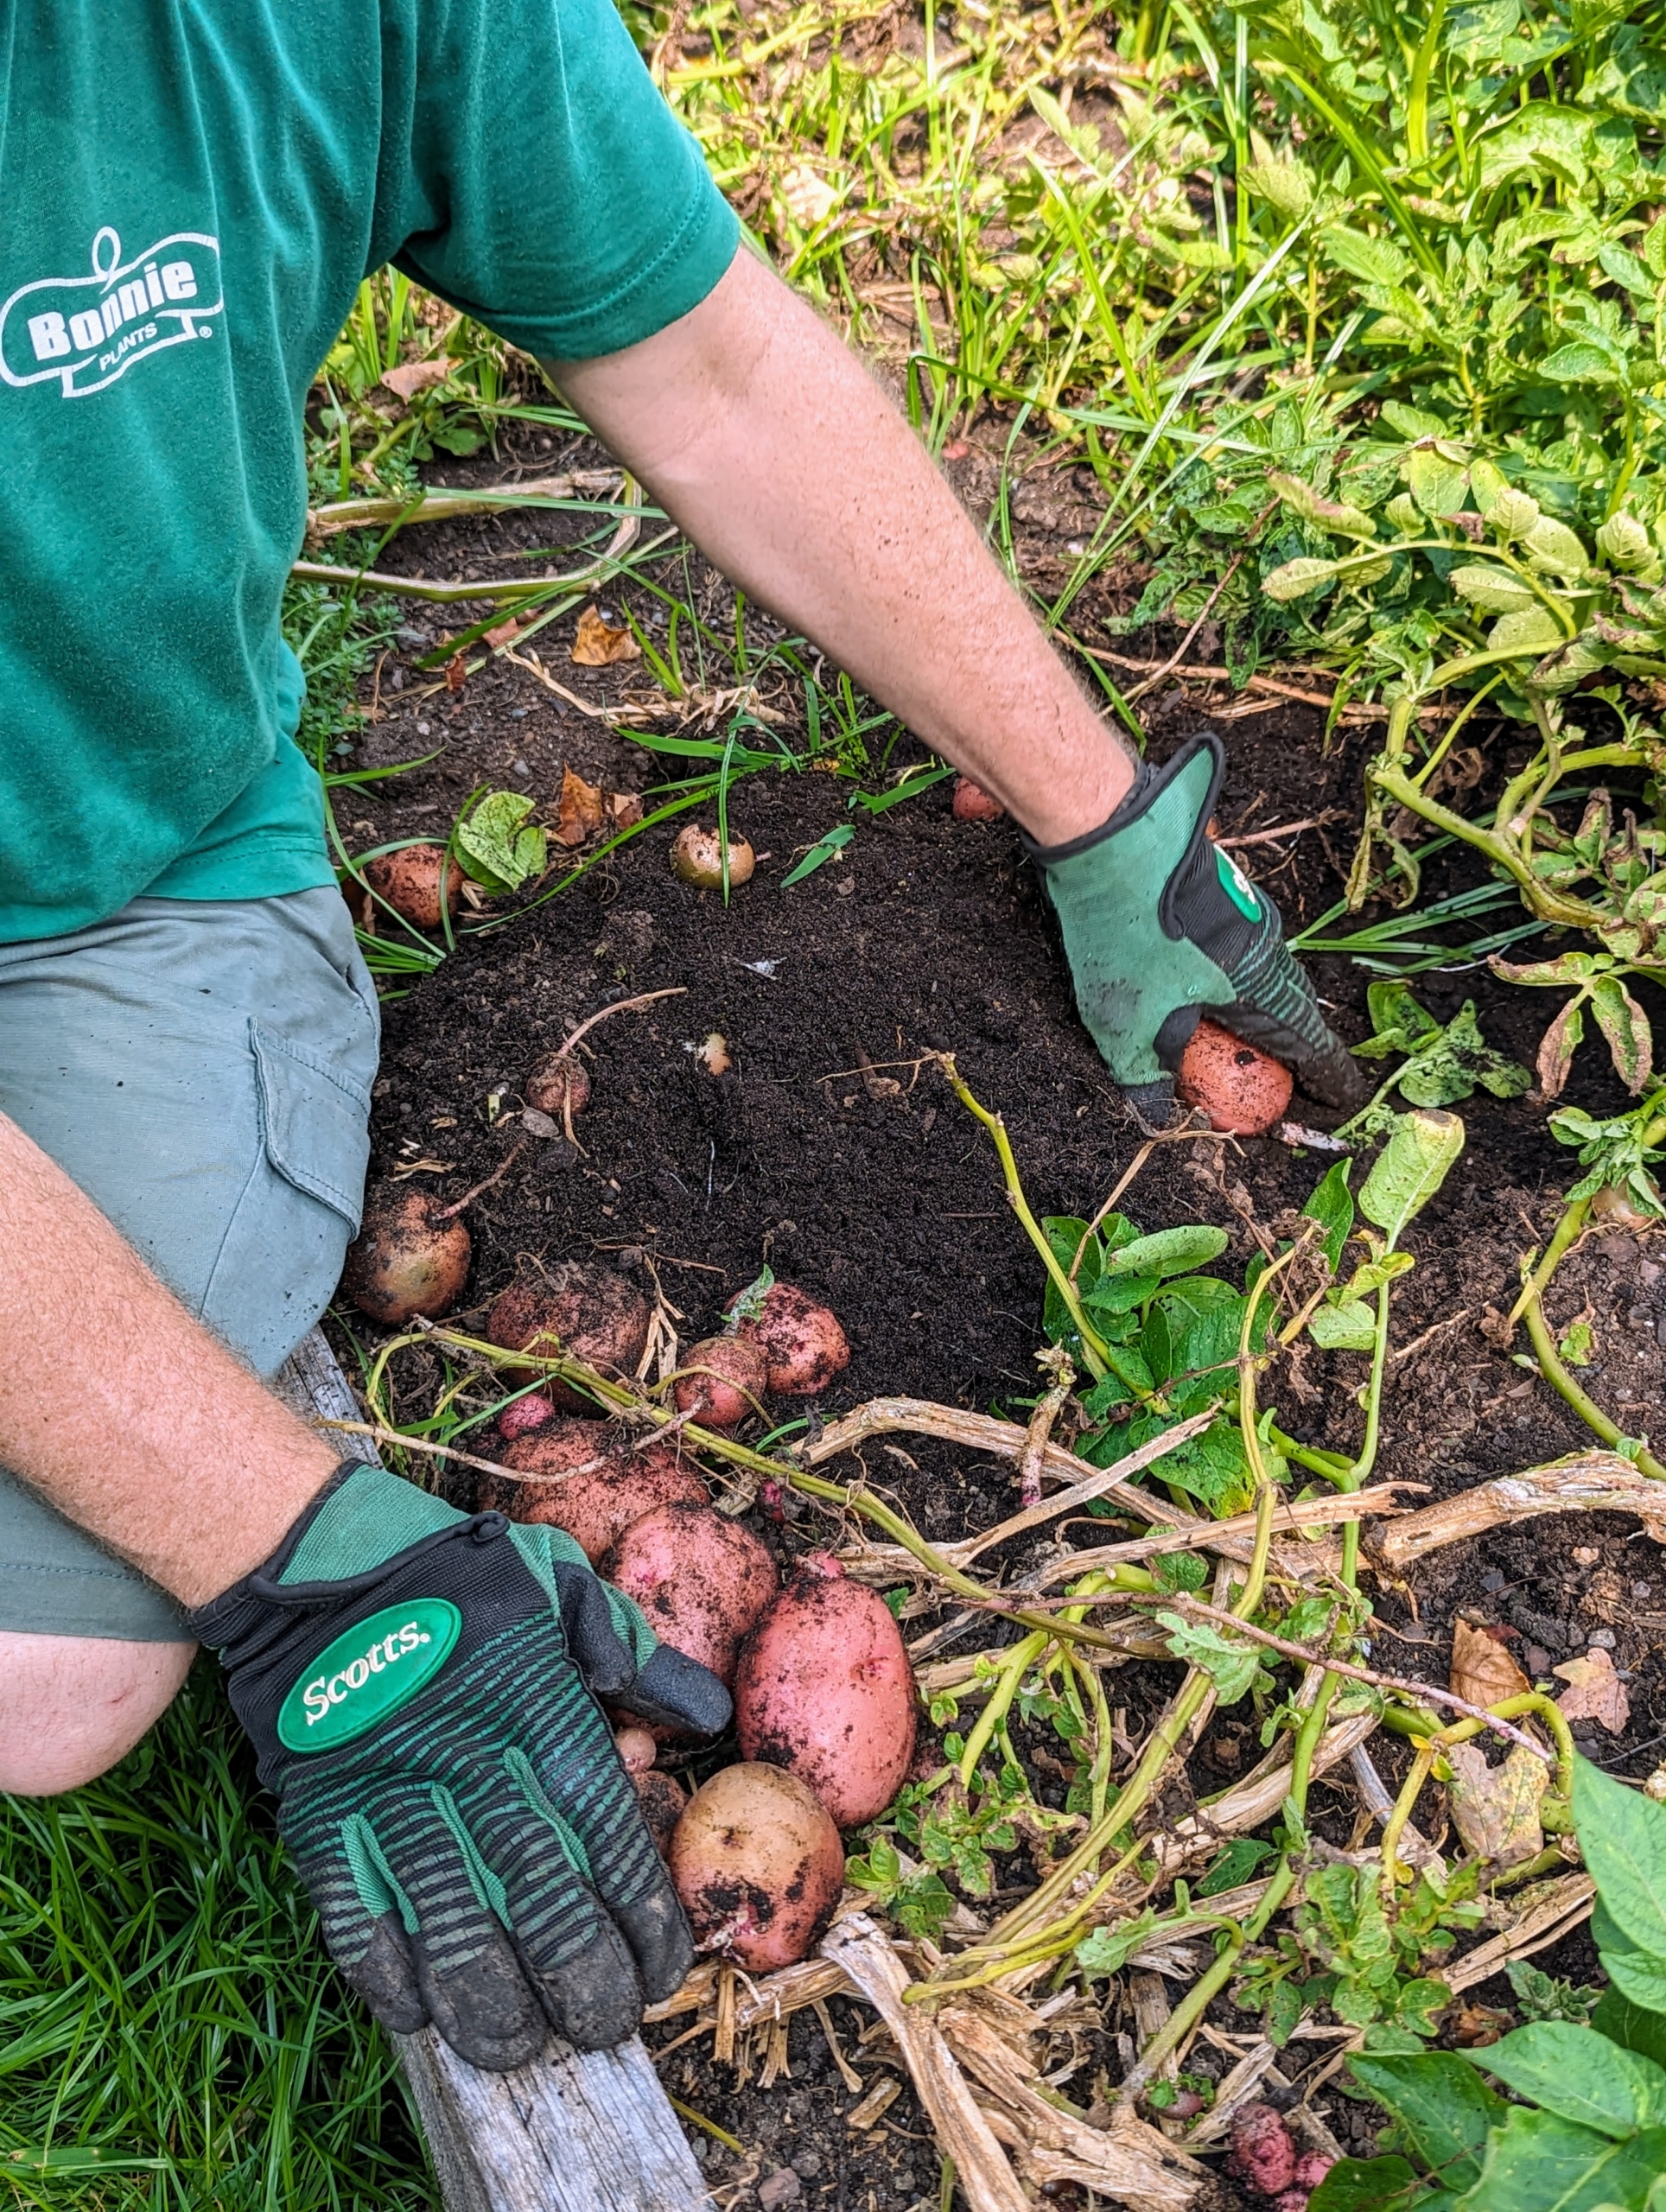
It’s important to dig them up carefully, so as not to damage any of the tubers. All these are from one plant.
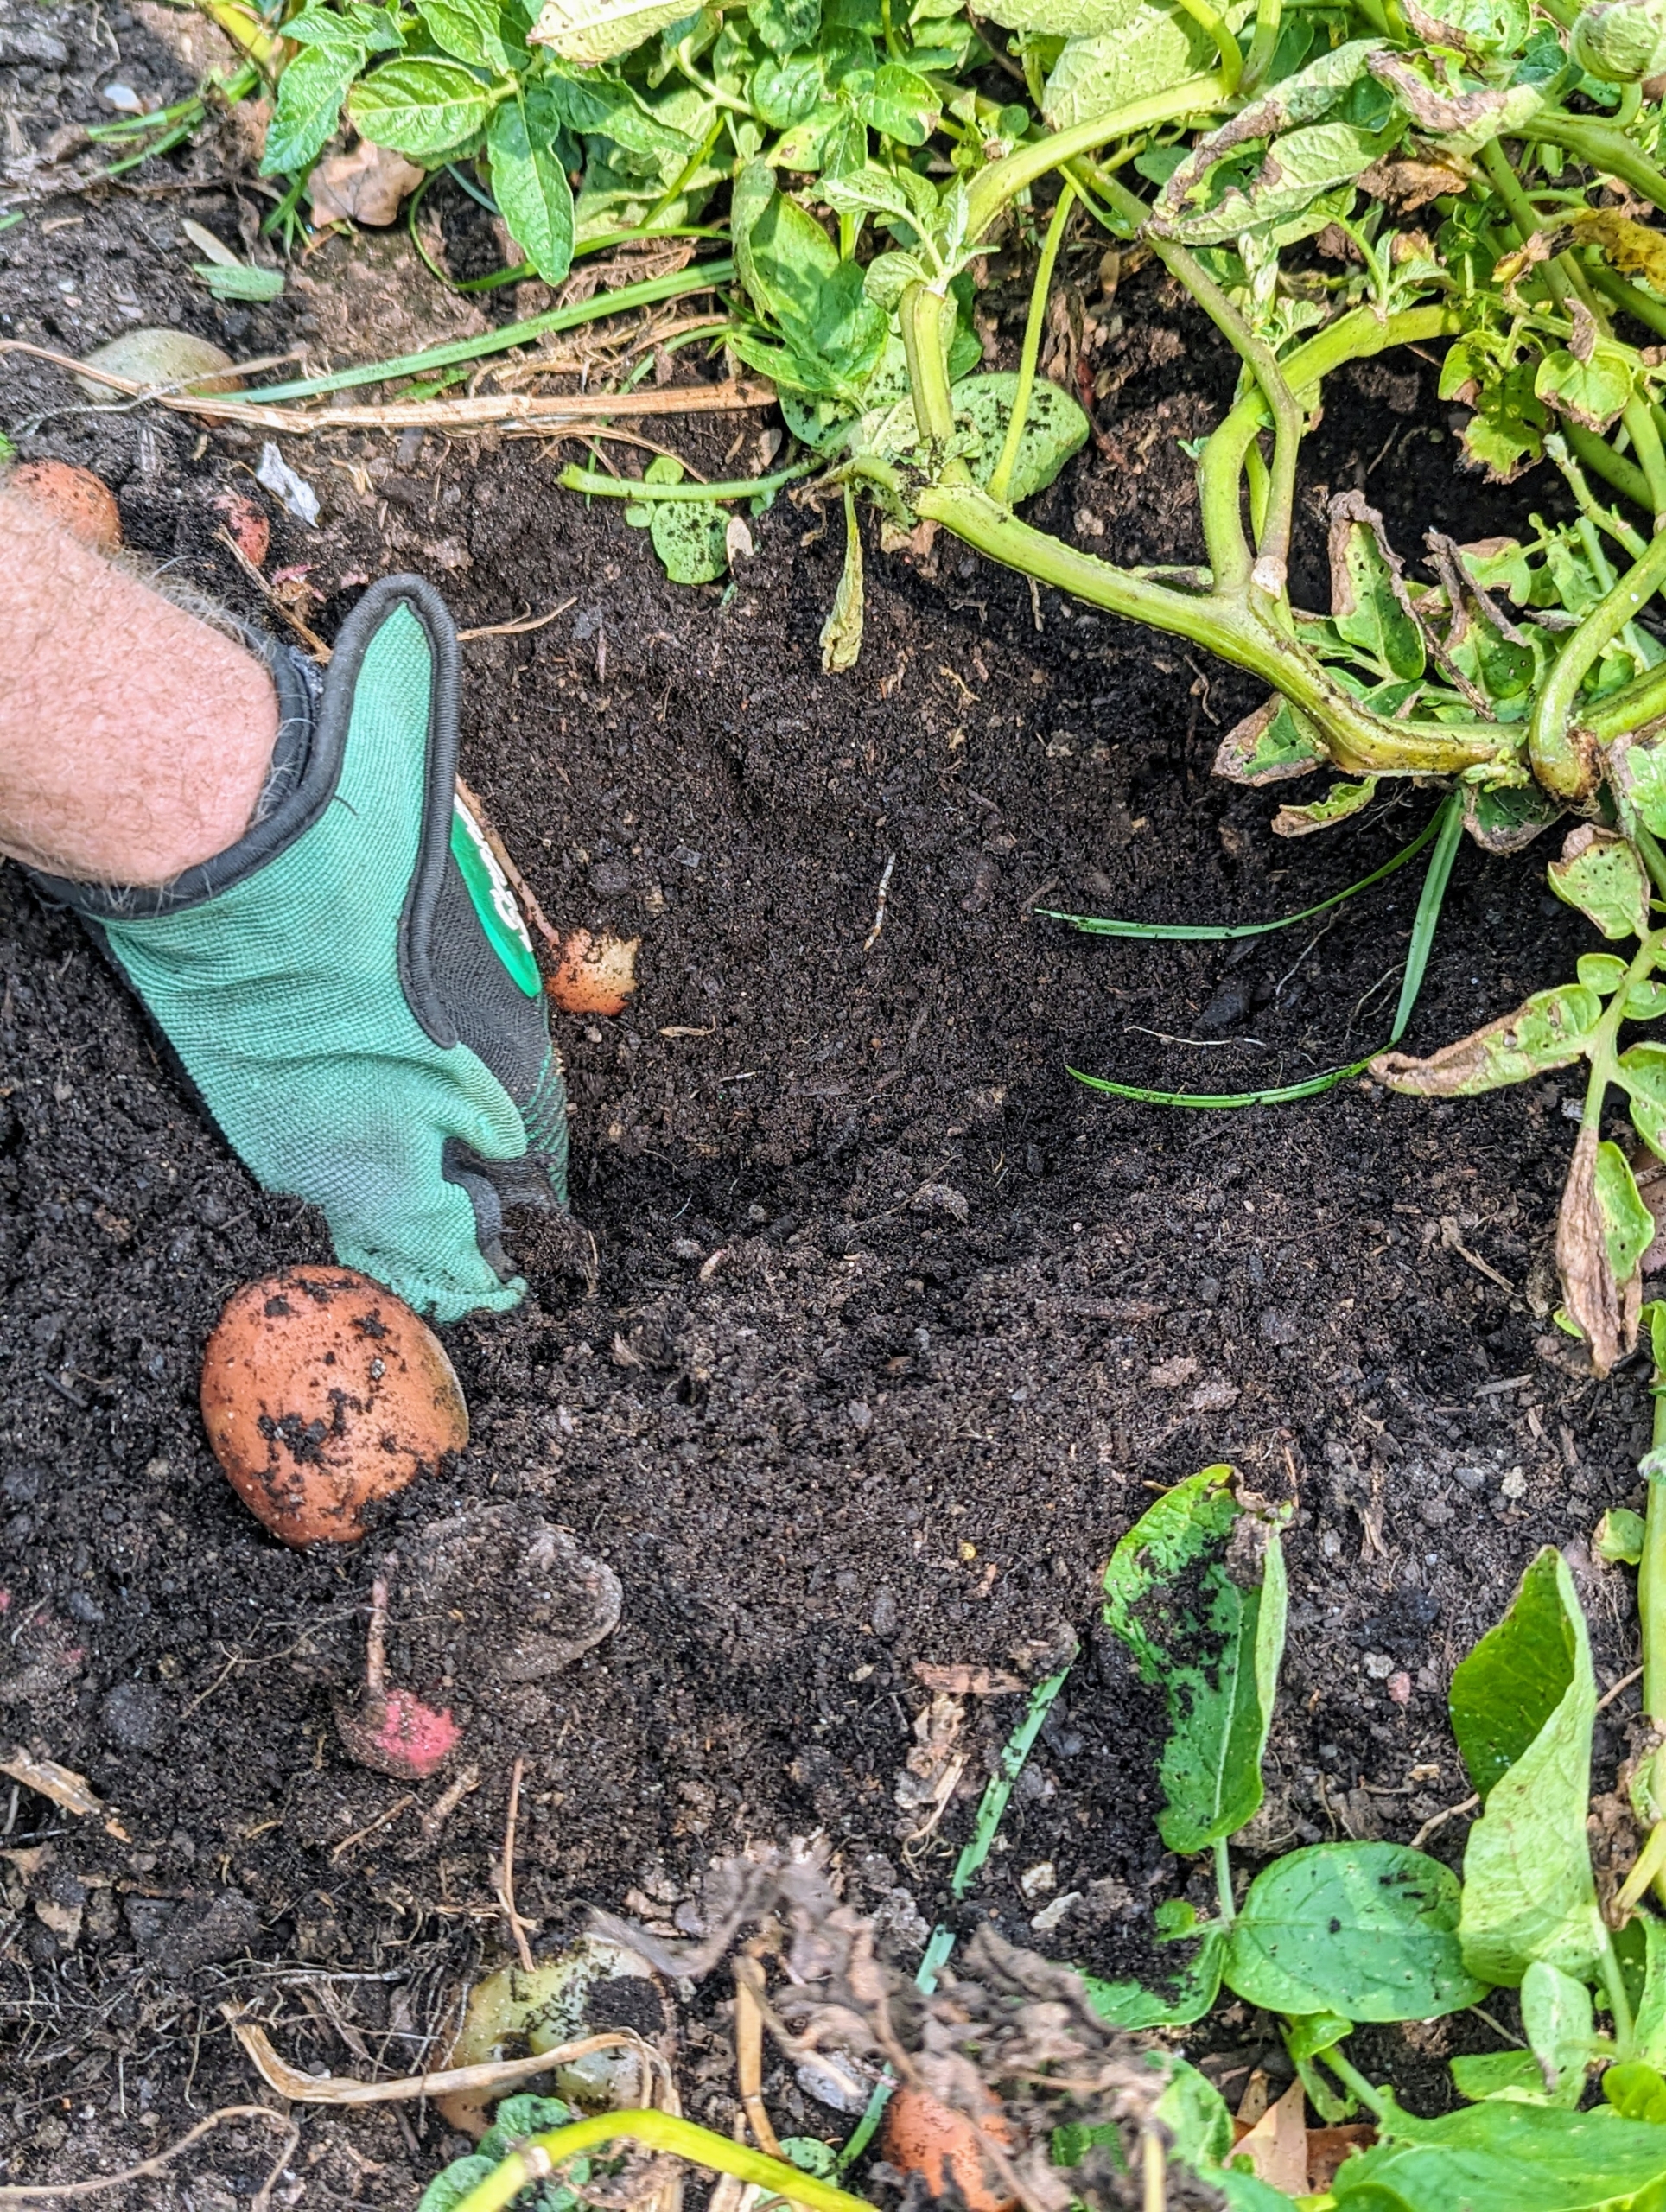
Ryan digs deep into the ground and feels around for potatoes – potatoes will be slightly cool to the touch.
It’s fun to dig around the soil and find multiple potatoes waiting to be picked. They are not too deep – any potatoes will only be within the first five-inches of soil.
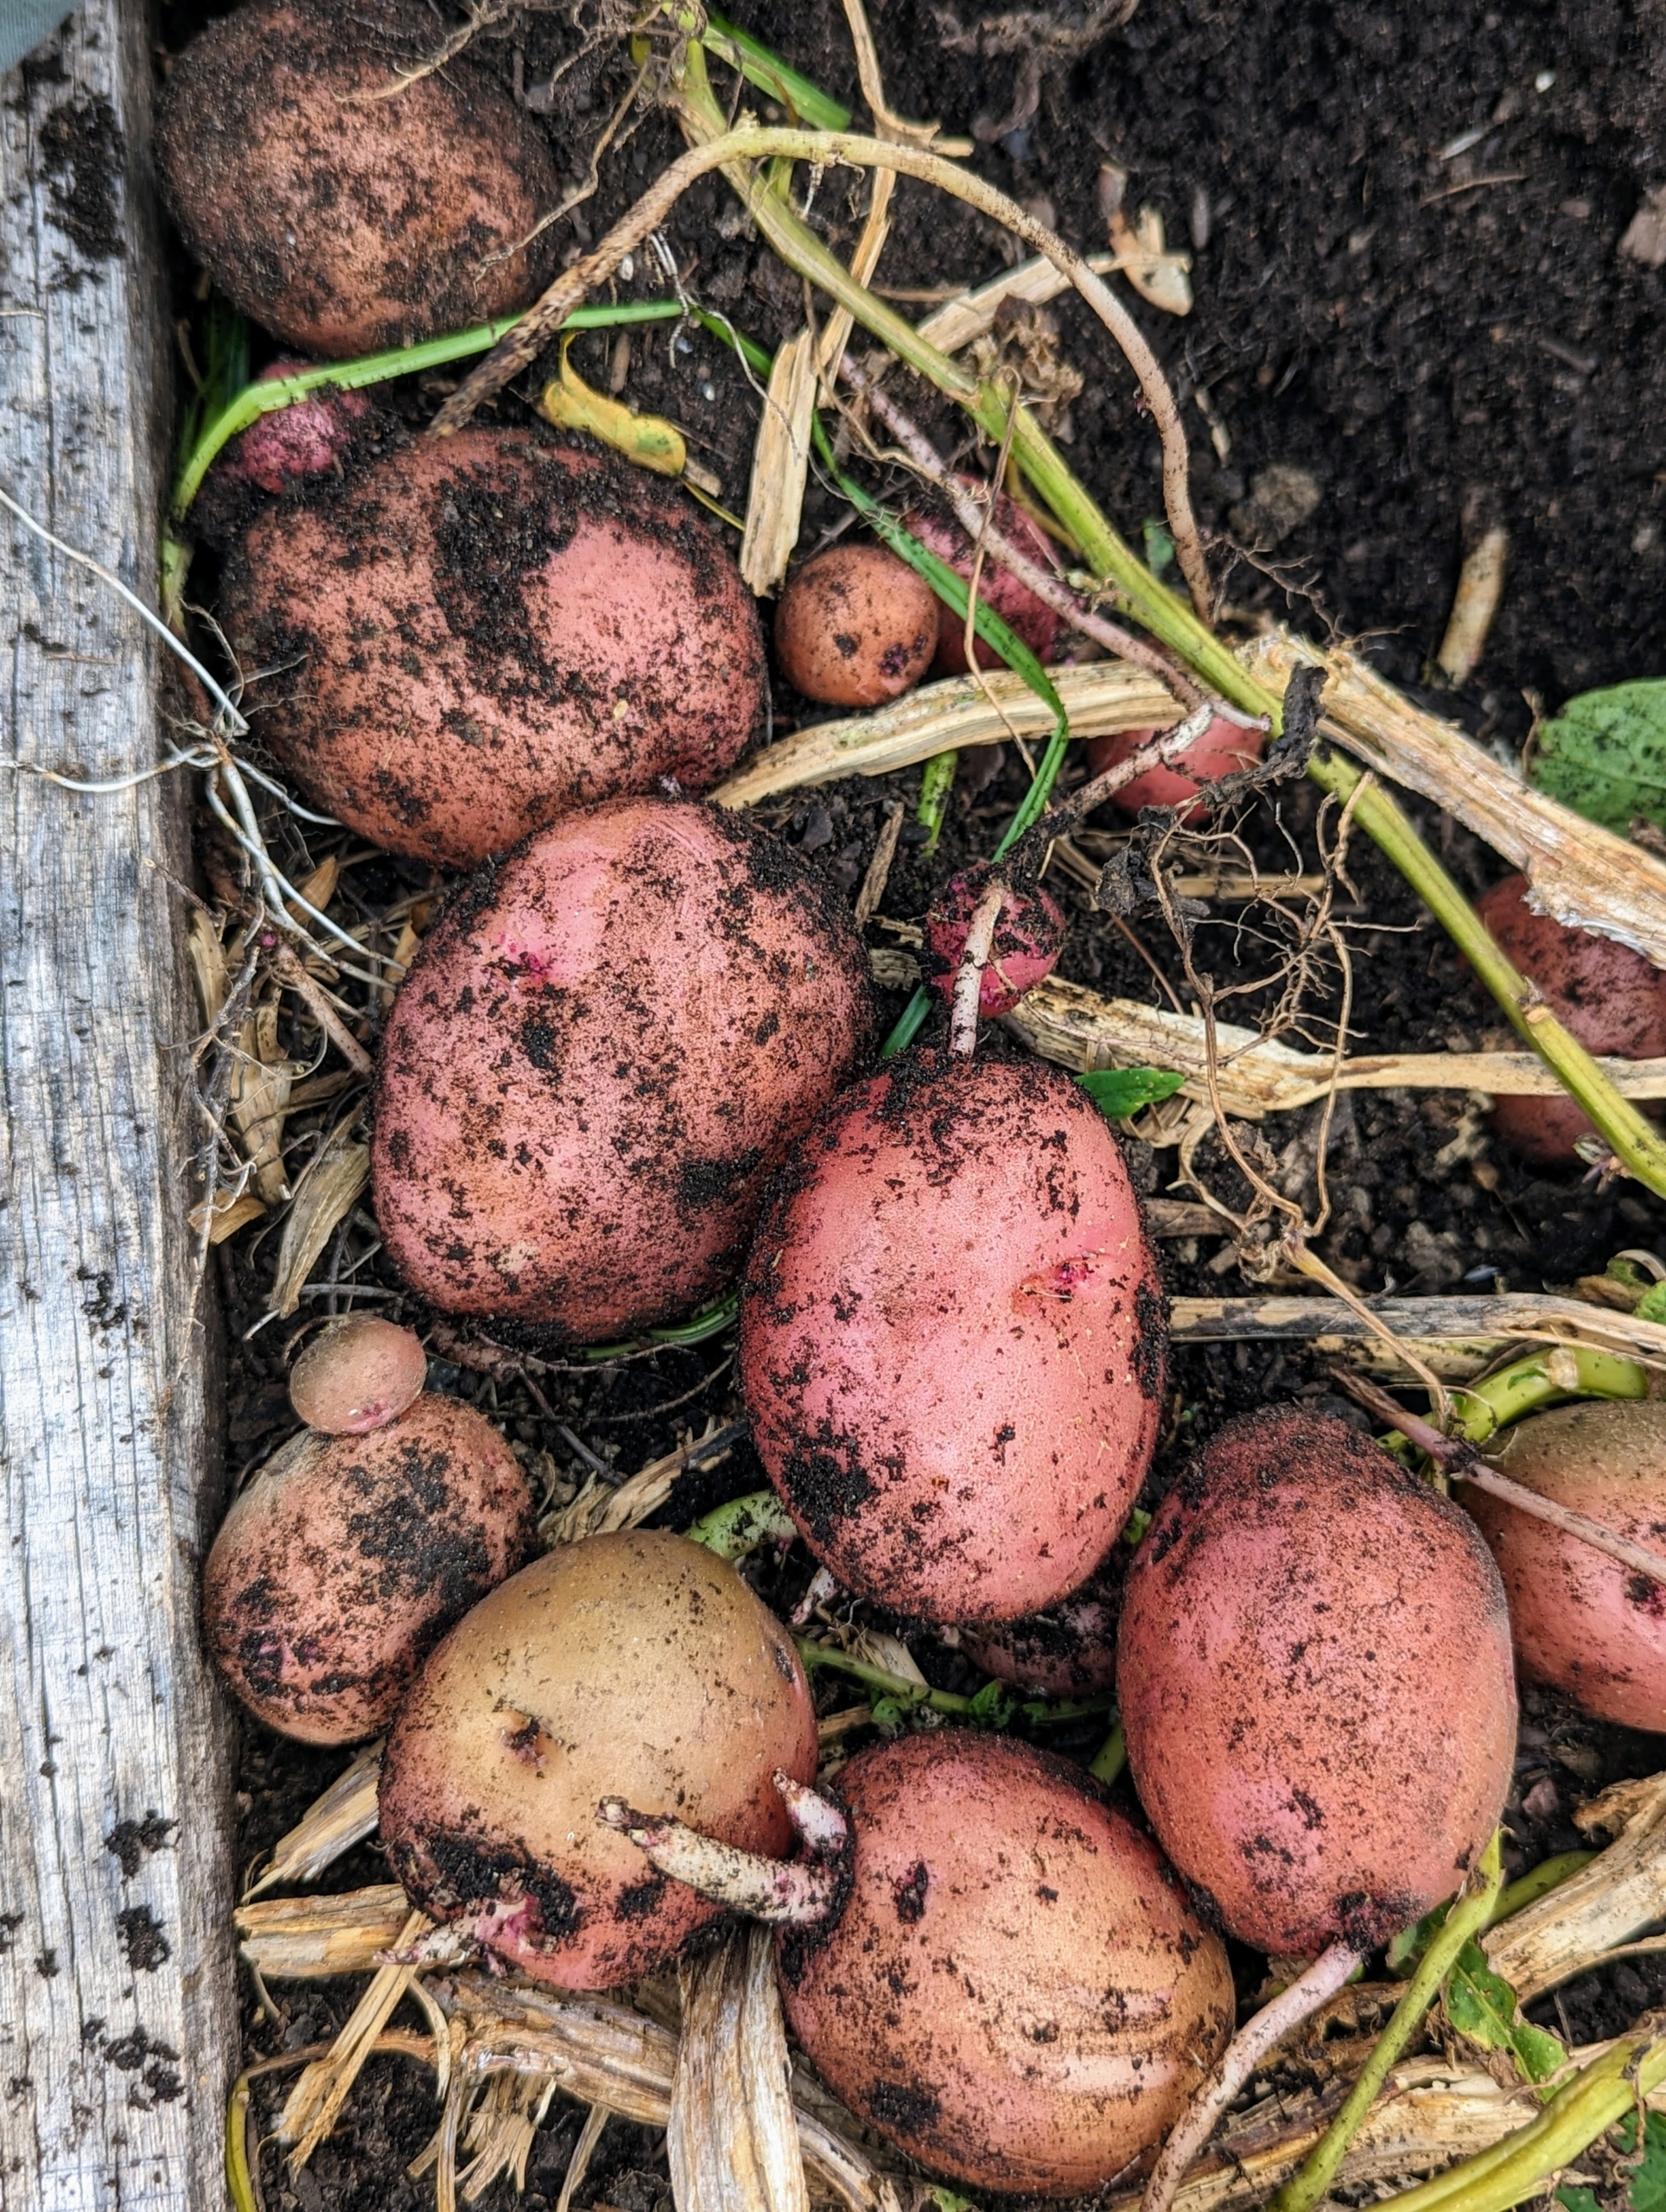
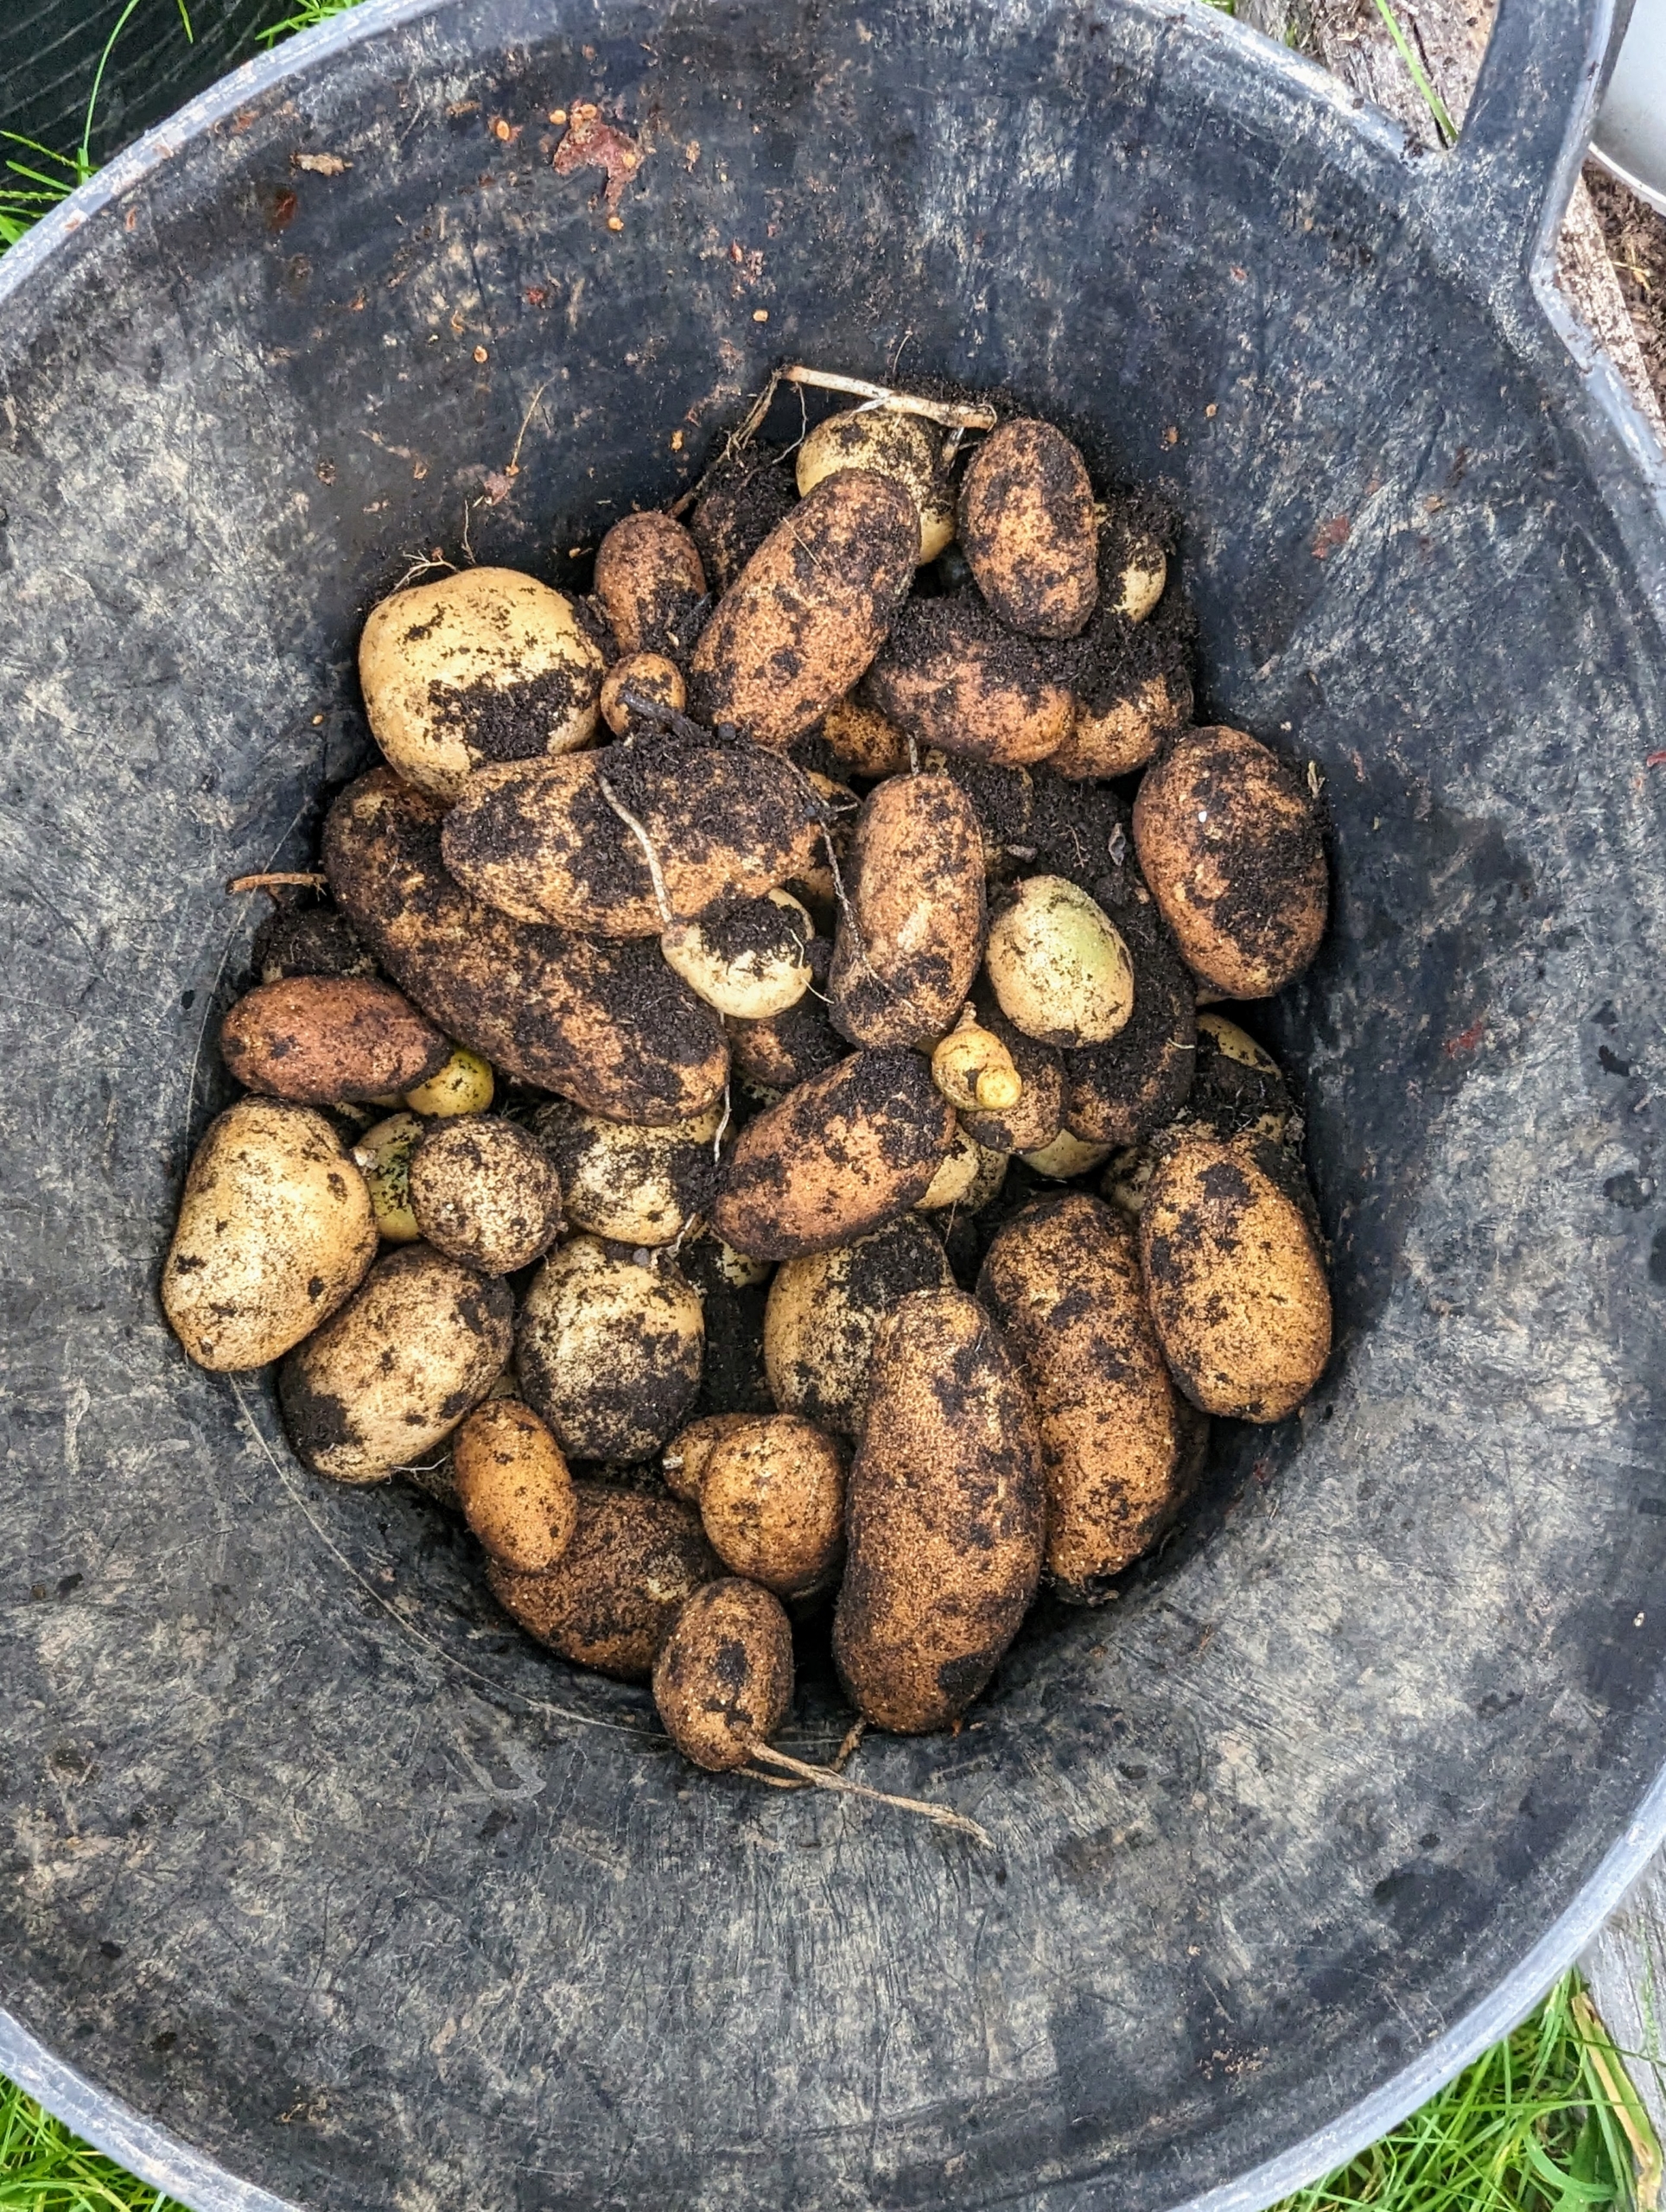
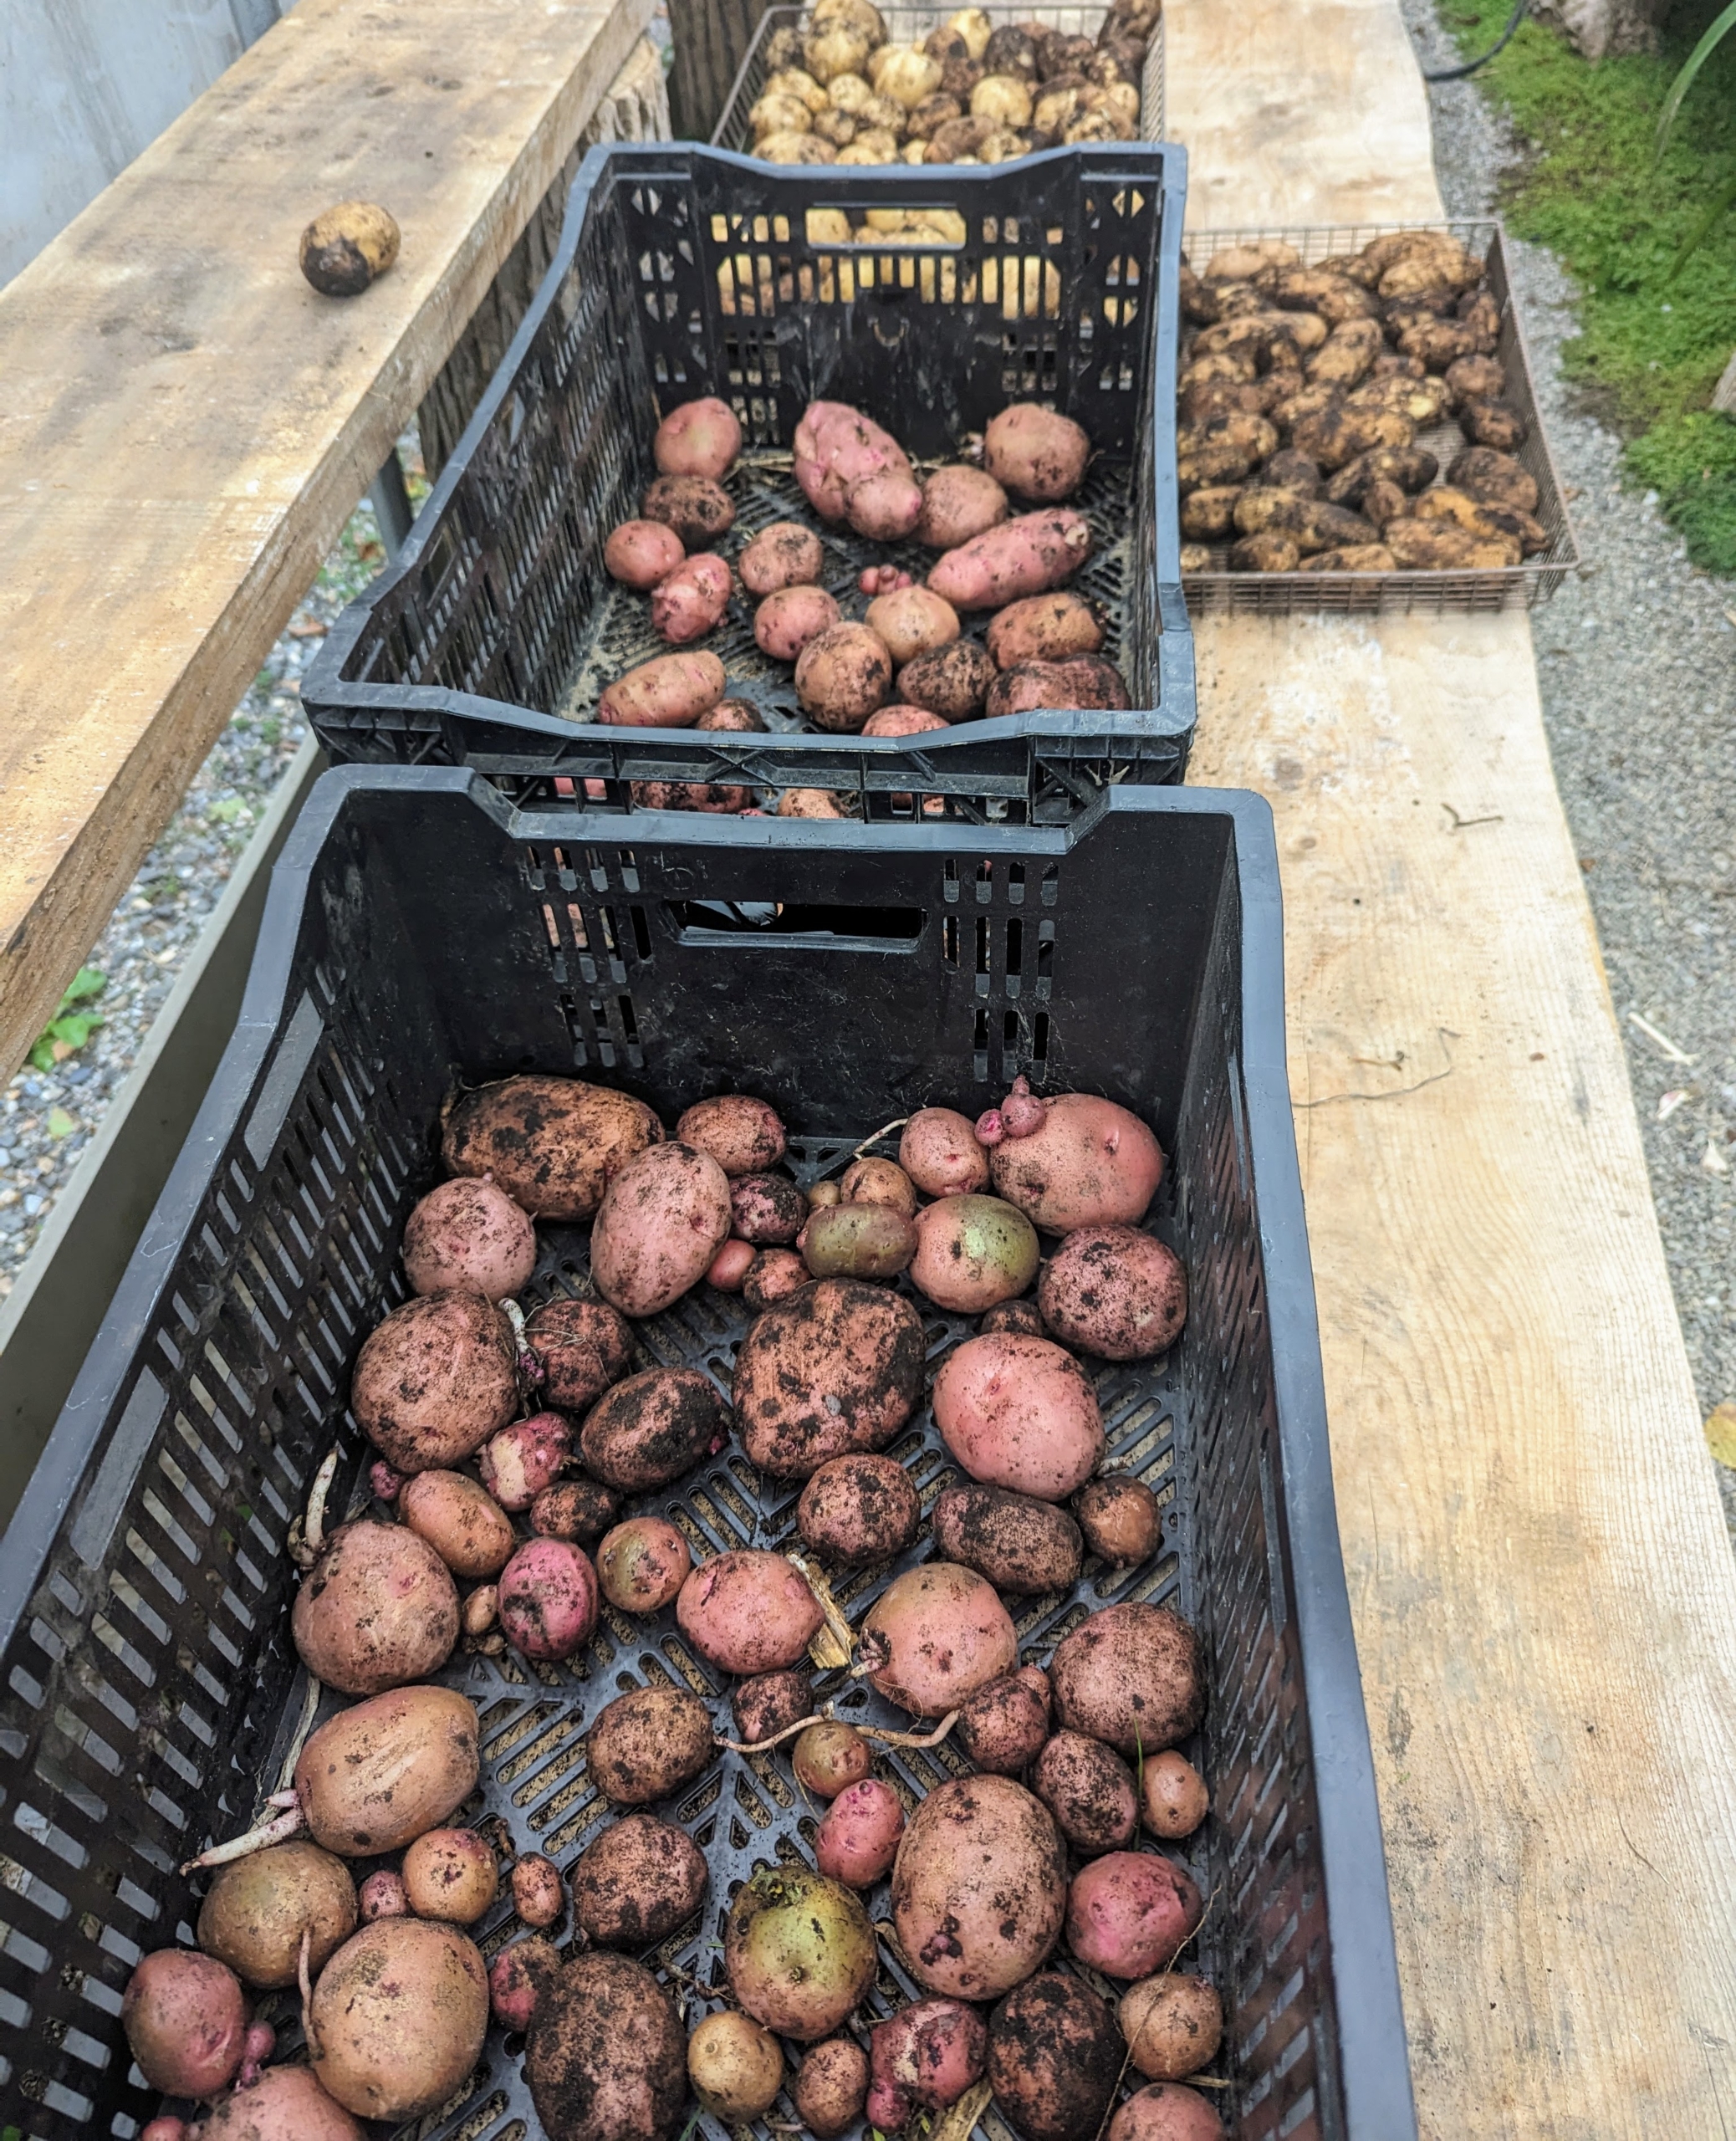
Because potatoes grow underground, it is always a surprise to see how prolific the plants have been. As the potatoes are picked, they’re placed in separate containers or trug buckets by color. Some of them will be medium-sized, while others will be much smaller, or much larger.
There are more than 200 varieties of potatoes sold throughout the United States. Each of these varieties fit into one of seven potato type categories: russet, red, white, yellow, blue/purple, fingerling, and petite.
All of these potatoes were picked within the first 15-minutes. Ryan picks as many as he can before the expected rain – the rest will wait for the next dry day giving them more time to grow.
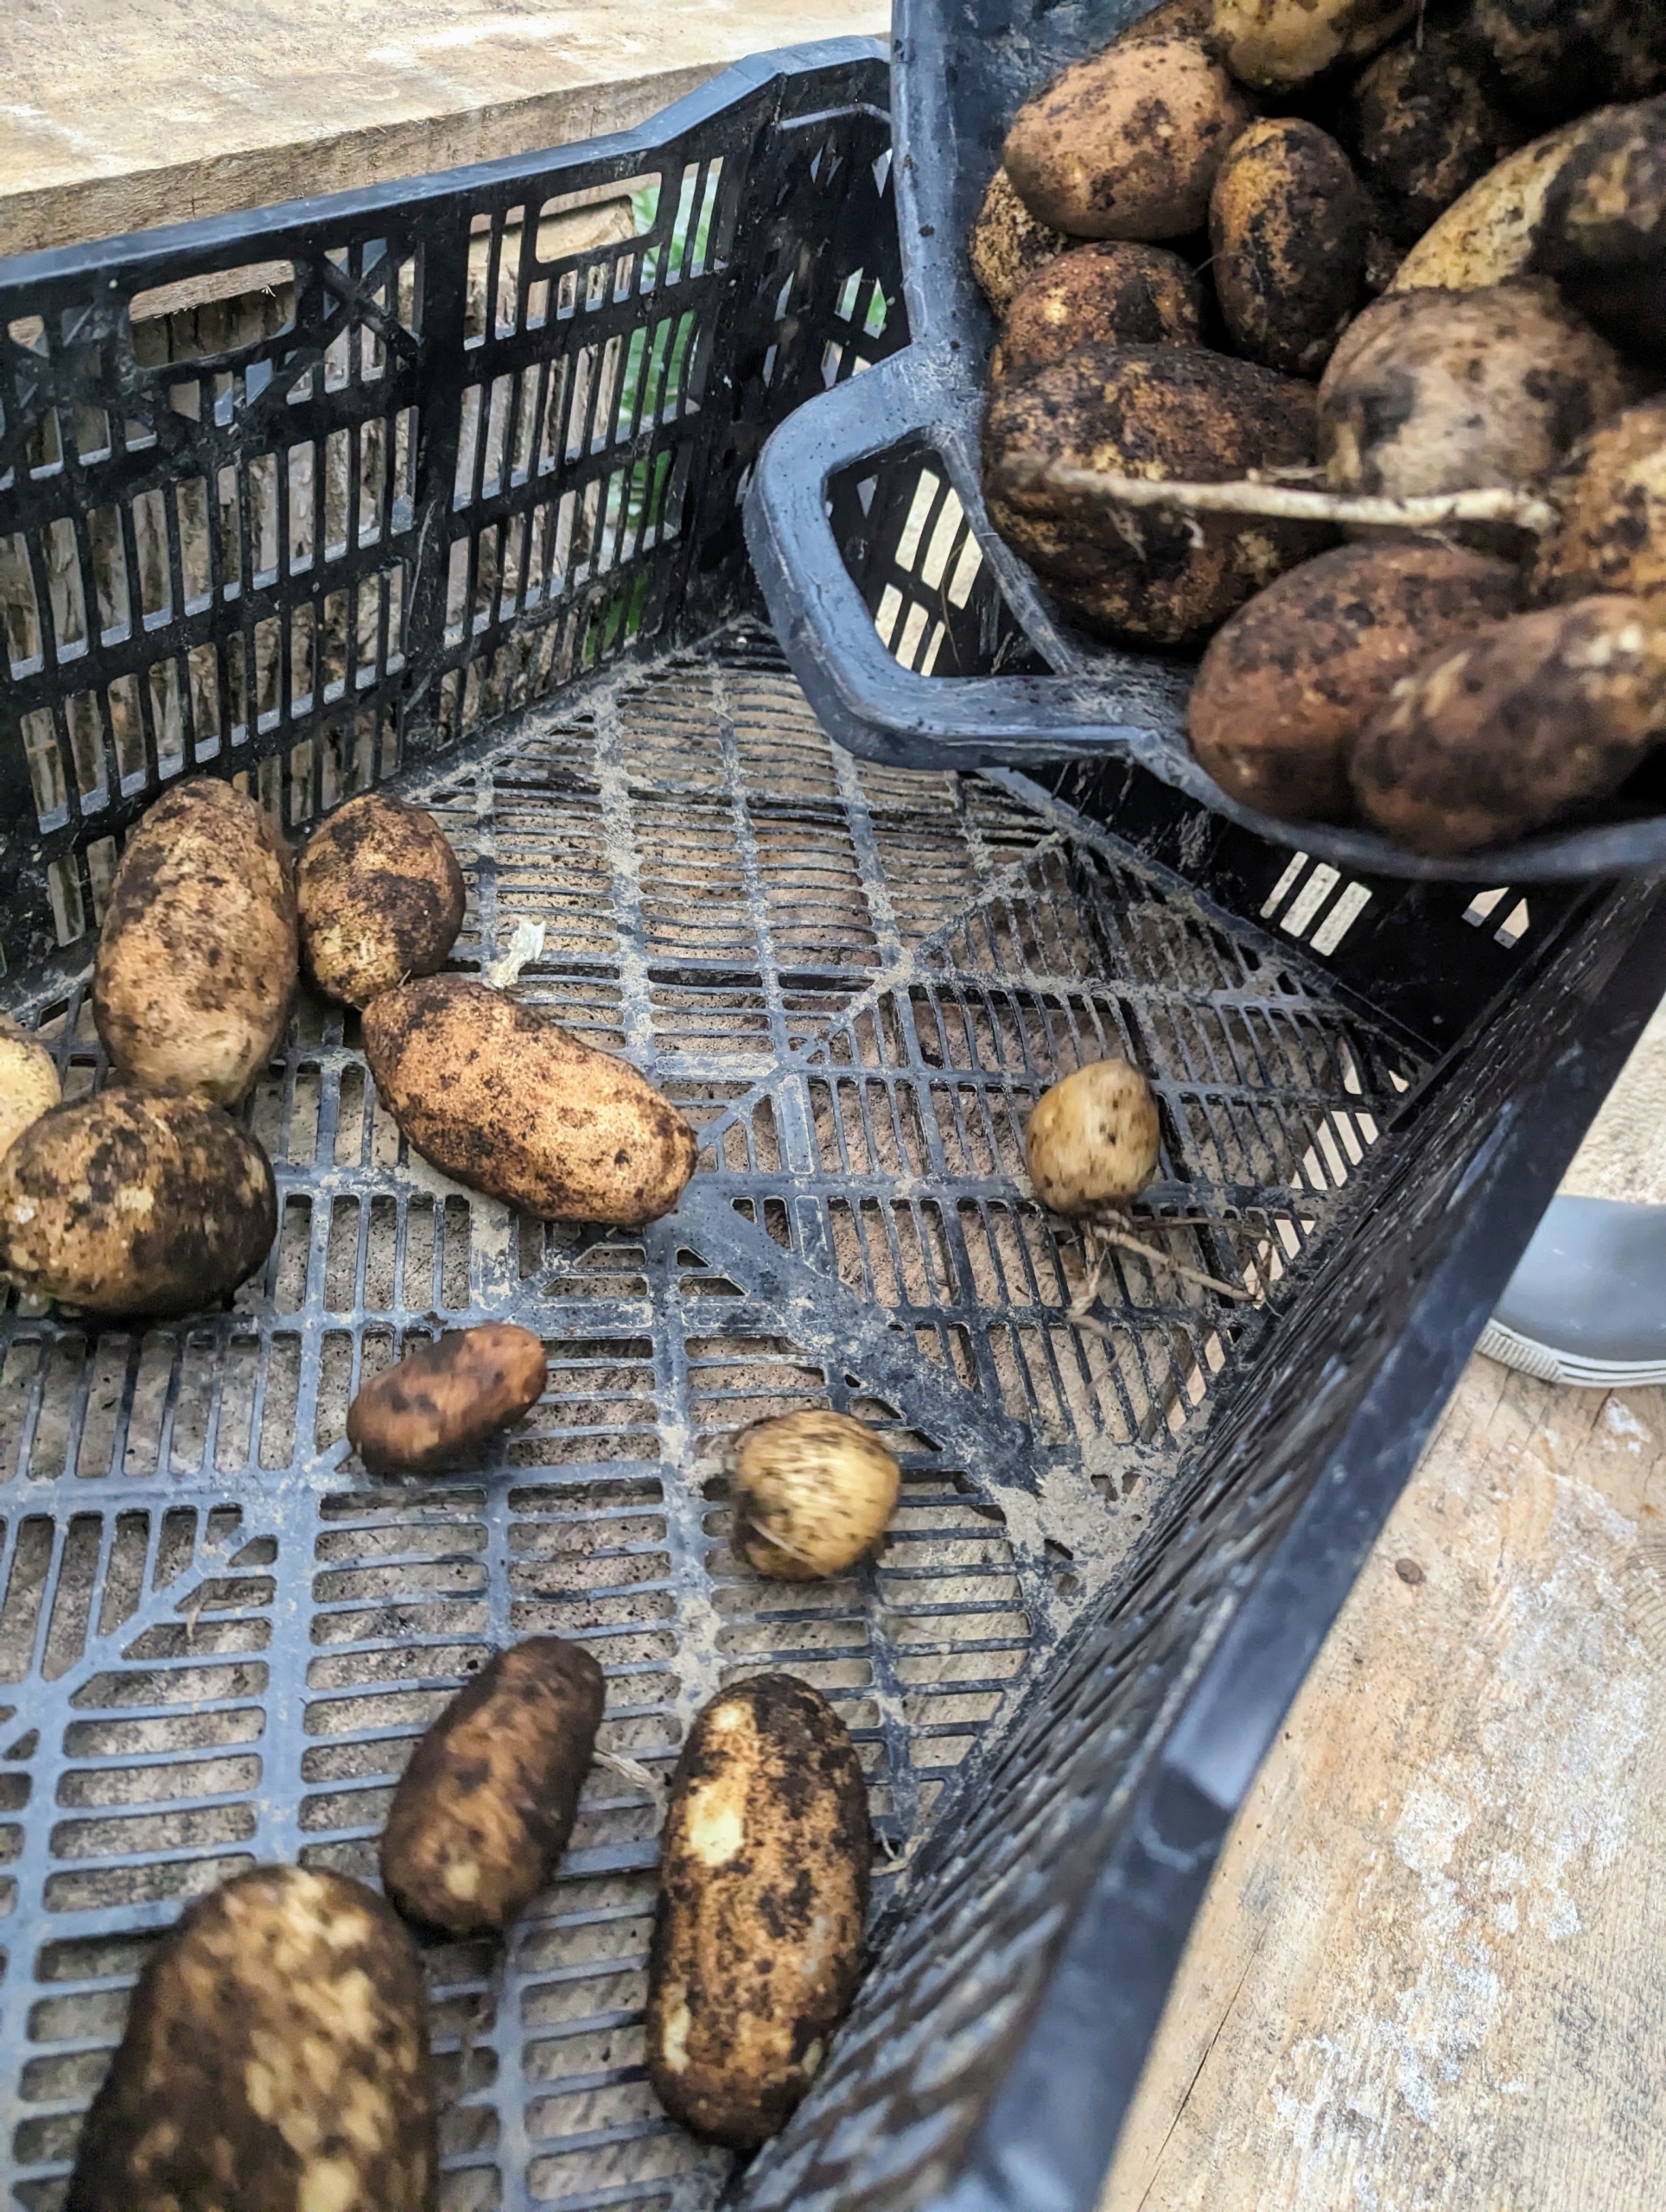
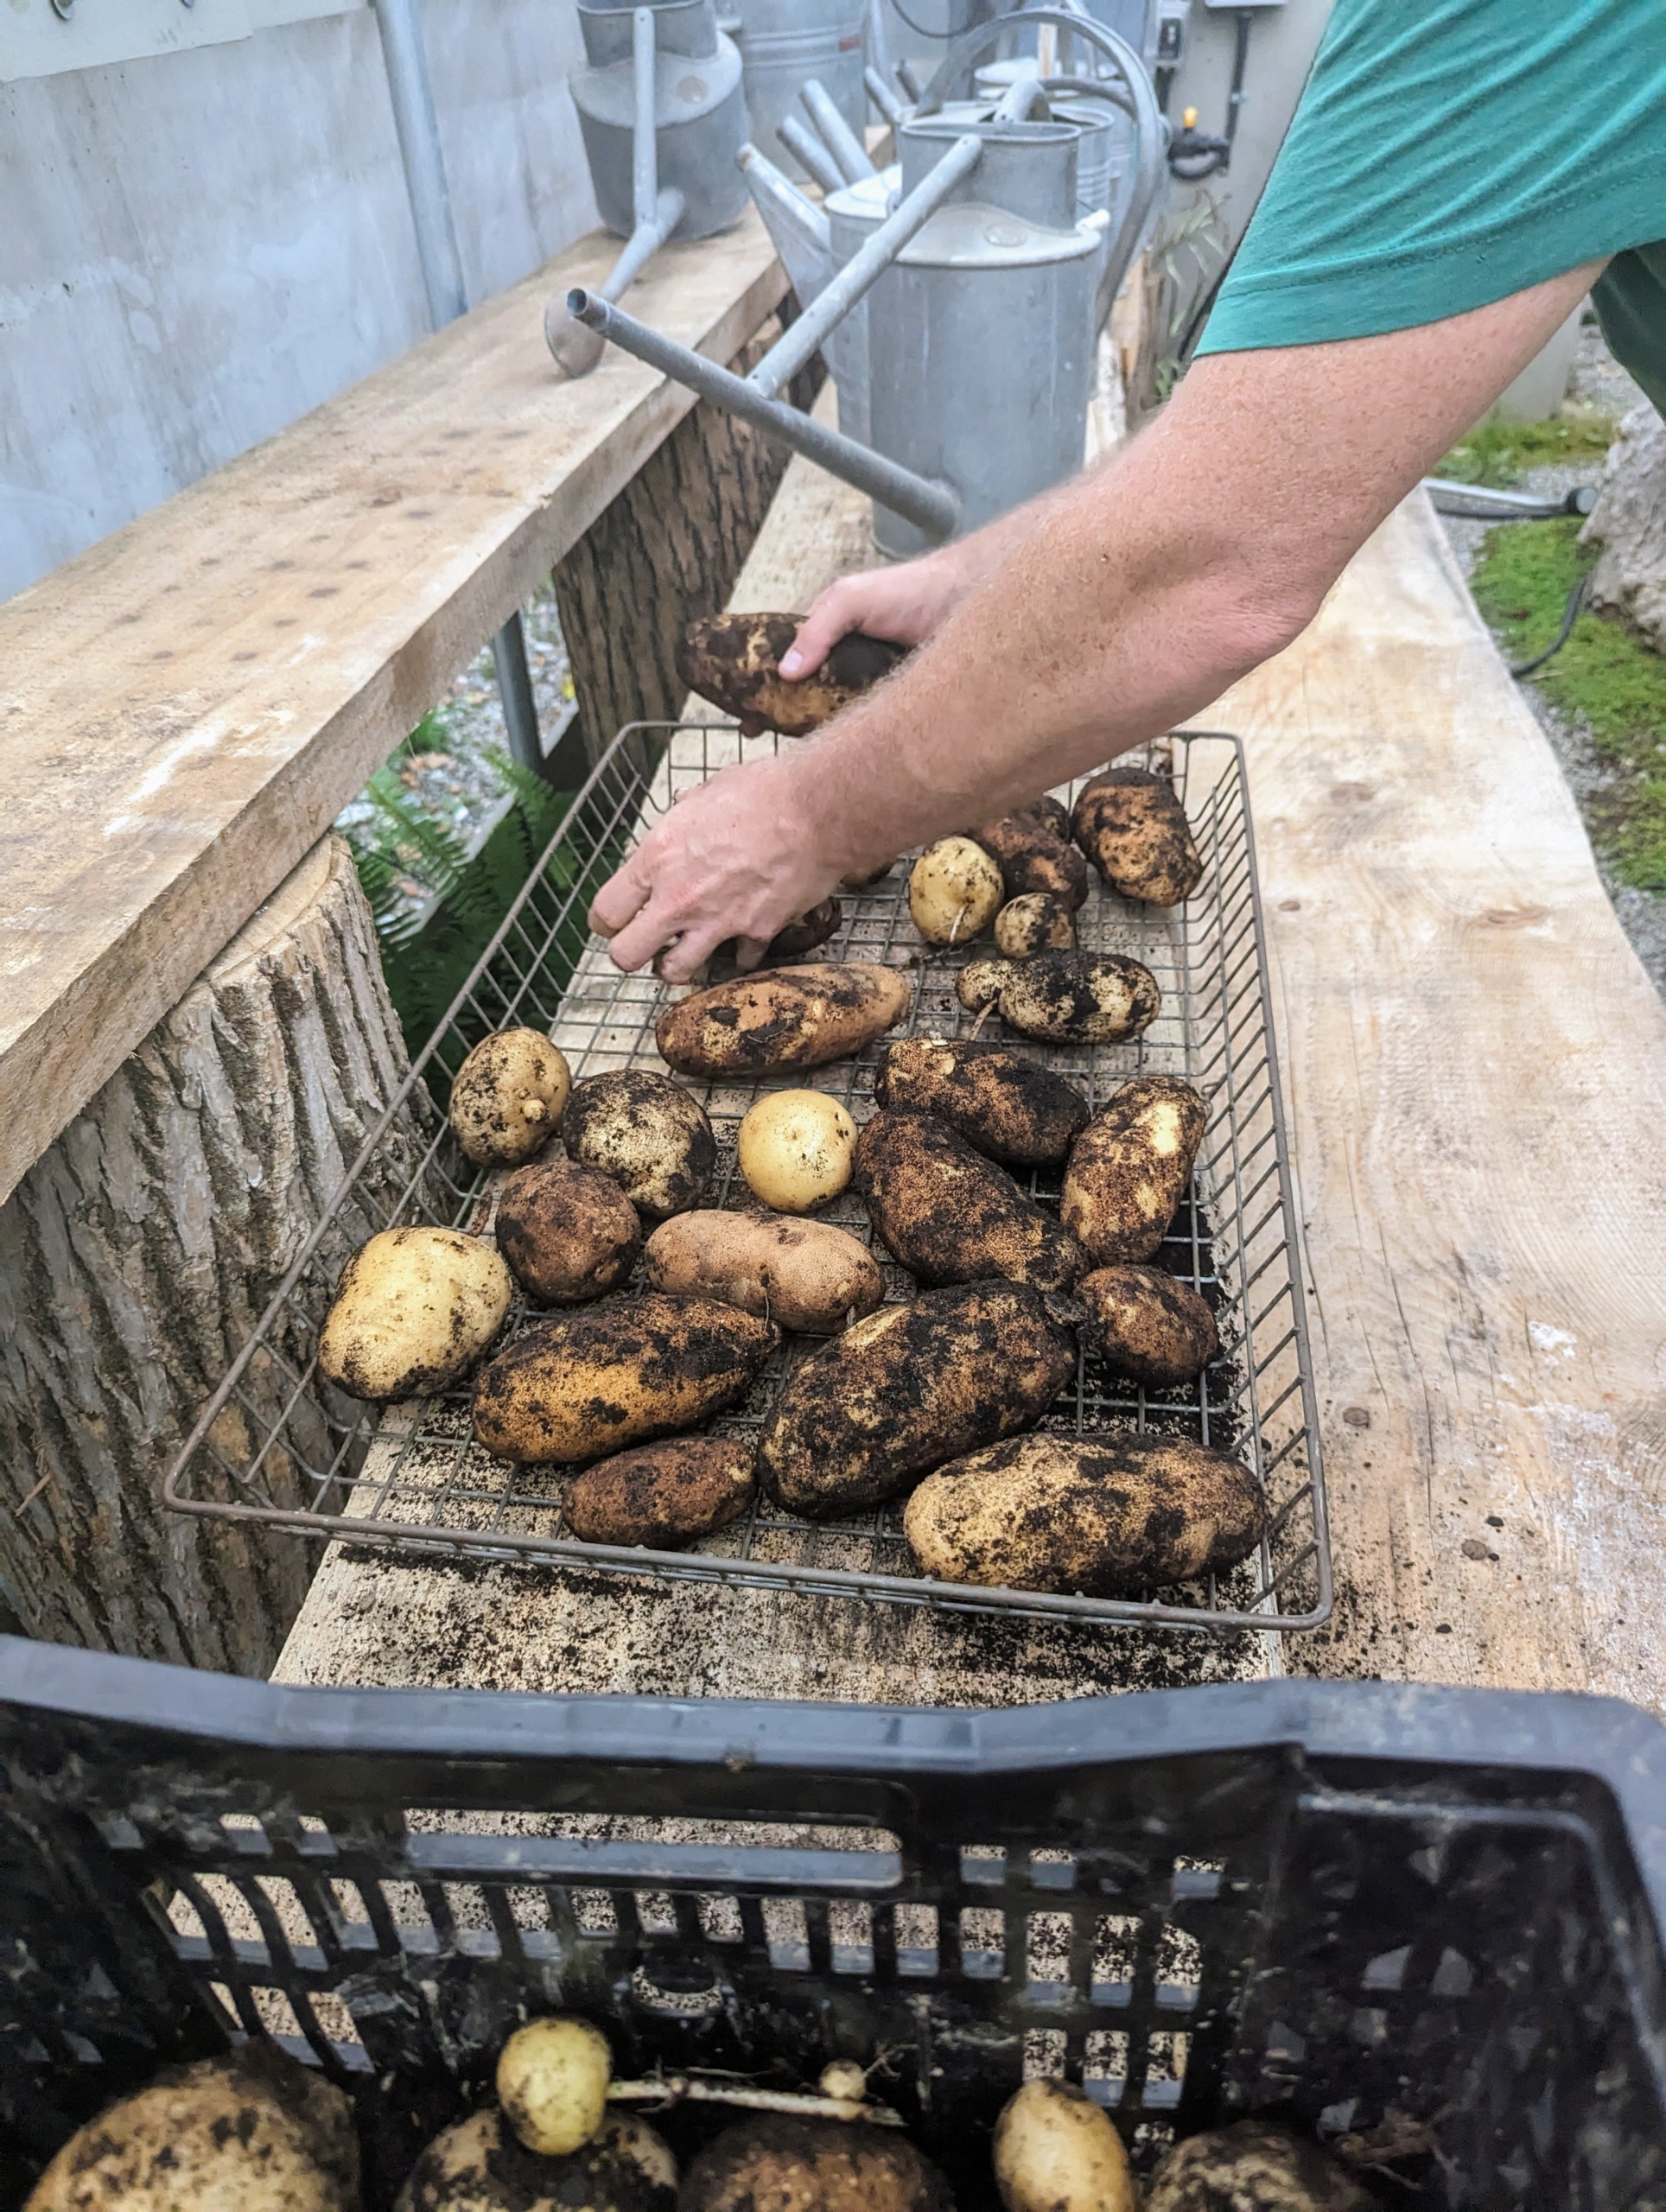
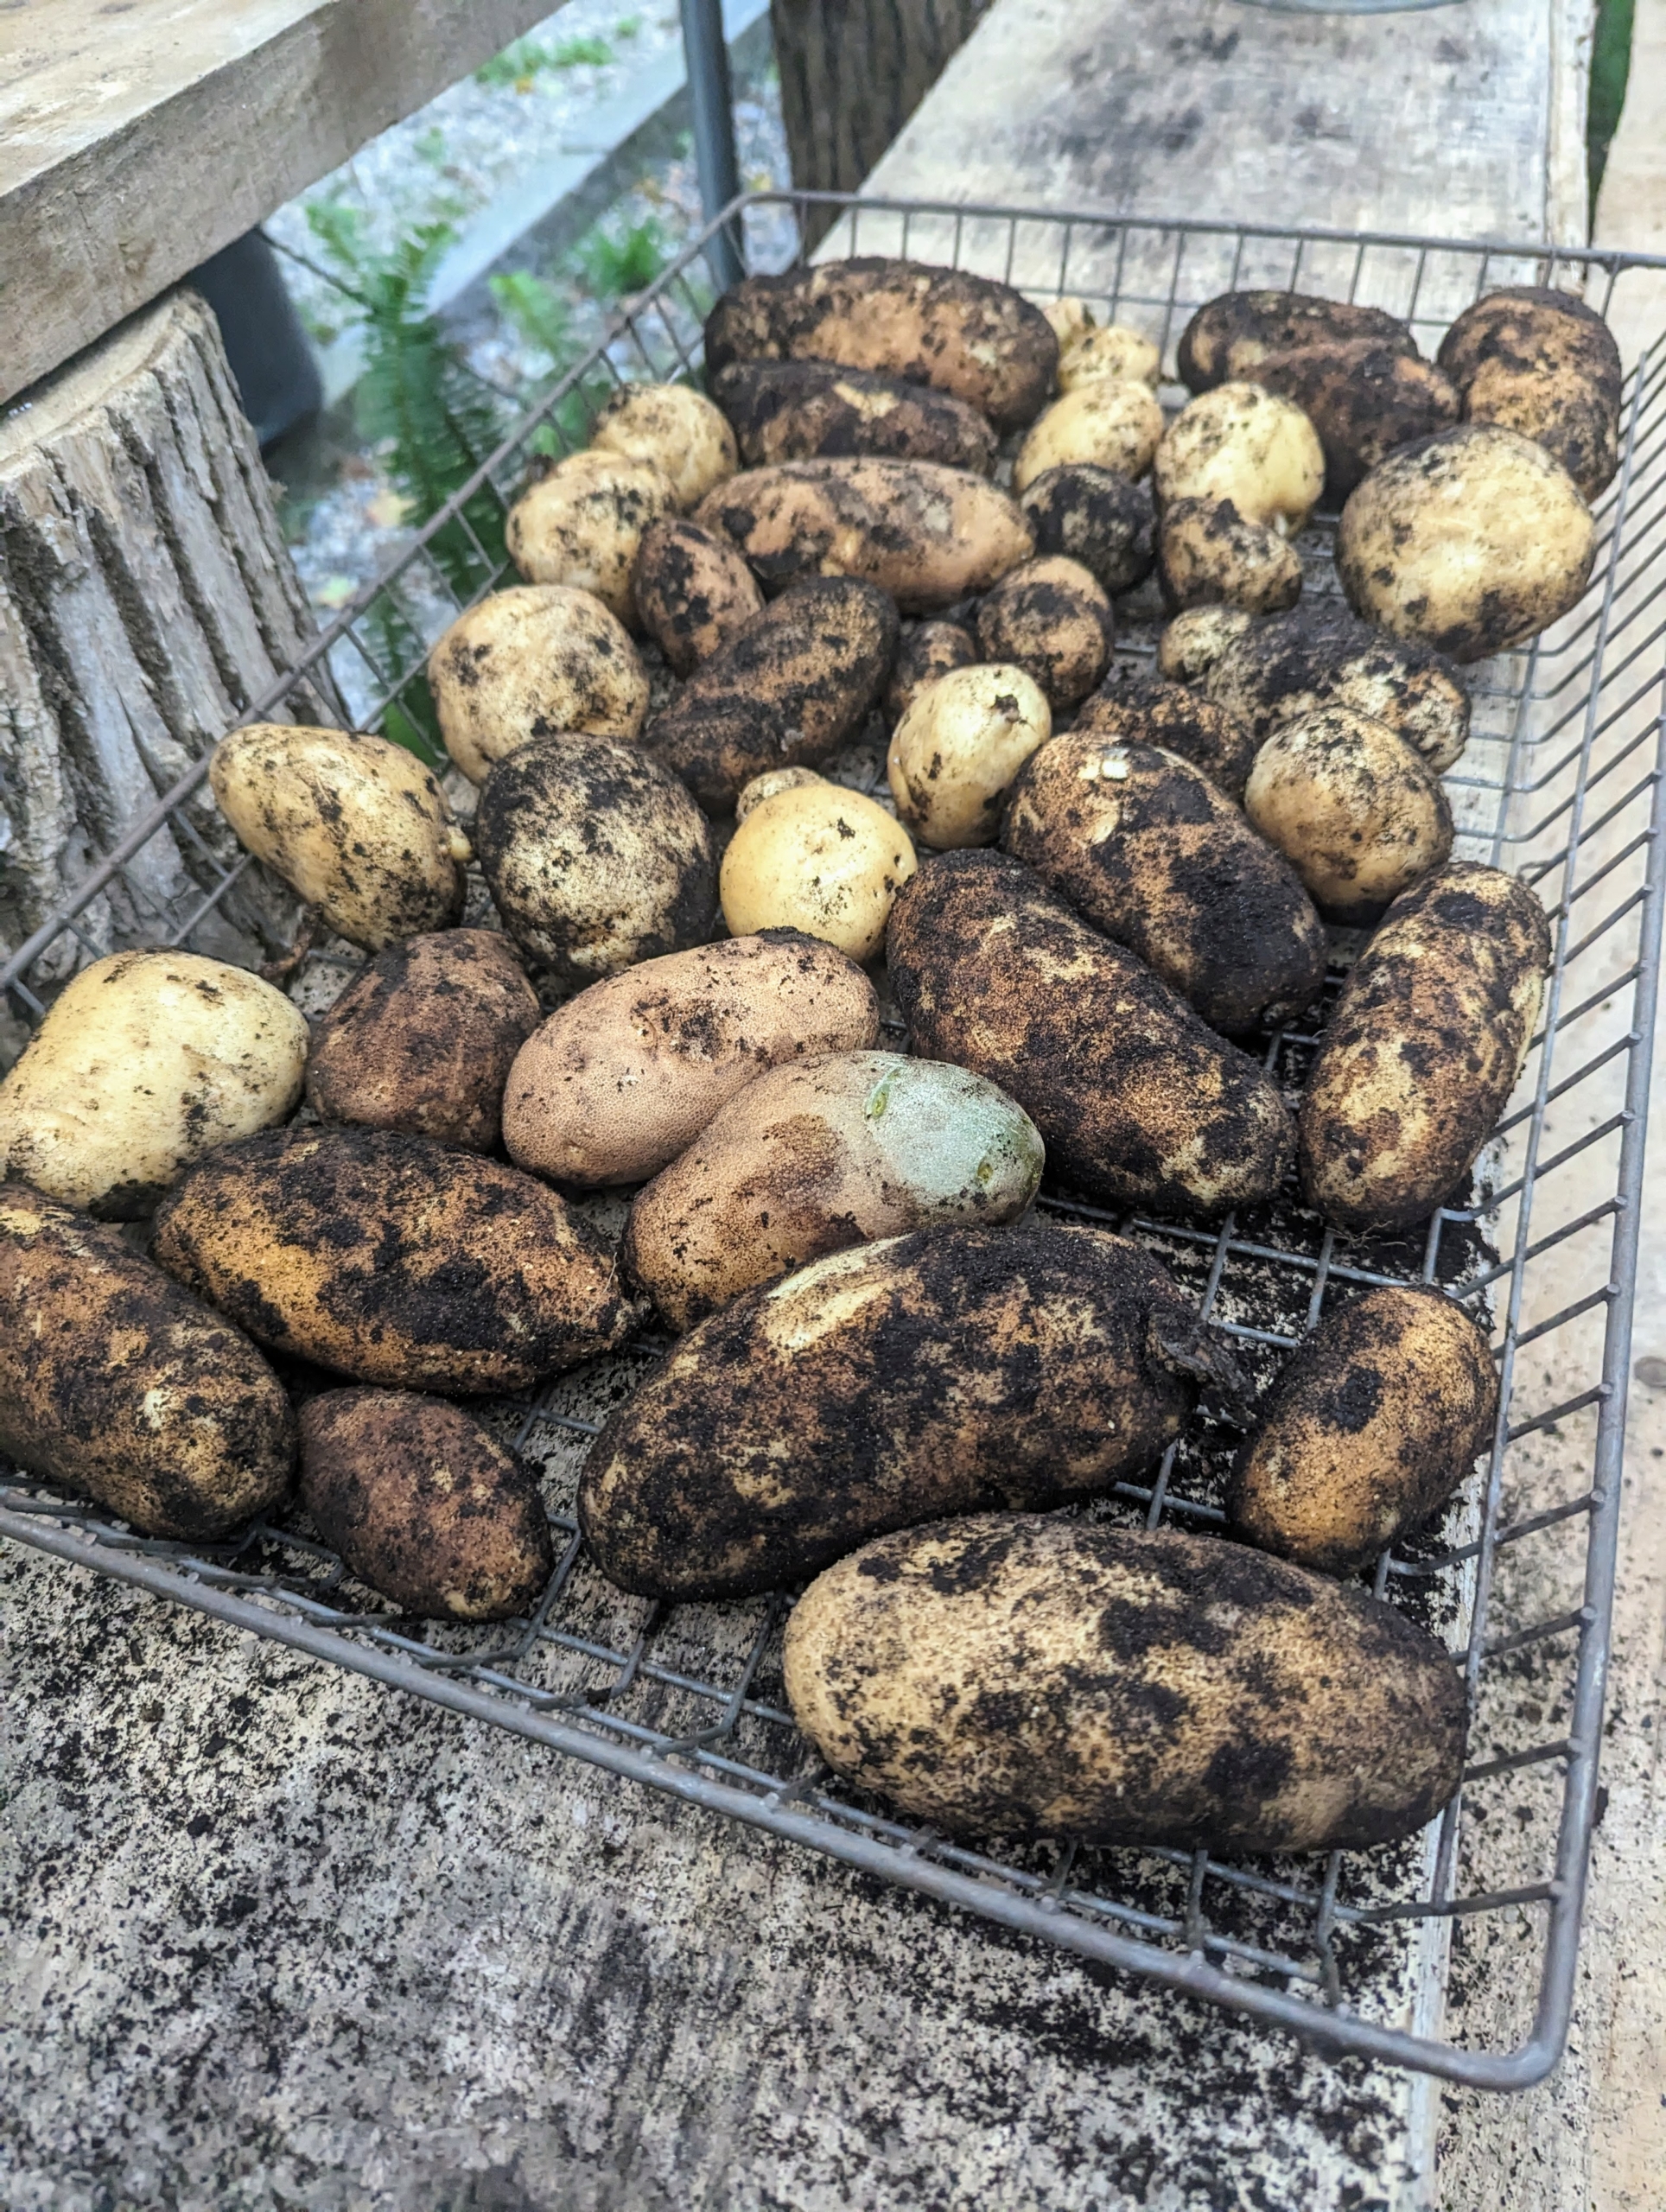
This batch is brought to the small hoop house next to my head house, where they can be placed in single layers in trays and crates to dry.
Ideally, potatoes should be kept in an environment around 45-50 degrees Fahrenheit. They can be stored in bins, boxes, or even paper bags – just nothing airtight to prevent rotting.
Another tip – never wash potatoes until right before using – washing them shortens the potato’s storage life.
And also, don’t store potatoes with apples – the ethylene gas will cause the potatoes to spoil. In addition, they should never be stored in the refrigerator. We have so many potatoes with even more still in the ground – I can’t wait to try them. I hope your weekend is filled with bounties of delicious produce from your gardens.
The gardens here at my Bedford, New York farm are constantly evolving. I am always looking for pretty and interesting specimens to add to the developing beds. It's always very rewarding to see them develop and thrive.
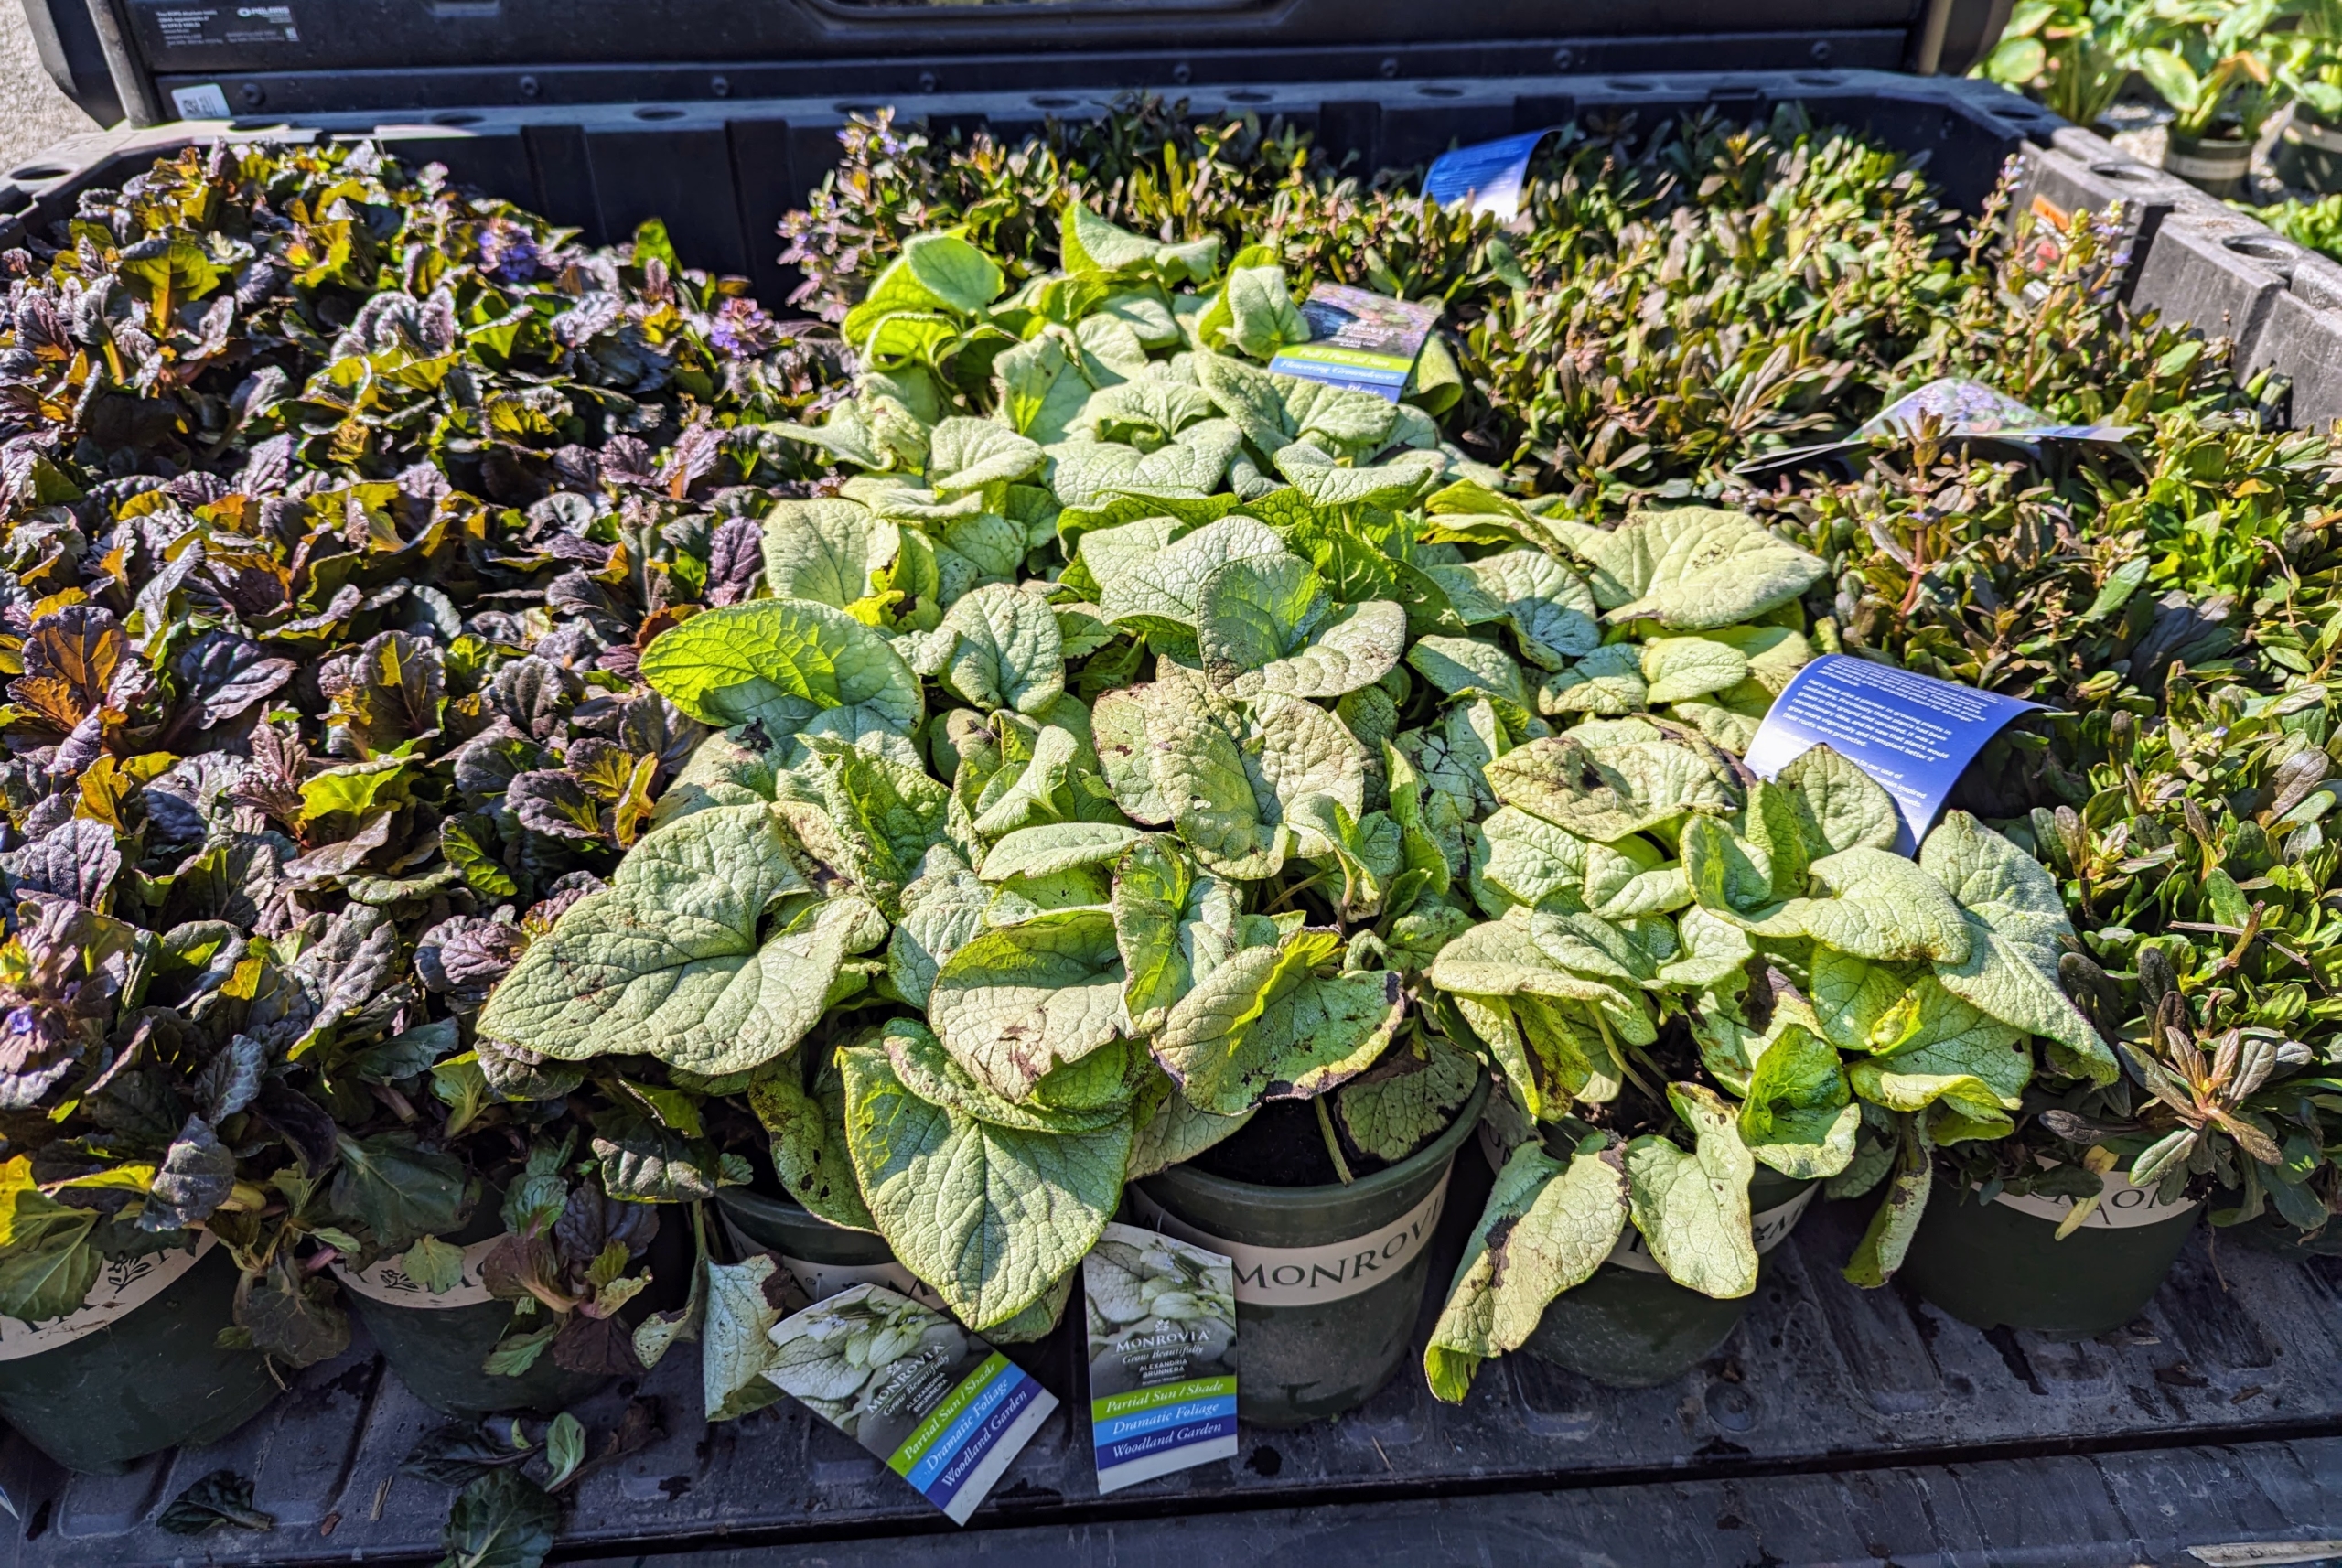
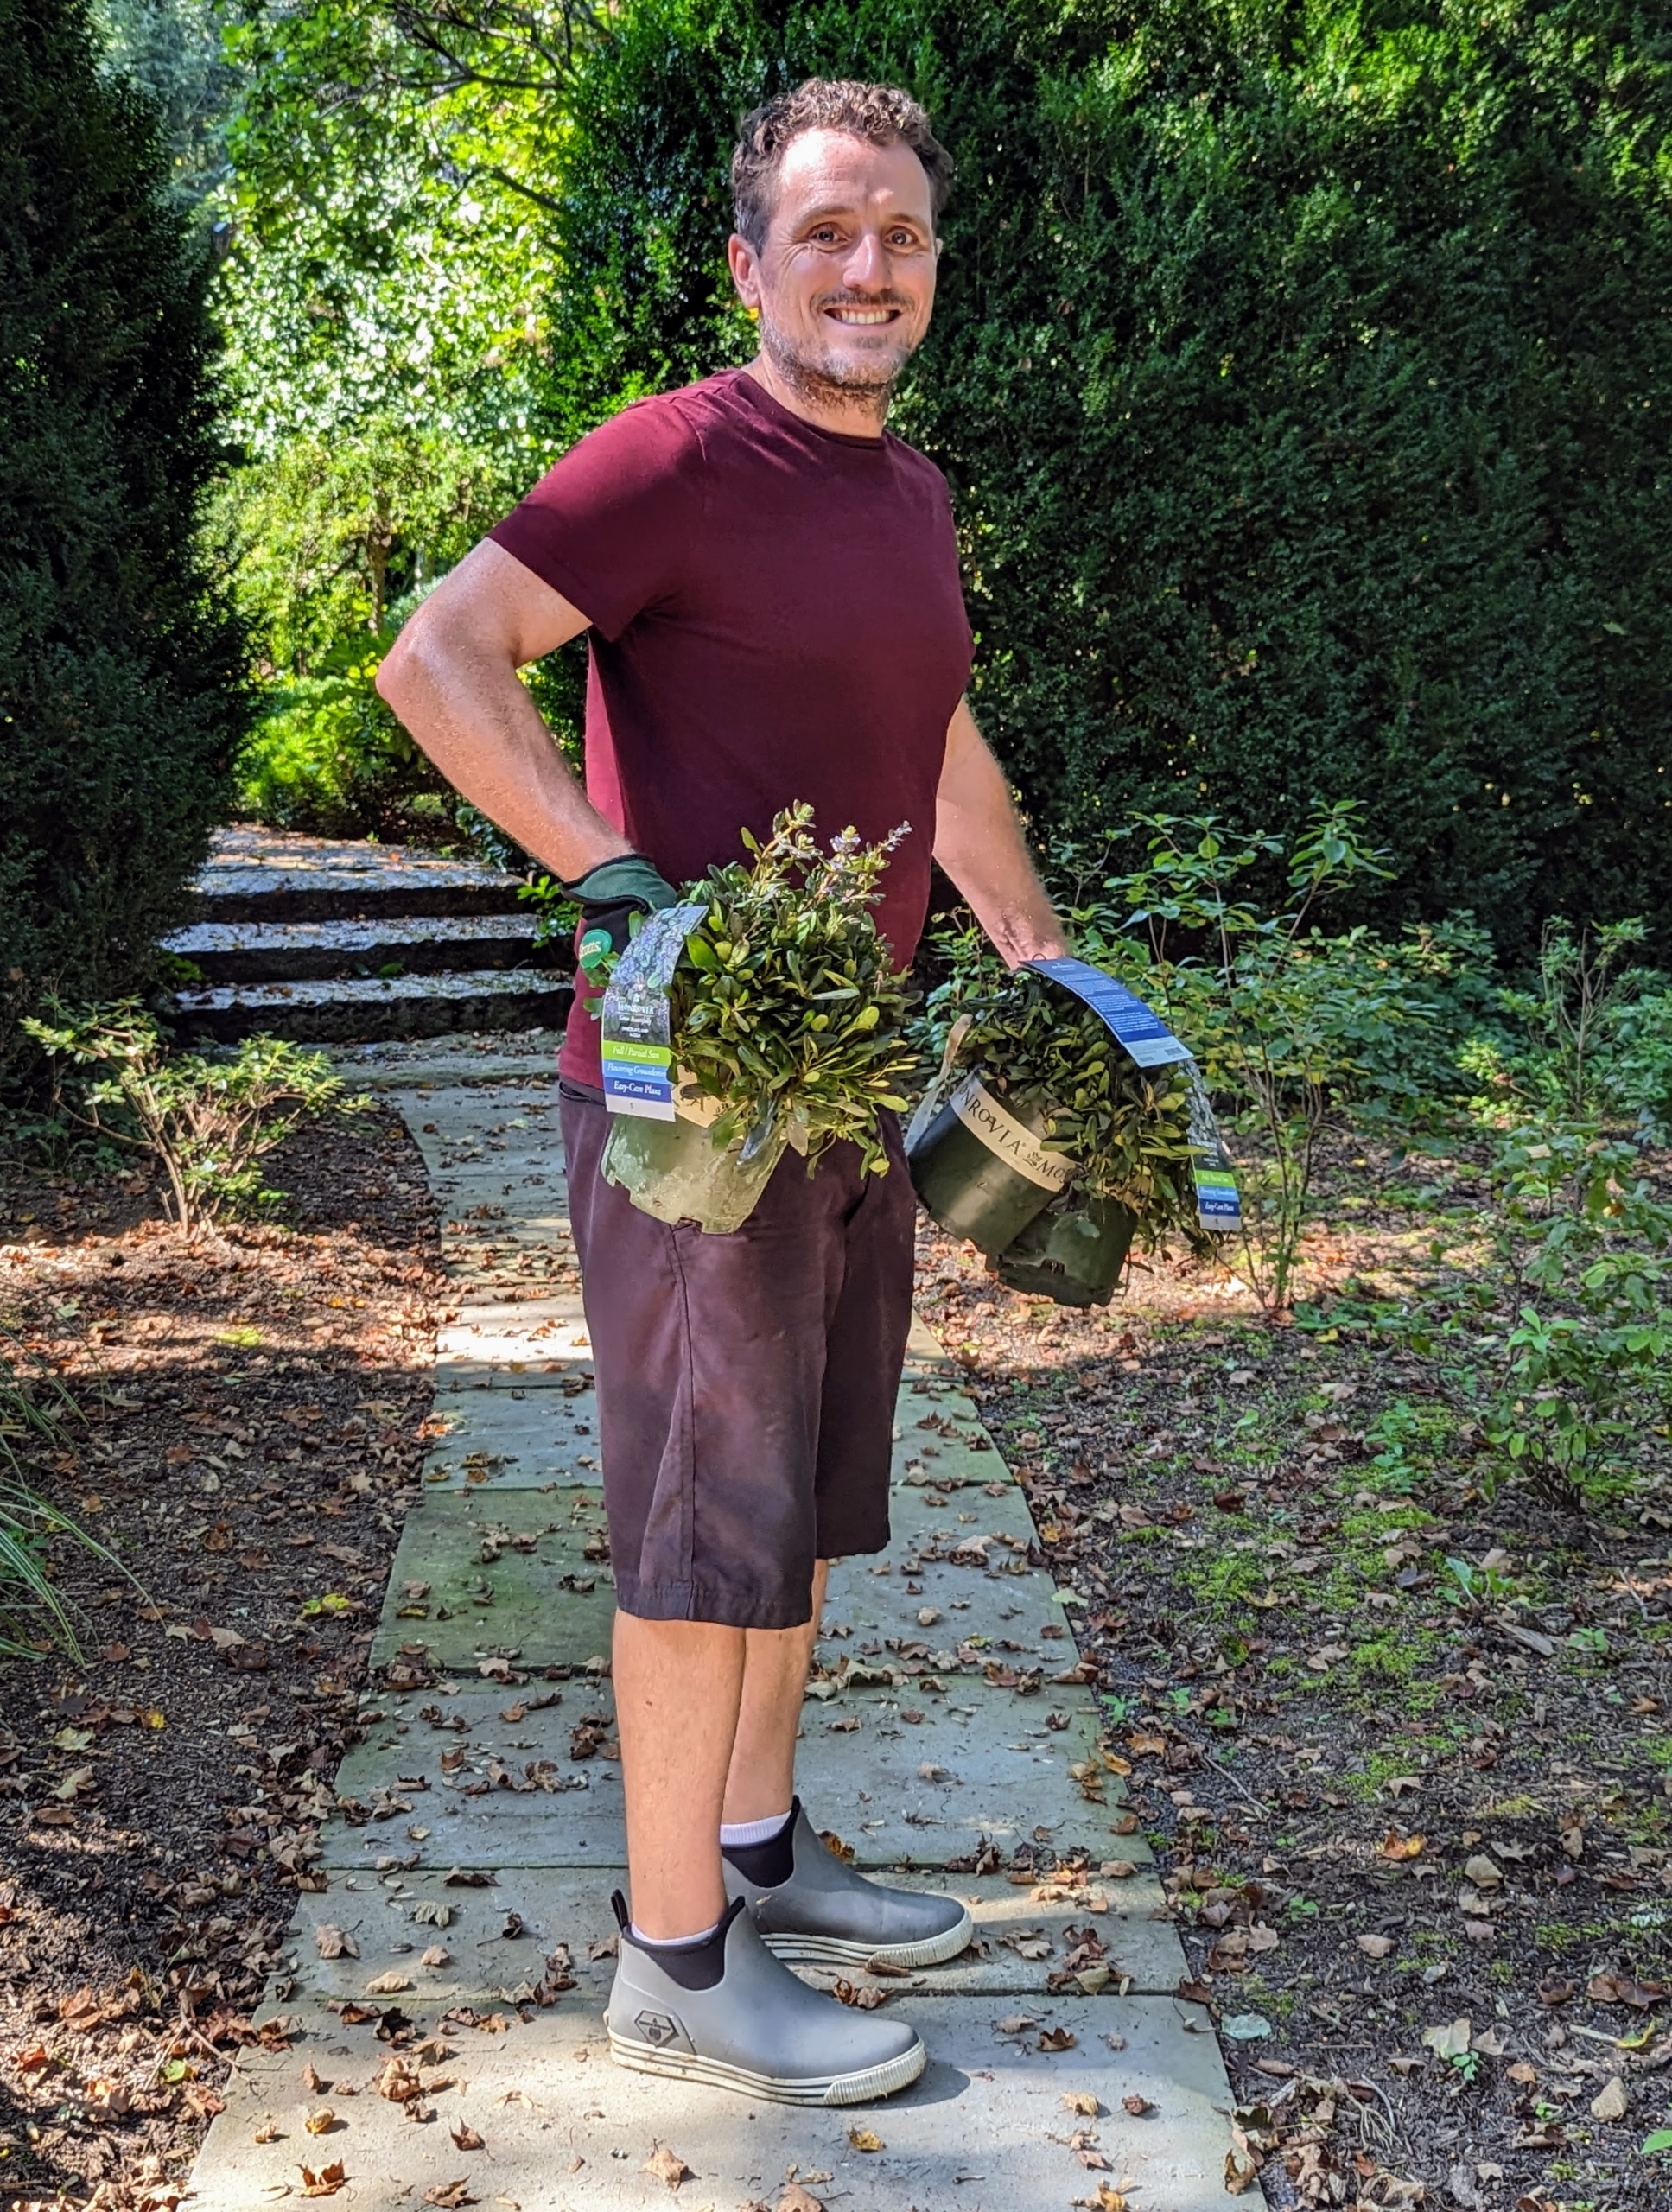
This week, I received an assortment of plants from Monrovia, a wholesale plant nursery specializing in shrubs, perennials, annuals, ferns, grasses and conifers with several nursery locations across the country. My head gardener, Ryan McCallister, and I, decided to plant Ajuga 'Chocolate Chip' on both sides of a footpath leading to my Summer House garden. We also added Ajuga 'Black Scallop' and Brunnera 'Alexandria' to a bed behind my gym. These plants are small now, but they will add more texture and color to the areas as they grow.
Enjoy these photos.
Our latest delivery from Monrovia includes these very interesting ground covering perennials. Ryan loads them on the back of our Polaris off-road vehicle, so they can be taken to their new locations.
The first spot is the entrance to my sunken Summer House garden. Ryan lines up Ajuga ‘Chocolate Chip’ on both sides of the stone pavers. If you follow this blog regularly, you may recall we just made this stone path last spring.
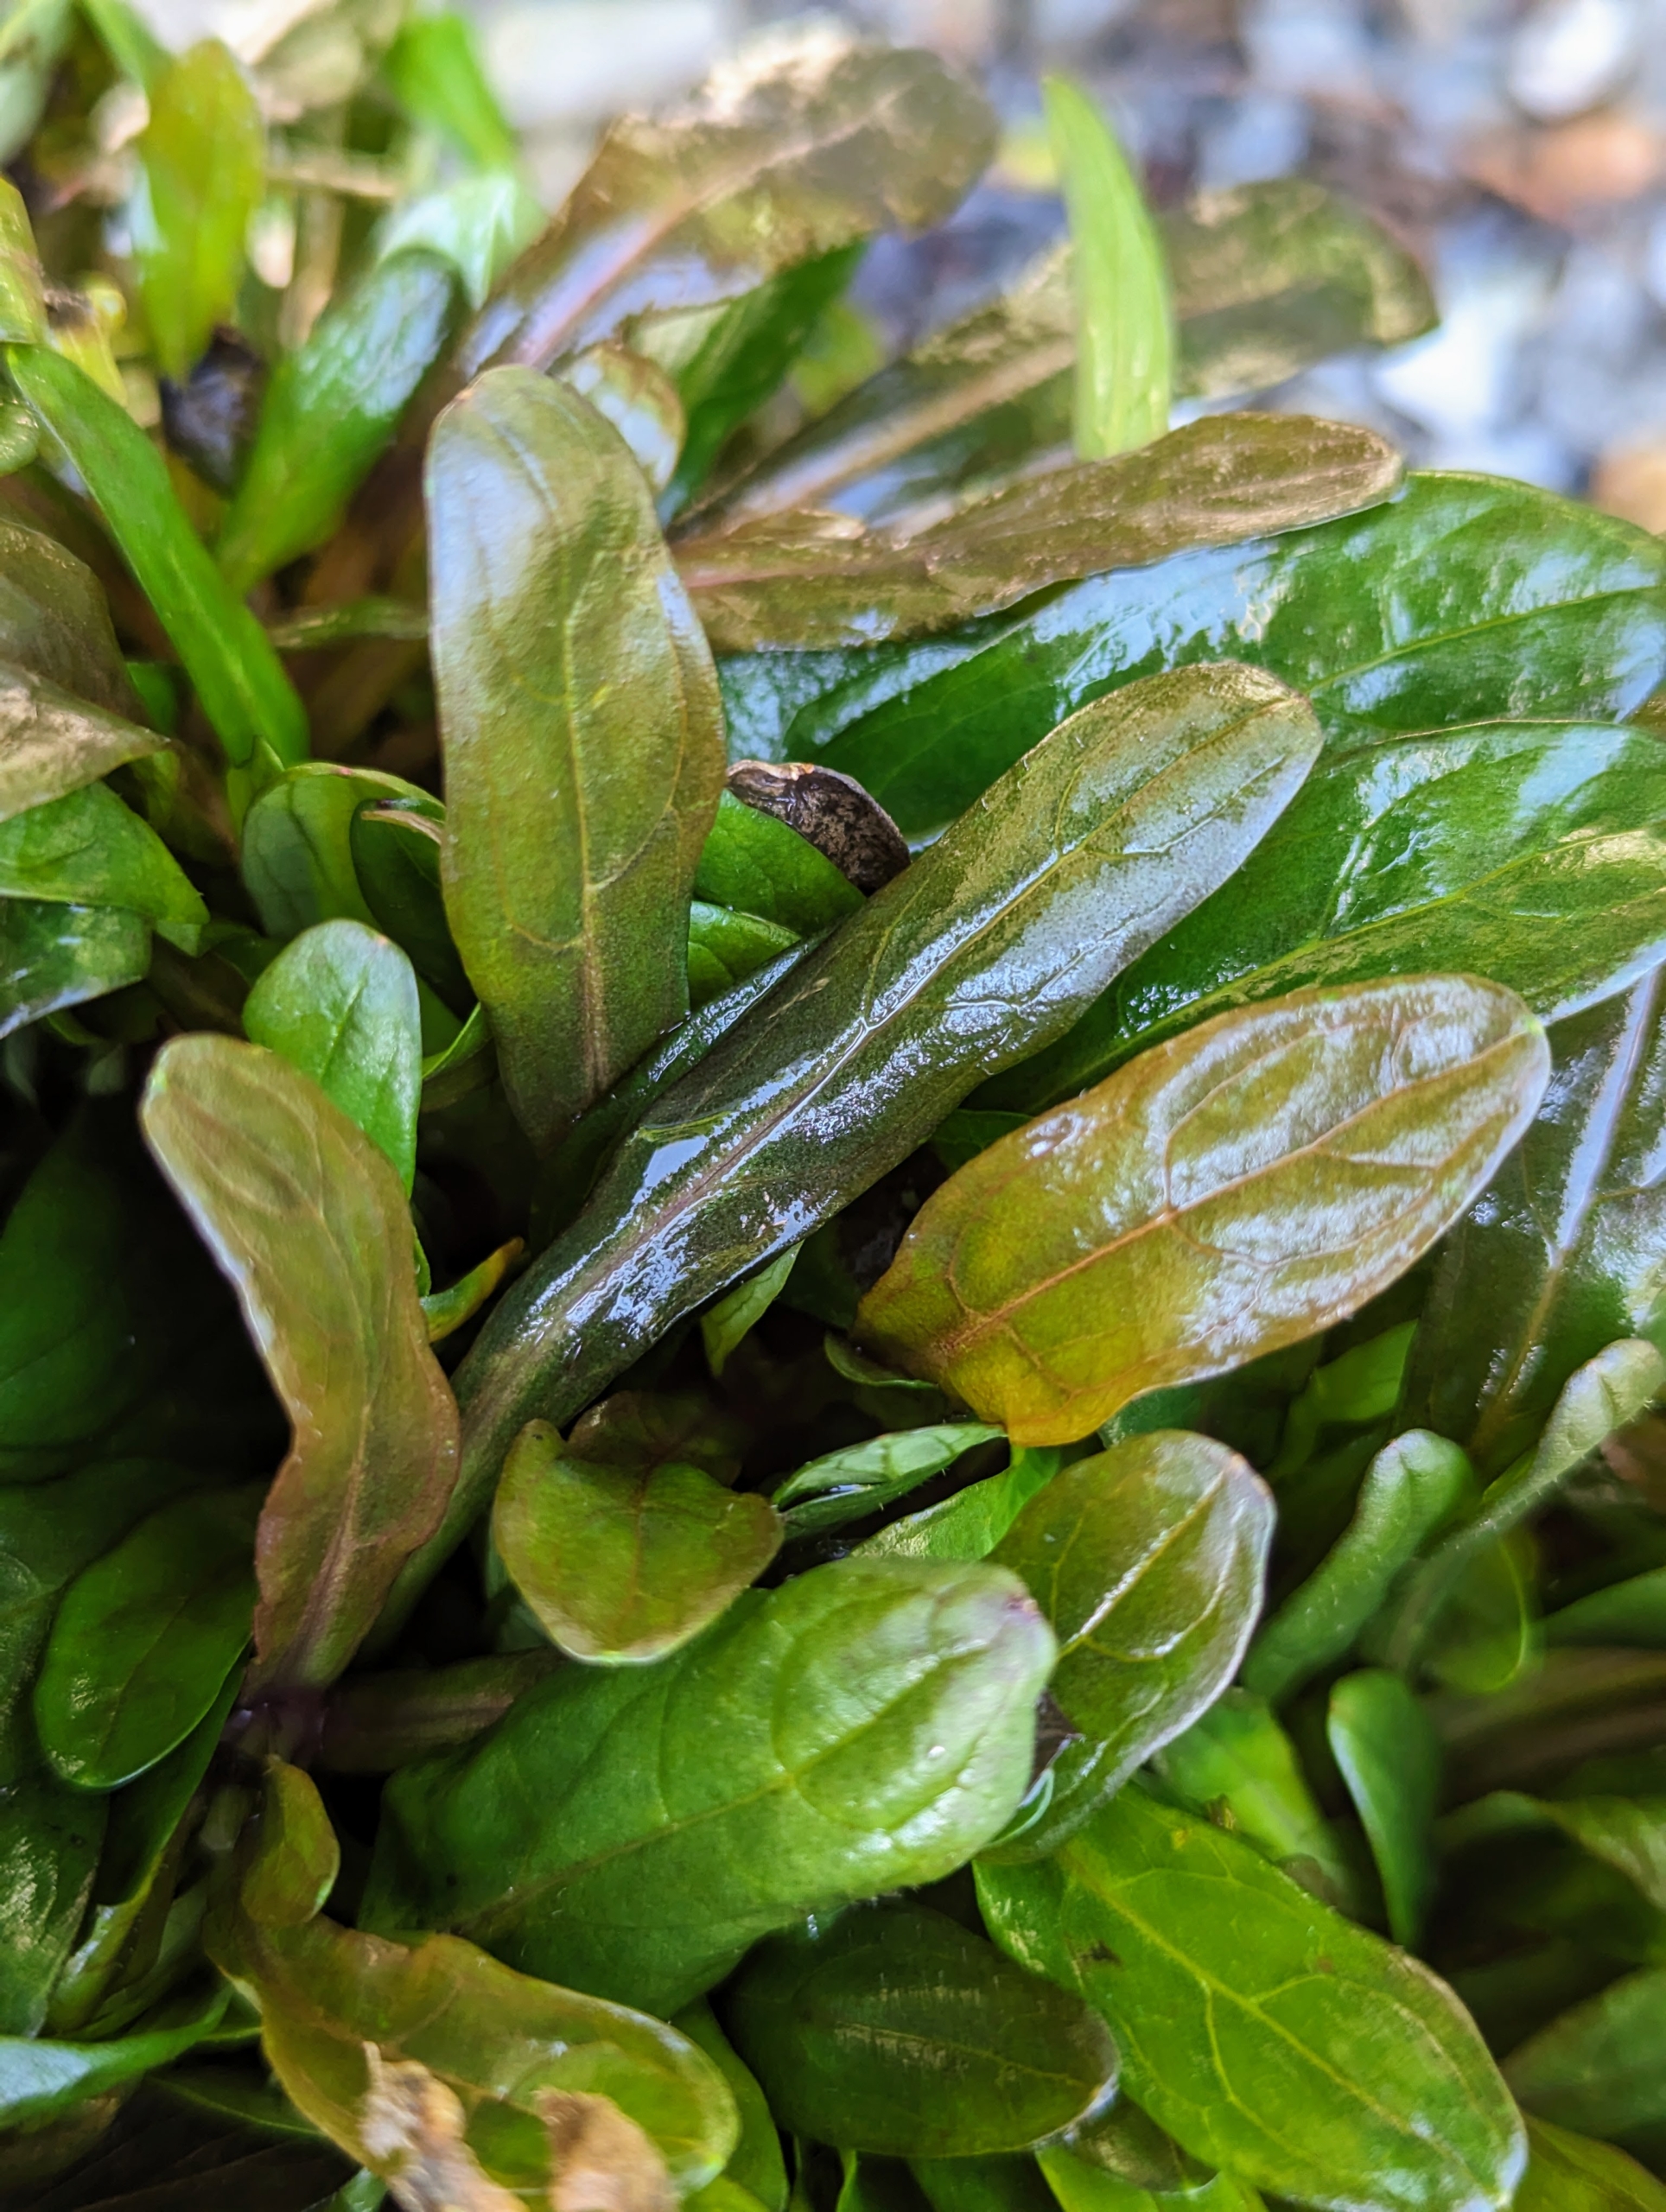
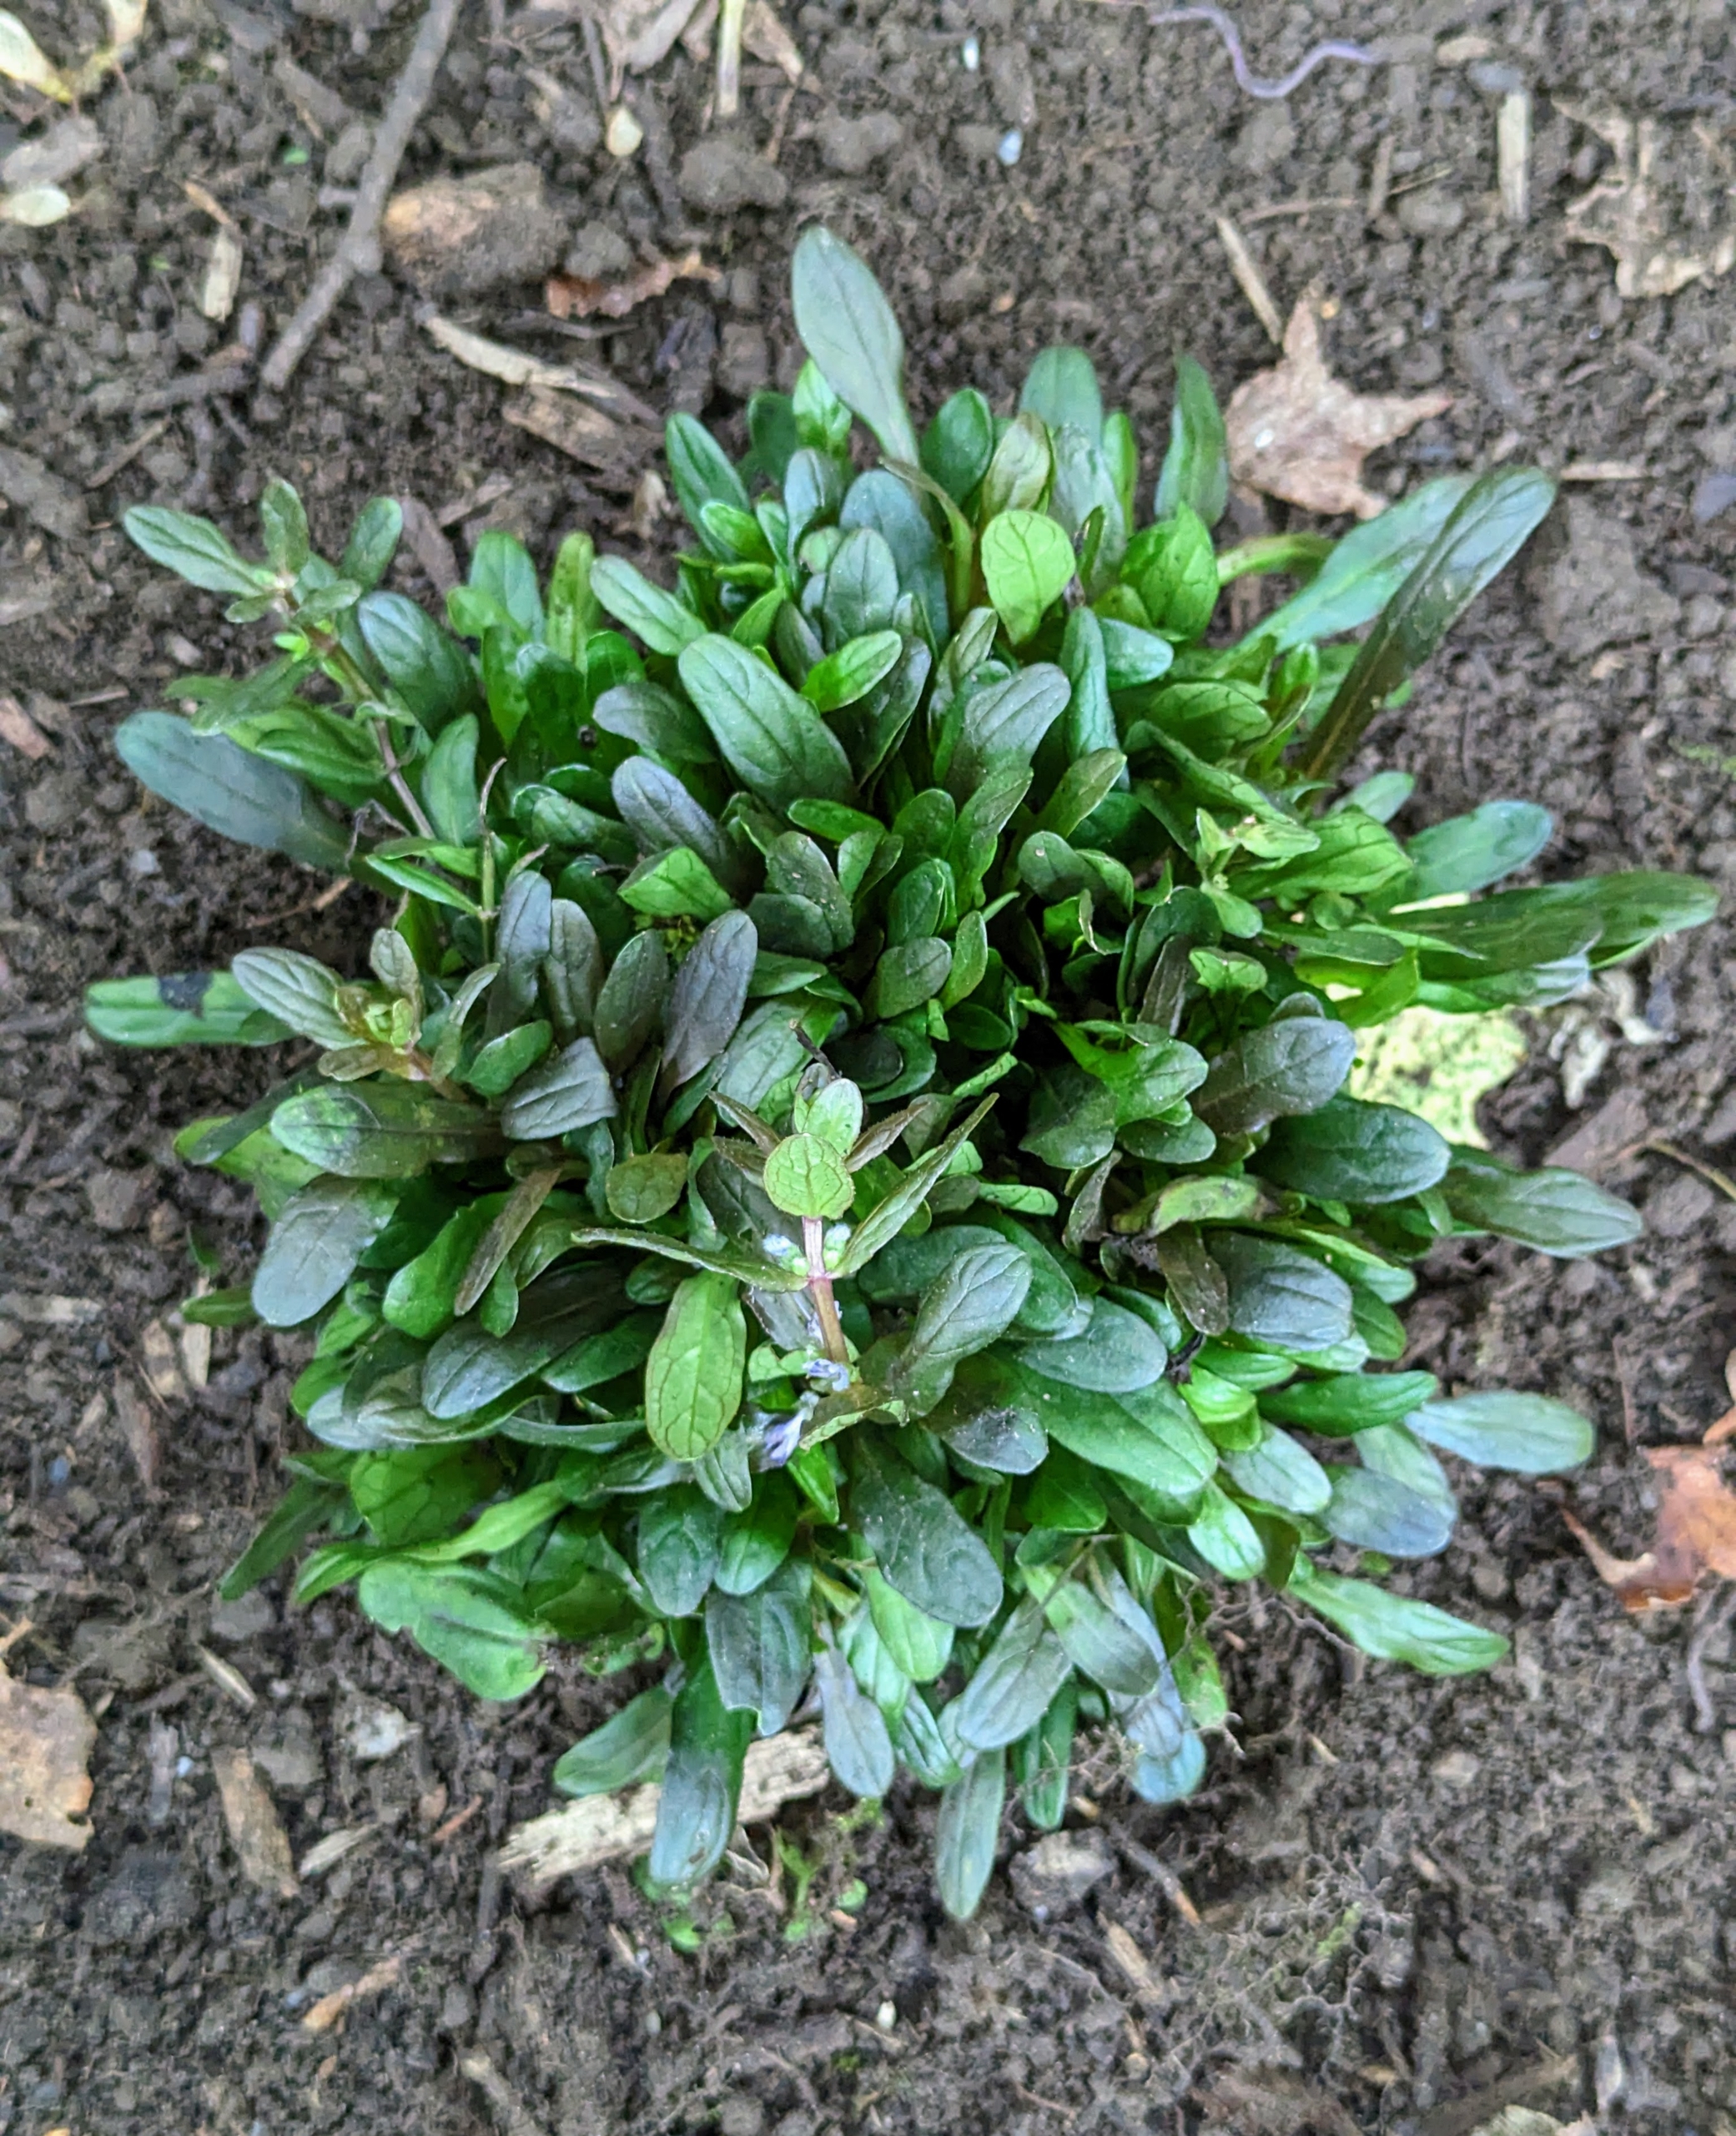
Ajuga ‘Chocolate Chip’ is a spreading, miniature chocolate foliage plant with lacy blue flowers in spring. As these mature, they will create a tight mat of rich, brown color with dark green undertones.
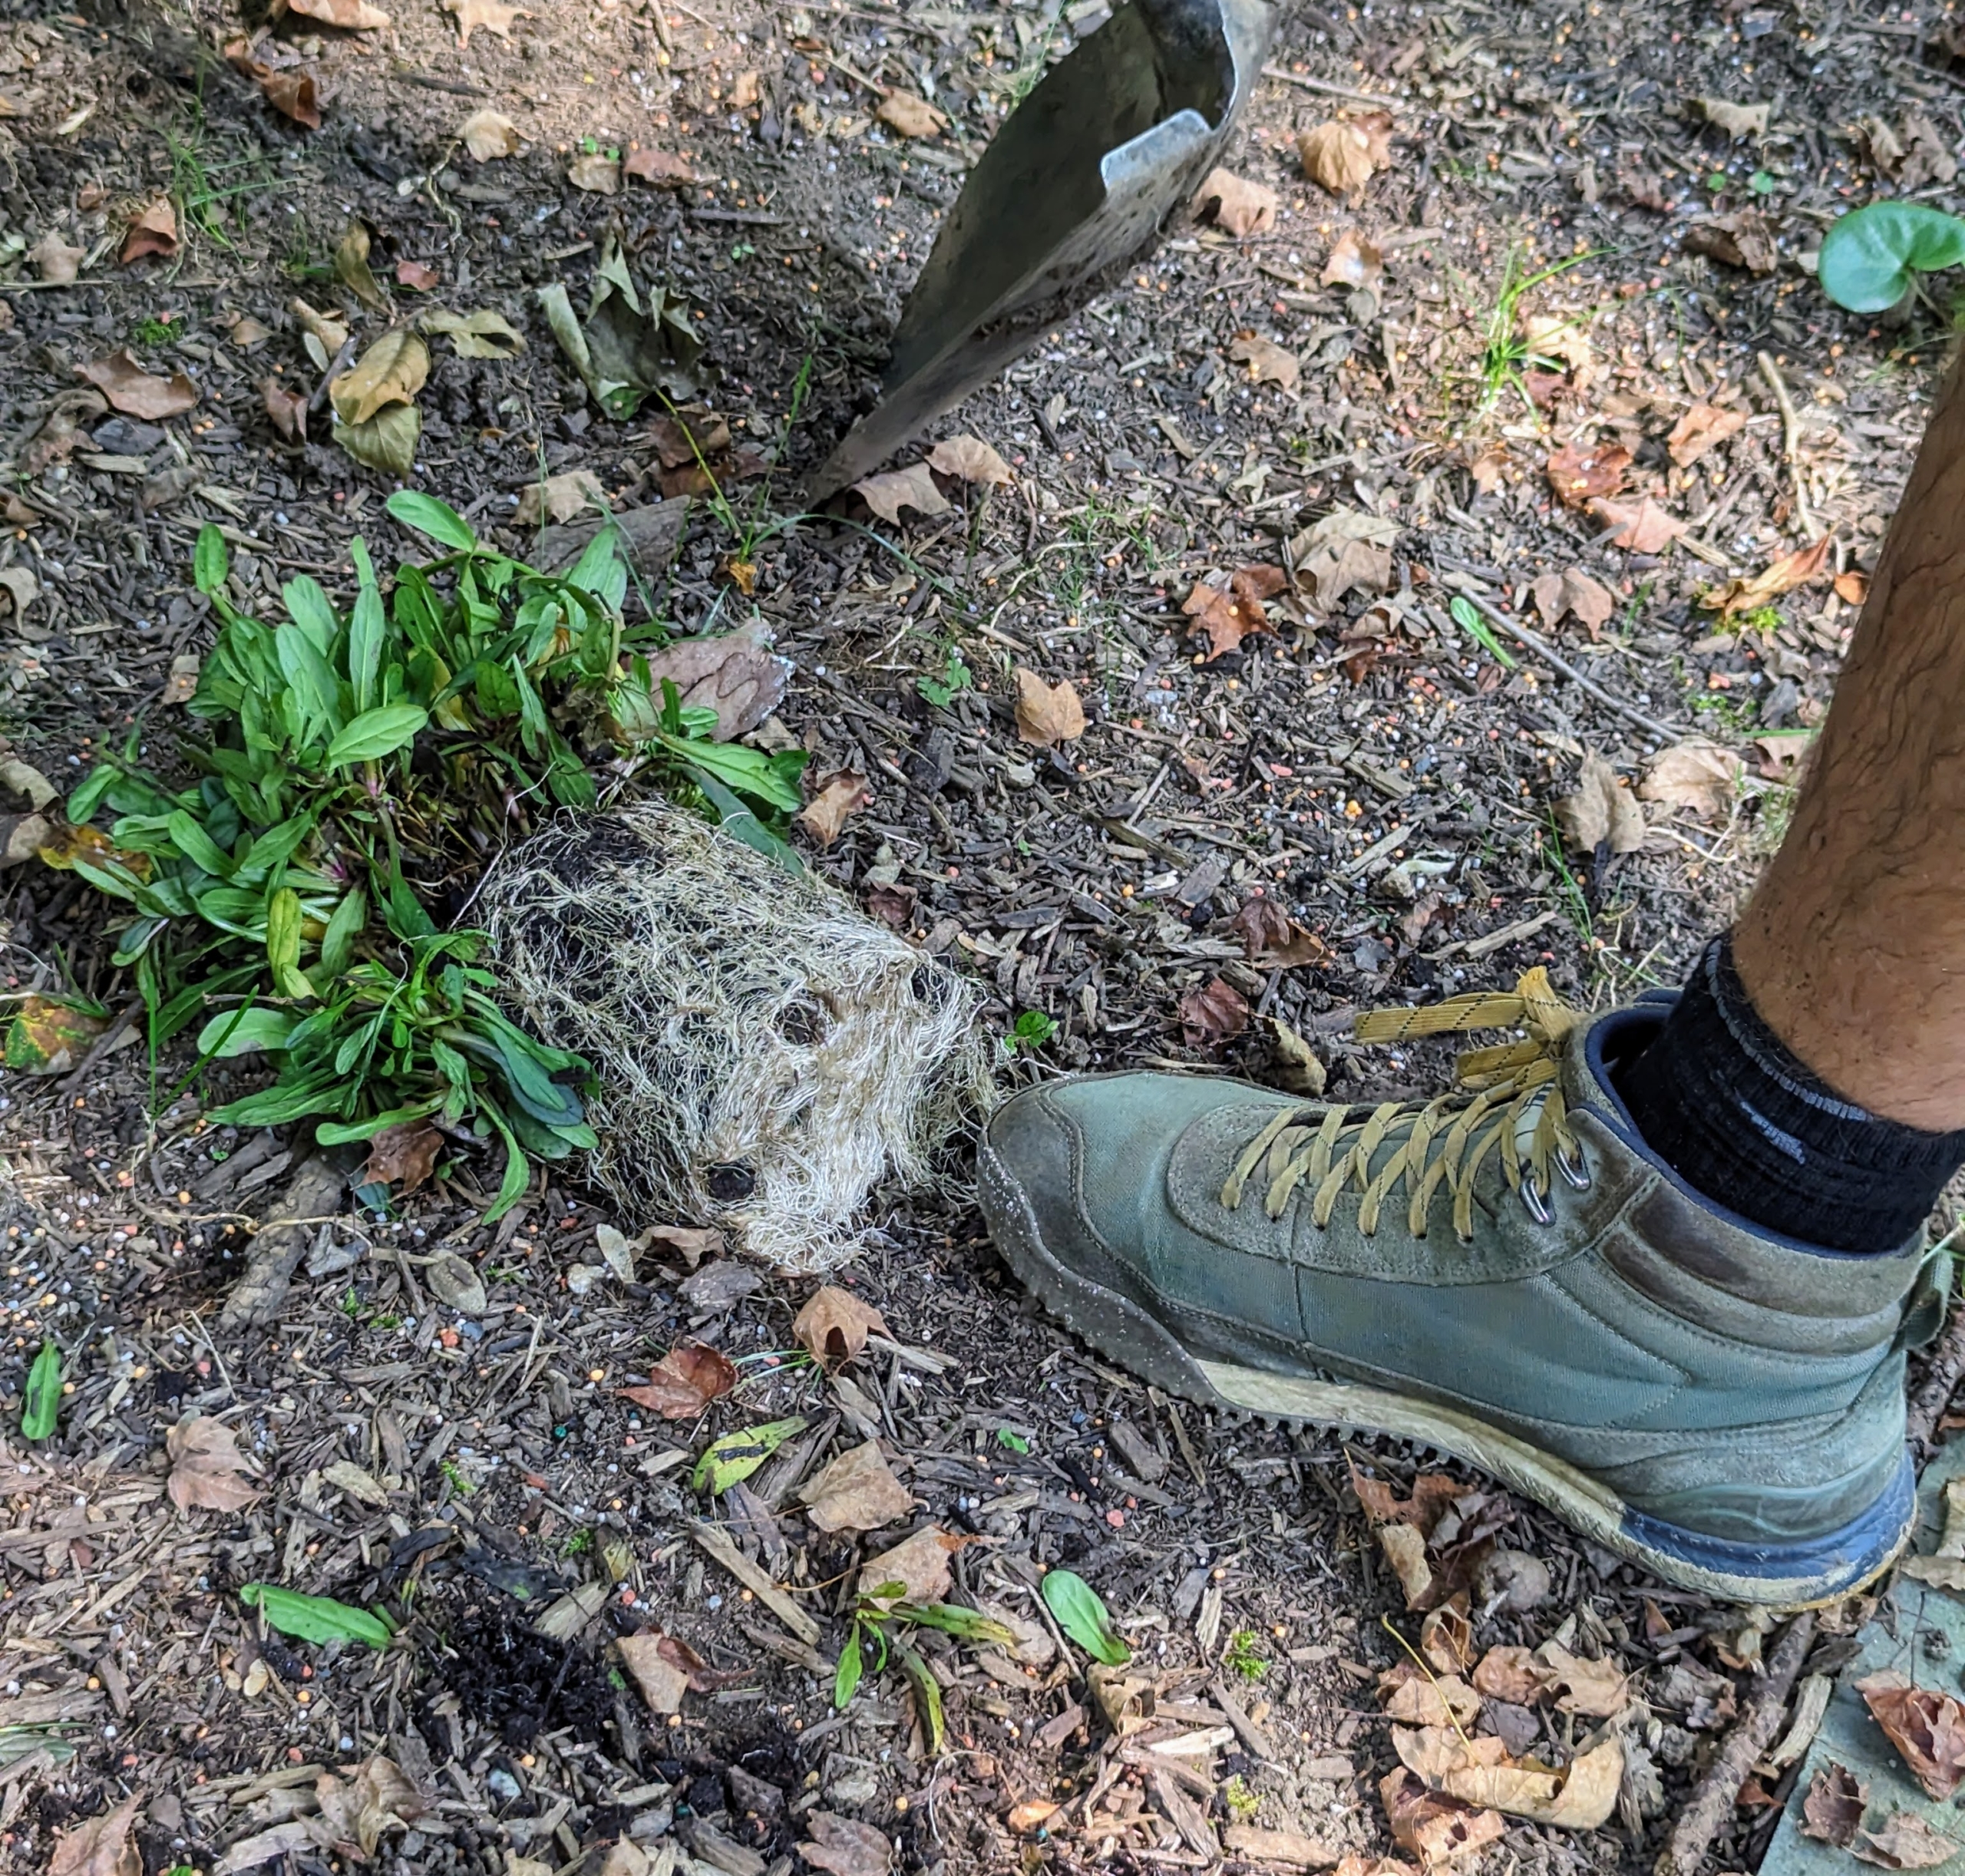
Brian starts by digging the hole at least twice the size of the plant’s root ball.
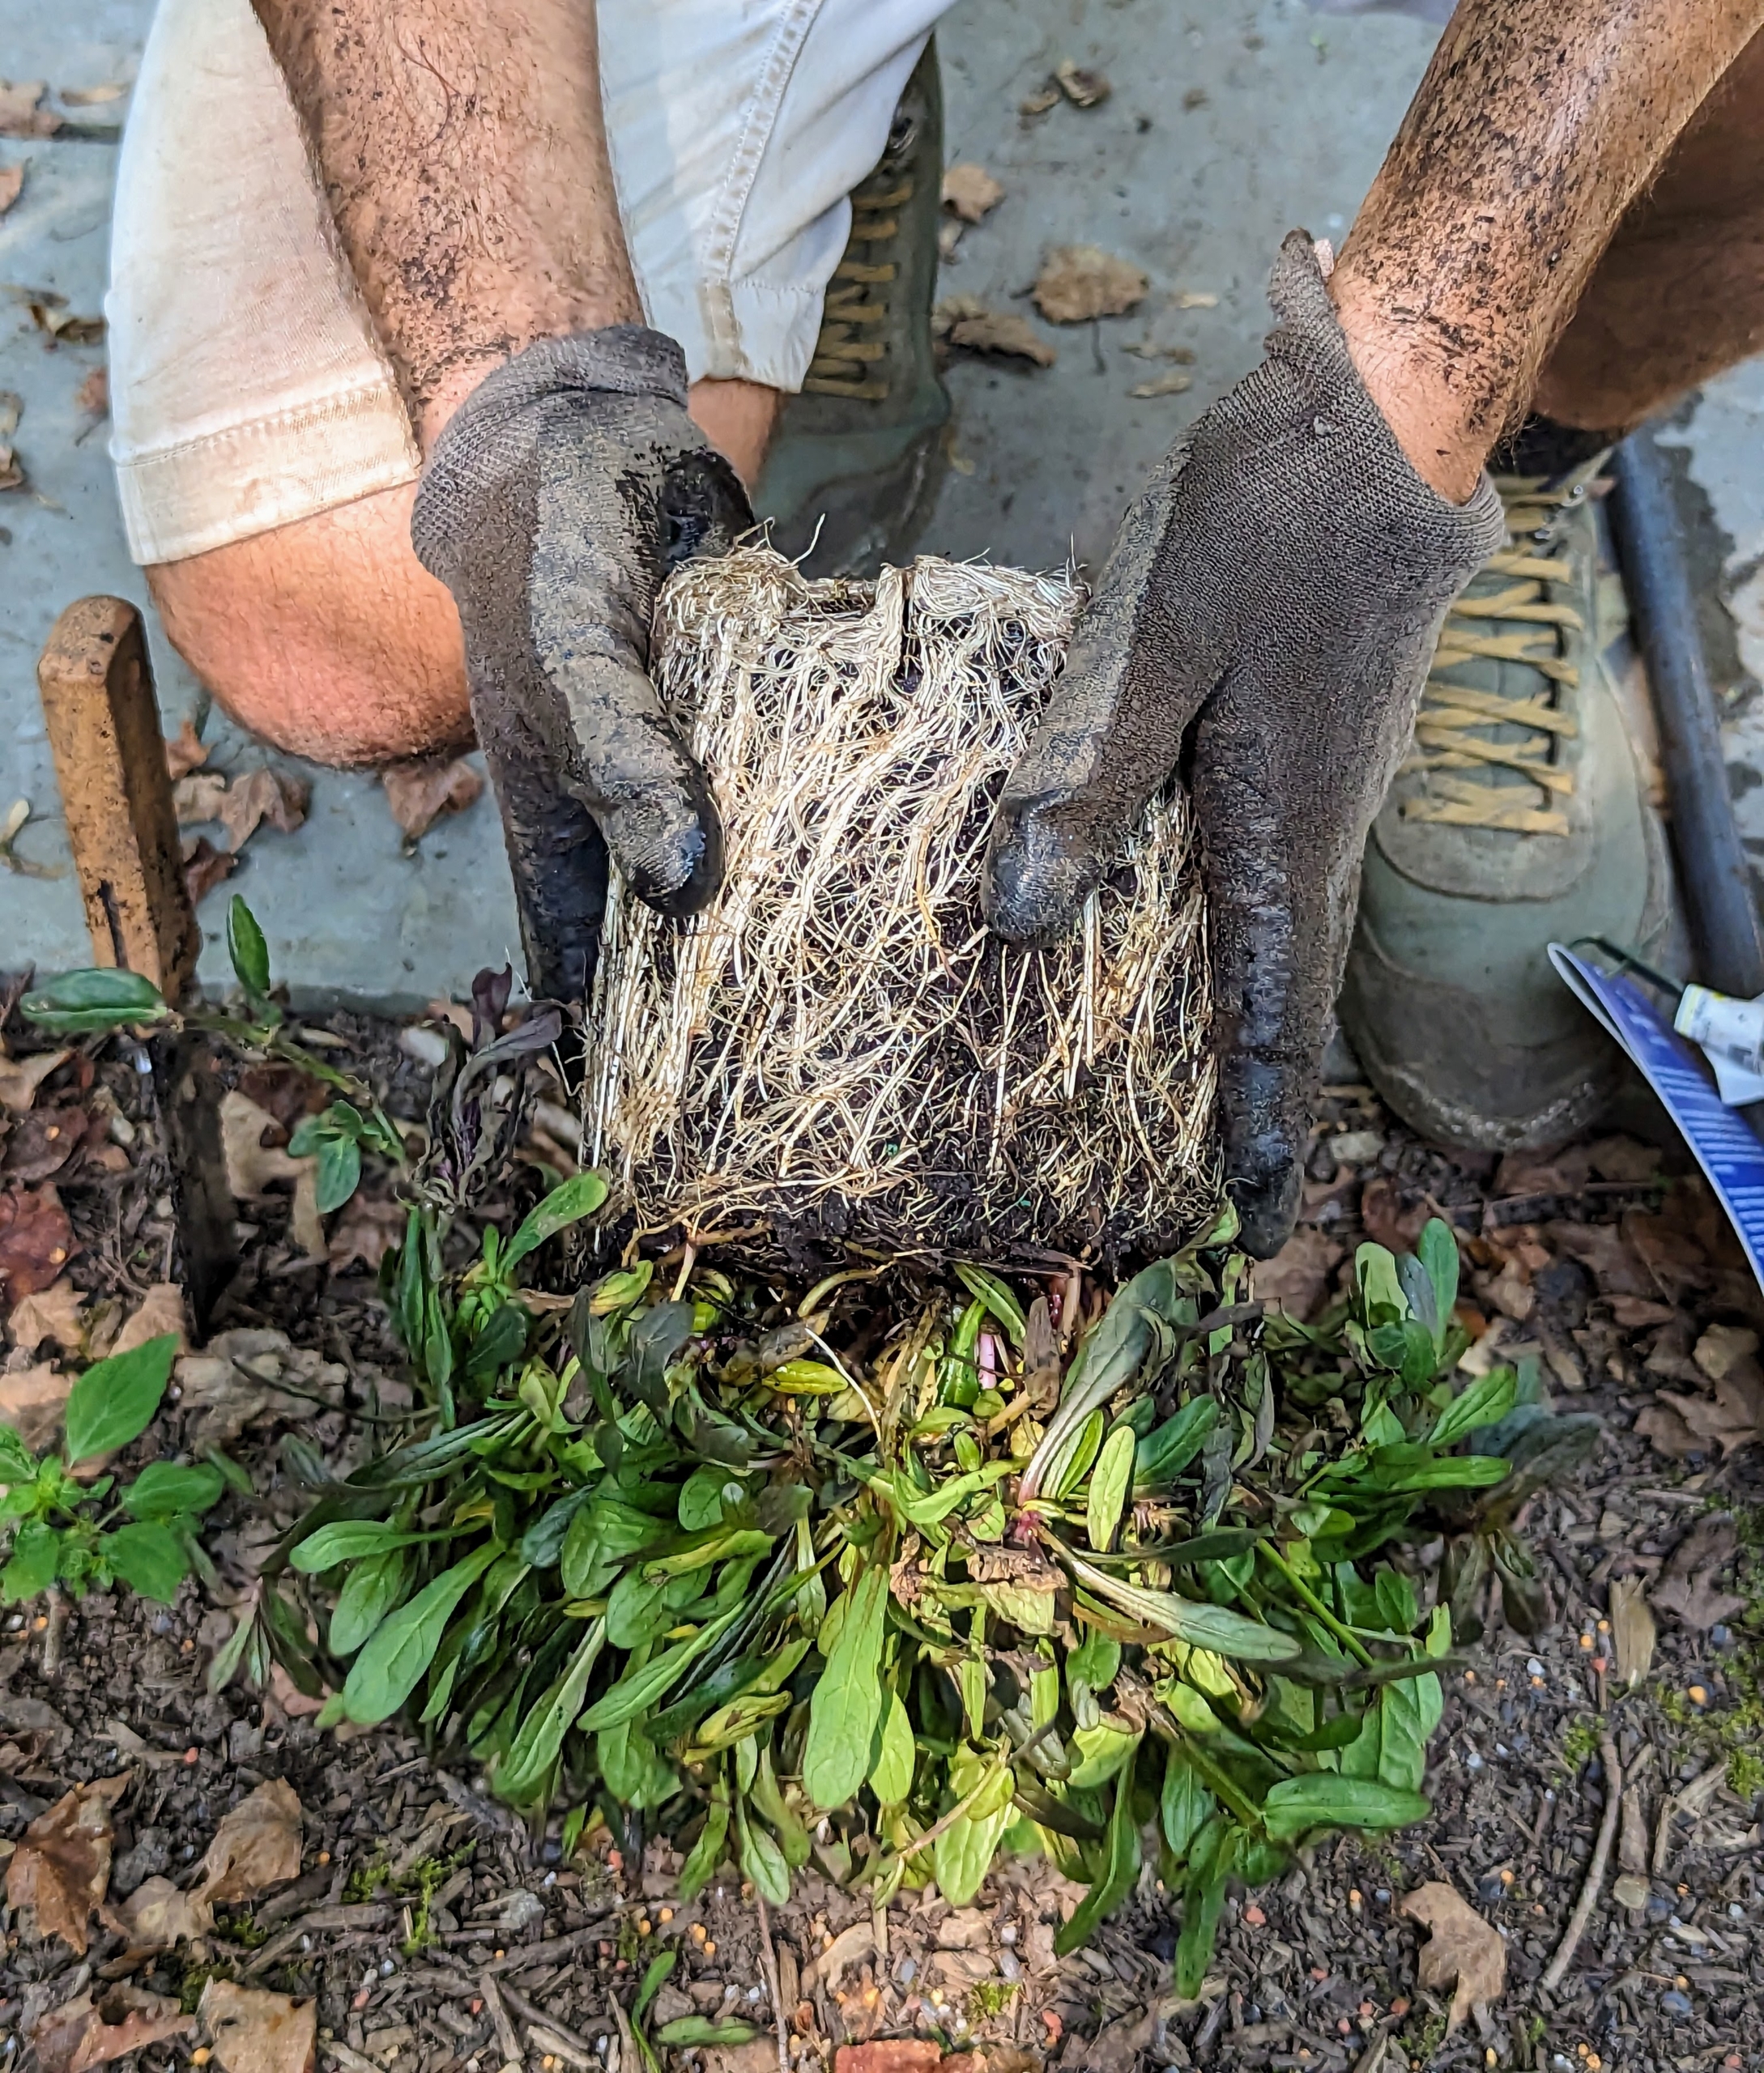
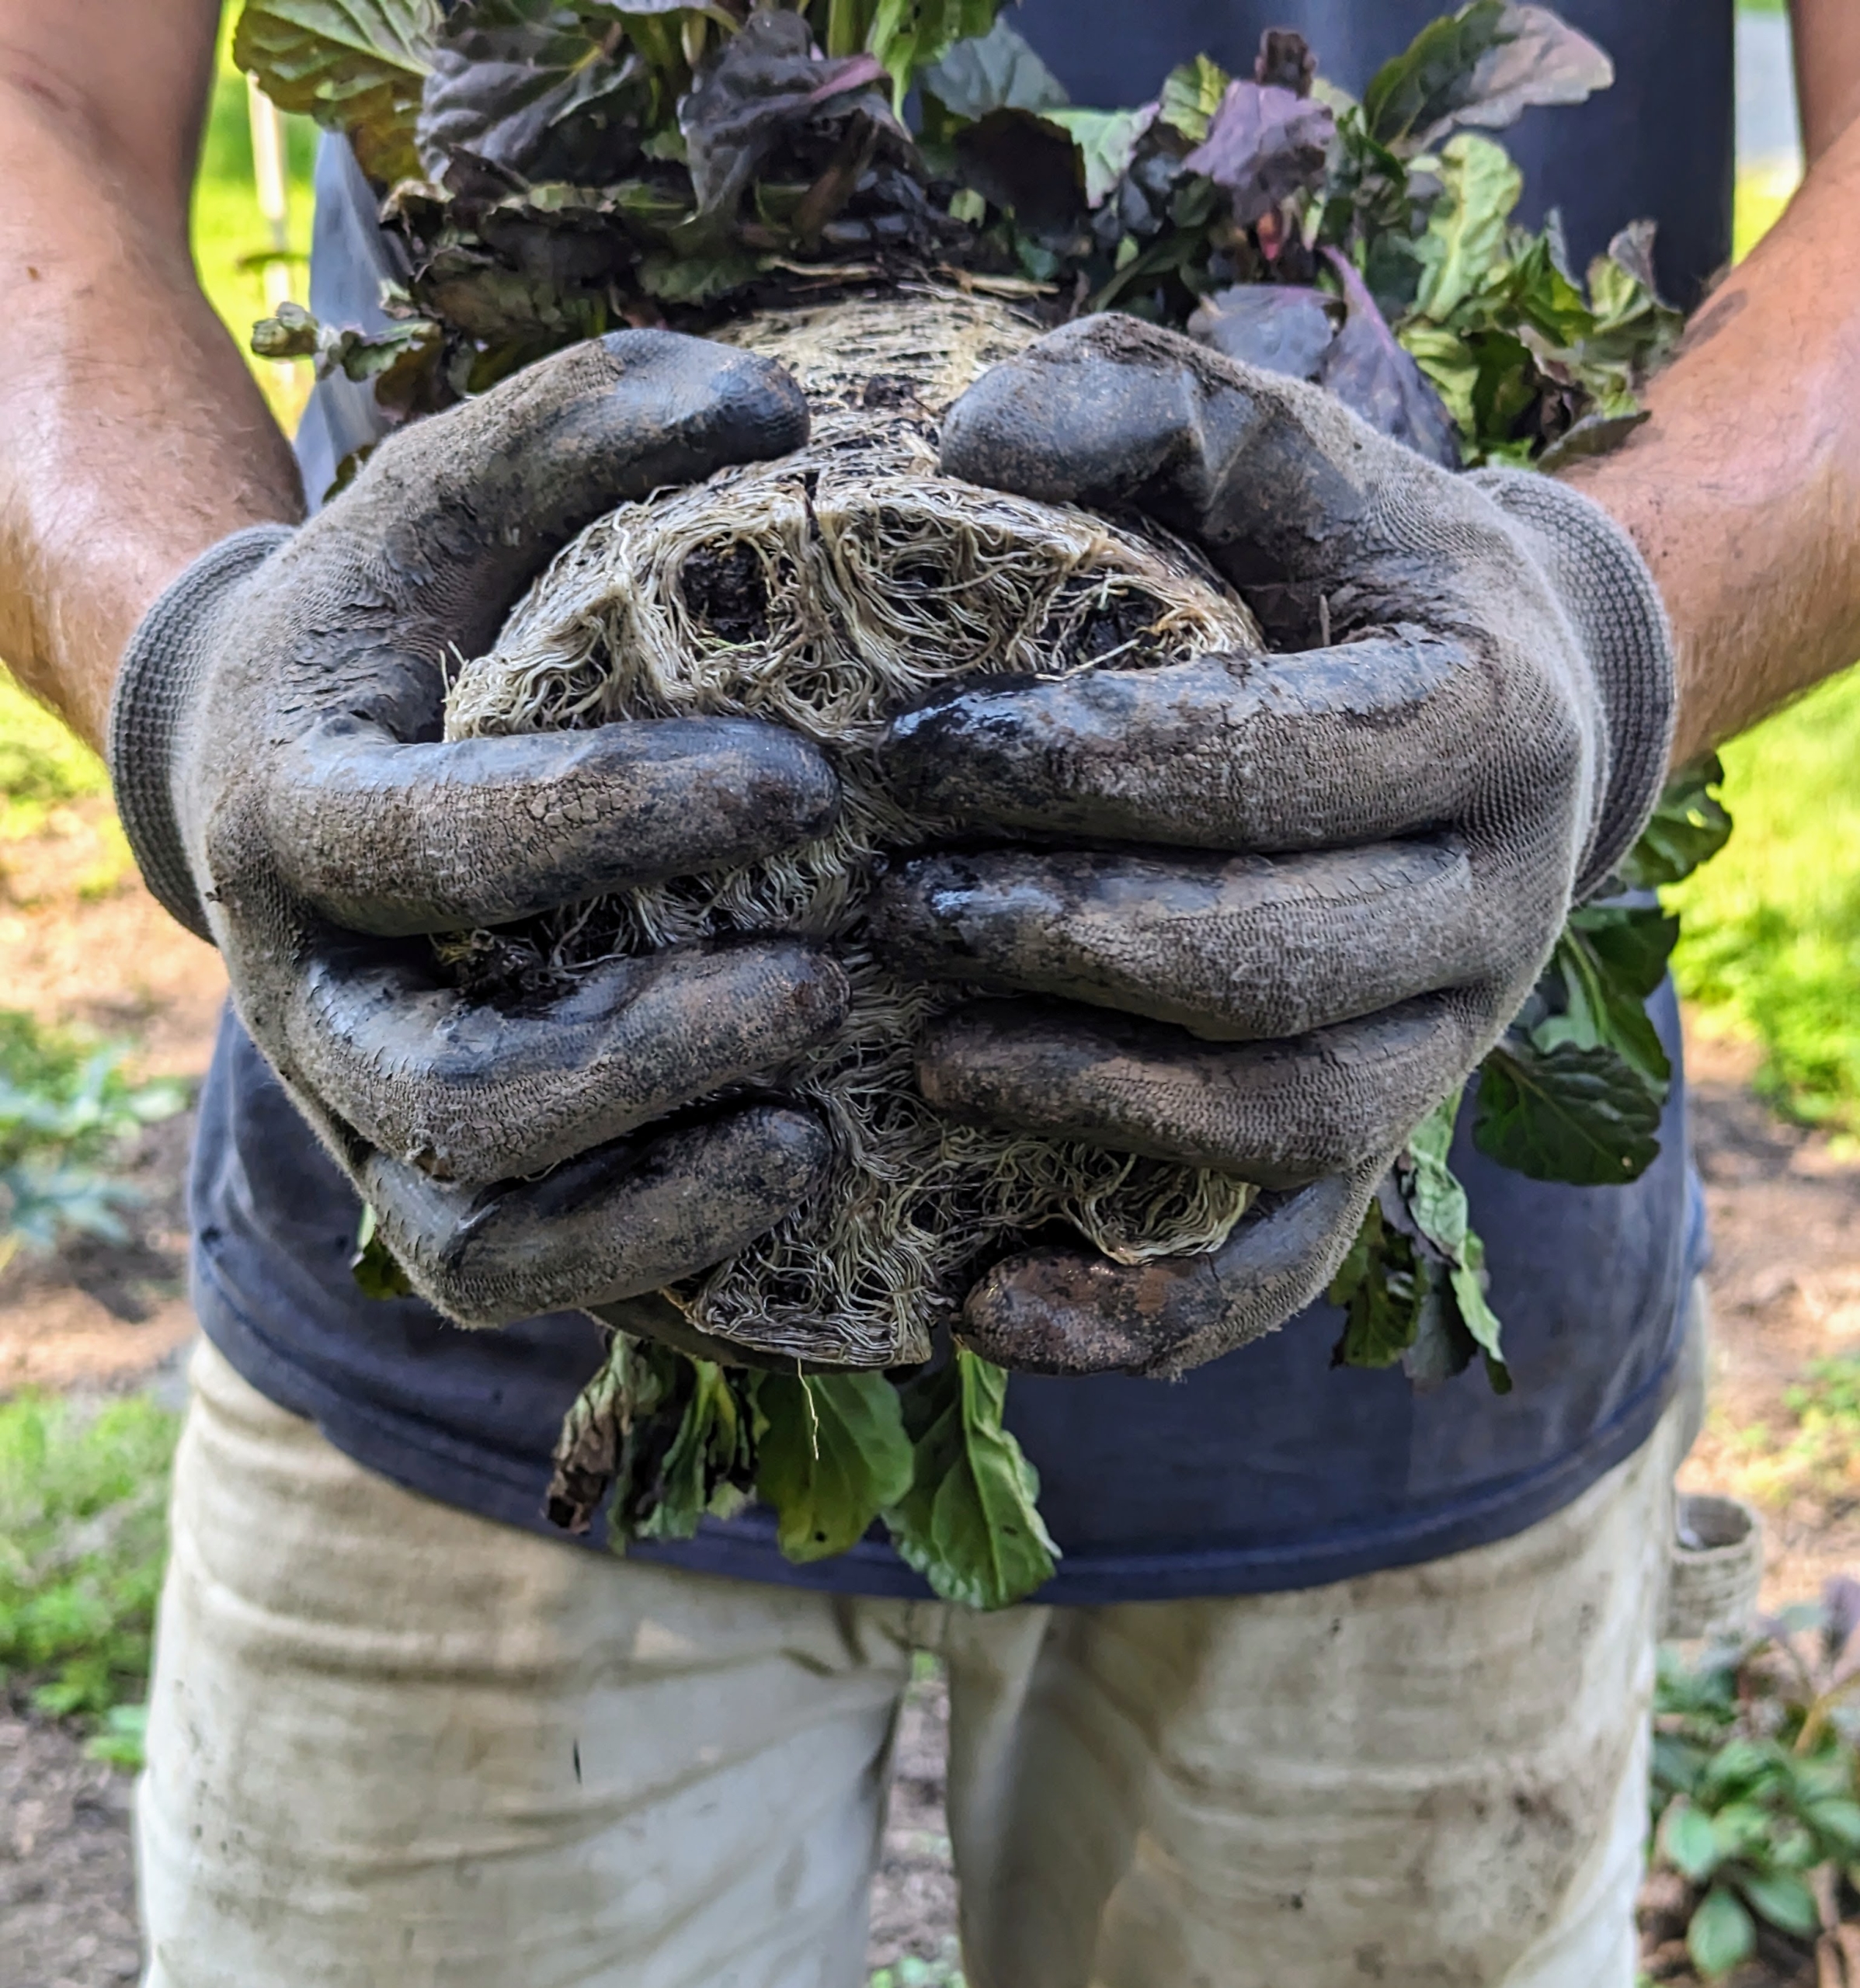
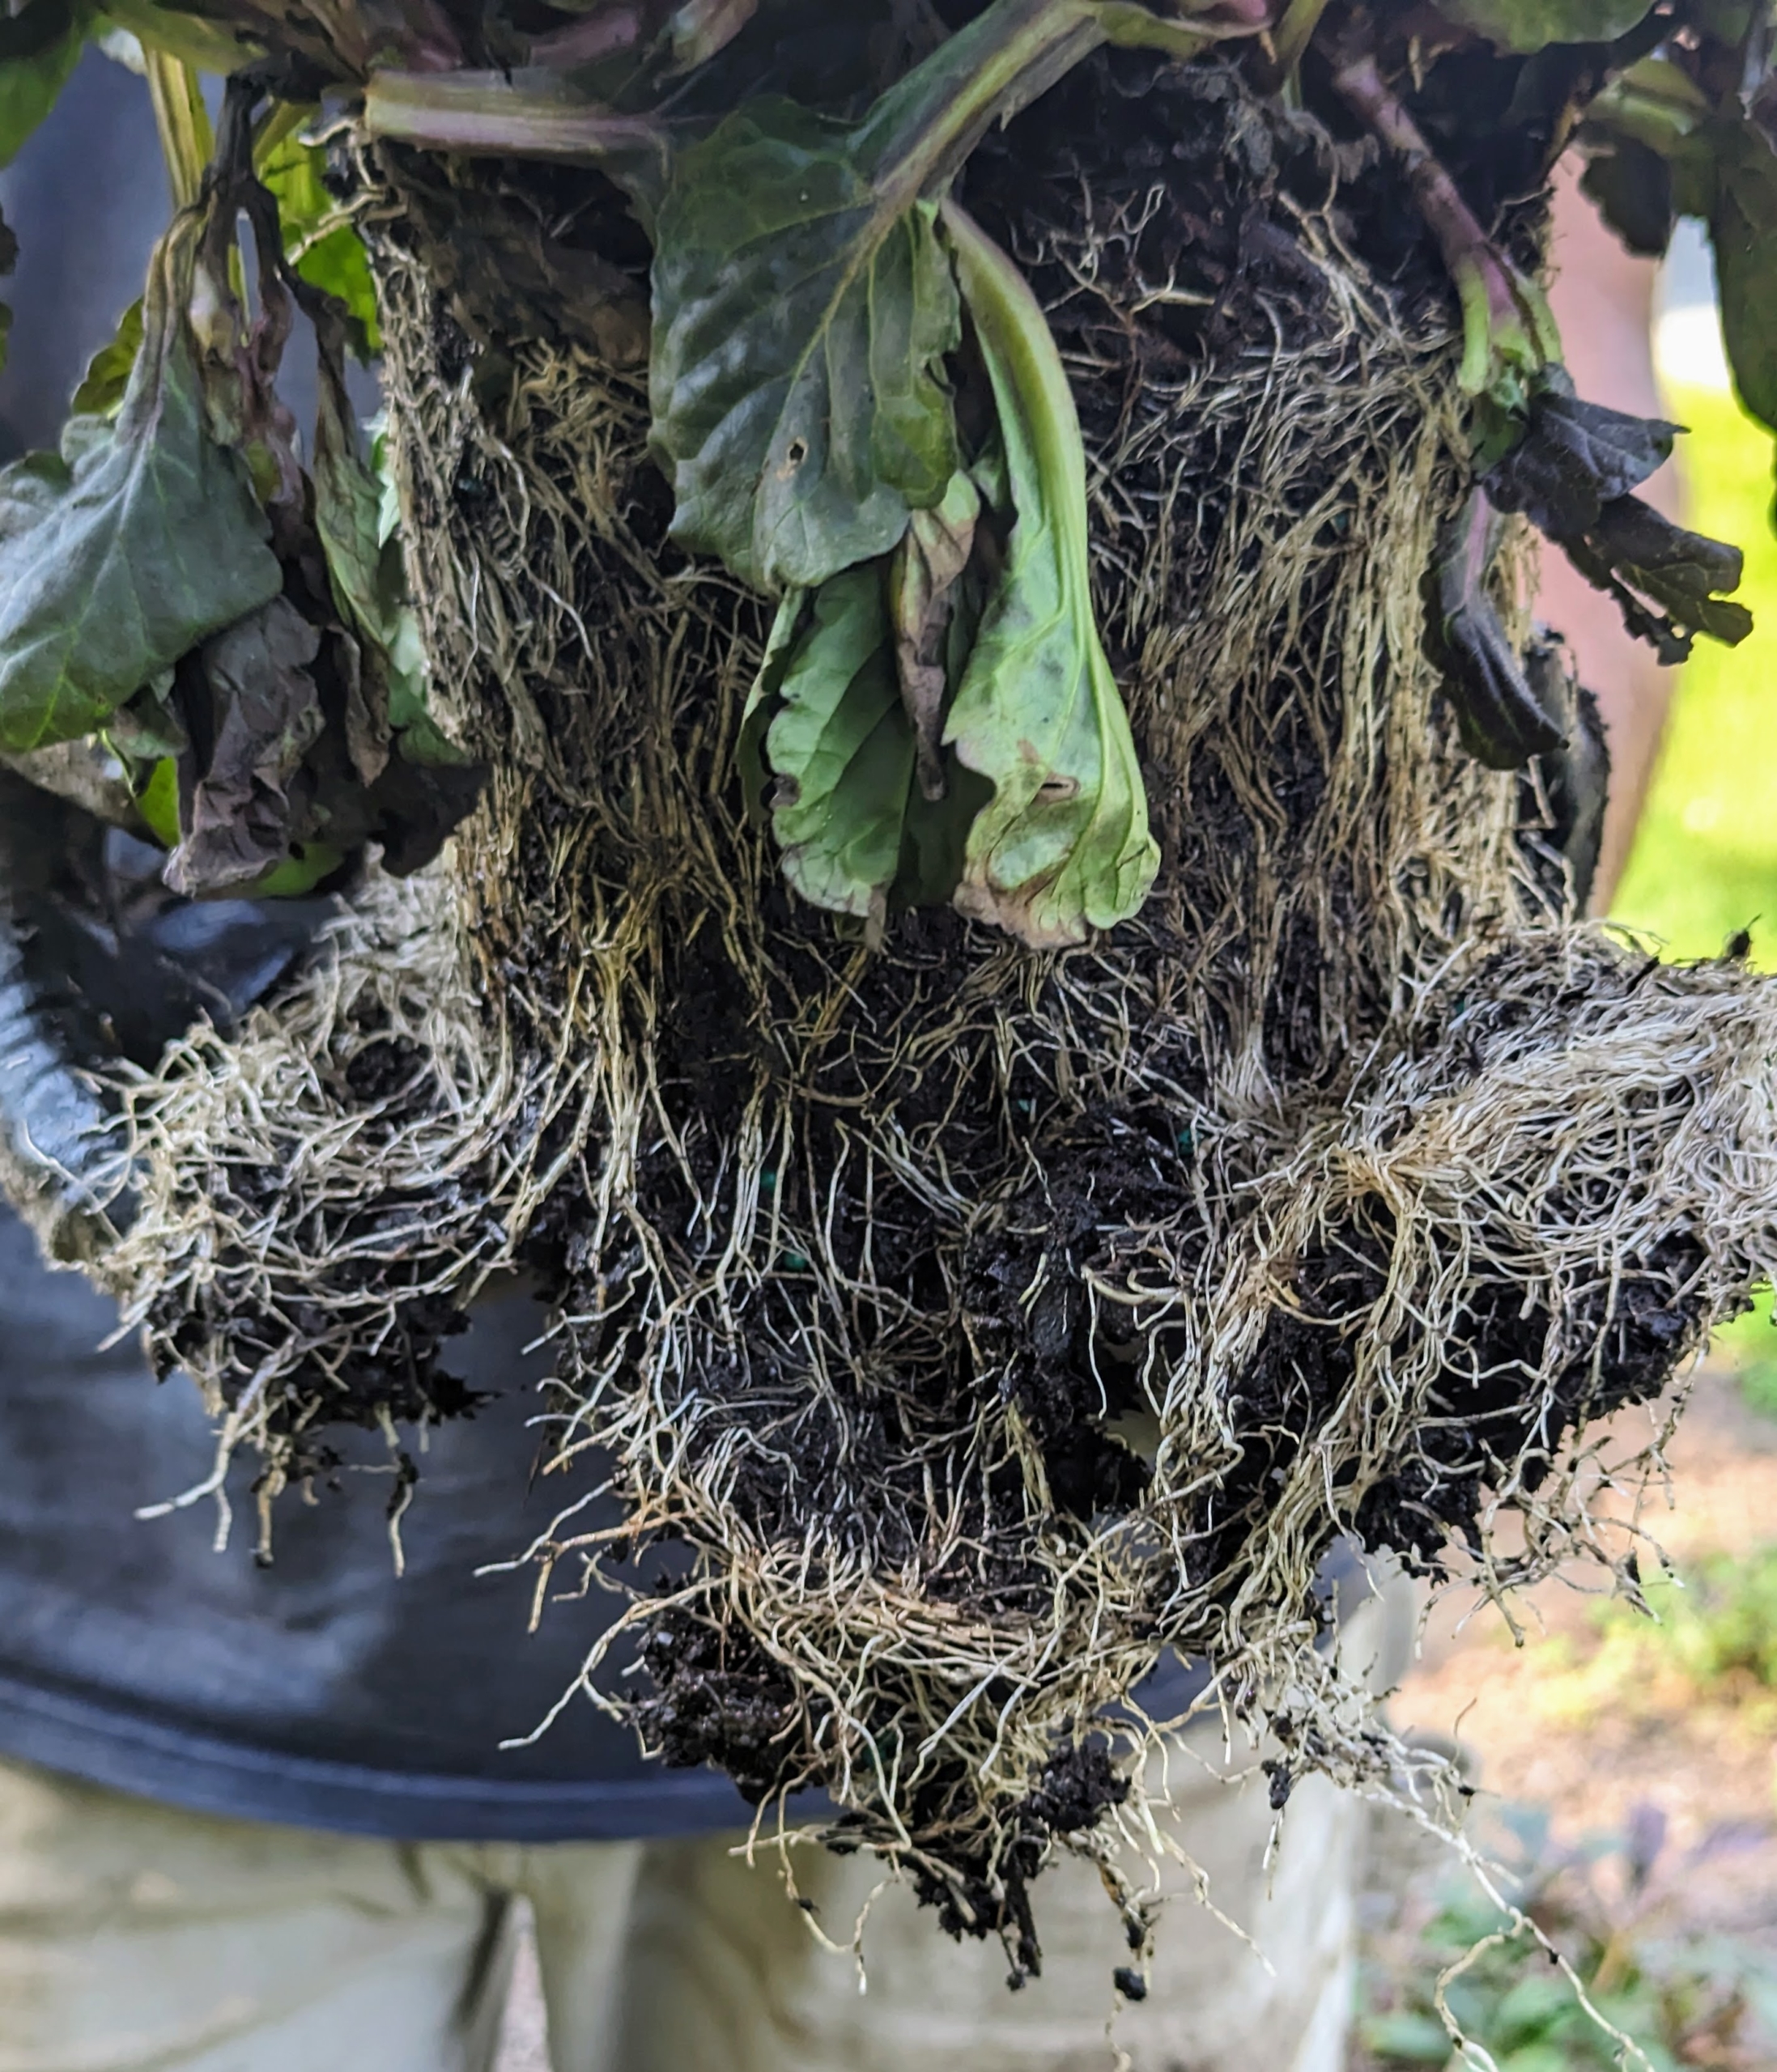
These plants were going into narrow areas and were already root bound in their pots, so Brian decided it was a good idea to split the plants in half. Here is the root ball of one of the Ajuga plants – all the roots formed a dense, tangled mass that allows little or no space for further growth.
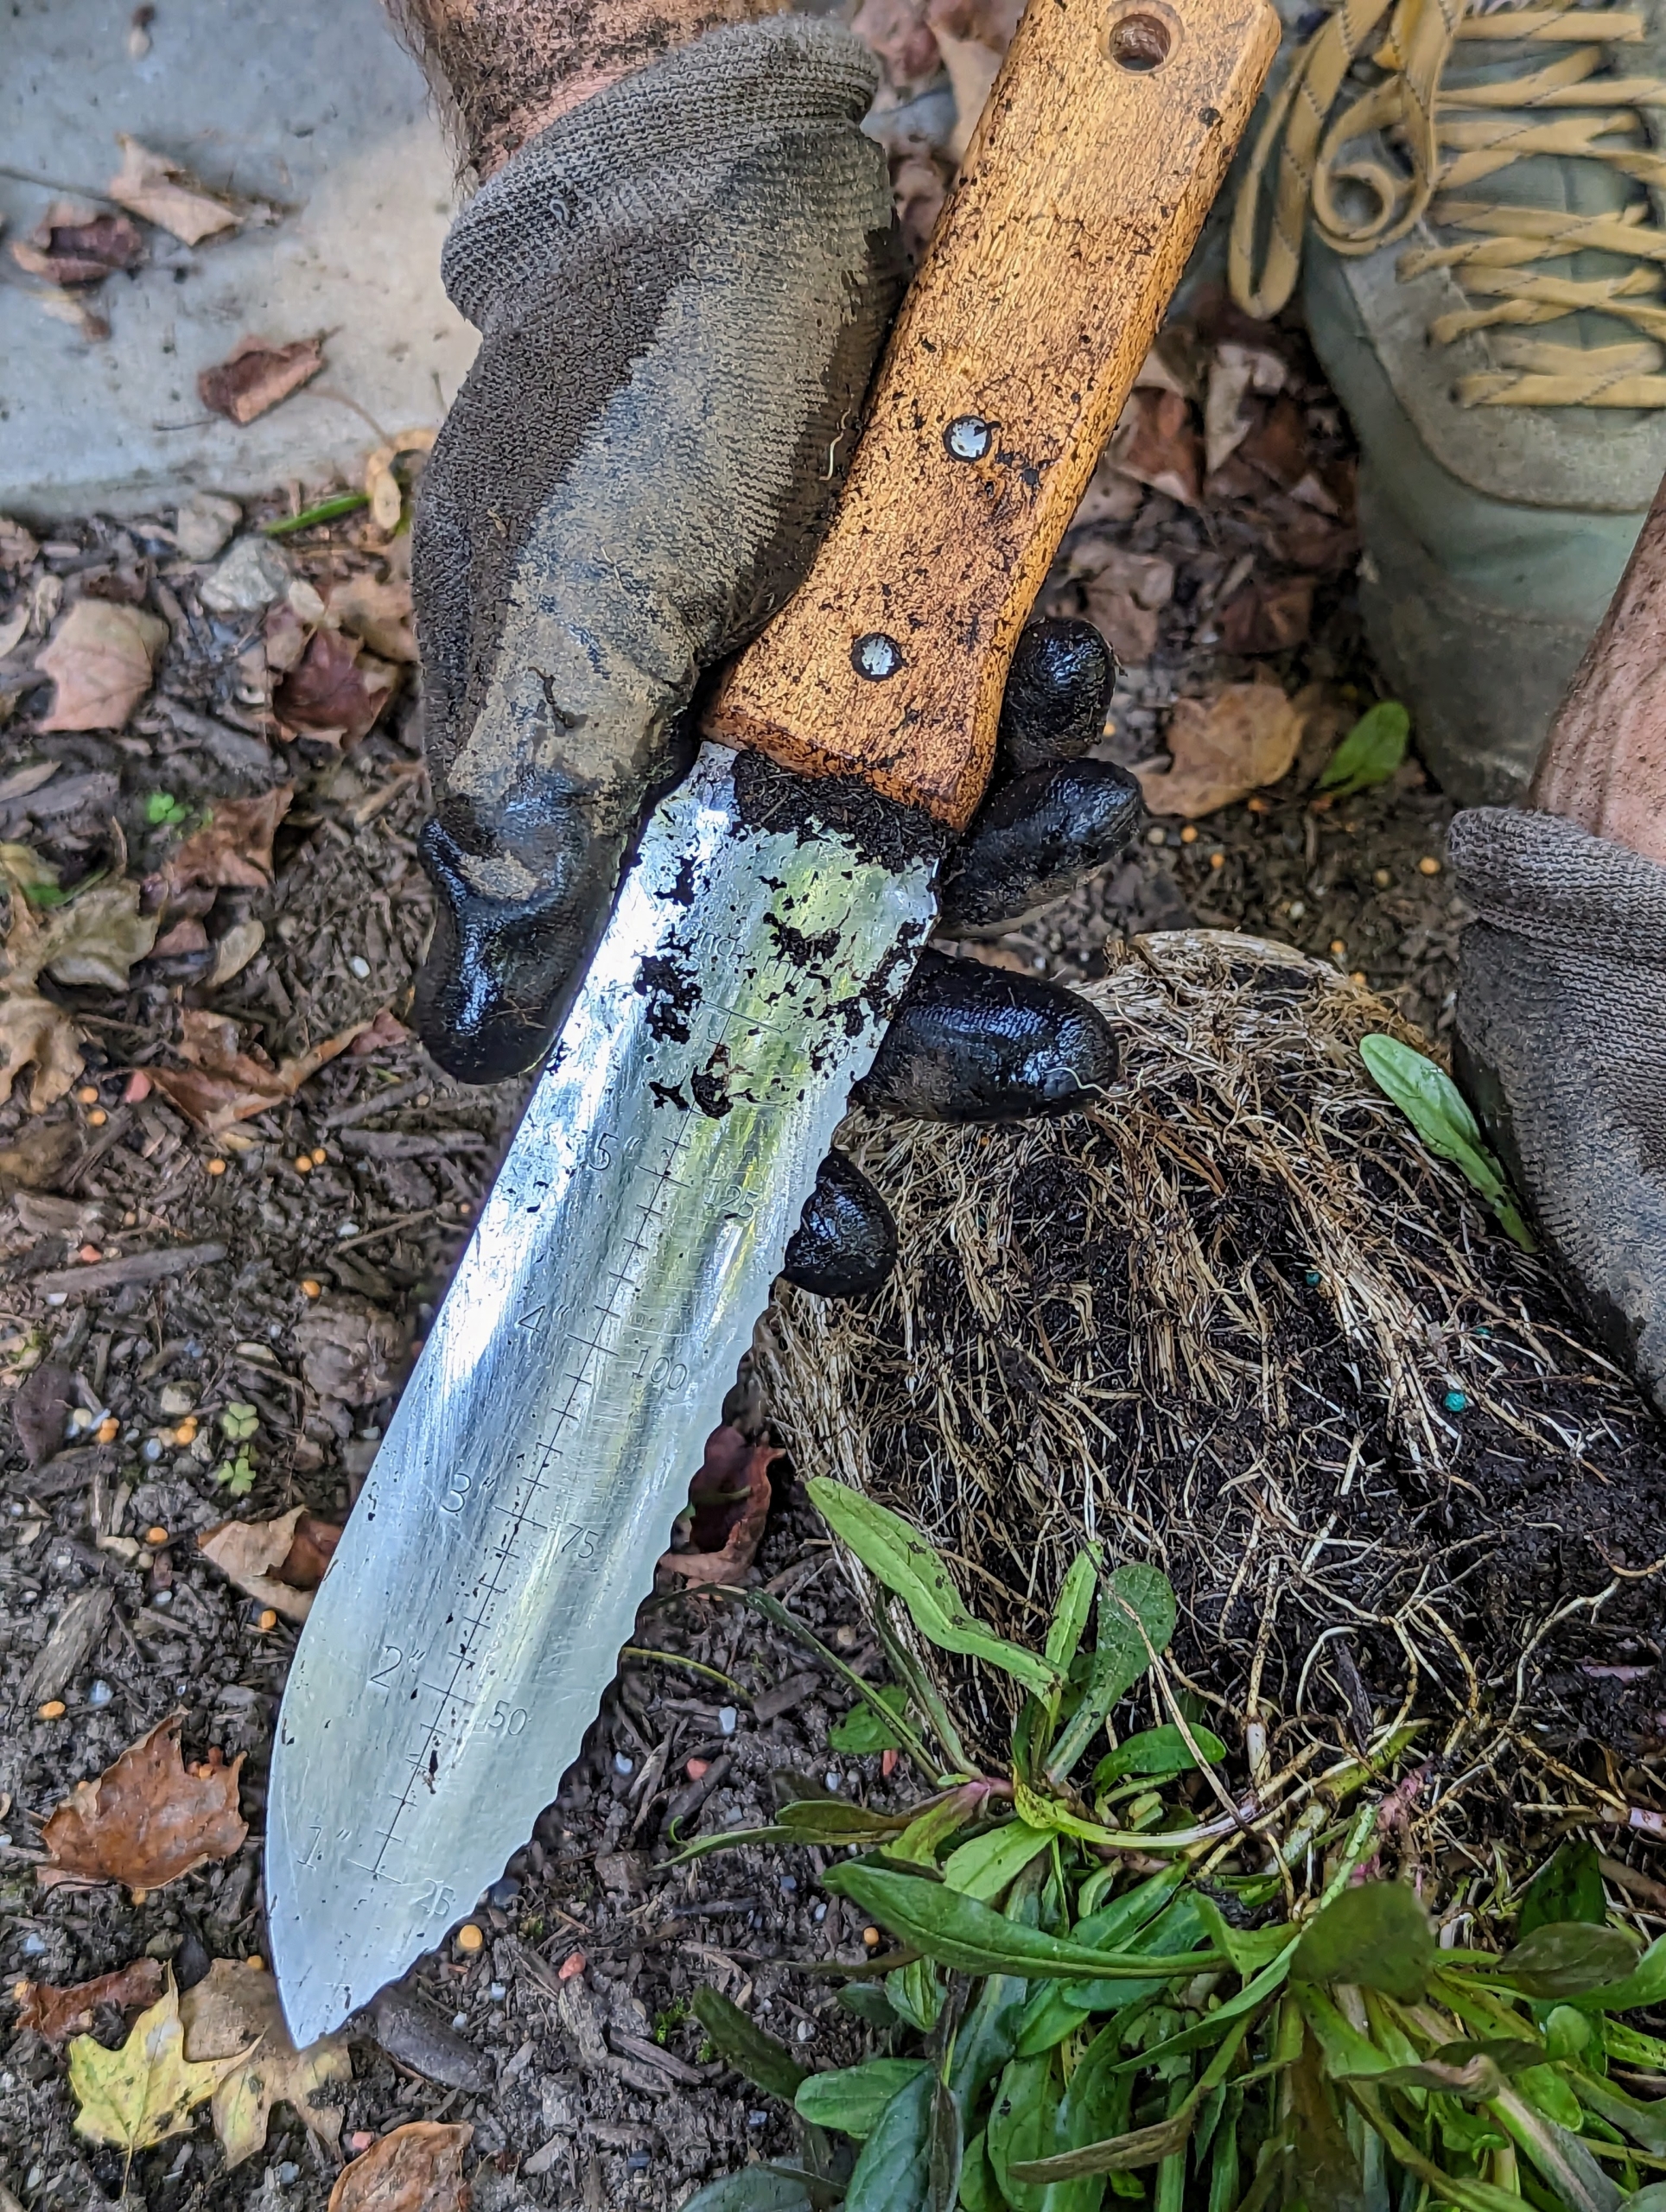
To divide, Brian first looks for the center of the root ball – a good place to divide the plant in two.
This is a Hori Hori gardening knife. It is perfect for many tasks such as loosening soil, measuring soil depth, digging up weeds, and dividing plants.
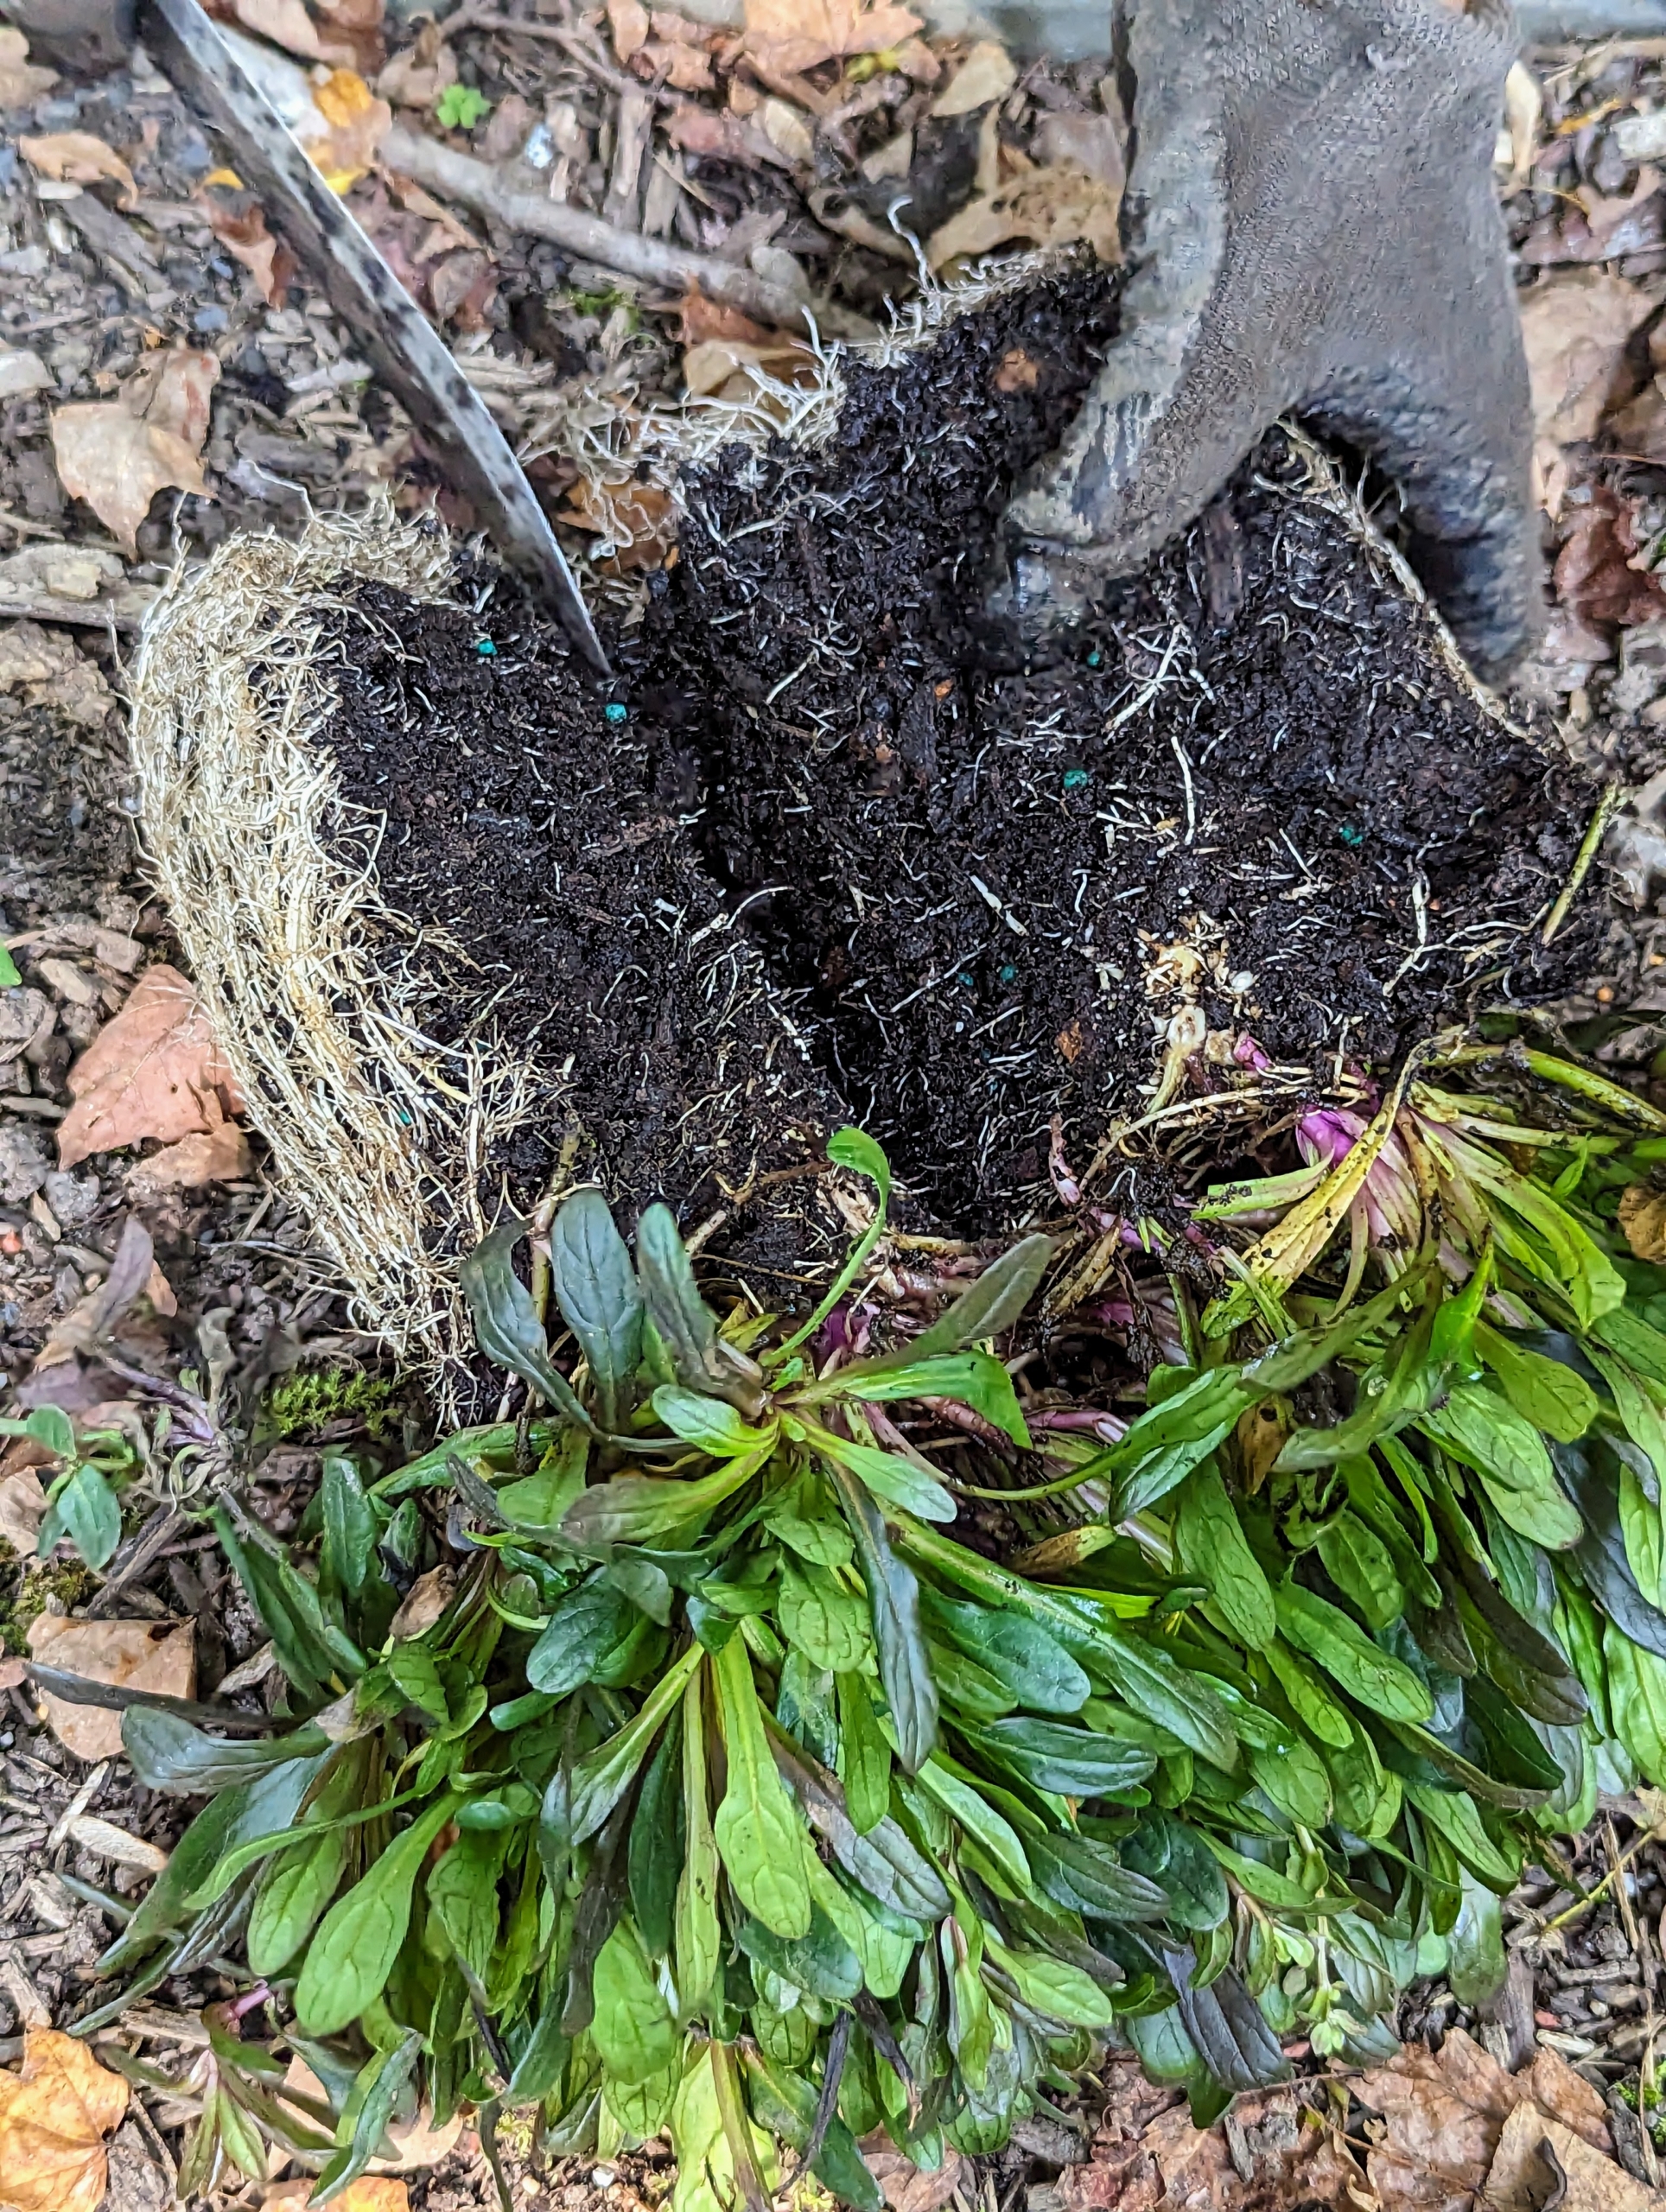
Once Brian finds the center, he uses the Hori Hori to carefully cut down the middle of the root ball.
Here is one half – still quite full, but now with more circulation between the roots and more room to grow.
All the areas to be planted are given a good sprinkling of fertilizer. Here we used an all-purpose formula with a good balance of nitrogen, phosphorous and potassium.
Brian uses his foot to measure the distance from the stone pavers to where the Ajuga will be planted.
And then he plants the Ajuga. Ajuga naturalizes easily, spreading by stolons, or horizontal stems that creep along the ground, so be sure to plant it appropriately.
What is so nice about adding Ajuga to the garden is they hold their leaf color and stay attractive almost all year-round.
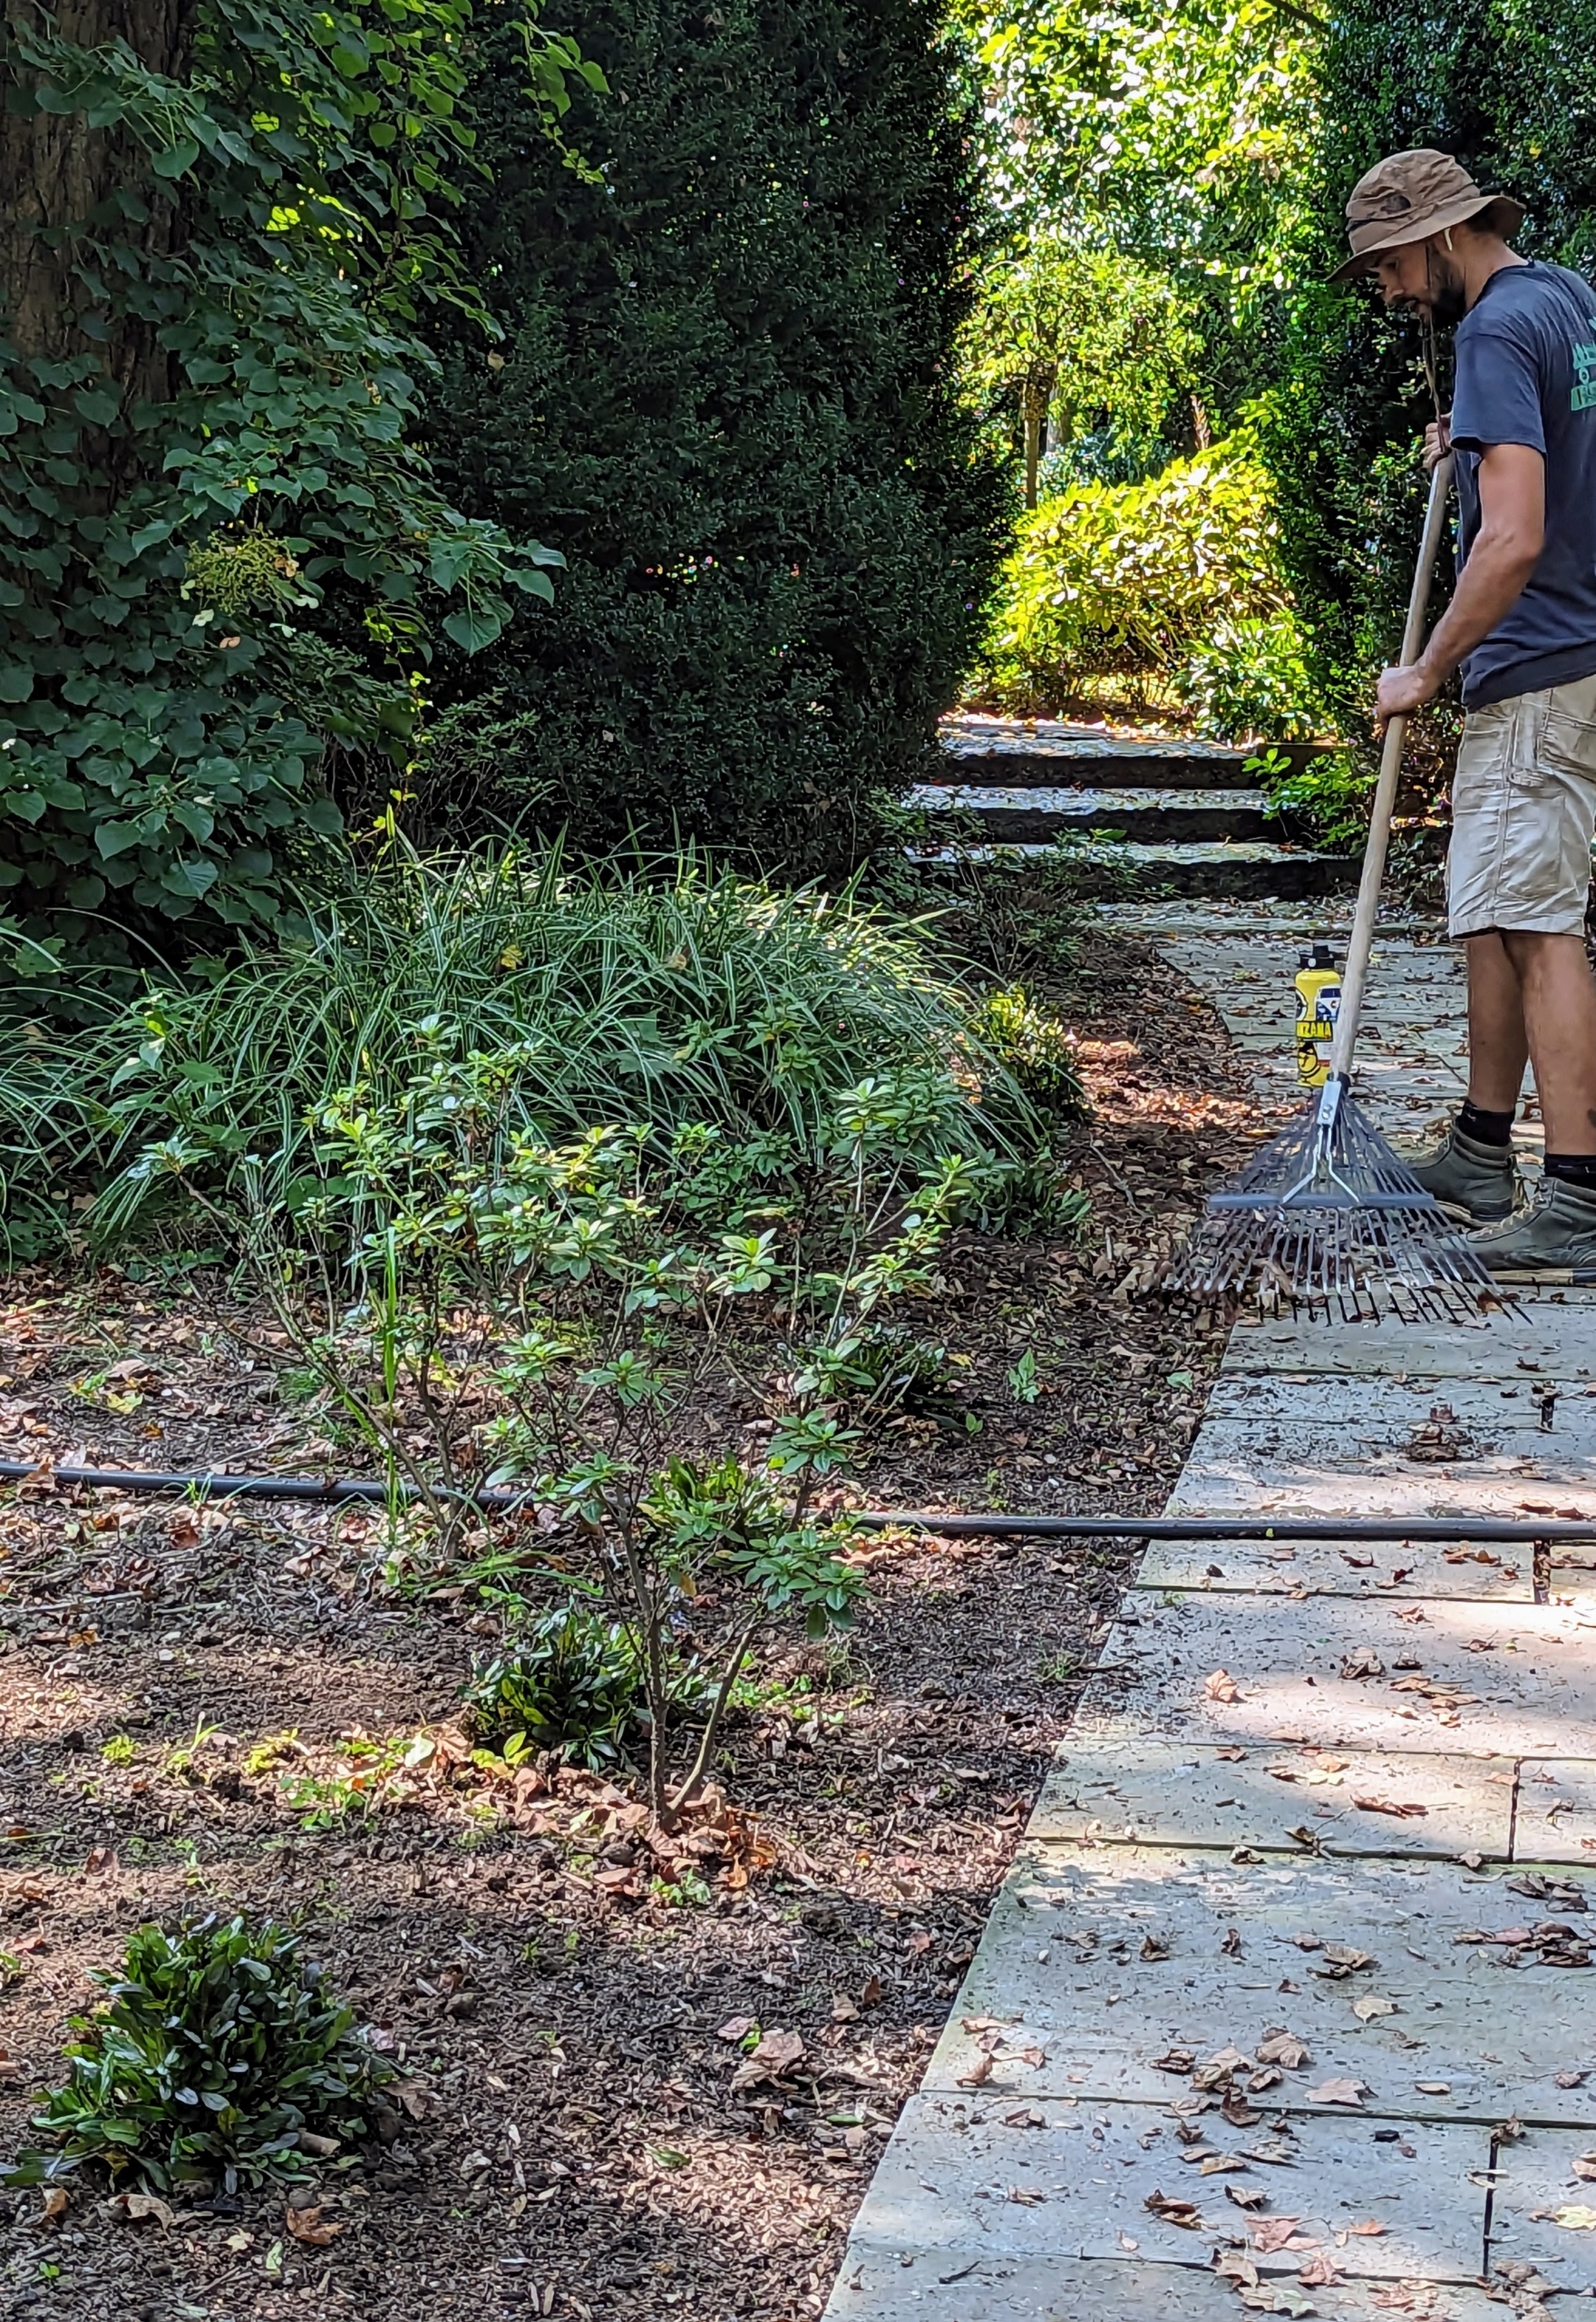
One can see the nice row of Ajuga lining this side of the footpath. The other side is an exact match. Brian neatly rakes around the plants and then gives them all a good drink.
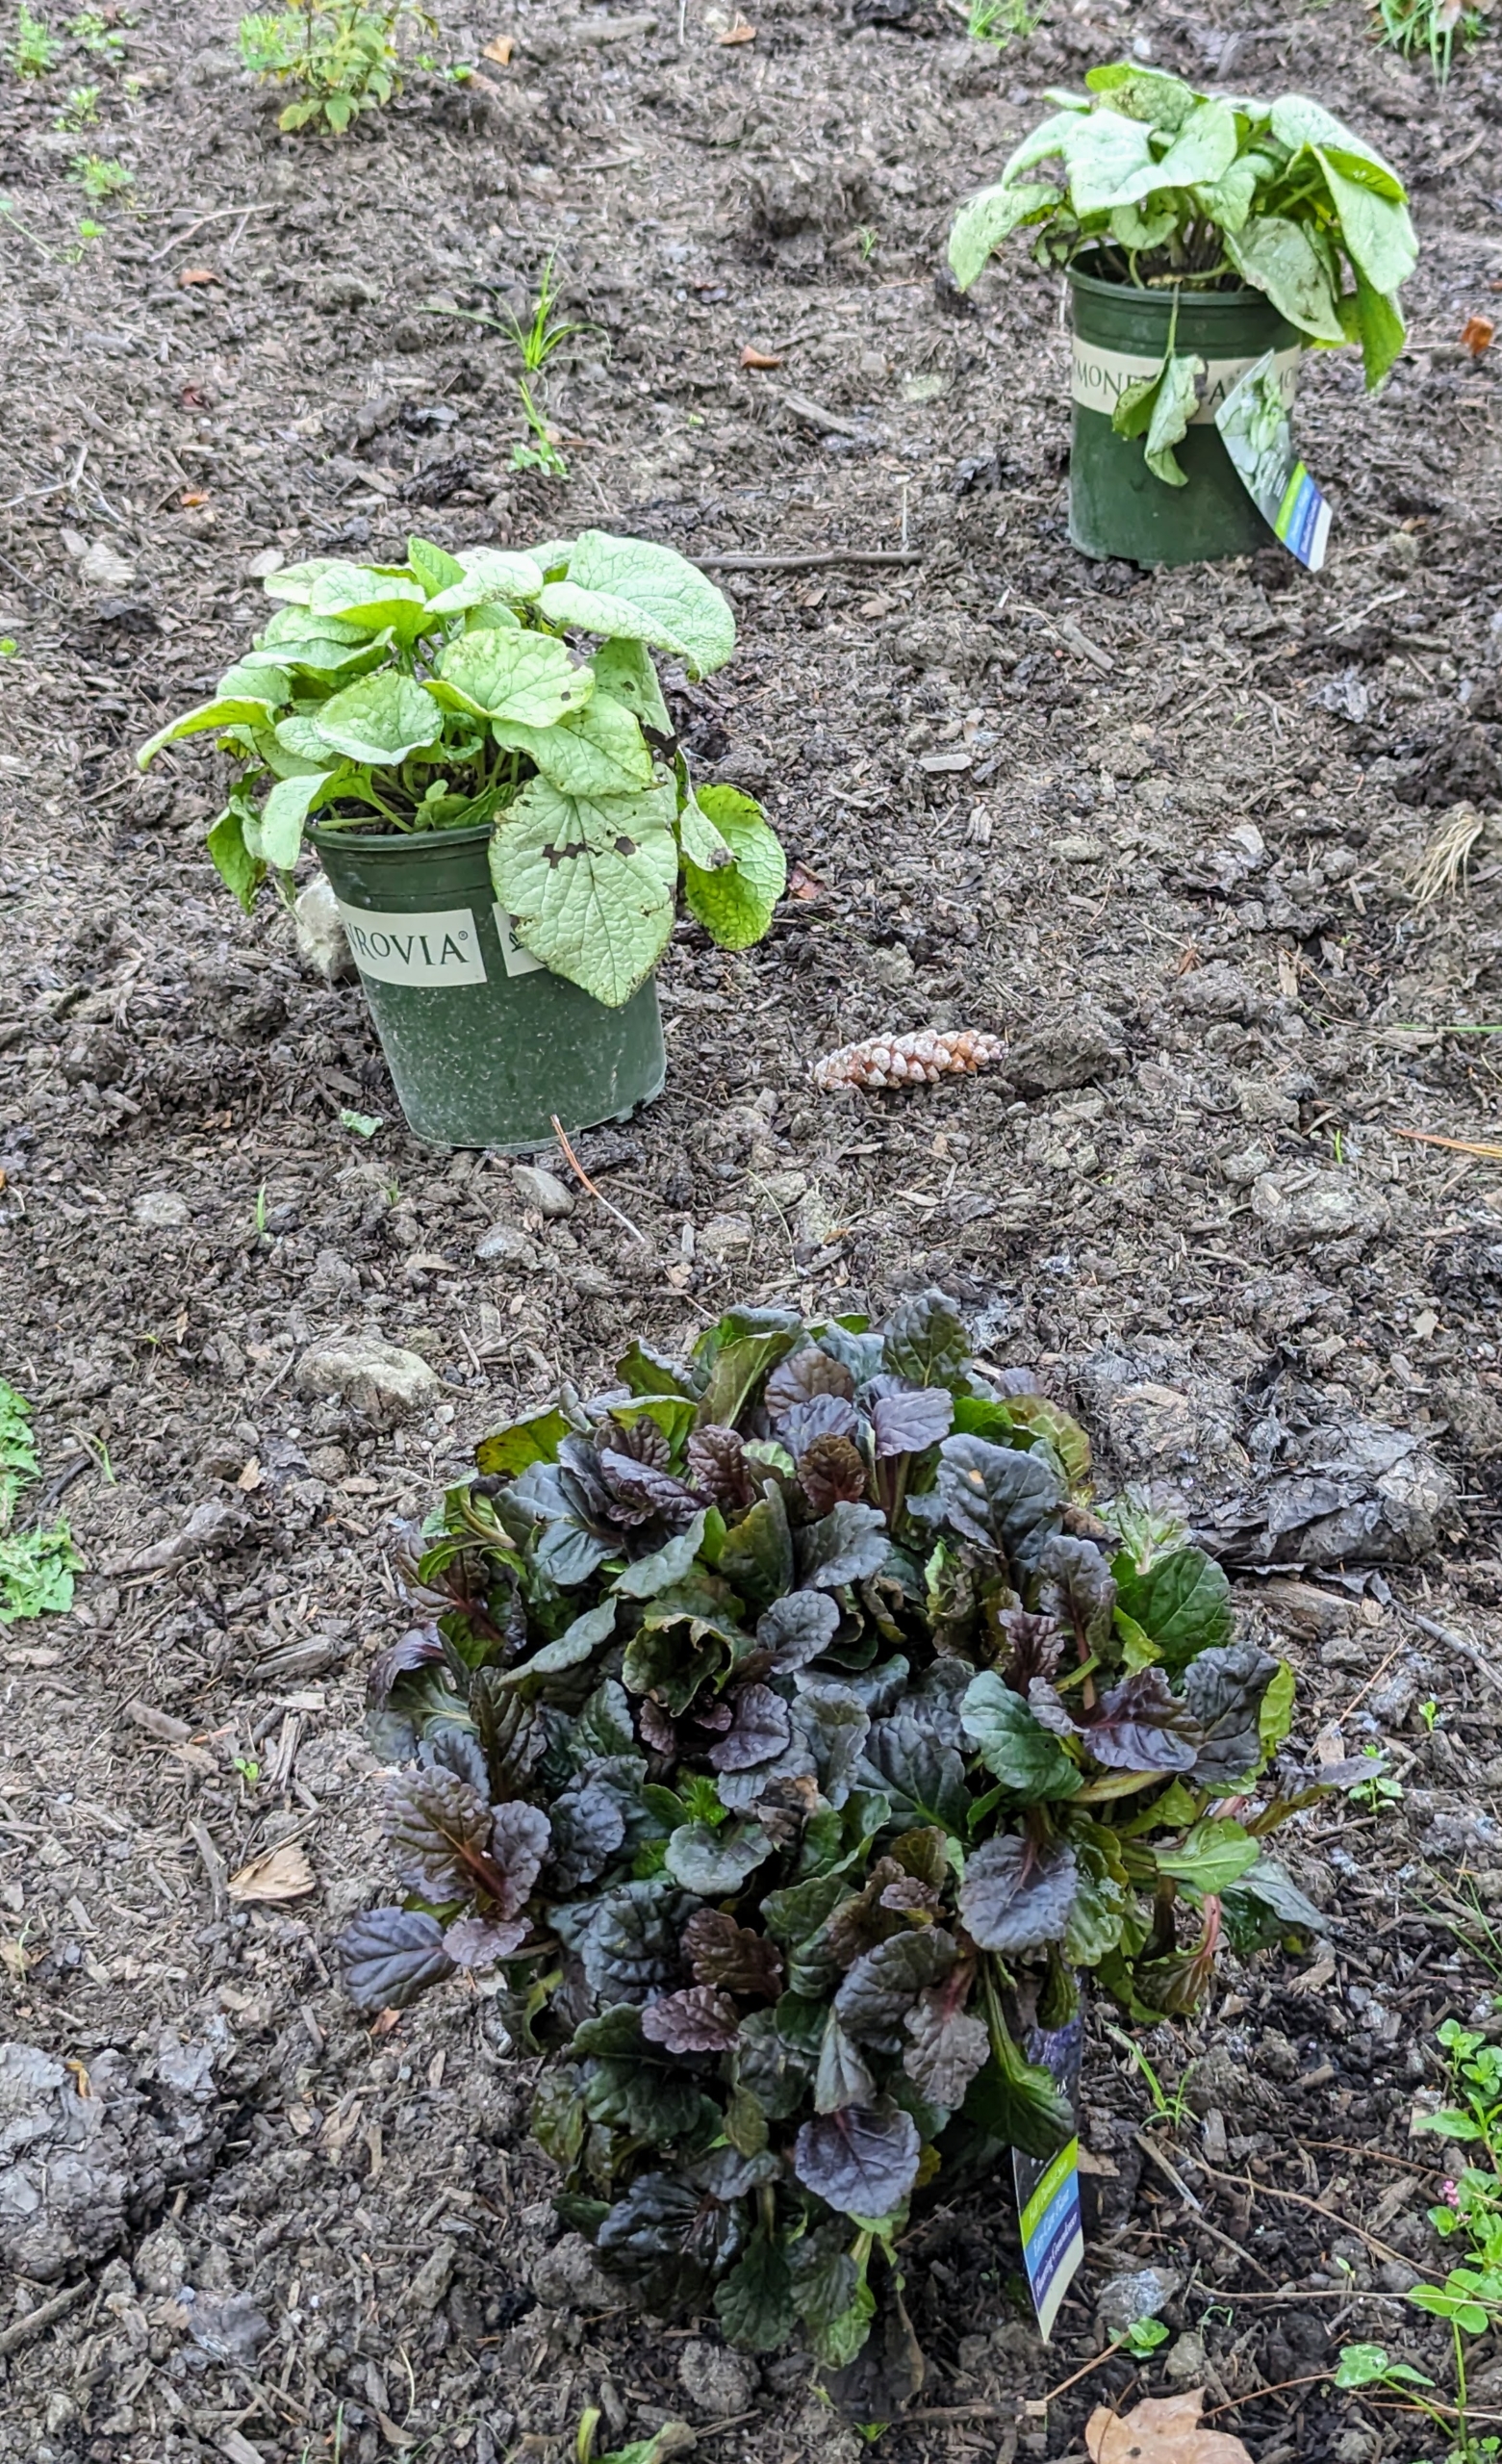
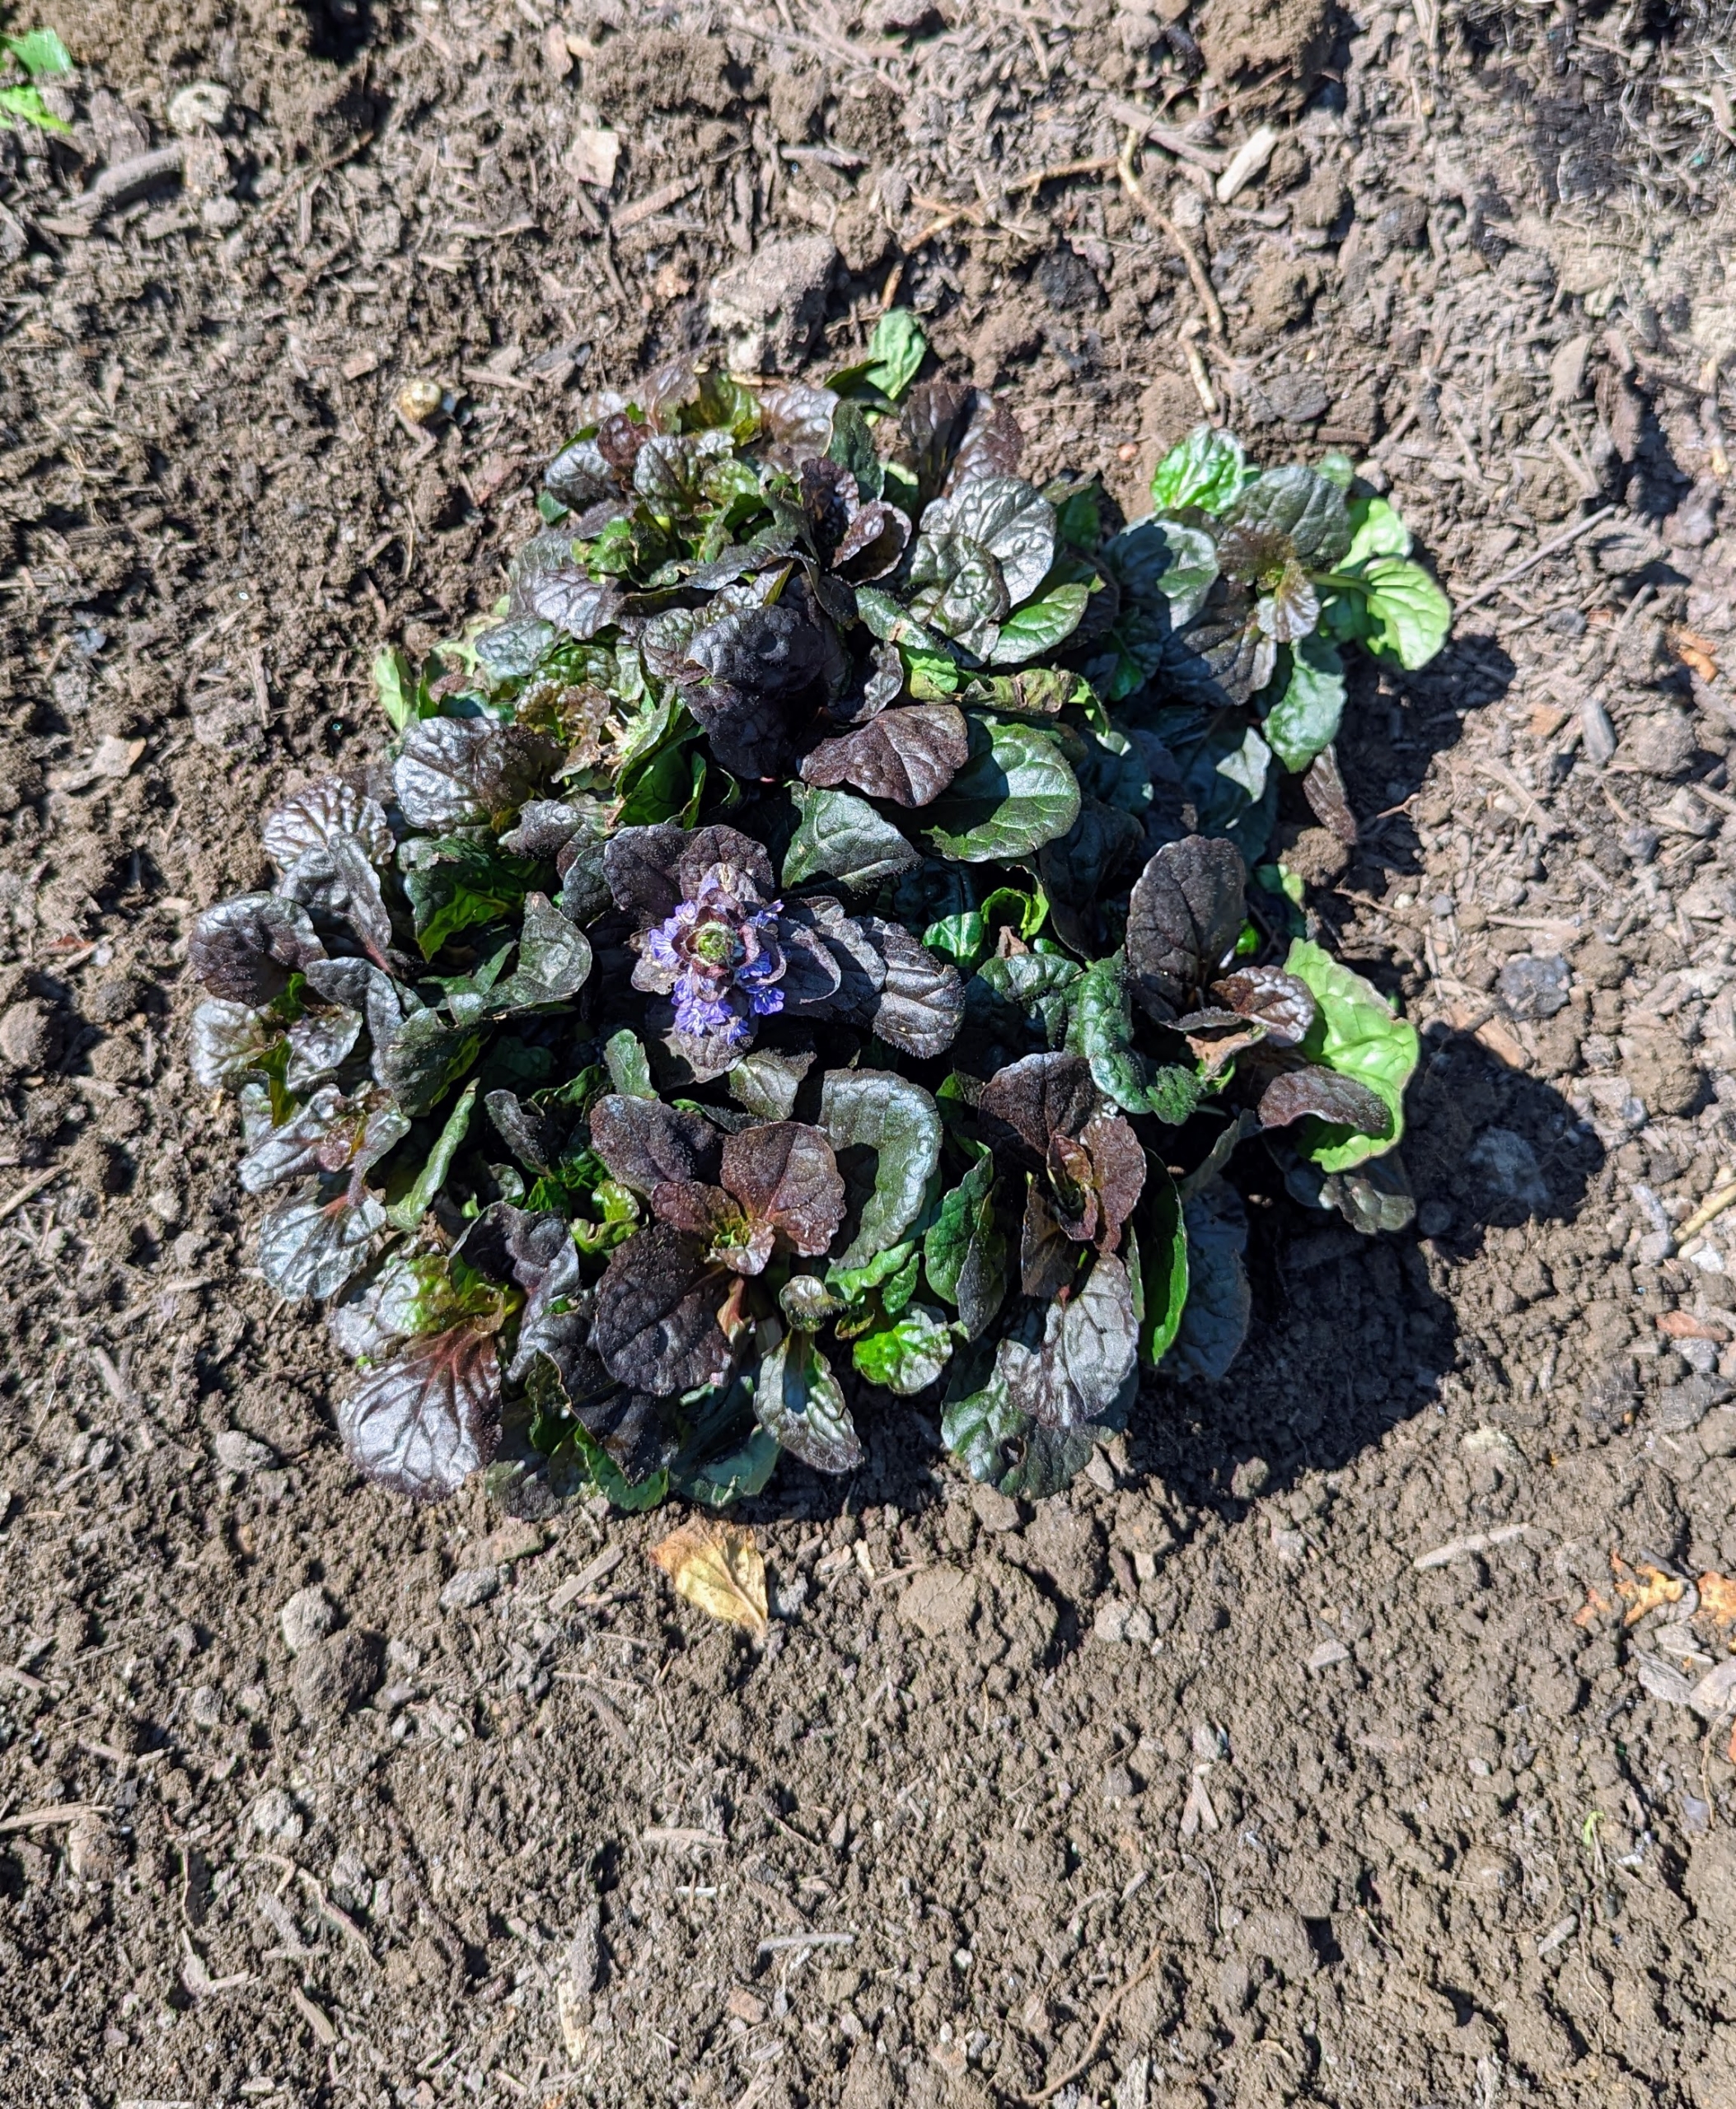
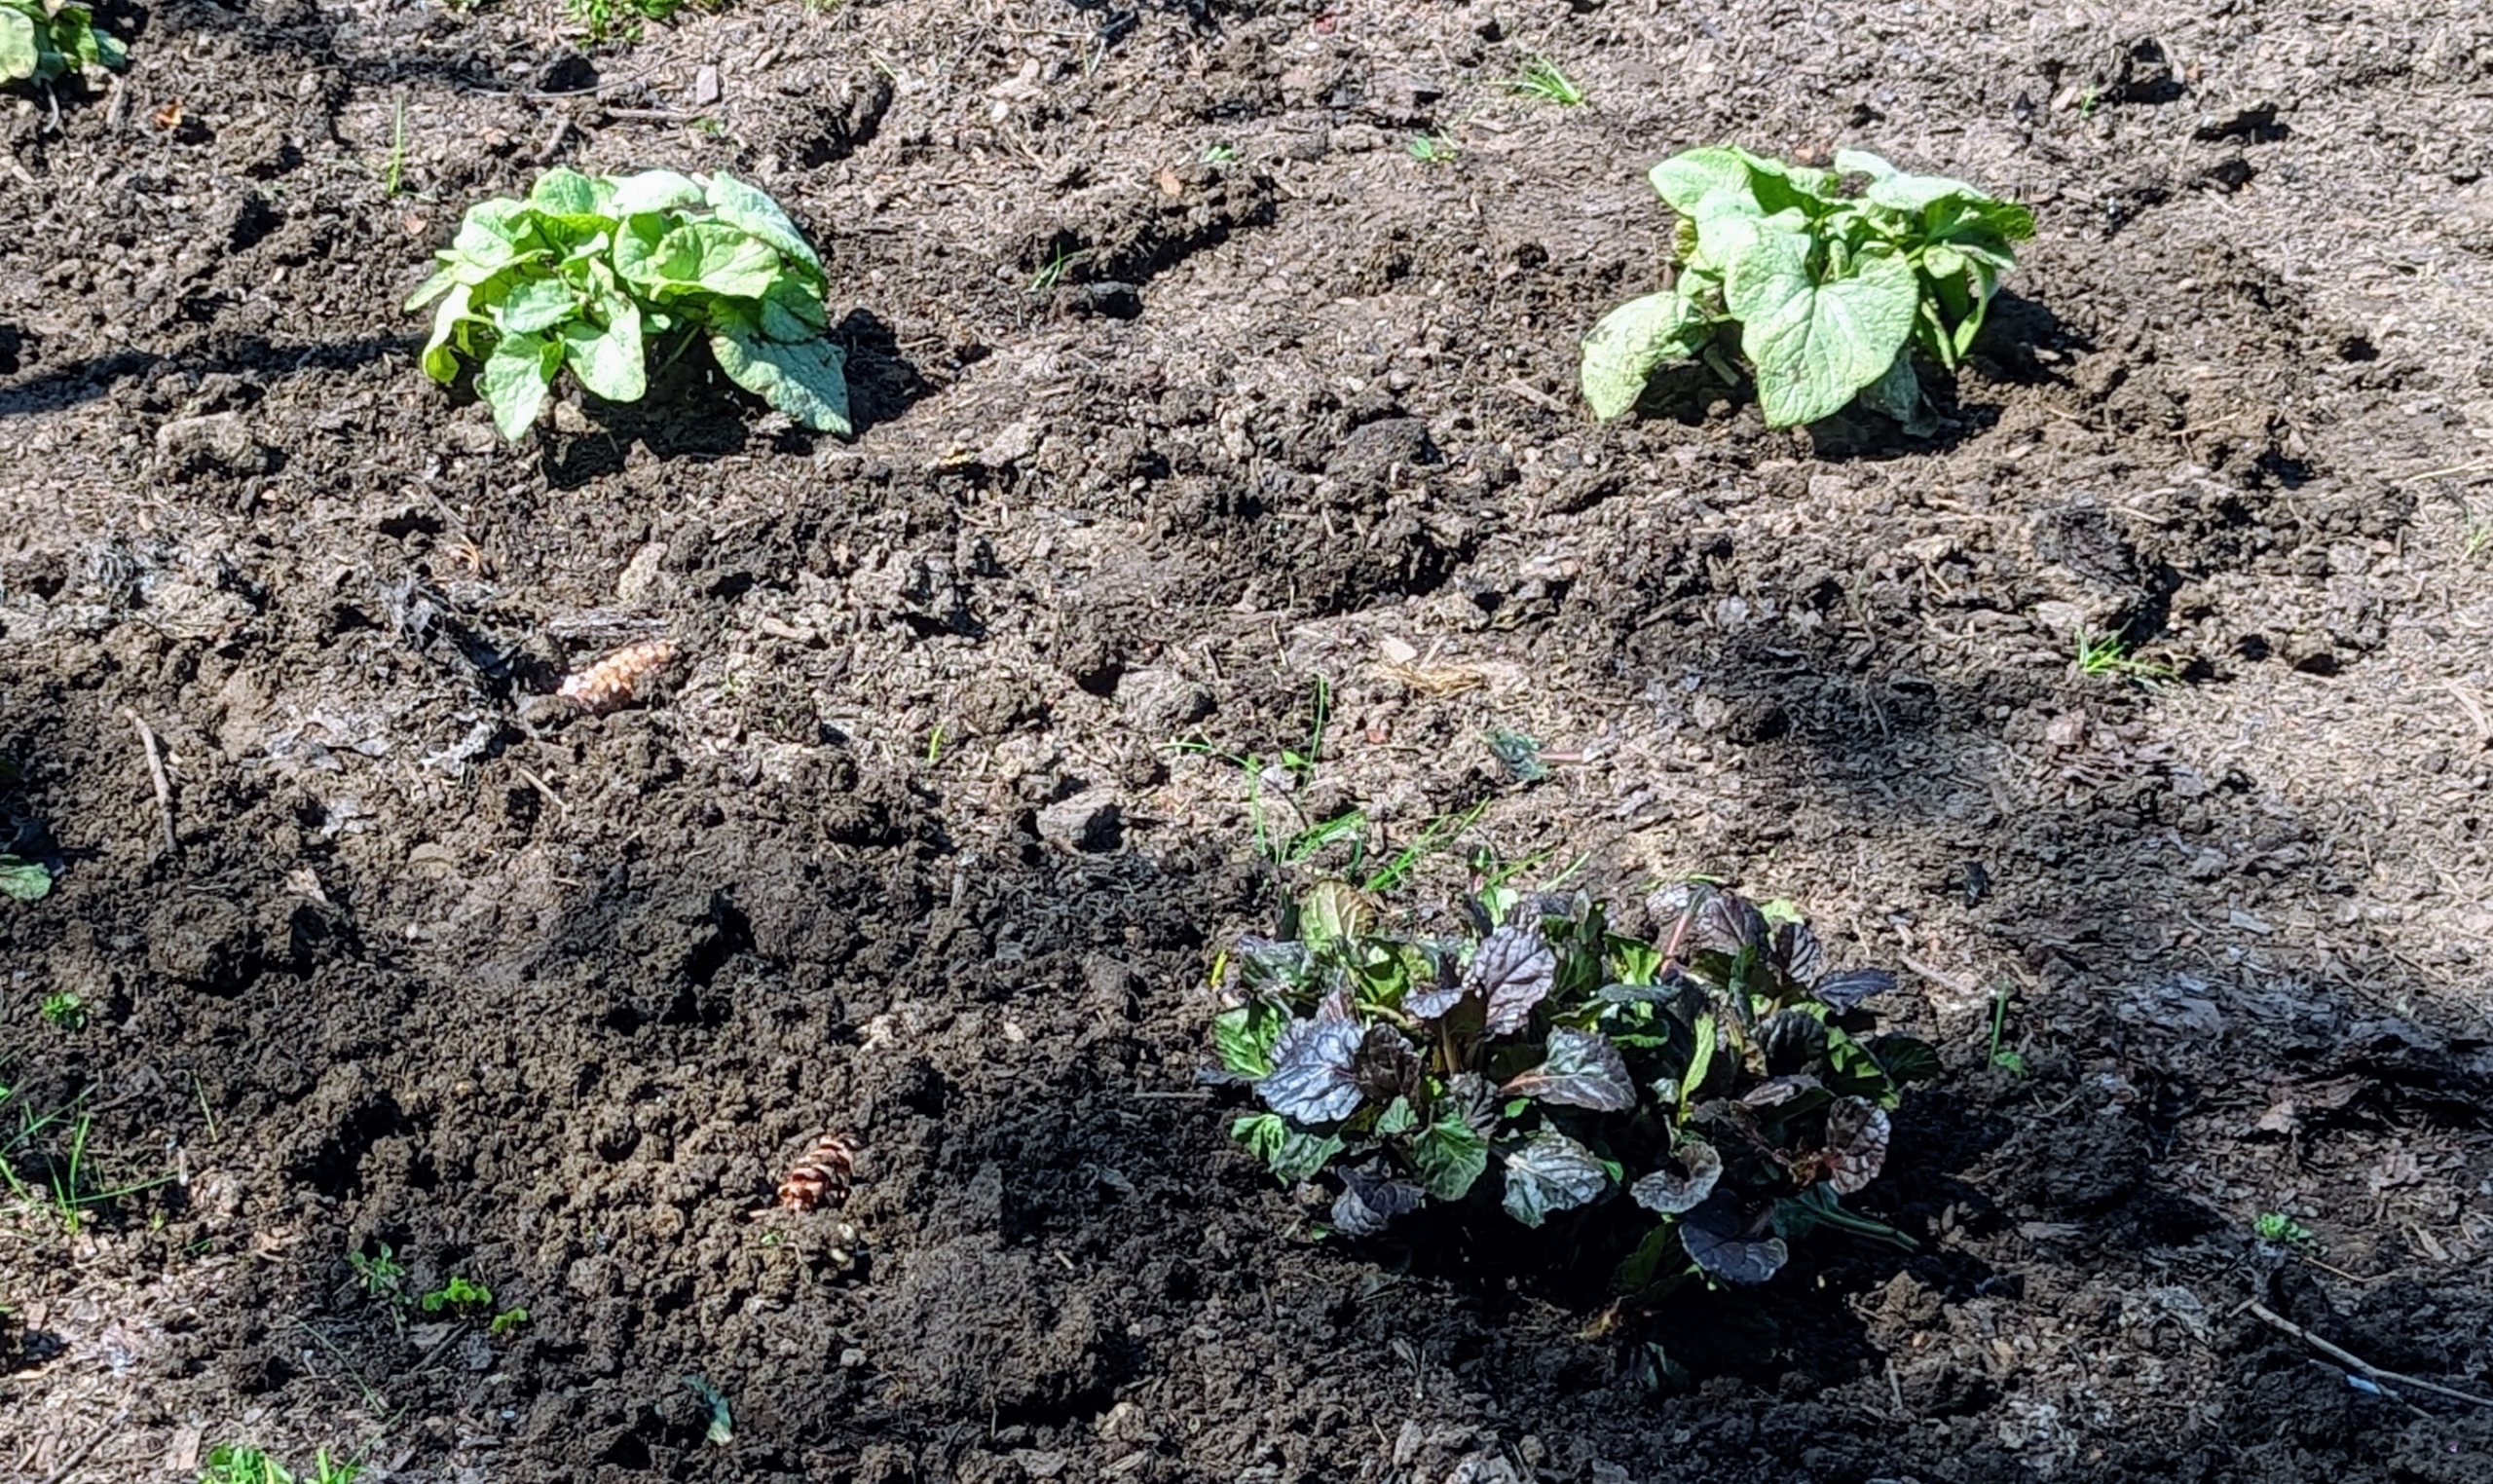
In the foreground is another variety of Ajuga – Ajuga ‘Black Scallop.’ In the back is Brunnera ‘Alexandria.’ Several of both kinds were placed in a garden bed behind my gym building.
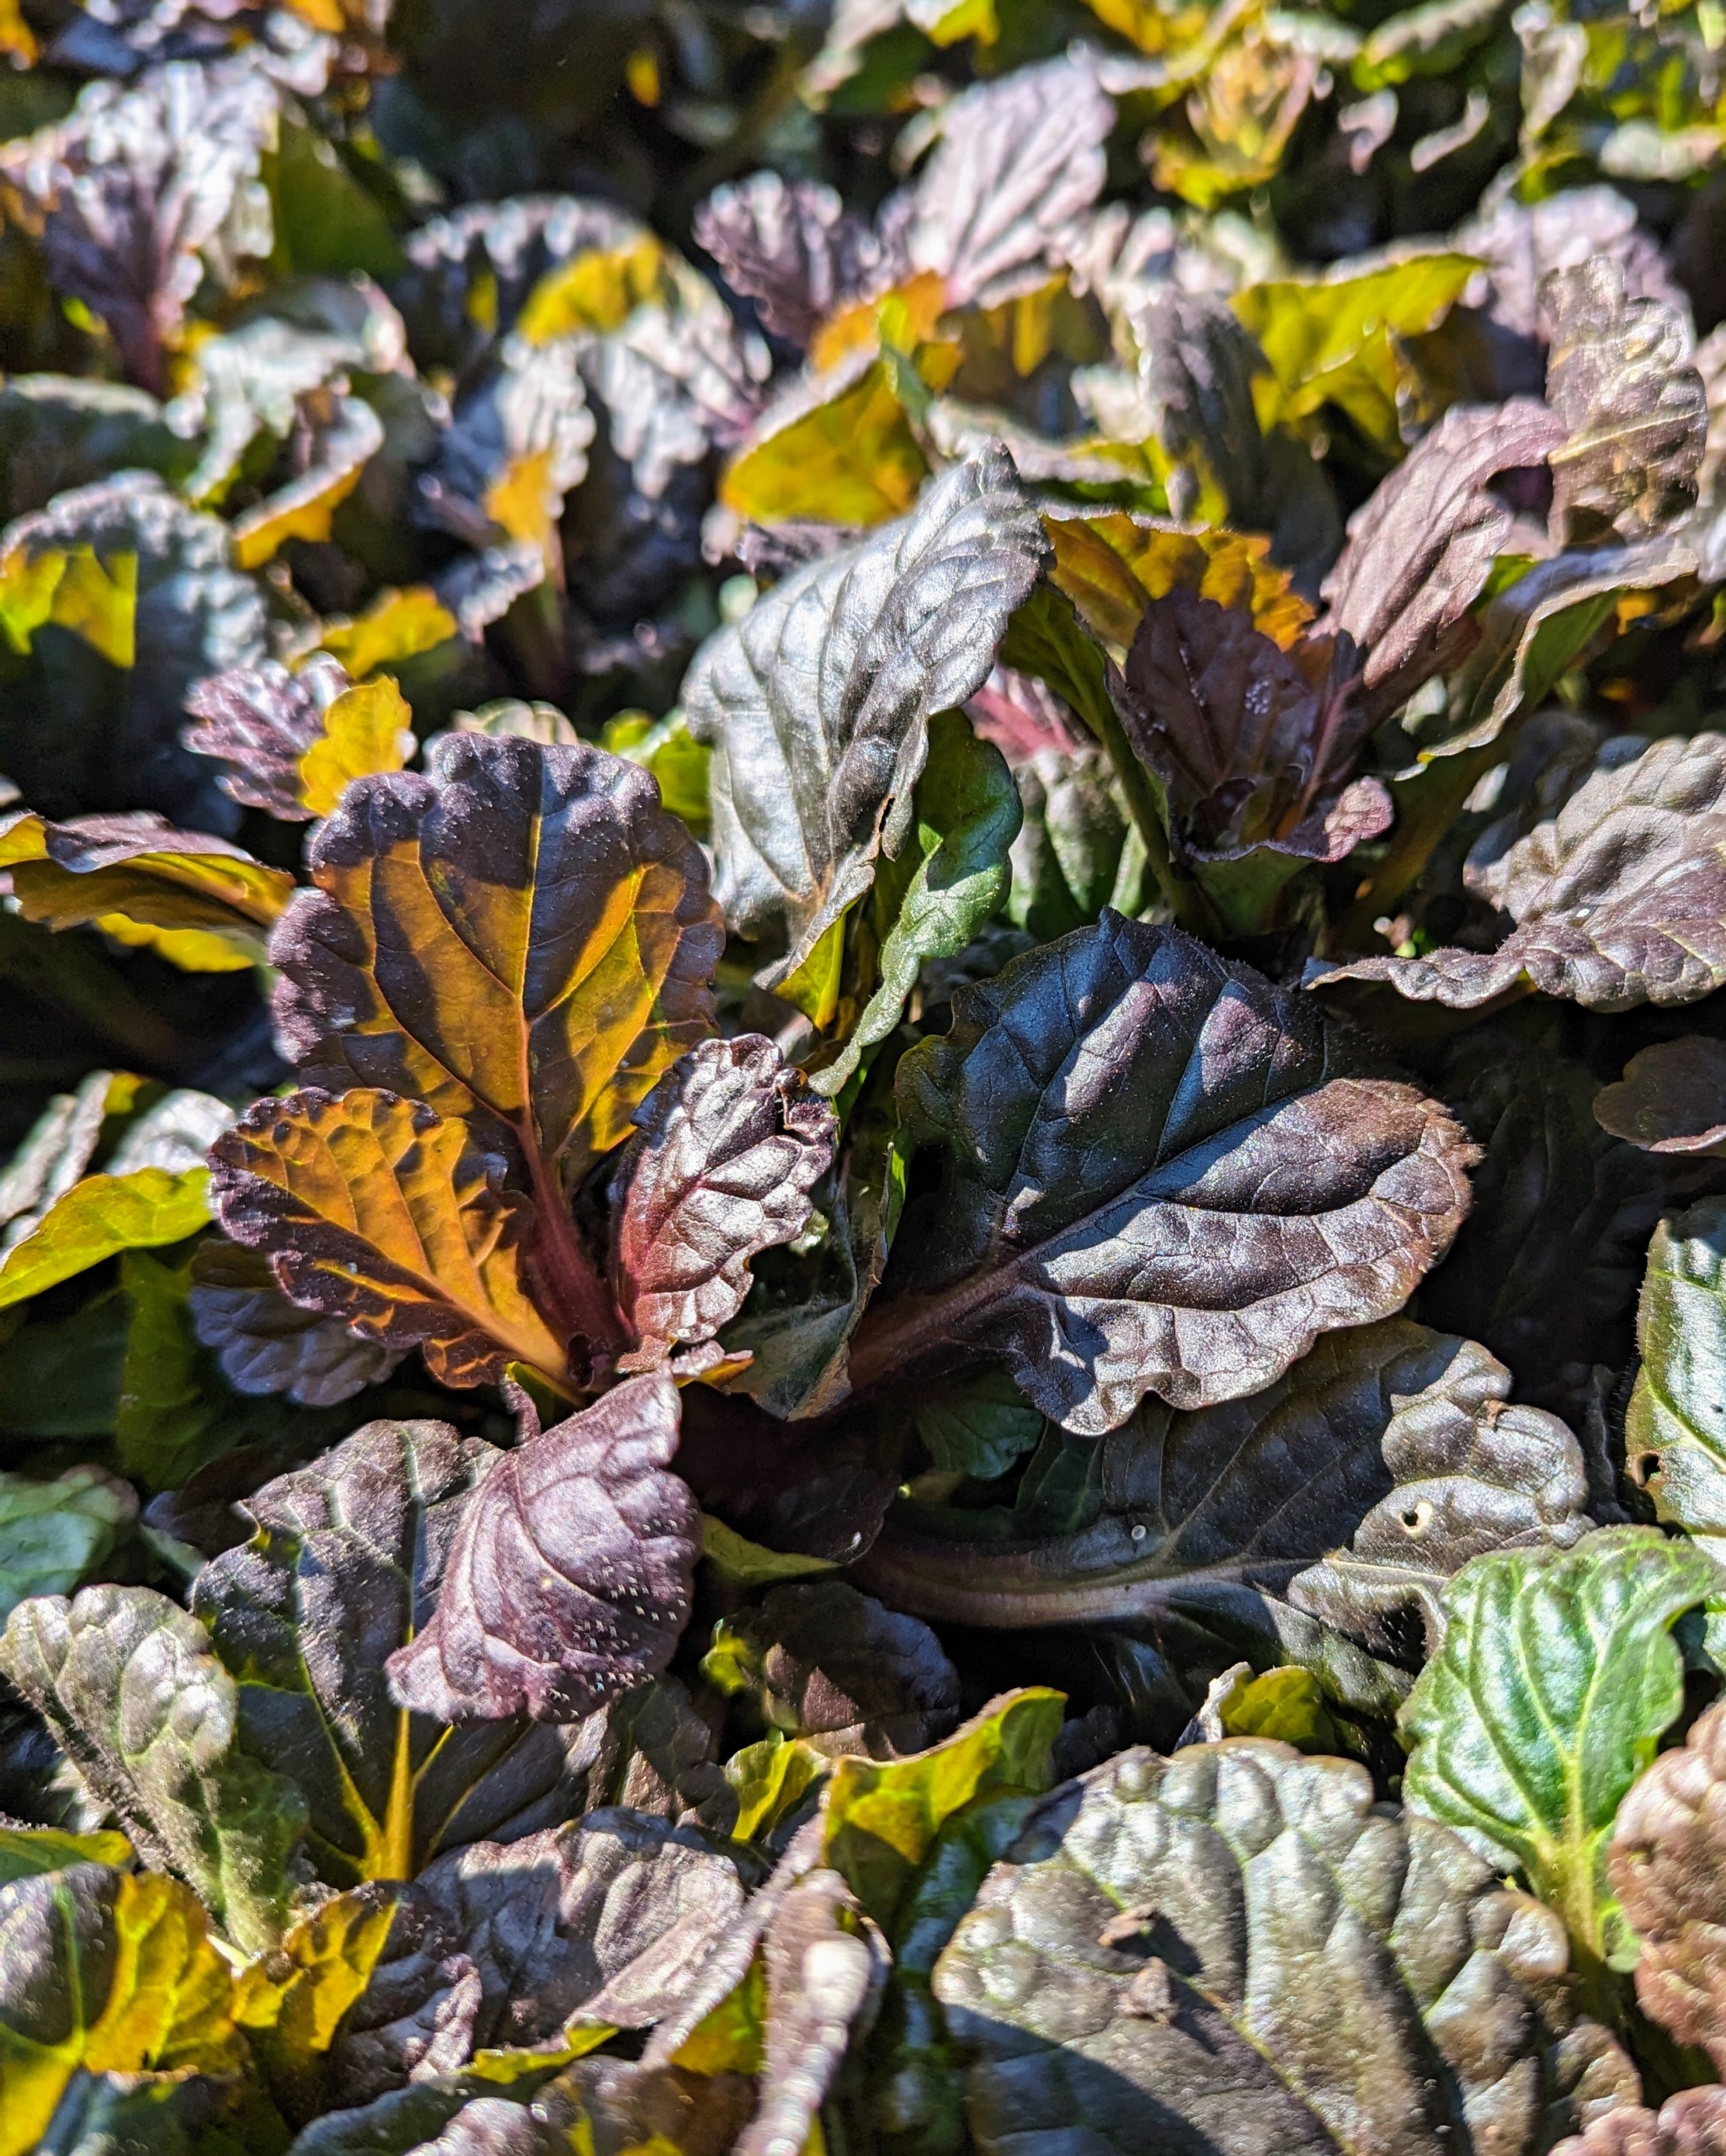
Ajuga ‘Black Scallop’ is a unique perennial in the mint family Lamiaceae, with most species native to Europe, Asia, Africa, and southeastern Australia. It has lush dark burgundy-black scalloped foliage that blankets the ground when mature.
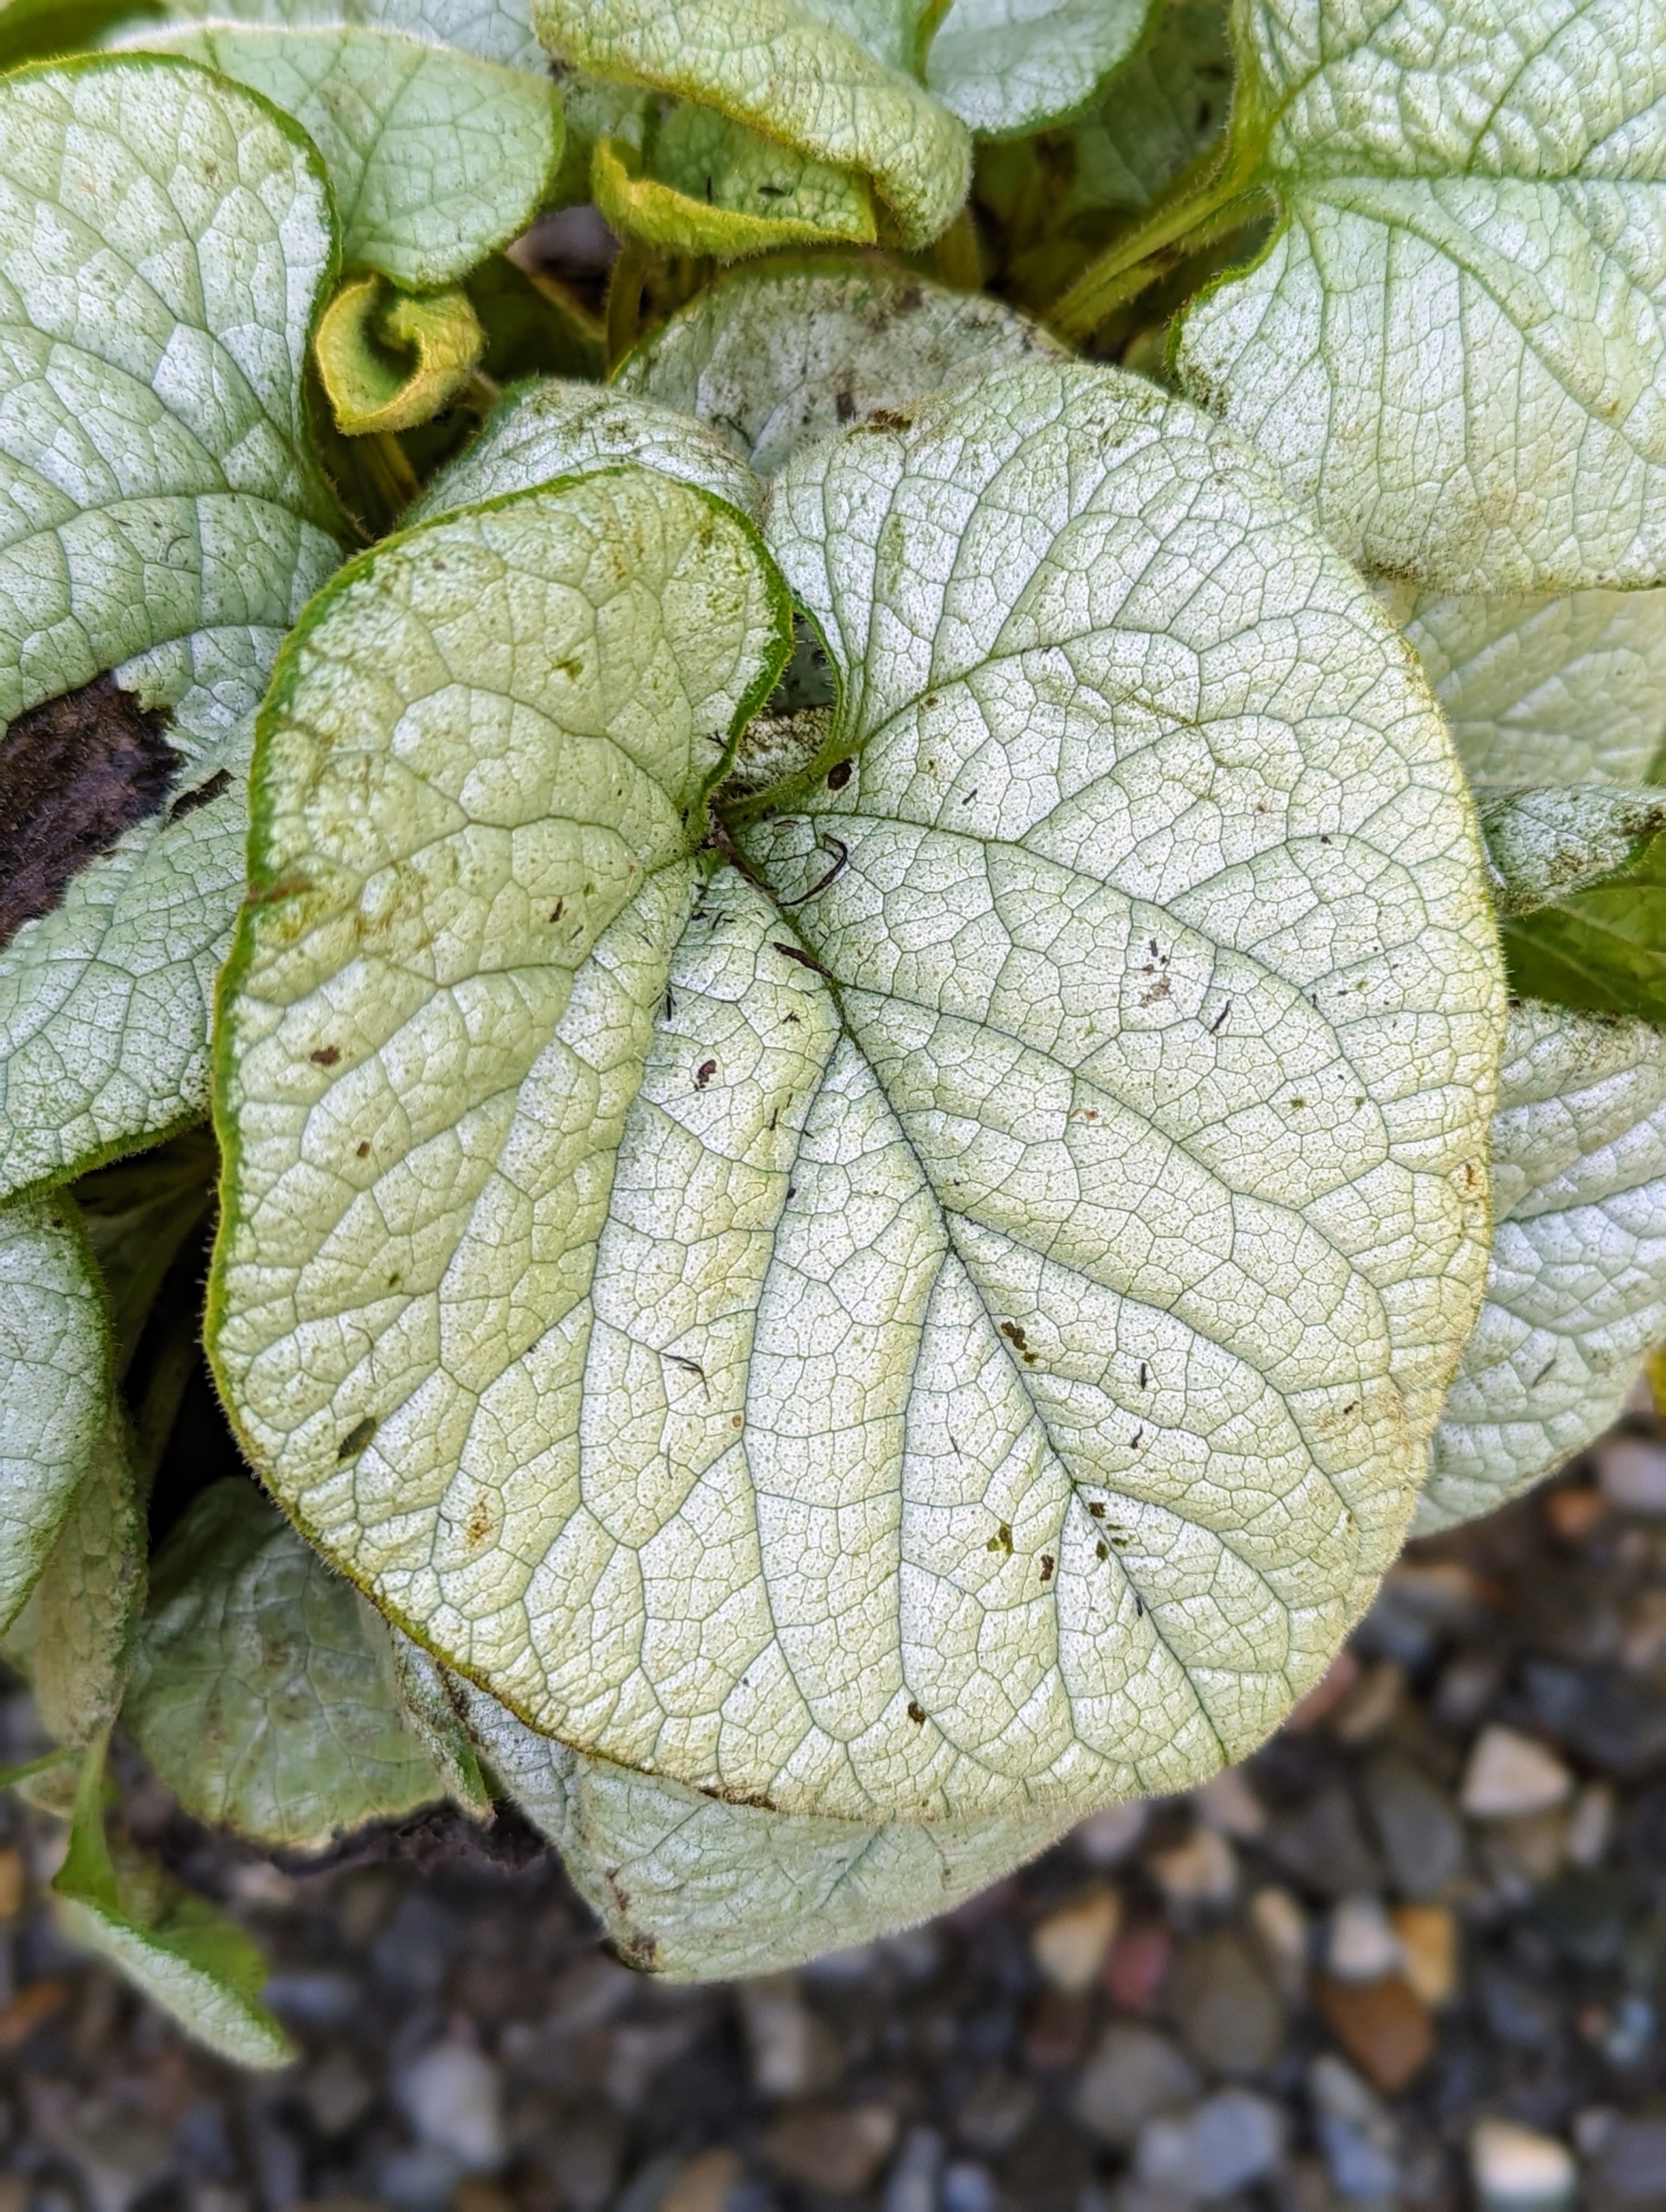
Brunnera is one of the prettiest plants to include in any shady garden. Brunnera is an herbaceous perennial with leaves that are glossy green or in variegated hues of gray, silver, or white.
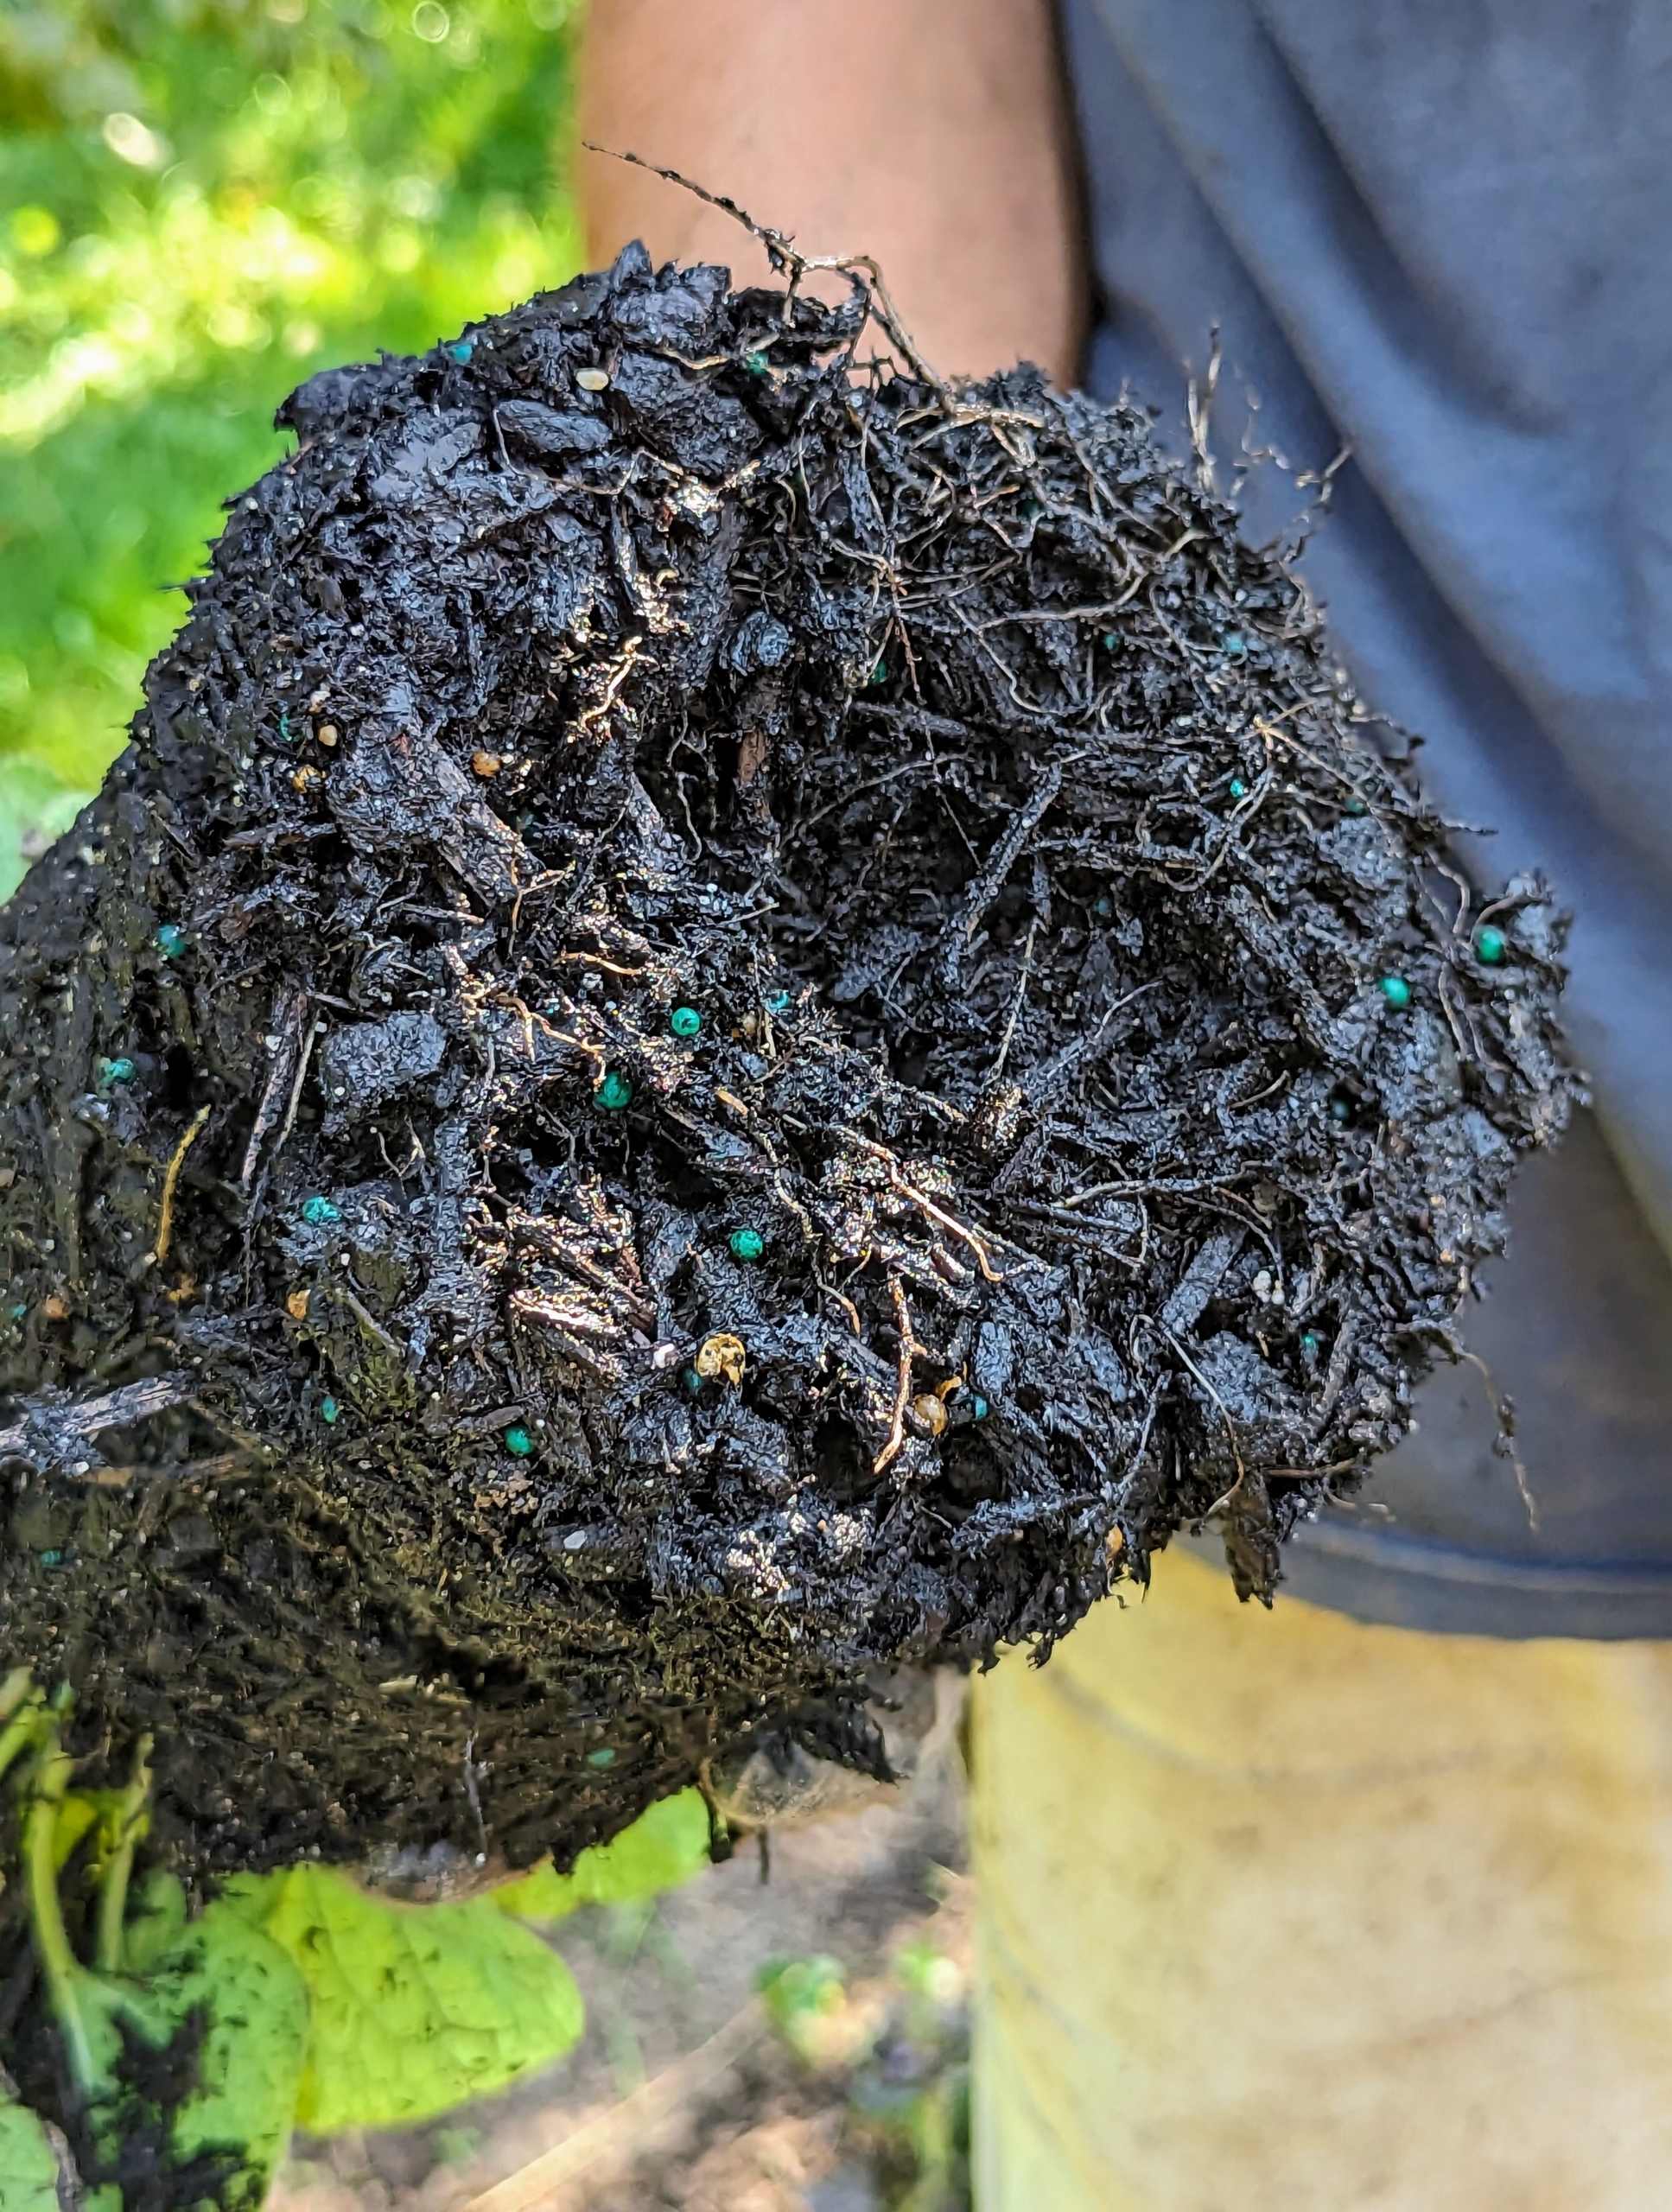
The root ball of this Brunnera is not as tightly formed as the Ajuga plants, but still needs to be scarified, so the roots are stimulated to grow. This root ball was also recently watered, so everything is darker in color.
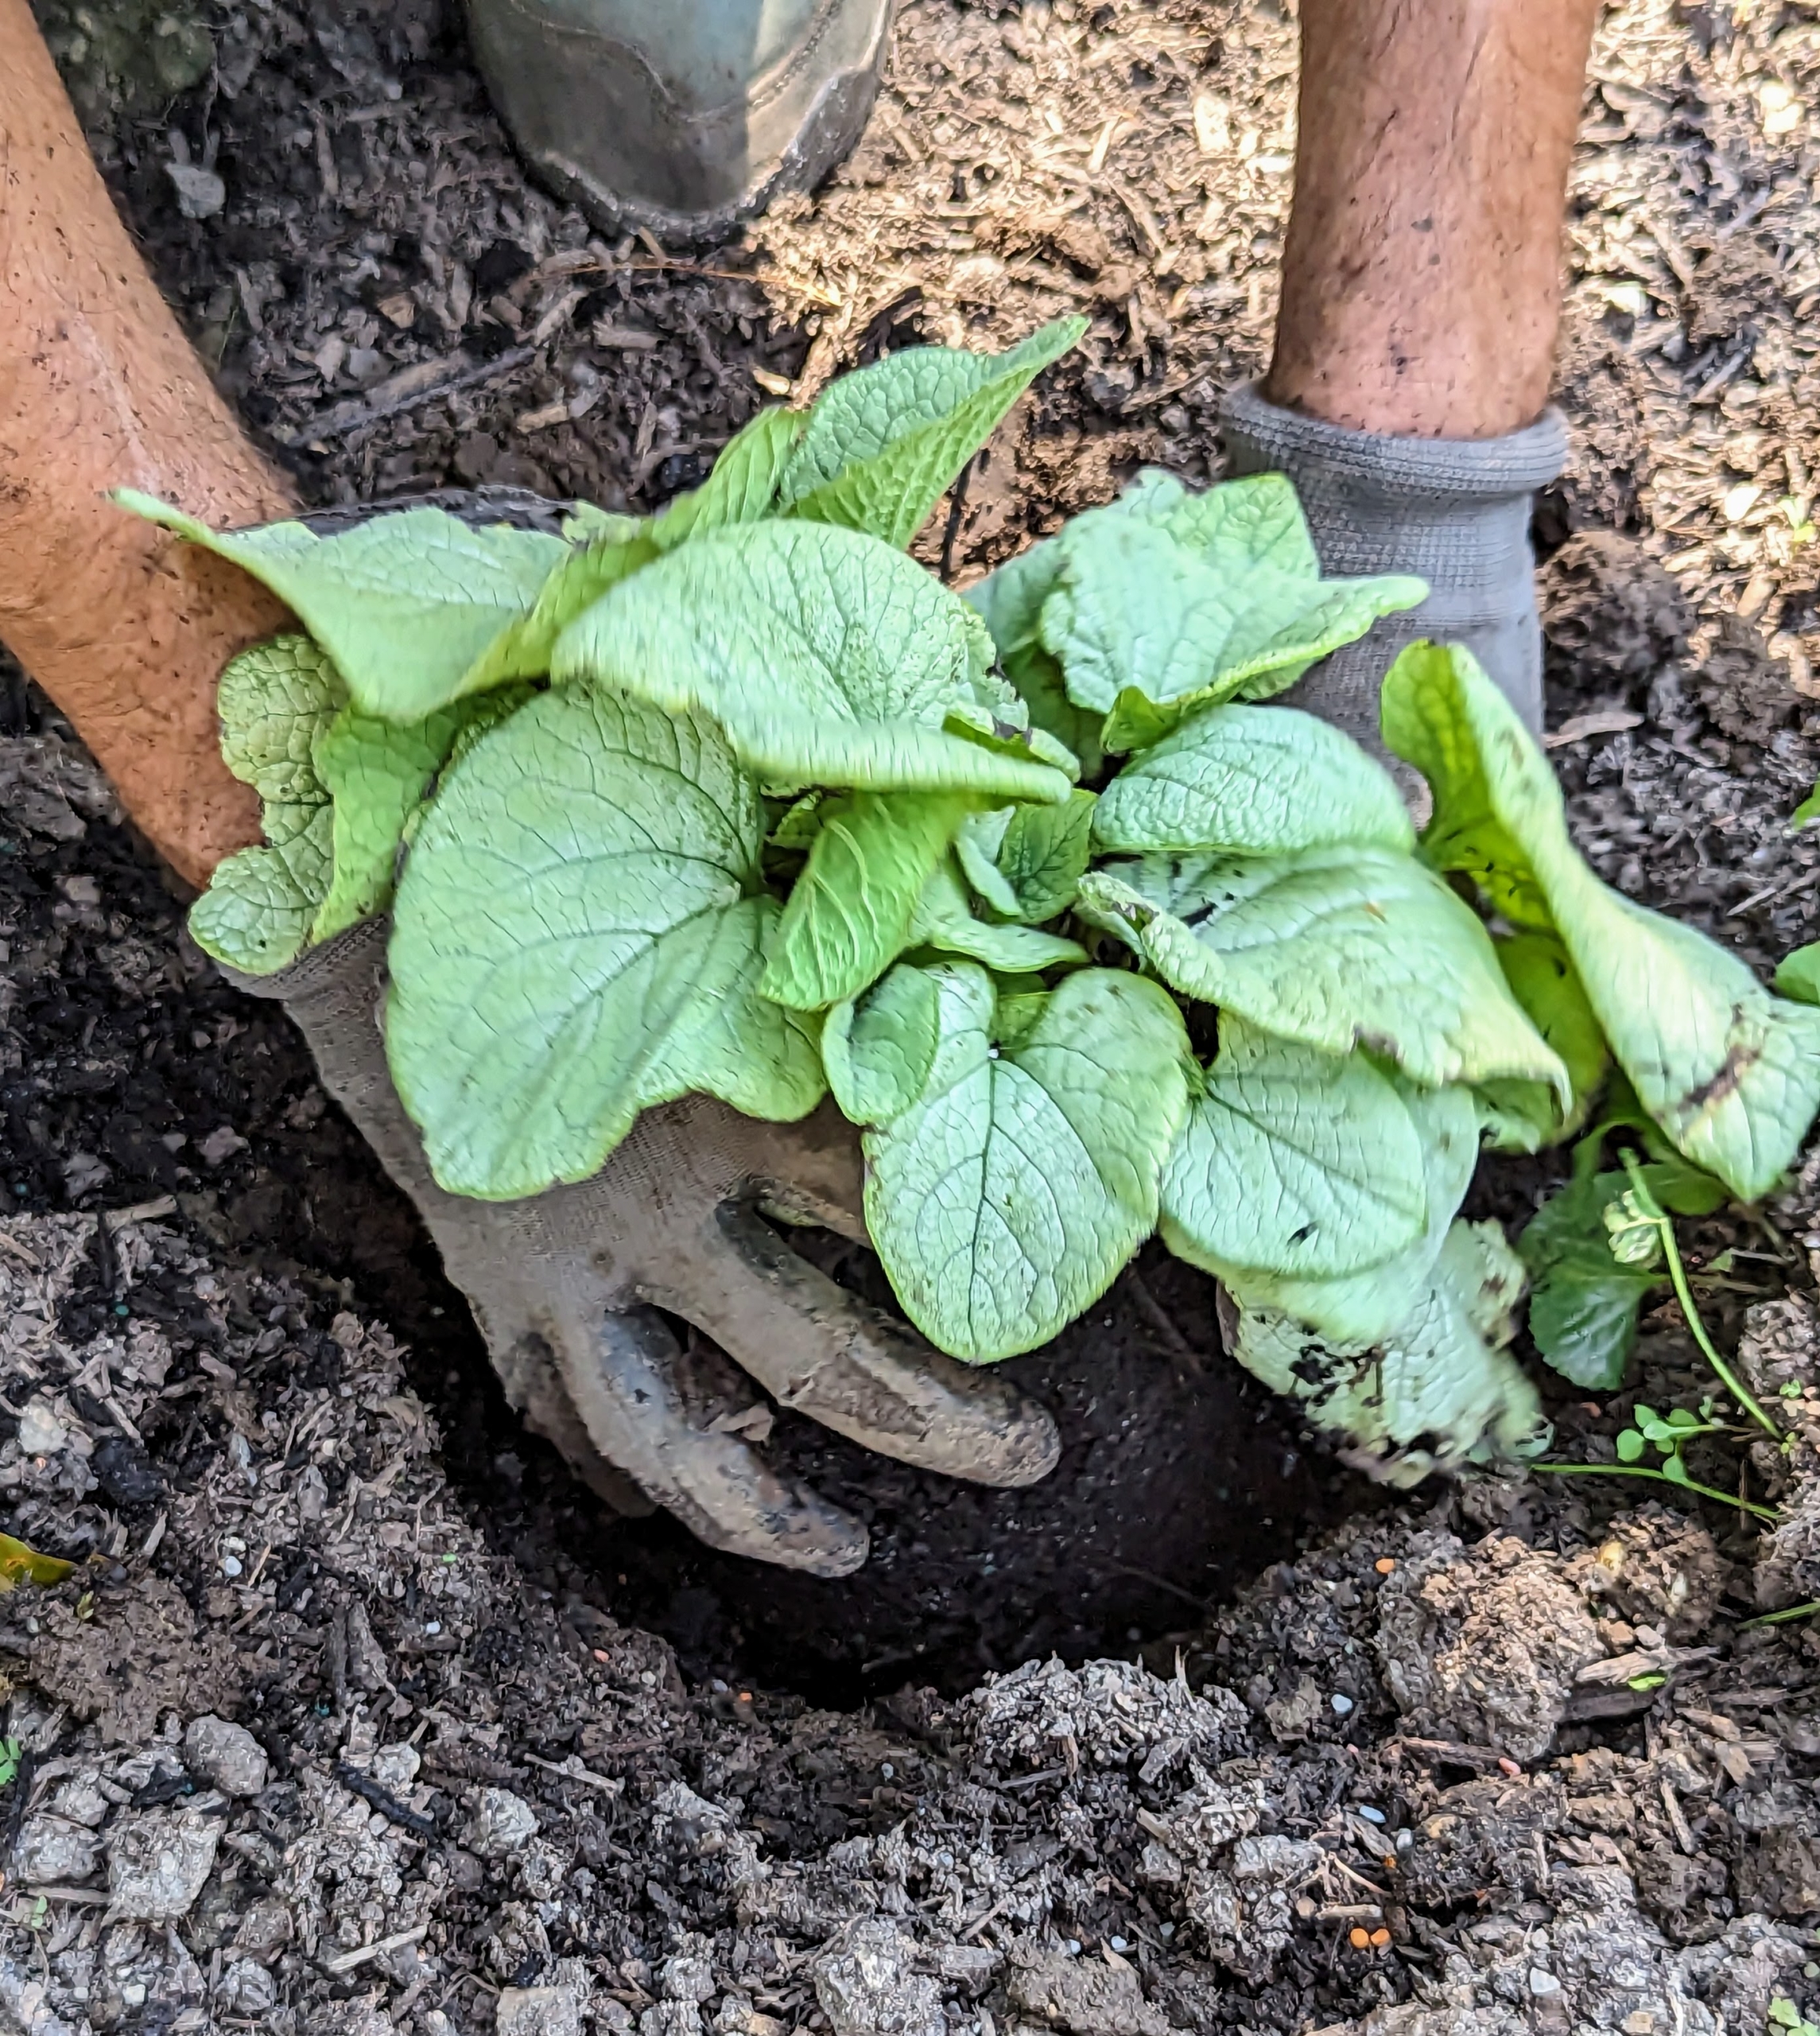
Brian plants this in a hole that is also twice the size of the root ball – a good rule of thumb for any plant – and then backfills the surrounding fertilized soil.
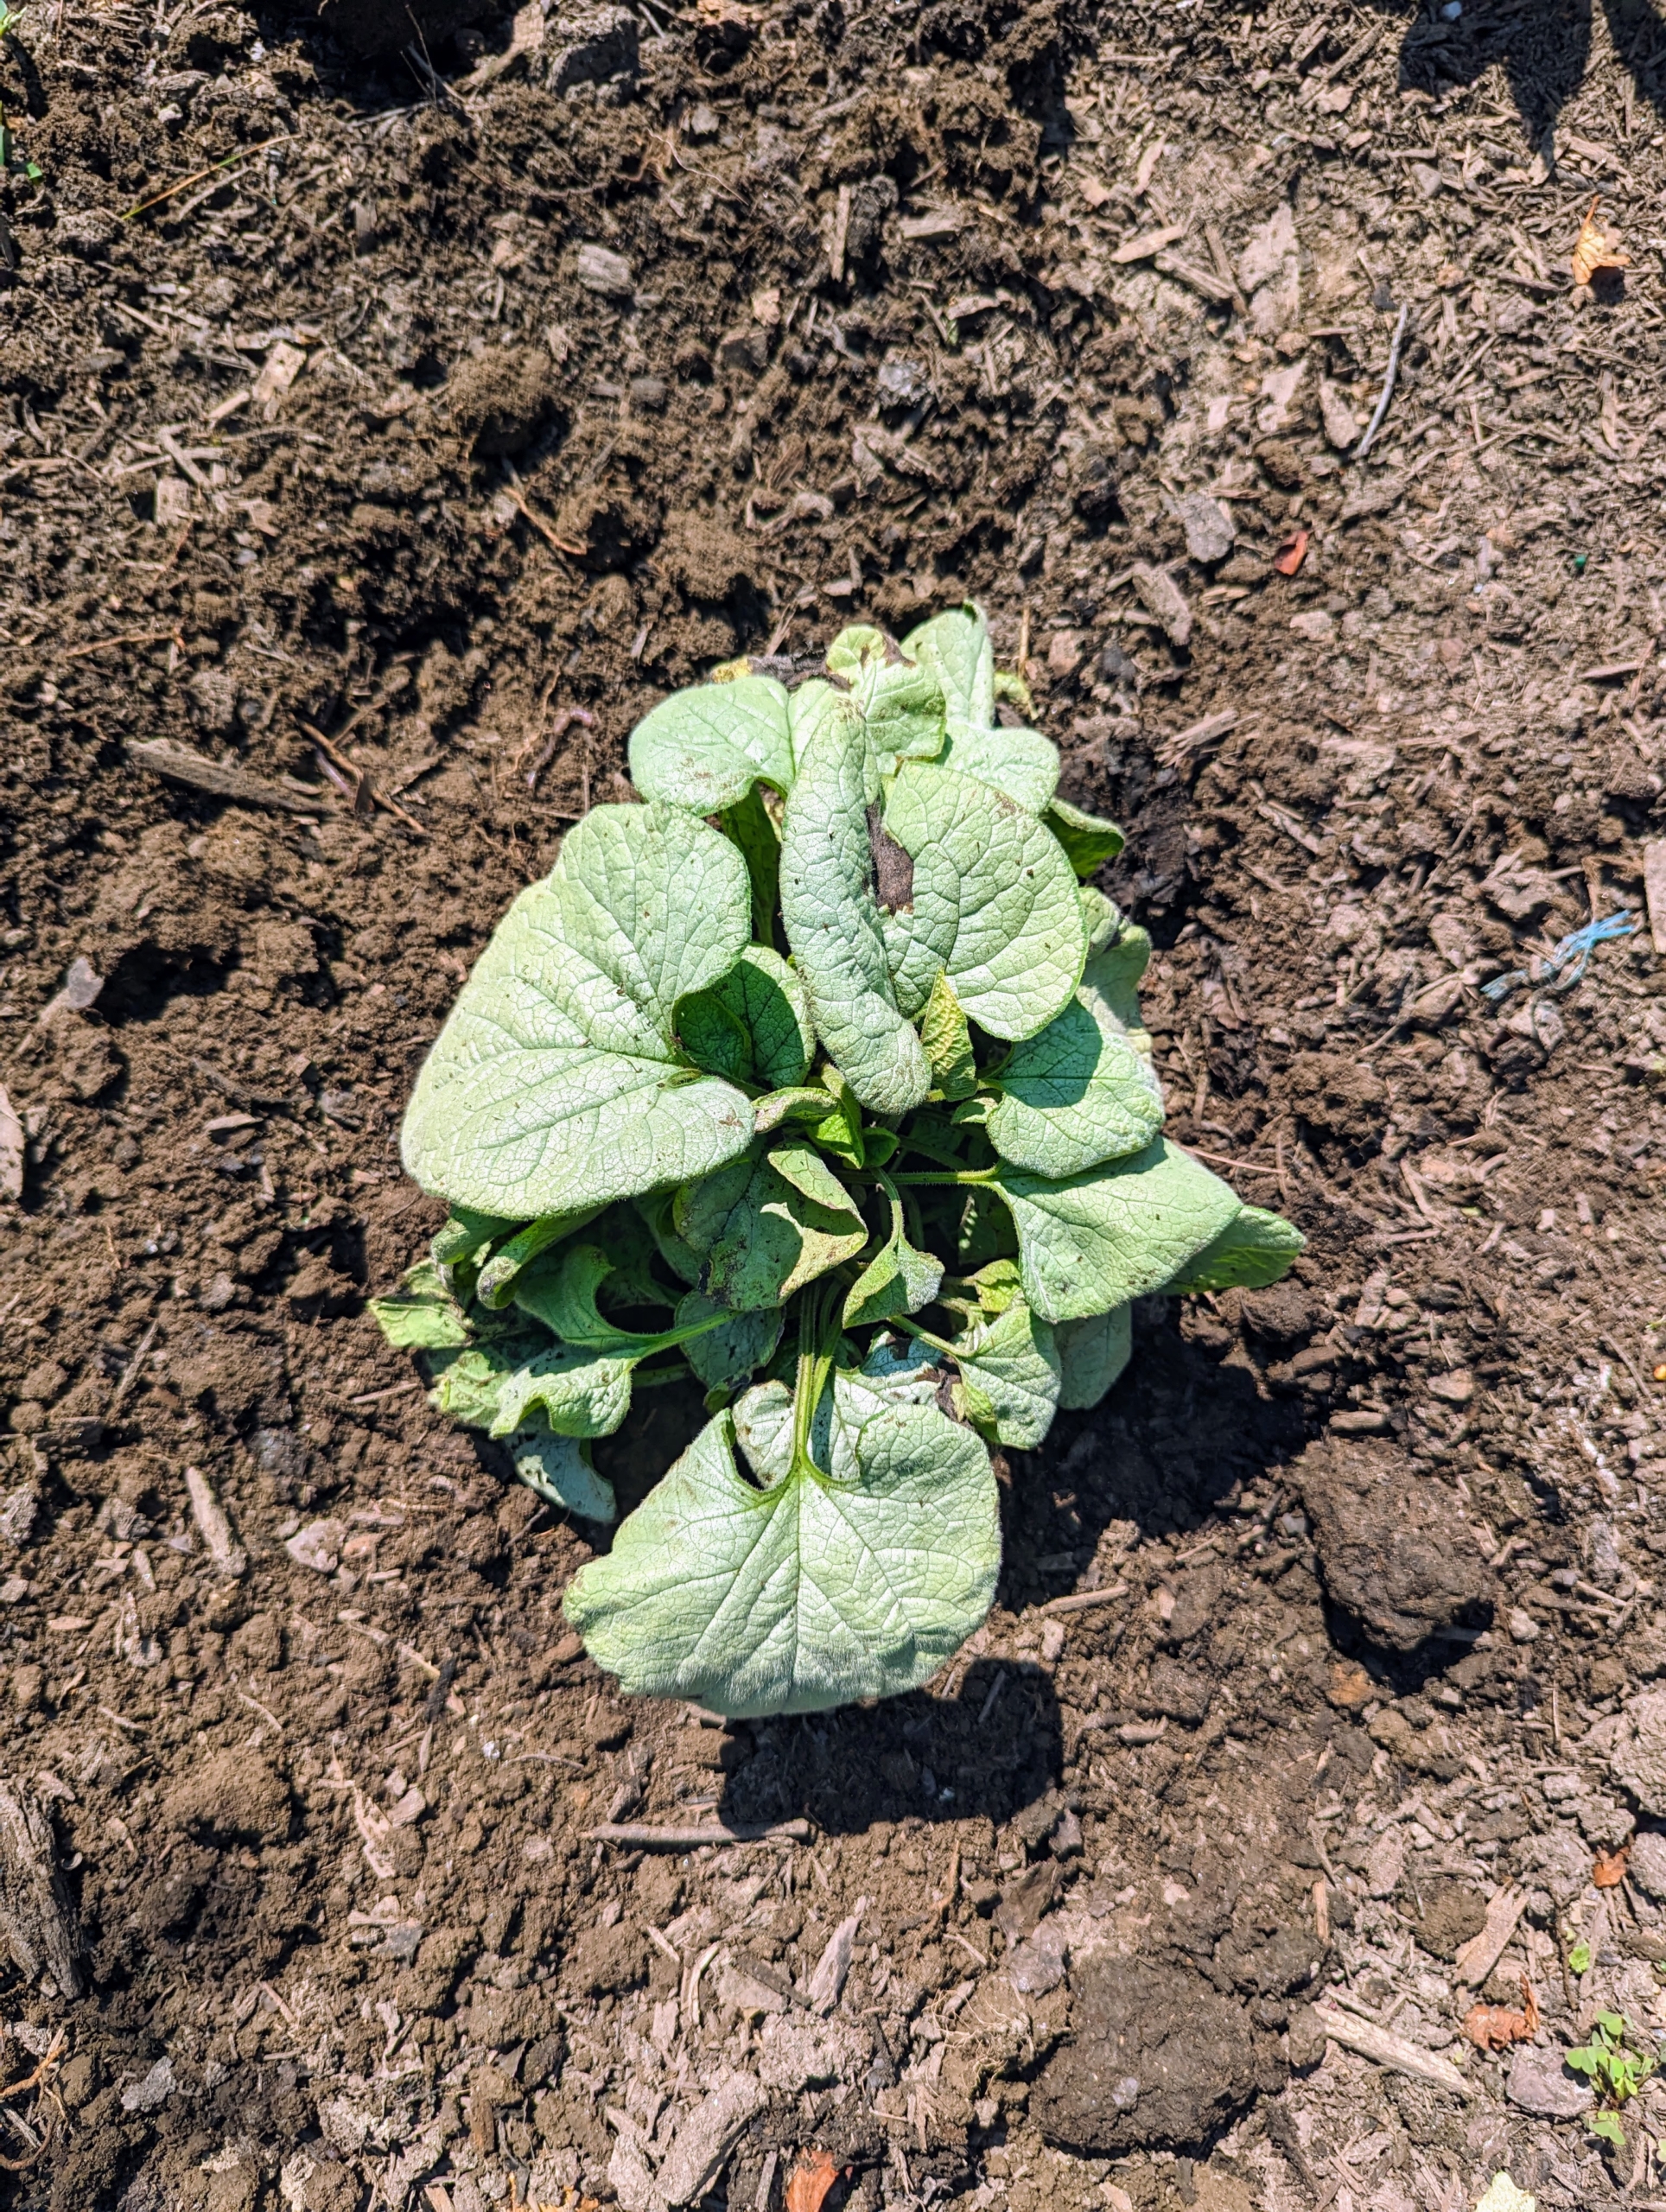
Brunnera is a slowly spreading, rhizomatous perennial that is loved for its heart-shaped leaves. I think these will do well here in this garden.
Because the Ajuga has more room to grow in this space, Brian does not divide these Ajuga plants, but carefully opens the bottom of the root ball and spreads out the bottom roots.
Here is how it looks just before planting. Brian will place it into the hole with the roots flaring outward, so they grow in that direction.
Ajuga ‘Black Scallop’ is also known as Black Scallop bugleweed, ground pine, carpet bugle, or just bugle. All these plants are available in the perennials section of the nursery.
These plants will soon develop into bigger ground covering masses. Don’t be afraid to experiment with color and form in the garden – it can always be changed. Do research on a plant’s care needs and always plant with a specimen’s mature size in mind. For anyone passionate about gardening, it’s always so rewarding to plant new specimens and watch them flourish.