So many of you love my Martha Stewart CBD line of Wellness Gummies. First there was my 'Citrus Medley' made up of Meyer lemon, kumquat, and blood orange. Then the 'Berry Medley' featuring red raspberry, huckleberry, and black raspberry flavors. The third variety I released was a 'Harvest Medley' of pomegranate, concord grape, and green apple Gummies. And now, my newest offering is a delicious 'Tropical Medley' of Alphonso mango, coconut, and pineapple - available later this month! You're going to love it just as much as the others.
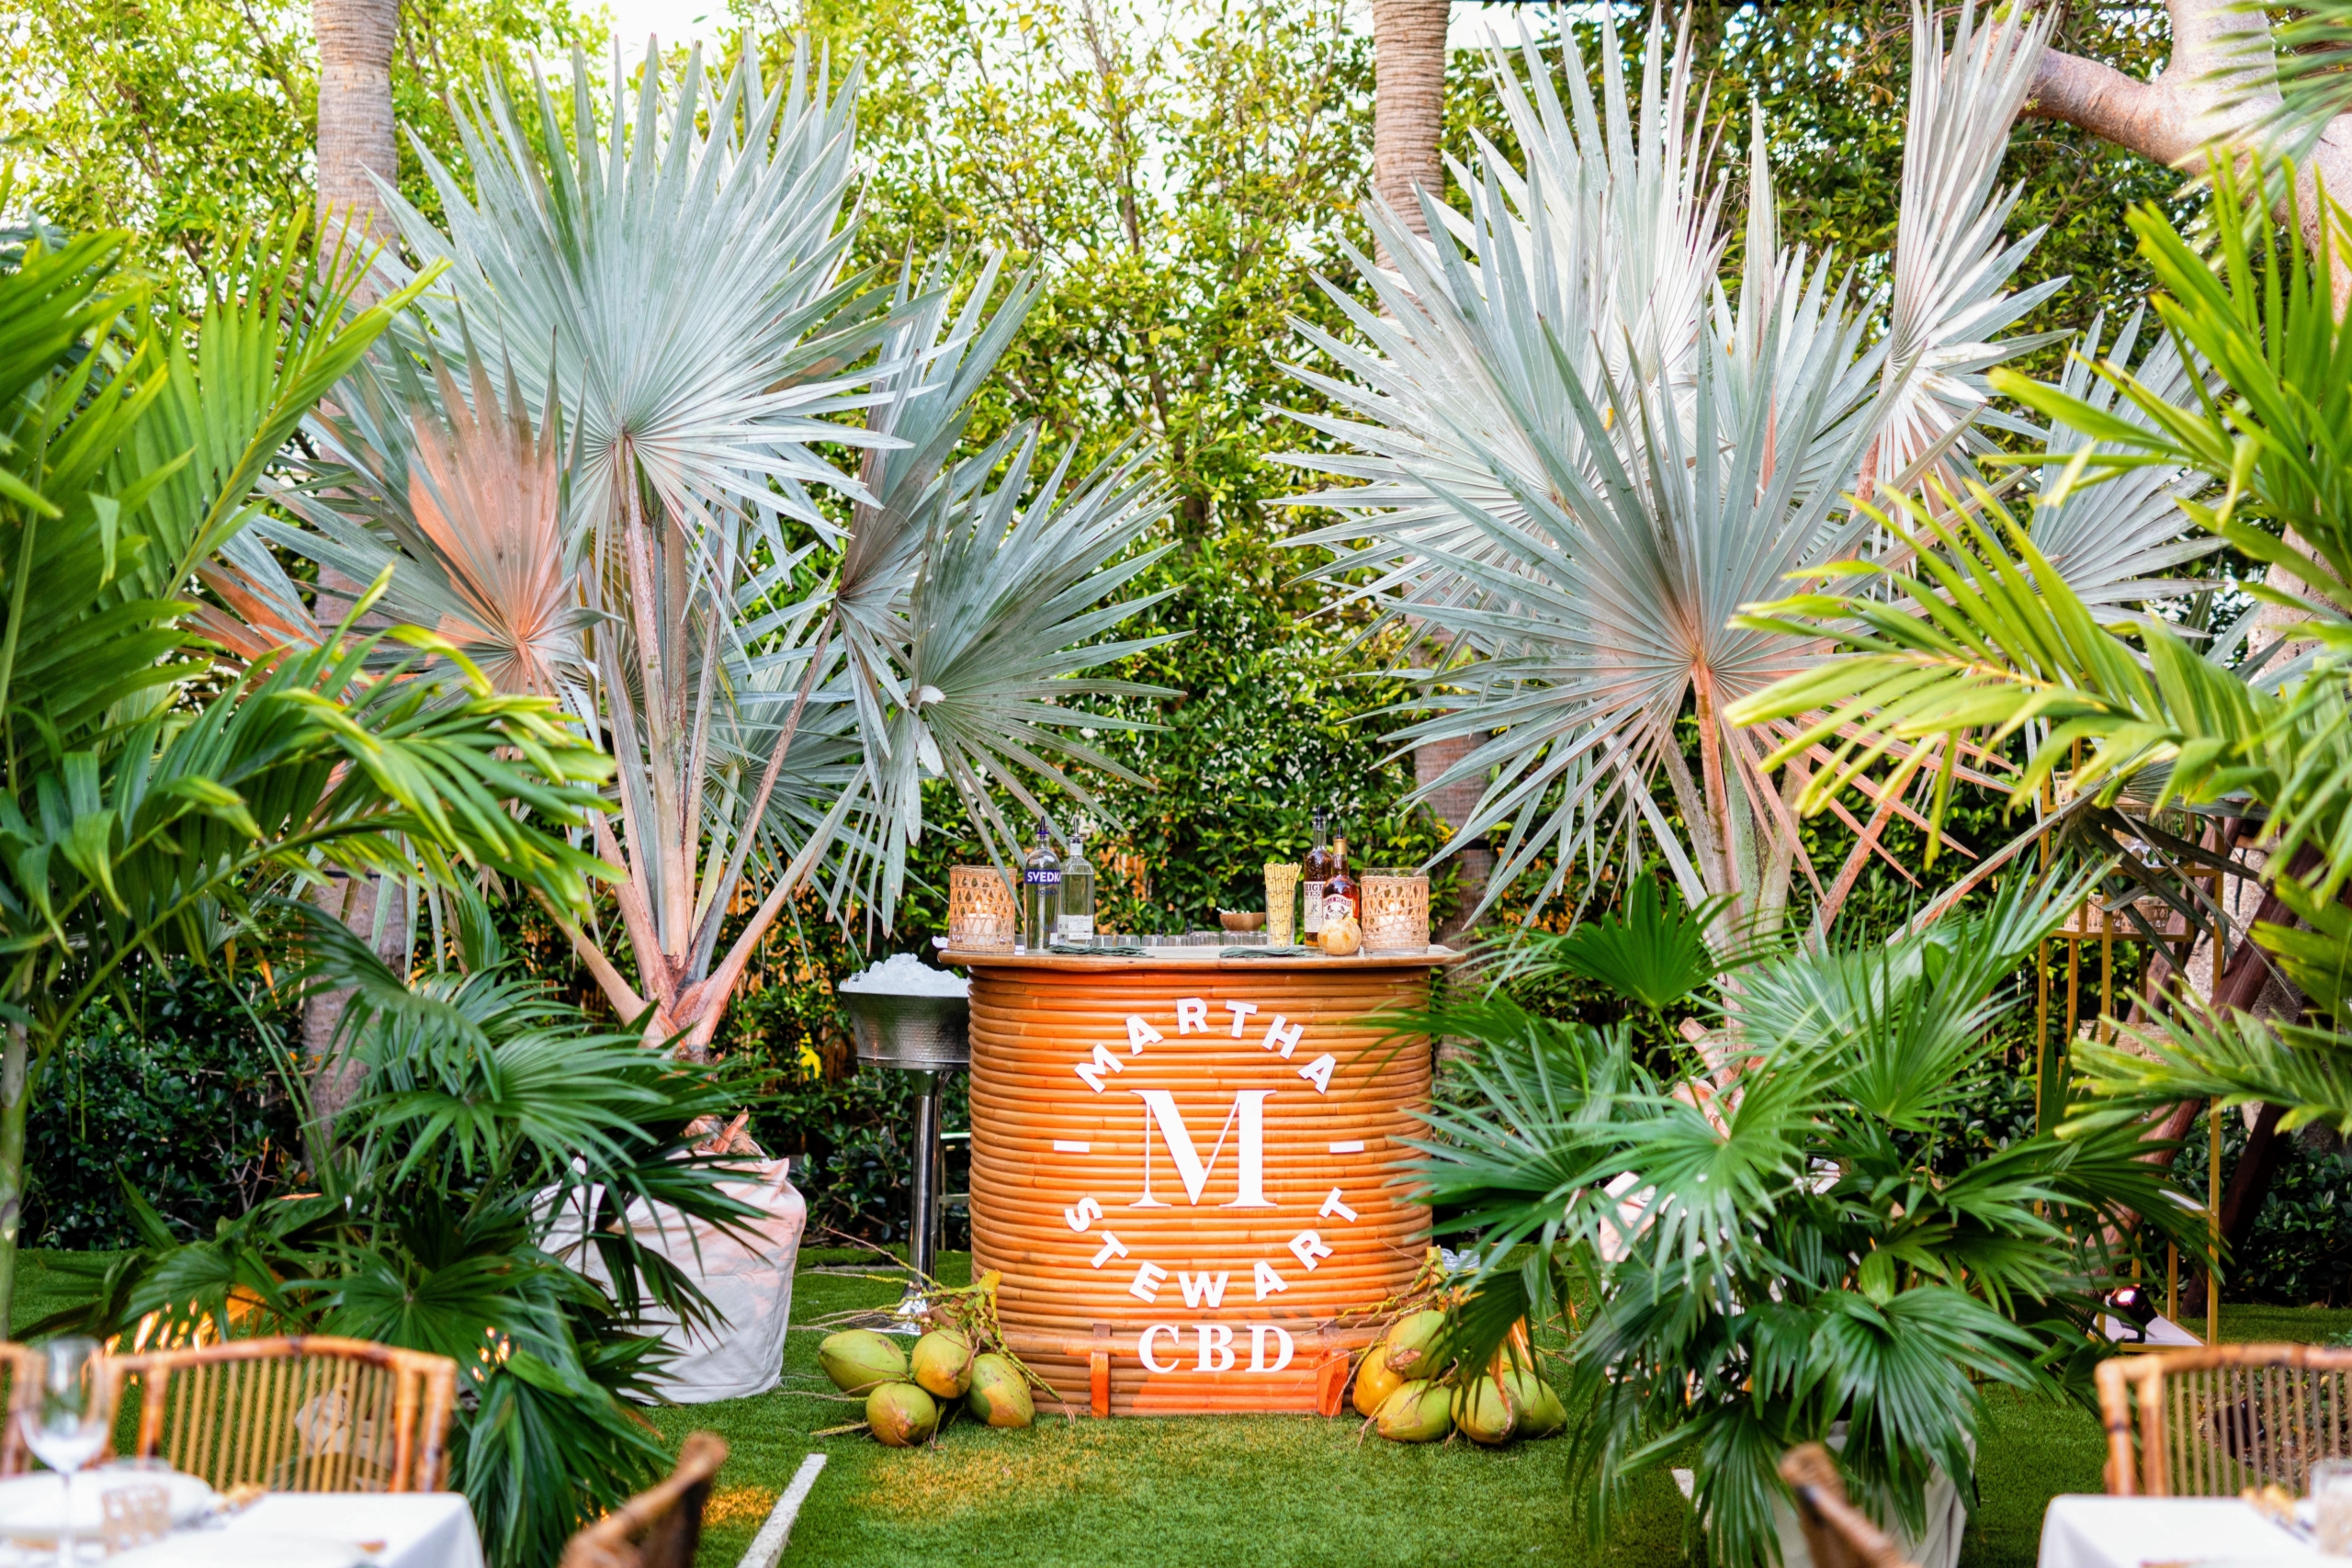
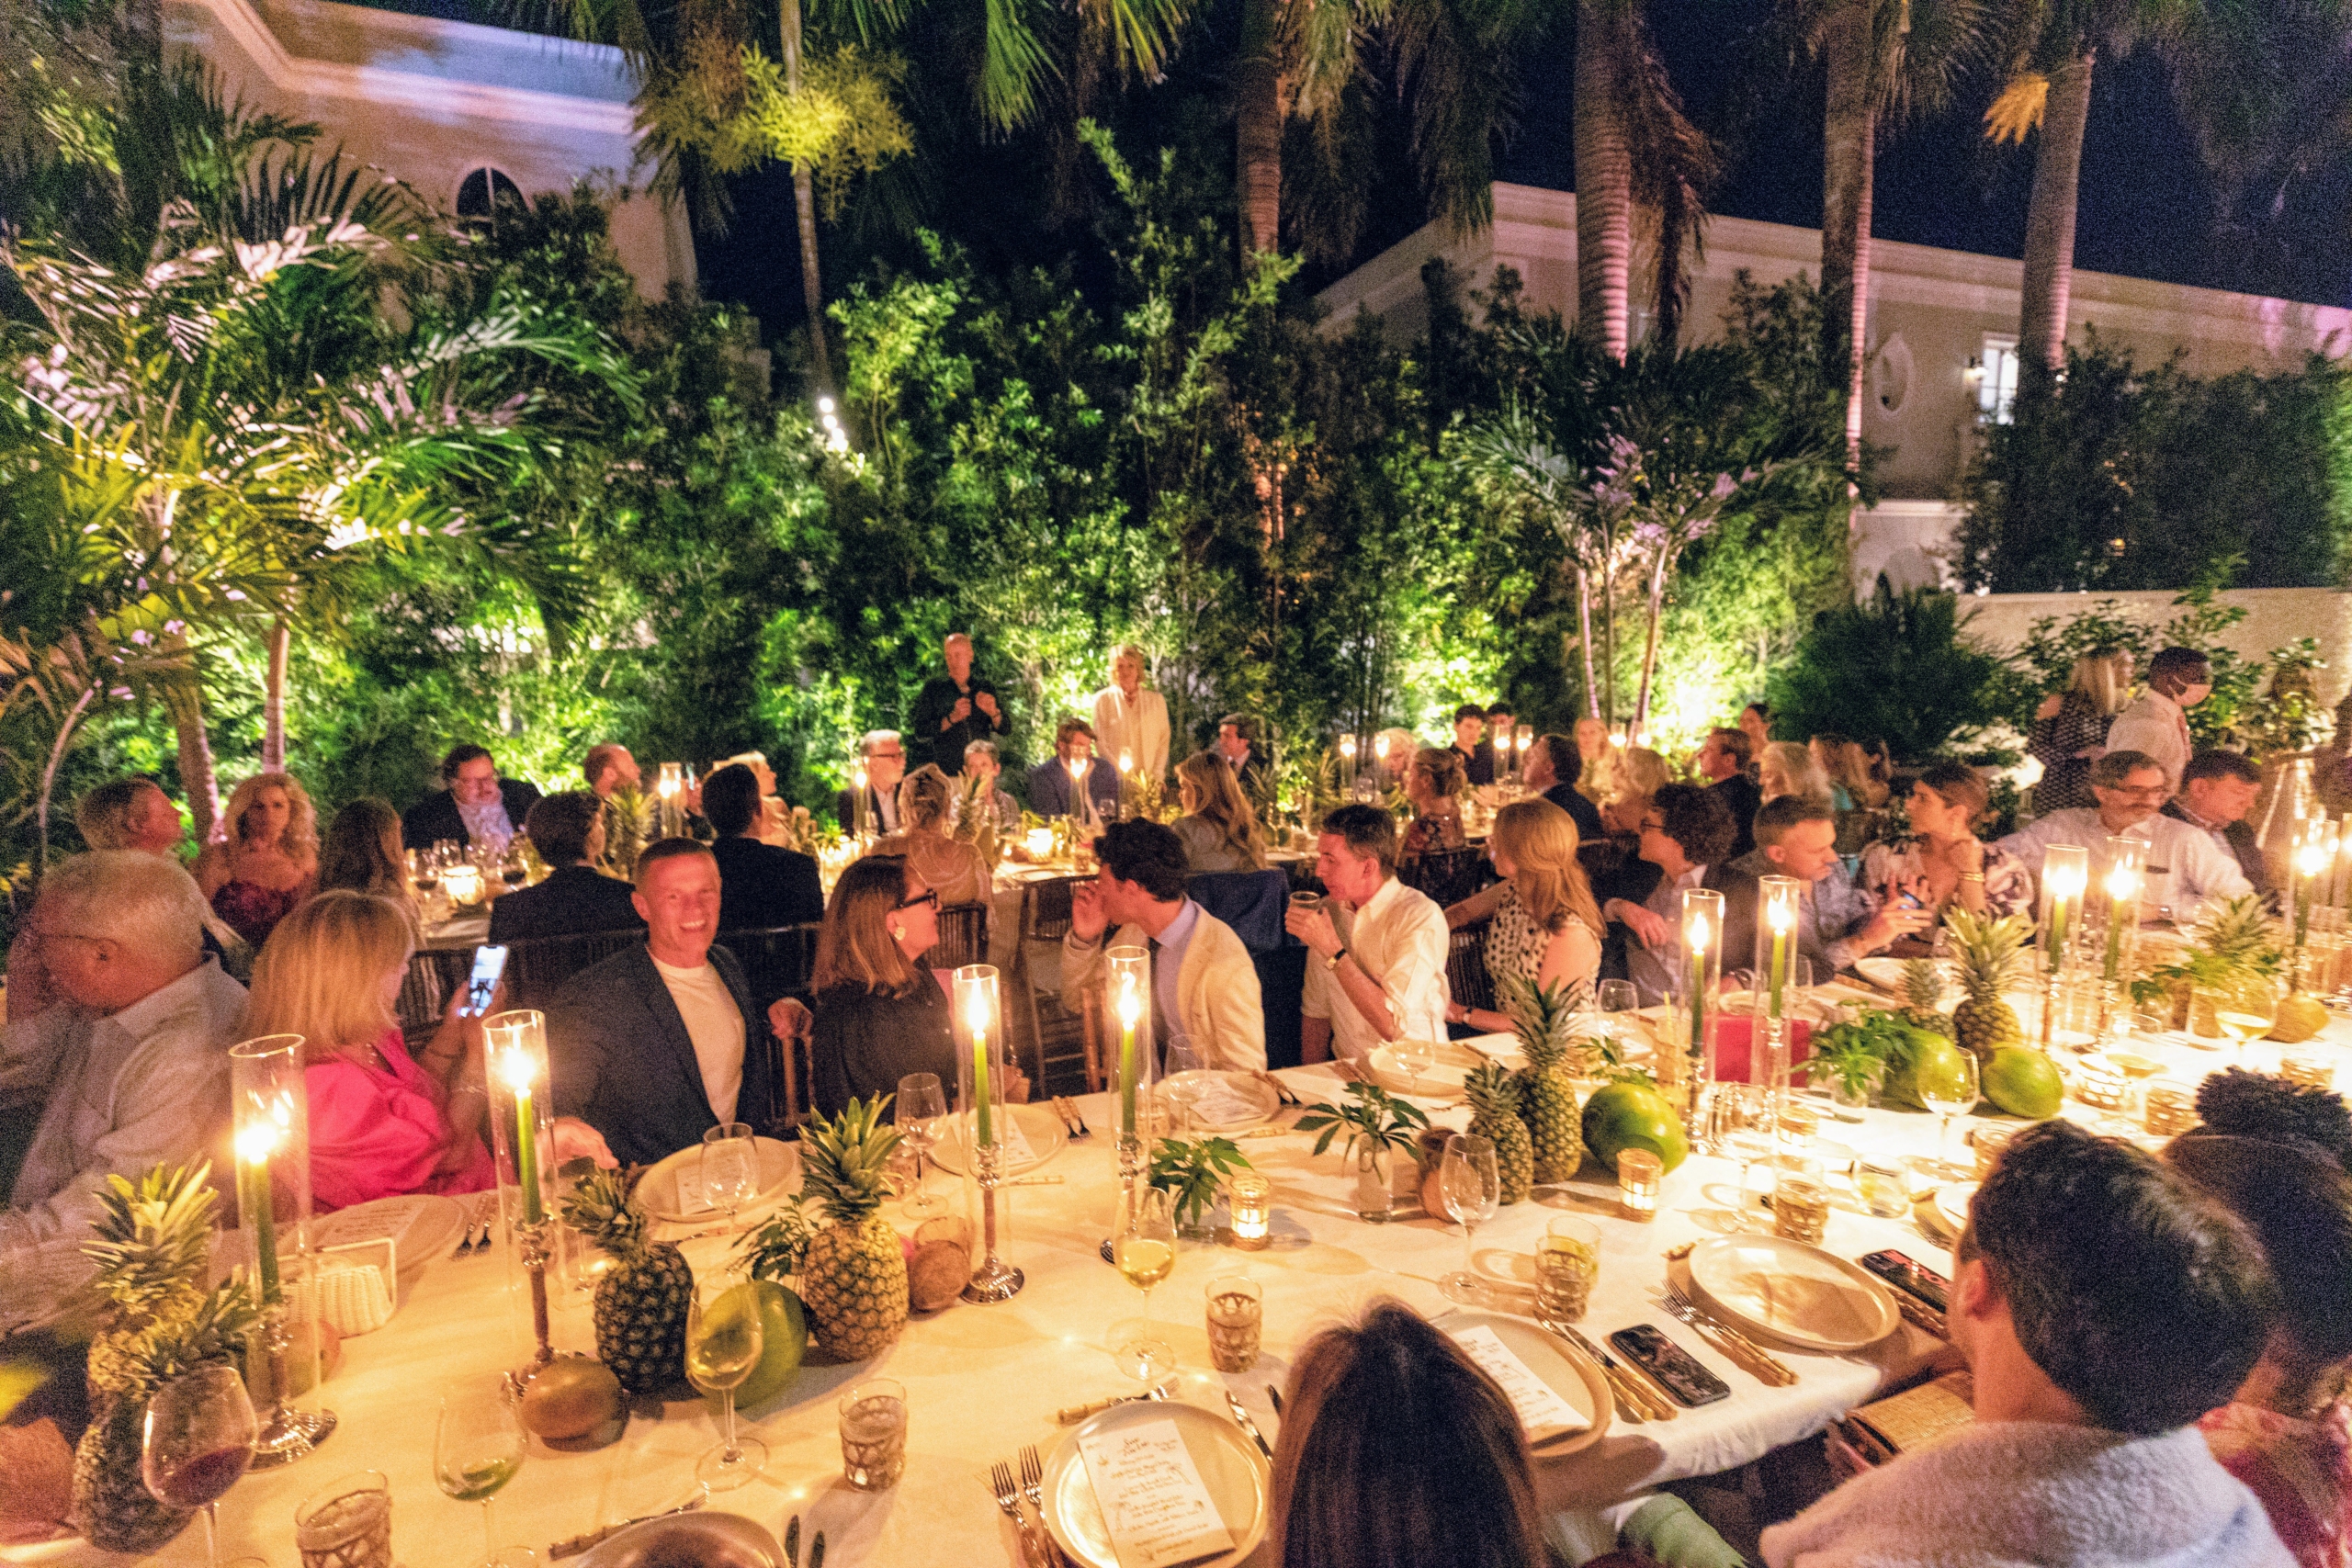
Last week, while on a business trip to Florida, I celebrated the new Martha Stewart CBD Tropical Medley CBD Wellness Gummies with a launch event at The Colony Hotel Palm Beach. I hosted an intimate cocktail and dinner party with Canopy Growth CEO David Klein. The hotel's East Garden was transformed into a tropical oasis complete with swaying palms and gummy-filled citrus trees - all arranged and decorated by New York-based event producer and designer Chris Hessney, of Hessney & Co. More than 60 attended the event. It was a great success and so much fun - I hope you all saw the photos on my Instagram page @MarthaStewart48.
Here are more images from the great day and evening, enjoy.
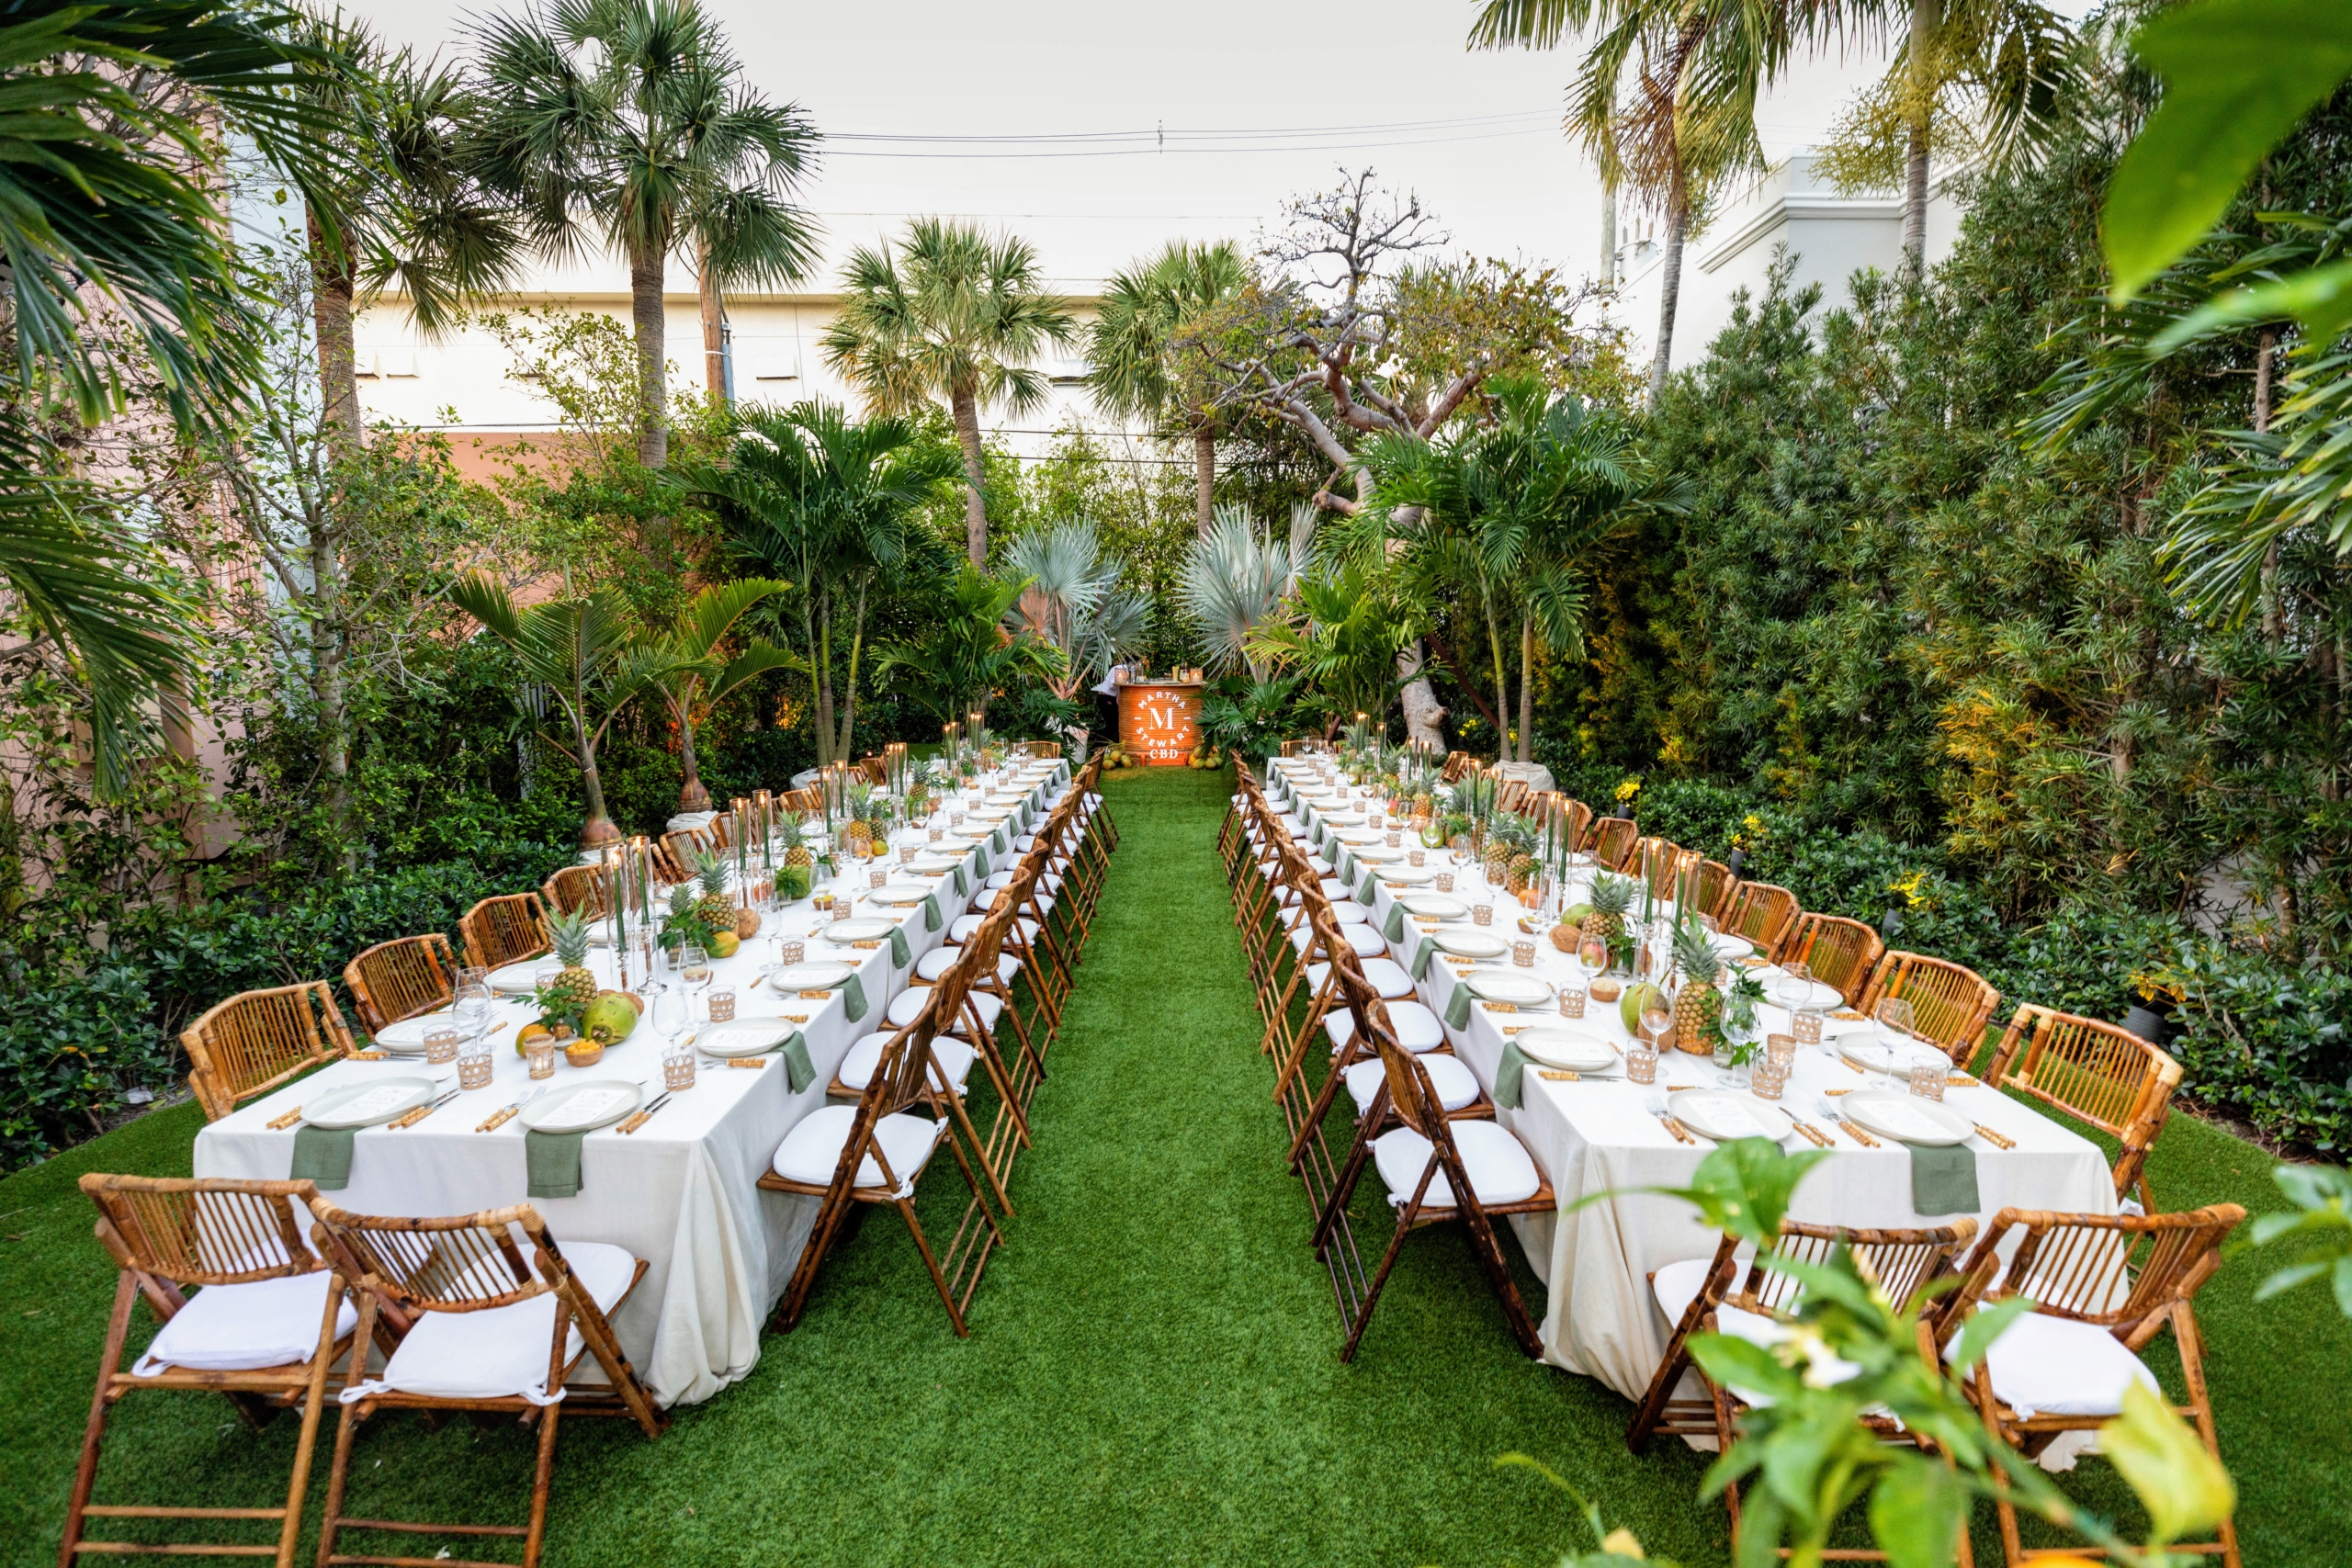
The tropical themed event was held in The Colony Hotel Palm Beach‘s East Garden, its largest outdoor venue at 2700 square feet. It was the perfect space for our seating plan and decor. (Photo by Carrie Bradburn/CAPEHART)
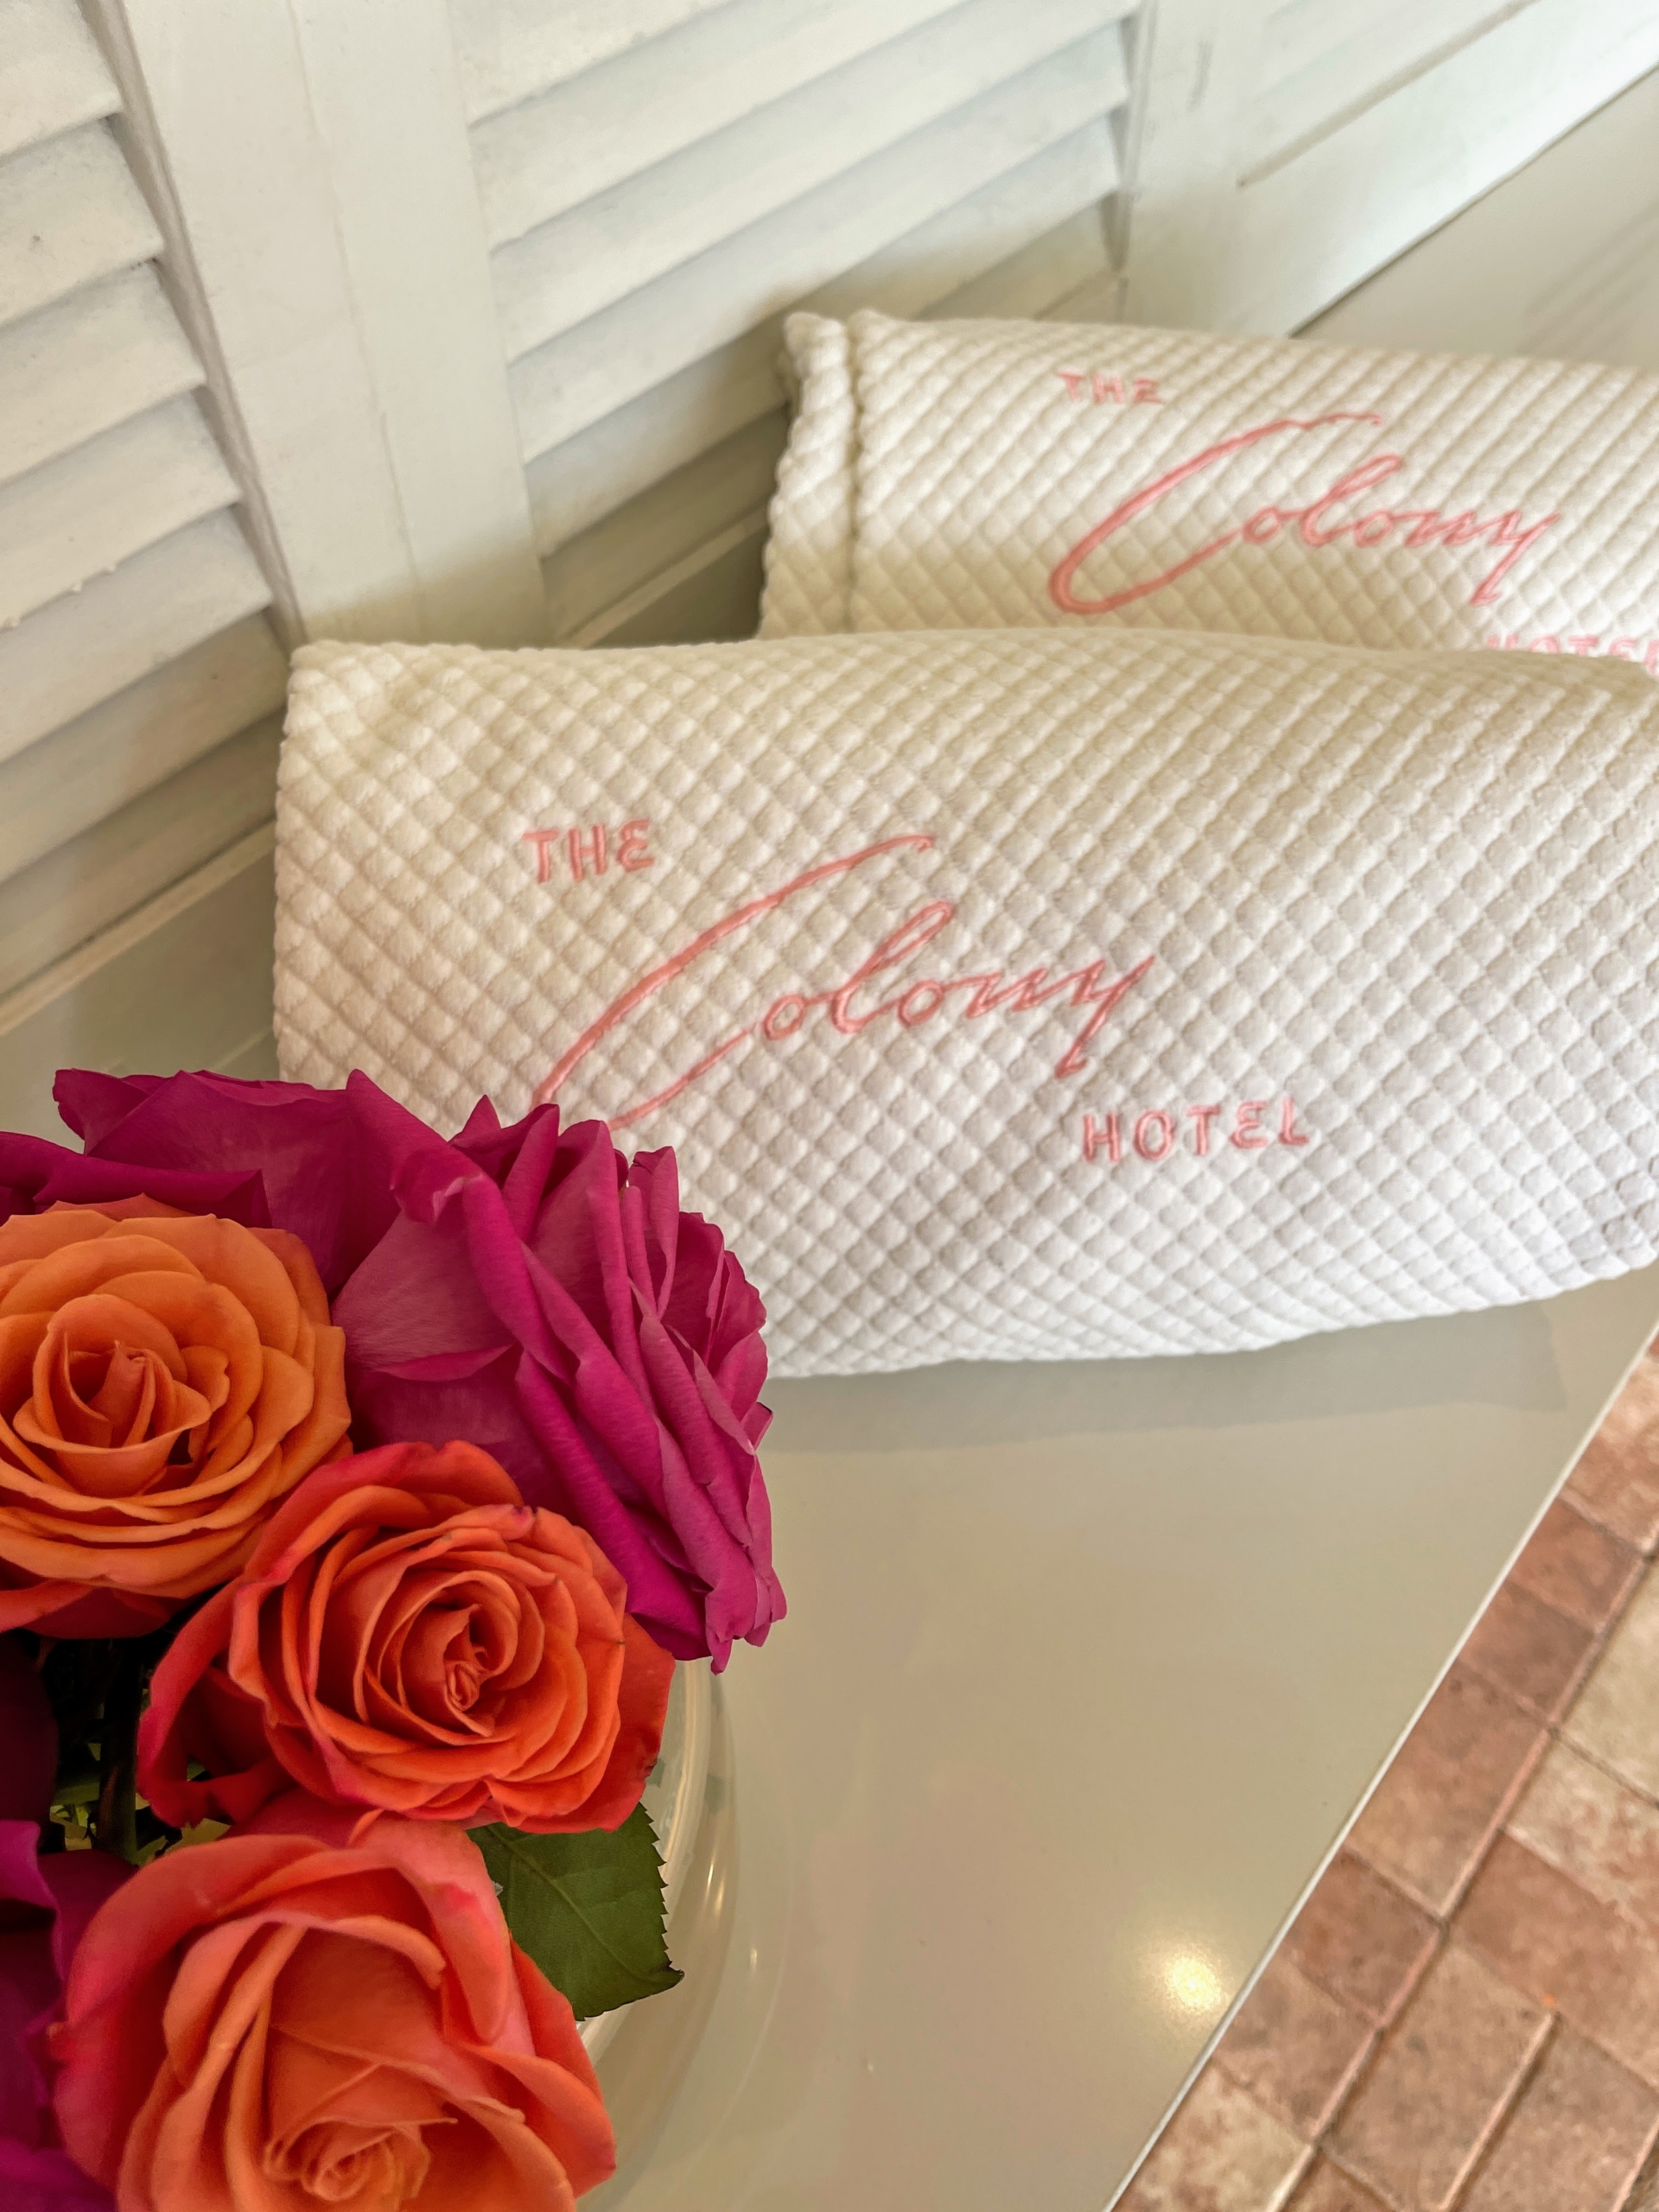
The Colony Hotel Palm Beach is located in the heart of Palm Beach and has been an exclusive guest getaway since 1947.
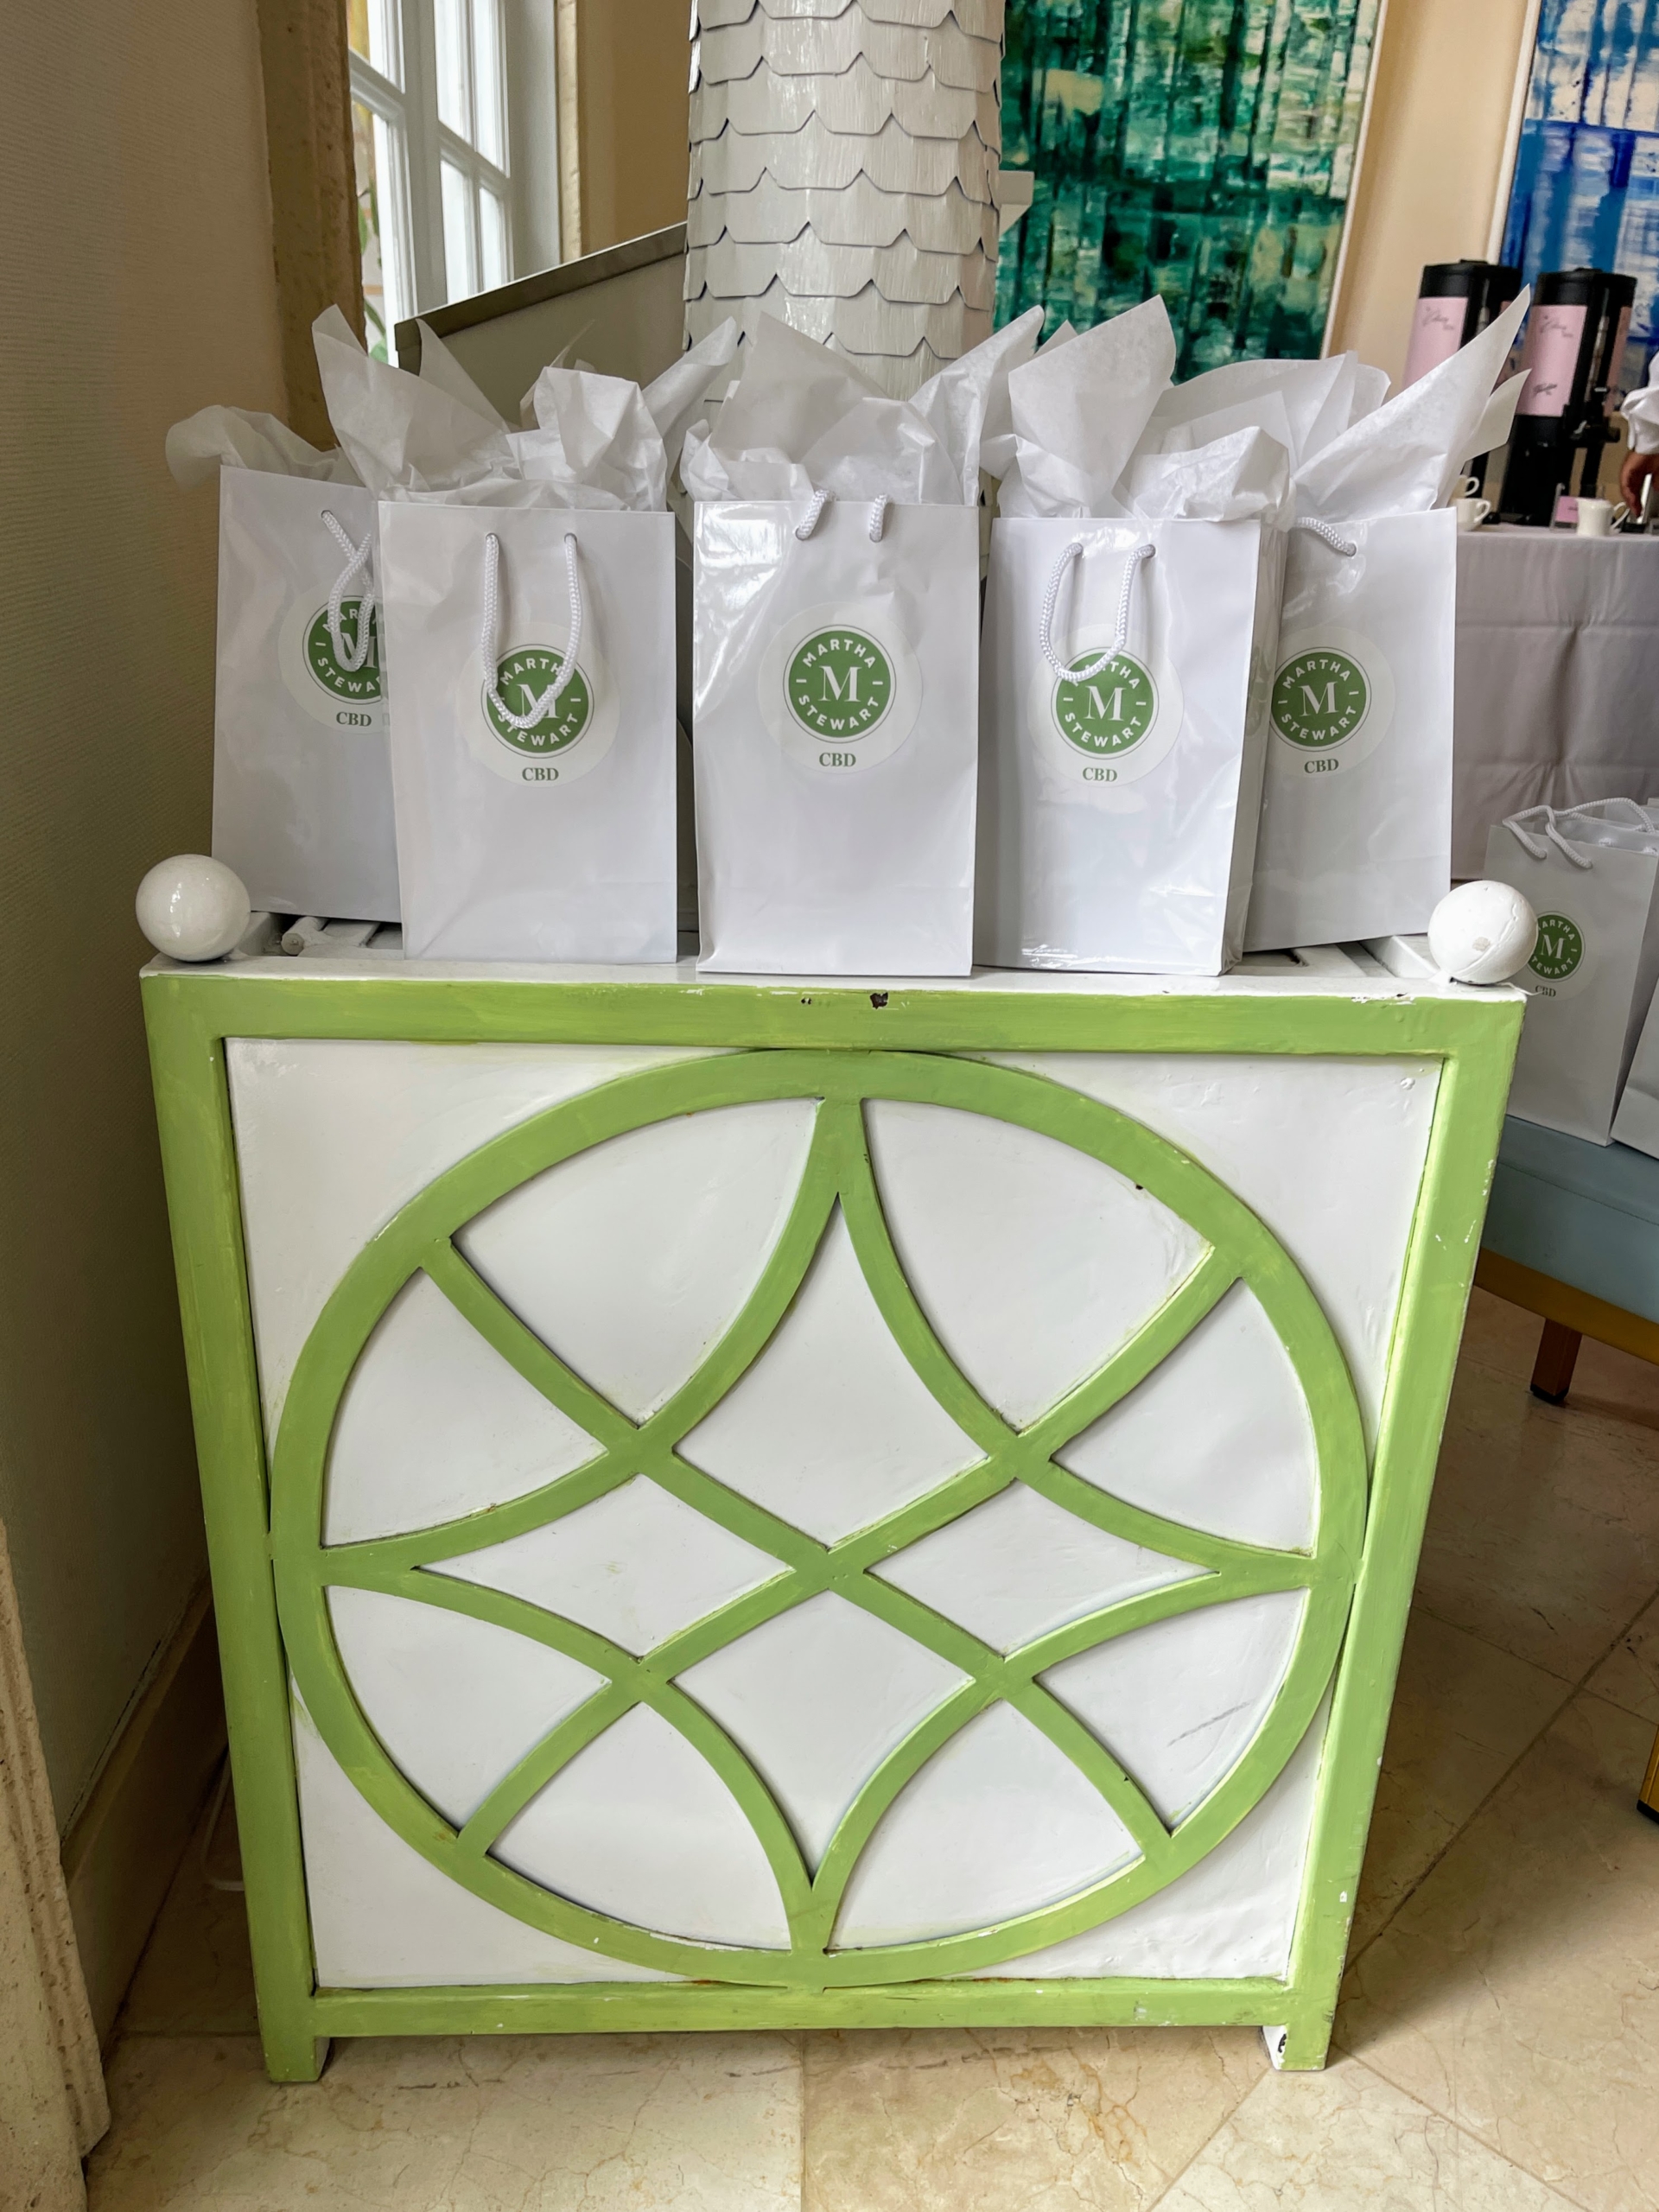
Our team packed gift bags for all our guests attending the event. Each bag is filled with an assortment of Martha Stewart CBD products including the newest Tropical Medley CBD Wellness Gummies.
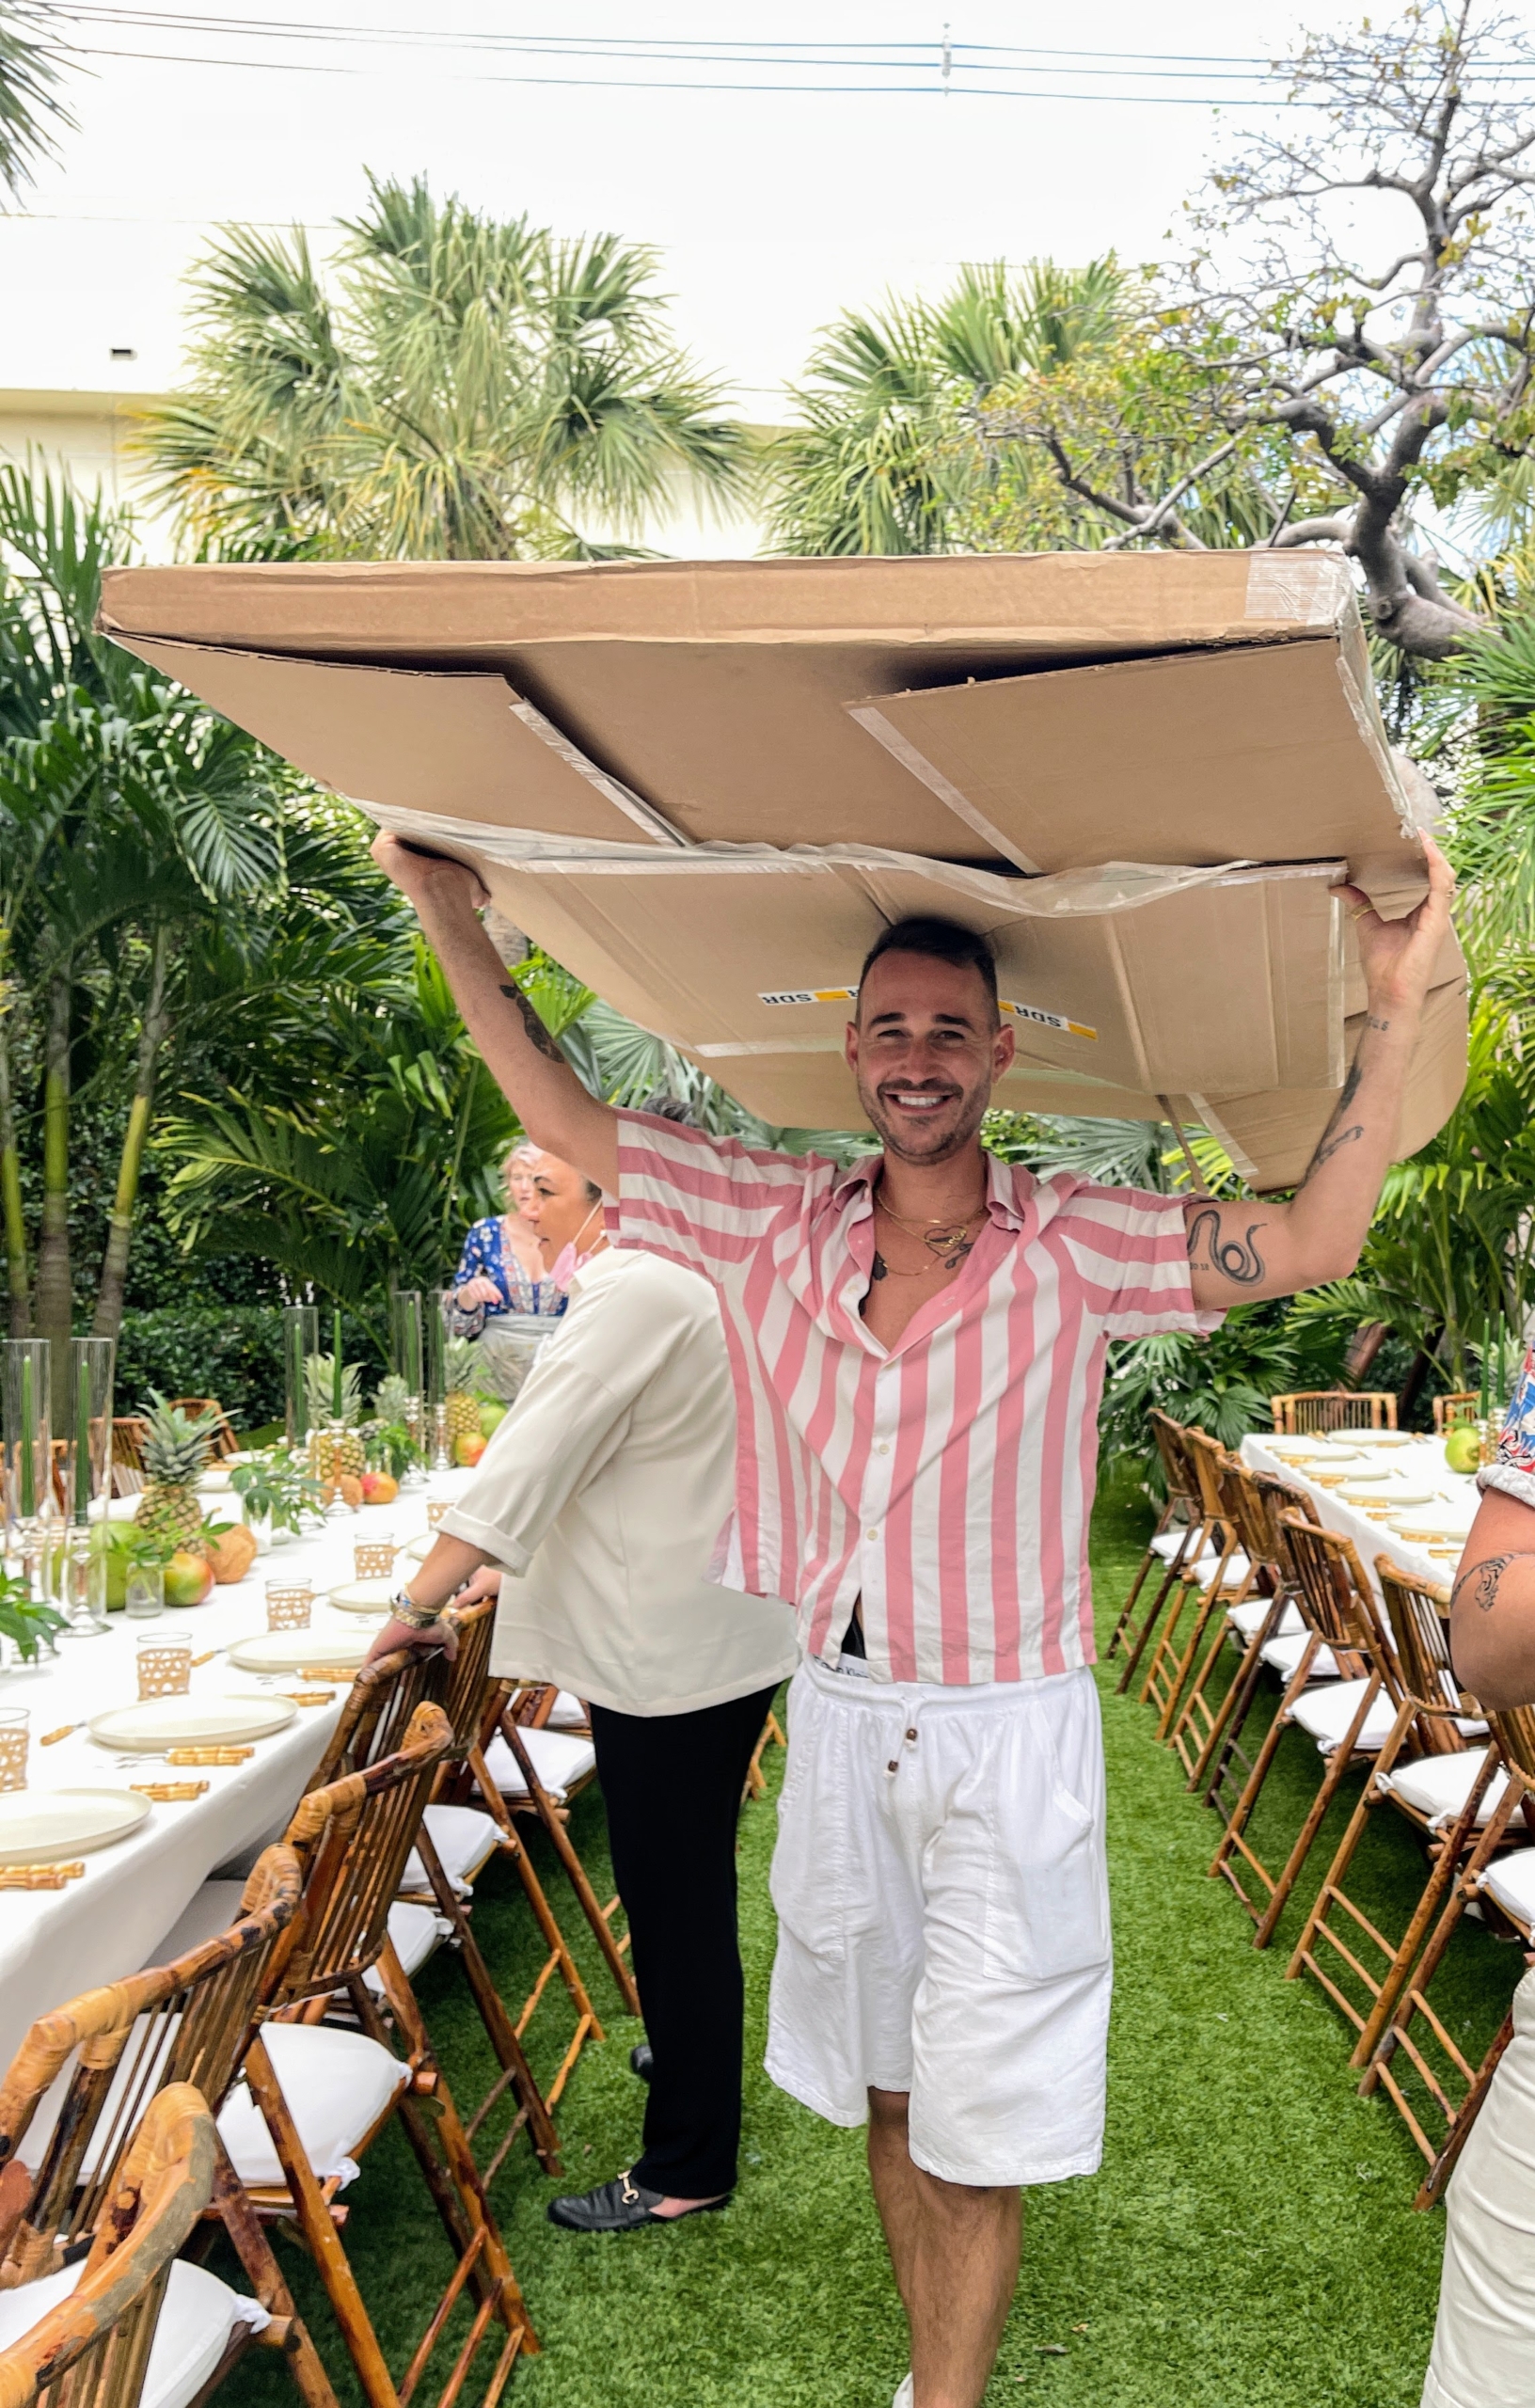
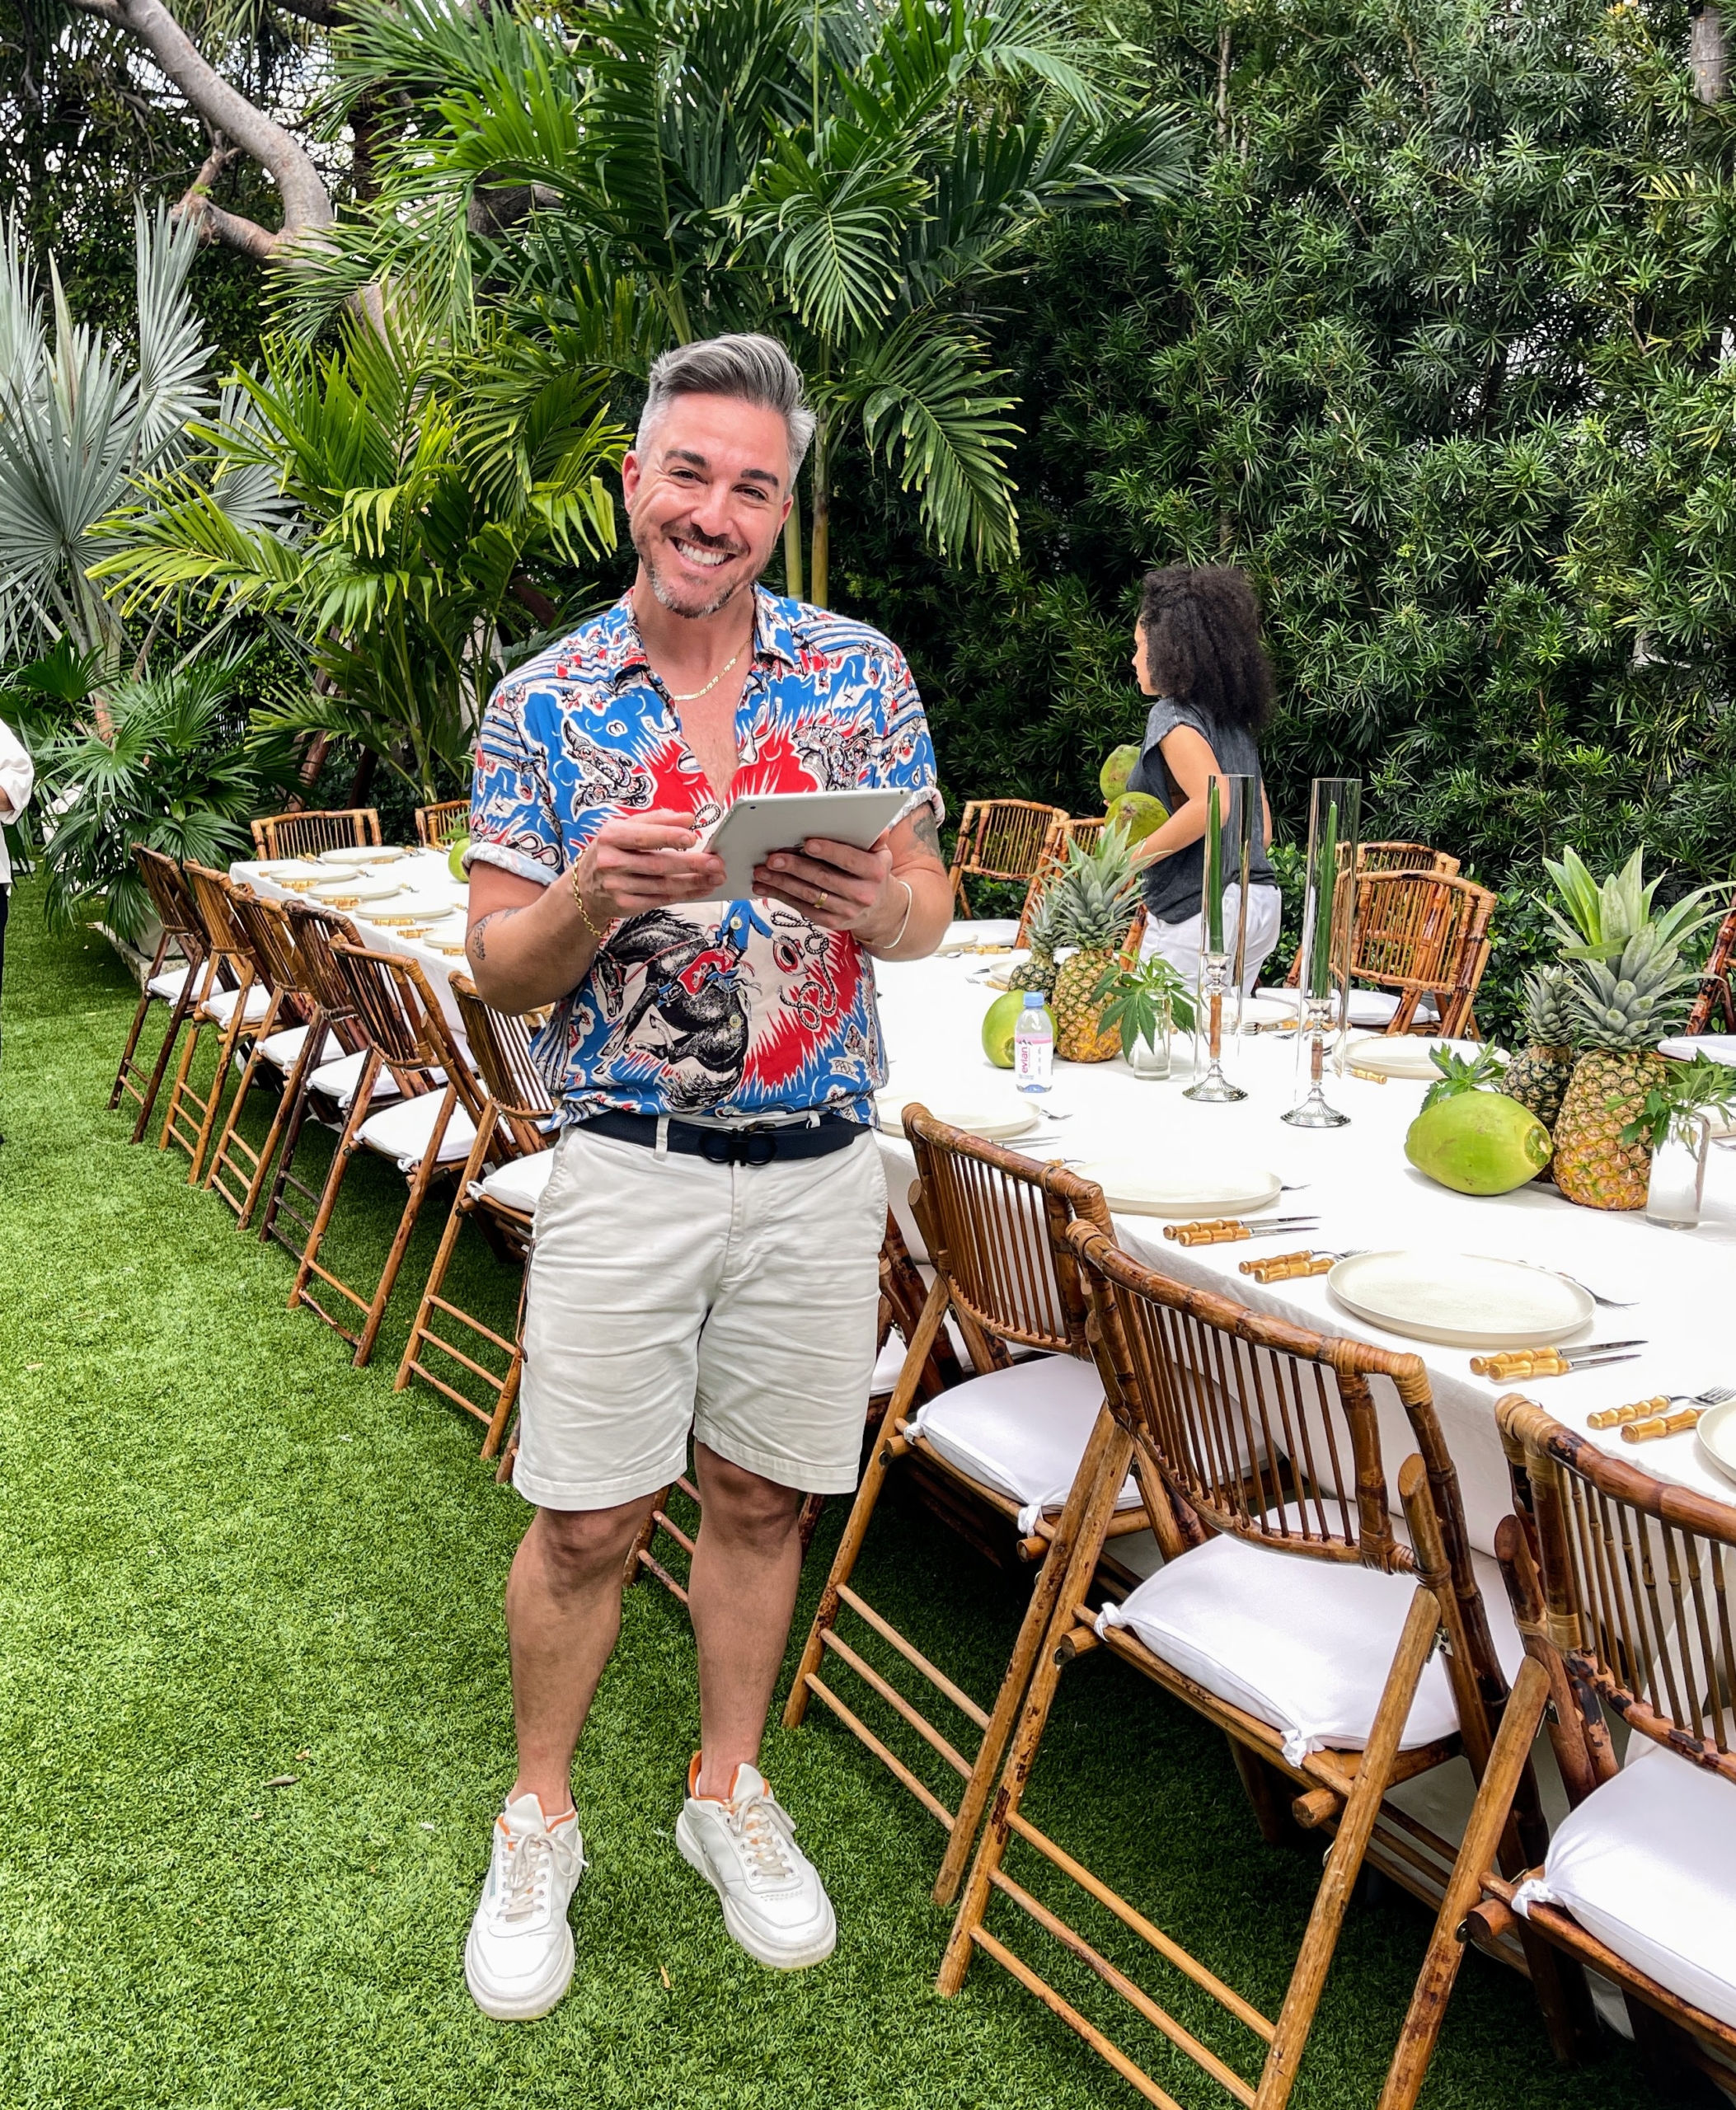
The entire event was brought to life by New York-based event producer and designer Chris Hessney, of Hessney & Co. and his hardworking team. Here’s Chris helping with the set-up.
Here, Hessney & Co. producer, Dominic Benevento, reviews and checks off the long to-do list.
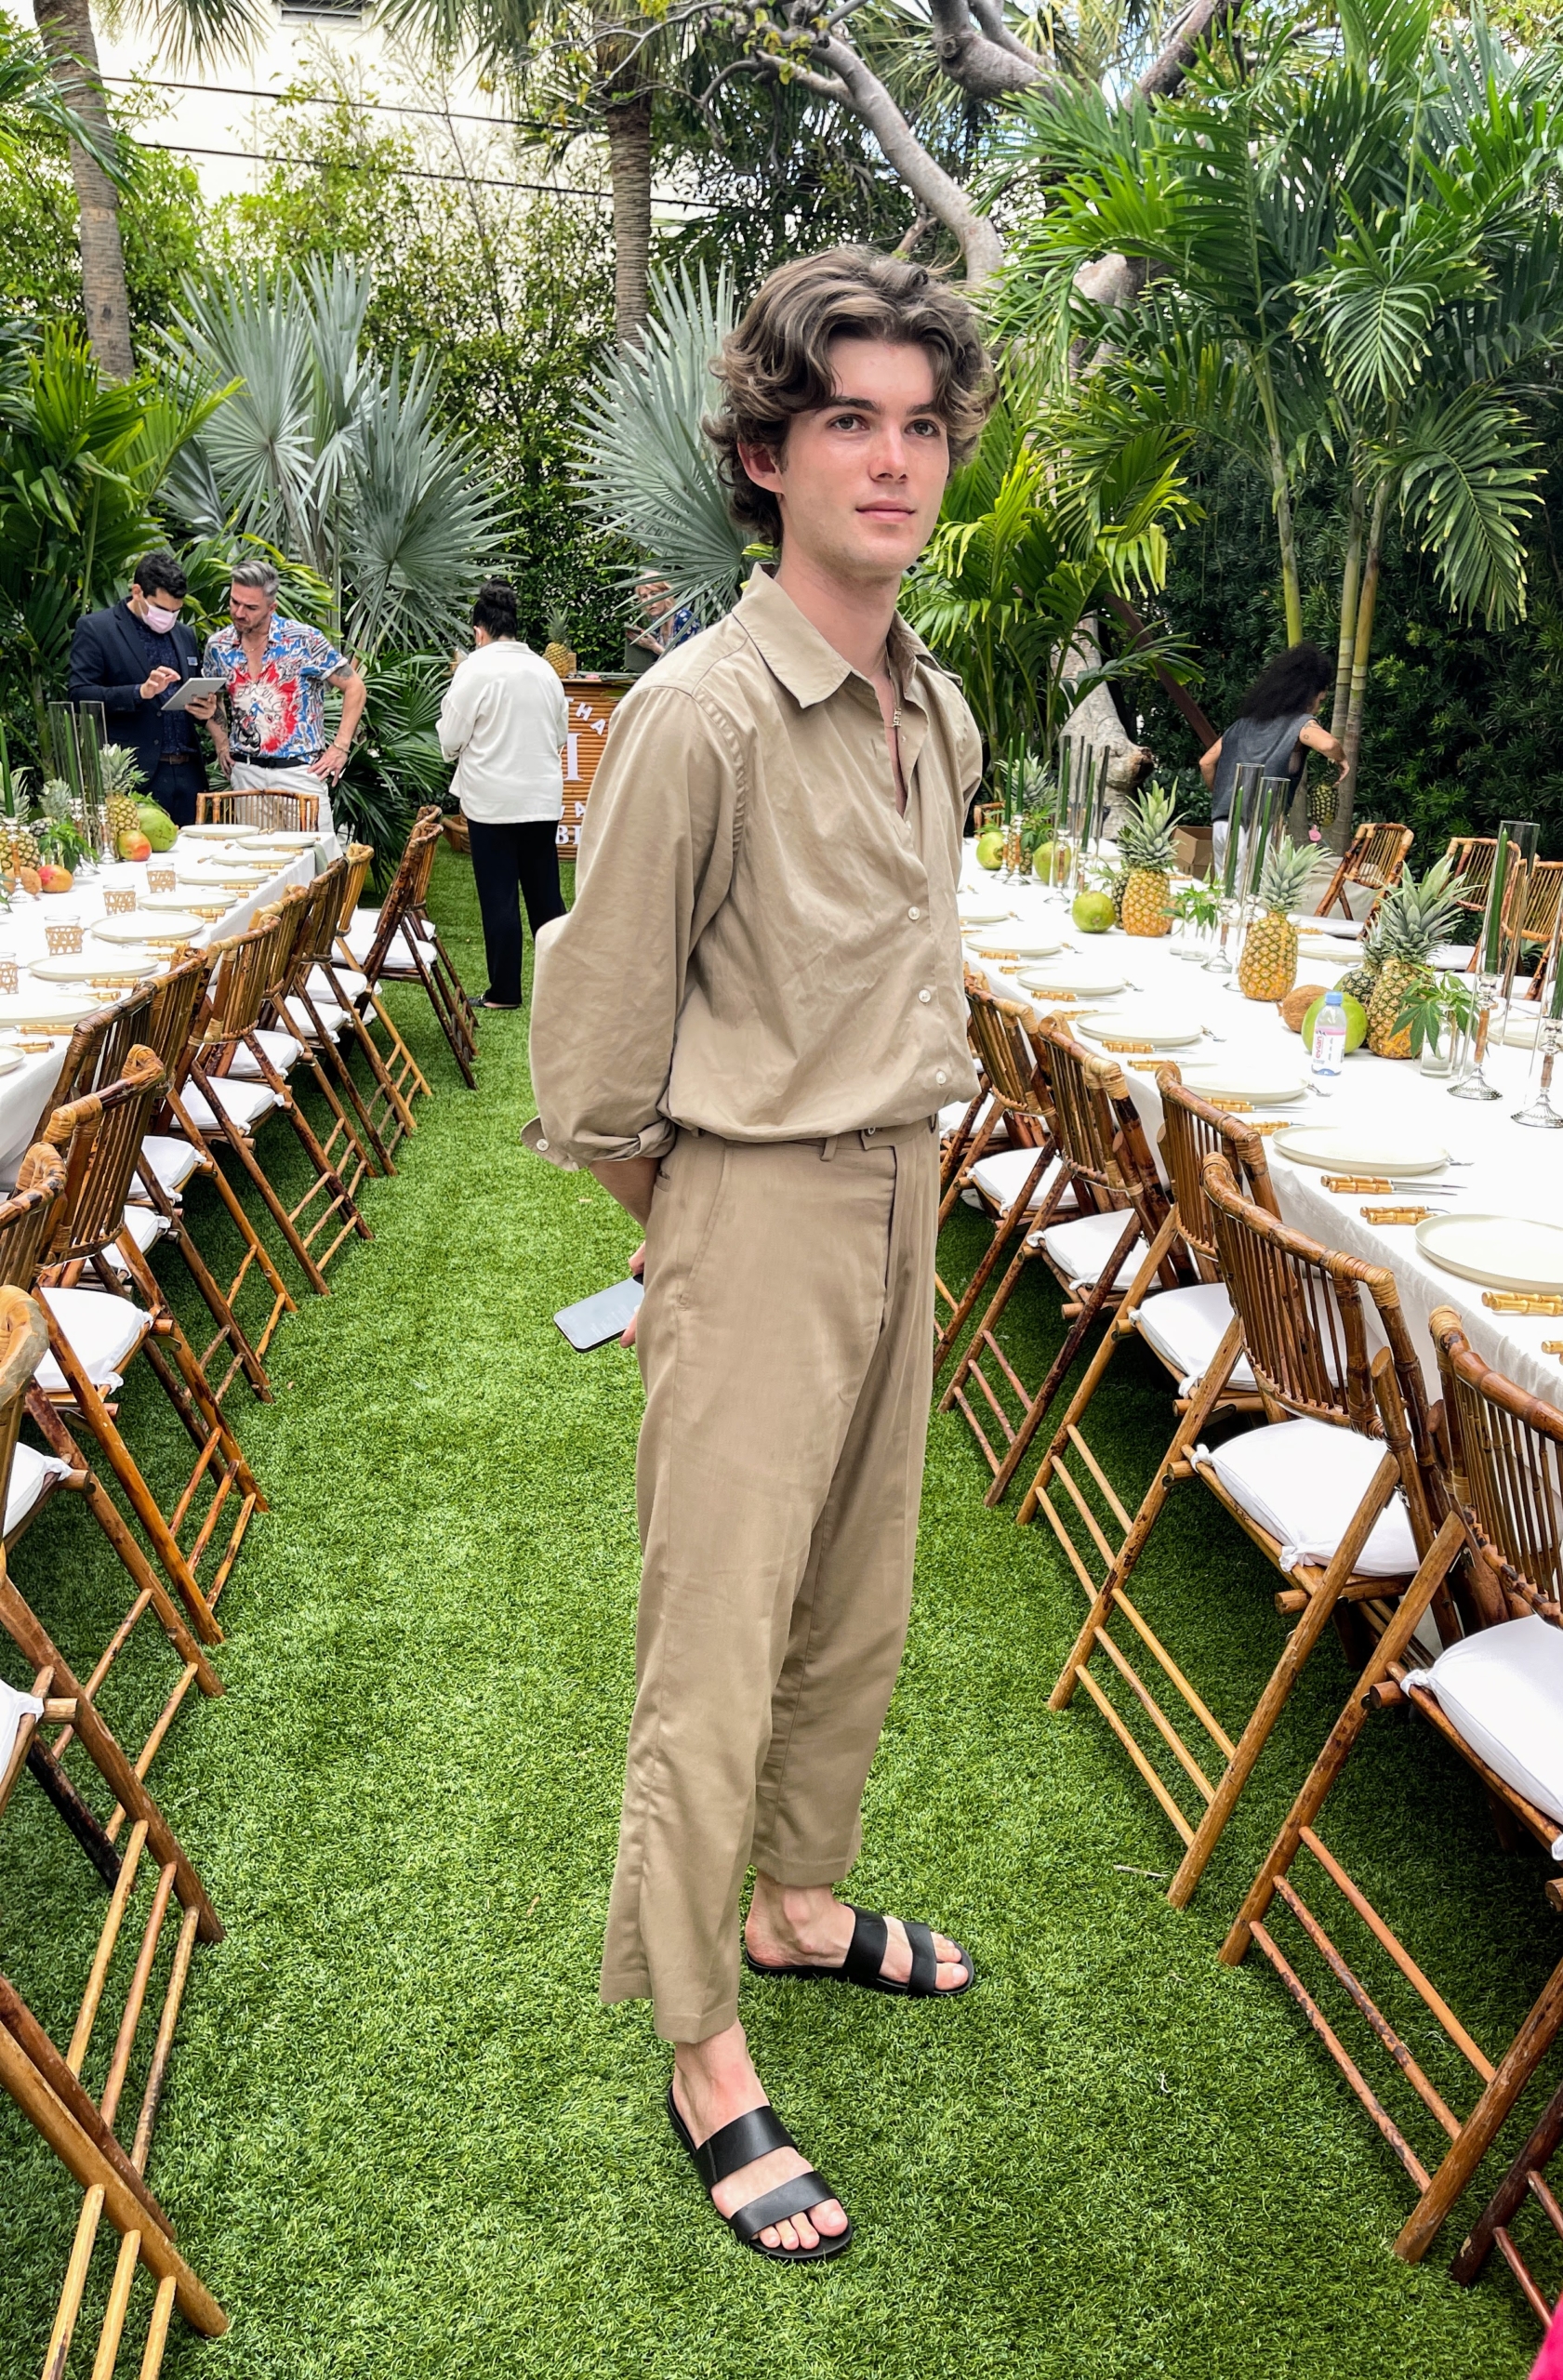
James LeBorne, also from Chris’ team, stops for this quick snapshot. Here he is between the two long tables, each seating 30 guests.
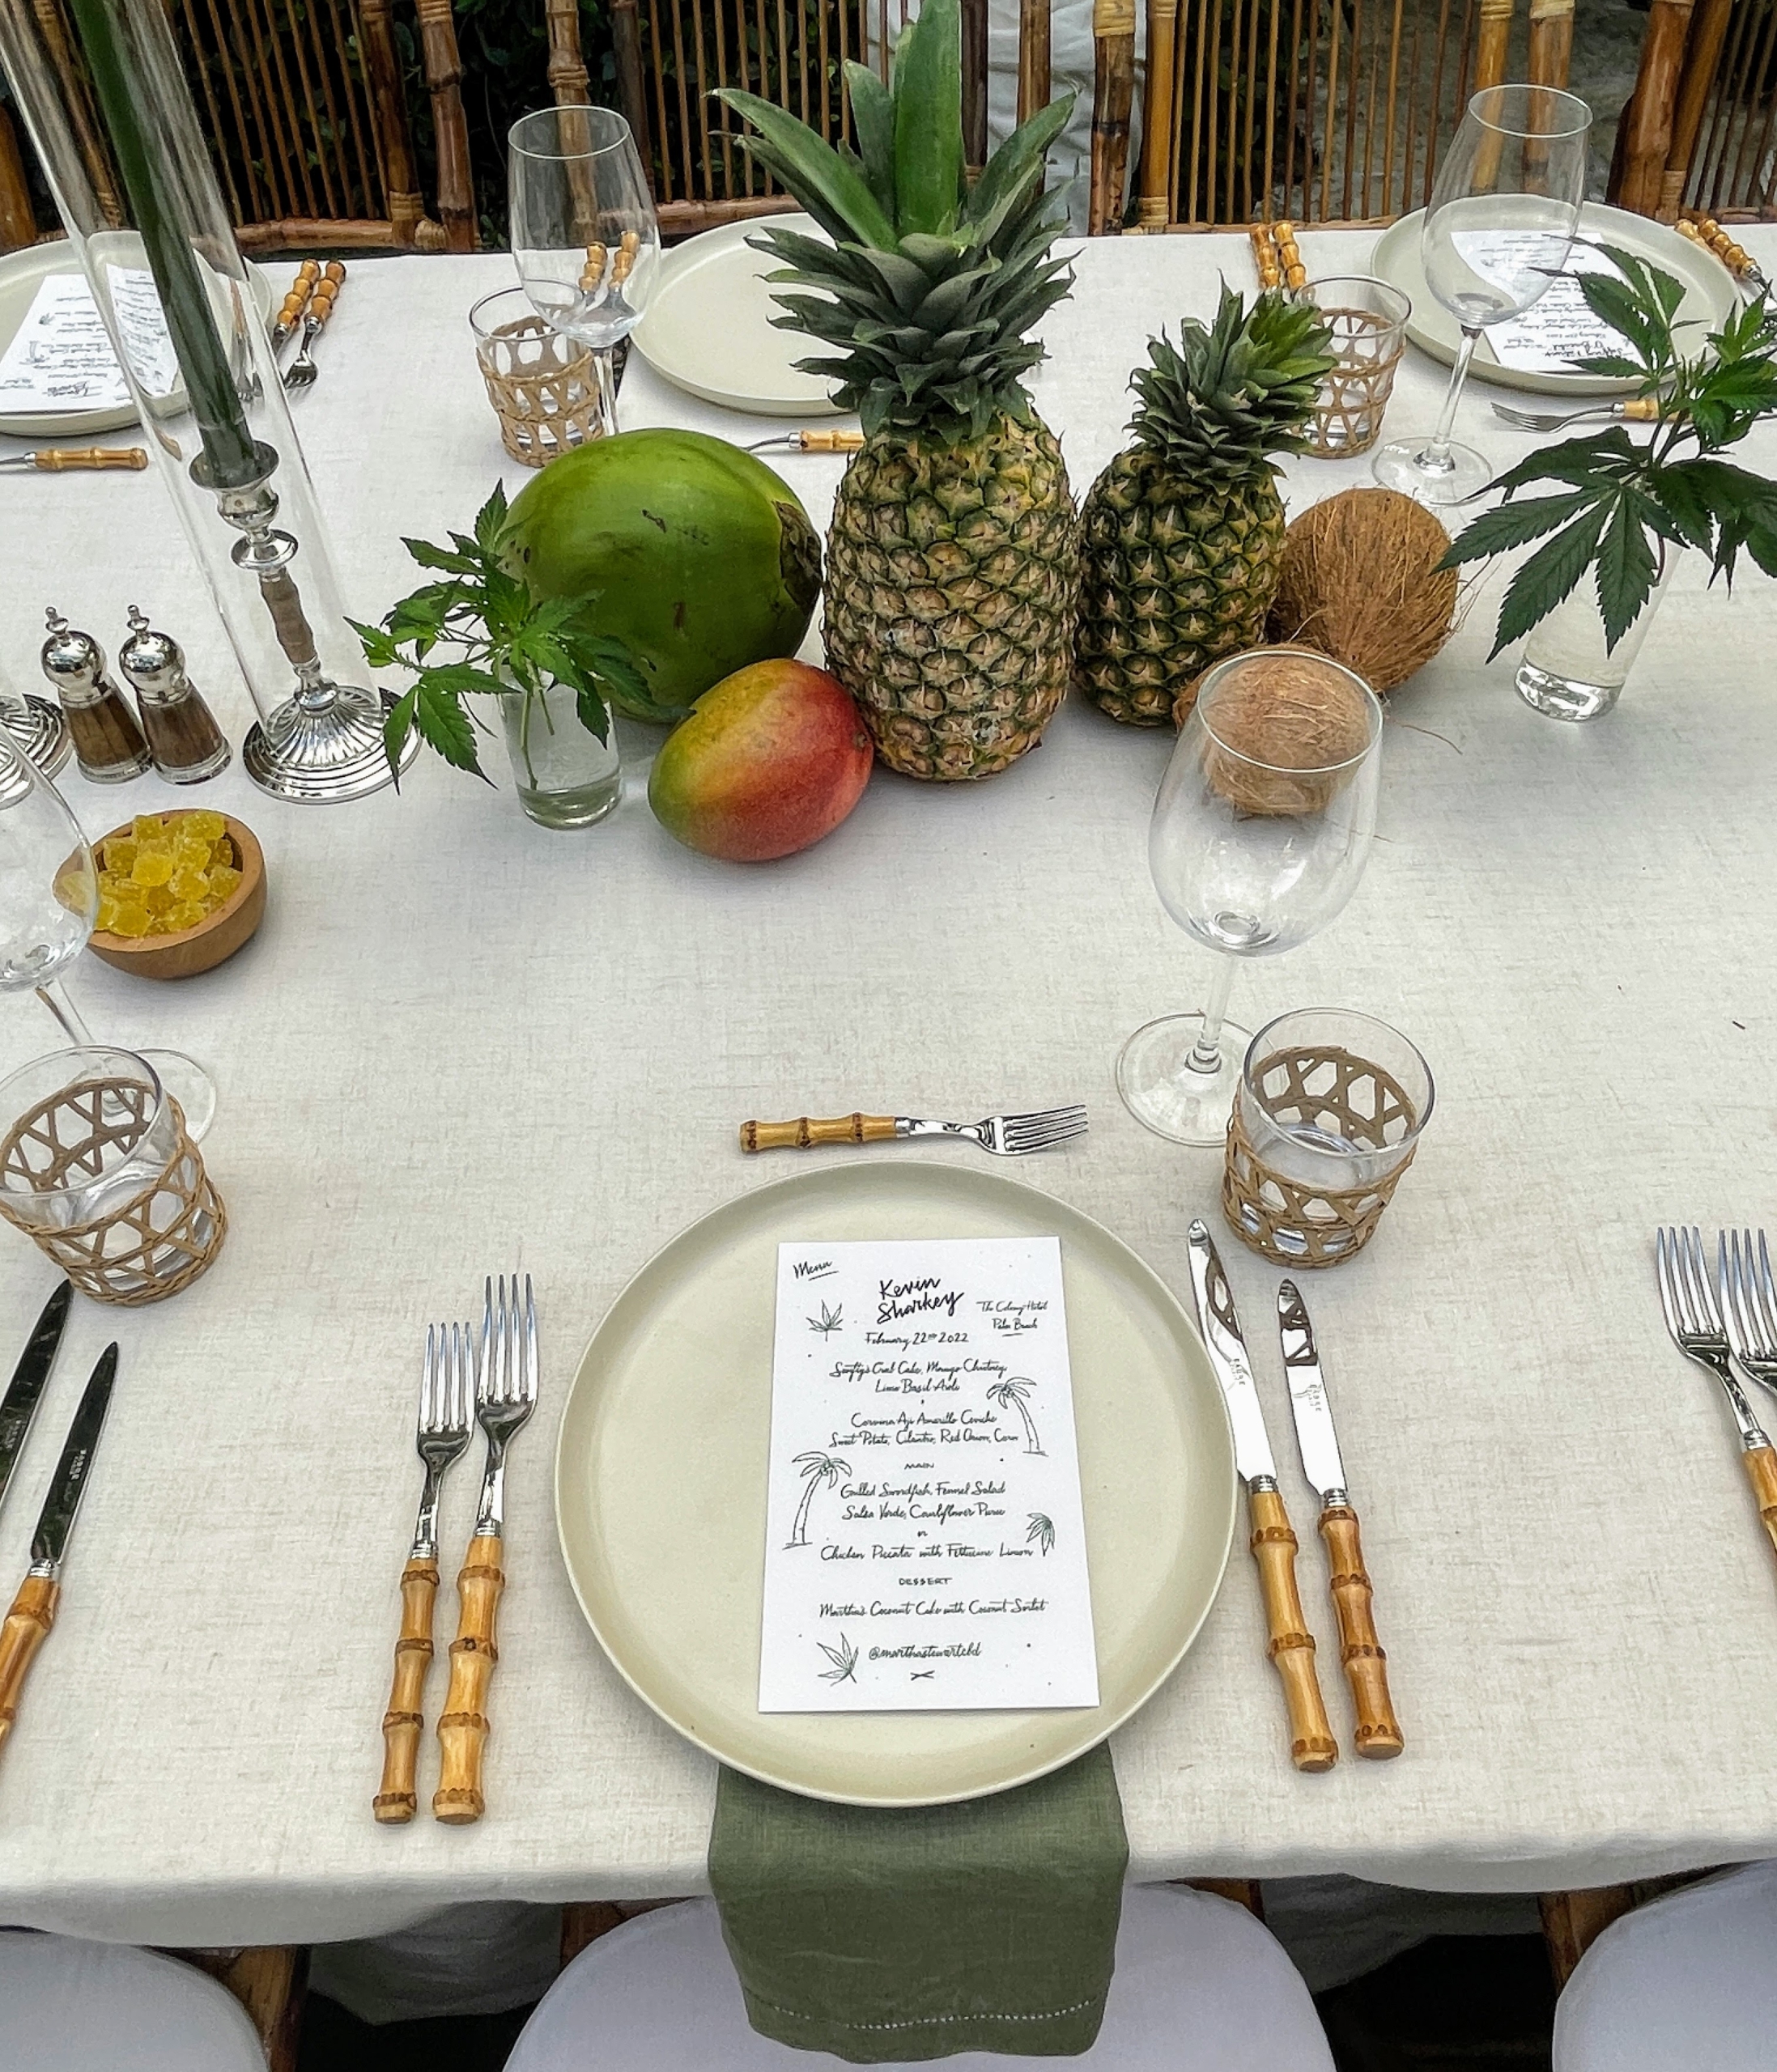
The table scapes also featured tropical fruits inspired by the new flavors – pineapple, coconut, and mango.
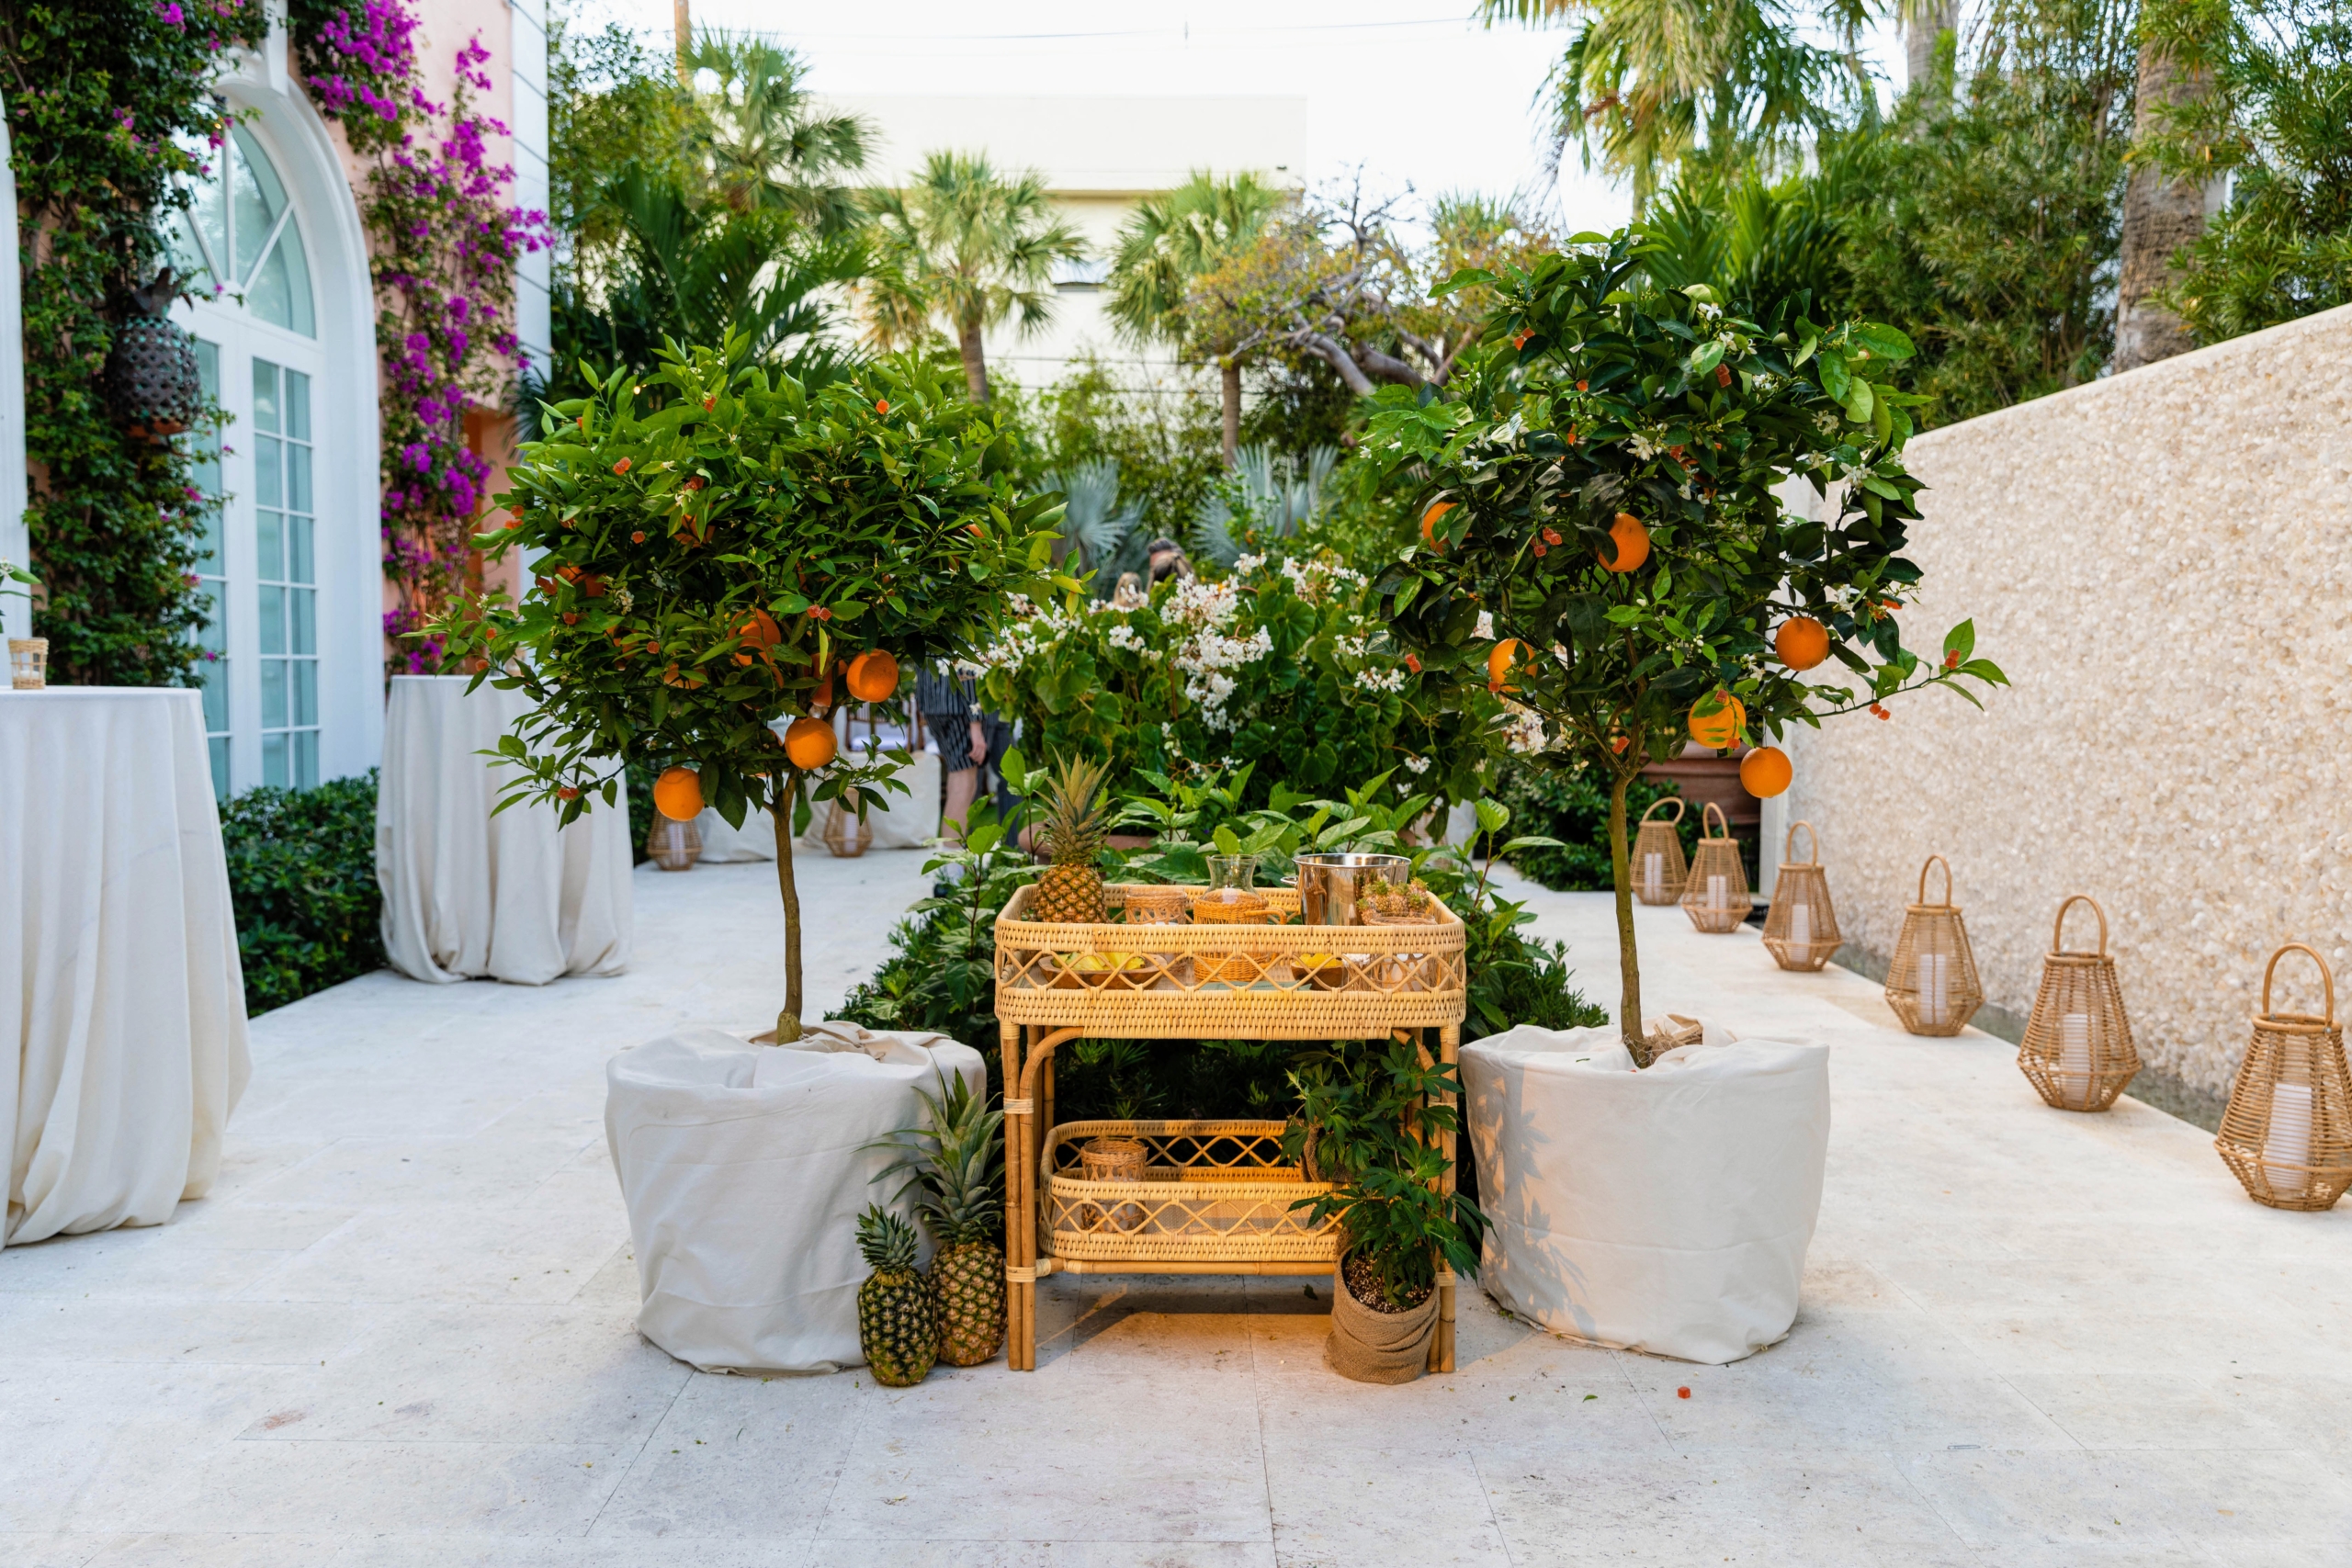
The space was surrounded by palms and gummy-filled citrus trees, where guests could “pick their own” delights – these are kumquat flavored gummies.
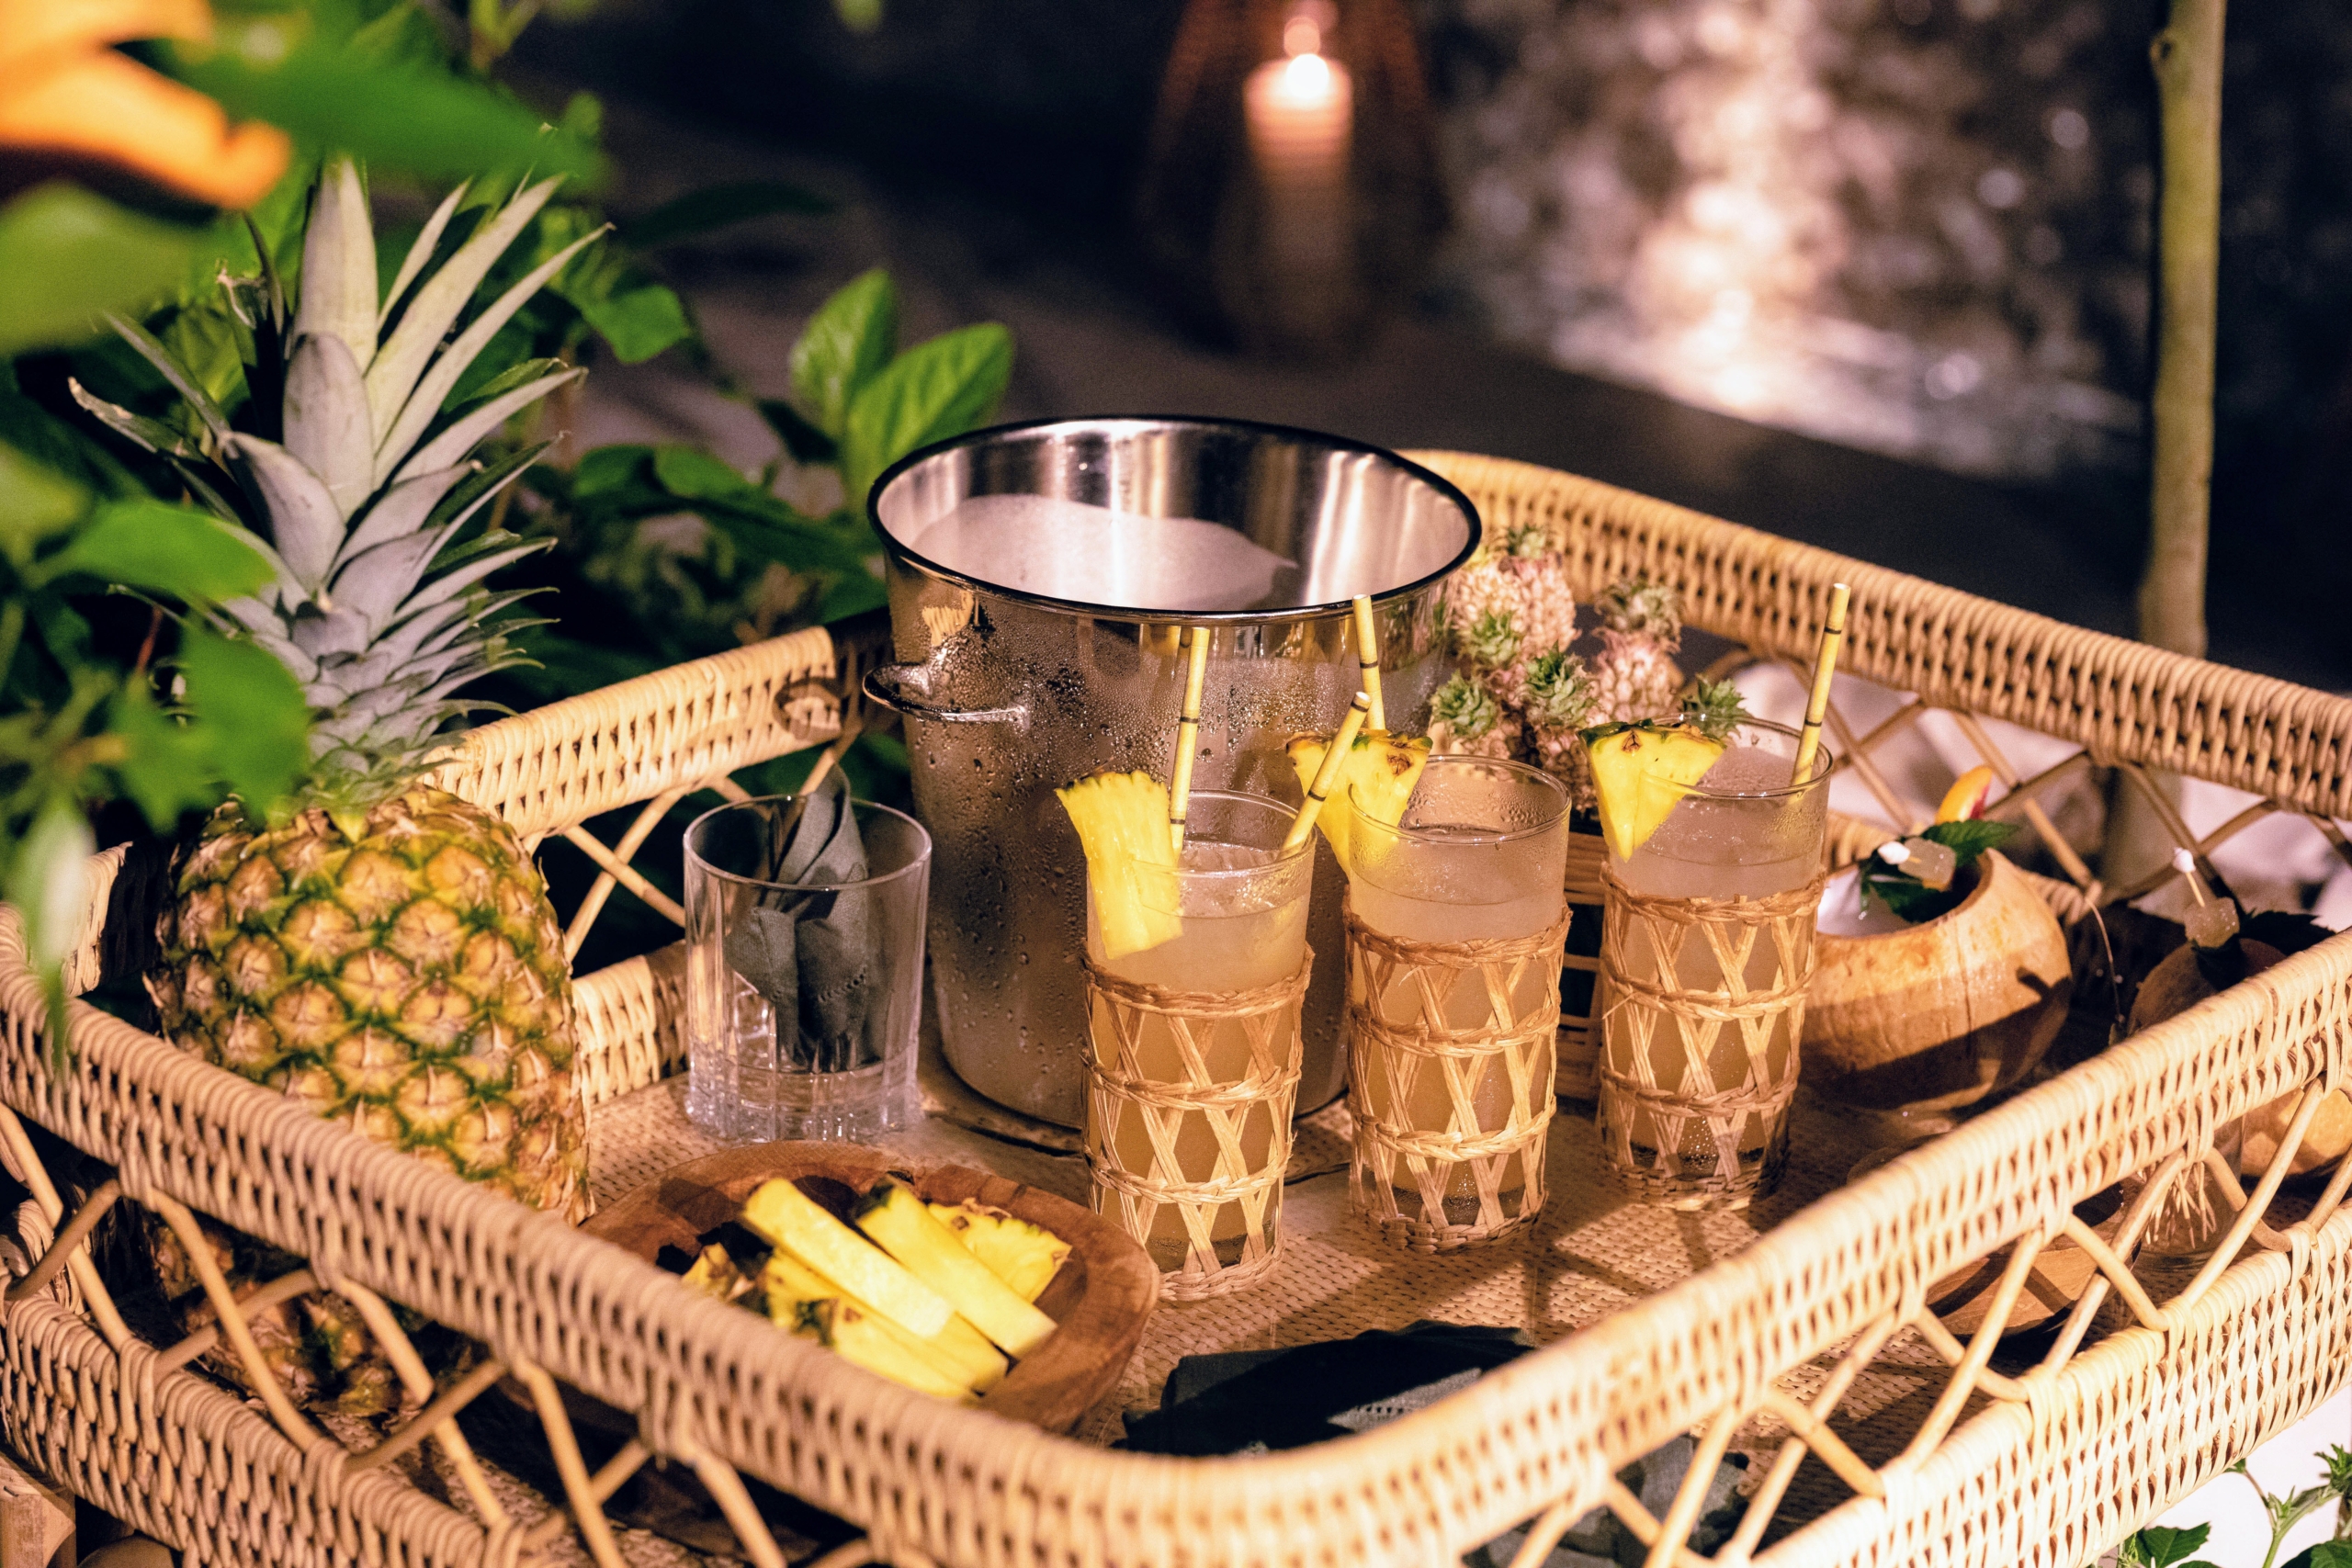
The welcoming area featured beverage stations ready with tropical cocktails. (Photo by Carrie Bradburn/CAPEHART)
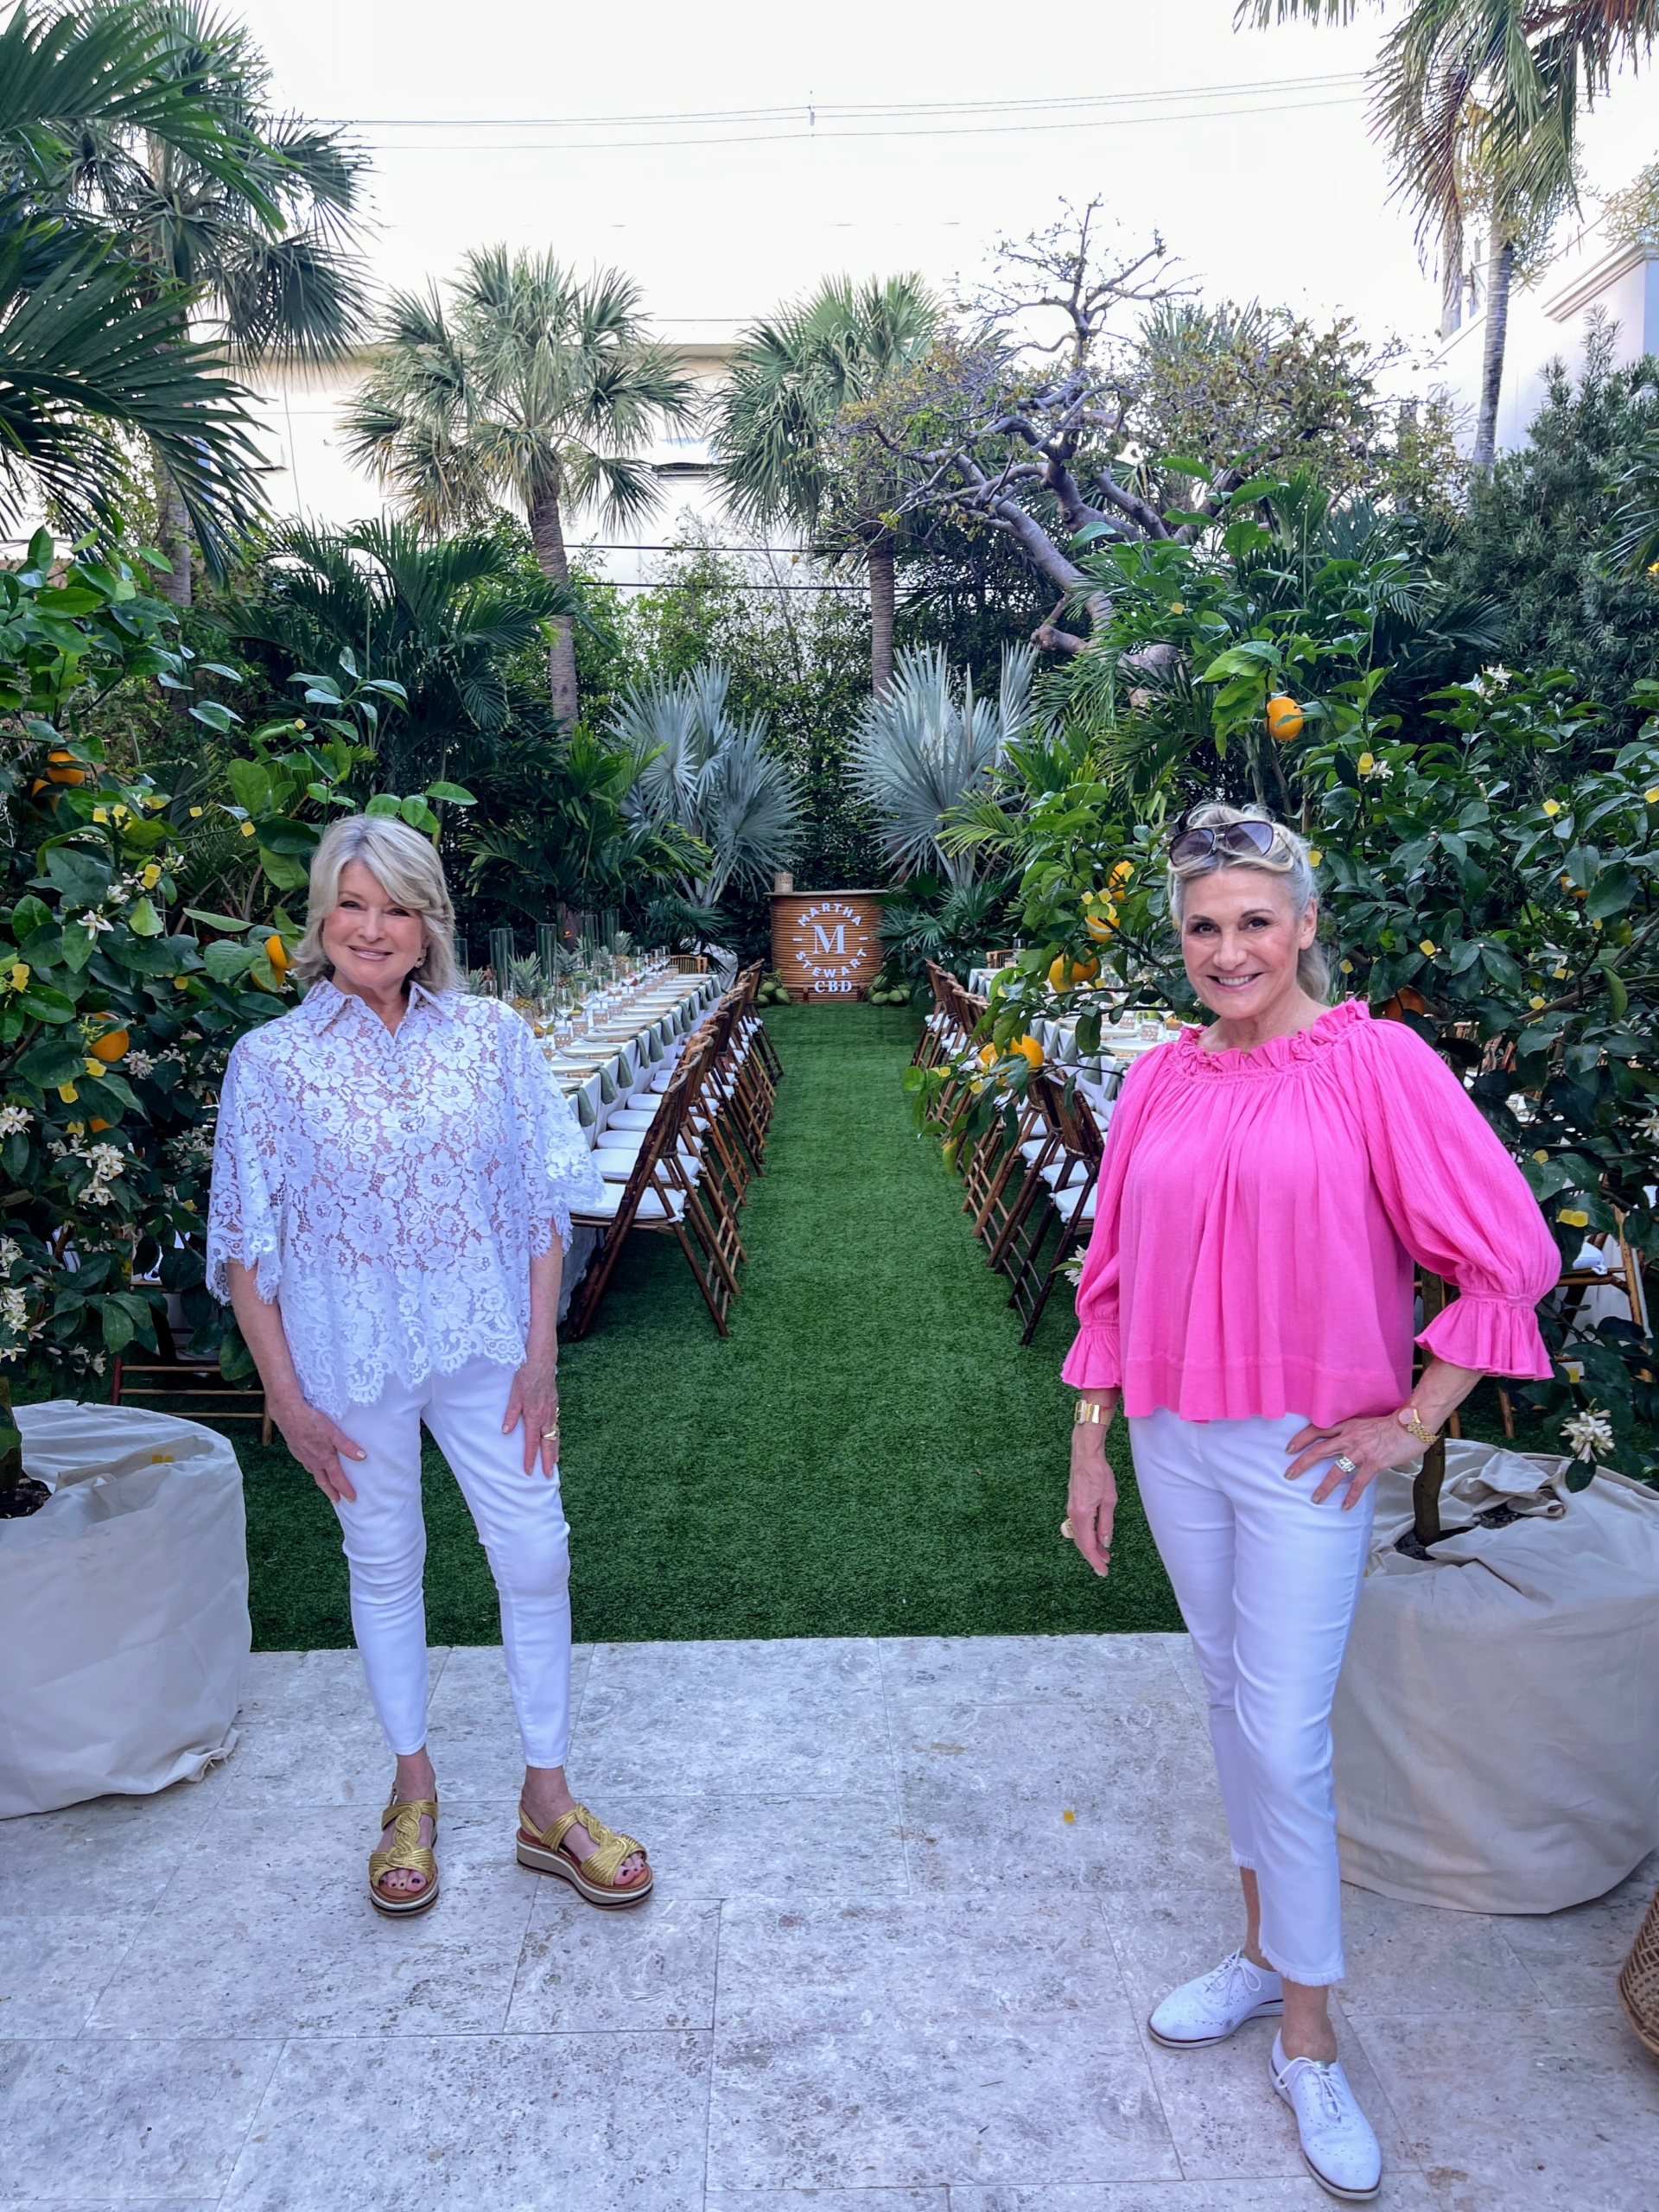
Here I am with my longtime publicist and dear friend, Susan Magrino, CEO of Magrino PR. We stopped by during the day to see all the preparations.
The tables look terrific. Our guests included Palm Beach influencers, members of Canopy Growth, press, and friends. (Photo by Carrie Bradburn/CAPEHART)
Here I am with some of The Colony Hotel Palm Beach wait staff. The day’s weather was a bit cloudy, and it did rain just a little bit, but it ended up perfect for our outdoor celebration.
As guests arrived, they sipped on CBD-infused cocktails from one of several stations – everyone loved them. All the products in my CBD collection are natural and made with the purest, safest CBD, derived from 100-percent US hemp. (Photo by Carrie Bradburn/CAPEHART)
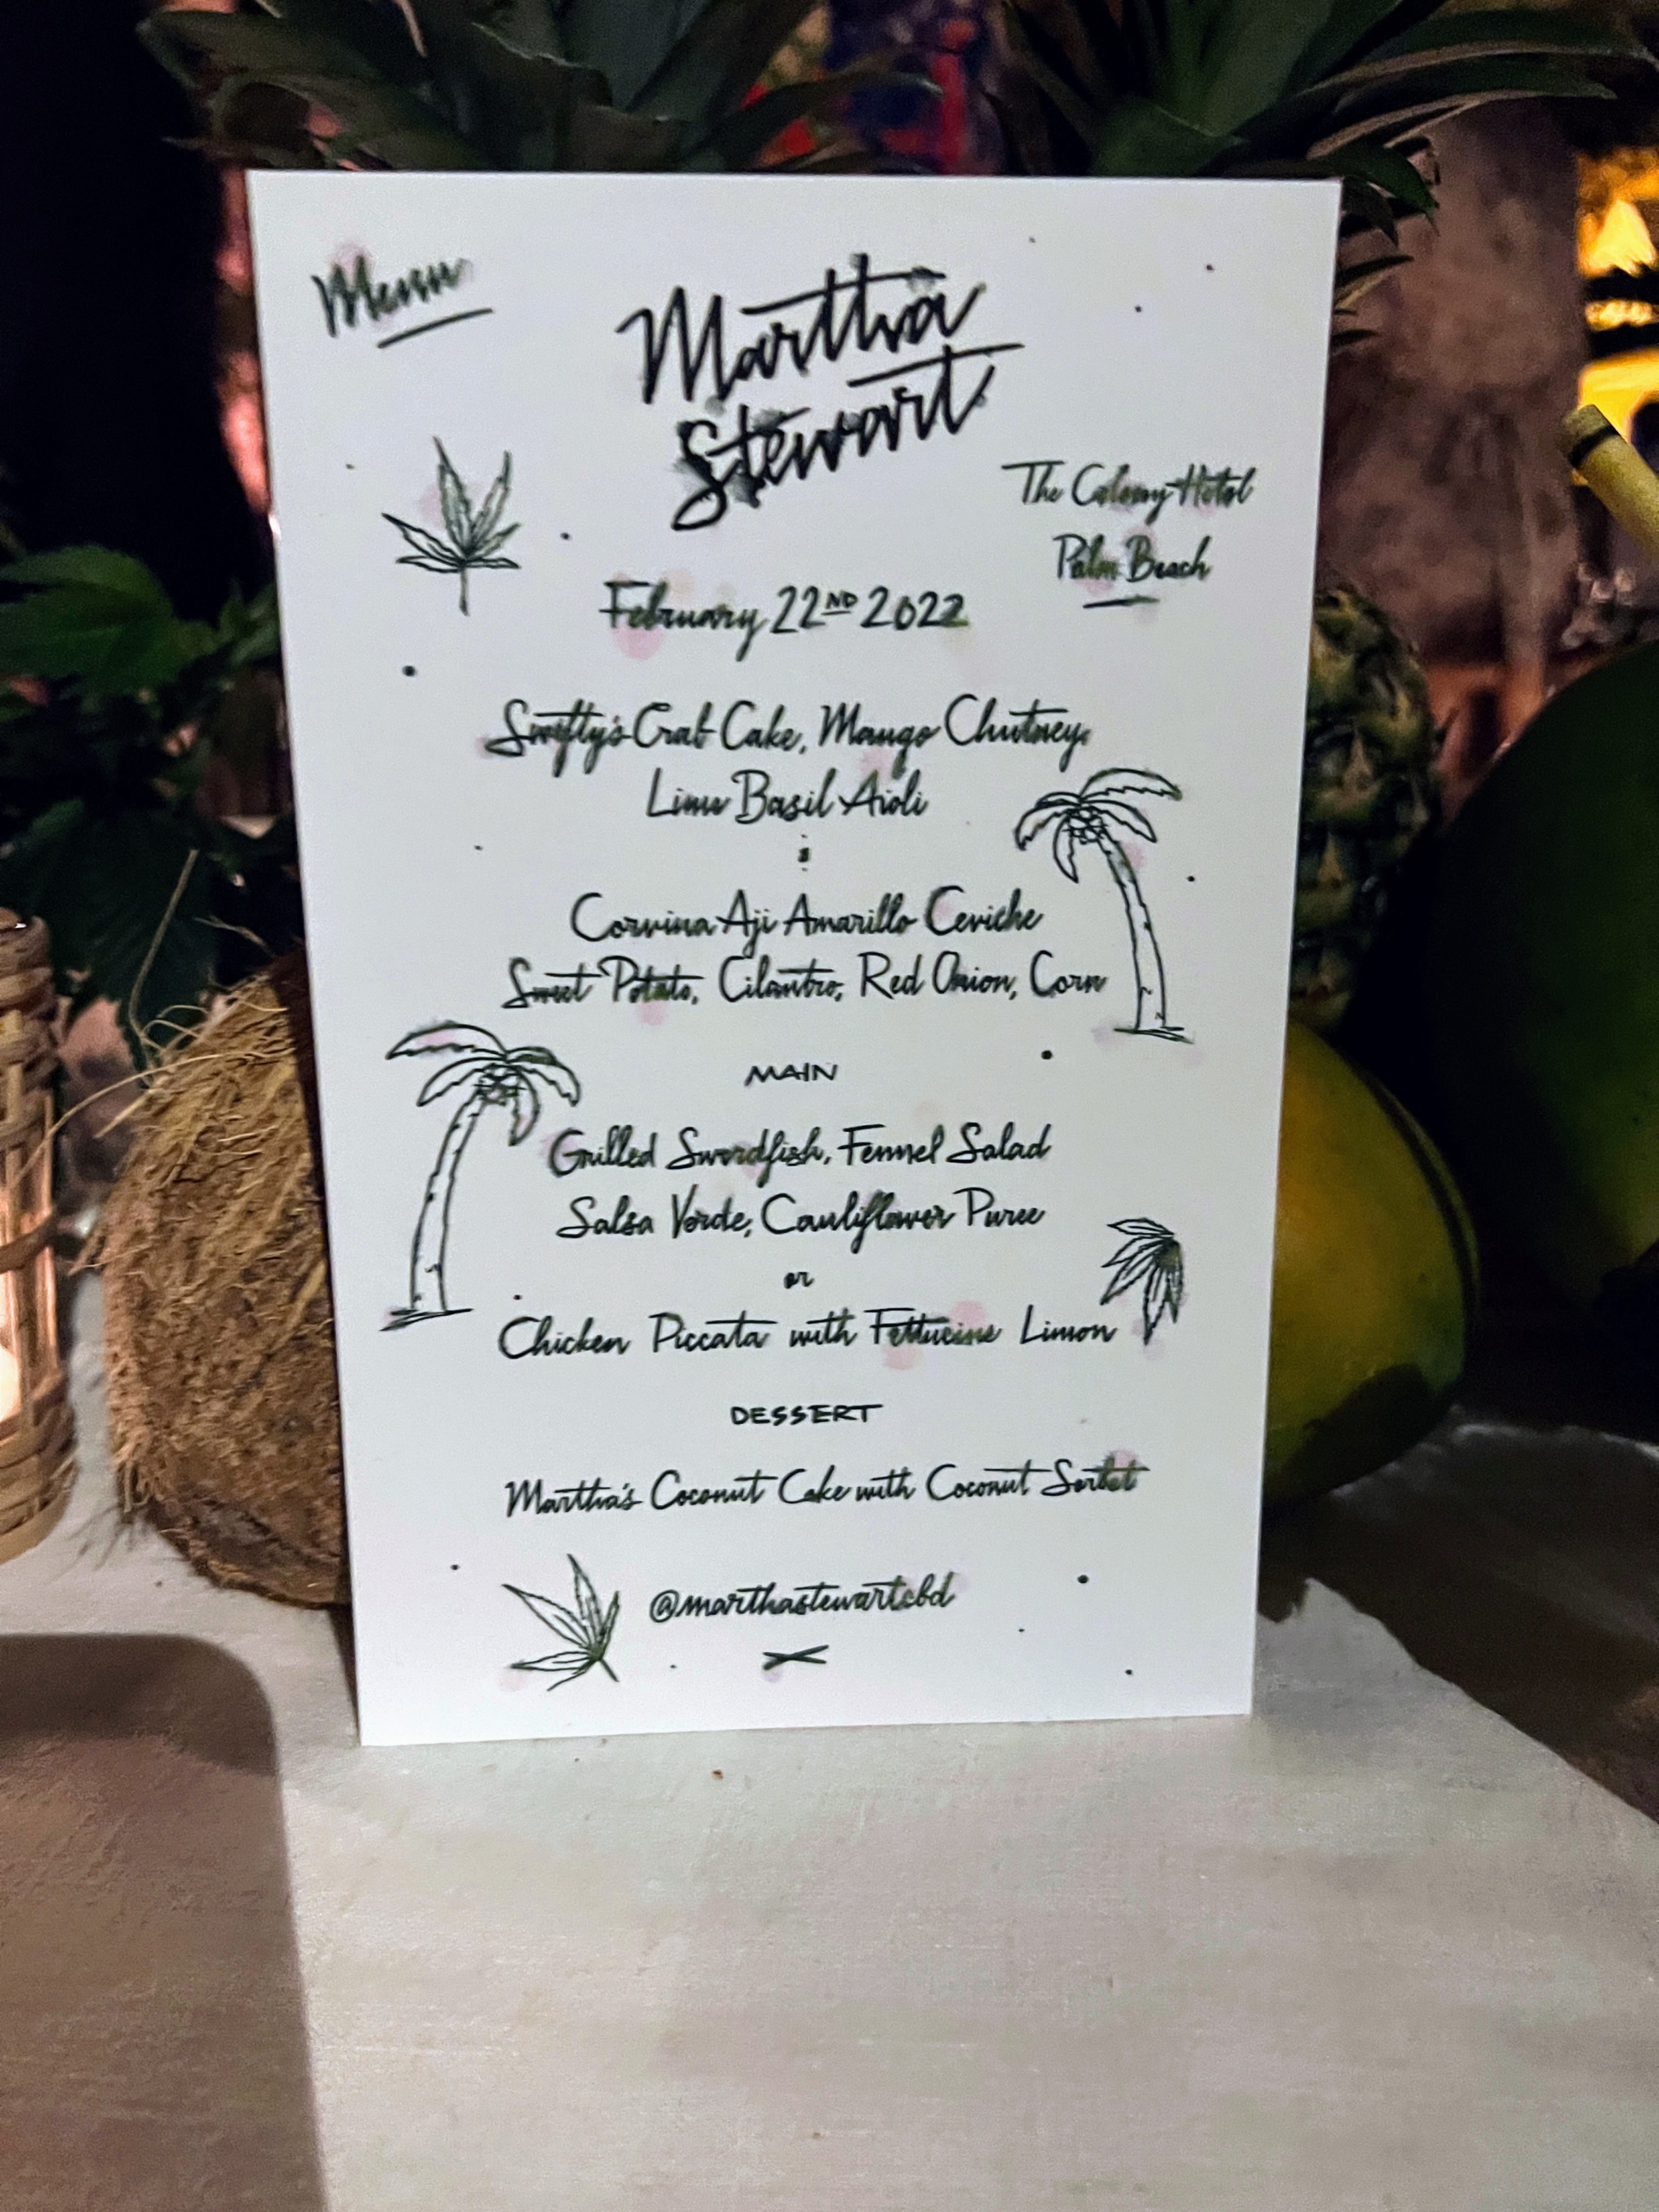
We planned a delicious three-course meal inspired by the gourmet gummies. Here is a copy of my menu place card.
Daphne Oz was among our guests. (Photo by Carrie Bradburn/CAPEHART)
Canopy Growth CEO David Klein and I welcomed everyone to the event and talked about the success of the Martha Stewart CBD line and how it has become, in just a little more than a year, a best-selling CBD ingestible brand. I am so proud of how well it is doing. (Photo by Carrie Bradburn/CAPEHART)
This is my main entre – grilled swordfish with fennel salad, salse verde, and cauliflower puree.
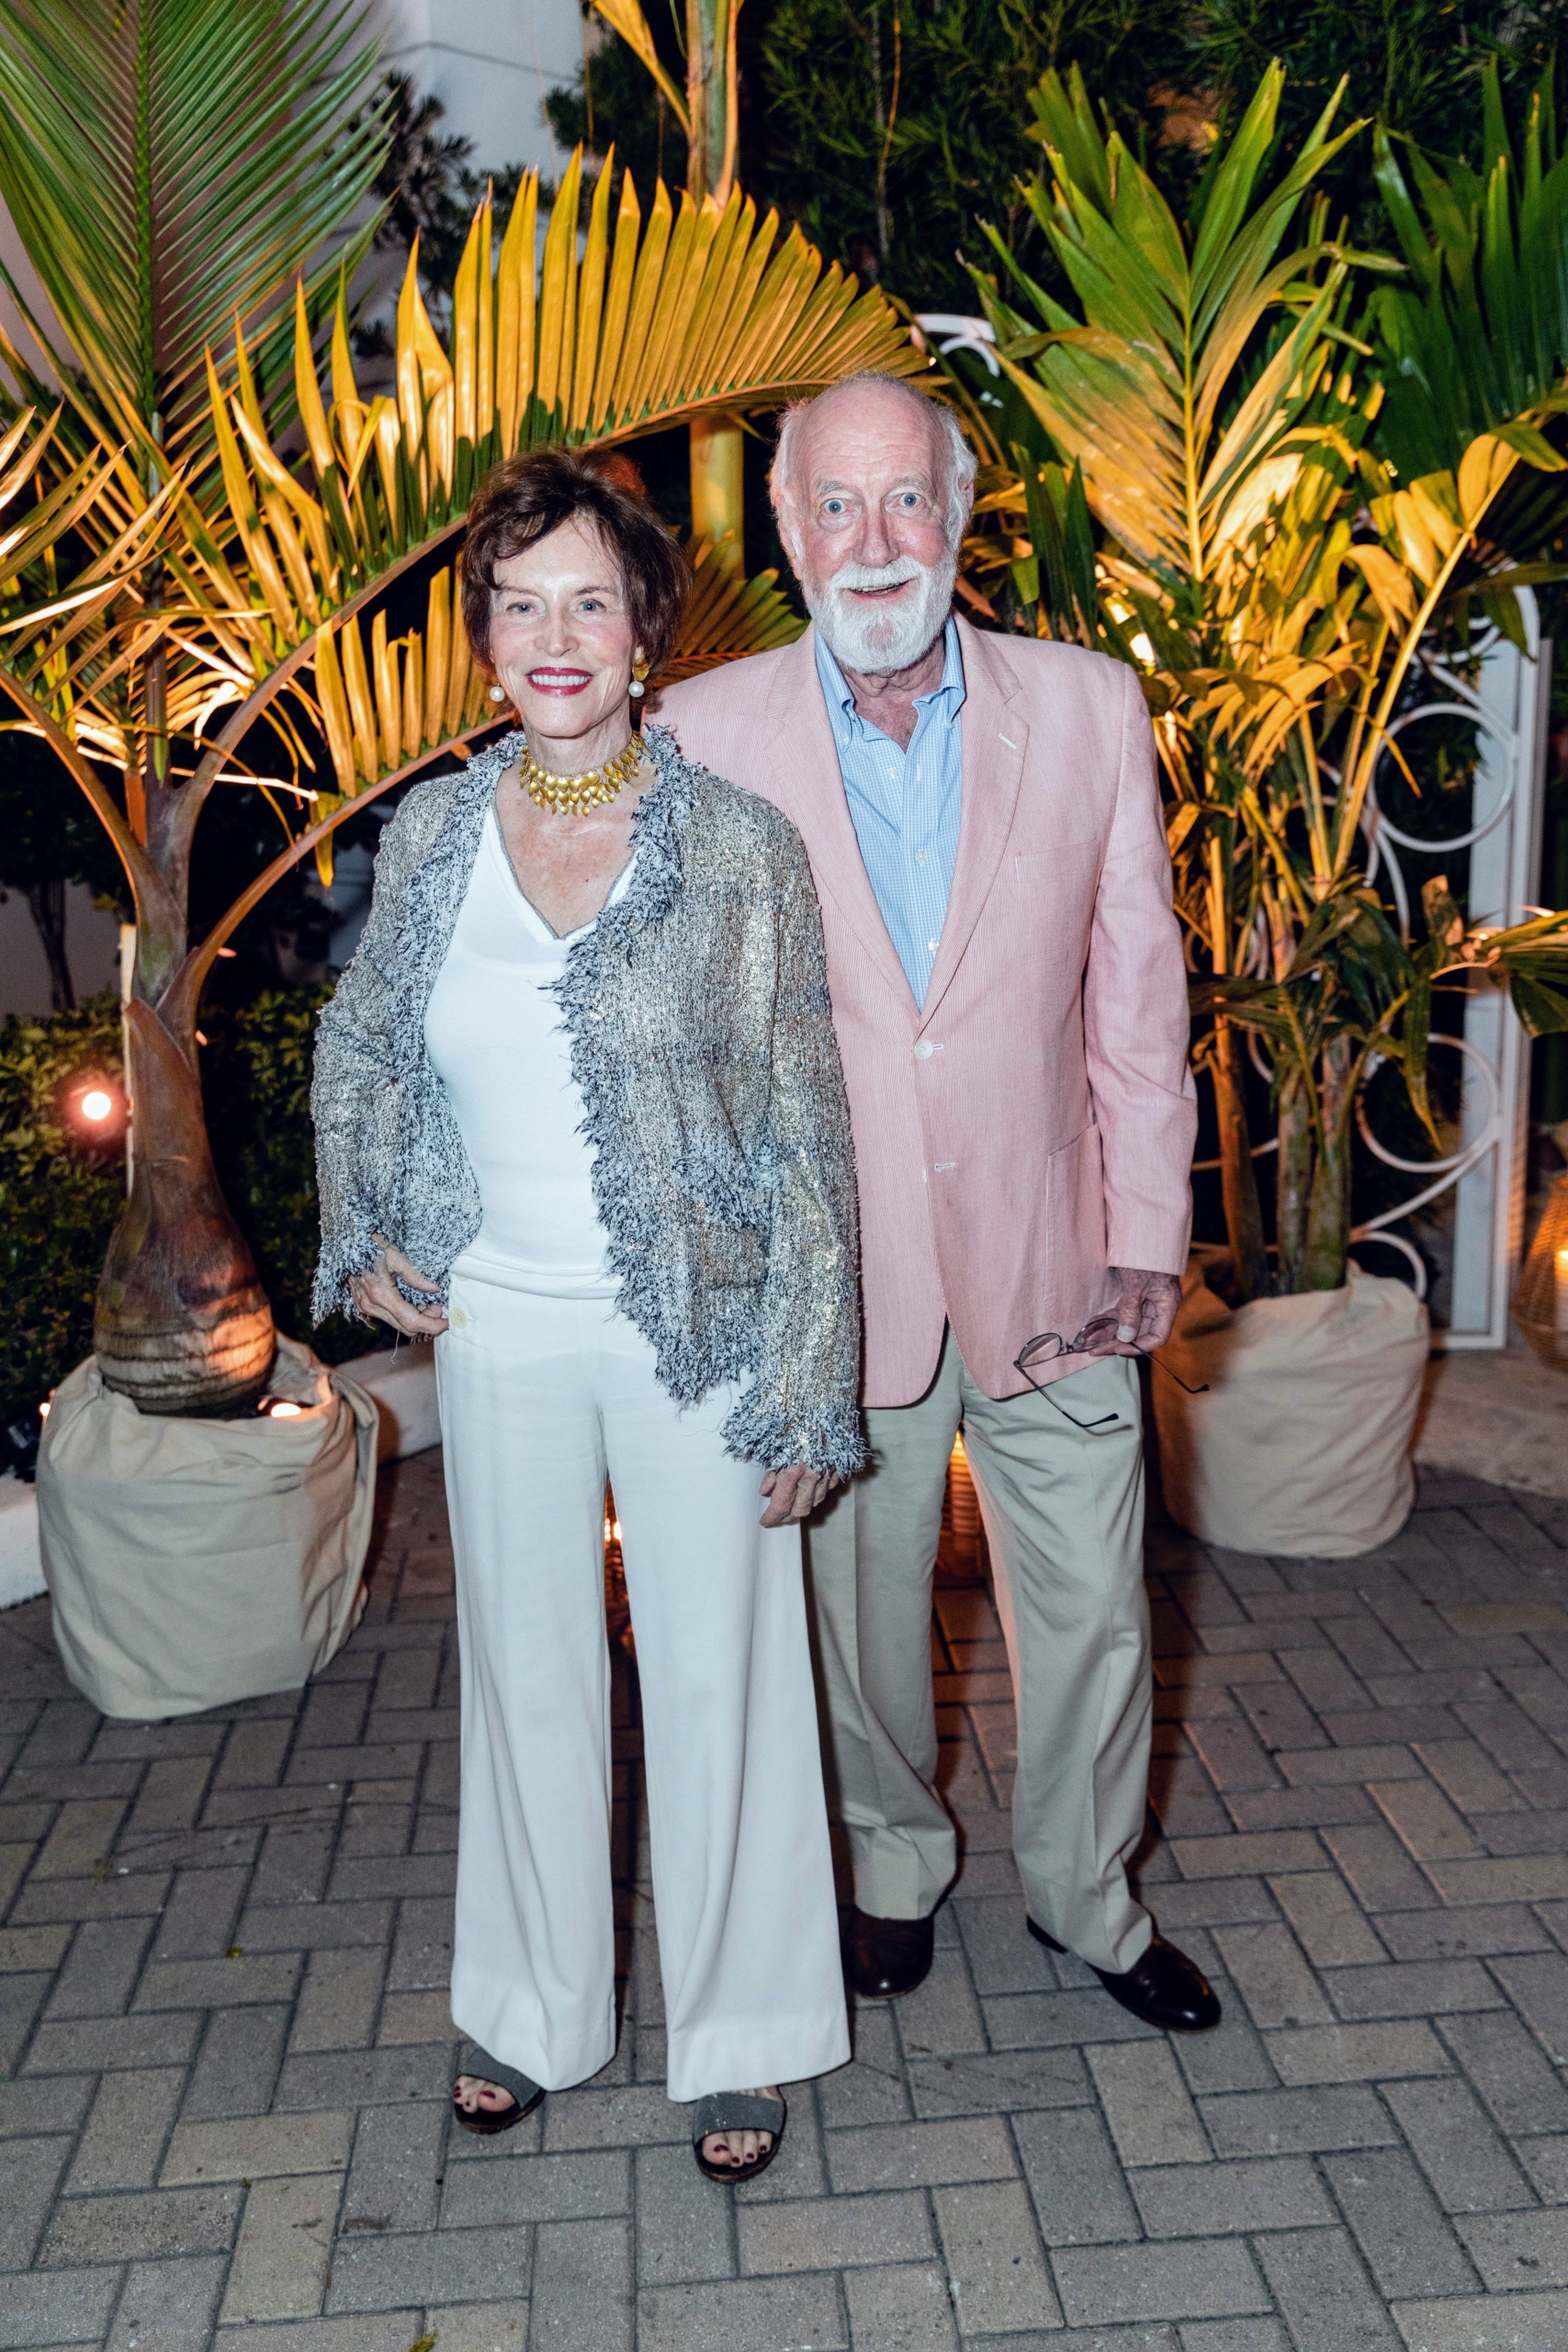
My friend, Charlotte Beers, also attended. Here she is with business etrepreneur, Alex Quattlebaum. (Photo by Carrie Bradburn/CAPEHART)
Our meal concluded with my famous Coconut Cake recipe. Everyone devoured their servings! (Photo by Carrie Bradburn/CAPEHART)
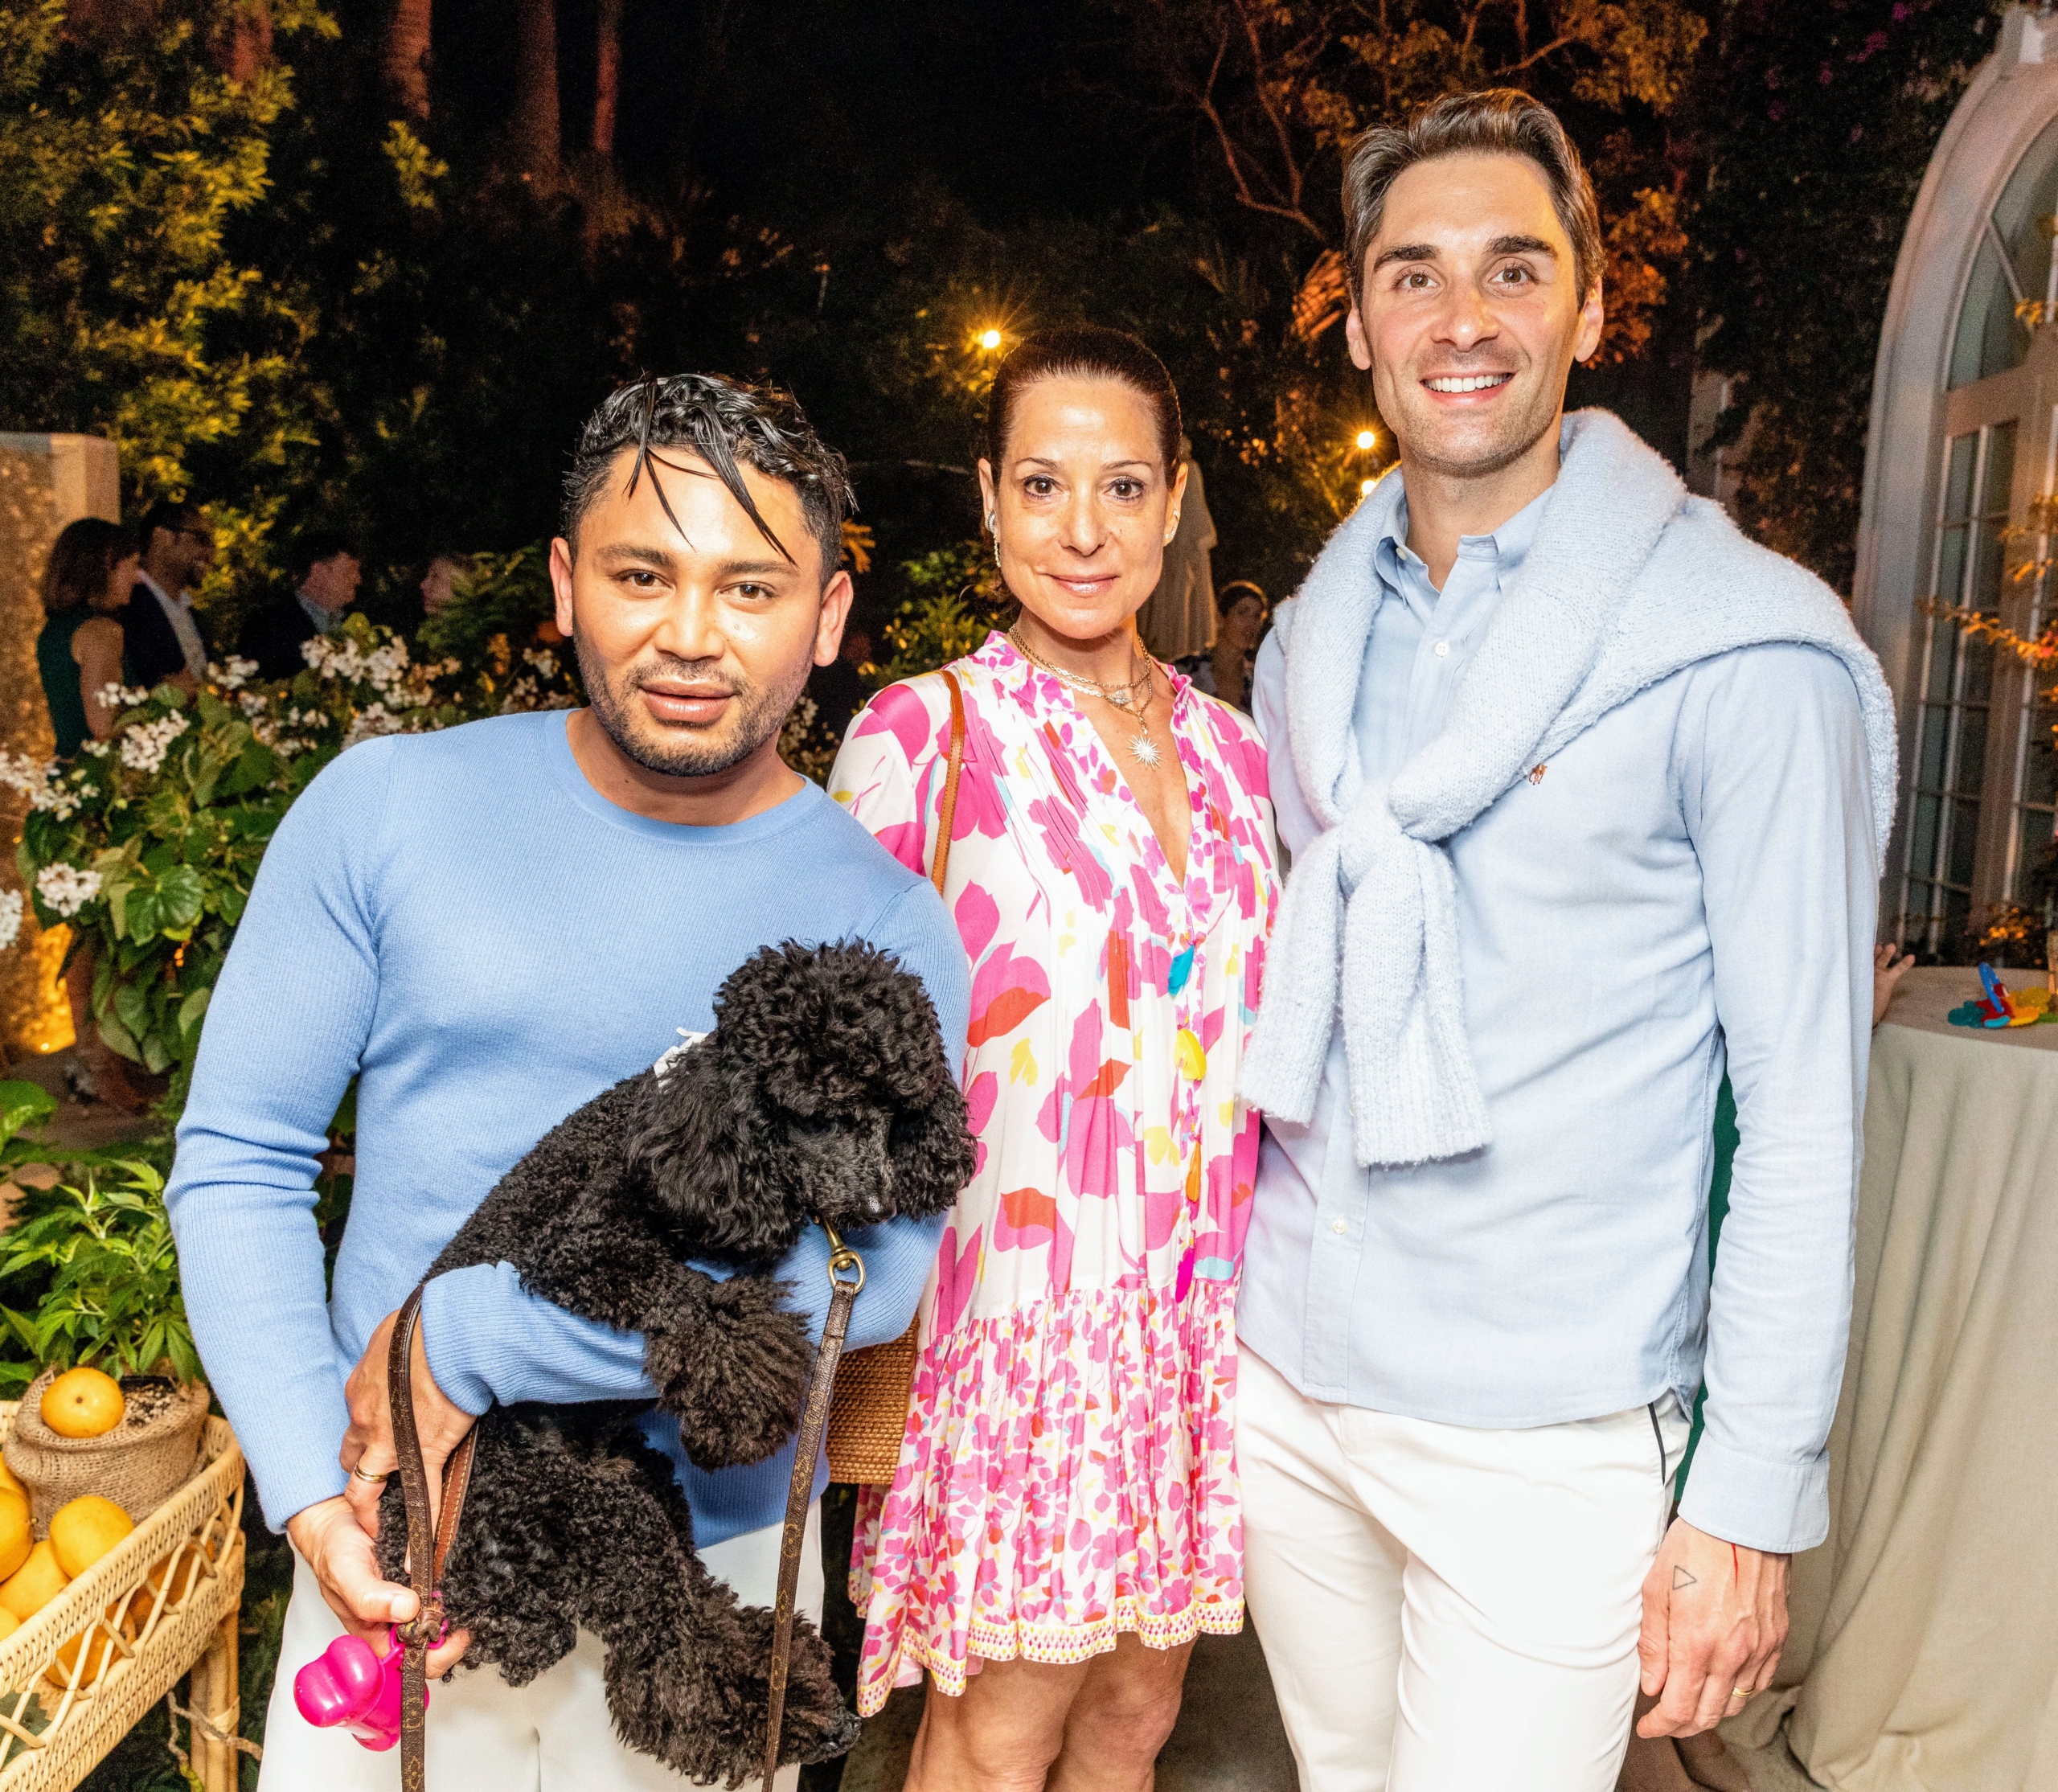
In this photo – influencers Isaac Boots, Pippa Cohen, and Jeffrey Patrick O’Brecht. Isaac’s poodle, Davis Boots, sat on his lap throughout the entire dinner. (Photo by Carrie Bradburn/CAPEHART)
And here I am with David. It was such a wonderful evening. (Photo by Carrie Bradburn/CAPEHART)
After the event, I posed with The Colony Hotel Palm Beach chefs and pastry chefs – thanks for a great dinner! Follow us at IG @MarthaStewartCBD, and look out for our new Tropical Medley on shopcanopy.com!
If you're looking to refresh a room, but don't want to purchase new décor, consider giving it a new coat of paint - even a subtle change in color can totally transform a space.
Not long ago, I decided my Tenant House, the guest house where my daughter Alexis and her children stay when they come to visit, needed an update. I chose to repaint the kitchen, living room, and the bedrooms using a limewash finish. Limewash is made from limestone that’s been crushed, burned, and mixed with water to make a lime putty and then colored with natural pigments. Using limewash is a centuries old technique that creates a slightly mottled and matte appearance with a chalky texture, almost like suede. We used limewash from Domingue Architectural Finishes, which offers beautiful, natural soft shades and the rooms look fantastic.
Enjoy these photos.
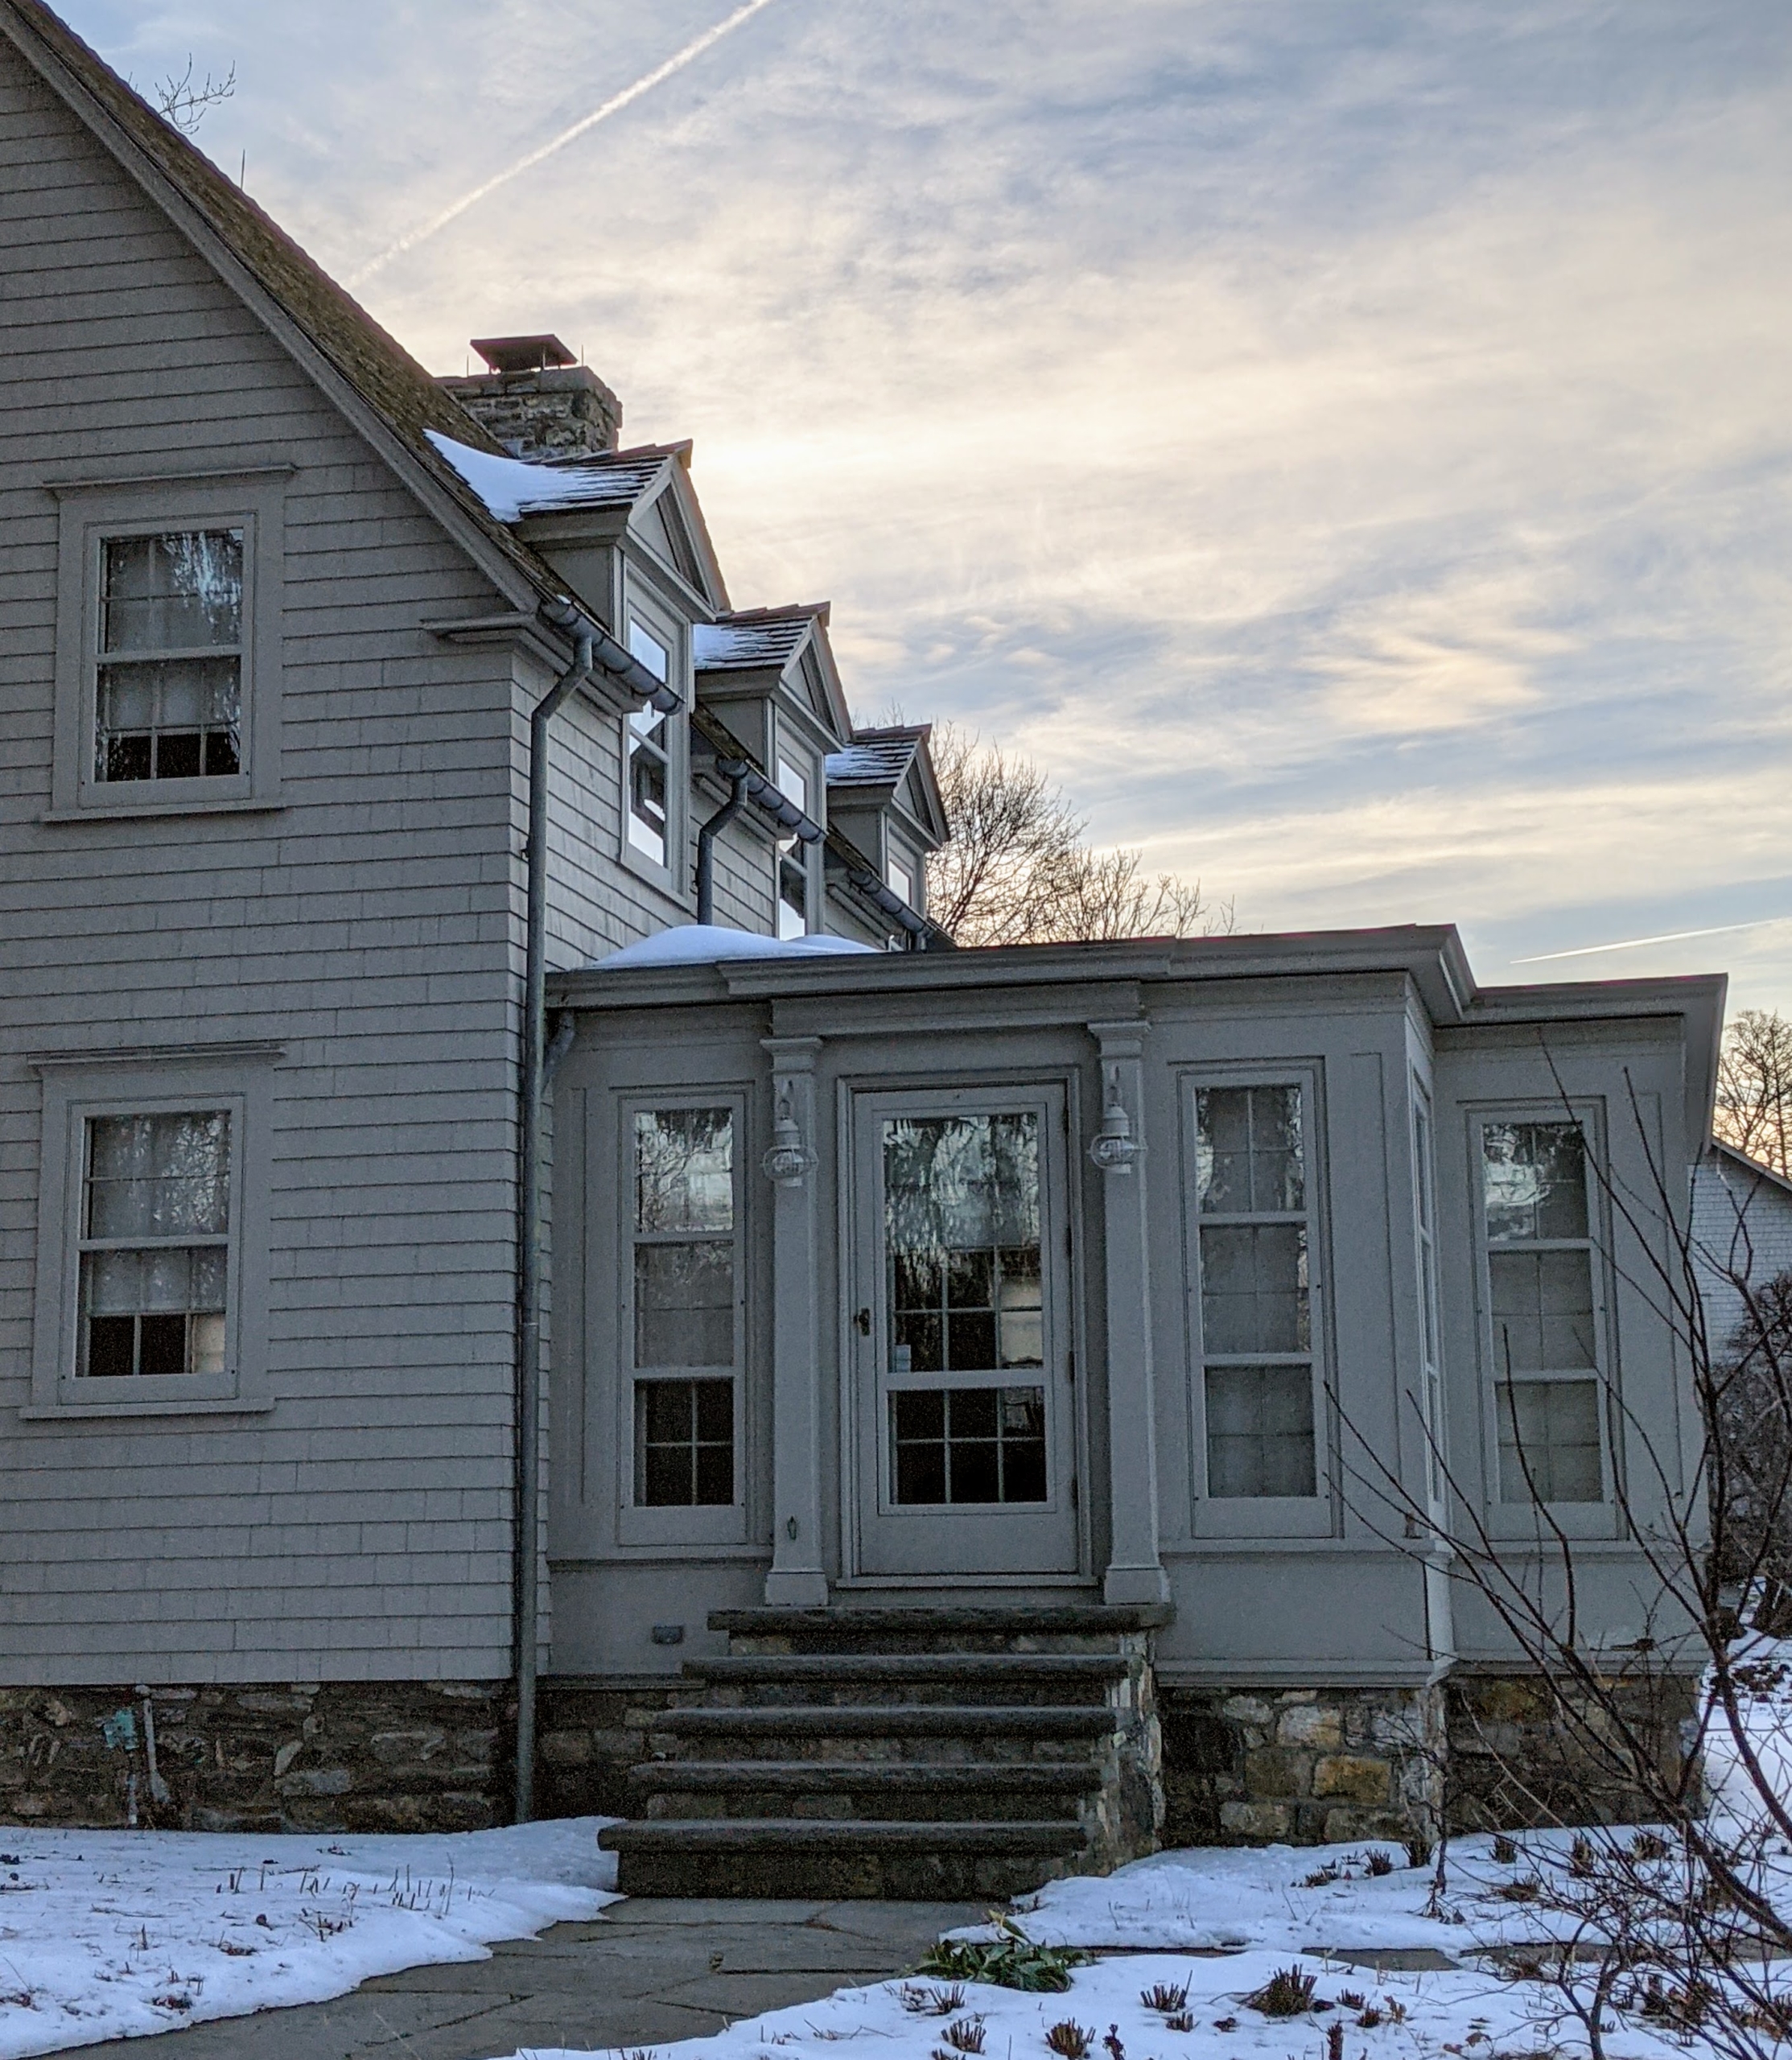
My Bedford, New York farm has several buildings, including one, which has always been called the Tenant House. This little cottage was part of the original farm when I purchased it and it was, indeed, used as a rental for a tenant. When I moved here, I had it completely restored from top to bottom. It is a nice house for my daughter’s family when they come to visit. Like any home, it needs to be maintained and updated from time to time. Recently, I decided the interior was due for a new coat of paint.
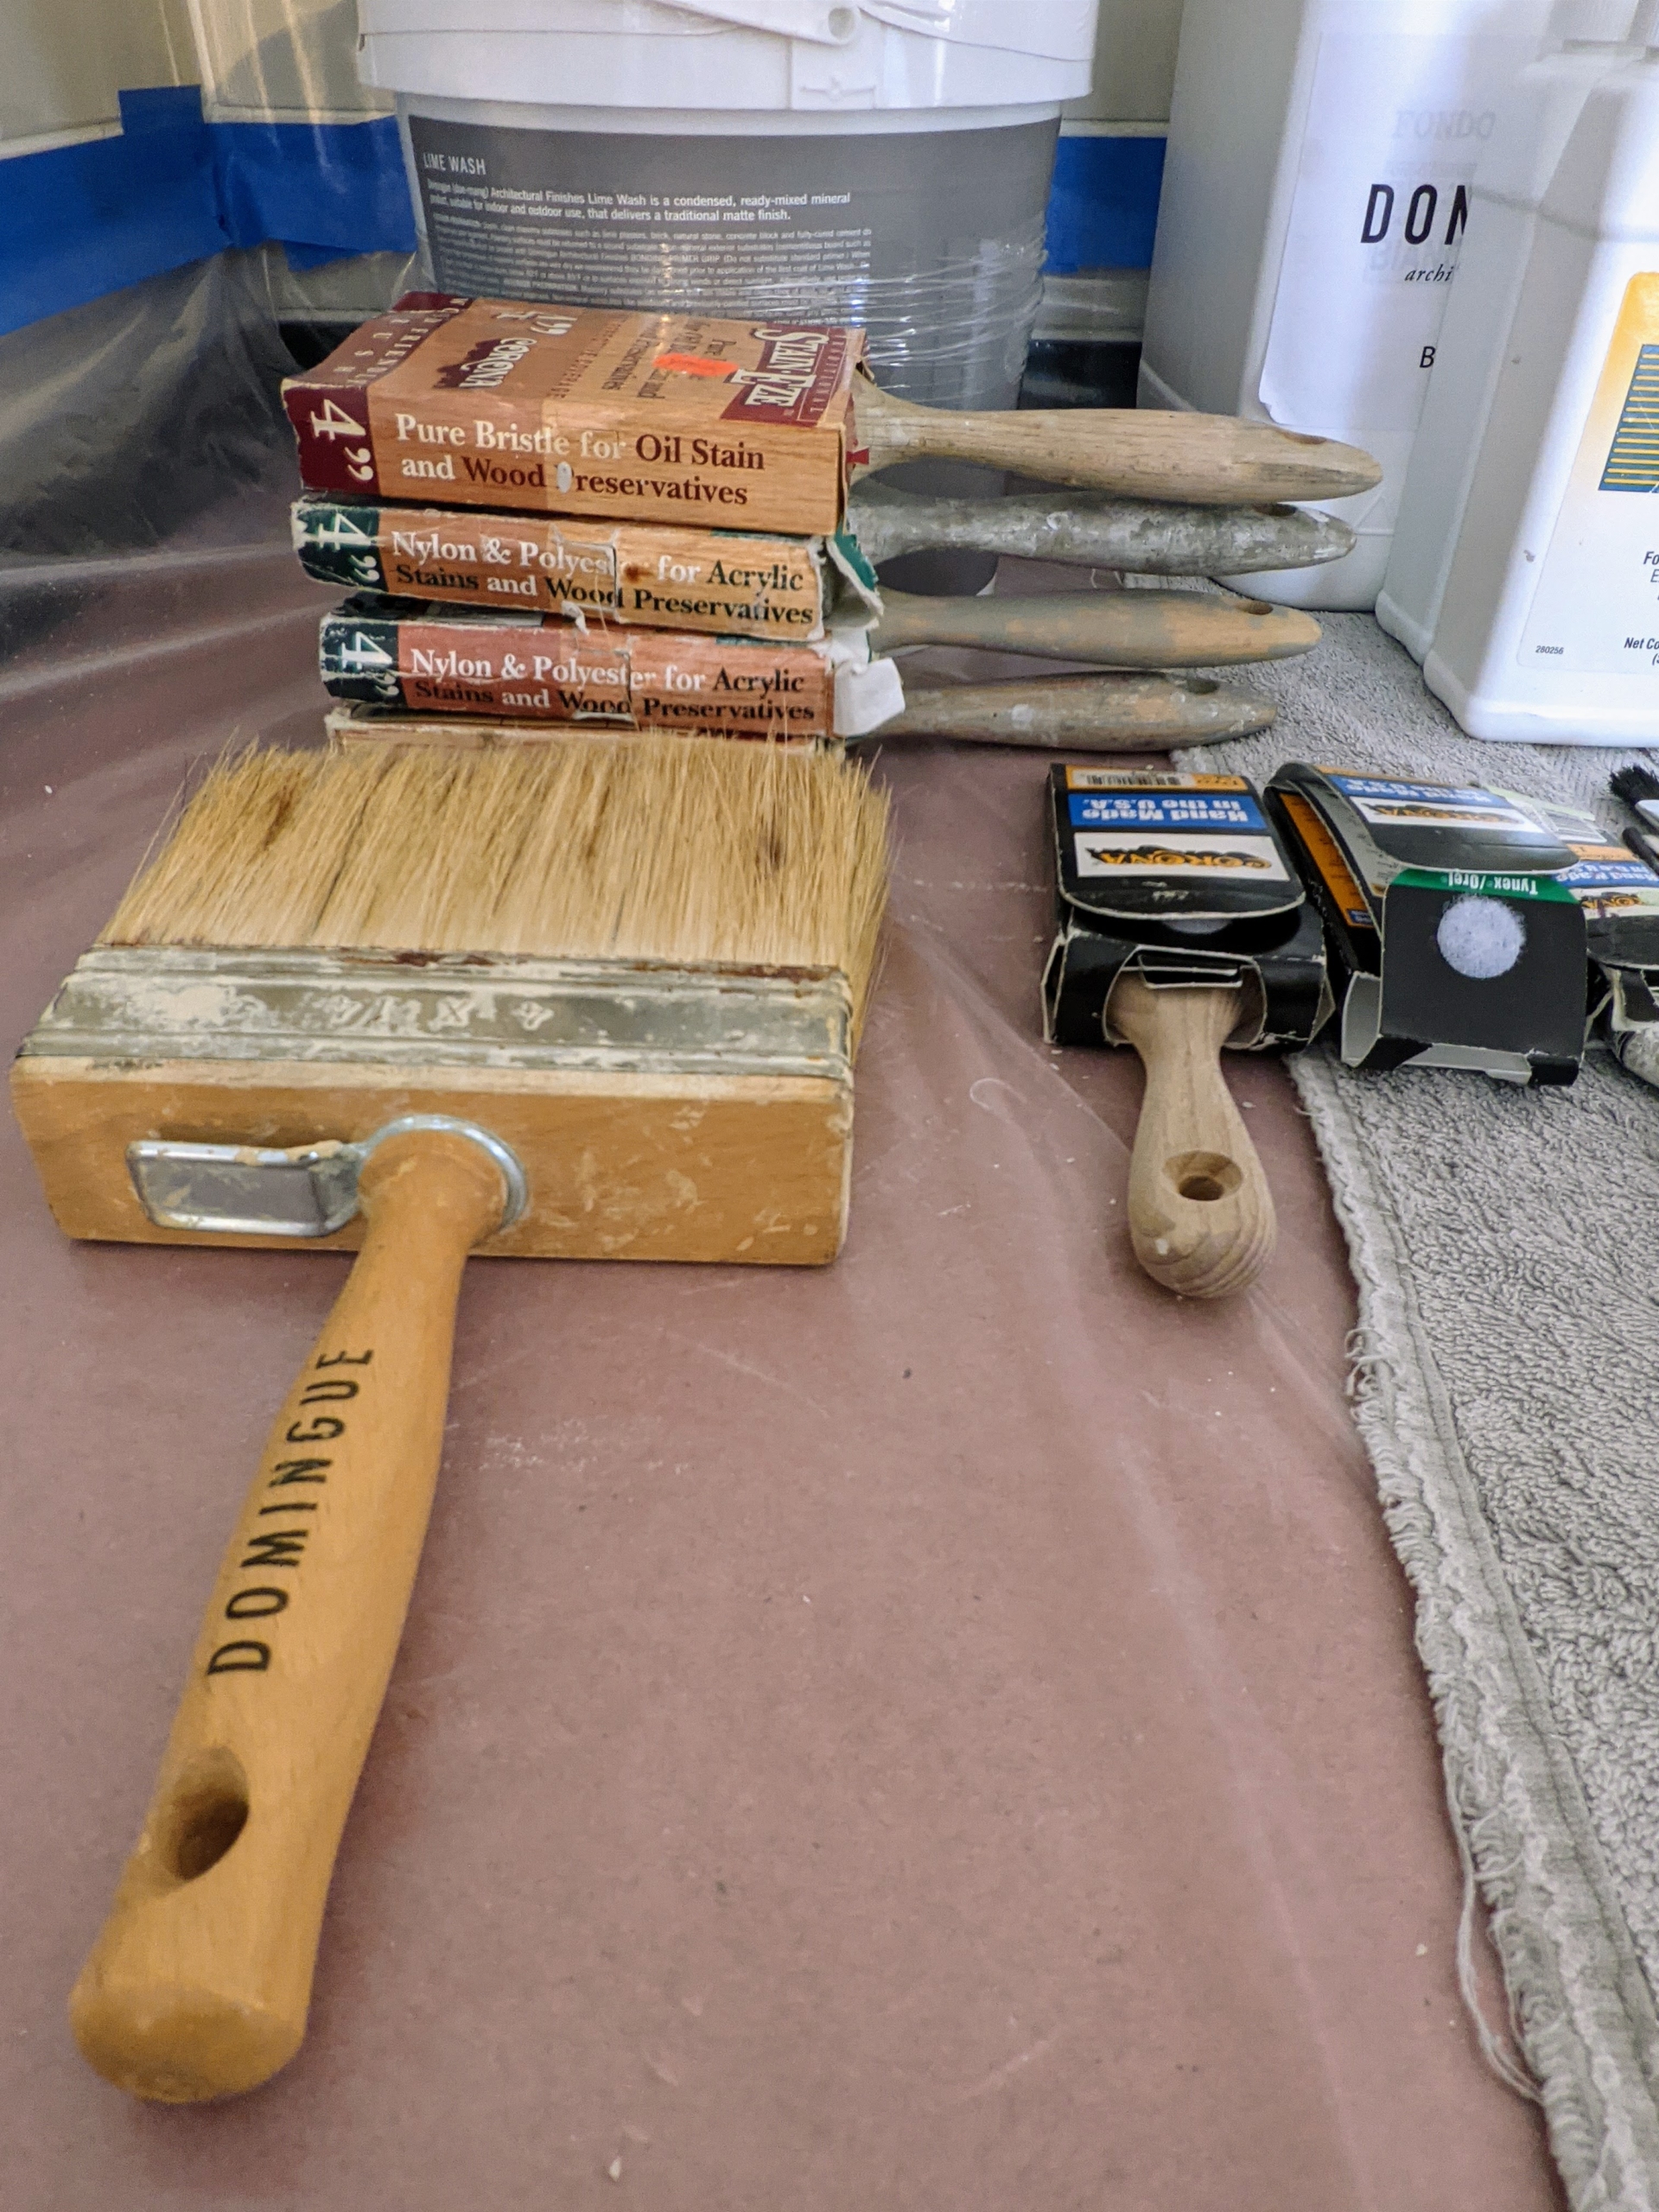
Whenever my longtime painter, Stephan, comes to do a project, he and his team are very neat and tidy. All the supplies – brushes, paints and primers, scrapers, and other tools are brought in, organized, and stacked for easy reach.
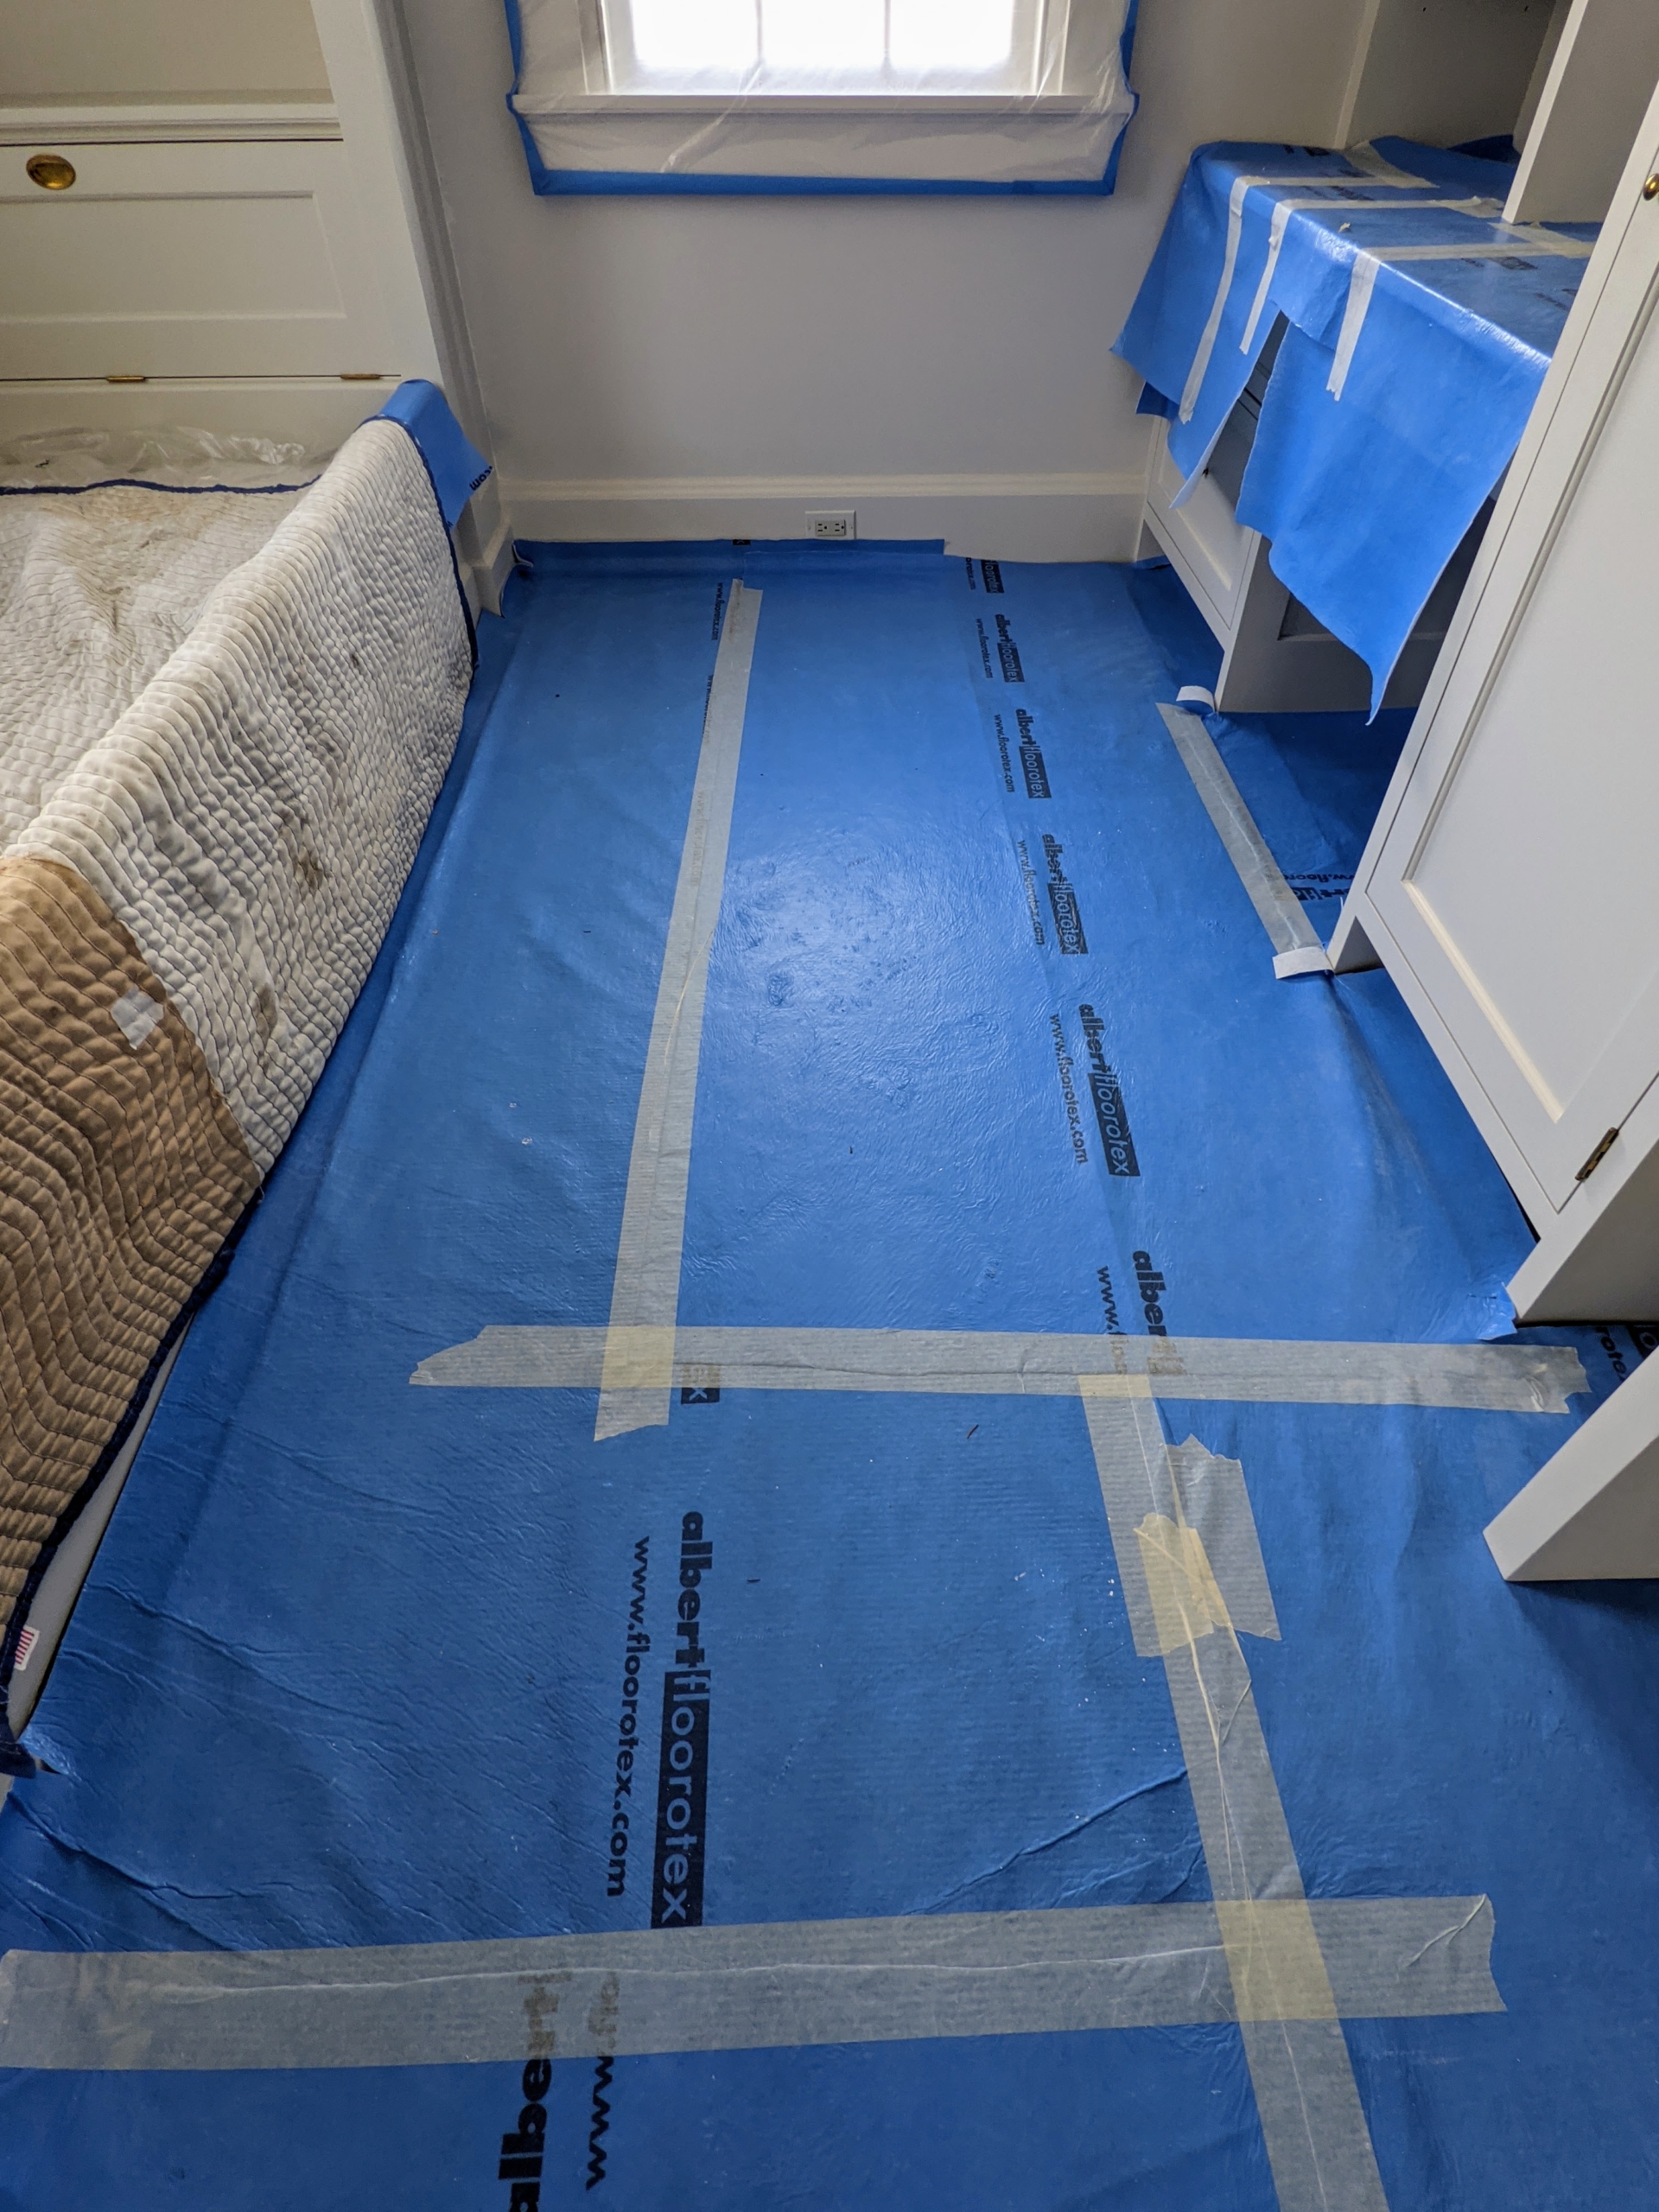
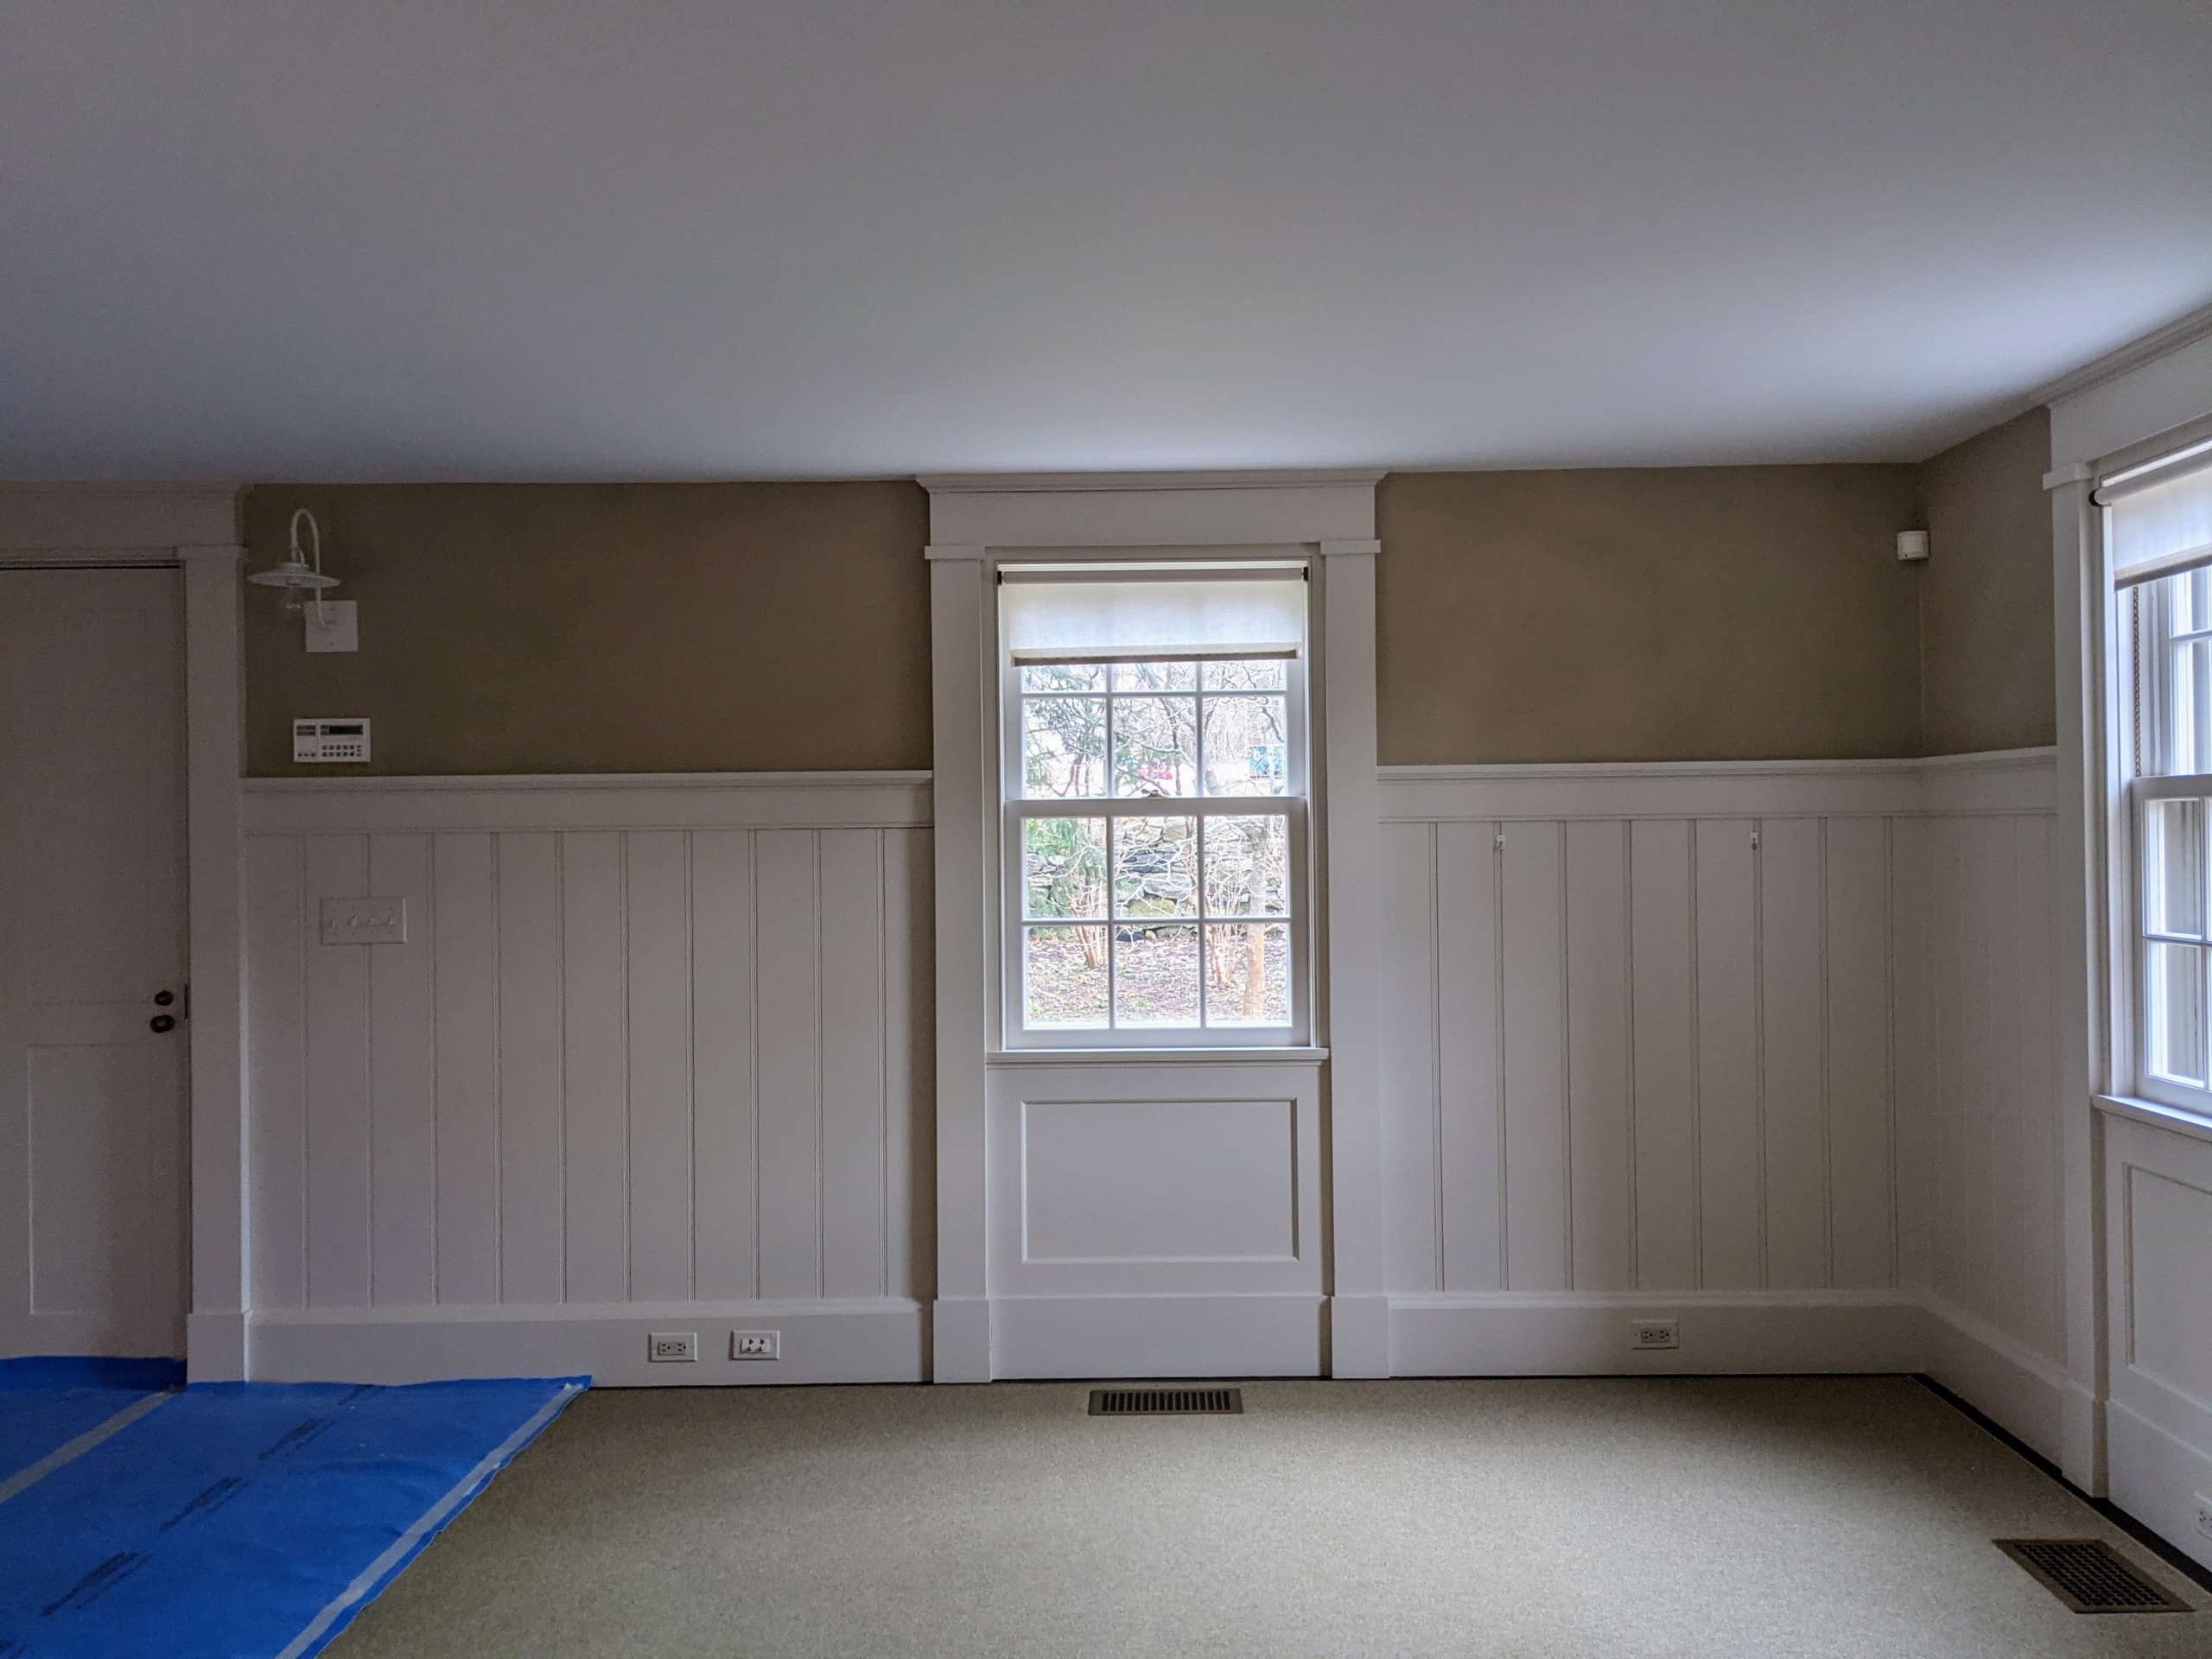
The first step is to protect all the surfaces. Here, Stephan puts down Floorotex All Purpose Floor Protection. This is a wonderful, breathable, flexible material that protects a variety of surfaces. It is easy to fit on staircases and vents. Plus, it’s reusable.
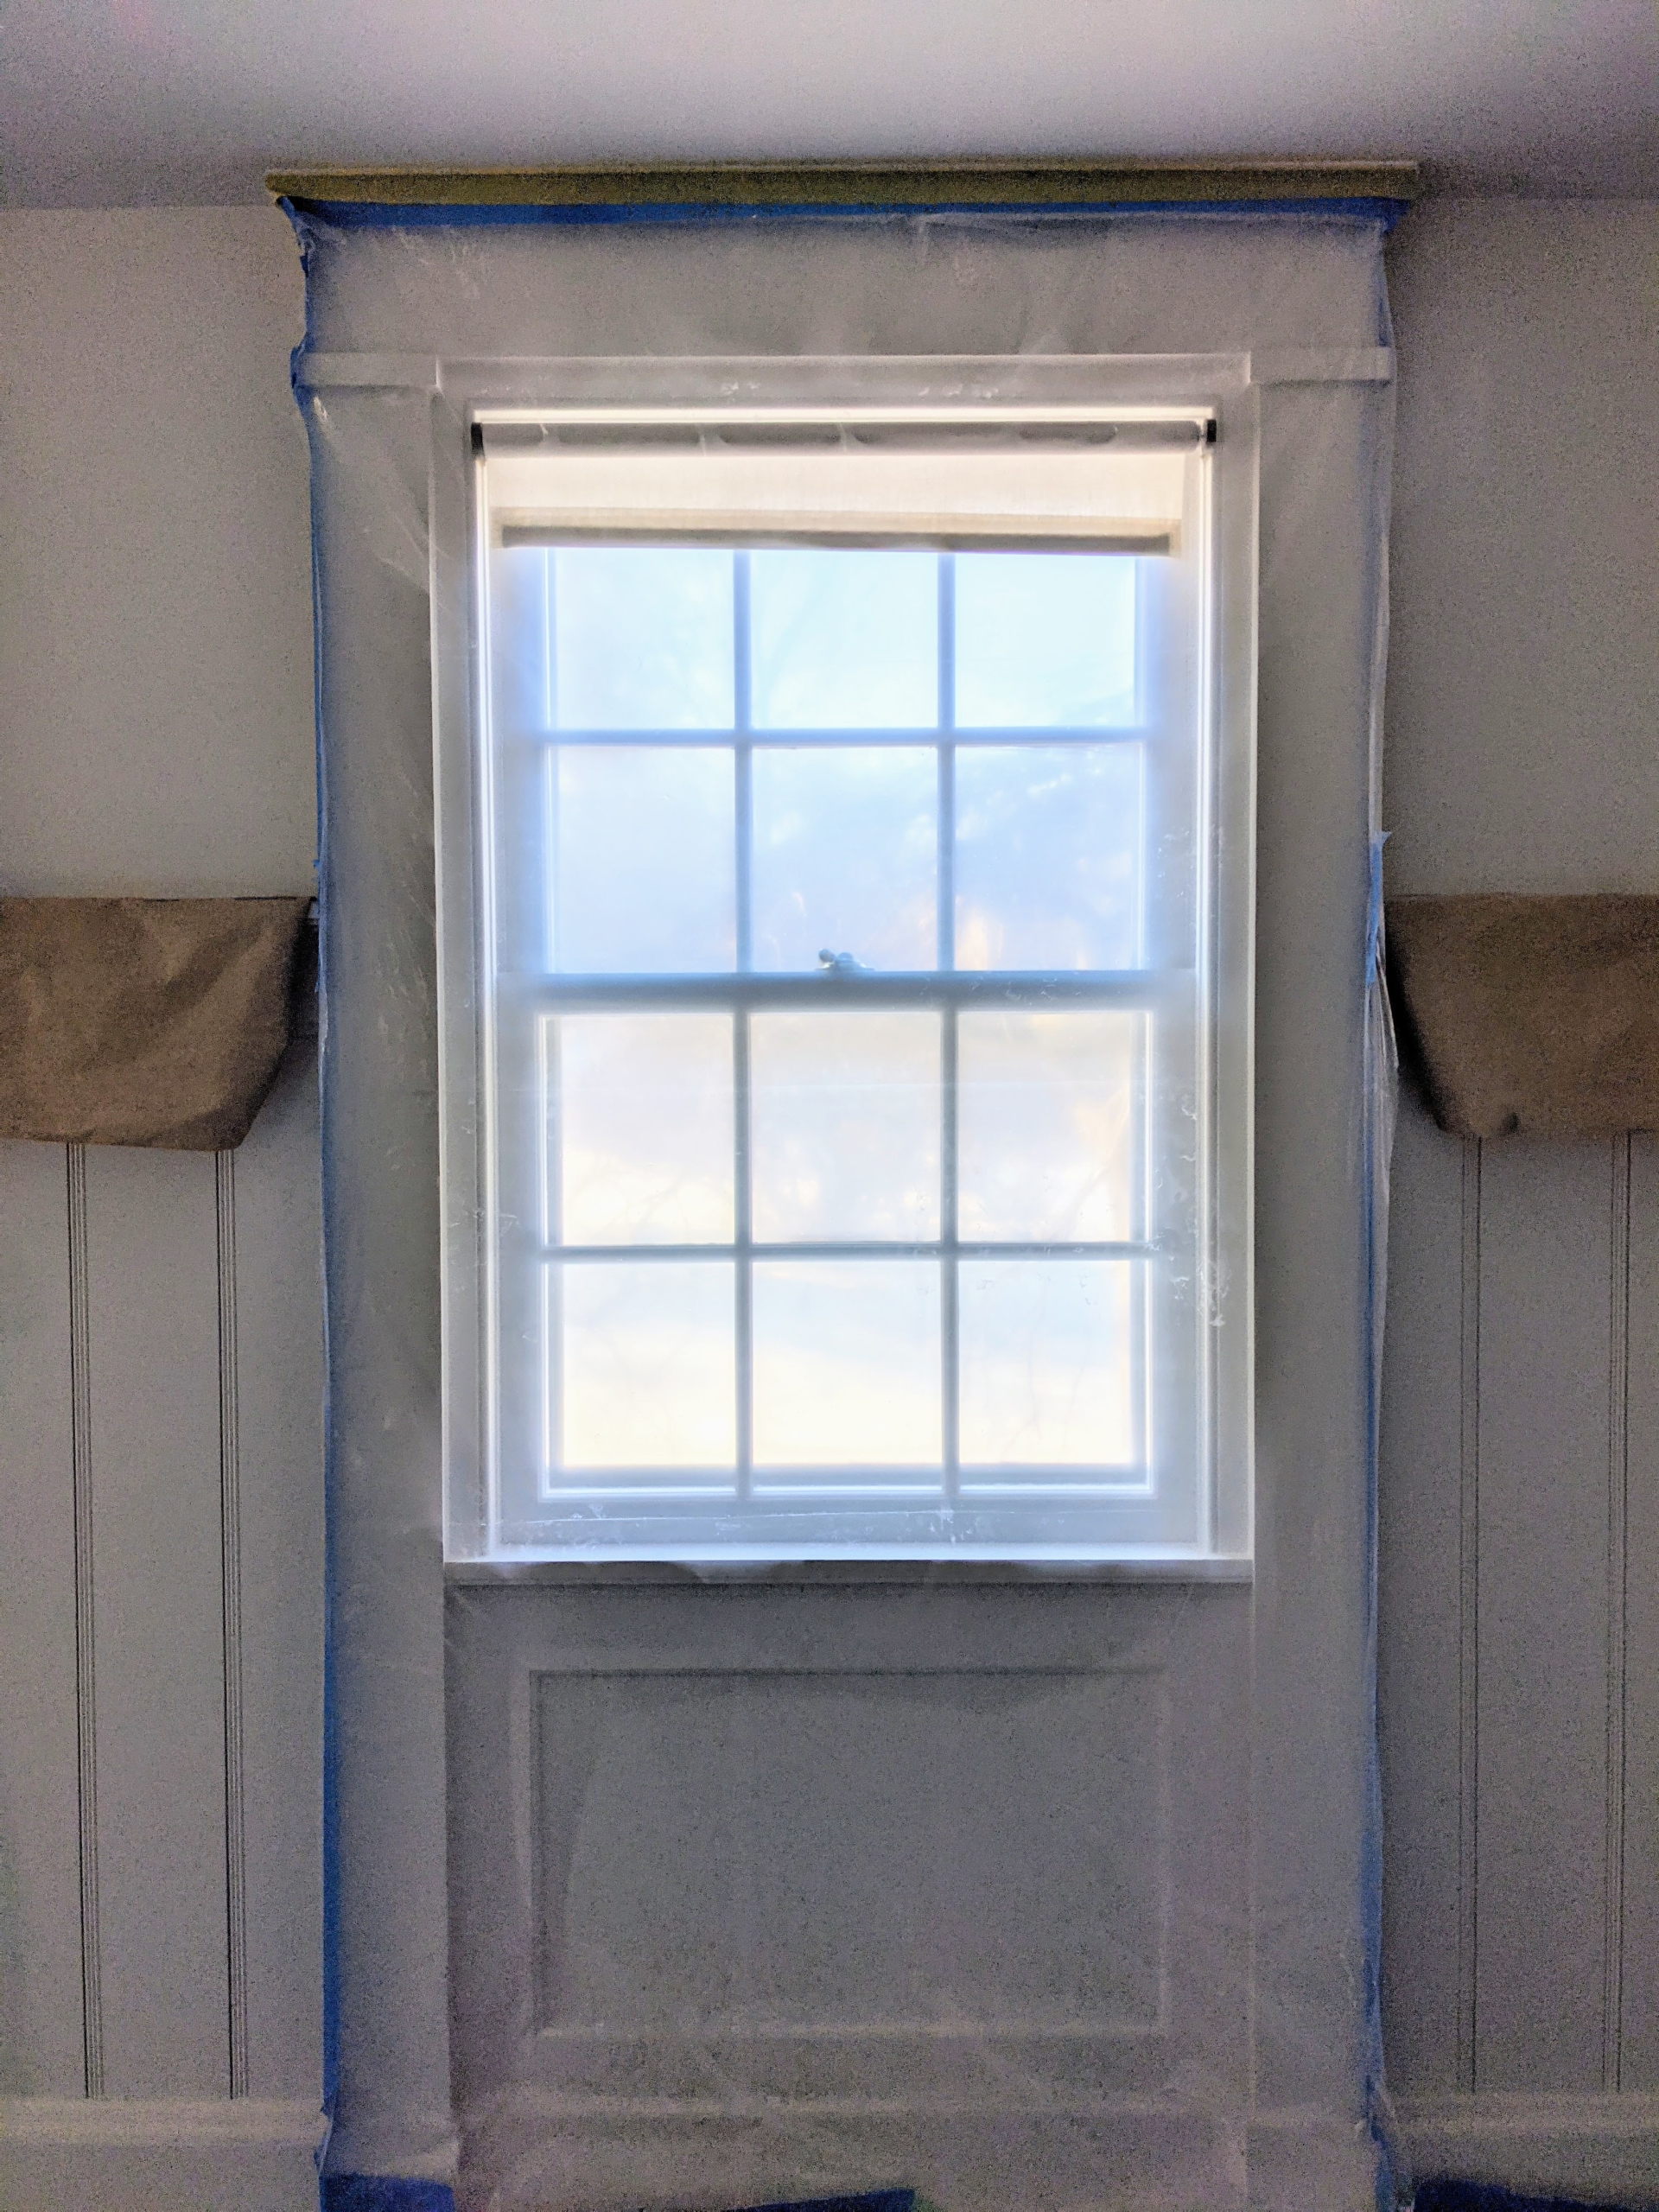
Next, every surface not being painted has to be carefully covered with plastic and tape.
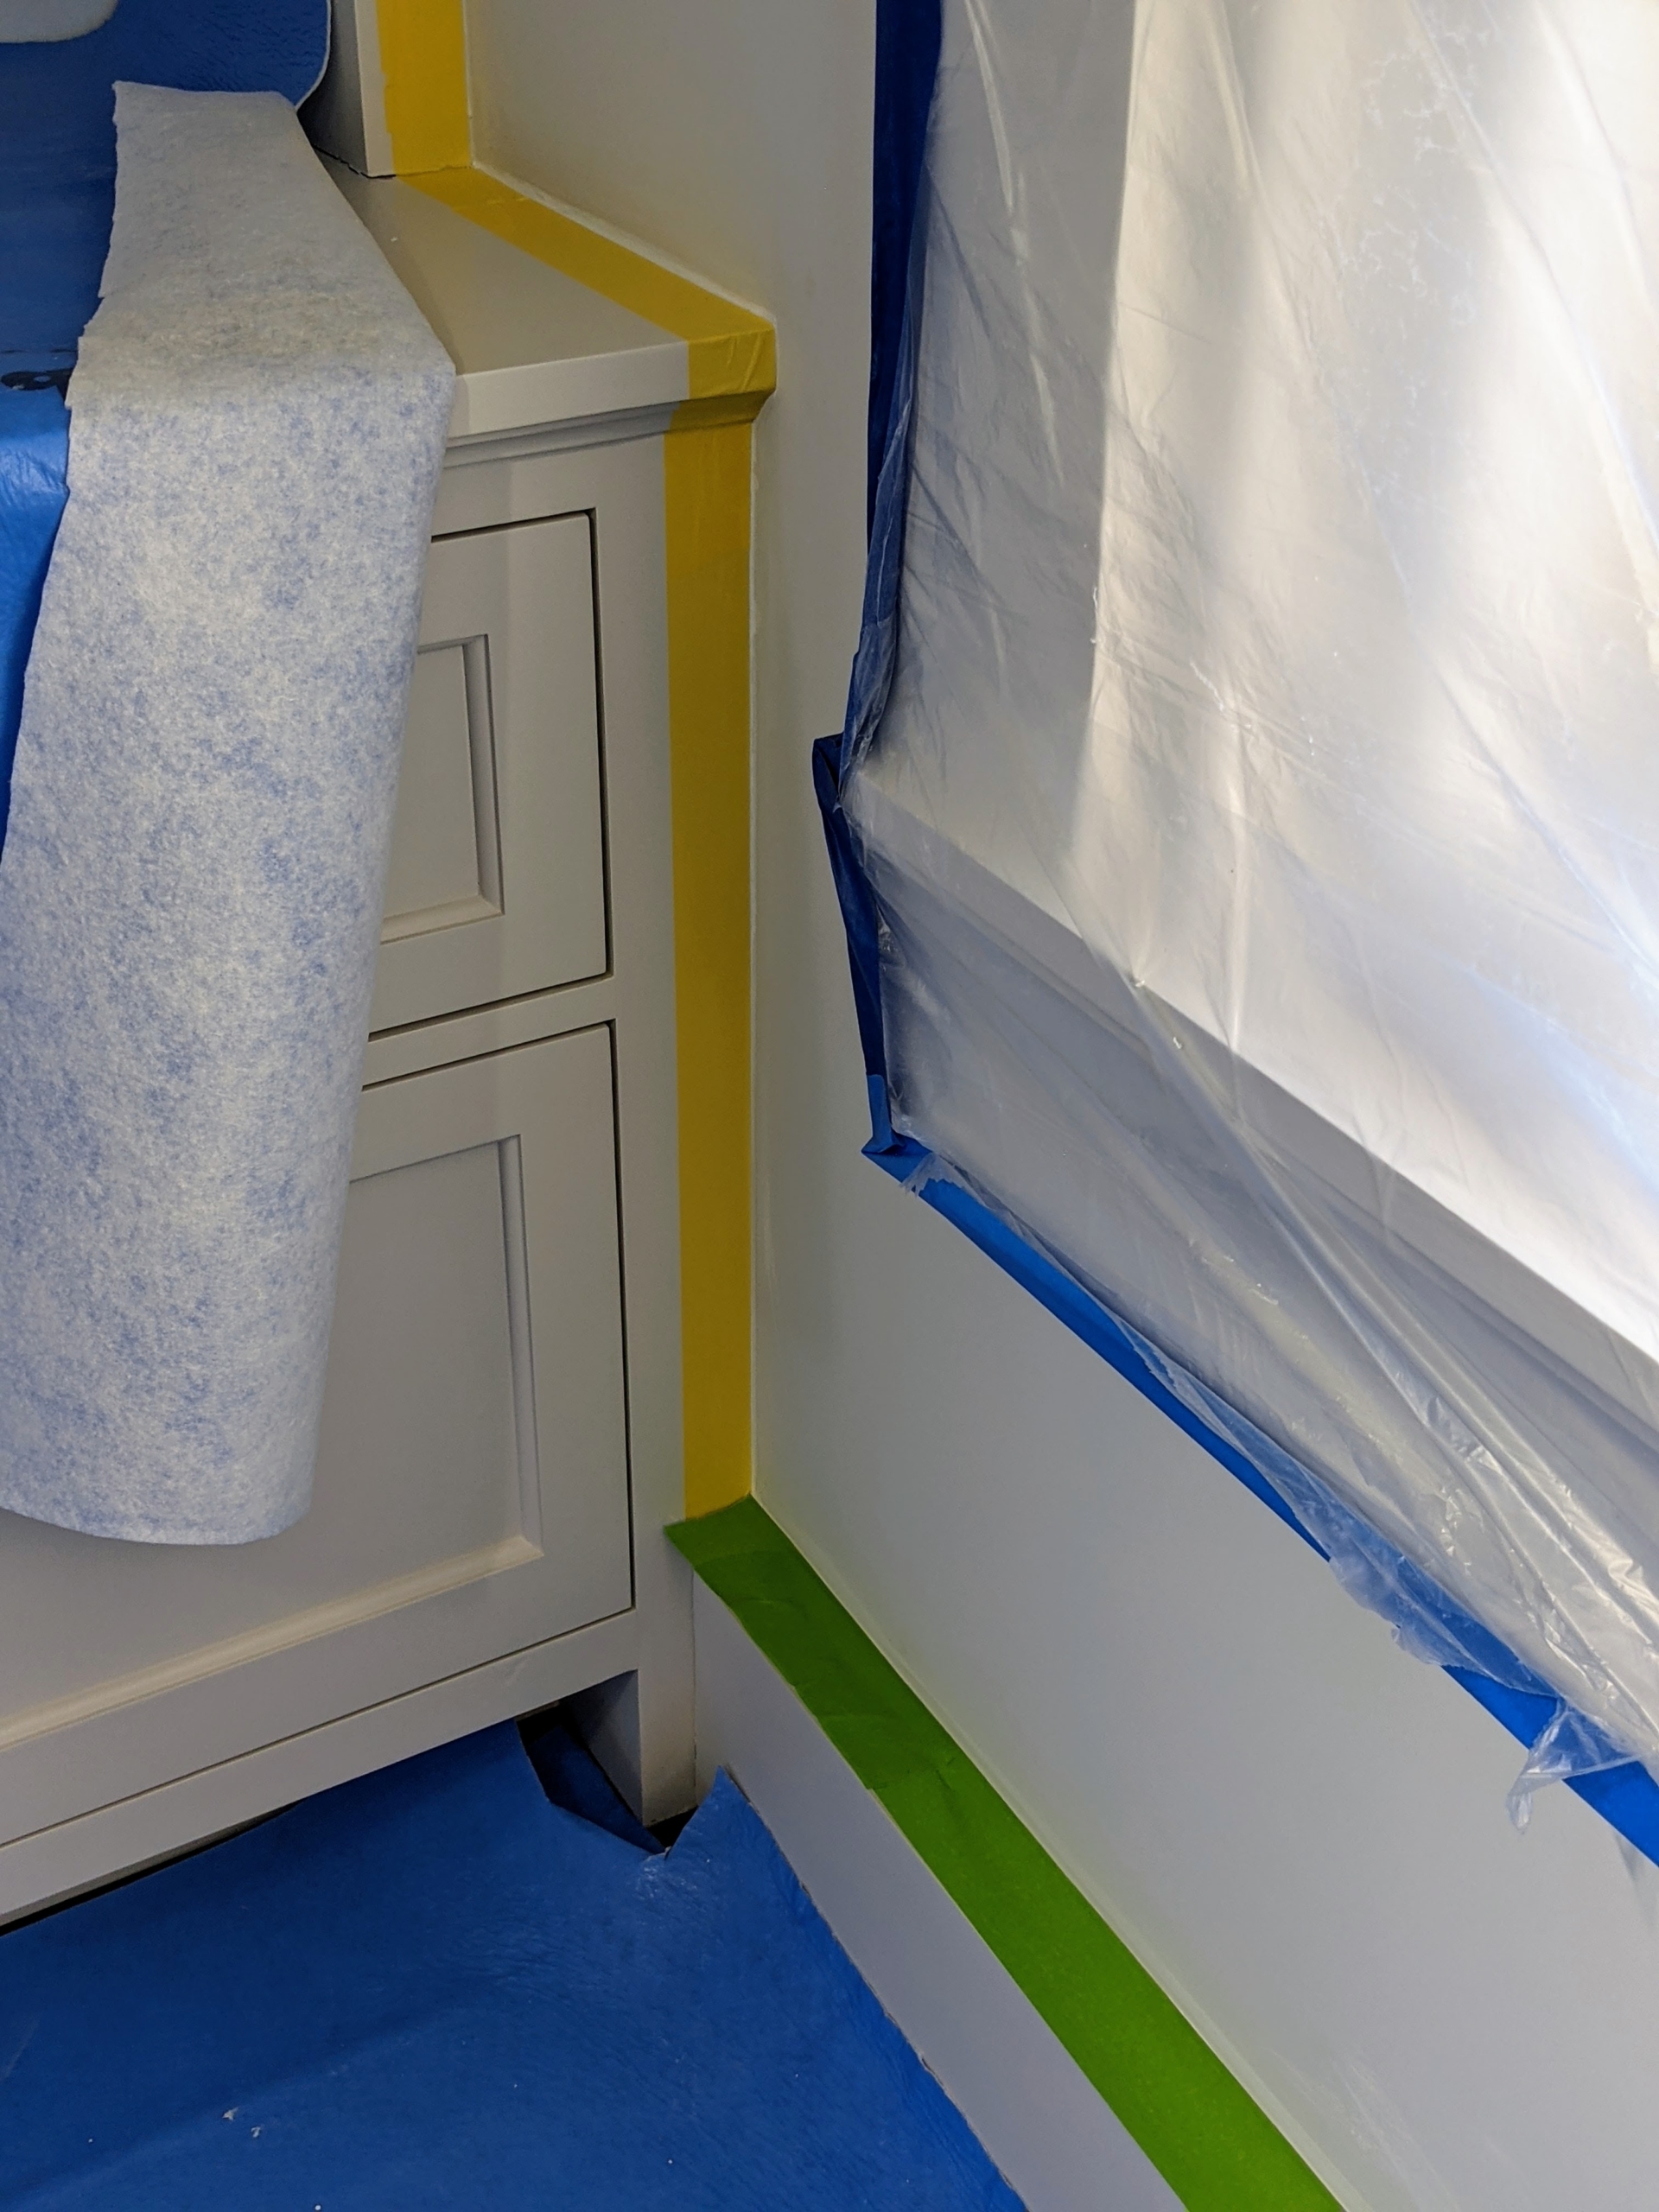
Here, the windows are covered with plastic and the tops of the chair rail molding are covered with brown paper. Everything is completely taped, so there is no worry later of accidentally painting something that should not be painted.
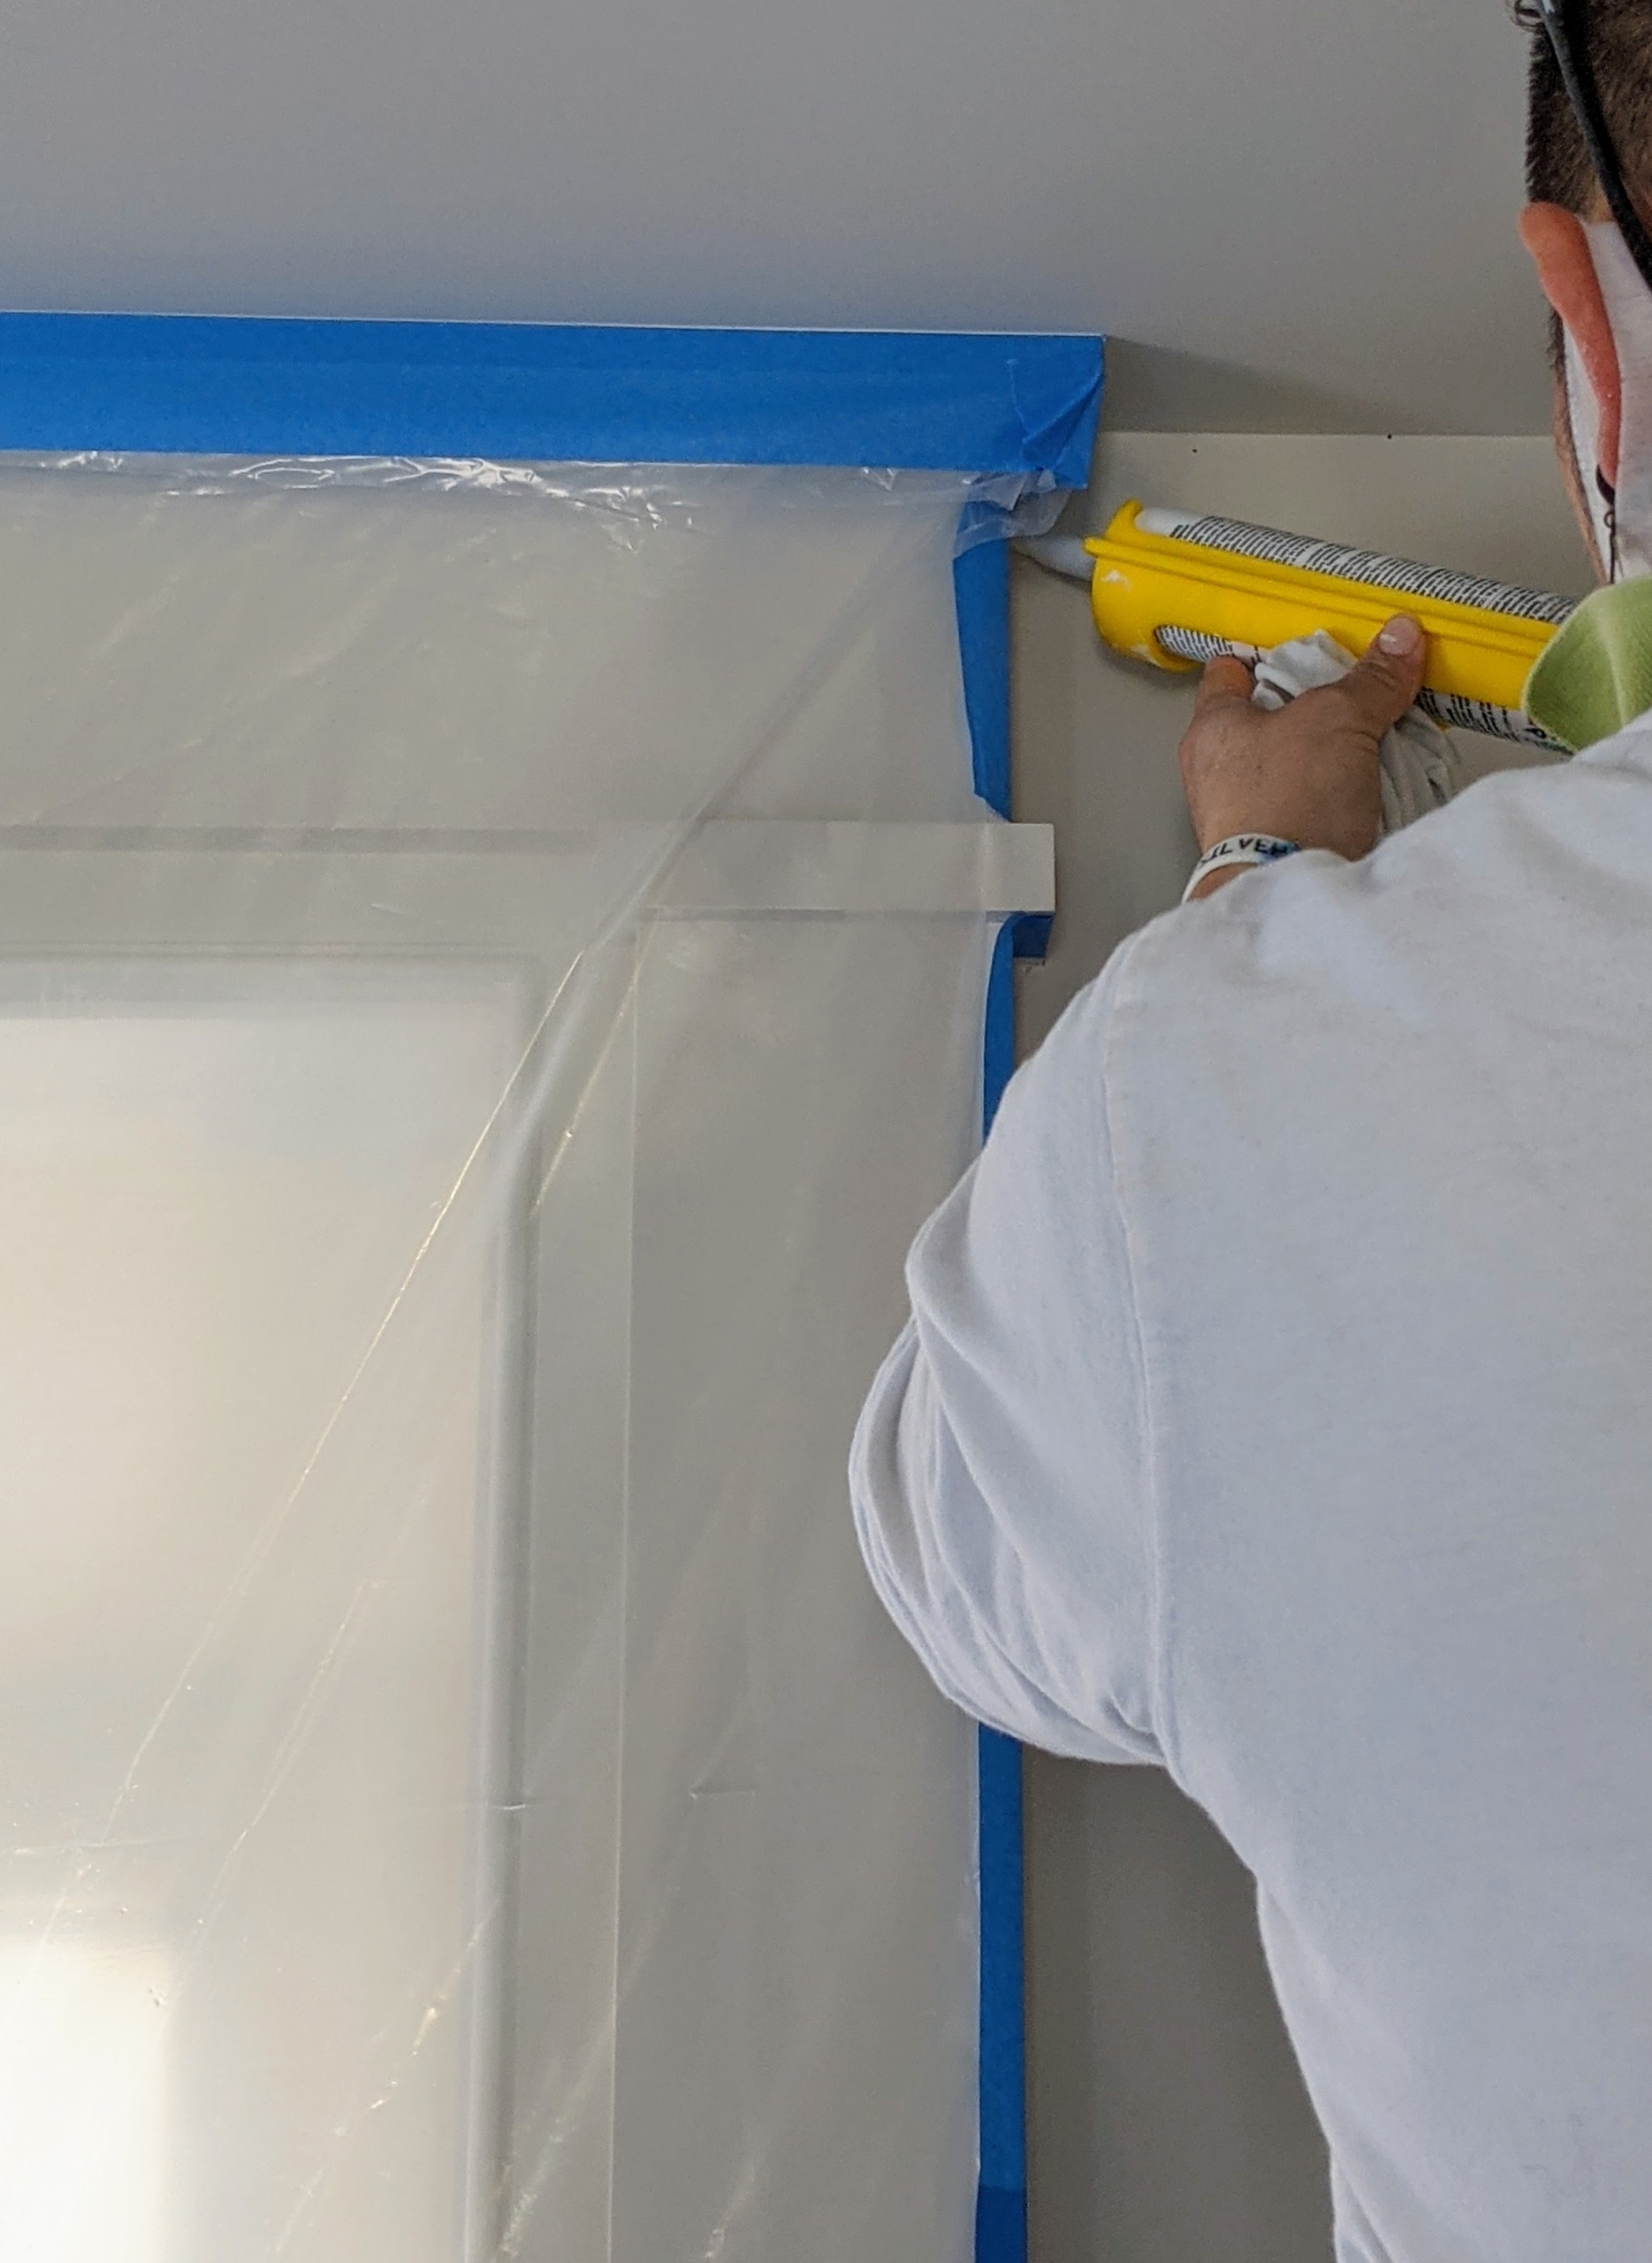
The next step is to prep the surfaces and fill any timeworn cracks, etc. with caulk.
All the areas are then primed and left to dry. Priming is an important step to any room painting project. The main reason surface preparation is so crucial is because paint can’t adhere to unprepared surfaces. If a paint job is rushed and prep work is left undone, the paint will peel, crack, bubble up, and flake because it is not sticking properly.
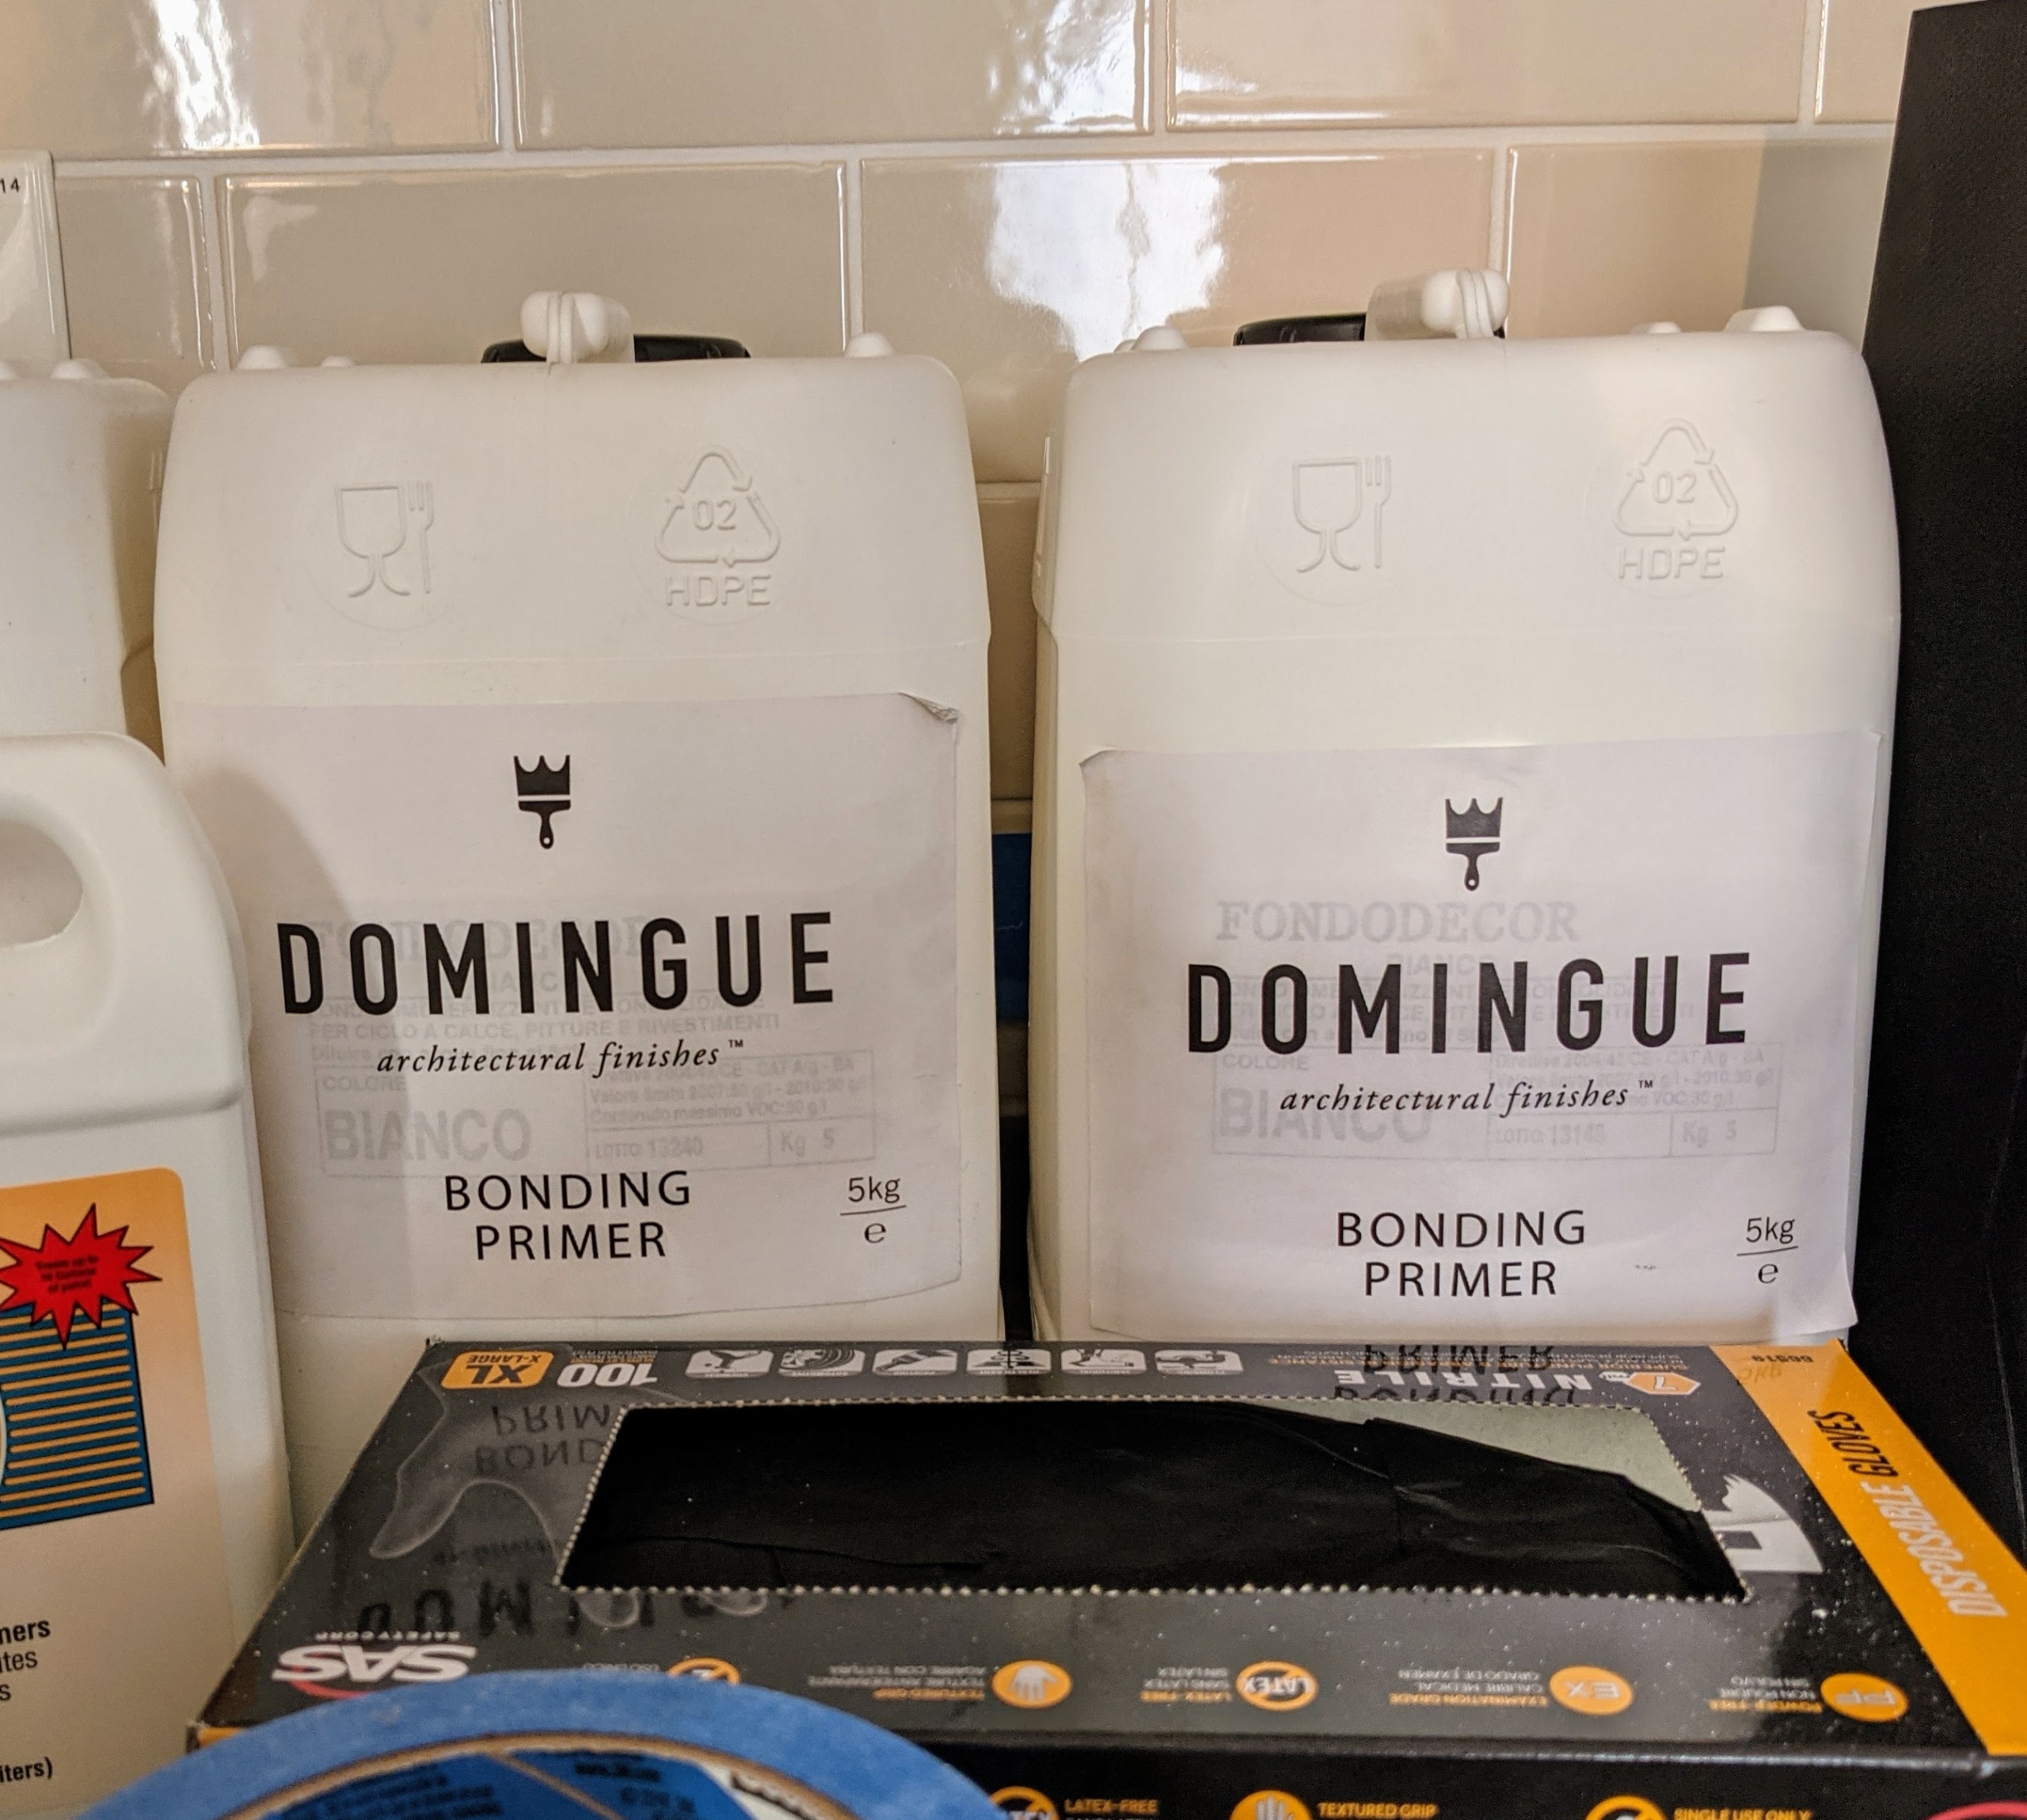
We’re using Domingue Architectural Finishes Bonding Primer. A bonding primer provides the best coating and promotes good adhesion to the surface.
The primer is applied and then all the supplies are organized neatly underneath the kitchen island until the next day. Keeping everything organized and ready to use saves time in the long run.
This paint is from Domingue Architectural Finishes. The company that makes these fine paints is Chateau Domingue, one of the country’s premier importers of European furnishings and architectural pieces. Founded in Texas in 2002 by Ruth Gay, Chateau Domingue specializes in French, Italian and Belgium designs from the 15th through the 19th centuries – all inspired by Ruth’s longtime passion for architecture and design, and her many travels throughout Europe. Over the years, Ruth expanded her business to include Atelier Domingue Architectural Metalcrafts, which fabricates custom steel windows and doors, and Domingue Architectural Finishes which provides beautiful plaster surfaces, and limewash and mineral paint finishes – all made from natural elements.
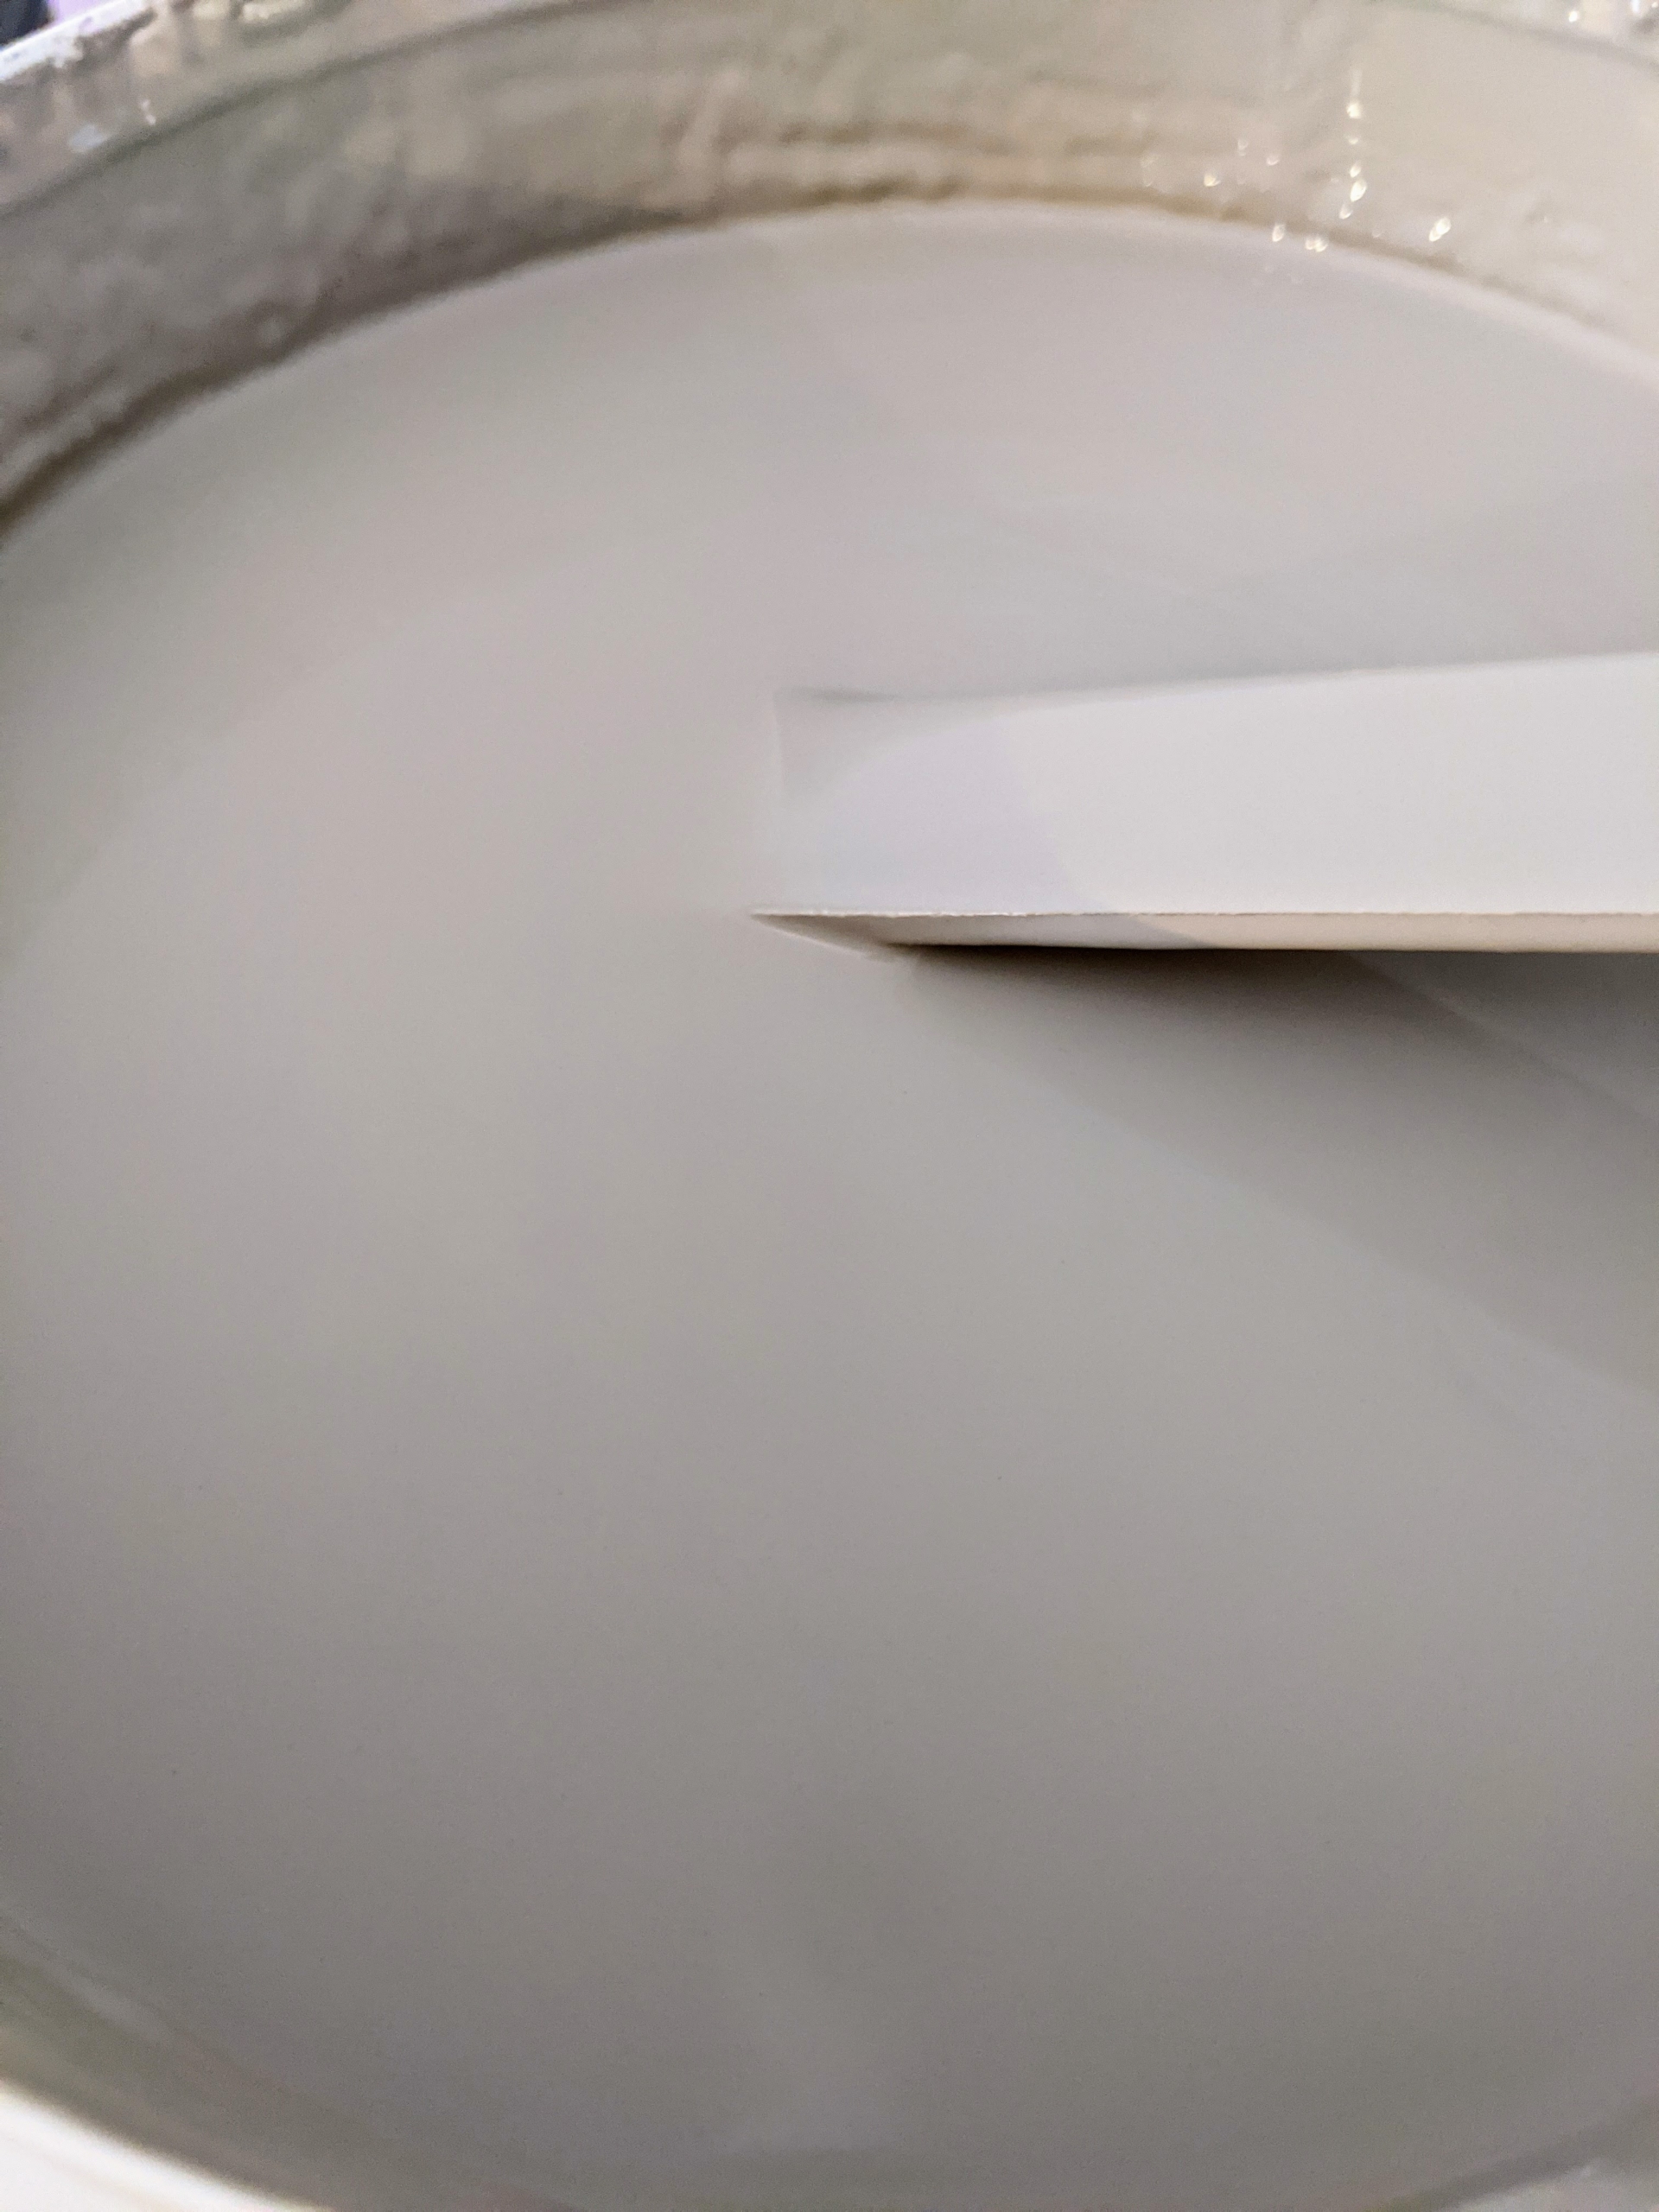
We’re using two different colors. This is called Nuvolo. I chose to use this for the kitchen and and hallways.
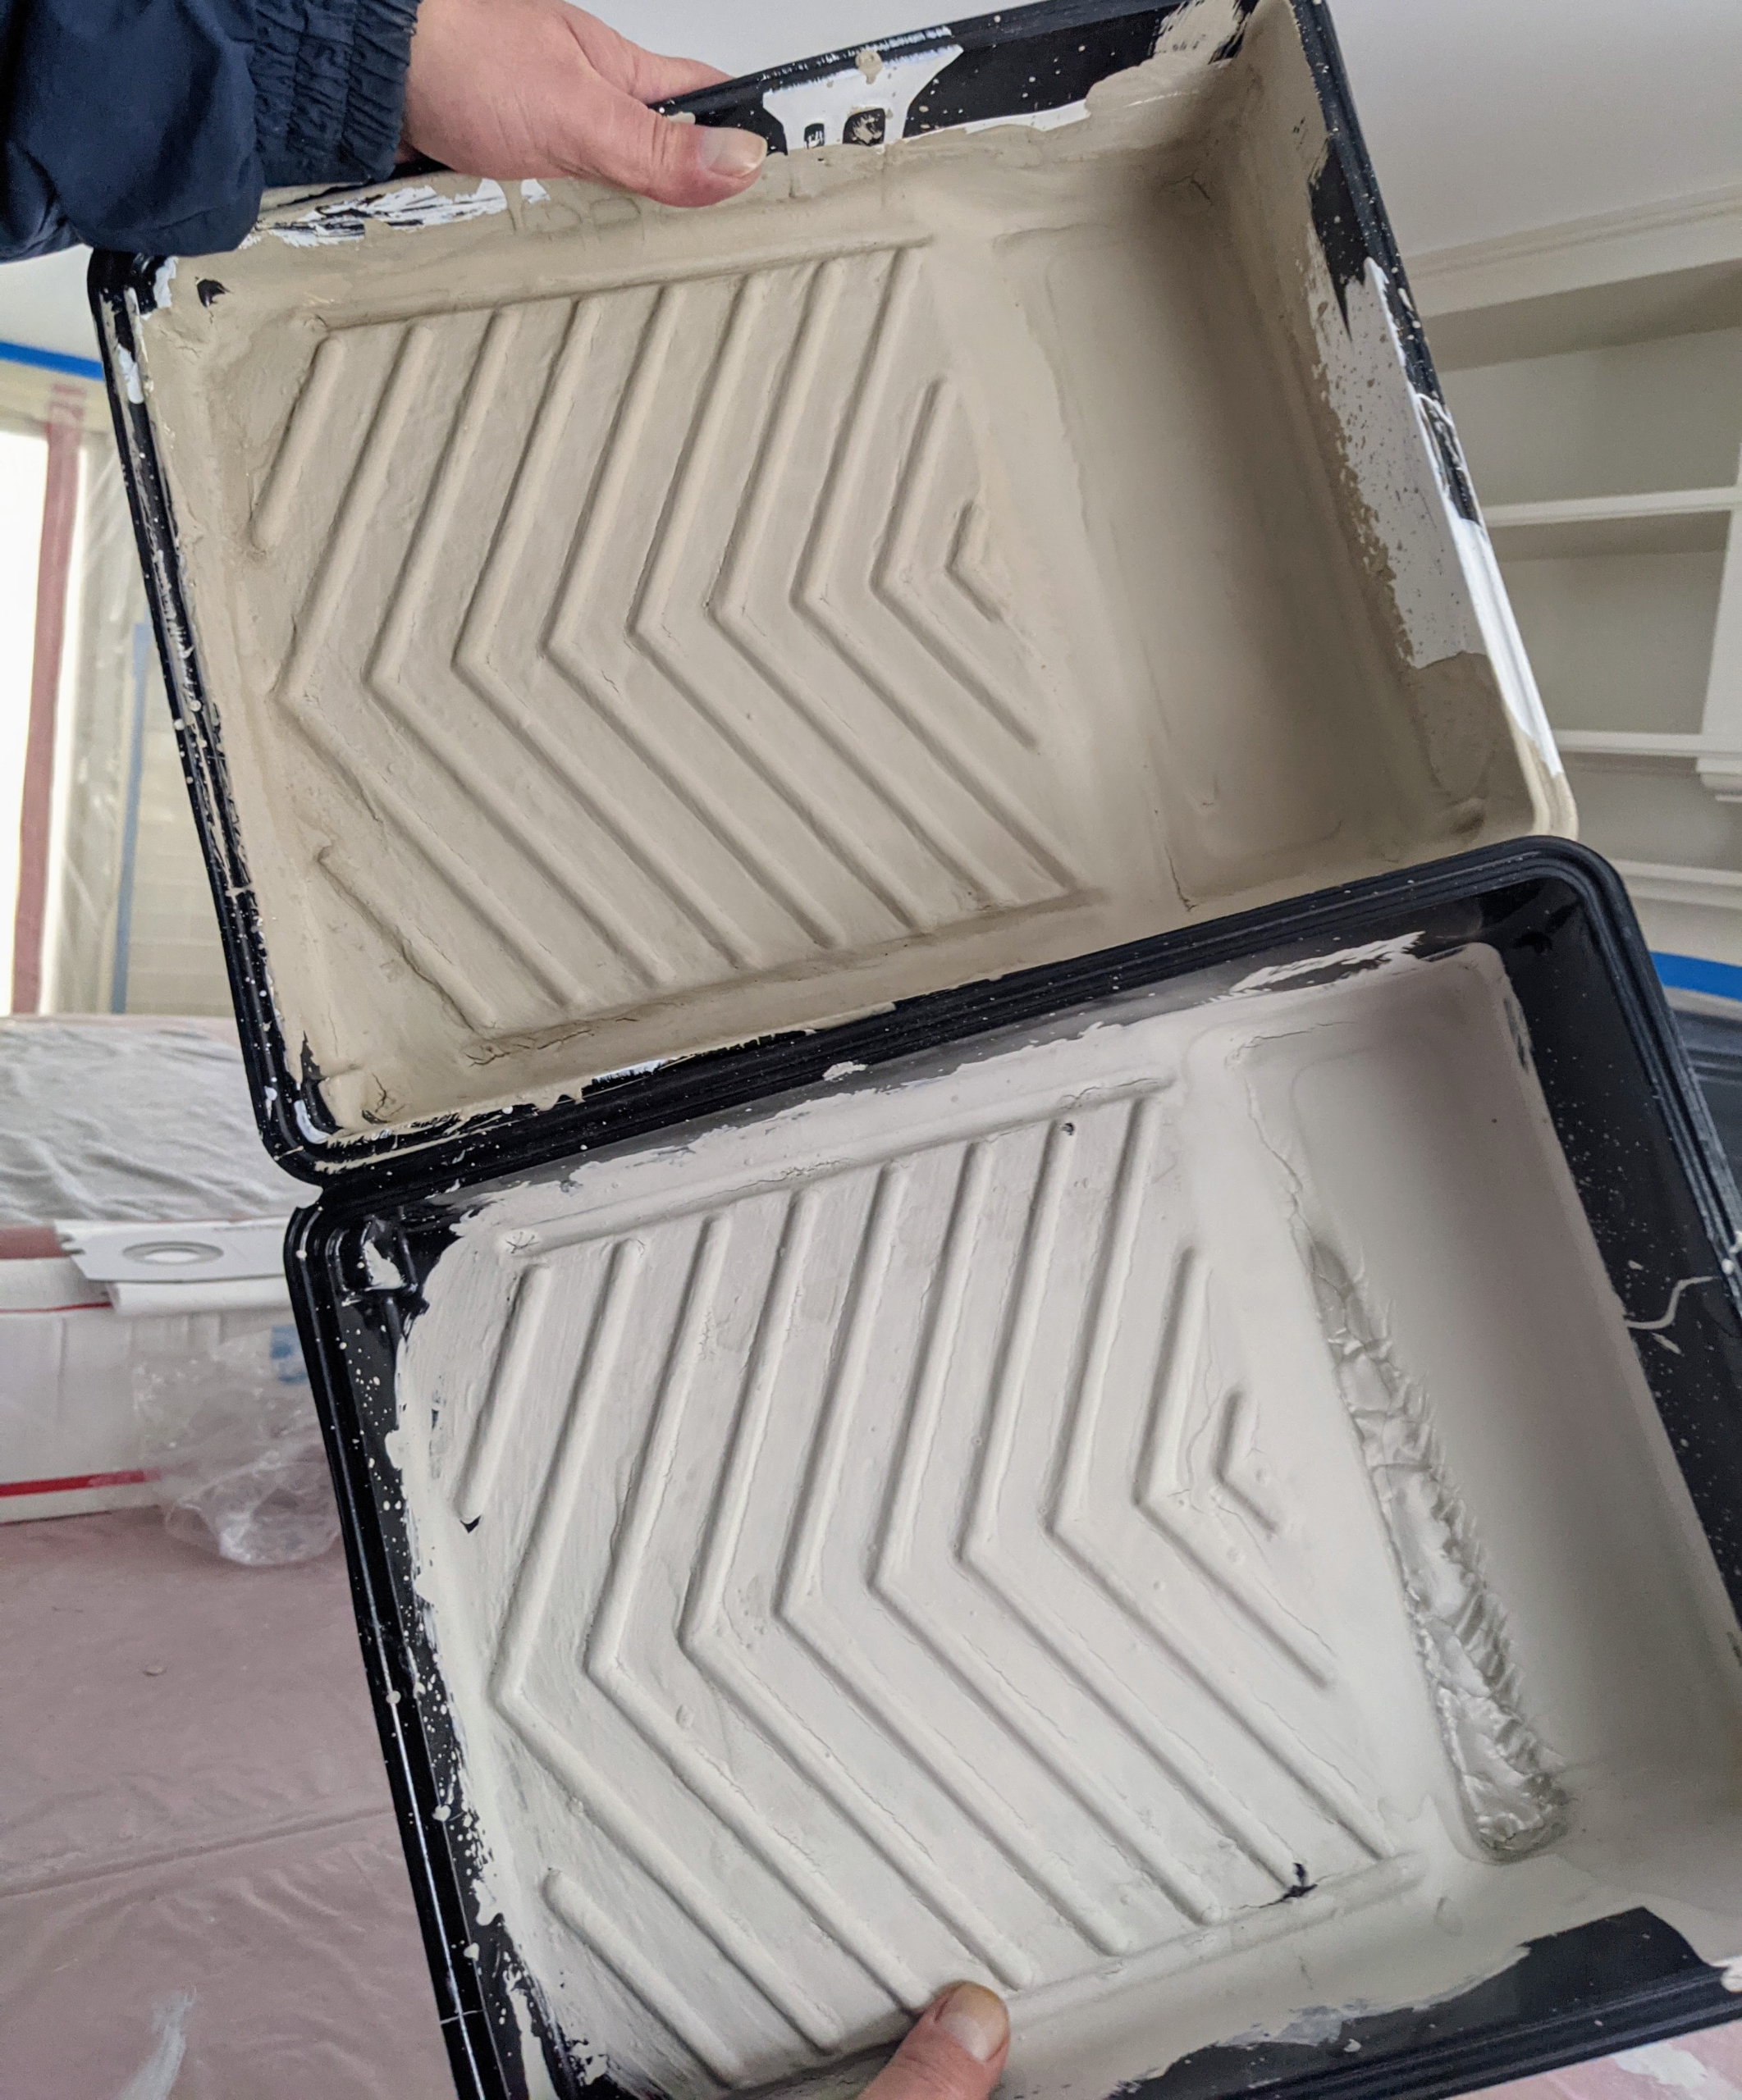
The other color is Scarpa, on top, designated for the living room and bedrooms. It is a little darker. Another tip is to use the same paint pans for like colors throughout the project, so there is never a chance of mixing or altering the shades.
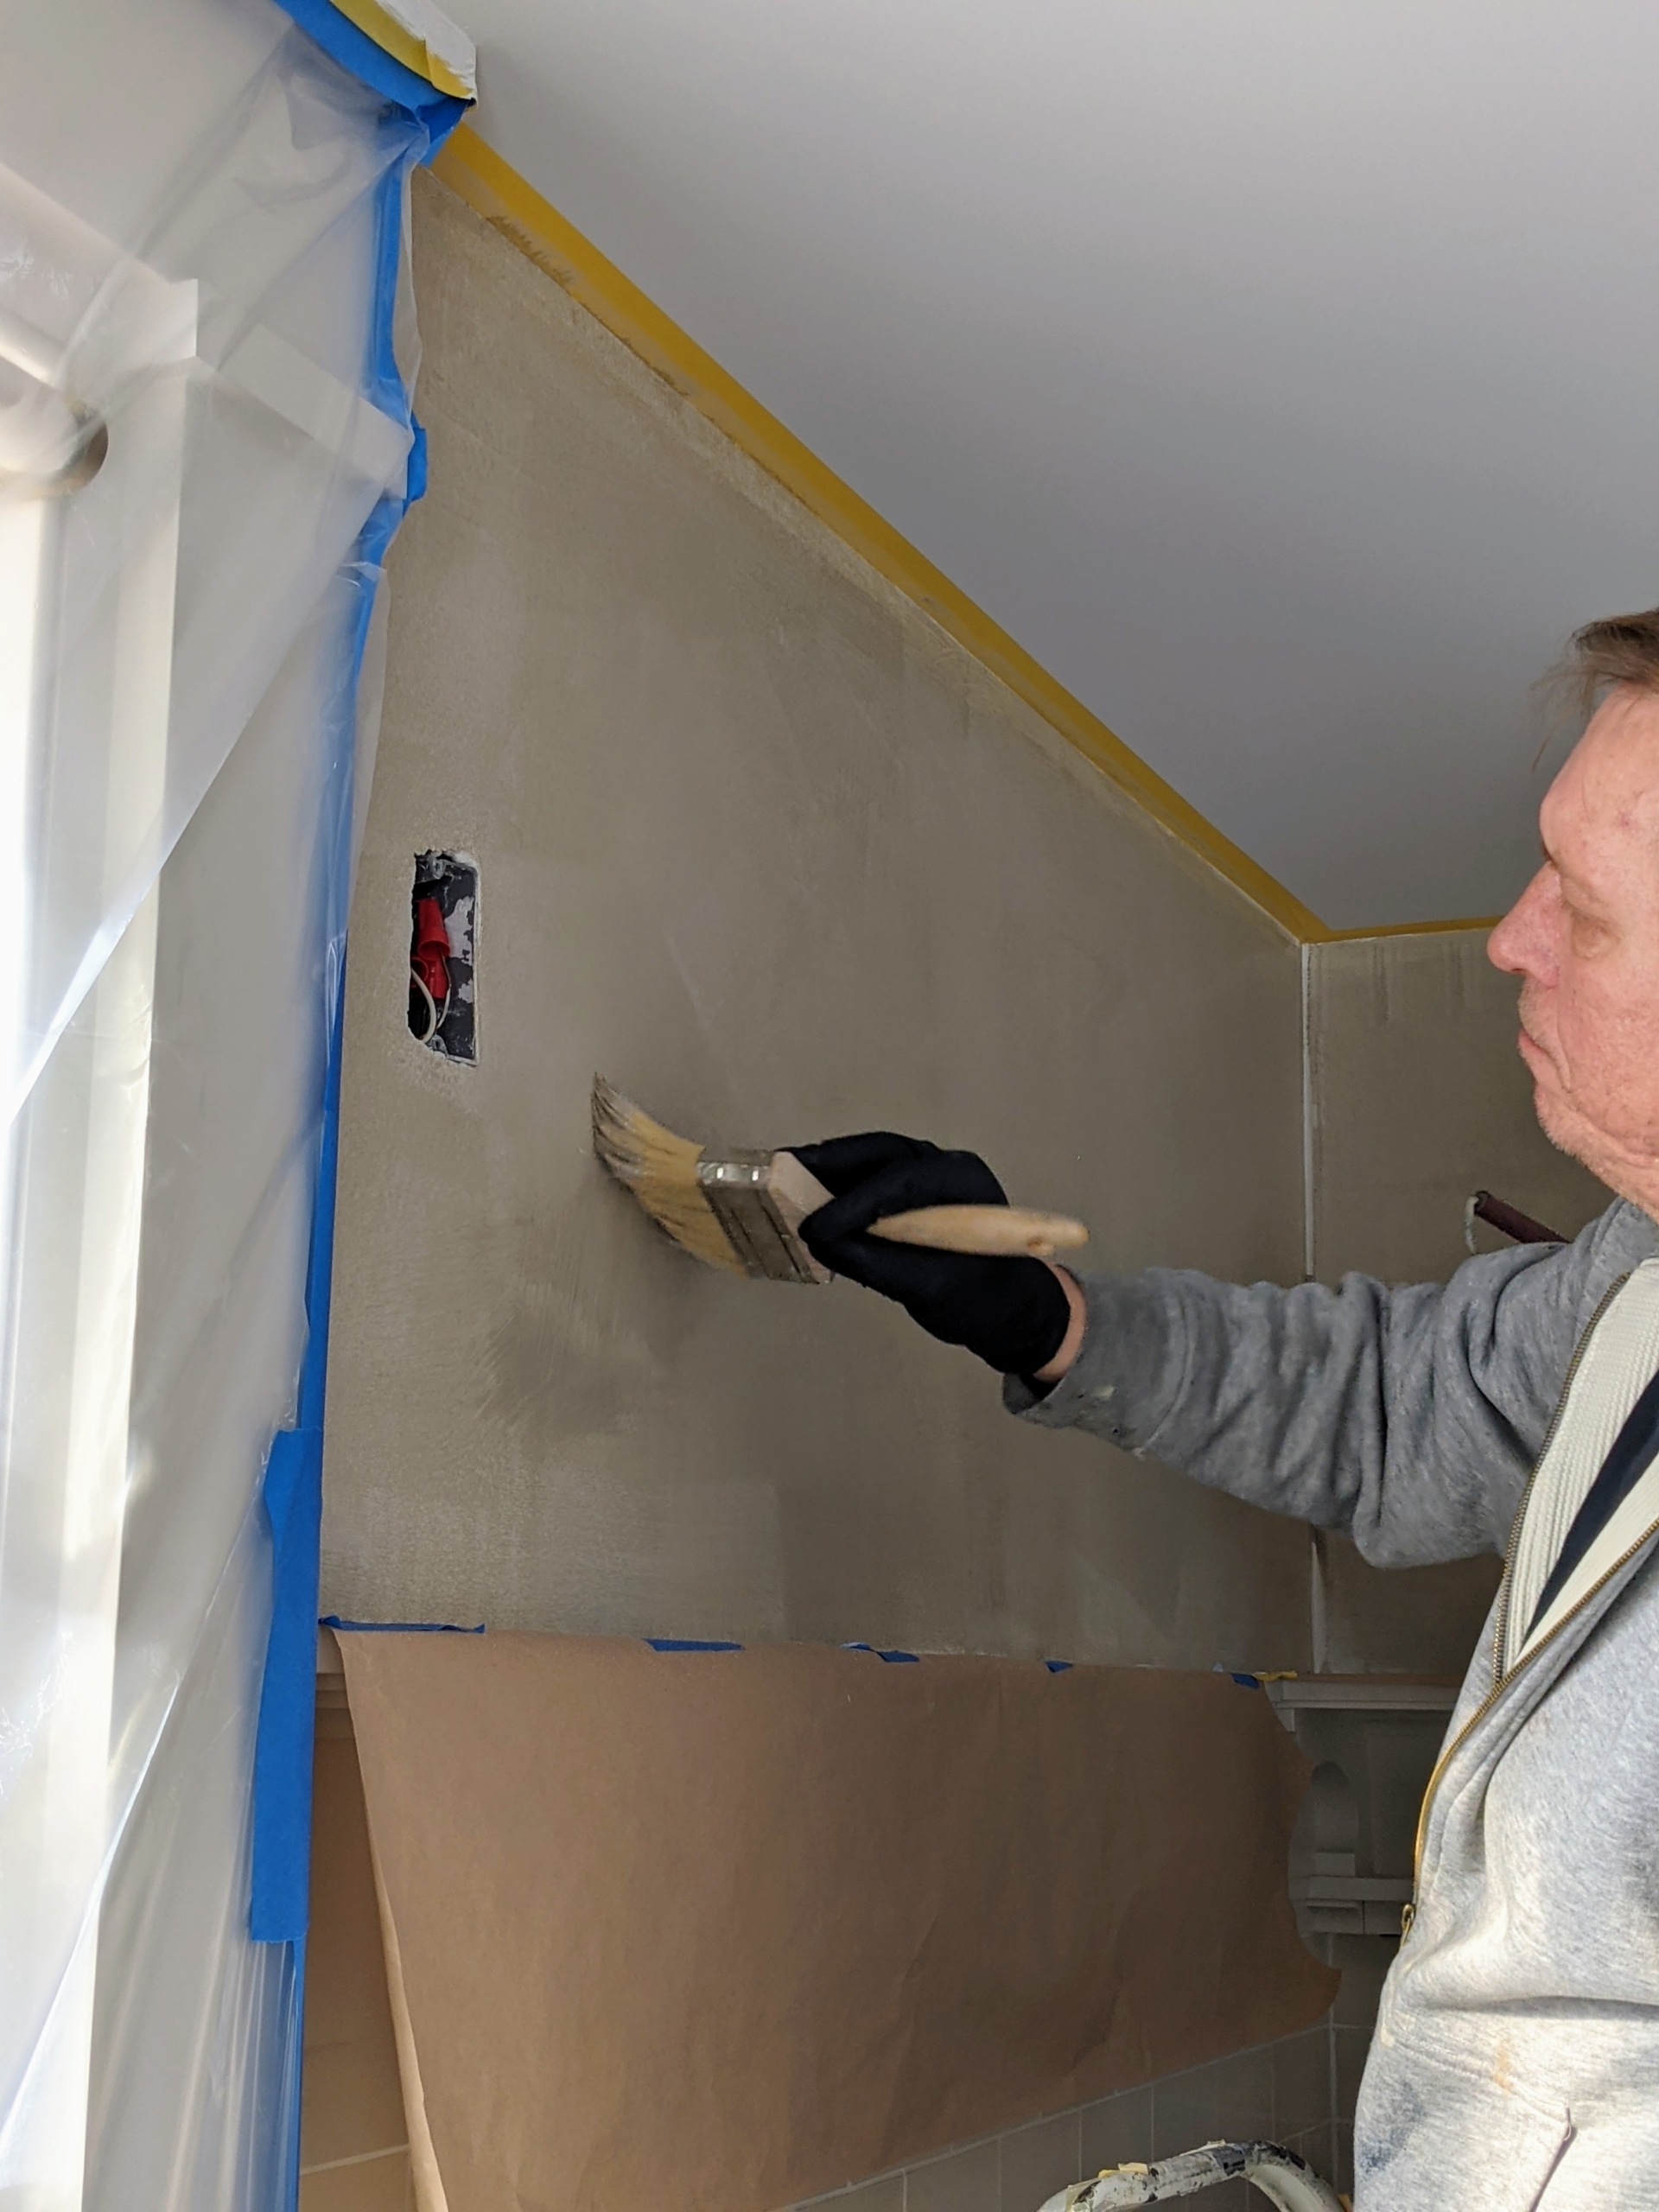
Stephan applies a very light first coat of limewash to the wall. Limewash should be applied in several thin coats using a long-haired or masonry paintbrush that creates feathered strokes.
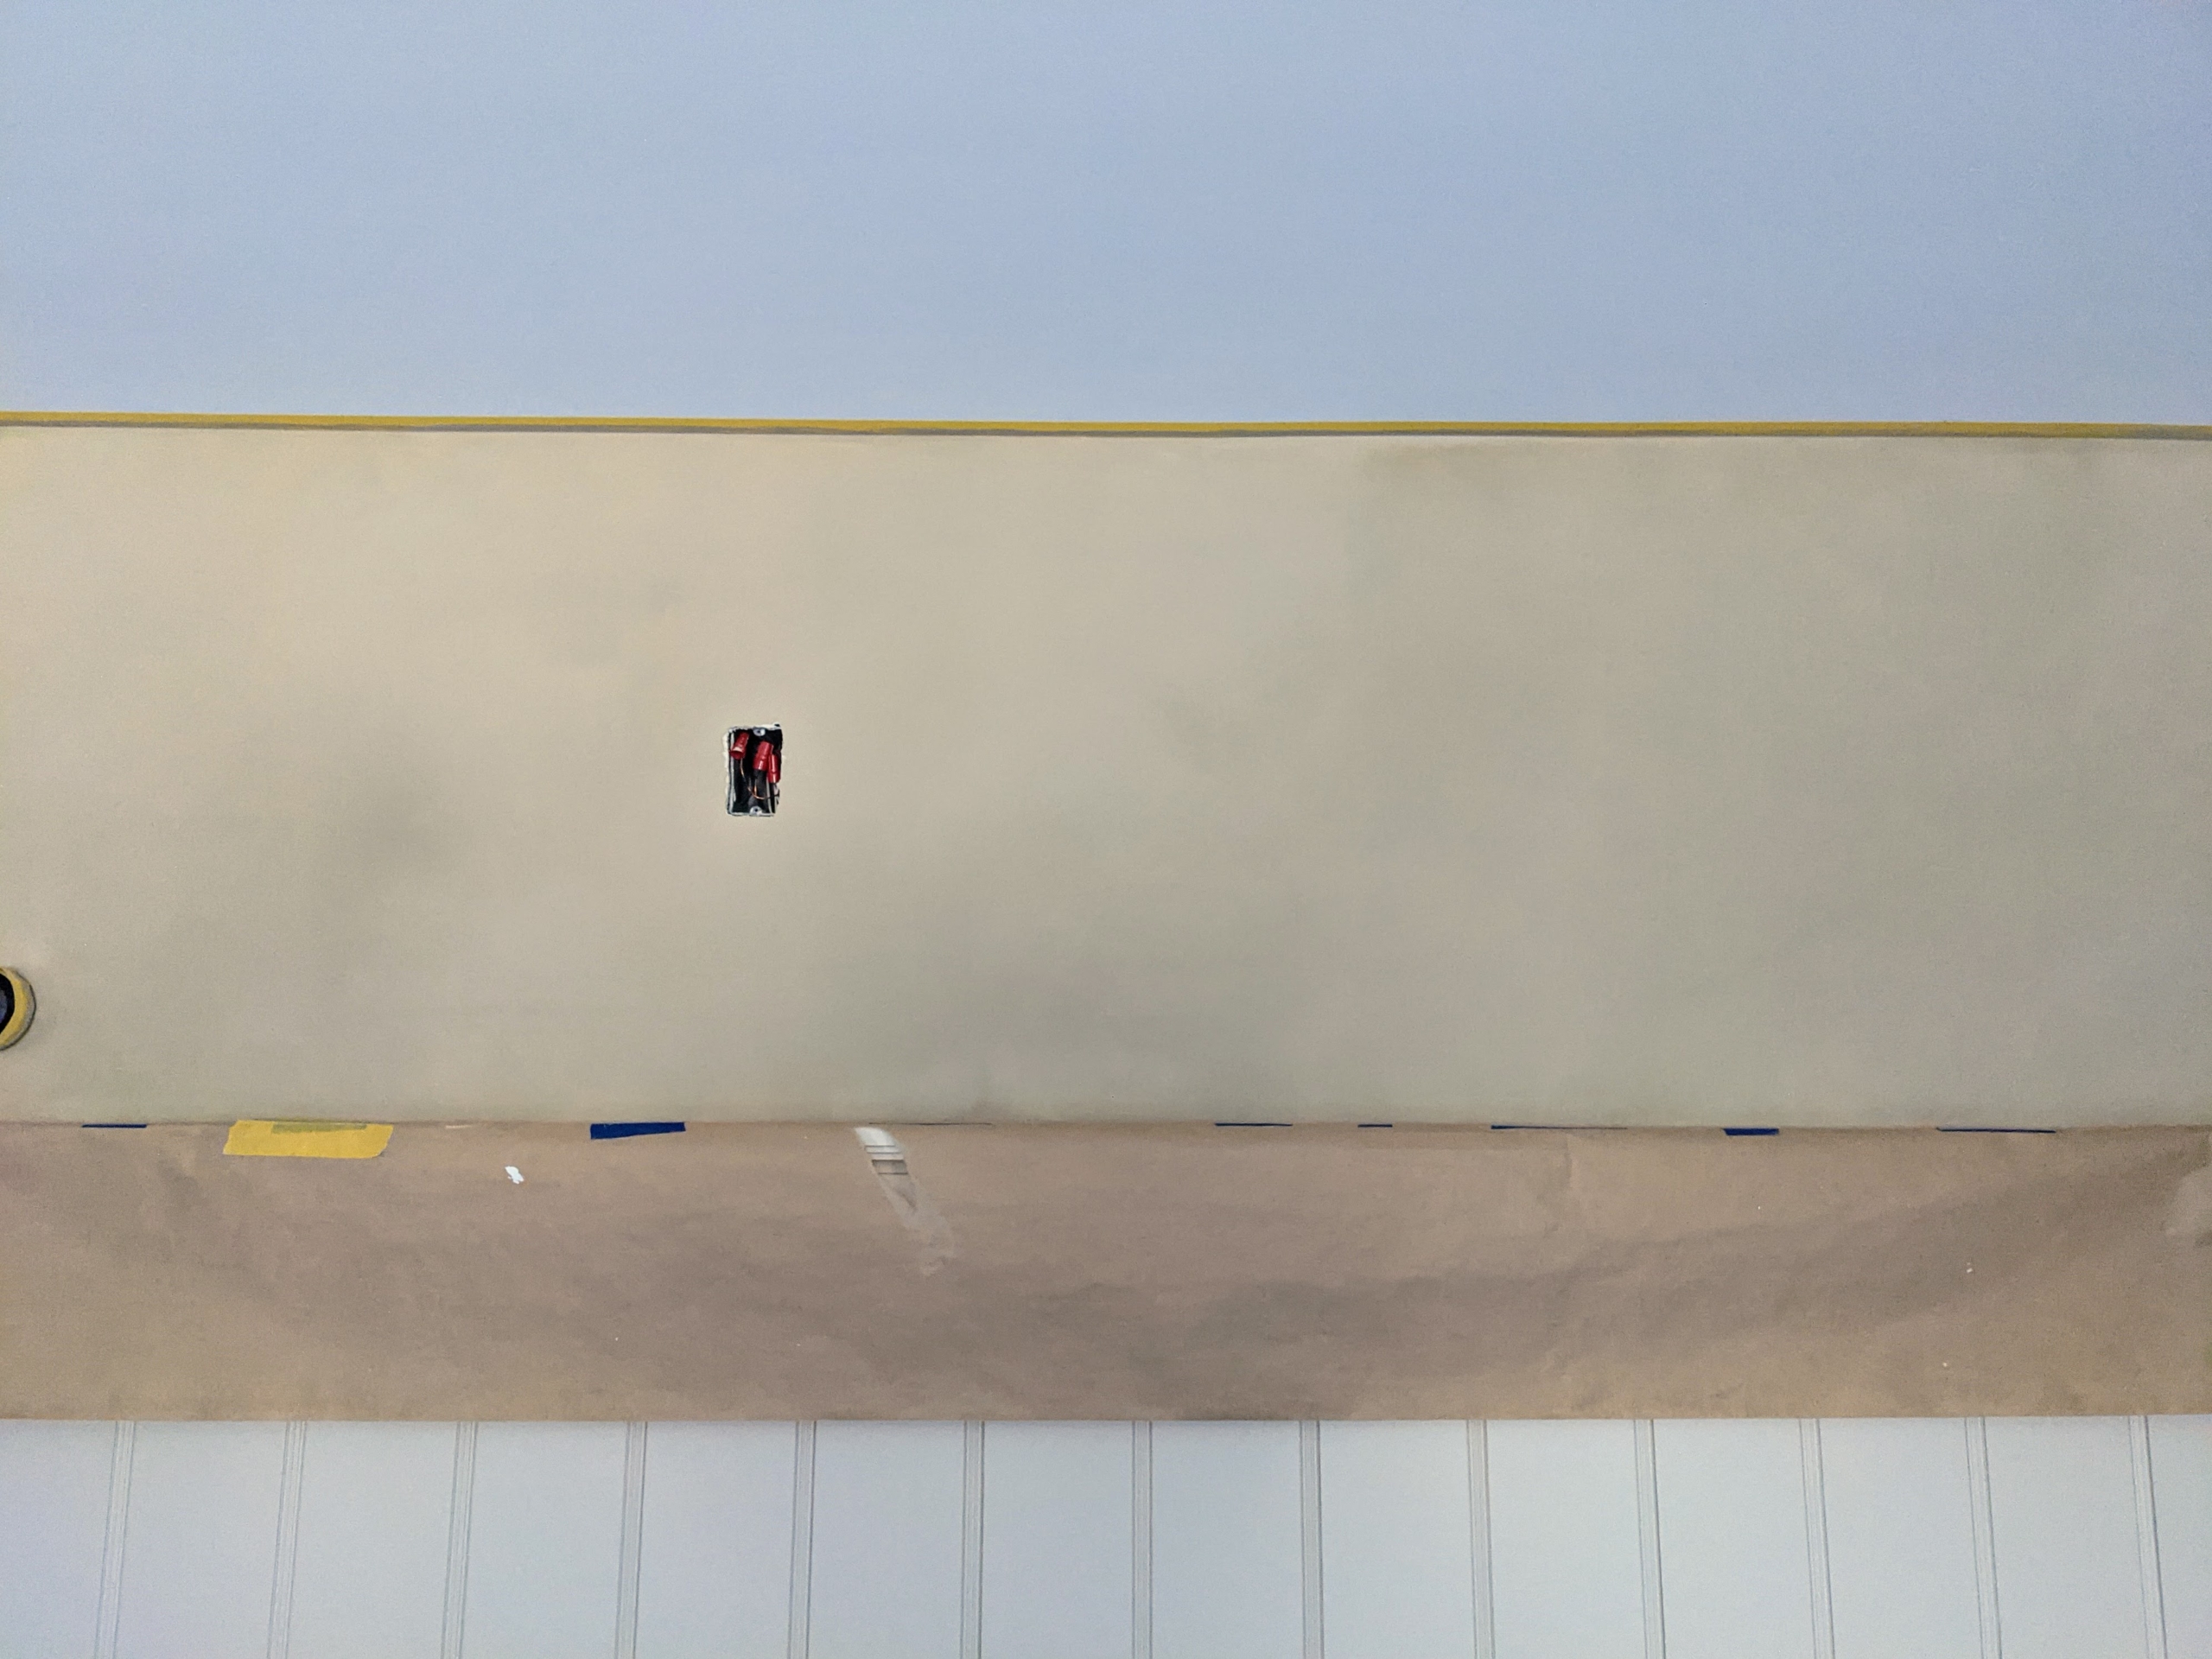
This is one of the kitchen walls drying. Limewash becomes much lighter as it dries. It’s up to 10 times darker when it’s wet, so it’s important to test the colors. The opacity depends on the number of coats that are applied; typically up to three coats. I decided on two coats.
This is the darker shade of Scarpa on a living room wall.
While the downstairs dries, the upstairs is prepped. Again, Stephan and his team apply the protective floor coverings in all the bedrooms and in the hallway.
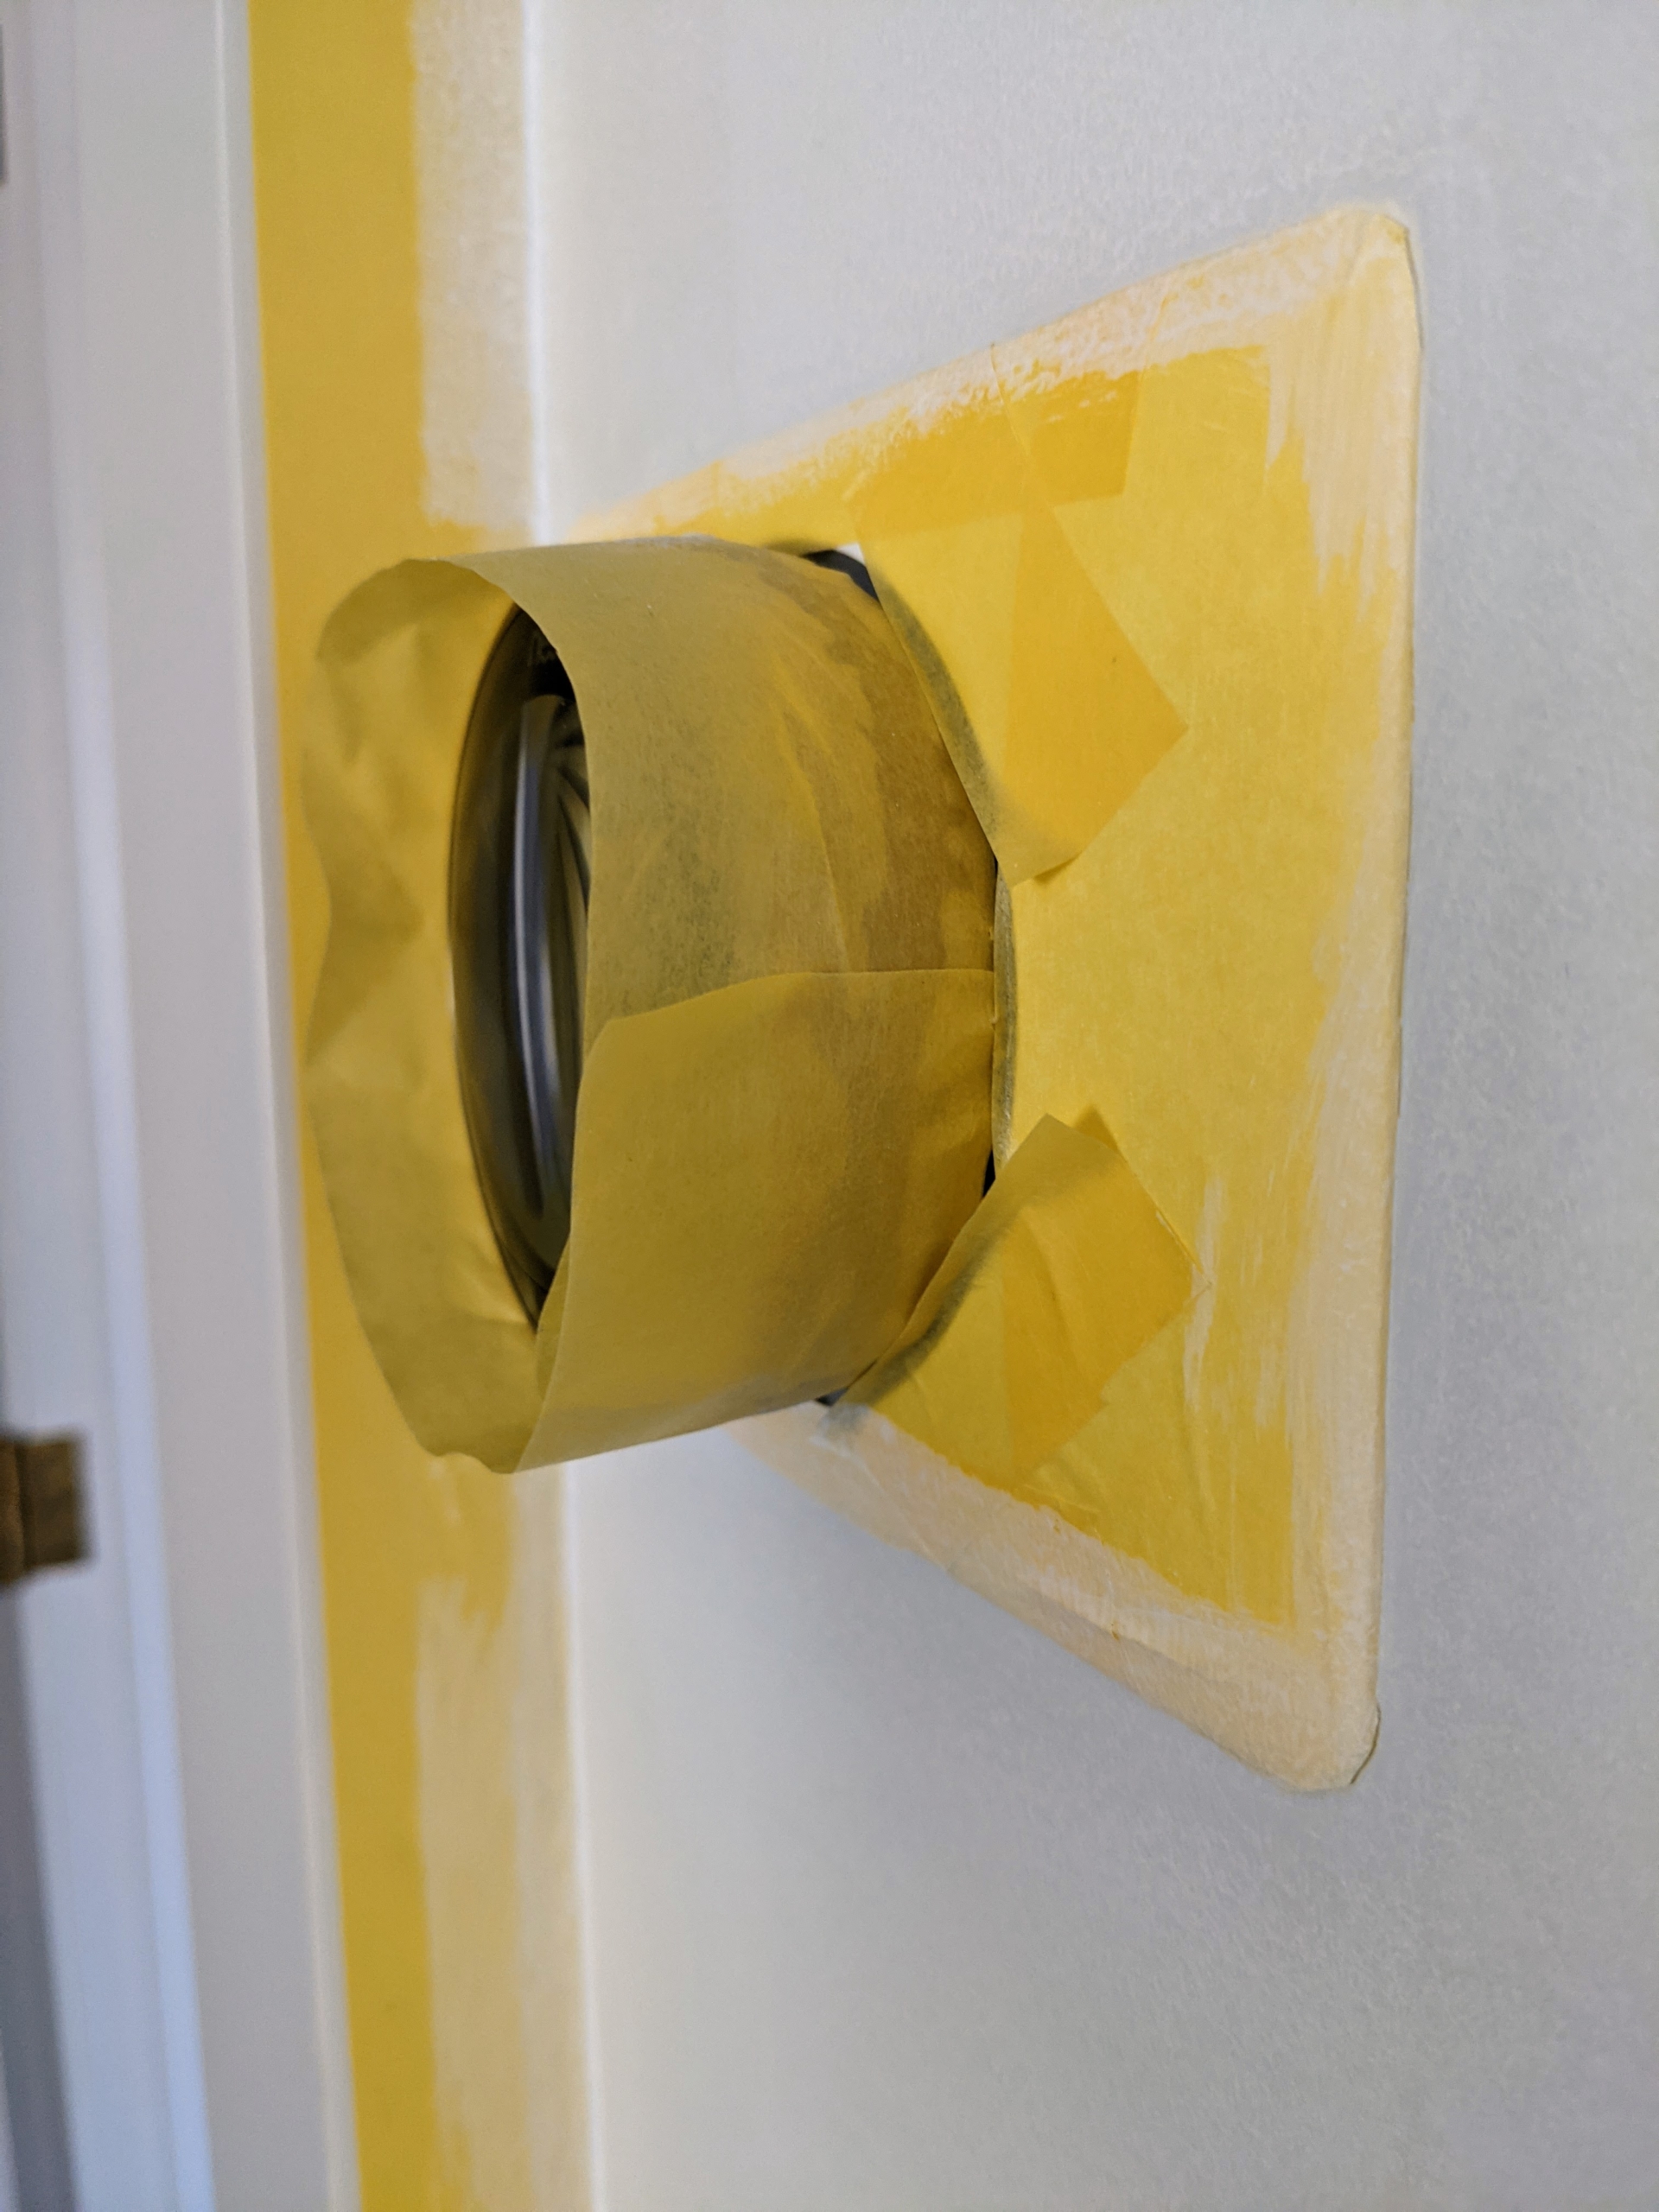
All the thermostats are taped as well. Taping before painting not only provides a barrier to surfaces that aren’t being painted, but allows painters to work quickly without worrying about making mistakes. Taping also helps create clean lines and protect areas from possible drips.
Different types of tape with varying amounts of adhesive allow one to use stronger tapes in one area and less sticky tapes in another.
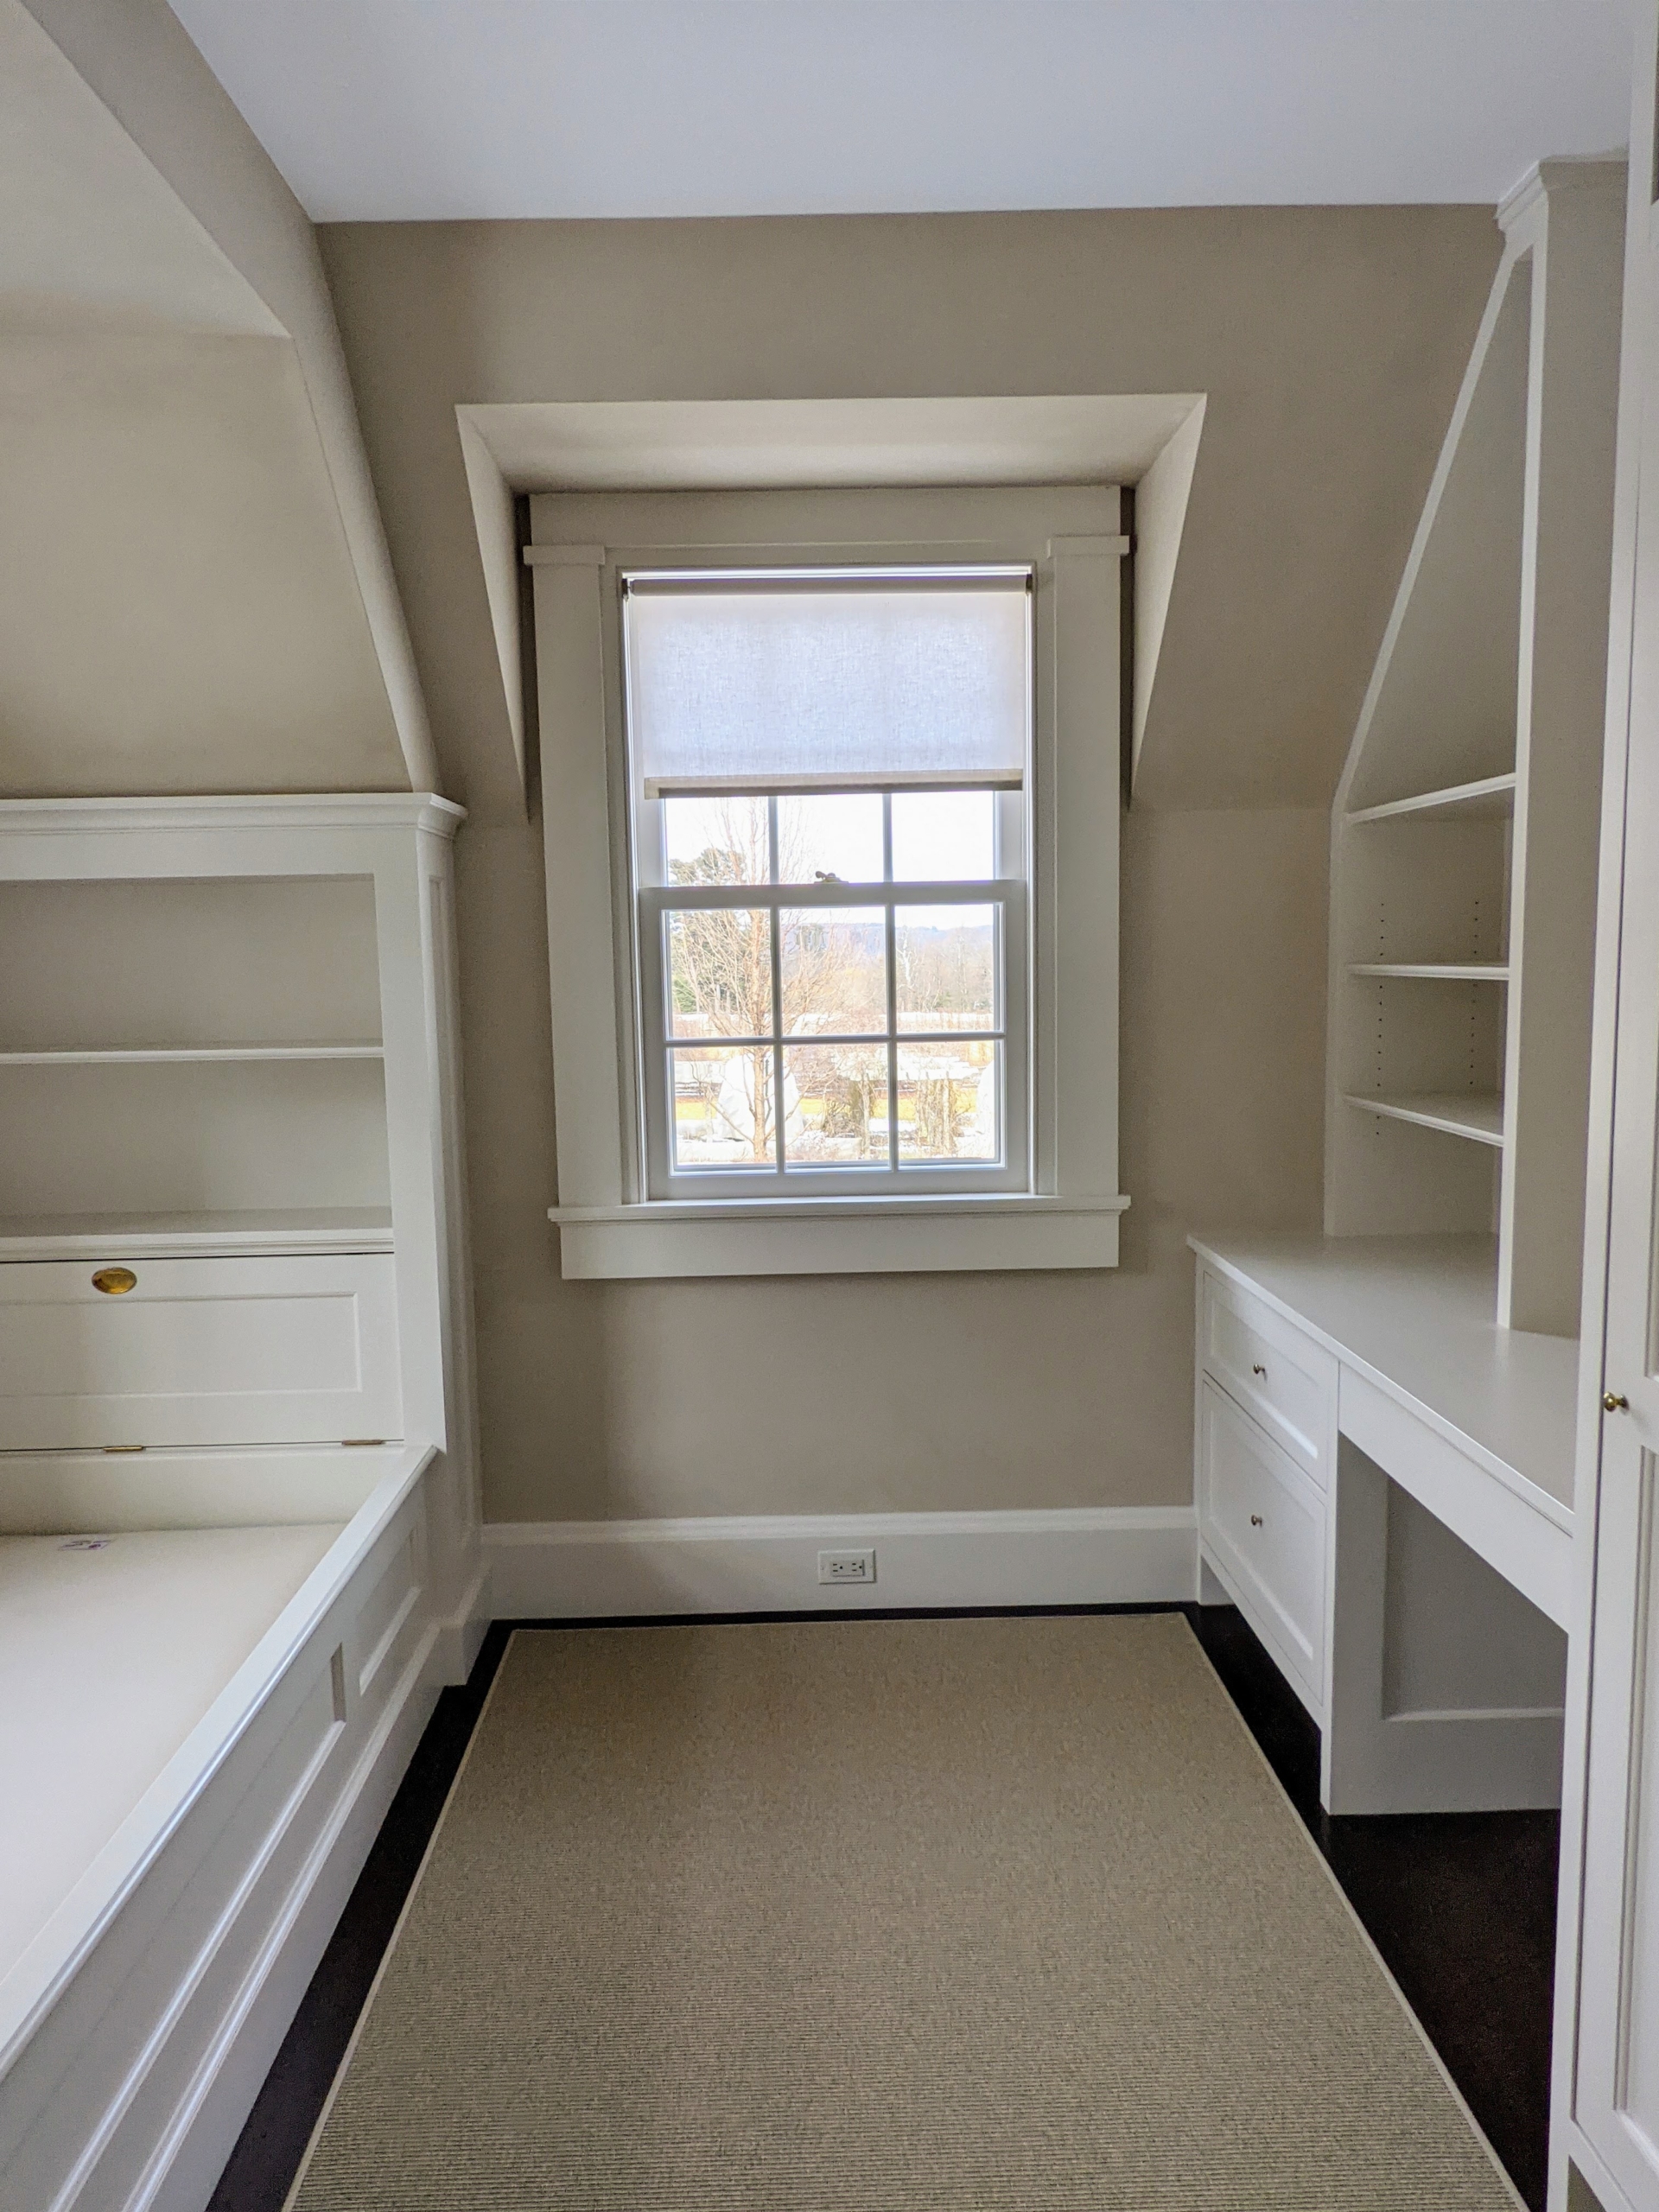
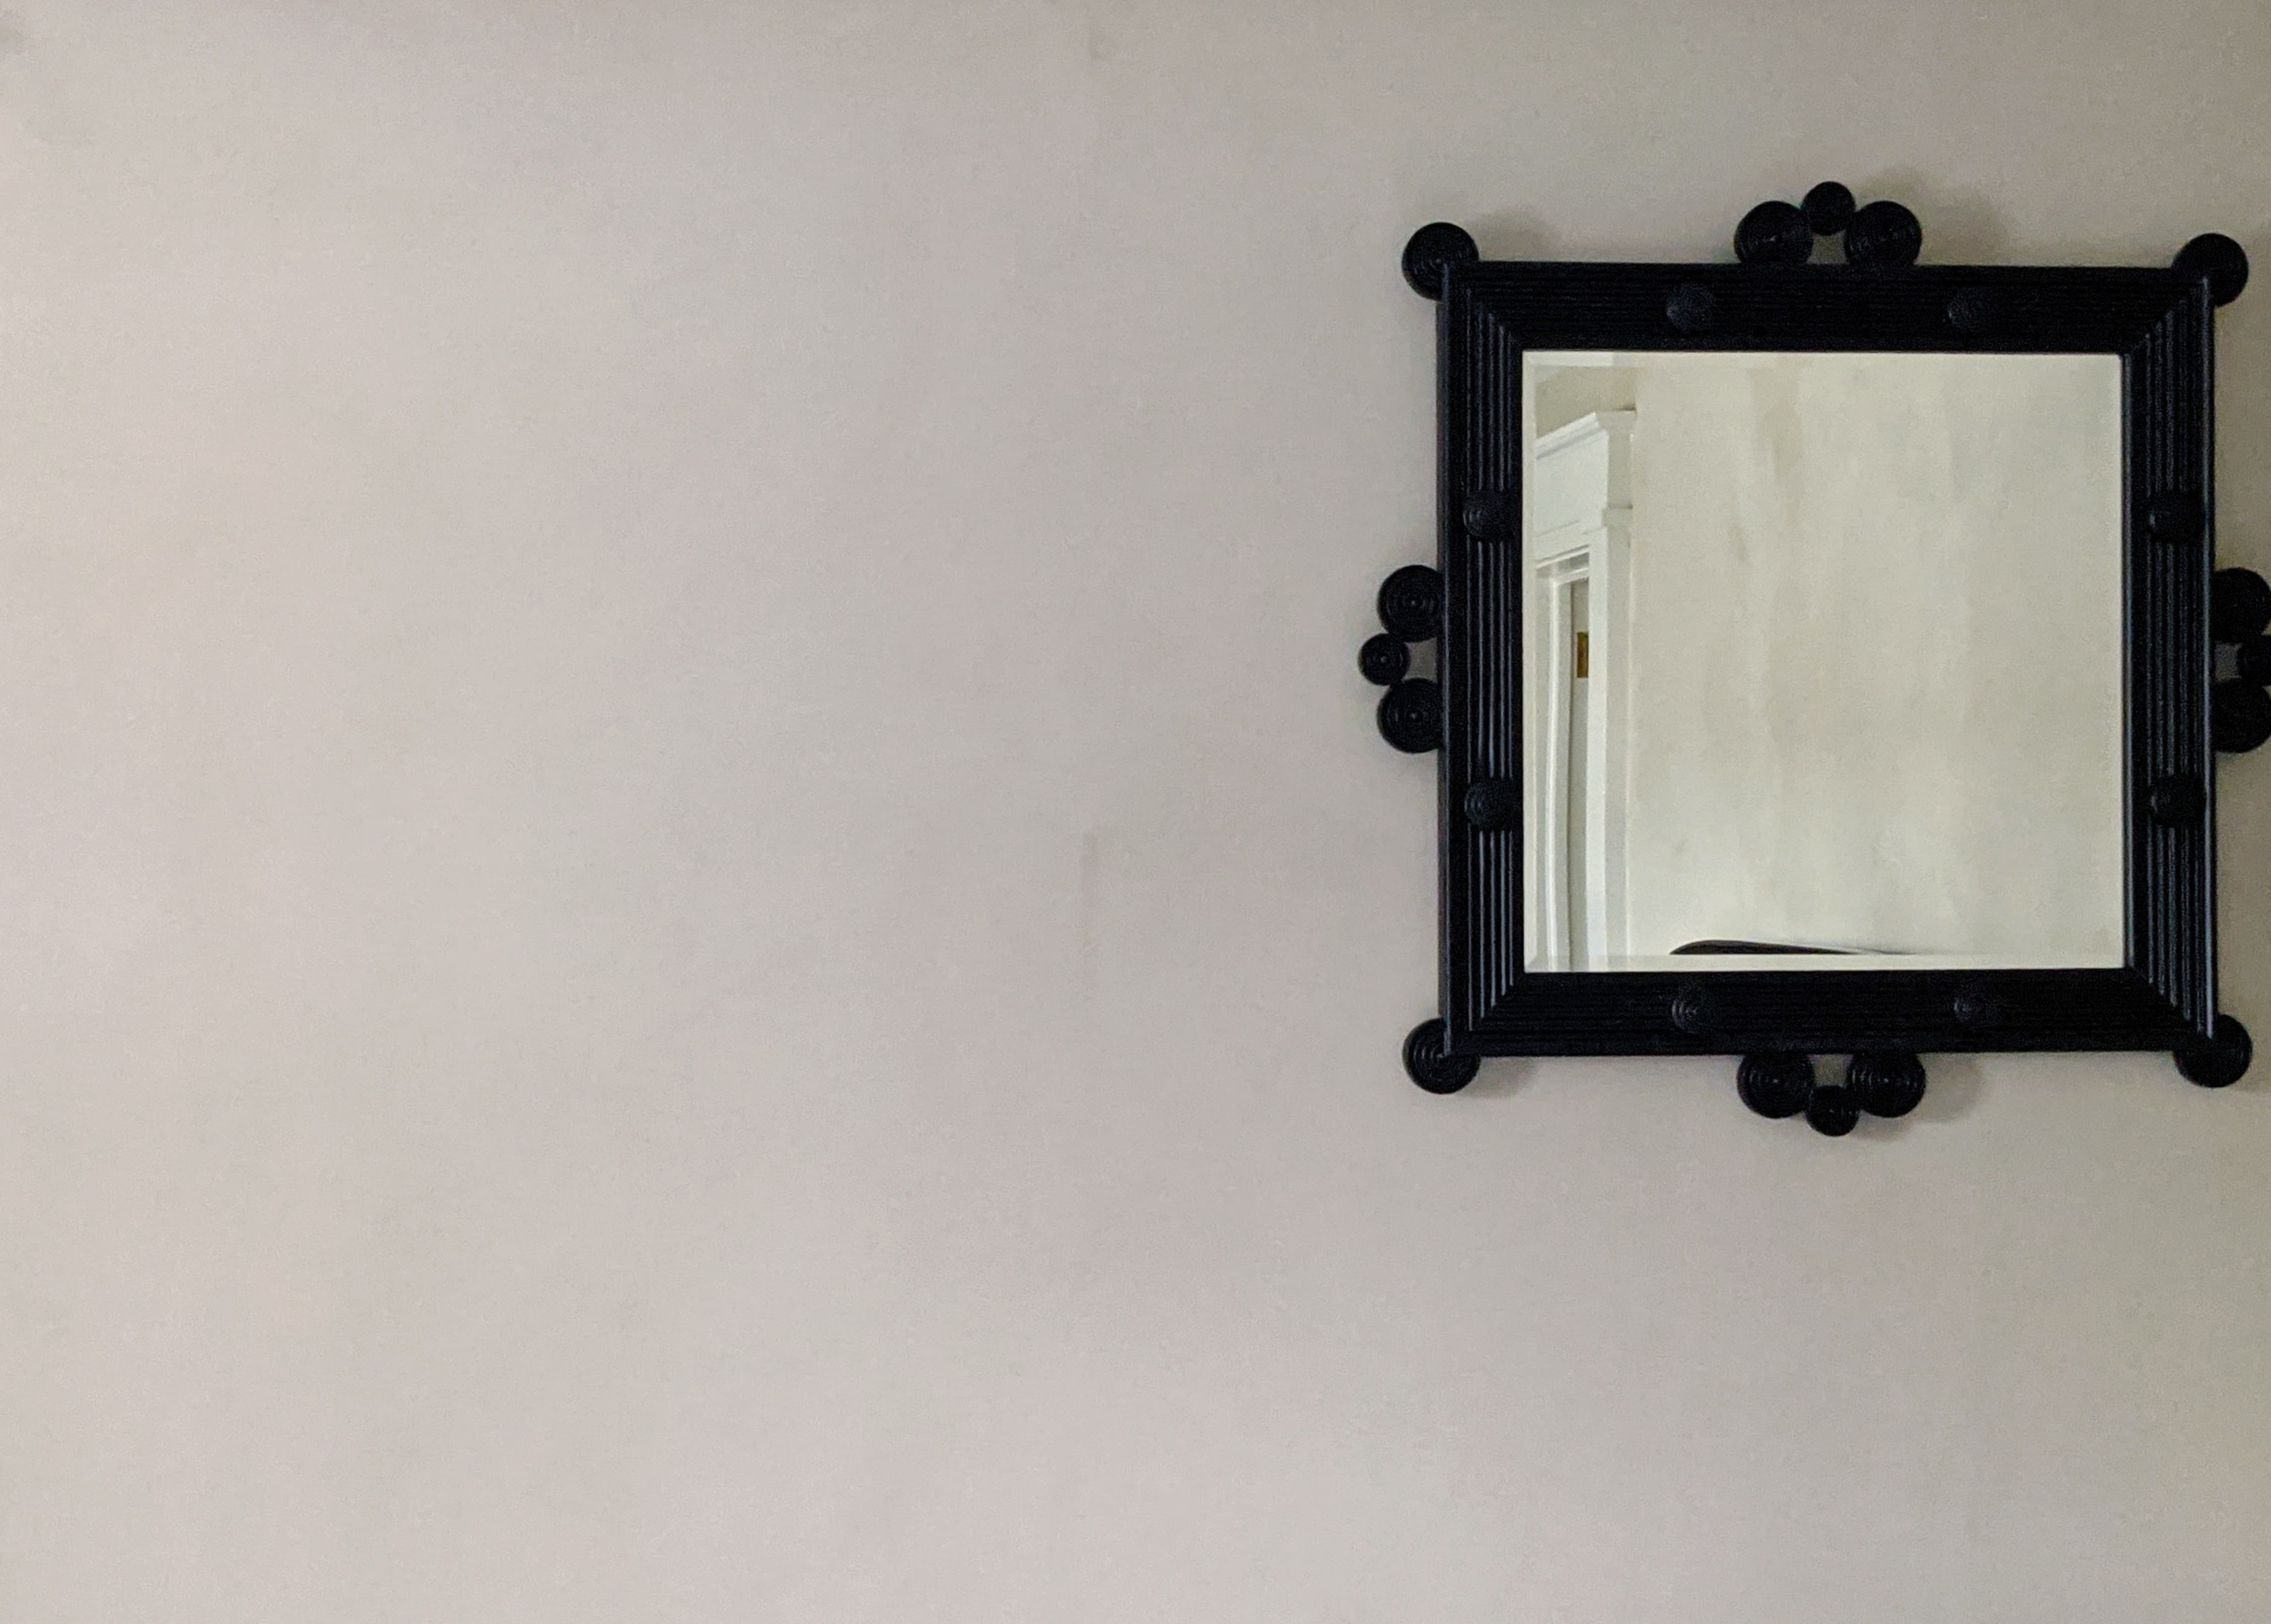
And here is the finished bedroom. The trim paint is in excellent condition, so none of the trim had to be redone. It also matches excellently with the limewash color.
Here is another bedroom wall – I love how it all came out.
The change in paint is subtle yet elegant. The next phase will be to put back all the furniture – of course, with some changes in placement. I will be sure to show you some of those images when the decorating is all all done.
Limewash is a great all-natural finish alternative. Traditional limewash is environmentally-friendly and because of lime’s high pH level, microorganisms can’t survive, which adds a hypoallergenic quality. Limewash can be used indoors and out and is best applied to porous surfaces, such as plaster, stone, and brick. Let me know what you think in the comments below.
Have you ever seen an ice carousel? Have you ever heard of one? Picture a giant "lazy Susan" rotating on a frozen pond or lake - it's actually very interesting.
Ice carousels are floating discs cut into the ice and then propelled into rotation by an outboard motor. These ice creations originated in Finland, but have grown more popular over recent years here in the United States and in Canada. Recently, my longtime special projects producer, Judy Morris, was in South Bristol, Maine visiting family when she came across a group of individuals making an ice carousel in a backyard pond. The entire process took about three hours, but it made for a very fun afternoon on a cold winter day.
Here are some of Judy's photos and a short video, enjoy.
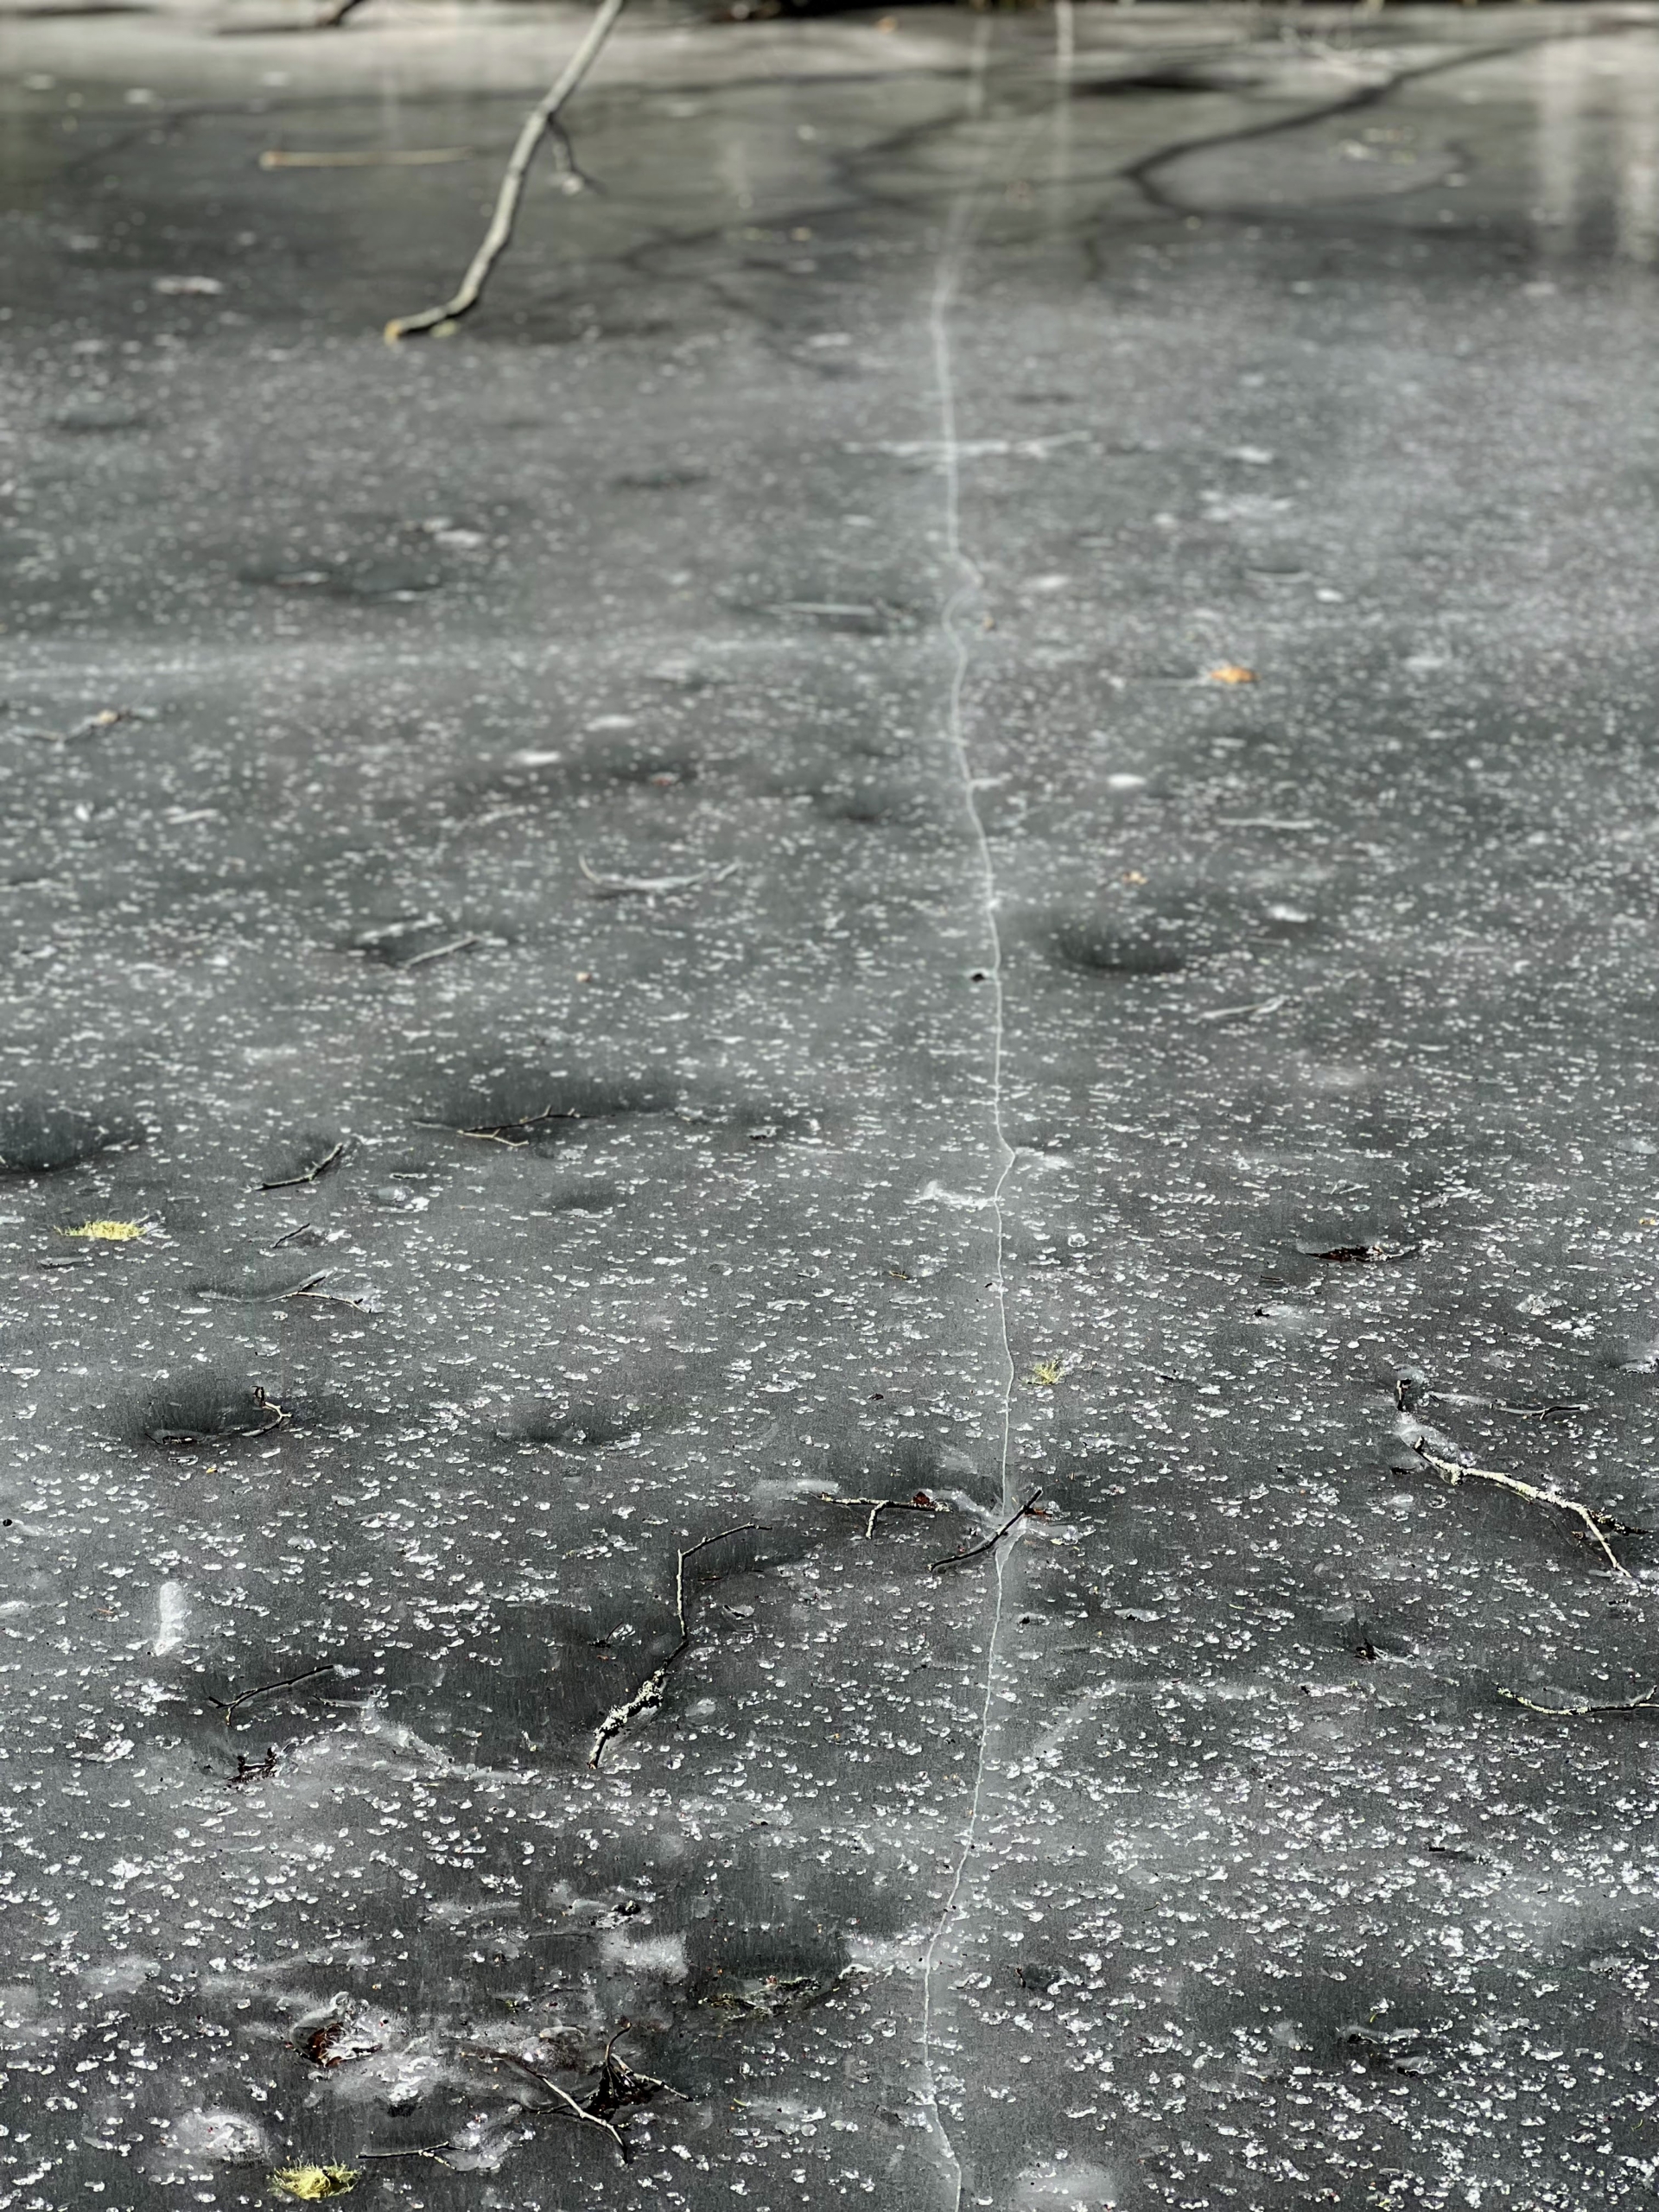
Before stepping on any pond or lake ice, it is very important to first make sure it is safe enough to do so. Blue to clear ice is the strongest and most dense. White or opaque ice – often called snow ice – usually has bubbles in it making it weaker. Gray or mottled ice is the weakest and the most unsafe.
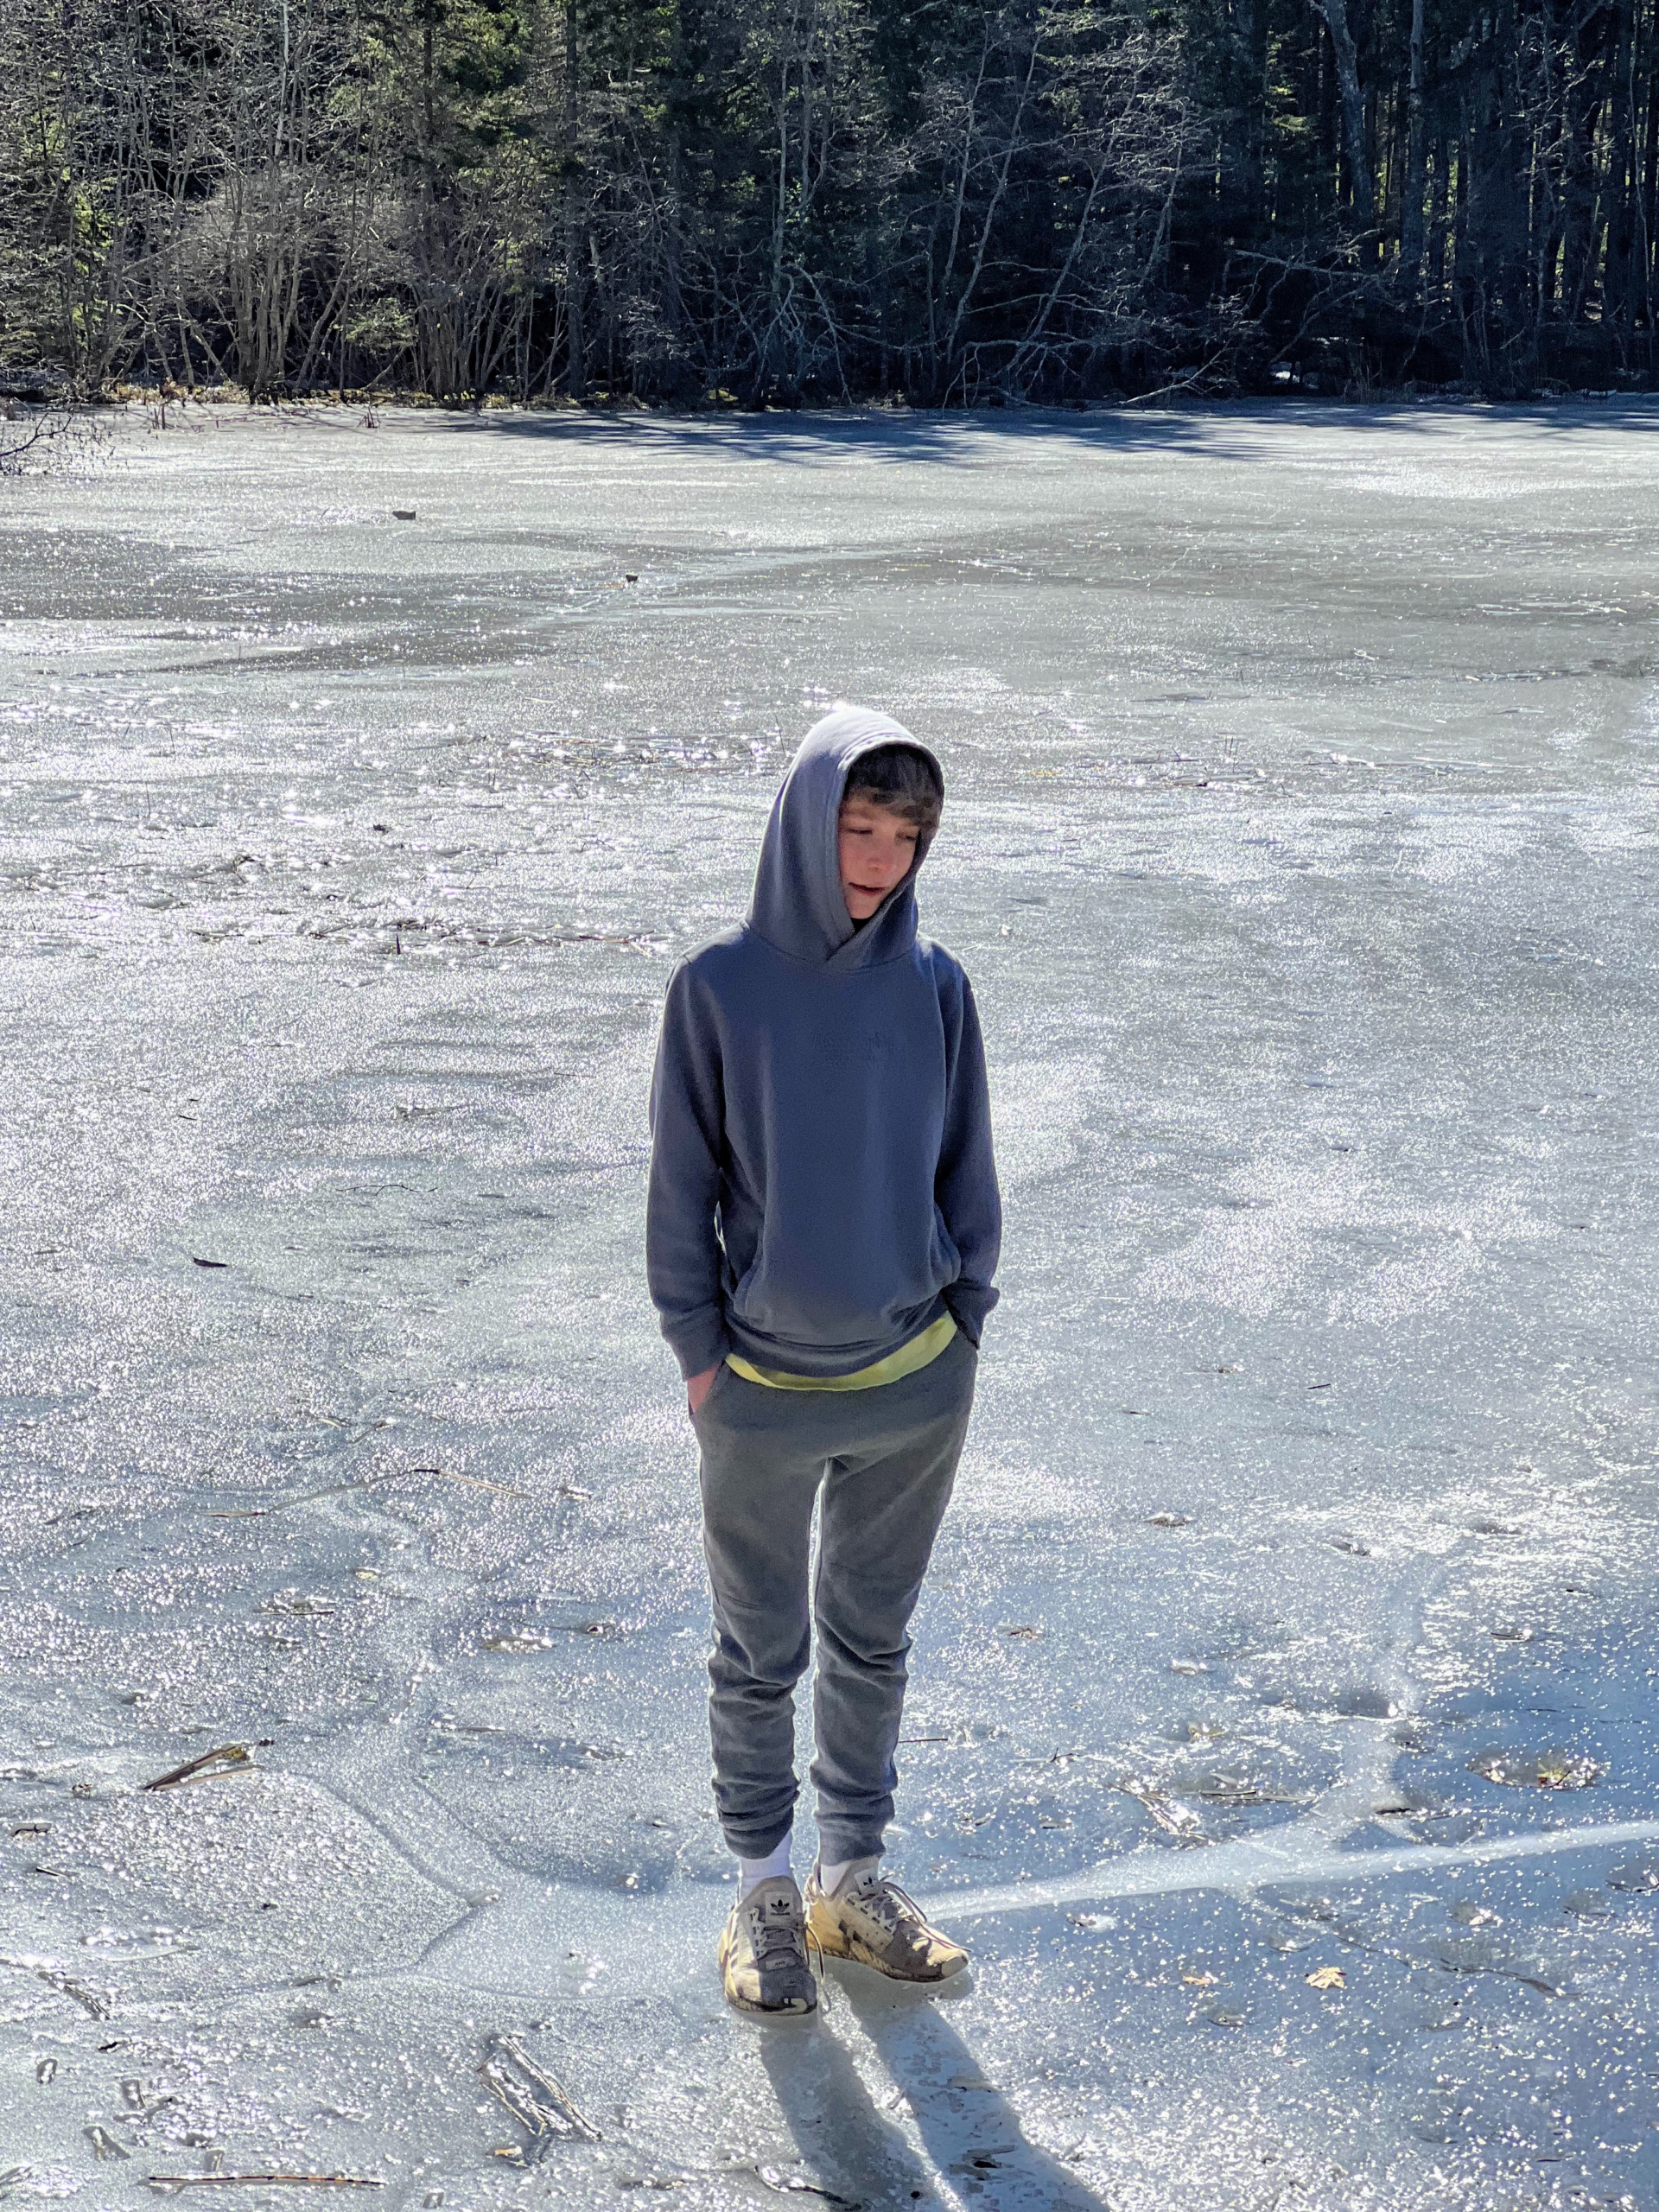
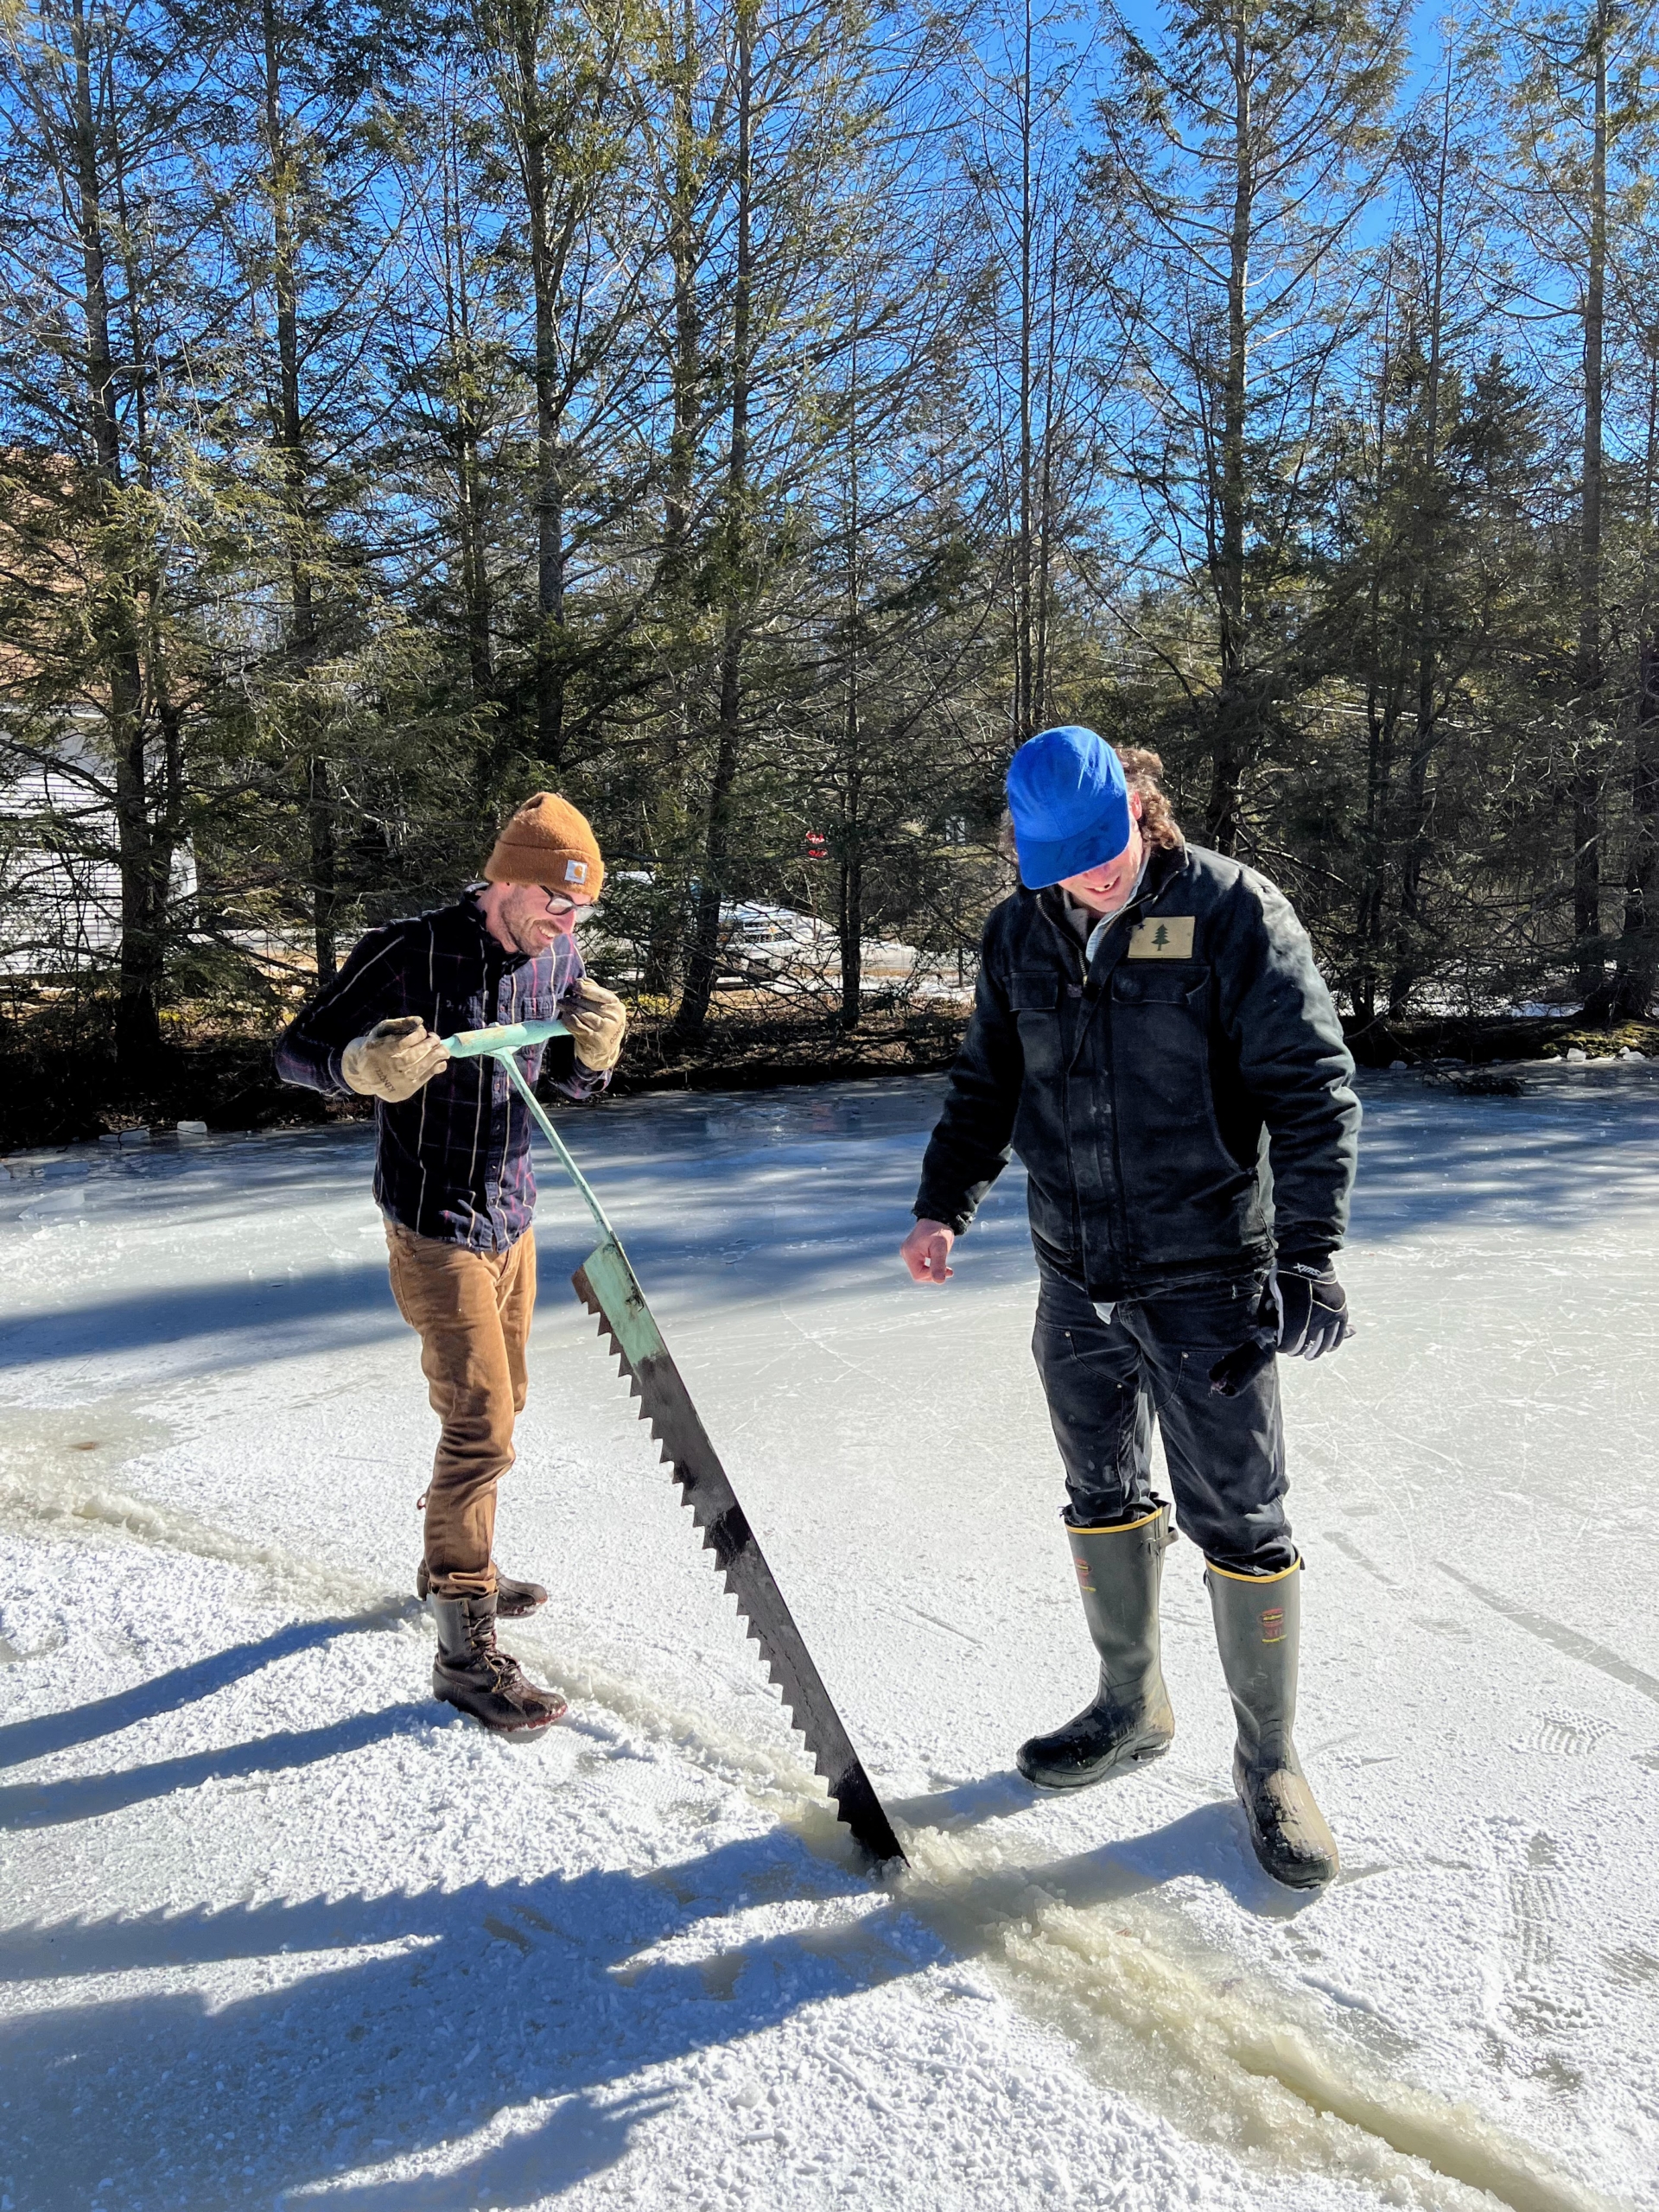
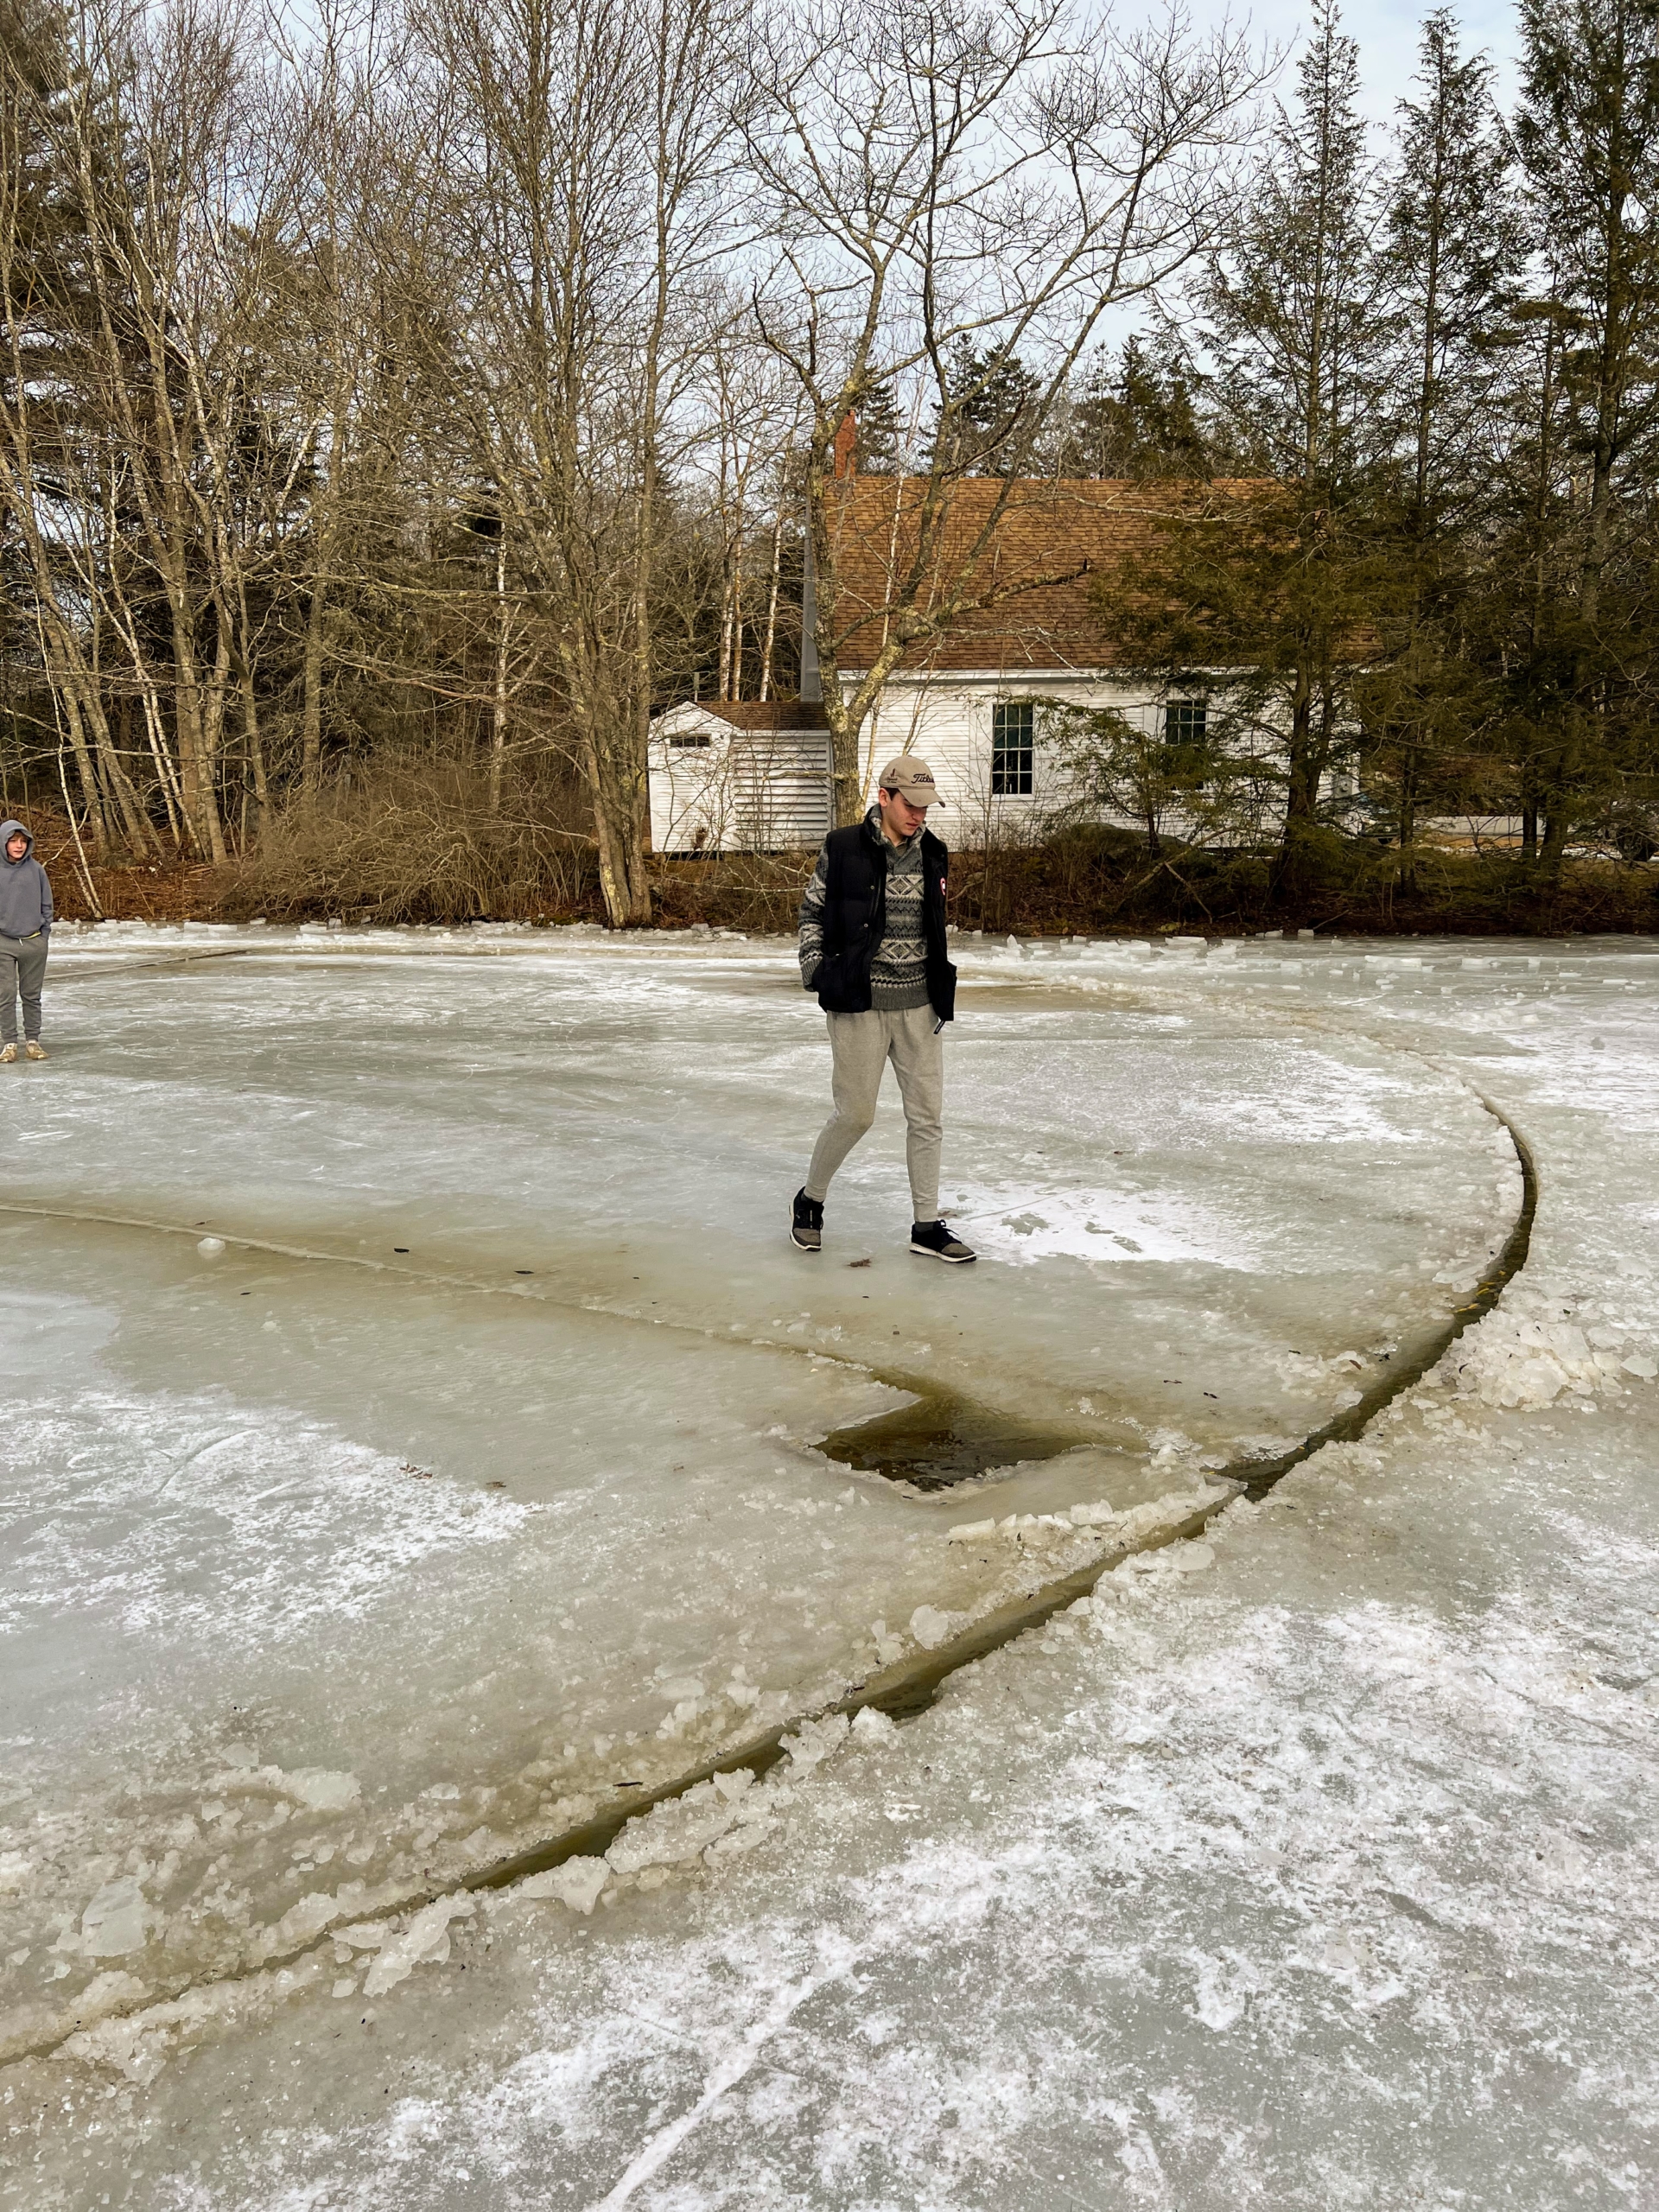
Judy’s son, Billy, wasn’t quite sure about the ice at first. Ice should be at least four-inches thick. The ice in this pond, where the carousel was being made was about a foot thick.
Here, the guys are cutting away the ice disk. To measure, they first drilled a hole in the center of their planned disk, secured a peg attached to a line of string and scored the circumference with a screwdriver. Then, using a chainsaw, they cut most of the way through and used this ice cutting saw, borrowed from the town’s Historical Society, to cut the rest. Using a chainsaw until it hits water can damage the saw, which they did not want to do.
The saw is about five feet long. The group started making the ice carousel around 9am and were spinning by noon. The total diameter of their ice carousel is 50-feet.
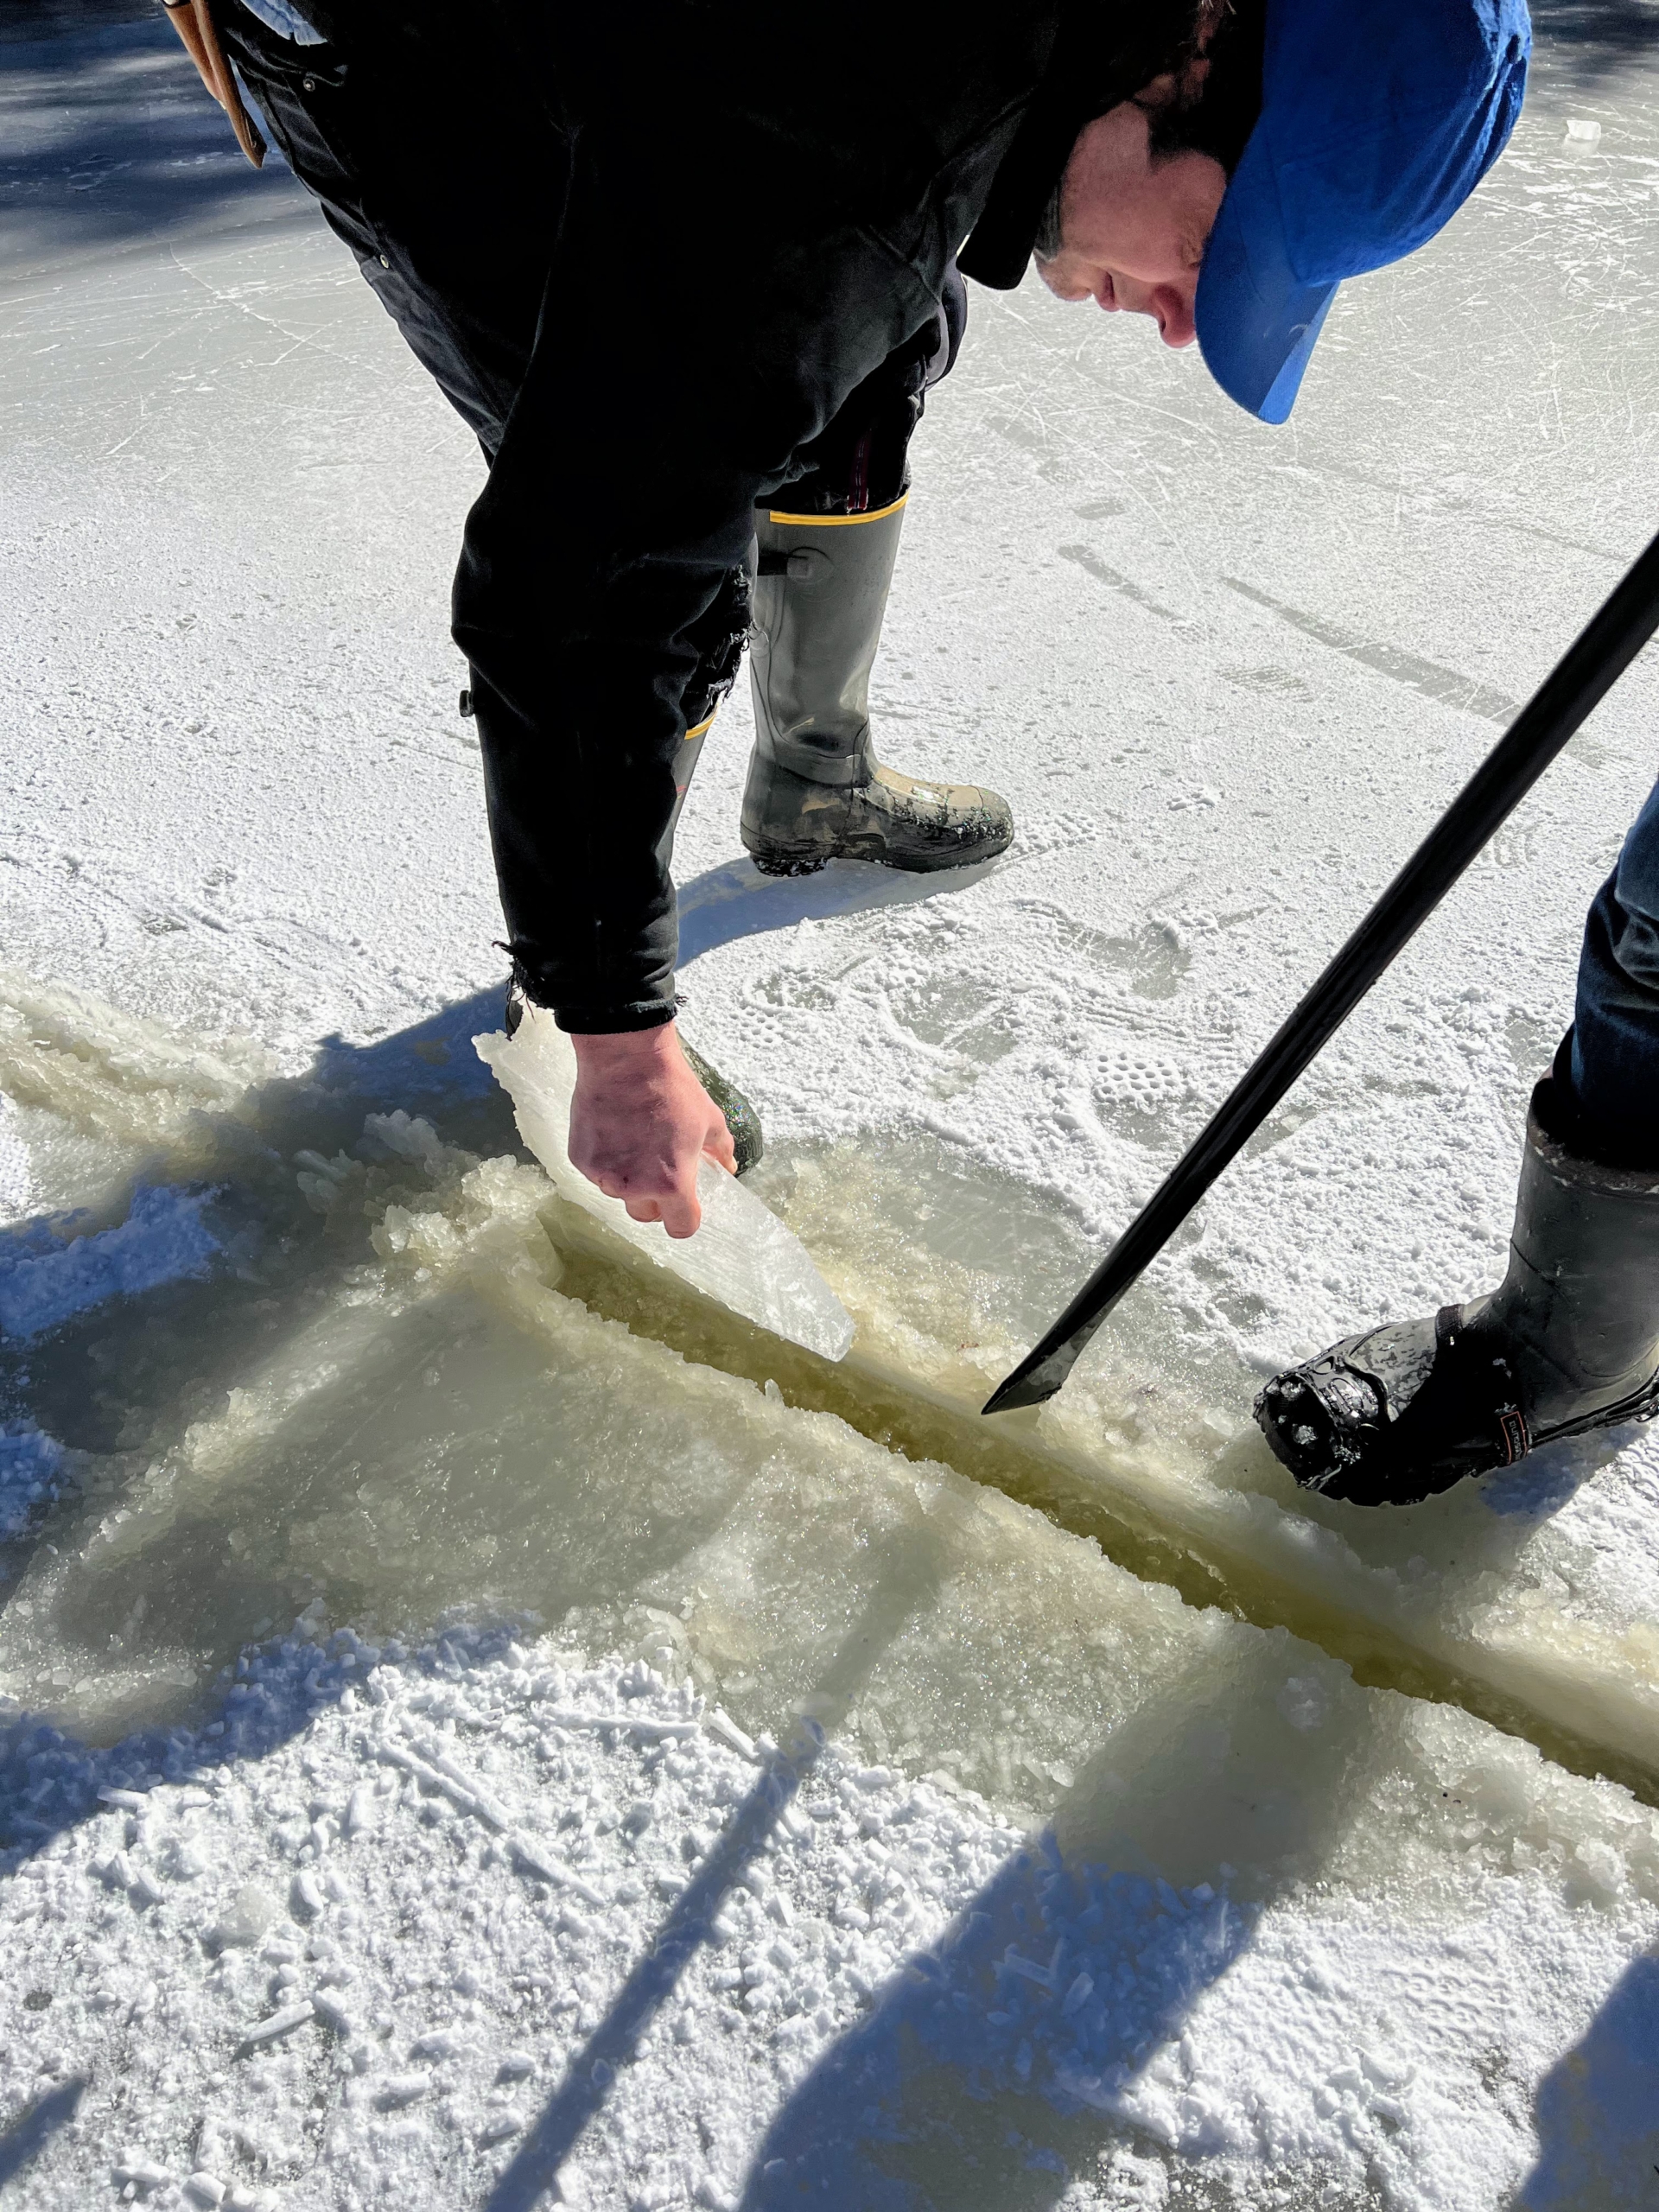
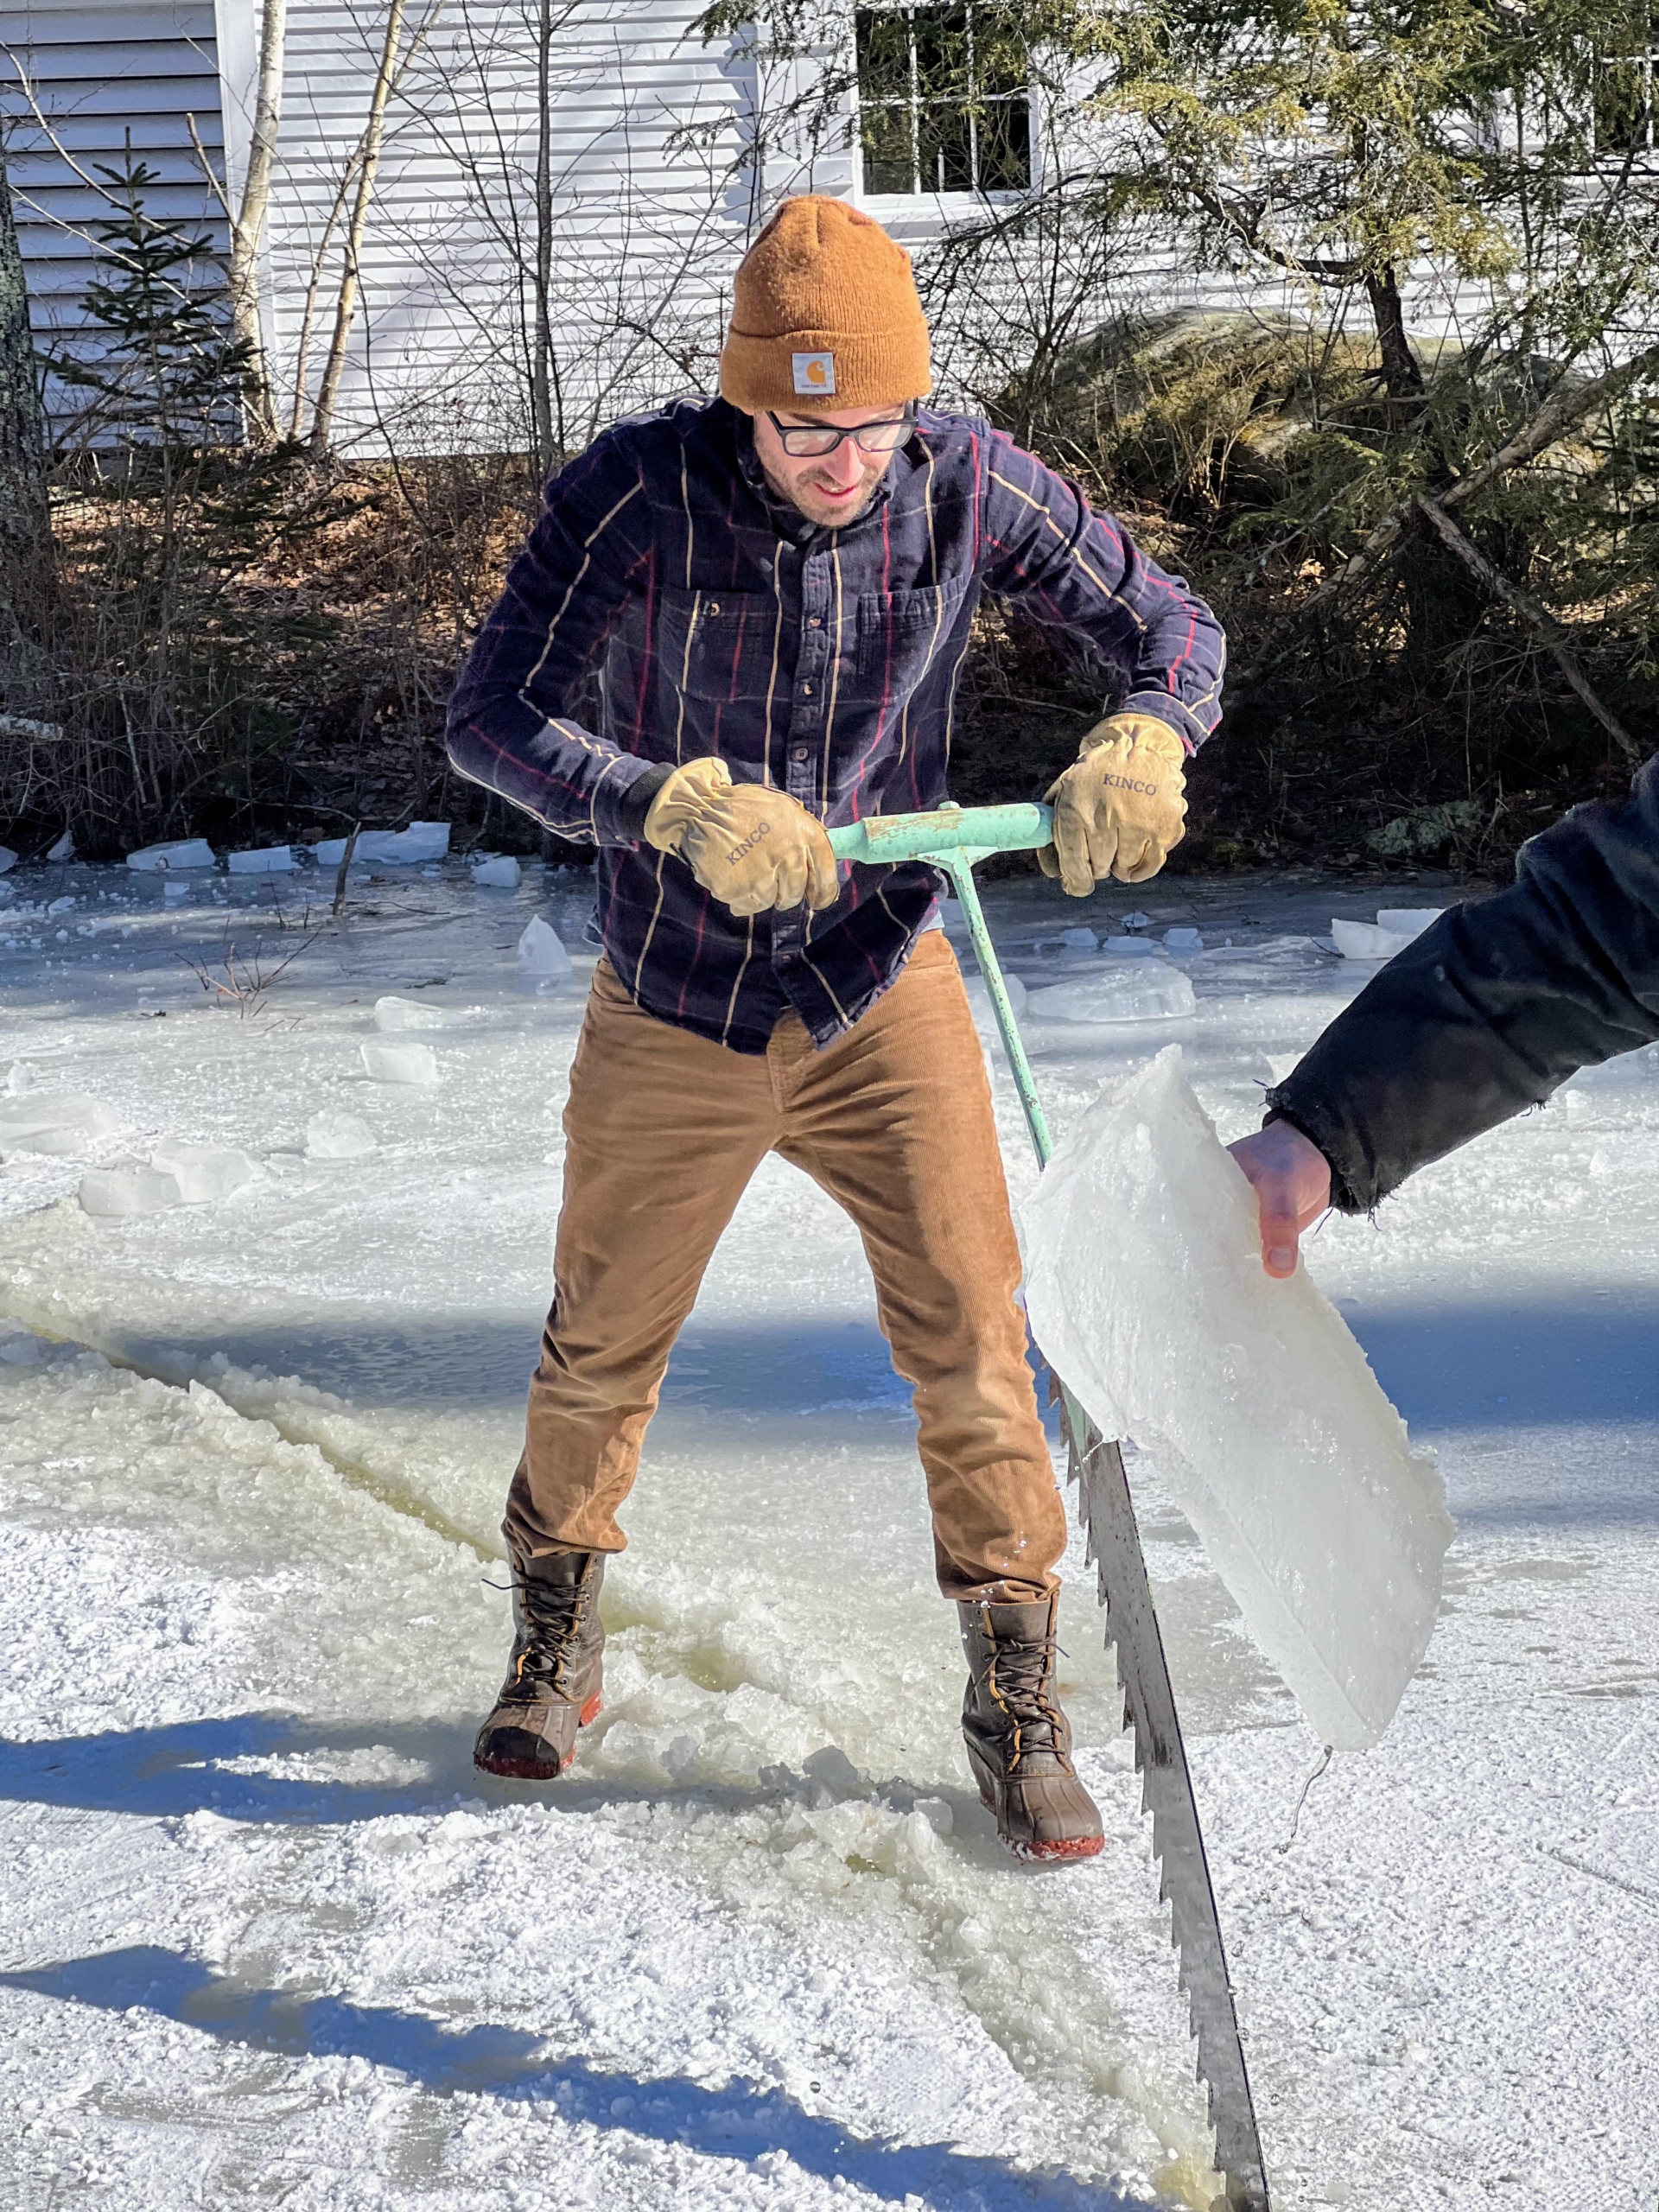
A pry bar is used to remove the chunks of ice after it’s cut.
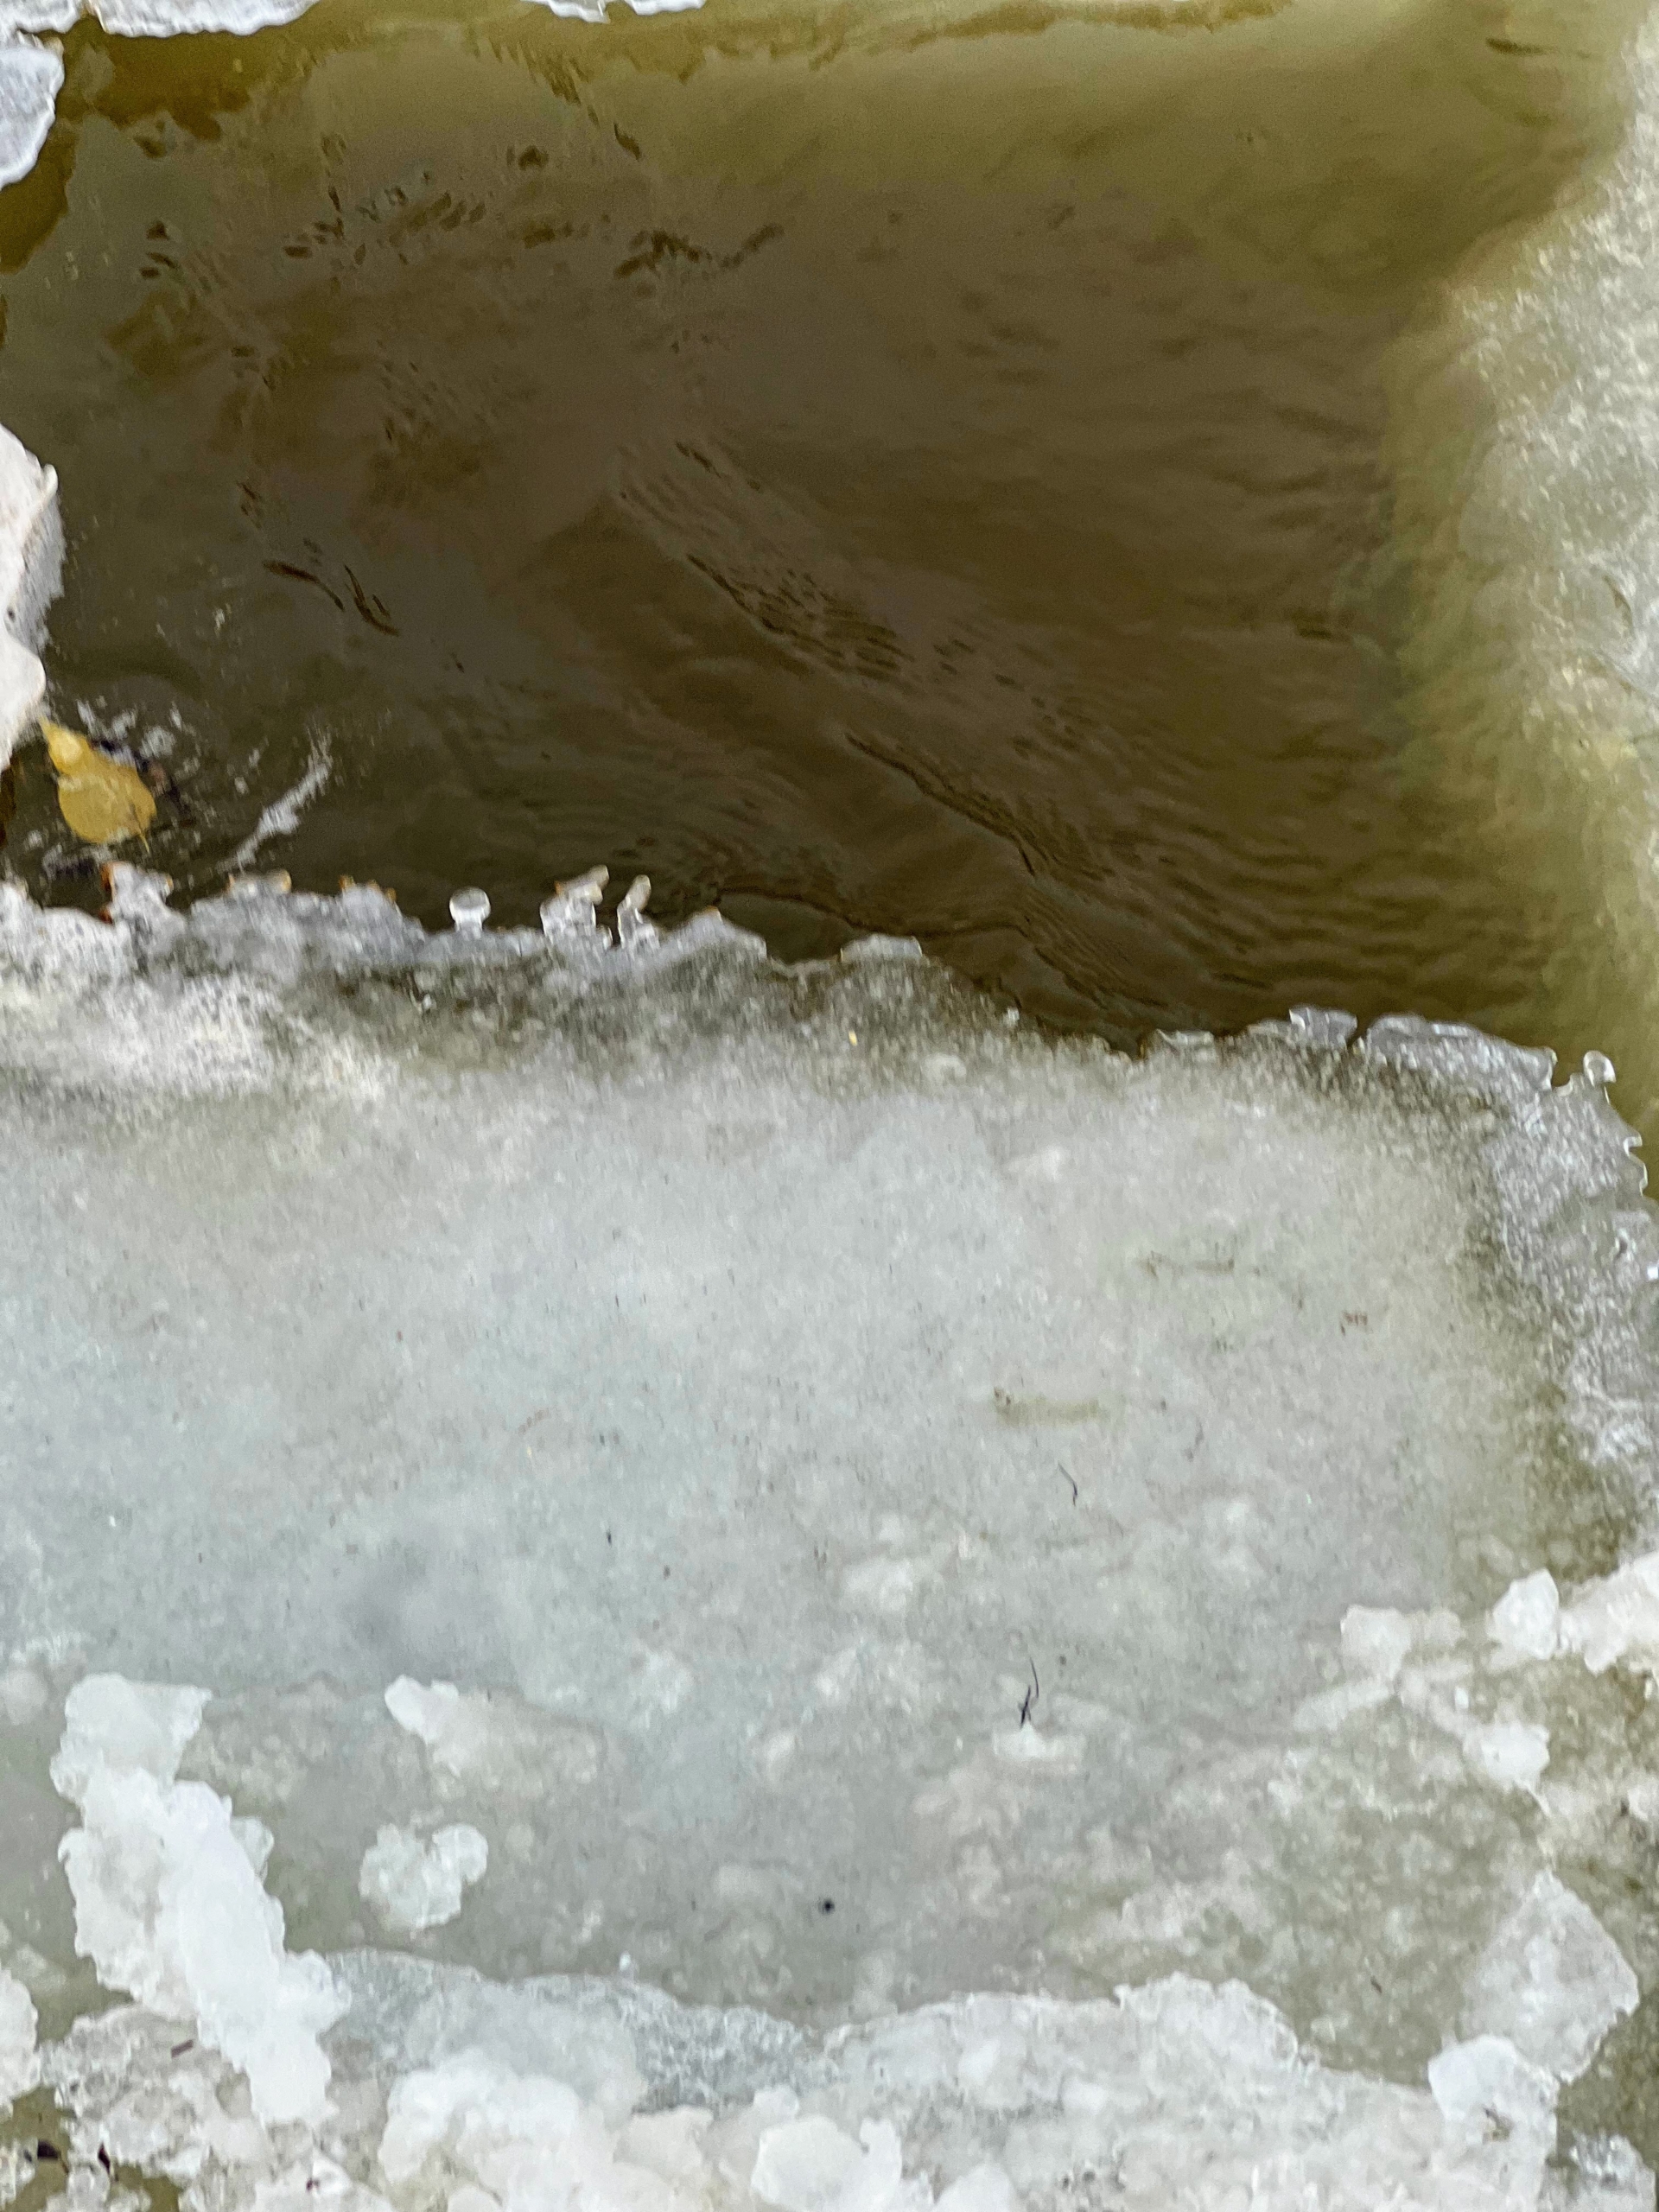
Here, one can see the chunks removed from between the disc and the surrounding surface – the ice is nice and thick.
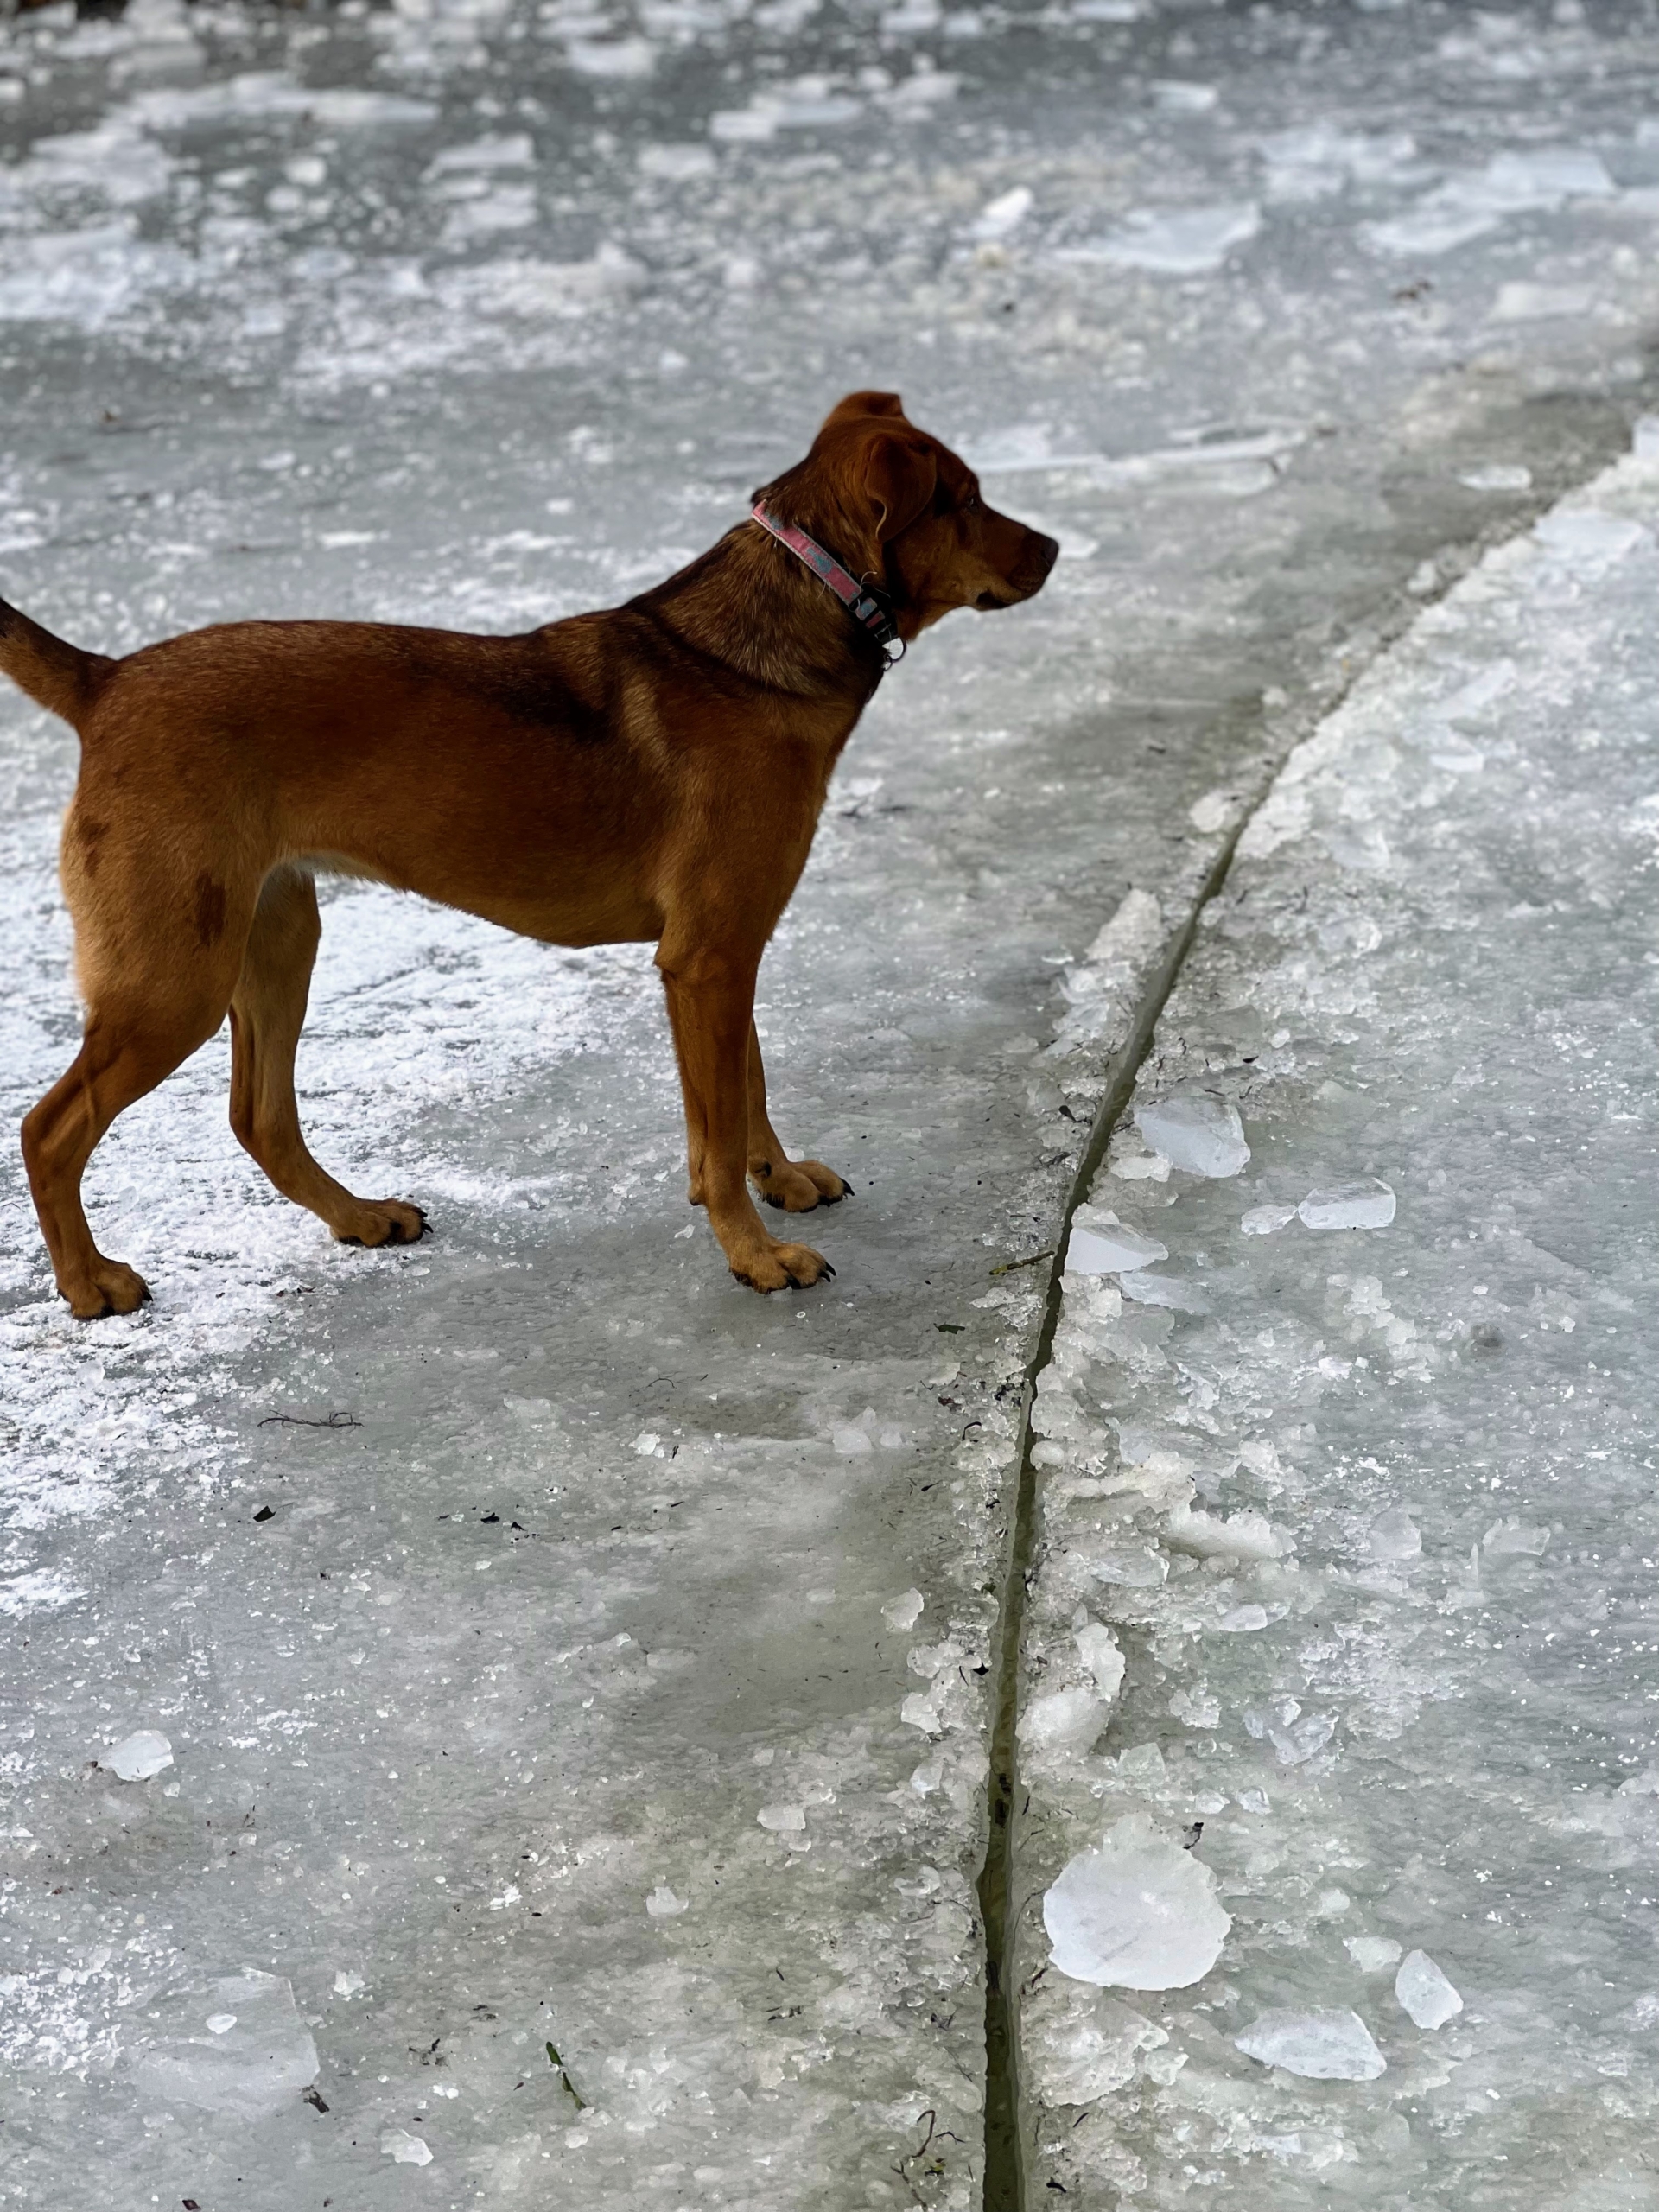
And here is what is left behind – a narrow space just wide enough to loosen the disc and allow it to spin once propelled.
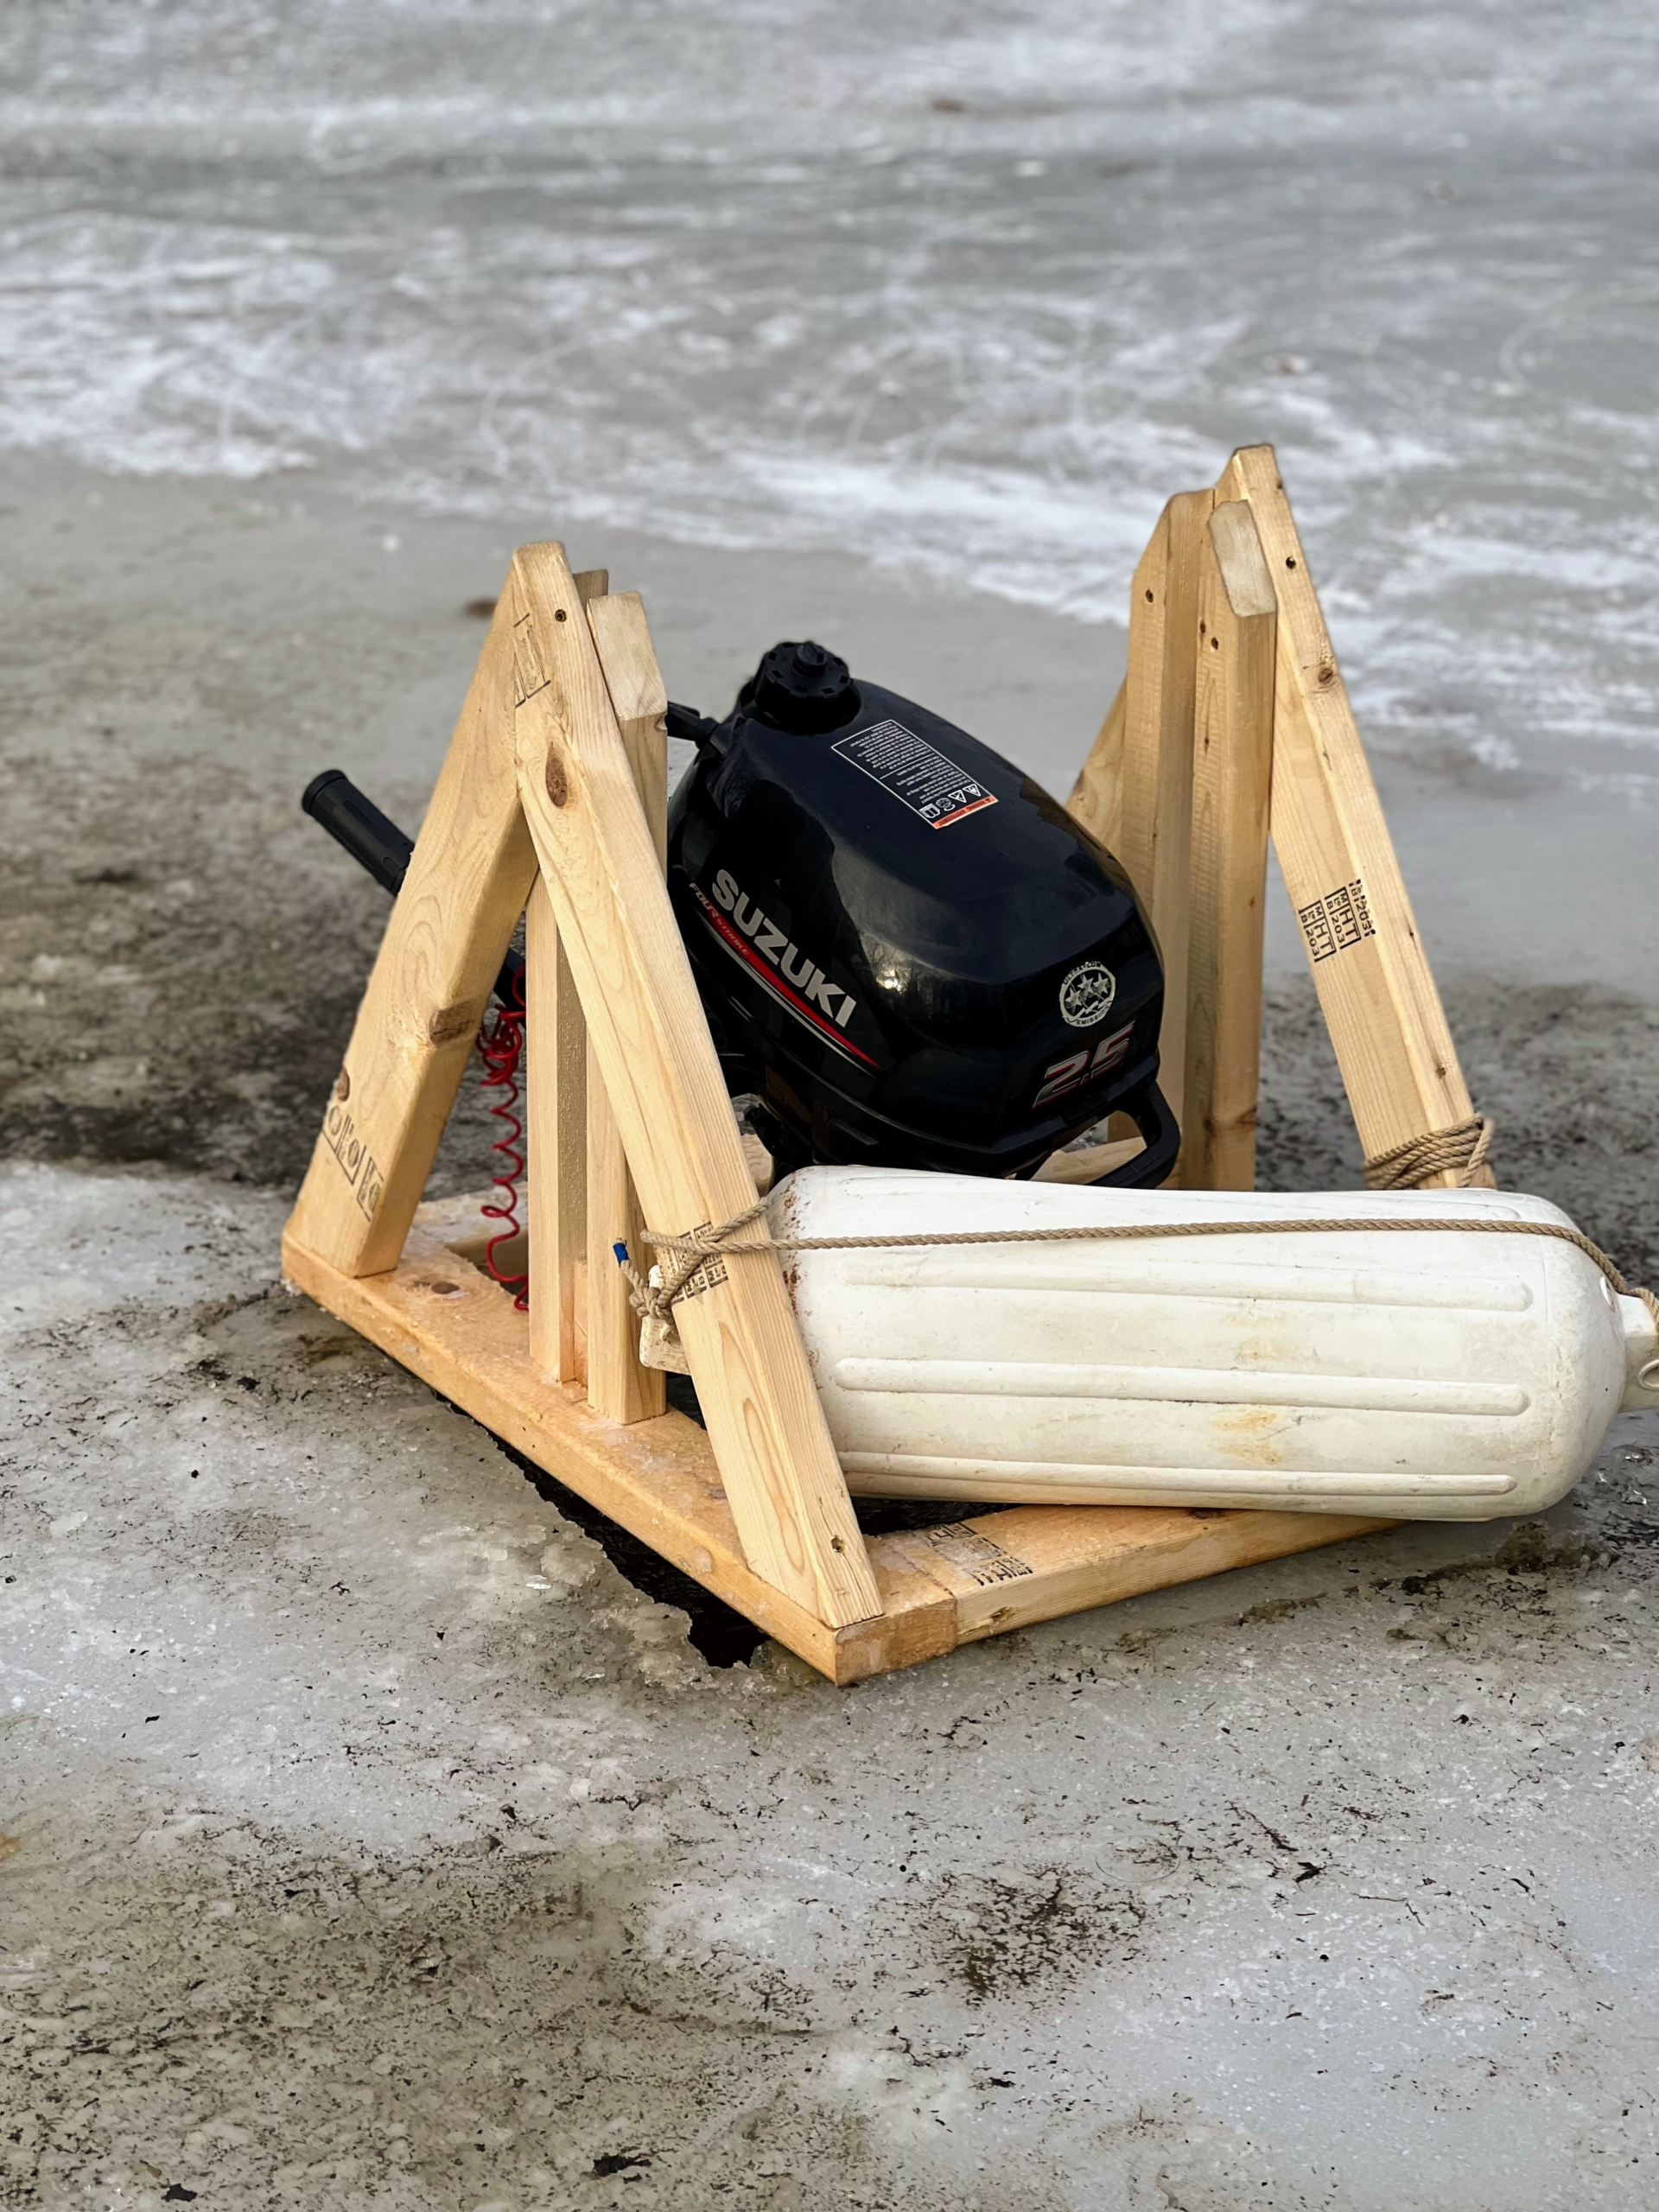
This hole was also cut for an outboard motor. An outboard motor is a propulsion system for boats, consisting of a self-contained engine, gearbox, and propeller. This motor is what will slowly rotate the disc once it is completely cut.
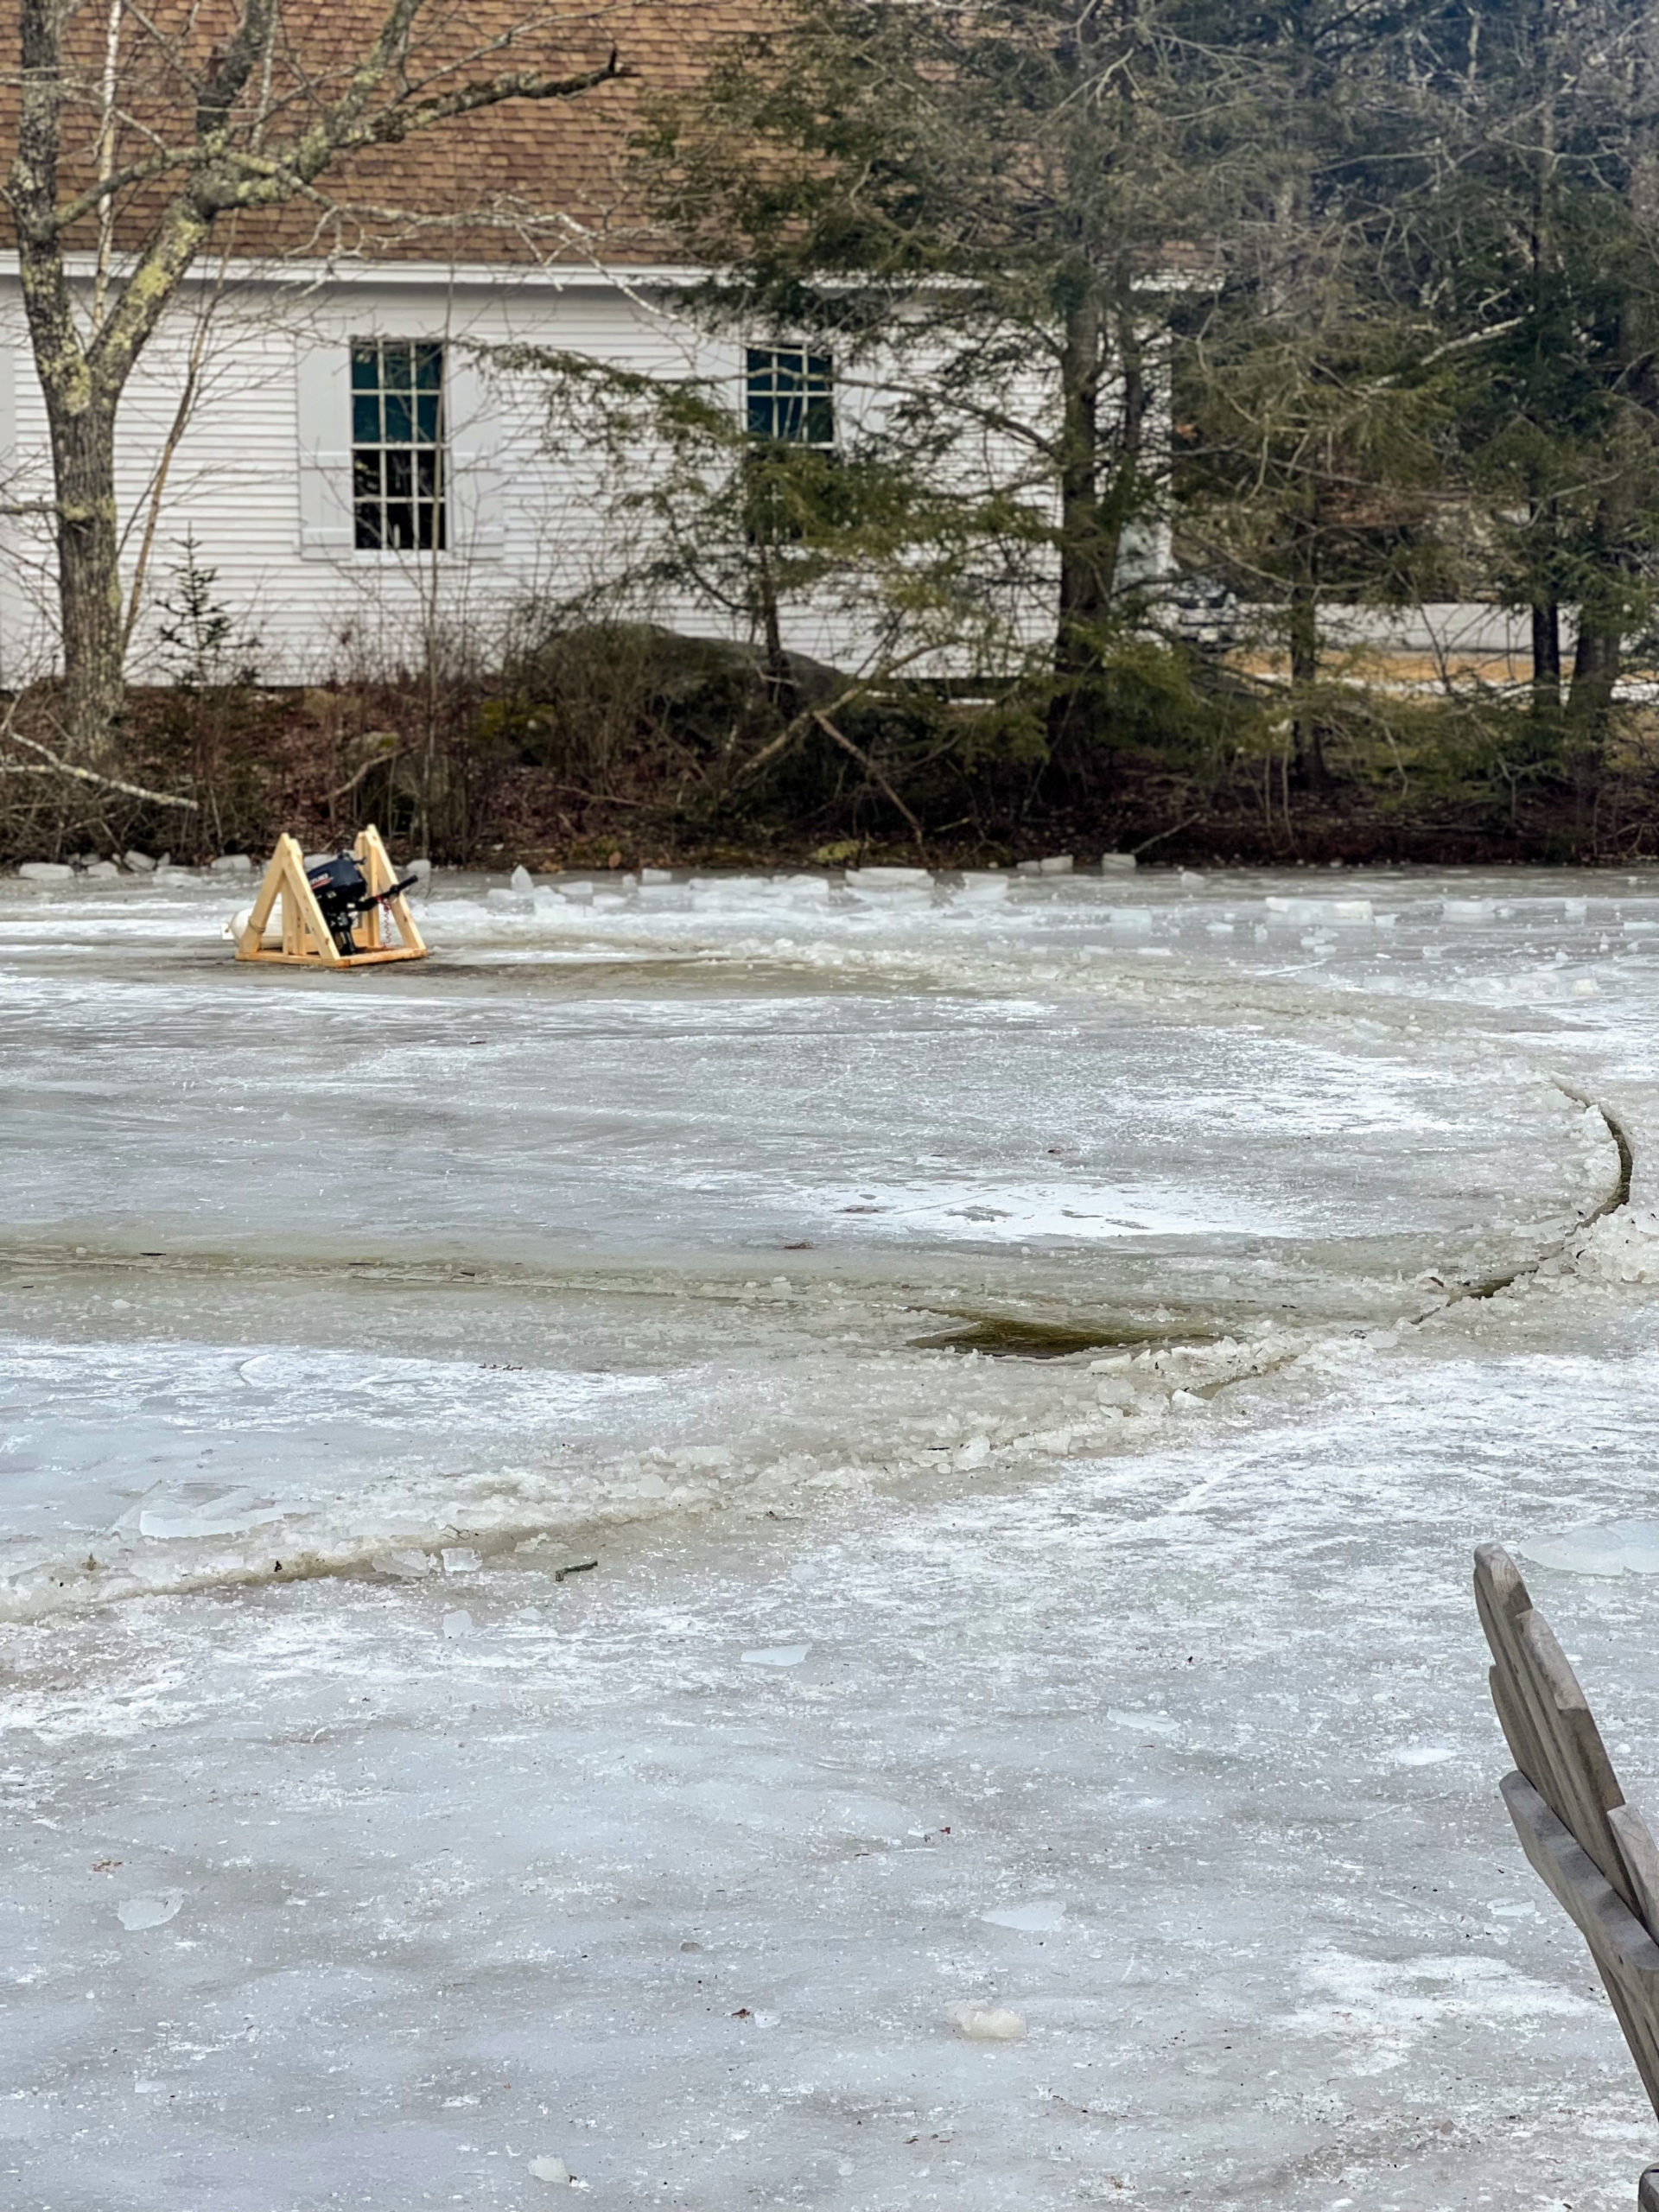
Here, the disc is all cut. Ben was first inspired to make an ice carousel after he learned about the current record holder for the world’s largest ice carousel in Saint Agatha, Maine made in April 2021. It was 1,234 feet in diameter. A trencher, long-bar chainsaws, and six power augers were used to create that disc. The structure in the distance is the restored S Road School, the one-room building constructed in 1860 and used as an elementary school until 1943.
This outboard motor is 2.5 horsepower. It doesn’t need a lot to rotate the ice. As a precaution, it’s attached to its own buoy.
The motor is filled with fuel. This will propel the disc slowly in its space – just enough for guests to walk from solid ice to the carousel without difficulty.
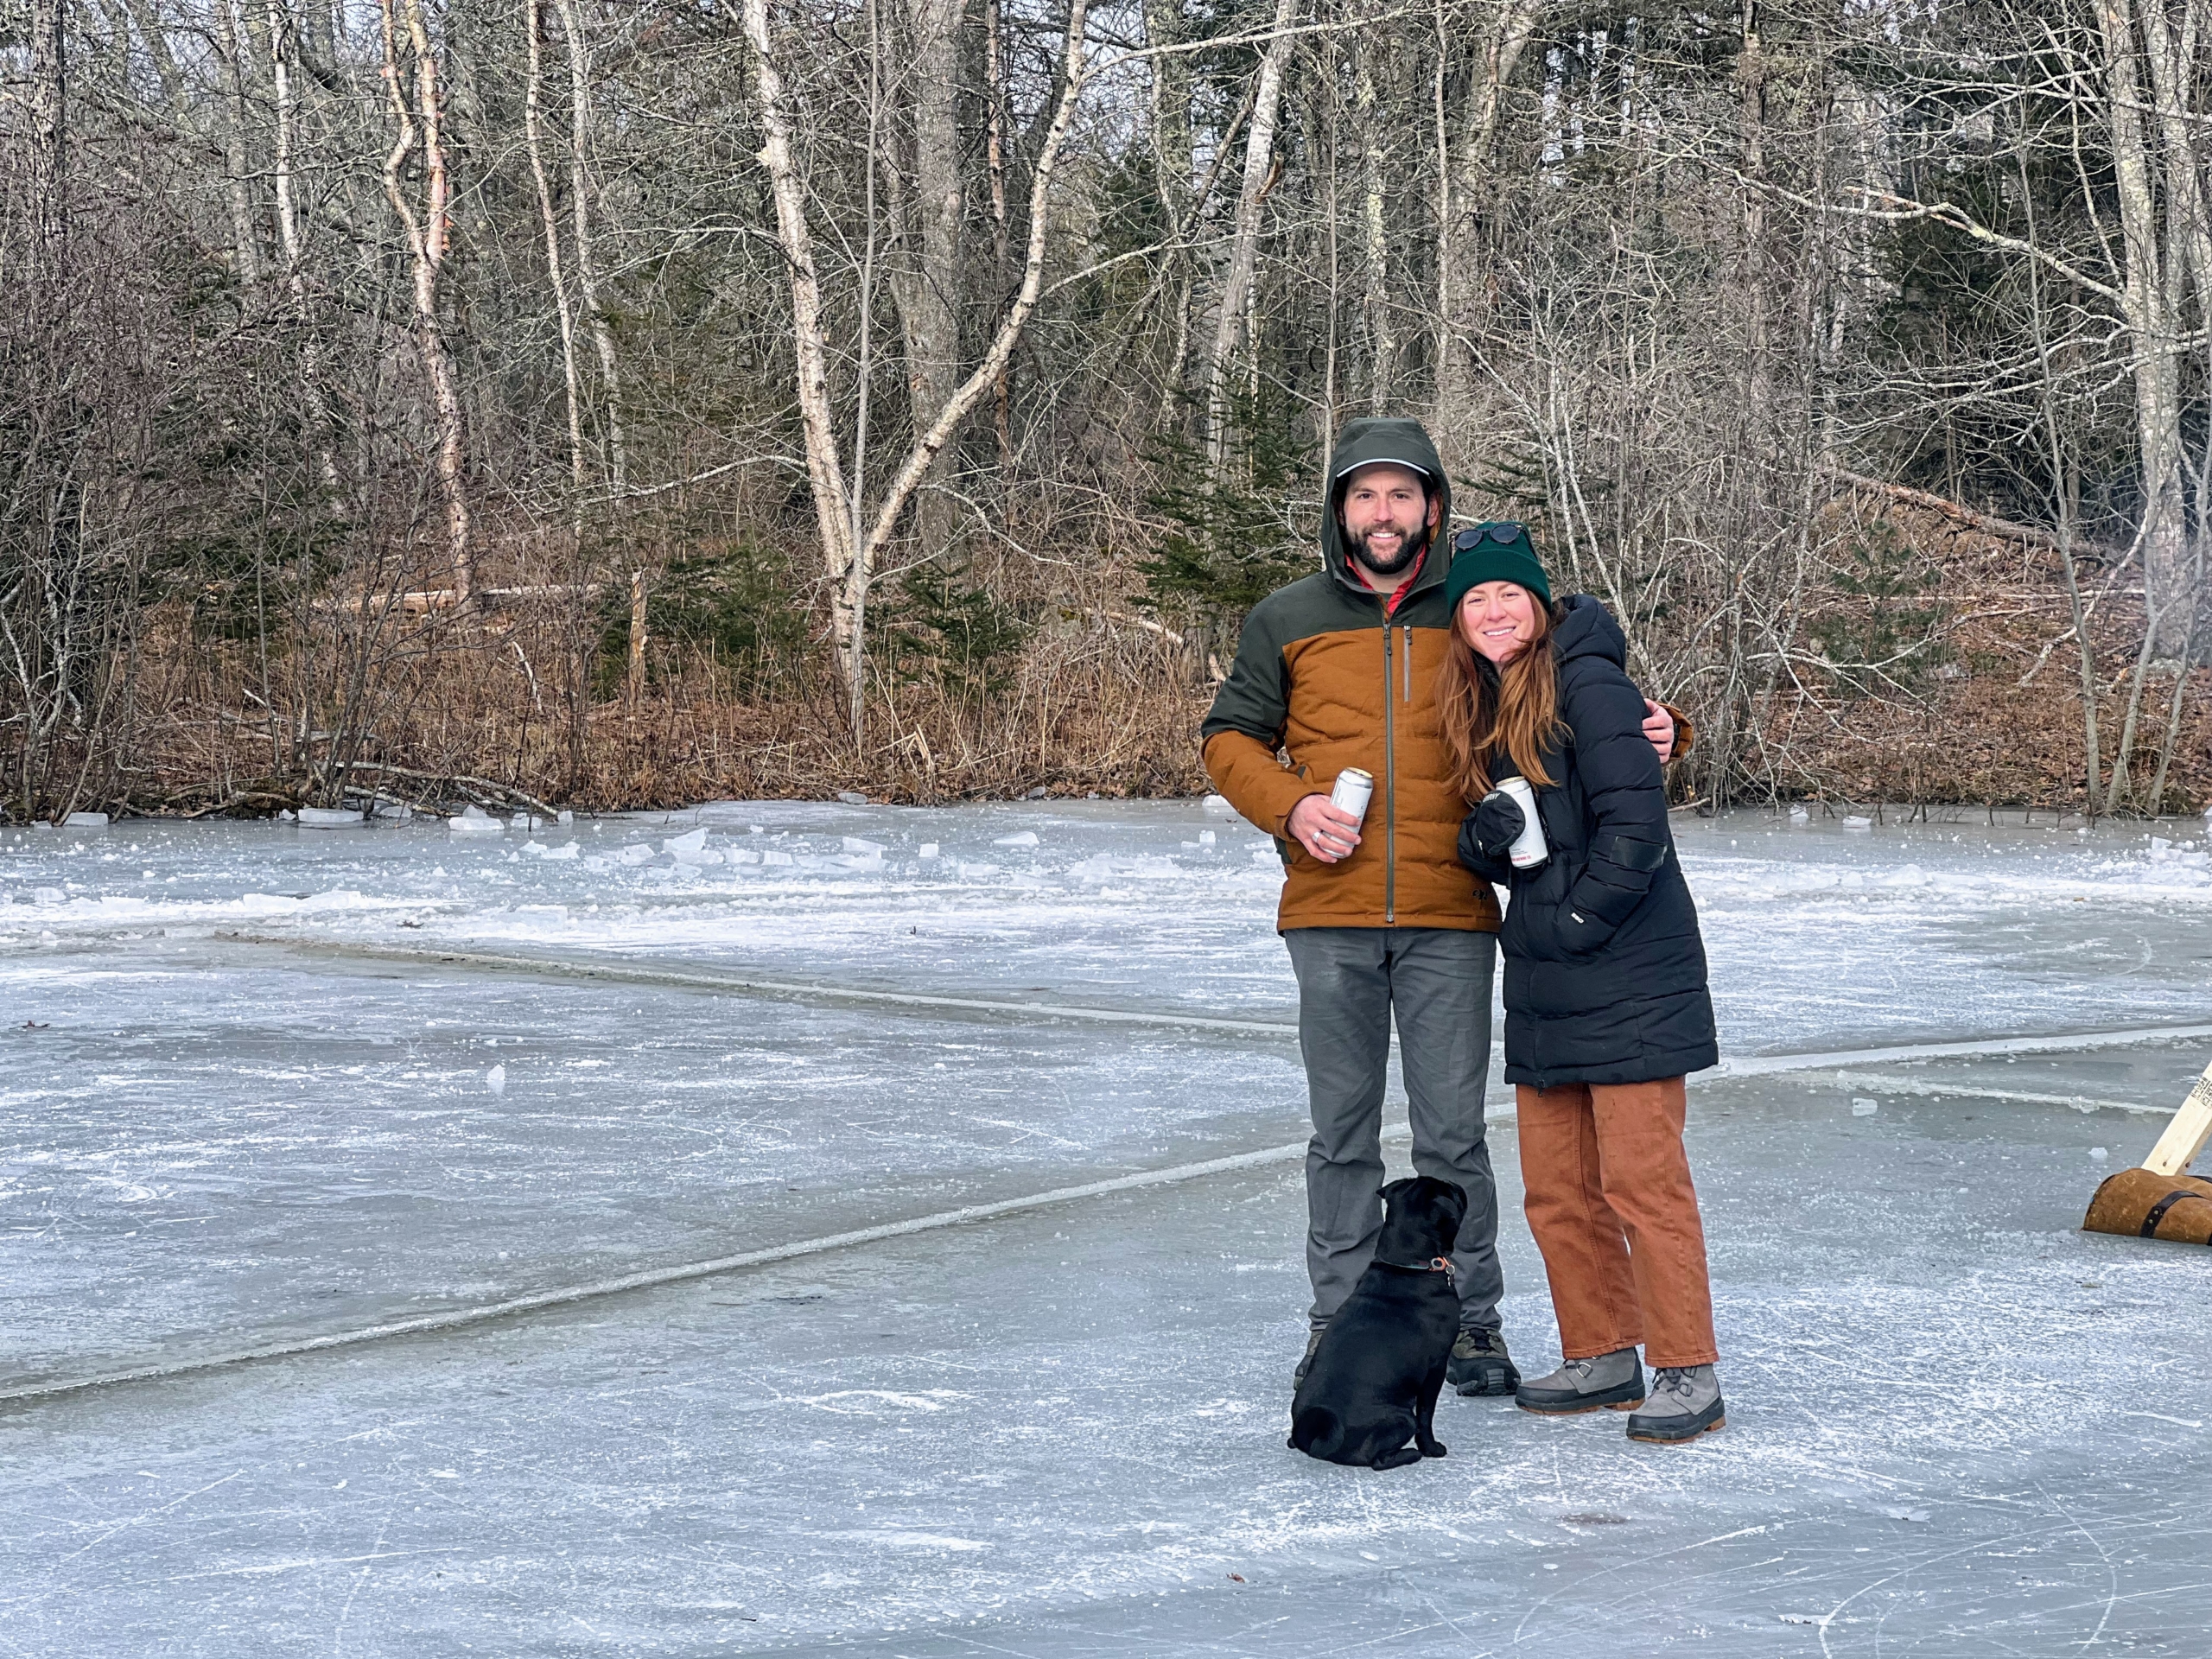
Ben and Katie Fearn own the pond. This is their second annual ice carrousel. They’re hoping to make it an annual tradition. Here they are with their black Pug, Rudy.
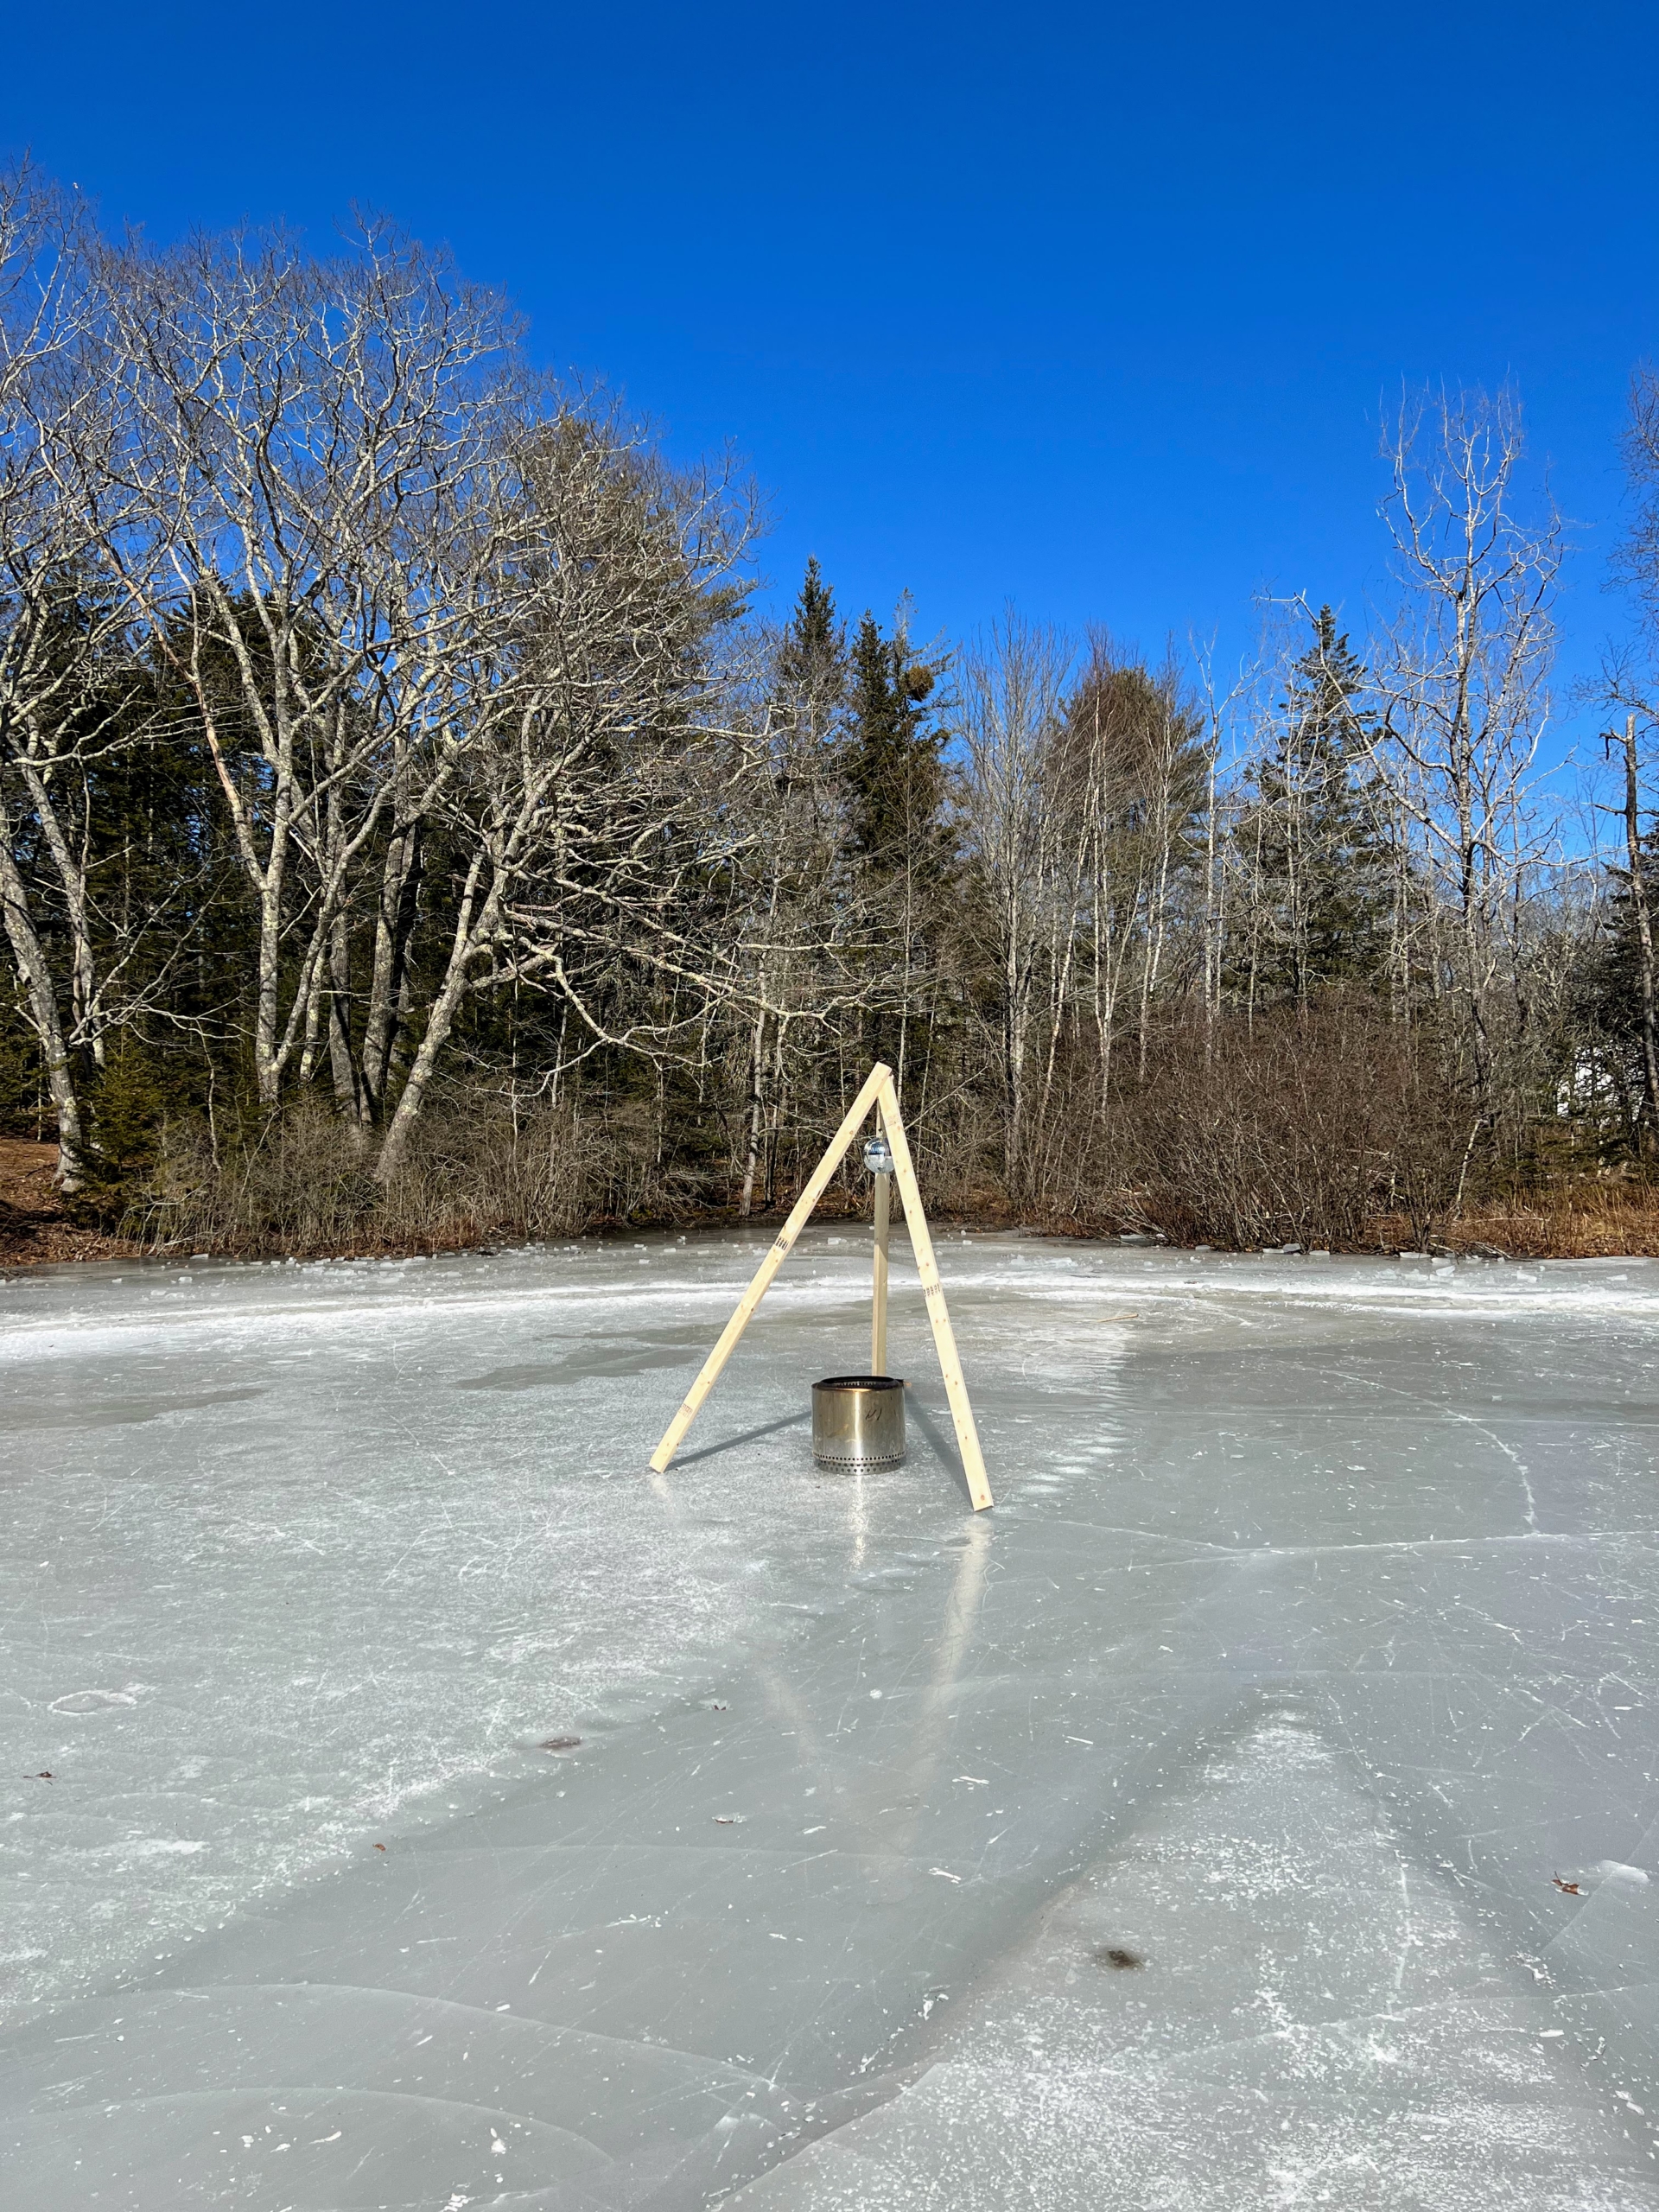
One can see a section of the ice carousel all cut – the disc is ready and the motor is set to be turned on. If you’re wondering why the disc doesn’t sink – remember, all ice floats.
Rudy and her friend Vega are quite interested in all the activity.
Ben placed a Solo Stove, or portable smokeless fire pit, in the center of the disc for those who want to stand on the disc while it moves.
Another dog, Dixie, watched as it rotated.
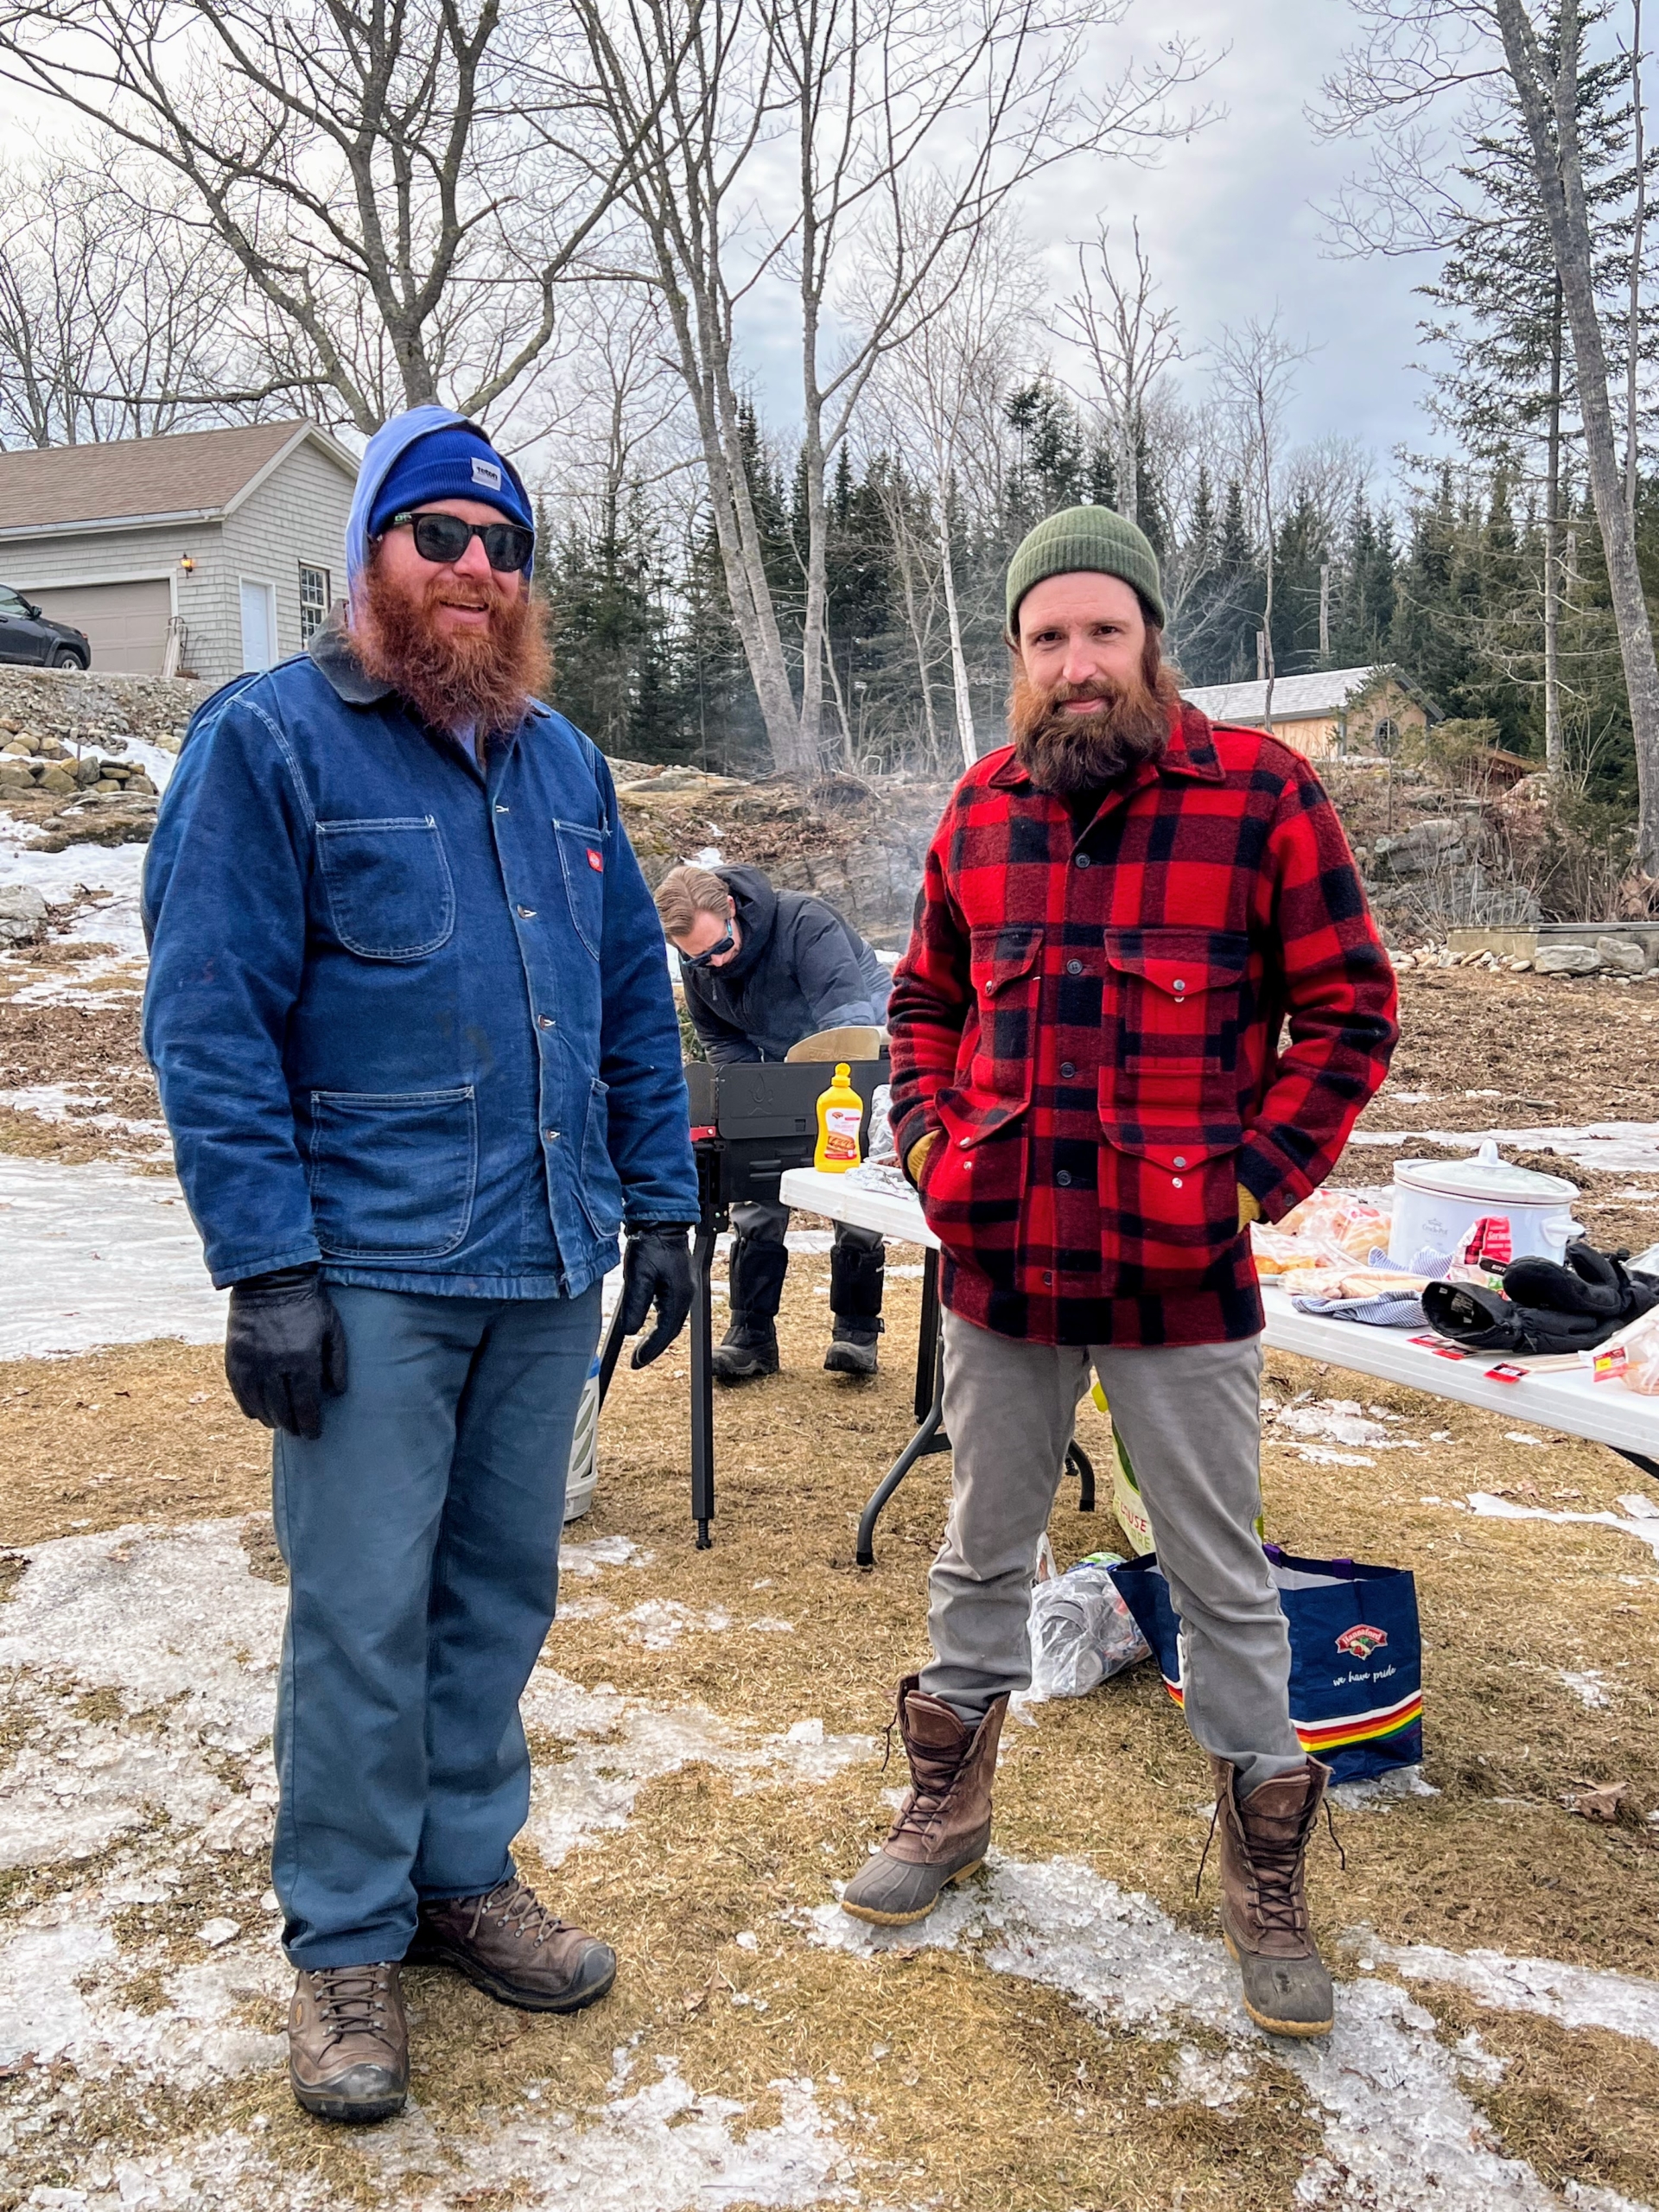
David “Goldie” Goldman and Galen Sanford stand by on land to watch the first few rotations. Another friend, Chris Baden is cooking up hot dogs in the background. Ice carousel making builds up the appetite.
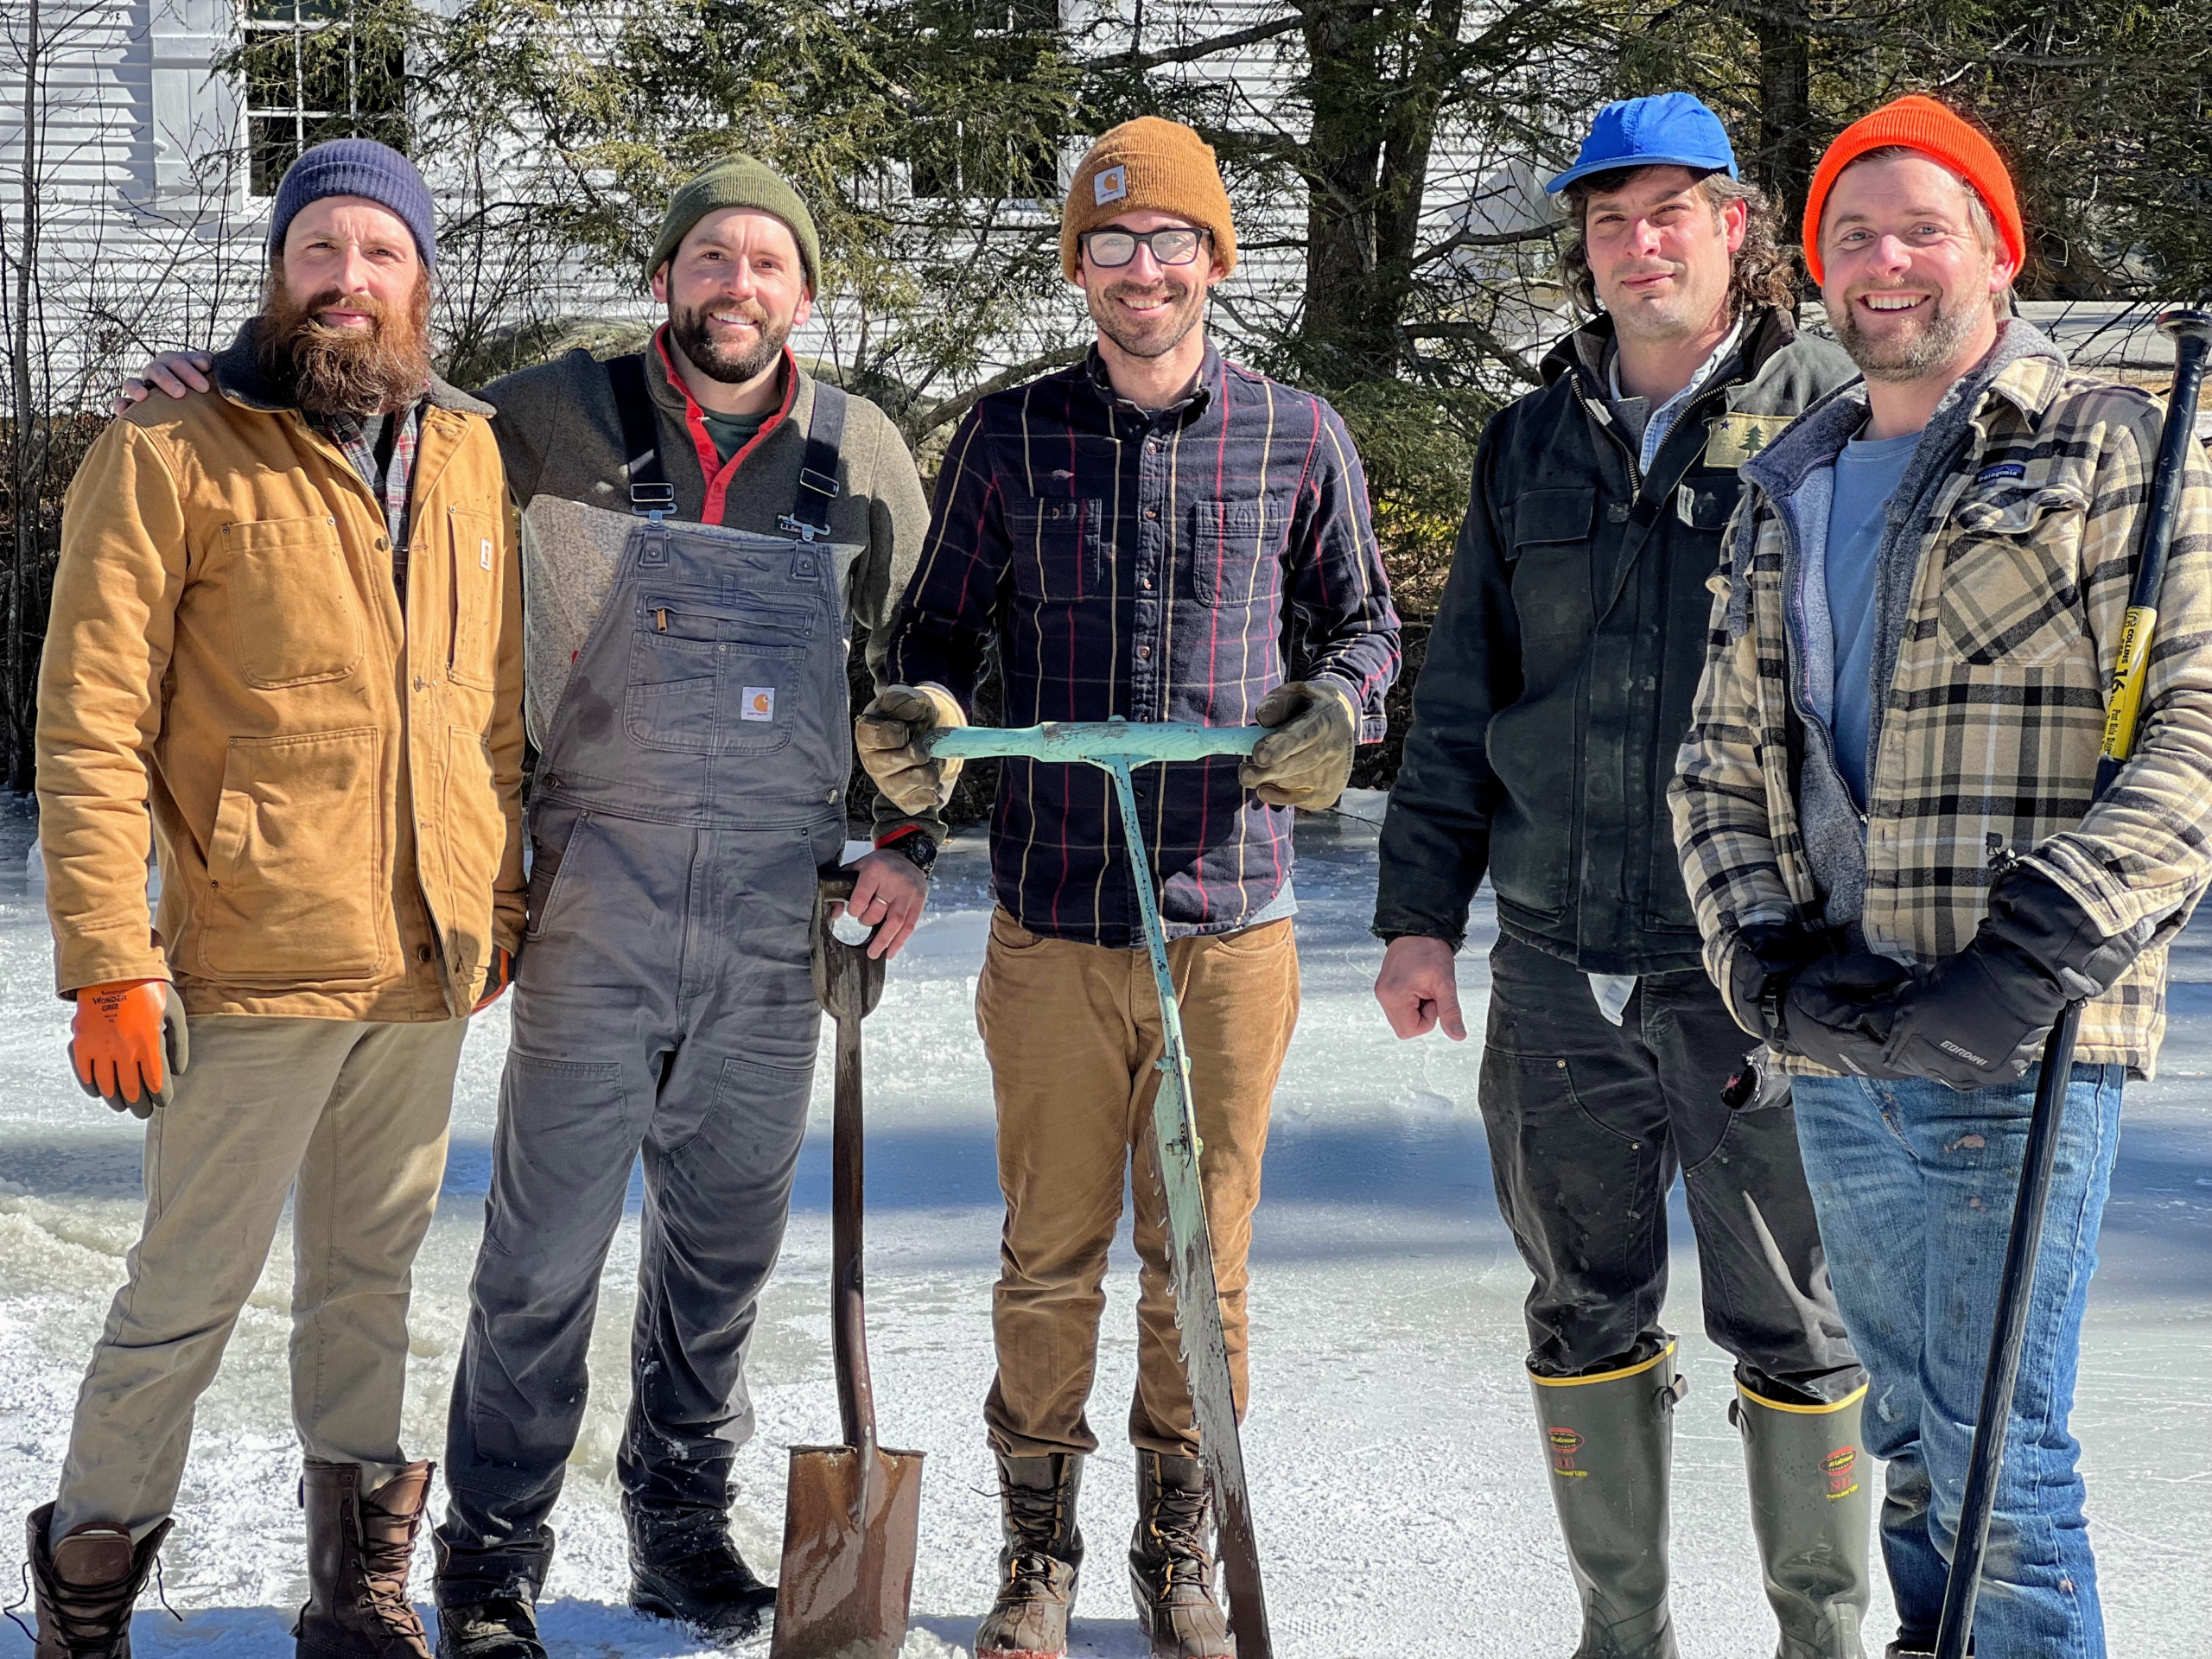
And here is the entire crew – Galen, Ben, Dennis Gunderson, Jeff Hargenrader, and Logan Livingston. What a fun event – I hope they keep the tradition going. Thanks for the great photos, Judy!
Here is a short video showing how the ice carousel in motion.