I always enjoy hosting St. Patrick's Day dinner at my Bedford, New York farm.
This year, it was a small intimate gathering for six - complete with my corned beef, cabbage, potatoes and of course, my own version of the traditional Irish soda bread. I brined the 10-pound brisket for five days and then boiled it for three and a half hours on the day of our feast. It was cooked with a variety of seasonal vegetables including potatoes, parsnips, turnips, carrots, broccoli, and celery. I also made a wonderful pea soup. And for dessert, refreshingly delicious grapefruit sections topped with pure grapefruit juice granita. It was an evening of good company and great food.
I hope you saw my photos on my Instagram page @MarthaStewart48. Here are some more, enjoy.
Whenever I entertain indoors at my farm, it’s usually in my Brown Room, a large dining room and sitting area. Flanking my fireplace are recently cut pussy willows from a grove I planted along the wetlands behind my main greenhouse.
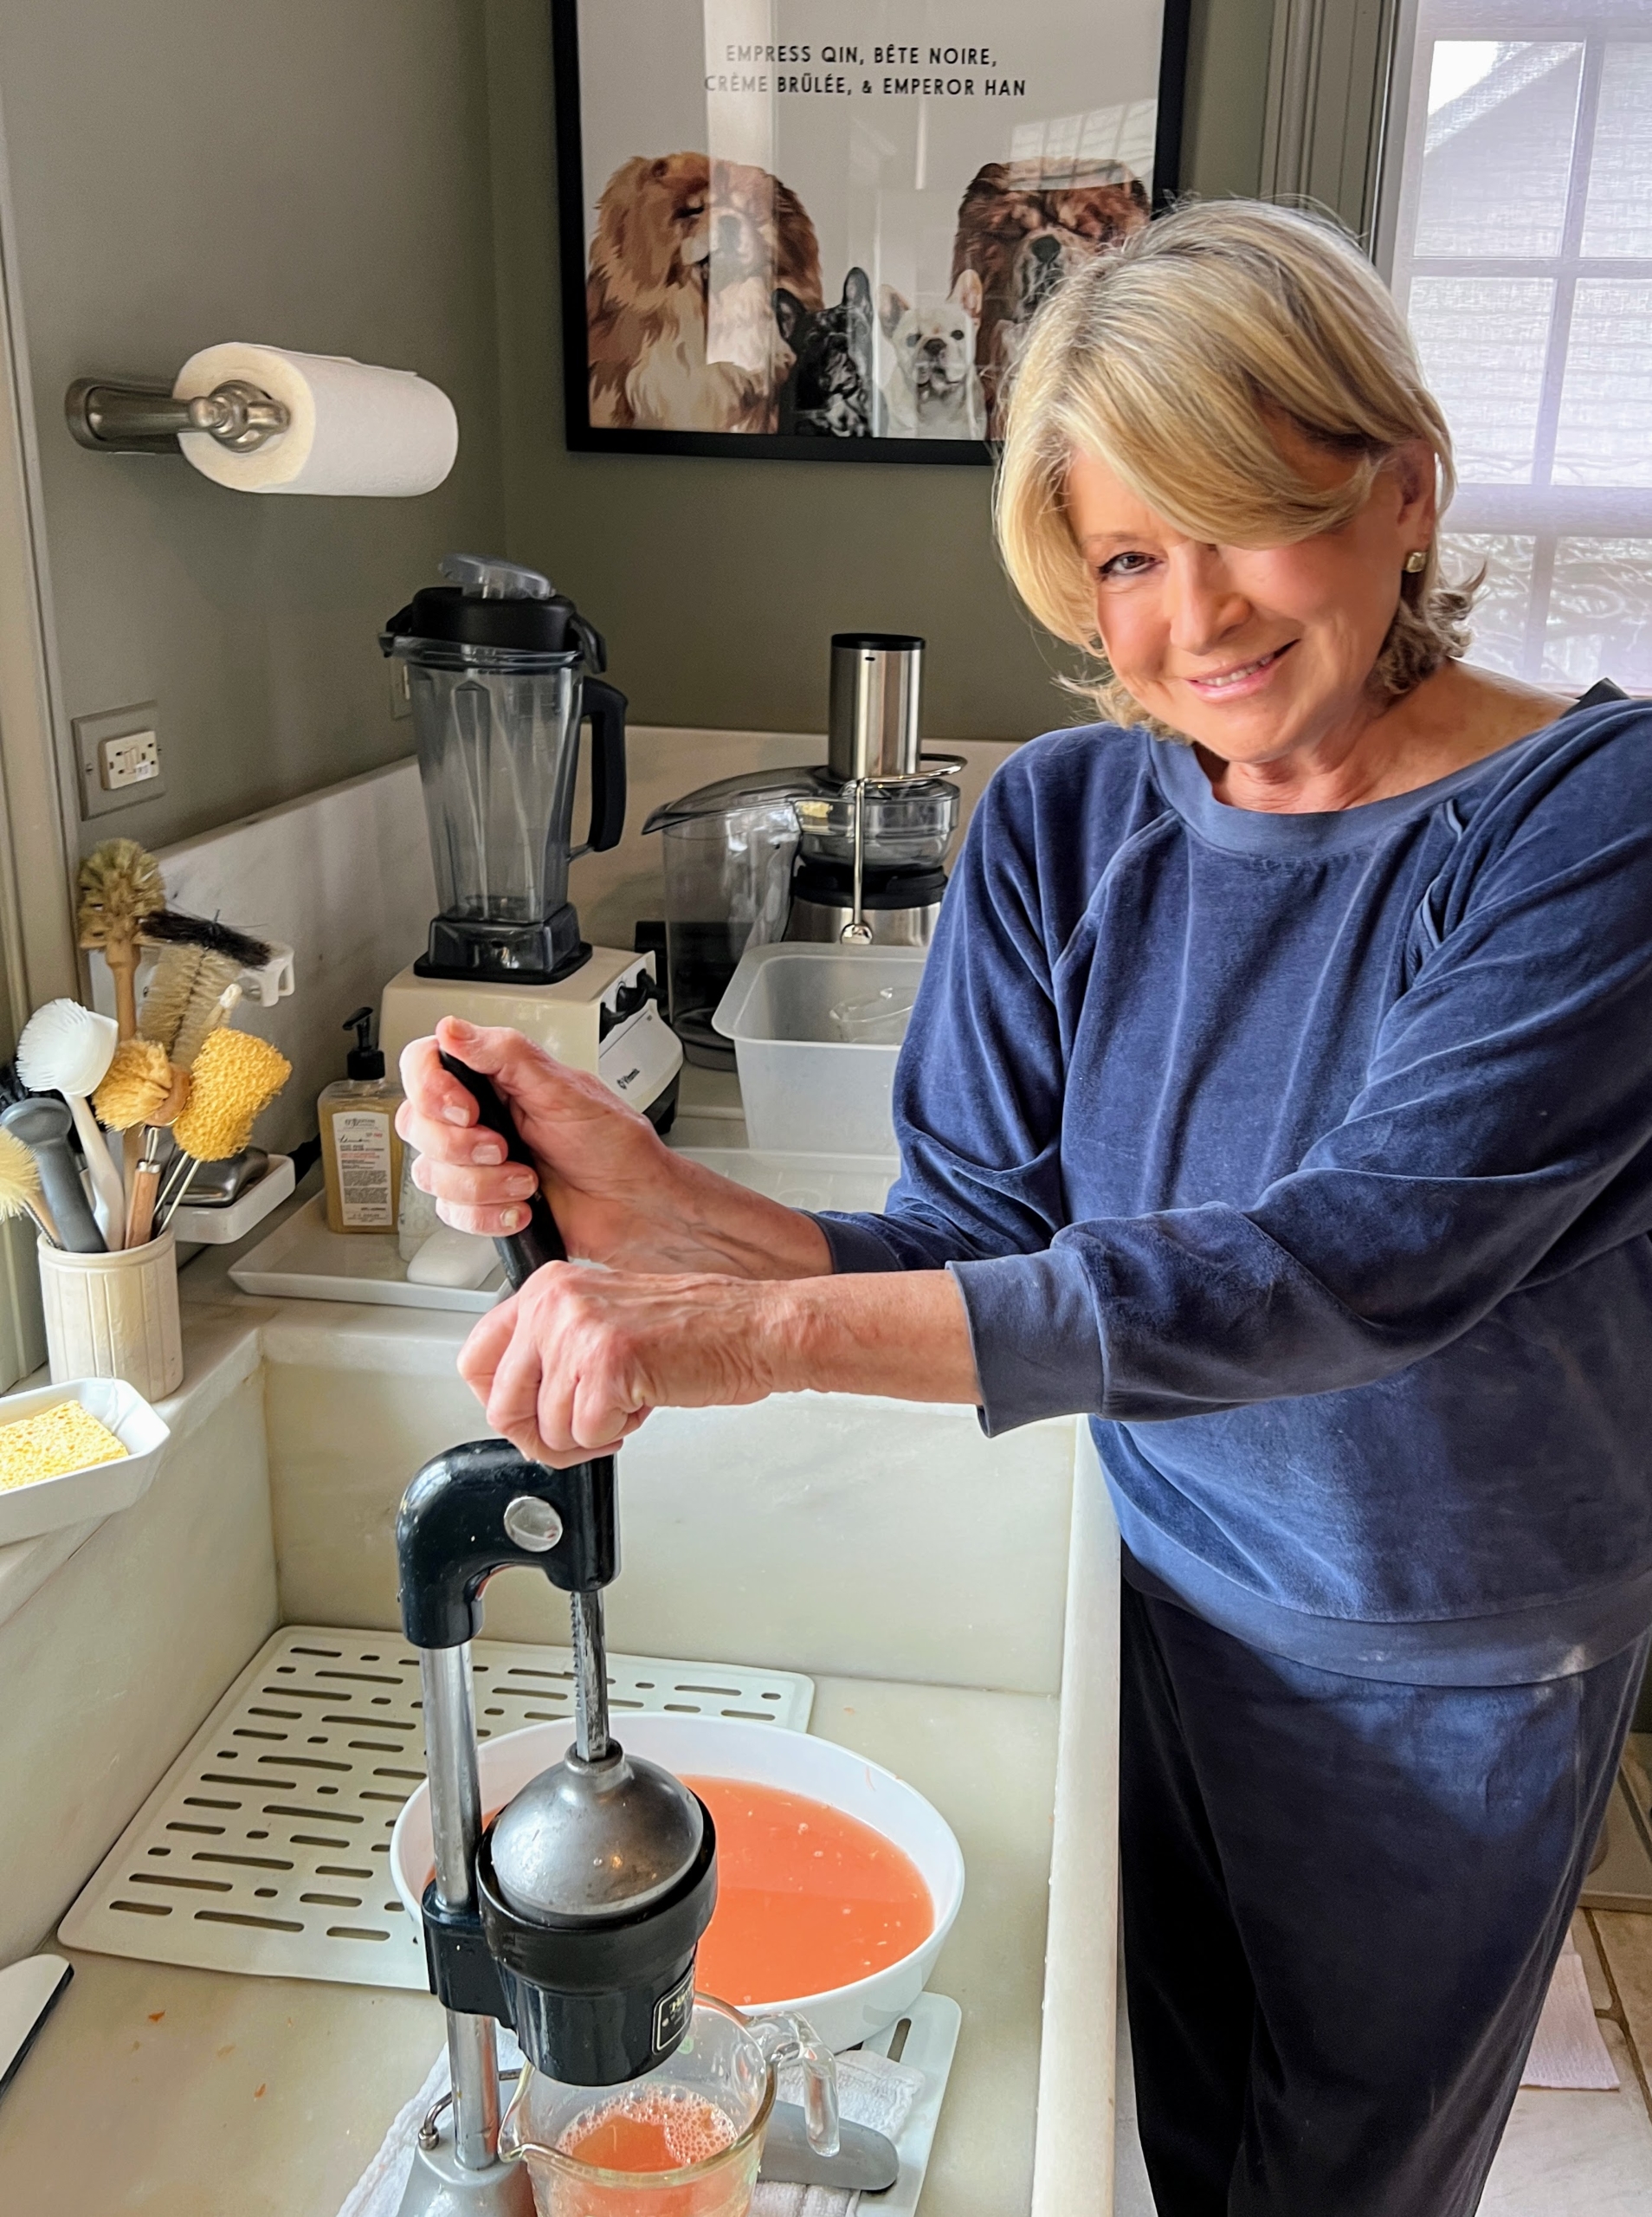
Here I am the morning of my dinner juicing the grapefruits for our granita – a shaved ice dessert flavored with fruit juices.
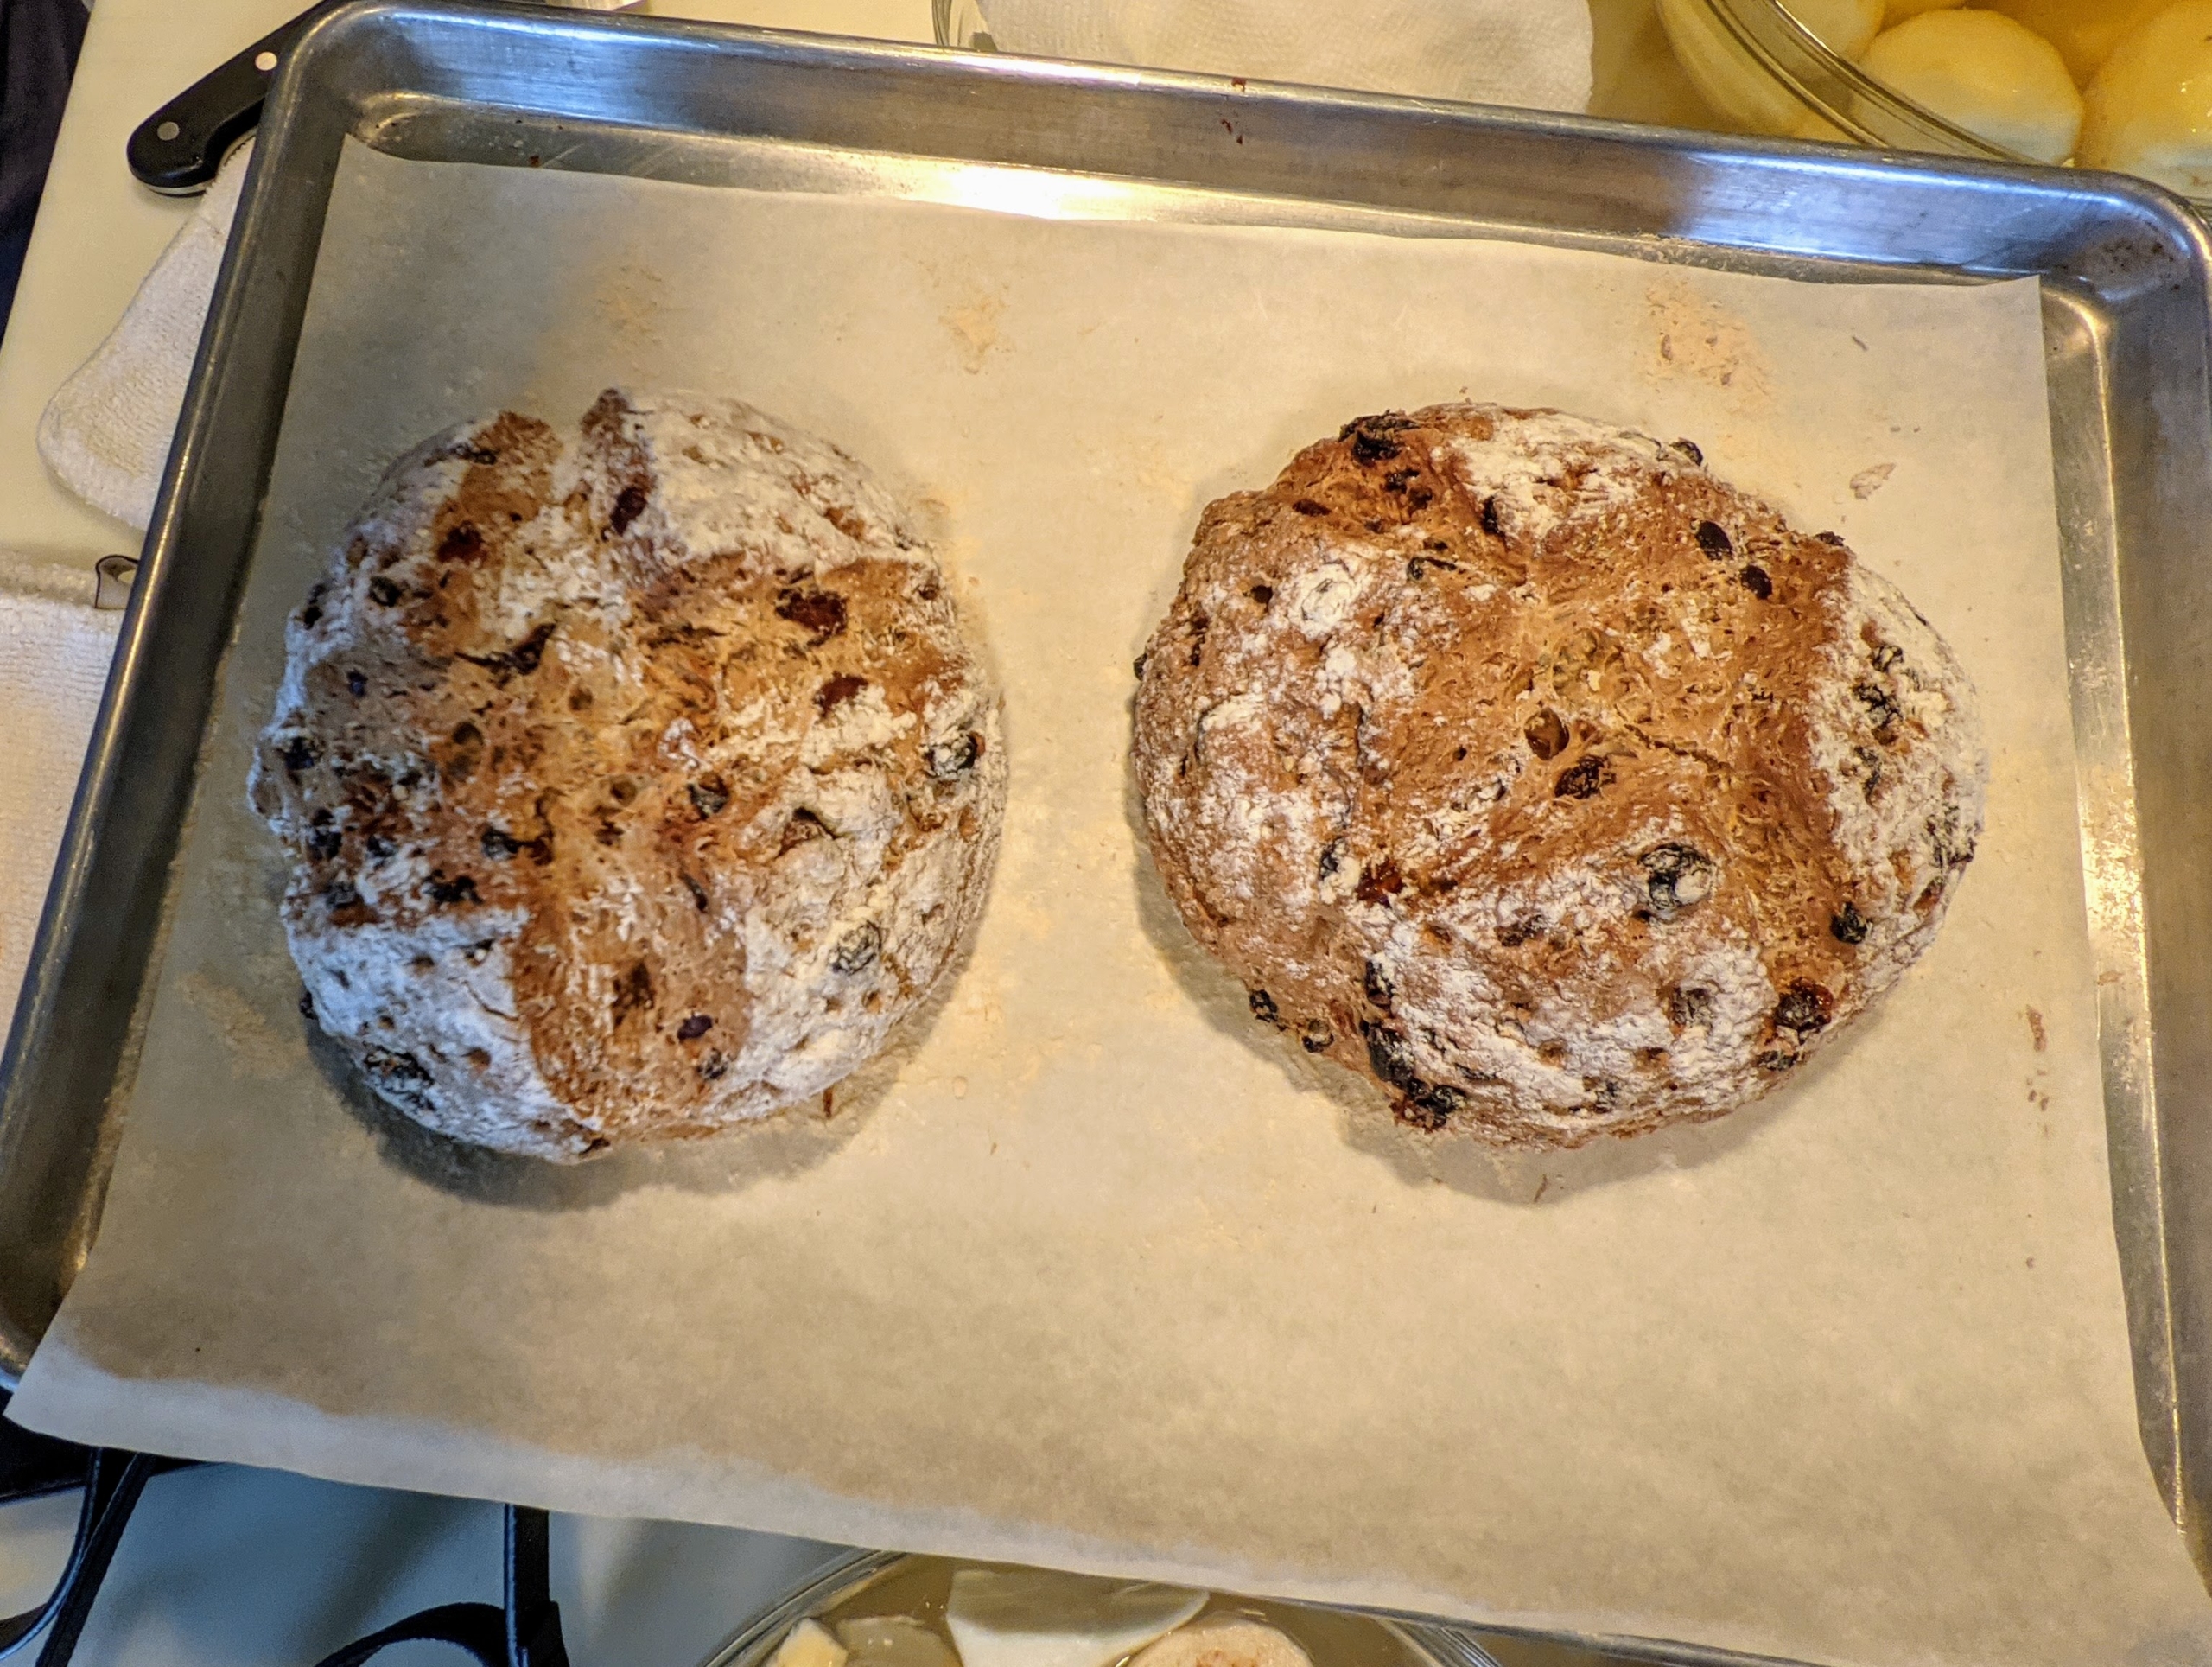
I also made several loaves of my Irish Soda Bread with Rye and Currants. Click on this highlighted link for the recipe from MarthaStewart.com.
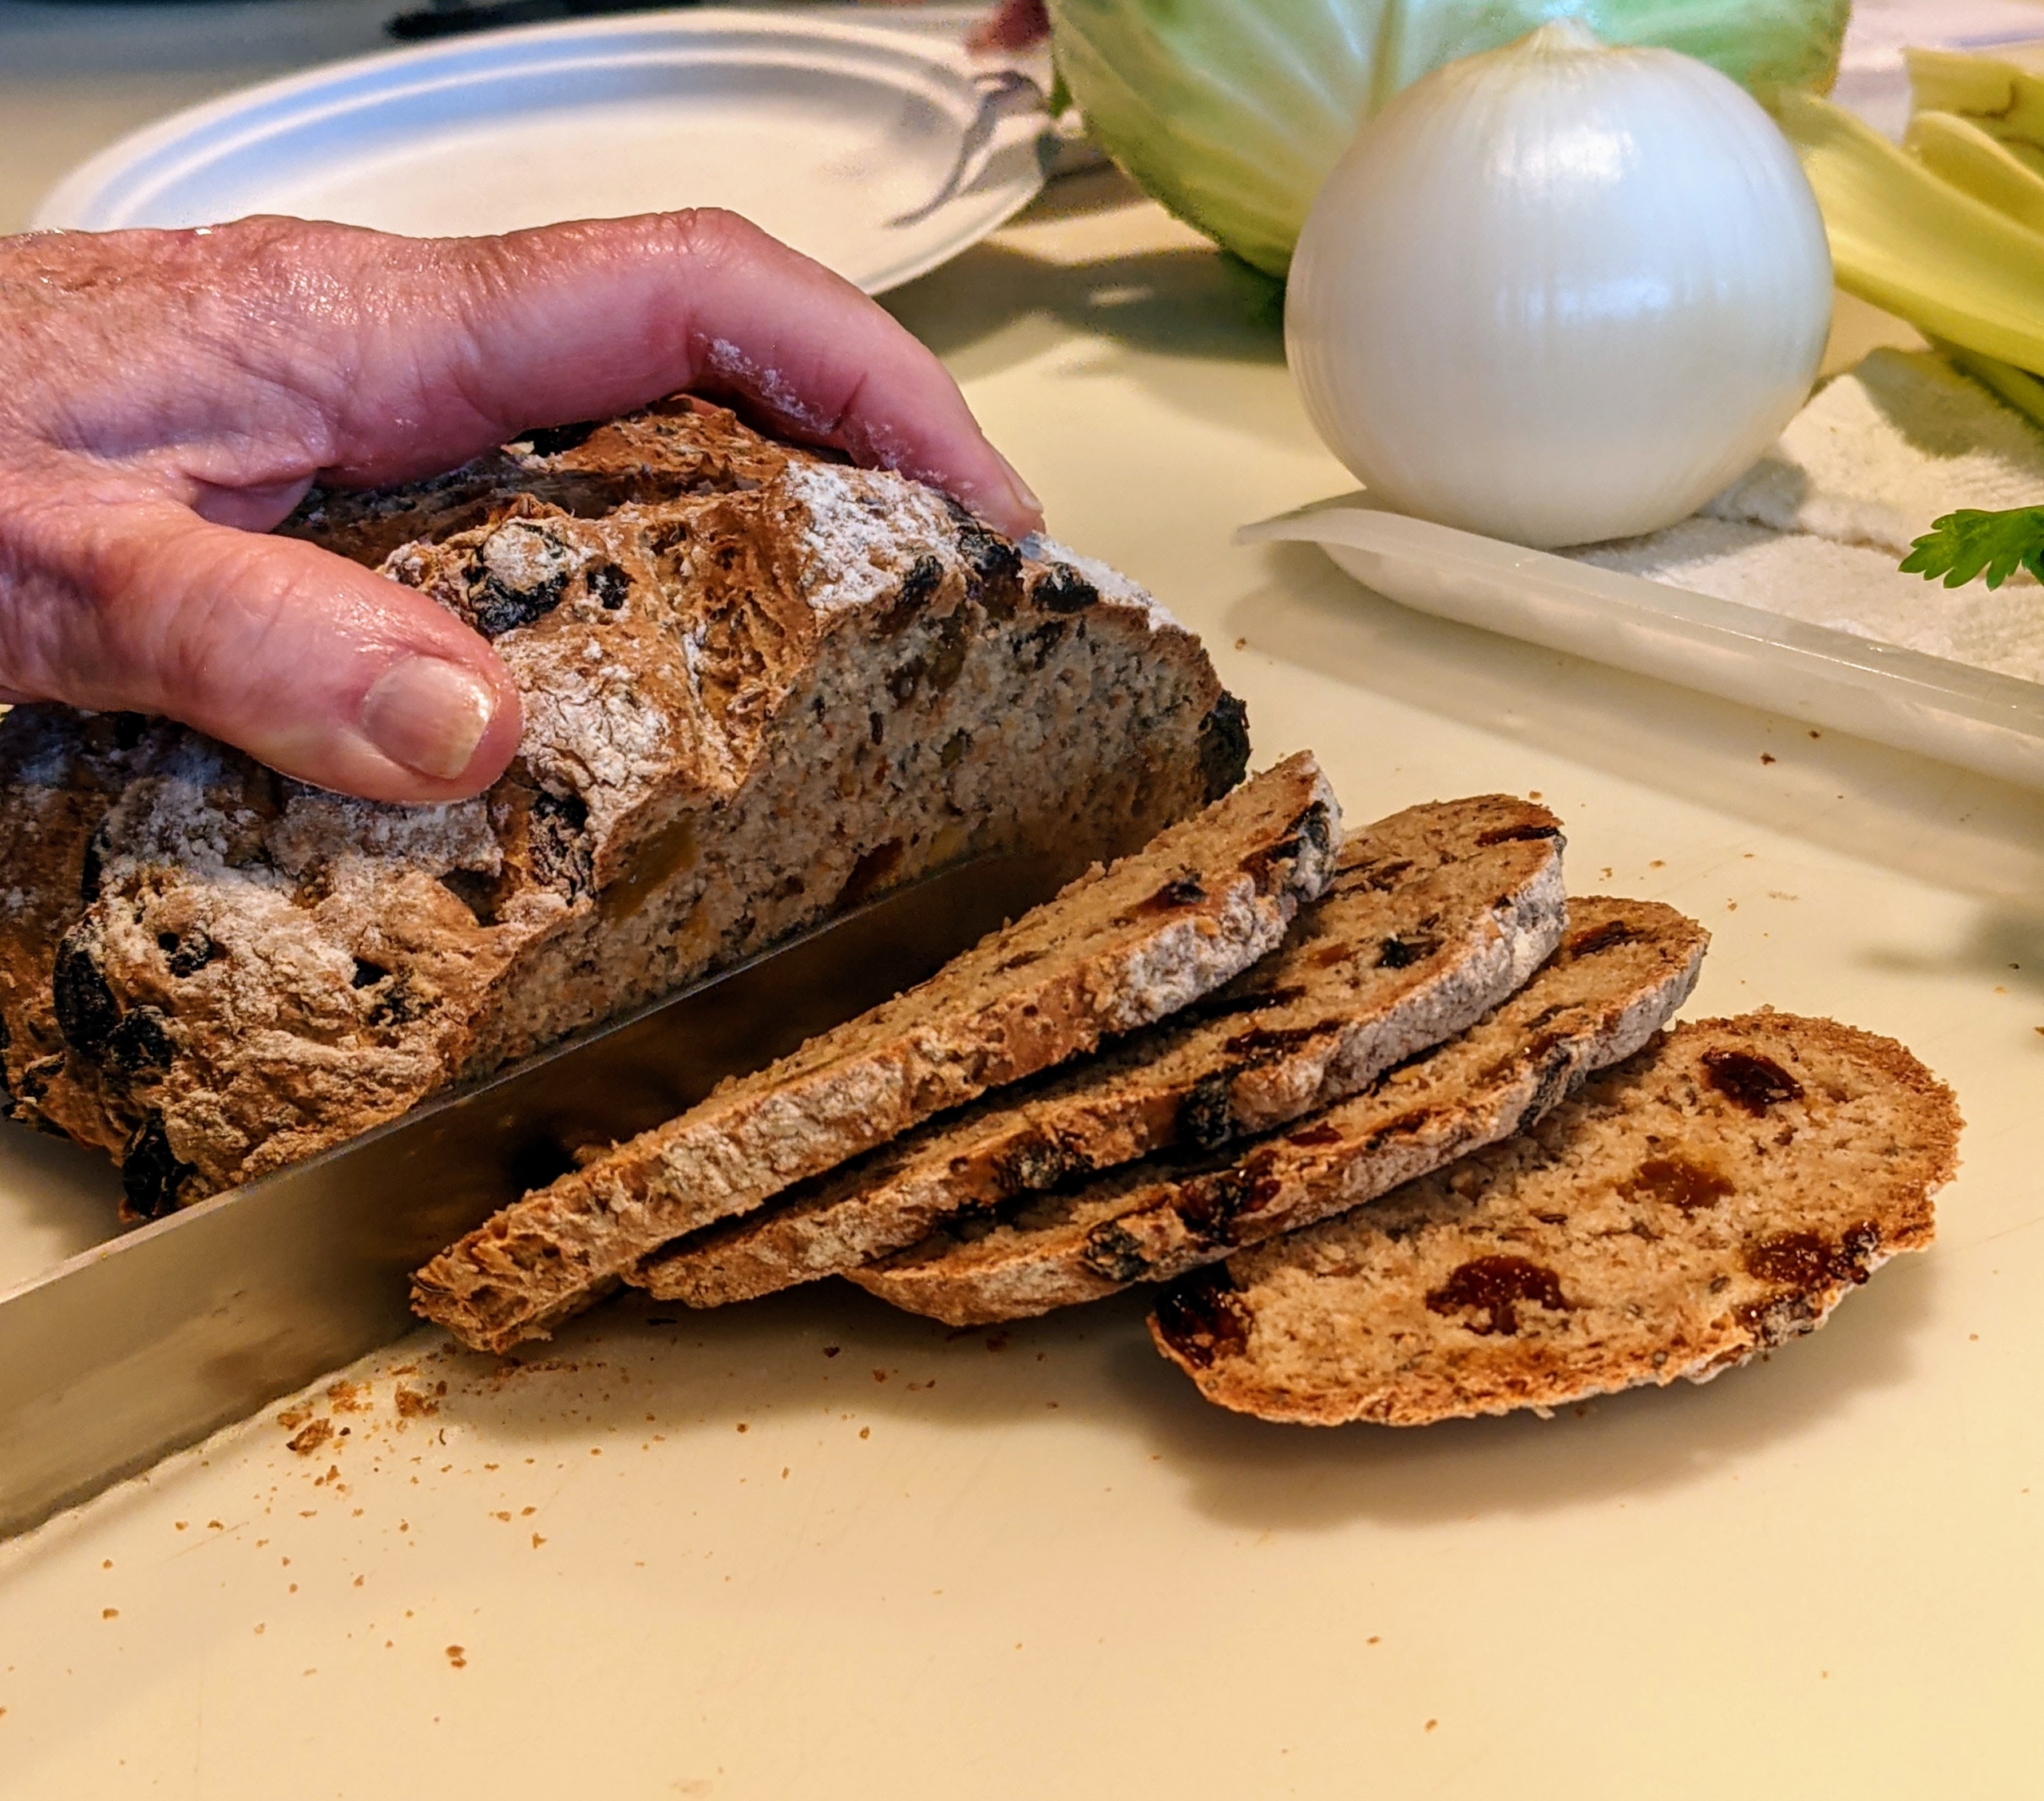
Fresh out of the oven, I just had to slice some up to taste.
Then, I cut up all the vegetables. This process is called mis en place meaning “set in place”. It refers to having all the ingredients prepped and ready to go before cooking.
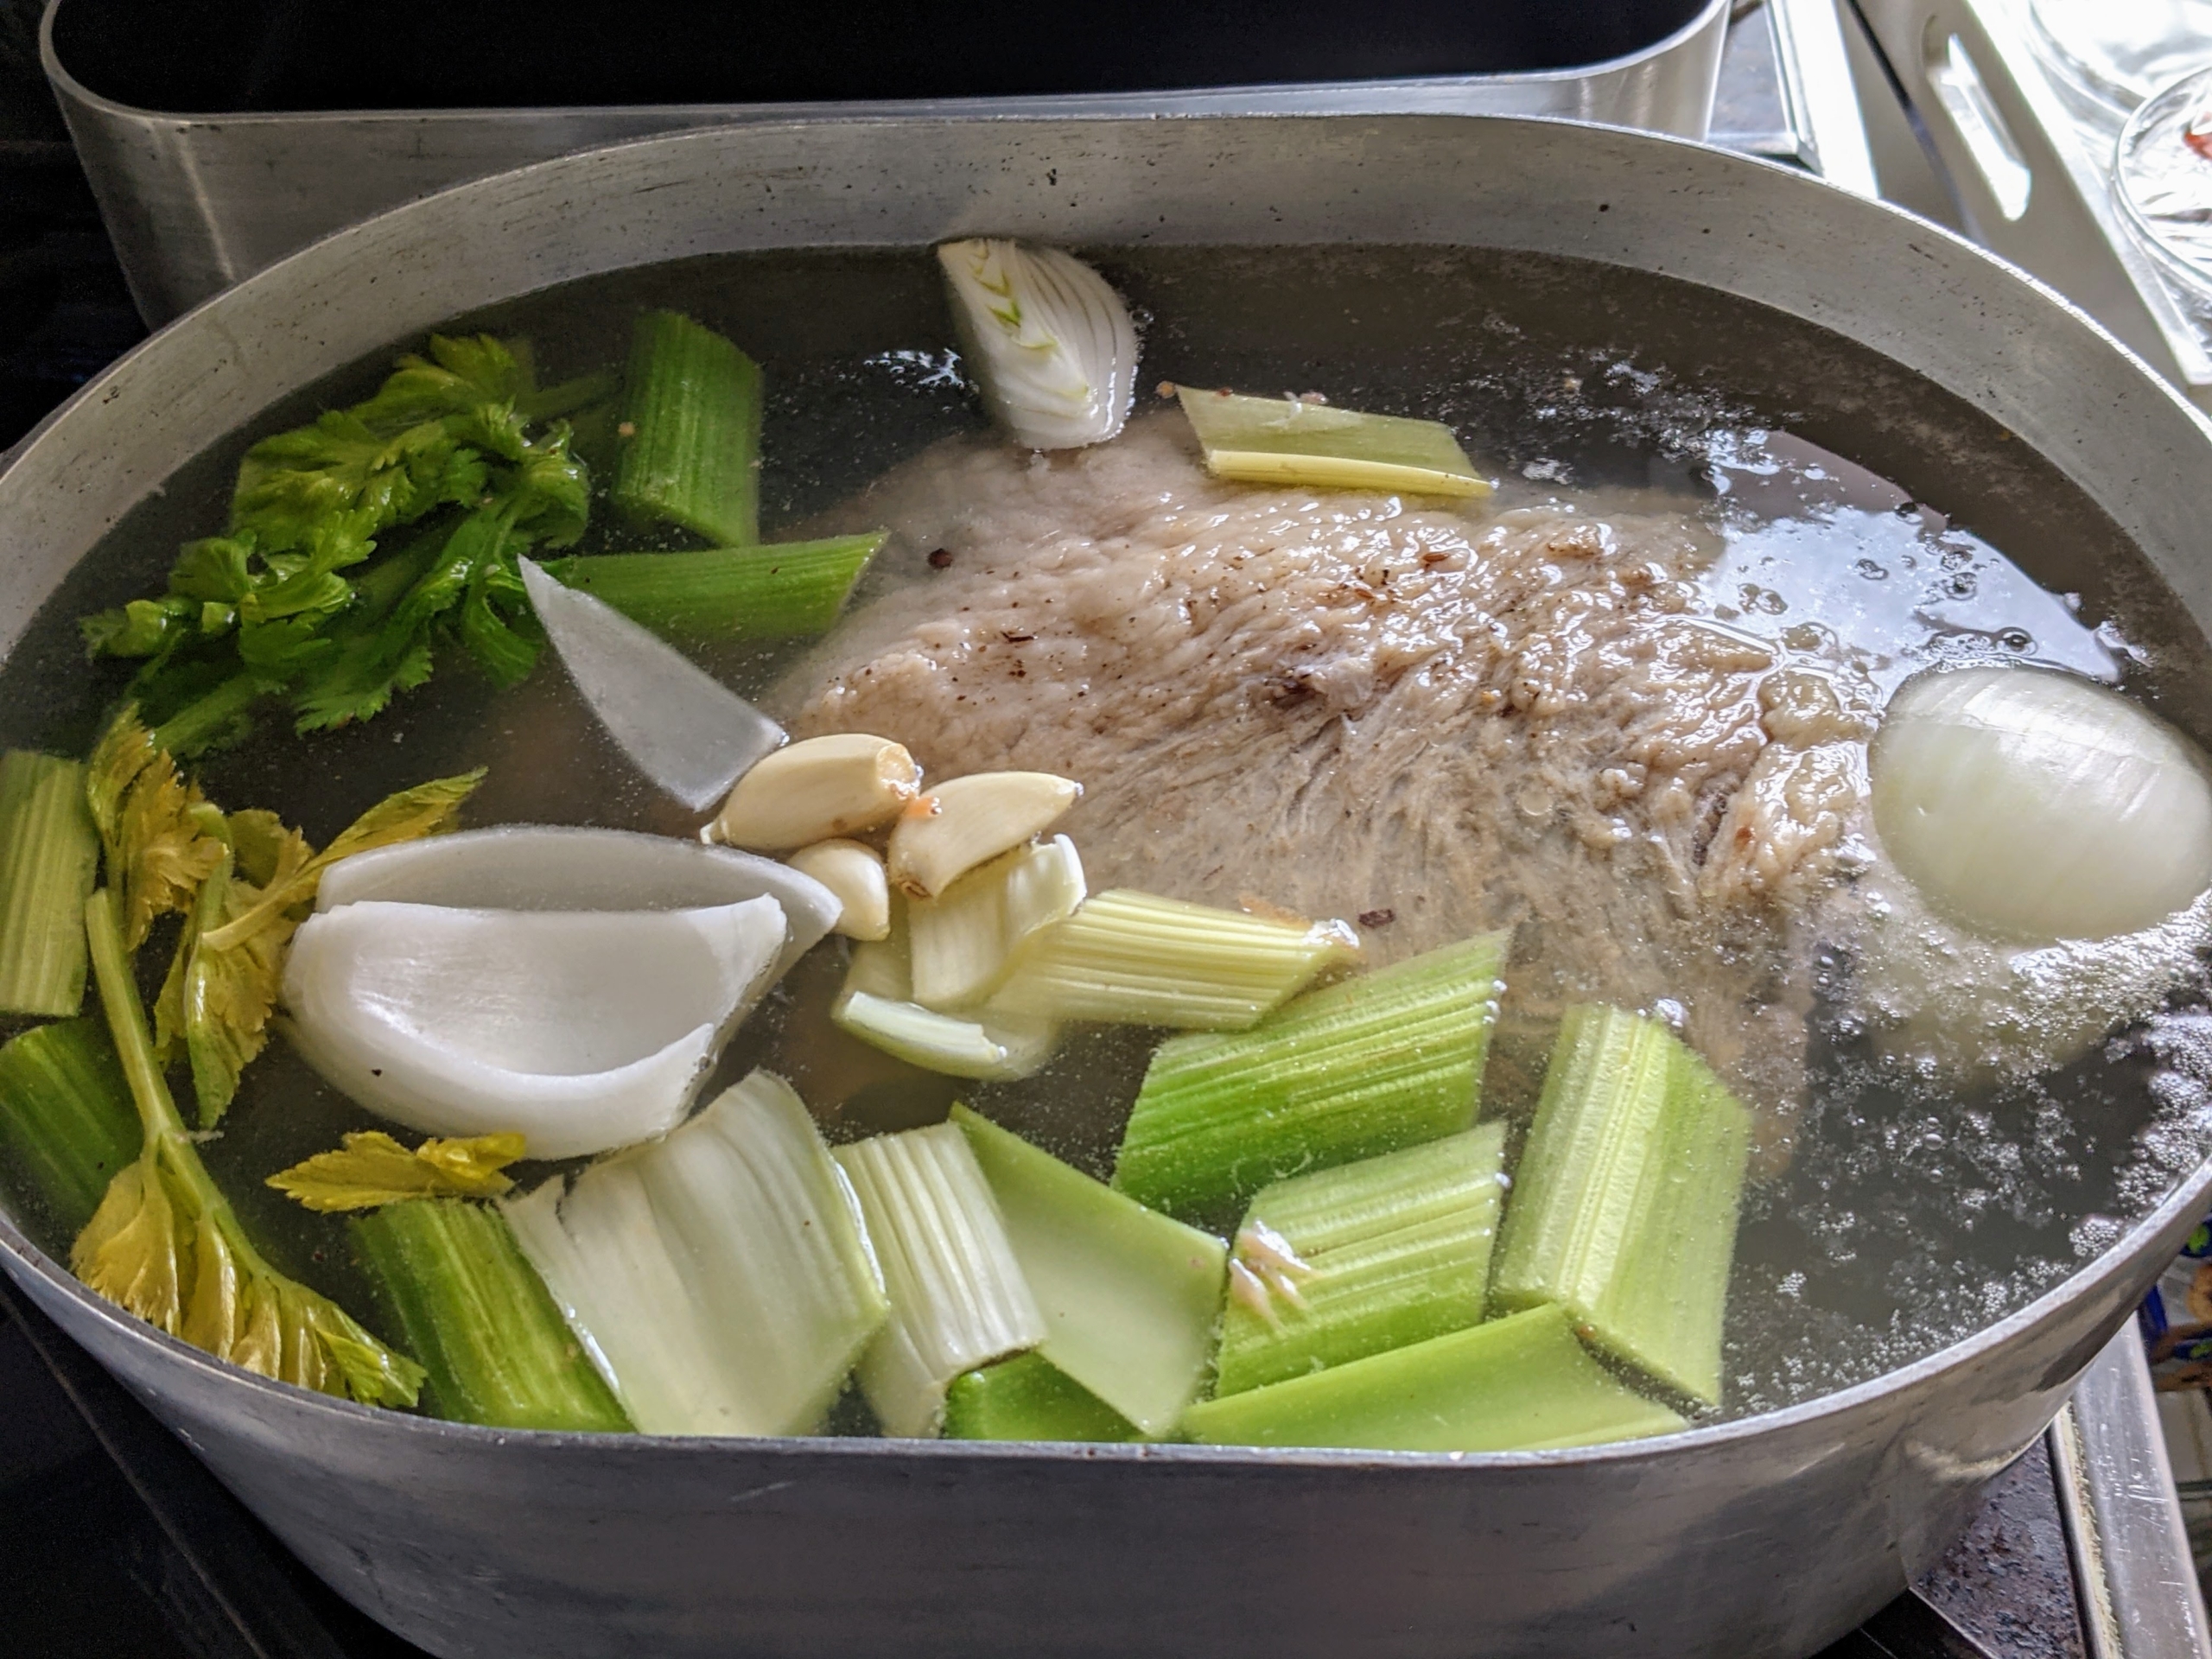
Here is the brisket fully covered in water and boiling with vegetables for three and a half hours. Click here for my recipe for Quick Brined Corned Beef and Vegetables from MarthaStewart.com. It is boiling in a WagnerWare Magnalite Dutch Oven I bought at a tag sale years ago.
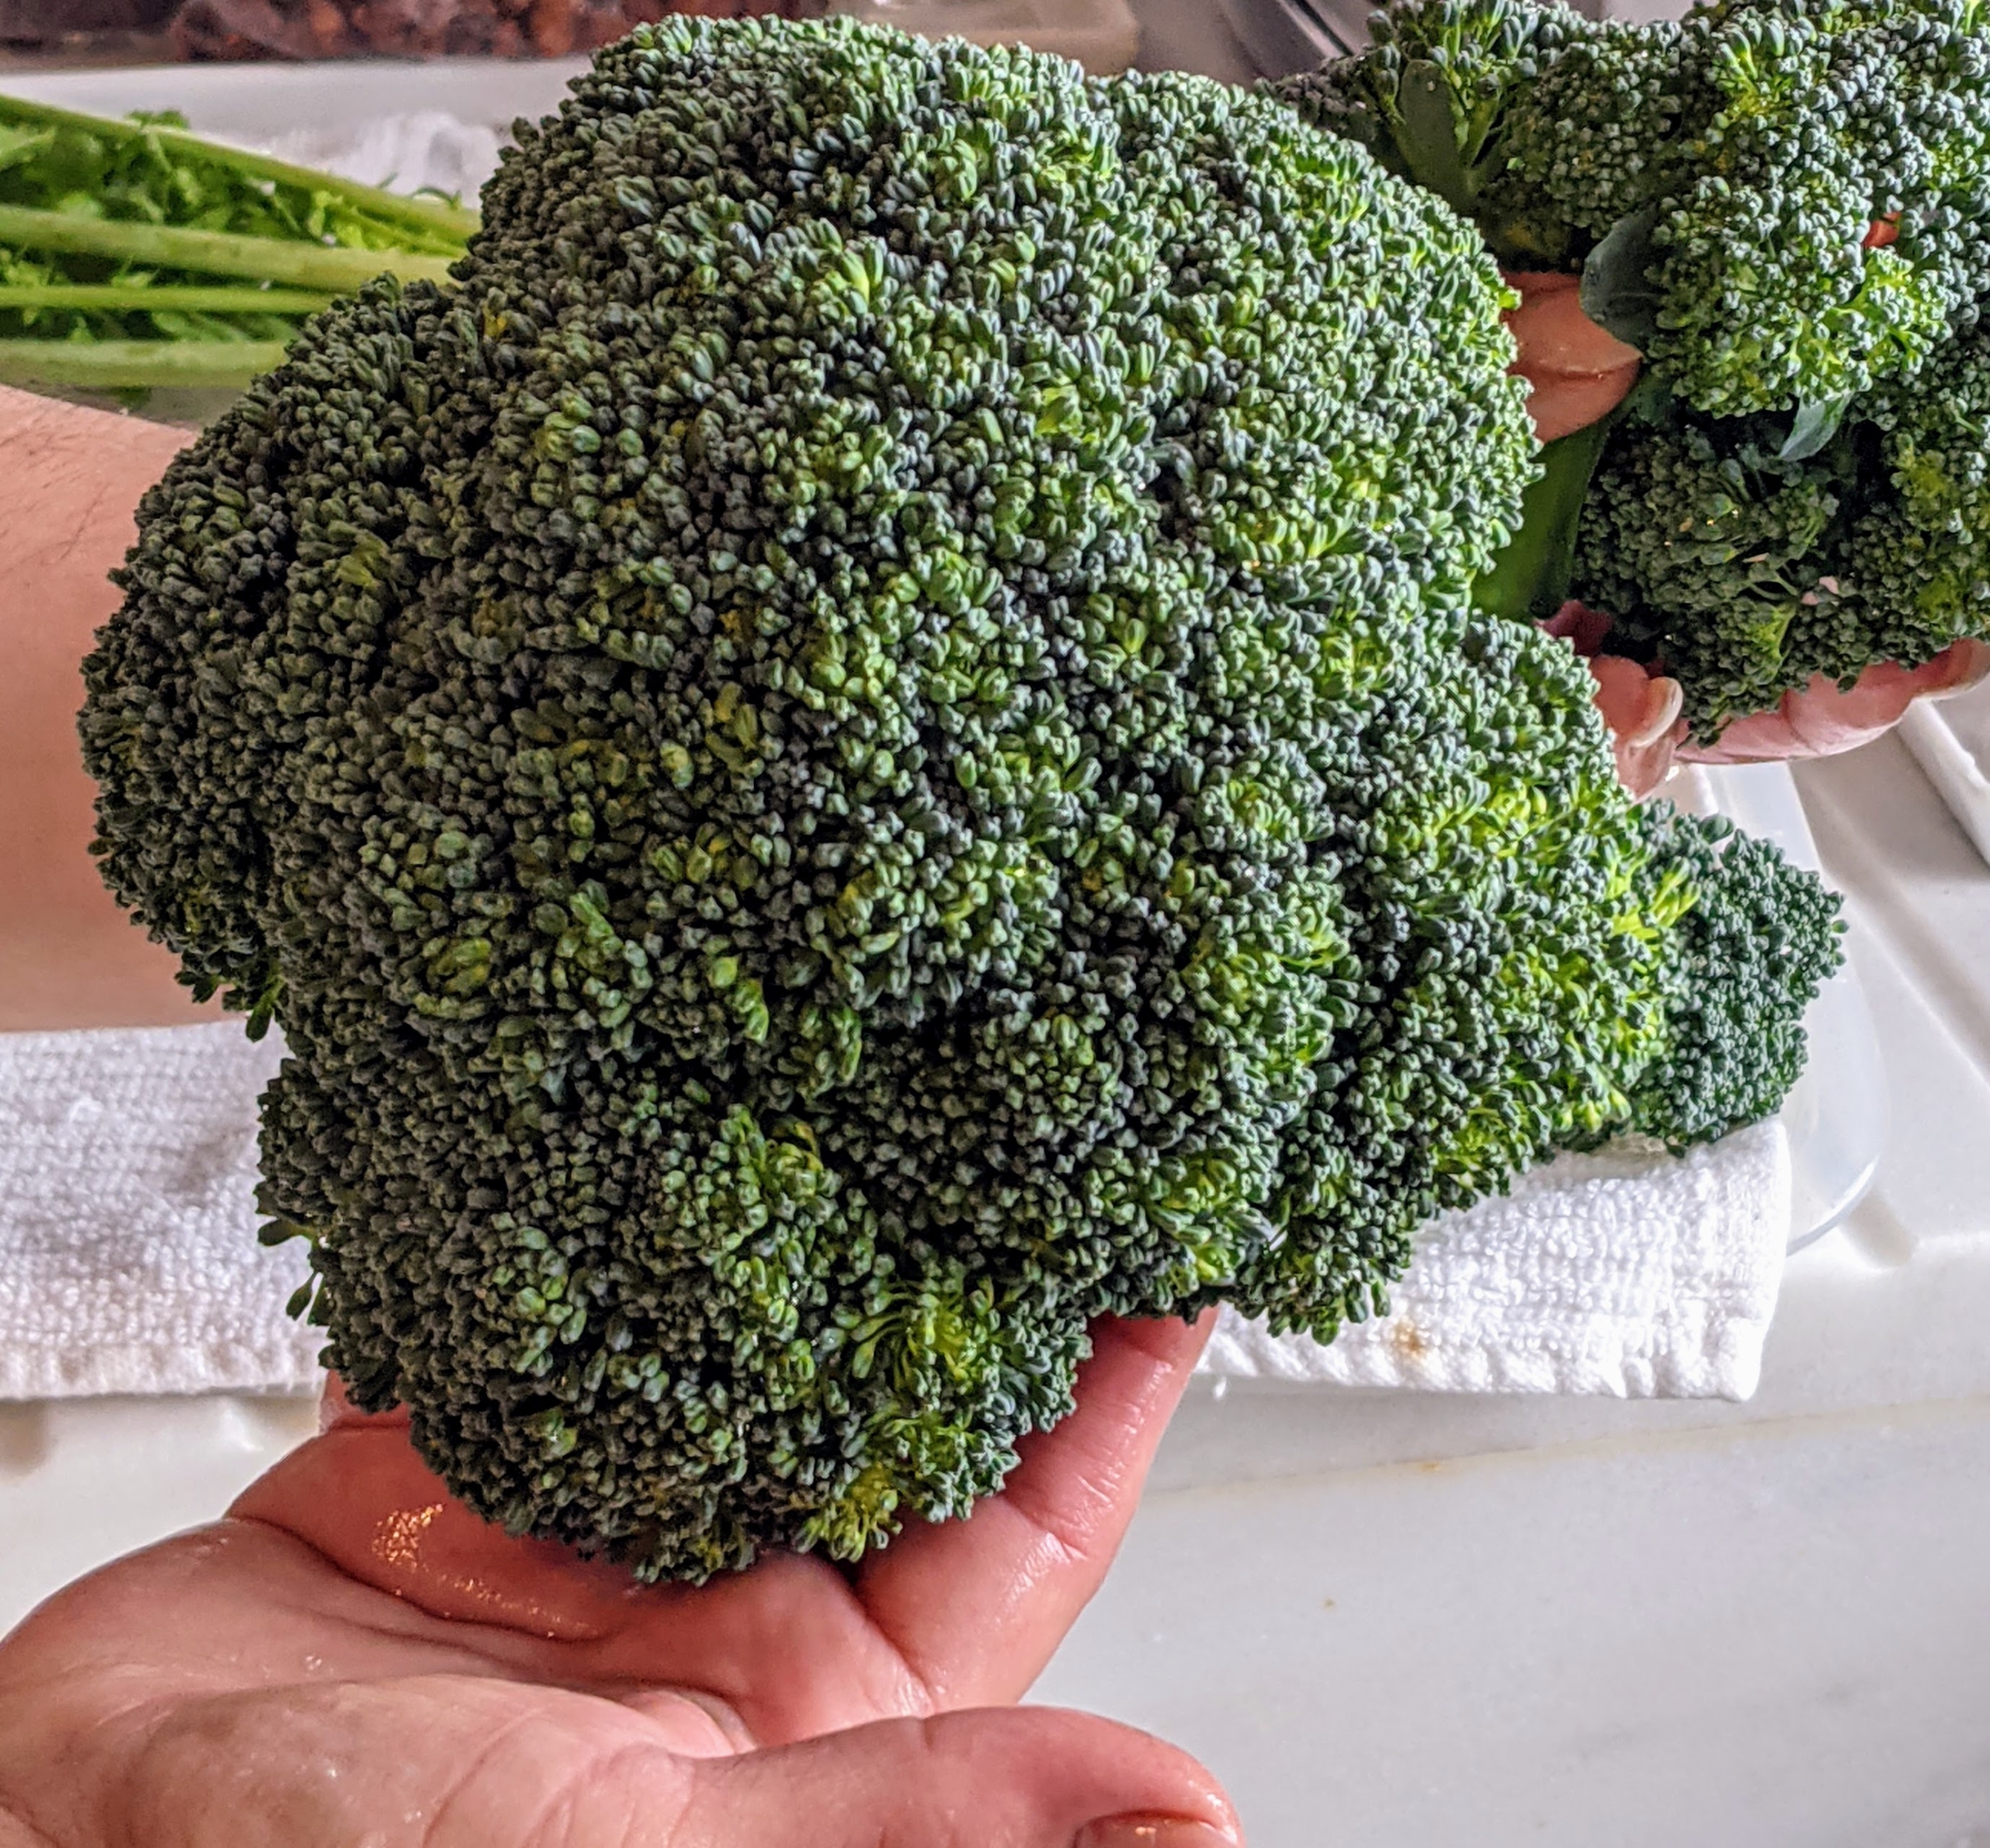
Look at this head of broccoli. This is one of the first broccolis we’ve grown in the greenhouse. To grow broccoli successfully indoors, it must get at least six hours of direct sunlight per day or grow lights timed to provide the same amount of direct exposure. The entire crop looks so beautiful.
And here is one of the lettuces for our salad. I love using fresh, organic vegetables from my gardens. I always grow lots of varieties of lettuce, so I can enjoy them at dinners and share them with my family and friends.
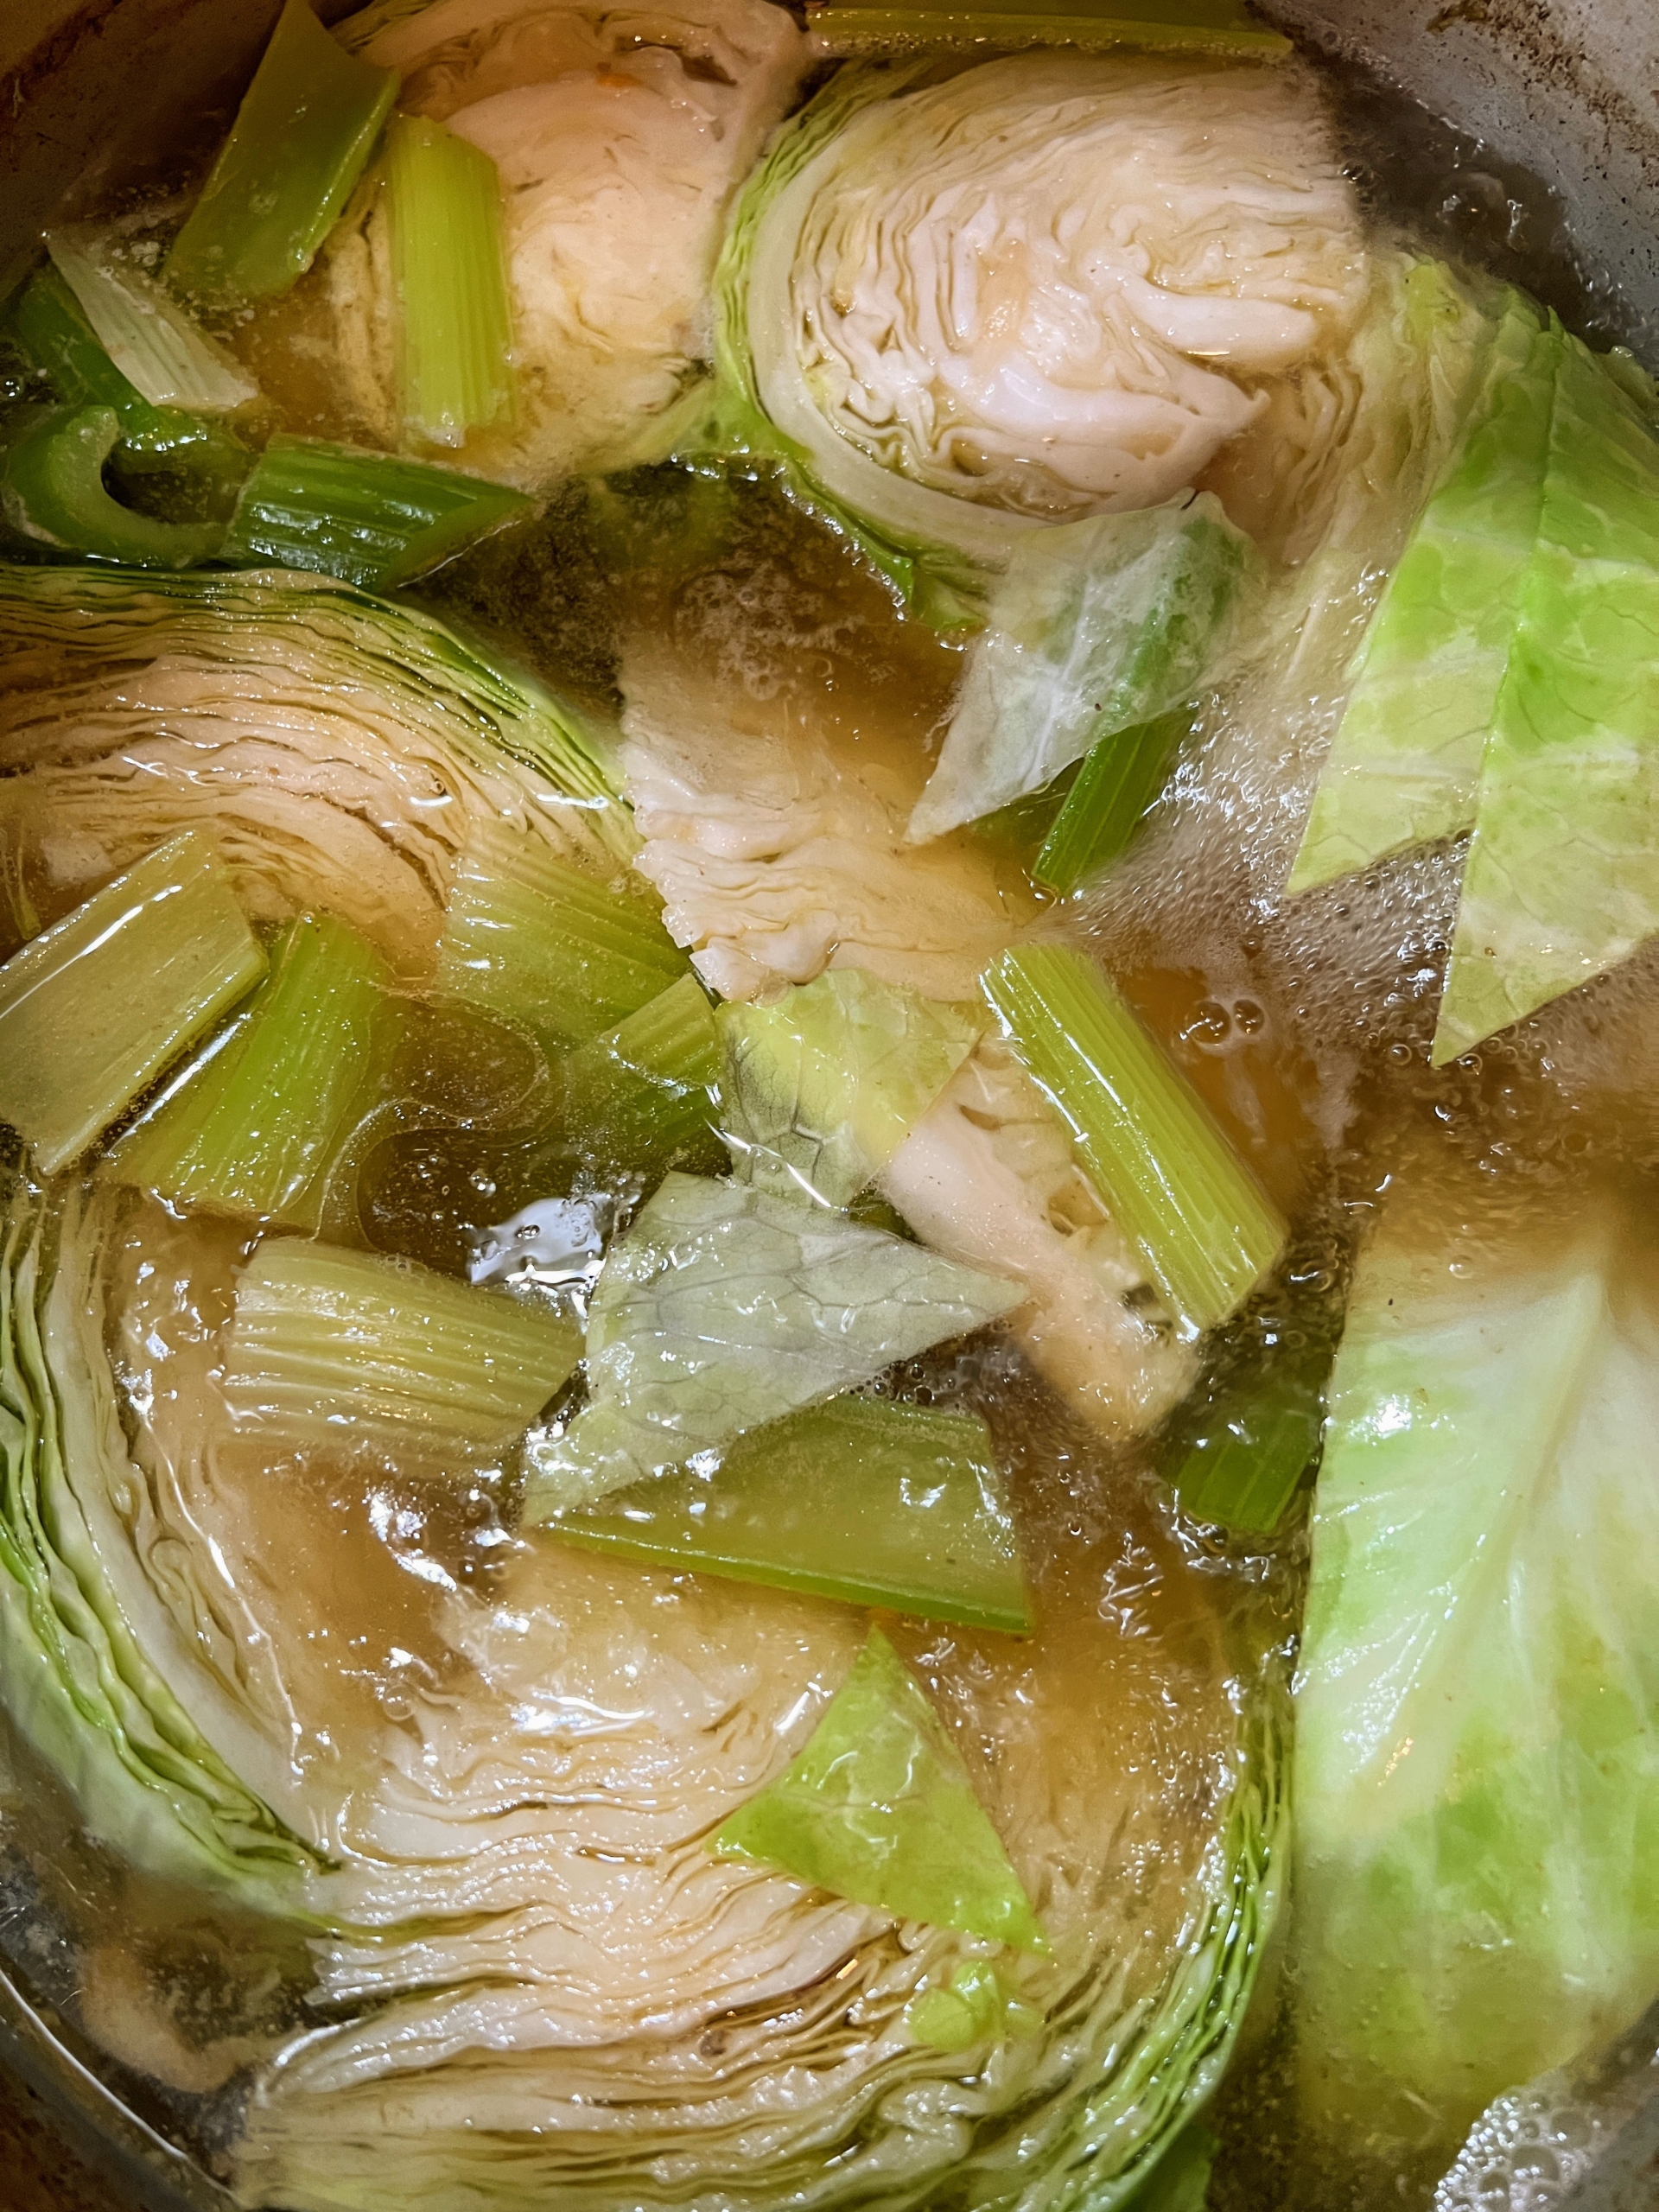
Here are wedges of cabbage cooking in the beef broth.
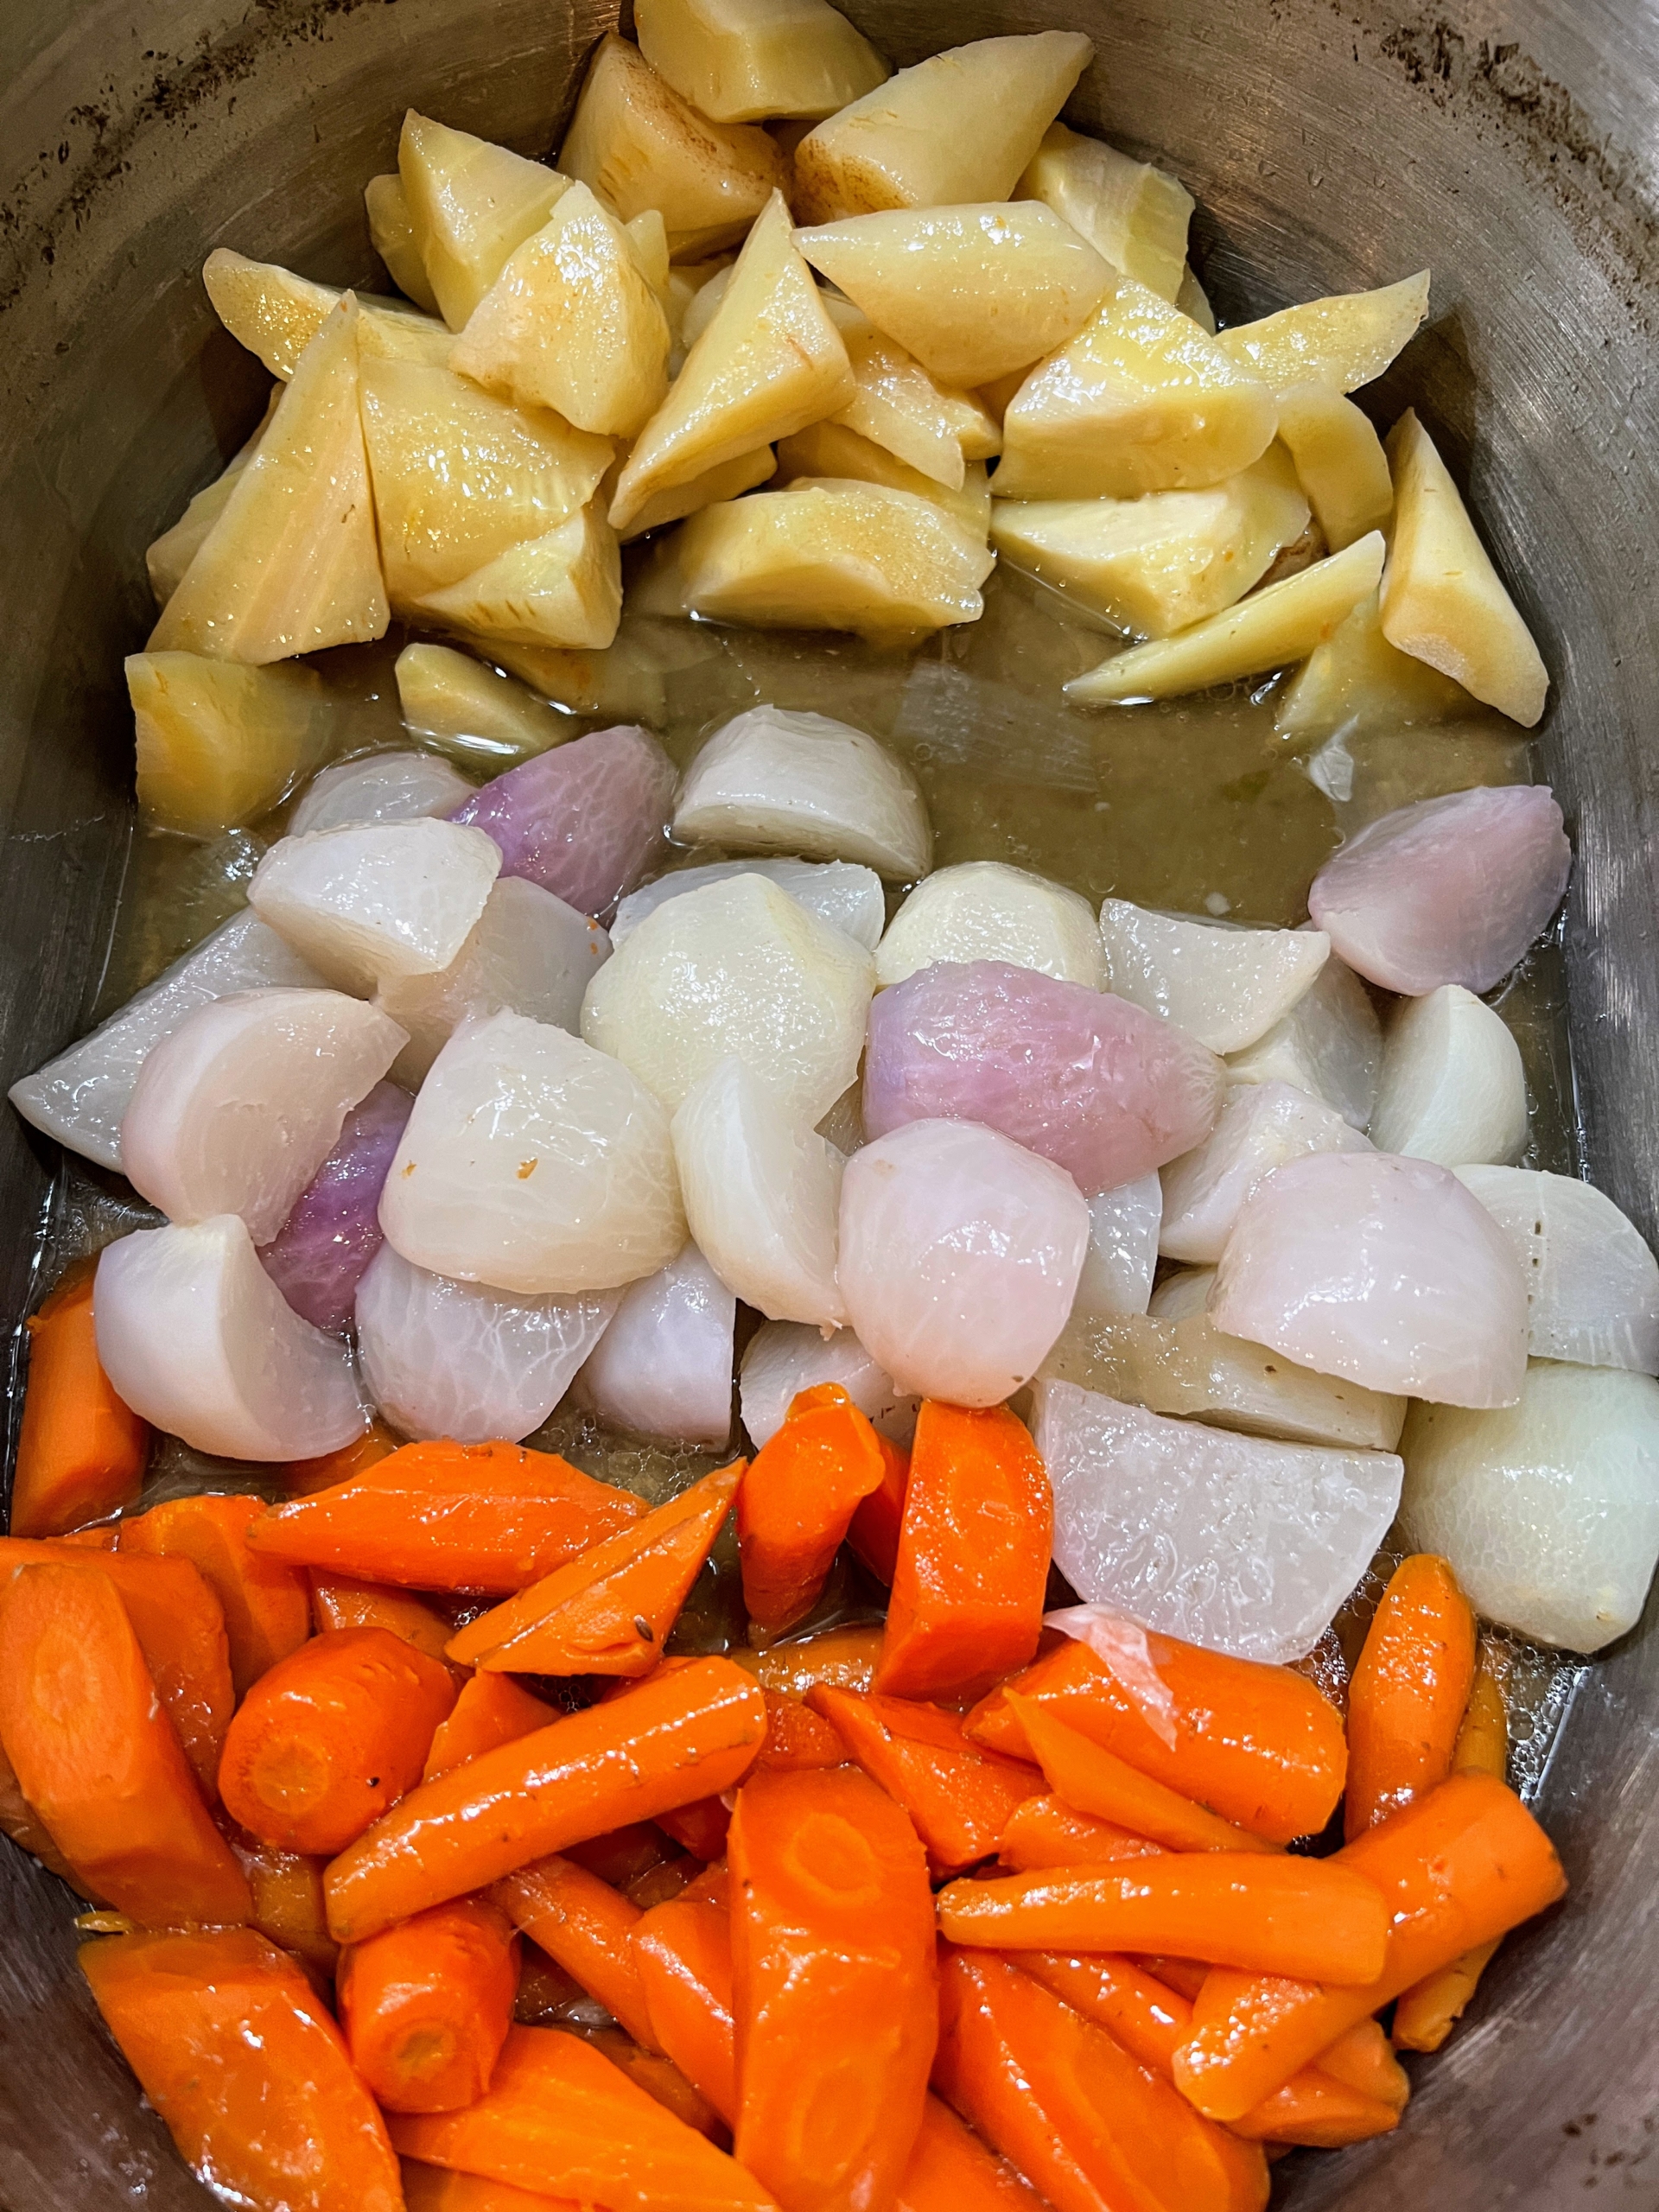
All the vegetables are cooked separately until tender.
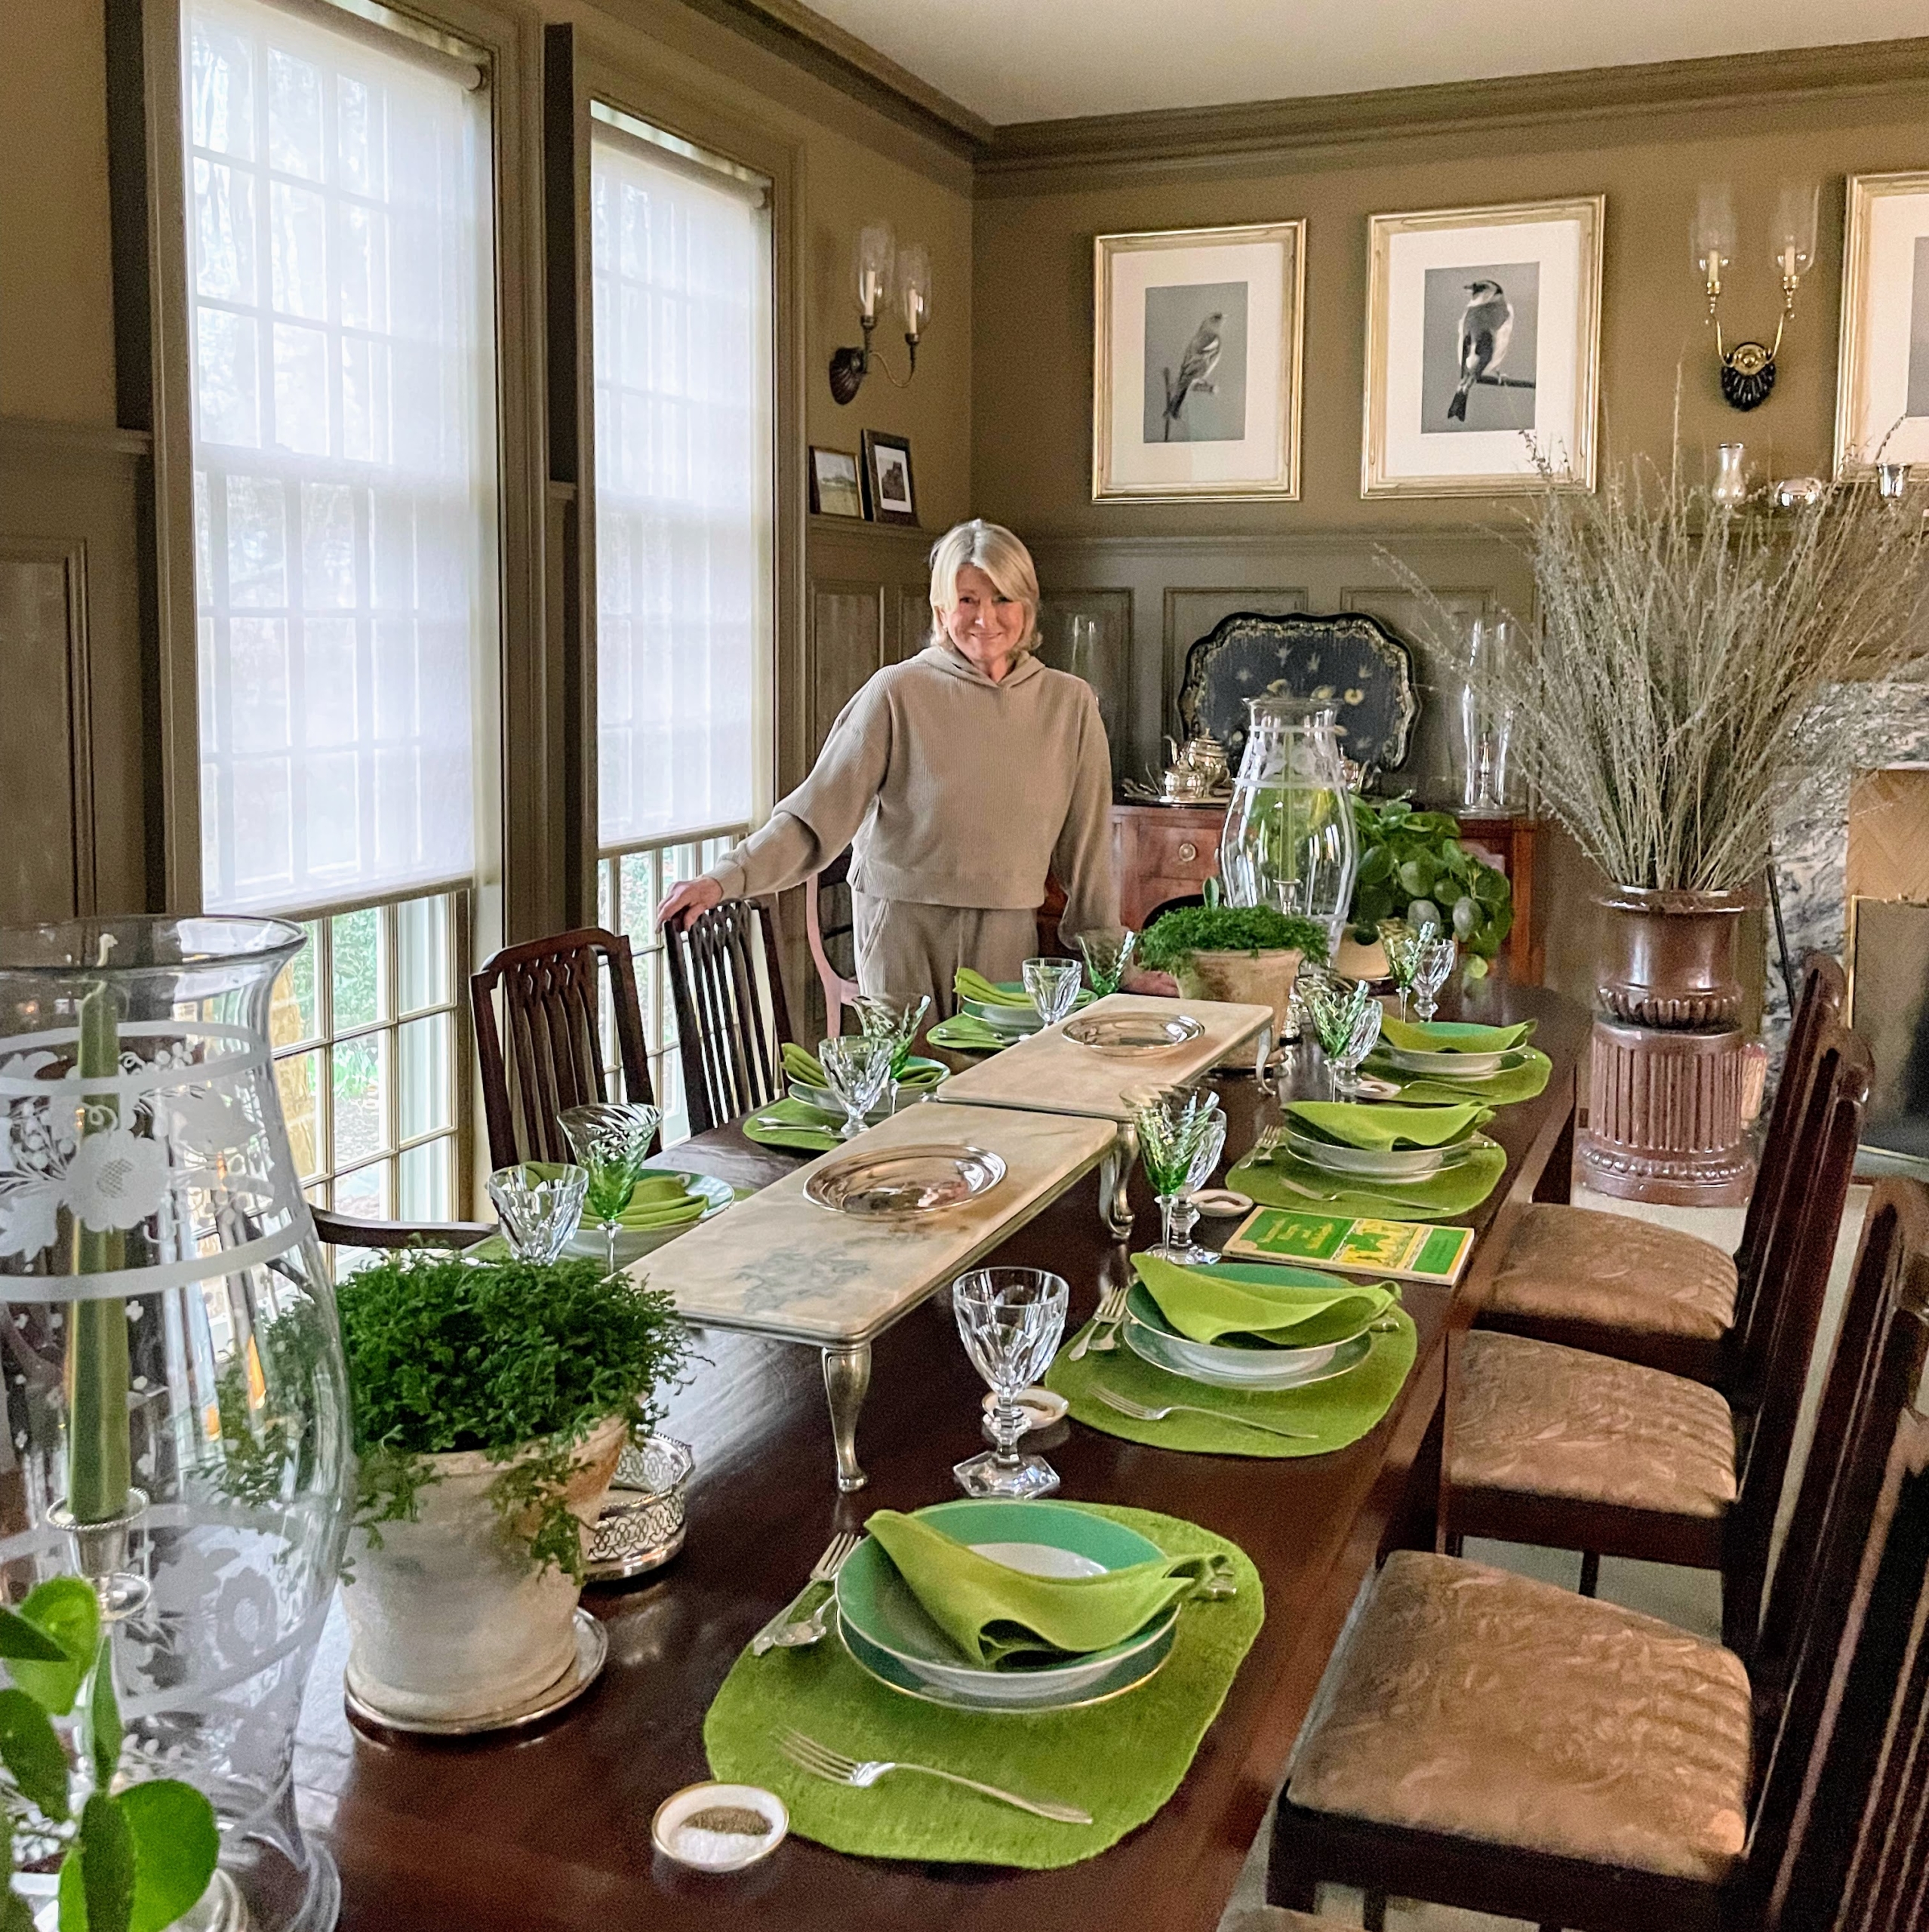
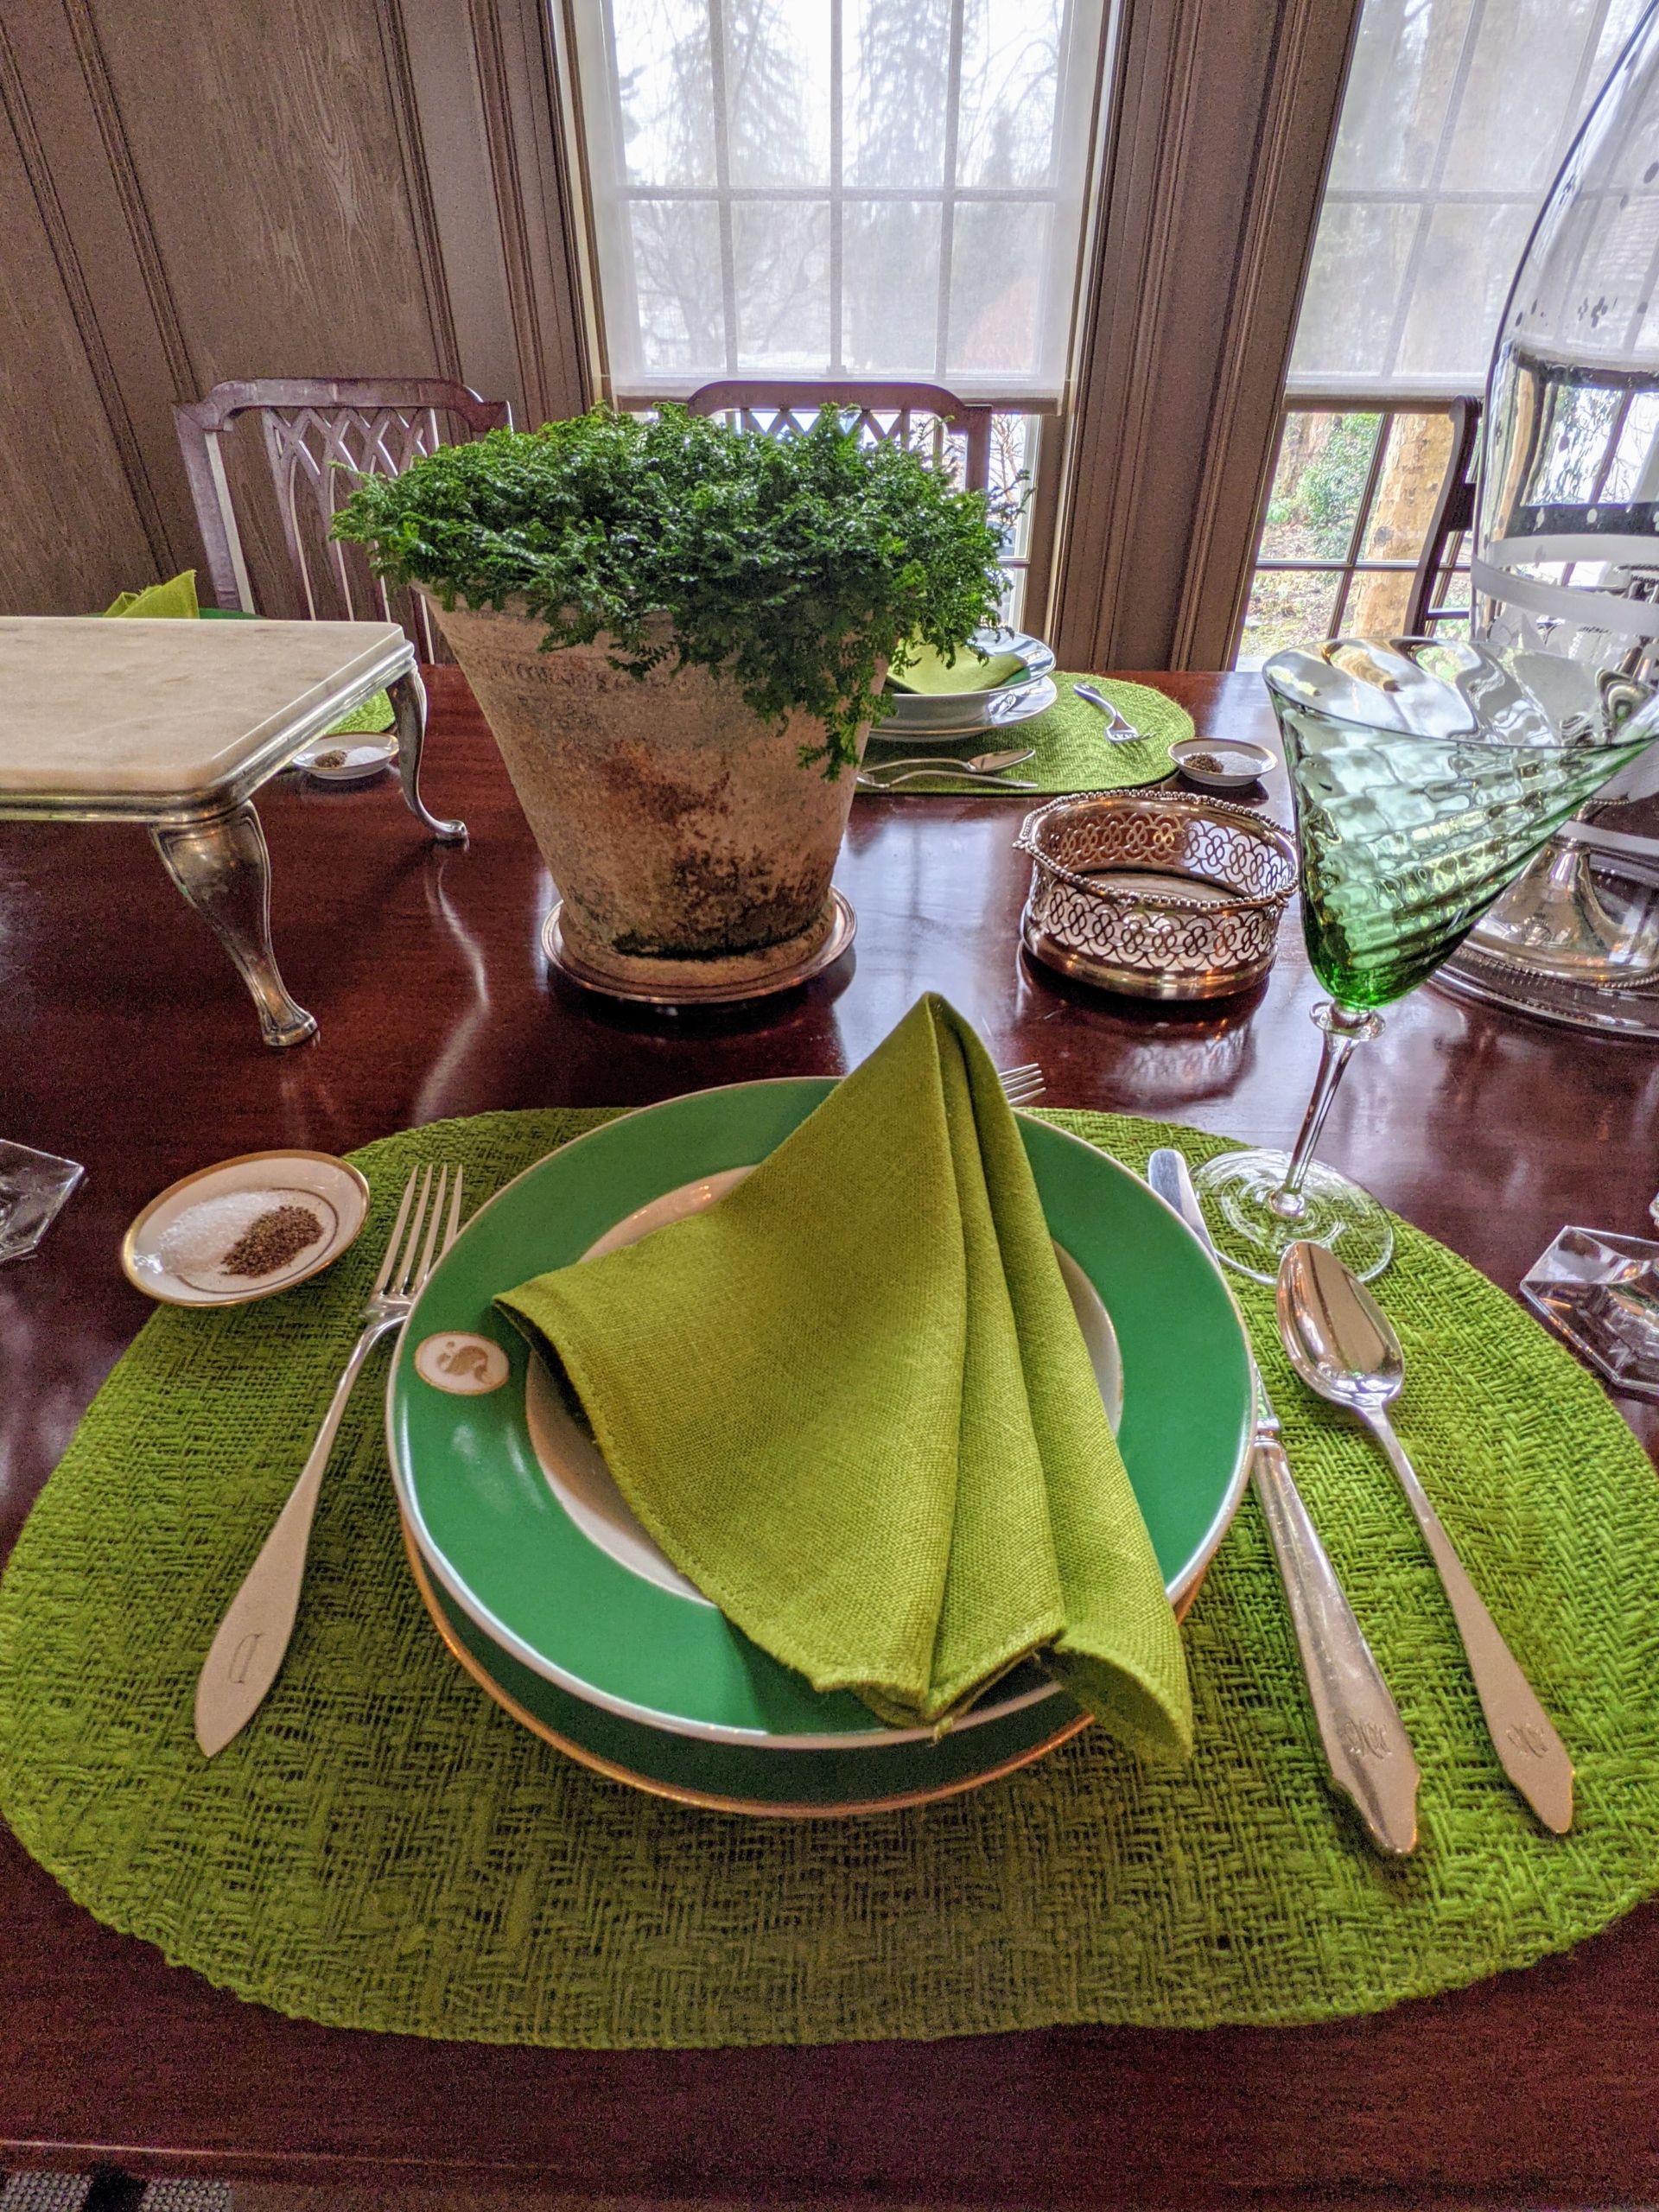
Here I am at the beautifully set table – in shades of green, of course.
Here is a closer look at one of the place settings. My housekeeper, Enma, and I, always work together to create the most inviting table settings. I also used some plants from my greenhouse for the centerpiece. This is a potted selaginella, sometimes referred to as a spike moss or arborvitae fern.
Here’s a closer look. This plant is the sole genus of vascular plants in the family Selaginellaceae. It has creeping foliage and simple, scale-like leaves on branching stems.
If you follow my blog regularly, you may be familiar with this plant. It is one of my Chinese money plants, Pilea peperomioides. The Pilea peperomioides has attractive coin-shaped foliage. This perennial is native to southern China, growing naturally along the base of the Himalayan mountains. It is also known as coin plant, pancake plant, and UFO plant.
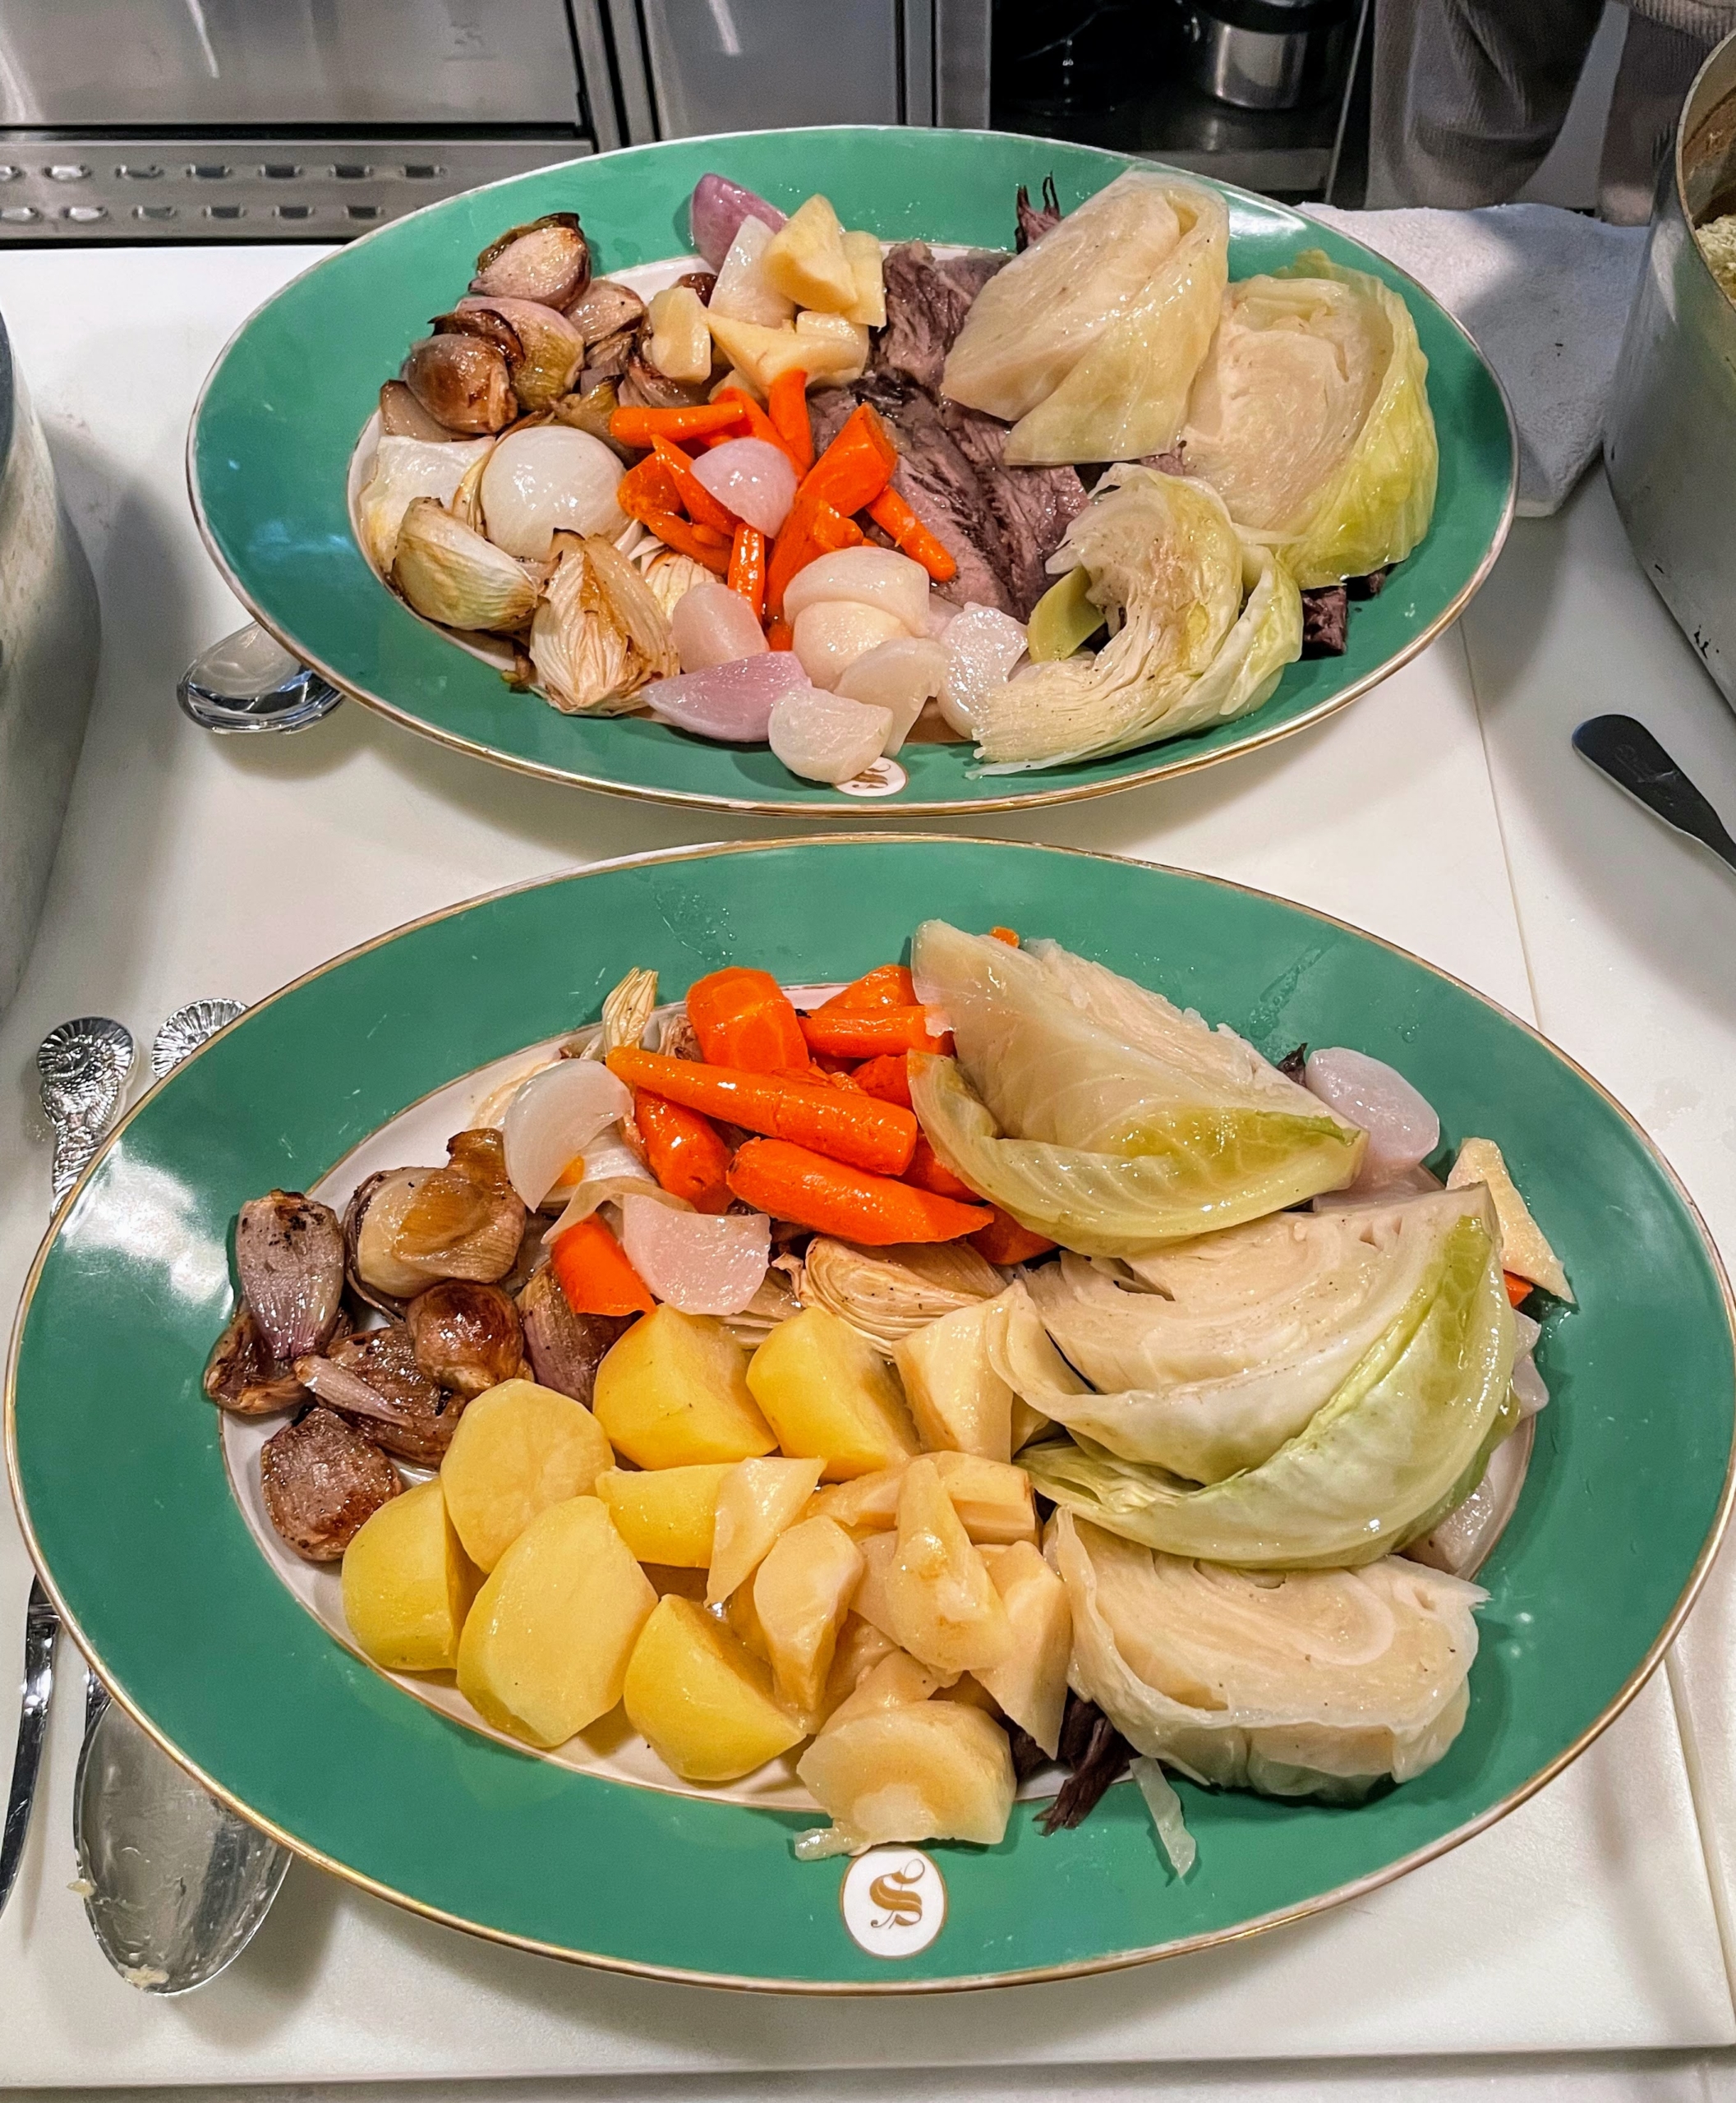
Dinner was scheduled for 7pm. Kevin took this photo as I was plating our sliced corned beef brisket and vegetables.
There was plenty for everyone. Everything was so beautiful, and delicious – the corned beef came out so tender and flavorful. The vegetables were also very tasty – fresh cabbage, turnips, parsnips, celery, potatoes, and cabbage.
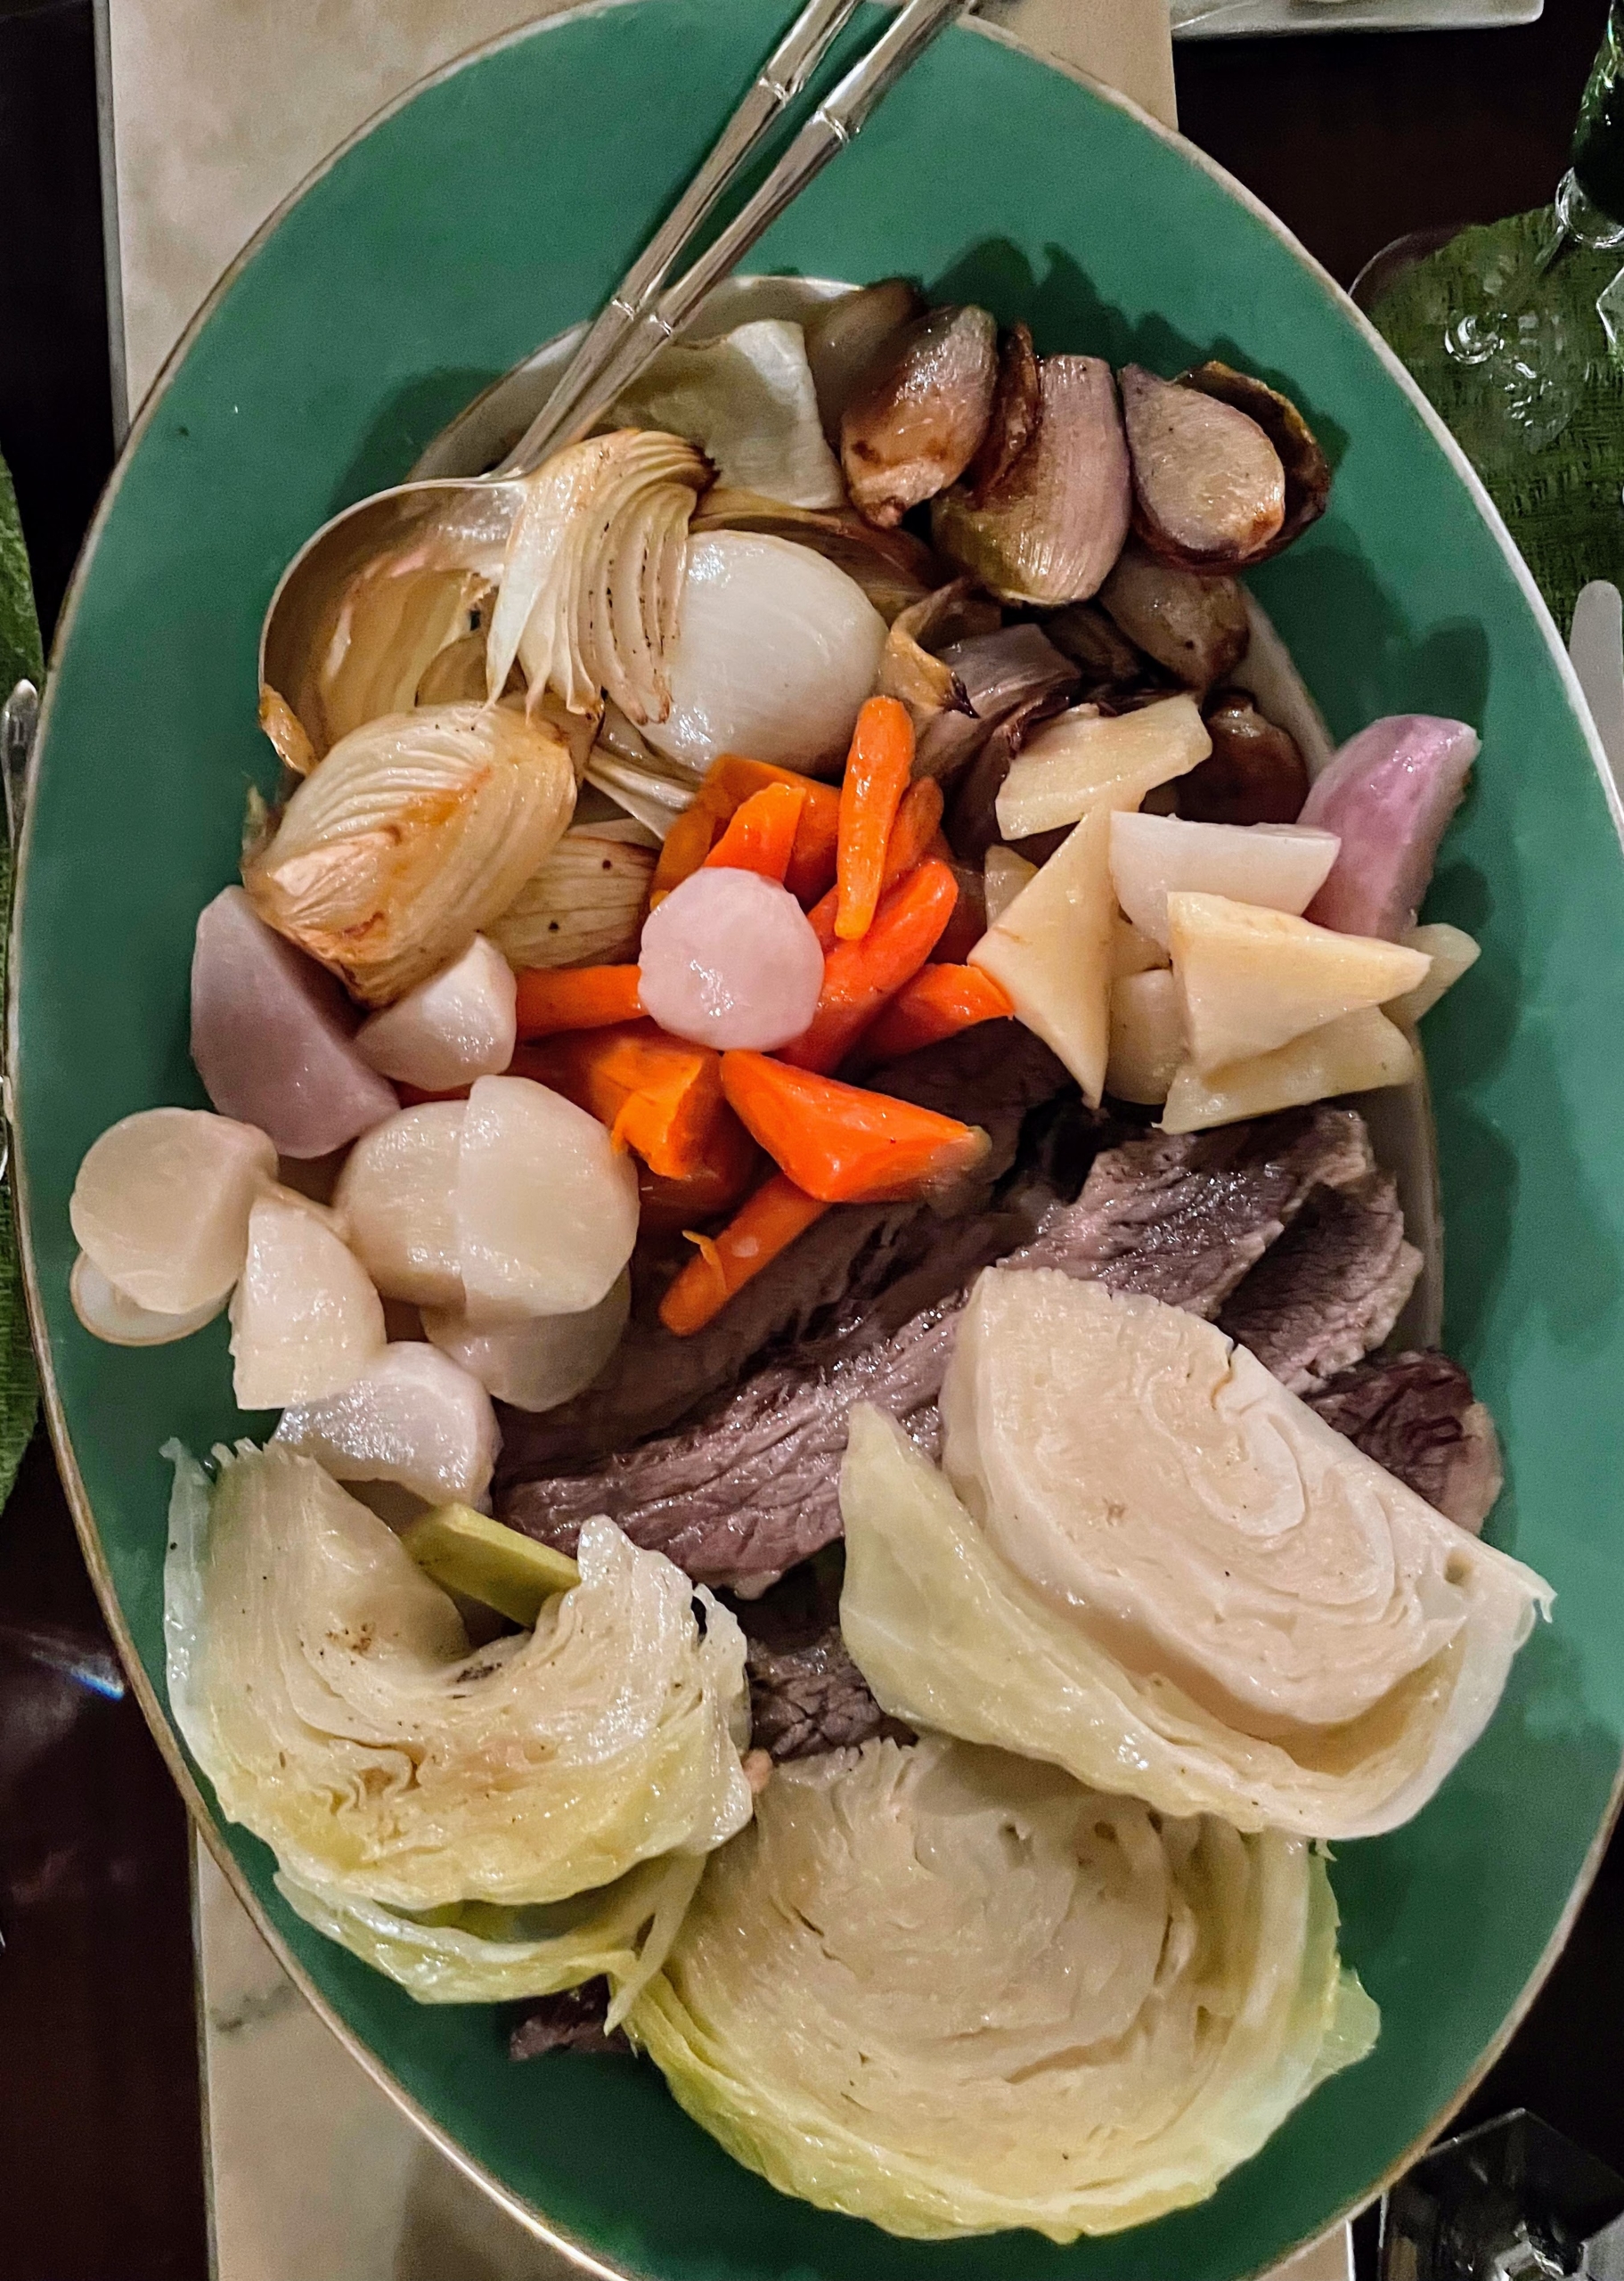
The platters were brought into the dining room, so all my guests could help themselves. Every one of us went back for seconds, and even thirds. Here is a full platter before we all “dug in.” In Ireland, beef was a meat reserved only for the wealthy. The Great Famine resulting from potato blight caused a mass migration of the Irish to the new world. In America, corned beef was readily available to Irish immigrants and became a favored comfort food.
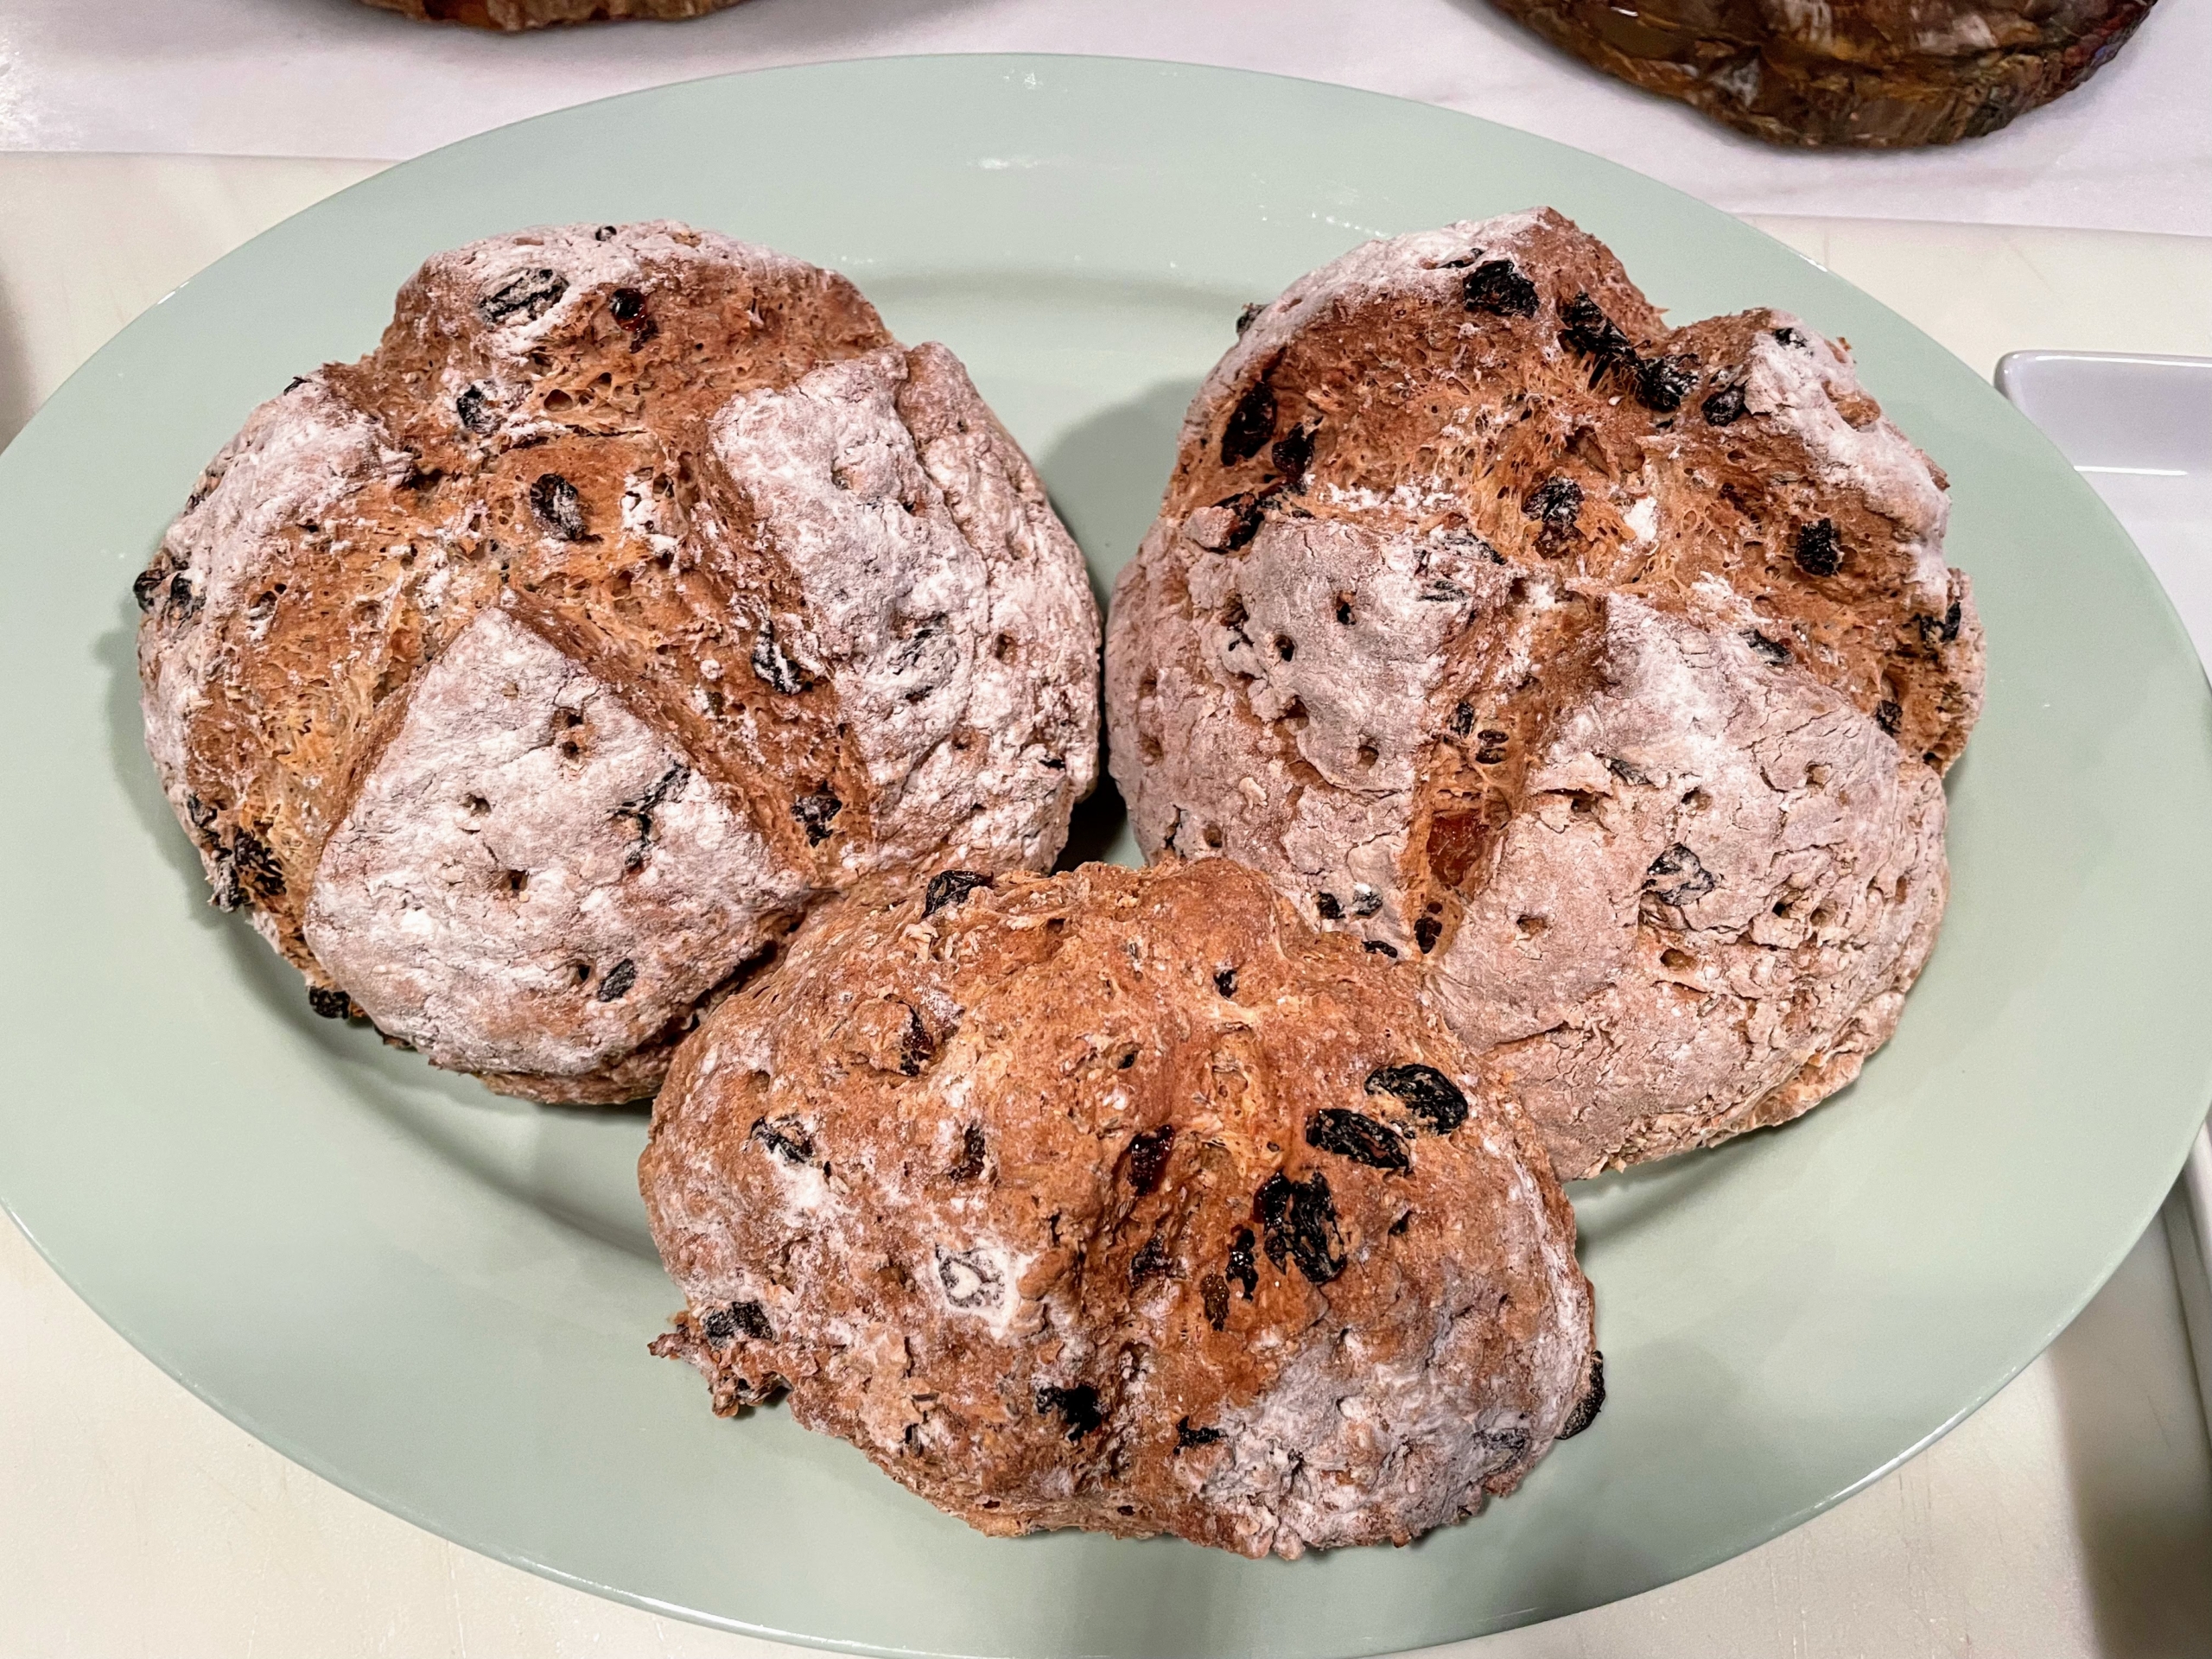
Here are three of my soda bread loaves still warm and ready to serve. Legend has it that, in some areas of Ireland, a cross was cut on the top of the Irish soda bread with a knife to ward off the devil and protect the household. It also helps the bread cook evenly and thoroughly. Irish soda bread is a somewhat sweet white bread made with eggs and butter and studded with raisins and caraway seeds — the “soda” in the name comes from the baking soda, or “bread soda” in Ireland, used to leaven it instead of yeast and kneading.
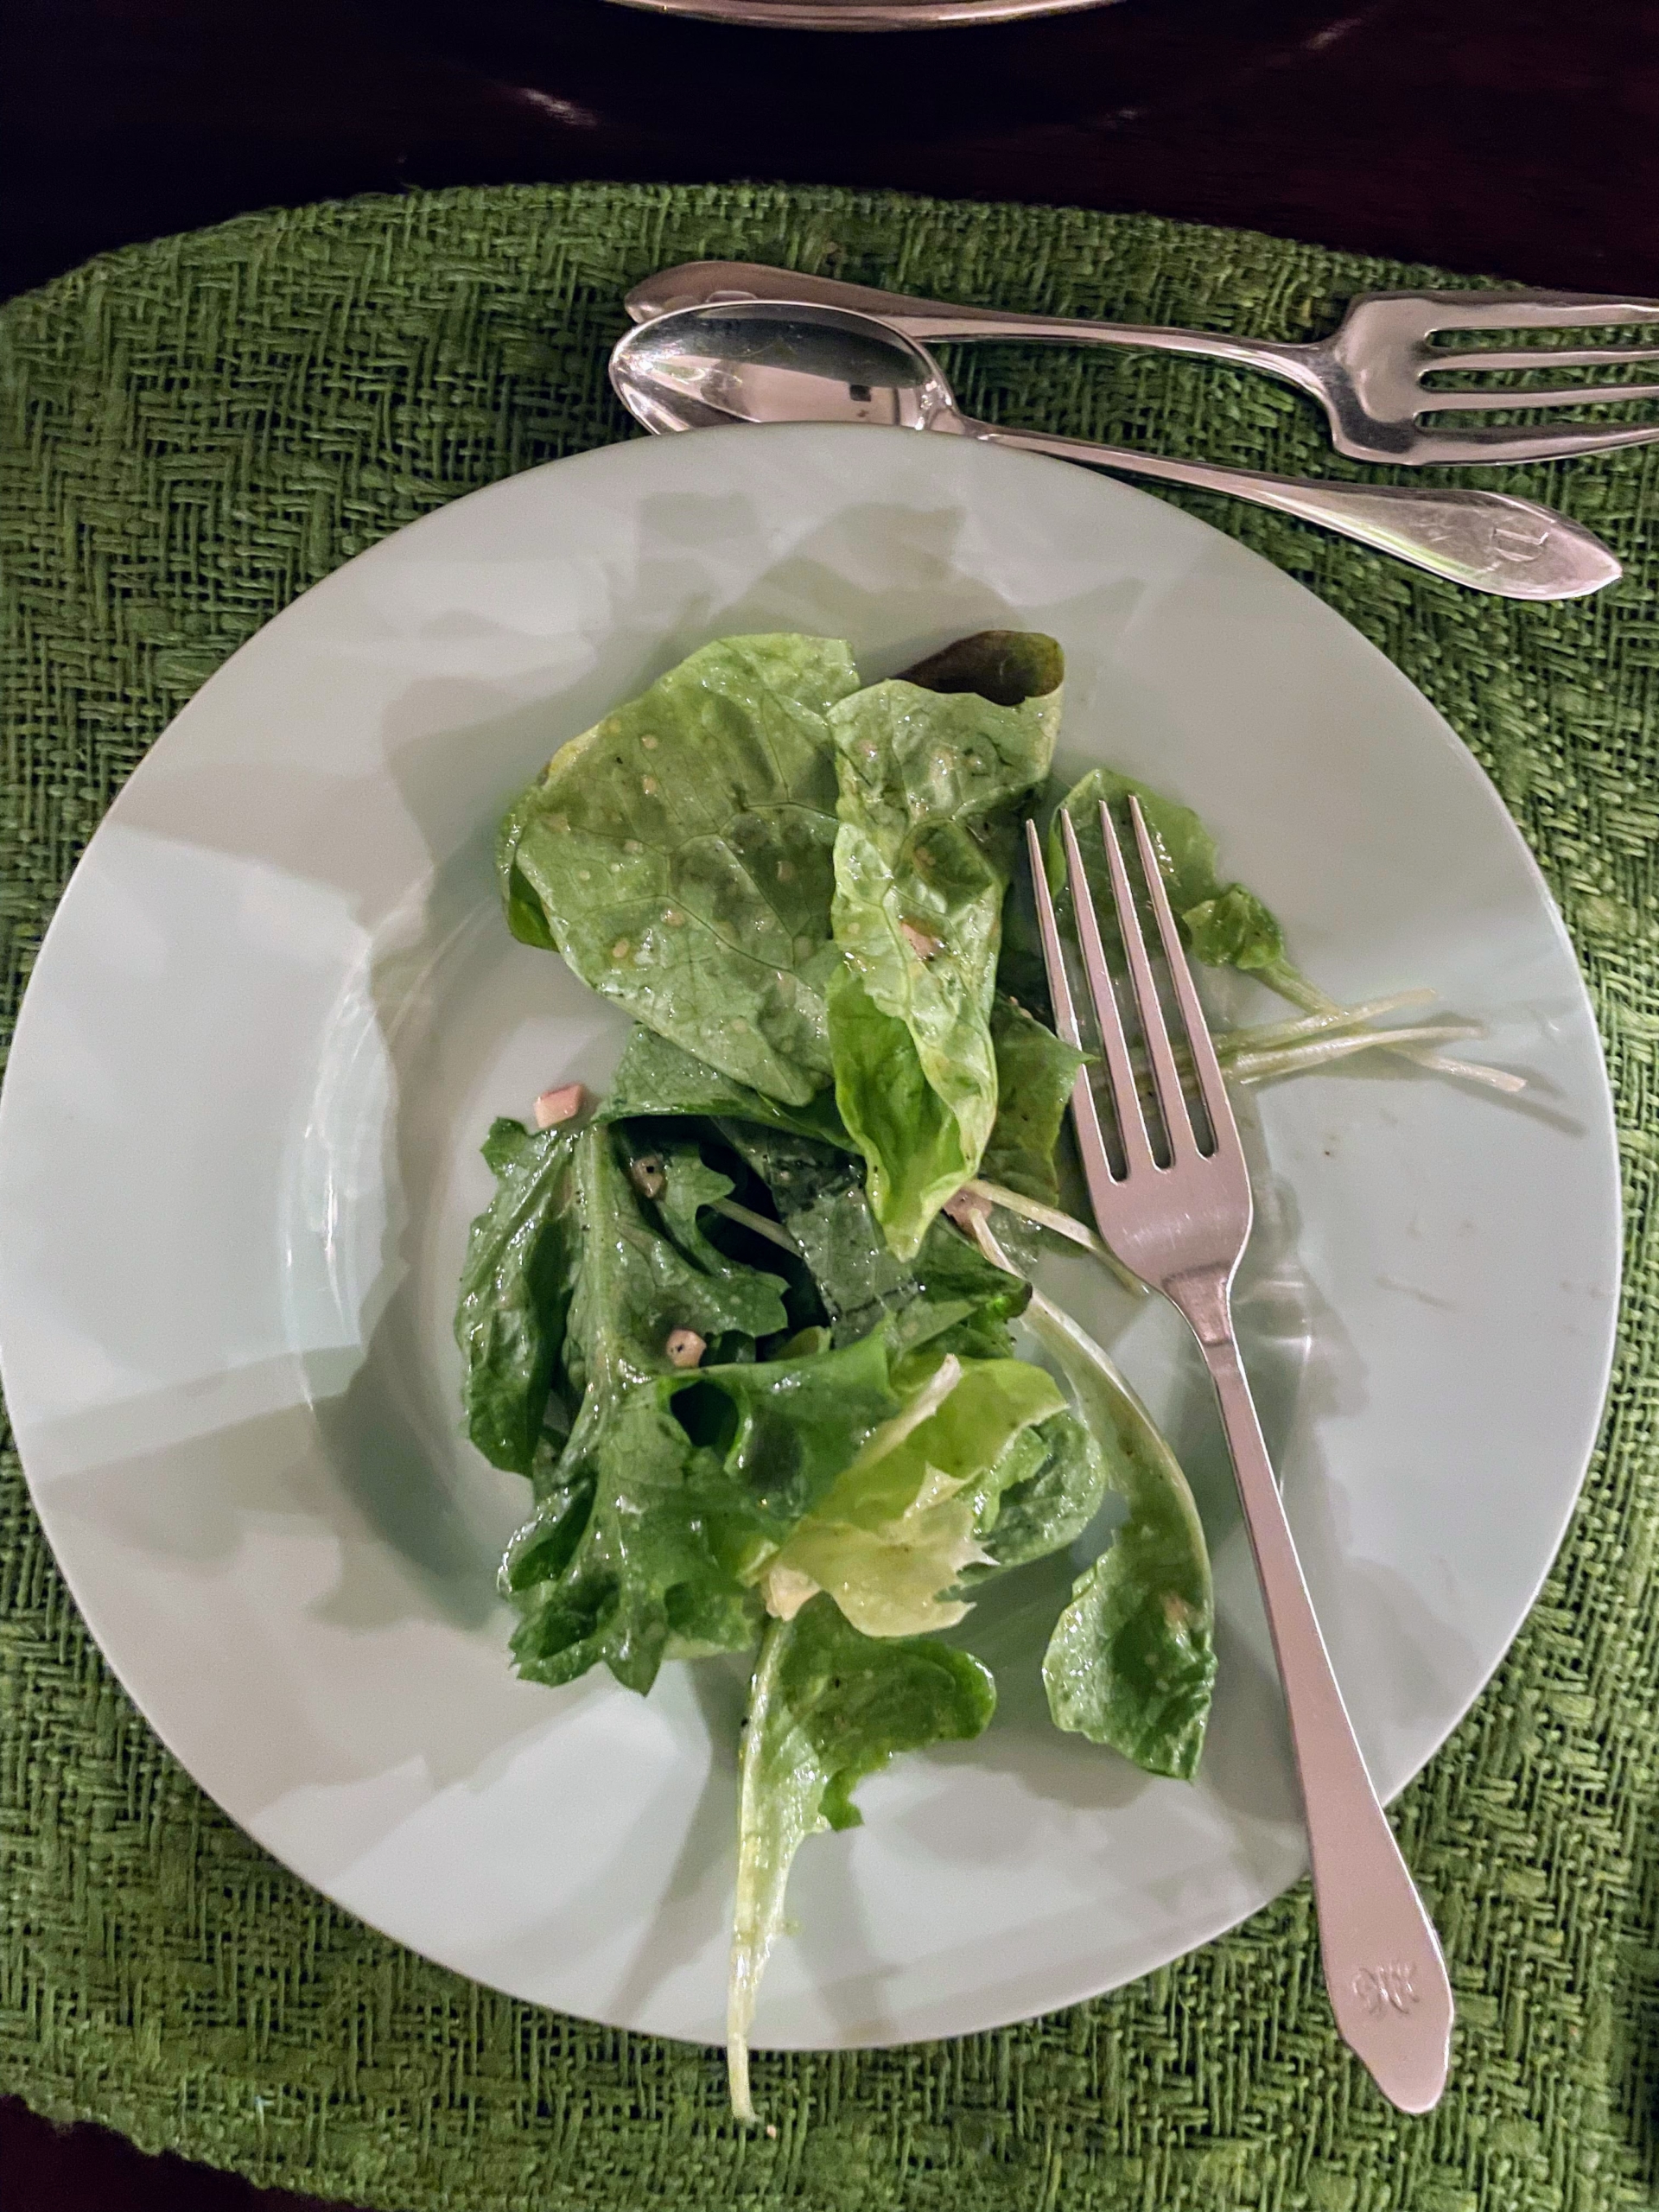
Our greens salad was first – dressed with a light vinaigrette.
Here is my pea soup – the silky smooth texture of this soup is an elegant way to show off the subtle flavor of peas.
I served my delicious new wine, Martha’s Chard – be sure to visit 19Crimes.com for a store near you. You will love it – so well balanced and flavorful.
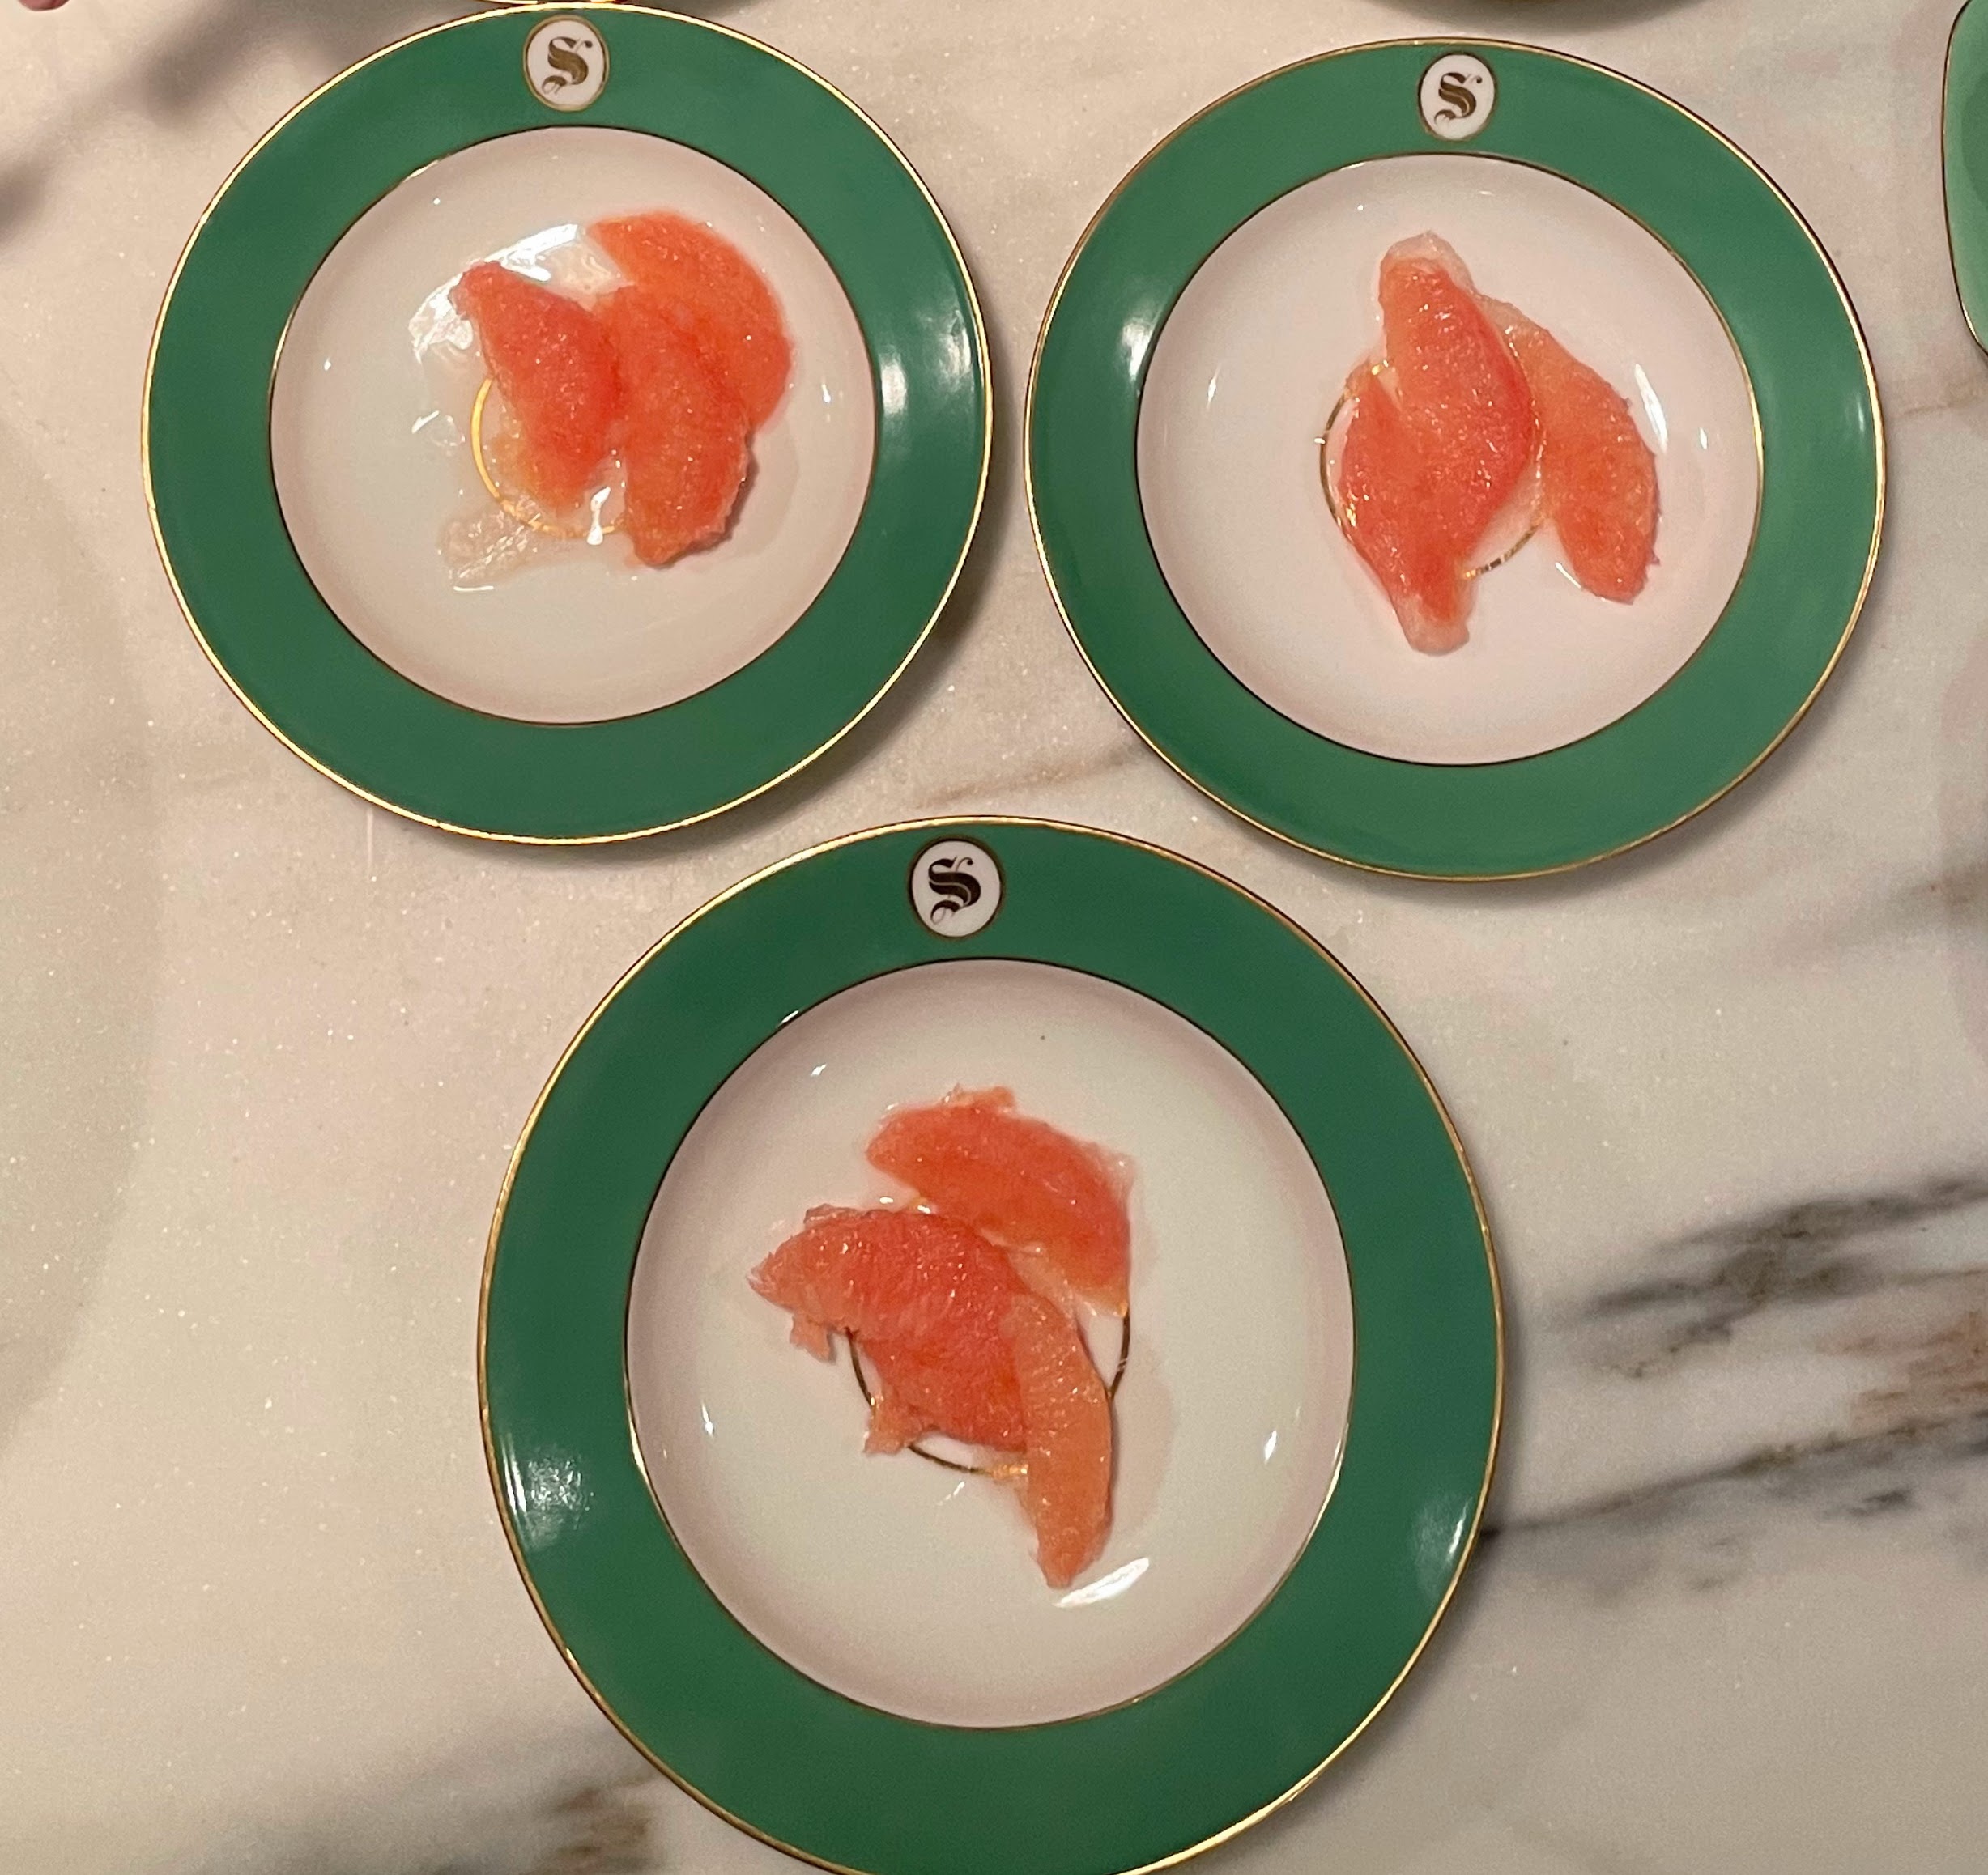
And here are slices of grapefruit ready to be topped with grapefruit granita.
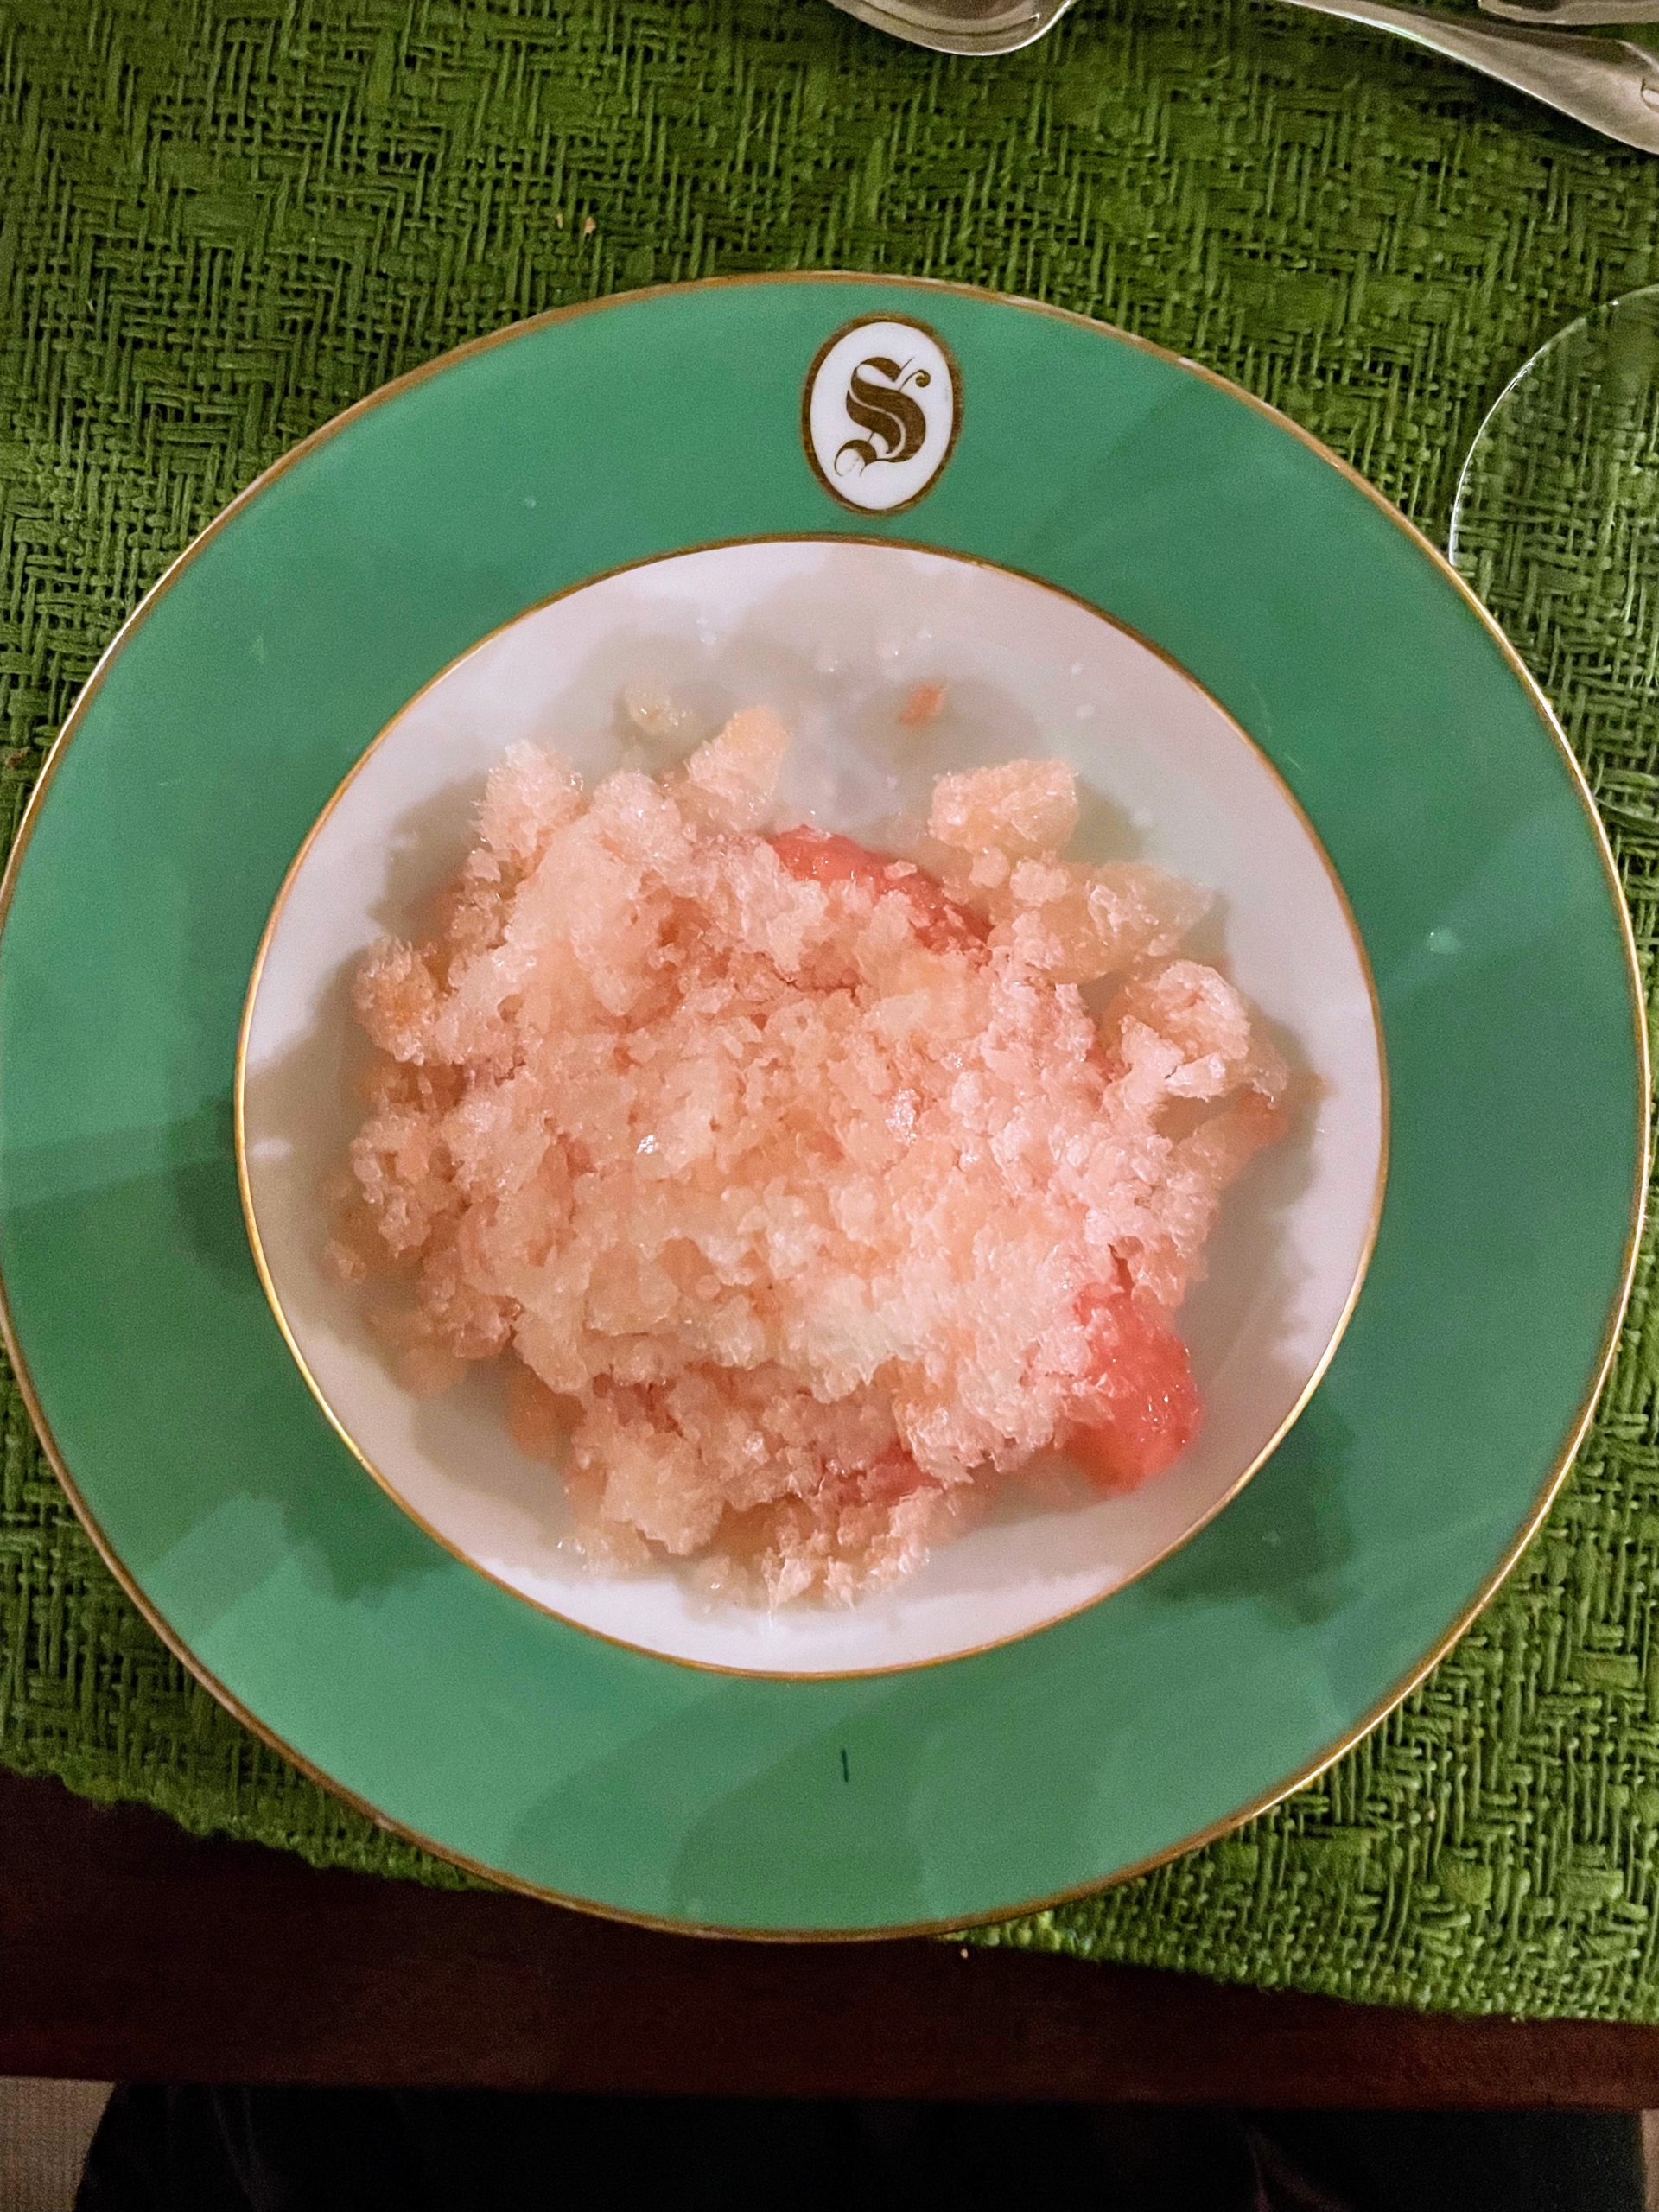
Look how beautiful this is – and so easy to make. It was so nice to gather with friends and share this wonderful meal. I hope you all had a great St. Patrick’s Day.
Earlier this month, I shared images of my cute, fluffy, and very healthy Silkies - 11 chicks that were incubated and hatched right here at my farm, and four adolescent Silkies - all purchased from this year's 2022 Northeastern Poultry Congress, a large poultry show held every year in Springfield, Massachusetts. Upon arrival, they were housed in my stable feed room, where we set up safe, warm brooders. This week, they were all big enough and strong enough to move into a new coop I acquired, refurbished, and repurposed from a recent commercial shoot - it's the perfect Silkie home here at my farm.
Enjoy these photos.
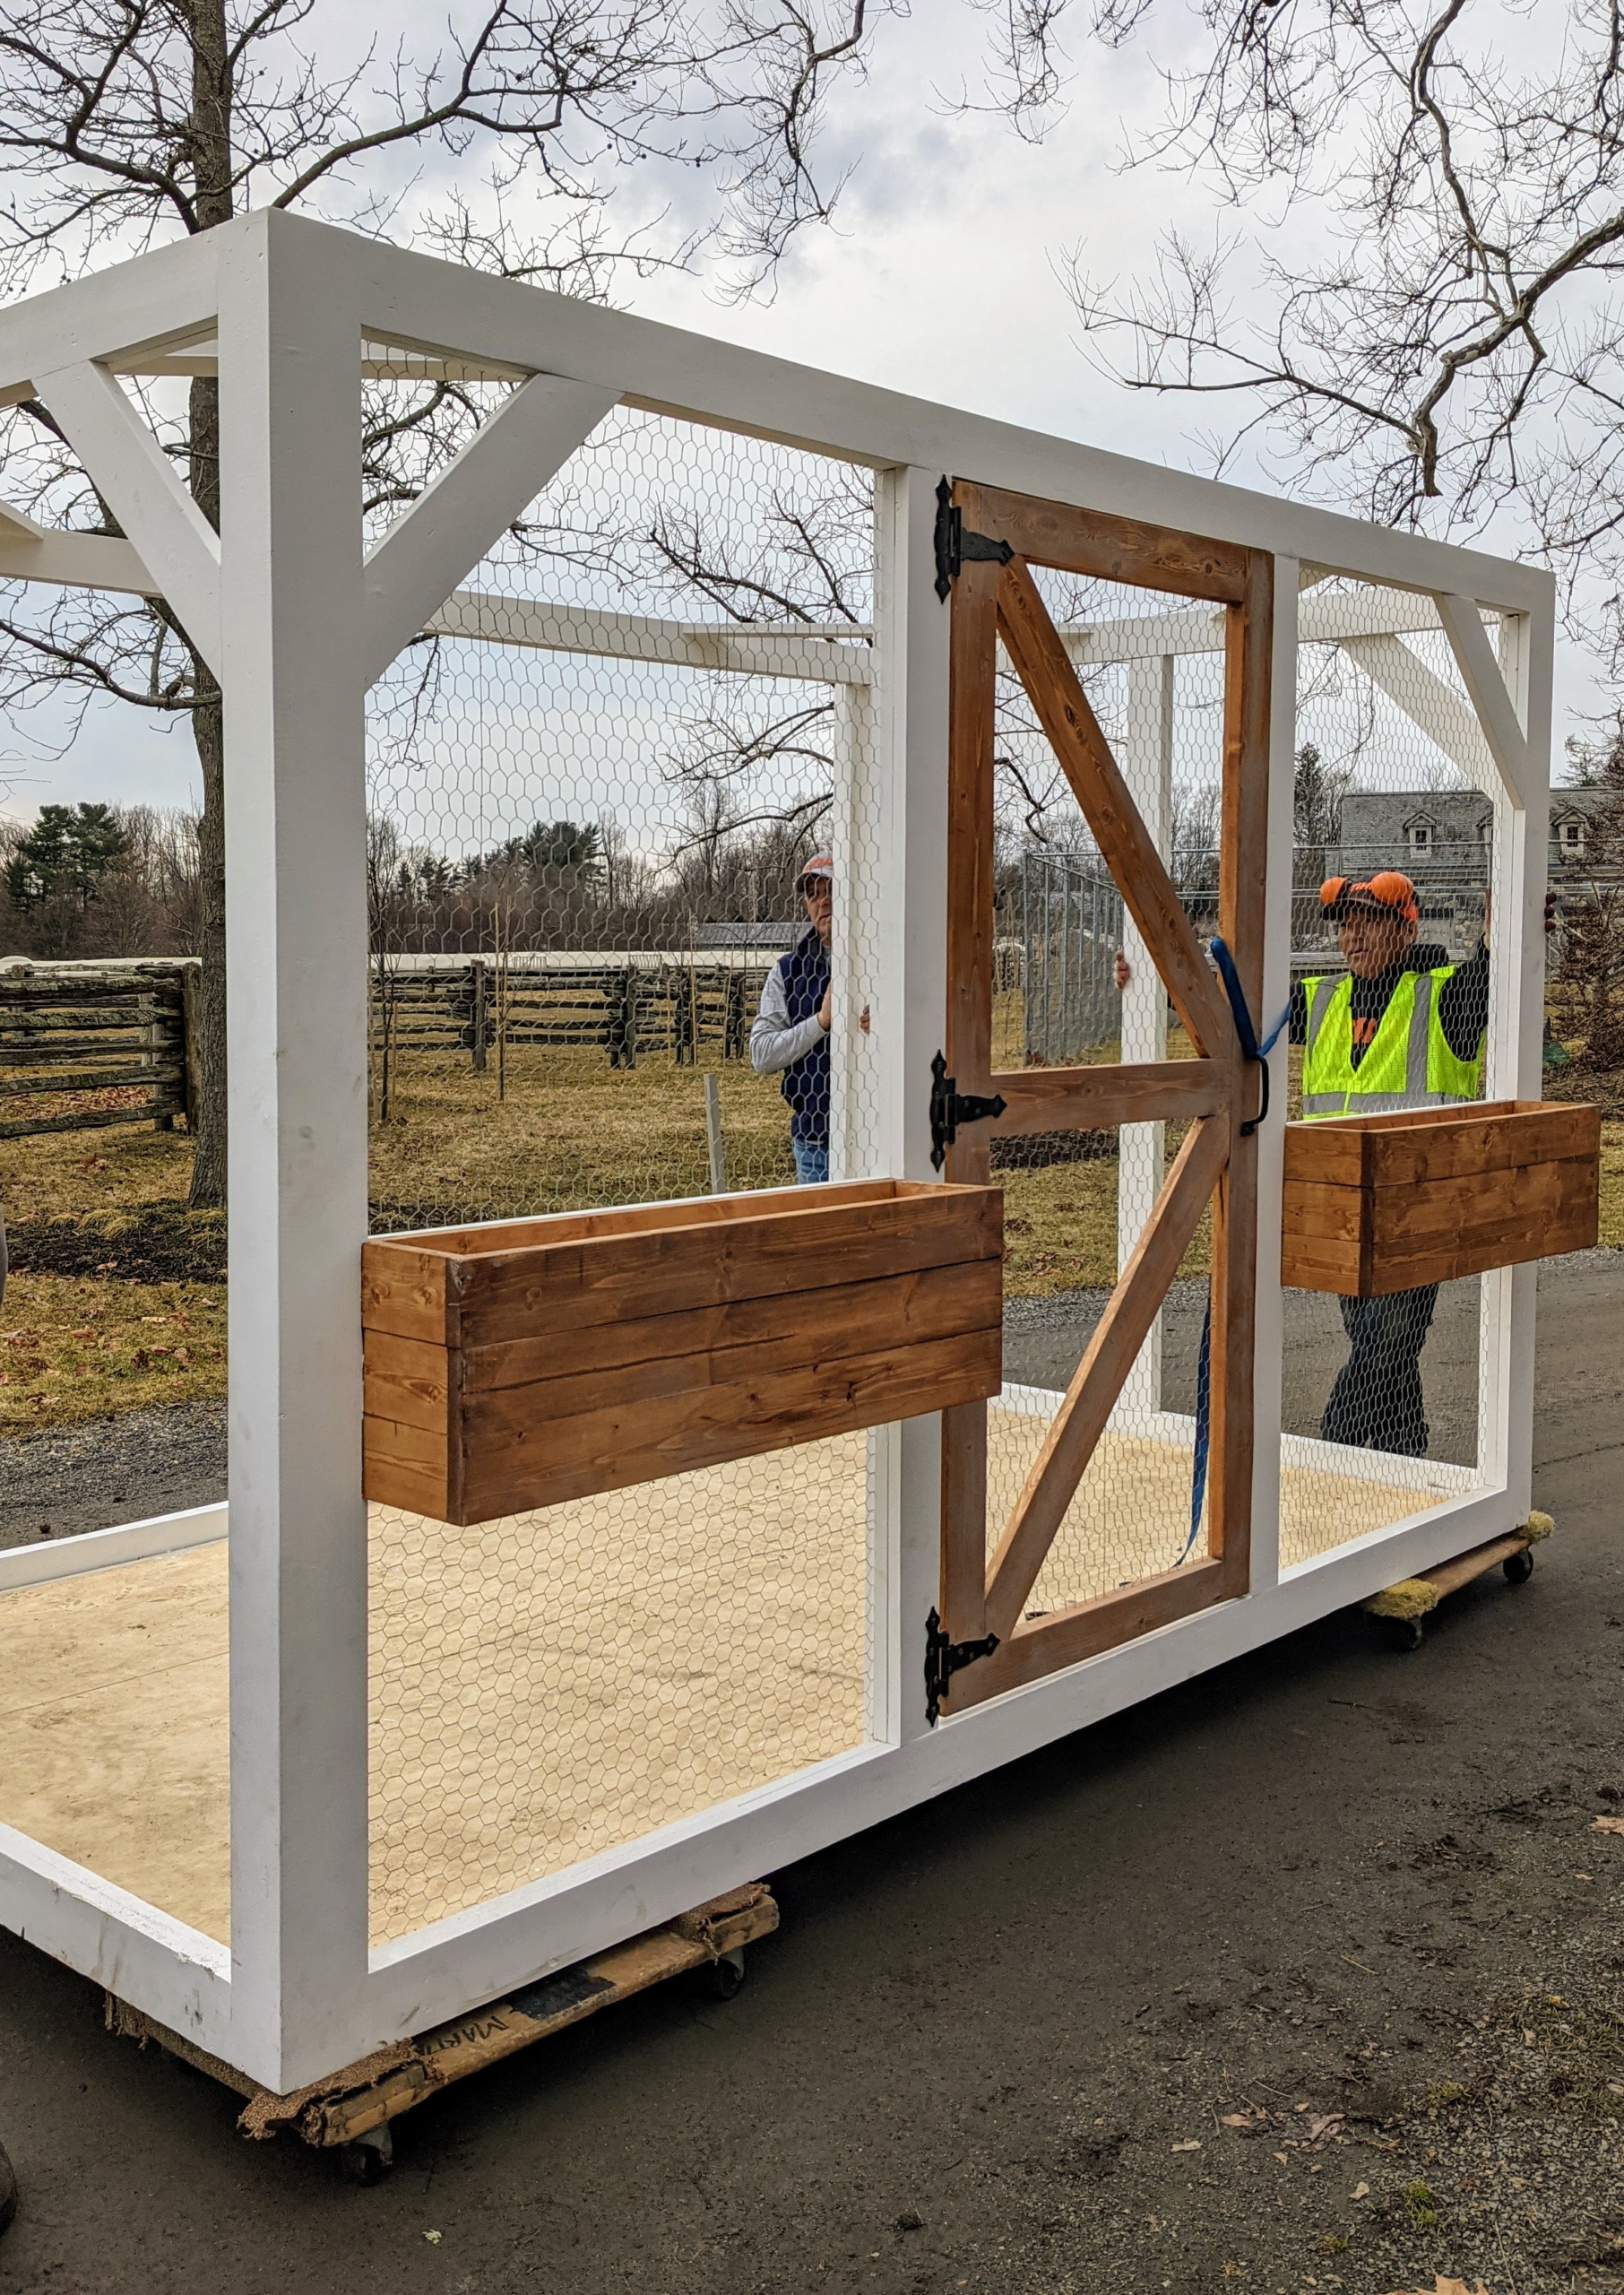
The new coop arrived safely at my Bedford, New York farm in several pieces. Here, my outdoor grounds crew move the unit to its new location in one corner of the peafowl pen outside my stable. I knew it was the perfect size for the young Silkies.
The coop’s original walls were bright blue, so once it was reassembled, Fernando painted it my signature Bedford Gray. It is already looking so much better.
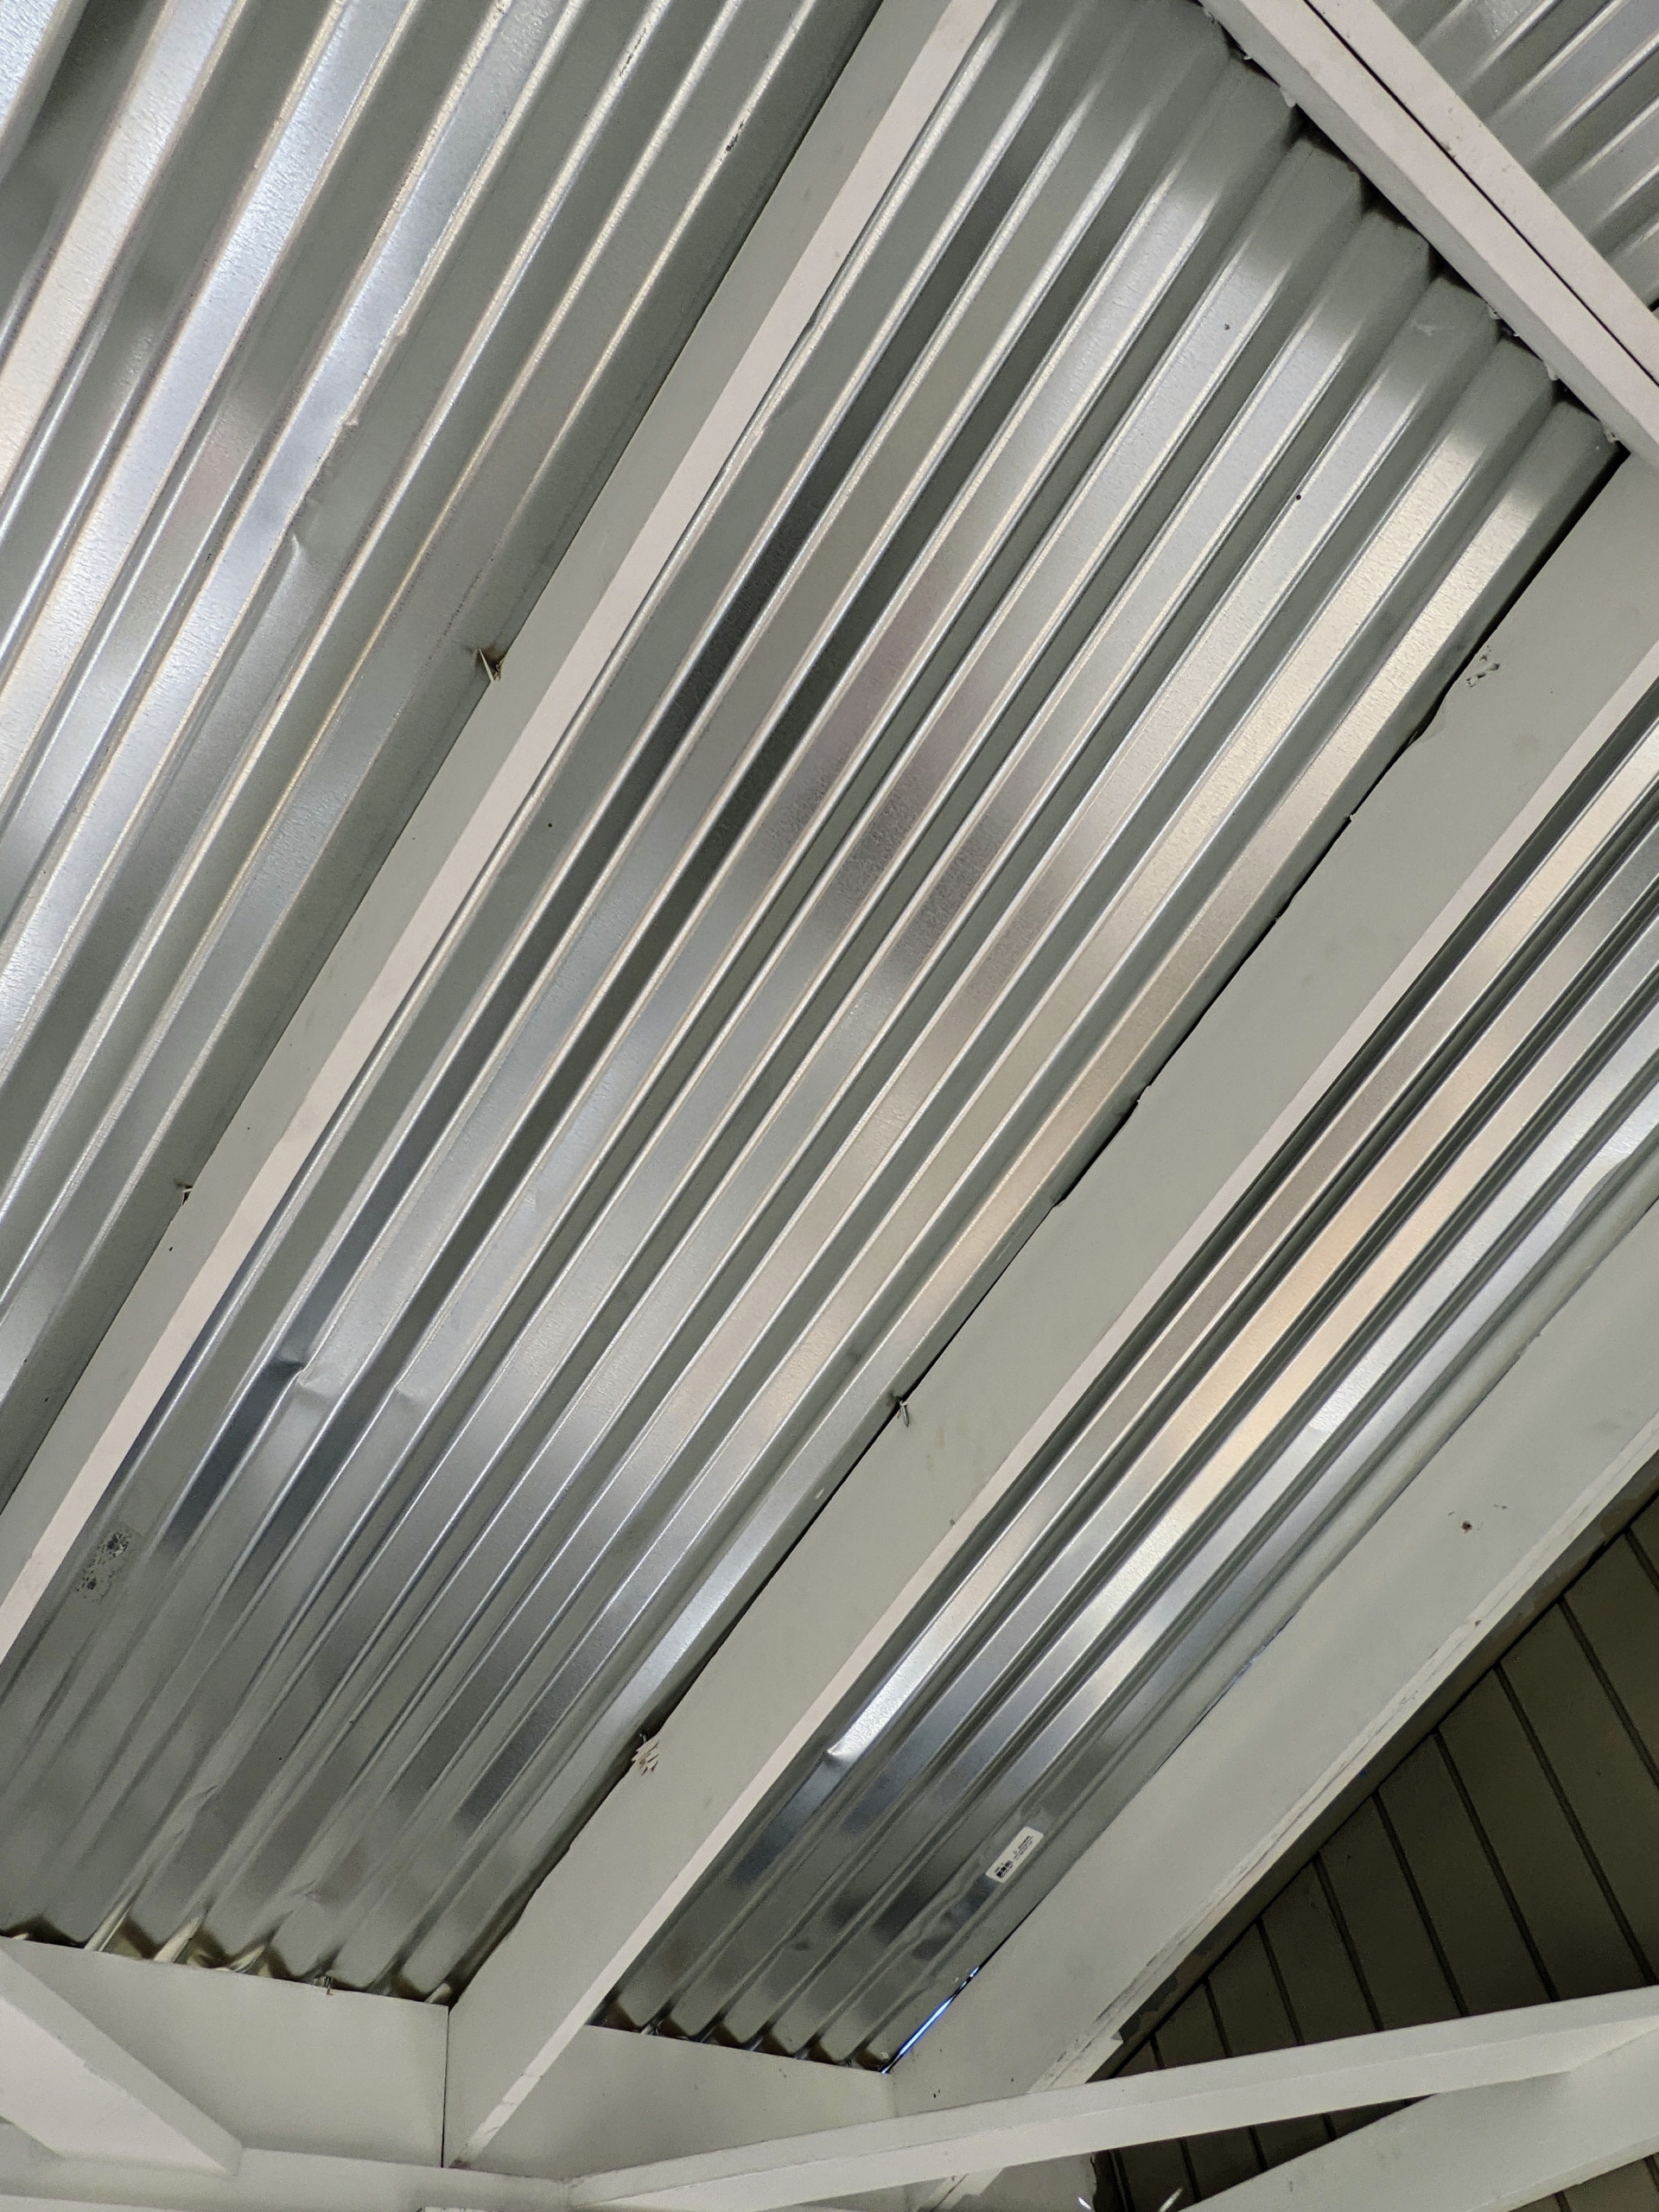
The roof is made from sturdy galvanized steel.
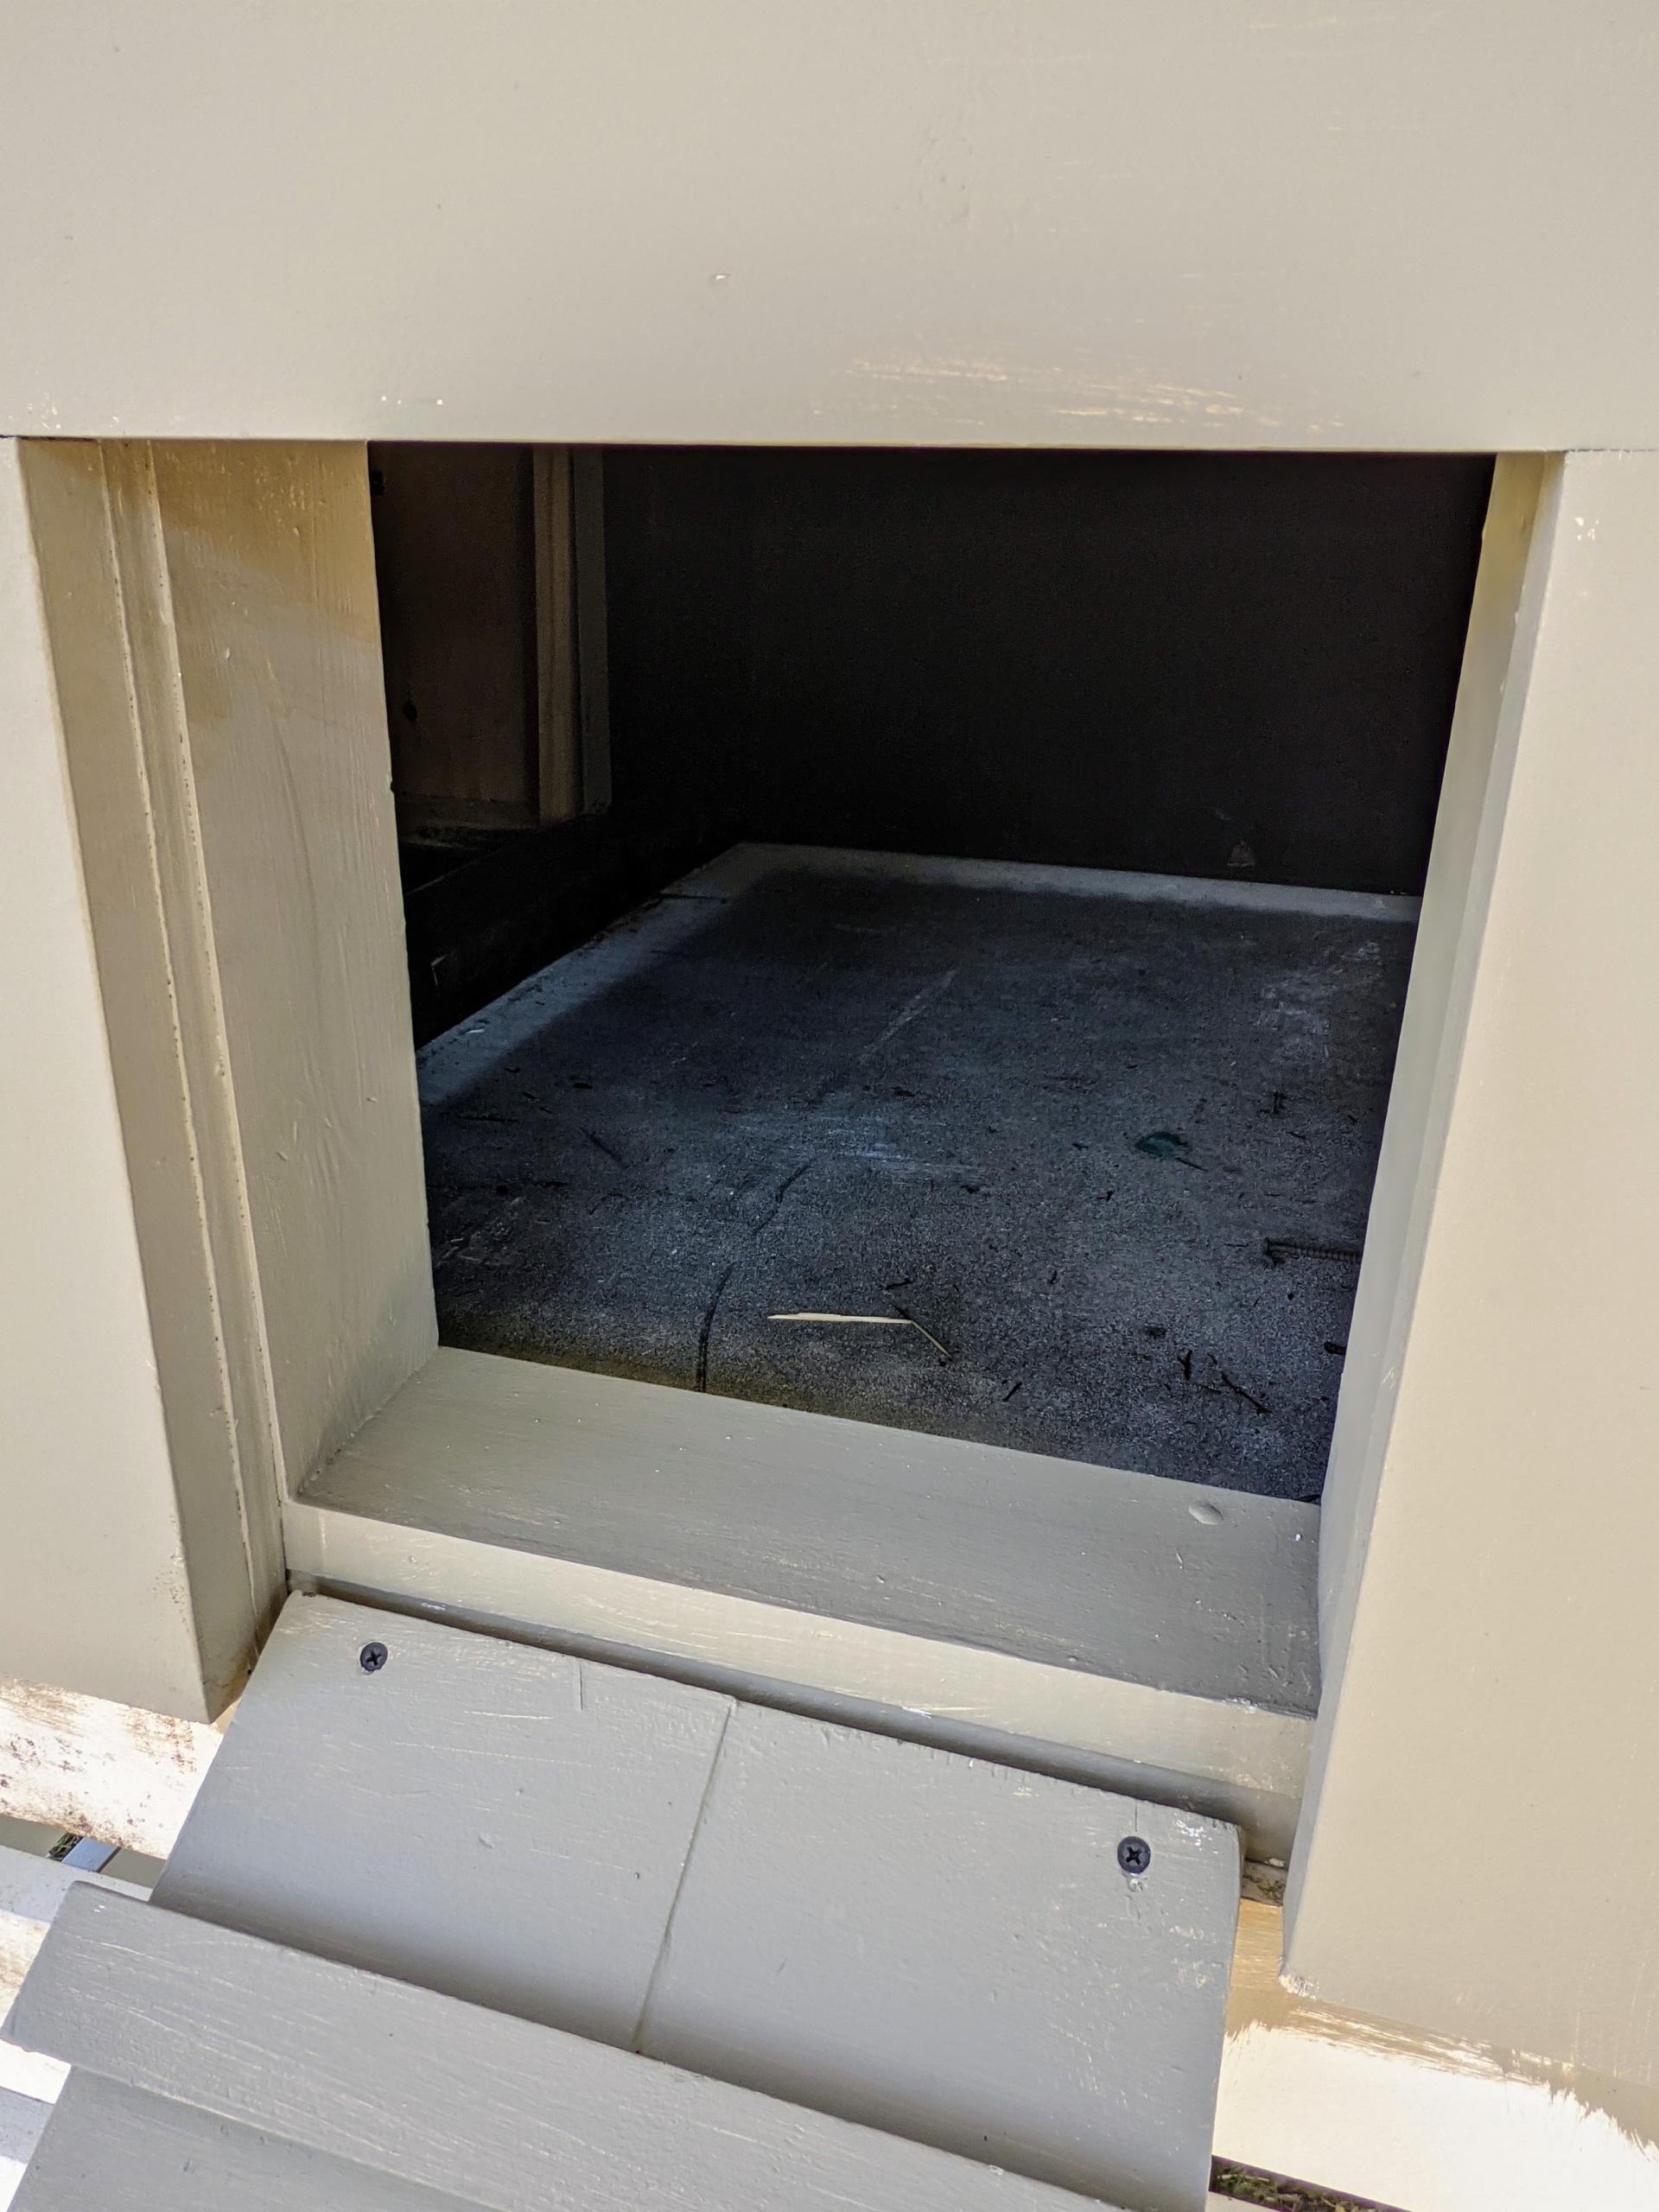
And the coop comes complete with ramps so the chicks can walk up and down easily from their heated space to the outdoors.
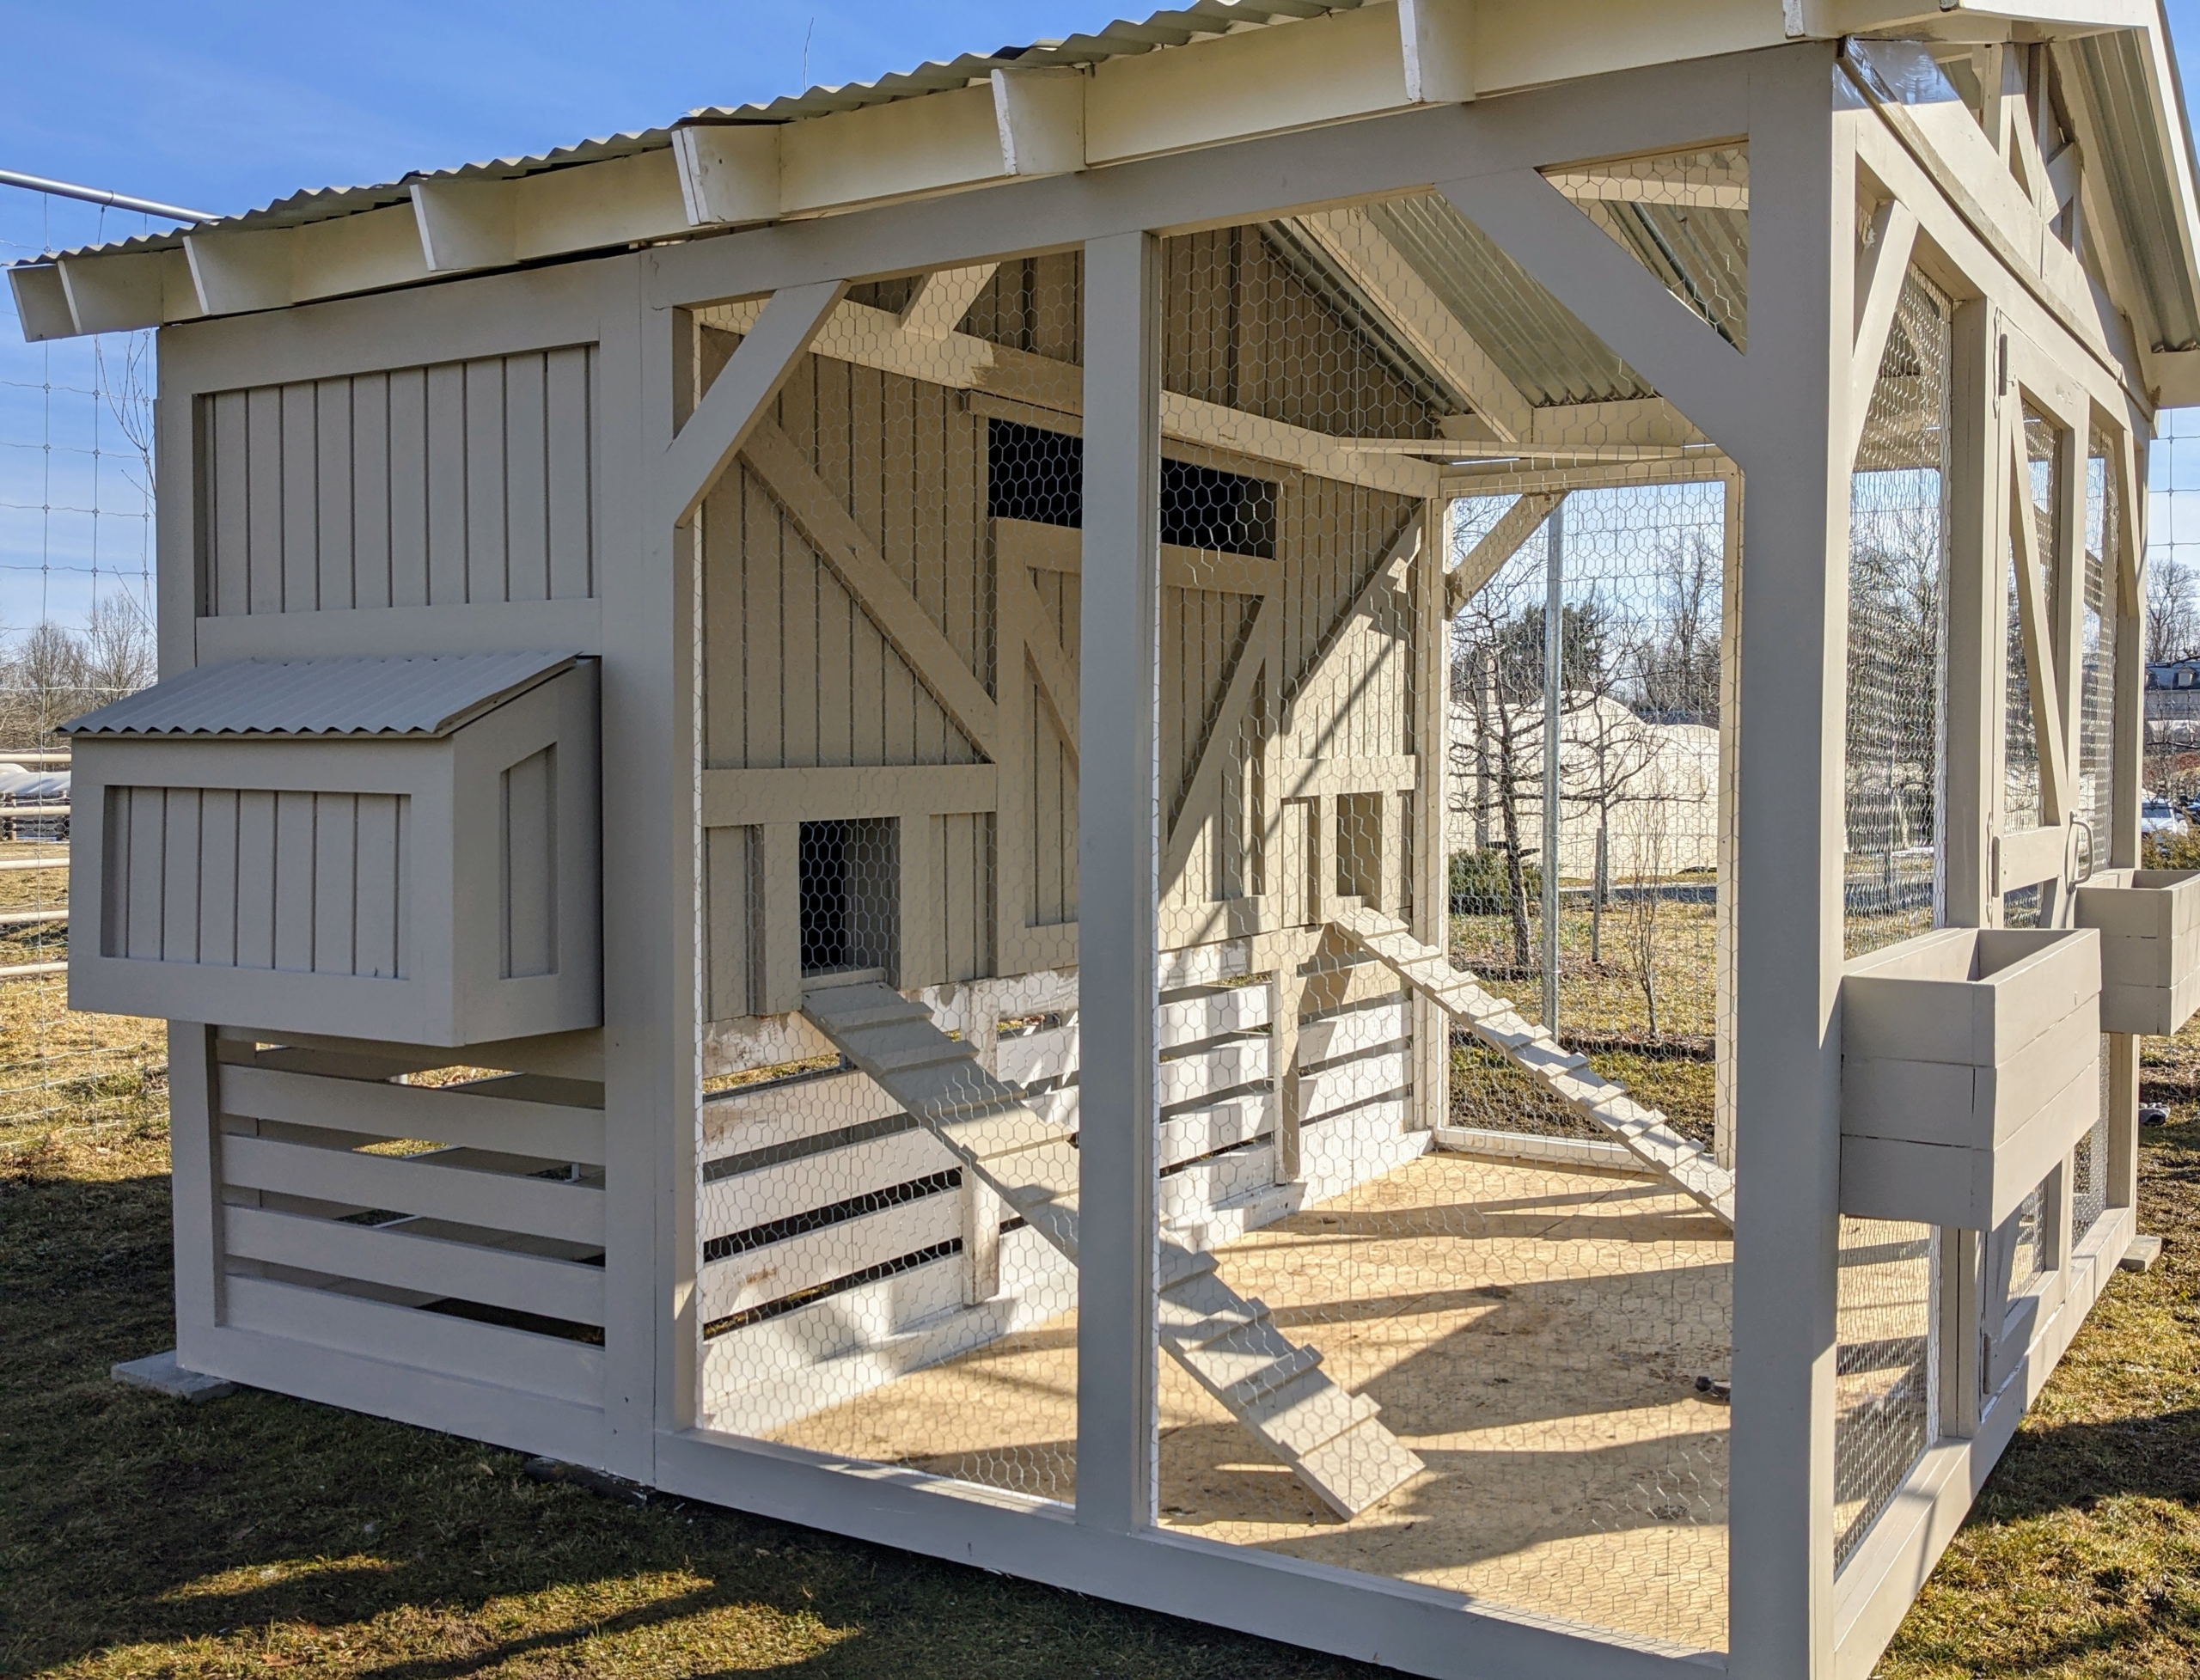
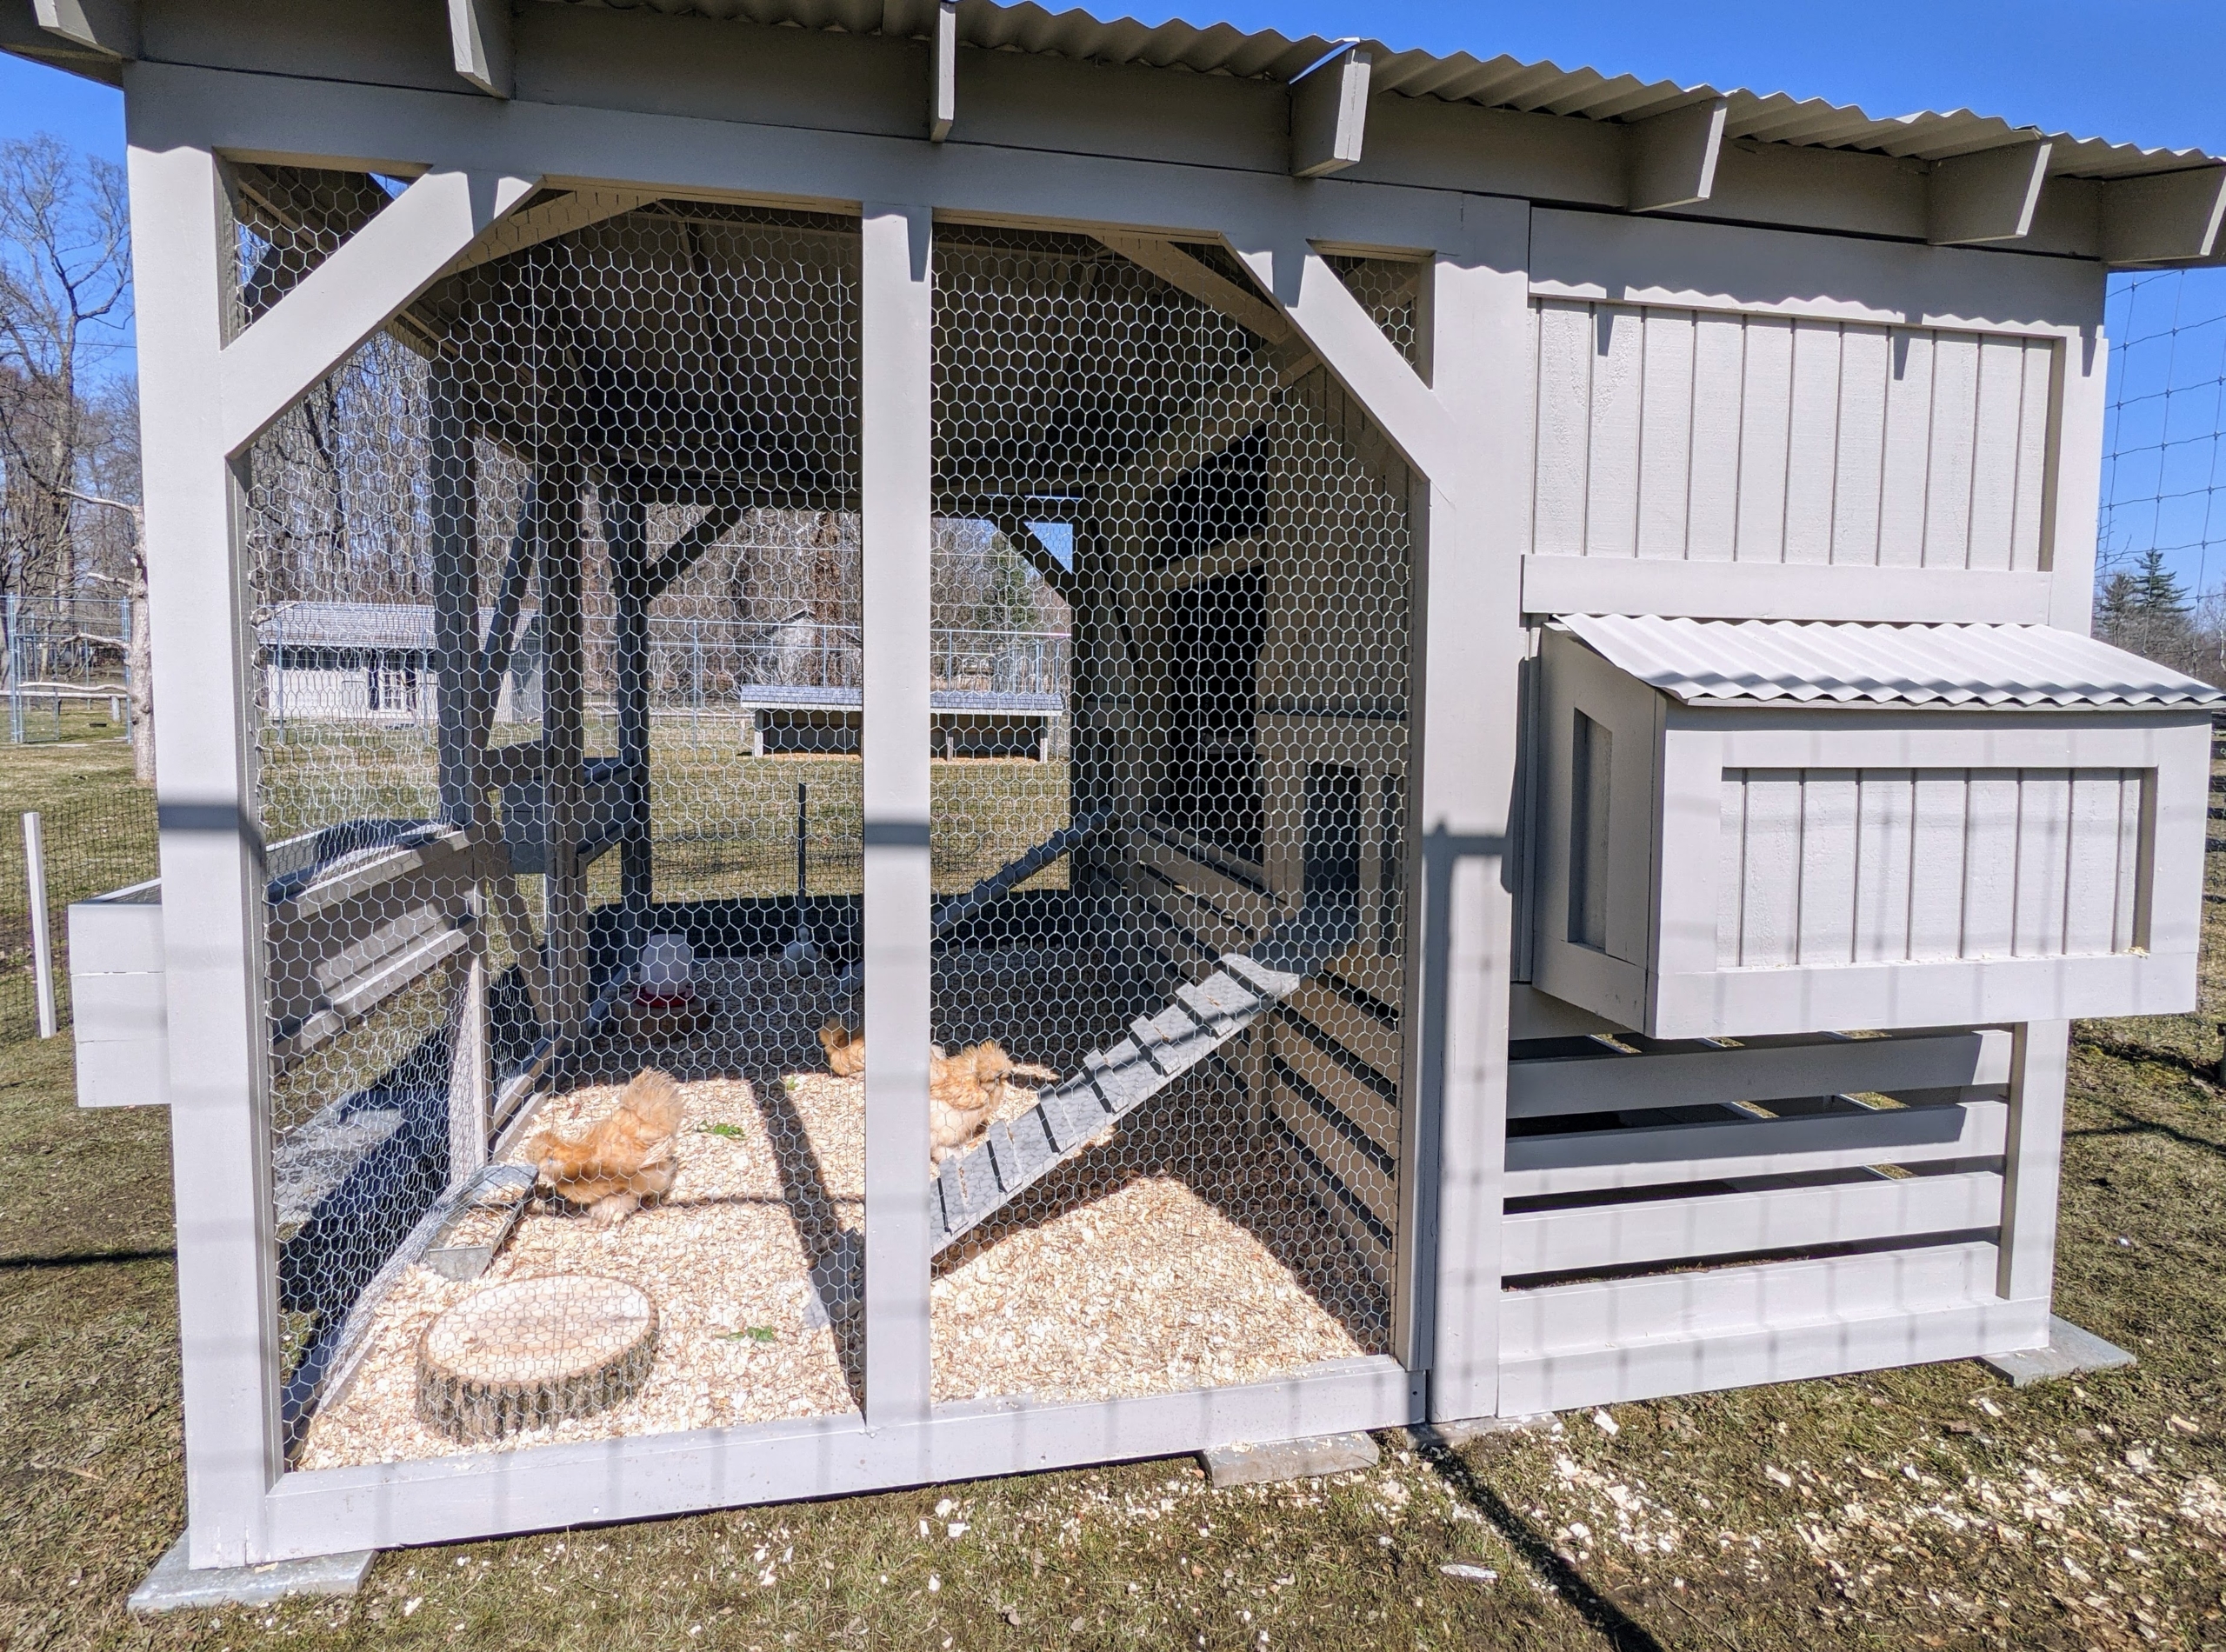
Here is a view of the entire coop – the side boxes will later serve as nests for the hens. The tops open for easy access to eggs.
And here is Dawa transporting the chicks and pullets to their new enclosure. Dawa helps me care for all my outdoor birds – the chickens, geese, peafowl, and pigeons, and he does an excellent job.
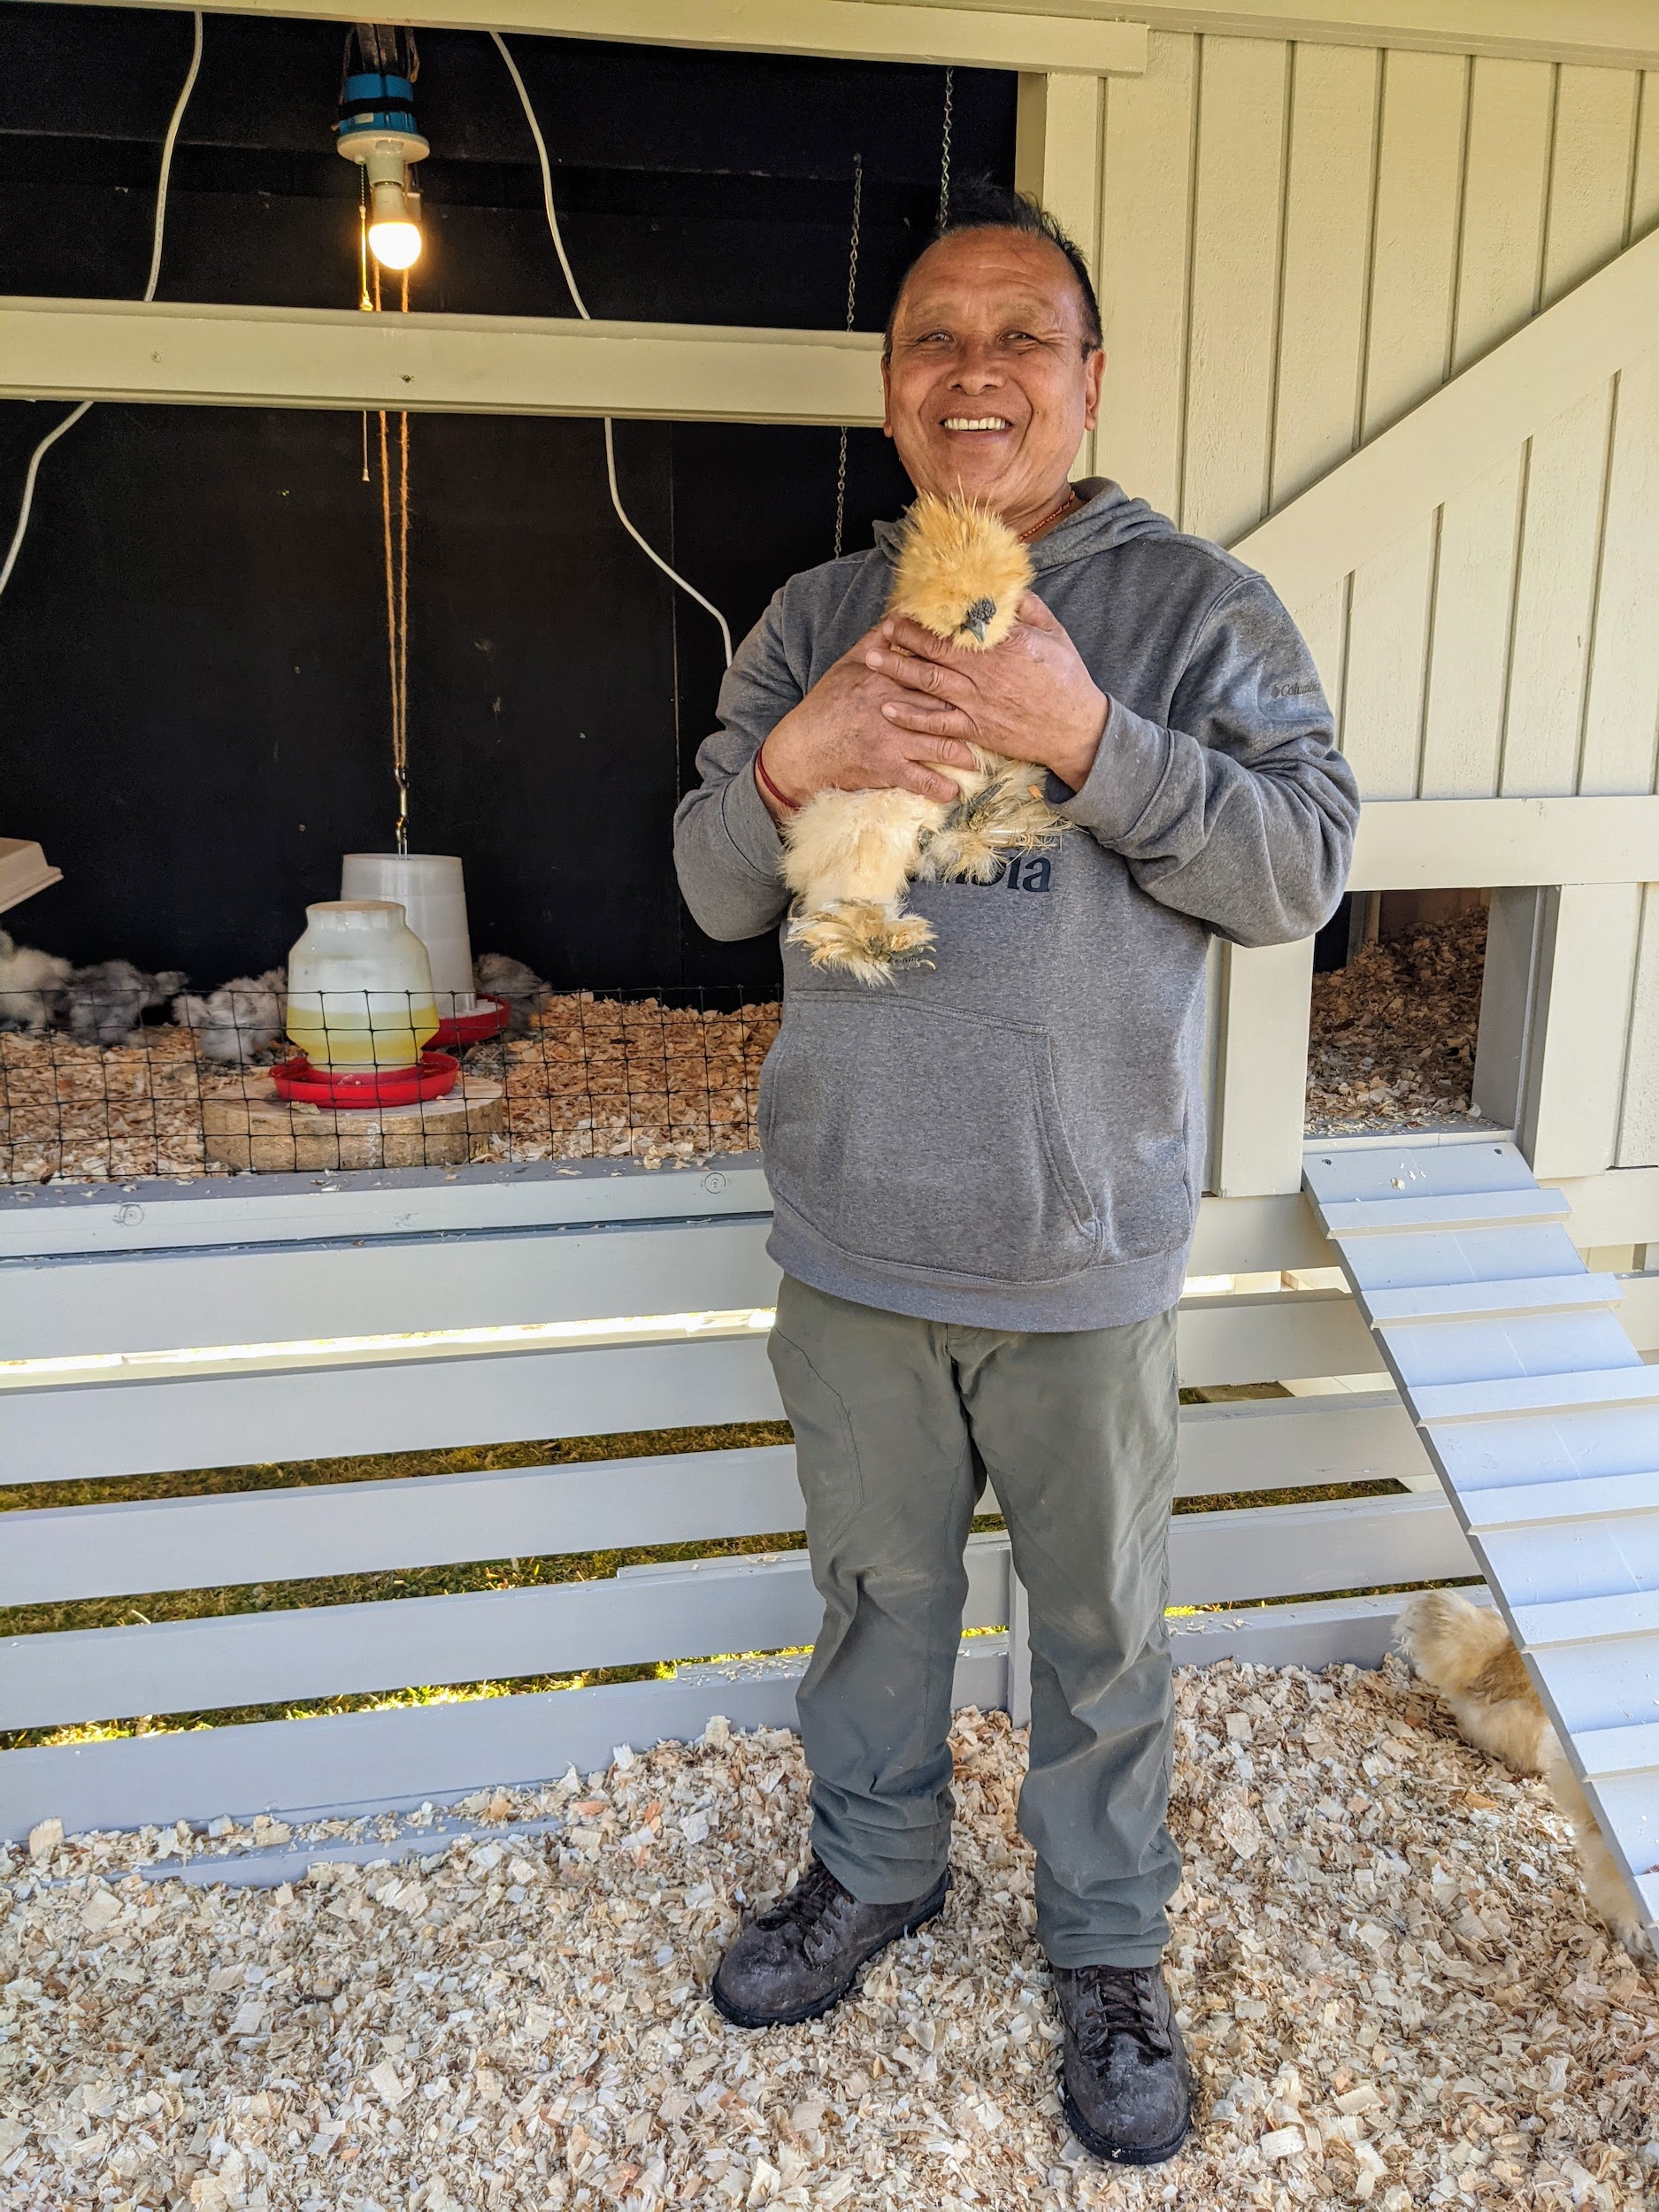
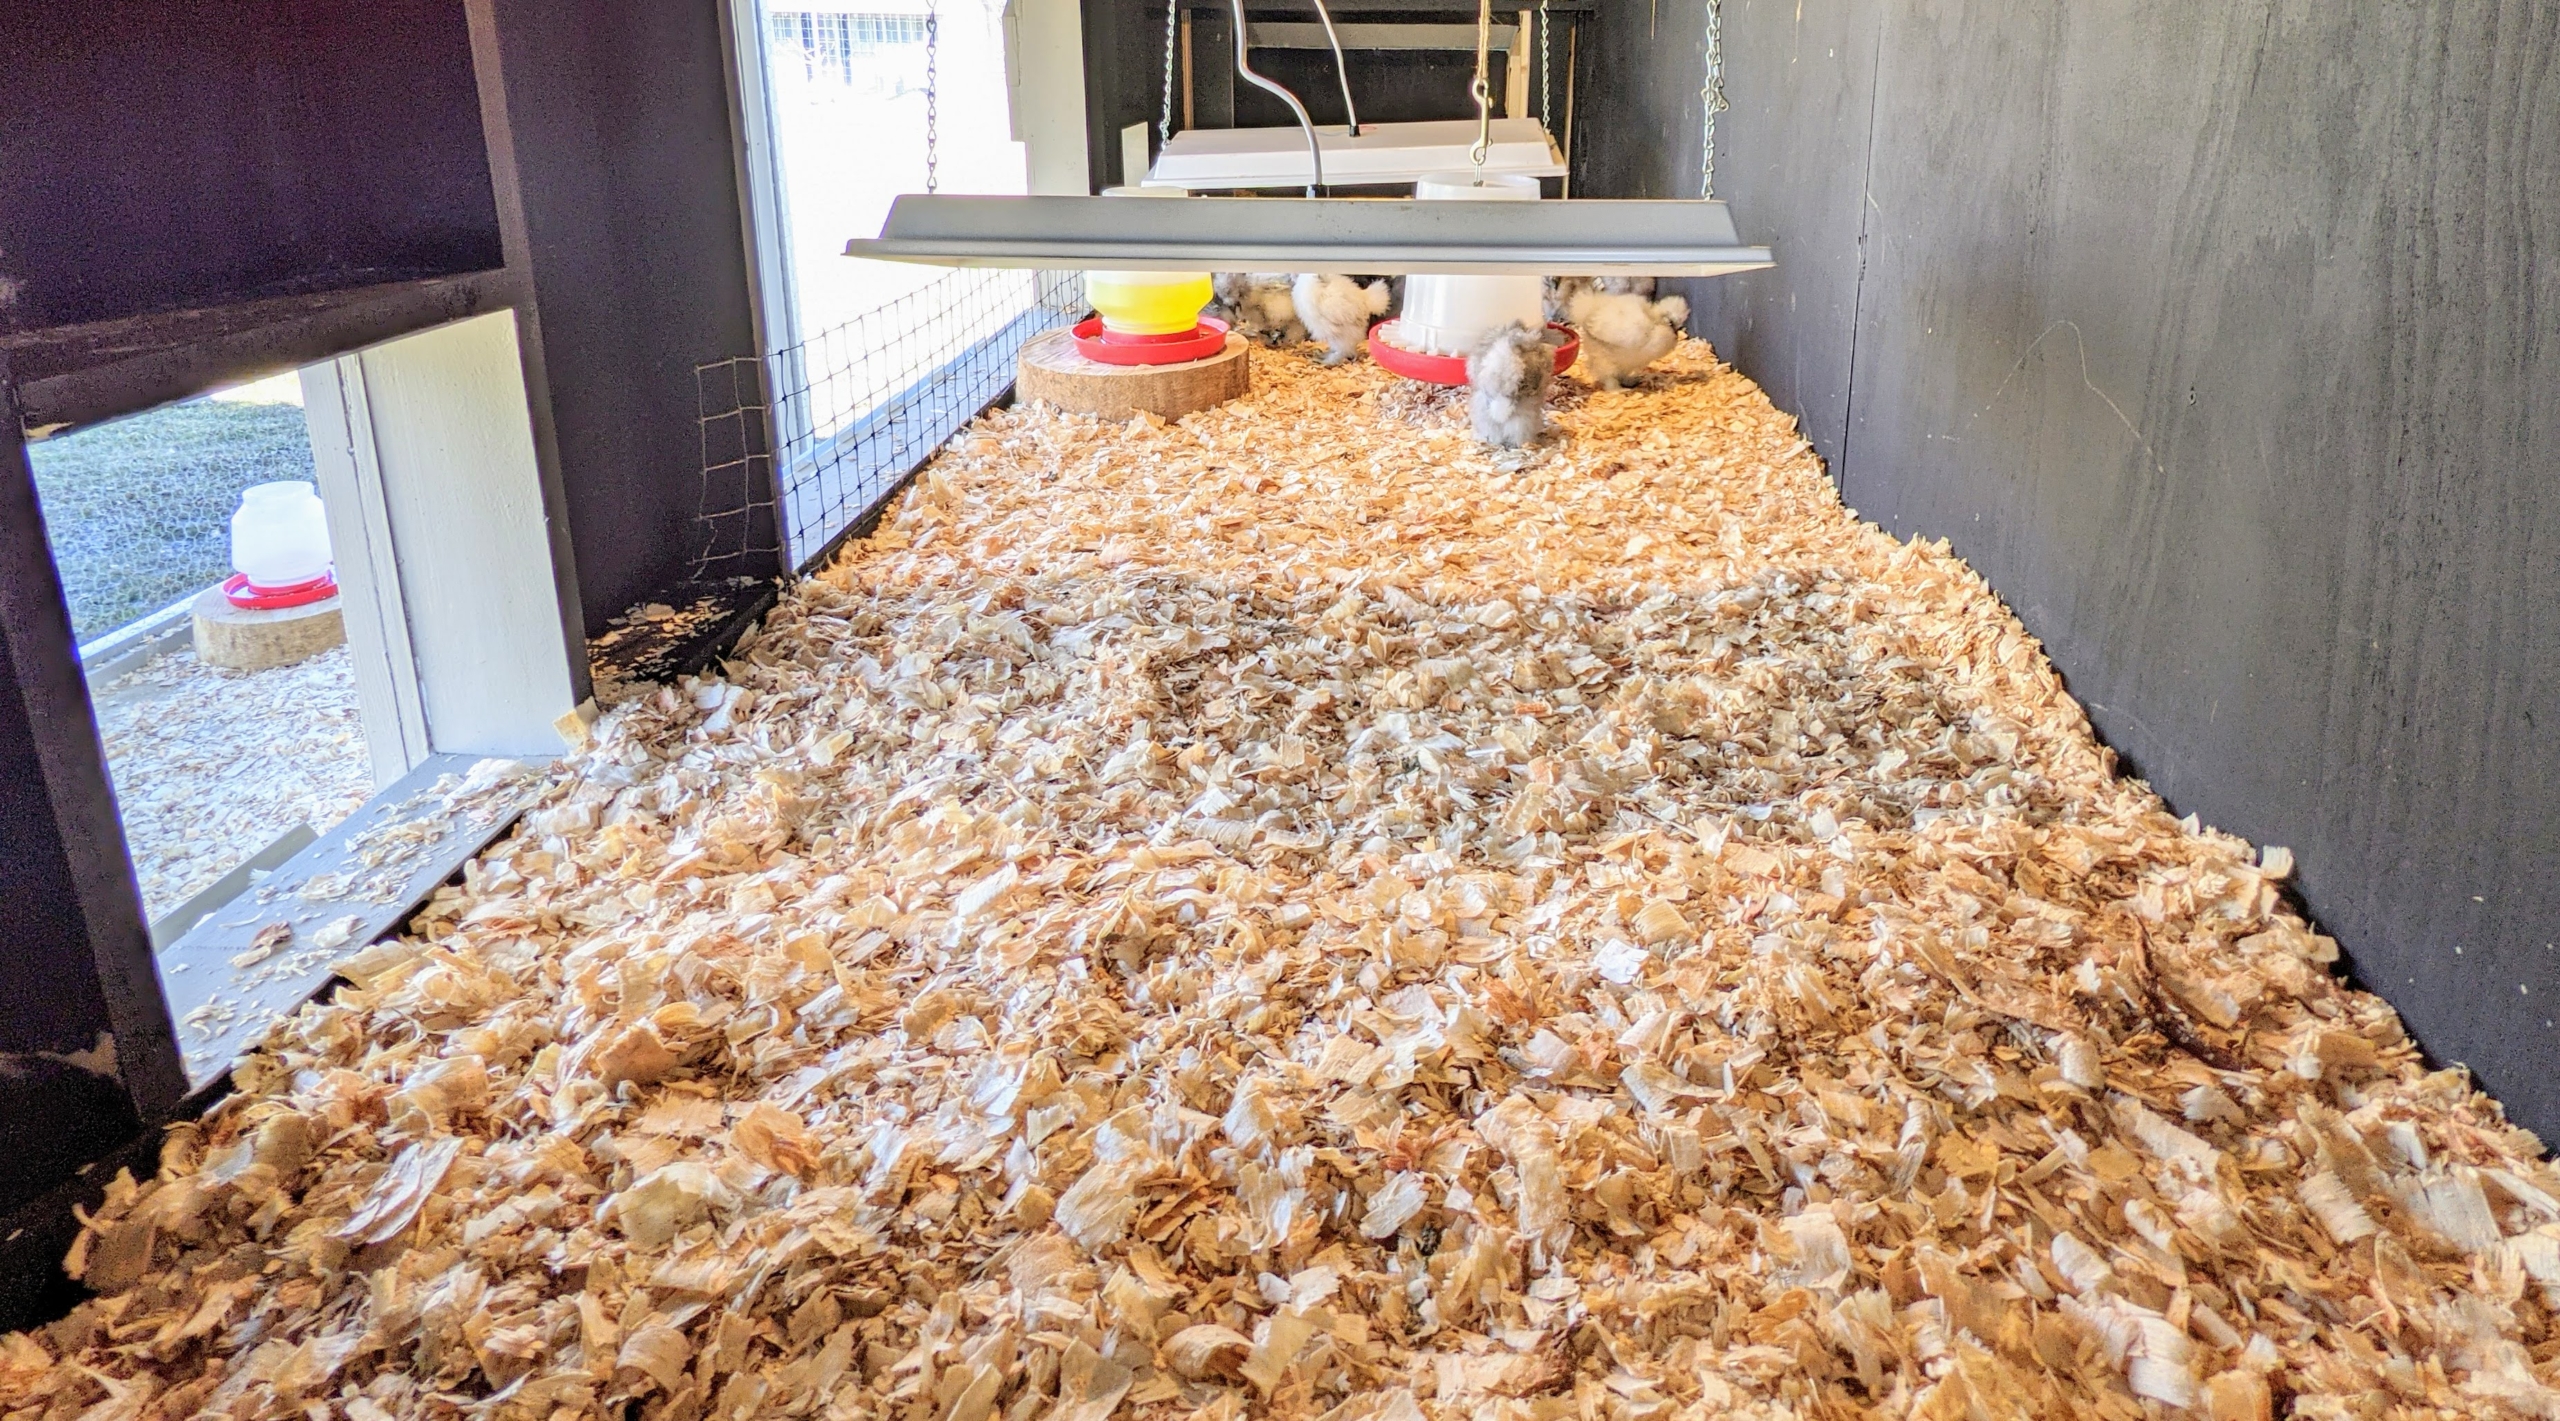
As part of the set-up, the floor is lined with wood shavings, the chick feeders are filled with organic feed, the water receptacles are filled with cool, fresh water, and the special heat lamps are in place.
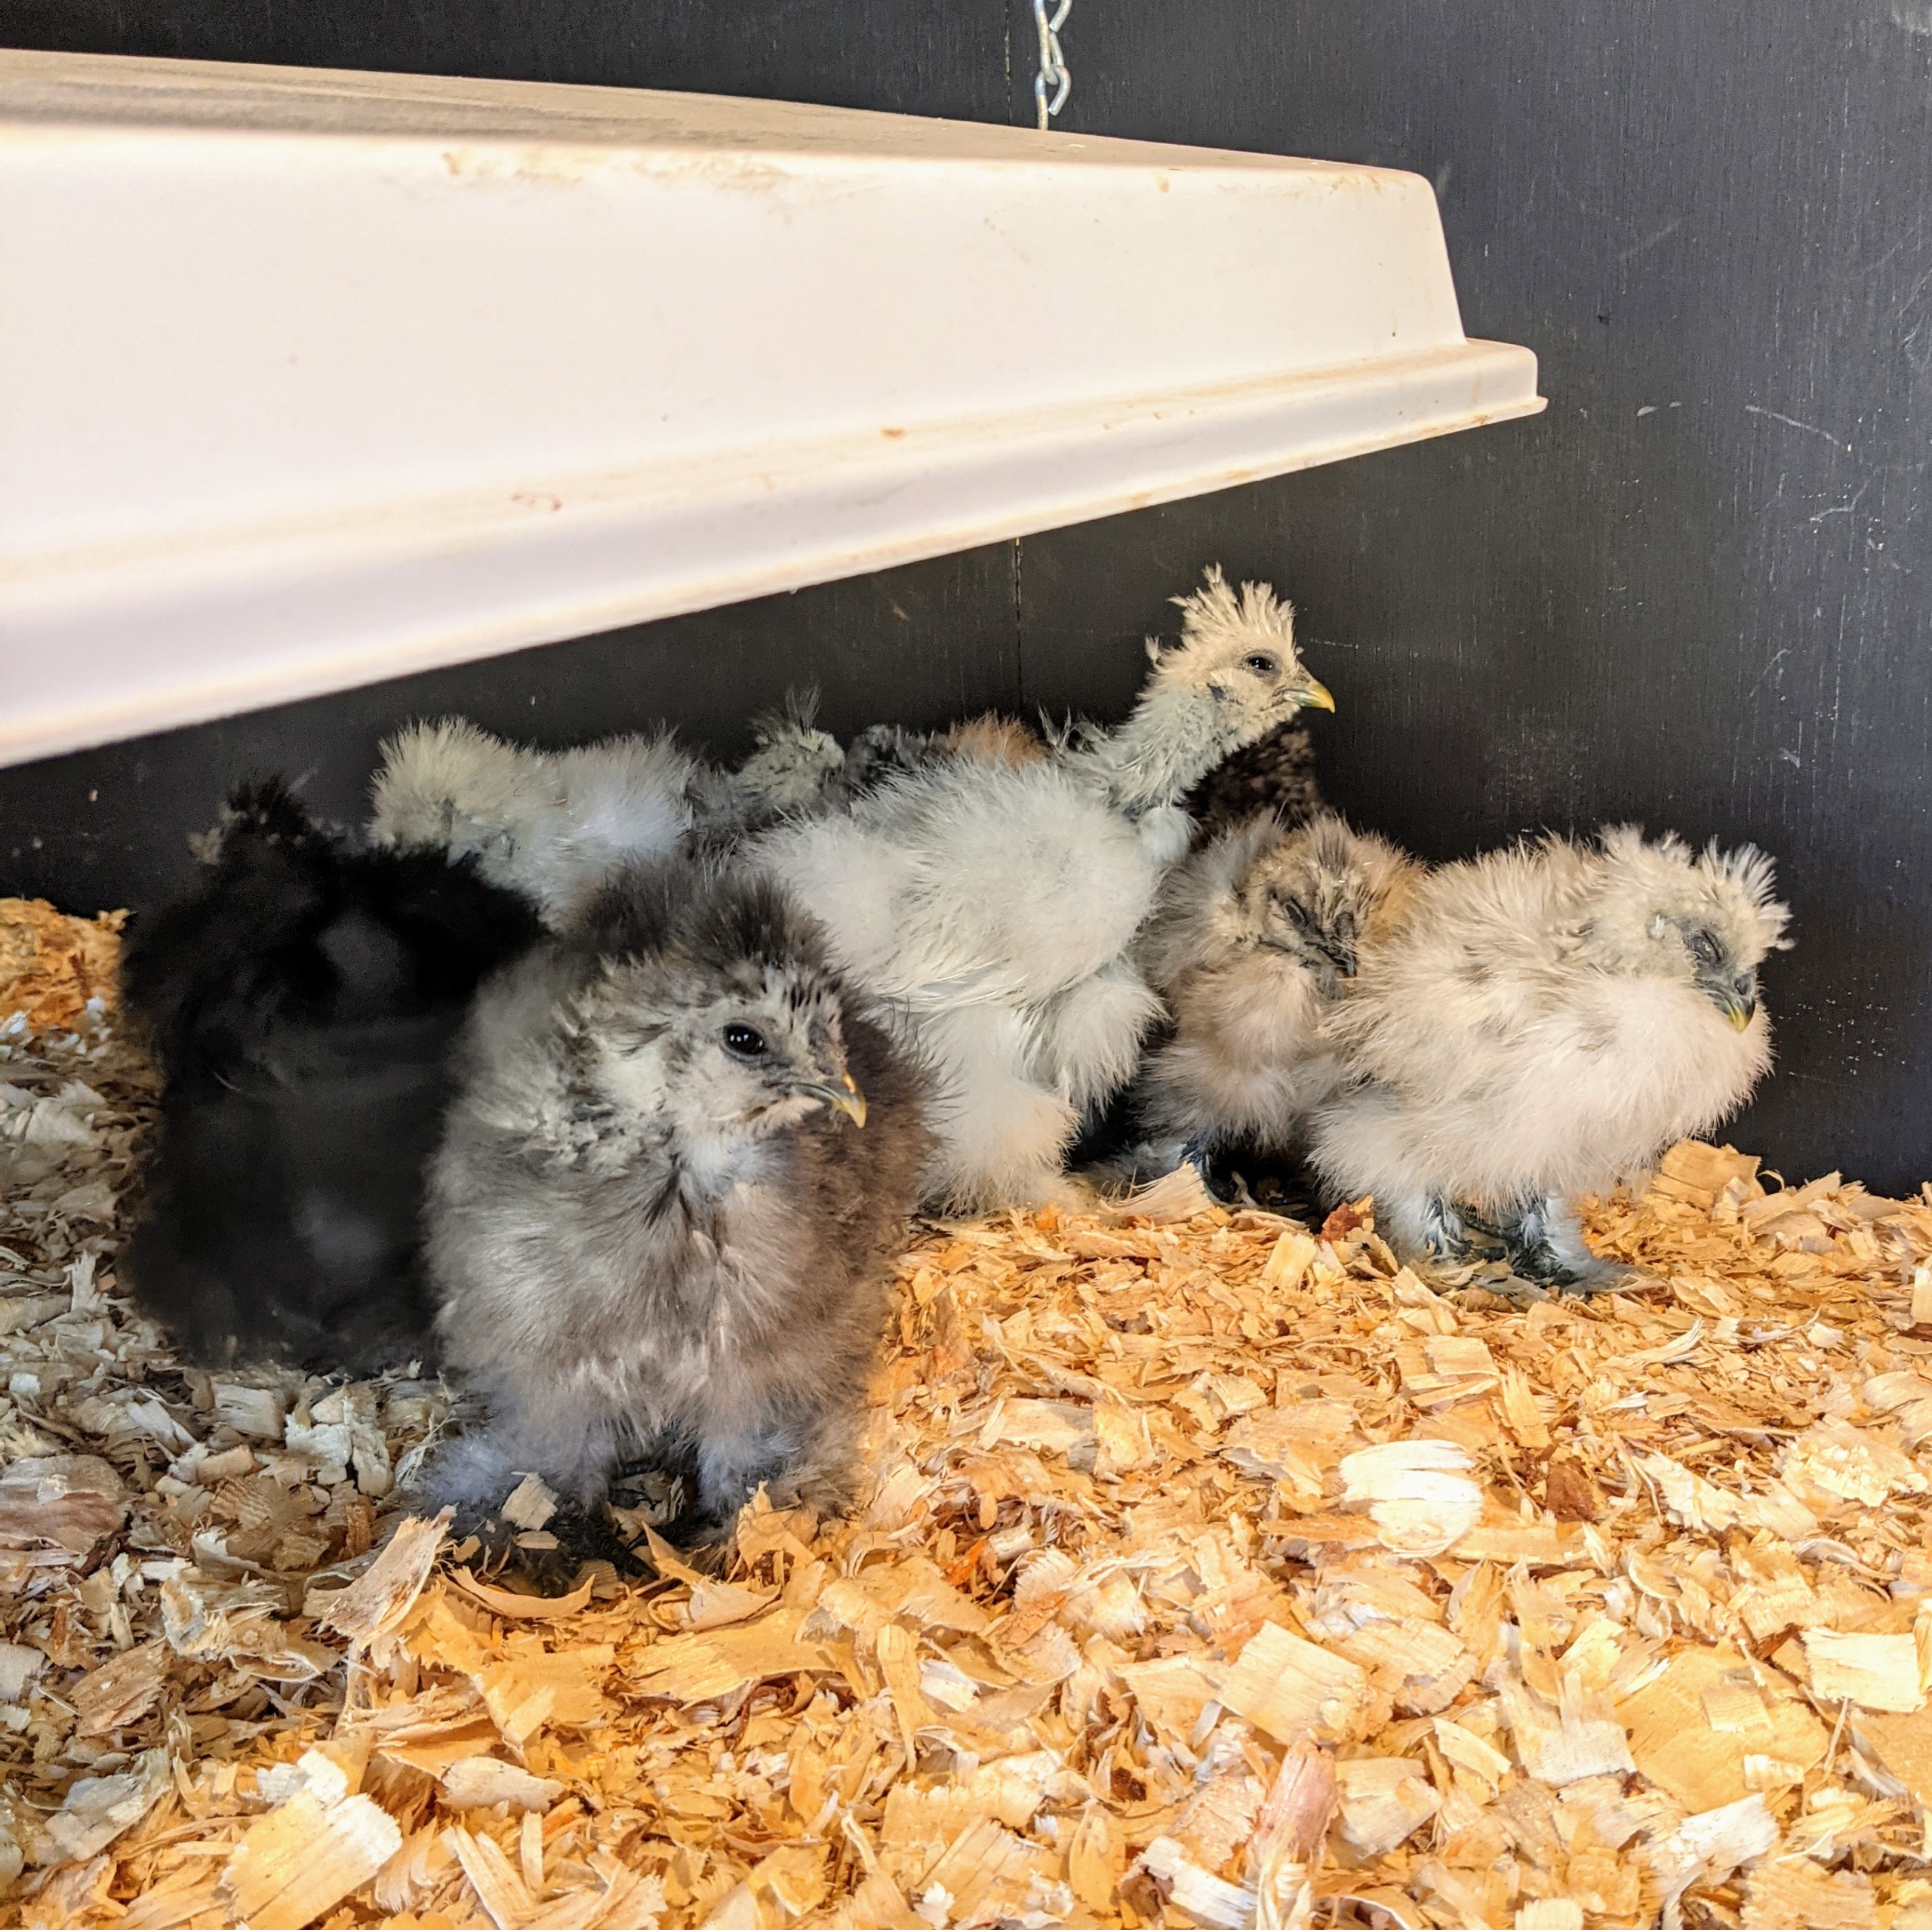
At first the chicks are a bit unsure of their surroundings, huddling together in one corner.
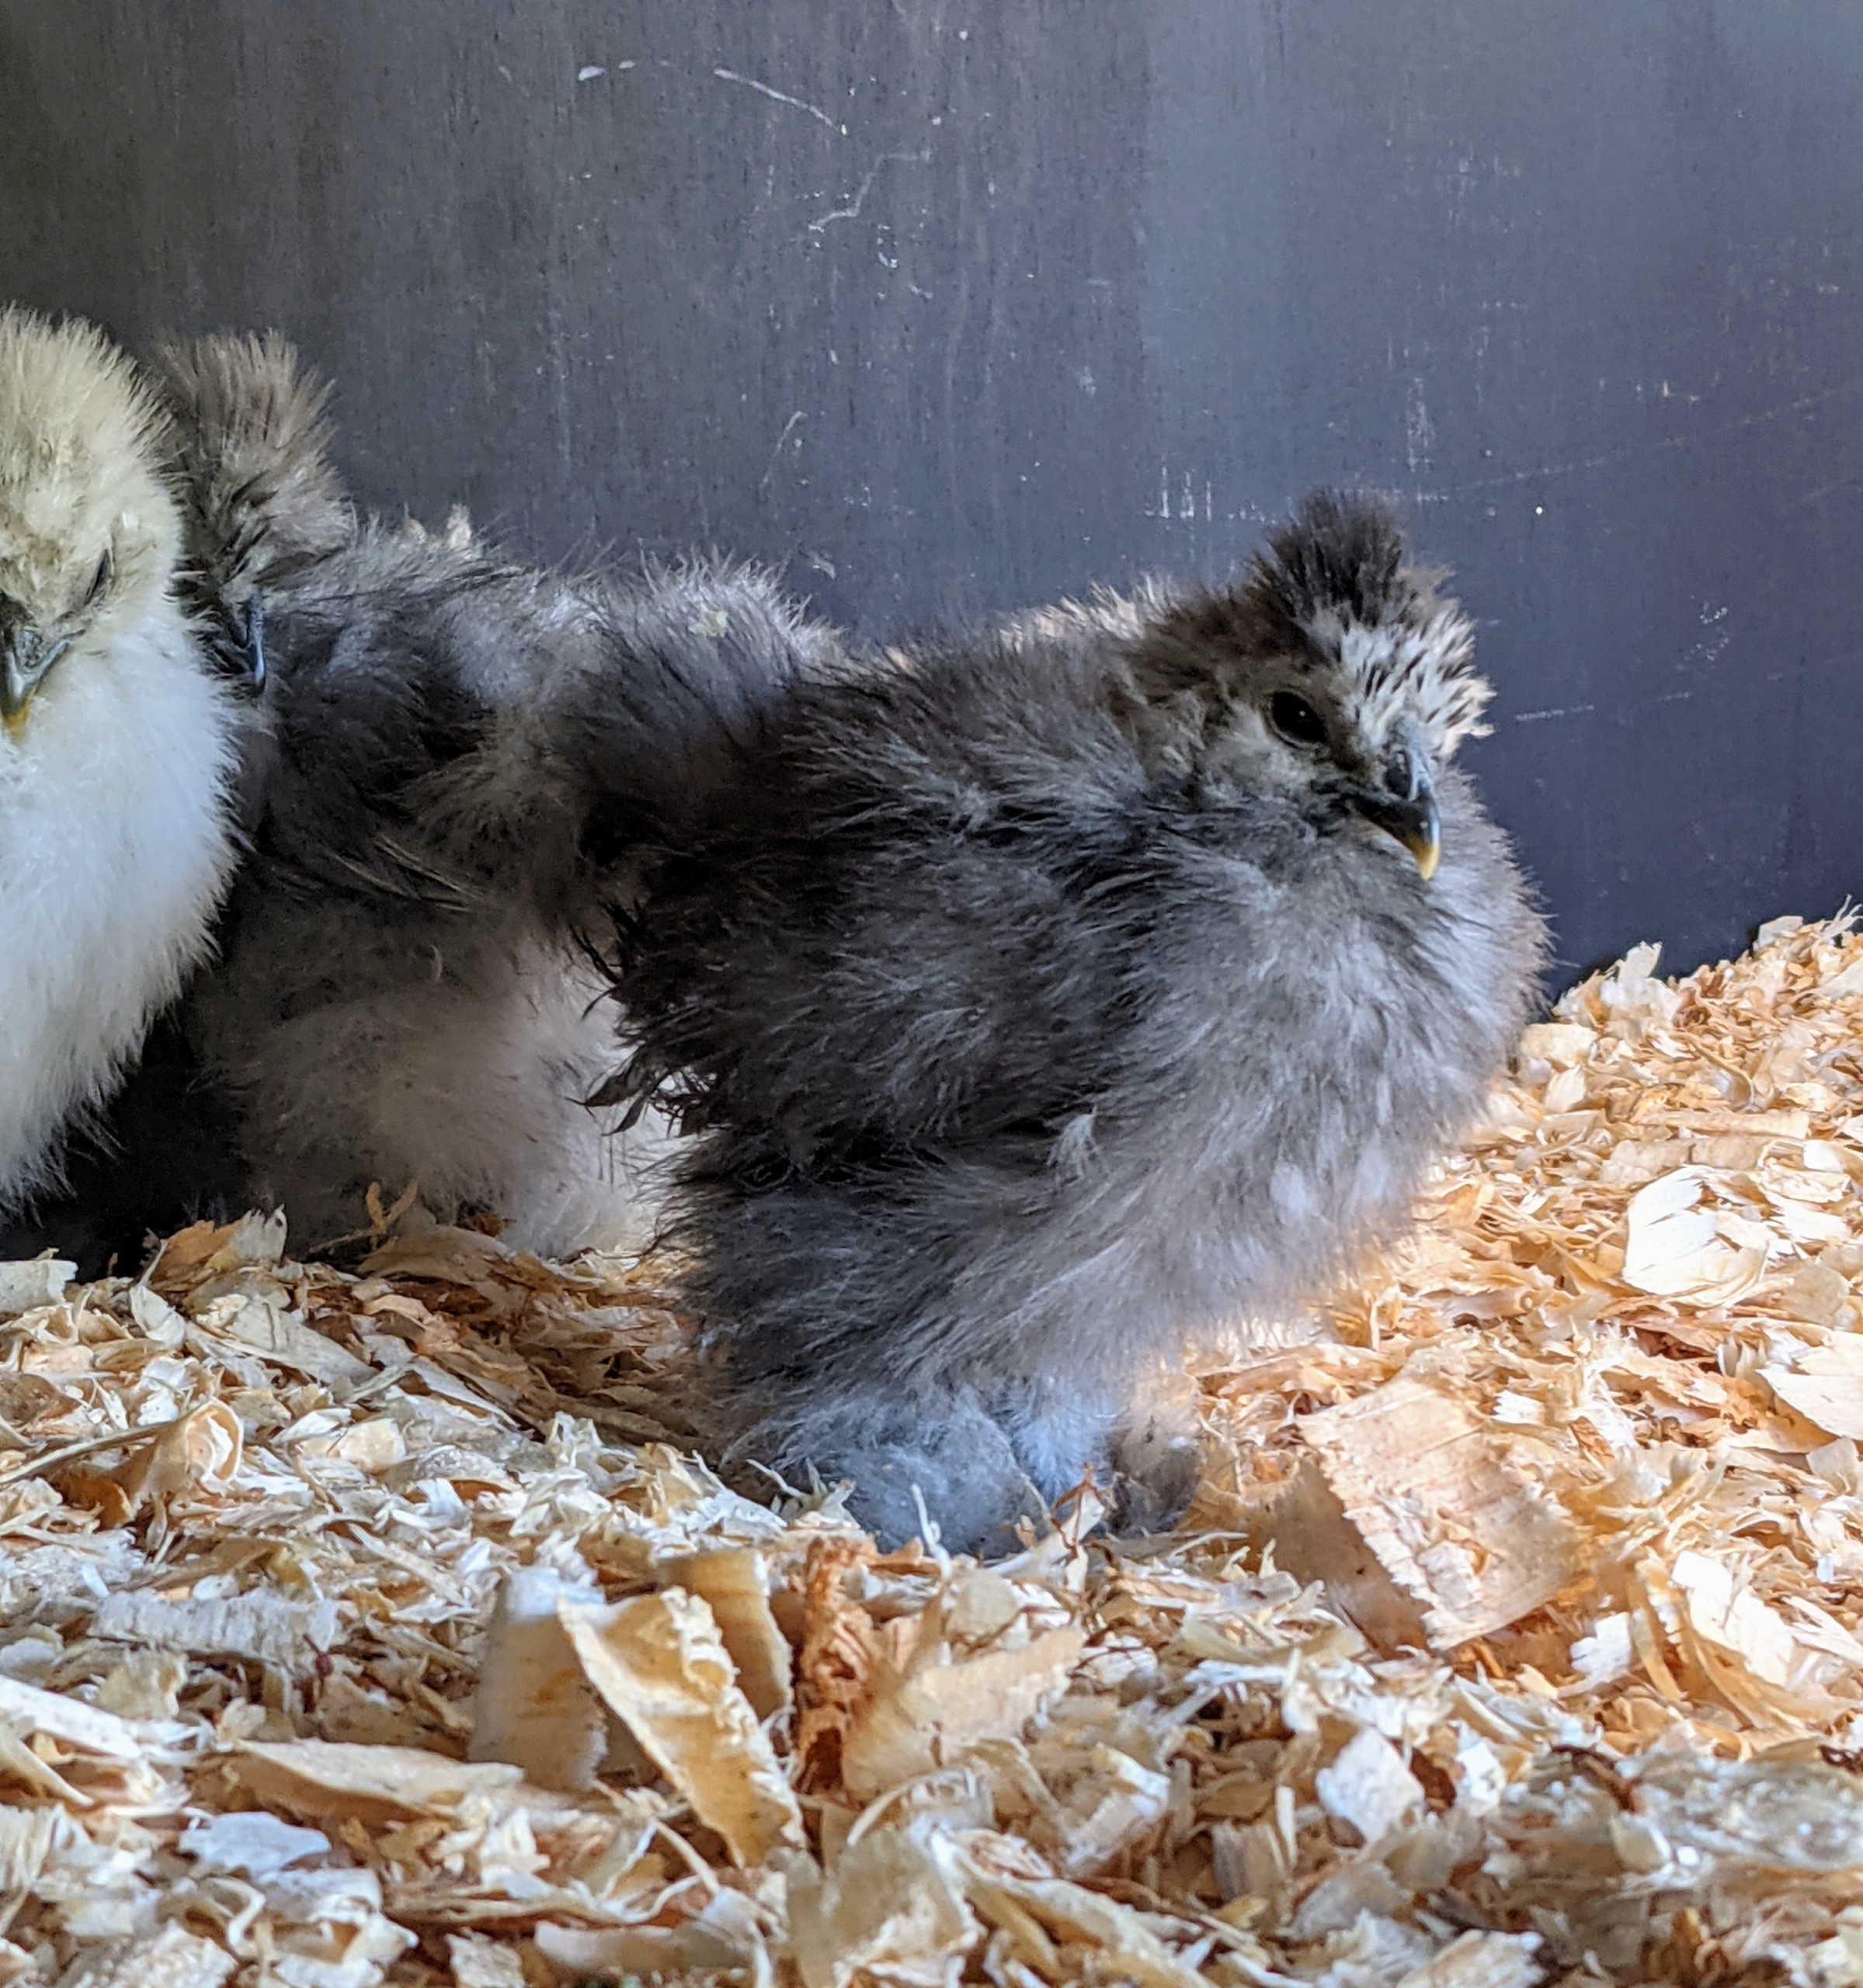
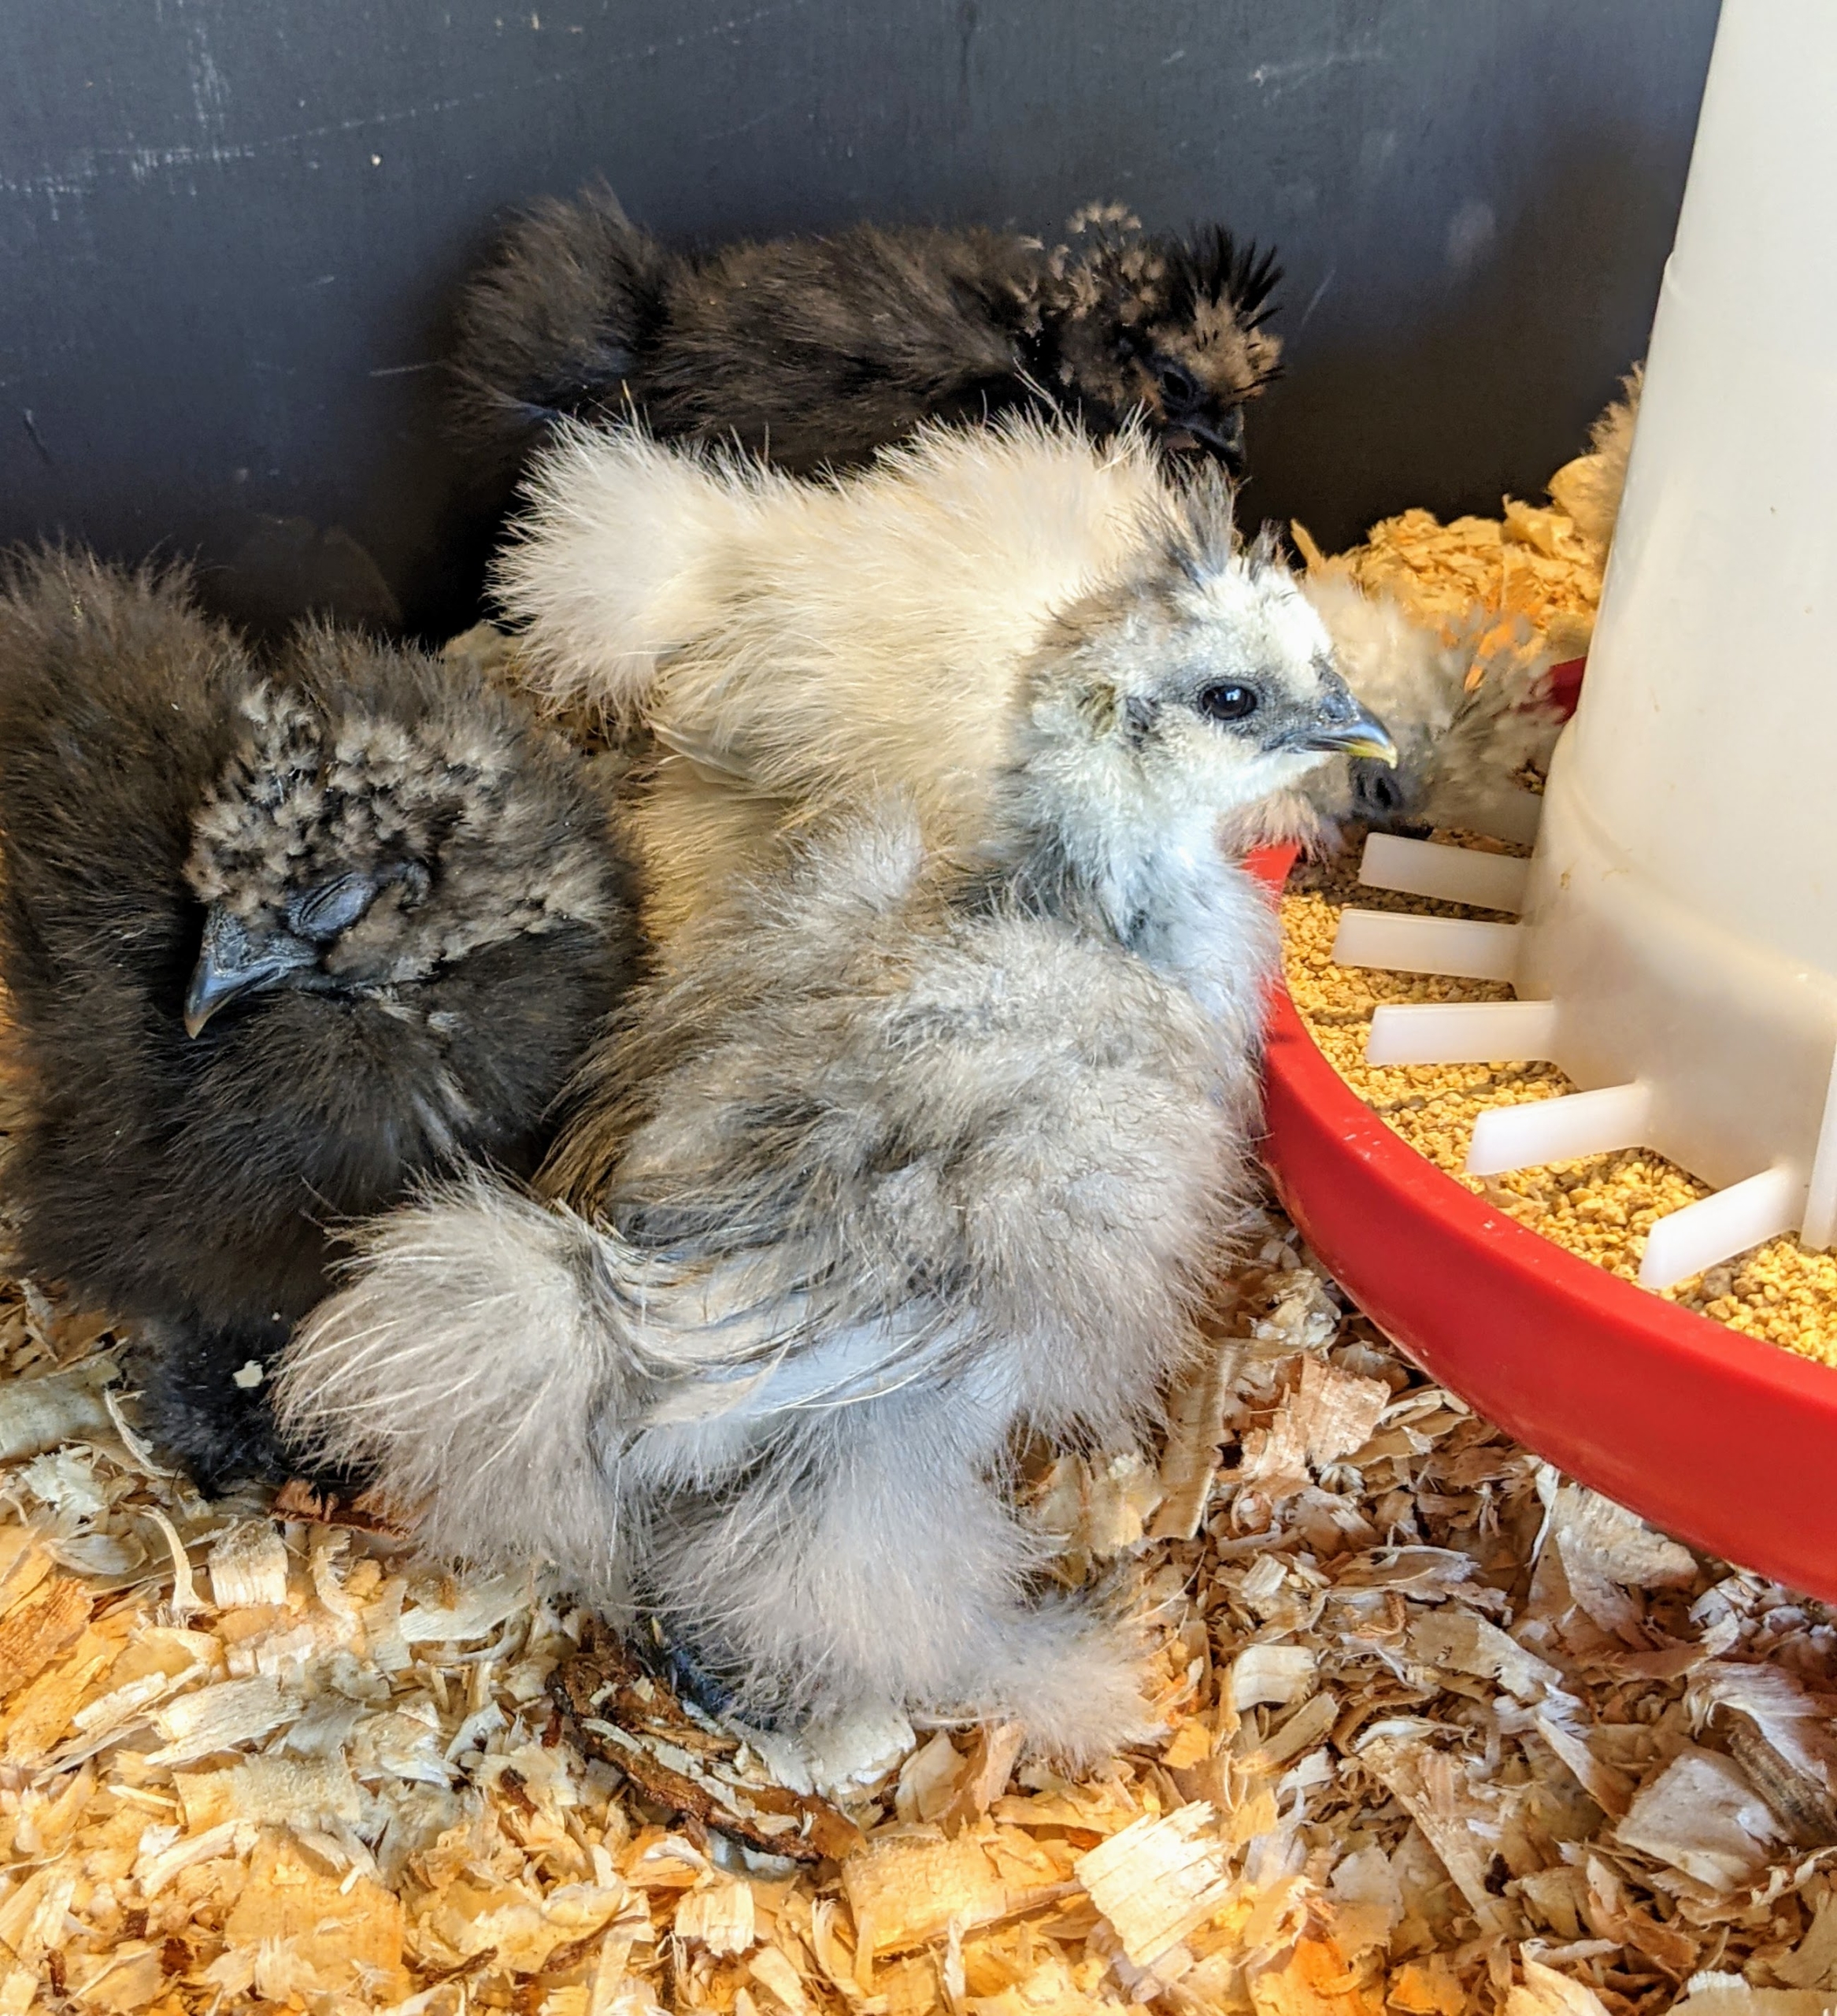
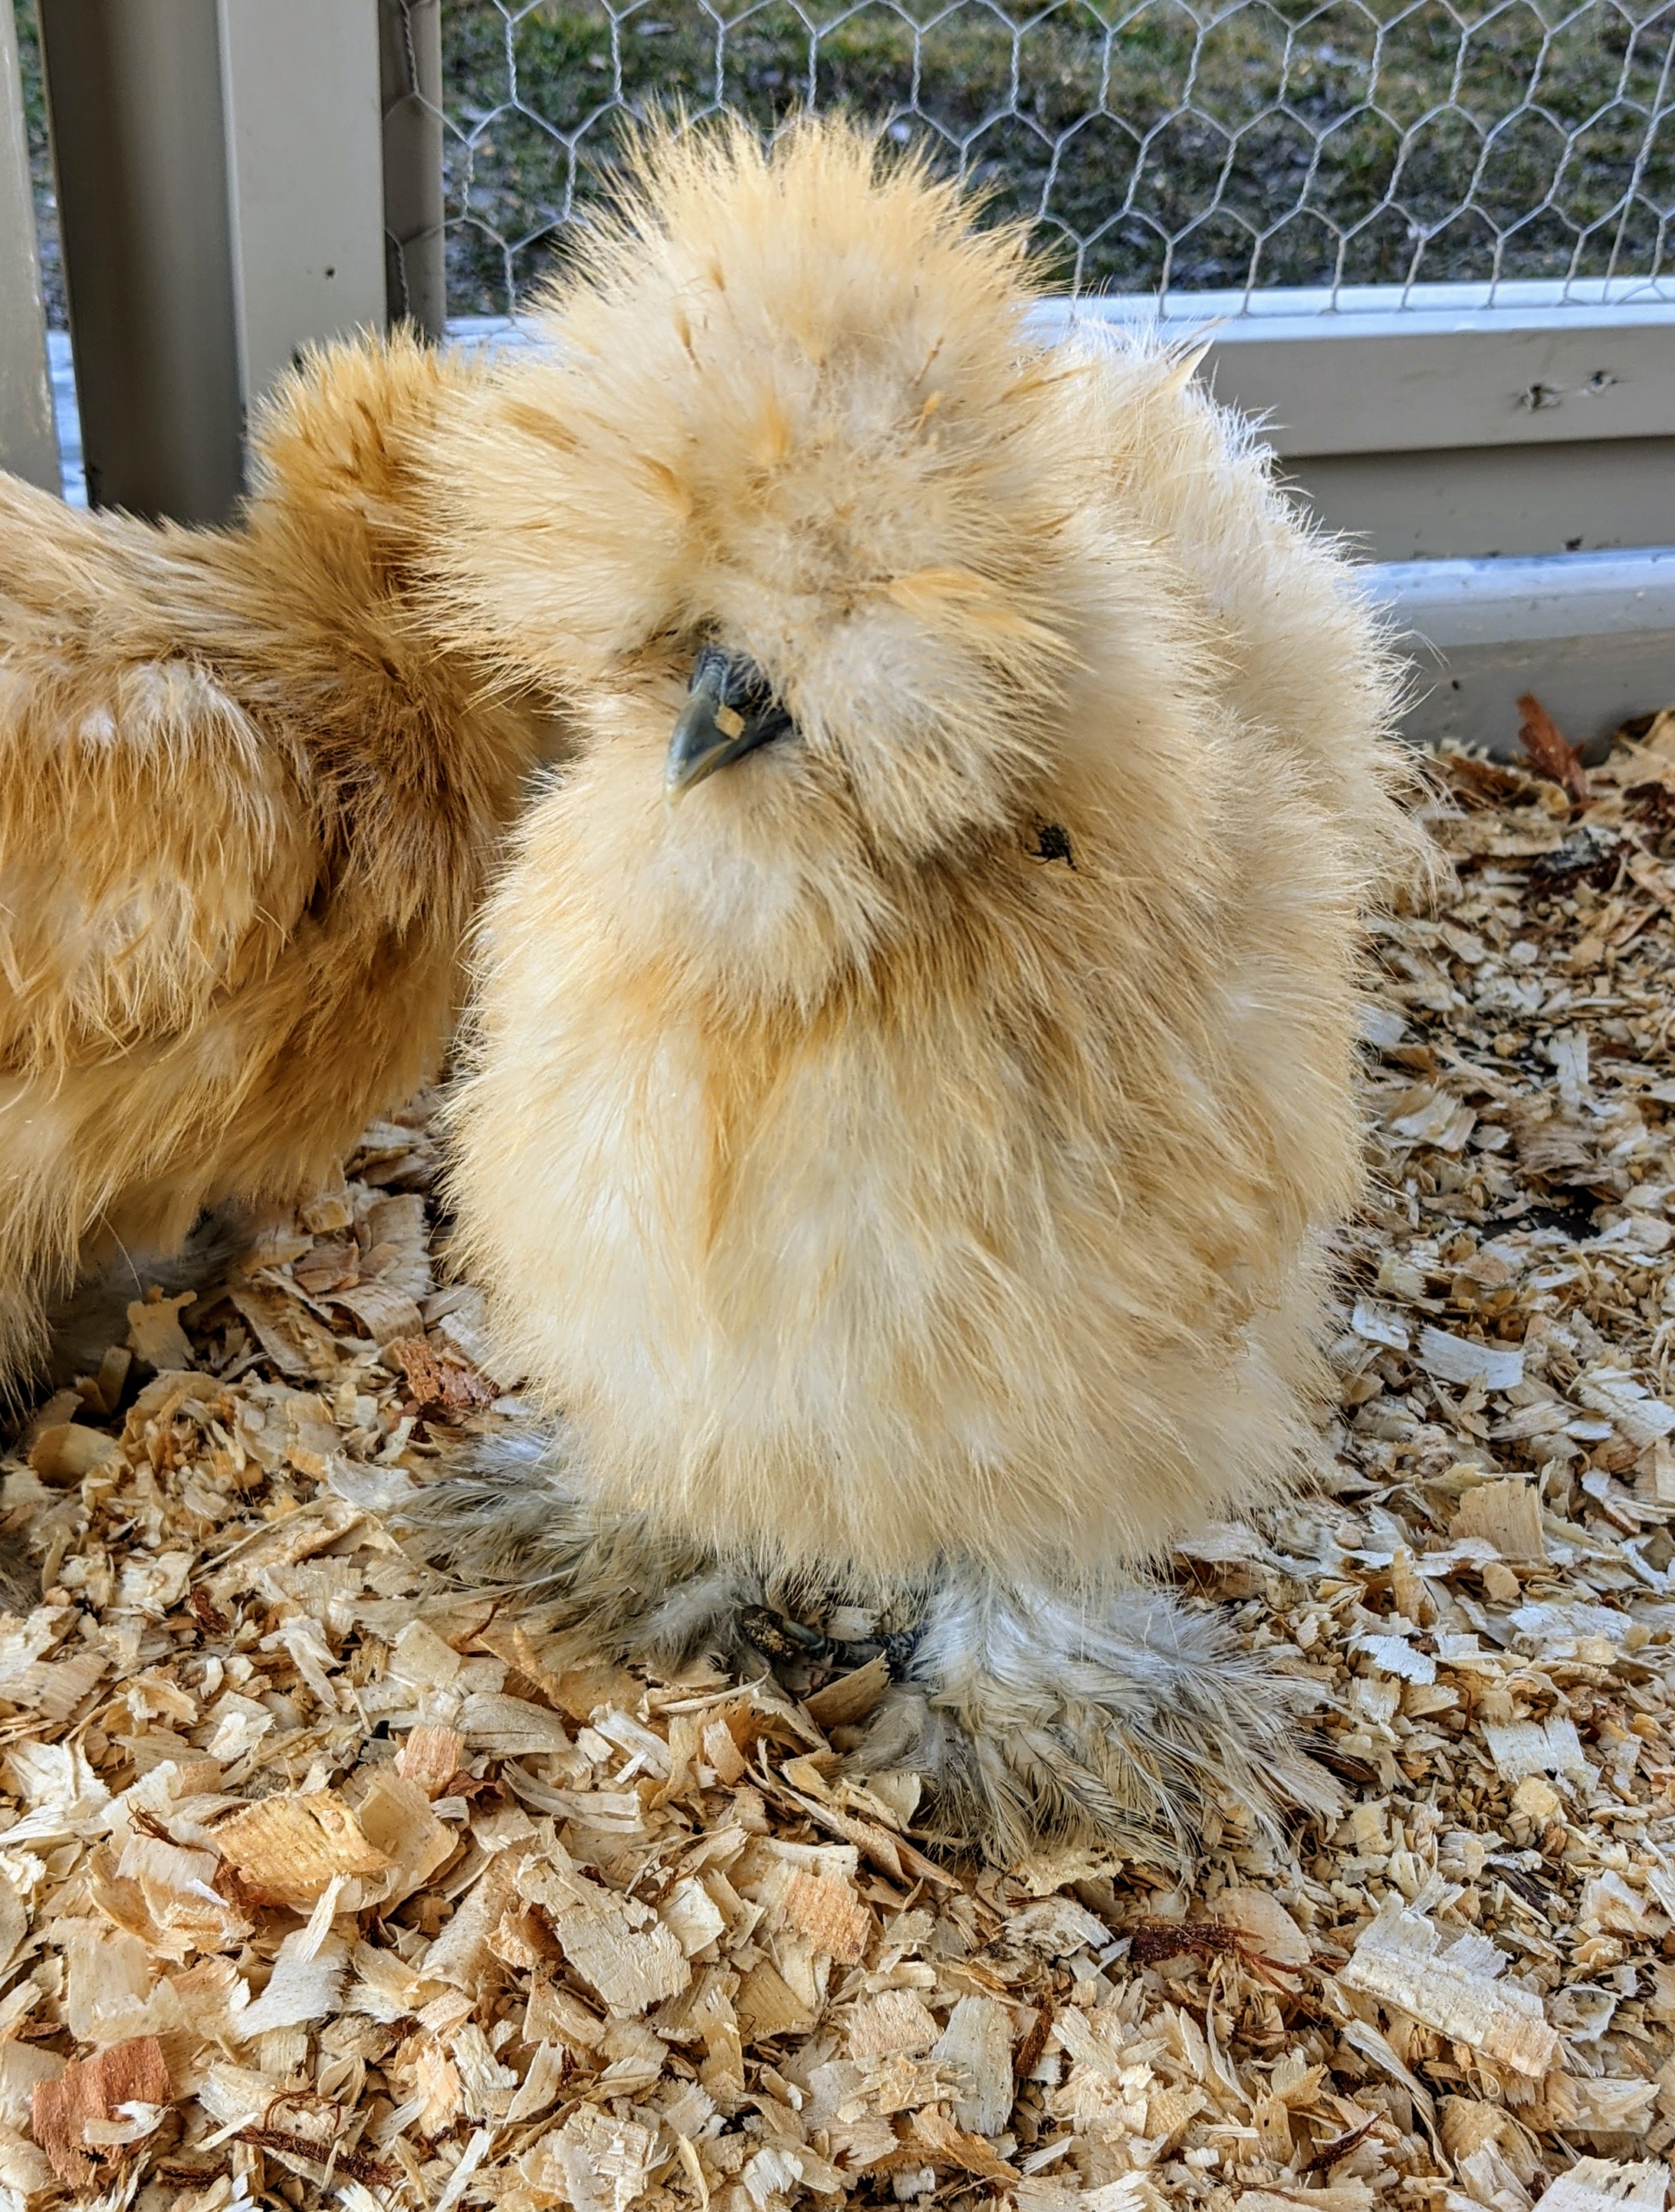
But after a few minutes, they’re eager to explore the space. Silkies were originally bred in China. Silkie chickens are known for their characteristically fluffy plumage said to feel like silk or satin to the touch. This one is a beautiful gray Silkie.
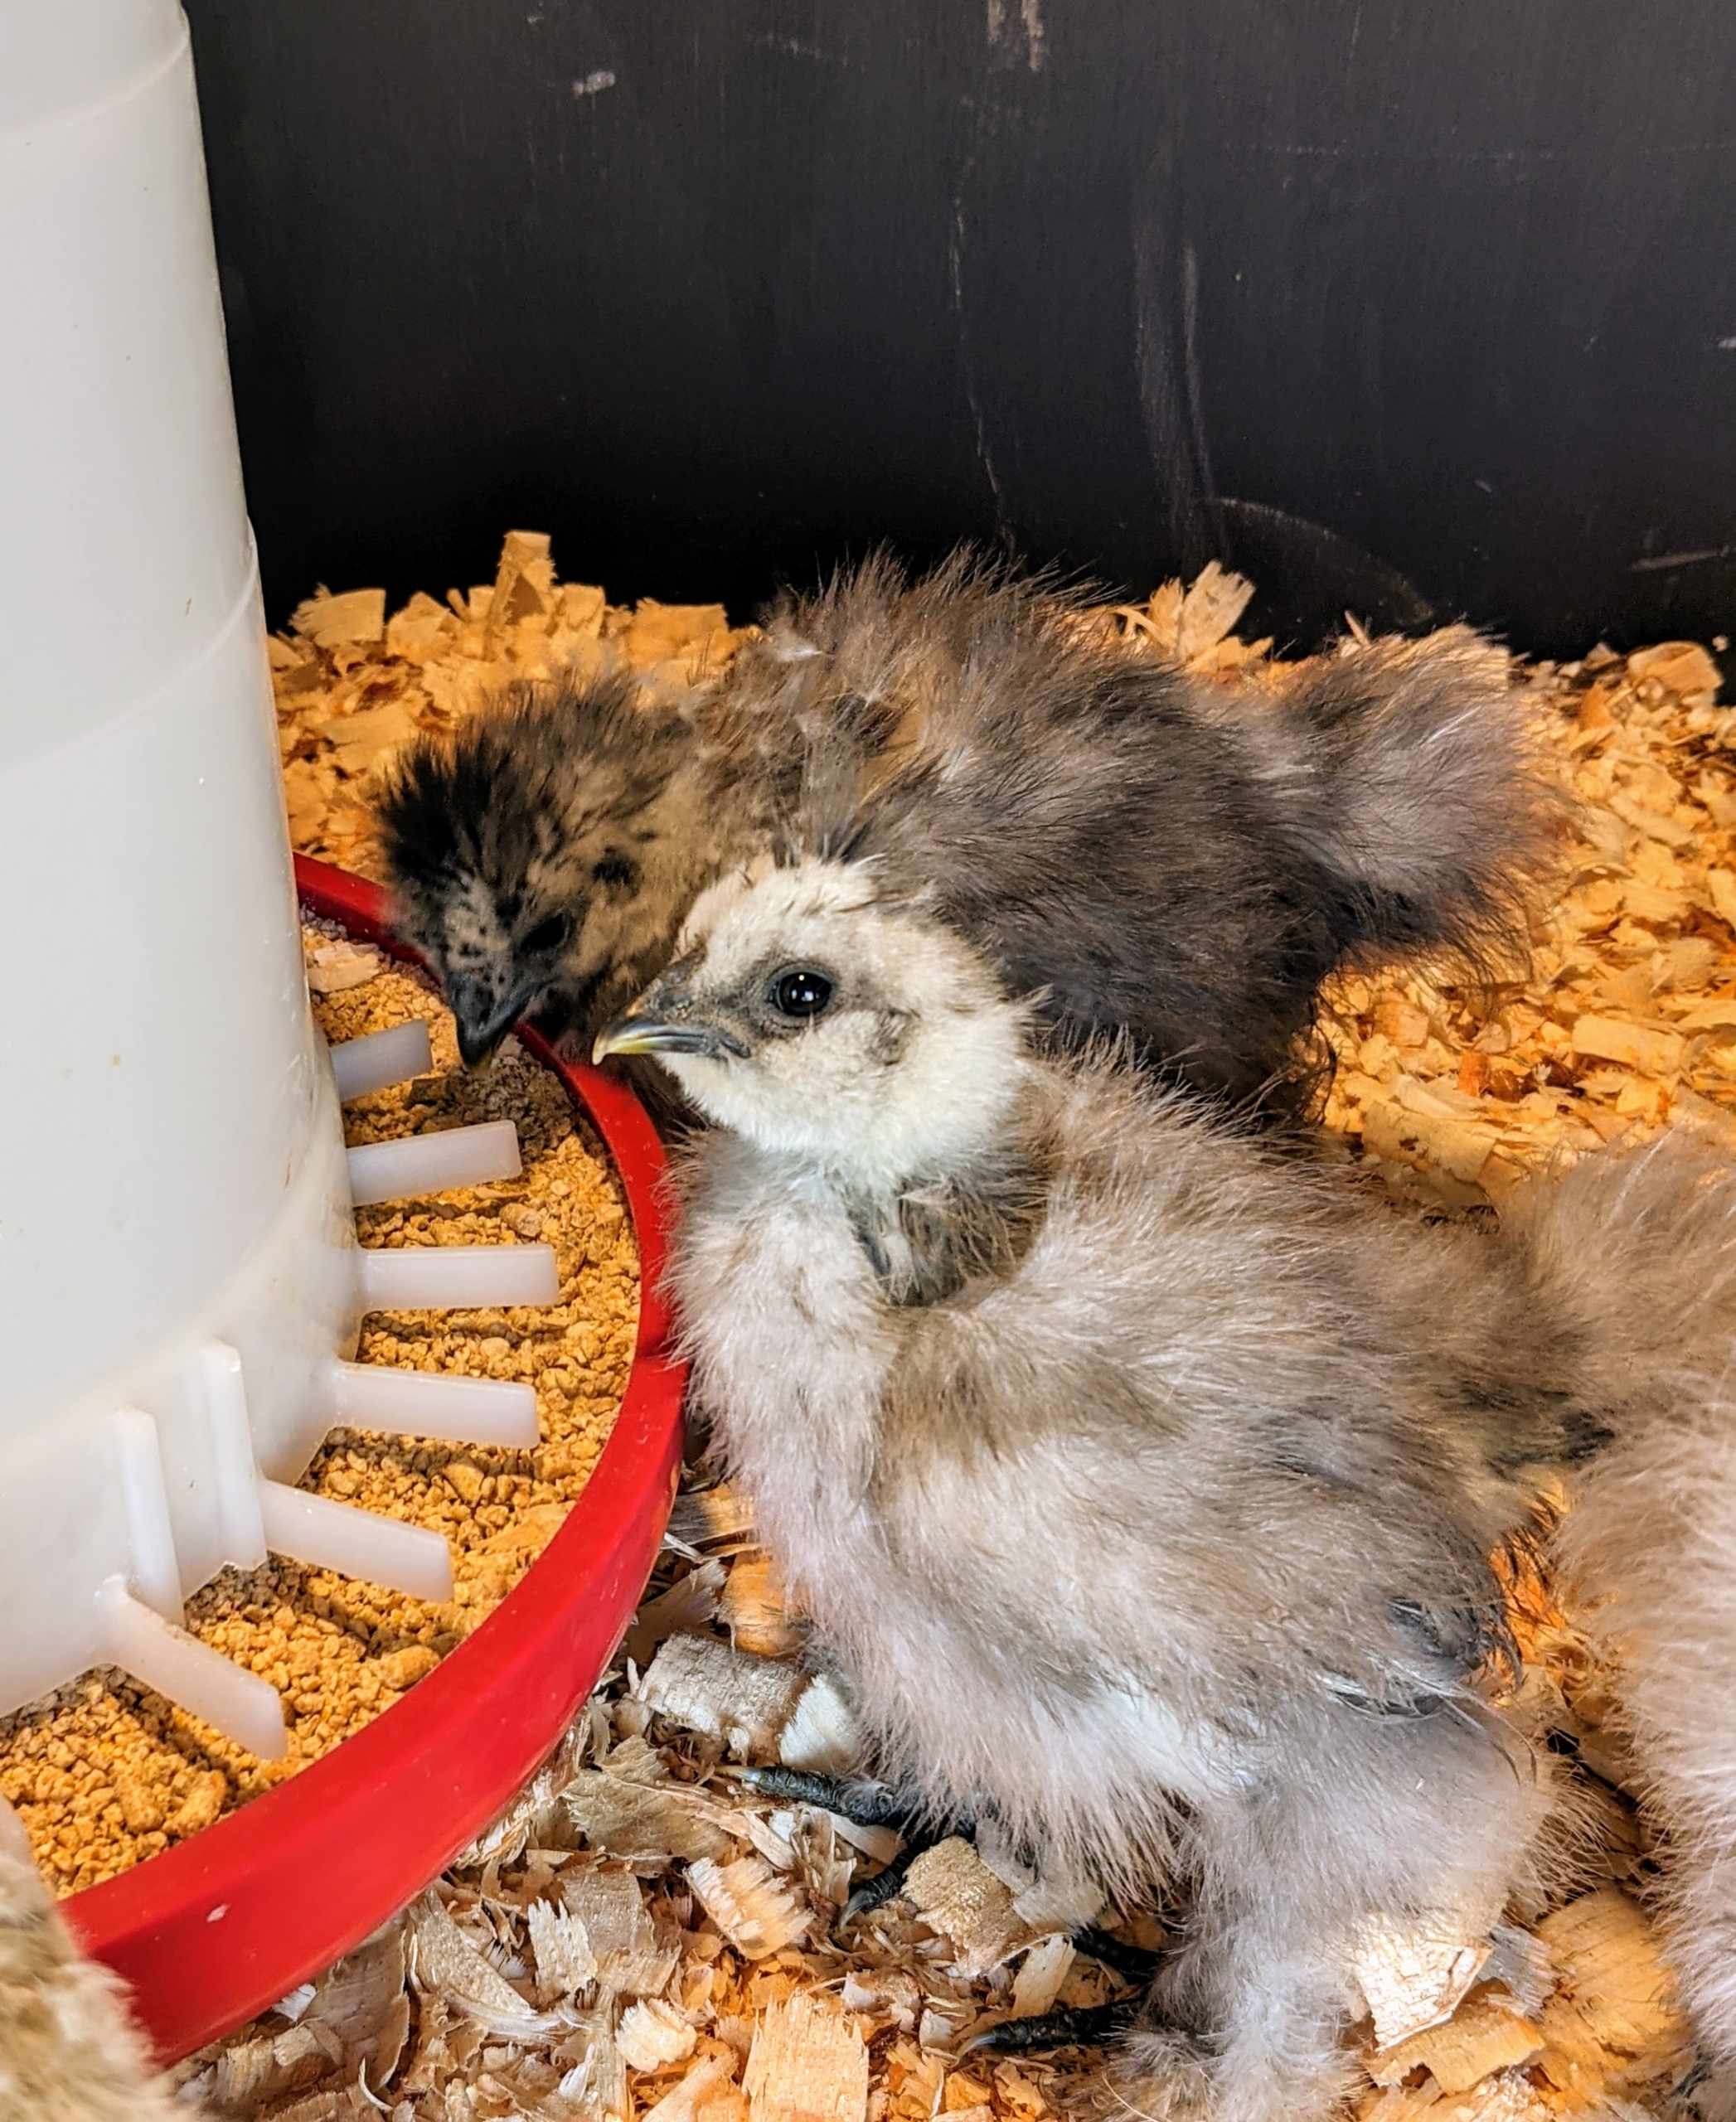
Perhaps these two are discussing the new coop – I know you’re going to love it here my little Silkies.
These chicks will eat, drink, and run around for four to six months before they start laying eggs. When they do start laying, the eggs are small and grow larger as the pullet, or young chicken, grows larger.
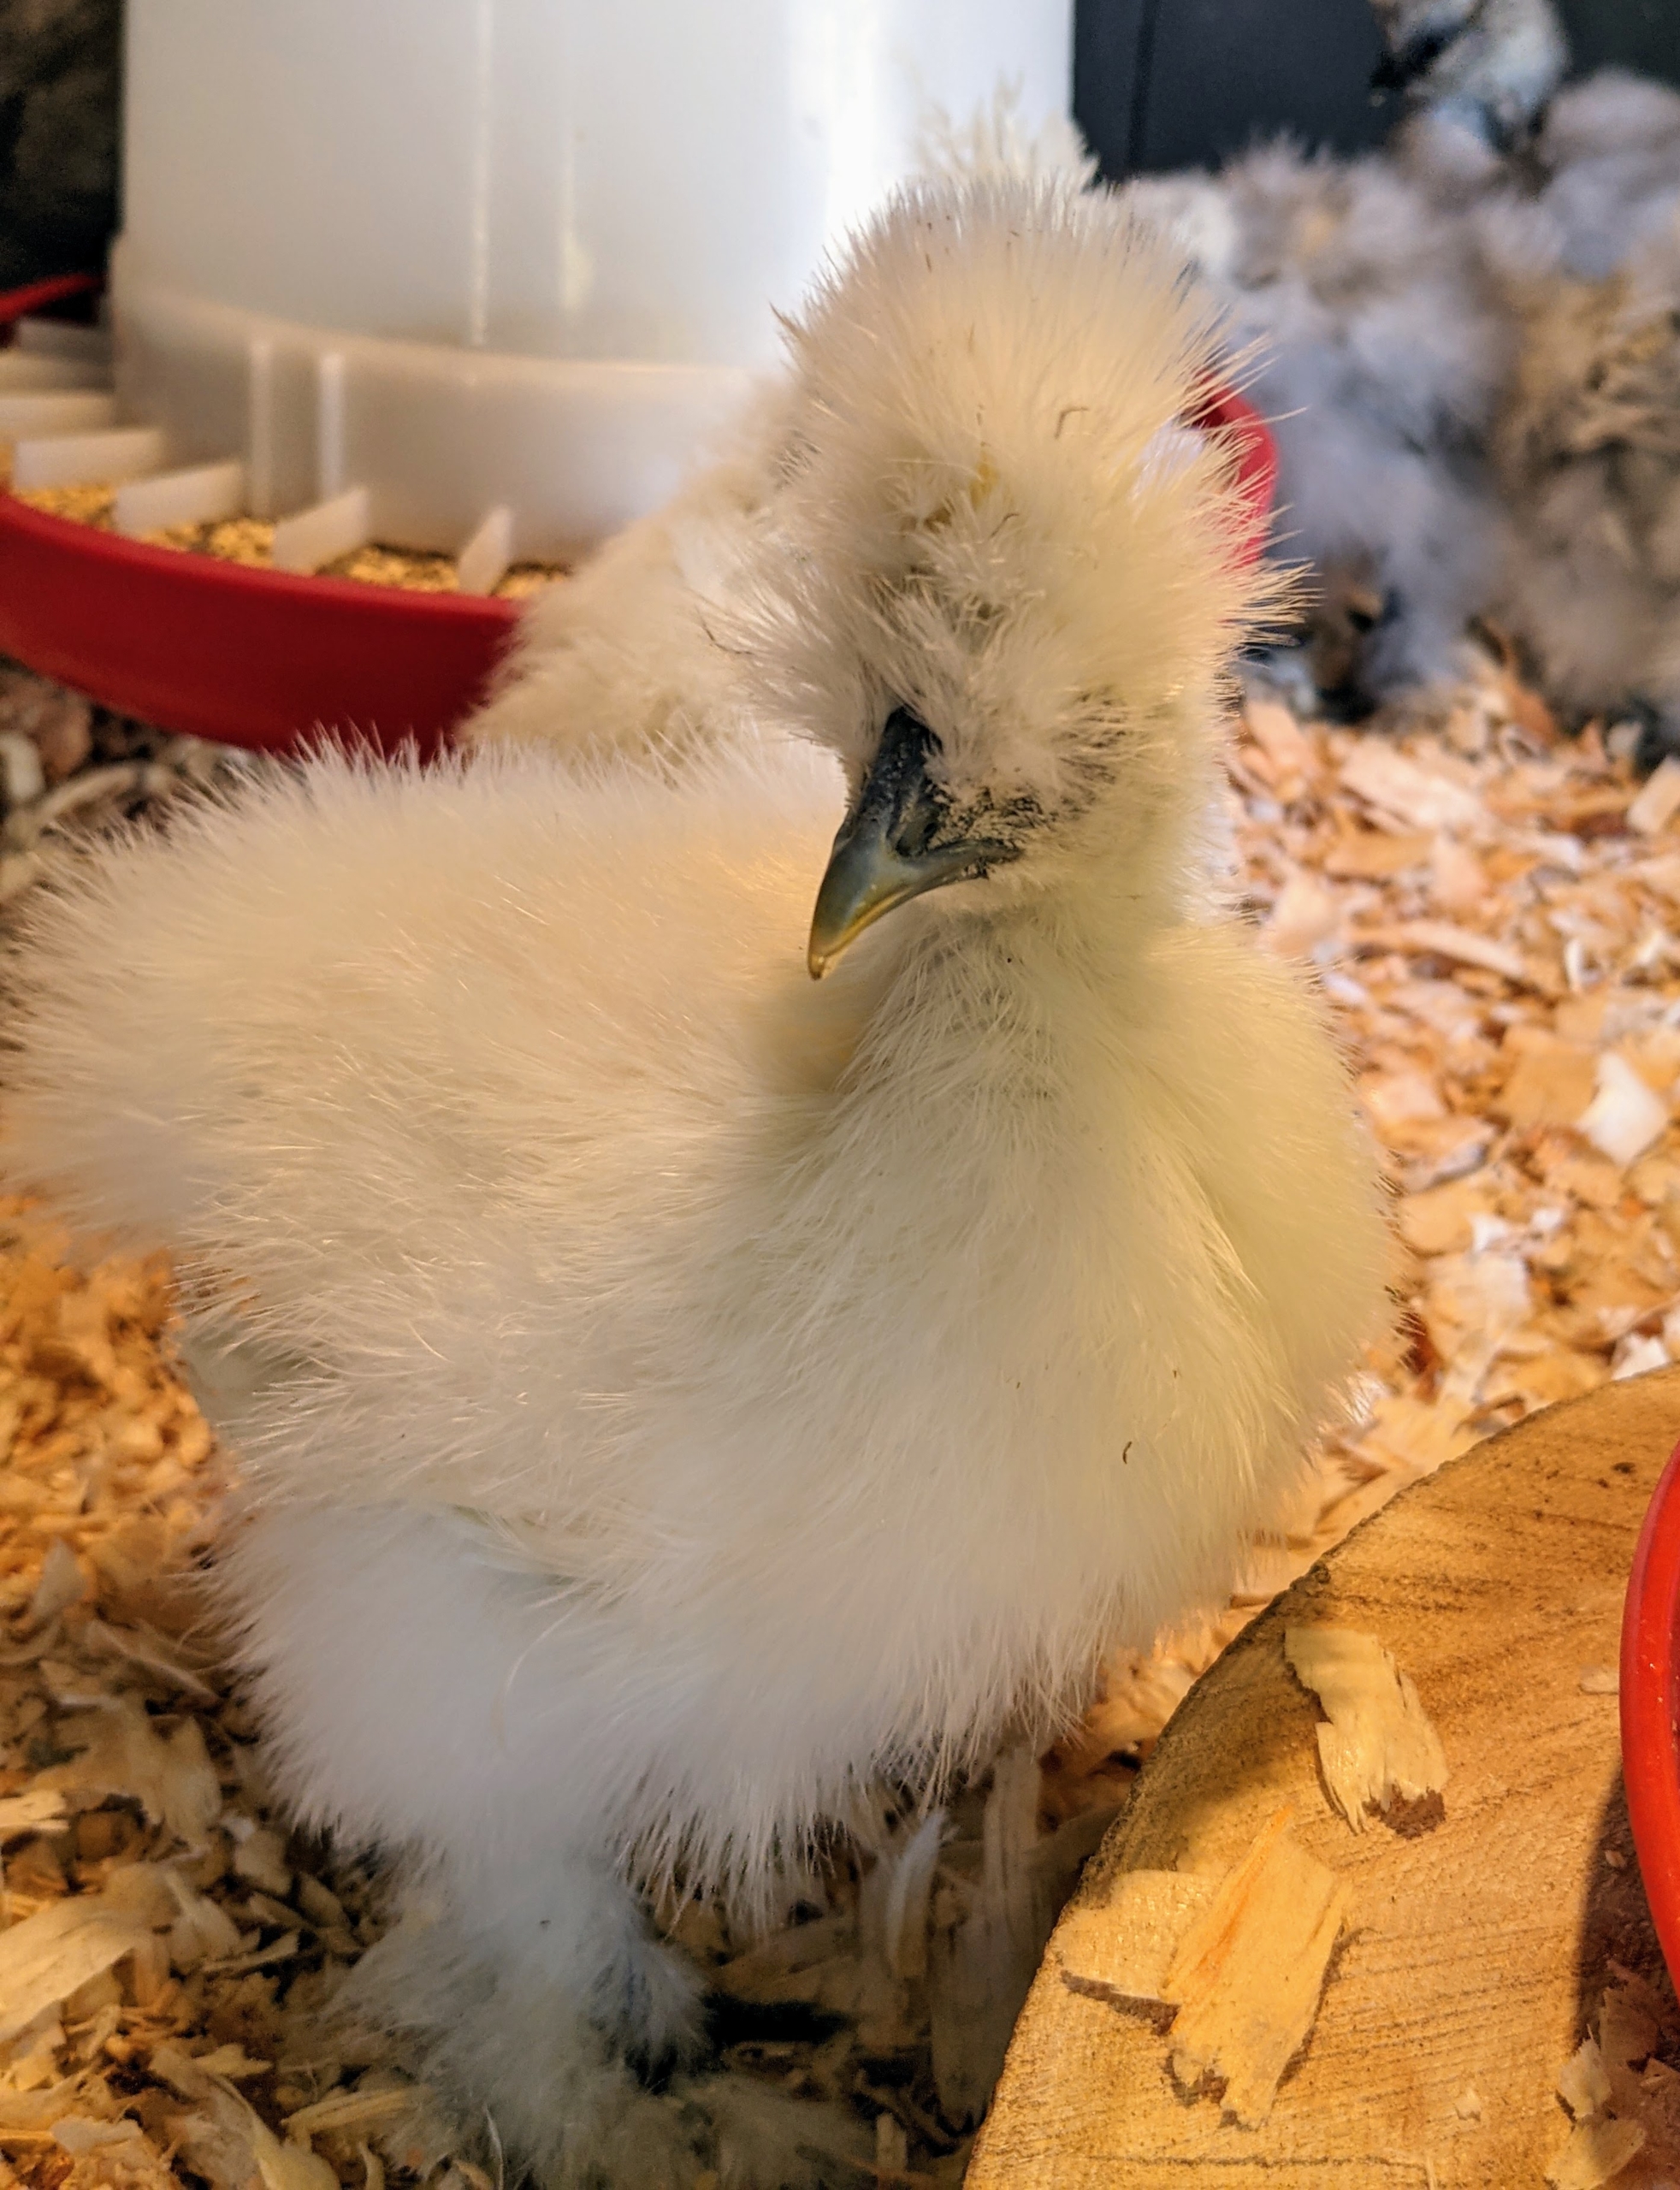
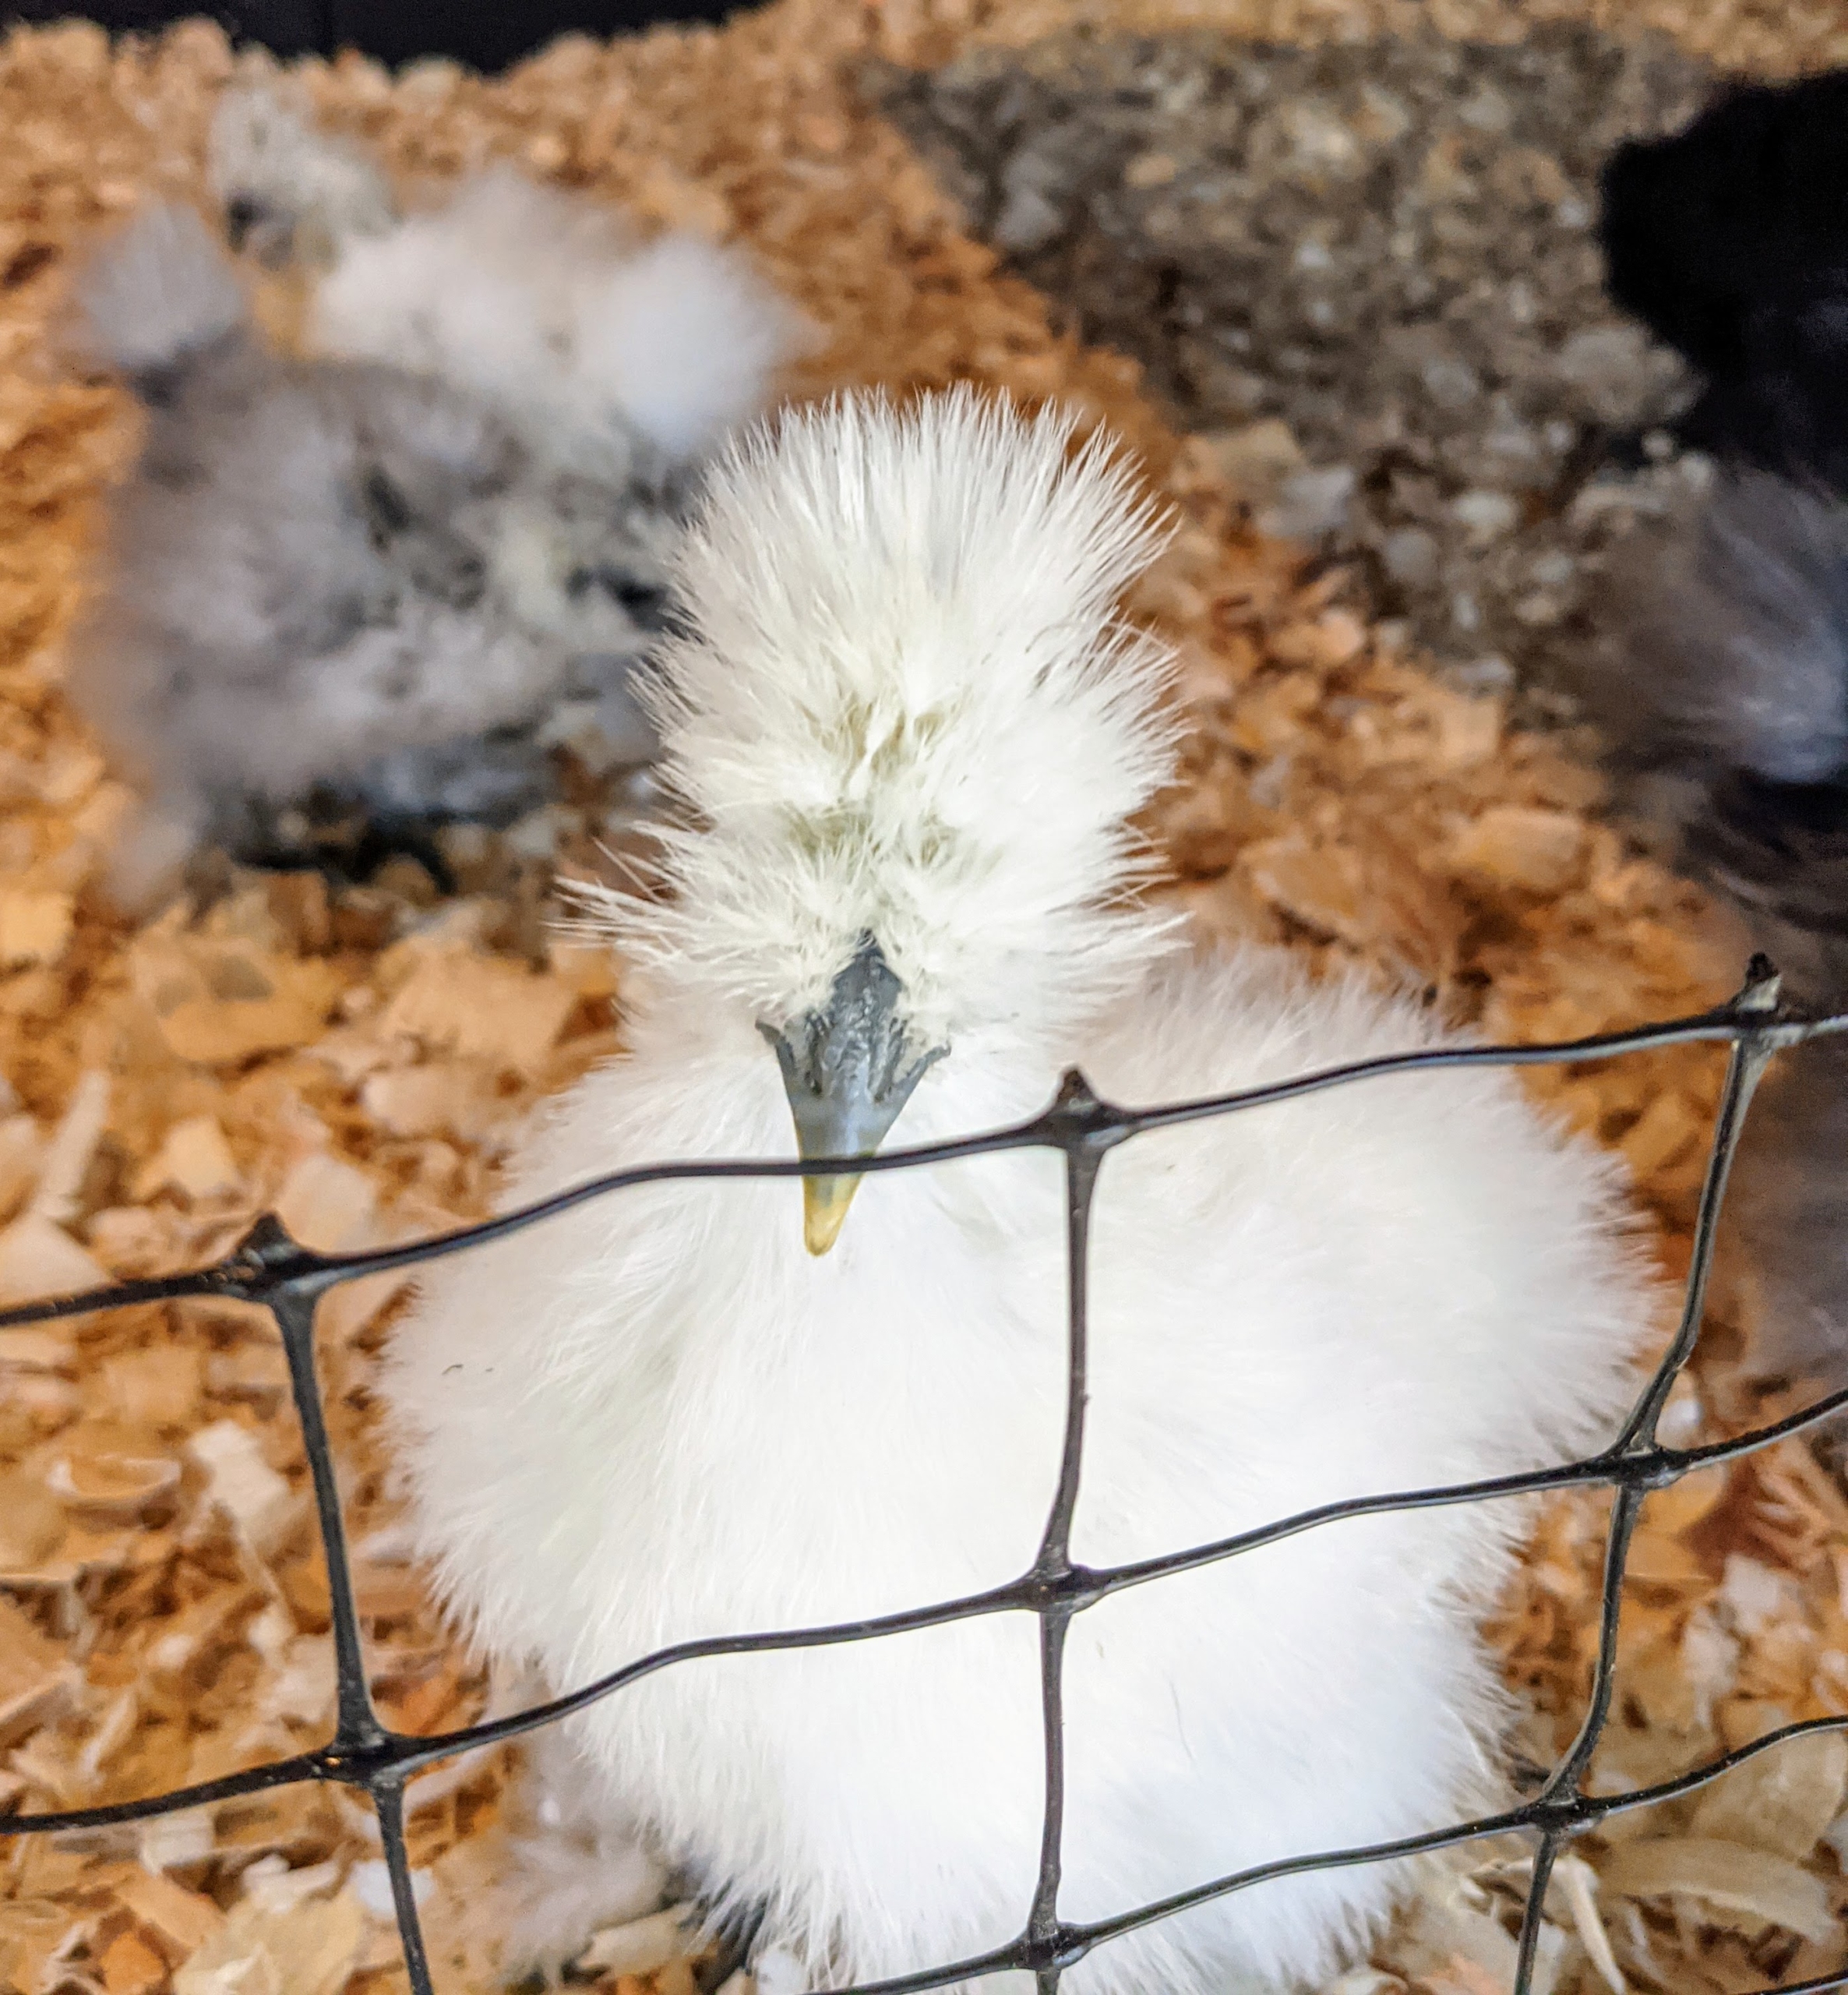
This is a white Silkie chick, a white egg layer. There are eight Silkie color varieties accepted by the American Poultry Association. They include black, blue, buff, gray, partridge, splash, and white.
Notice, Silkies have black eyes. Silkies also have black skin, along with black muscles and bones, and dark beaks, combs, and wattles. And, Silkies have extra toes, a genetic condition called polydactyly. Most chickens normally have four toes – a few breeds have five, Silkies among them.
Silkies grow a bit slower than other chicken breeds. This one is growing a pretty fluffy head – hard to see its comb. The combs of Silkie chickens are very dark maroon red. Both male and female chickens have combs, but they’re larger in males. Baby chicks hatch with tiny combs that get larger as they mature.
All my chicks get a balanced diet of medicated chick crumb with some treats and fresh greens from my gardens.
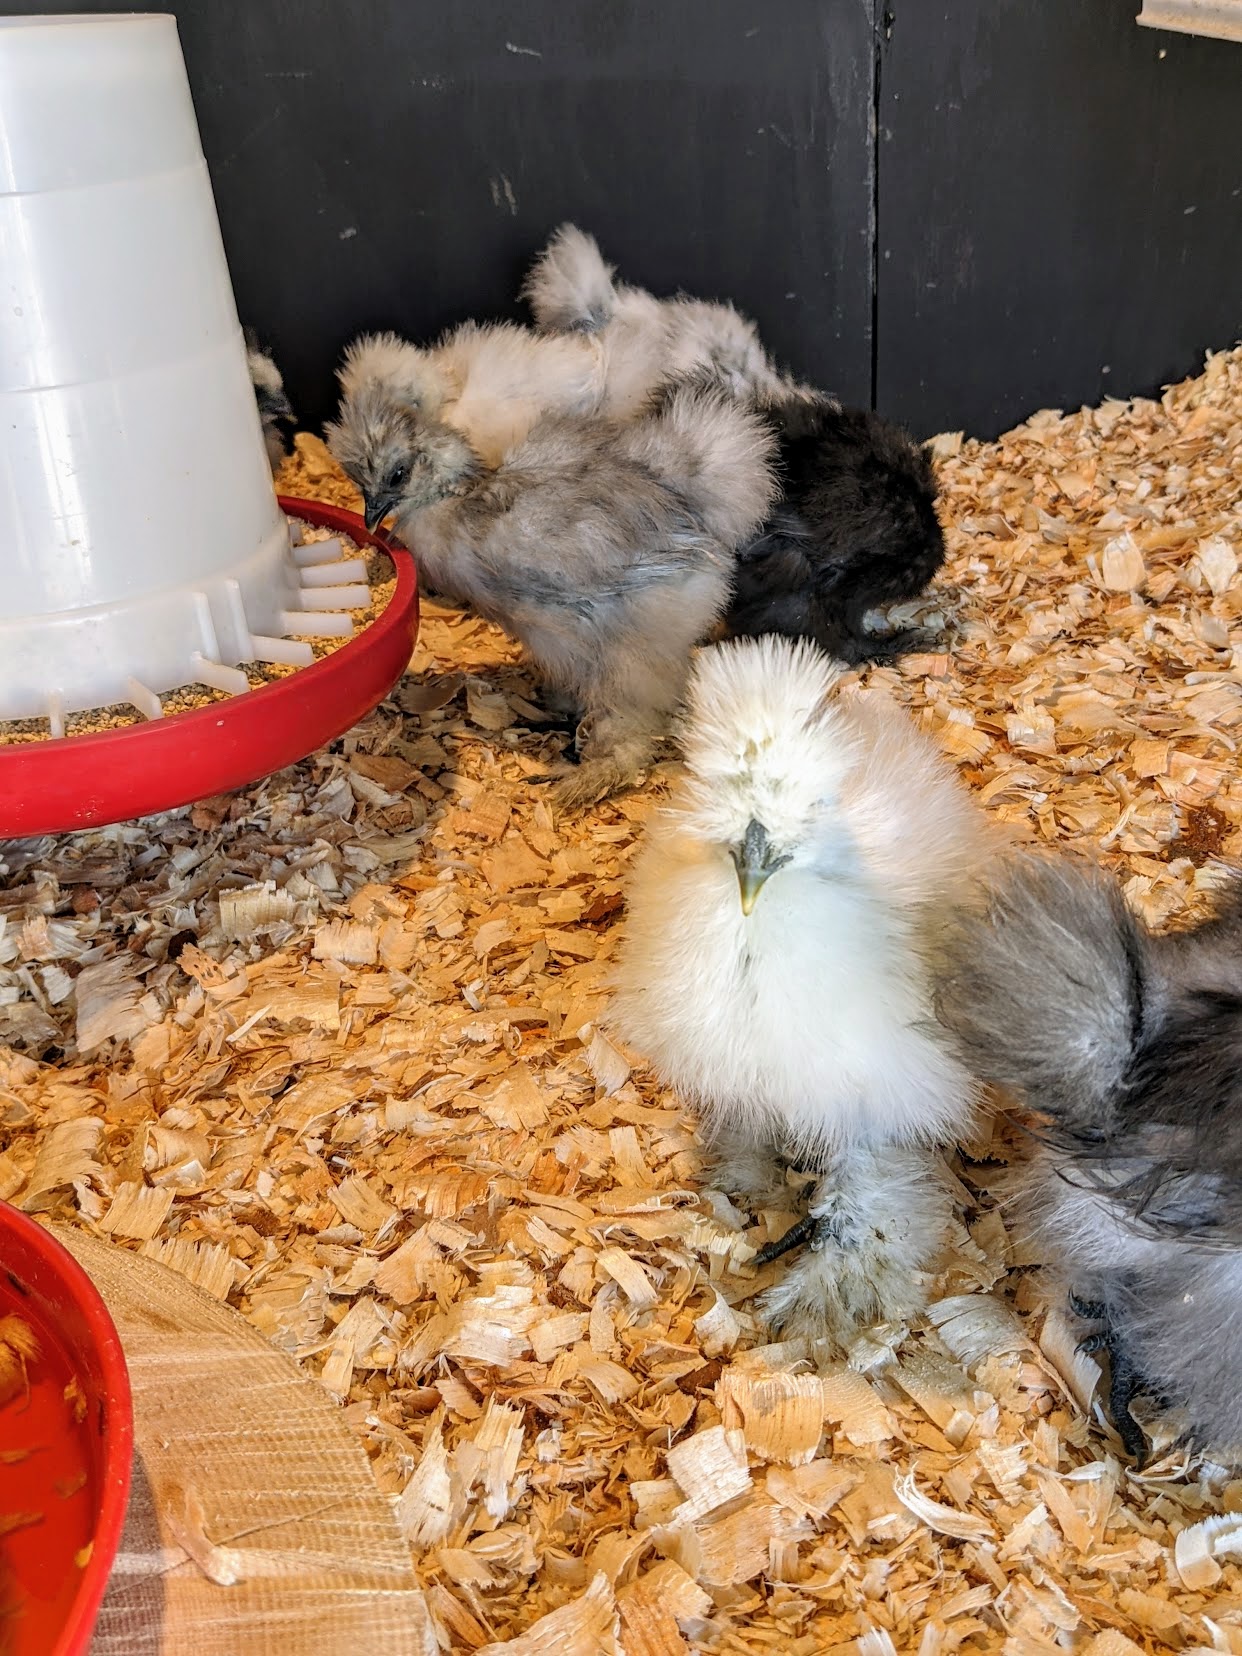
Silkies have docile natures and tend to be less rowdy than other breeds. These chicks love peeping and walking around their new coop – it didn’t take them long to learn how to use their ramps.
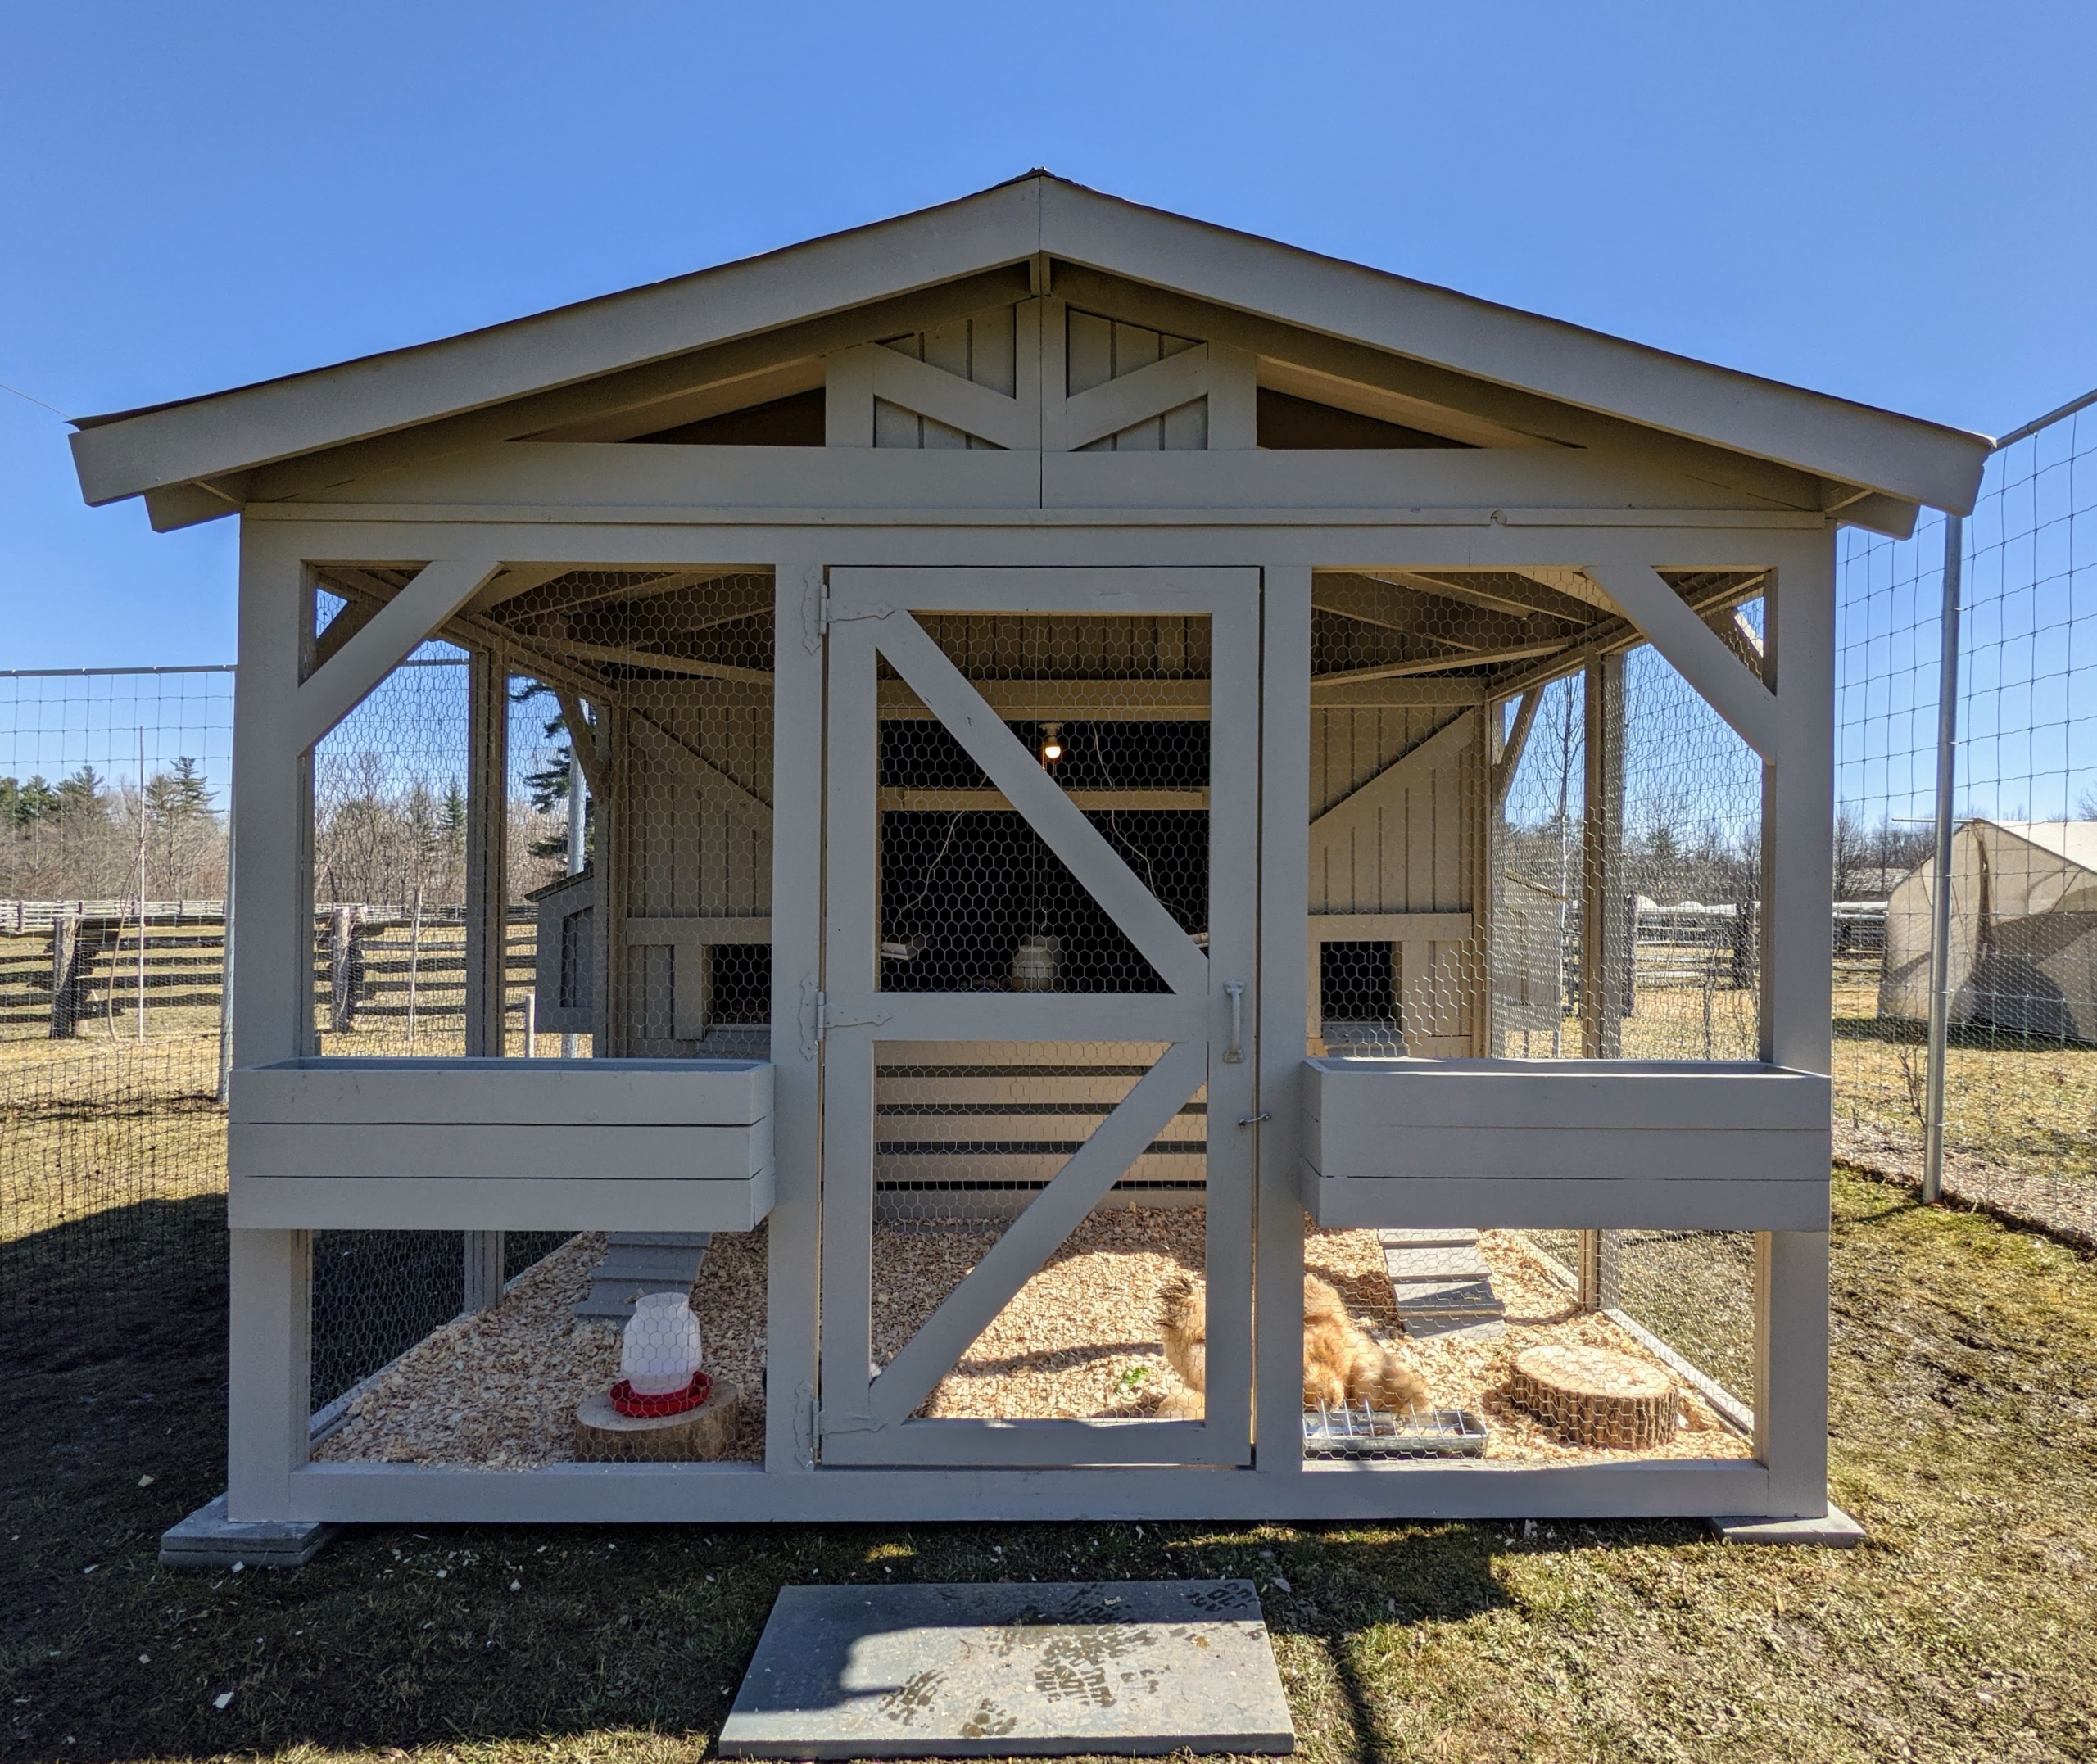
The indoor area is long enough for all the Silkies to use at night. Doors will keep them fully enclosed and protected from predators.
These four older Silkies are doing very well also. Here, one can see their grayish-blue beaks, which are short and quite broad at the base.
Because the Silkie’s feathers lack functioning barbicels, similar to down on other birds, they are unable to fly, but they do flap and stretch their wings.
If you think you may be interested in raising chickens, research the town’s zoning regulations first to make sure they are allowed in your area. And spend some time reading about what’s involved in raising chickens to make sure it’s a good fit for you and your family.
This one is actually a rooster – he’s starting to make his “cock-a-doodle-do” crowing noise. He is the biggest in the group and is very curious and friendly. Other differing characteristics between males and females – female Silkies will keep their bodies more horizontally positioned, while males will stand more upright, keeping their chests forward and their necks elongated. Males will also hold their tail more upright, where females will keep it horizontal or slightly dipped toward the ground.
Here is a view from the side – this day temperatures reached nearly 70-degrees Fahrenheit. It was a gorgeous day to introduce our Silkies to their new coop. They will have lots of room.
I love raising chickens. I visit them as often as possible. And, of course, there’s nothing like eating your own fresh, organic eggs.
Here in Bedford, New York, we’re expecting rain throughout most of today with temperatures in the 50s - good weather for the recent overseeding we did in my pastures.
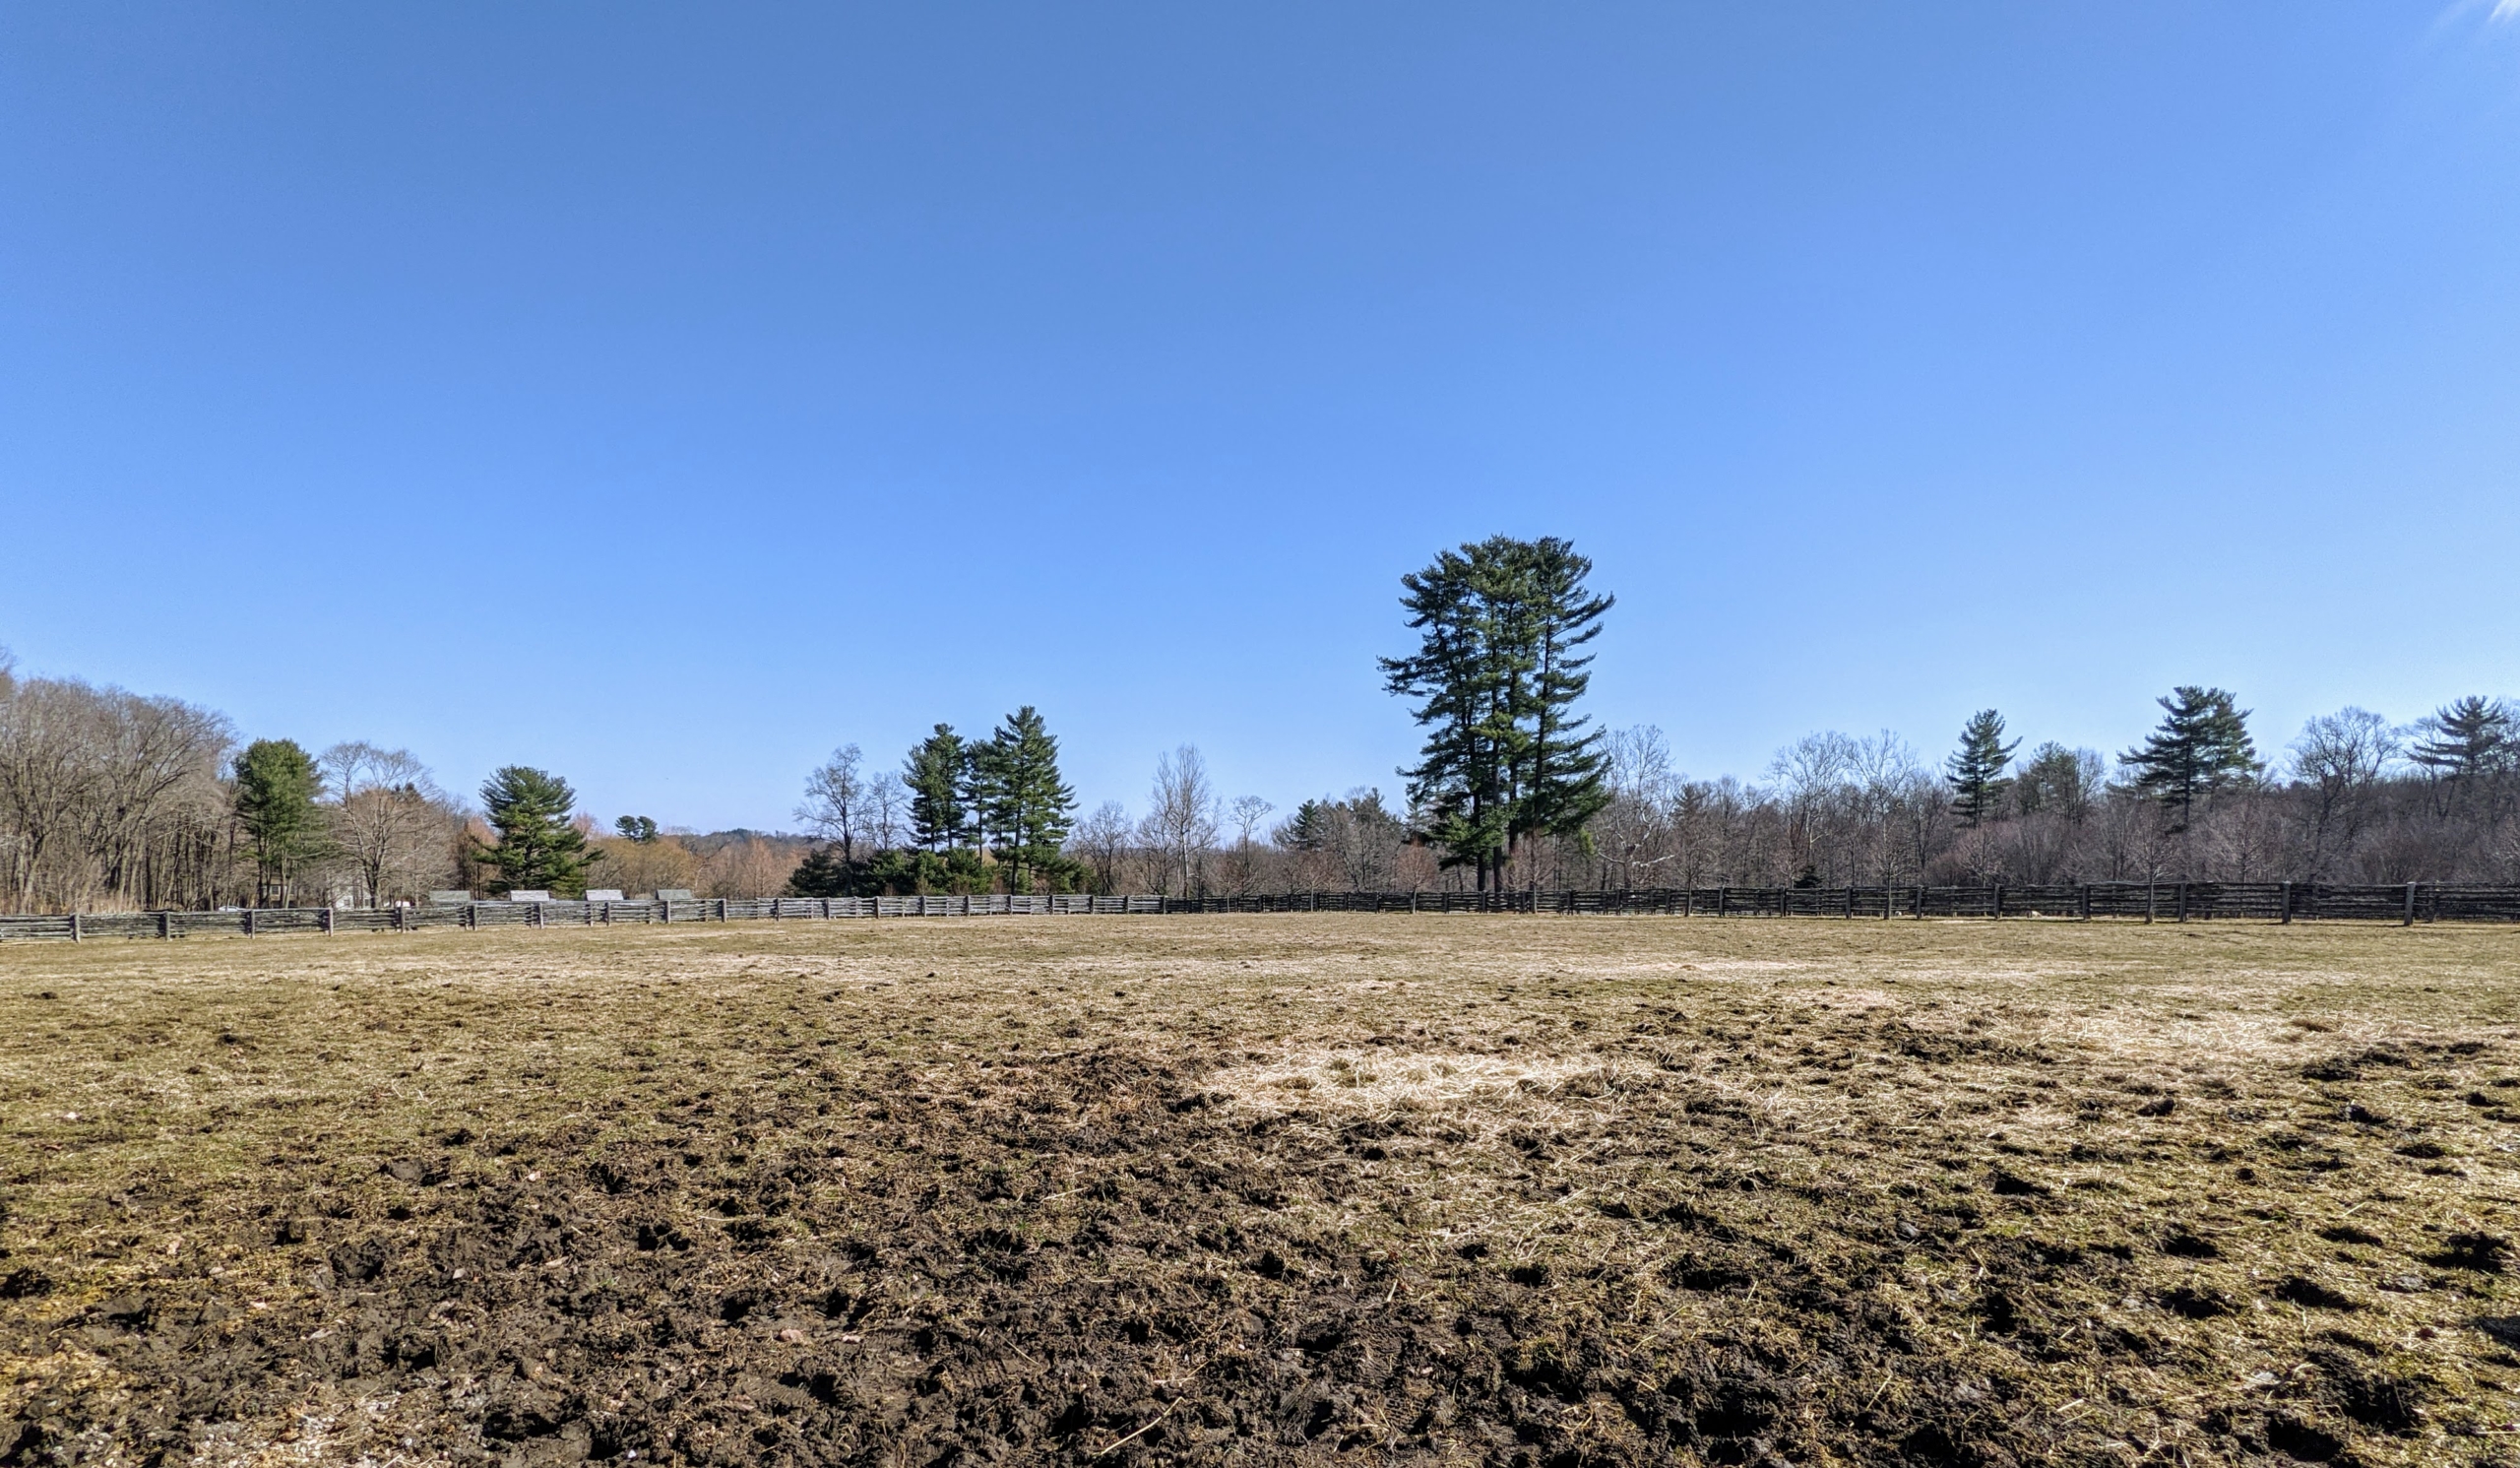
I am very fortunate to have several paddocks where my horses and donkeys can graze. Late winter to early spring is the best time to overseed these areas. Yesterday, my outdoor grounds crew tackled two enclosures. These tasks can be done with a variety of tools depending on the size of the space. In the larger paddock, we used a 60-inch tow behind lawn aerator and then a commercial sized rotary-spin broadcast spreader. In the other, a Ryan walk-behind core aerator and manual seed spreader. All the equipment got the jobs done quickly and efficiently.
Enjoy these photos.
The best day to overseed is when there is little to no wind, so the application can be done as evenly as possible. This day was perfect – no wind, mild temperatures, and a beautiful blue sky.
Early in the morning, Helen and Juan remove all the mangers from the two paddocks scheduled to be aerated and seeded.
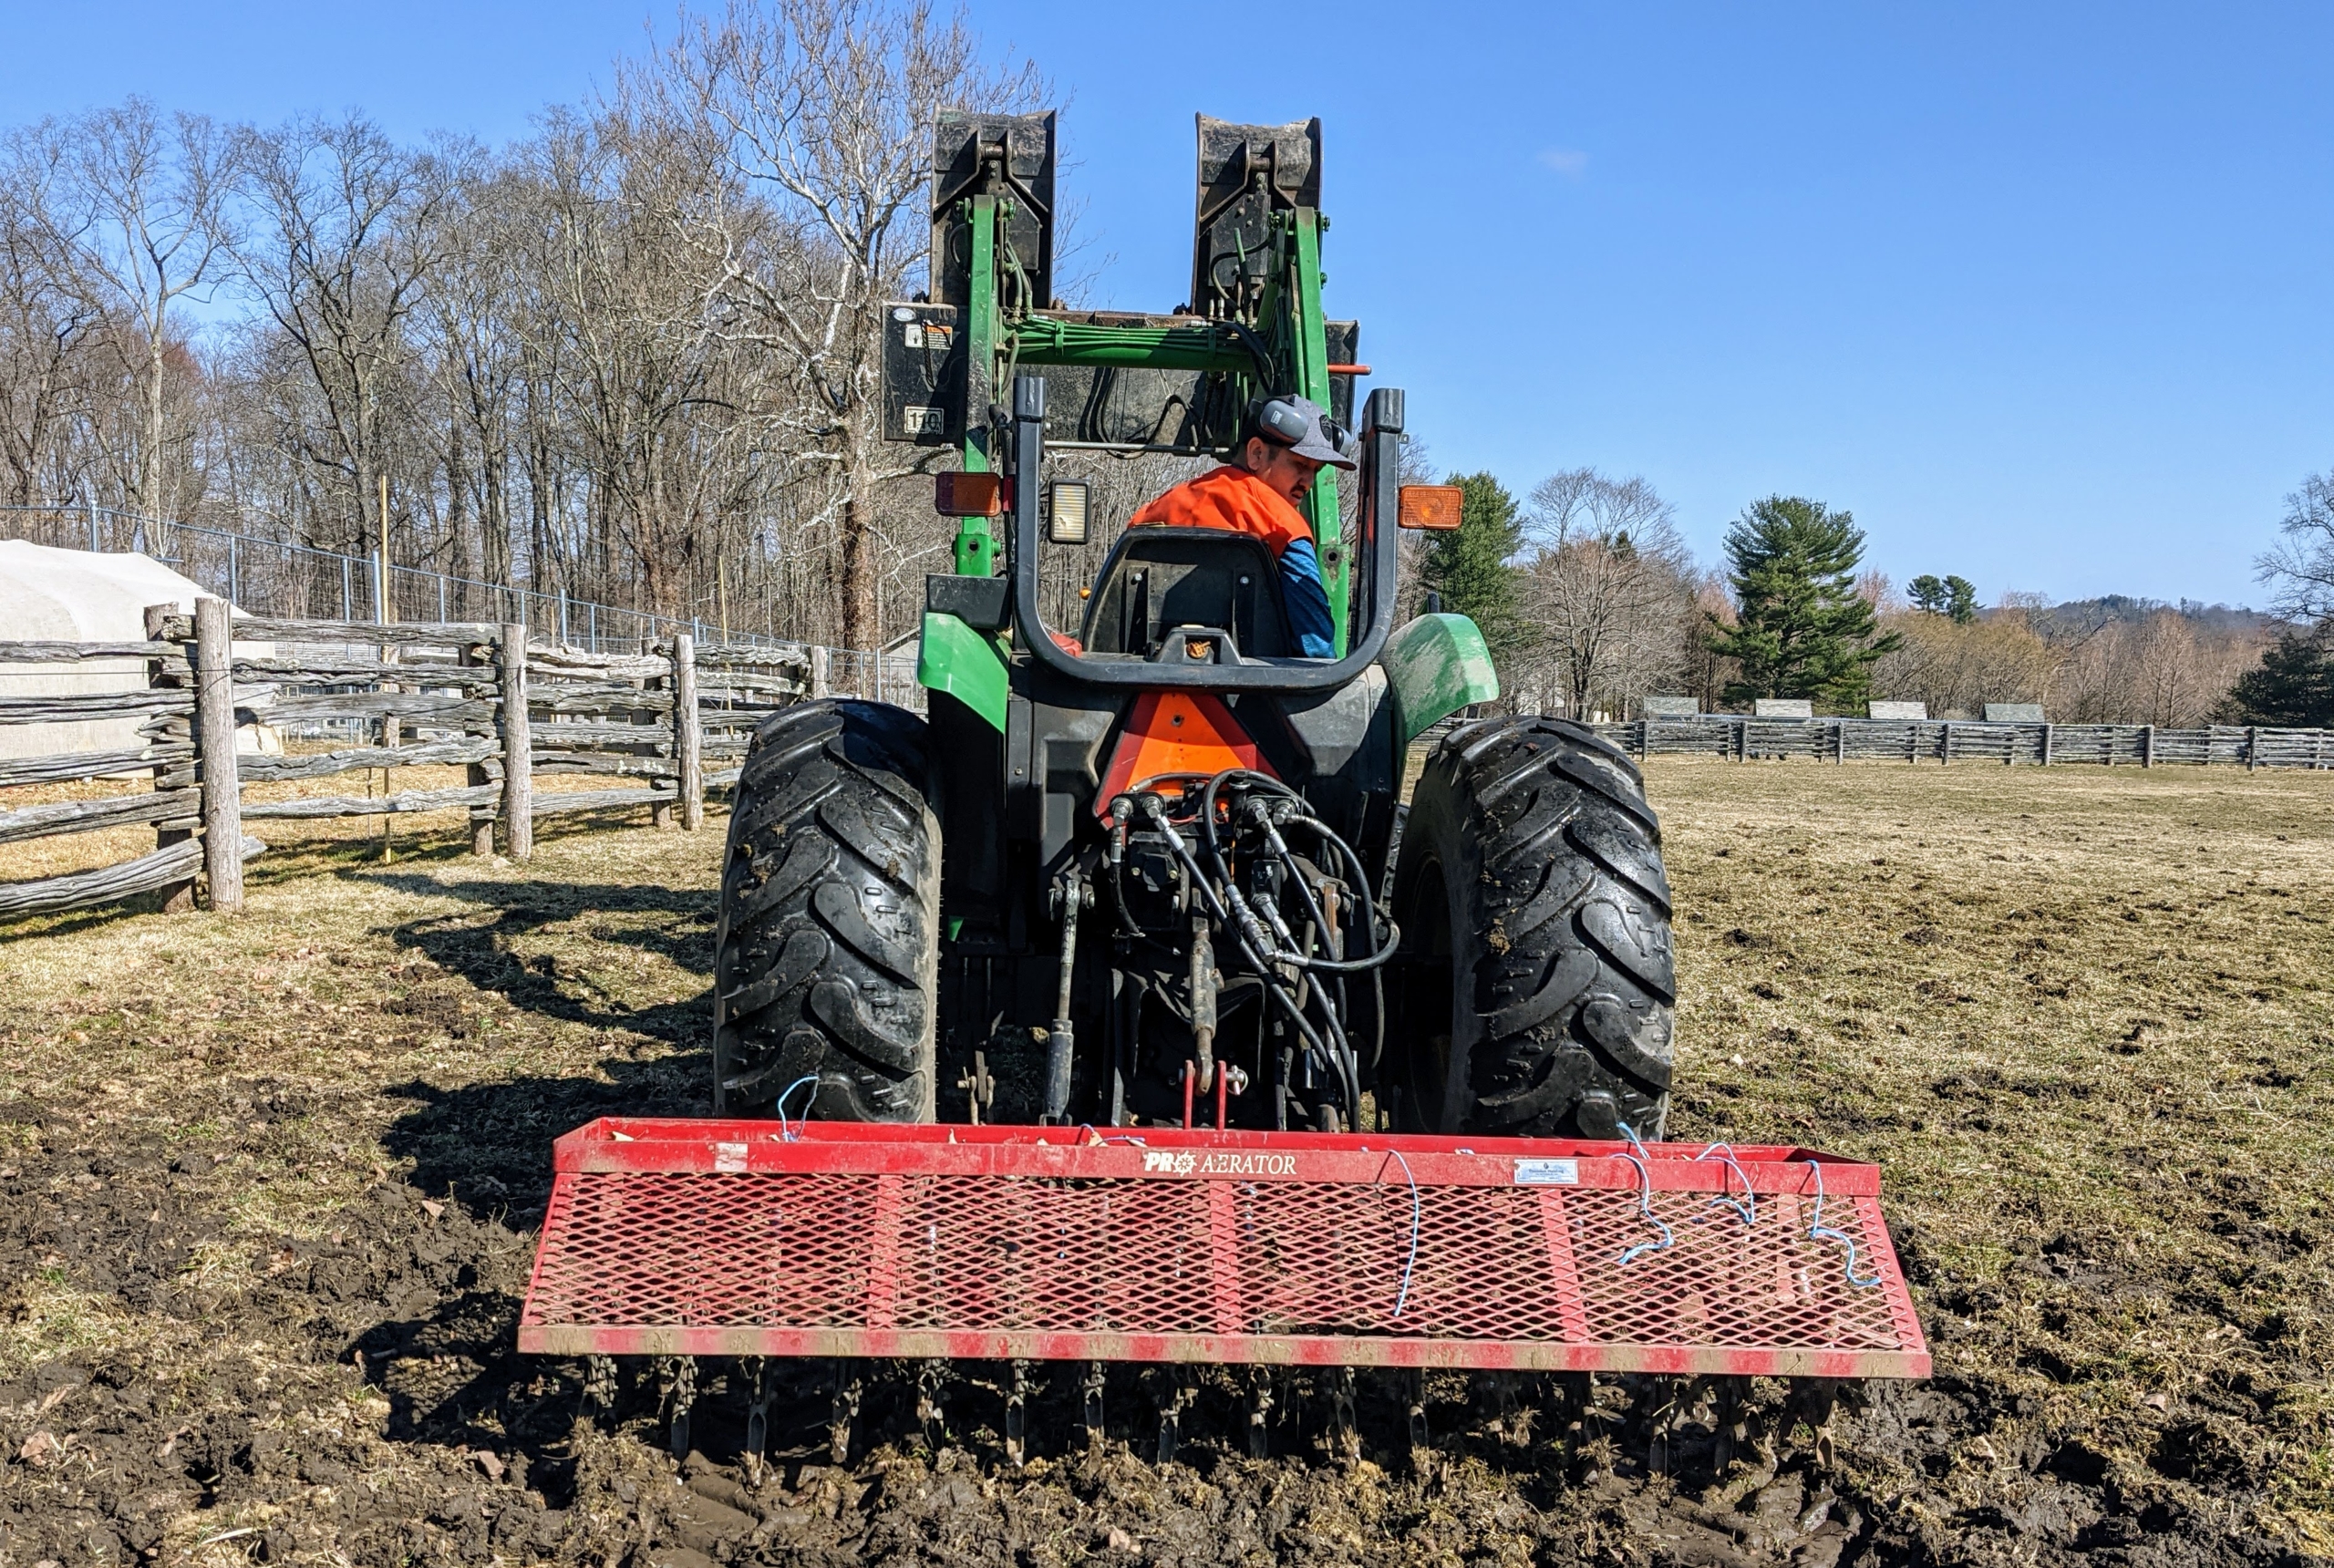
Meanwhile, Chhiring attaches the tow-behind Pro-Aerator to our tractor. I am glad to be able to have all the farm equipment we need, but pieces like these can also be rented for a small fee.
Tow behind units tend to be at least twice as wide with twice as many spoons or tines as a residential walk behind aerator. Here is a close look at the tines that will aerate the soil. The main reason for aerating is to alleviate soil compaction. Compacted soils have too many solid particles in a certain volume or space, which prevents proper circulation of air, water, and nutrients.
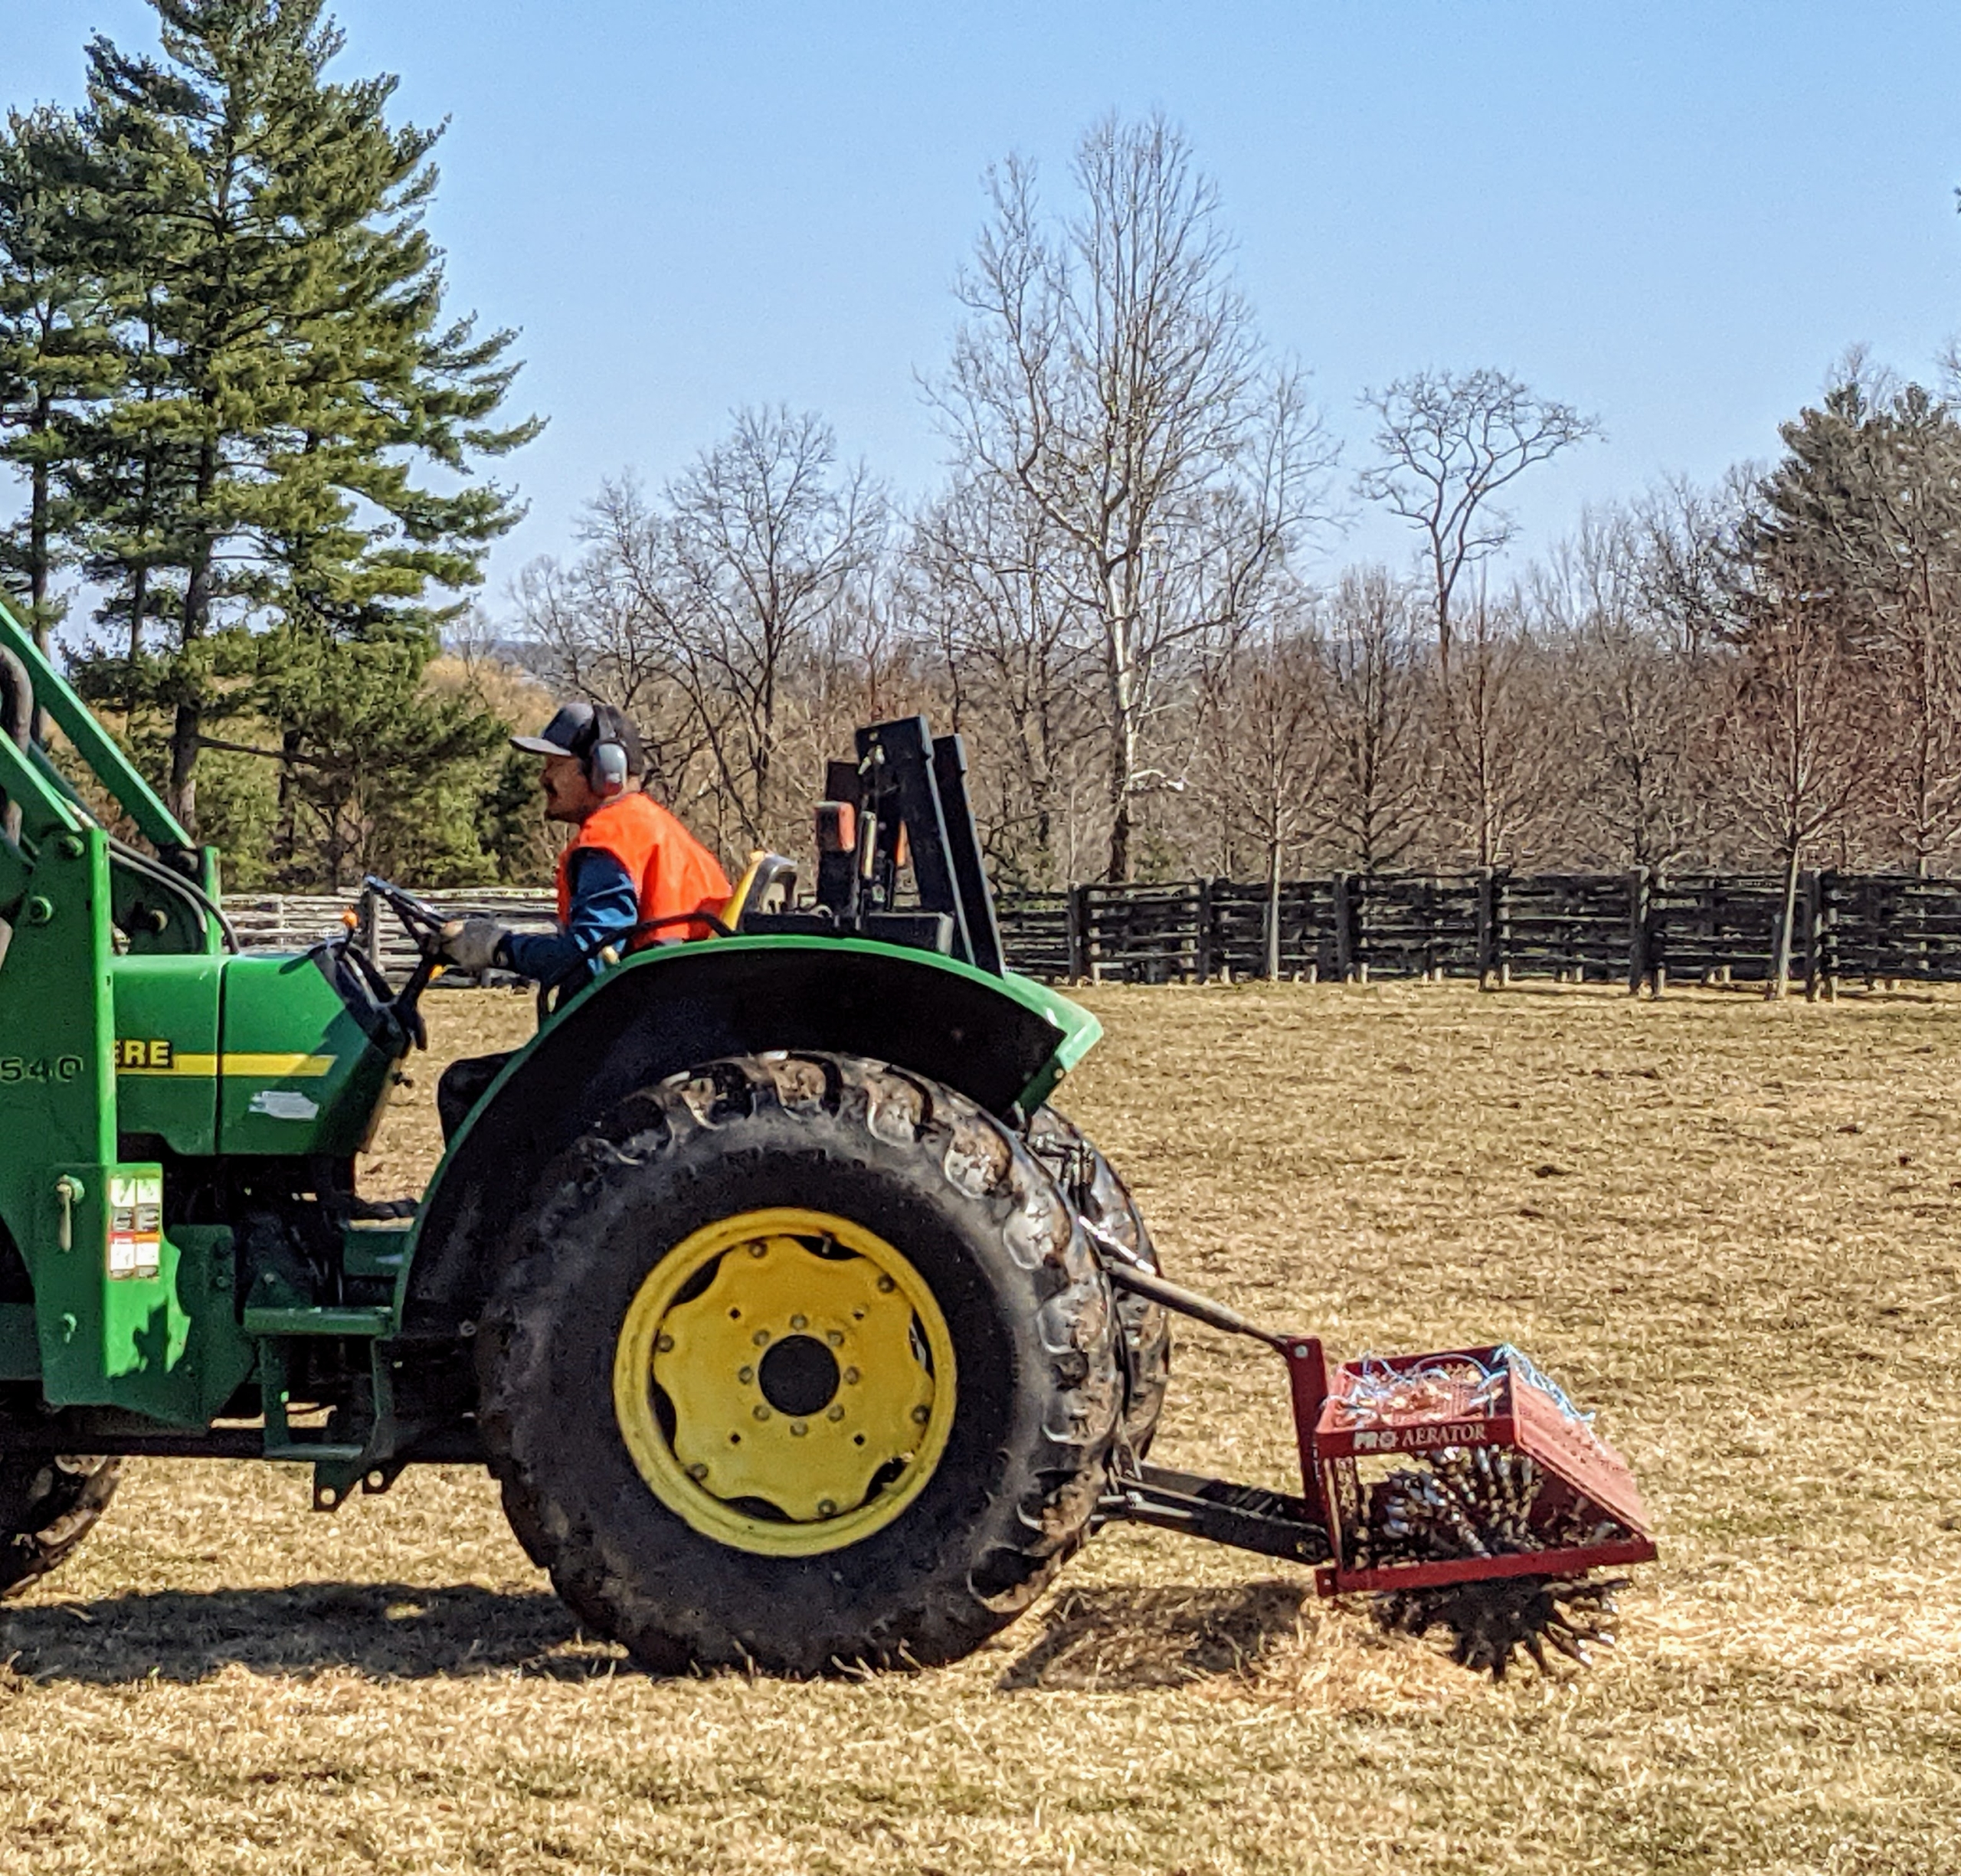
Chhiring starts by going around the paddock clockwise from the outer edge working inward. He also overlaps his passes, so he doesn’t miss any areas.
As the Pro-Aerator runs over the field, the finger-like tines push into the soil making the holes.
After the winter, some areas are wetter than others. Fortunately, the large tire tread pattern allows the tractor to stay above the soil without getting stuck, especially in moist patches.
Here is one of the holes left by the aerator.
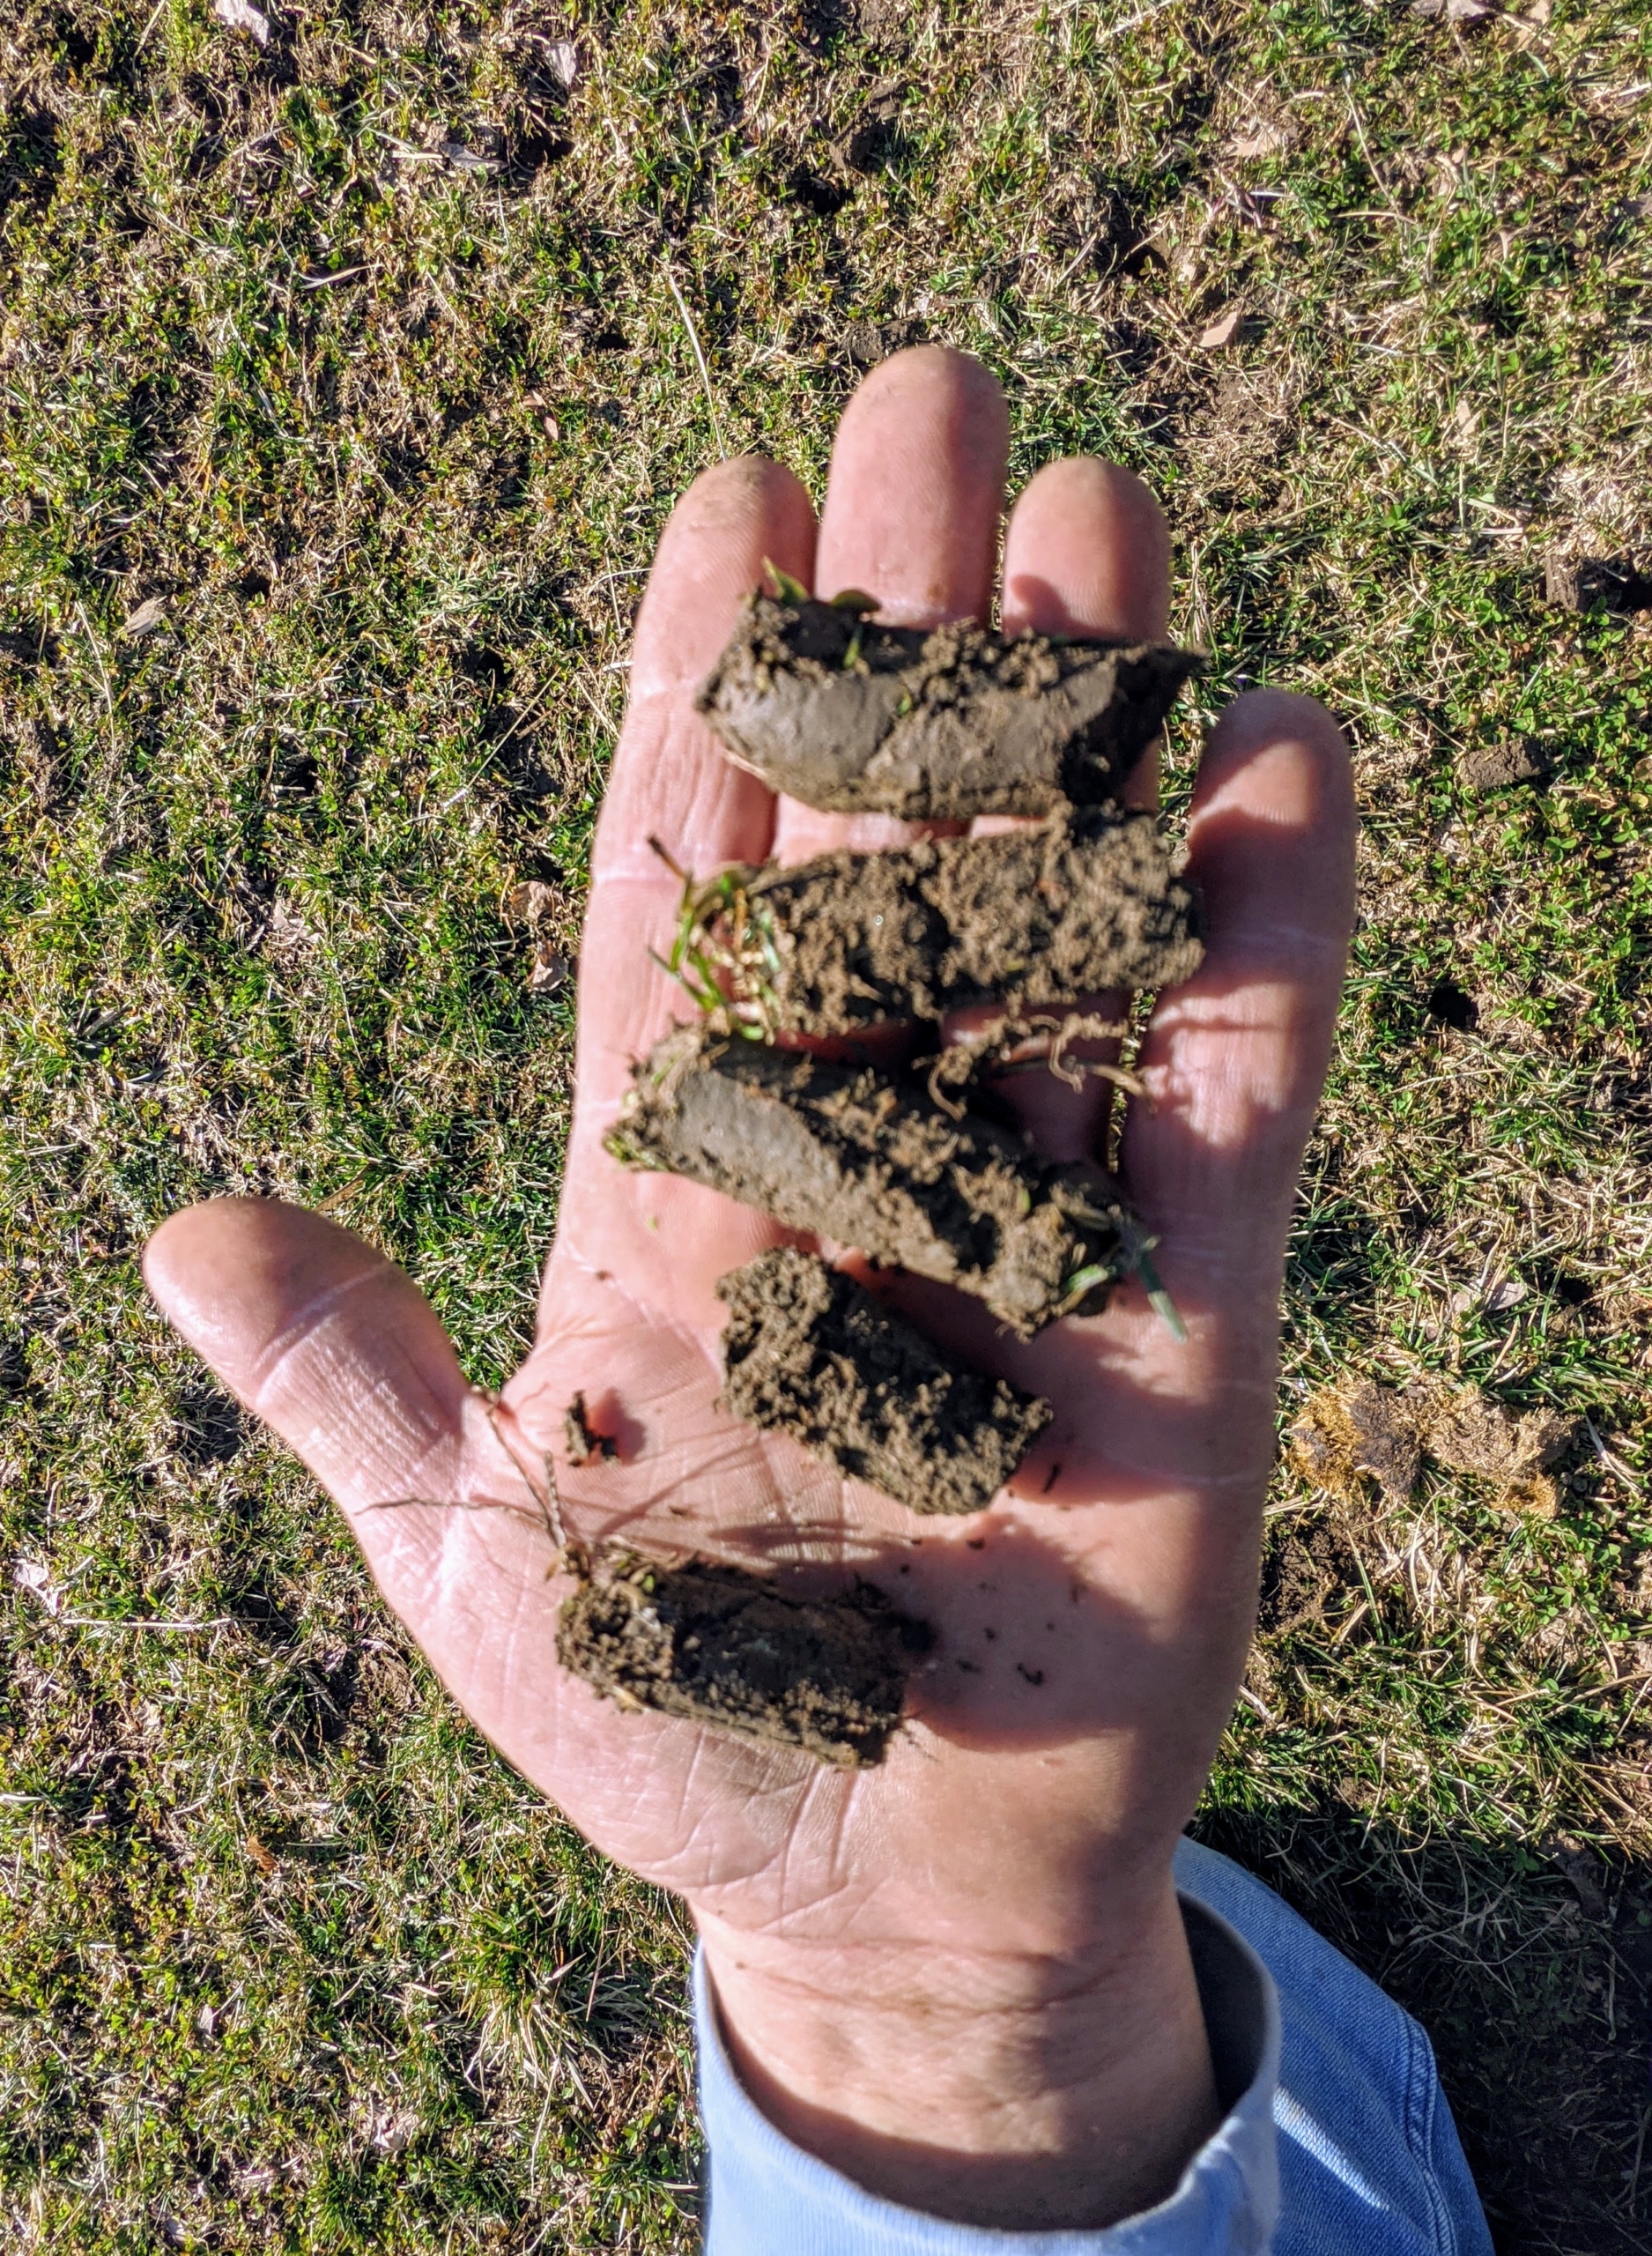
And here is one of the soil plugs. This paddock took about 20-minutes to complete.
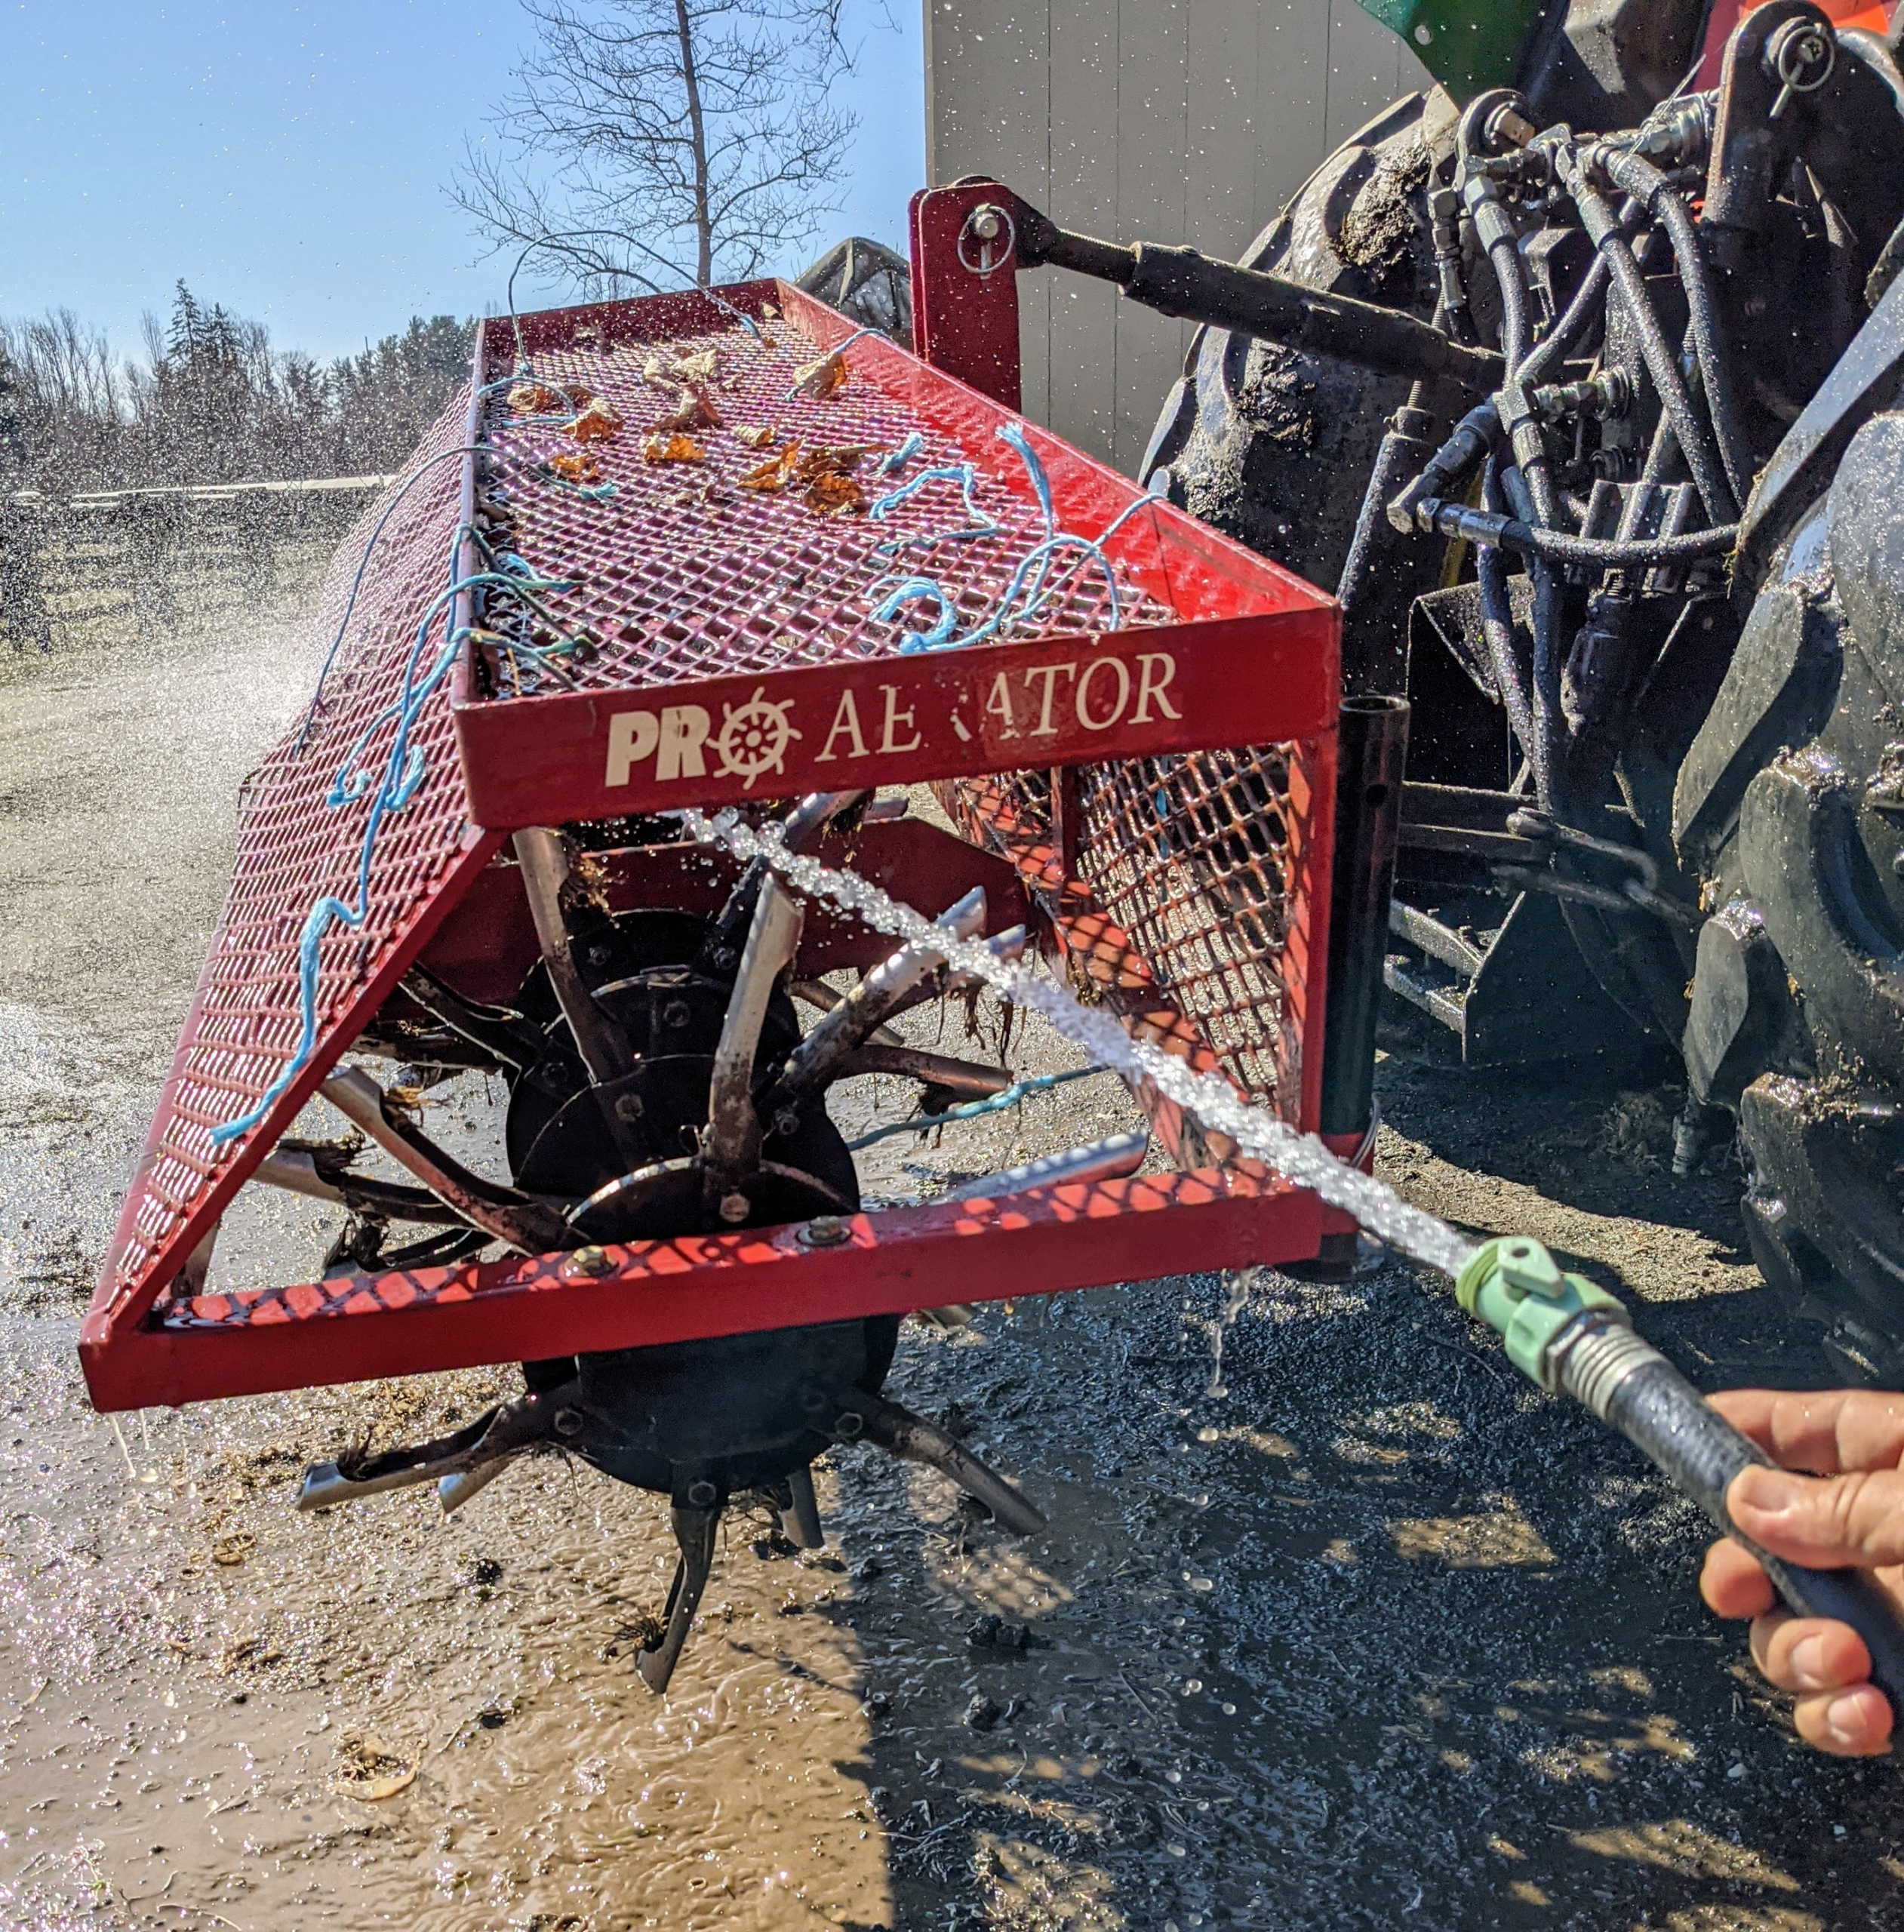
After Chhiring is done aerating the paddock, he rinses off the equipment, so it is ready to use the next time. I always instruct the crew to take good care of our tools, so they can last many, many years.
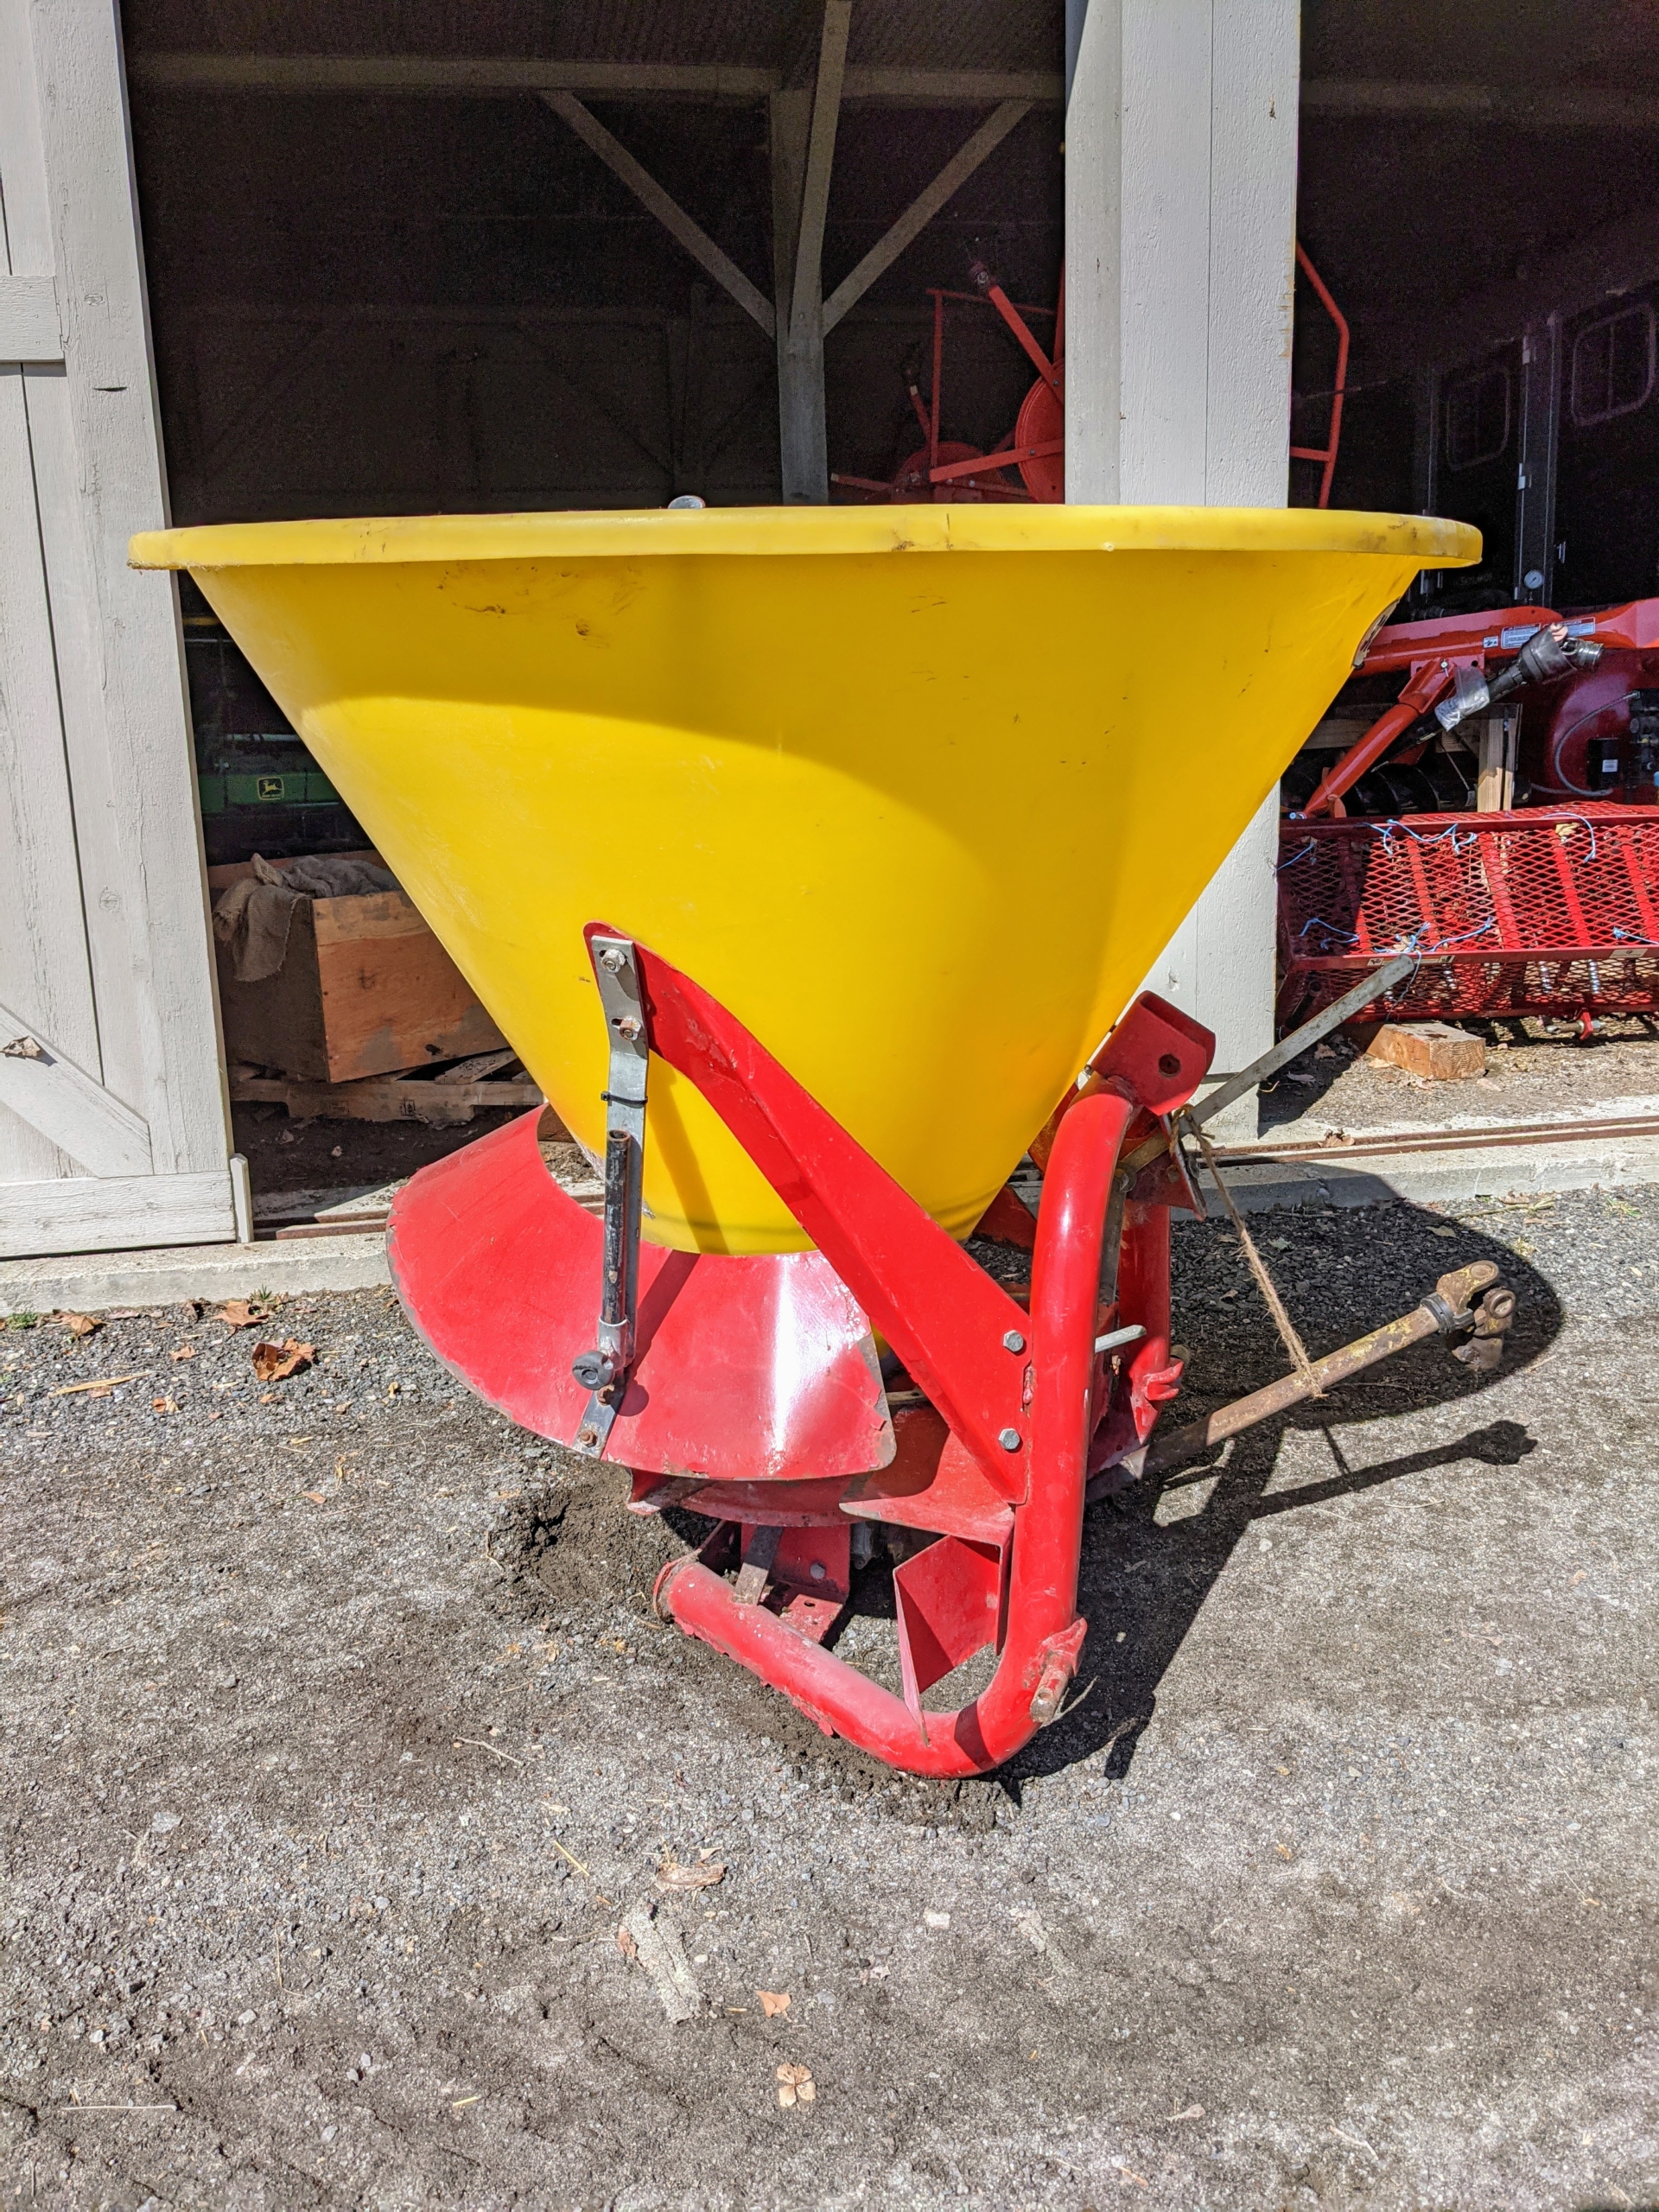
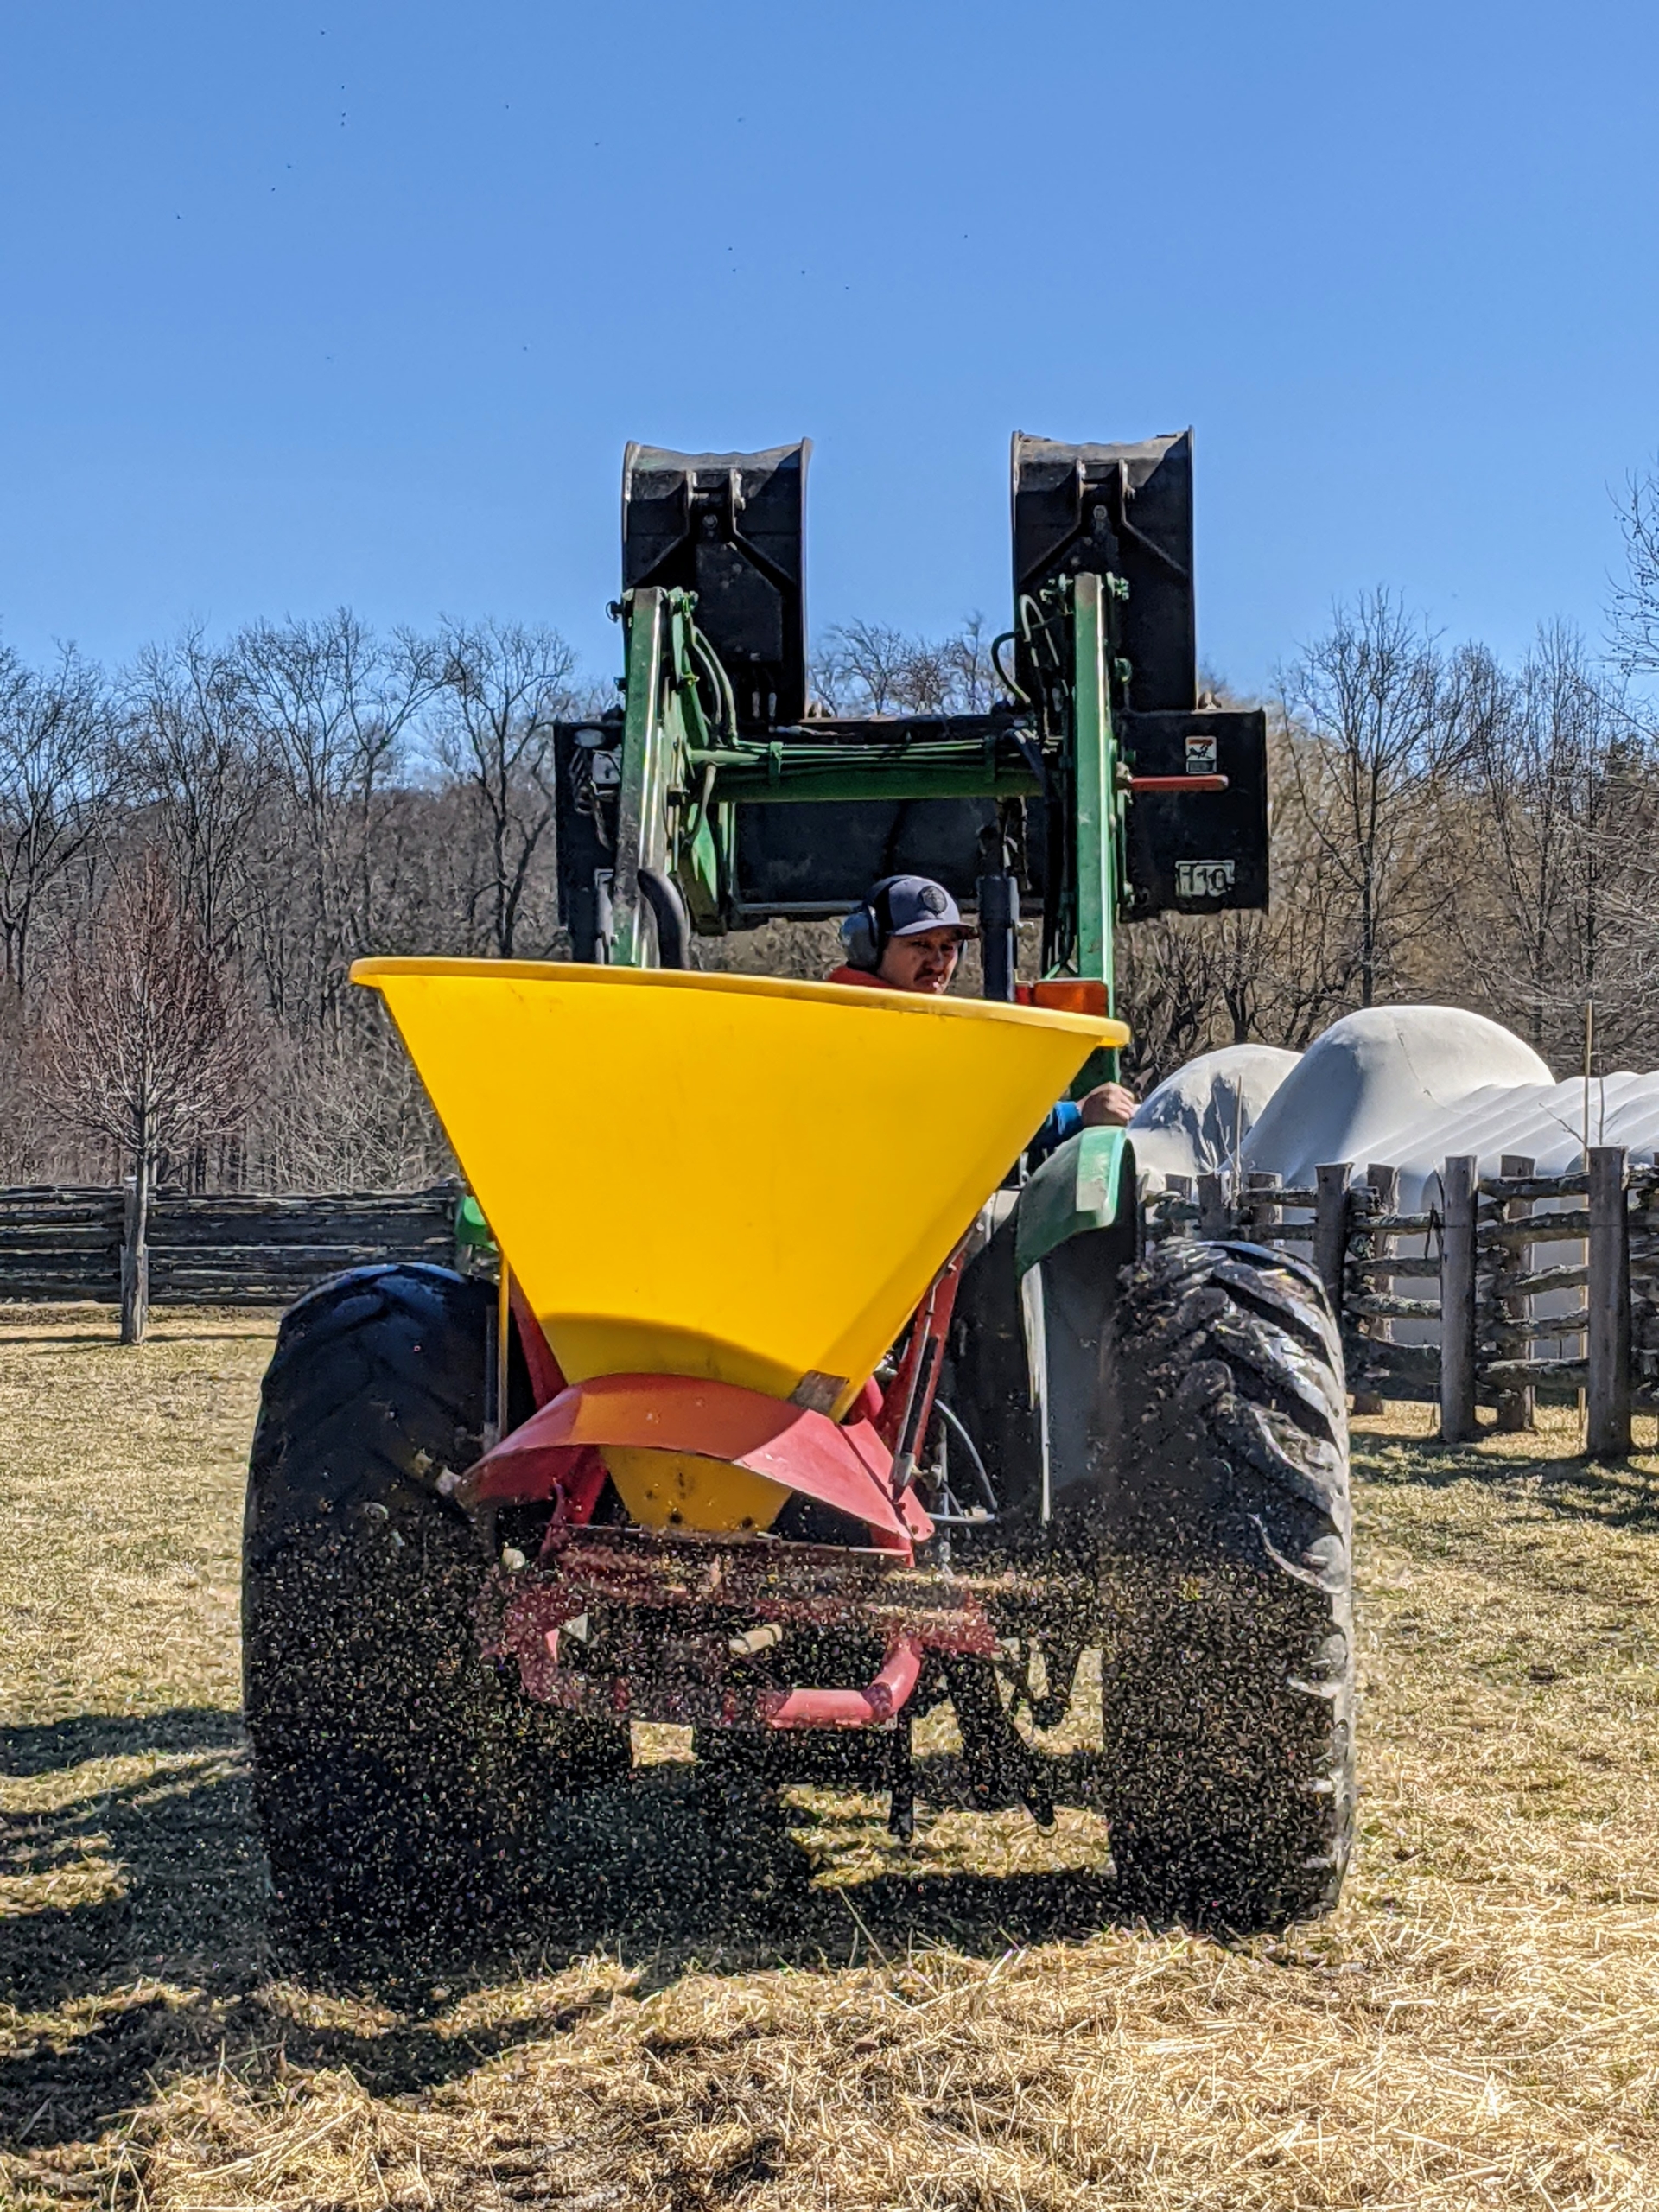
This is a 3-point spreader, which can be attached to a variety of tractors to spread fertilizer or seed. This is great for spreading seed in our paddocks and in the hayfields.
Chhiring hooks it up to the center rear of the tractor.
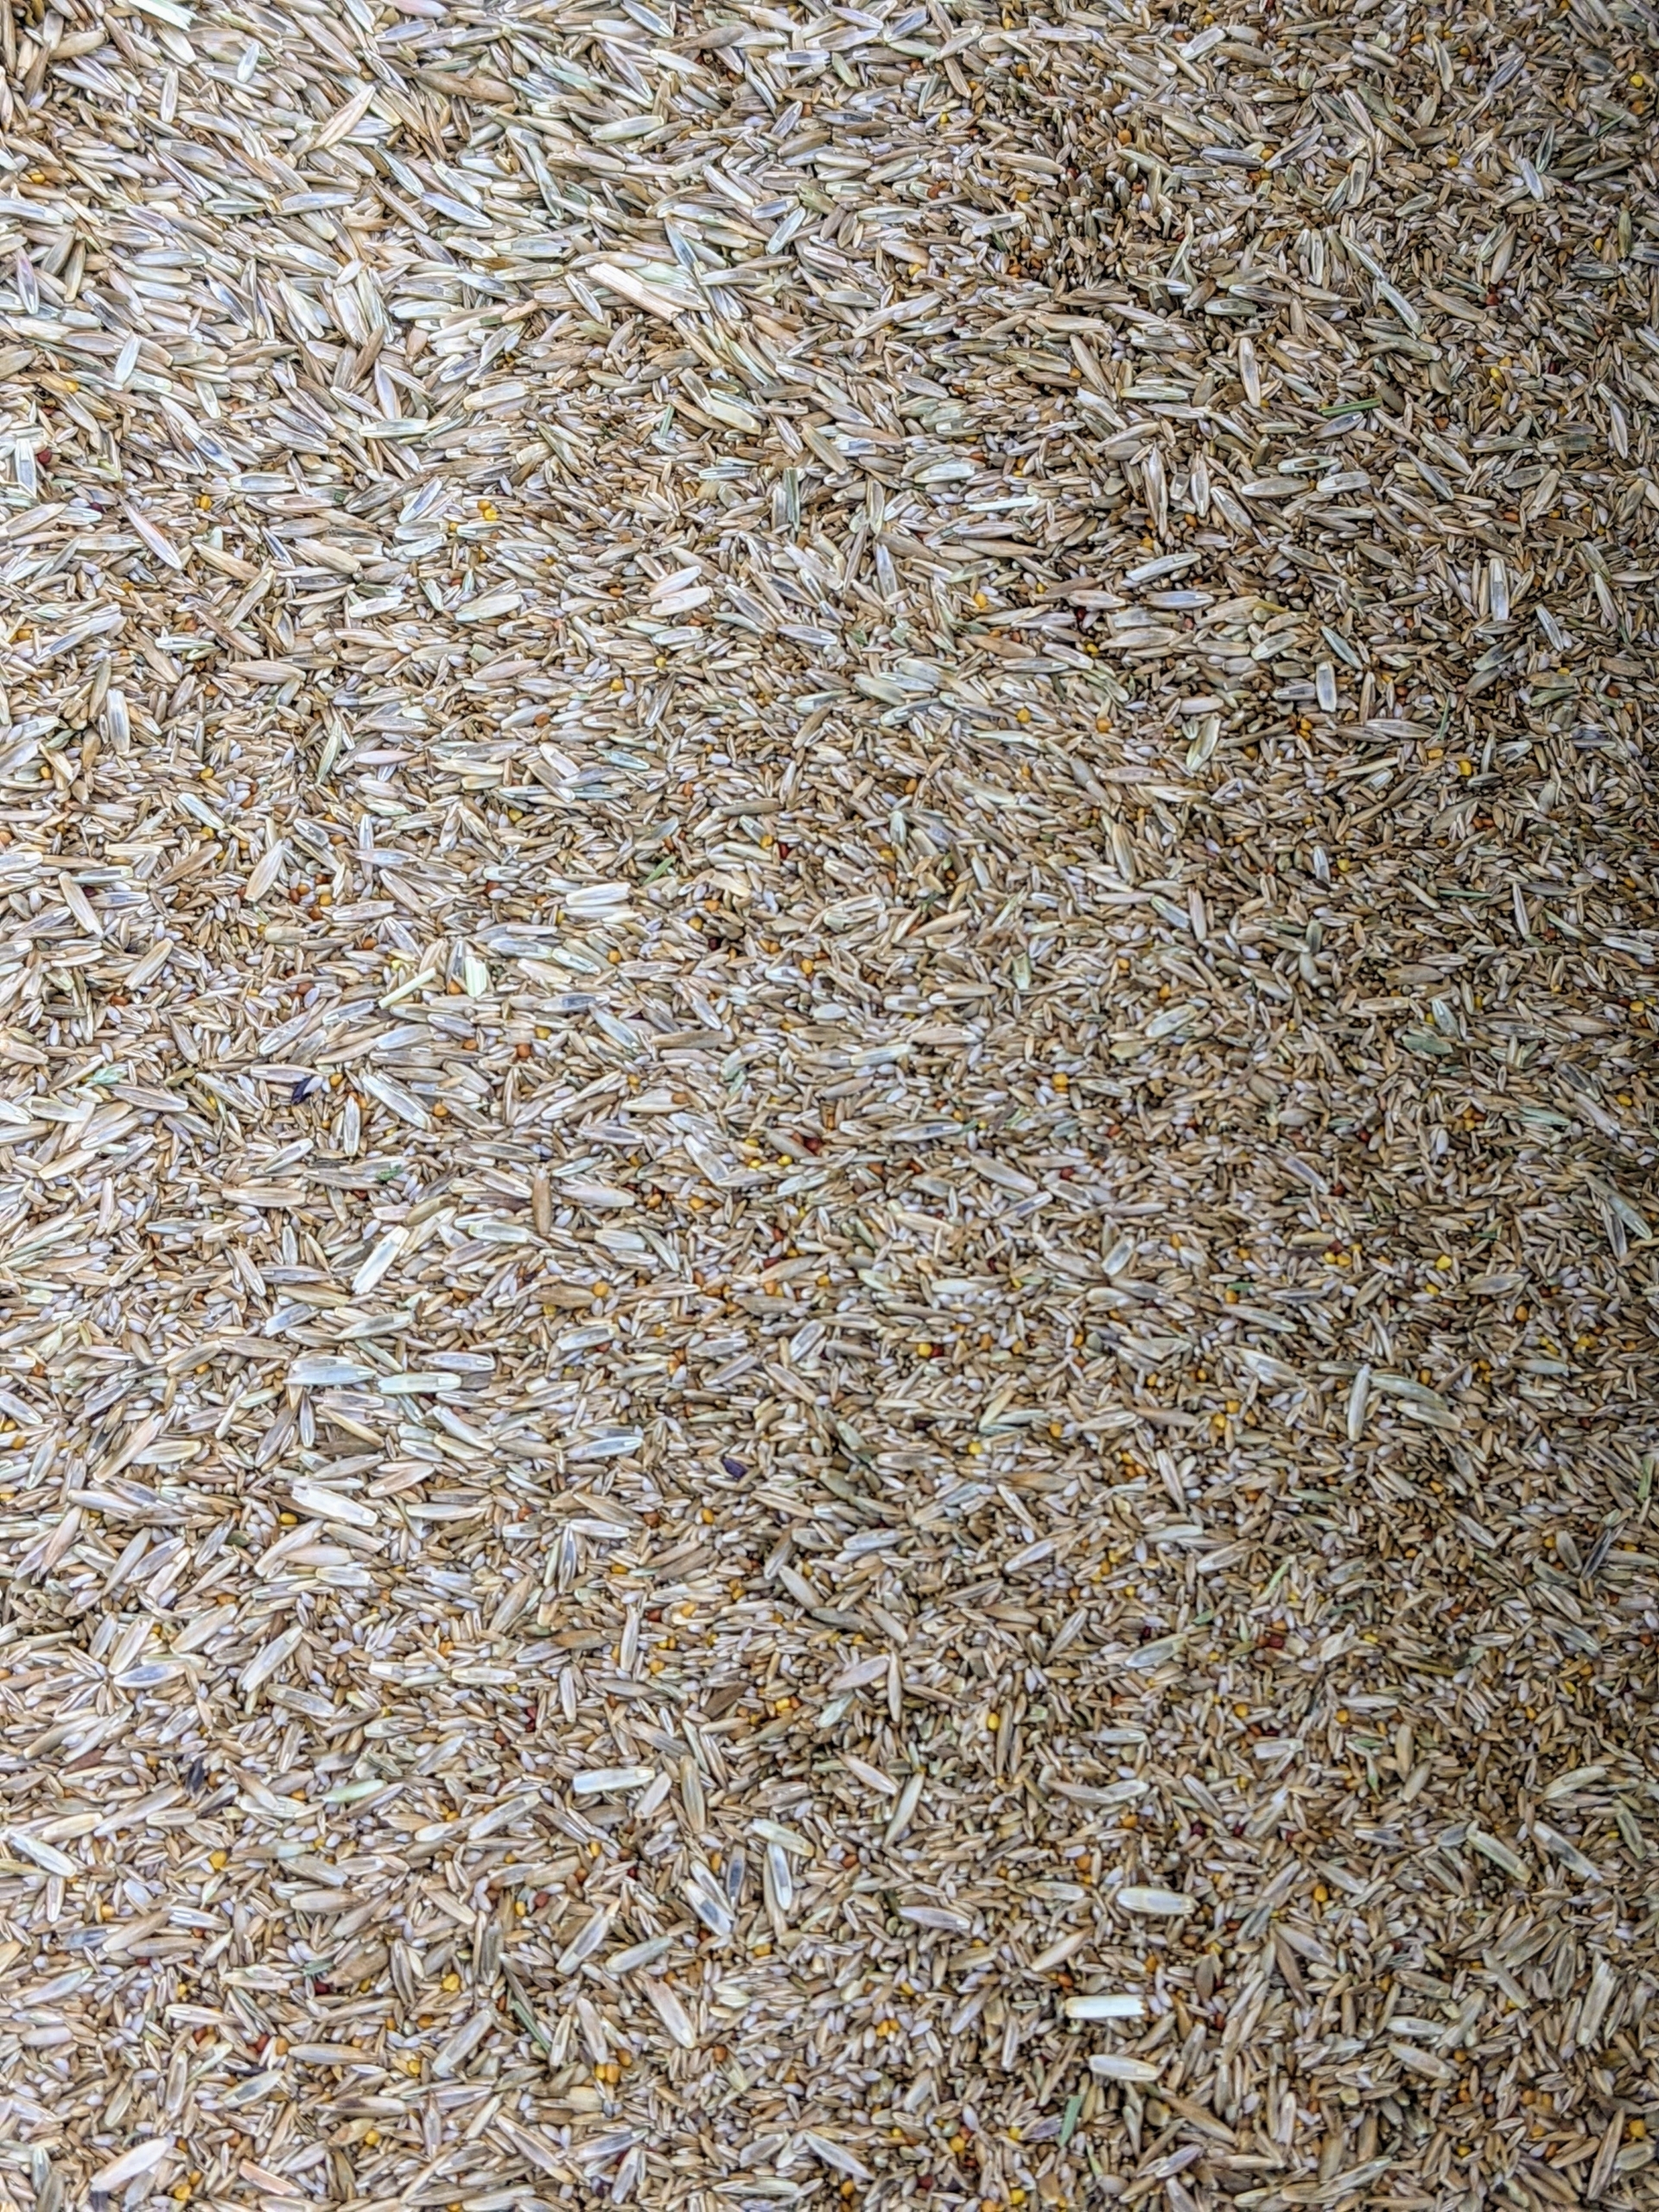
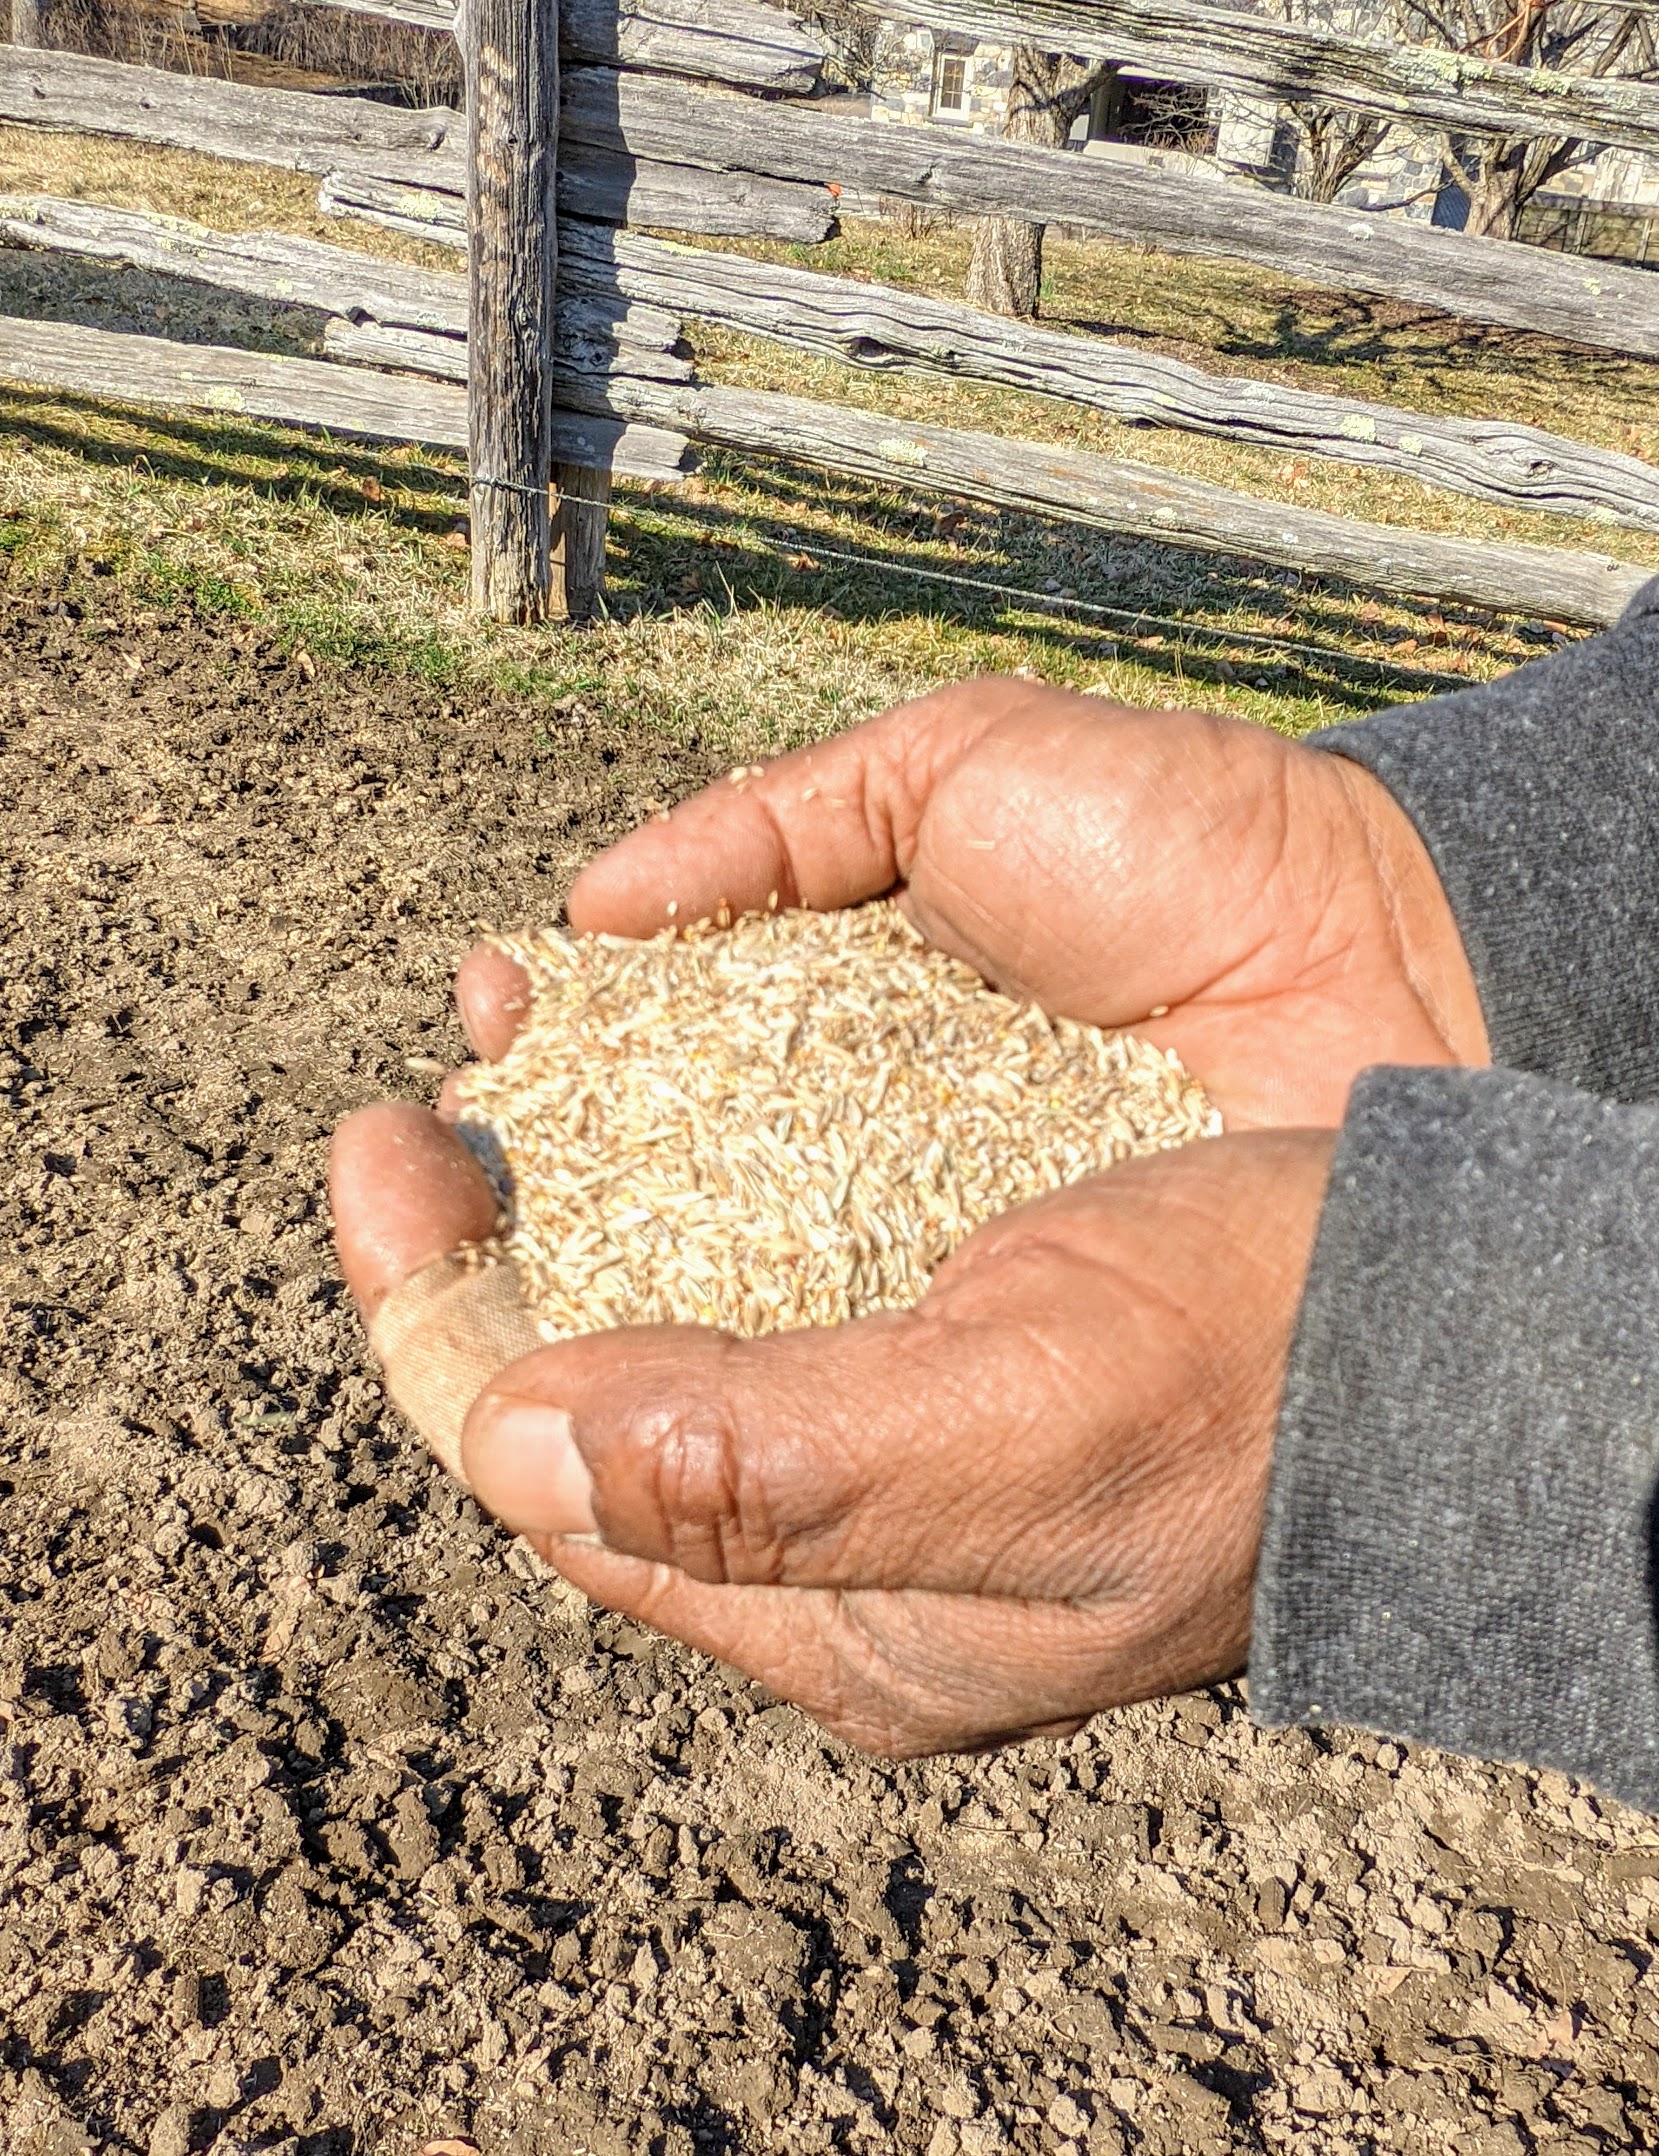
We’re using a specialized pasture mixture formulated for horses.
This seed contains Kentucky Bluegrass, Perennial Ryegrass, Timothy, Birdsfoot Trefoil, and Ladino Clover.
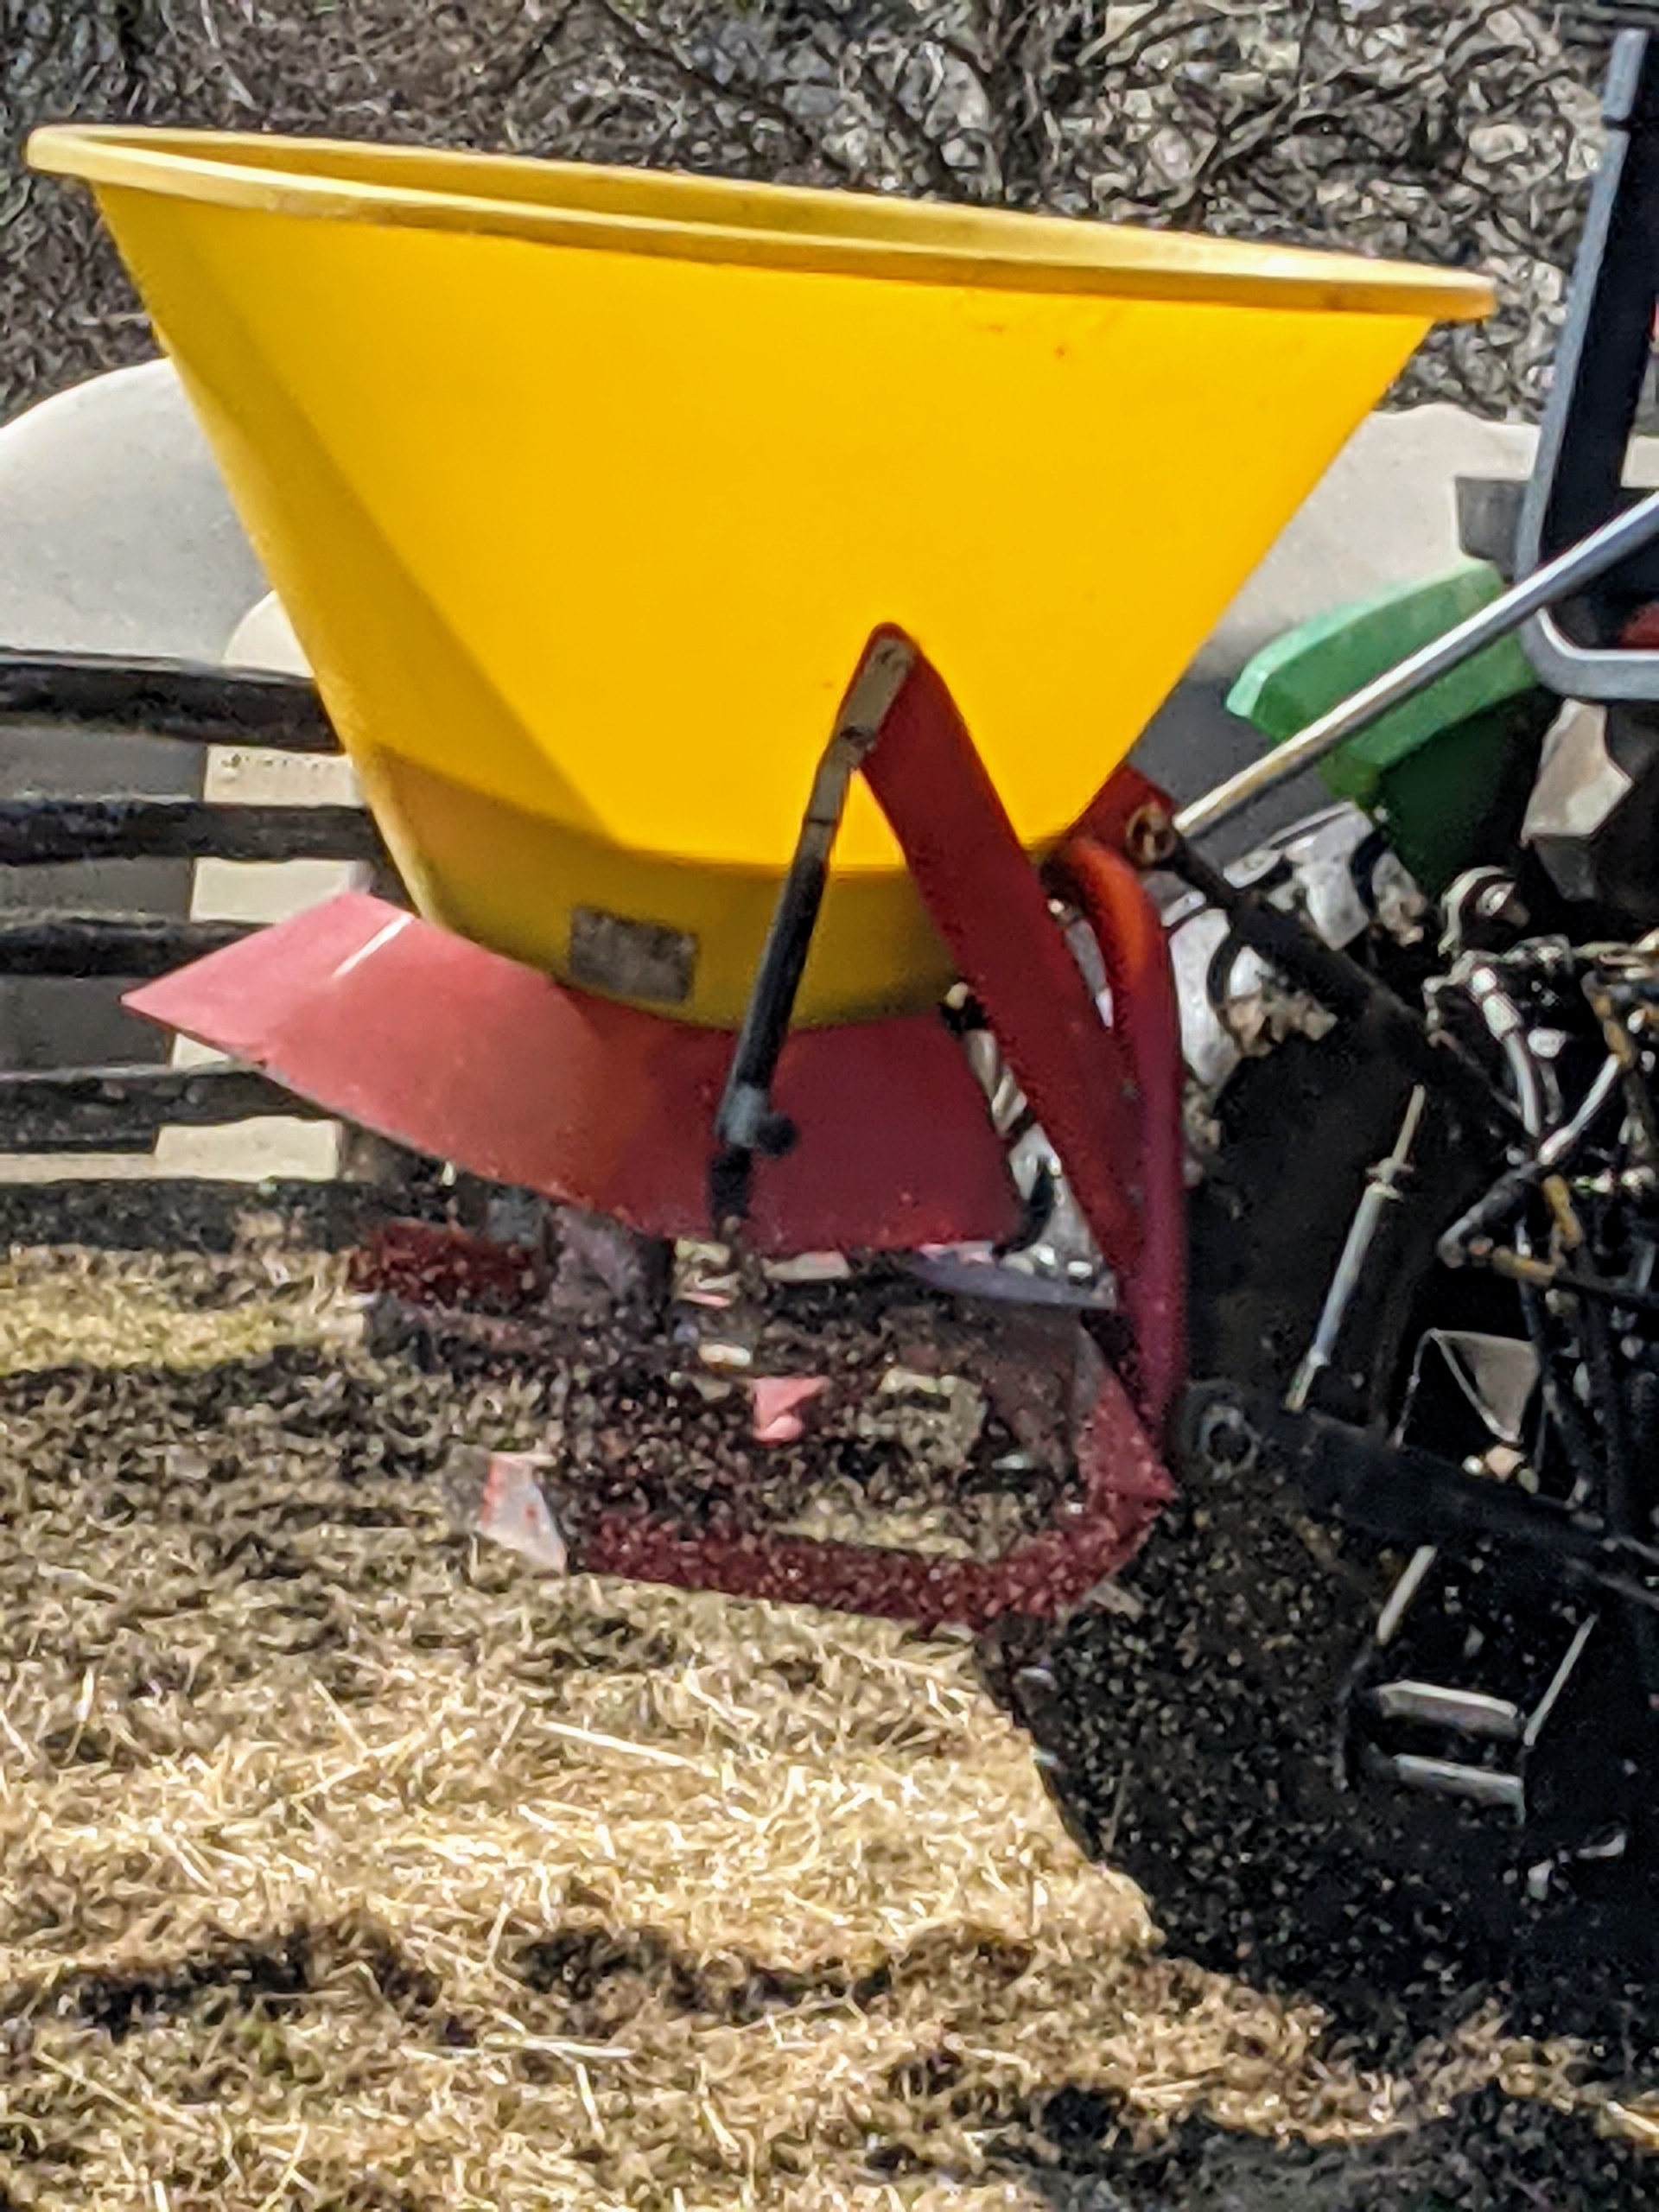
Once the spreader is attached and filled with enough seed, Chhiring heads out to the paddock again to begin overseeding – a process where grass seed is added to an already existing area which after germination serves to increase the density of the grass plants. This process reduces the aging process or natural decline of the turf.
Here, one can see the seed coming out of the spreader and onto the ground below. These seeds will get a good watering with the expected rain.
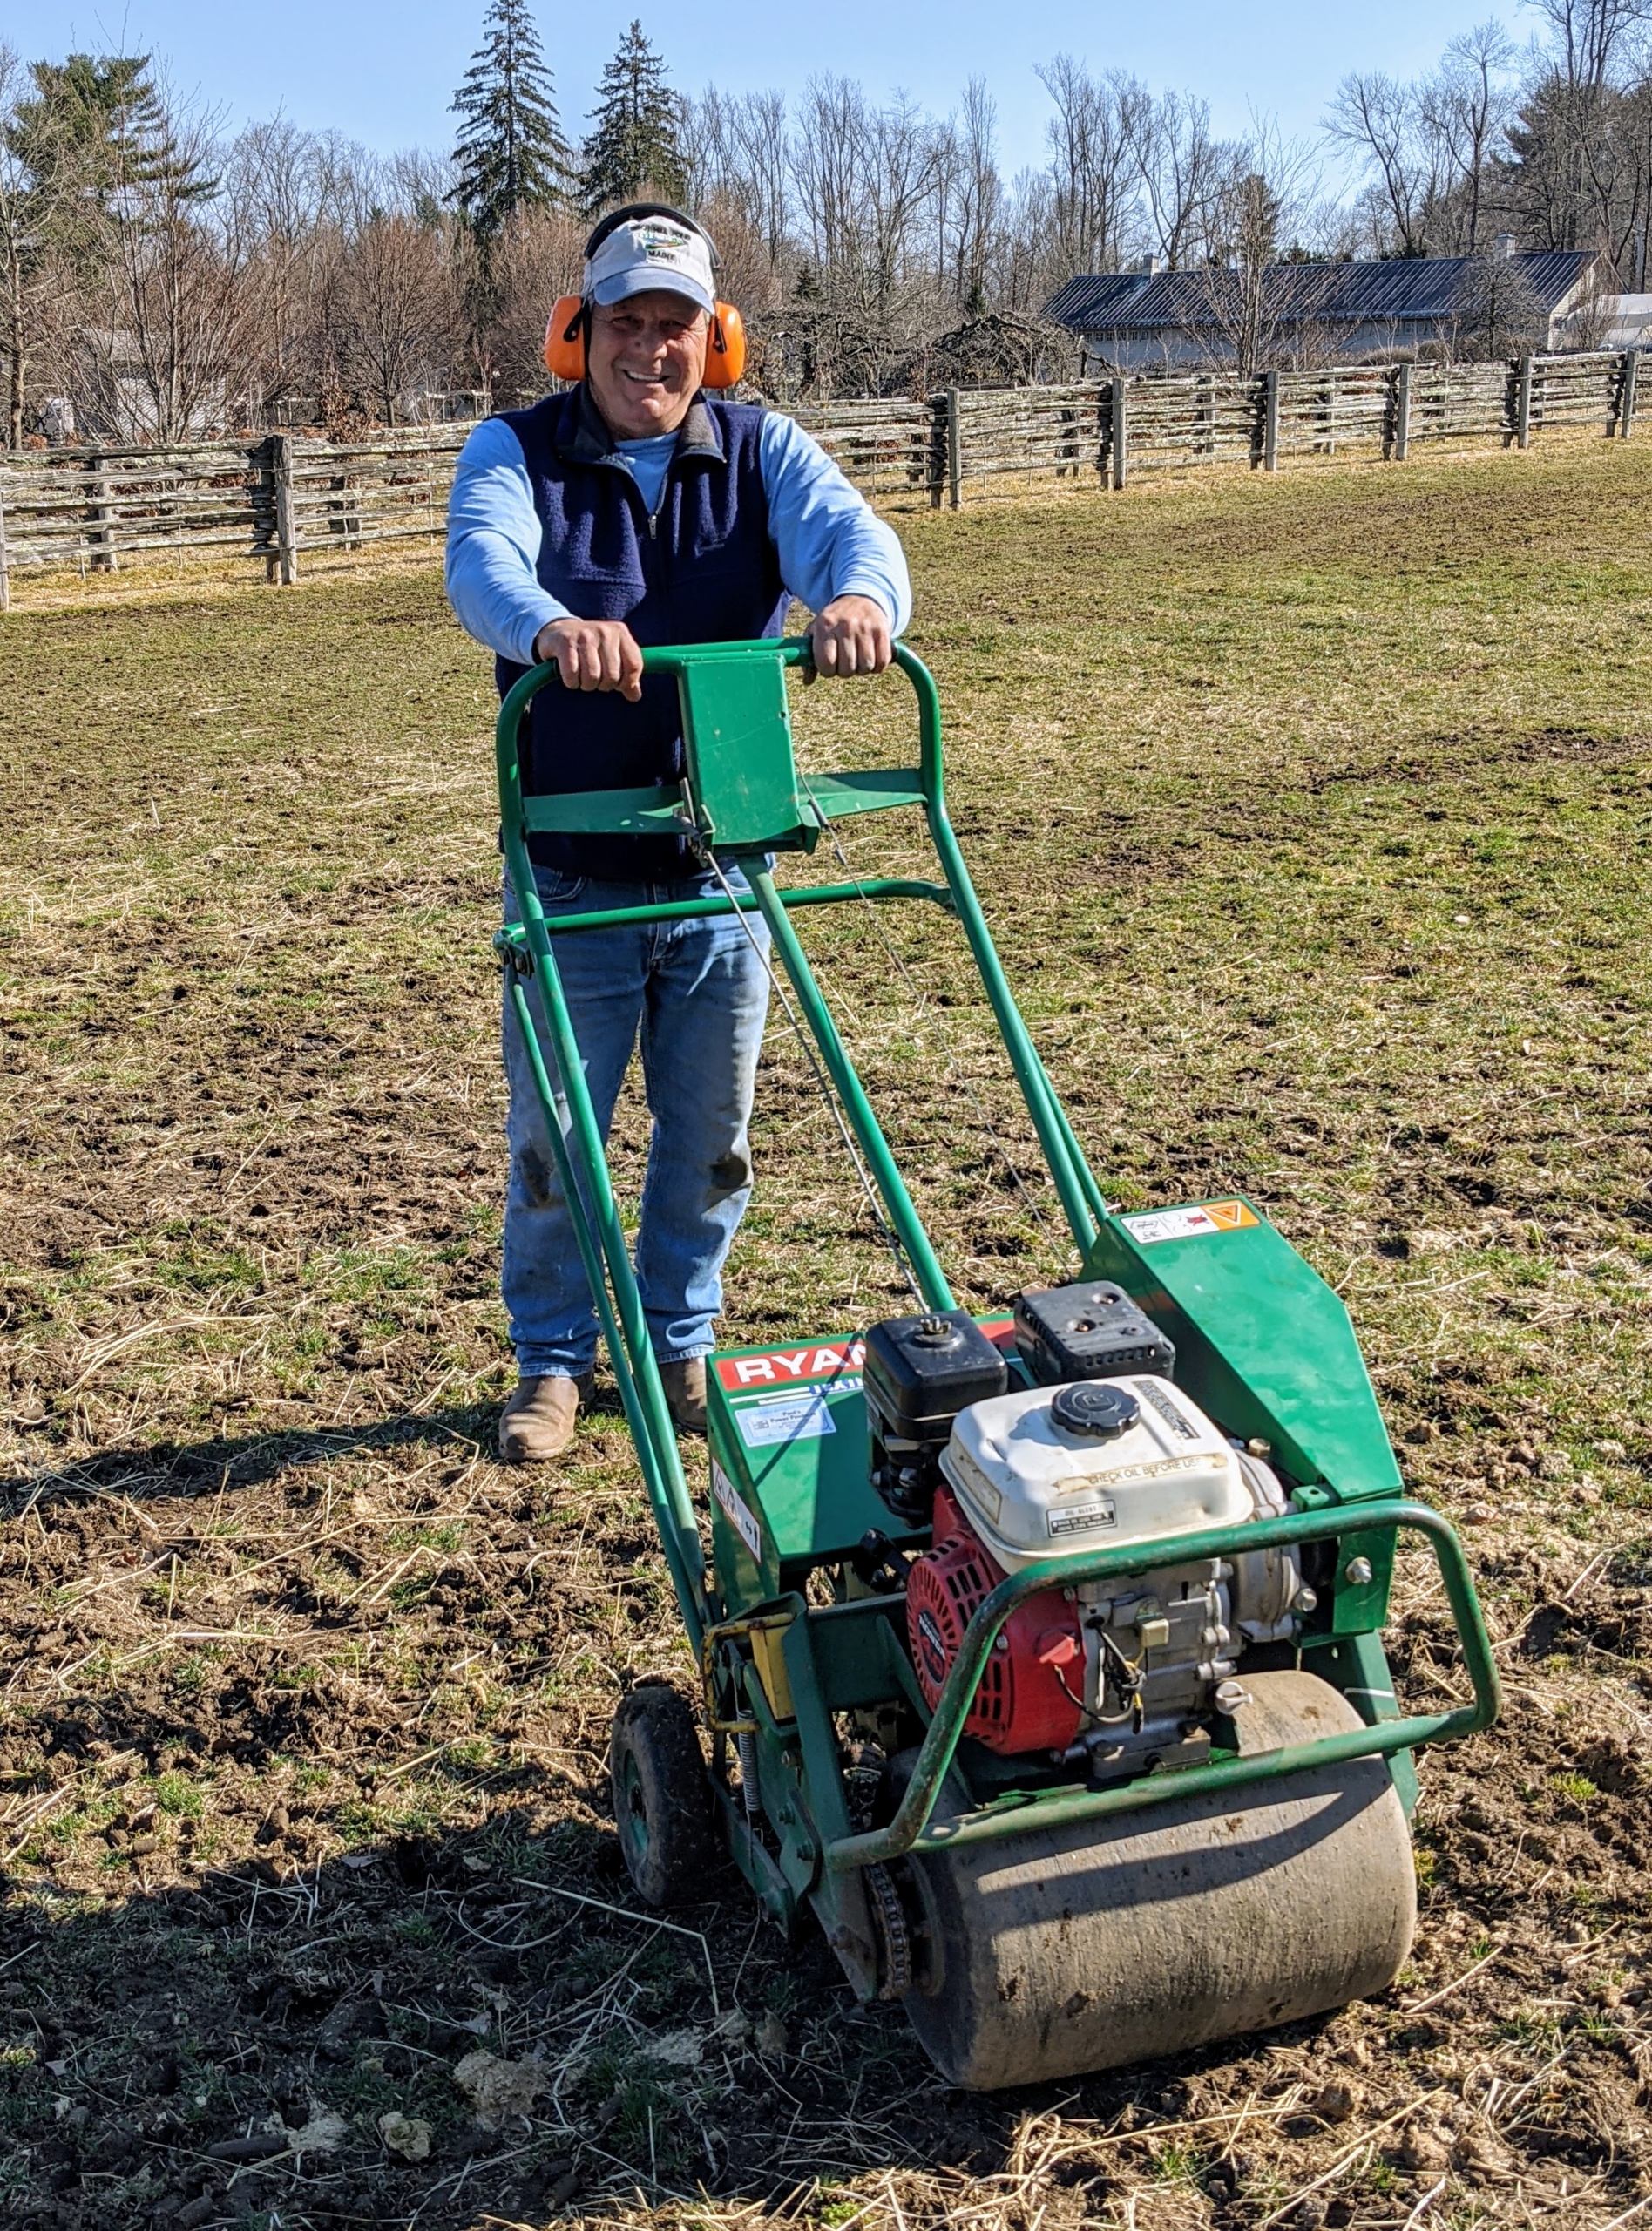
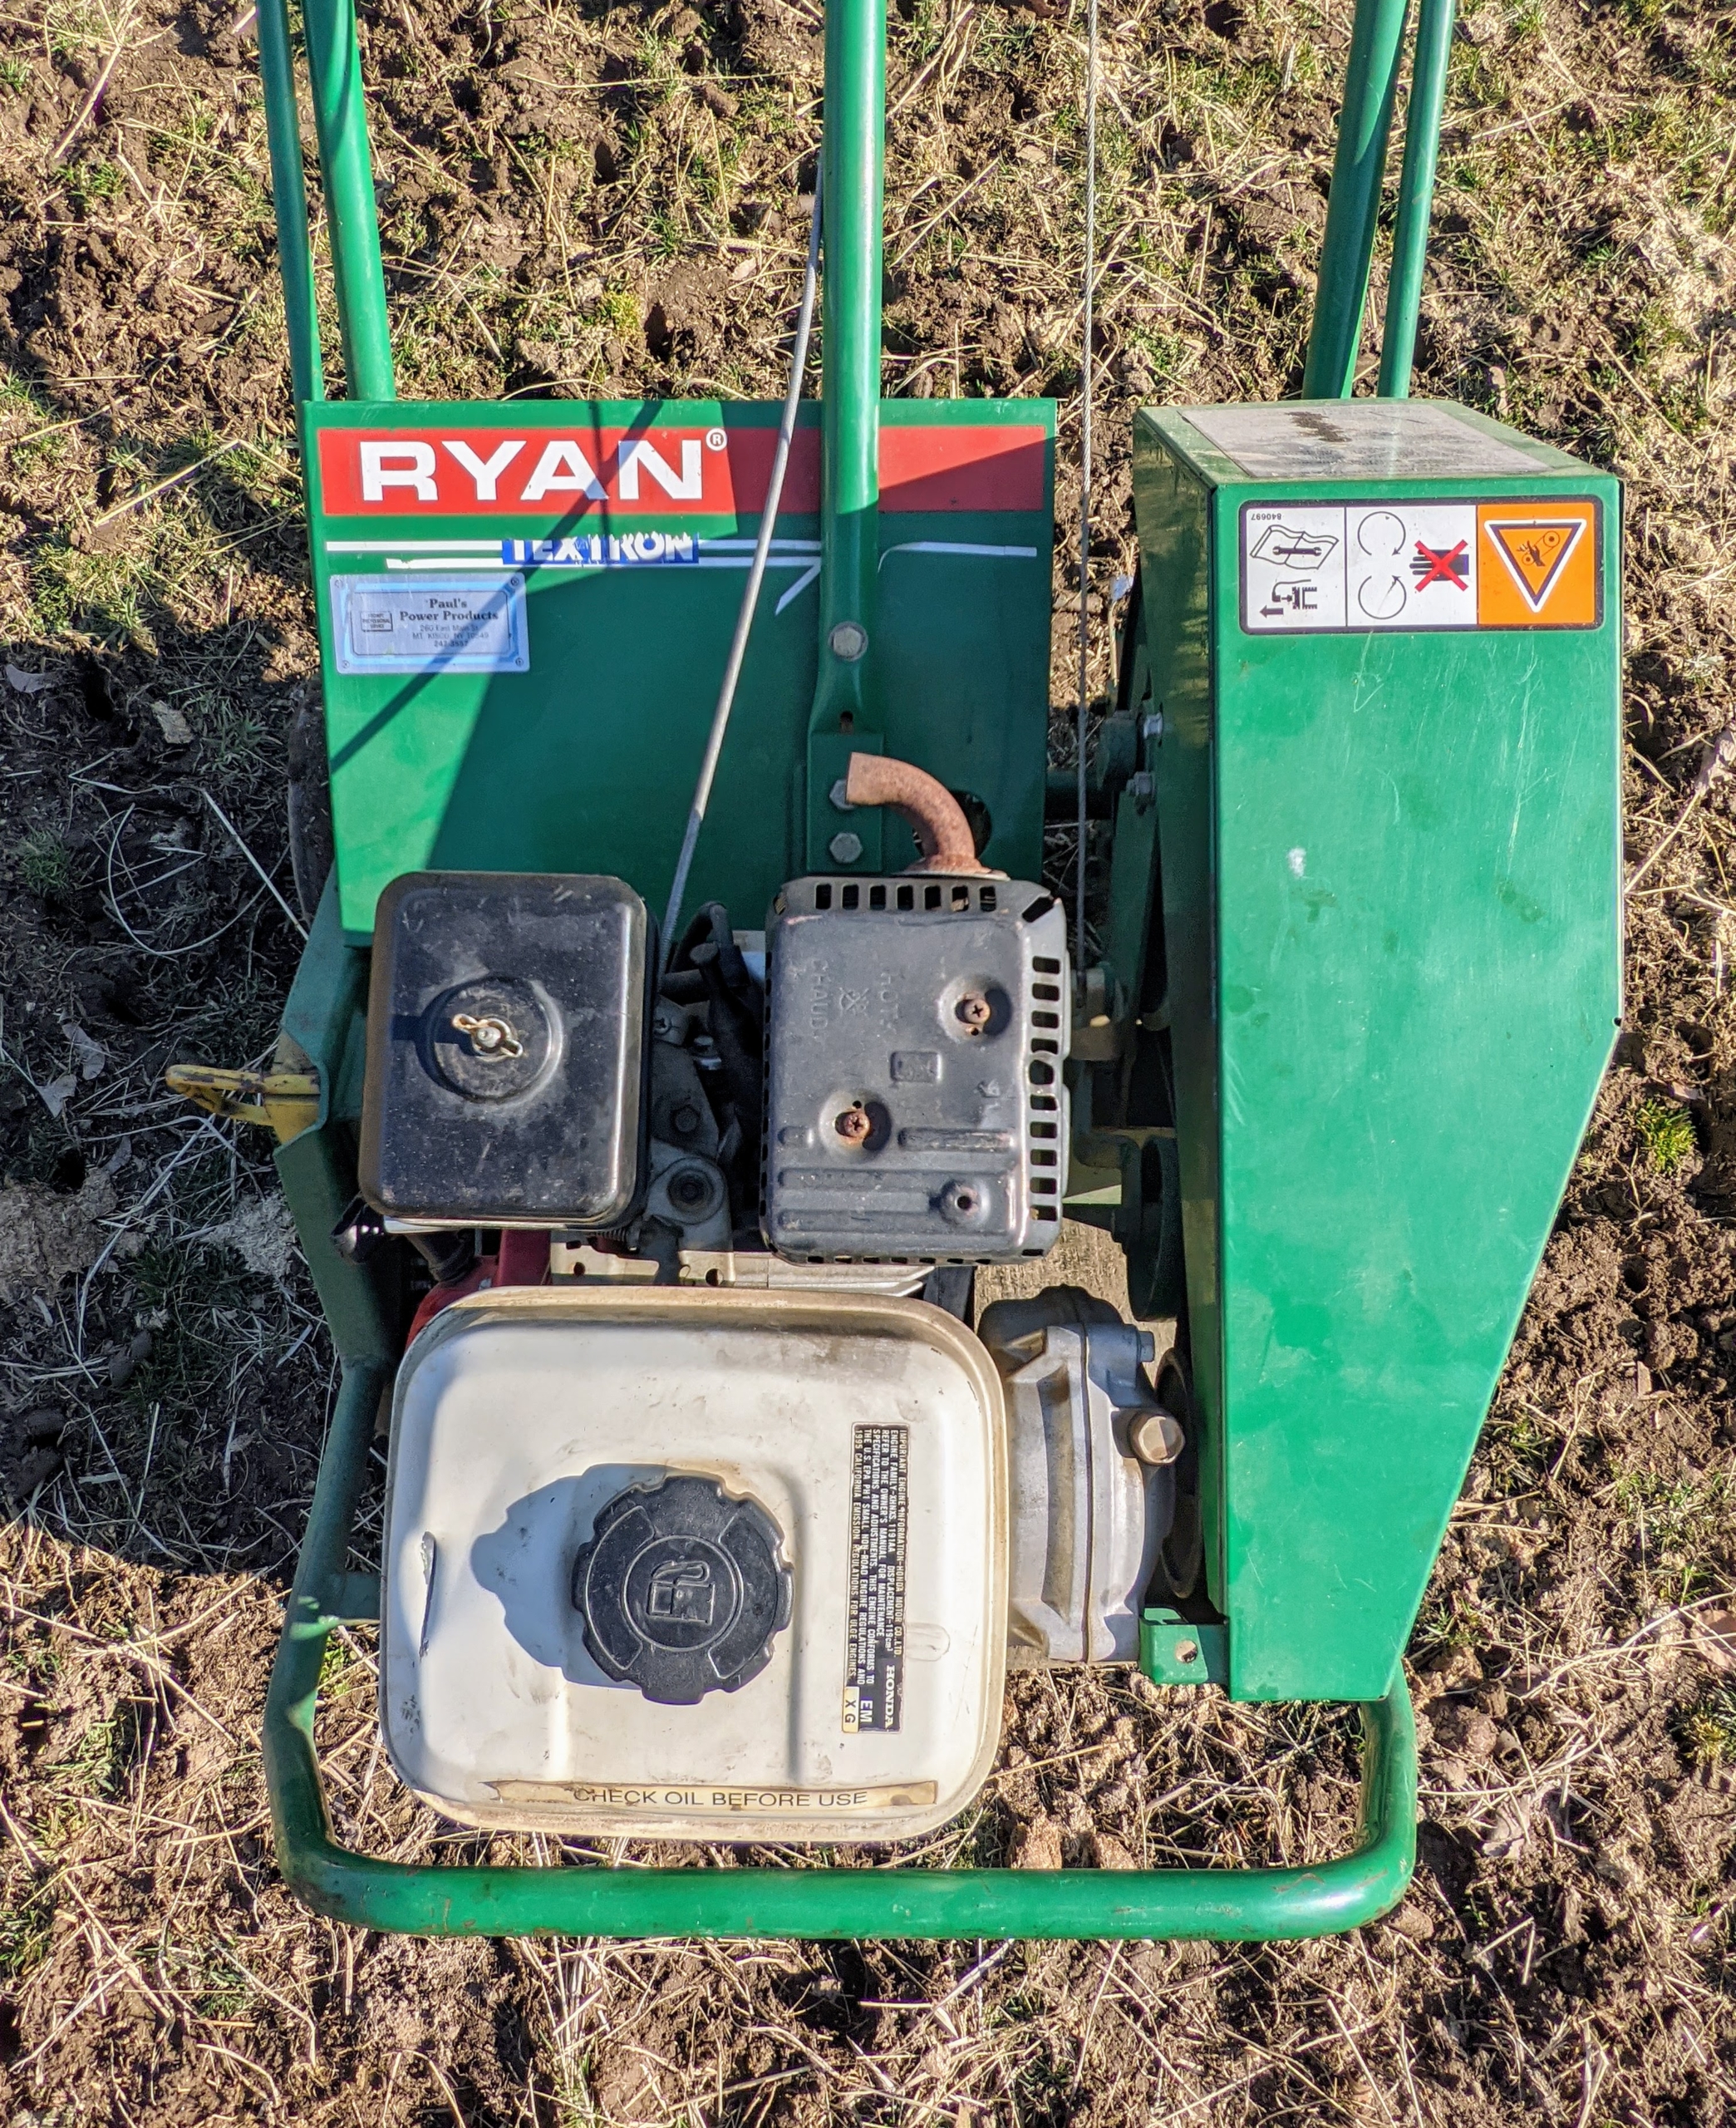
Meanwhile, Fernando is in the donkey paddock with our Ryan Lawnaire IV walk-behind aerator. This core aerator is self-propelled, which makes pushing and turning much easier. Fernando guides the aerator up and down the entire lawn, making sure he passes through every section.
These gas-powered walk-behind units are great for residential yards or smaller lawn spaces.
This aerator has 30 steel tines, which also remove small cores of soil from the ground.
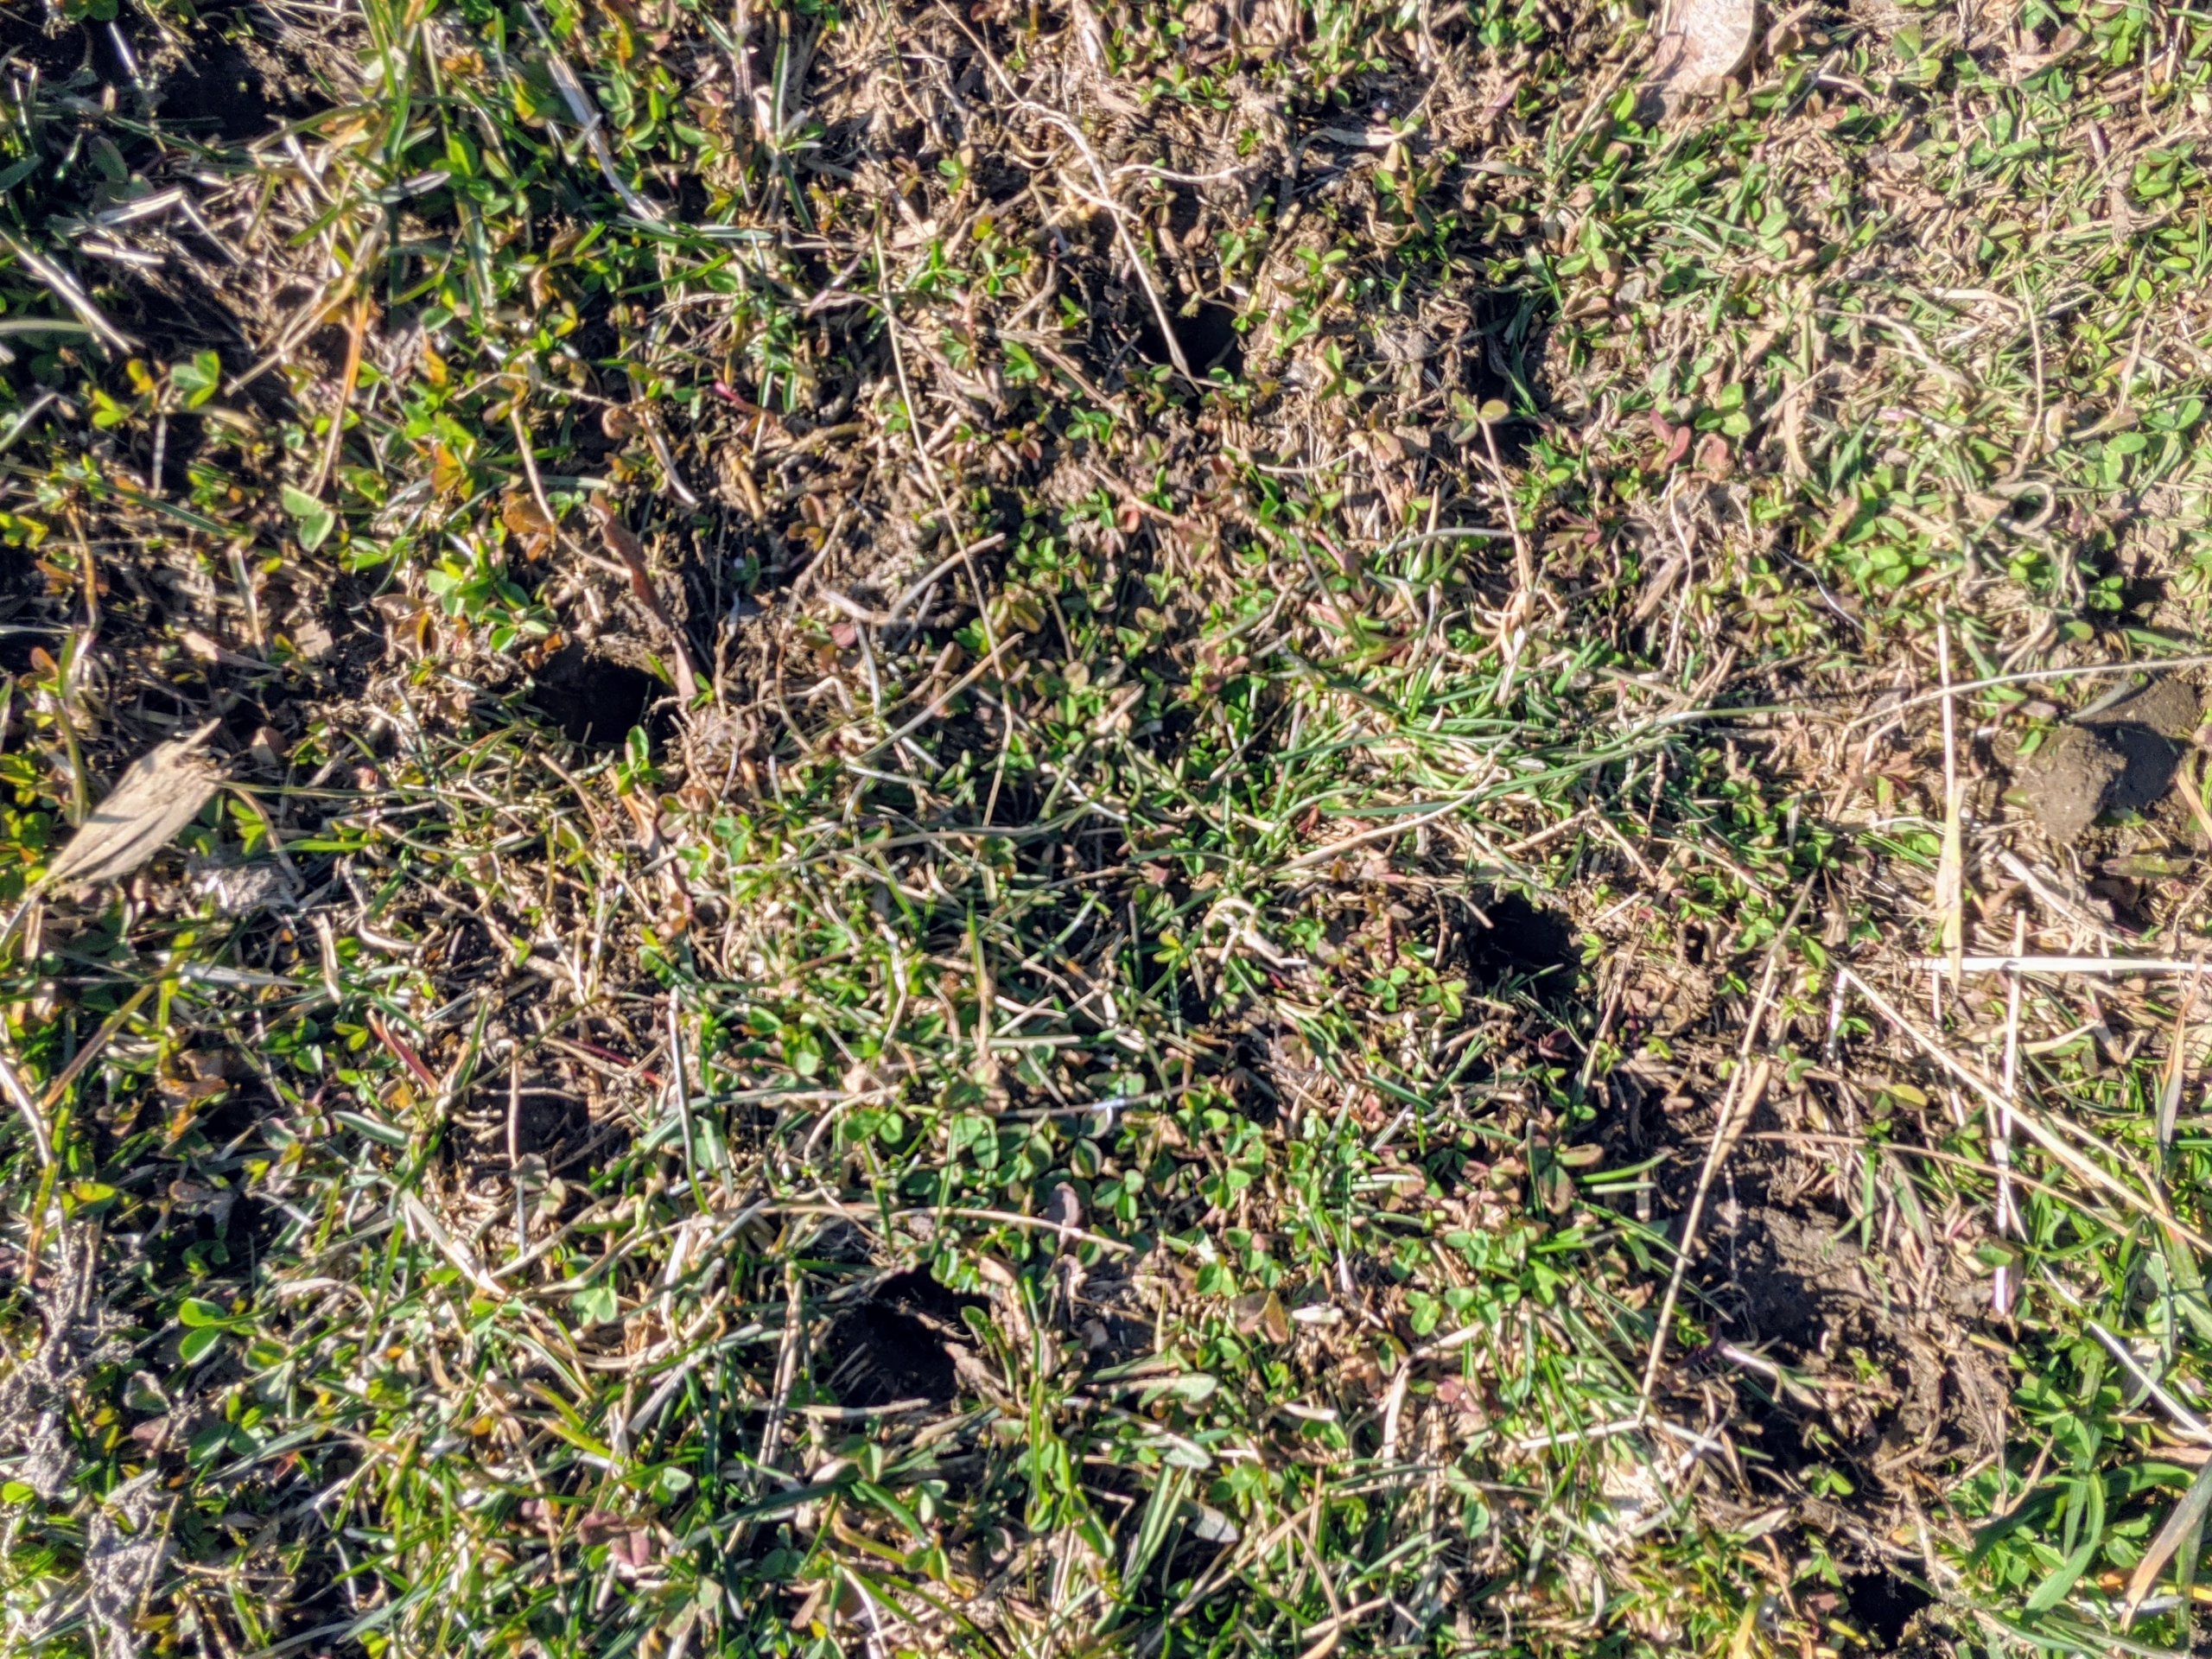
Here is a section where the core aerator passed. The aerator removes soil plugs approximately two to three inches deep and about three inches apart.
All the excavated plugs are left alone to dry in the sun and crumble. The plugs can also be raked up after aerating.
The same equine pasture mix is used for the donkey field.
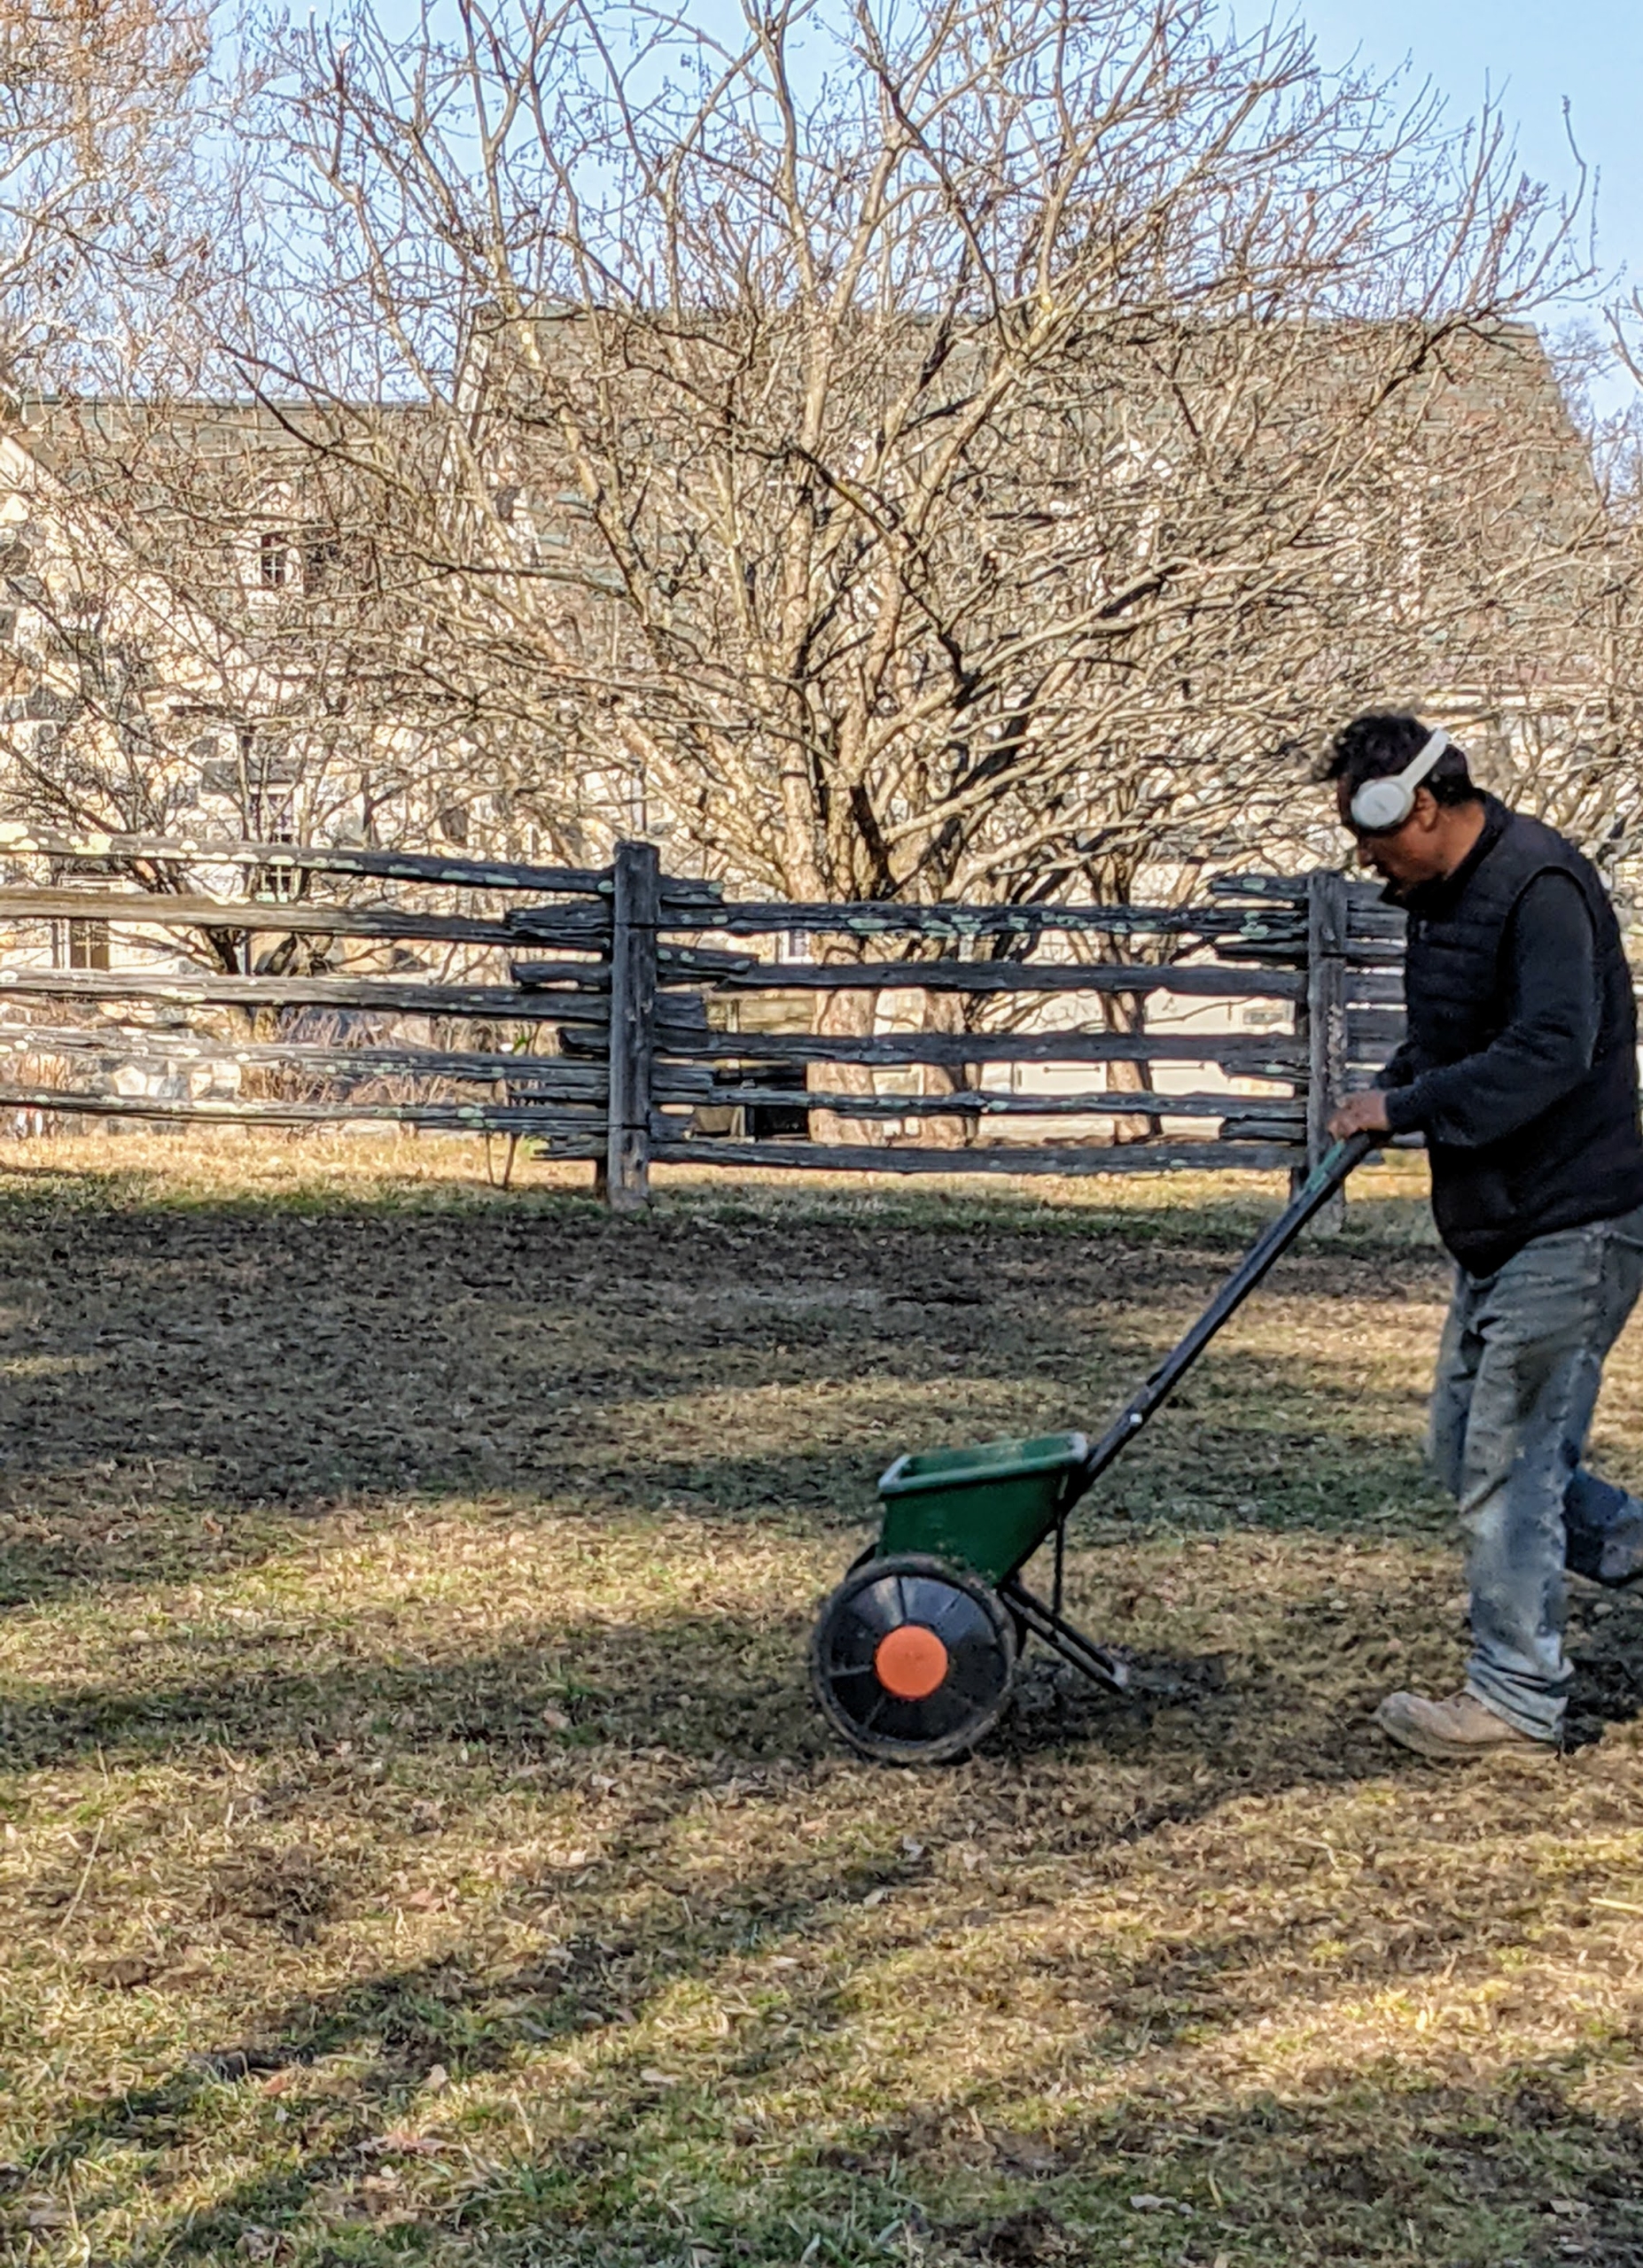
Pete works from the other side of the paddock, overseeding with a smaller, manual spreader. This will help to fill in any spots, and blend the new grass with the existing grass.
These paddocks will remain empty for a couple of weeks until the seeds germinate and grow – and then they’ll be beautiful, lush, and ready for grazing once again. What early outdoor spring chores are keeping you busy? Let me know in the comments section below.