Here at my Bedford, New York farm, even rainy days can be extremely productive.
Whenever it's stormy outside and my gardeners and outdoor grounds crew are unable to work in the woods or gardens, I encourage them to take stock of the equipment, clean everything, and then organize all the tools and supplies. My Equipment Barn is about 40 by 120 feet, with a substantial amount of height. It is where we keep our mowers, blowers, tractors, tools, and other pieces of important machinery. Over the last two rainy days, my crew cleared the entire space, power washed the floors, and then inspected and organized every item before returning it neatly to its place, so everything is in good order and ready to use. Keeping things well maintained and properly stored will always save time in the long run.
Enjoy these photos.
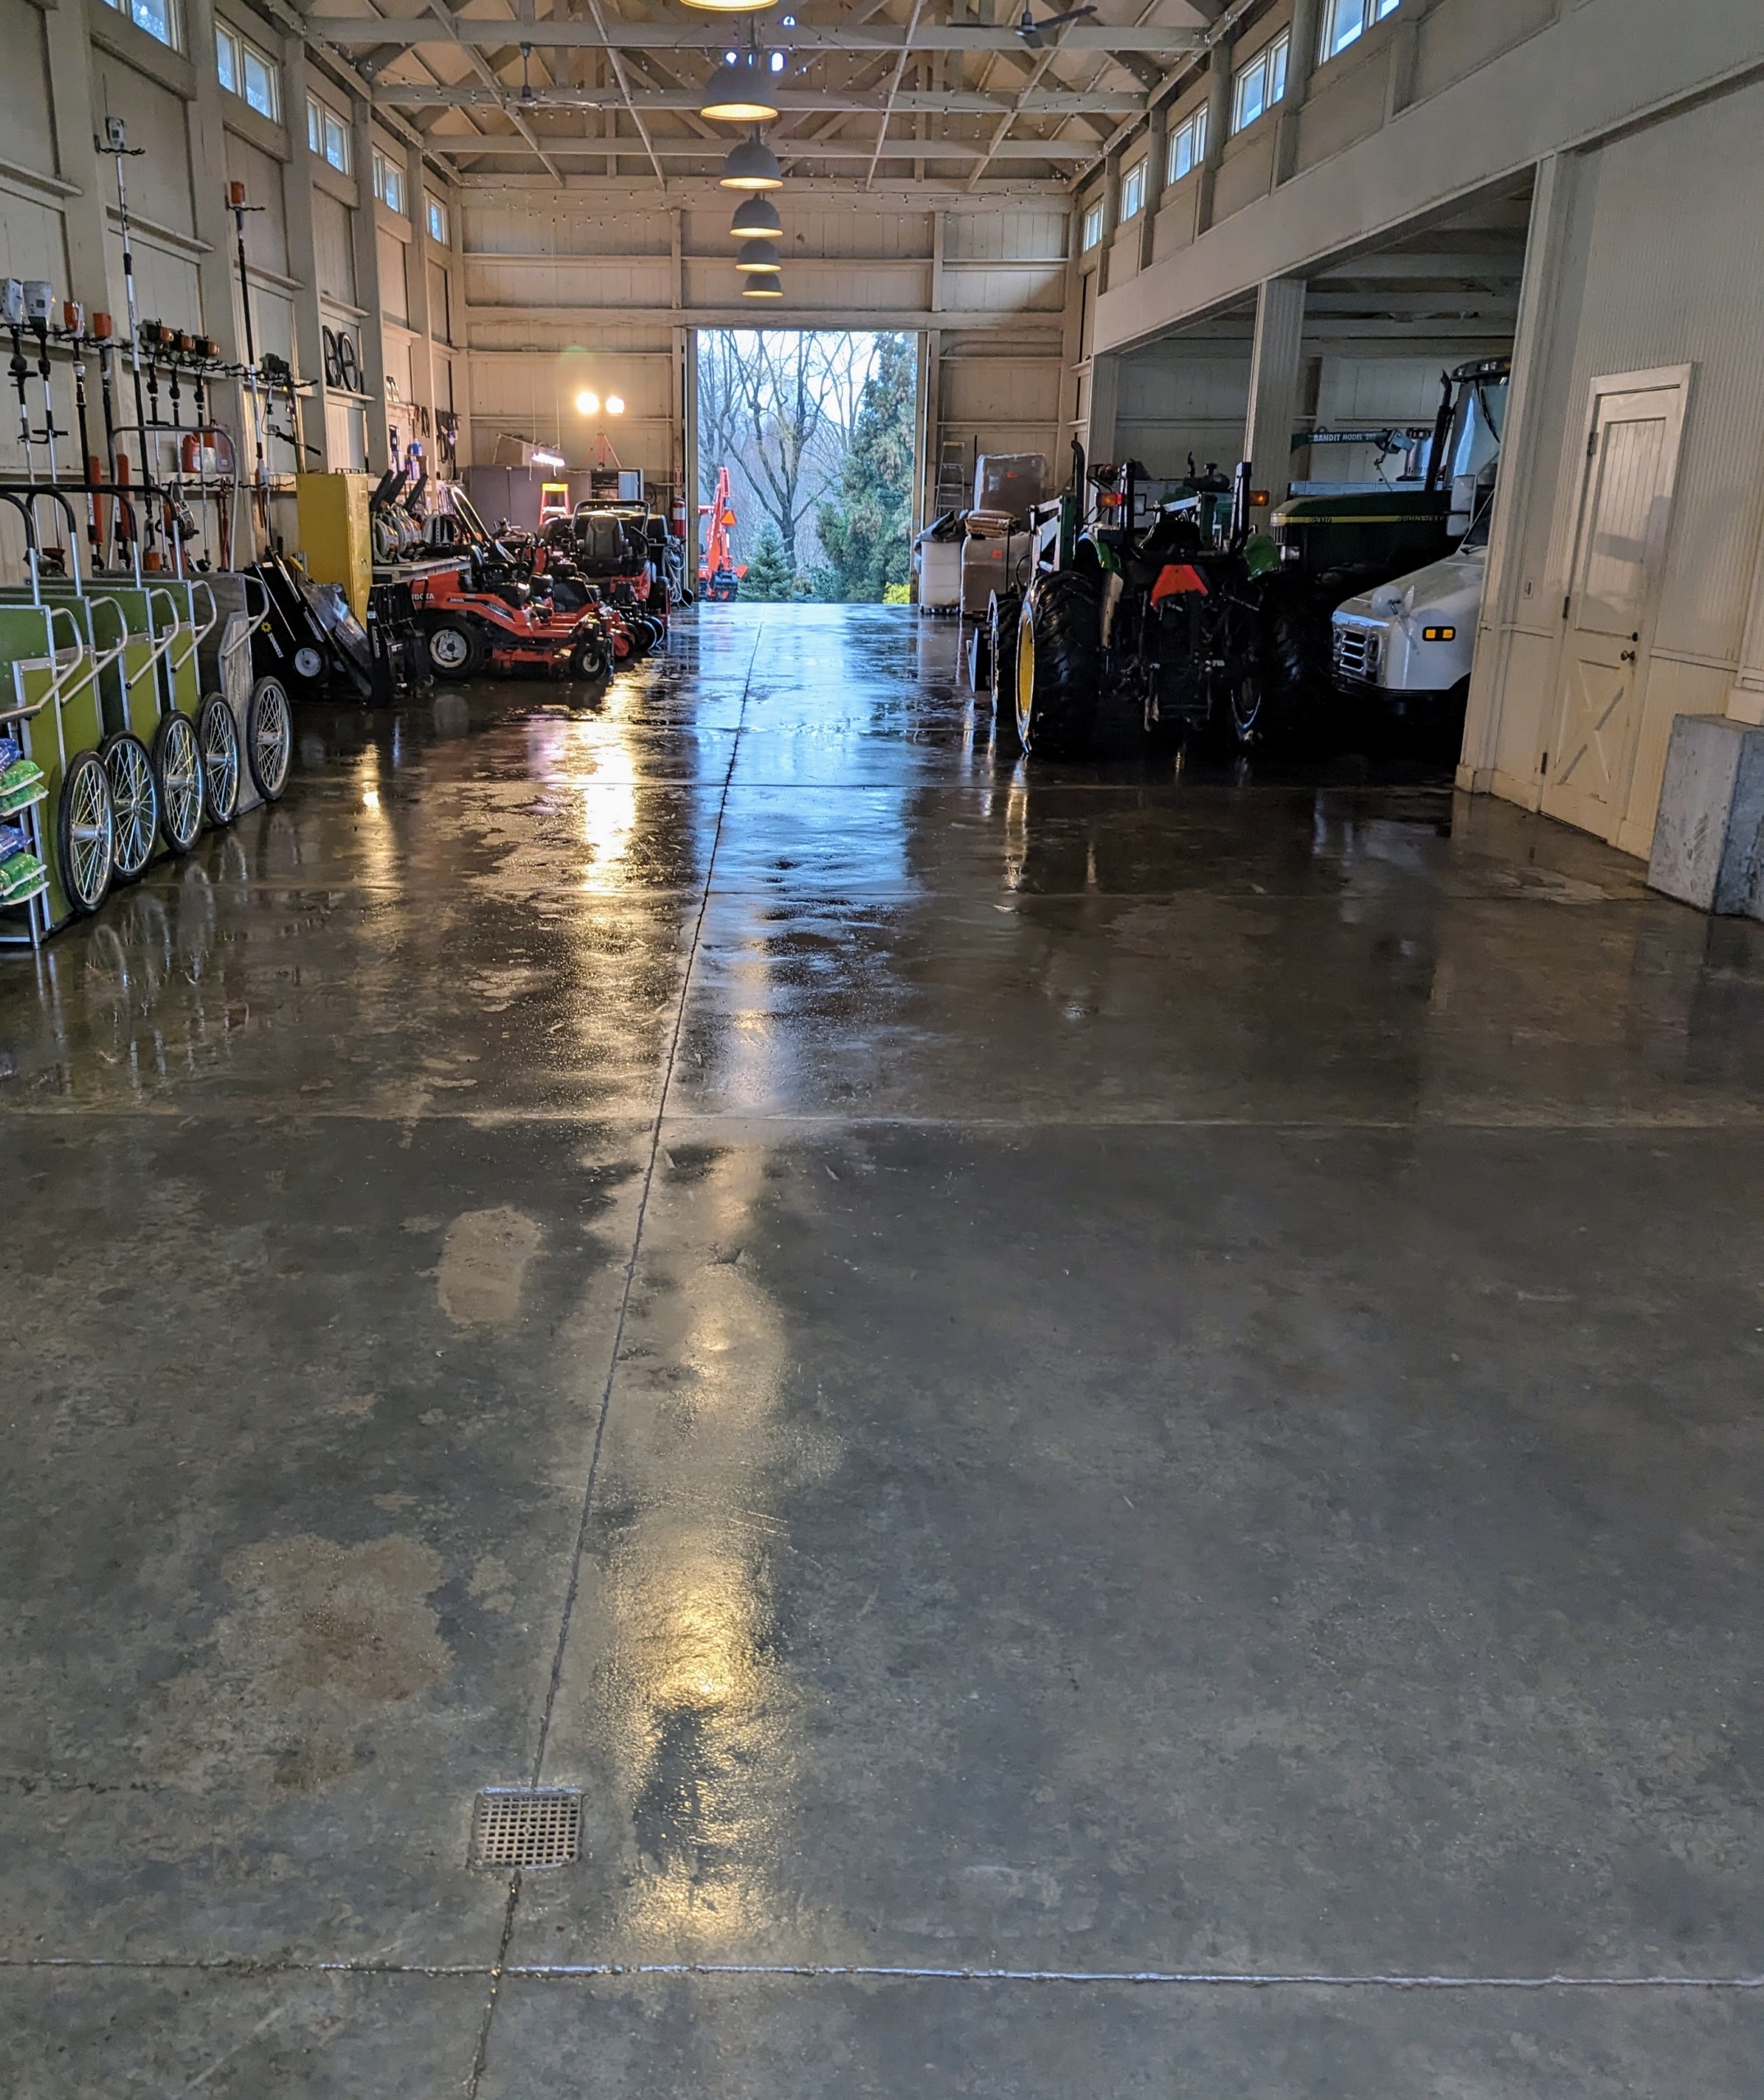
It’s always very refreshing to see a clean and well-organized space. This is one side of my large Equipment Barn where we store all of our farming machinery and tools.
I built this structure shortly after I purchased the farm. I wanted the Equipment Barn to be an attractive outbuilding in an easy-to-access location. The first step in cleaning is to remove all the equipment.
The hand tools are also taken off their hooks, inspected, and grouped with other like pieces.
Chhiring makes sure each piece of equipment is in perfect working order. Here he is checking the tires of a generator.
The floors are blown, power washed, and left bare to dry for several hours.
Meanwhile, all of the garden tools are rinsed clean.
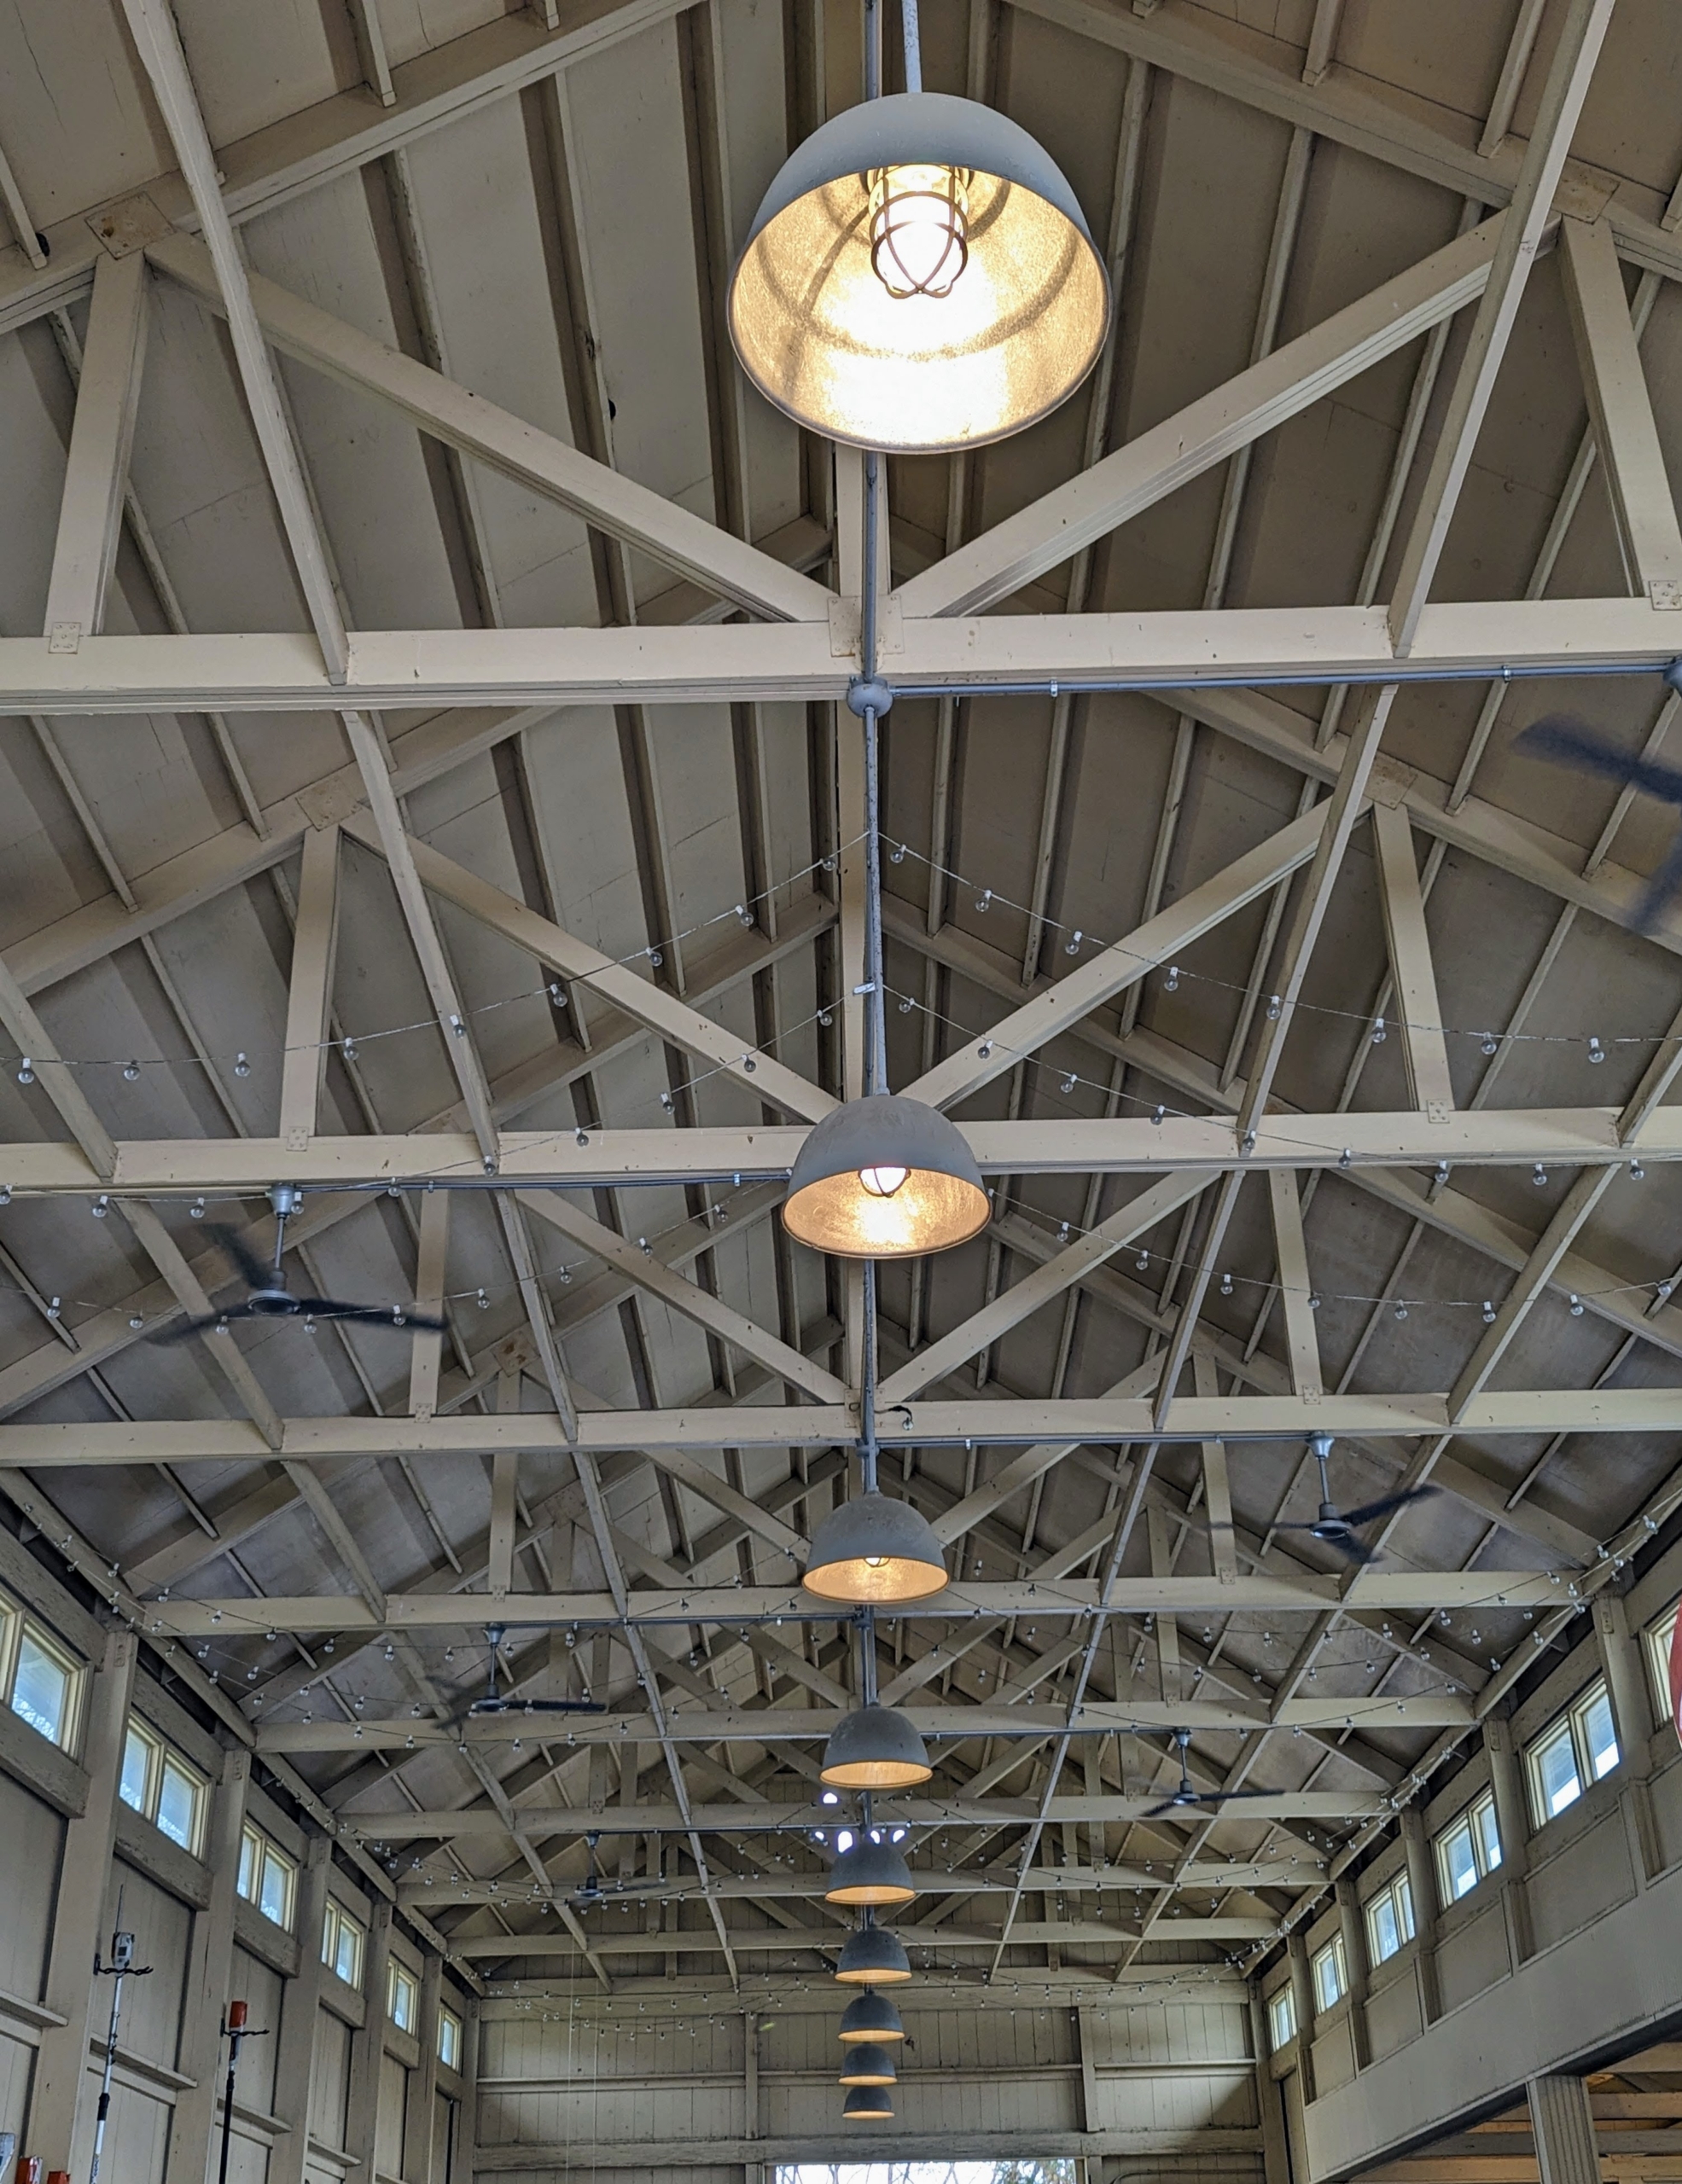
The Equipment Barn is well lit with these big overhead lamps. I use very utilitarian lighting and fans where I can on the farm.
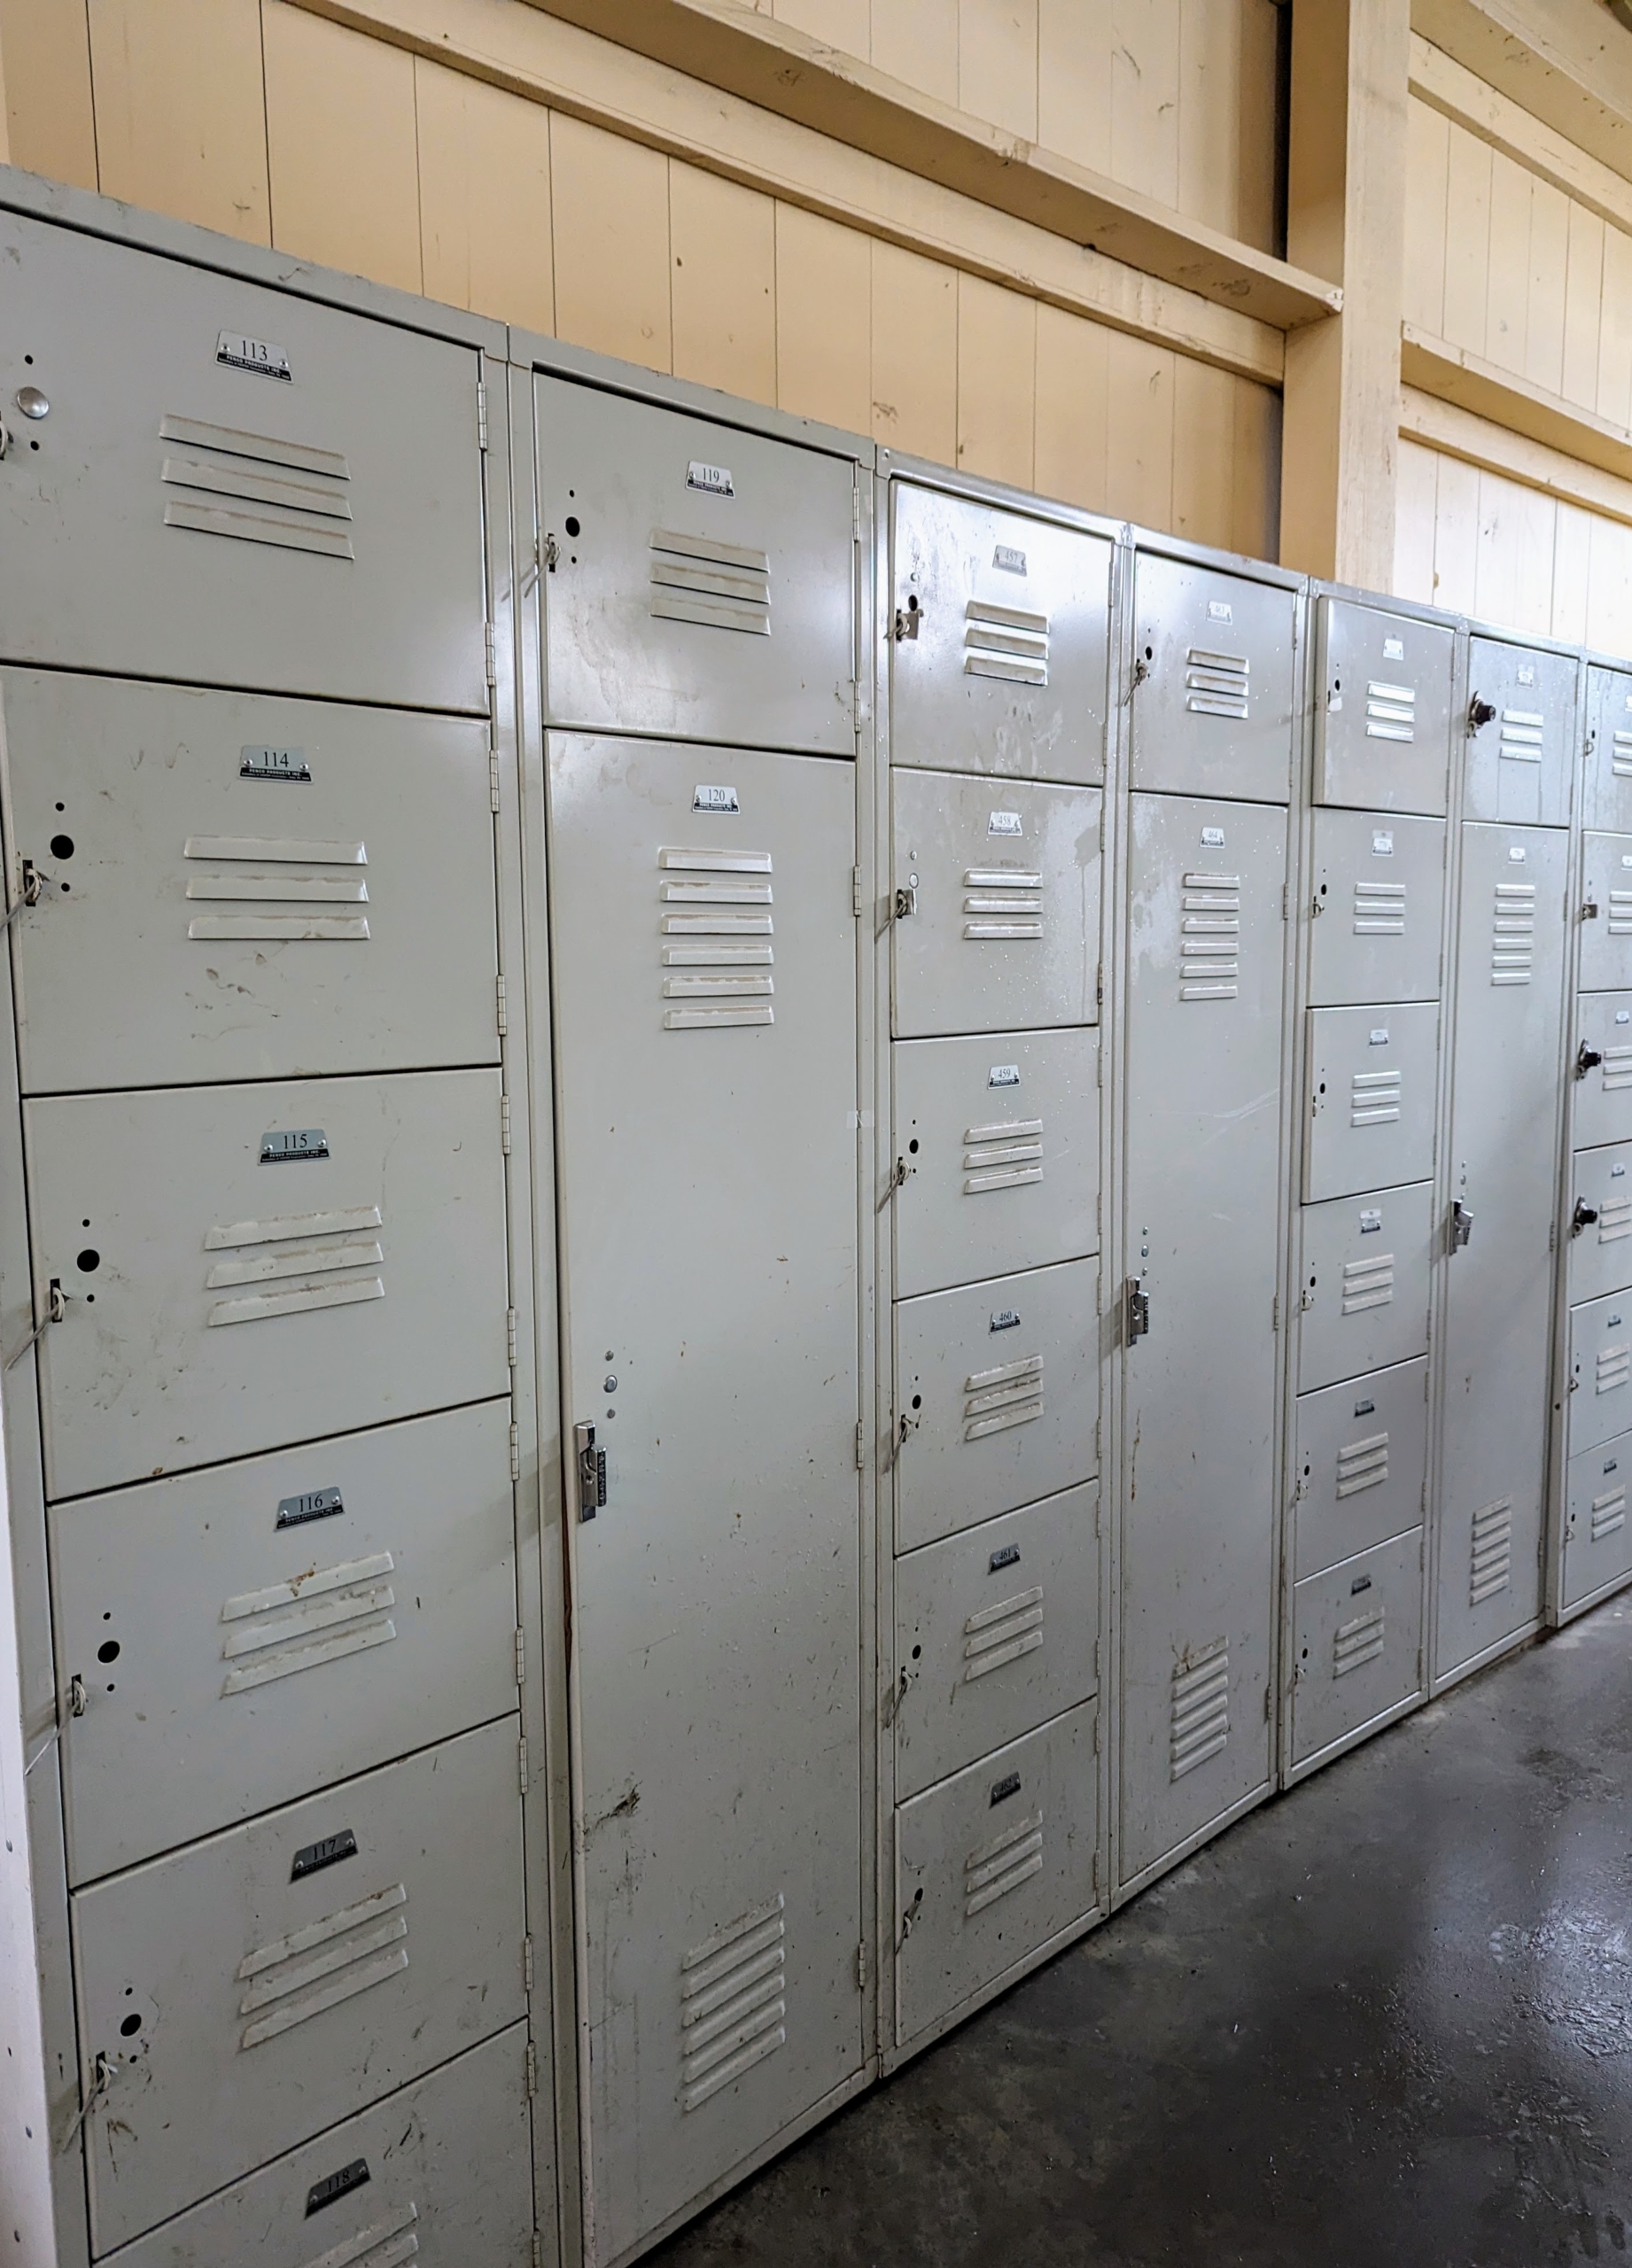
In the back corner, we have a bank of lockers for the crew. Everyone has their own set of lockers where they can store safety equipment, extra shoes, clothing, and other personal items.
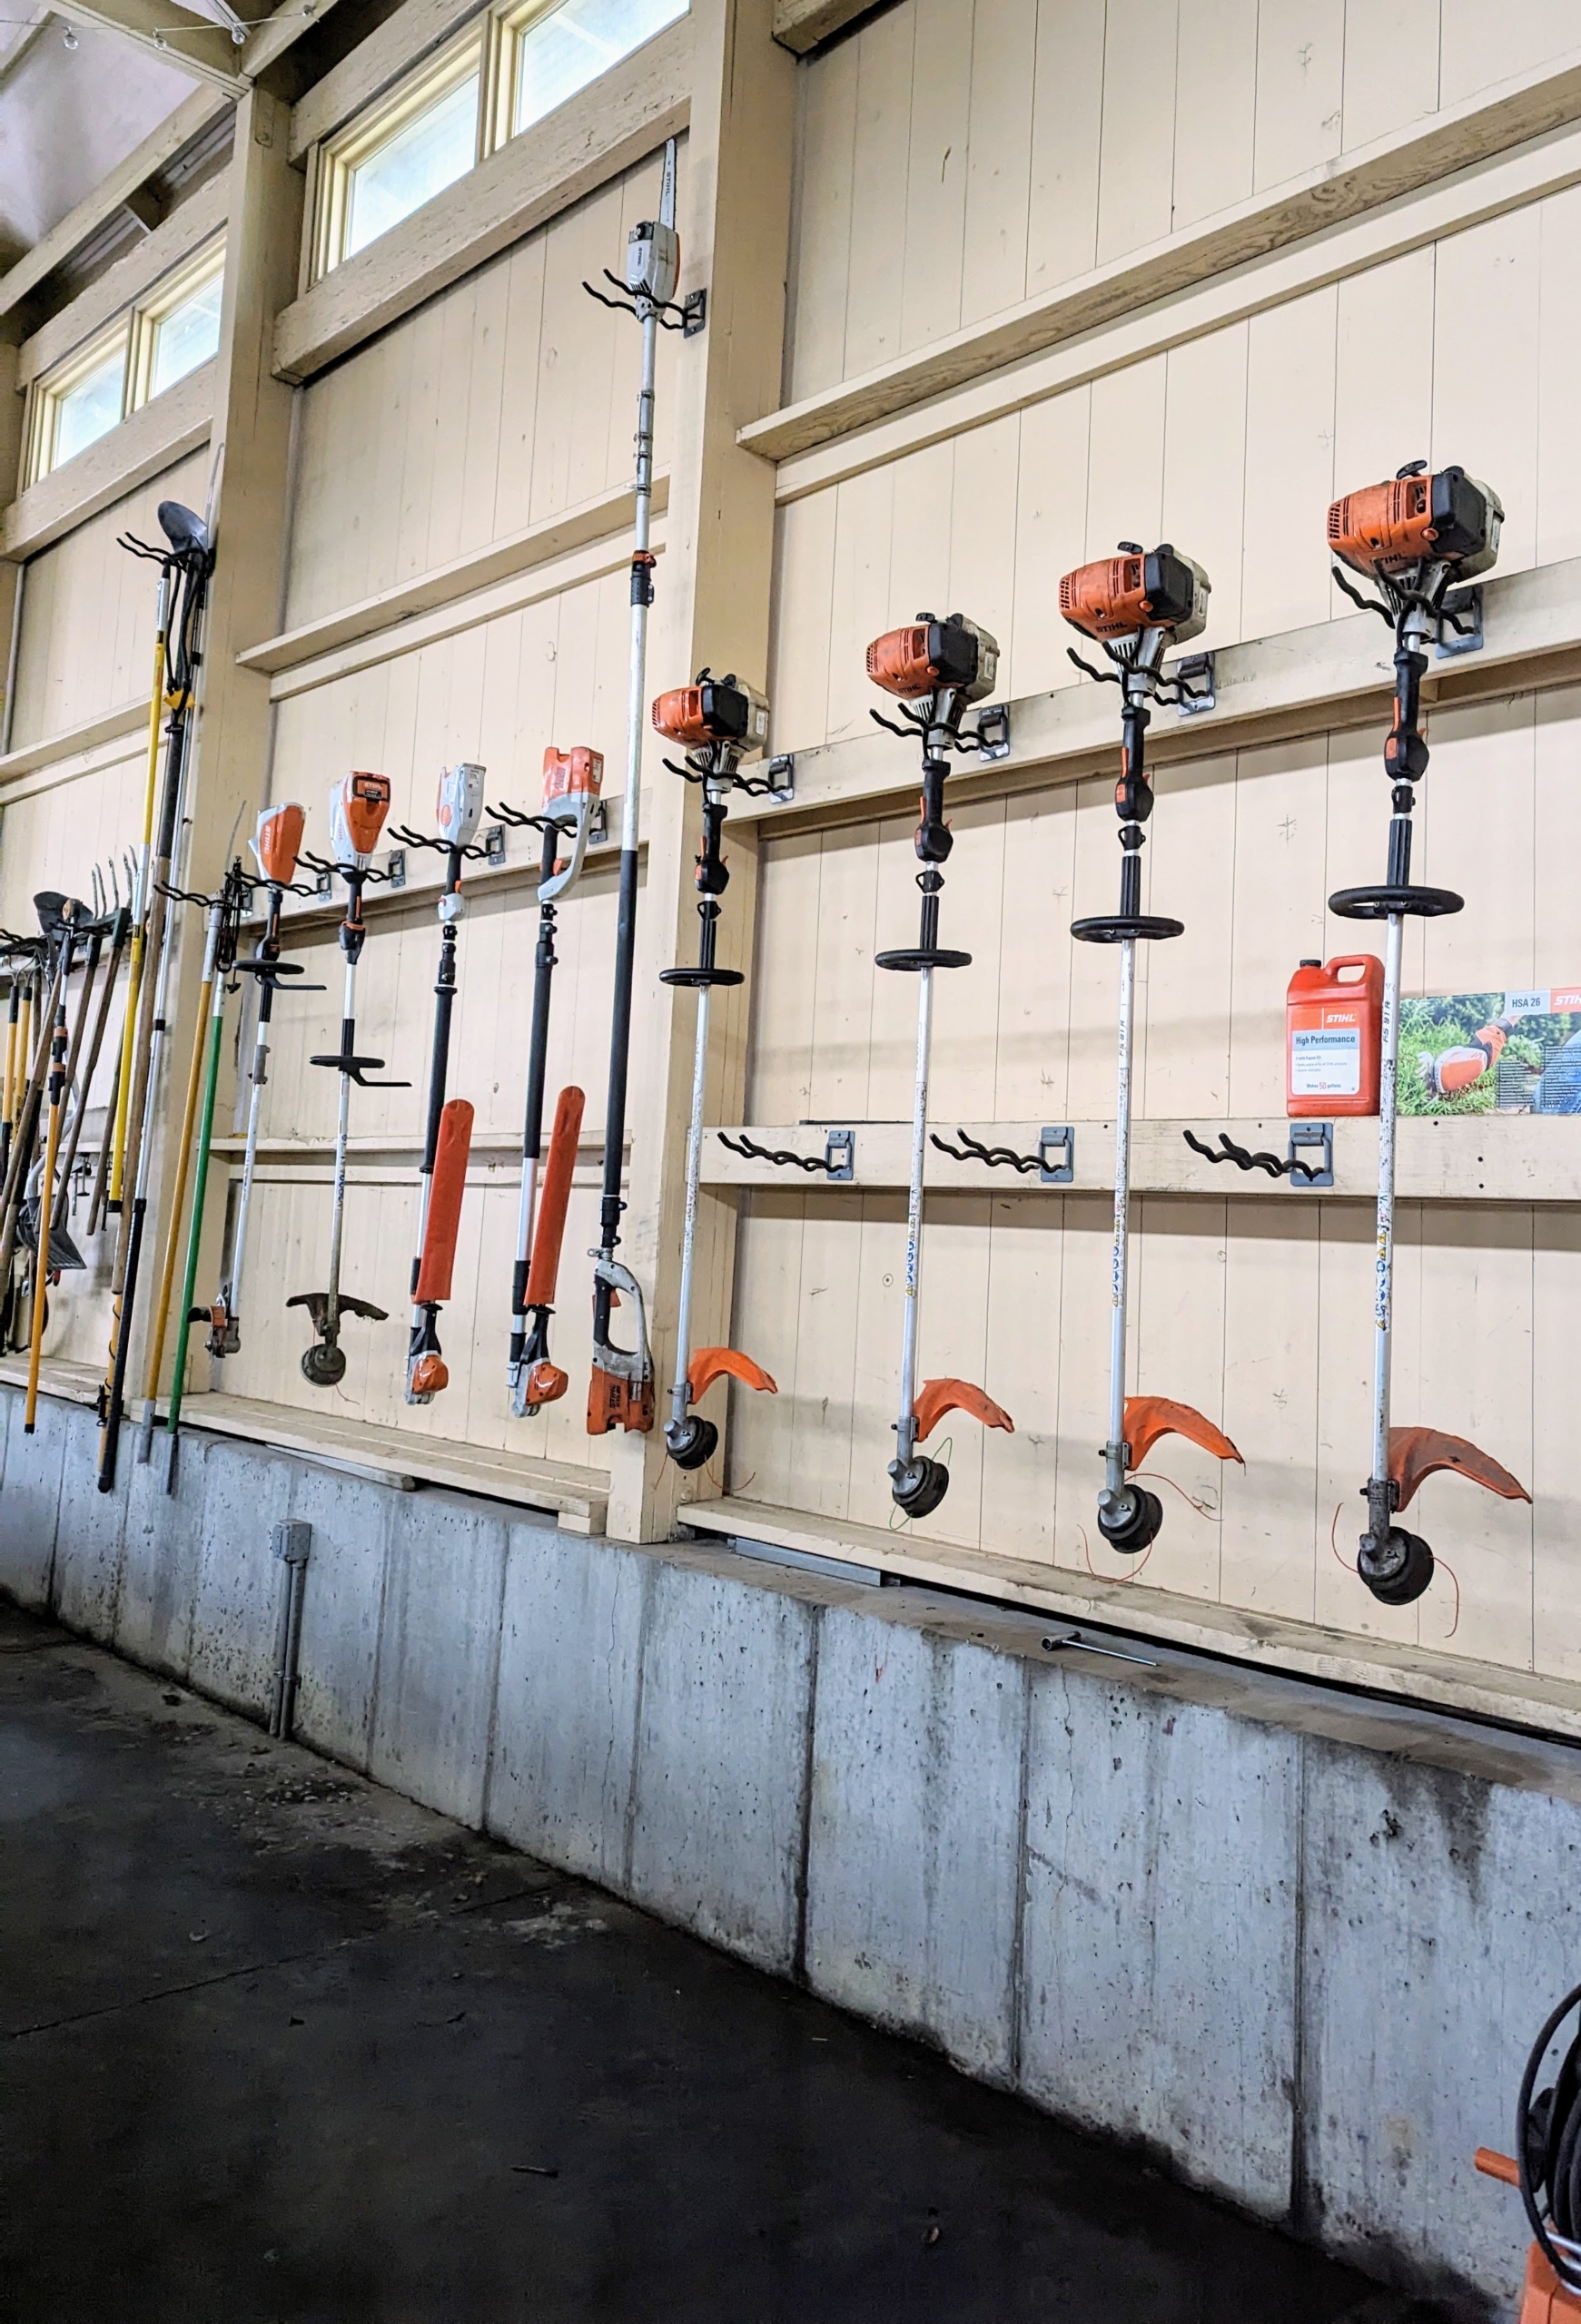
Among the power tools we use and depend on all year long are those from STIHL. This company is a global leader in outdoor power equipment and offers more than 80 different tools including professional-grade chainsaws, blowers, string trimmers, hedge trimmers, brush cutters, pruners, saws, and so much more. All of our STIHL long handled hedge trimmers, and weed-whackers are hung in this section, ready to use.
Nearby are the STIHL blowers. These blowers are powerful, easy to handle, and fuel-efficient.
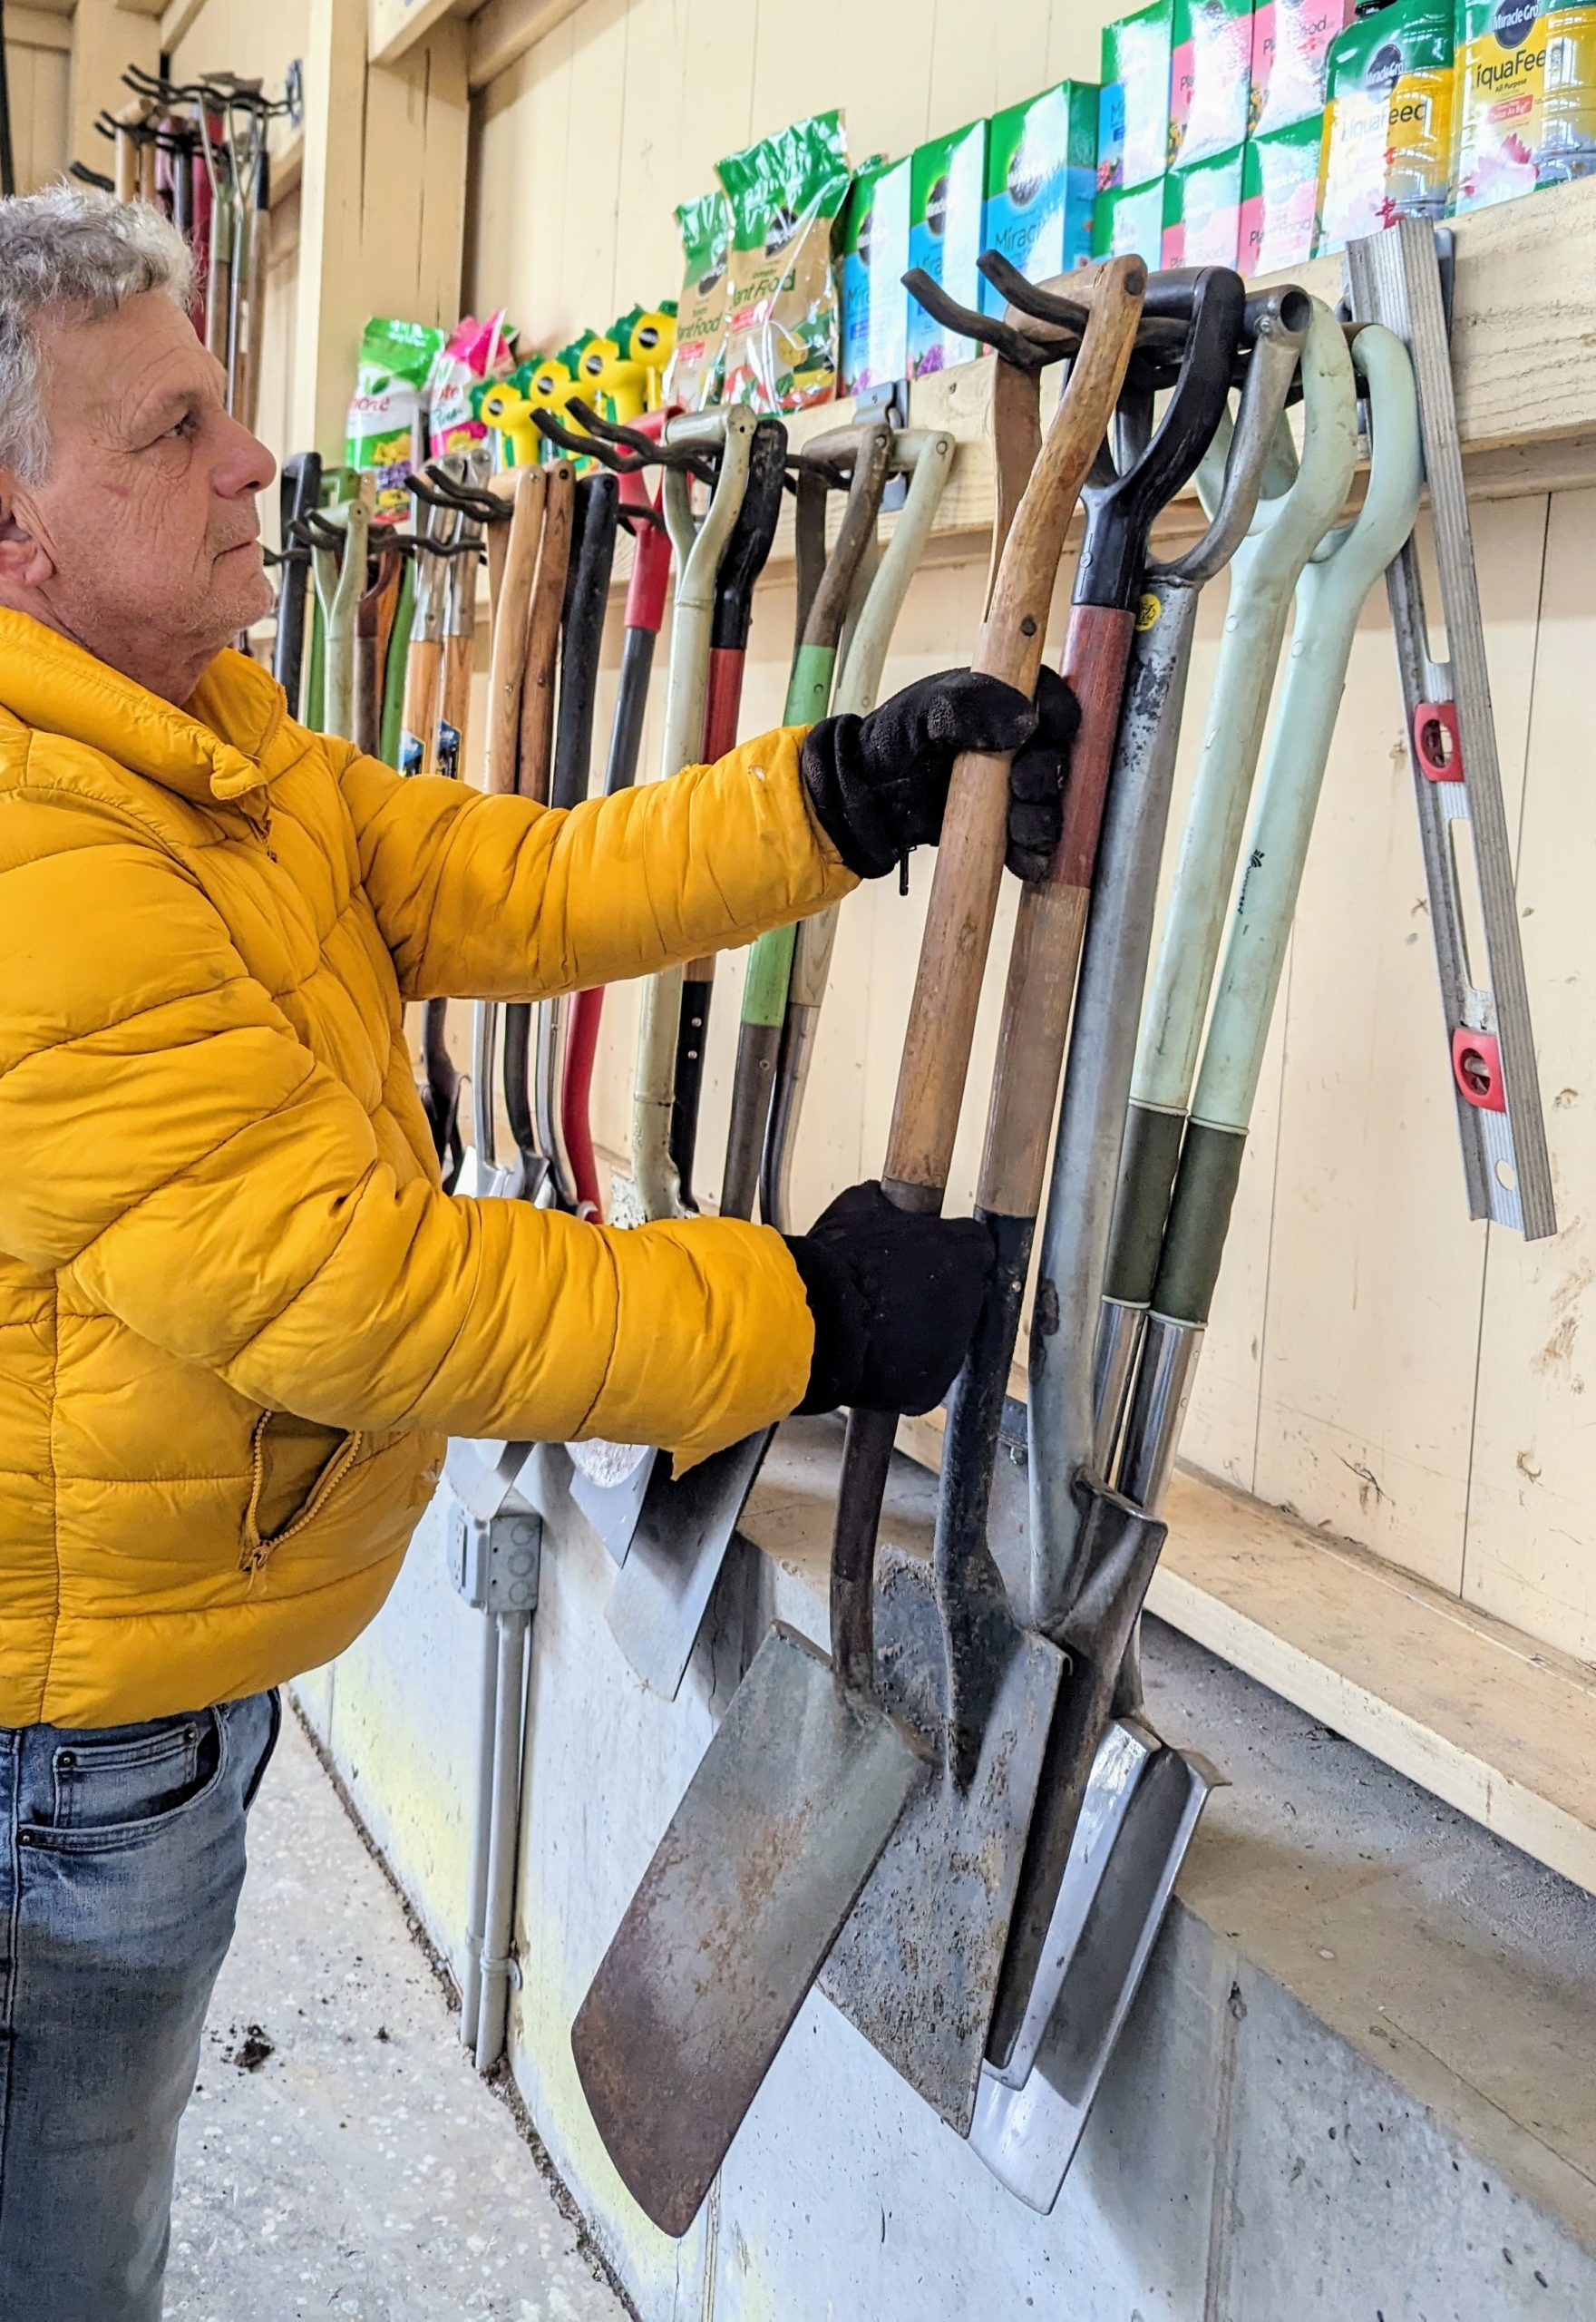
Fernando organizes the tools by type and hangs them near one end of the Barn for quick access.
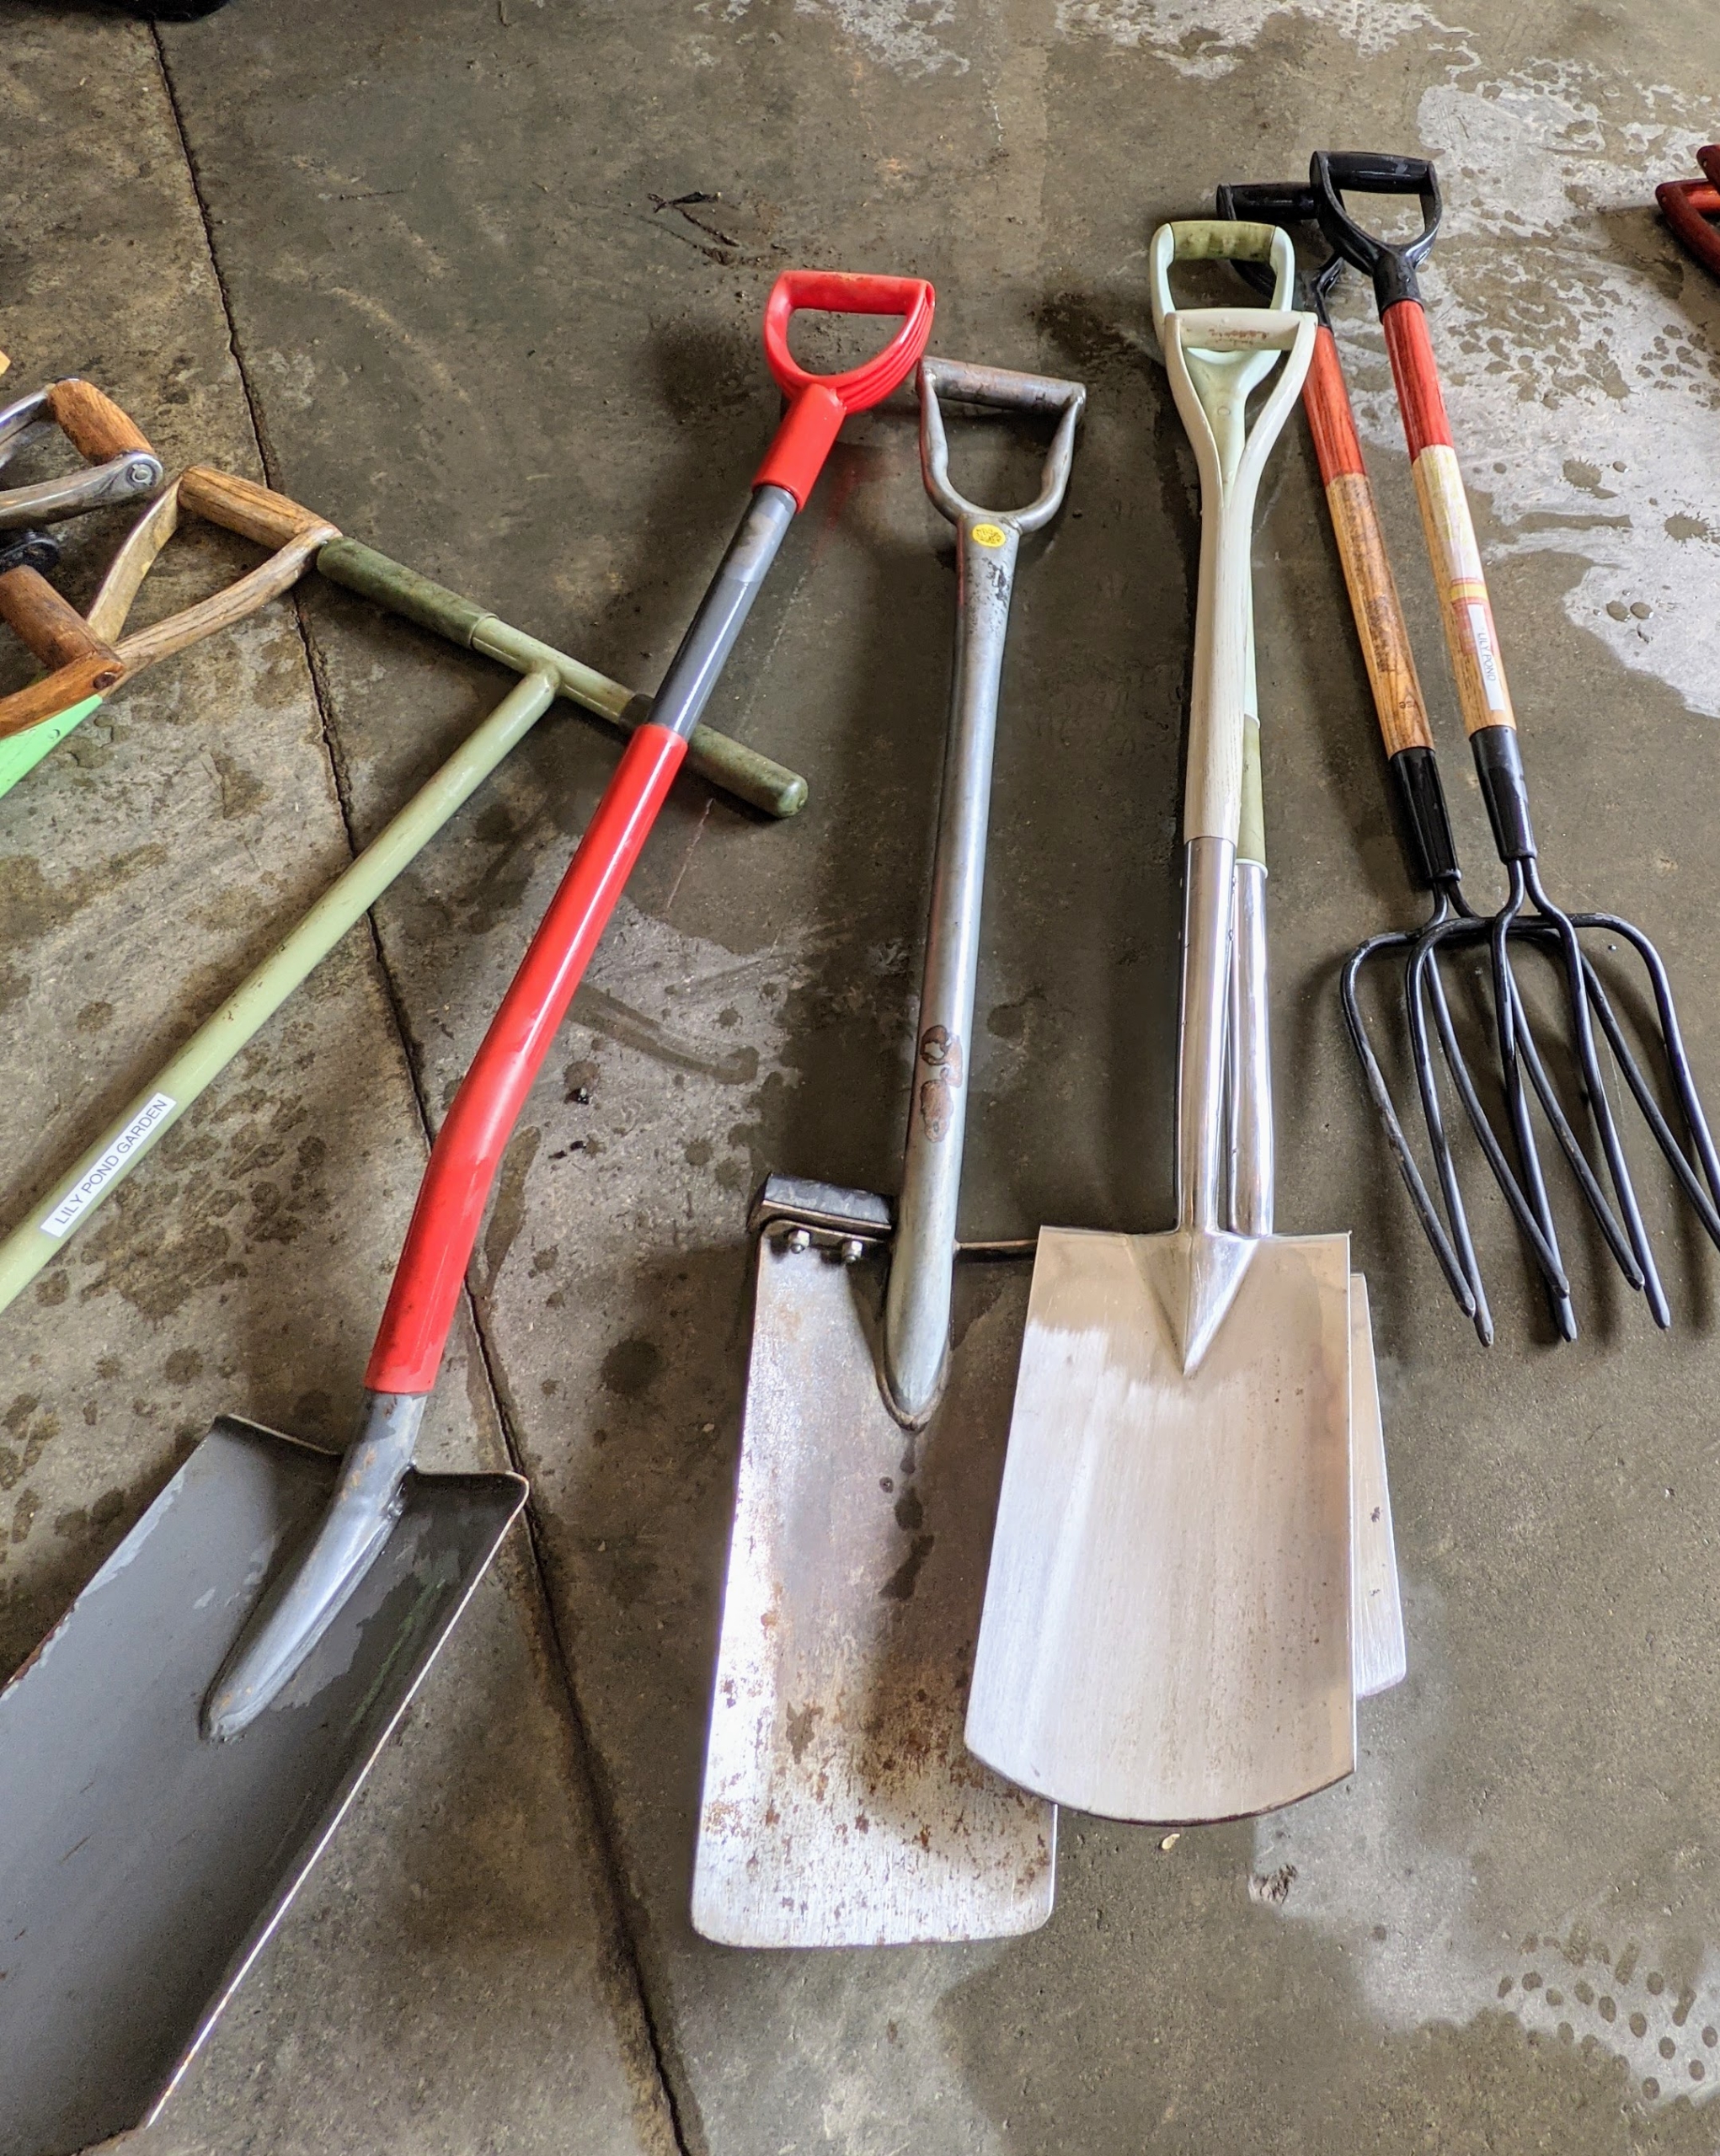
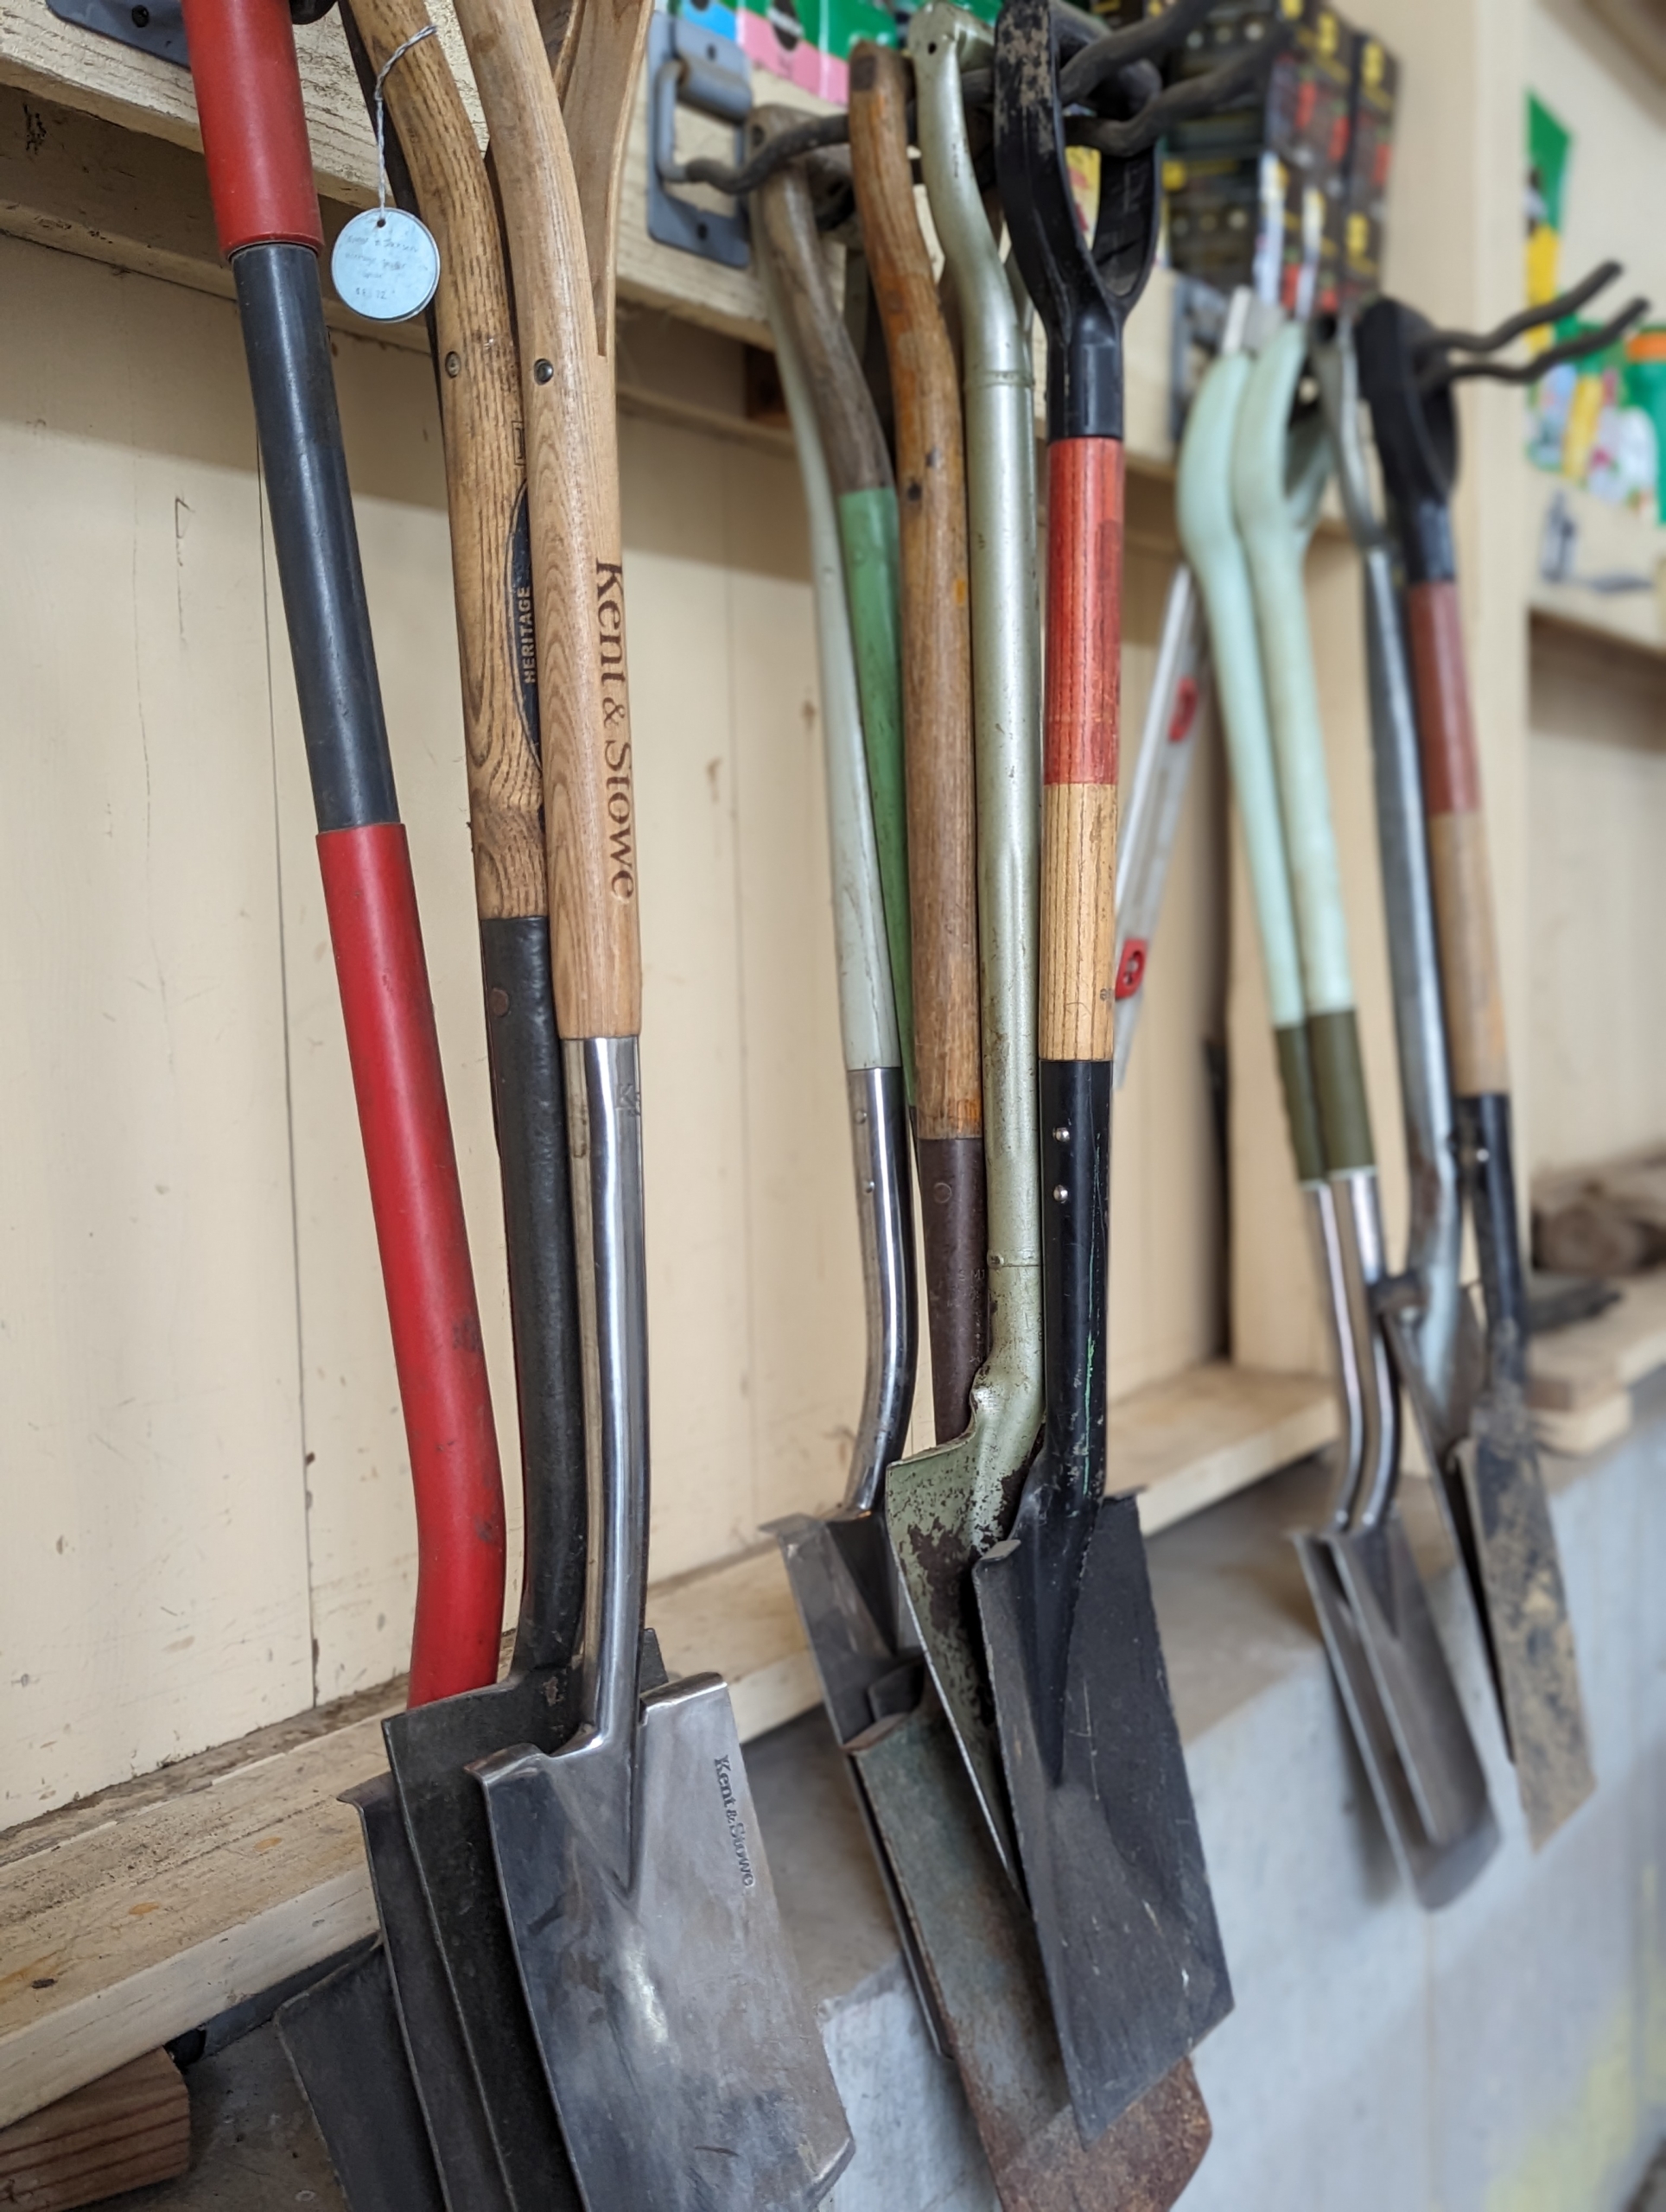
We use industrial hooks that can hold up to 50-pounds each. We keep like items together, so we know where to find them and how many we have in supply. Here are some of our shovels and spades. Do you know the difference between a shovel and a spade? A shovel is longer, angled, and its blade is curved into more of a scoop with a pointed tip. Shovels are better for digging up, breaking apart, and lifting soil as well as for scooping and moving loose materials. A spade has a relatively flat blade with straight edges and the blade tends to be in line with the shaft, rather than angled forward. Spades are good for edging and cutting.
Rakes, forks, edgers, hoes, and other tools are also hung in the same area.
Ladders of various sizes rest against one wall close to one set of large barn doors.
This is our wood chipper – an important piece of equipment at the farm. I am fortunate to have this machinery to chip fallen or cut branches and then return them to the woodland for top dressing. It has a special parking spot in one corner of the space.
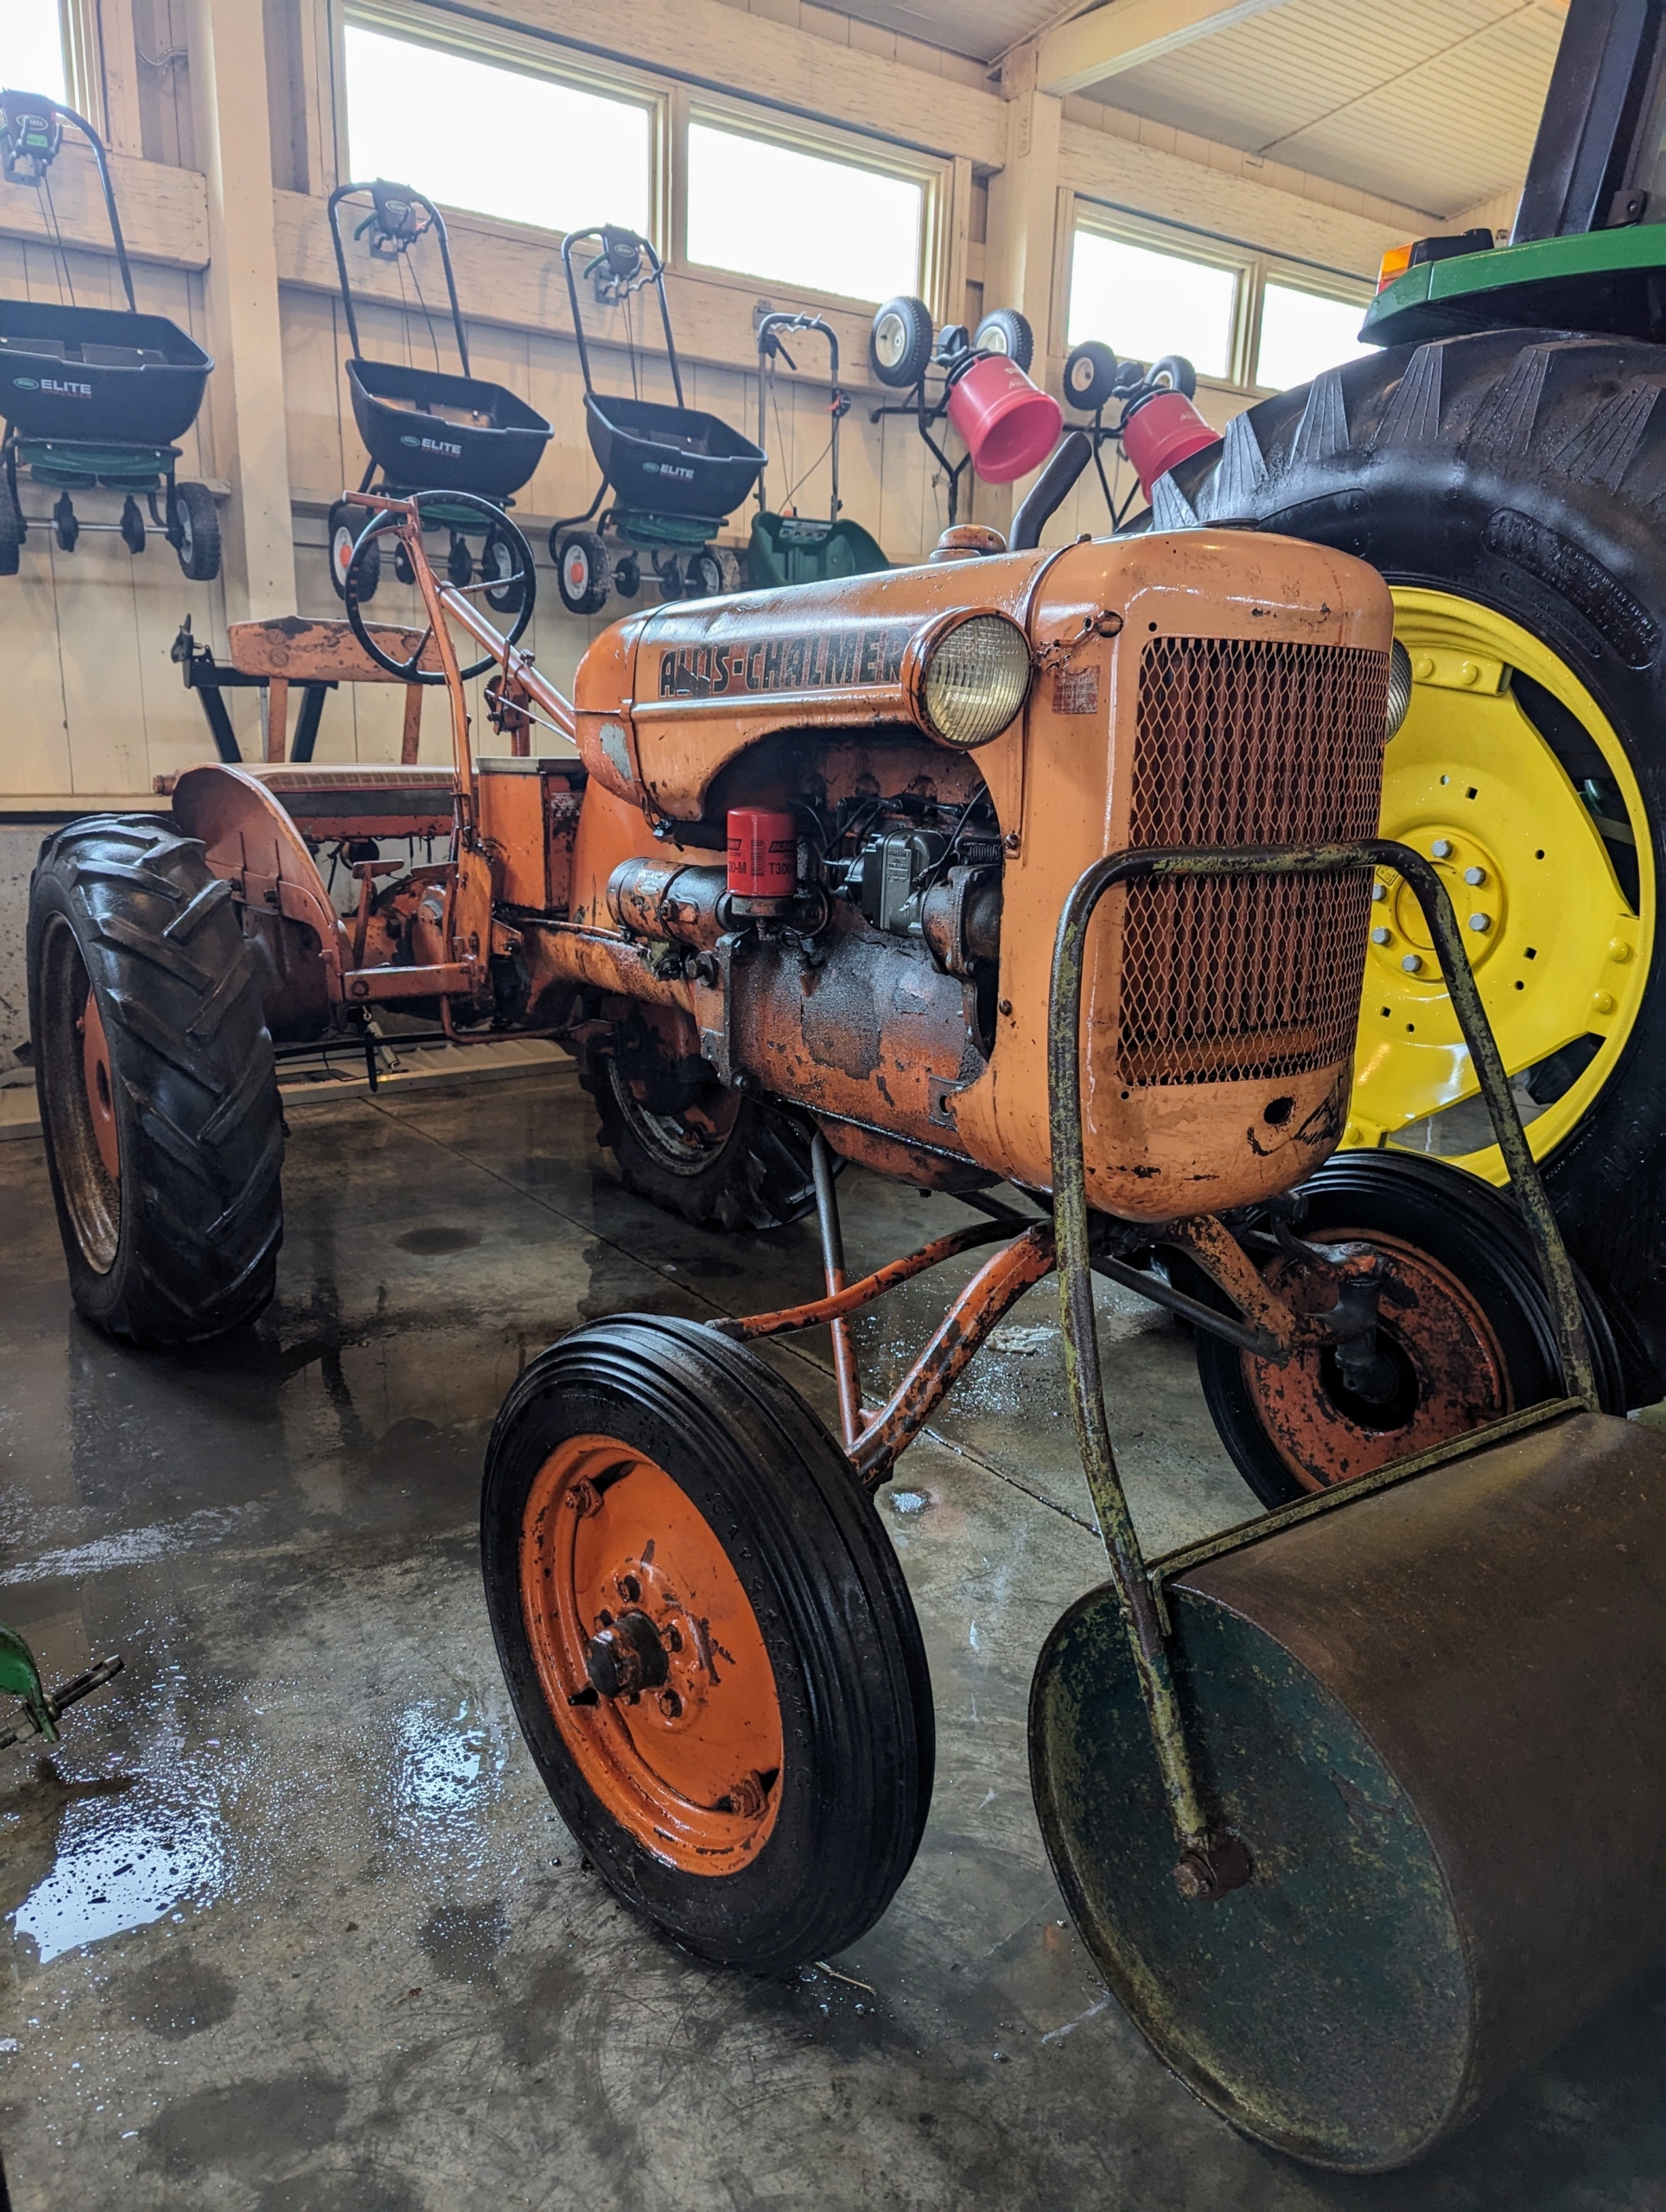
I keep this vintage Allis-Chalmers tractor from the 1940s in this barn also. It reminds us how much these farm pieces have evolved over the years.
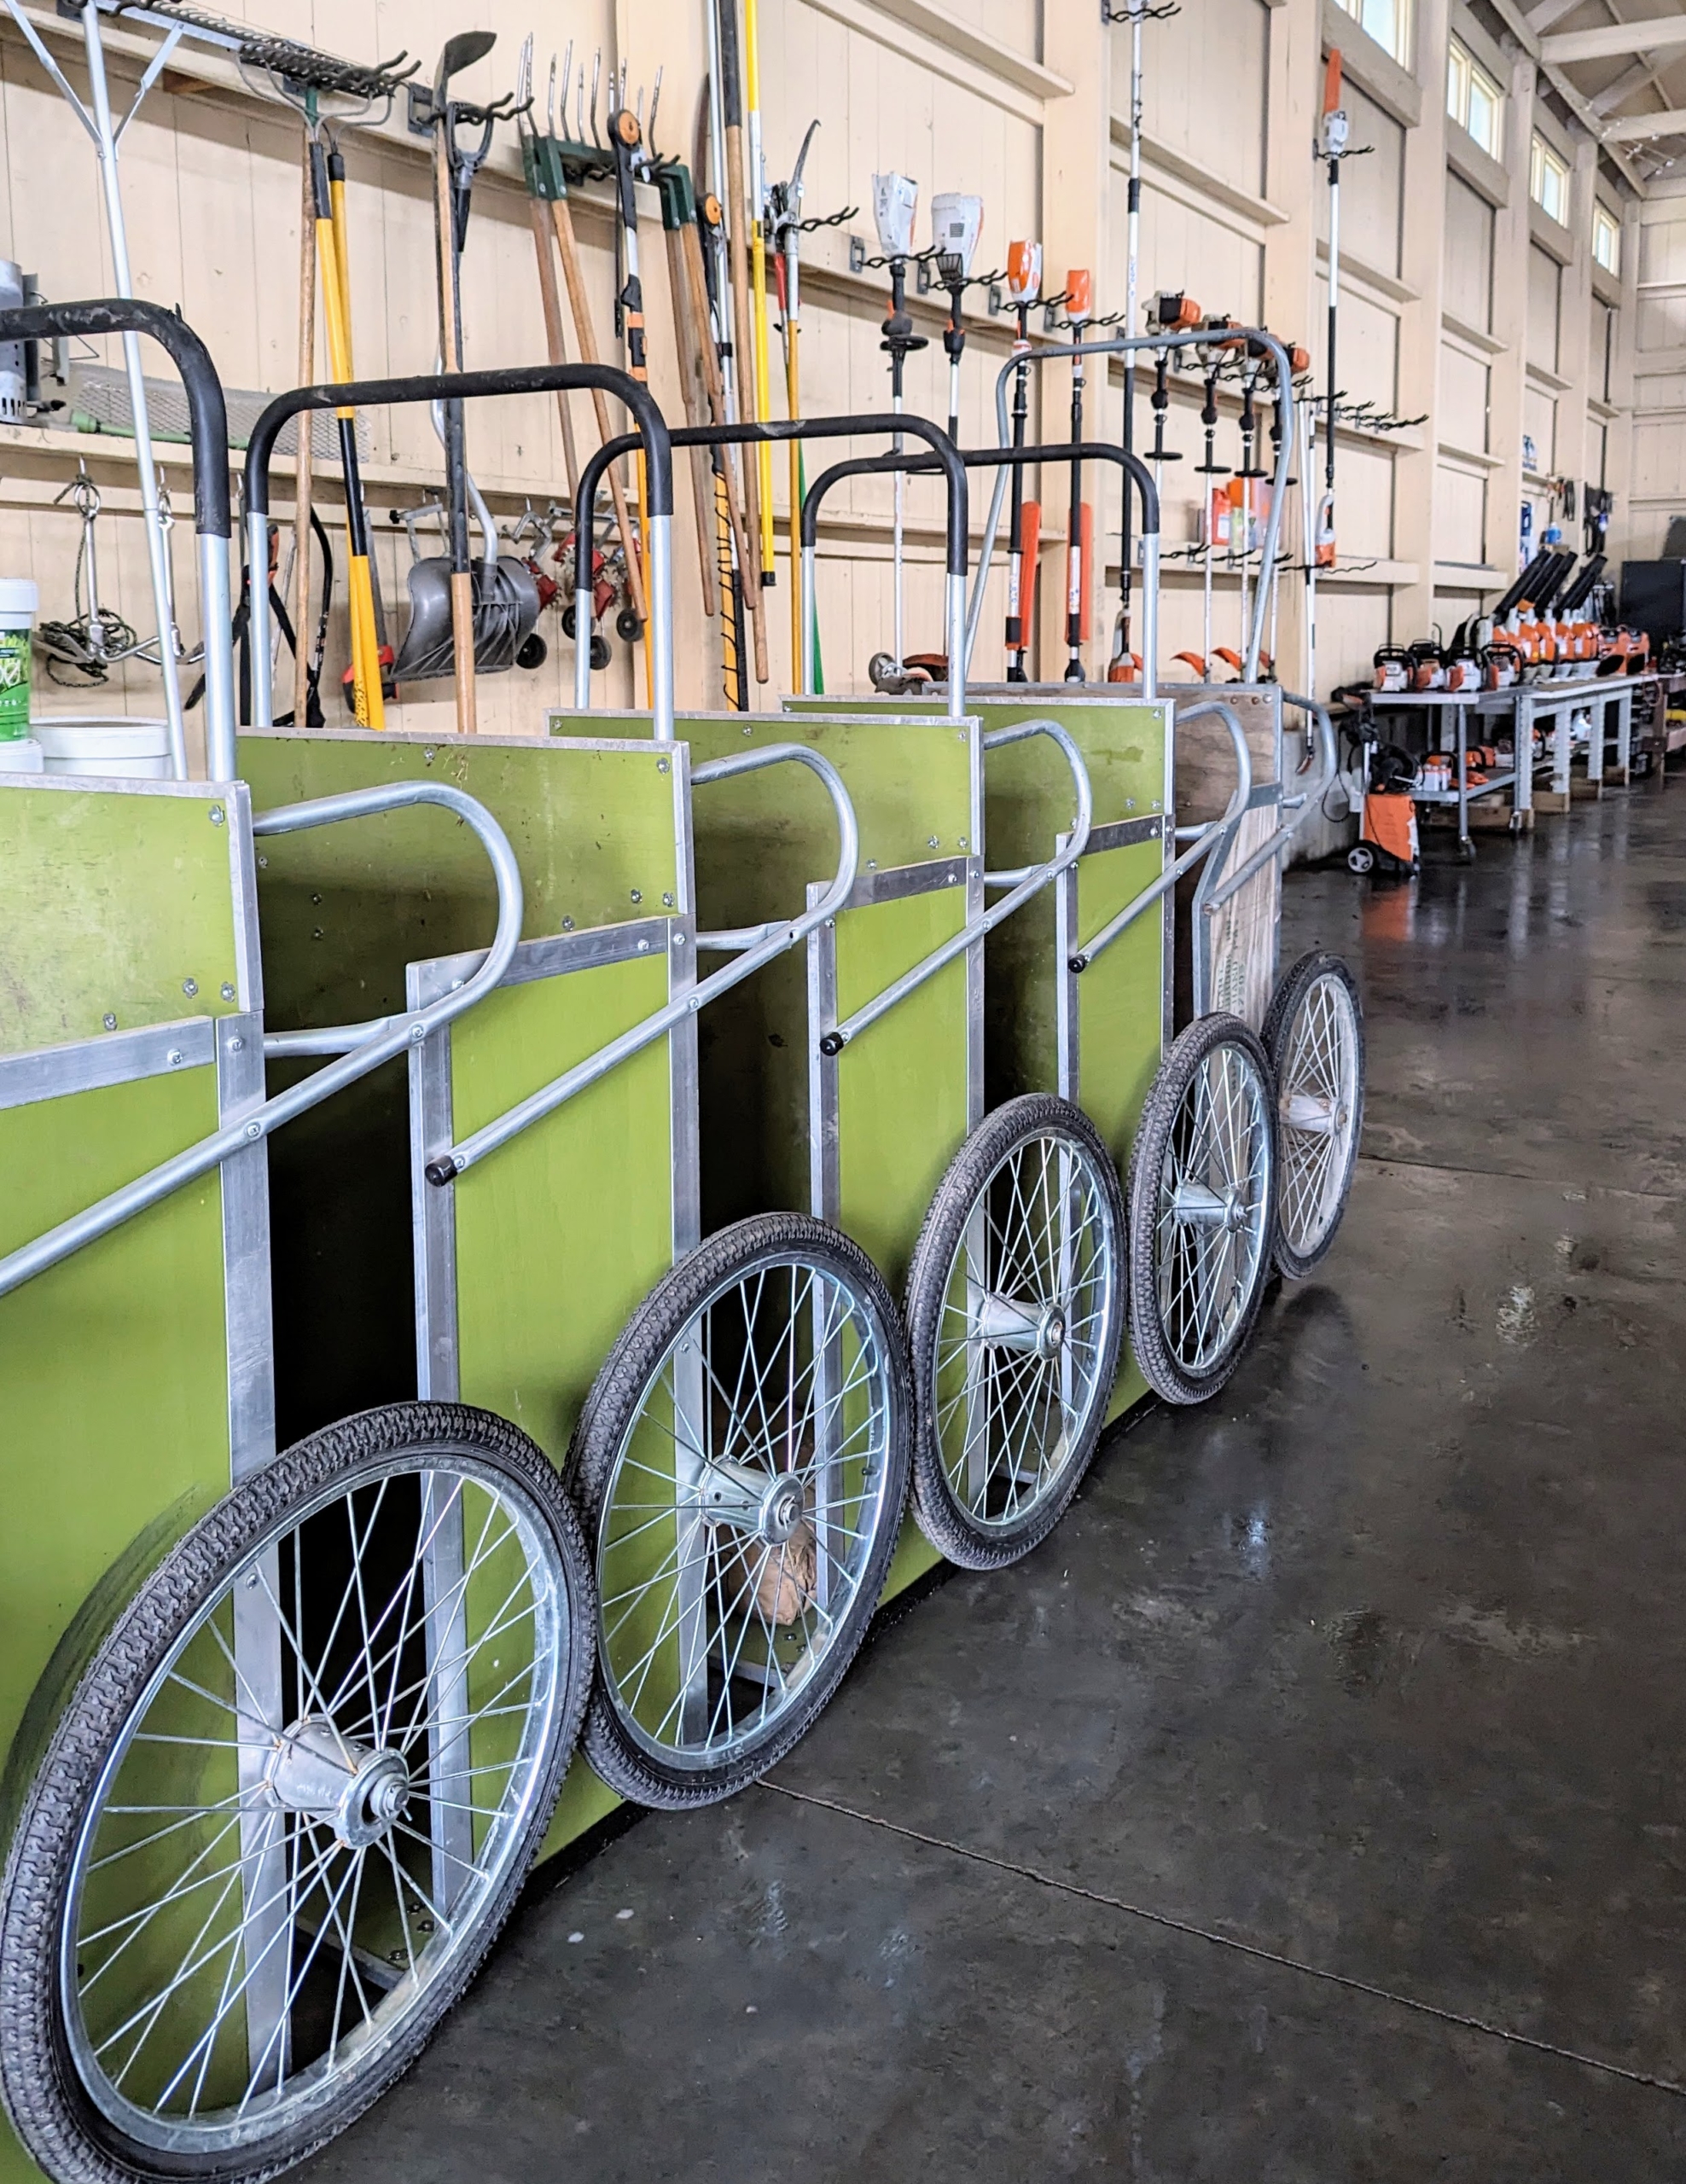
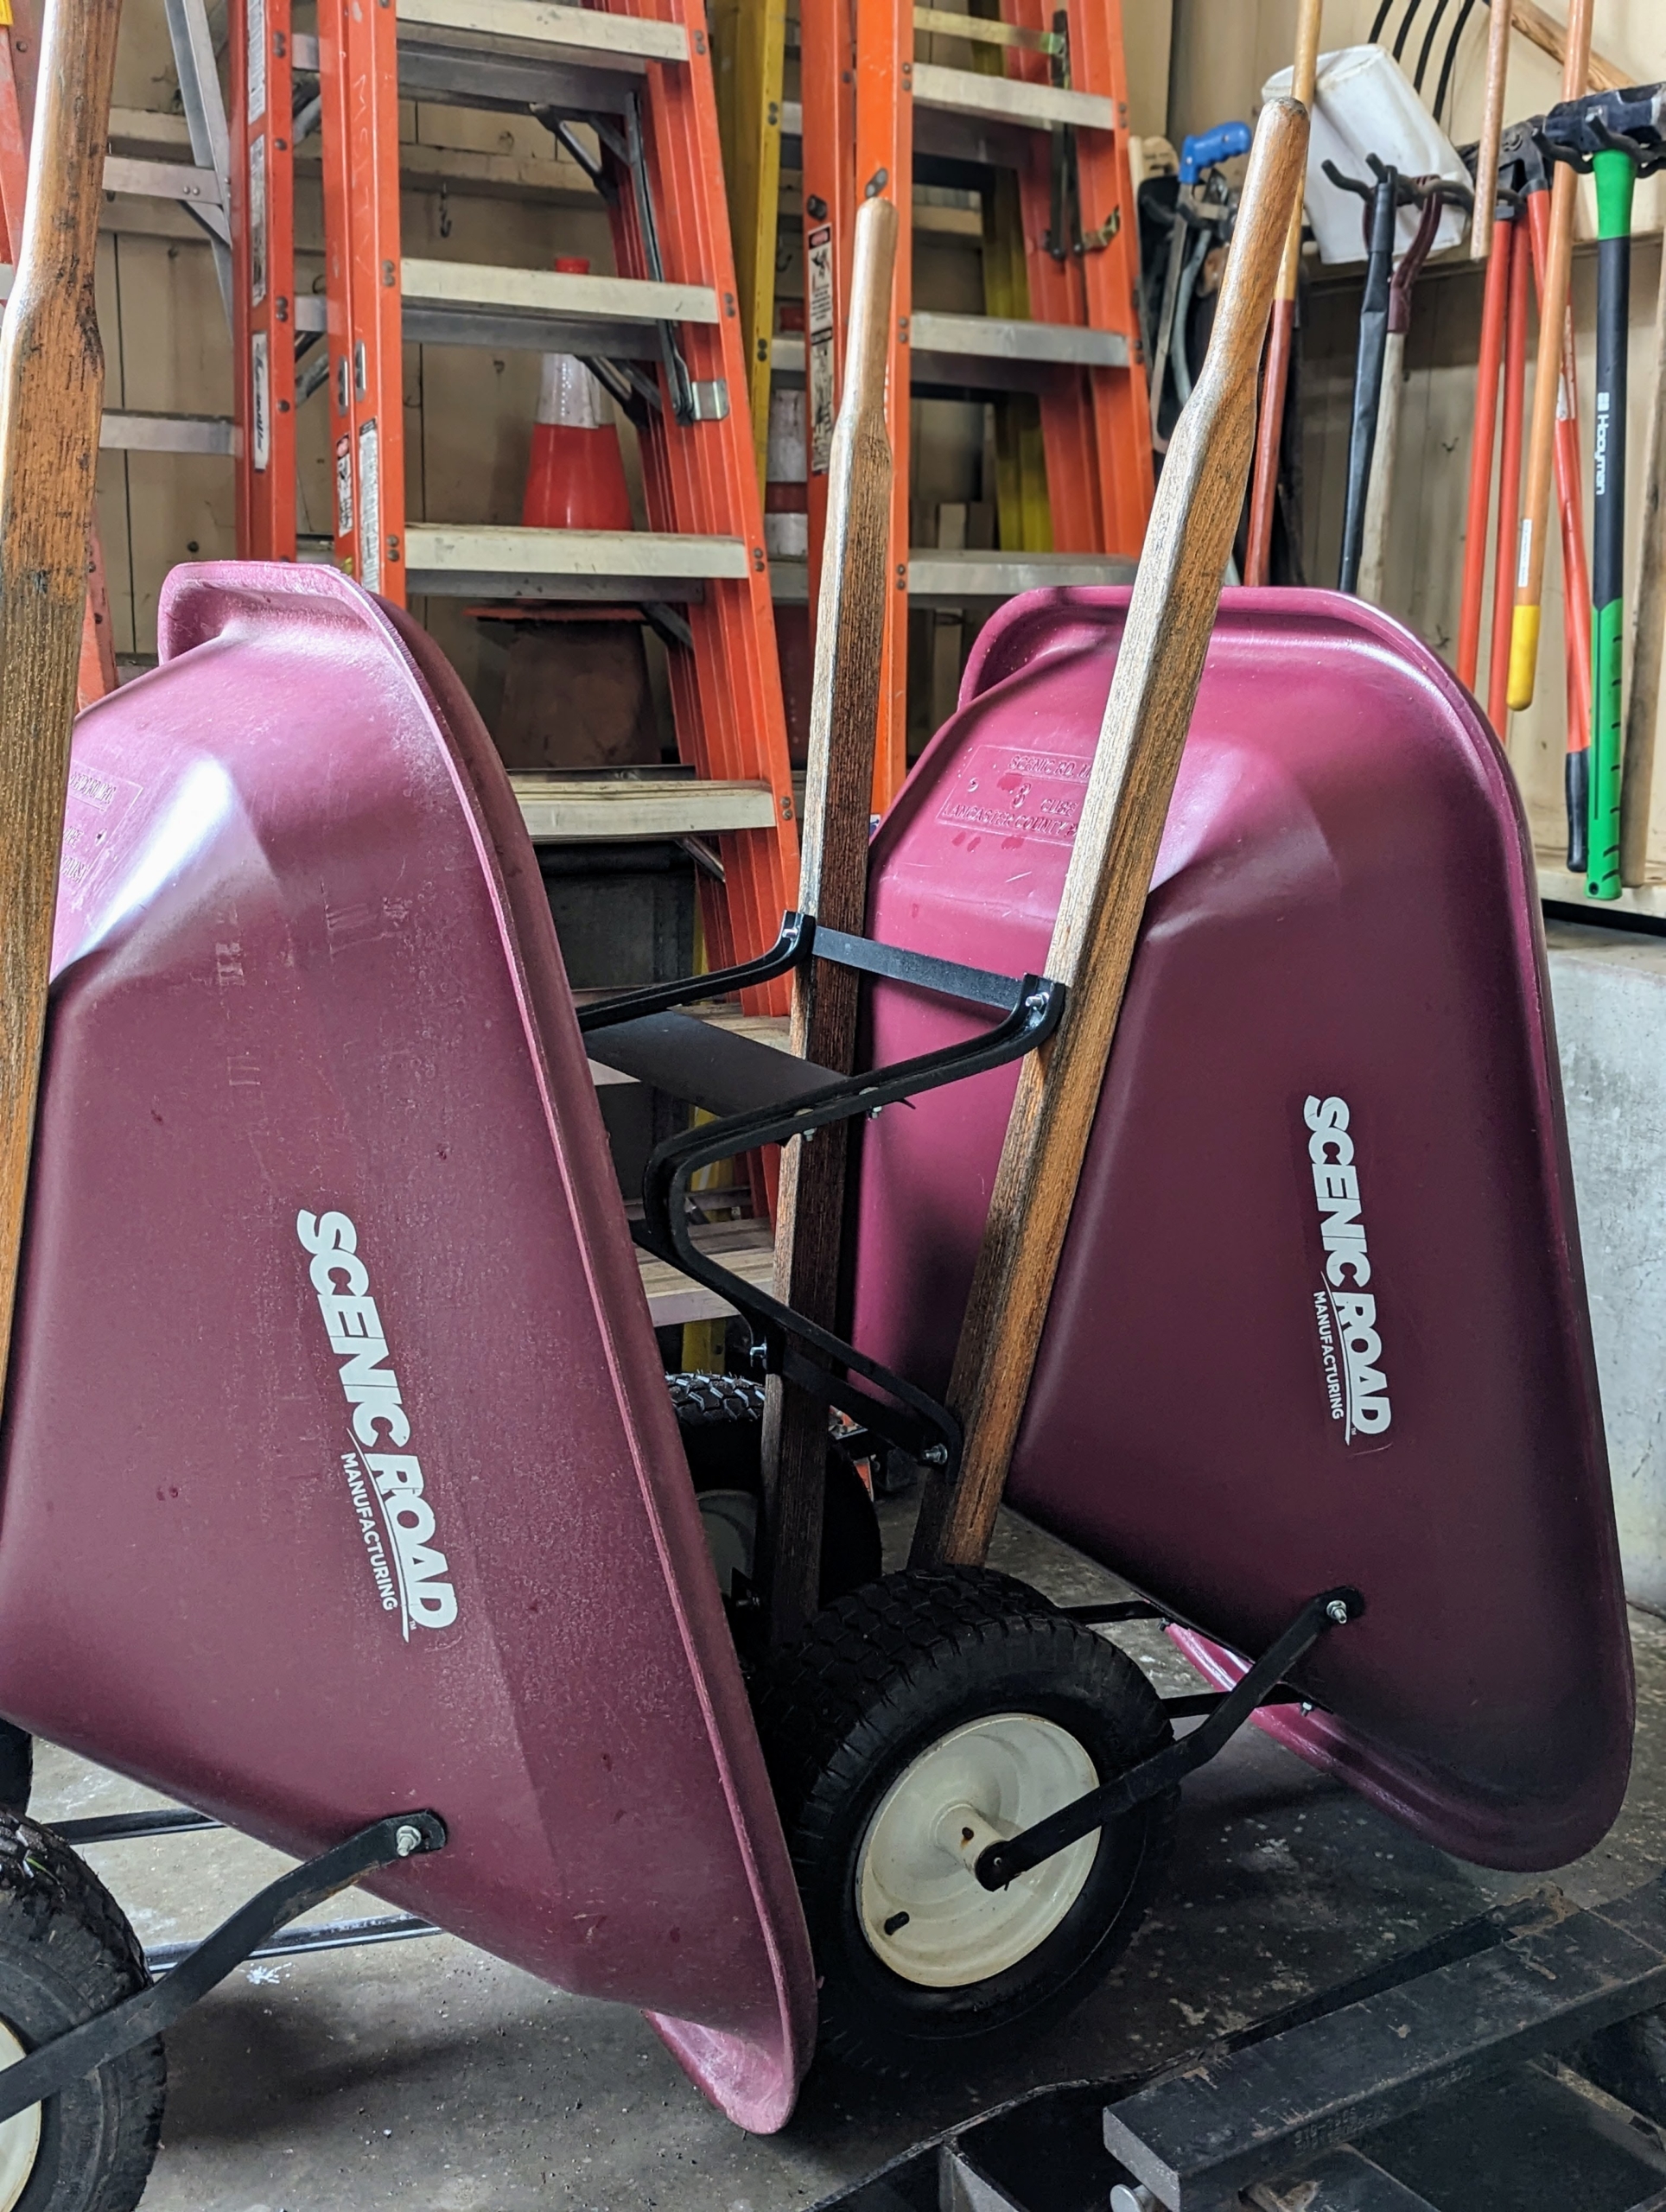
Our dependable wheelbarrows from Scenic Road are washed, and stored upright to save space.
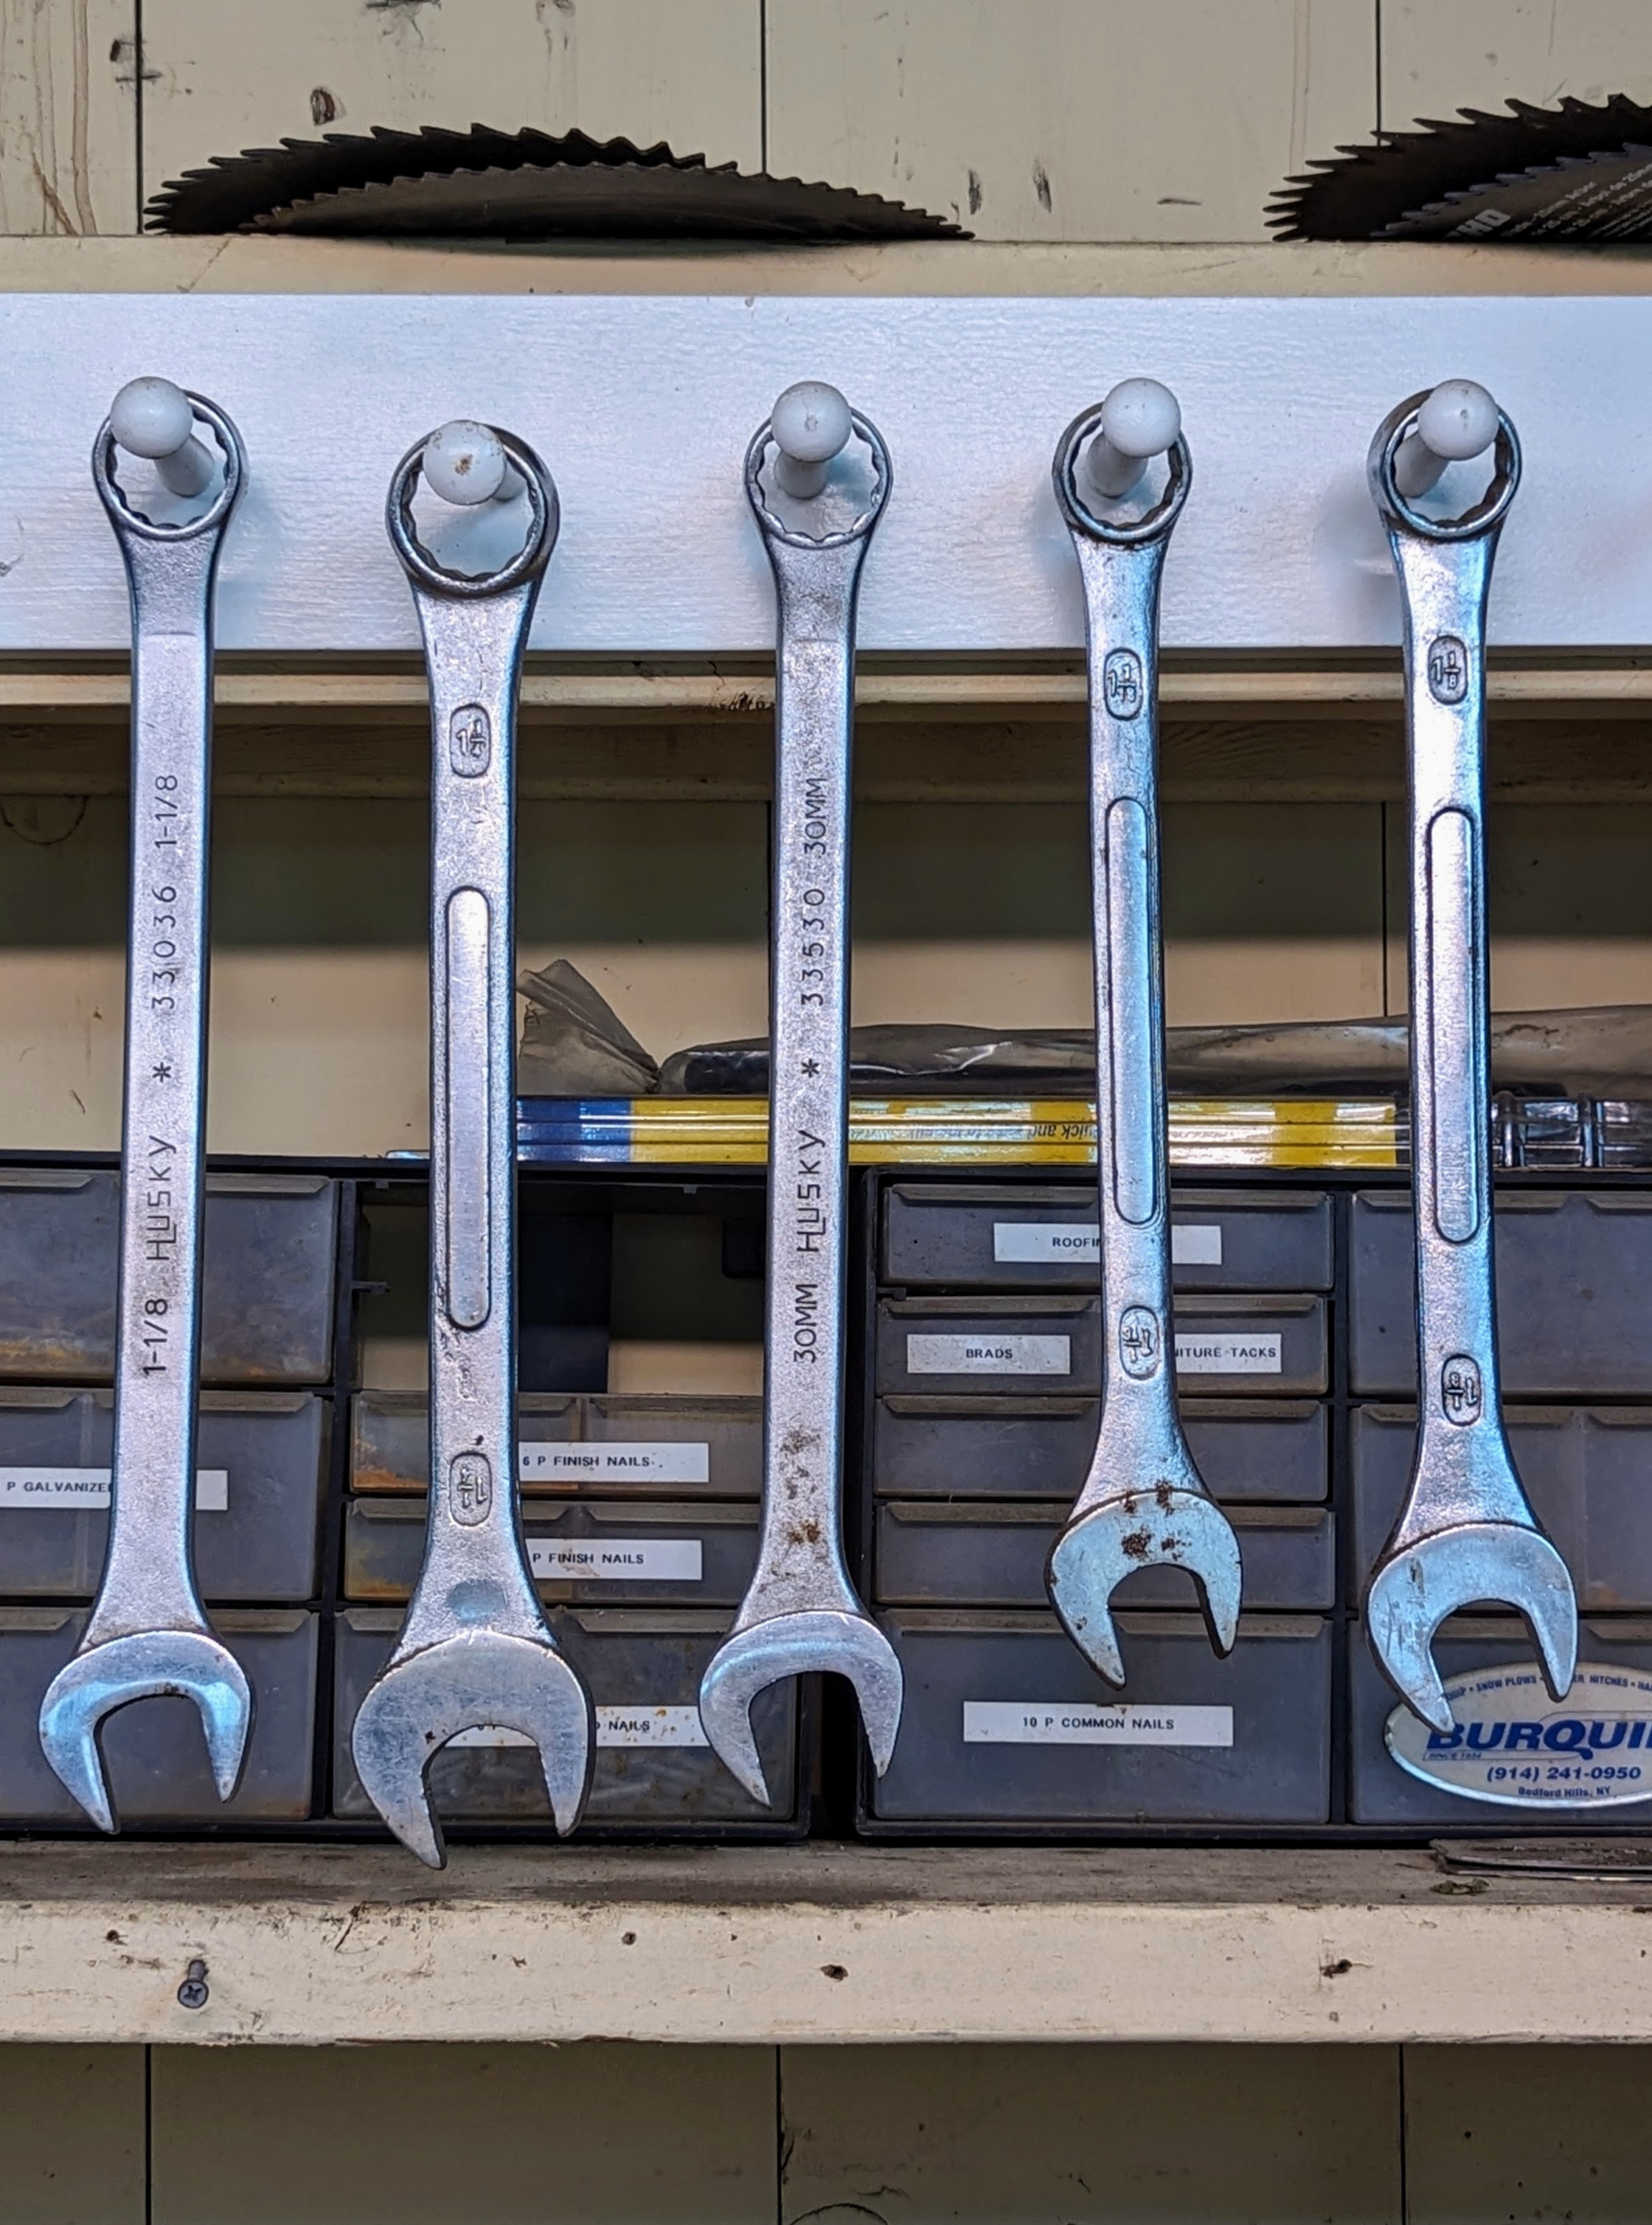
All the smaller tools, such as these large combination wrenches are also organized and hung over the workbench.
We have a fleet of Kubota mowers. They are used almost daily during the warmer months. Here, they are parked in a designated spot, where they can easily be driven out when needed.
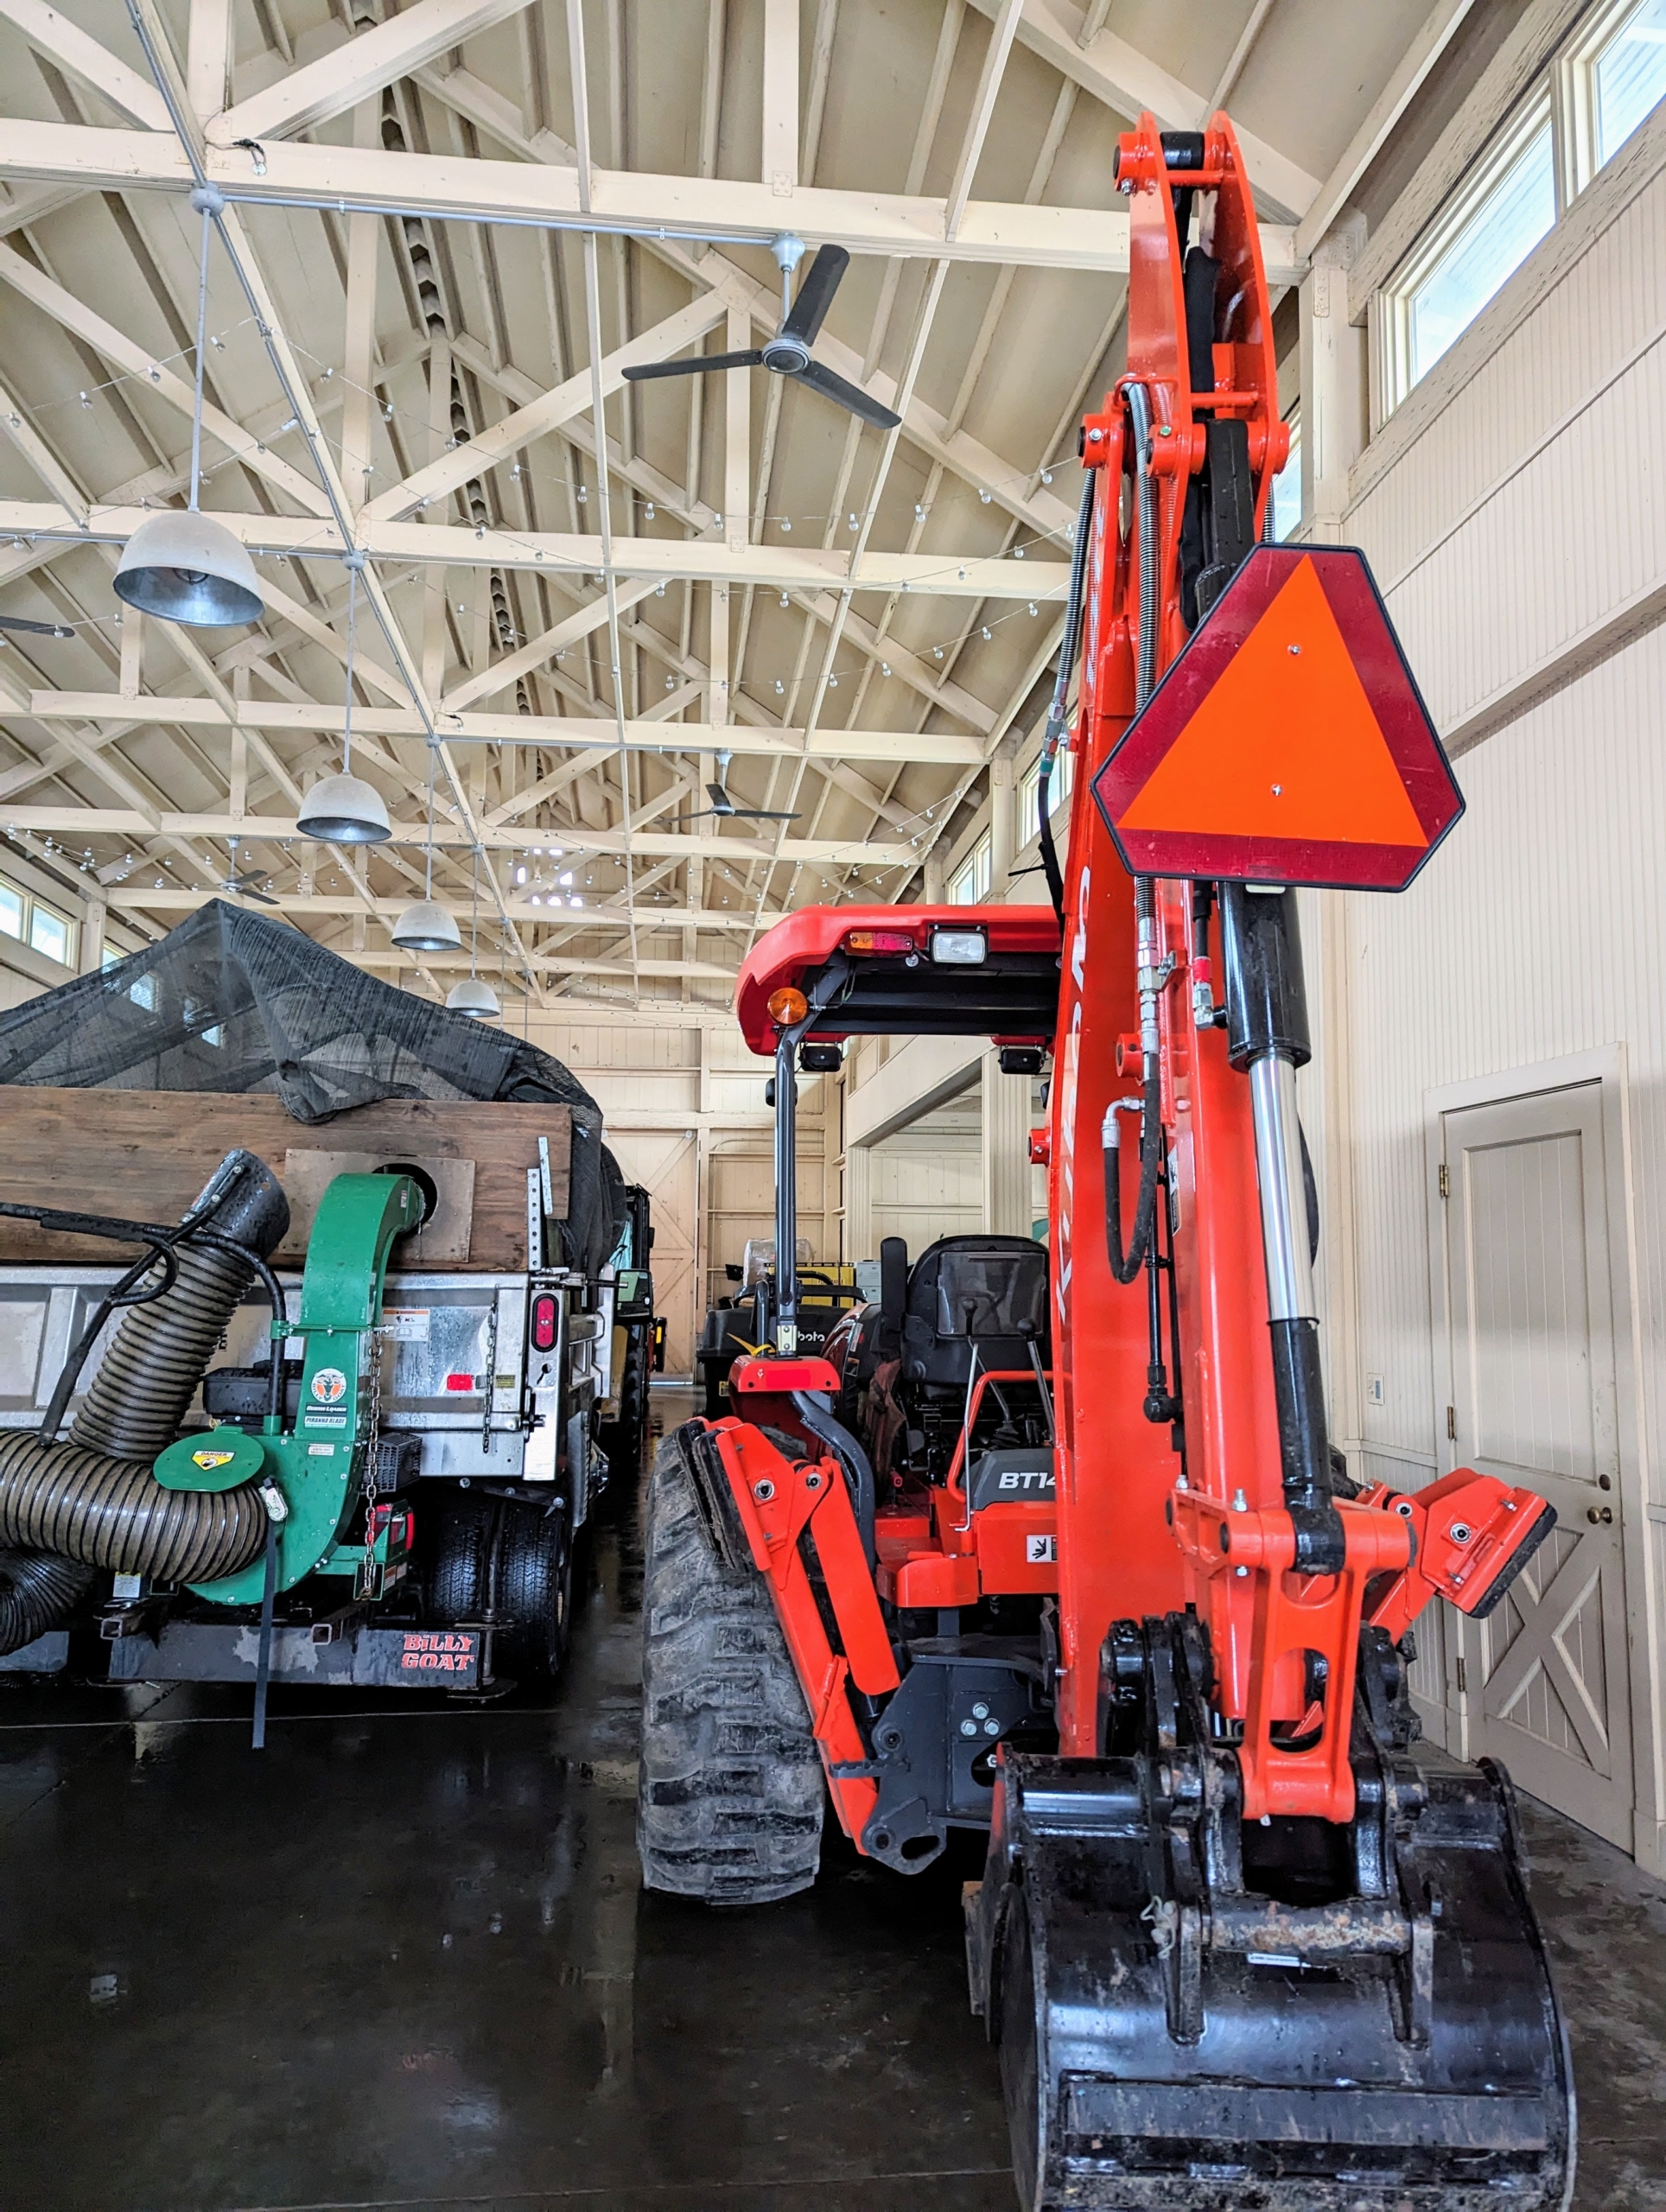
This barn also accommodates our farm vehicles. Our tractors and trucks are parked neatly inside at the end of each day.
So much can fit into this Equipment Barn, especially when it is clean and all the tools are properly stored.
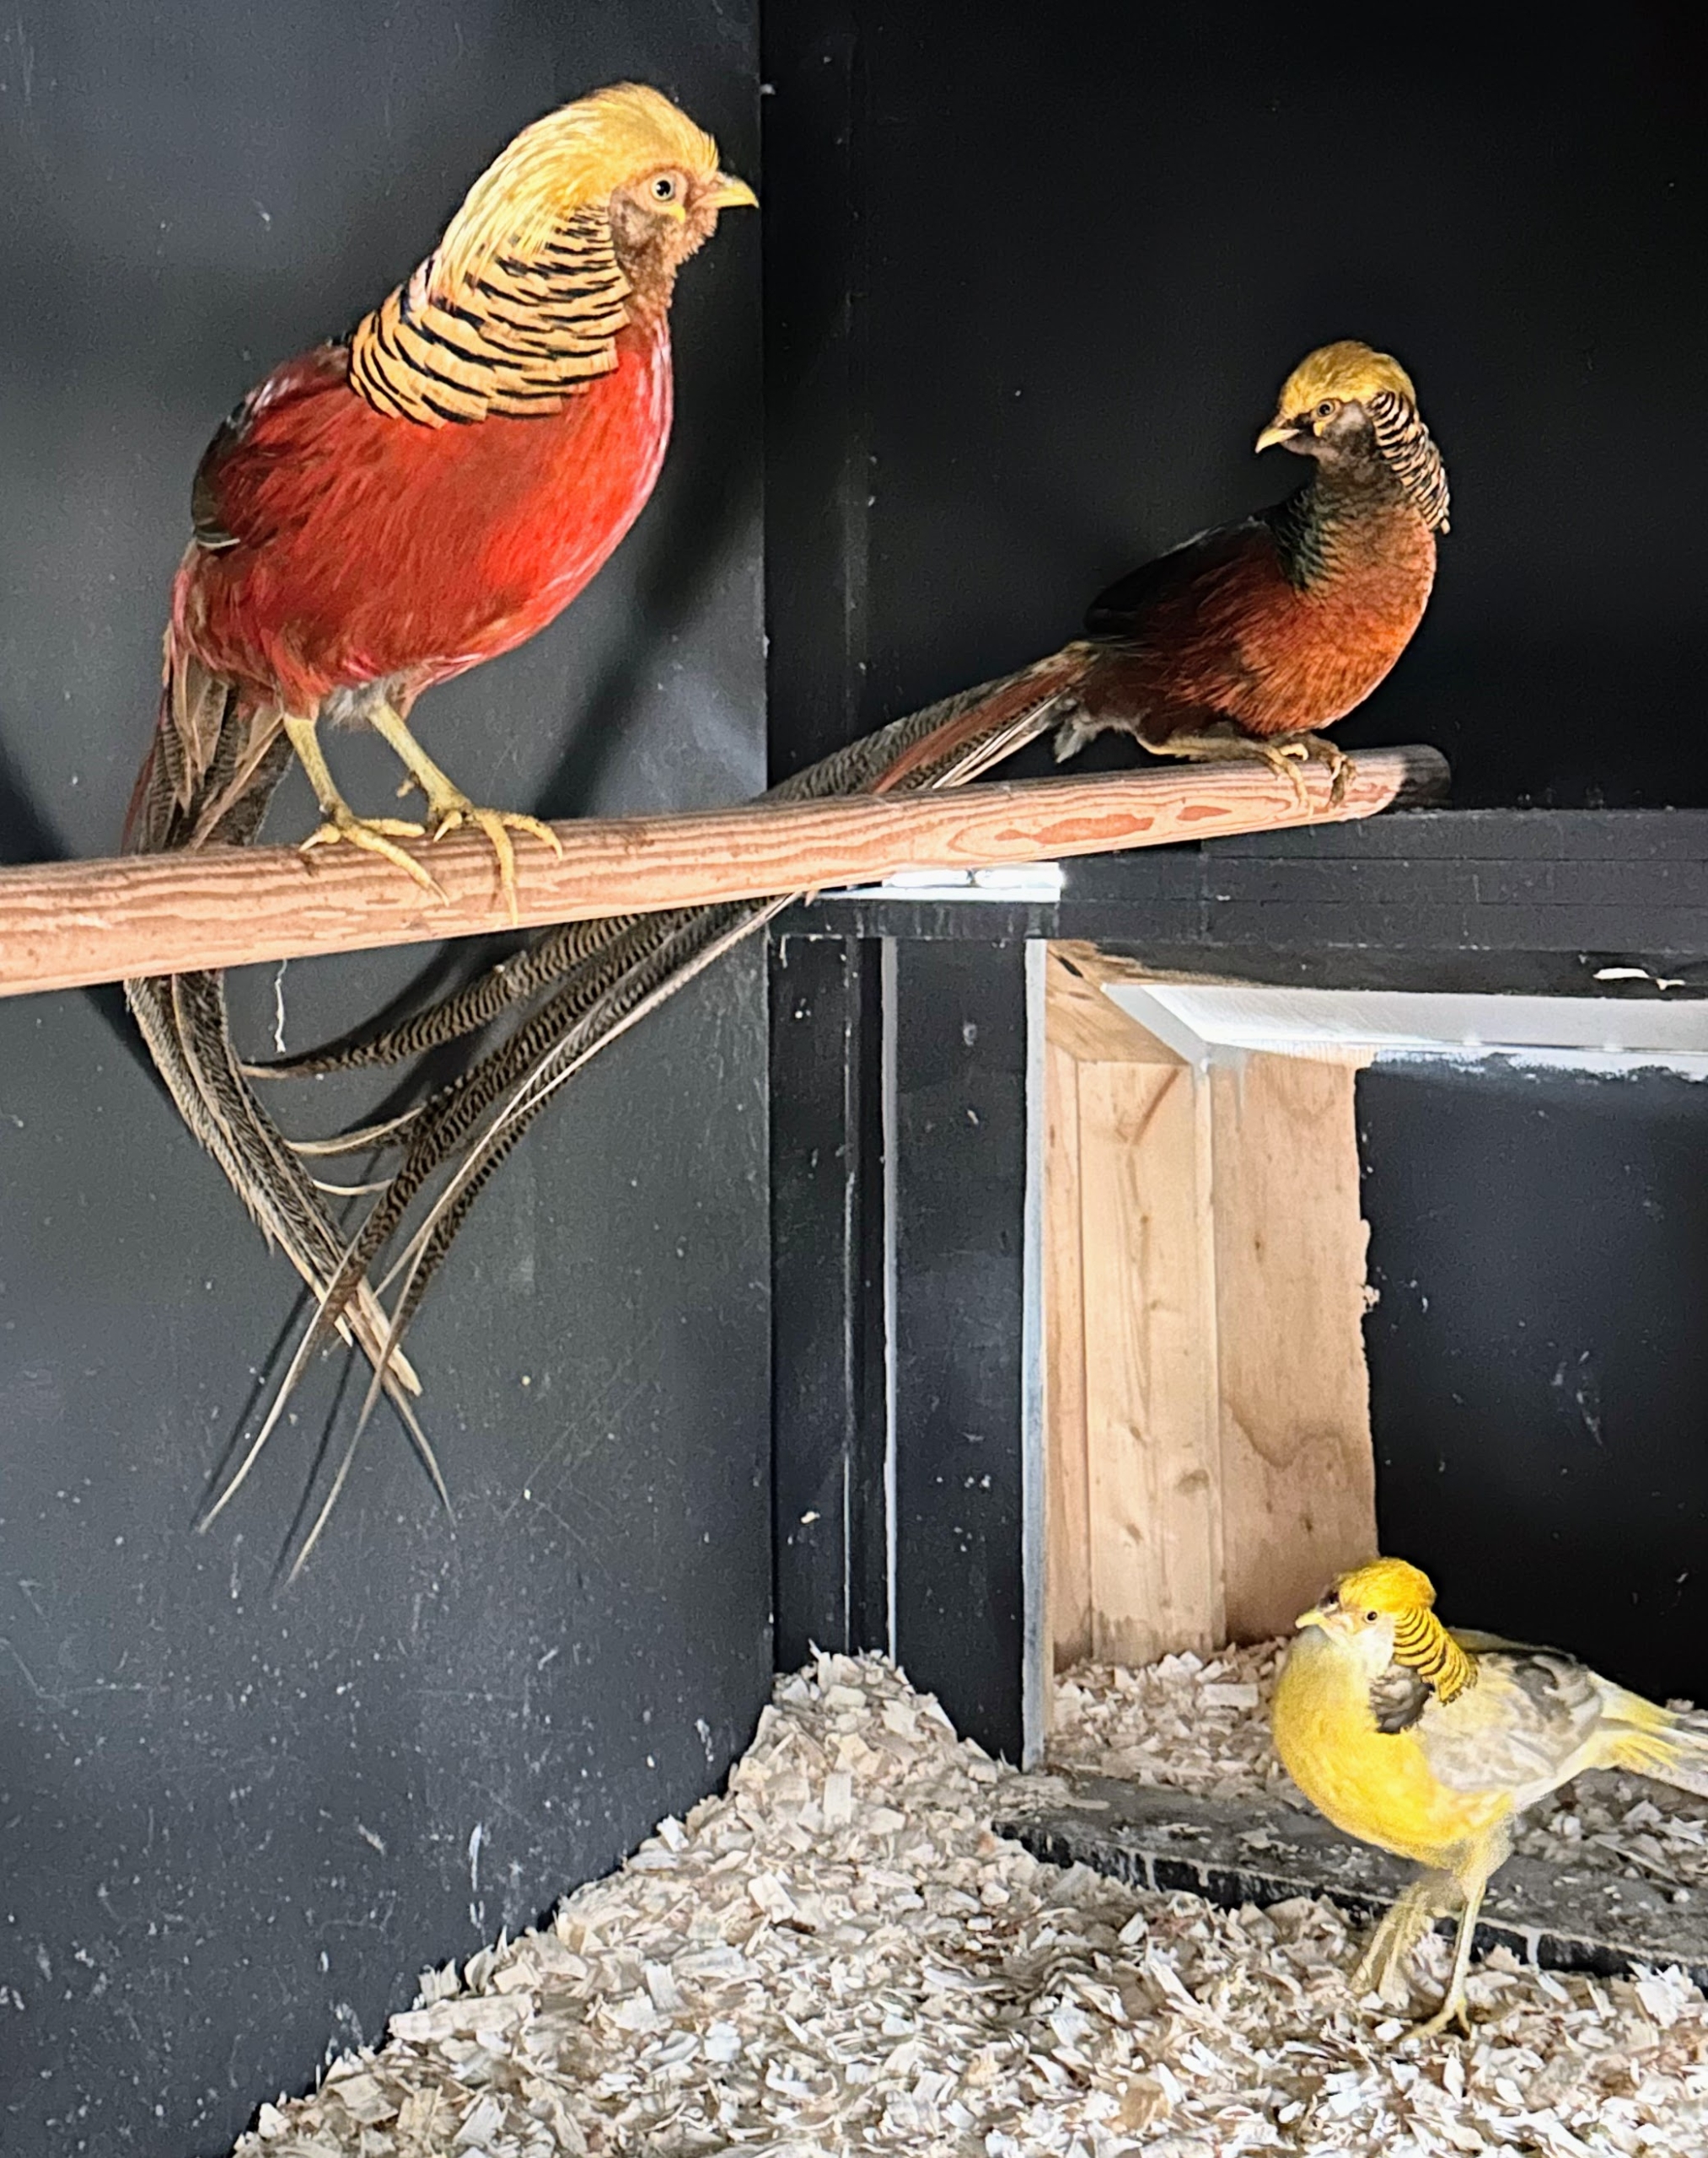
My three Golden Pheasants are settling in nicely here at my farm.
I adopted these exotic gamebirds earlier this year from the Animal Nation Farm Sanctuary in nearby South Salem, New York, a wonderful and caring organization and go-to resource for at-risk animals from New York City and the surrounding areas. Pheasants are native to the forests in the mountainous areas of western China. The males are beautifully marked with mainly bright red, orange, and yellow plumage. My three are acclimating to their coop and recently started venturing outdoors into their enclosure.
Here are some photos, enjoy.
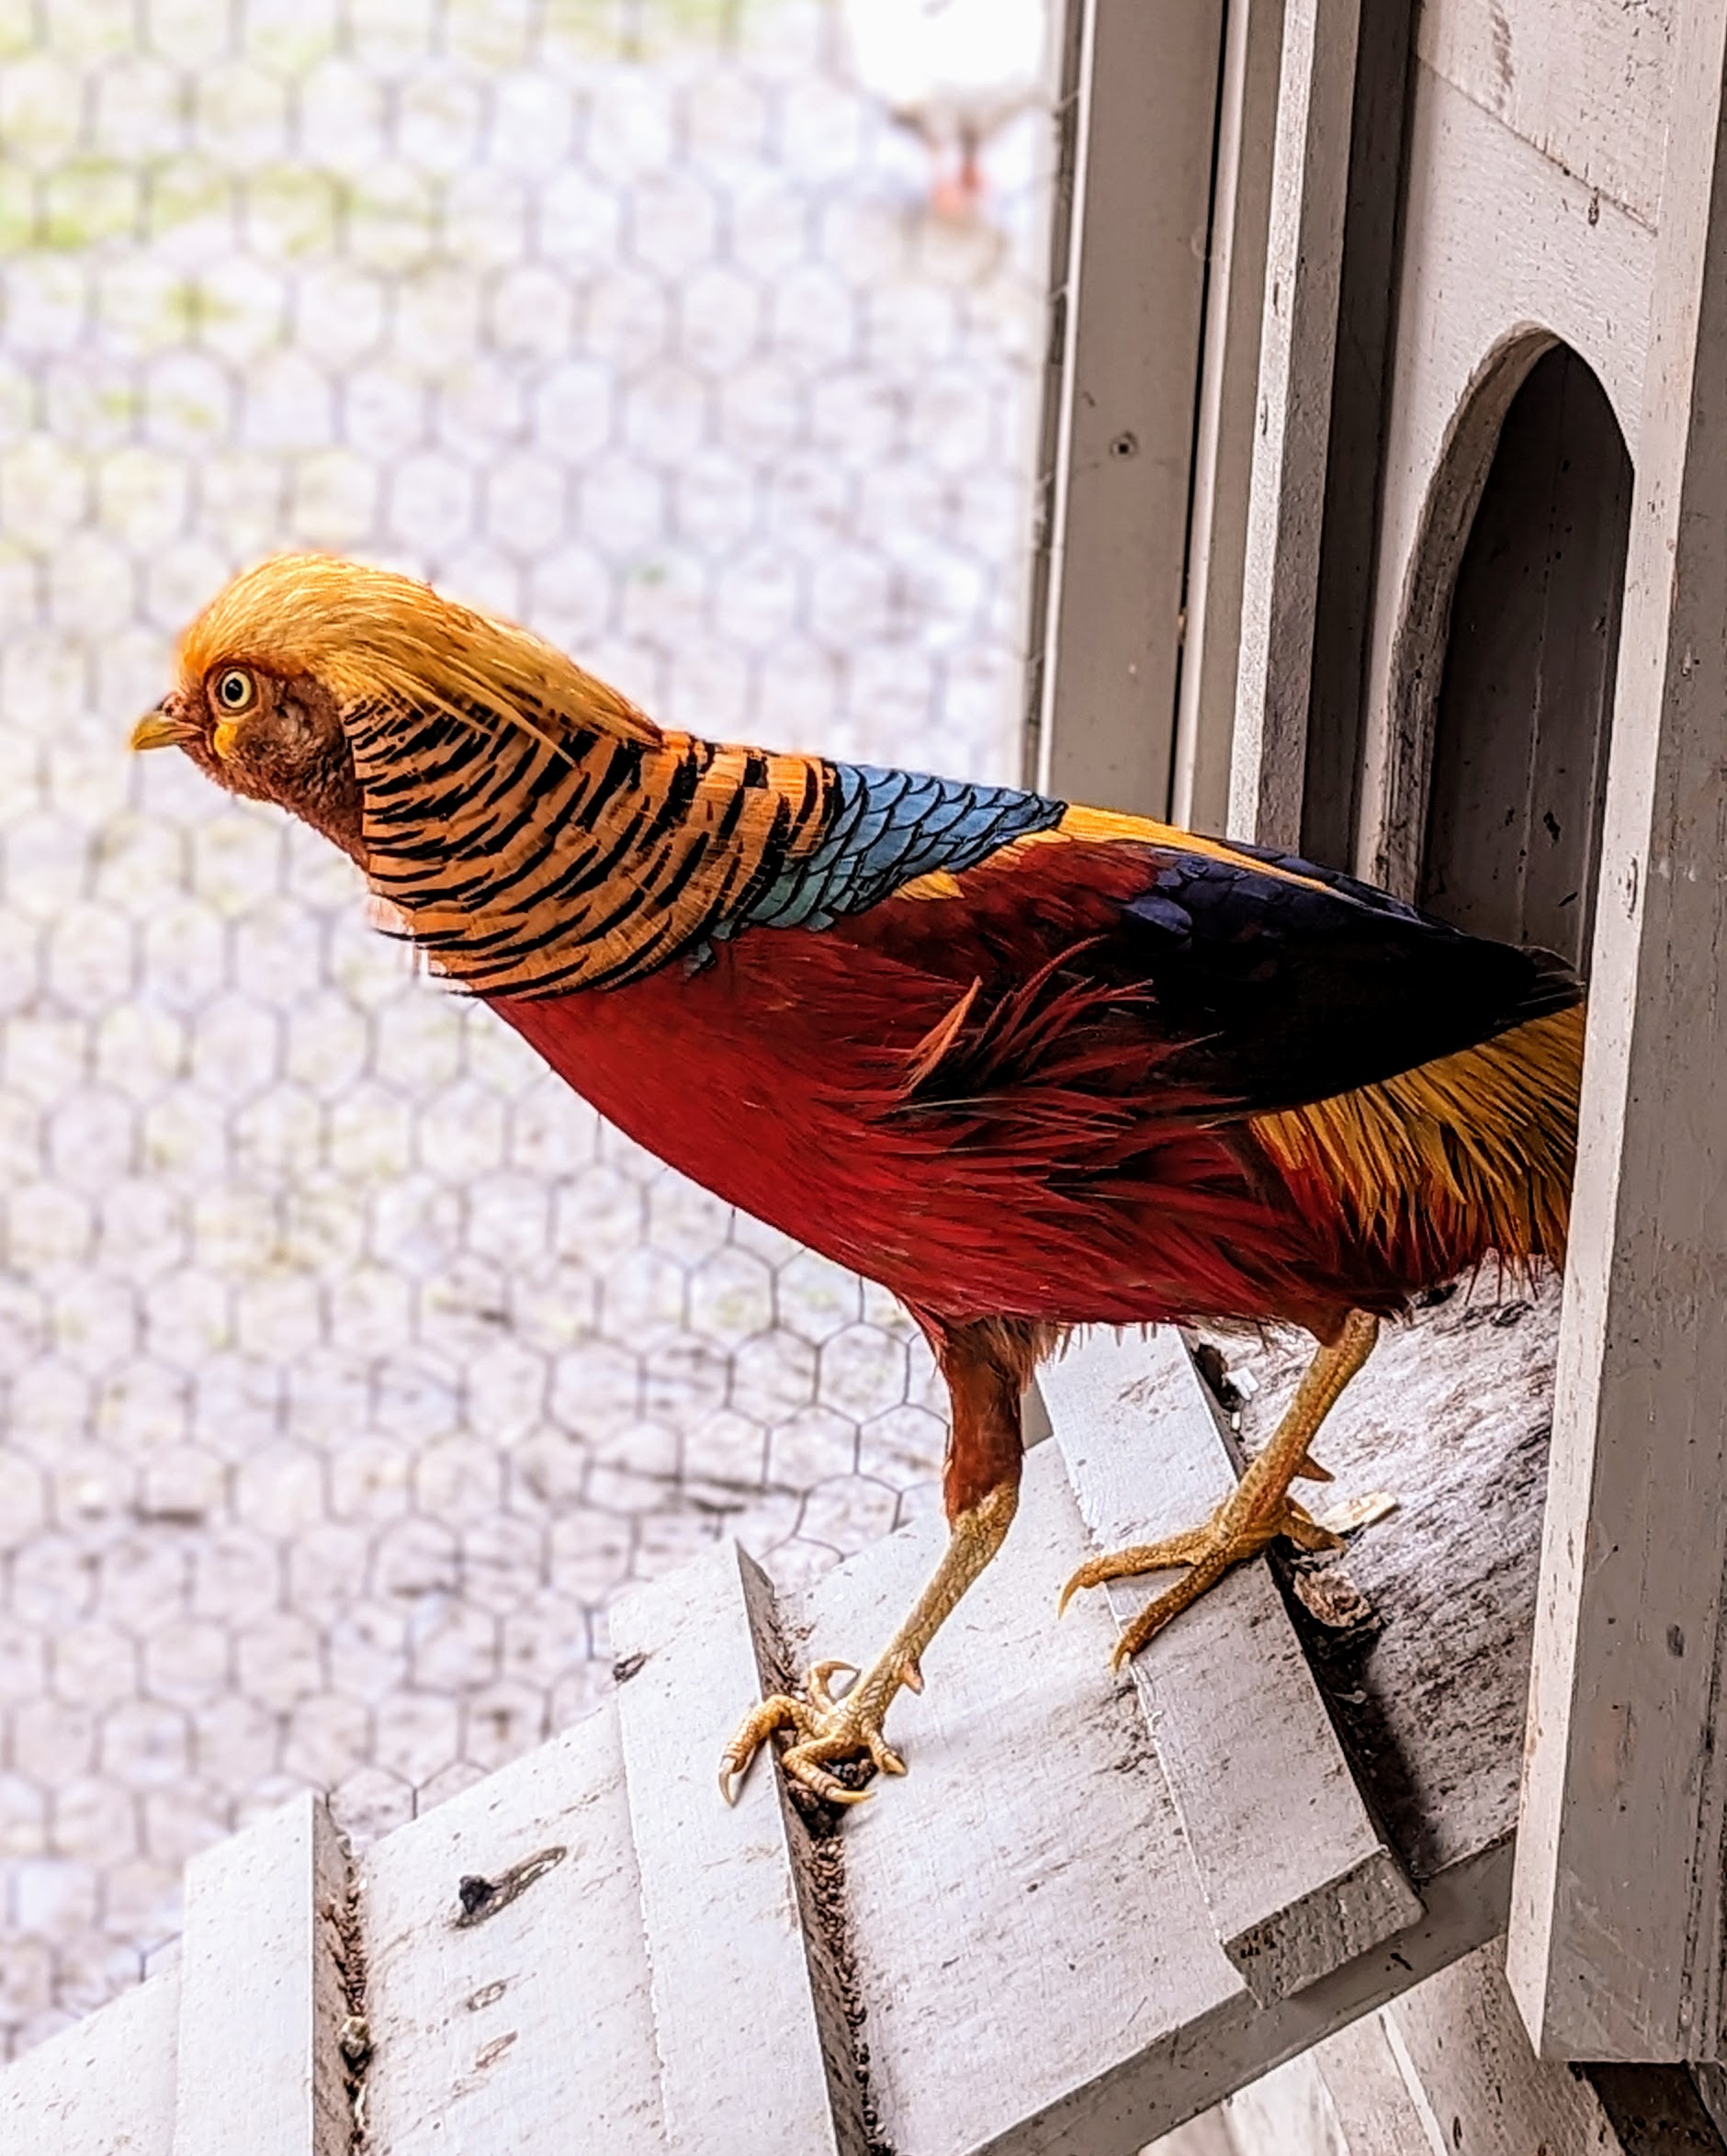
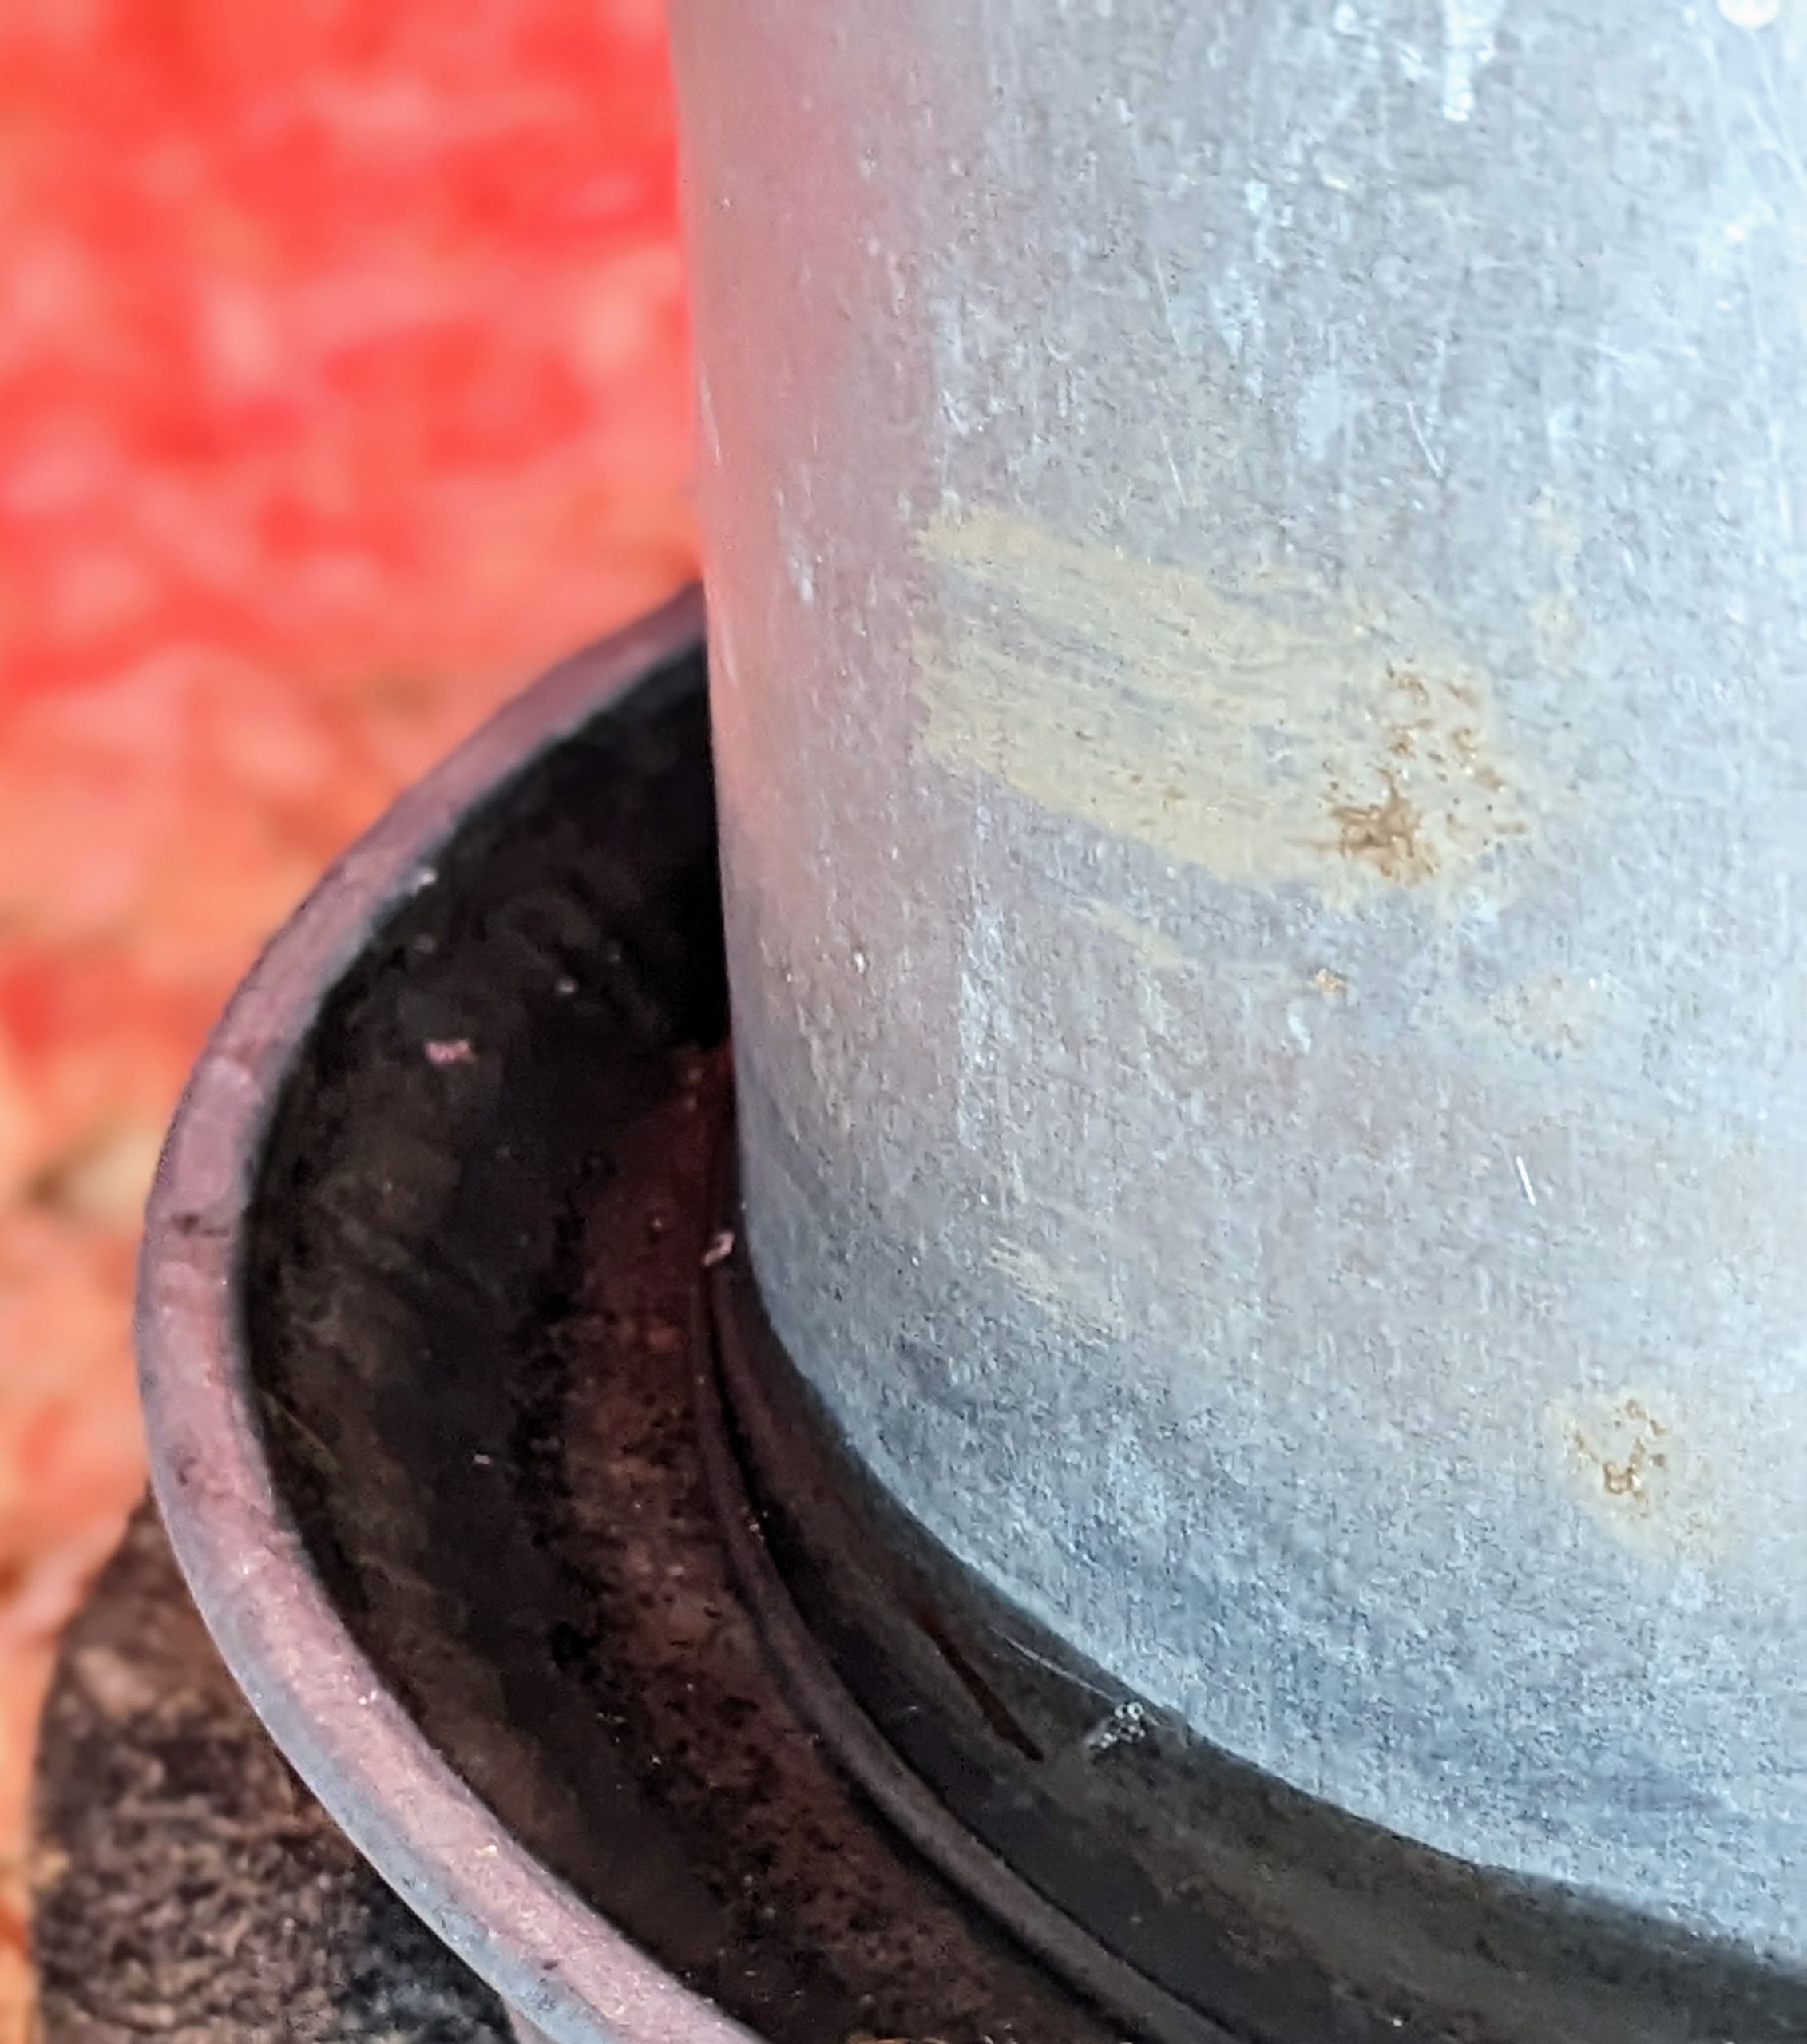
Here is one of my three pheasants exiting the coop for some fresh air on this very rainy day. This coop is completely enclosed for safety and has two ramps for easy access to the outdoor pen.
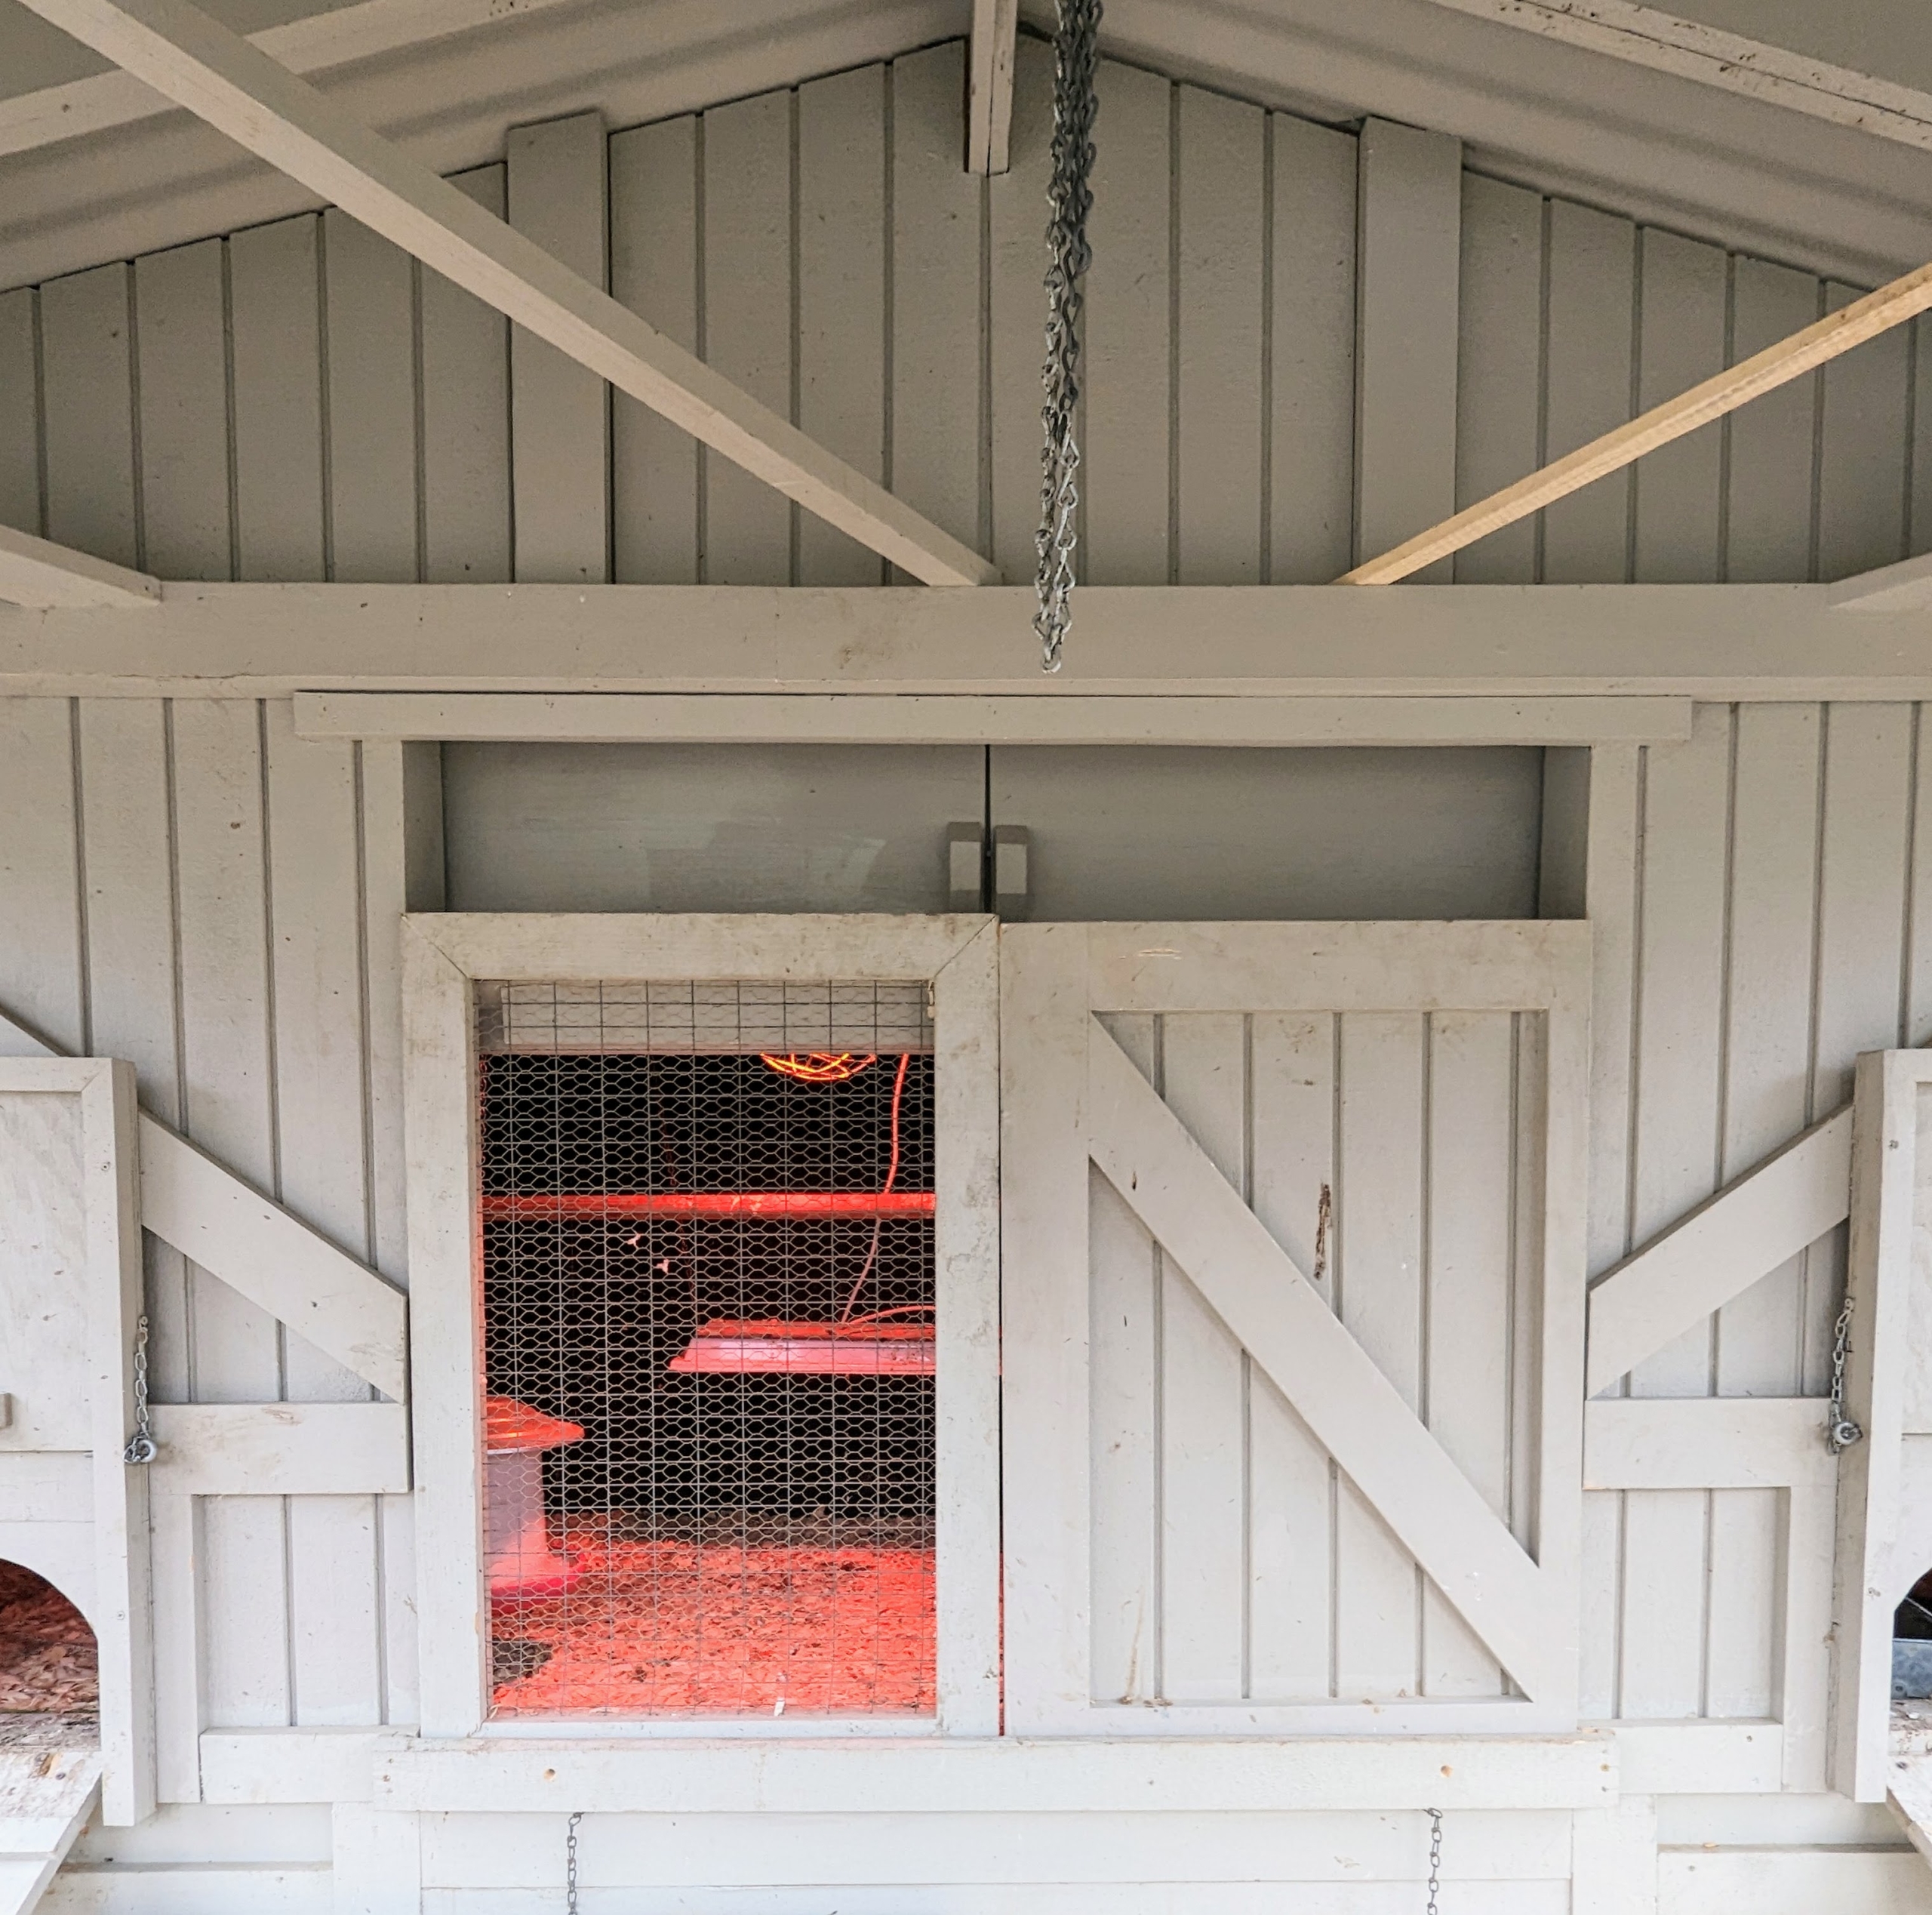
The coop is well-protected with interchangeable windows, so screens can be used on warmer days.
The pheasants enjoy watching the farm activity from inside their coop. Being near my stable, they get lots of visitors.
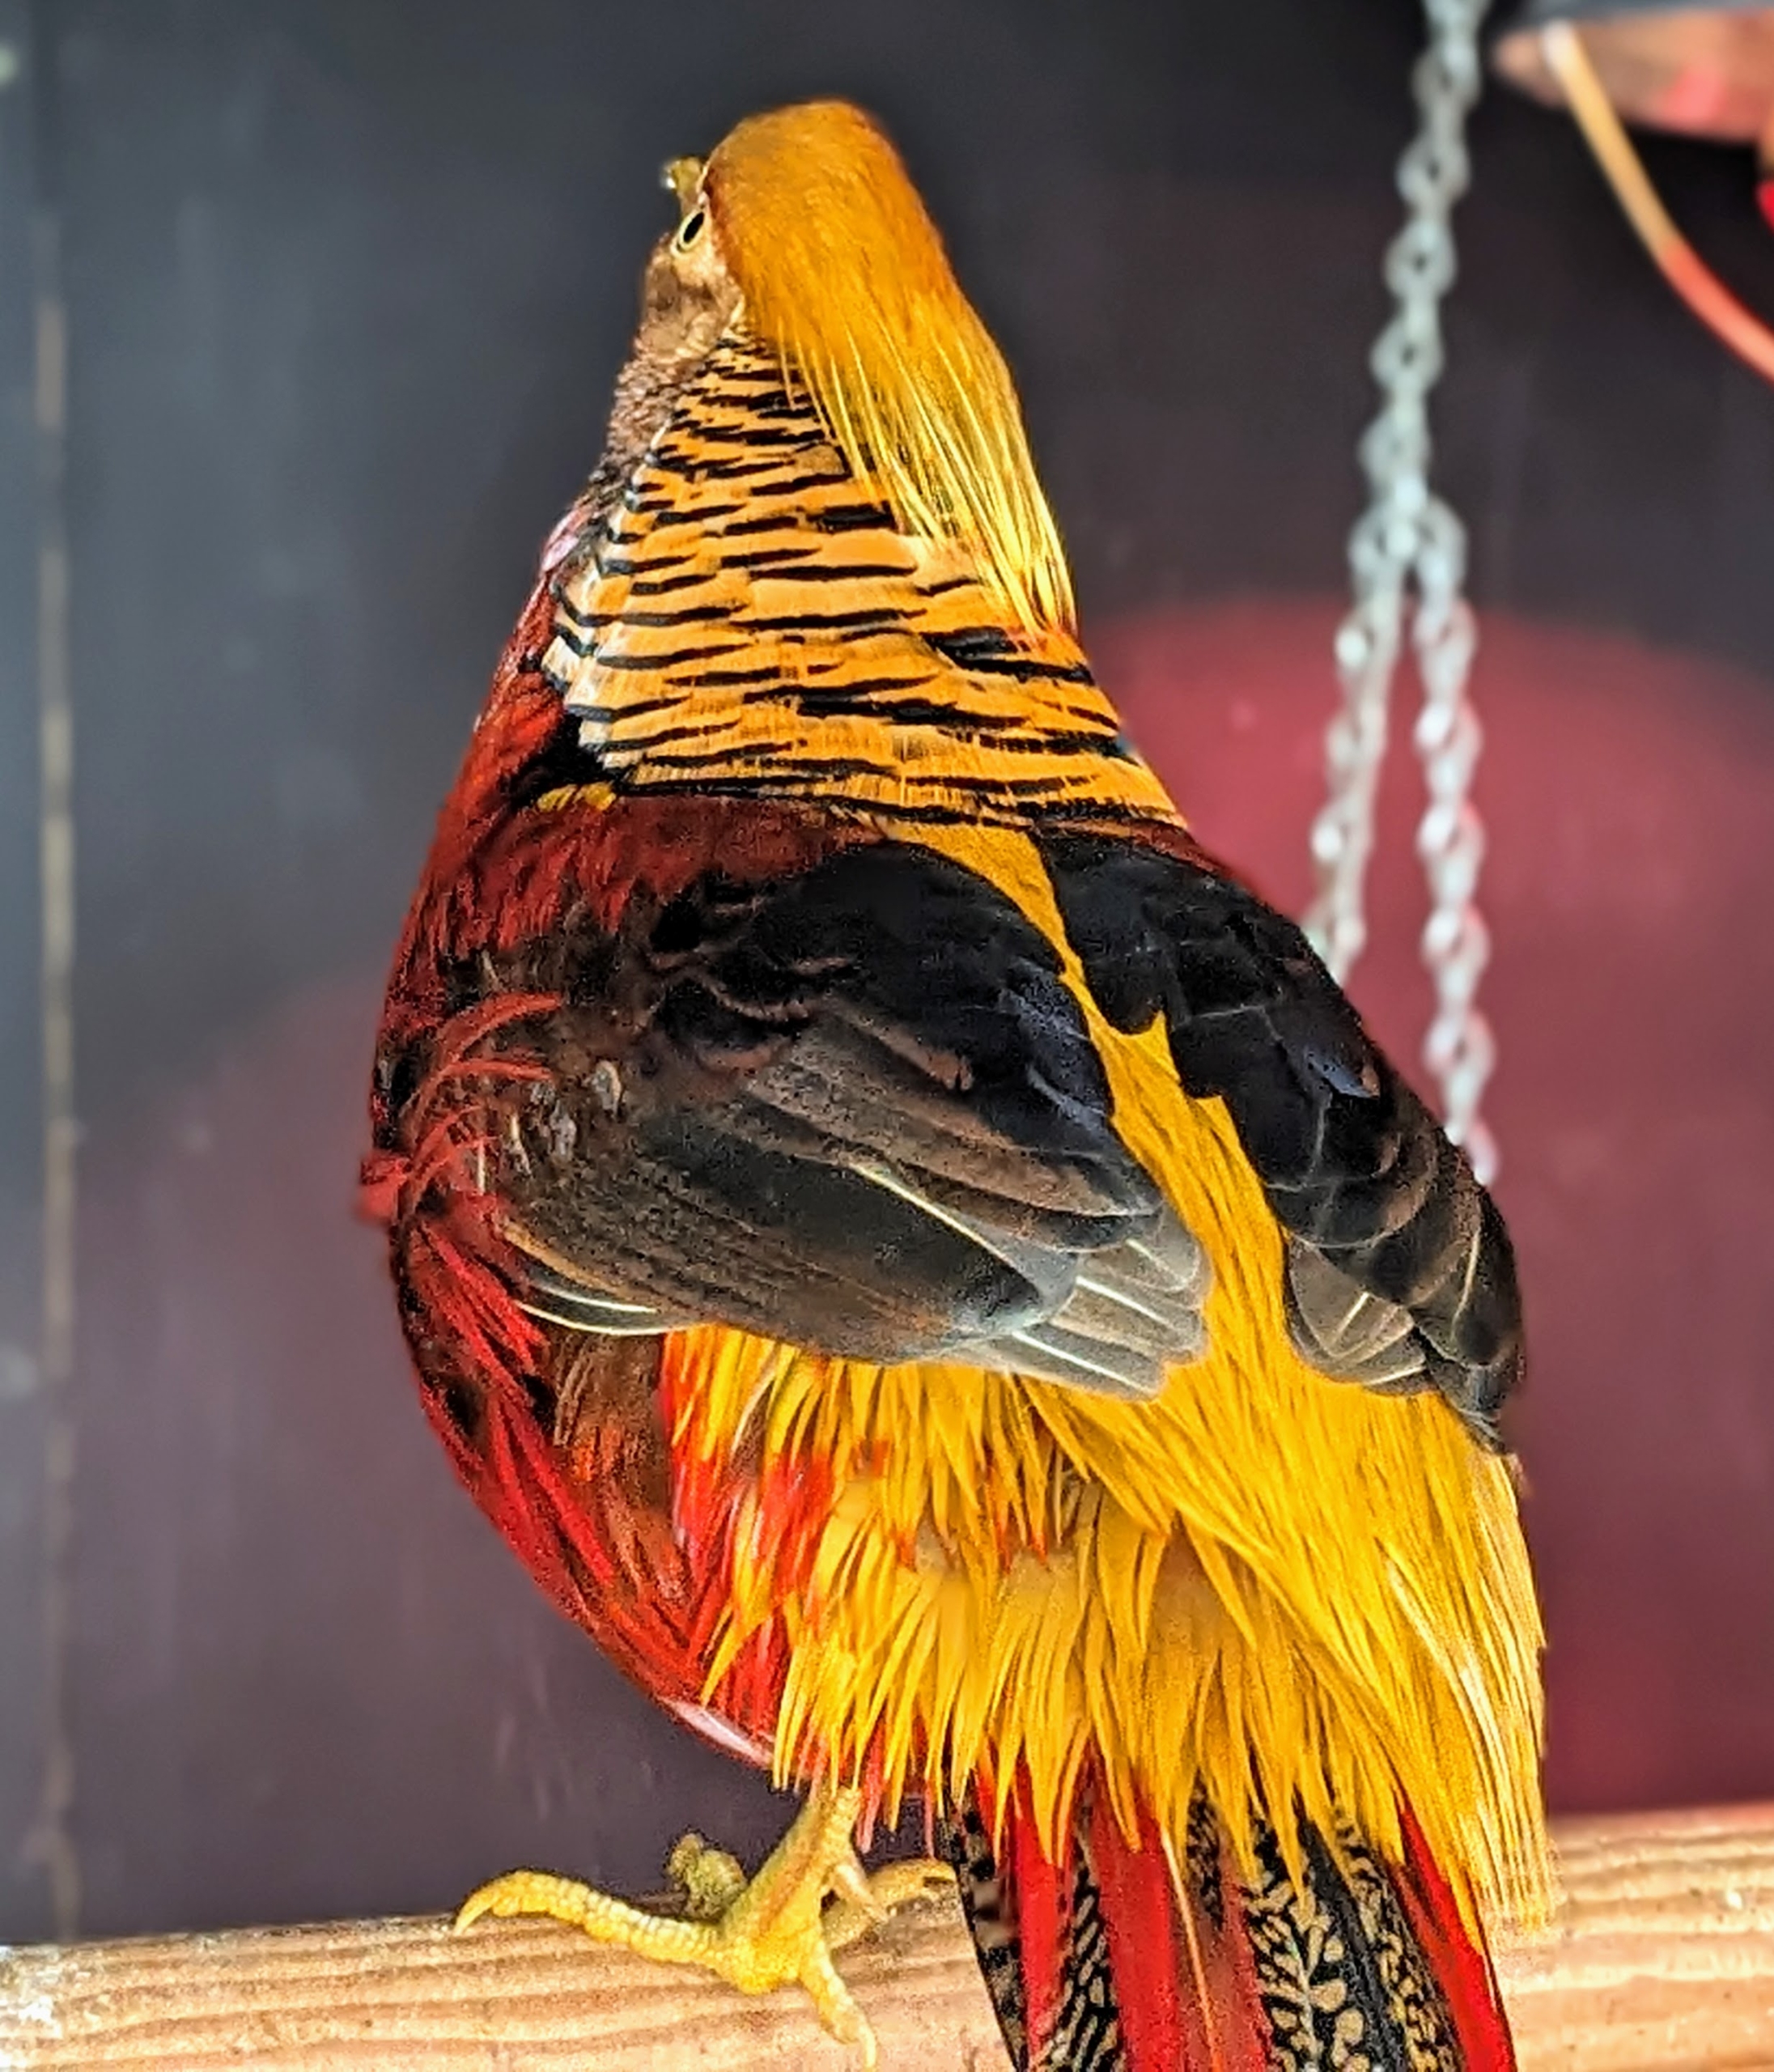
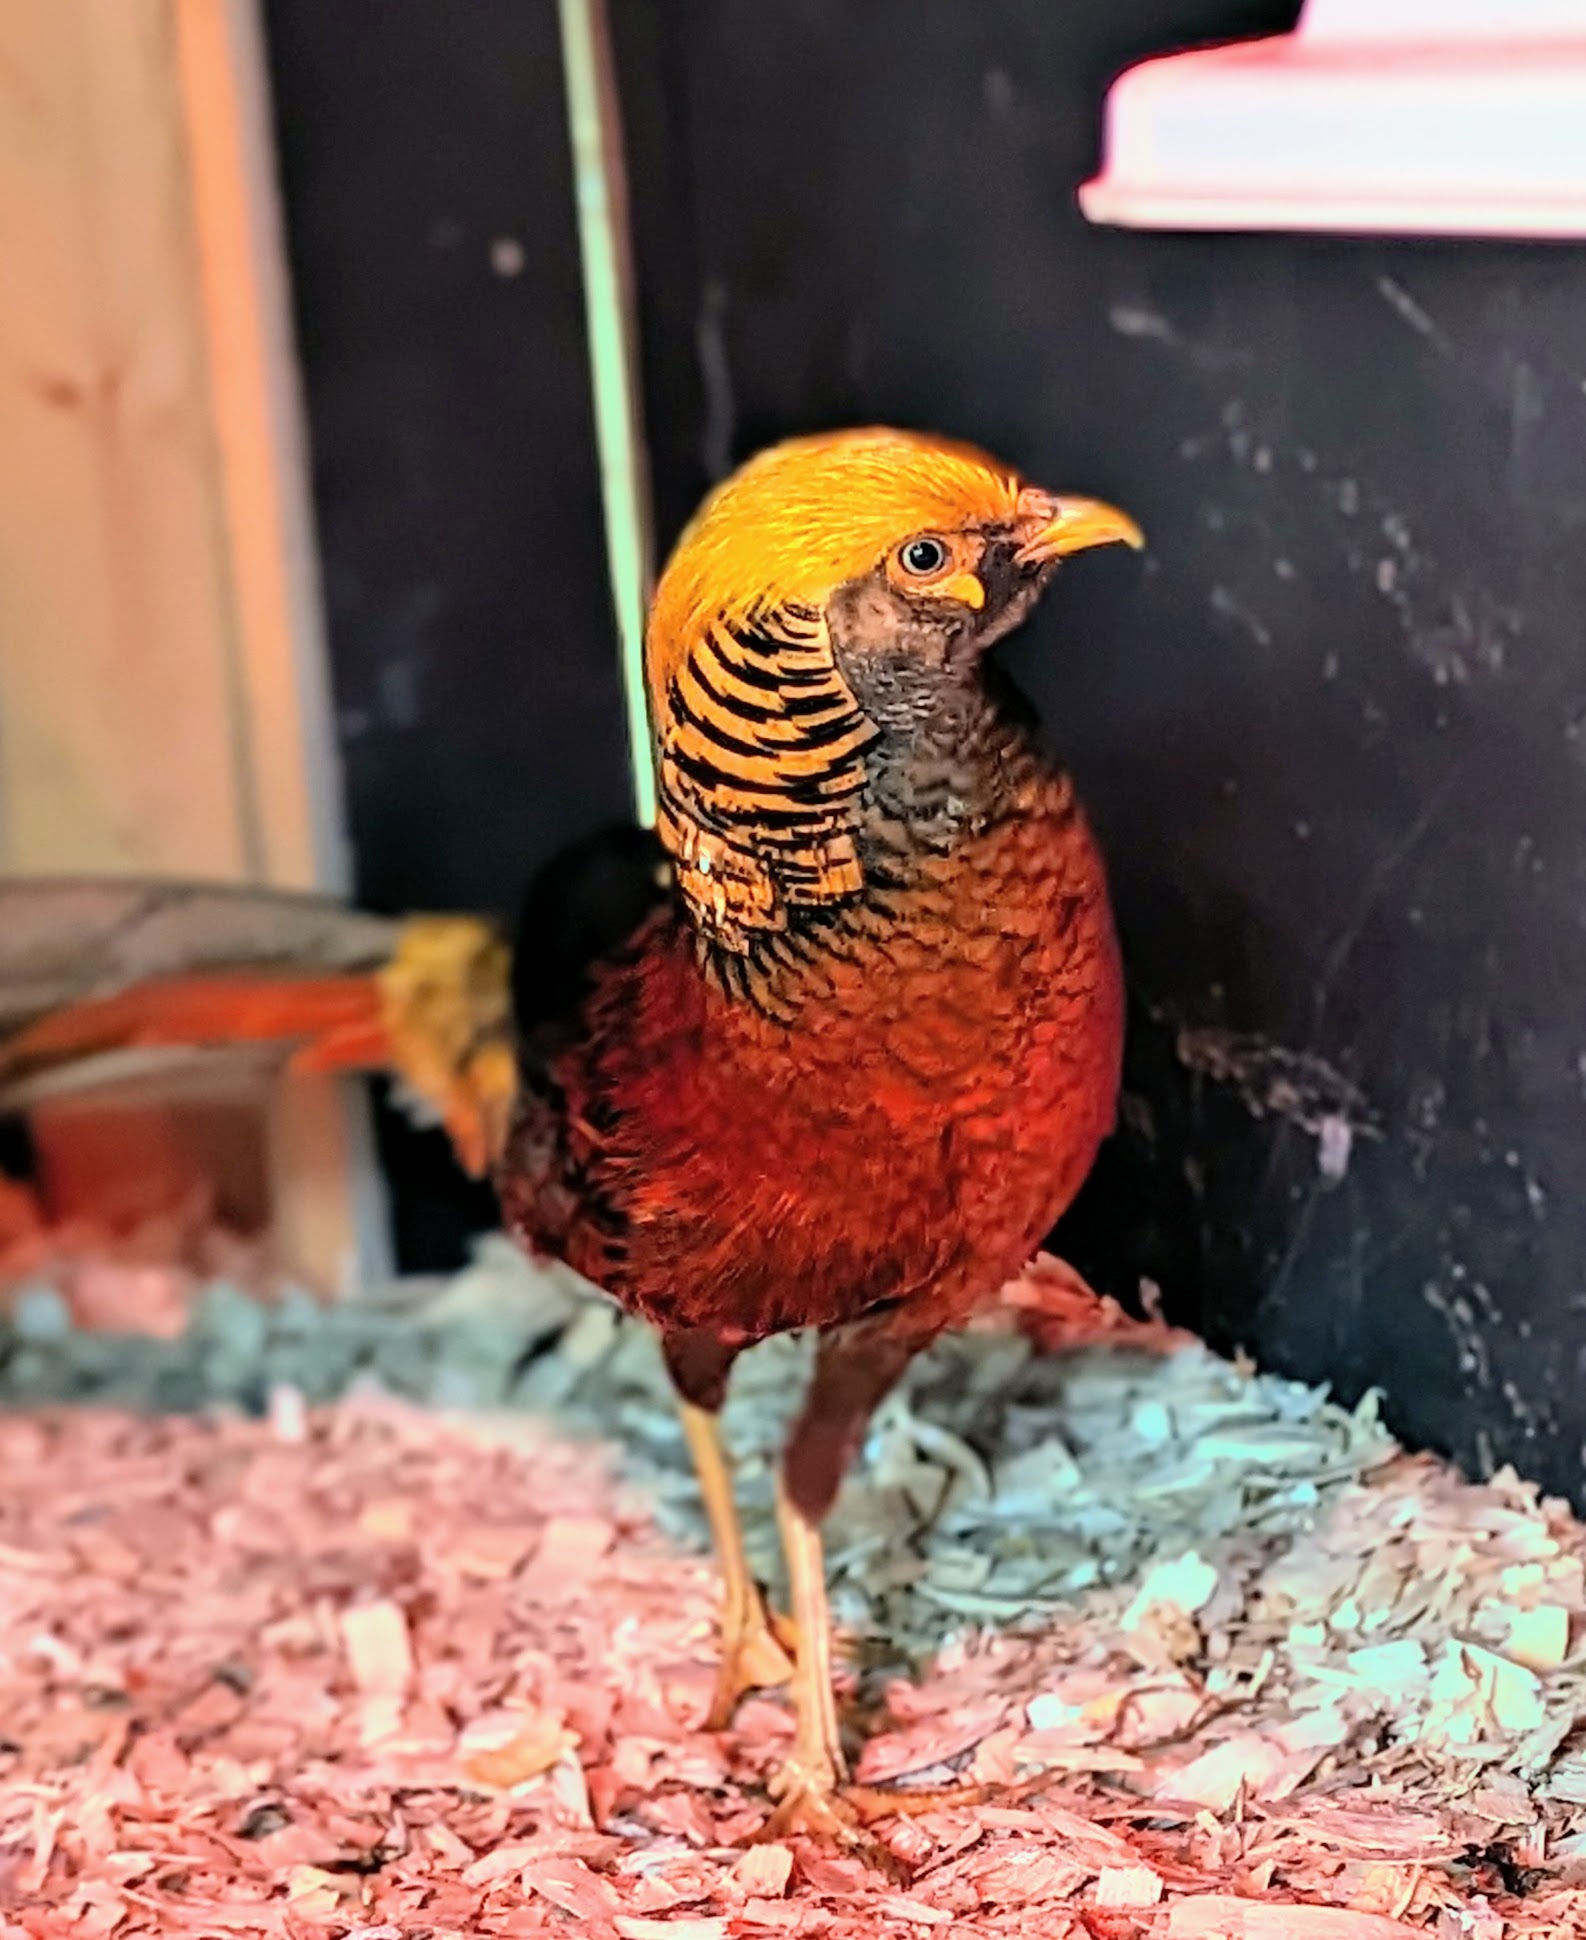
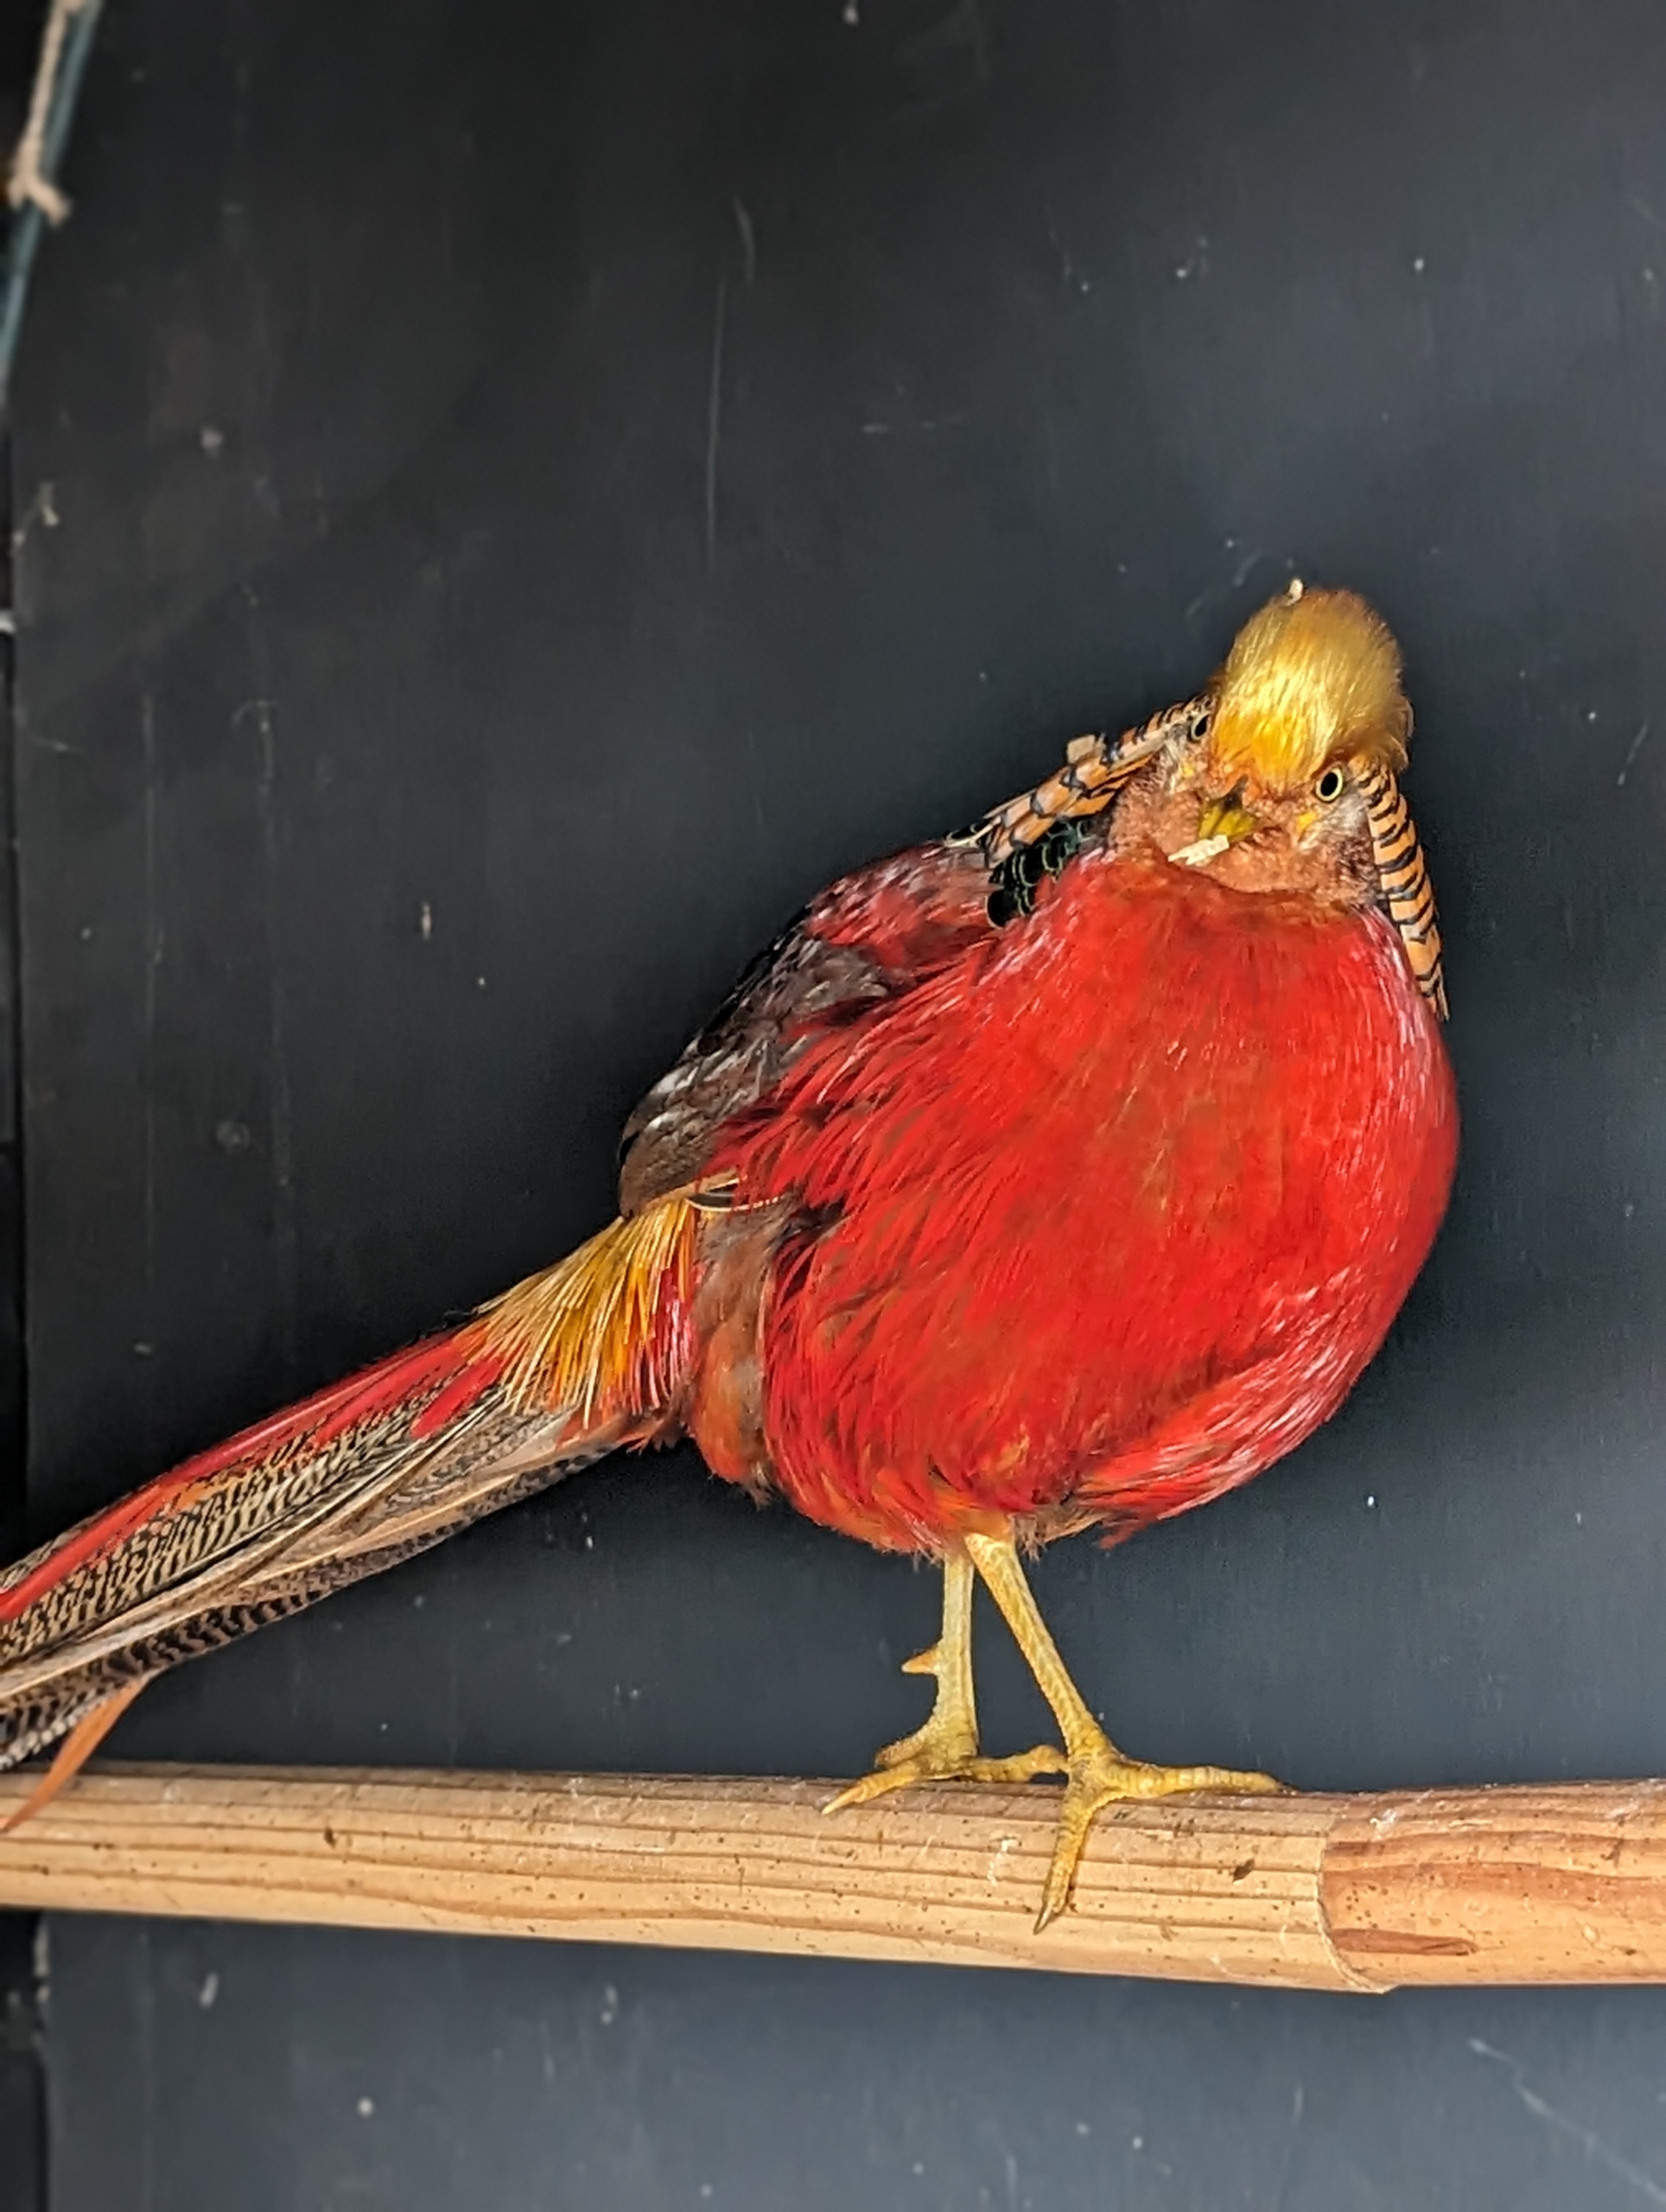
This red Golden Pheasant male is the brighter of the two with its red breast and body. The pheasant is such a beautifully colored gamebird.
Some of the other markings include a yellow ruff or cape edged in blue-black, green back, with a yellow rump and red and blue wings.
Here is another view. It also shows yellow-gold eyes, bill, crest, and legs.
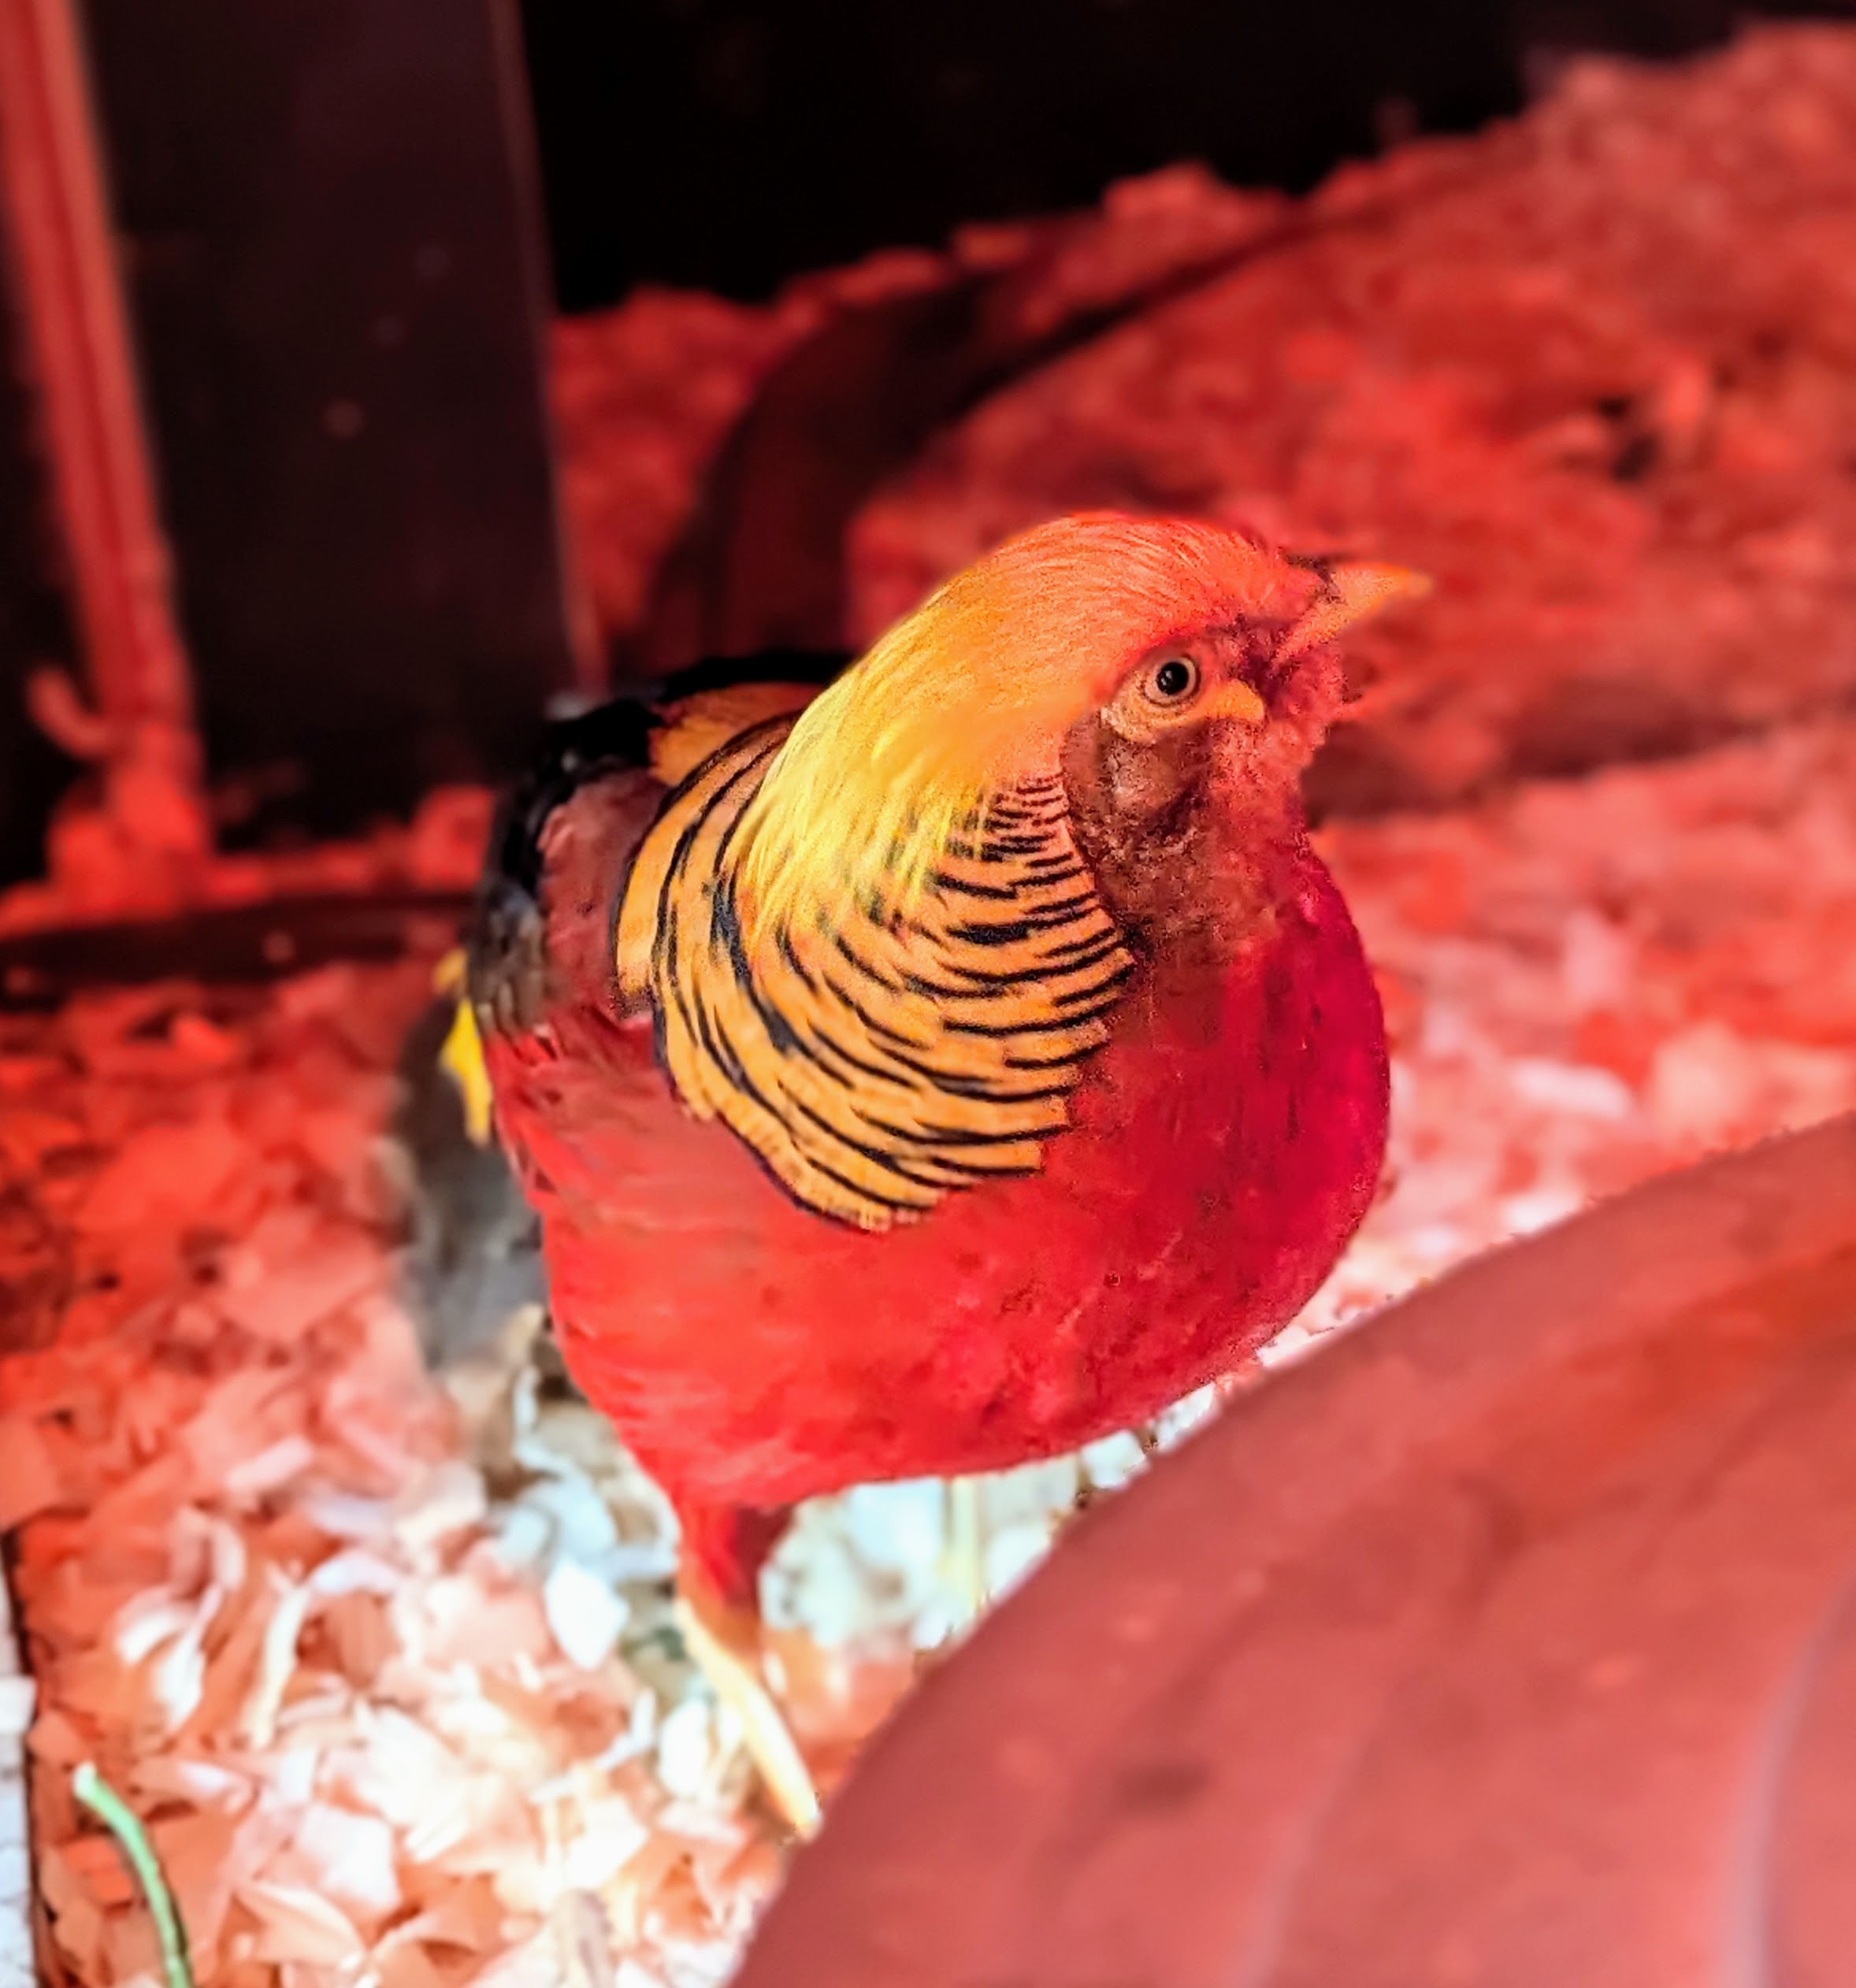
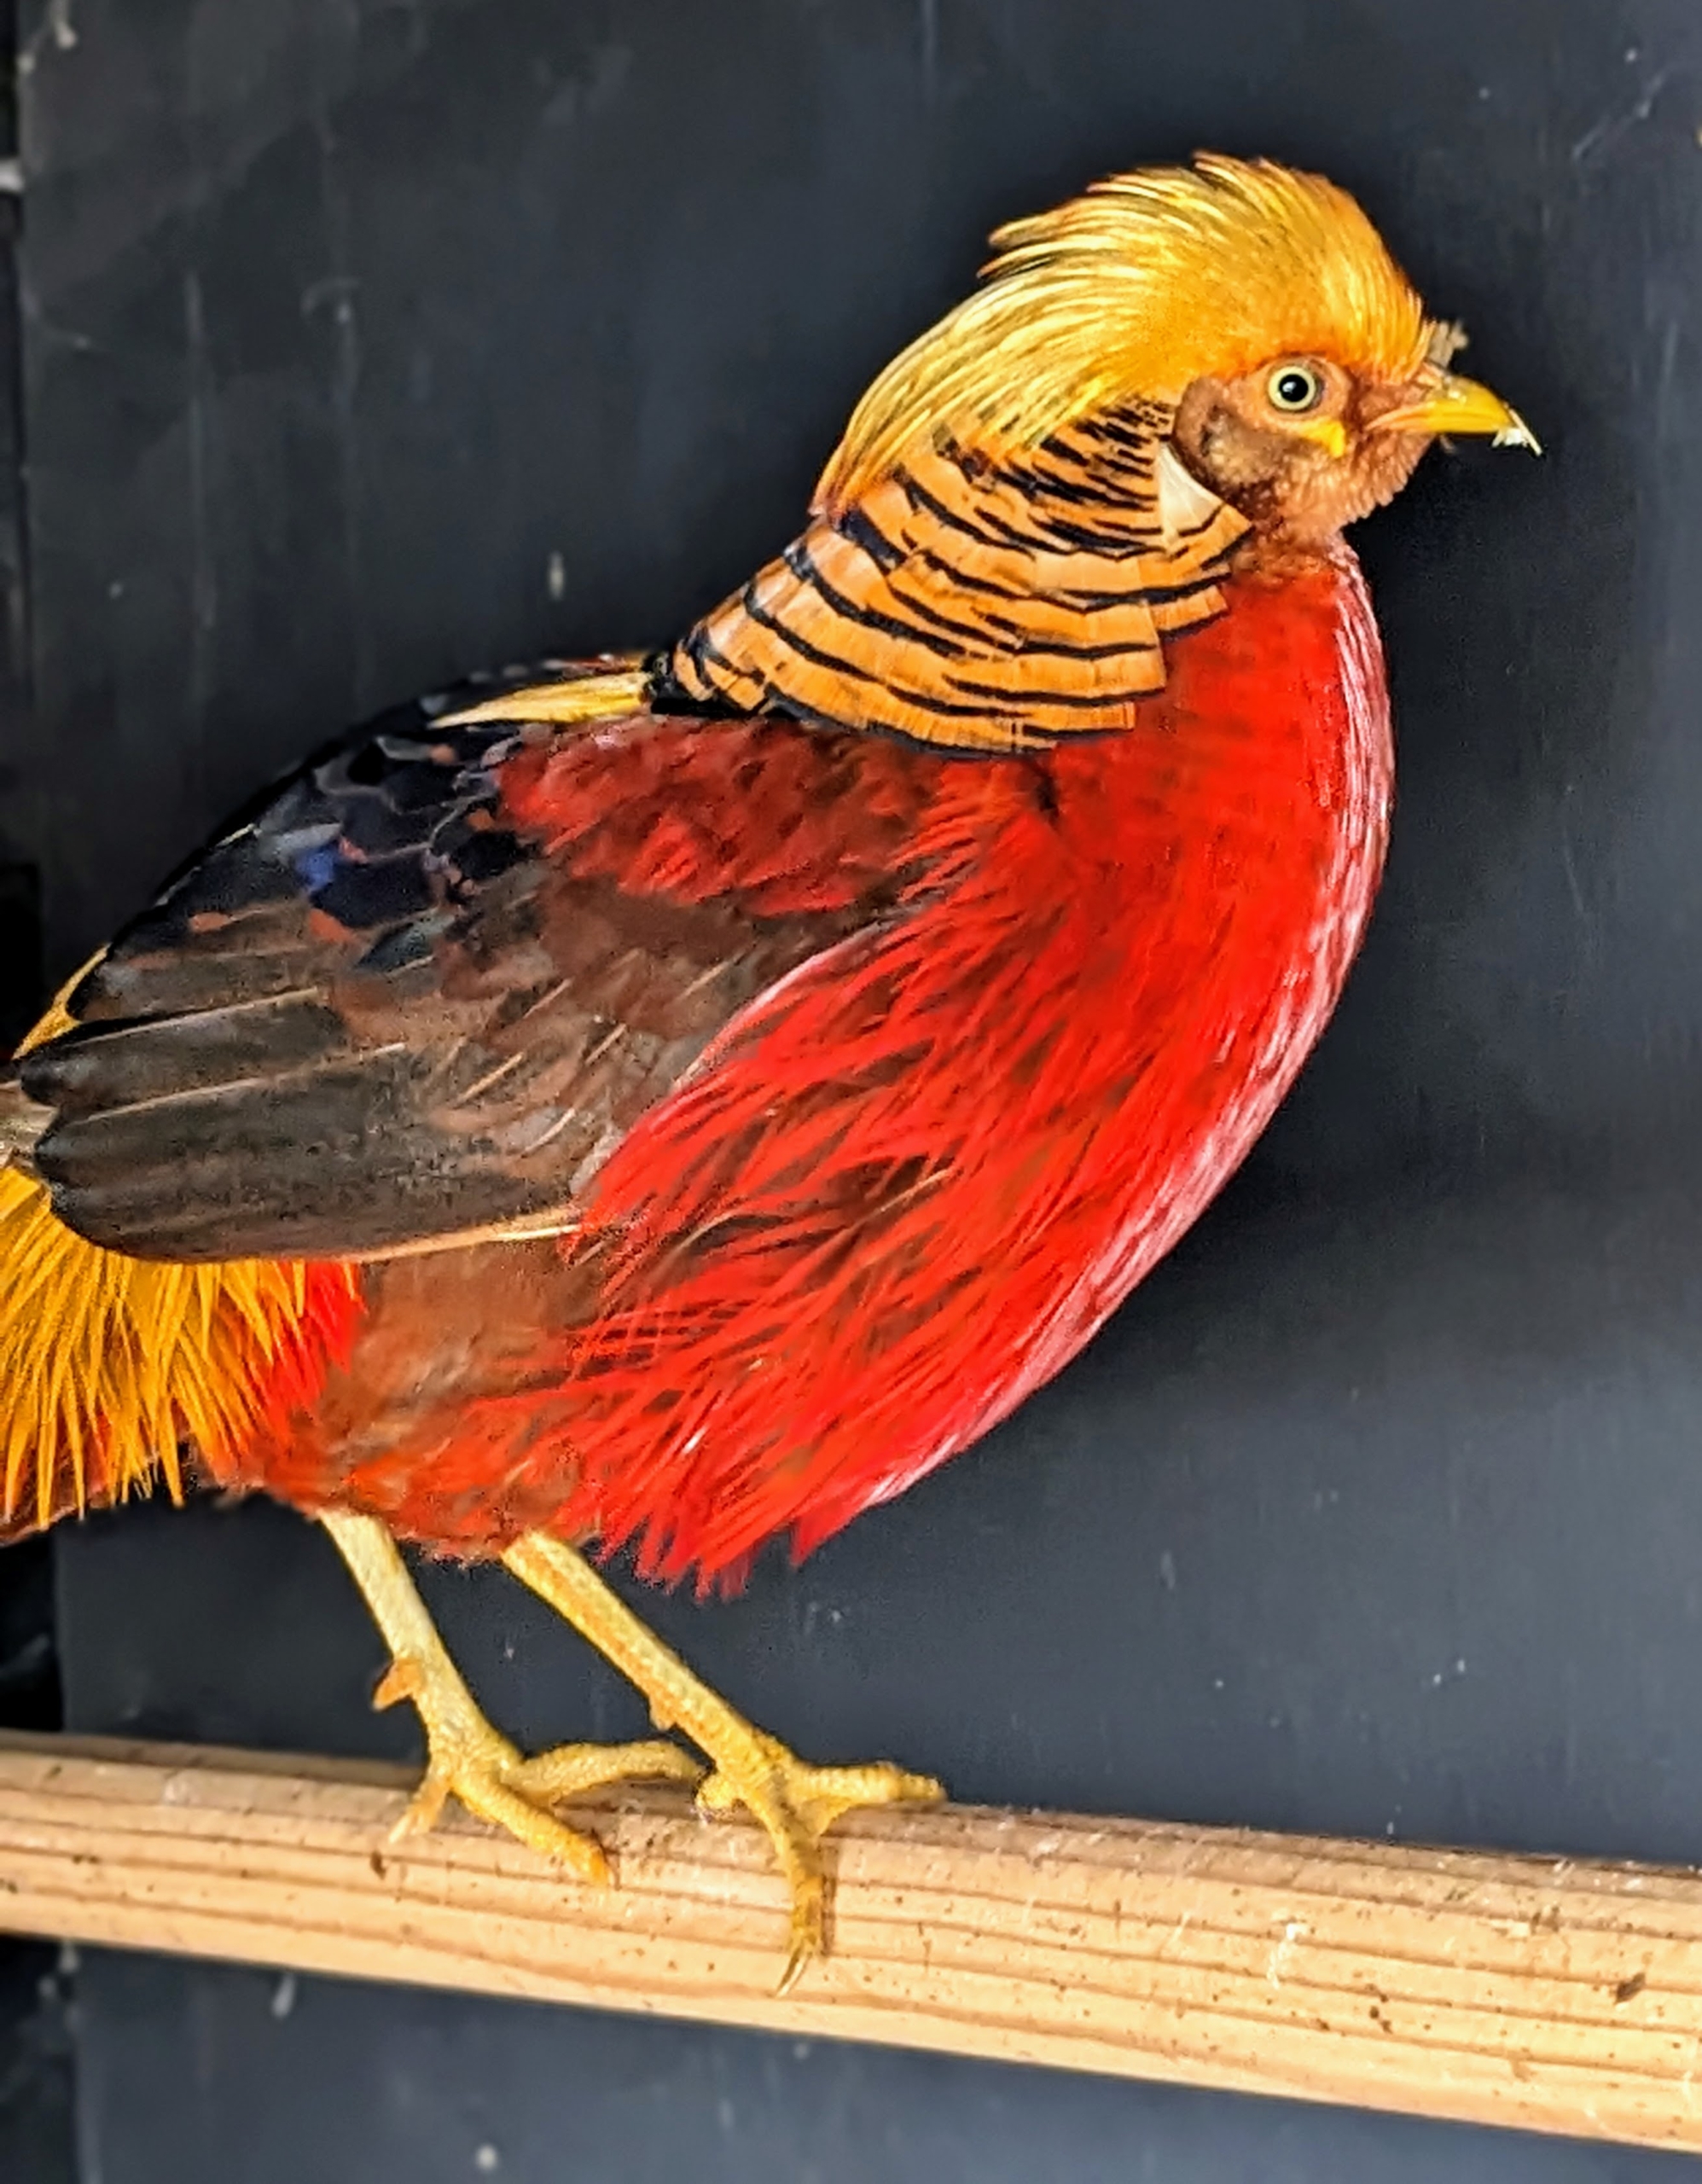
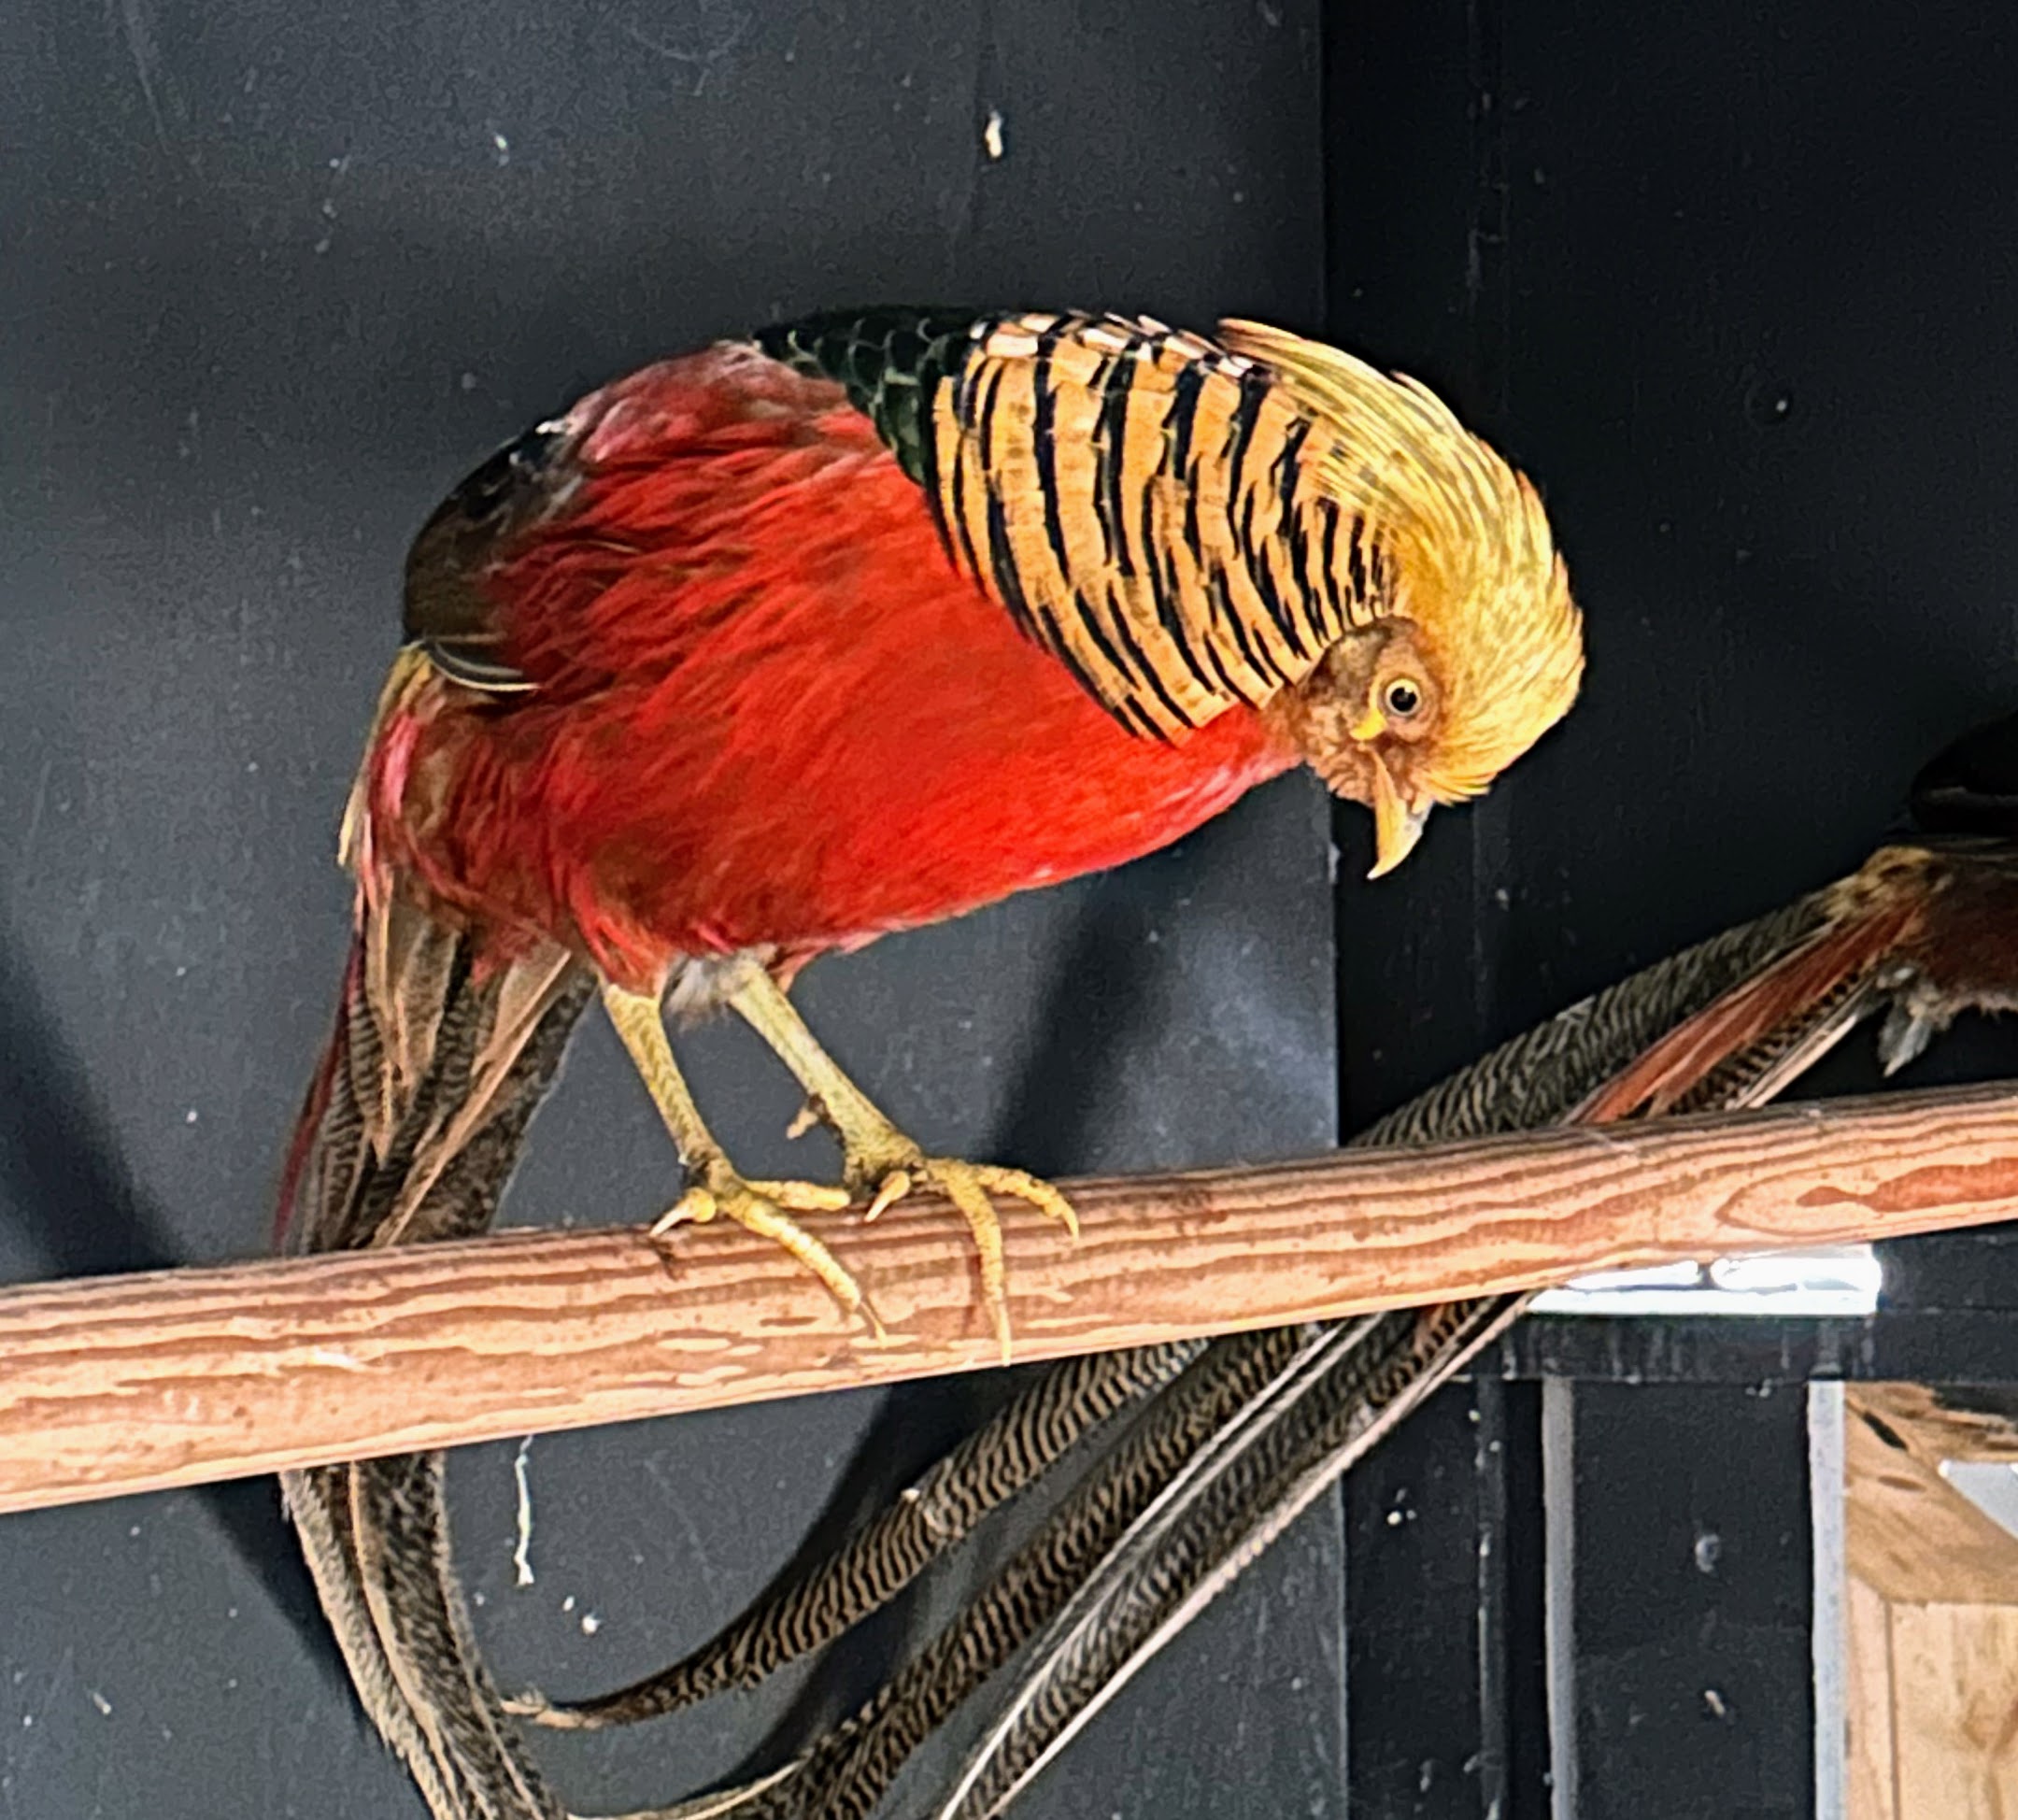
This is the other red Golden Pheasant, still brilliantly colored, but with slightly darker shades.
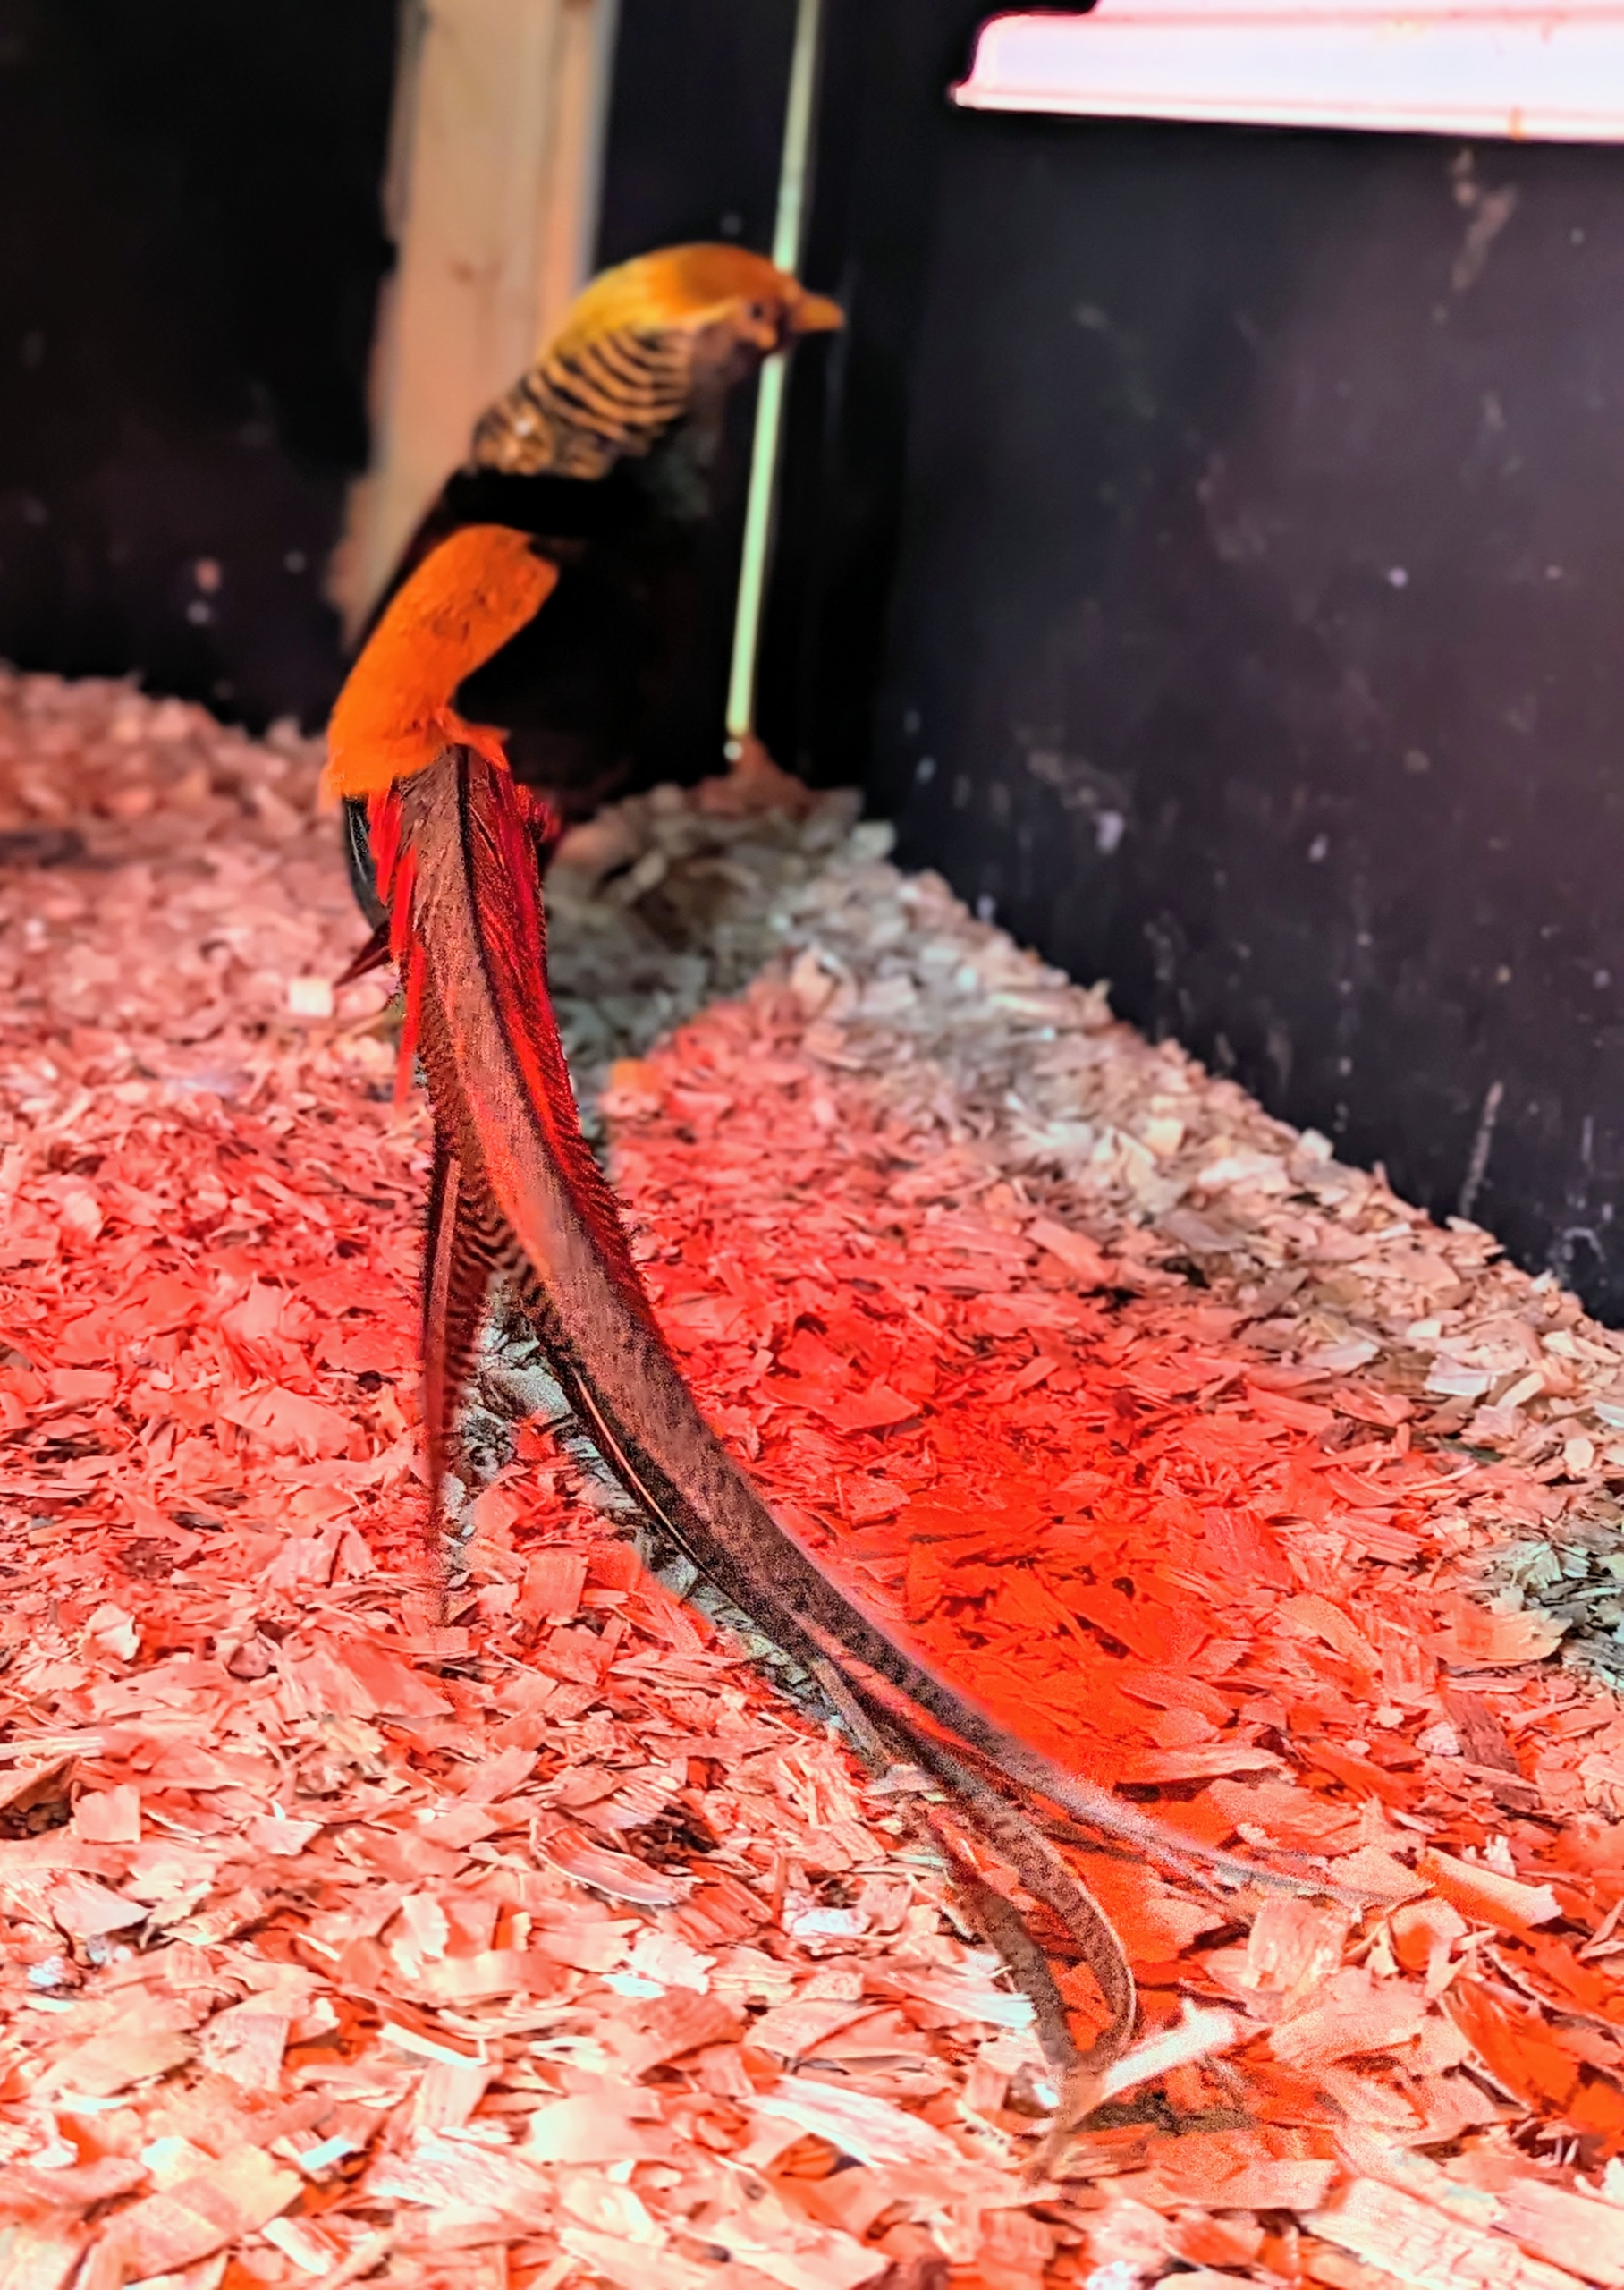
The central tail feathers are black spotted with cinnamon, and the tip of the tail is cinnamon buff. When mature, the red Golden Pheasant adult can reach 40-inches in length, with his tail measuring nearly two thirds of its overall length.
The red Golden Pheasant can weigh between one and two pounds when full grown. This one is vey active and loves to run round the coop. Do you know… while pheasants are able to fly fast for short distances, they actually prefer to run. If startled however, they will flush up at speeds of 38 to 48 miles-per-hour. If chased or threatened, they can even fly as fast as 60 miles-per-hour.
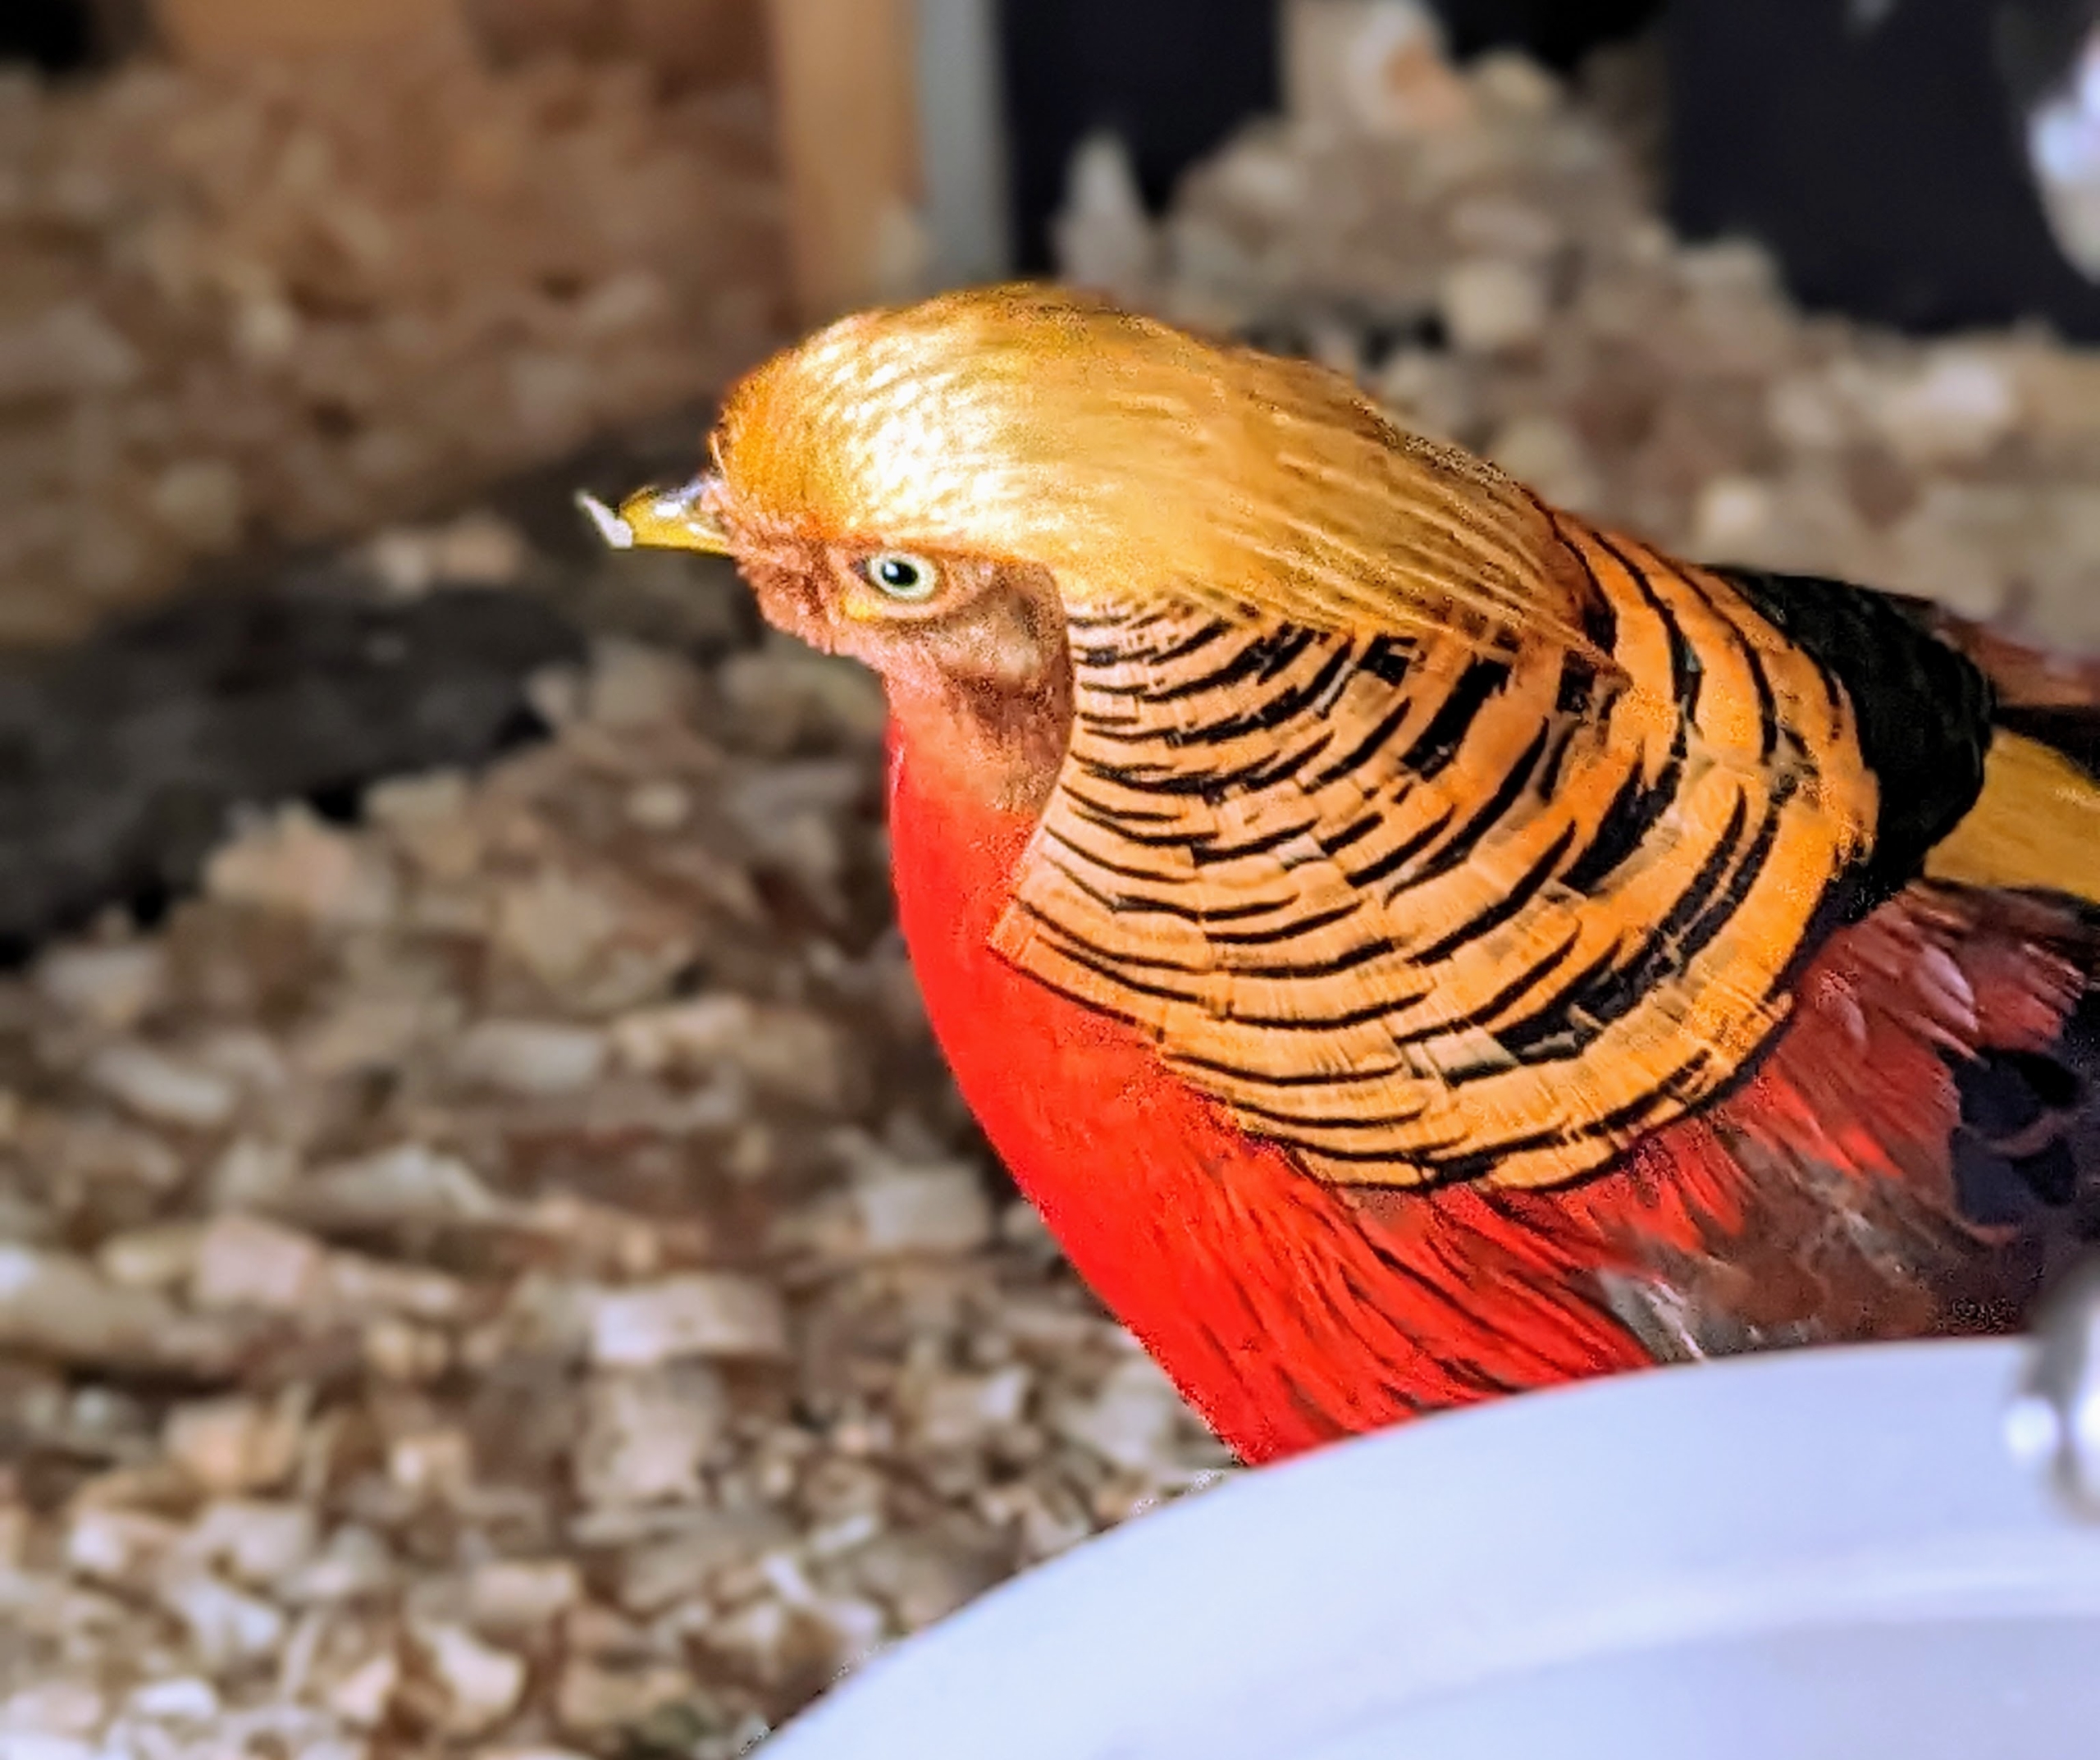
Males have the golden-yellow crest with a hint of red at the tip. The face, throat, chin, and the sides of neck are rusty tan.
The striped cape can be spread in display, appearing as an alternating black and orange fan that covers the face.
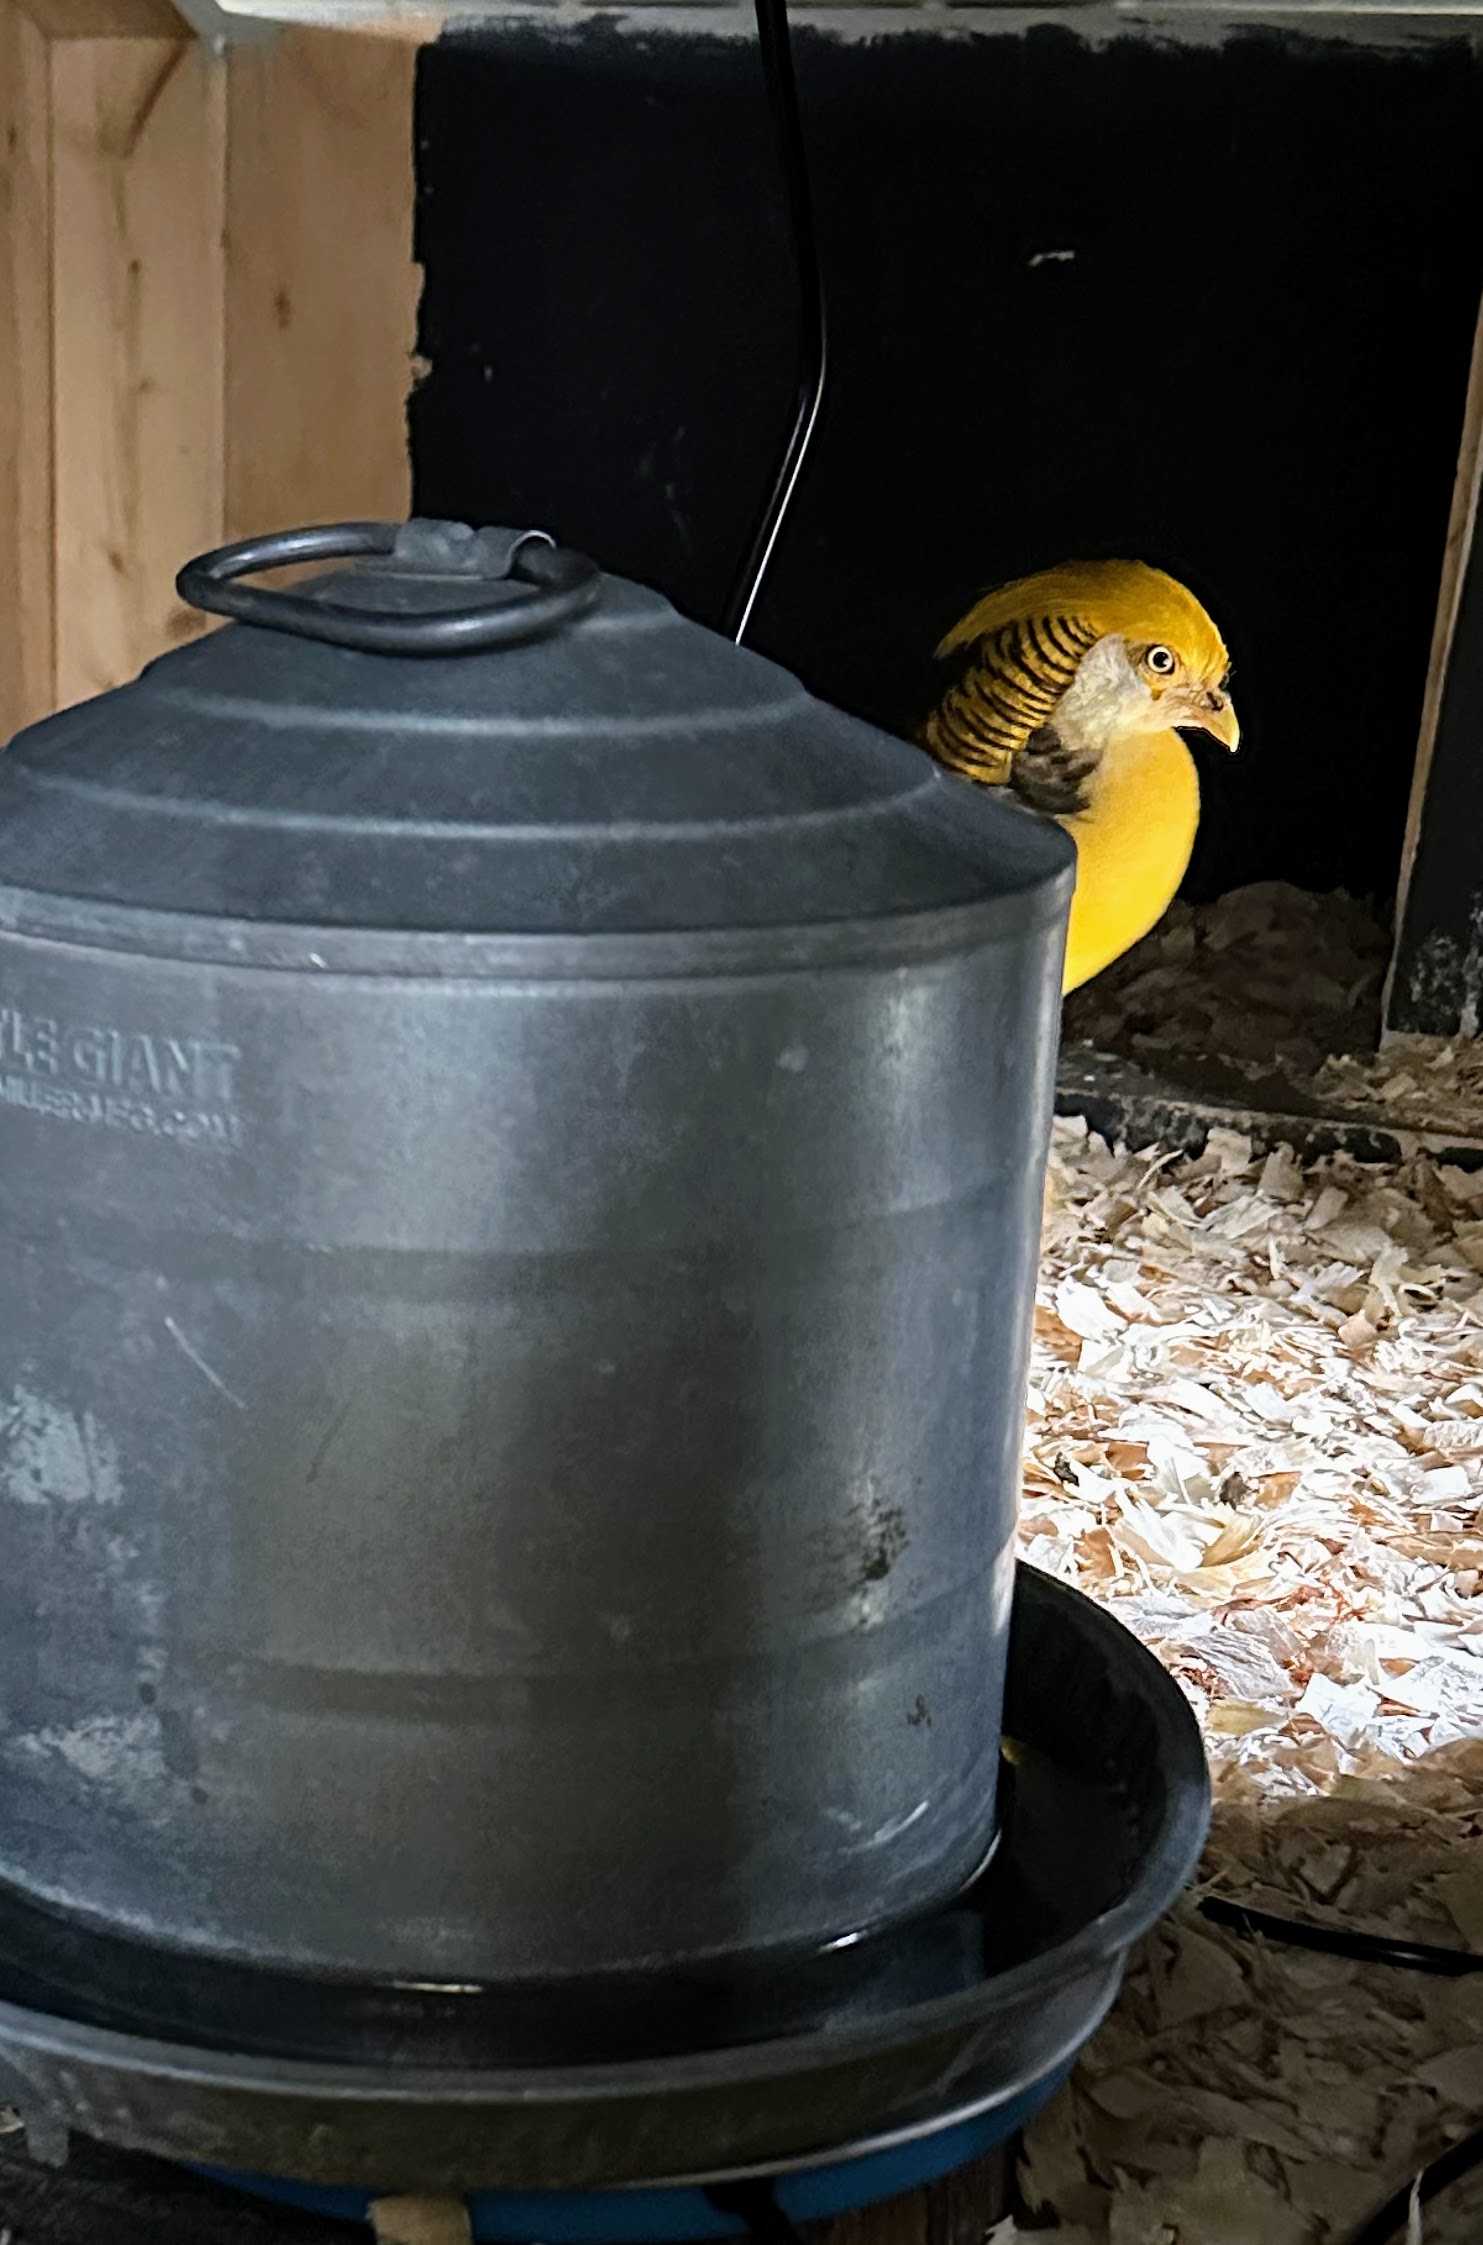
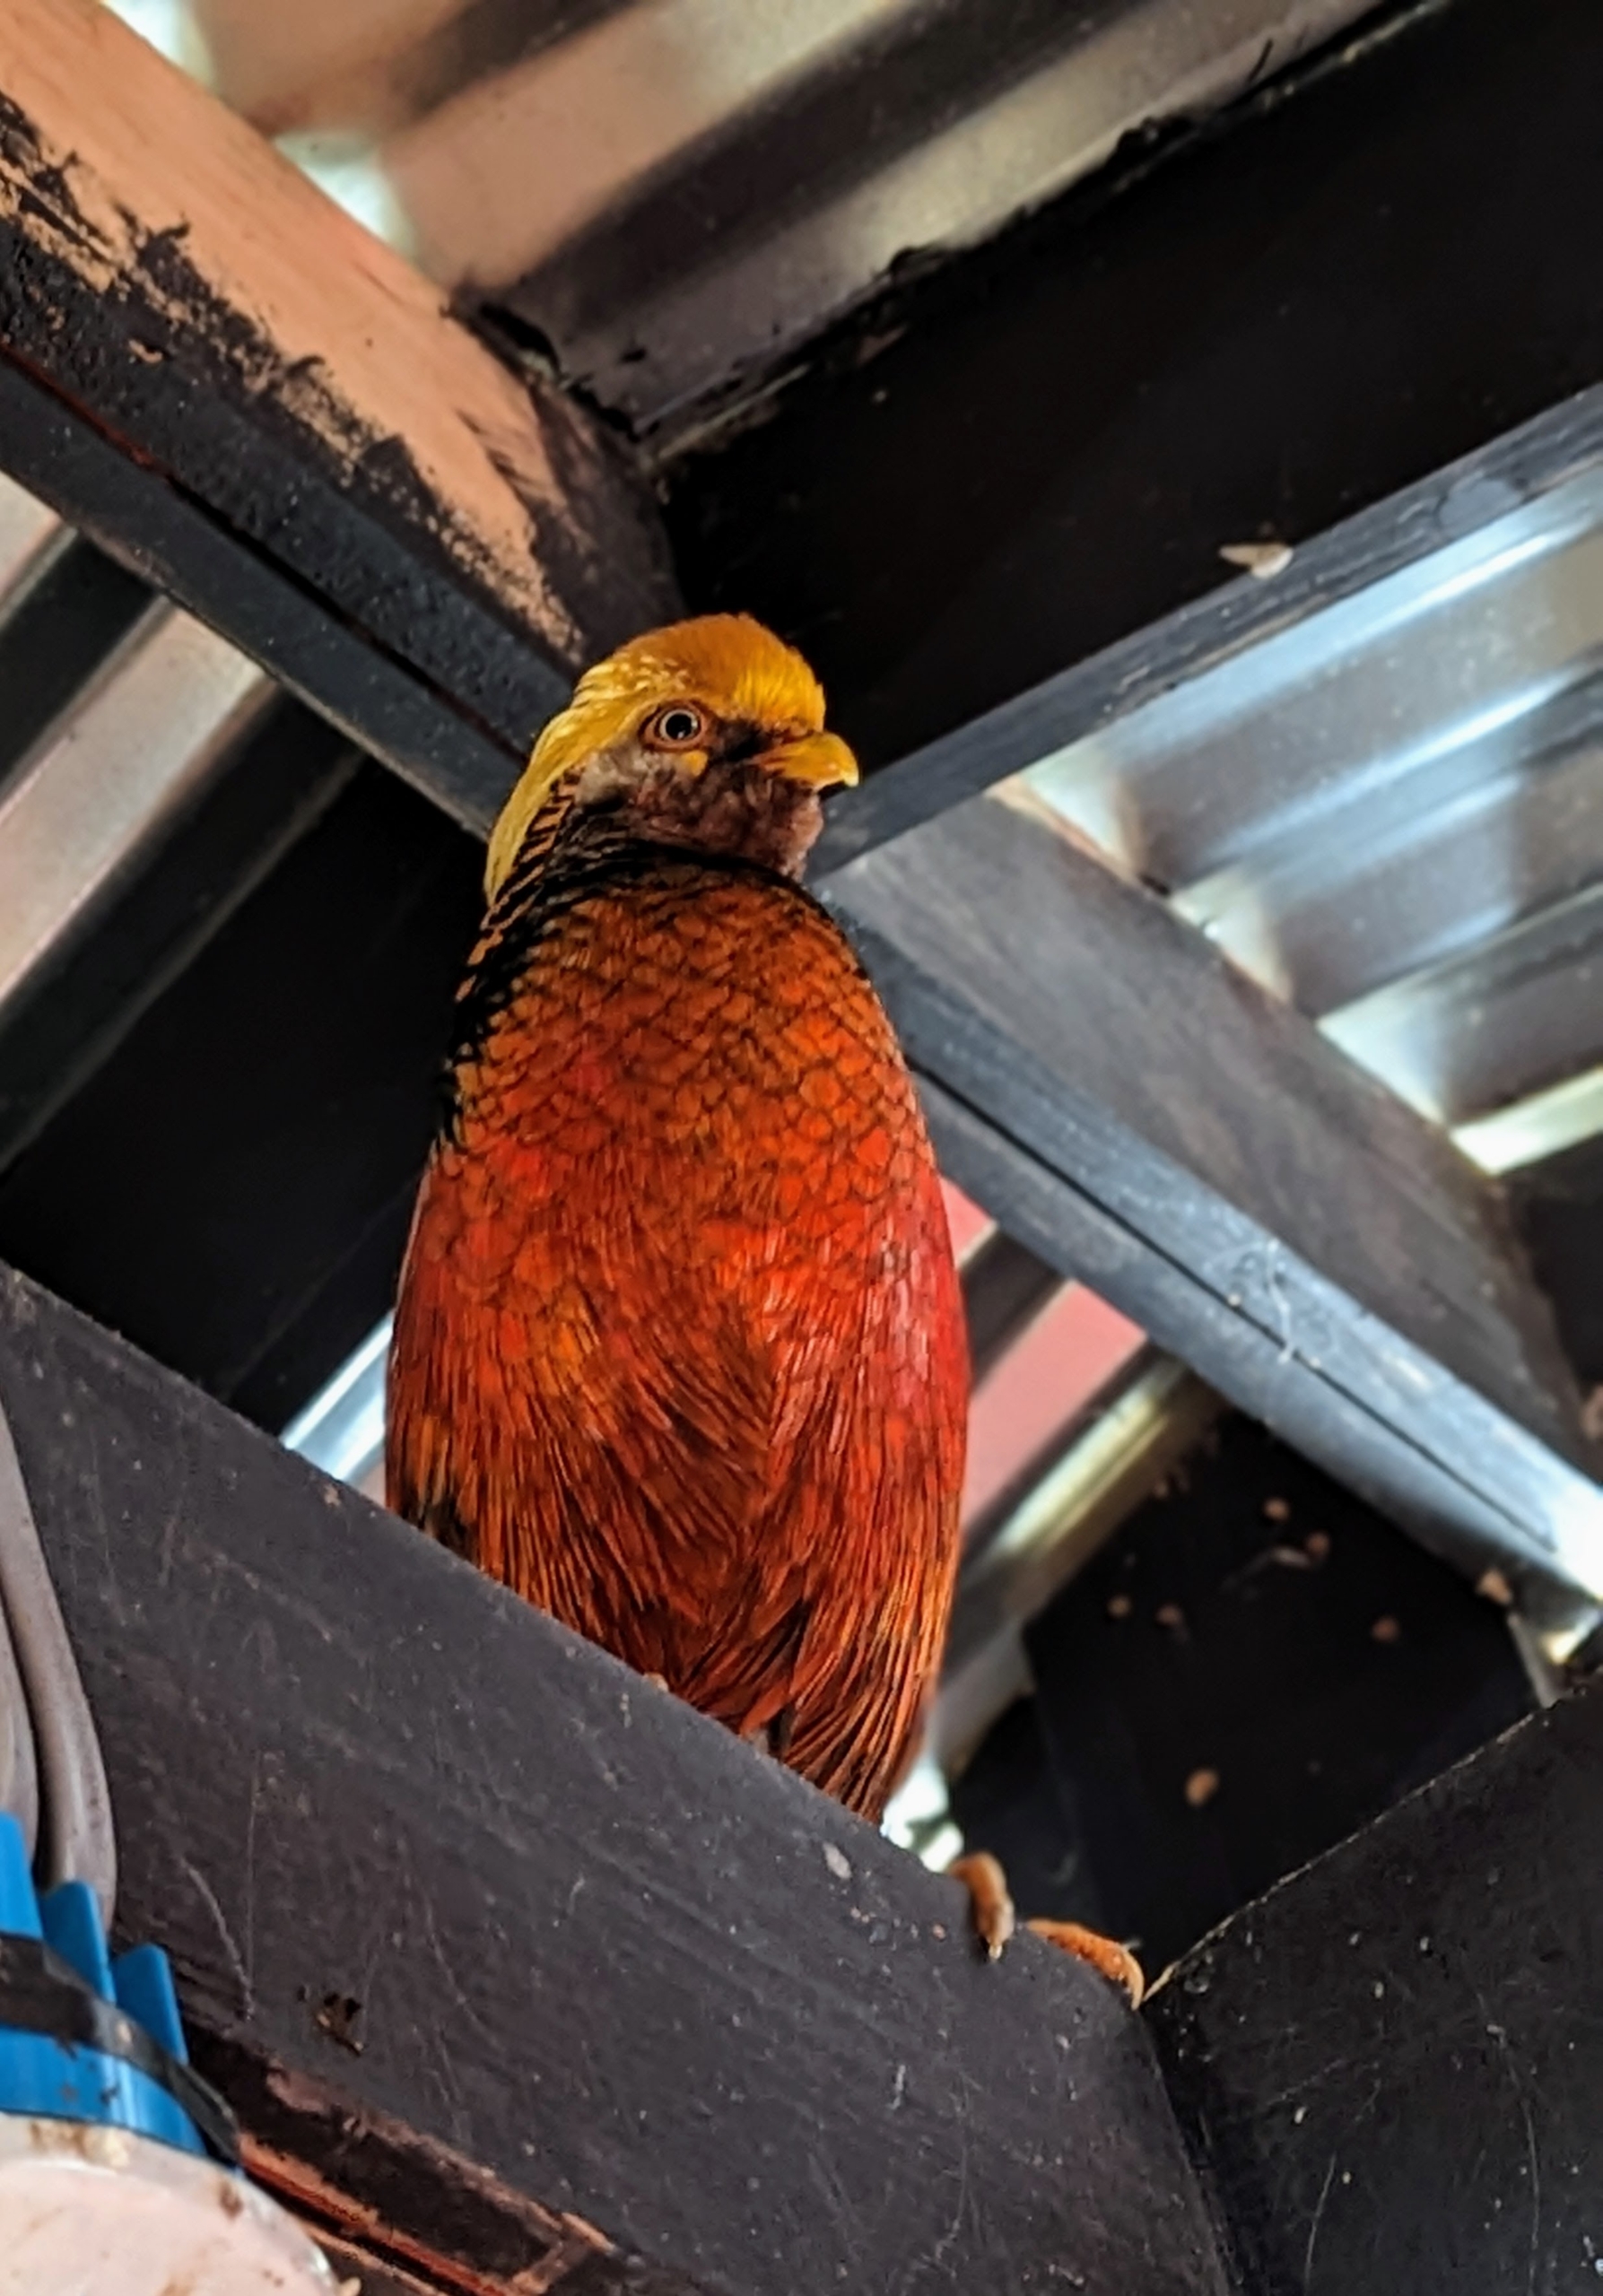
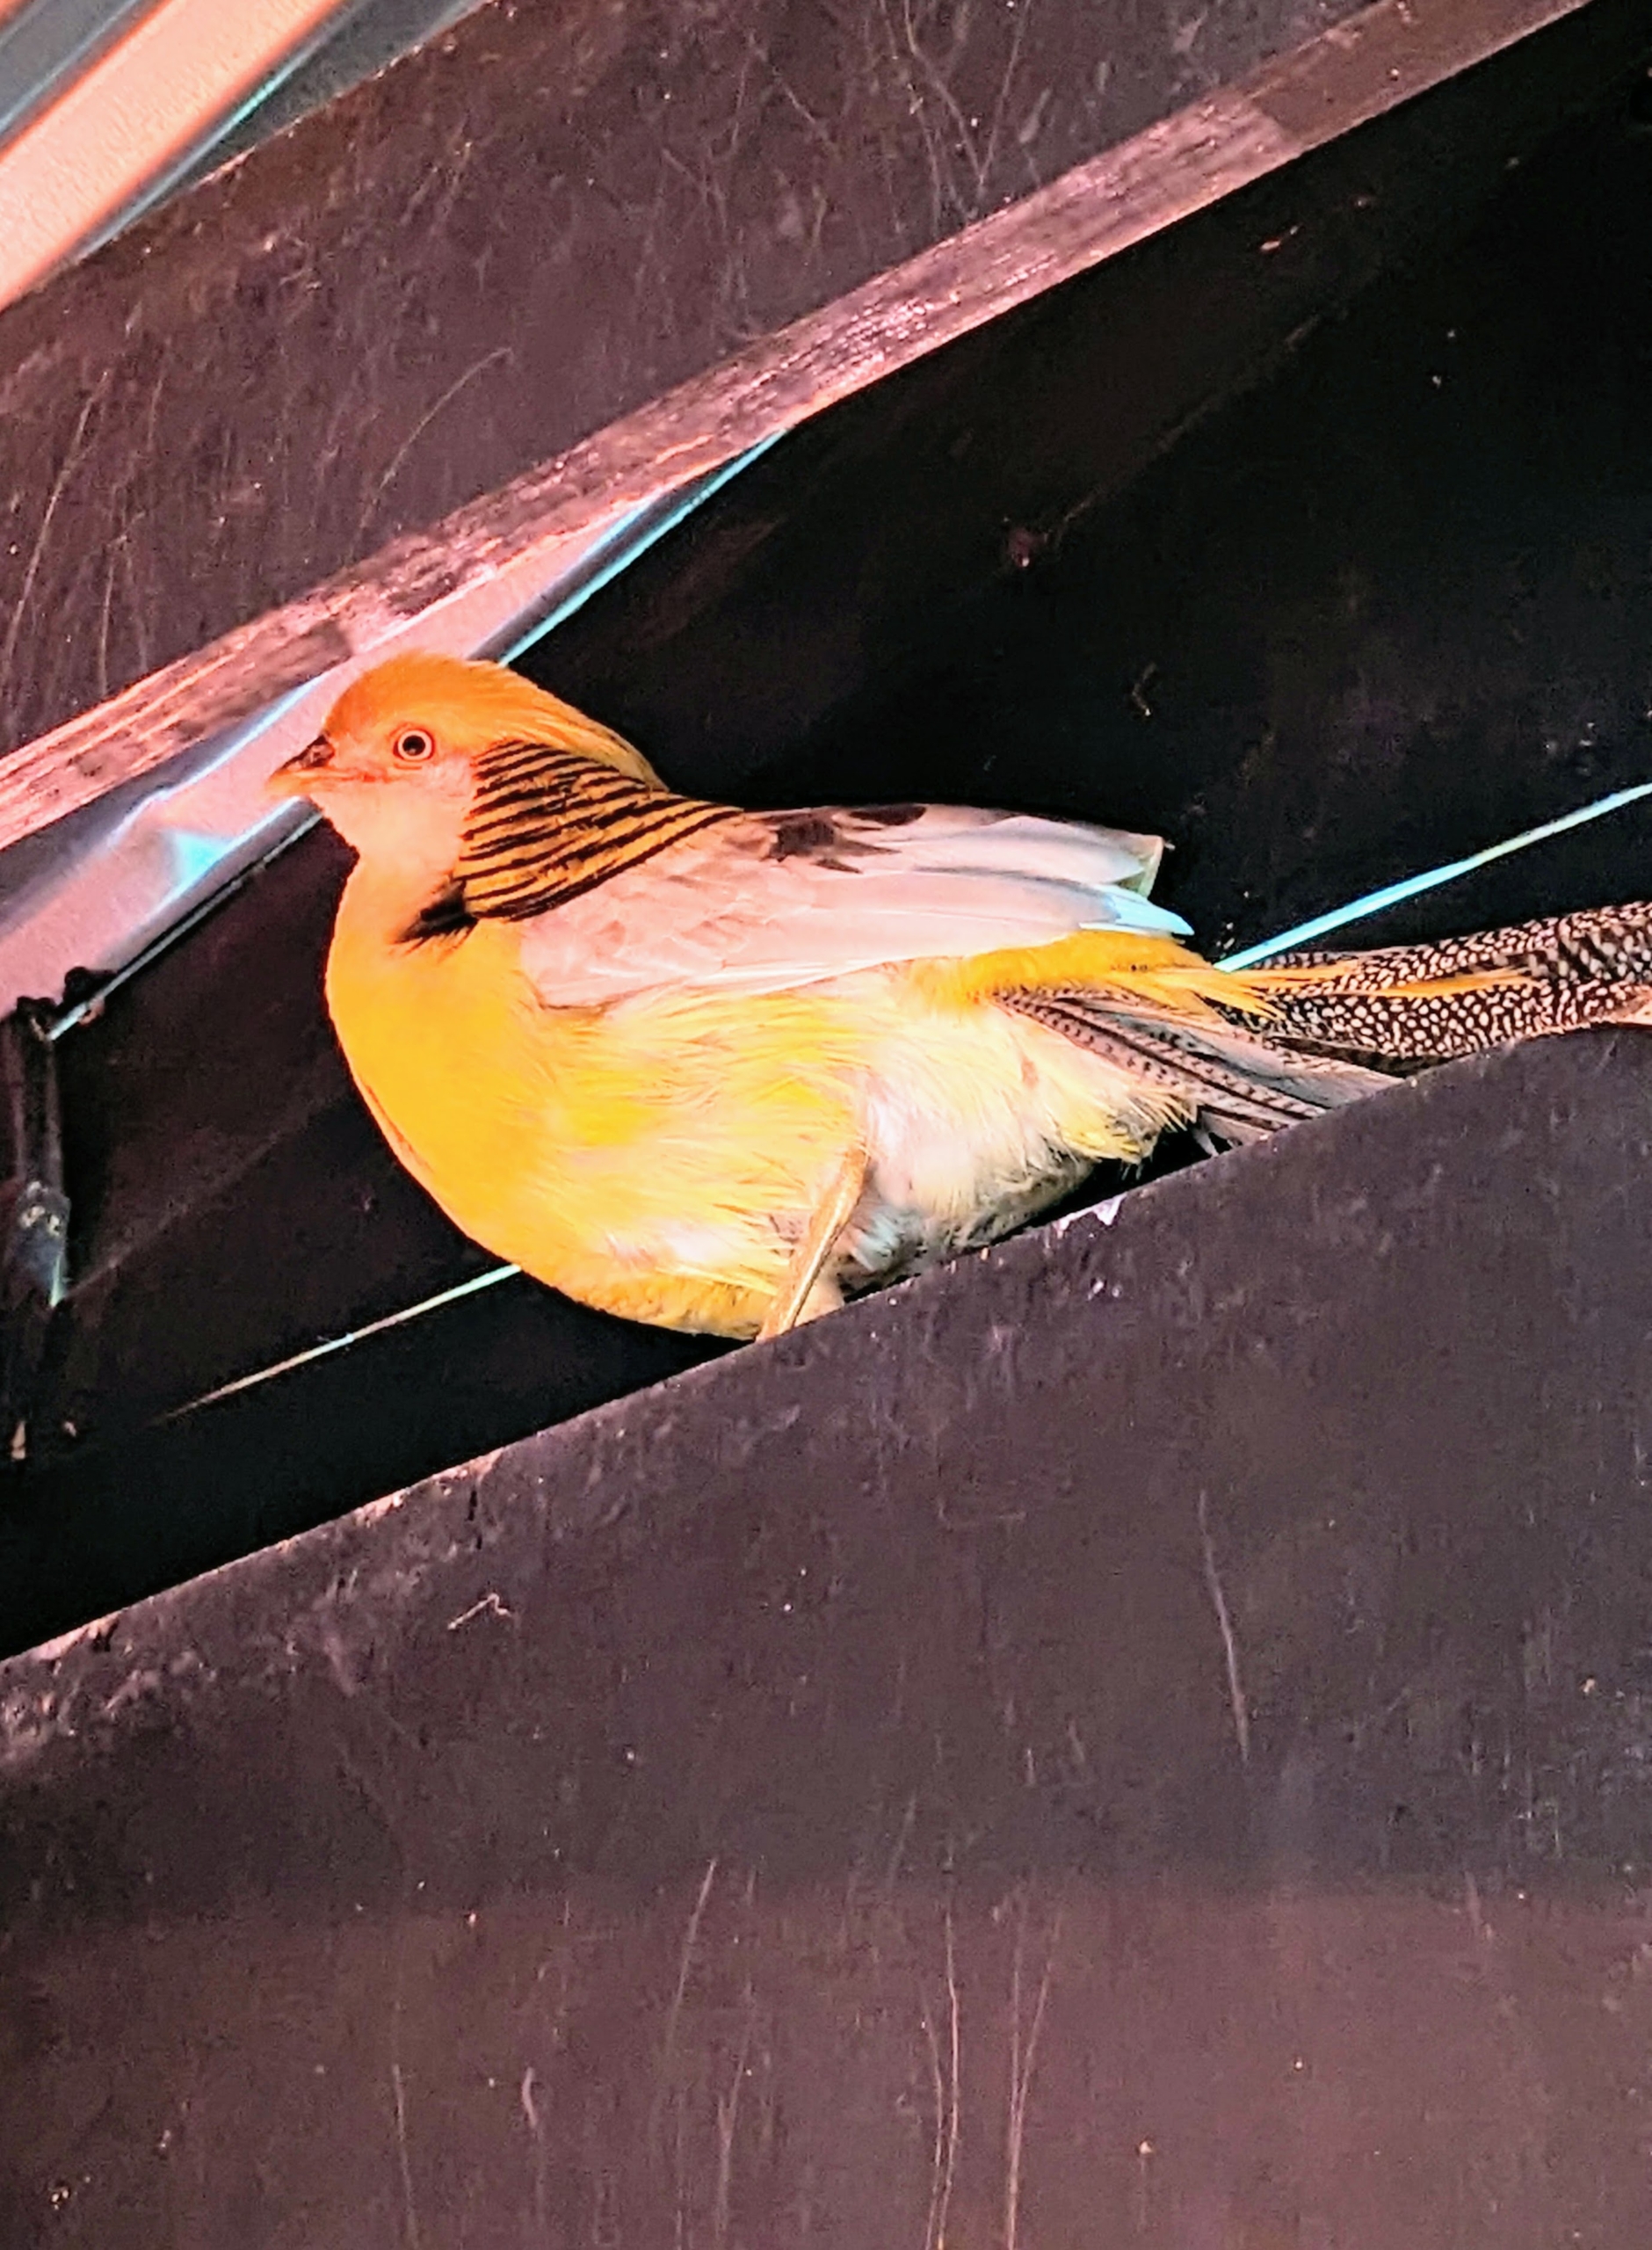
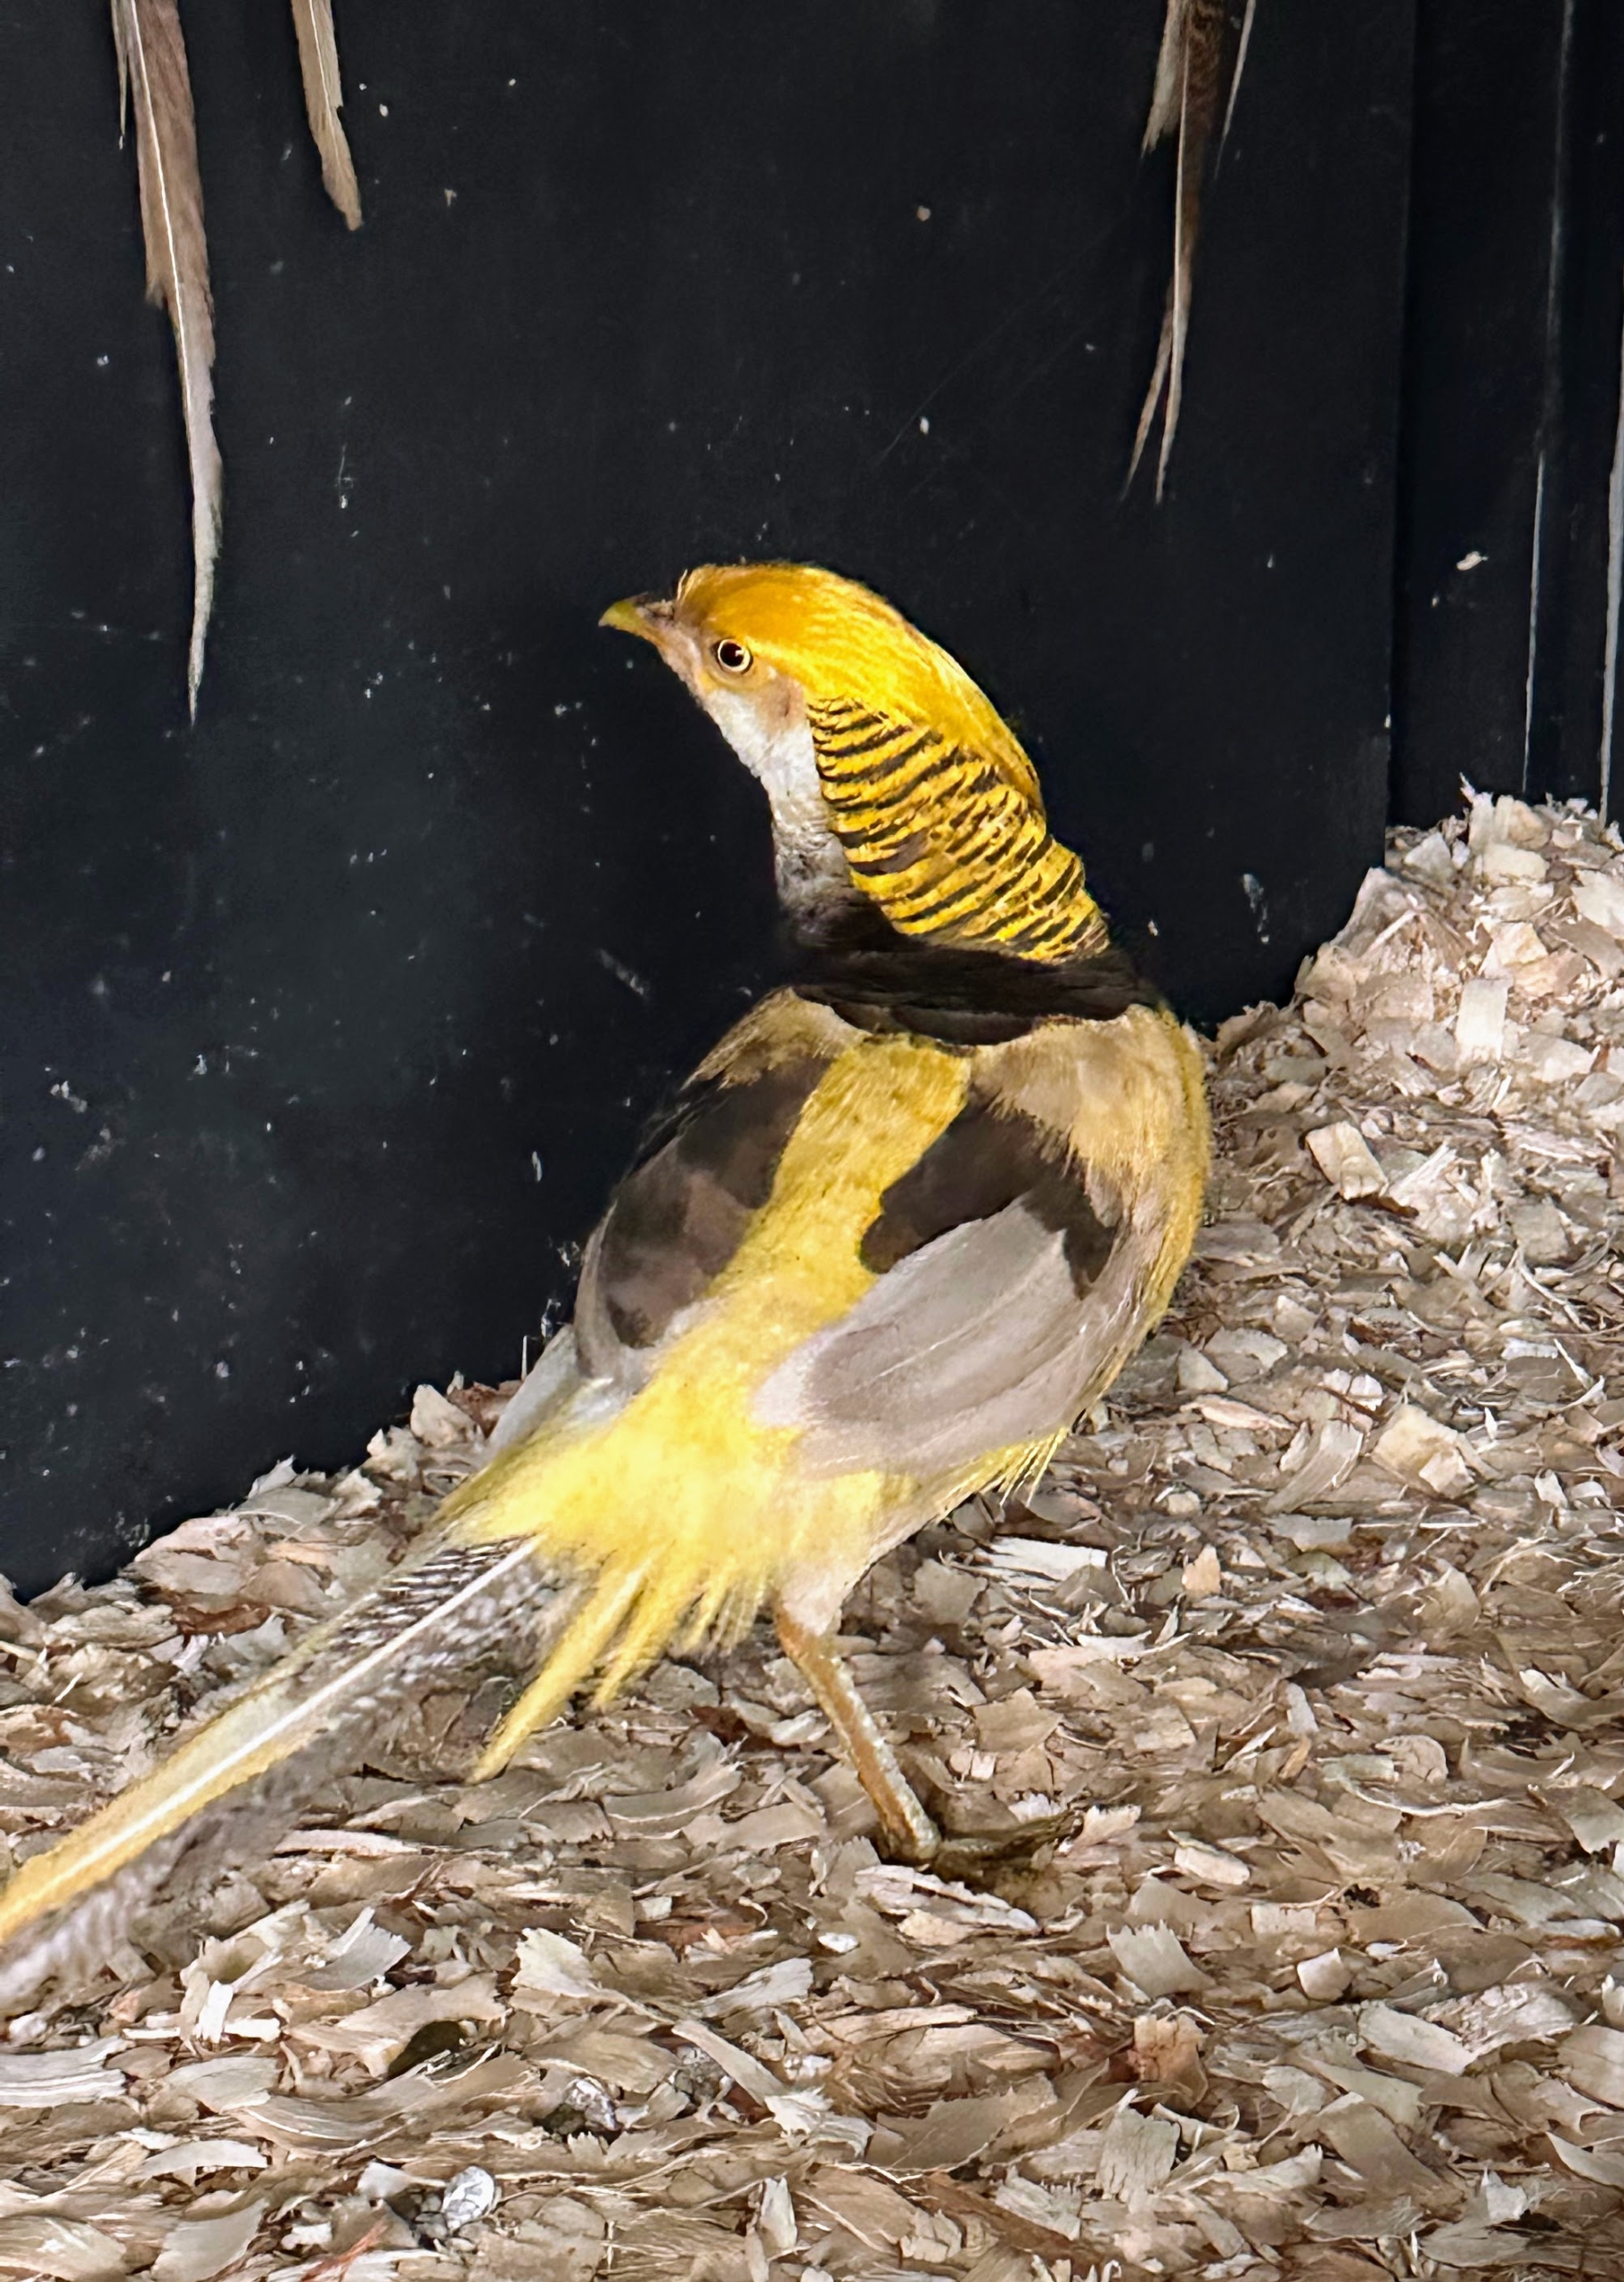
This yellow Golden Pheasant male has a yellow crown, lower back, with dark wings and upper neck.
The yellow is a color mutation of the red golden pheasant. It was originally developed in the 1950s. To maintain the yellow coloring, these birds need shaded areas to protect their feathers from the sun.
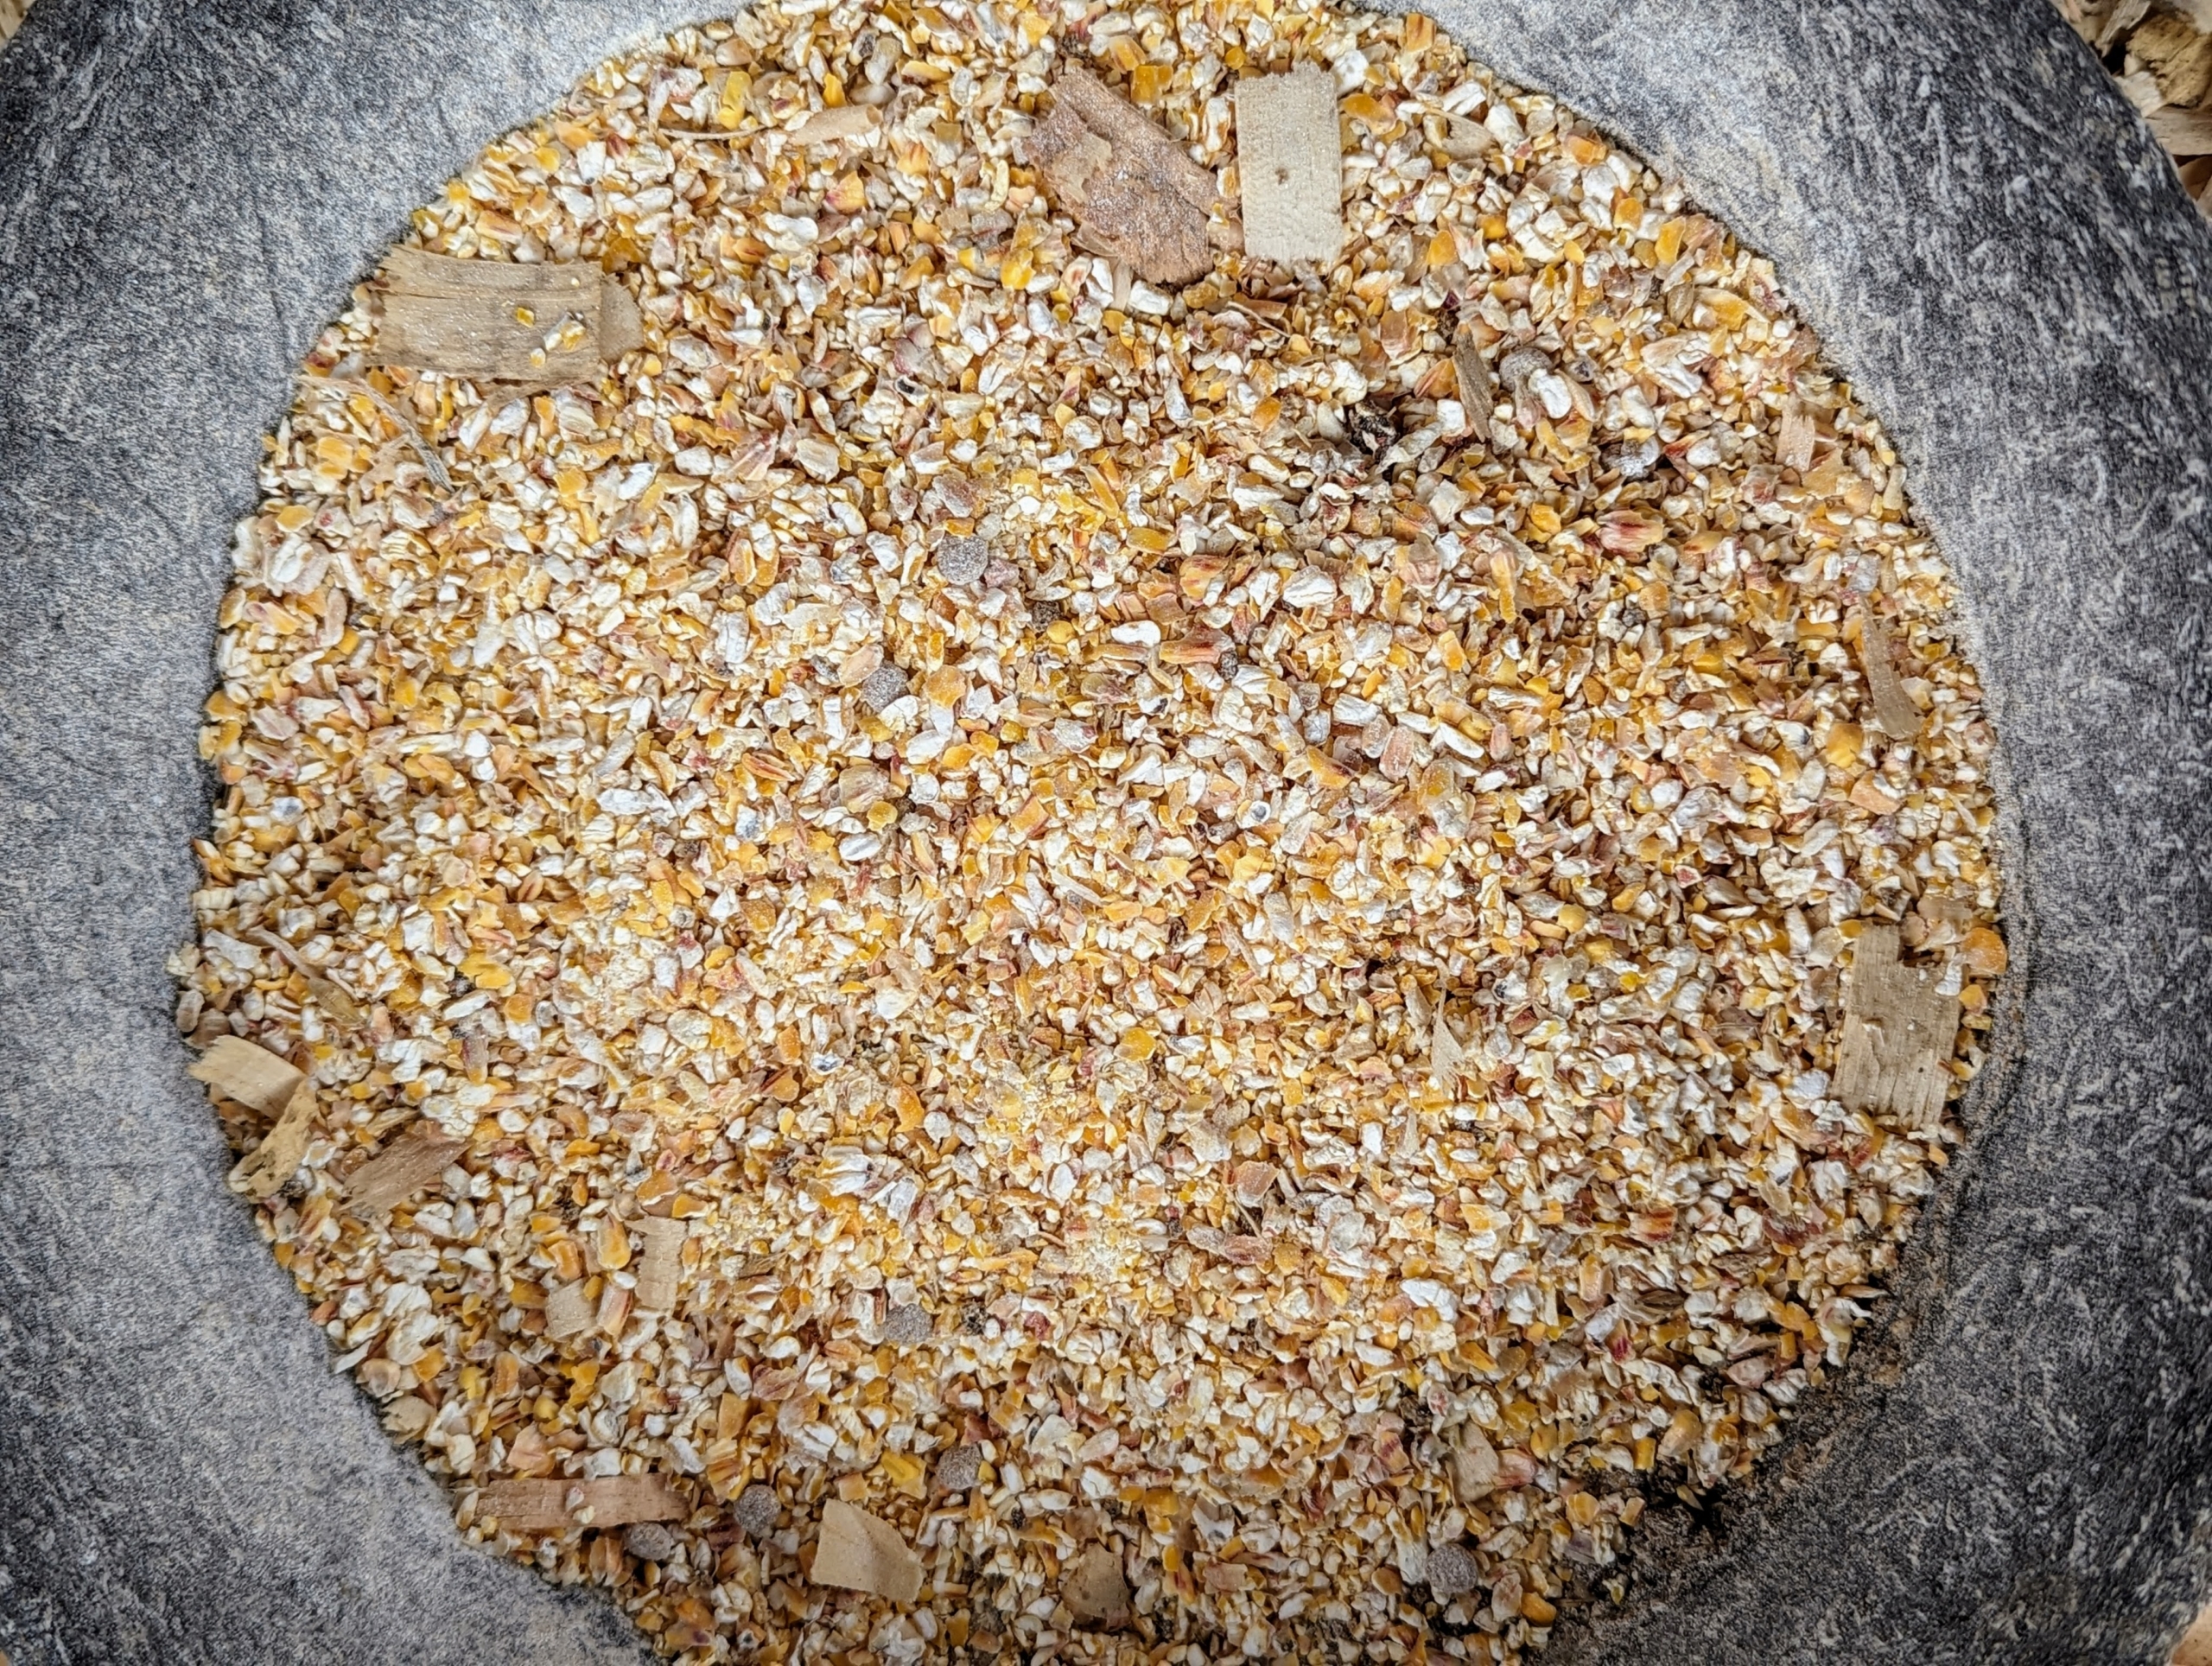
All my outdoor birds get a good supply of seeds. Pheasants also eat insects, berries, and plant matter.
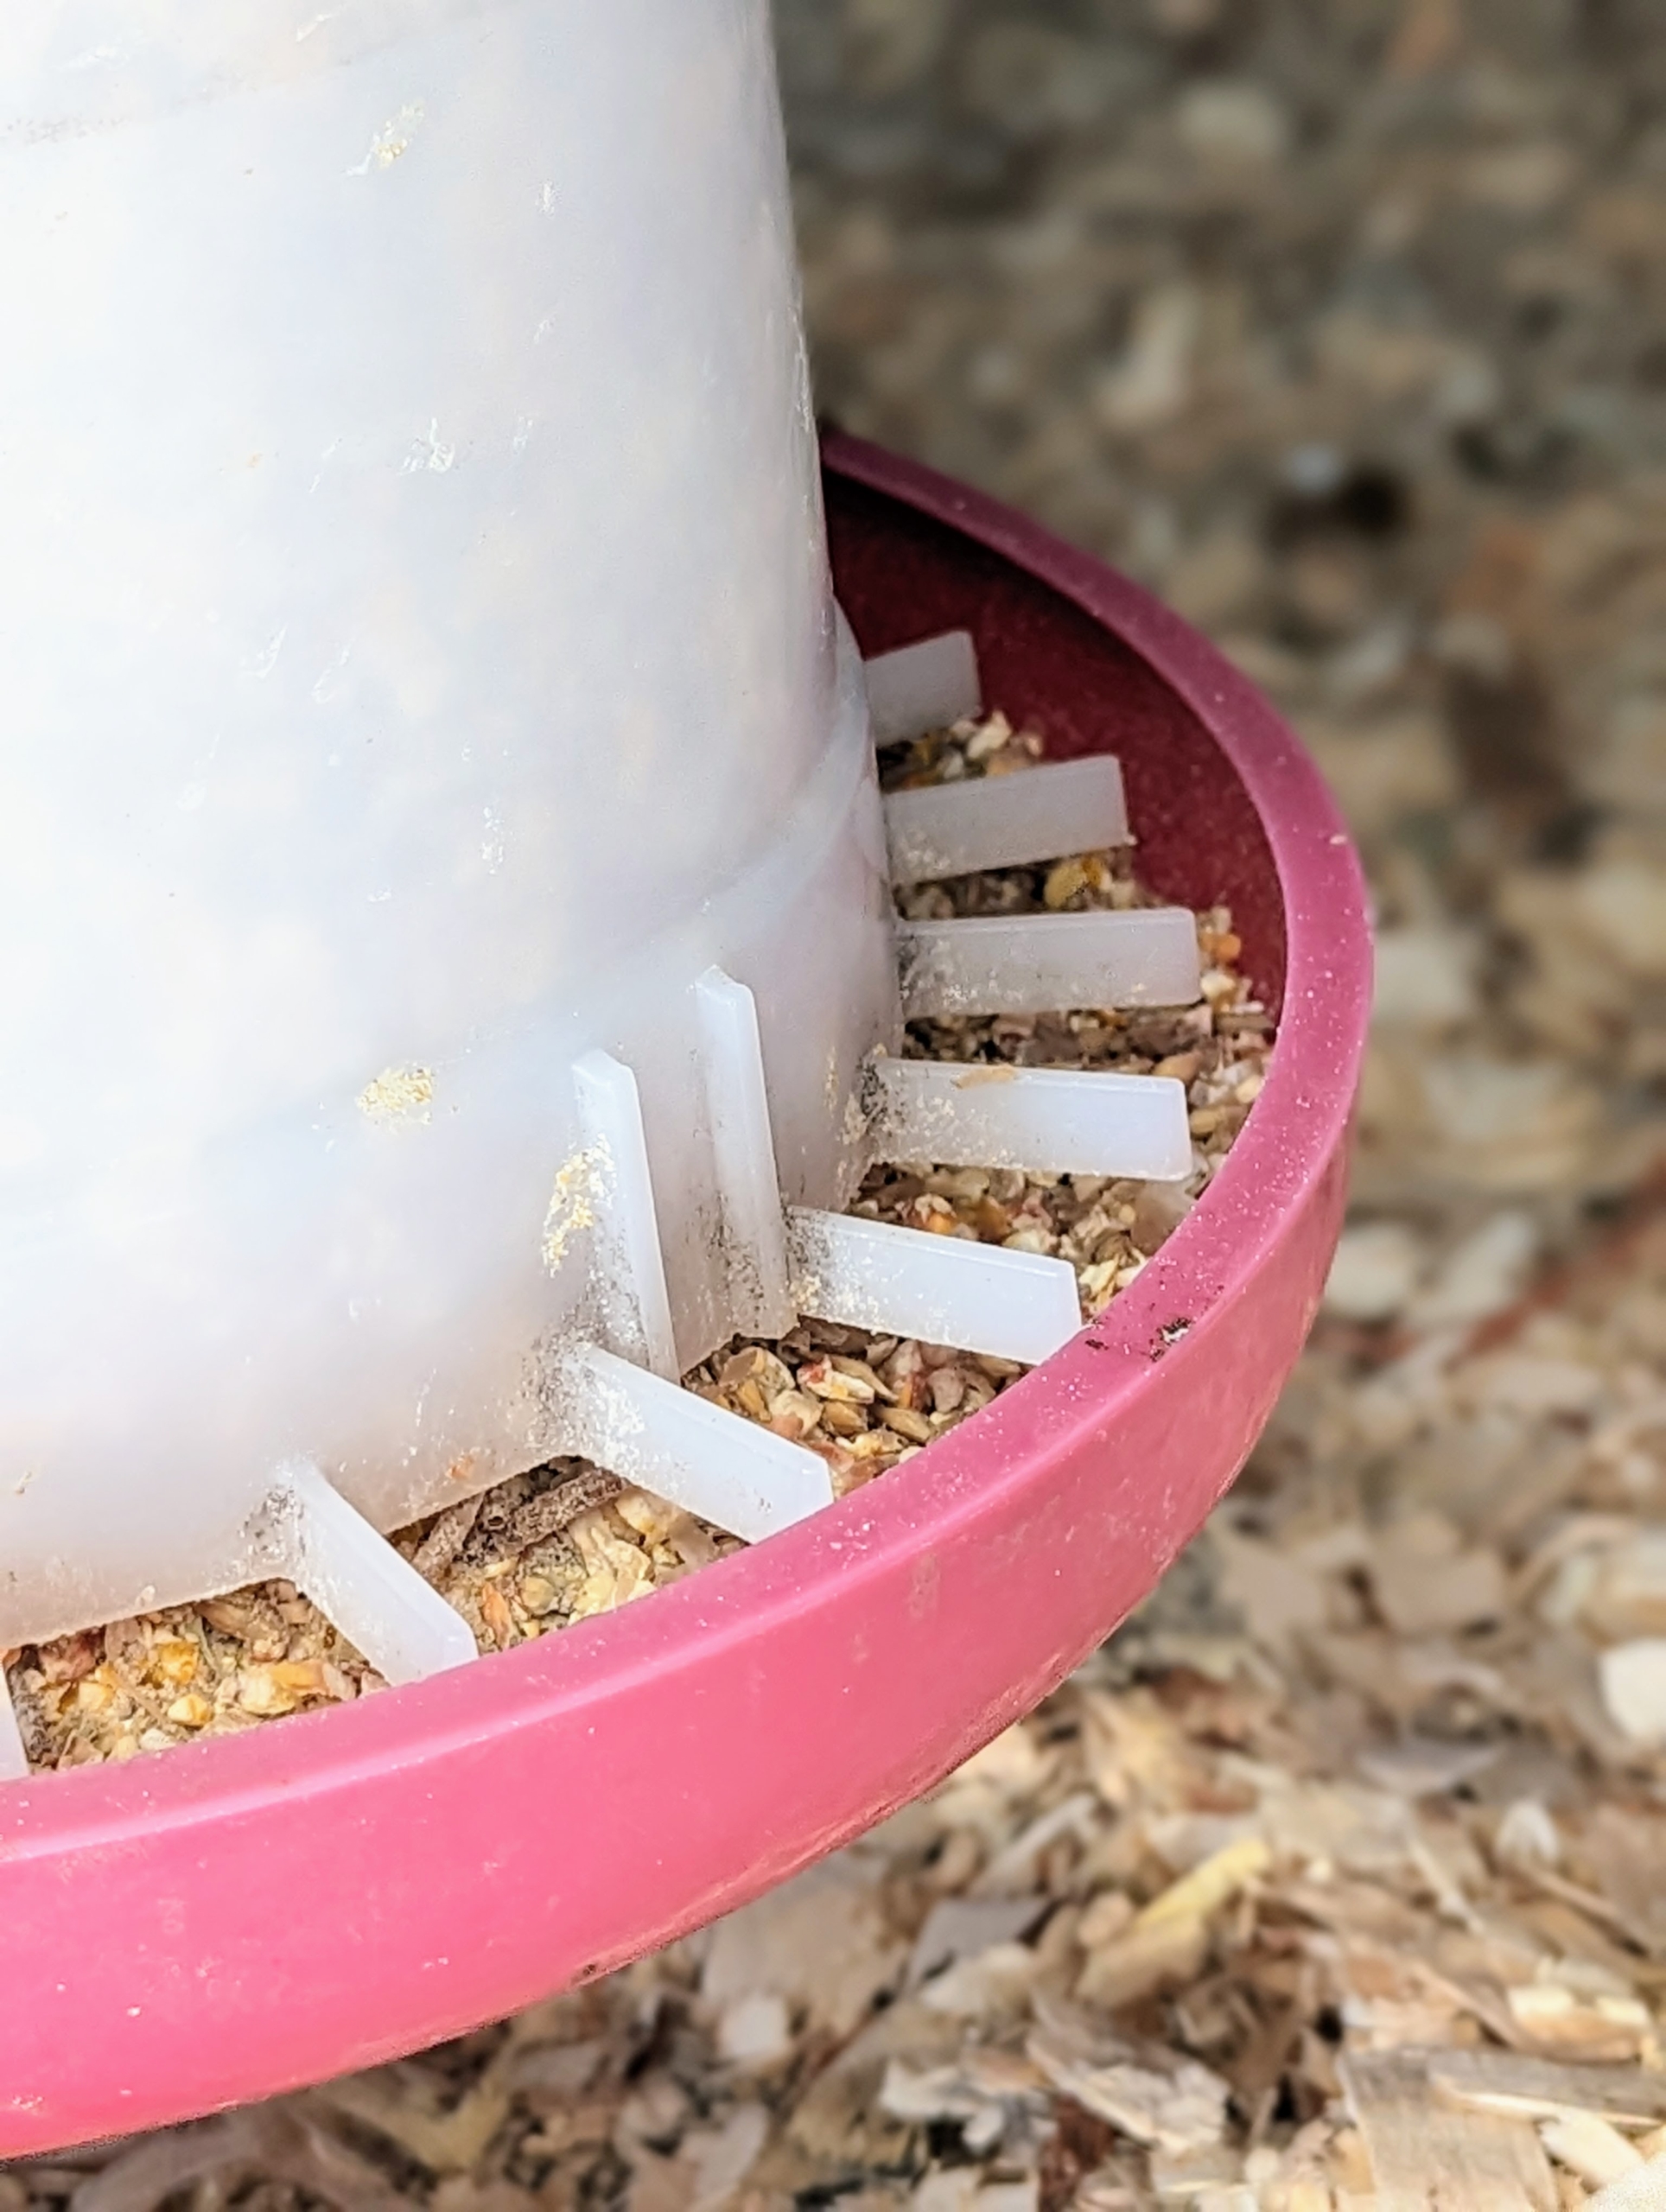
I always provide different types of feeders, so they can select which they like best.
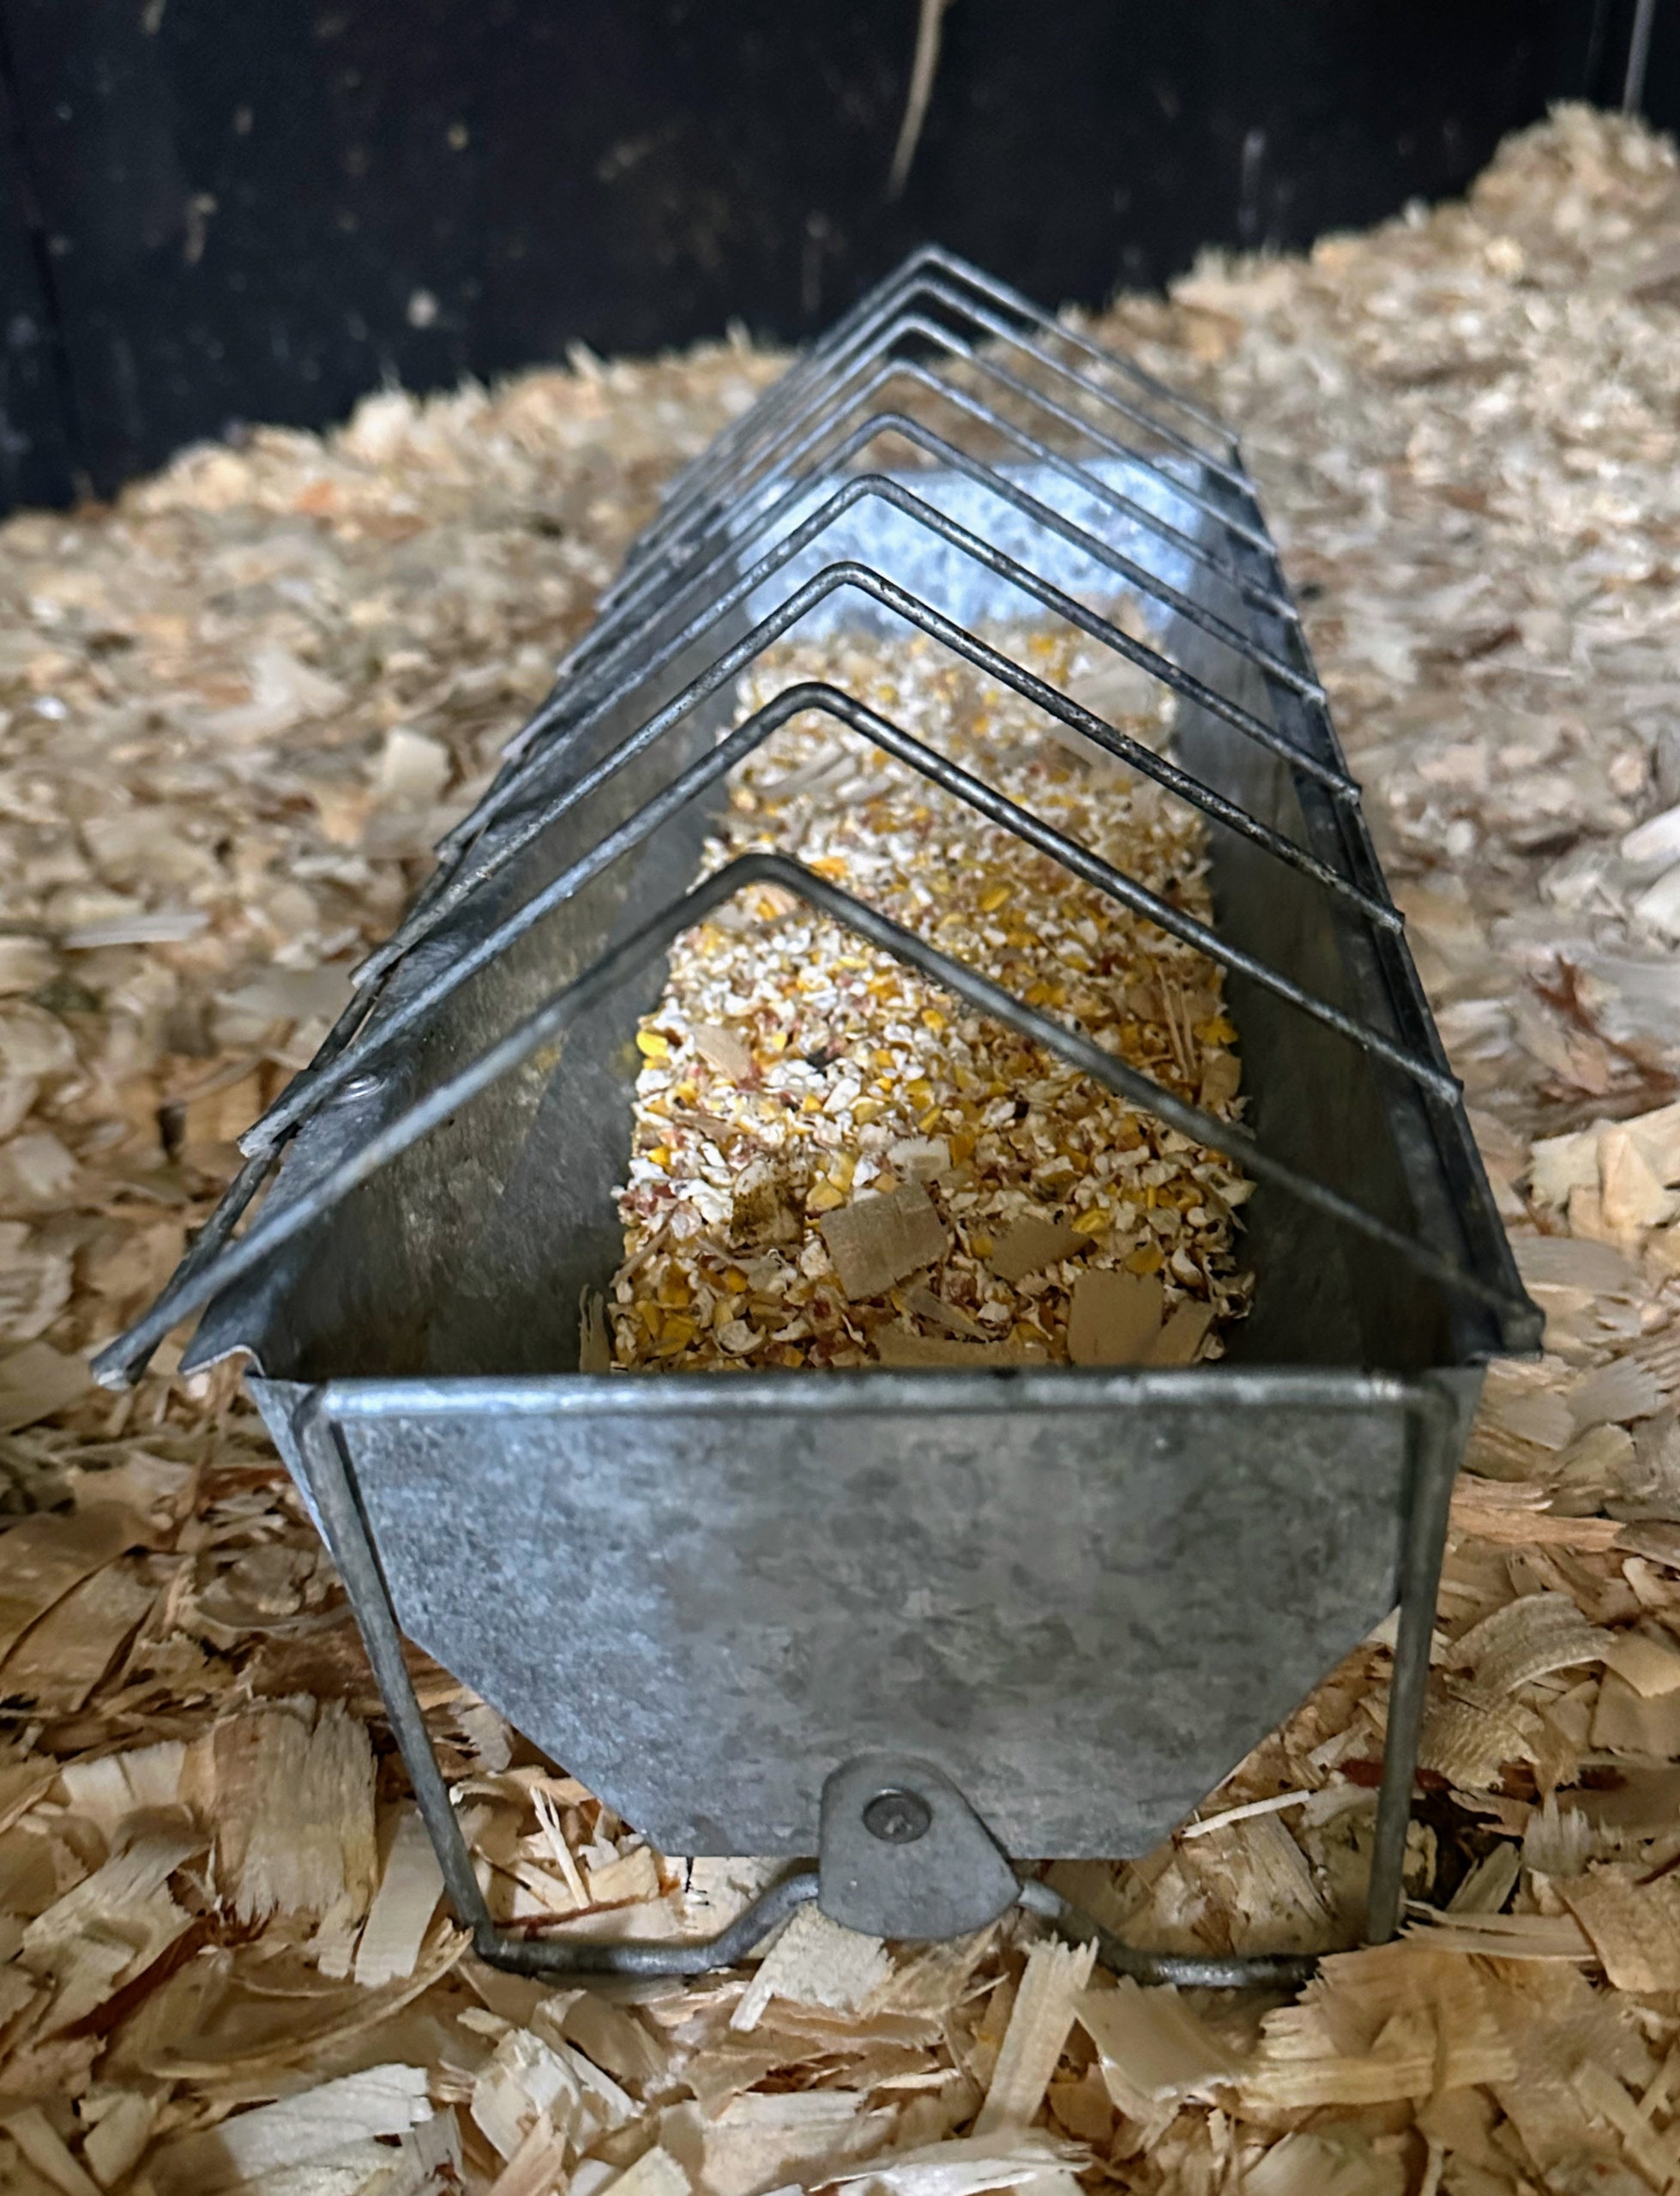
Here is another feeder on the floor of their coop. I do this especially in winter when birds like to bulk up on high-energy foods to build fat reserves that keep them warm.
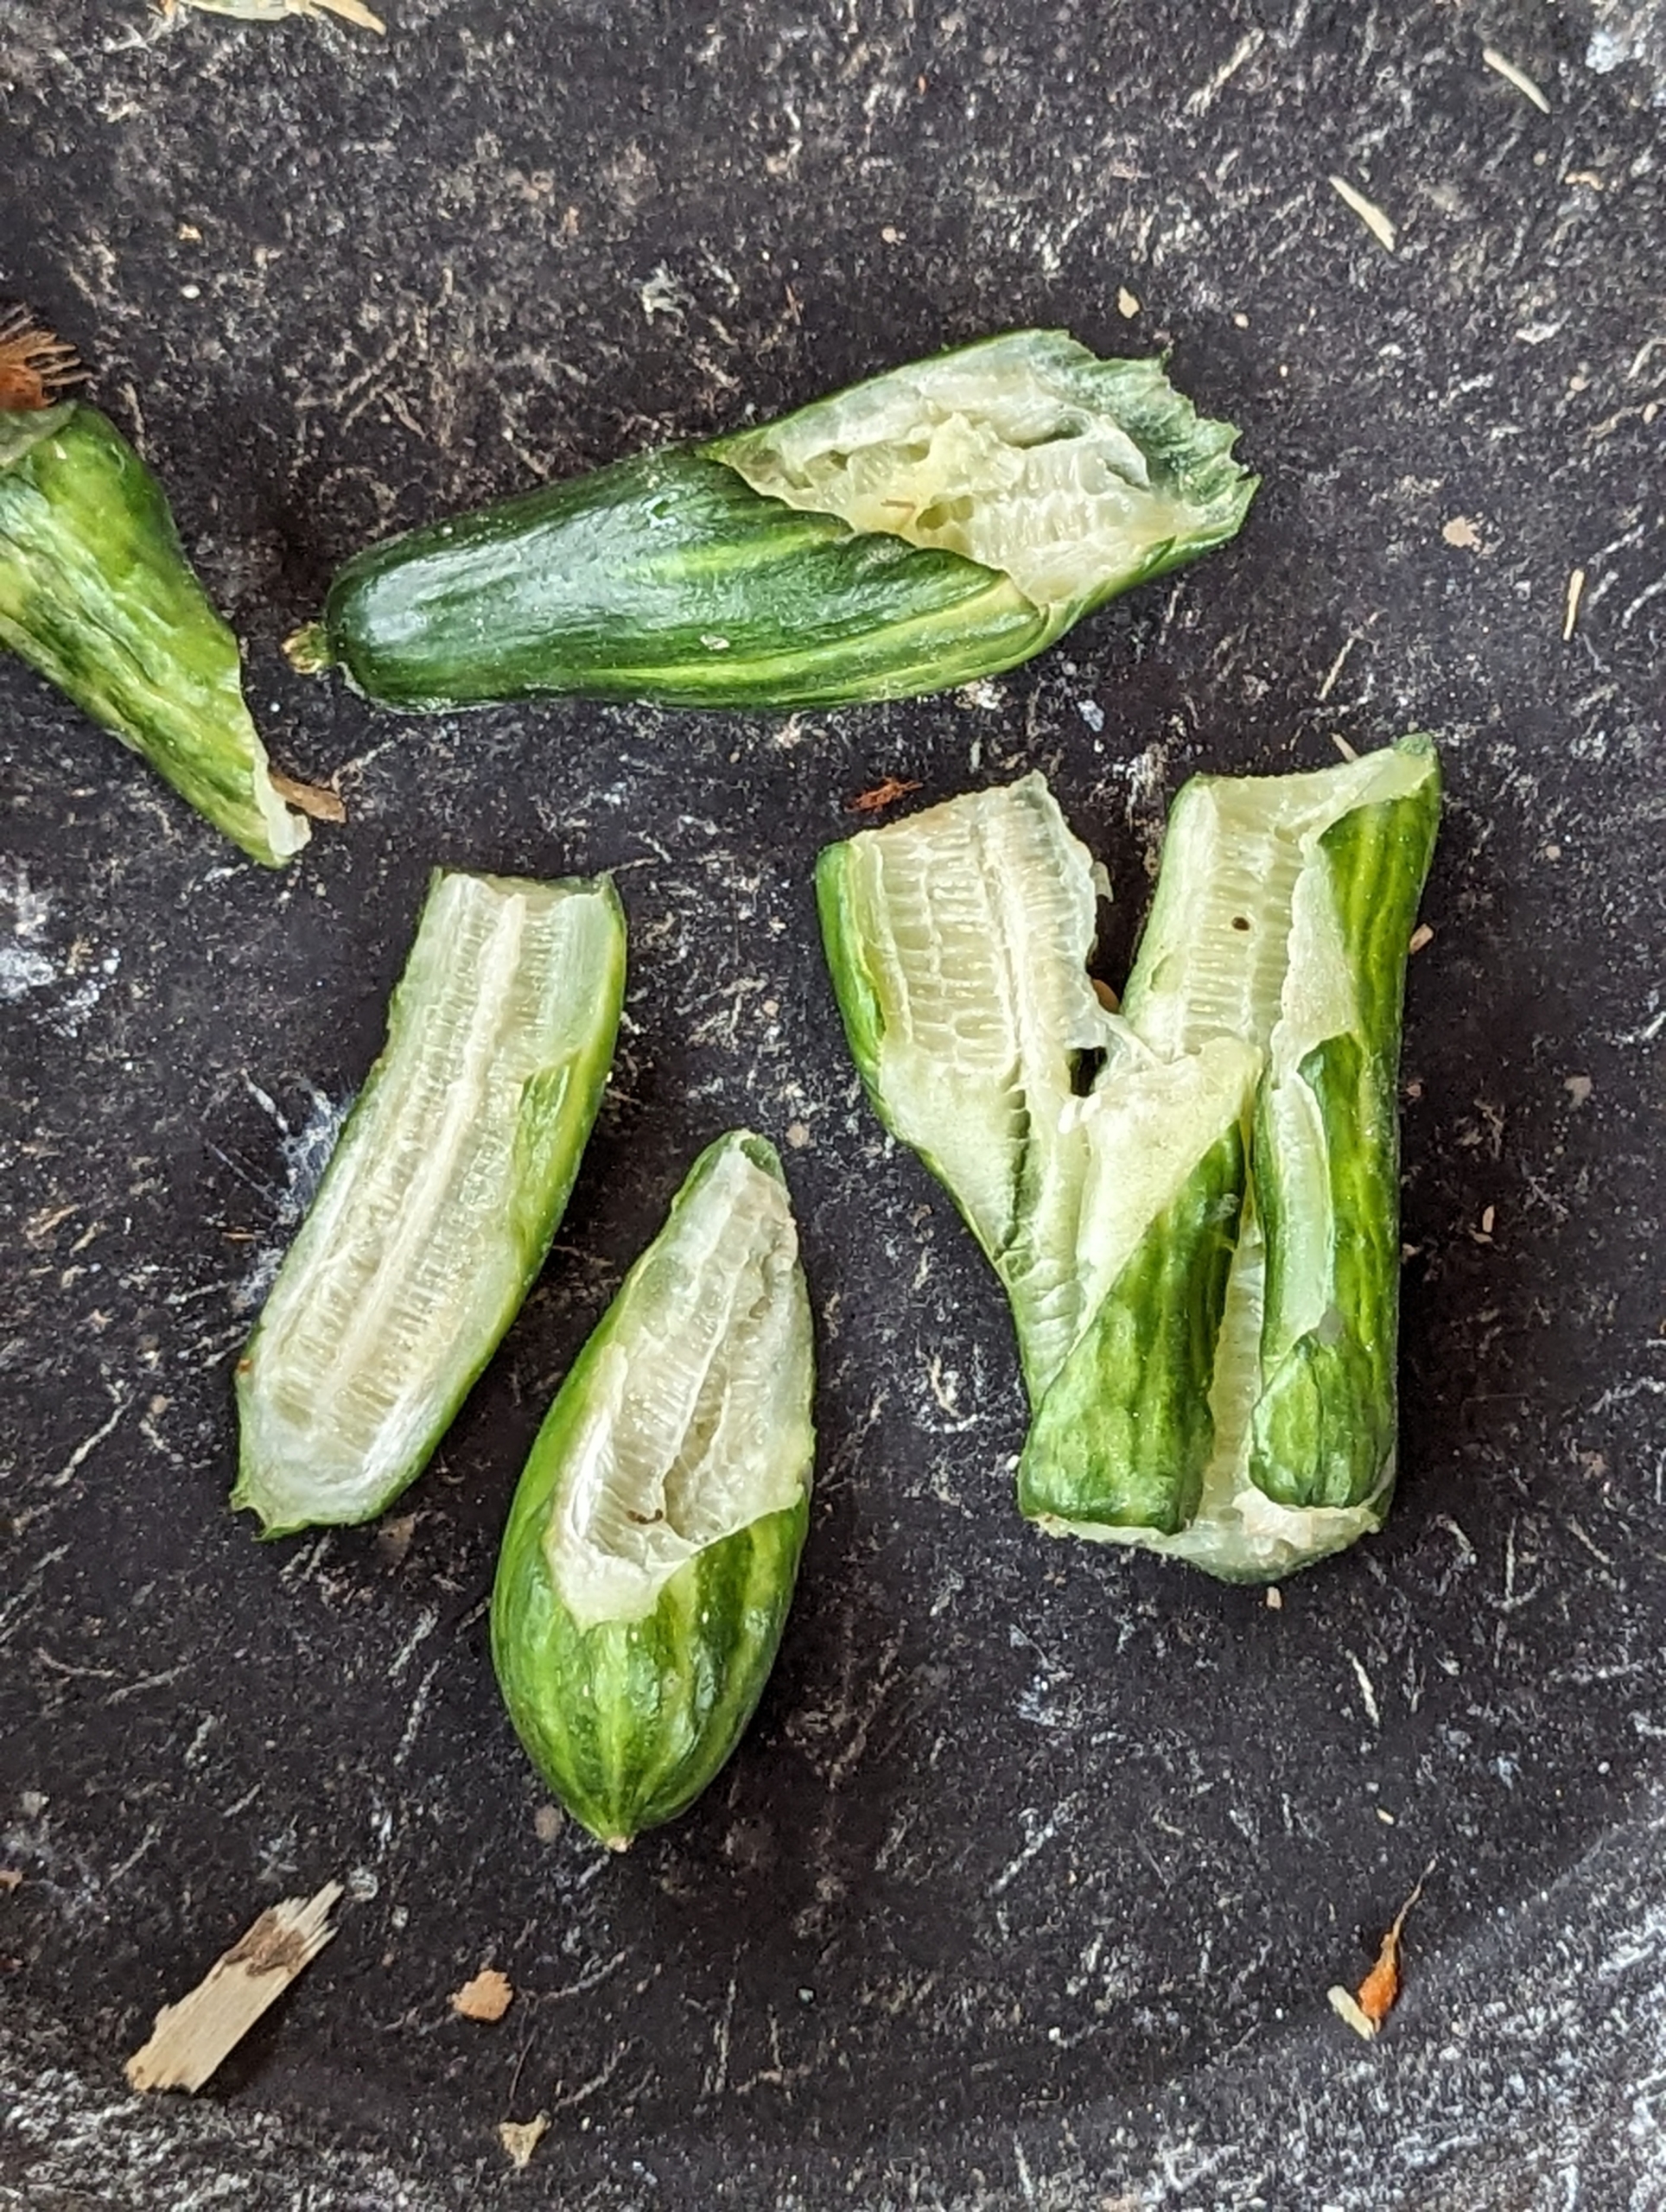
Pheasants also enjoy fresh greens. I provide lots of fresh vegetables and fruits for all my birds. Here, we just gave them some zucchini for an afternoon snack.
And of course, there is always fresh water – checked and changed often to ensure it is always clean and free-flowing.
Pheasants are very social birds, but do get startled more easily than other birds.
For now, I am glad they are enjoying their time and getting accustomed to the farm.
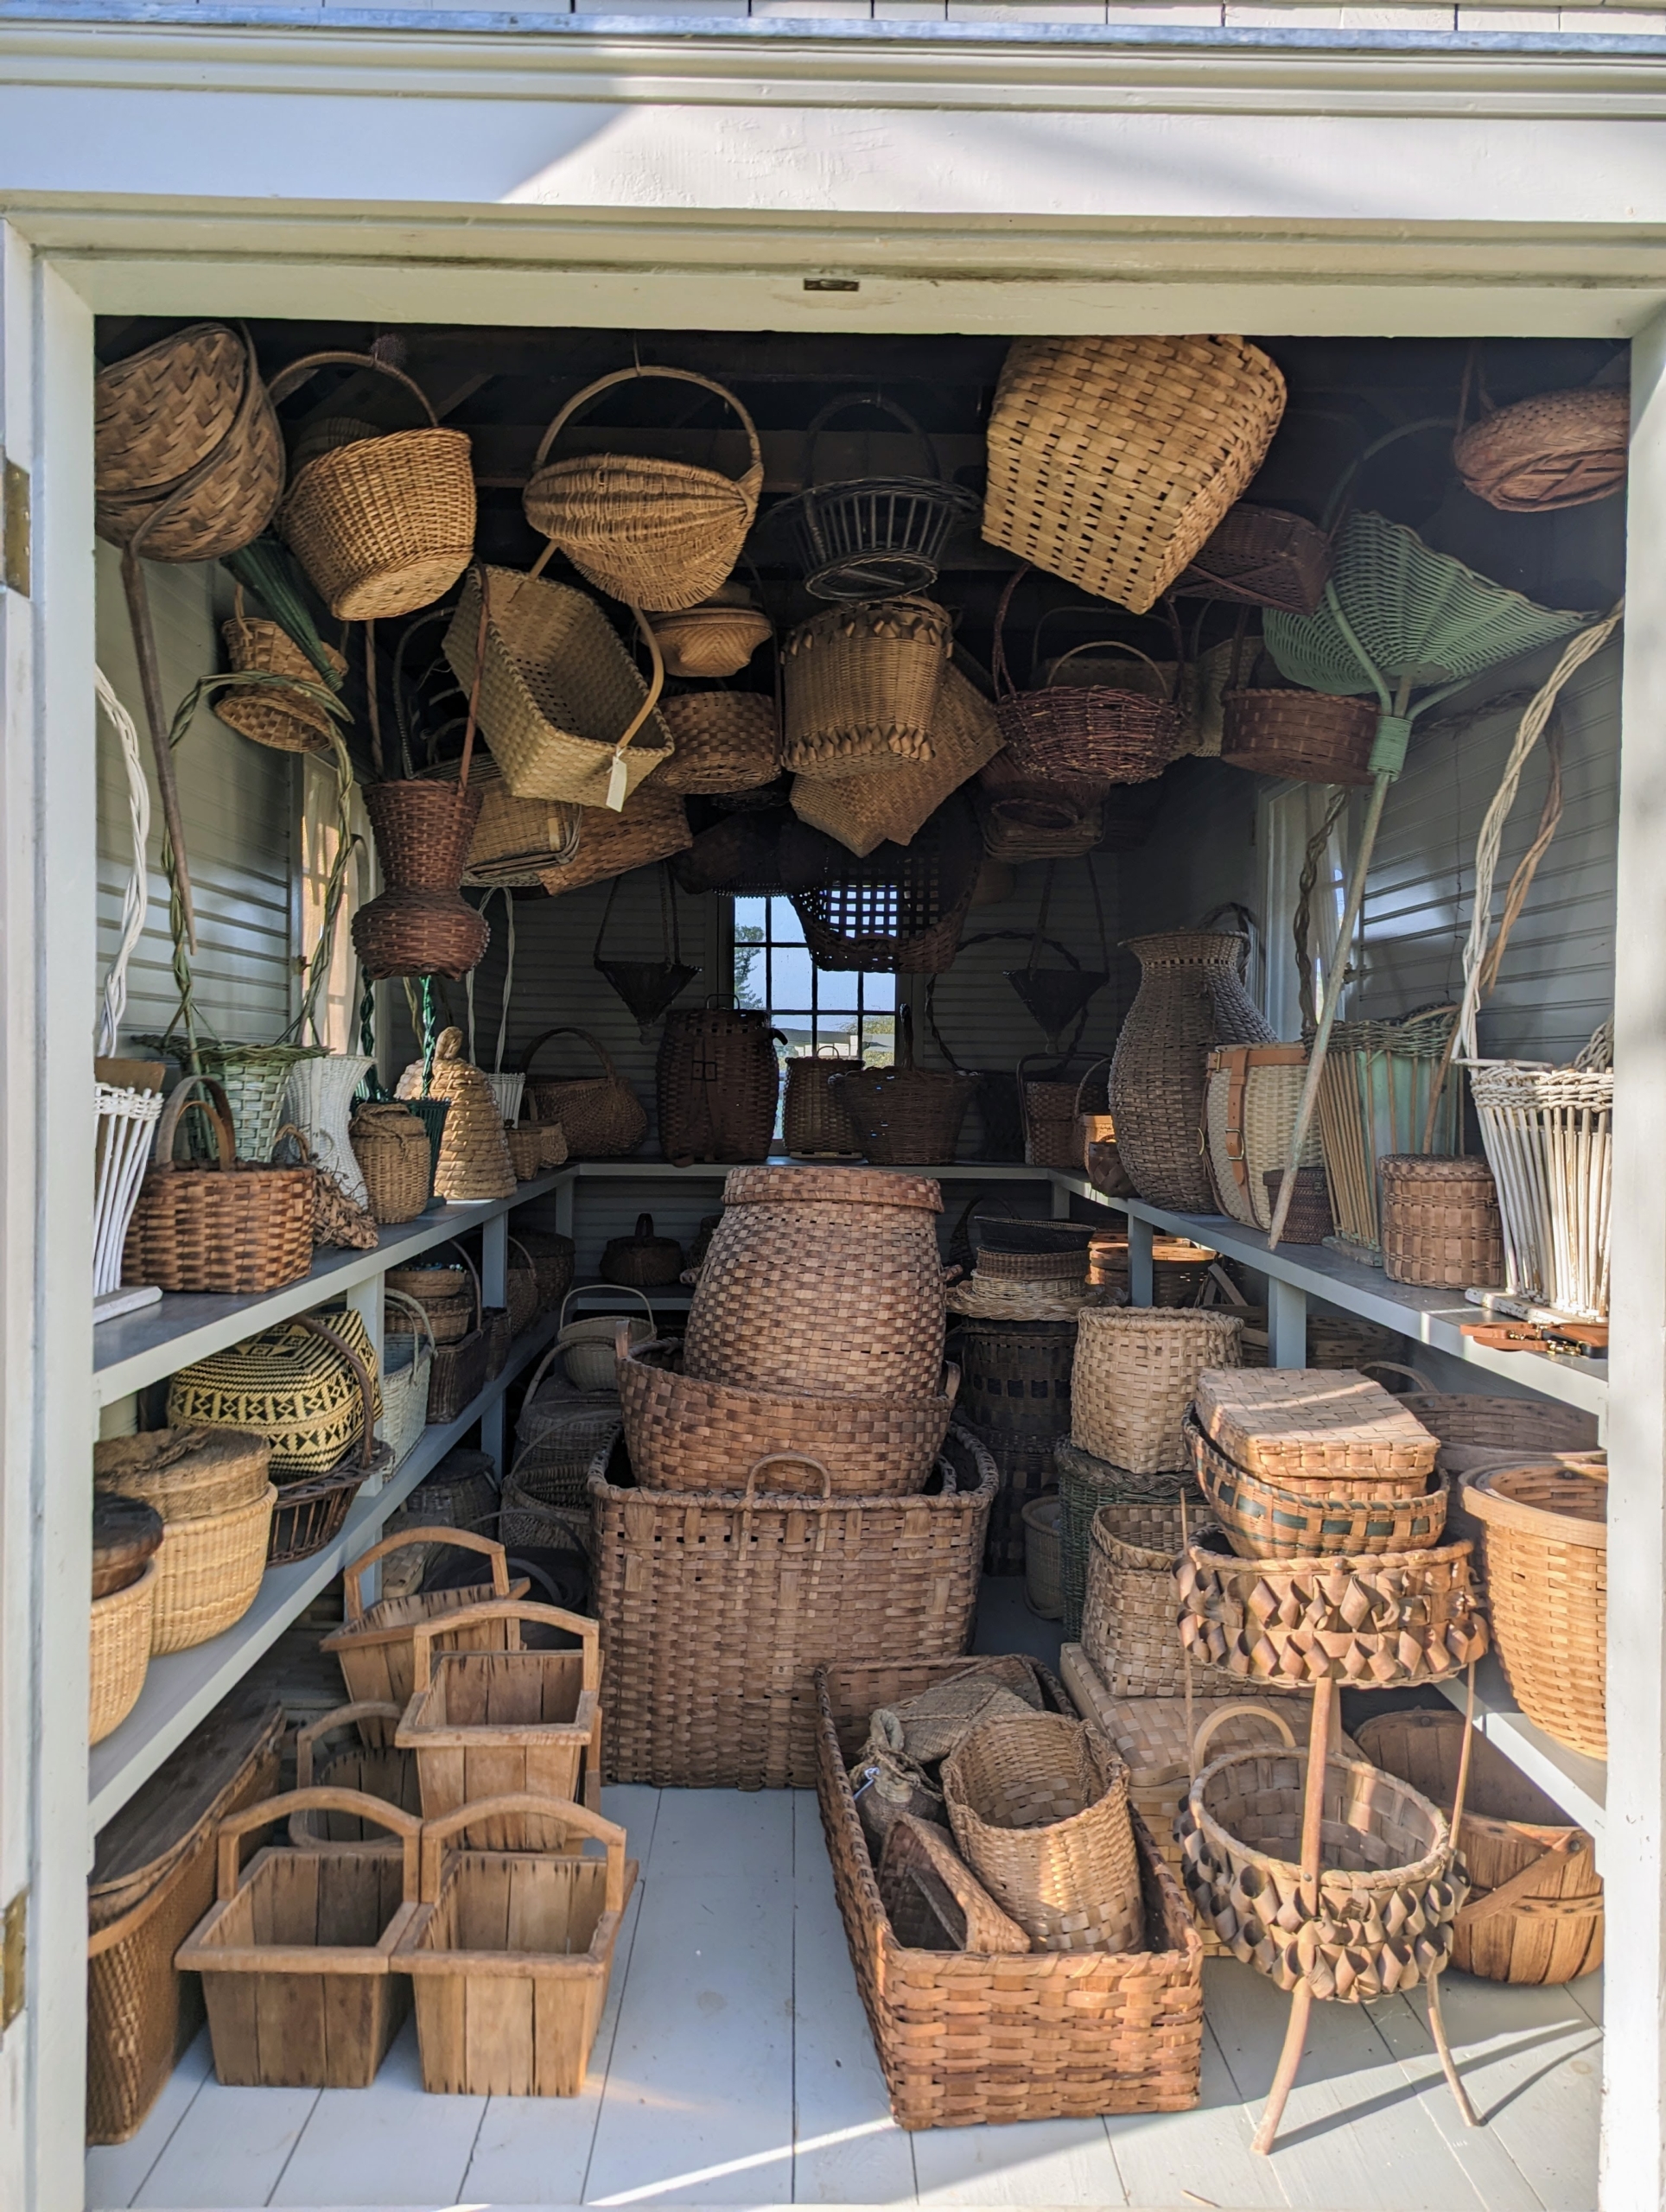
An old basket now has new purpose here at my Bedford, New York farm.
As many of you know, I am very fond of baskets. Over the years, I've collected quite a number of them from auctions, tag sales, or the talented basket-making artisans themselves. In fact, here at Cantitoe Corners, nestled in a grove of tall bald cypress trees just across from my long clematis pergola is a charming outbuilding dedicated to all my many baskets - some are rare and antique, some are vintage, and some are more contemporary. Recently, I came across an old unique two-tiered woven basket. I knew it would make a wonderful addition to my collection, that is, after a little bit of TLC.
Enjoy these photos.
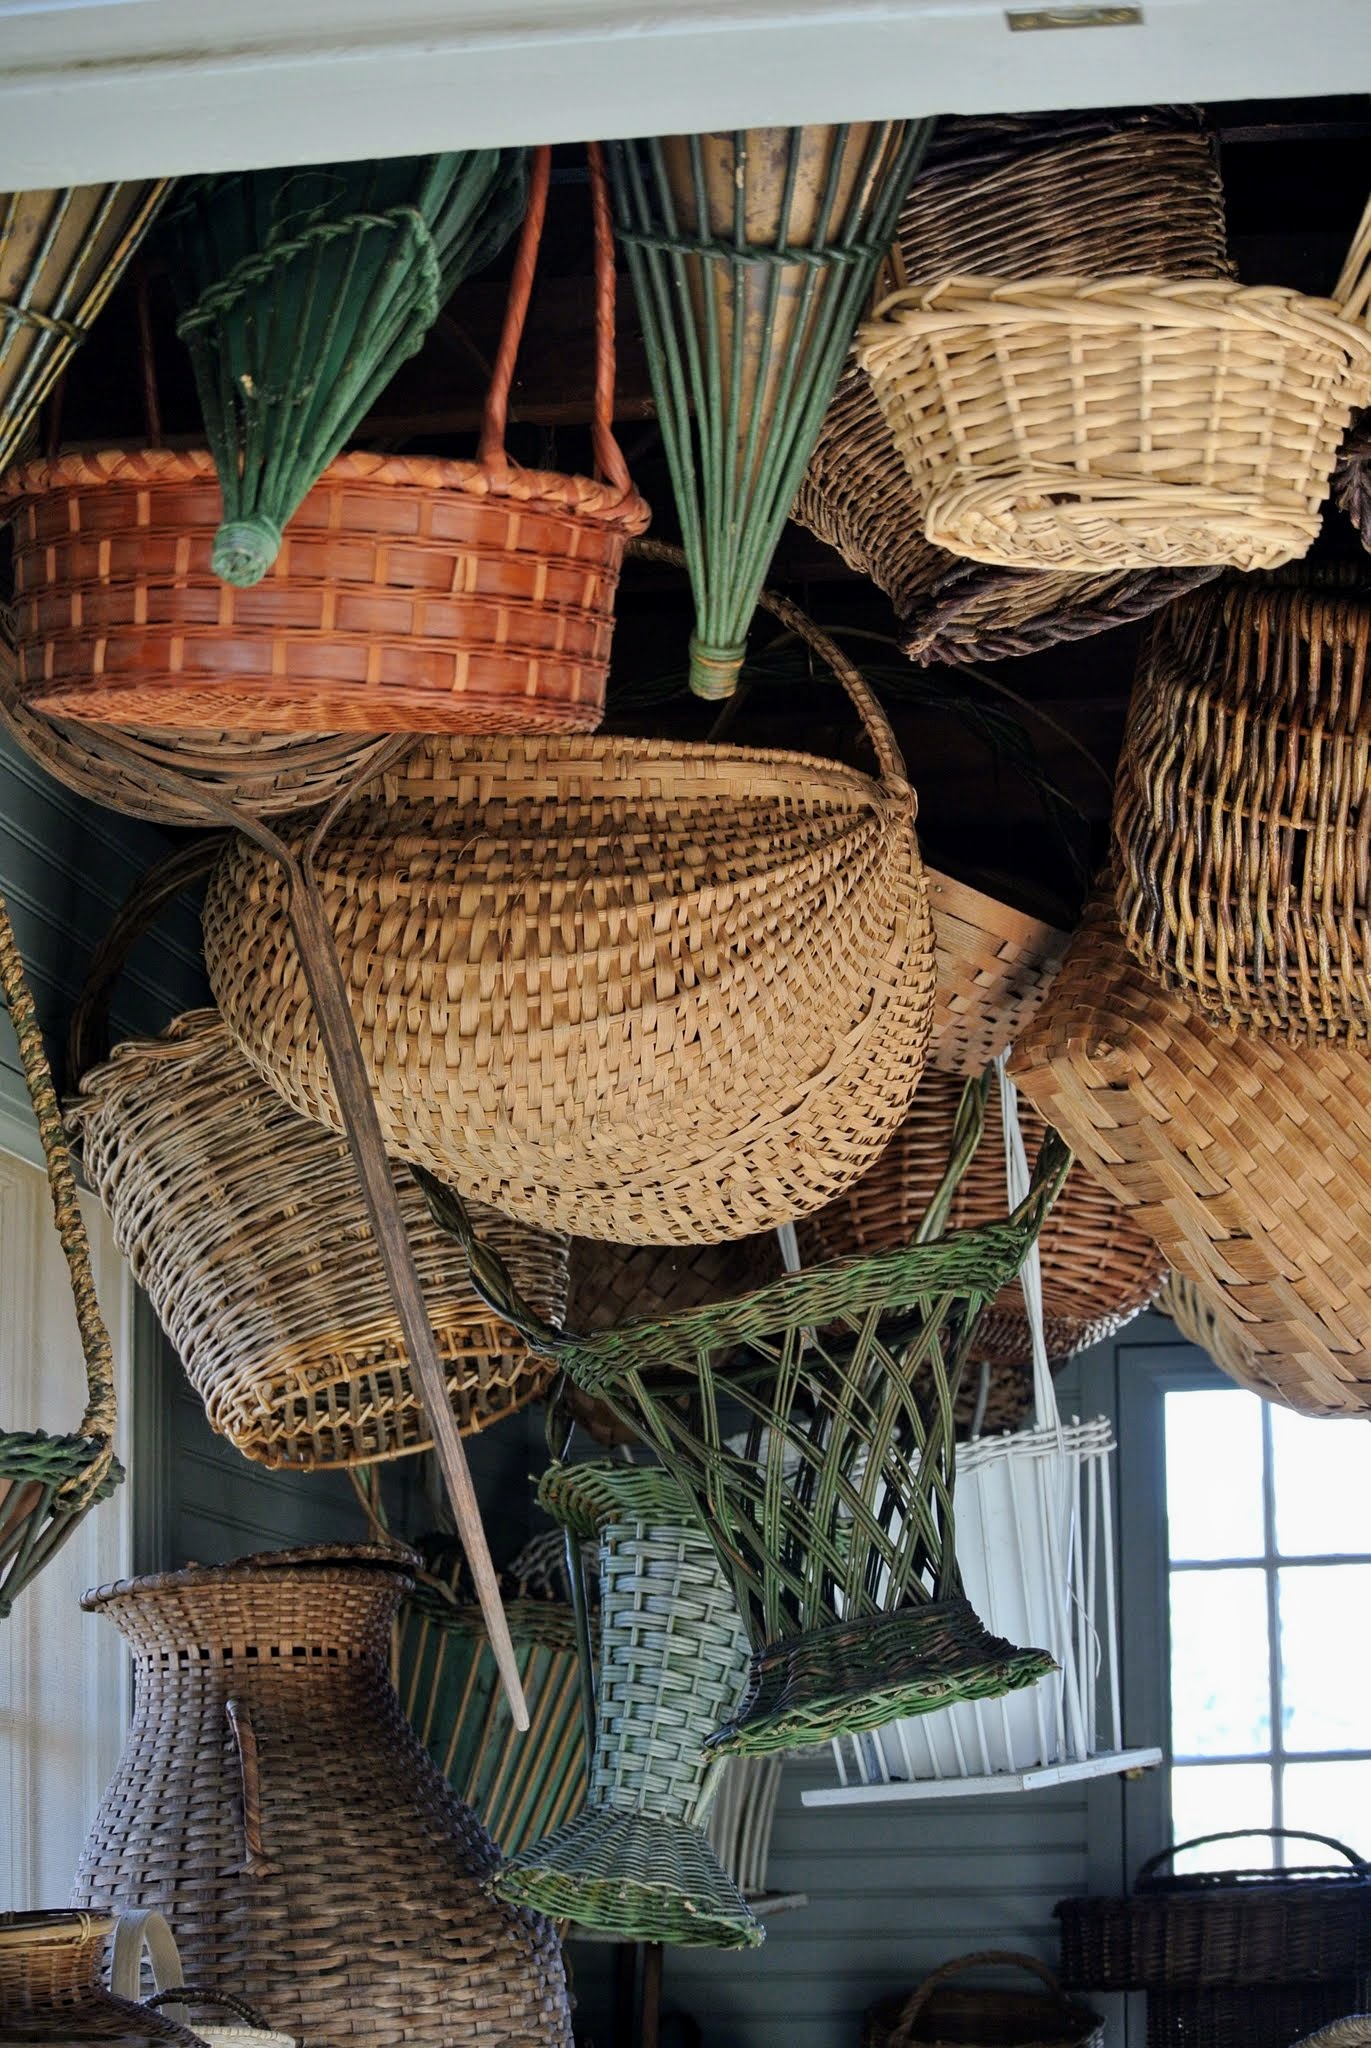
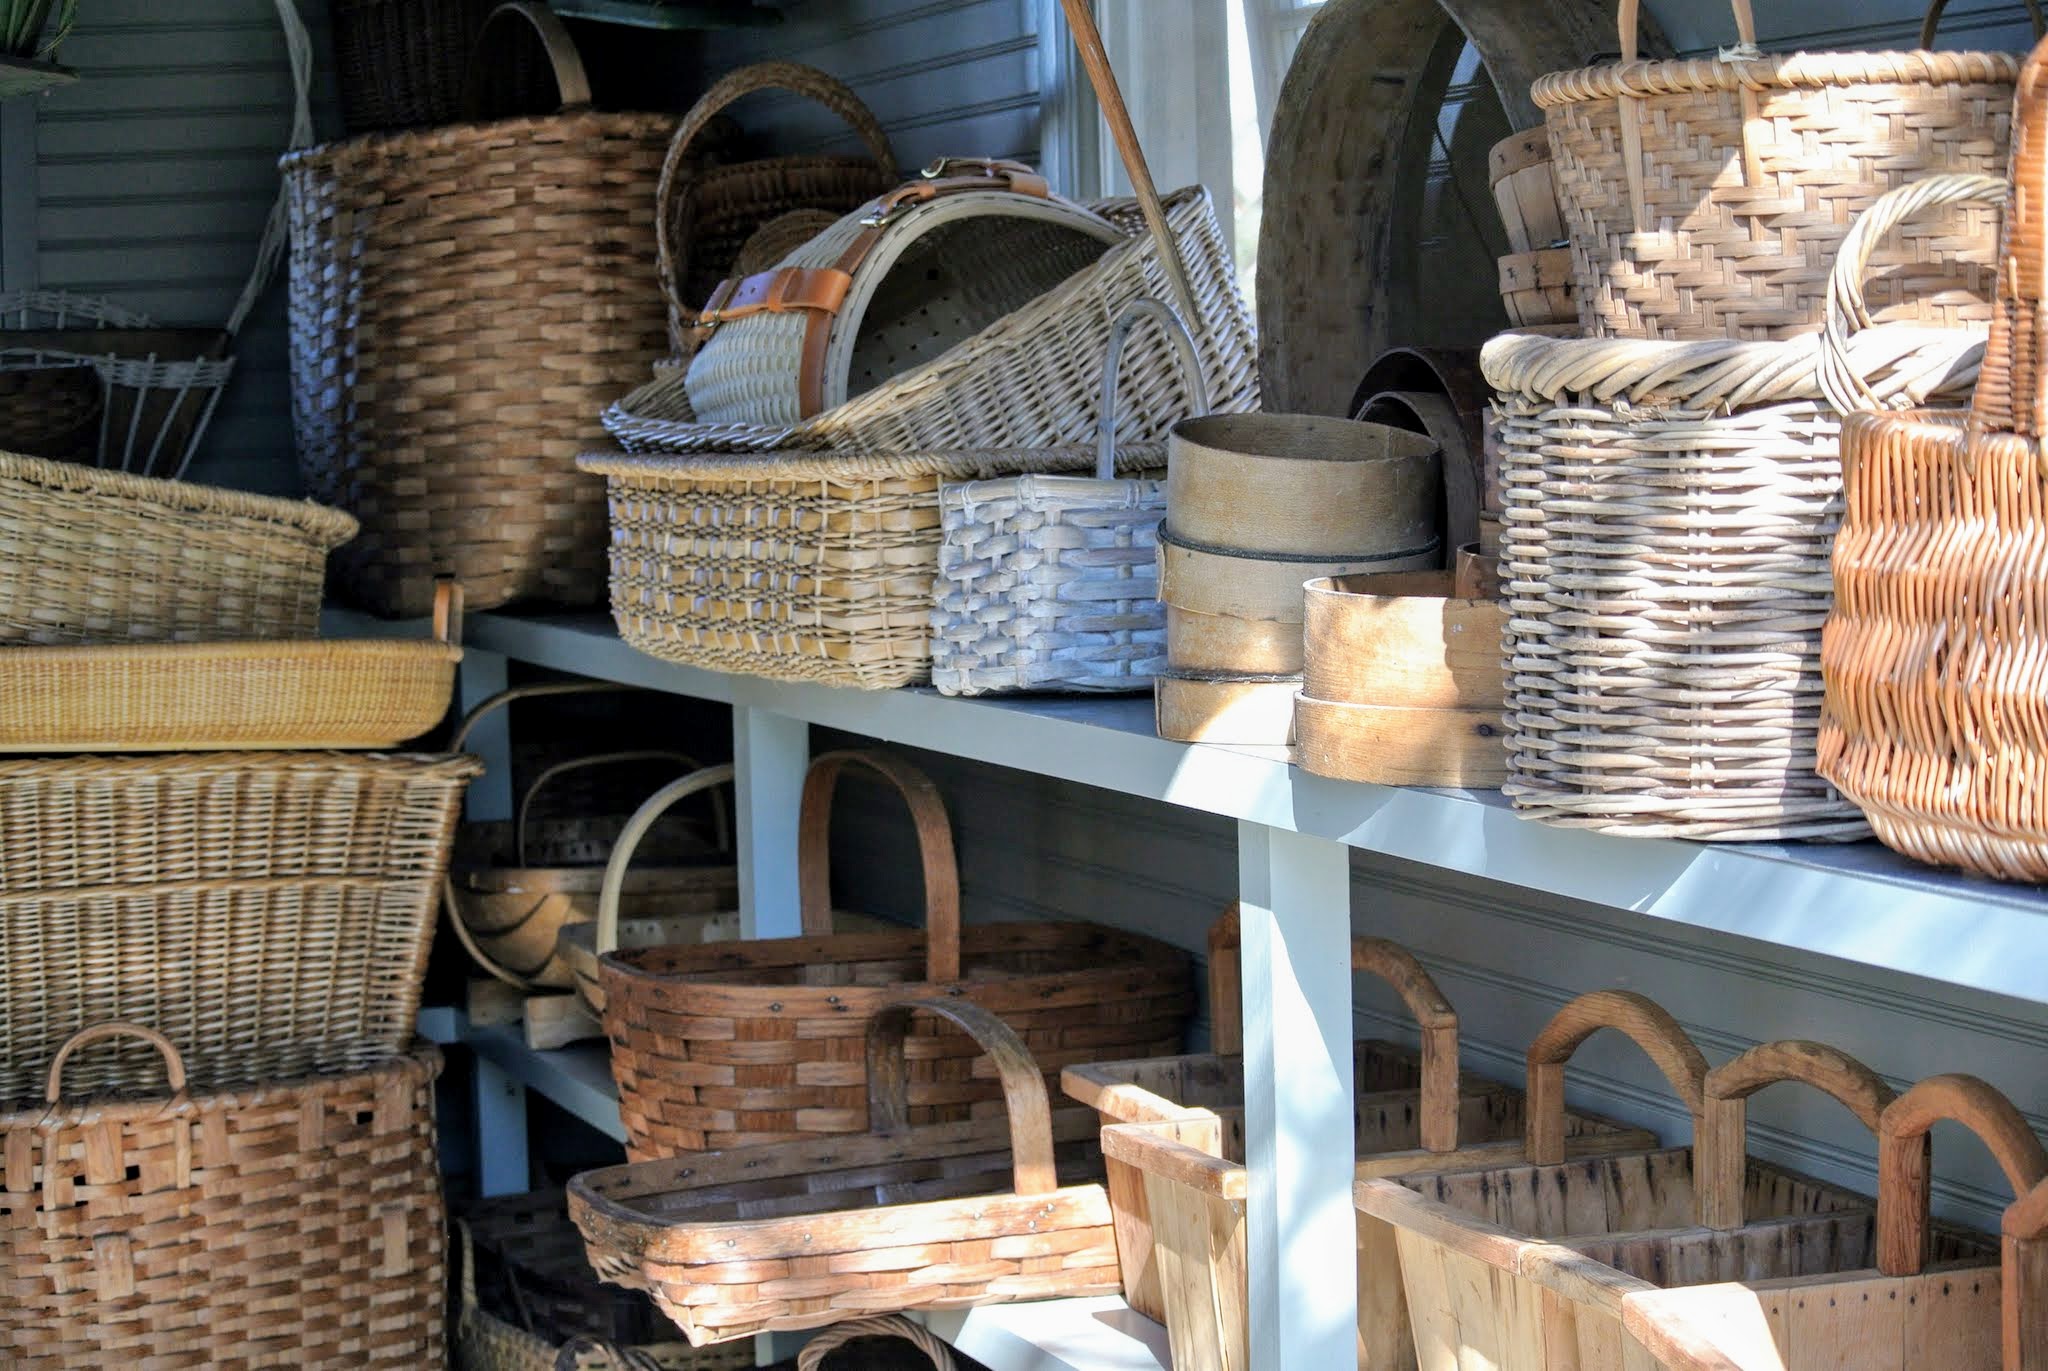
Here are some of my most loved baskets. When I moved to my farm, I knew I wanted to store them in a shaded outbuilding where they would be safe and organized.
This Basket House is located just down the carriage road from my Winter House. It has windows and a large door for access and proper cross ventilation, and a metal standing seam roof in “Bedford Gray” that should last many years.
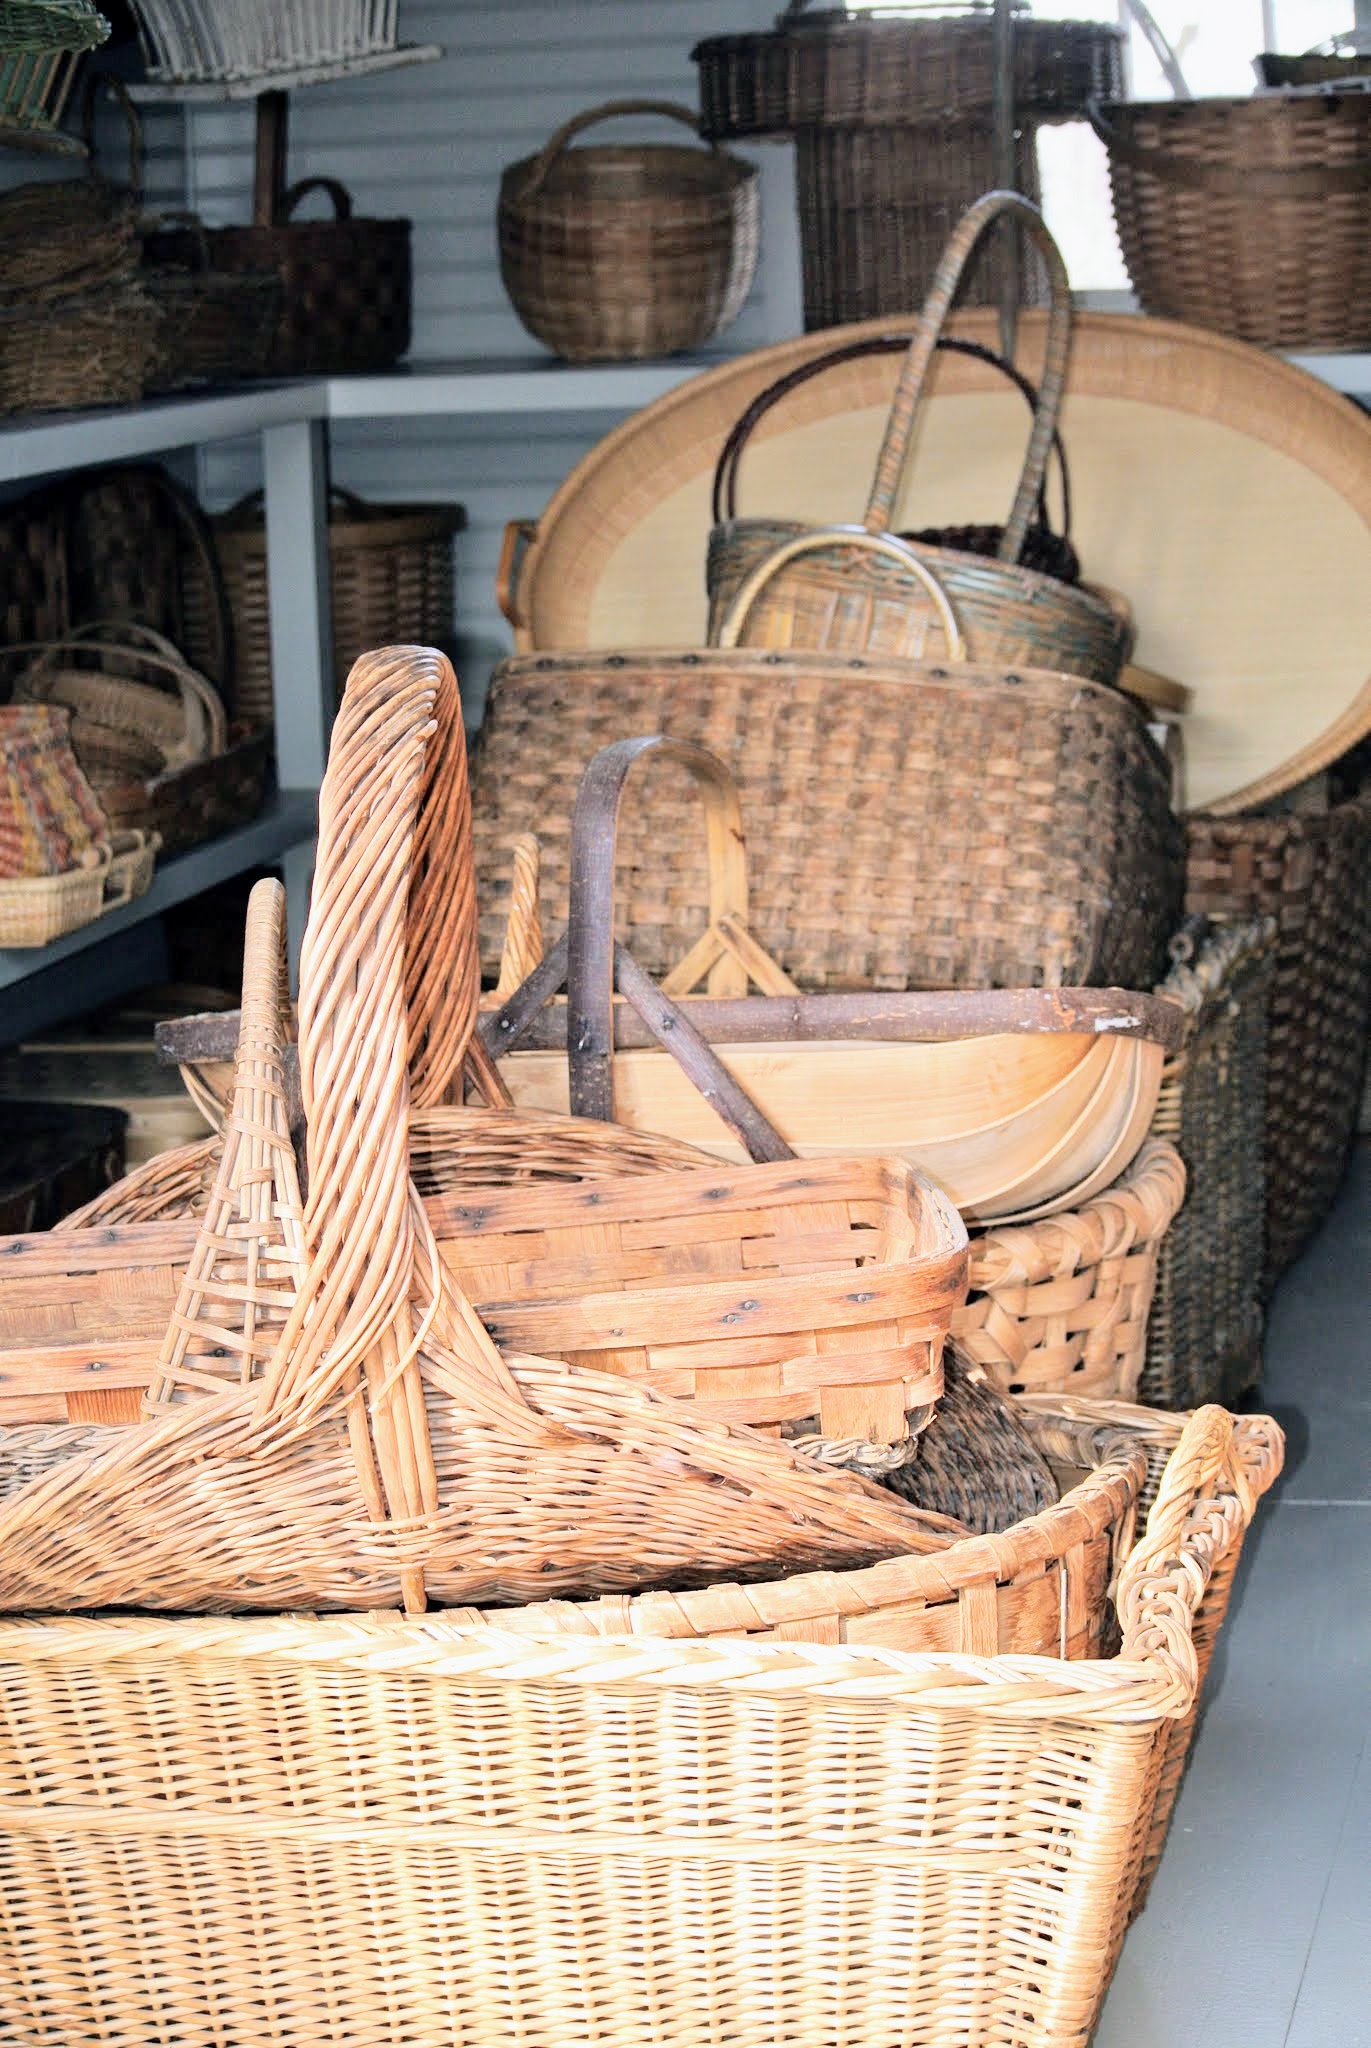
A good number of these baskets were used during my catering days.
Early basketmakers selected materials from nature, such as stems, animal hair, hide, grasses, thread, wood, and pinstraw. Baskets vary not only across geographies and cultures, but also within the regions in which they are made.
Basket weaving is the process of weaving pliable materials into two or three dimensional objects – anything that will bend and form a shape can be made into basket. Baskets are made using different techniques, such as “plaiting”, which uses materials that are wide and braid like,”twining”, which uses materials from roots and tree bark. ”Wicker” basketry uses reed, cane, willow, or oak. “Coiled” basketry uses grasses and rushes.
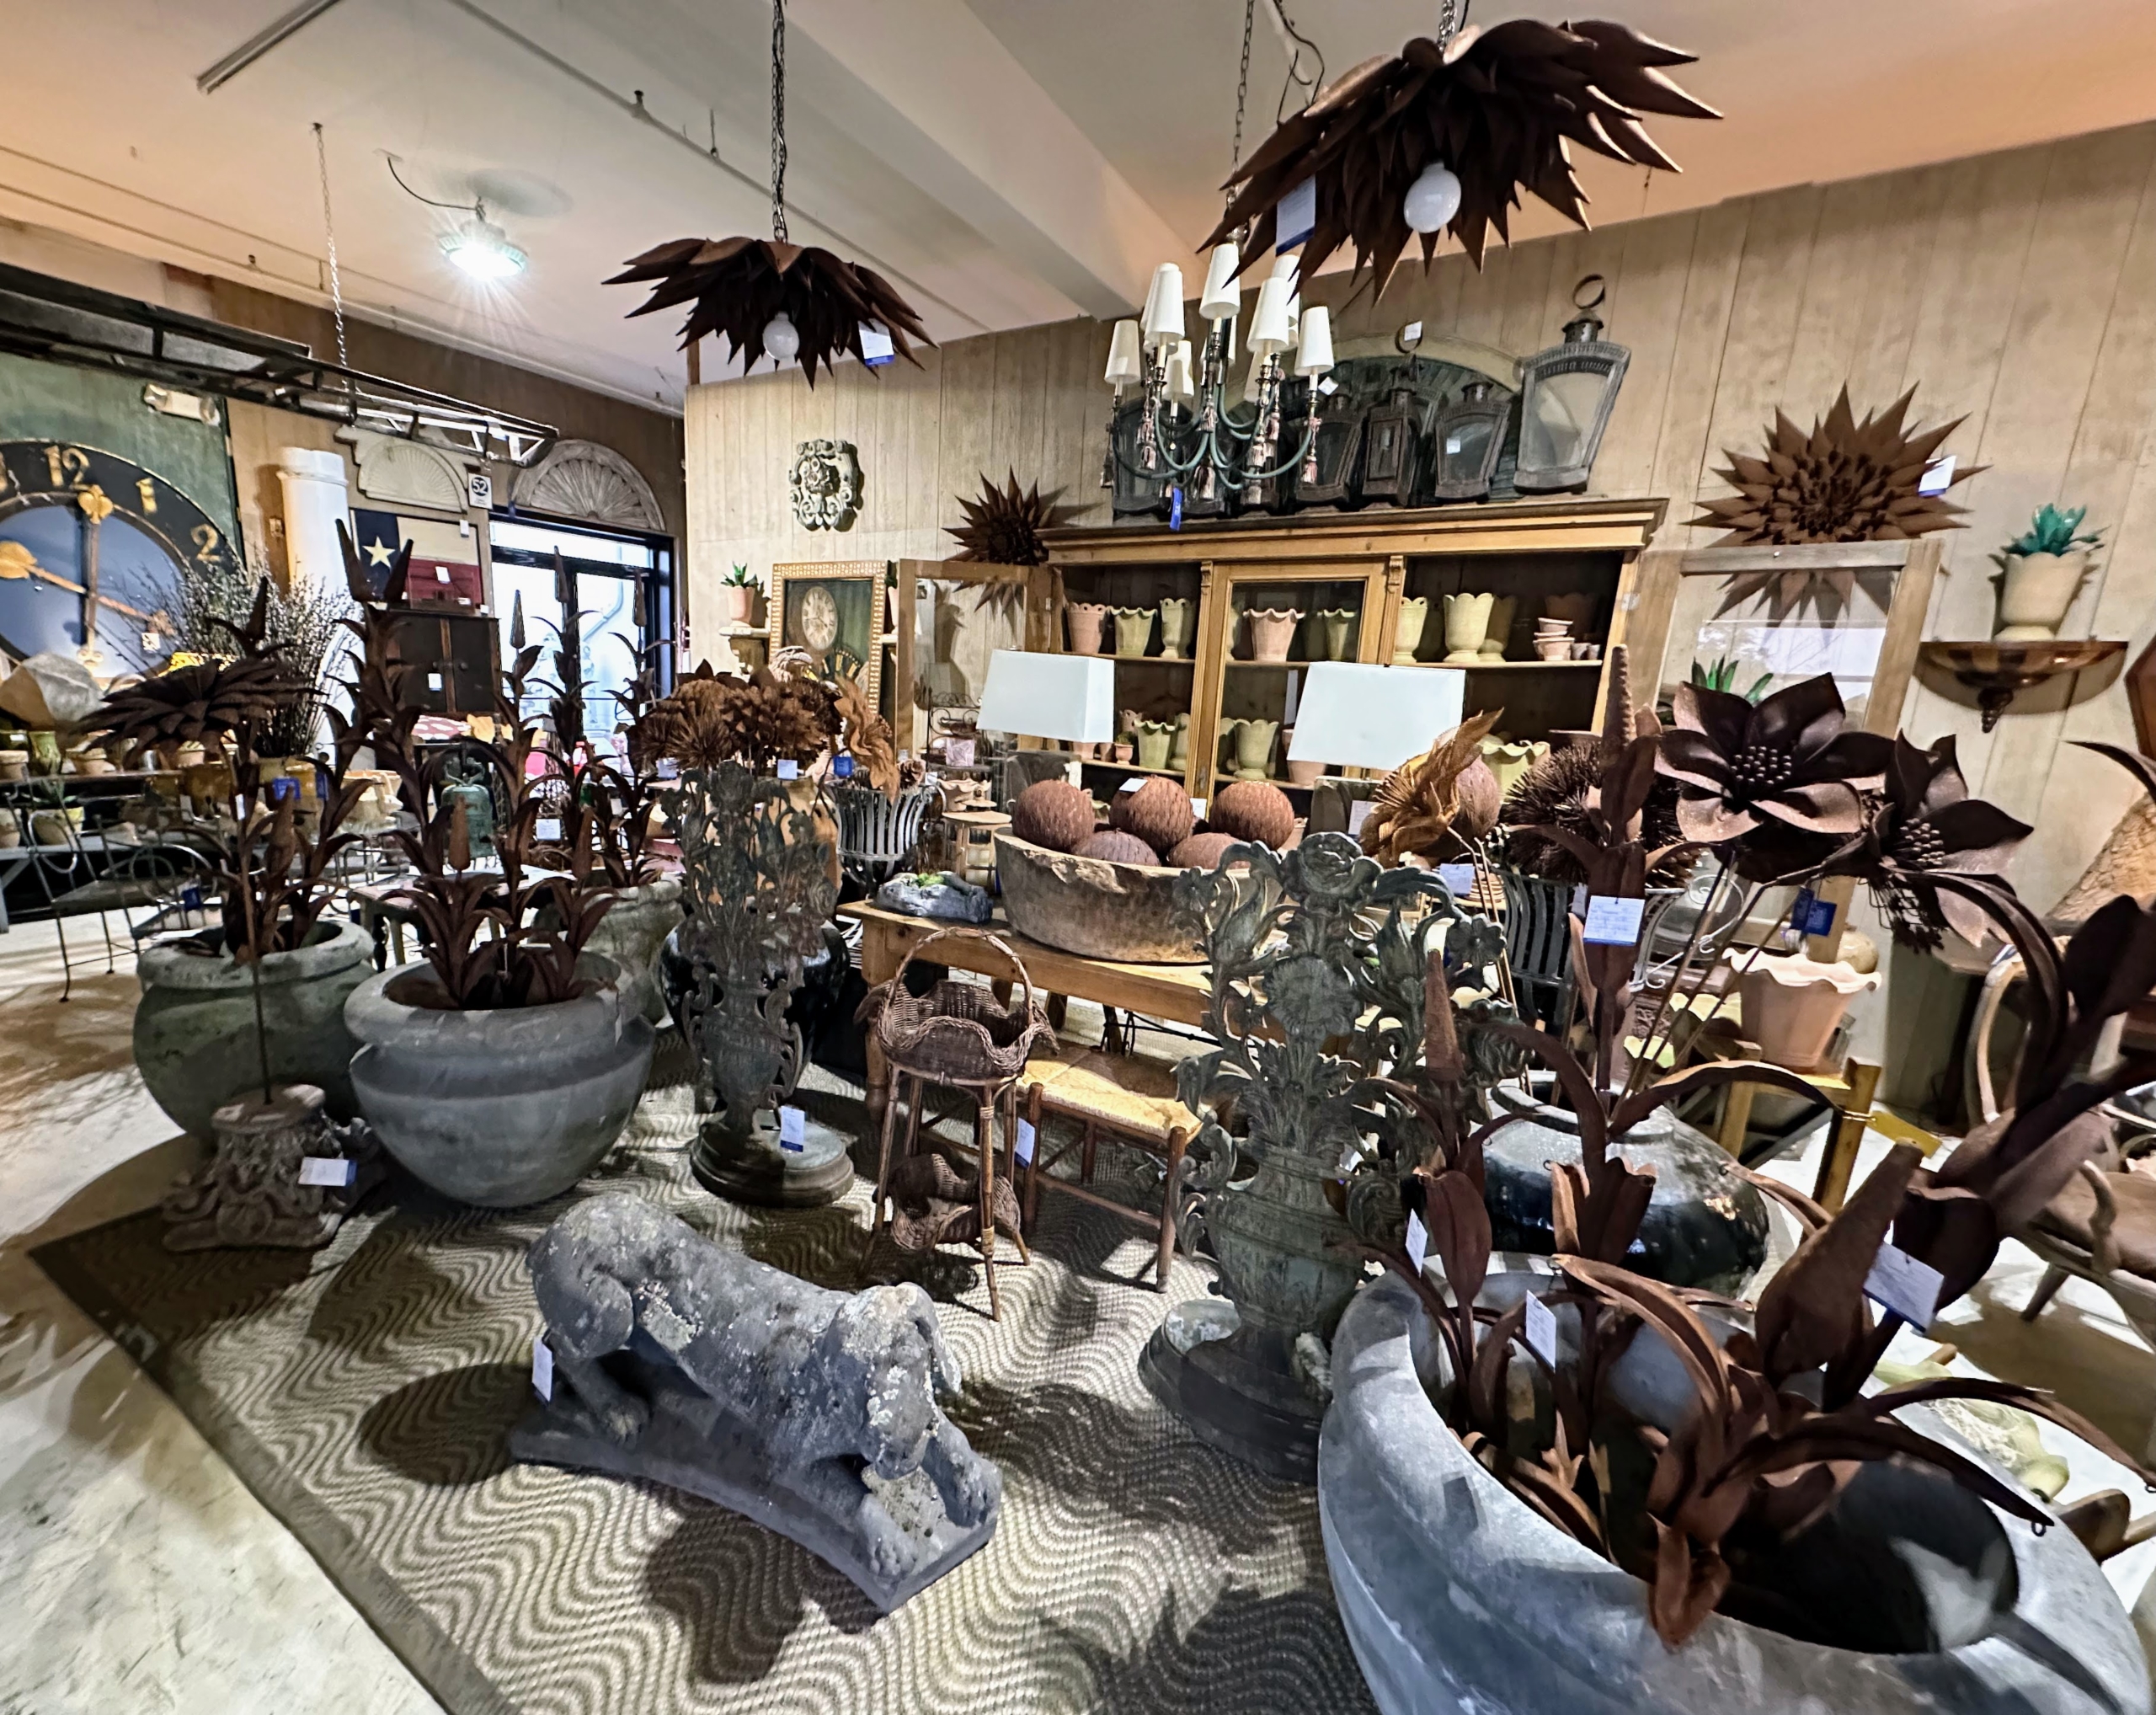
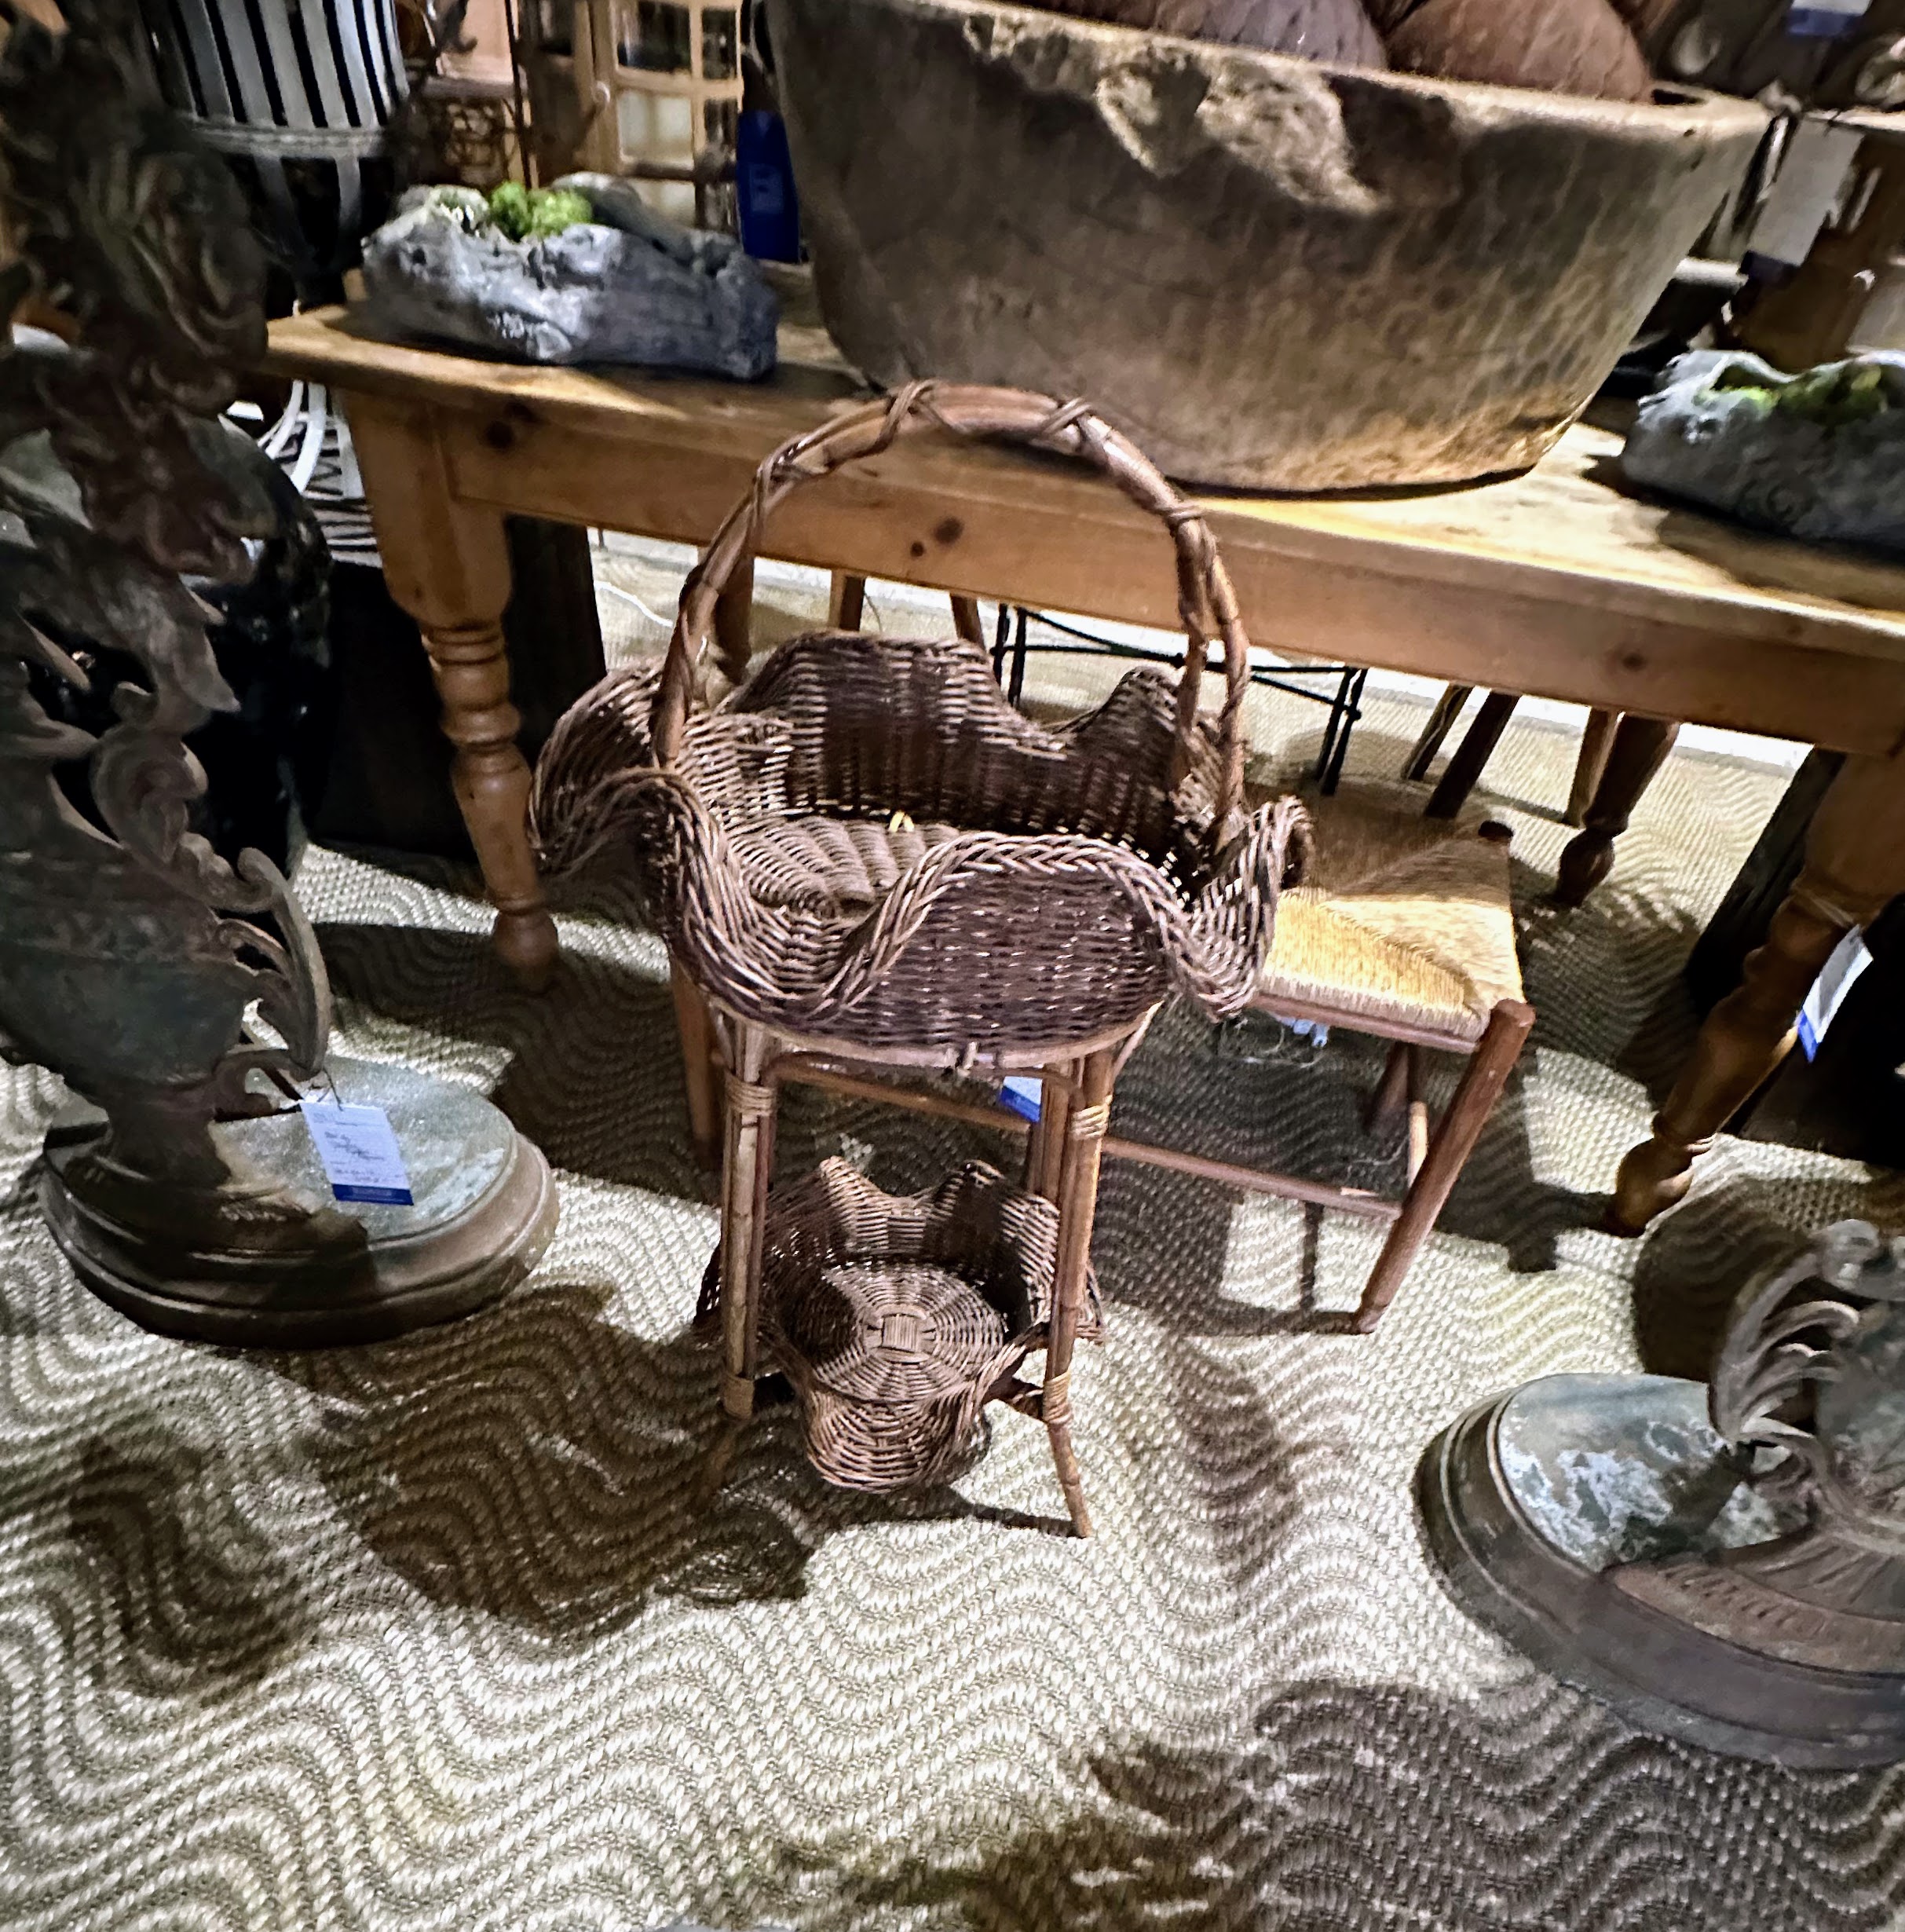
I am always on the lookout for interesting furniture and accessories. Whenever I have time, I enjoy antiquing and scouring area shops. Not long ago, I was at the Antique and Artisan Gallery in Stamford, Connecticut. Look closely and see what I spotted right in the center of the photo…
… A charming old wicker basket. Right away I knew I could put it to good use at the farm.
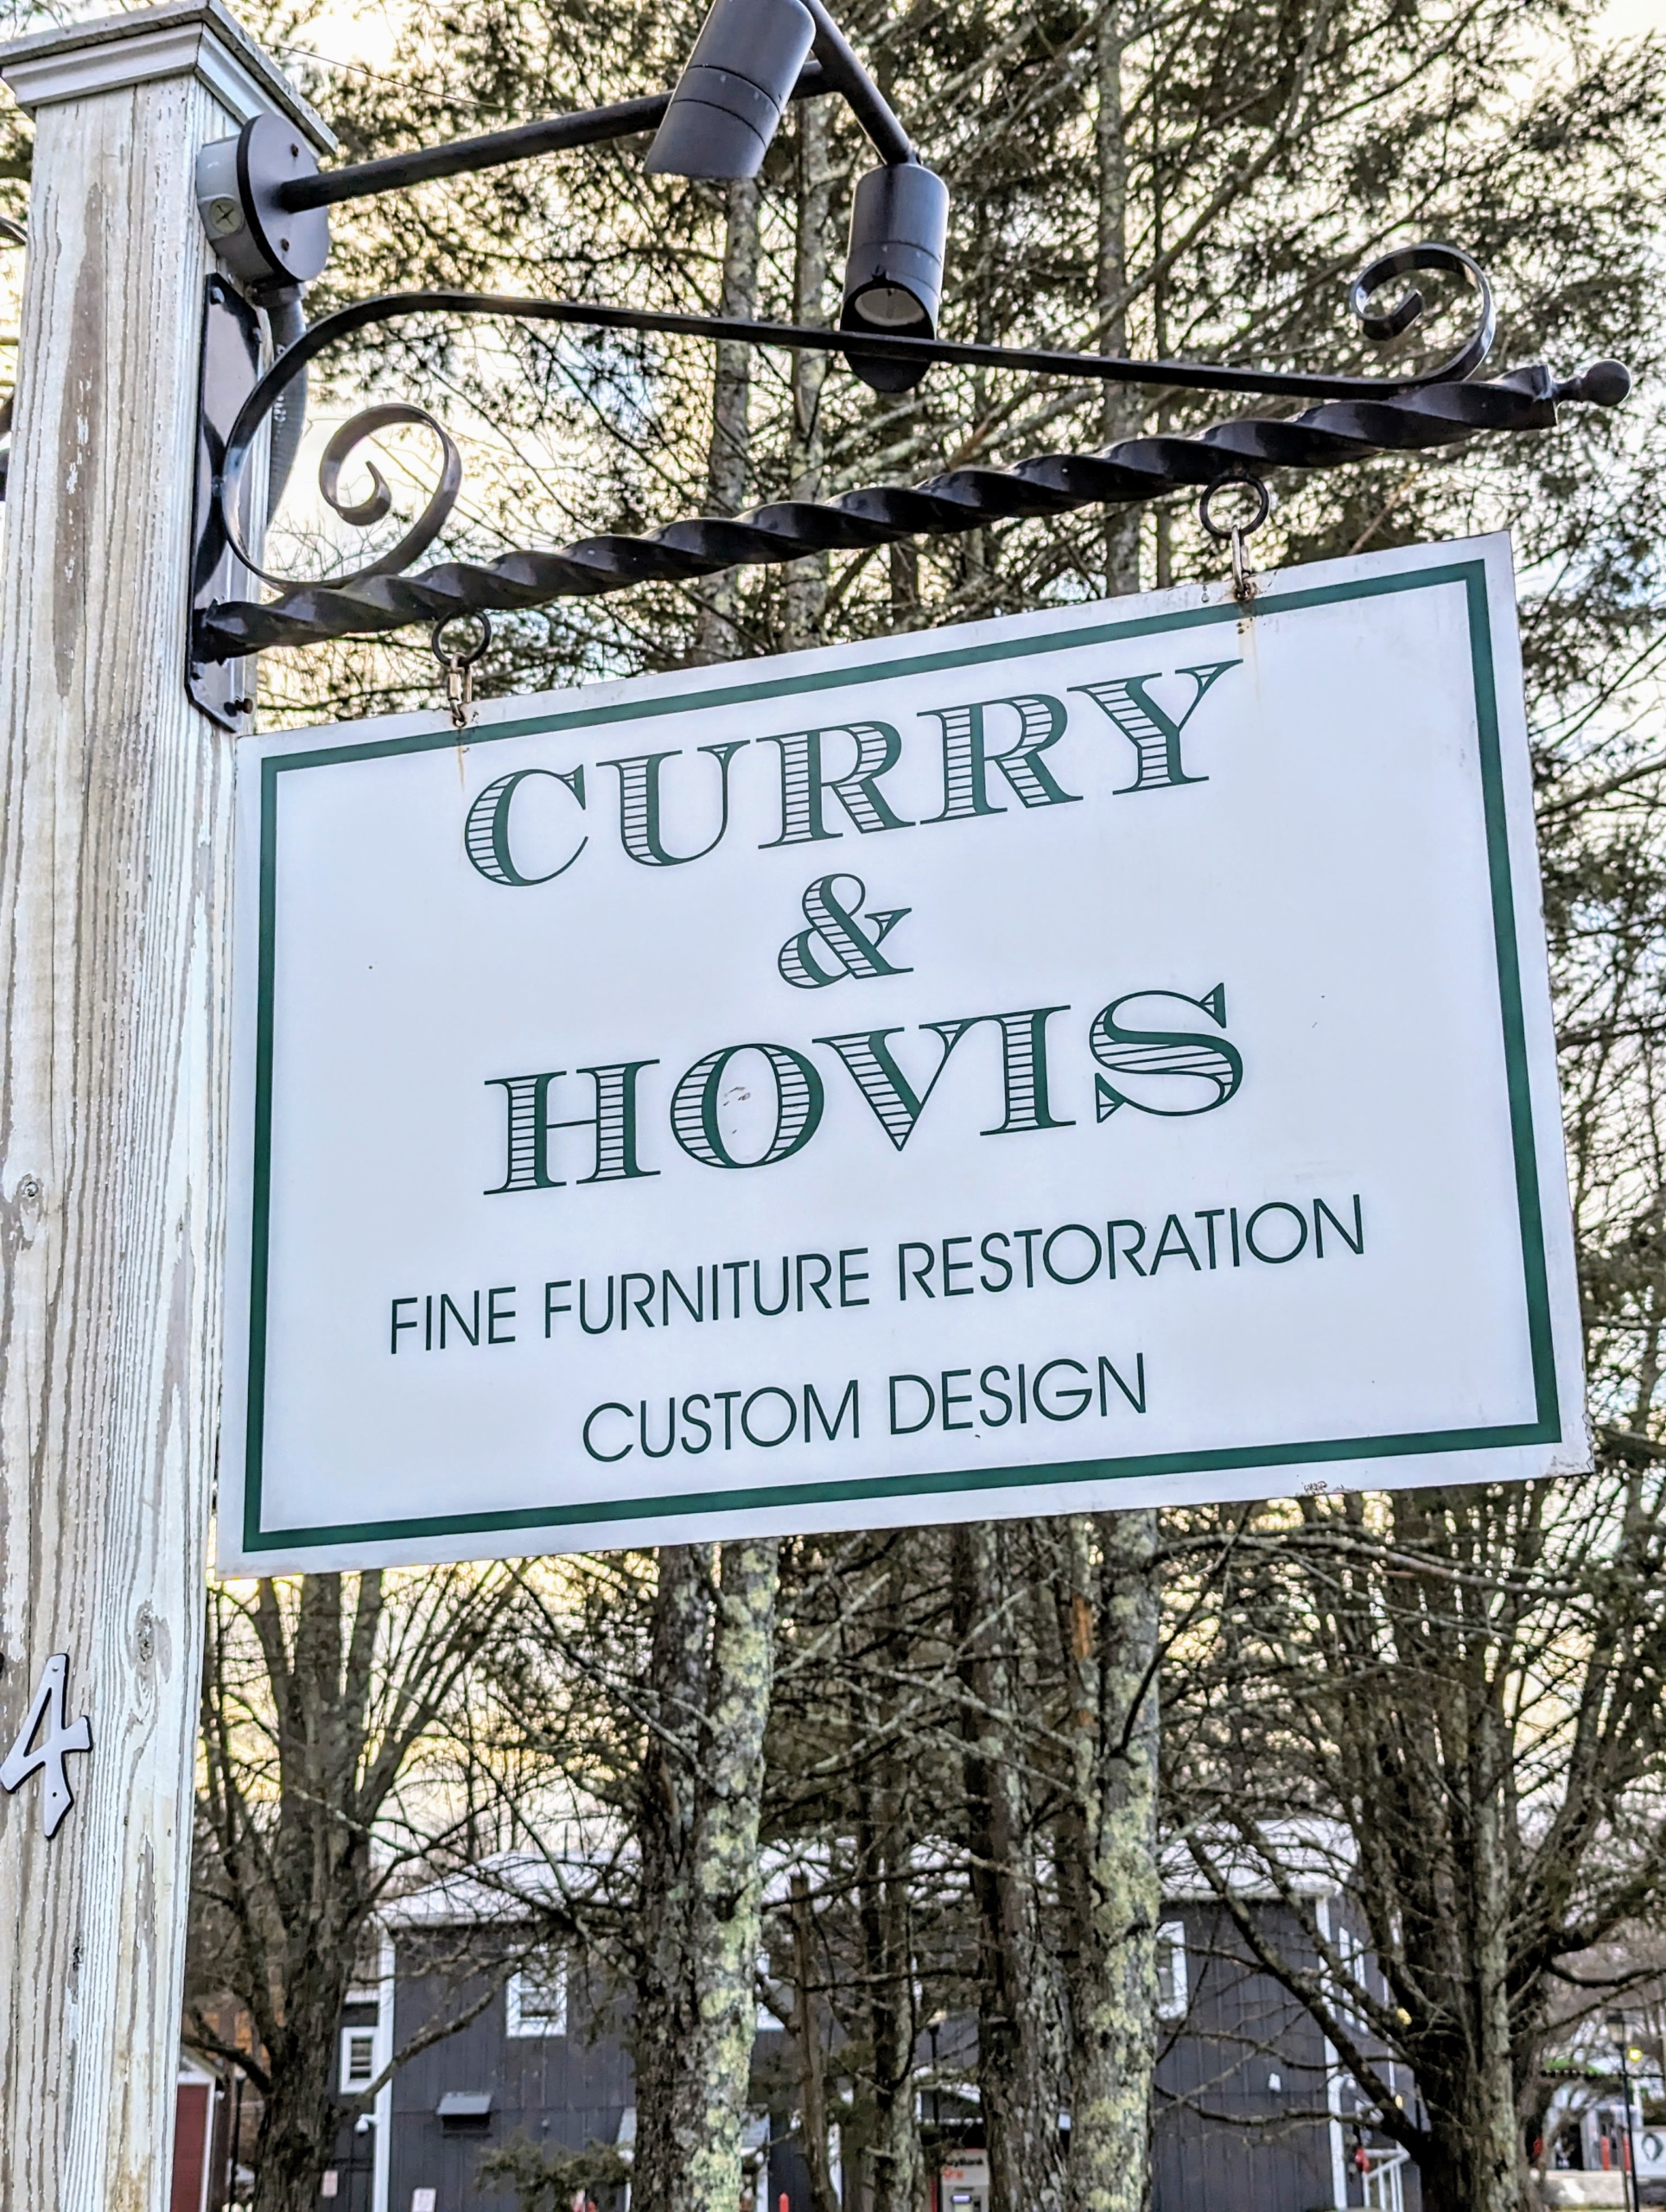
I dropped the basket off at Curry & Hovis, a furniture restoration business in Pound Ridge, New York, not far from my home. I have had many pieces restored at this shop.
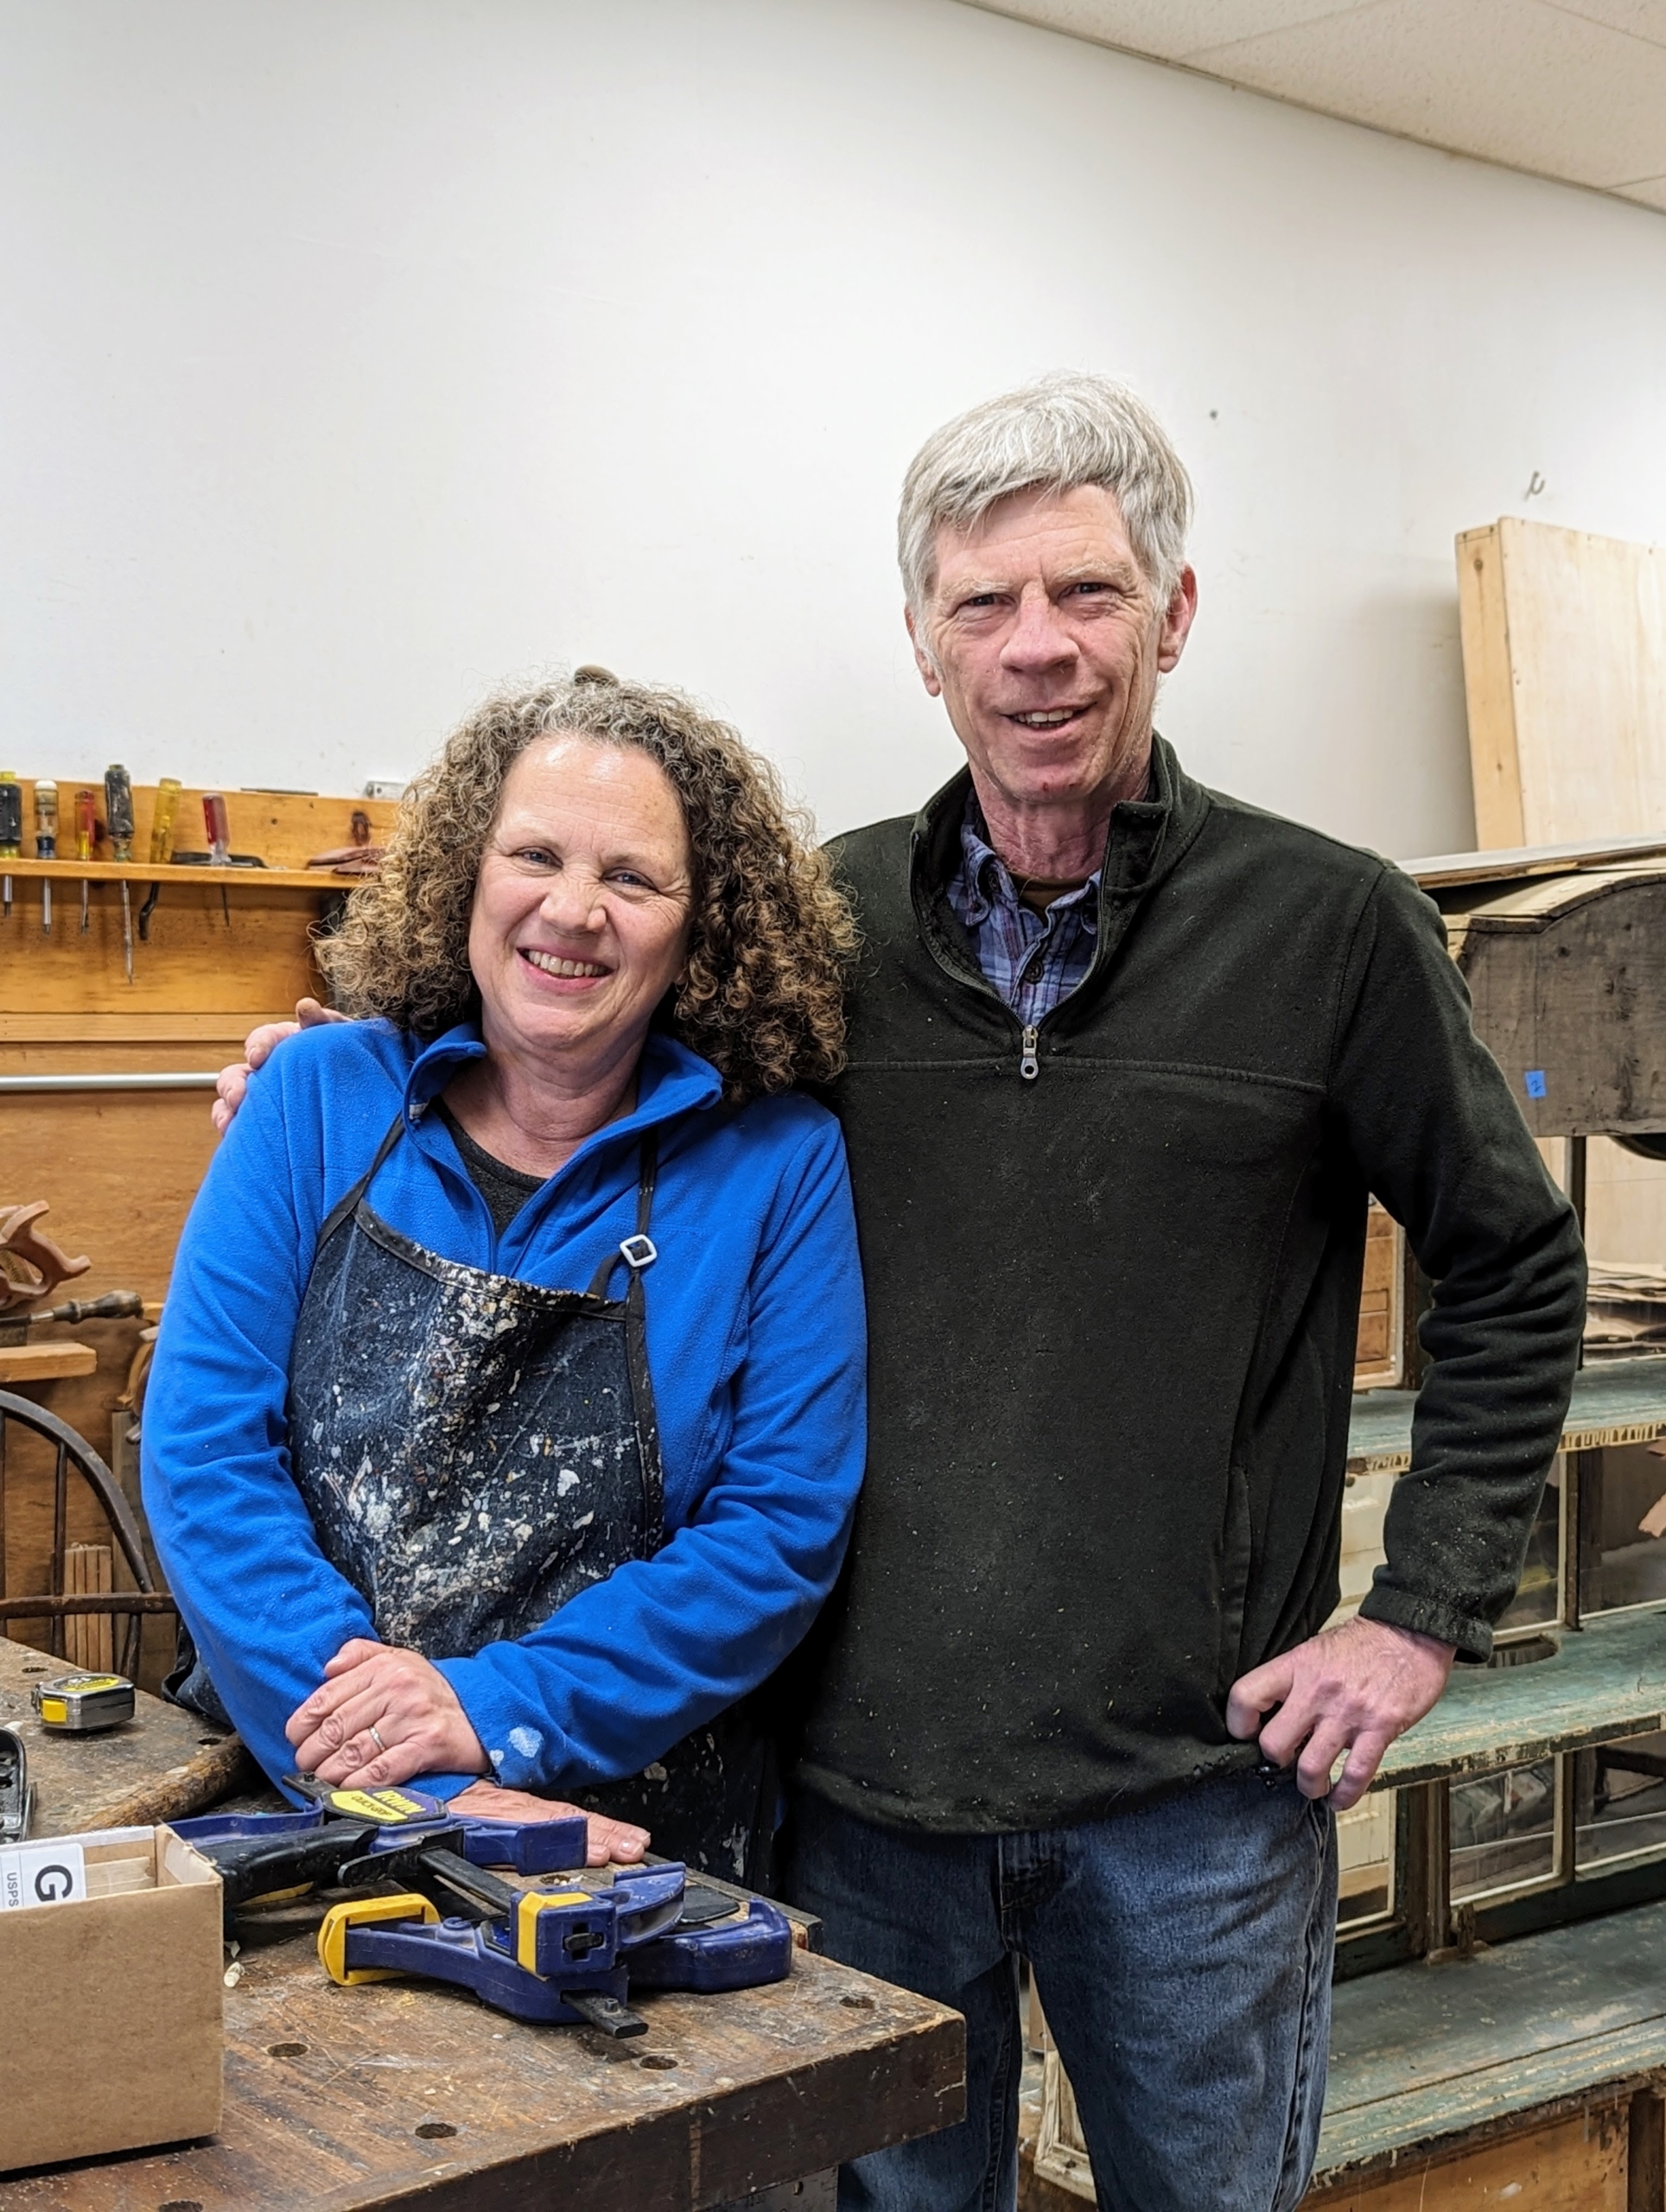
Proprietors Eileen and John Curry are true experts in their craft. They have an extensive knowledge of antiques and have been restoring furniture for many years.
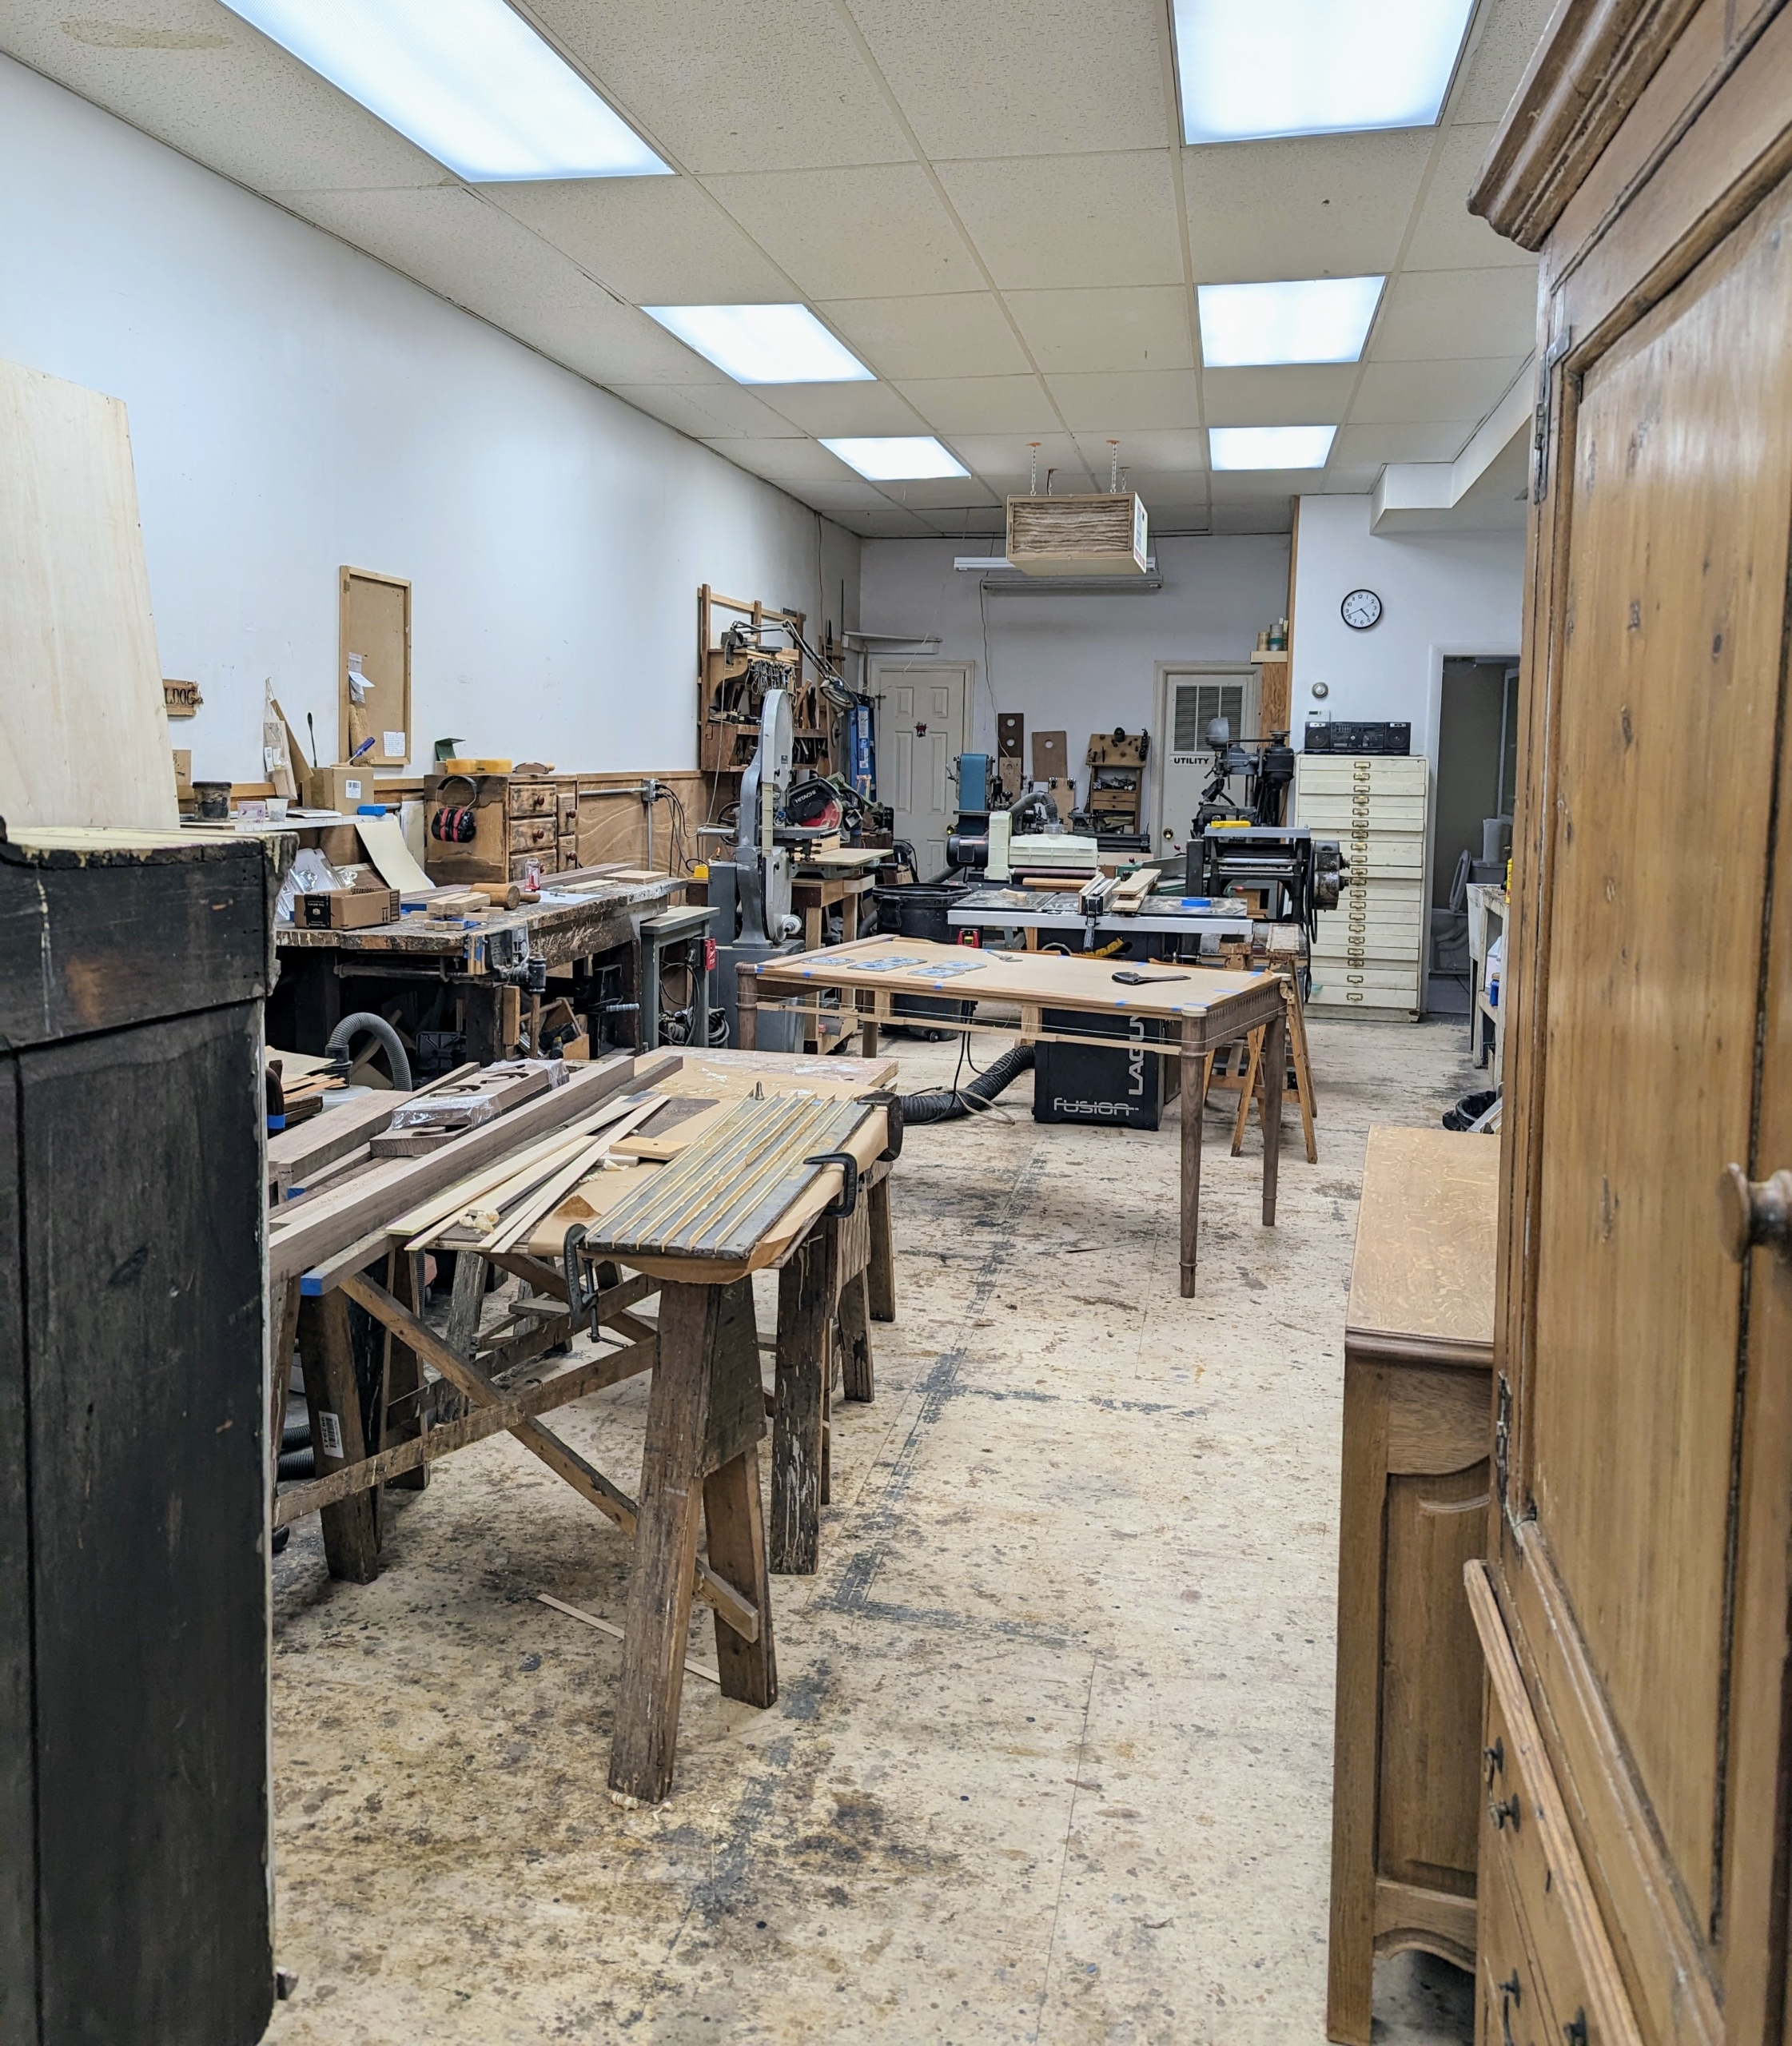
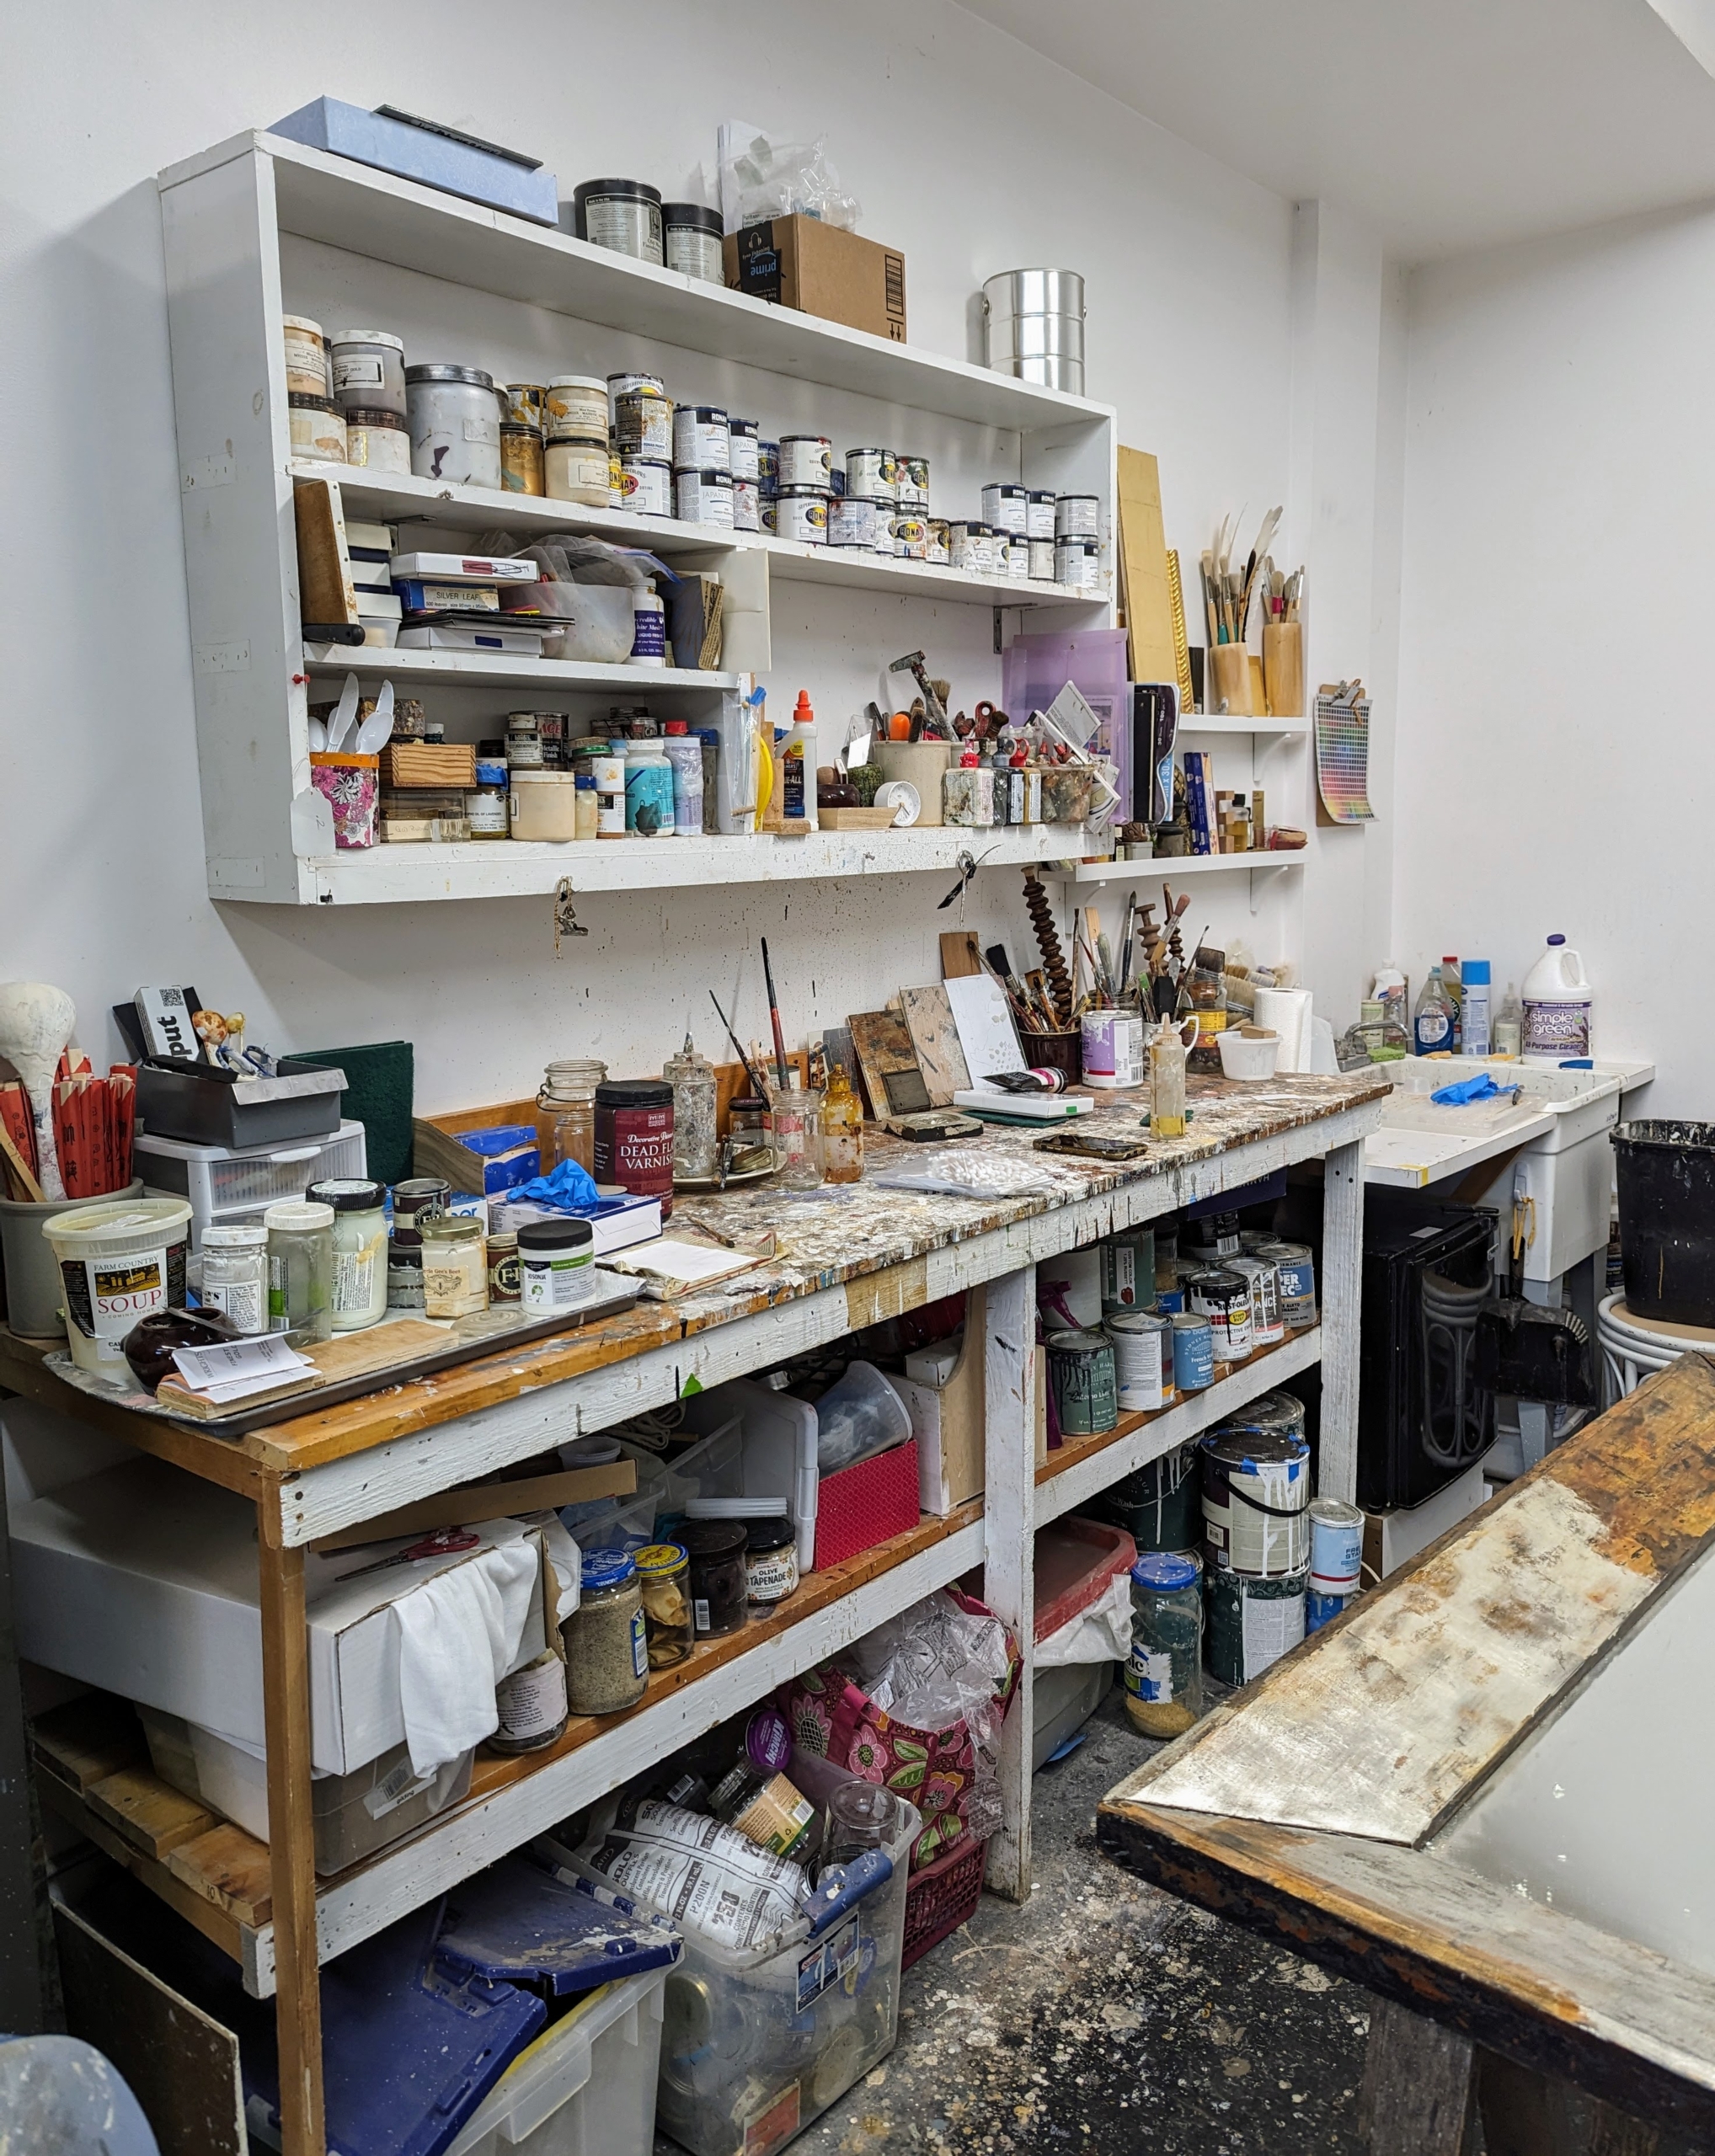
Walking through the door, one enters a real workshop with many stations and many pieces in some stage of restoration.
This side is for surface work and gilding. Eileen is an excellent guilder.
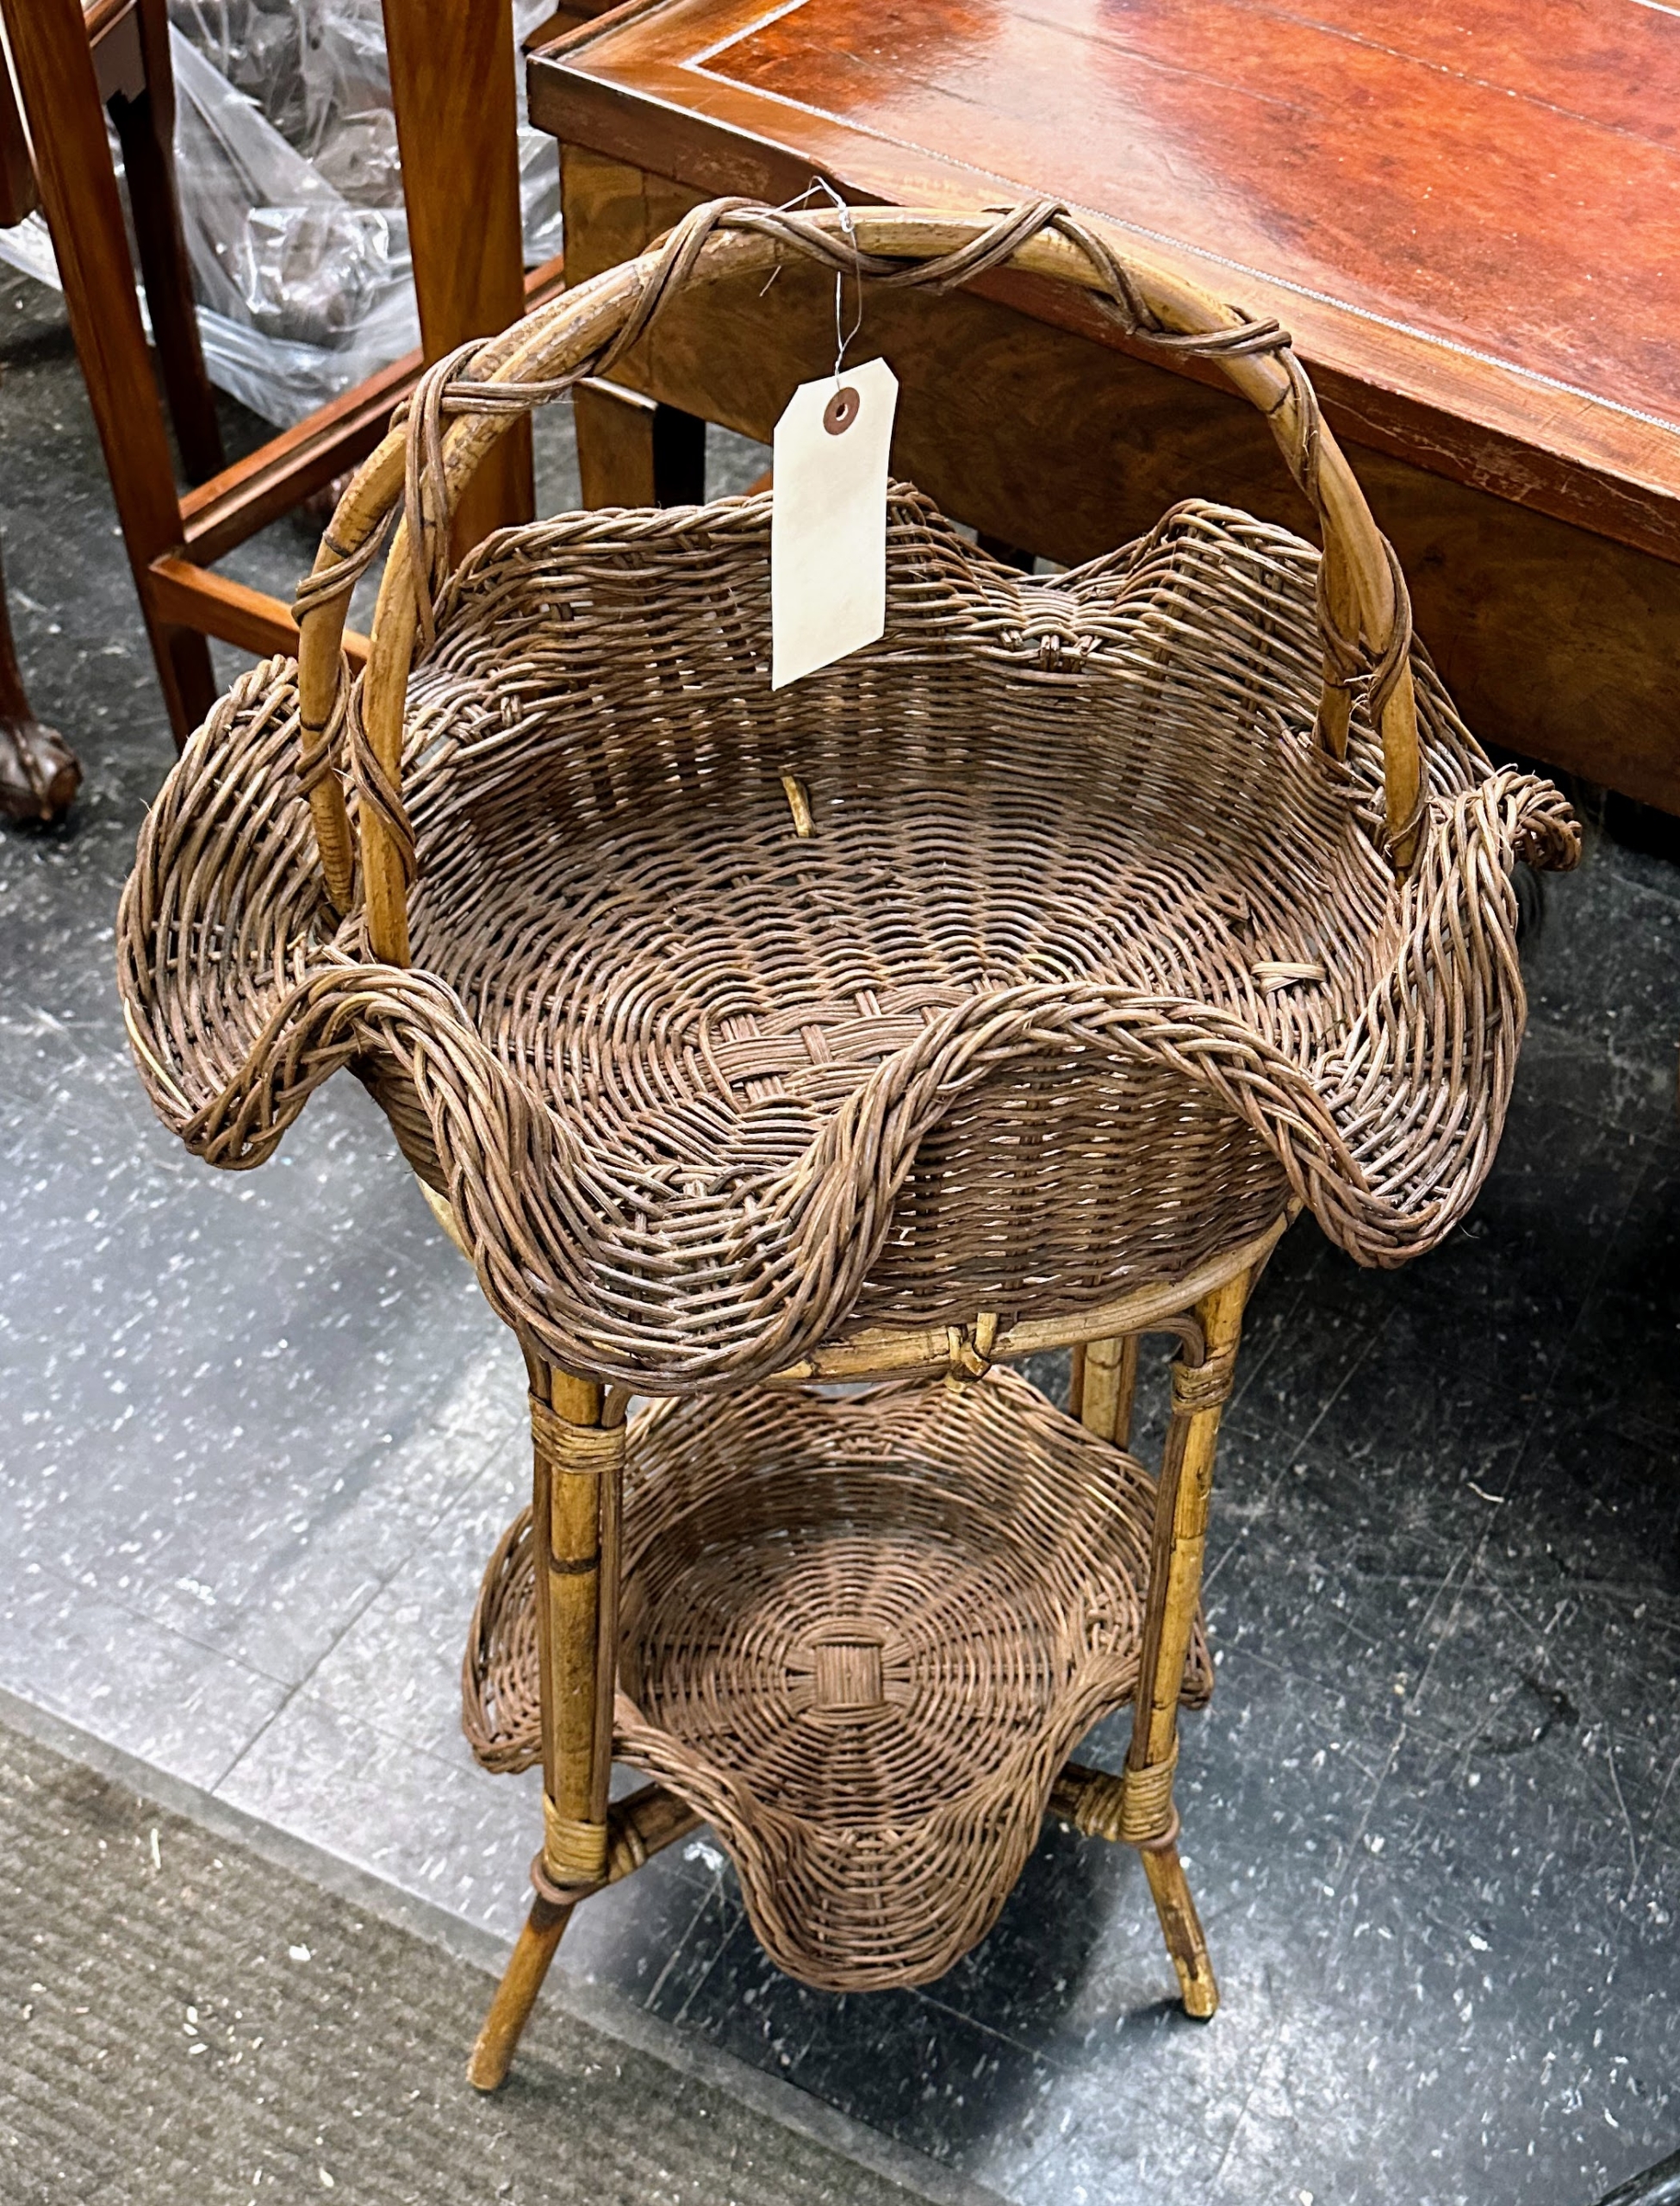
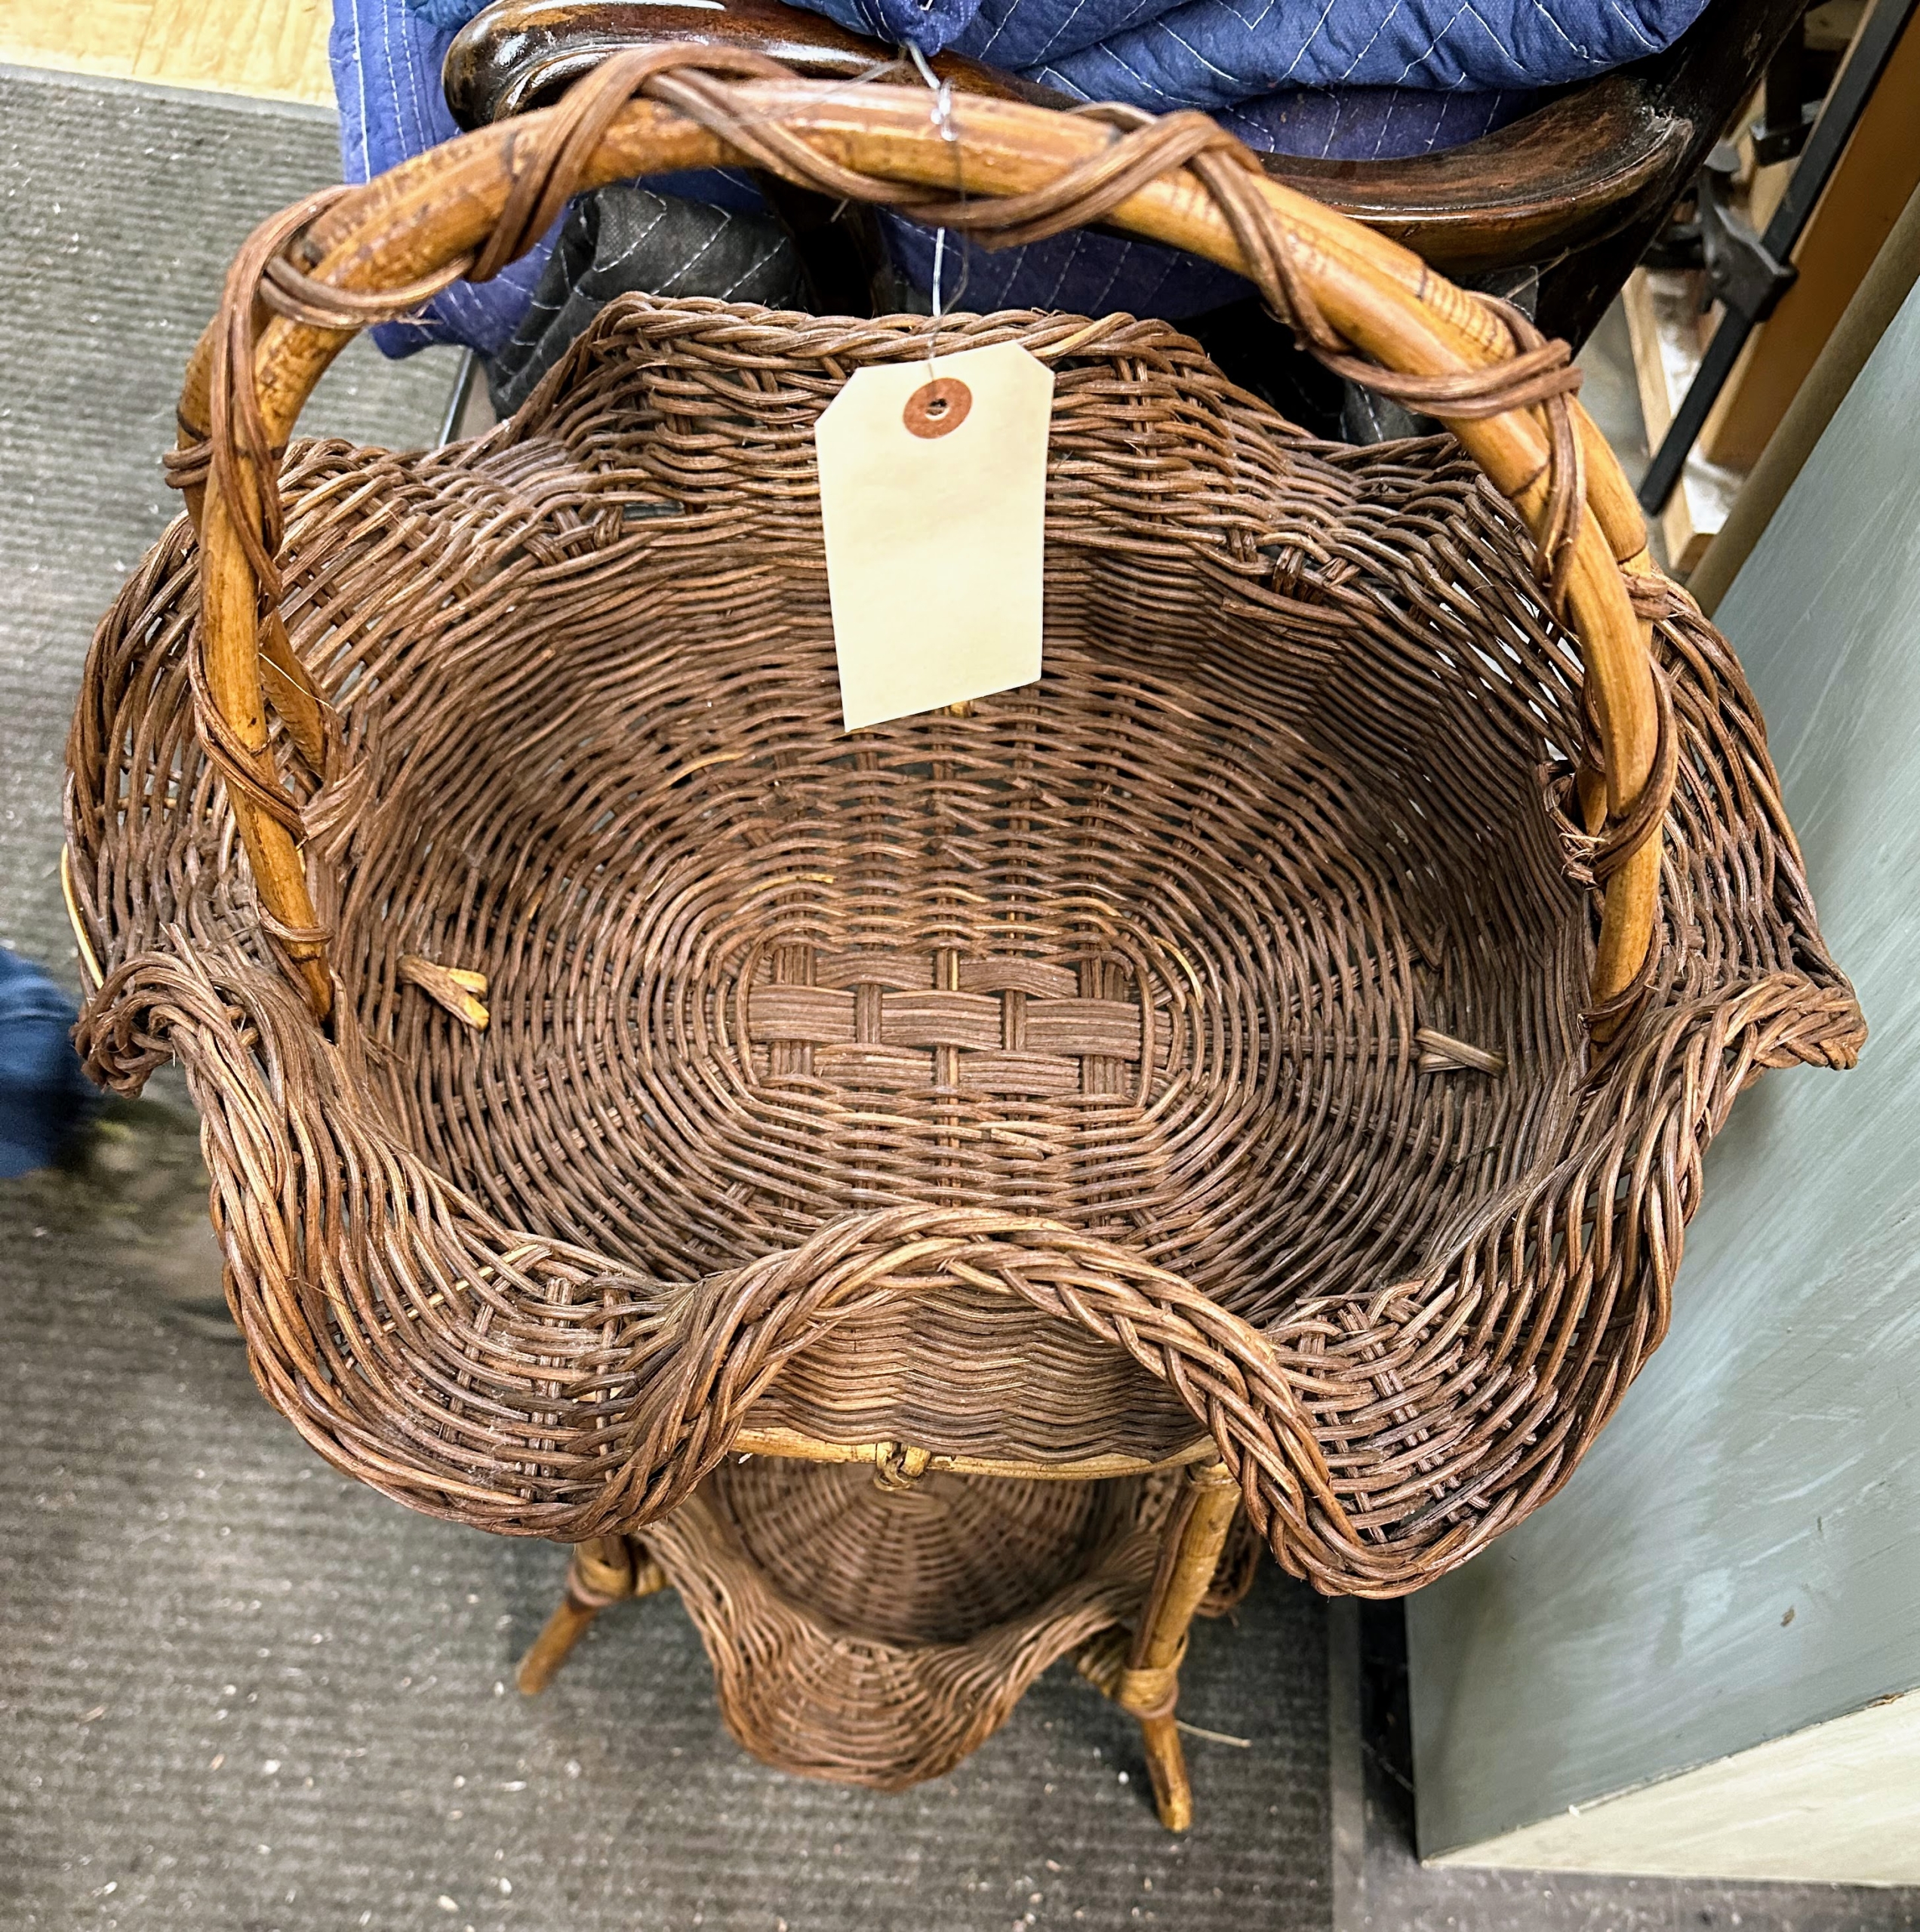
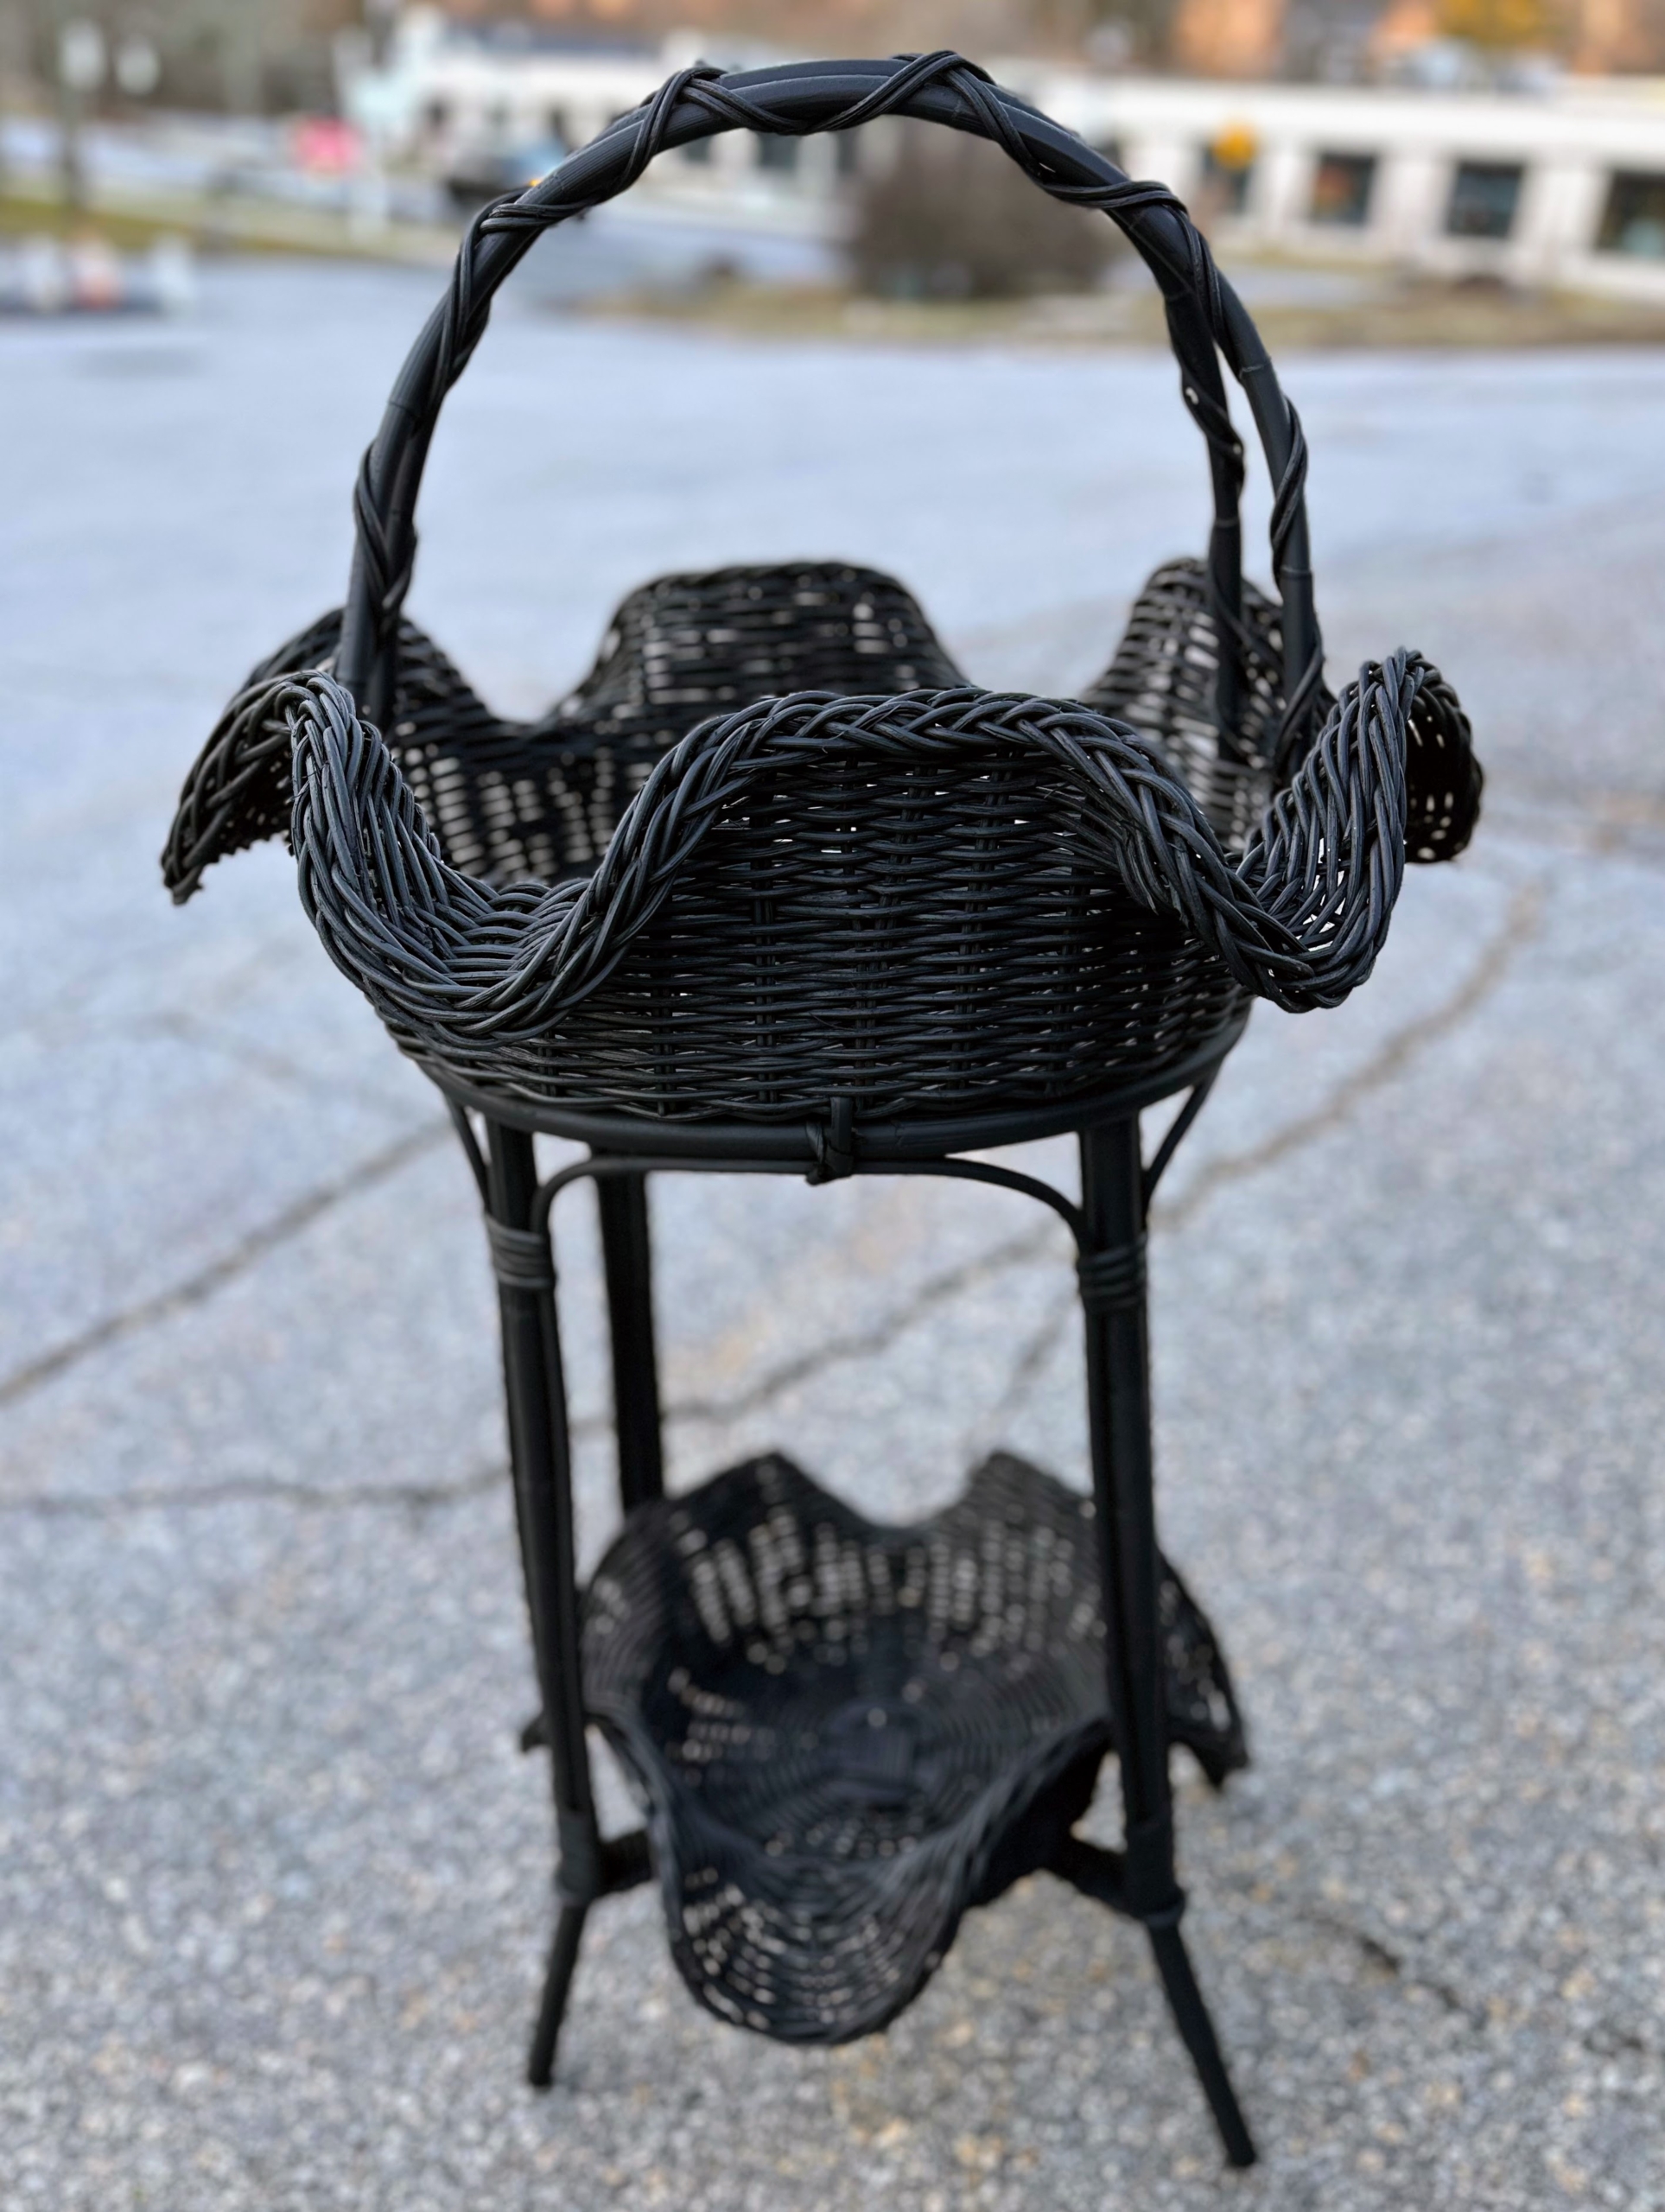
Here is a closer look at the basket. I asked that it be cleaned up and painted black.
The two basket levels would be nice and deep enough for displaying plants.
Here it is all complete – spray-painted a rich matte black. I think it looks terrific.
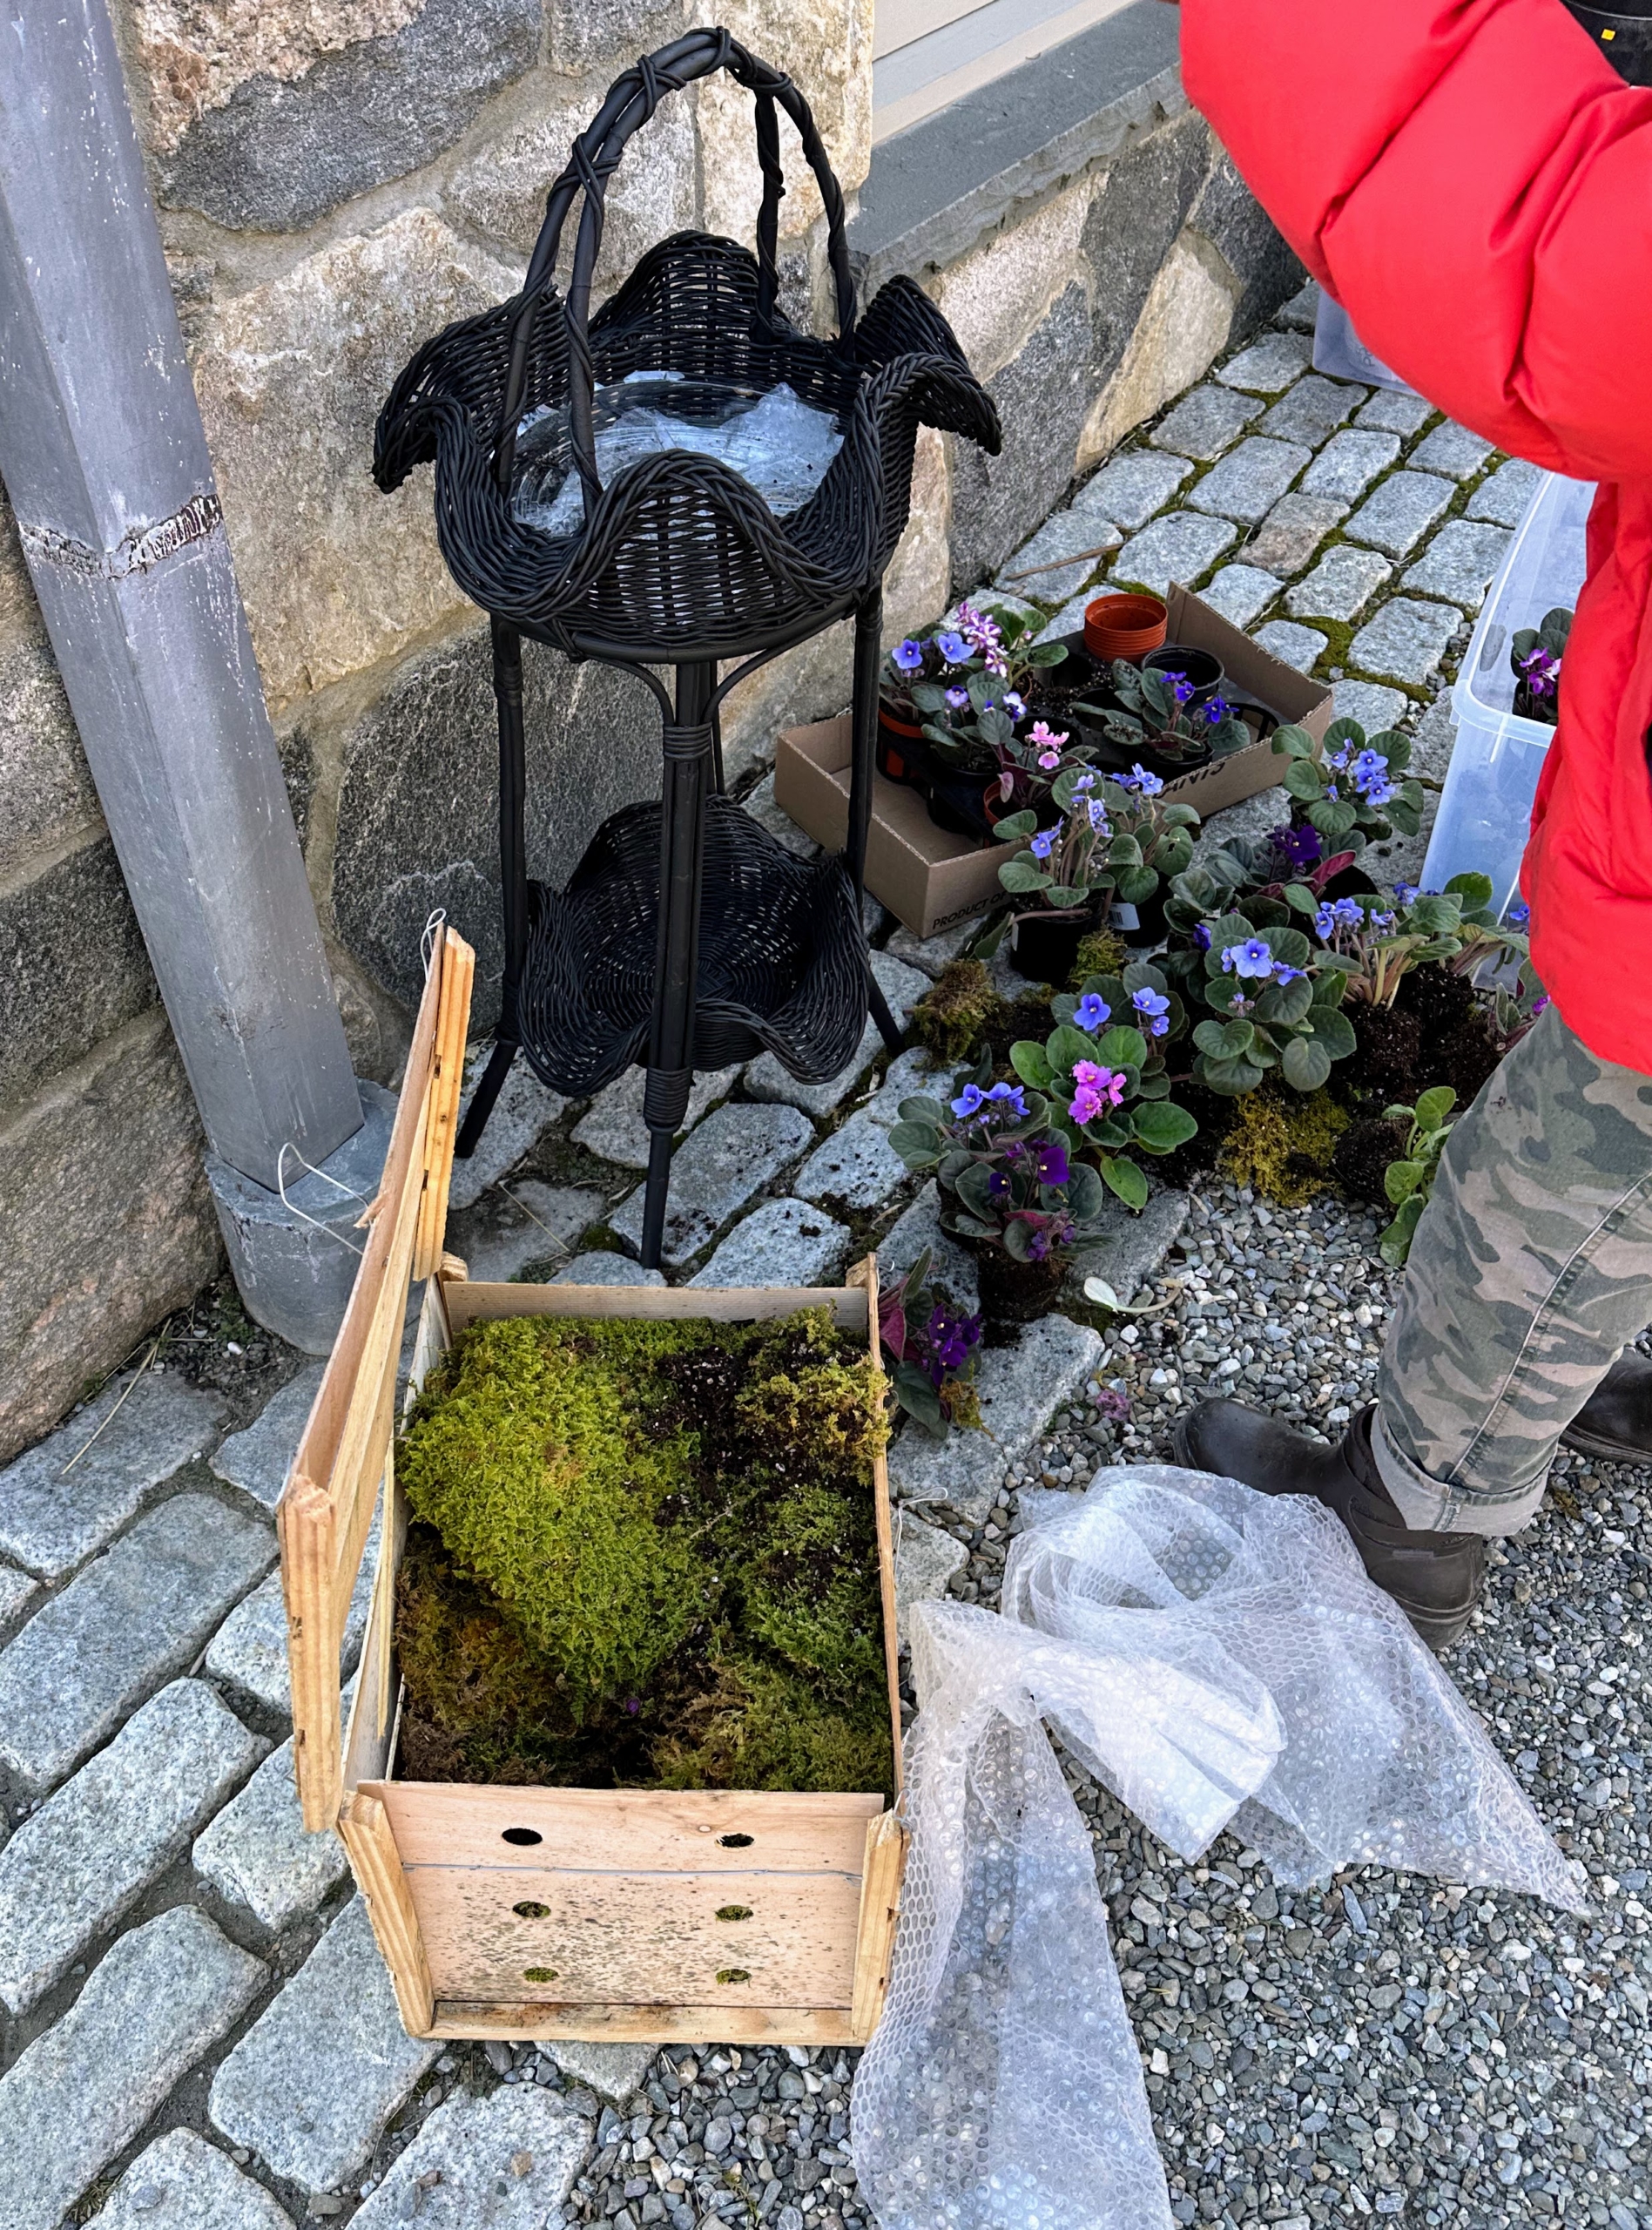
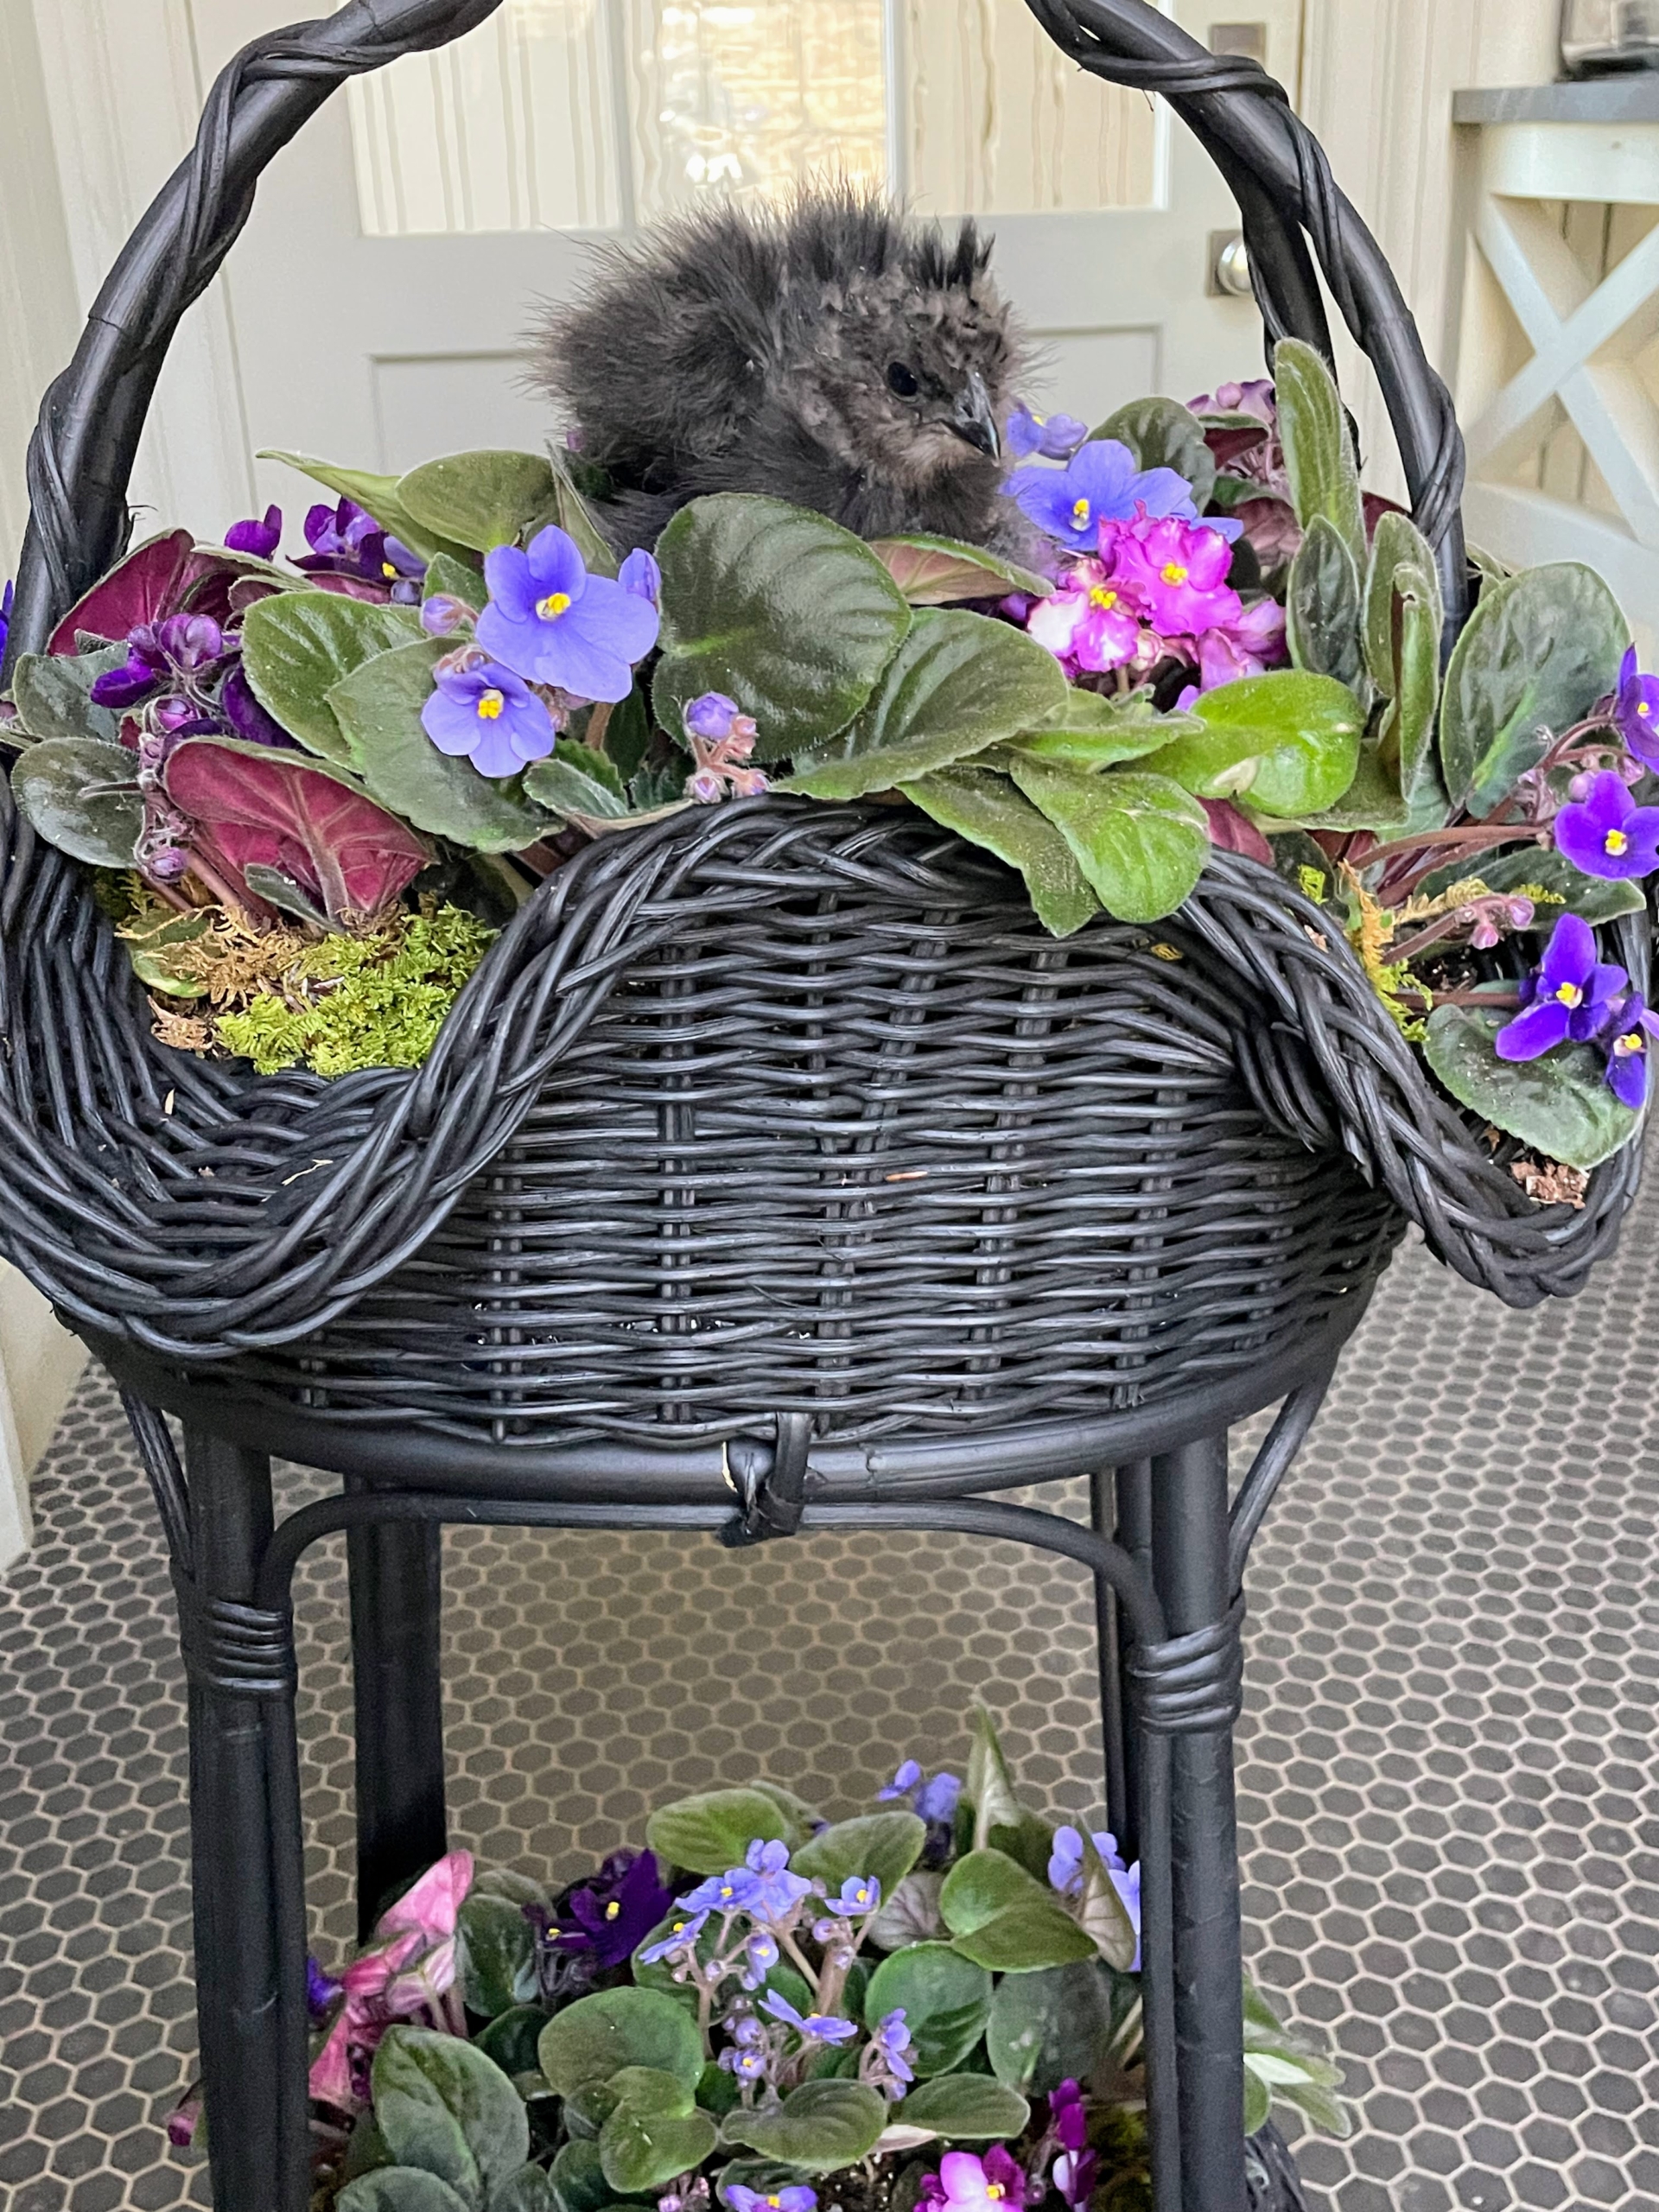
It was finished just in time for a shoot I was doing at my farm. I decided it was just the perfect piece to hold these blooming African Violets. When using baskets for displaying potted plants, be sure to line the basket with protective plastic first.
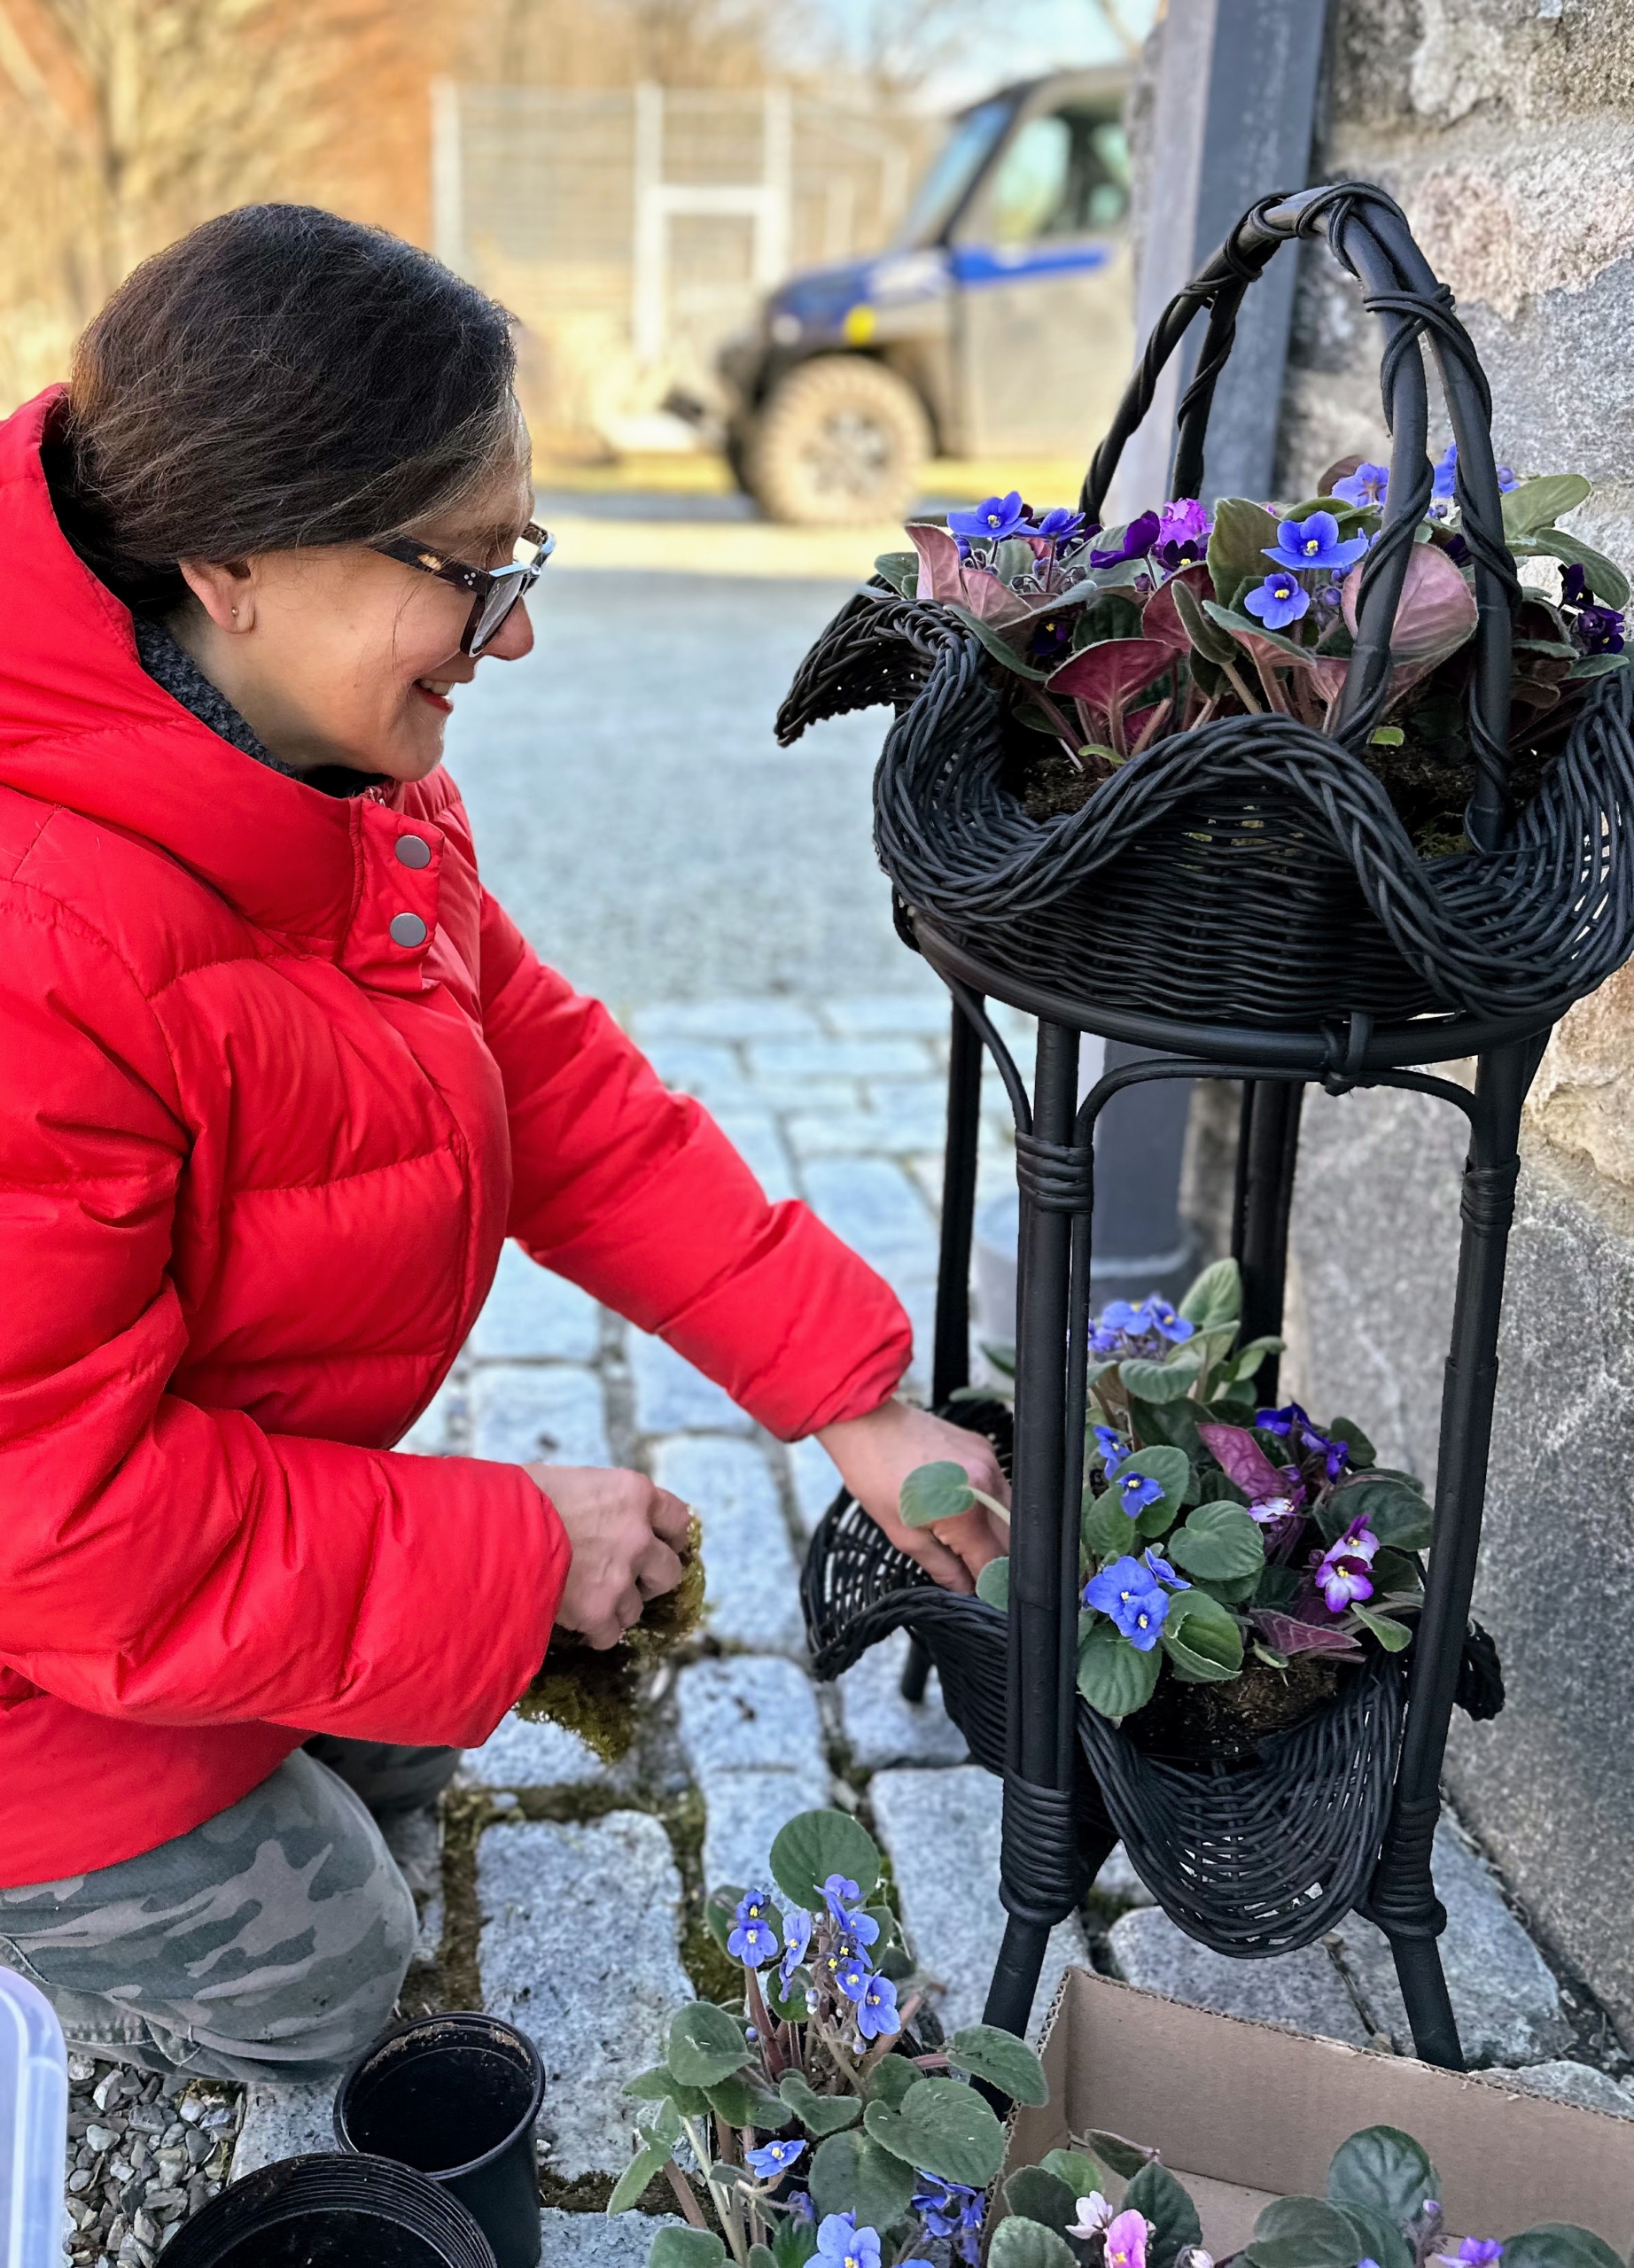
Here is art stylist, Lorna Aragon, filling the baskets. The black really makes the the plant colors stick out.
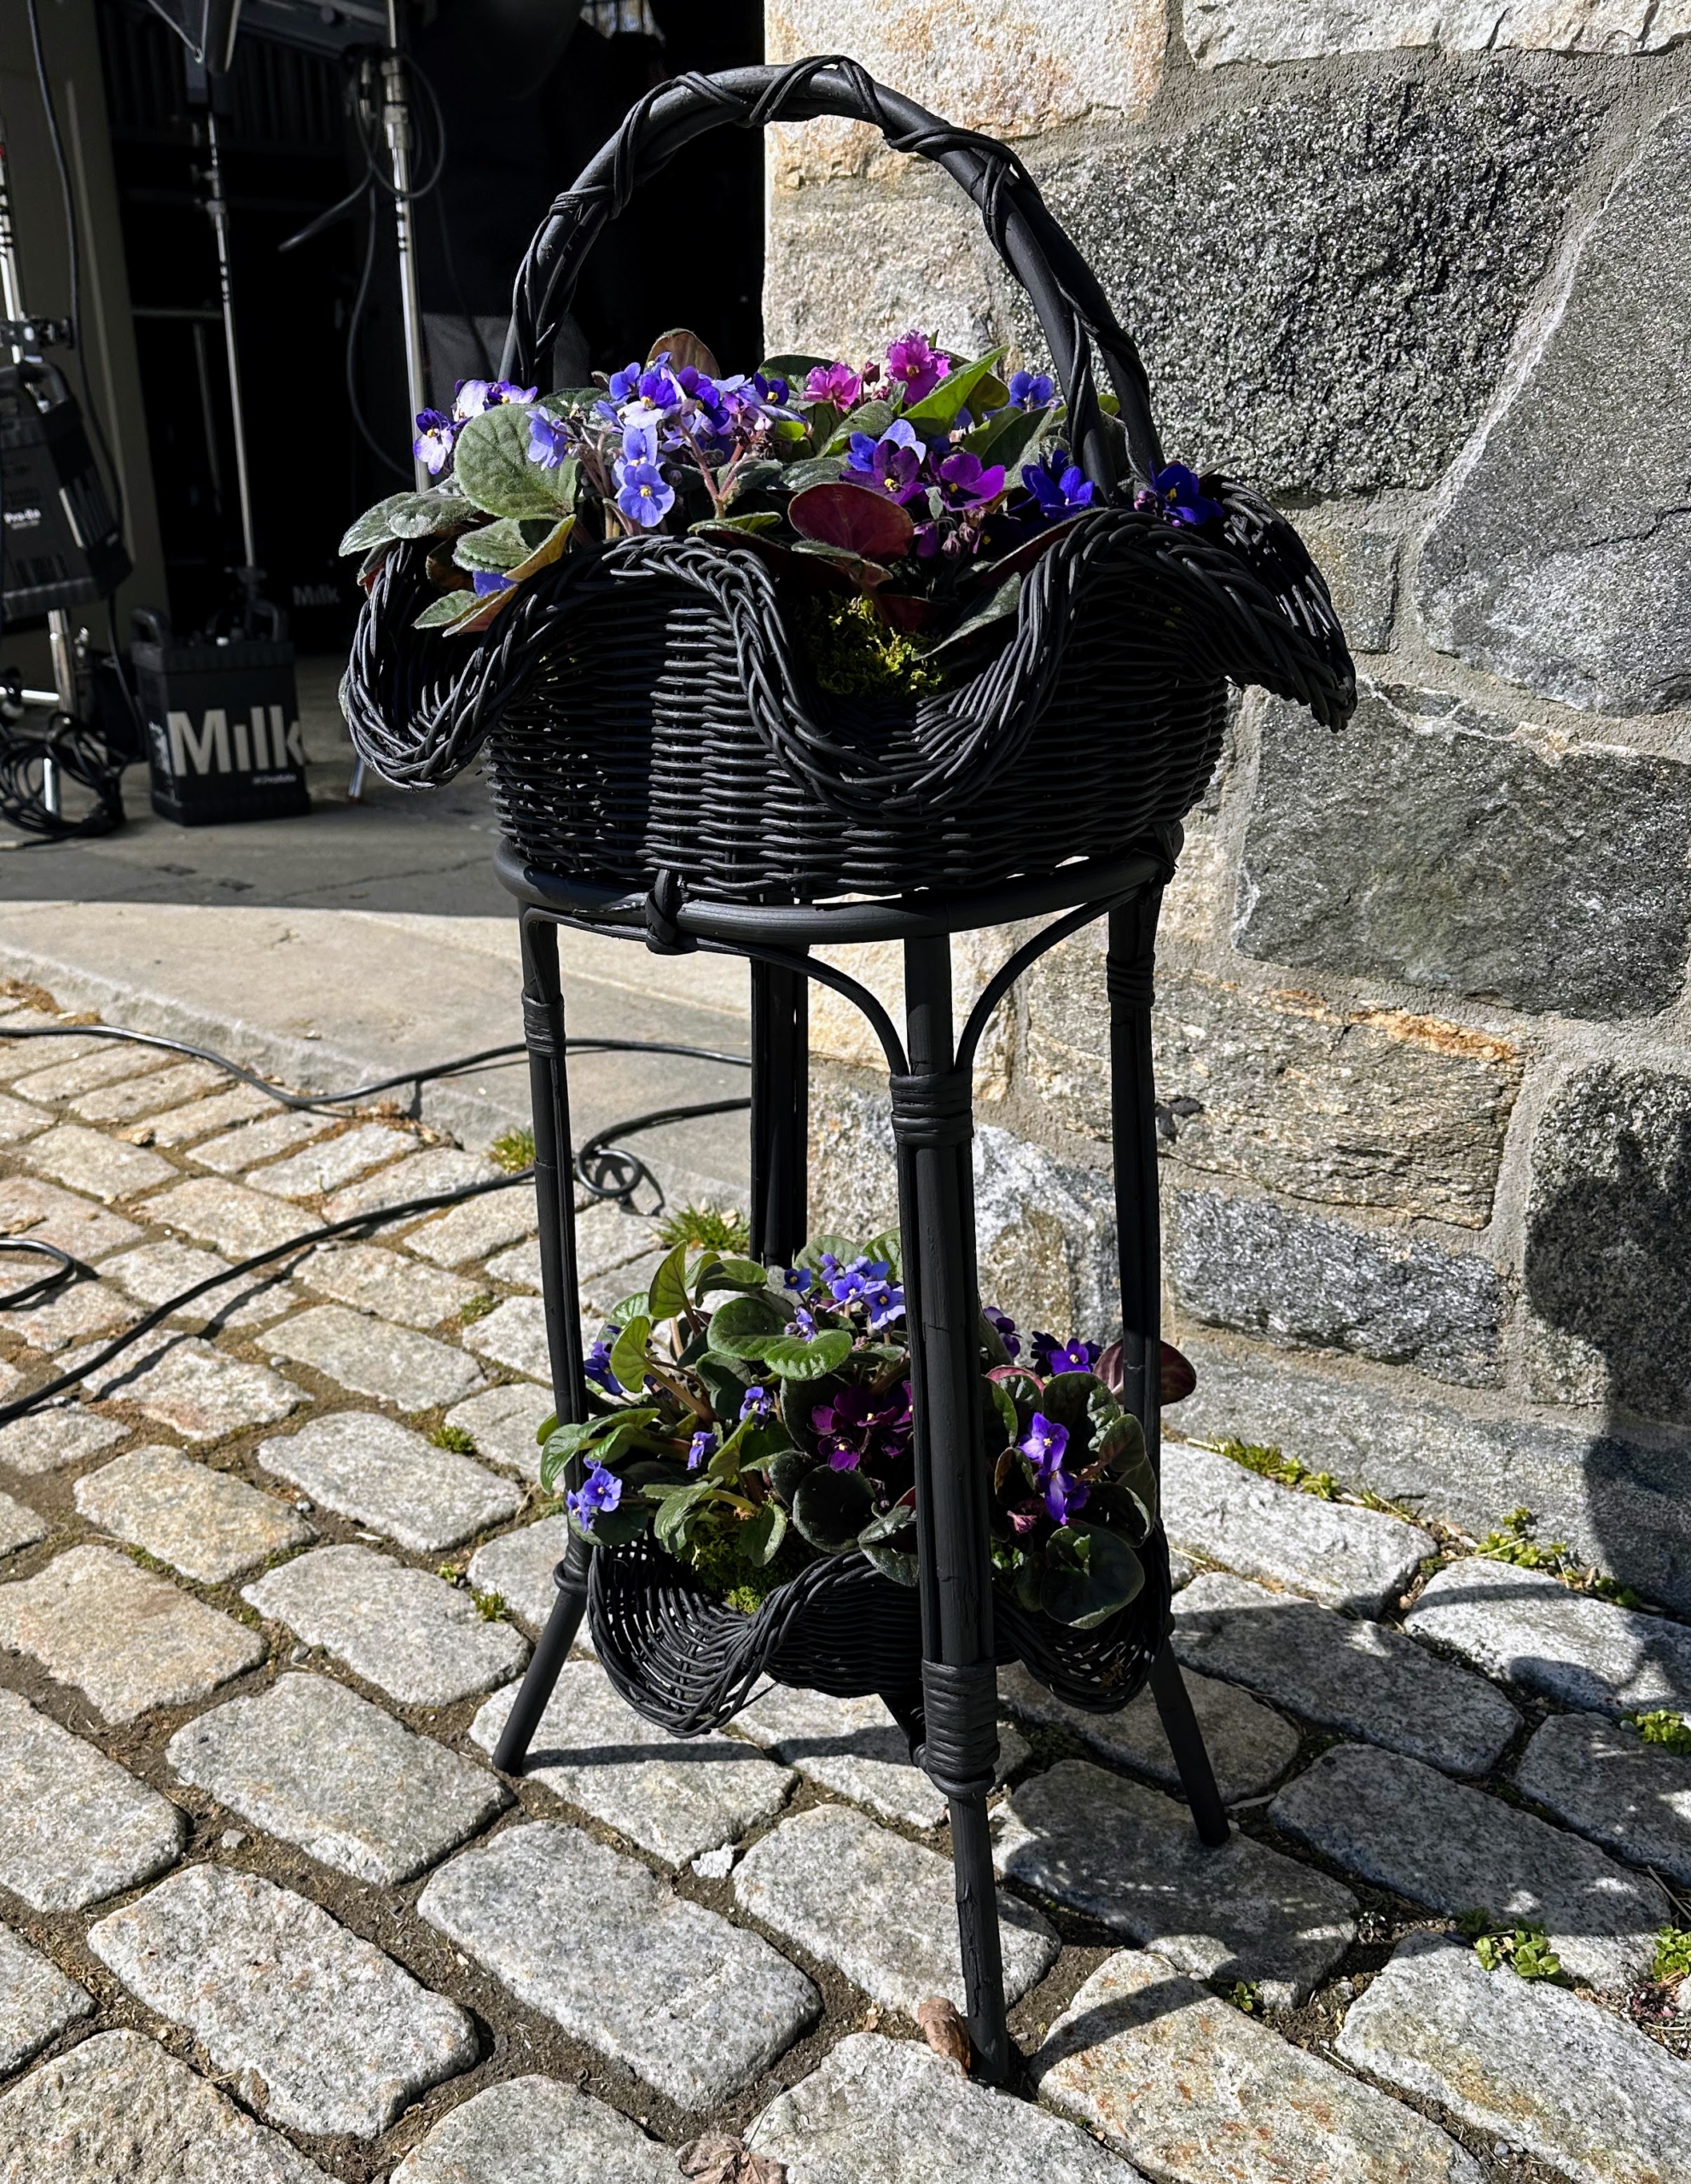
Here is the basket ready for its debut – what do you think?
And here it is with one of my precious chicks perched on top. Don’t worry, it was only there for this quick photo and then safely returned to its enclosure. Refurbishing an old find… it’s a good thing.