Pruning at my farm continues at the long hedge that runs in front of my Summer House and along the road behind my Winter House.
The hornbeam, Carpinus, is deciduous and very fast-growing. In fact, it can grow about four to five feet per year. I always keep a close eye on all the hornbeams, so they can be maintained regularly. It's quite a task to get all of them trimmed properly, but the end result is well worth the effort.
Enjoy these photos.
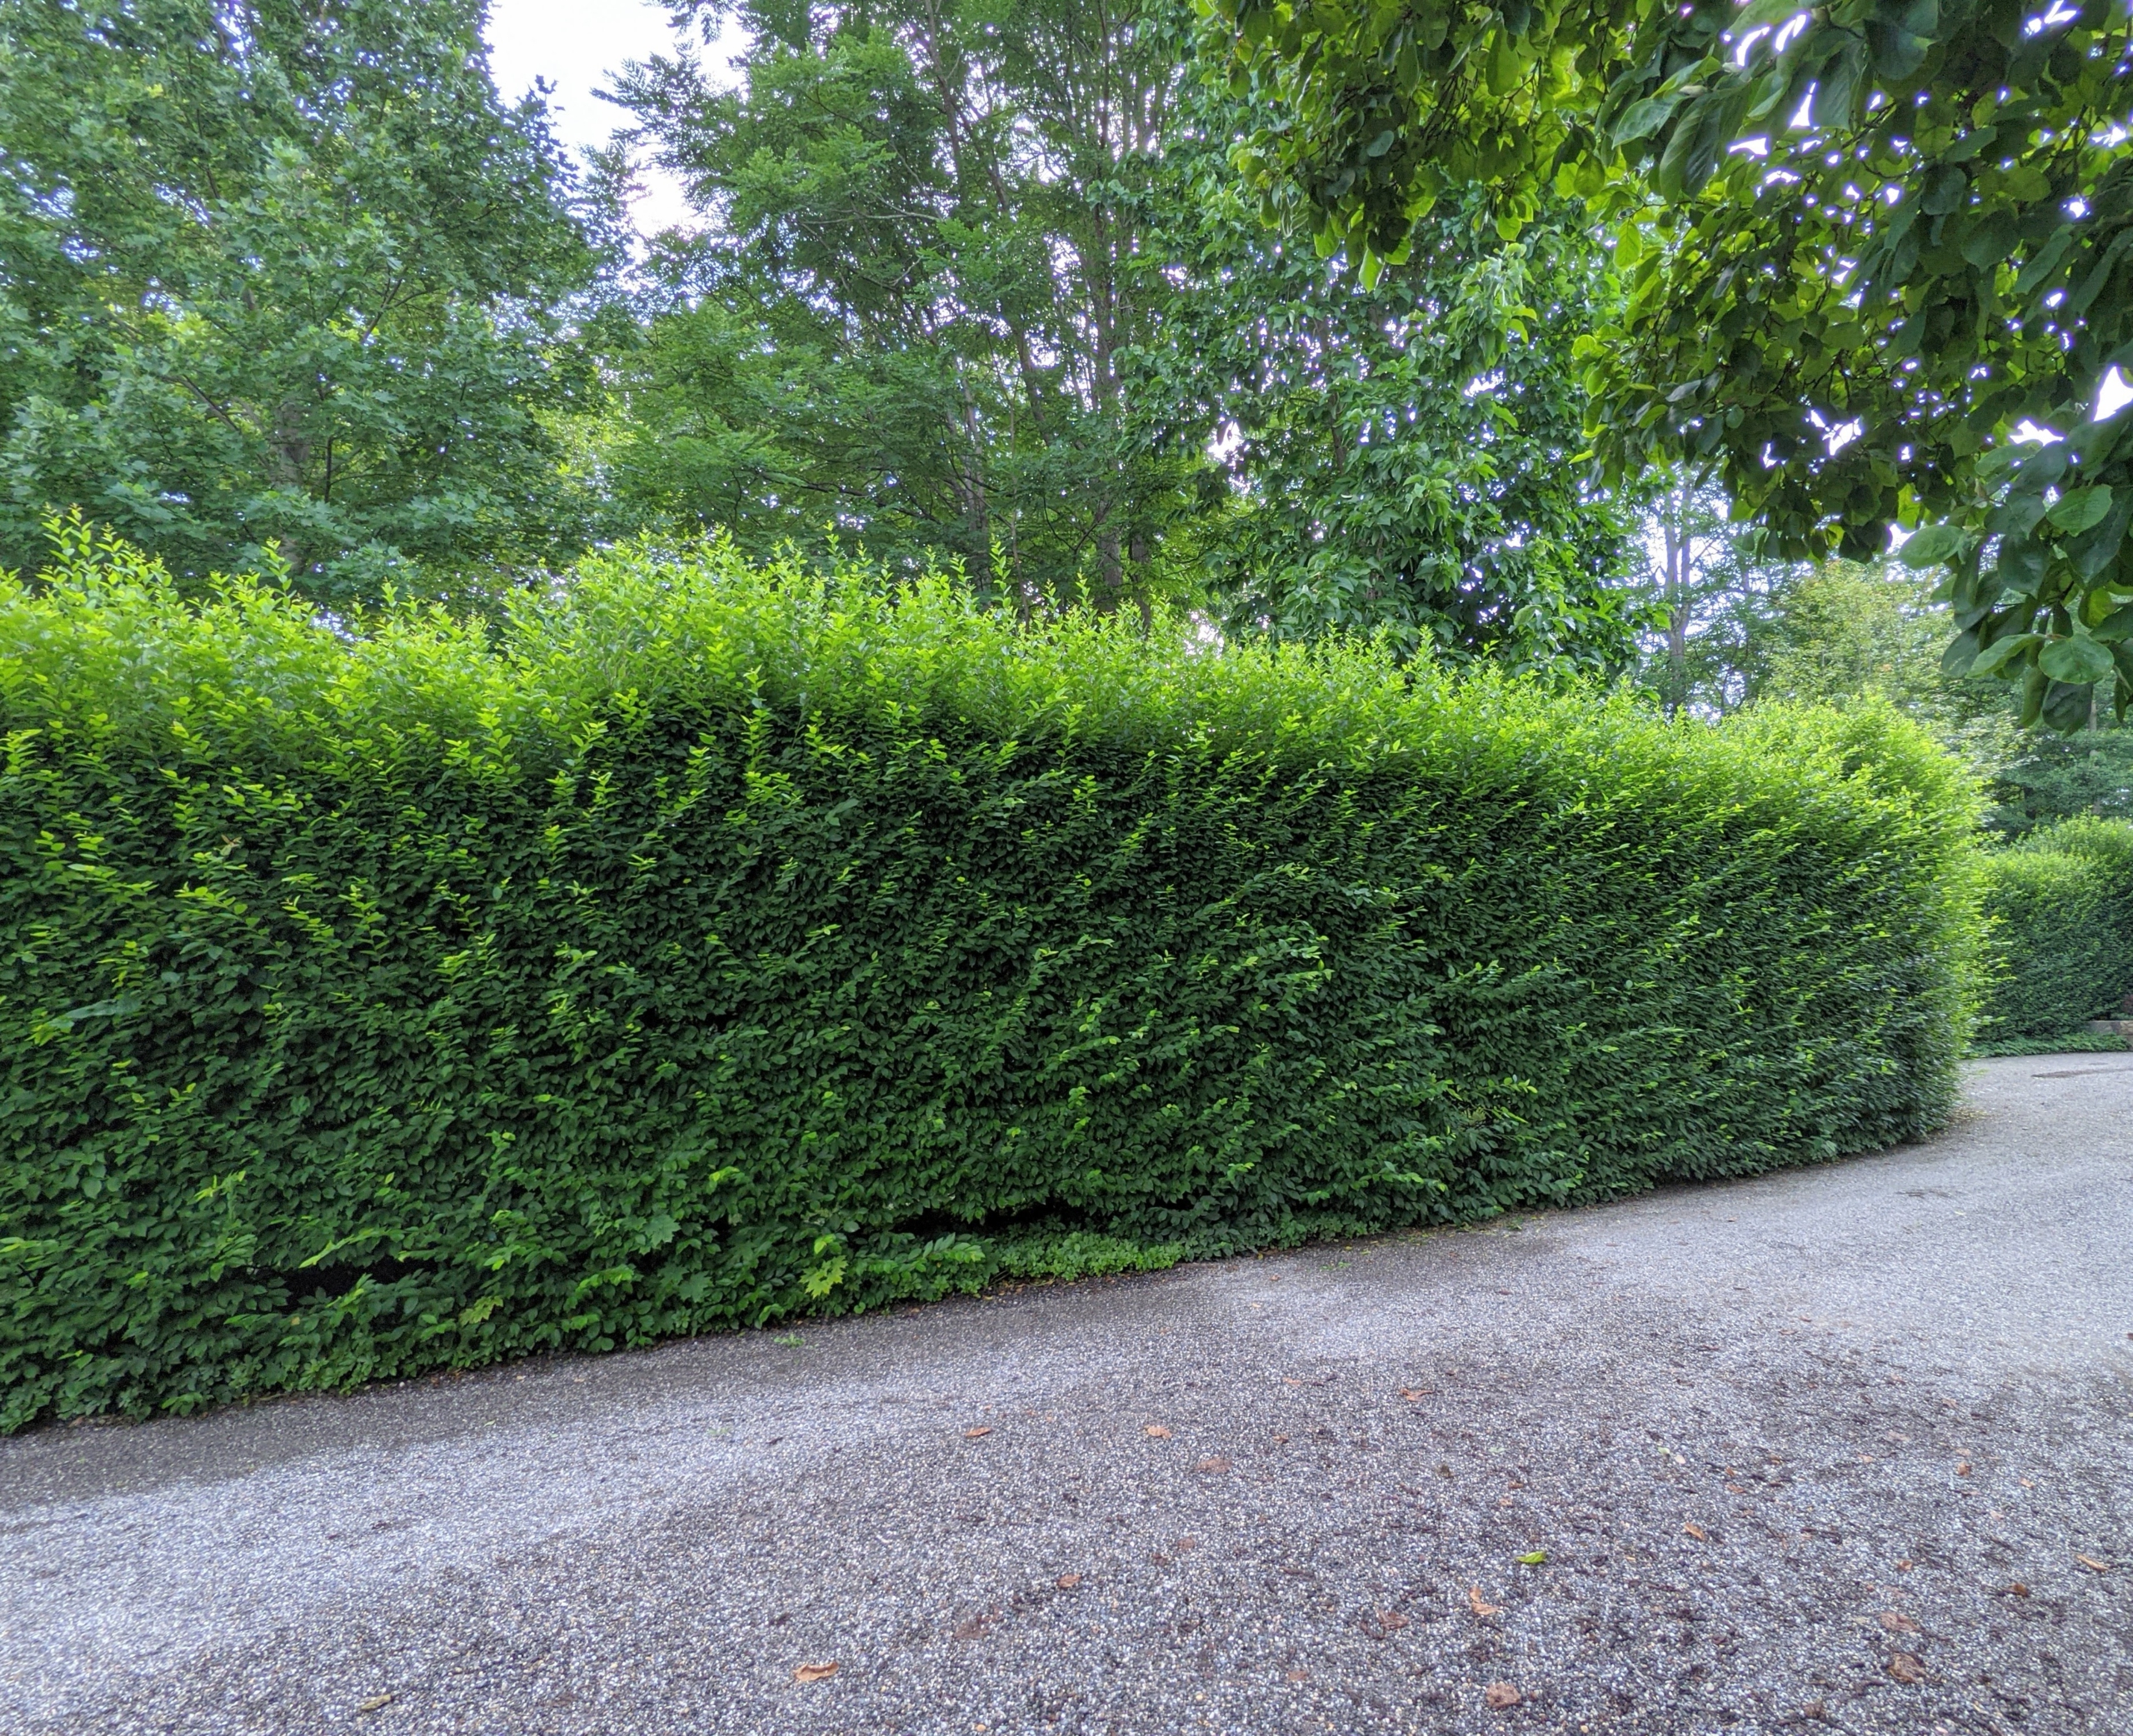
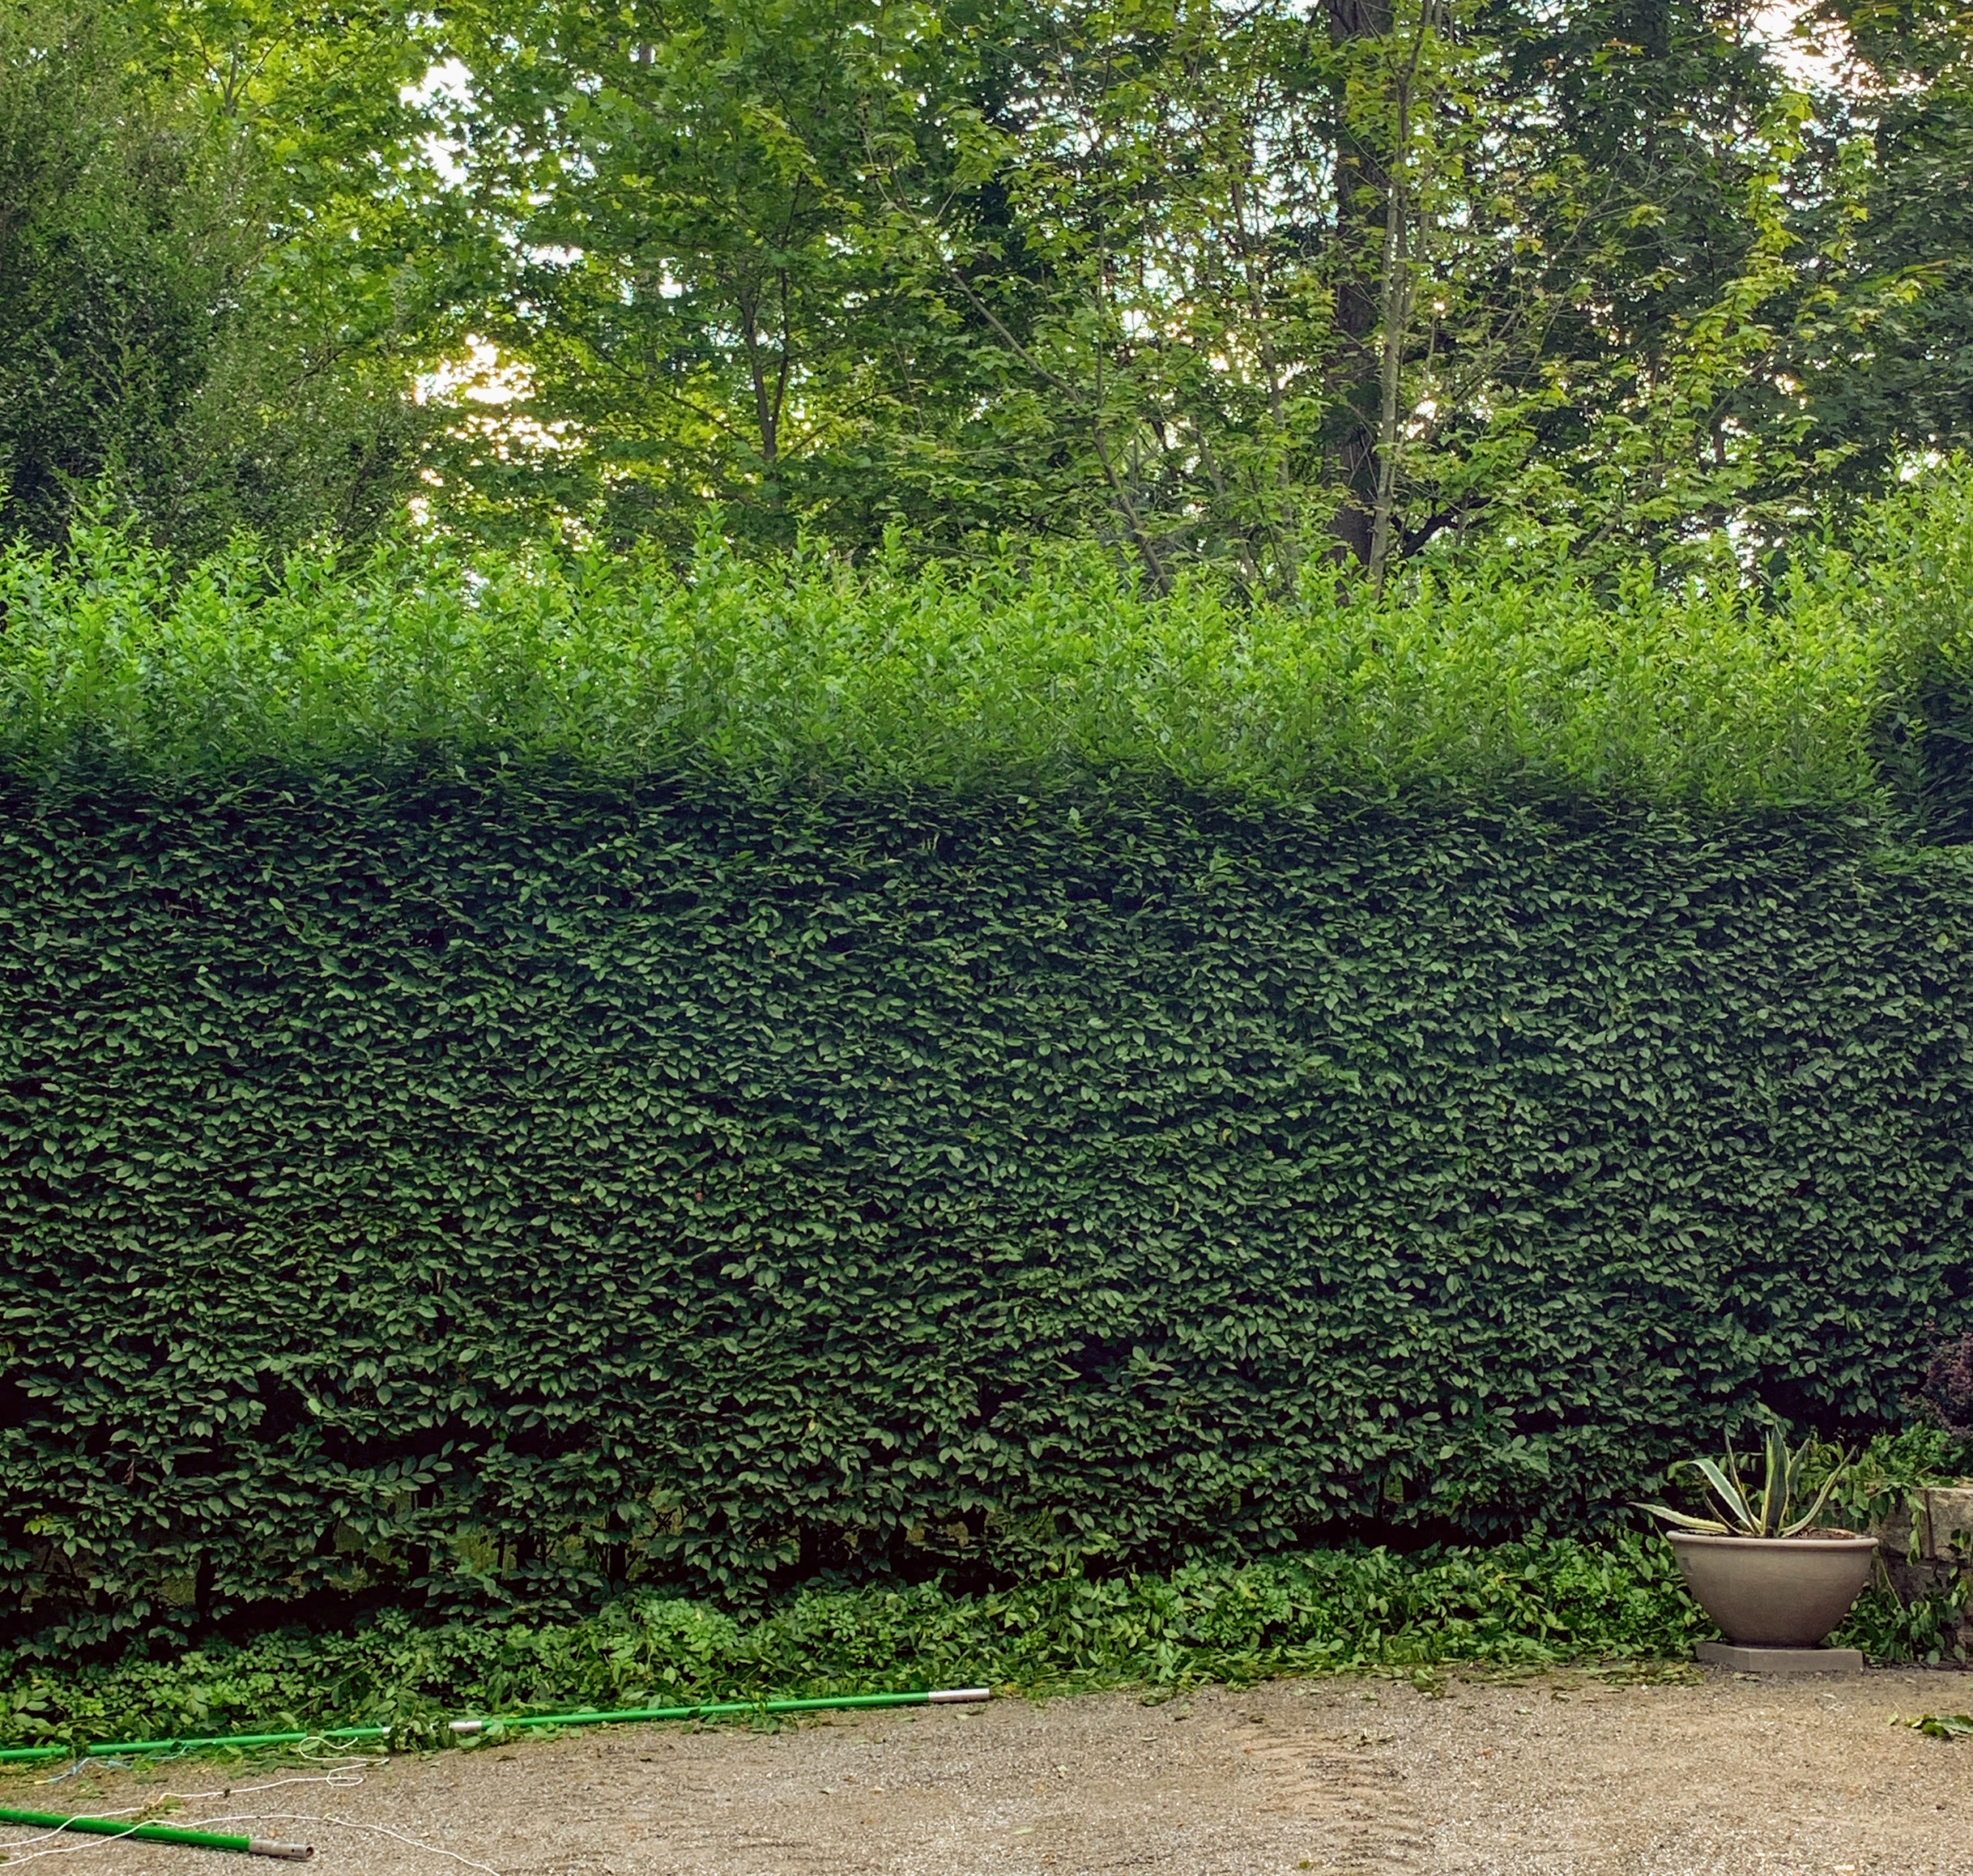
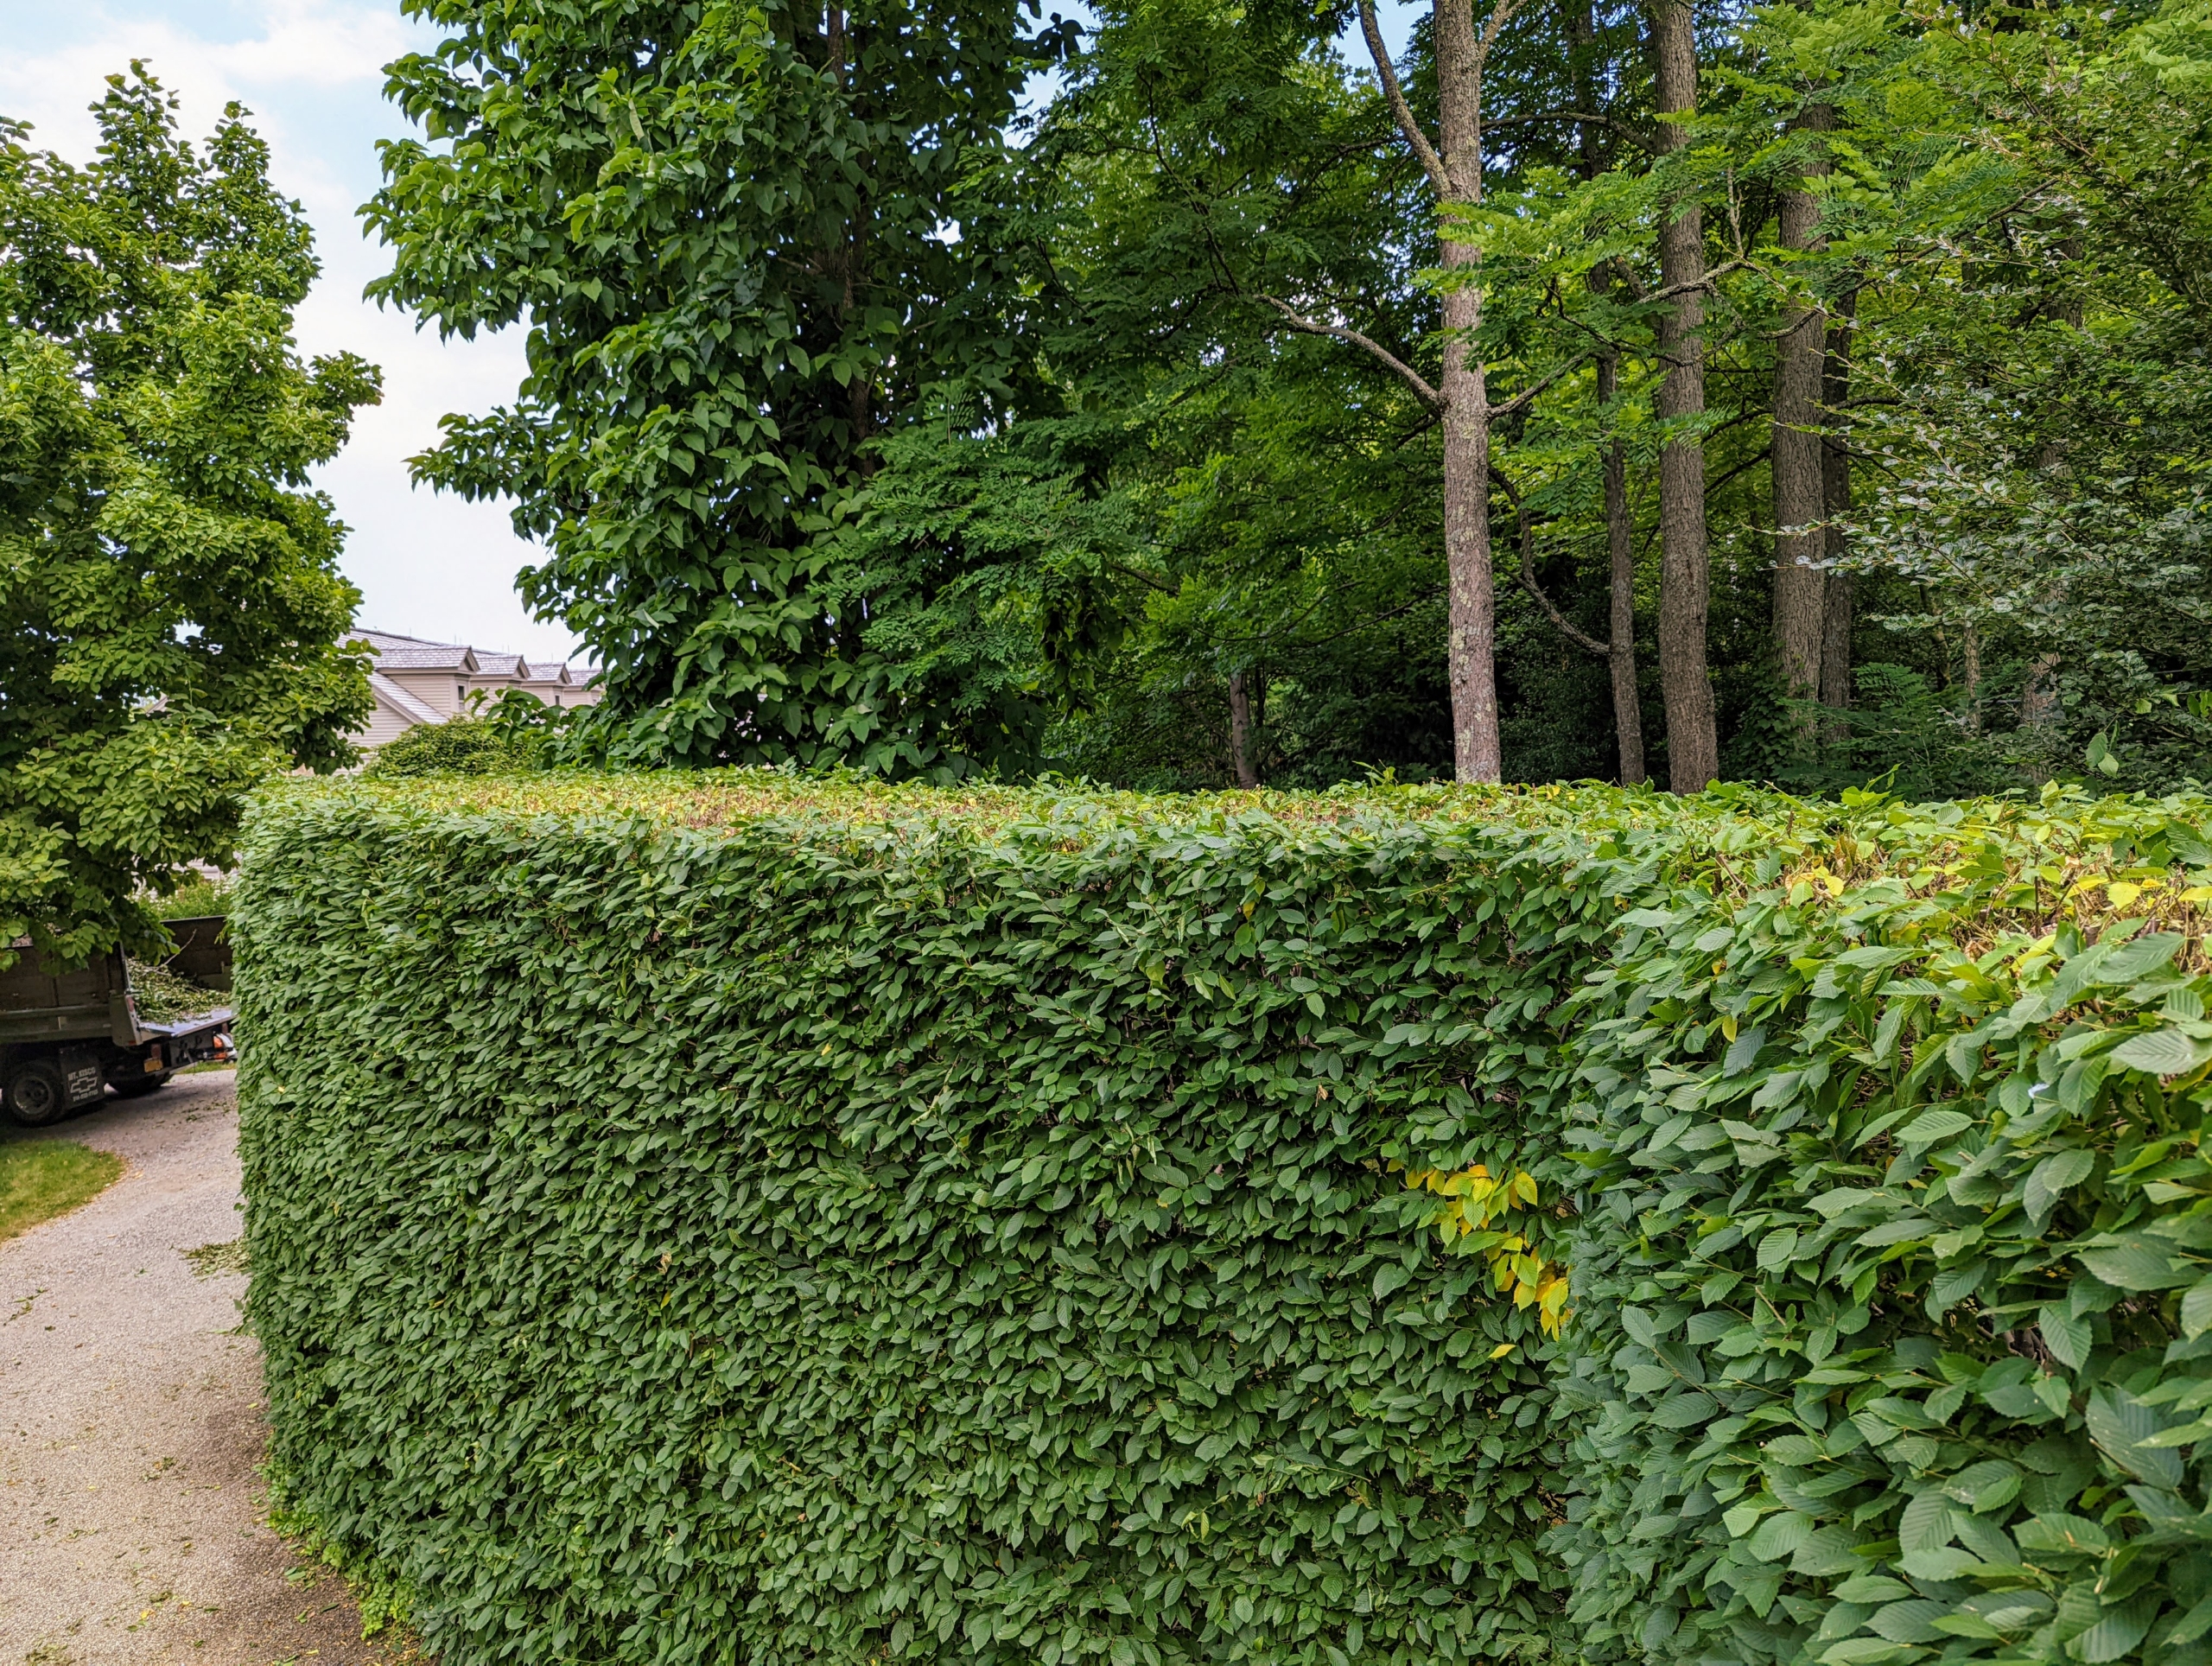
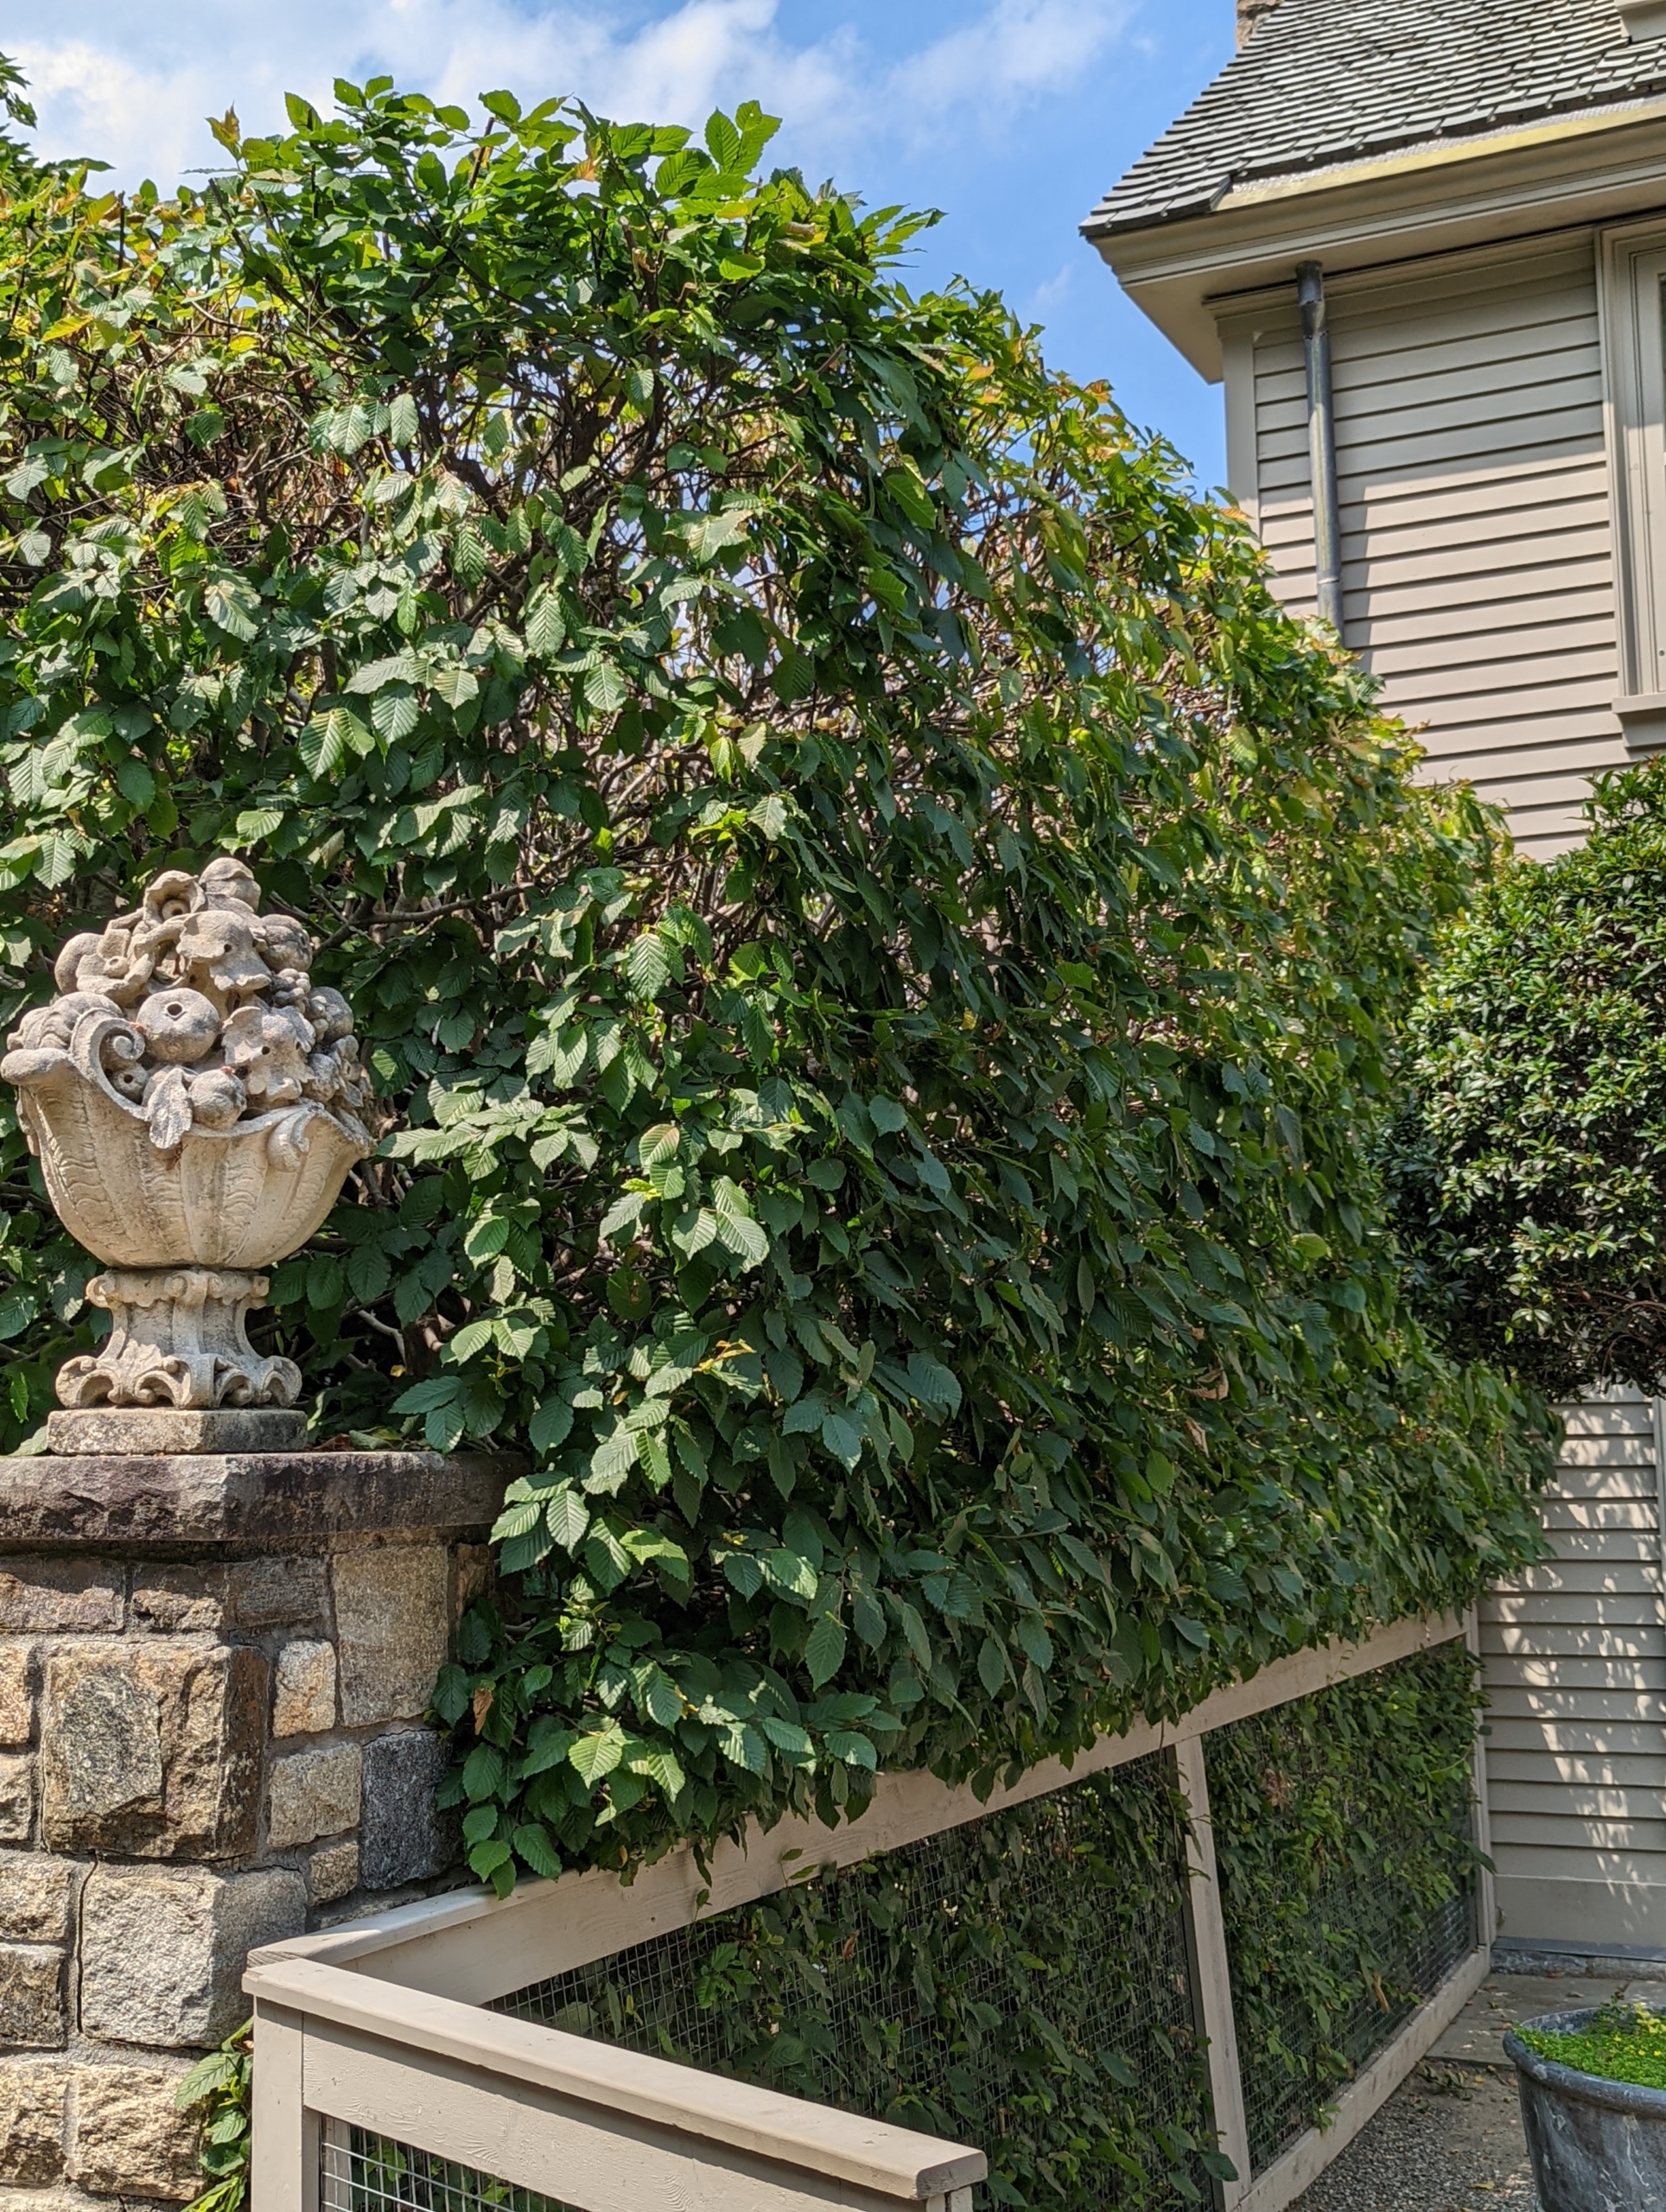
Next on our long list of pruning projects is to prune the hornbeam hedge along the back of the Summer House and the Winter House. This is a European hornbeam hedge, Carpinus betulus. Because it is planted on a gradual slope, it needs to be pruned using a step method.
It is quite pretty in this location, but it also serves as a good privacy barrier from the road. The top and upper sides of a hedge are exposed to lots of light, so they grow more vigorously.
From this angle it is easy to see all the growth from the past year. We trim these hornbeams annually. If left unpruned, hedges start to look tatty and lose their desired shape.
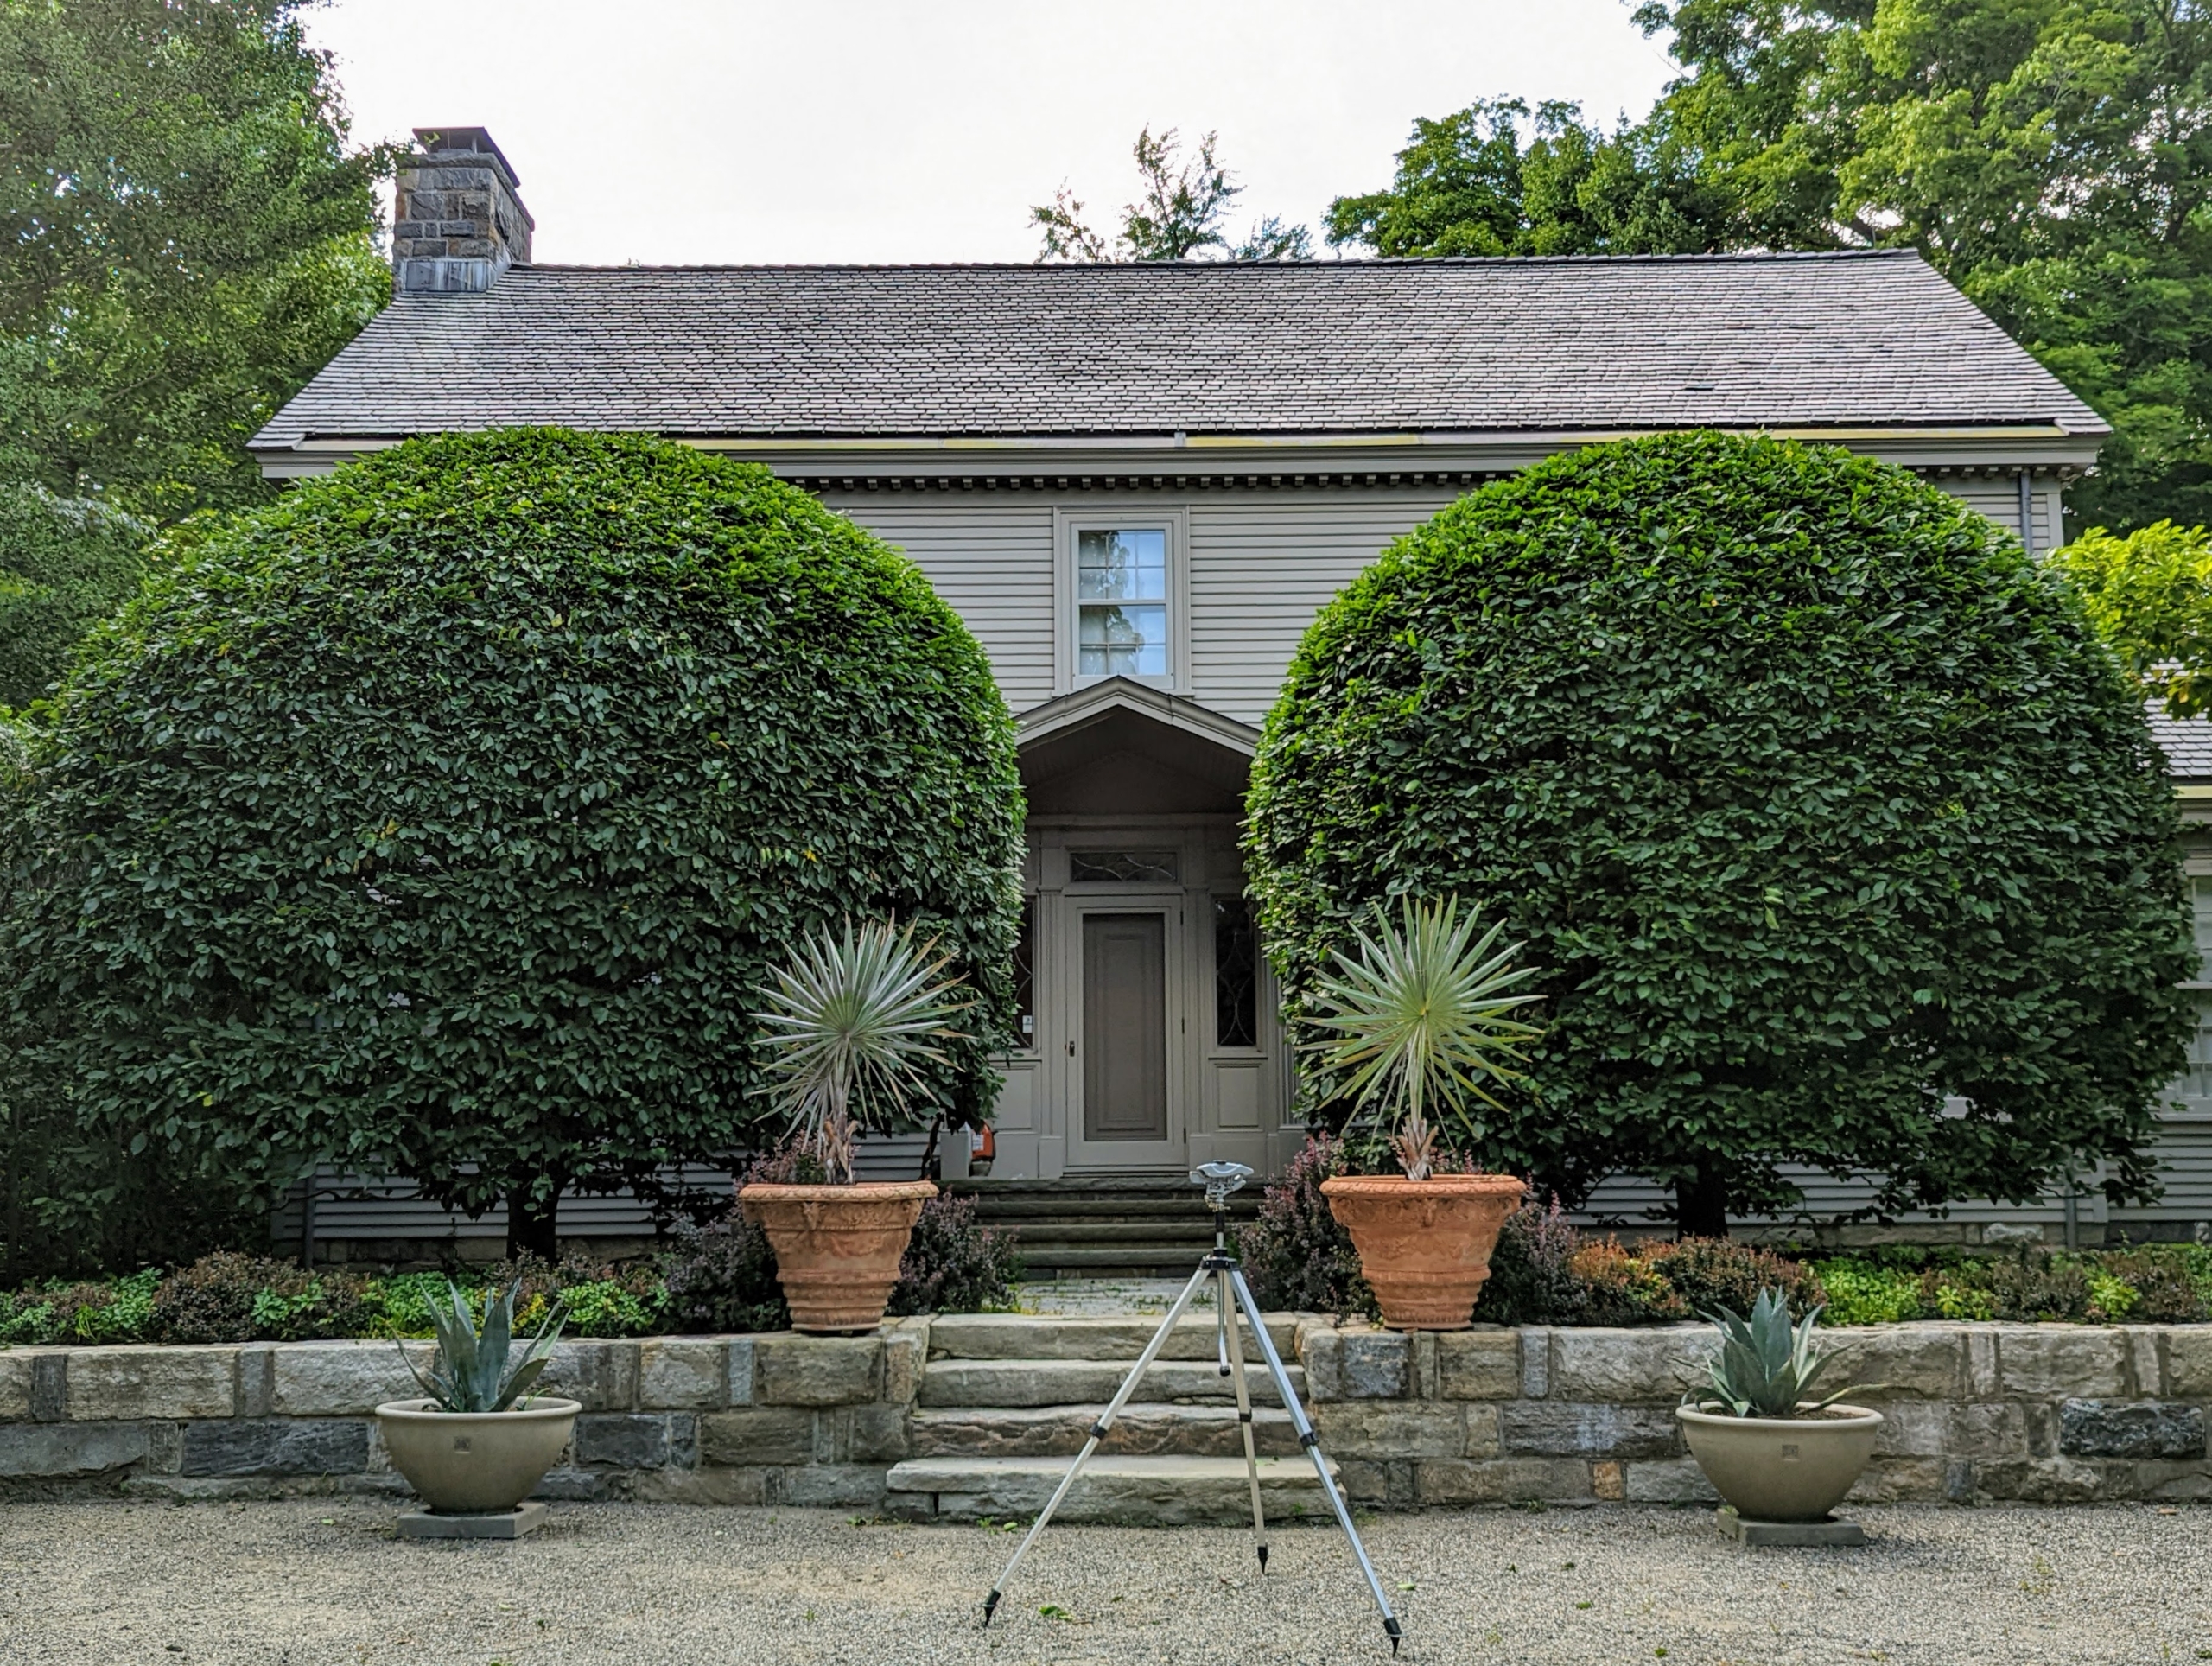
These round hornbeams in front of my Summer House entrance also need trimming.
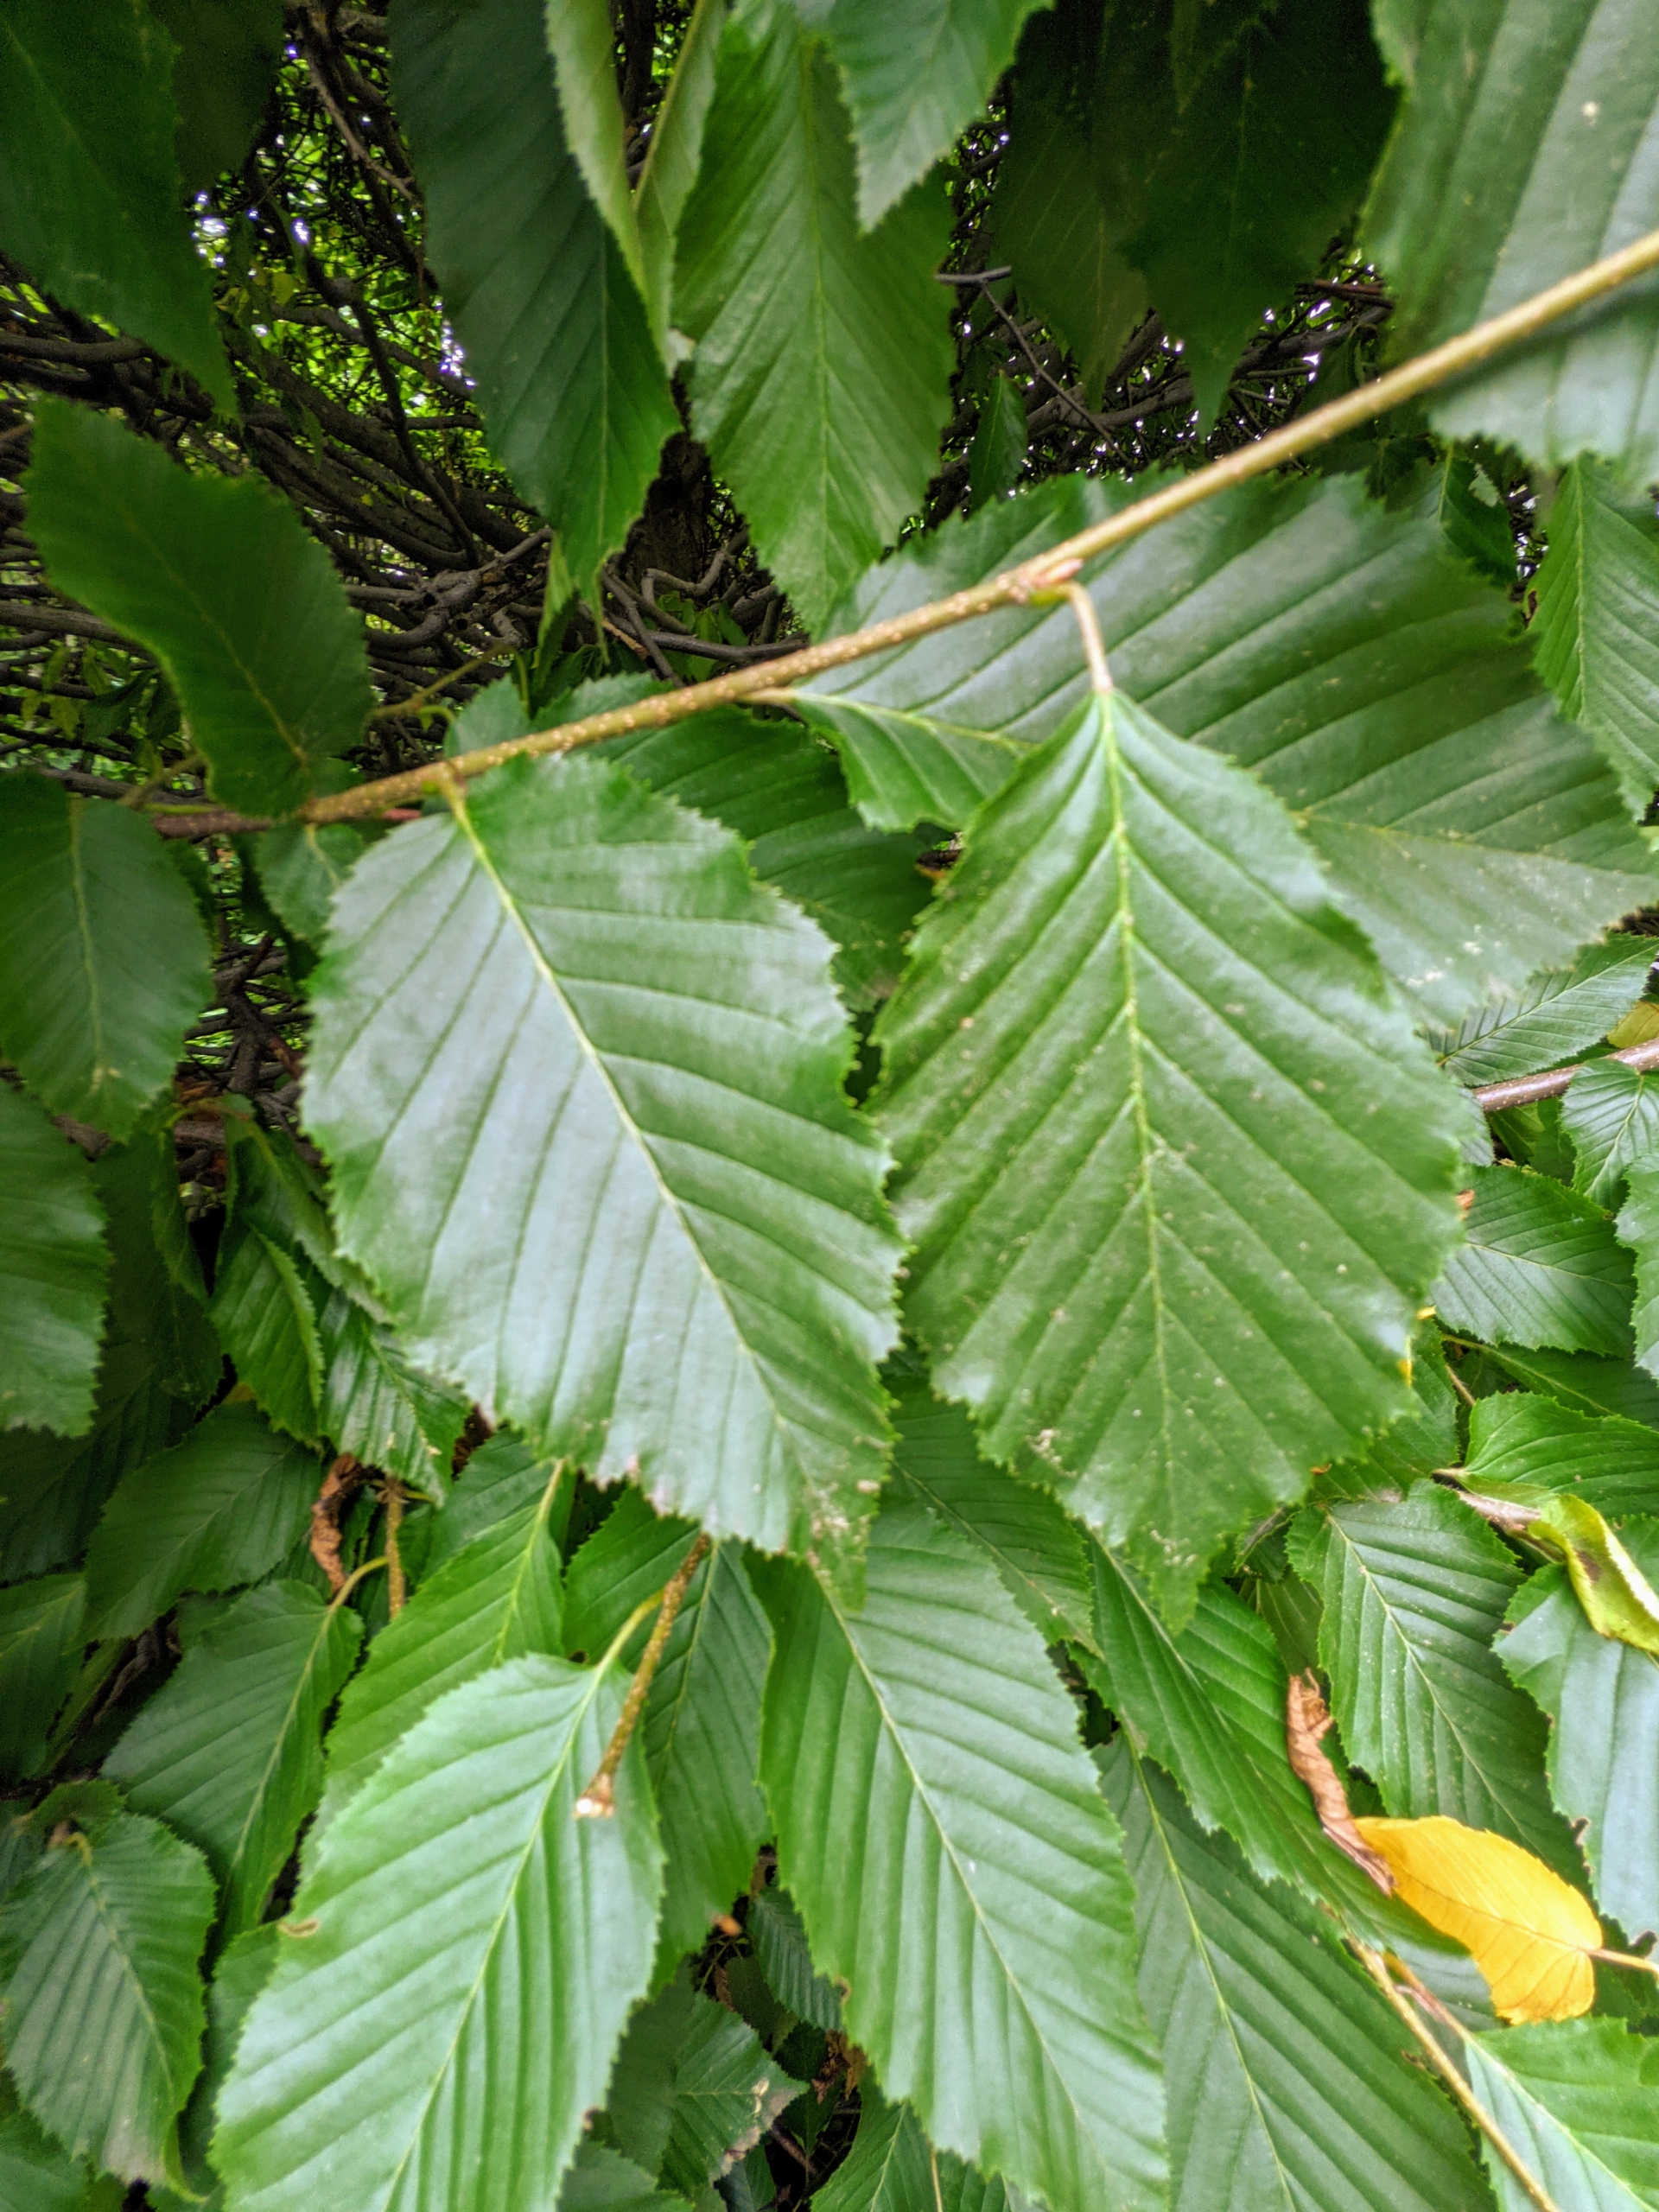
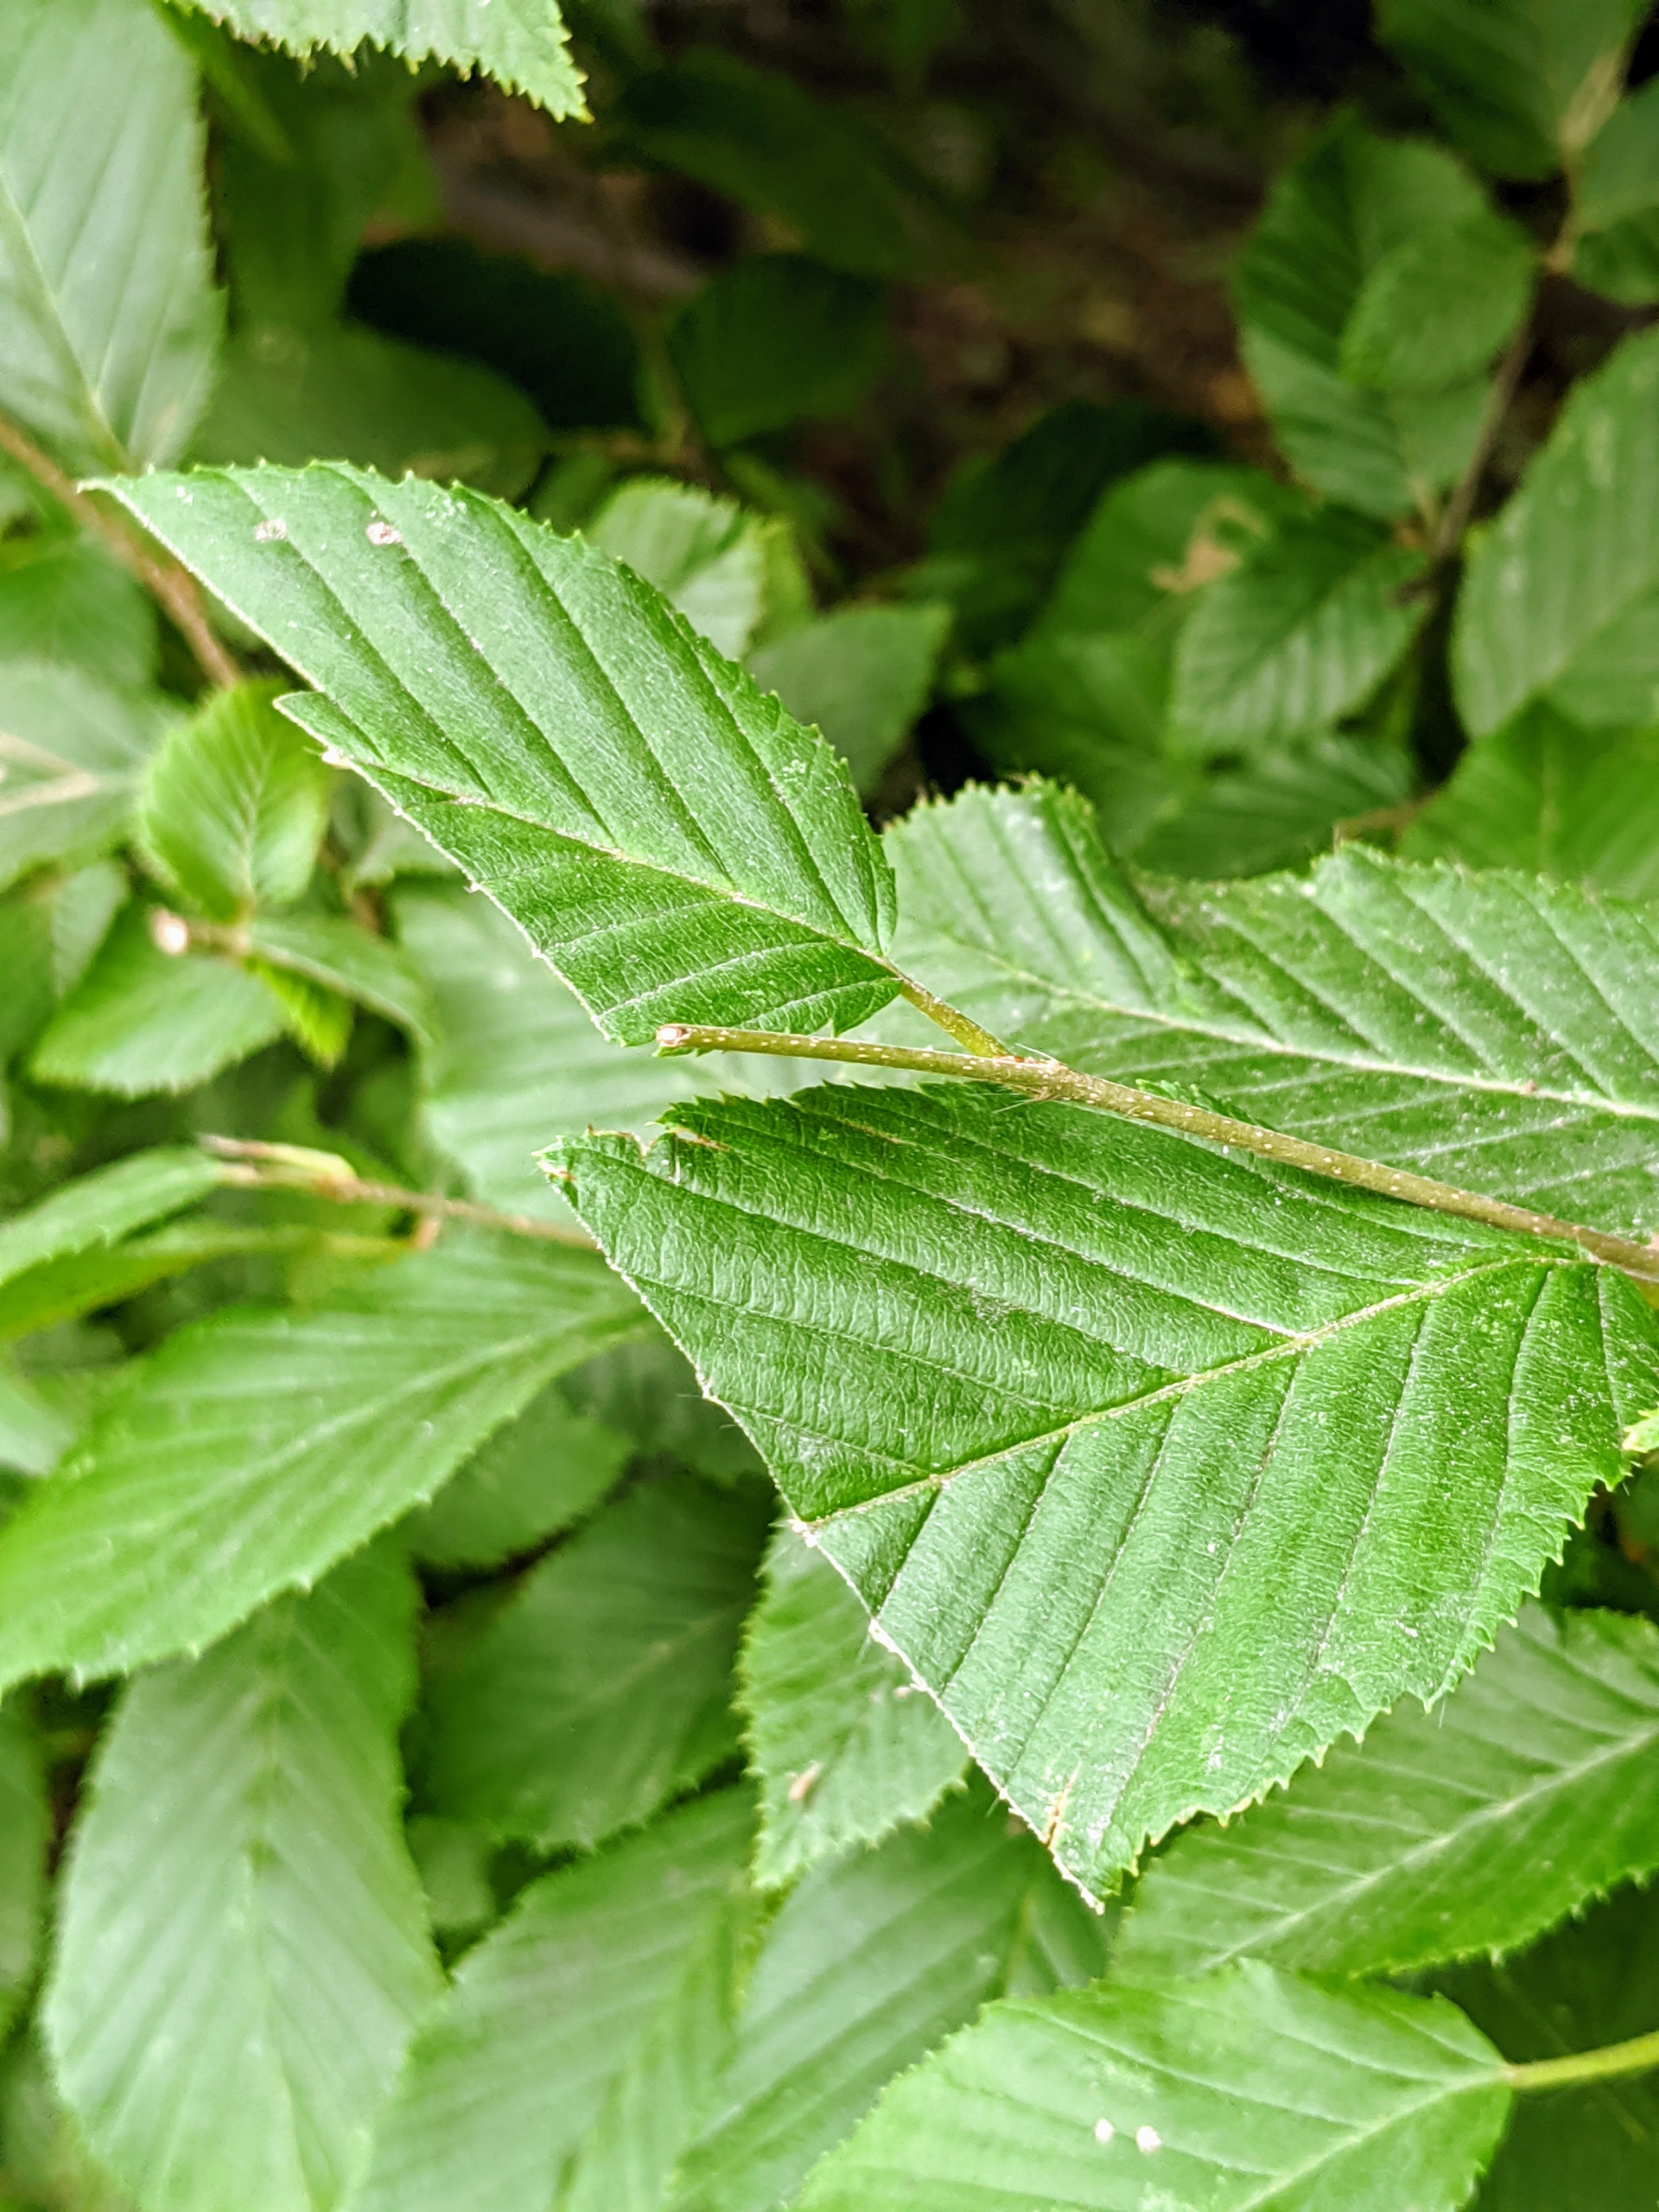
The European hornbeam is related to the beech tree, with a similar leaf shape; however, on the hornbeam, the leaves are actually smaller and more deeply furrowed. They become golden yellow to orange before falling in autumn.
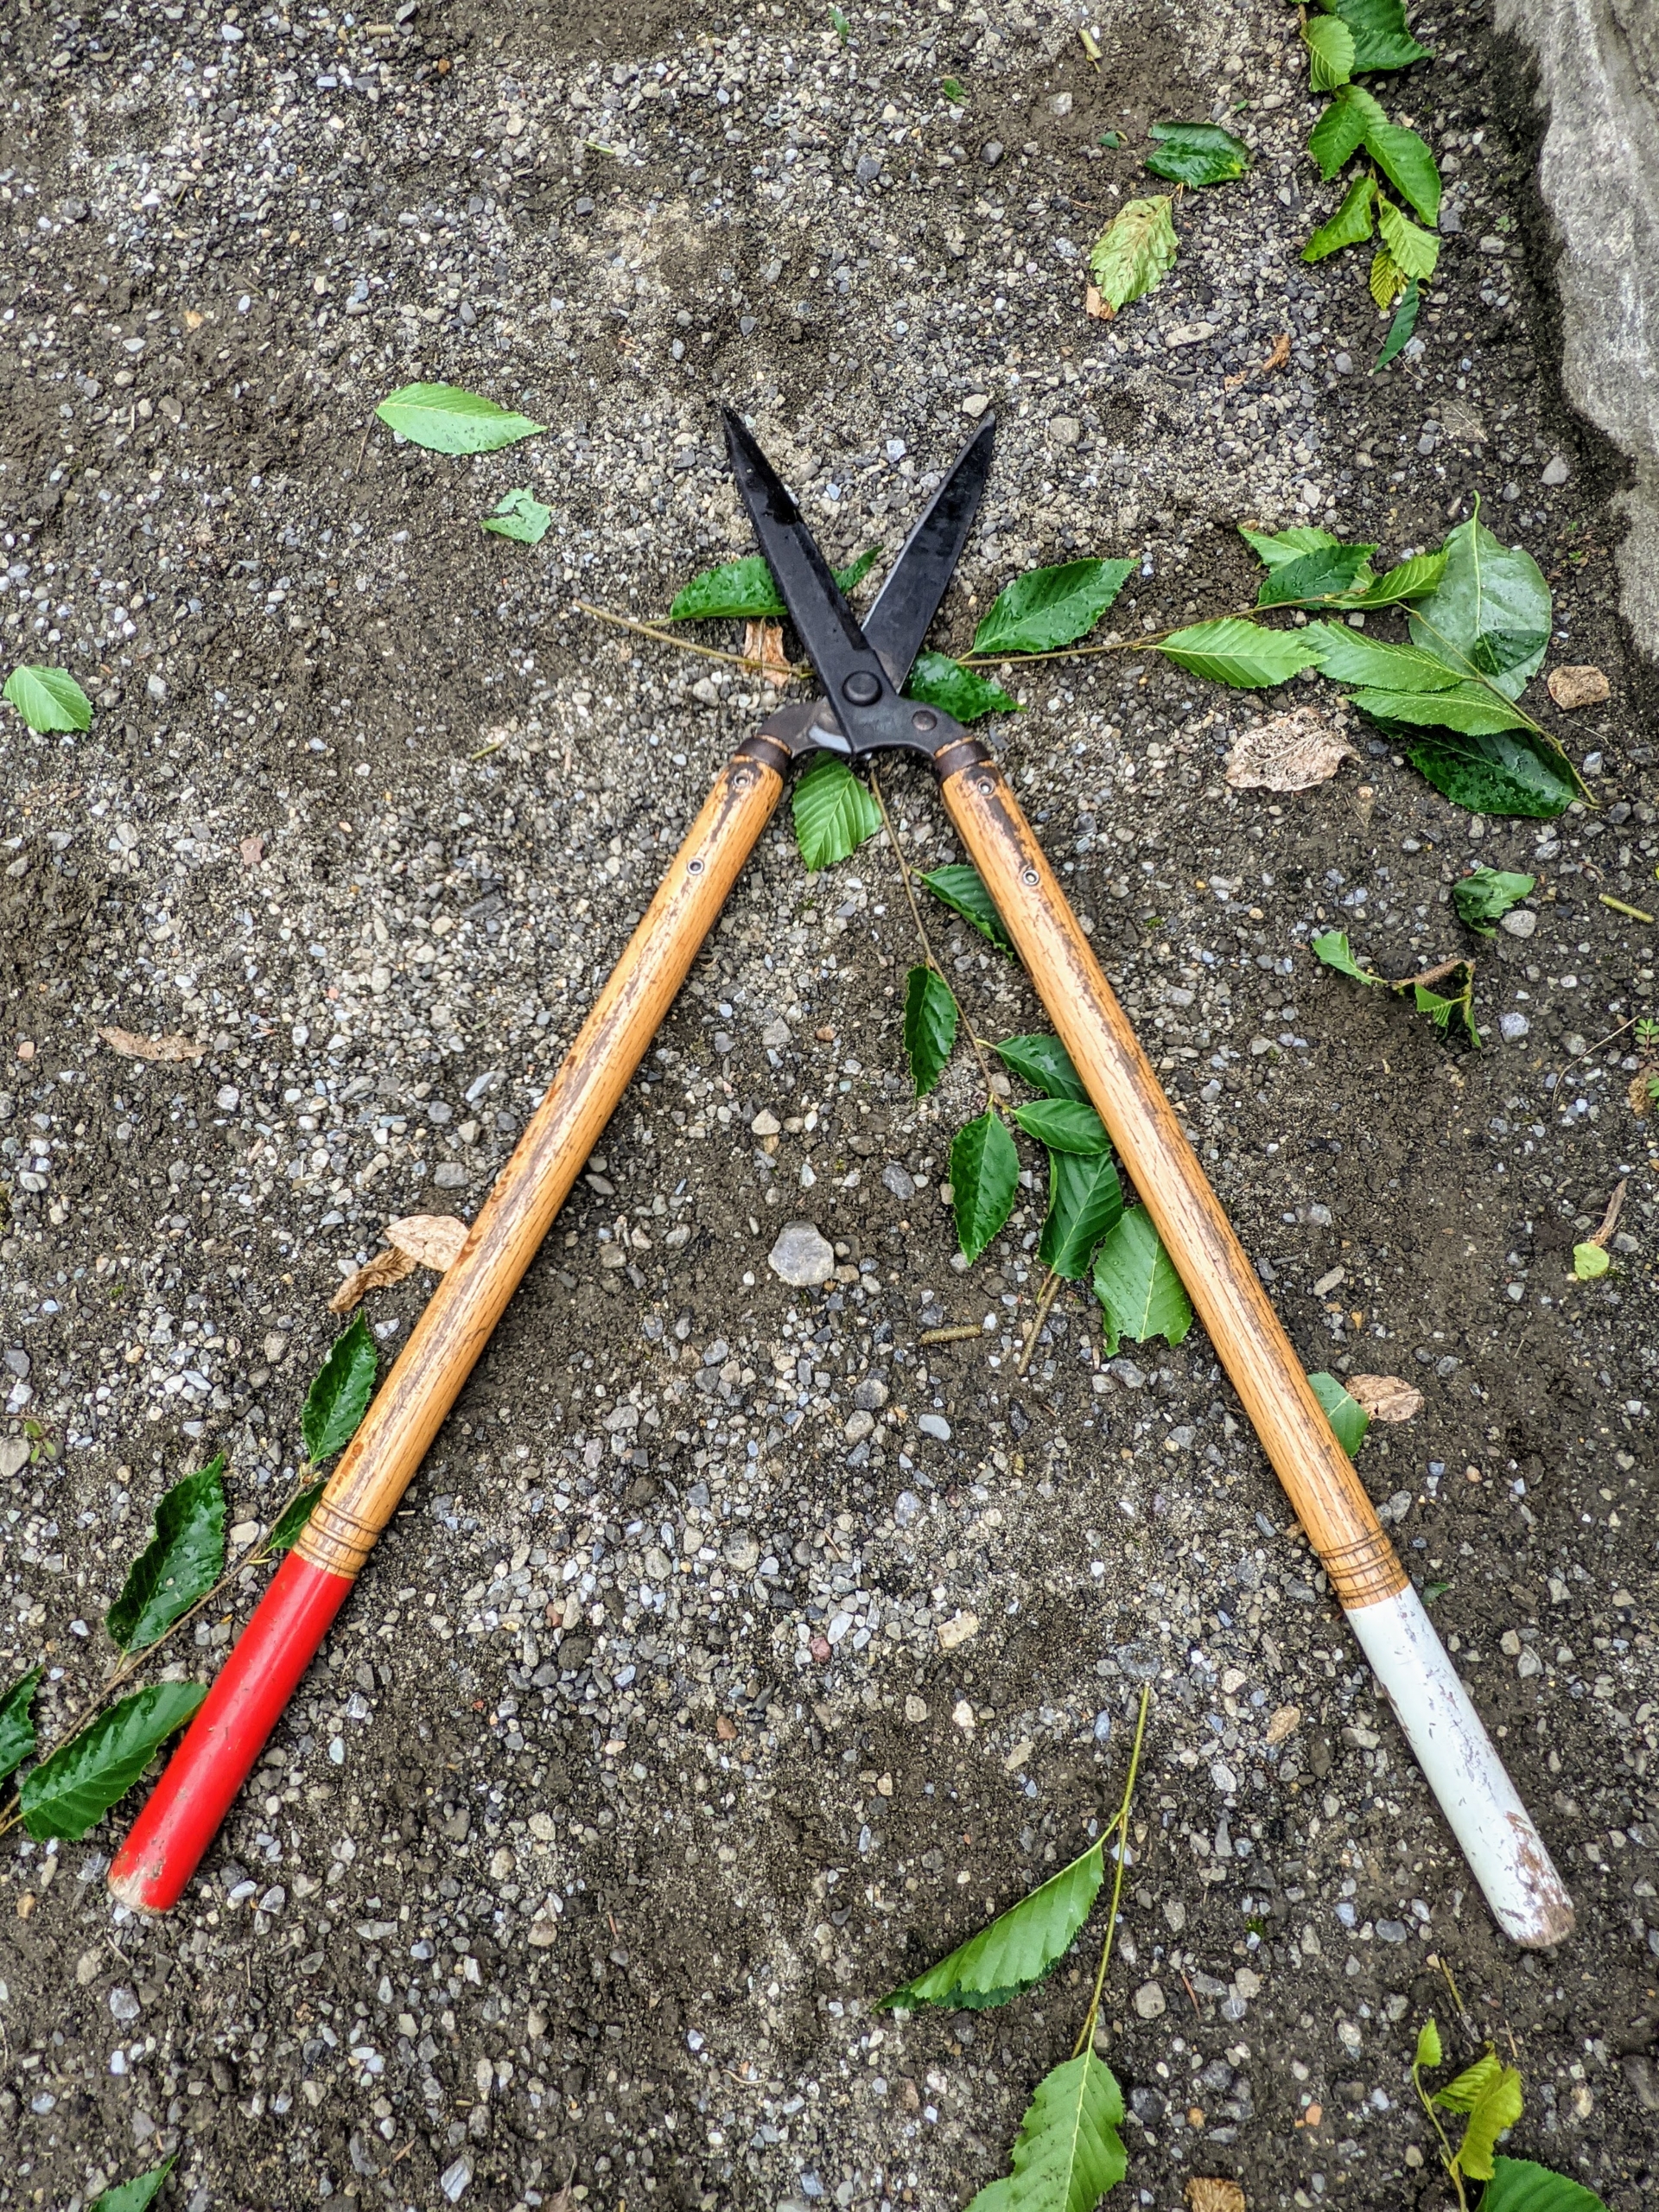
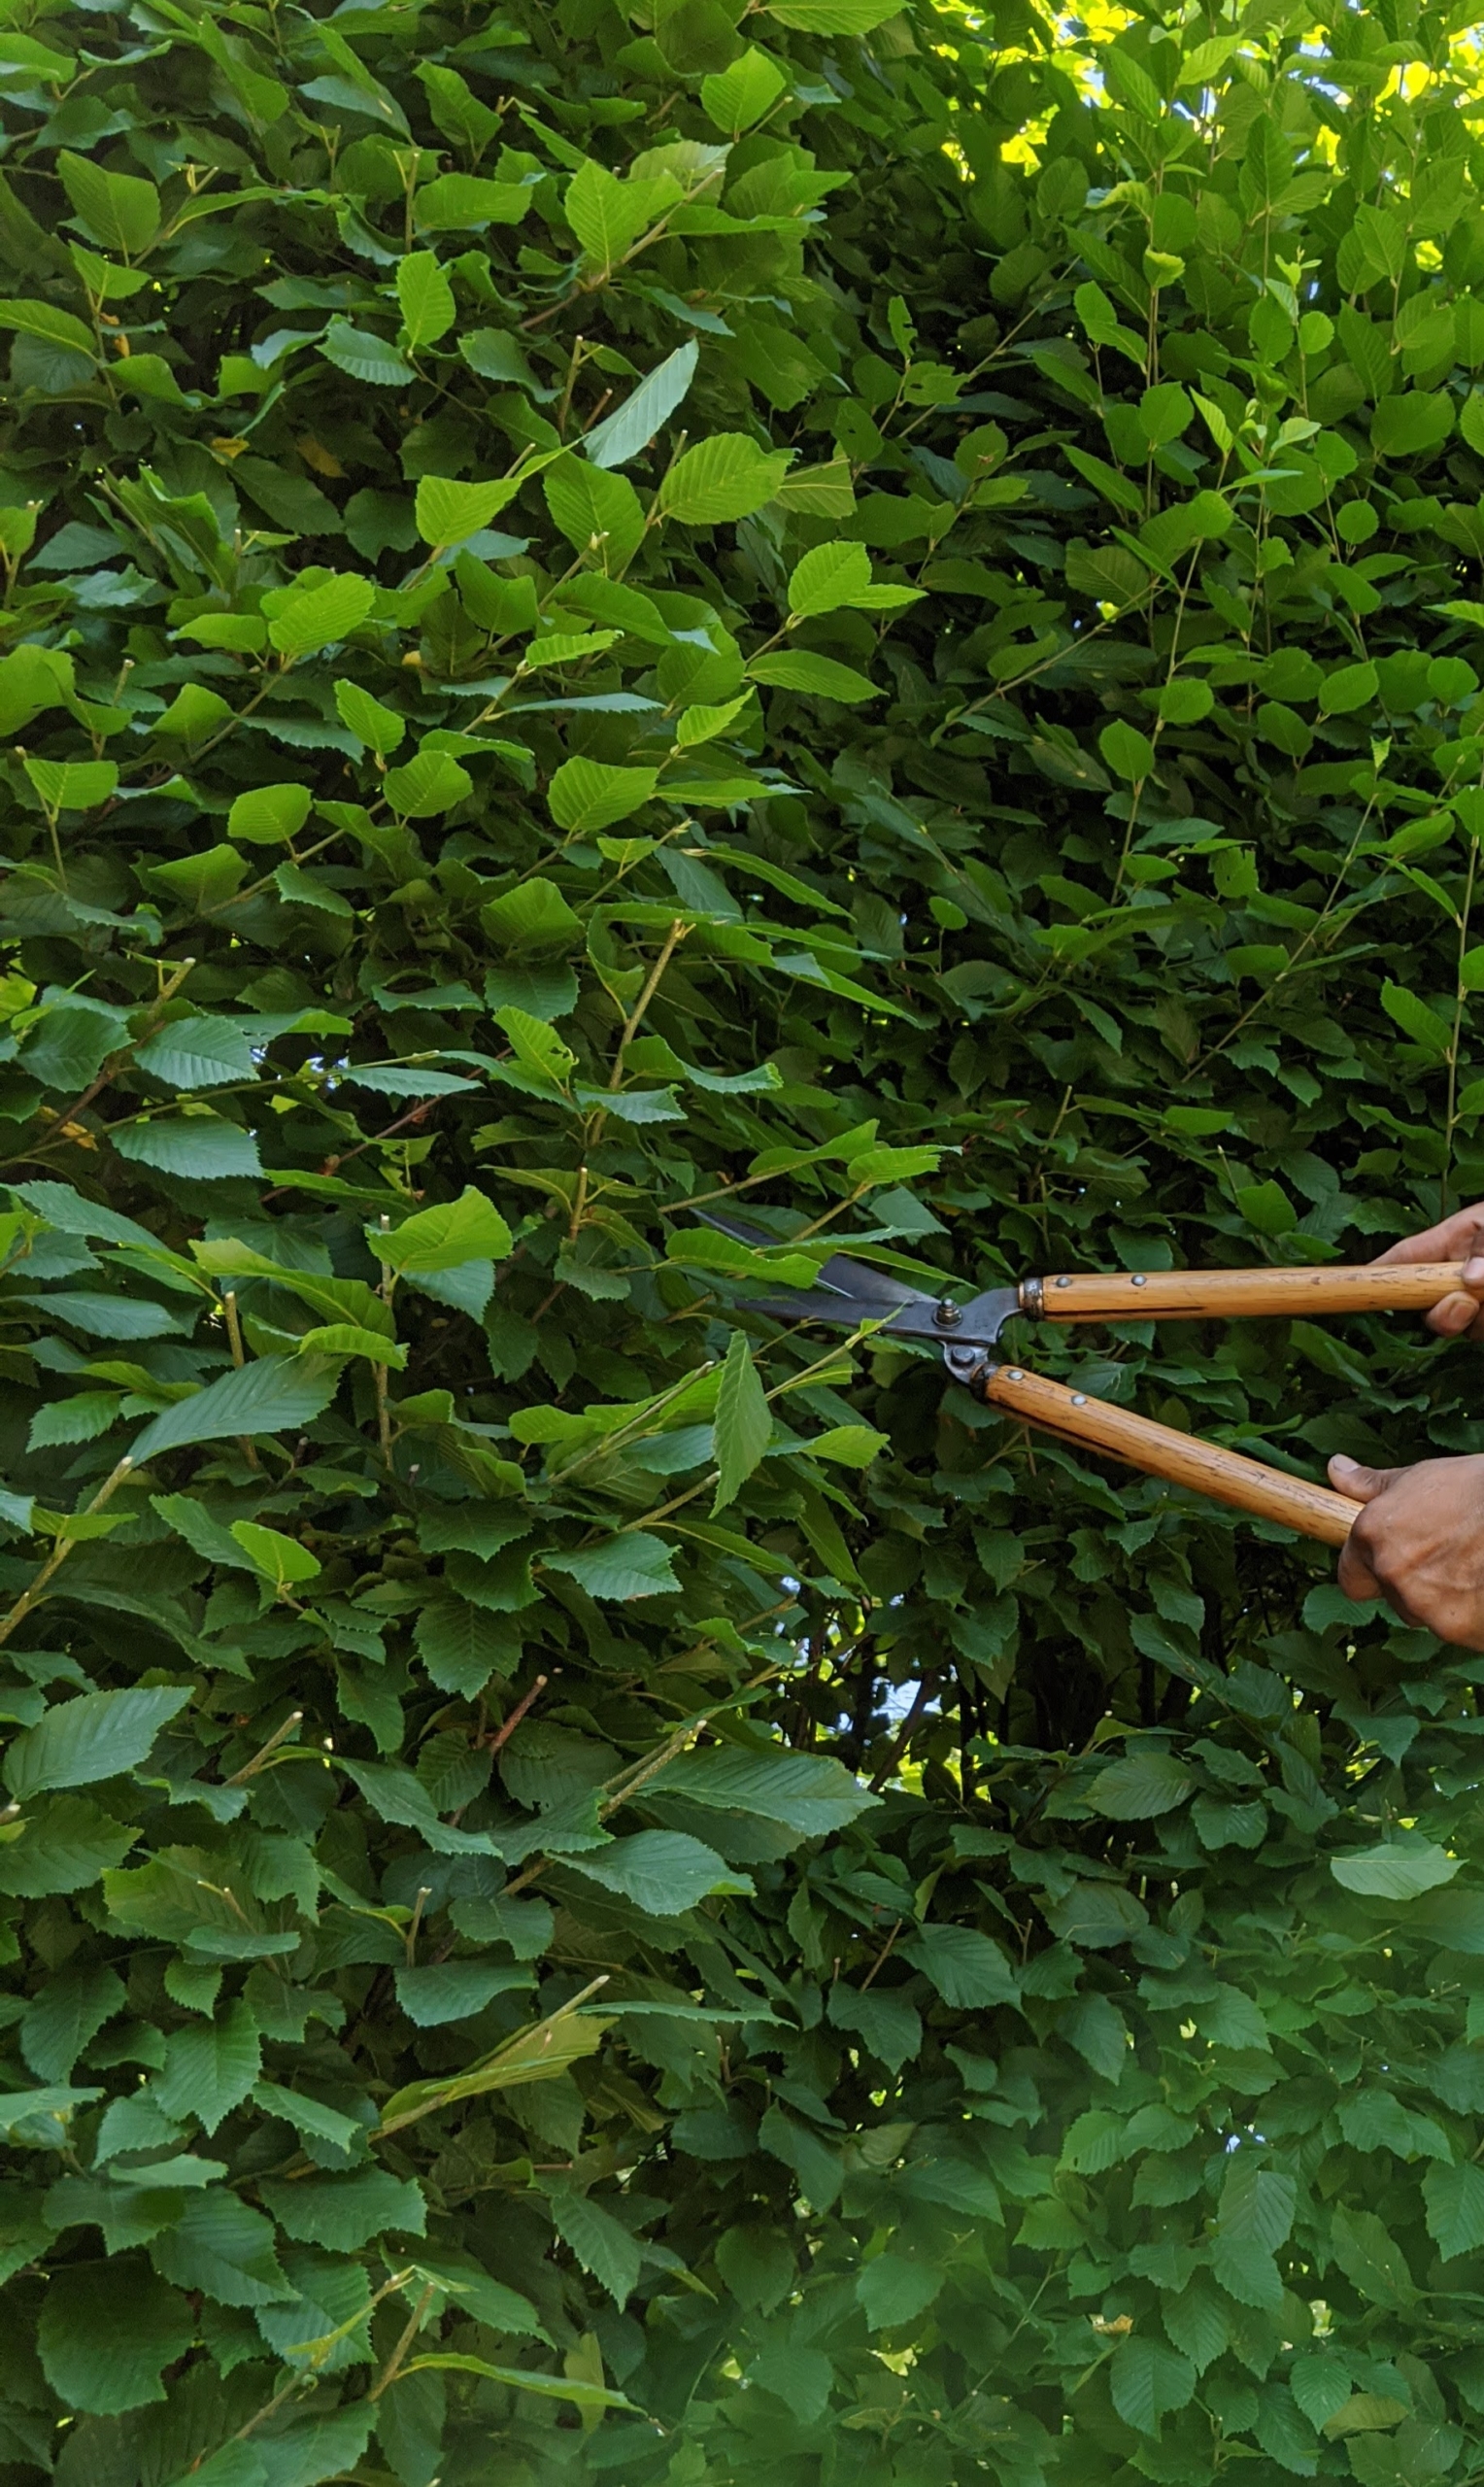
As with all the hornbeams, the crew does most of the pruning by hand. It takes longer, but it looks much better in the end. These are Okatsune 30-inch long Hedge Shears. Okatsune shears are light and precise and come in a range of sizes.
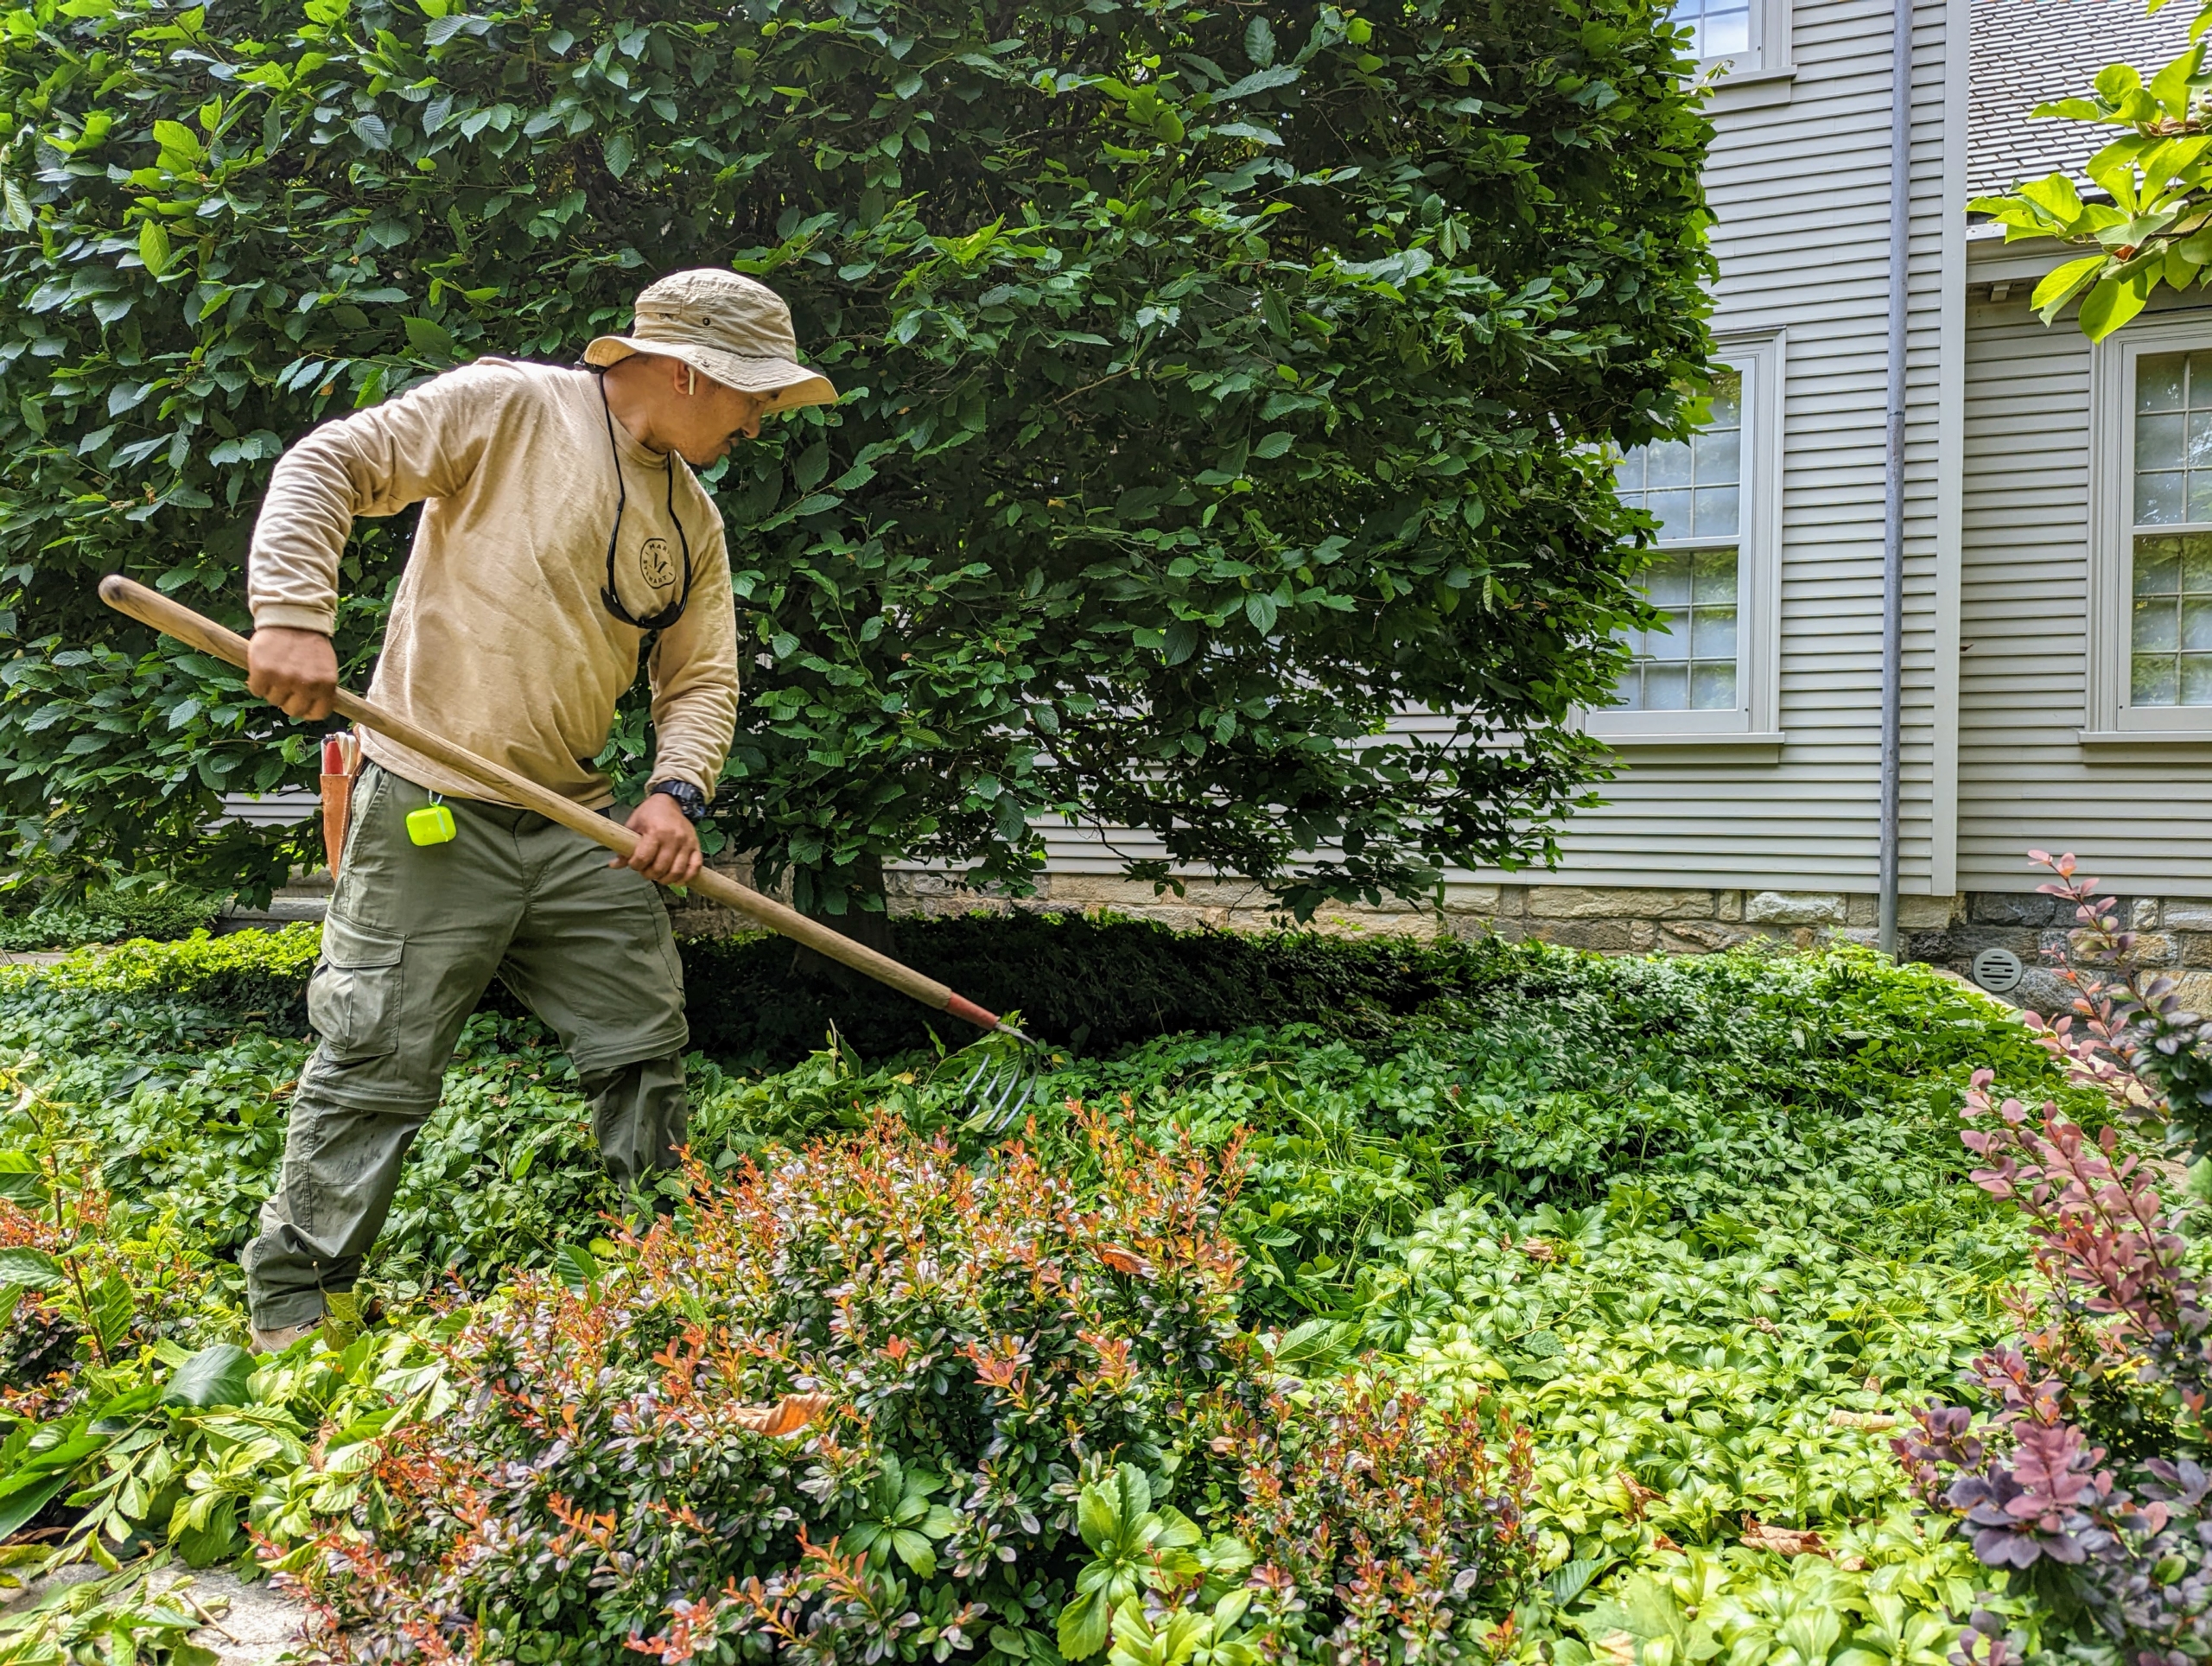
Pasang does all he can from the ground first and works his way up.
I prefer the straight edge finish that is done when using Japanese shears. An important tip is to use the sharpest tools possible to avoid unnecessary damage and stress to the hedge. Their large leaves can turn brown if not cut properly.
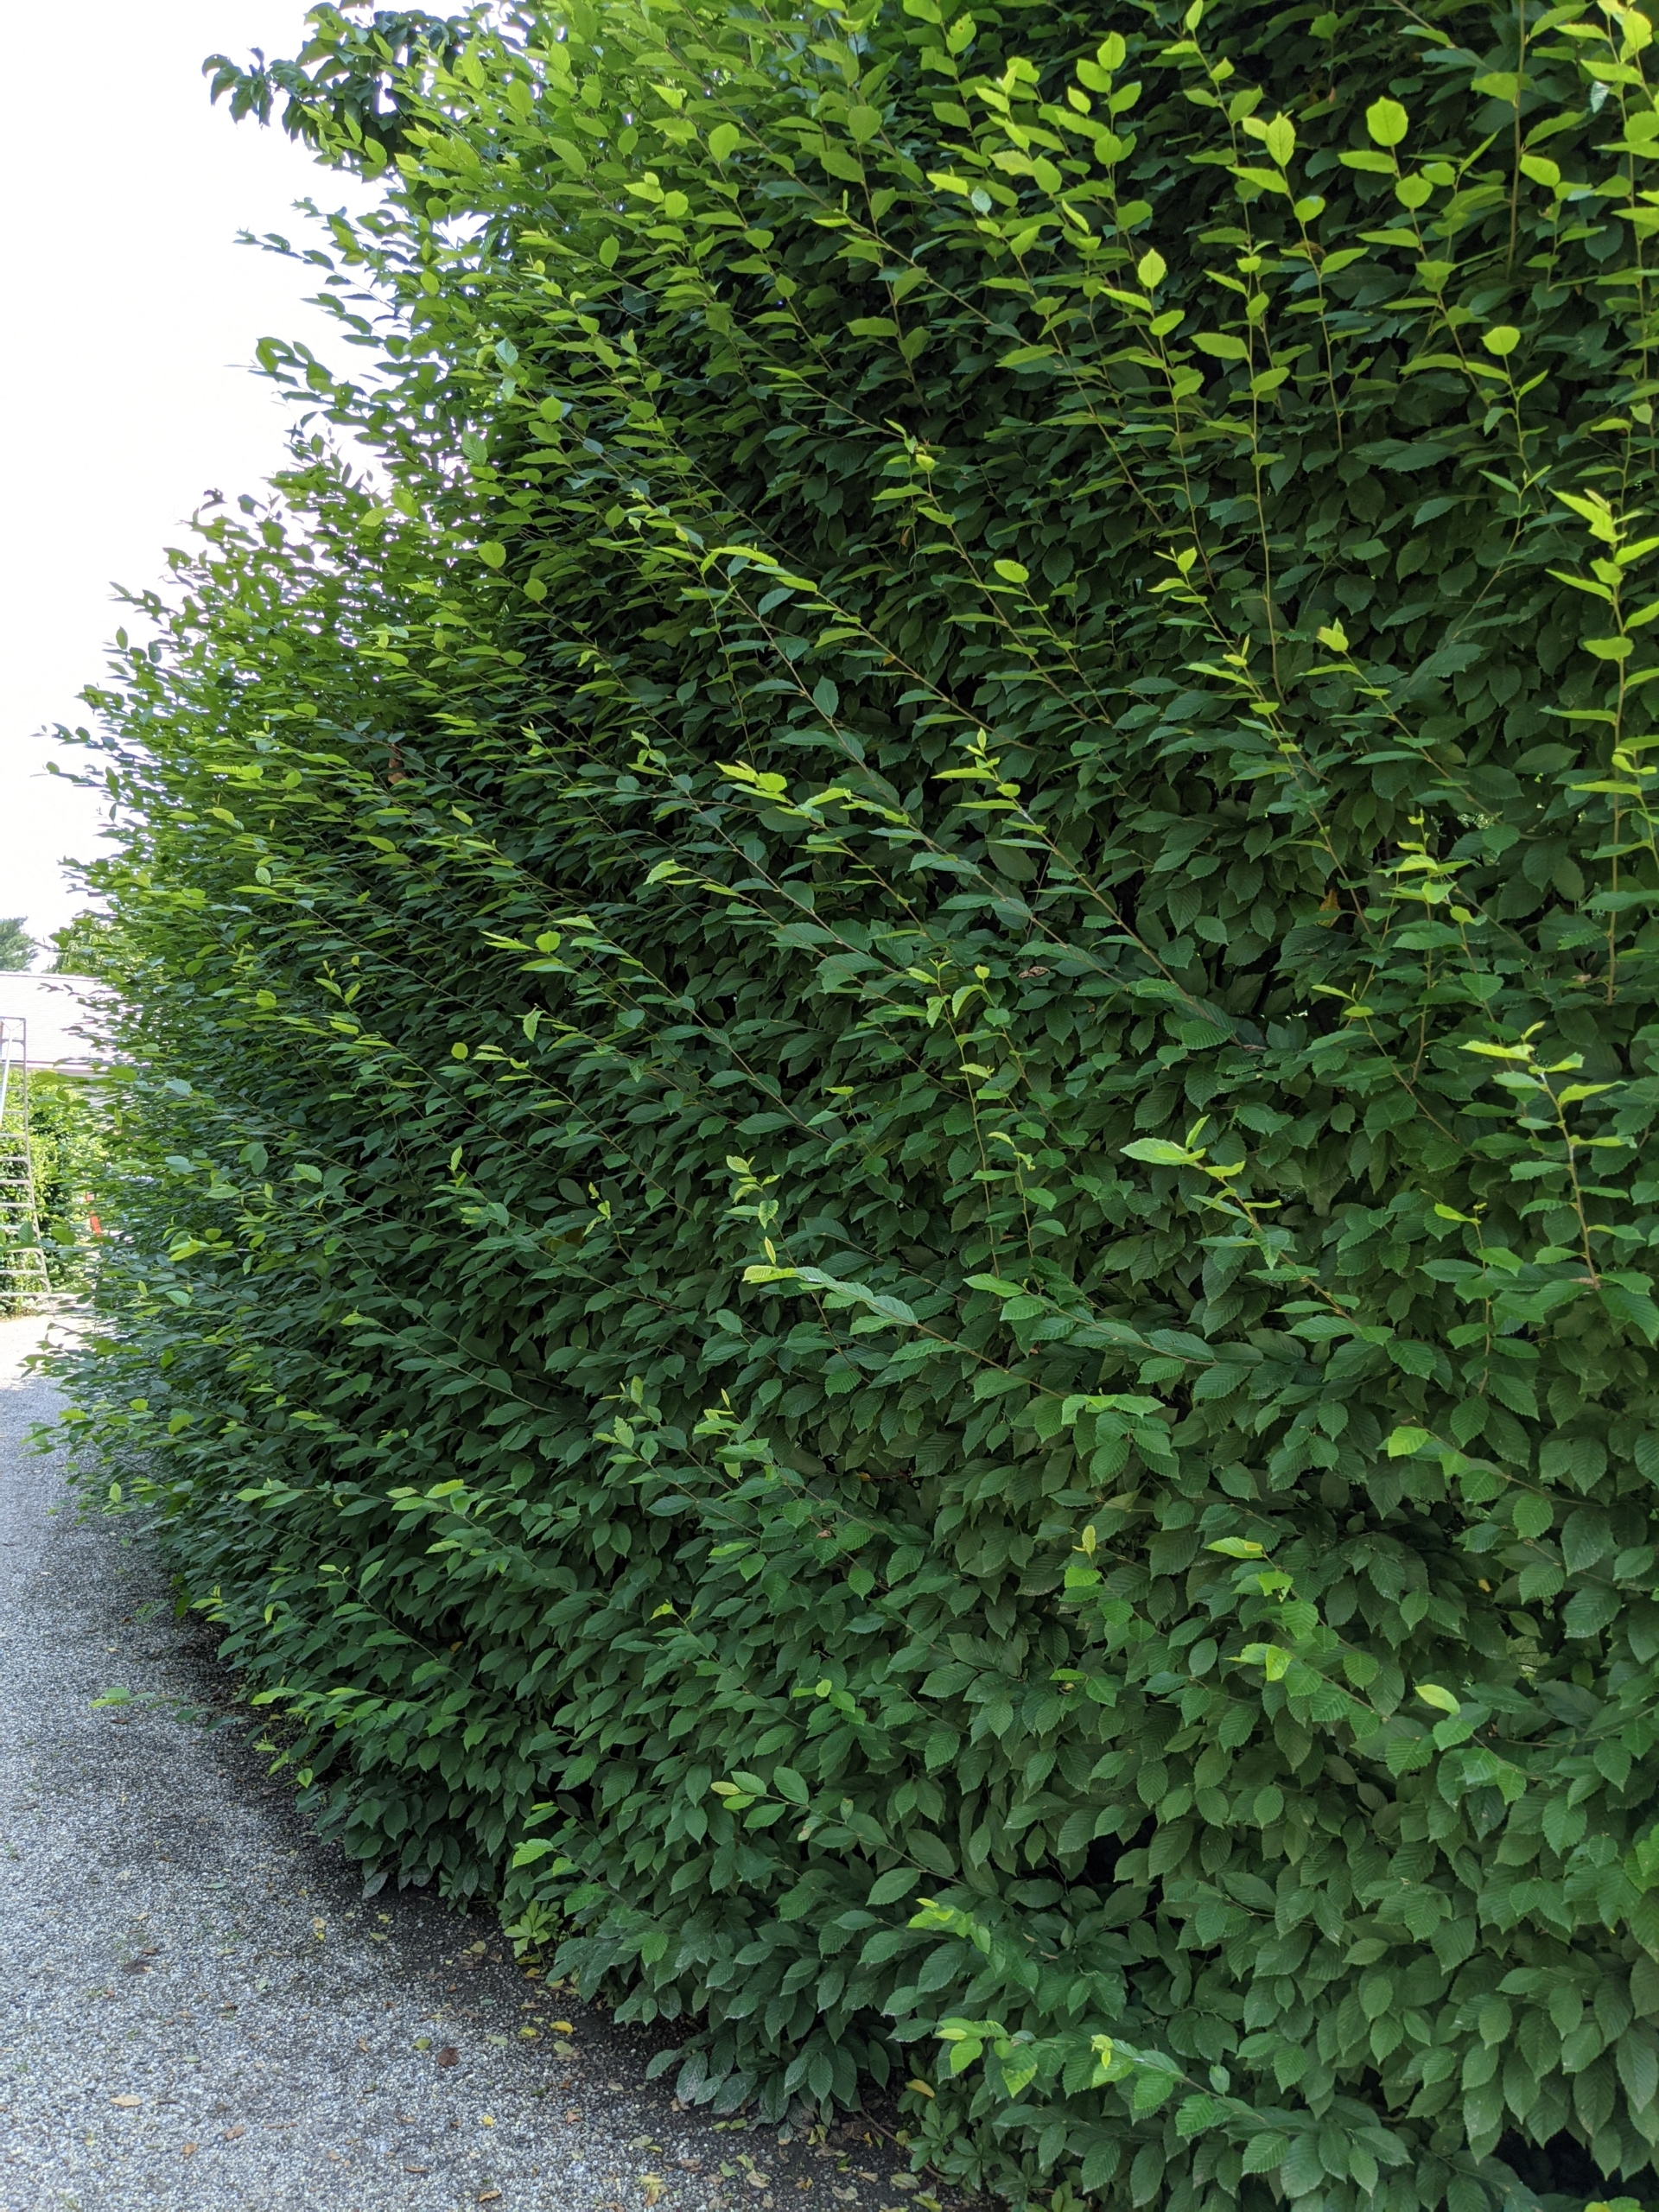
Here, the front of the hedge is trimmed – it’s looking better already. Carpinus betulus is a hornbeam native to Western Asia and central, eastern and southern Europe, including southern England. Because of its dense foliage and tolerance to being cut back, this hornbeam is popularly used for hedges and topiaries.
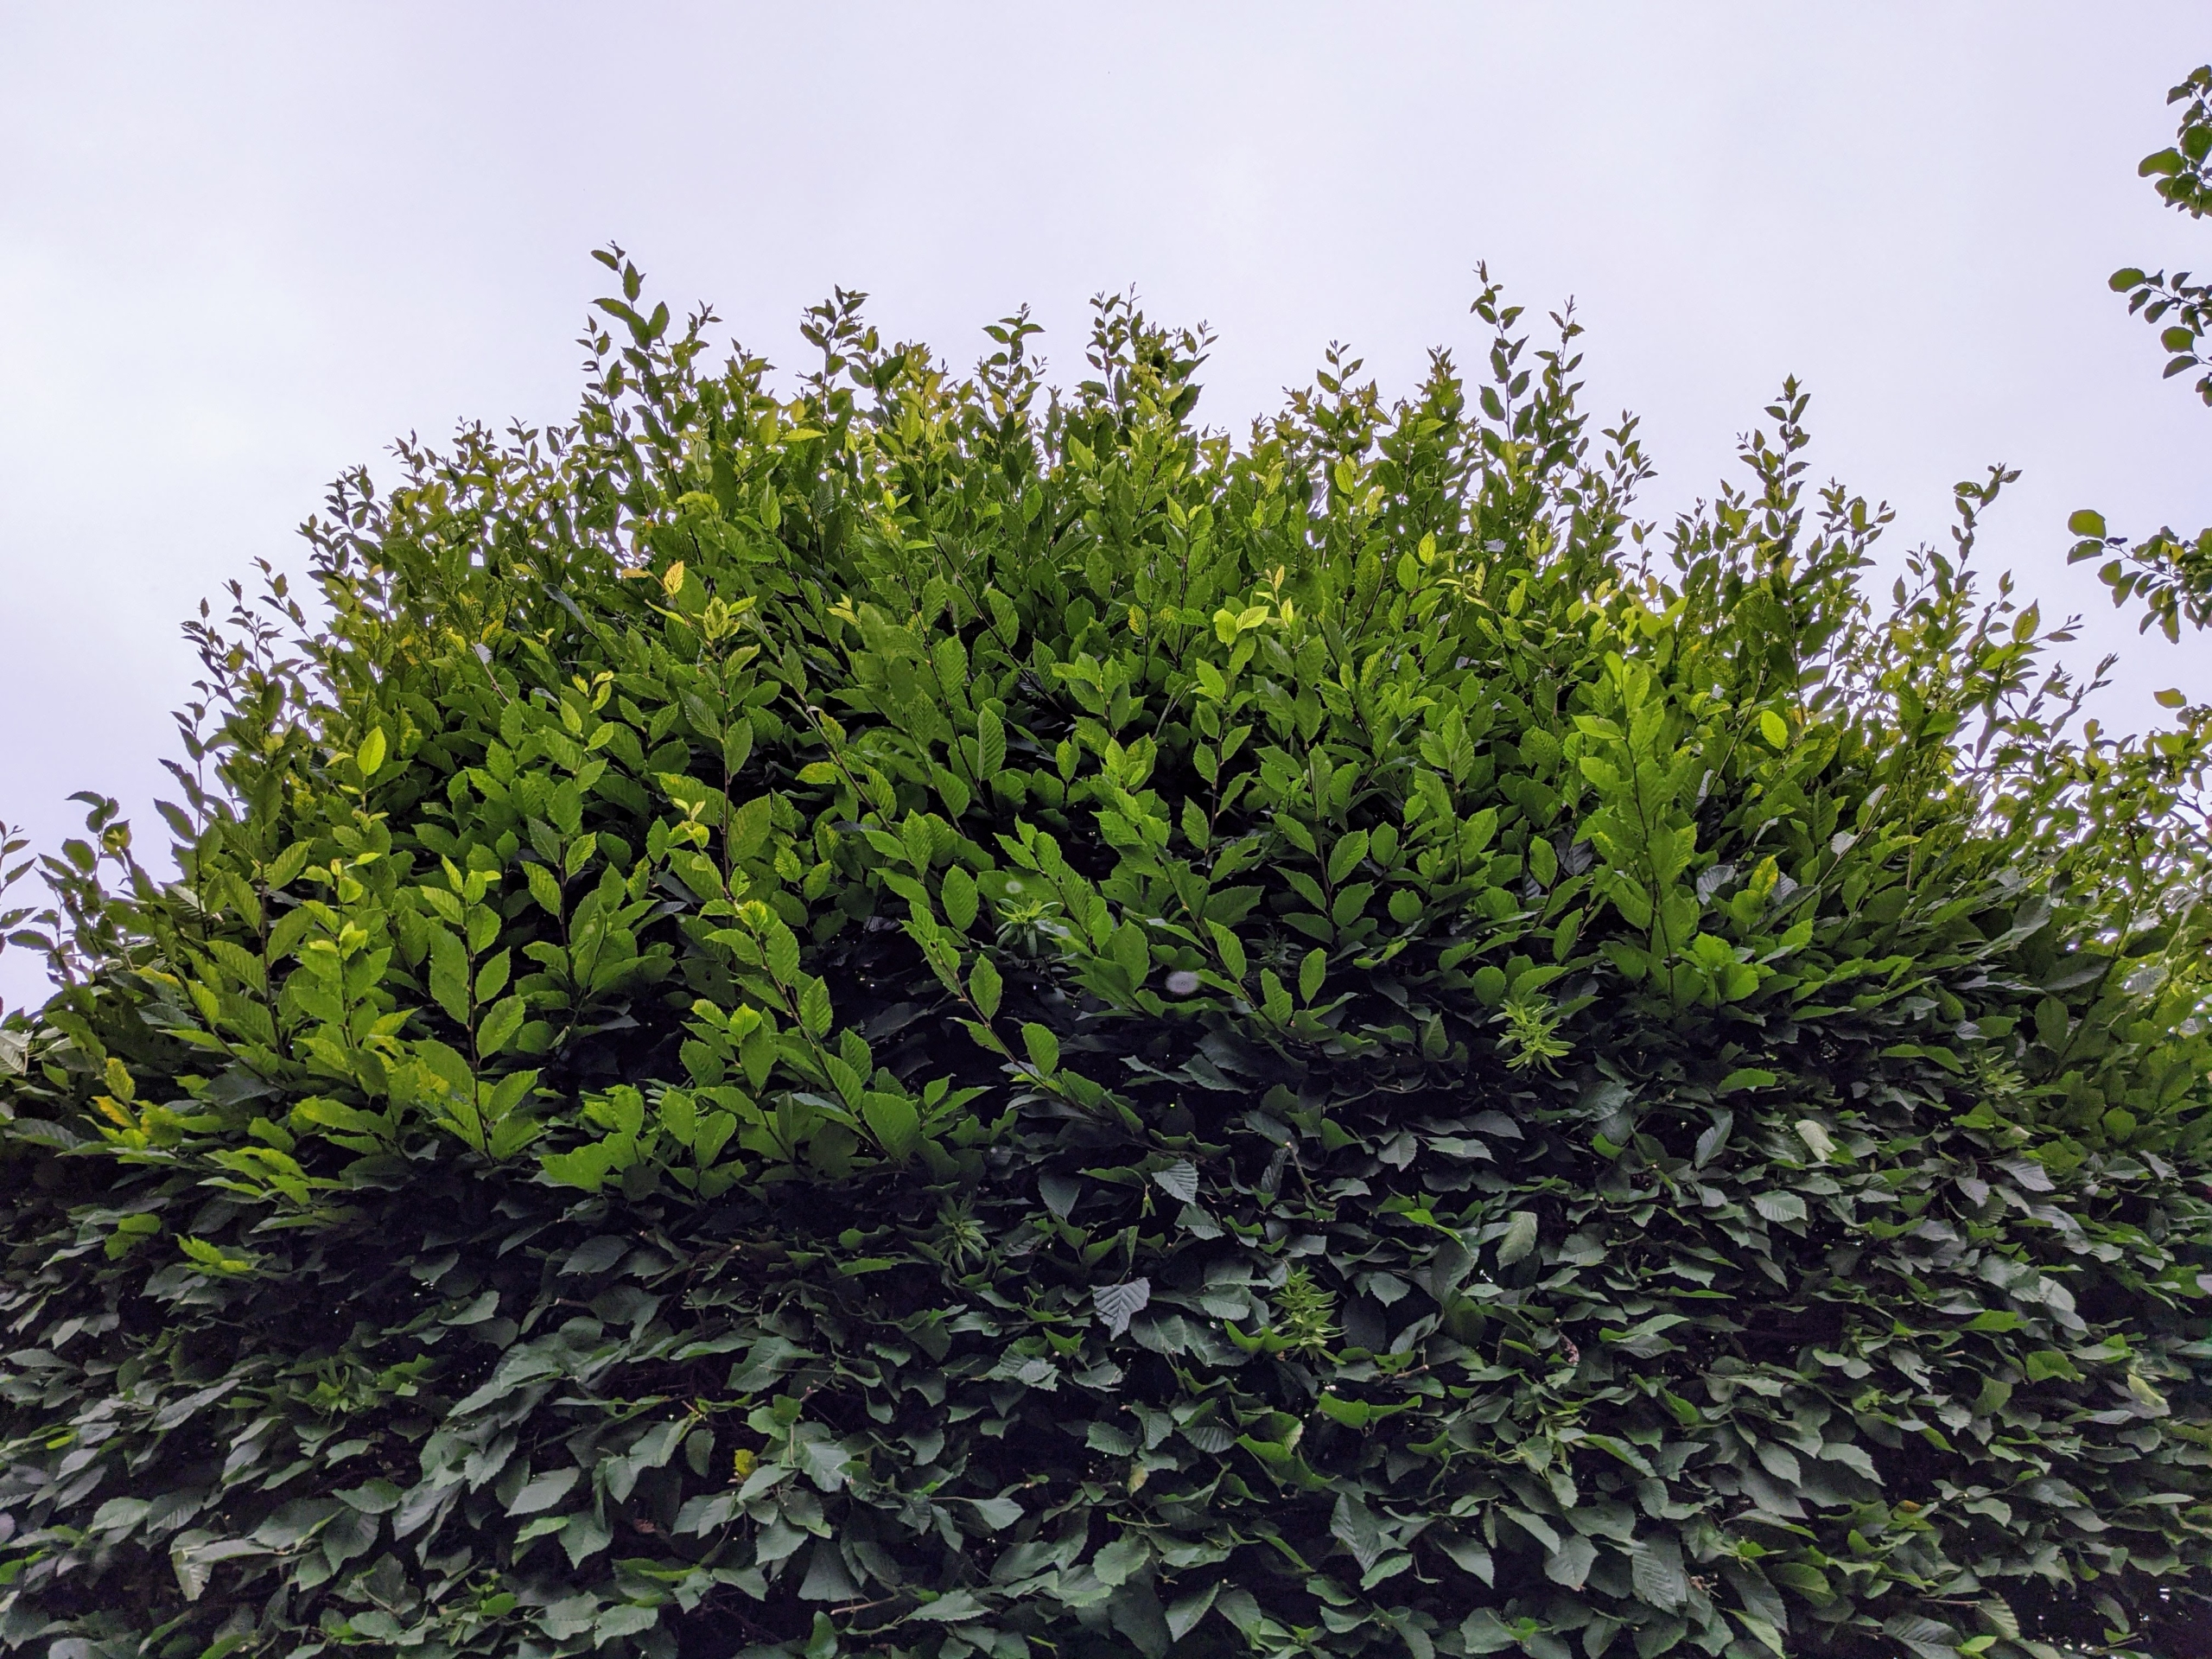
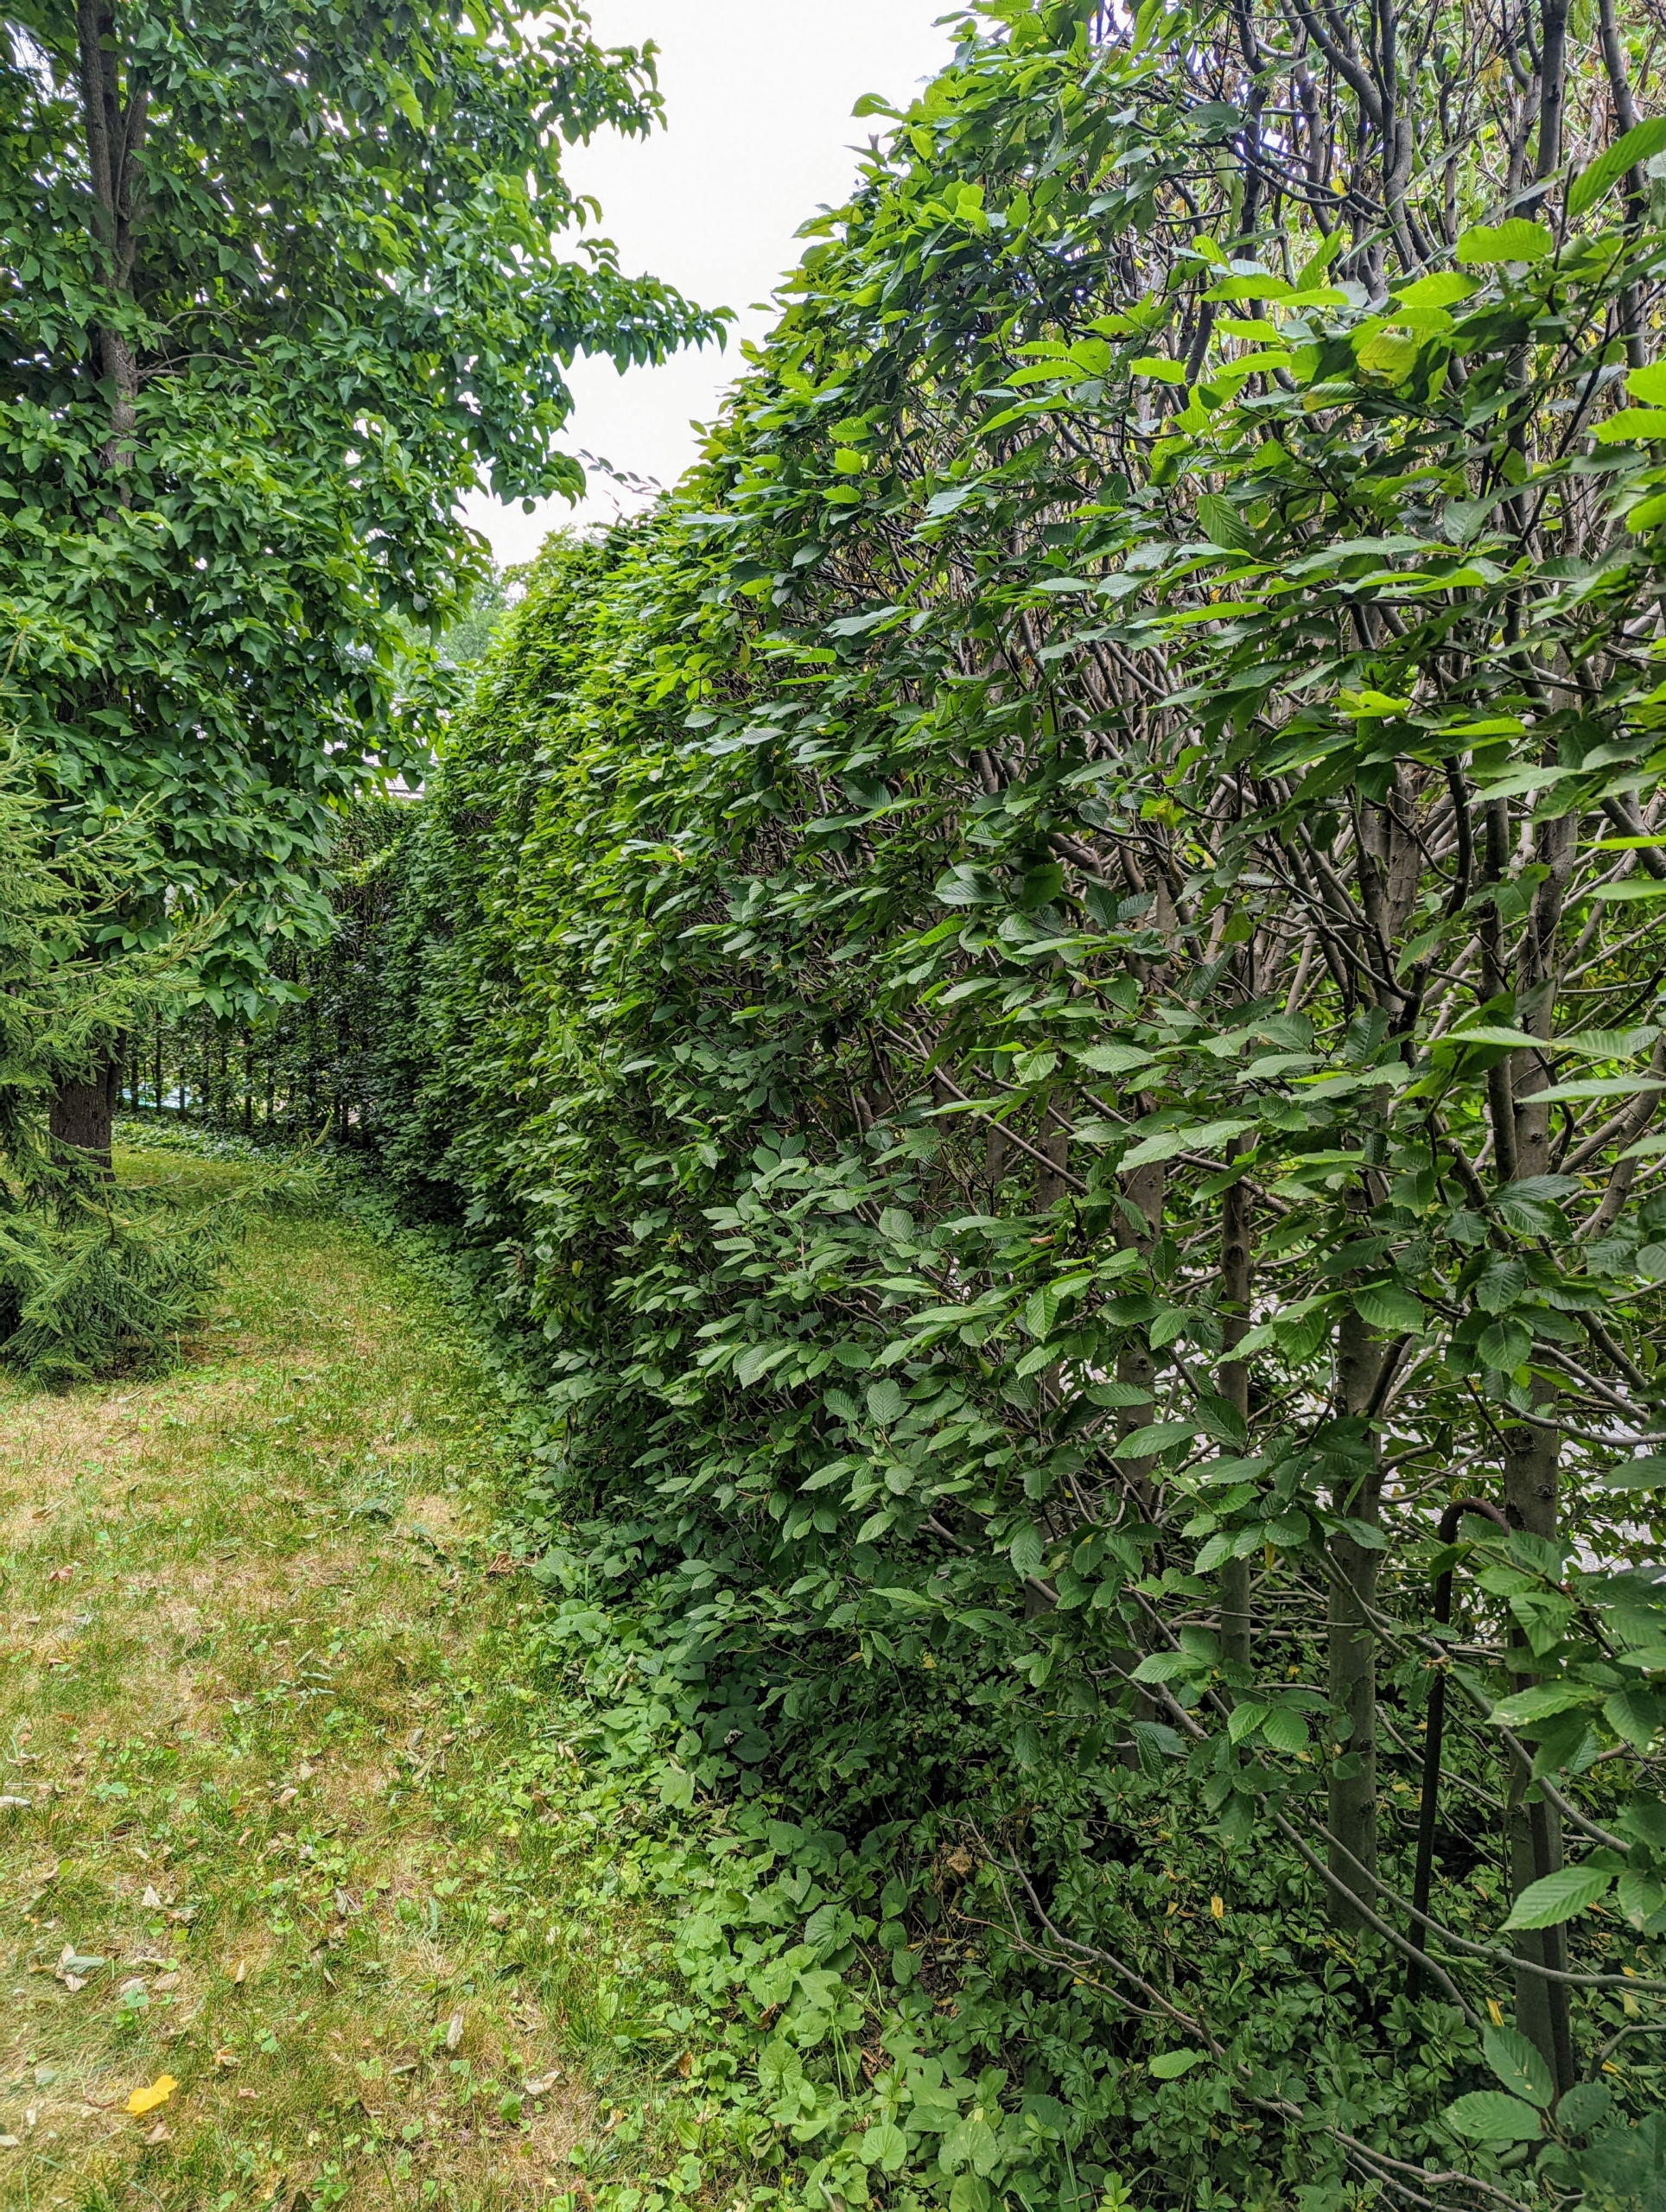
Here is a view looking up. One can see what has been trimmed and what there is still left to do. Hornbeams do best in rich, moist, well-drained soils. All this growth shows how healthy the soil is at the farm.
The blades of this STIHL HL85 also have double-sided cutting blades that cut in both directions.
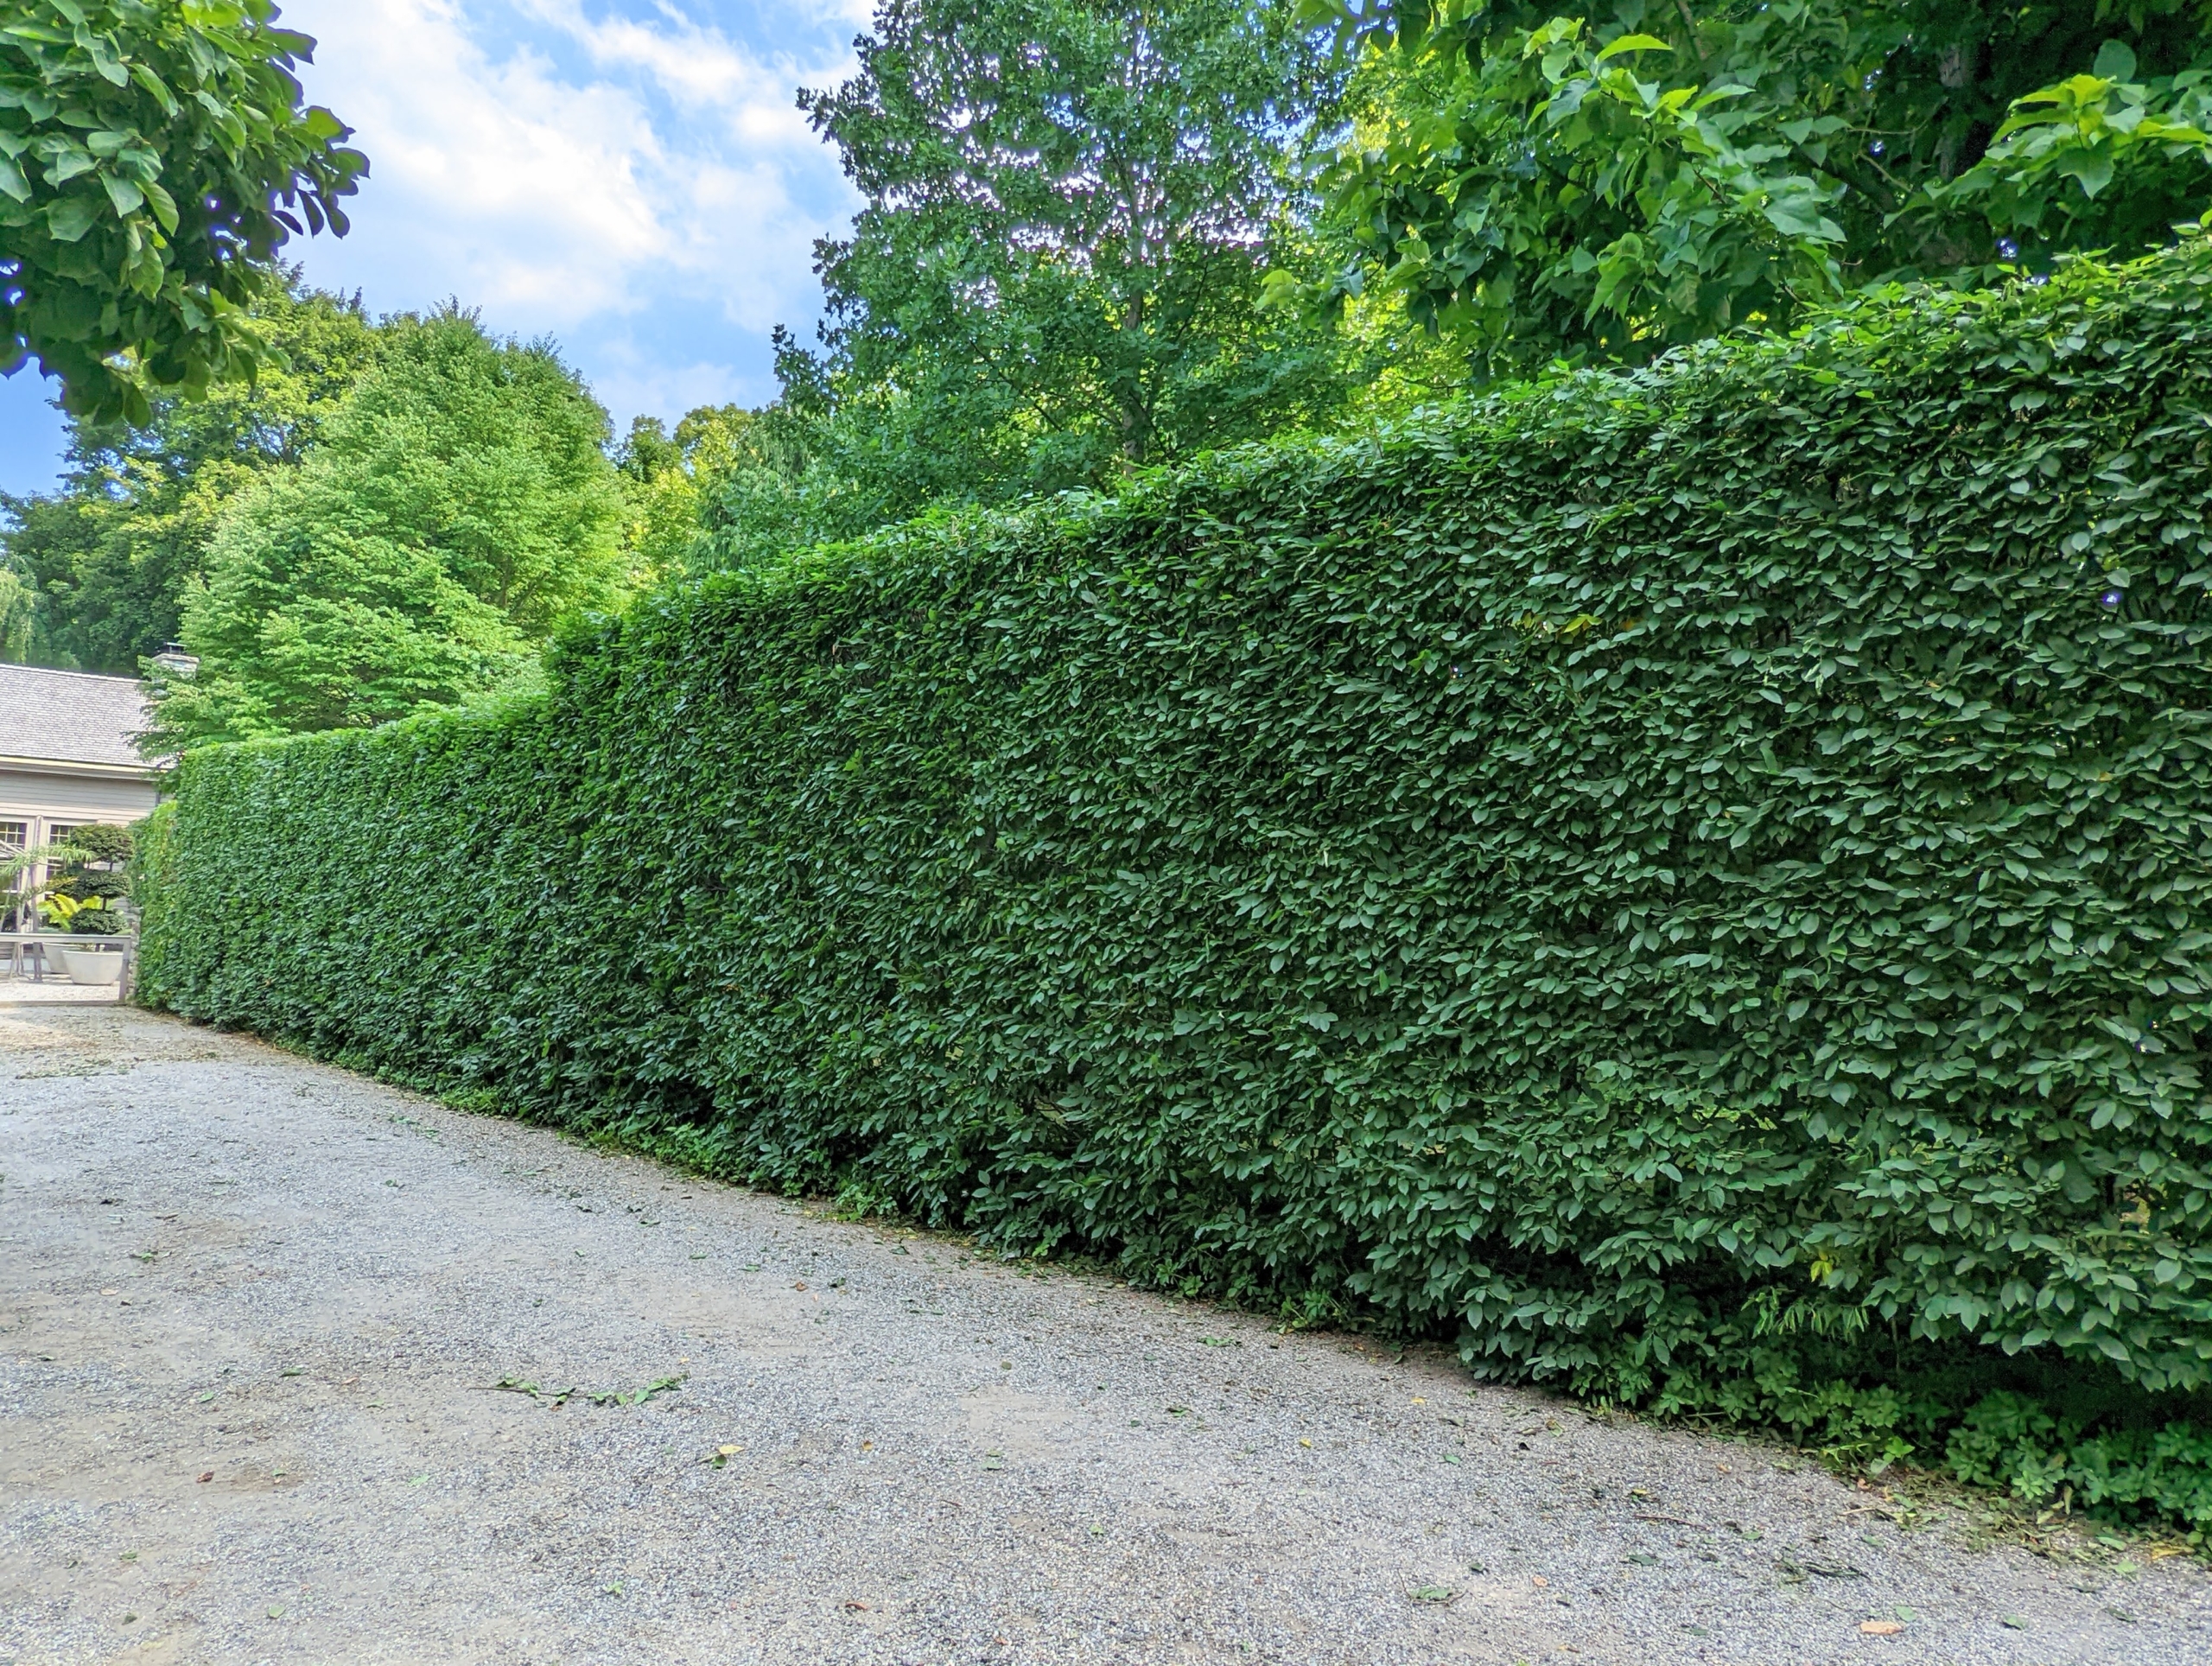
In this image, one can see the top going down the length of cut hornbeam – it is very level.
And looking down, here are all the clippings ready to be raked and taken to the compost pile.
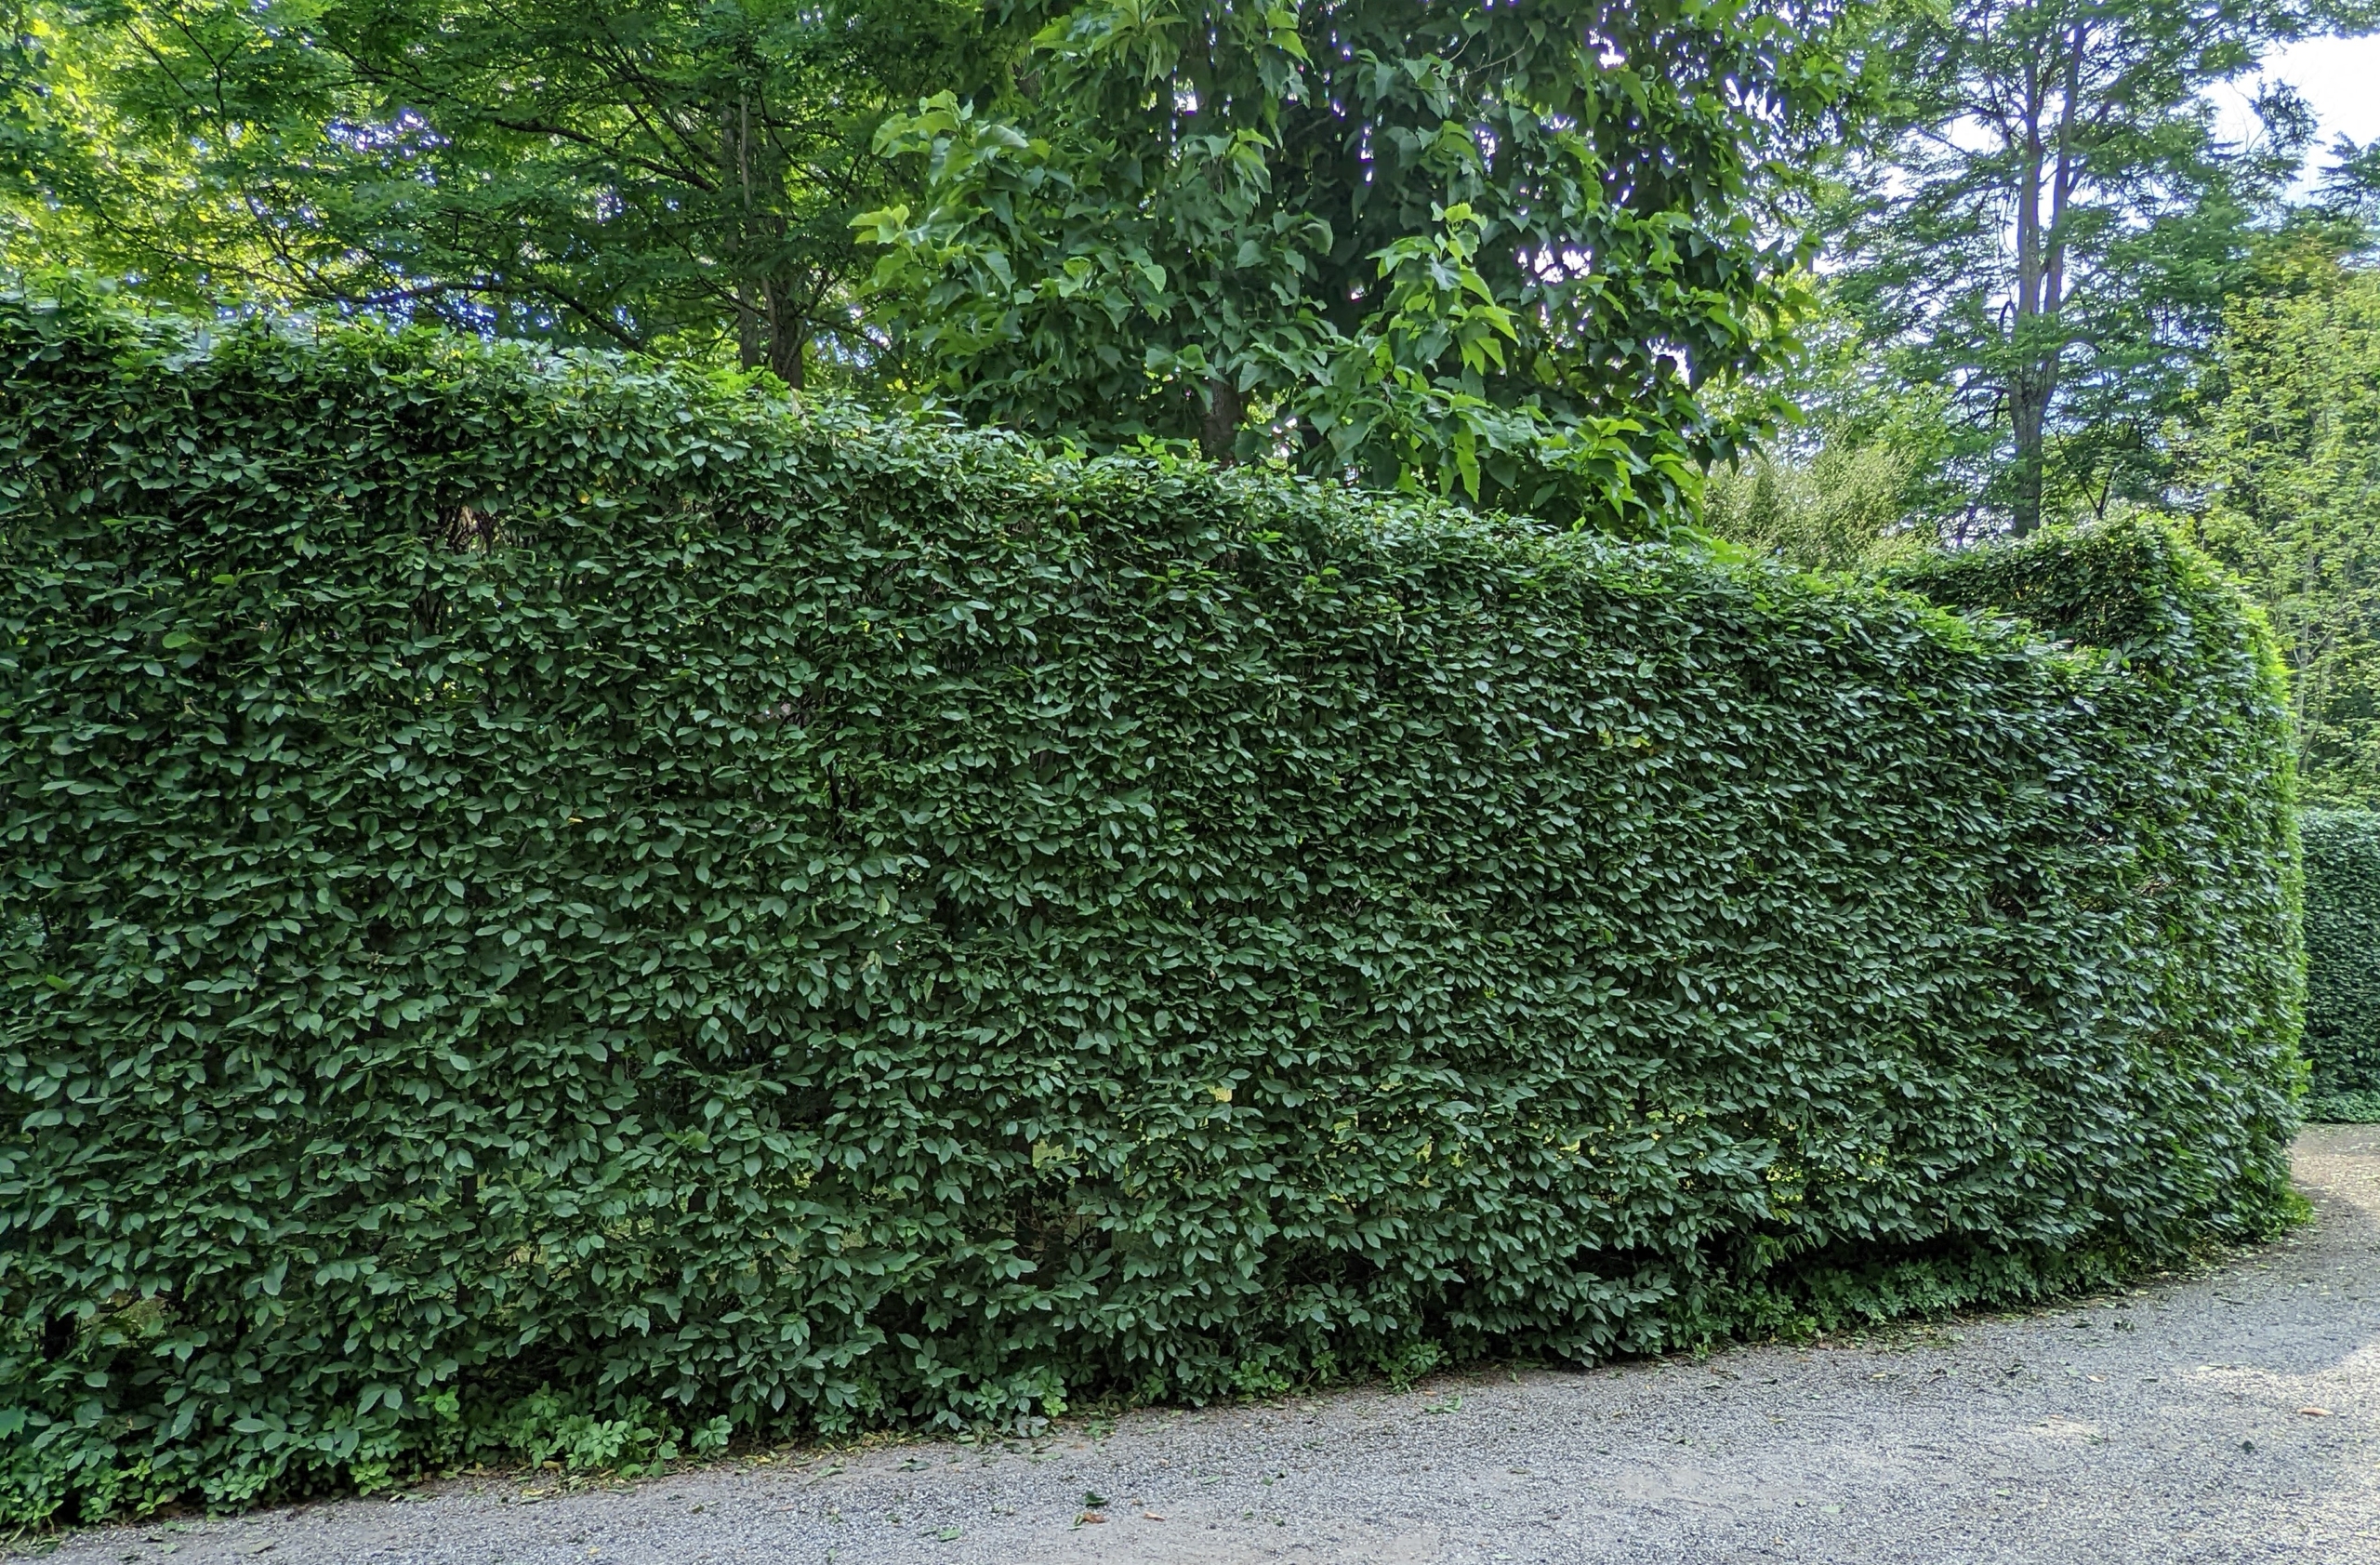
This is the back of the hedge – also completely pruned.
And here is the finished front of the hedge – all neat and tidy. Deer do eat hornbeams, but since the property is completely fenced, it isn’t a problem here at Cantitoe.
The hedge looks great from all sides. It is important to keep up with the care and maintenance of all plantings. Proper pruning can remove any portions that have disease, fungi, and other types of decay. It also exposes the inner foliage to more sunlight and air circulation, which helps to reduce the chance of disease.
The hornbeams opposite the long hedge were also pruned and groomed. Here is one finished side facing my Winter House courtyard.
After the entire task is done, Chhiring and Pasang rake all the fallen leaves and branches. Chhiring uses a soft rake to carefully remove debris that has fallen into the pachysandra in front of the round hornbeams.
Here, Pasang carries a load to the cage of the Hi-Lo.
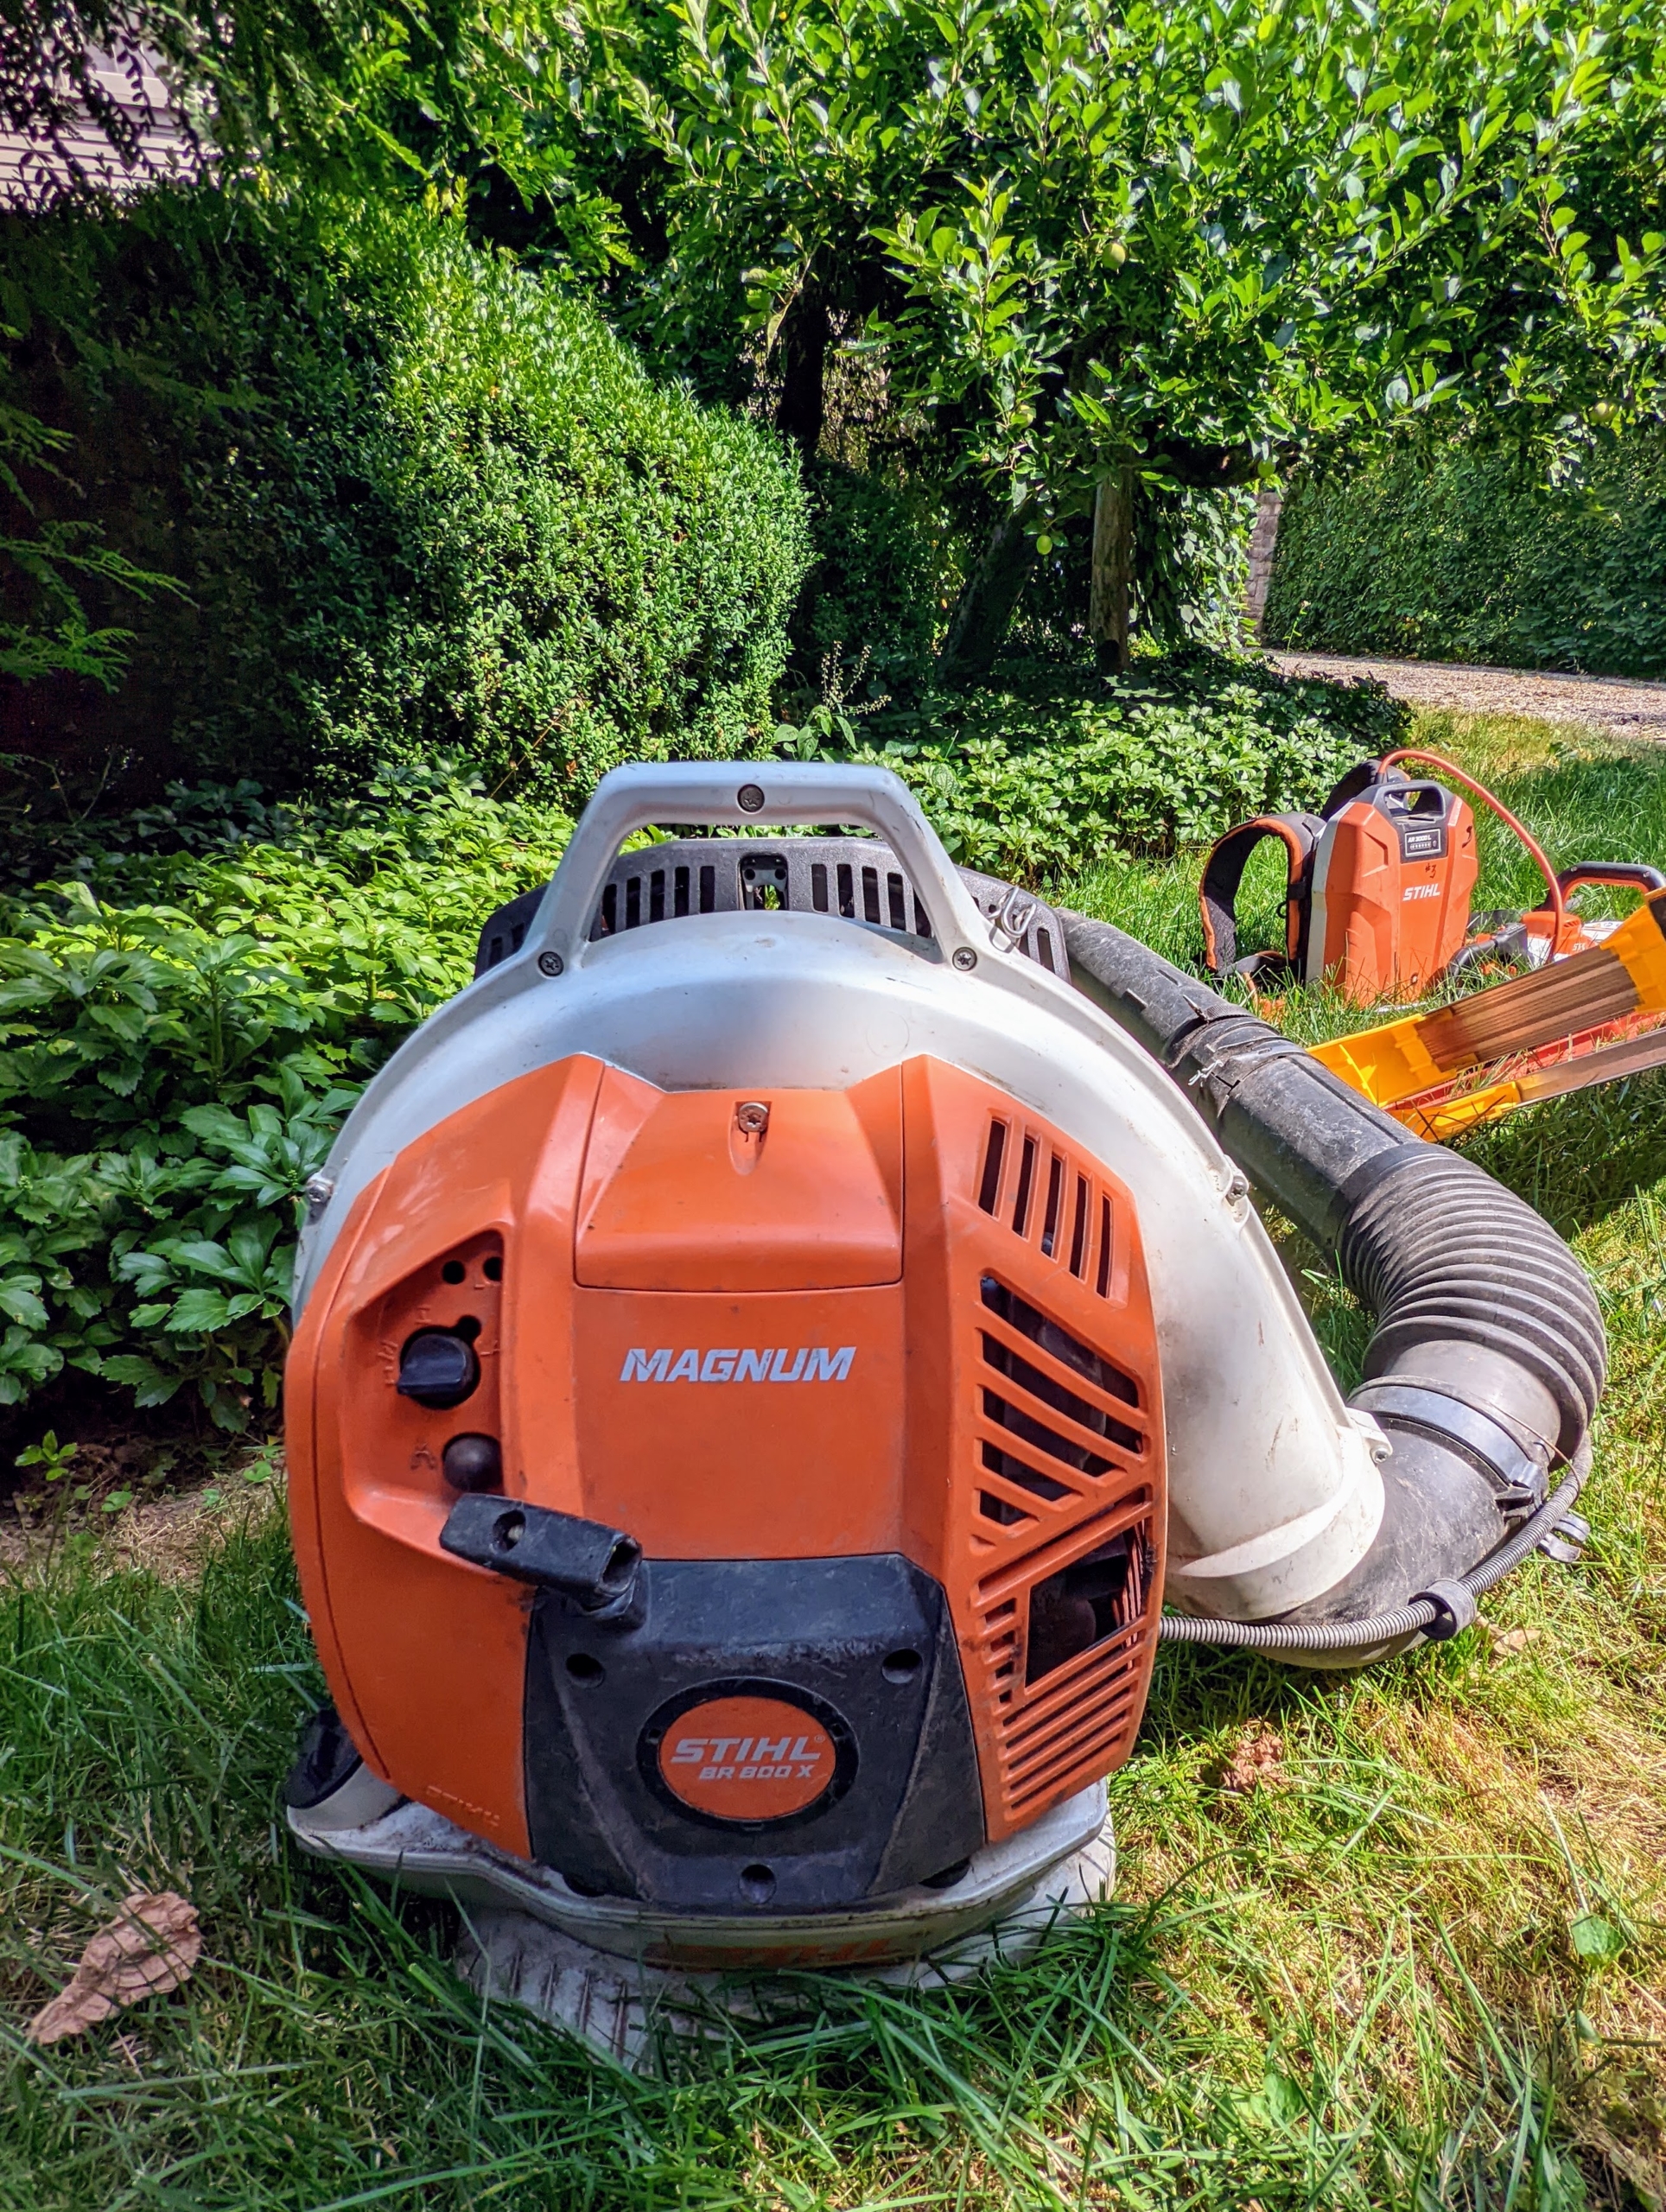
One of our favorite tools here at the farm is our STIHL backpack blower. We’ve been using STIHL’s blowers for years. These blowers are powerful and fuel-efficient. The gasoline-powered engines provide enough rugged power to tackle heavy debris while delivering much lower emissions.
And here is the front of my Summer House. It is always so nice to see these great hornbeams trimmed and sculpted. Next, it’s time for a big drink. We’ve had a week without any rain. I hope some rain comes soon, but in the meantime, our professional adjustable circular tripod sprinkler from Gilmour does an excellent job.
The colorful and fragrant sweet pea flowers are blooming so beautifully at my Bedford, New York farm this season.
The sweet pea, Lathyrus odoratus, is a garden classic - producing beautiful blossoms with the most amazing scent. Sweet pea seeds can be sown into small pots of compost in autumn and overwintered indoors, or planted directly into the ground come spring. We planted ours along the fence in my vegetable garden and some on the fence of my flower cutting garden. And, over the last couple of weeks we've picked bunches of gorgeous sweet-smelling flowers to decorate my home.
Enjoy these photos.
The old-fashioned varieties of sweet pea are grown for their vibrant colors and intense fragrances. Most sweet peas will begin blooming in late spring or early summer.
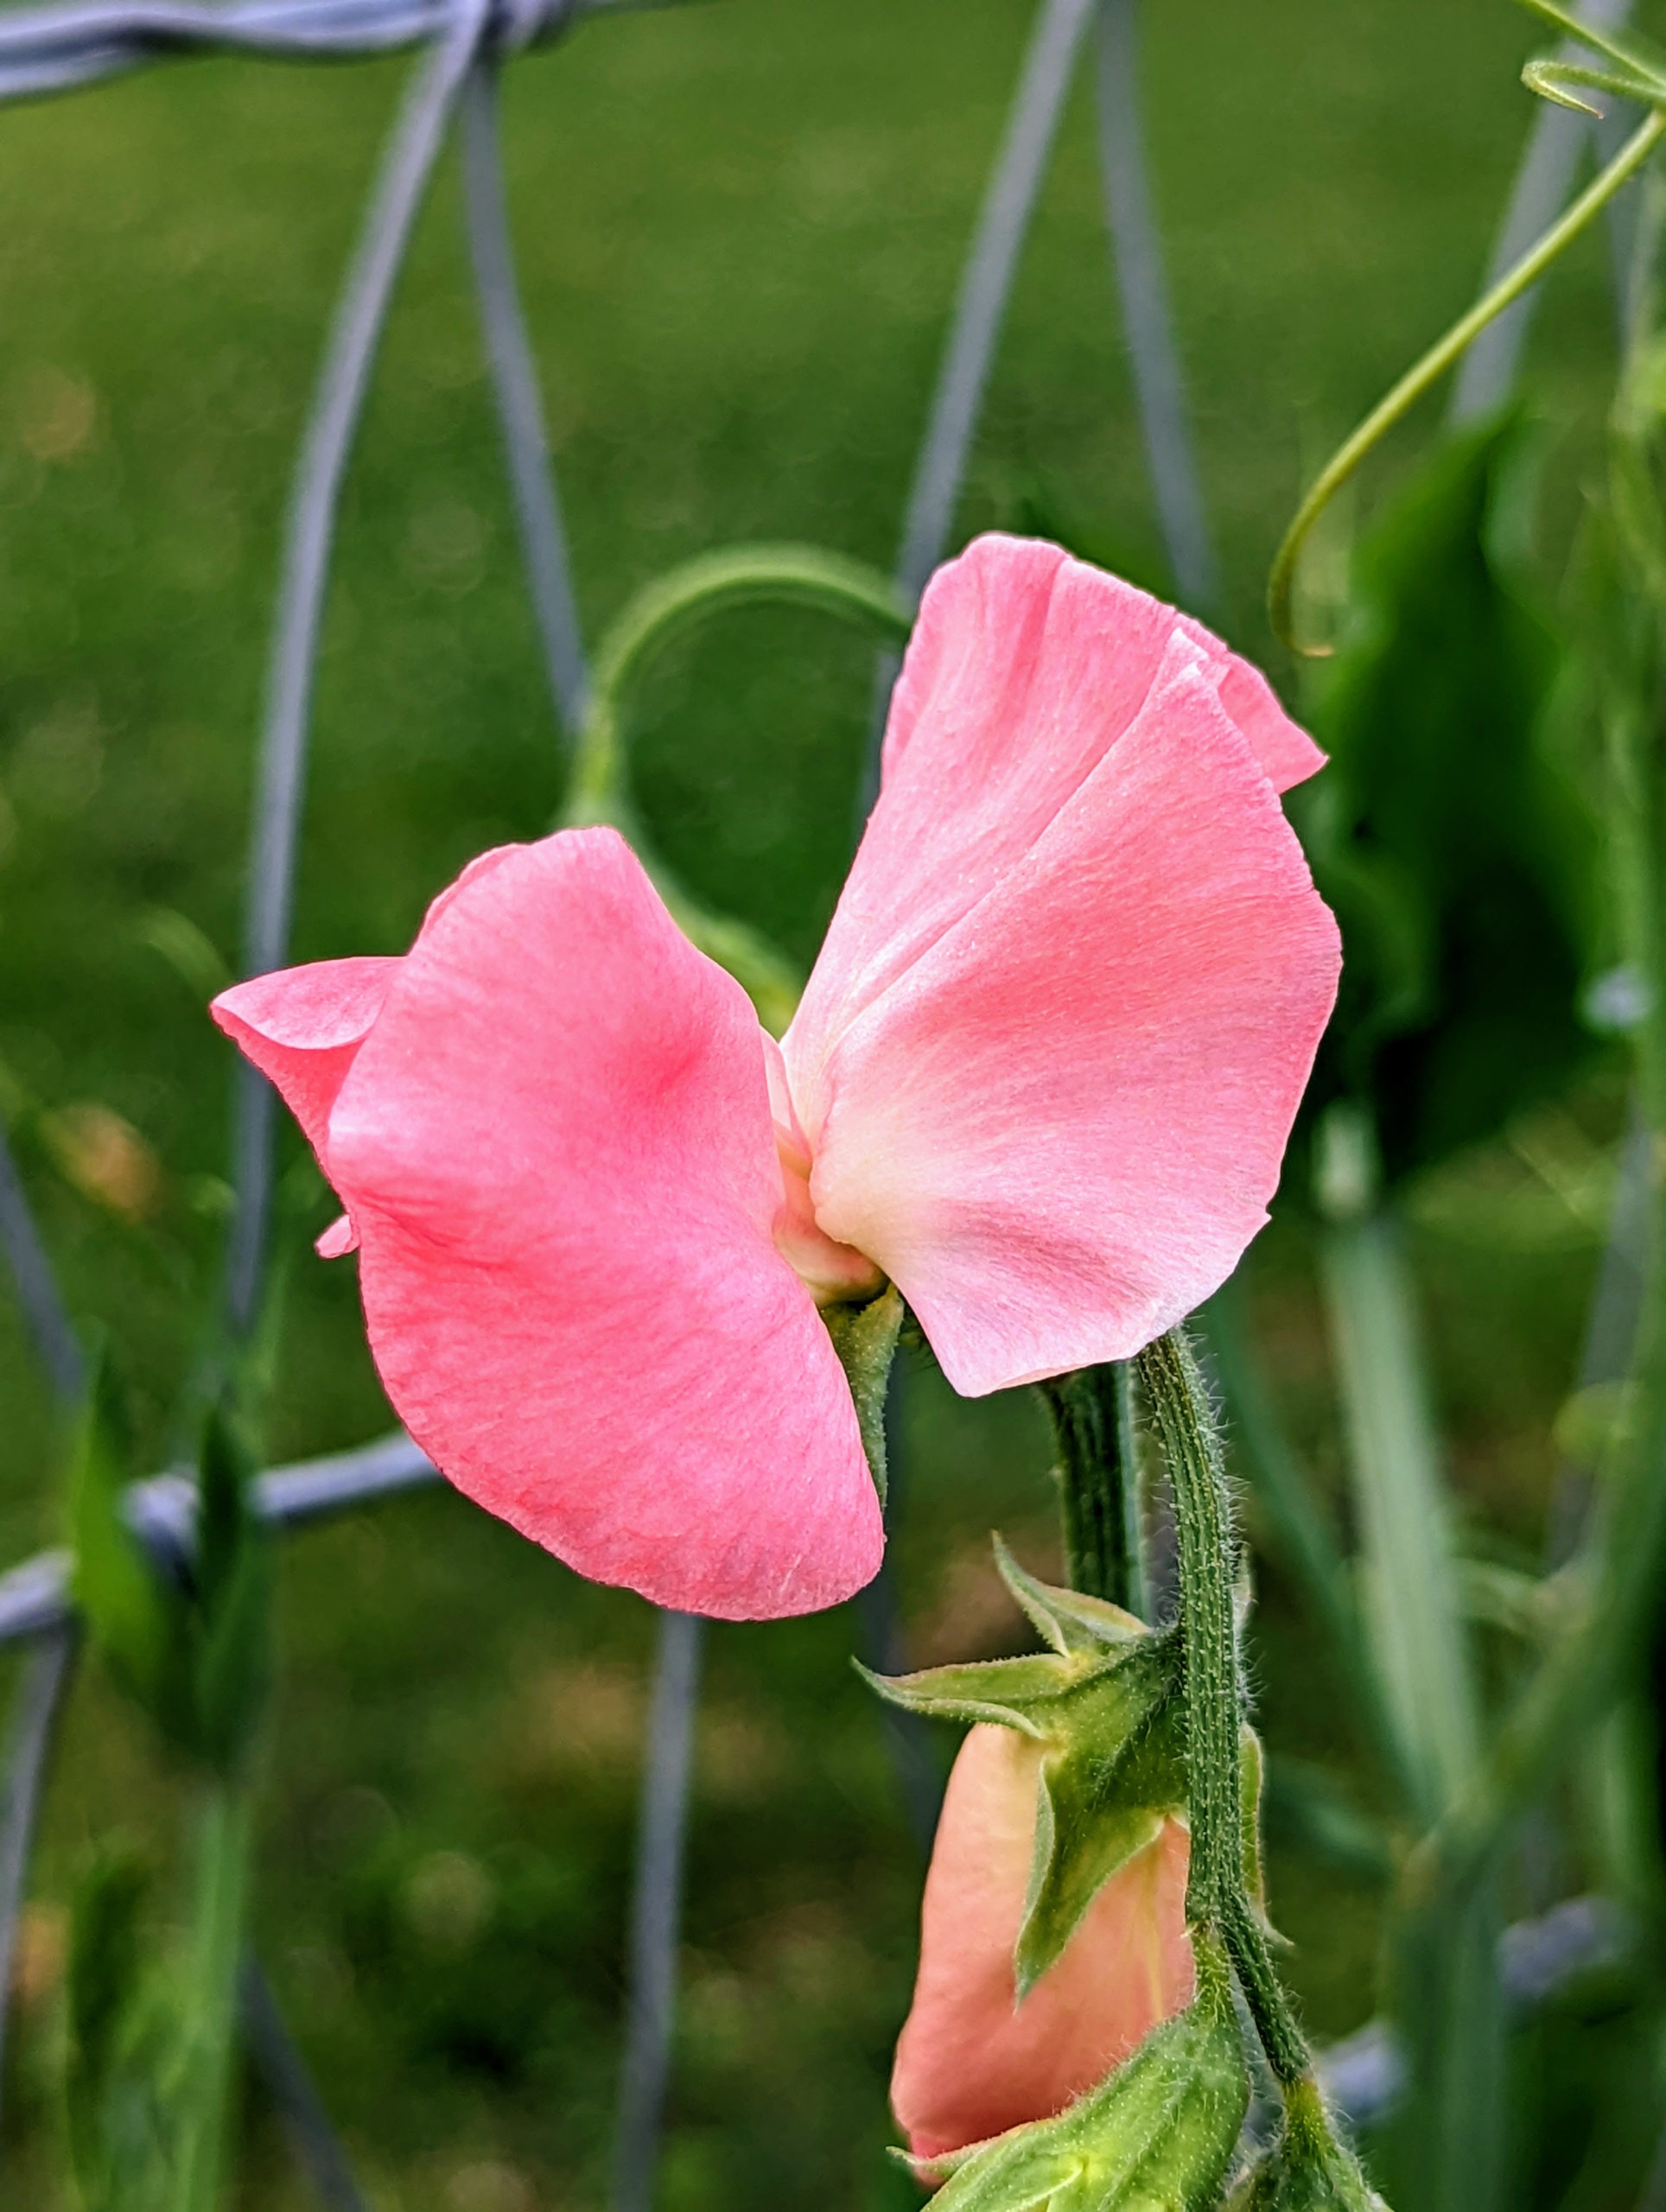
This one is a bright salmon to peach color. Originating in the southwest of Italy and the islands of the Mediterranean, sweet pea has been cultivated for use in gardens since the 17th century.
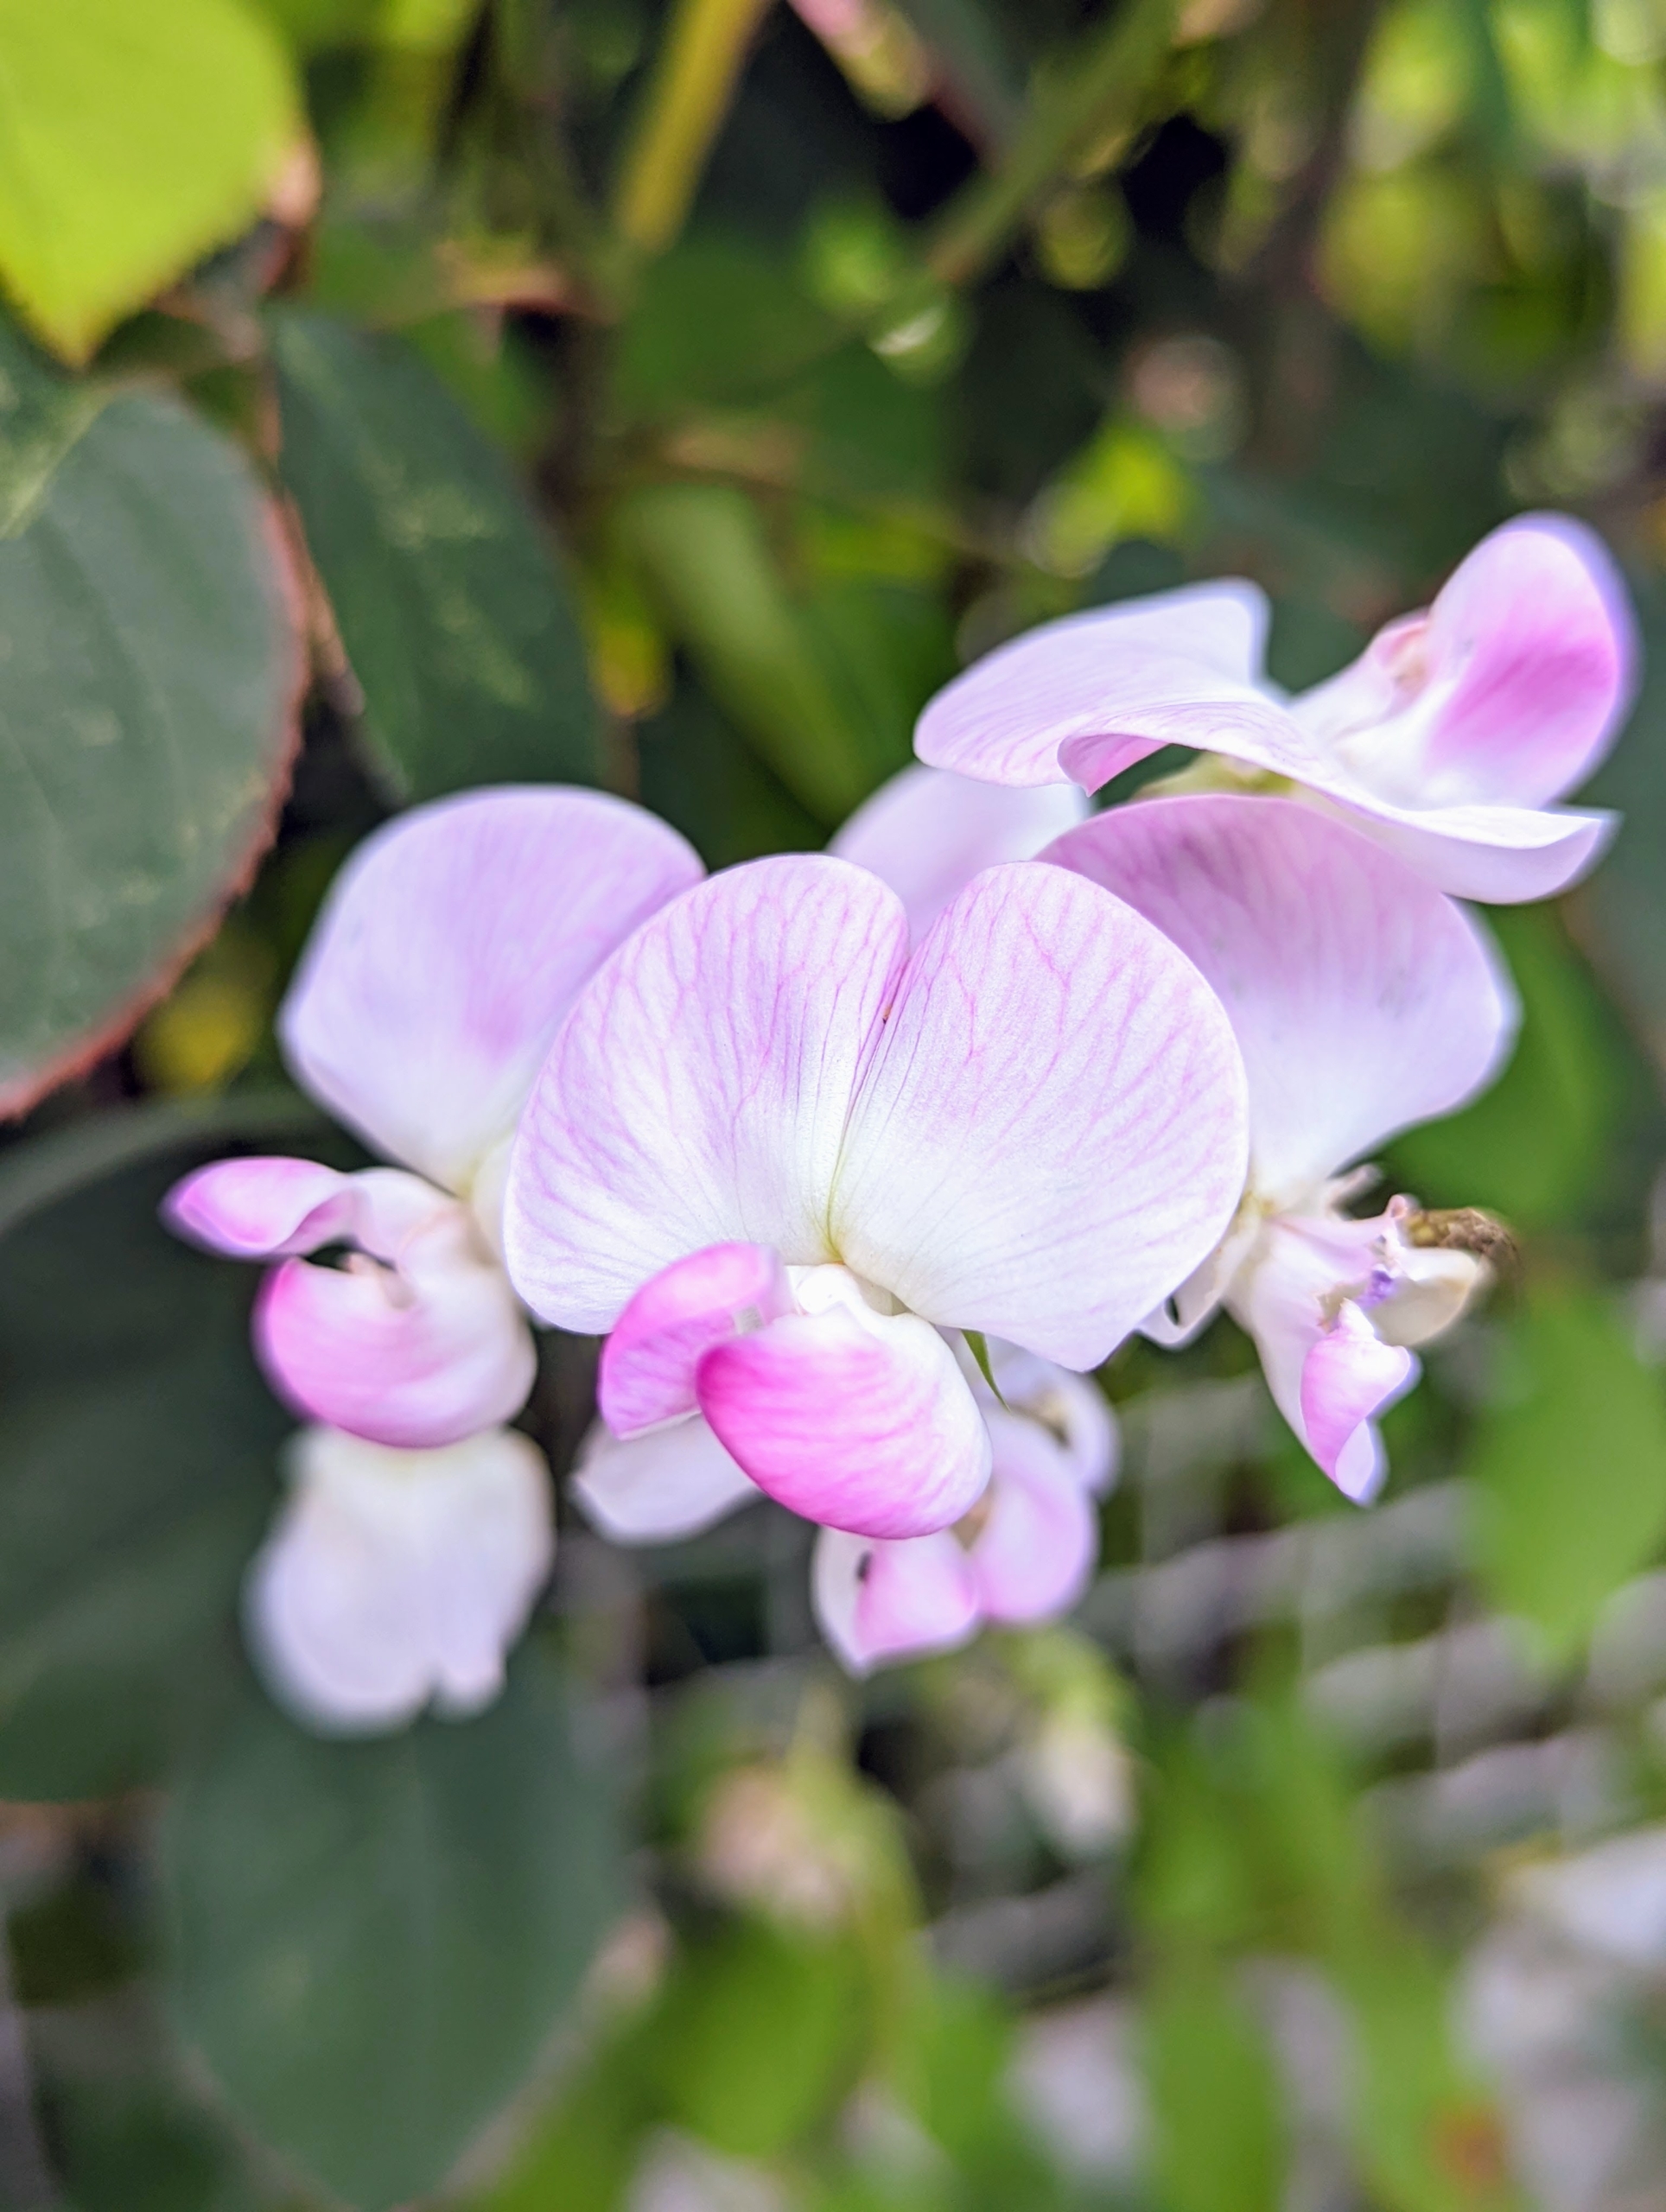
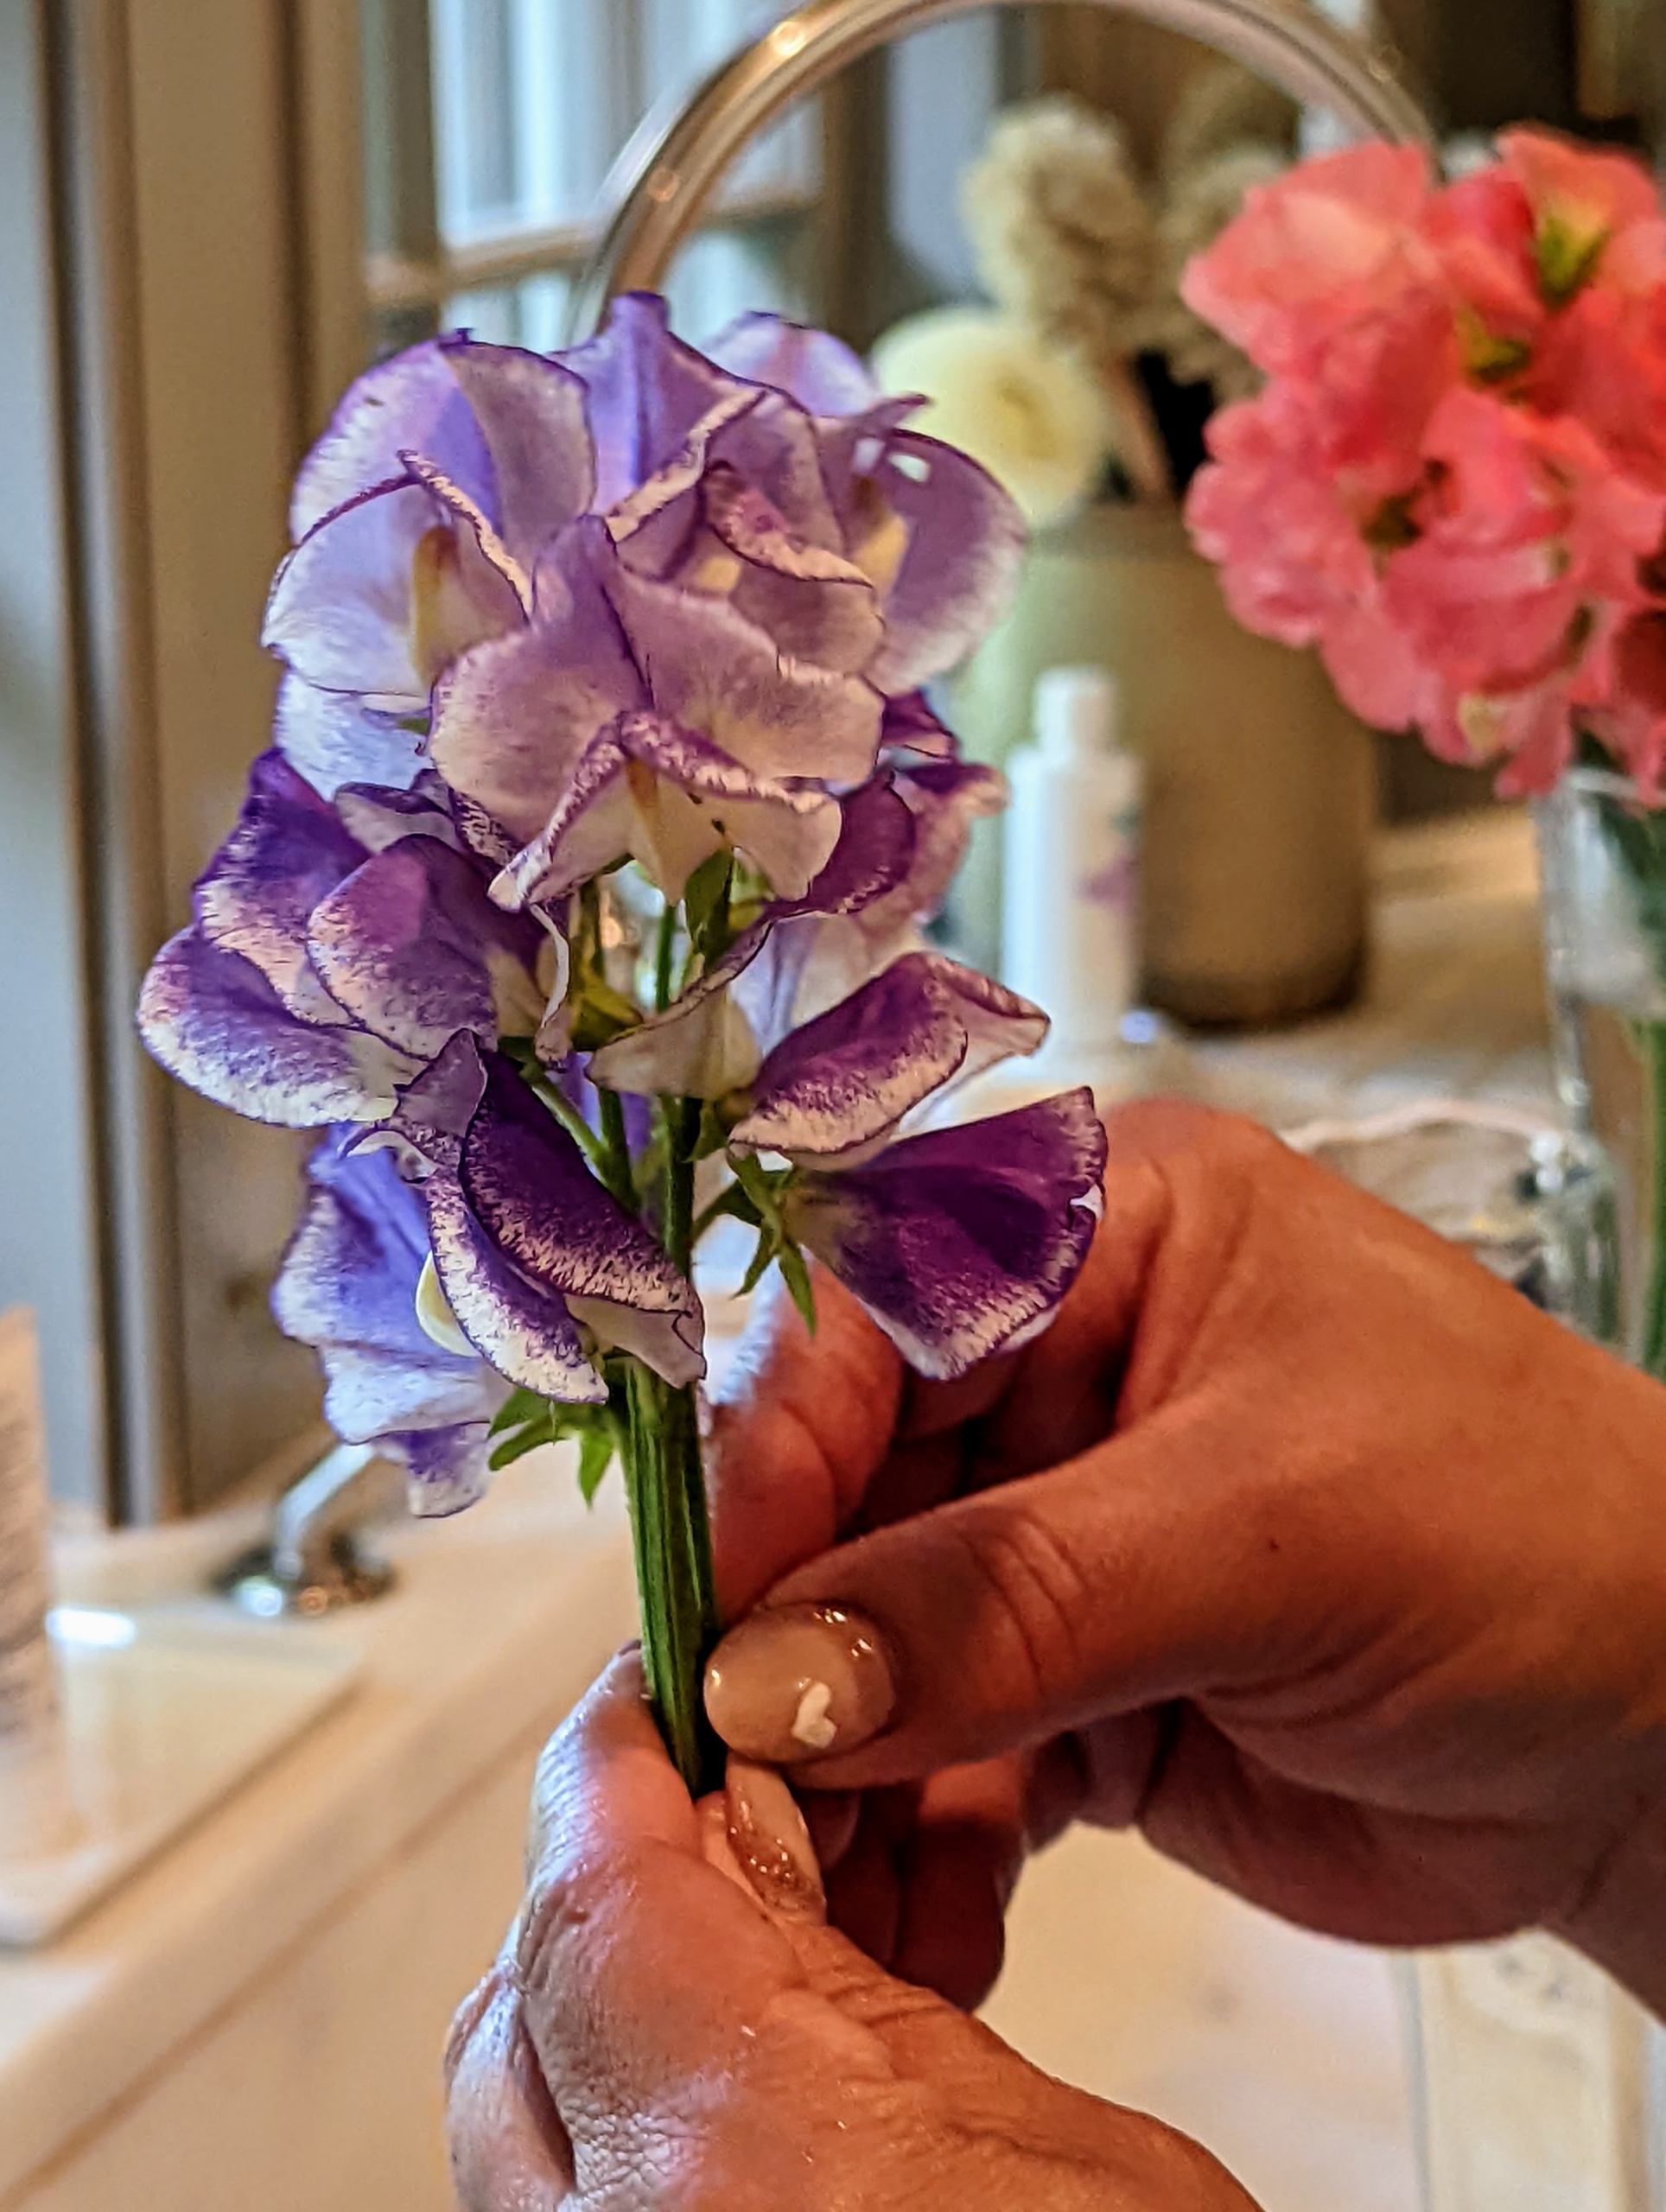
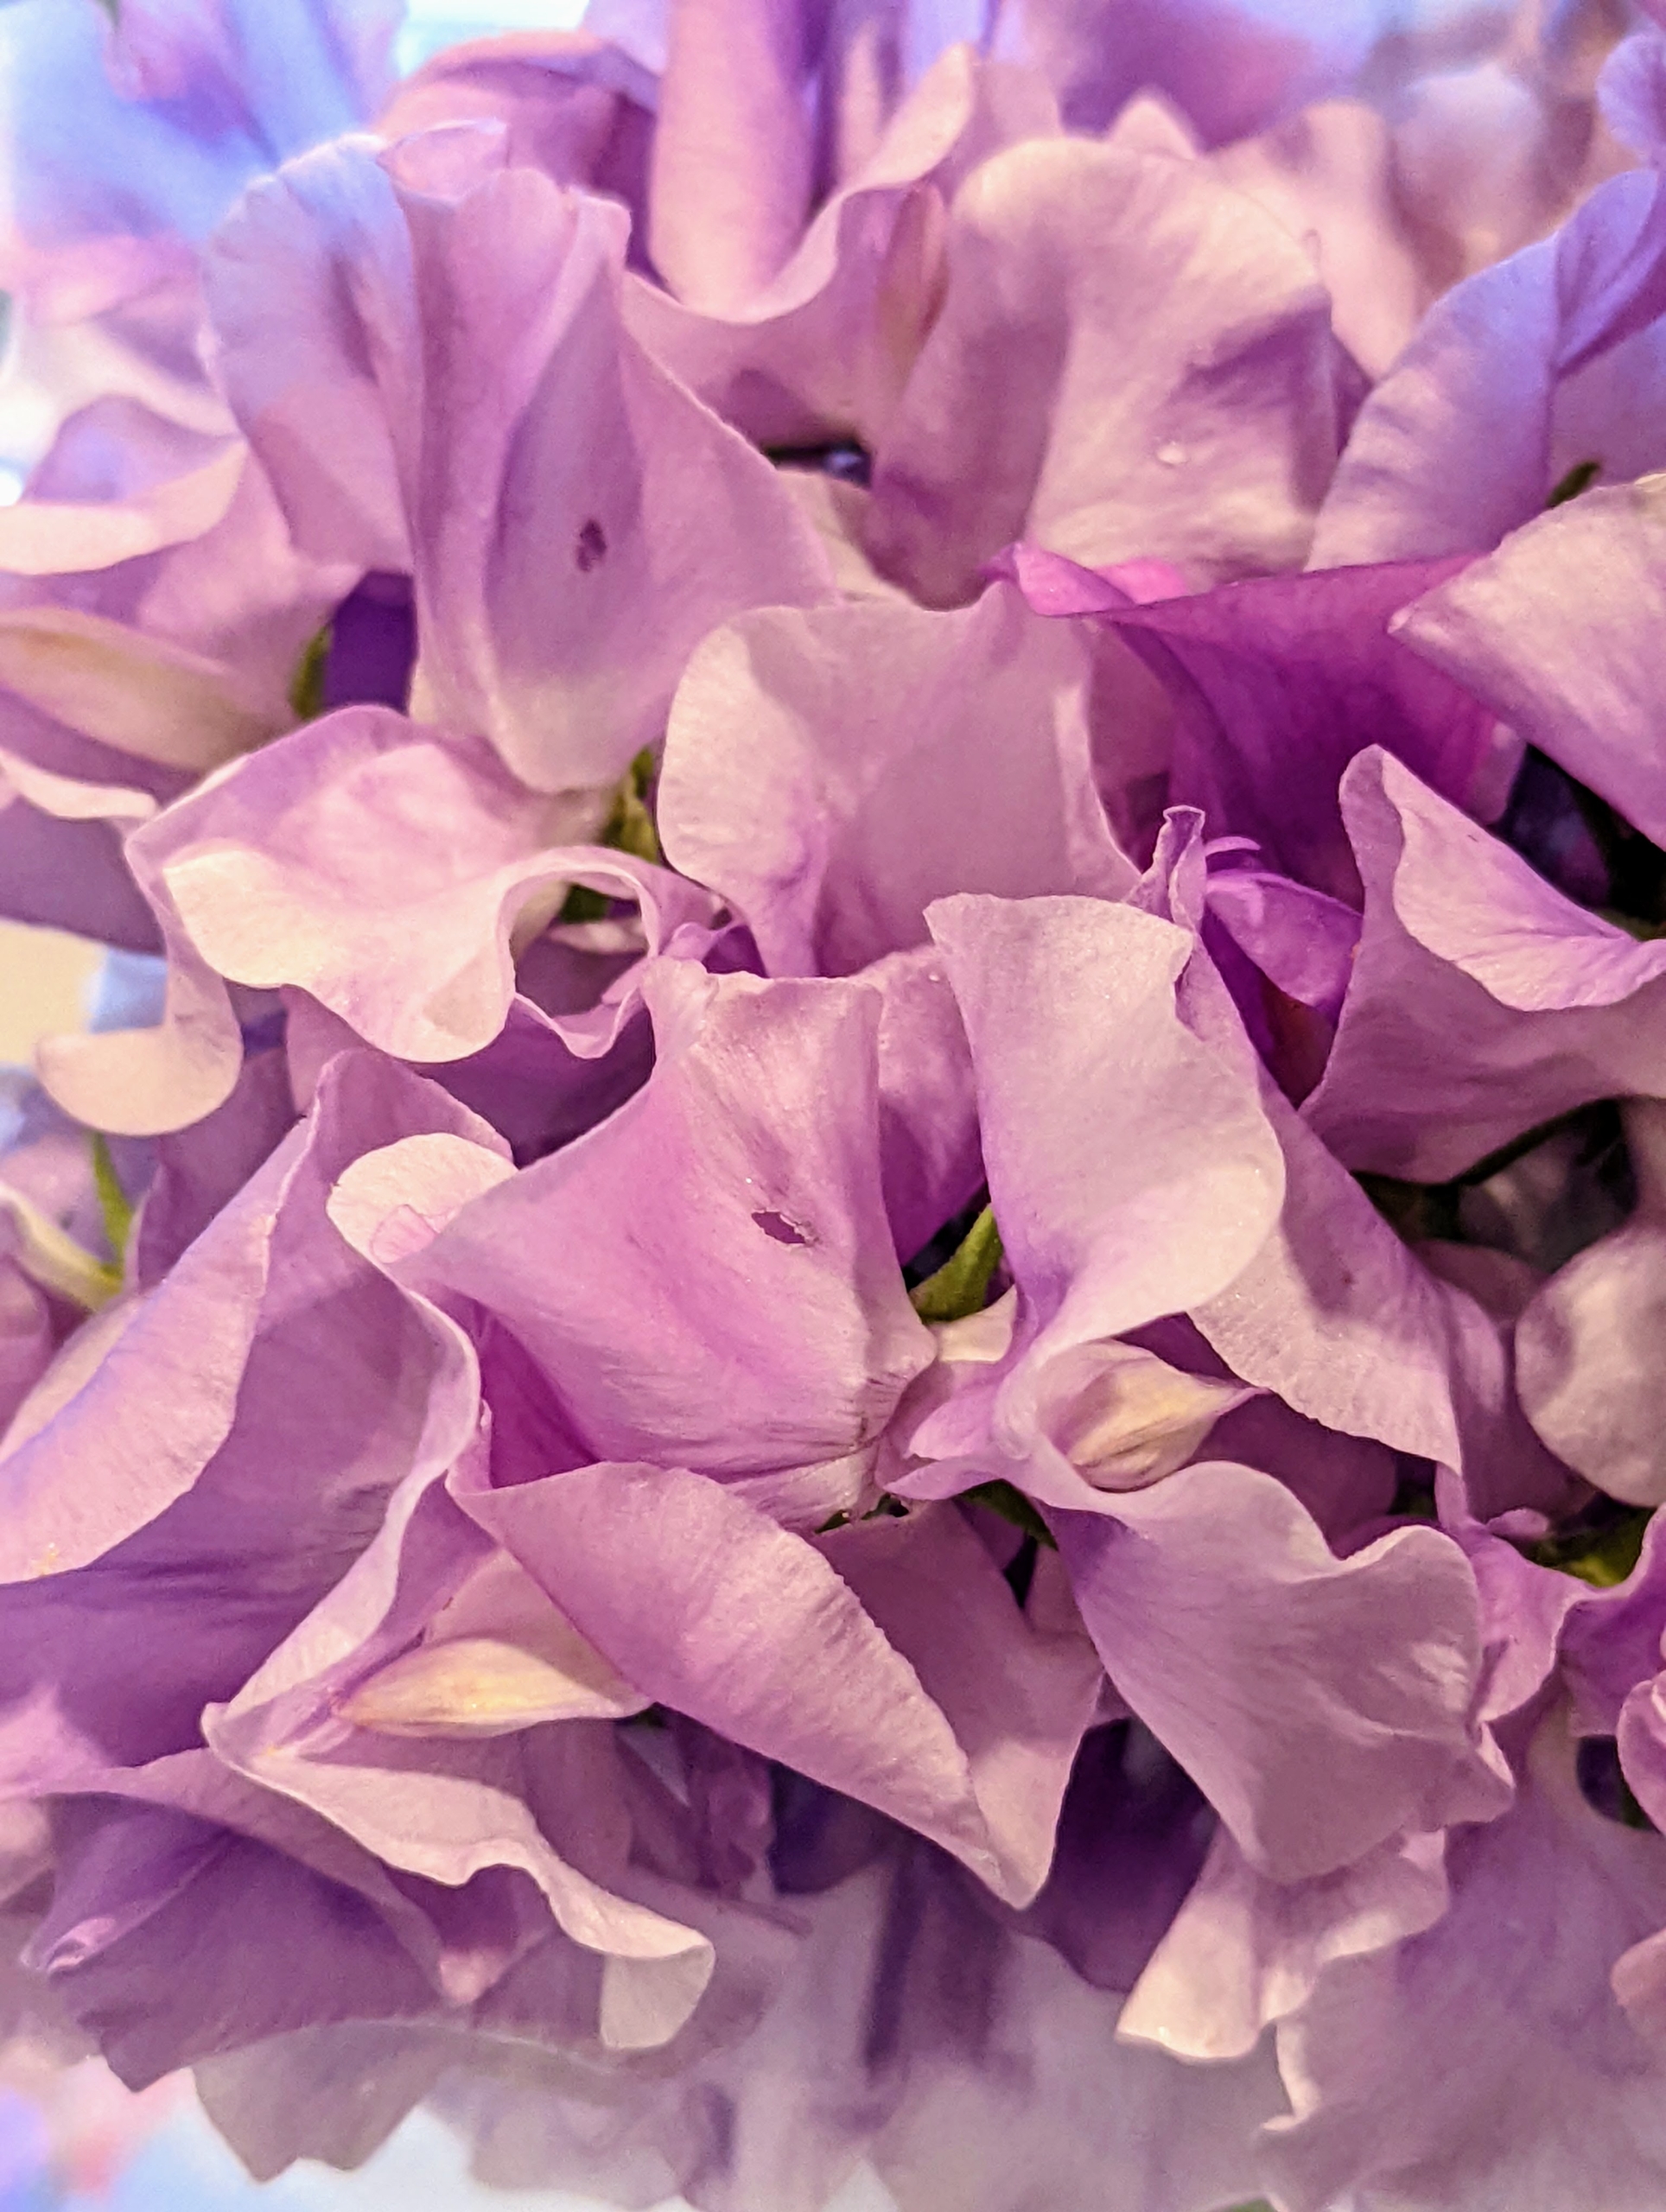
The flowers feature one large, upright rounded petal, two narrow side petals, and two lower petals. Luckily, the stems are sturdy enough to hold up their profuse flowers. Here’s a light lavender and white variety.
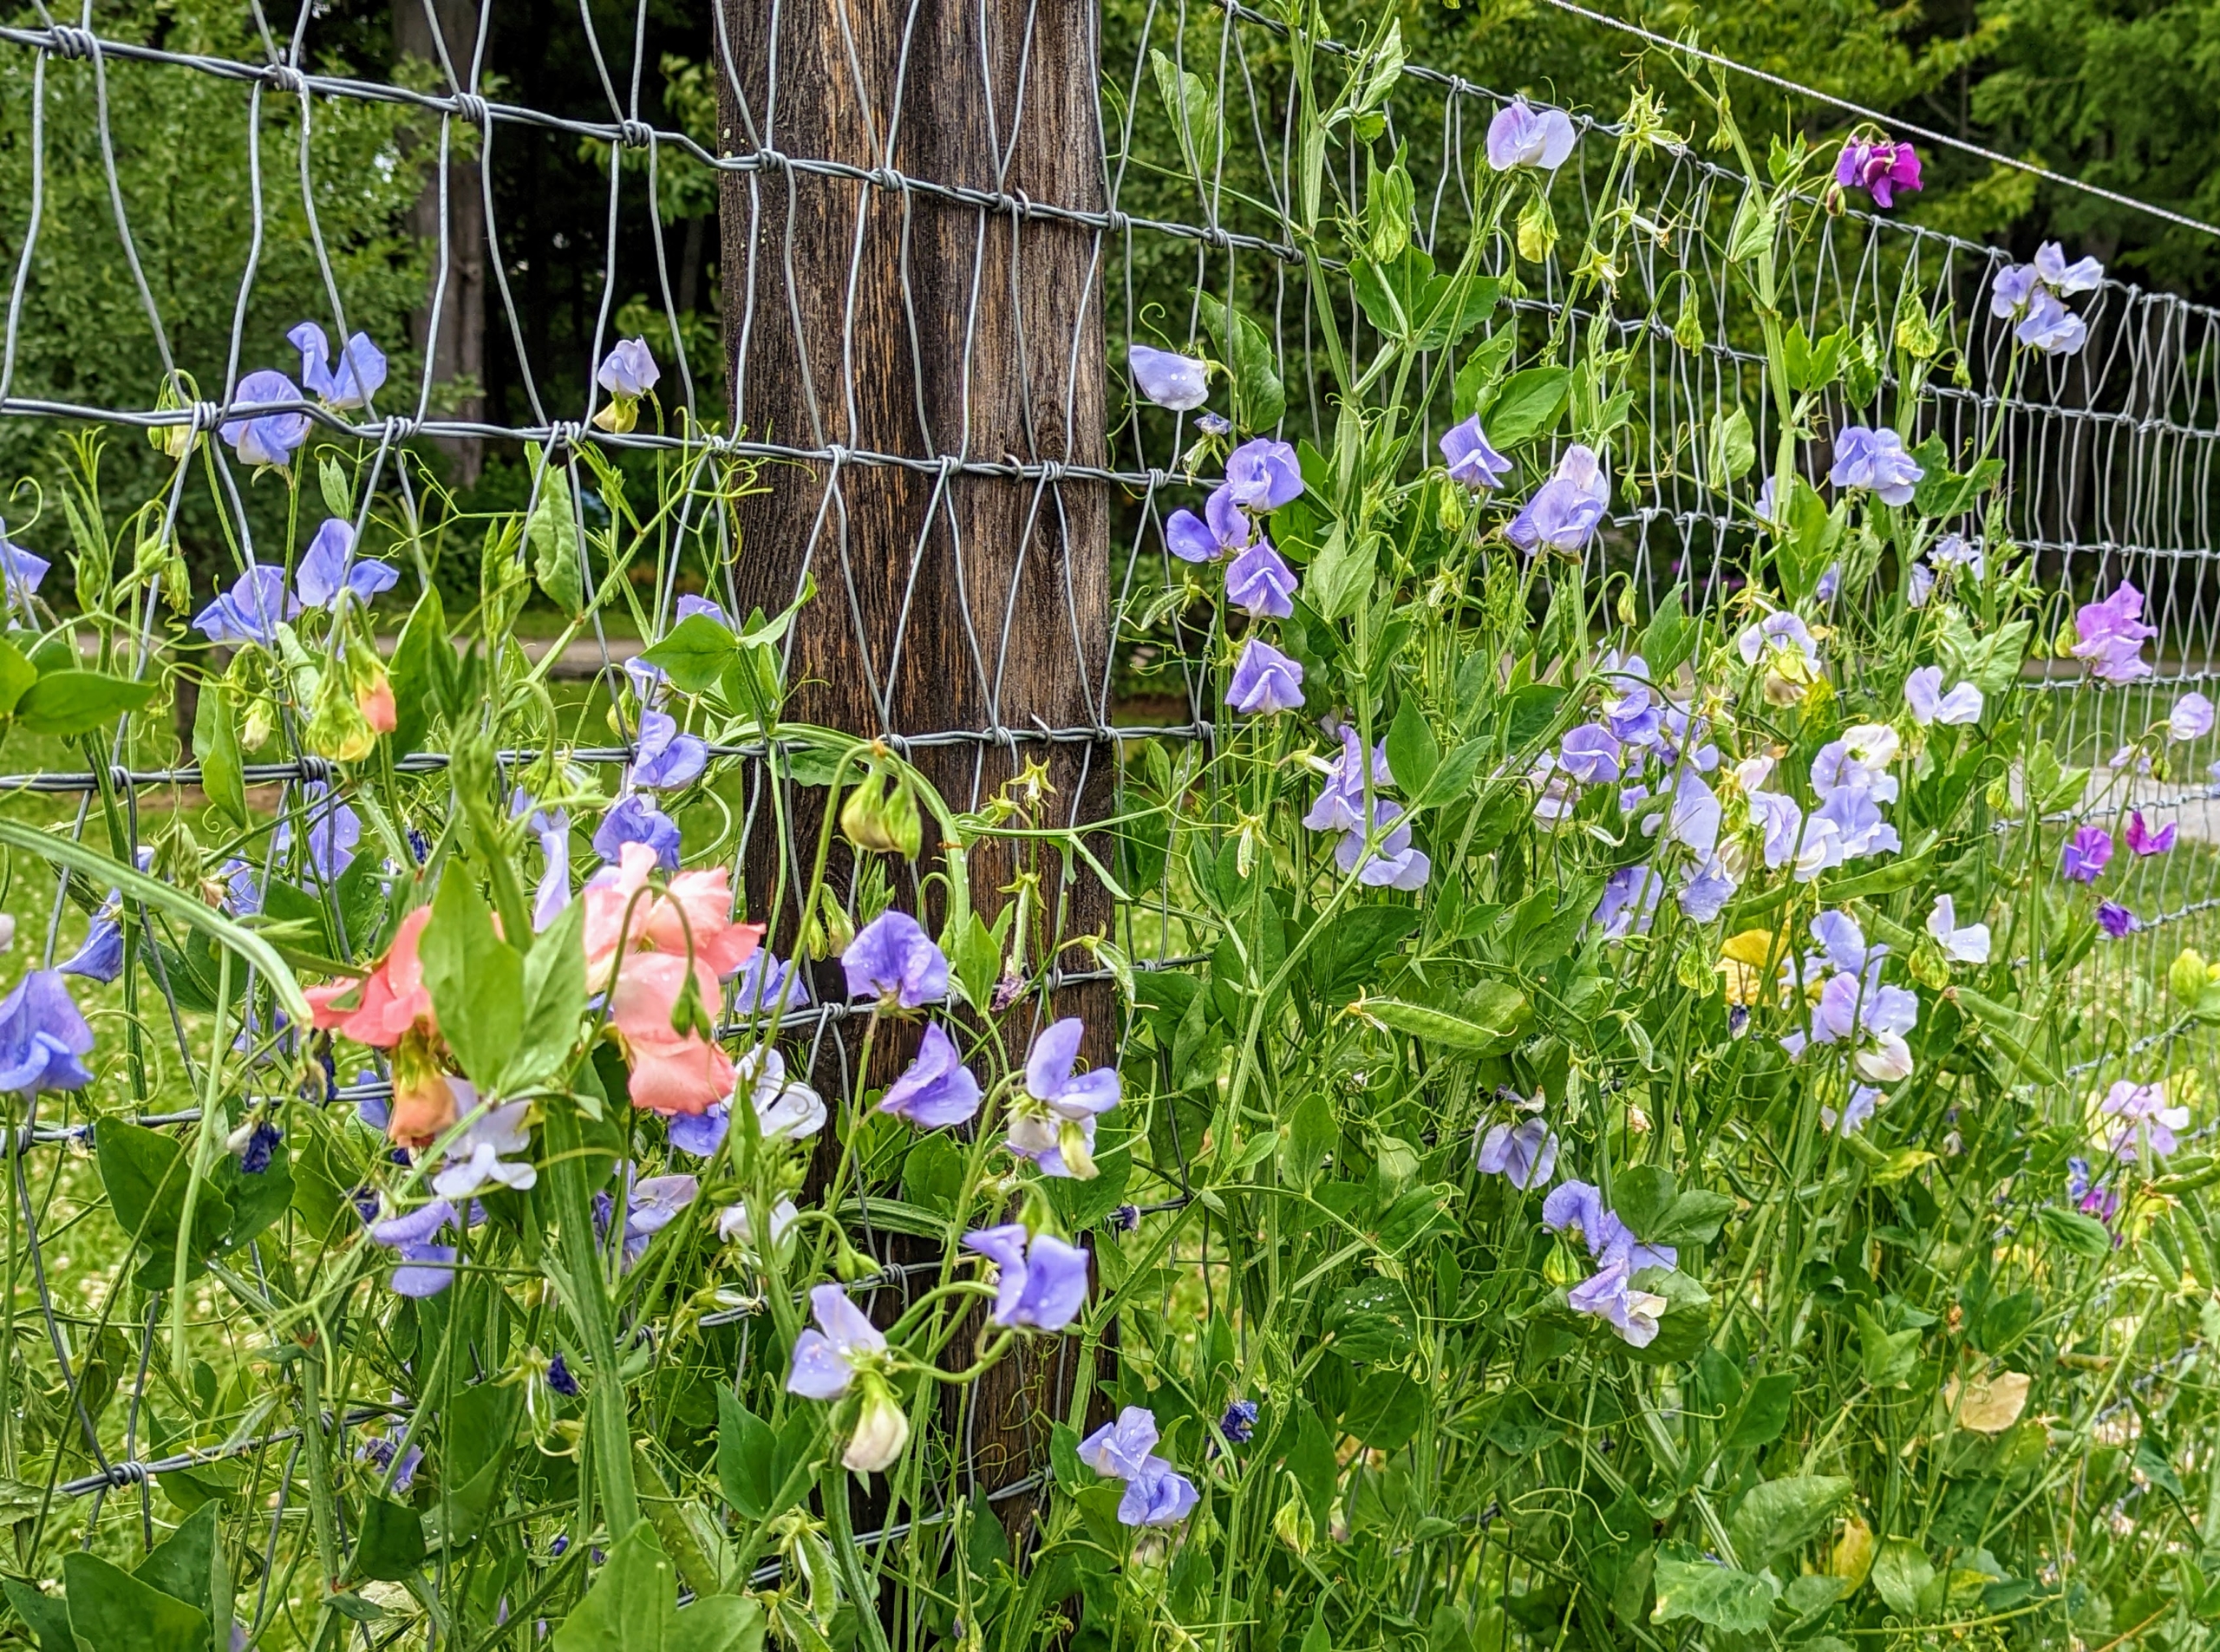
We planted sweet peas along the fence of the vegetable garden. Sweet peas work well here, attracting bees and other pollinators needed for the vegetables.
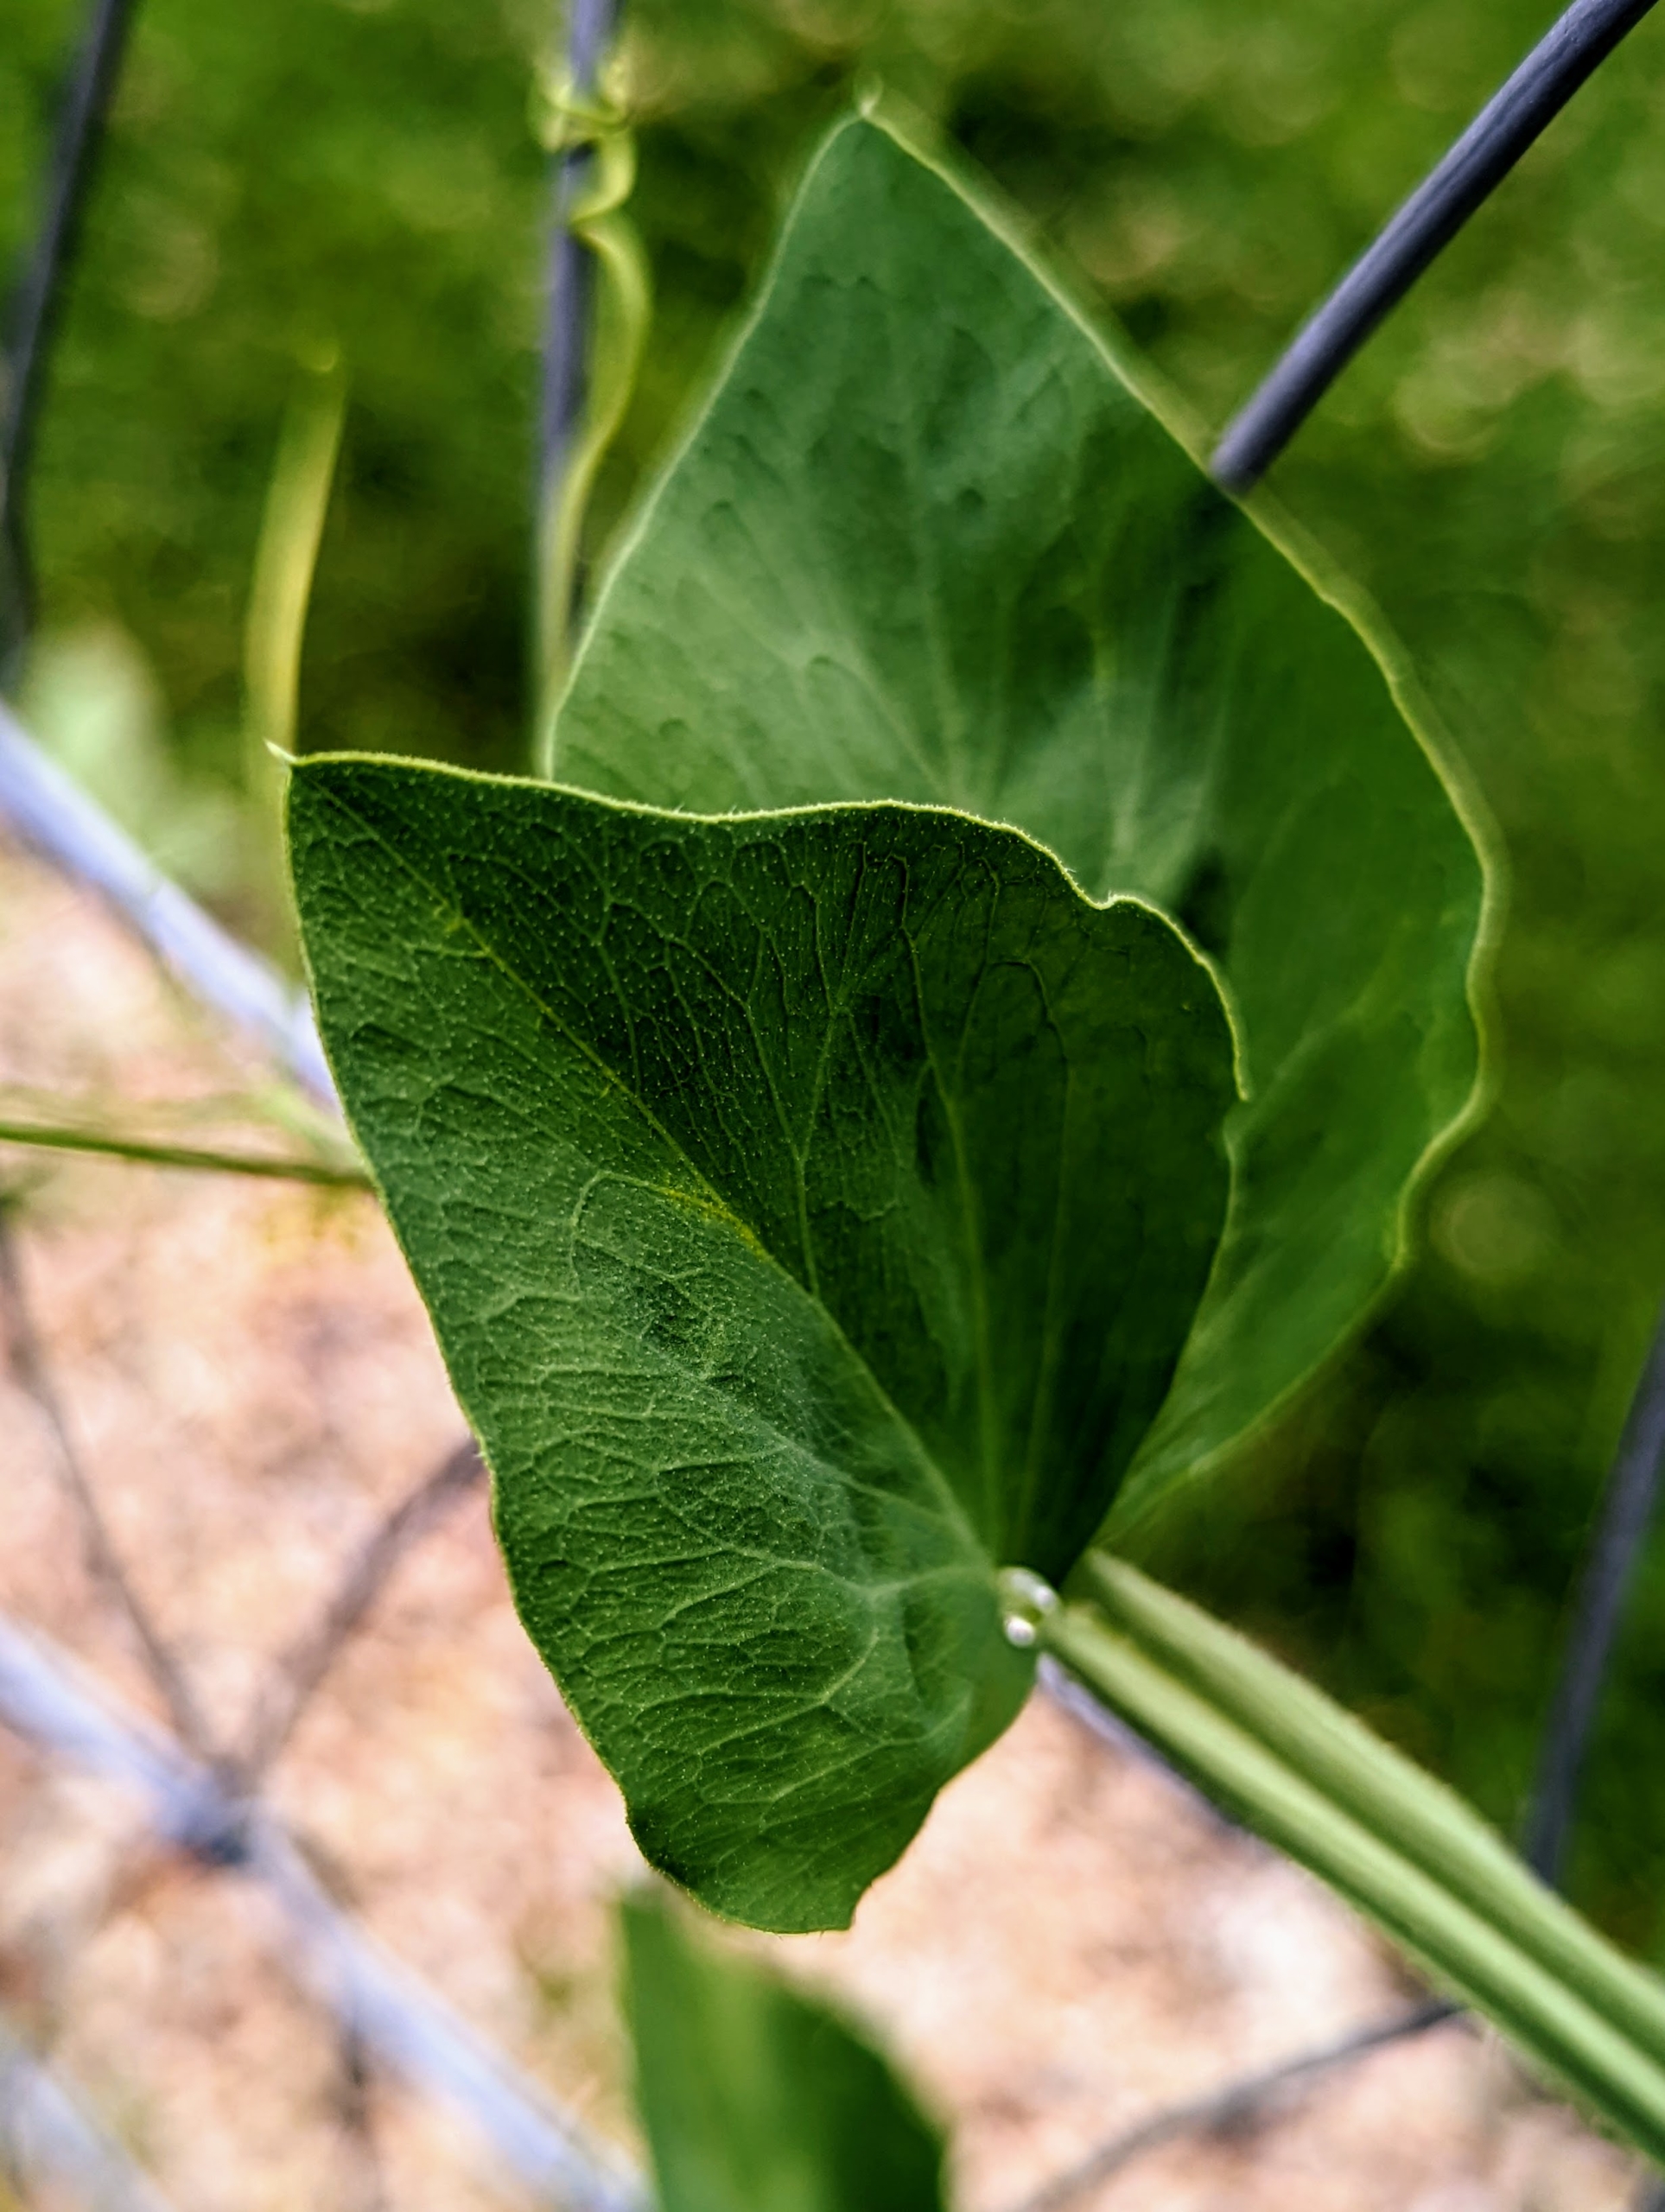
The leaves are pinnate with two leaflets and a terminal tendril, which twines around supporting plants and structures, helping the sweet pea to climb.
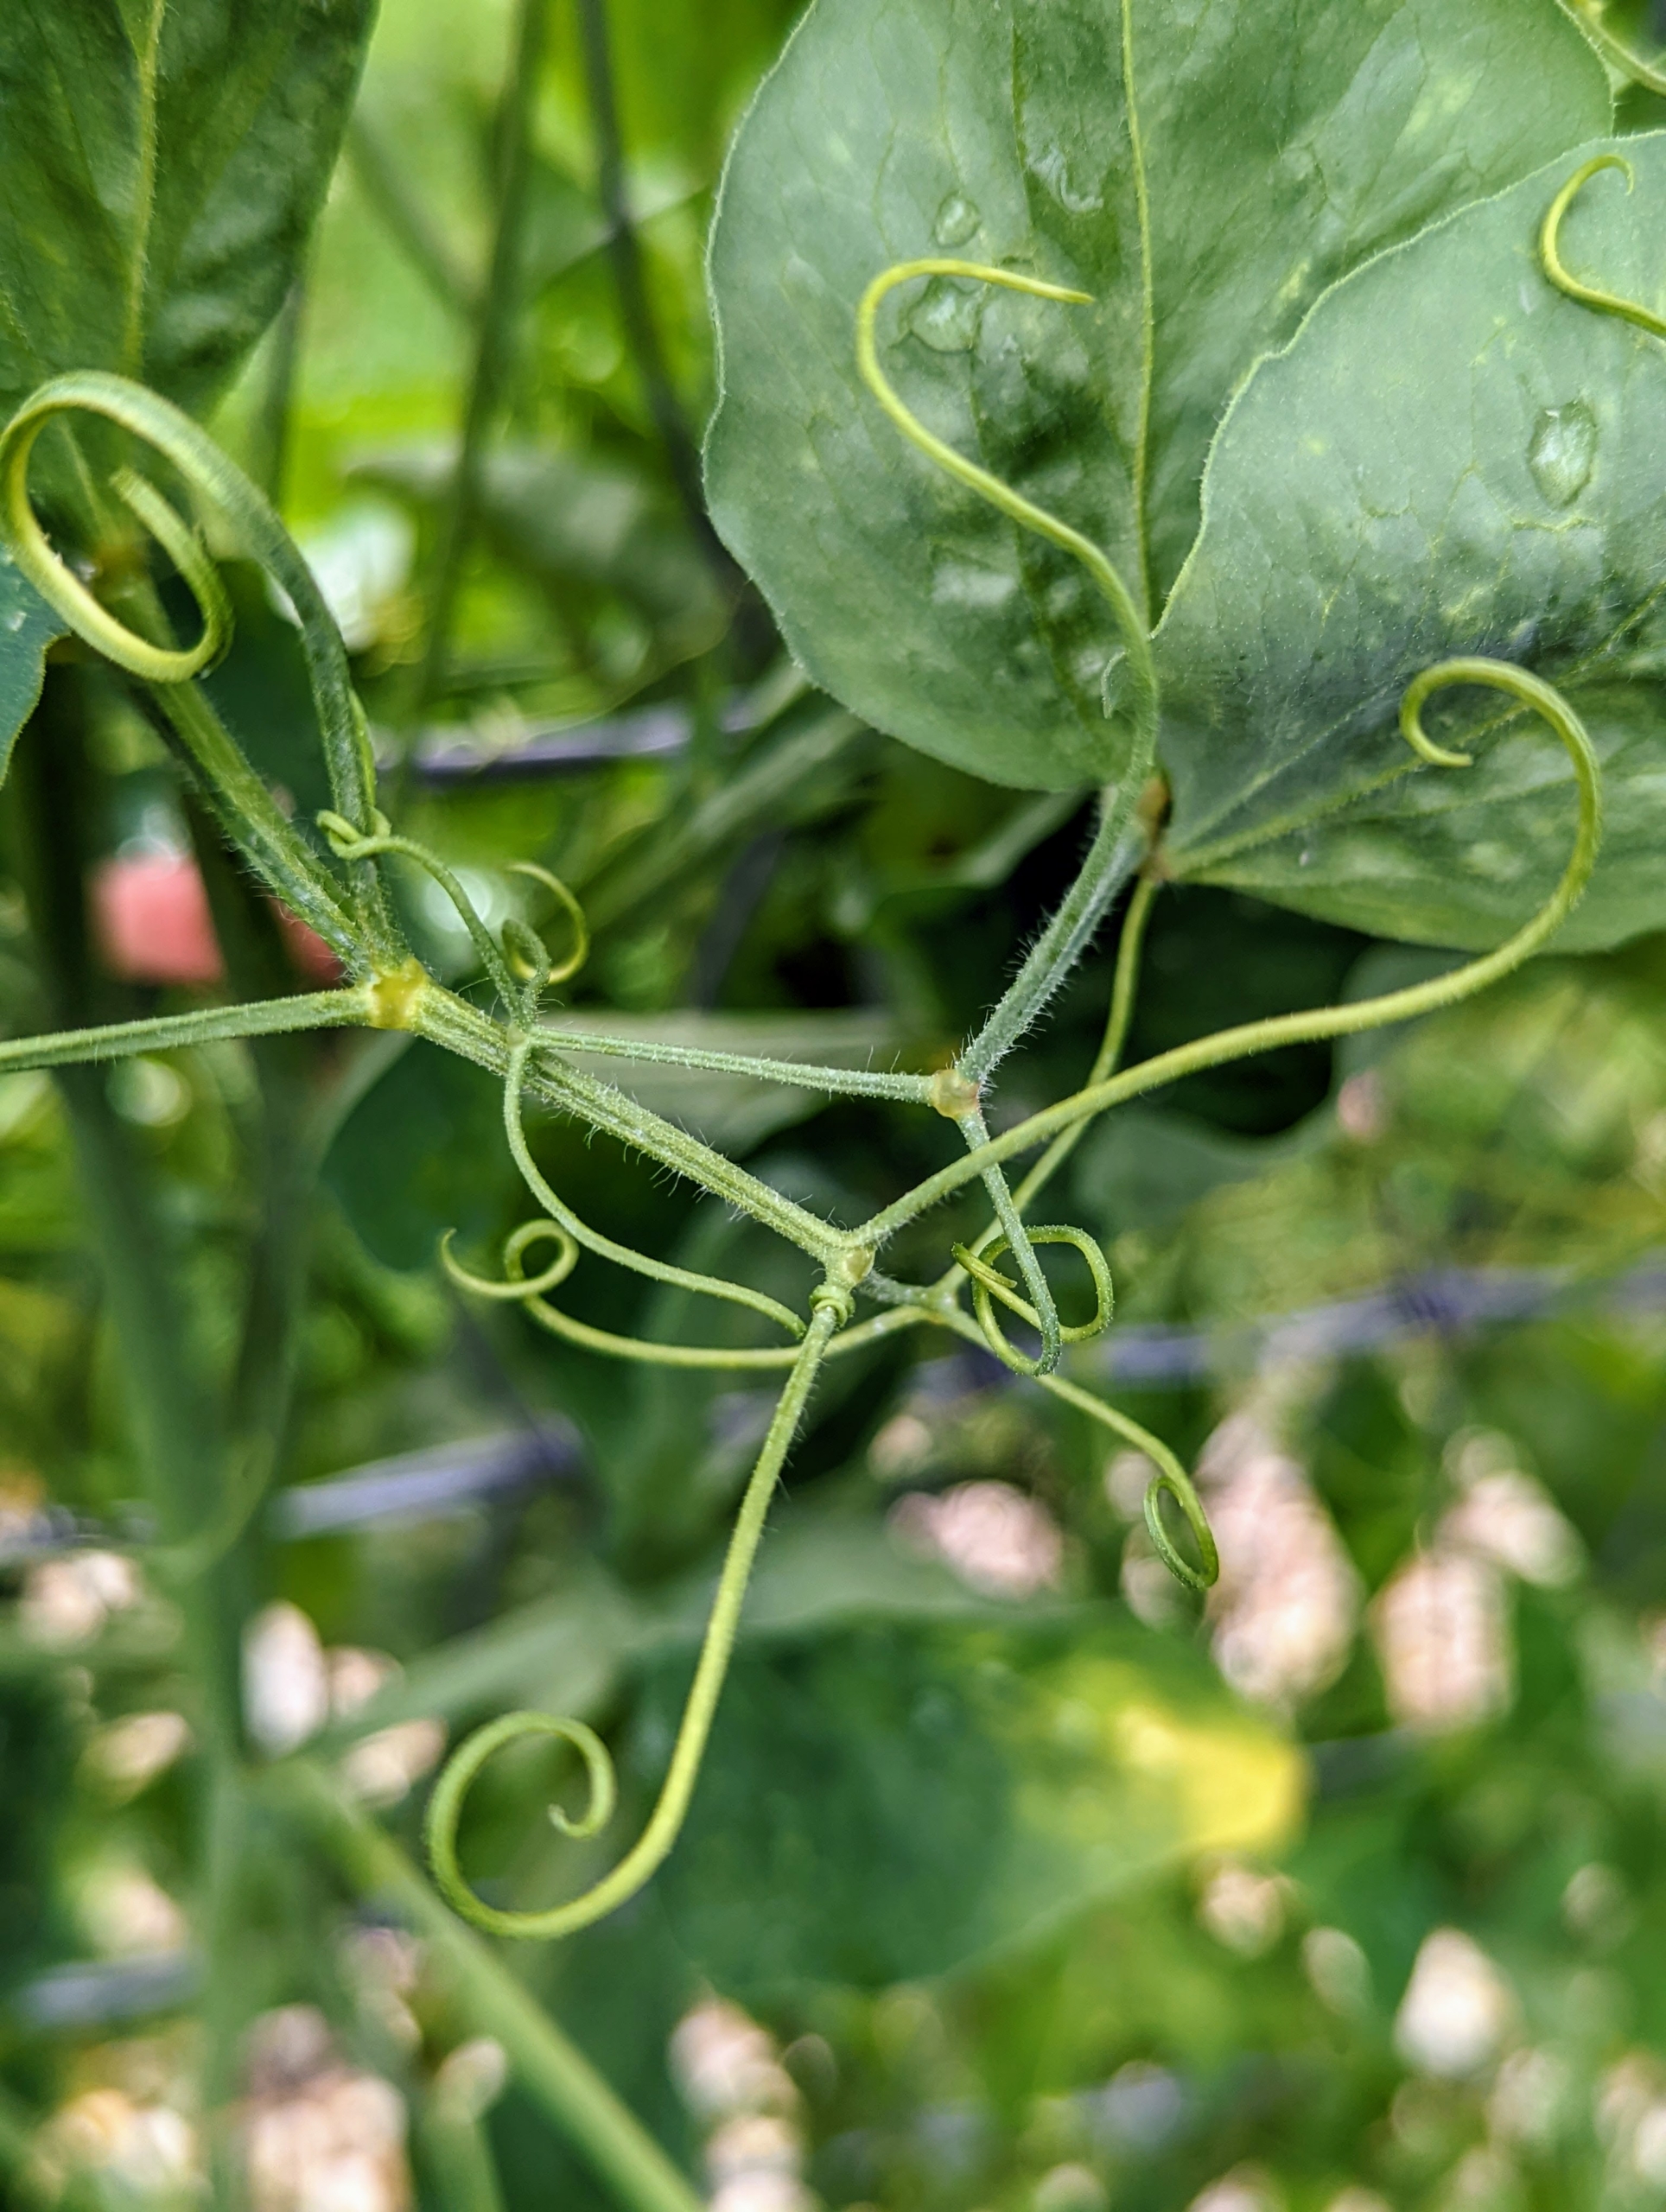
Here are the tendrils they use to grasp anything that’s a quarter-inch or less.
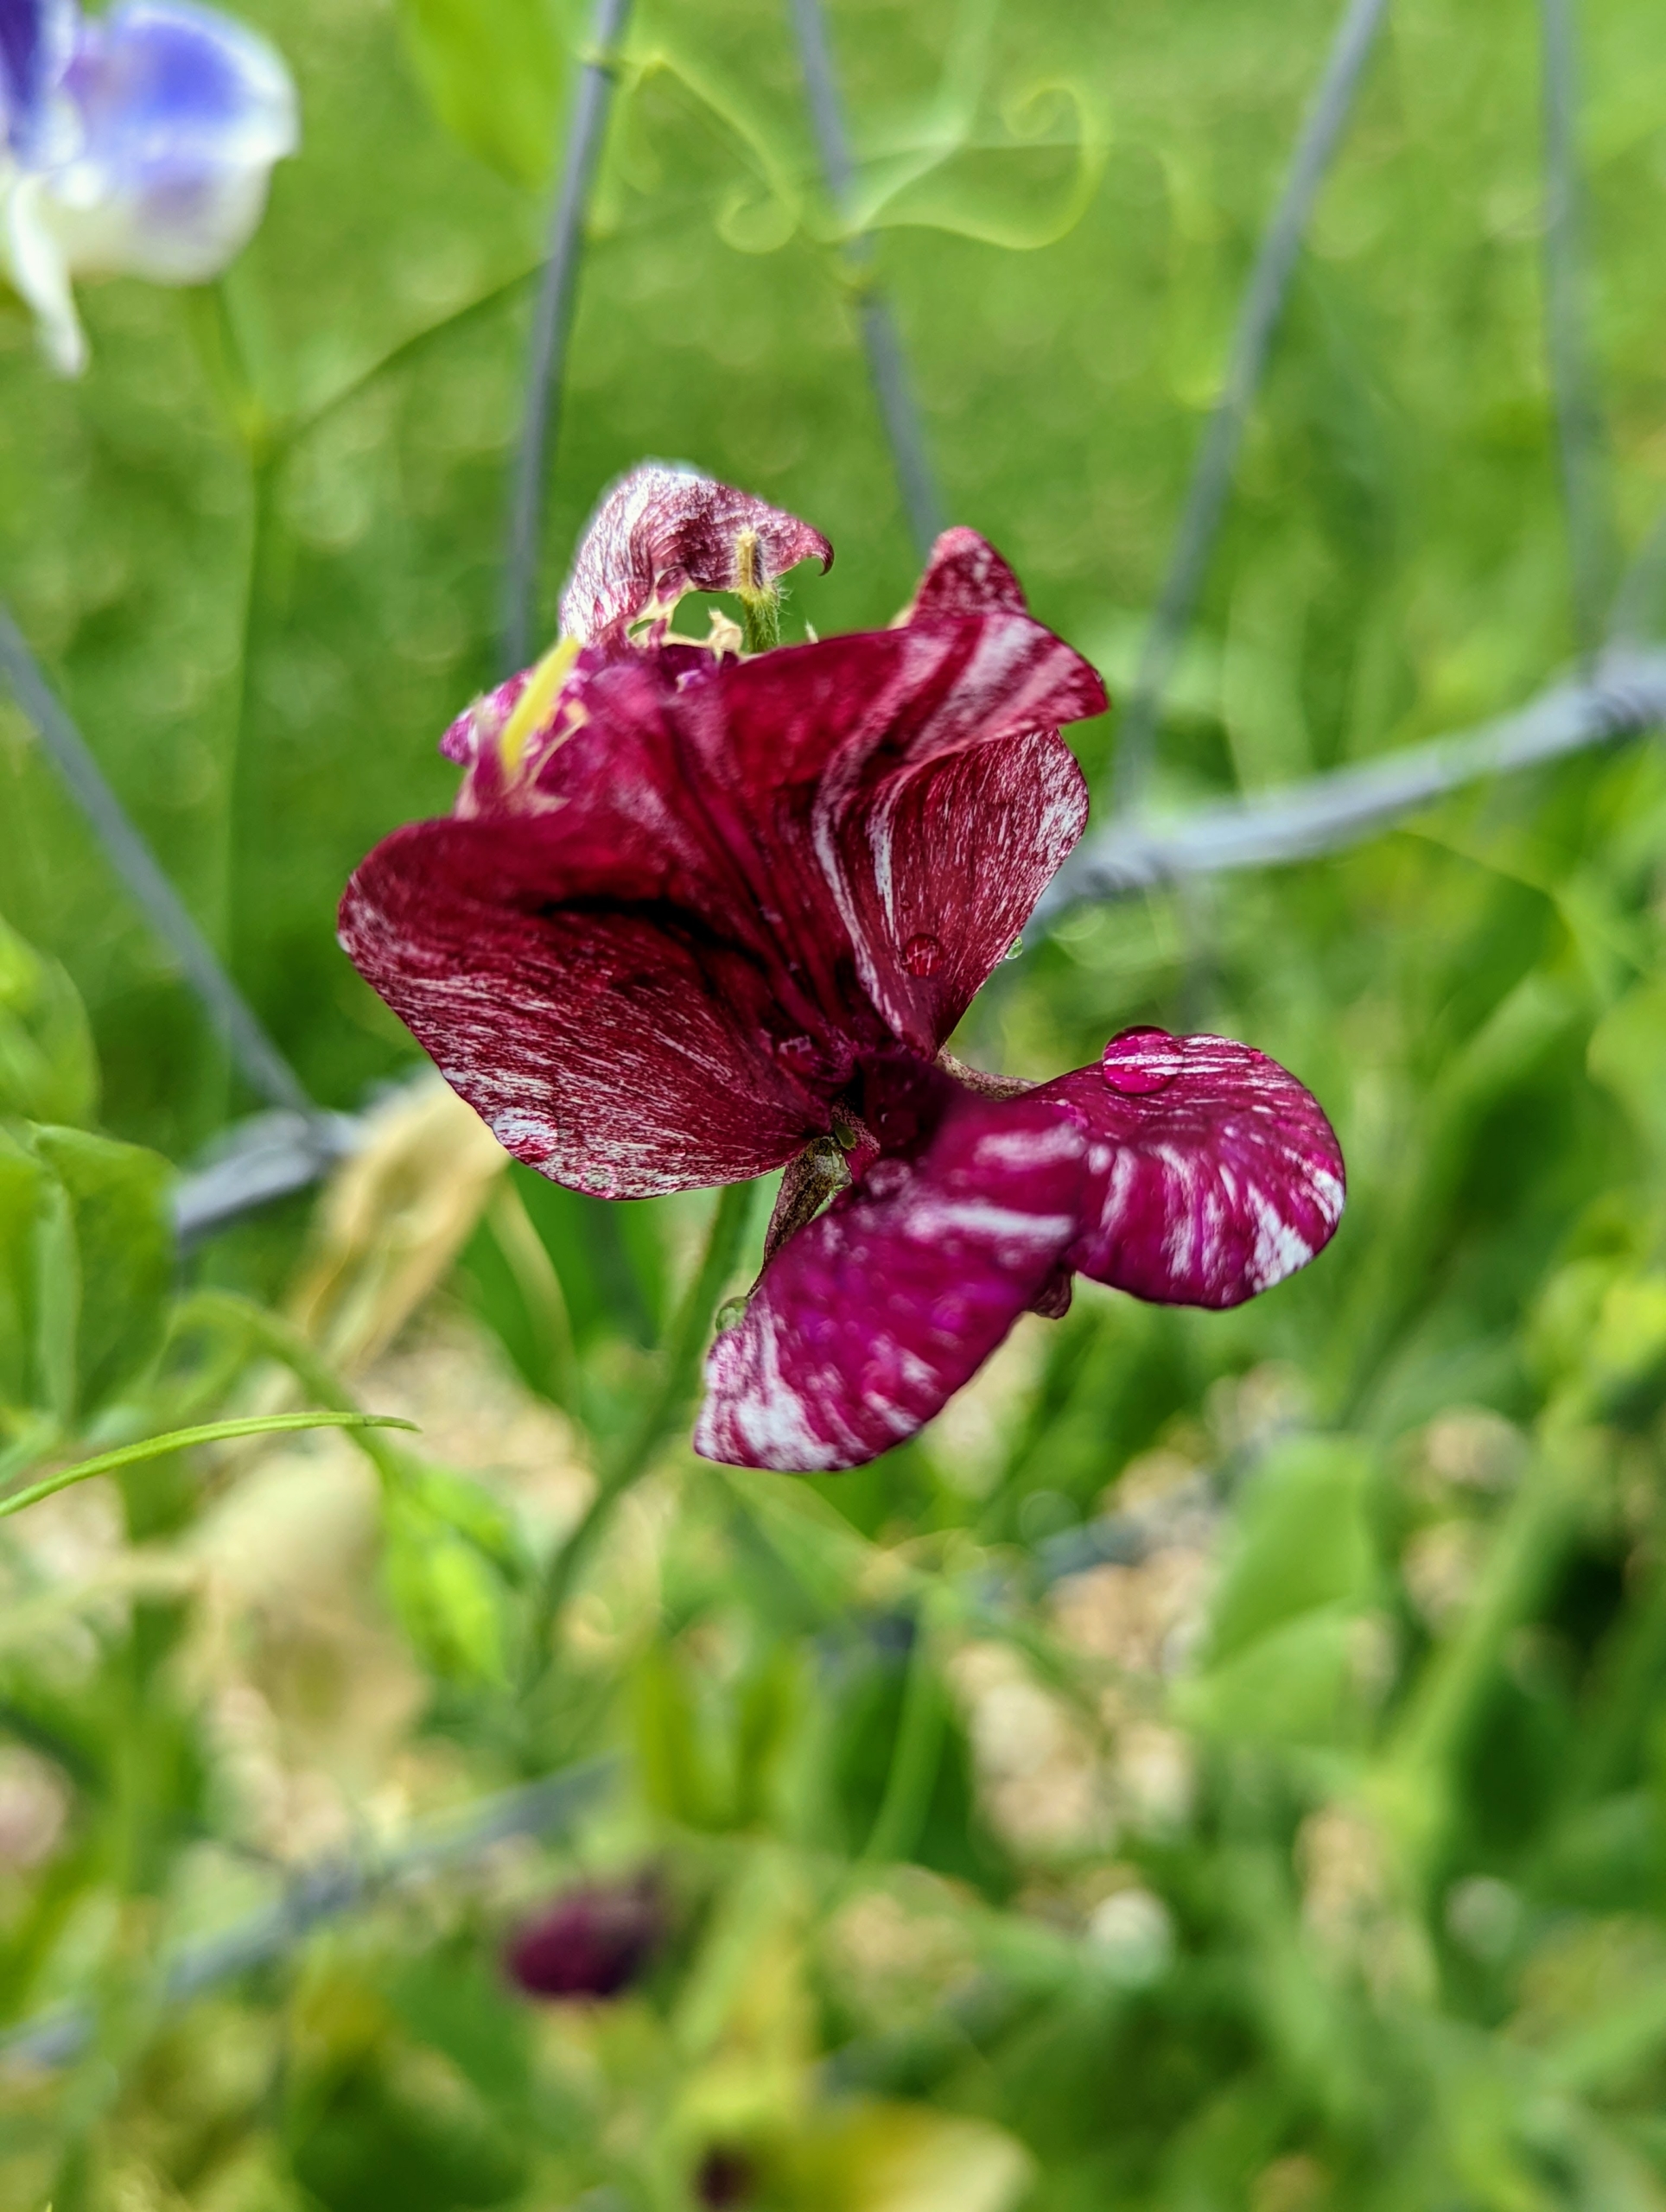
Sweet peas offer one of the widest color ranges in the plant kingdom, including crimson reds, navy blues, pastel lavenders, pinks, and the purest whites. These colors are found as solid colors, bicolors, and streaked or flaked flowers.
To keep the vine productive, it’s a good idea to cut flowers frequently and remove the faded blossoms. Some varieties tolerate heat better than others, so check the seed packets carefully when planting.
This crisp white one grows along the fence of my flower garden. White sweet peas are very reliable performers. As annuals, sweet peas thrive in full sun, although in warmer climates they do well in a location that receives partial sun, especially in the heat of the afternoon.
Sweet peas prefer rich but well-drained soil. A slightly alkaline soil pH of about 7.5 is ideal for sweet peas.
Here in my Winter House are several freshly cut bunches of sweet peas.
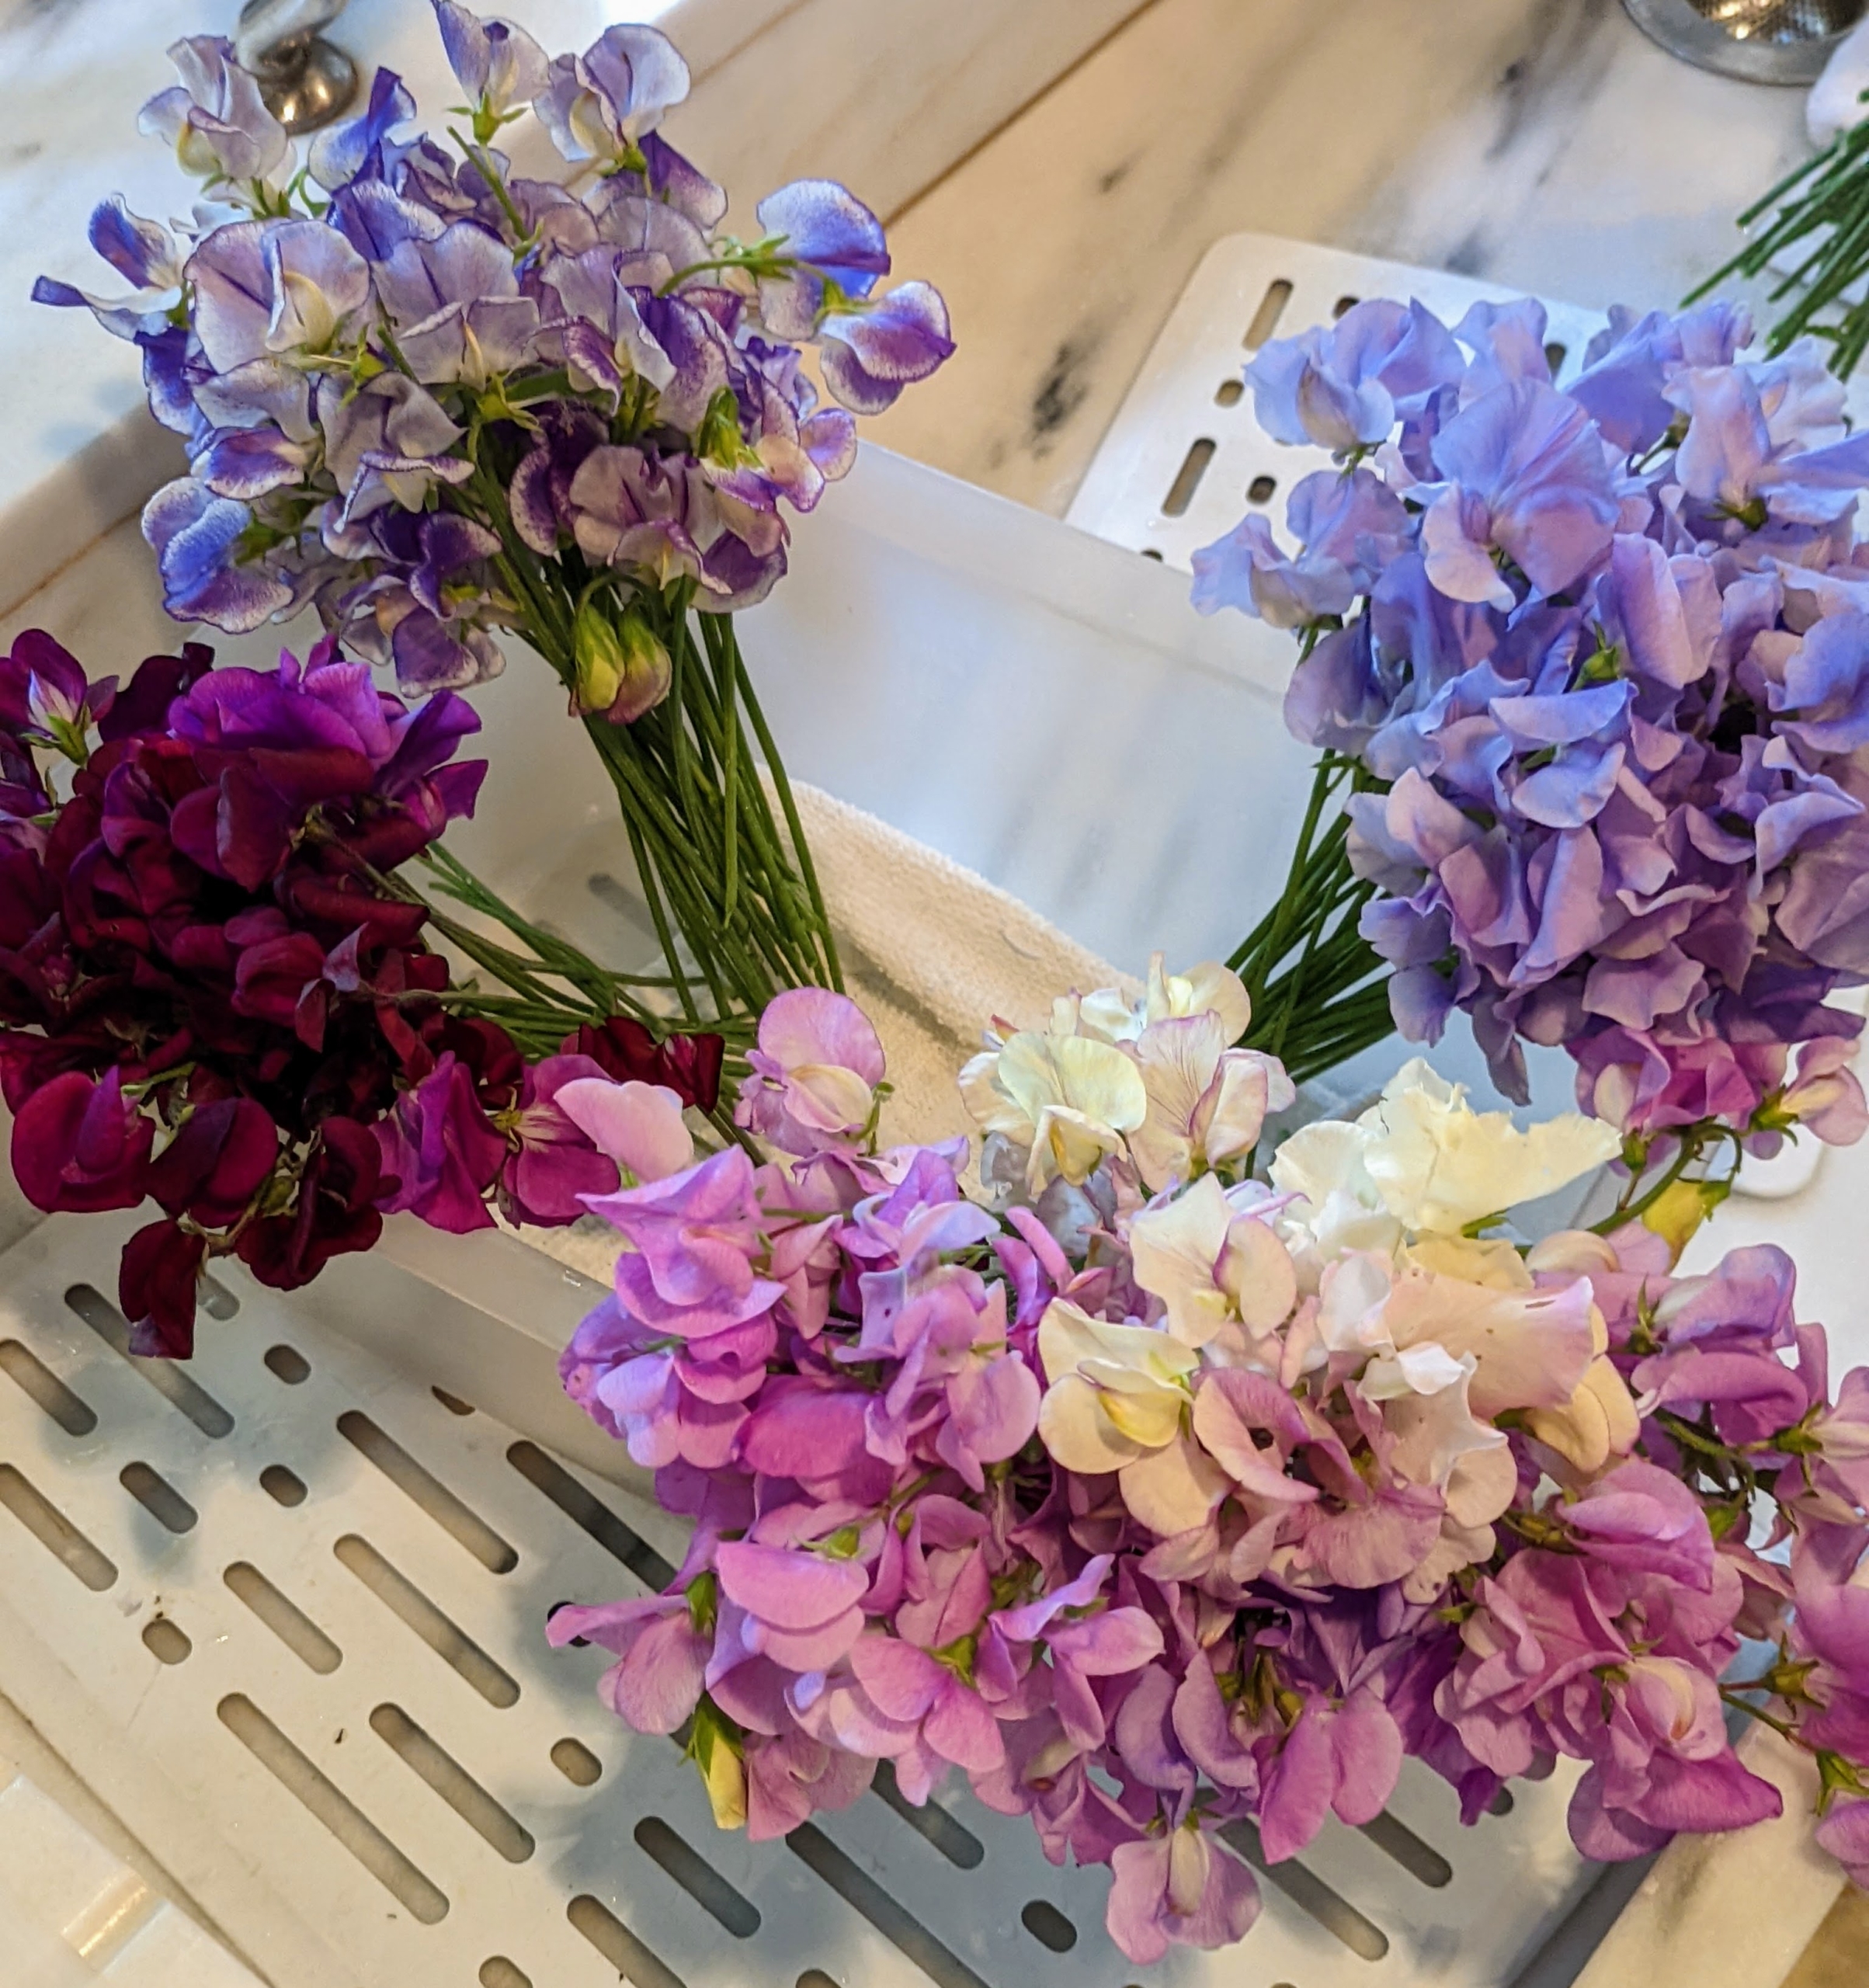
Once they are ready to be arranged, Enma removes each bunch and places them in a small tub of water keeping like colors together.
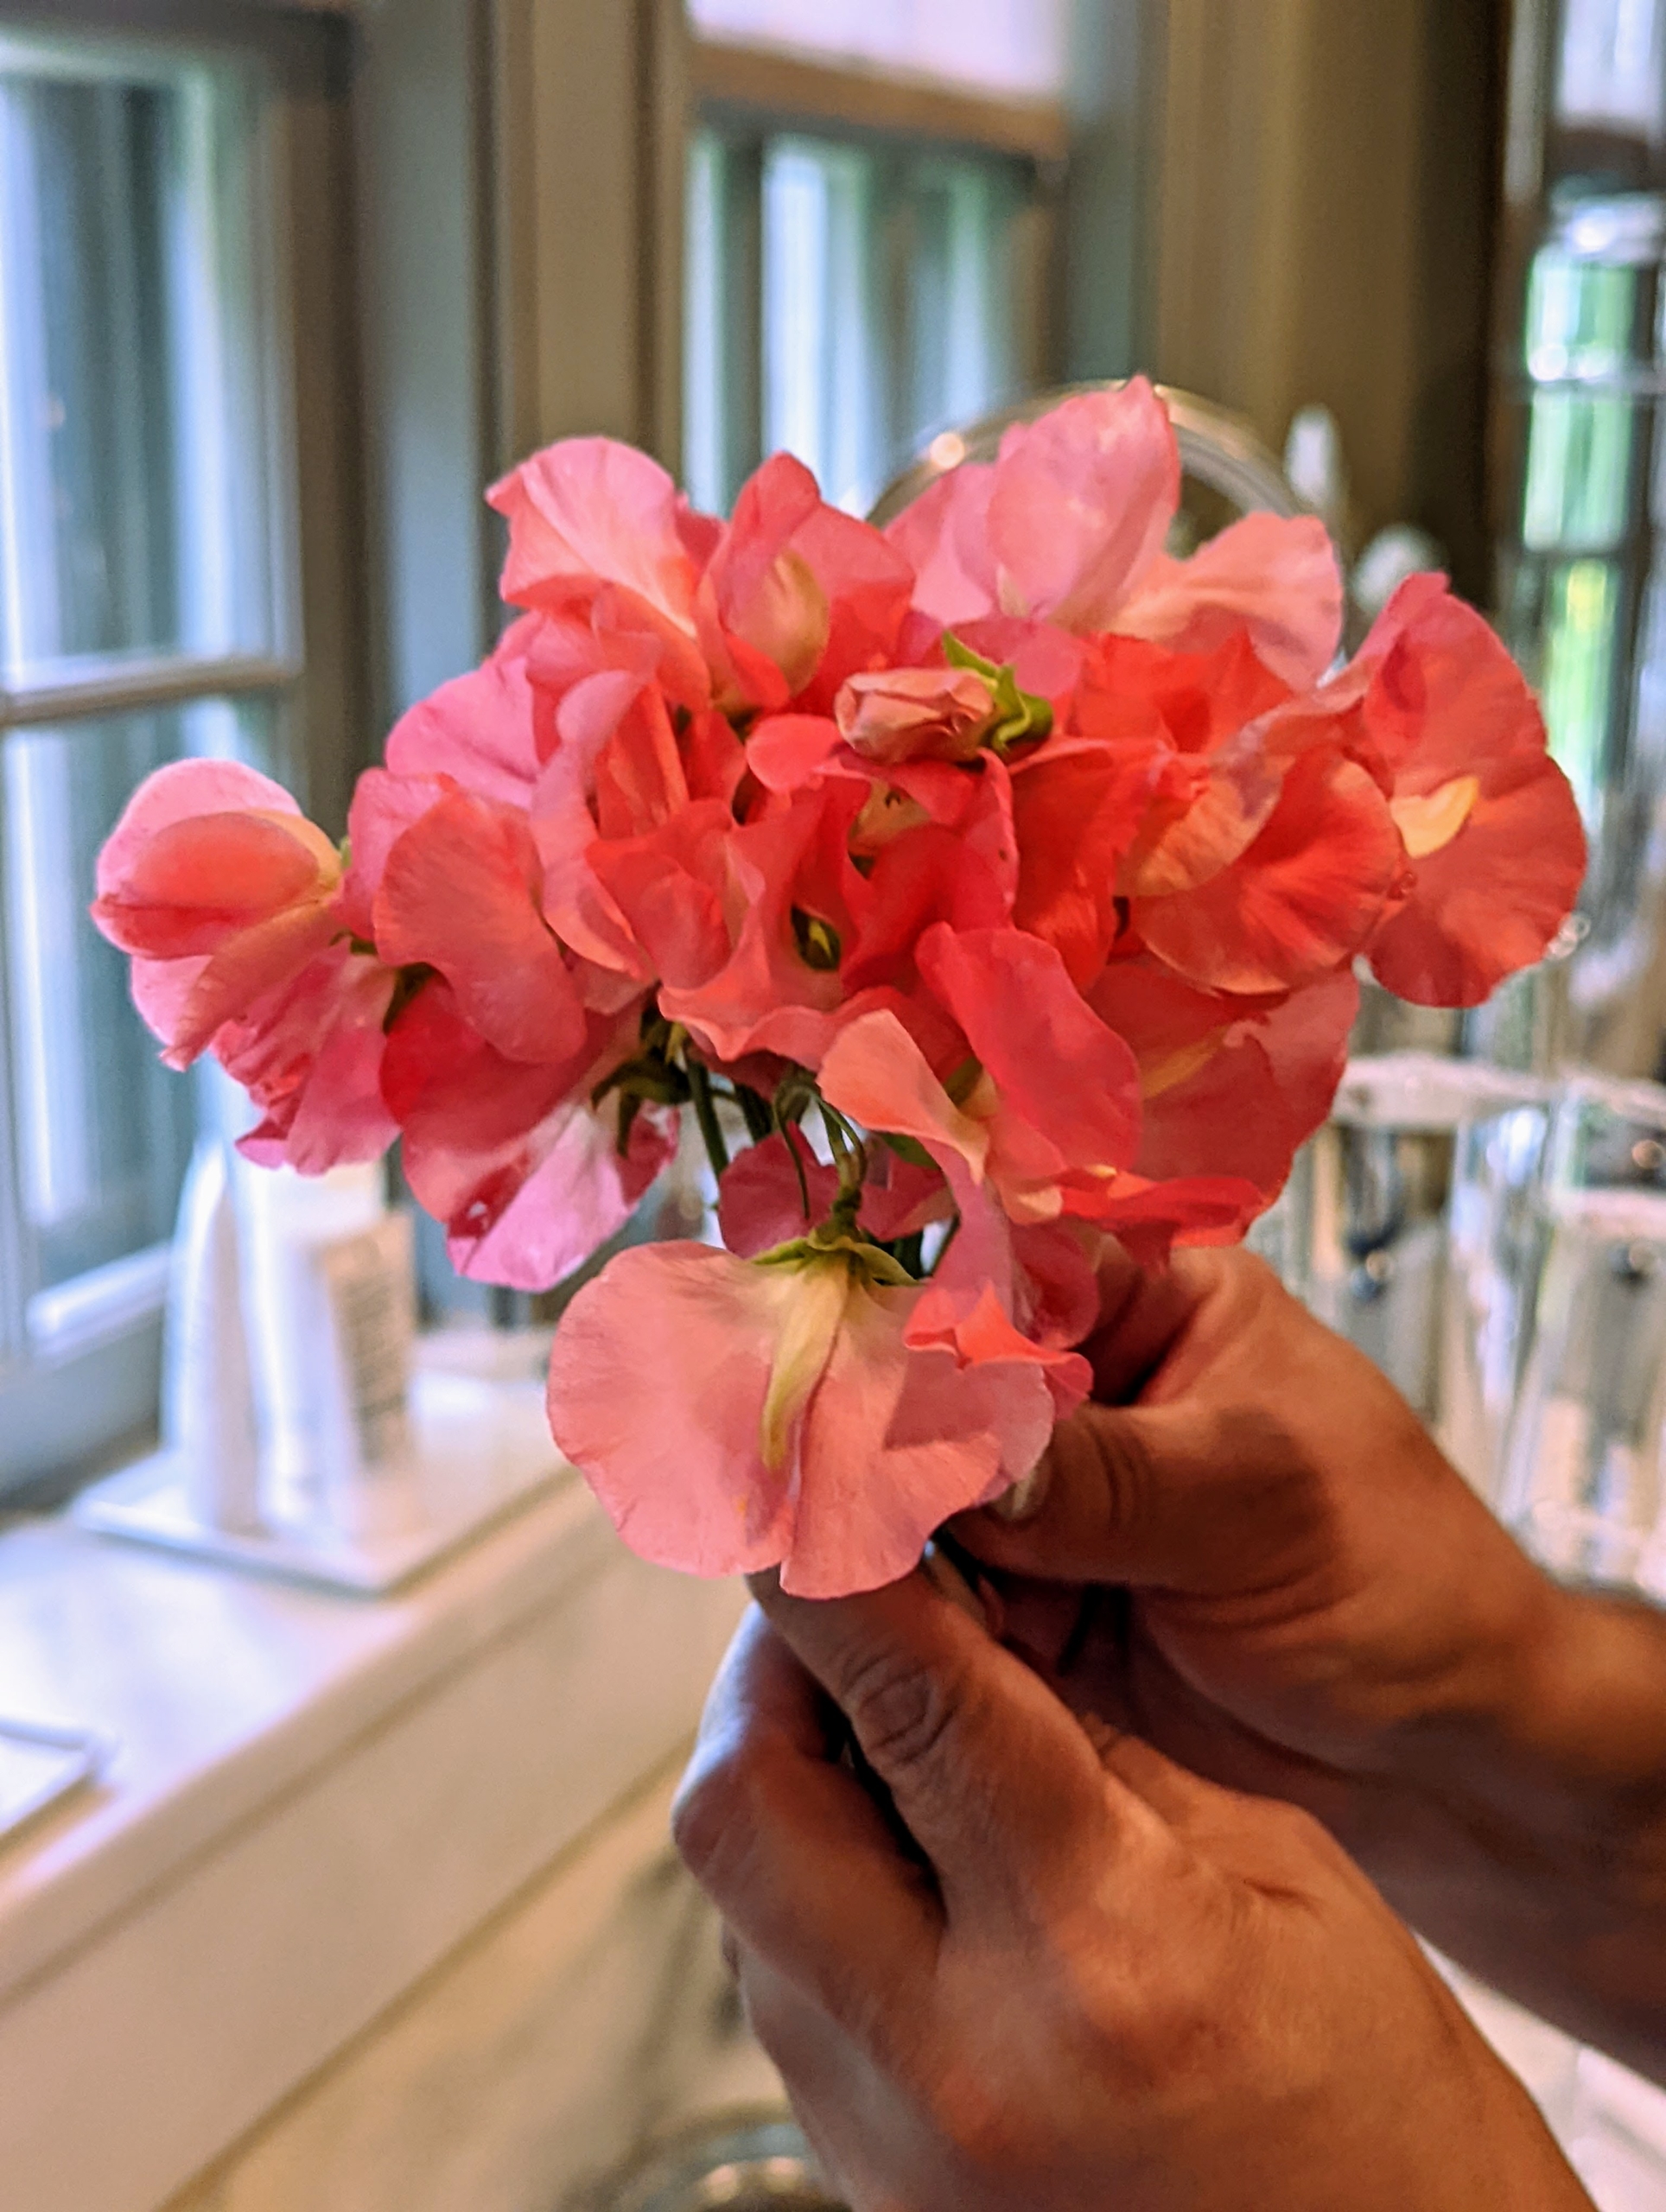
She gathers them one stem at a time holding them securely in one hand while she positions them with the other – blossoms faced out.
Here are the most beautiful salmon colored sweet peas.
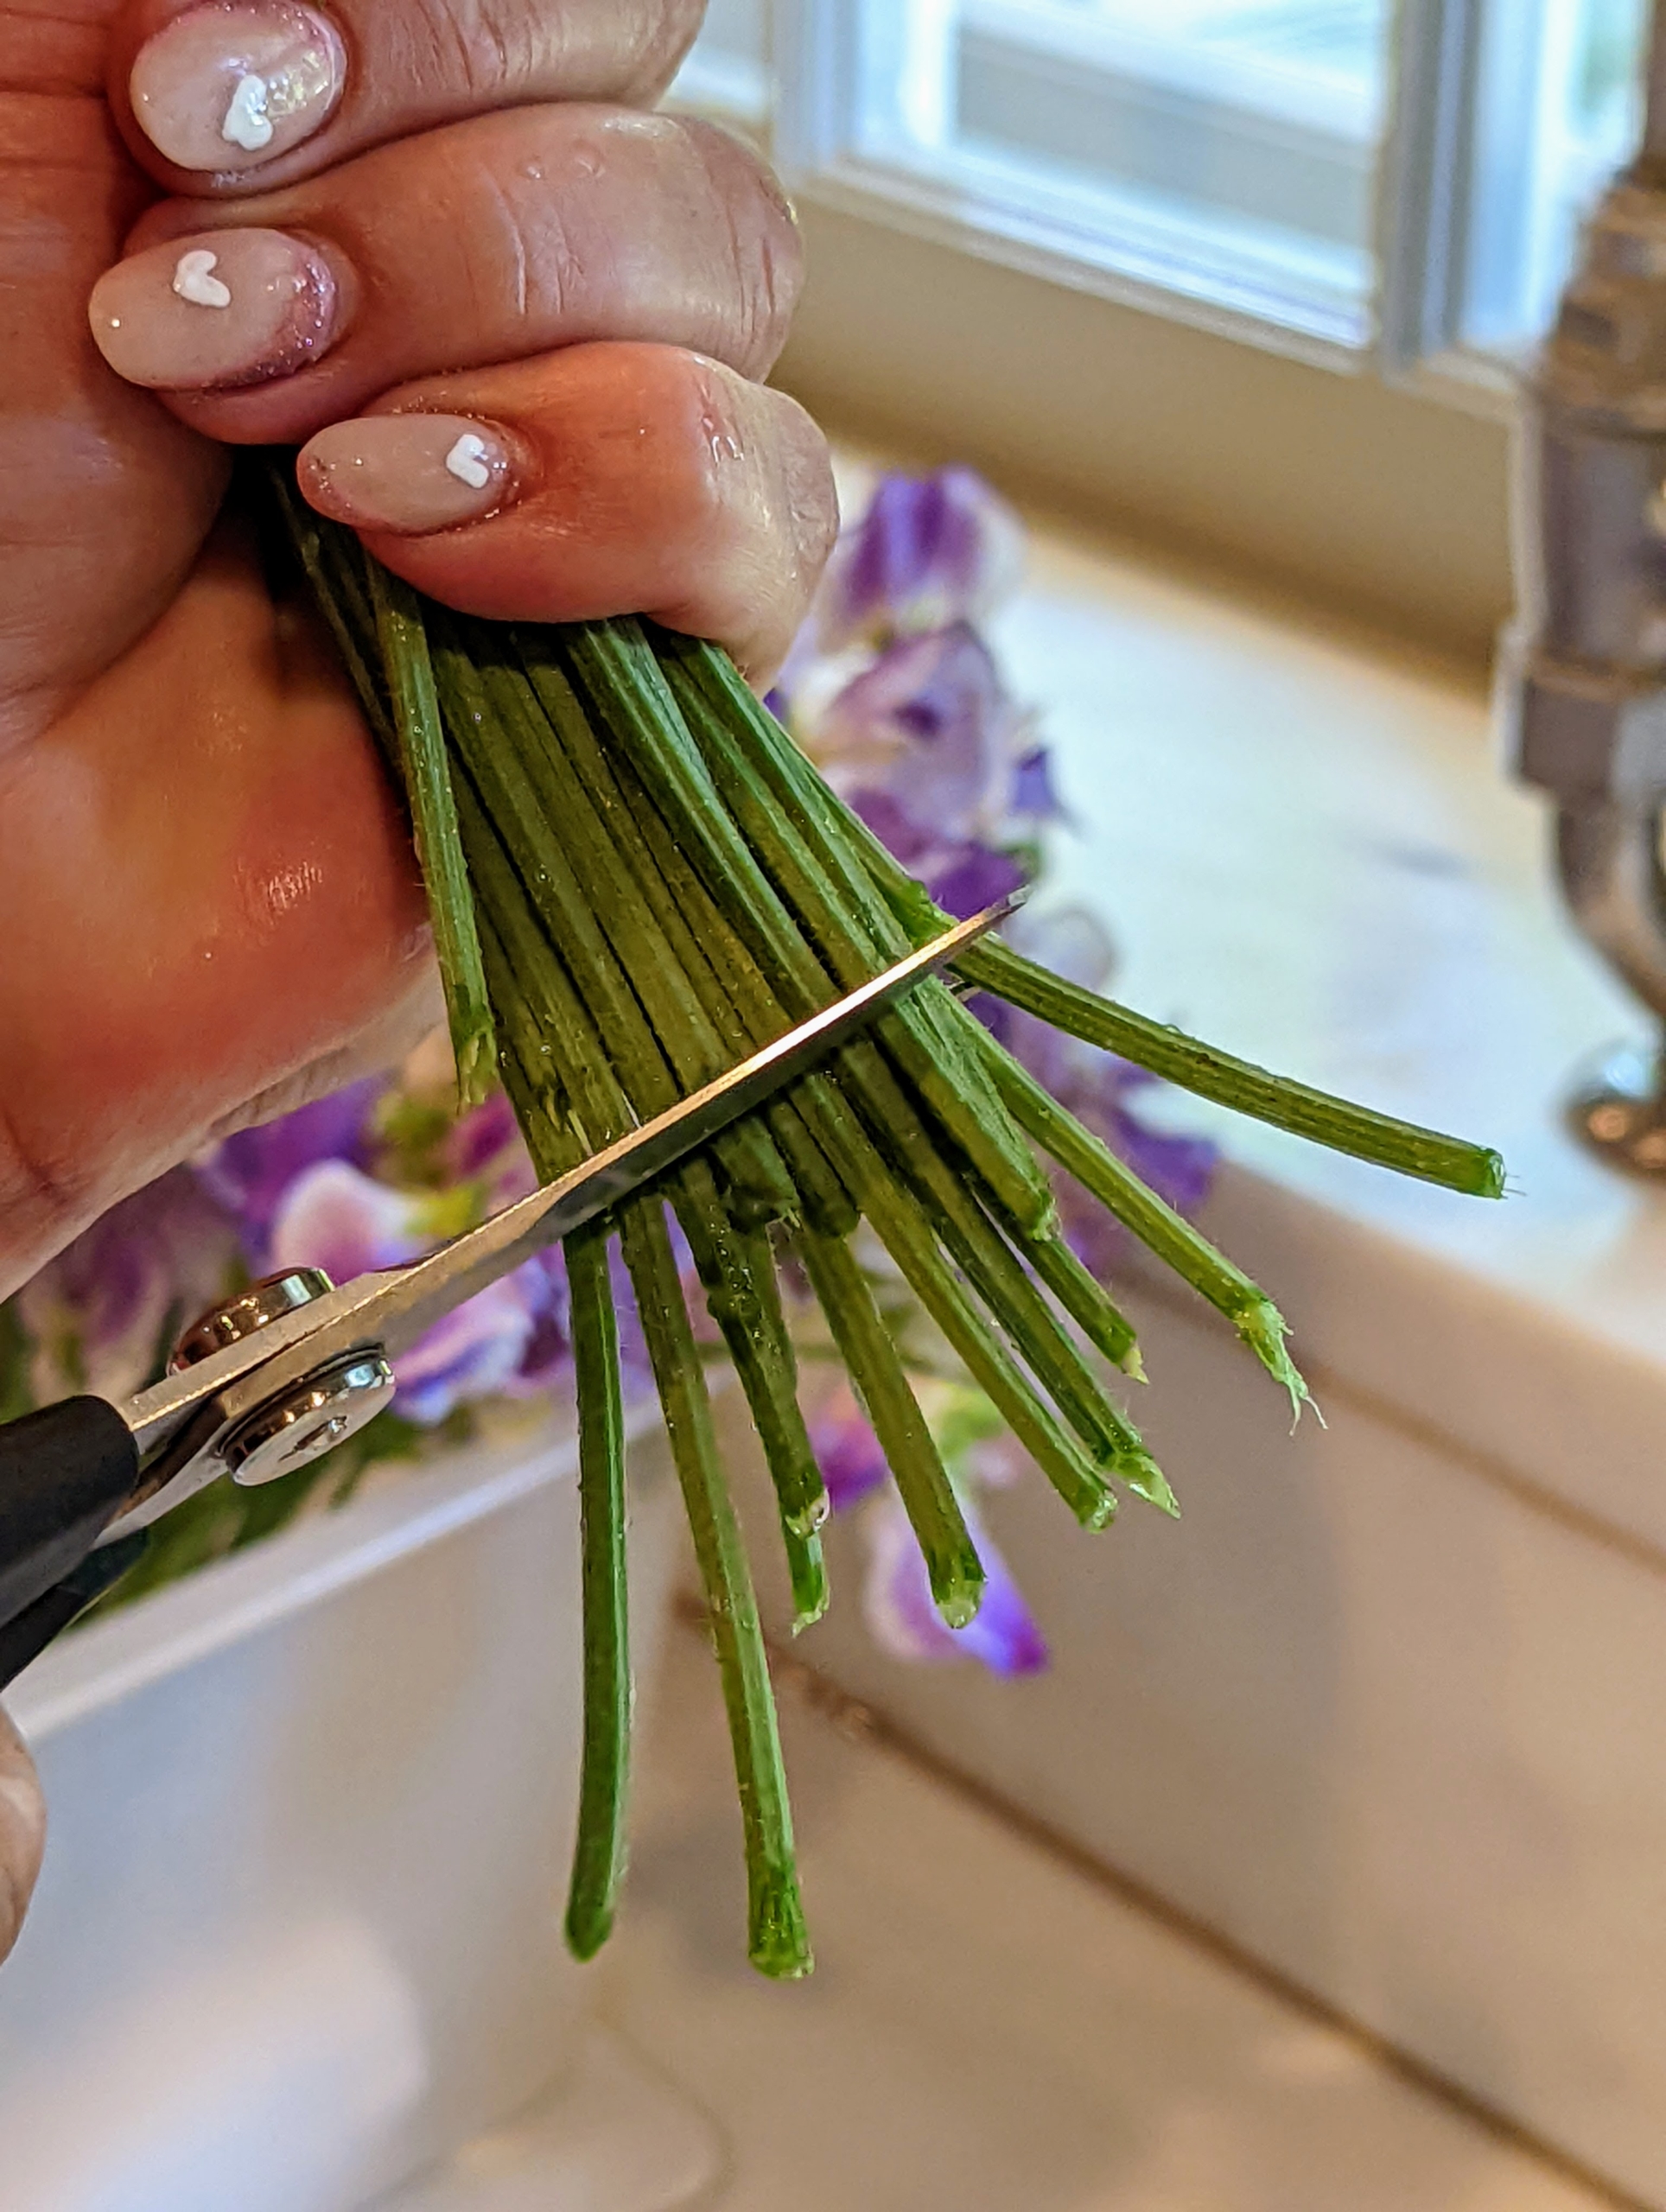
After selecting a good amount of flowers, Enma cuts the stems with a very sharp scissor leaving them about six to eight inches long. When trimming, always keep in mind the size of the container.
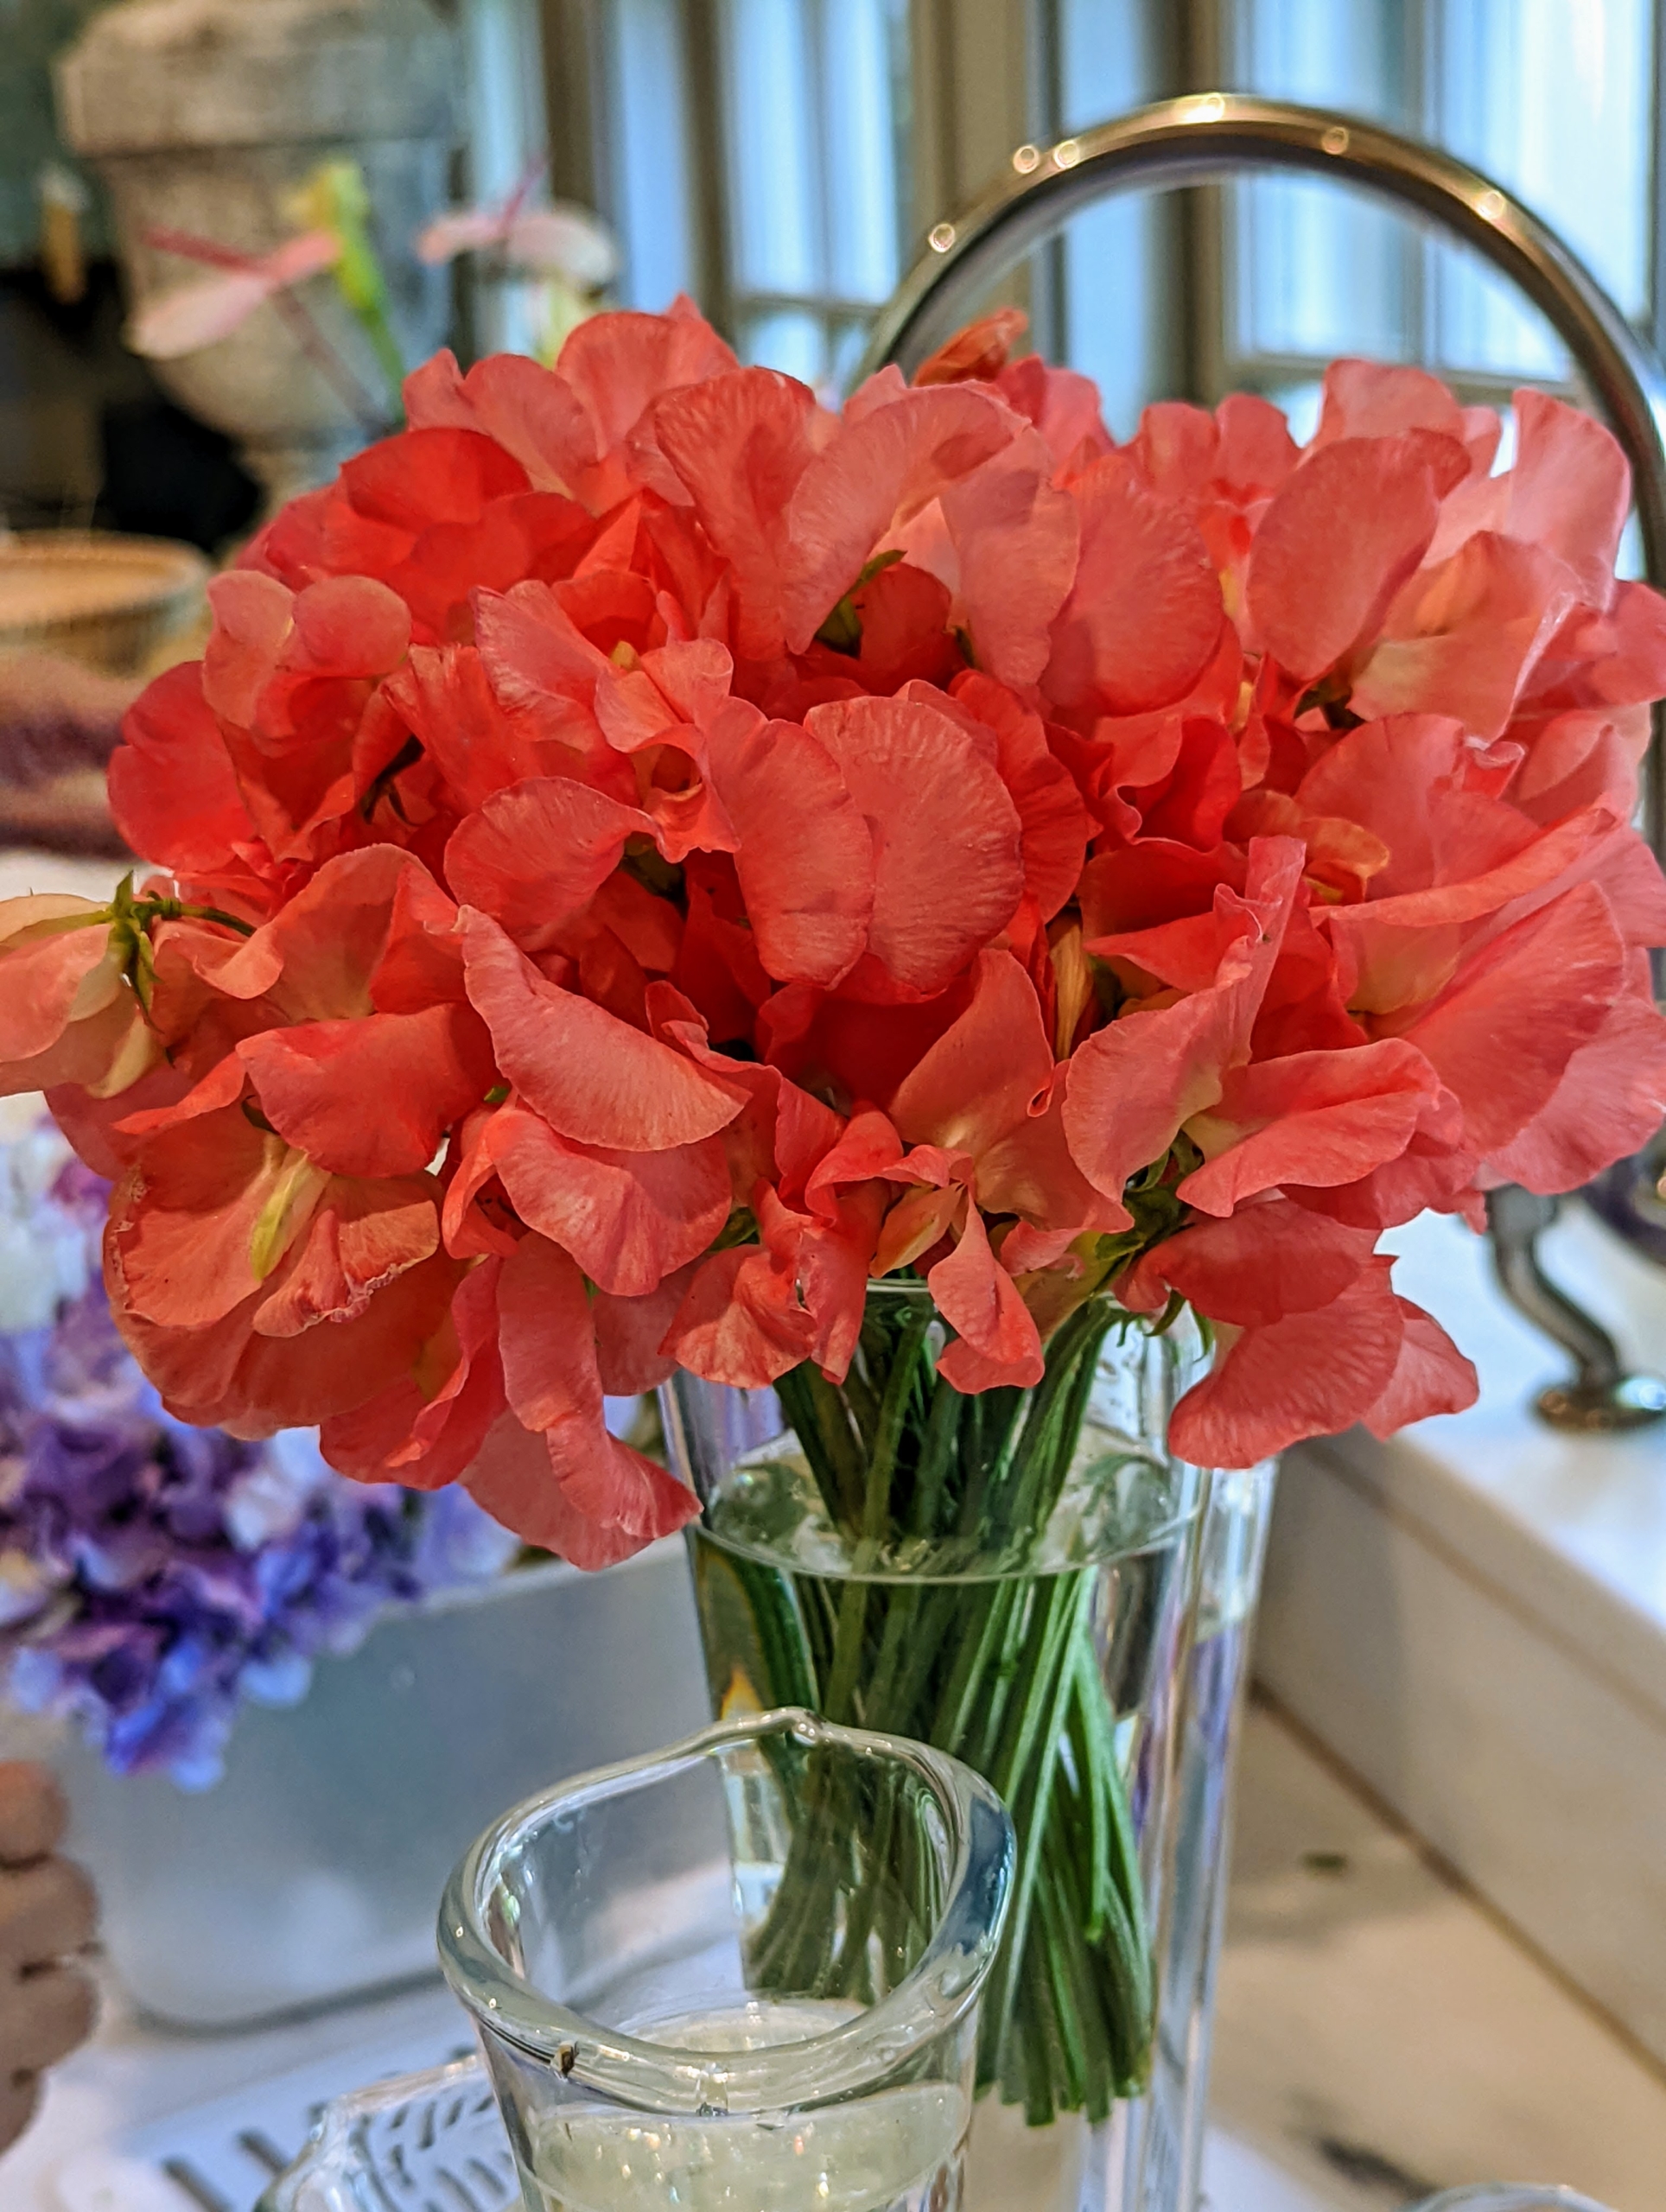
Then Enma places them in the vase of cool water – they look so beautiful with their green straight stems.
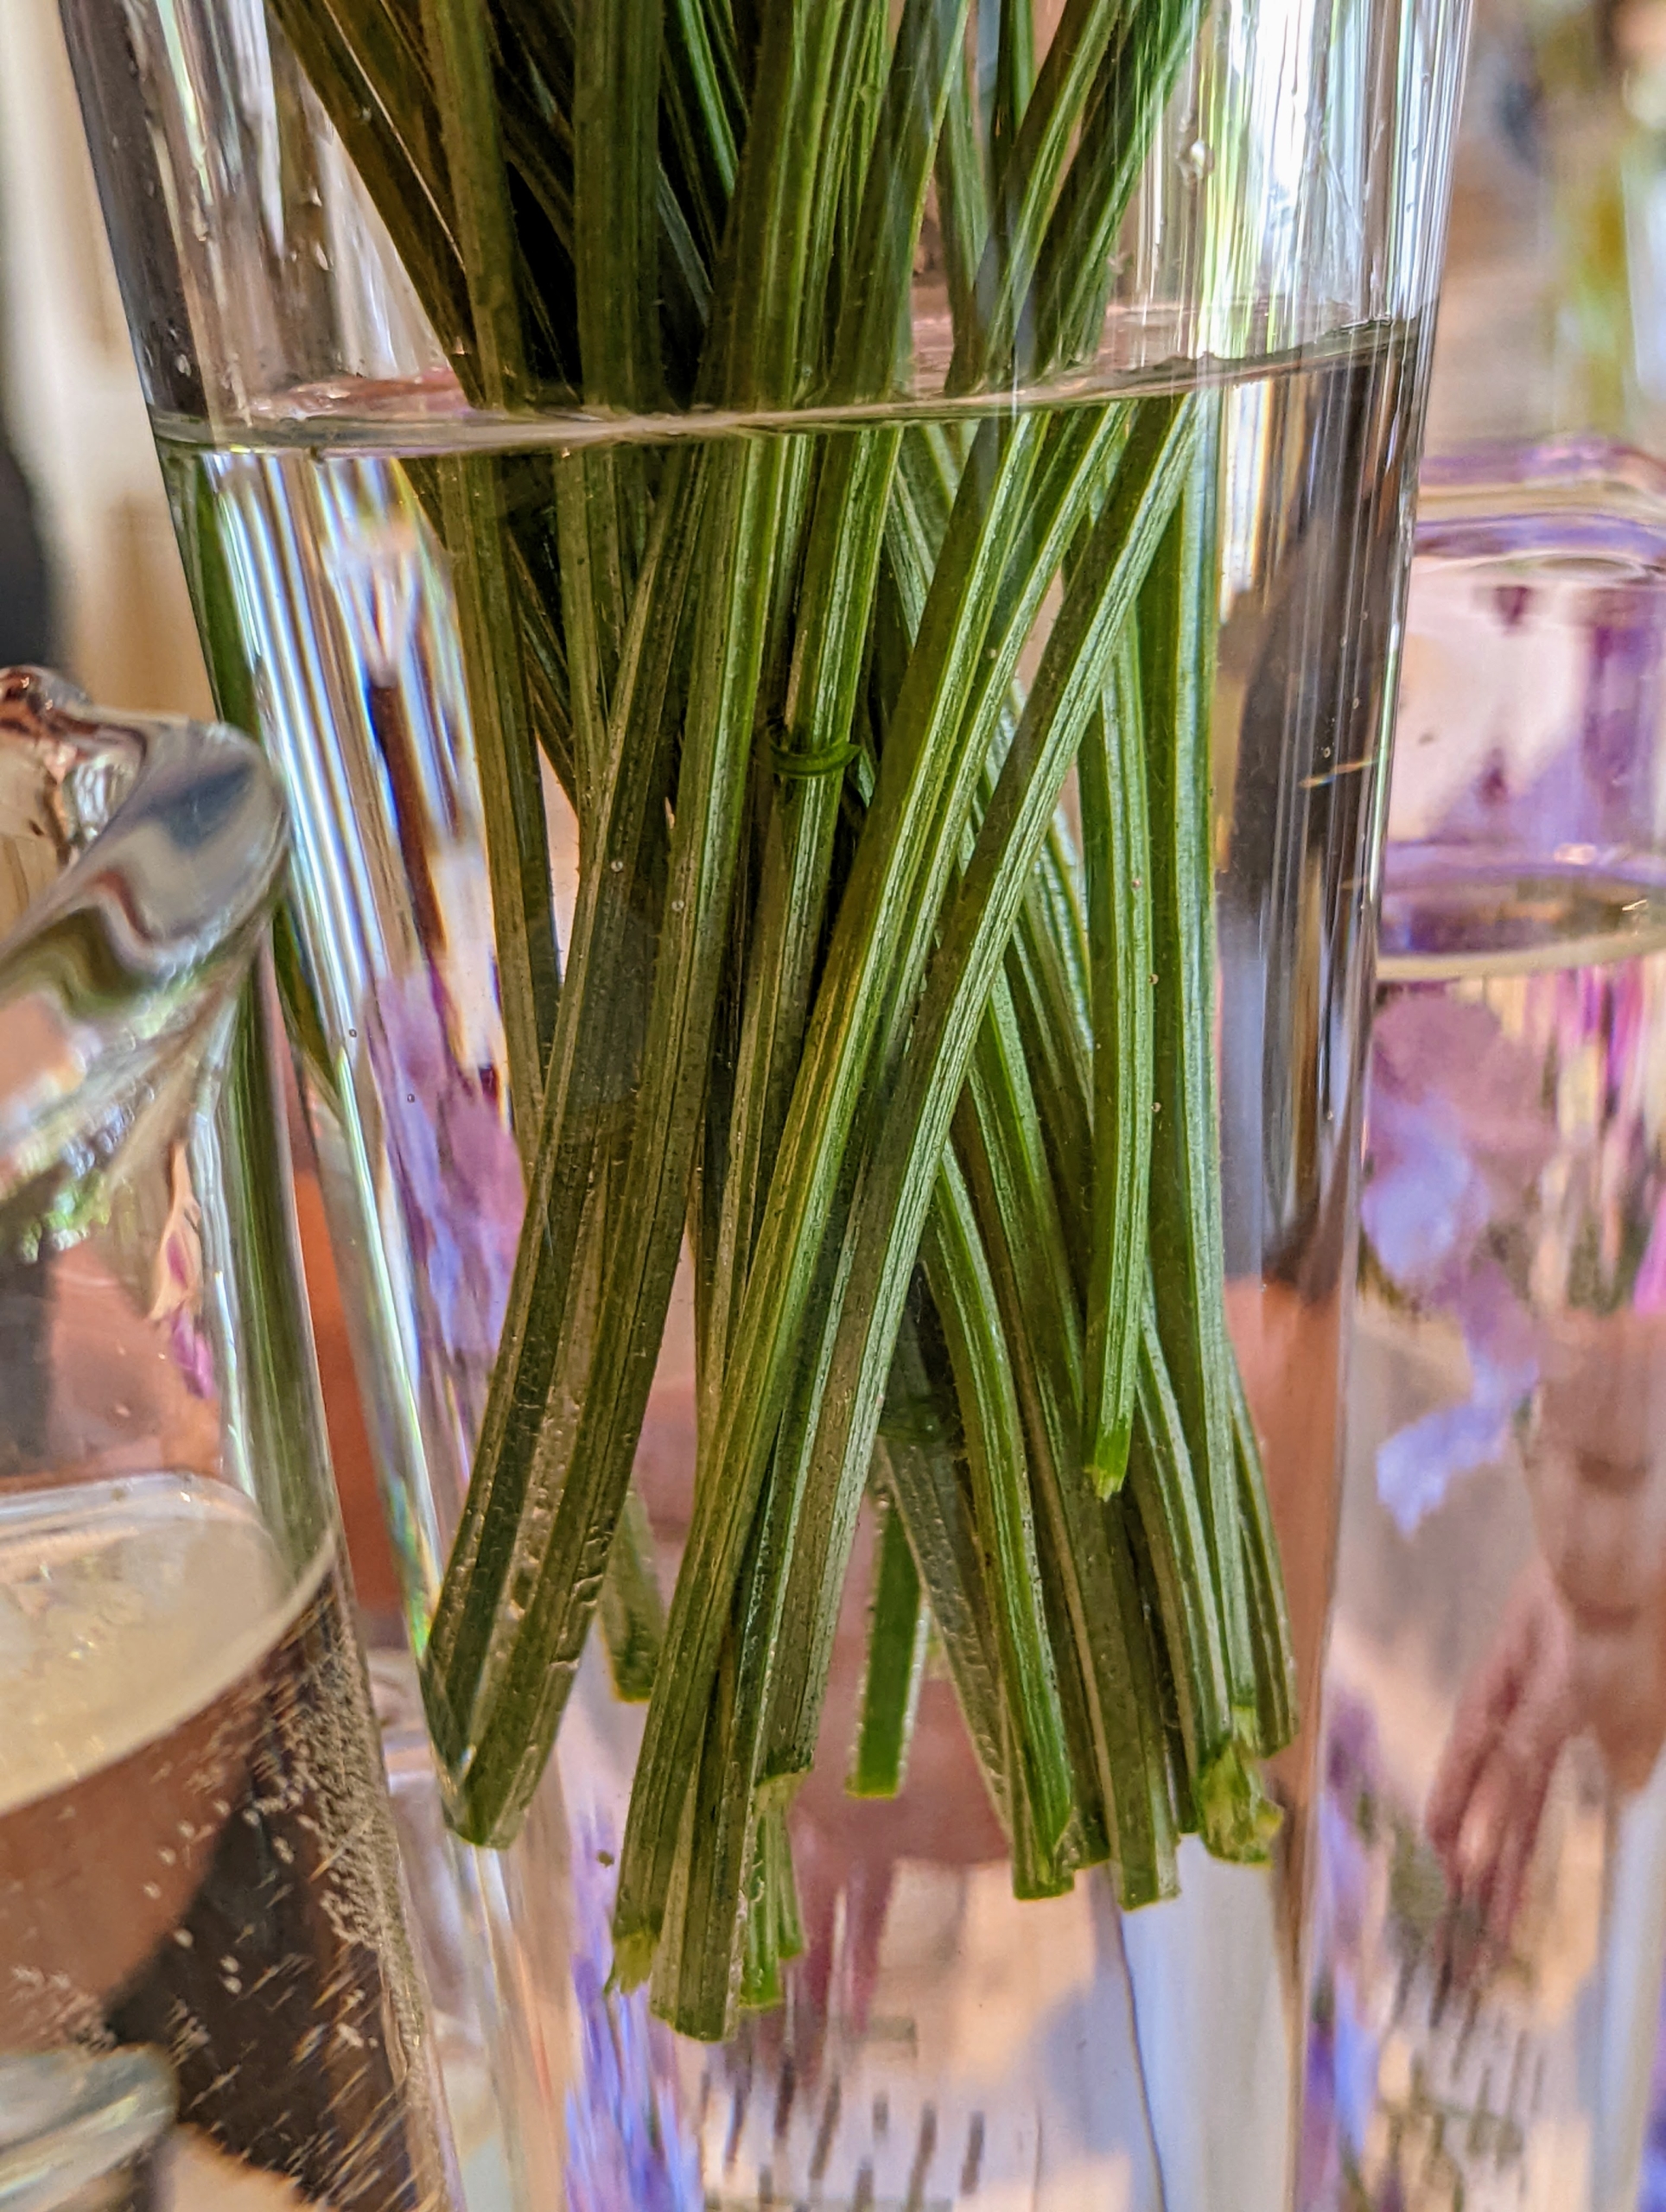
Here, one can see the stems with at least a few inches below the water line. For the longest vase life, pick sweet peas when there are at least two unopened flowers at the tip of a stem.
Enma does the same with the other bunches, taking each flower and facing the open blooms outward so they look best. While sweet peas fill any room with sweet fragrance, they are a short-lived cut flower, lasting only four to five days in a vase.
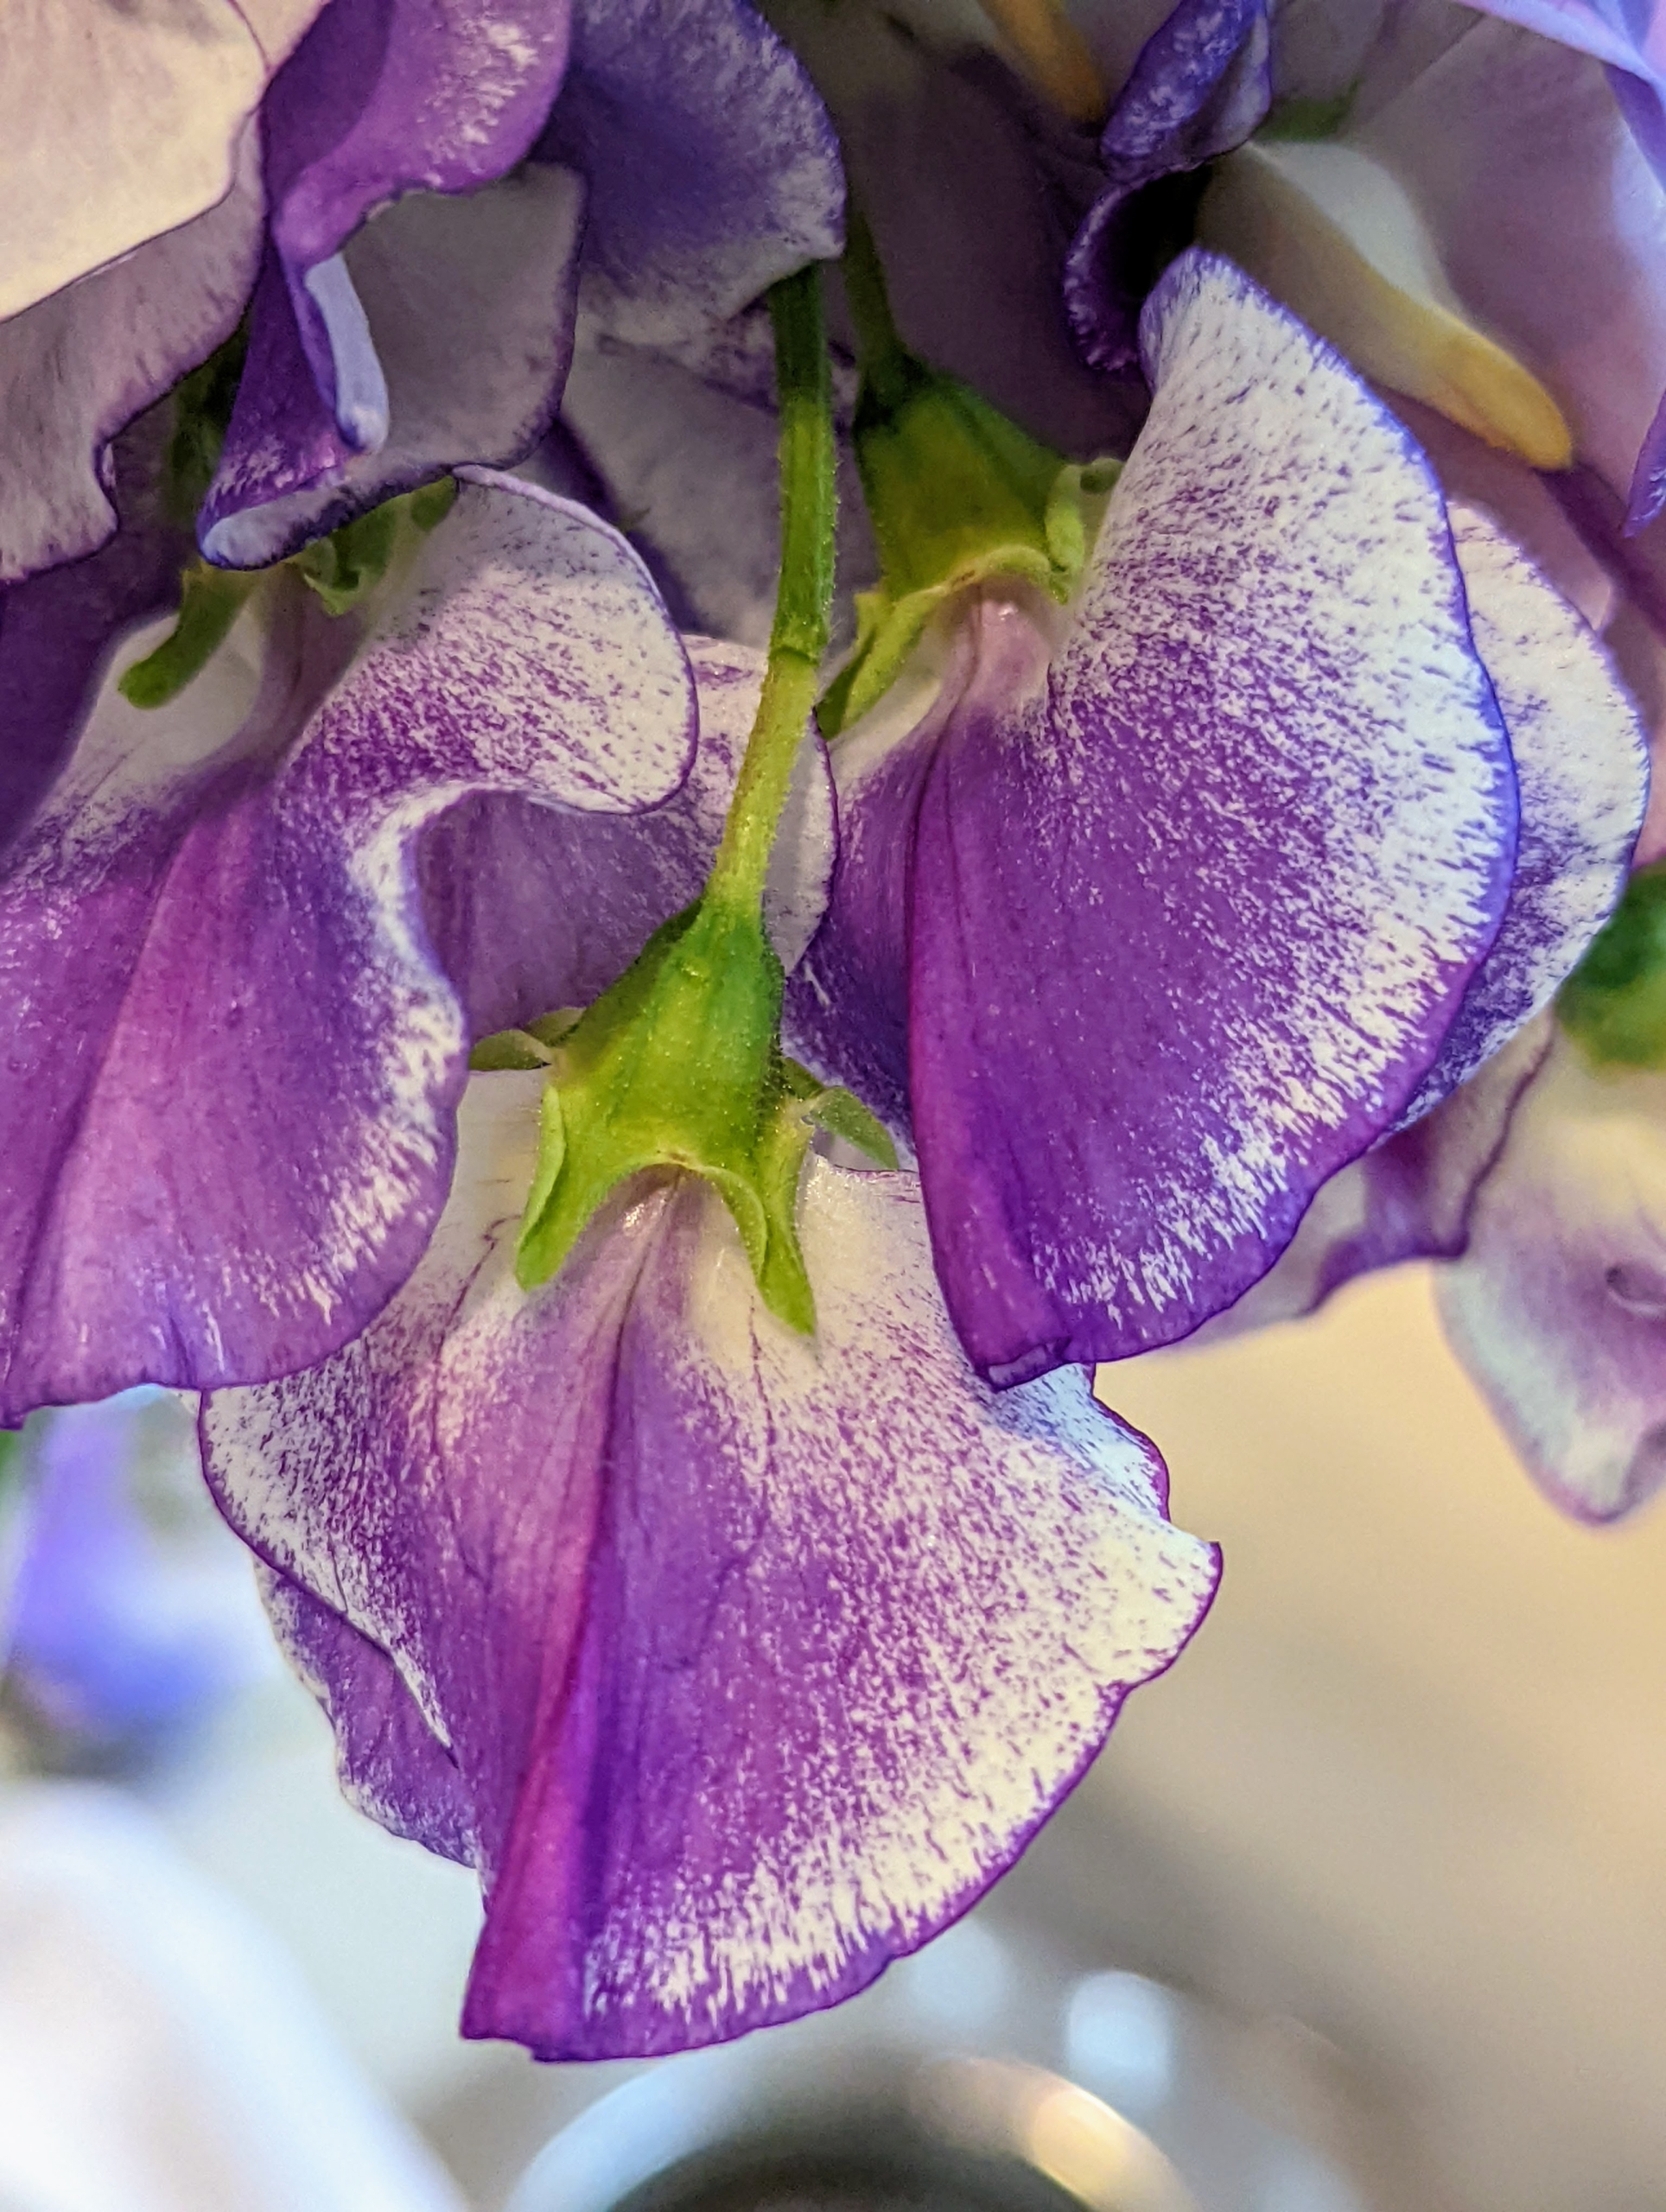
This variety is flecked and shows such pretty purple and white blossoms. The first sweet peas were introduced to Britain in 1699 when a Sicilian monk, Francis Cupani, sent seeds to Dr. Robert Uvedale, a teacher from Enfield, Middlesex. They became hugely popular in North America, both as garden plants and cut blooms. By the late 1800s, growers in the US shipped trainloads of sweet peas all over the country.
Here is a bunch of solid colored pink sweet peas. To prolong the cut flowers, change the water in the vase once or twice a day, and place the vase of flowers out of direct sunlight and away from drafts.
And here are the cut pink and white sweet peas.
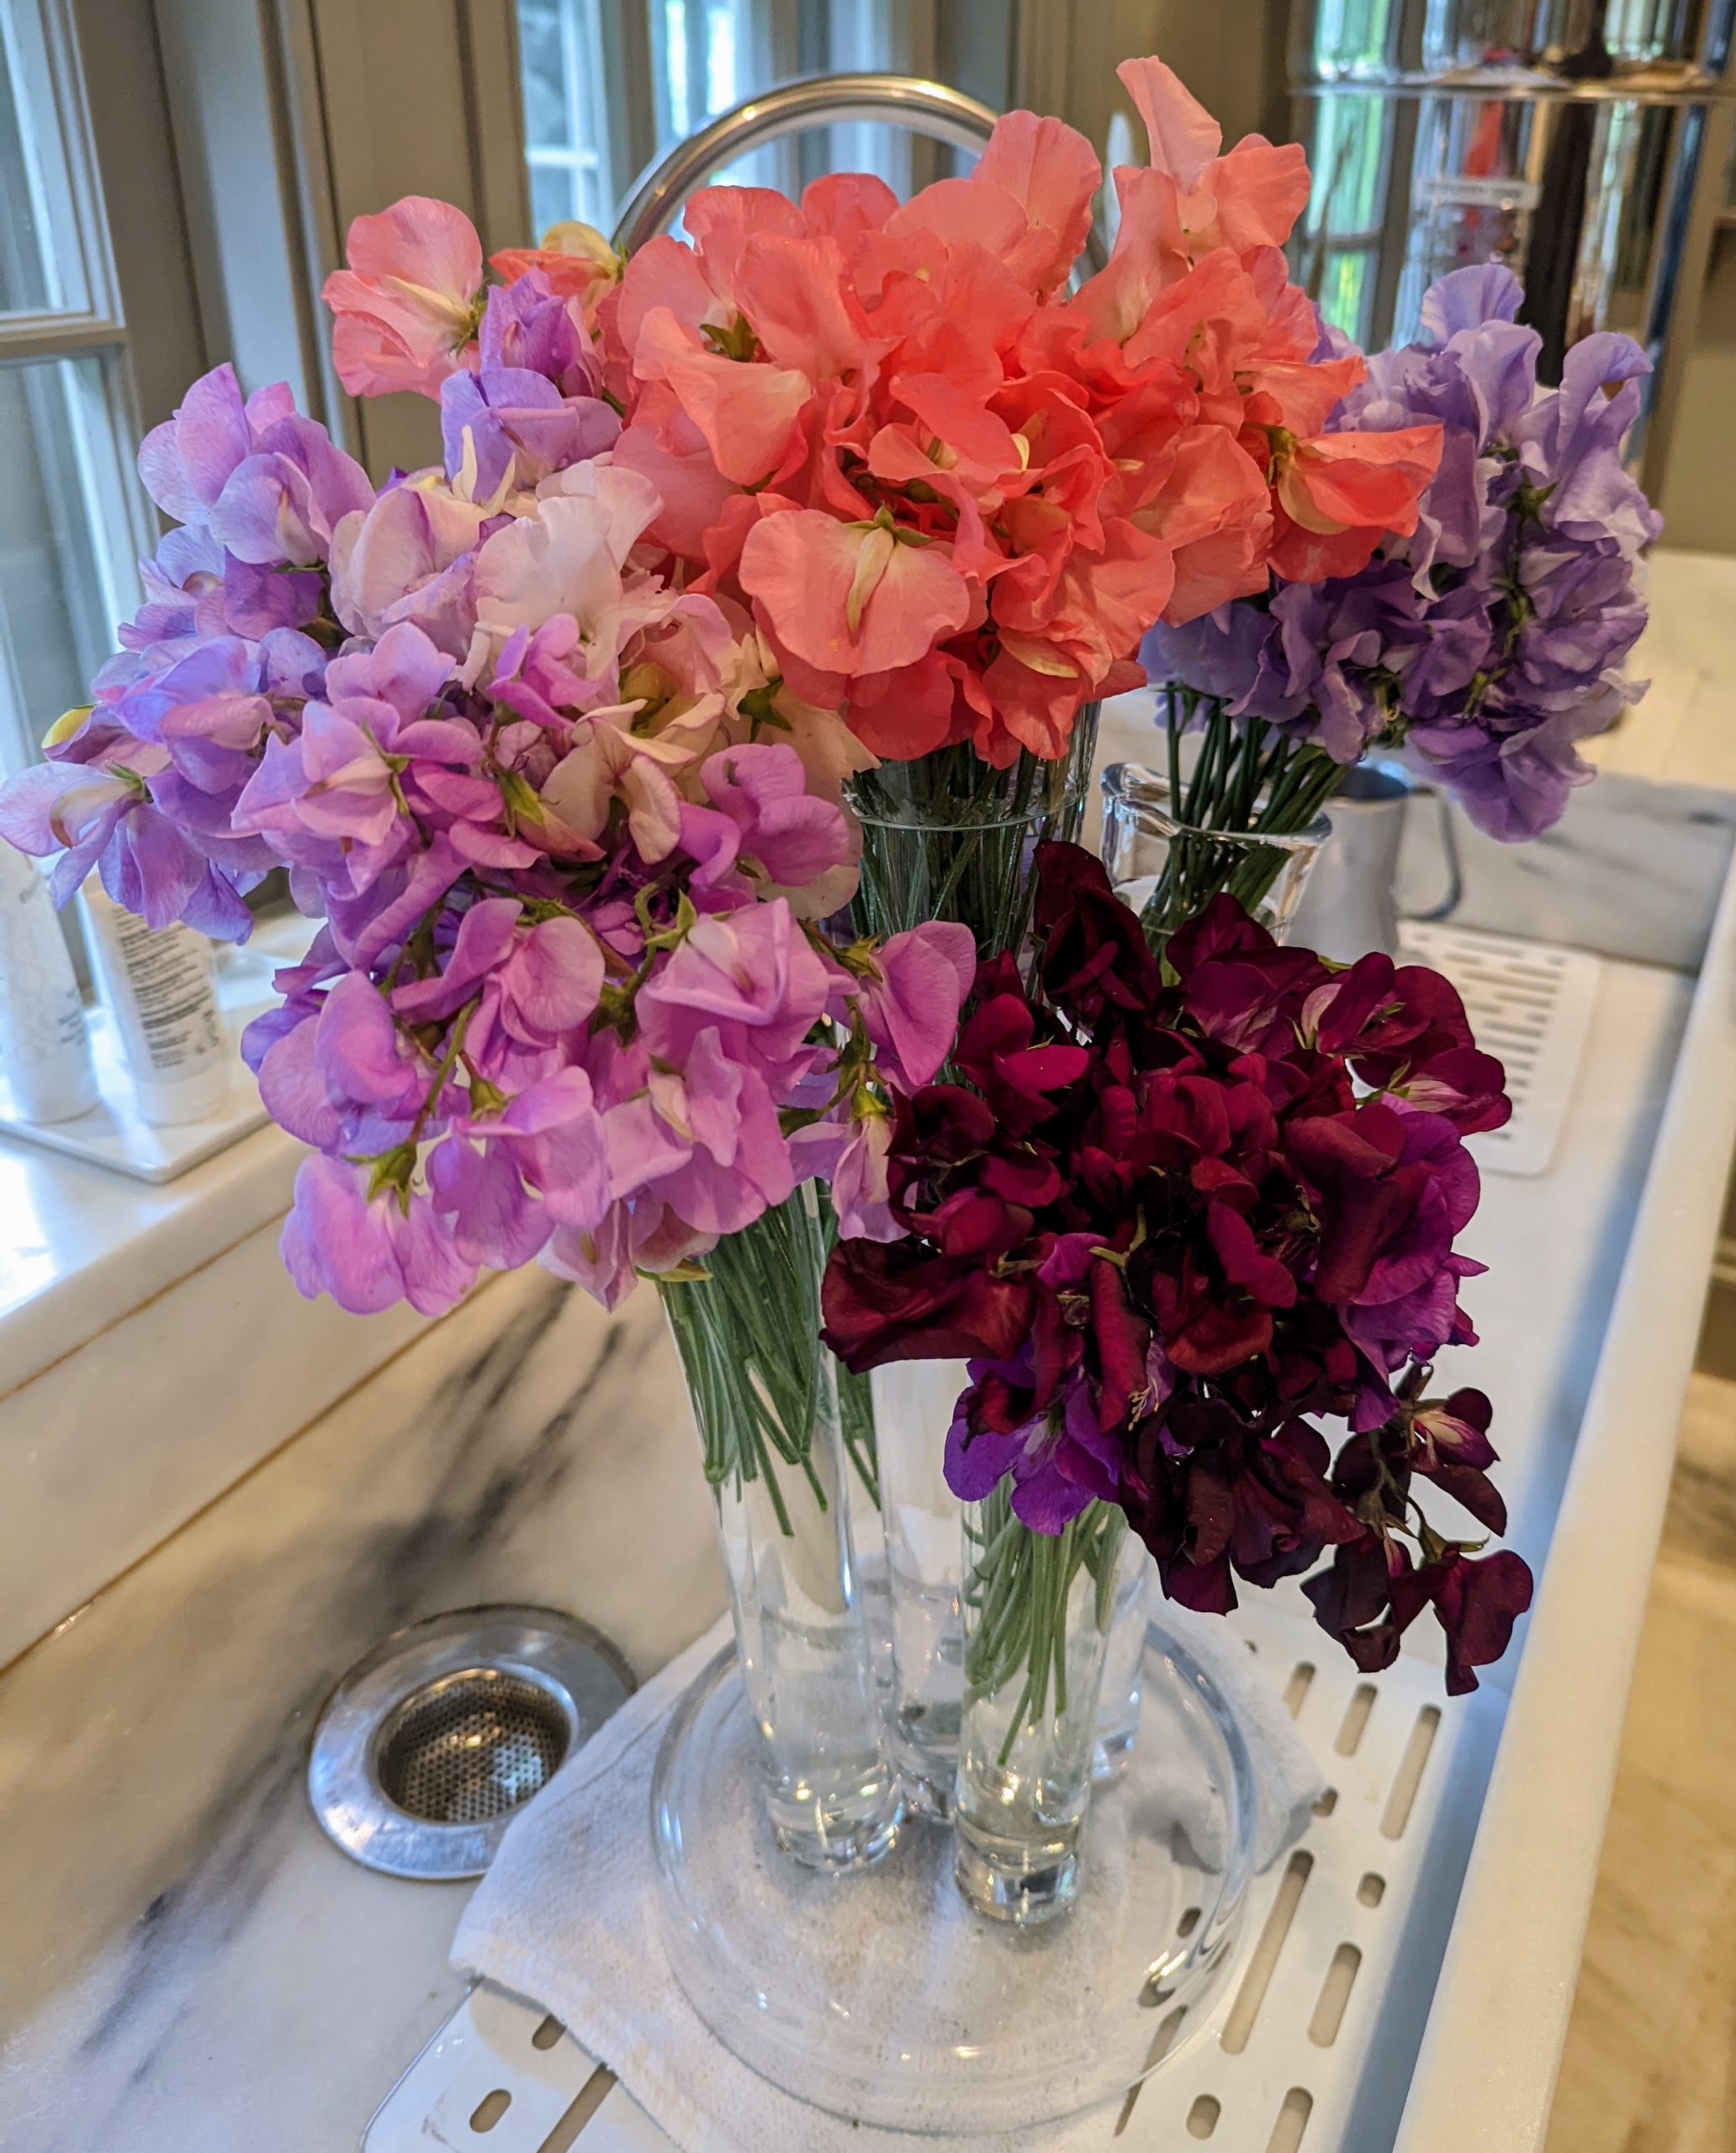
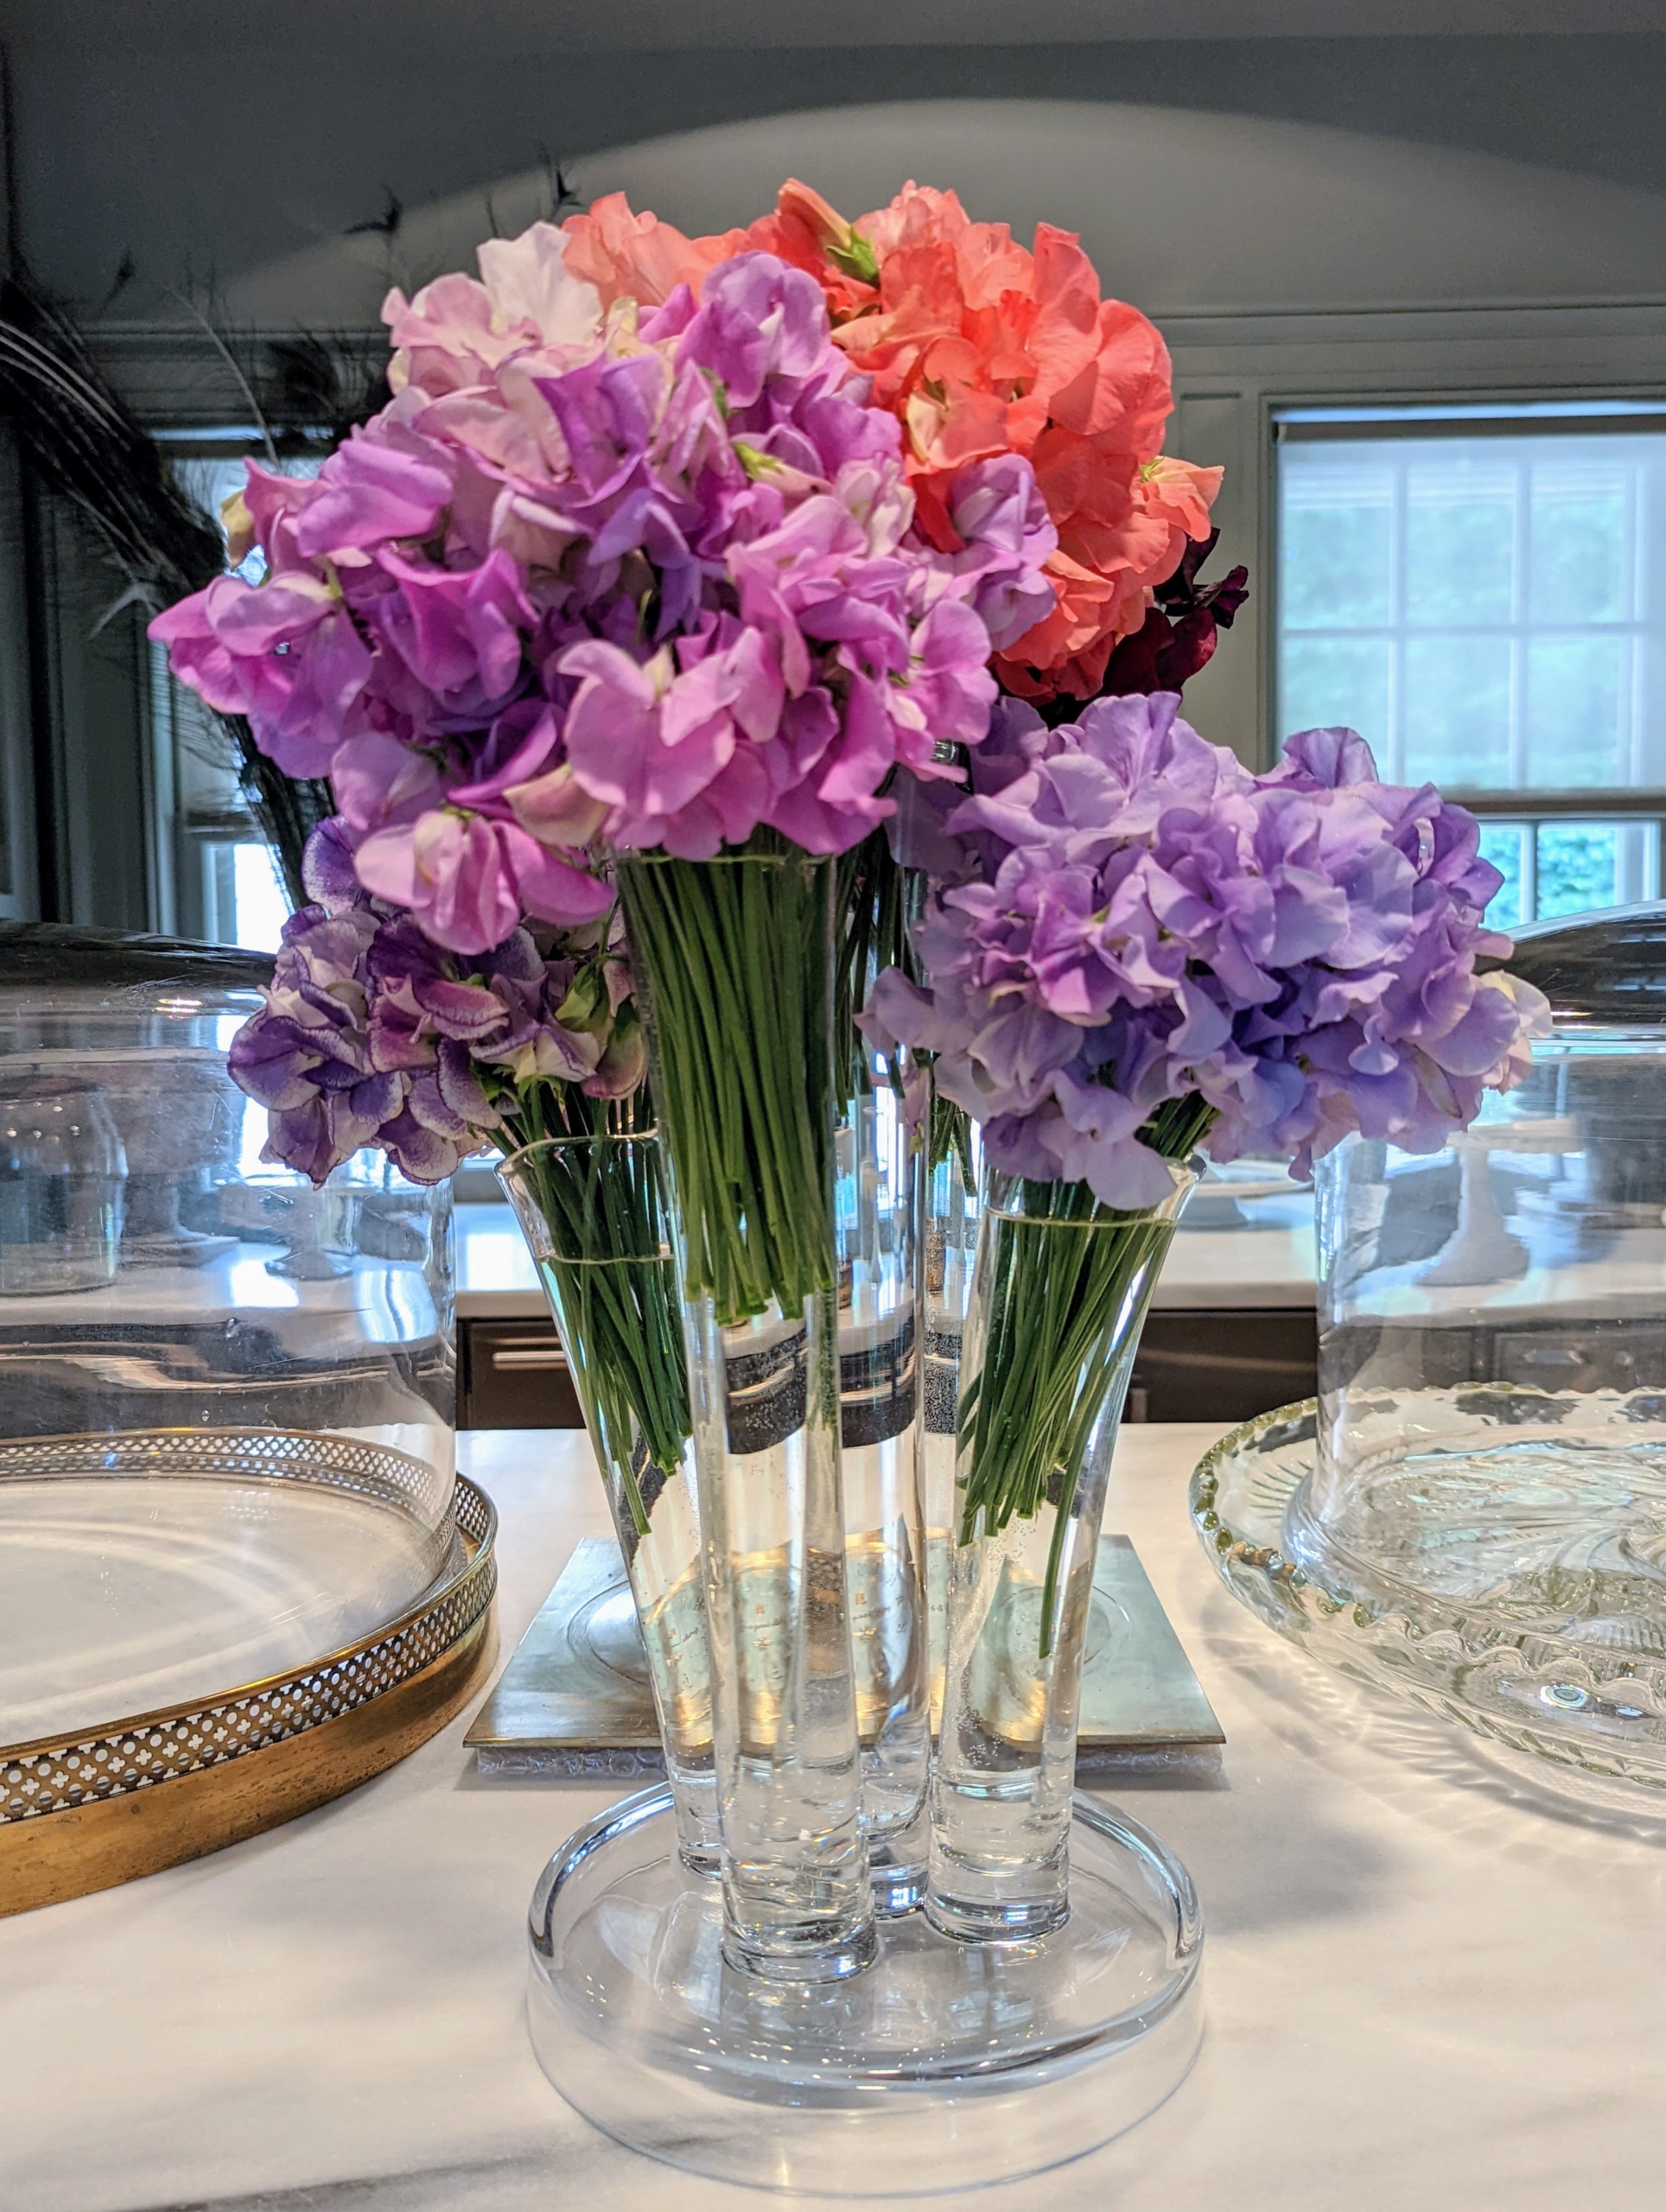
Once all cut, these flowers make a gorgeous arrangement – and I wish you could smell them; the fragrance is intoxicating. I hope you are able to enjoy the beauty of some cut sweet pea flowers in your home this season.
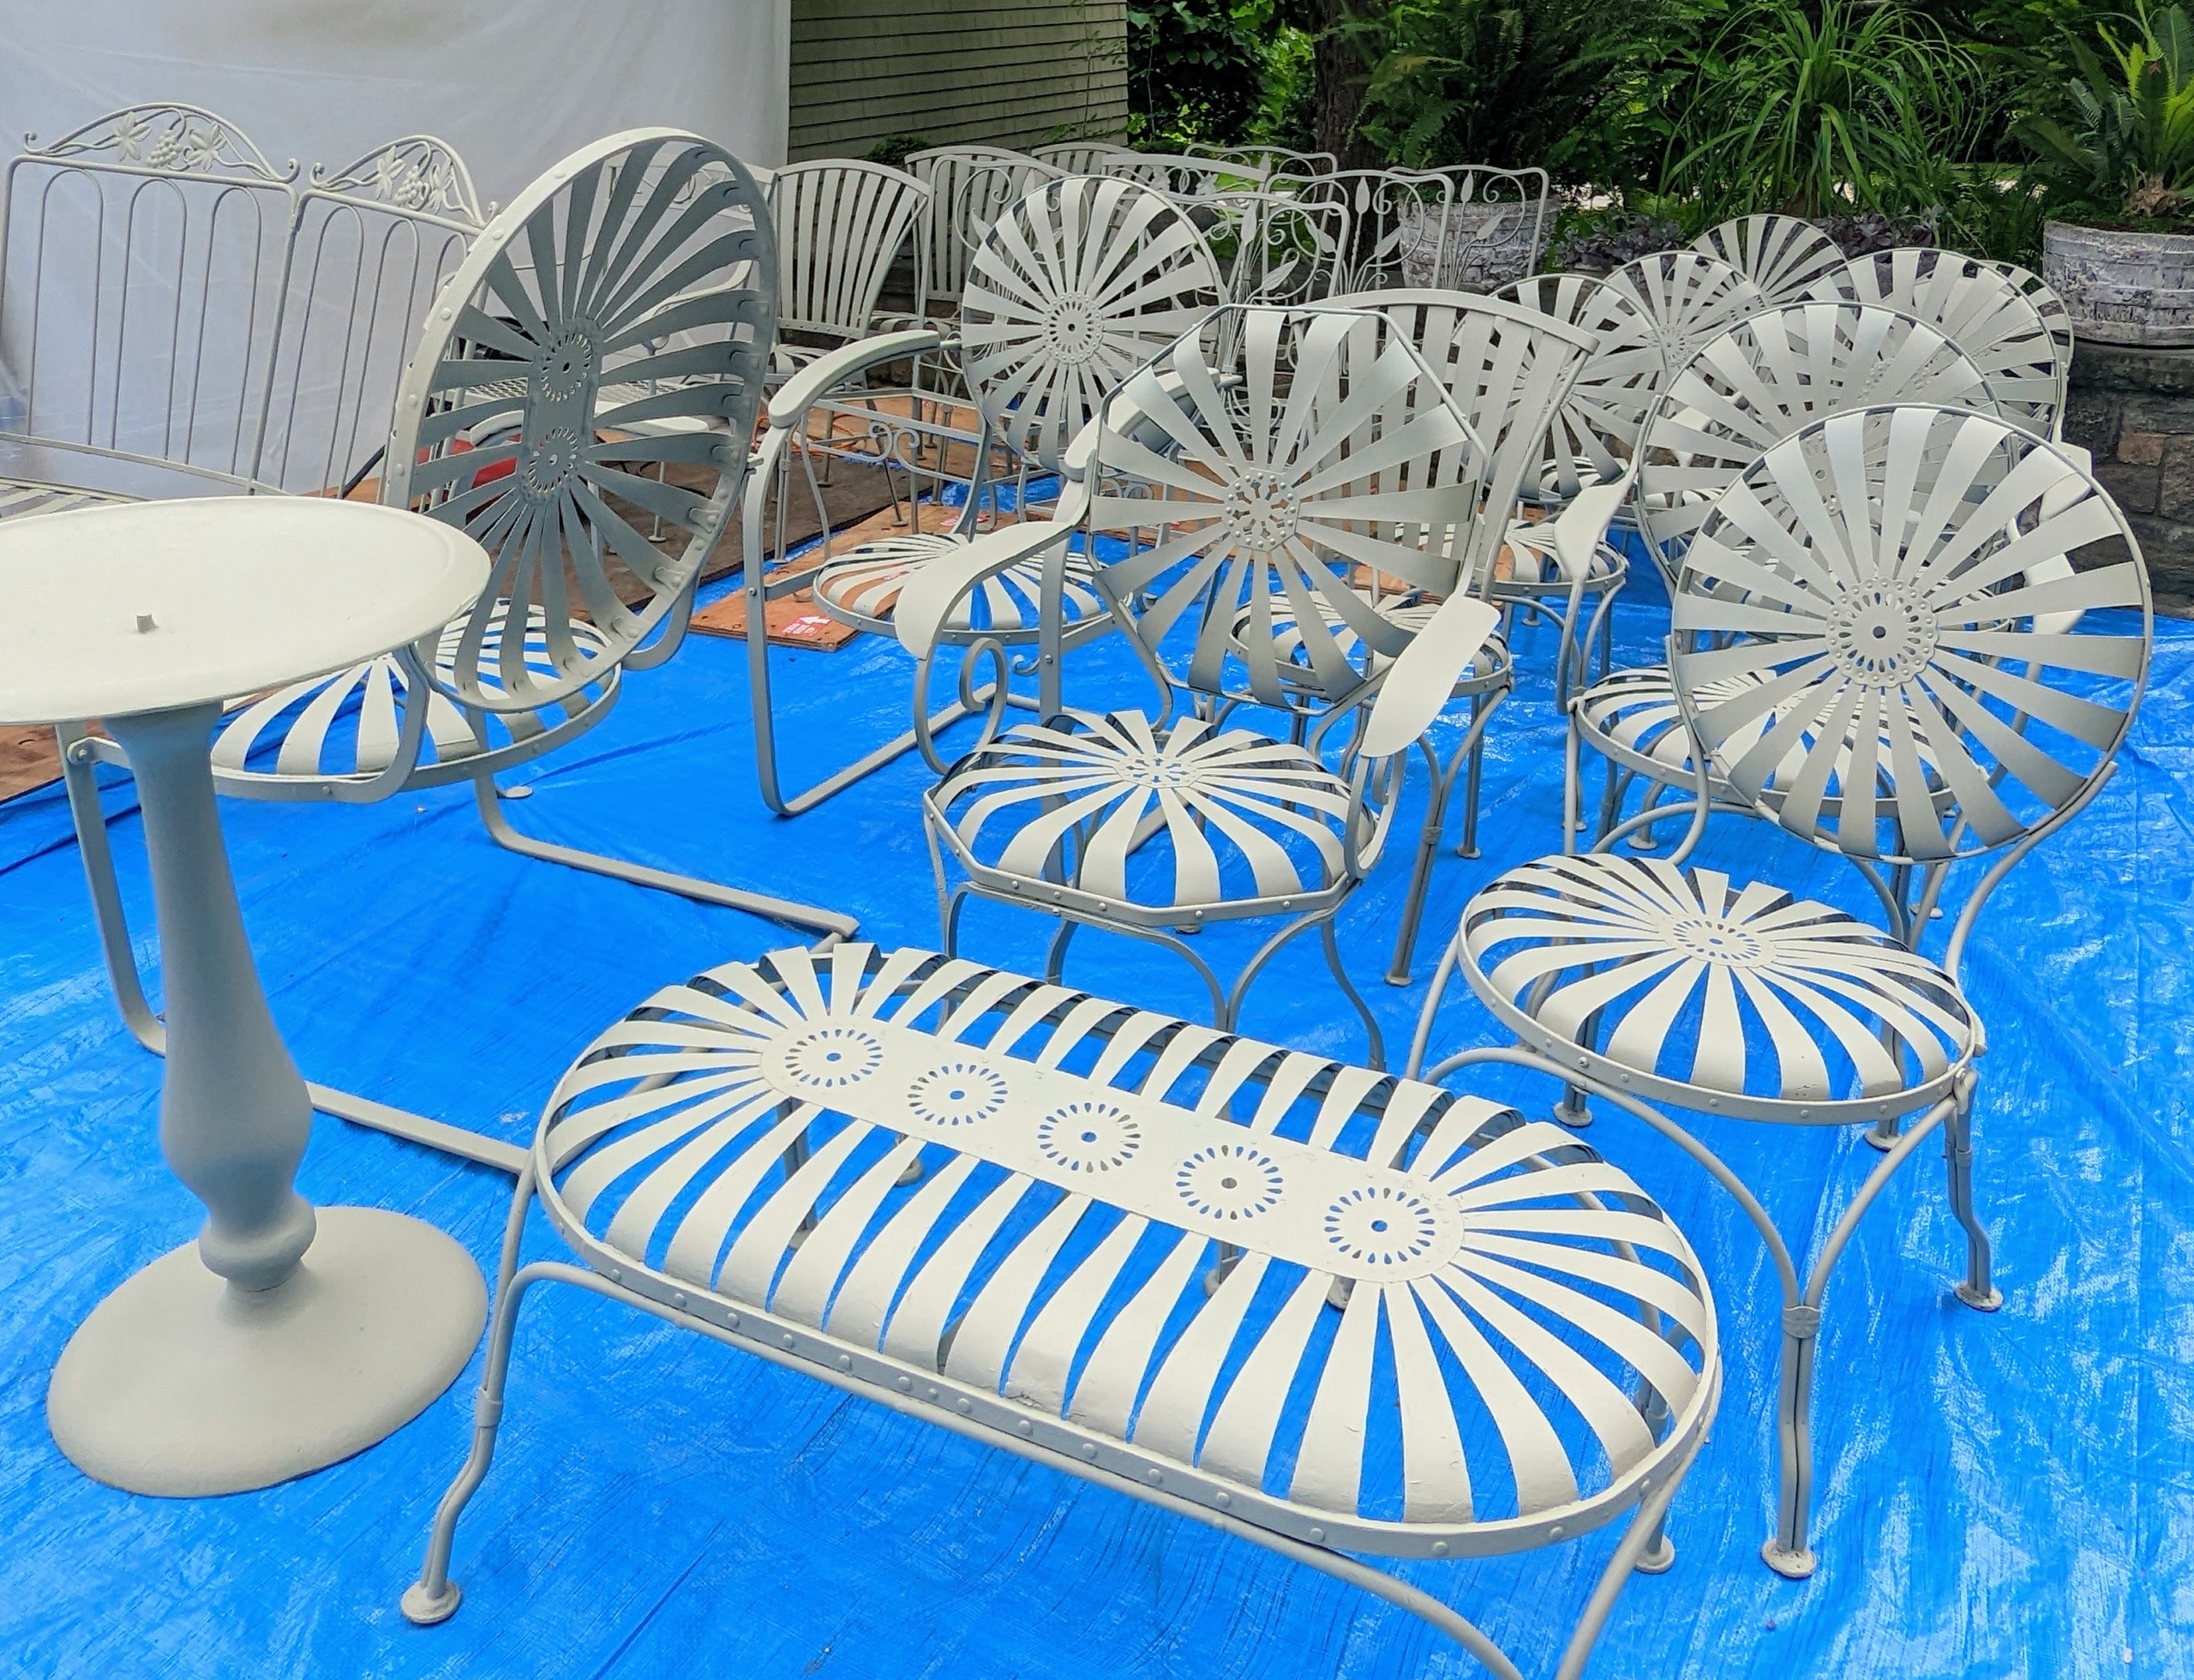
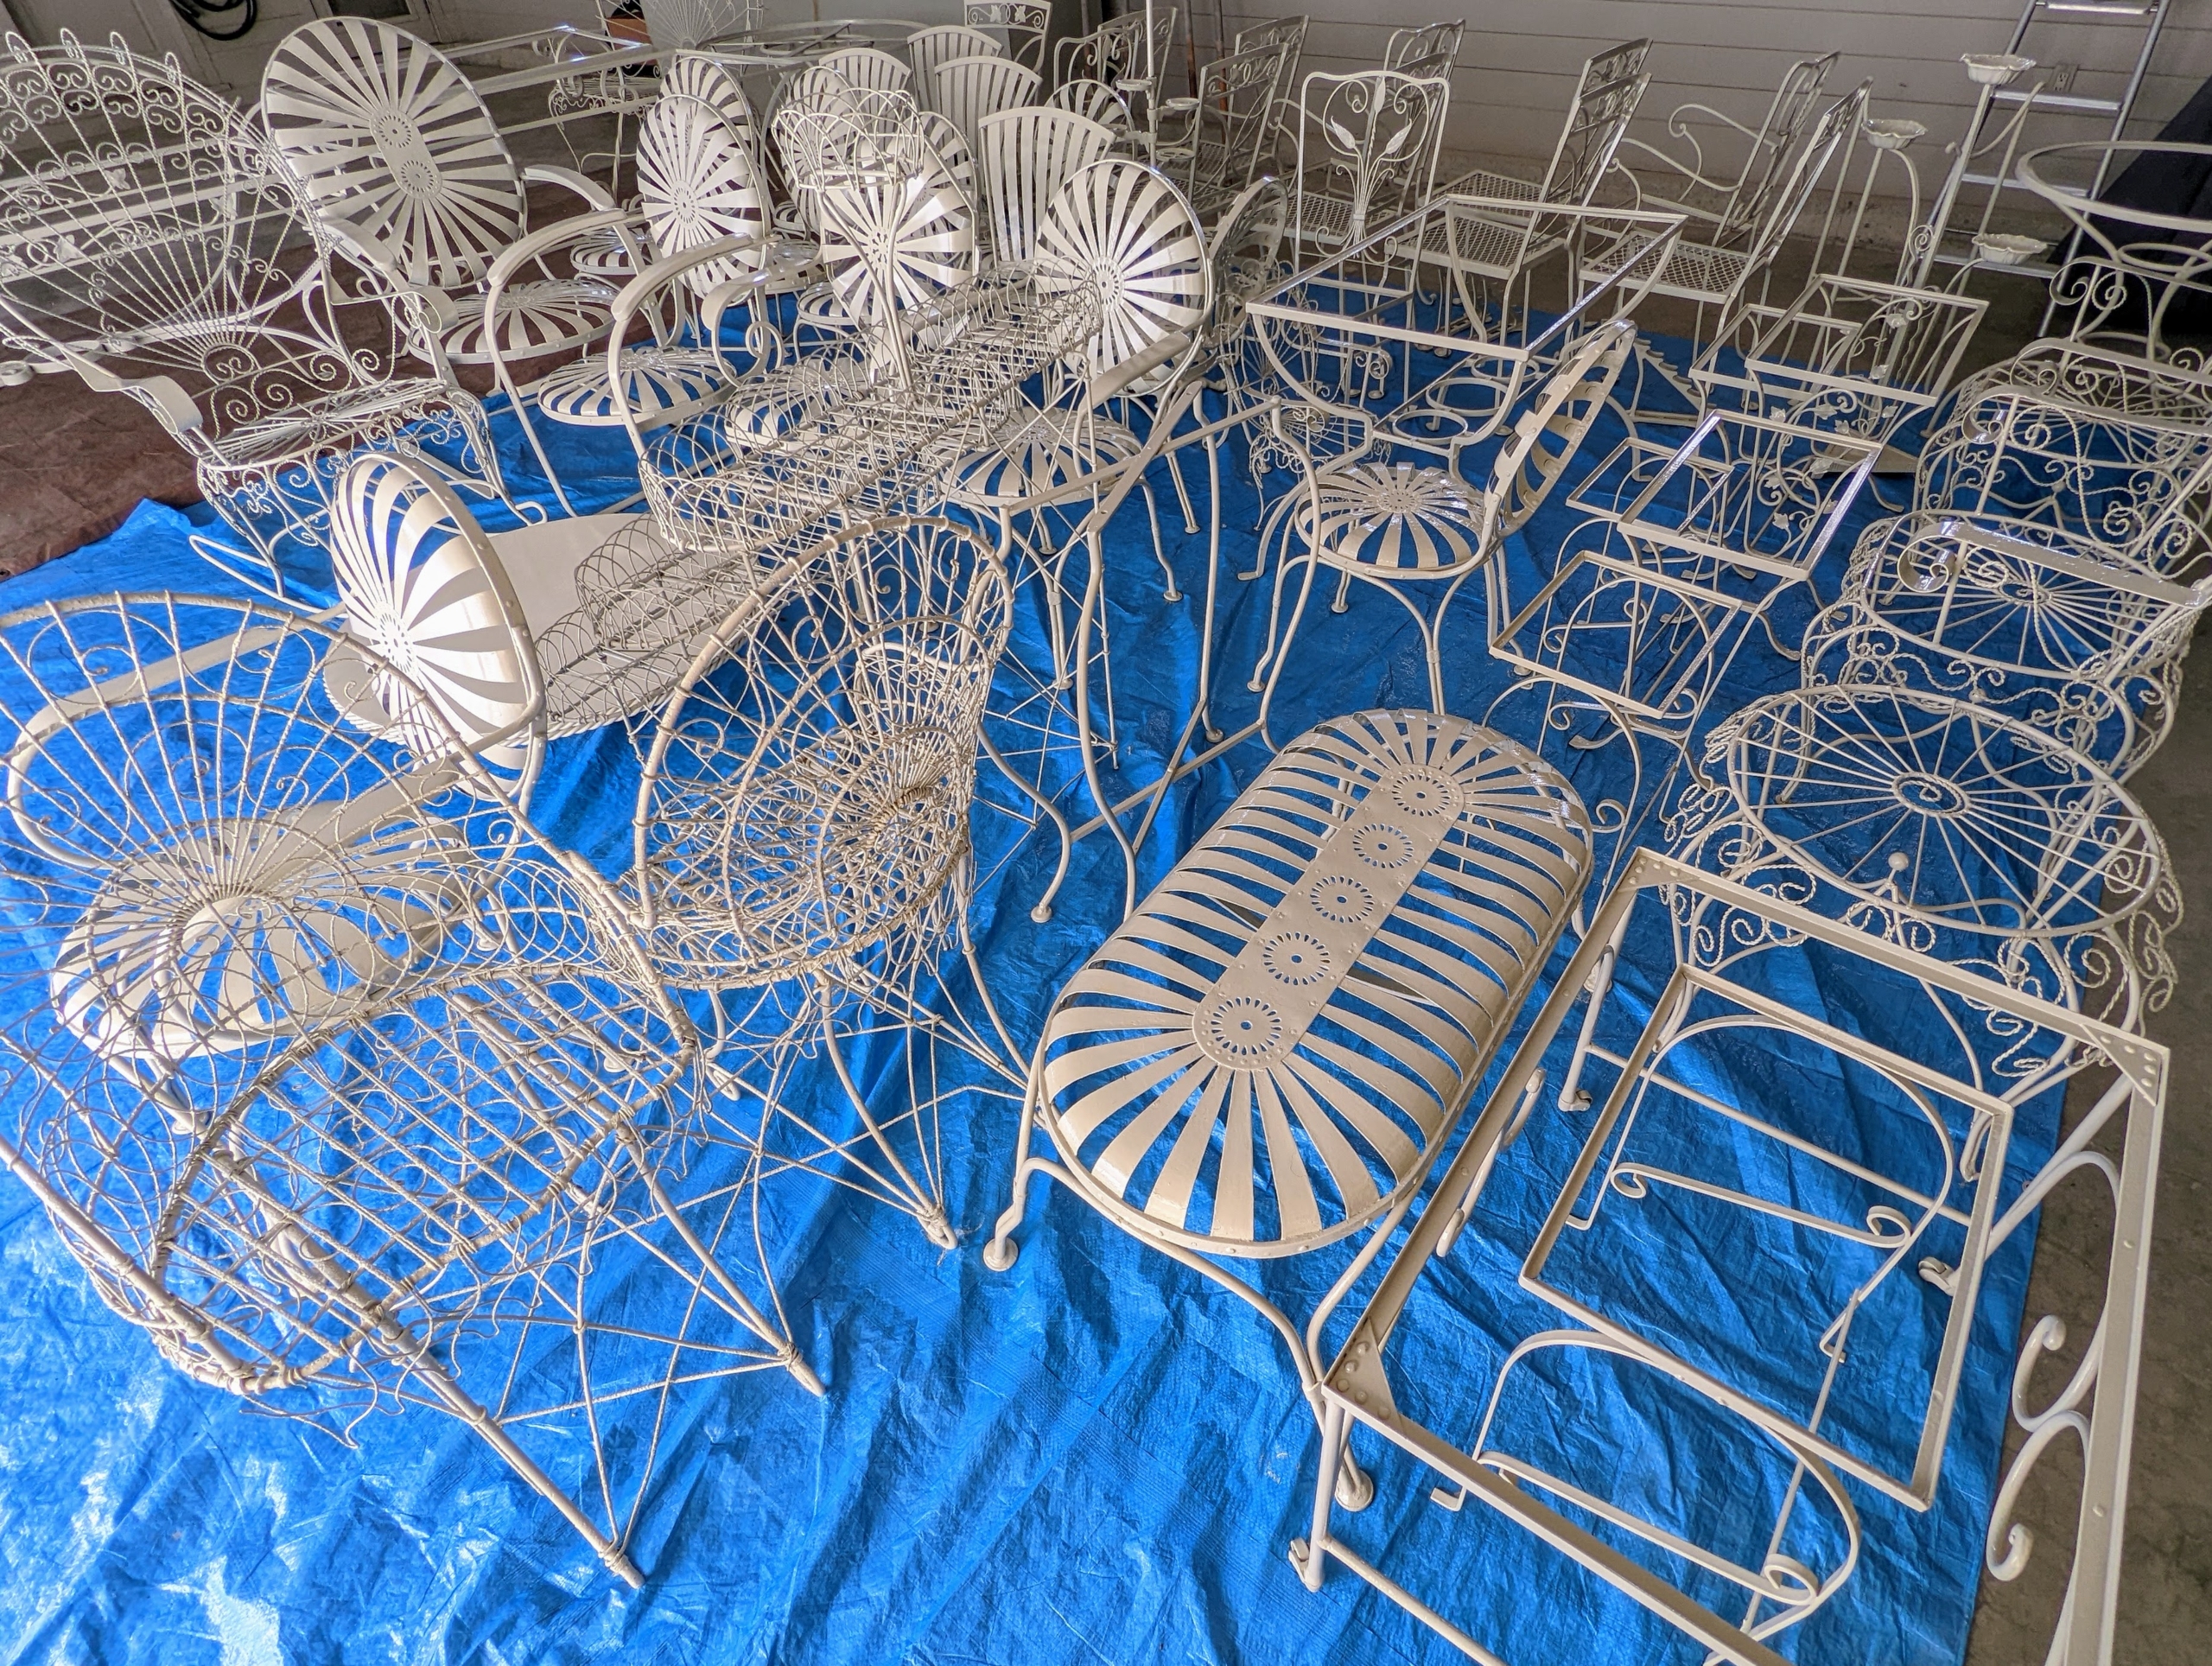
A new coat of paint can totally refresh and transform a piece of outdoor furniture.
Now that it's summer and we're able to do a lot more entertaining at home, I decided to have some of the crew work on a rather large project - repainting a number of outdoor metal furniture pieces one uniform color, Bedford Gray. Some of the items were old, weathered, and in need of attention, while others were simply the wrong shade or color. The first step was to designate a safe painting space. Then, the furniture pieces needed to be primed, dried, and finally painted with an oil-based enamel finish. This project took several days to complete, but I am happy with the final results and every piece looks great.
Enjoy these photos.
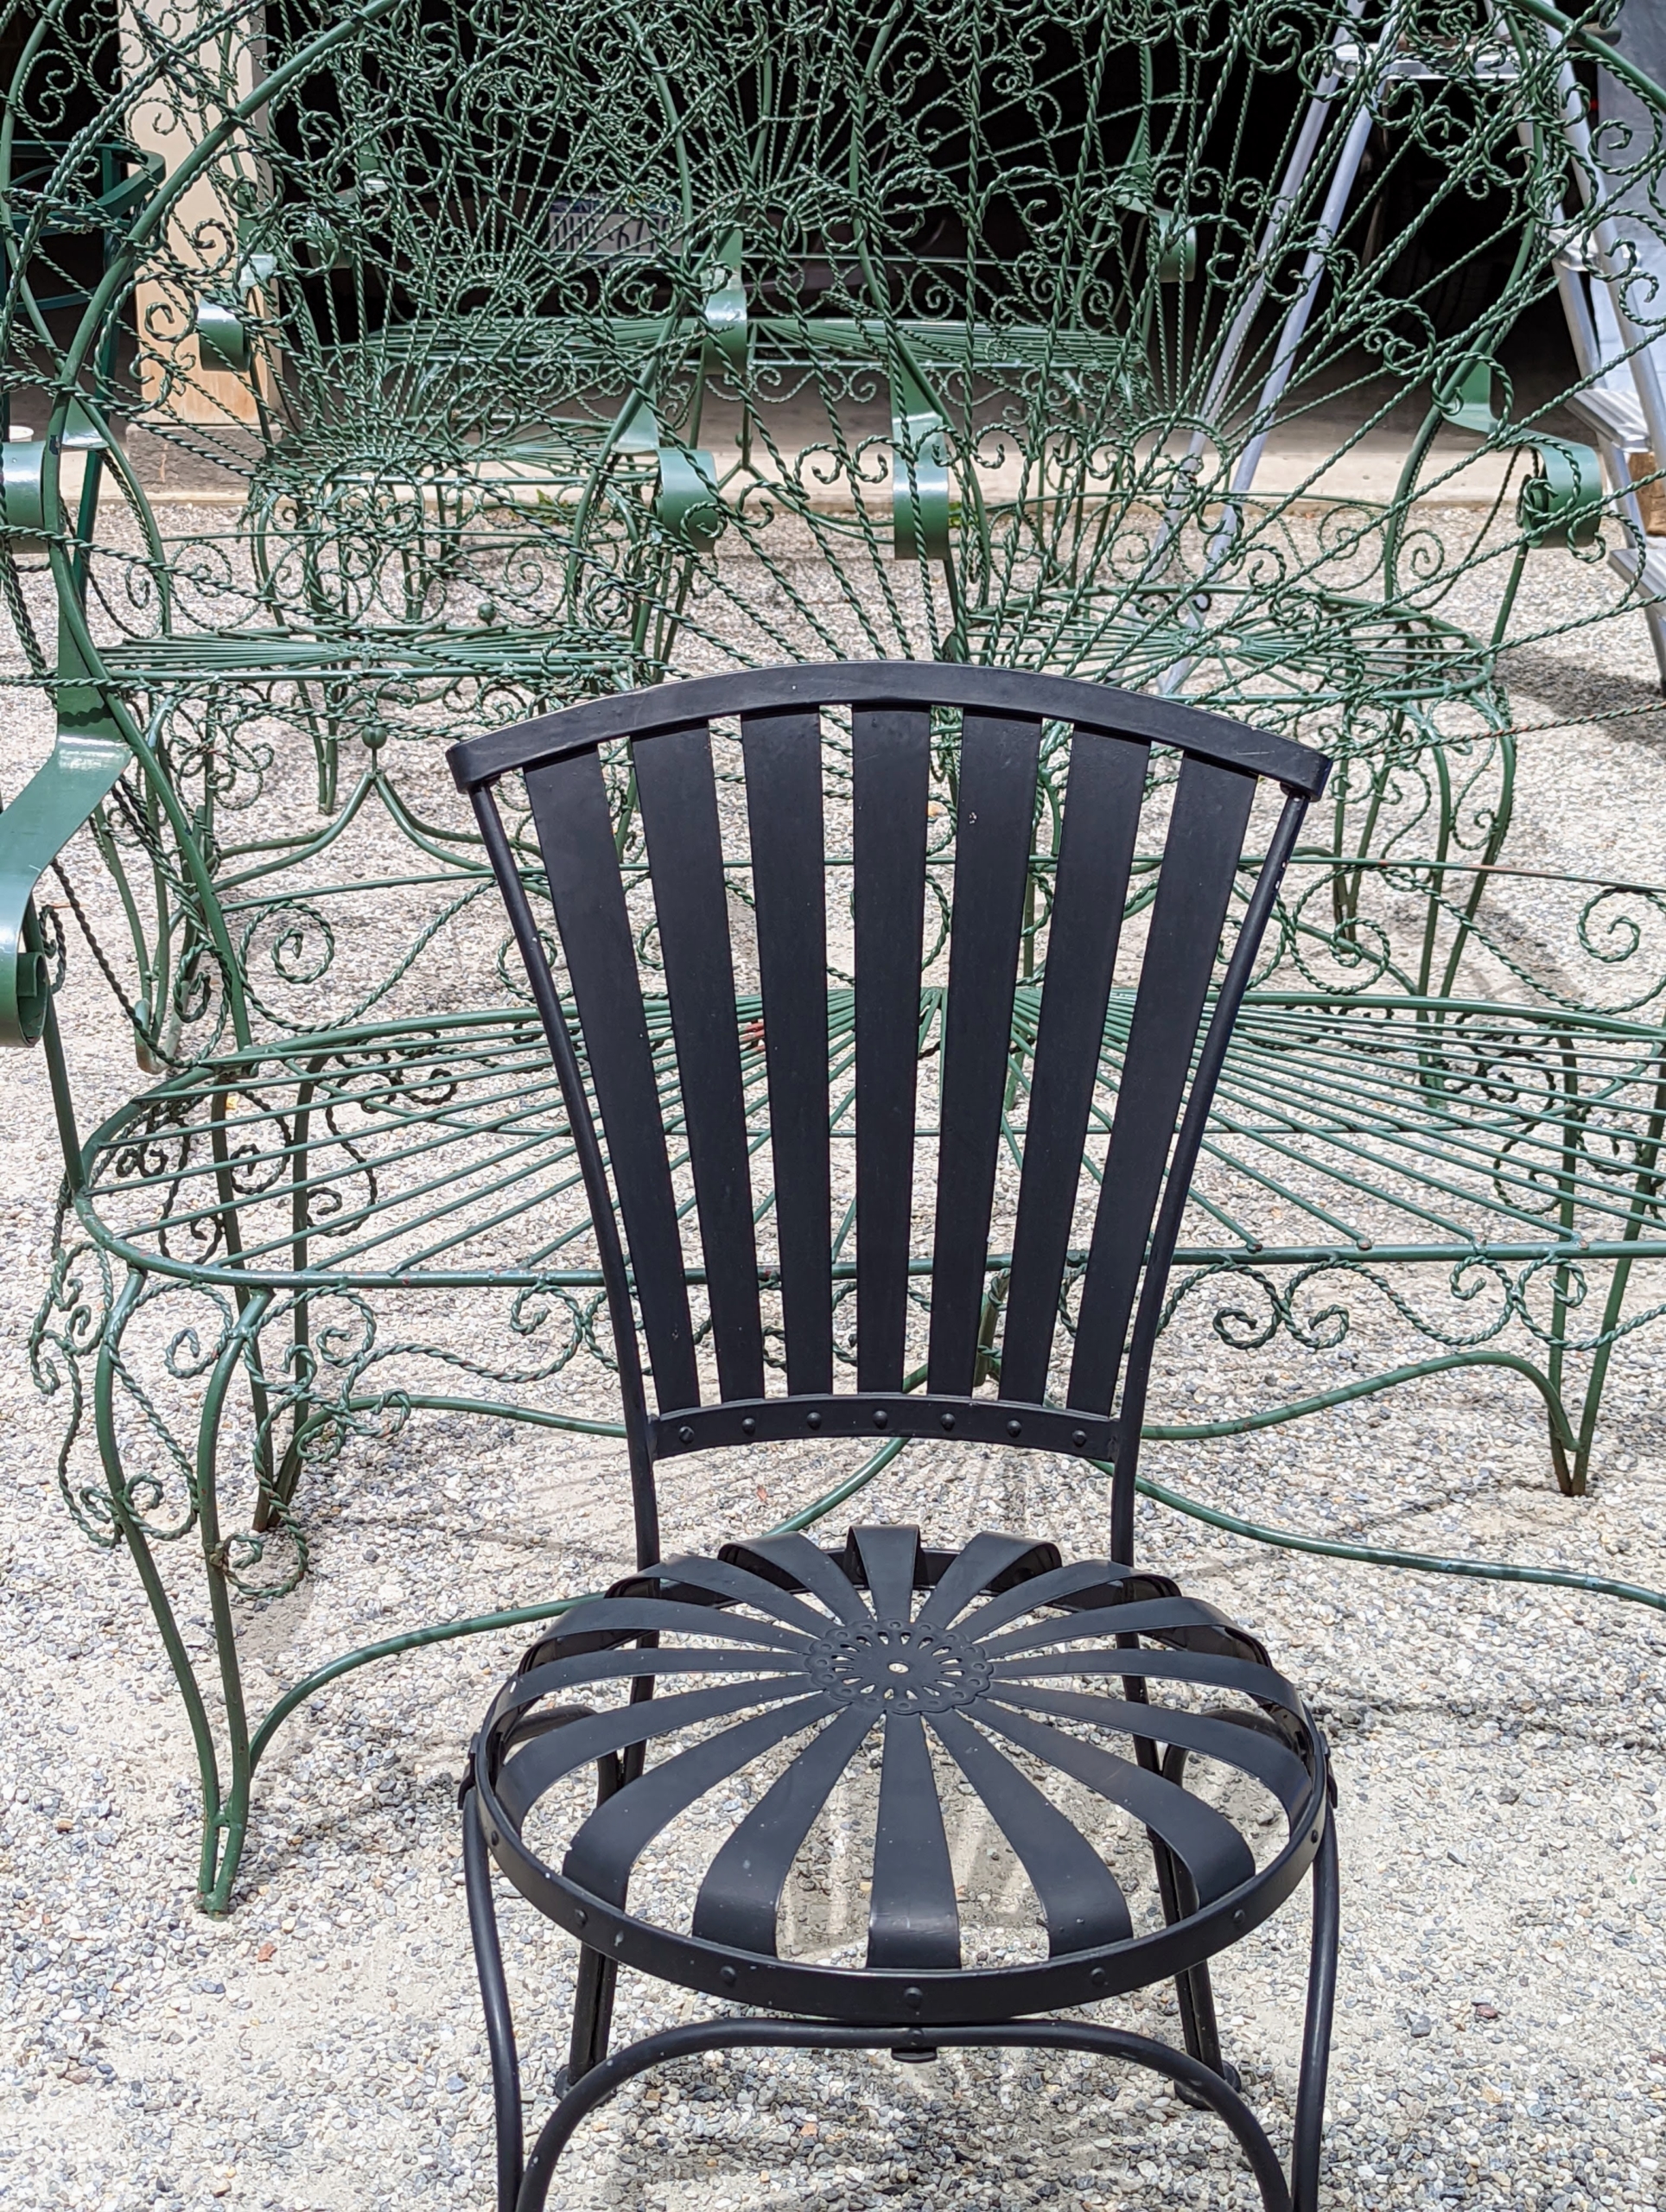
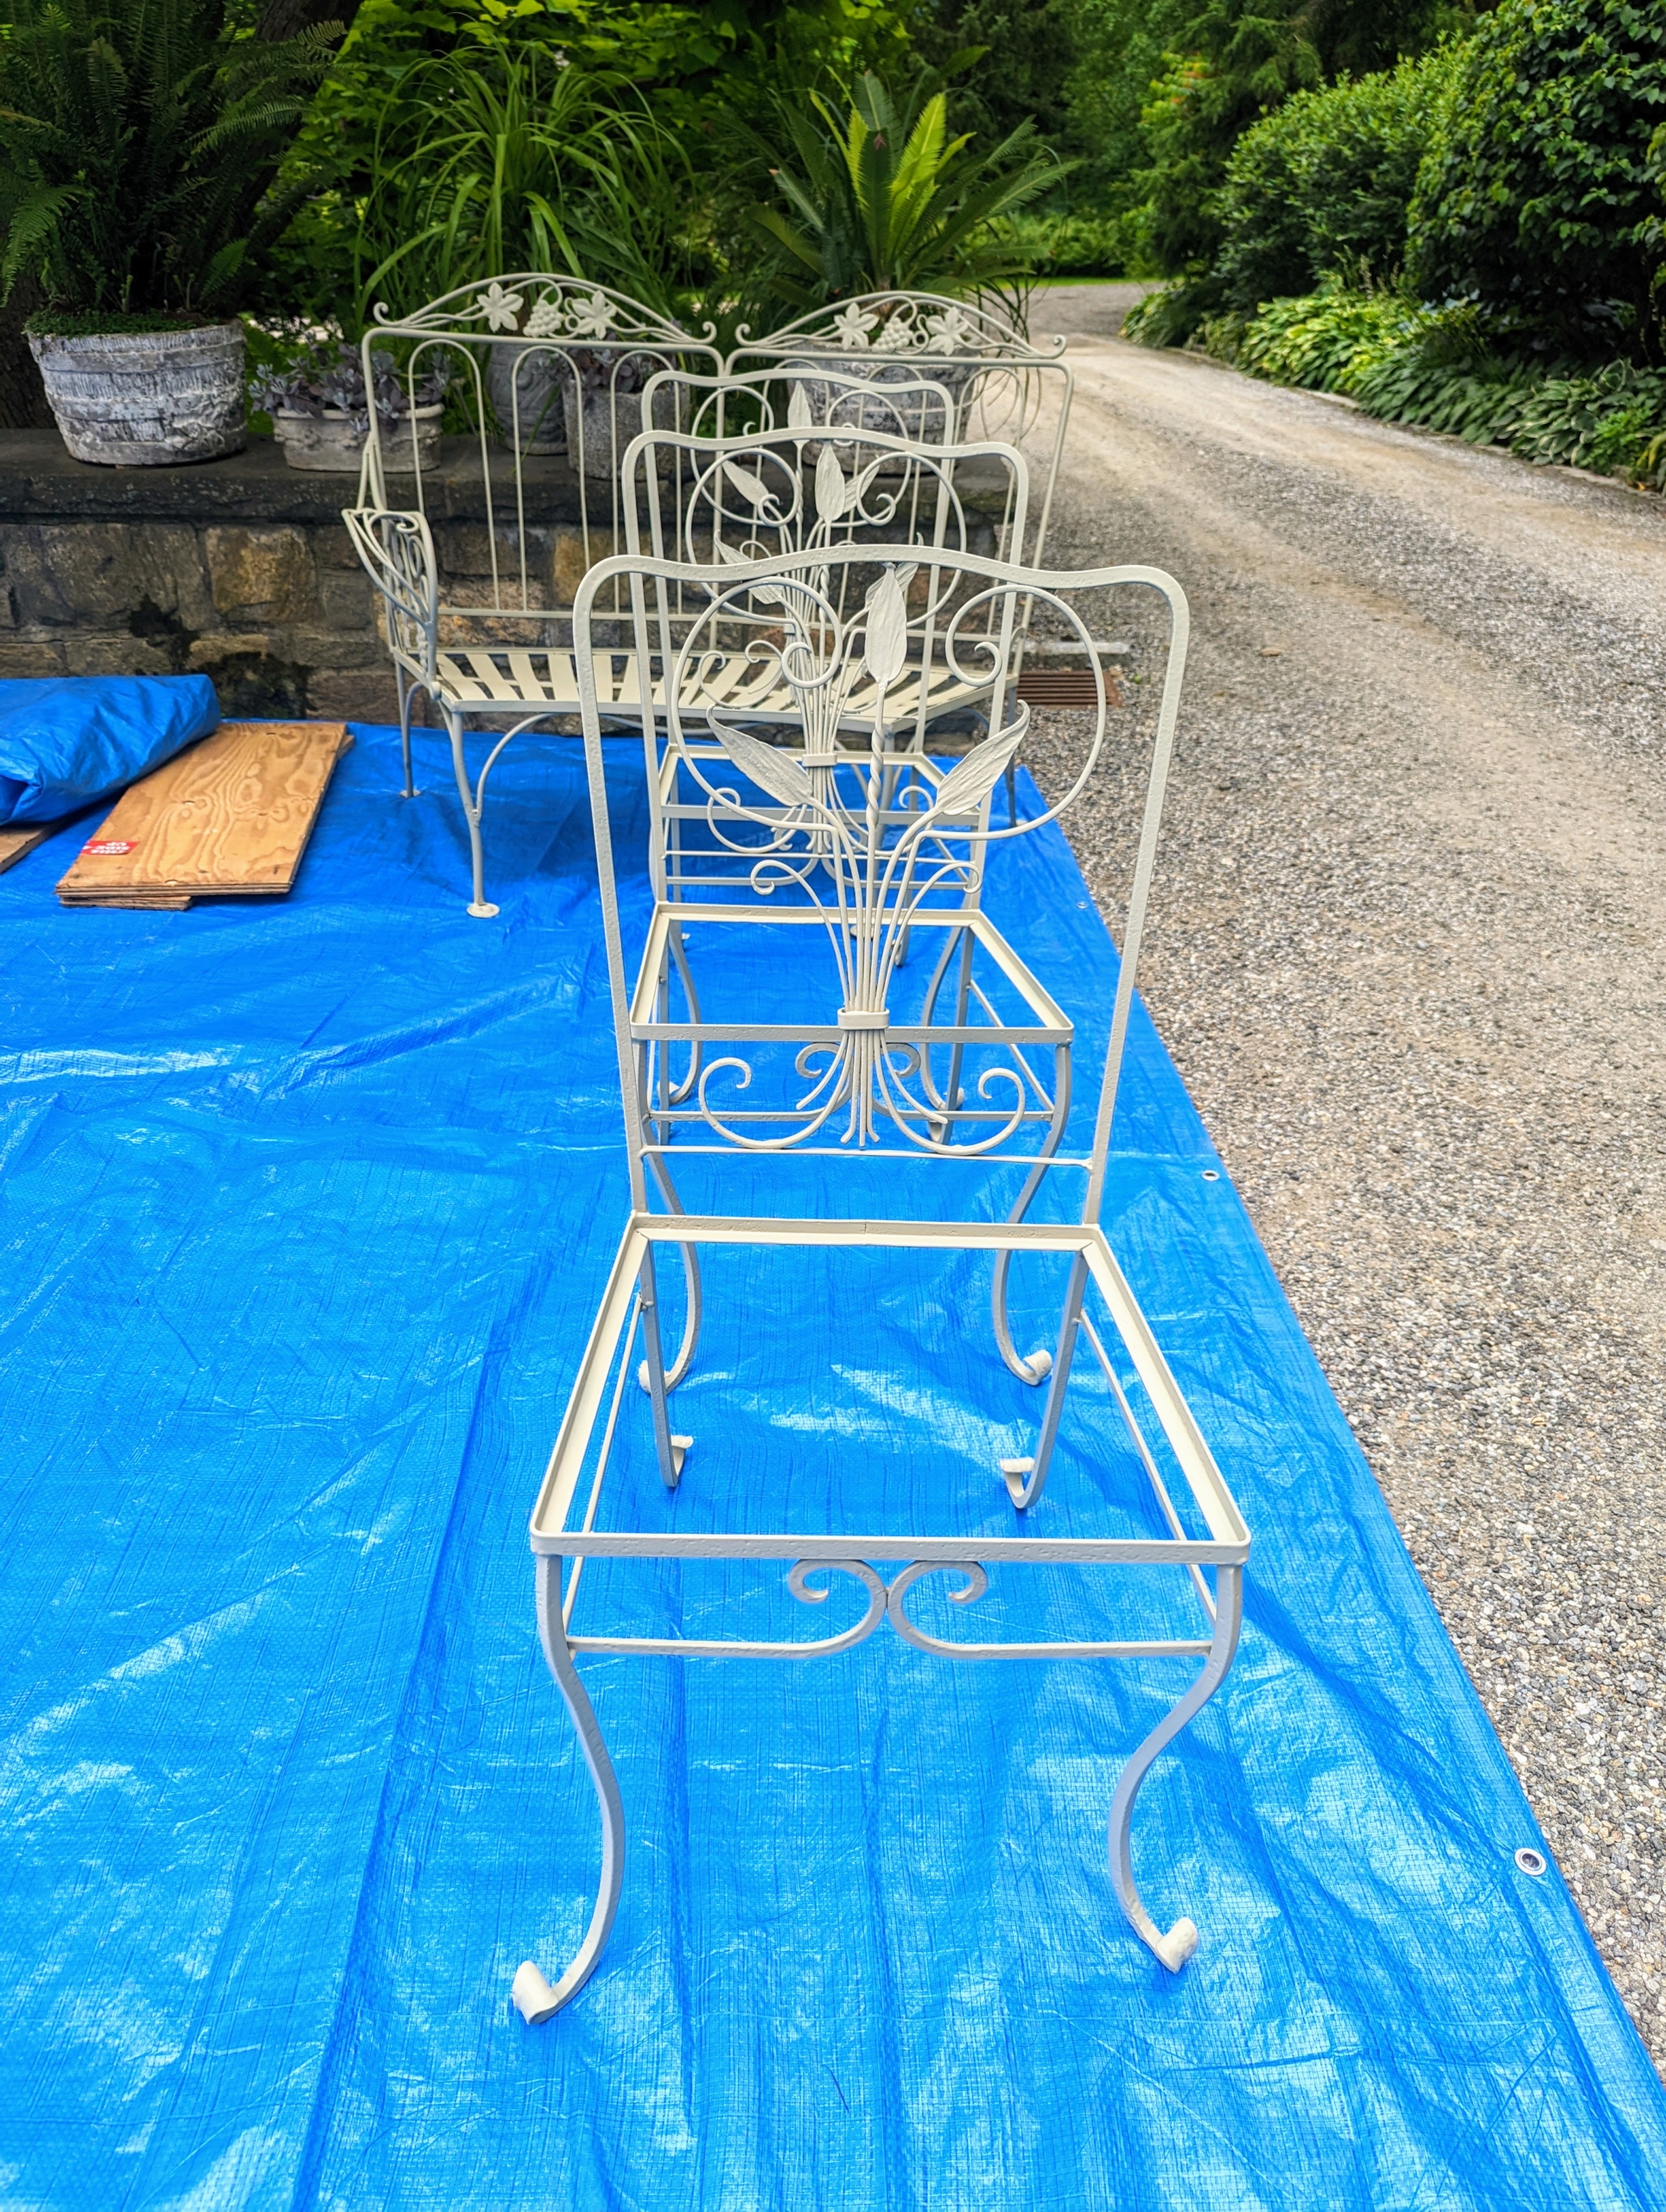
All the furniture to be painted was brought to the driveway in front of my Winter House carport. These pieces are fine, but I wanted them all finished in my signature color, Bedford Gray.
Some pieces were mismatched and in their original colors from when they were purchased.
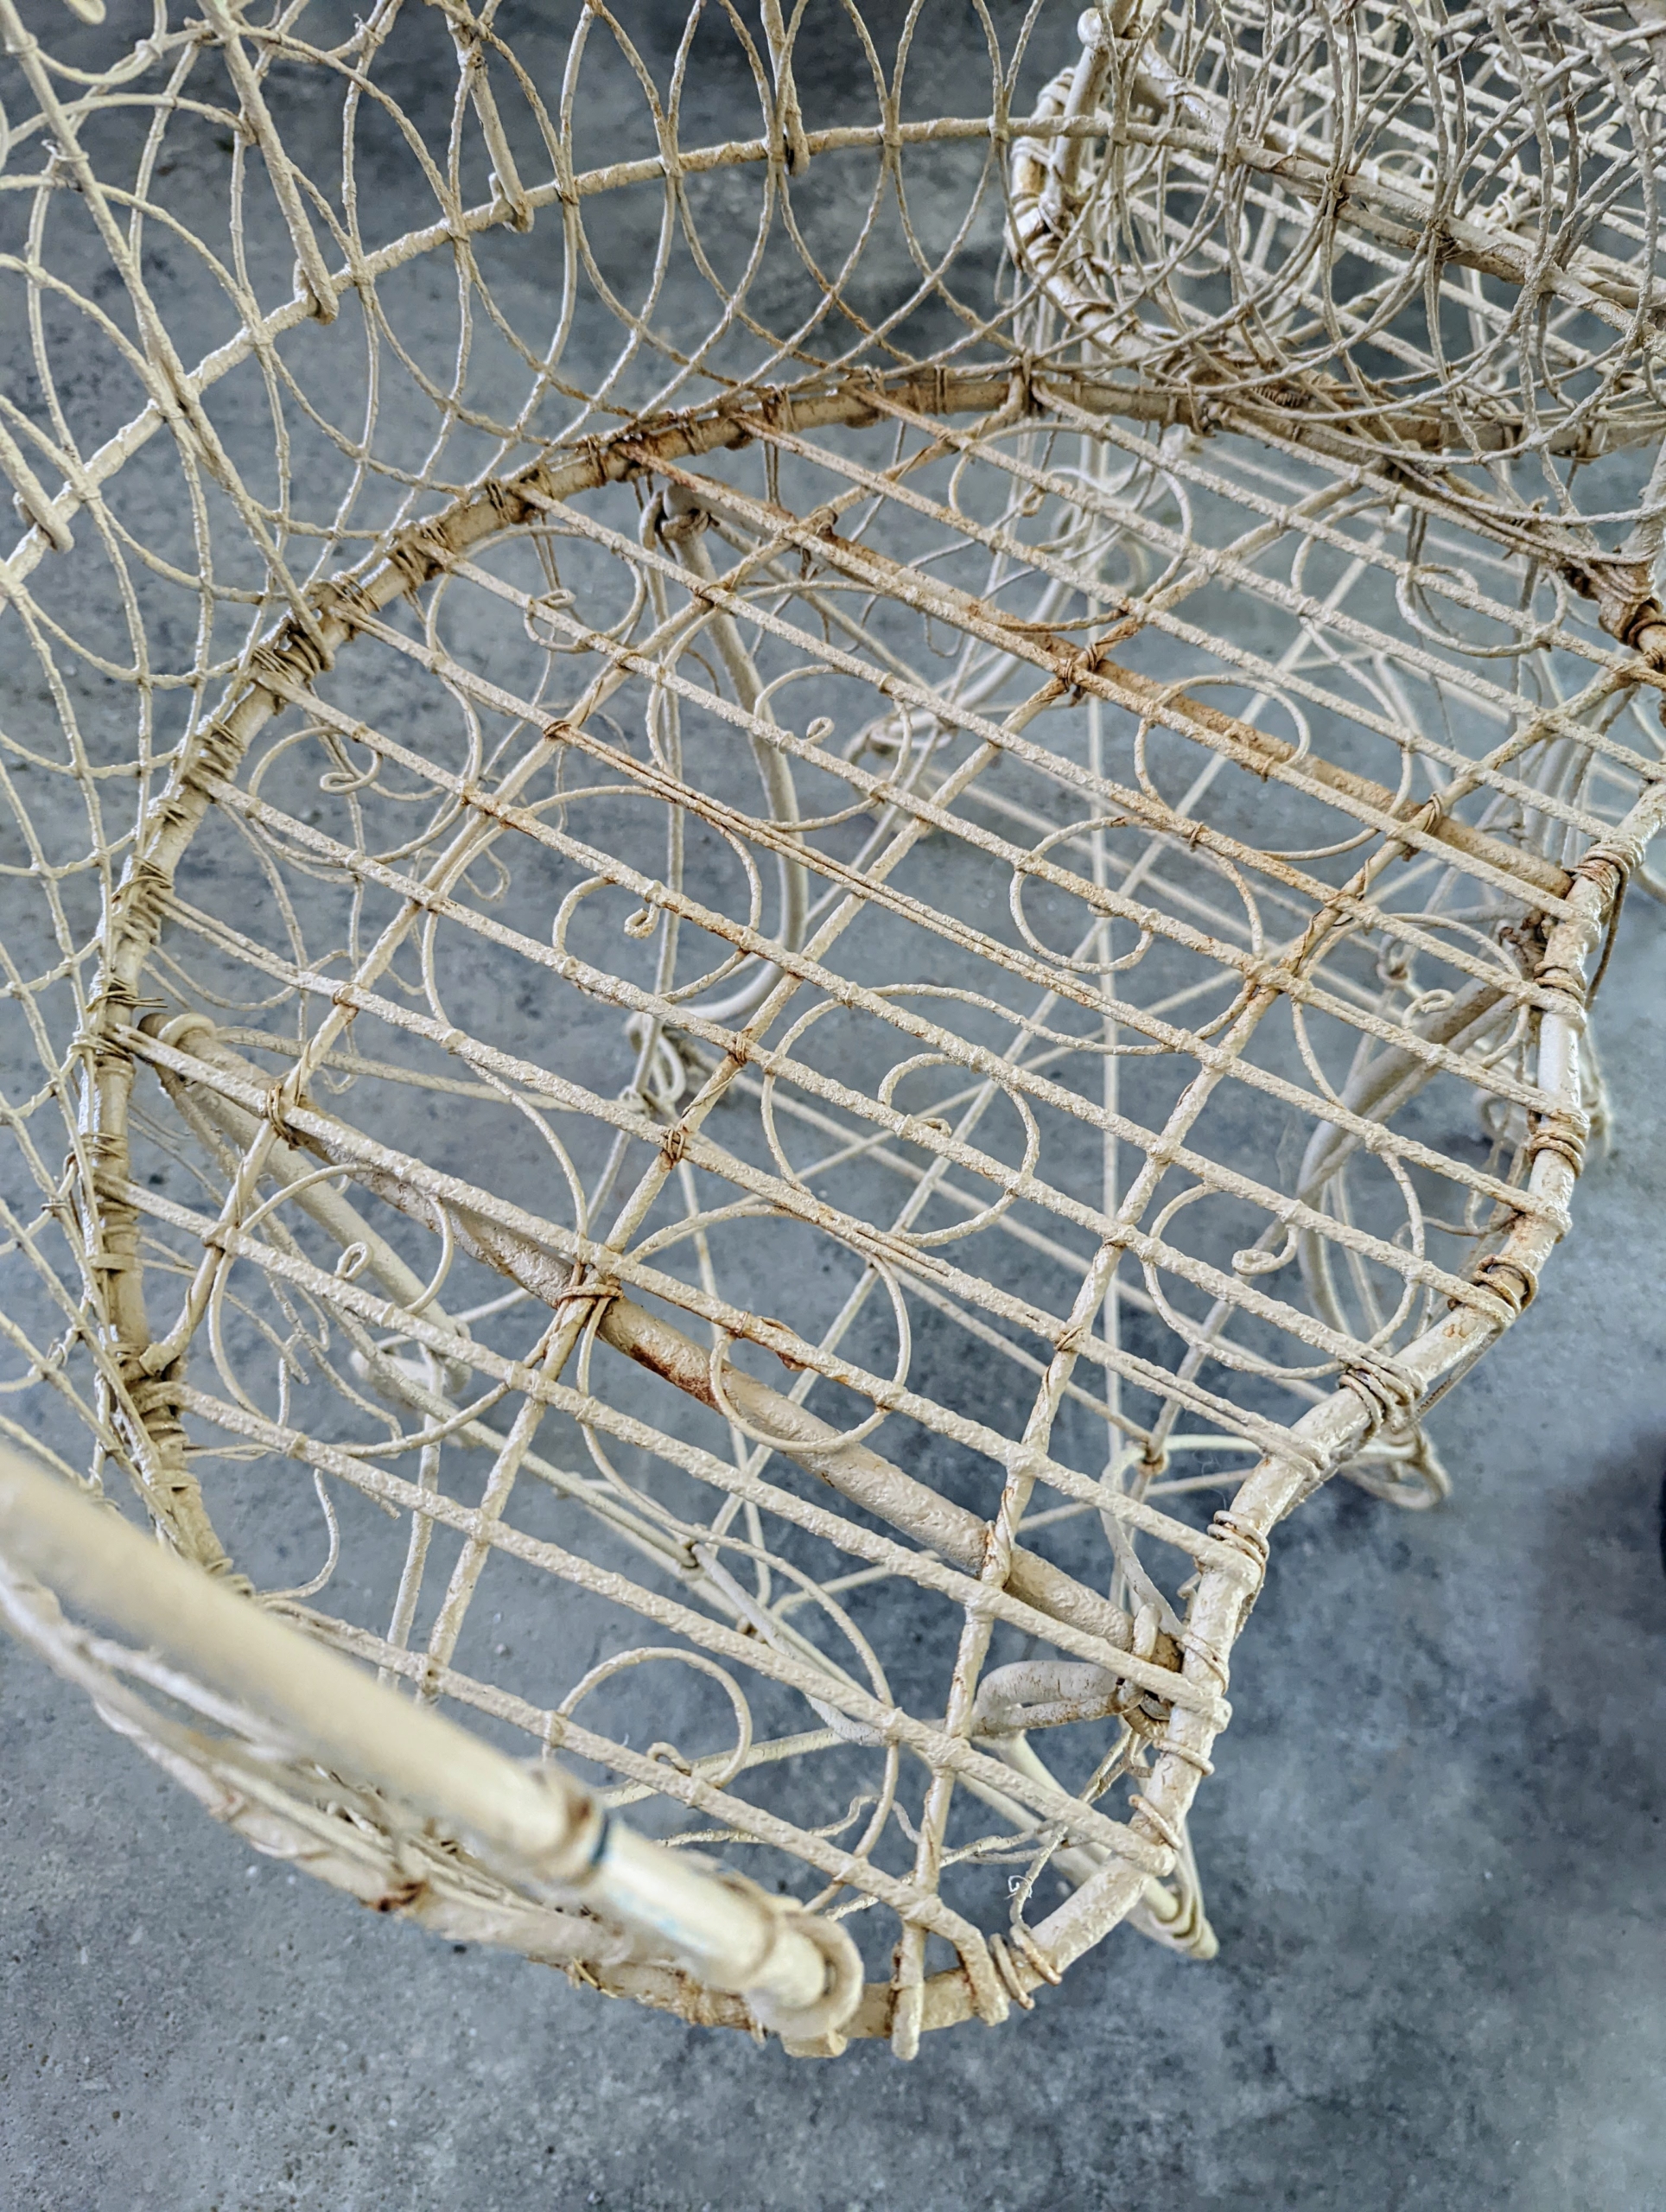
And some of the pieces were a bit rusted and timeworn.
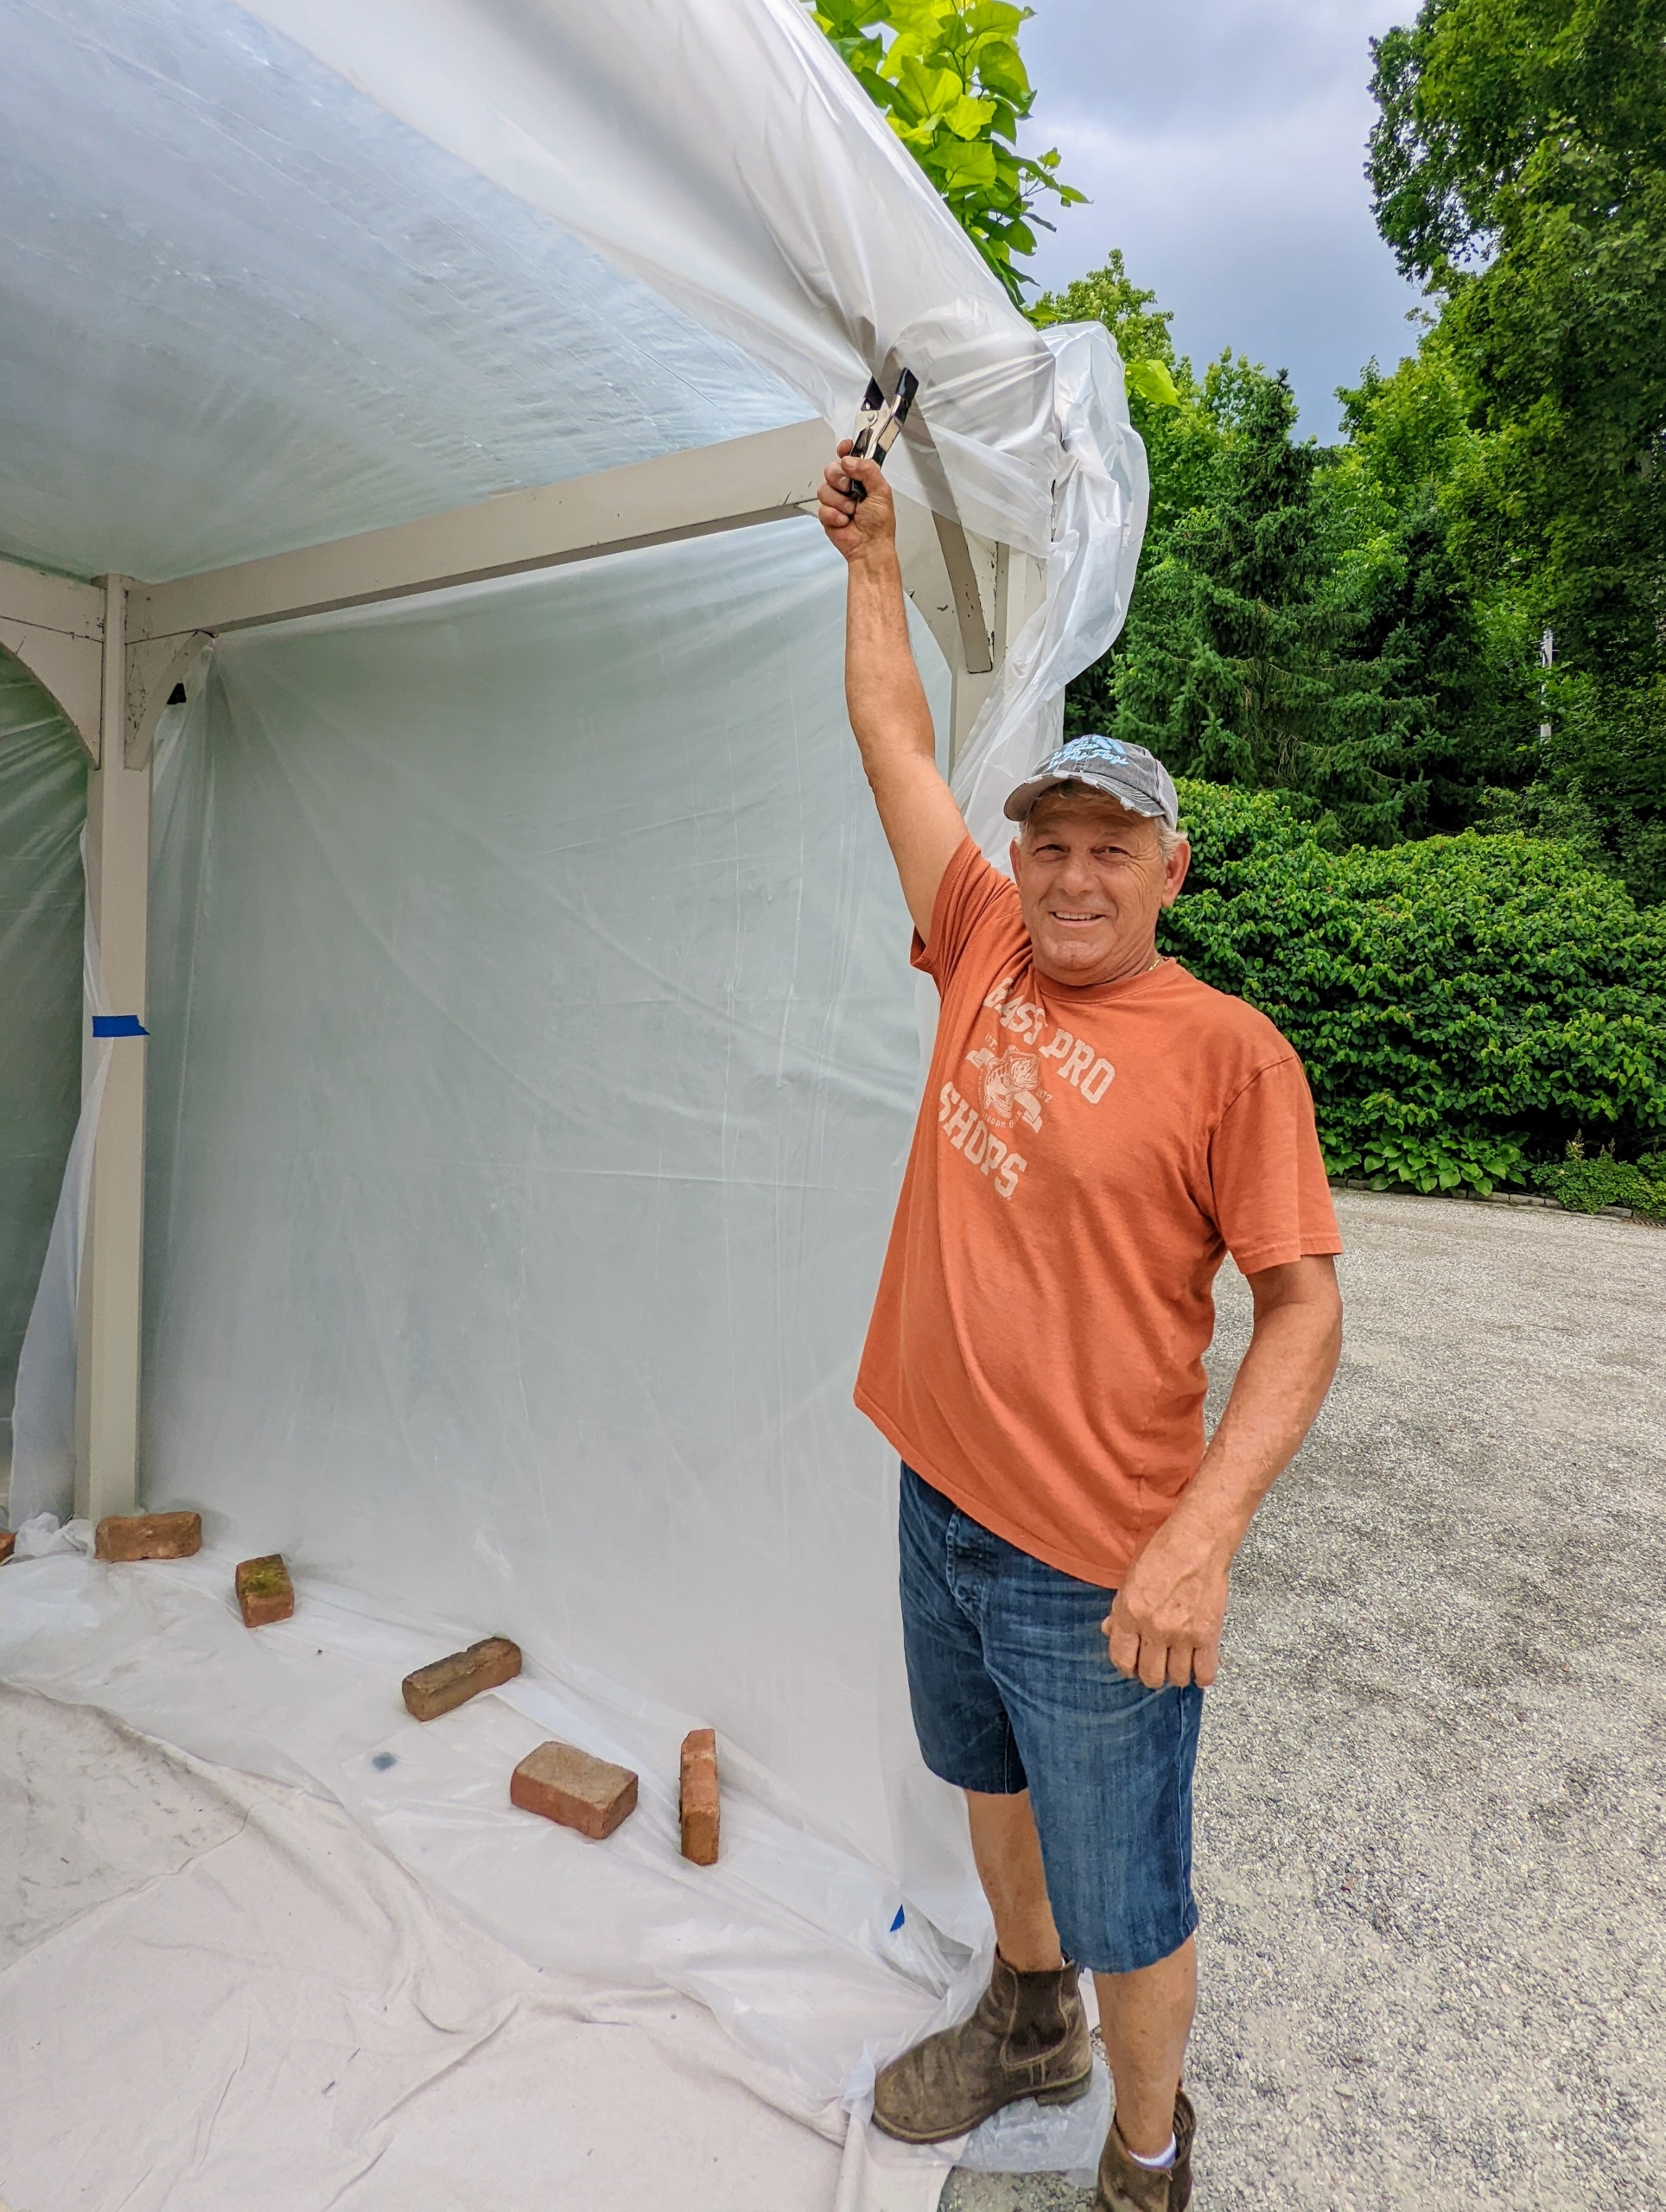
In one corner of the driveway, we put up a pergola from one of my previous outdoor collections and covered it with plastic sheeting. These plastic drop cloths come in a range of sizes and are available at most hardware stores.
Here’s Fernando securing the plastic to the frame using spring clamps. At the bottom, Fernando weighted the plastic covers with bricks.
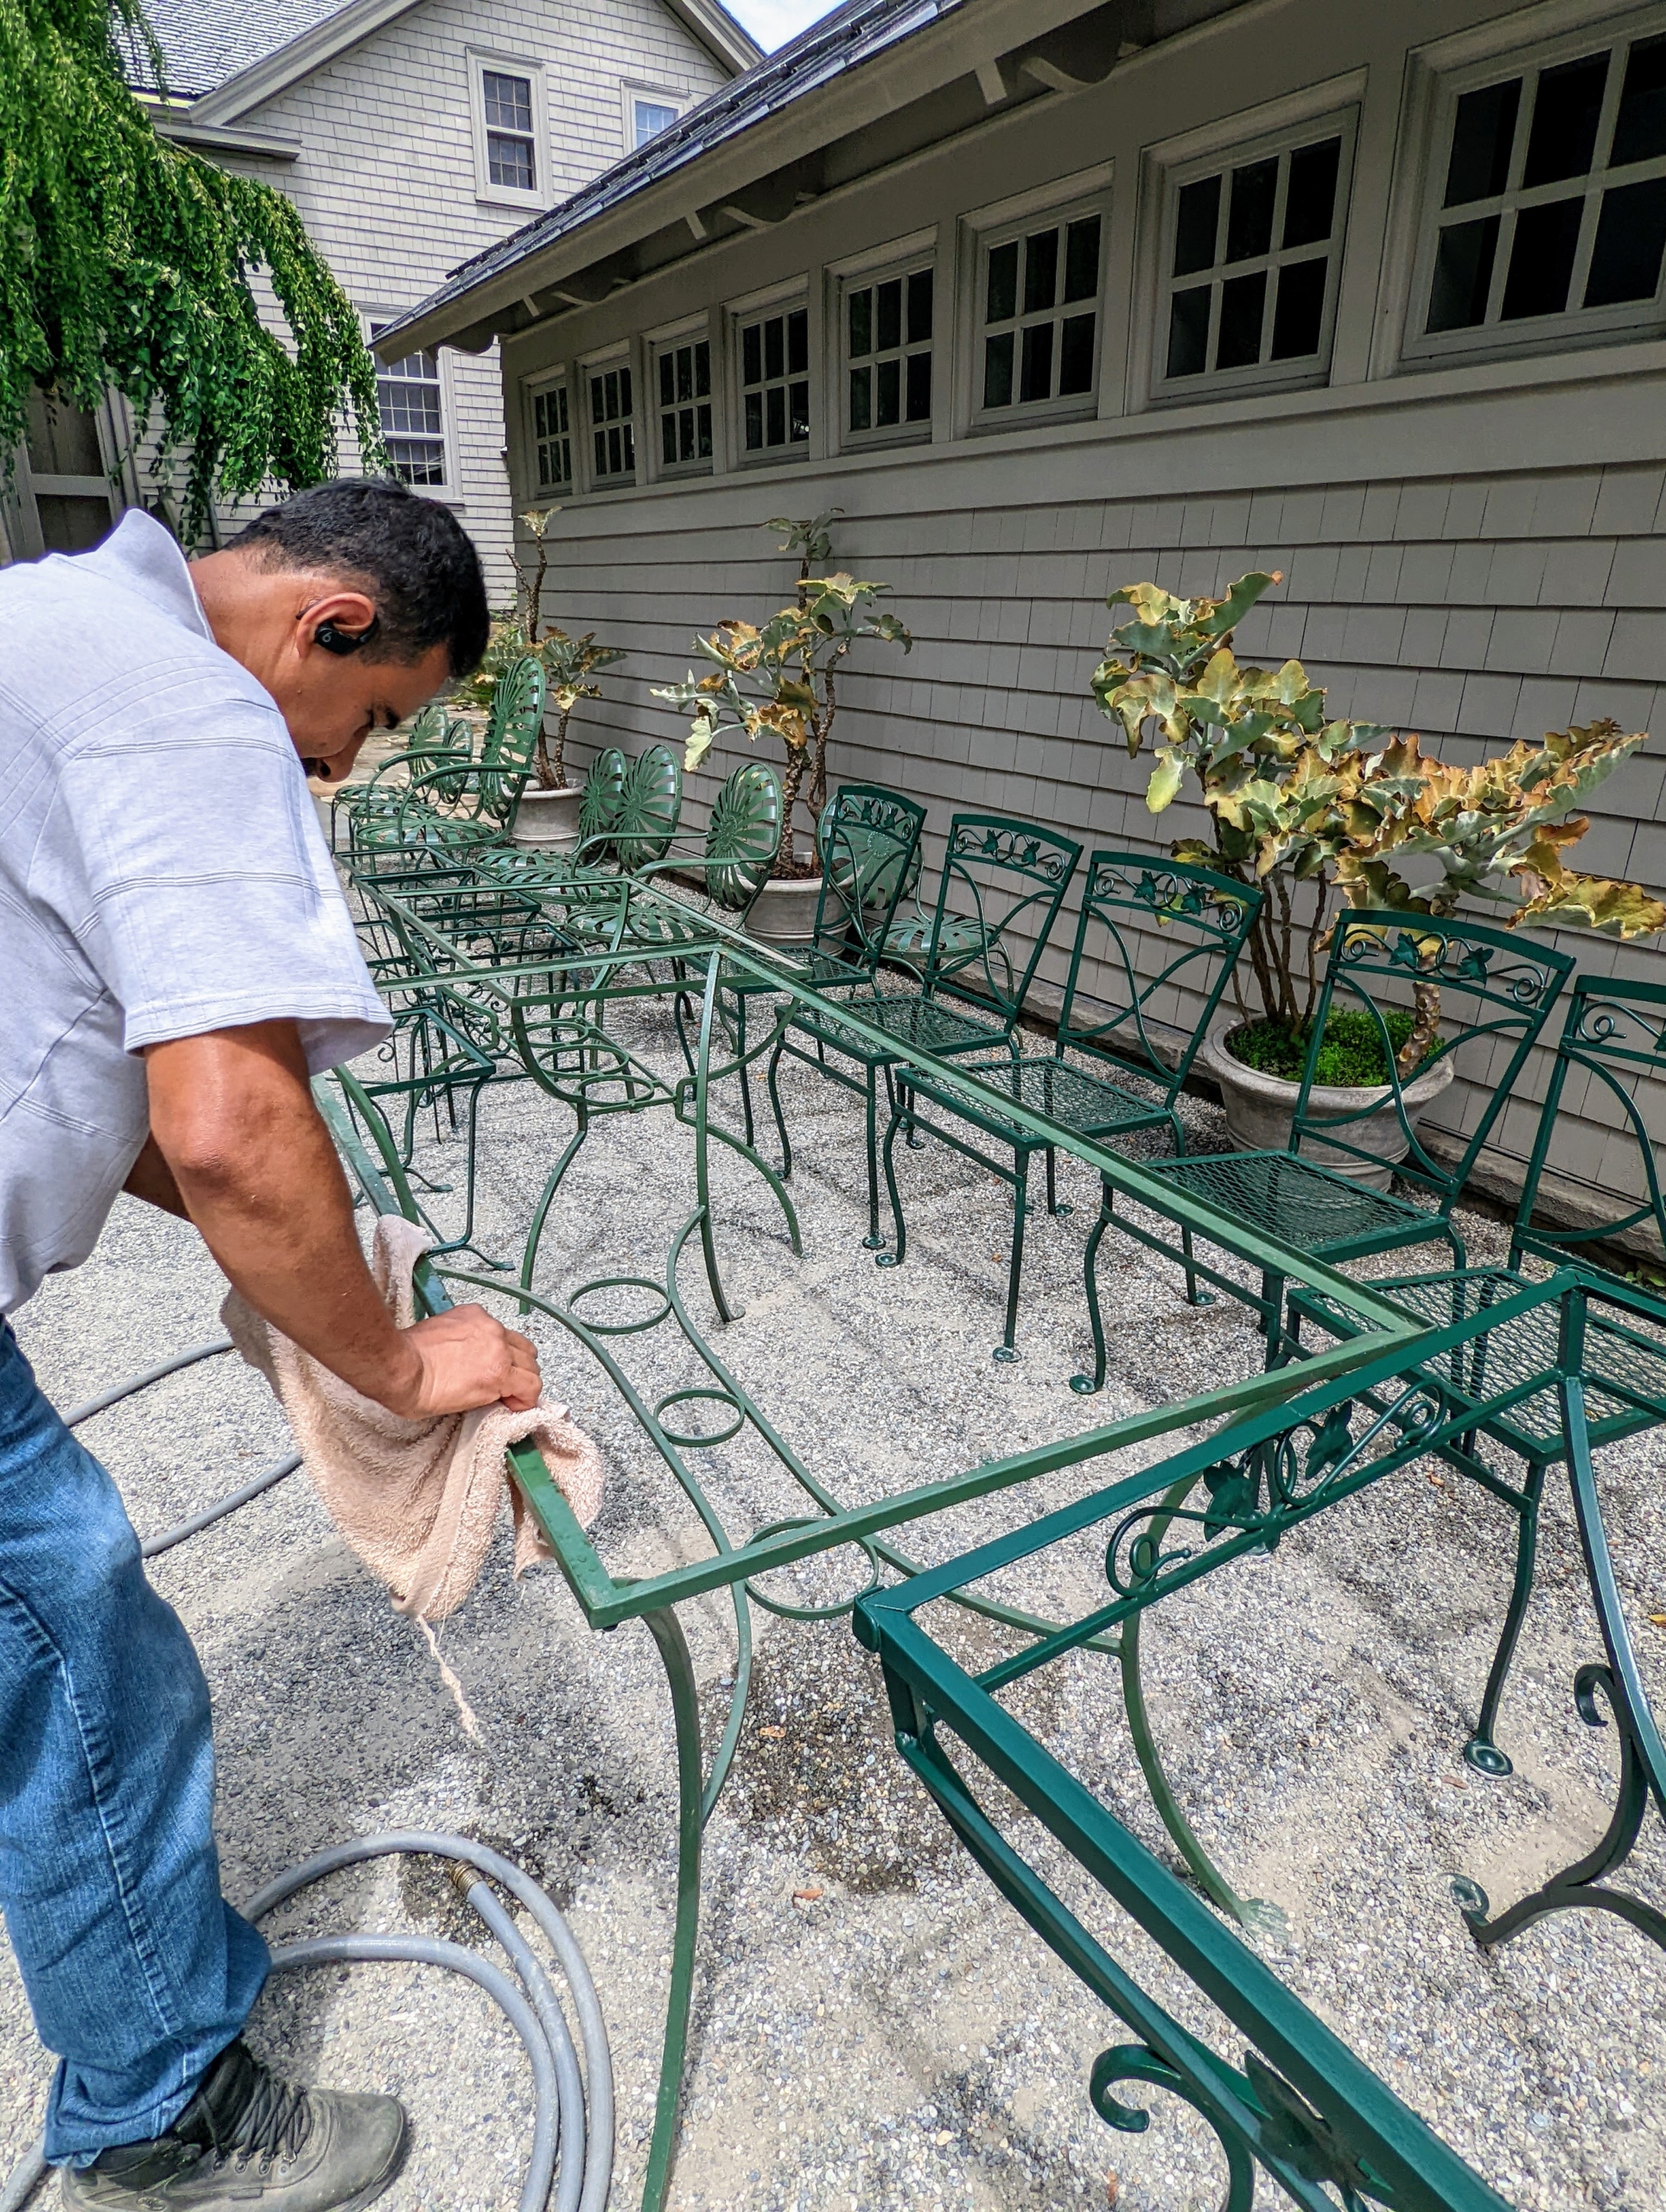
Meanwhile, Carlos cleans all the furniture with a damp cloth, so the paint can be applied smoothly. Fortunately, the week’s weather forecast was perfect for this project. Ideally, temperatures should be between 50 degrees and 90 degrees Fahrenheit, and relative humidity below 85 percent.
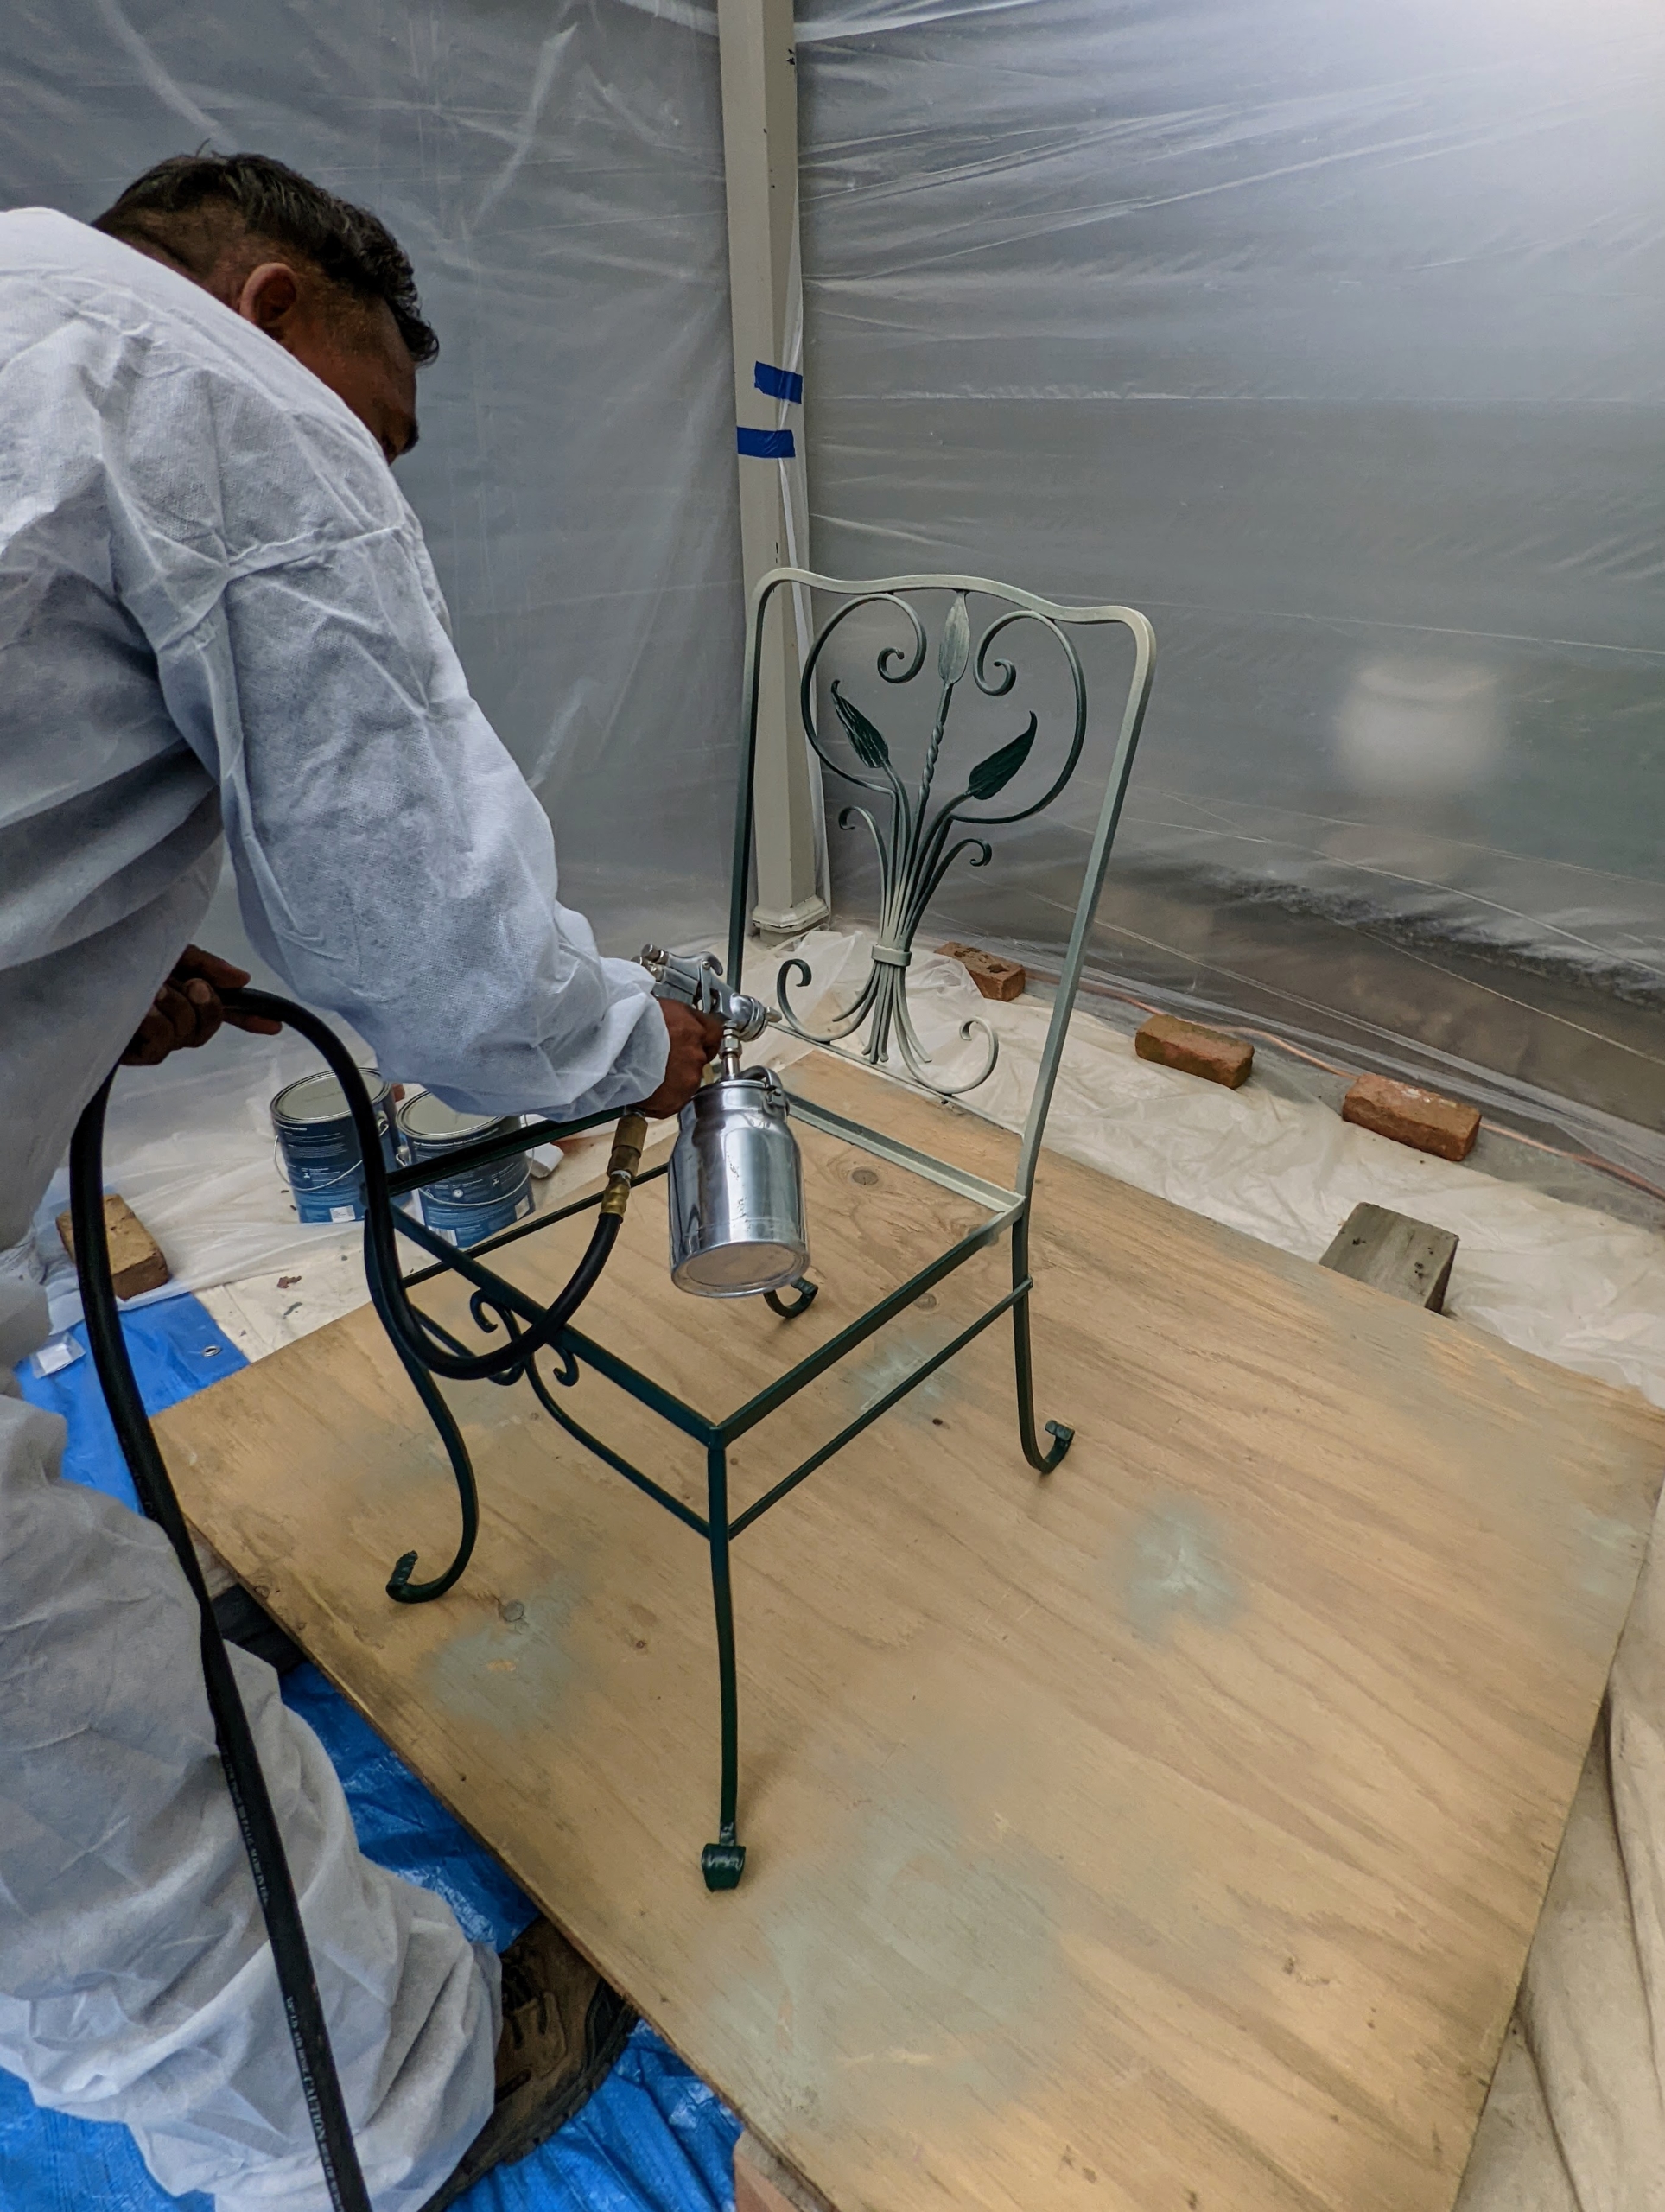
Pete begins to prime the first chair. It’s important to coat the furniture with a good quality metal primer and to coat everything completely as bare metal rusts quickly. It’s also a good idea to practice on a piece of scrap cardboard first to get the vertical and horizontal spraying movements consistent before painting the real piece.
Pete puts several chairs together so as to conserve the primer and allow the spray to coat more than one chair at a time. Always spray the object using an even side-to-side motion with each pass overlapping the spray pattern by about one-third.
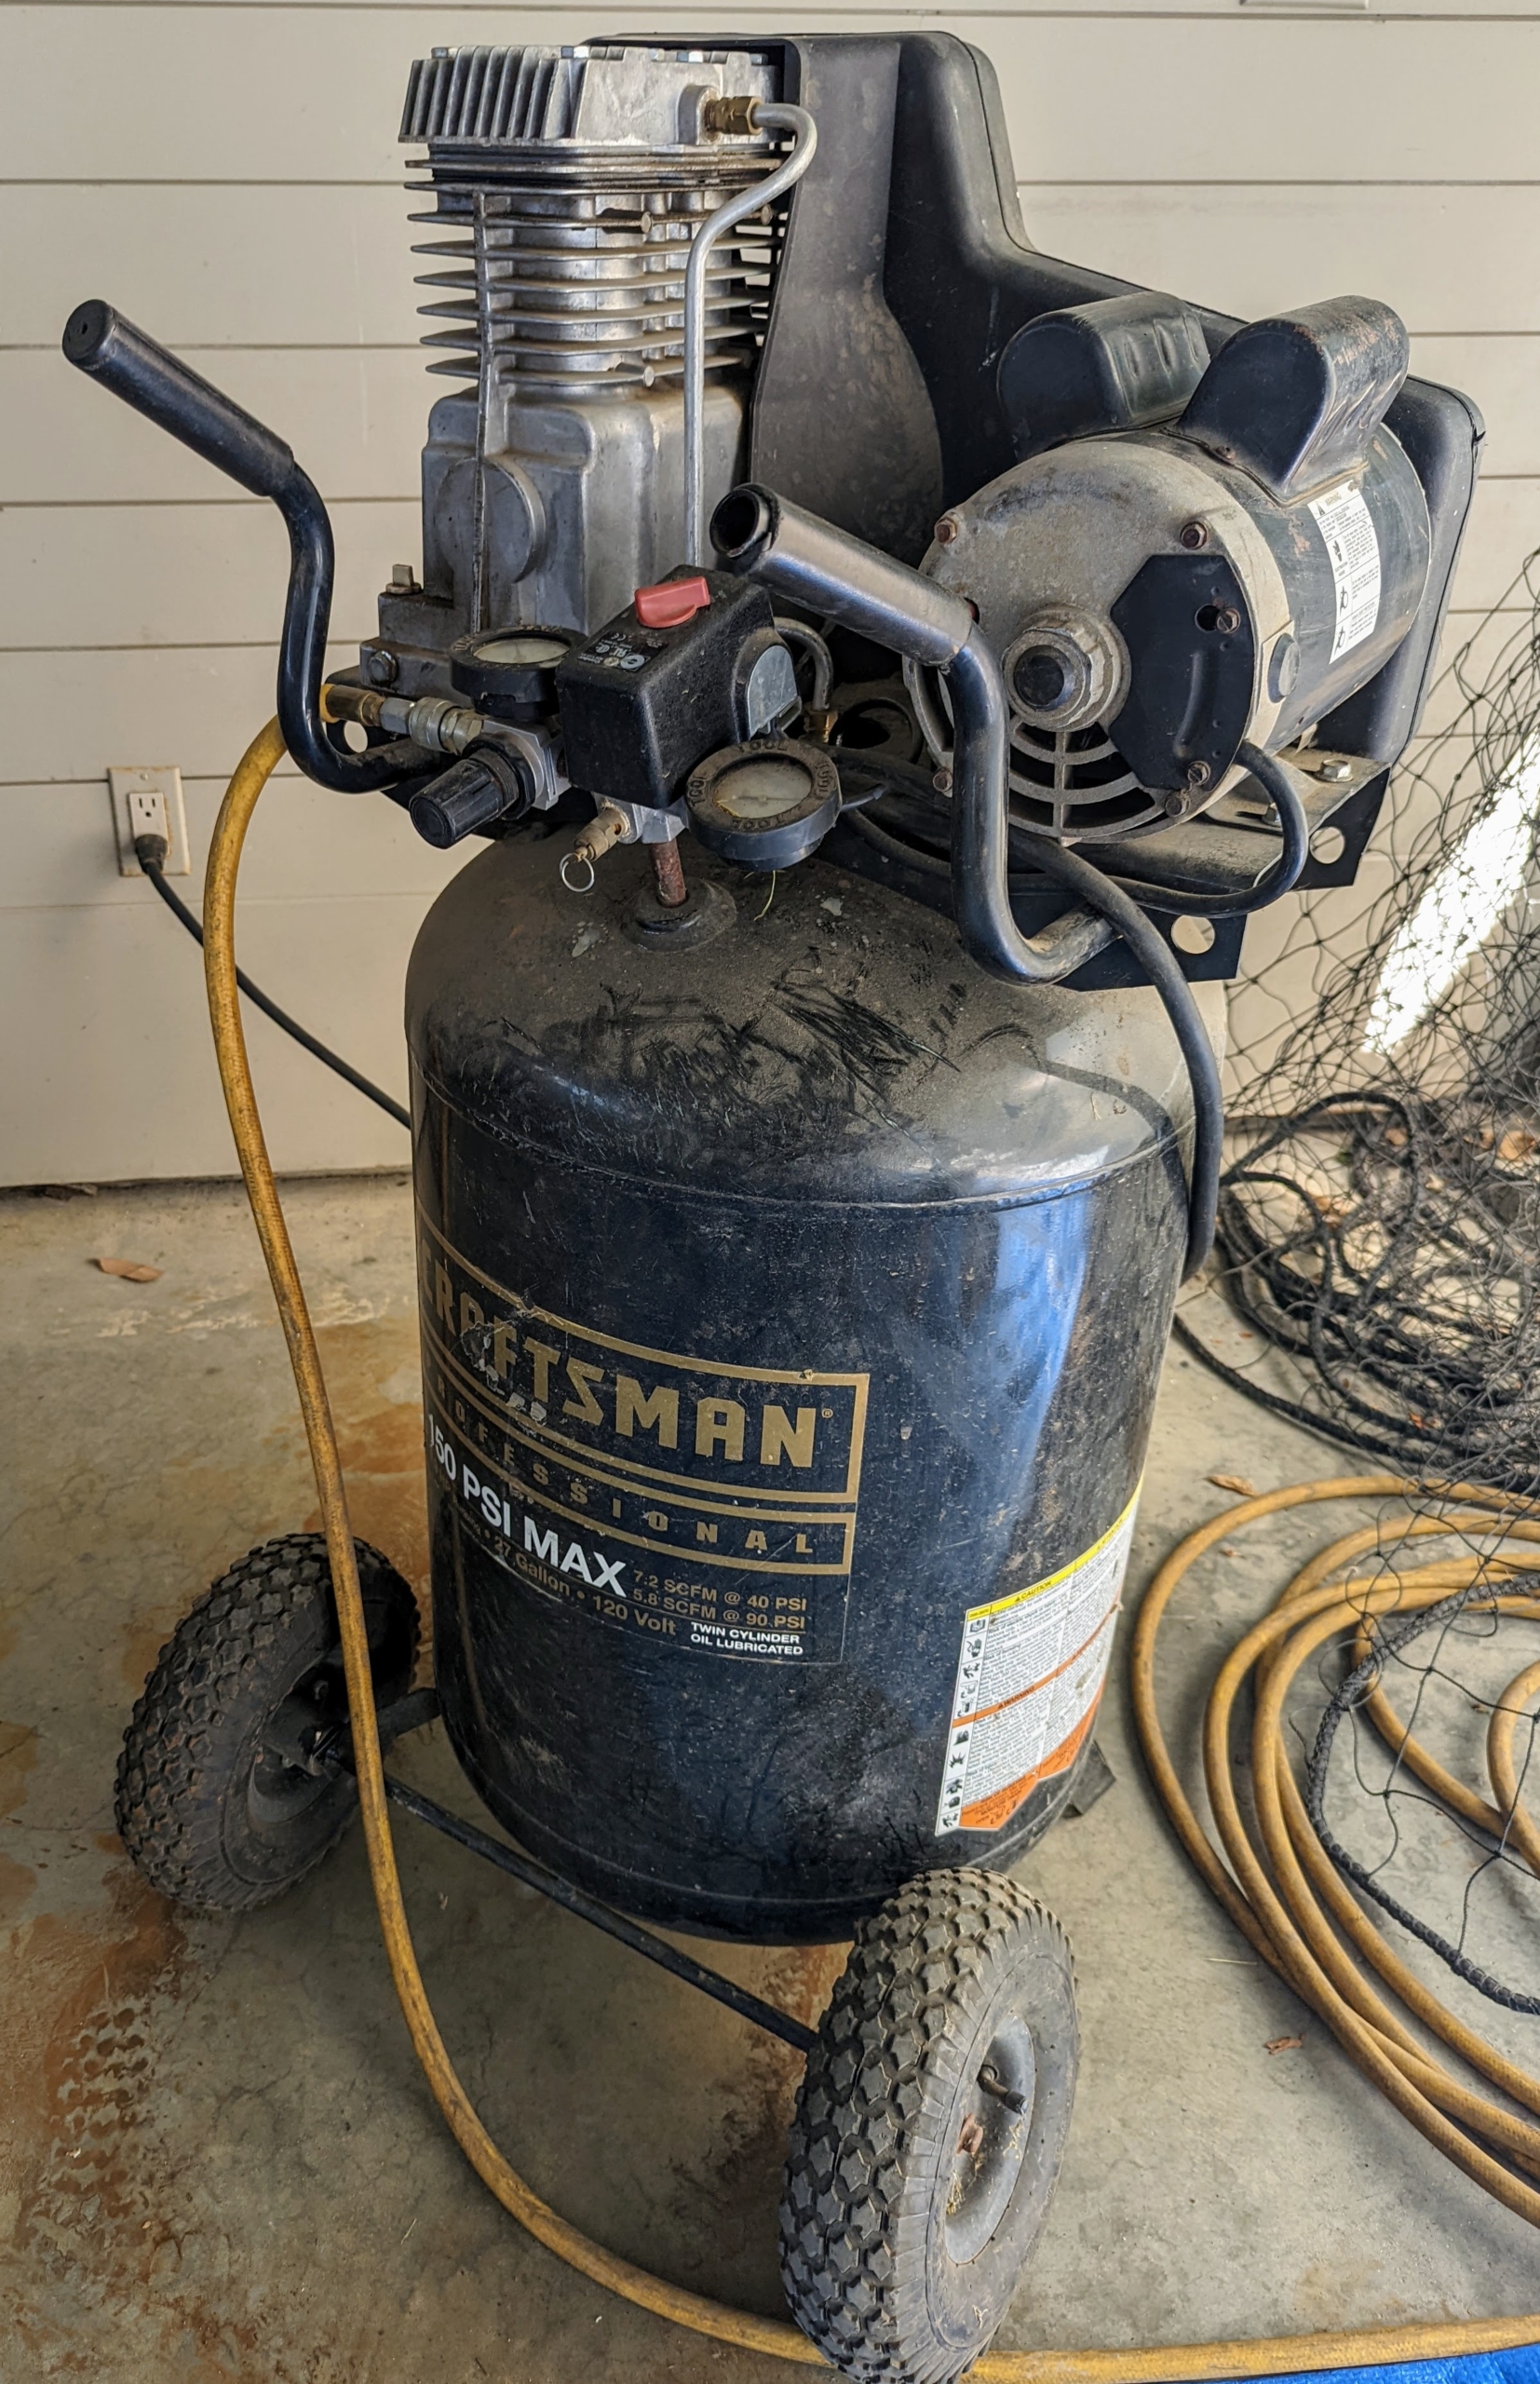
For this job, we needed a strong air compressor. Air compressors work by forcing air into a container and pressurizing it and then pushing it out though the tank and the paint sprayer.
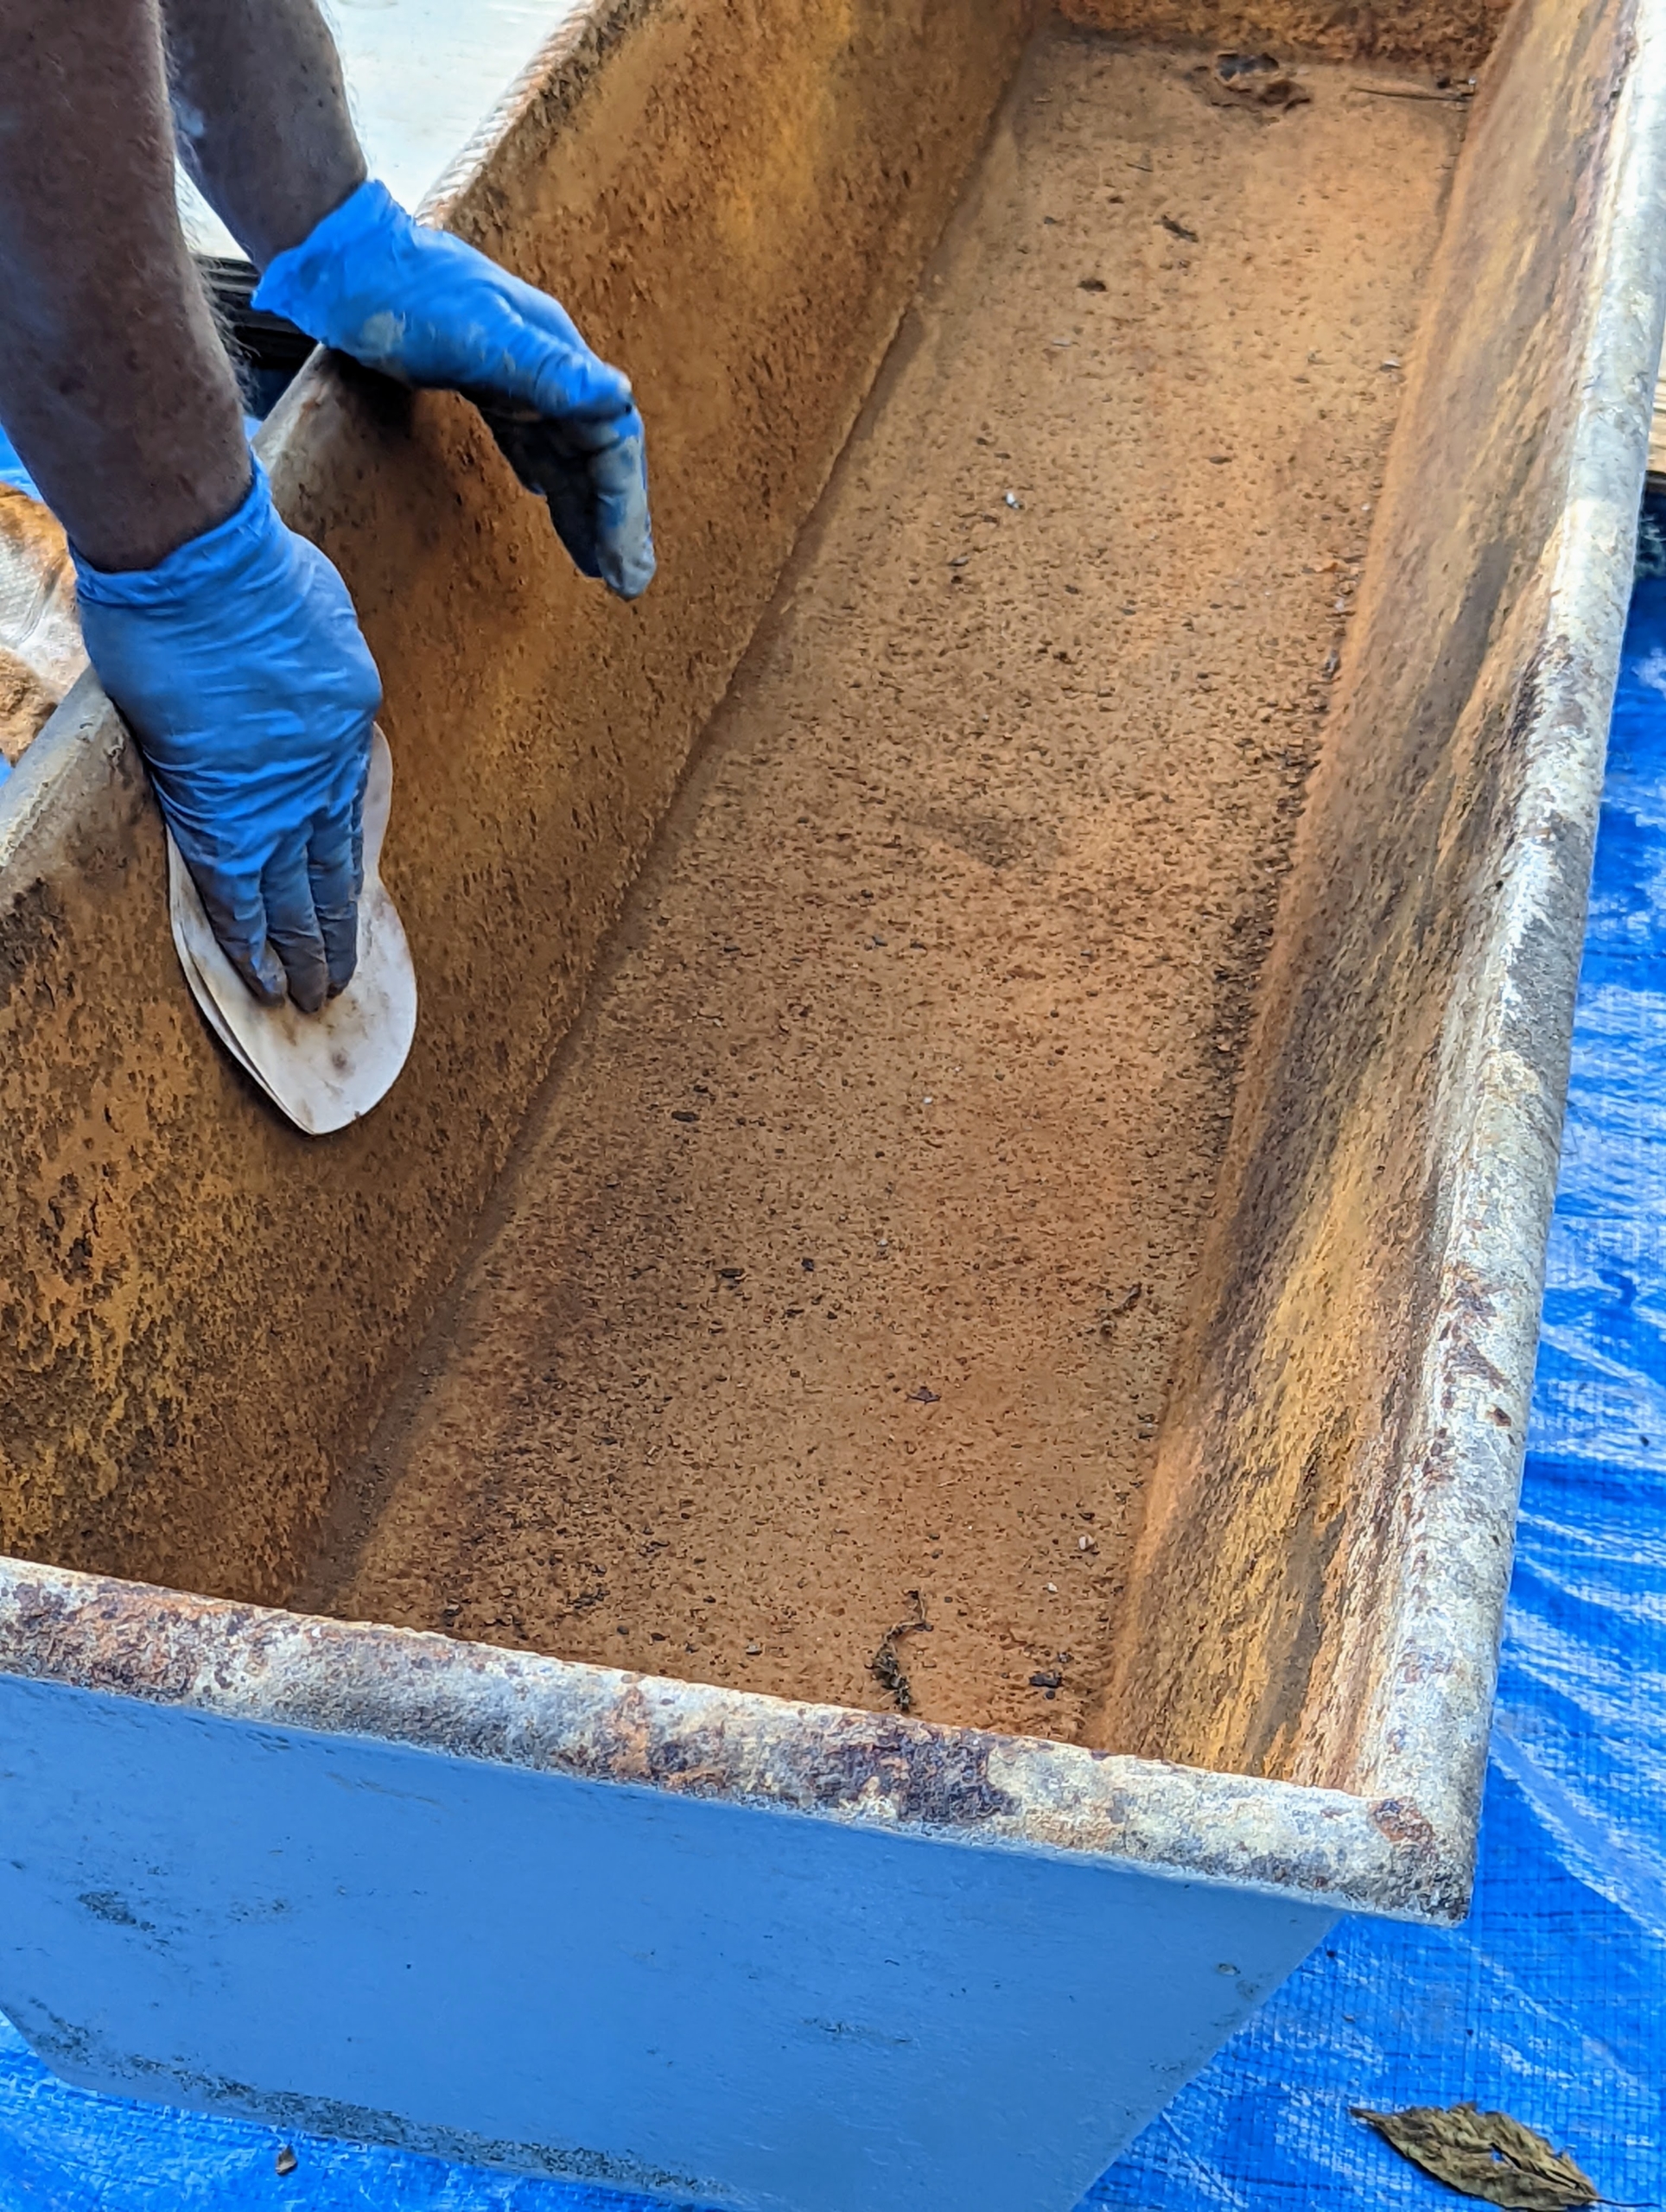
The inside of this trough needed to be sanded first to create a smooth surface for better adhesion.
Here’s one chair all primed – in Bedford Gray.
By afternoon, most of the pieces were also primed. The primer dries very fast.
Next – paint. It’s crucial to use a high-quality oil-based spray paint specifically designed for outdoor use to prevent rust.
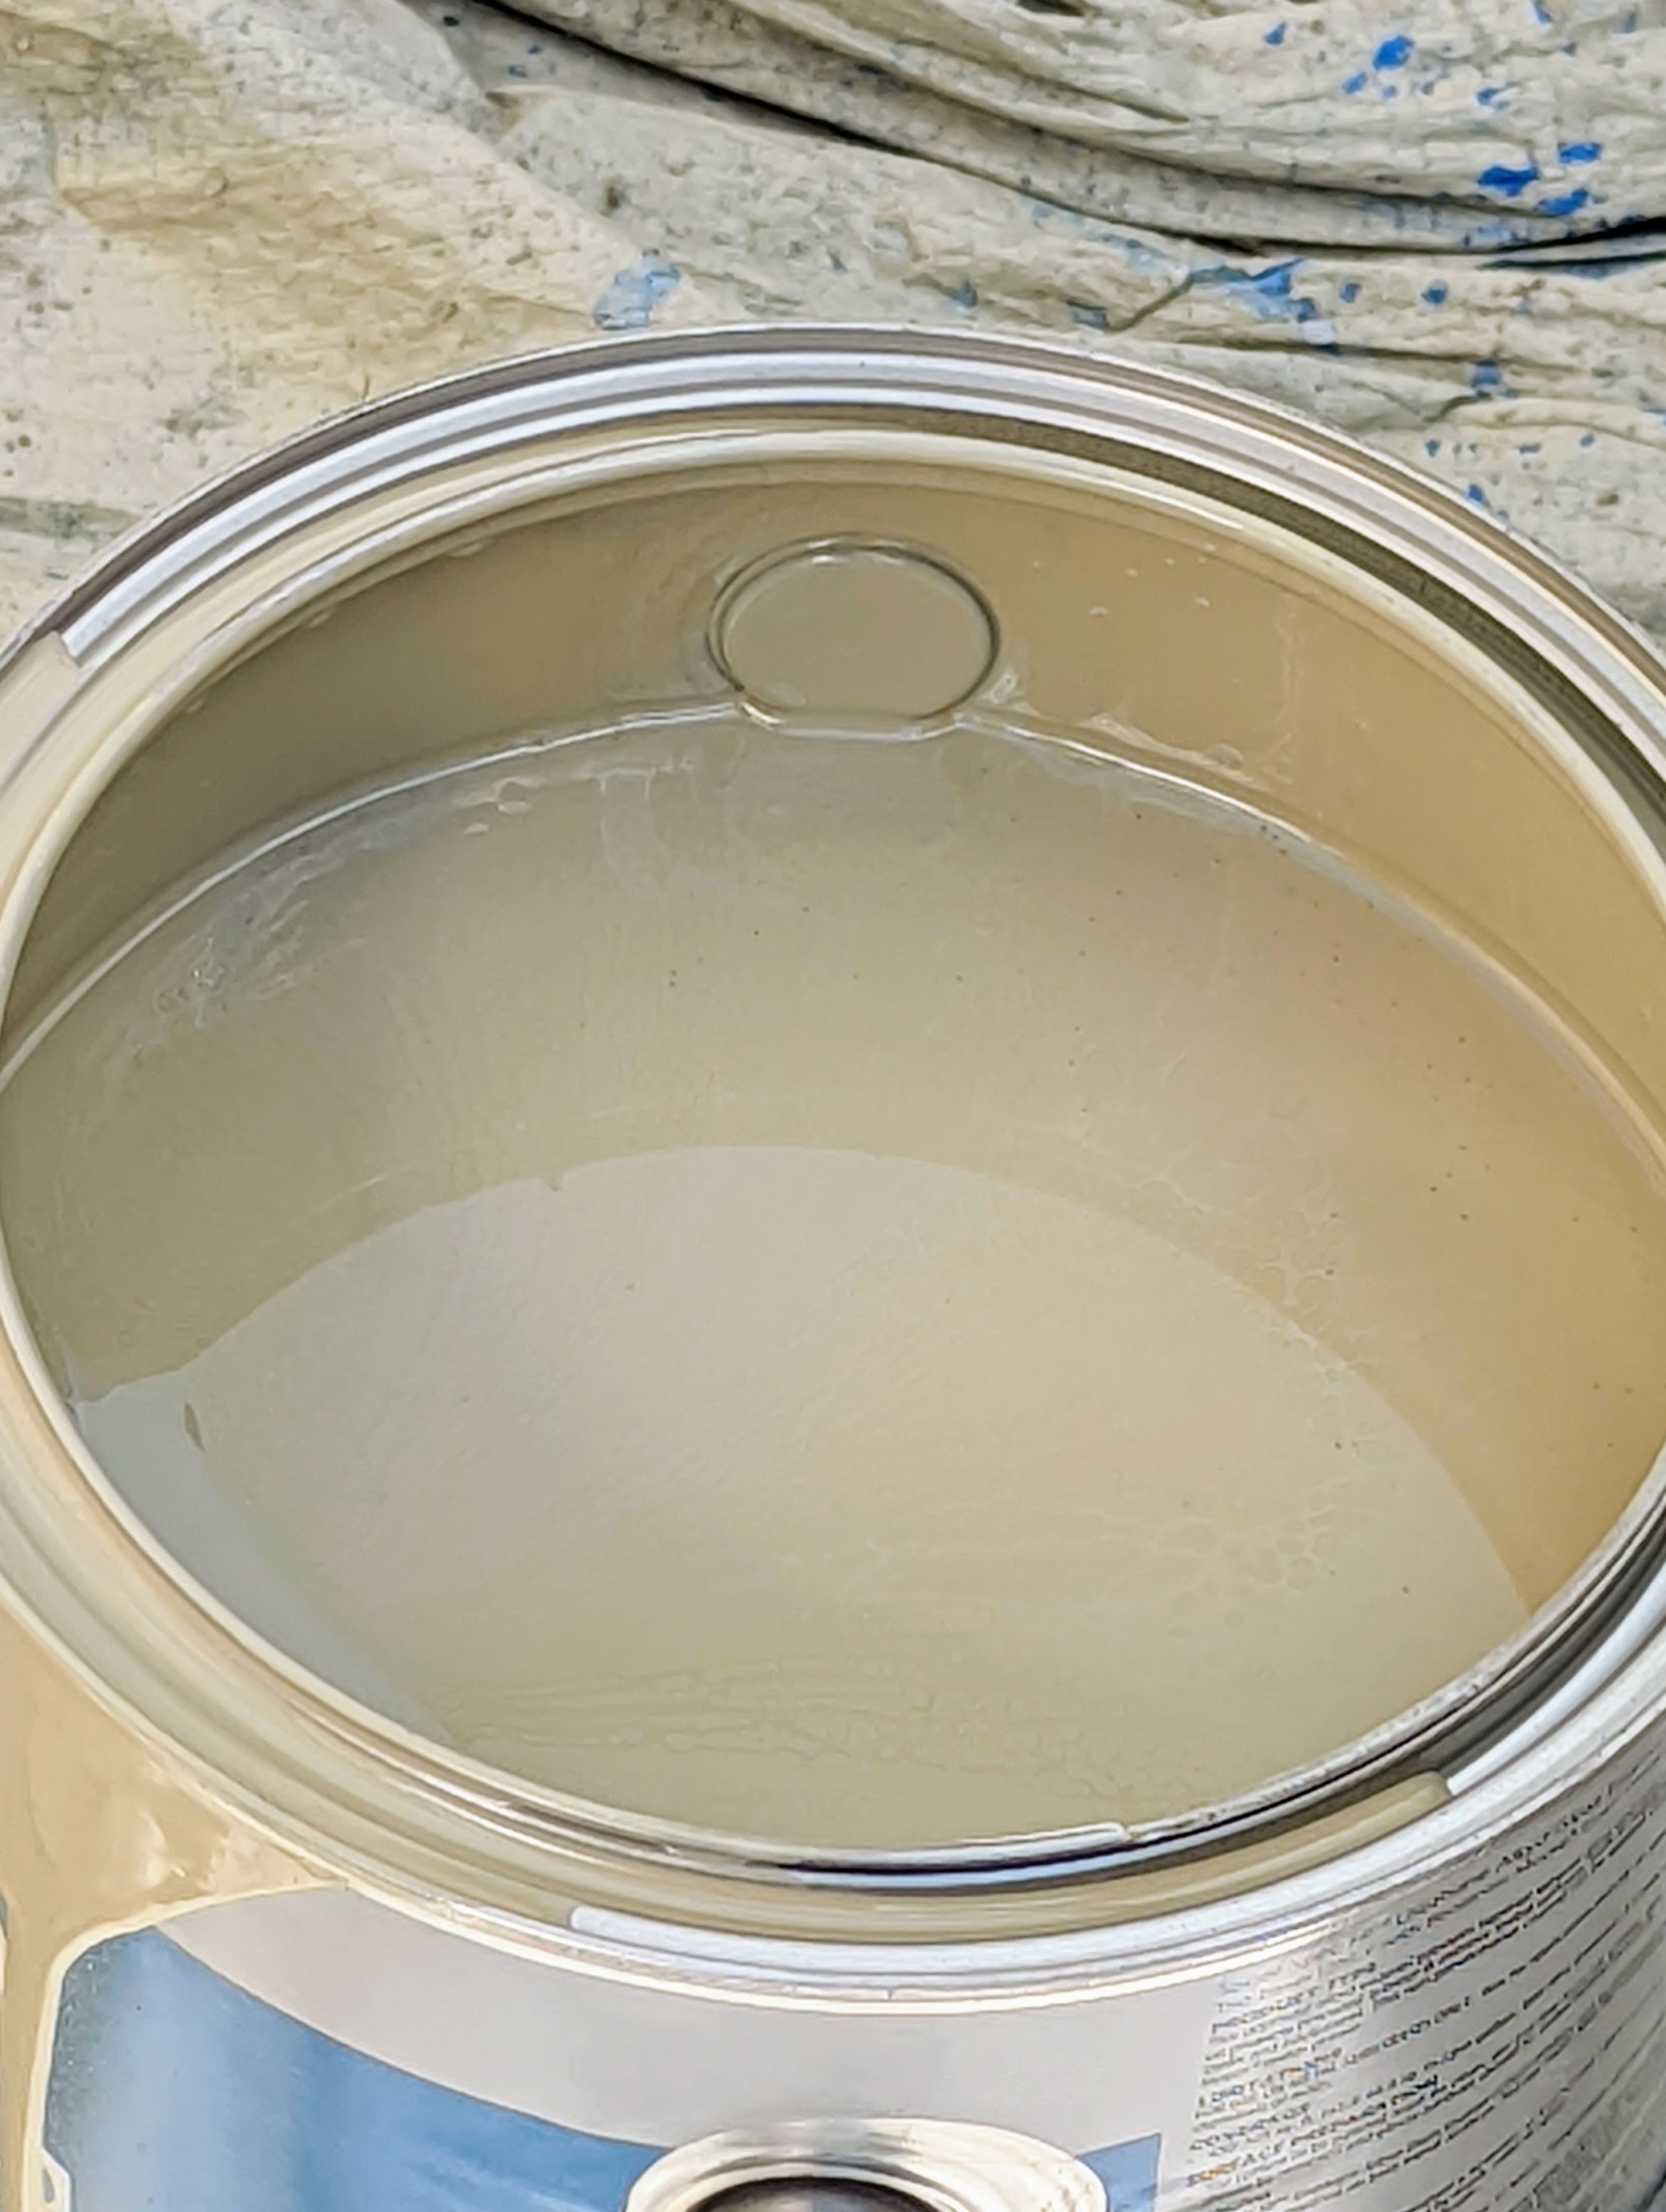
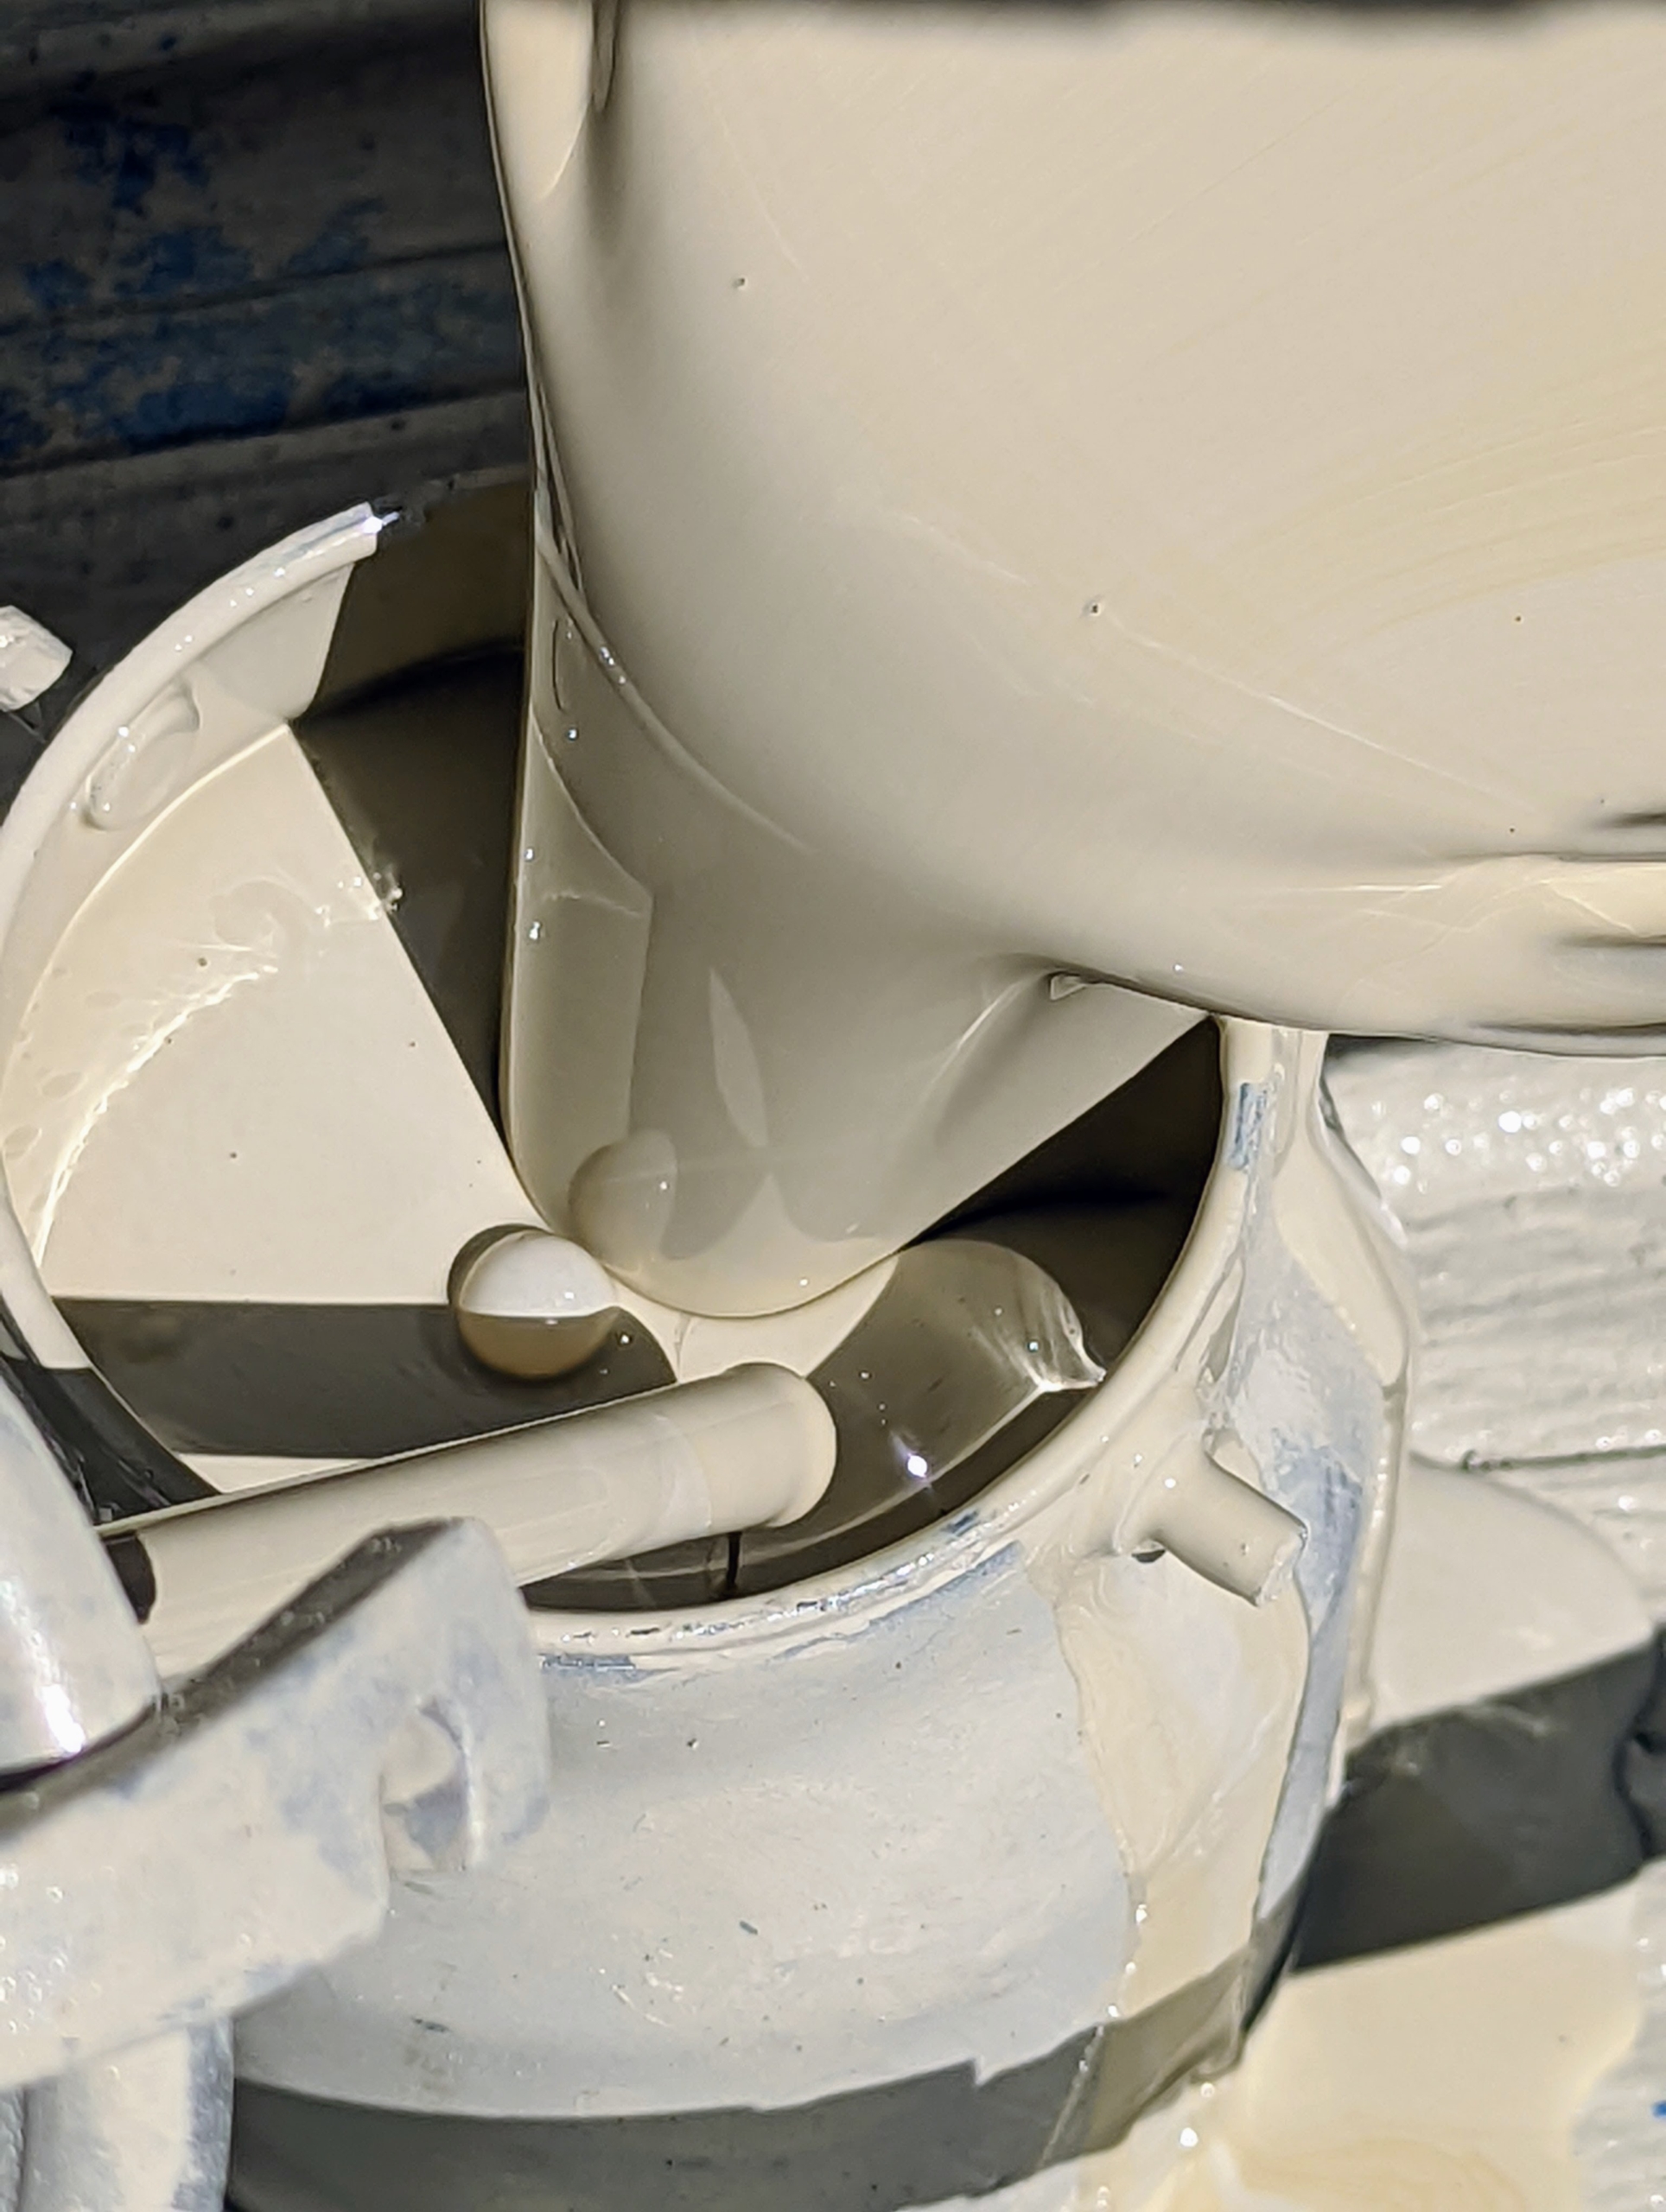
Fernando pours the paint into the sprayer’s reservoir. The color is just right.
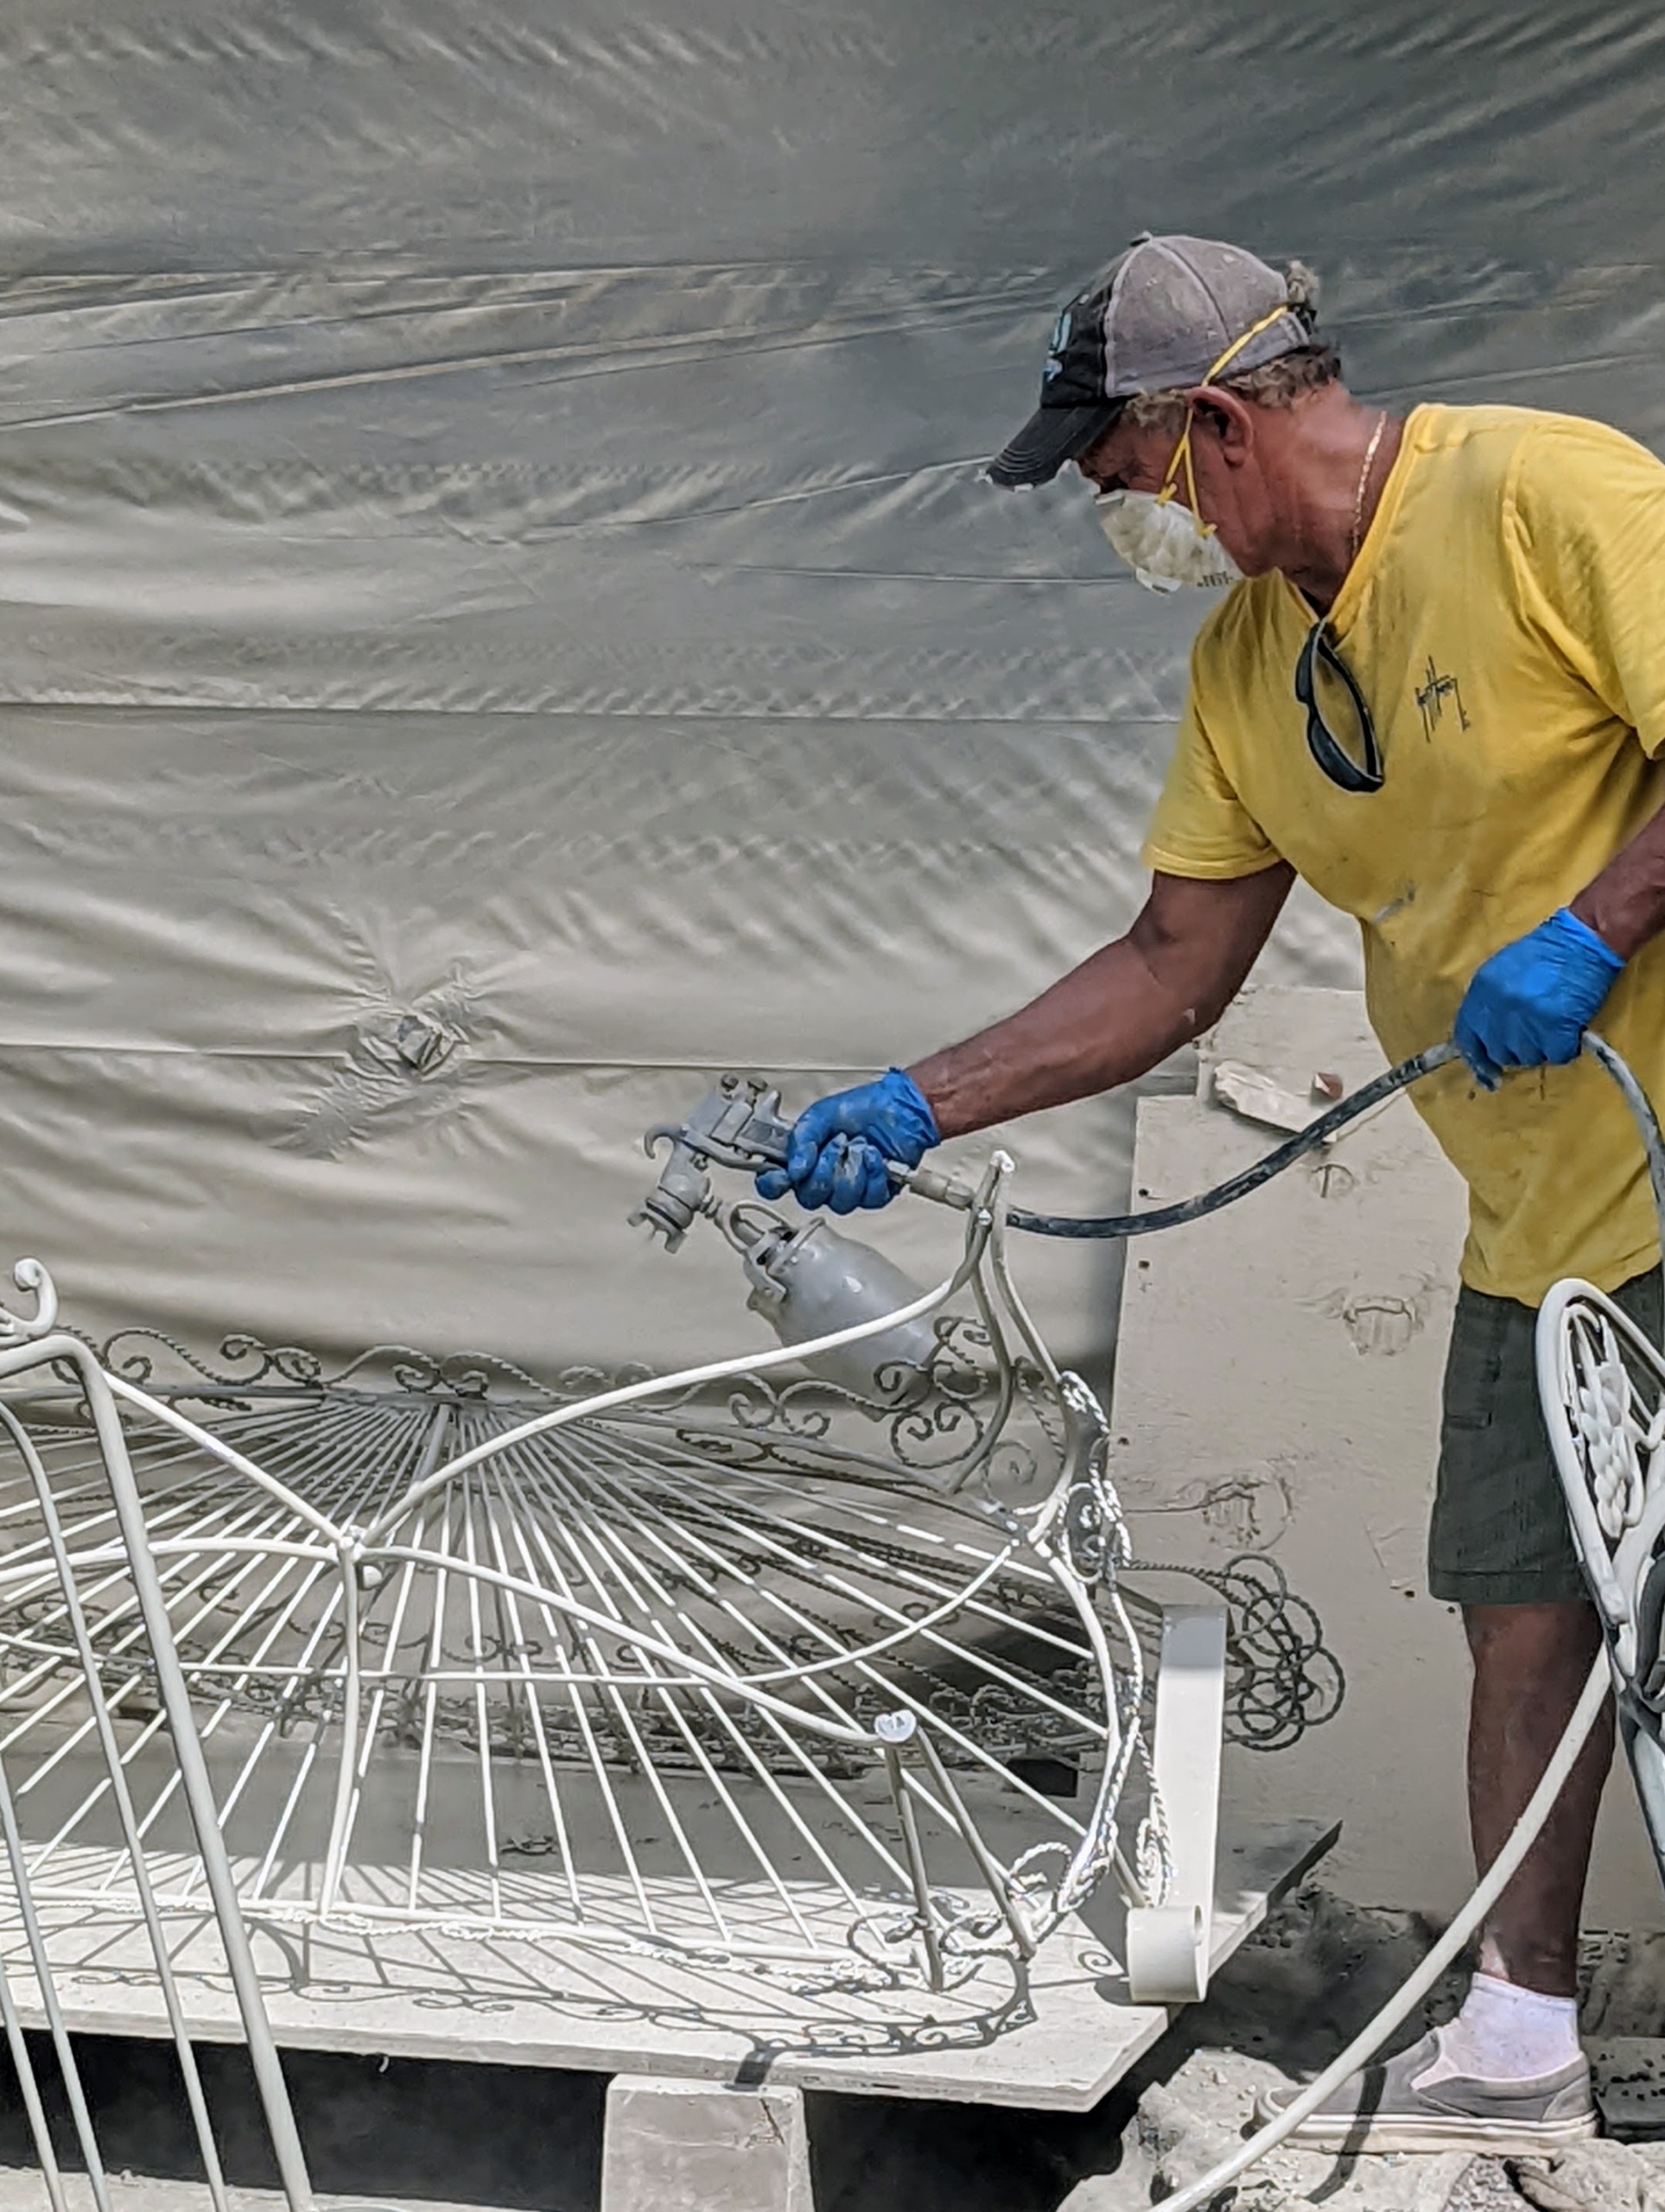
And then one by one each piece is sprayed. Always use a mask even when working outdoors. When spray painting indoors, always ventilate the room well by opening windows and doors.
When spray painting, use thin, multiple coats instead of one thick coat to get the best result.
Look how smooth this chair seat is after painting.
And here’s the trough all finished. It looks so much better.
The furniture is left to dry completely inside the carport for at least 24 hours.
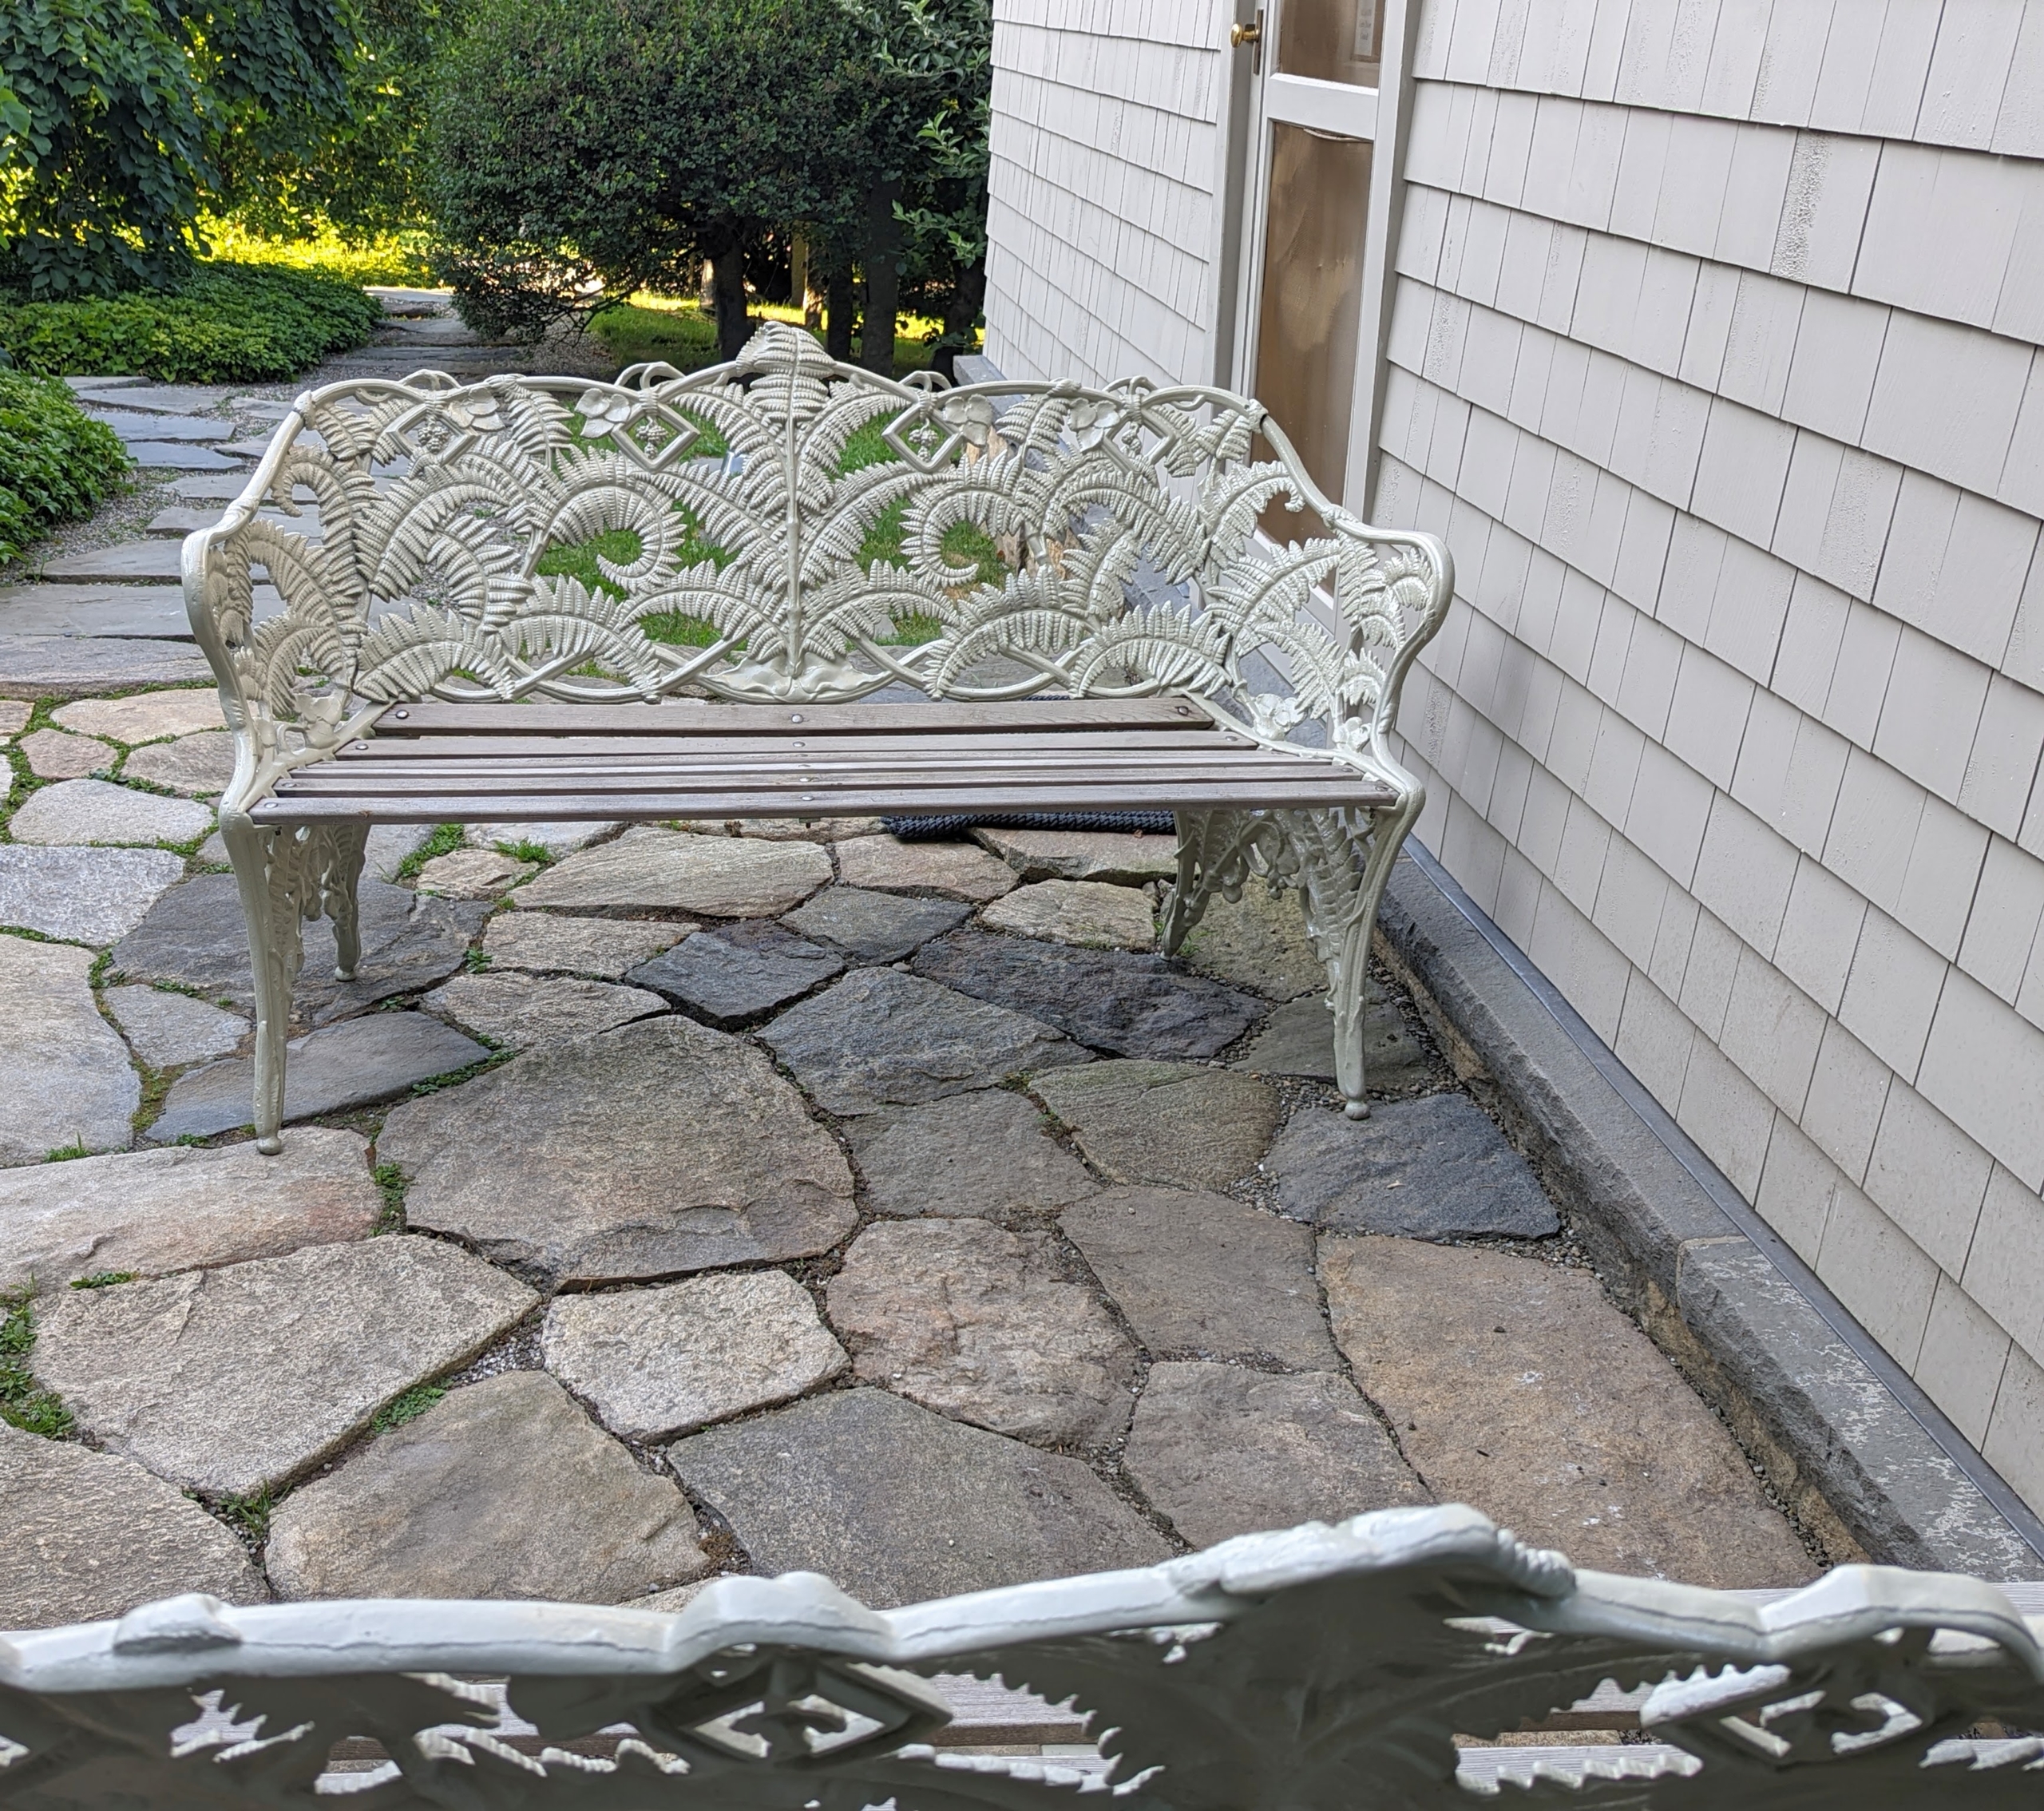
And once it’s dry, it’s ready to be used. Here are two newly painted benches in front of my Flower Room just around the corner from my carport. I think they look great in this space. I am excited to place all the furniture out for the season. Old pieces made to look like new… it’s a good thing!