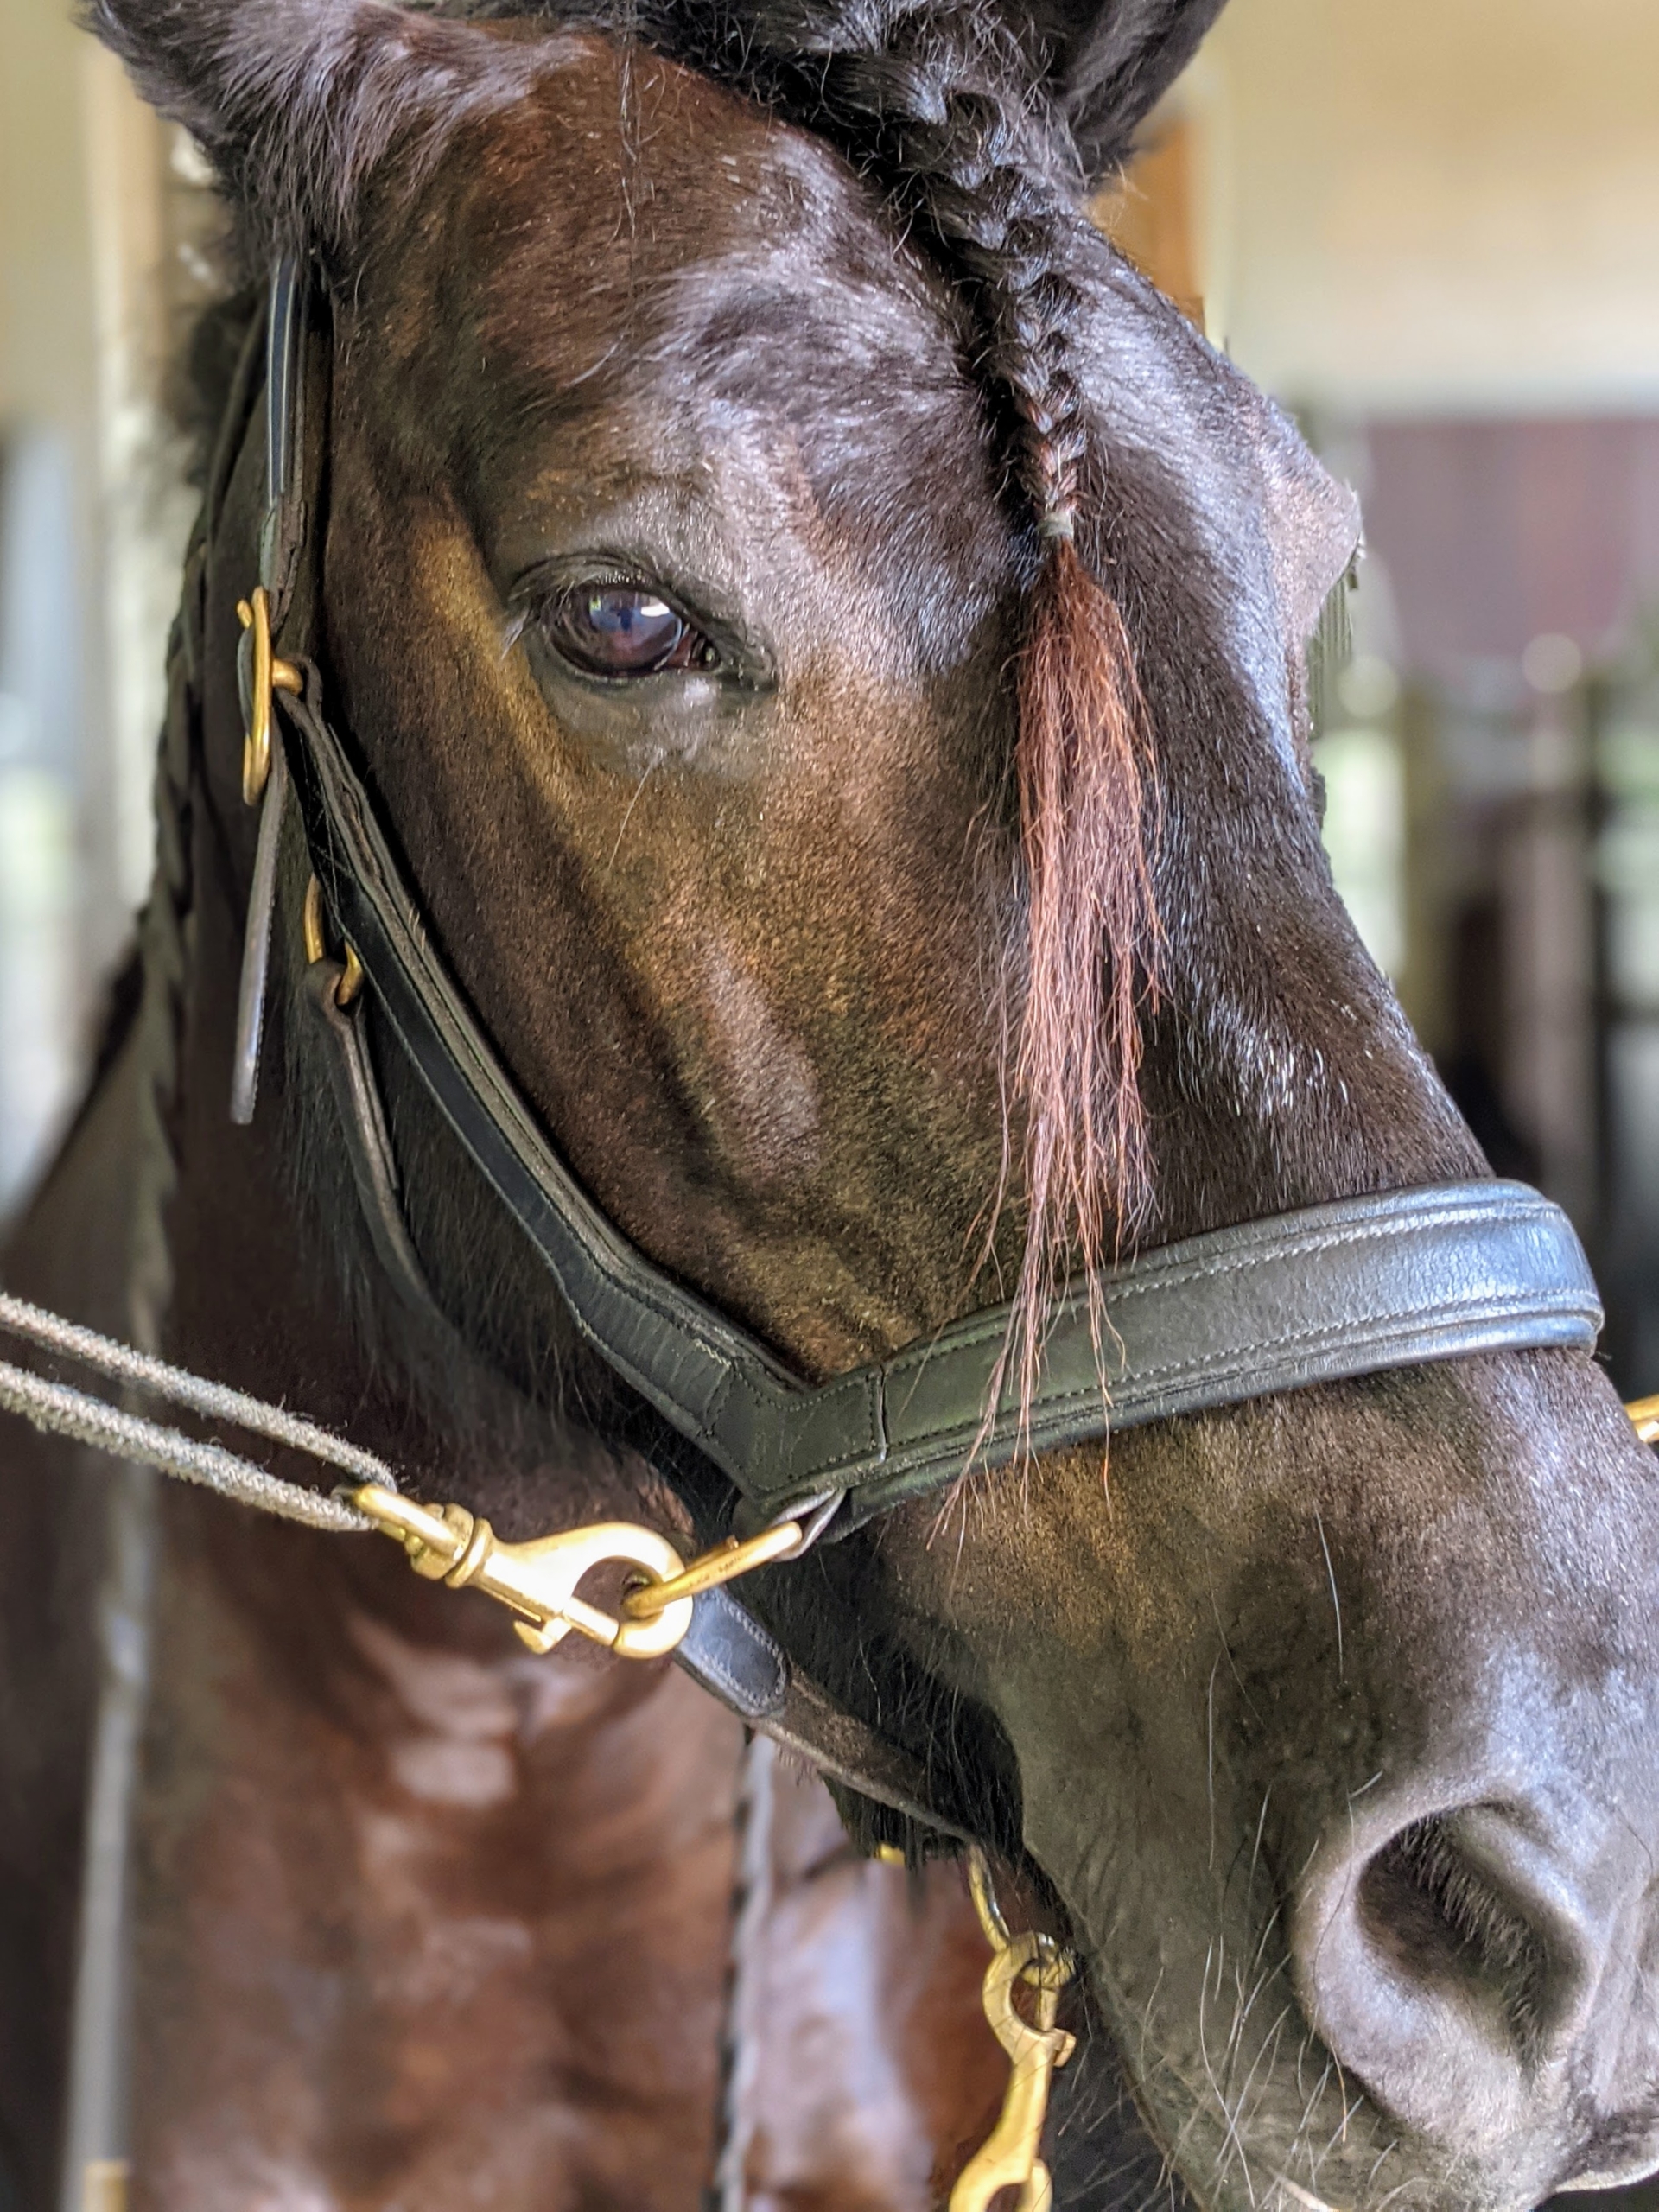
My handsome Fell Pony, Banchunch, is enjoying his new shoes.
All my horses get new shoes every four to six weeks. Made of metal or sometimes rubber or other materials, horseshoes are designed to protect the horse’s hooves from wear. Every shoe must be fitted properly in order to prevent mobility issues from developing. The horseshoes usually remain on the animal's hooves until the farrier returns to change them, but occasionally a horse will throw a shoe during a ride or just out in the paddock. That's exactly what happened to Banchunch - he threw one of his front shoes, so we called in the farrier, Marc Hill, to come for a visit.
Enjoy these photos.
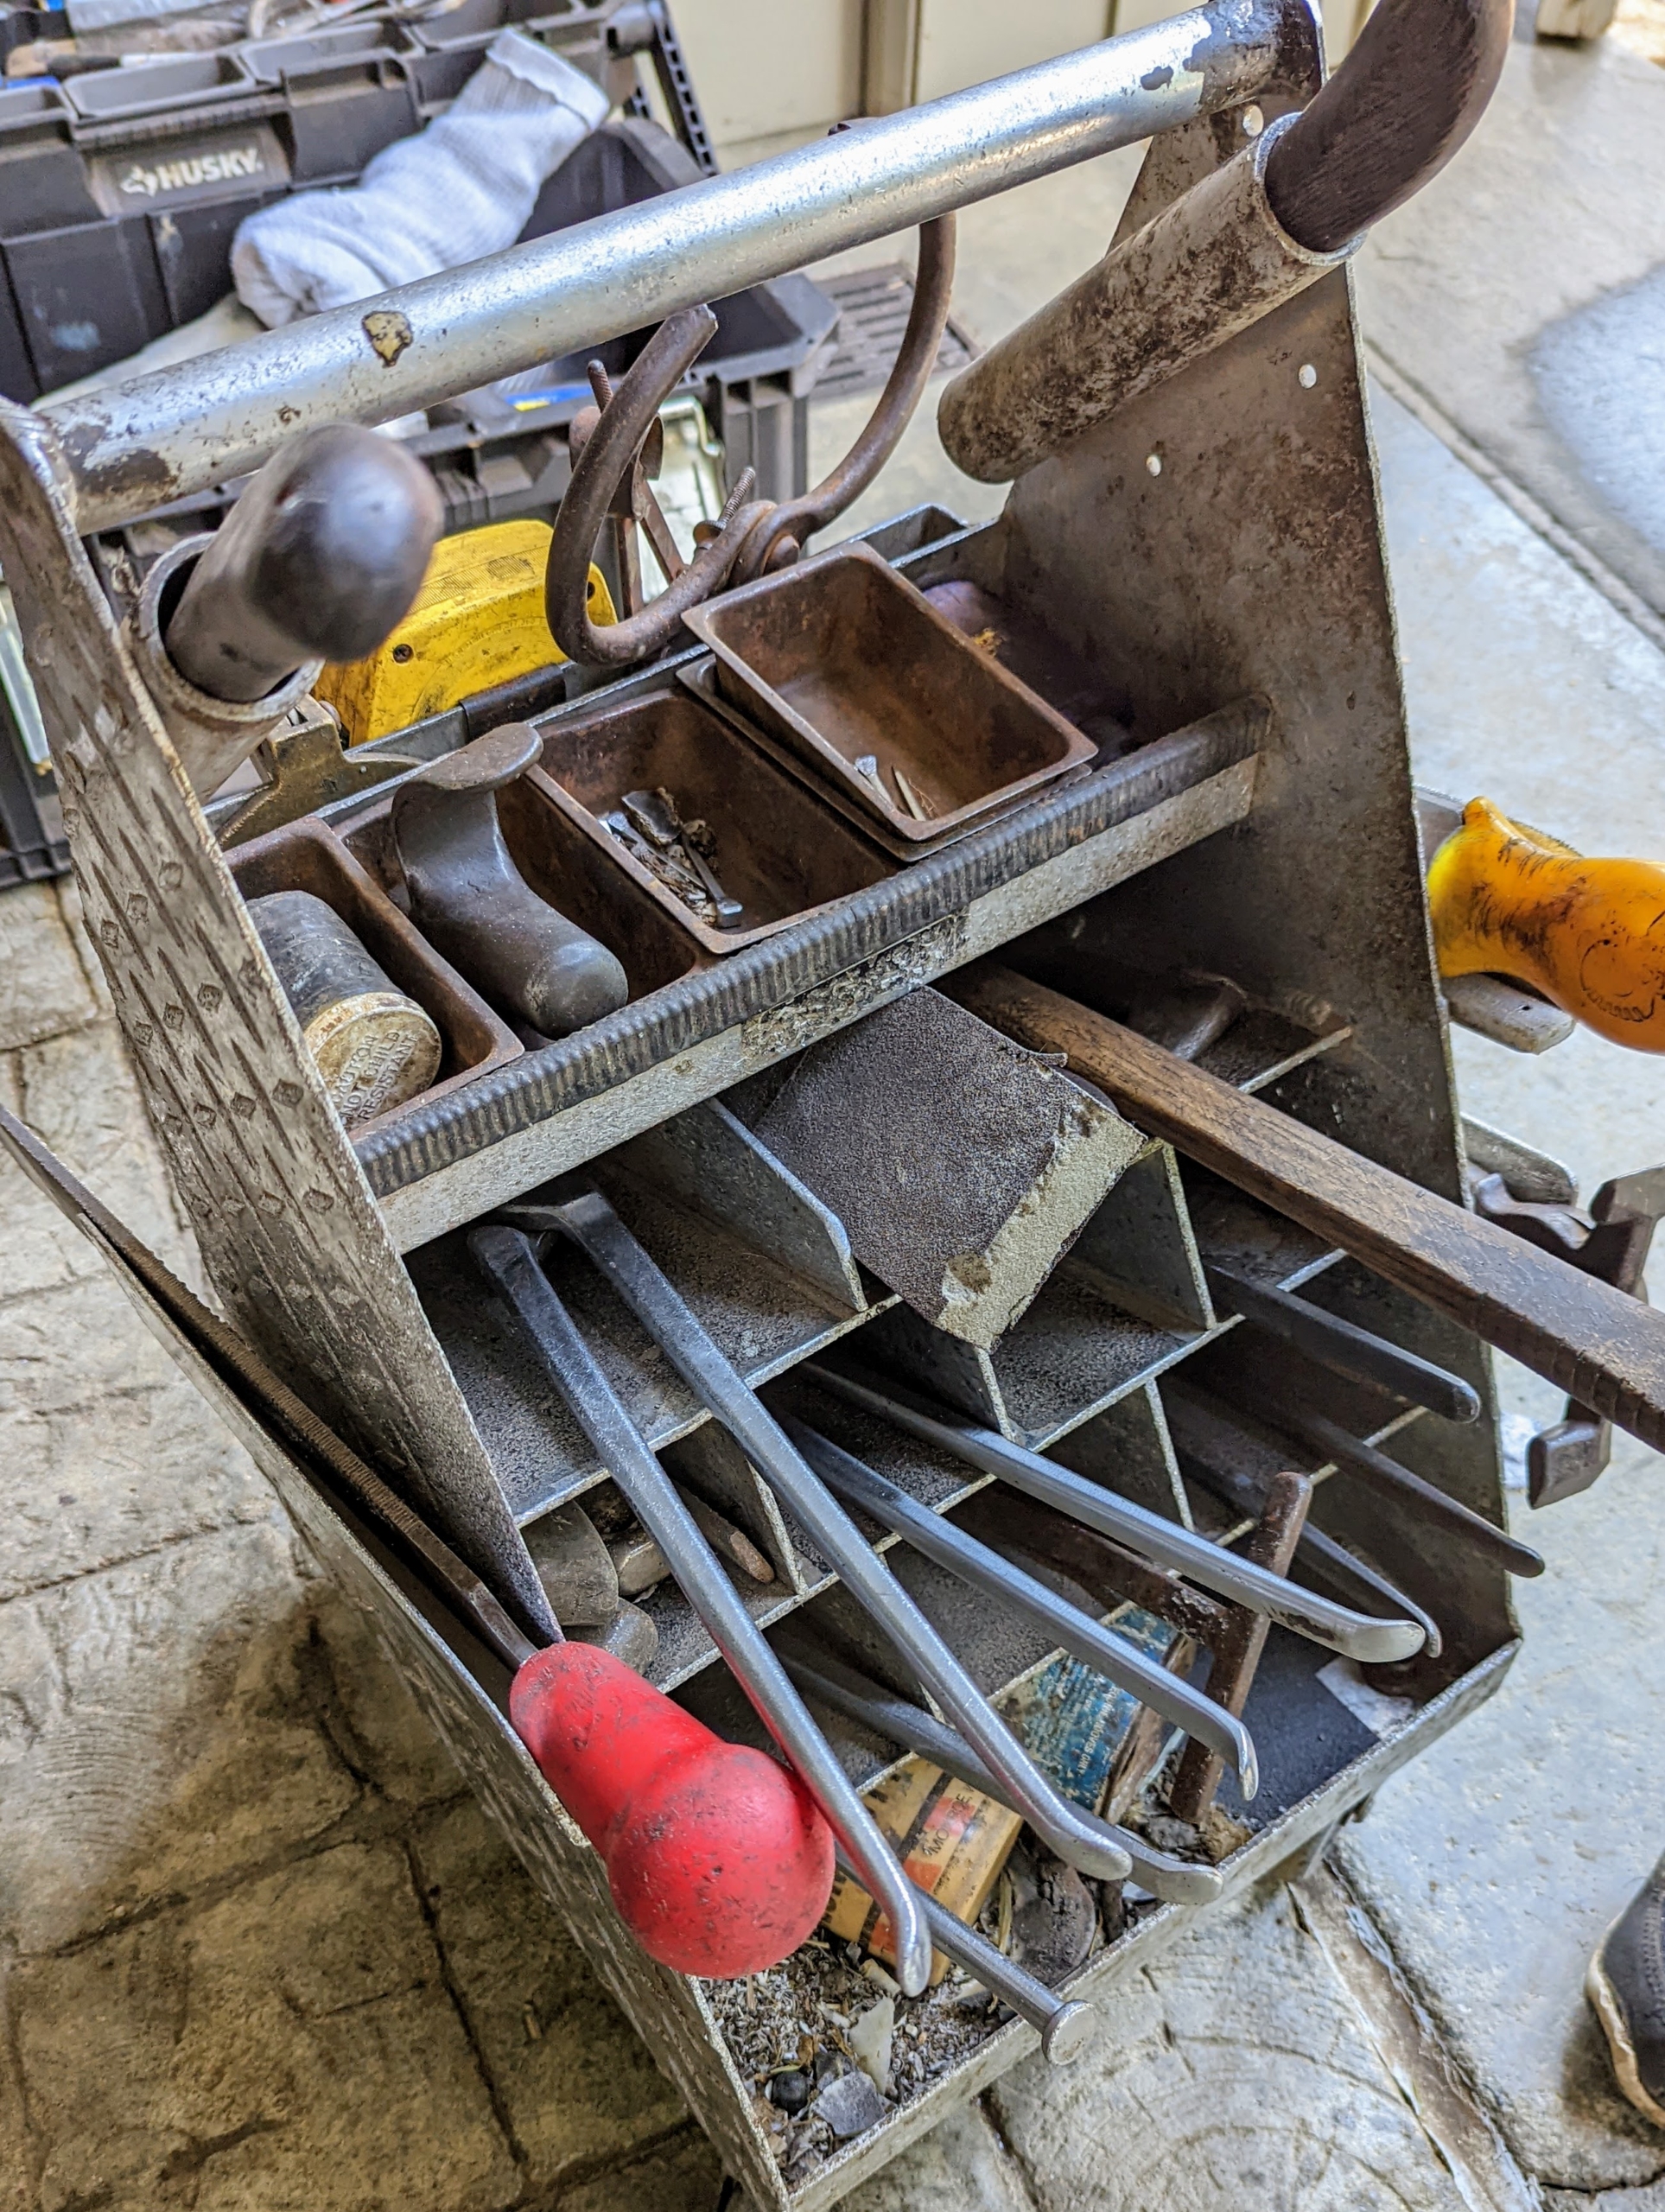
A farrier always has his or her box of important tools. When we see this in the stable, we know our farrier is not far away. Among the implements needed to change horseshoes are the pullers, a clinch cutter, a brush, and a rasp.
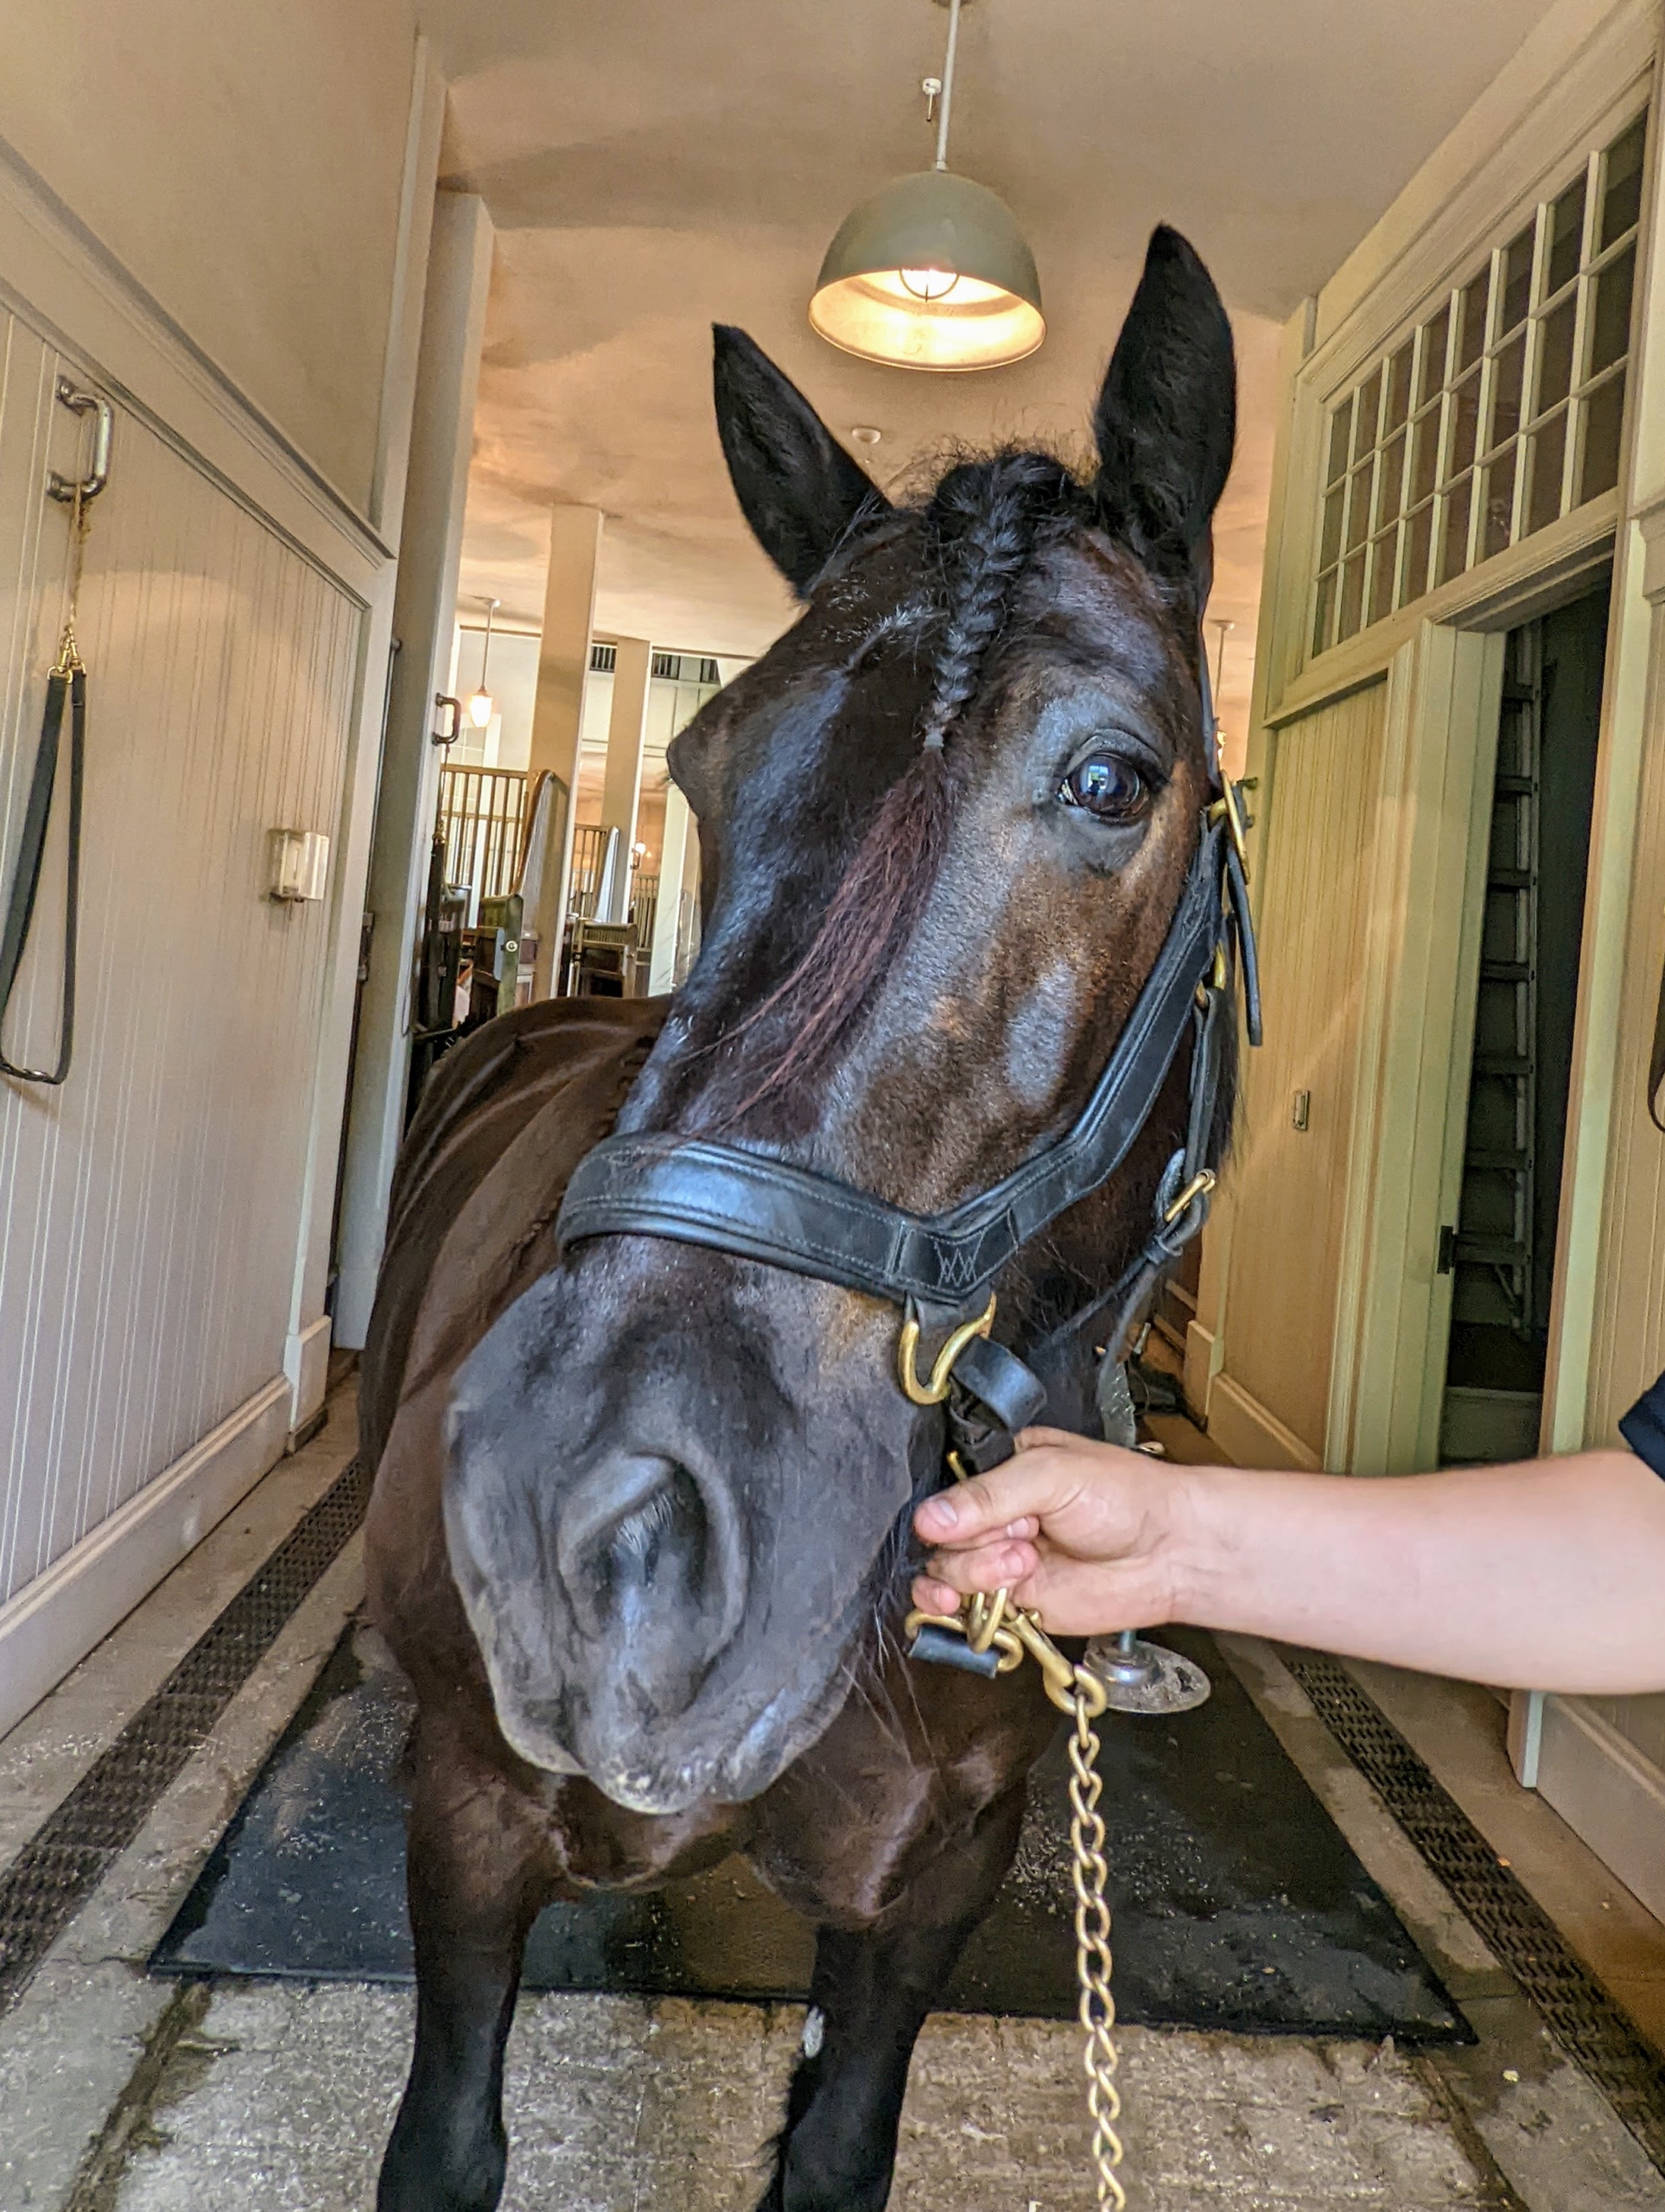
Banchunch threw a shoe the night before while out in the pasture. When this happens it’s important to call in the farrier to replace it quickly. Here’s Banchunch waiting for the farrier, Marc Hill, to start the process.
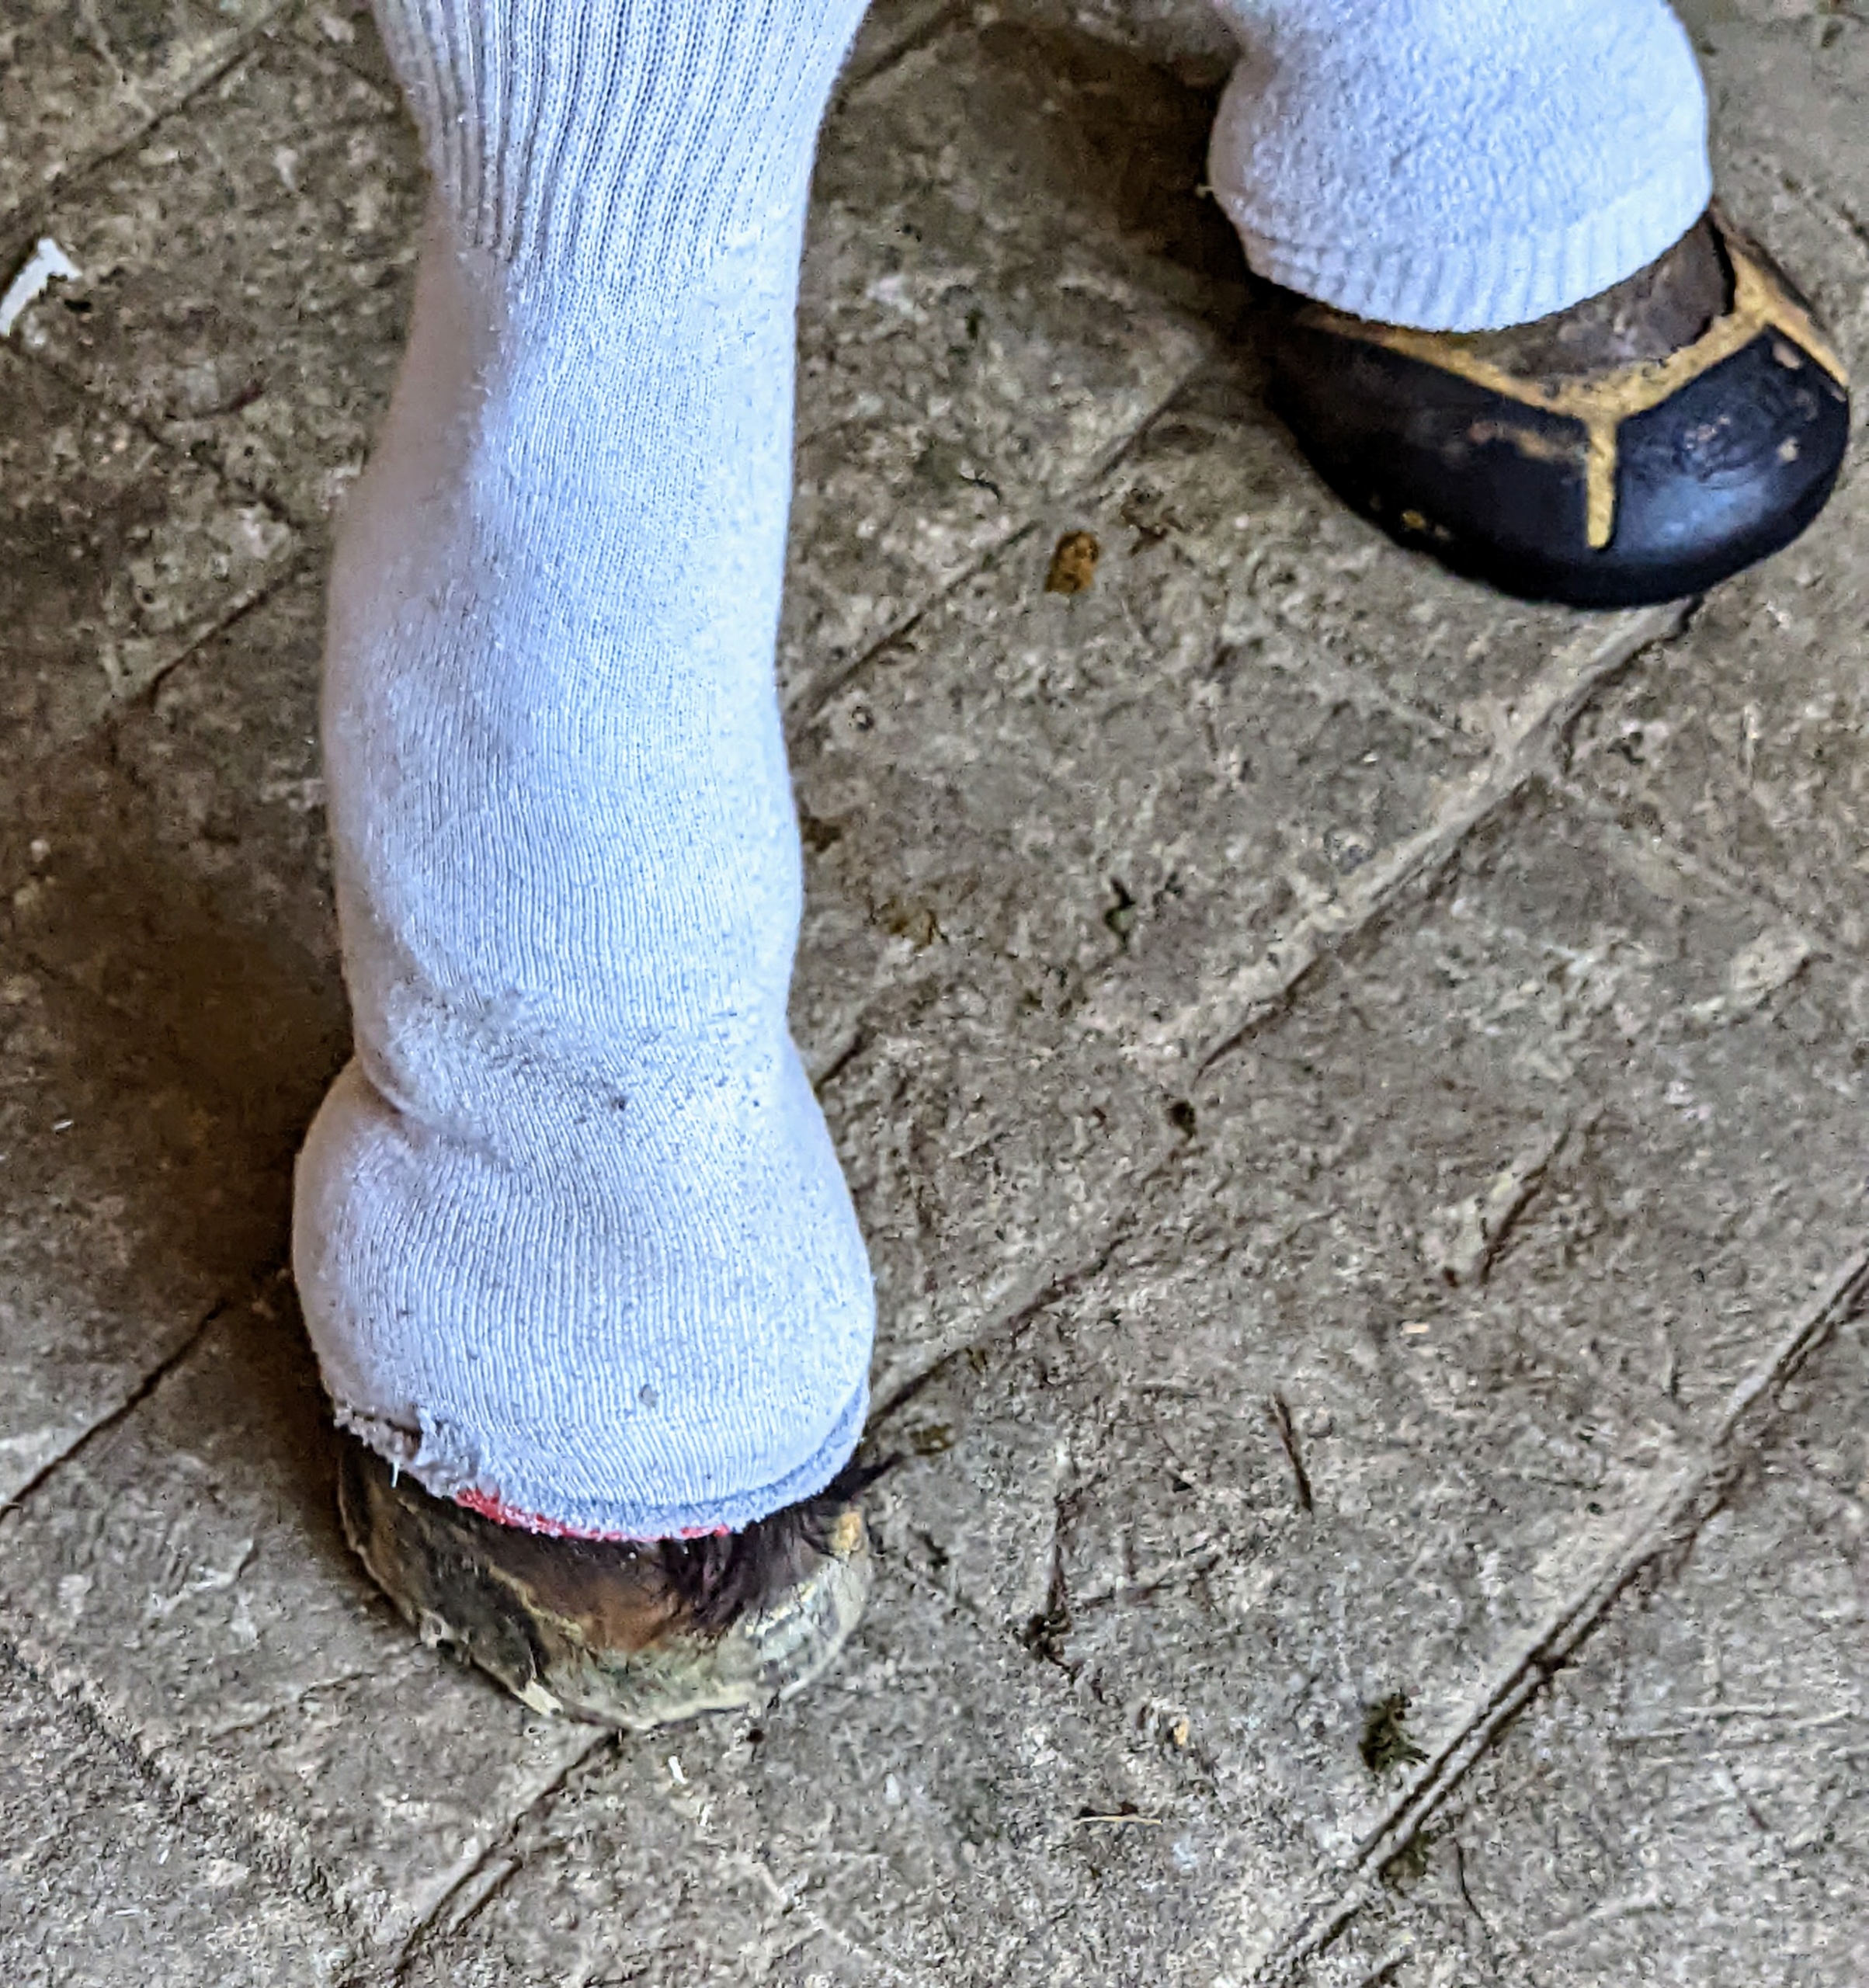
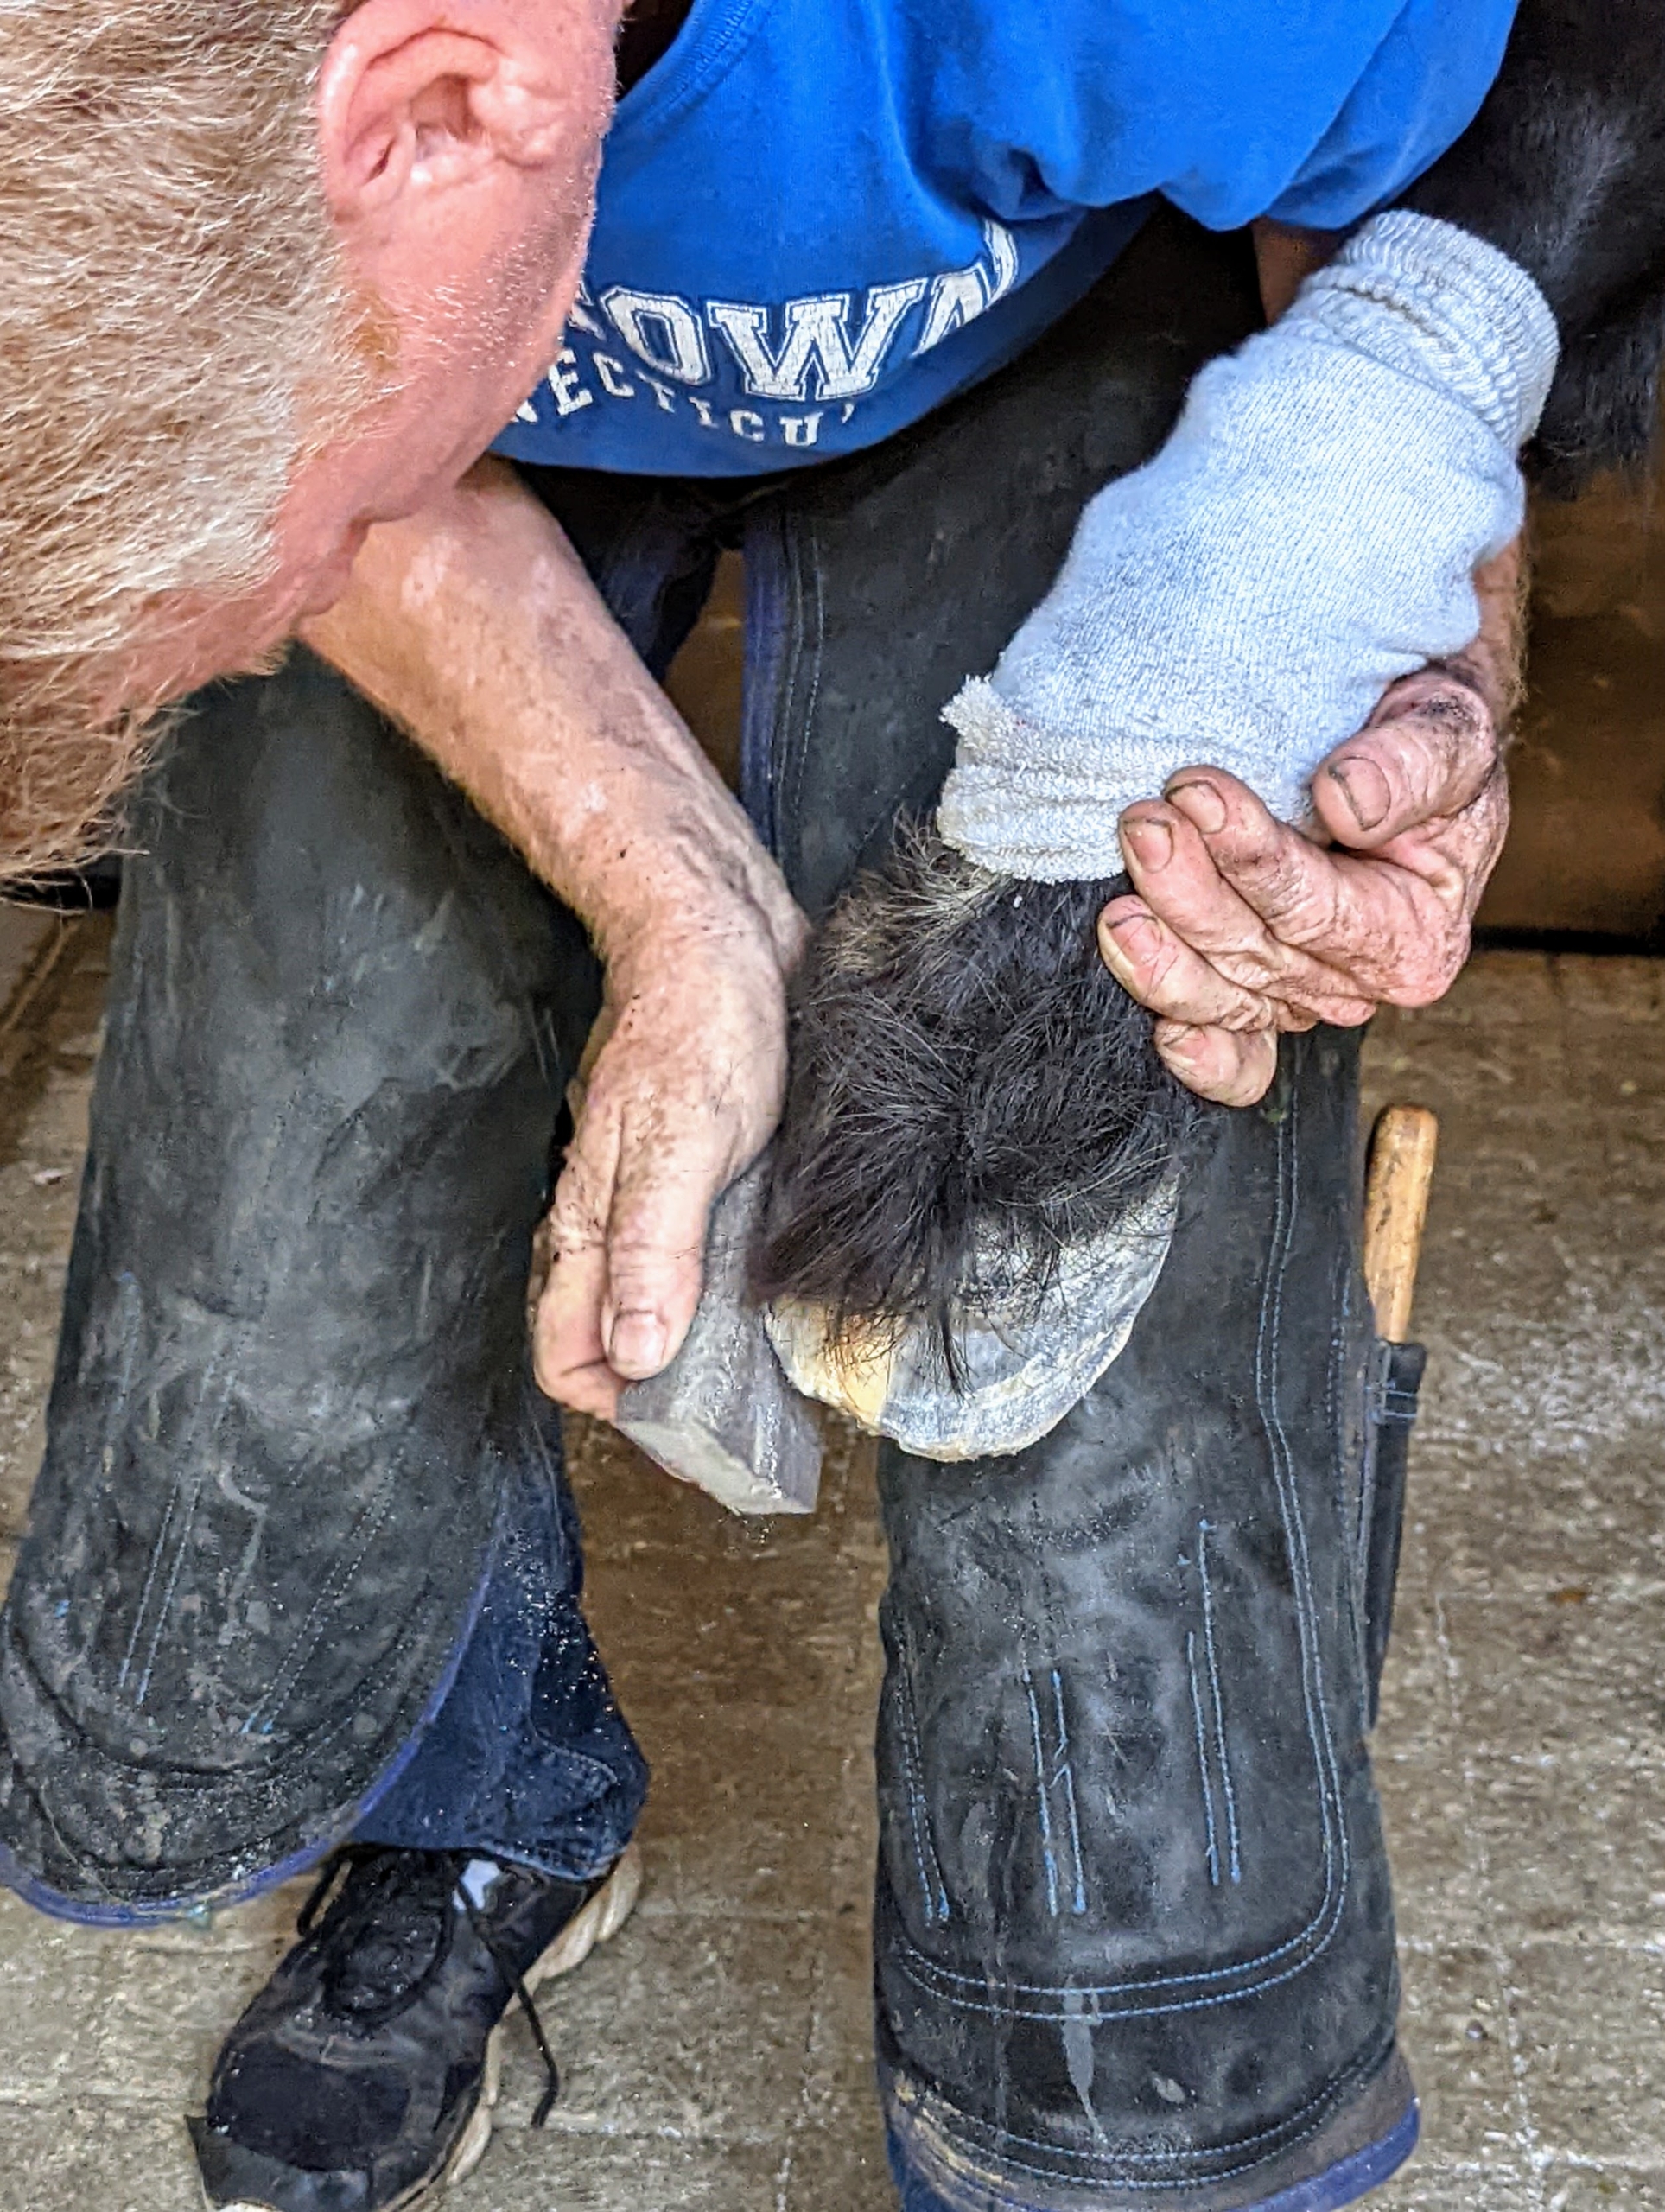
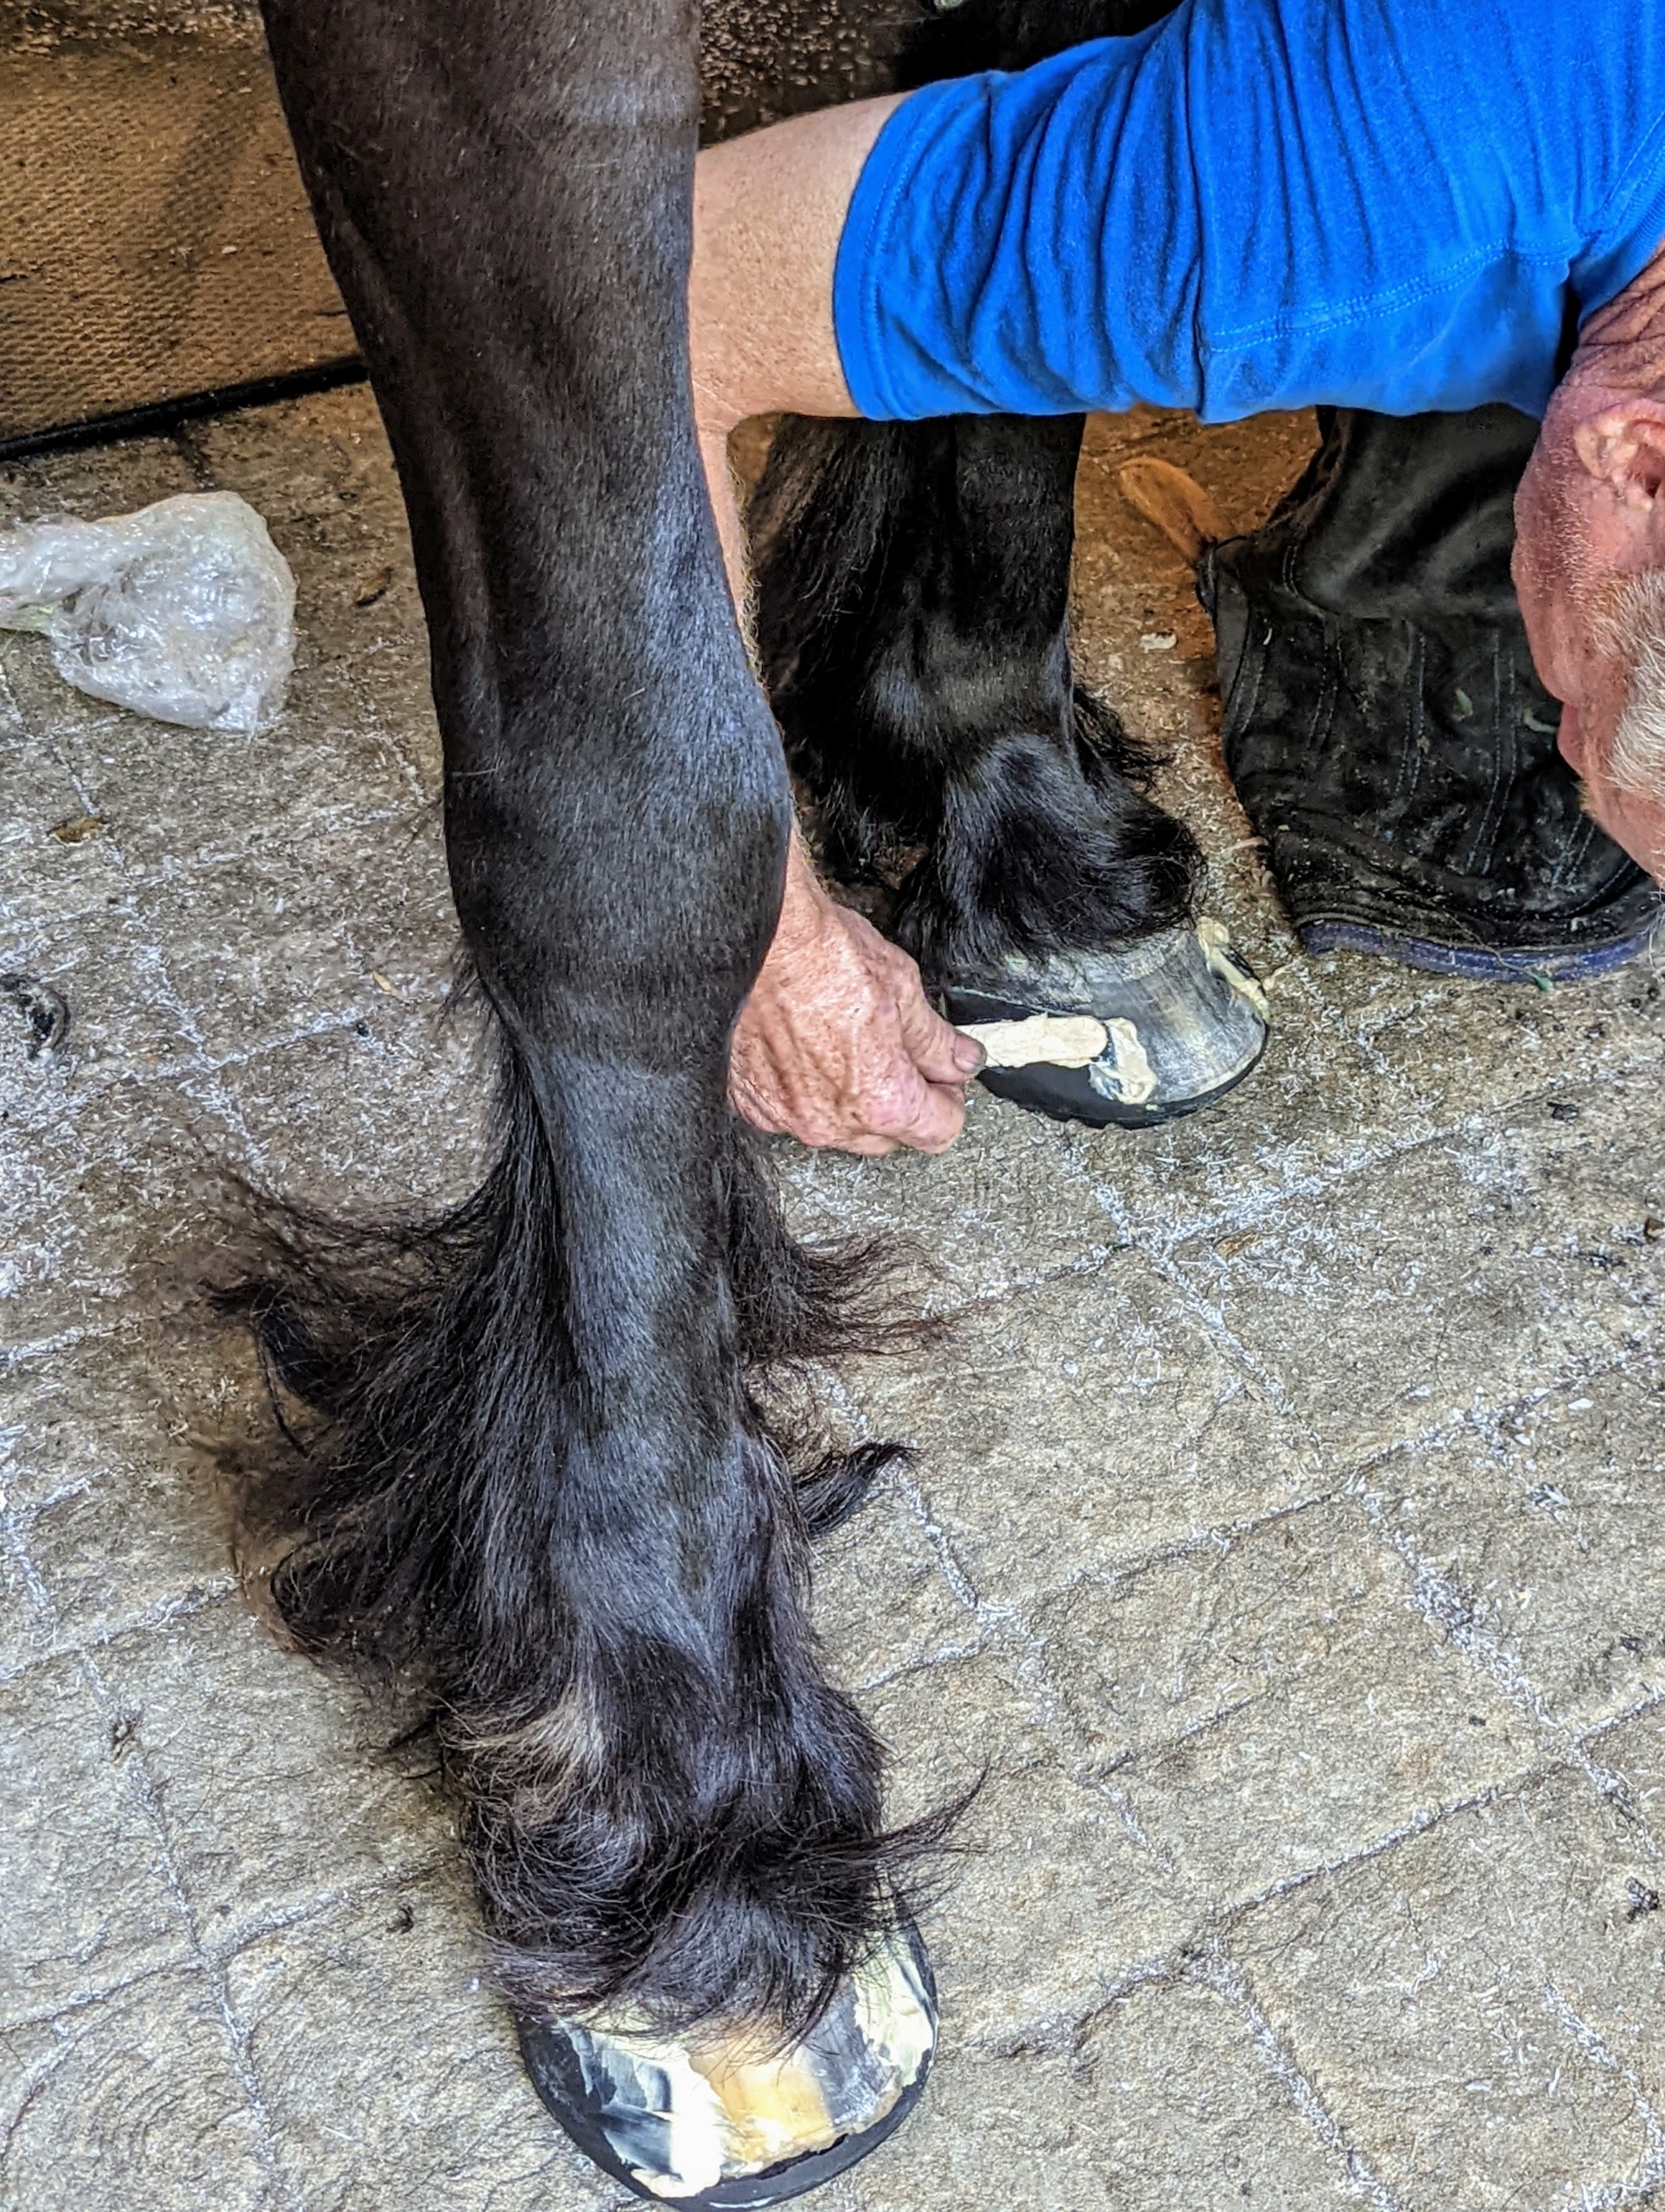
Banchunch has sensitive hooves, so he wears glue-on shoes. Here, Marc uses old tube socks to protect the feathering on his legs from getting any glue on them. The hoof on left is missing a shoe.
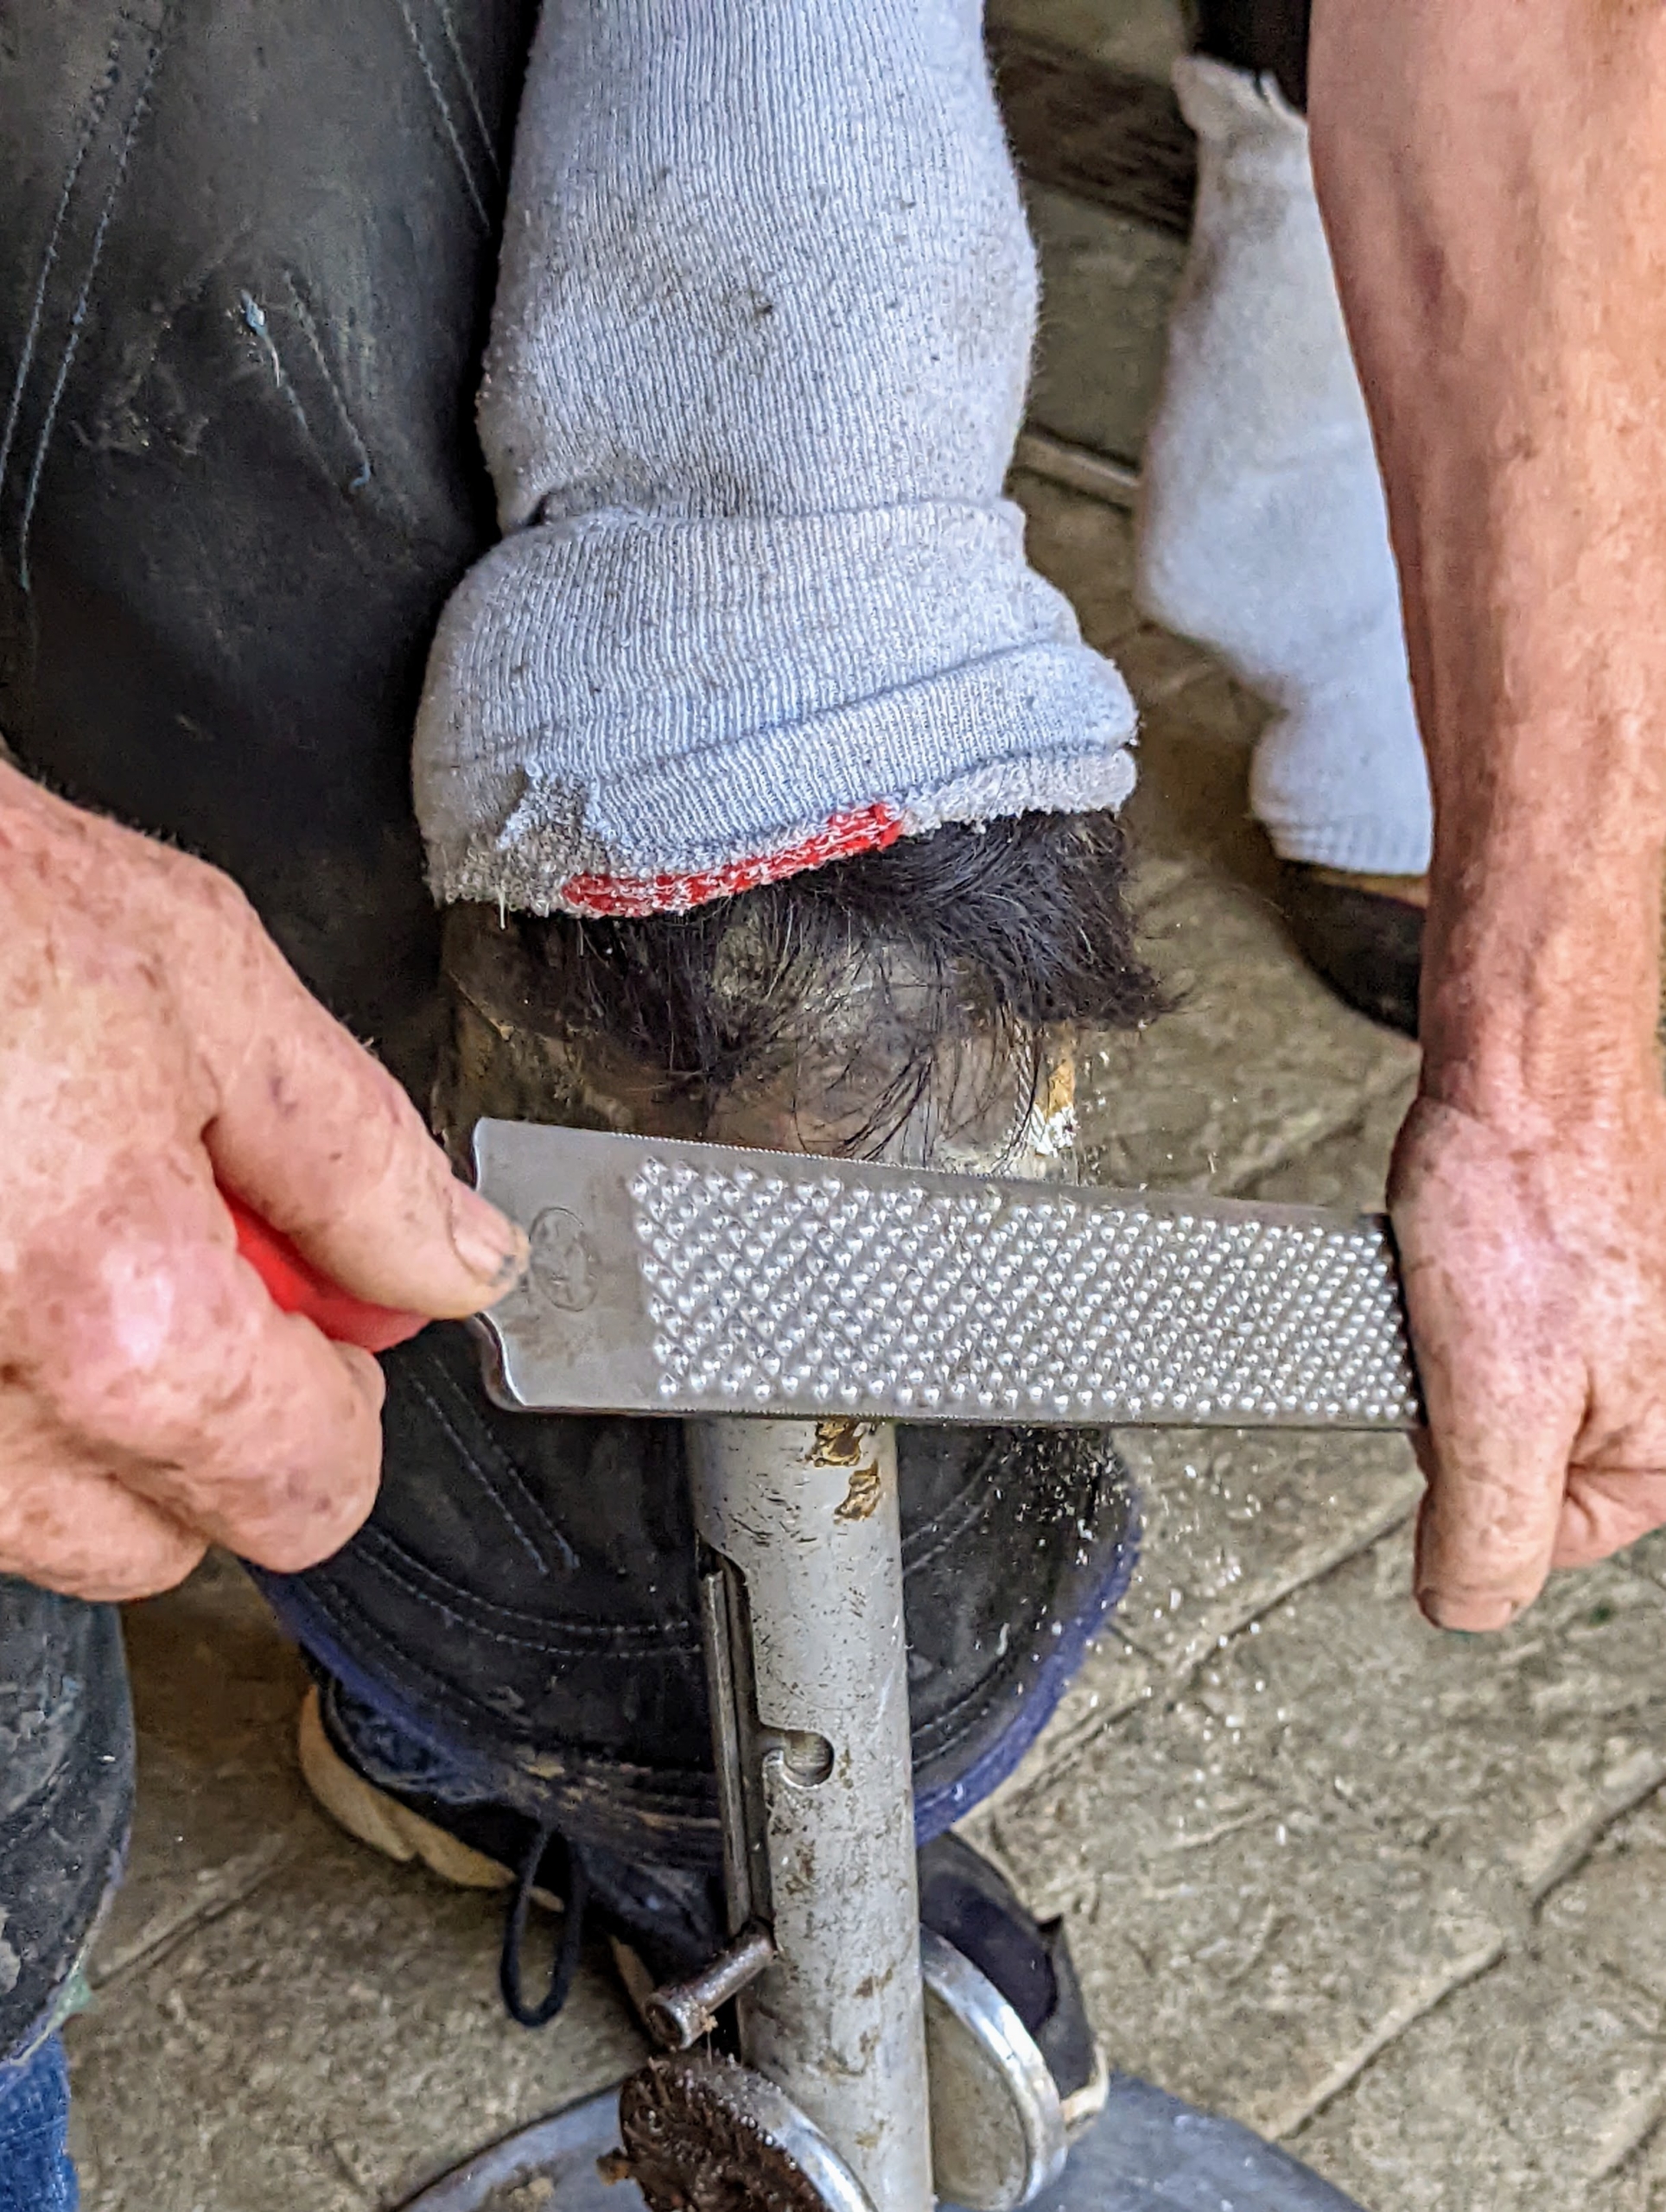
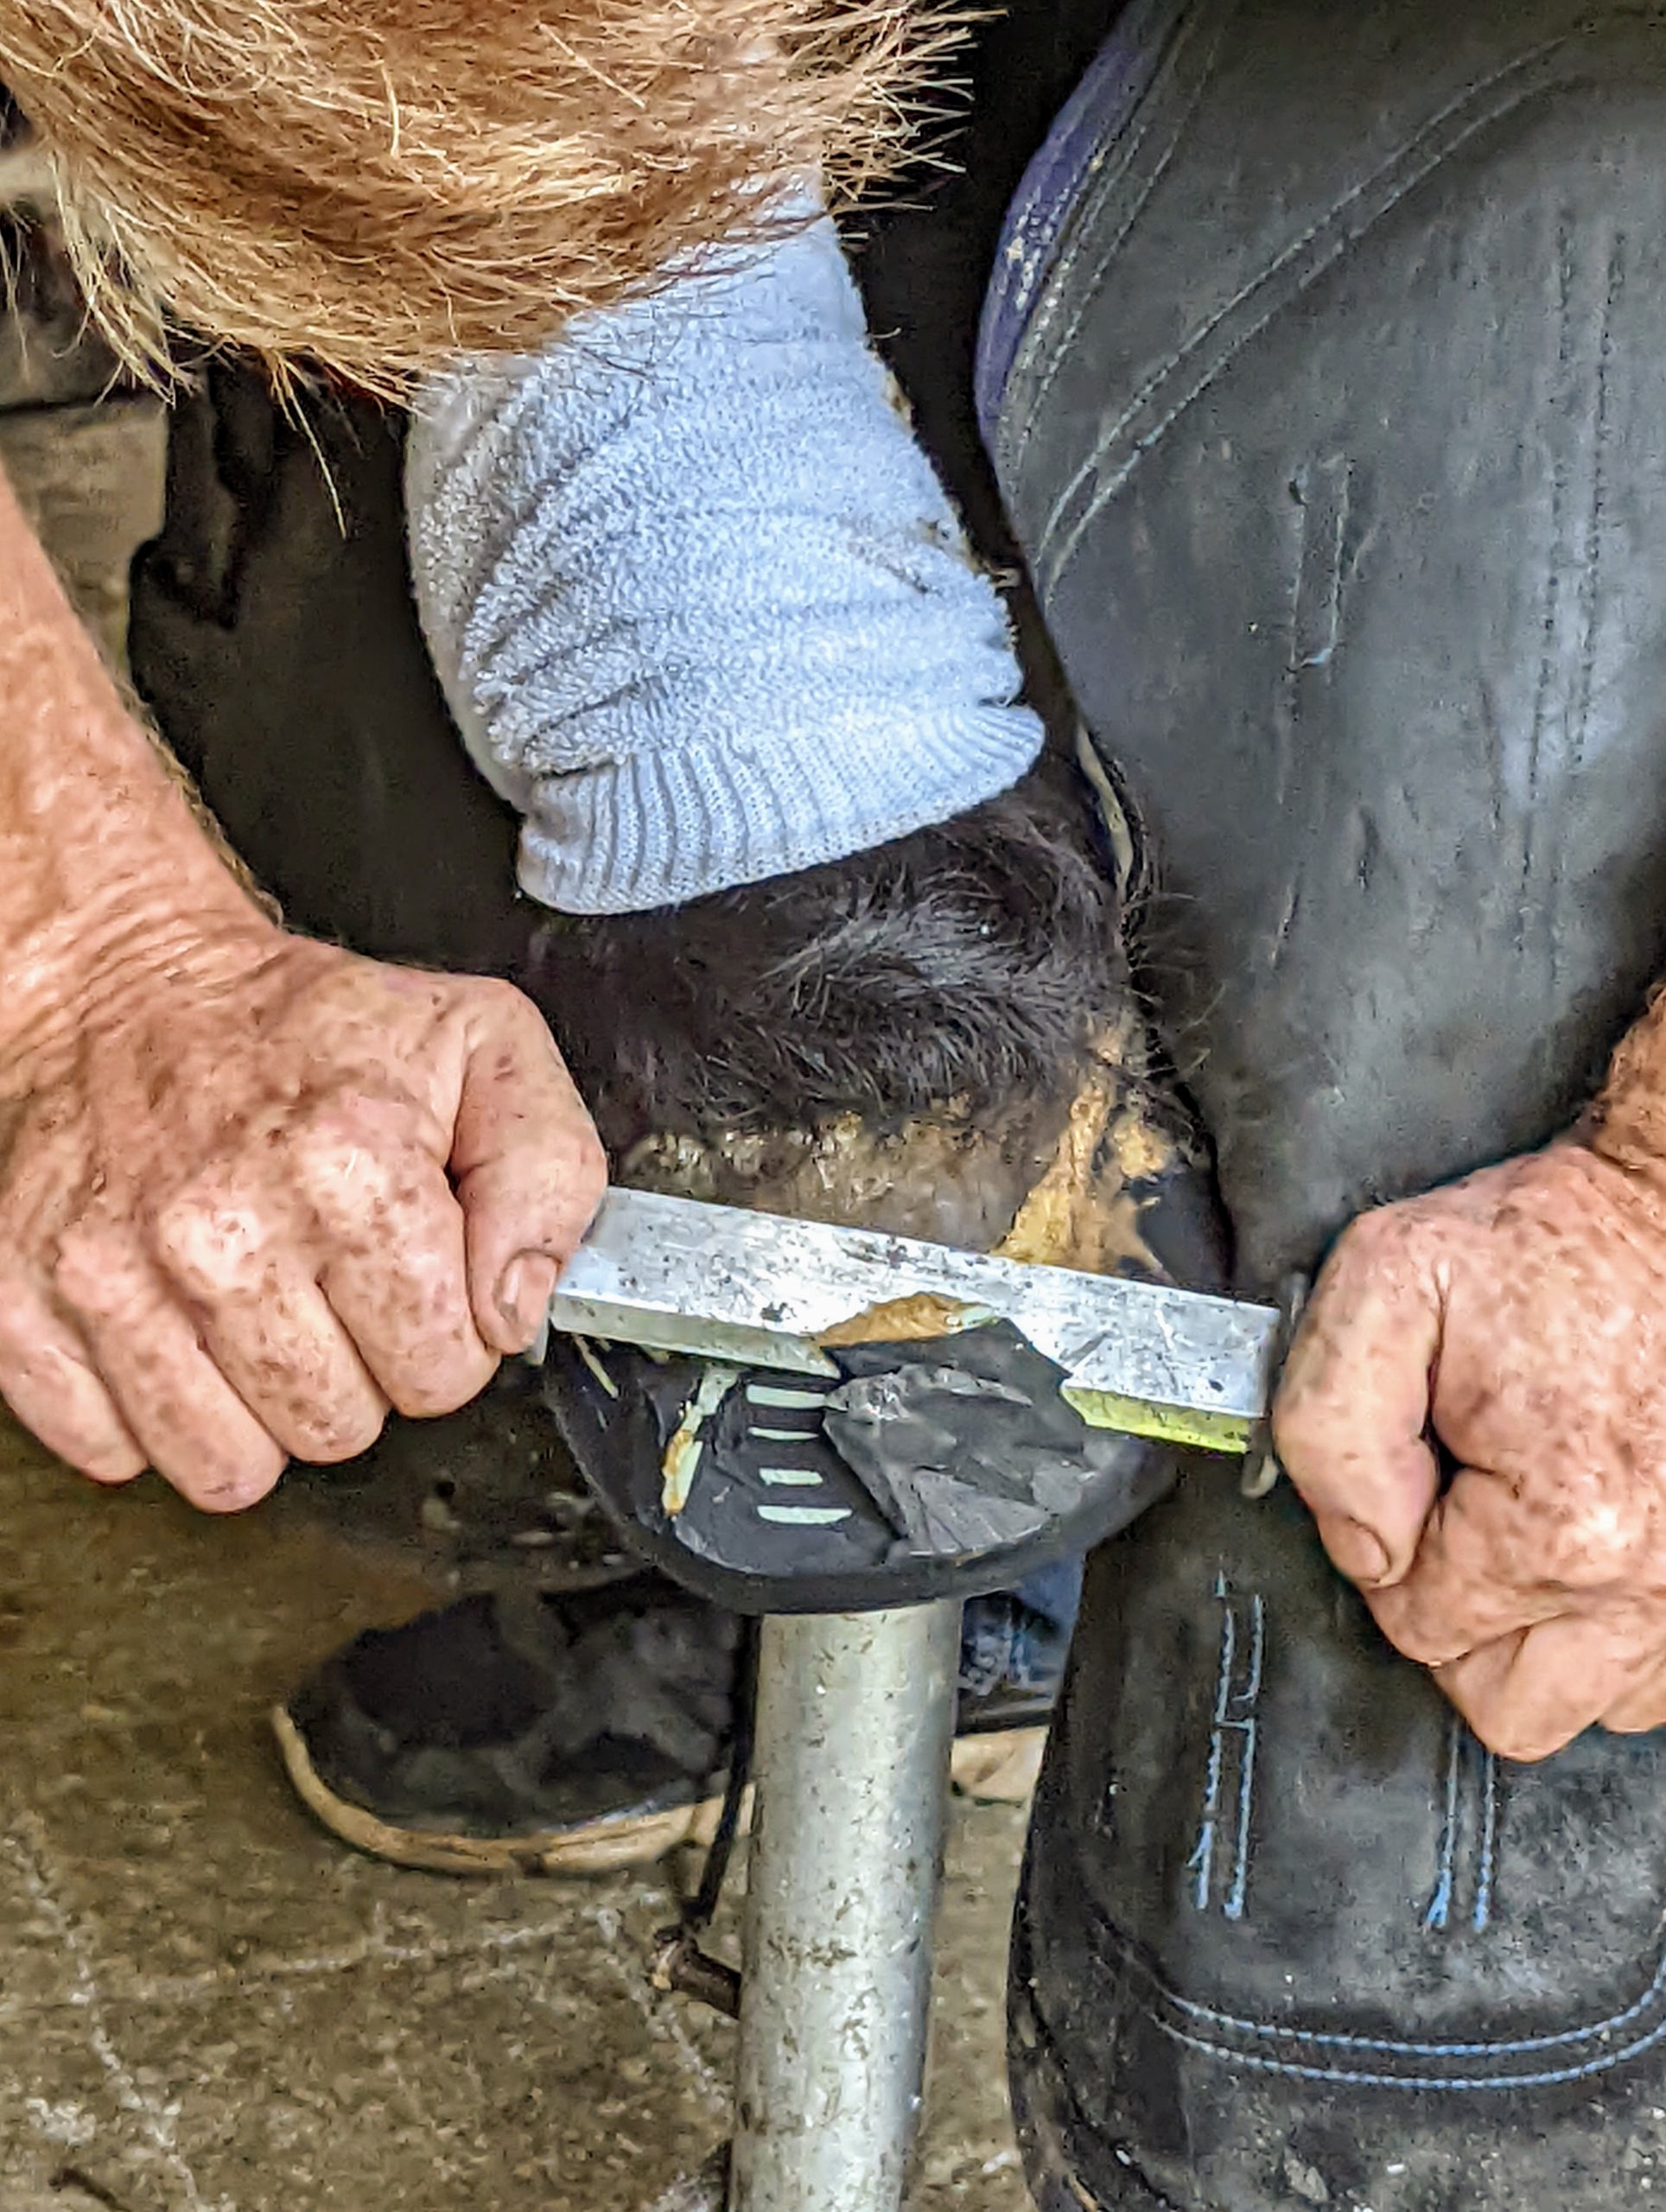
Next, Marc uses a rasp, or a horse-sized file, to flatten and level the hoof and remove any uneven spots. Hooves grow continuously, so filing the surface when re-shoeing is important for maintaining the horse’s foot balance and gait.
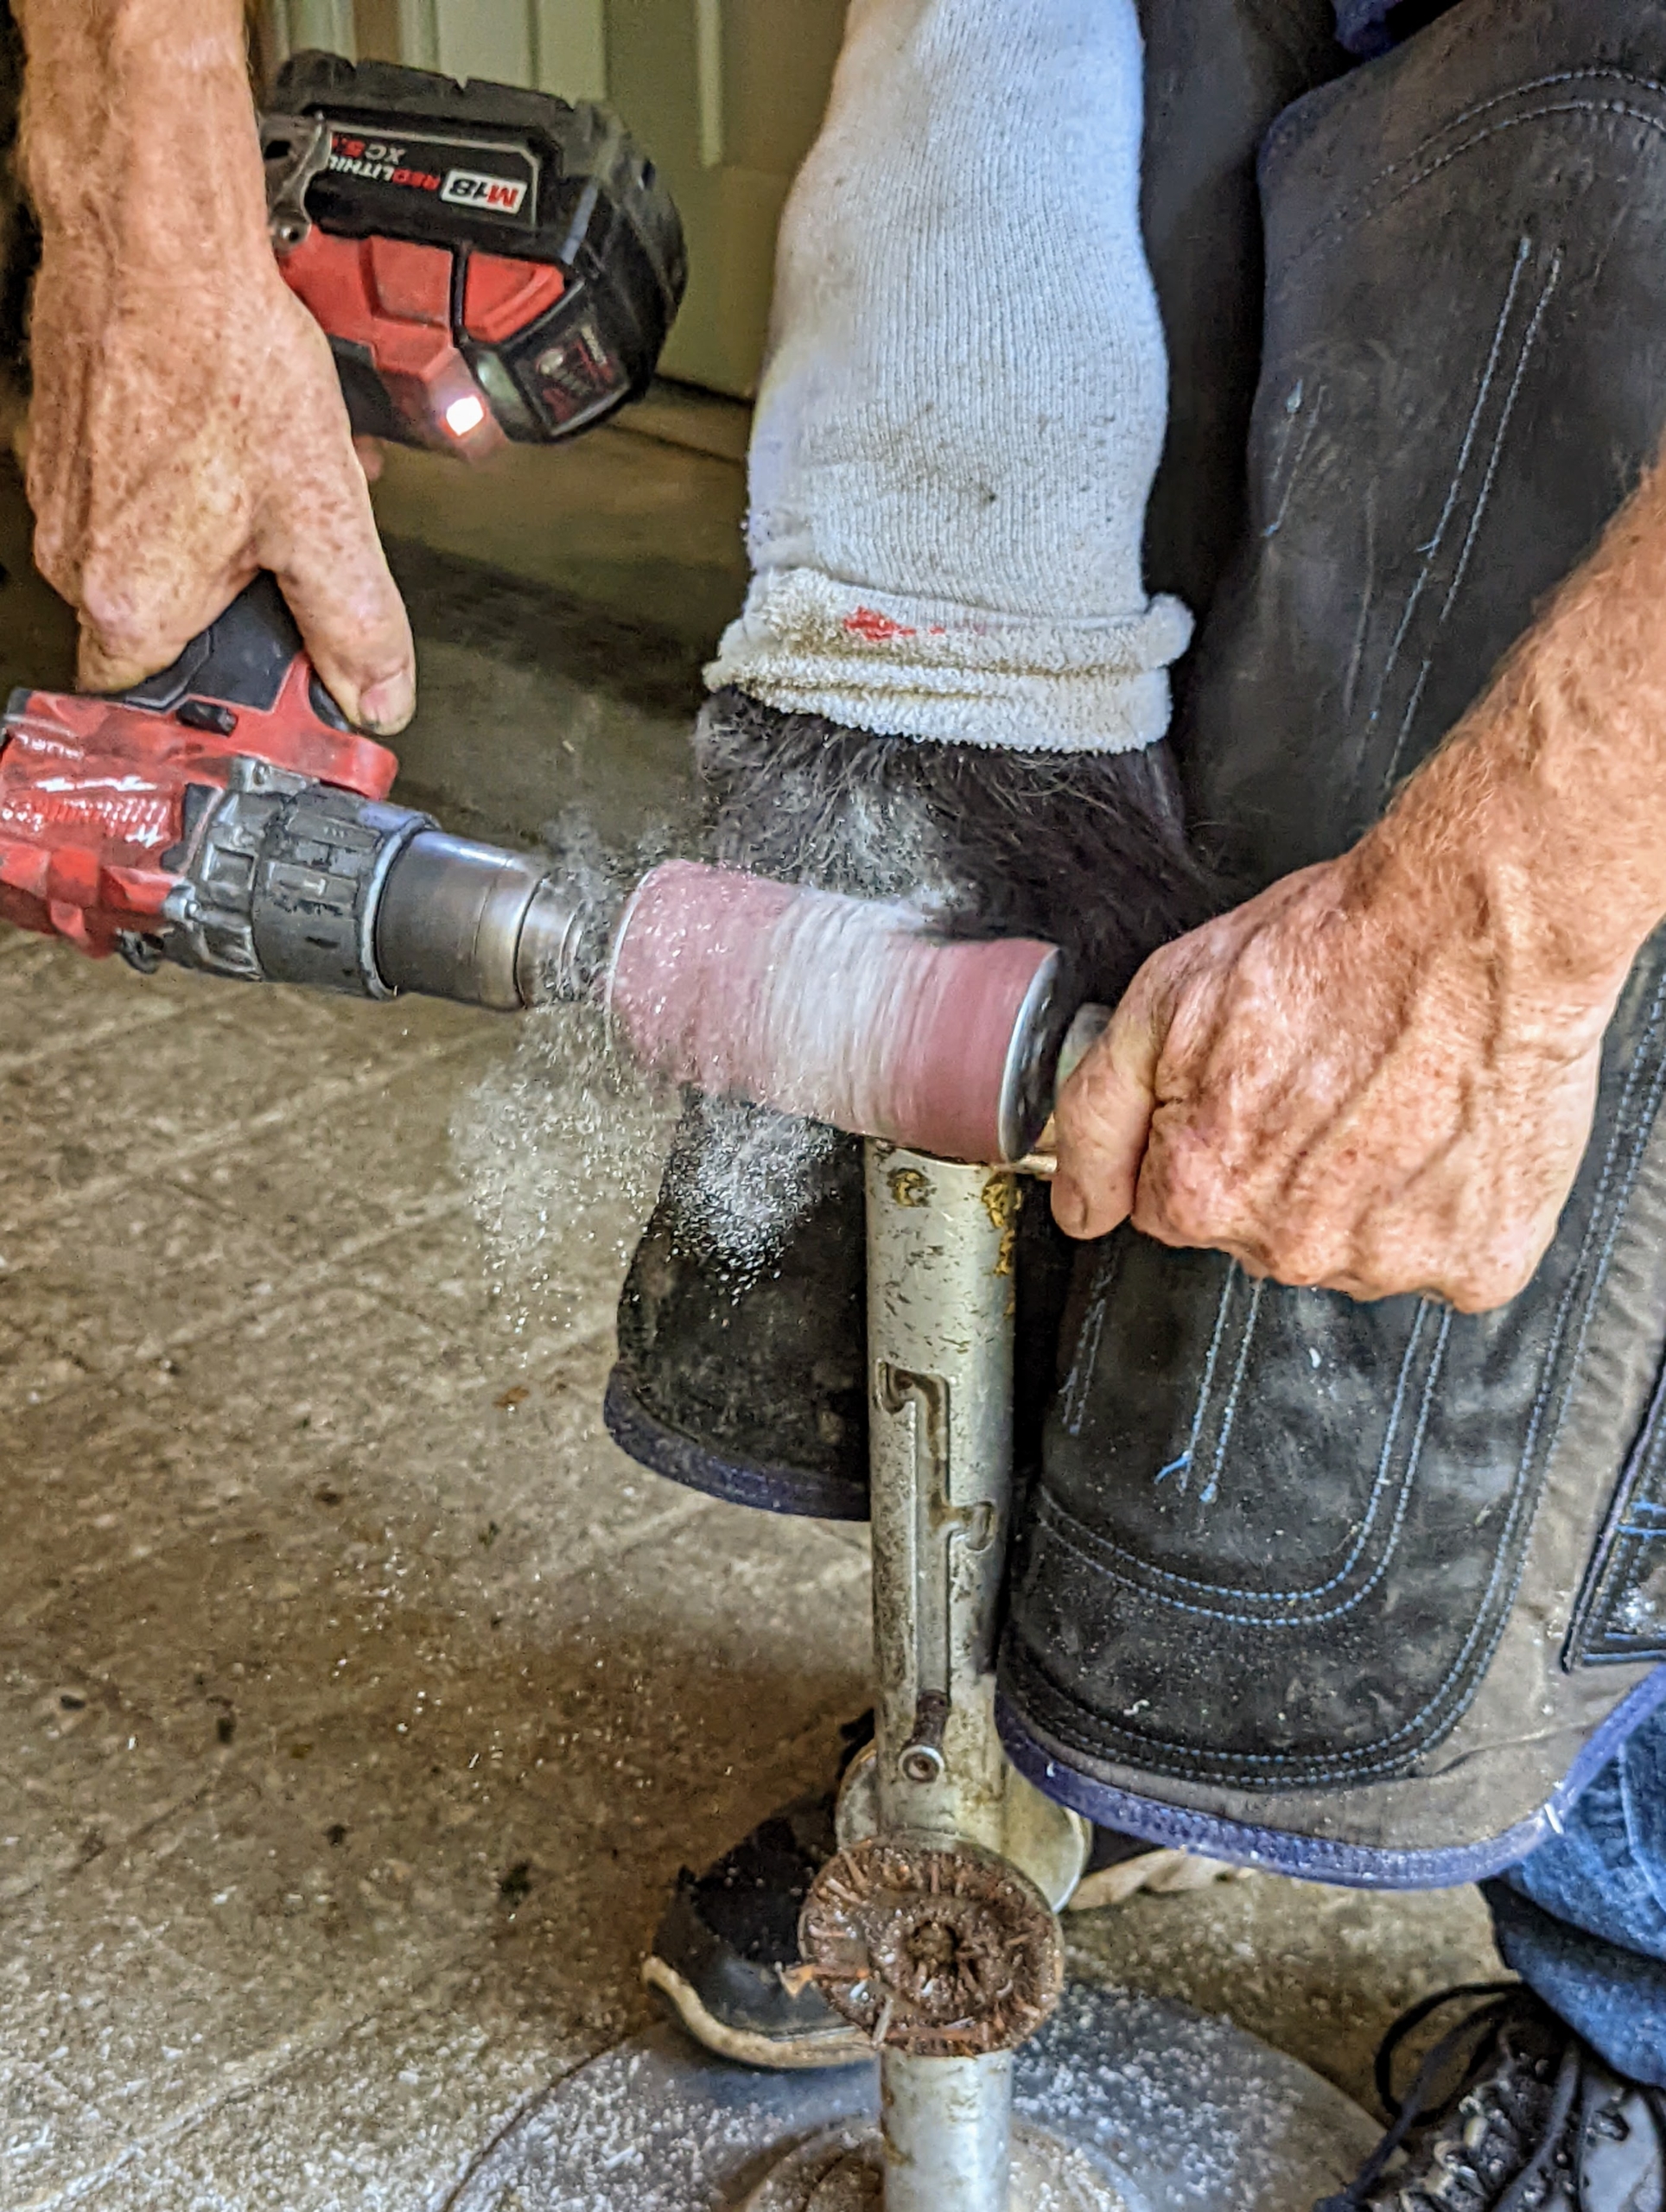
This is a hoof buffer attachment for a drill. It quickly removes any marks, rings, or gouges on the hoof wall and helps to prep the hoof for the glue-on shoe.
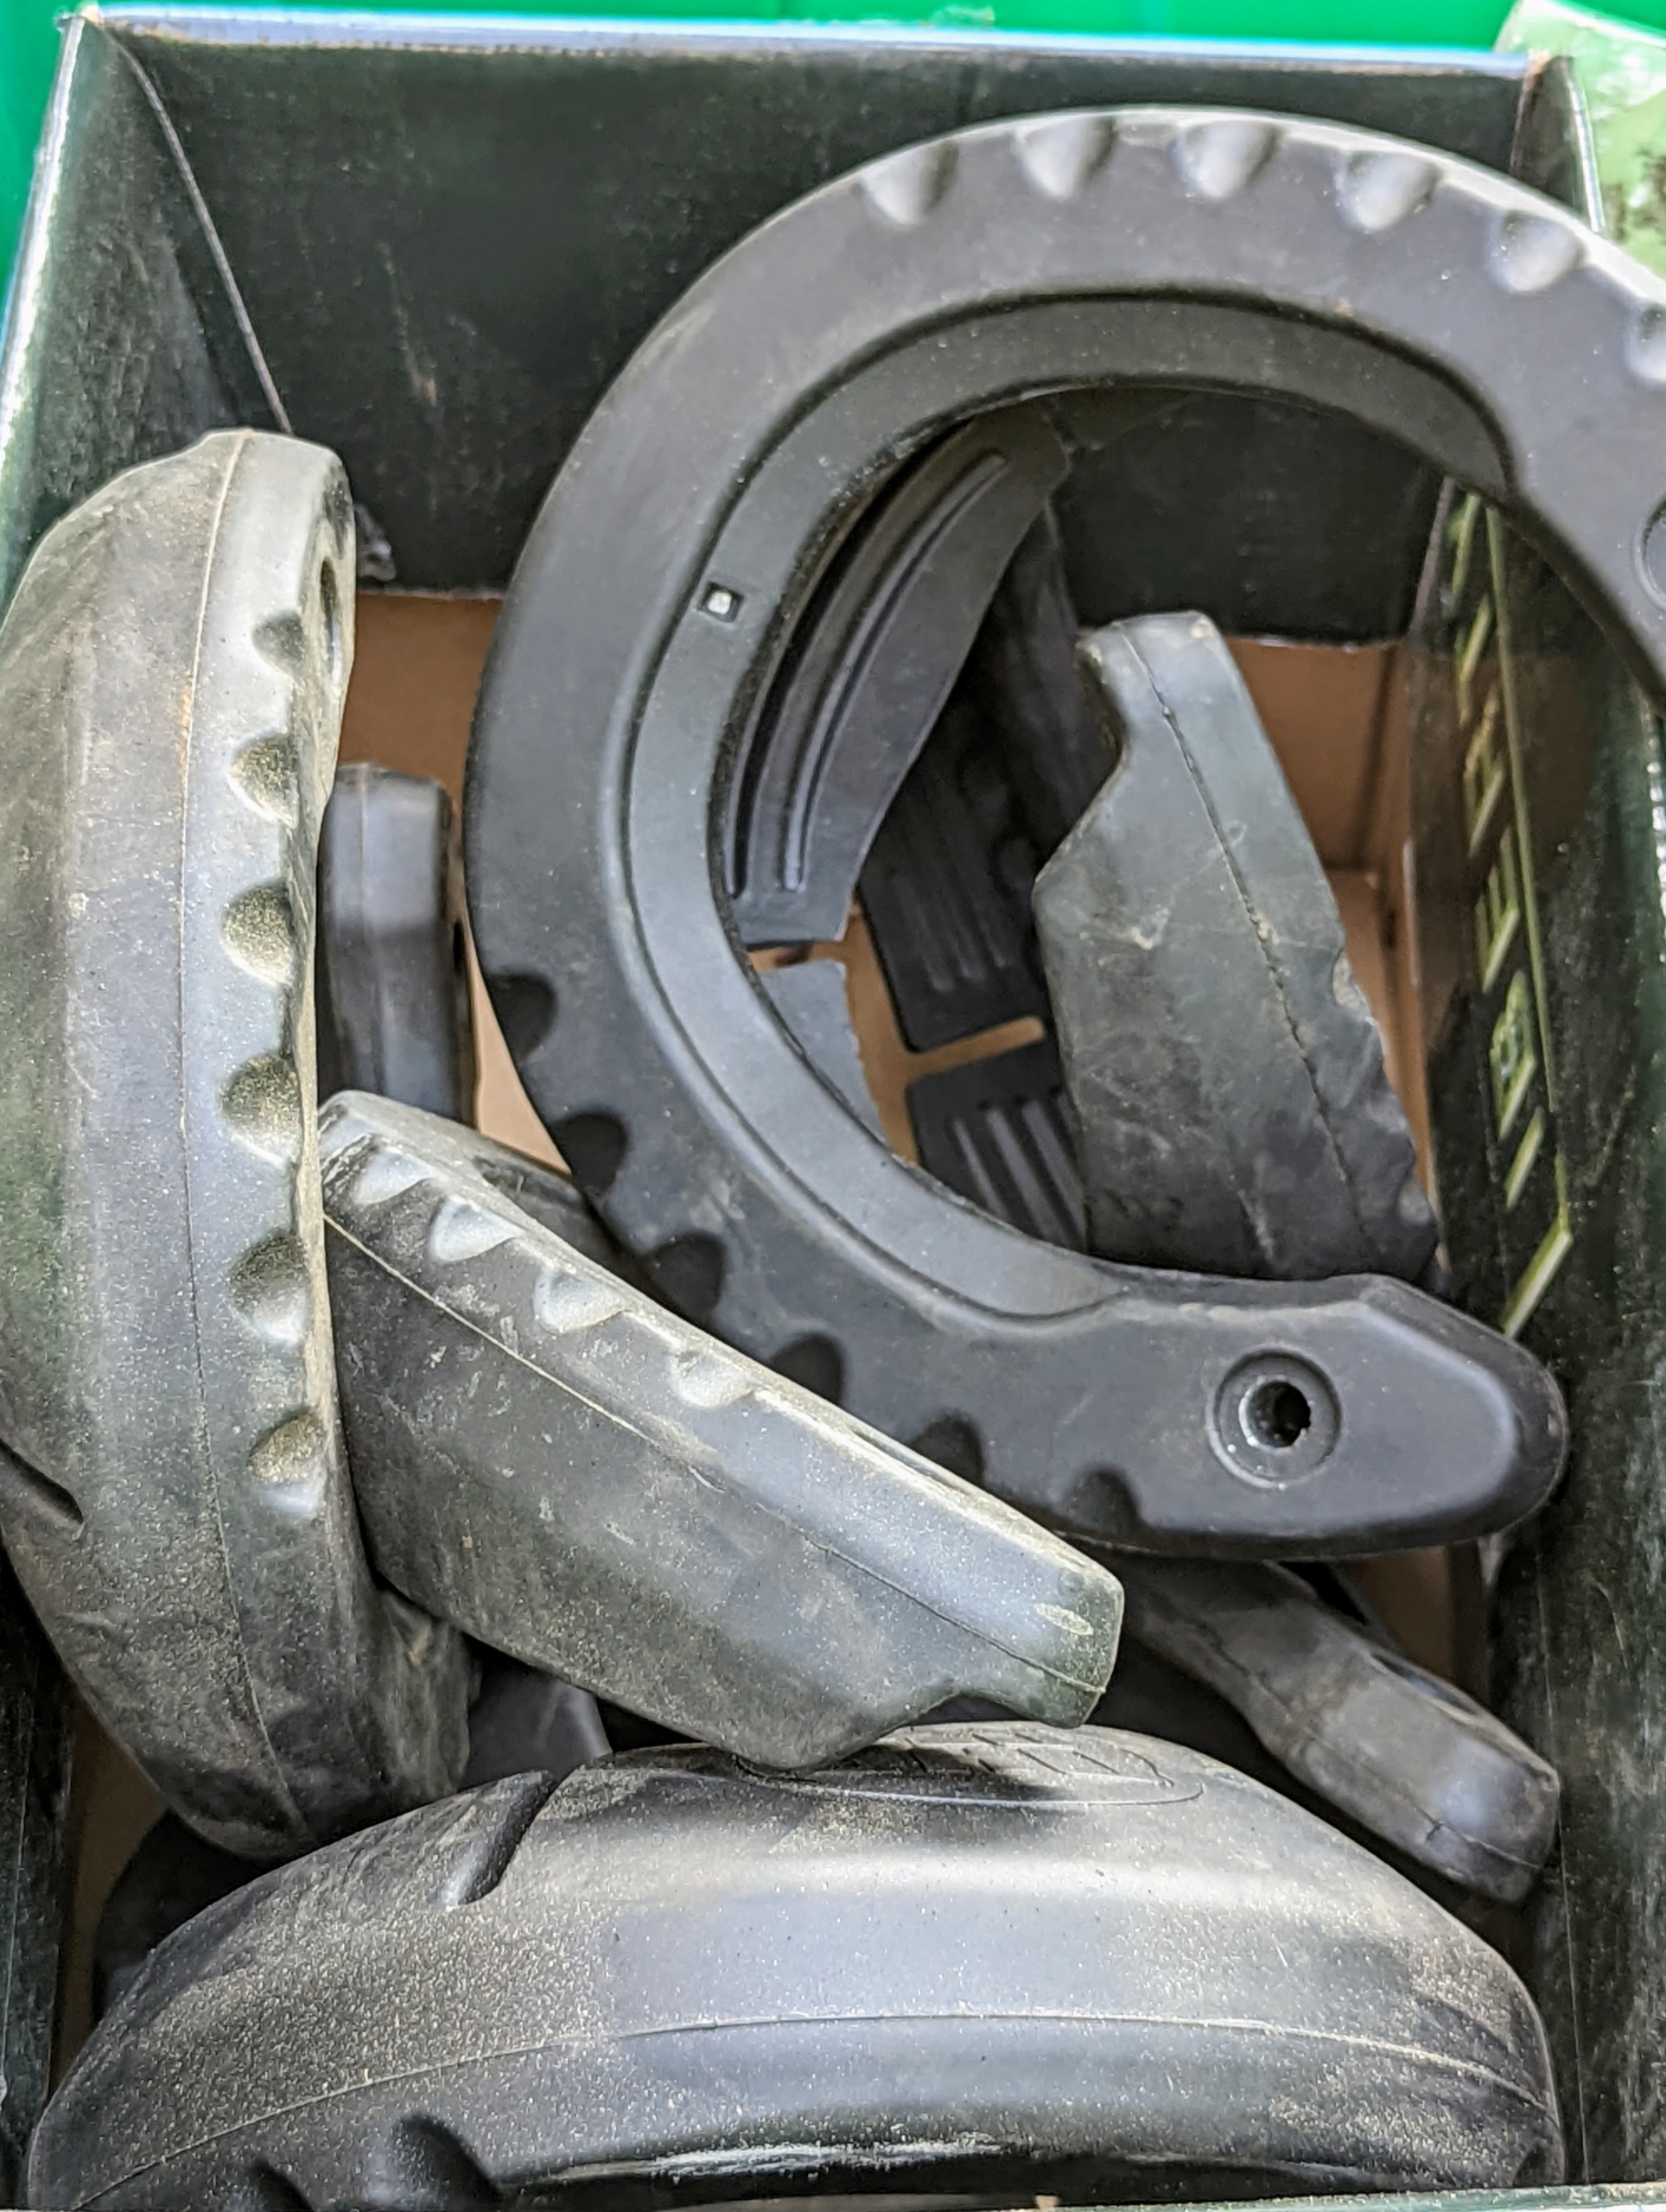
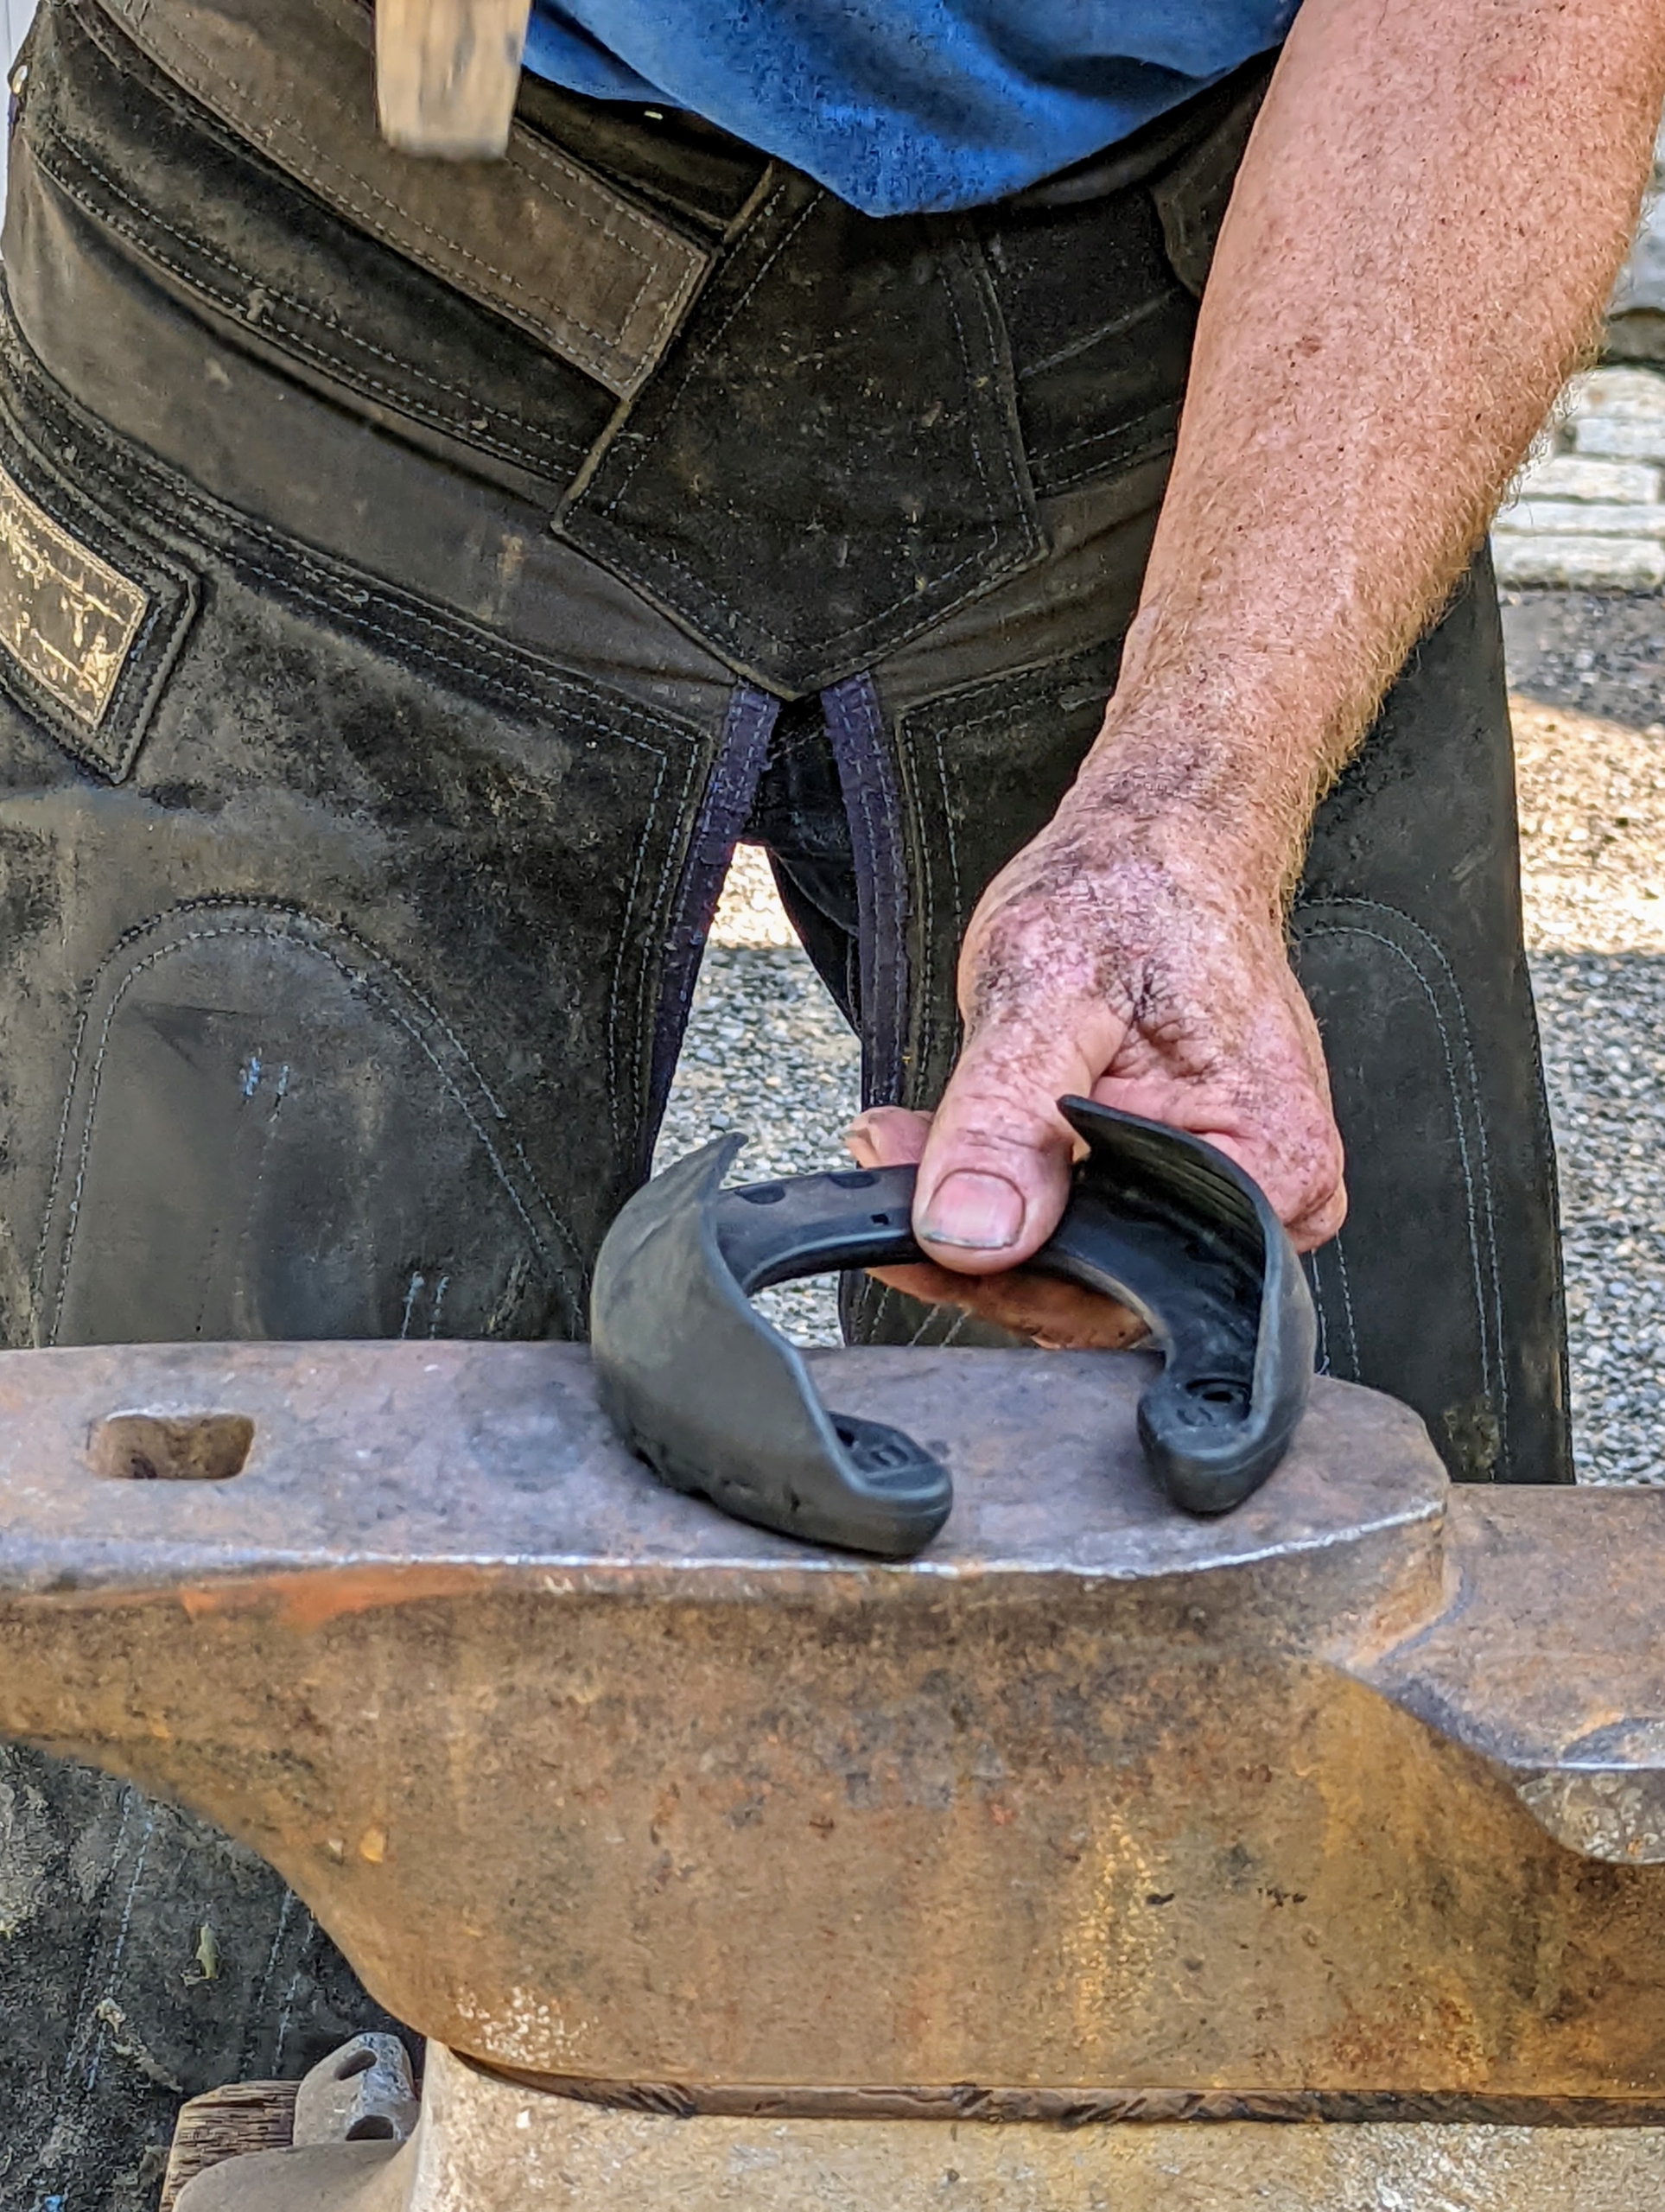
Rubber glue-on horseshoes absorb shock and vibration. They are applied with a two-part epoxy adhesive that is made specifically for the equine foot.
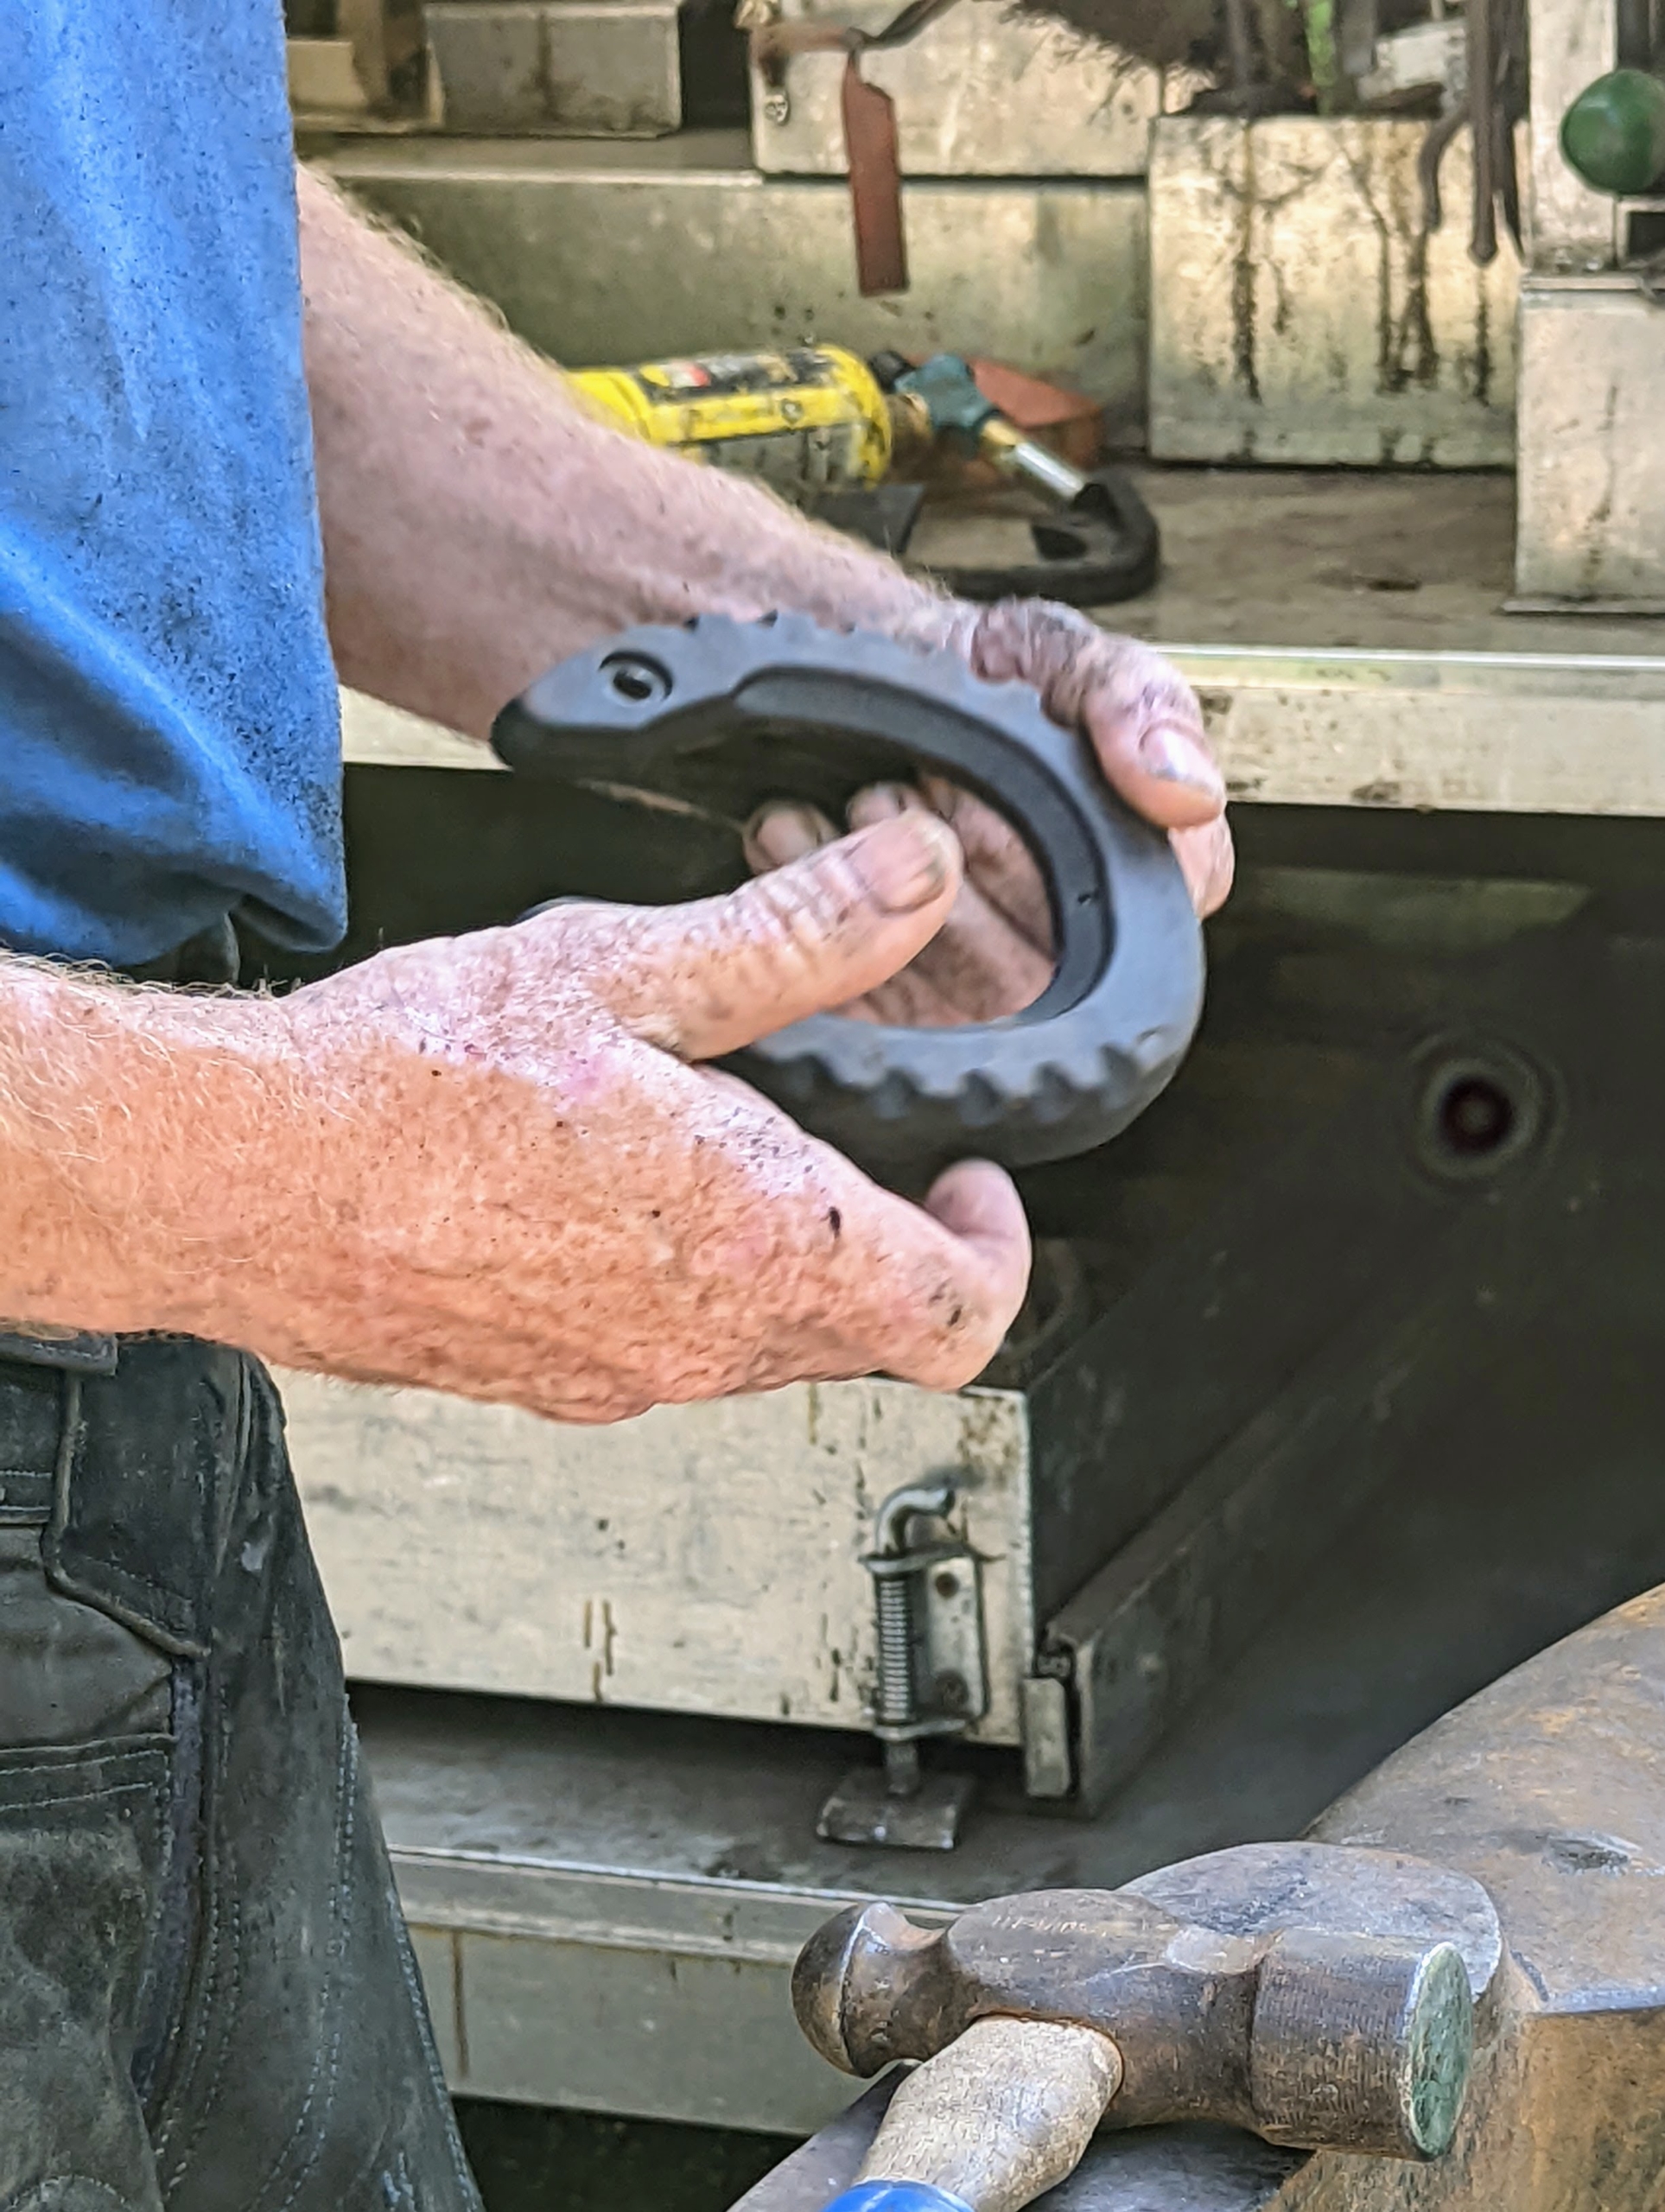
A well-fitted horseshoe should align well with the edge of the hoof. Marc pulls one out to try on Banchunch.
Marc places the new shoe under Banchunch’s foot and assesses where adjustments are needed.
These shoes are pretty flexible and easy to shape for a proper fit.
The hoof must be perfectly smooth for the adhesive to work, so Marc goes over the hoof again with a sanding block to create a clean gluing surface.
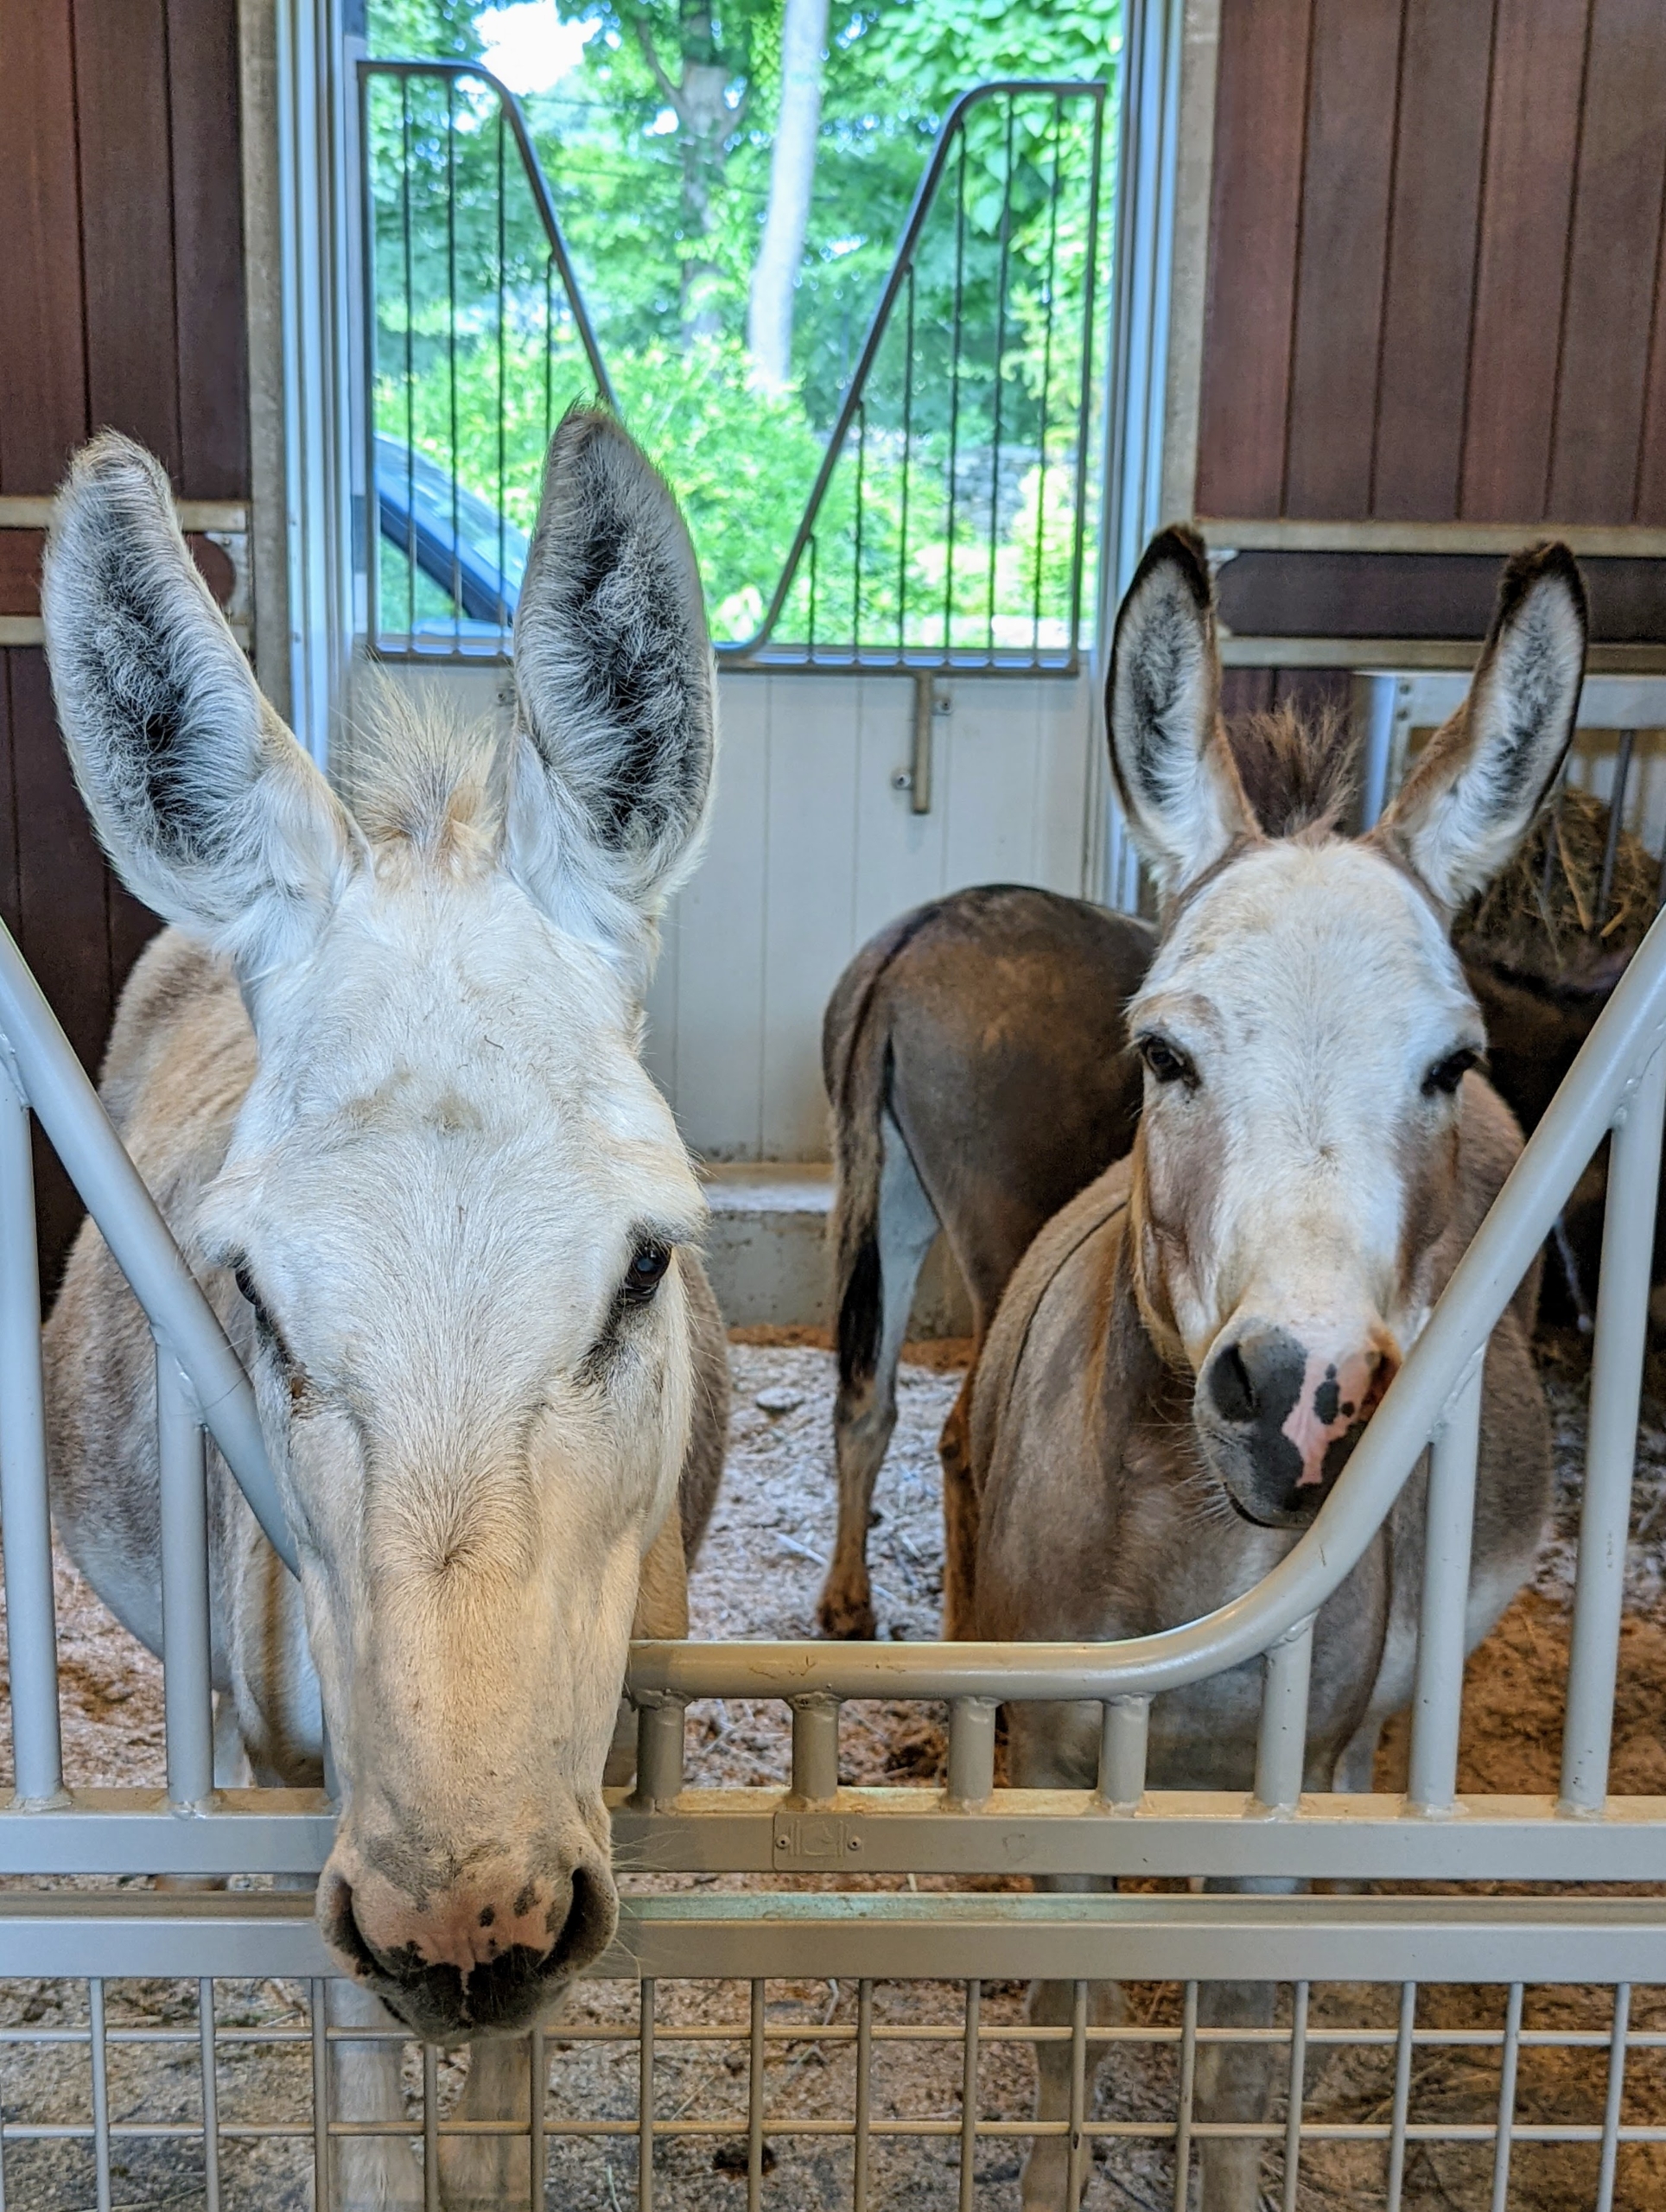
My donkeys are so curious. Clive and Truman “TJ” Junior turn their heads to see what all the commotion is about. Most donkeys do not wear shoes, but they do need their hooves trimmed and filed regularly.
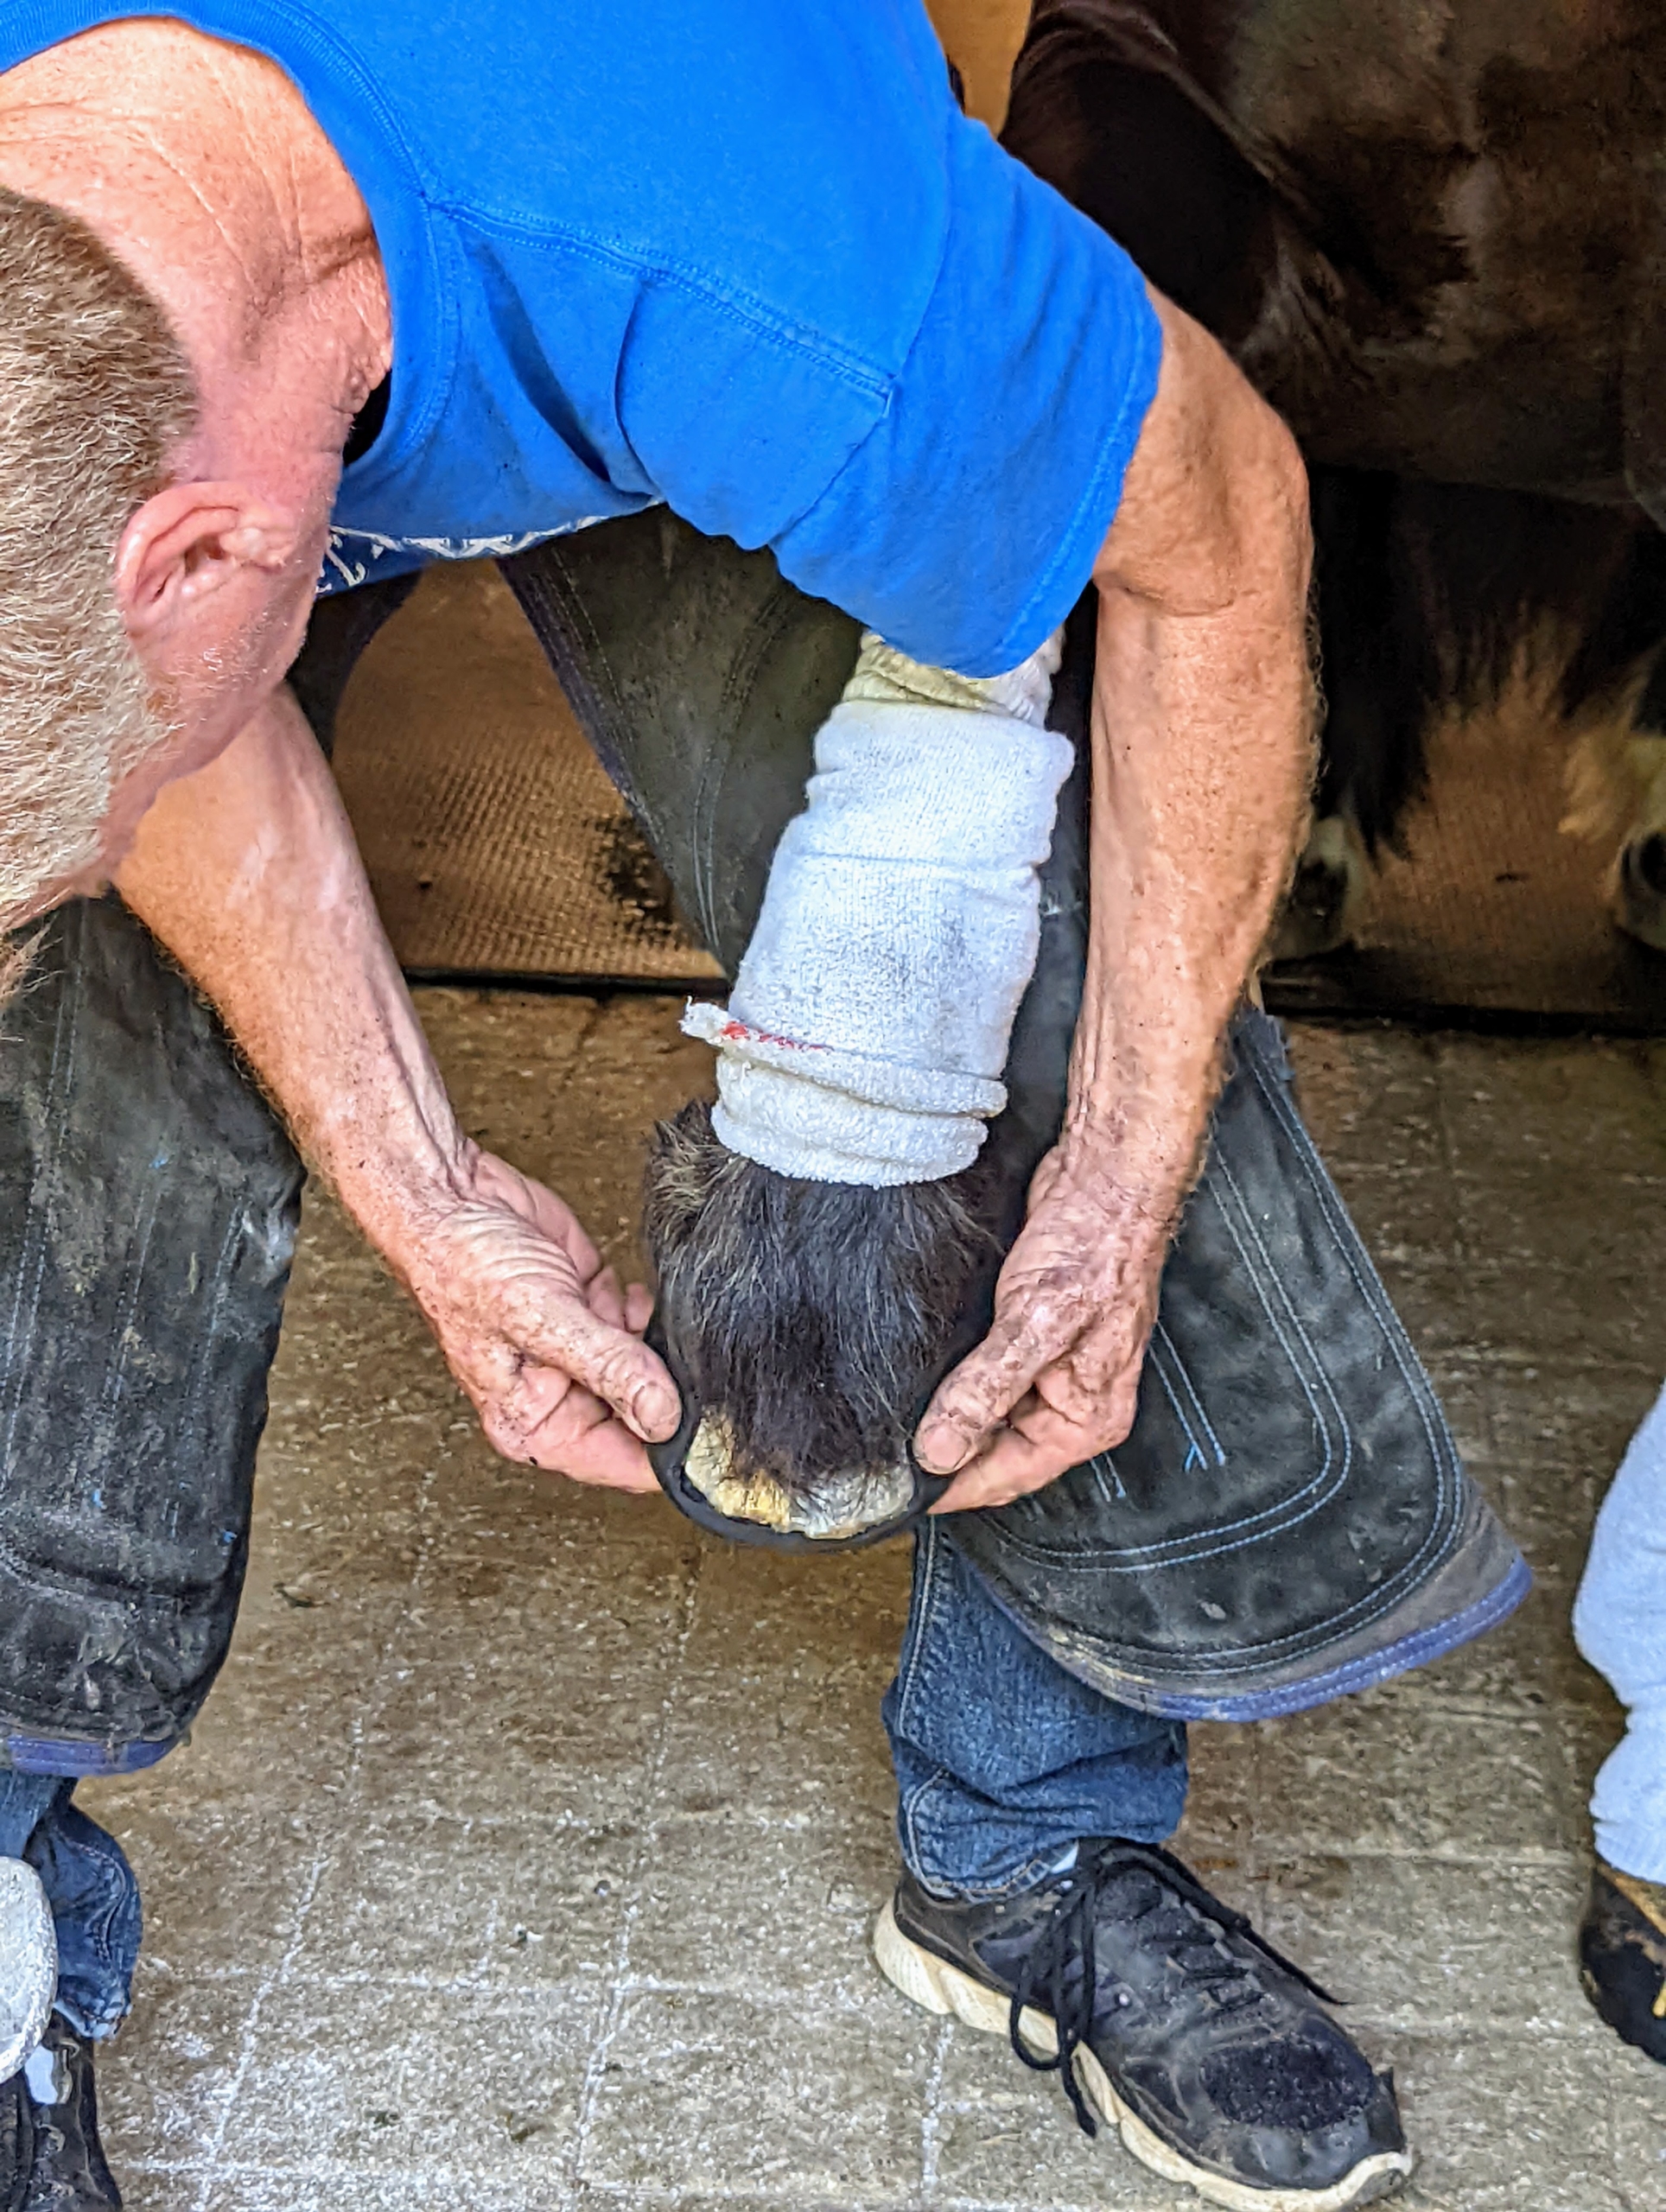
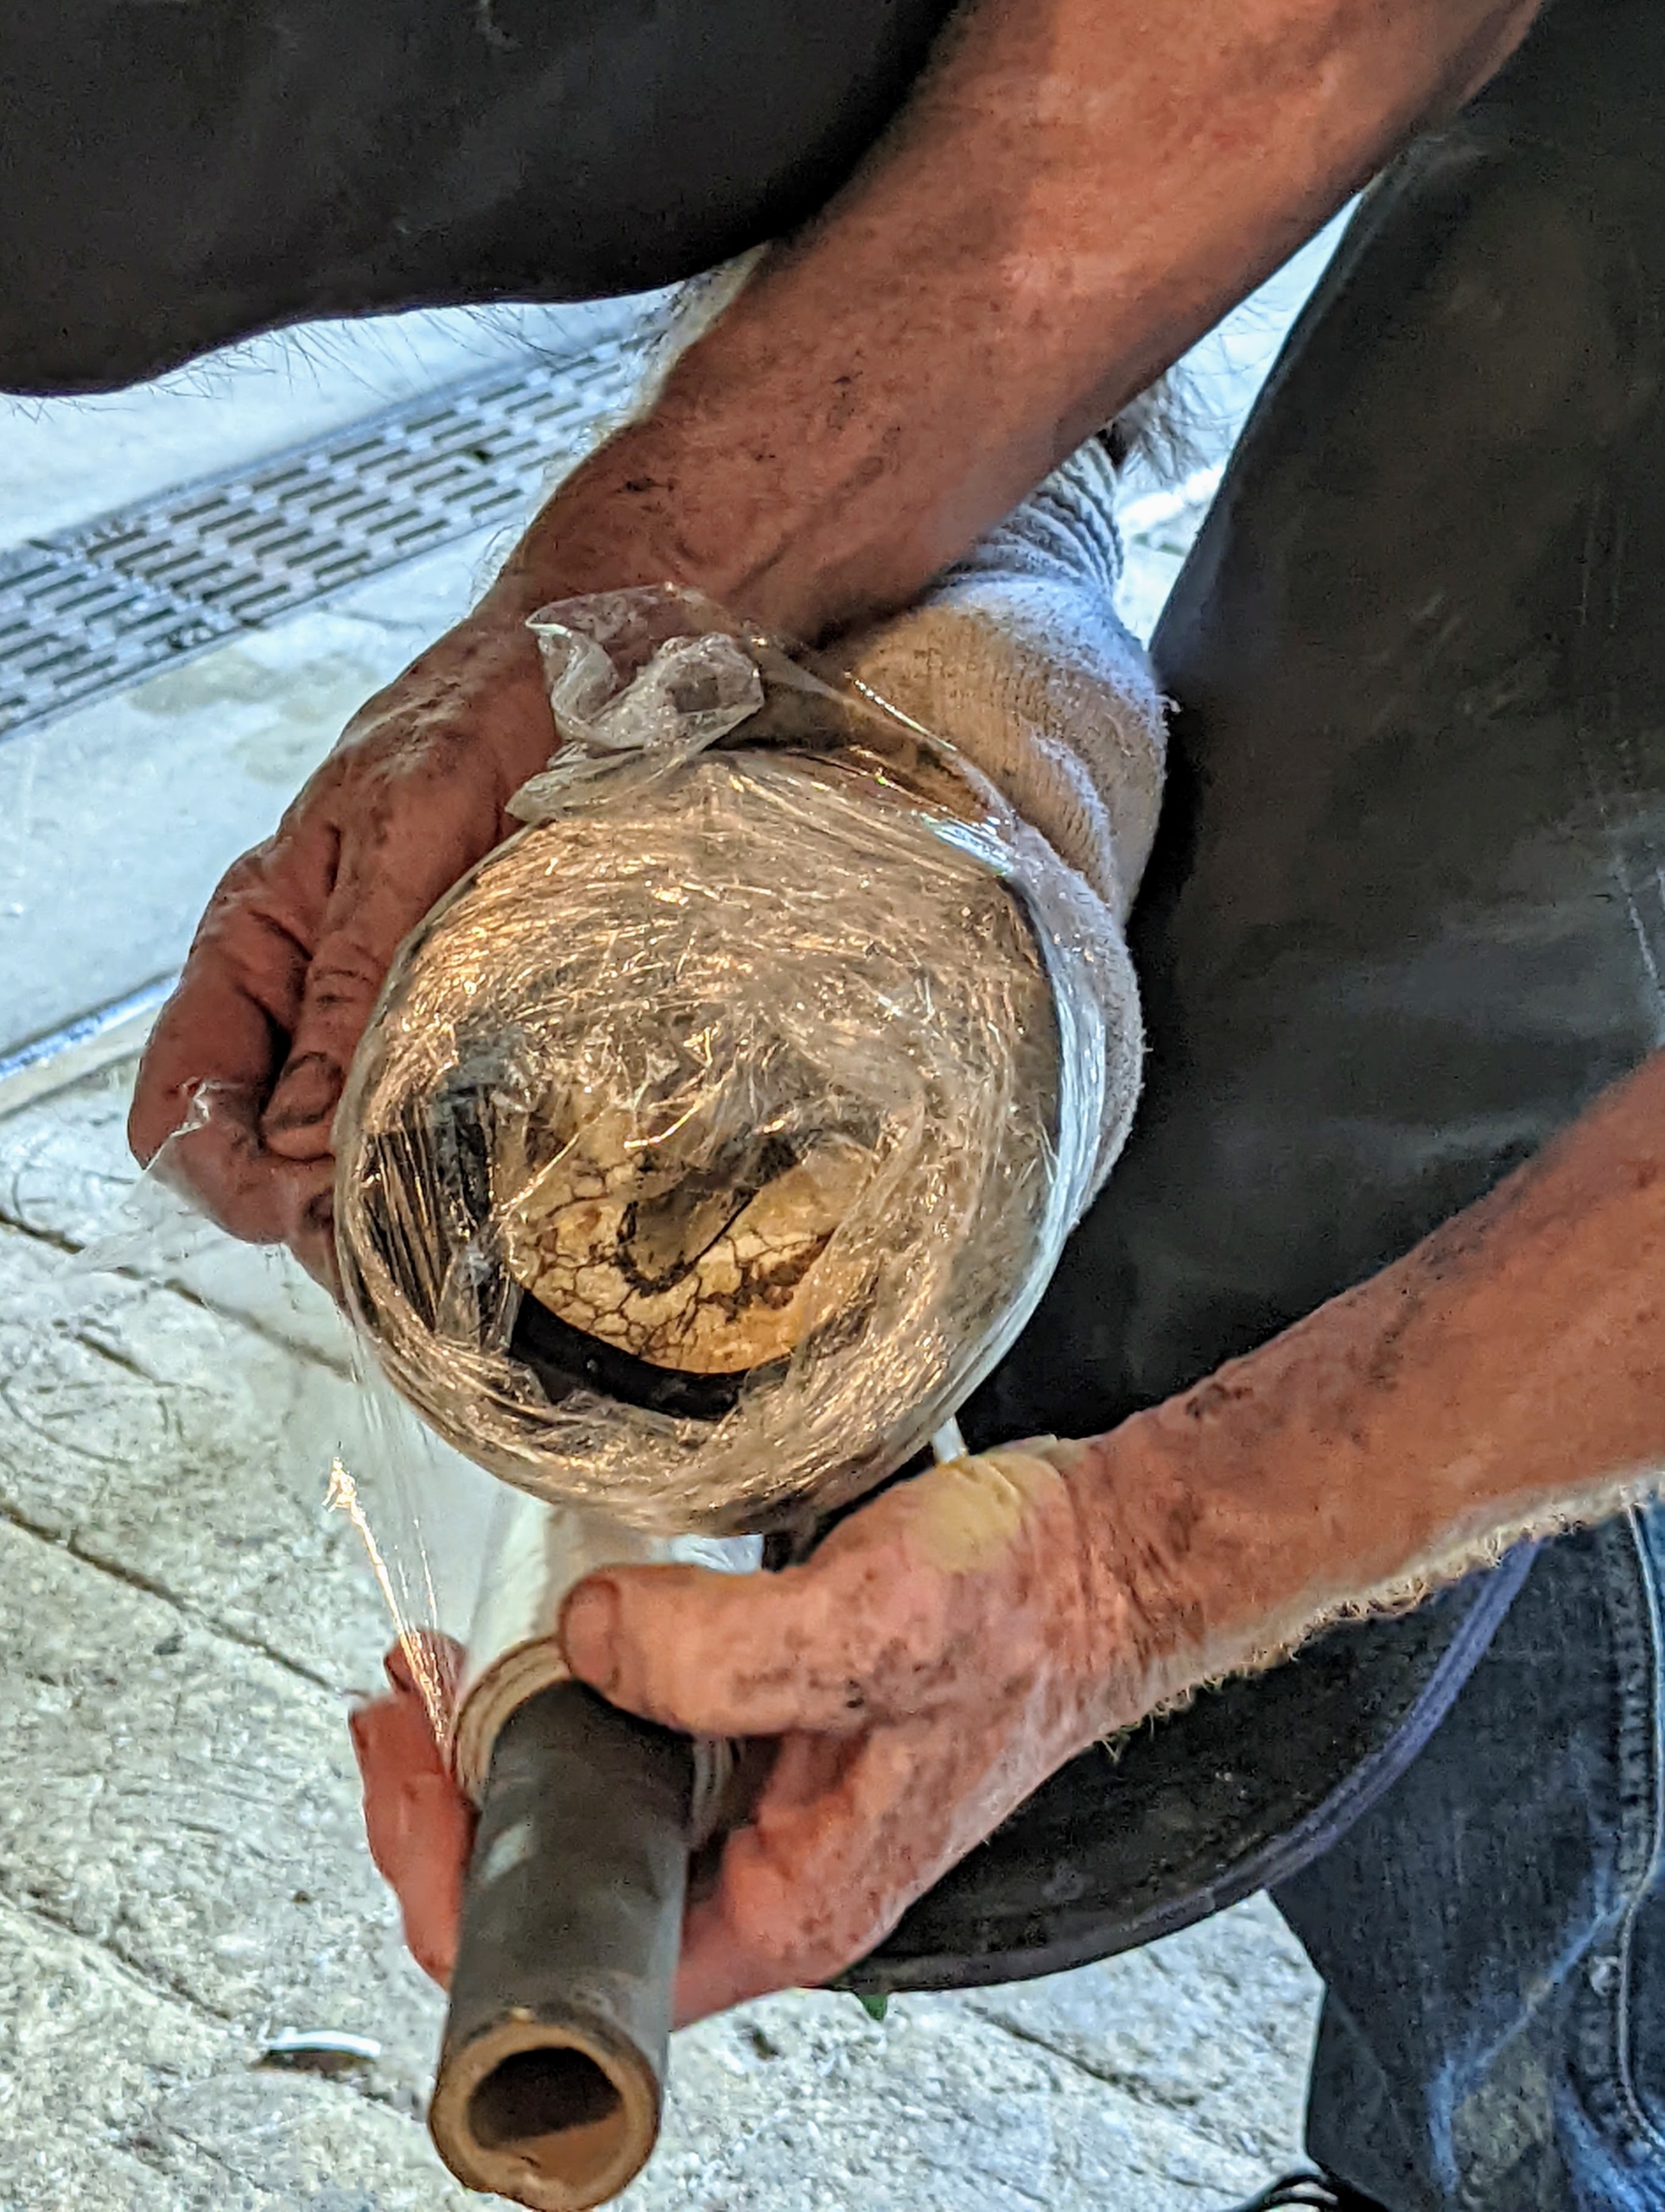
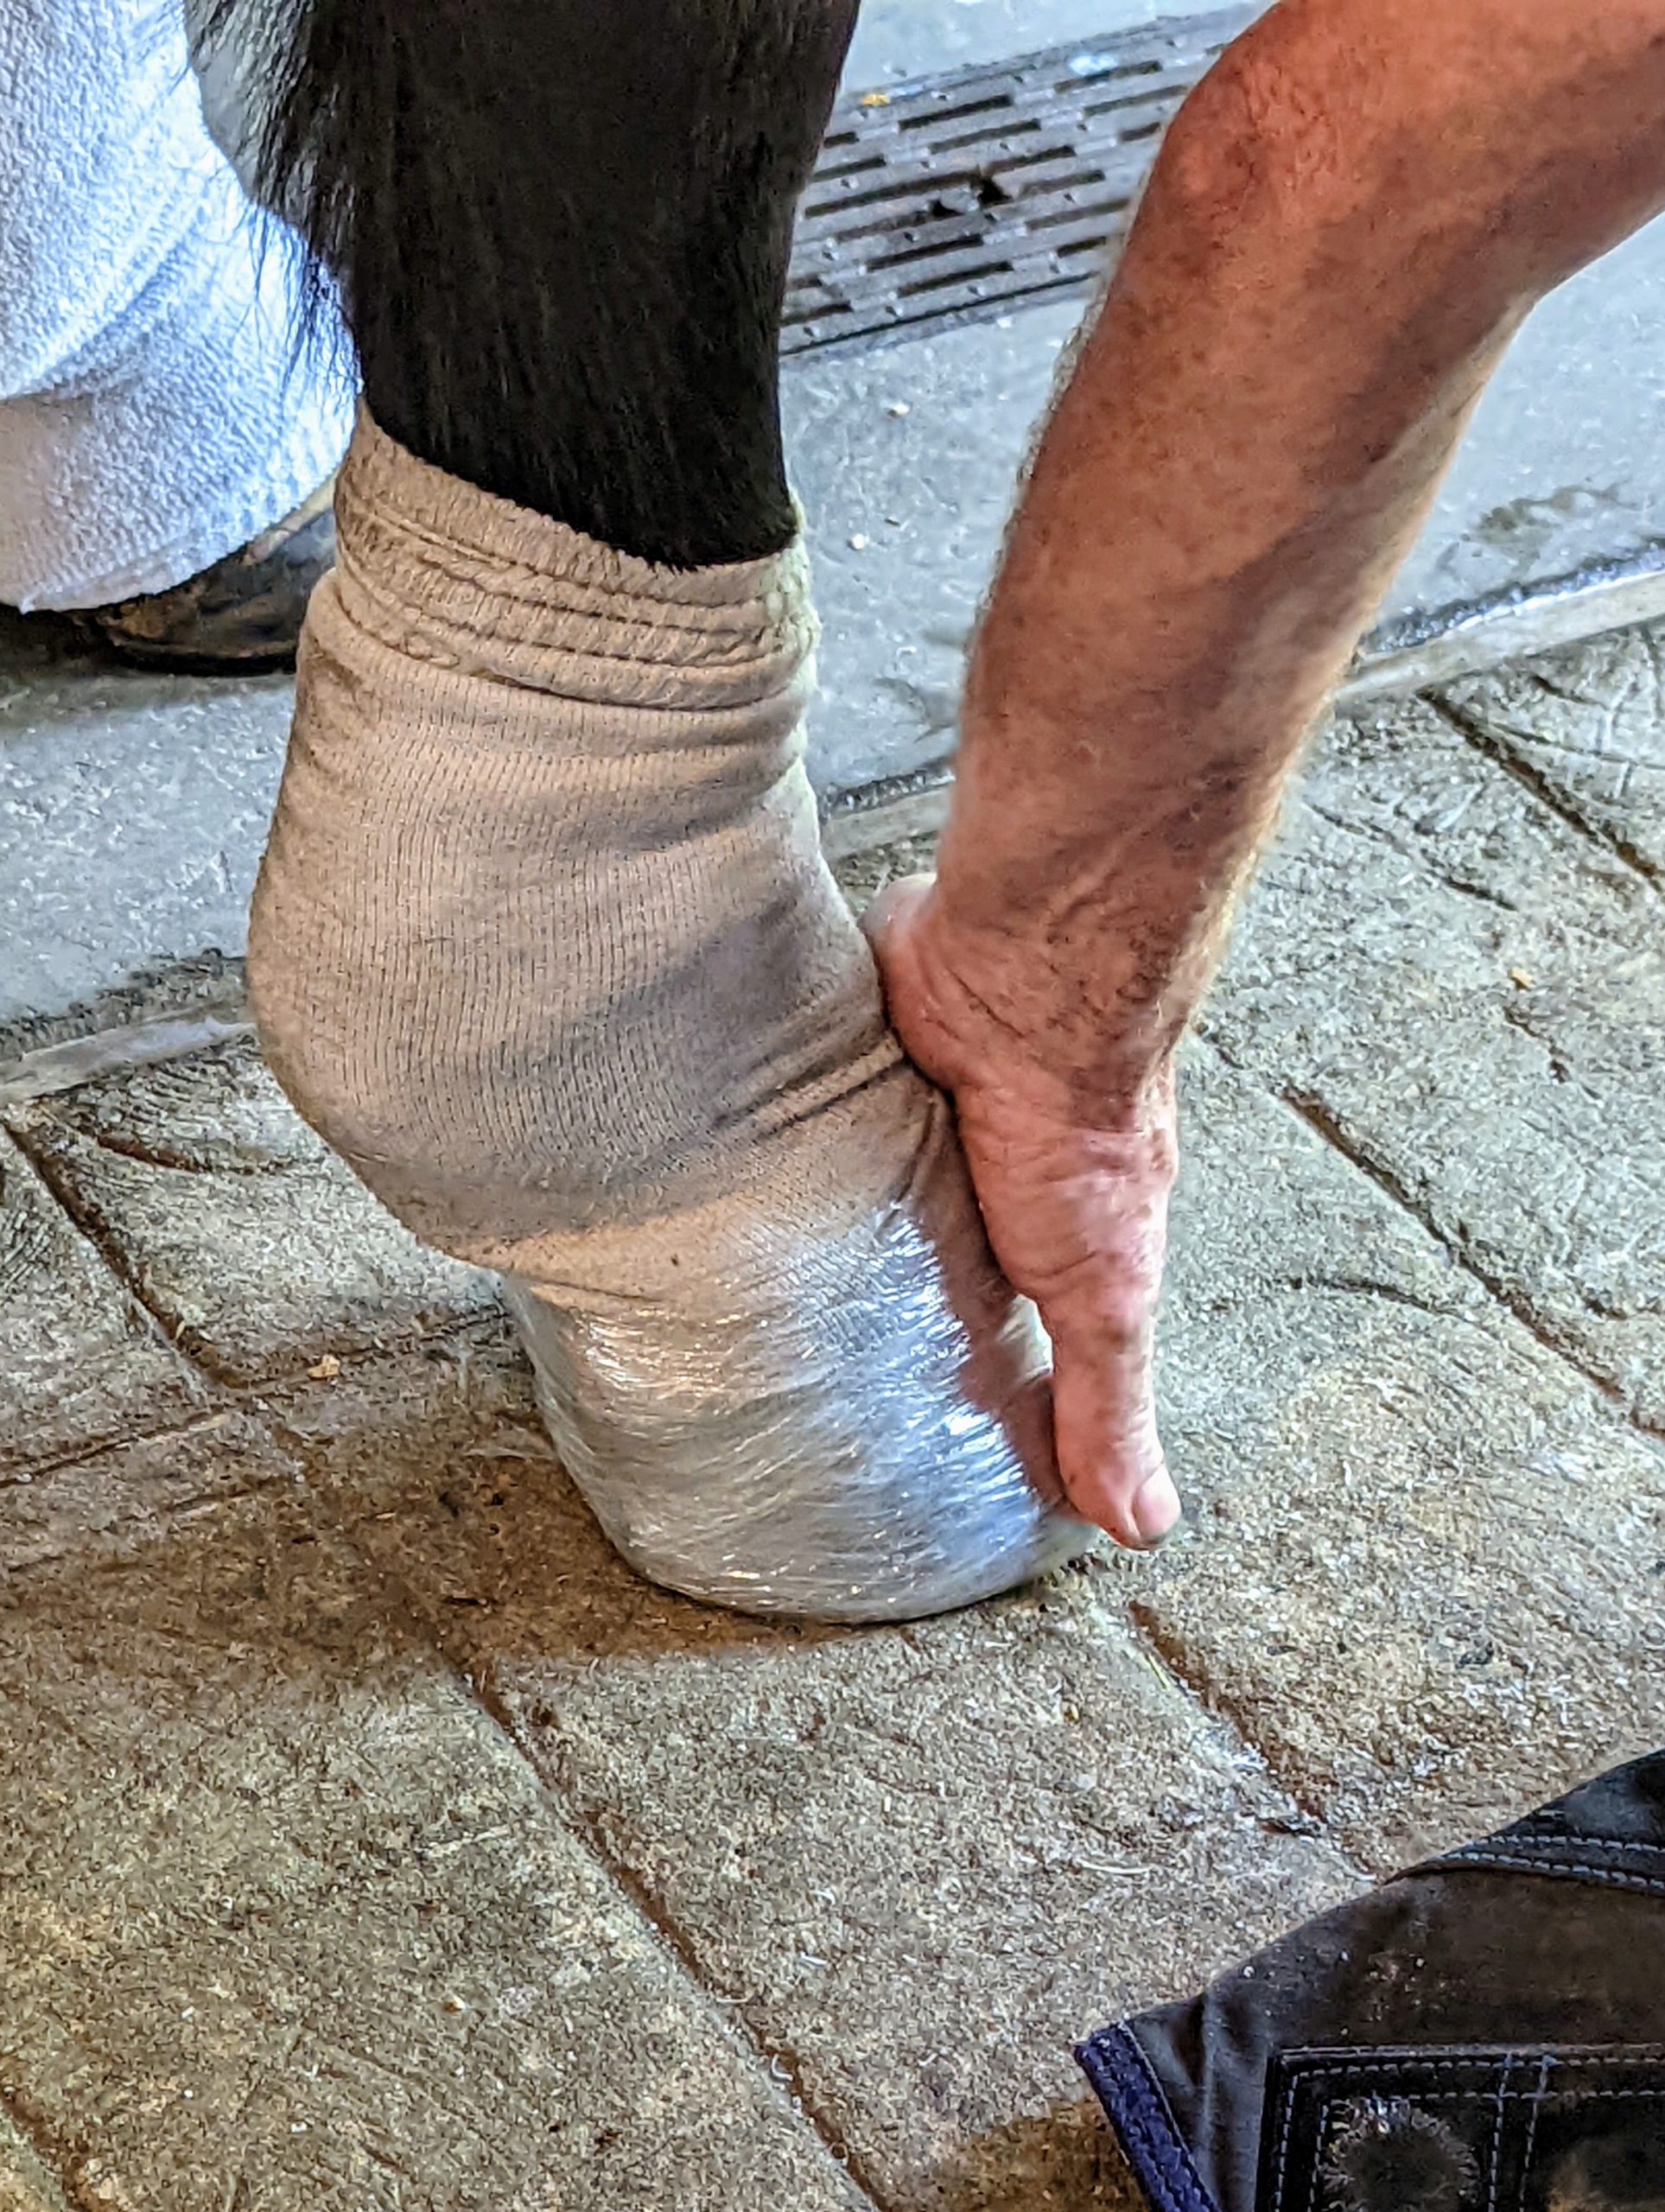
Once the shoe is put on, Marc picks the hoof up and wraps it with plastic stretch wrap so the new shoe is tight against the hoof wall.
The wrap holds the shoe in place while the glue is curing. It doesn’t take long for the adhesive to start setting – the wrap is removed after about 10 to 15 minutes.
Meanwhile, Banchunch’s other front hoof is lifted onto a hoof jack, so Marc can remove the other shoe.
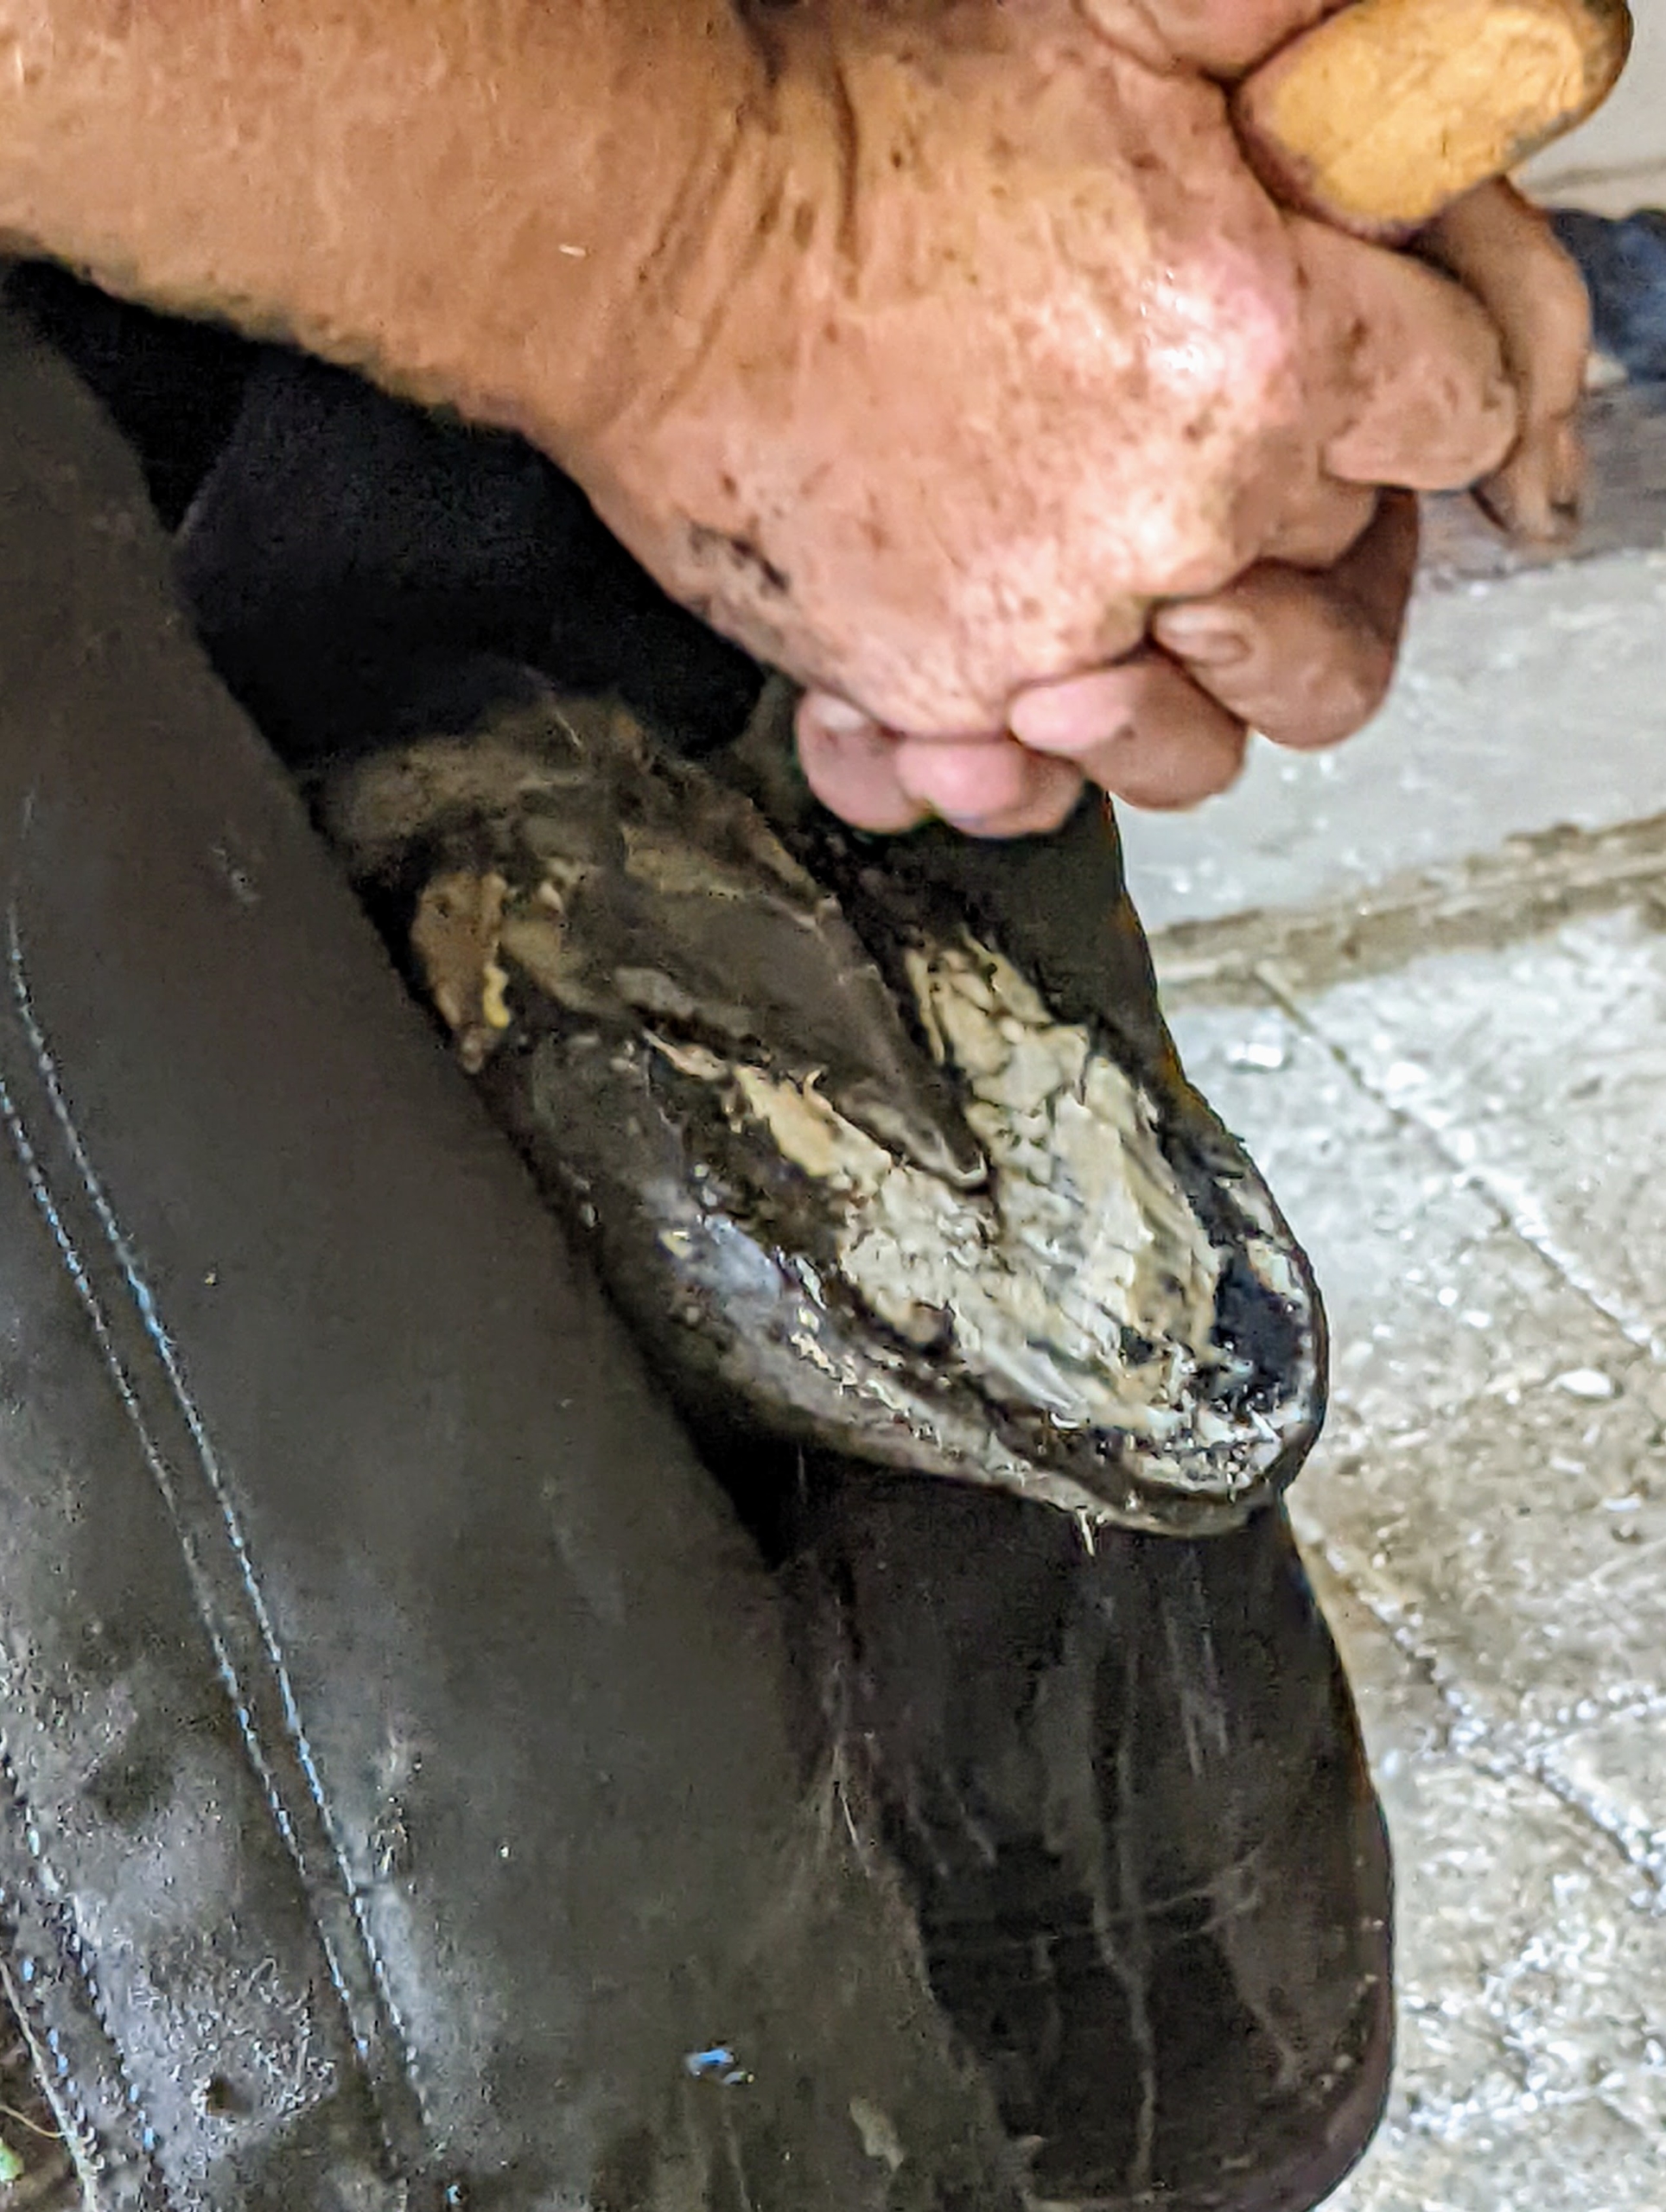
Then he cleans the bottom of the hoof and removes any debris. Downward strokes from heel to toe are always recommended. Marc is careful around the frog, the triangular portion in the middle of the hoof, which is very sensitive.
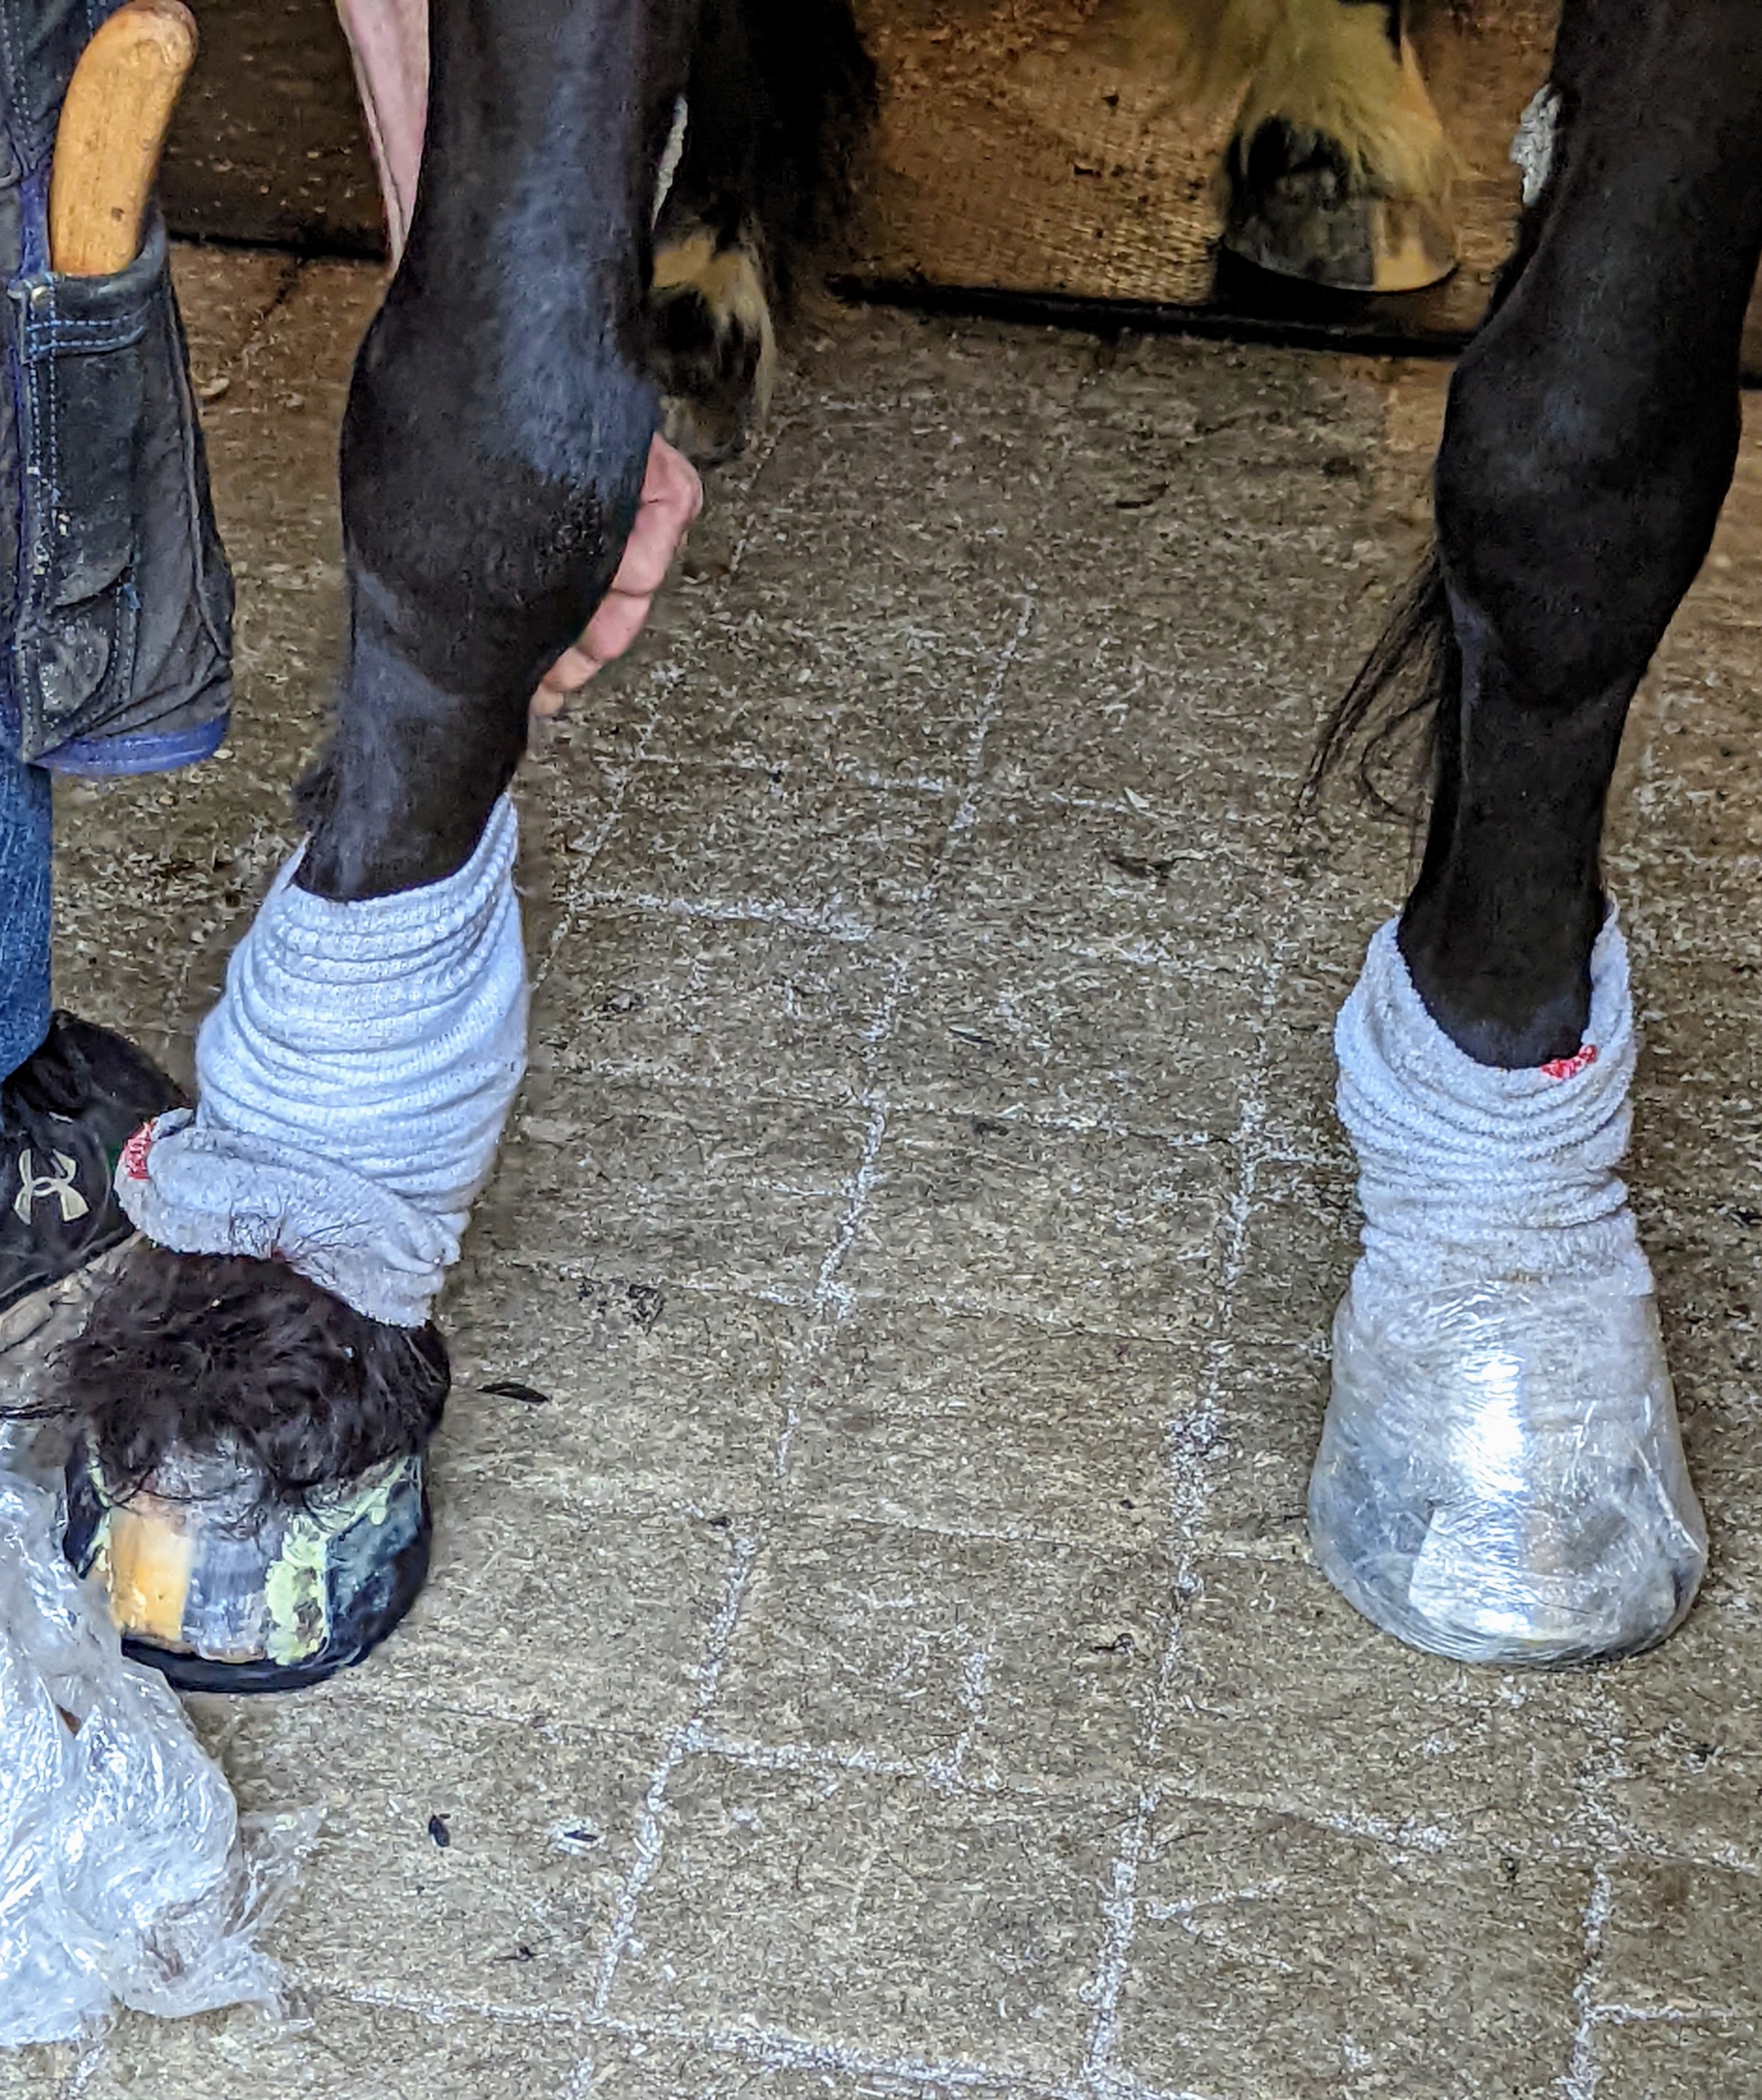
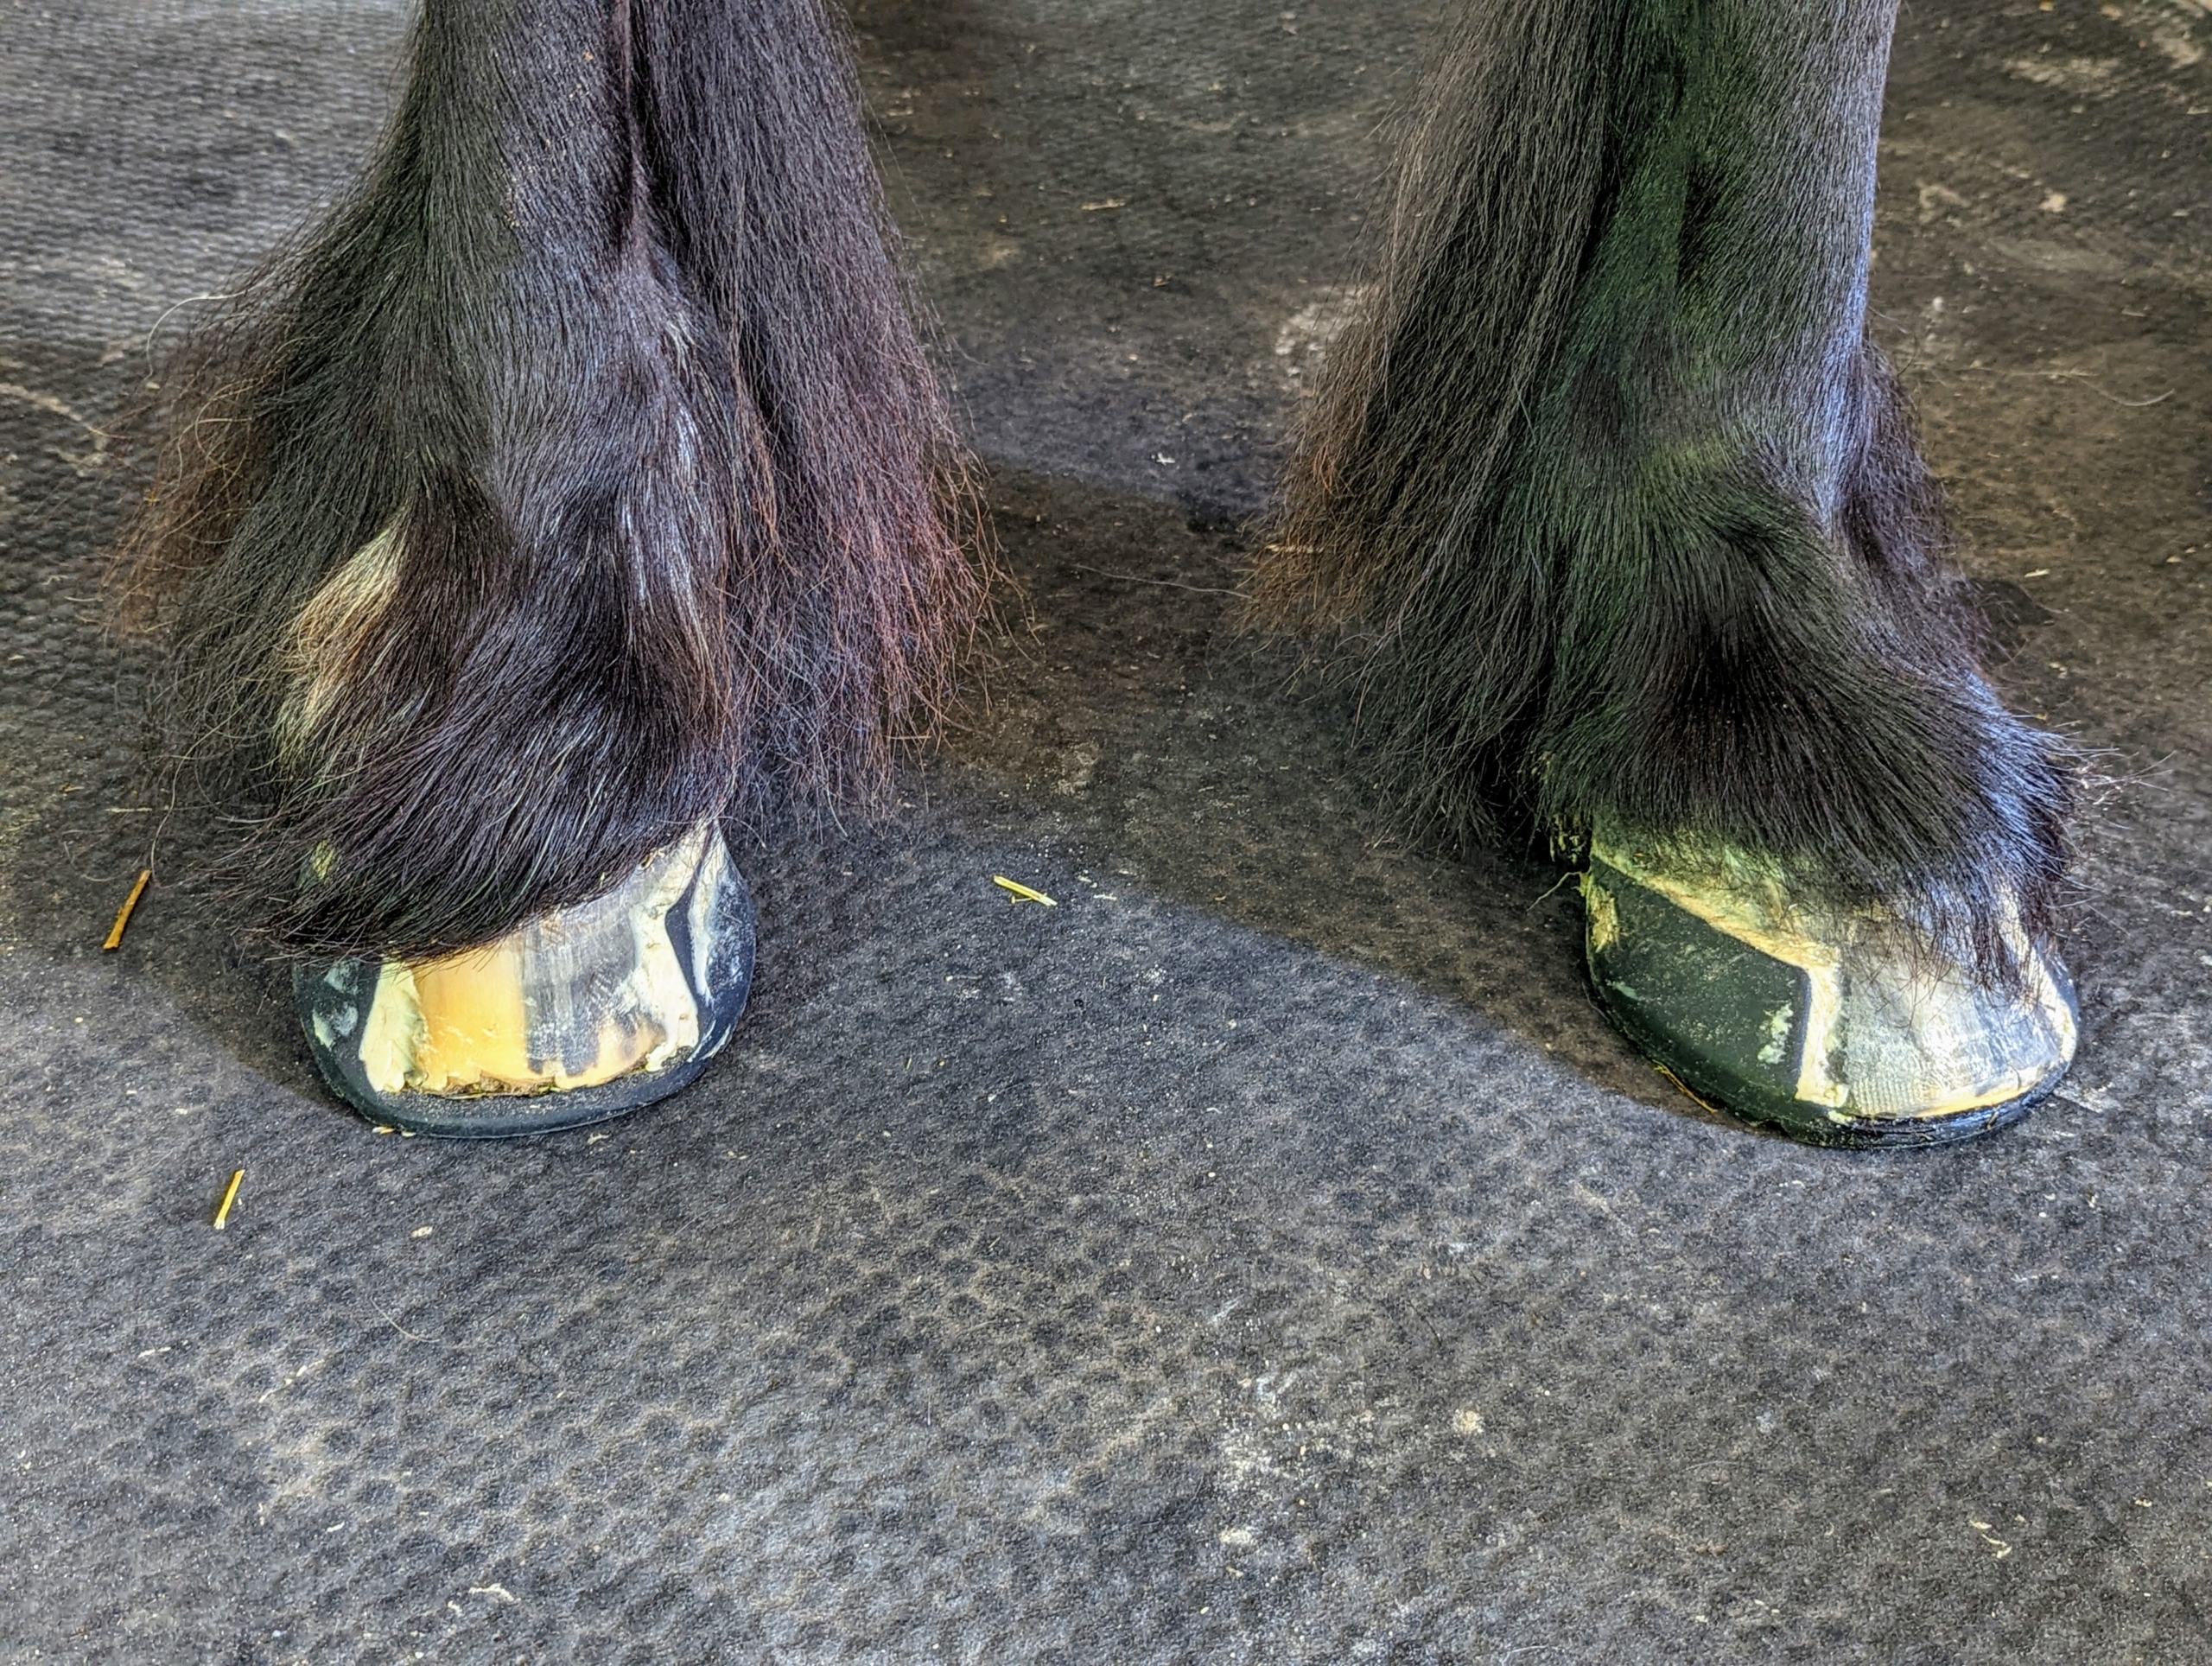
Here, Banchunch’s left foot is wrapped and the right is unwrapped and ready for any touch-ups.
Marc traces the edges of the shoe with more glue to help seal the shoe rims in place.
Marc adds a bit more glue on the other hoof. The glue is made using some of the same additives as dental adhesives for humans.
And that’s it – Banchunch is all done. New shoes that will last another six weeks.
The shoes still need a little more time to set, so Banchunch is secured for a good grooming.
Once done, my darling Fell pony is now ready for a good rest. See you soon, my handsome Banchunch.
Here in Bedford, New York, it's going to be another hot, humid, dry weekend with temperatures in the 90s. Despite the uncomfortable summer weather, everyone is doing what they can to maintain the many gardens, groves, allées, and espaliers.
This time of year, everyone is weeding, watering, and pruning. When it comes to pruning, there are different strategies for different times of the year, but overall the goals are the same - to control the shape, to keep bushes and trees fresh and open, and to allow for better air circulation through the center of the specimen. My outdoor grounds crew has already pruned the sculpted hornbeam hedges near my main greenhouse and Winter House as well as the large European beech hedge surrounding my pool. Next, the team tackled the apple espaliers and lilac standards behind my long carport.
Enjoy these photos. And be sure to check out my TikTok @MarthaStewart to see me pruning the Asian pear espalier by my stable!
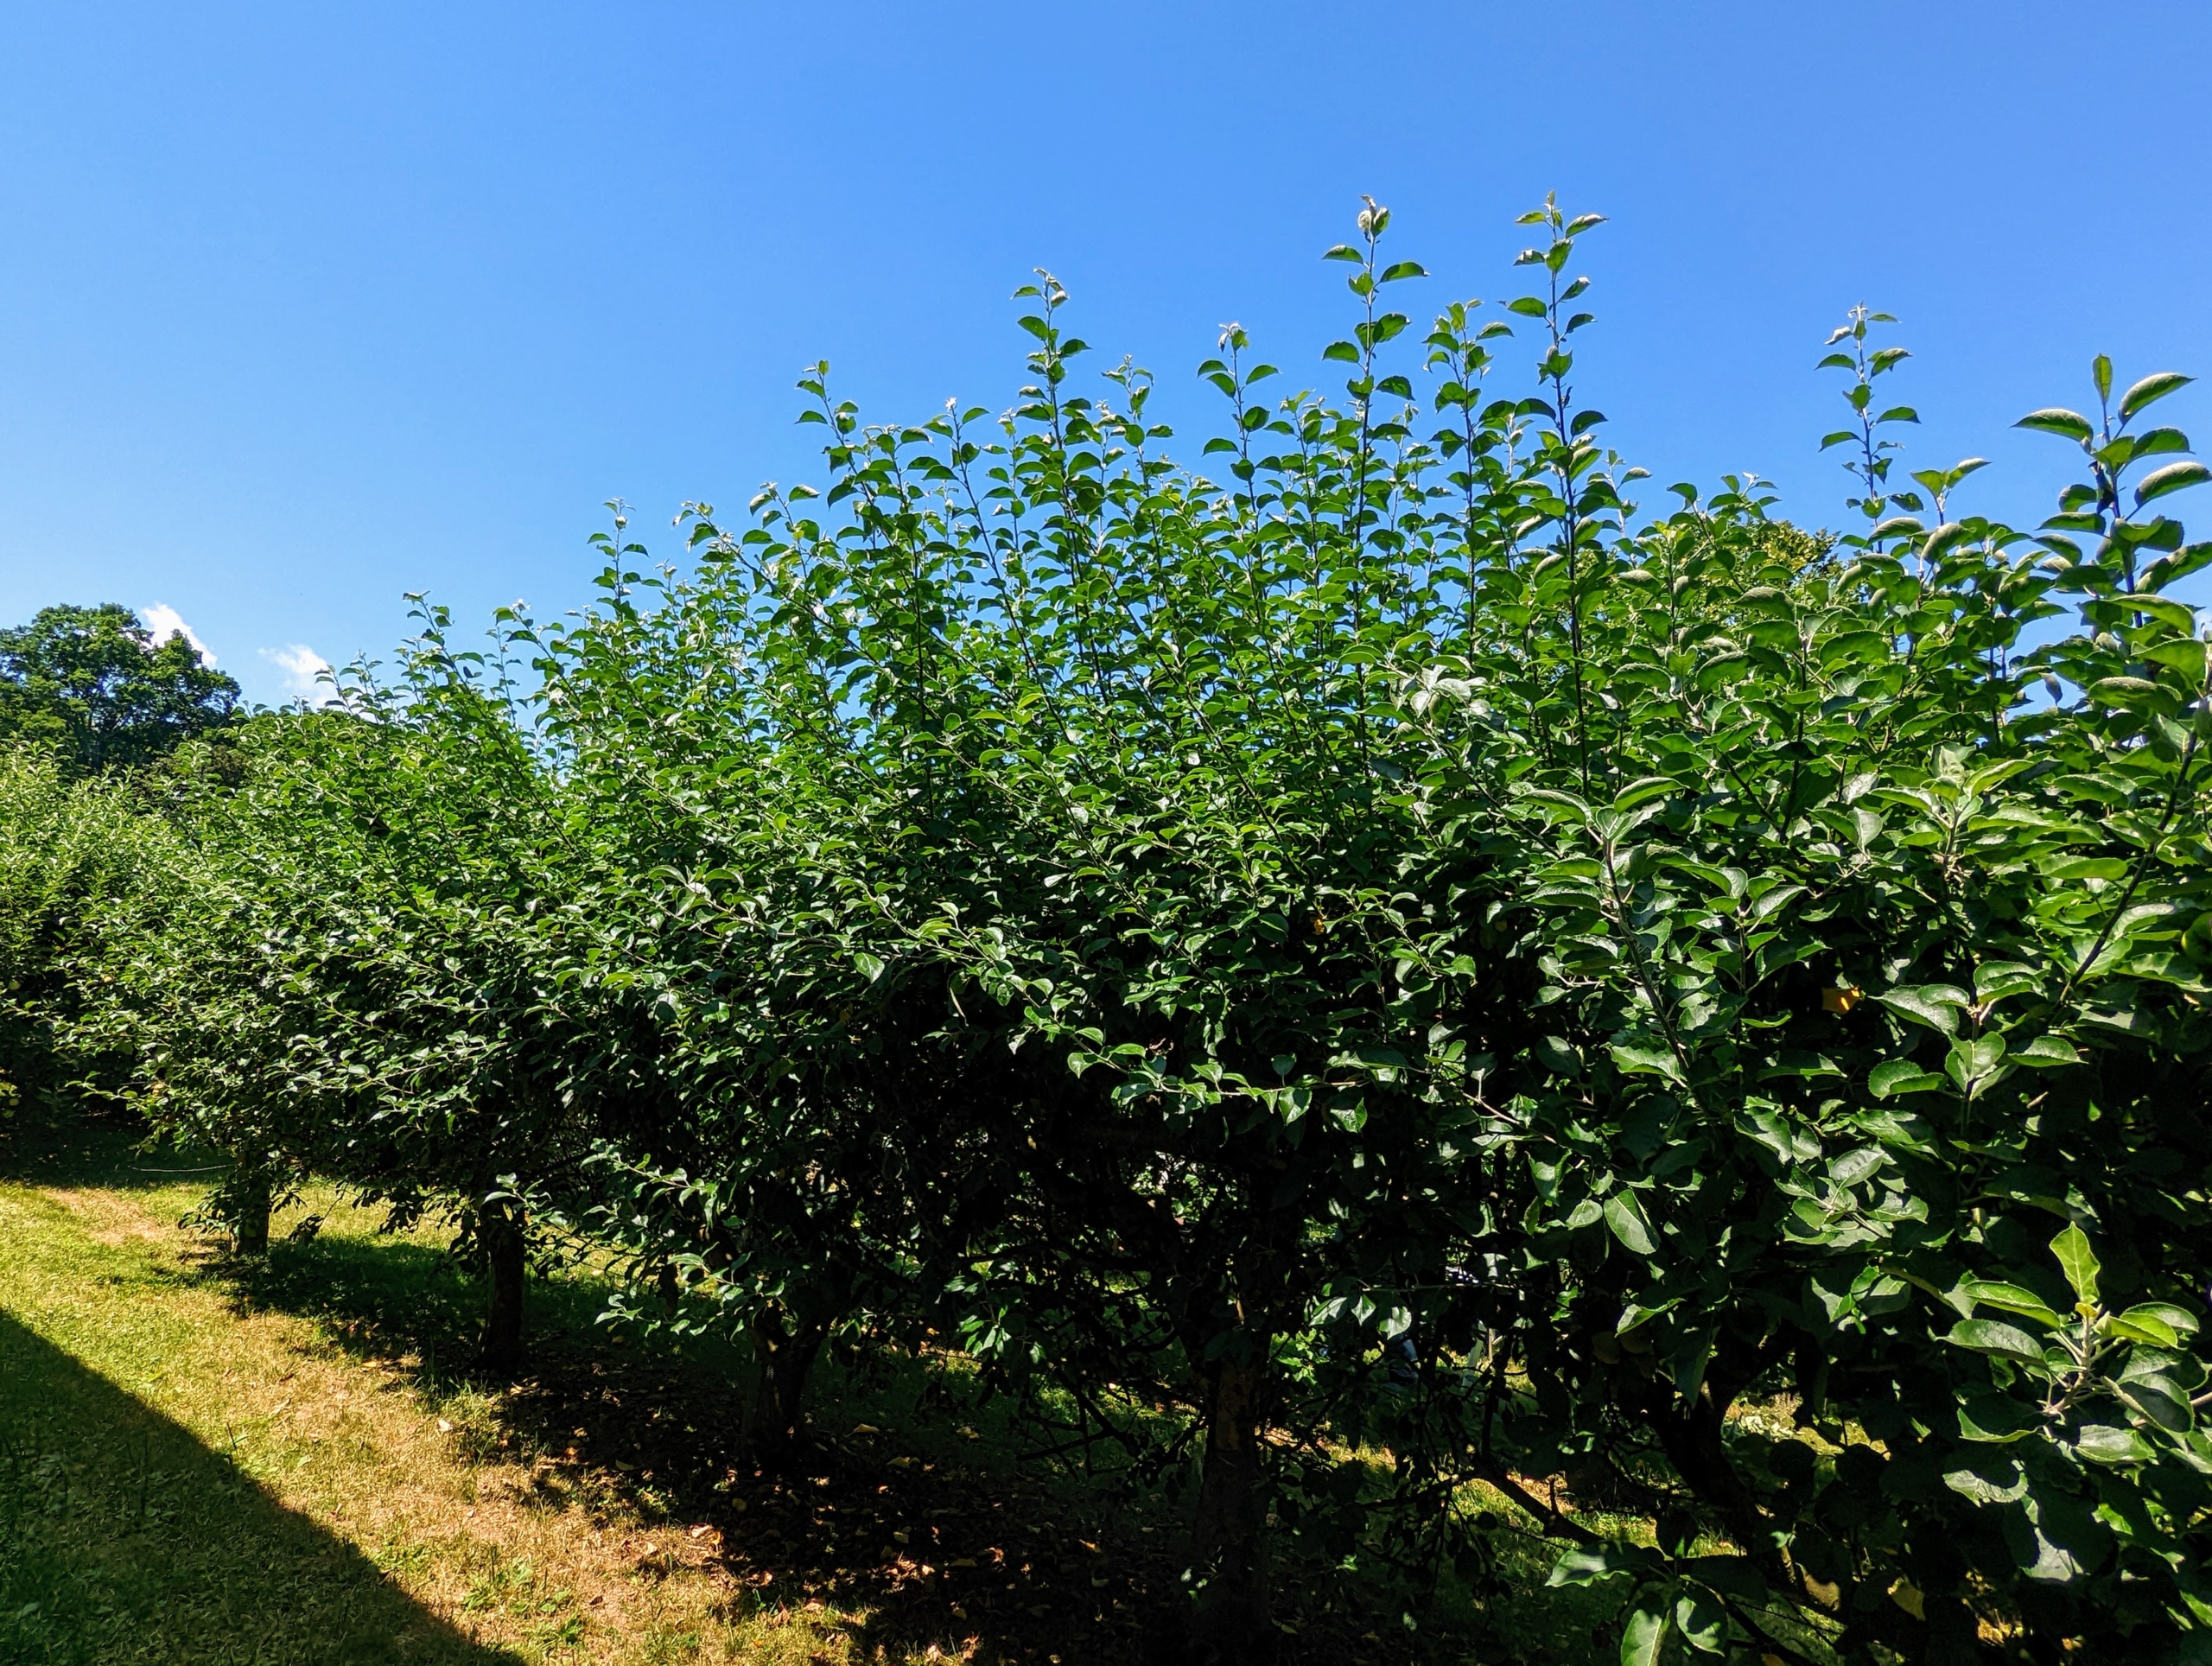
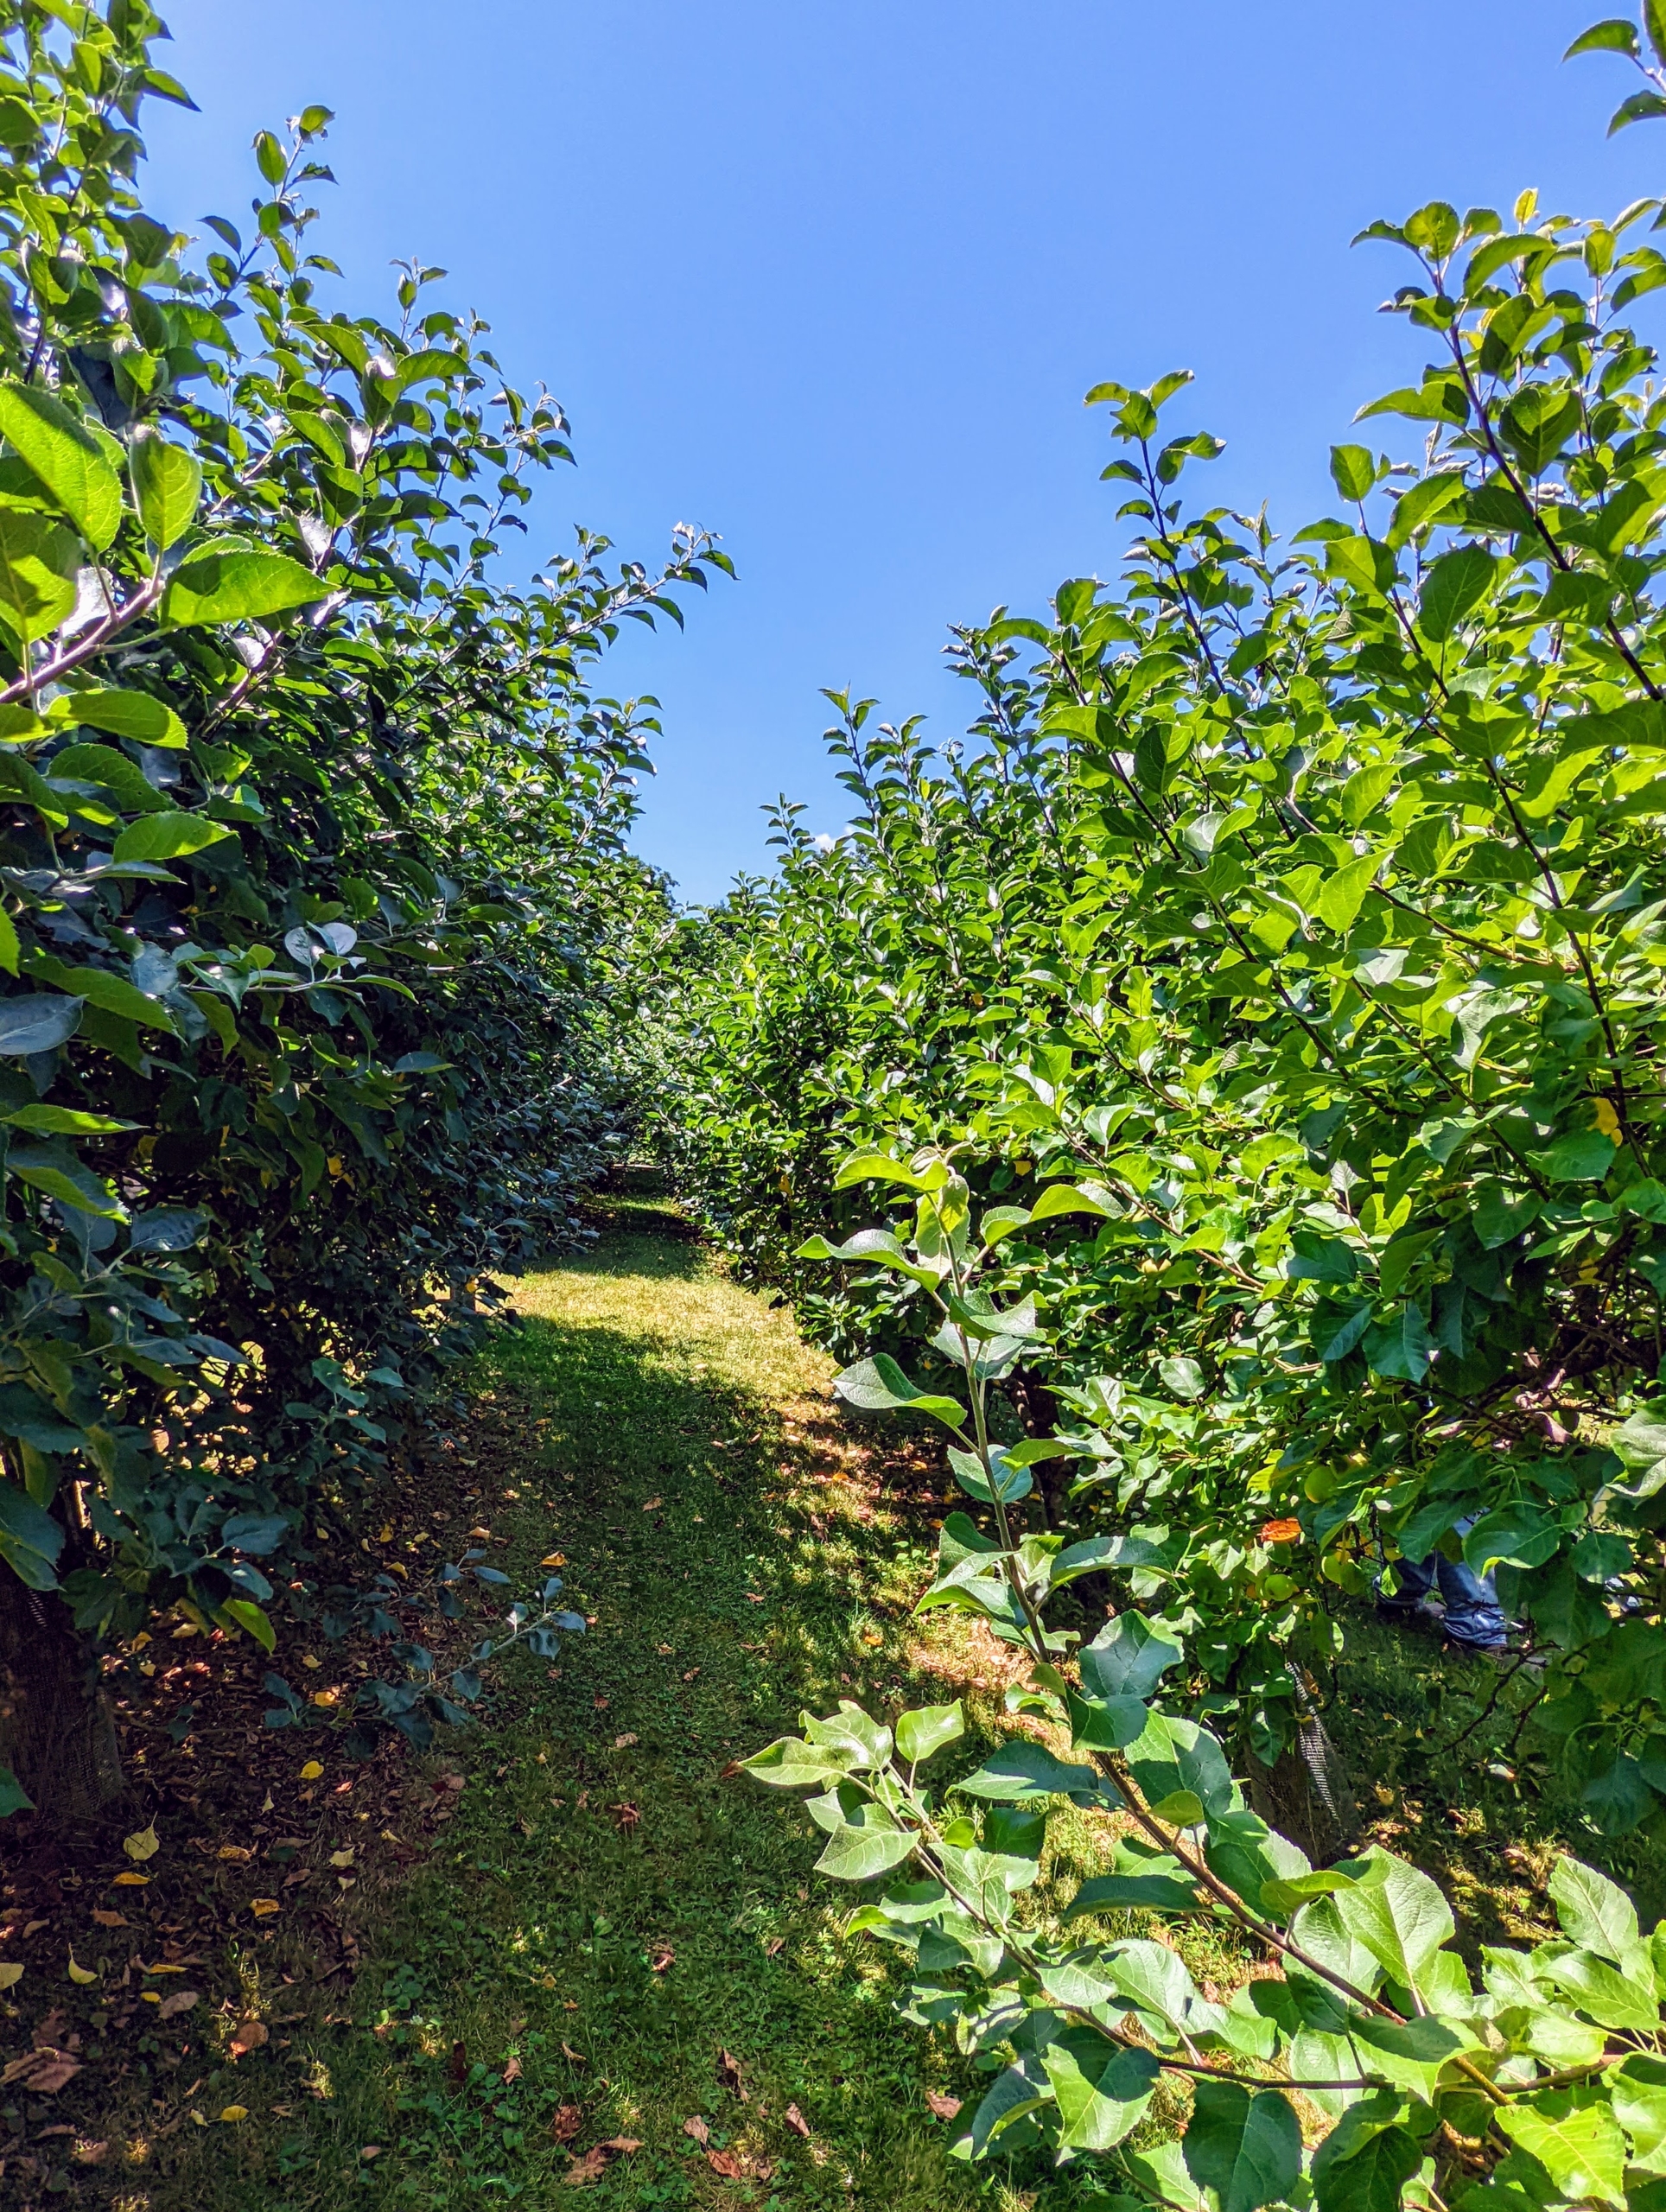
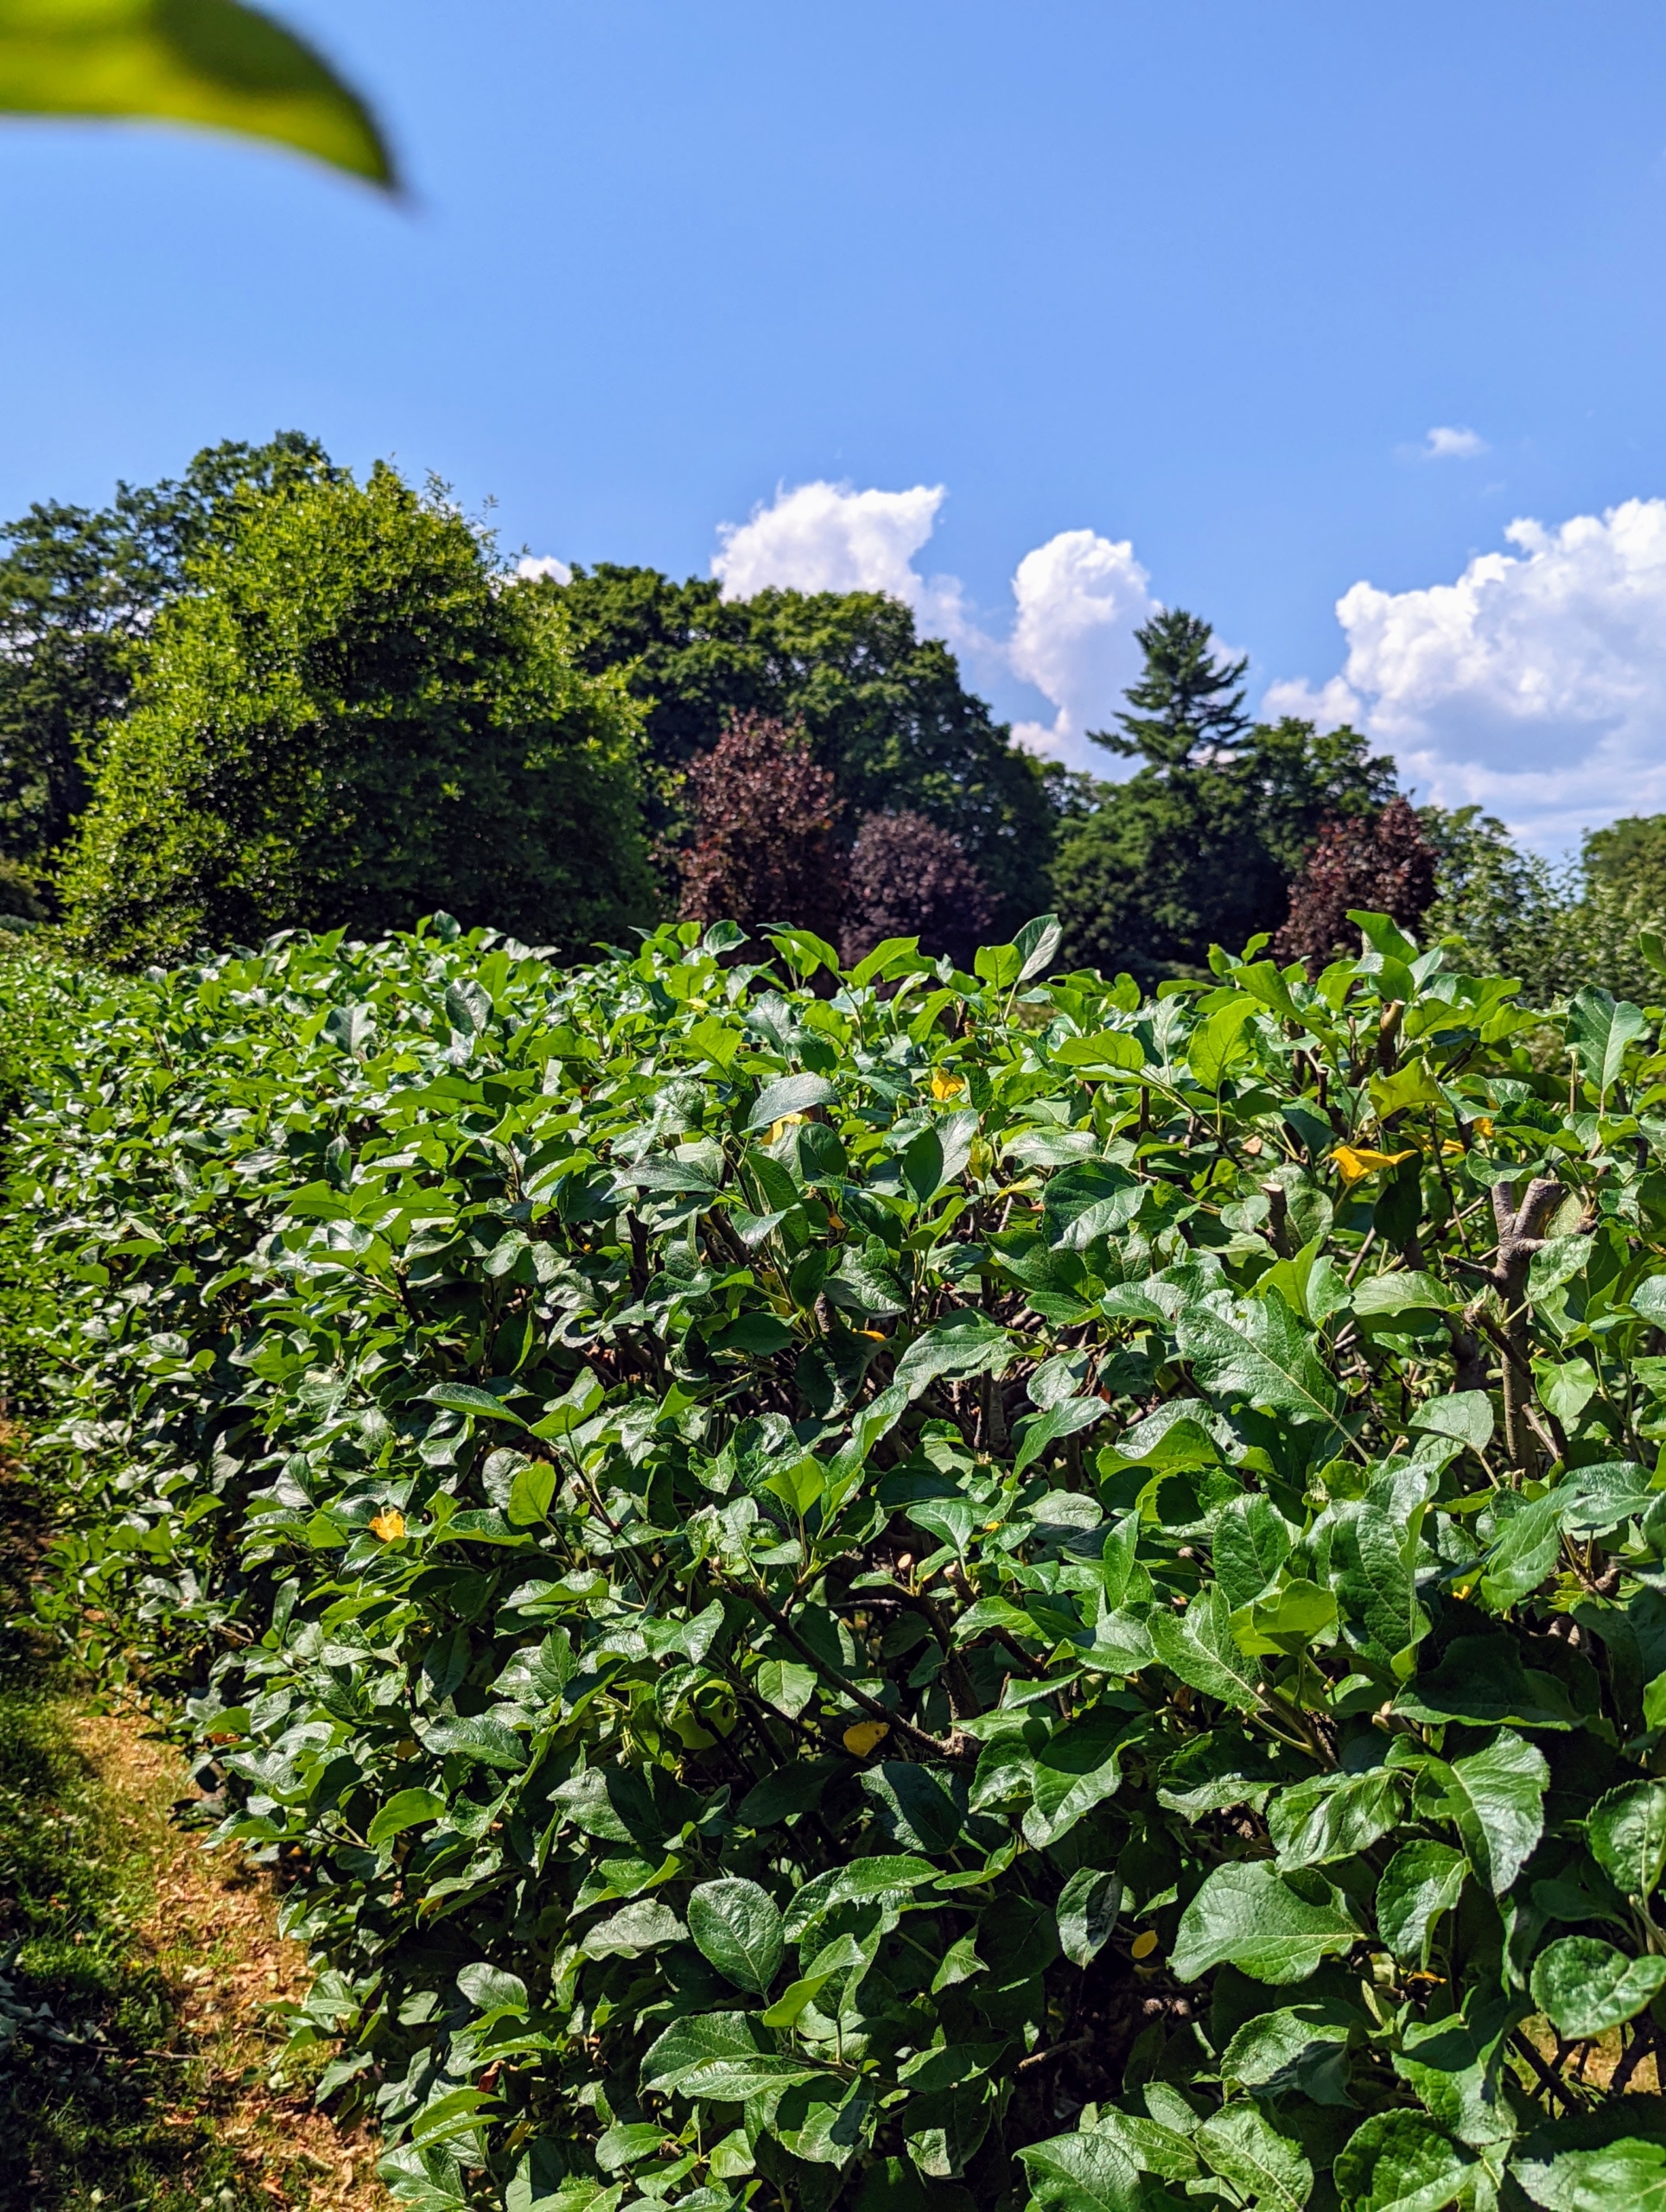
When I first moved to Bedford, I found a perfect location to plant a little orchard of espalier apple trees – this space behind my long carport not far from my Winter House. Espalier refers to an ancient technique, resulting in trees that grow flat, either against a wall, or along a wire-strung framework.
These espalier apples have done wonderfully here. They’re supported on wire attached to strong antique granite posts from China originally used as grape supports. There are four rows of espaliered apples.
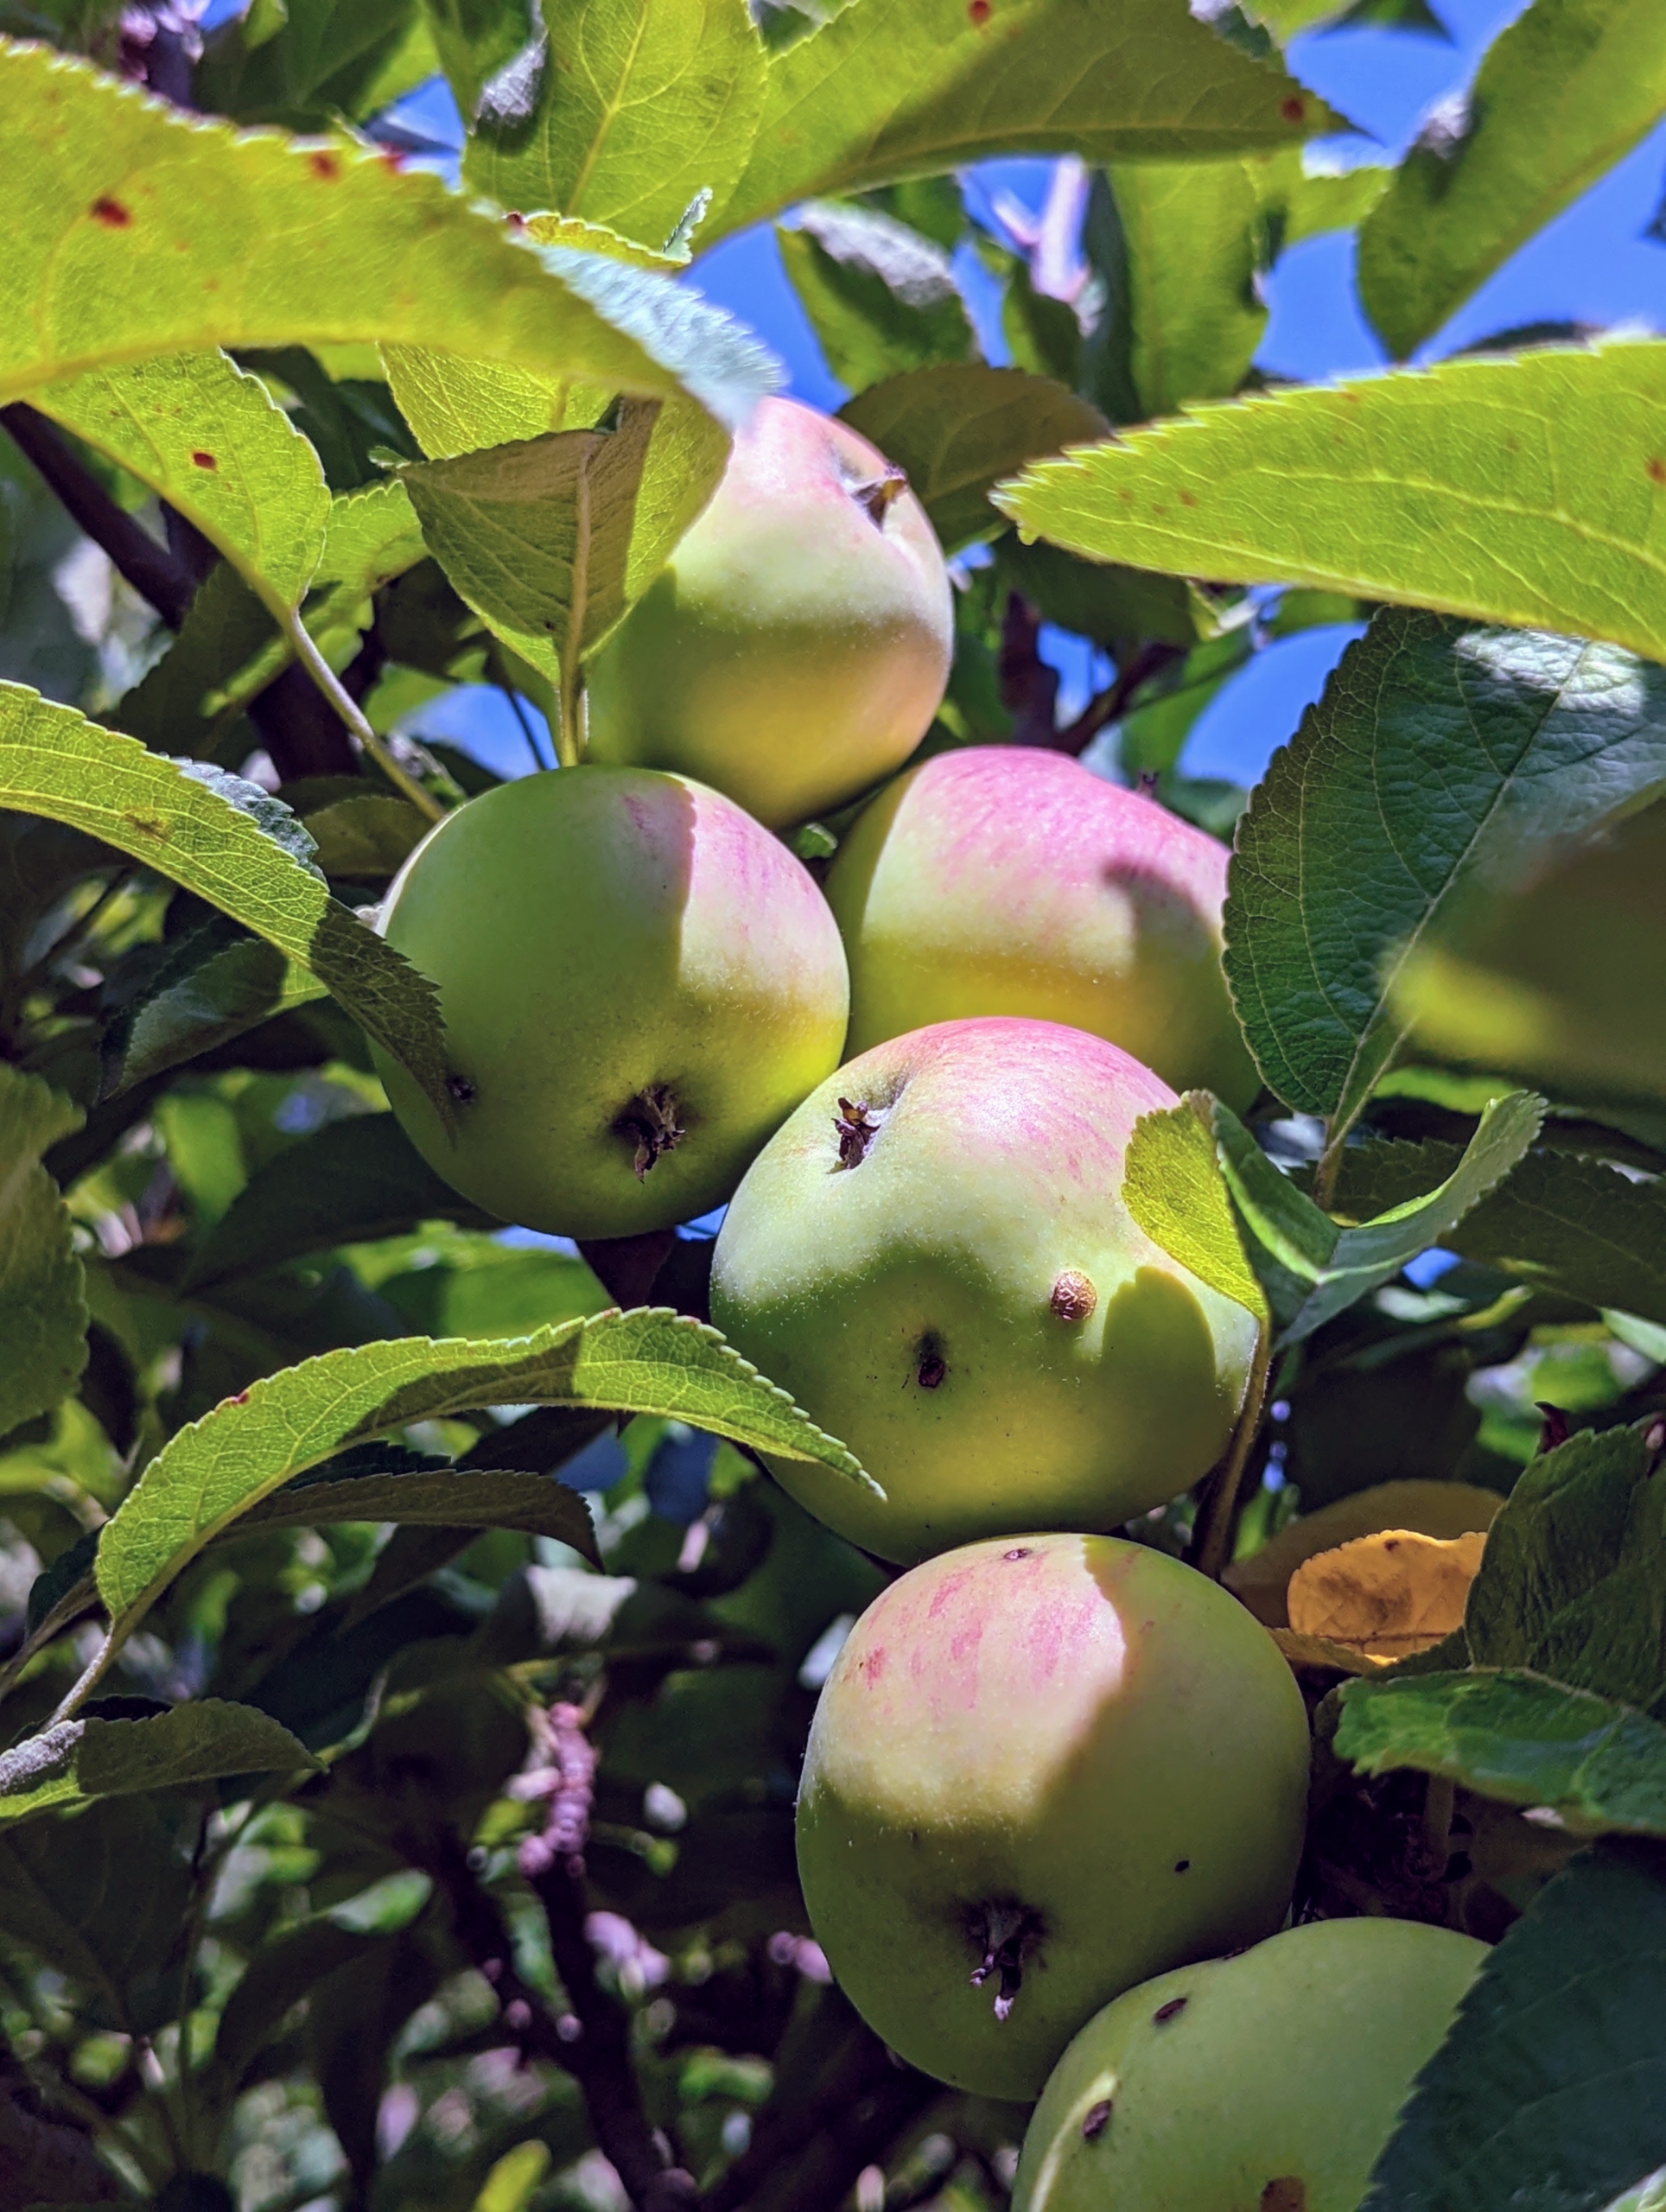
Here are some of the many apples already growing. The apple tree is a deciduous tree in the rose family best known for its sweet, pomaceous fruit, the apple. I have many different varieties growing at my farm. During a good apple season, my granddaughter Jude and I make lots and lots of cider.
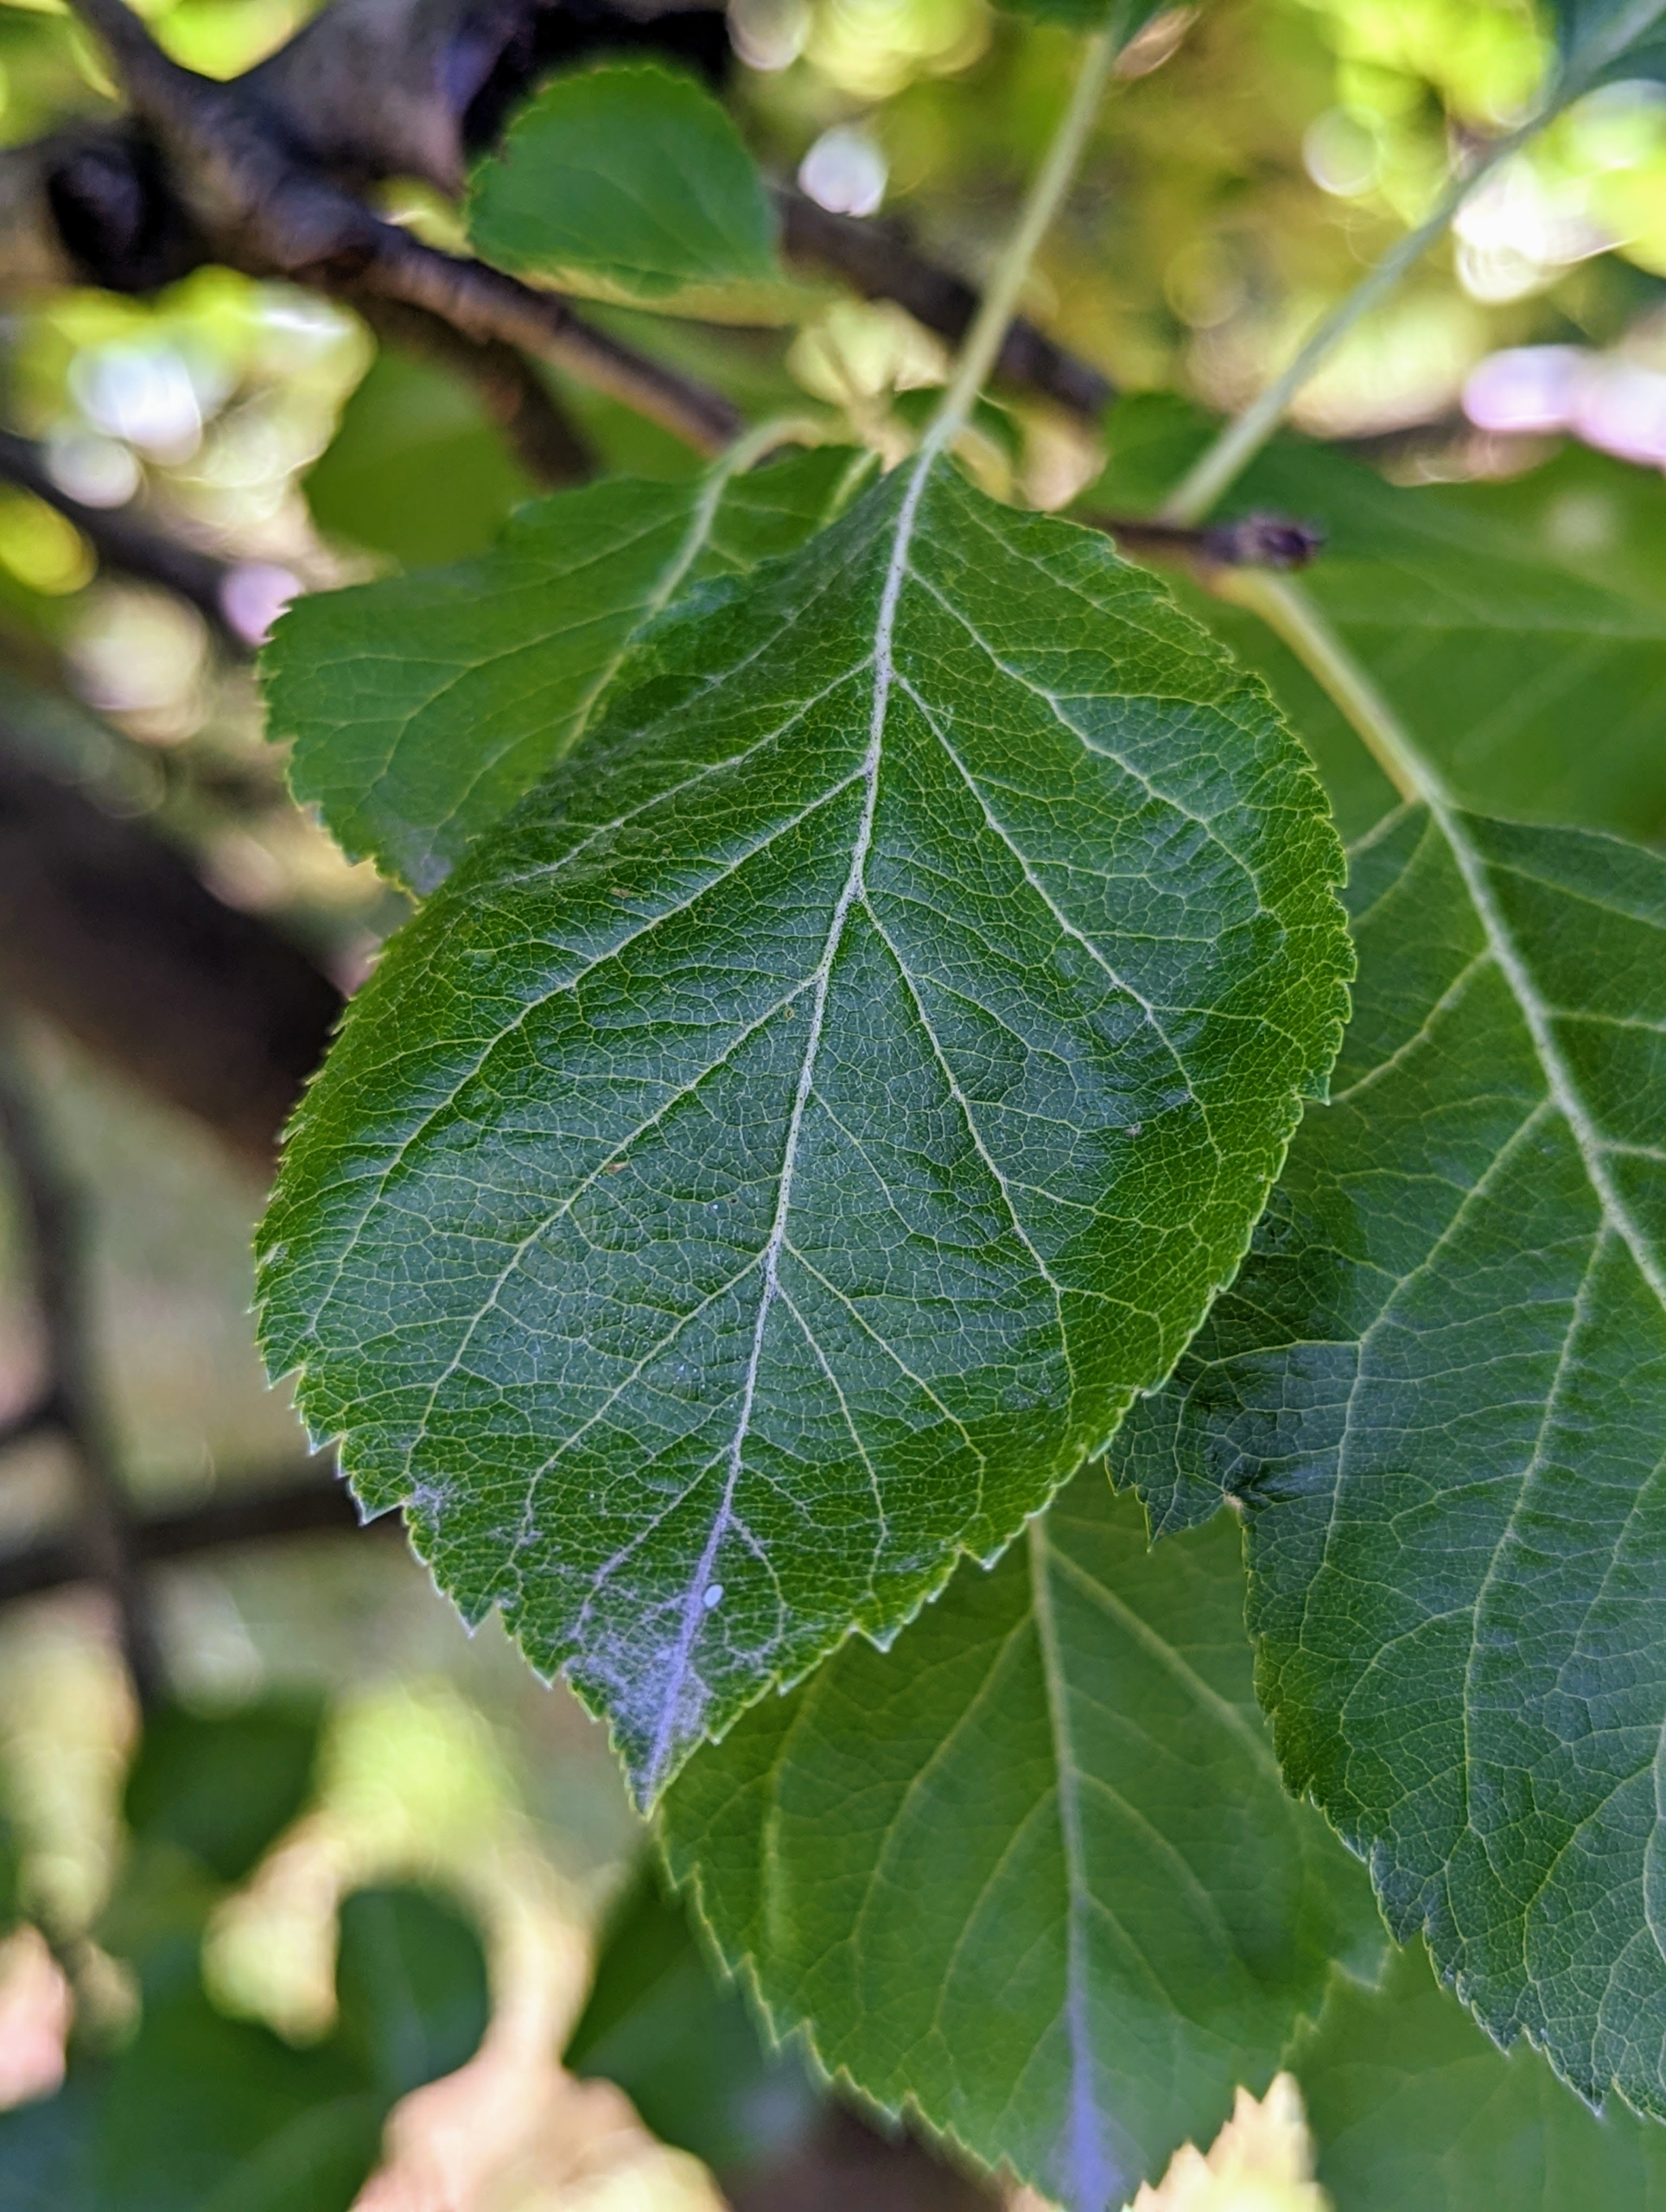
The leaves of apple trees are ovate and dark green with asymmetrical leaf bases. The leaf margins are curved and serrated.
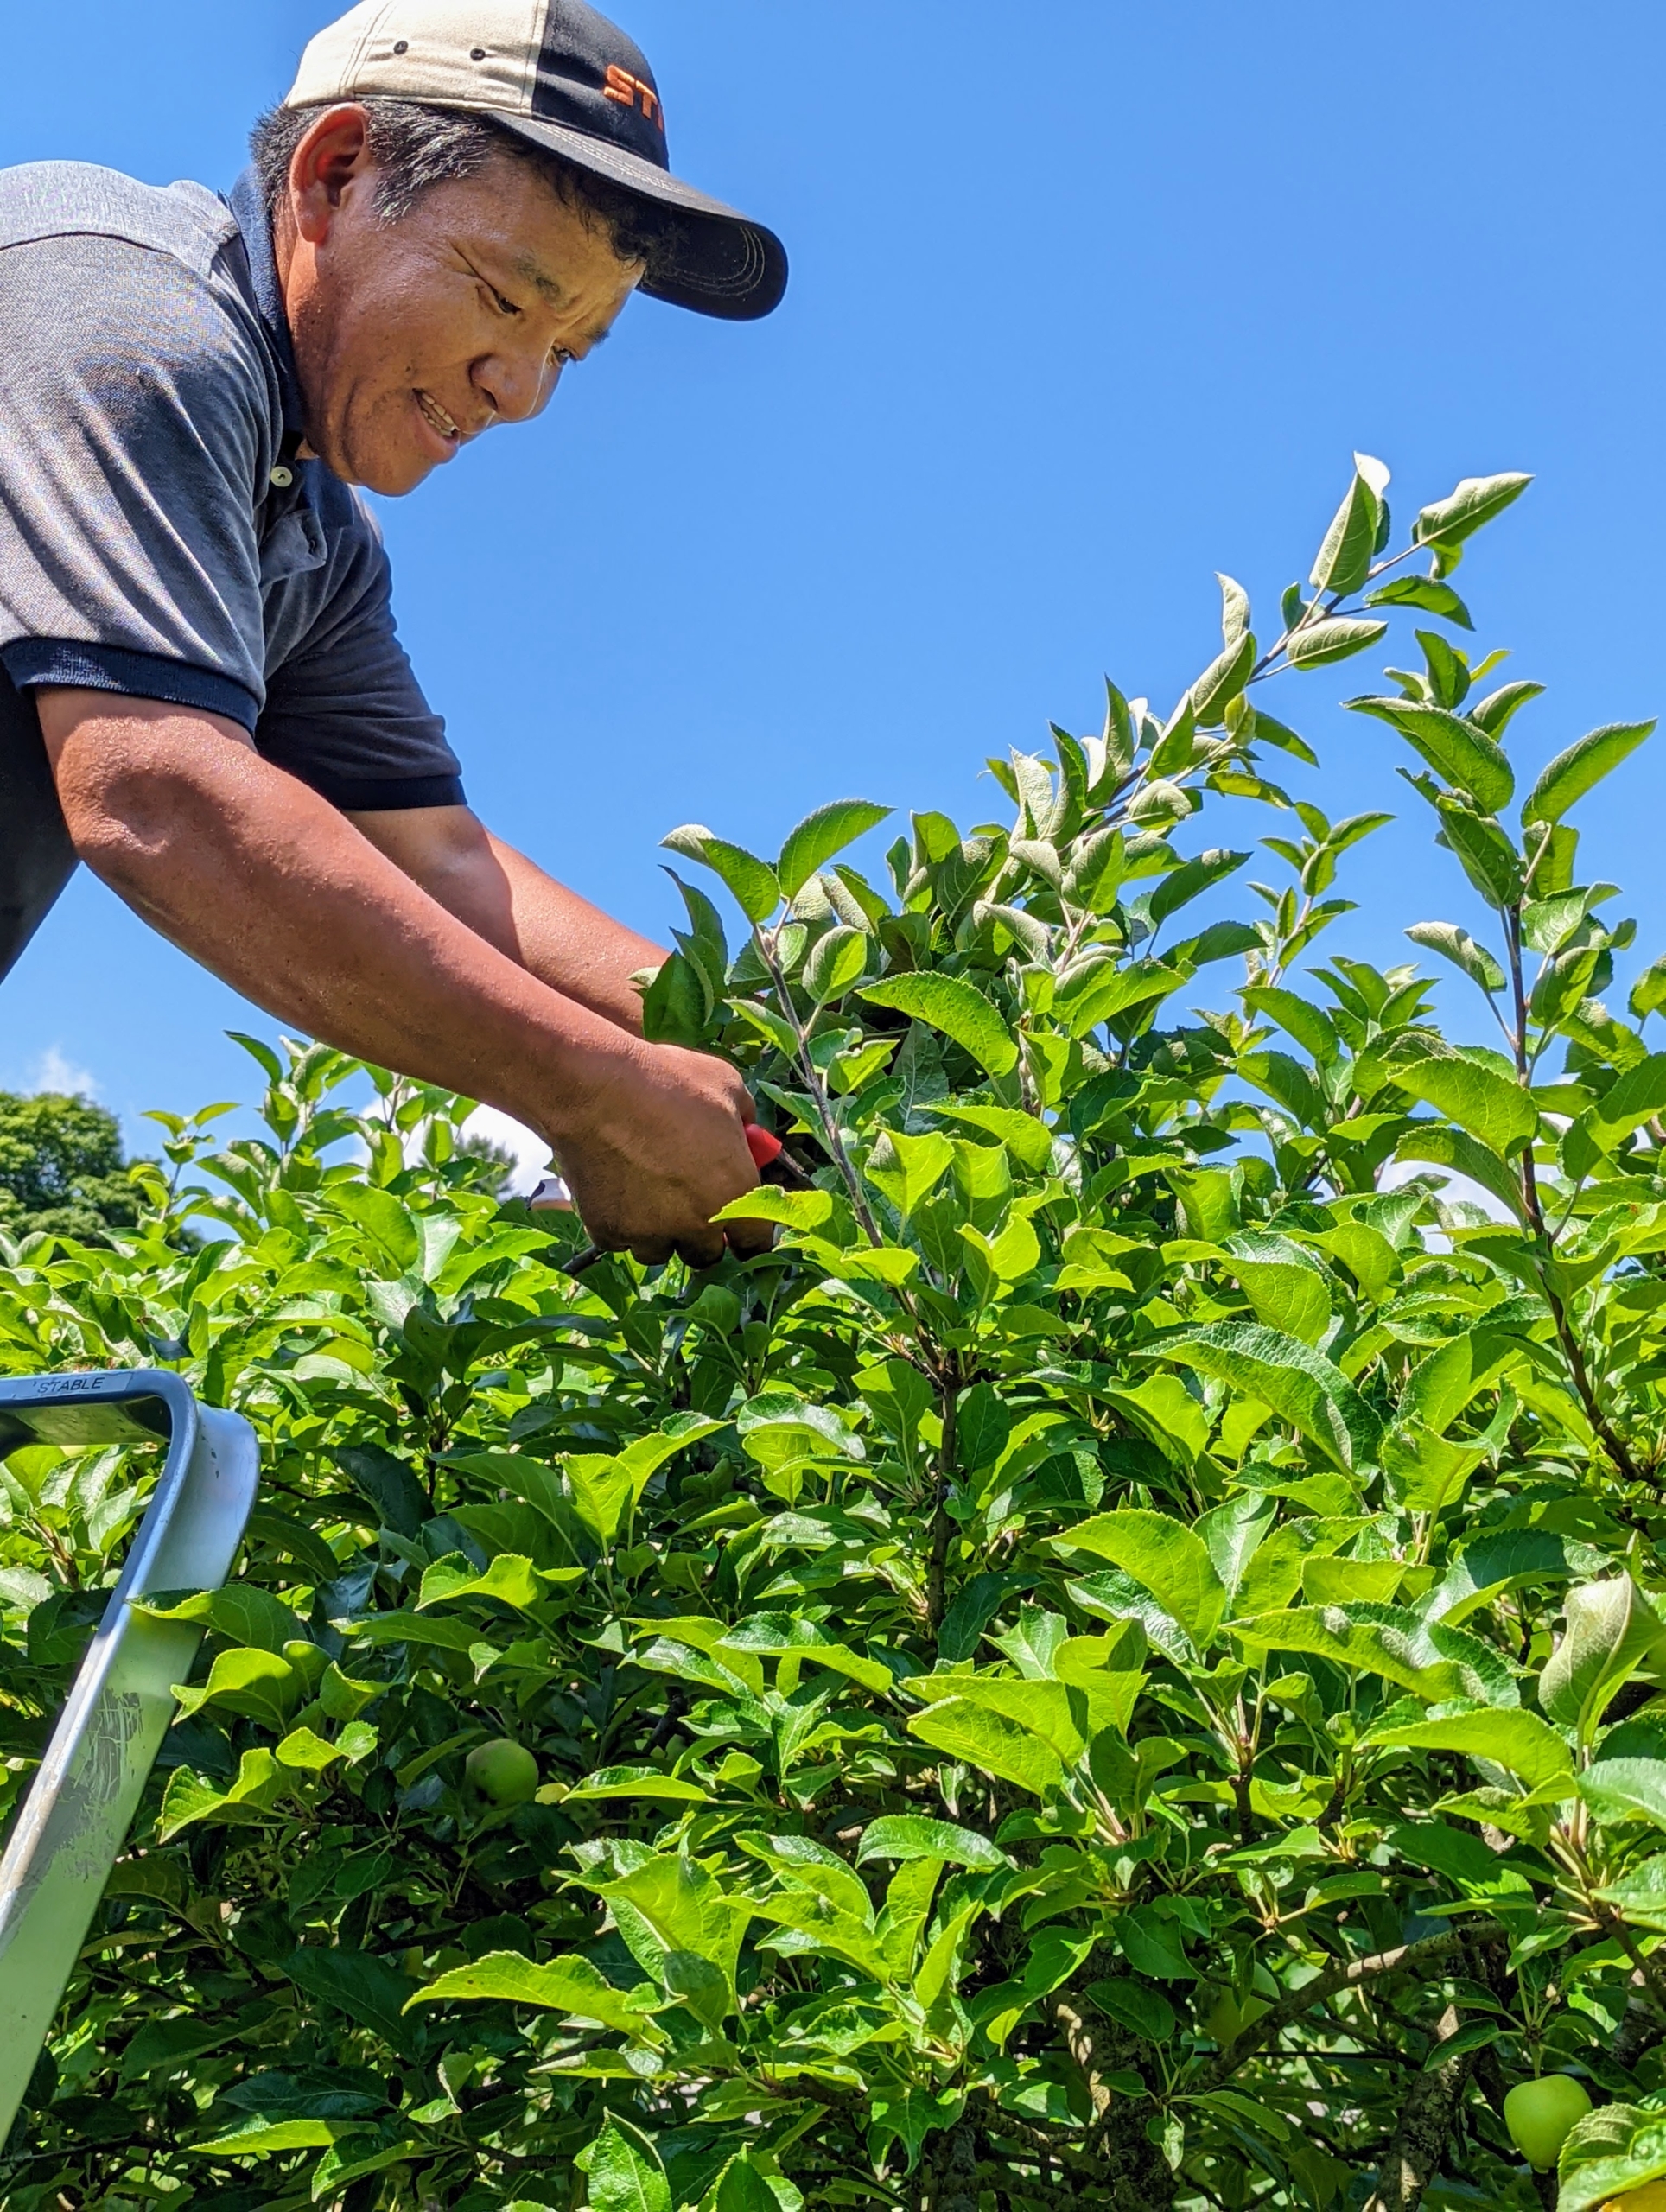
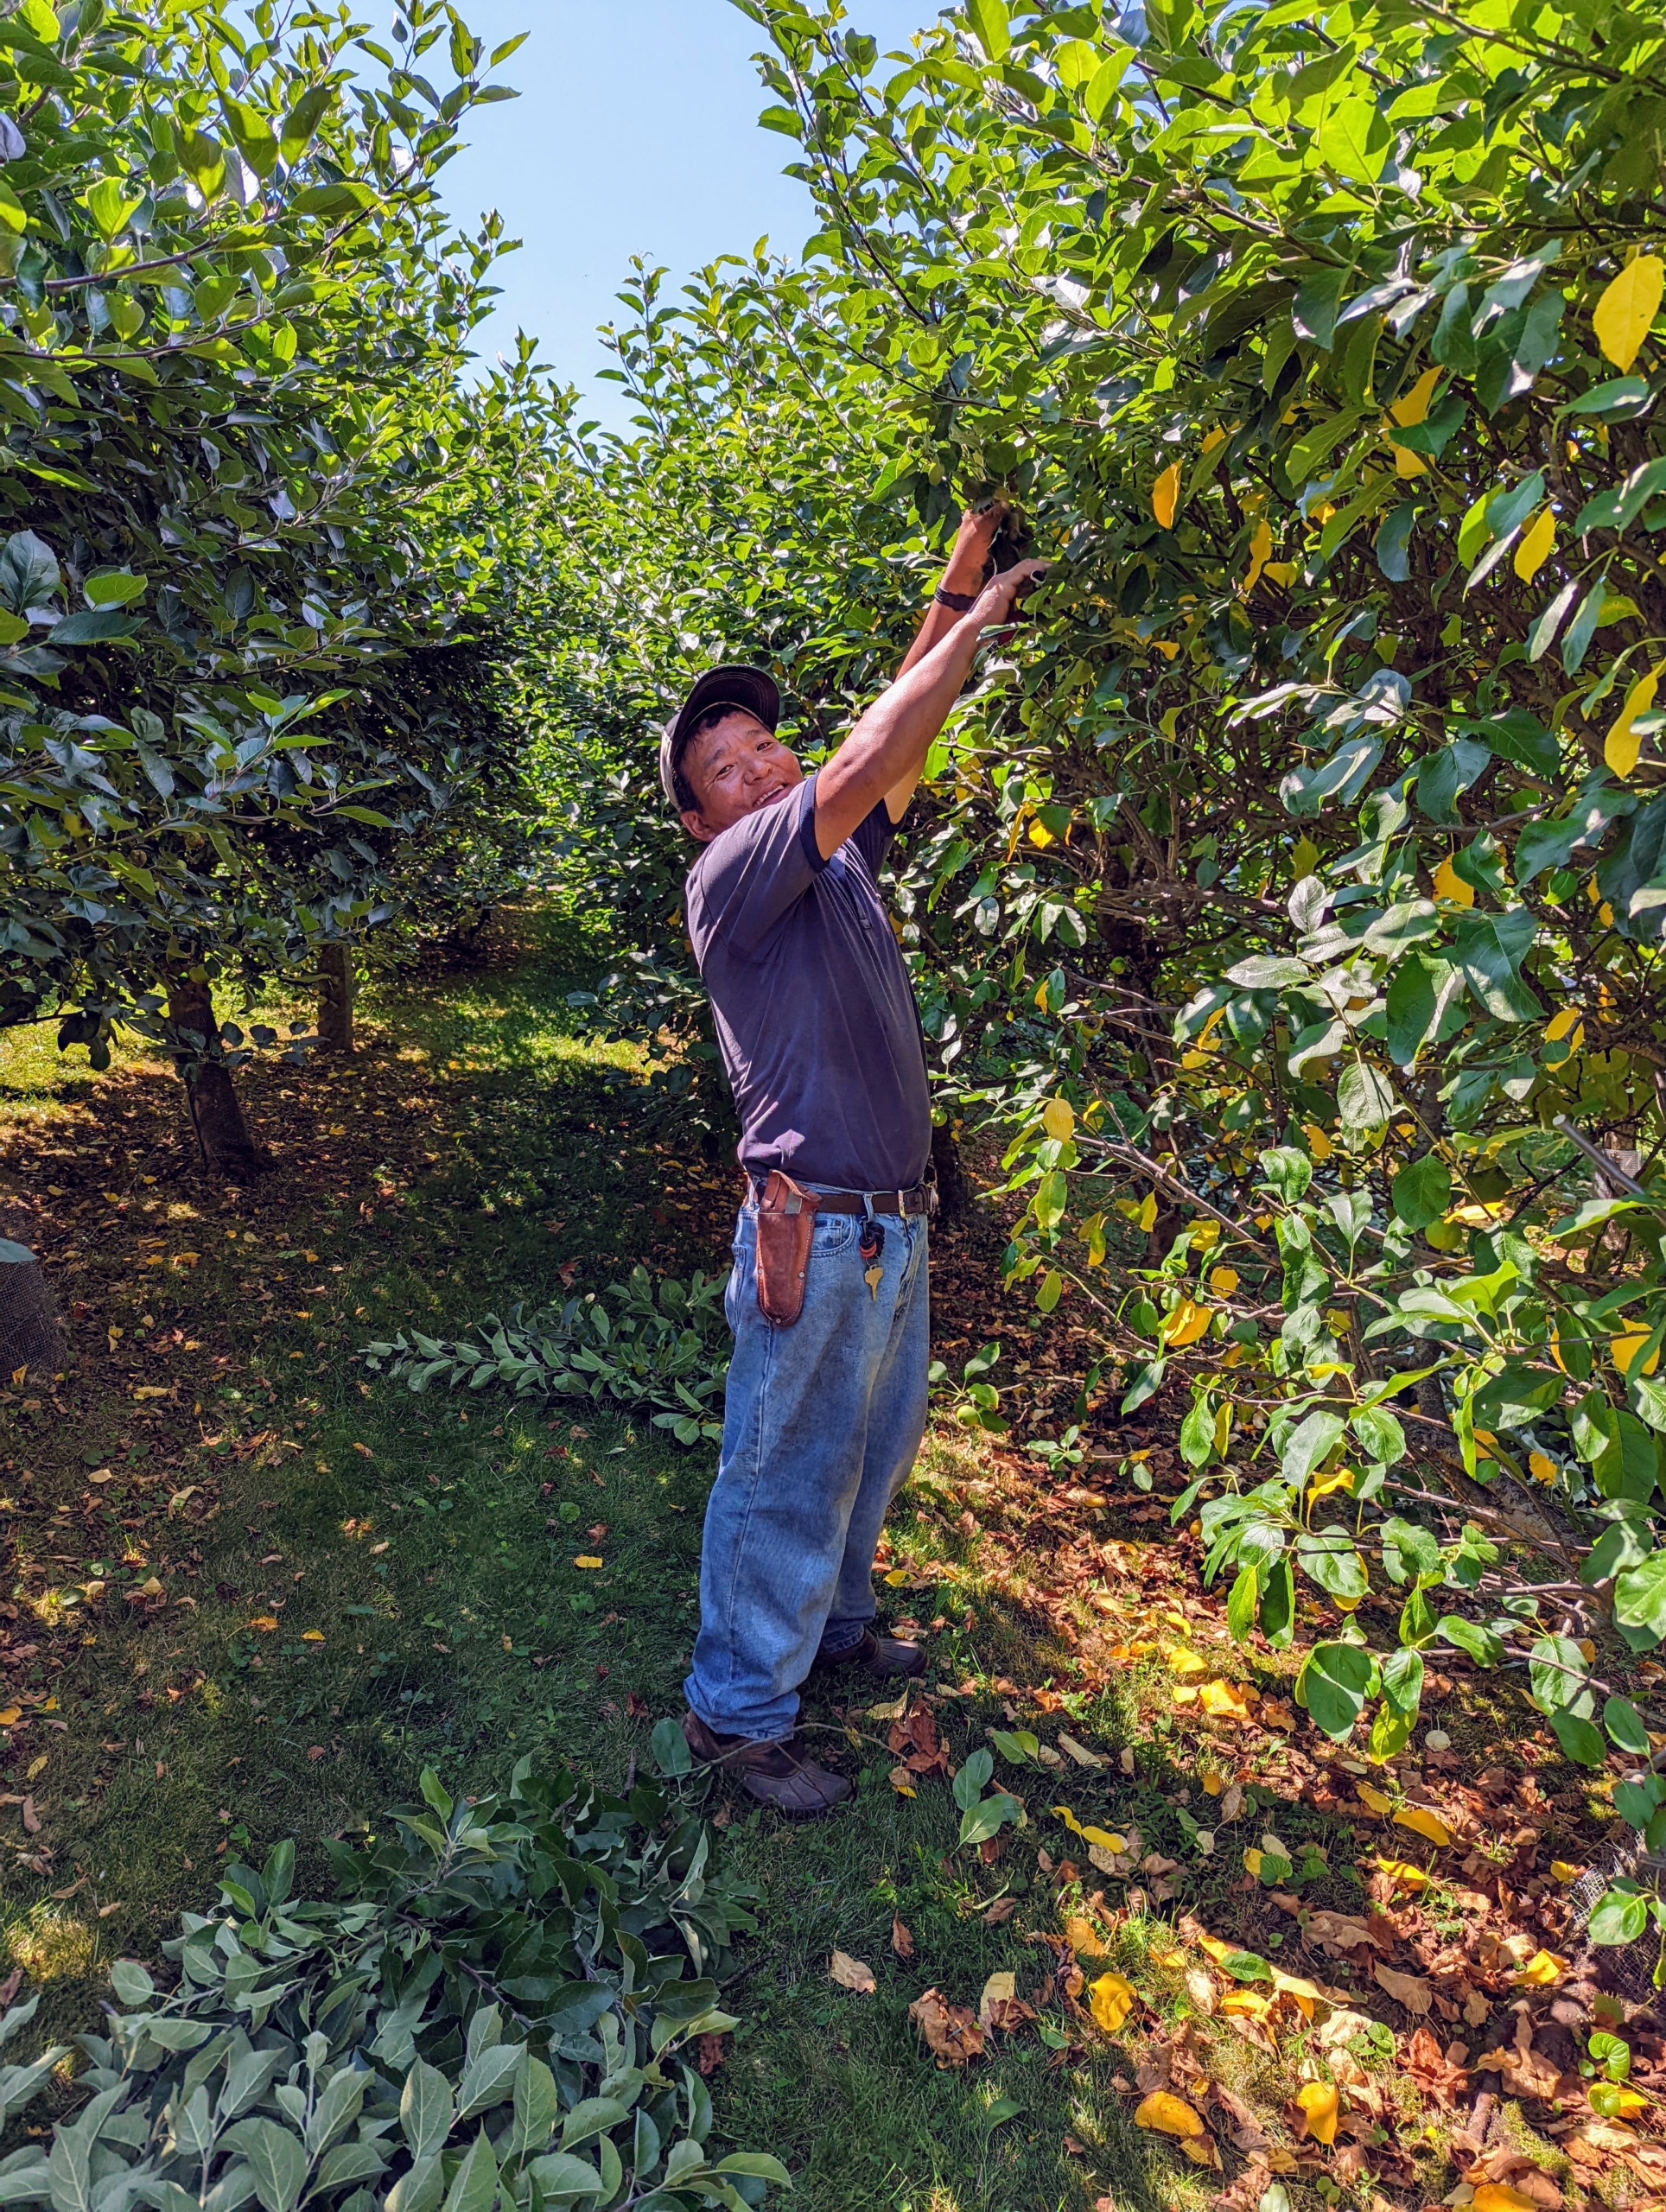
Here’s Phurba working from the top – one can see all the new growth that needs trimming.
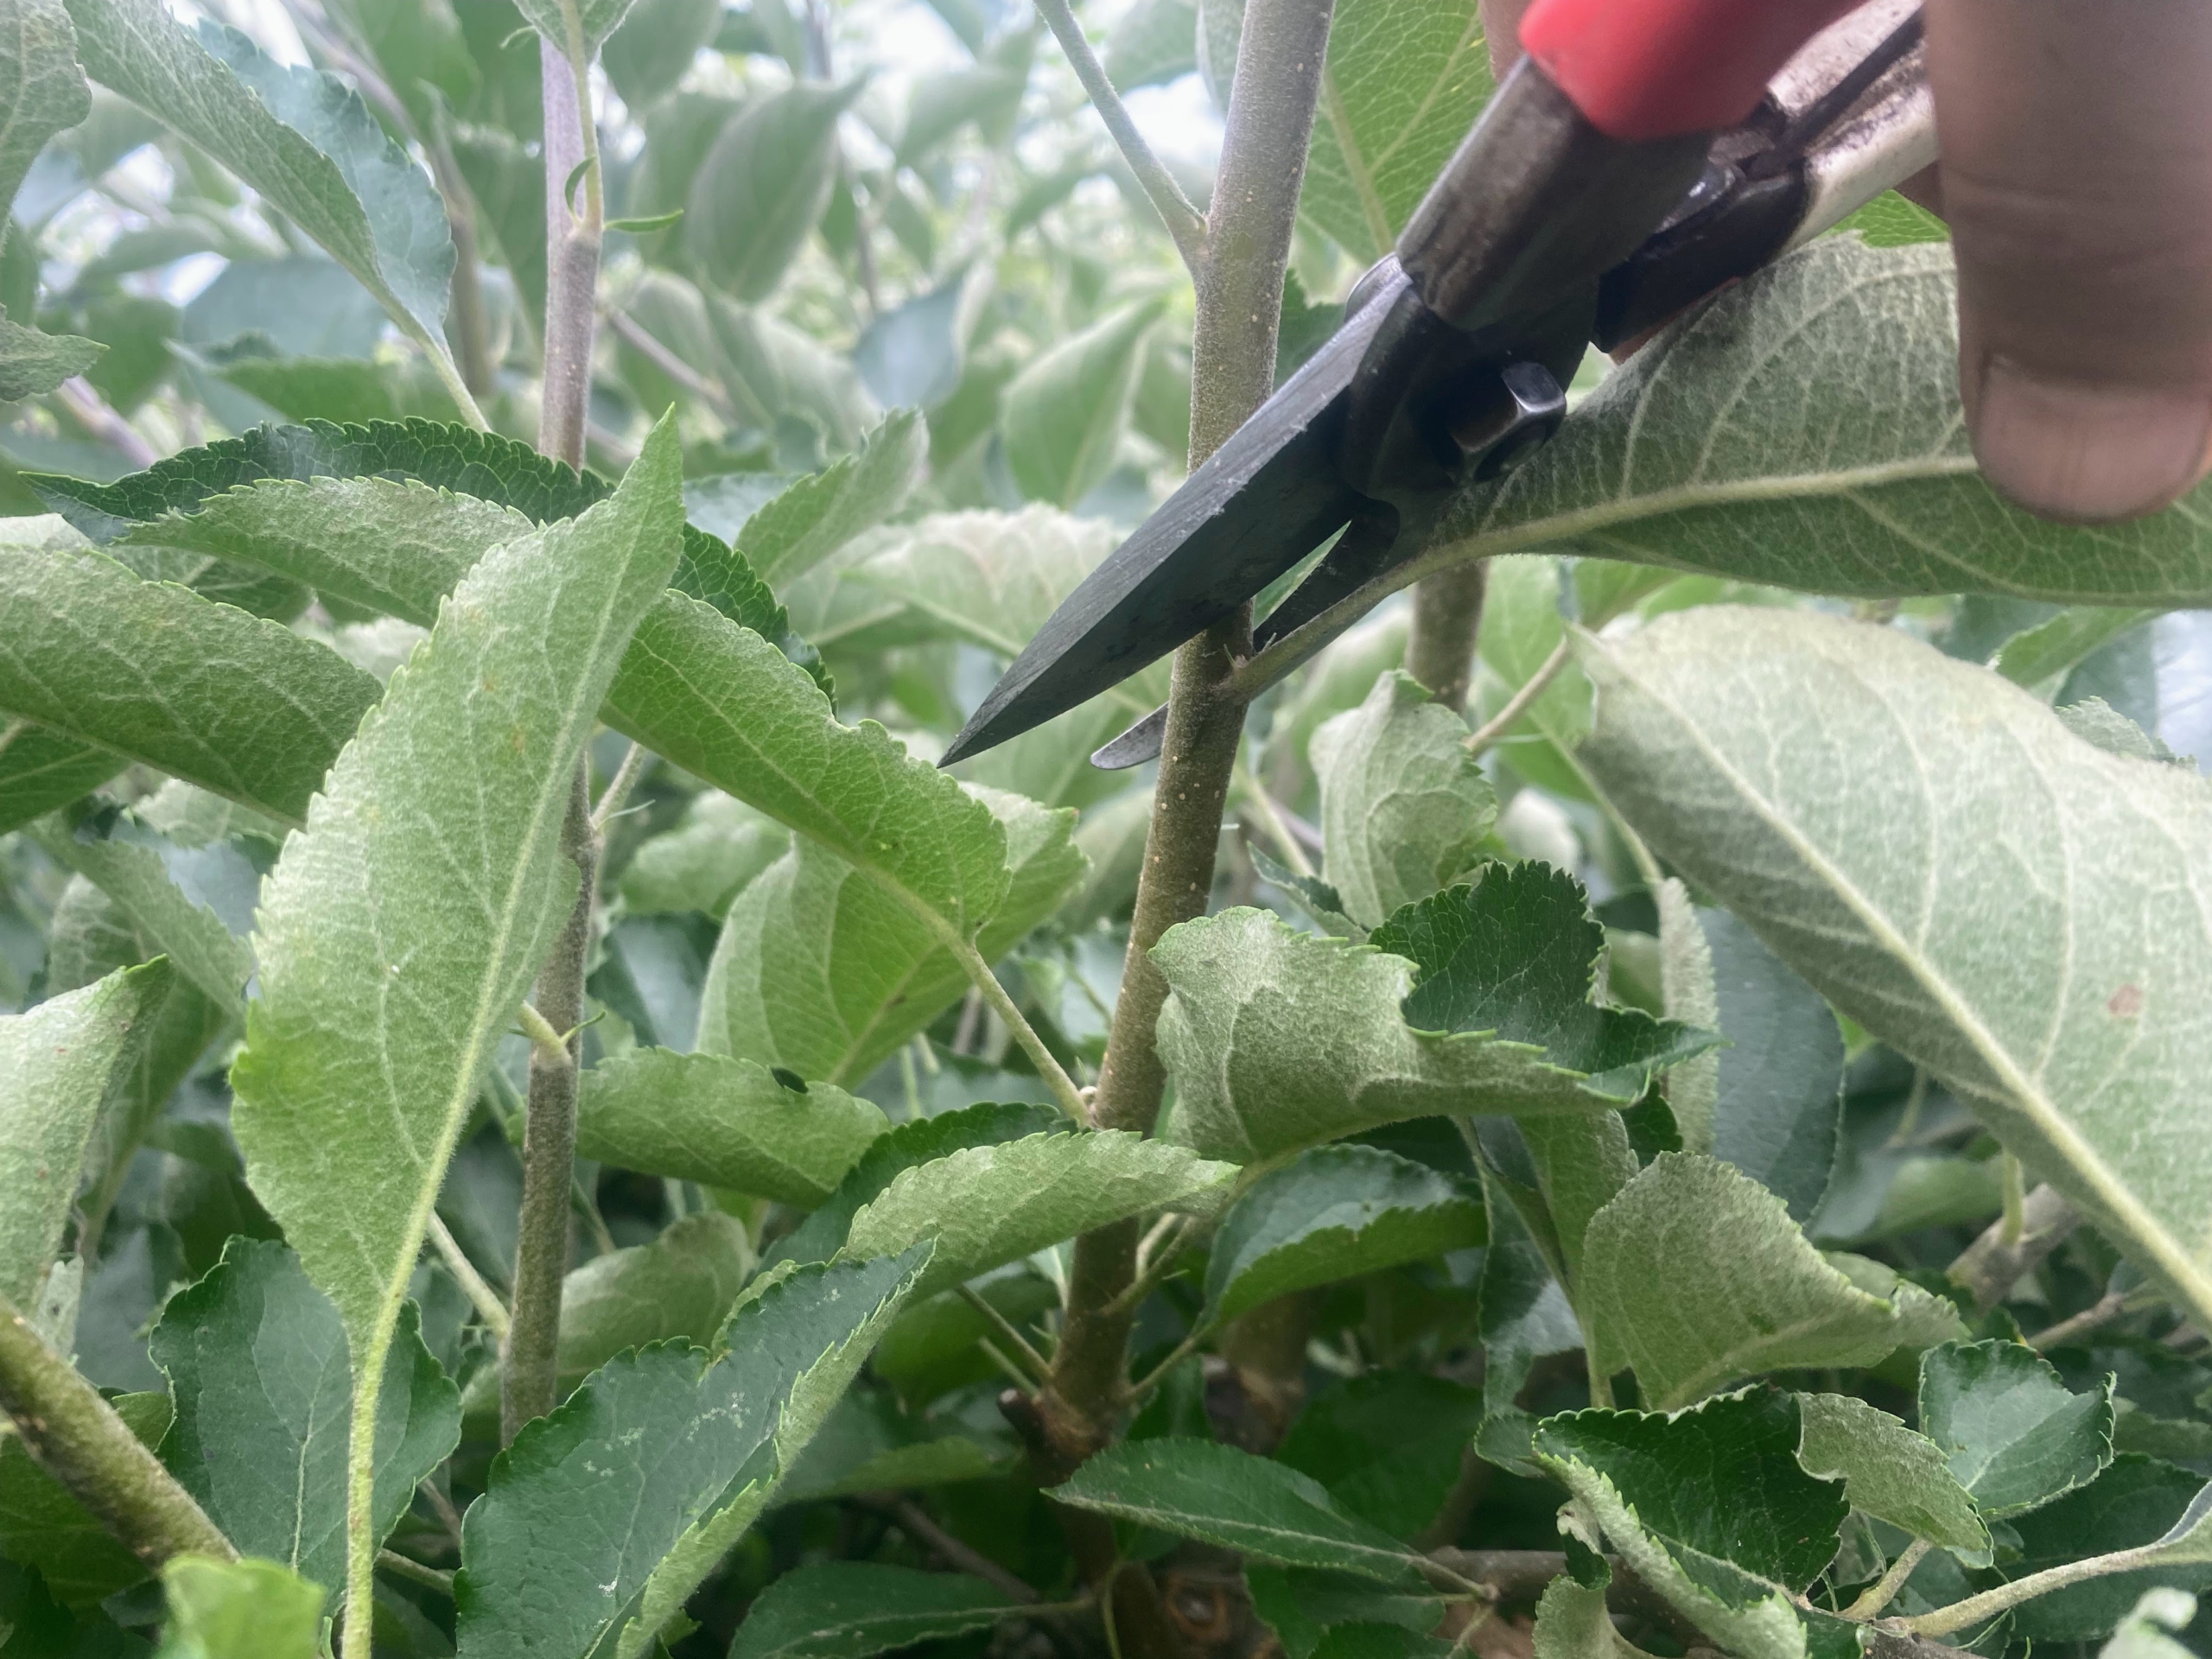
When he prunes, Phurba cuts branches at a 45 to 60 degree angle. He is also using pruners for this job. I always prefer hand tools that will give my trees a more natural appearance and shape. Every gardener and member of my outdoor grounds crew has a pair.
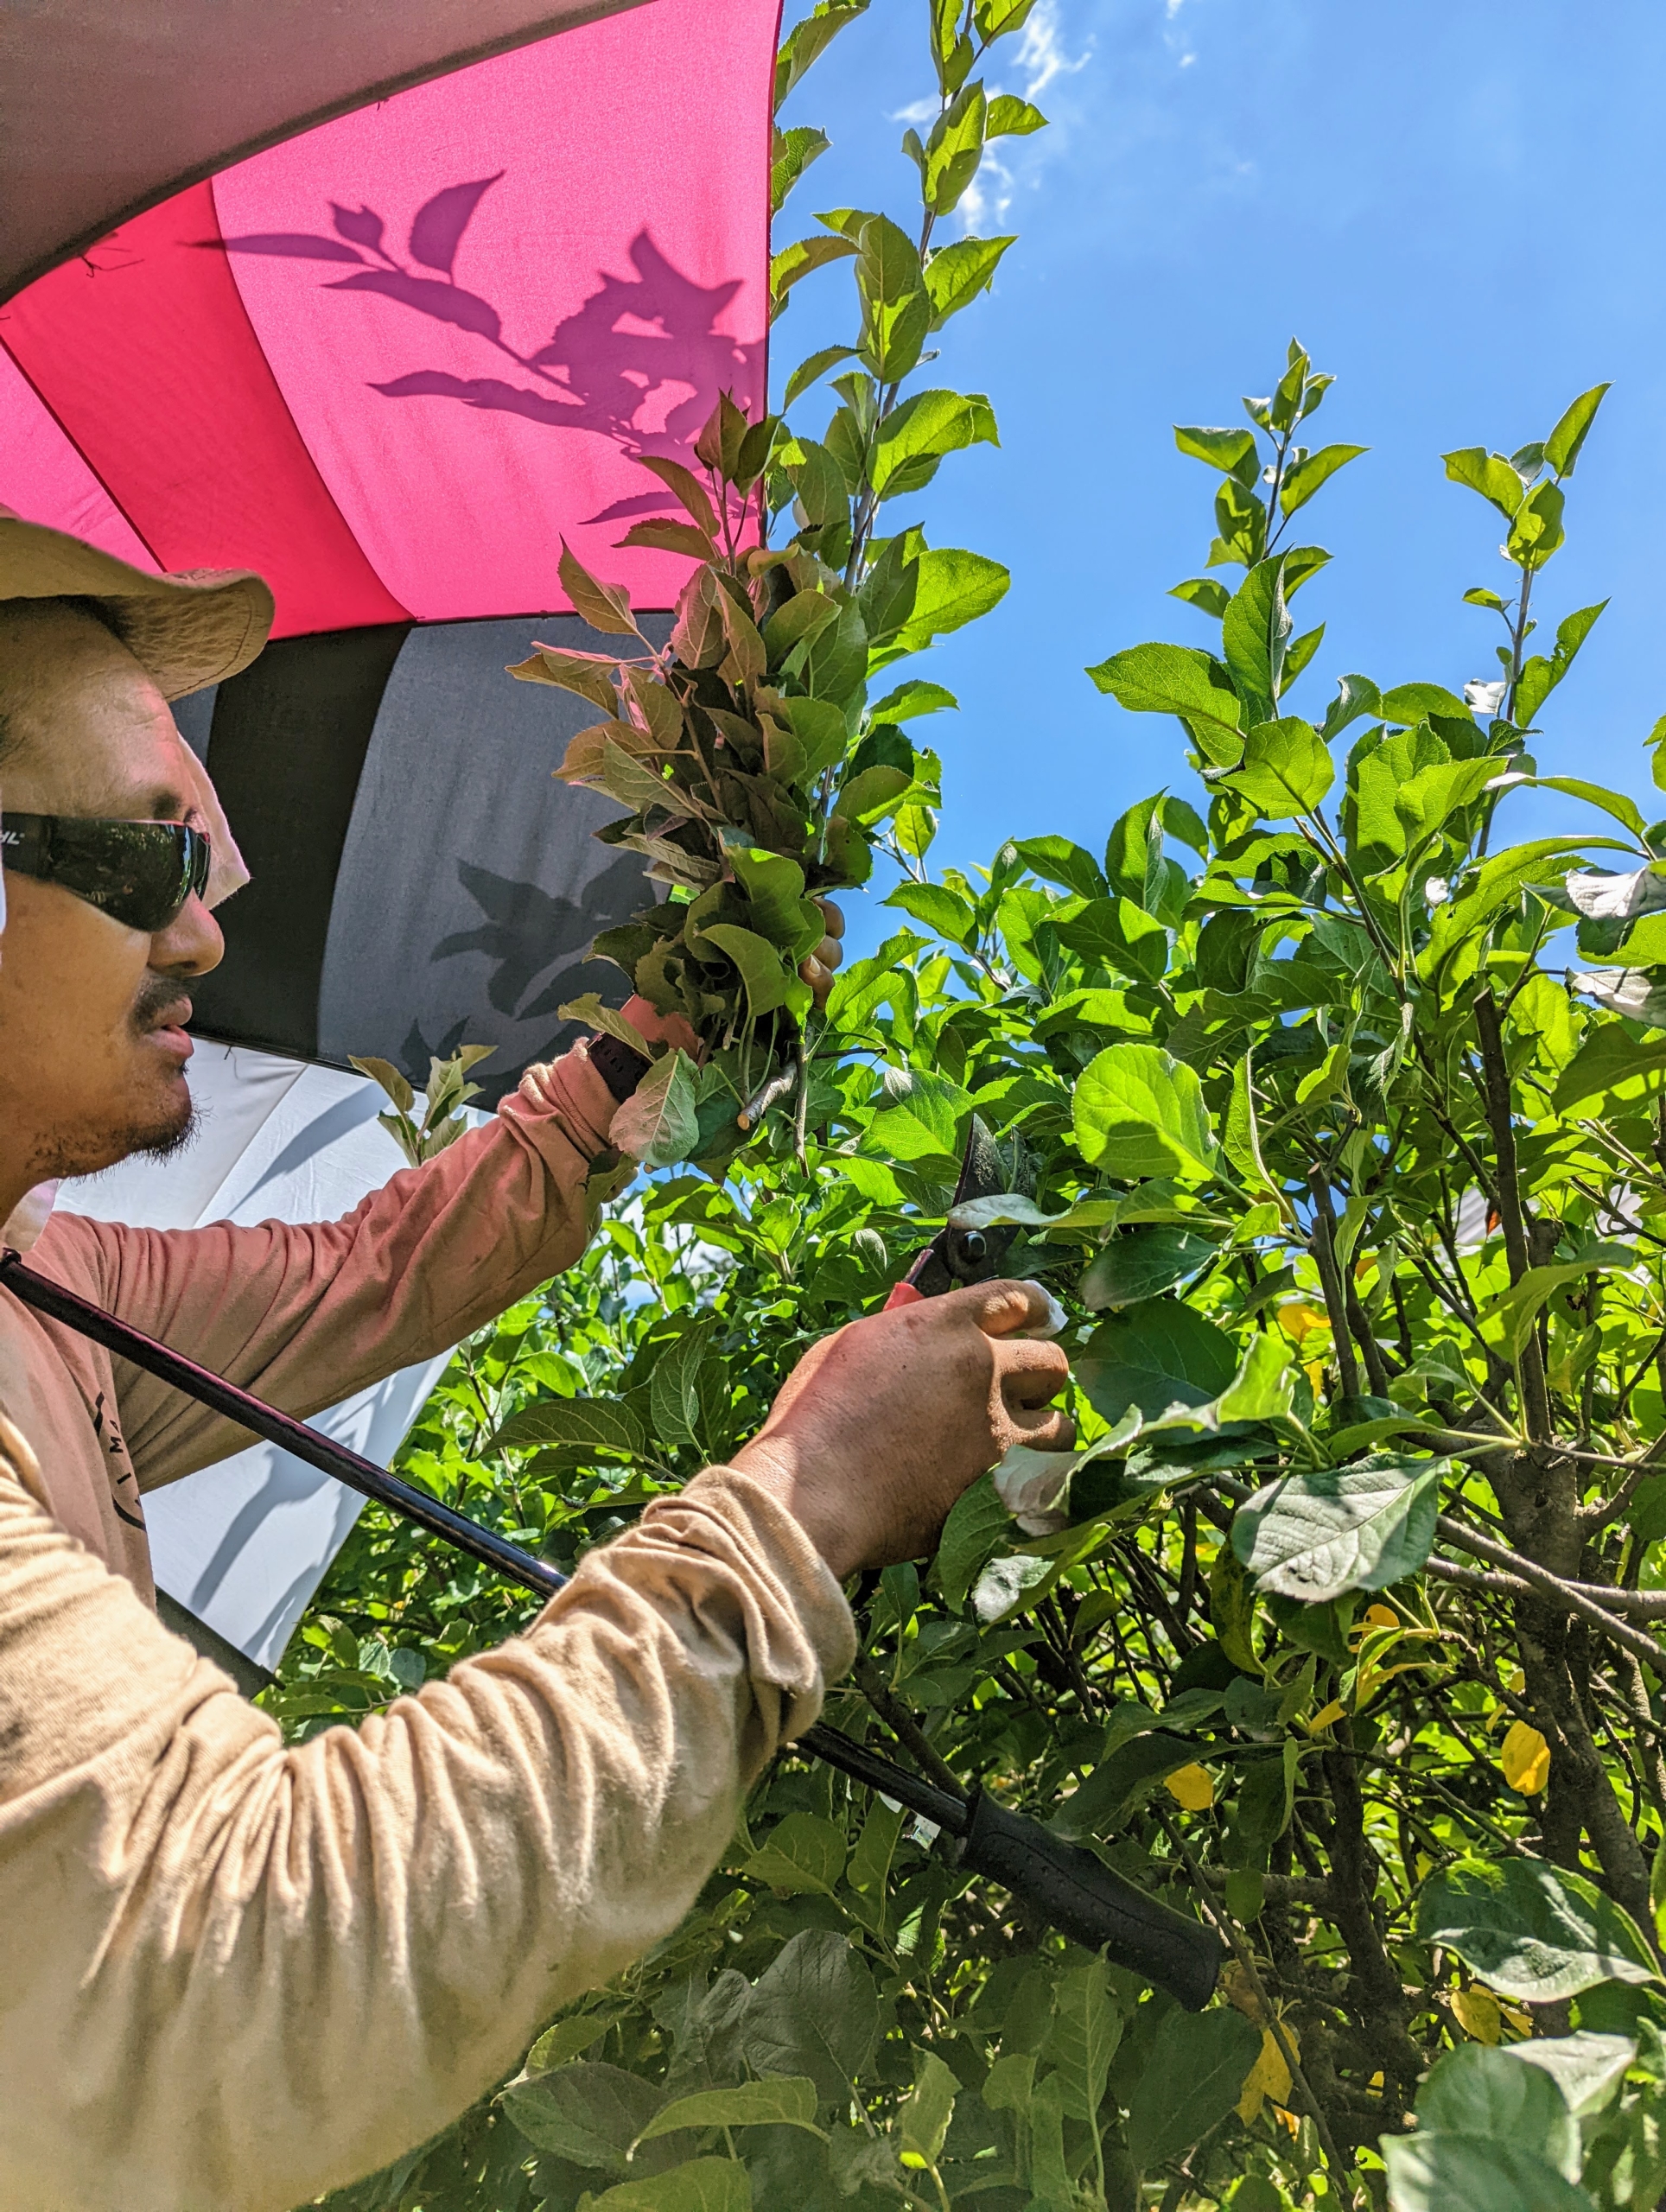
Chhiring works from the ground – it’s very hot out, so an umbrella provides some good shade. Pruning encourages the tree to grow fruiting spurs by eliminating competing suckers and unproductive wood.
As with any pruning project, it’s important to cut the three “Ds” – dead, diseased, and damaged branches. He also cuts any suckers which helps to keep the tree healthy and directs energy to the branches with fruiting buds.
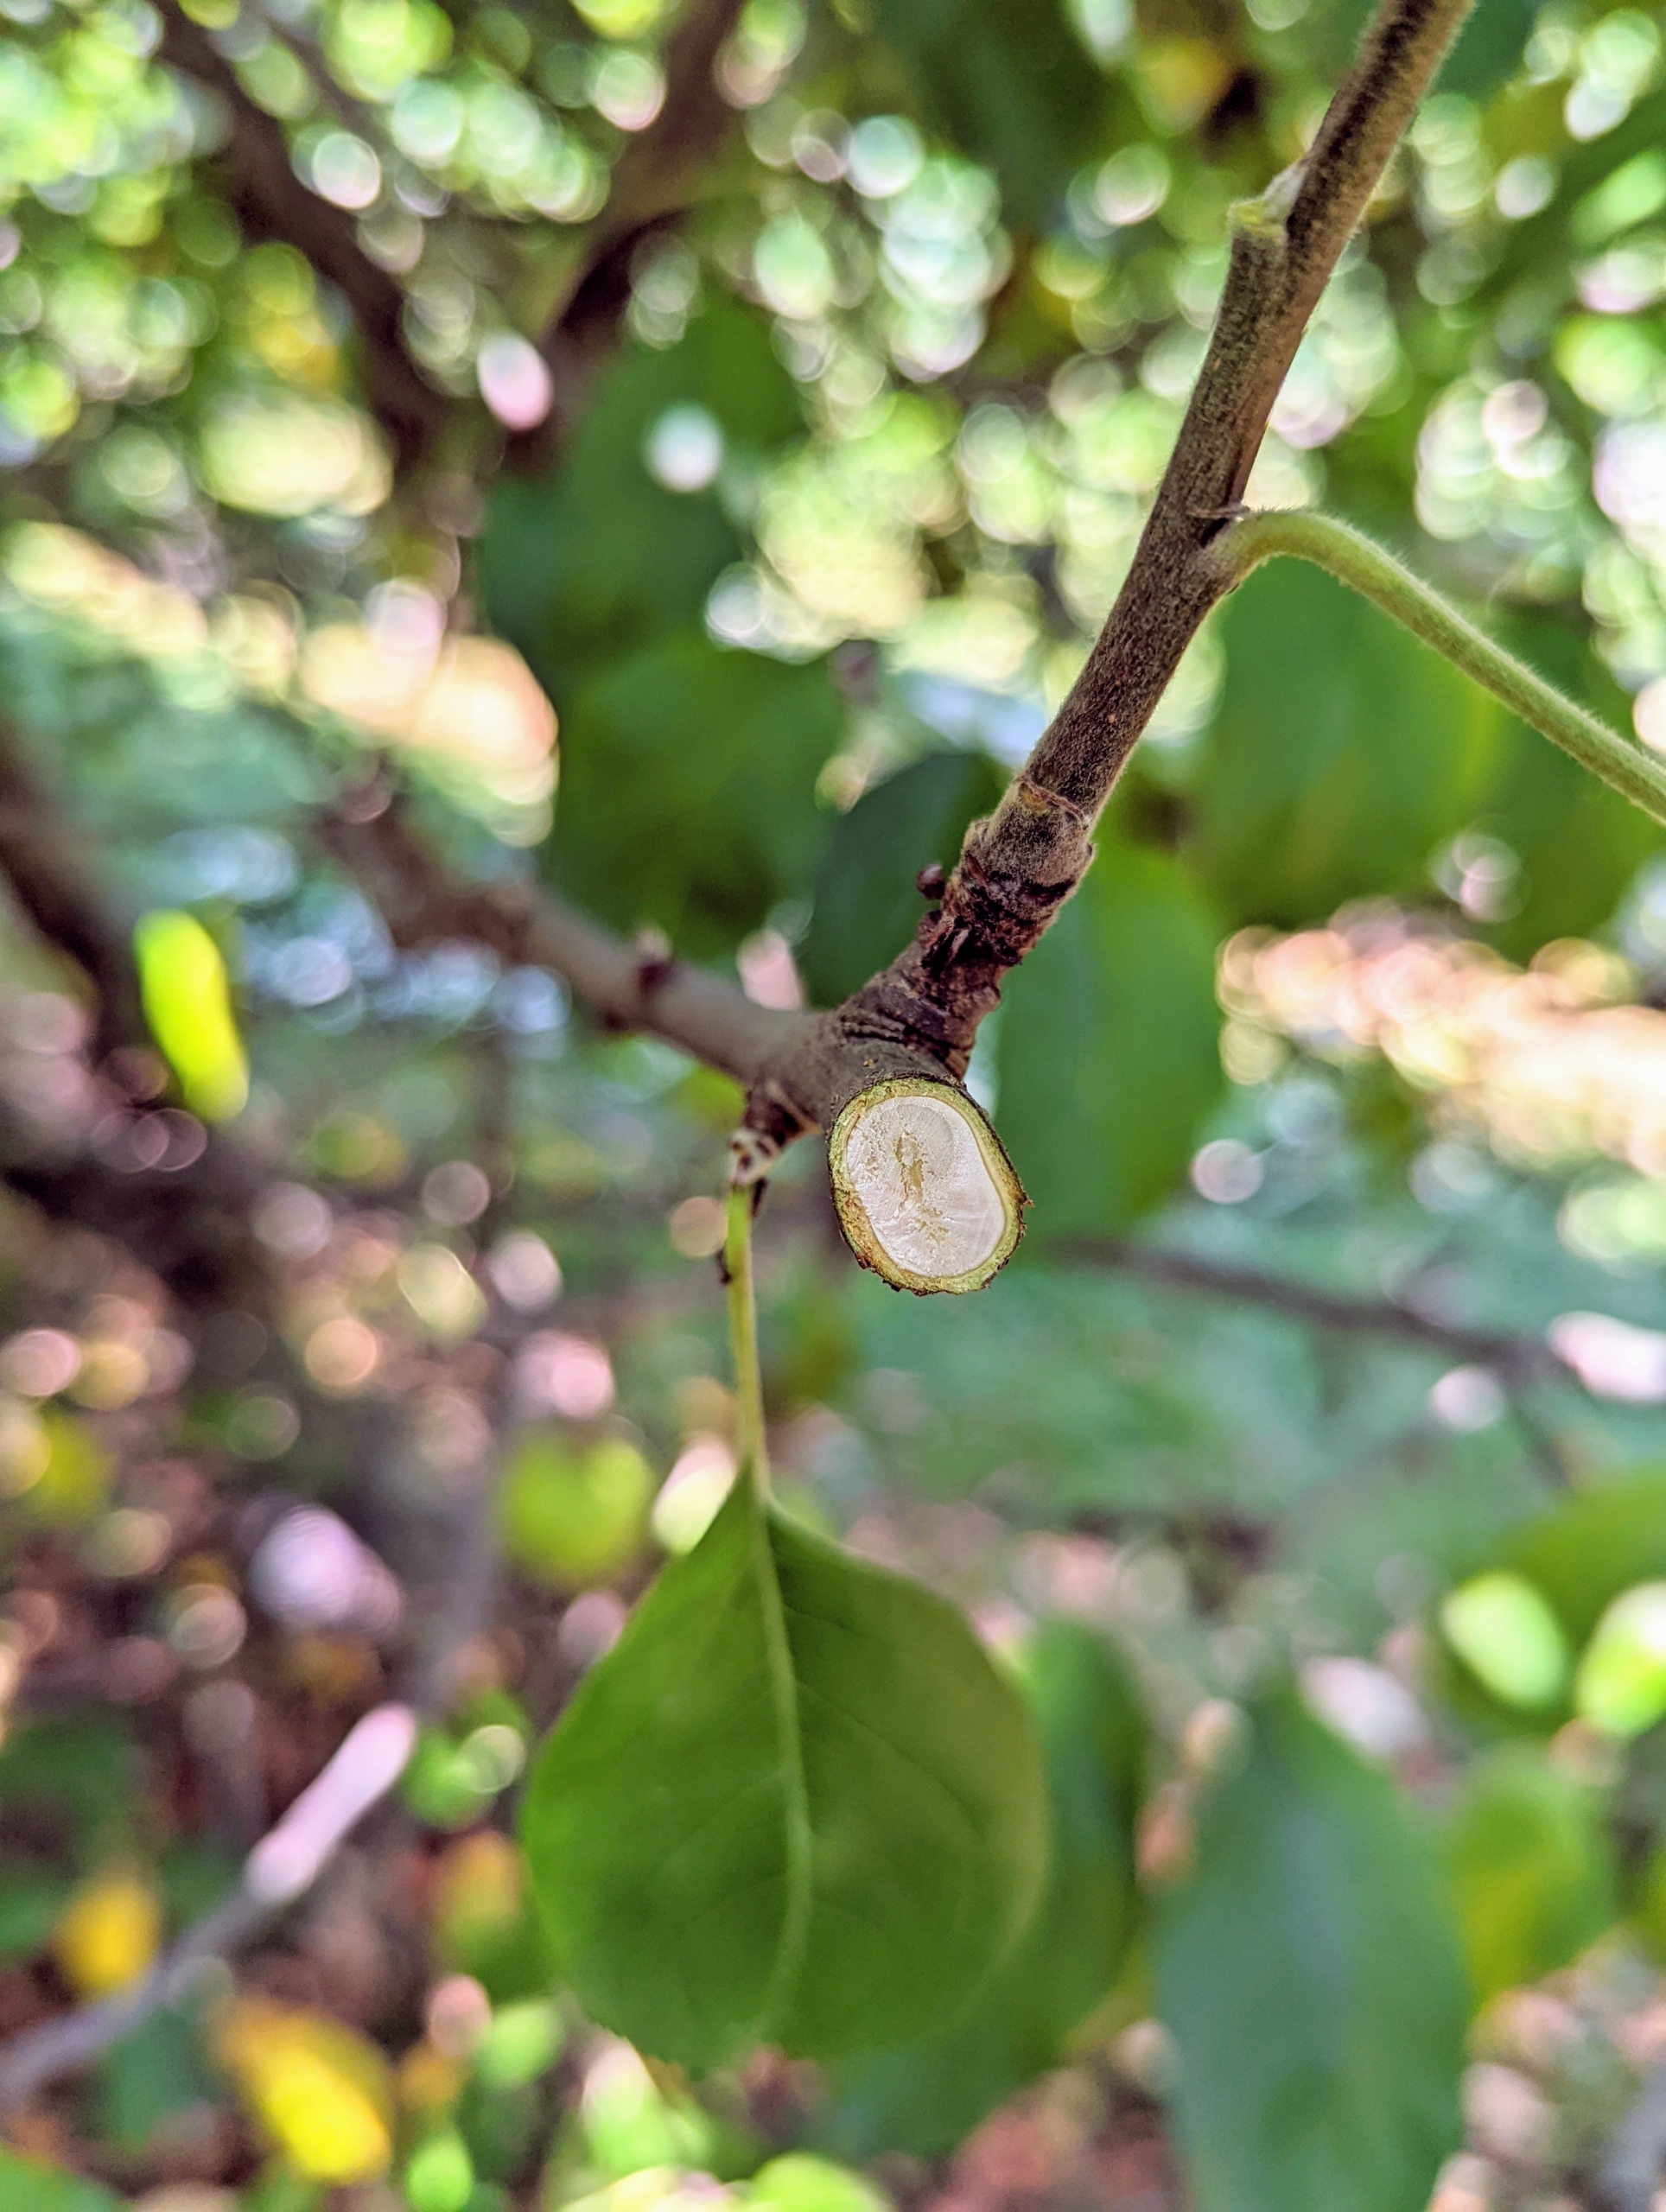
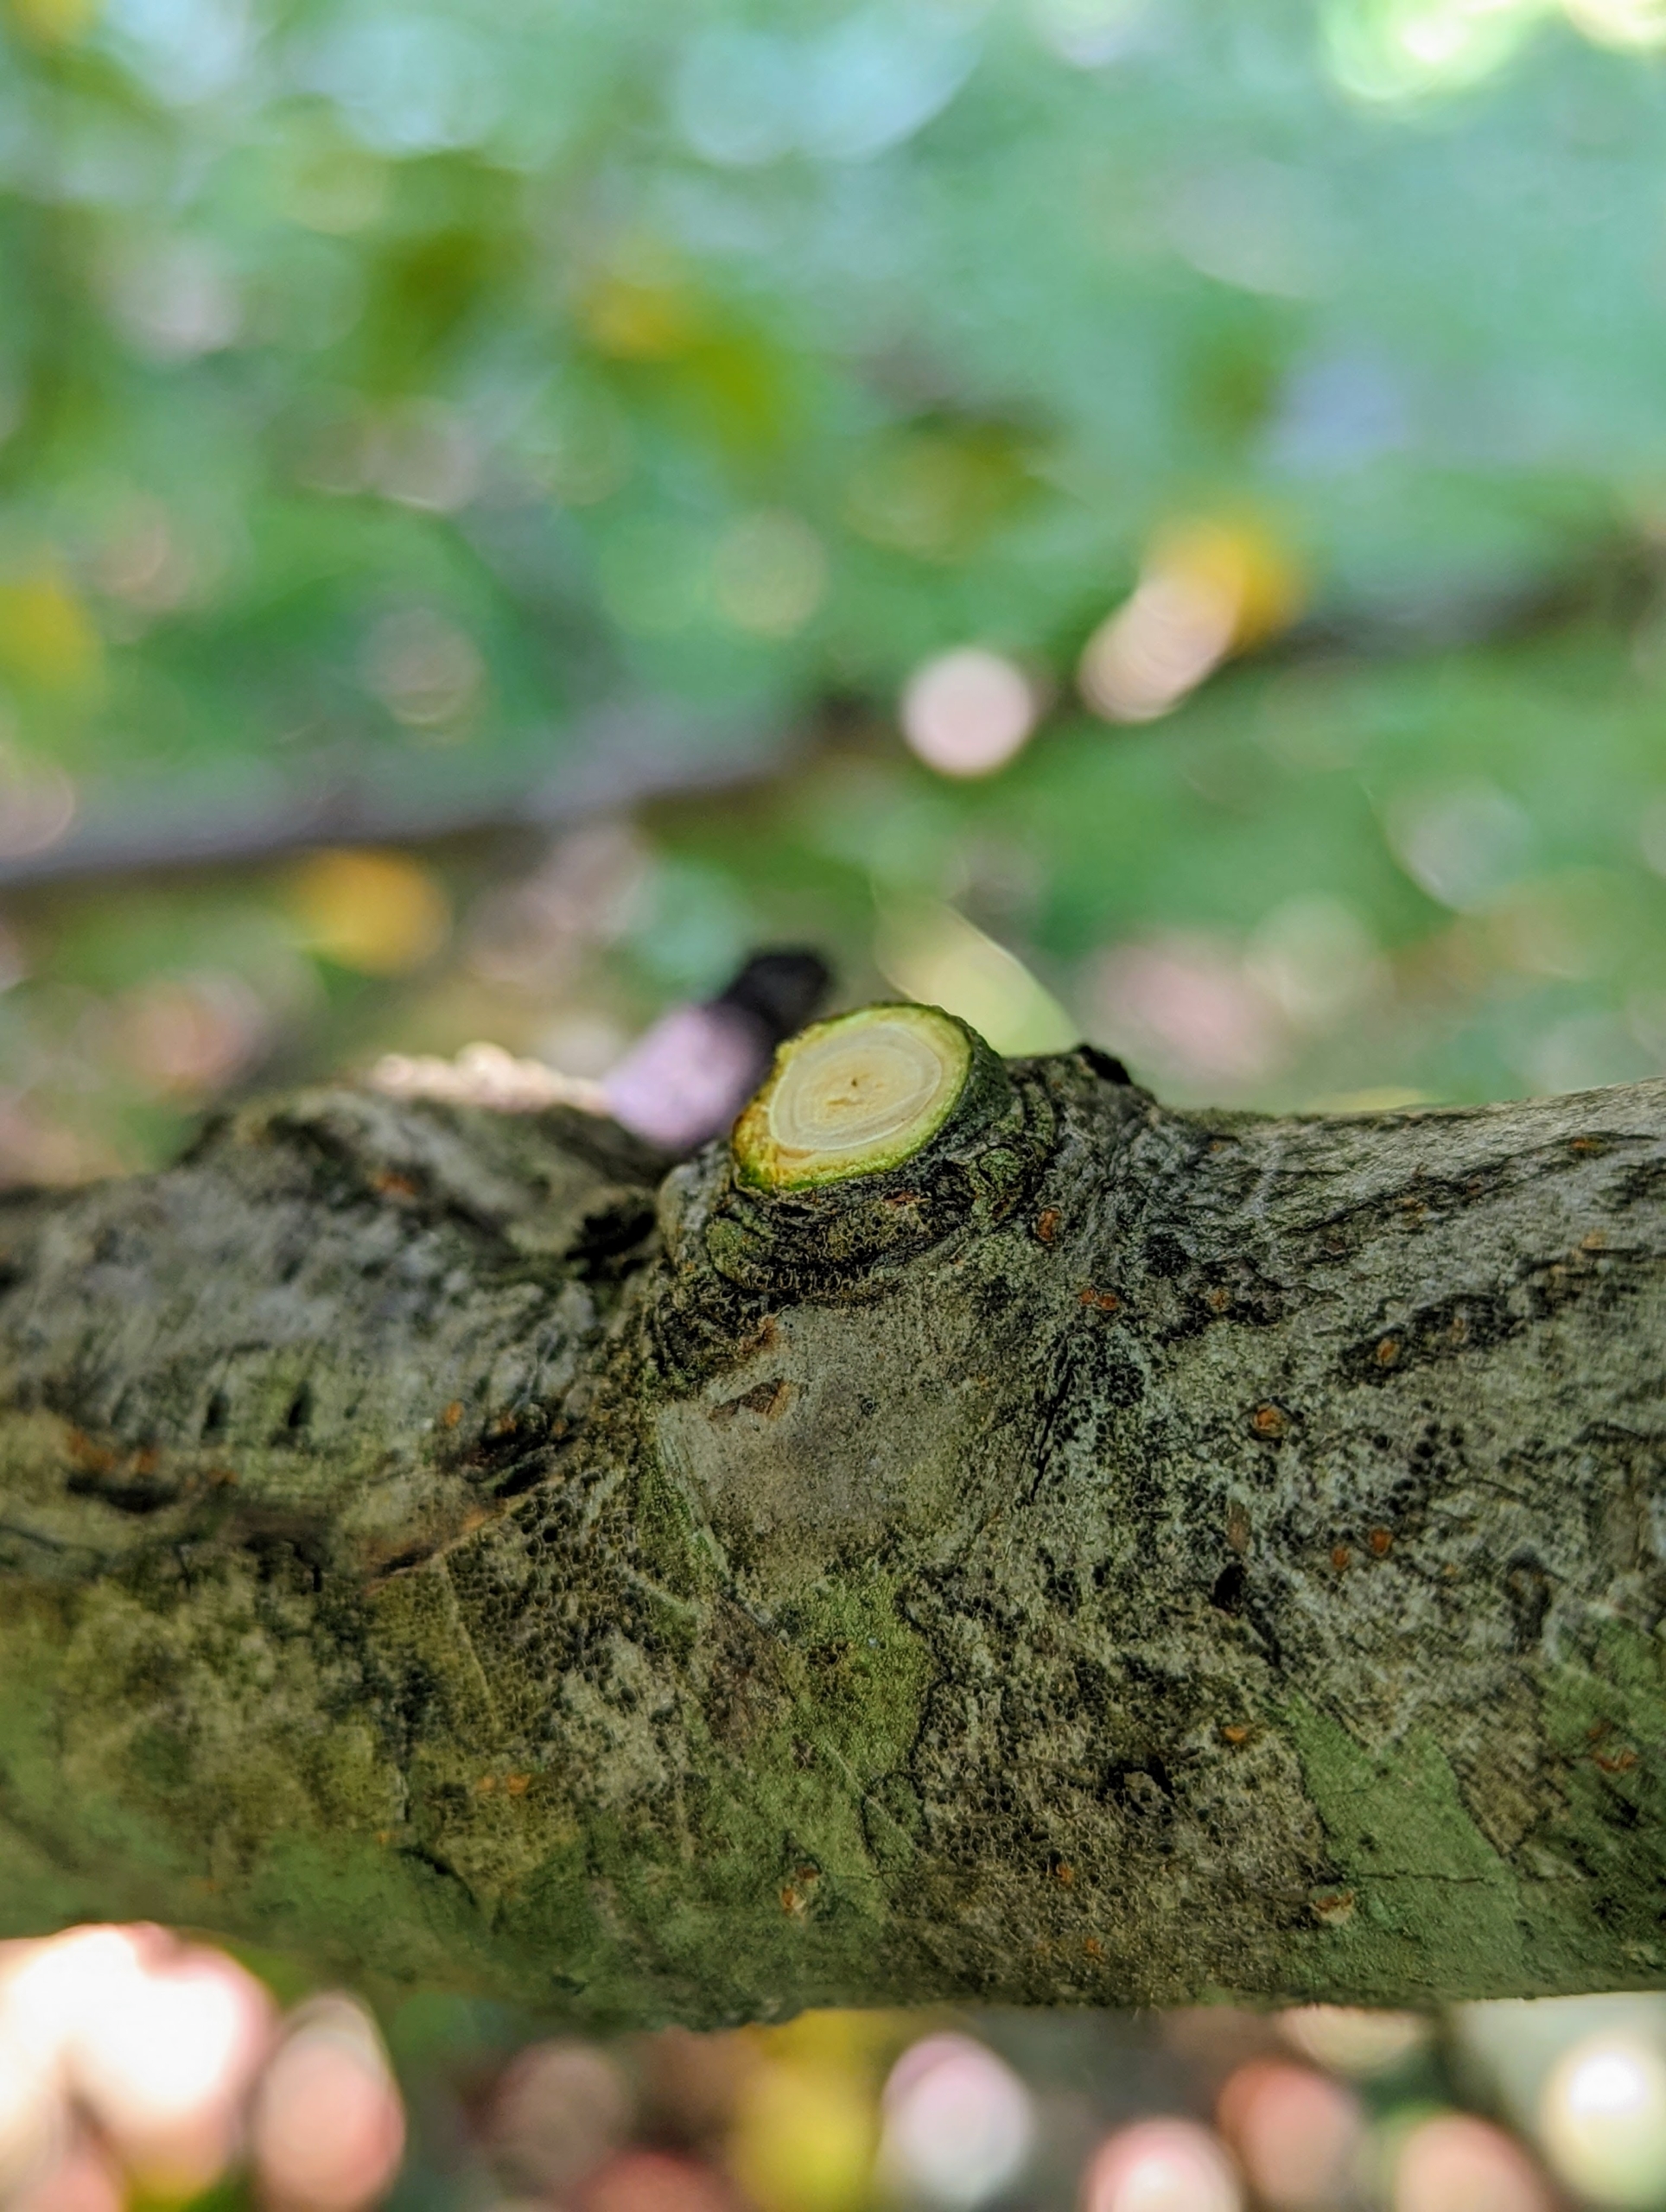
The final cut on each unwanted bough needs to be alongside the “branch collar”, where the branch intersects with another. Growth cells concentrate in these nodes, causing fast bark regrowth which seals the cuts.
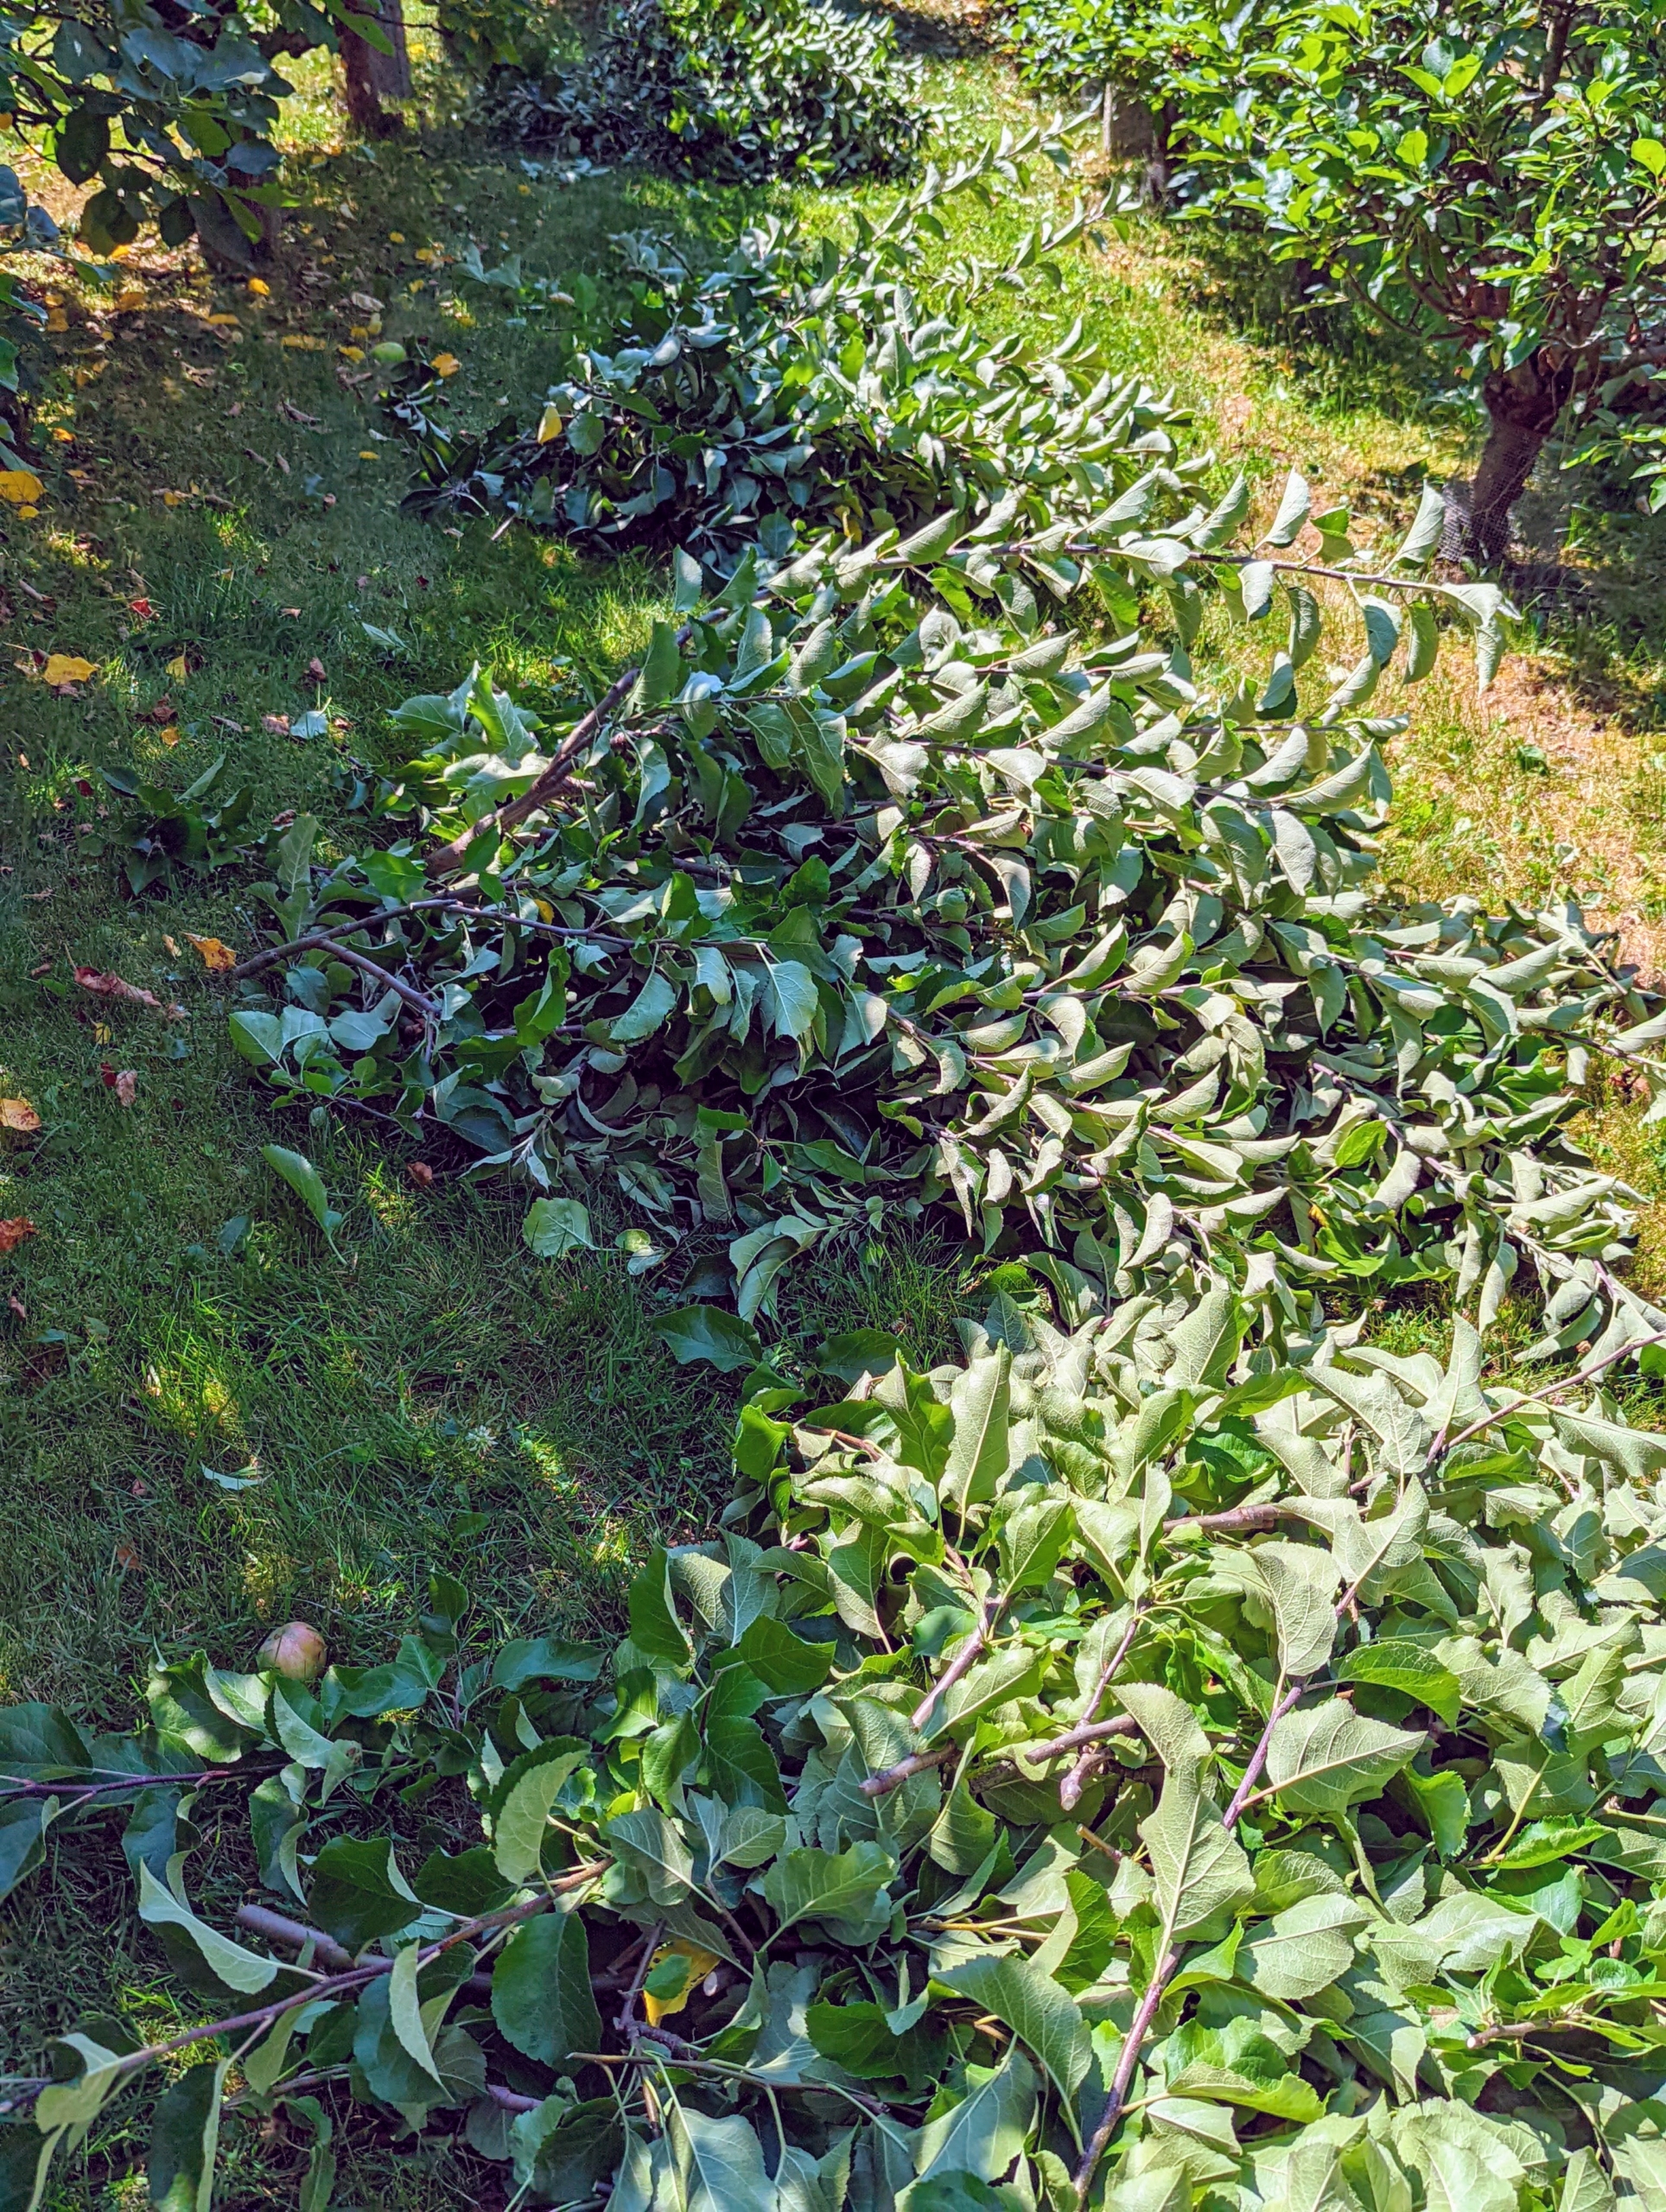
The job takes a couple days to complete, but it is done carefully and thoughtfully. Look at all the cut branches from just one row of dwarf apple trees.
Here are more apples growing – I am hoping for a bountiful fruit season this fall.
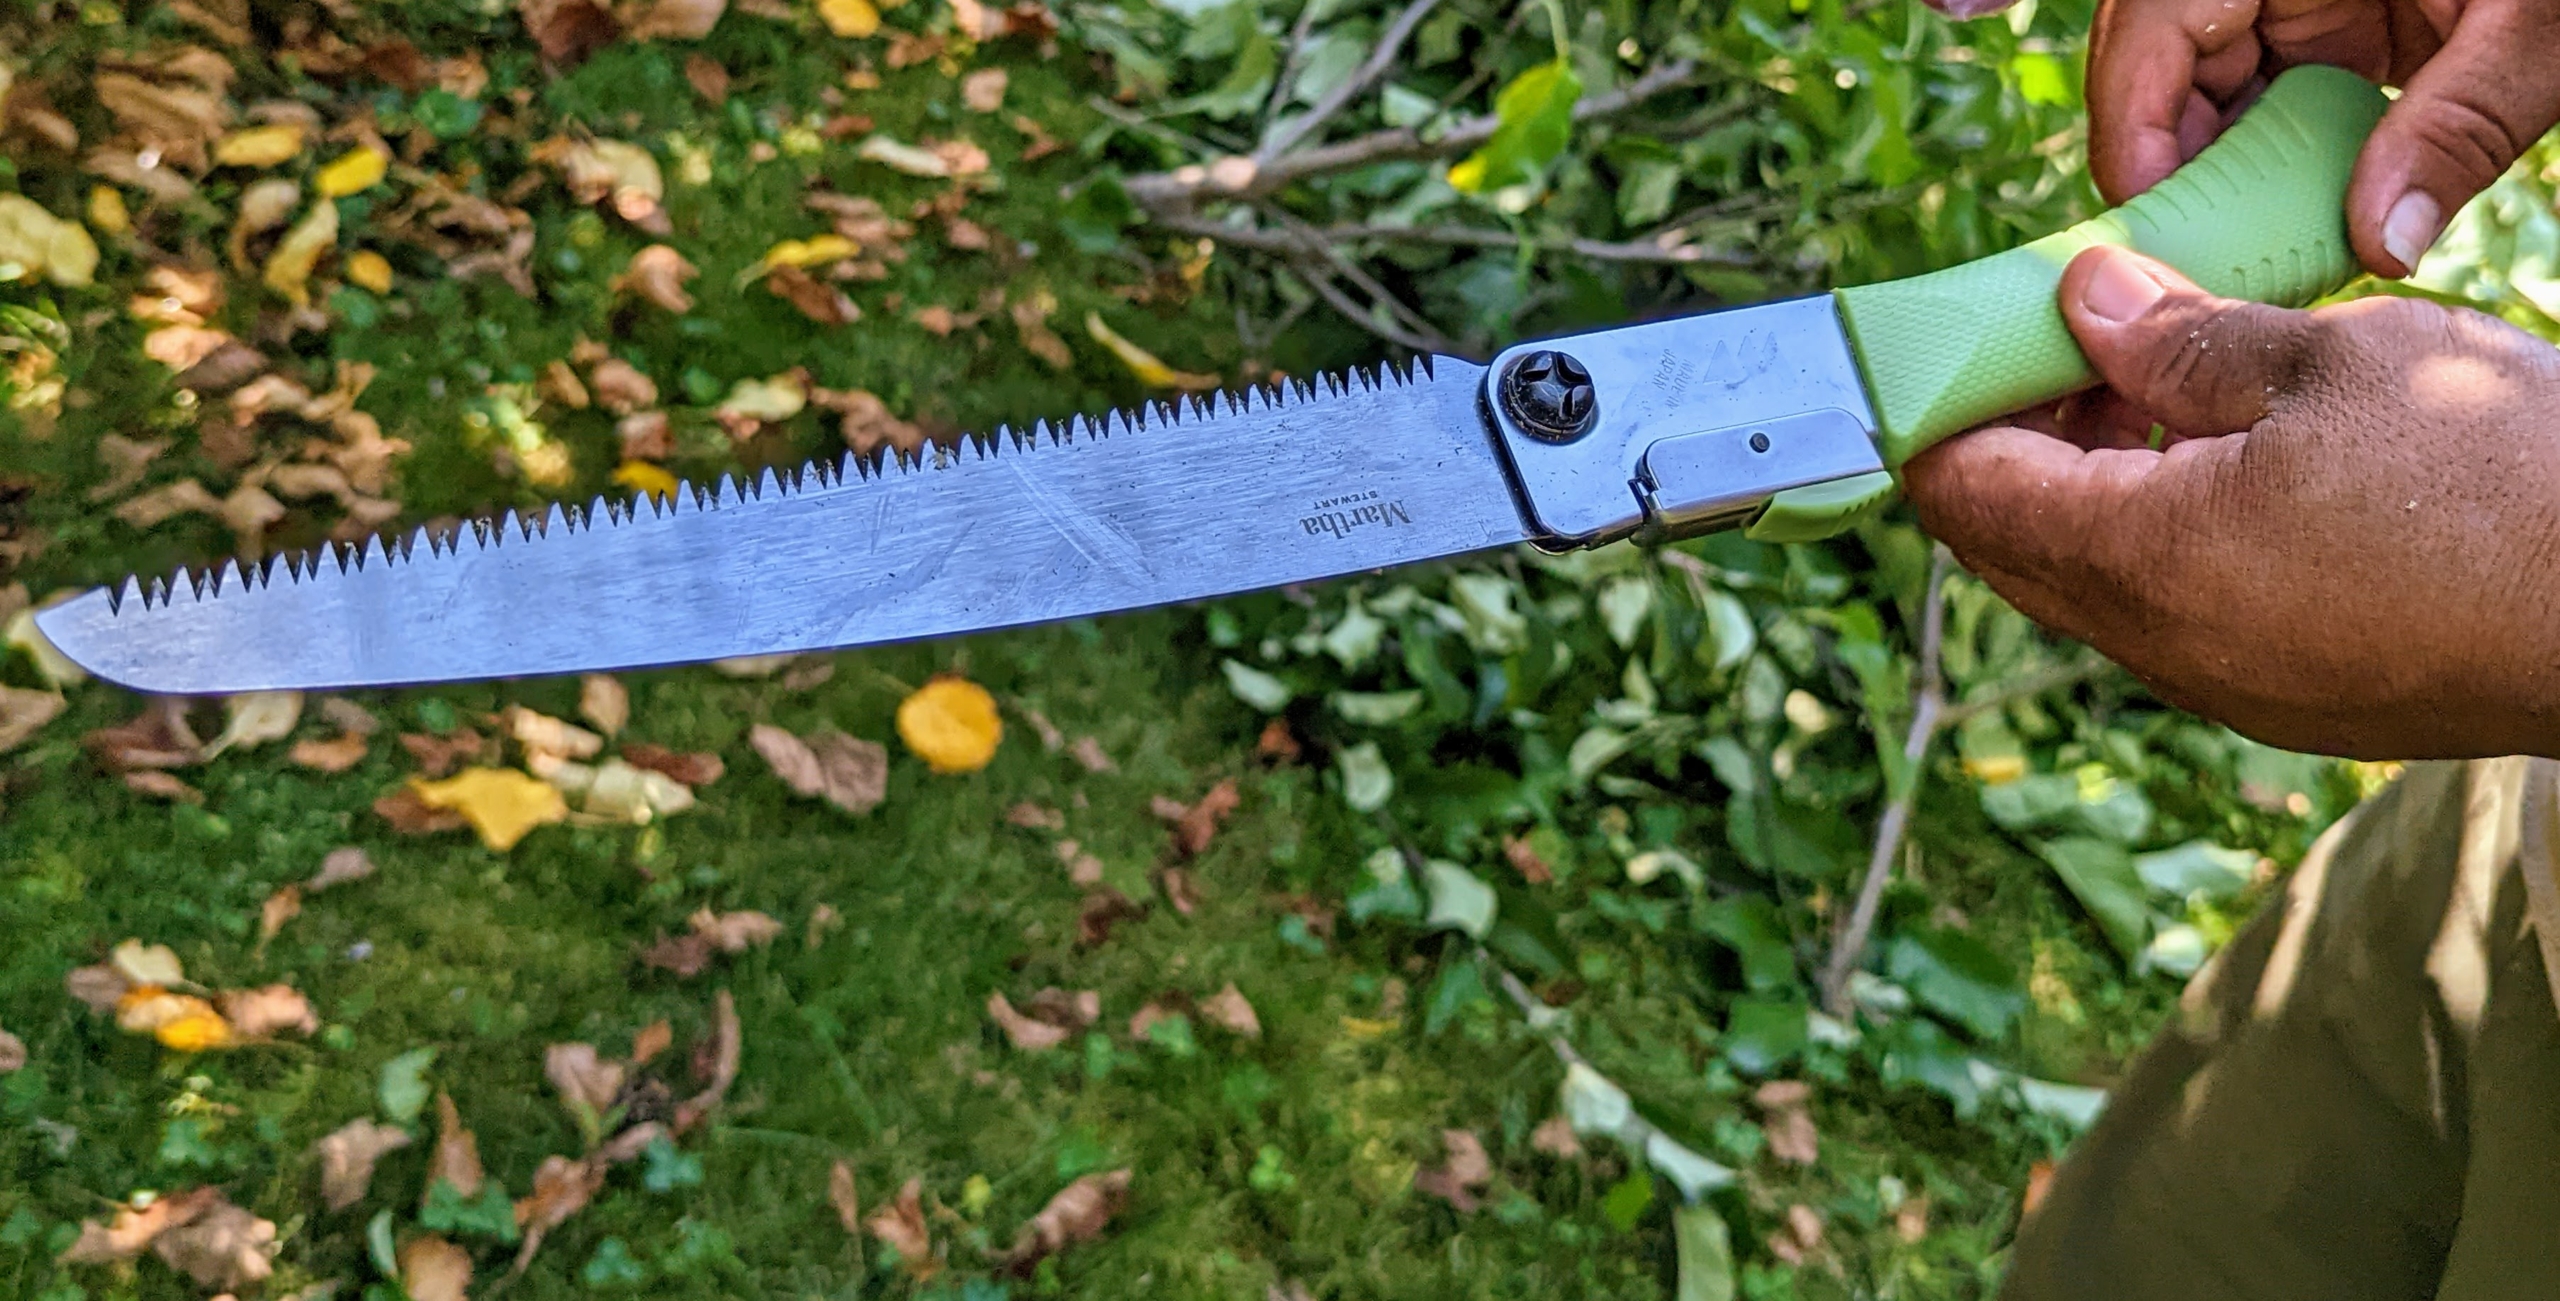
Chhiring uses my Stainless Steel Multi-Purpose Folding Pruning Saw available at Martha.com. The 8-inch blade, crafted from Japanese stainless steel, features a strong cross-cutting design for sawing in both directions. I always make sure my crew gets to use and test the products I design.
Here, Chhiring cuts branches that are rubbing or crisscrossing each other, preventing any healthy new growth. Basically, the goal is to create a tree with well spaced lateral branches. Any branches which interfere with the tree’s shape or create a dense framework should be removed.
Chhiring also focuses on removing crowded branches to help let in light and promote good air circulation.
From the carriage road, one can see the pruned trees in the front and the area still to be pruned in the back. My long carport is behind the espaliered apple trees. I hang a series of bird feeders along this side of the carport for all the visiting birds – about 125 different species of birds visit my feeders.
There is a lot of pruning to do on these trees – they are healthy and have produced a lot of growth in the last six months. Phurba works from the ground to get under a bit of shade. This day’s temperatures hit 94-degrees Fahrenheit.
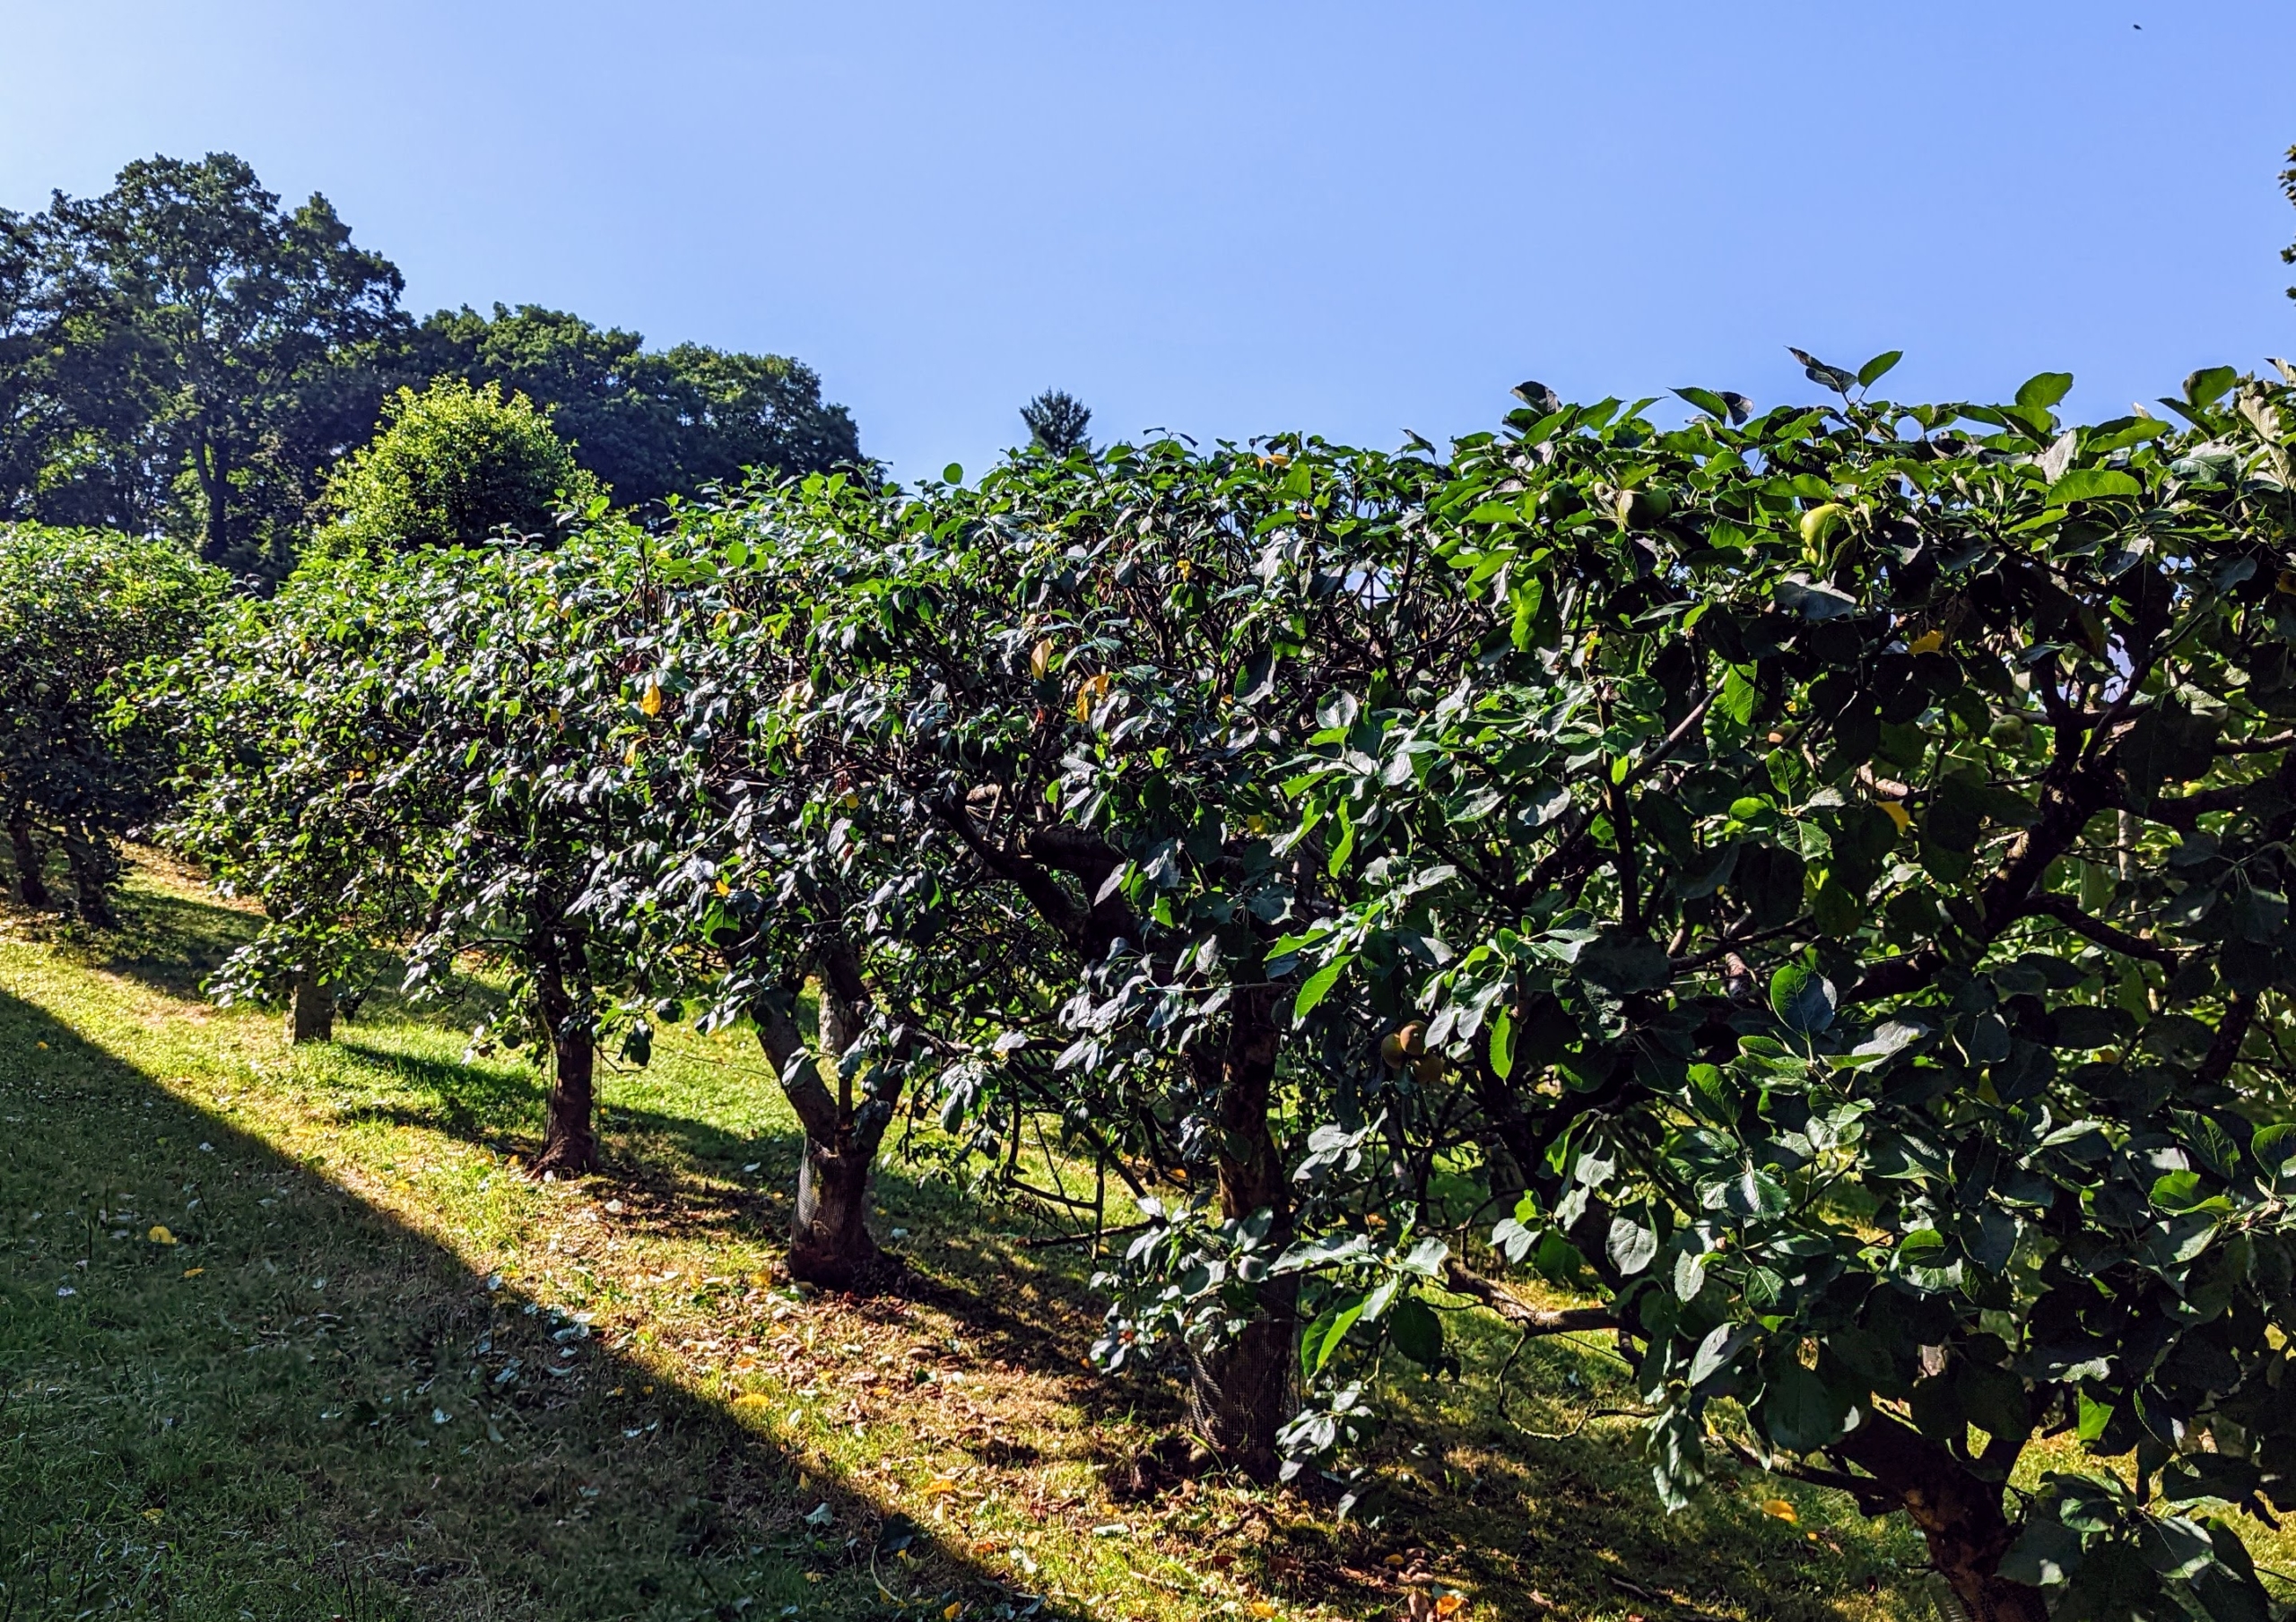
By this day’s end, every row is cut just right – here’s a view from the top. I am so proud of how productive these trees are – in part because of the excellent maintenance care we give them.
And here’s a view from the side. It looks much better now after pruning.
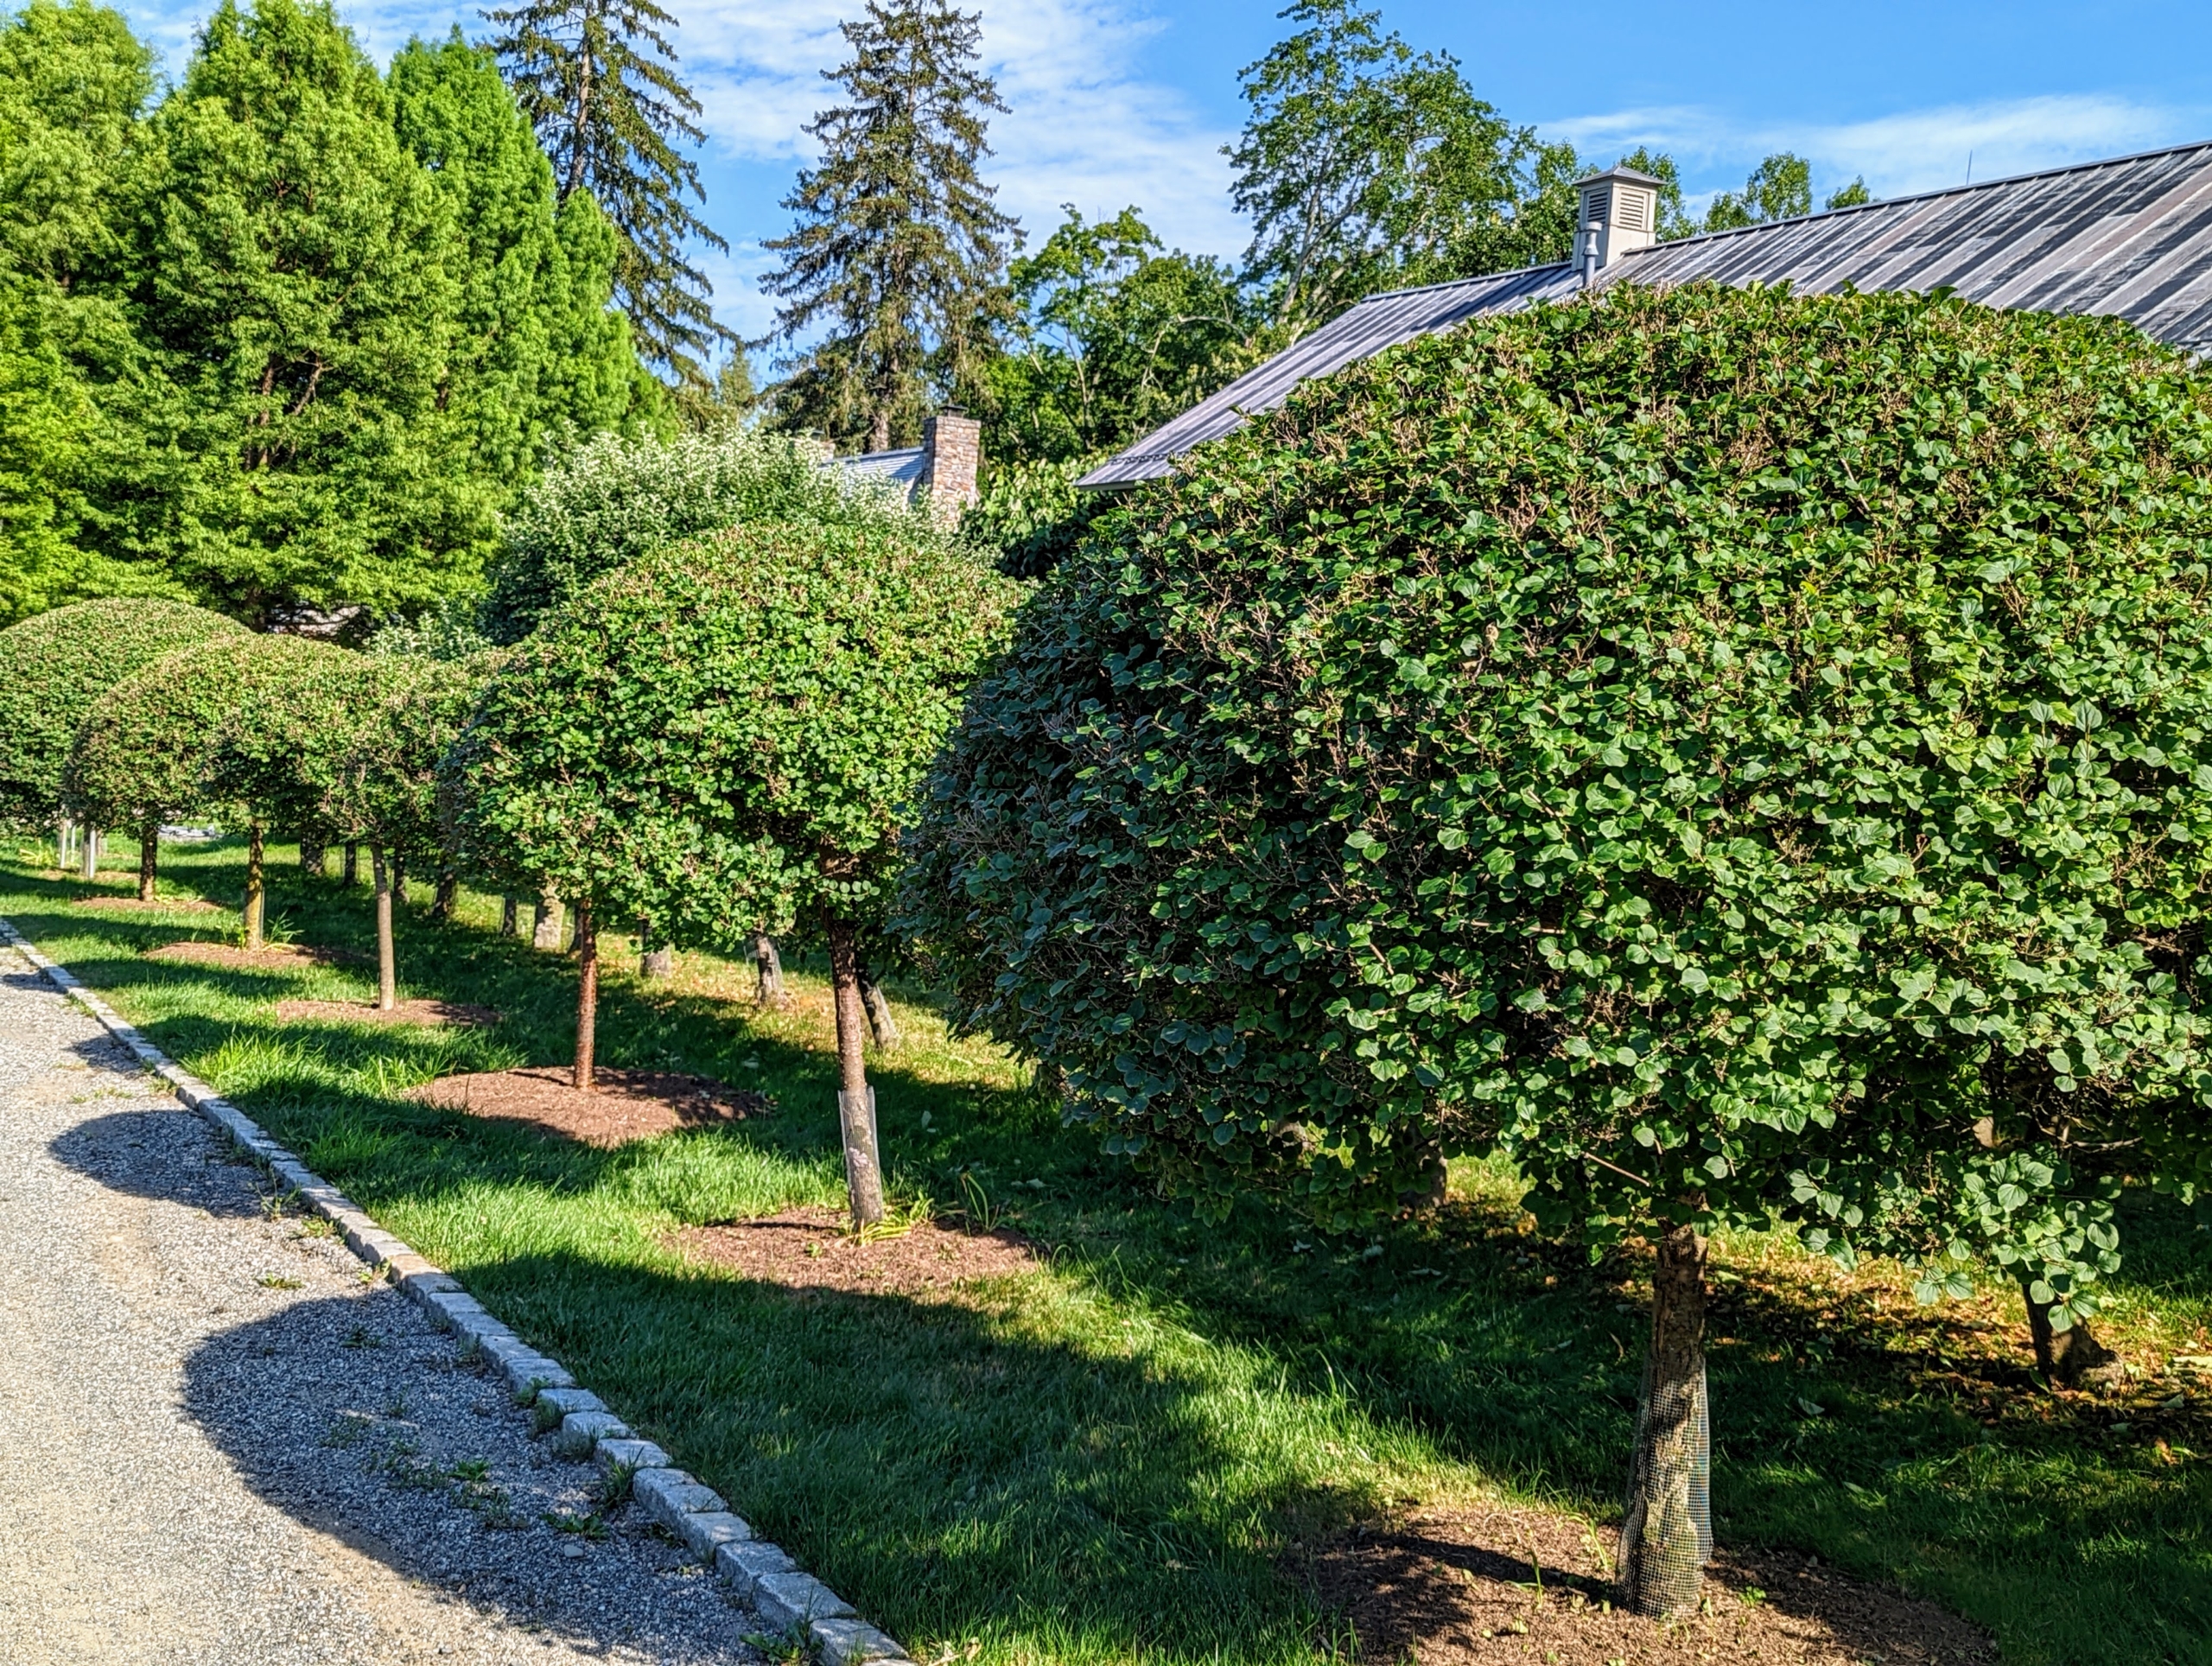
These are the leaves of my ‘Miss Kim’ lilac standards. Lilac leaves feature smooth, hairless, heart-shaped leaves.
In front of the apple espalier, I have several ‘Miss Kim’ lilac standards lining the edge of the carriage road. Phurba did a great job pruning these also. ‘Miss Kim’ is one of the first dwarf cultivars. It was originated from seeds imported from South Korea. In spring, these trees feature long panicles of sweetly scented lavender blooms that burst from purple buds. I am so glad the gardens are looking beautiful this year – everyone is working hard. Now, if we could just get some more rain!!
What projects are on your "to-do" list this weekend? Here at my Bedford, New York farm, we always have a long list of projects to complete - among them, putting shelves up on a bare wall of my guest house studio prep kitchen.
Mounted shelves free up needed space in any room. Since shelves are intended to bear weight, it's crucial they be installed correctly. One must take the time to locate the wall’s studs and to fasten the shelves securely to supportive brackets.
Here are some photos and helpful tips for getting the job done.
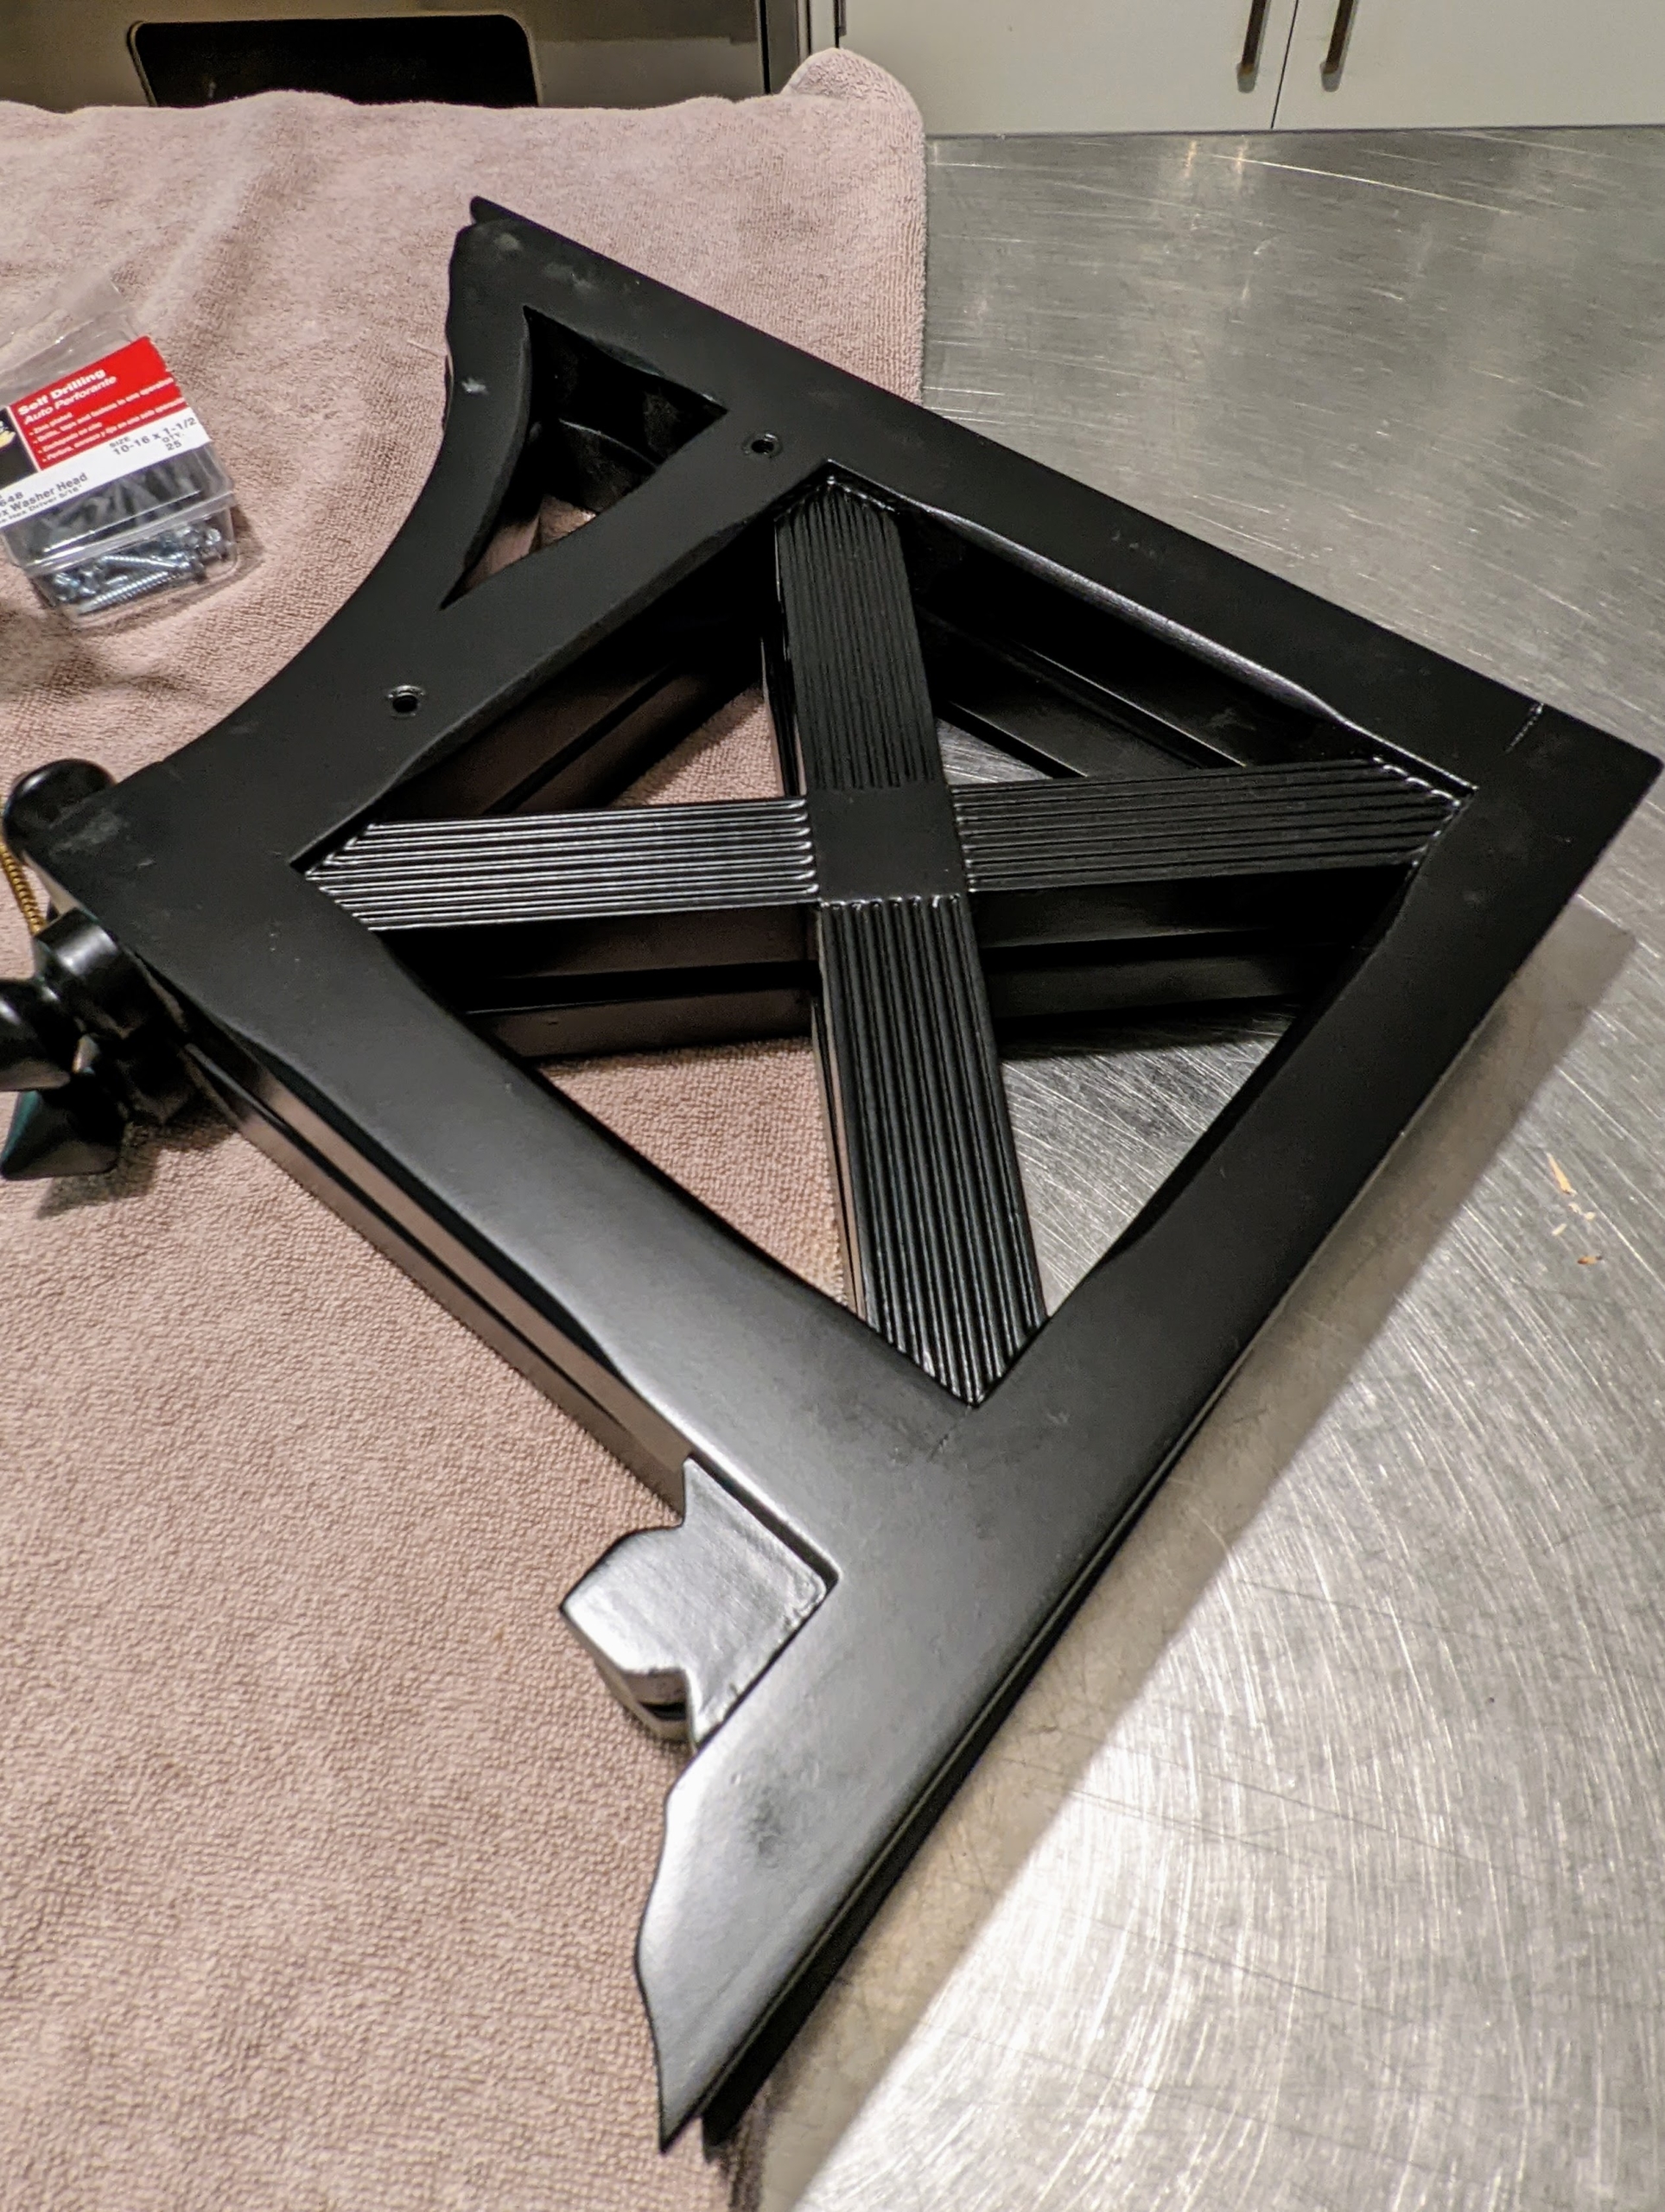
As part of the set-up in my guest house studio prep kitchen, it was important to ensure there was enough storage space to accommodate all the necessary equipment – all the many tools, supplies and table top appliances. My property manager, Doug White, is a very skilled carpenter. I asked him to make shelves to fit a space and the above bare wall in one corner of the kitchen. Here are the shelves ready to be installed.
These brackets are from one of my previous home collections. I knew they would be perfect for the above counter shelf.
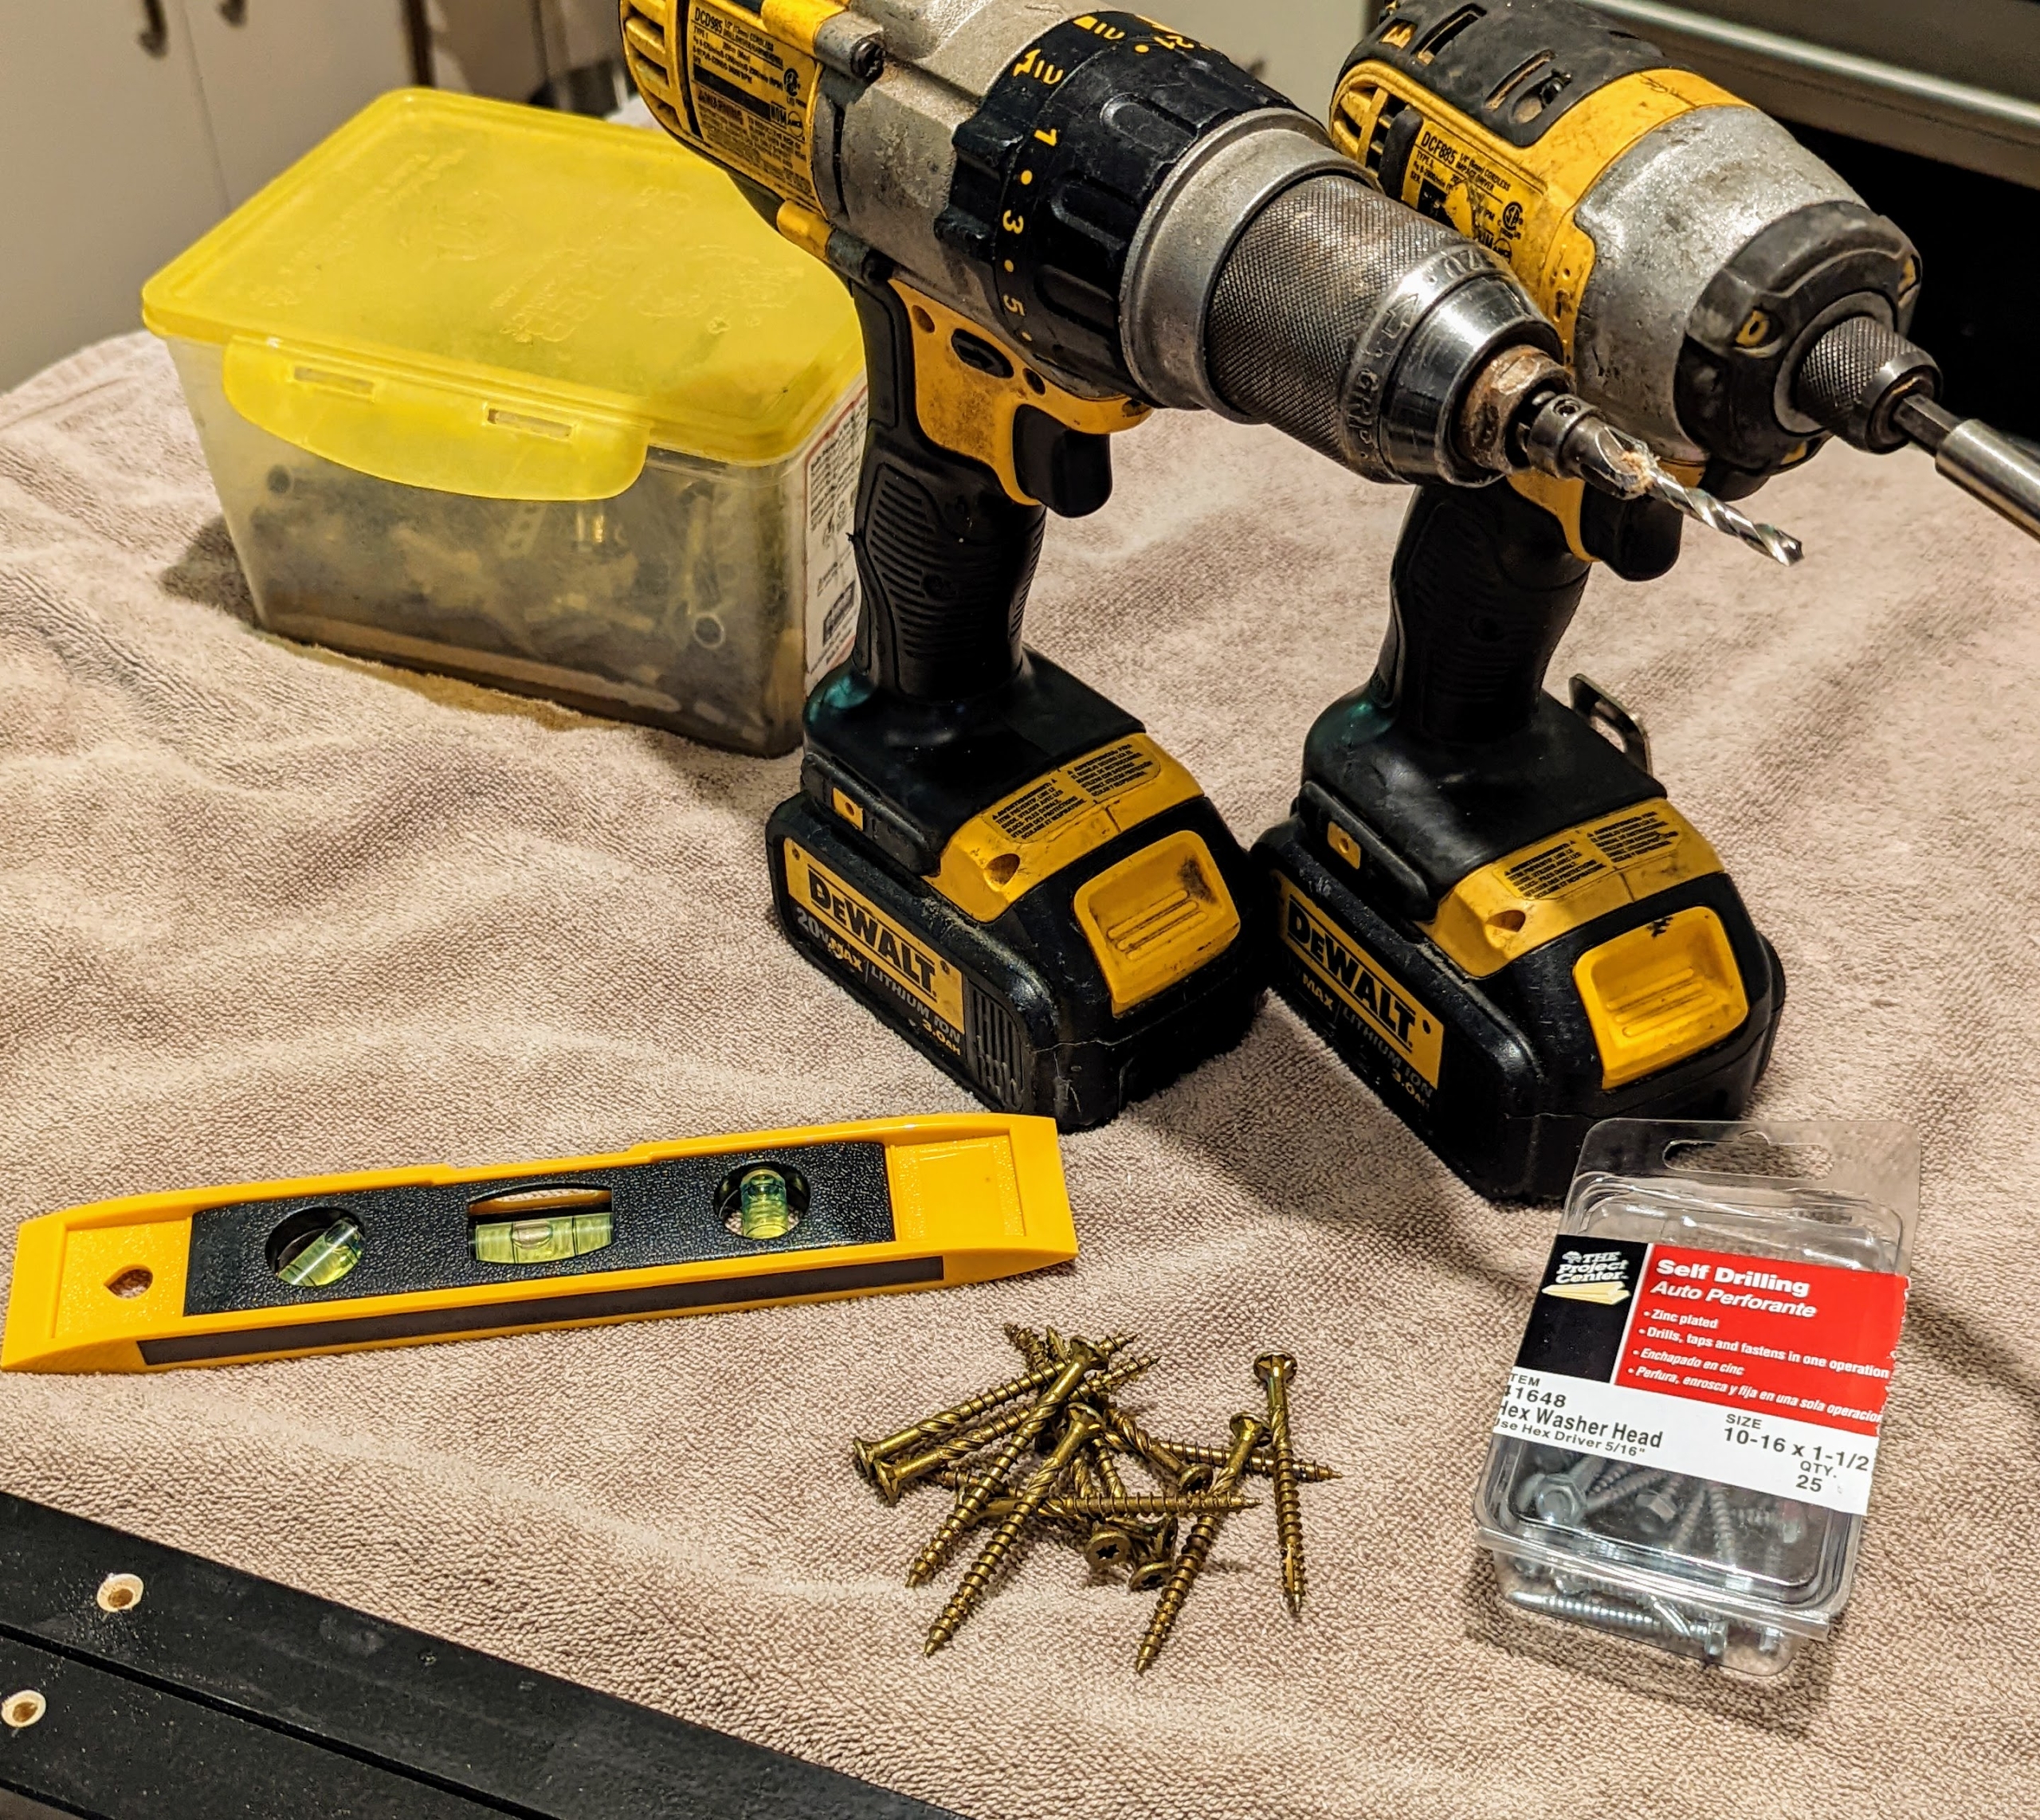
I instruct everyone on my crew to always have all the right tools for the right jobs. Doug gathers all the supplies he needs before starting the project.
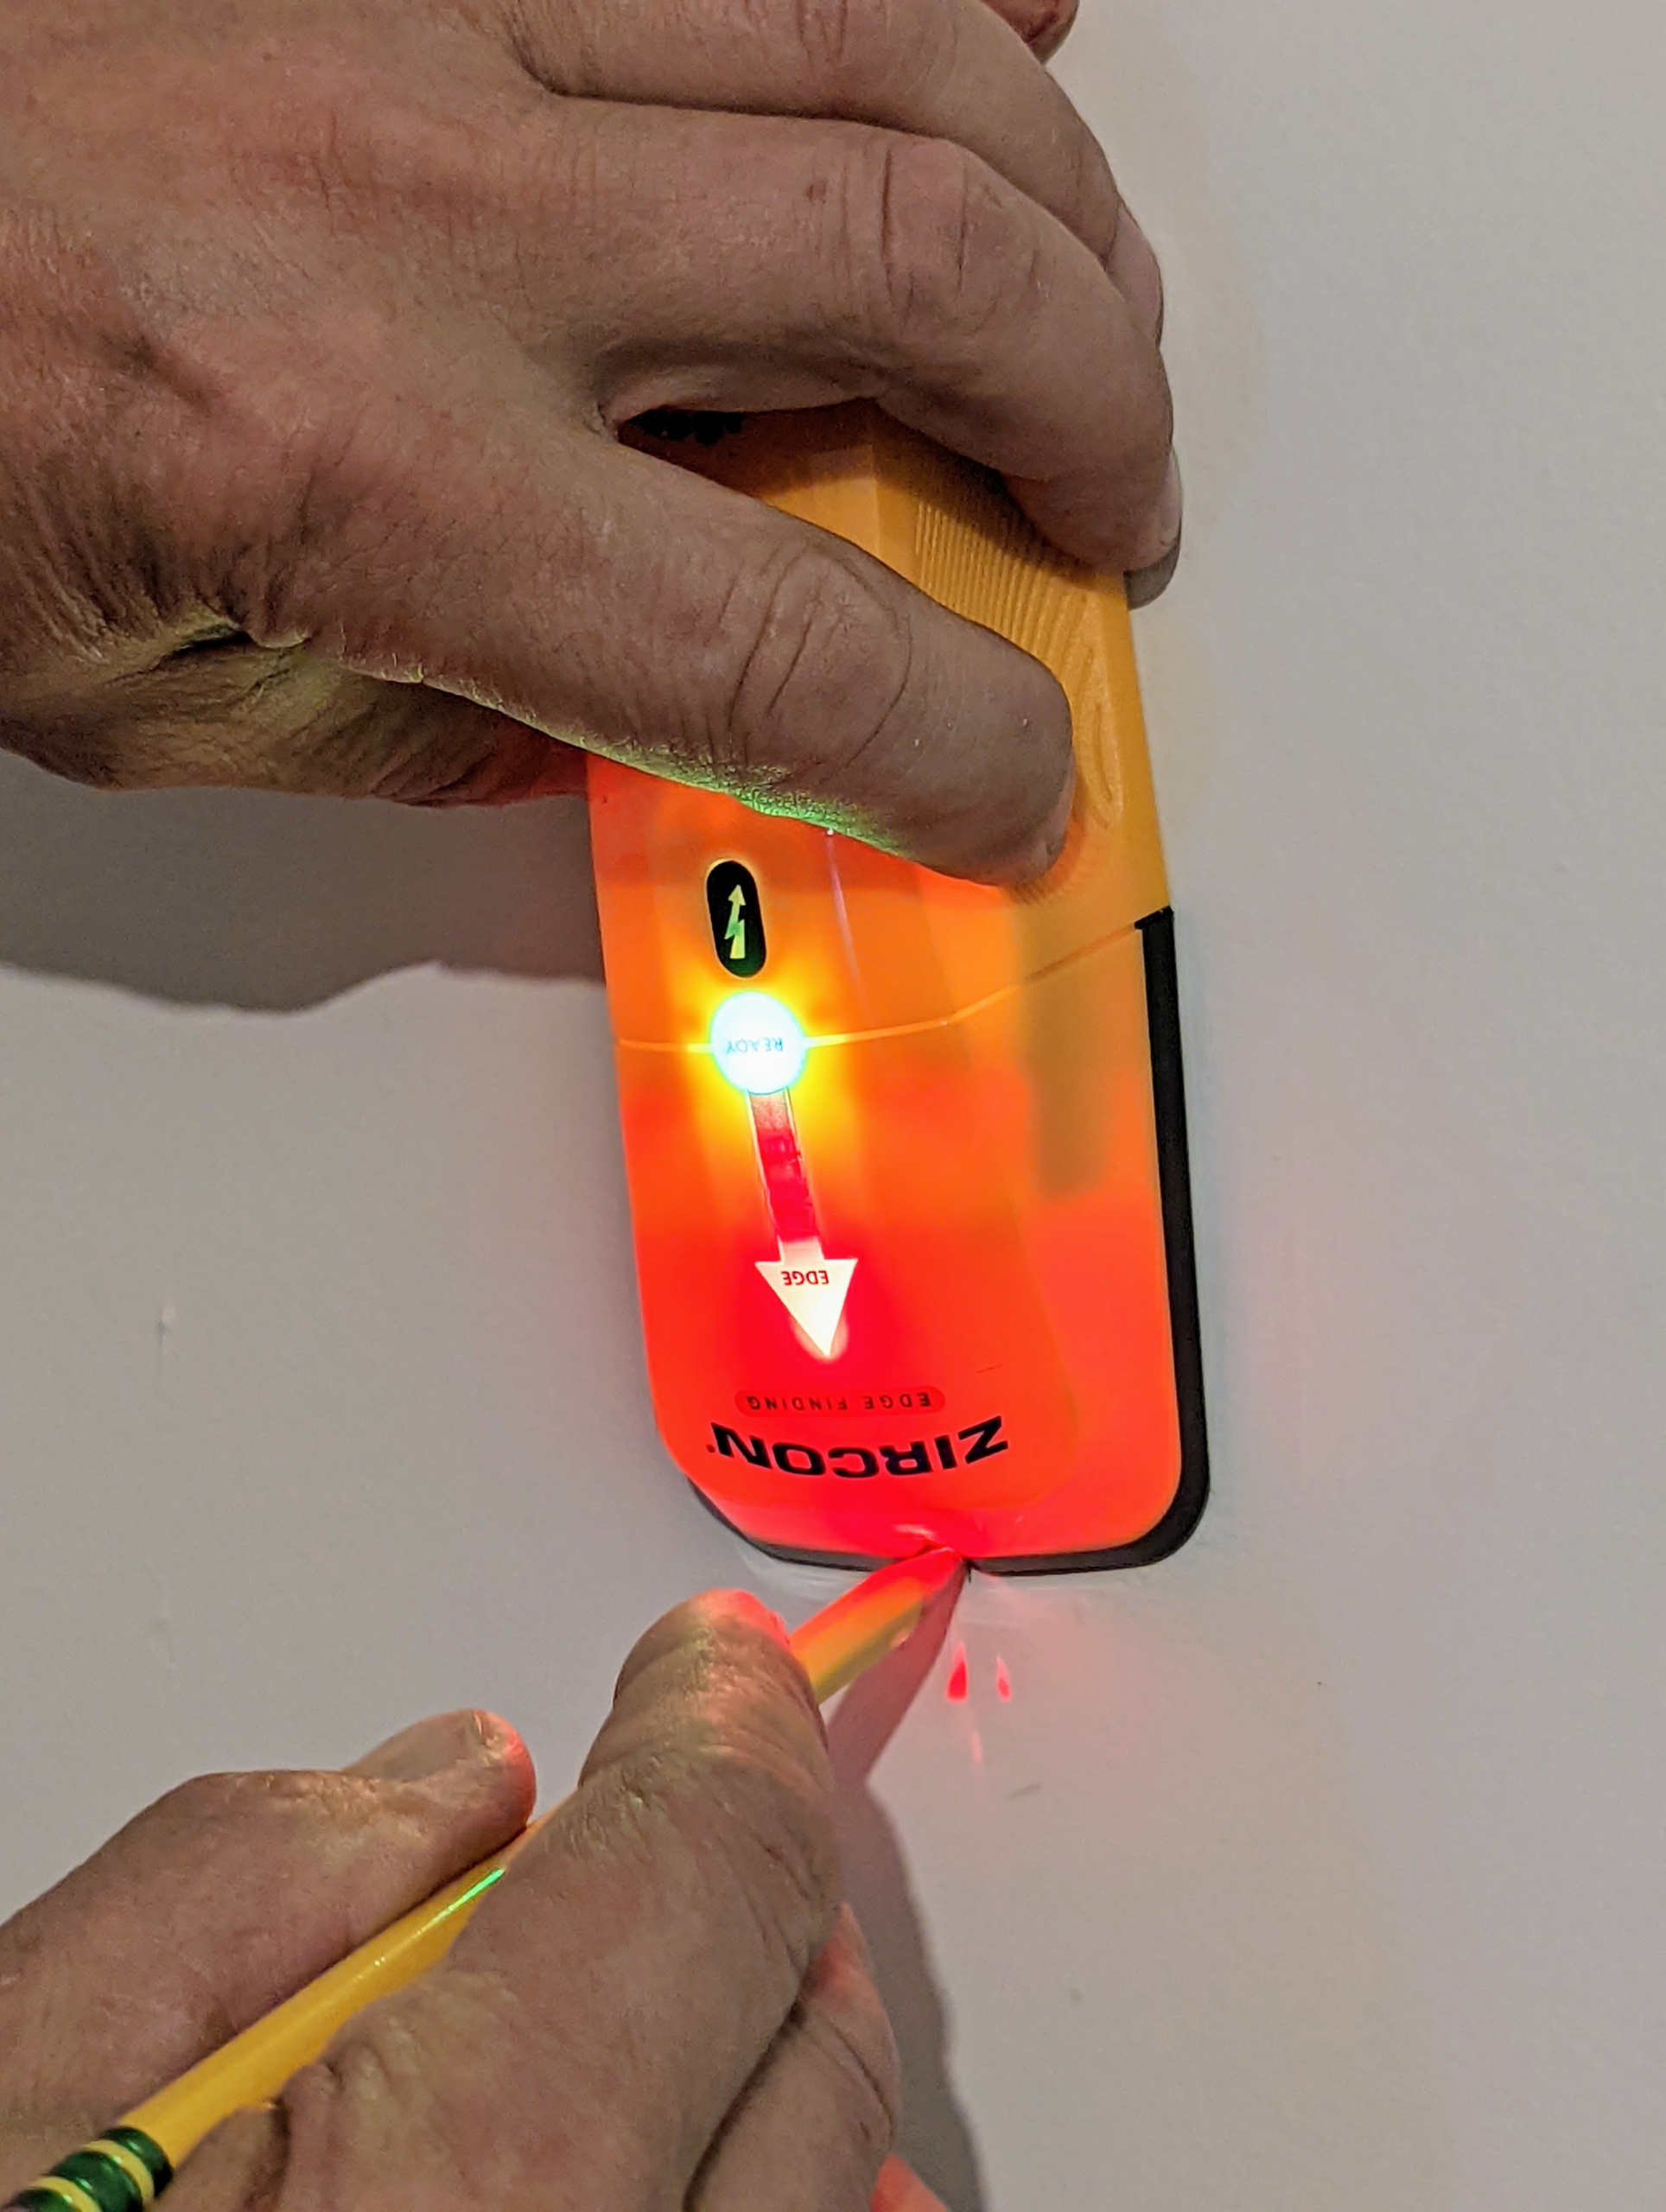
The first step is to find the wall studs. Nowadays, one can use a stud finder to locate the wall studs. These handy tools are available from hardware stores and home improvement centers. Dough holds the stud finder flat against the wall and slowly slides the tool until it beeps and flashes – this means it’s detected a stud underneath. Most wall studs are spaced 16 to 24 inches apart.
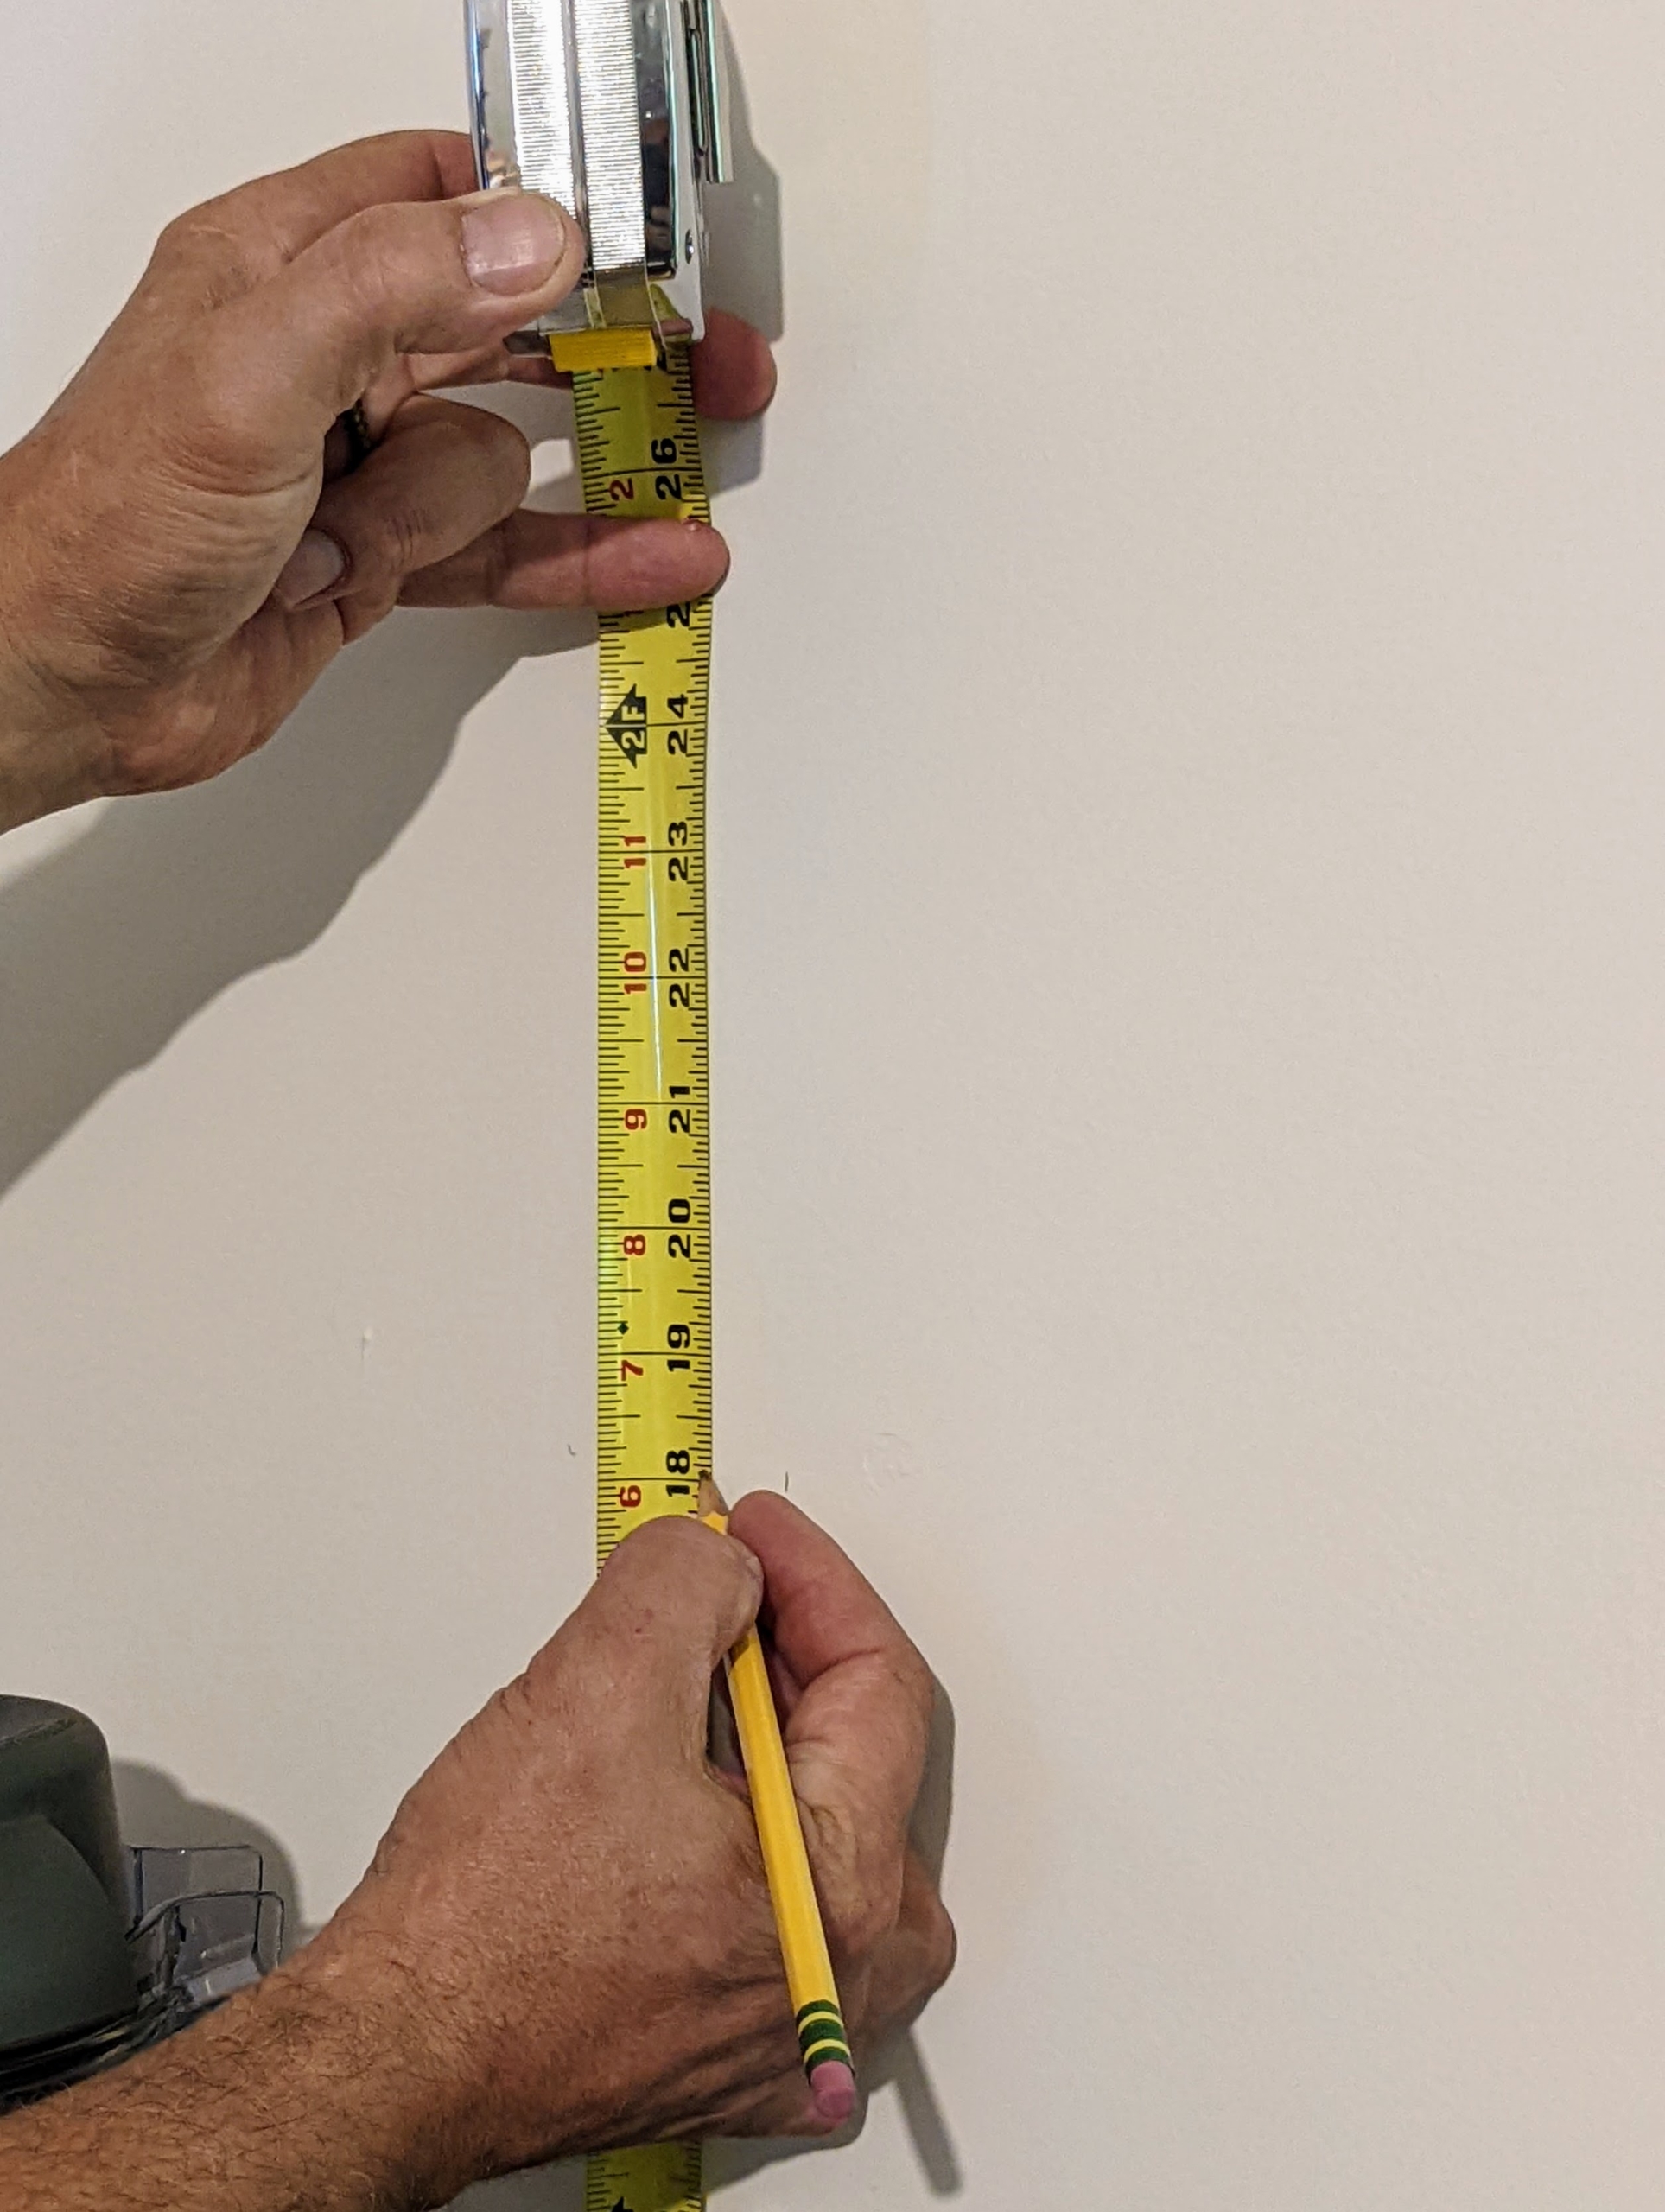
Using a pencil and tape measure, Doug makes a light mark where the shelf bracket screw should go.
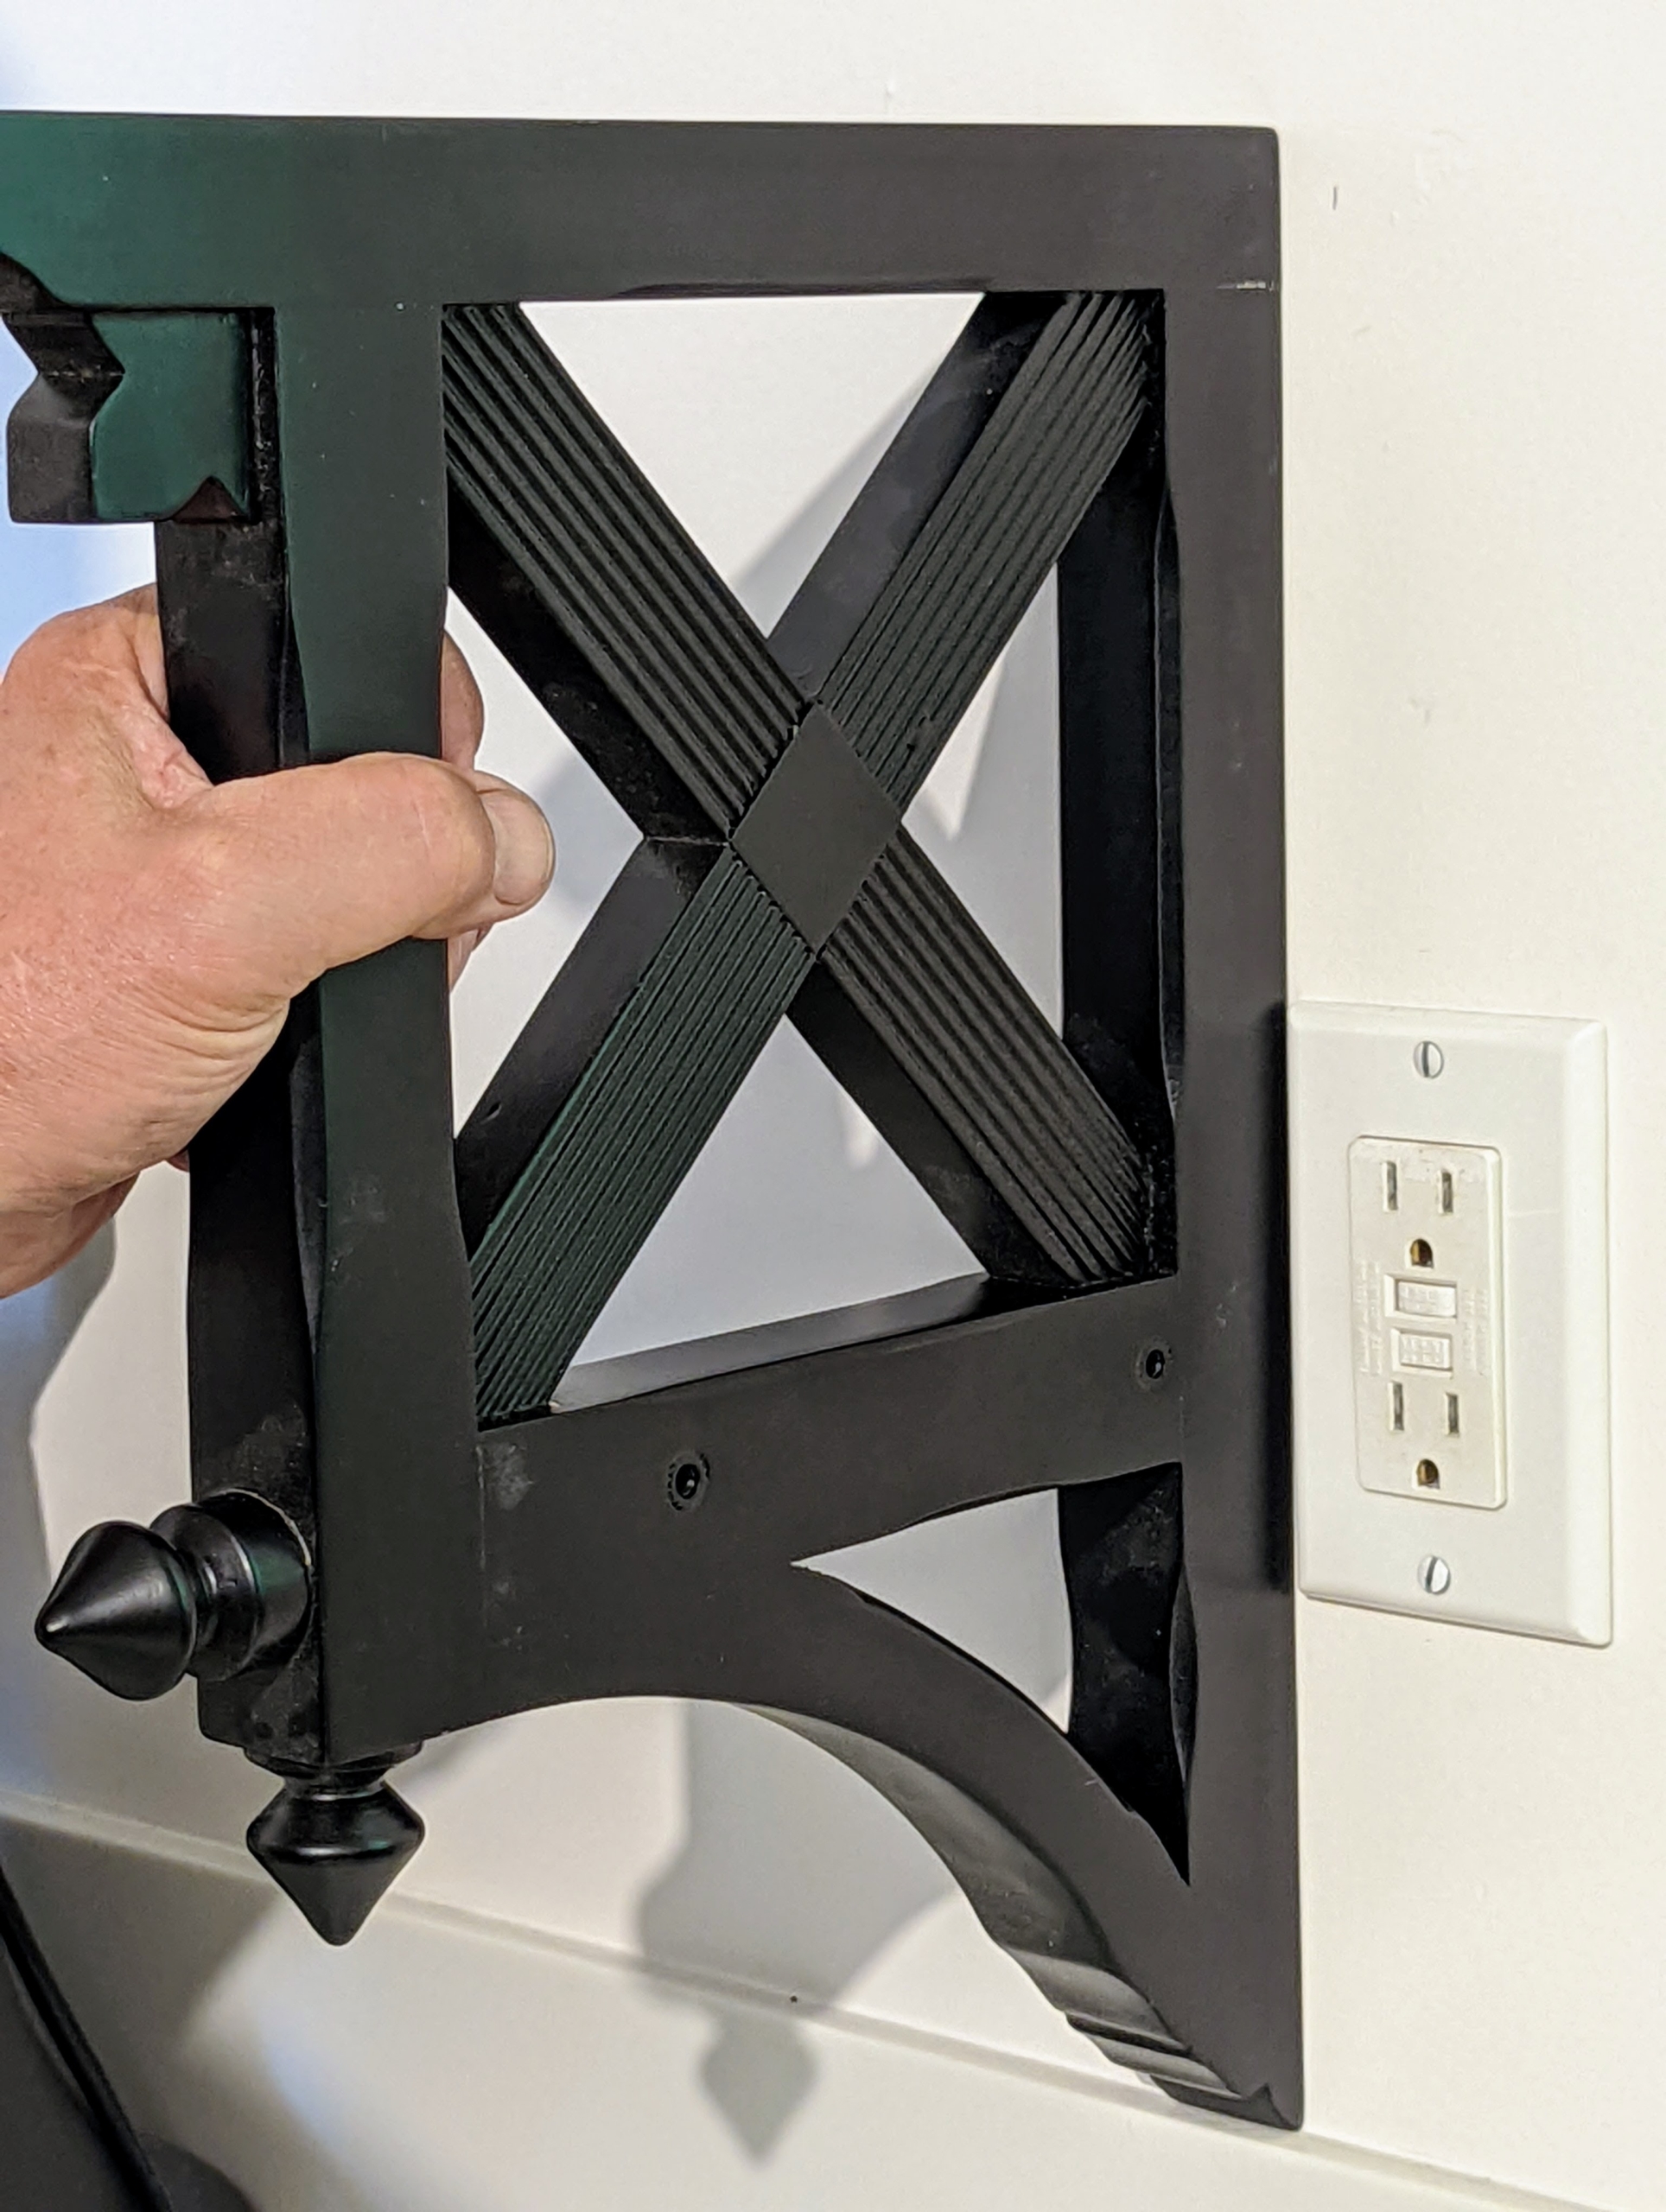
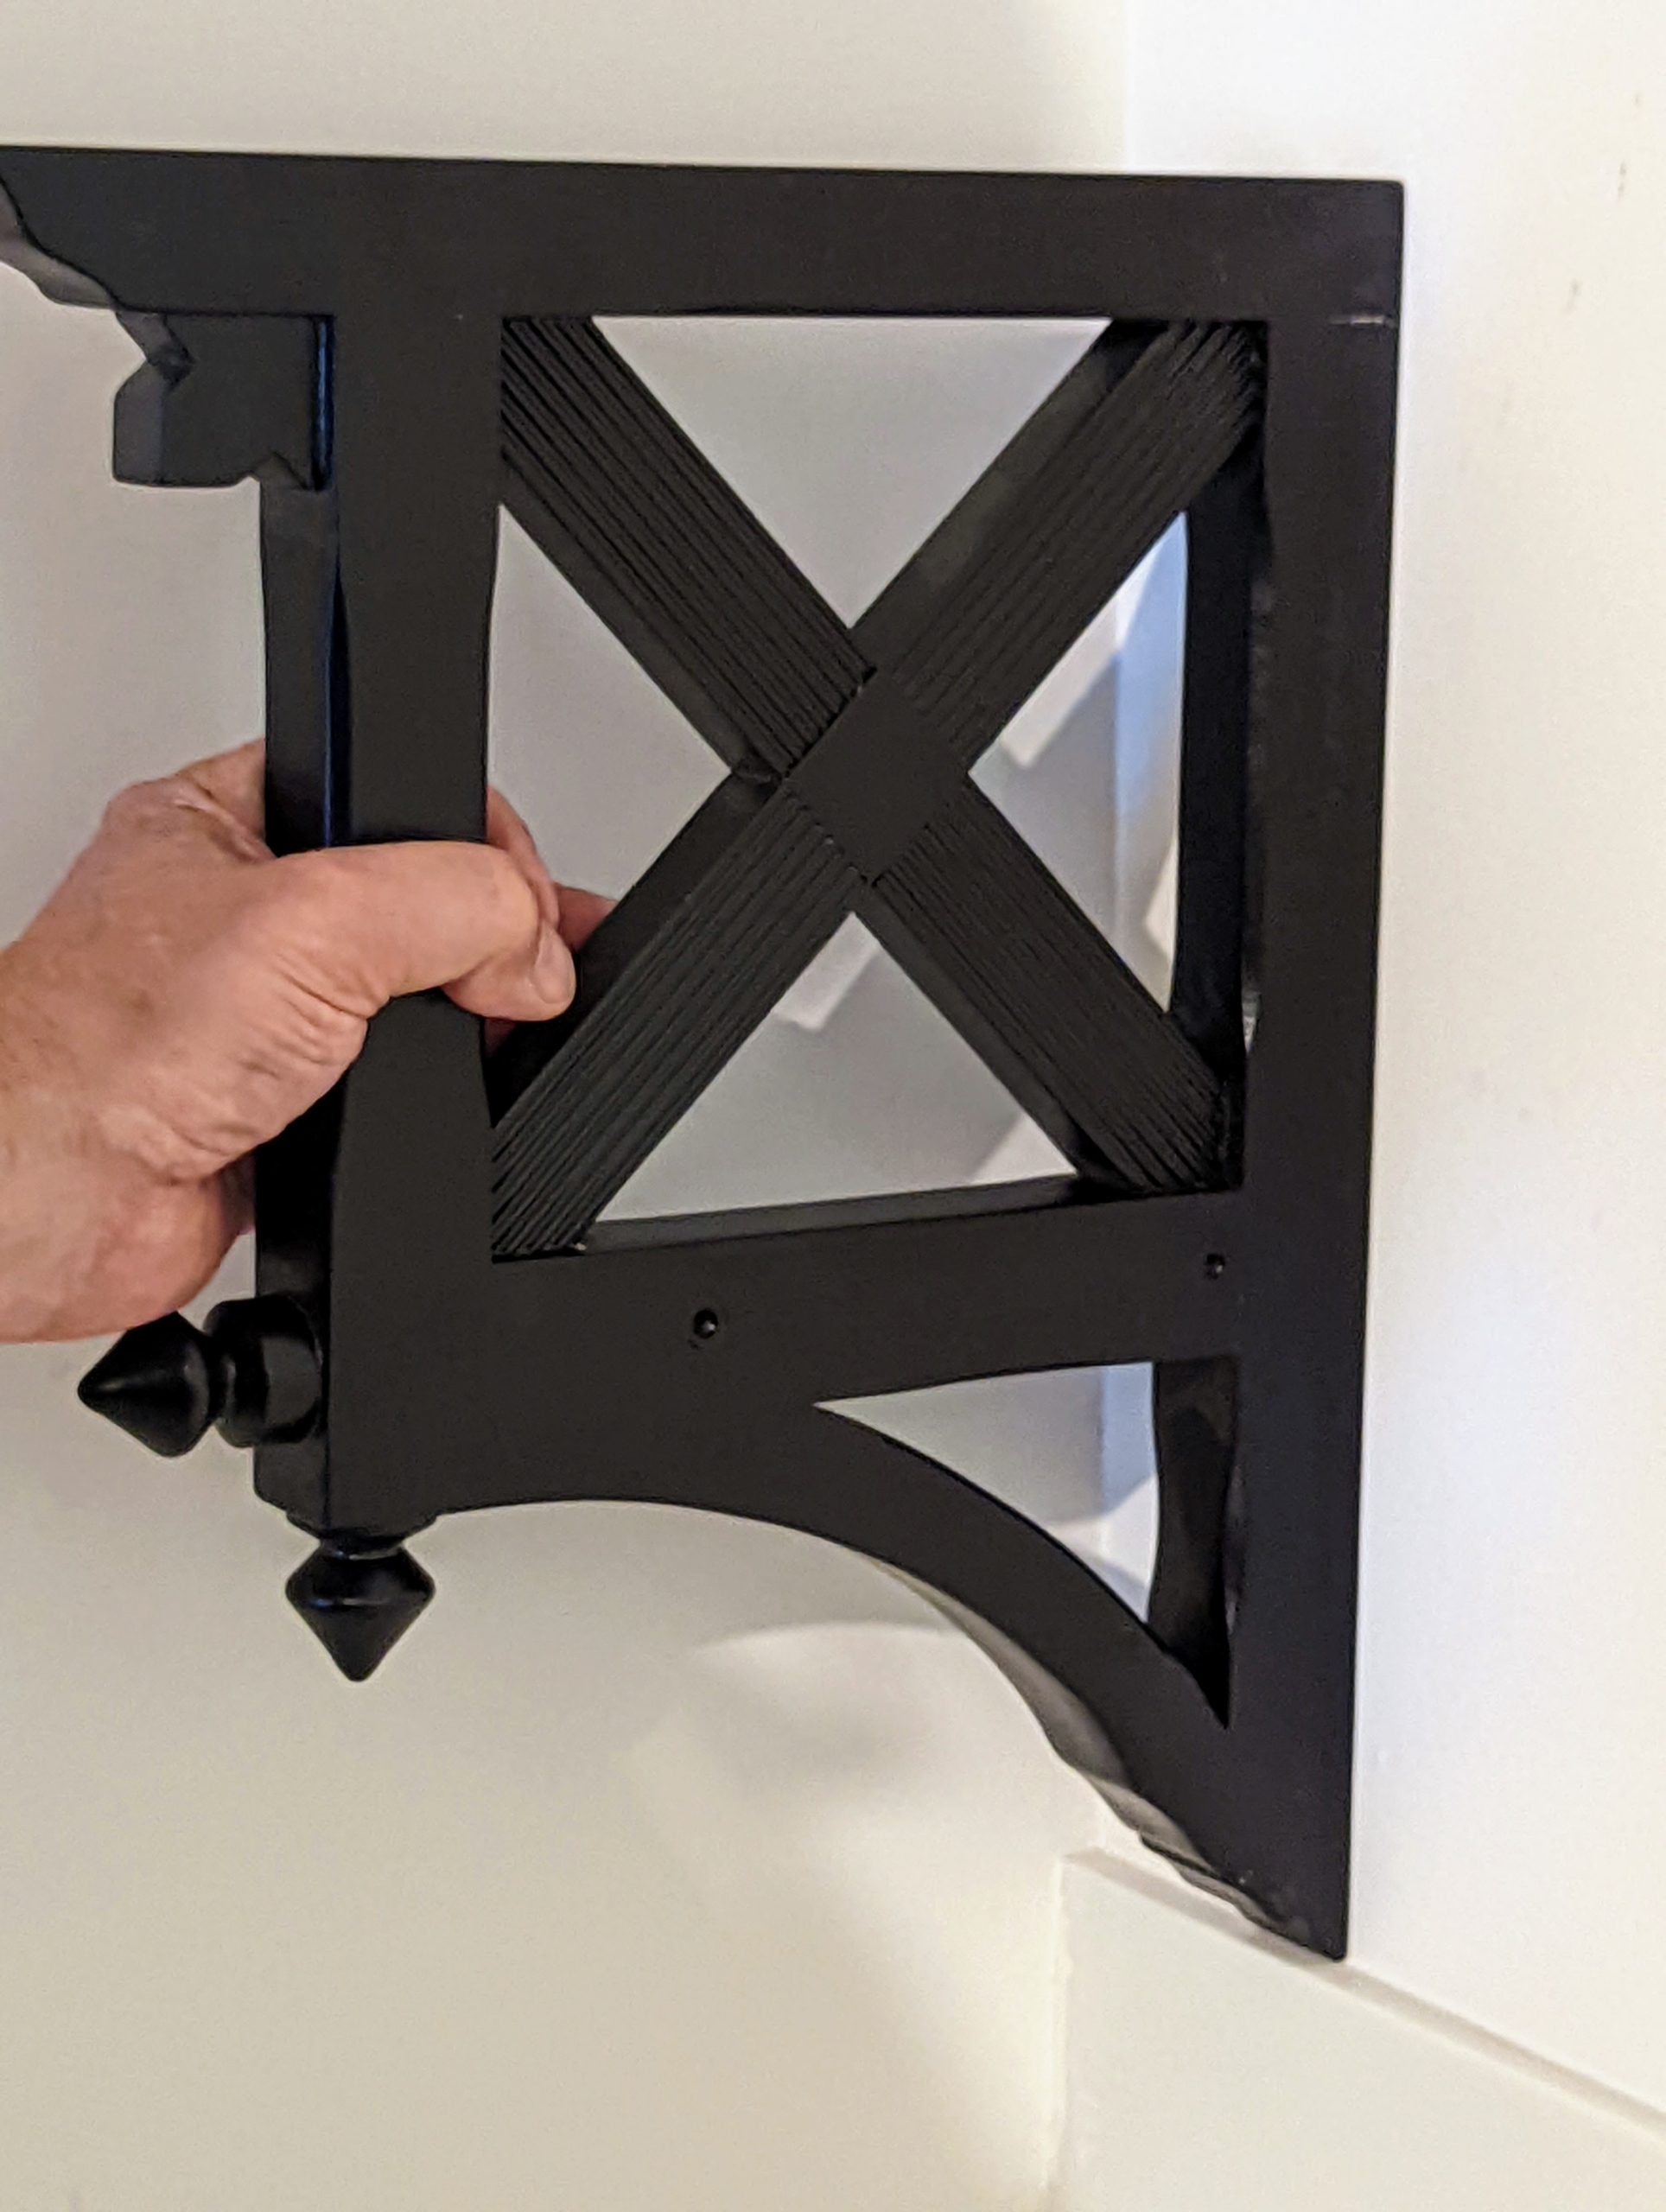
Doug holds up one of the shelf’s mounting brackets to make sure it is at the desired height.
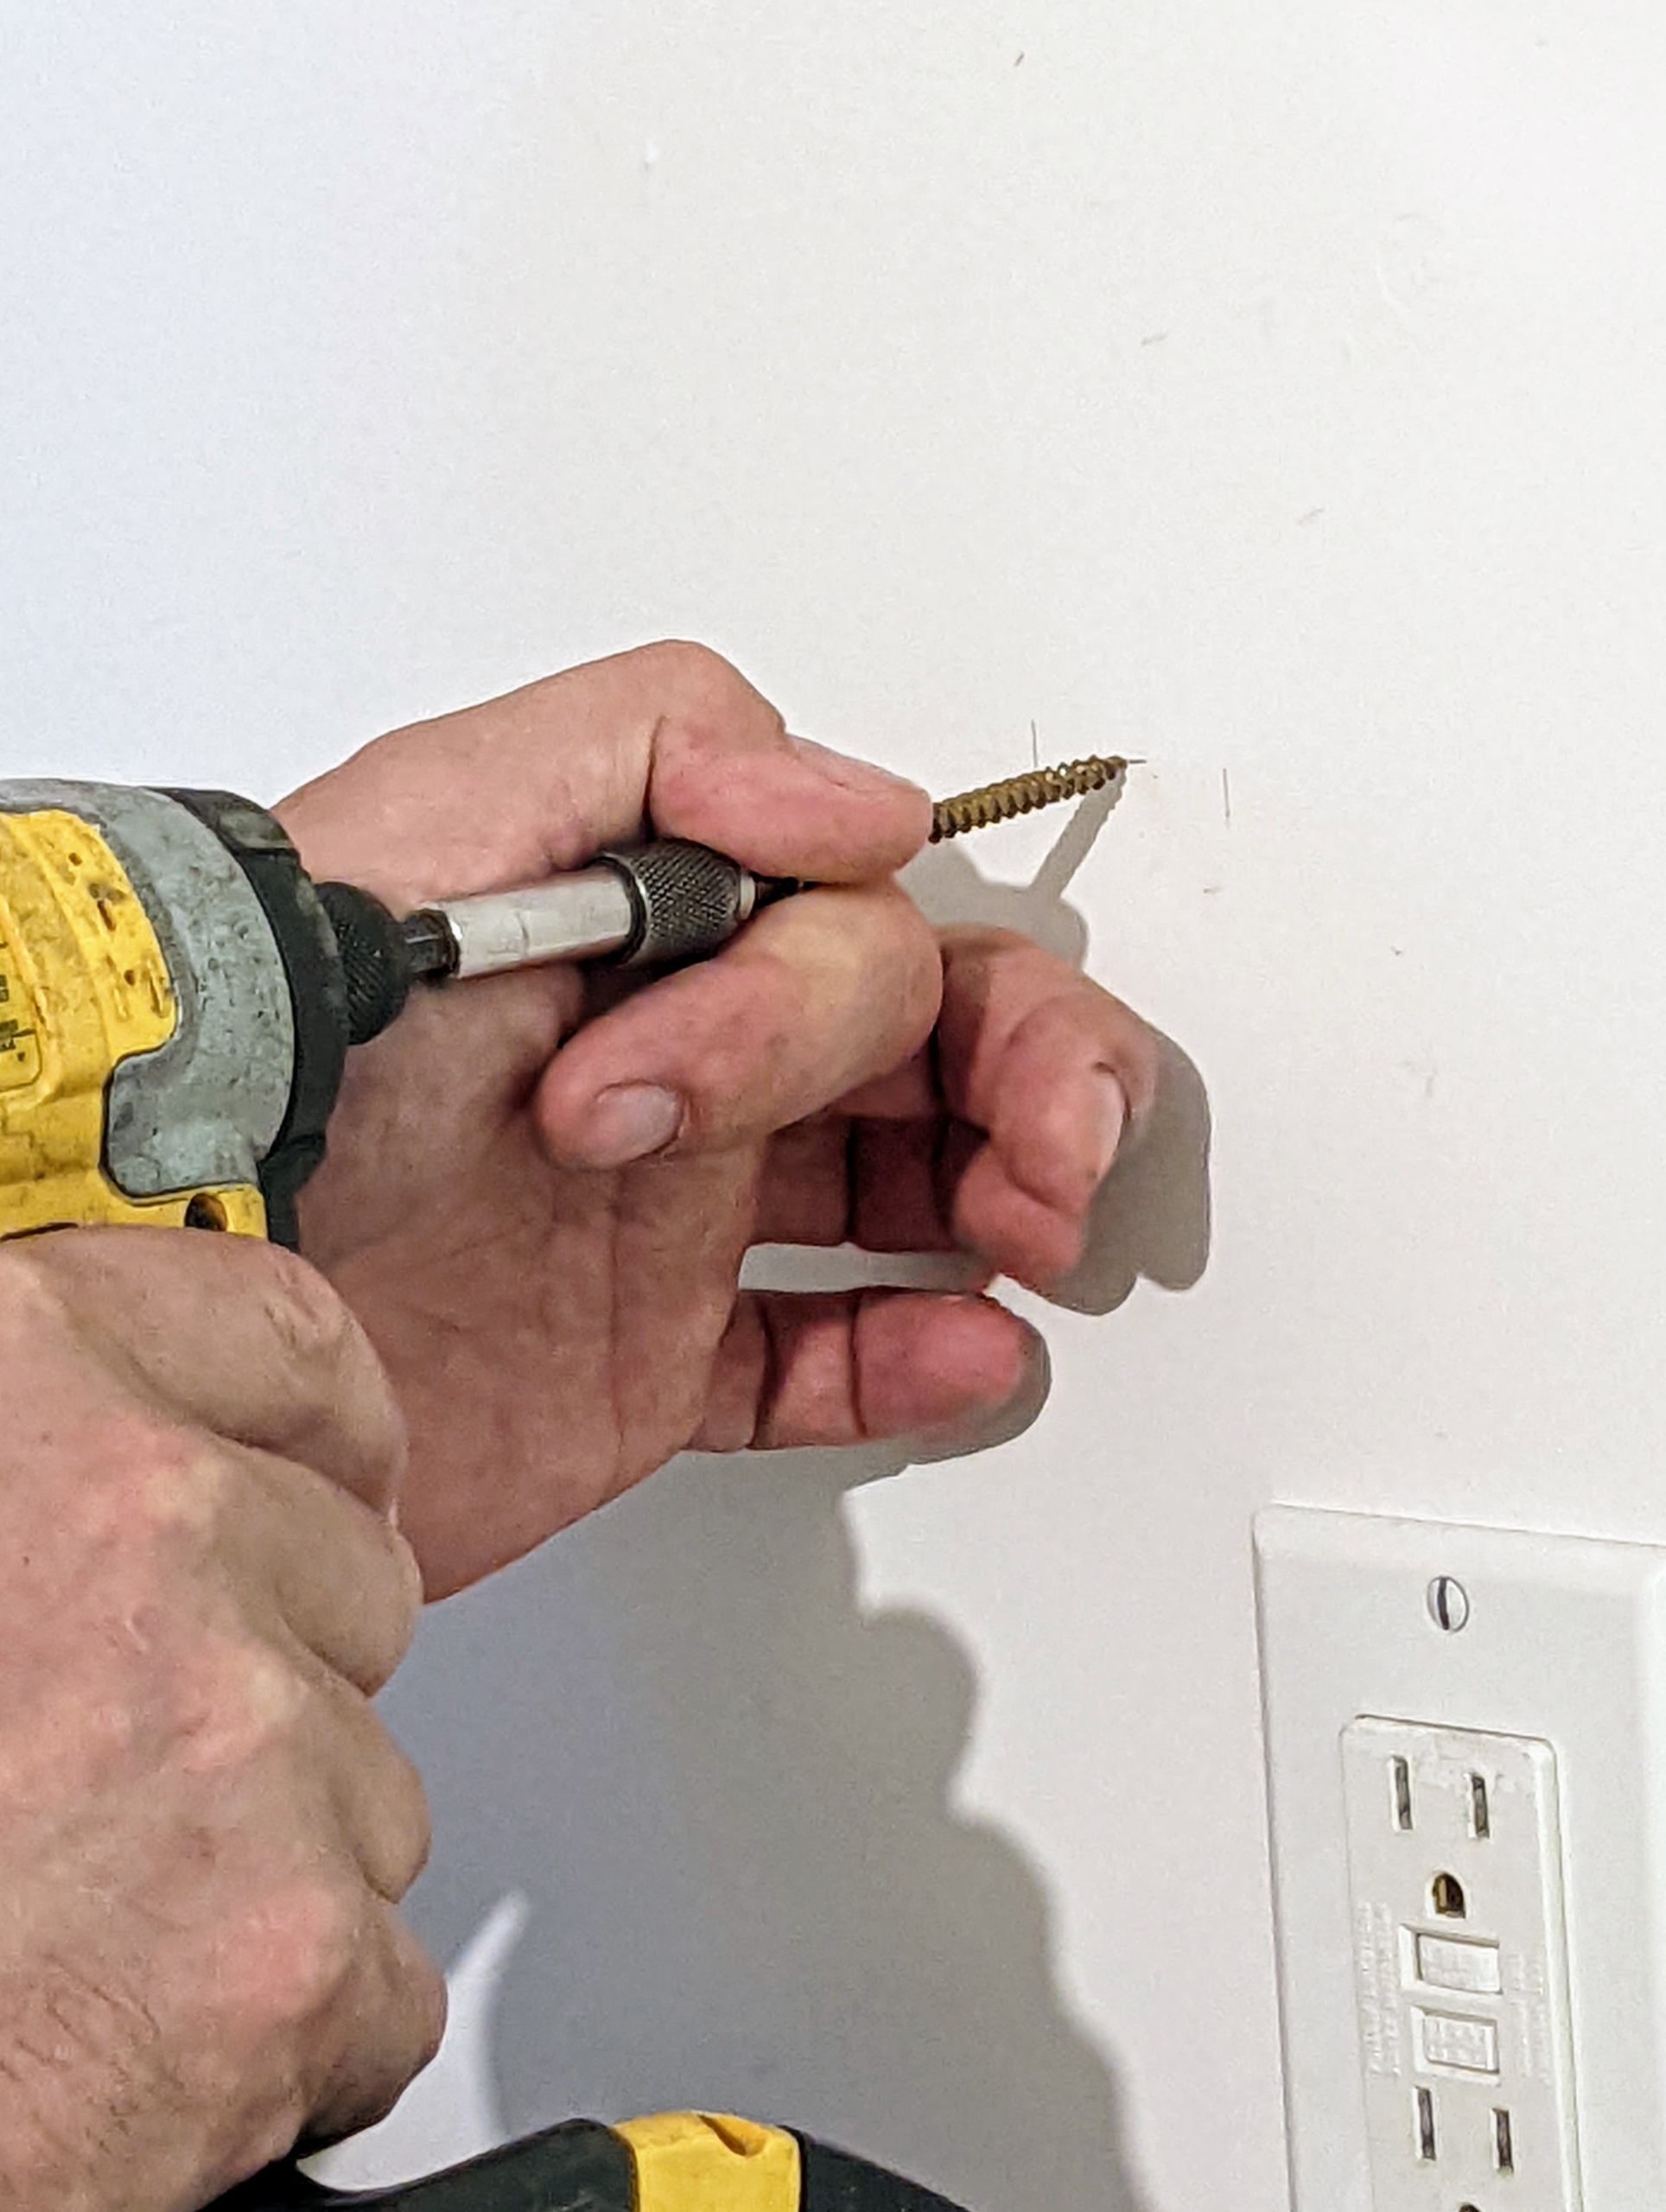
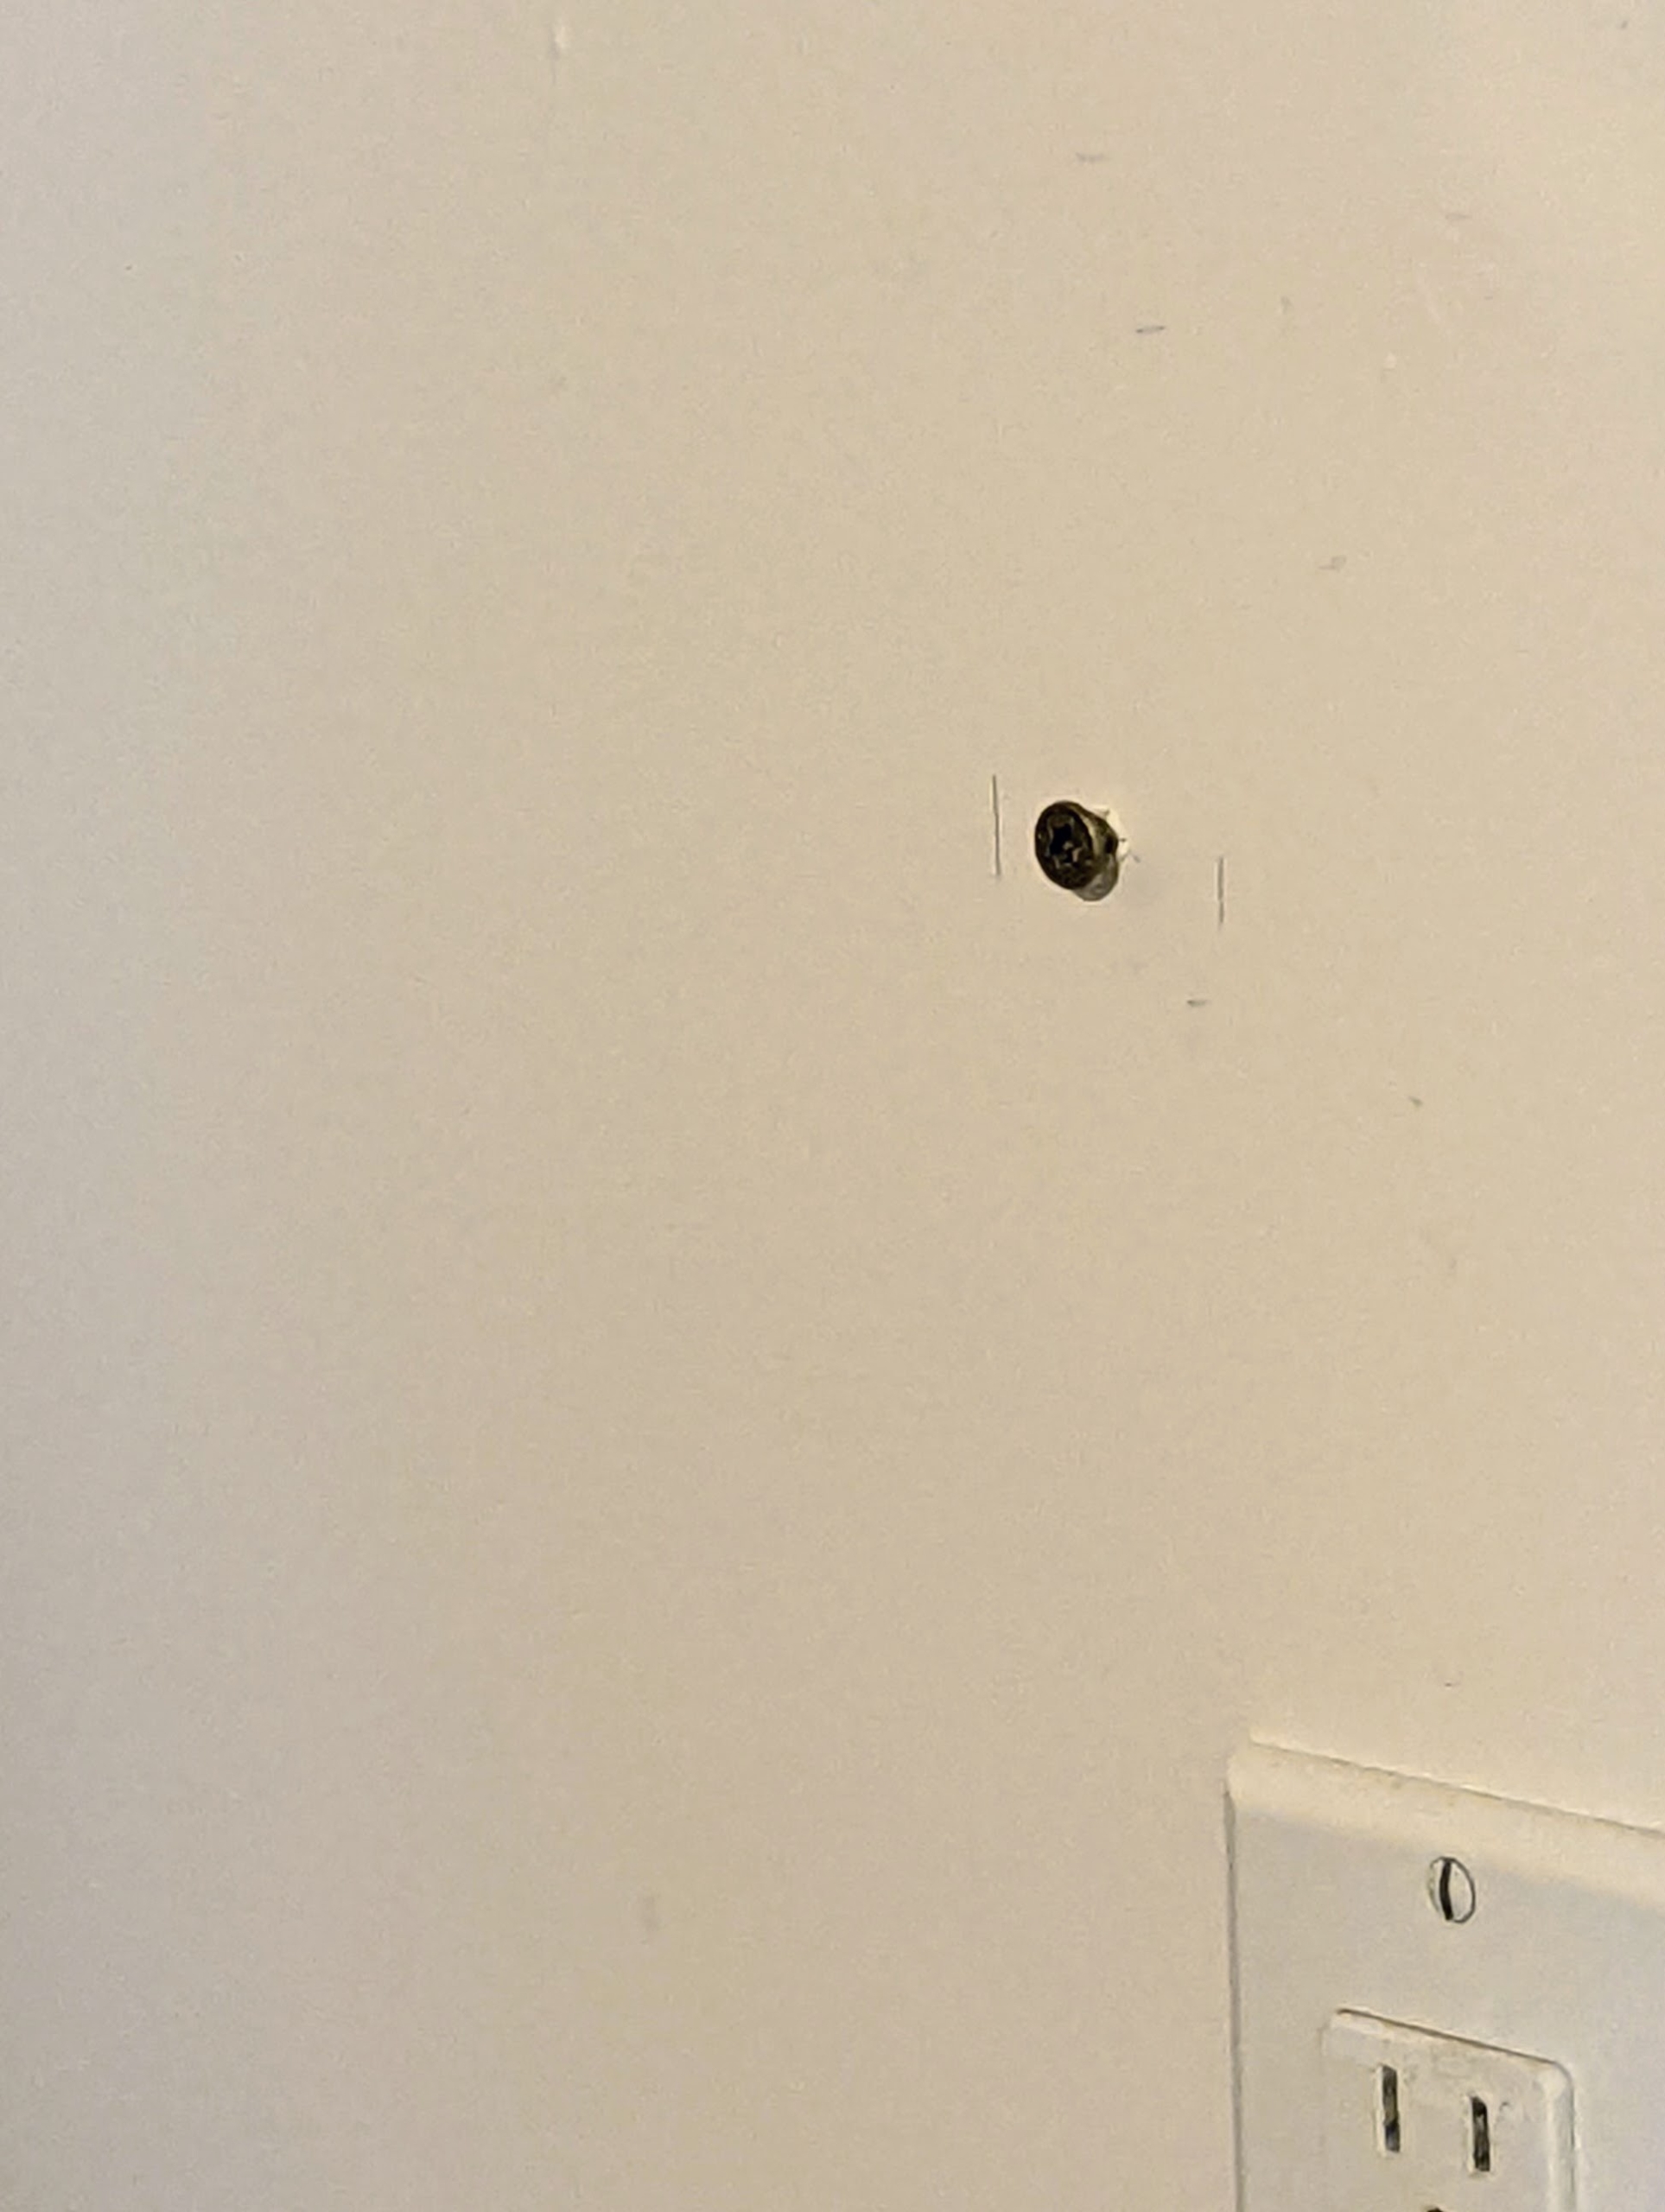
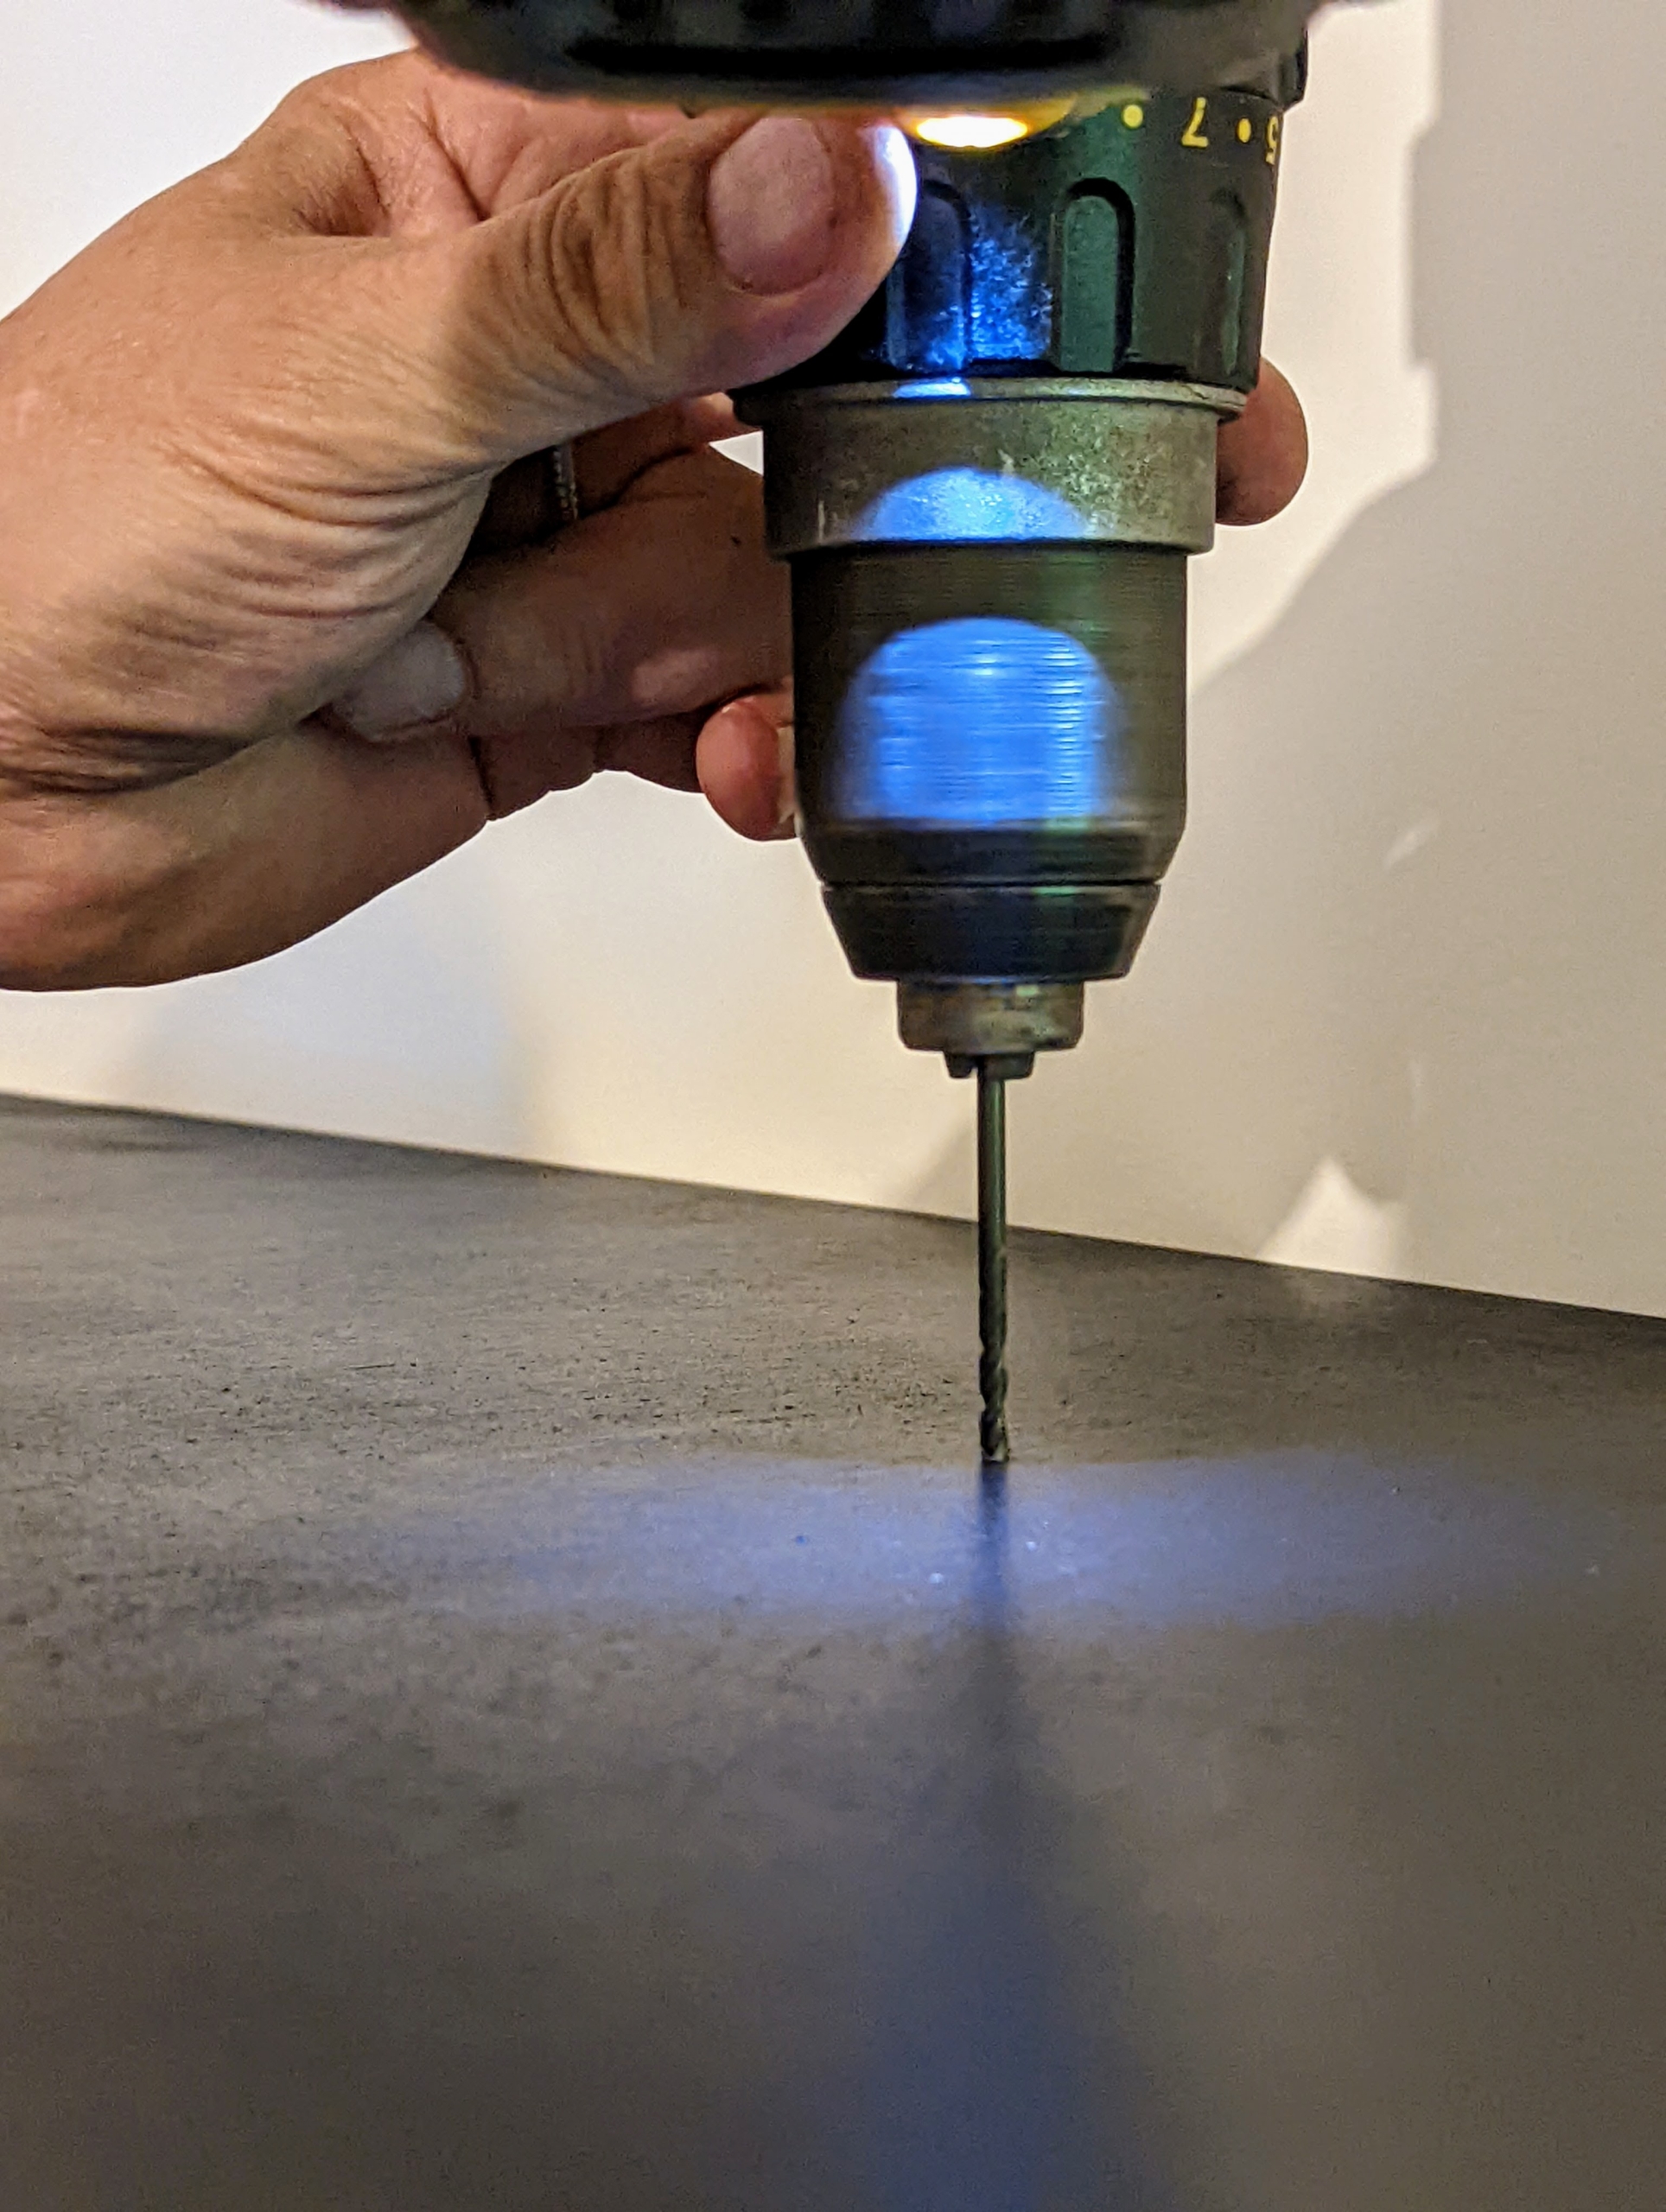
Doug then drills the two inch screw into the marked spot and then into the wall stud.
Because the bracket has a keyhole on the back for for the screw, Doug avoids over-tightening it. Instead, the screw should just be about an eighth of an inch from the wall.
Doug secures the bracket onto the wall – it is a perfect fit. If it wiggles slightly, tighten the screw just a bit and secure the bracket again until it is completely secure. He does the same for the other side.
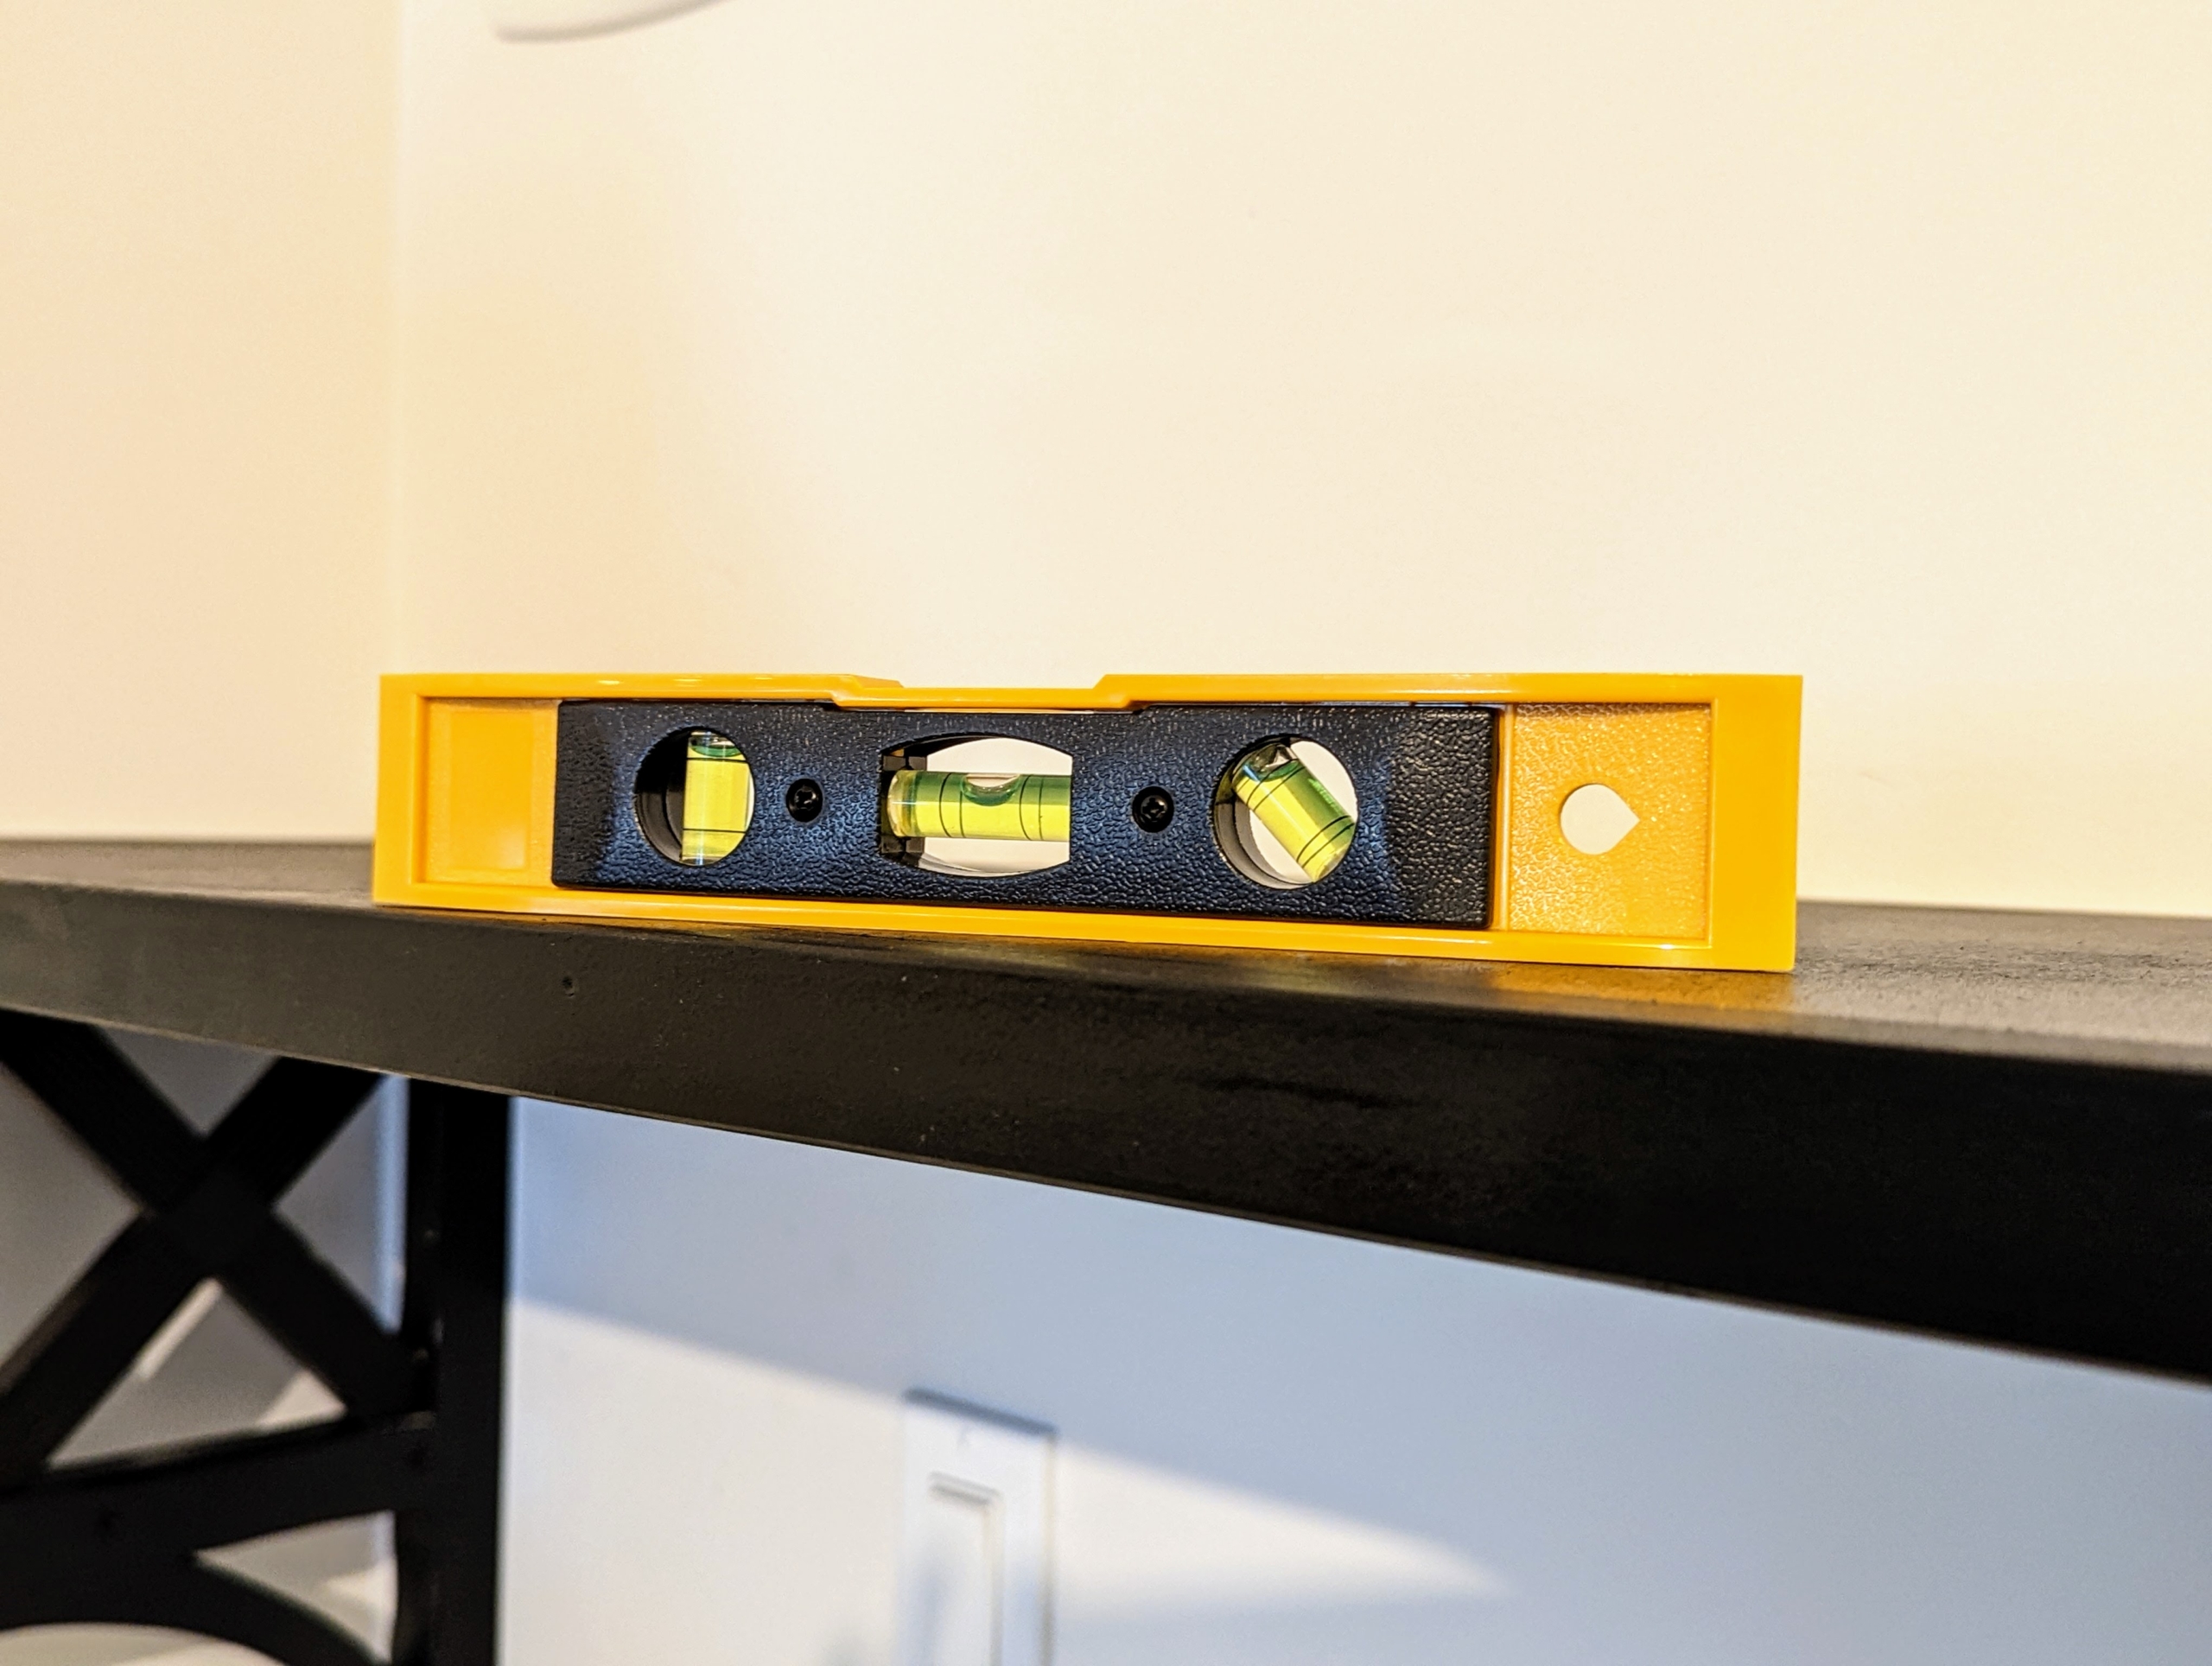
Finally, the shelf is put in place on top of the brackets and then checked for level. It is very straight and level.
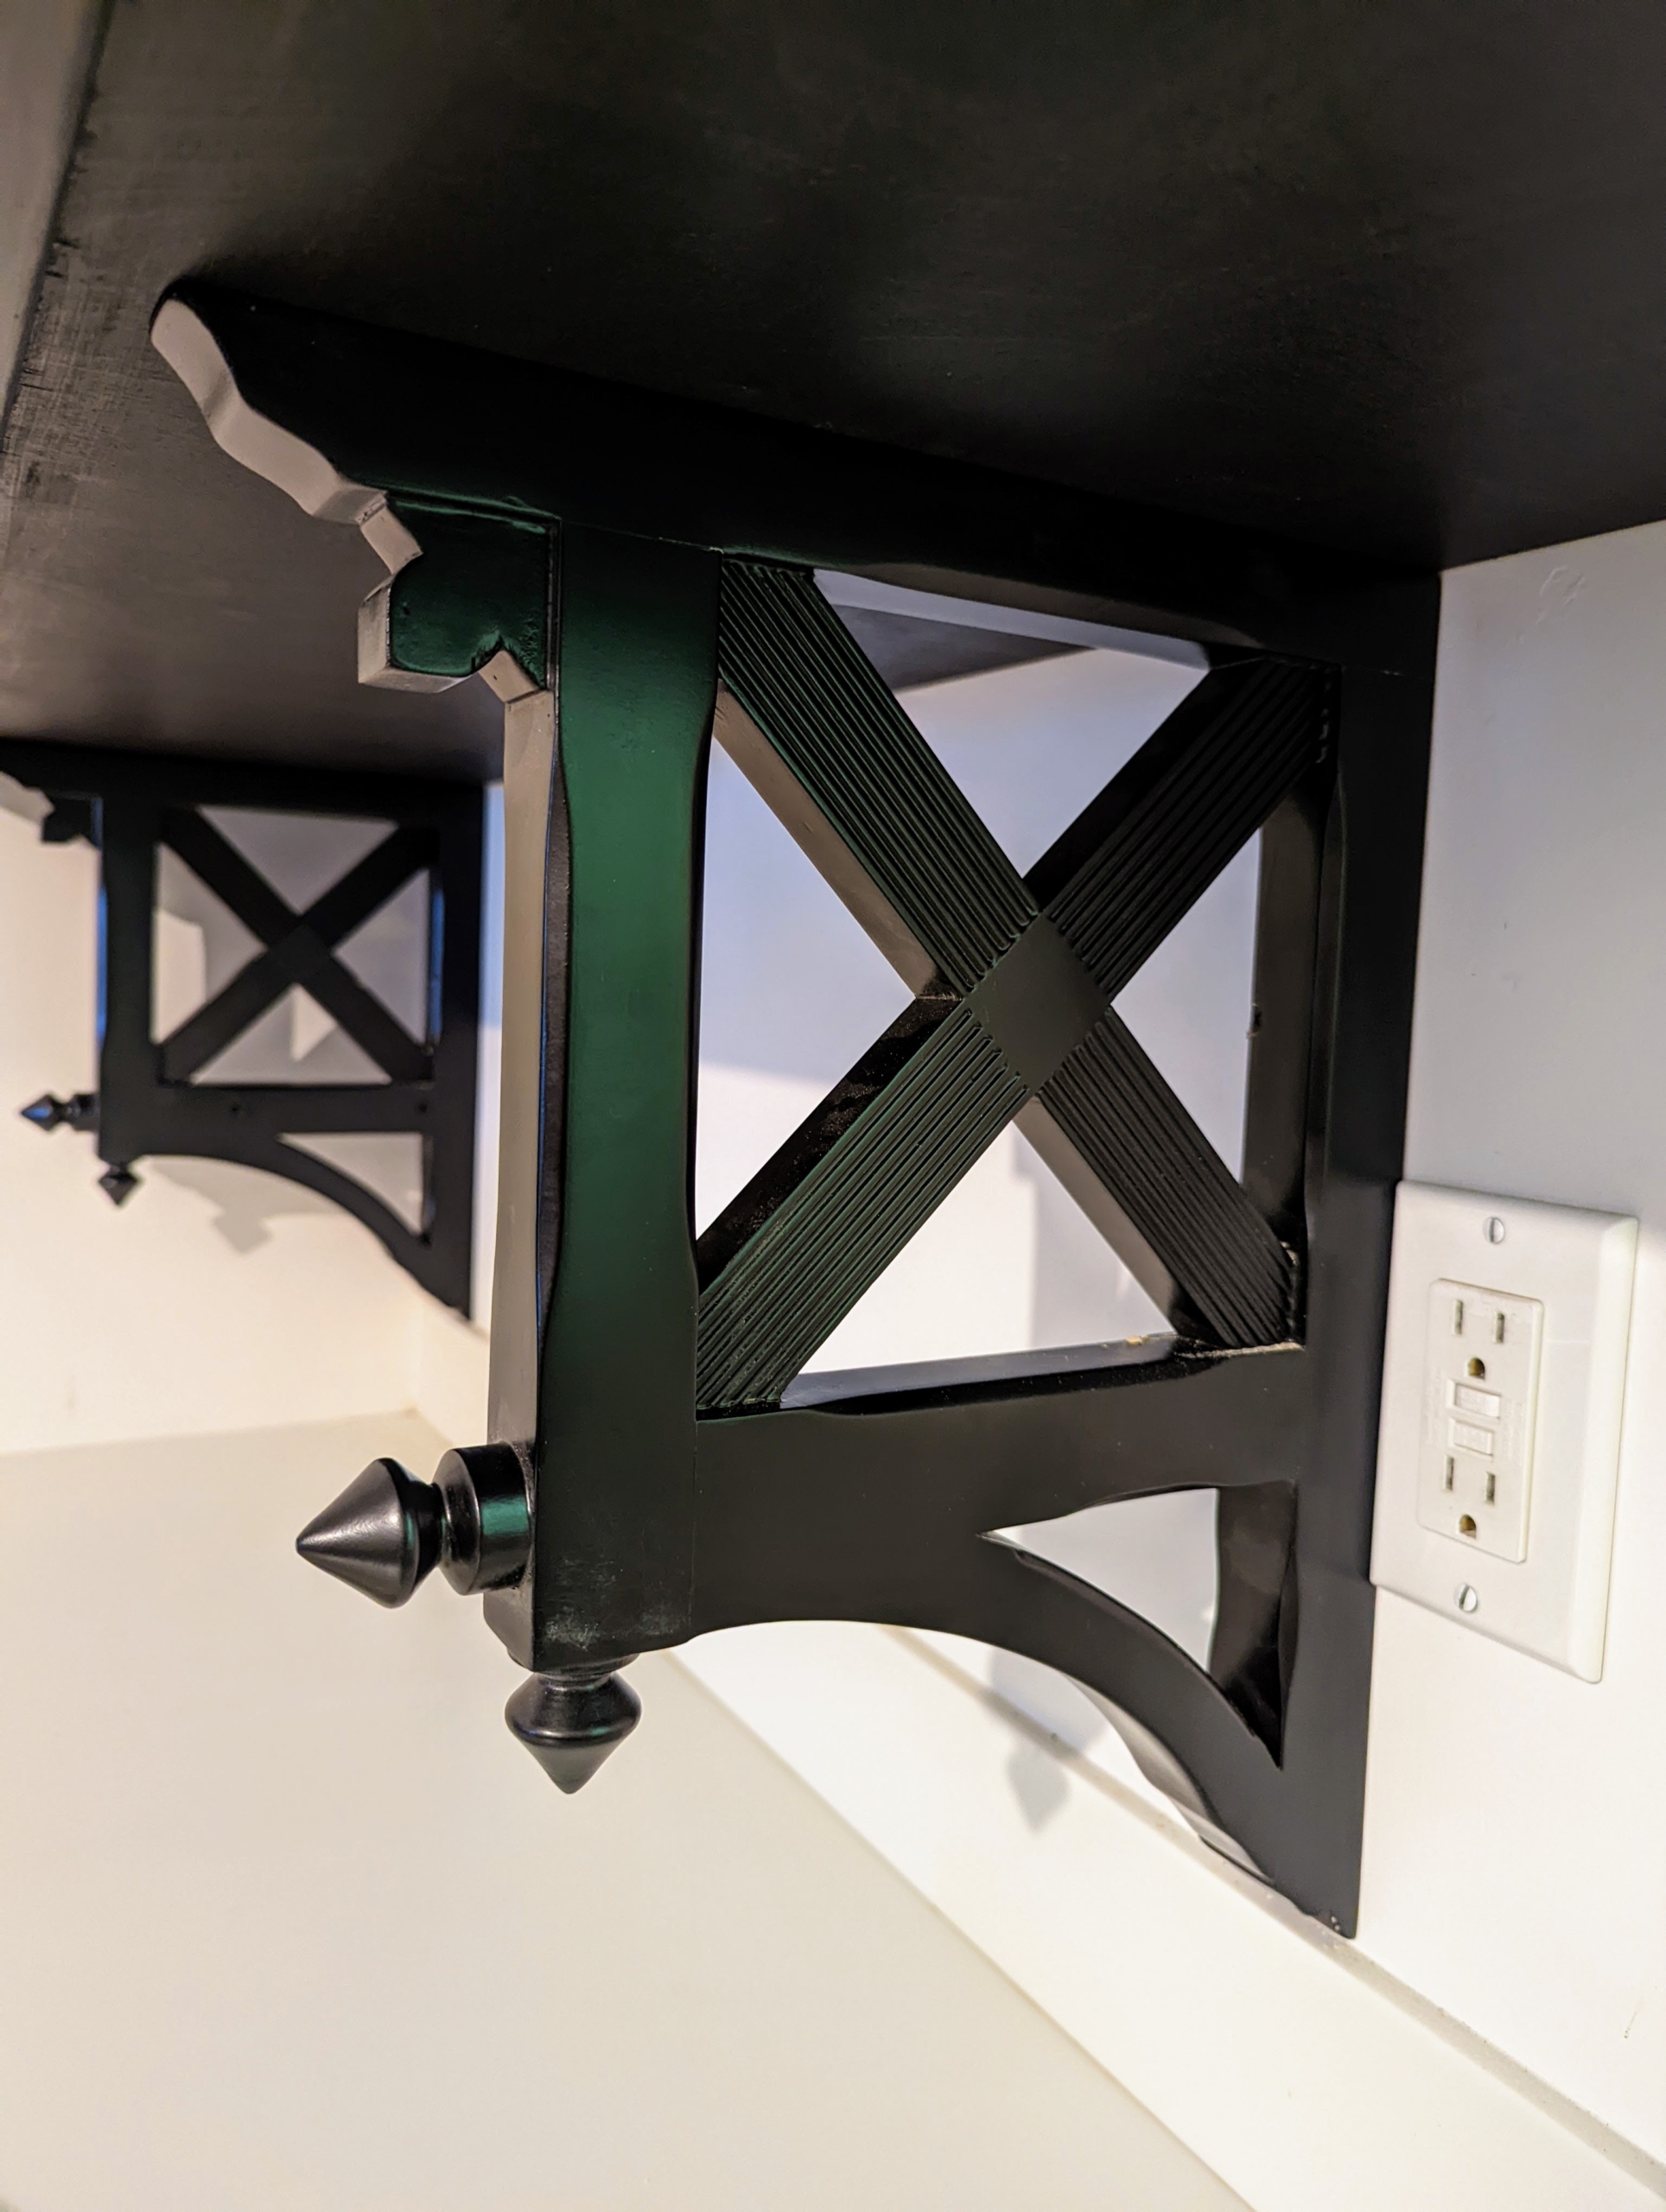
These shelf brackets are so handsome – they look wonderful in this location.
To secure it even more, Doug places two screws through the shelf from the top and into the brackets.
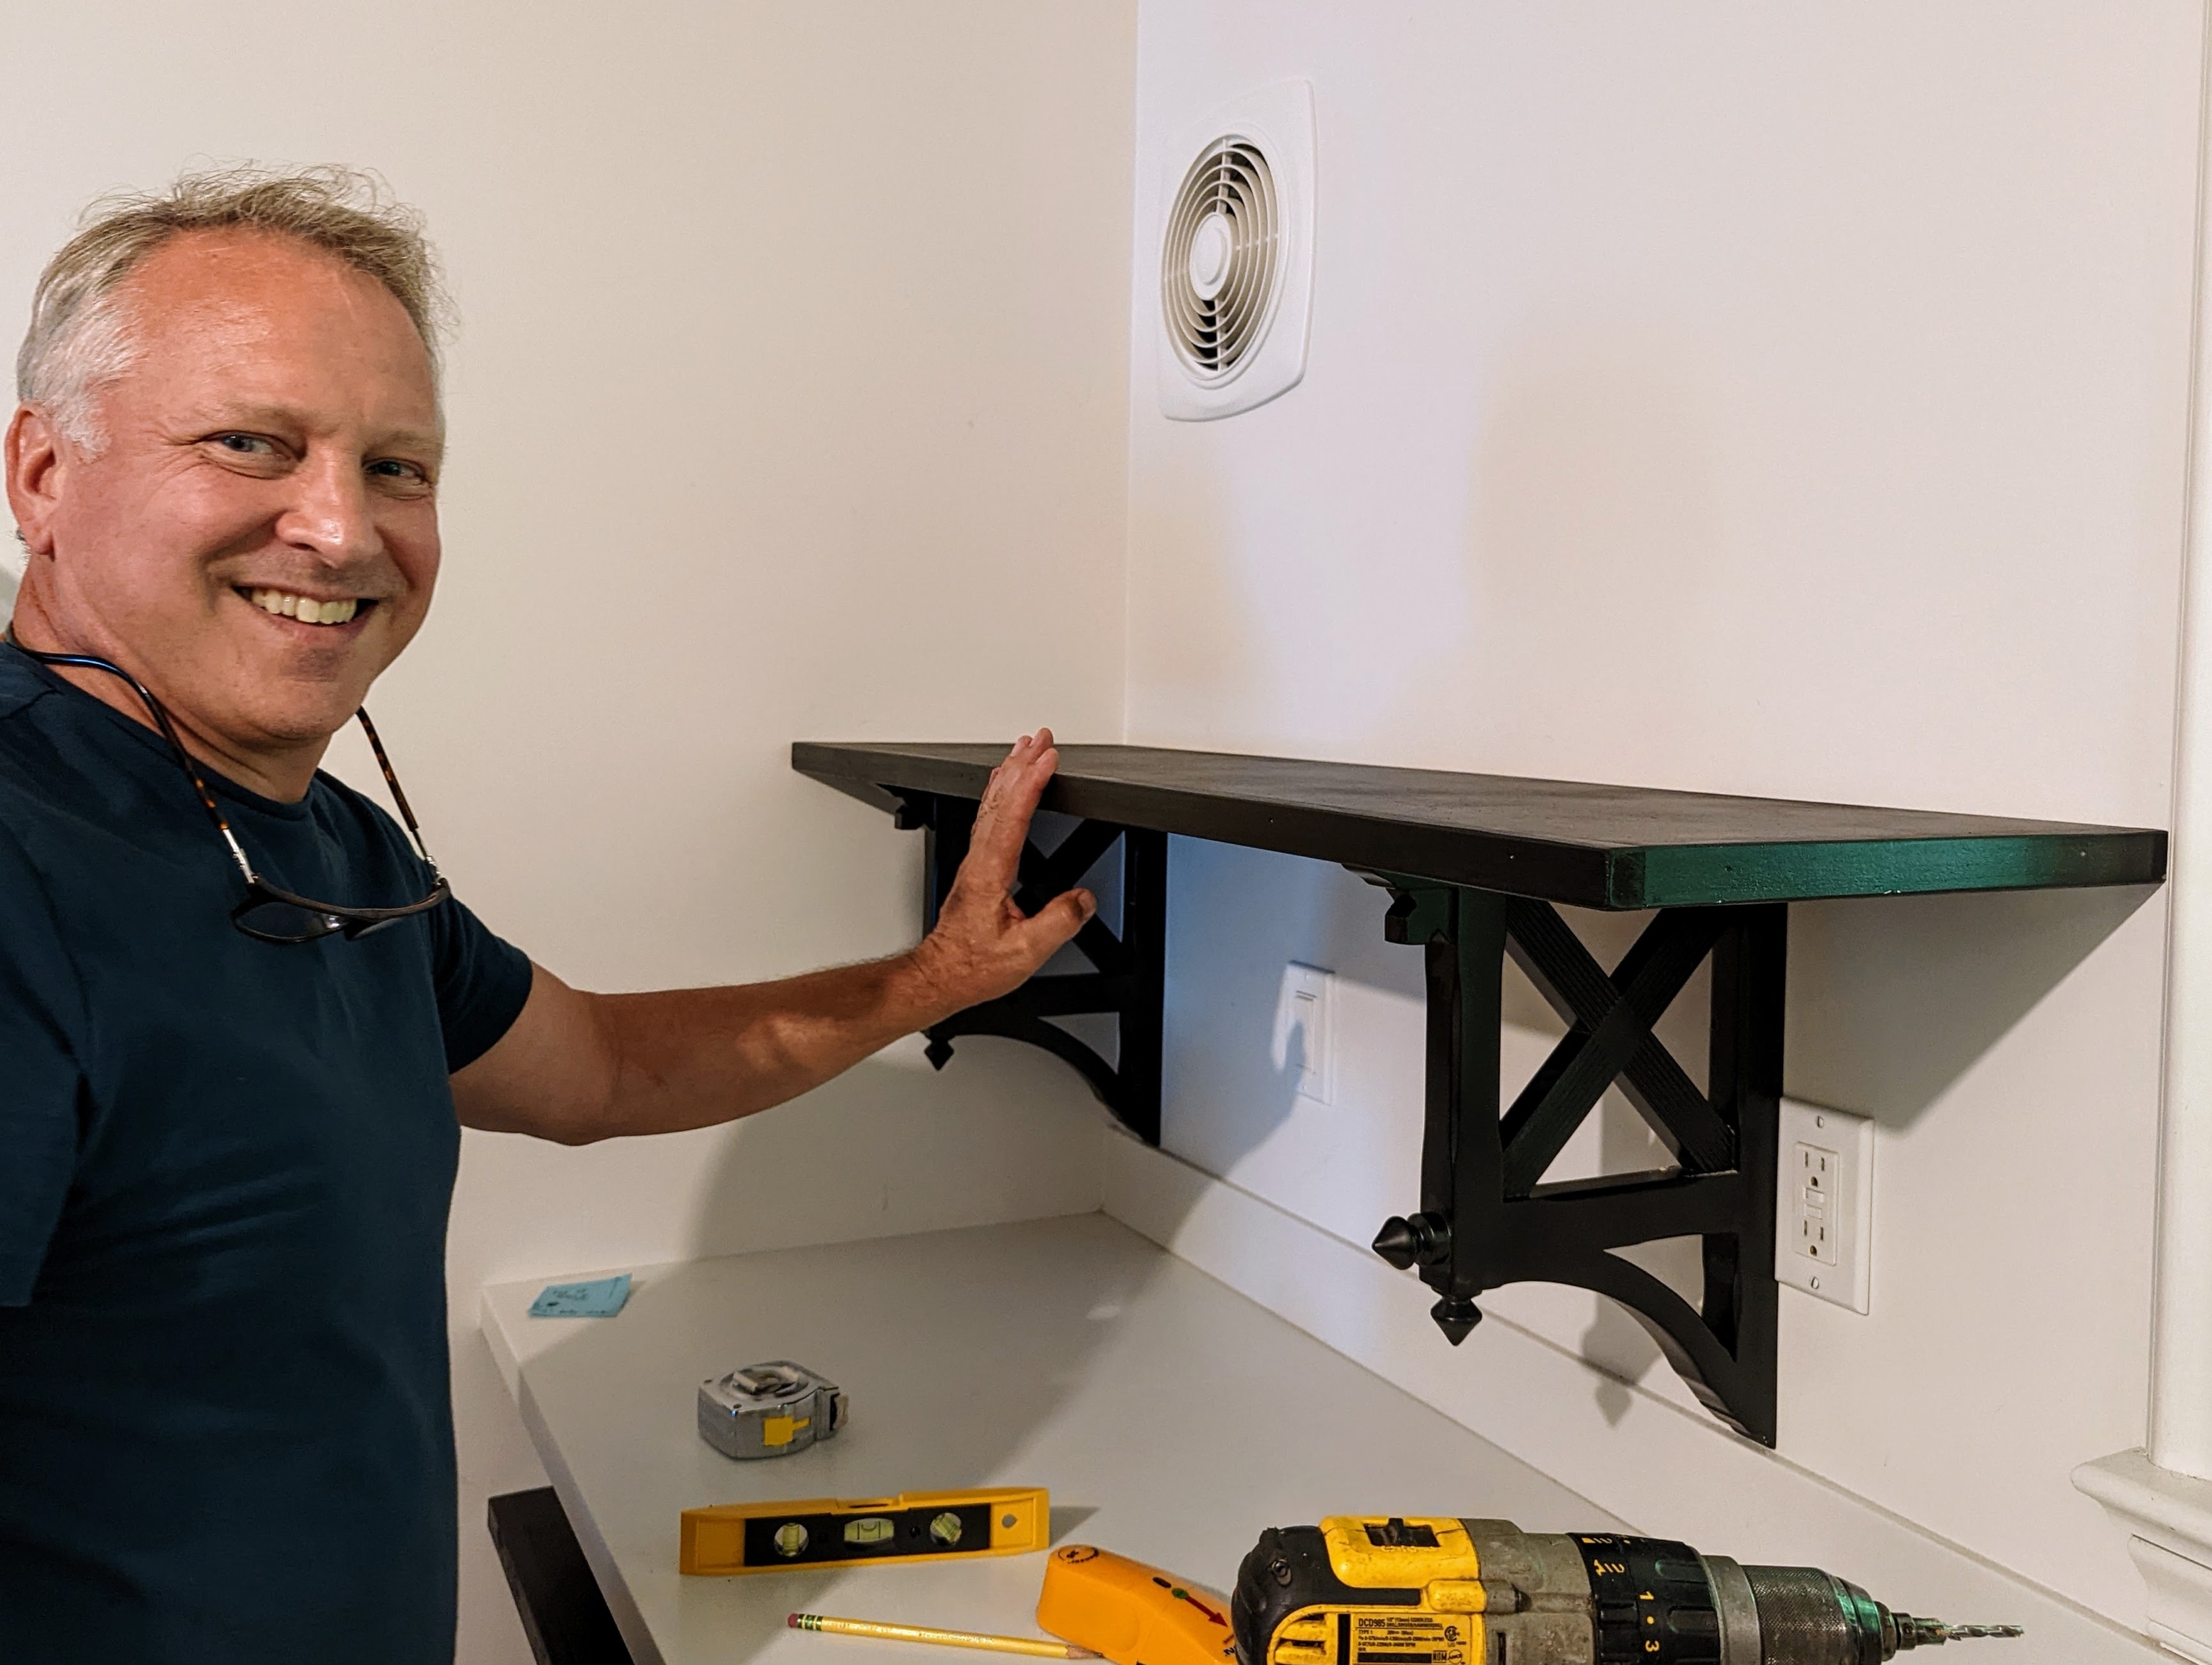
Here’s Doug next to the new shelf.
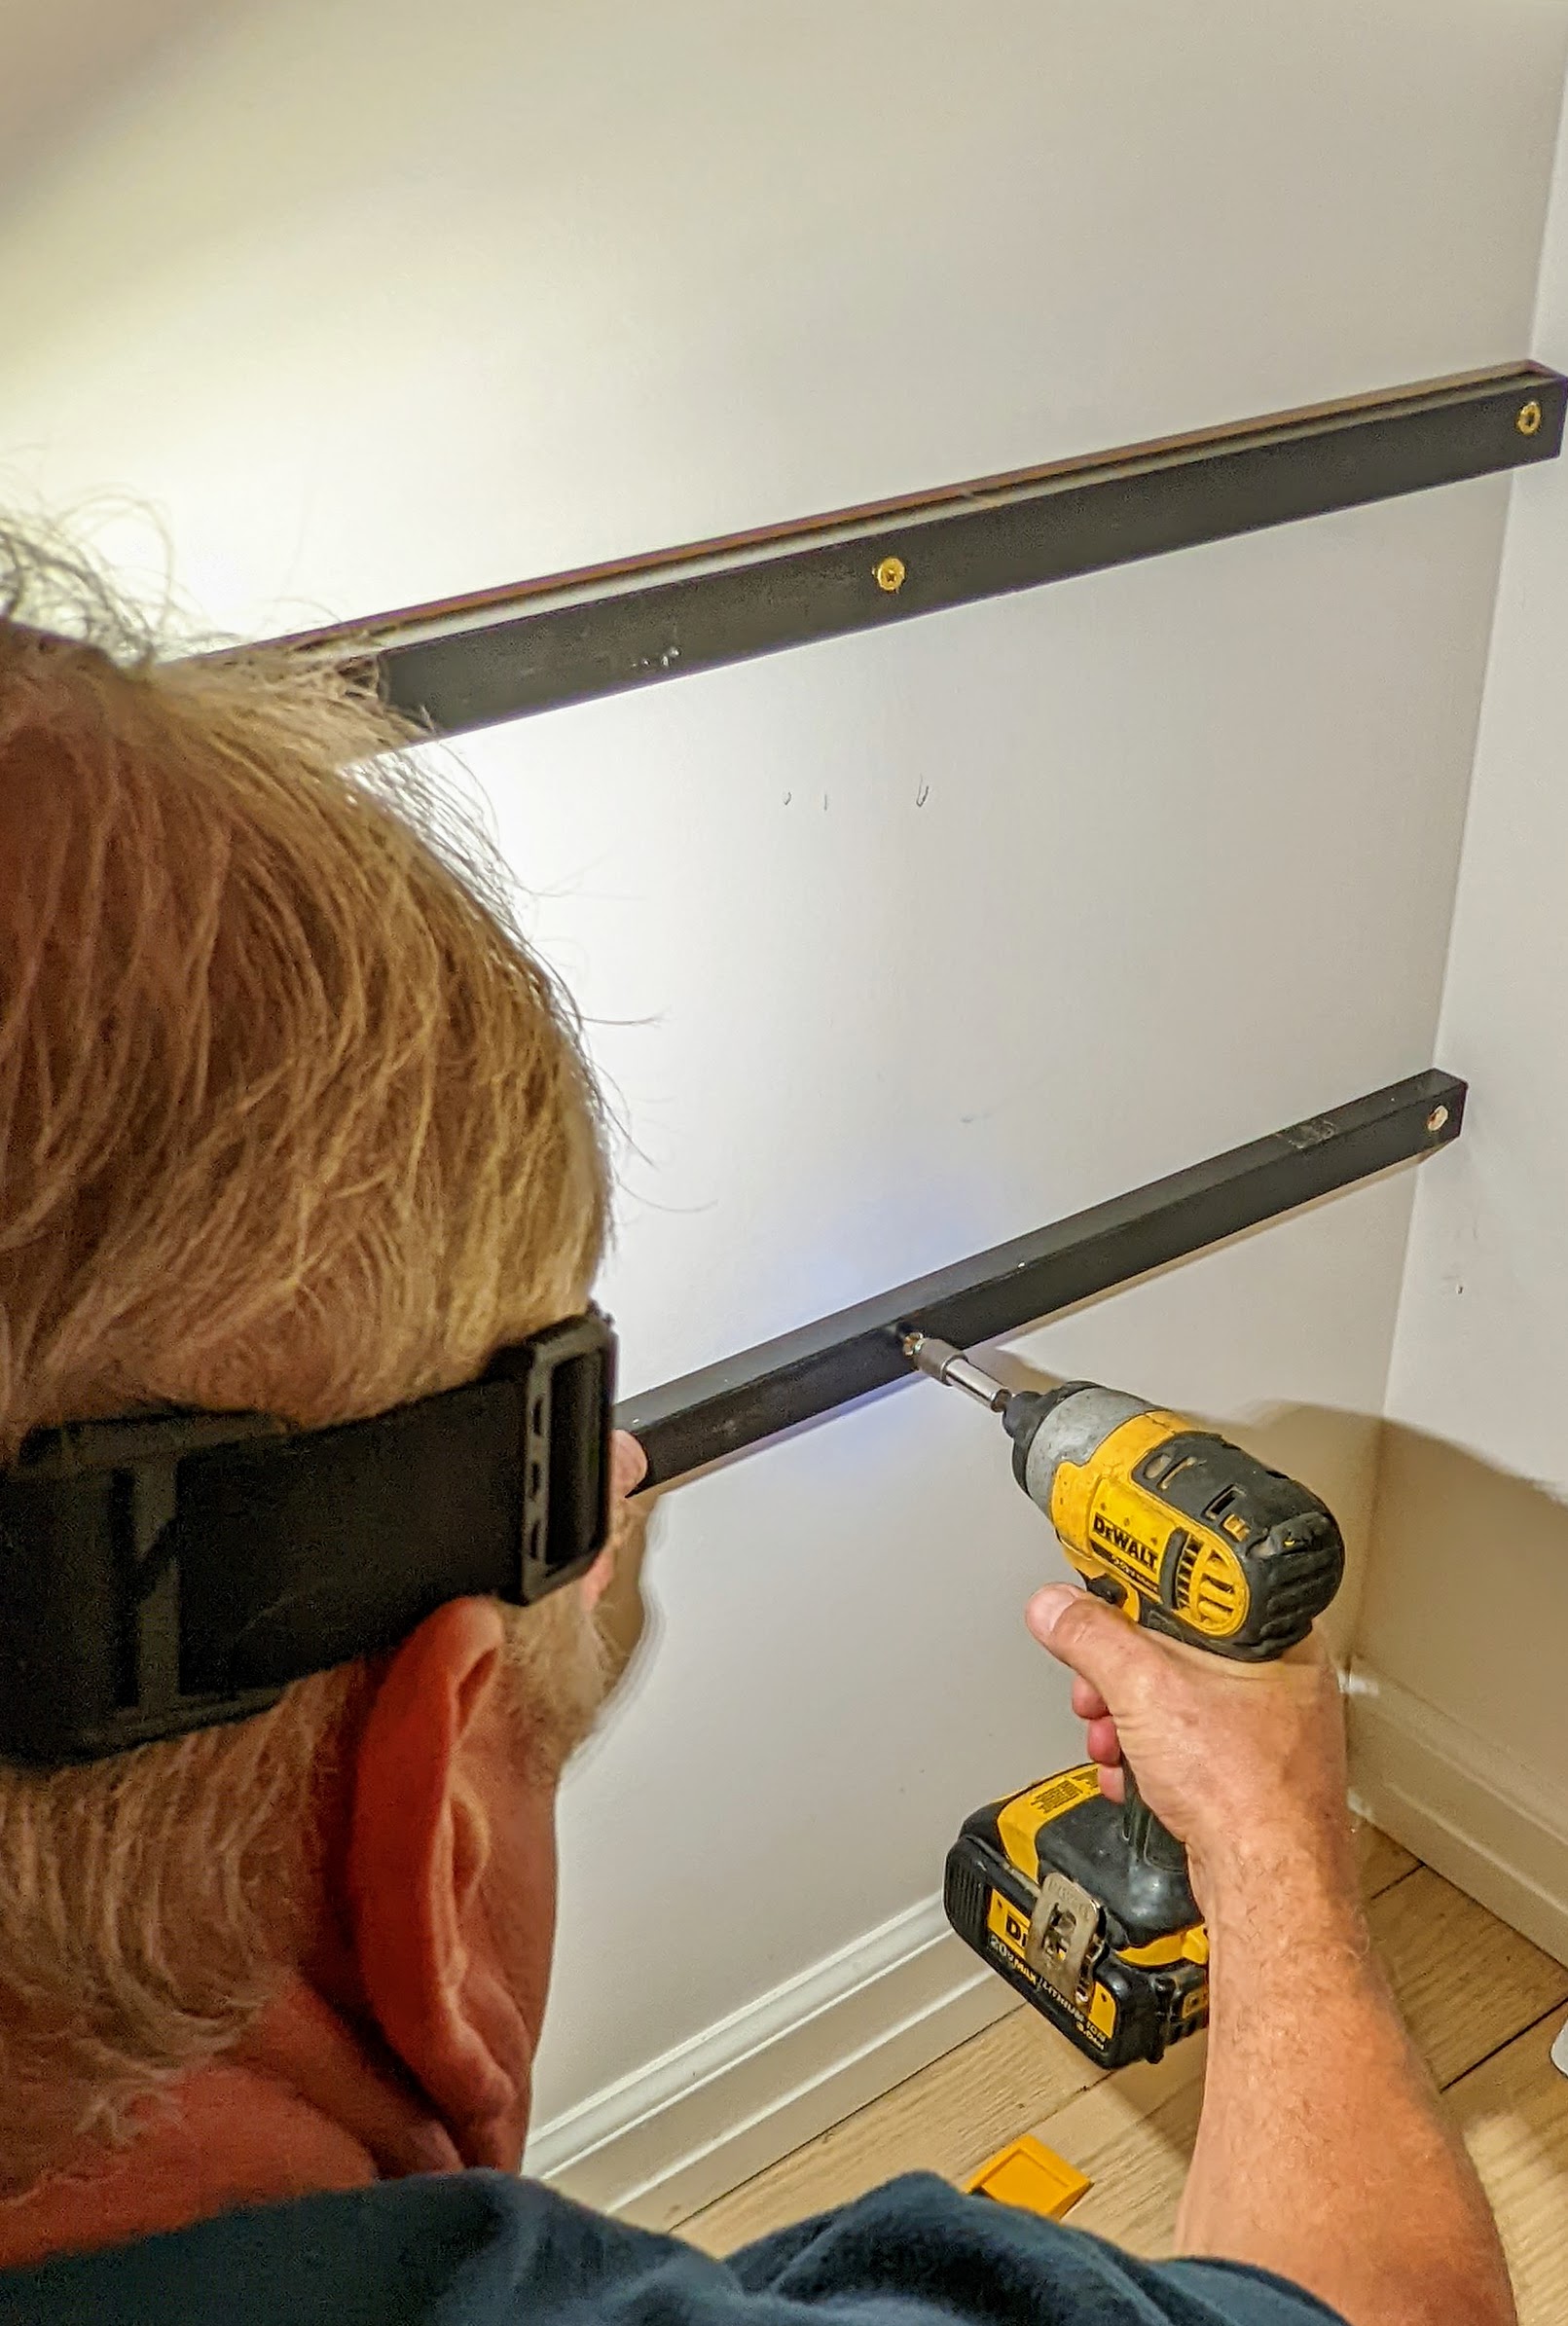
Just underneath the counter, Doug prepares battens for two more shelves. Here he is drilling pilot holes where they will be fastened to the wall.
A pilot hole is a small hole drilled as a guide for the insertion of a nail or screw.
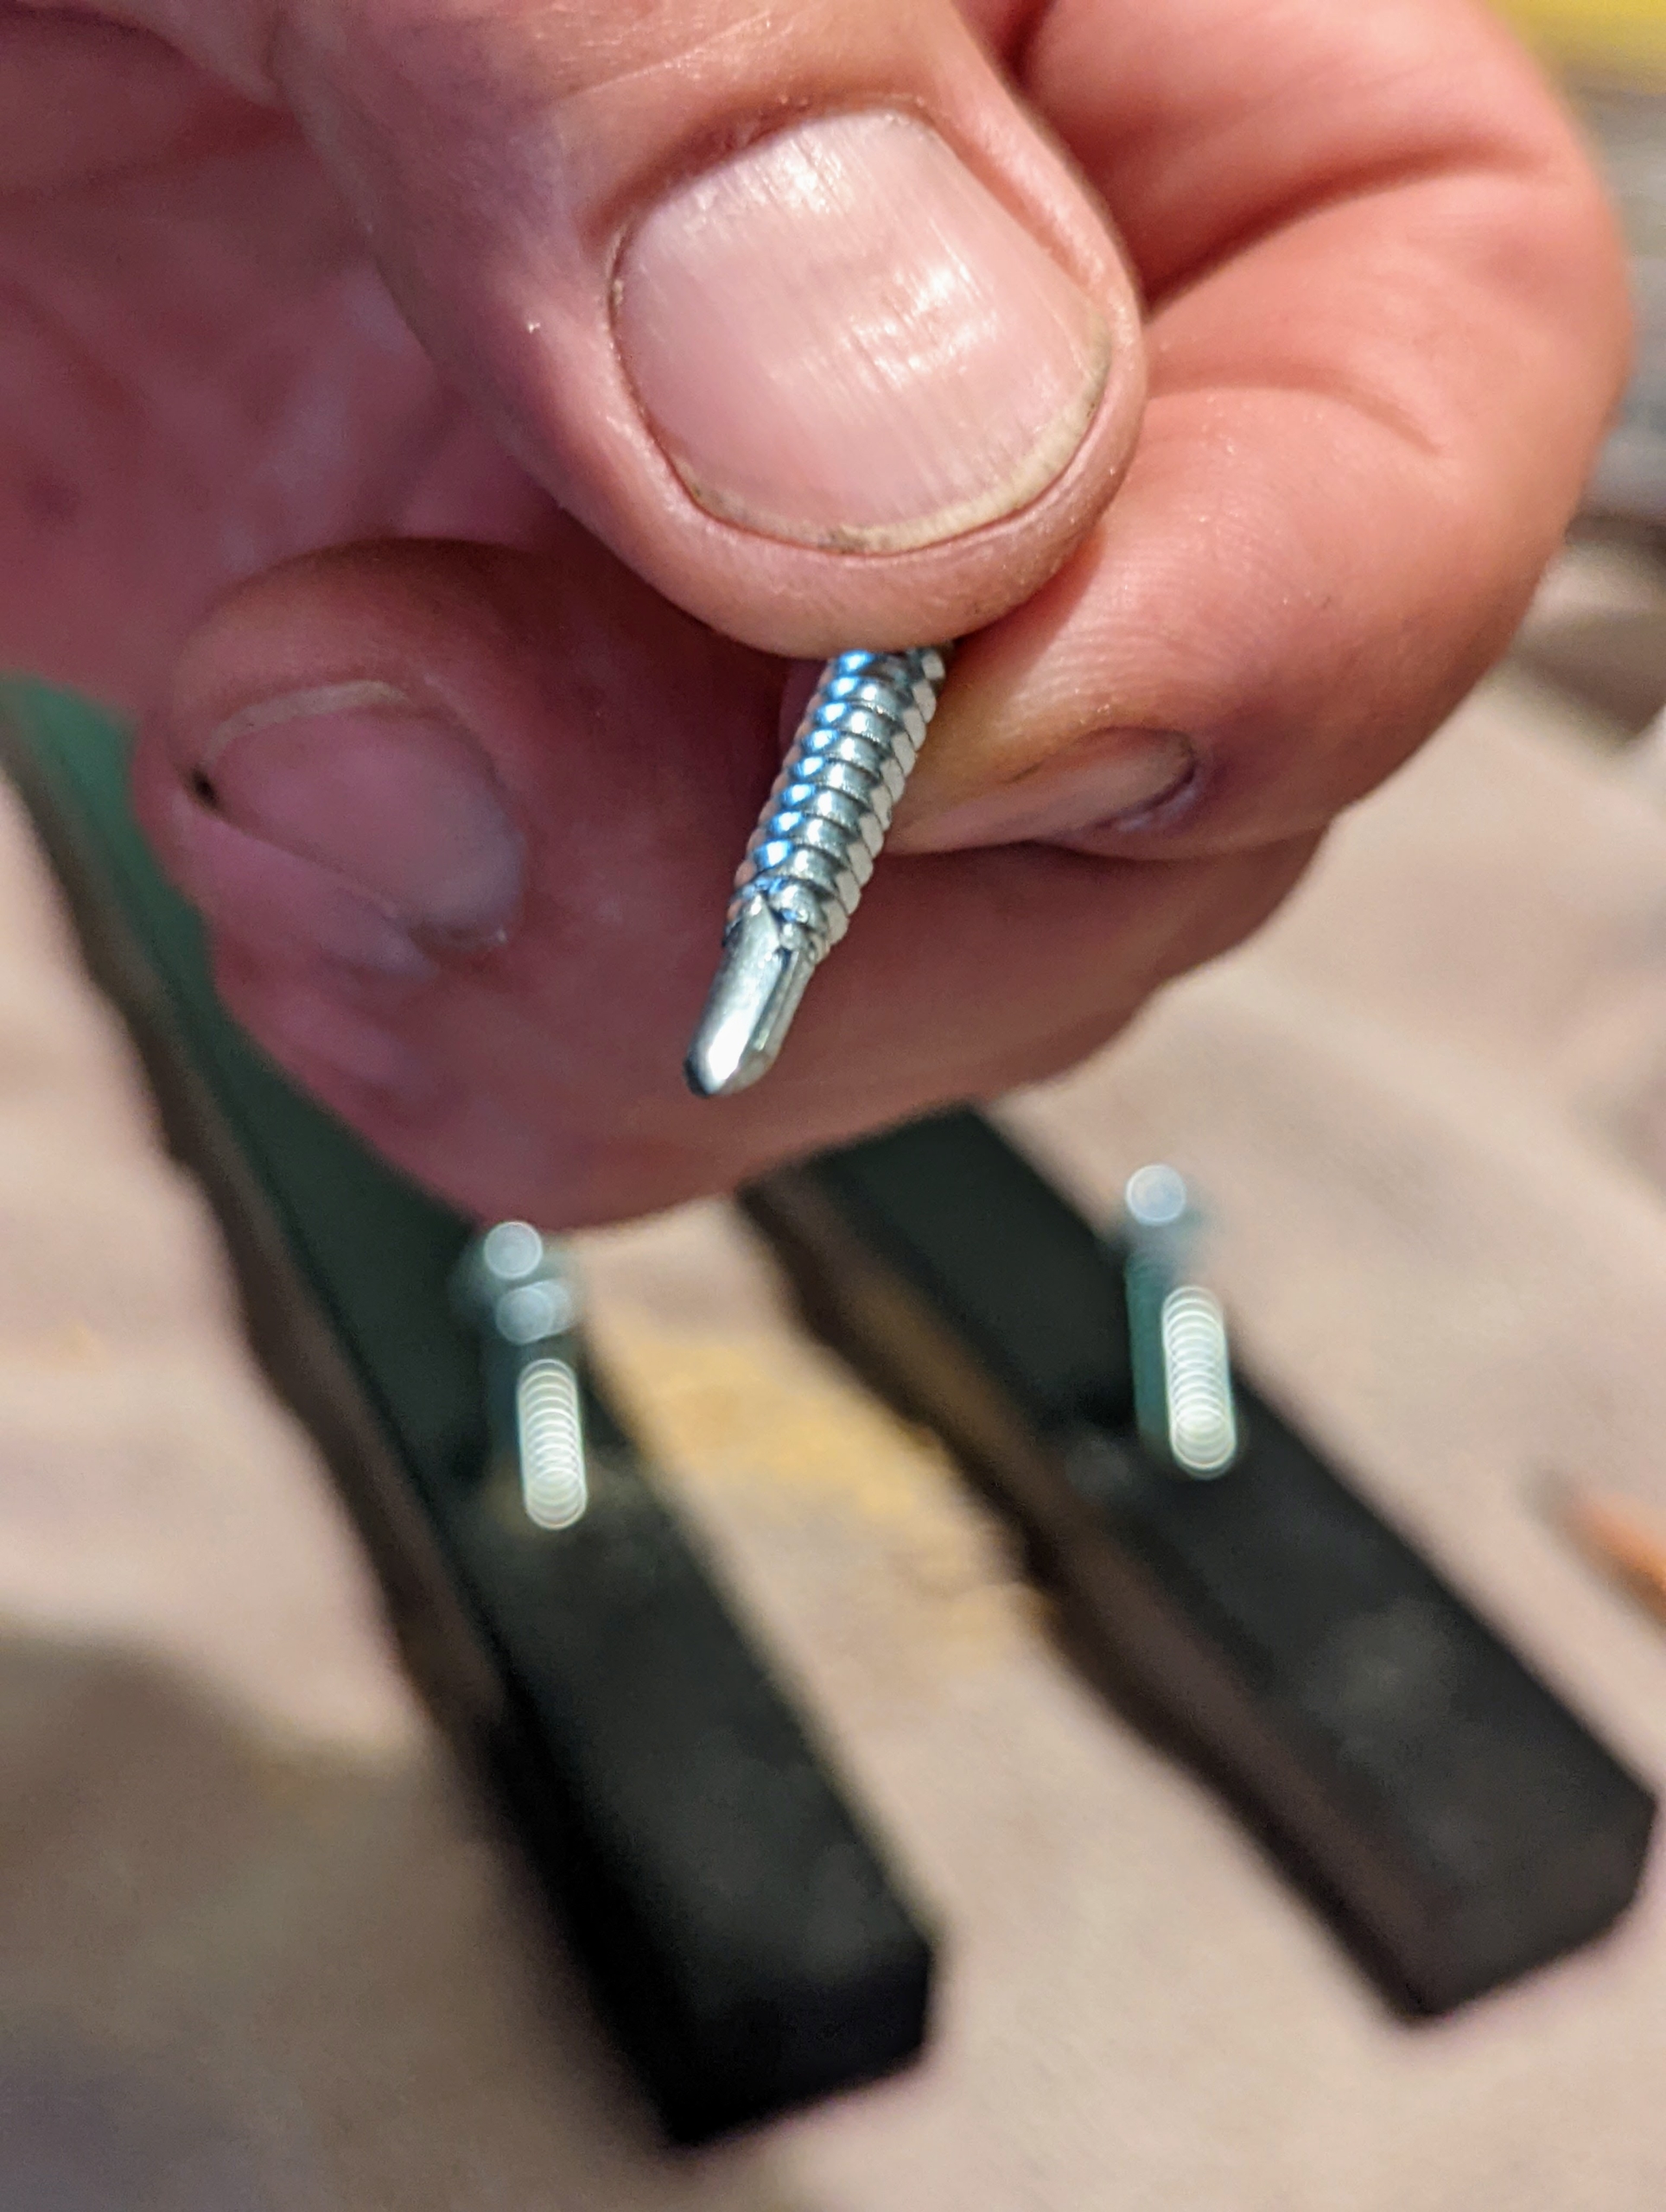
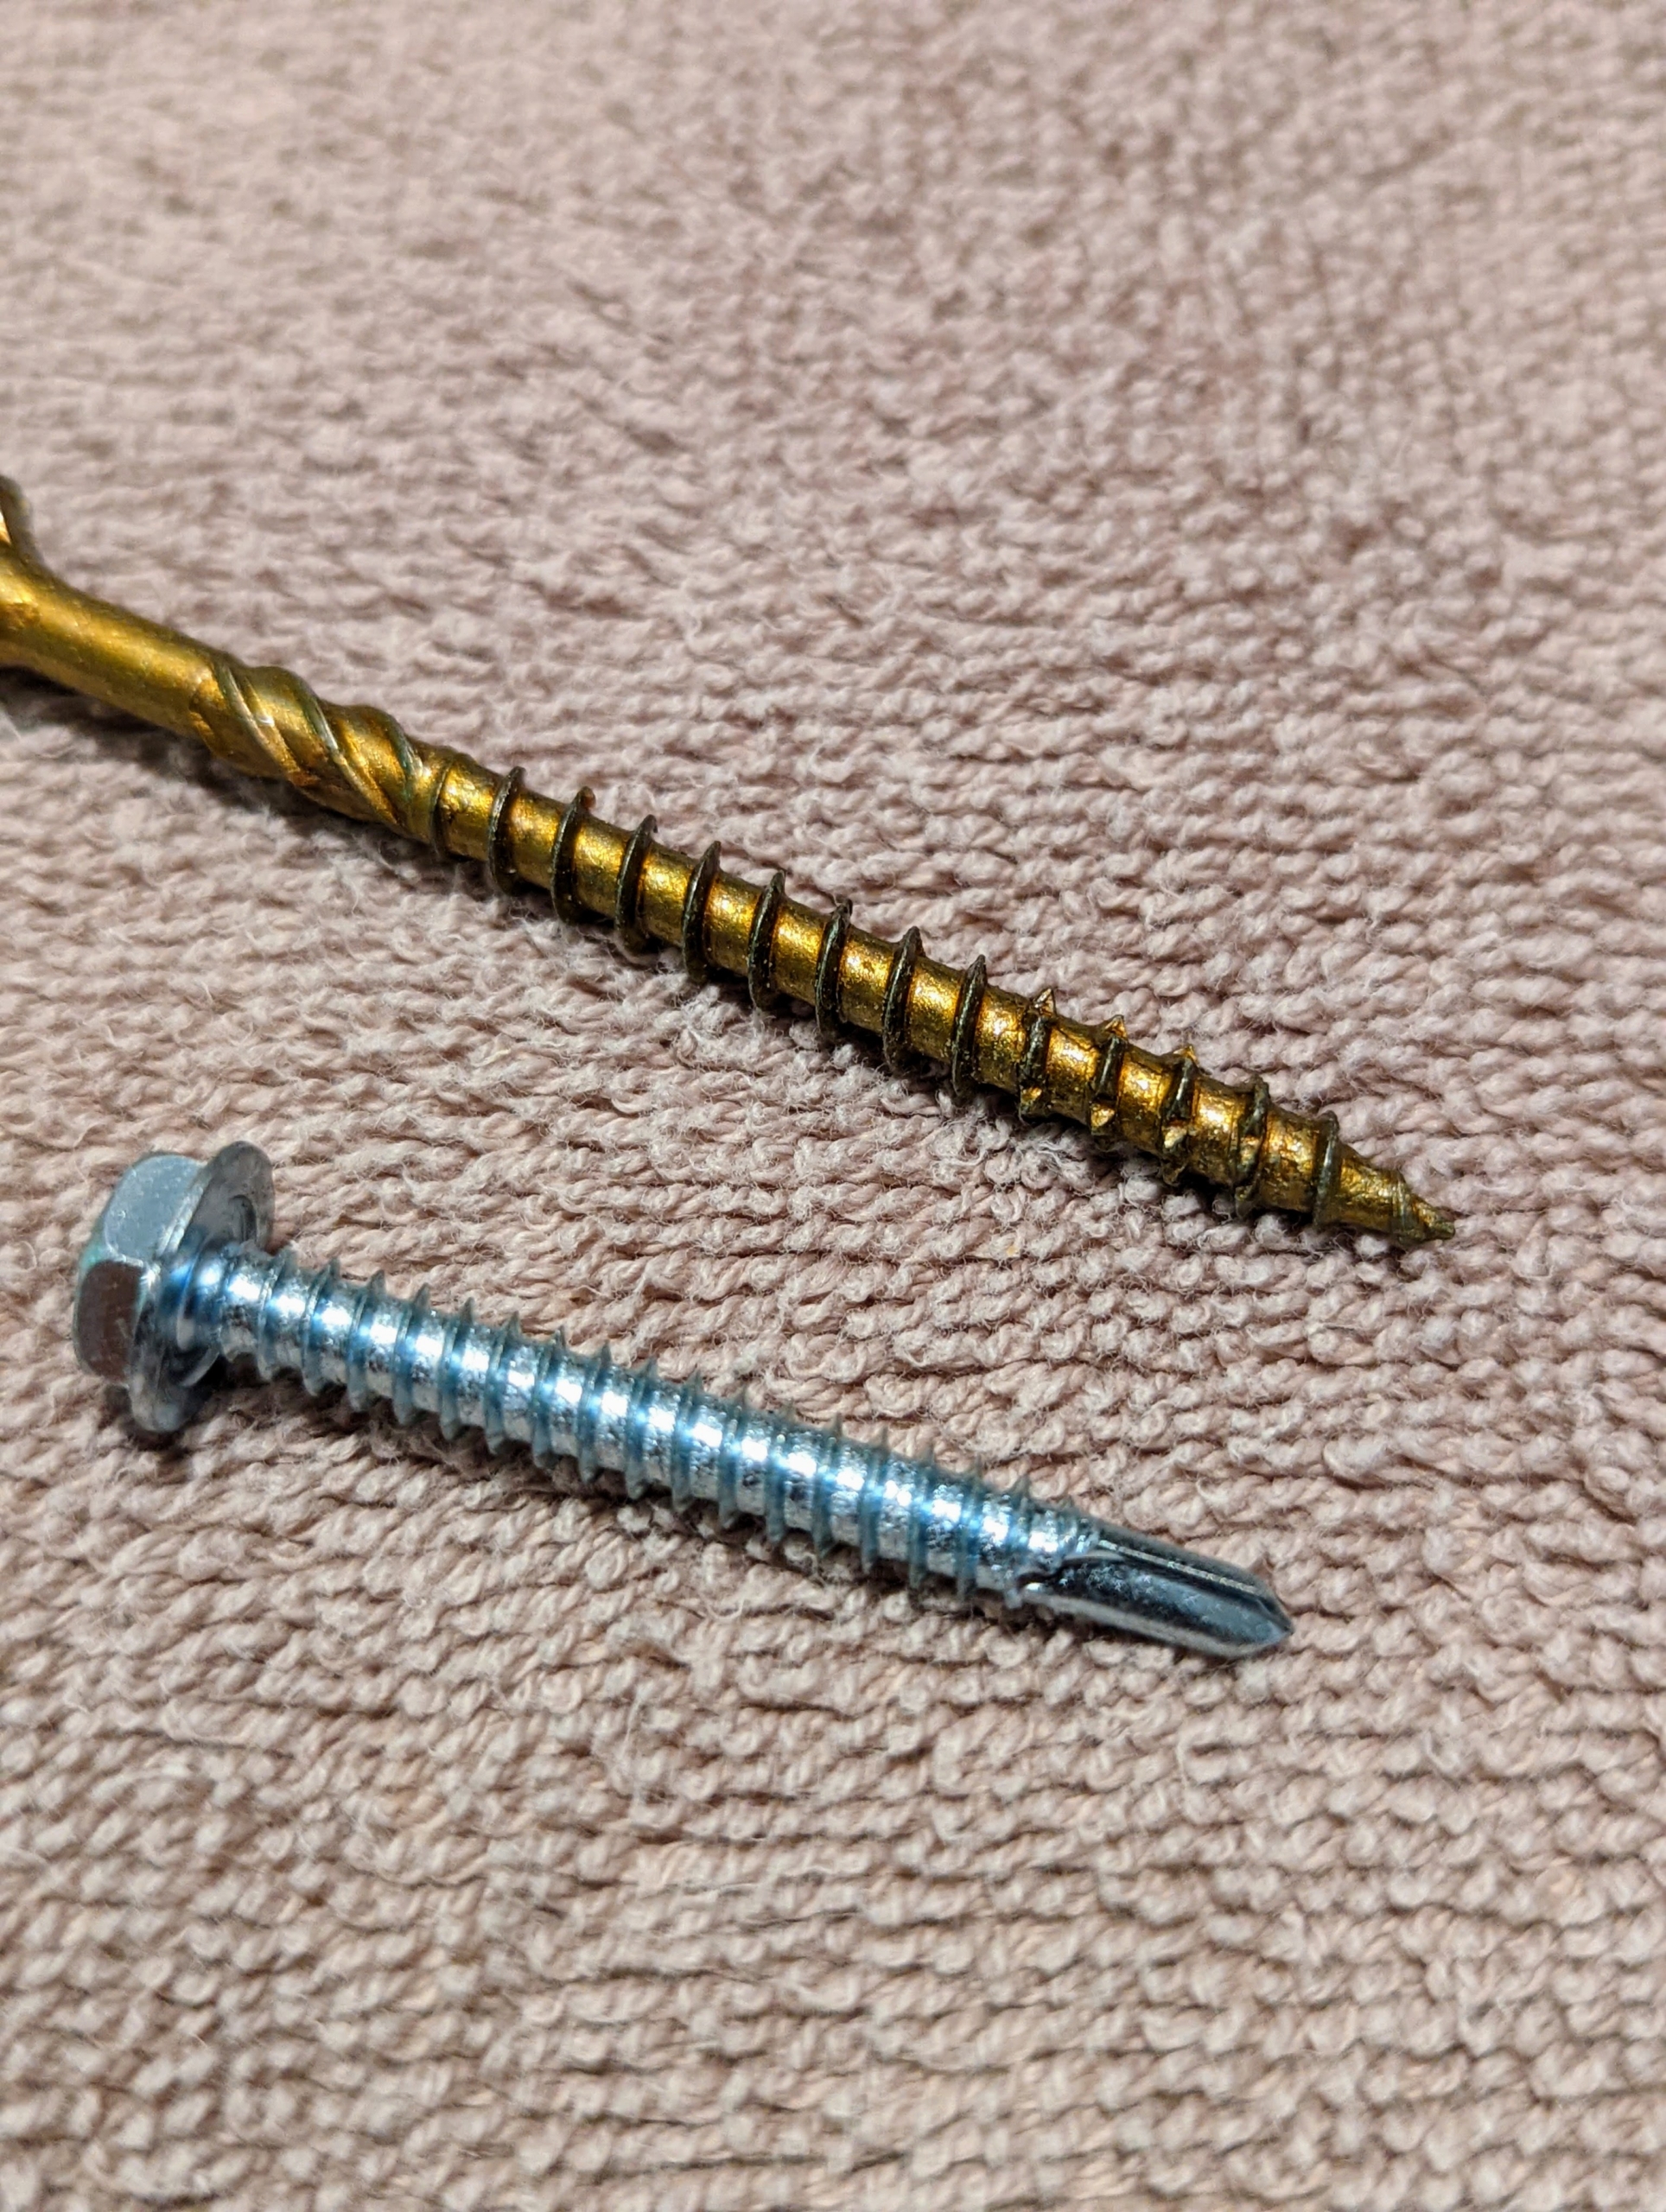
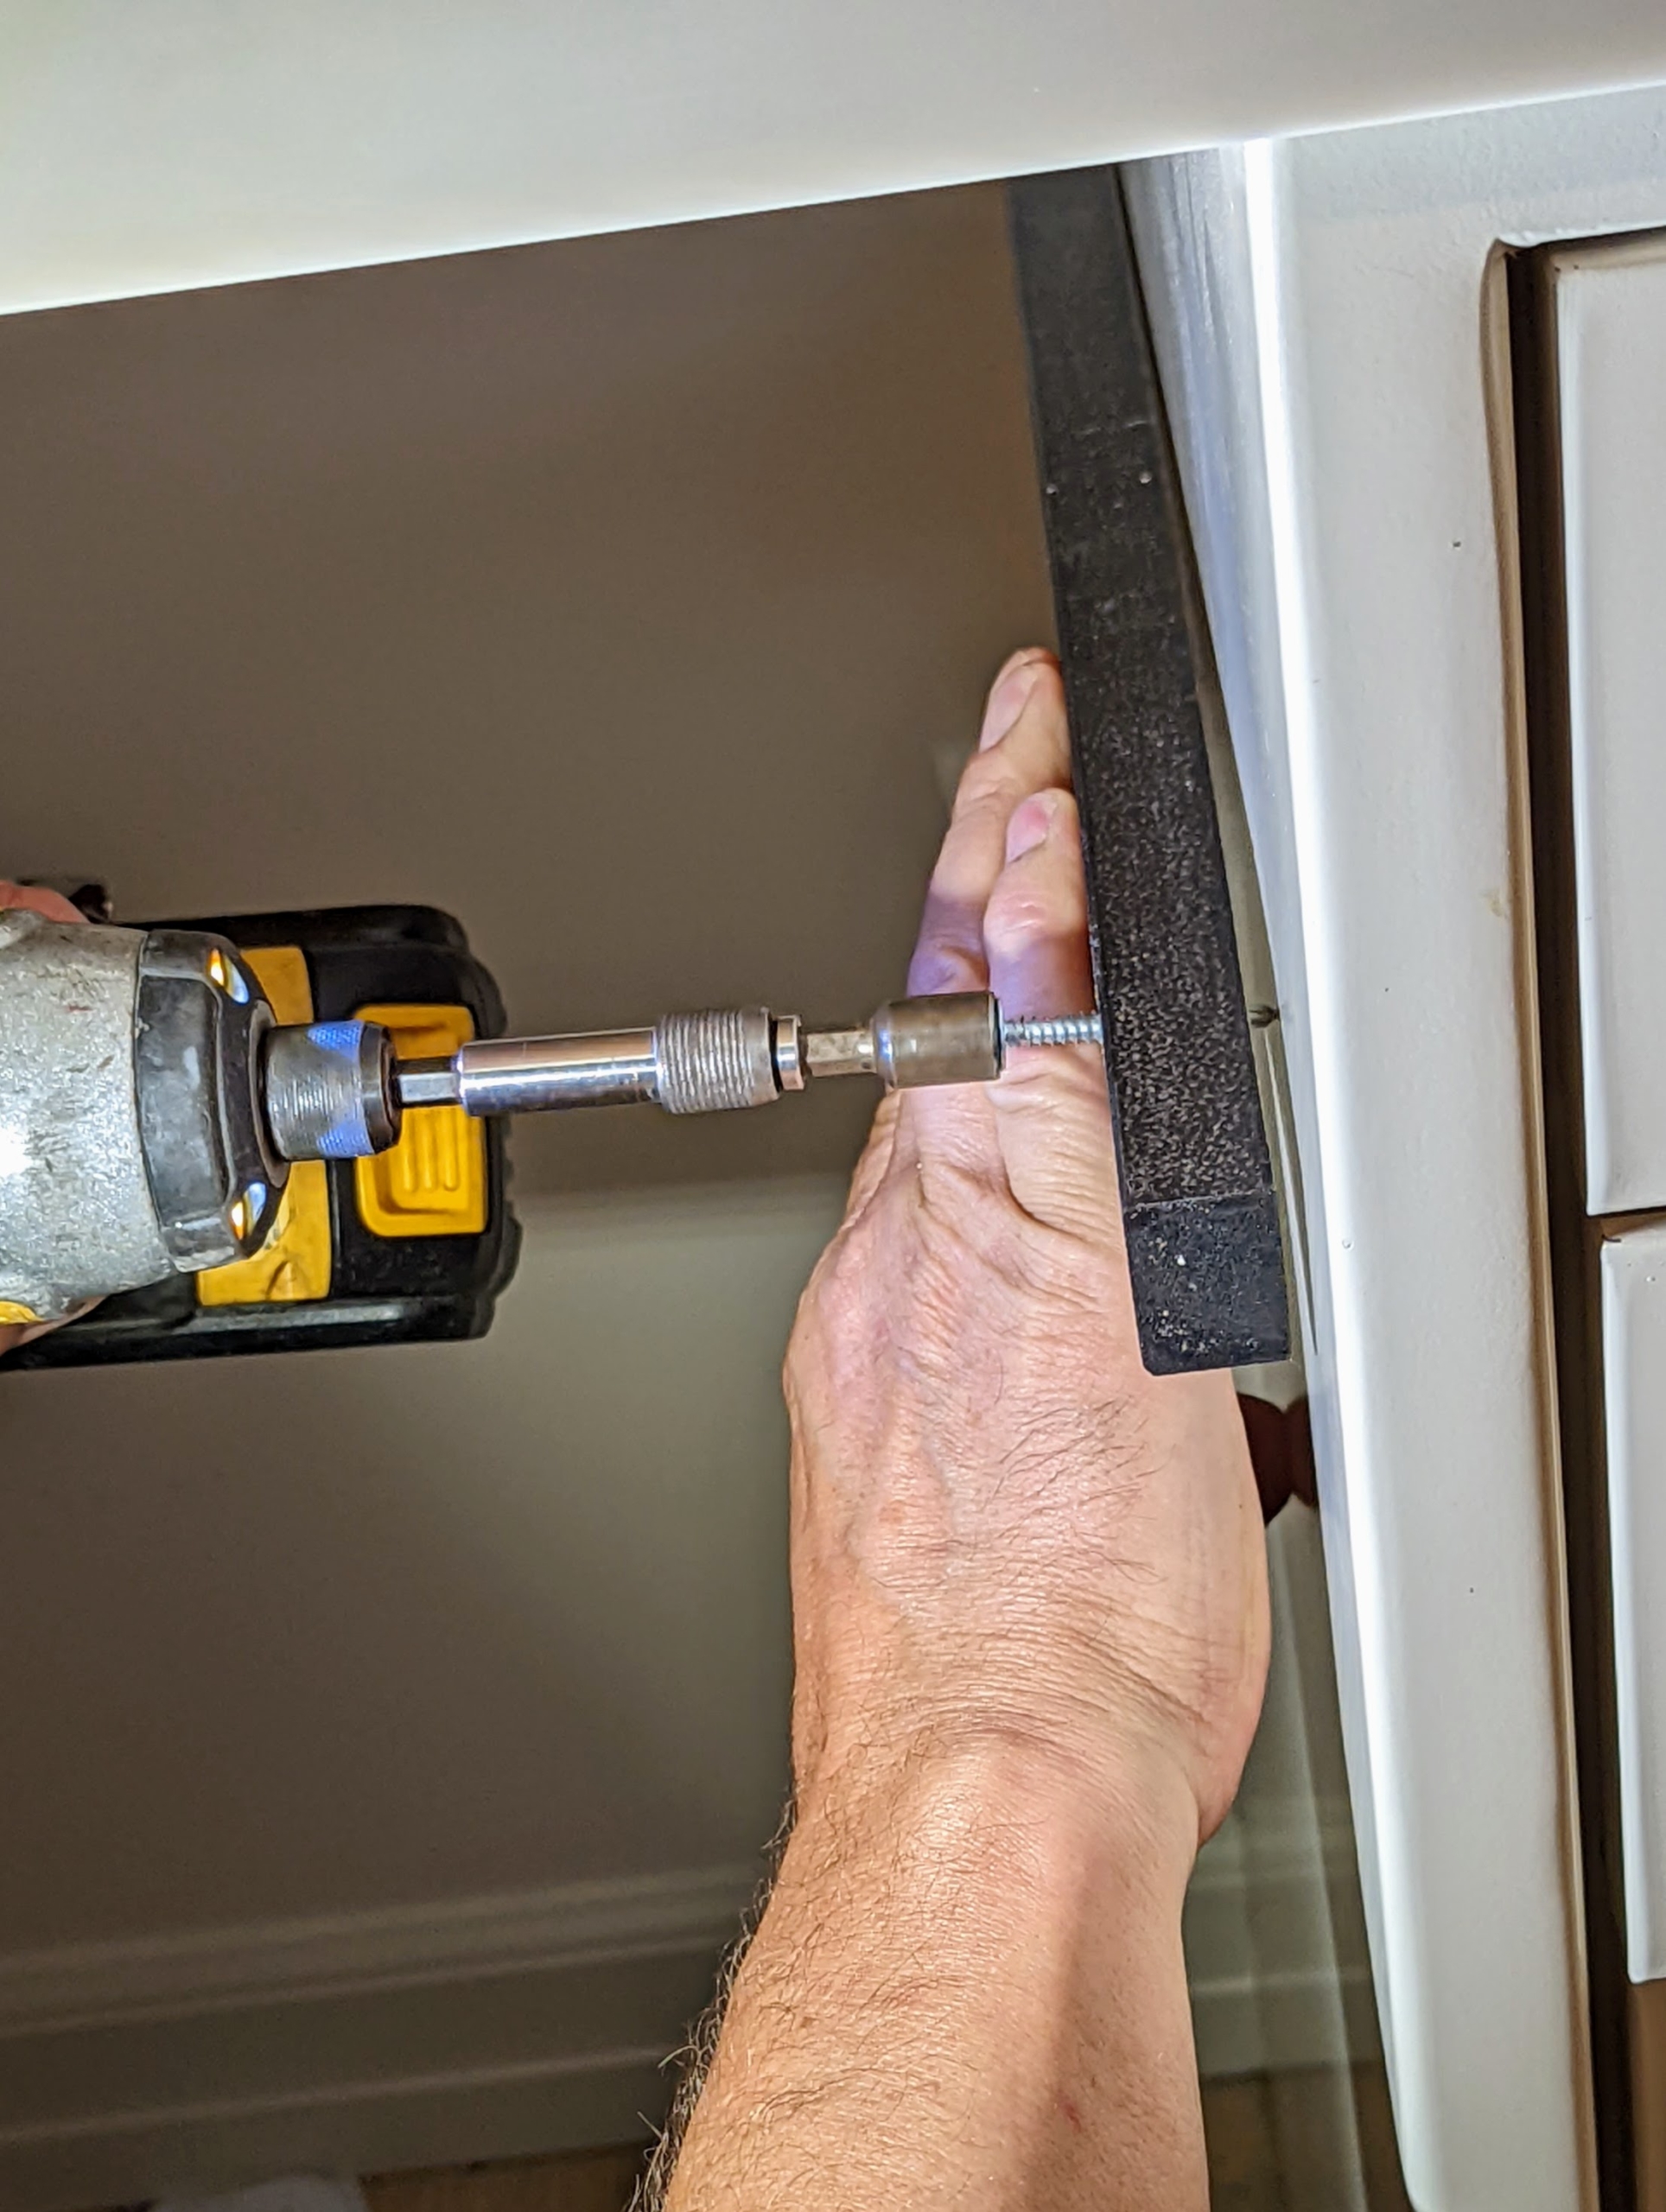
For one side, which is a metal cabinet, Doug uses self-drilling screws which can go through the metal without needed a separate drilling step.
Here is the self-drilling screw next to a wood screw. One can see how the base of the screw has the drill bit shaped point.
Doug fastens the self-drilling screw through the batten to secure it to the metal cabinetry behind it.
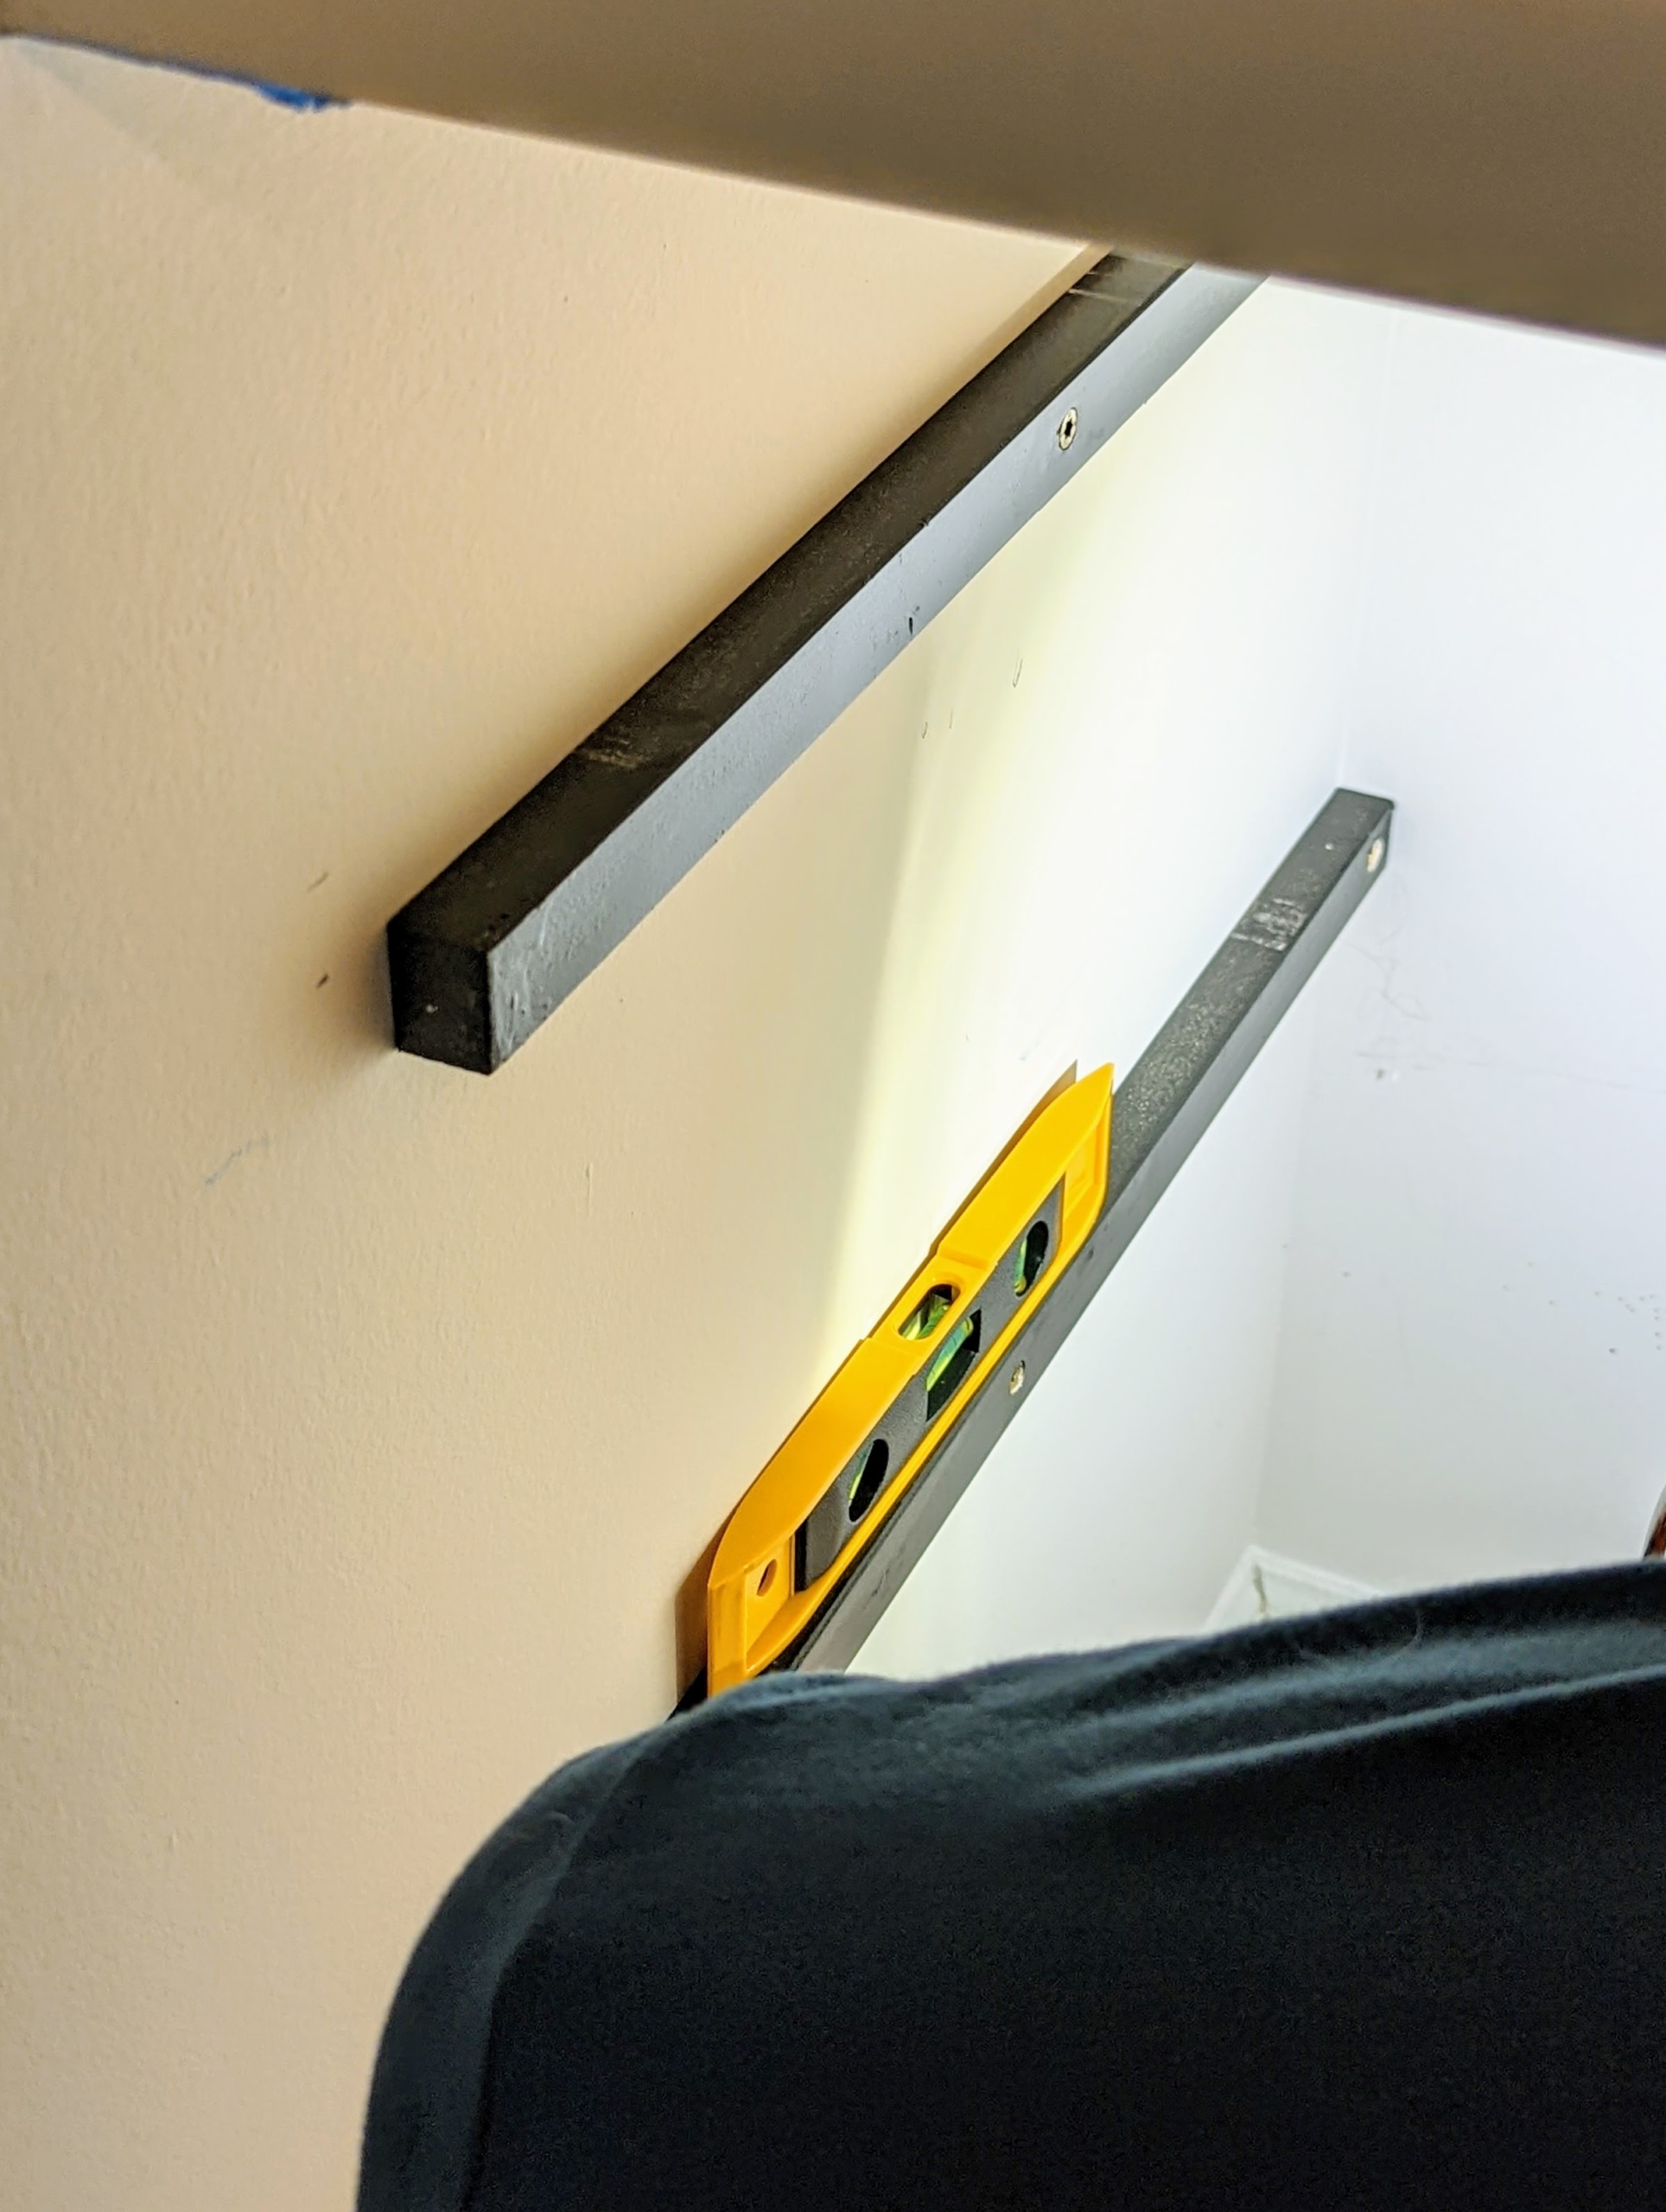
He fastens two other battens on the other side with regular screws into the wall studs.
Lastly, Doug checks for level and plumb.
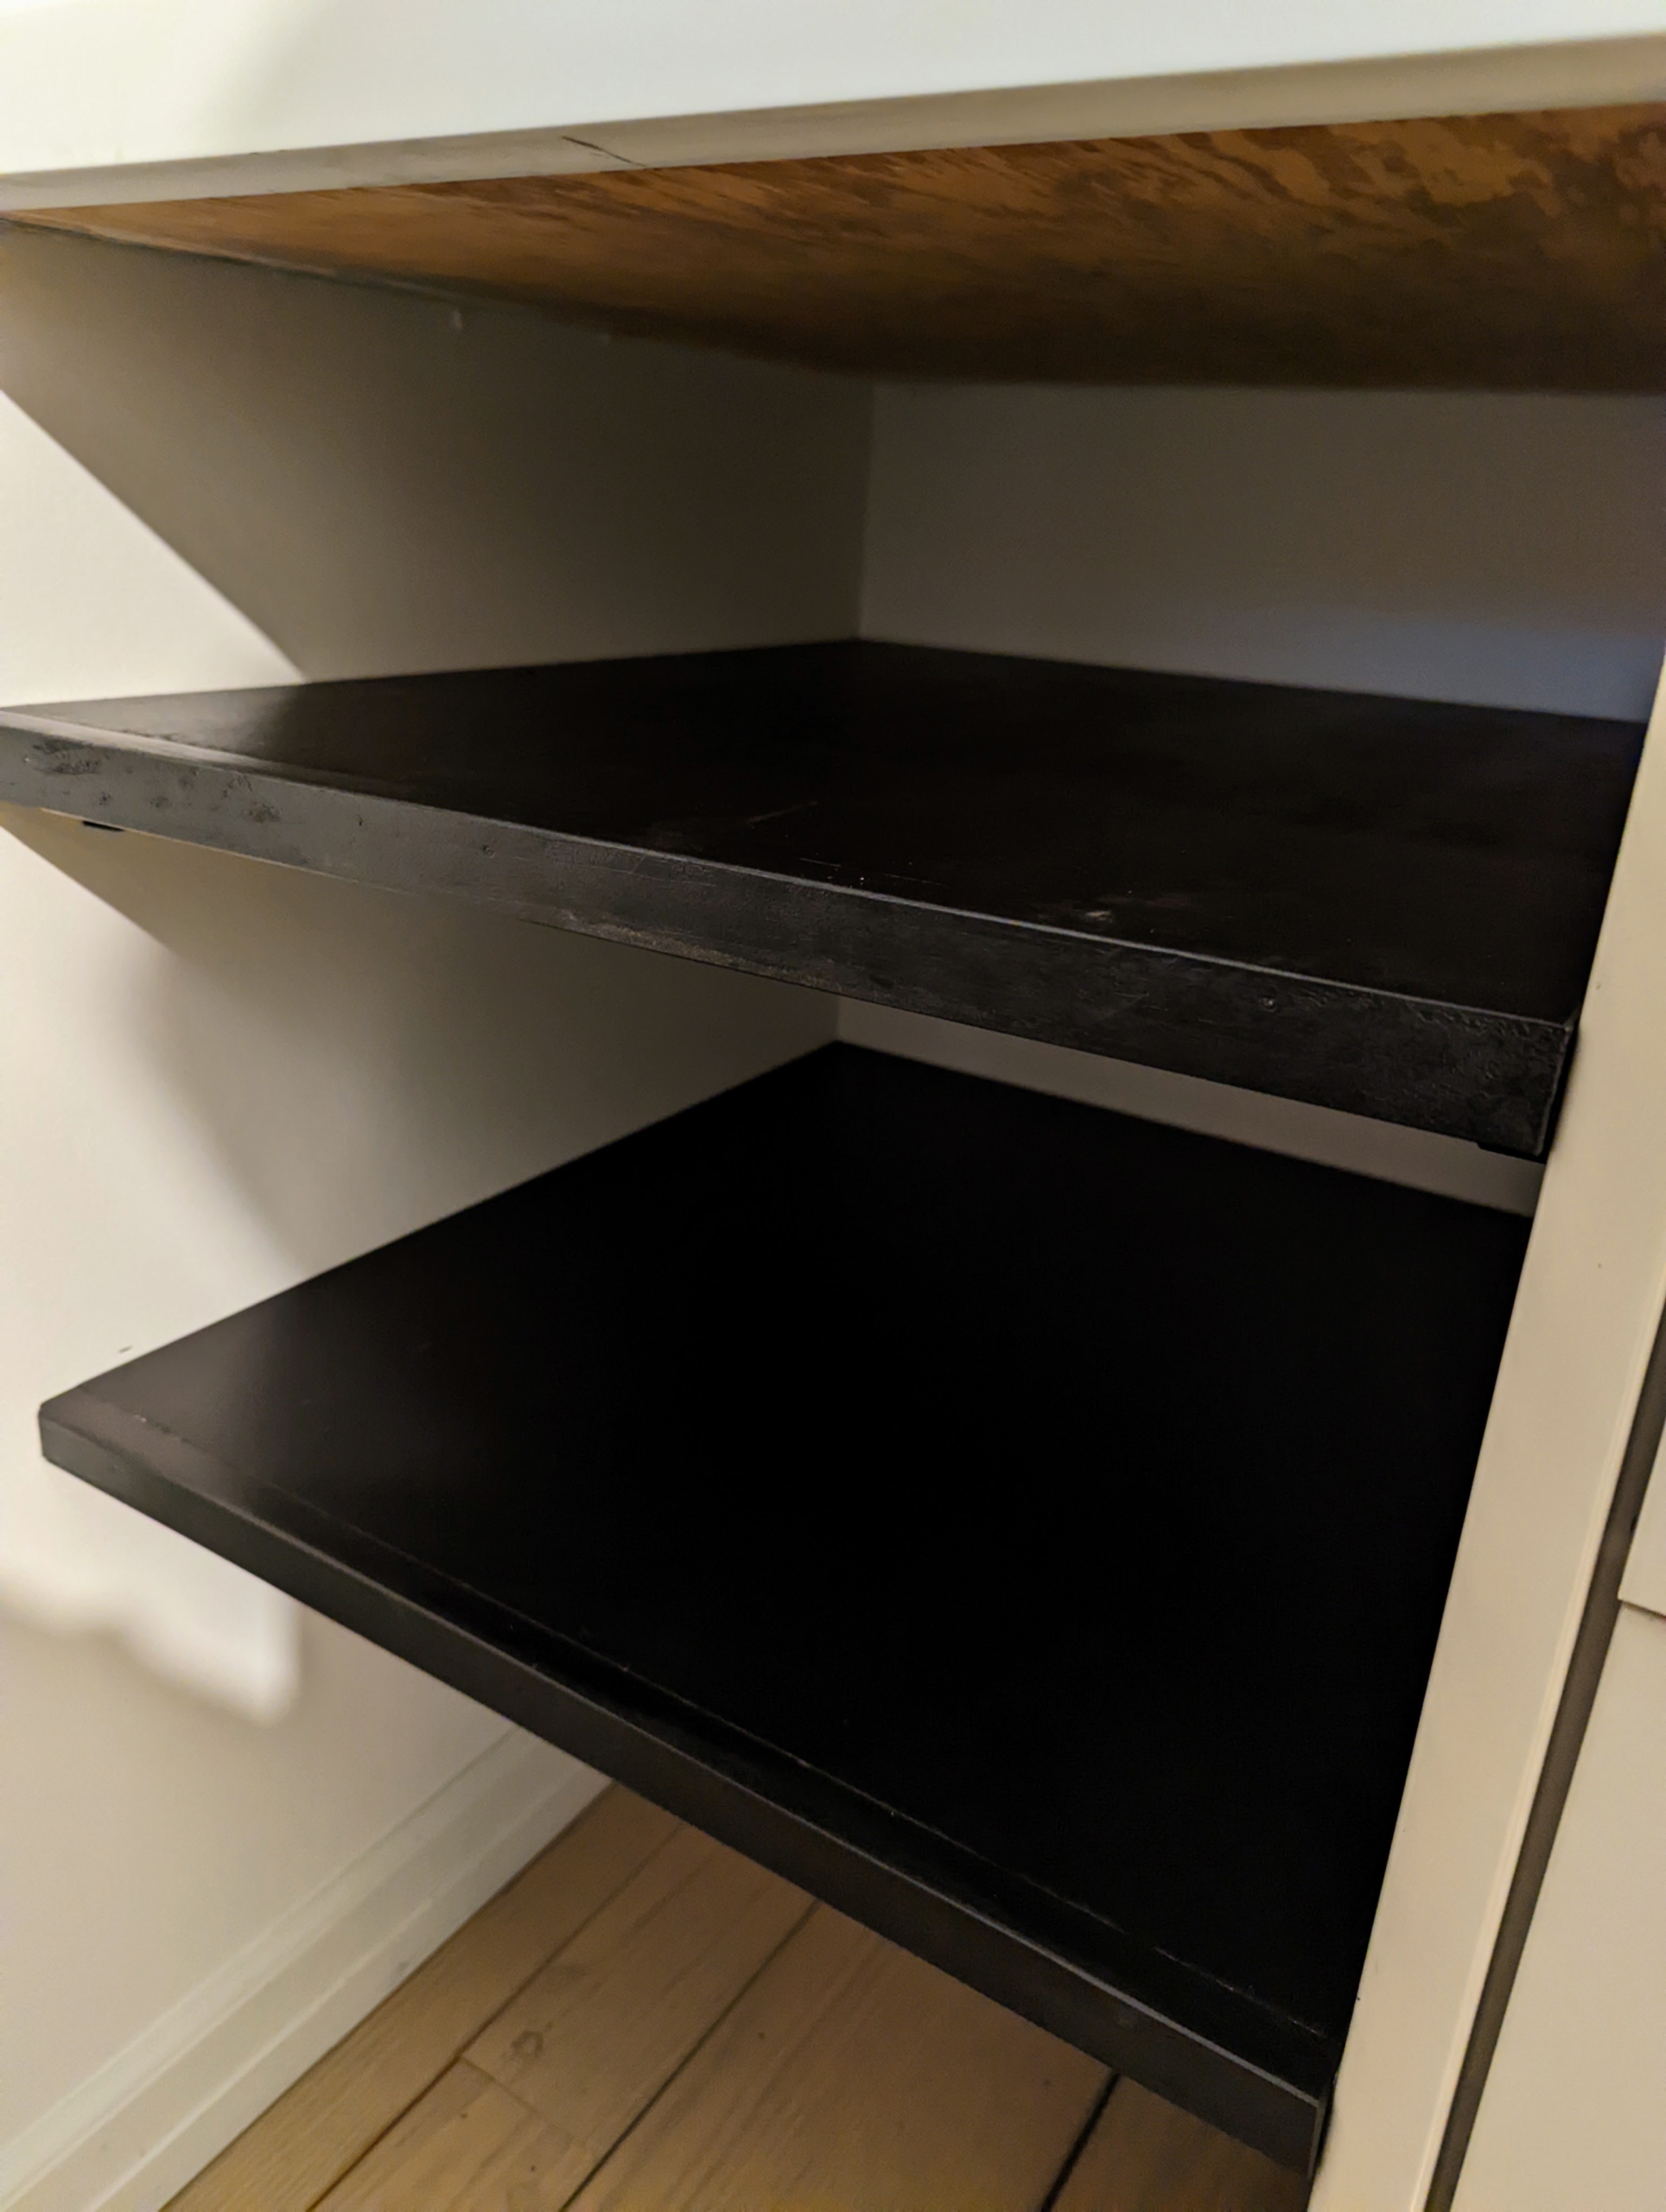
And the shelves are placed into the space – they’re also a perfect fit.
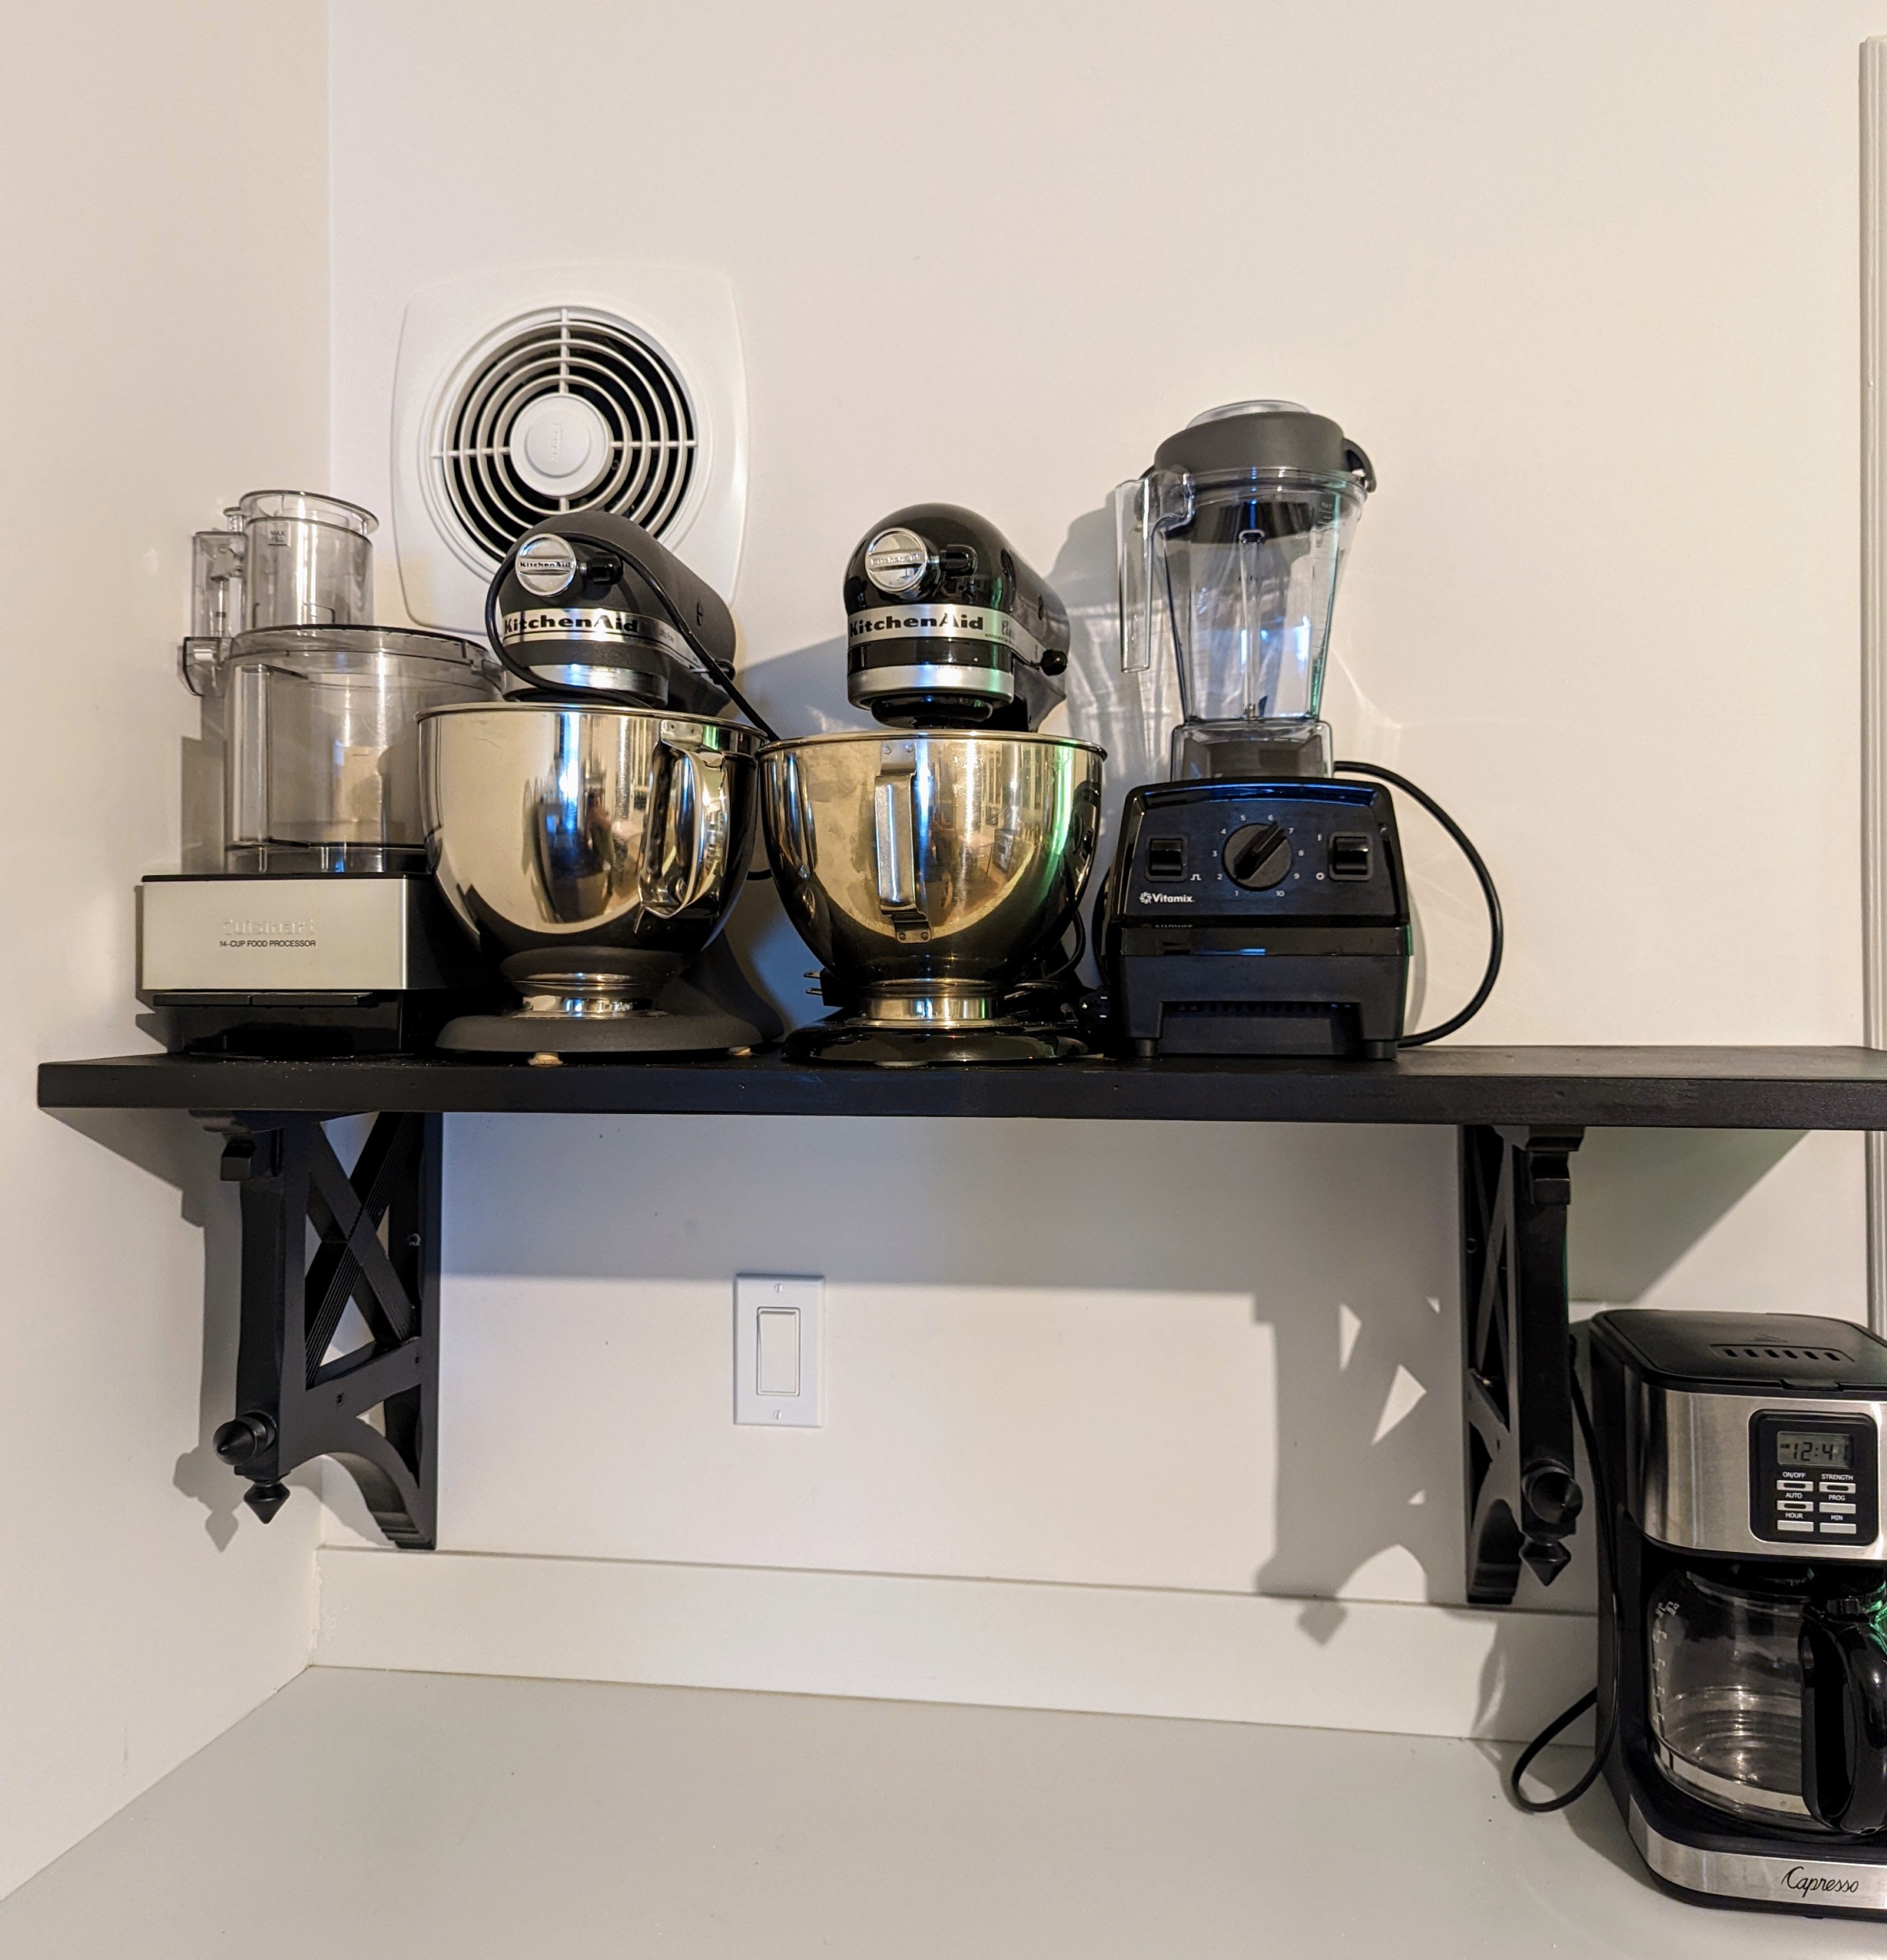
Here’s the above counter shelf which also looks great. It holds and stores our often used appliances nearby without using up needed work space below. This job took less than an hour to complete and will serve years of good use. What home projects are you tackling this weekend? Please share them with me in the comments section. I love hearing from all of you.