My peafowl will now be safe from predators in their enclosure.
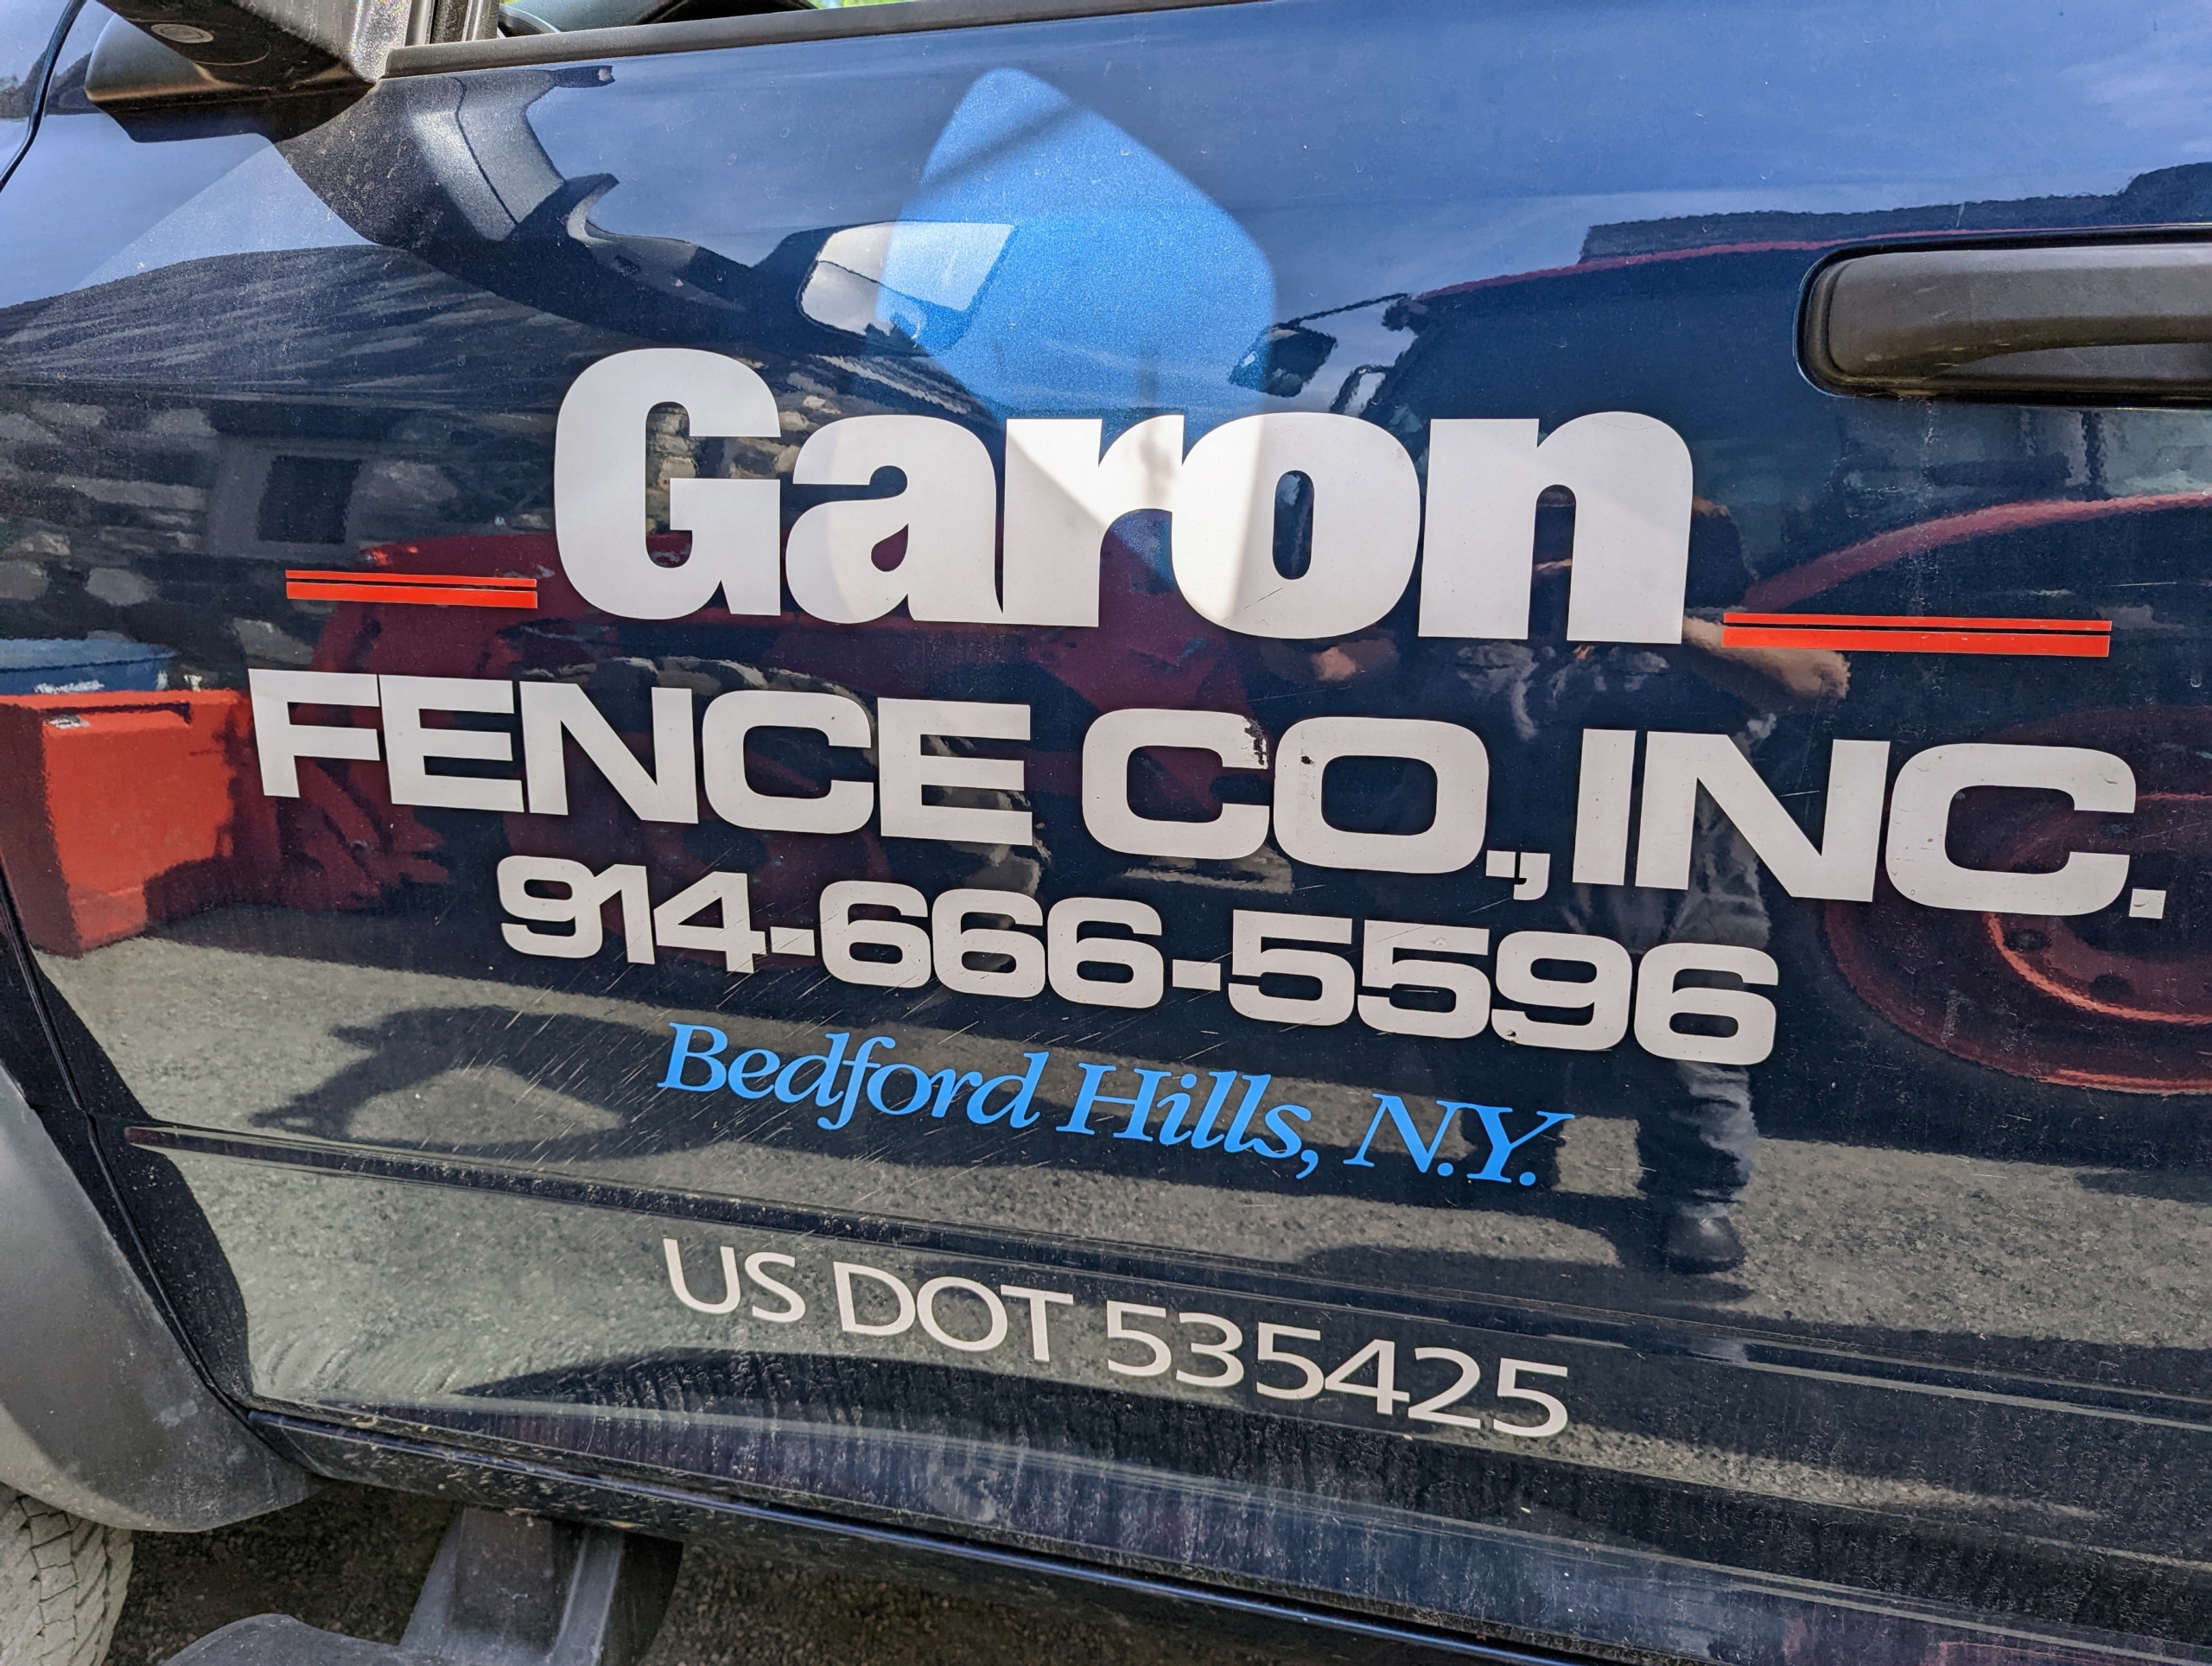
Recently, I shared photos of a big project underway in my peafowl yard. I wanted to install fencing above the pen to keep the peacocks and peahens safe. The first step was to move the coop 25-feet toward the center of the space, so it could support the new wire fencing. Once that was complete, our friends from Garon Fence Co. Inc. in nearby Bedford, Hills, came in to do their part - secure strong steel posts around the perimeter of the yard, attach cables to brackets on the coop roof, and then spread strong fence fabric to cover the entire area. It was a big undertaking, but it is comforting to know it will keep my beautiful birds free from harm.
Enjoy these photos.
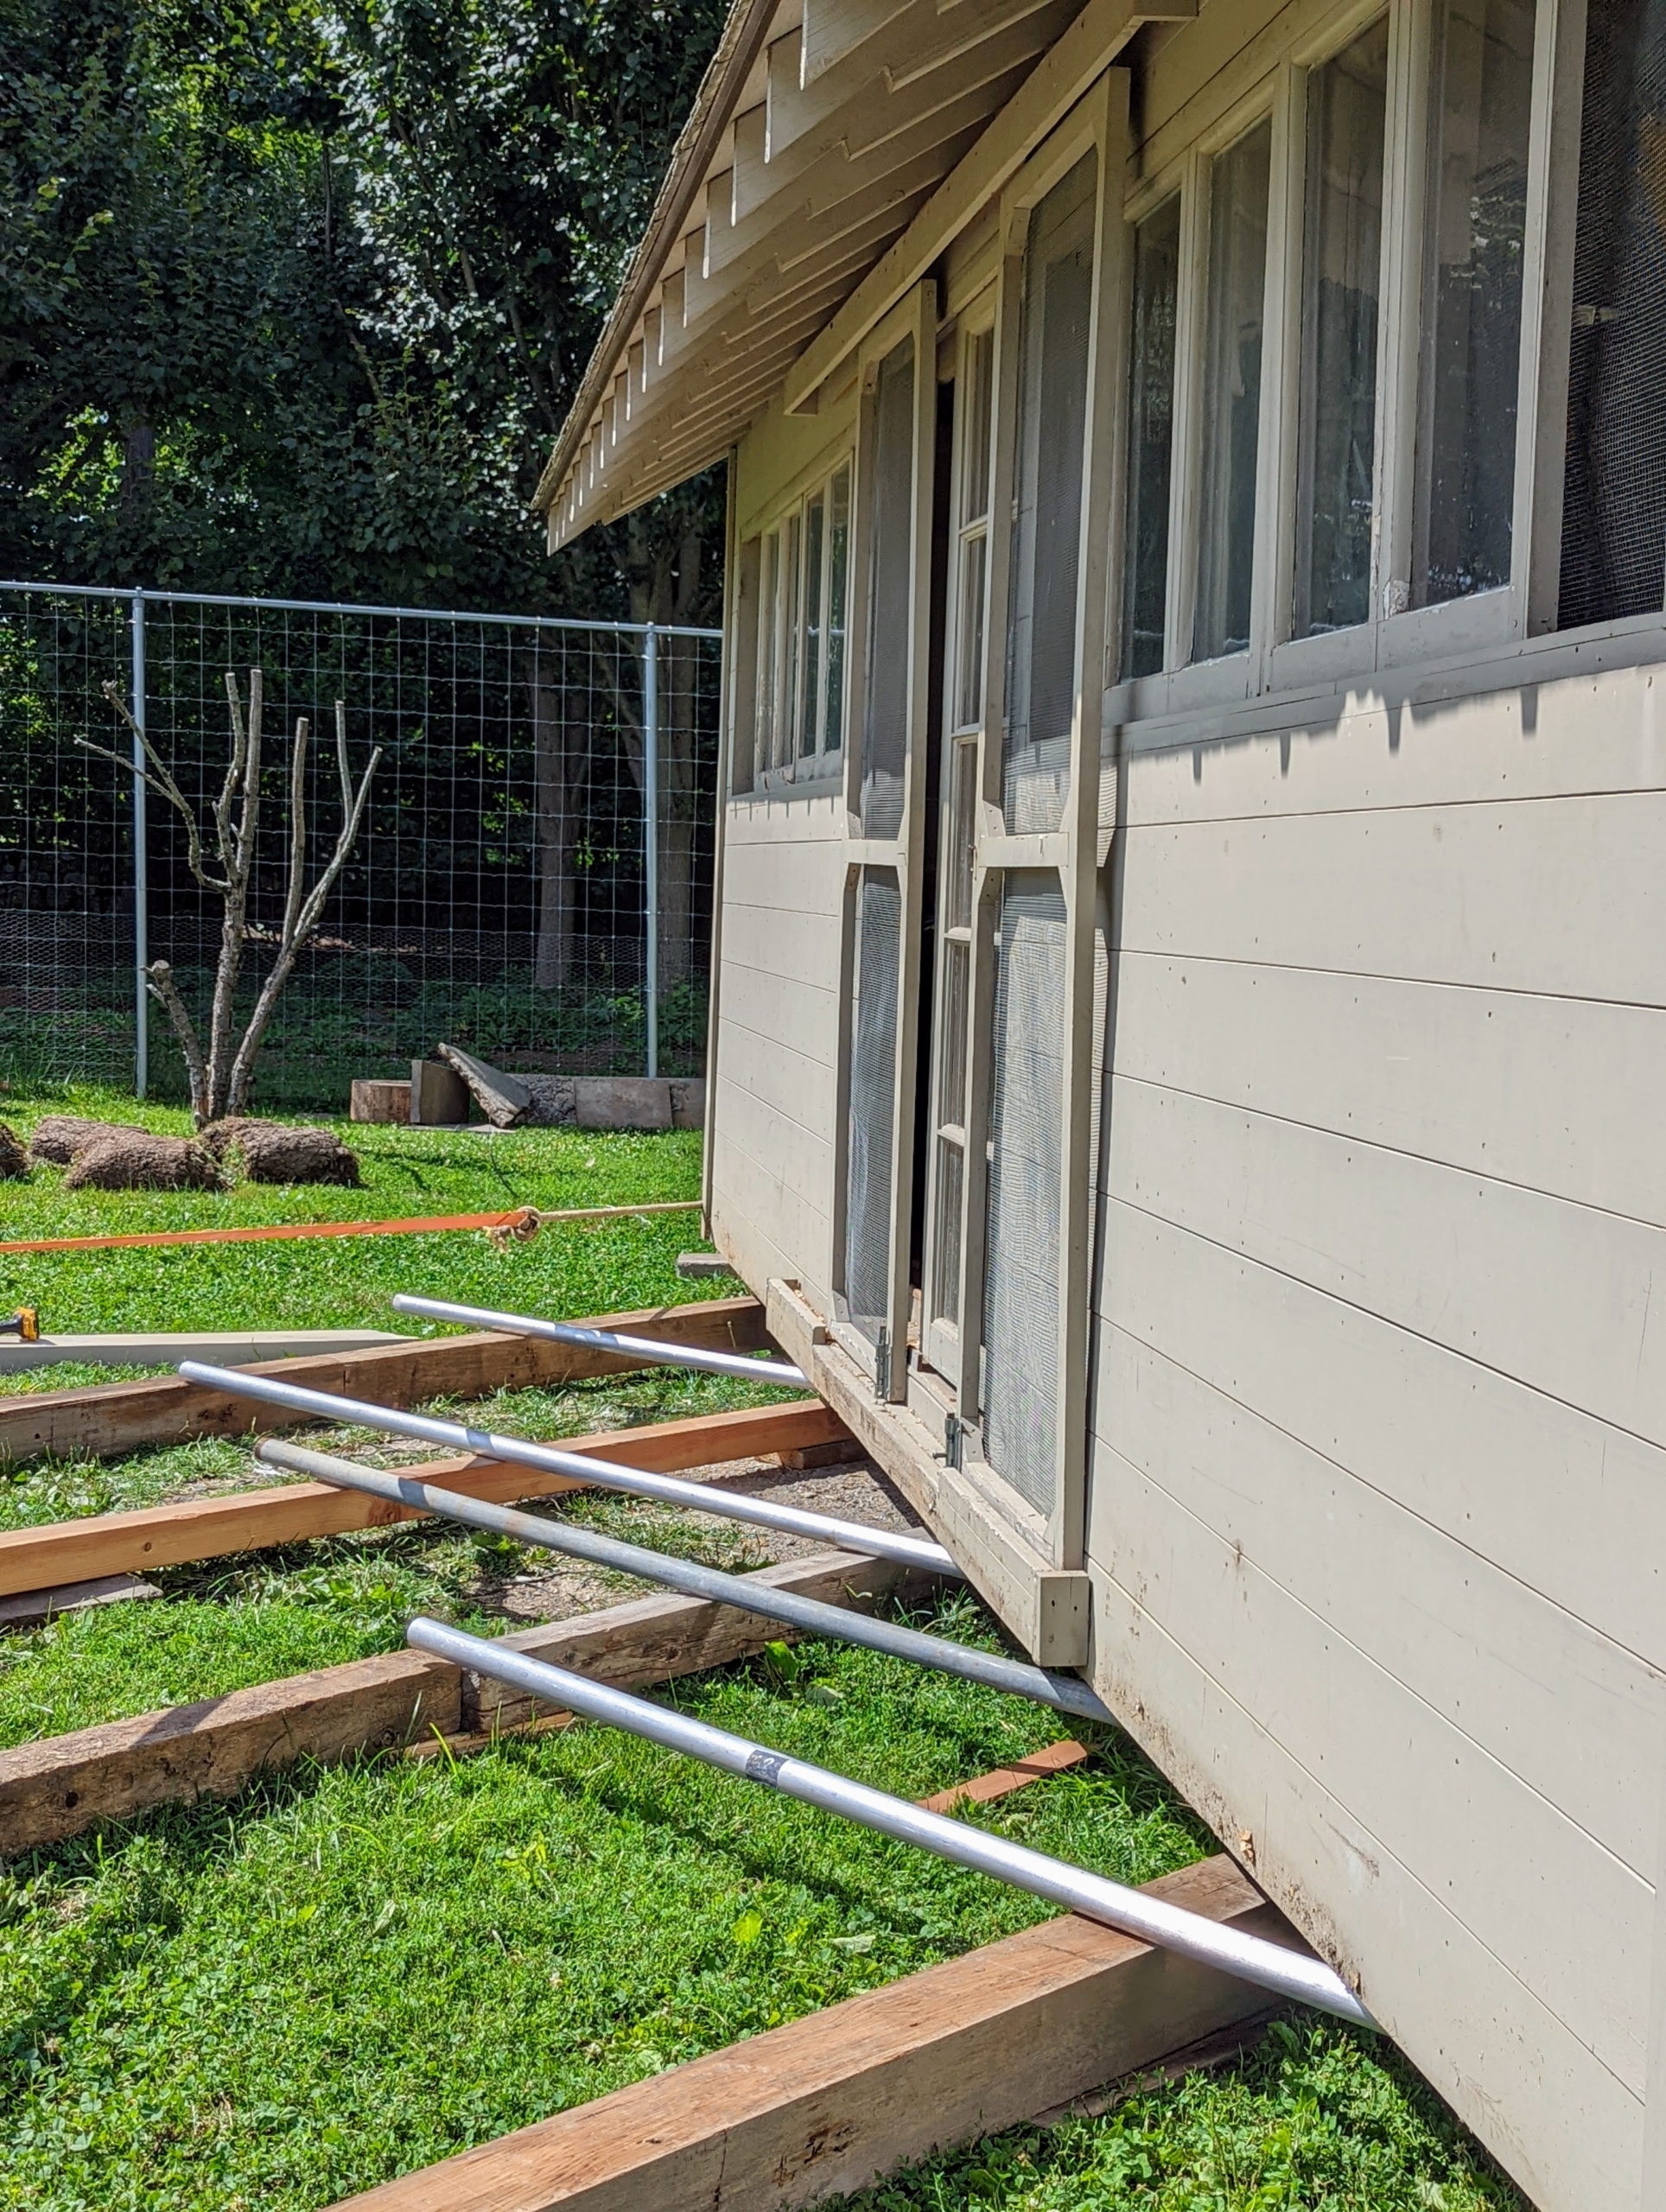
Earlier this month, I showed you how we moved the peafowl coop a short distance using an old fashion method of rolling the structure over aluminum poles into its desired place. Here is the coop just before it was moved.
Here, it has already moved several feet into place – one can see the designated footprint. Pete uses a jack to move the aluminum poles where needed.
And here is the coop in its new spot – the center of the peafowl pen. My property manager, Doug White, and I devised a plan that would allow this structure to support wire fencing above the space in order to keep wild predators from getting in.
We used the team from Garon Fence Co. to put up the new fence top. I’ve used Garon for other projects. This company put up the fencing around my peafowl yard a couple of years ago. They also replaced the fence around my chicken coops.
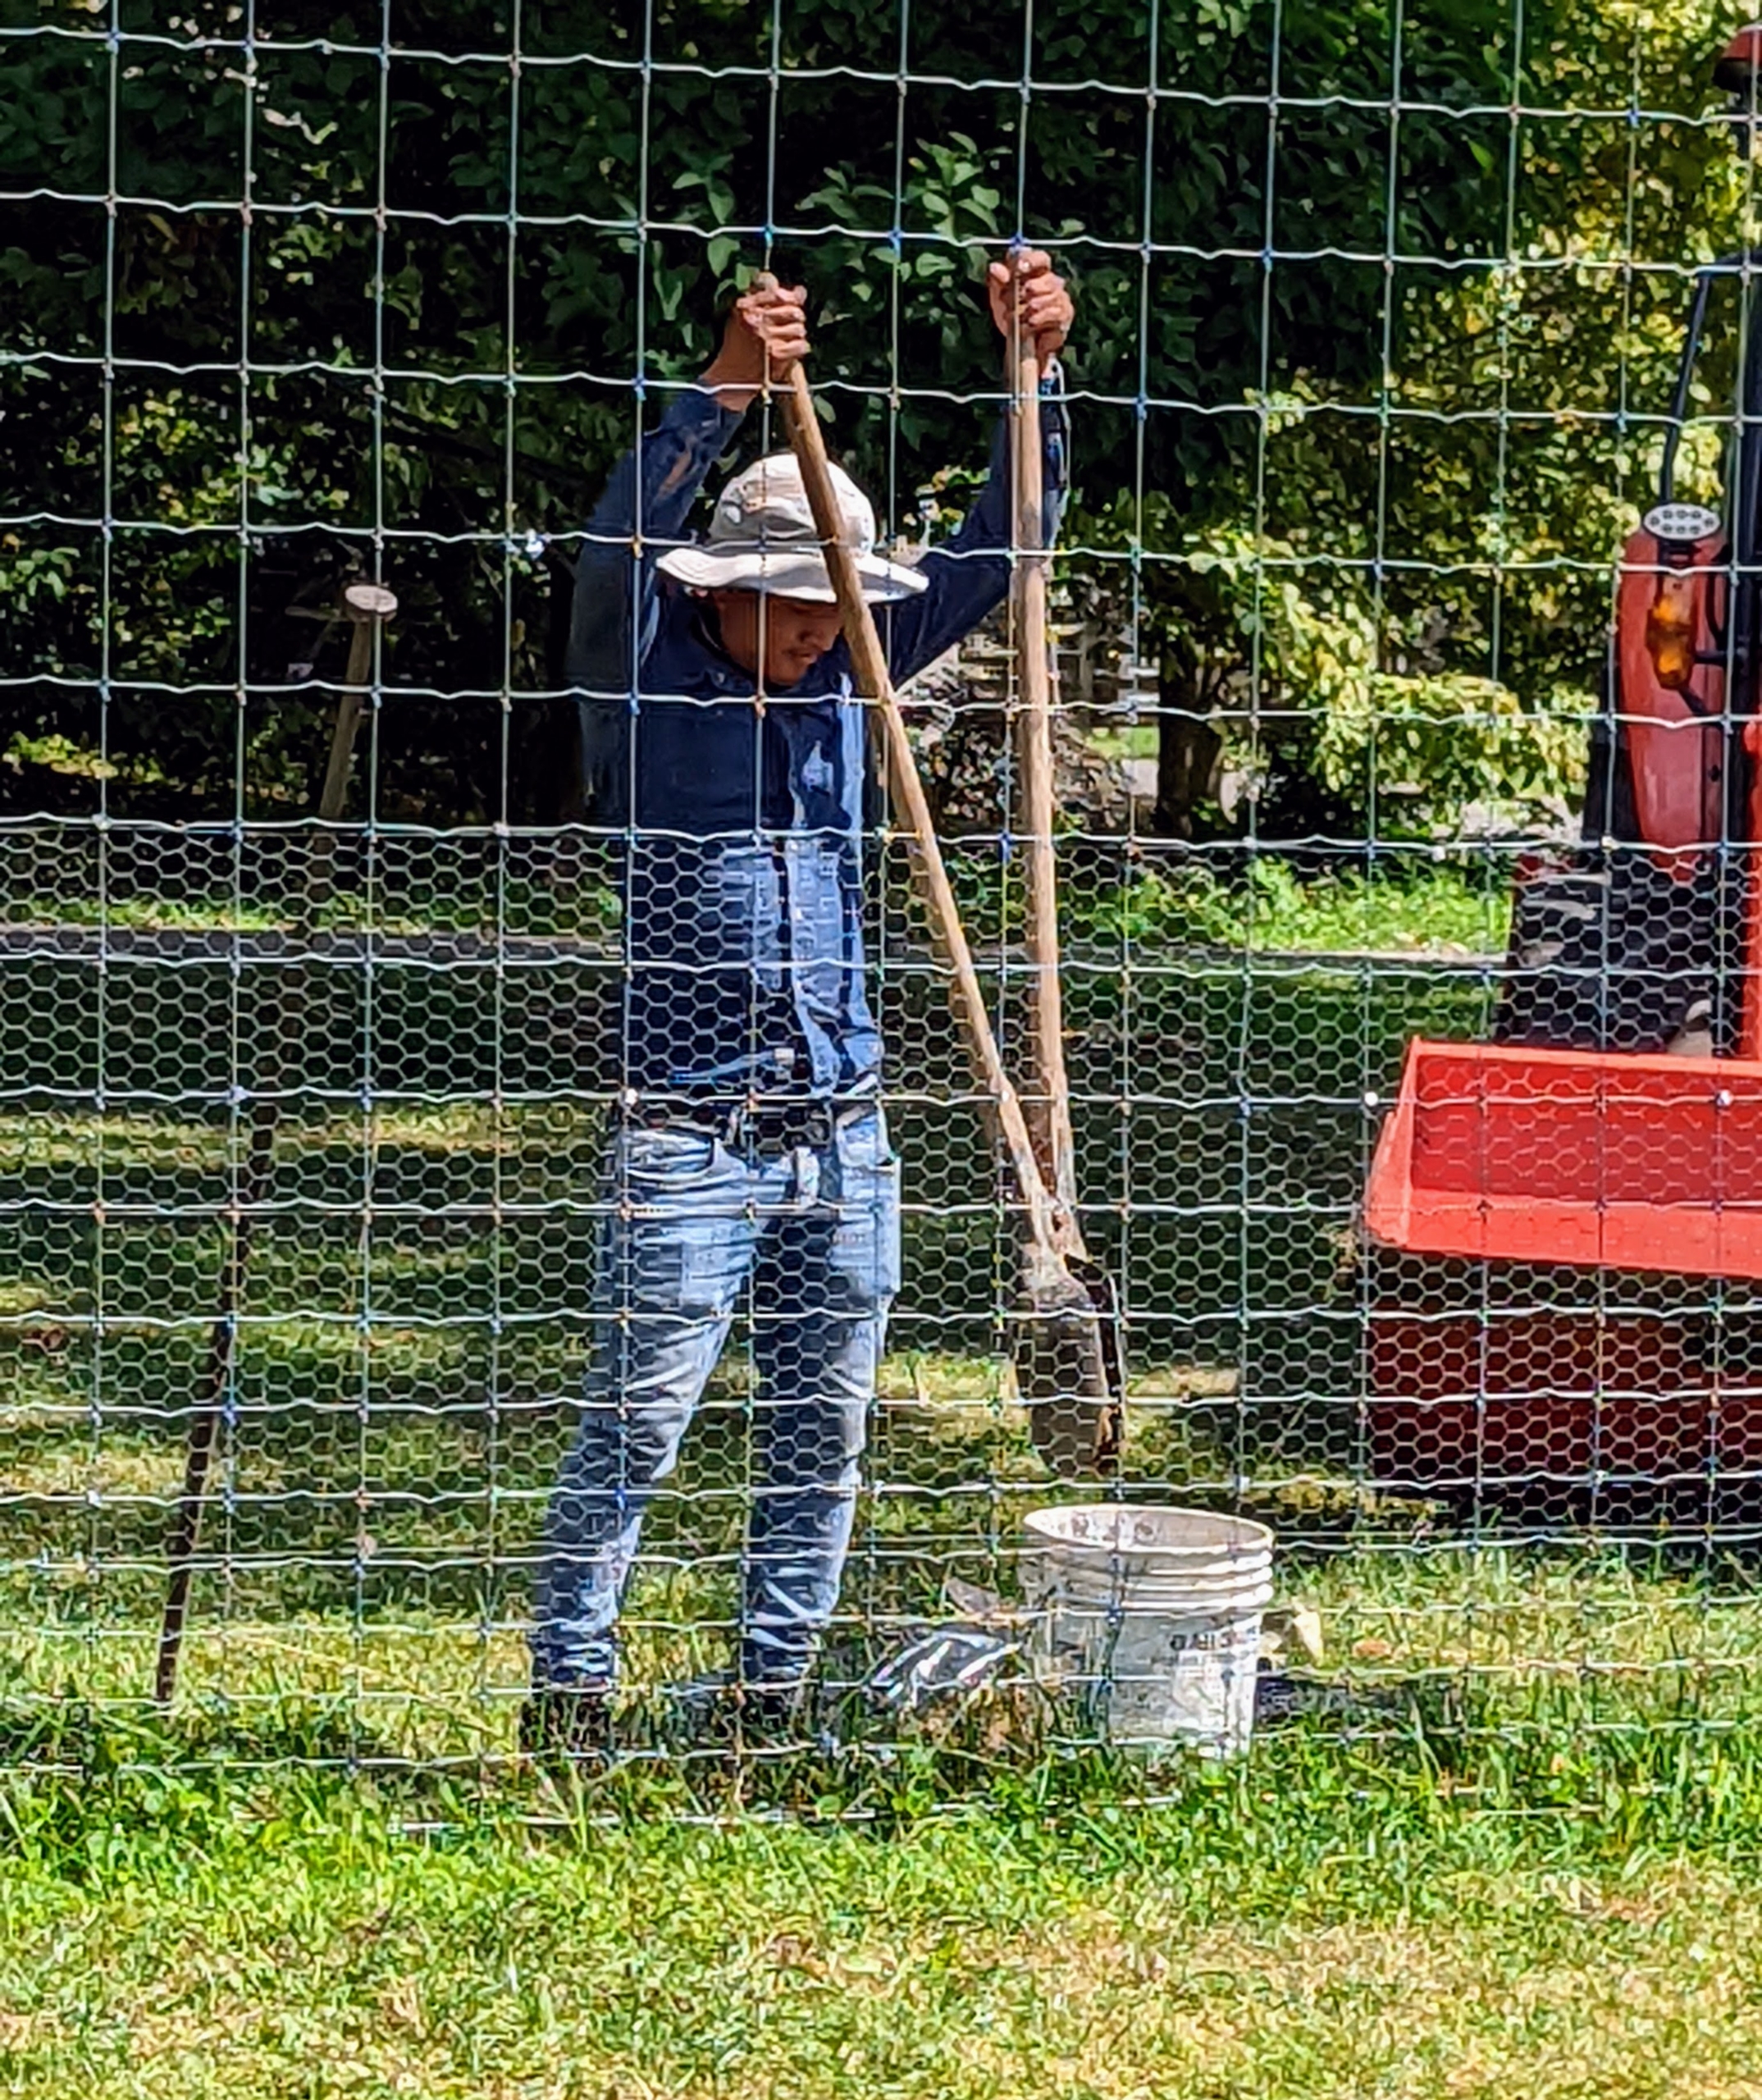
The first step is to dig holes for the steel posts. Each post hole is dug four feet deep – all by hand.
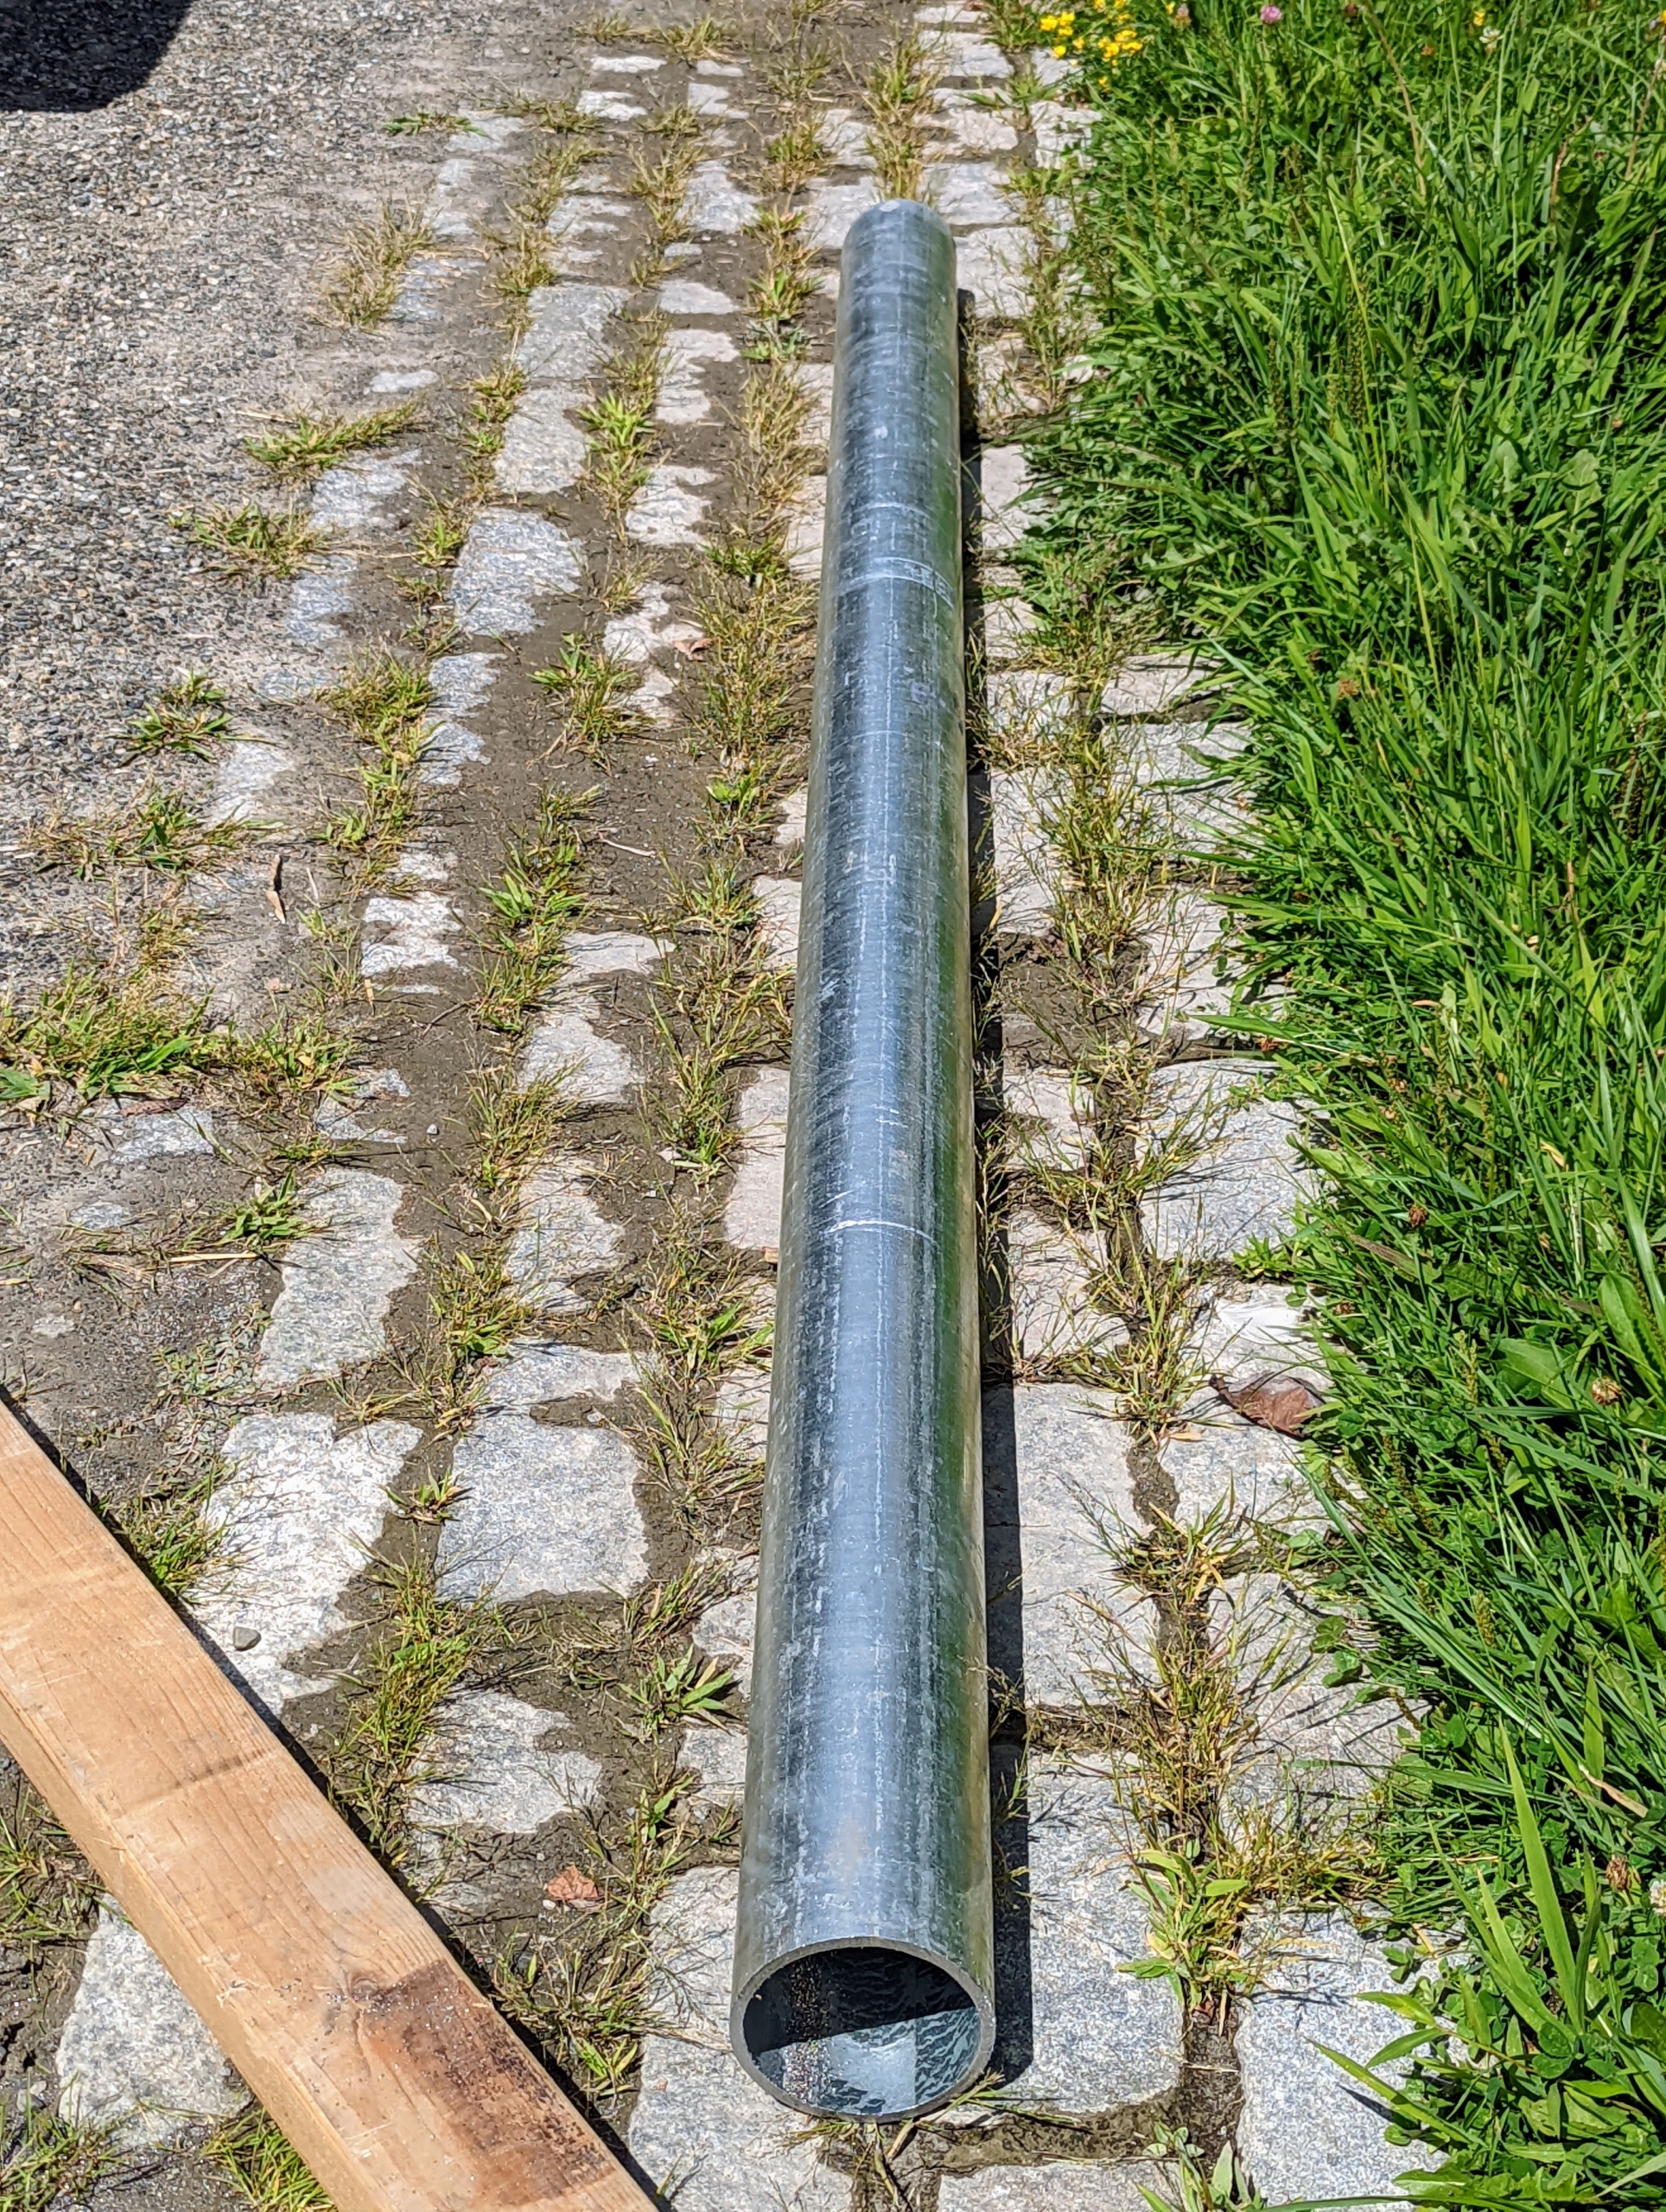
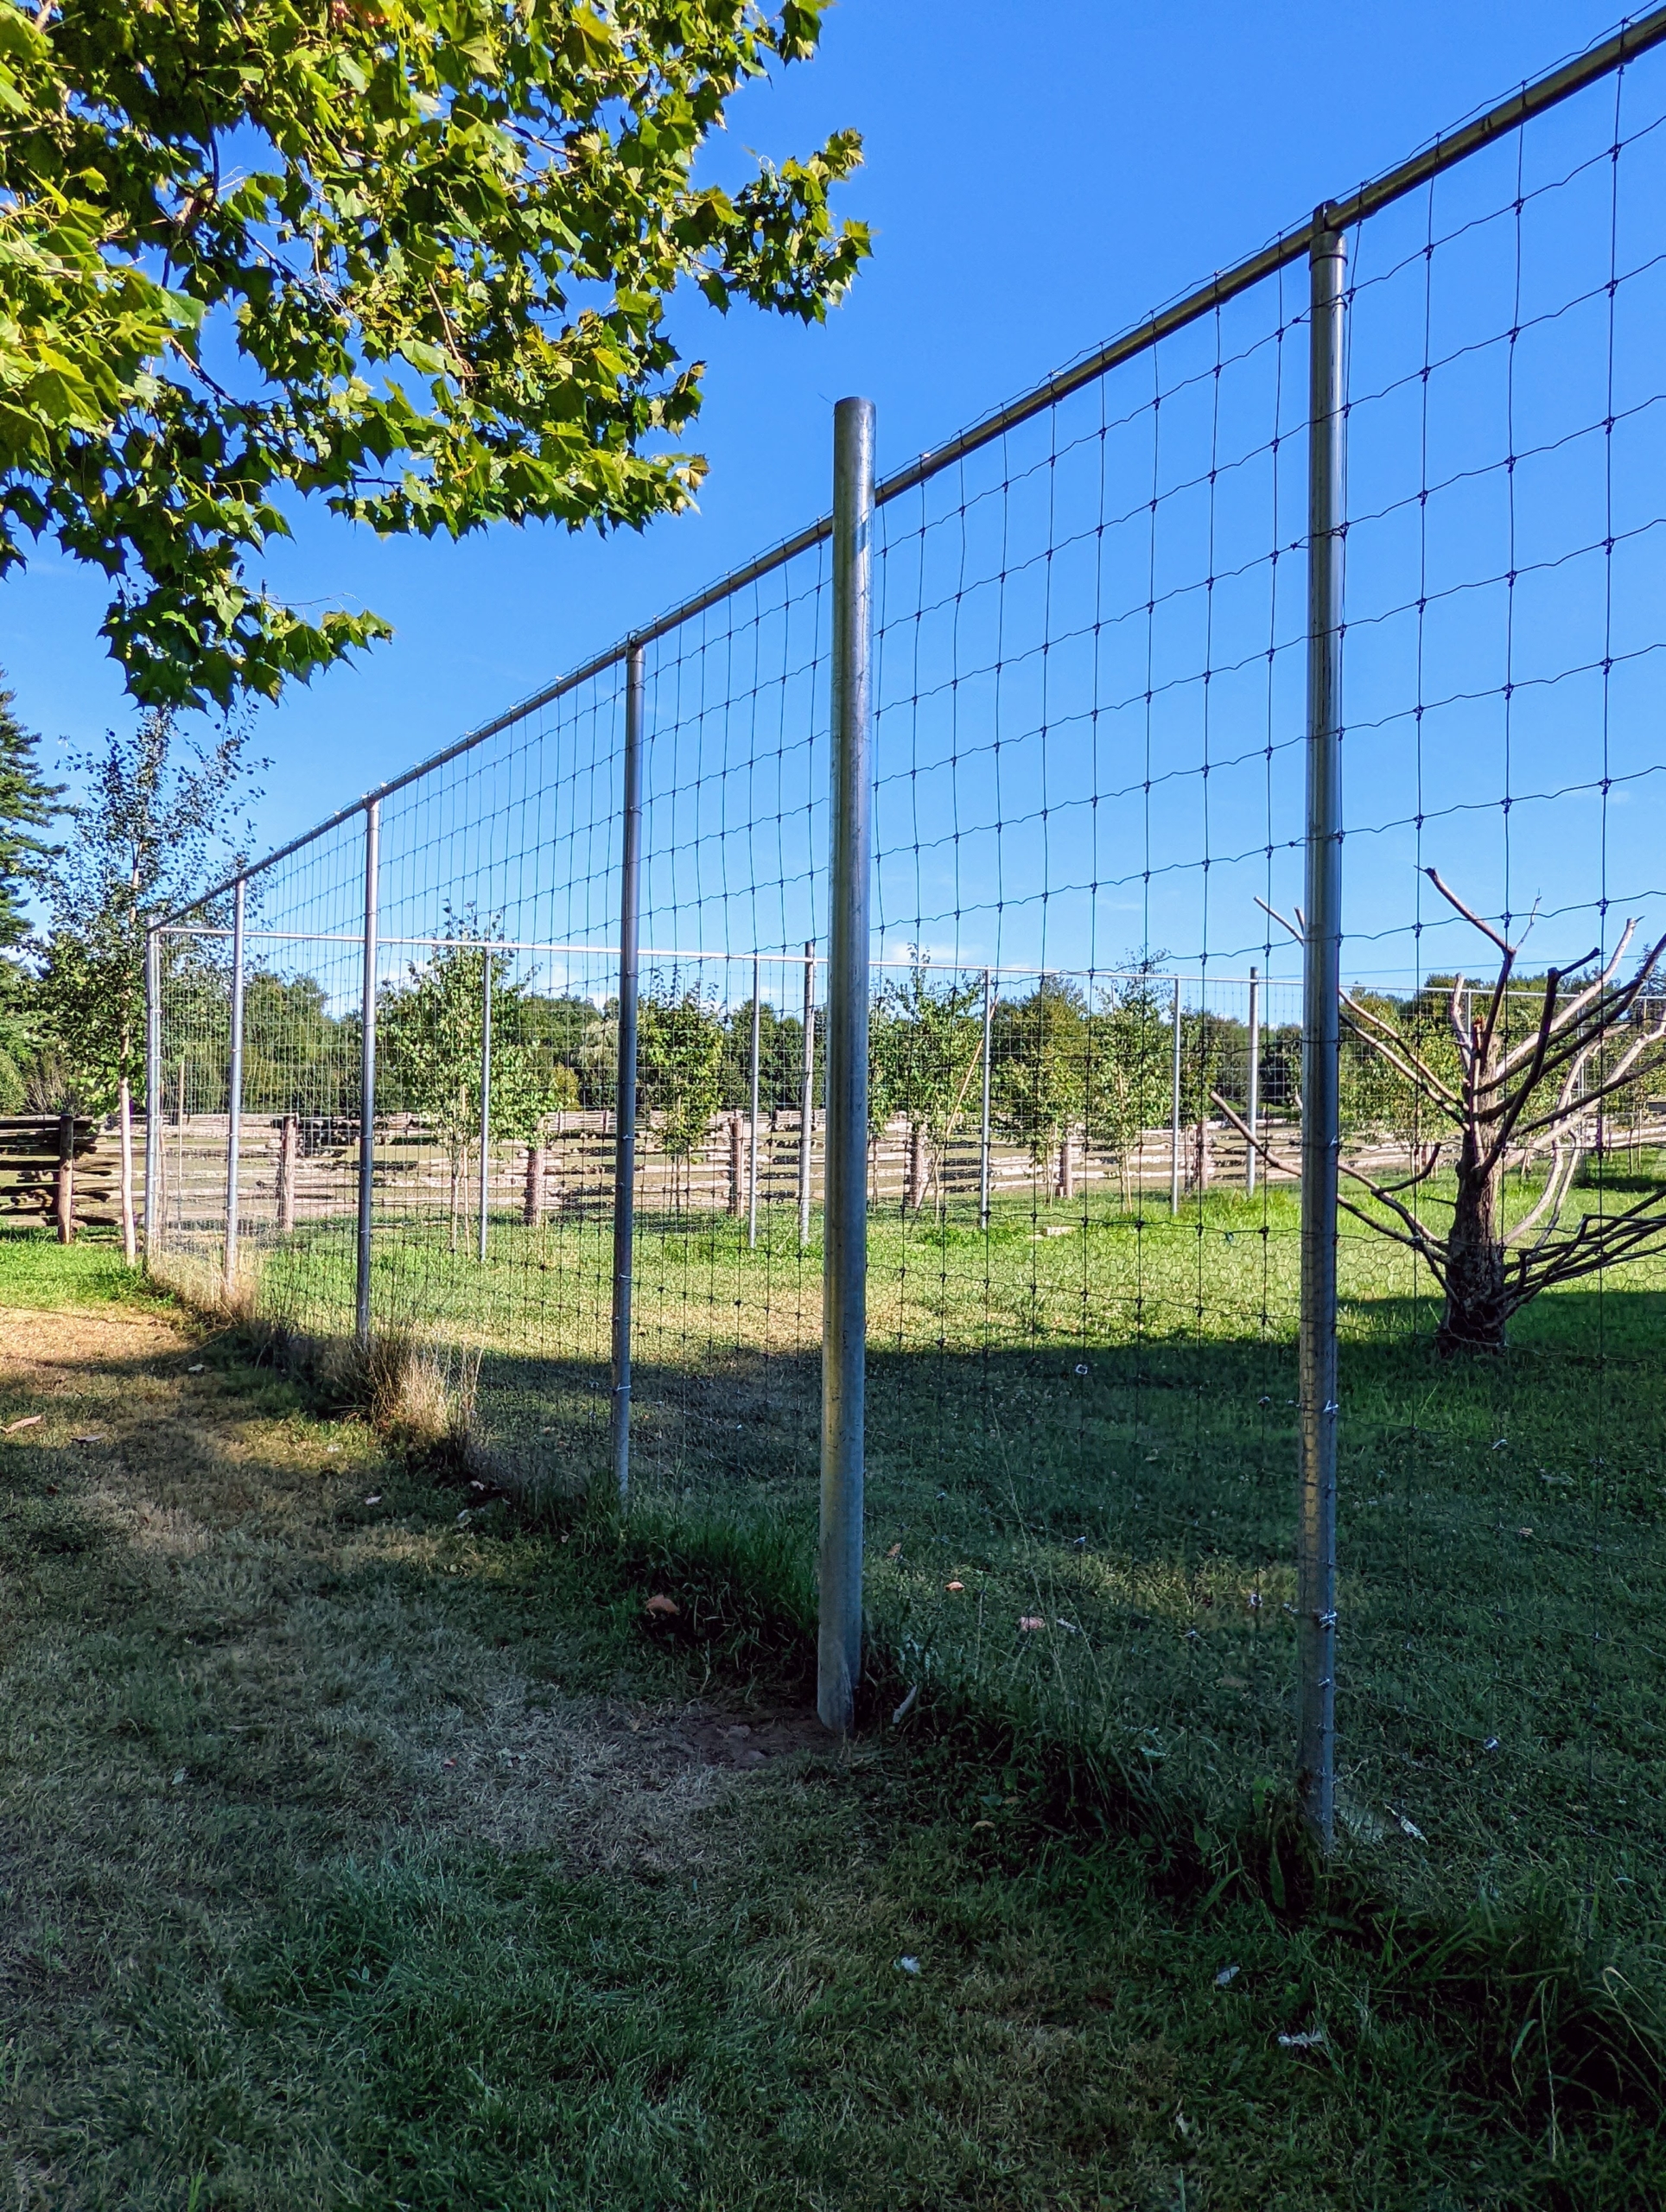
These are the galvanized steel posts. They are 14-feet tall and will be buried four feet into the ground. These are made for strength, durability, and corrosion resistance.
After the posts are secured and leveled in the concrete, they’re left to dry thoroughly.
A total of 14-posts are secured around the enclosure.
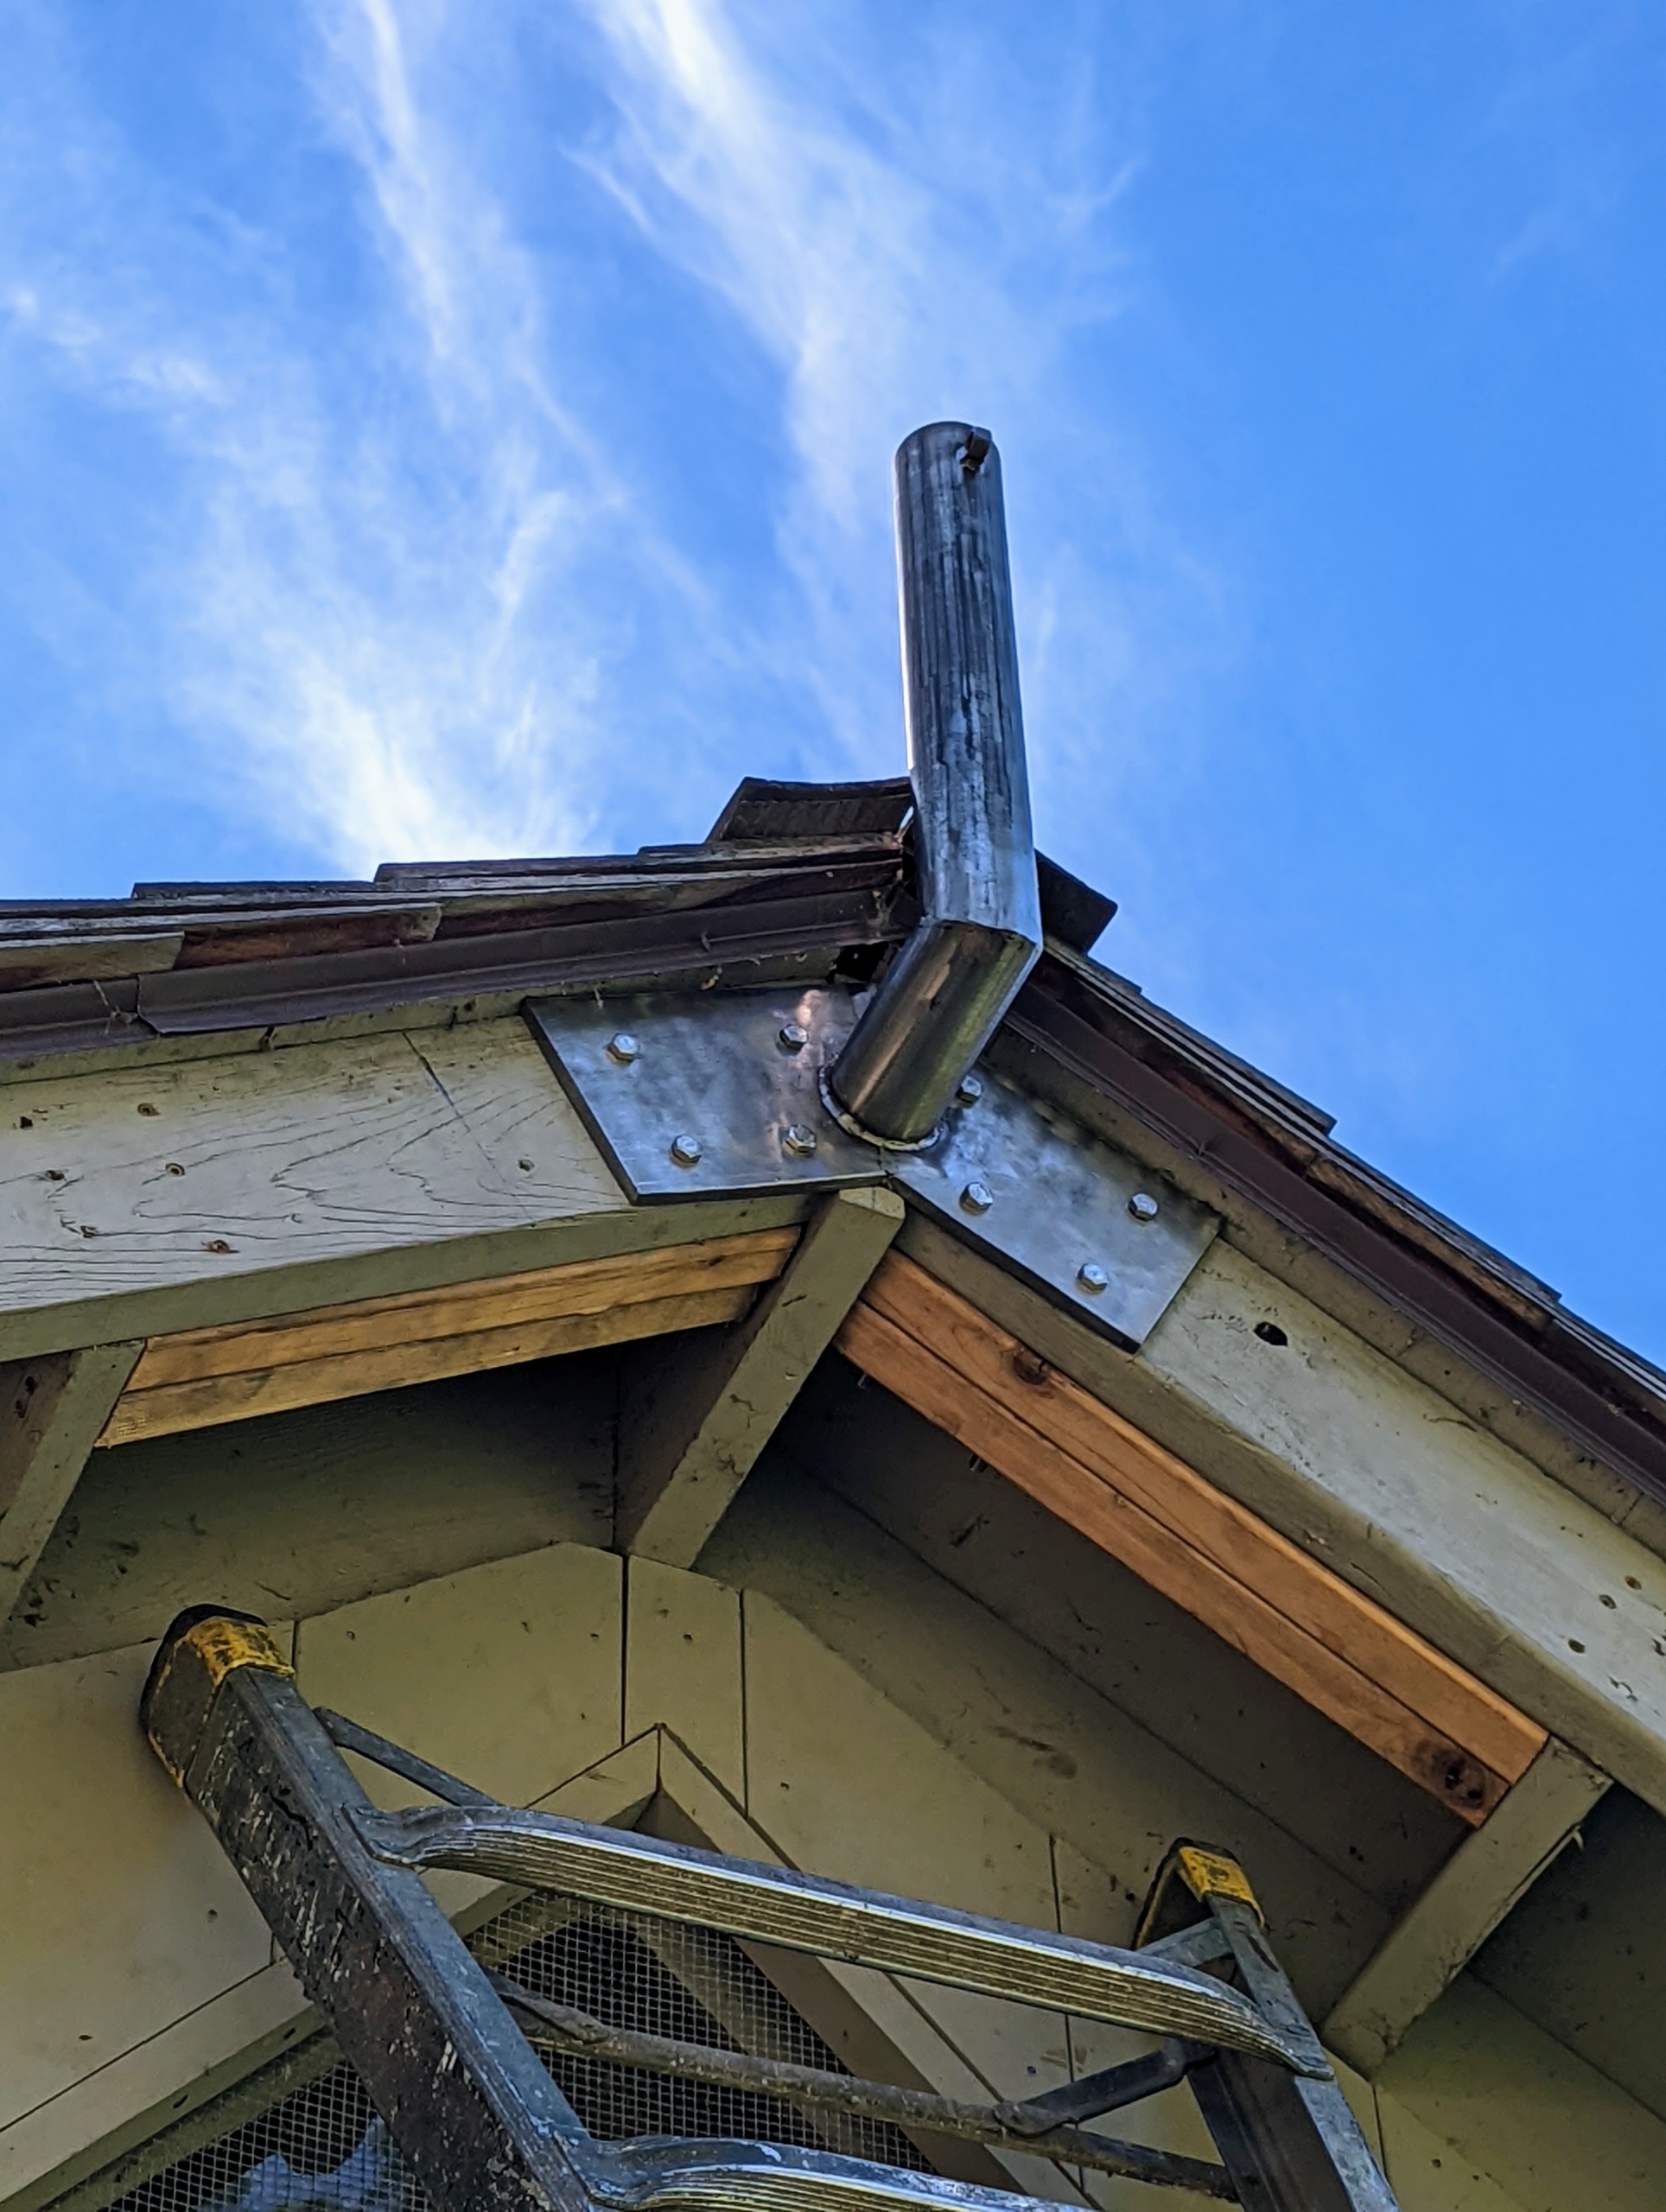
Next, Garon Fence Co. foreman, Raul, below, installs a steel bracket just under the peak of the coop roof.
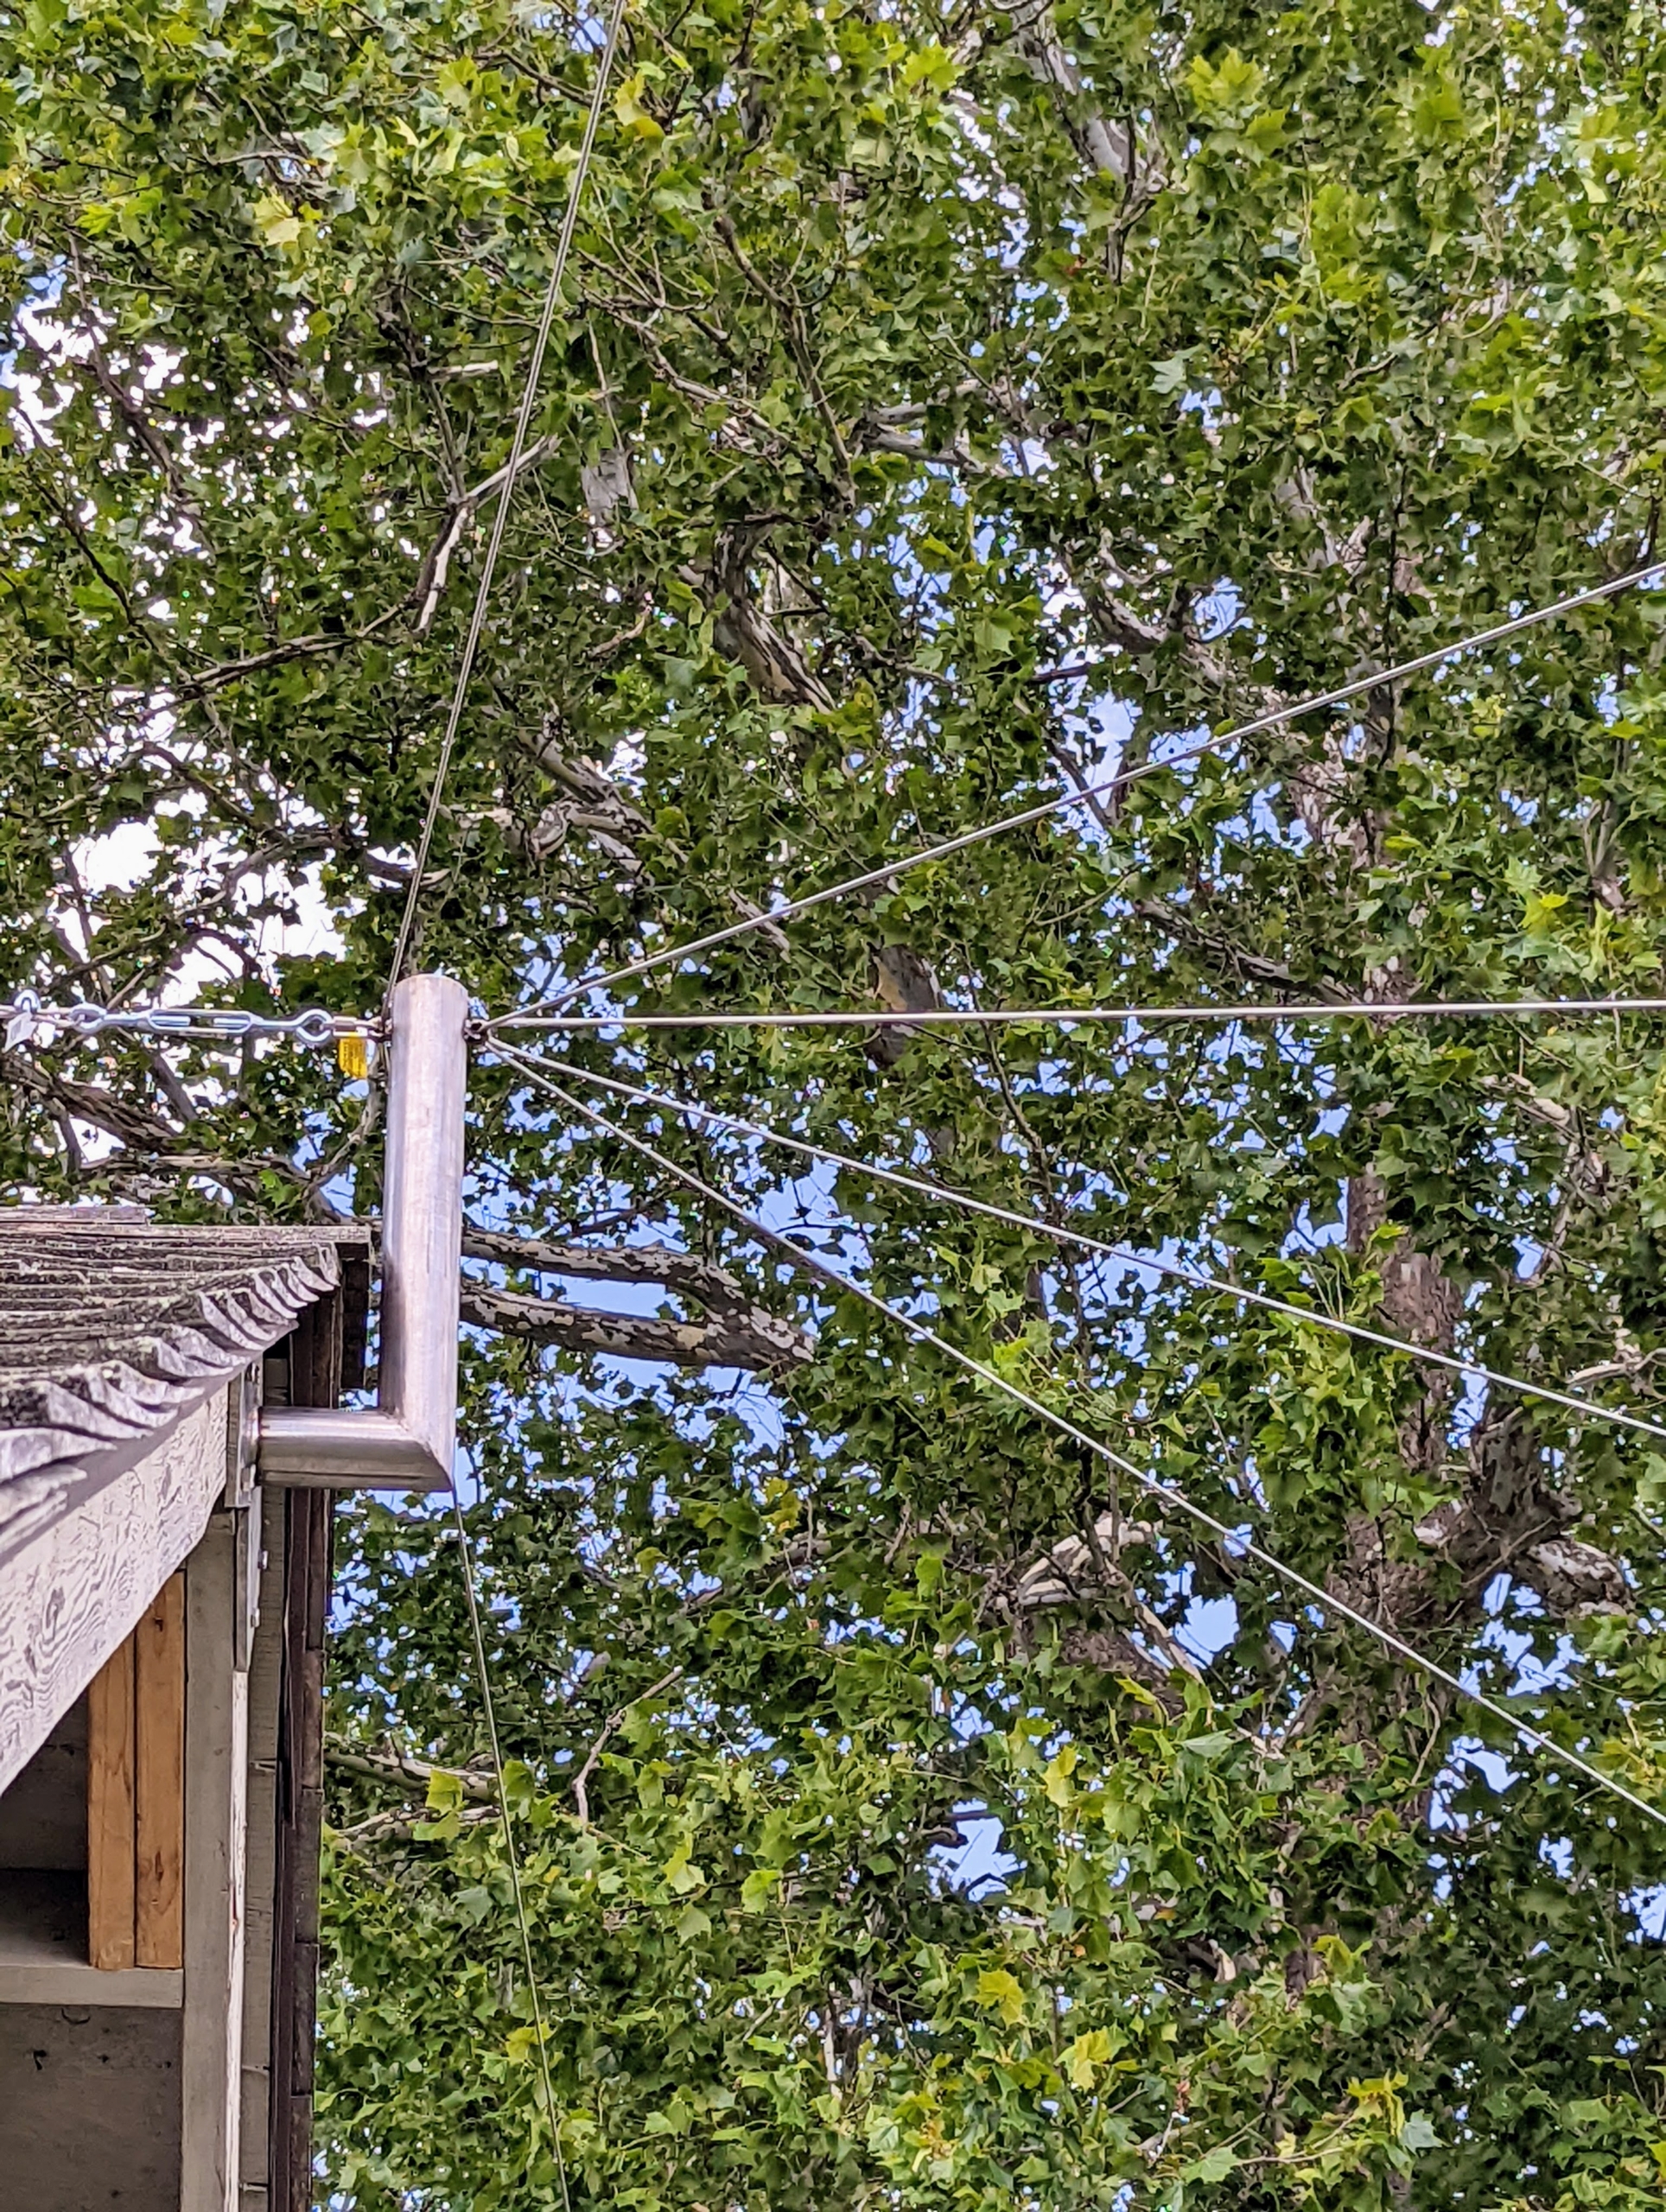
Here is one fully installed. There is one on each end of the peafowl coop roof. This will support the cable that will hold up the fence fabric.
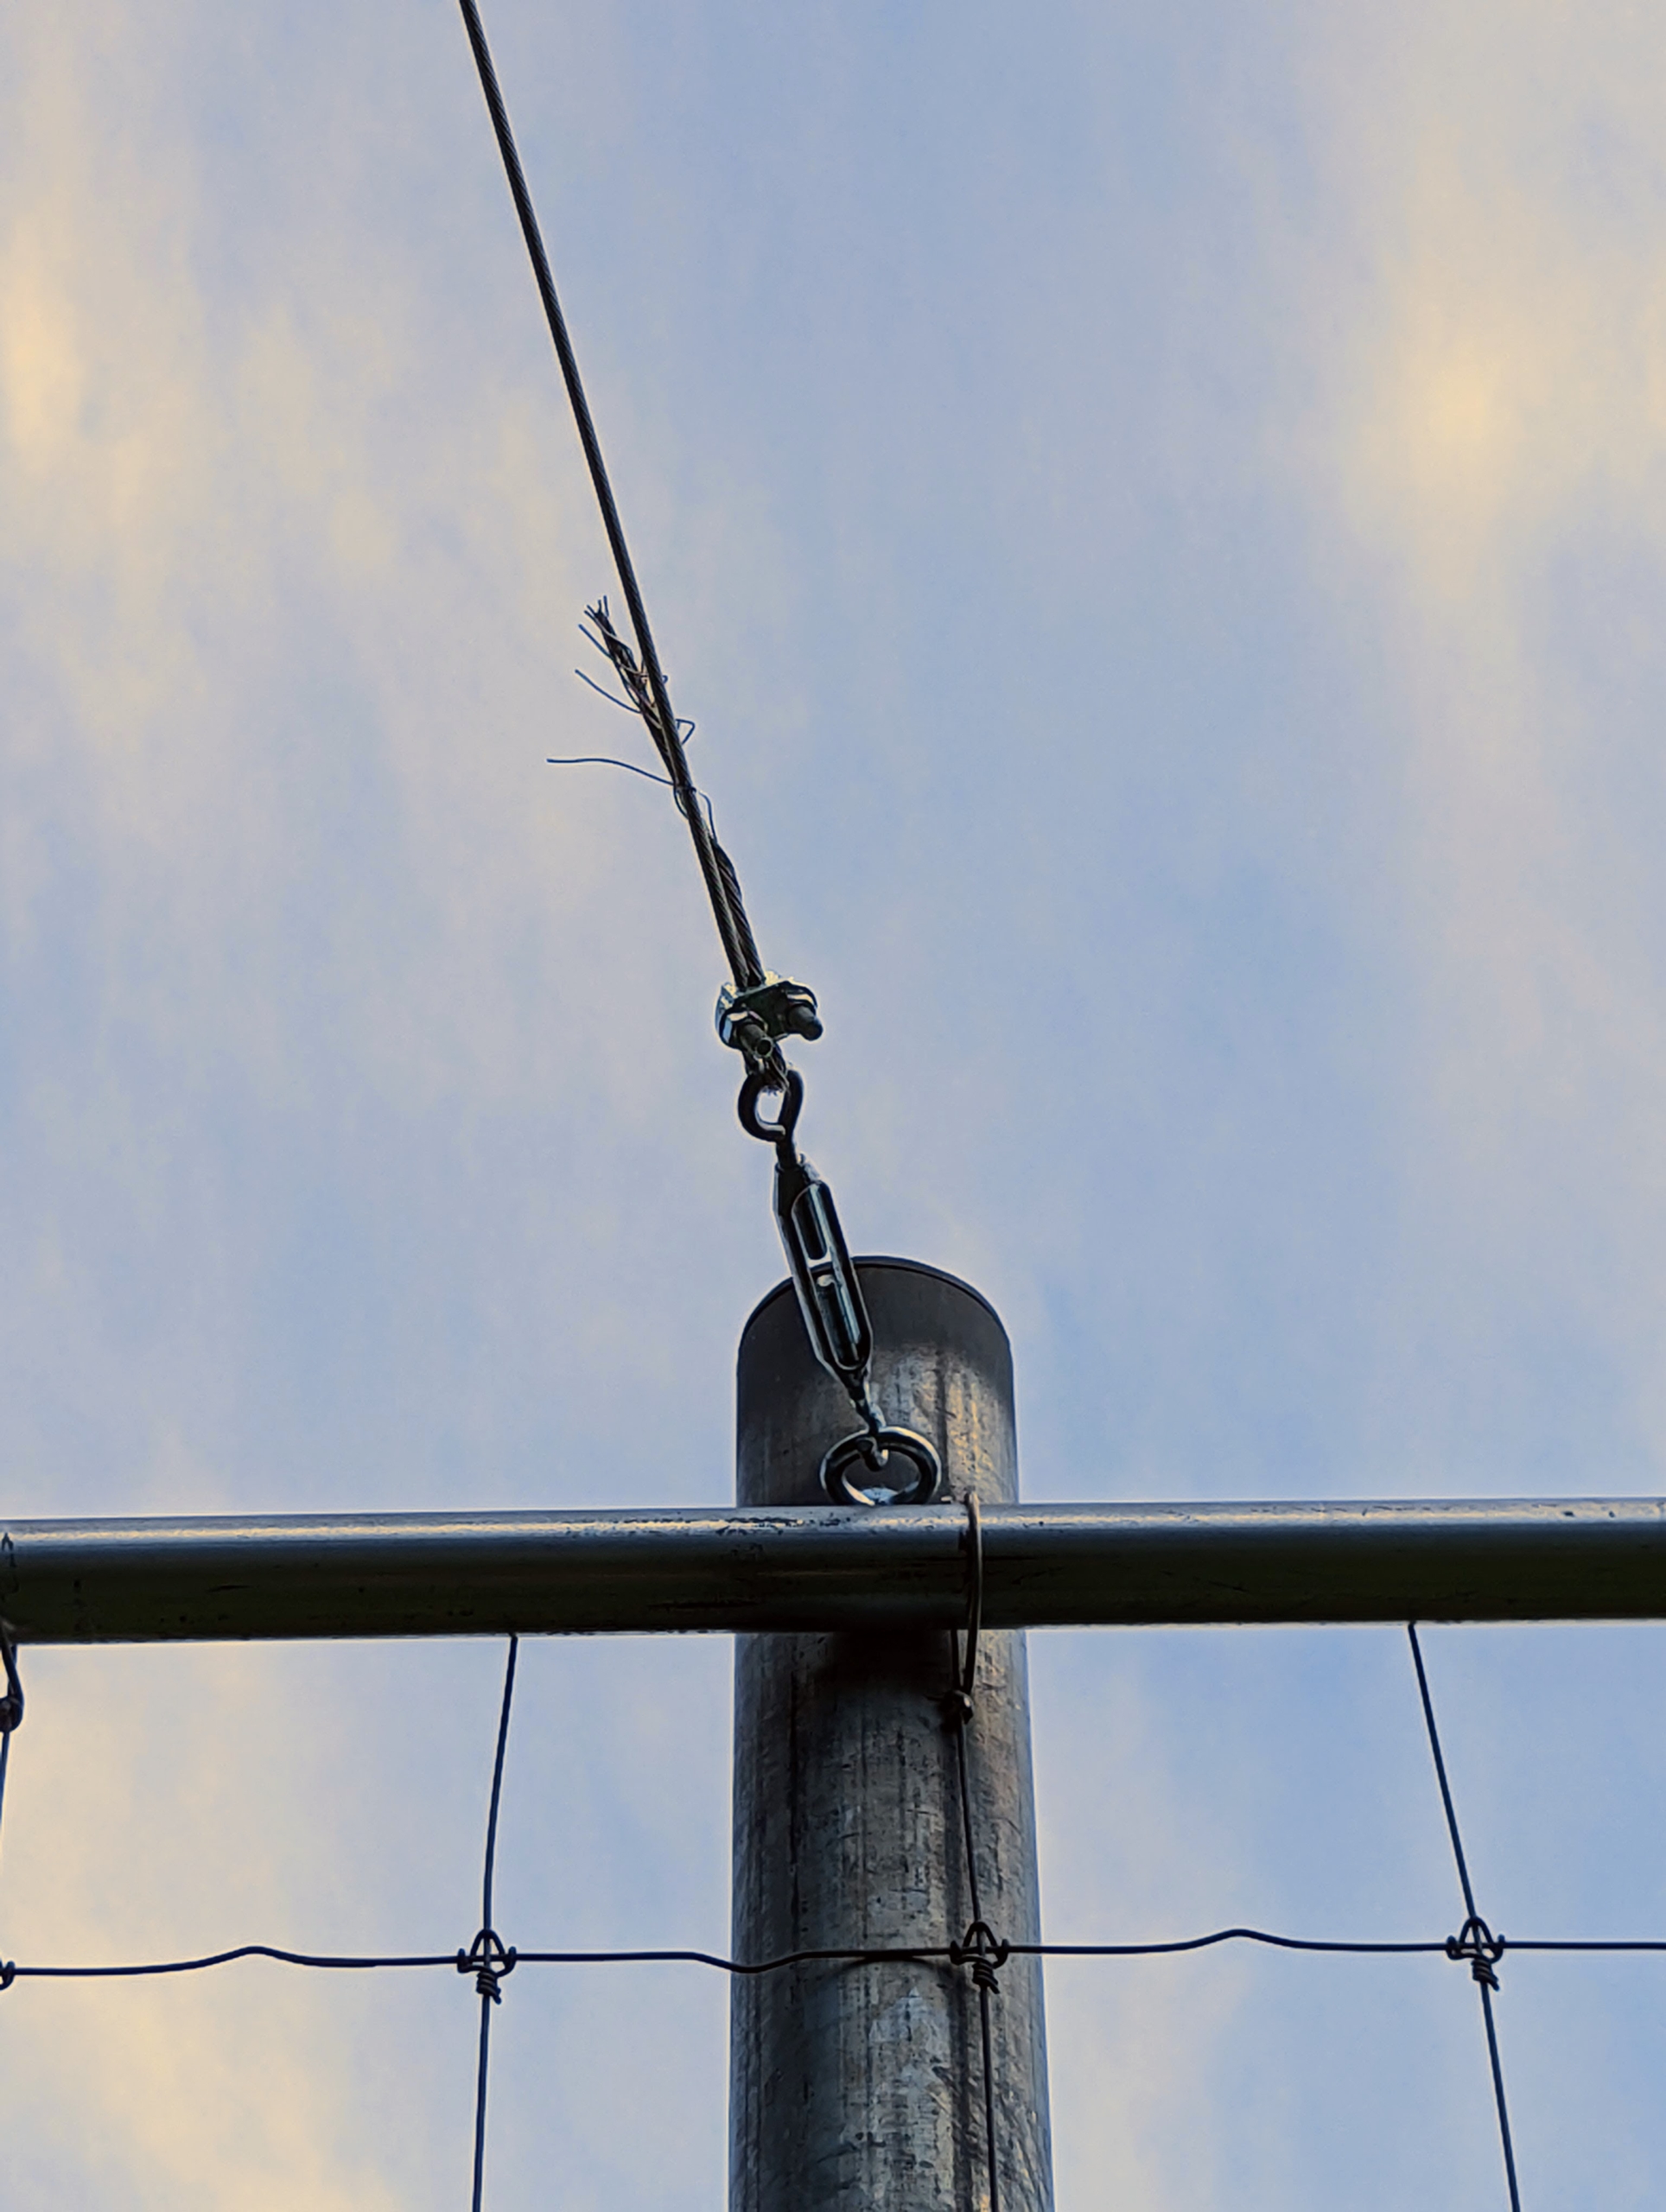
The cable is then run from each of the posts to the brackets on the coop.
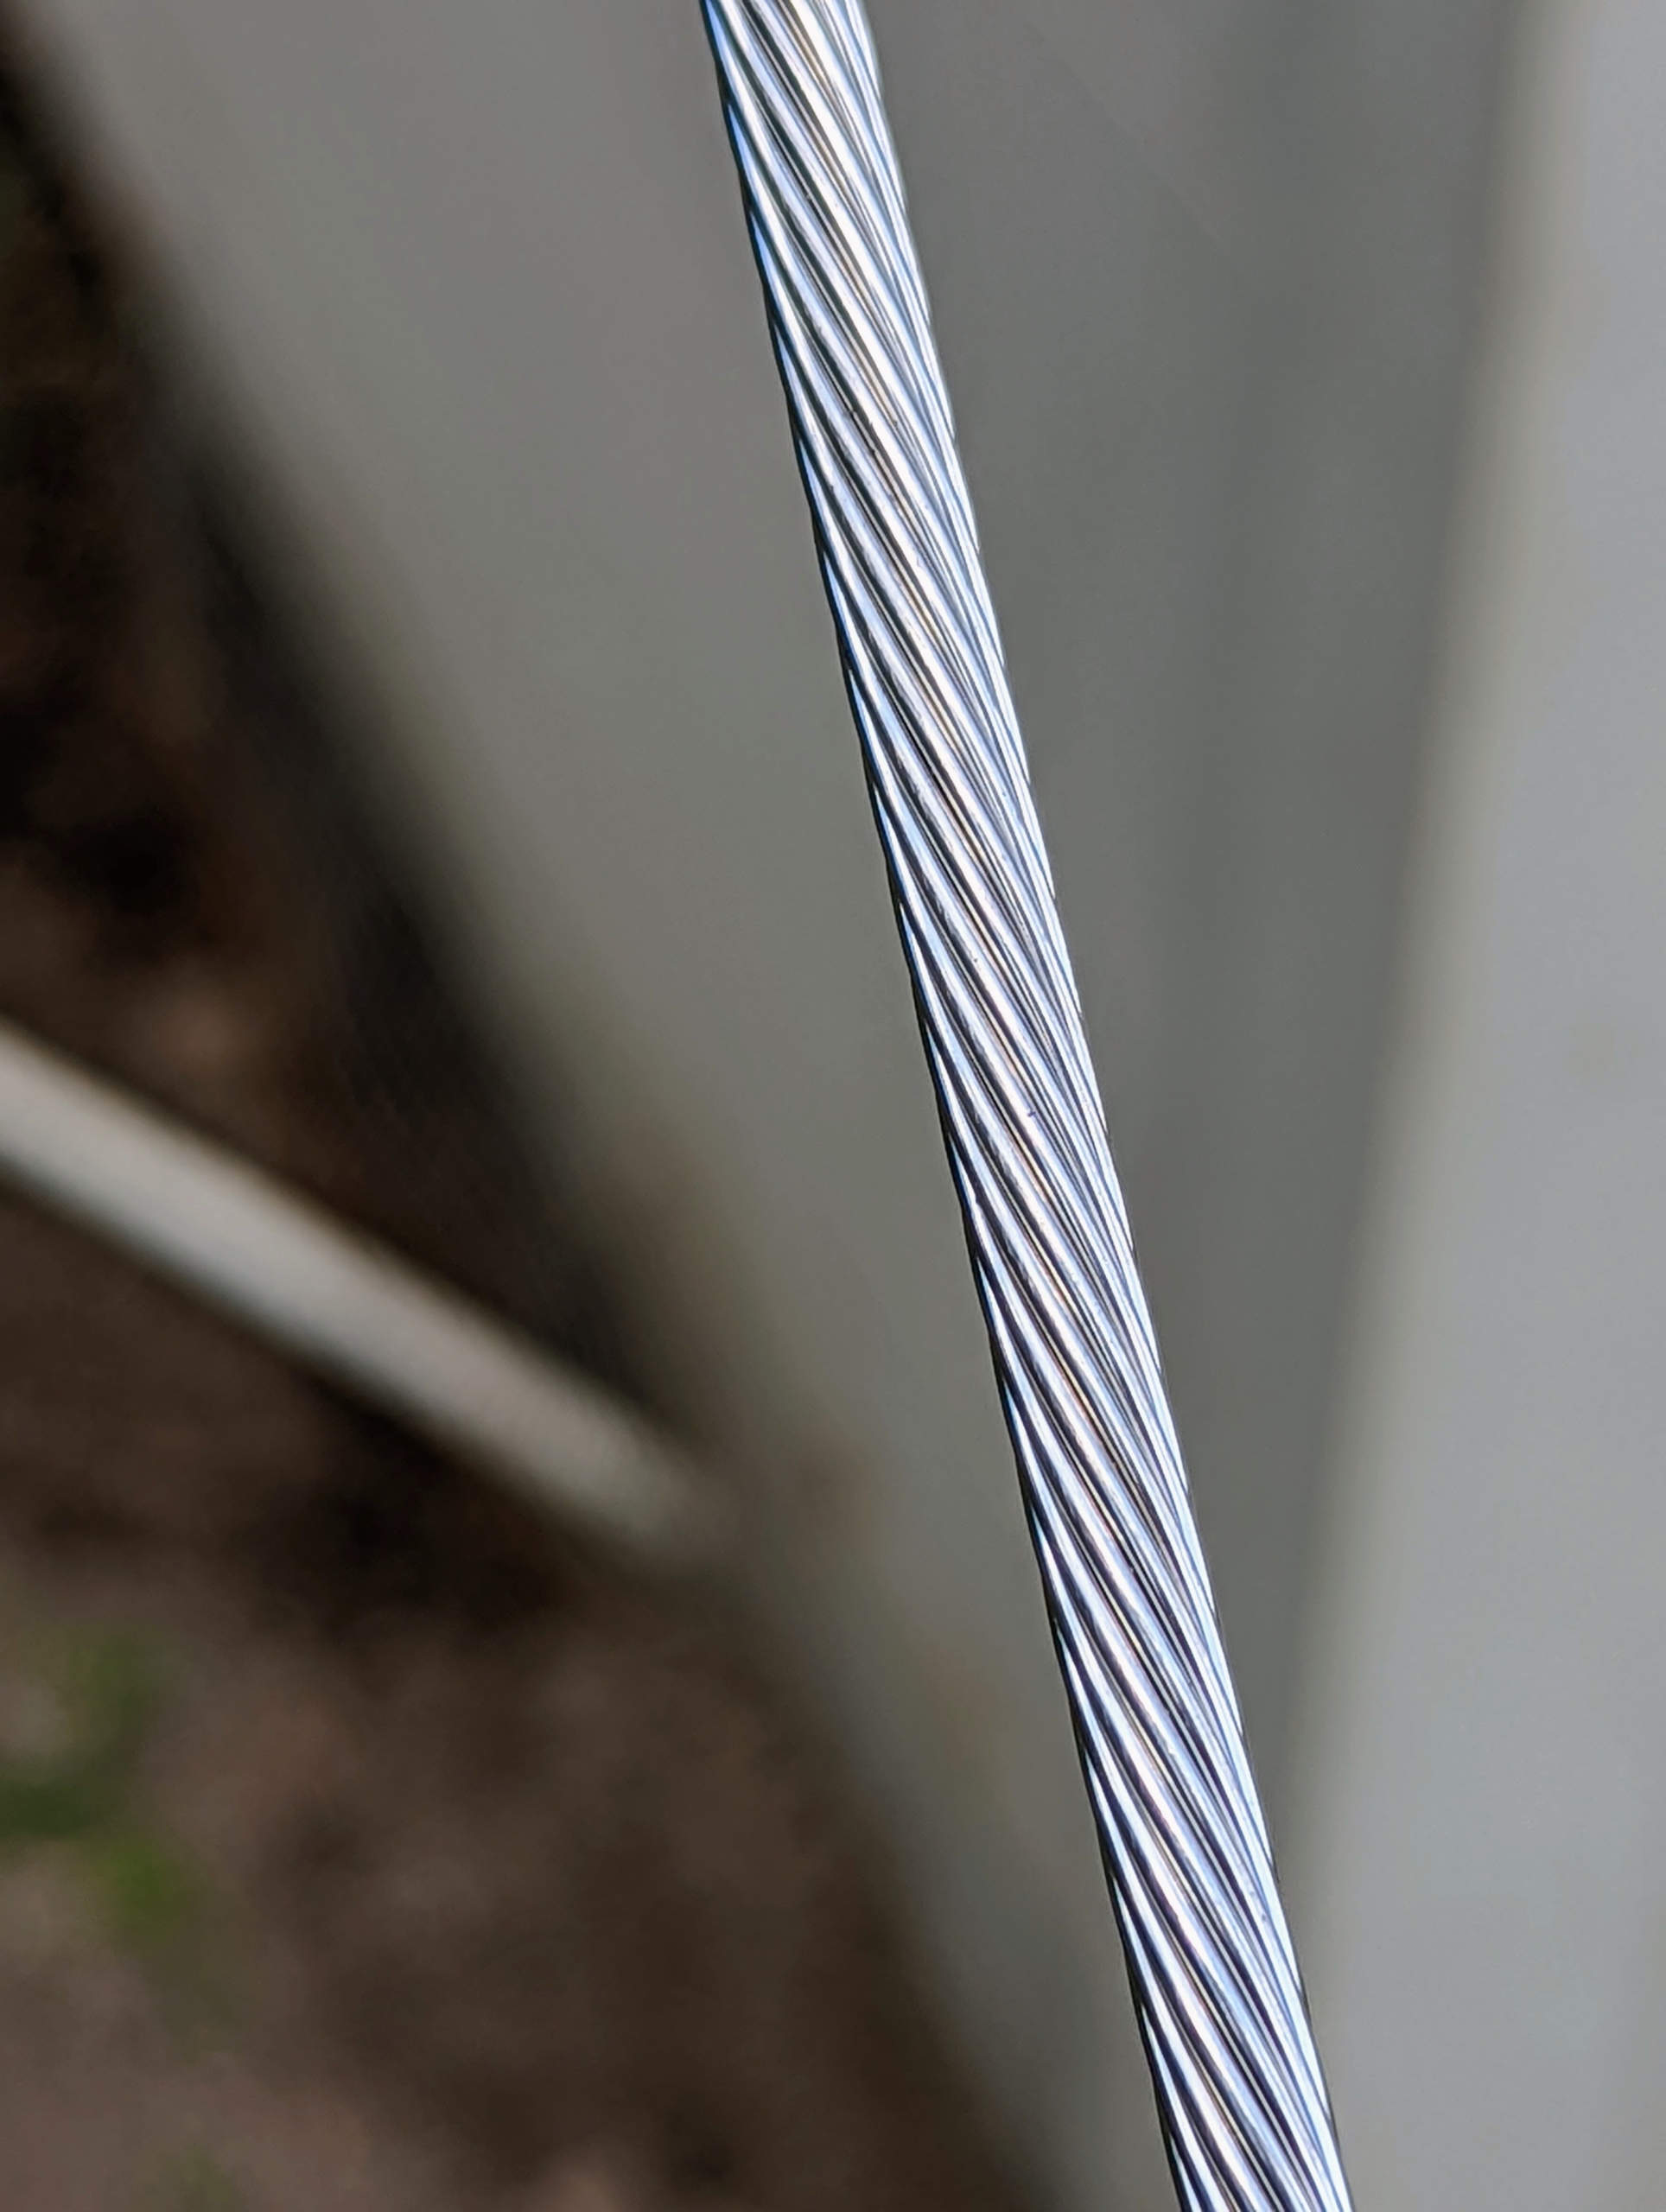
This is 316 gauge cable. It is corrosion resistant and can hold more than 330-pounds.
Here is a view from the side showing how the cable is attached to the brackets in the center of the yard.
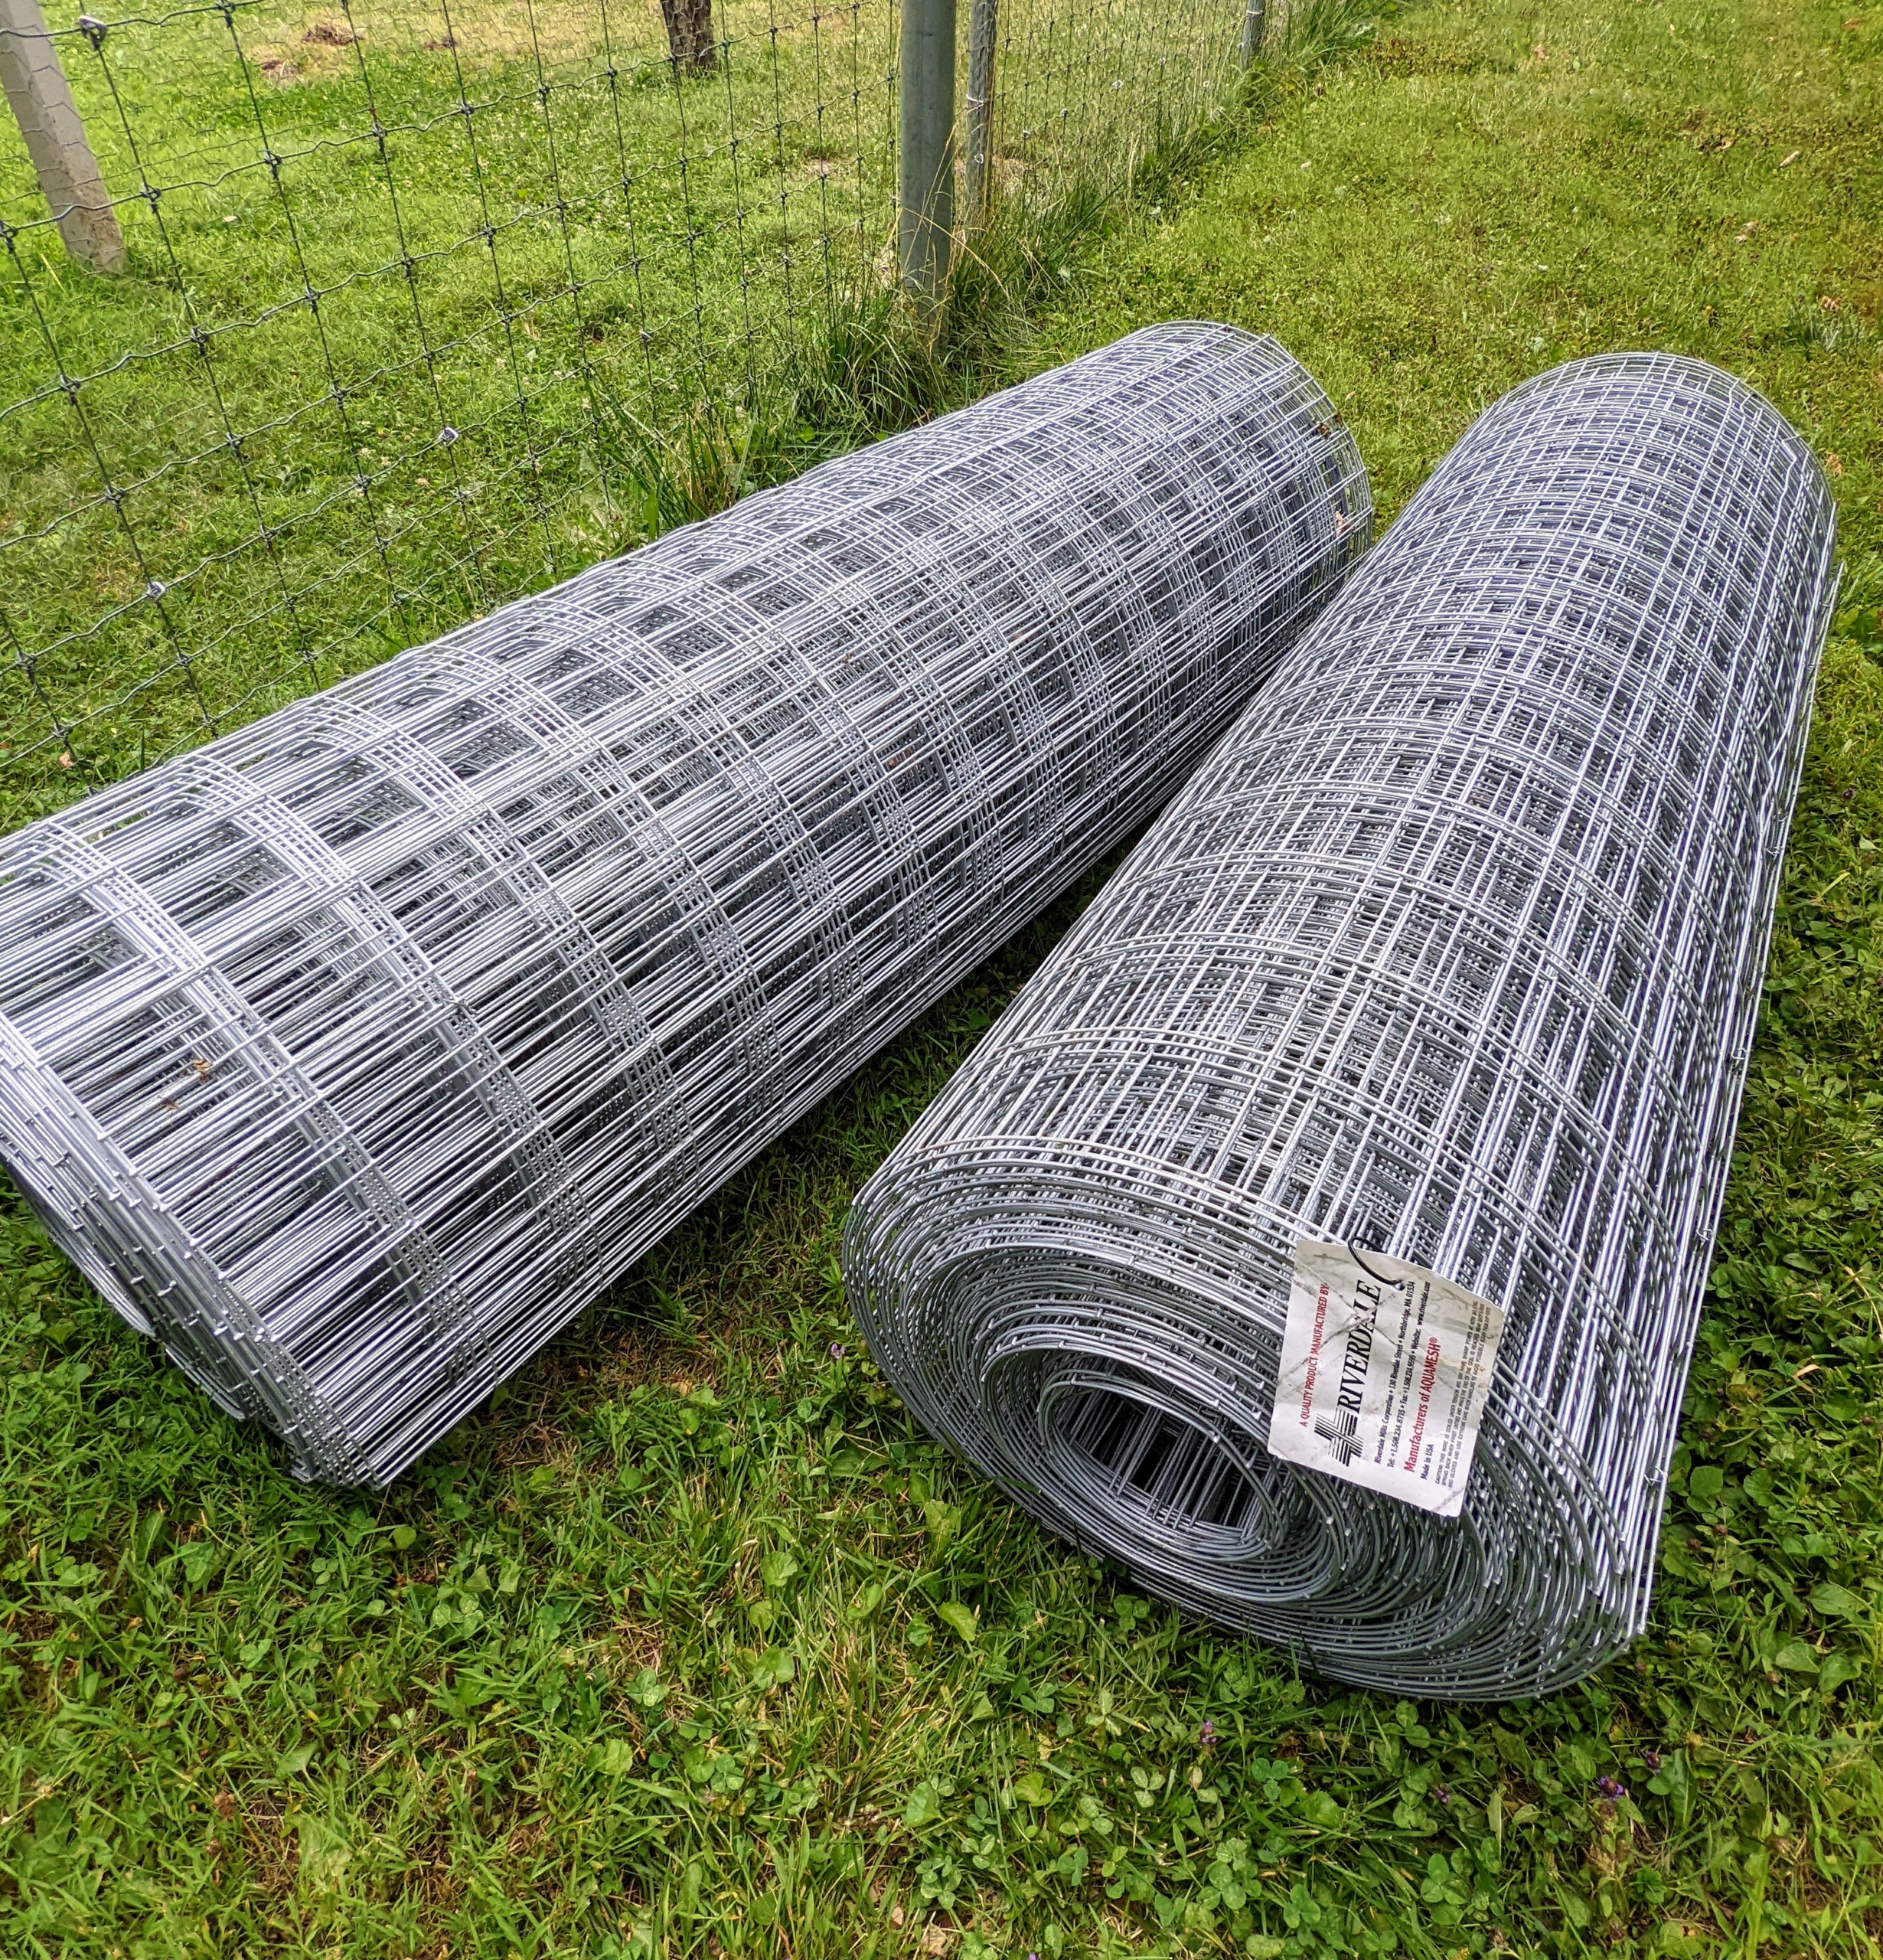
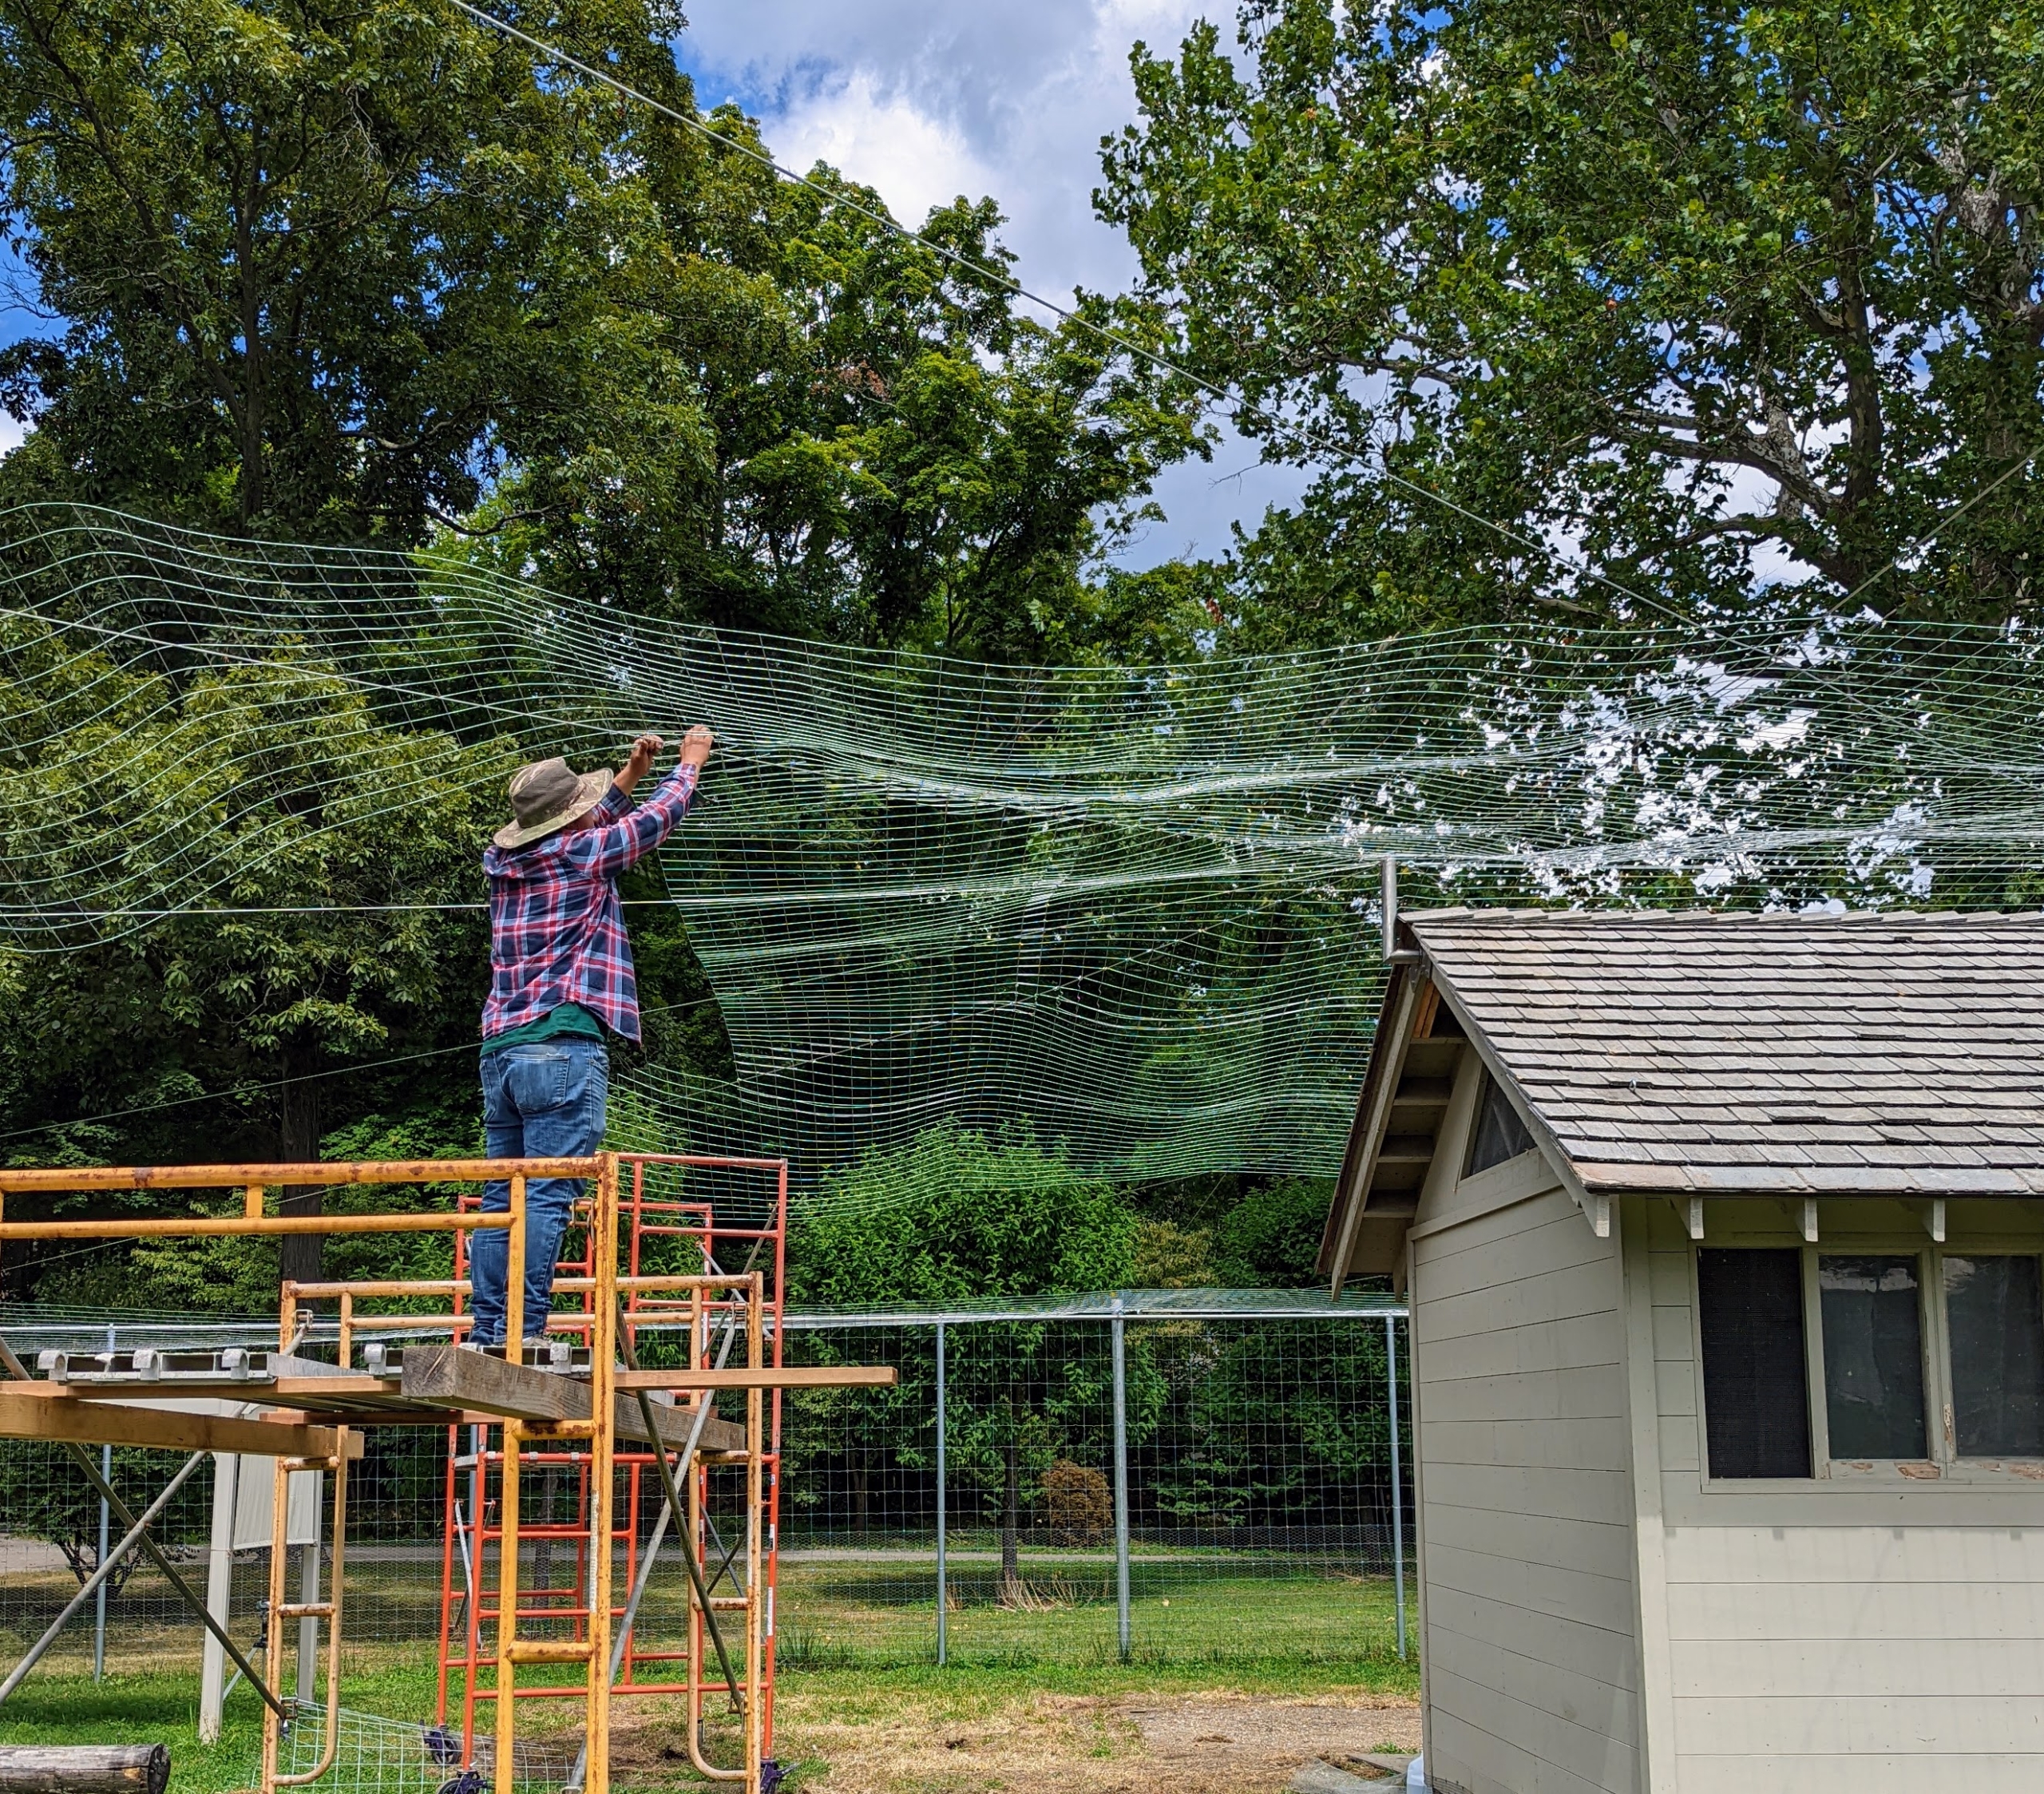
The next step is to install the fence fabric. This is 4×4 inch wire fencing. Each roll is 60-inches wide and 200-feet long.
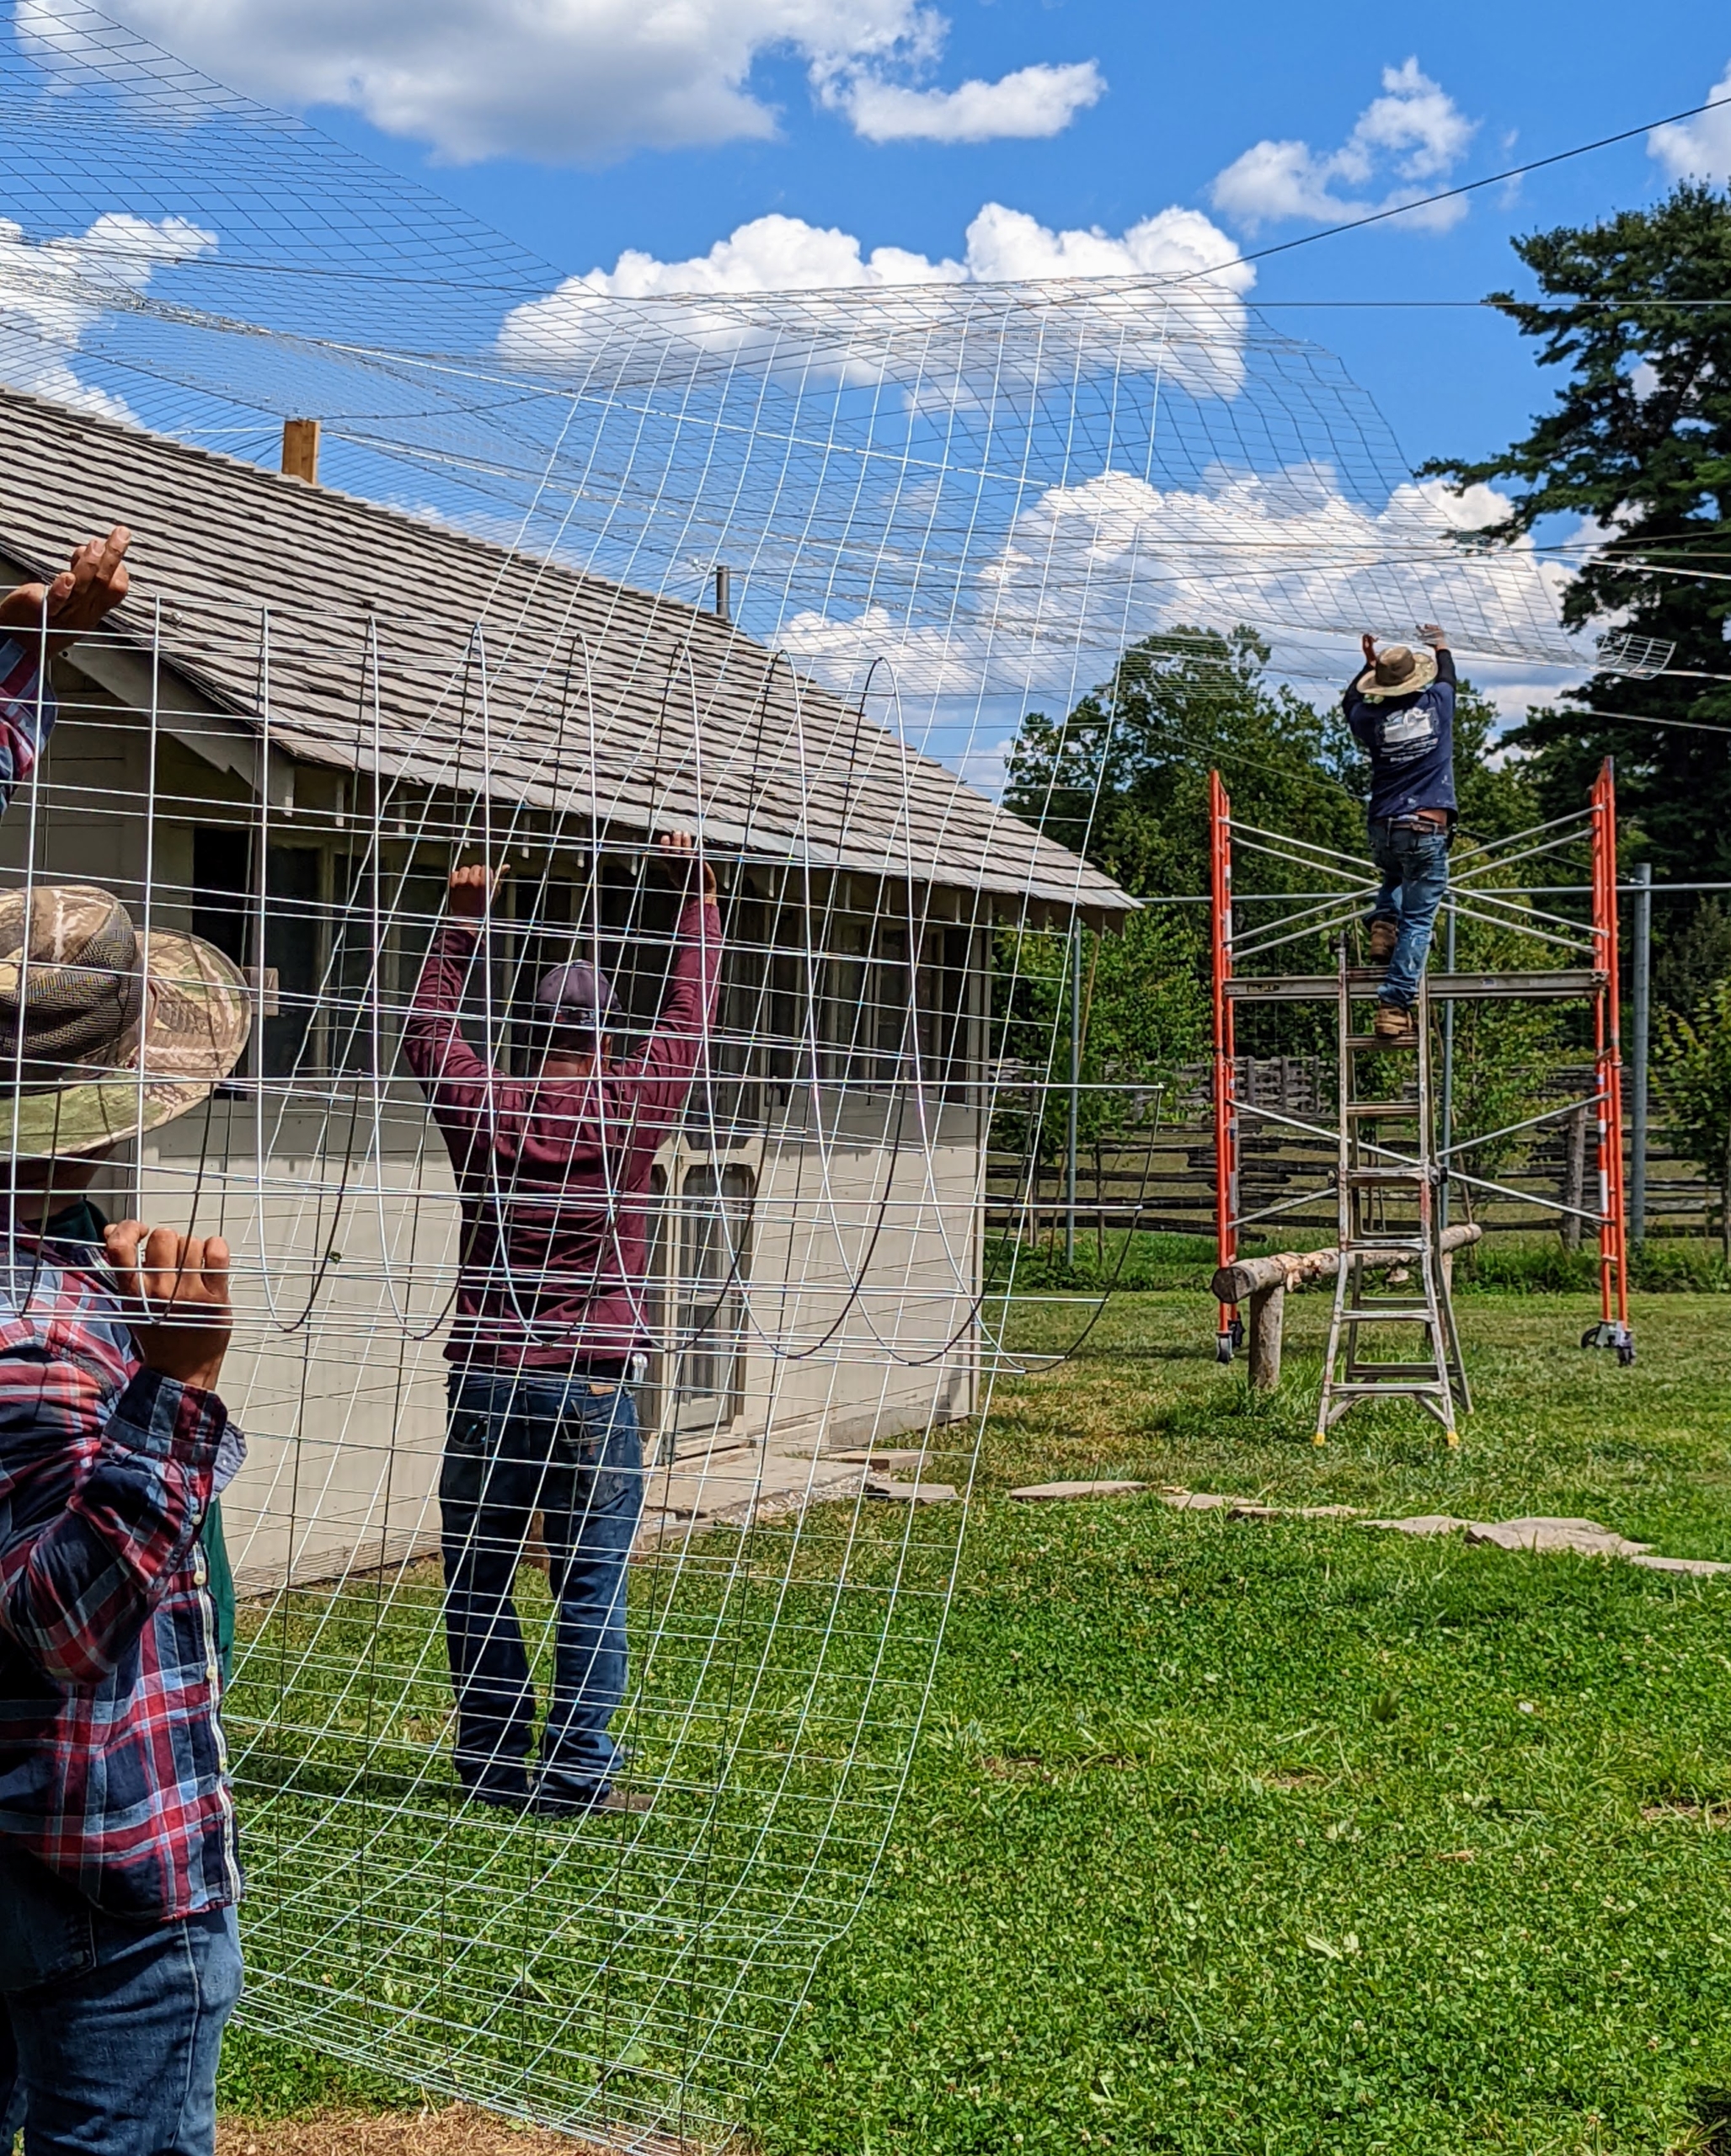
The fence fabric is carefully spread over the cables from the center out.
It takes several crew members to carefully unroll the fence fabric and attach it to the posts.
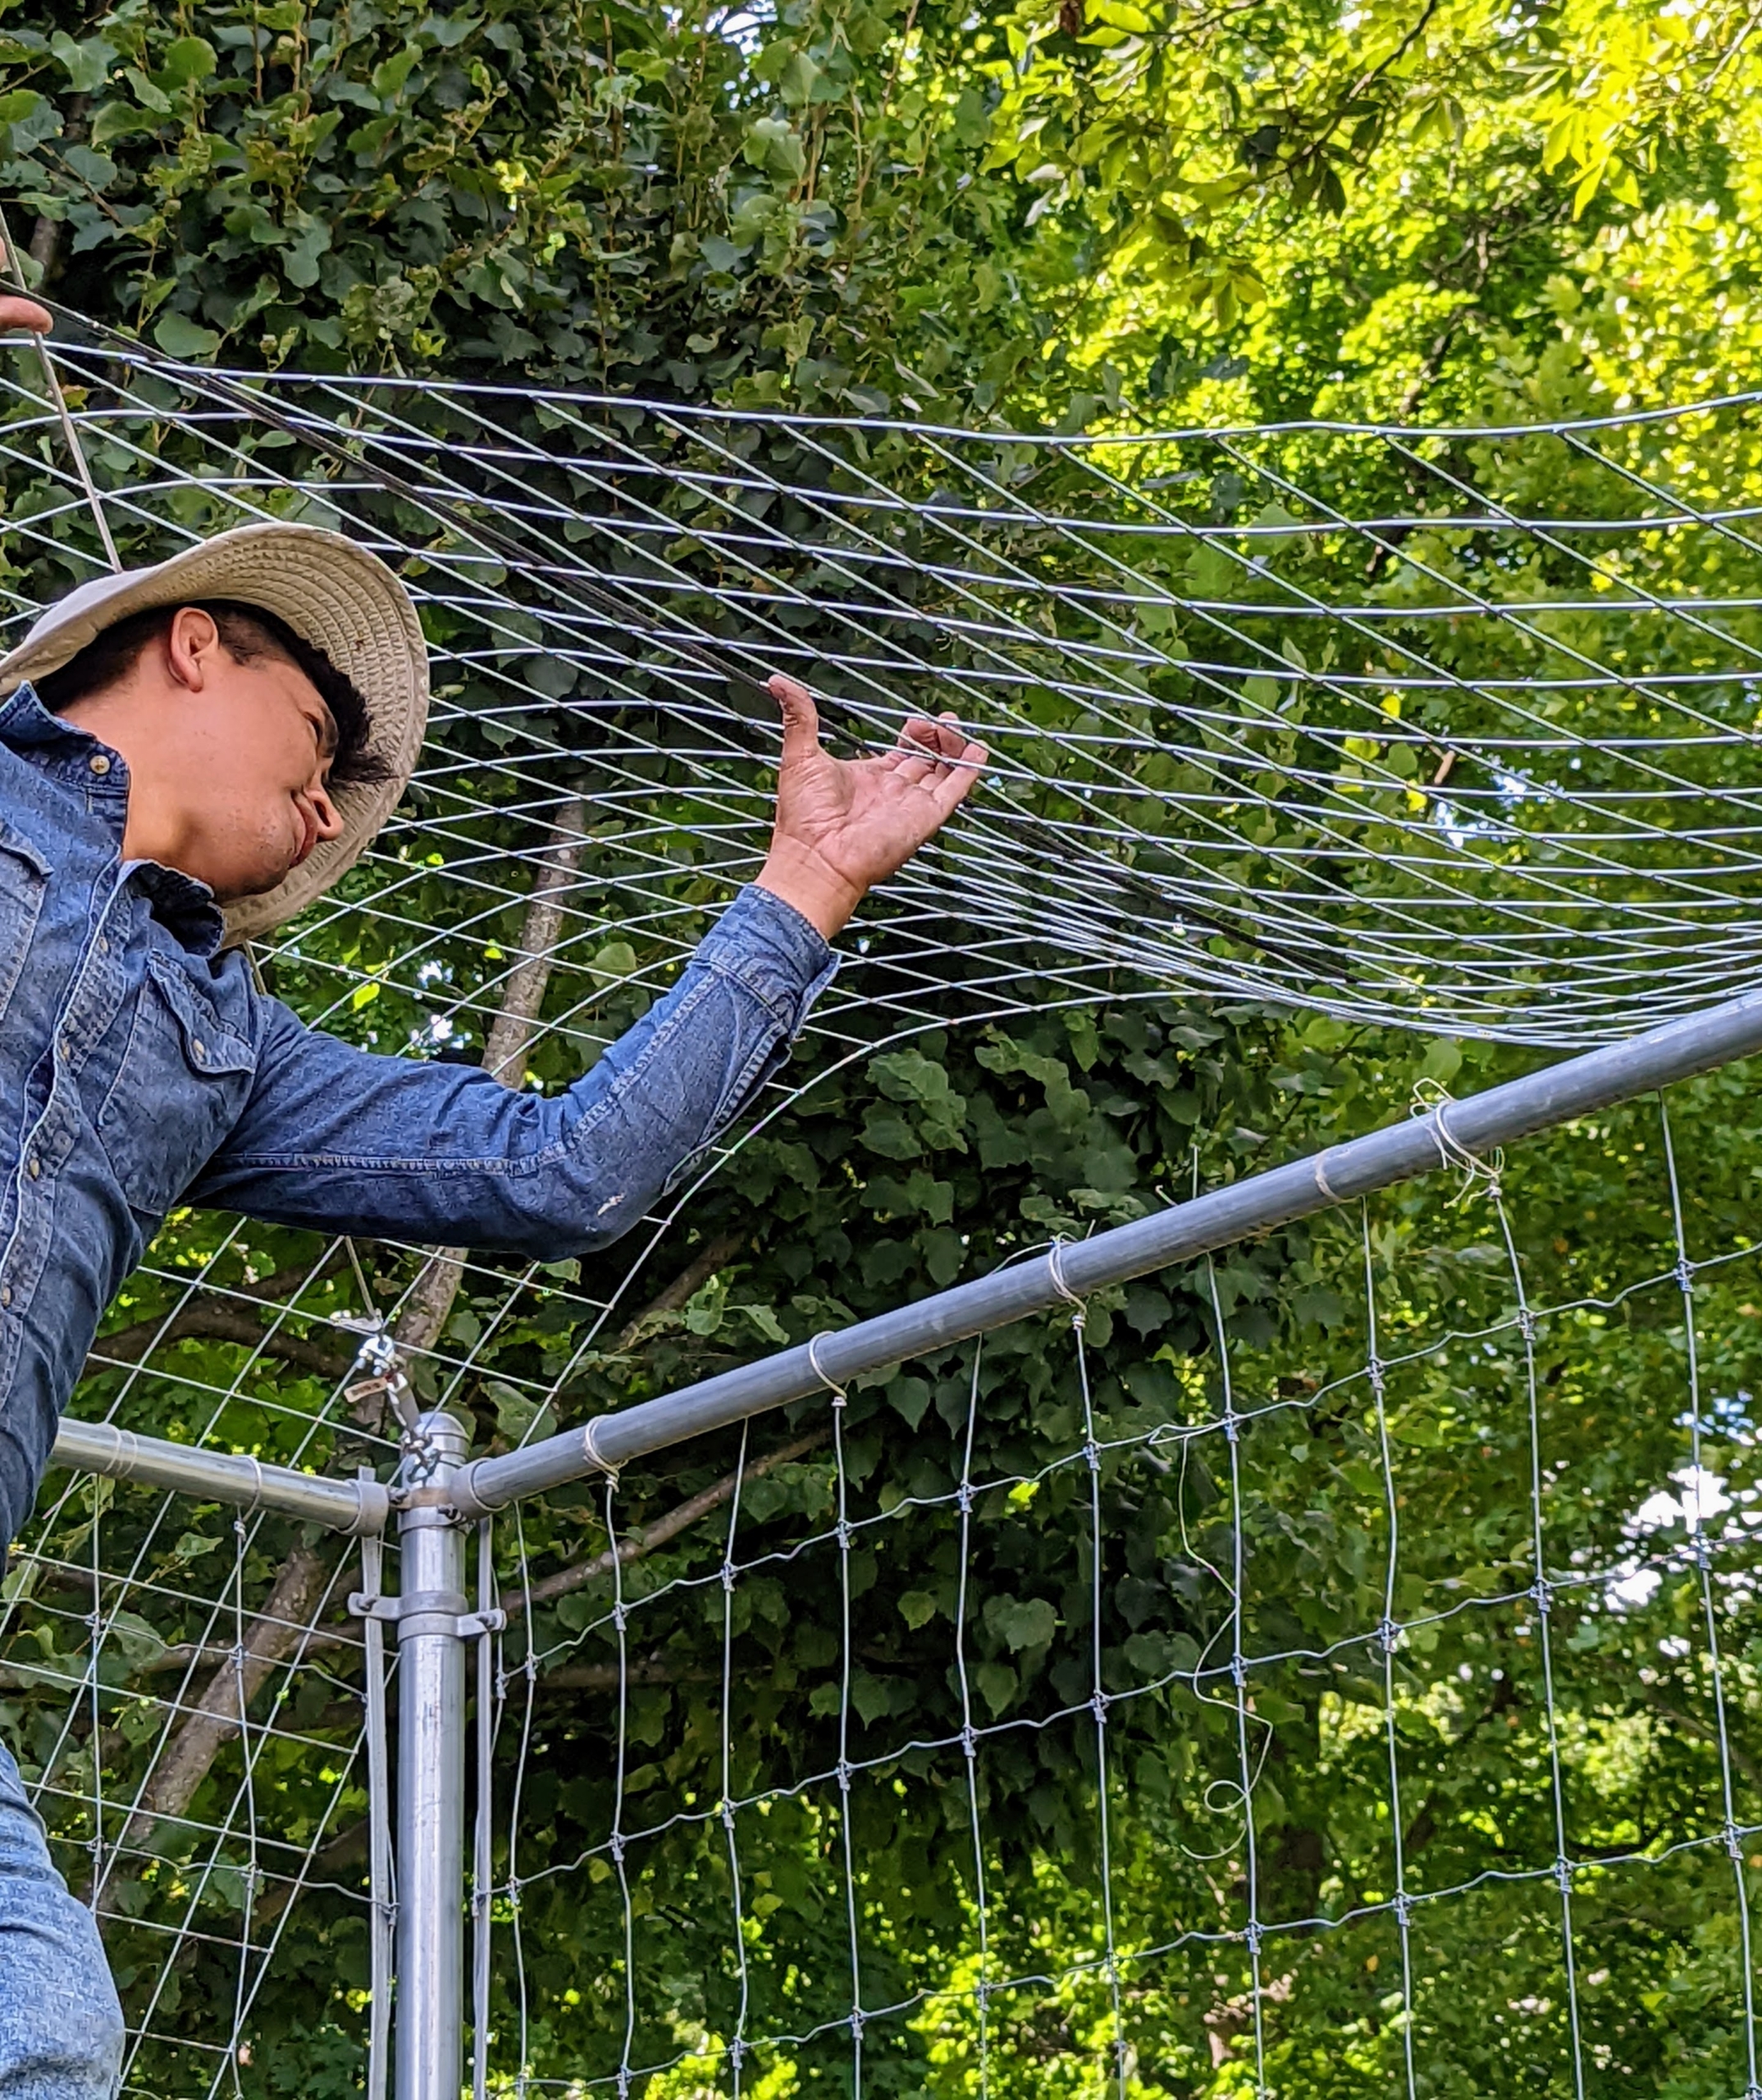
At first it looks a bit wavy, but as it is installed, the tension is increased and it is pulled taut.
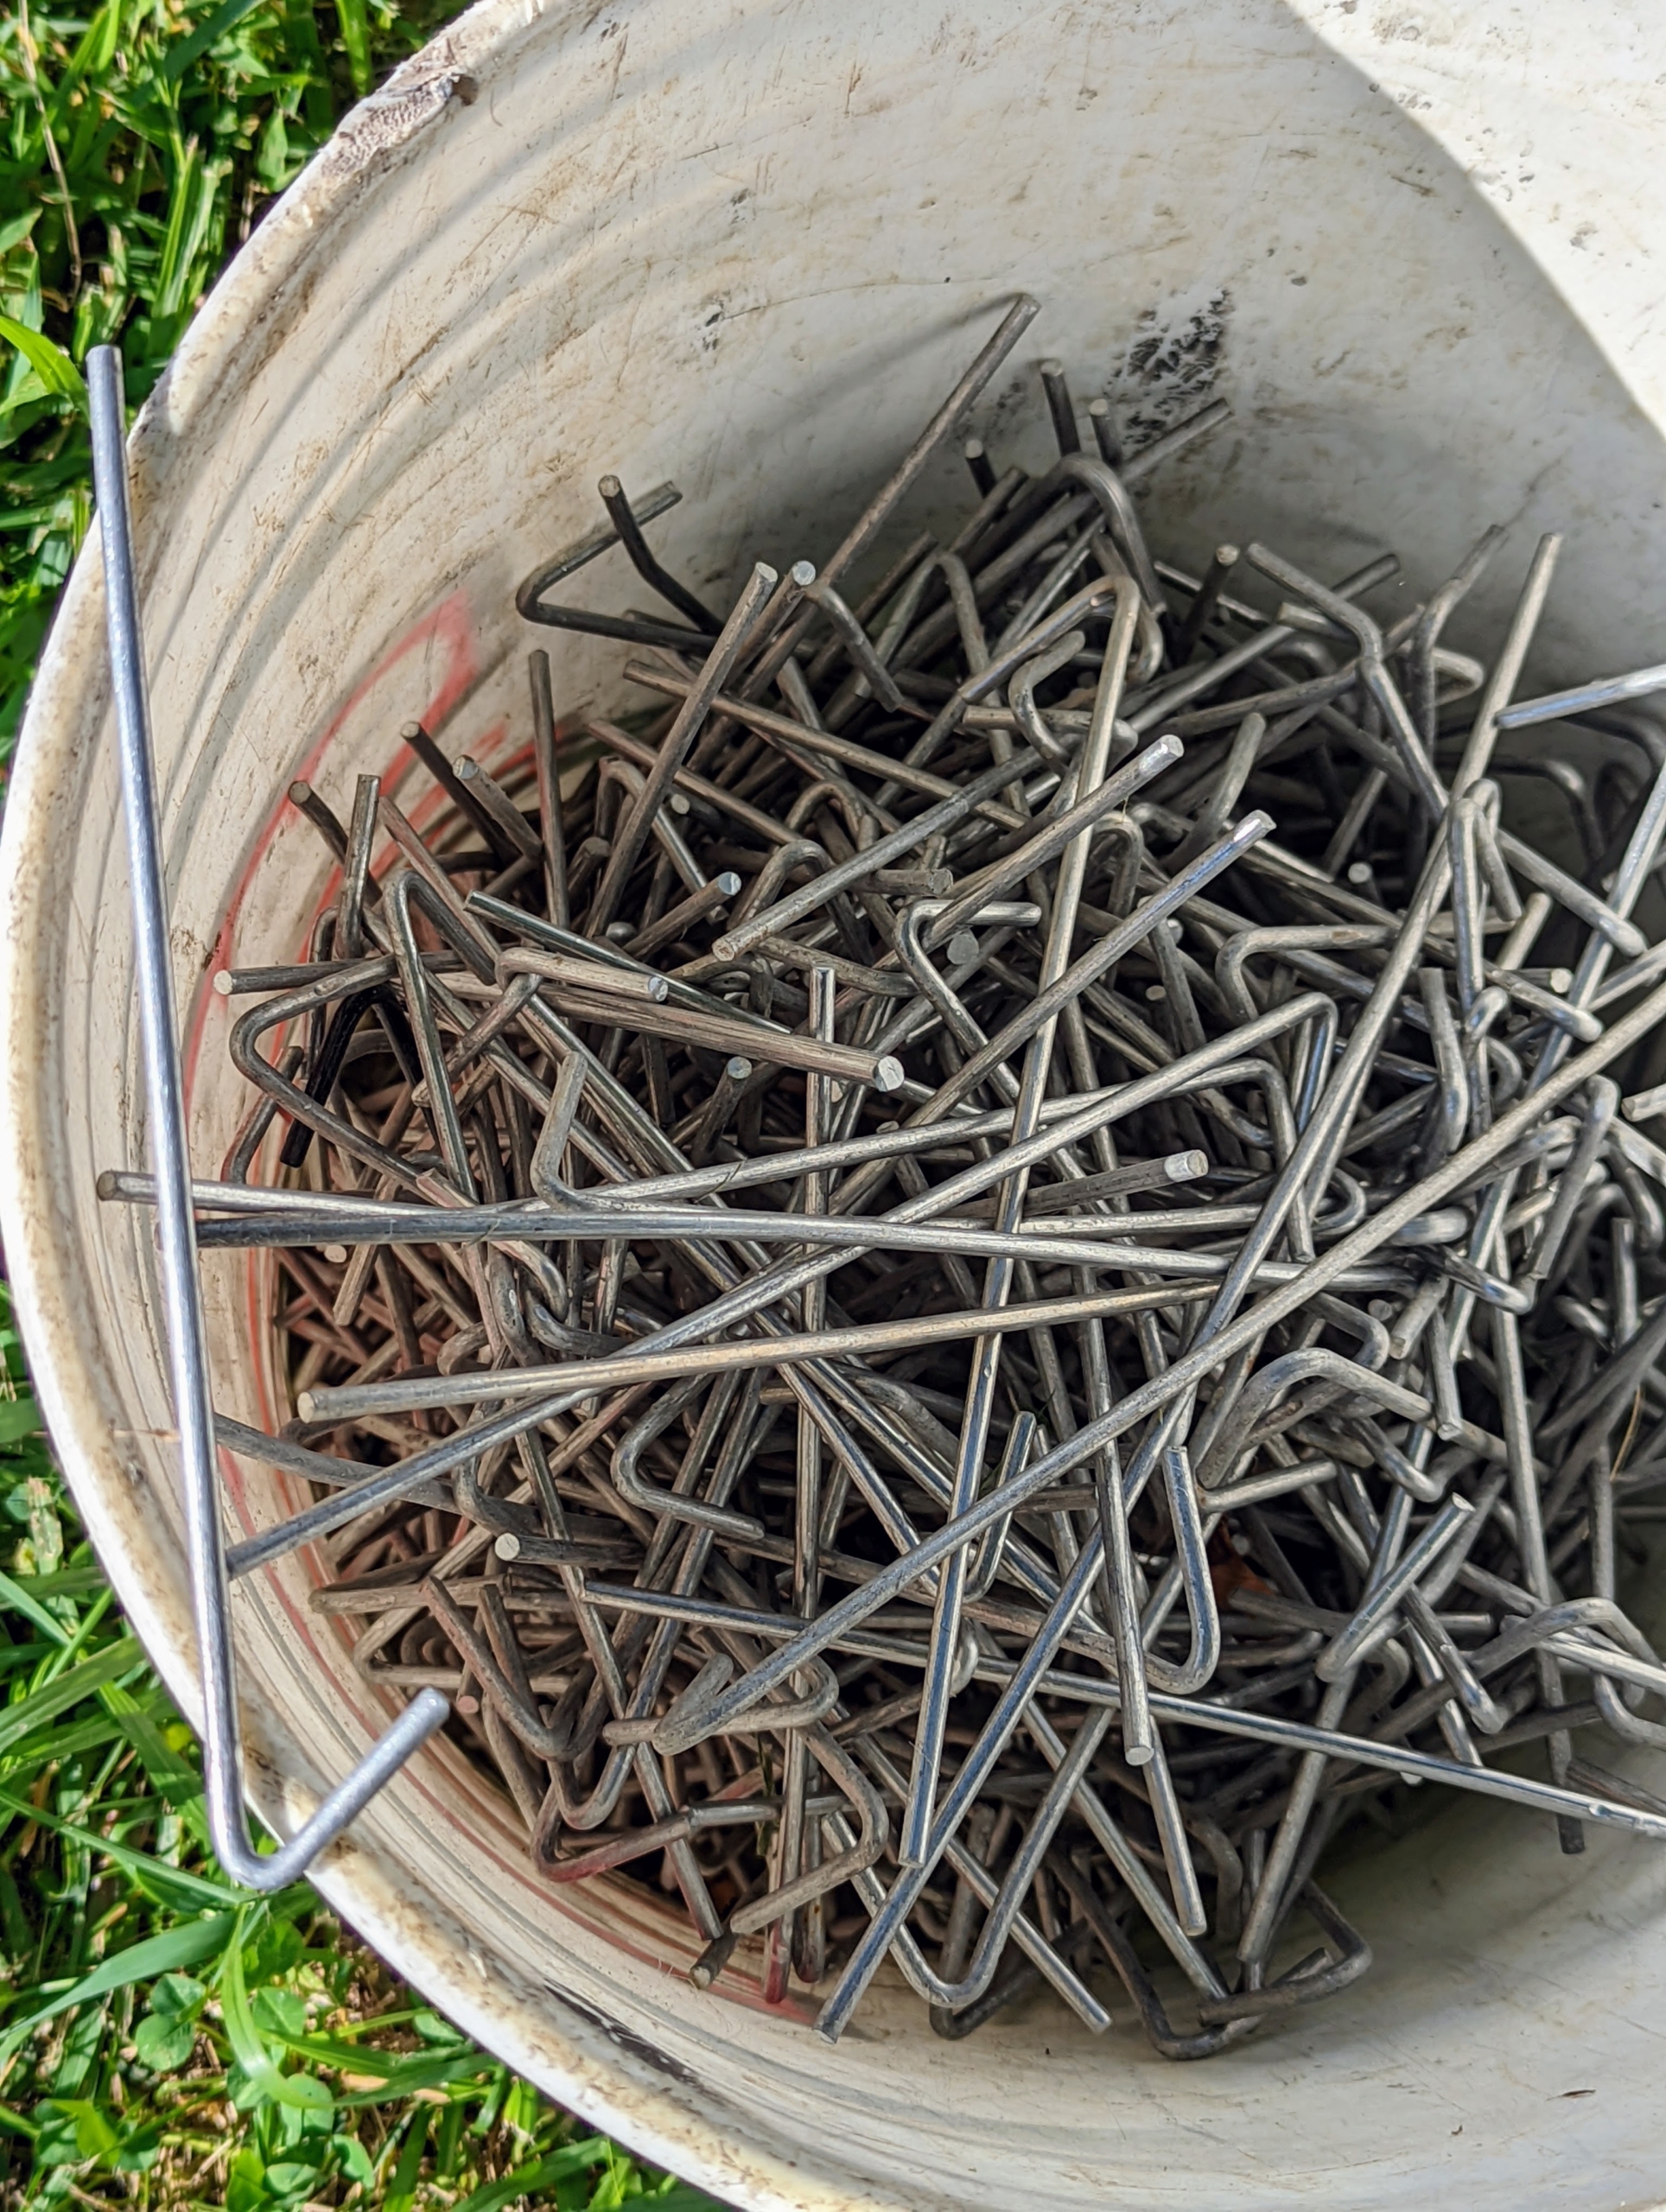
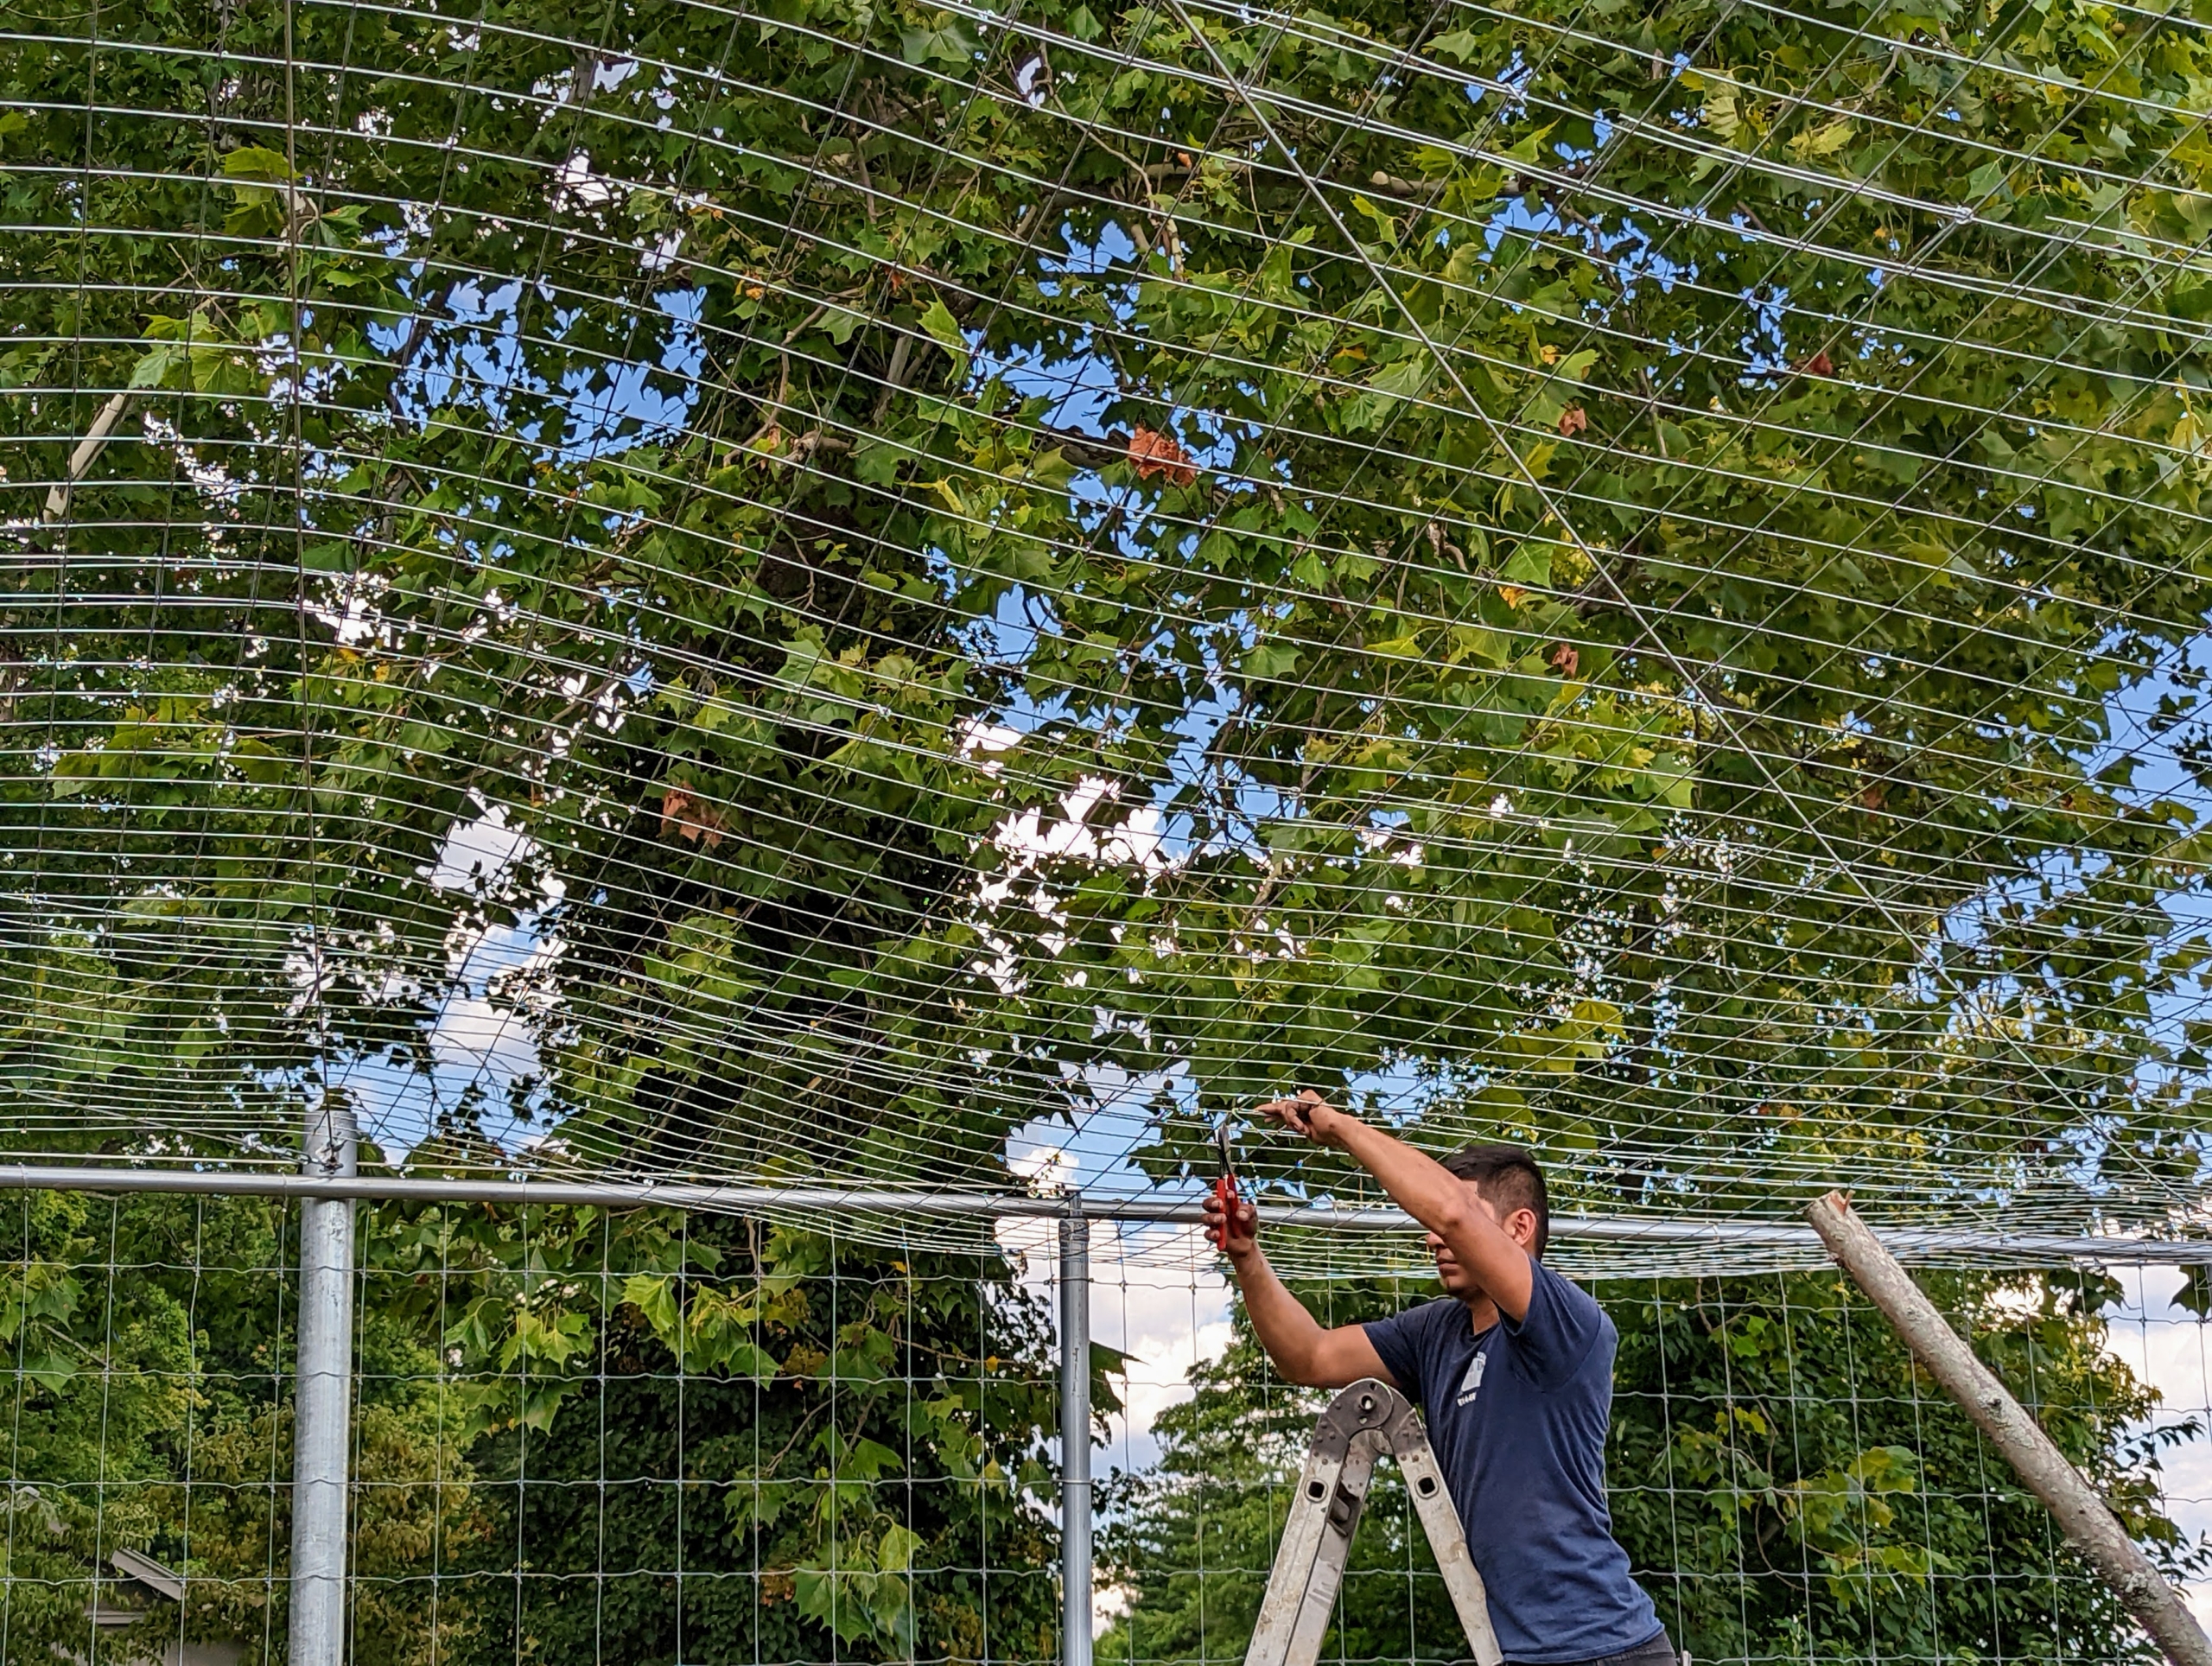
They secure it with these chain link fence wire ties, also known as chain link hook ties, or chain link fence tie wires. They are constructed from a heavy duty bendable gauge wire.
The wire ties are placed along the edge of the fence fabric, attaching one strip to the next.
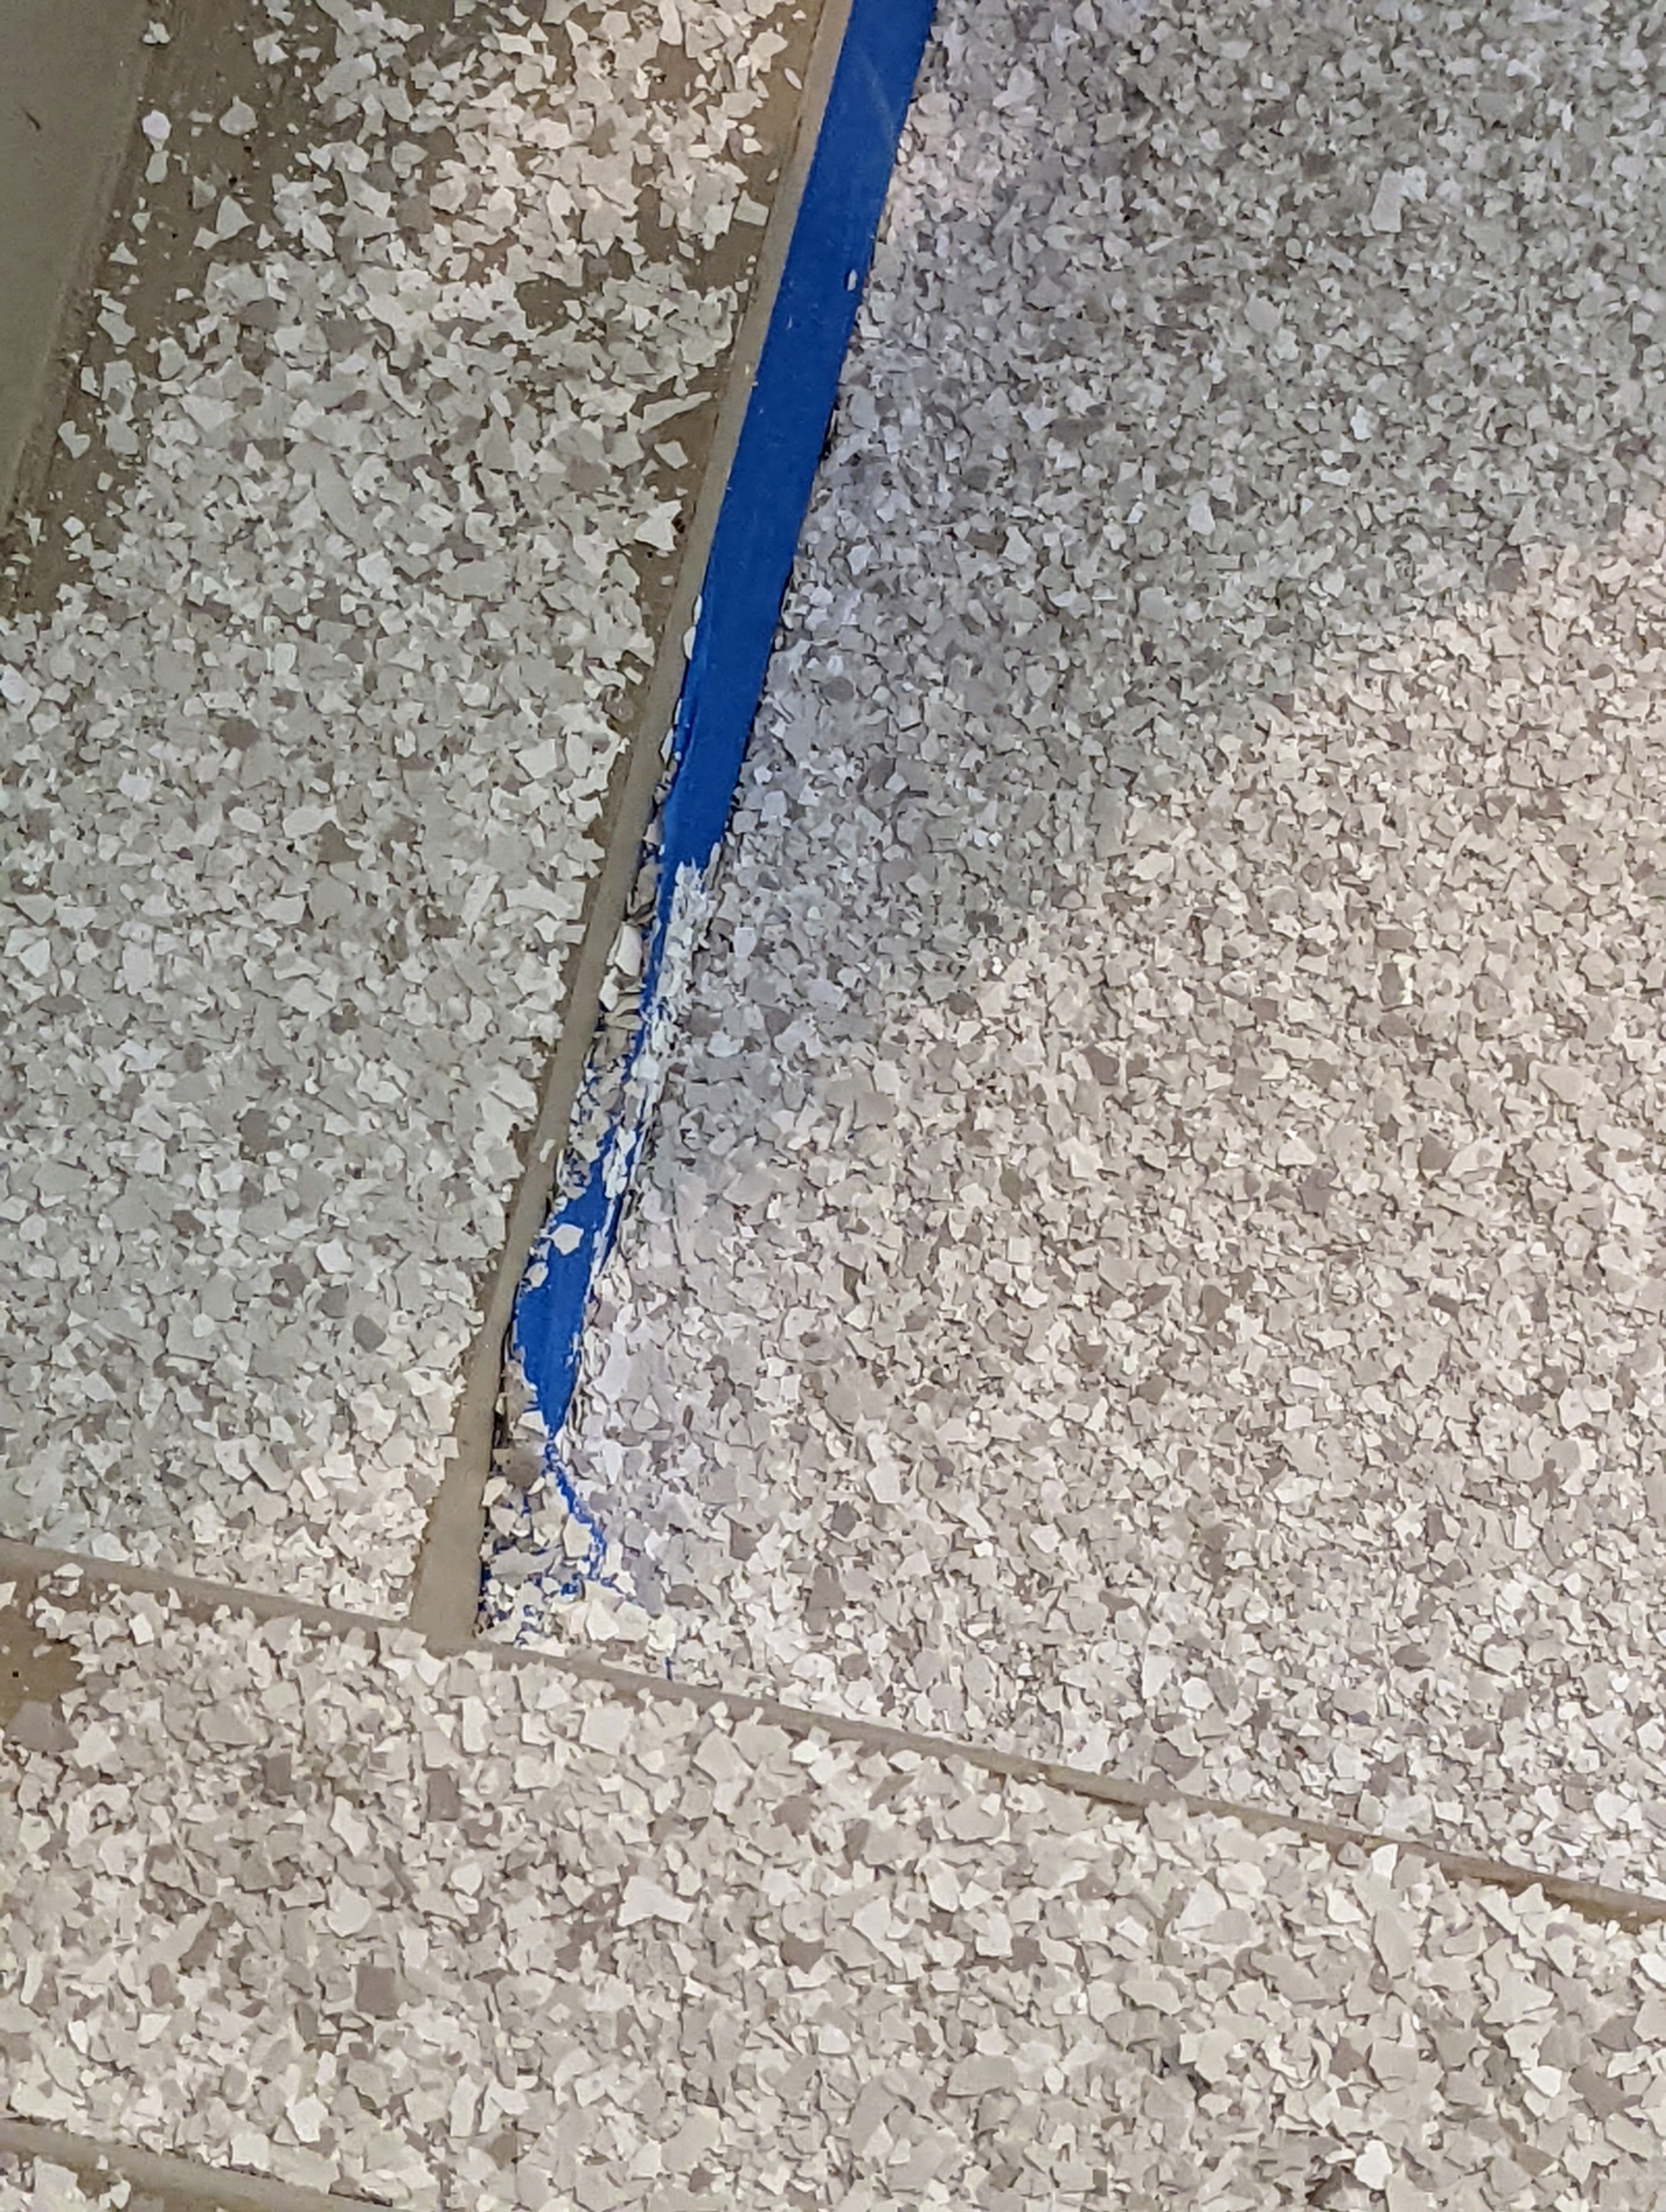
Here is a section showing how it overlaps and connects to the next strip. It is a large pen, so the fence fabric must be installed carefully.
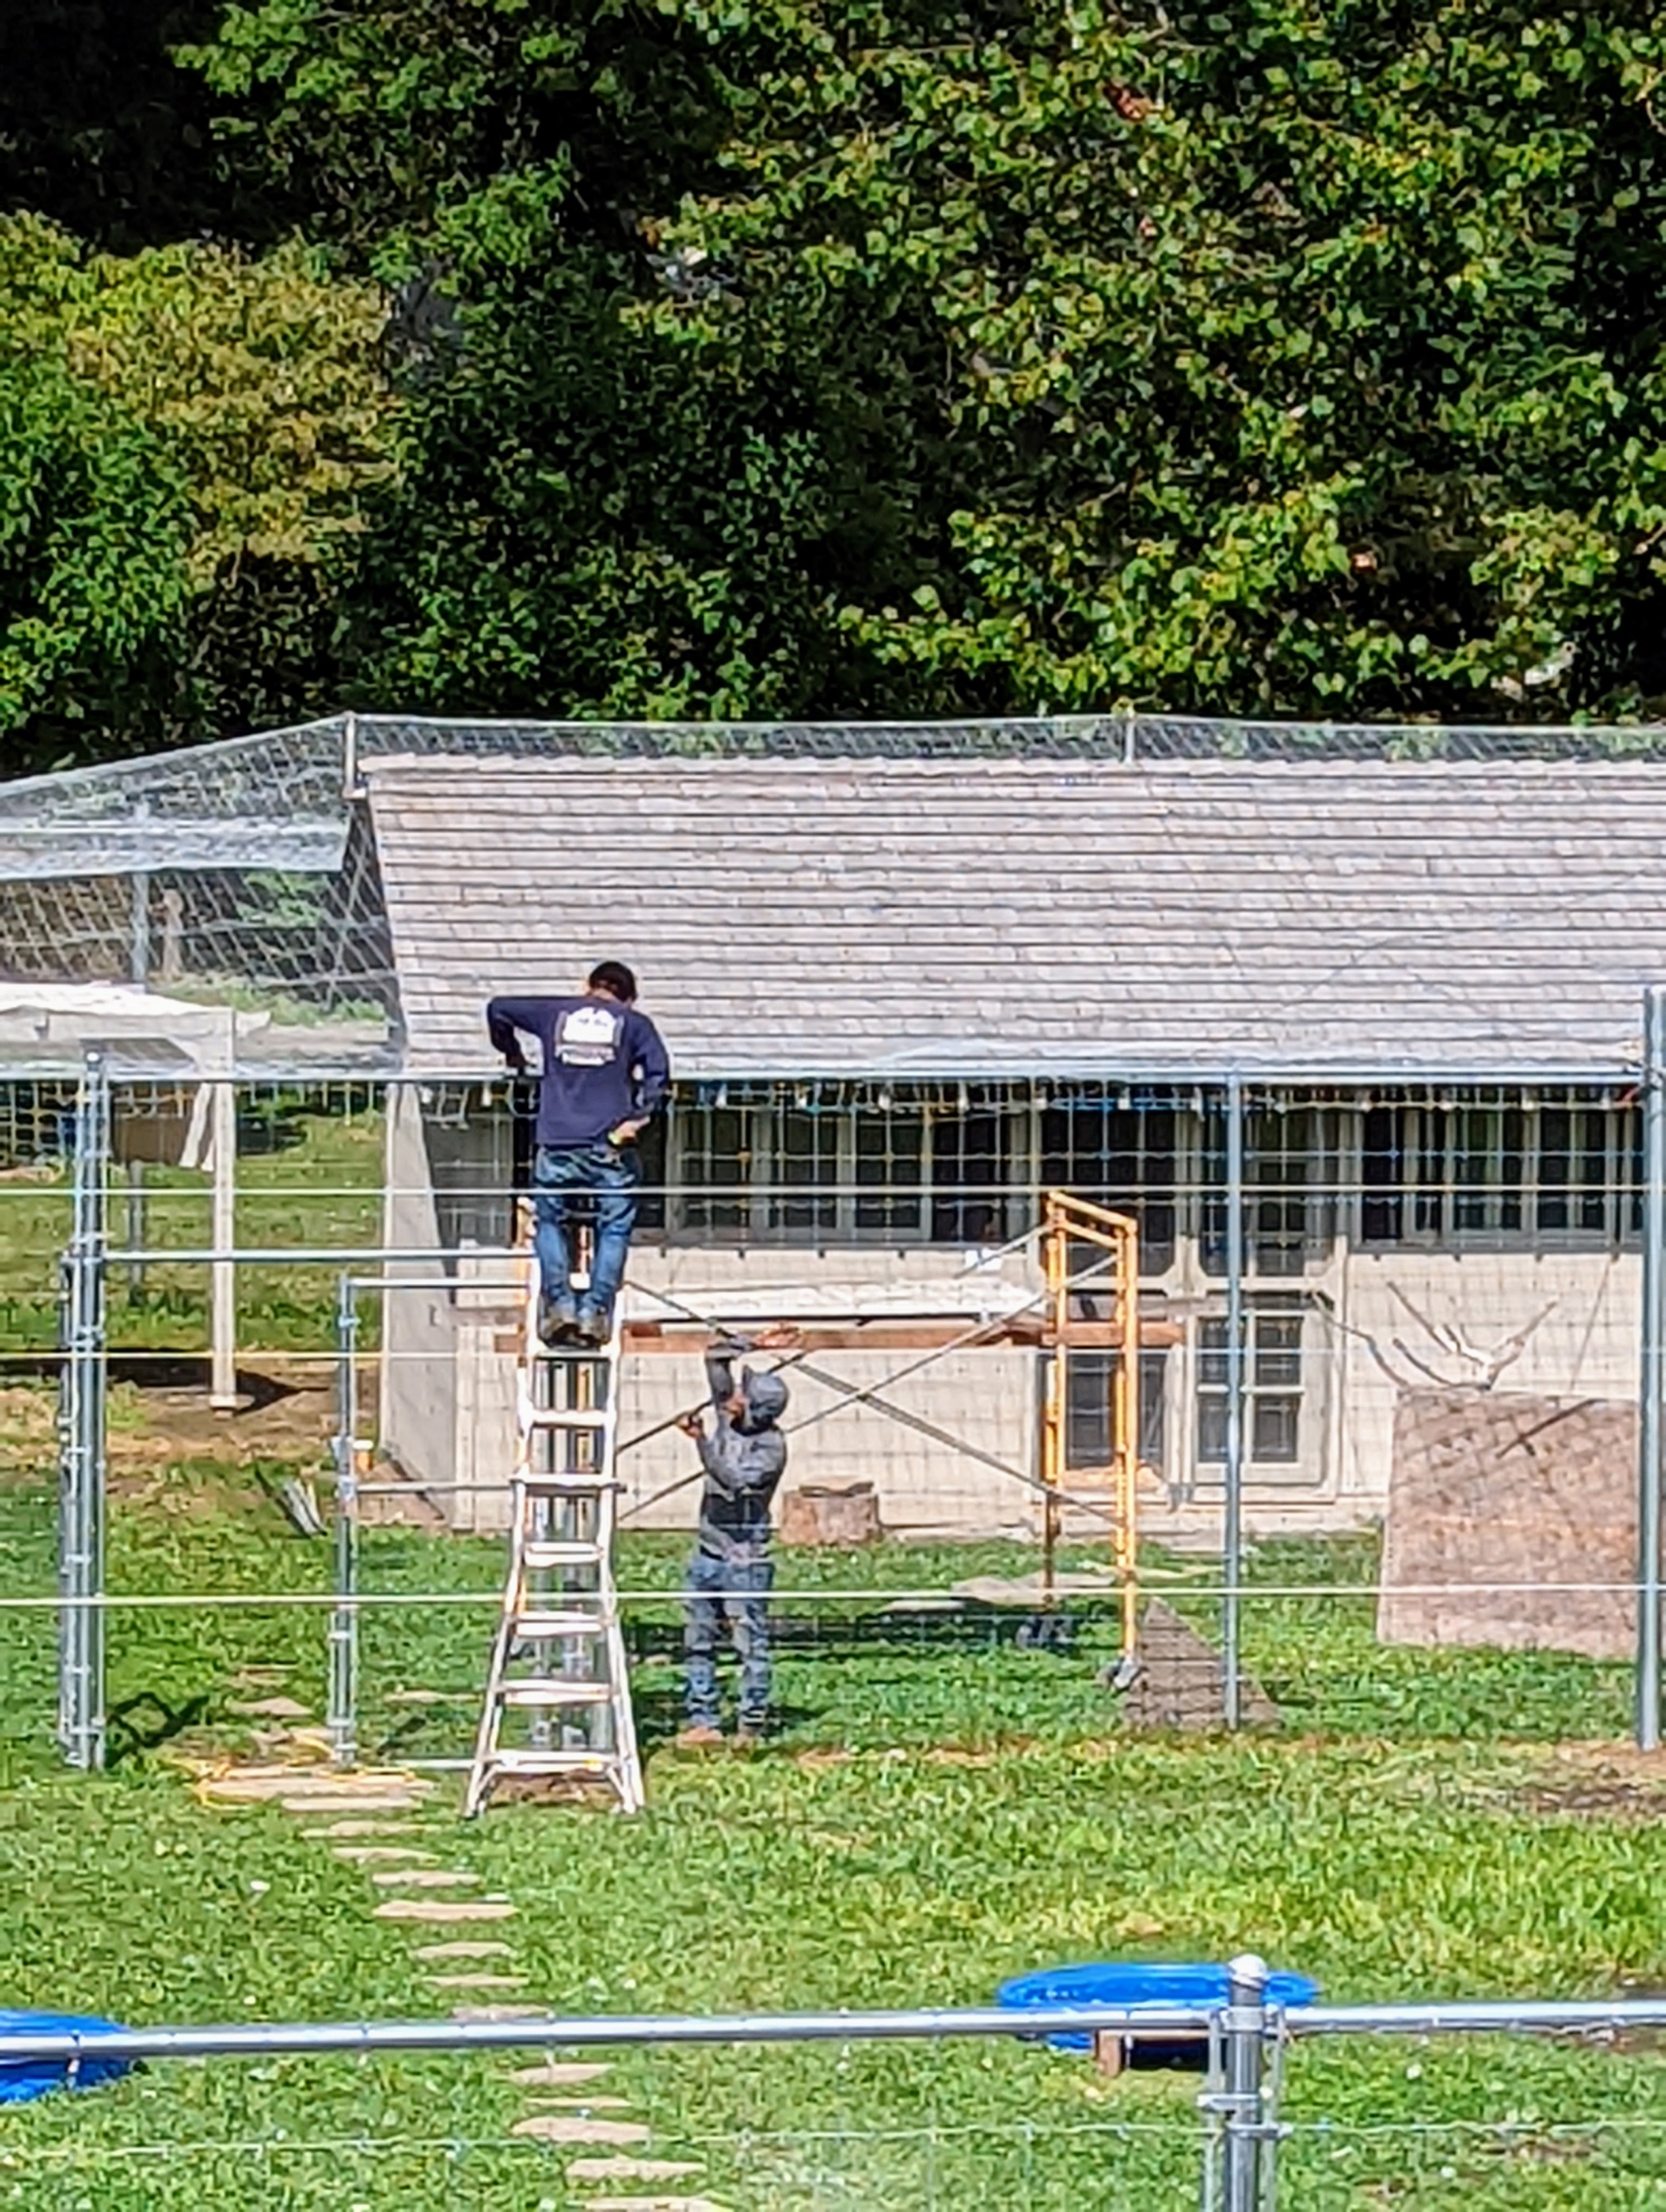
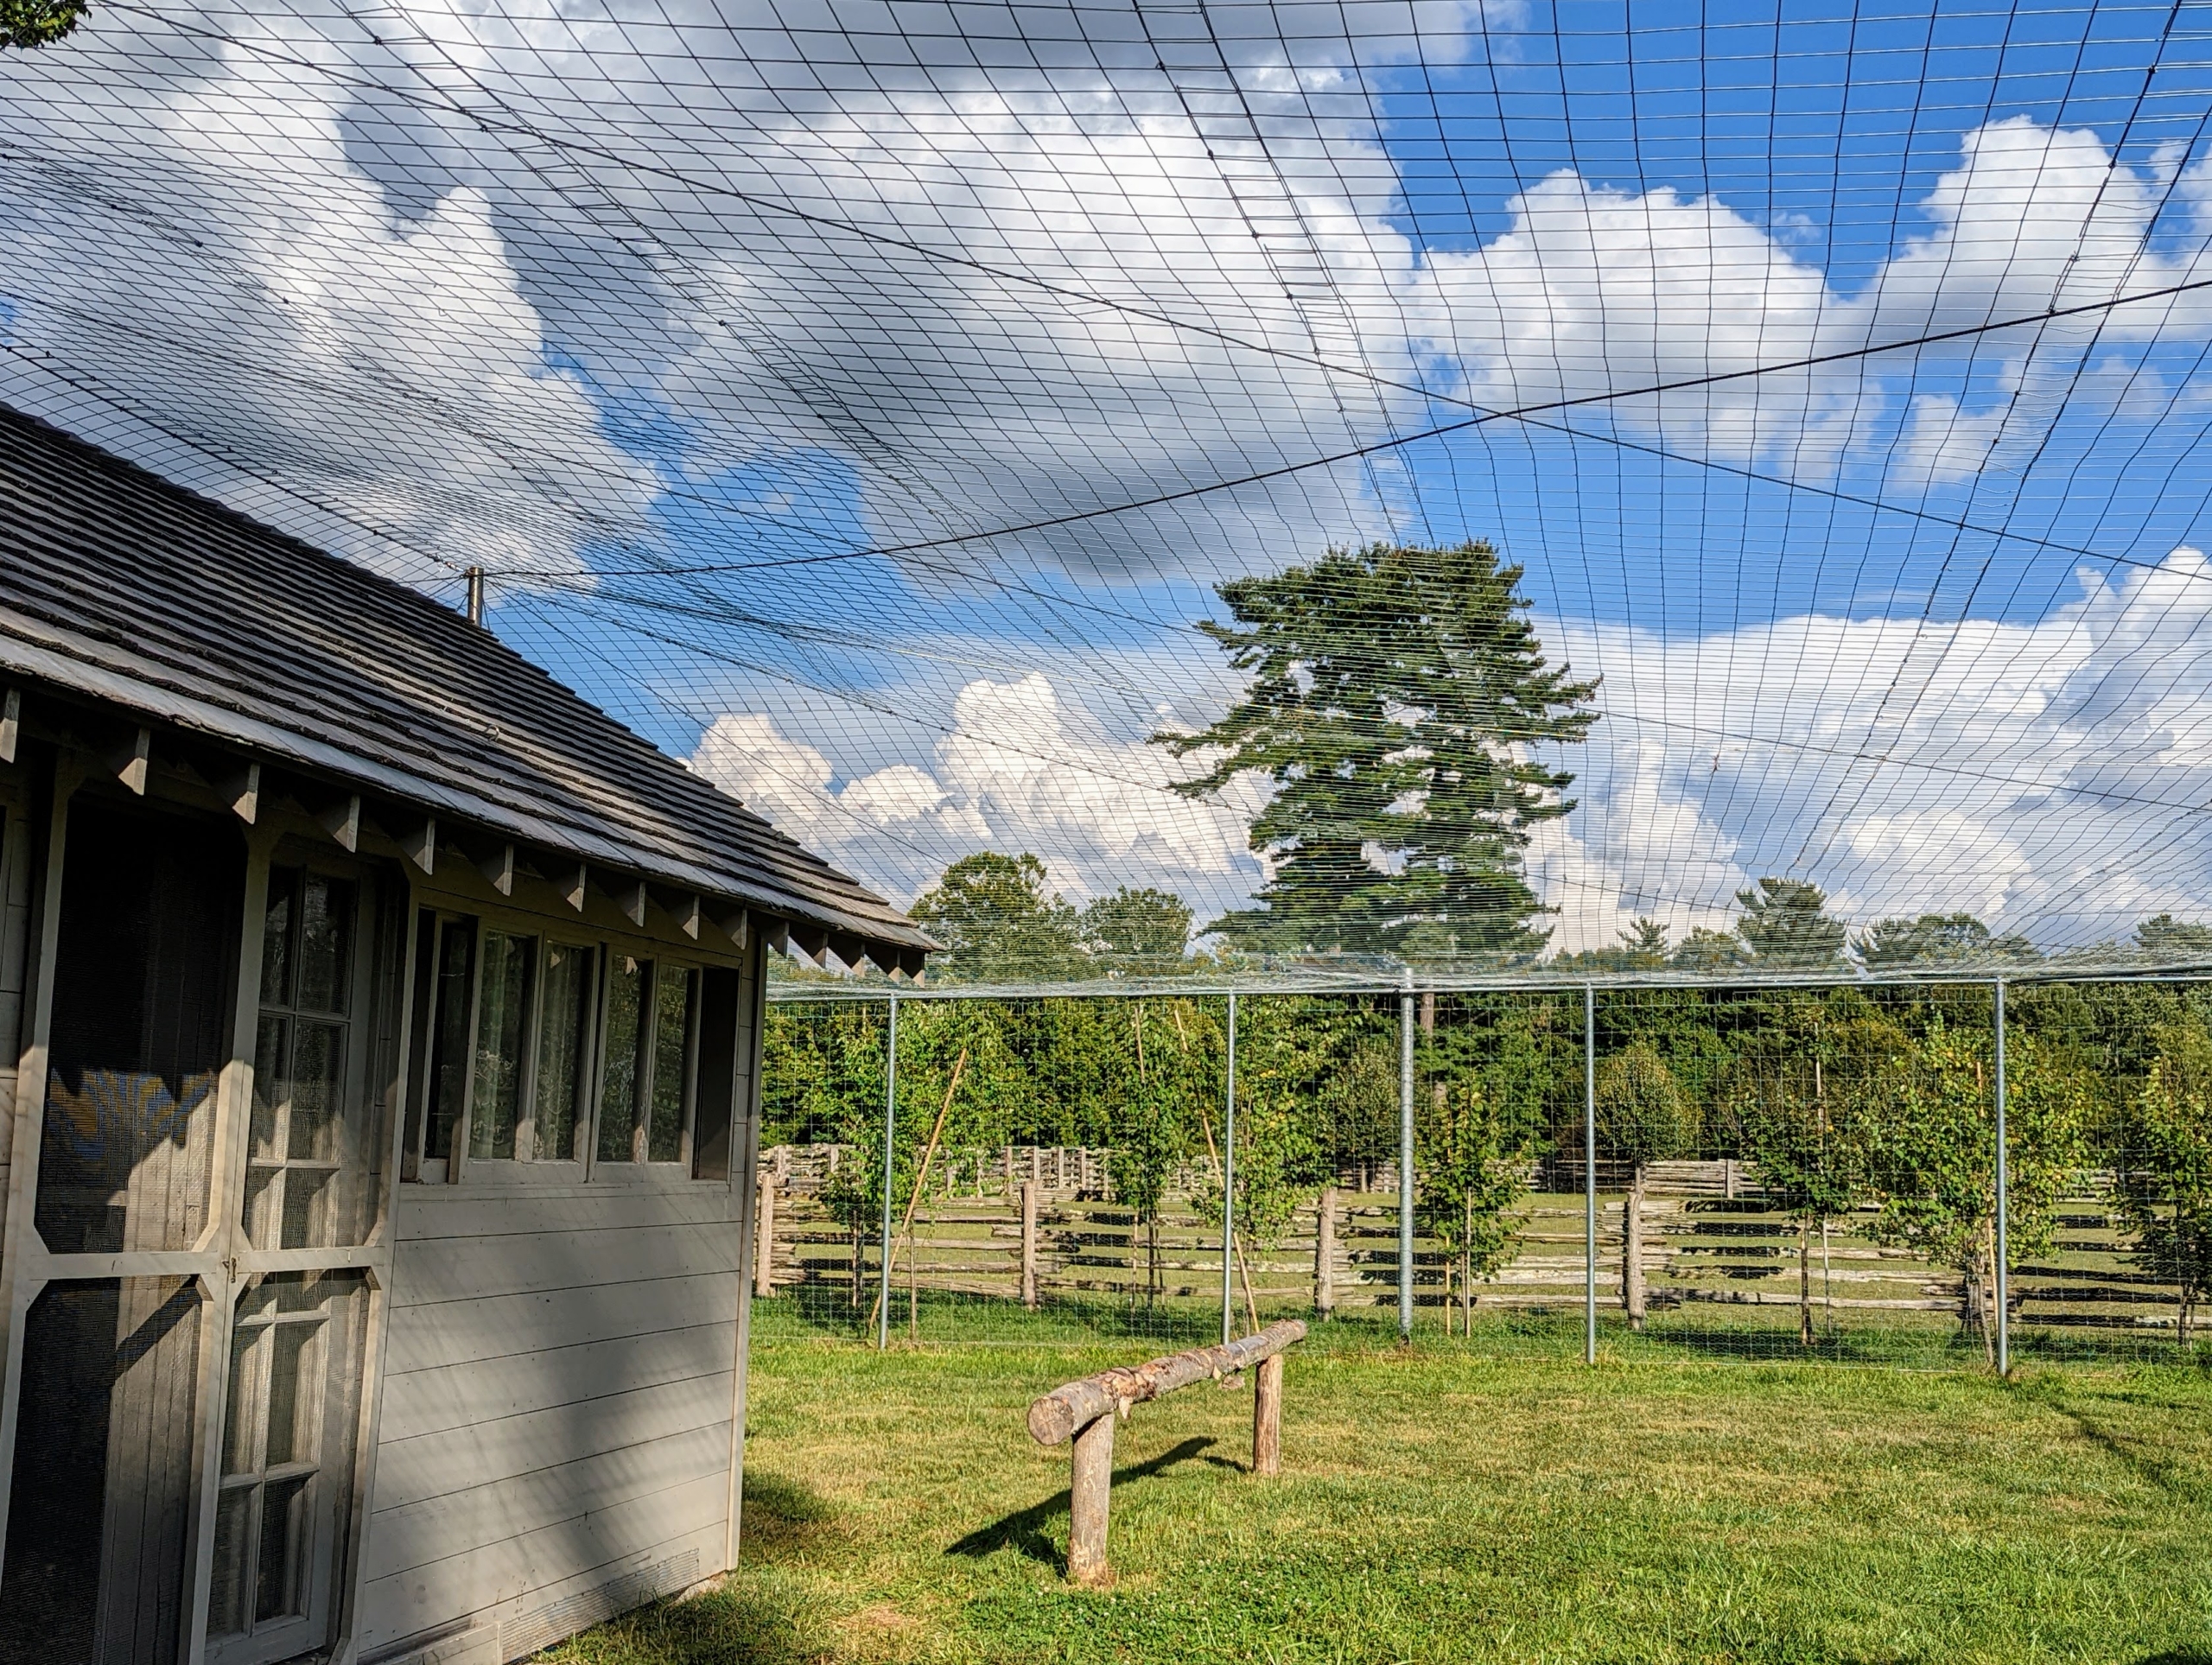
The entire project takes a couple of weeks to complete. This photo is taken from my stable hayloft. It shows how the brackets hold up and support the fence fabric above the roof of the coop.
Here is another view from the ground looking up – the fence fabric does not touch the roof at all, but helps to support it, so it won’t sag from heavy snow cover.
And here is one side all done. I think my peafowl will be very happy with their improved enclosure. I am glad it will keep them safe from wild, hungry animals.
Another important project is checked off our list here at my Bedford, New York farm.
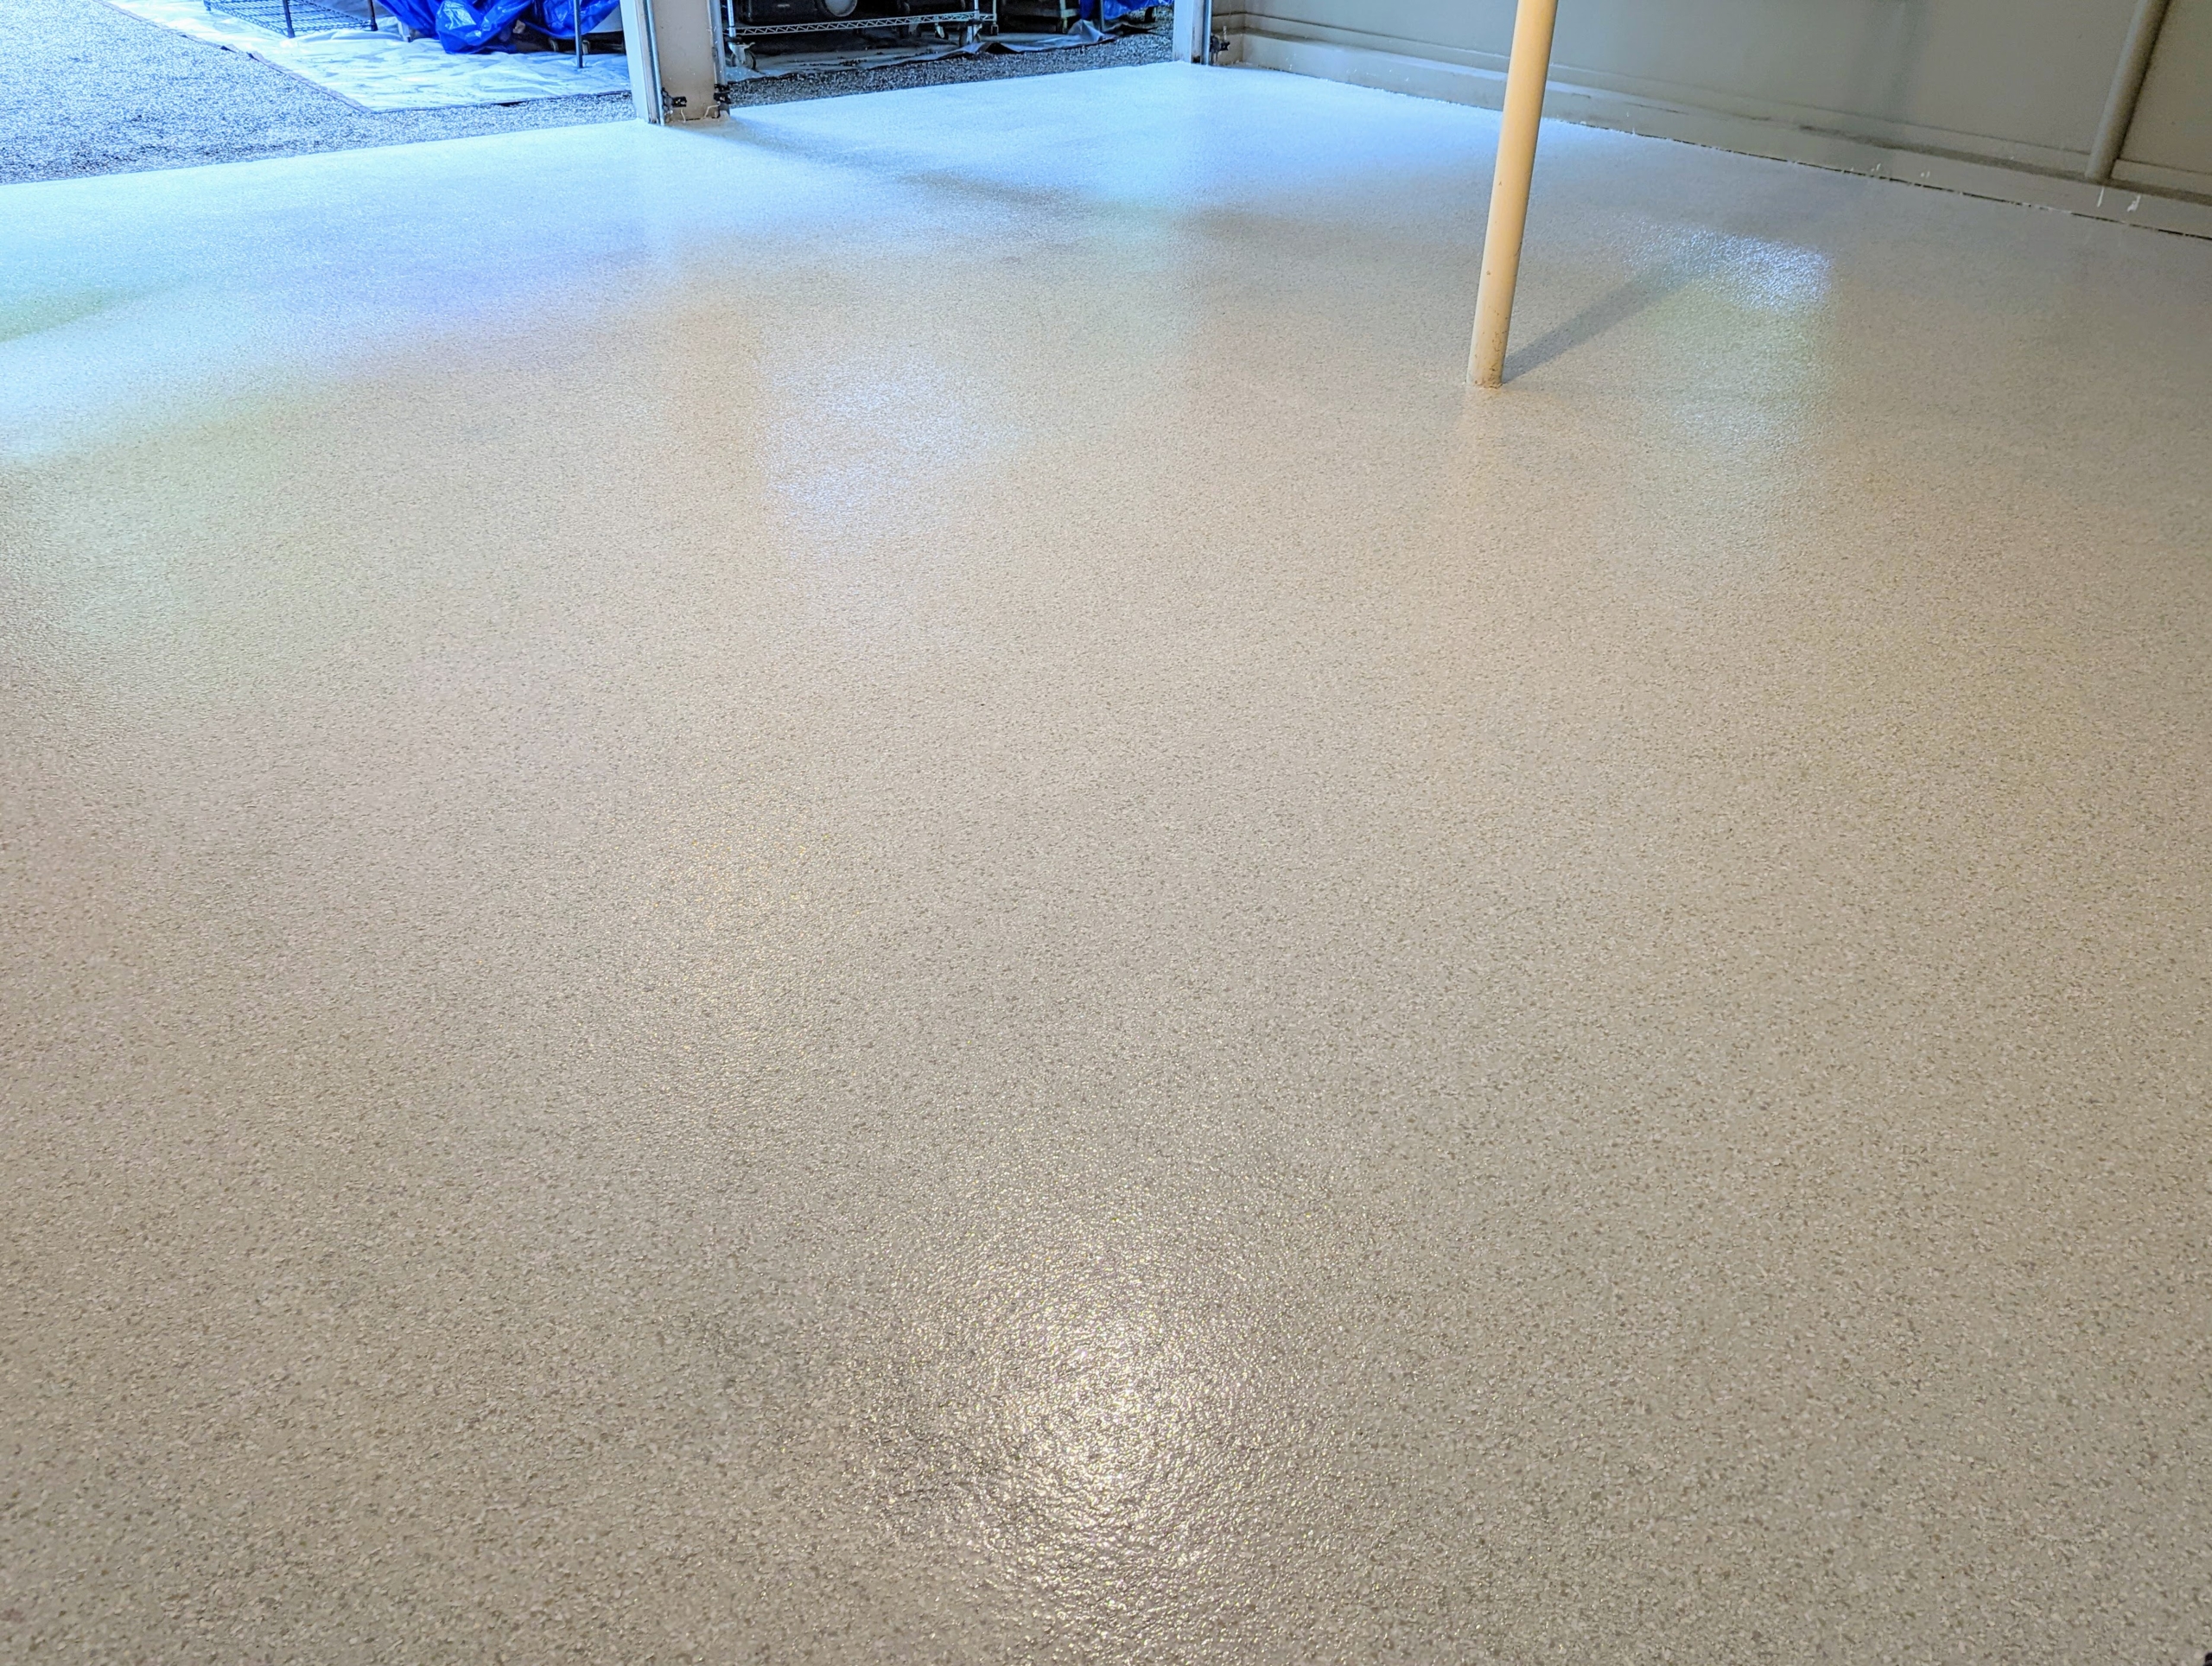
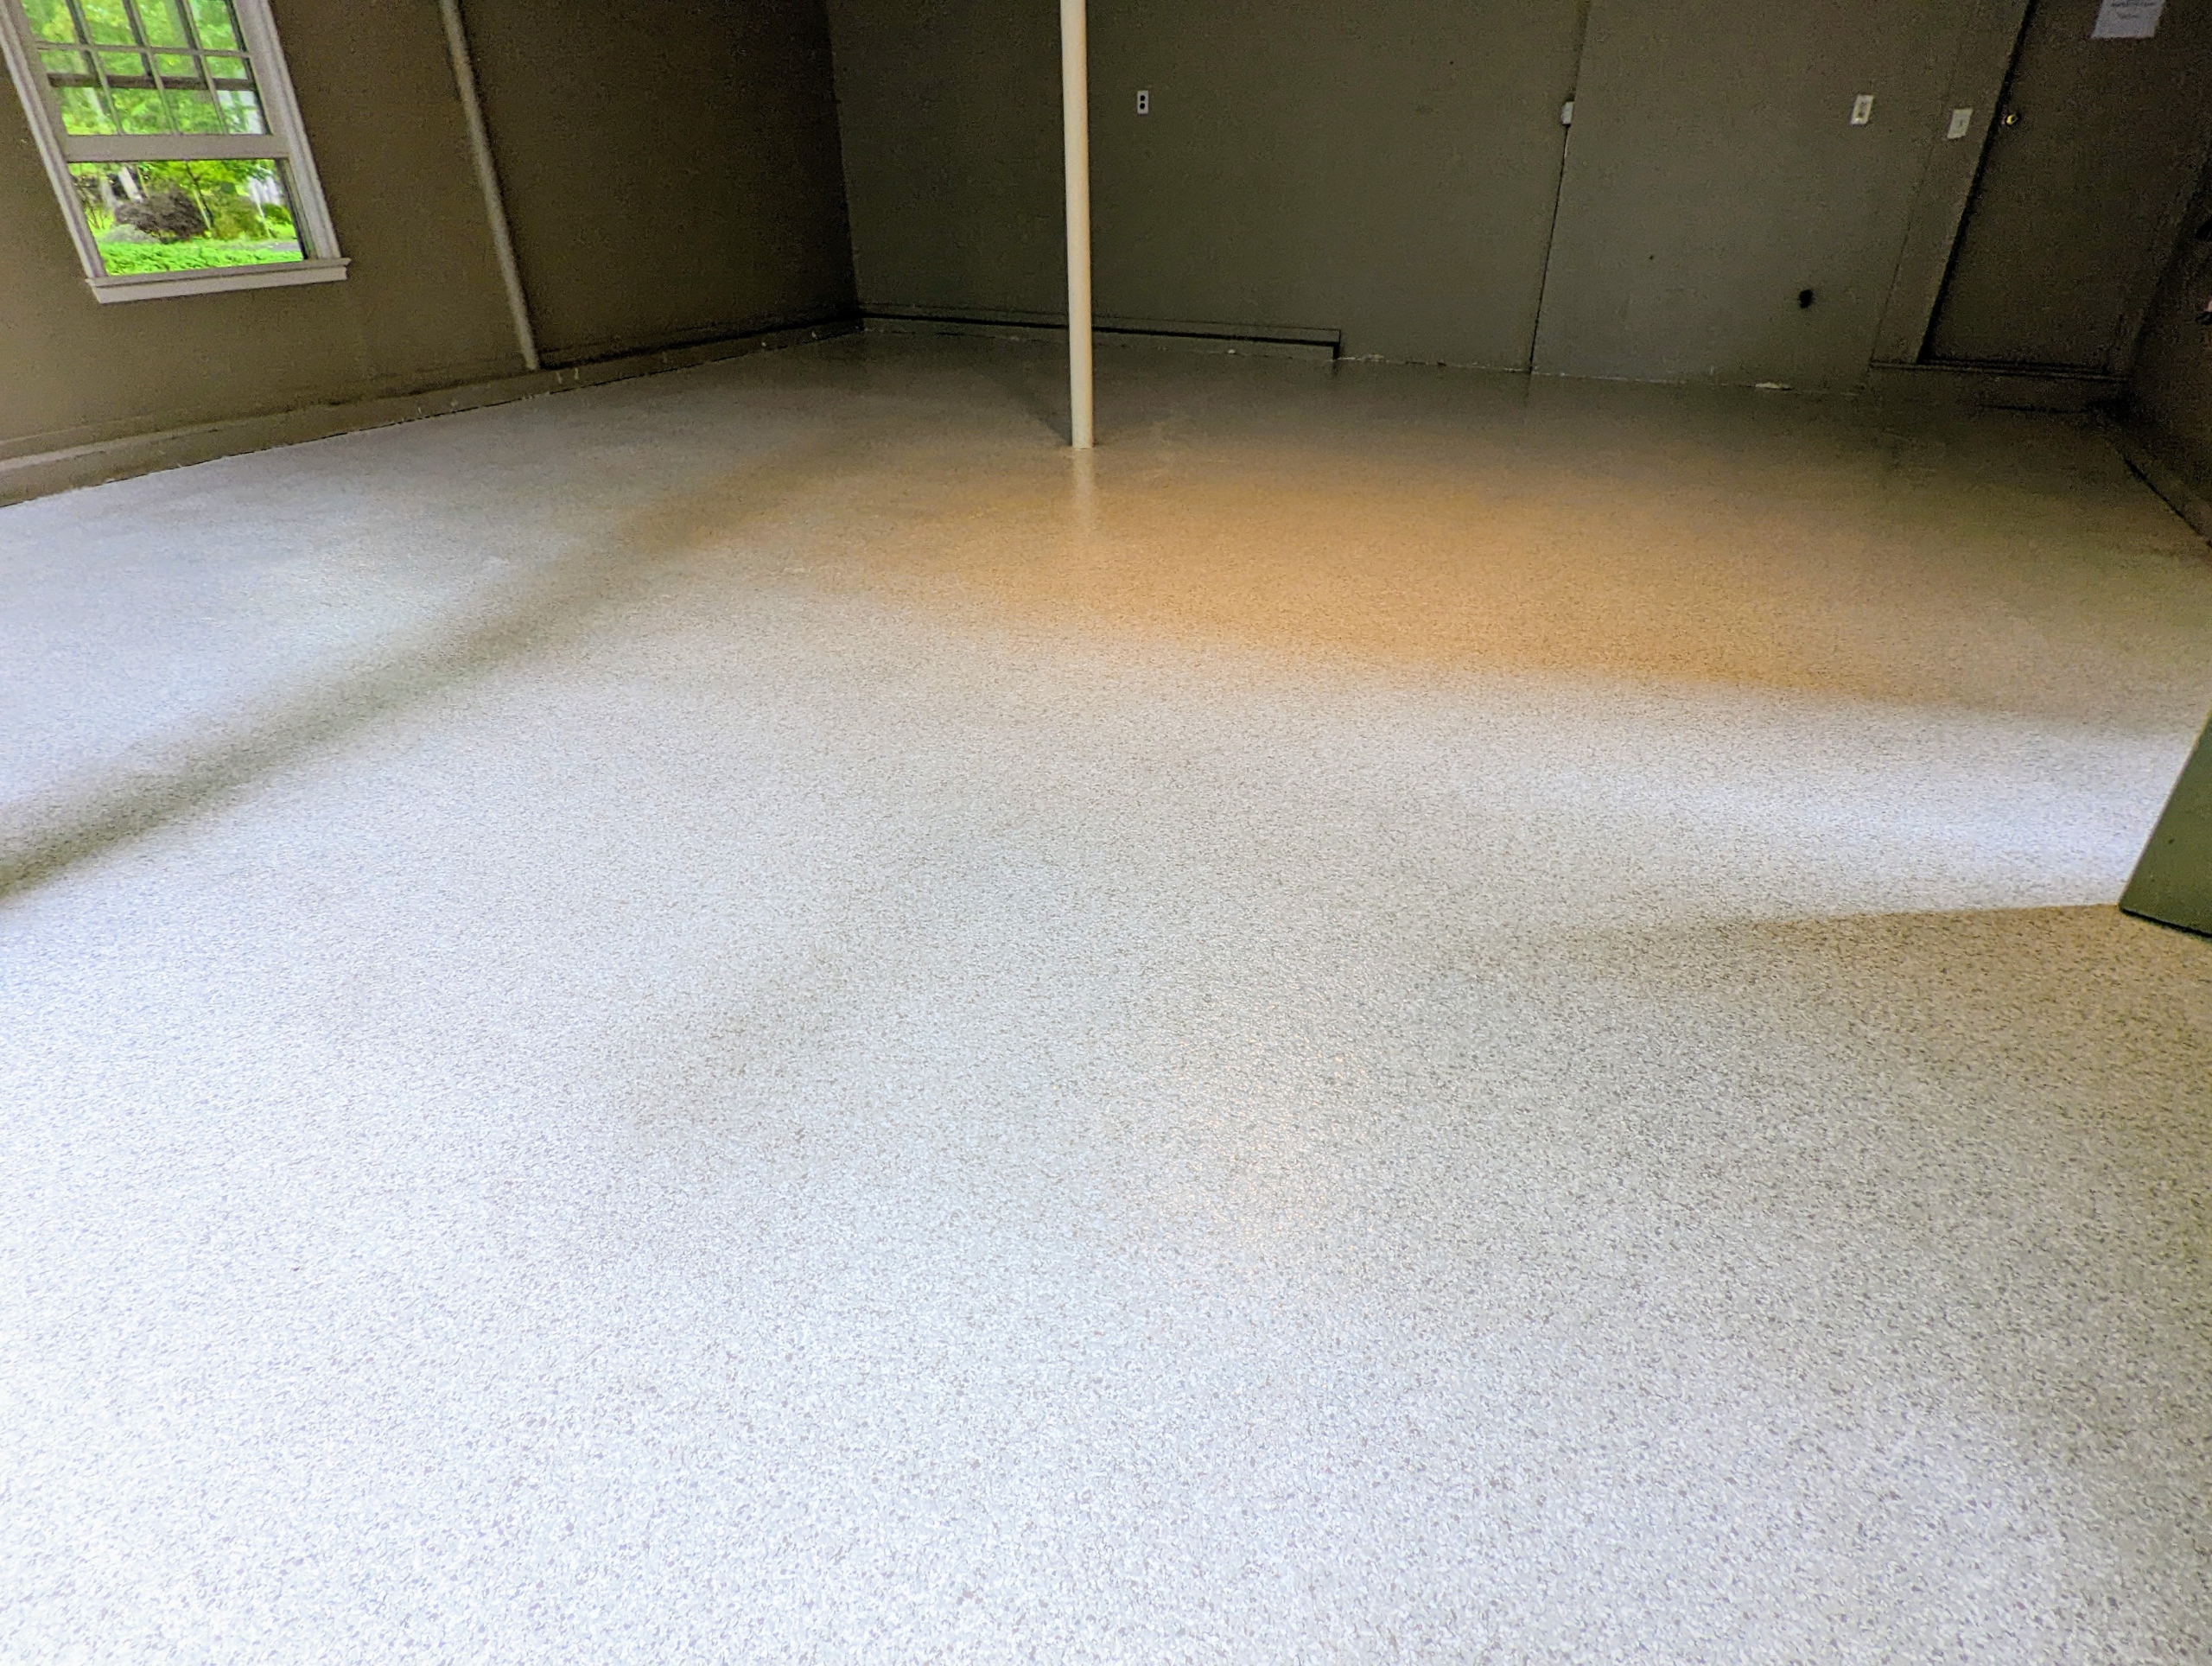
Last year, I decided to convert the first floor of a guest house, so it could function more as a production work space and studio. I redid the studio kitchen and outfitted the prep kitchen, changed several of the doors, installed a cookbook library, and created adequate work stations for the crew. I also wanted to create a more usable work area in the garage. Yesterday, we had a team from CertaPro Painters here in Westchester County, come to coat the concrete garage floor with a special poly flake finish. The entire process took a full day, but the end result was great.
Here are photos of the transformation, enjoy.
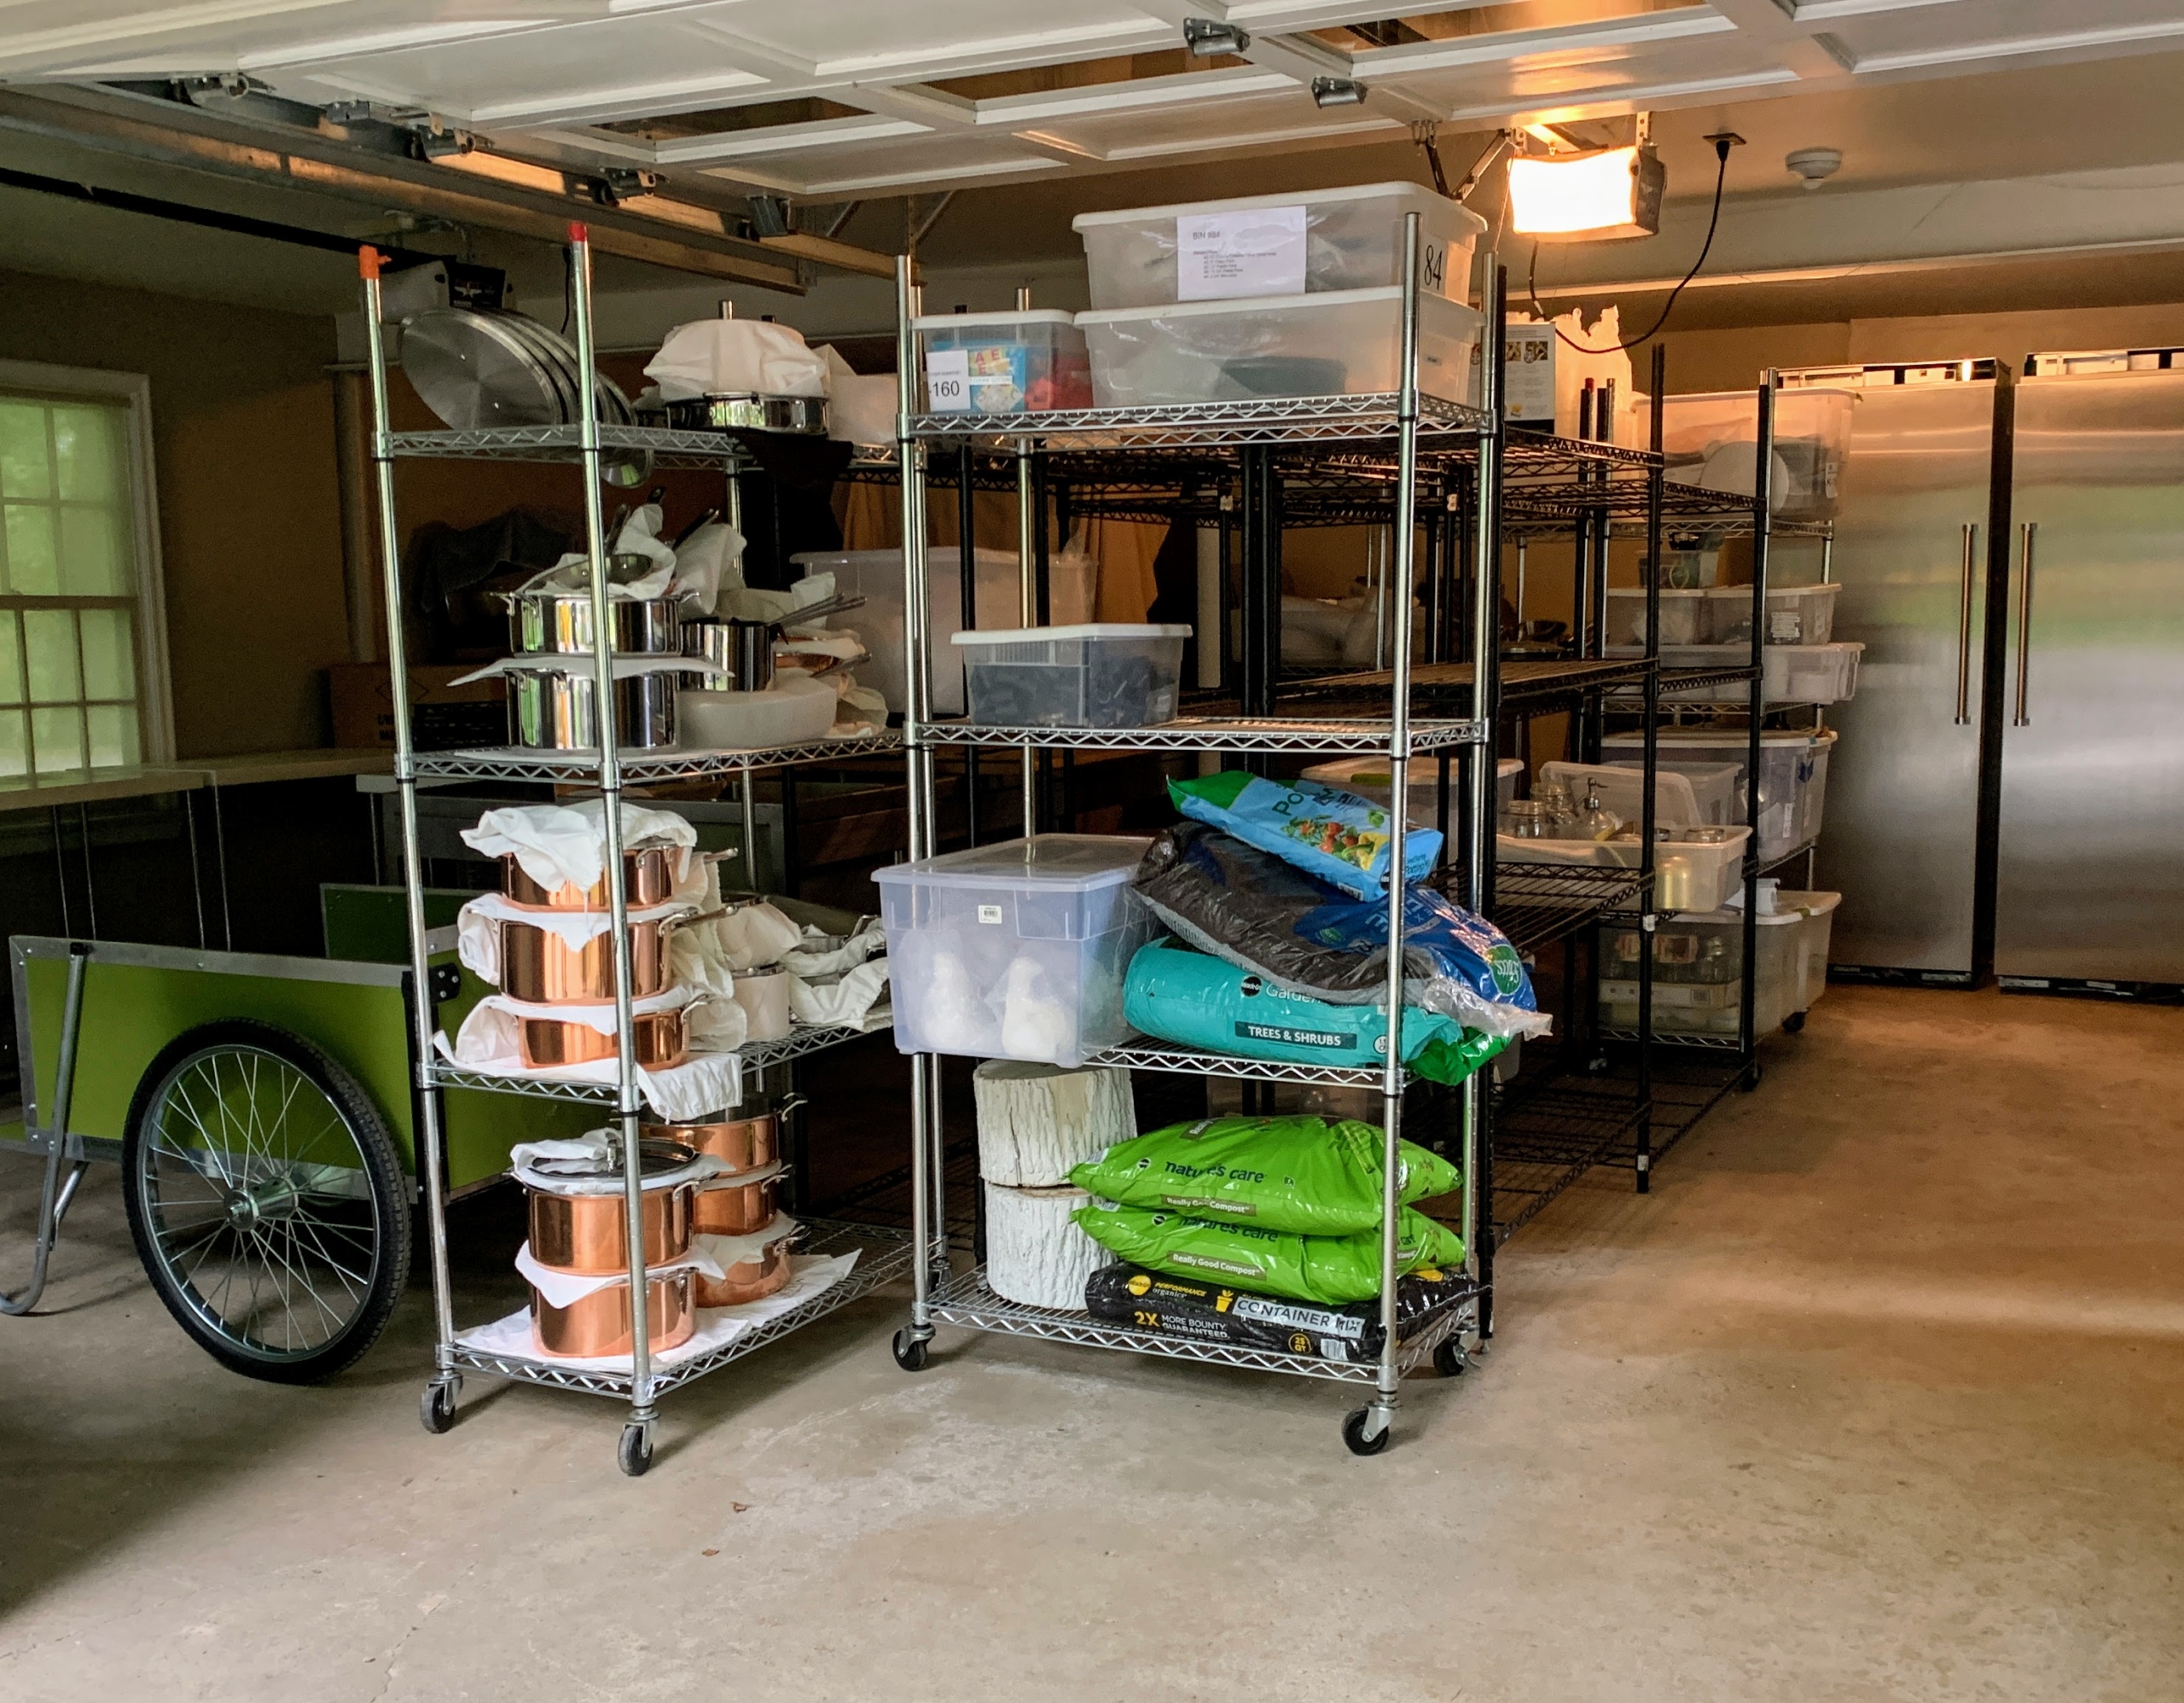
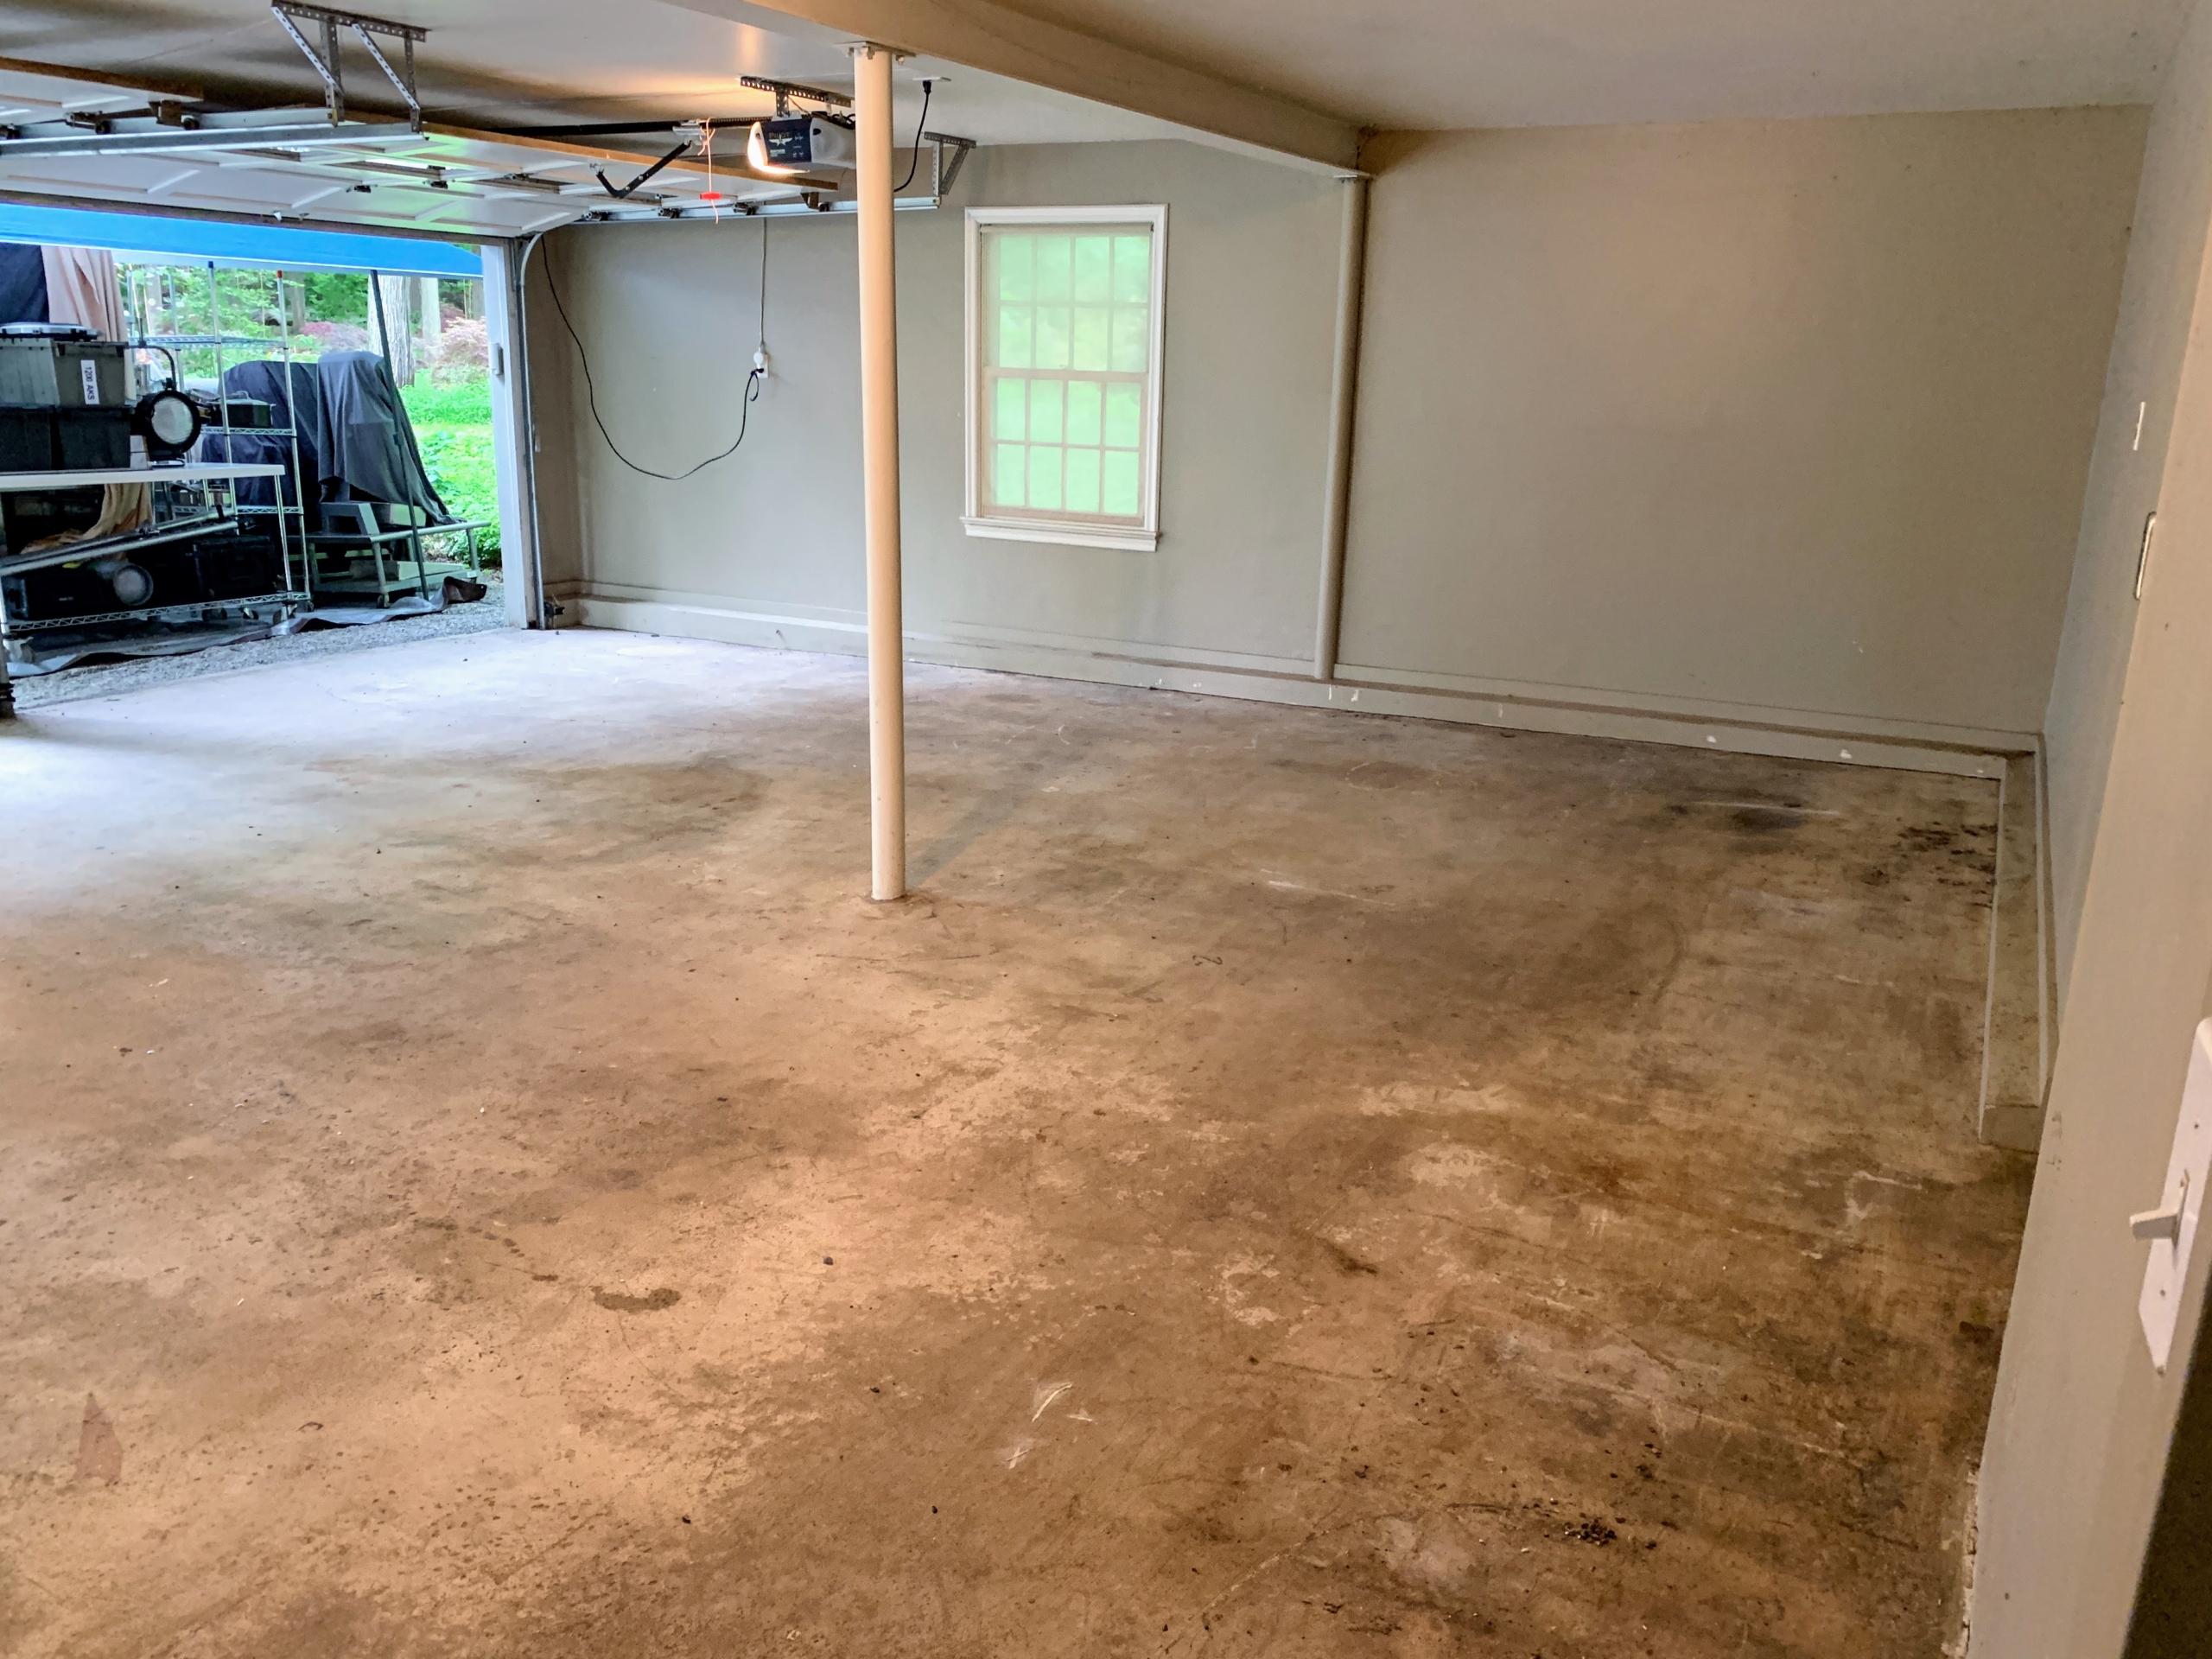
Until now, this two-car garage had been used for storage – mostly items needed for various video and photography shoots. I knew it could be utilized more efficiently, so I decided to convert it into a shoot prep area and an organized storage space for production props and equipment.
We called in a crew from CertaPro Painters, a national residential painting company that also specilaizes in concrete floor coatings.
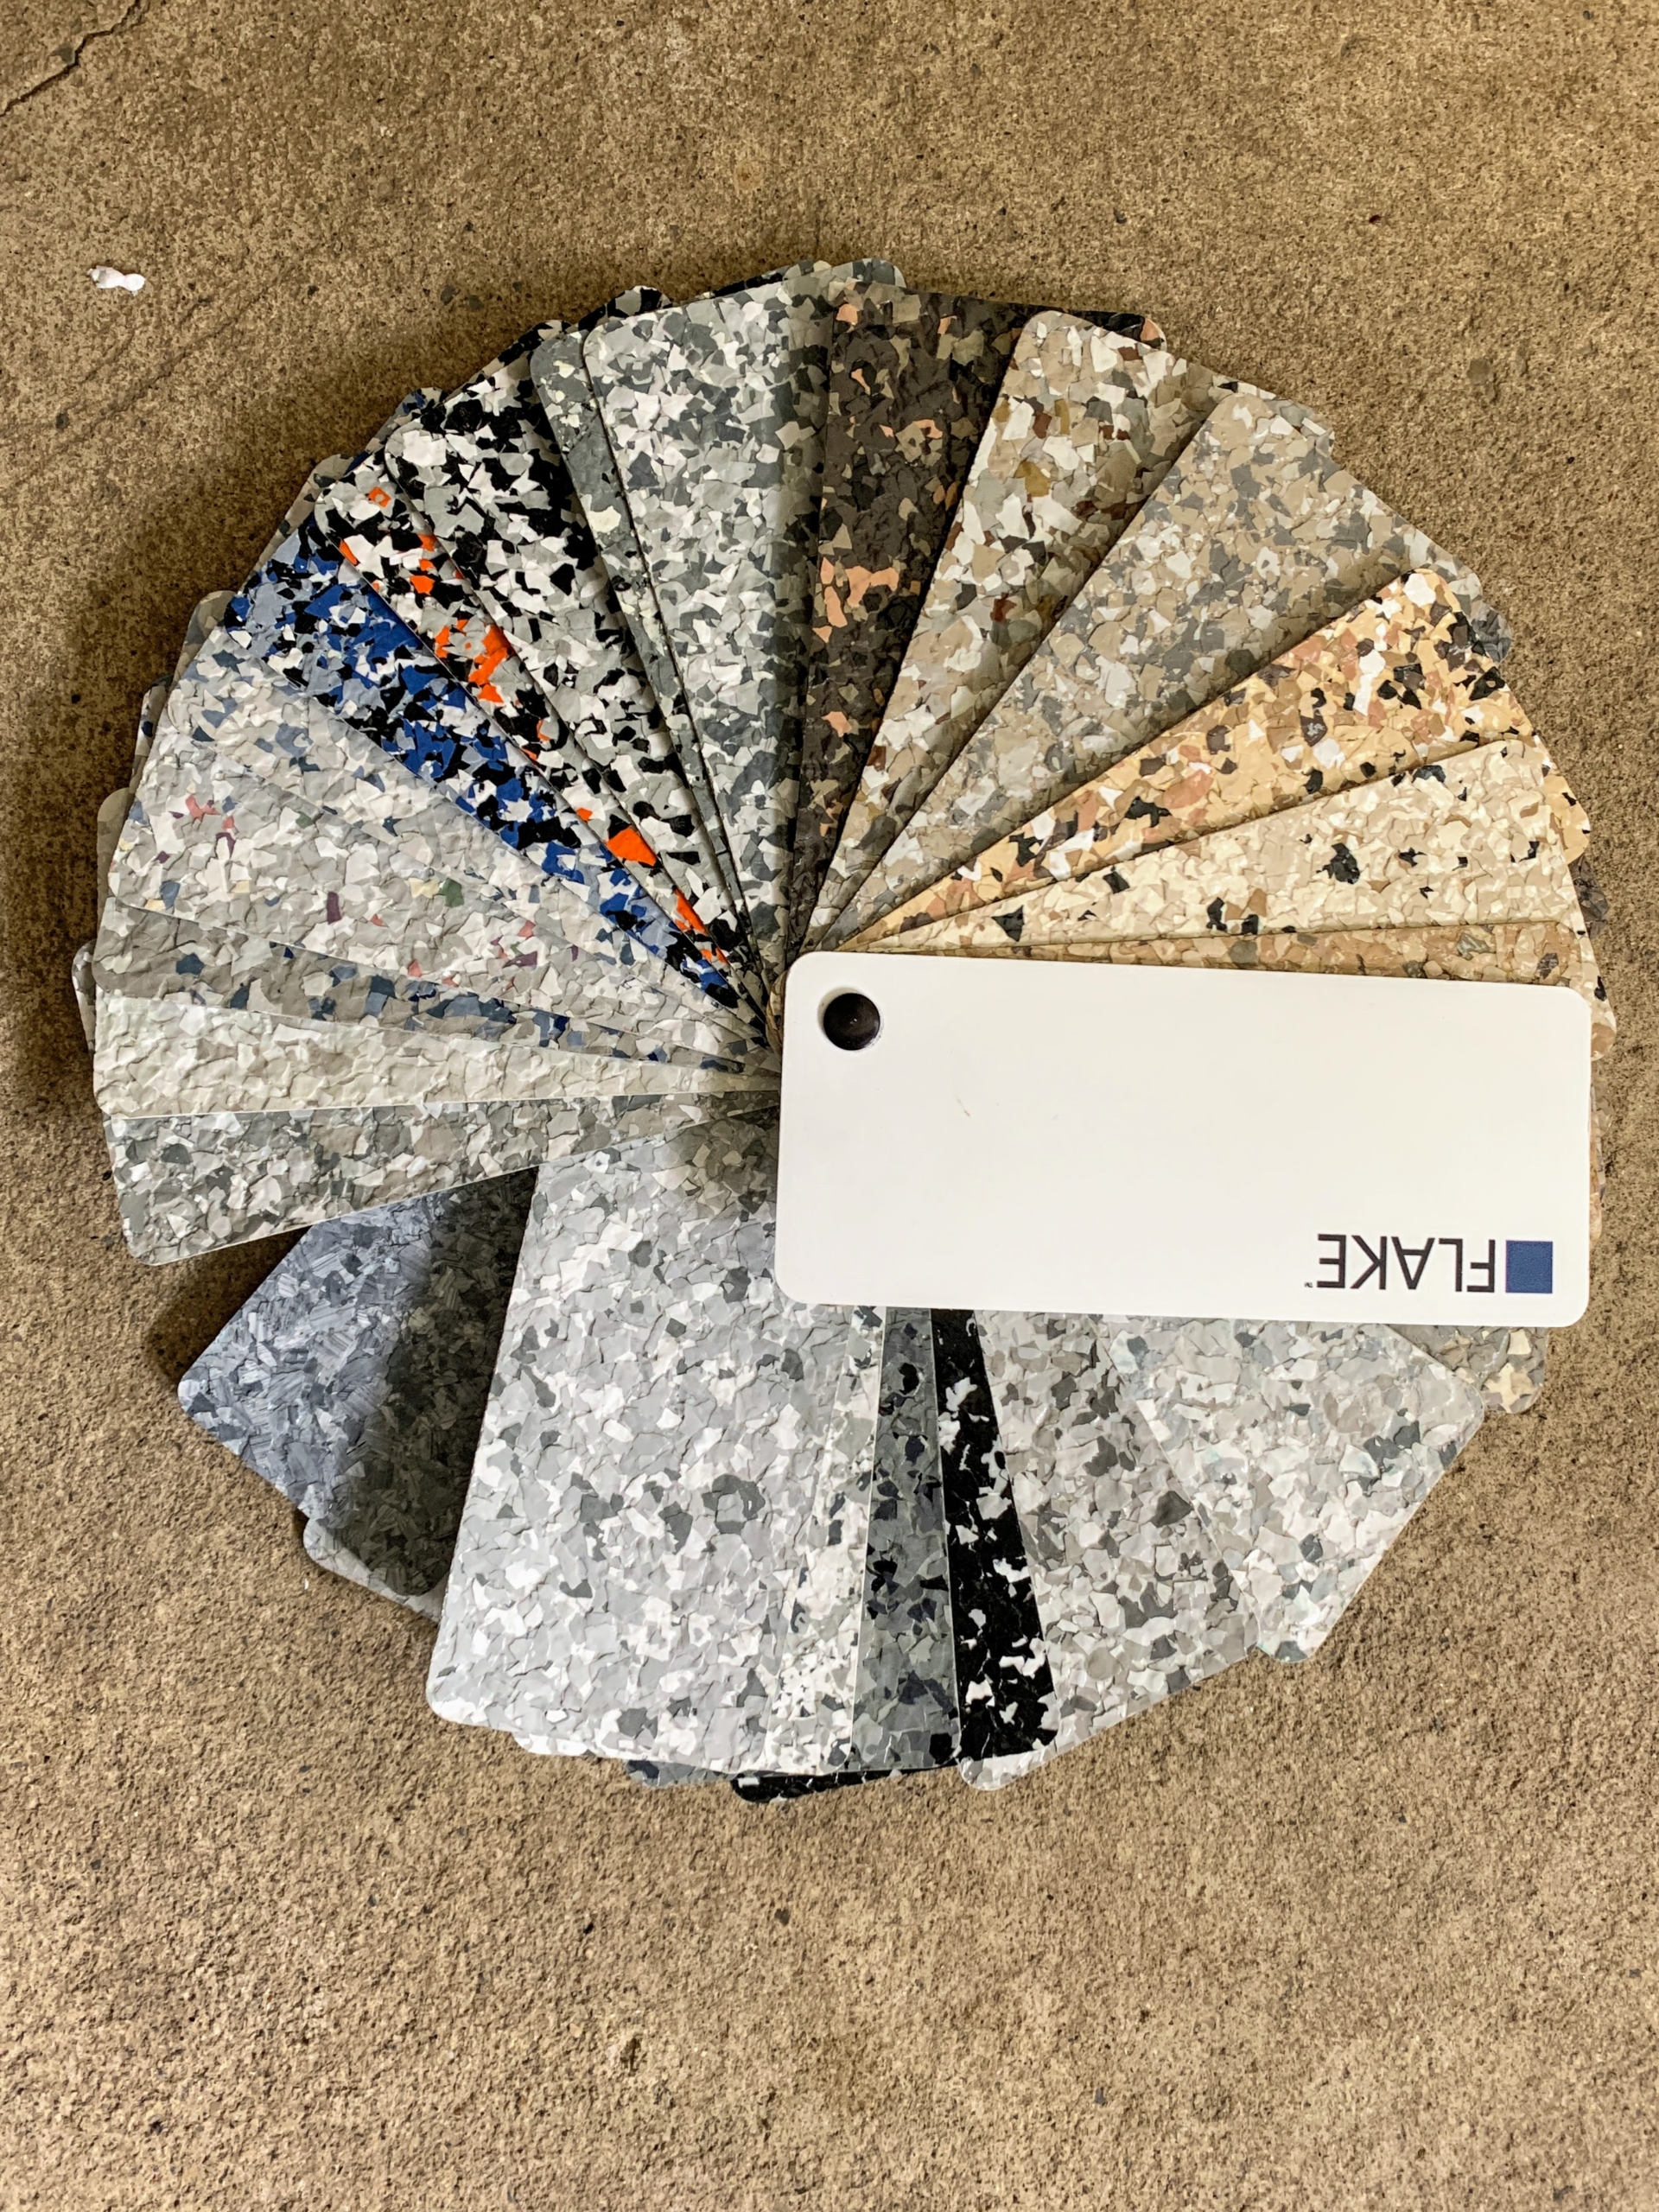
The flake floor coatings can be done in one of more than 40-different color patterns.
I chose this light gray and white flaked patterned floor – it will look clean and bright.
The very first step was to empty the garage completely.
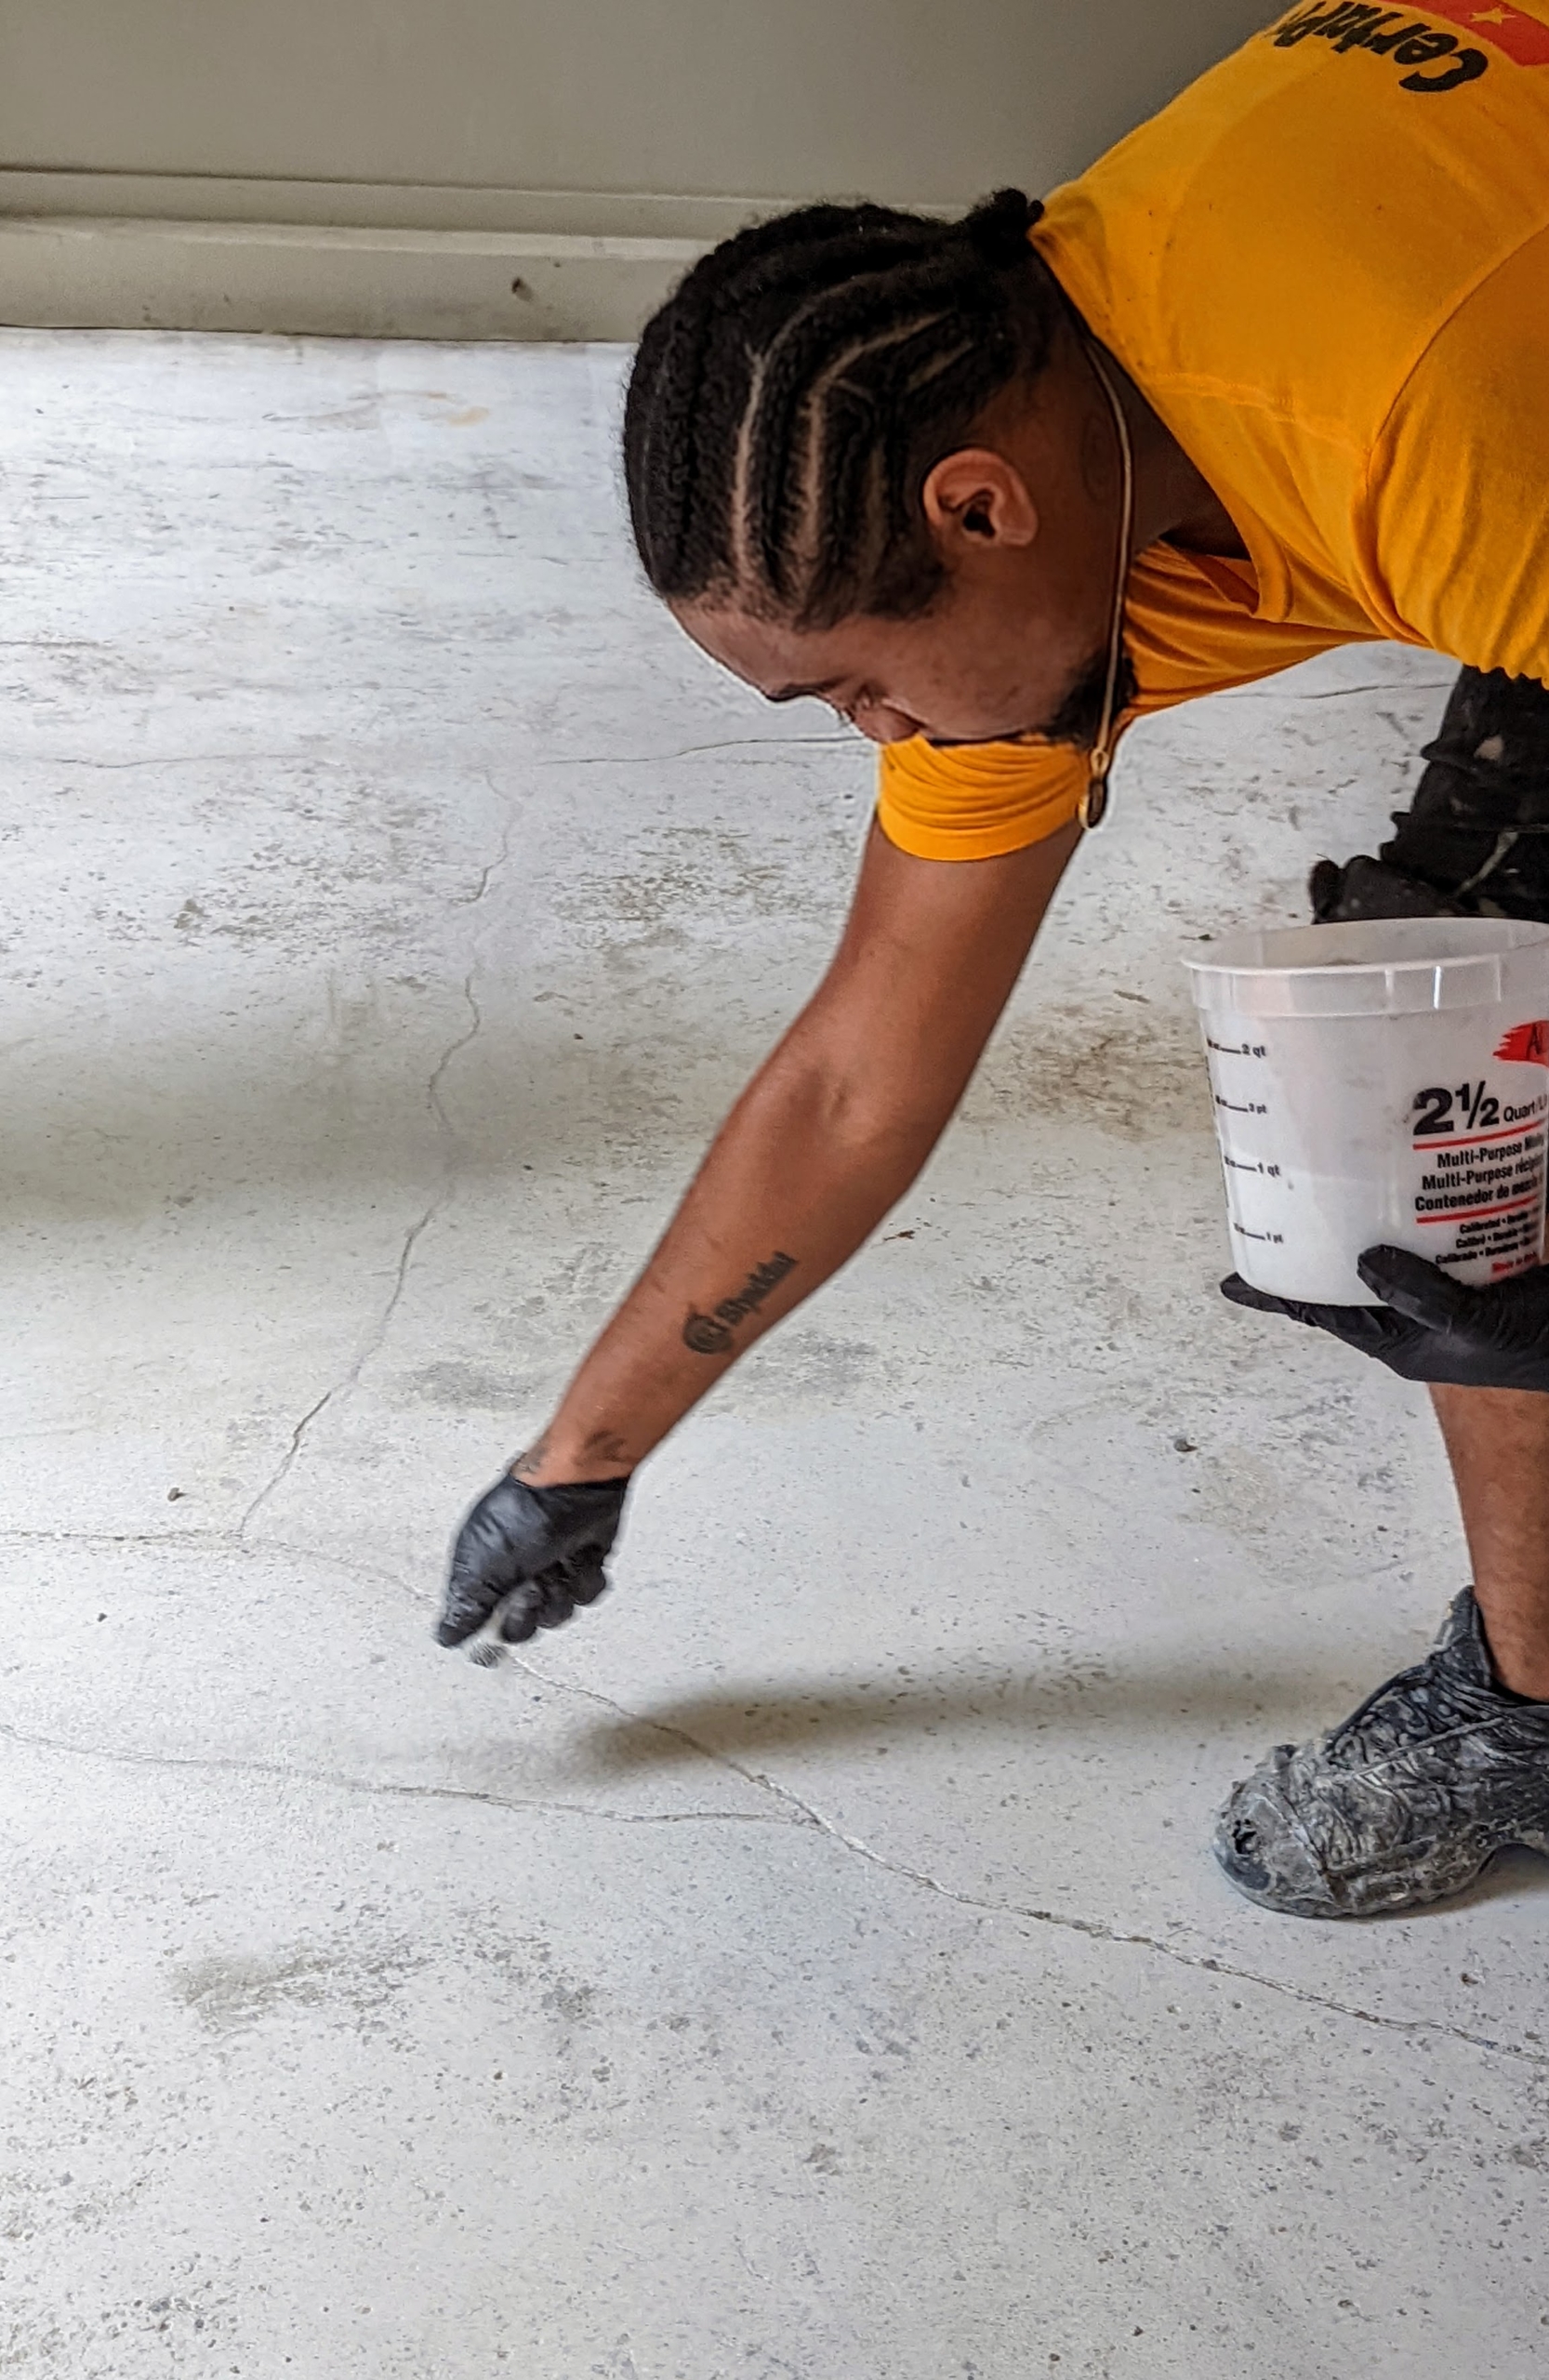
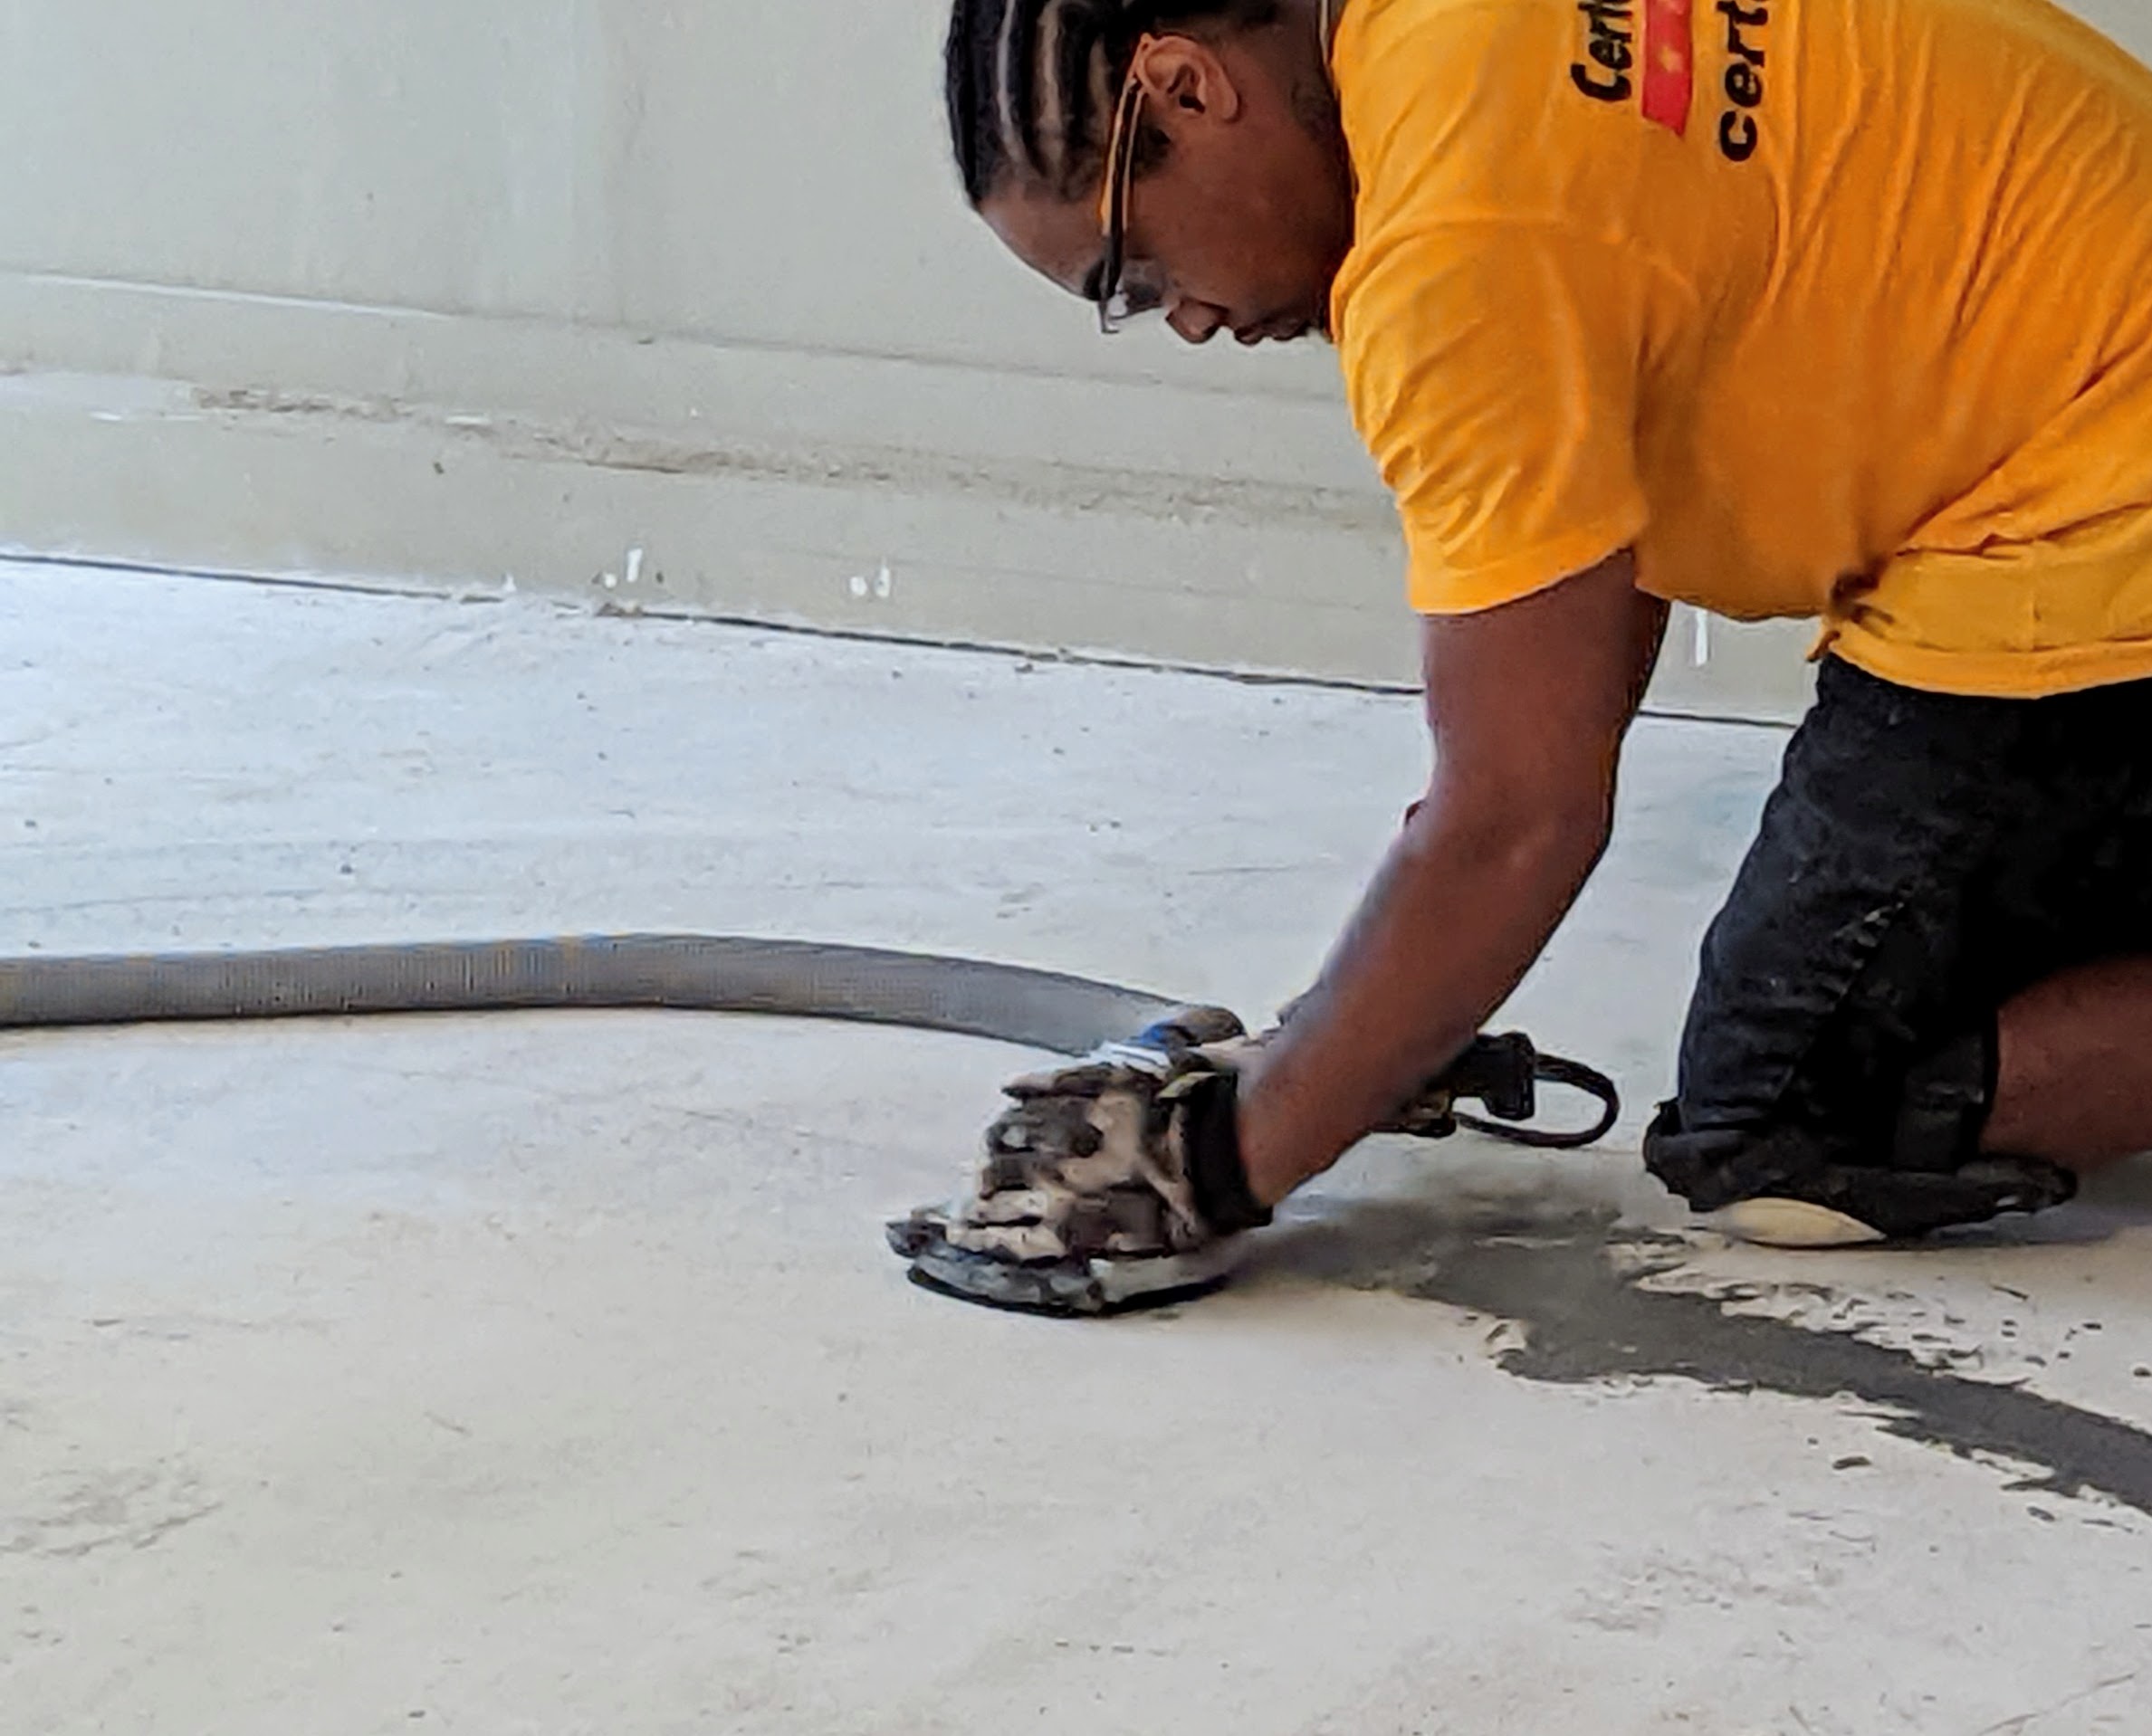
Next, Omar grinds the floor down until the entire space is smooth. It must also be clean and free from any dust or debris that may inhibit adhesion of the resins.
Next, any cracks in the concrete are filled with a fine sand.
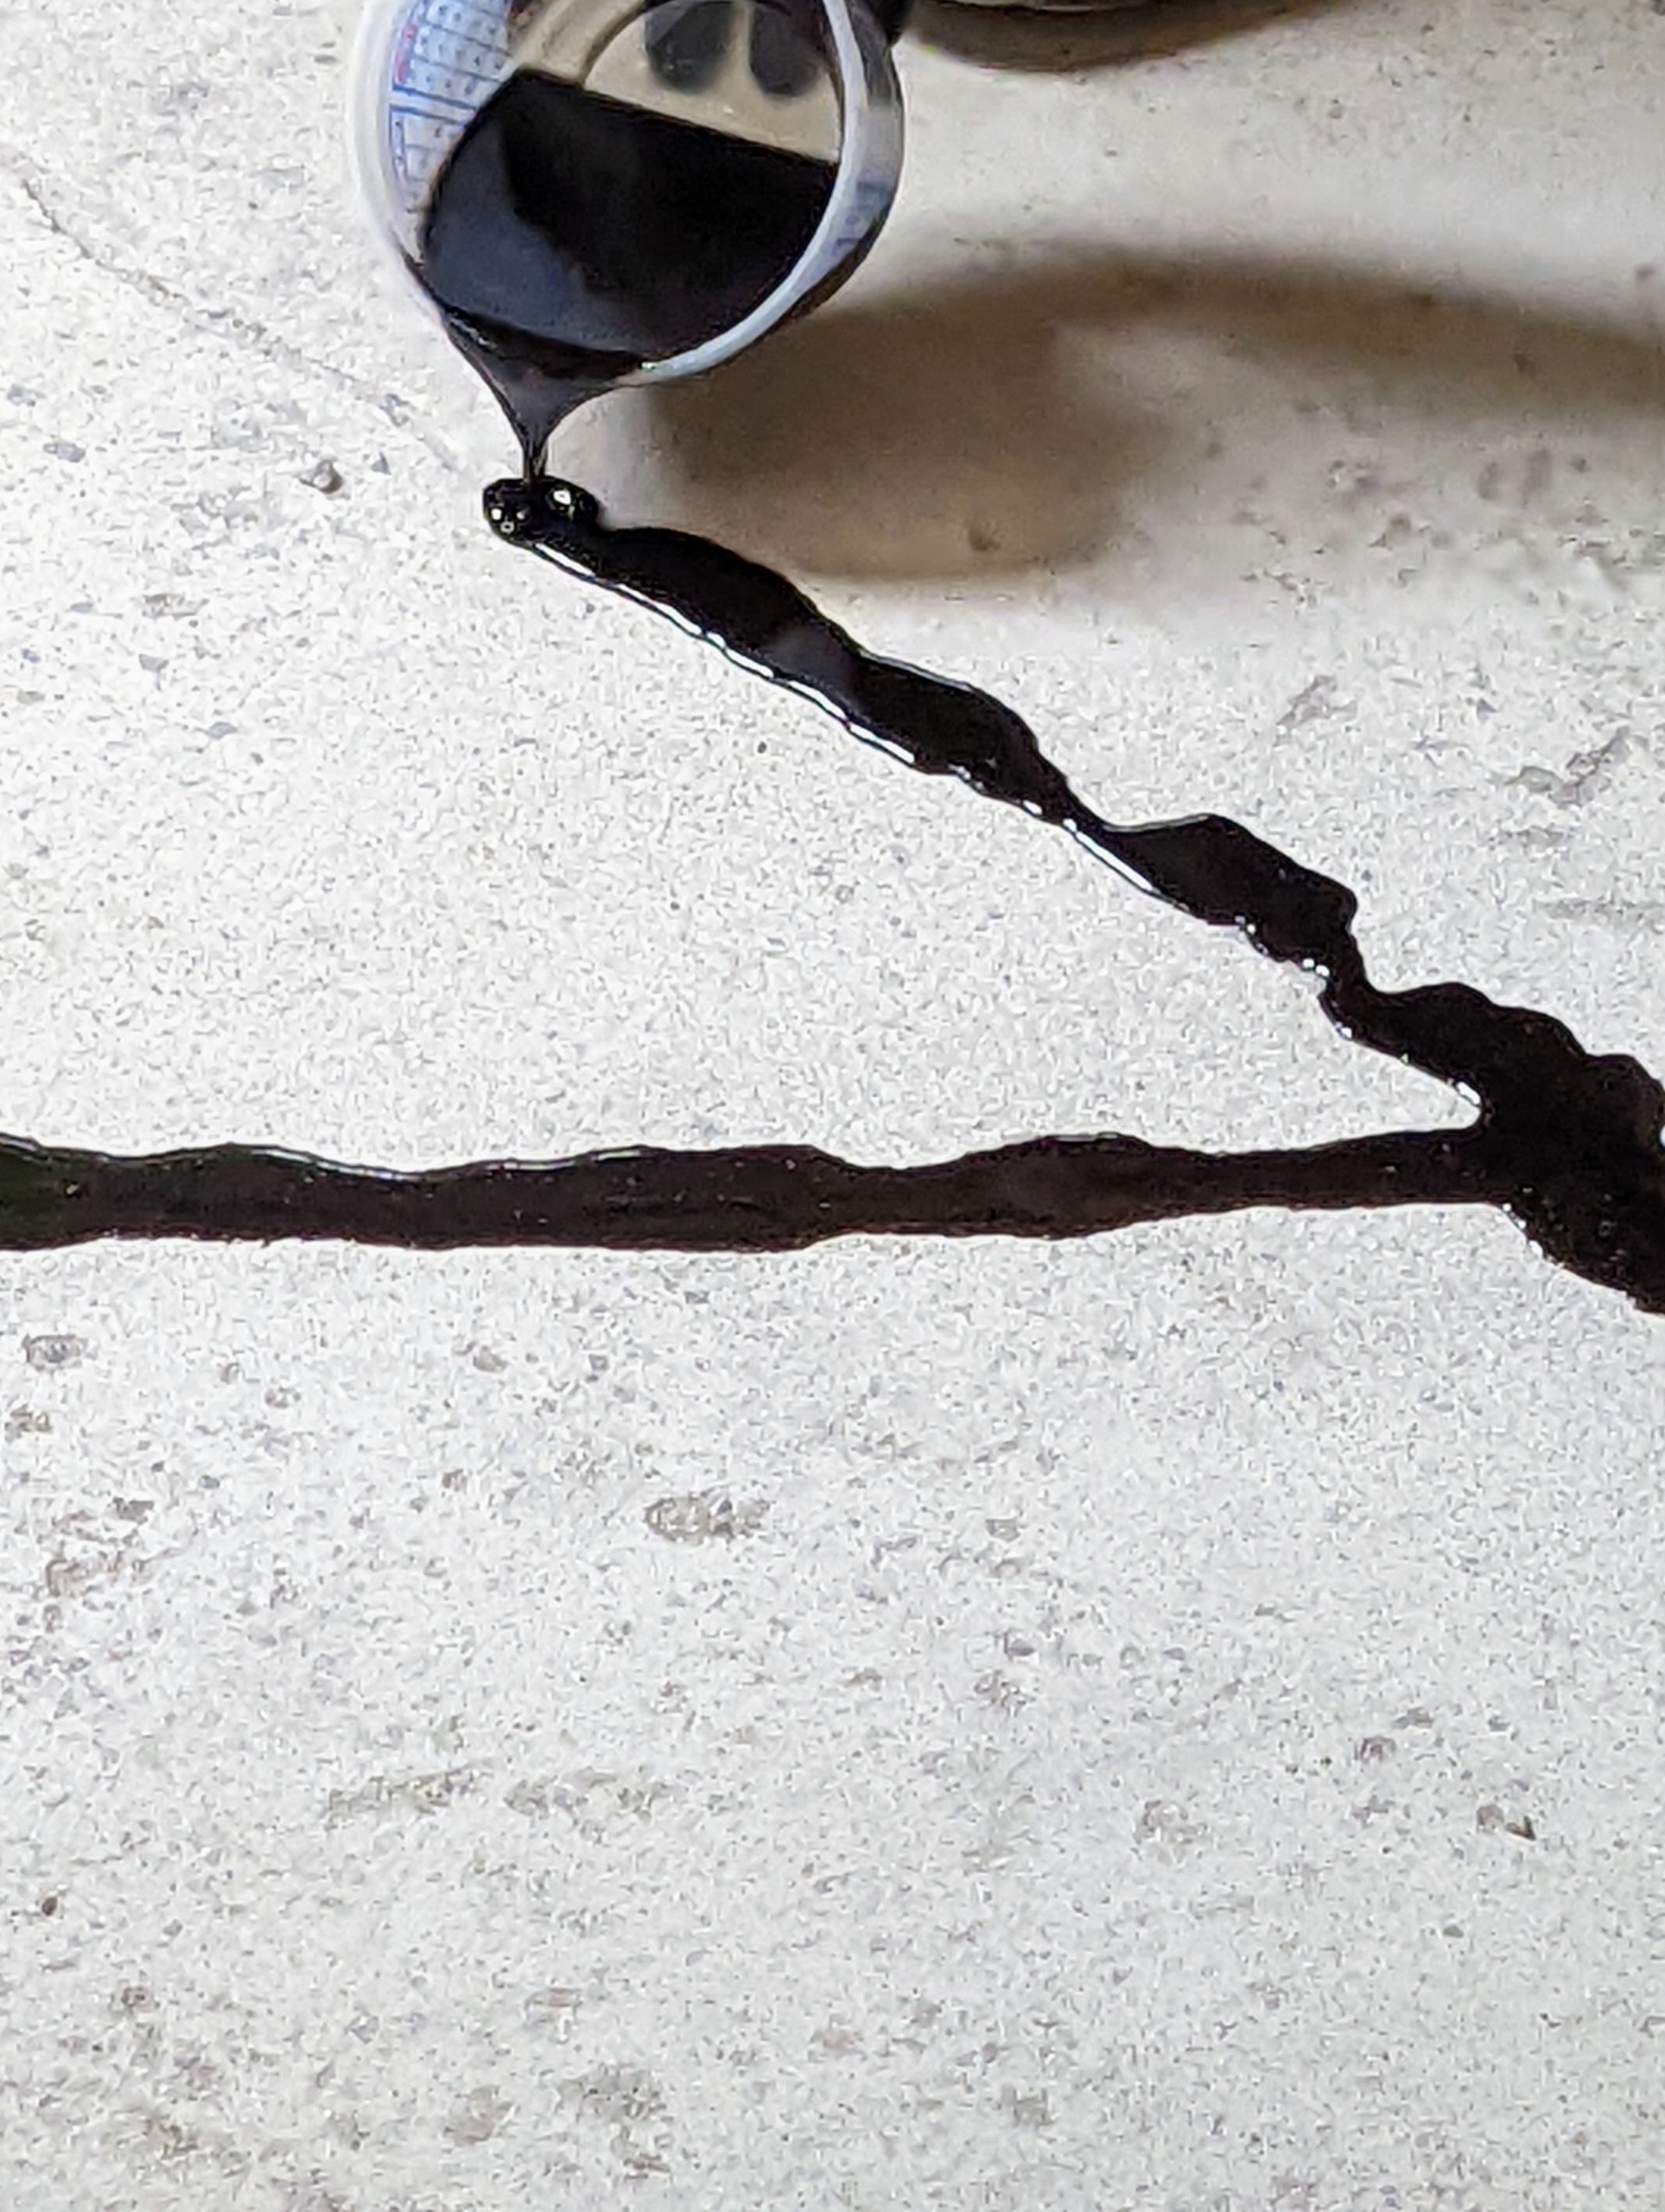
Here, Jordan pours in a crack filler over the sand to fill all the voids.
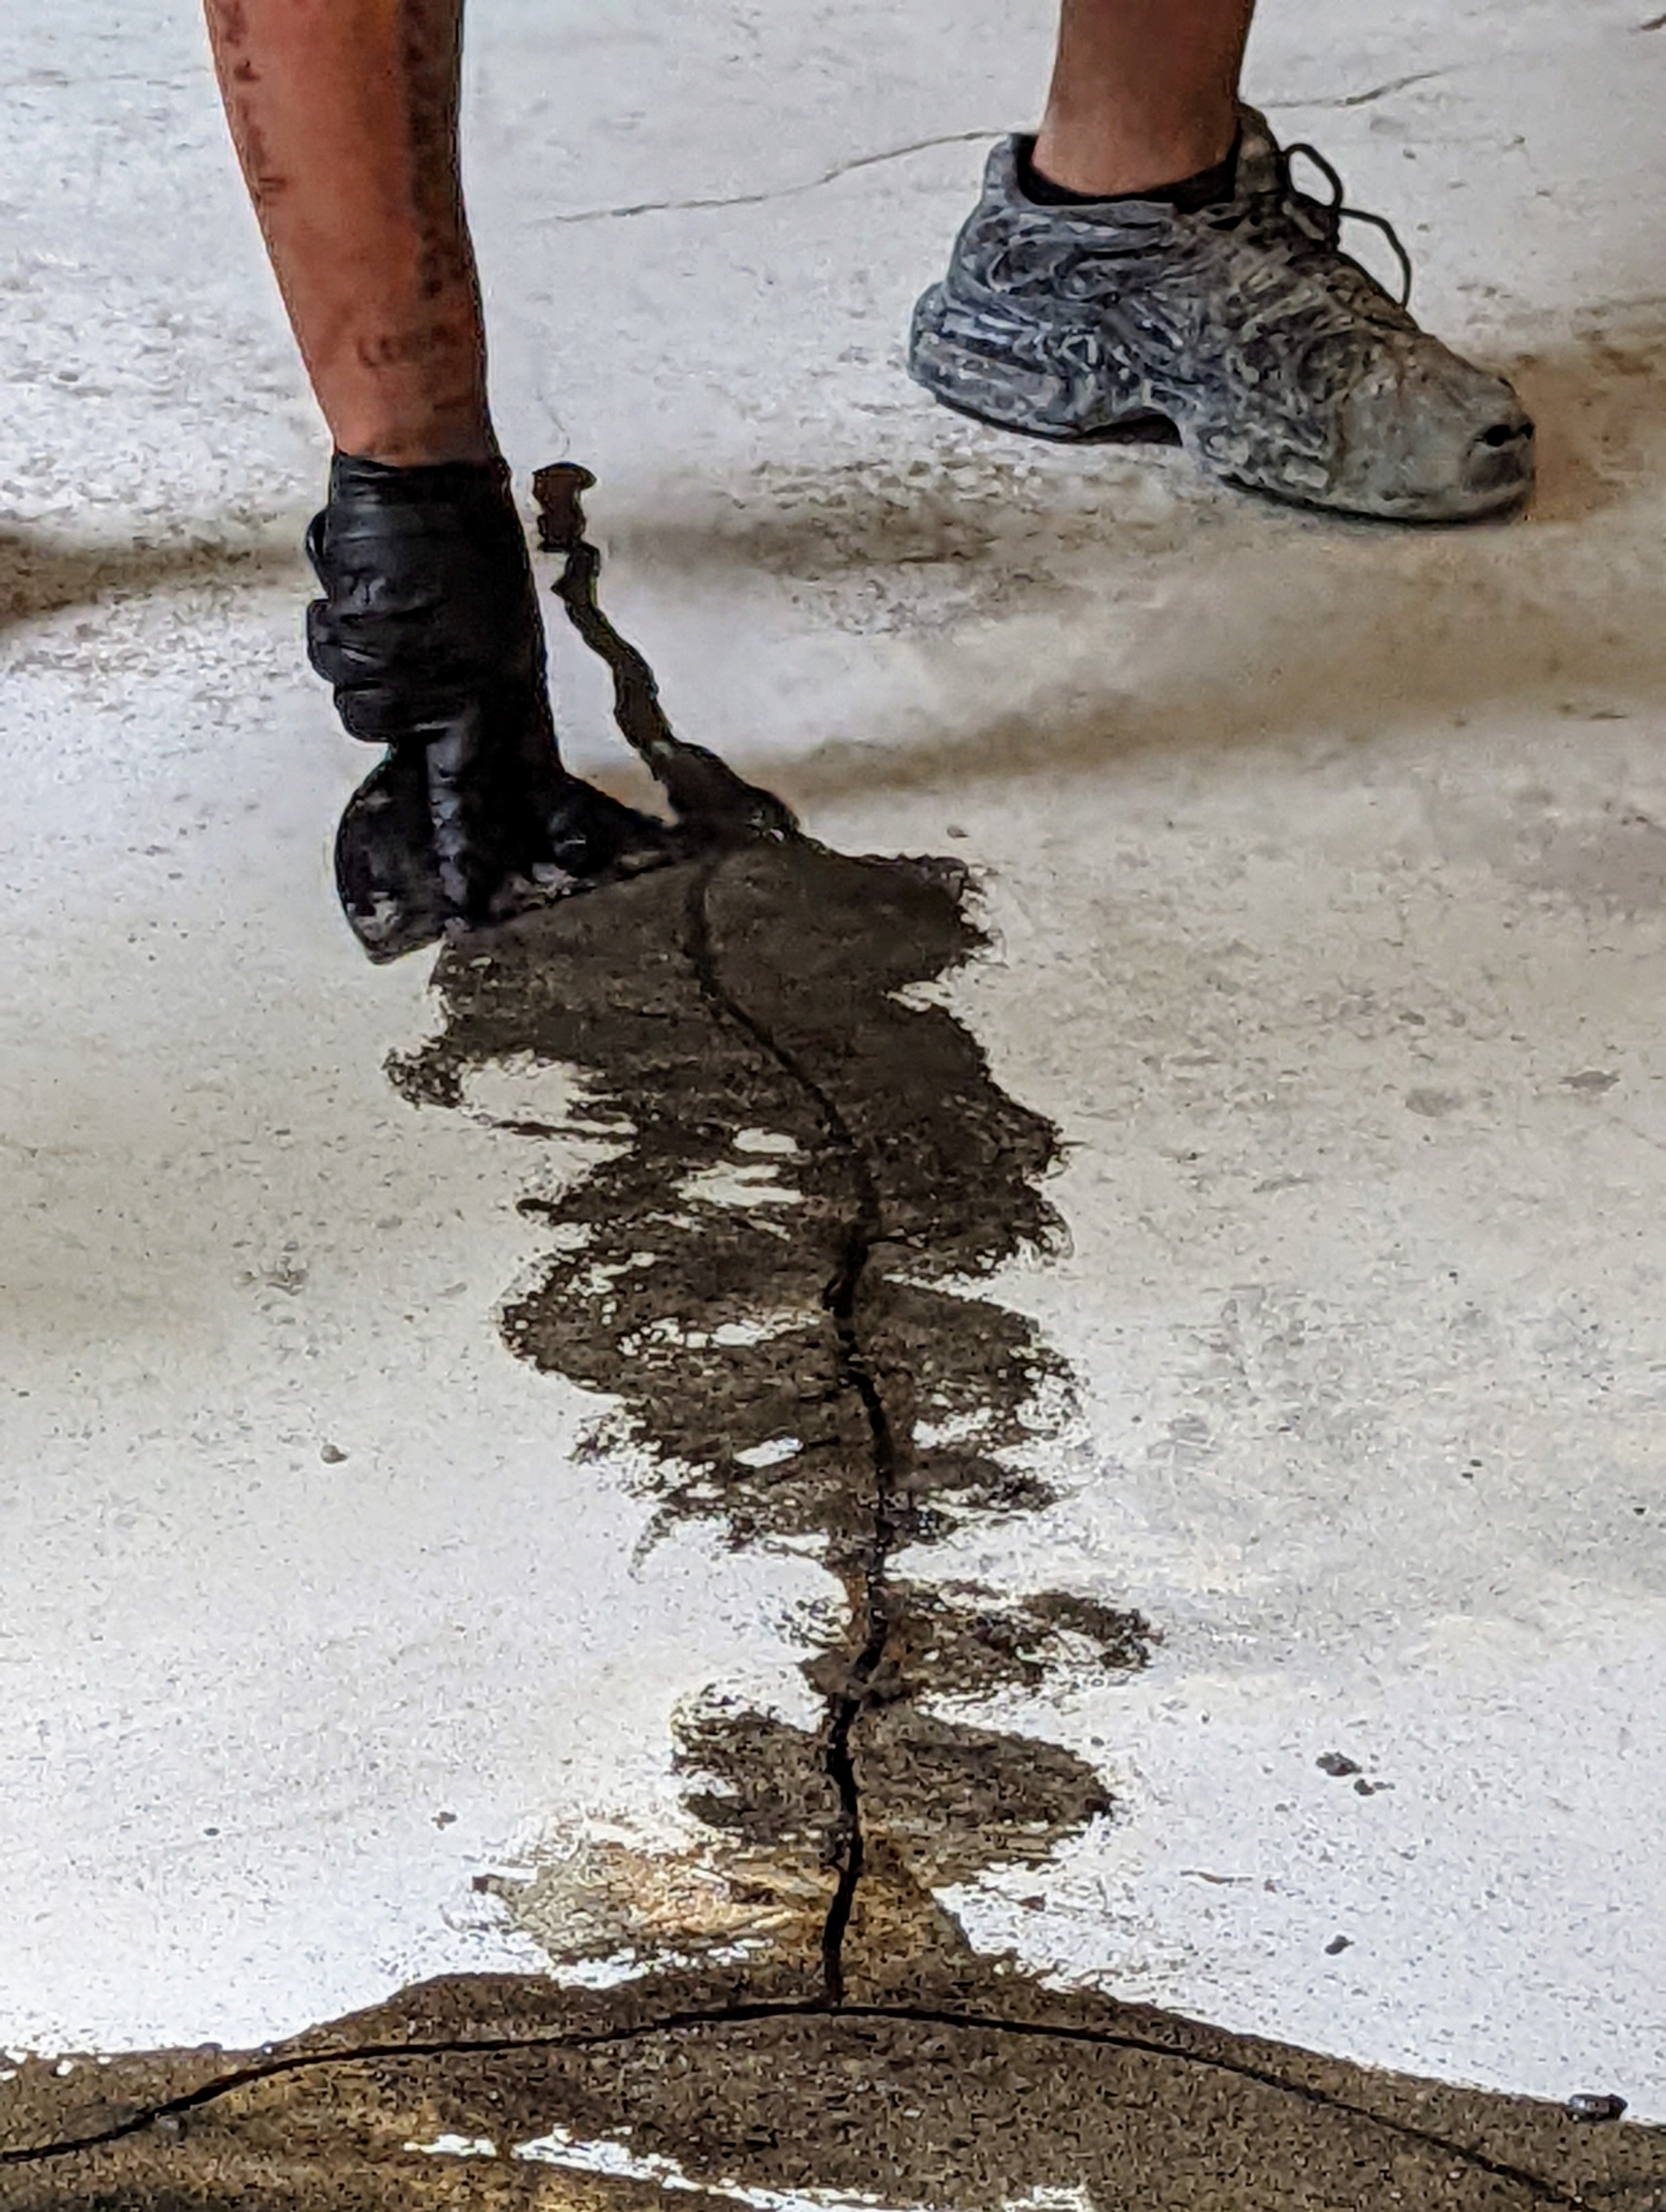
Omar follows with a putty knife and evens out all the cracks, spreading any excess sand or filler liquid.
After a short wait, Omar grinds the cracked areas.
And then Jordan thoroughly vacuums the entire floor.
The next step is to prepare the glue or Polyaspartic – a tinted primer base coat that will allow the flakes to adhere to the surface.
Omar uses a floor painting roller to apply this base coat. This will ensure maximum adhesion to the prepared substrate. Priming also helps to seal any air in the concrete that could cause bubbling on the finished surface.
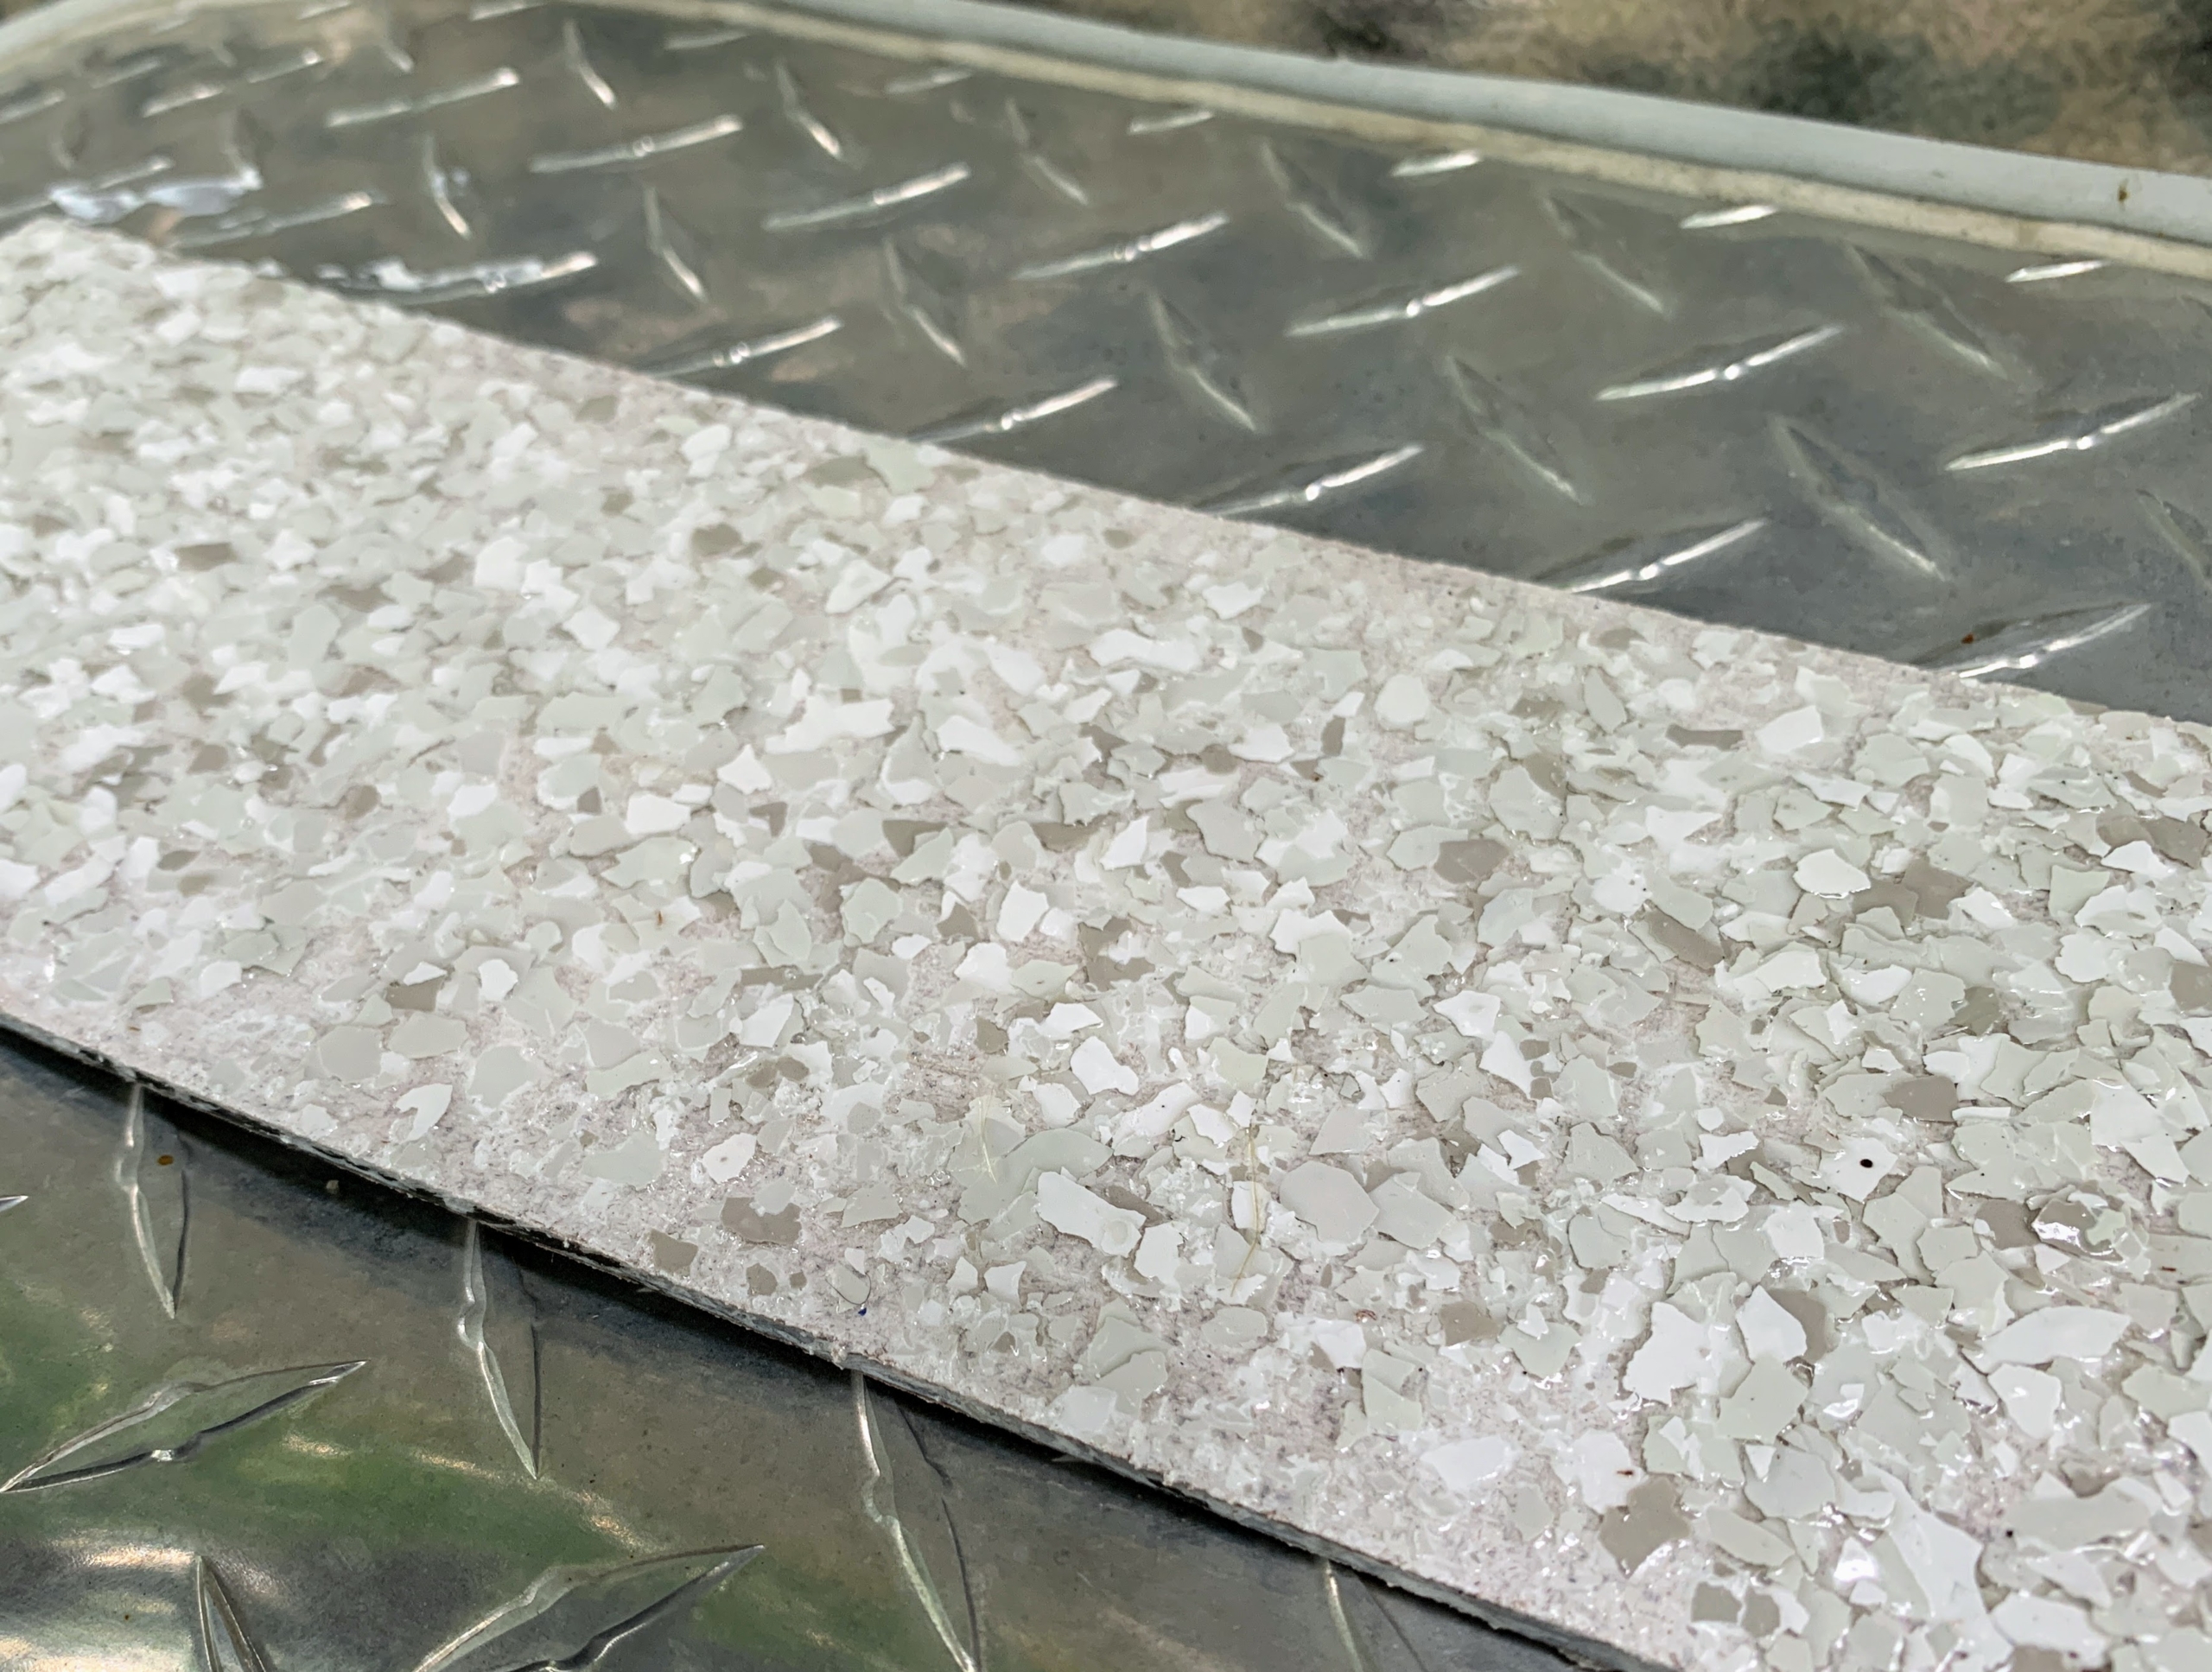
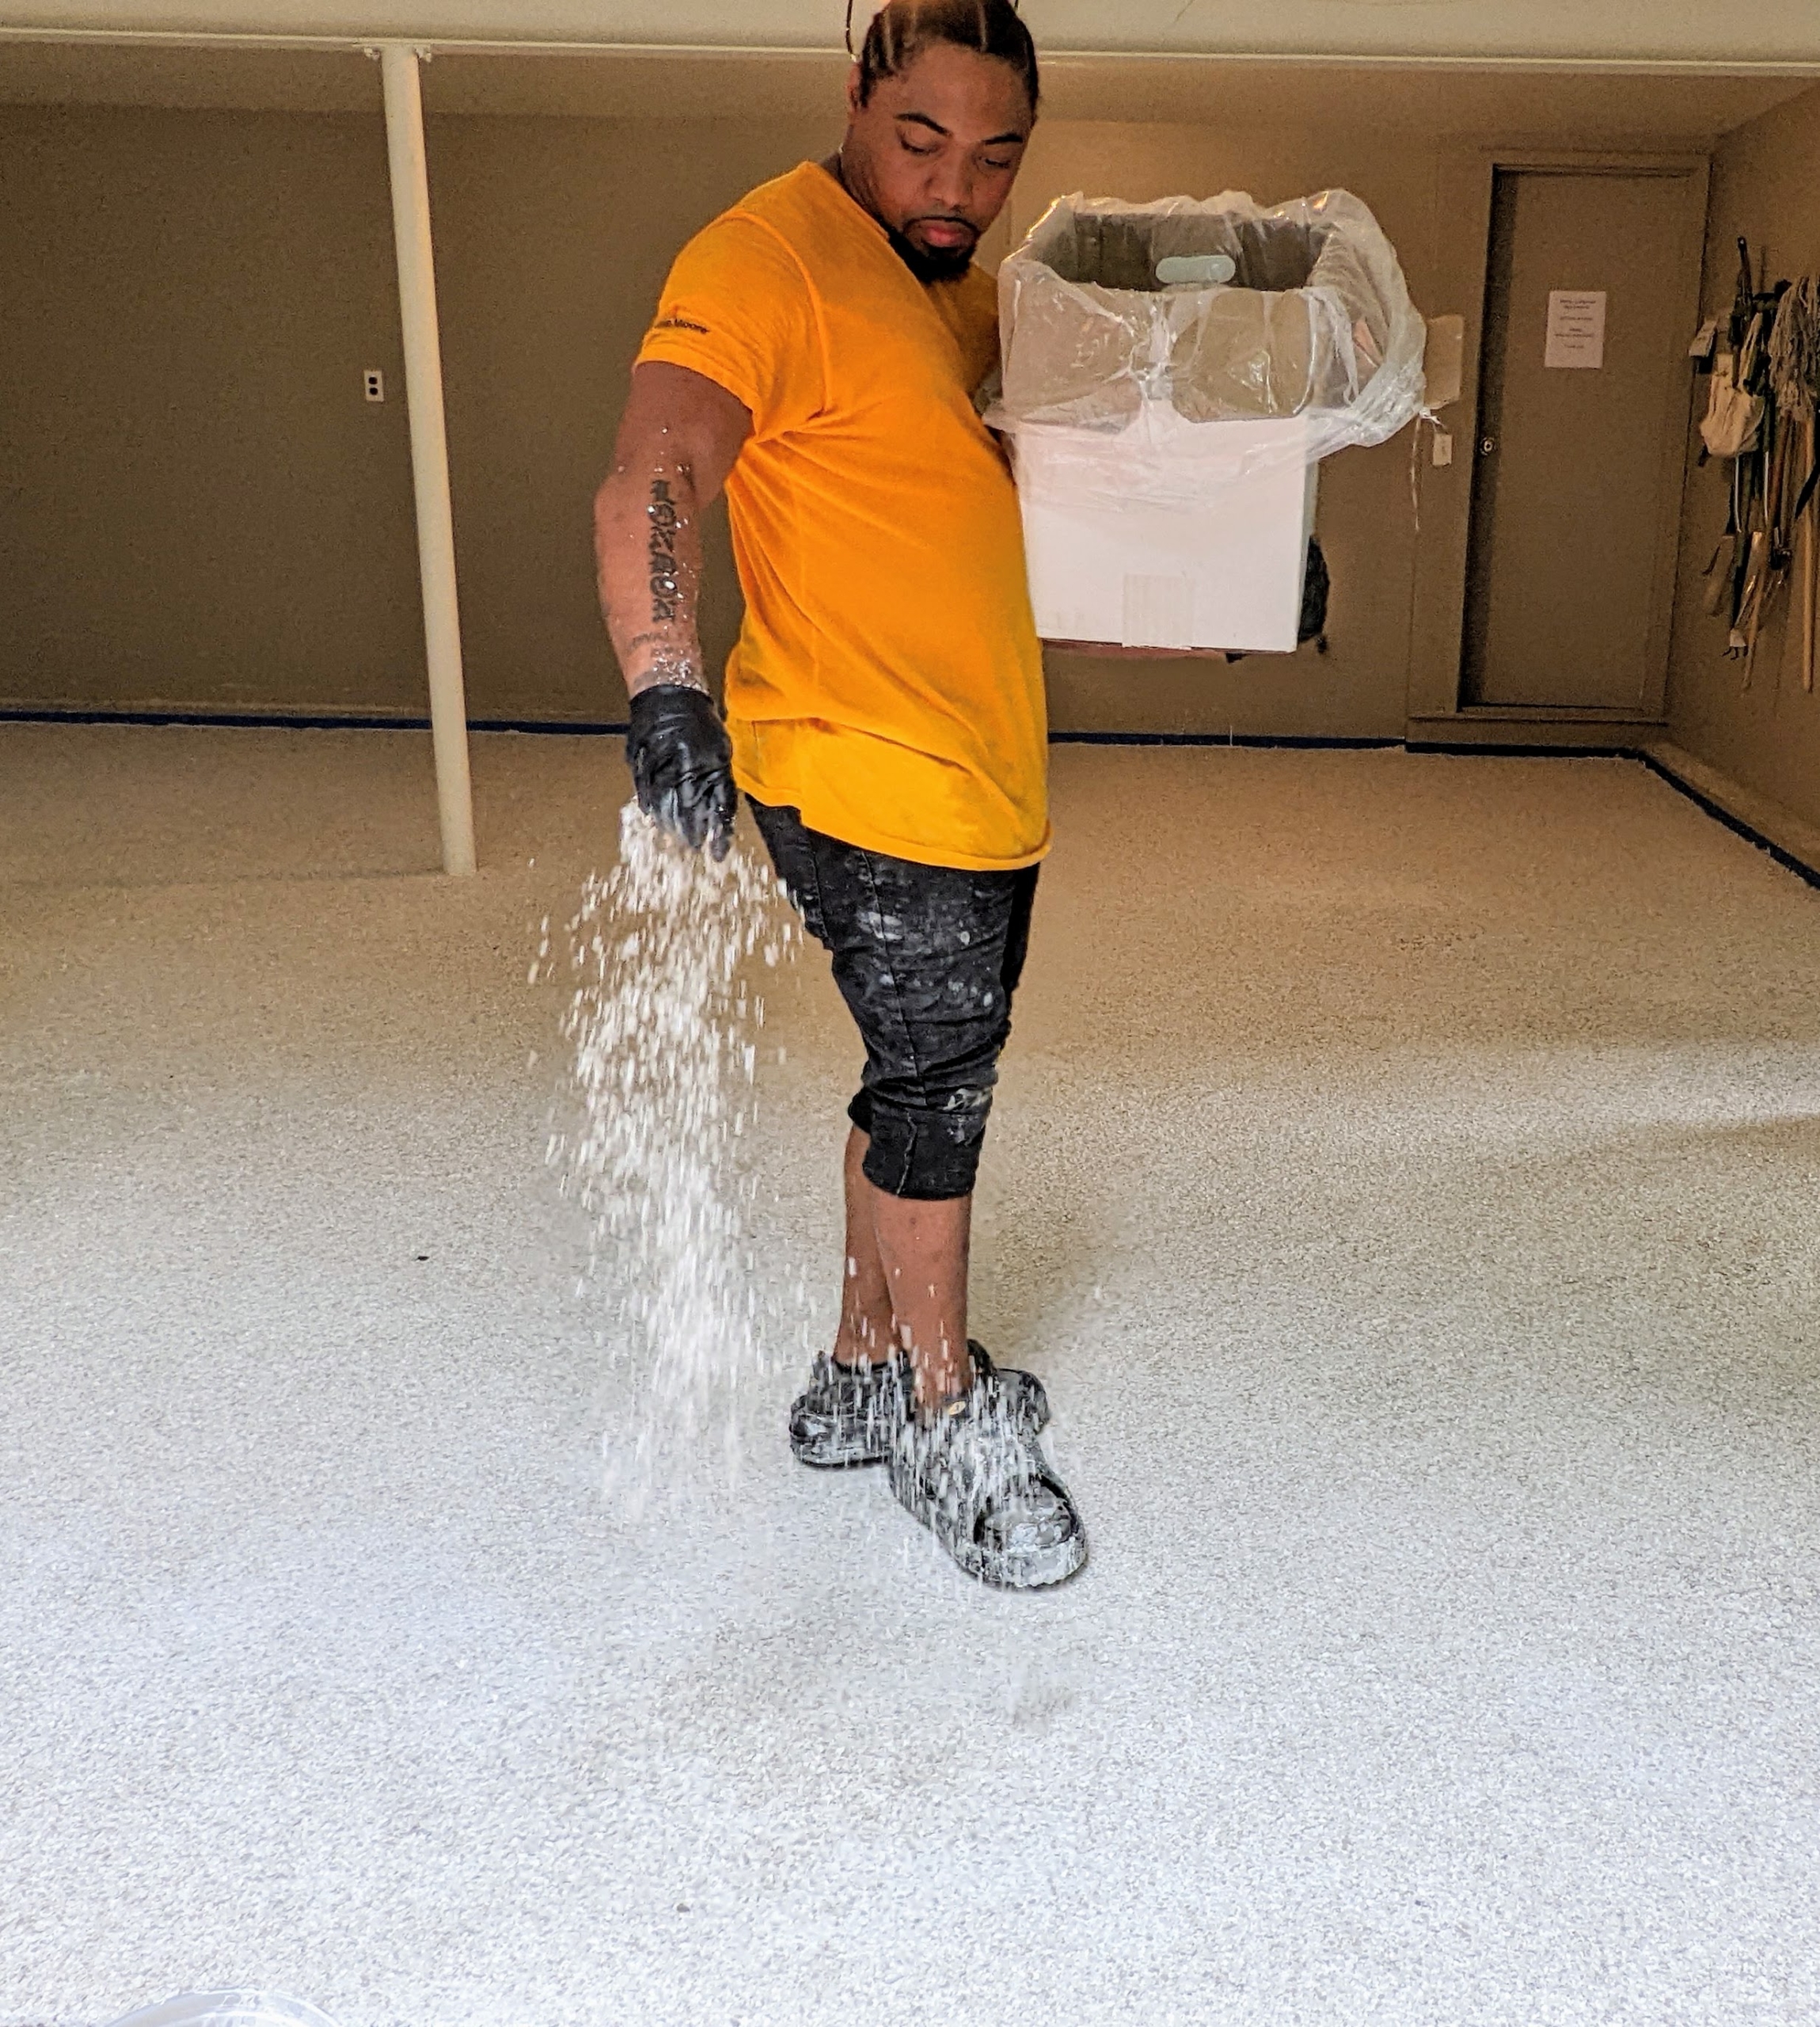
Then, Omar puts on special spiked sandals and broadcasts the entire floor with flakes. It is important to cover the entire space thoroughly and quickly.
These flakes are actually polymer paint aggregates made up of a combination of acrylic and vinyl resins. The combination creates thin chips that easily adhere to the floor.
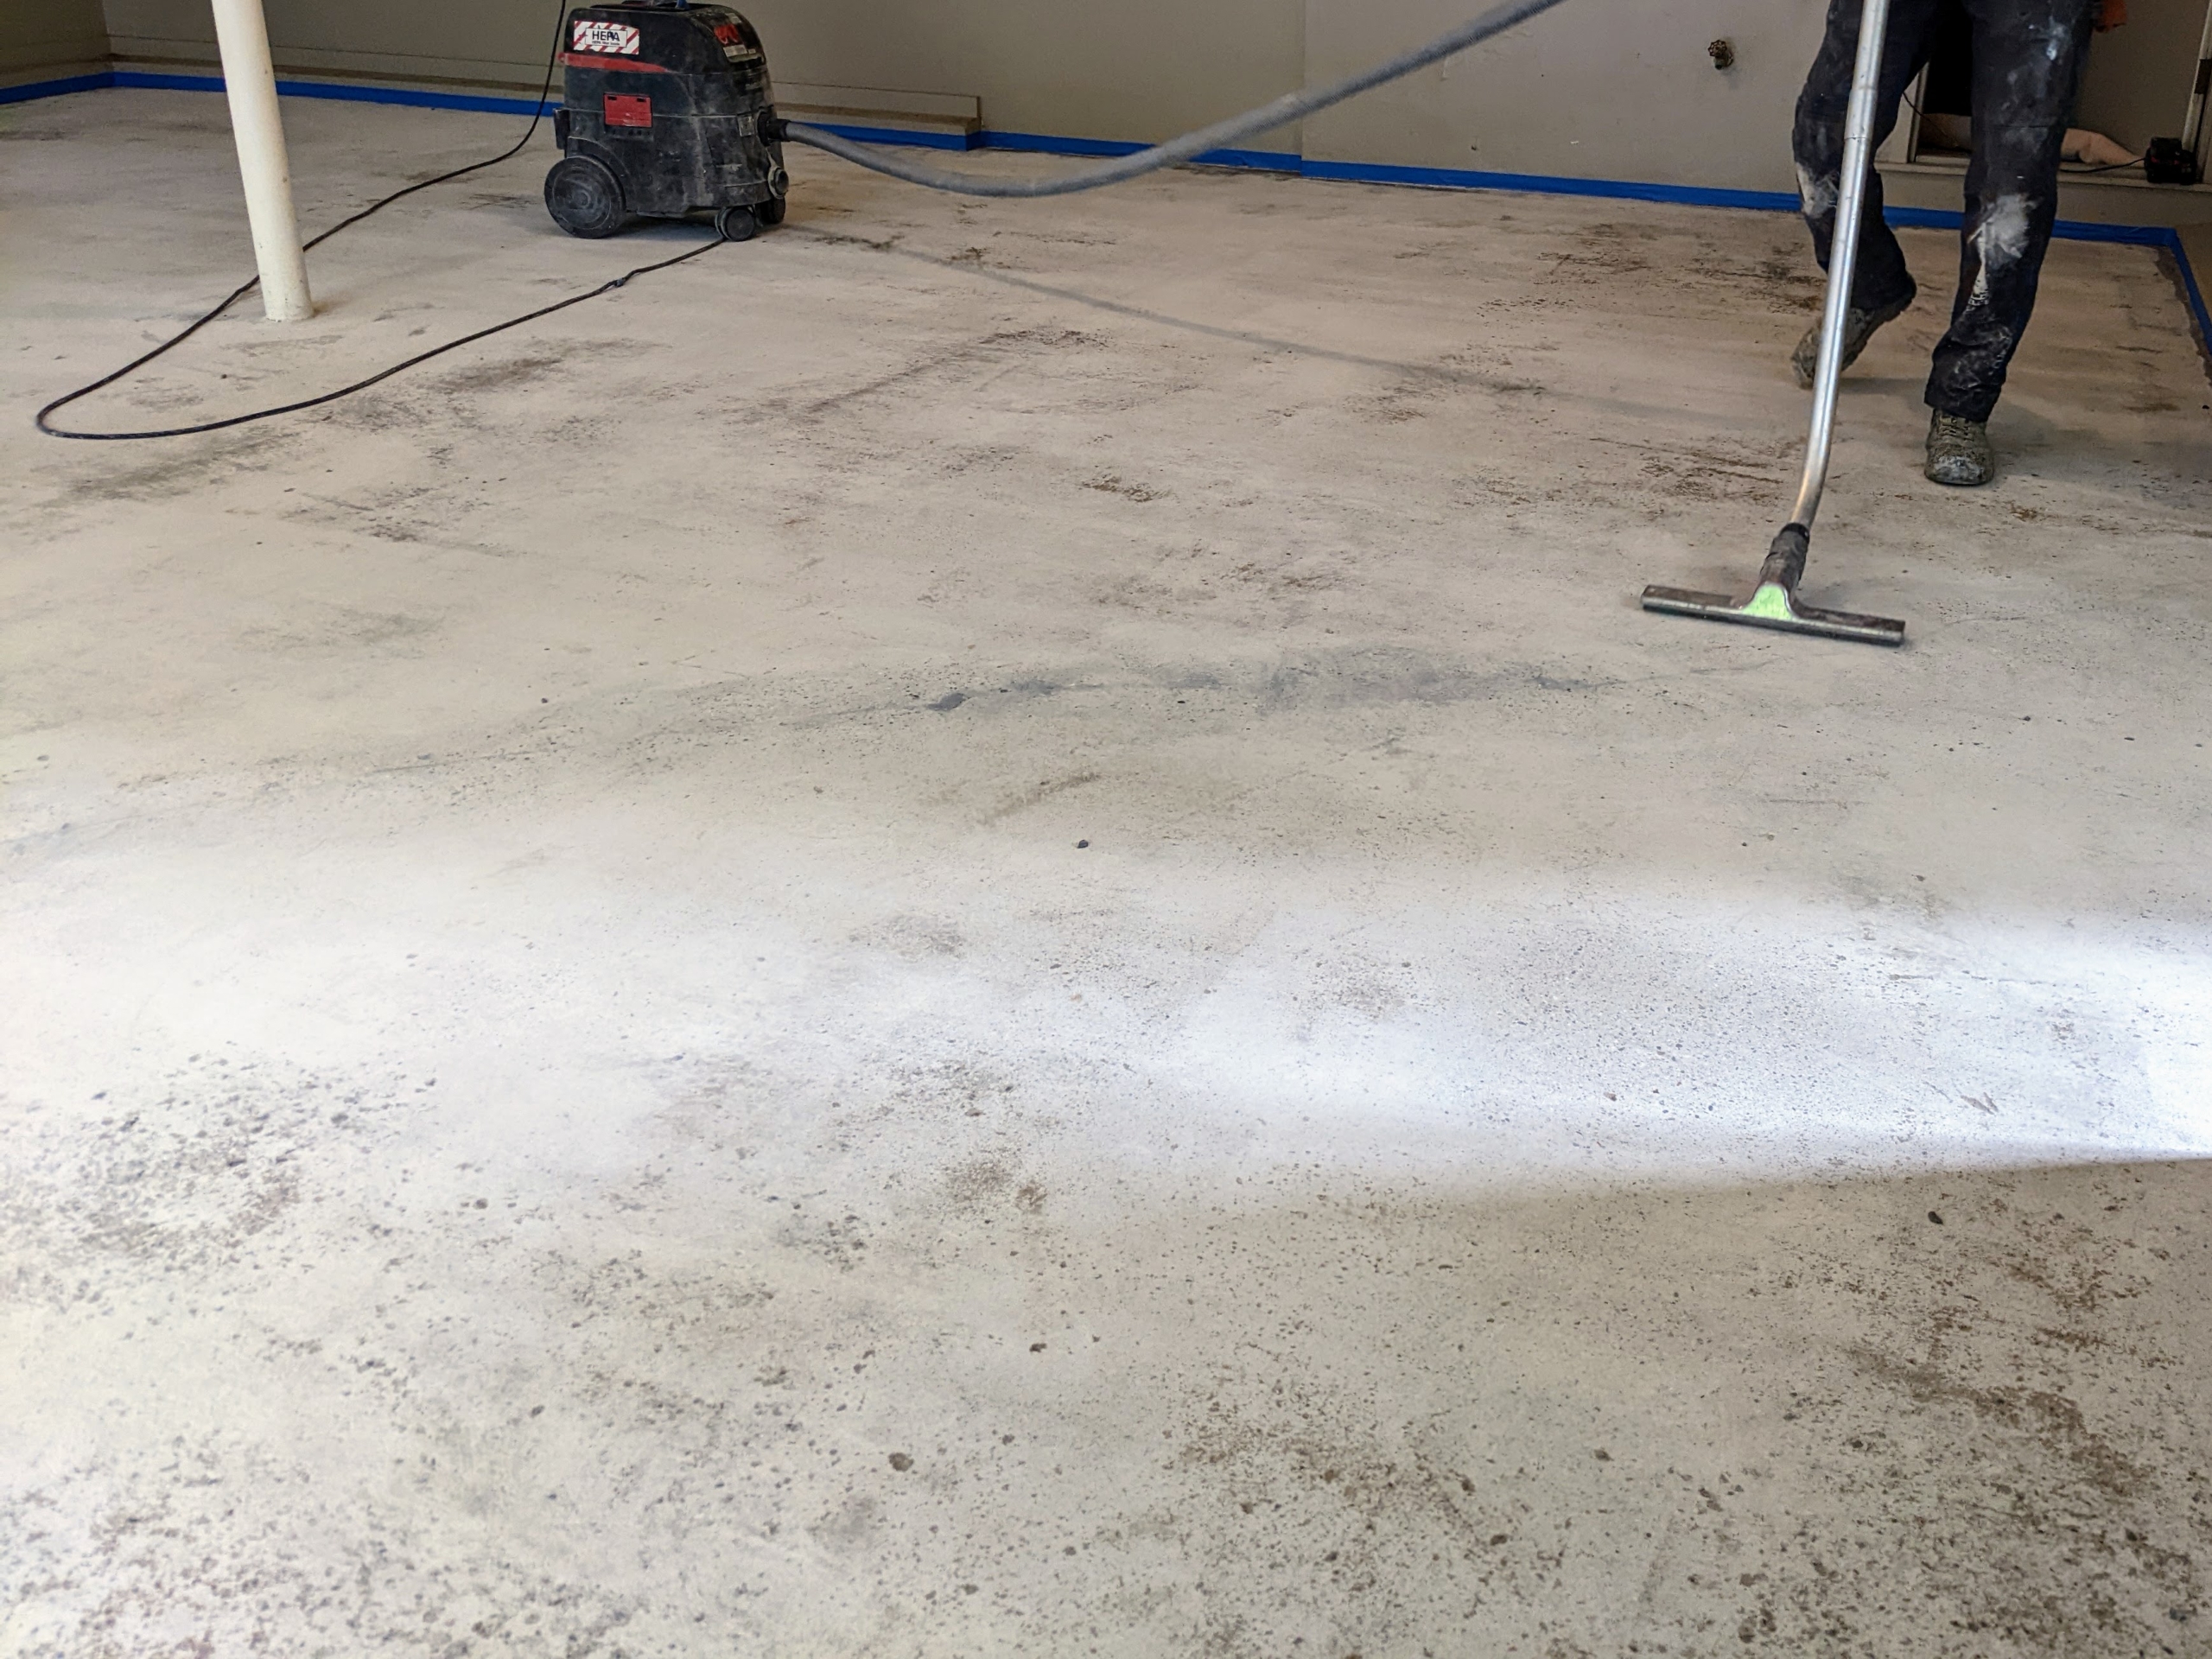
The flakes need a couple hours to dry completely. The next step is to scrape any loose chips from the surface. Omar uses a large scraper to also knock any chips that are protruding.
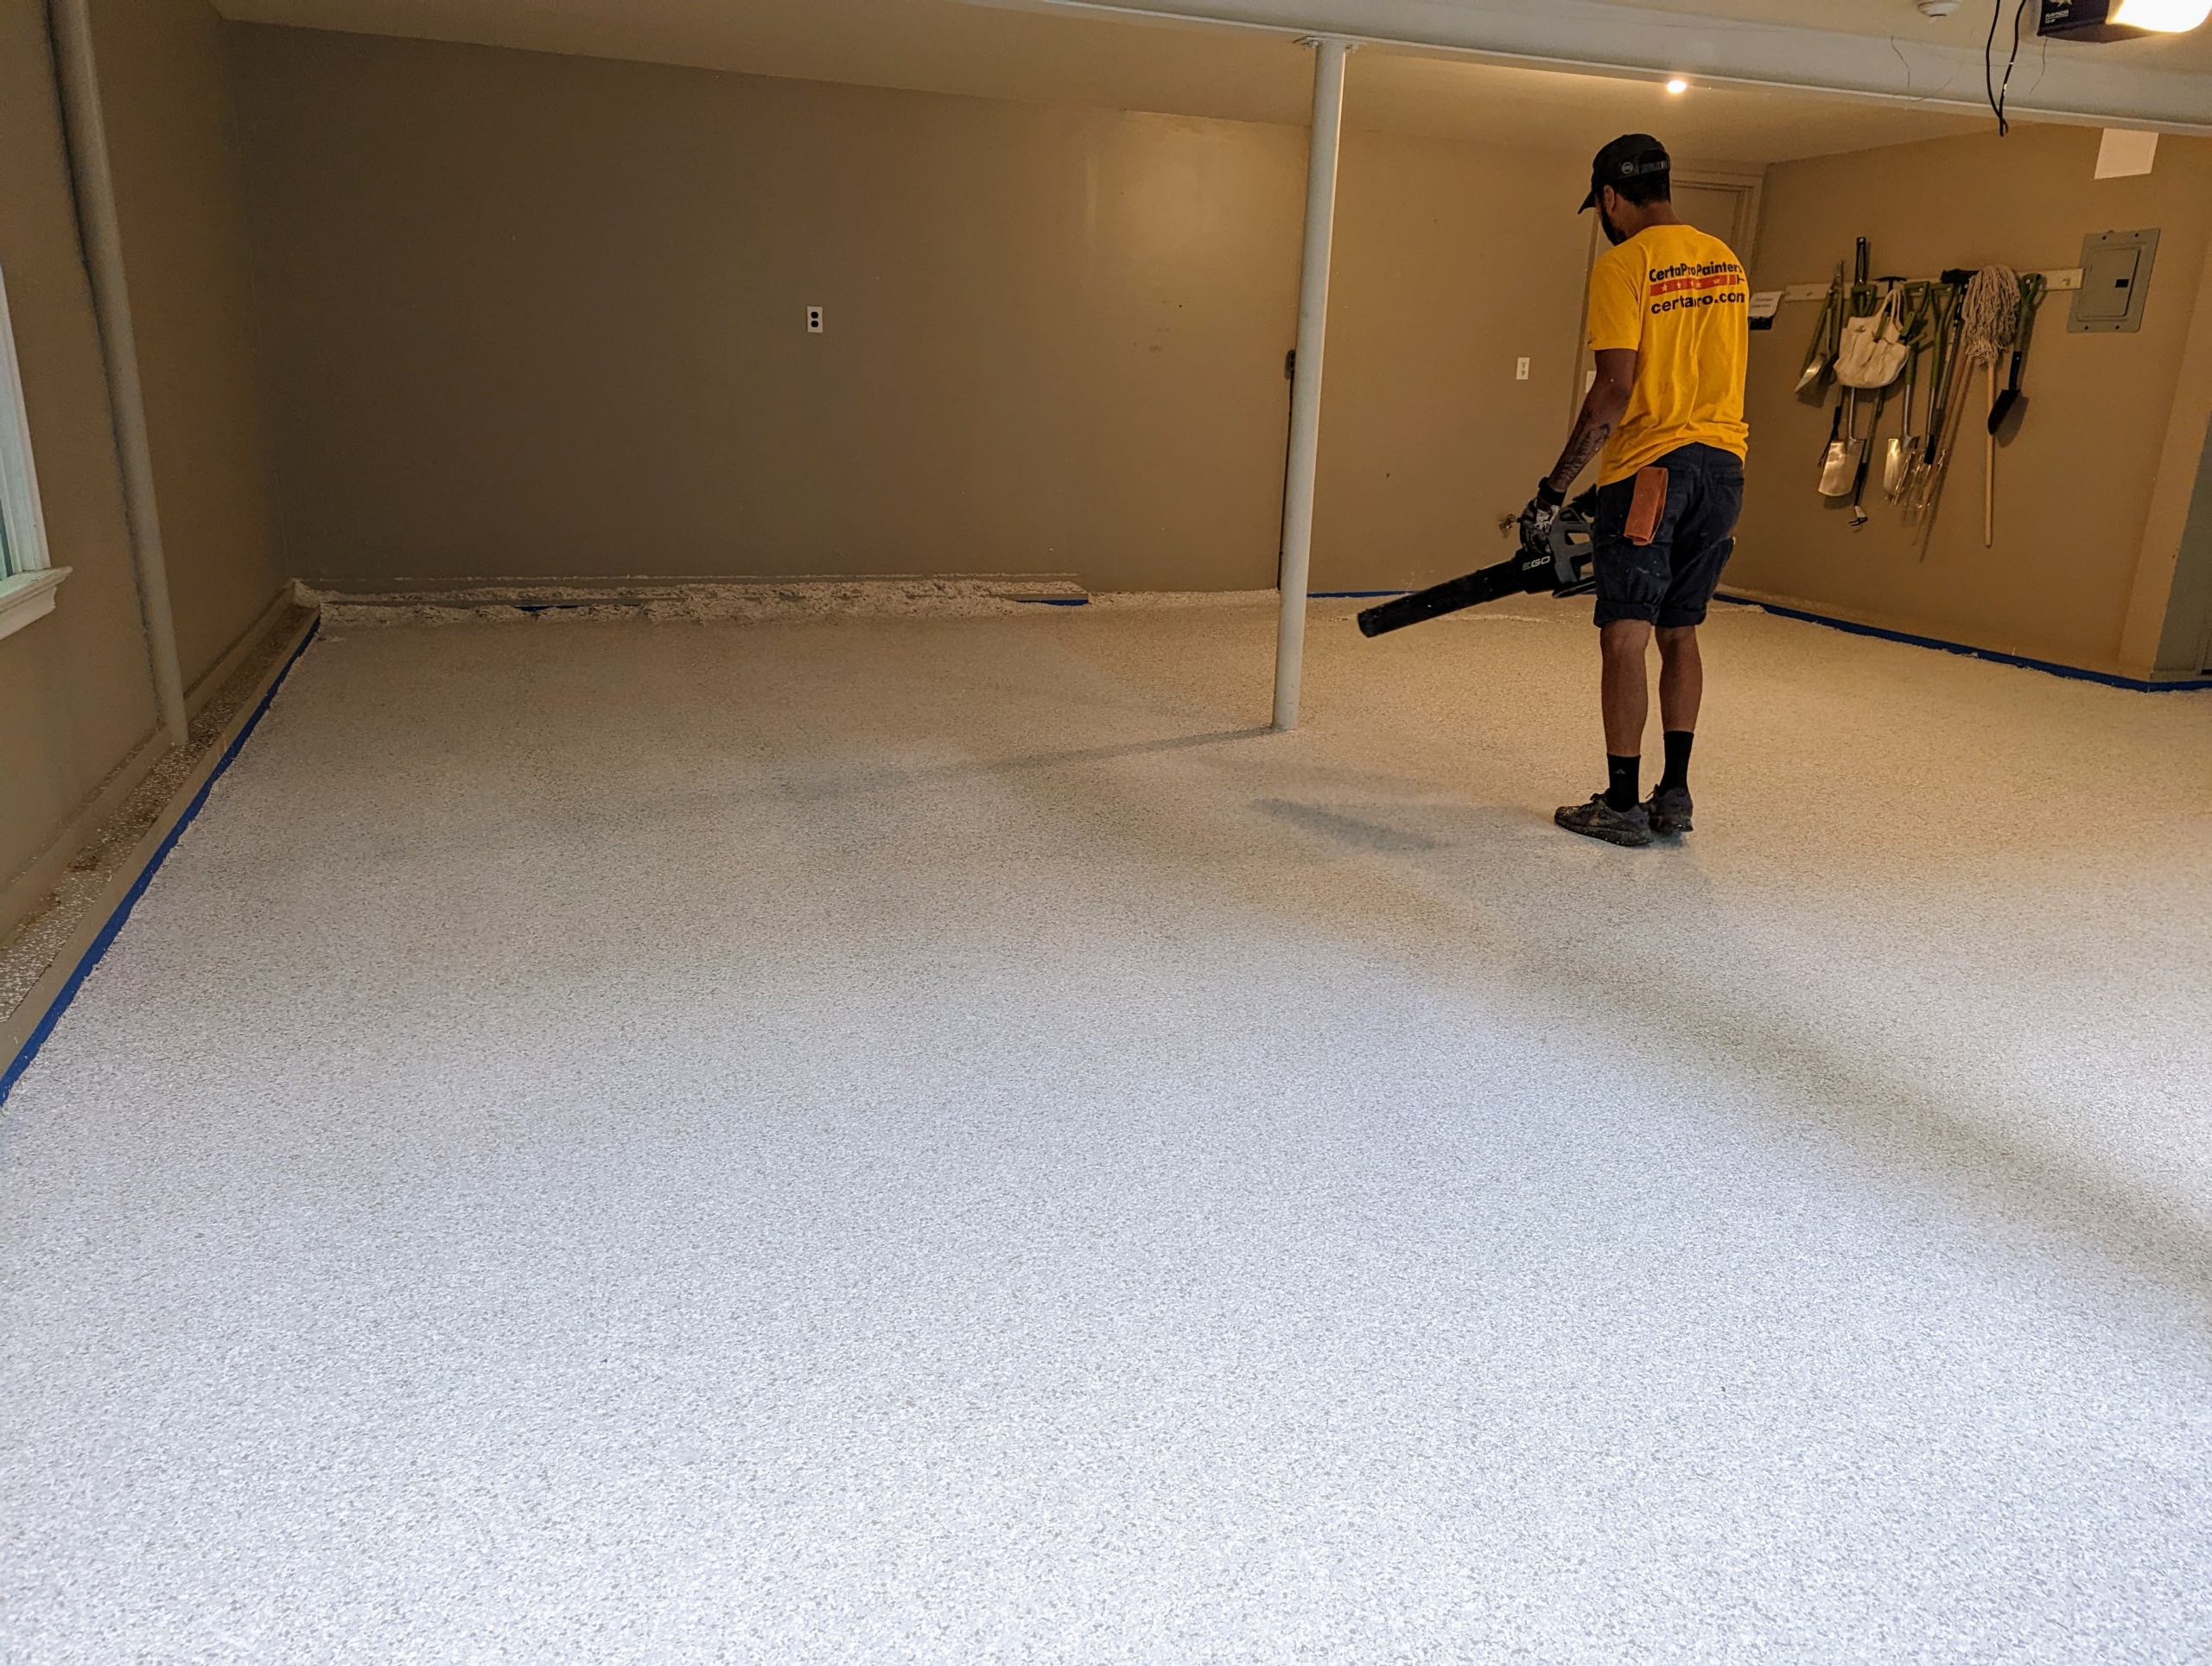
As Omar scrapes, Jordan blows the loose chips to the back of the garage.
These loose chips can be recycled and saved for another floor.
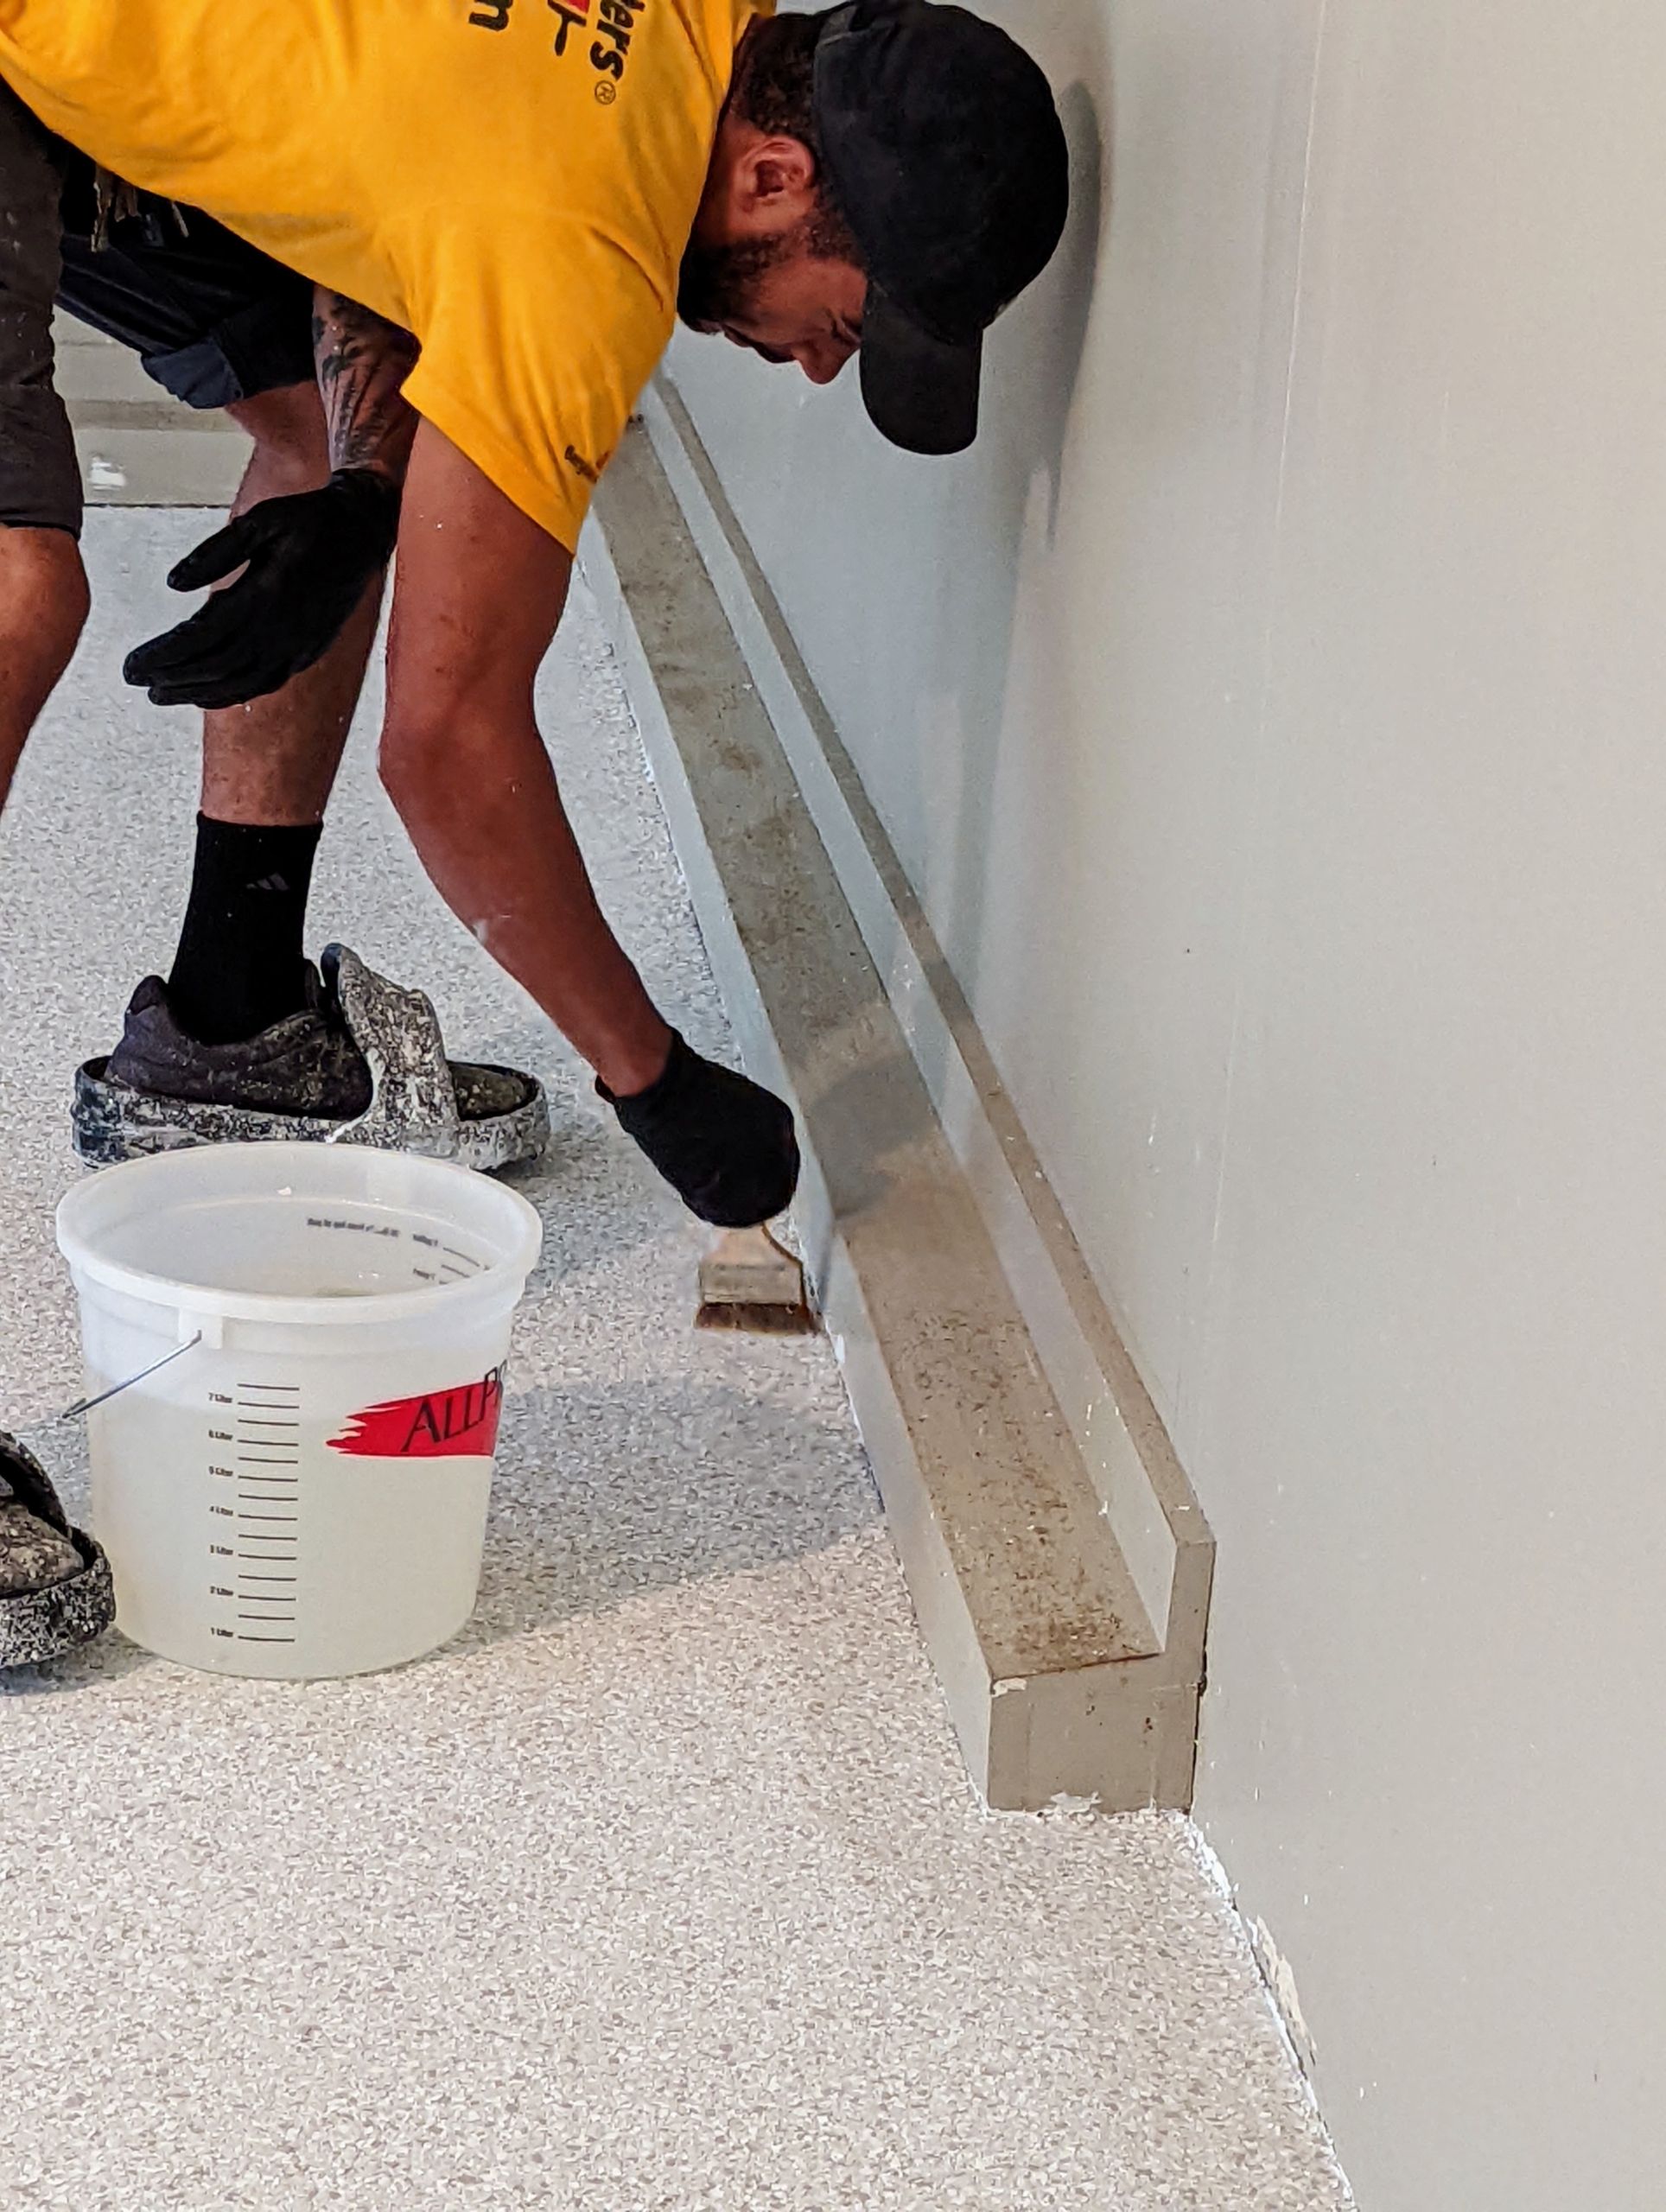
Then Omar removes the painter’s tape from cove joints, where the floor meets the wall.
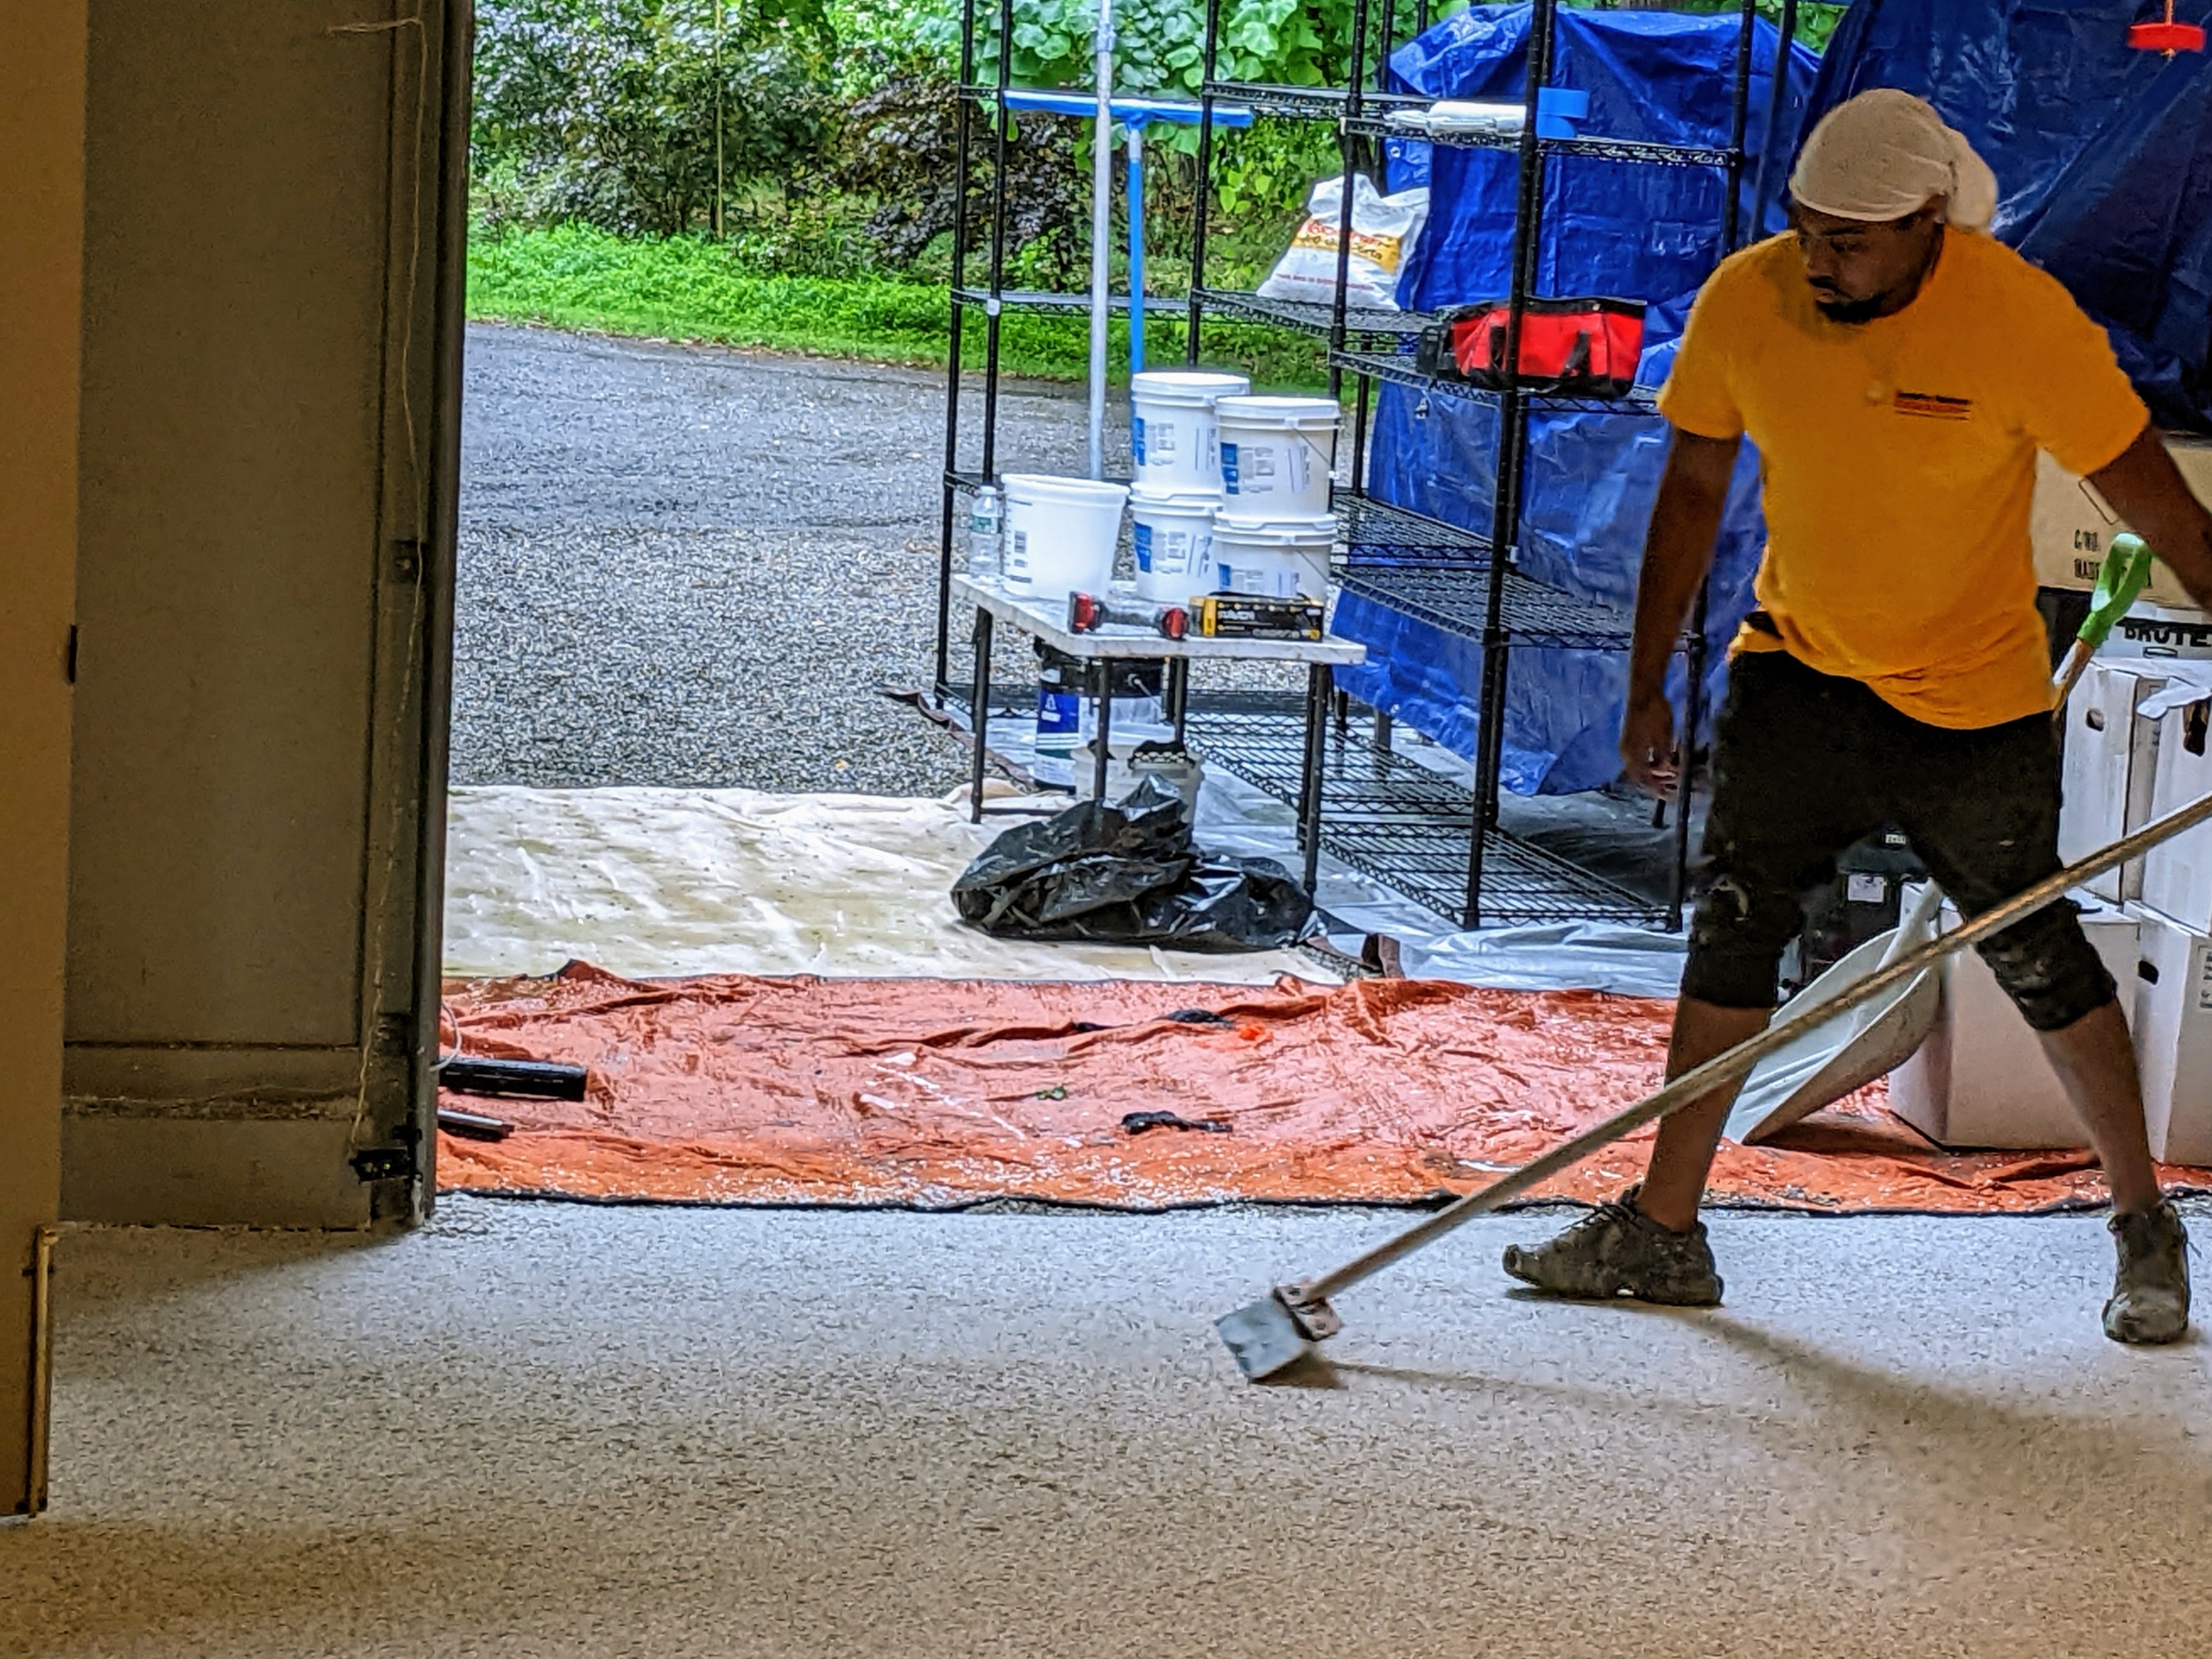
The last step is to cover the floor with the sealer, or top coat. Jordan starts by cutting in at the edge all around the perimeter of the garage. He does this with a regular paint brush.
Next, he pours generous amounts of polyurea clear coat and sealer in the middle of the floor.
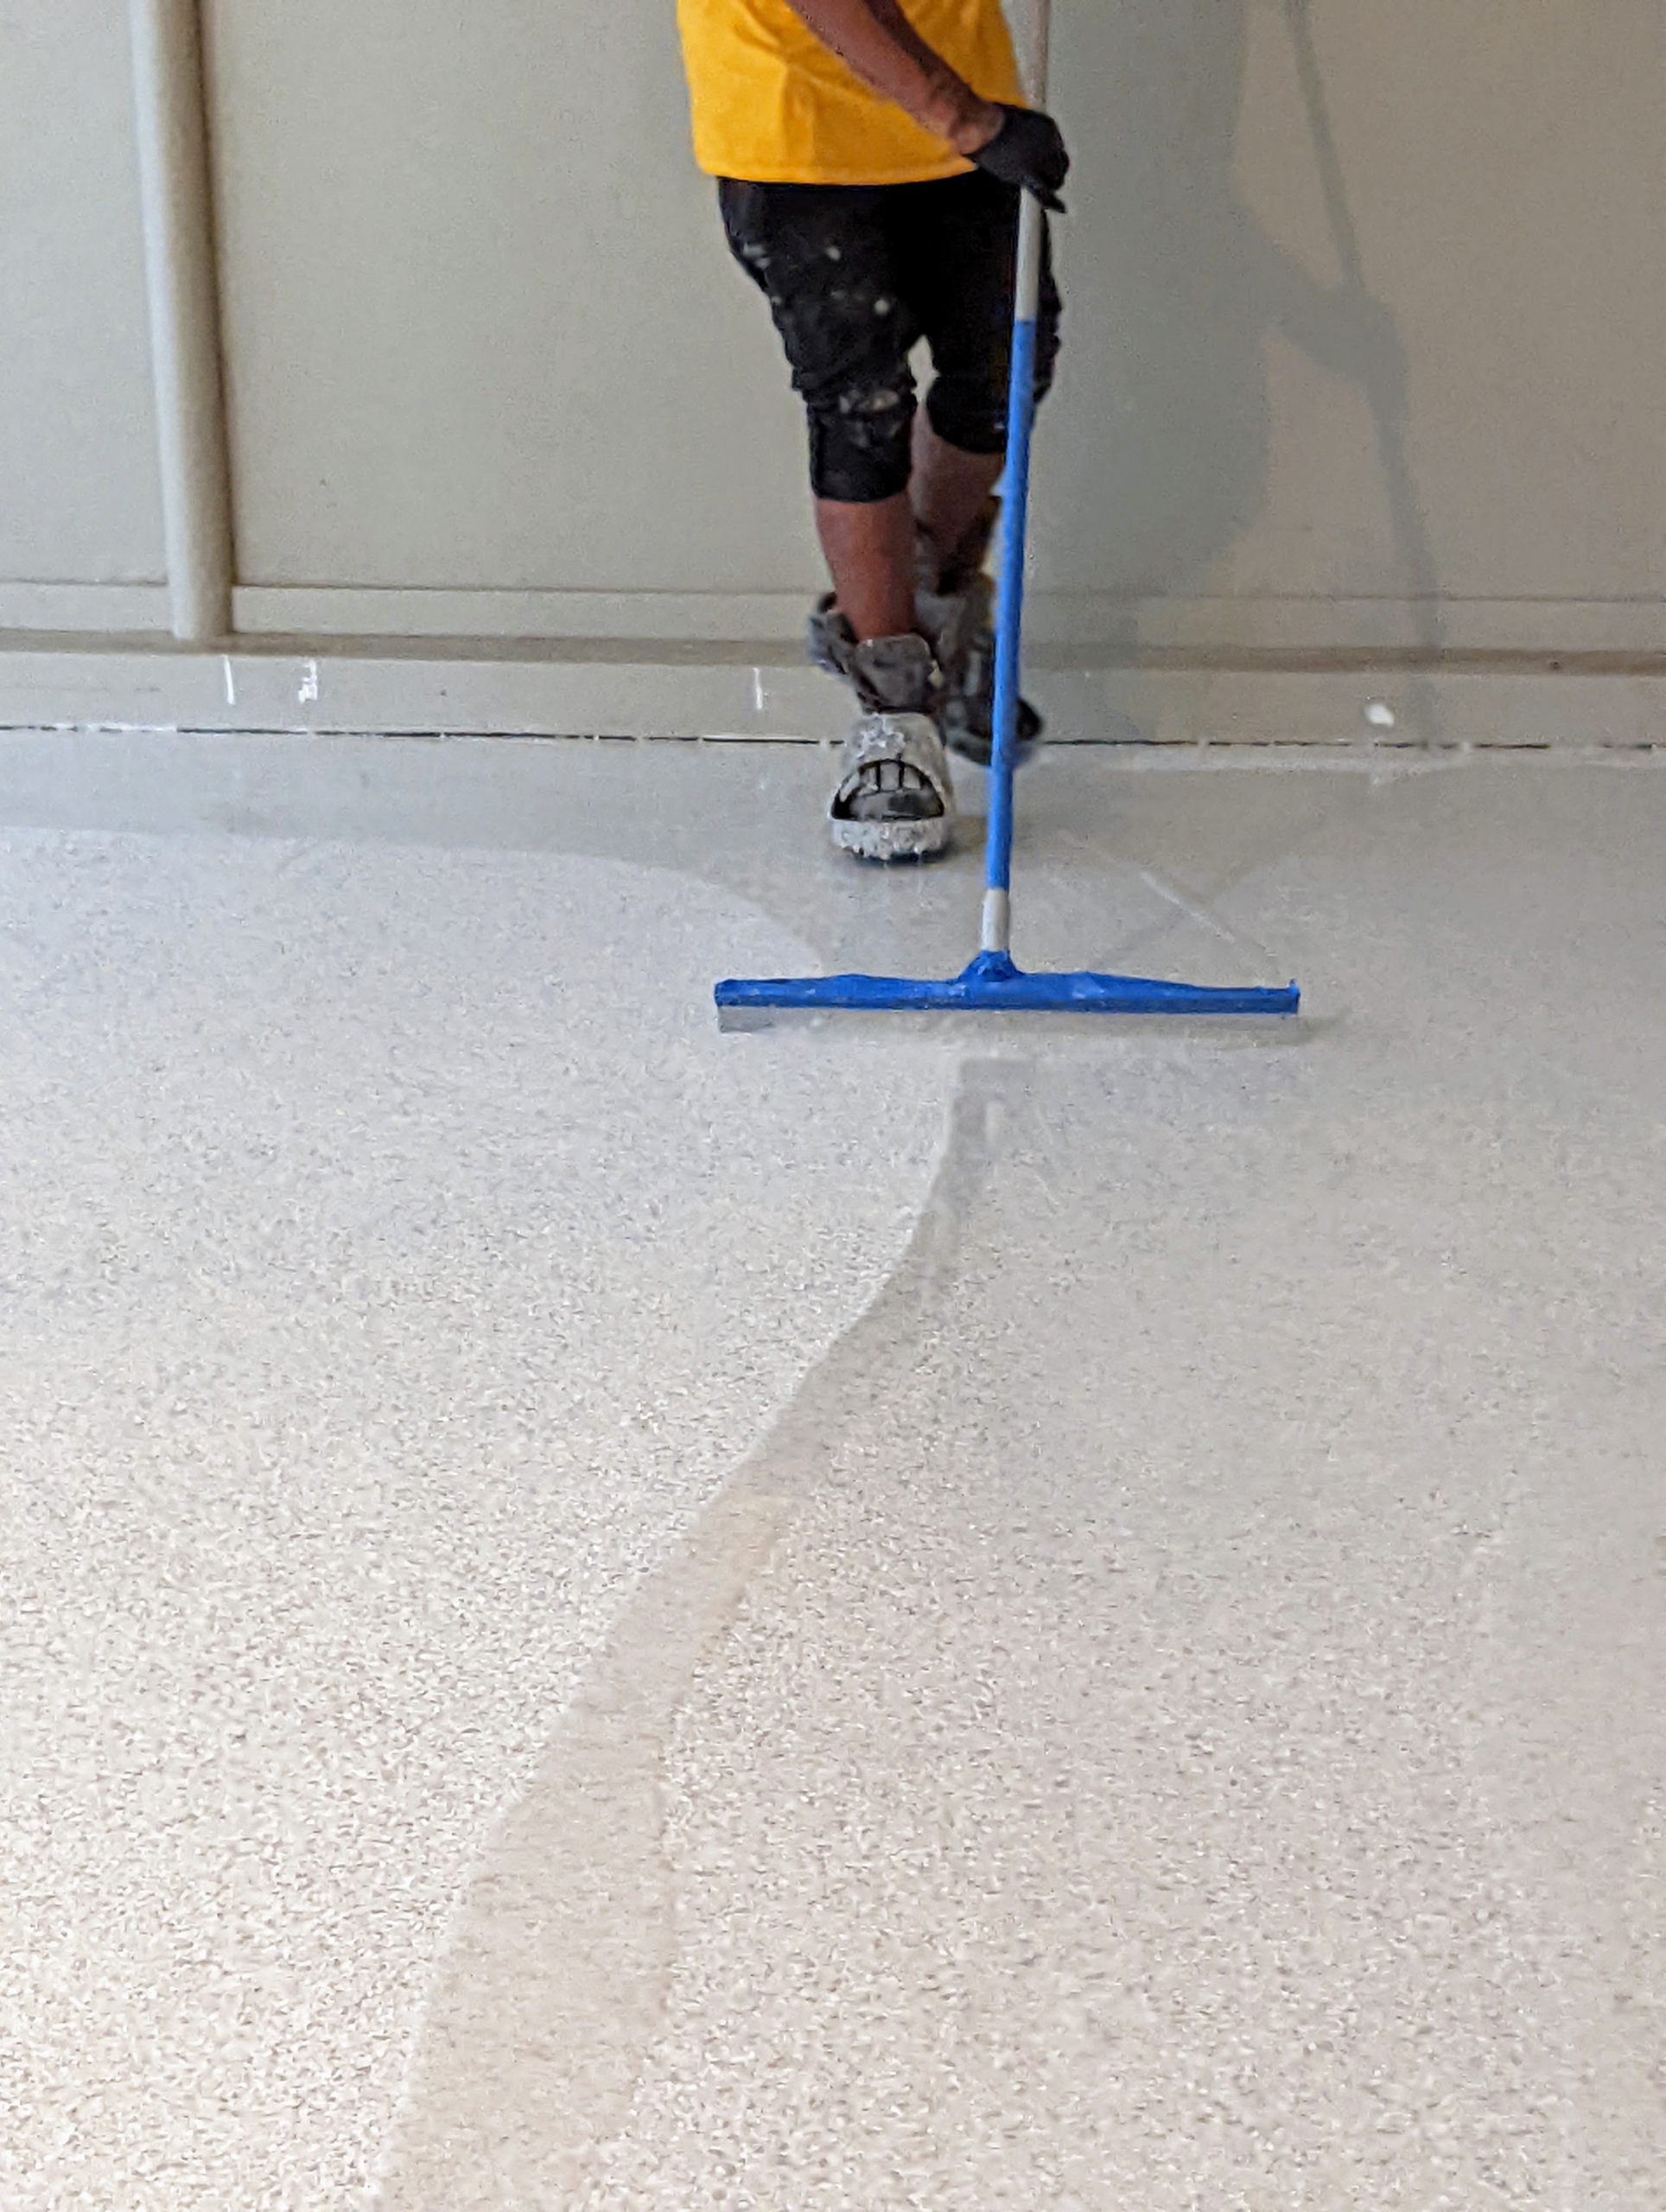
Omar uses a commercial grade squeegee broom to spread the sealer.
And here is the finished floor once the entire floor is coated. This floor will be left to dry for 48-hours.
It looks great and so different from before. It’s an affordable way to upgrade any concrete surface. And it doesn’t need re-finishing later – it is a maintenance-free floor. It will be a perfect work space for our production crews very soon.
Here in the Northeast, we're all crossing our fingers for a good soaking rain.
We're expecting some precipitation today in Bedford, New York and up at Skylands, my beloved summer home in Maine. It has been so very dry in this region - we haven’t had significant rain for quite some time. Fortunately, we've been able to keep many of the trees, shrubs, and plants irrigated with our watering supplies from Gilmour. I use many of their hoses, sprinklers, and nozzles.
Here are some photos of how we water around Skylands, enjoy.
Up at Skylands, views of the moss-covered woodlands are just as picturesque as those of Seal Harbor. This summer has been particularly hard on the plantings – it’s been very, very dry all along the eastern seaboard.
Here is one section of a pine-needle covered footpath that meanders through the property. On both sides, one can see lots of moss growing. During the summer, I always fill several of my garden planters with some of the natural elements found in the woodlands. Various mosses, lichens, seedlings, pine needles, and old pieces of wood are brought in to create miniature forests that last all season long.
Here, more moss, young trees, and ferns in the foreground. Moss is a slow growing wild plant that should never be harvested in large amounts – in fact, it is illegal to take any moss from national forests without permission. Once the season is over, we always make sure the moss we harvested is returned to the forest where it can regenerate and flourish. All these plants need our watering help.
And so does my flower cutting garden, which is now filled with so many gorgeous blooms.
To keep everything well-irrigated until the next rainfall, we use watering supplies from Gilmour, a Madison, Wisconsin-based company that’s been manufacturing watering equipment and solutions for more than 65-years. With so many trees, shrubs, and plants to maintain, it’s important we use only the best quality outdoor tools.
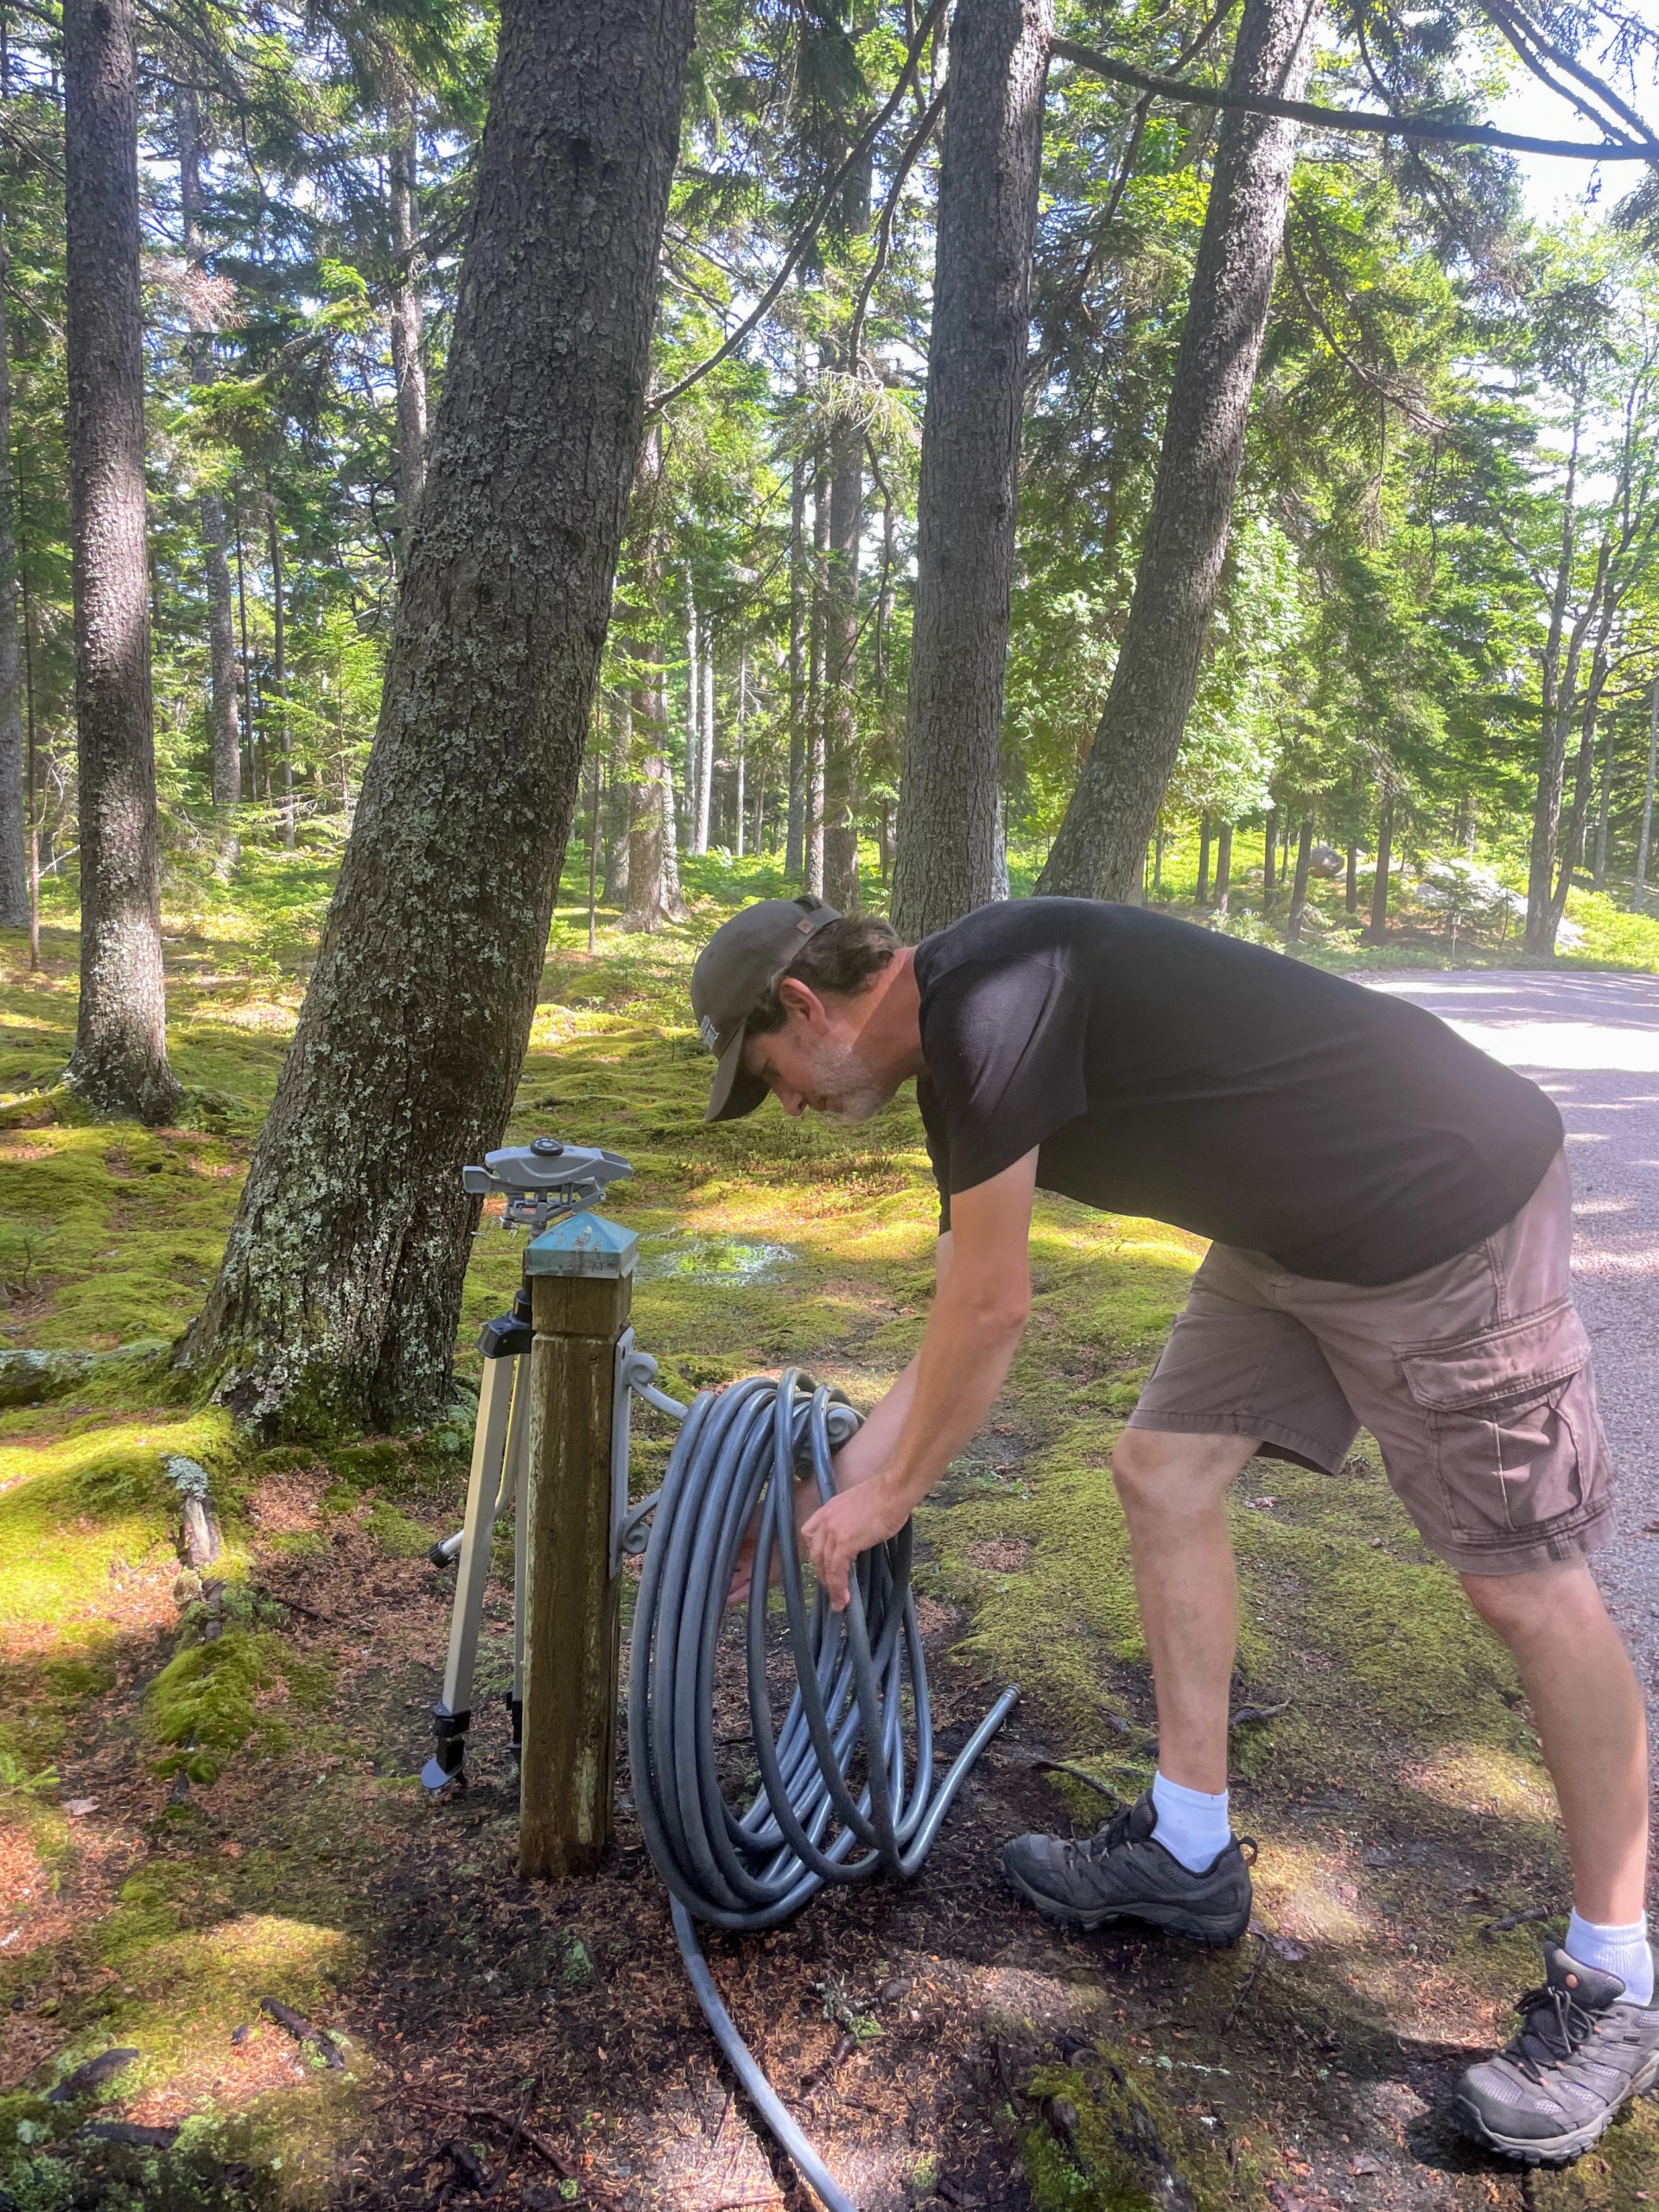
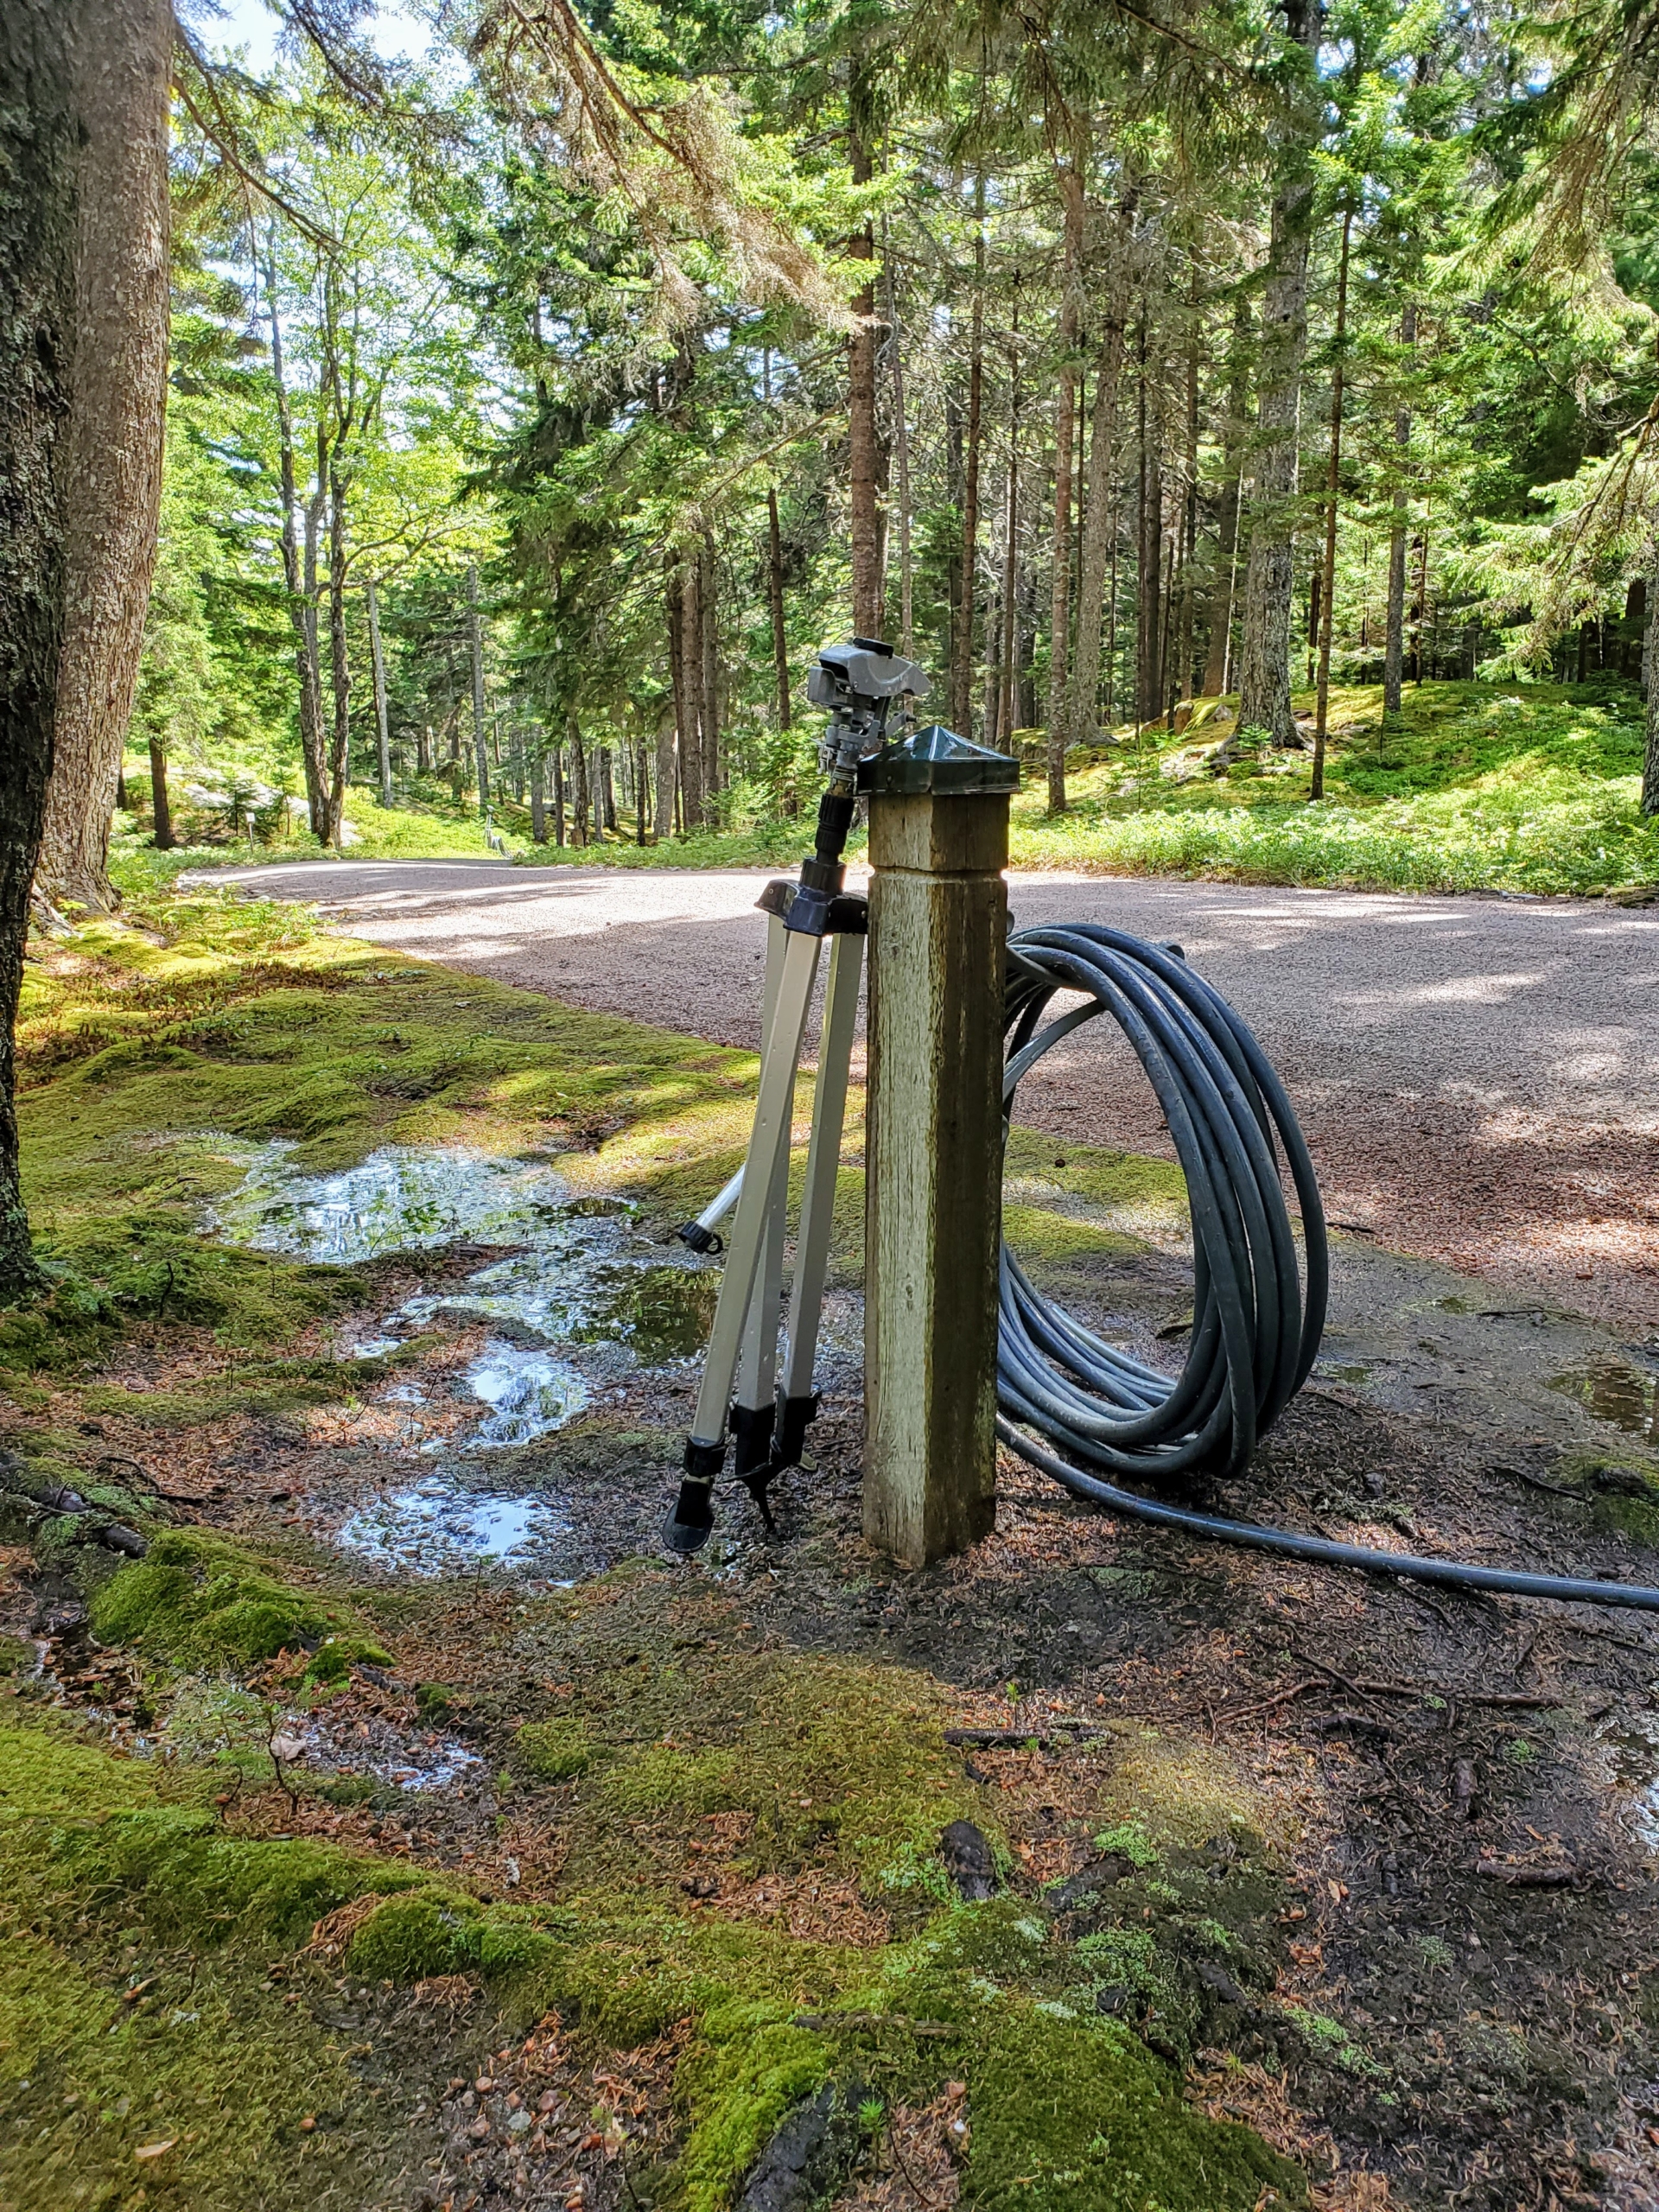
My Skylands gardener, Mike Harding, begins to uncoil the hose for watering. These Gilmour hoses curve without kinking, connect without leaking, and are easy to store. A hose and at least one sprinkler are placed at every bibb, or faucet. And here’s a tip… to keep it from kinking, when it’s new stretch it along a path or the edge of the lawn and then loop the business end back to the tap.
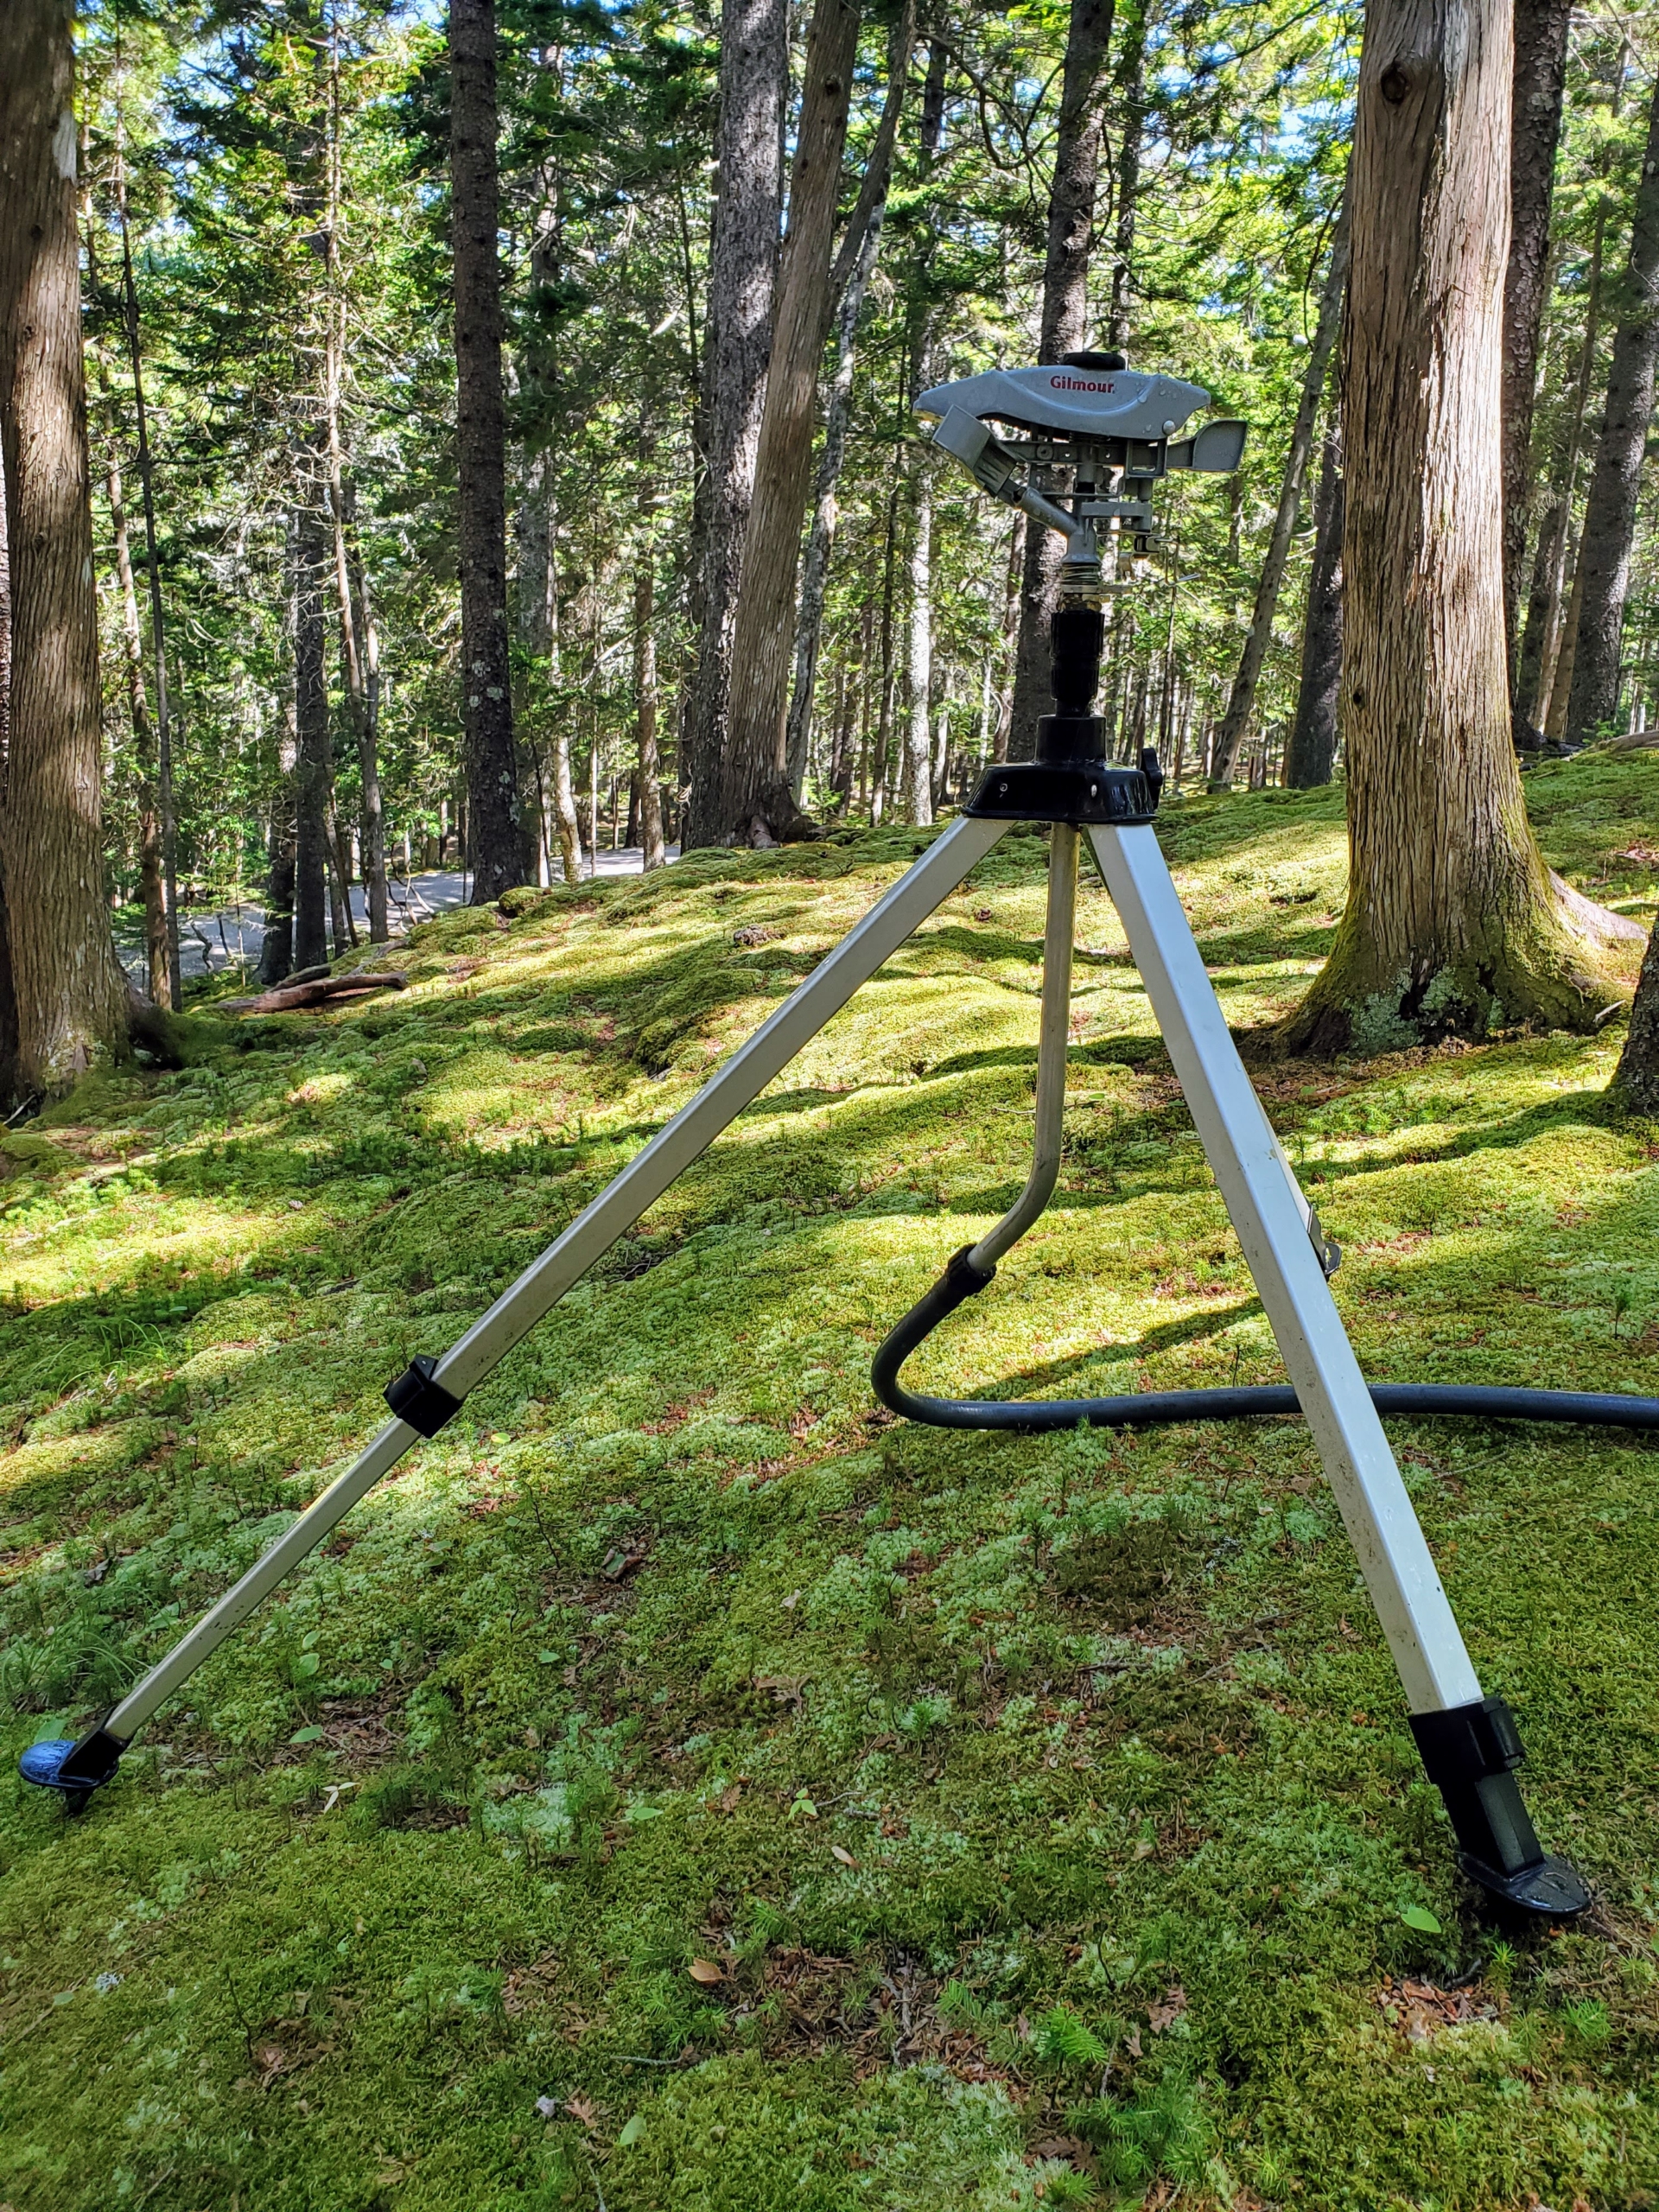
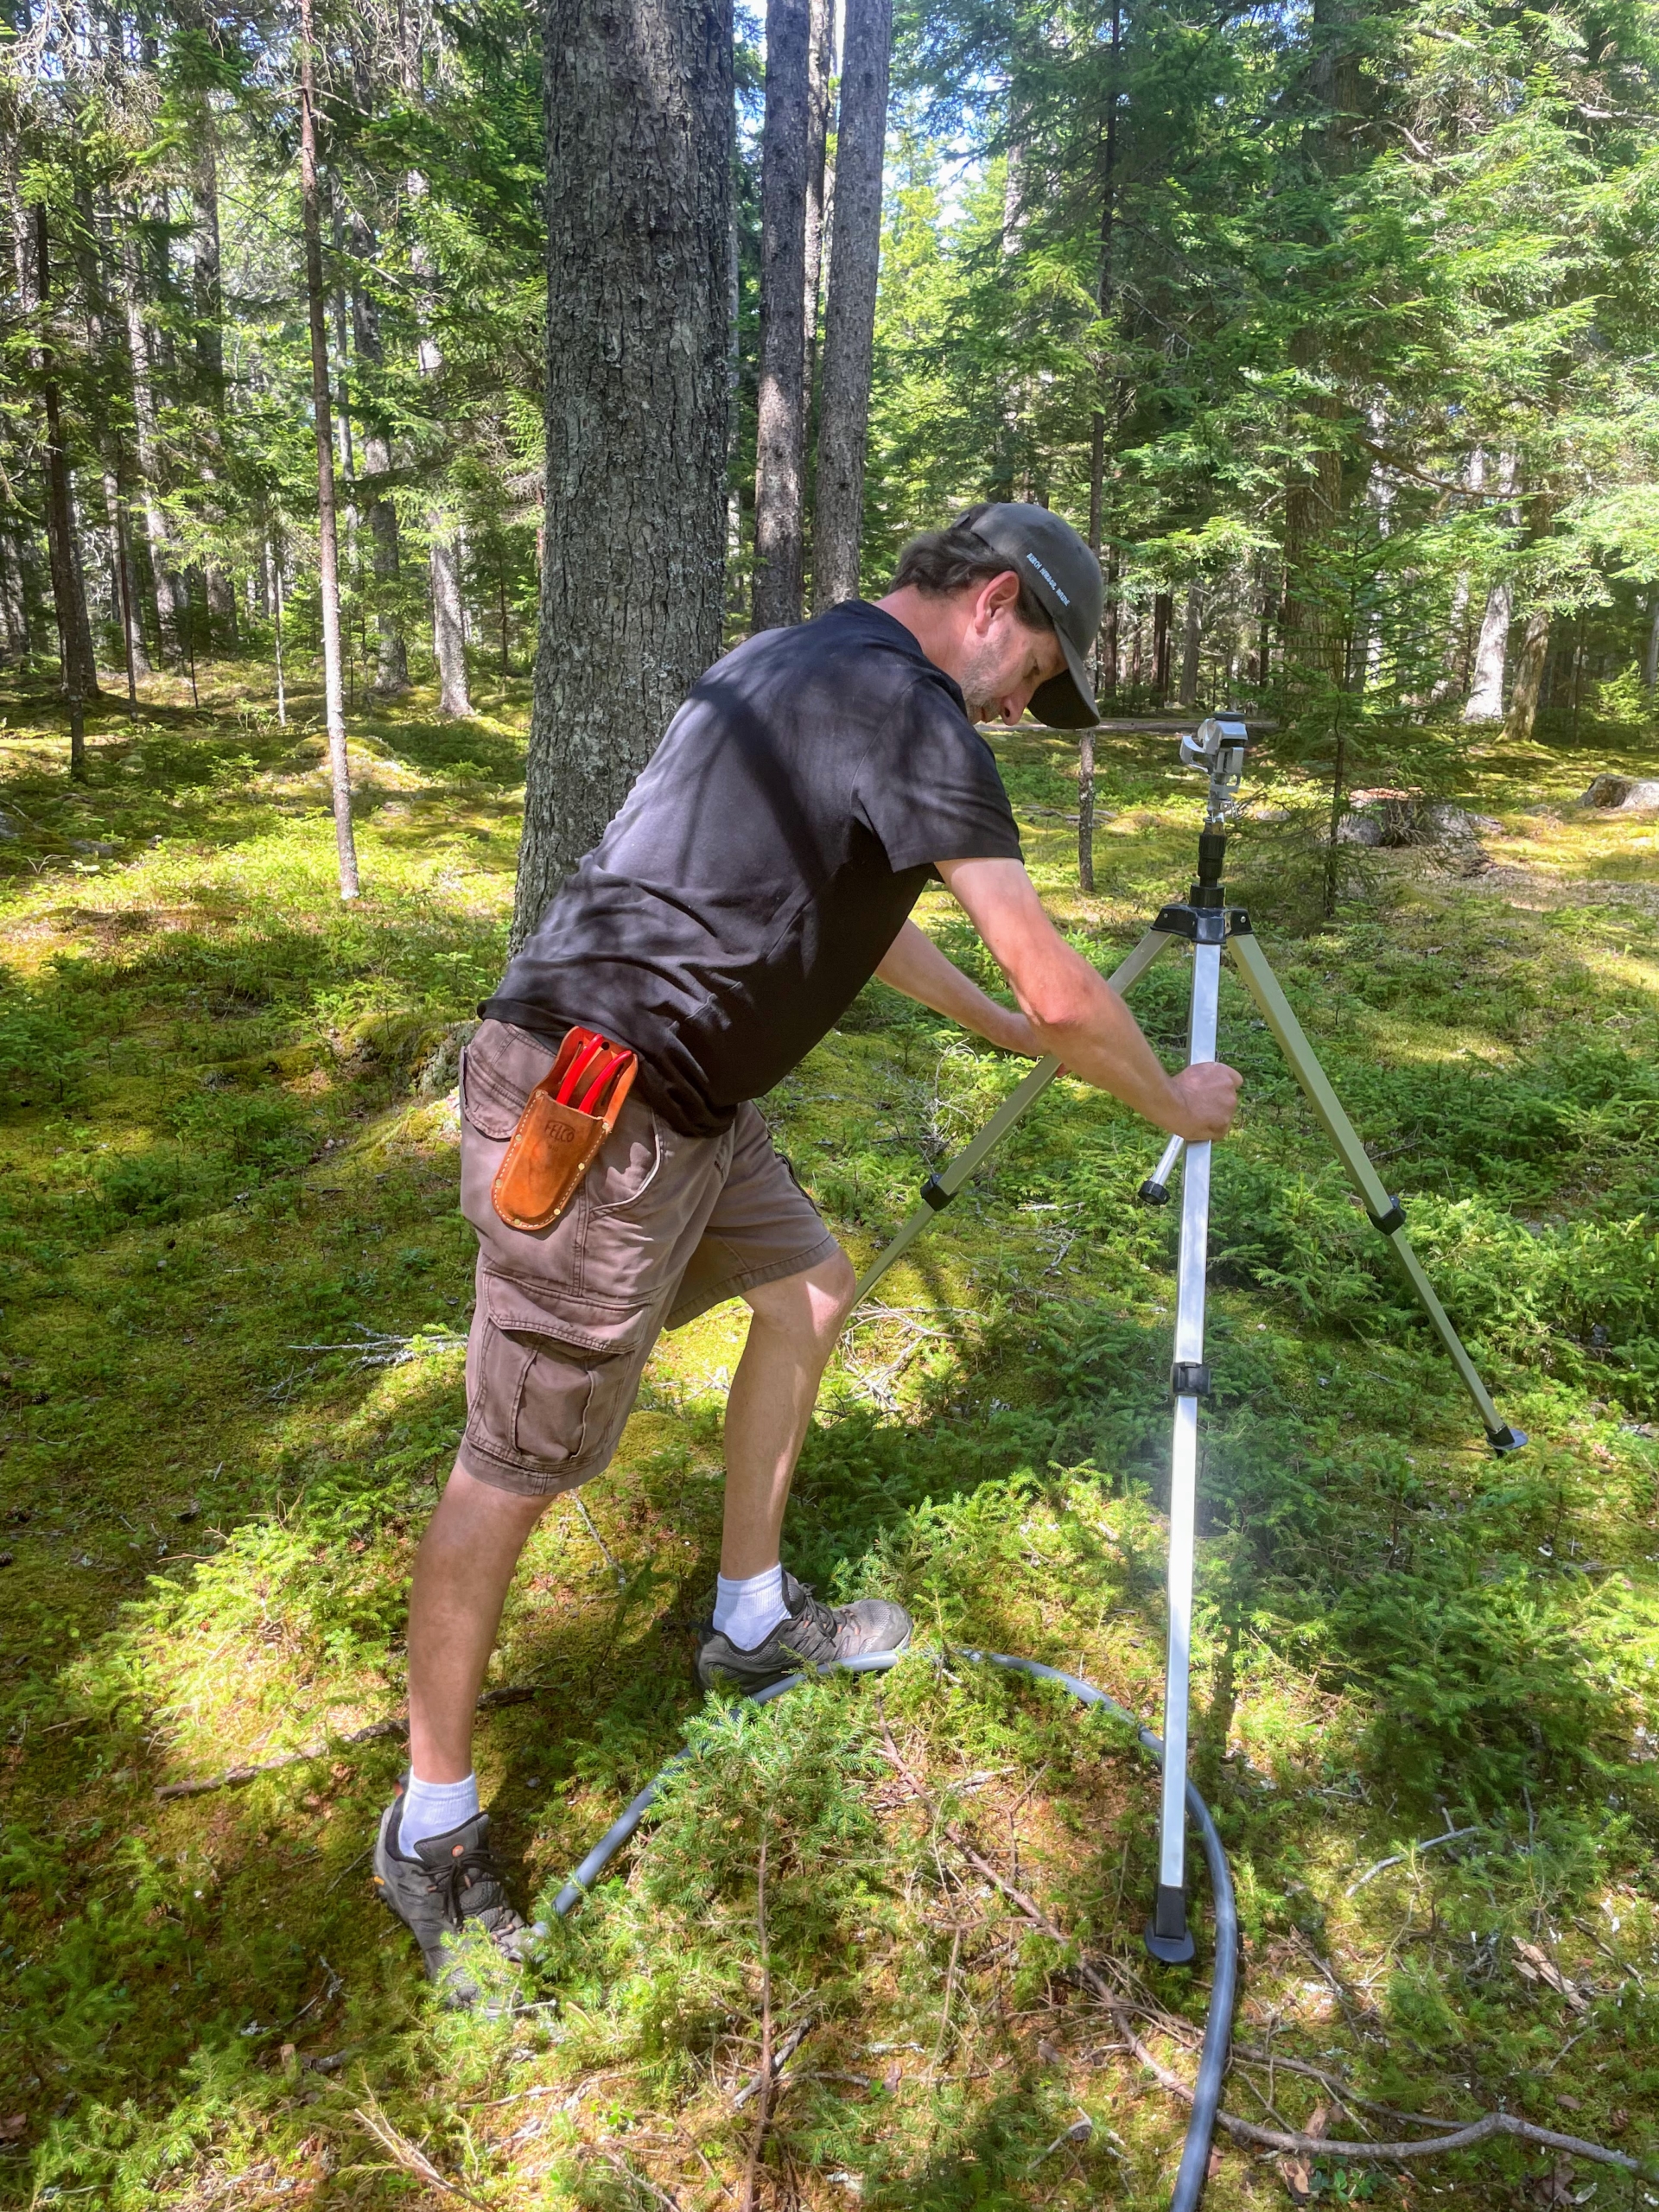
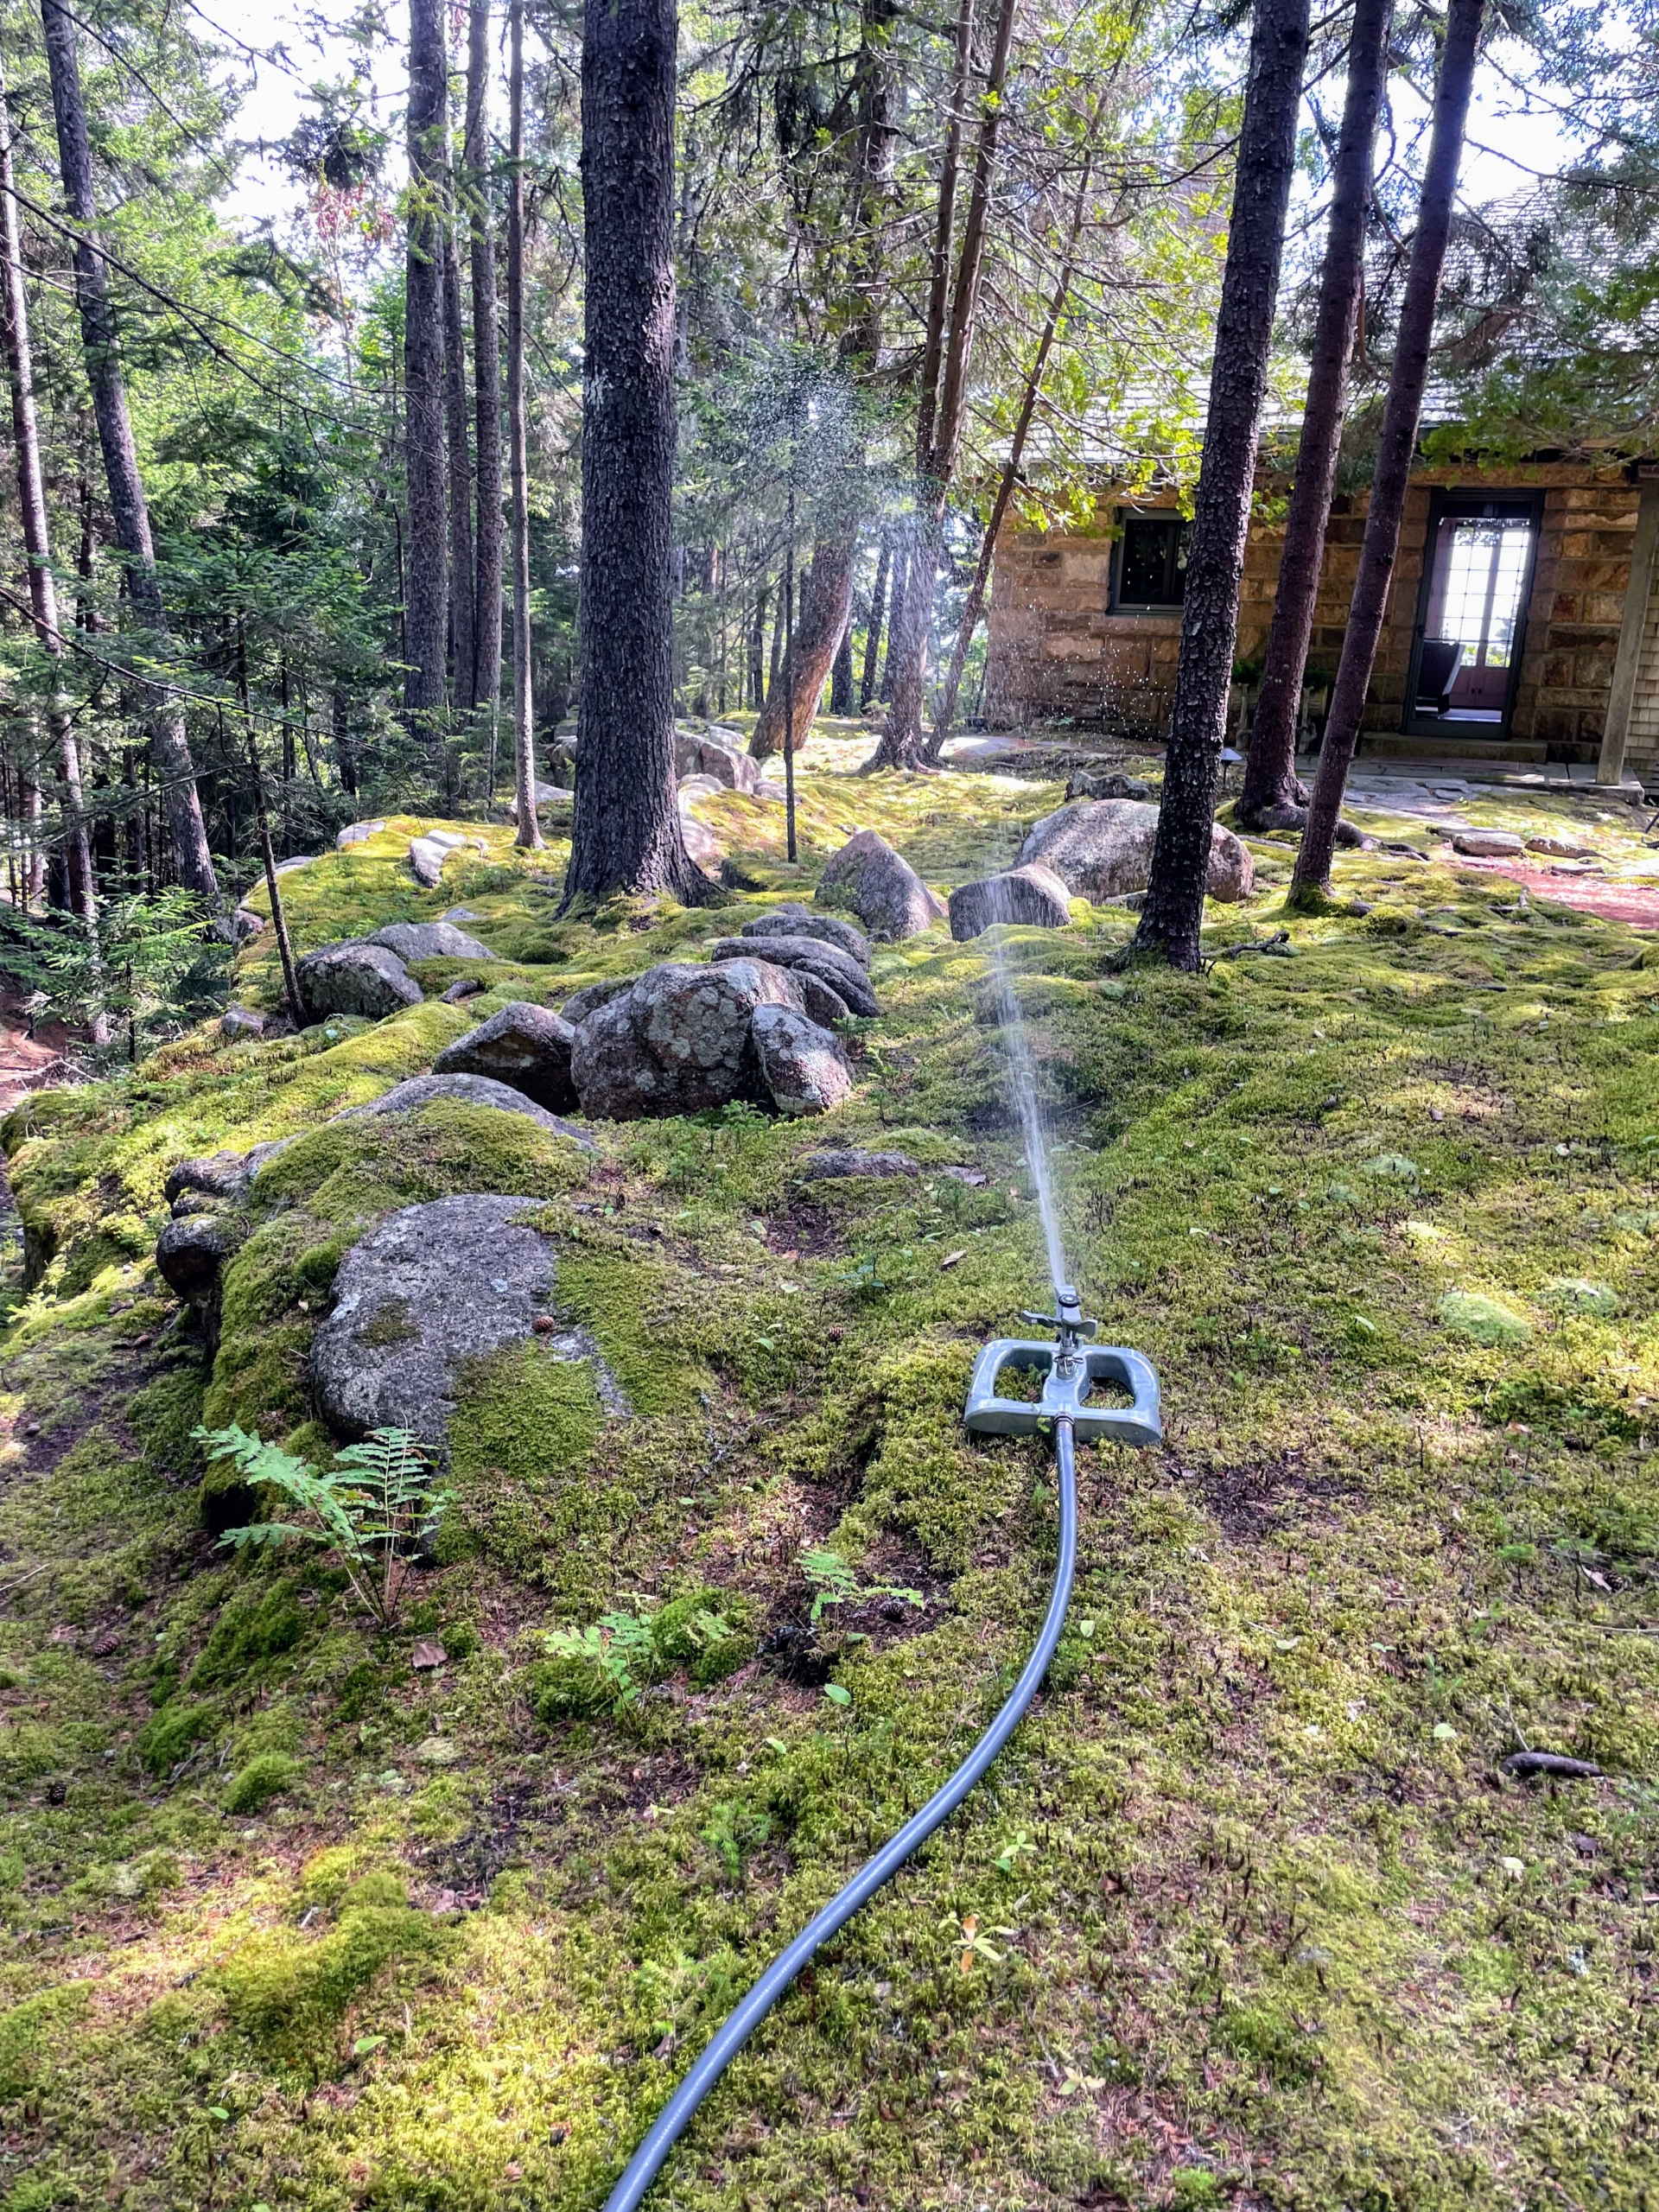
Mike uses a tripod sprinkler to water this area. Tripod sprinklers are best used where there is a need for far-reaching water. This sprinkler has a coverage area of about to 20 to 35-feet in radius.
Mike positions the feet securely in the ground. To avoid dry spots, sprinkler heads should be positioned so they overlap slightly in their coverage areas.
The collar of these tripod sprinklers can be adjusted for partial to full circle coverage. A pin diffuser allows for a customized spray from powerful jet to gentle mist. I show every member of my crew how to use the sprinkler, so they can water properly and efficiently.
Never direct hard spraying sprinklers at trees – this may mar the bark. Instead, use harder sprays for more open spaces or limit watering between the trees.
During the summer, a good watering is done to a depth of about six to eight inches. An even, intermittent sprinkling is best for thorough, deep watering.
The tripod sprinklers are also very, very sturdy, and because they’re all metal, they can stand up to frequent use around the property.
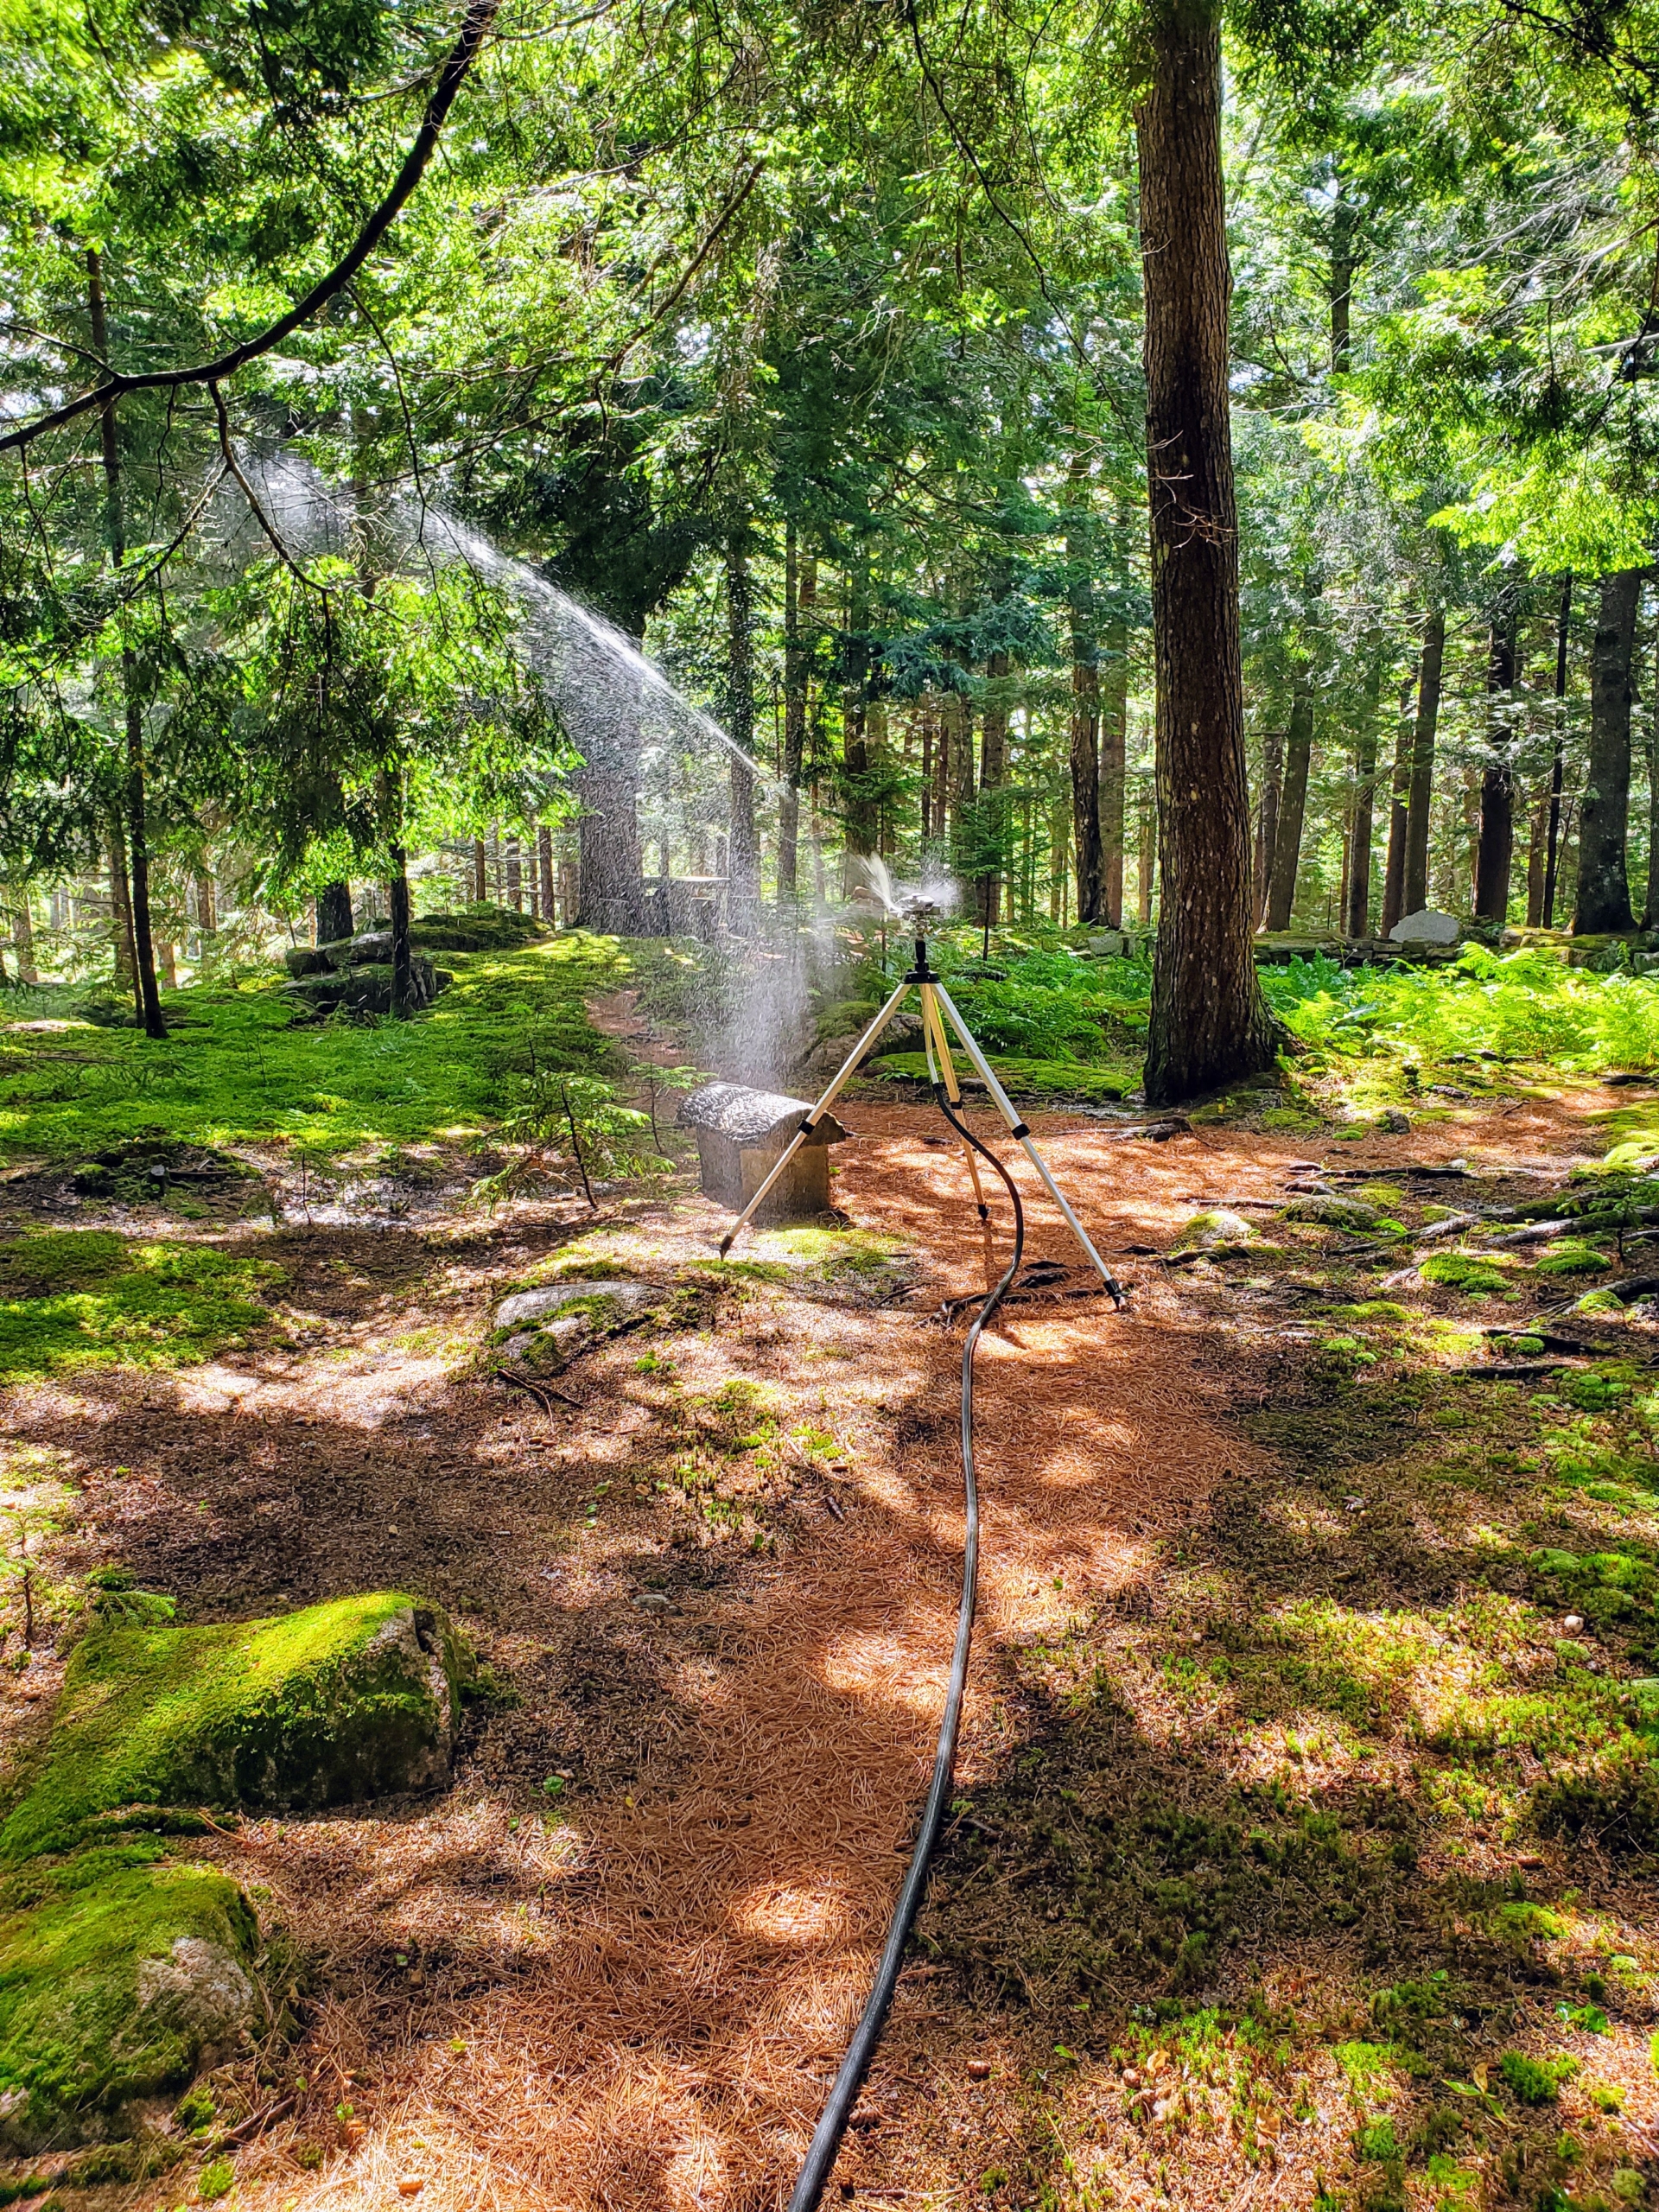
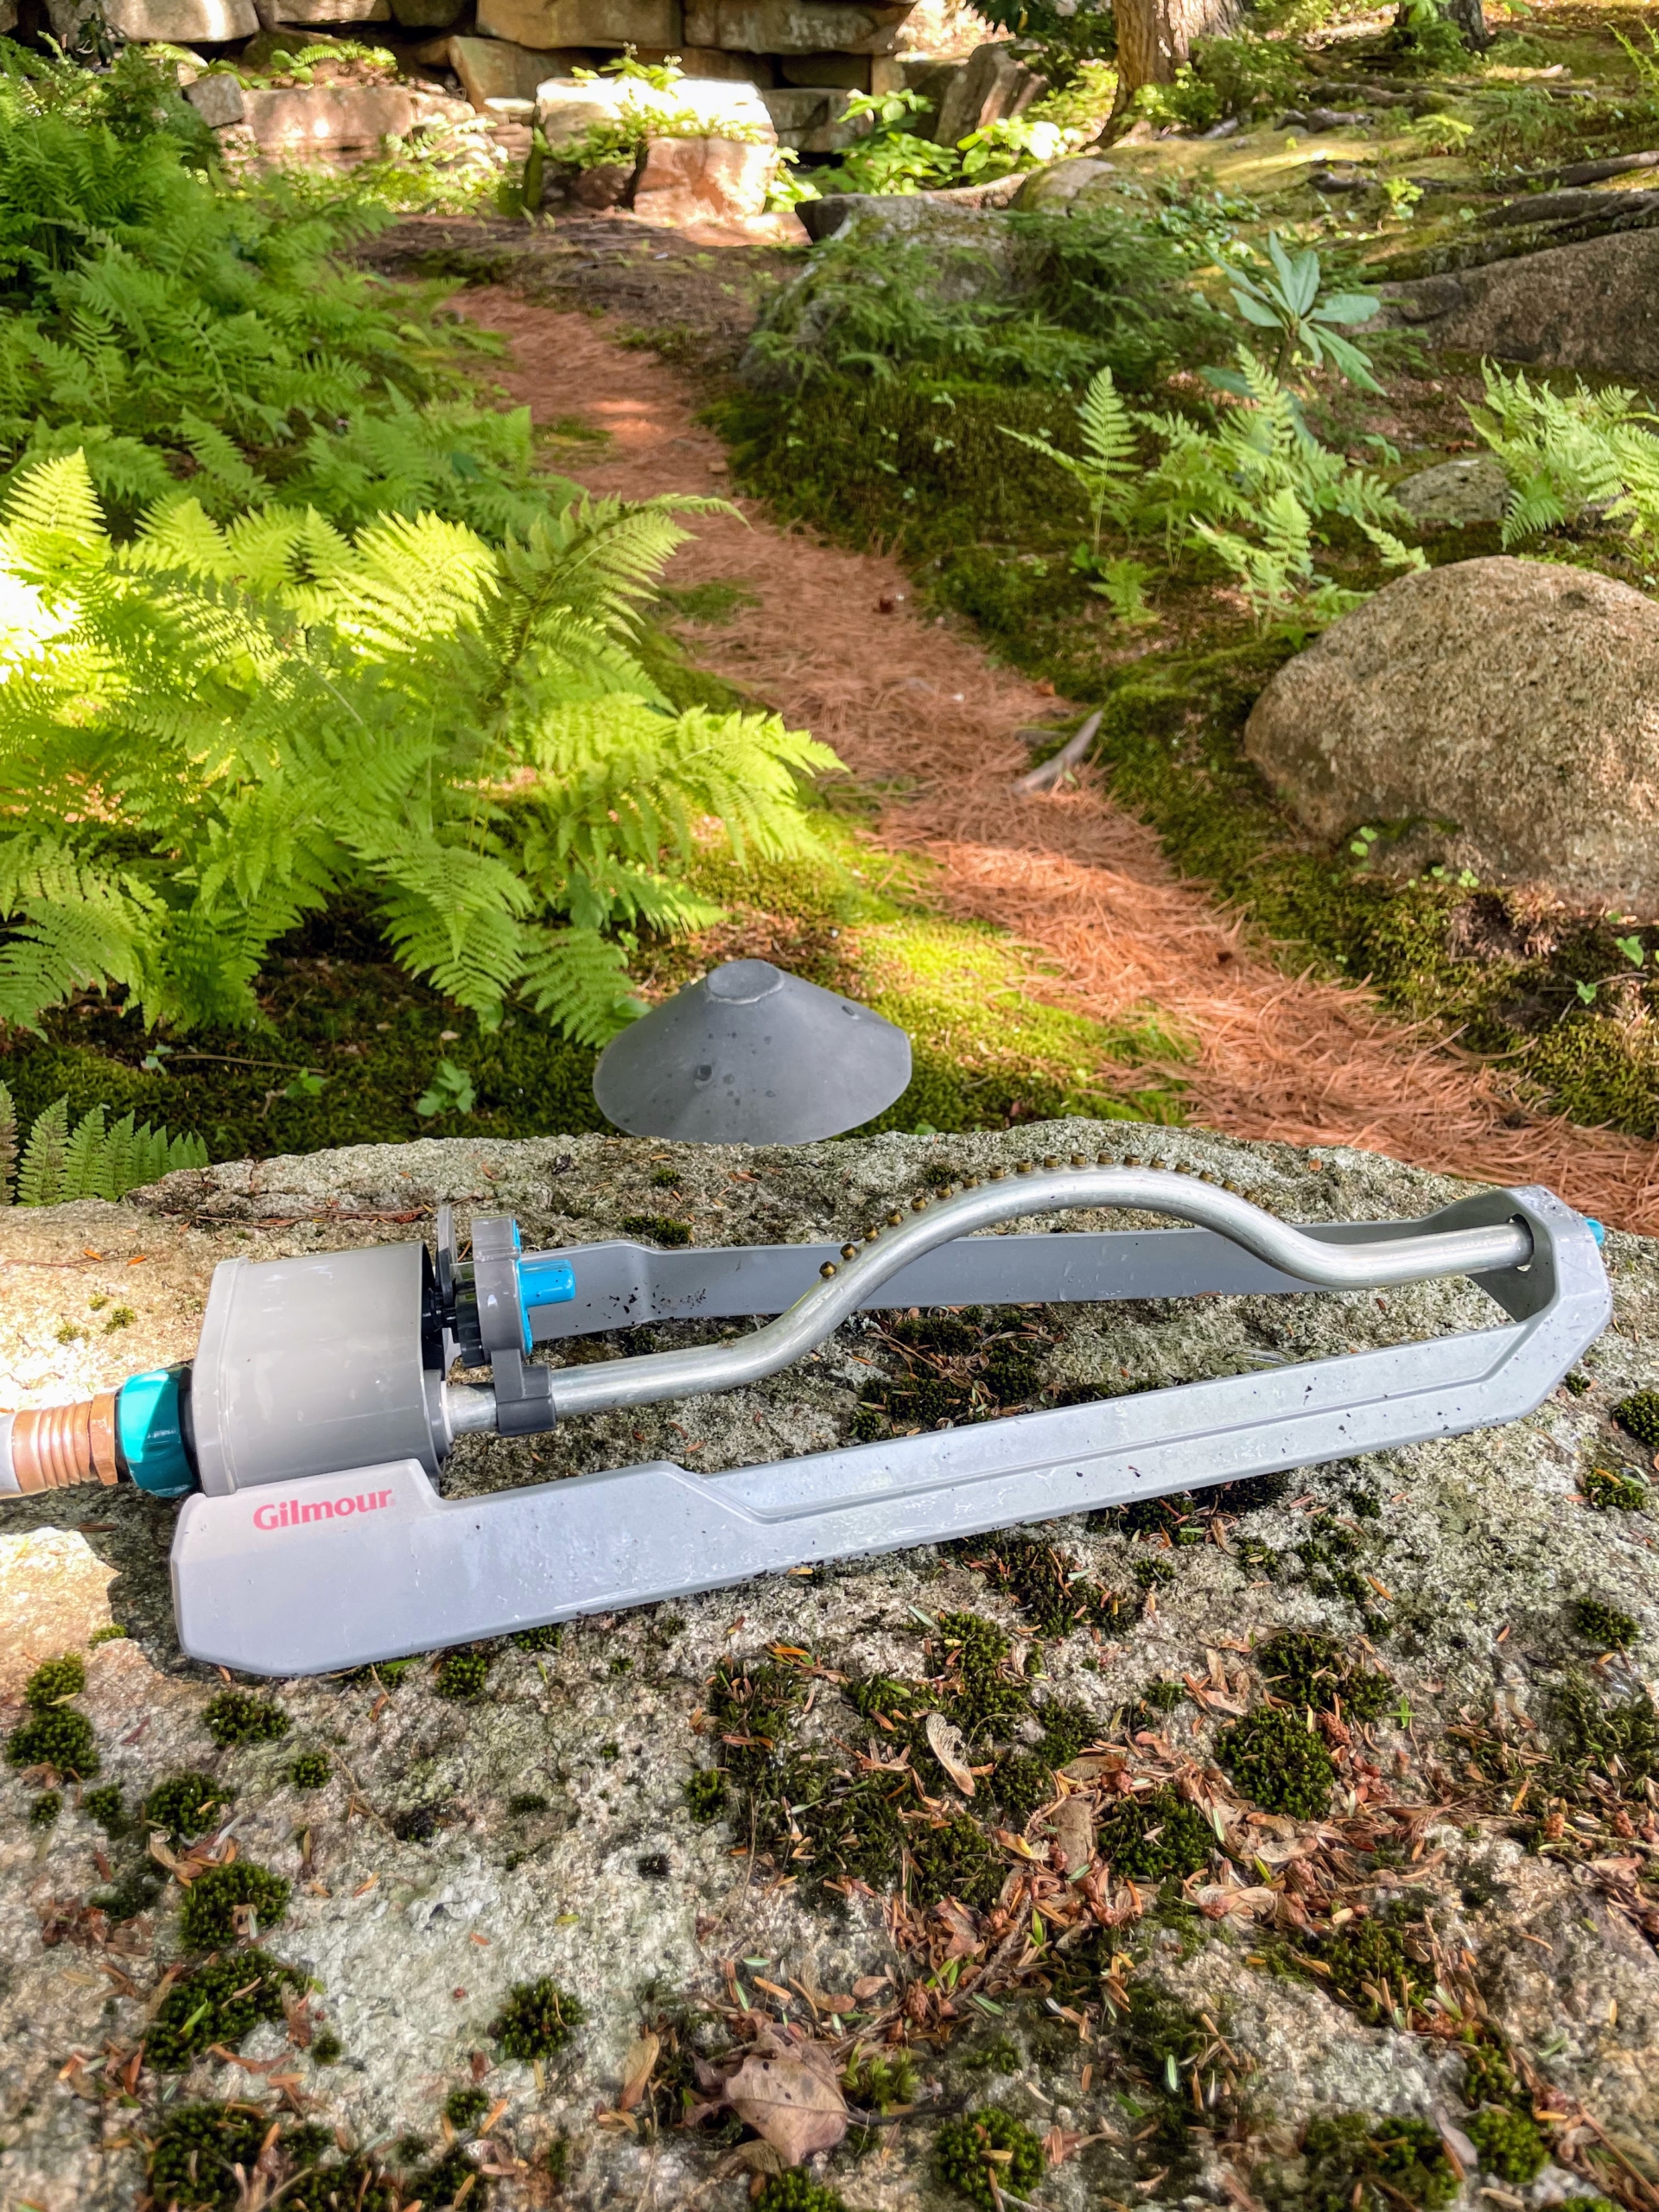
Gilmour also makes oscillating sprinklers that are easy to control in a variety of areas. They provide thousands of square feet in water coverage. They feature a tube with multiple openings that move back and forth to provide even watering.
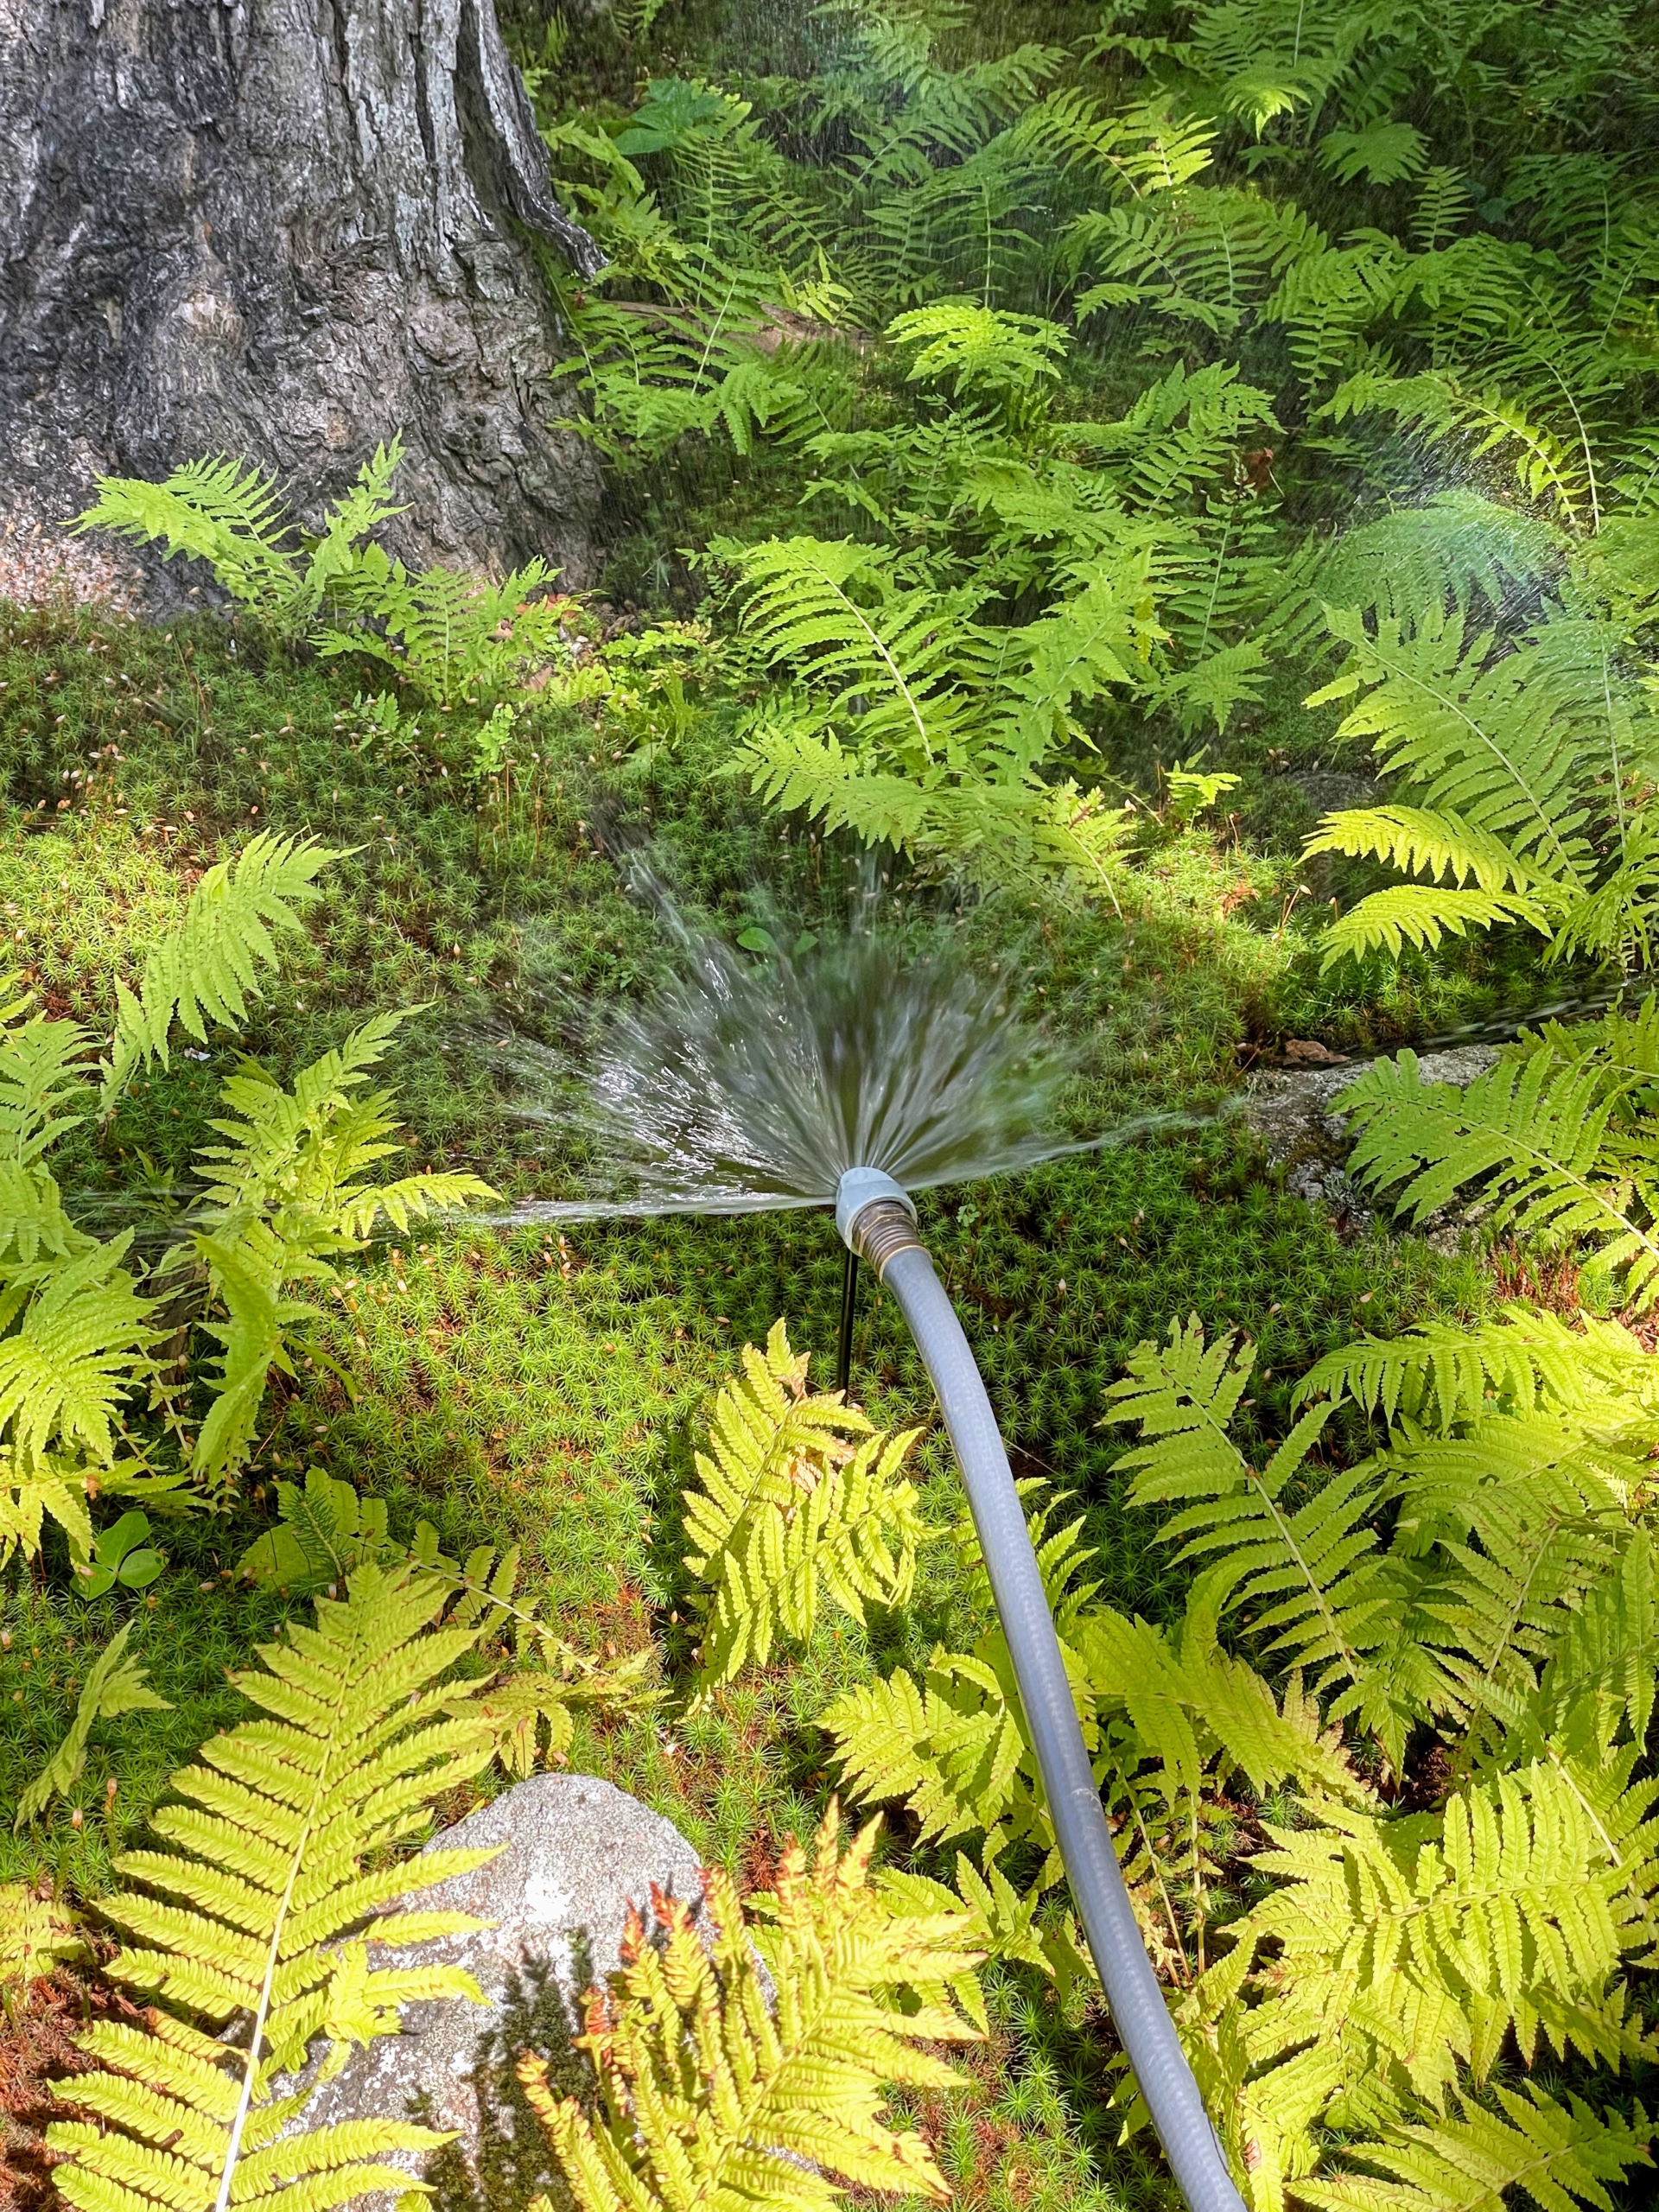
Here is one positioned on a rock watering another section of ferns and moss.
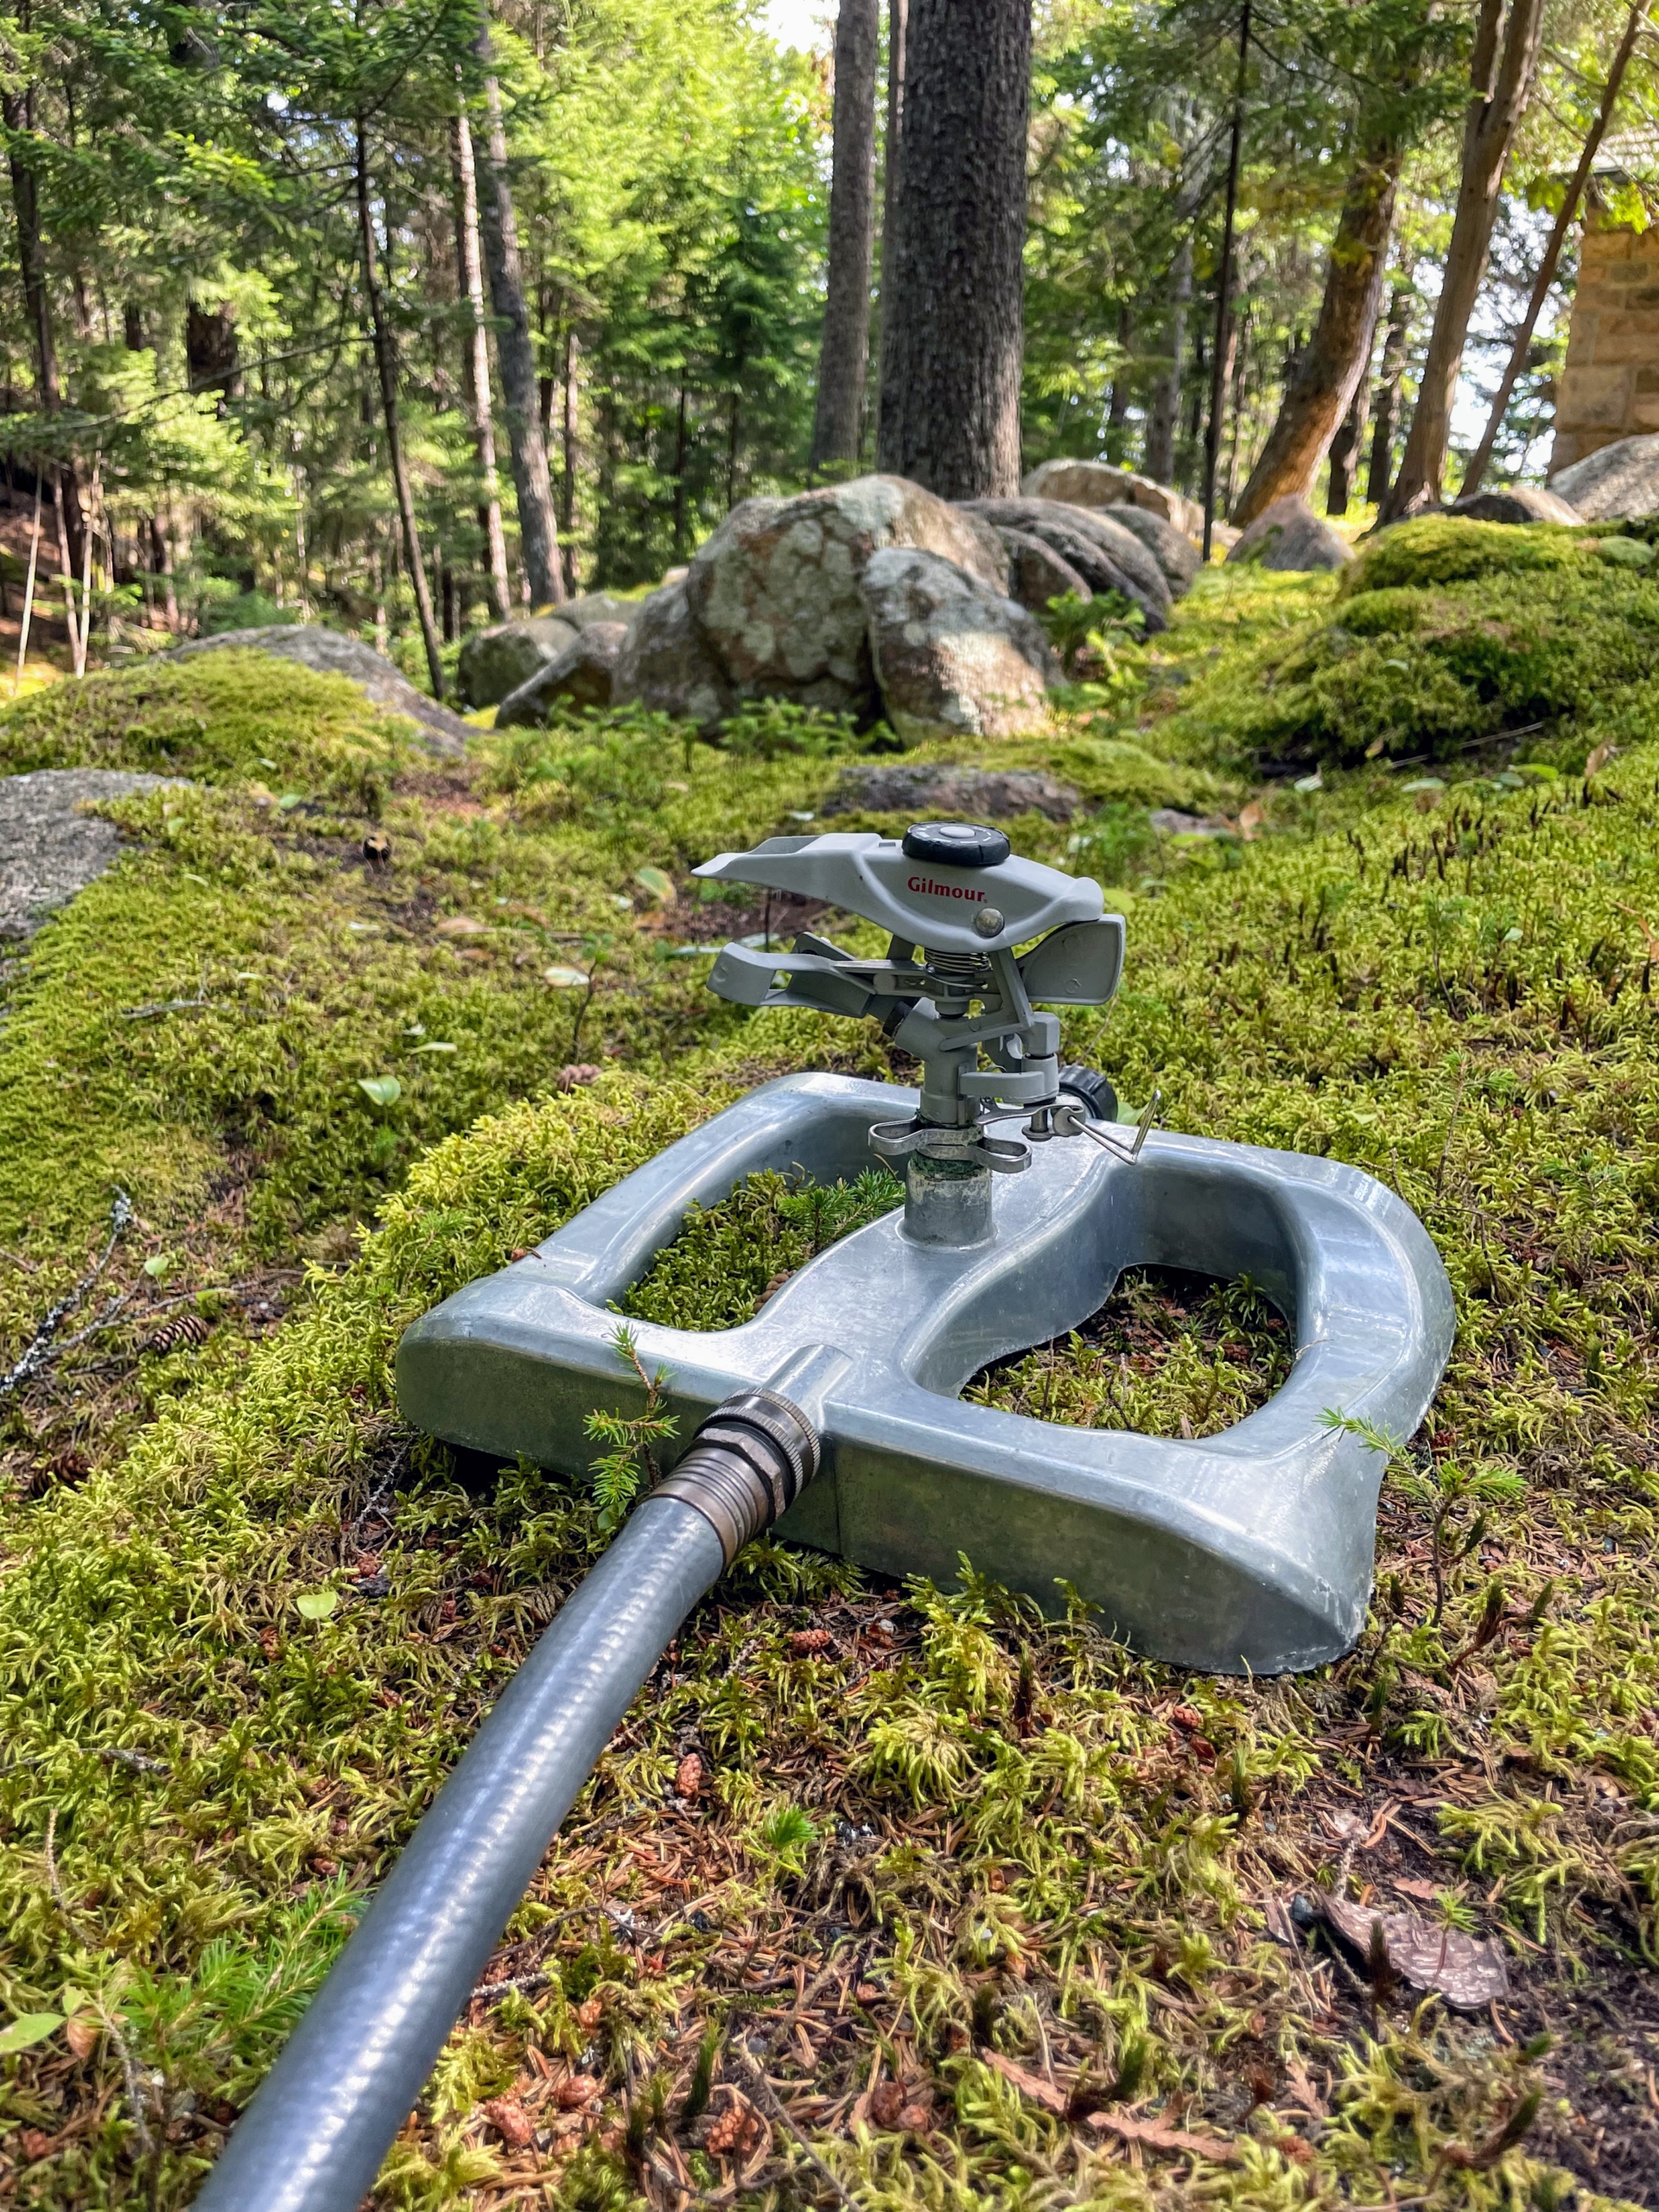
This is an older model circular sprinkler with a base. Its spray pattern adjusts from partial- to full-circle coverage, and its spray force can be set to powerful jet or gentle rain.
Gilmour sprinklers hold up so well through the seasons. I’ve had this sprinkler for several years.
This is a small area stationary sprinkler.
It attaches to the hose lower to the ground for more delicate plantings.
And at the end of the day, each hose is coiled up once again neatly by its designated bib – ready for the next job. And be sure to turn off the water at the source. Just turning off at the sprinkler puts a lot of pressure on the hoses and pipes.
Meanwhile, we have lots of beautiful tomatoes ripening on their vines at Skylands.
And so many dahlias filling the beds with color.
My gardener, Wendy Norling, took this photo a few days ago, but today, it’s cloudy, with rain in the forecast. Let’s hope it’s a good rain.