I always try to include as much as I can during my business trips, so they are productive, informative and fun.
During a recent visit to Indianola, Washington, I made sure to carve out some time to visit my dear friends Dan Hinkley and Robert Jones. While with them, we toured Heronswood, the revered botanical garden they created, which is now owned by the Port Gamble S’Klallam Tribe. We enjoyed a tribal dance presented by the PGST, walked through some of Heronswood's gardens, and then visited Windcliff, Dan and Robert's home and current private garden overlooking the Puget Sound. To end the day, Dan and Robert hosted a lovely six course dinner.
Here are some photos, enjoy.
Heronswood is a botanical garden located in Kingston, Kitsap County, Washington. The garden was established in 1987 by plantsman Dan Hinkley and his husband, Robert Jones, an architect. It features a unique collection of plantings from Asia, Central and South America, Eastern Europe, South Africa, New Australia & Zealand. (Photo by Samantha Jones for Heronswood)
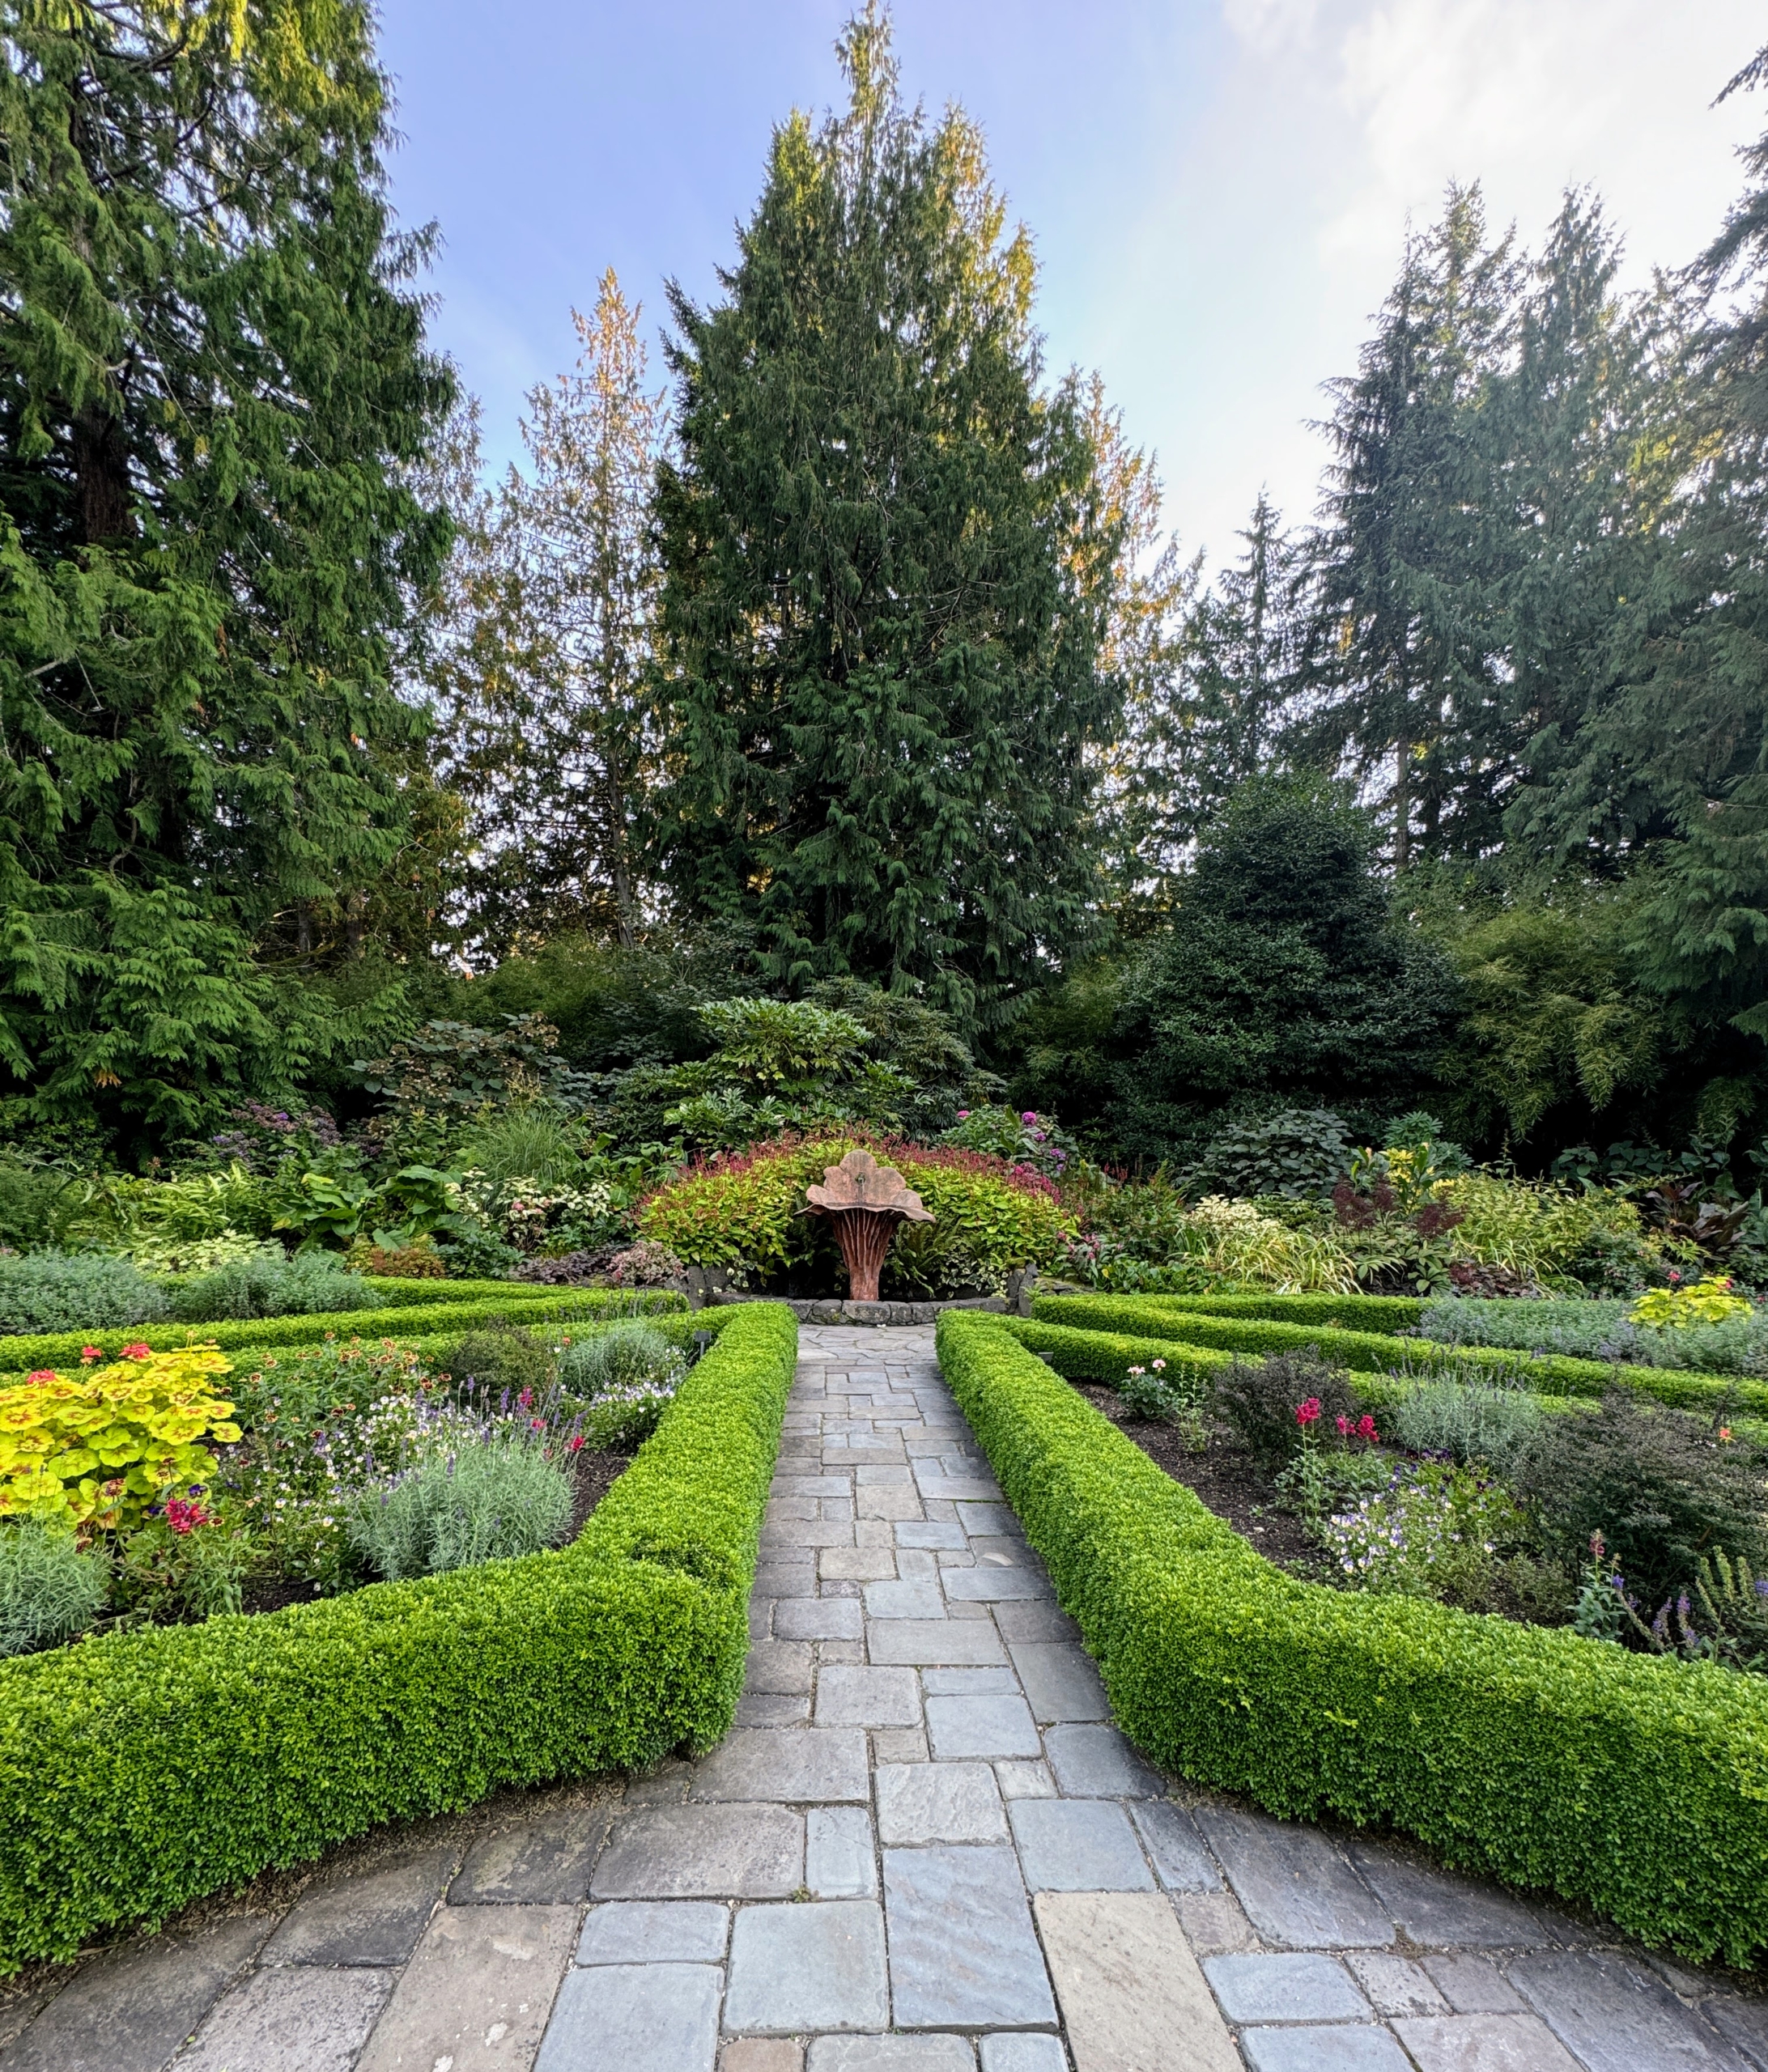
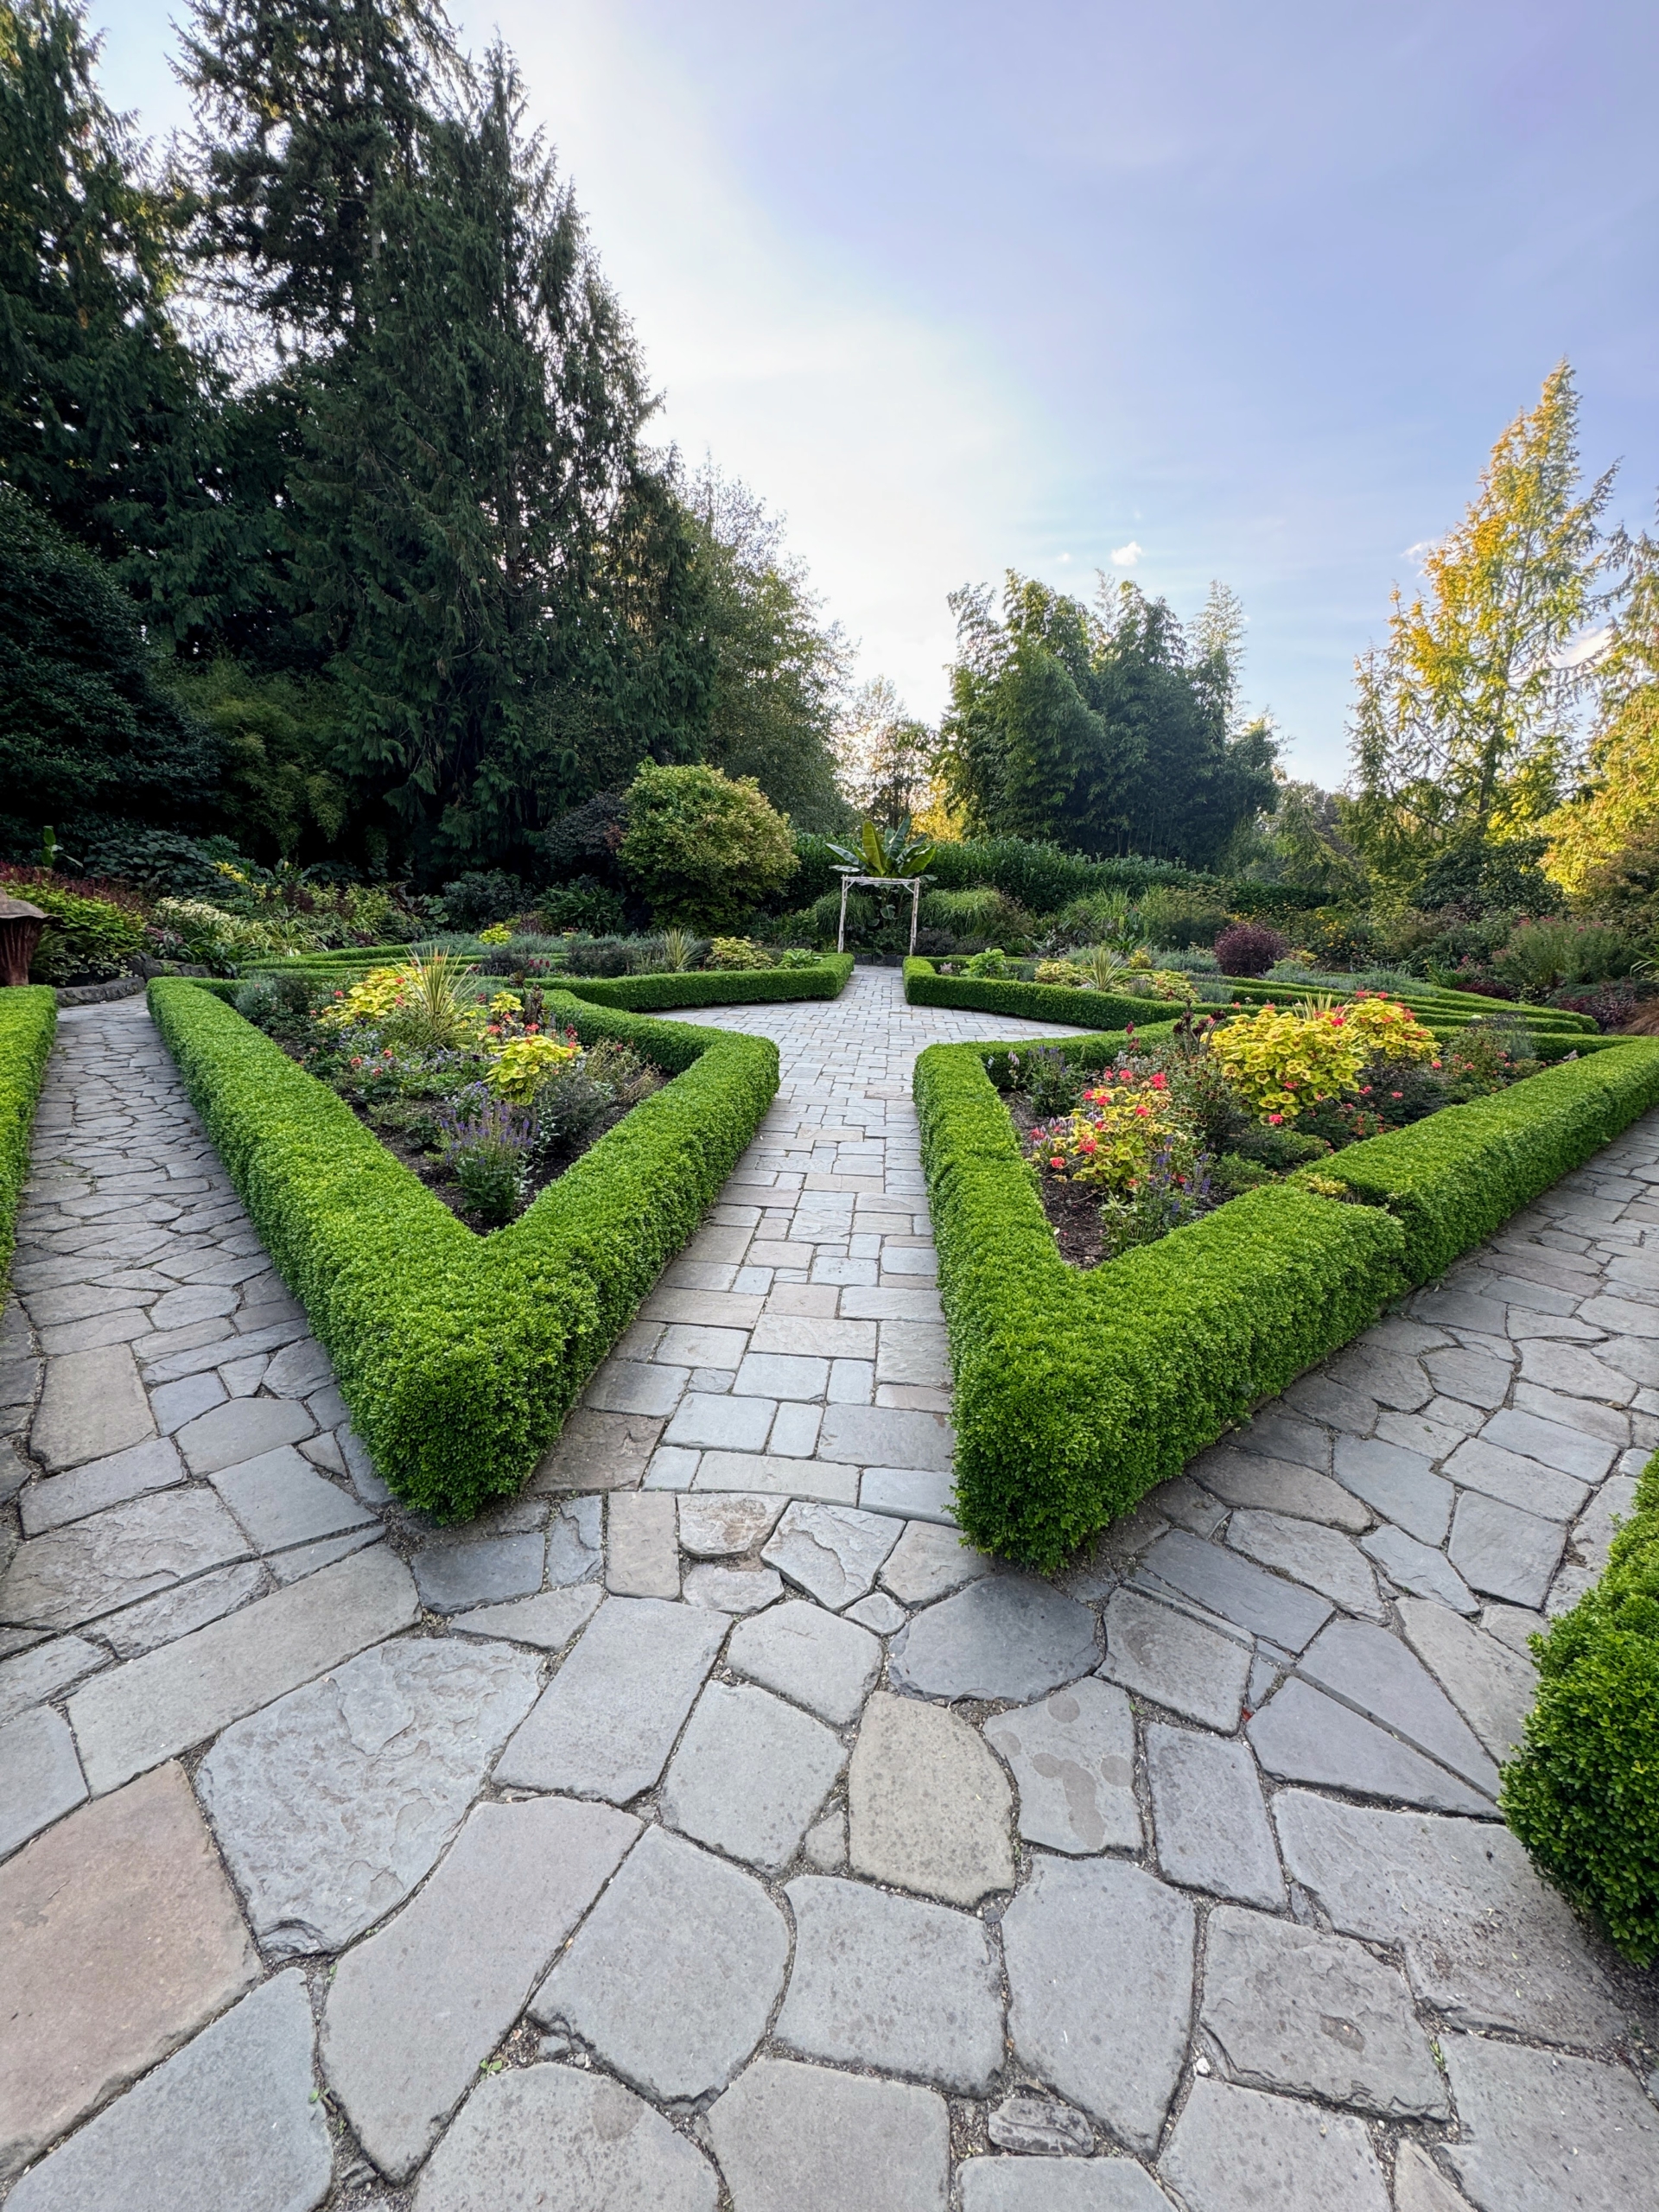
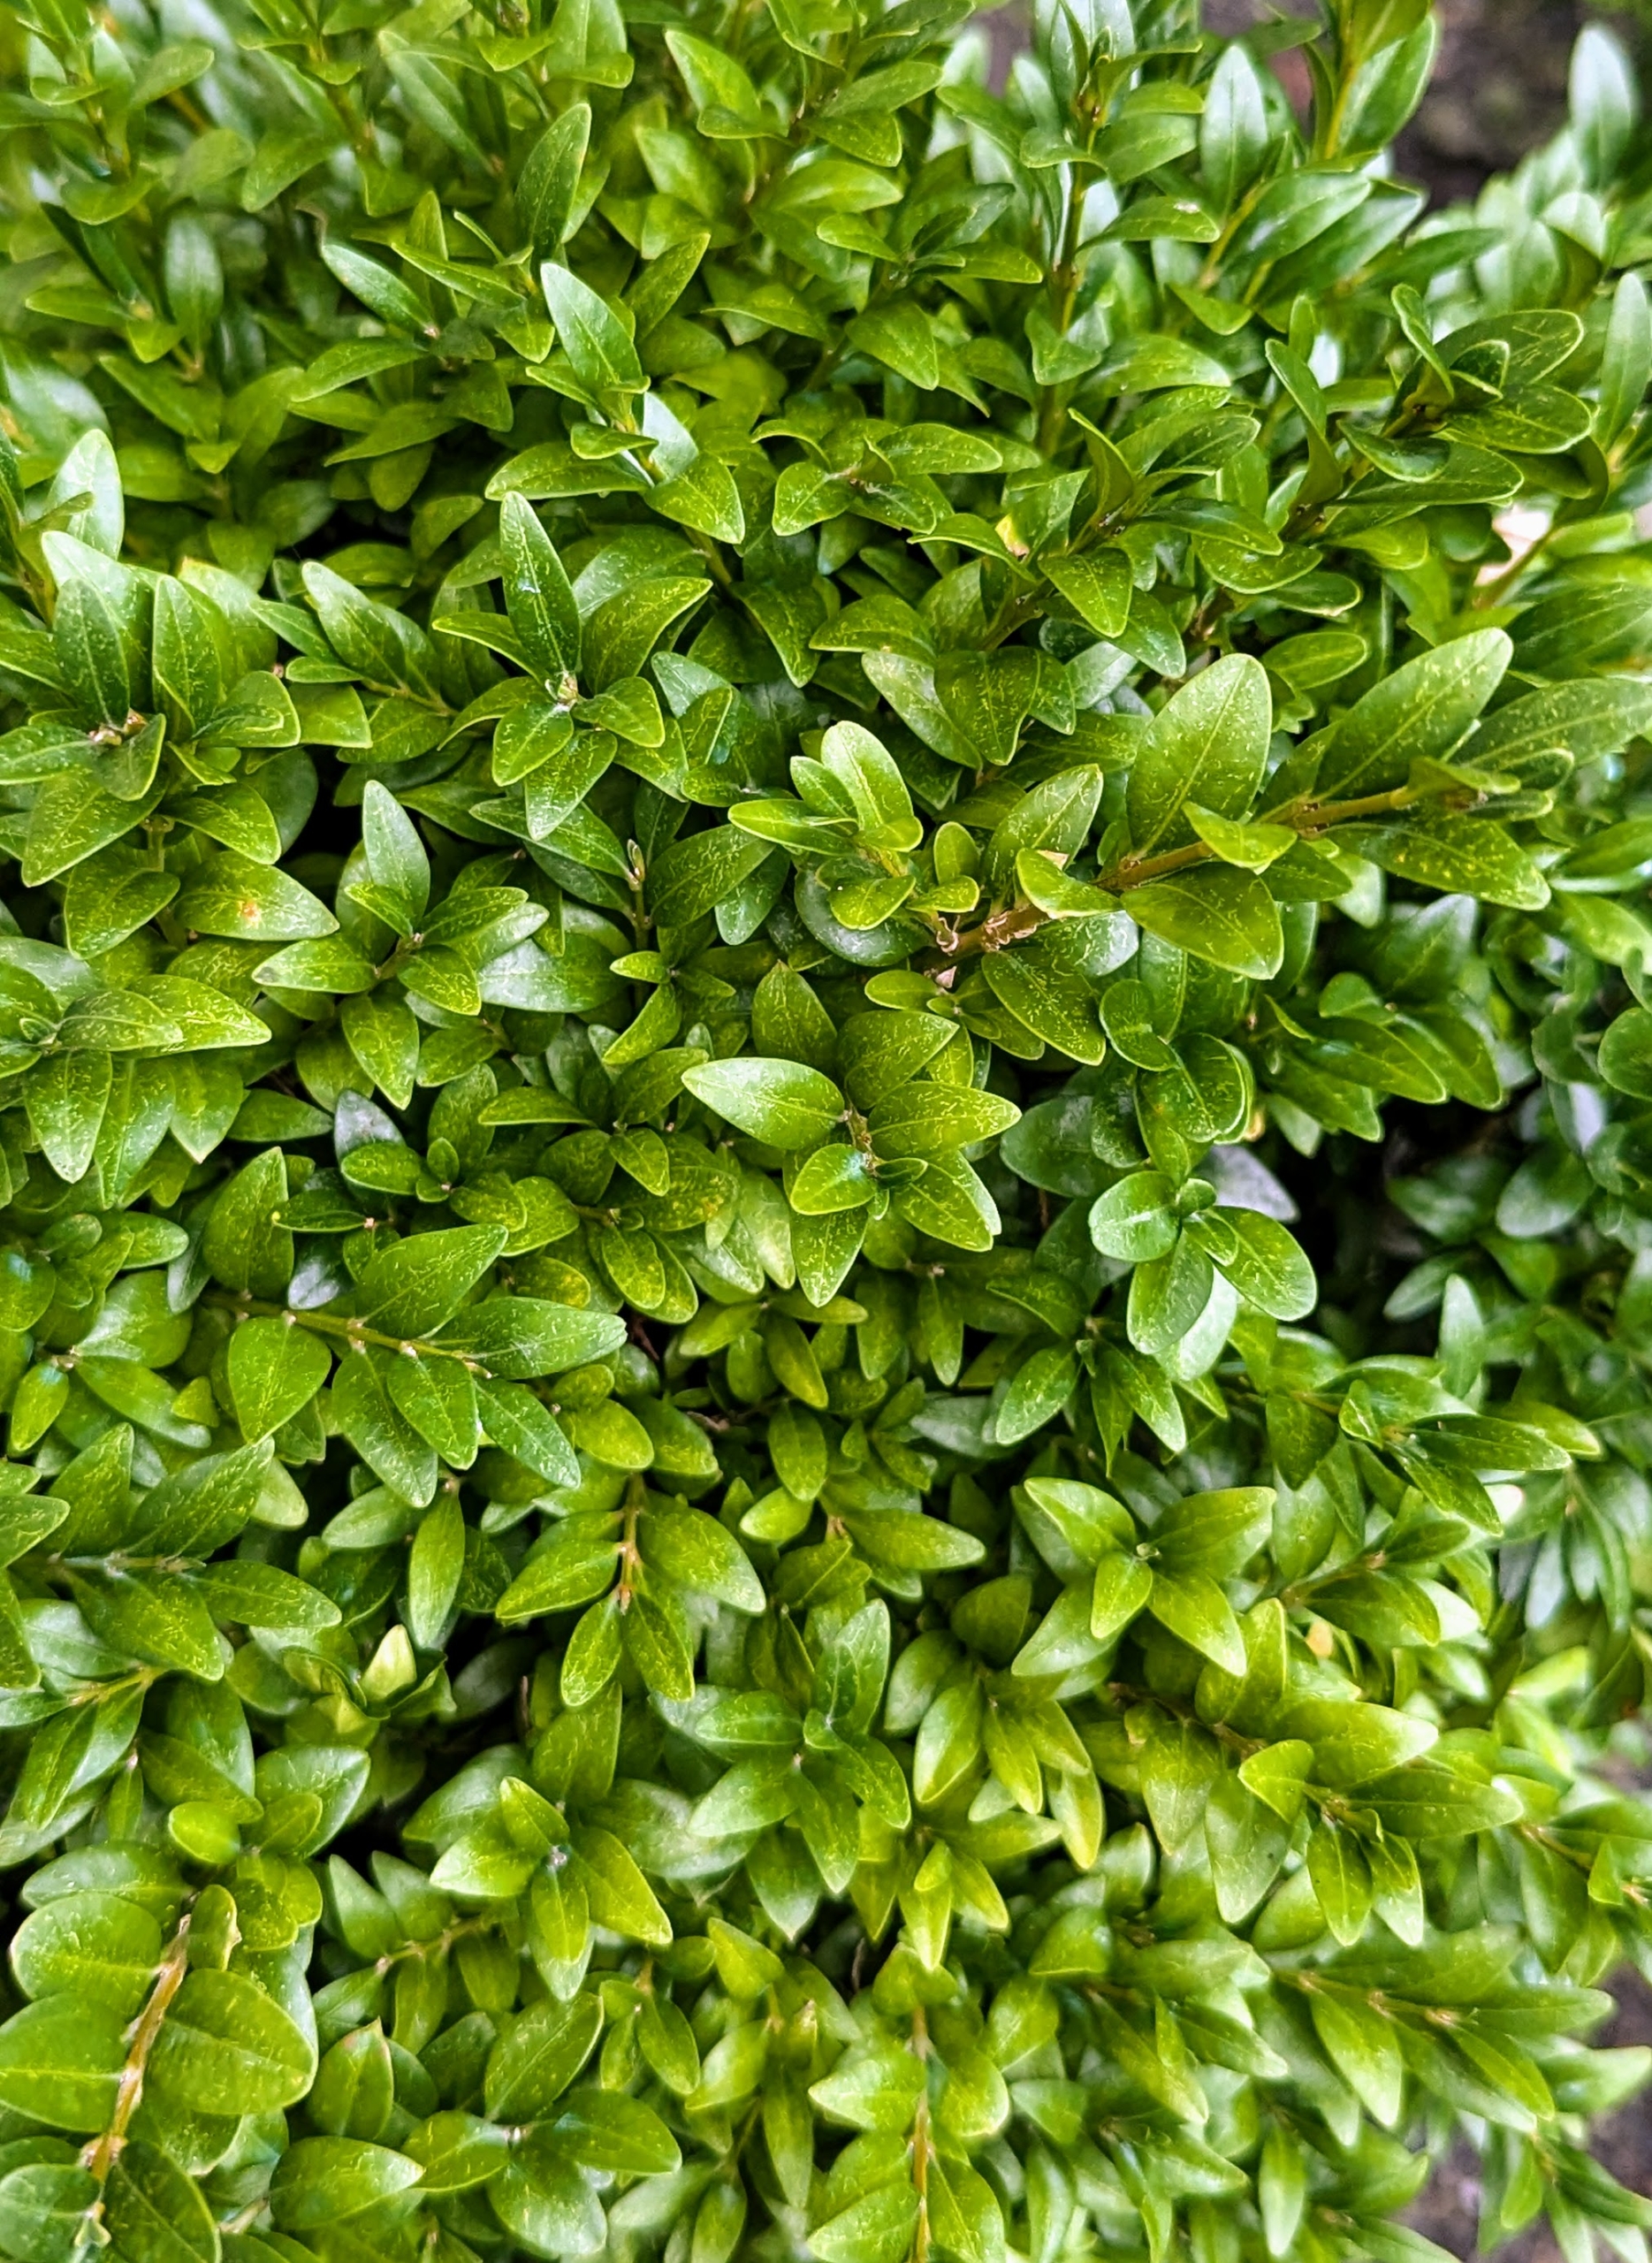
Heronswood received international acclaim for its large and diverse display garden and is a favorite destination for gardeners, researchers, students and plant lovers alike. Here are views of the Heronswood Potager with boxwood hedges.
Heronswood was sold to the W. Atlee Burpee seed company in 2000 and then to the Port Gamble S’Klallam tribe in 2012. Heronswood is now managed under a PGST tribe foundation and maintained by a small staff and crew under Dan’s direction.
I was able to meet with some of the Port Gamble S’Klallam Tribe while there. It is so nice to know how committed they are to maintaining the garden for the community and other visiting garden enthusiasts. (Photo by Samantha Jones for Heronswood)
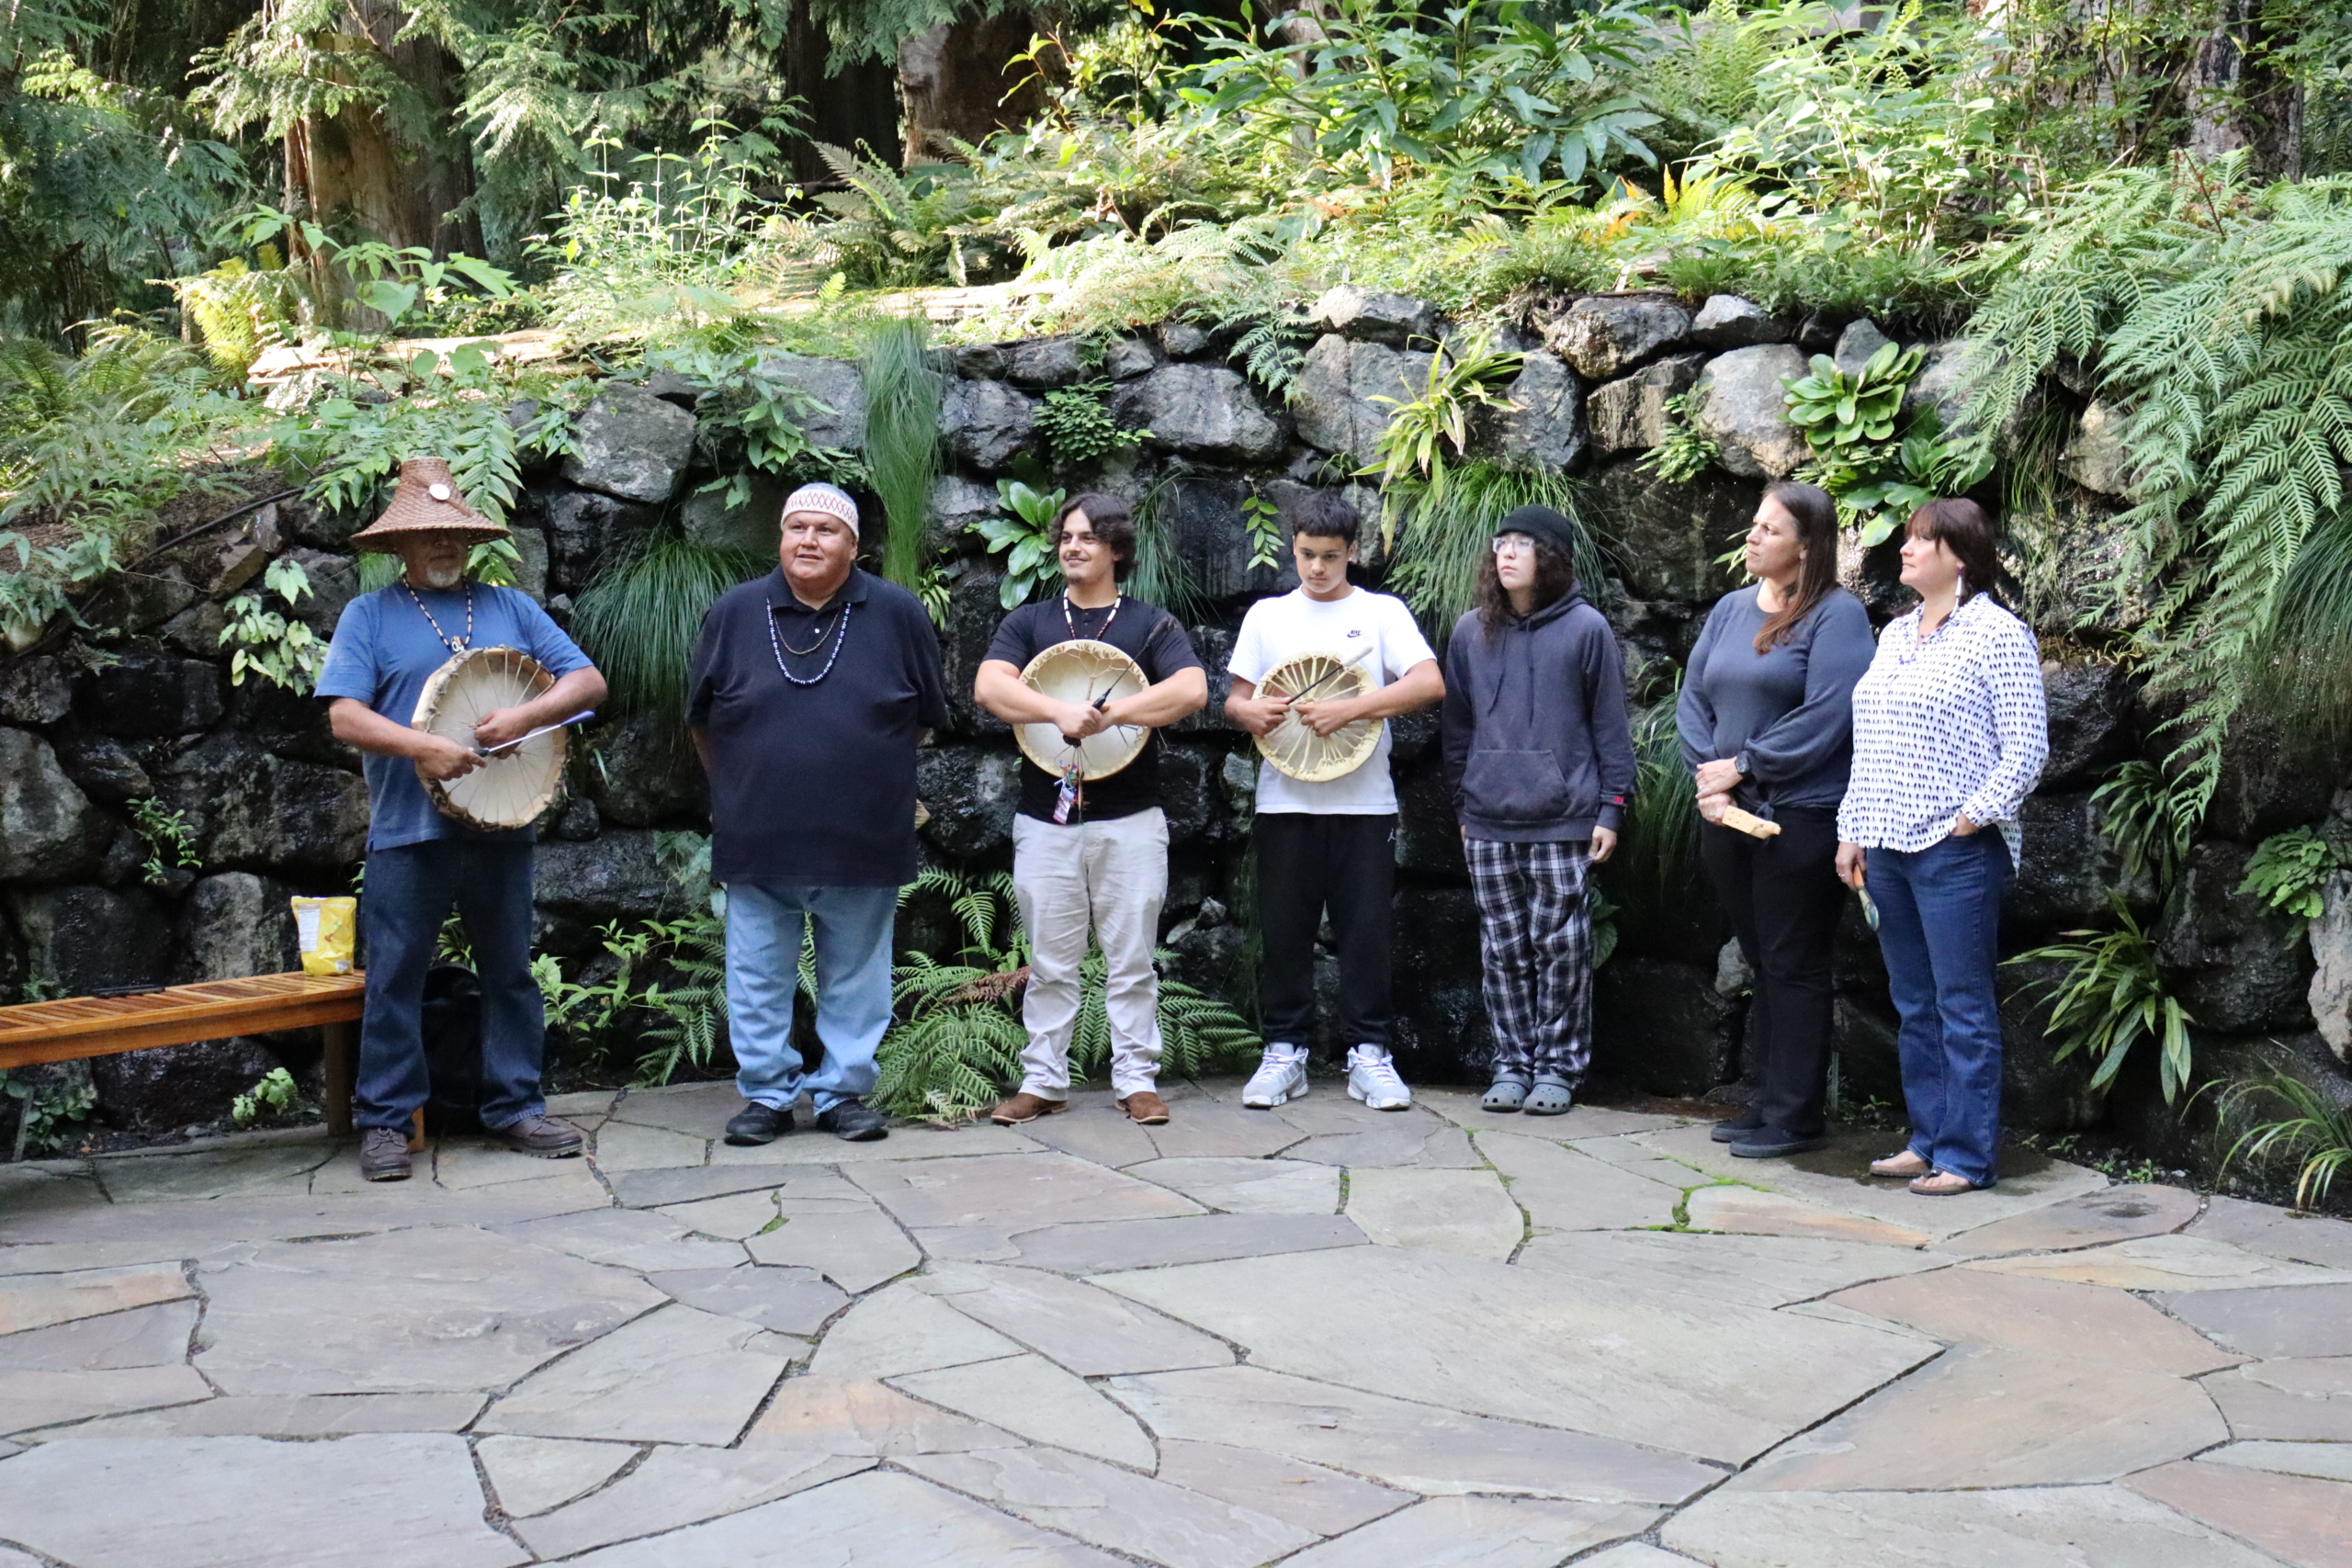
The group also presented a beautiful dance for us. The Port Gamble S’Klallam Tribe, also known as the Port Gamble Indian Community, live on the Kitsap Peninsula in Washington State. The S’Klallams are Native Americans indigenous to the Pacific Northwest Coast. (Photo by Samantha Jones for Heronswood)
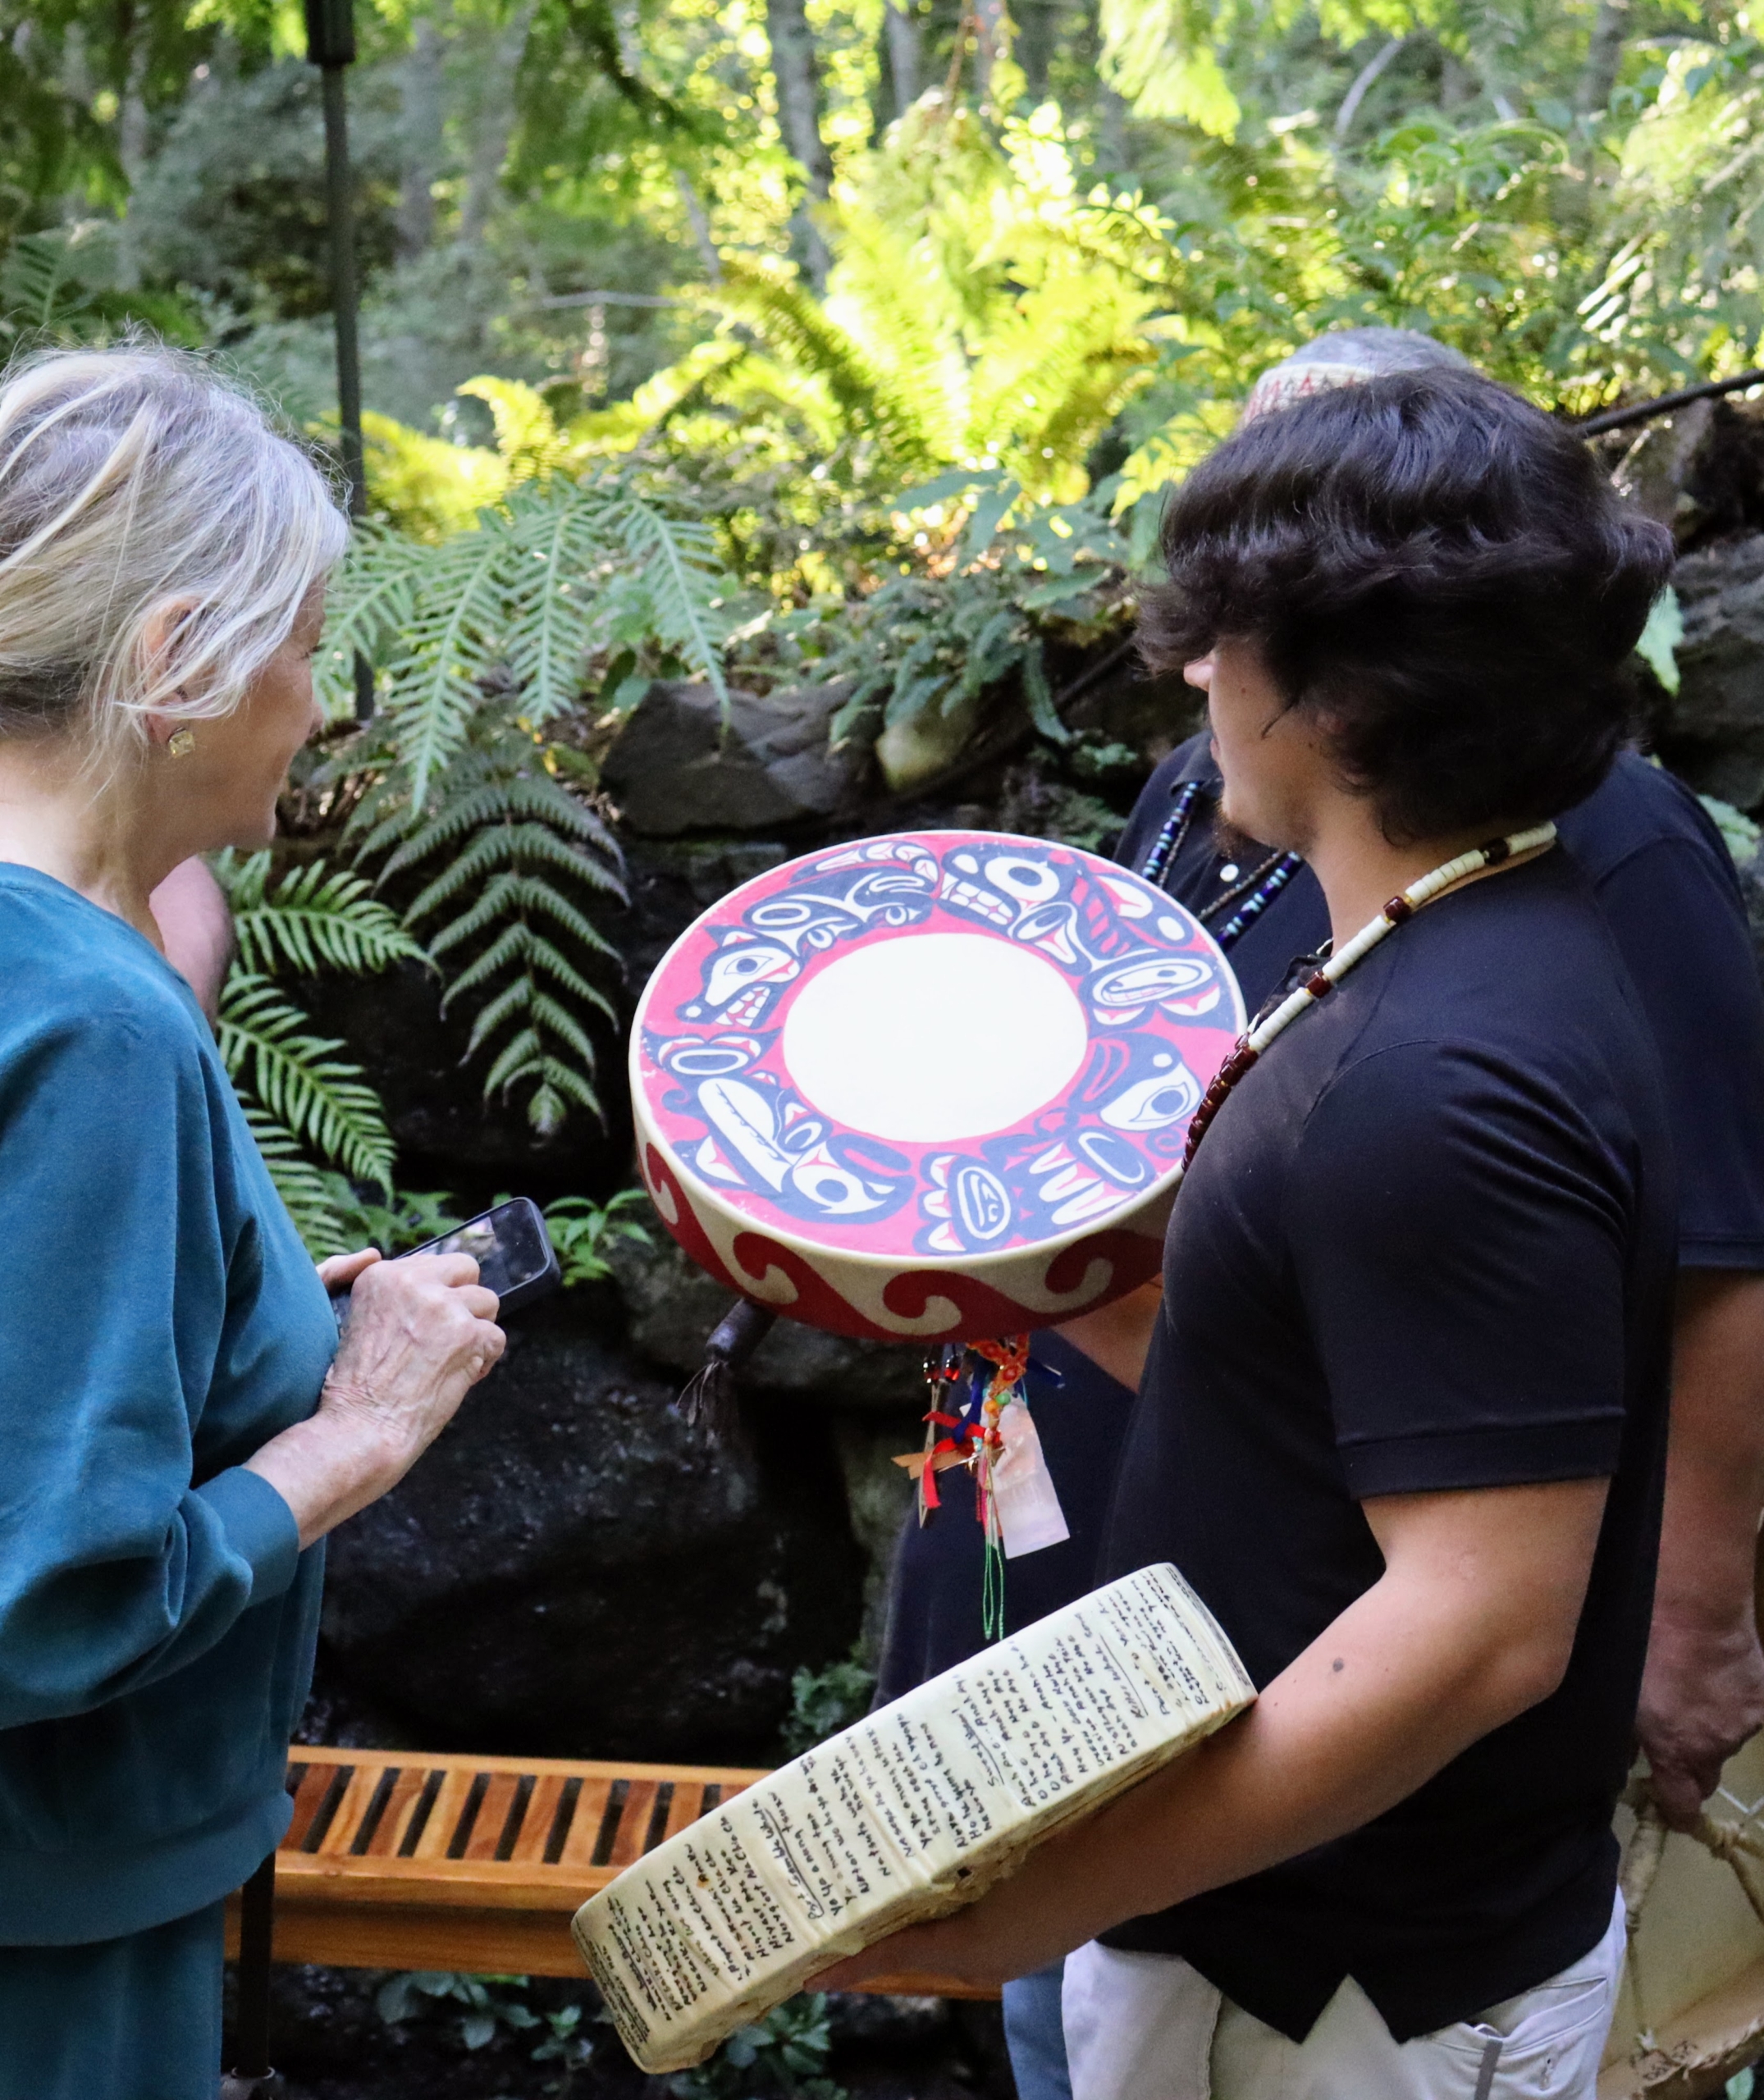
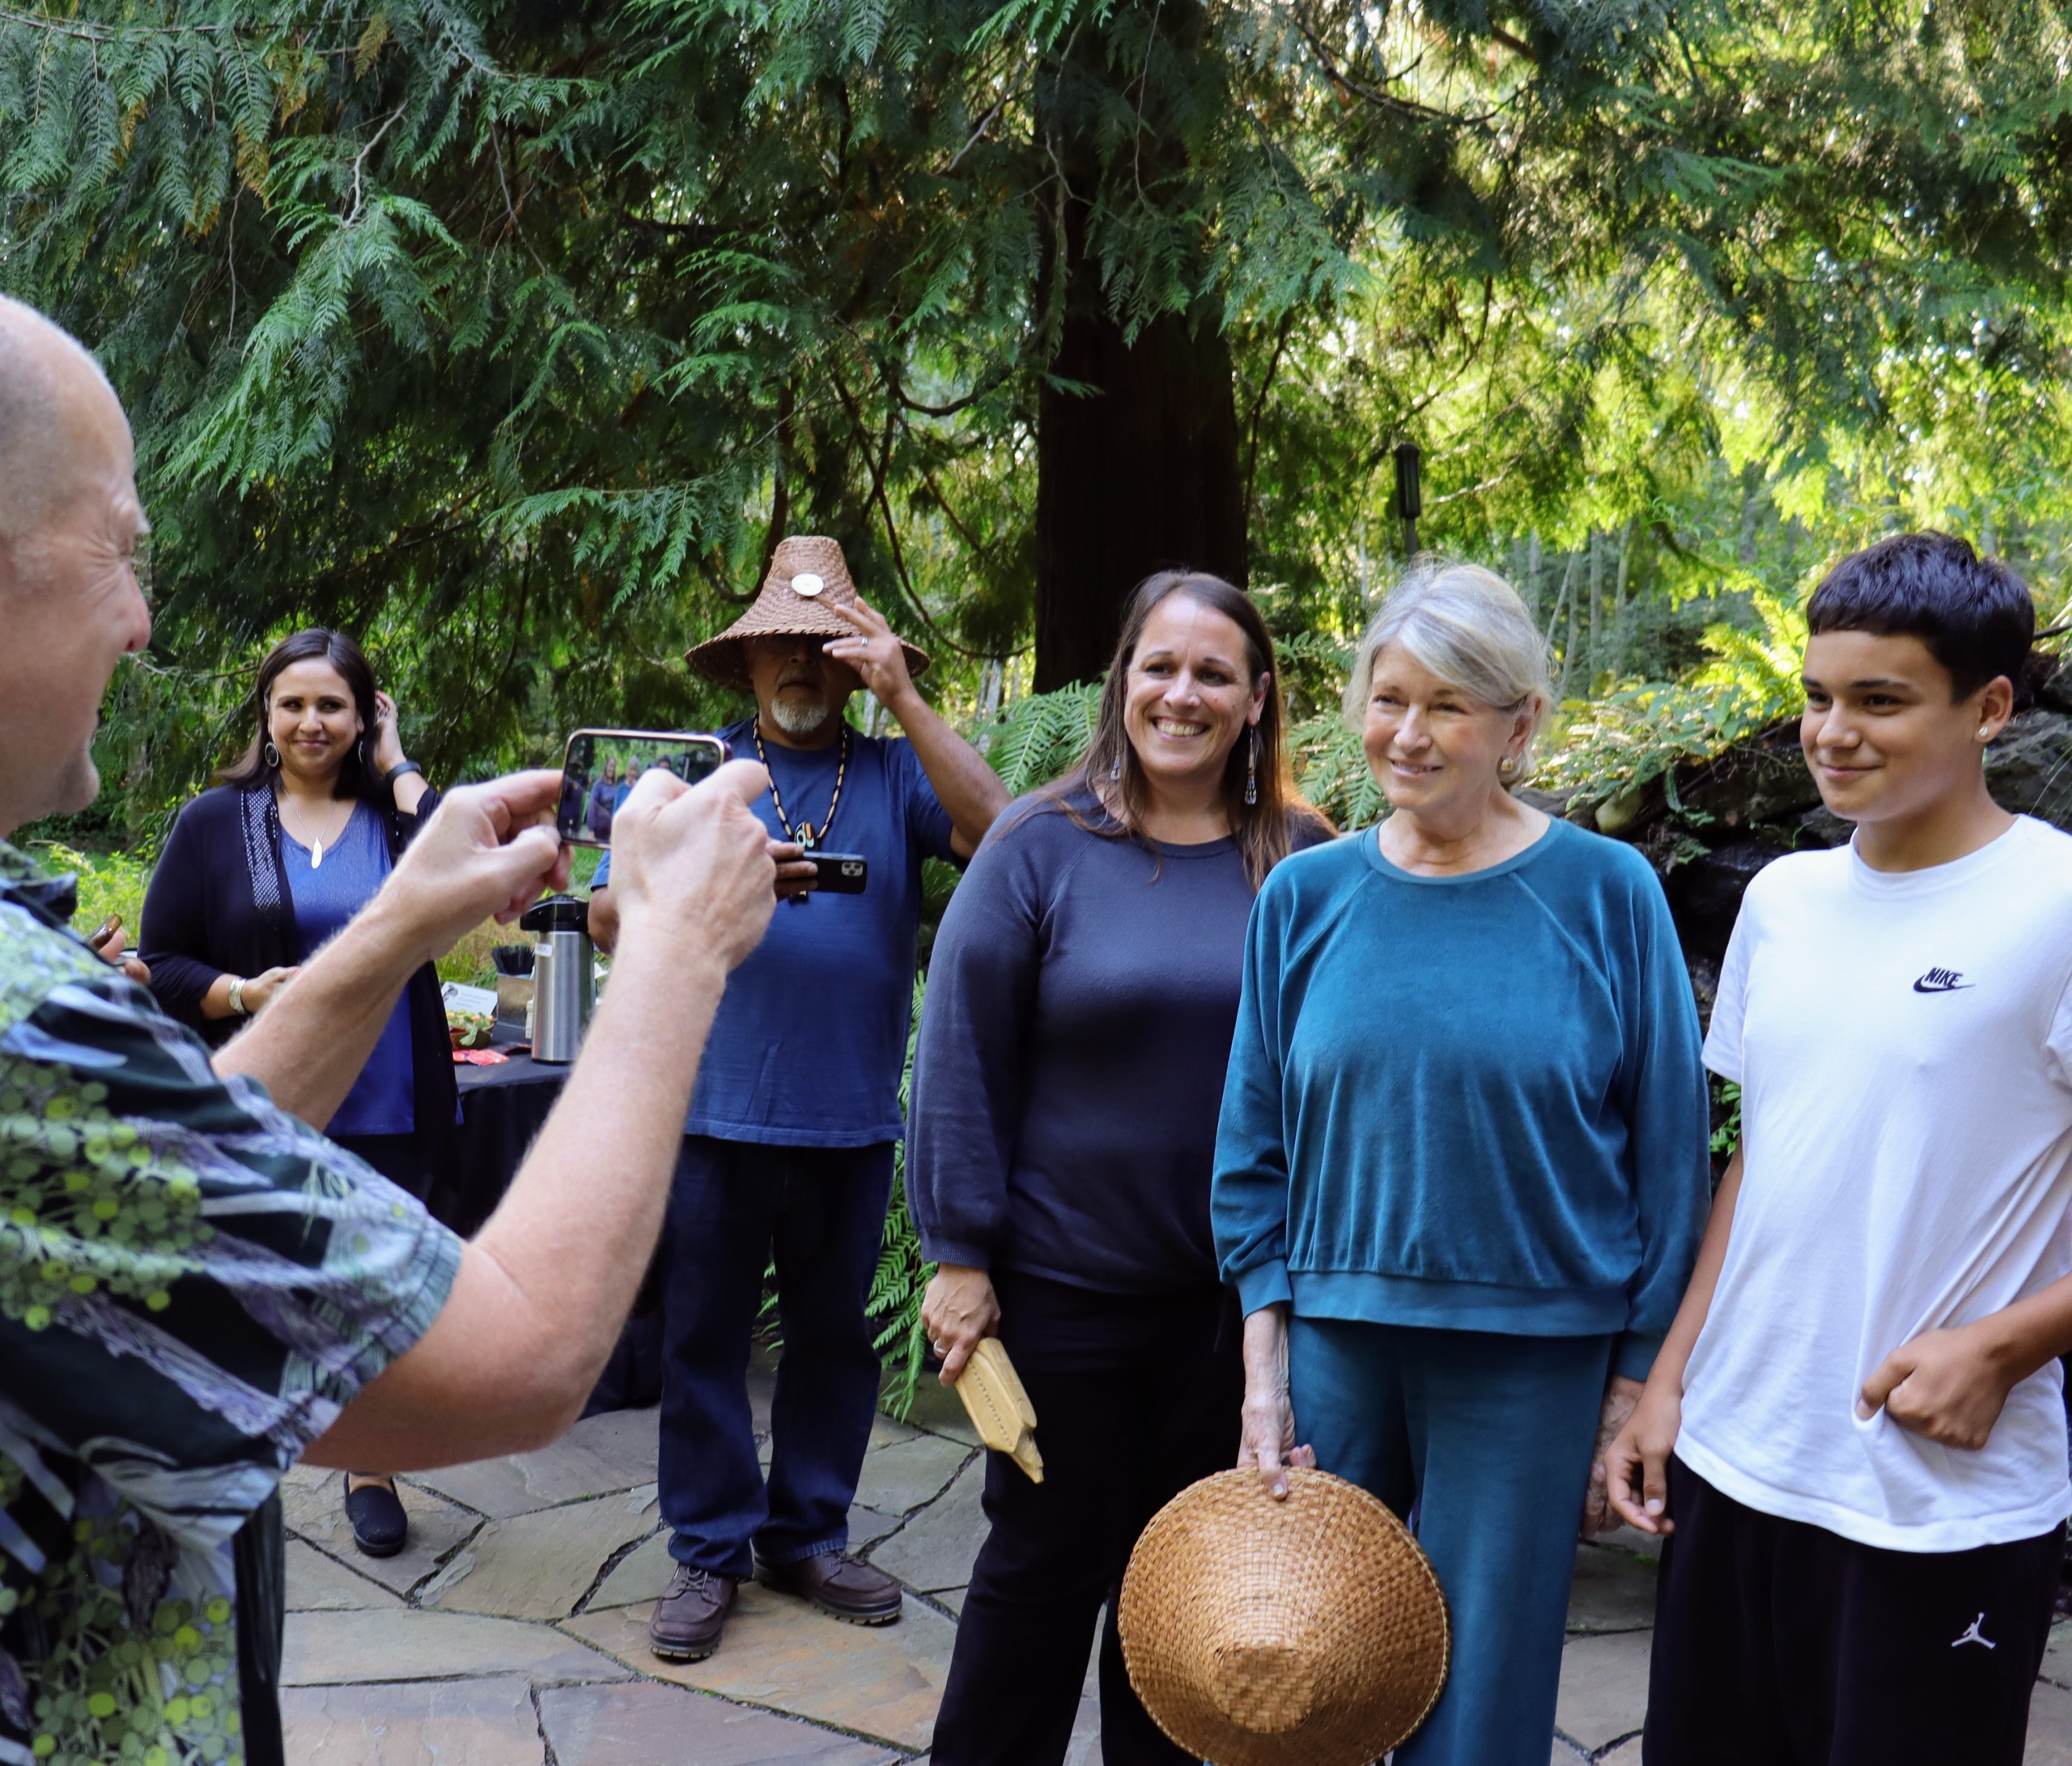
Here I am admiring one of the drums used in the dance presentation. (Photo by Samantha Jones for Heronswood)
And then here’s Dan taking photos of me with some of the tribe members. (Photo by Samantha Jones for Heronswood)
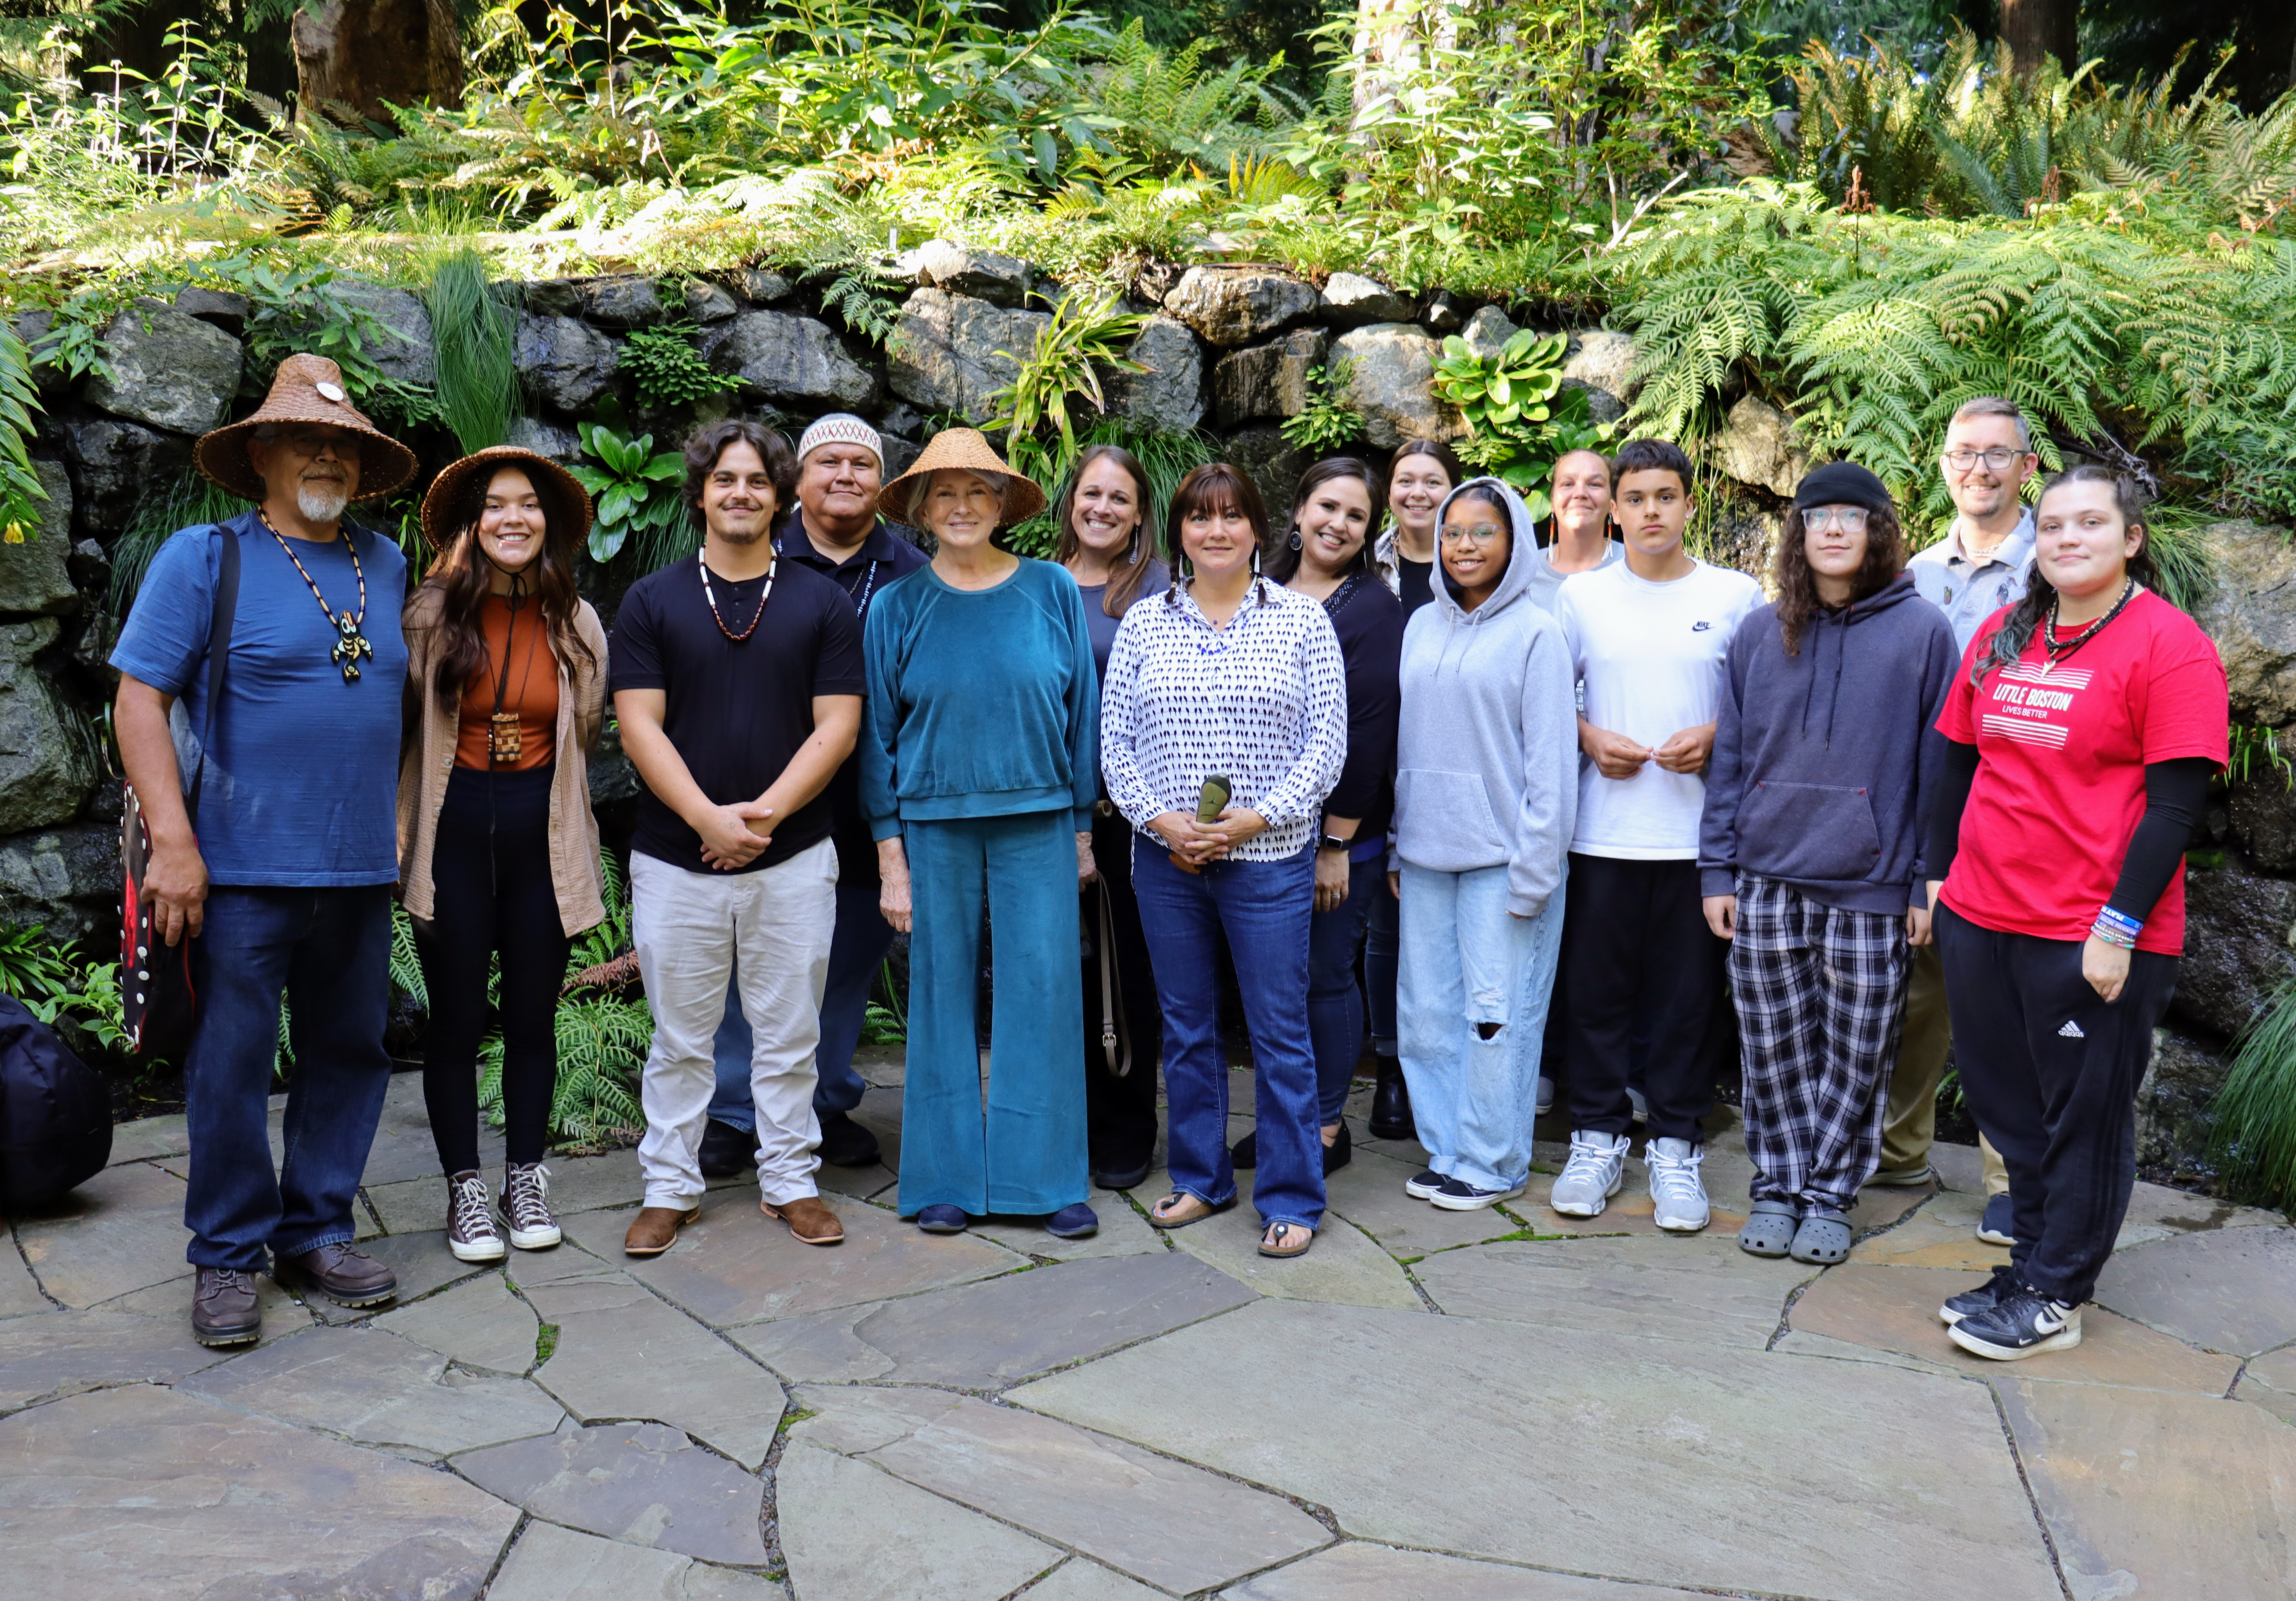
And here’s a group photo of all of us. The Port Gamble S’Klallams are known as the “Strong People” – a name given to them because of their resilience and passion for protecting the places they hold dear. Indeed, Heronswood is in good hands. (Photo by Samantha Jones for Heronswood)
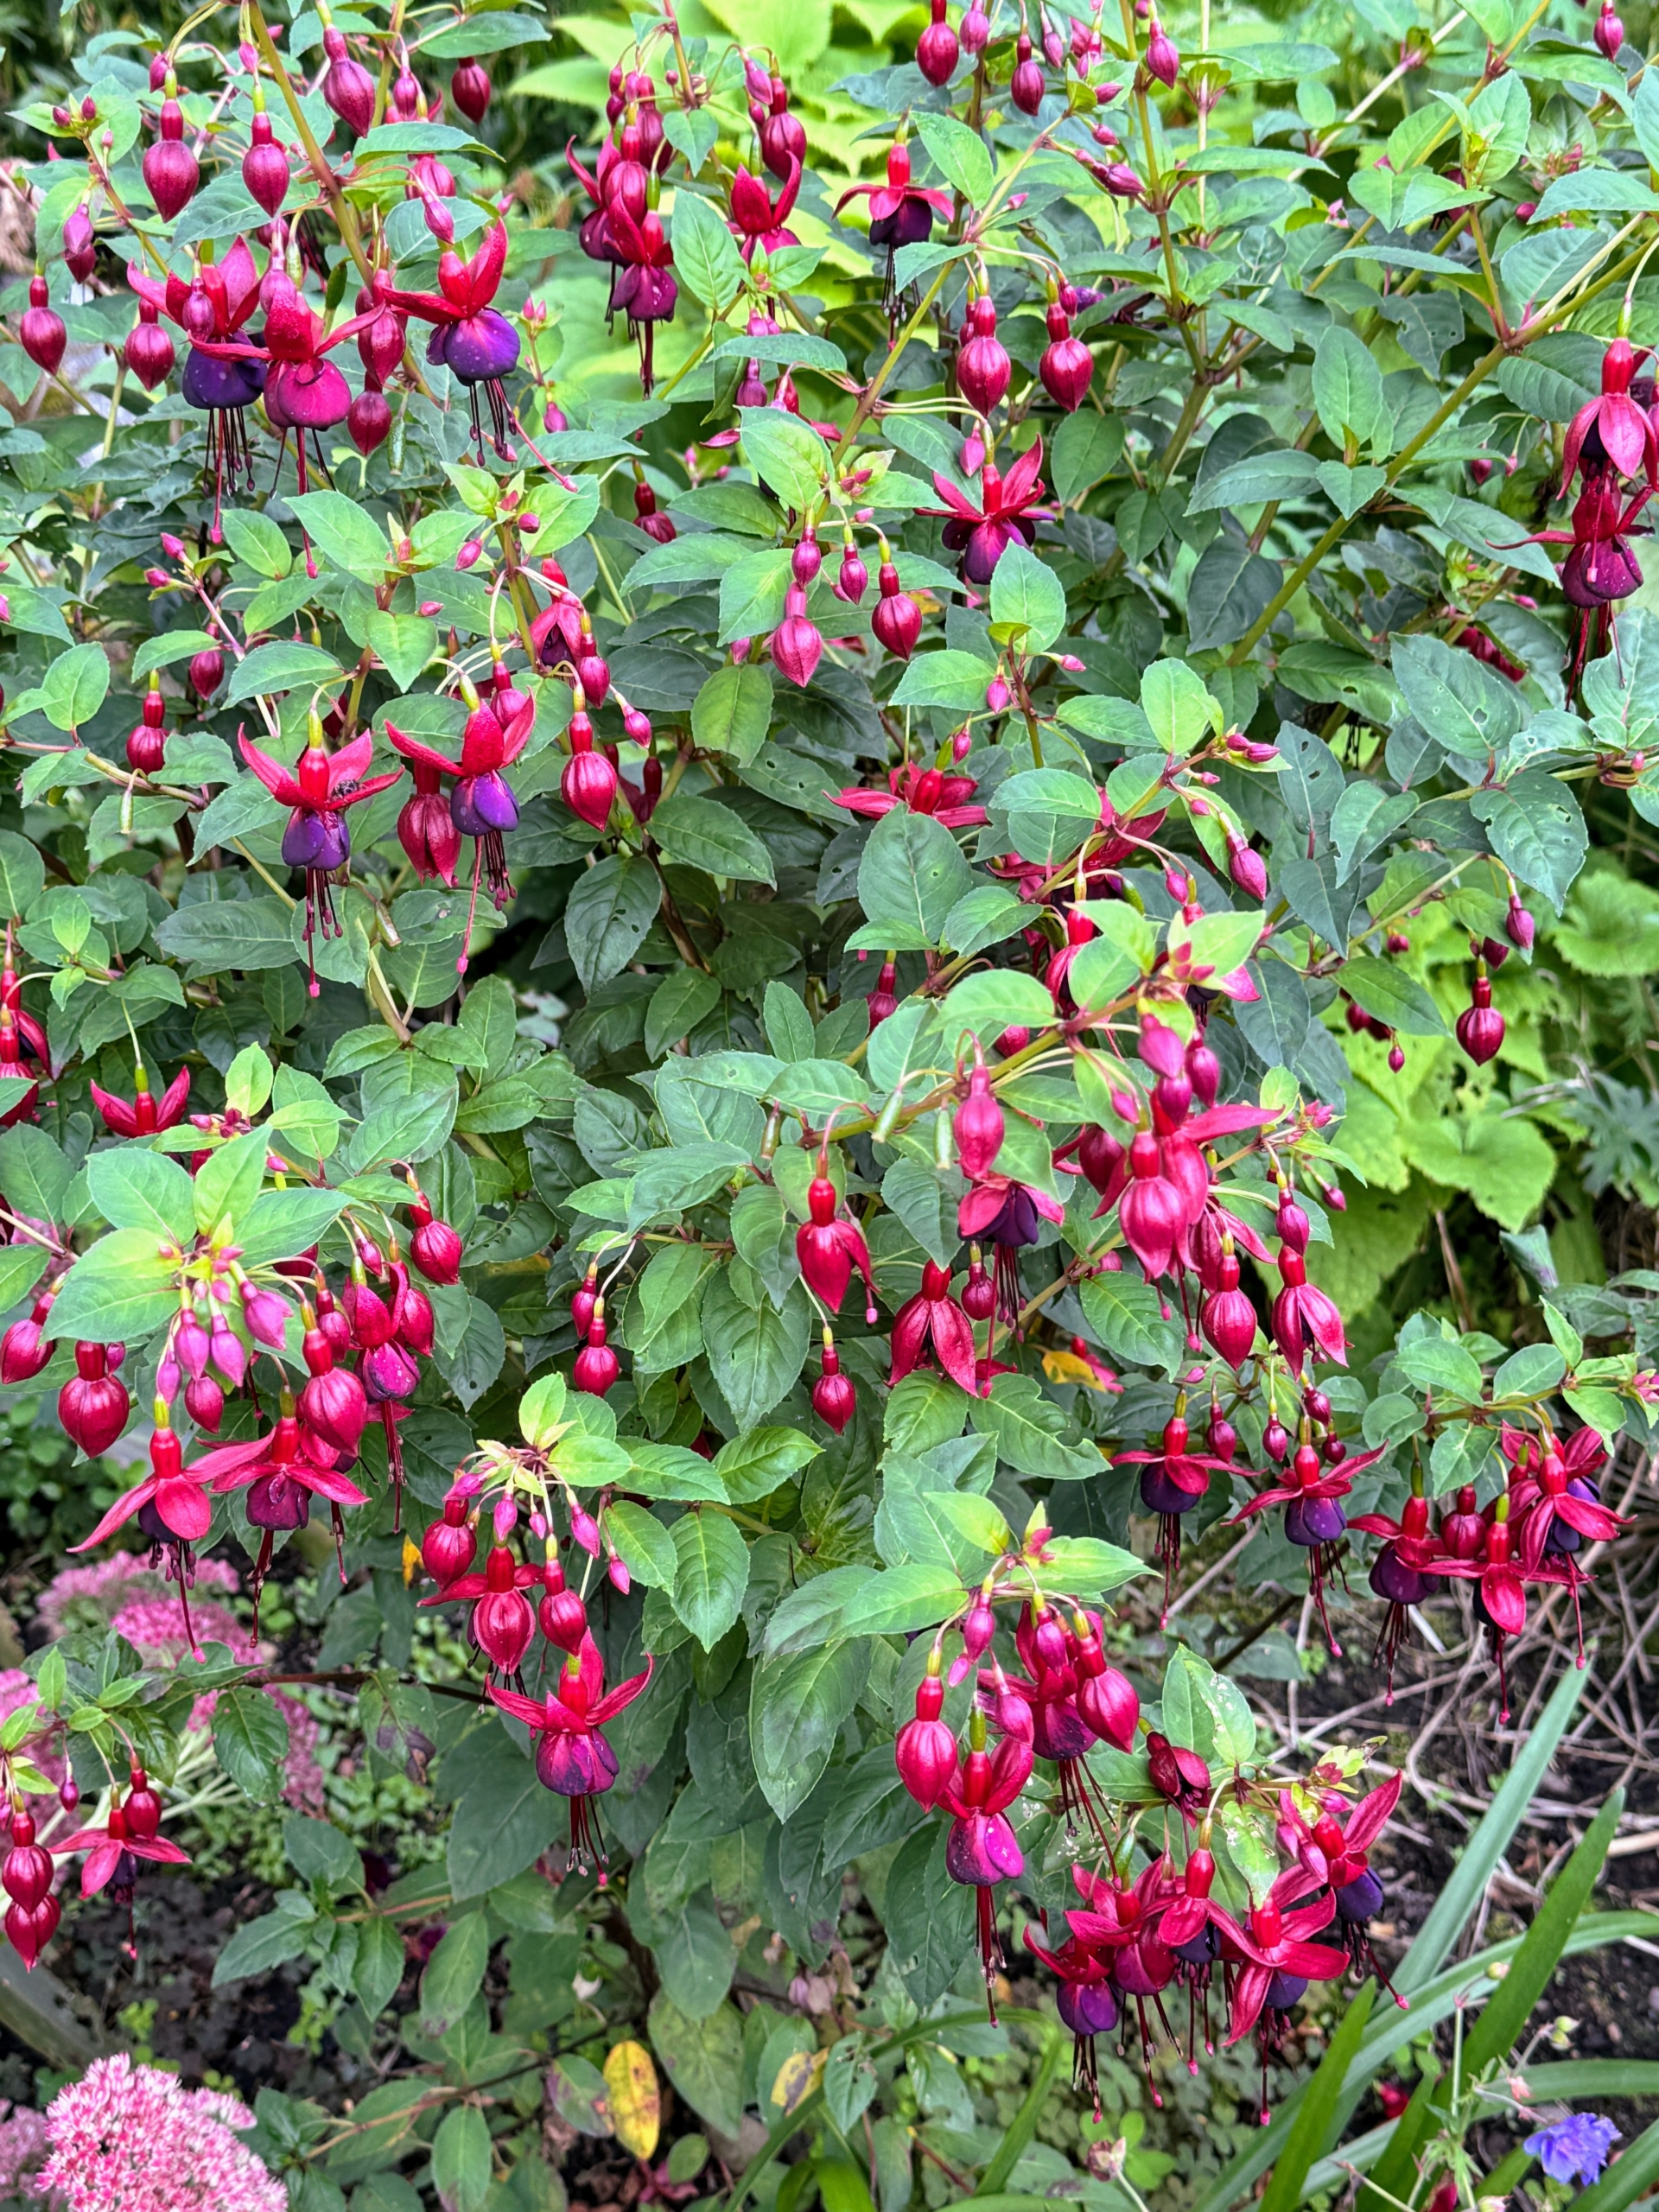
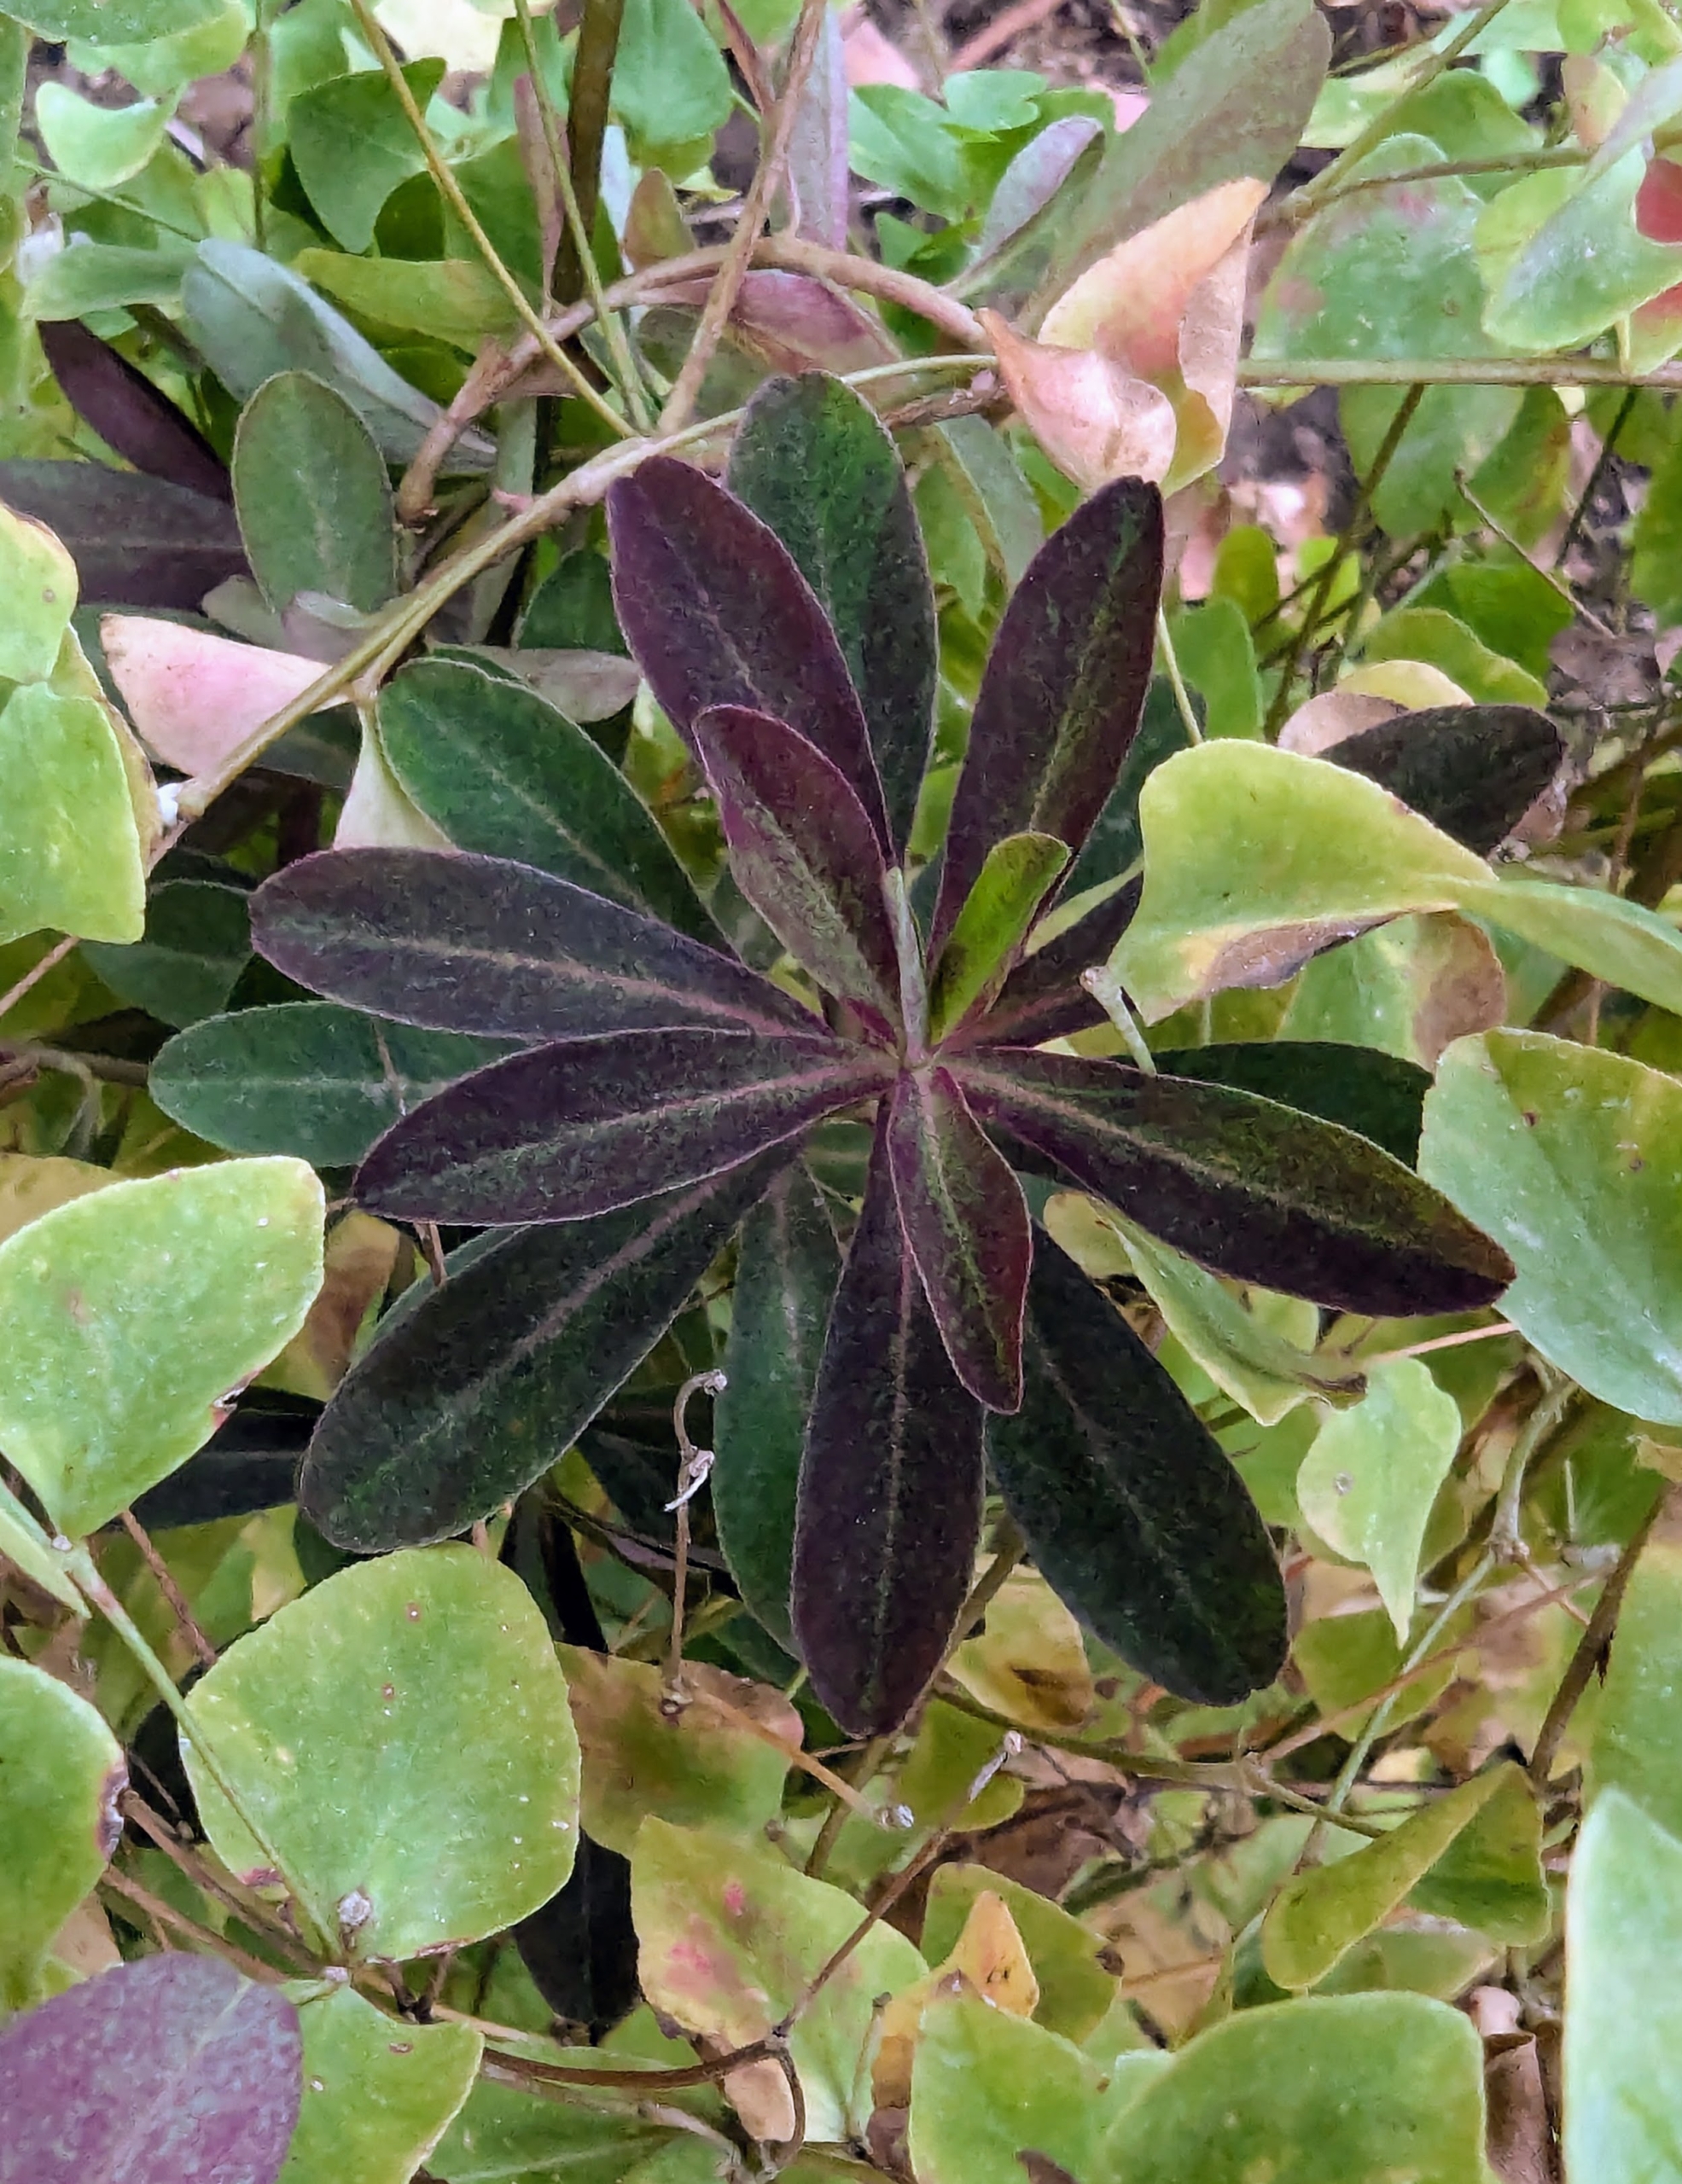
I took many photos while walking through the gardens of Heronswood. This is Fuchsia ‘Debron’s Black Cherry’, with its prolific single flowers
of striking maroon sepals and dark purple to black corollas. This is a hardy and upright variety with medium green foliage.
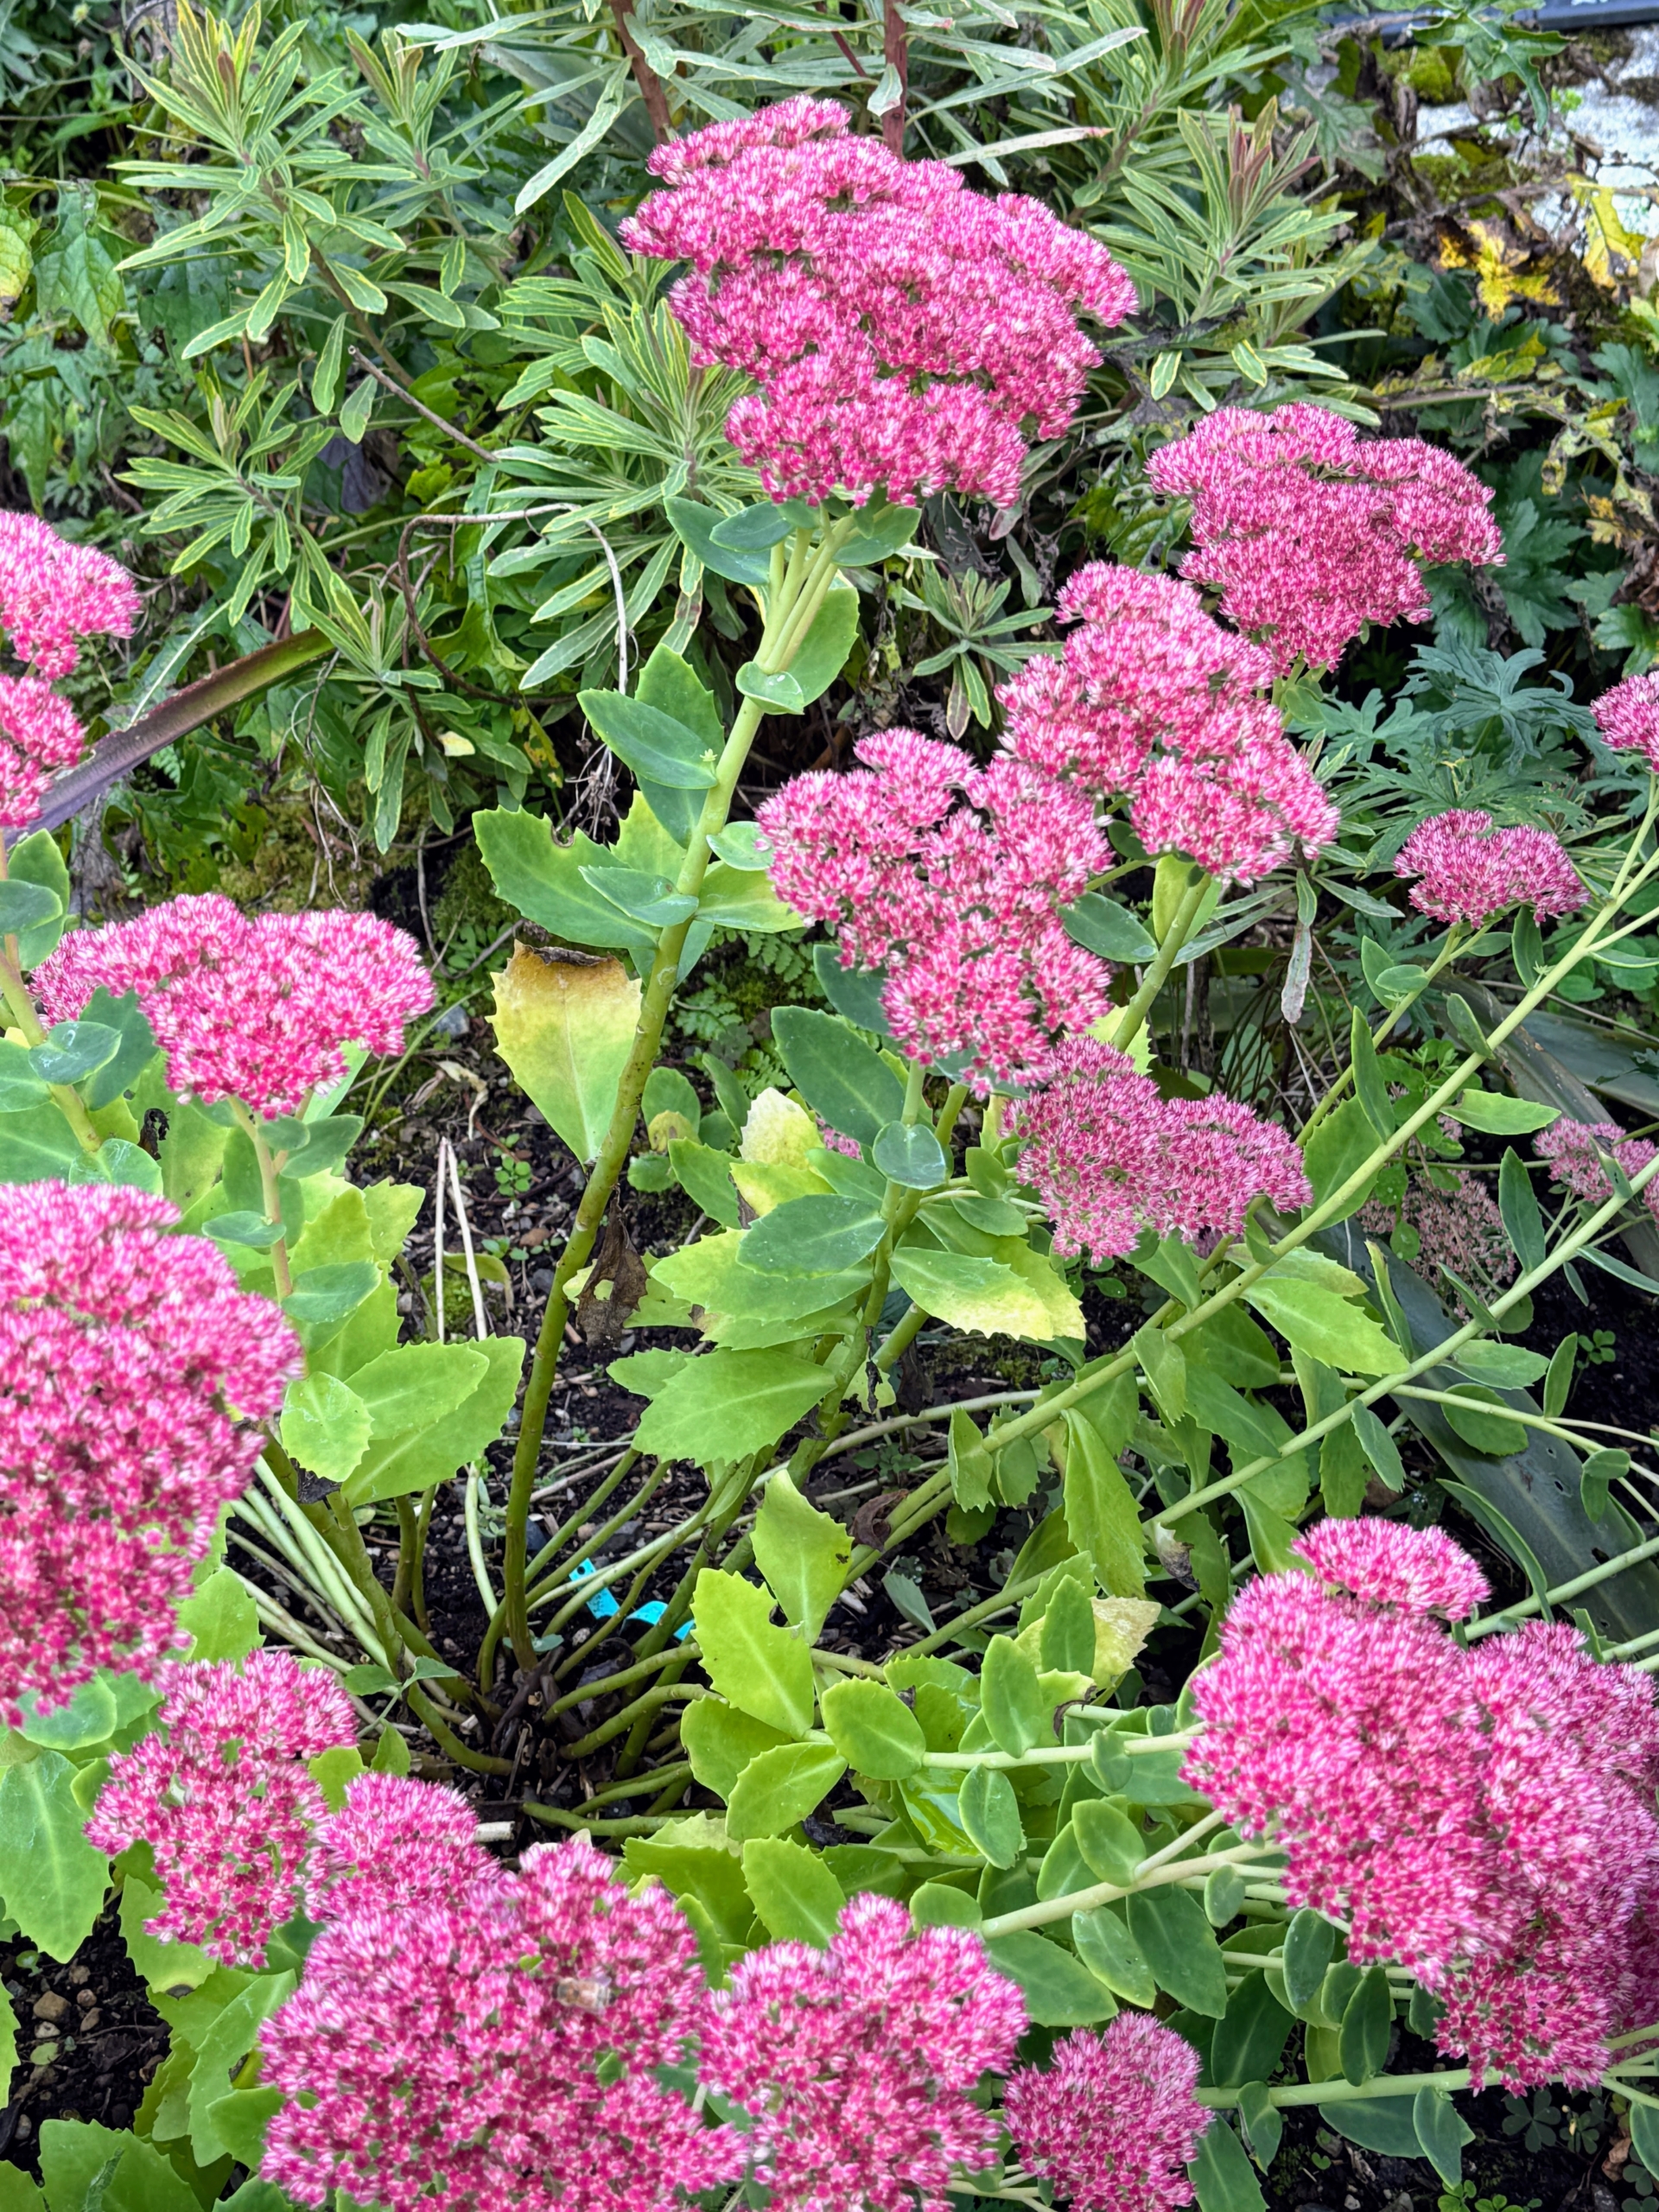
Hylotelephium ‘Carl’ ‘Carl’ is a clump-forming perennial that features gray-green foliage and pink flowers. It typically grows to about 18-inches tall. Masses of tiny, star-like, pink flowers bloom in September and October. Butterflies love it.
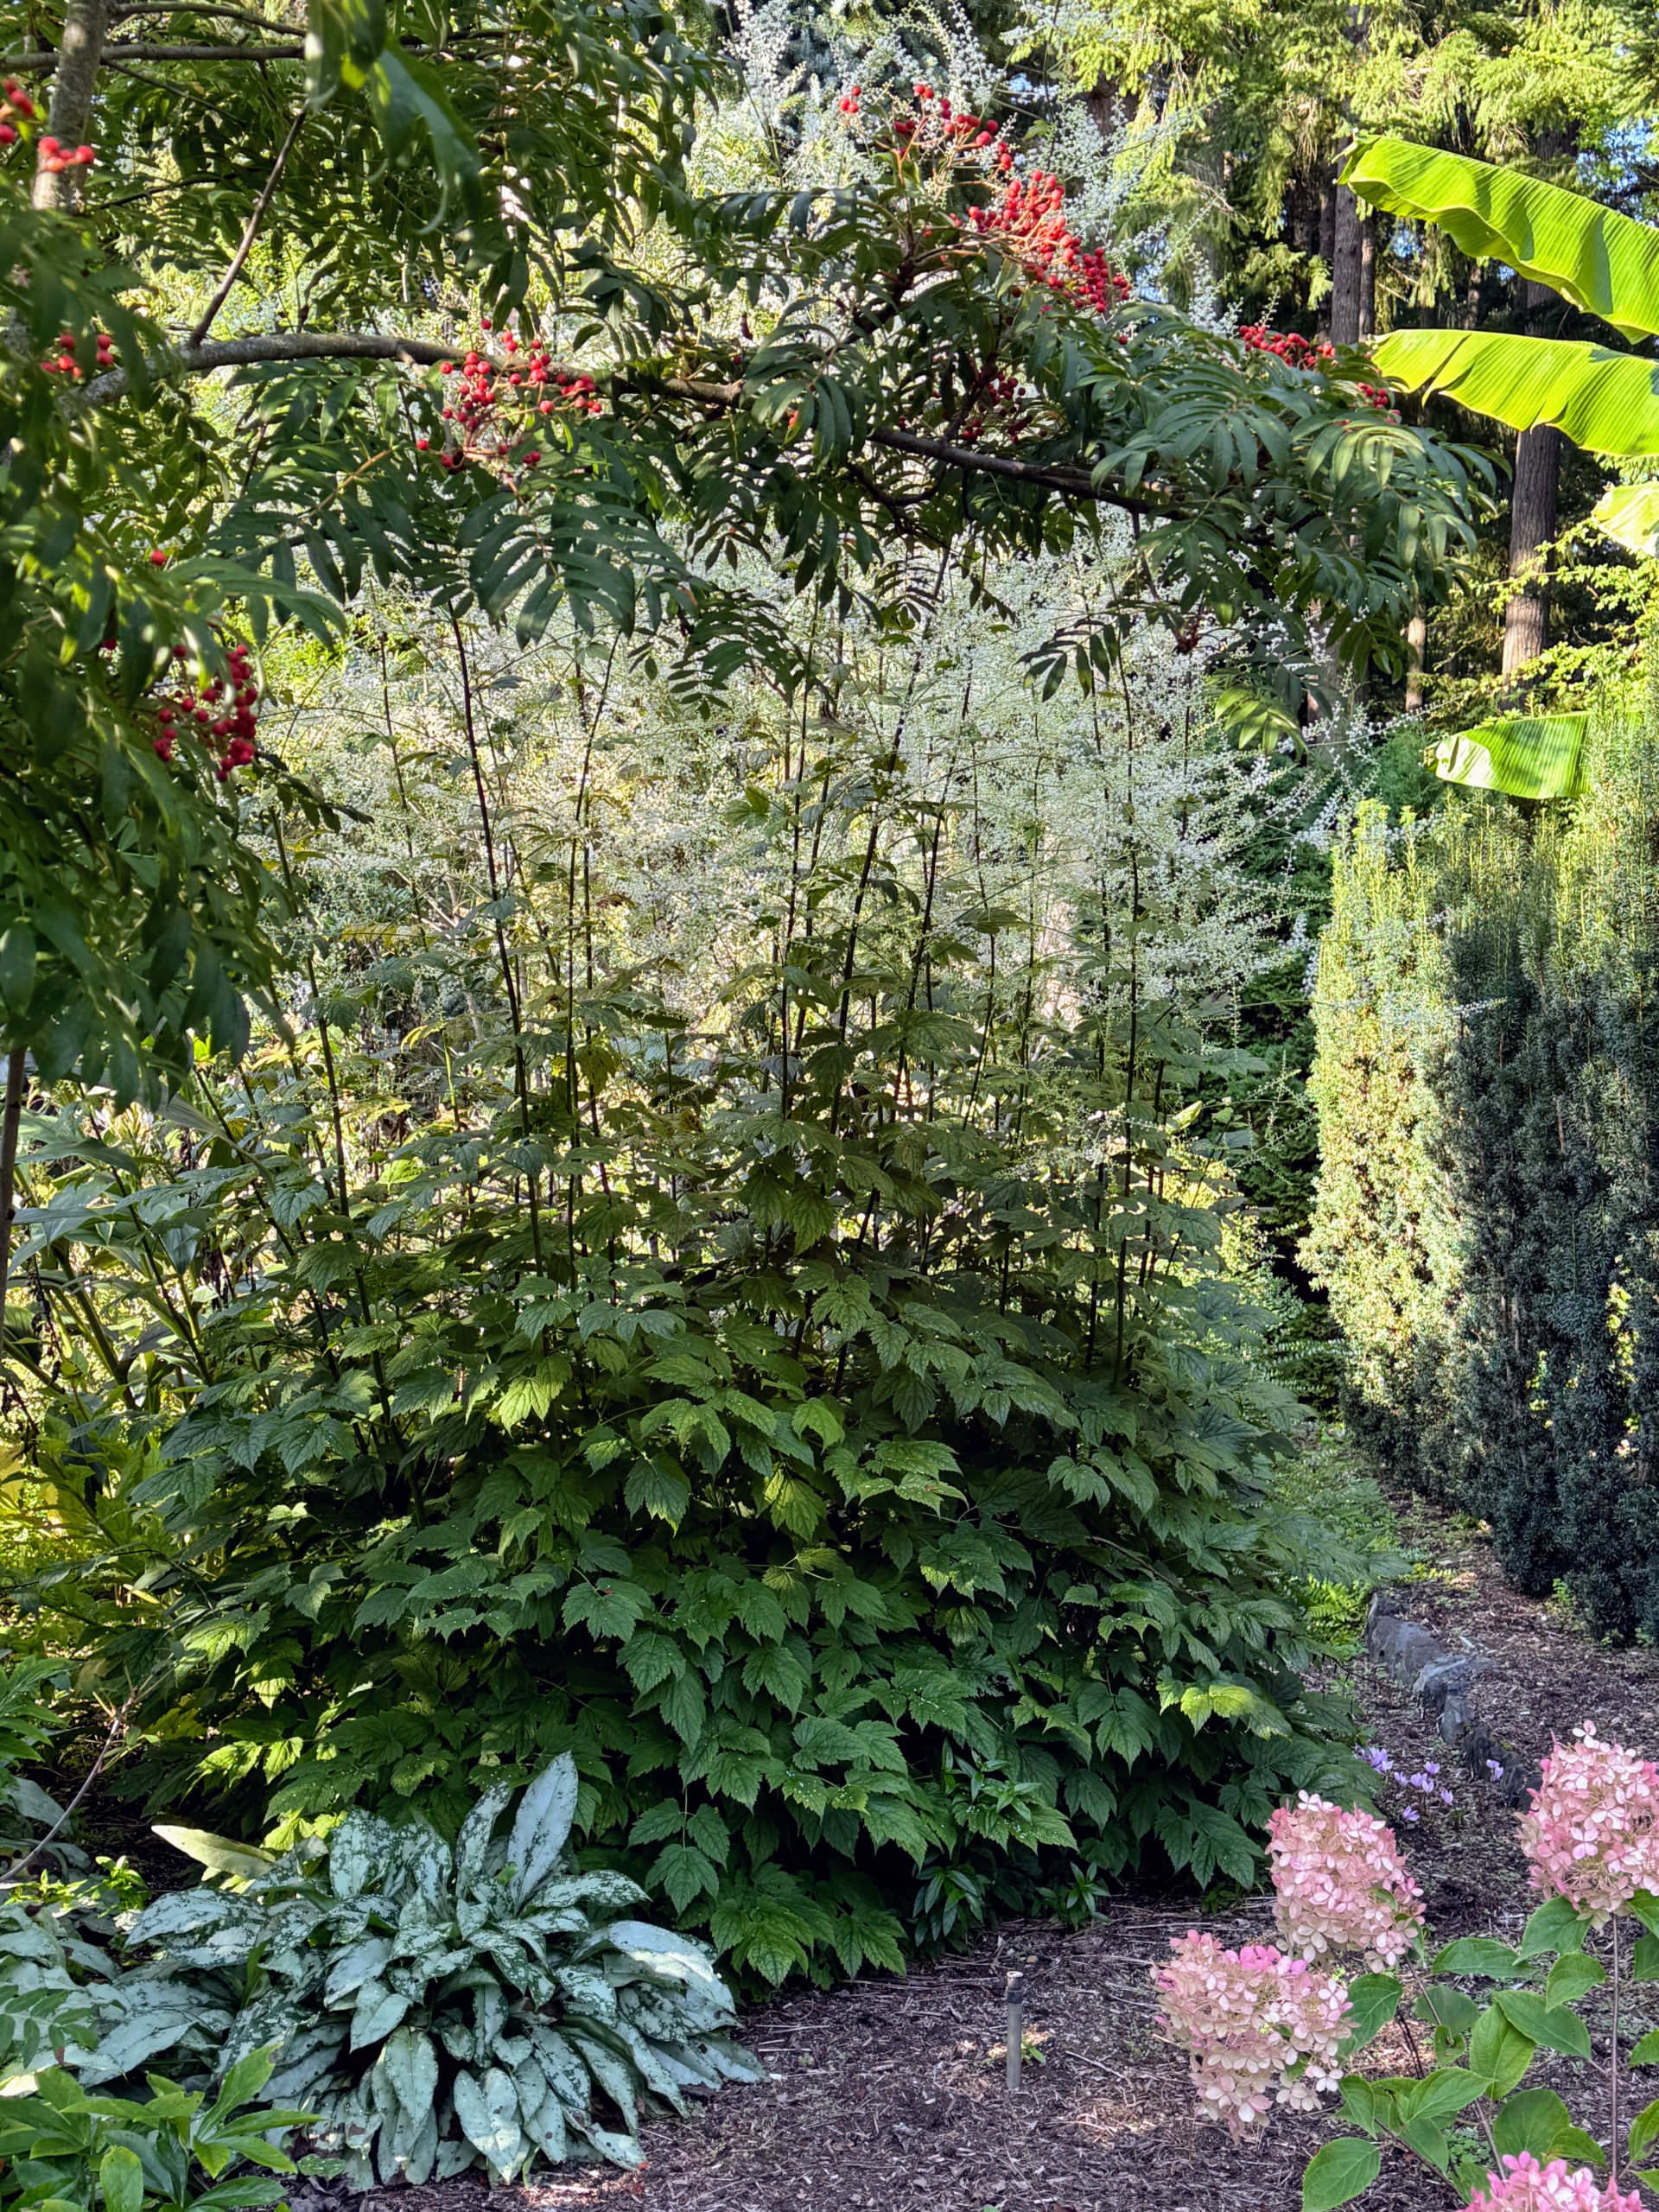
Actaea dahurica has fluffy white flowers densely packed on arching racemes that can reach up tp five-feet high.
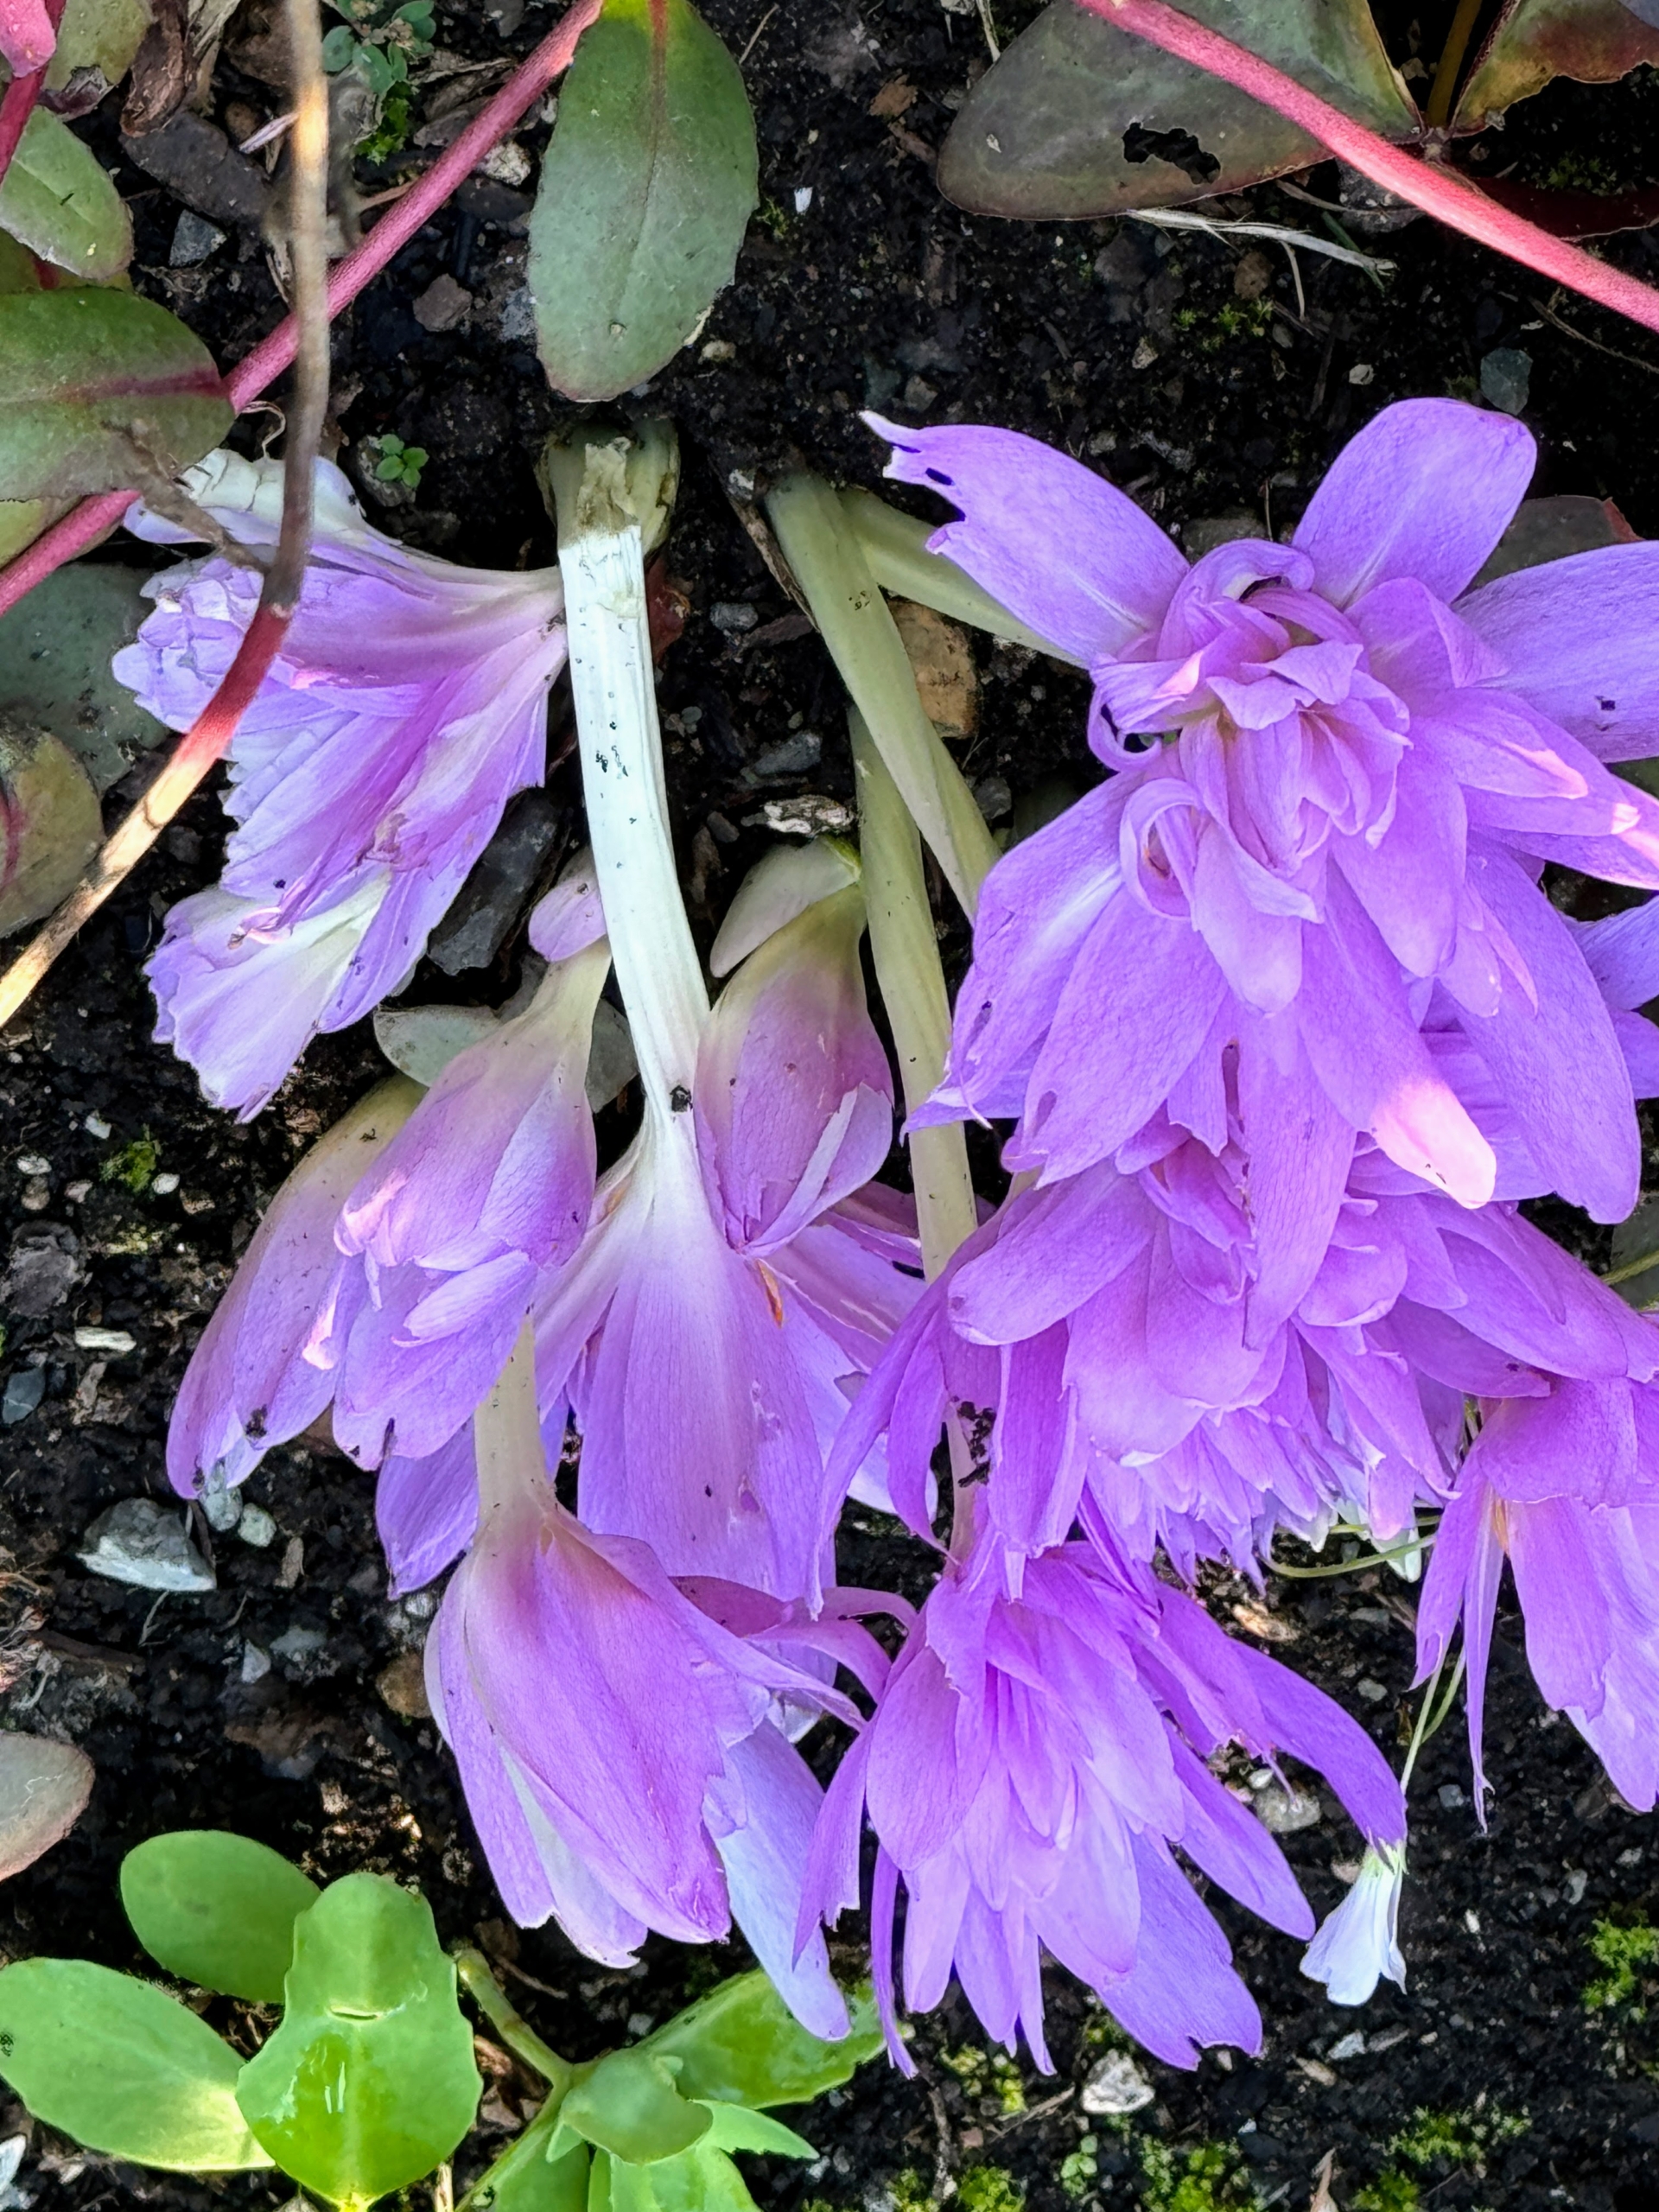
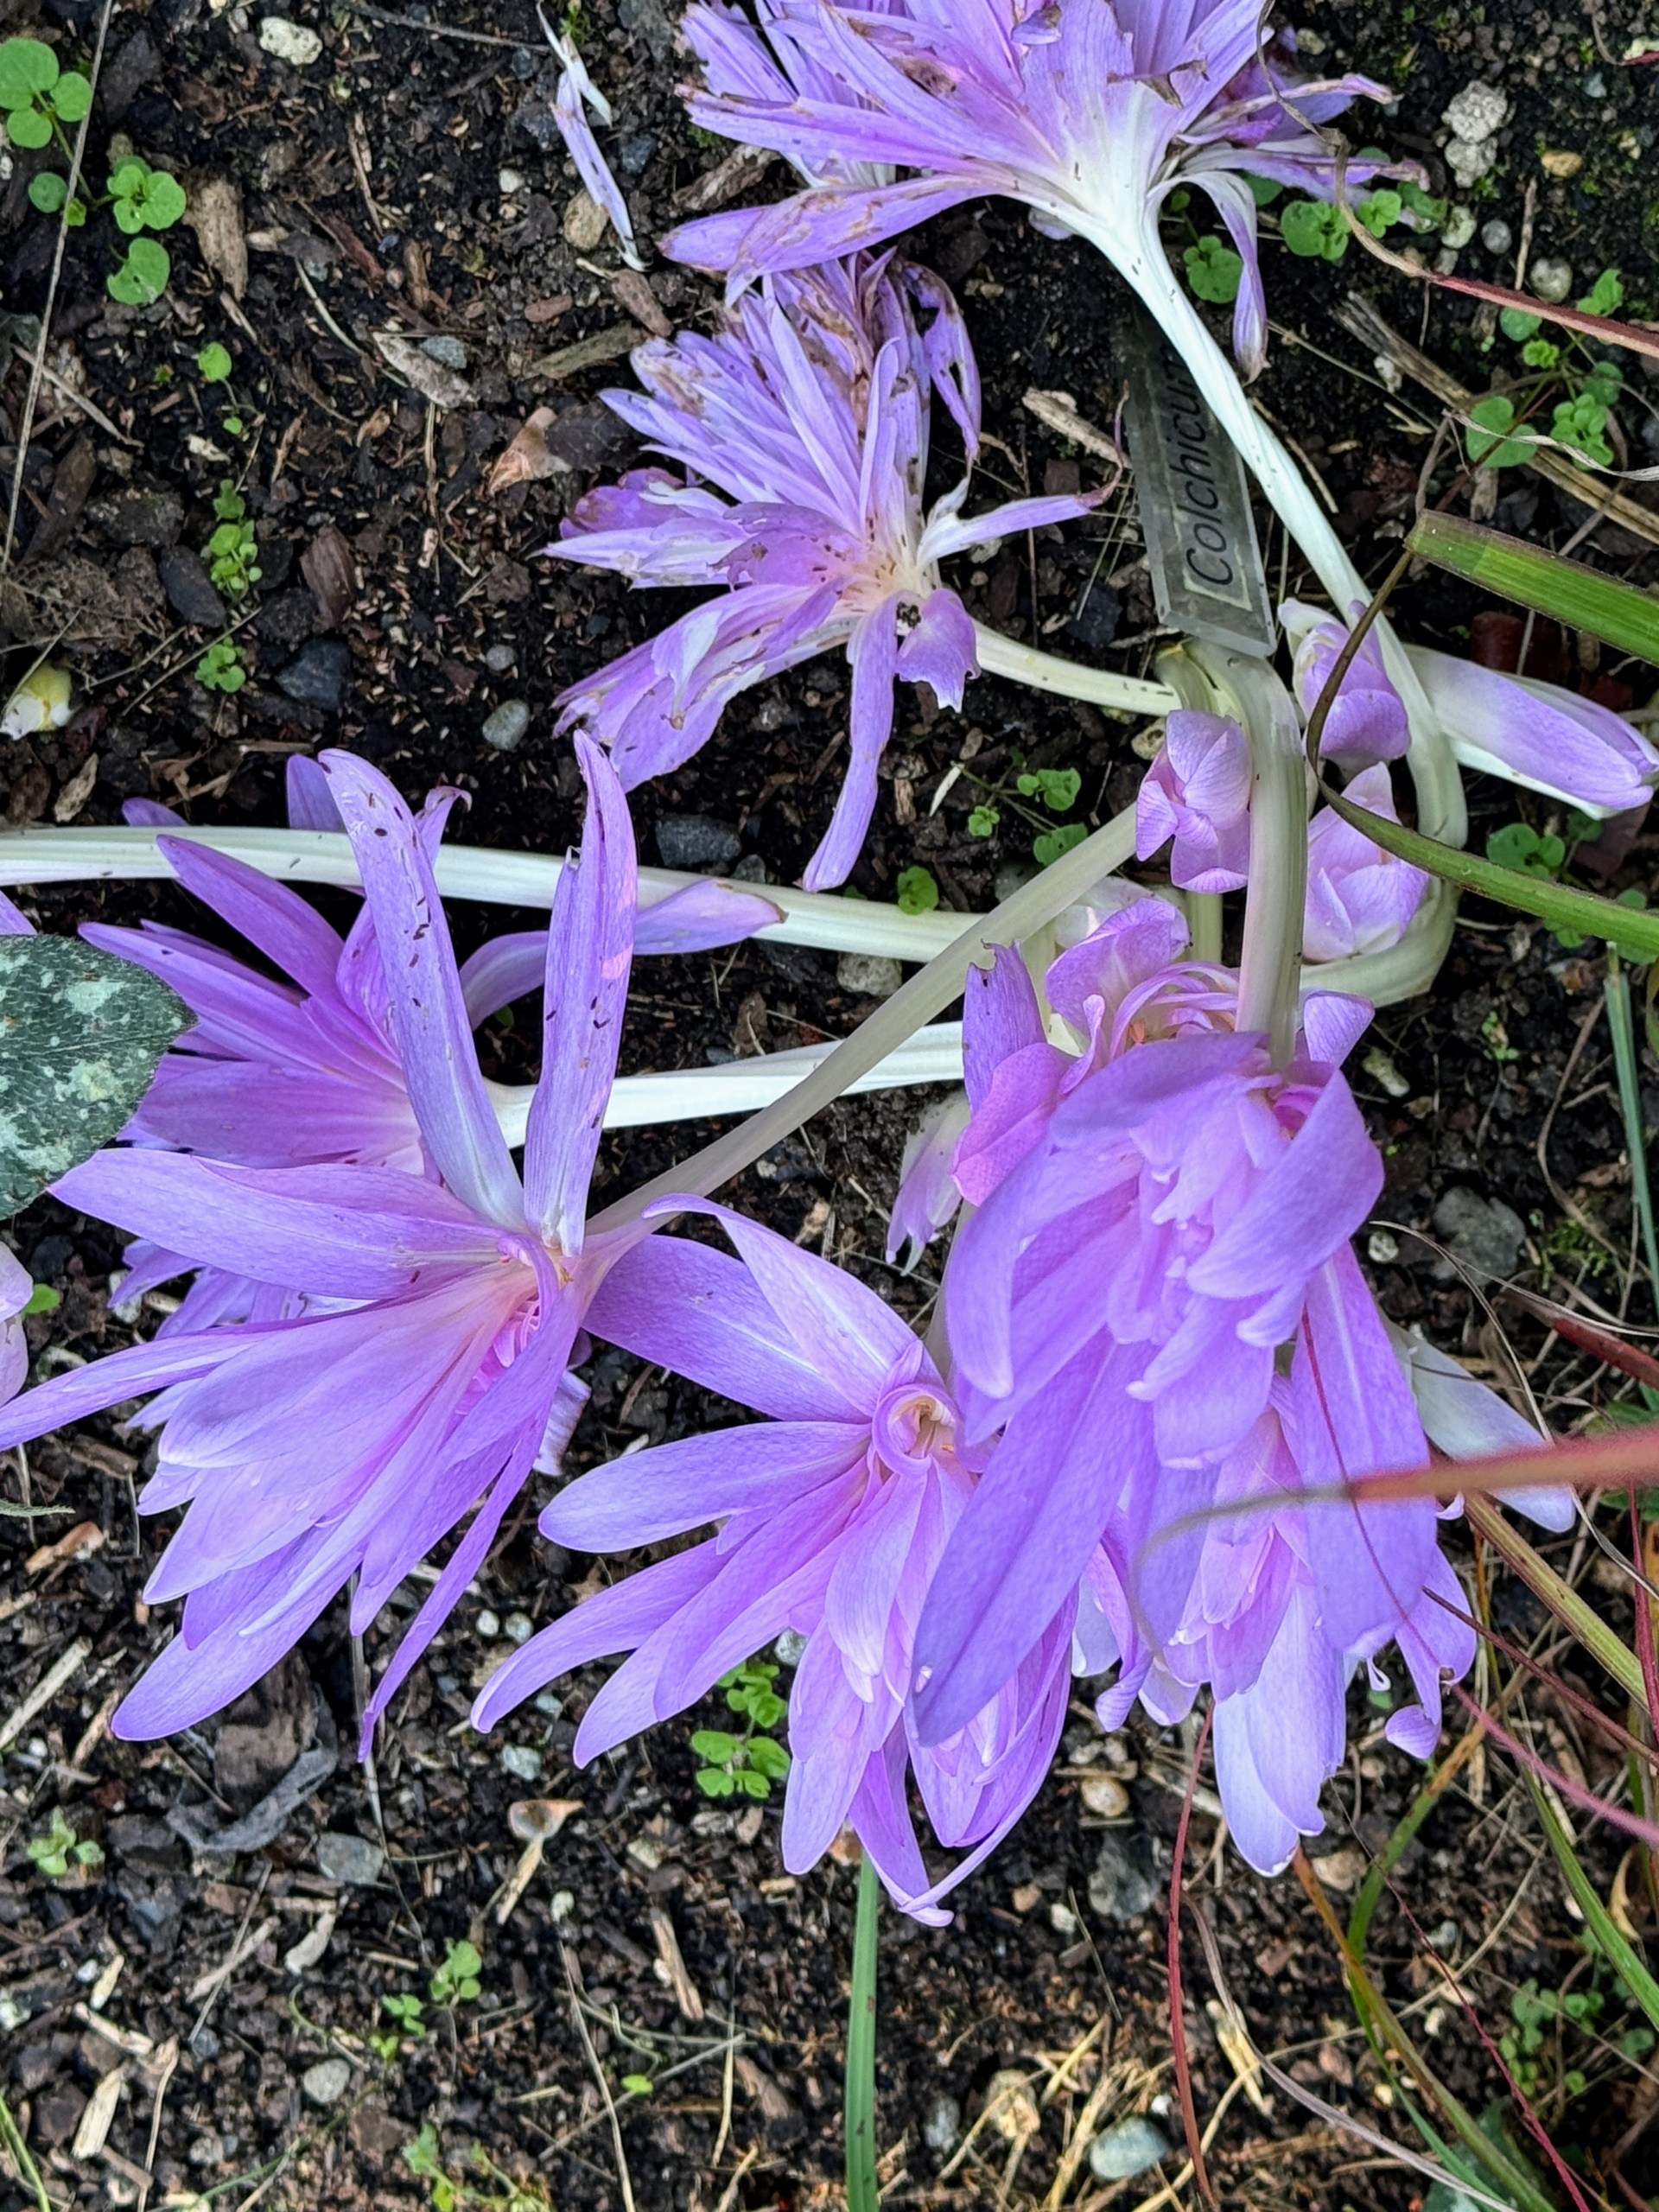
And yes, it’s that time of year, when autumn gardens show off their brightly colored Colchicum. This is Colchicum ‘Waterlily,’ the well-loved double pink variety. Each bulb produces five to 10 flowers – so beautiful when planted in groups.
I love Colchicum and have grown different varieties in my gardens for many years.
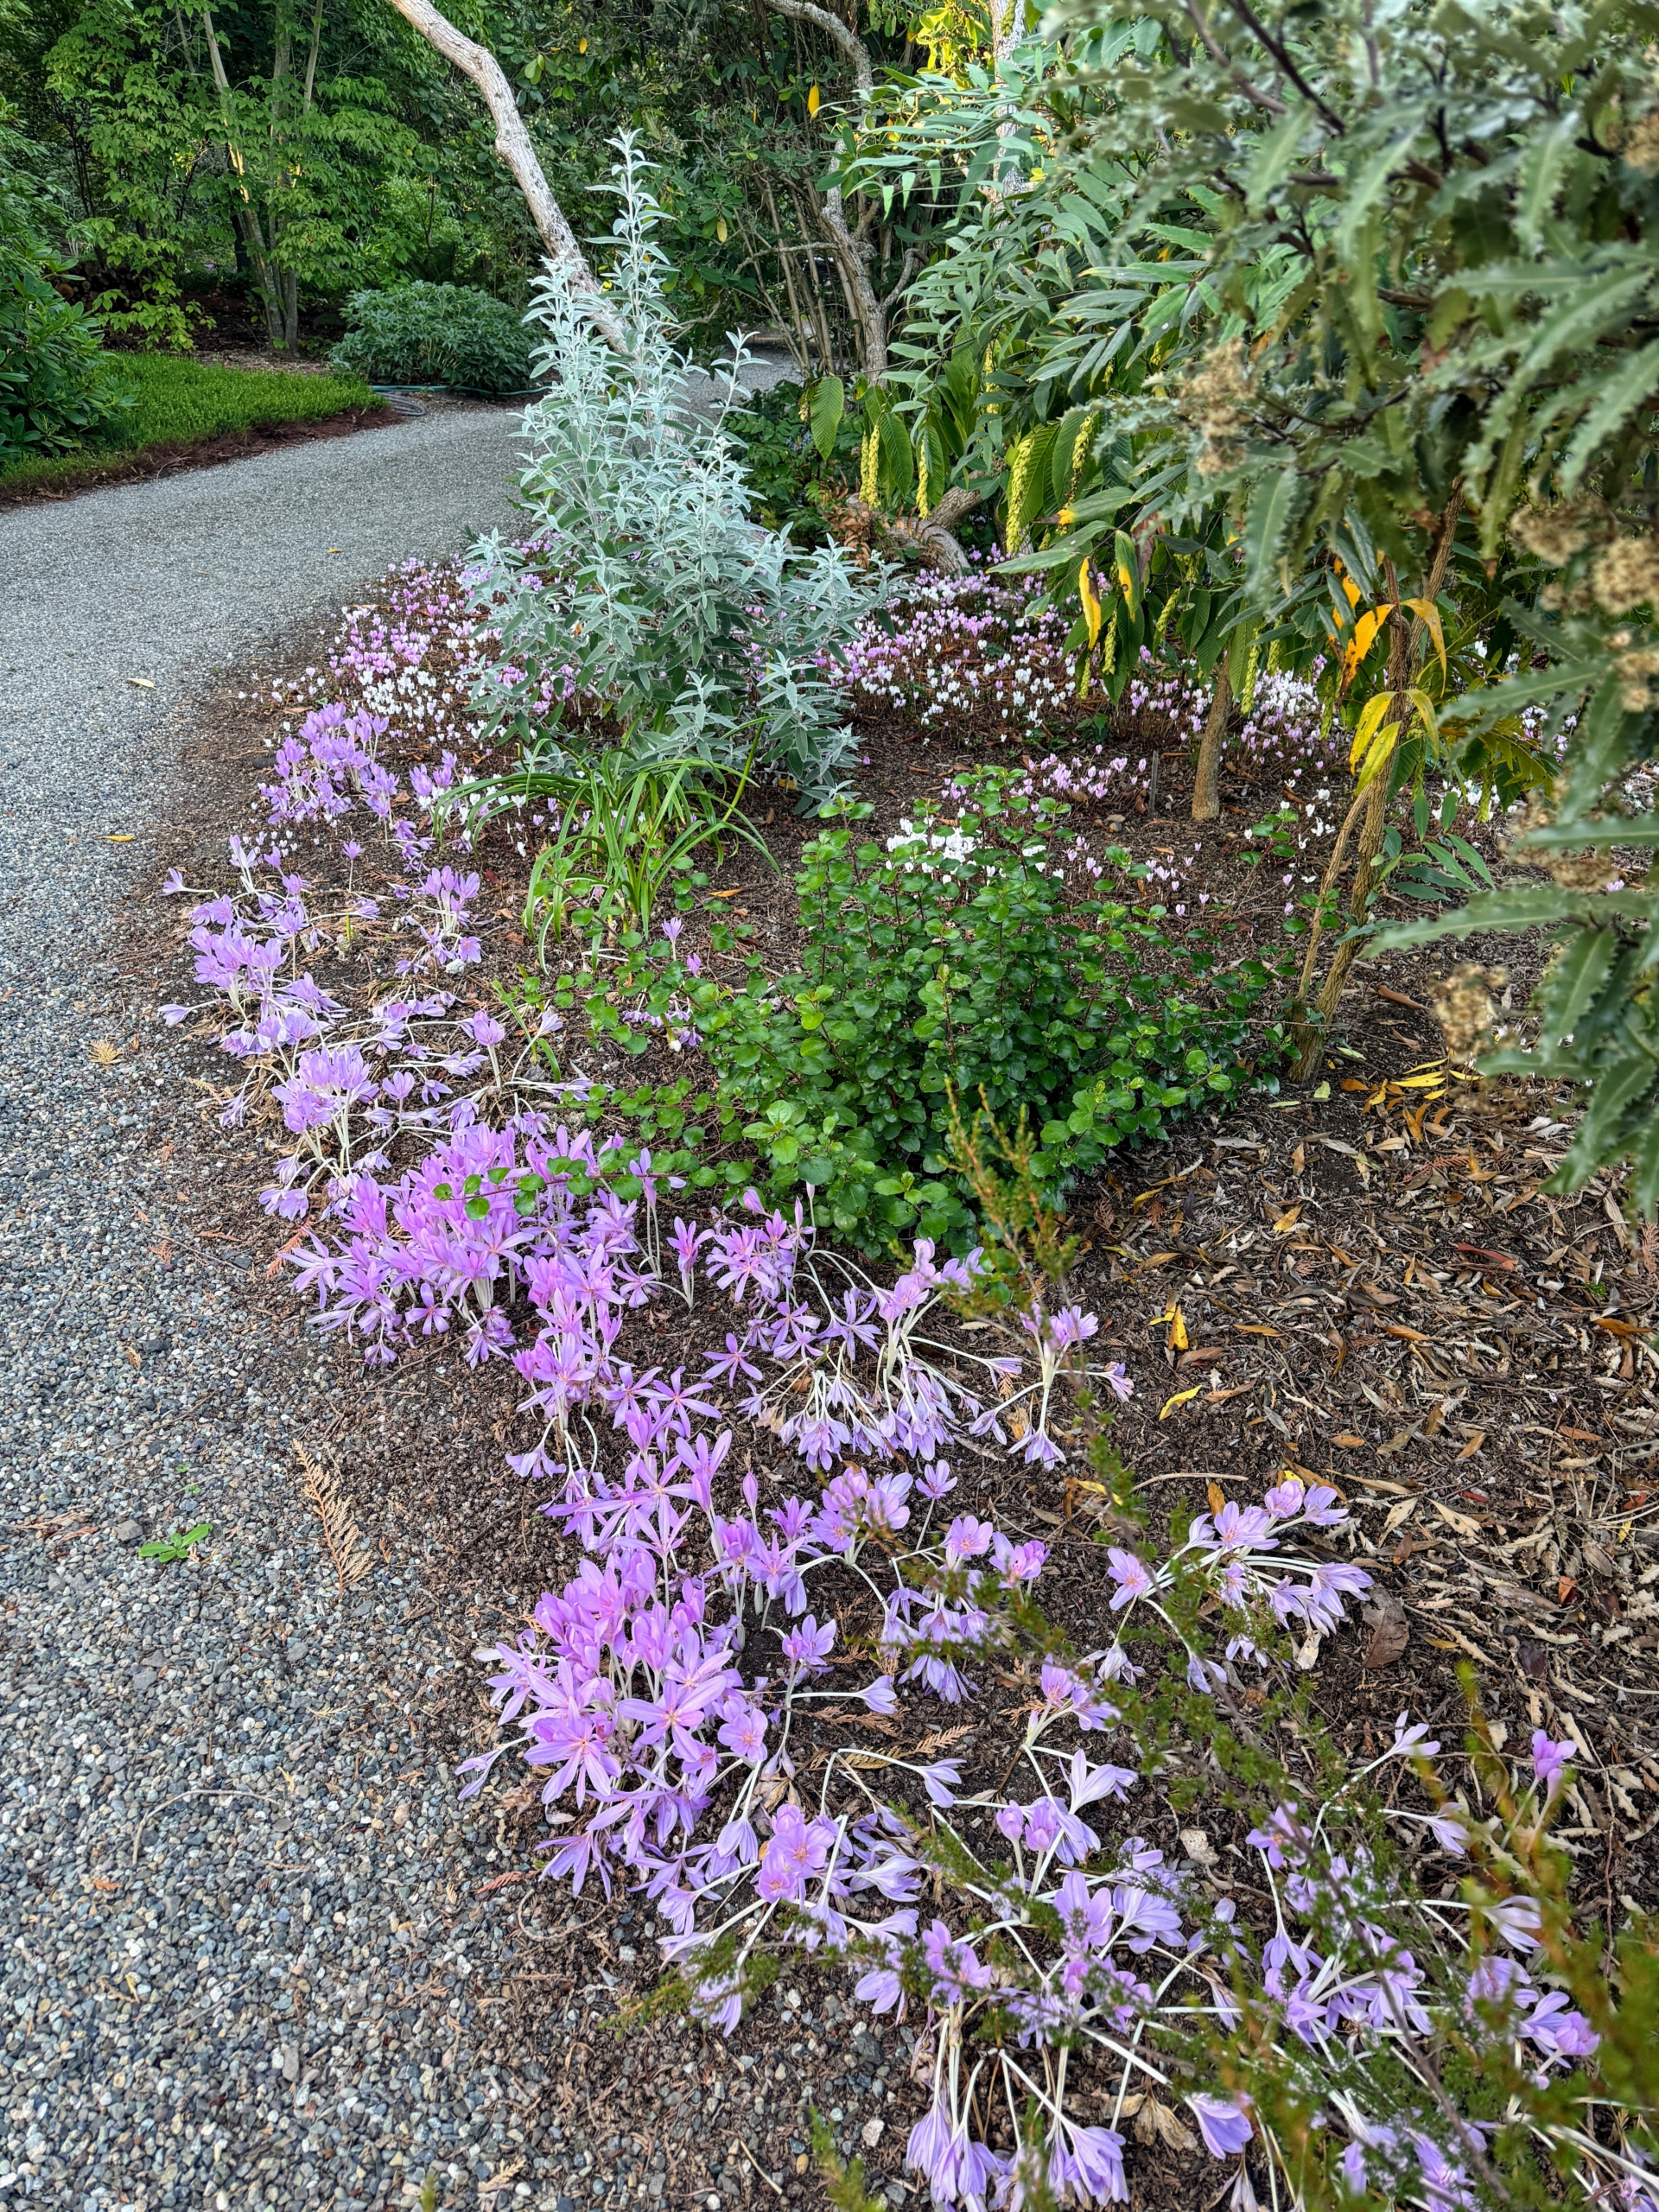
Colchicum looks great here along the edge of the footpath at Heronswood.
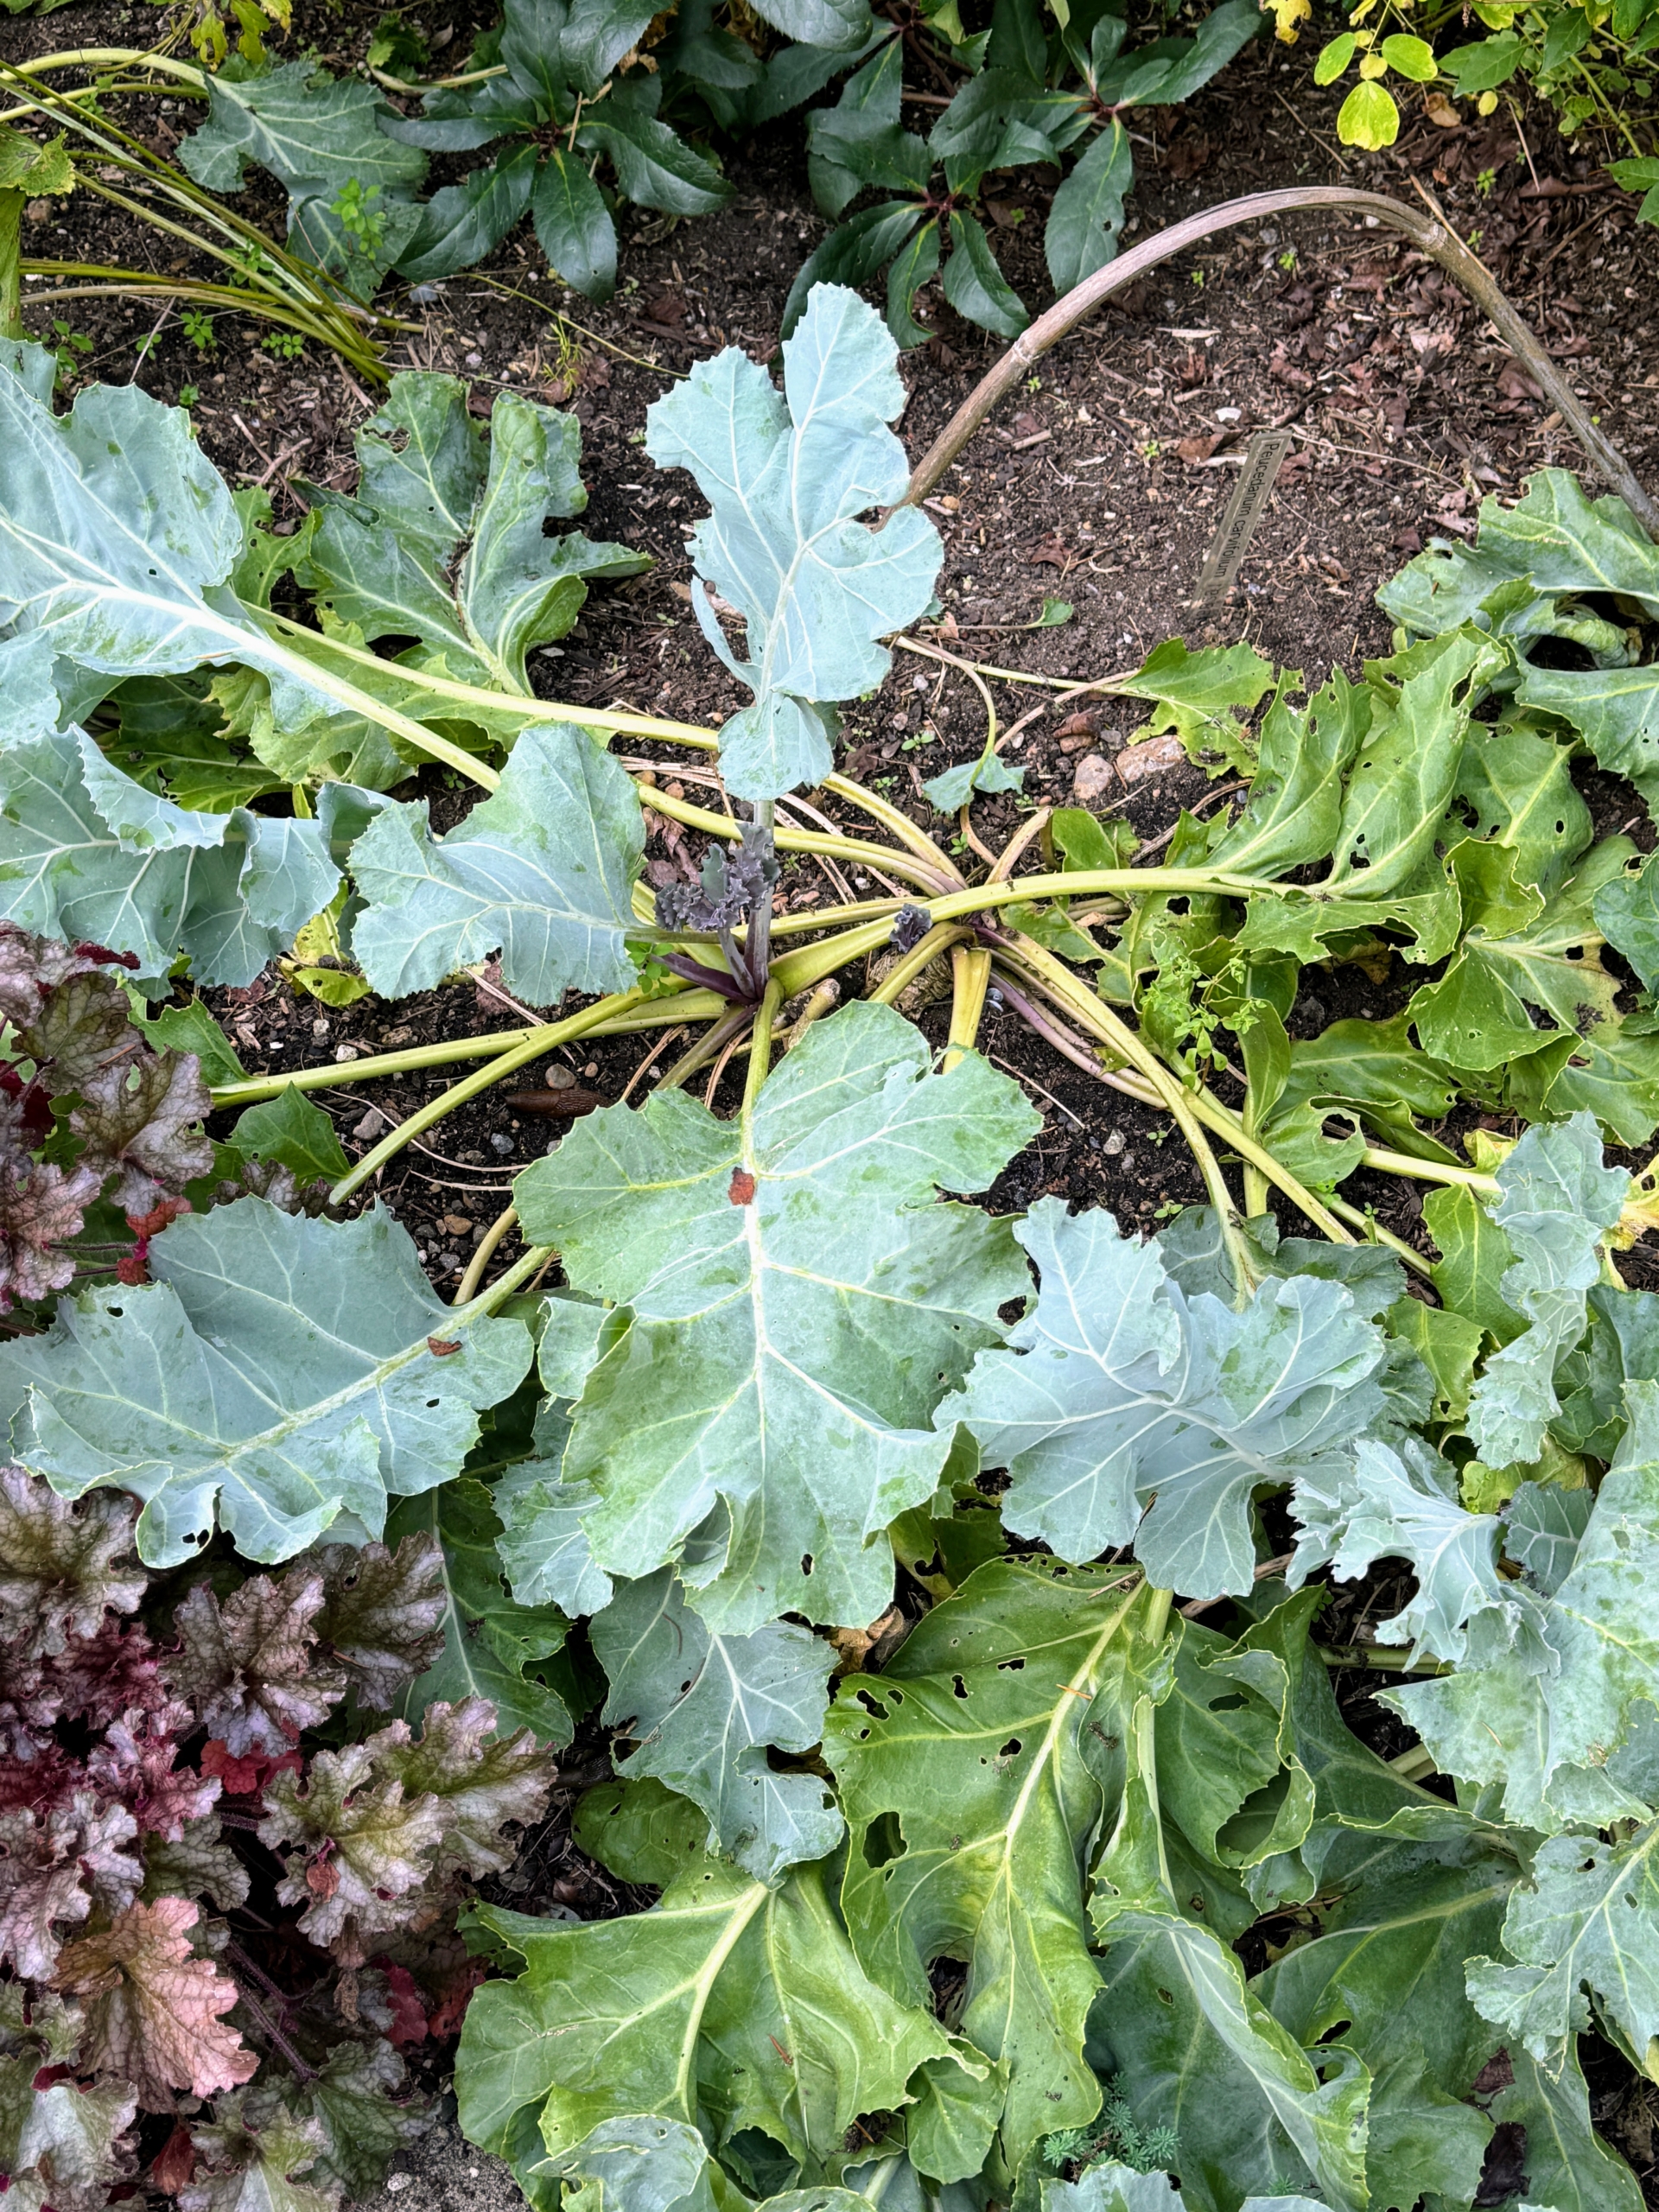
Crambe maritima, also known by its common name sea kale, seakale or crambe grows wild along the coasts of mainland Europe and the British Isles. It is a robust mustard family perennial that typically matures in a spreading mound up to 36-inches tall. The leaves are large, fleshy, shallowly-lobed. They resemble the leaves found on collards and cabbages which are in the same family.
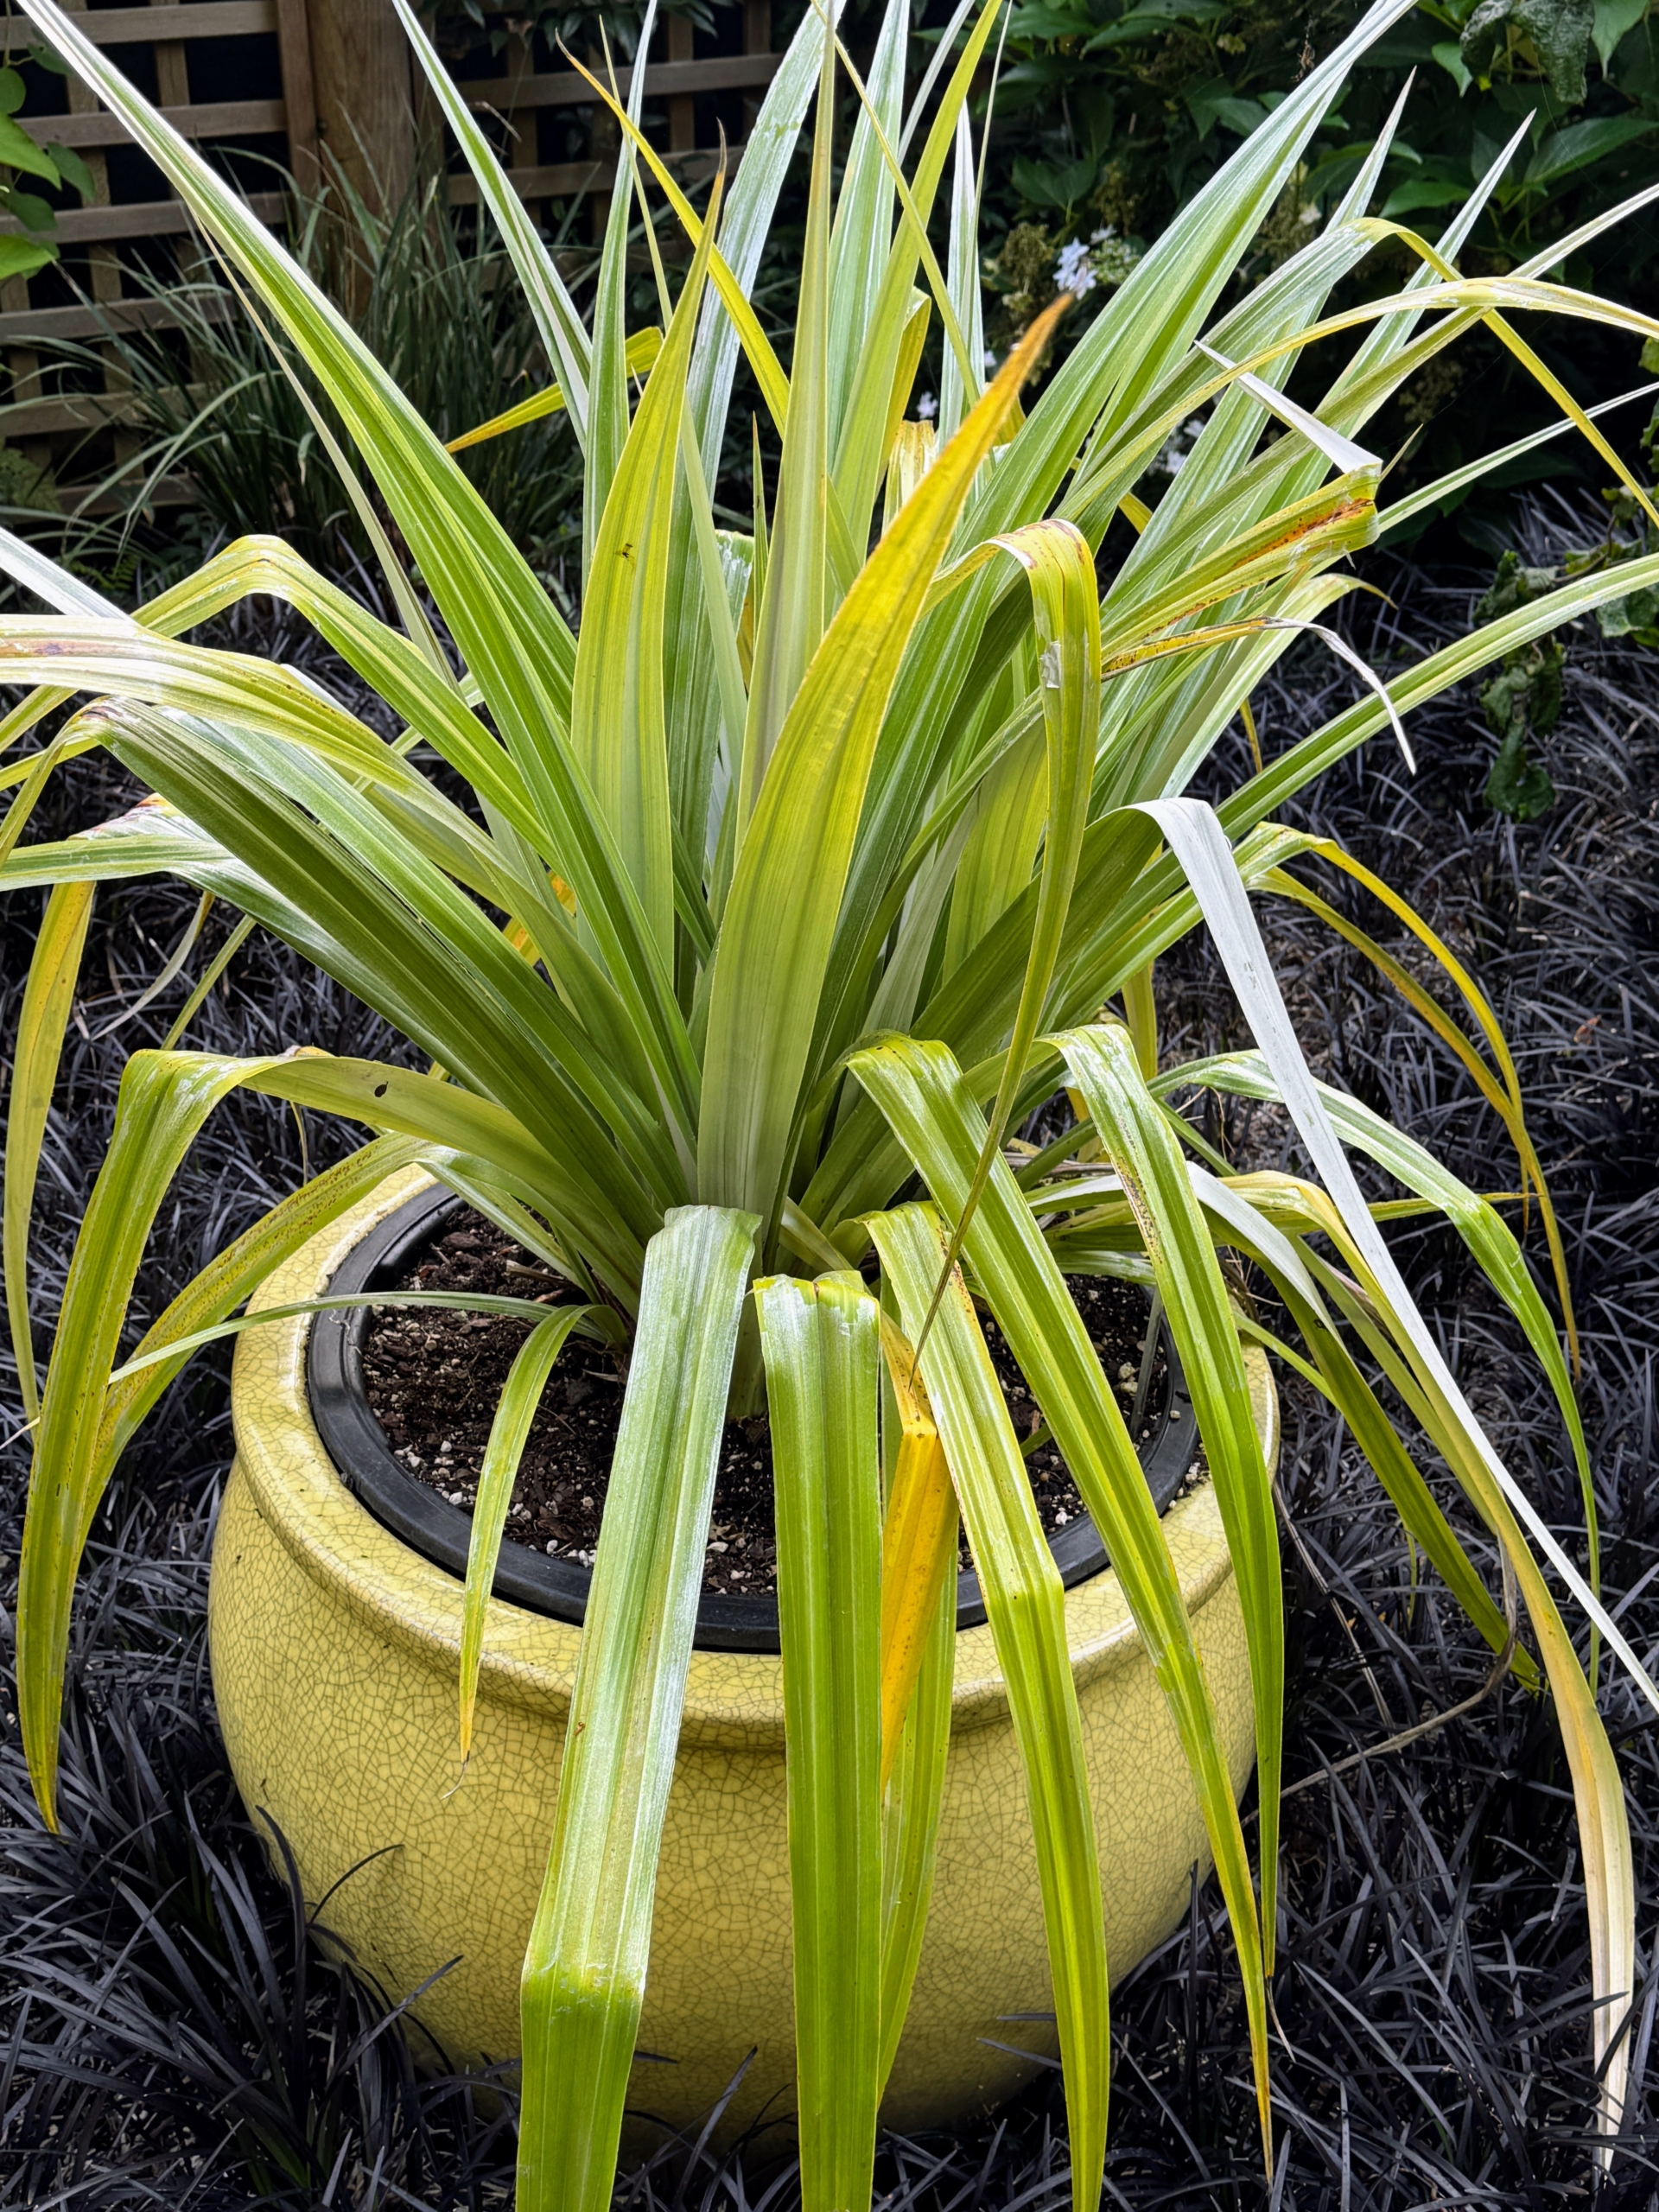
This is a potted Astelia ‘Silver Shadow’ which has long, arched silvery-green sword-like leaf blades that last all year long. The metallic foliage creates an eye-catching display in the garden.
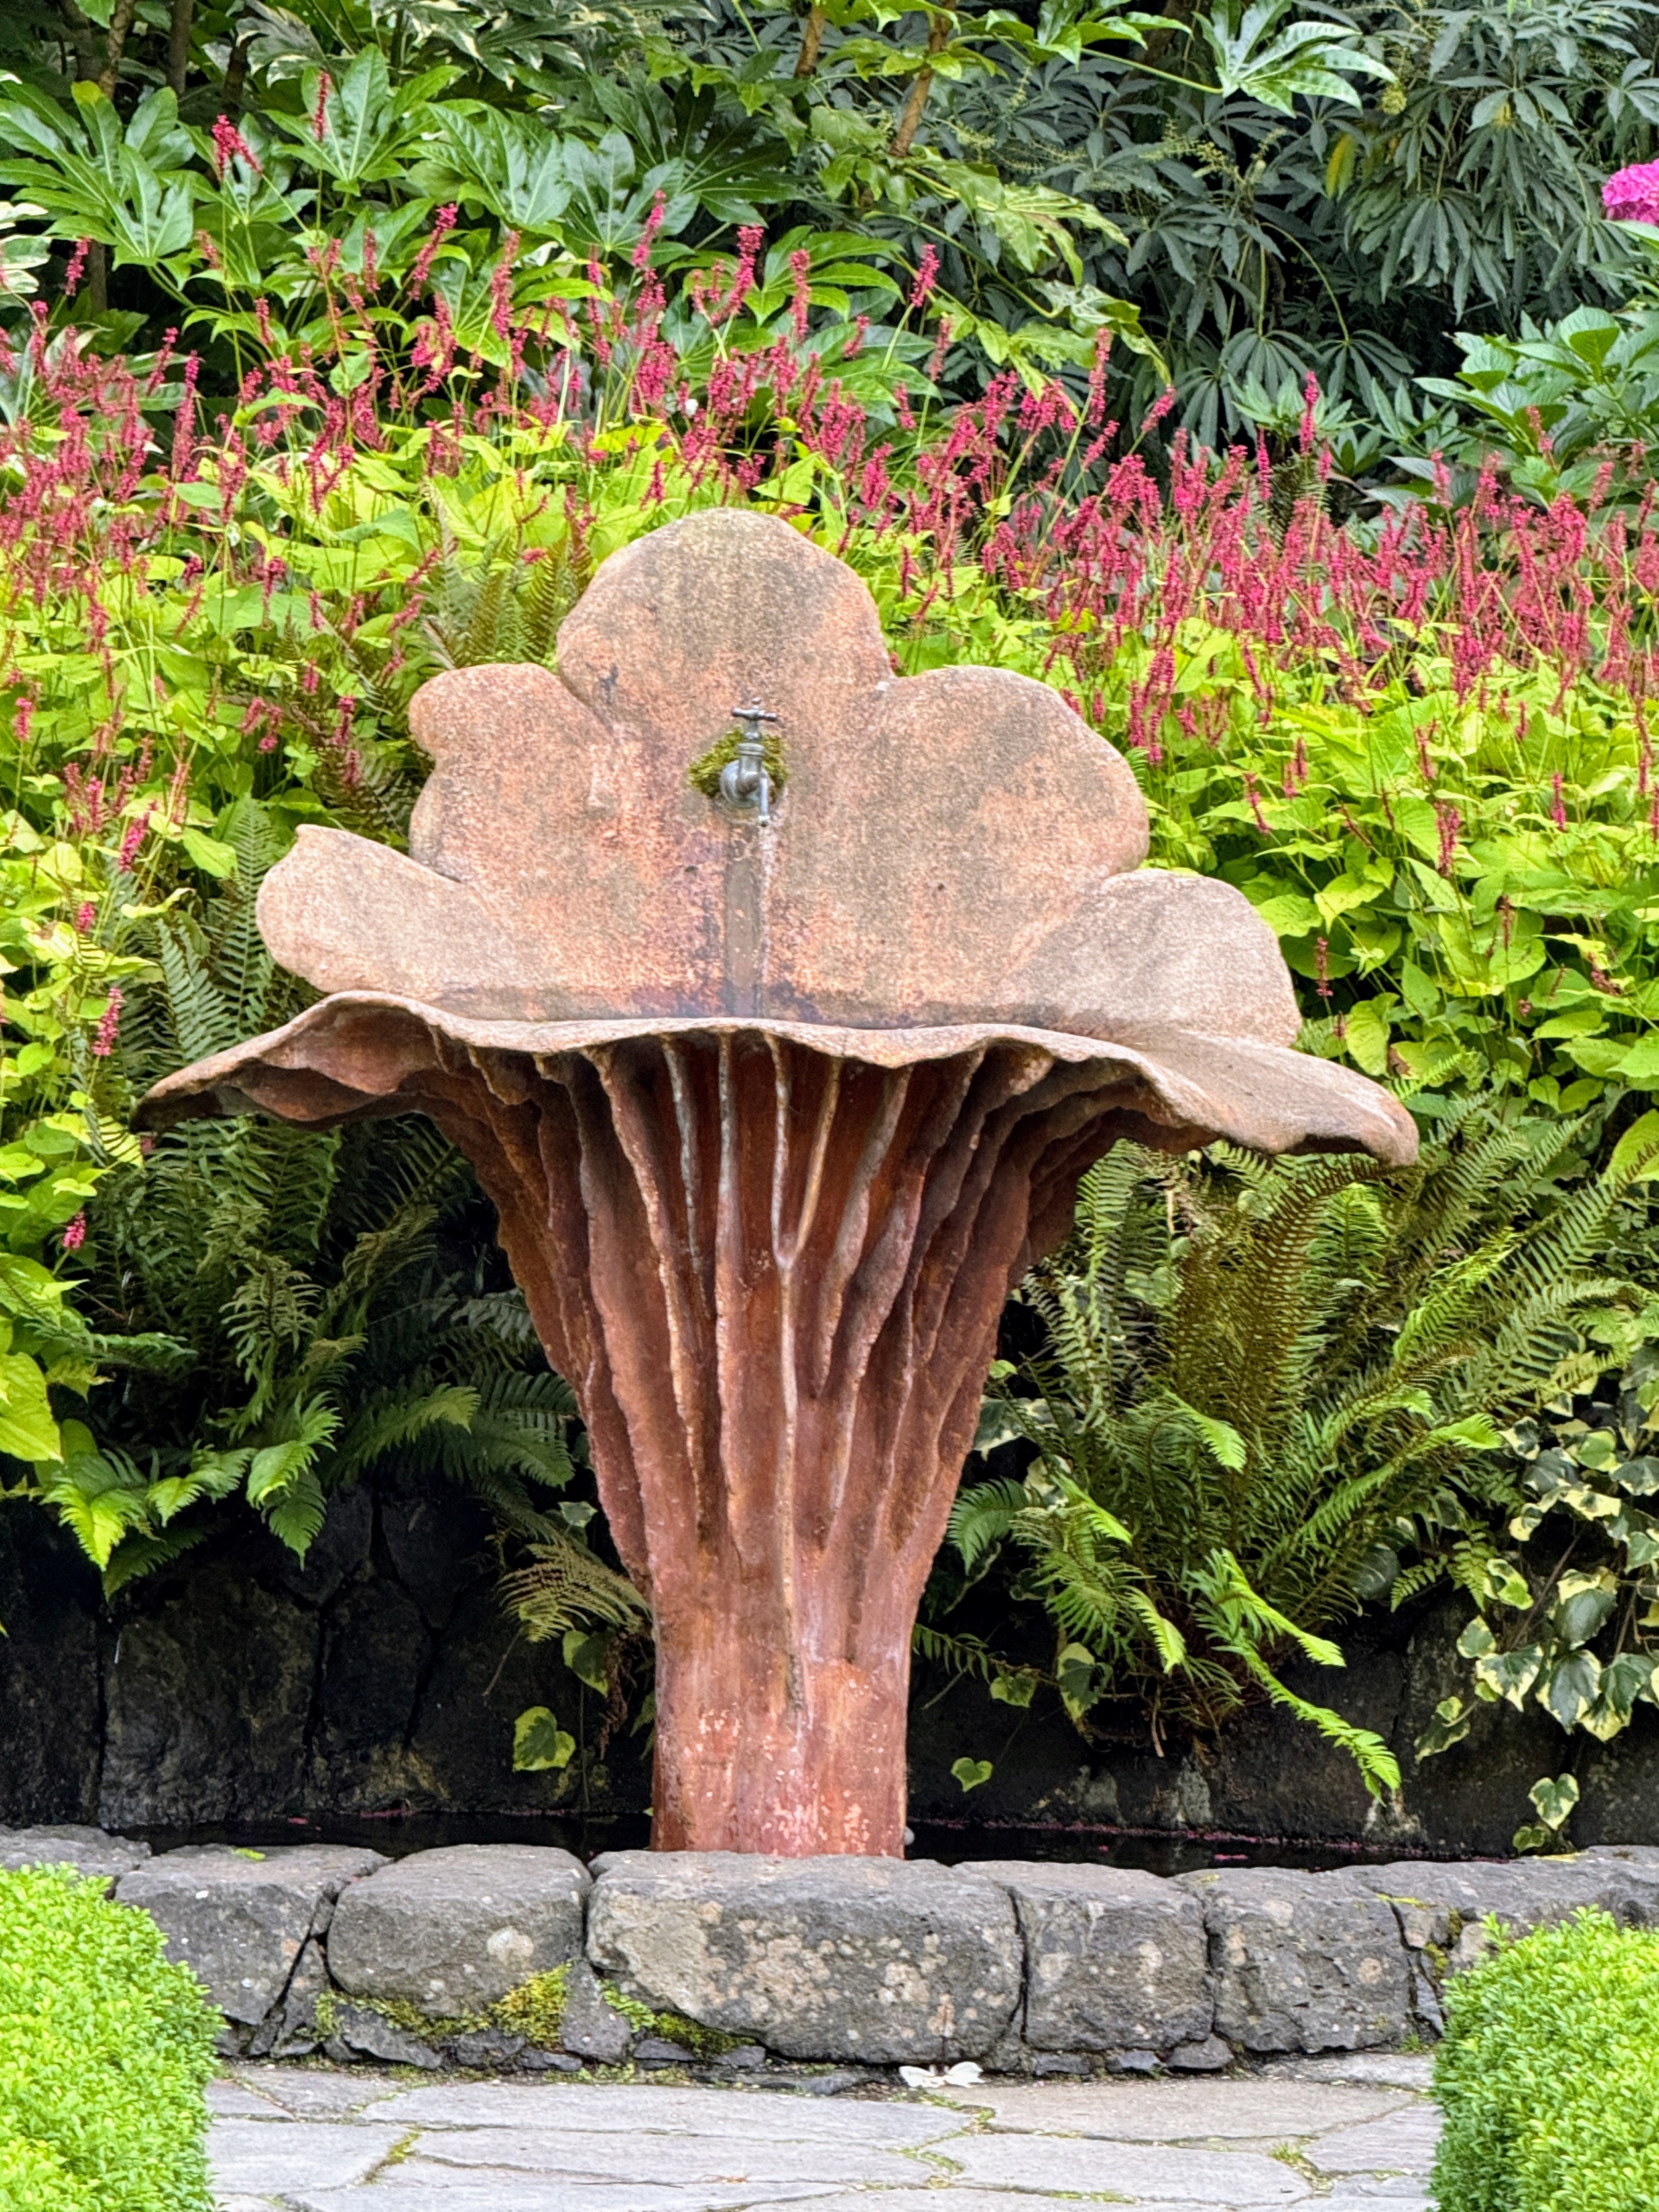
I also captured a photo of this Chanterelle Fountain with Persicaria ‘Golden Arrow’ behind it, which is native to the Himalayas. Tiny, rose-red to white flowers bloom June through September on narrow, long-stalked spikes.
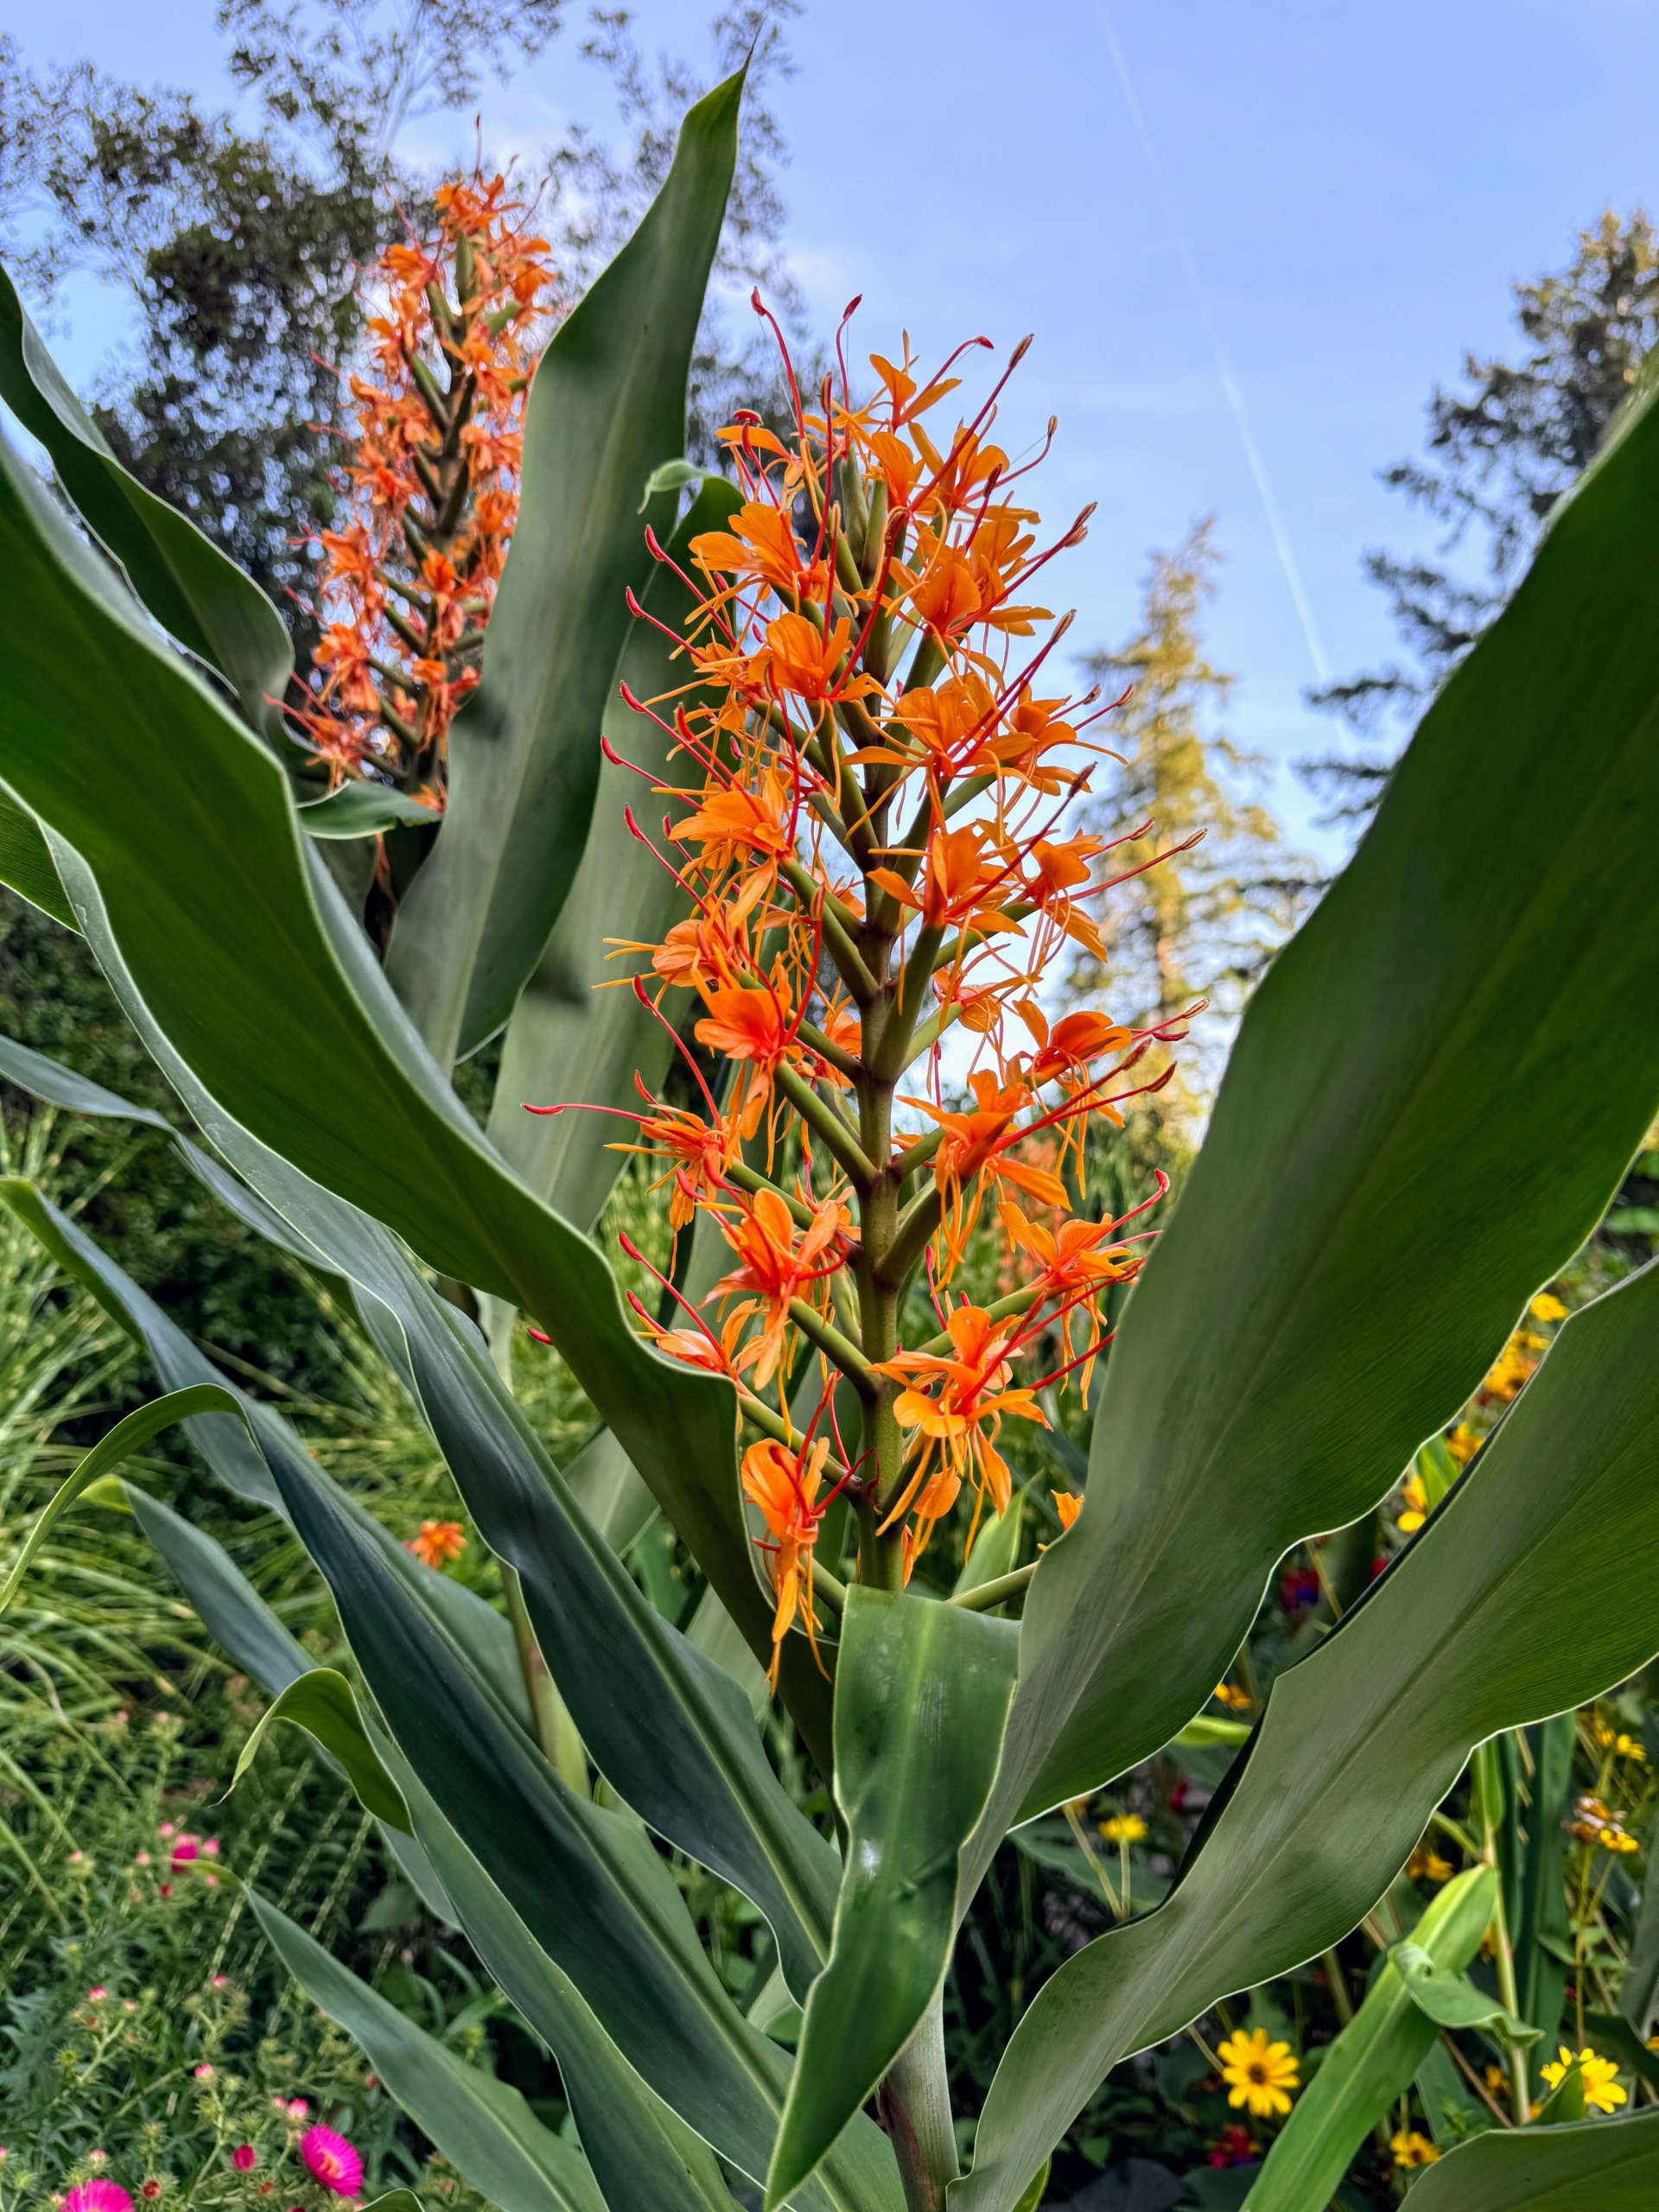
Hedychium ‘Tara’ shows rich, orange flowers above sturdy bold green foliage. And, if one is close enough, one can smell its sweet fragrance, that some say is similar to gardenia or honeysuckle.
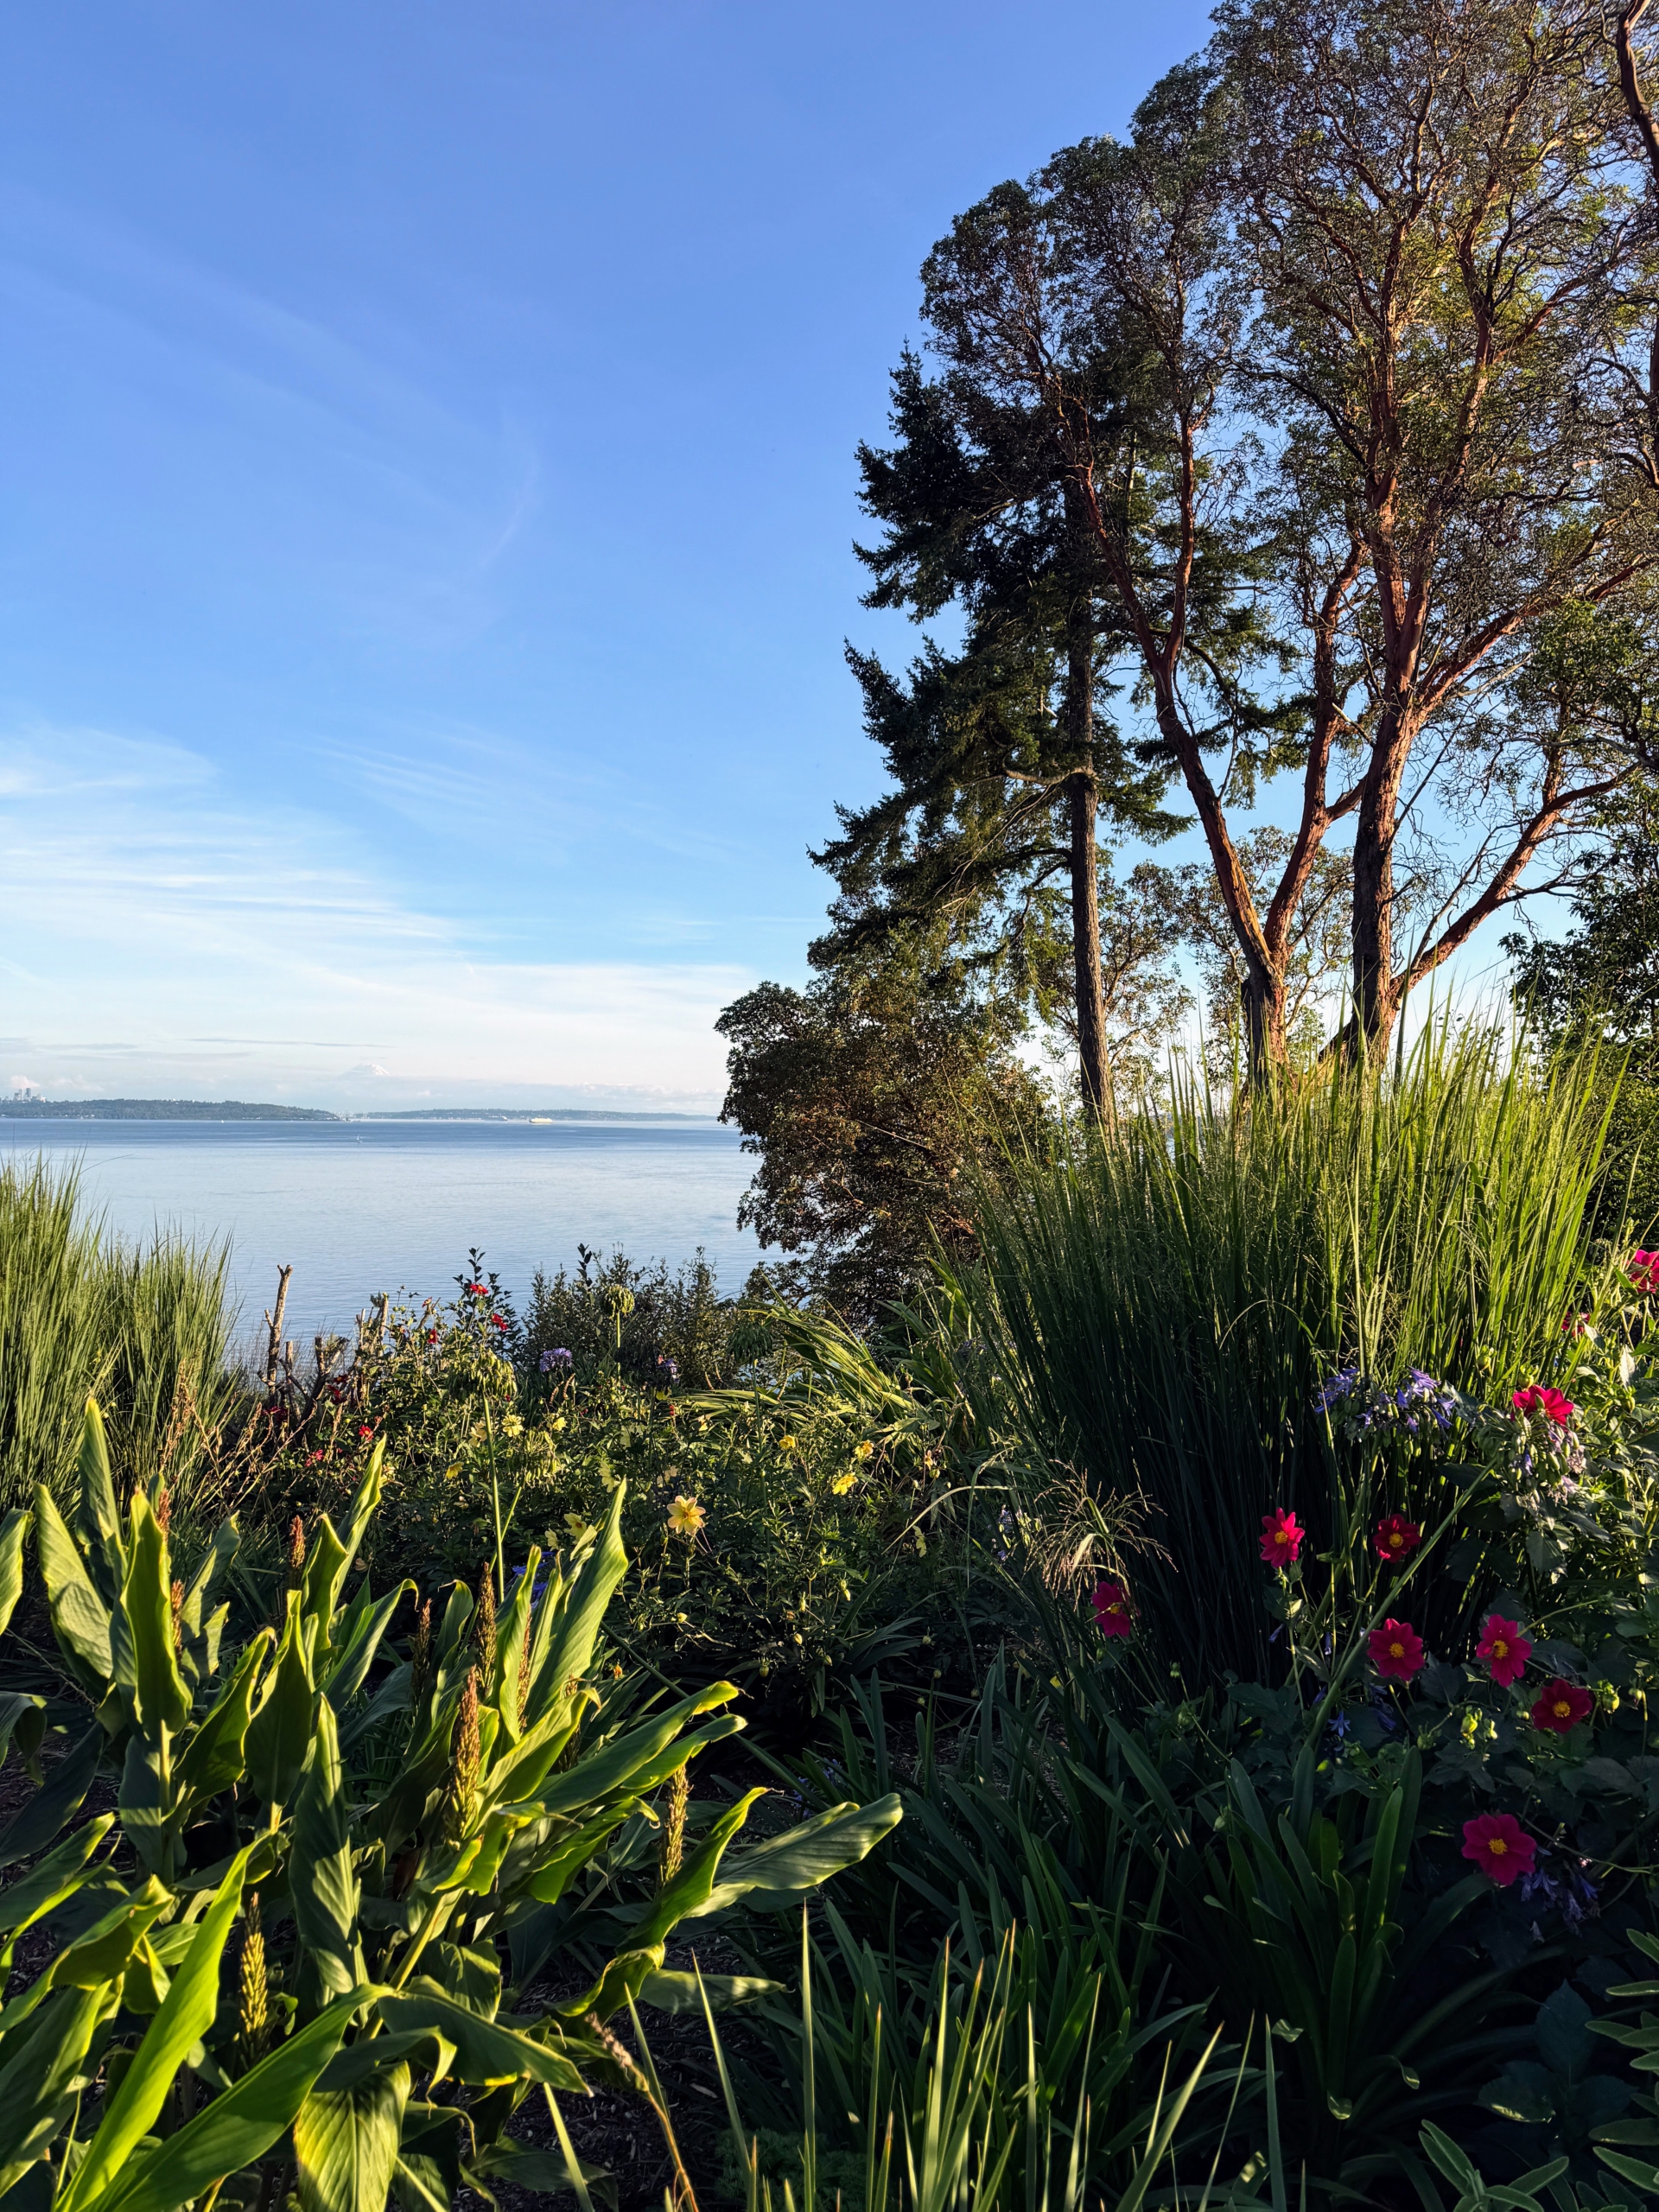
I couldn’t leave the area without visiting Windcliff, the current home and garden of Dan and Robert on Washington State’s Kitsap Peninsula. The garden is built on a bluff with spectacular views of Mt. Ranier in the distance.
The views are breathtaking. Dan planted drifts of sun-loving perennials, most of which do not need supplemental water during the growing season.
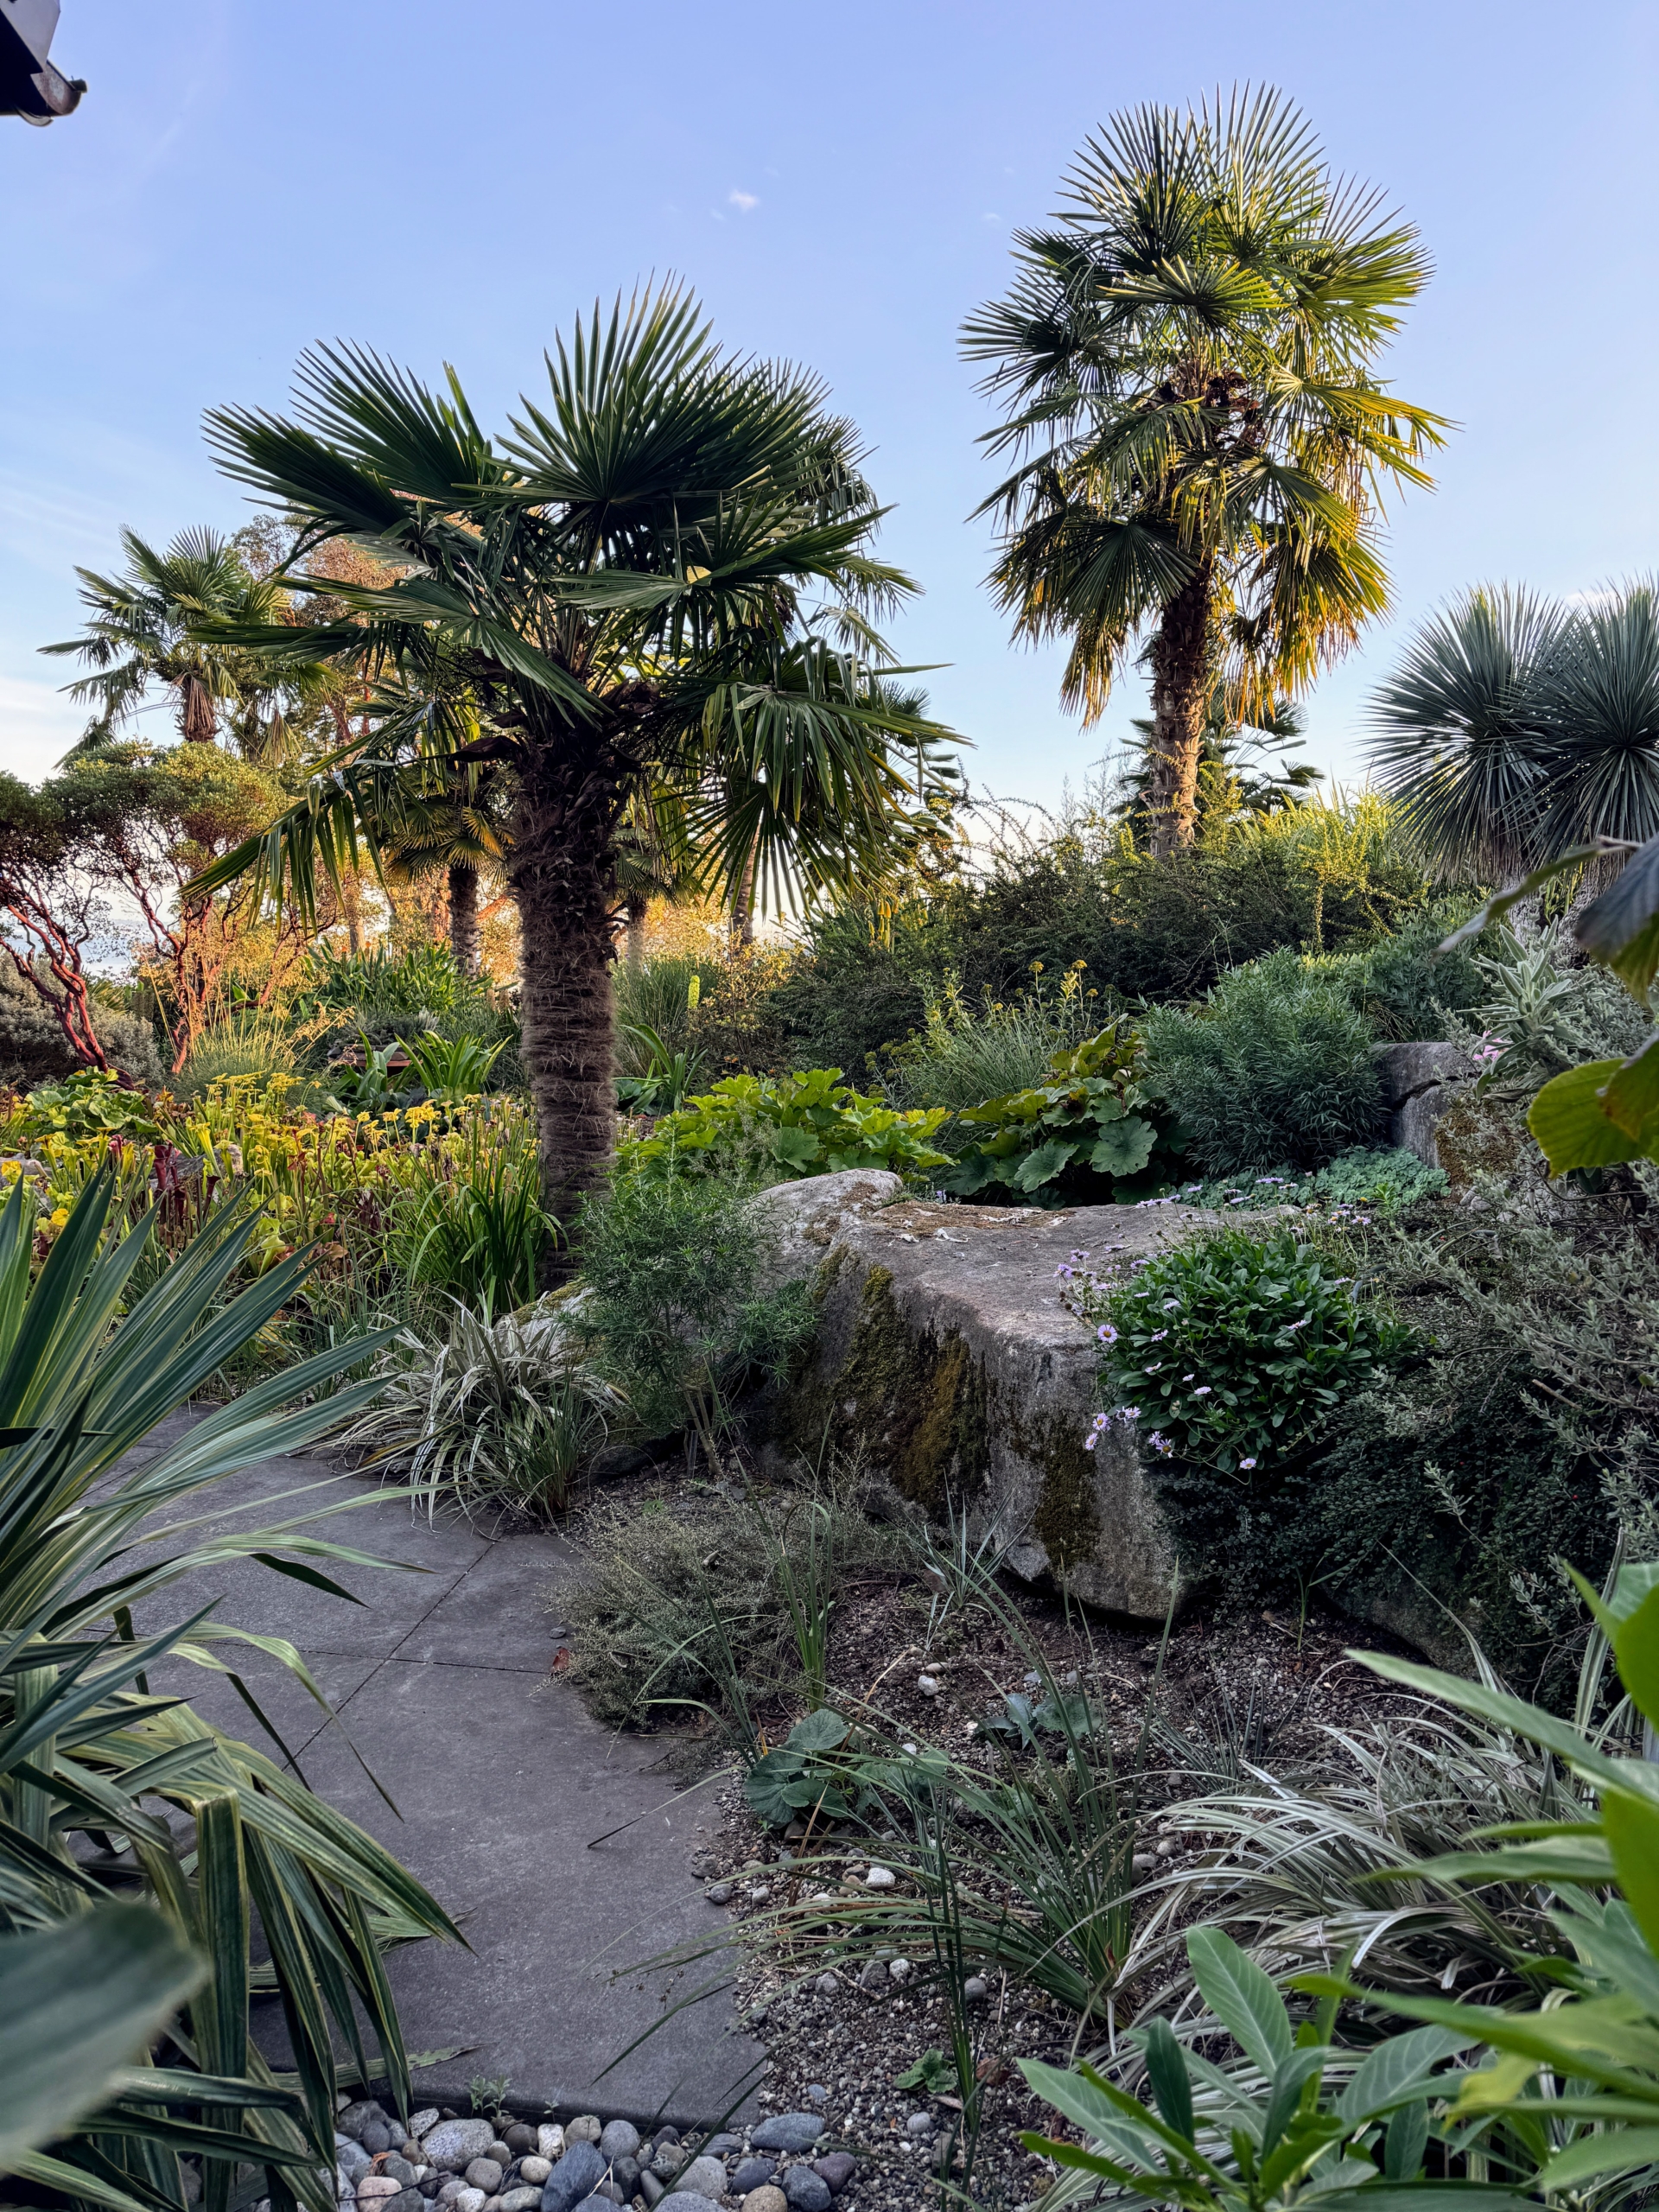
At Windcliff, the combination of varying soil composition, mild climate, and regular rainfall allows for such an exceptional array of plants to be seamlessly grown together.
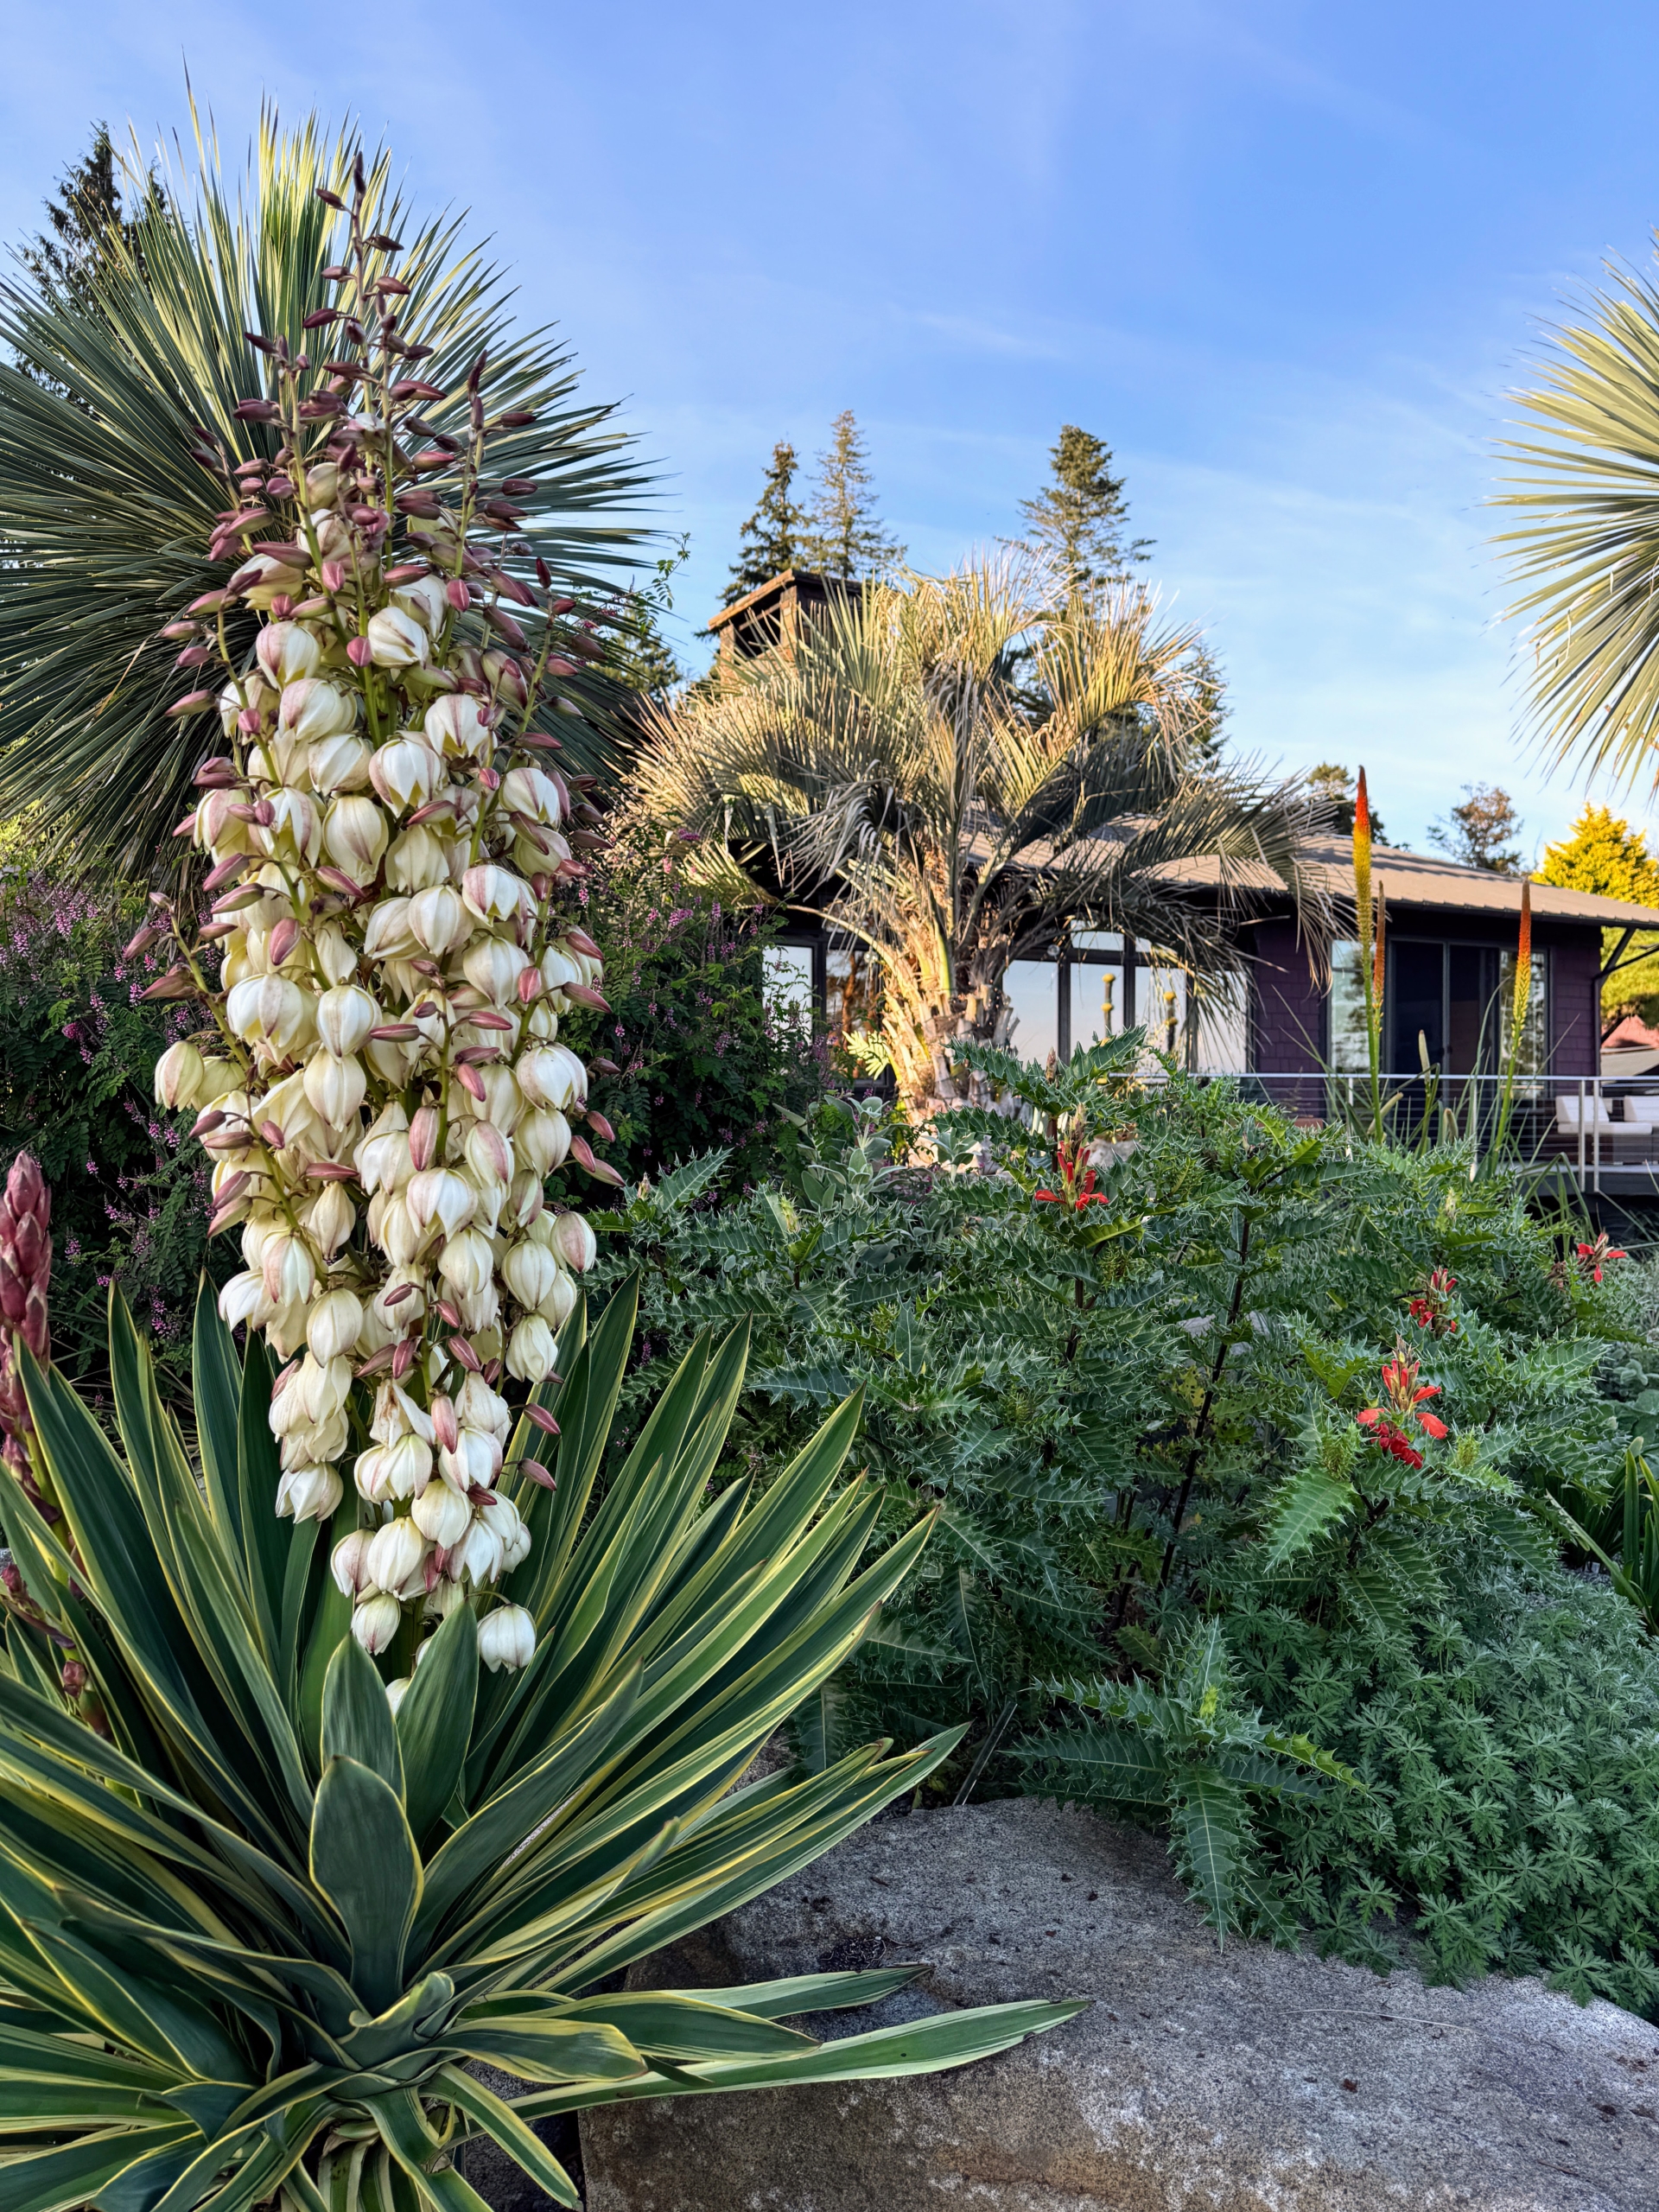
Dan’s husband, Robert, designed the beautiful, low-lying, one-story house in the front bluff. The home was carefully planned to have unobstructed views of the sound.
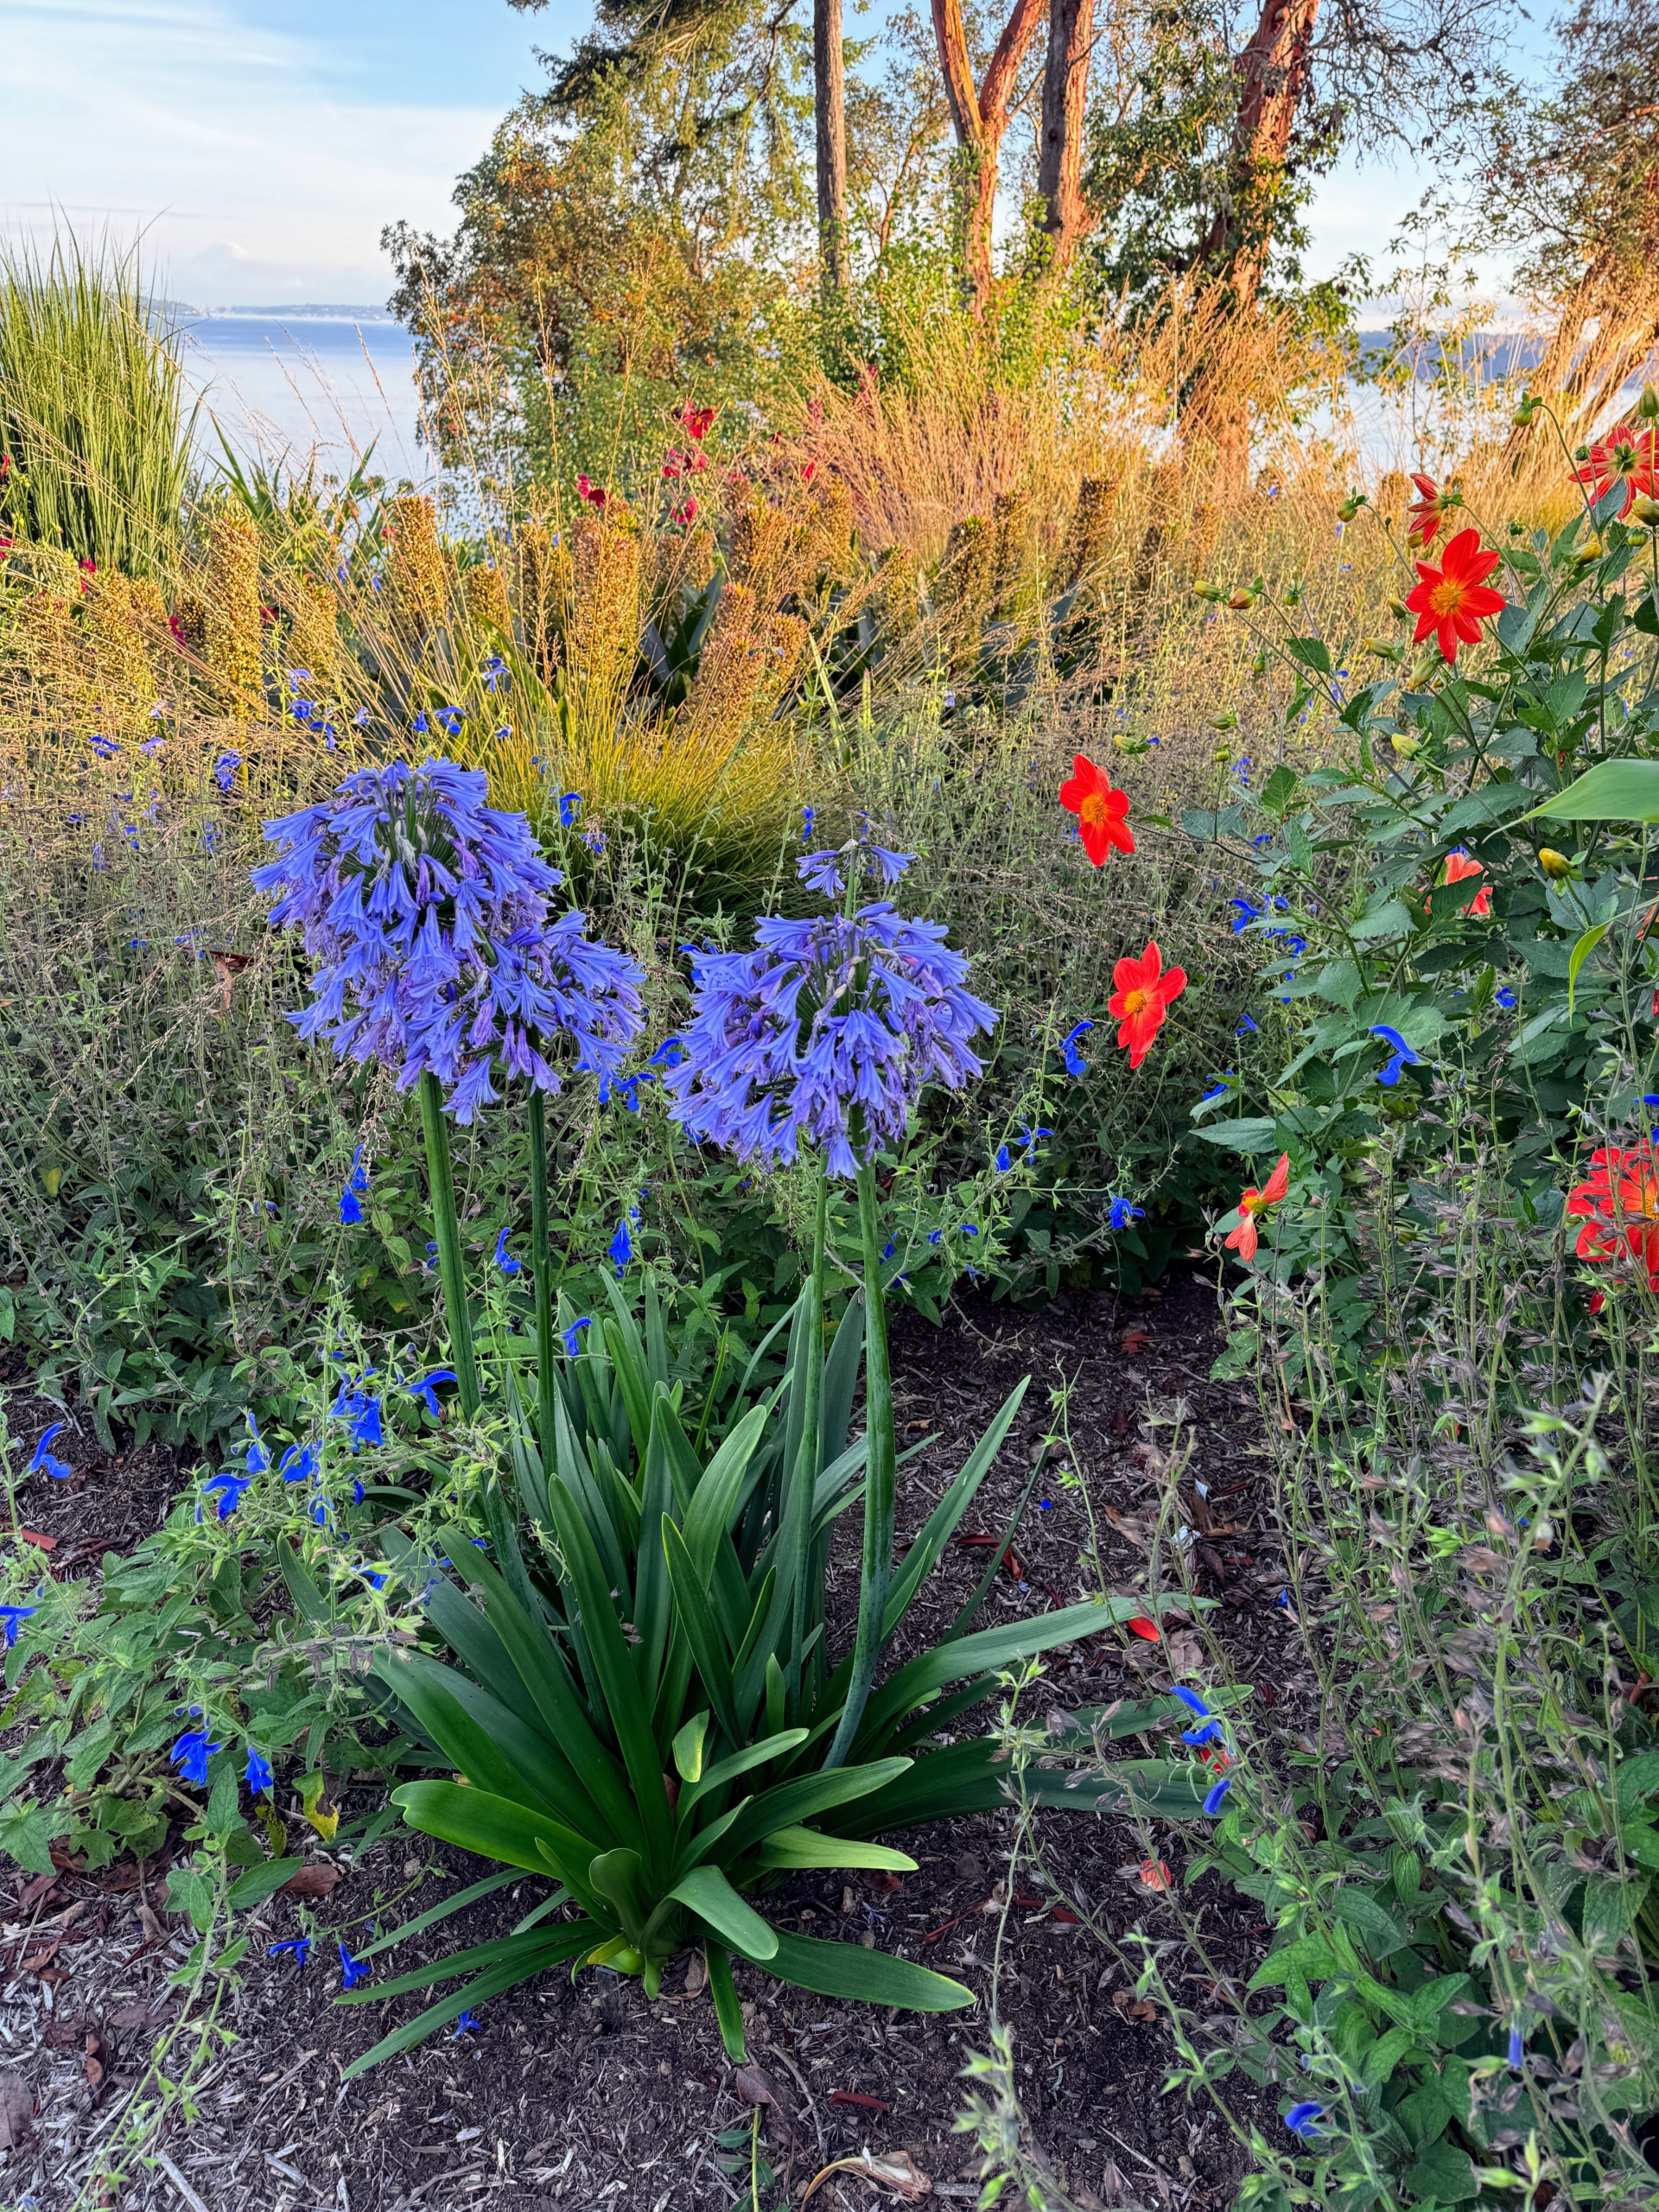
Dan loves agapanthus and is always hybridizing them. Although its common name is Lily of the Nile, agapanthus originates at the other end of the African continent, in South Africa. Dan and Robert began planting Windcliff in 2005, and it develops more beautifully every year.
It's always so exciting to see my gardens evolve and transform.
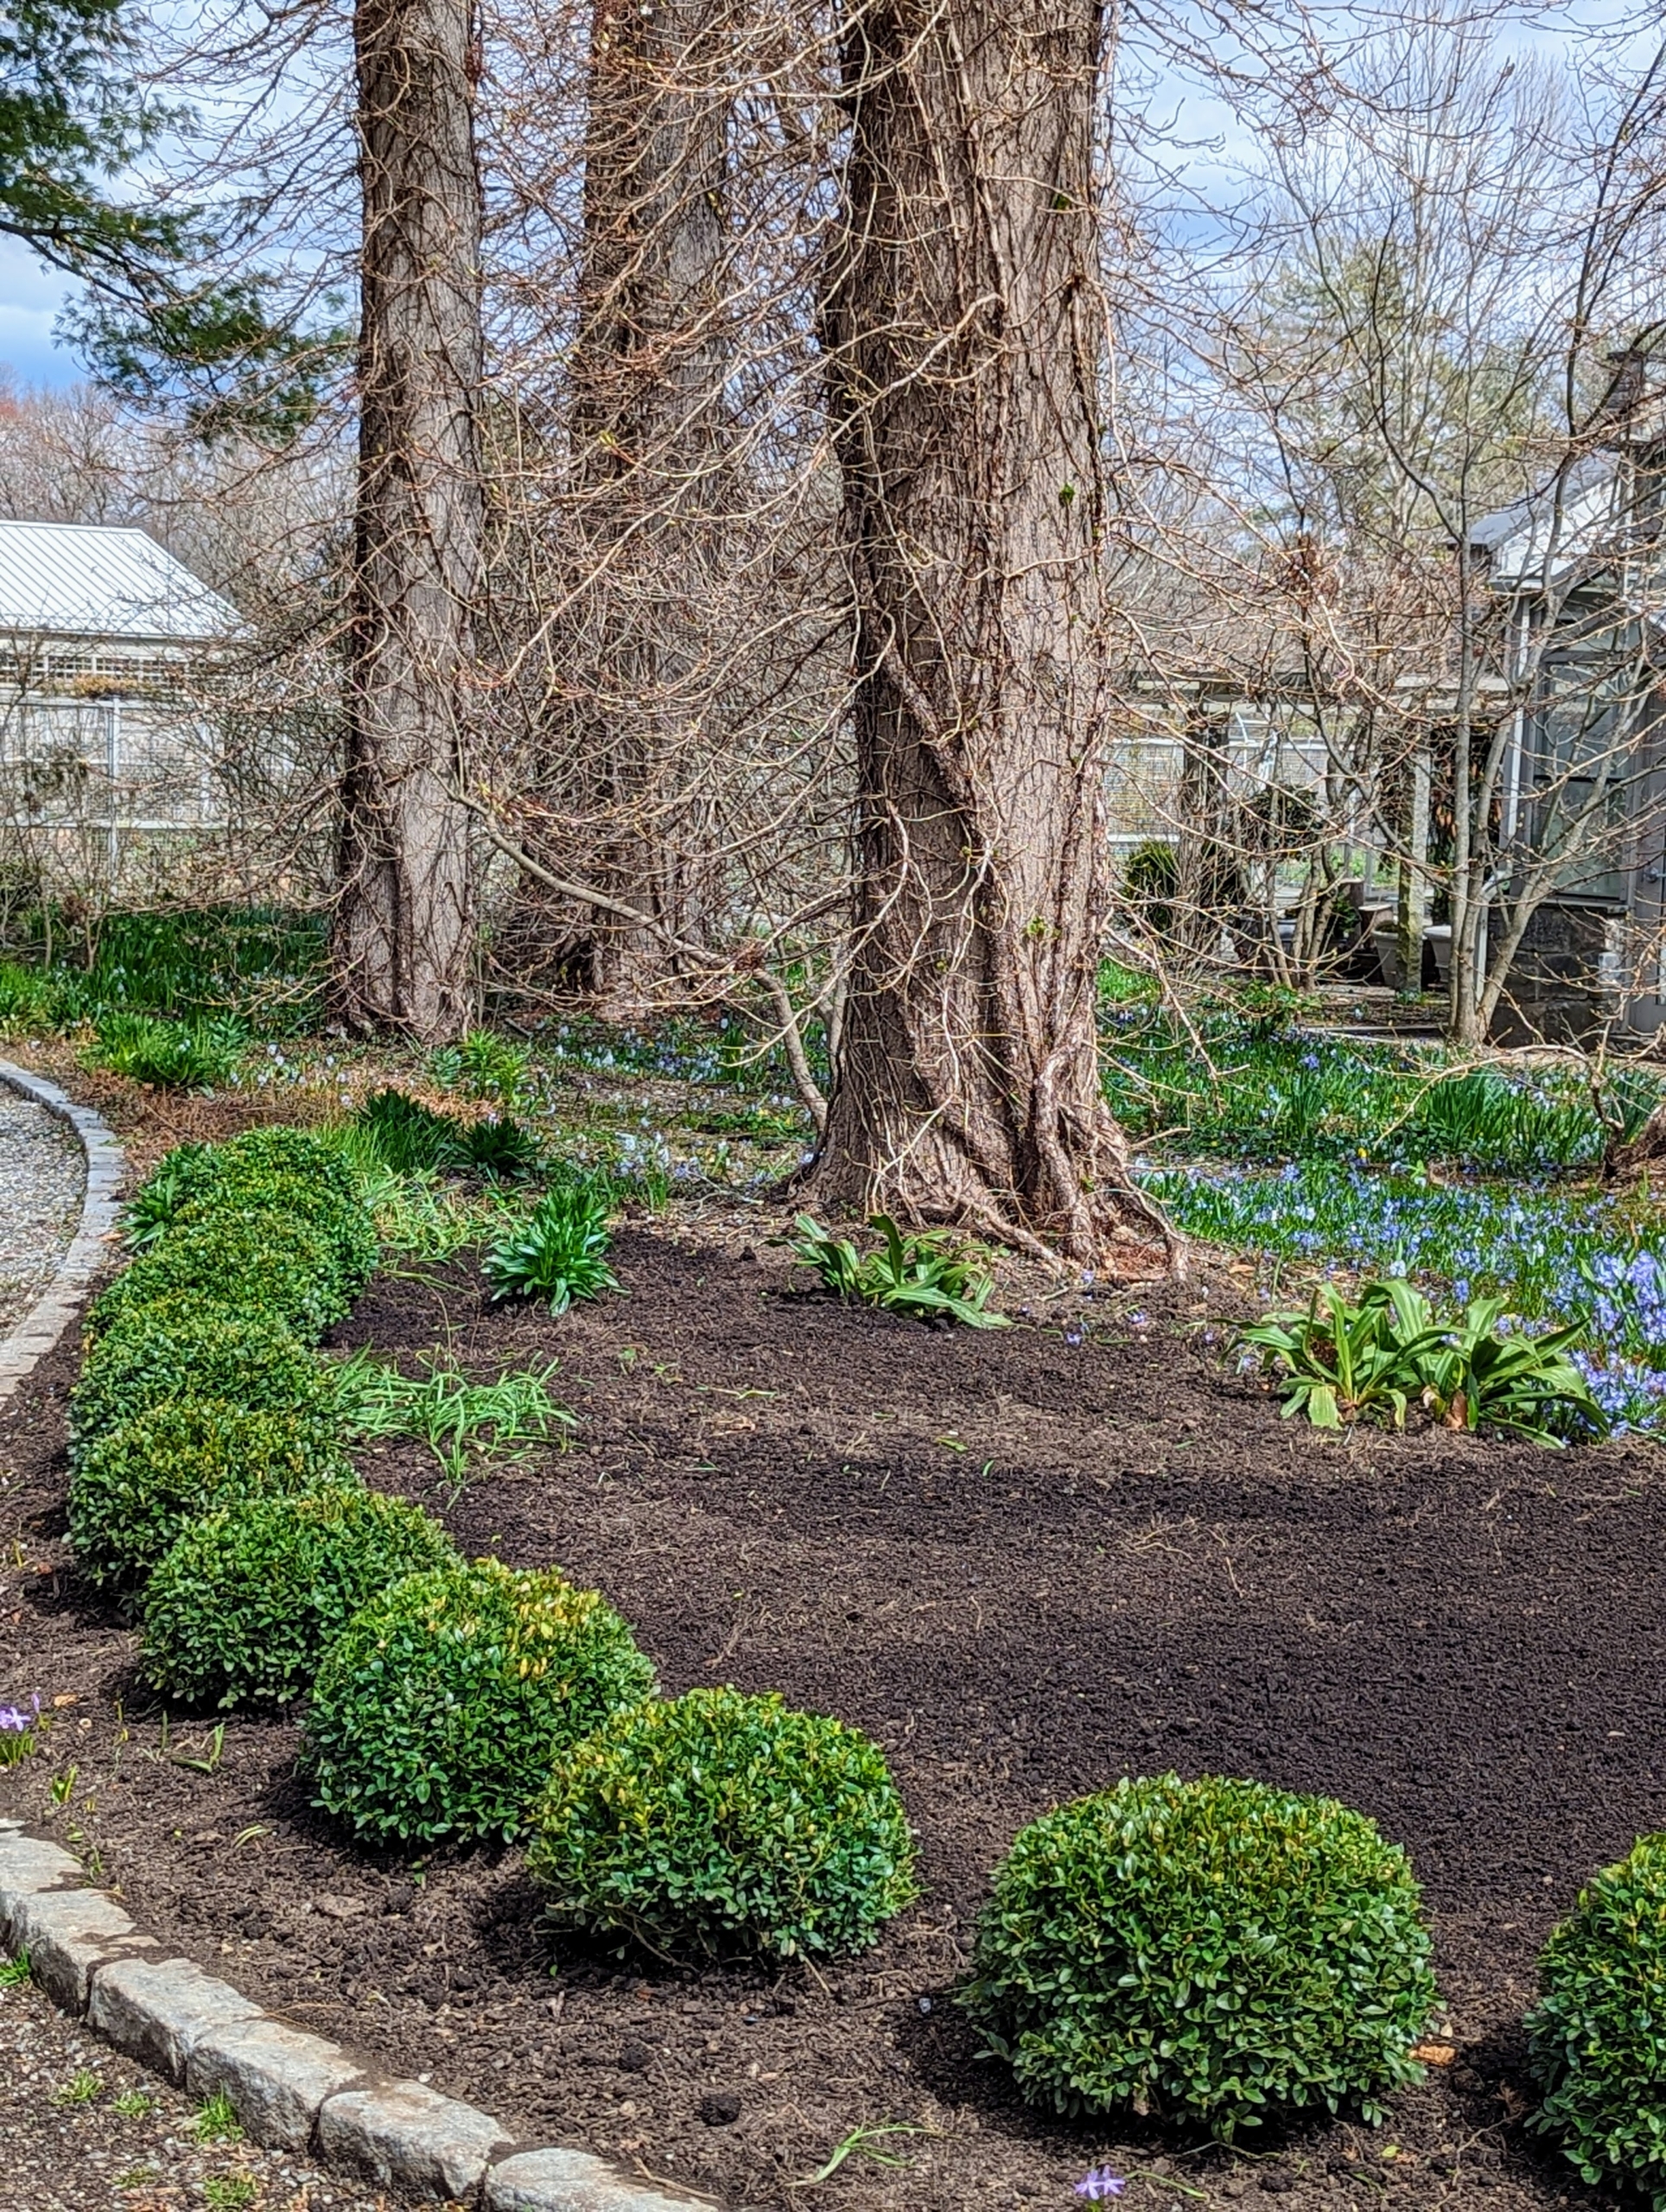
This week, I turned my attention to a bed near the front of my farm outside my main greenhouse. I had already replaced a stand of white pine trunks with a selection of medium sized boxwood and planted hostas and other perennials around them. Recently, I decided to change the space once again, adding about a dozen more boxwood shrubs of different varieties and shapes. Yesterday, while I was in New York City for a long day of business meetings, my gardening team worked hard to get all the specimens in the ground before an afternoon of rain showers.
Enjoy these photos.
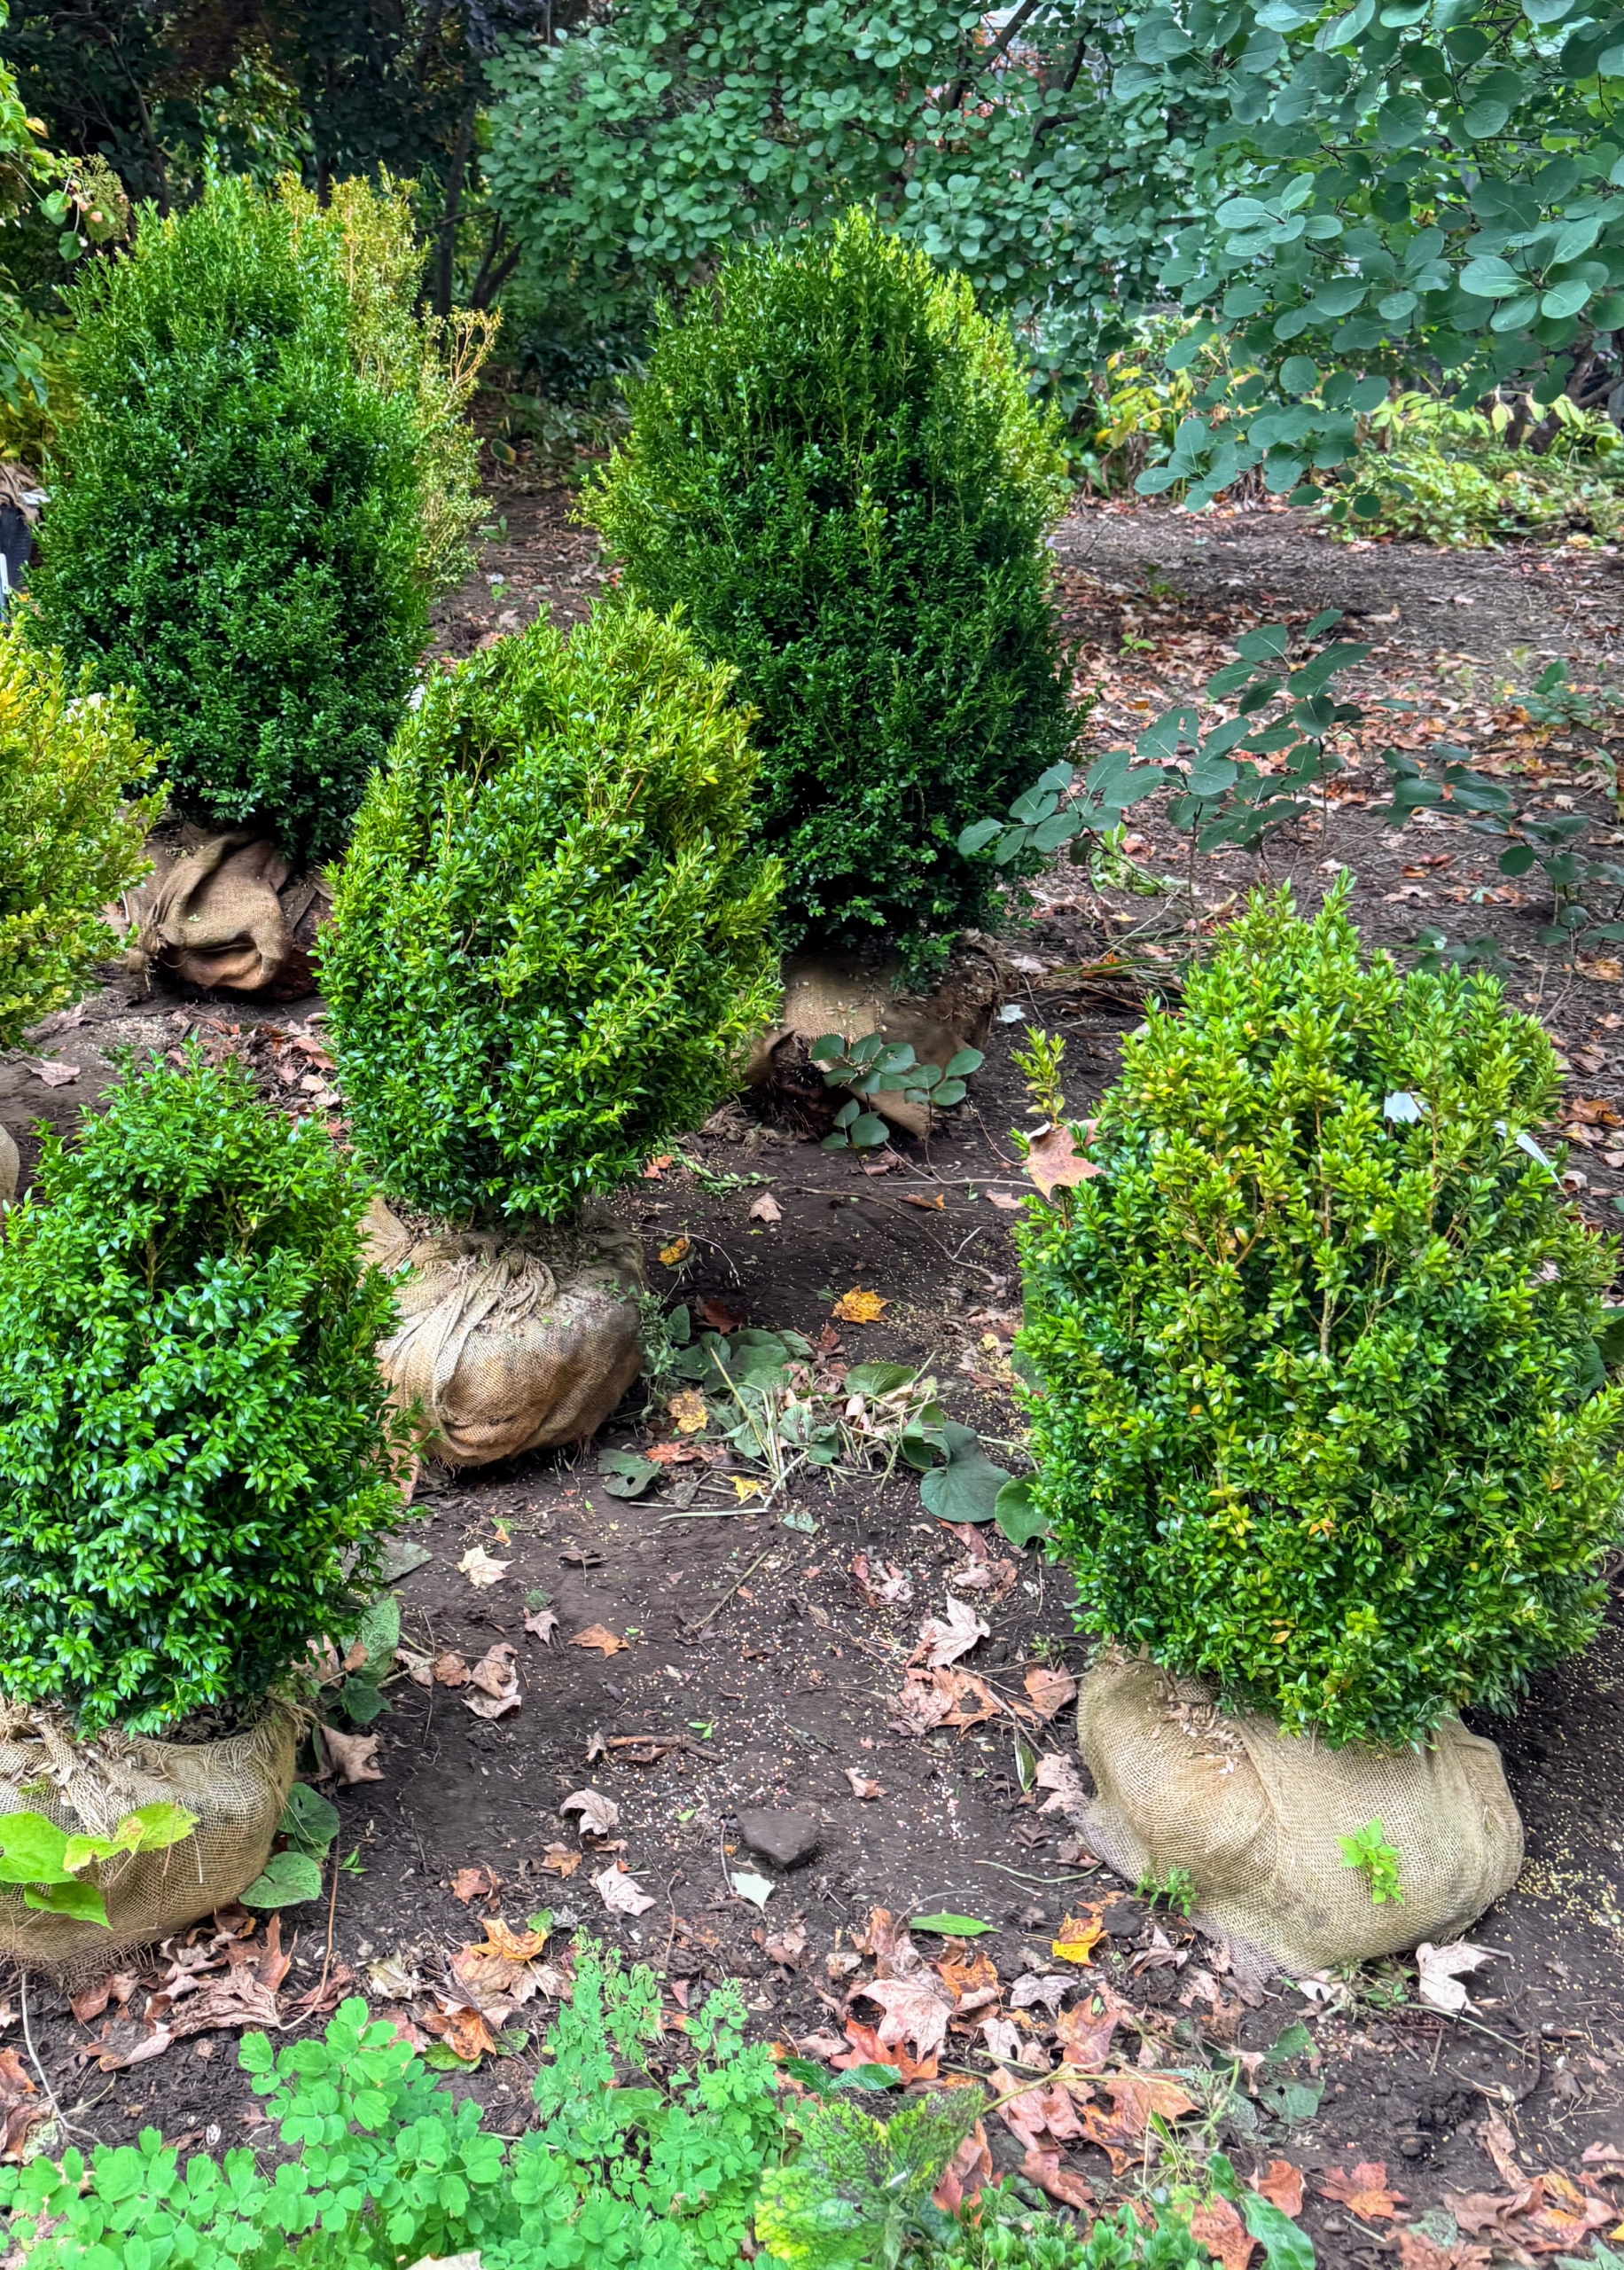
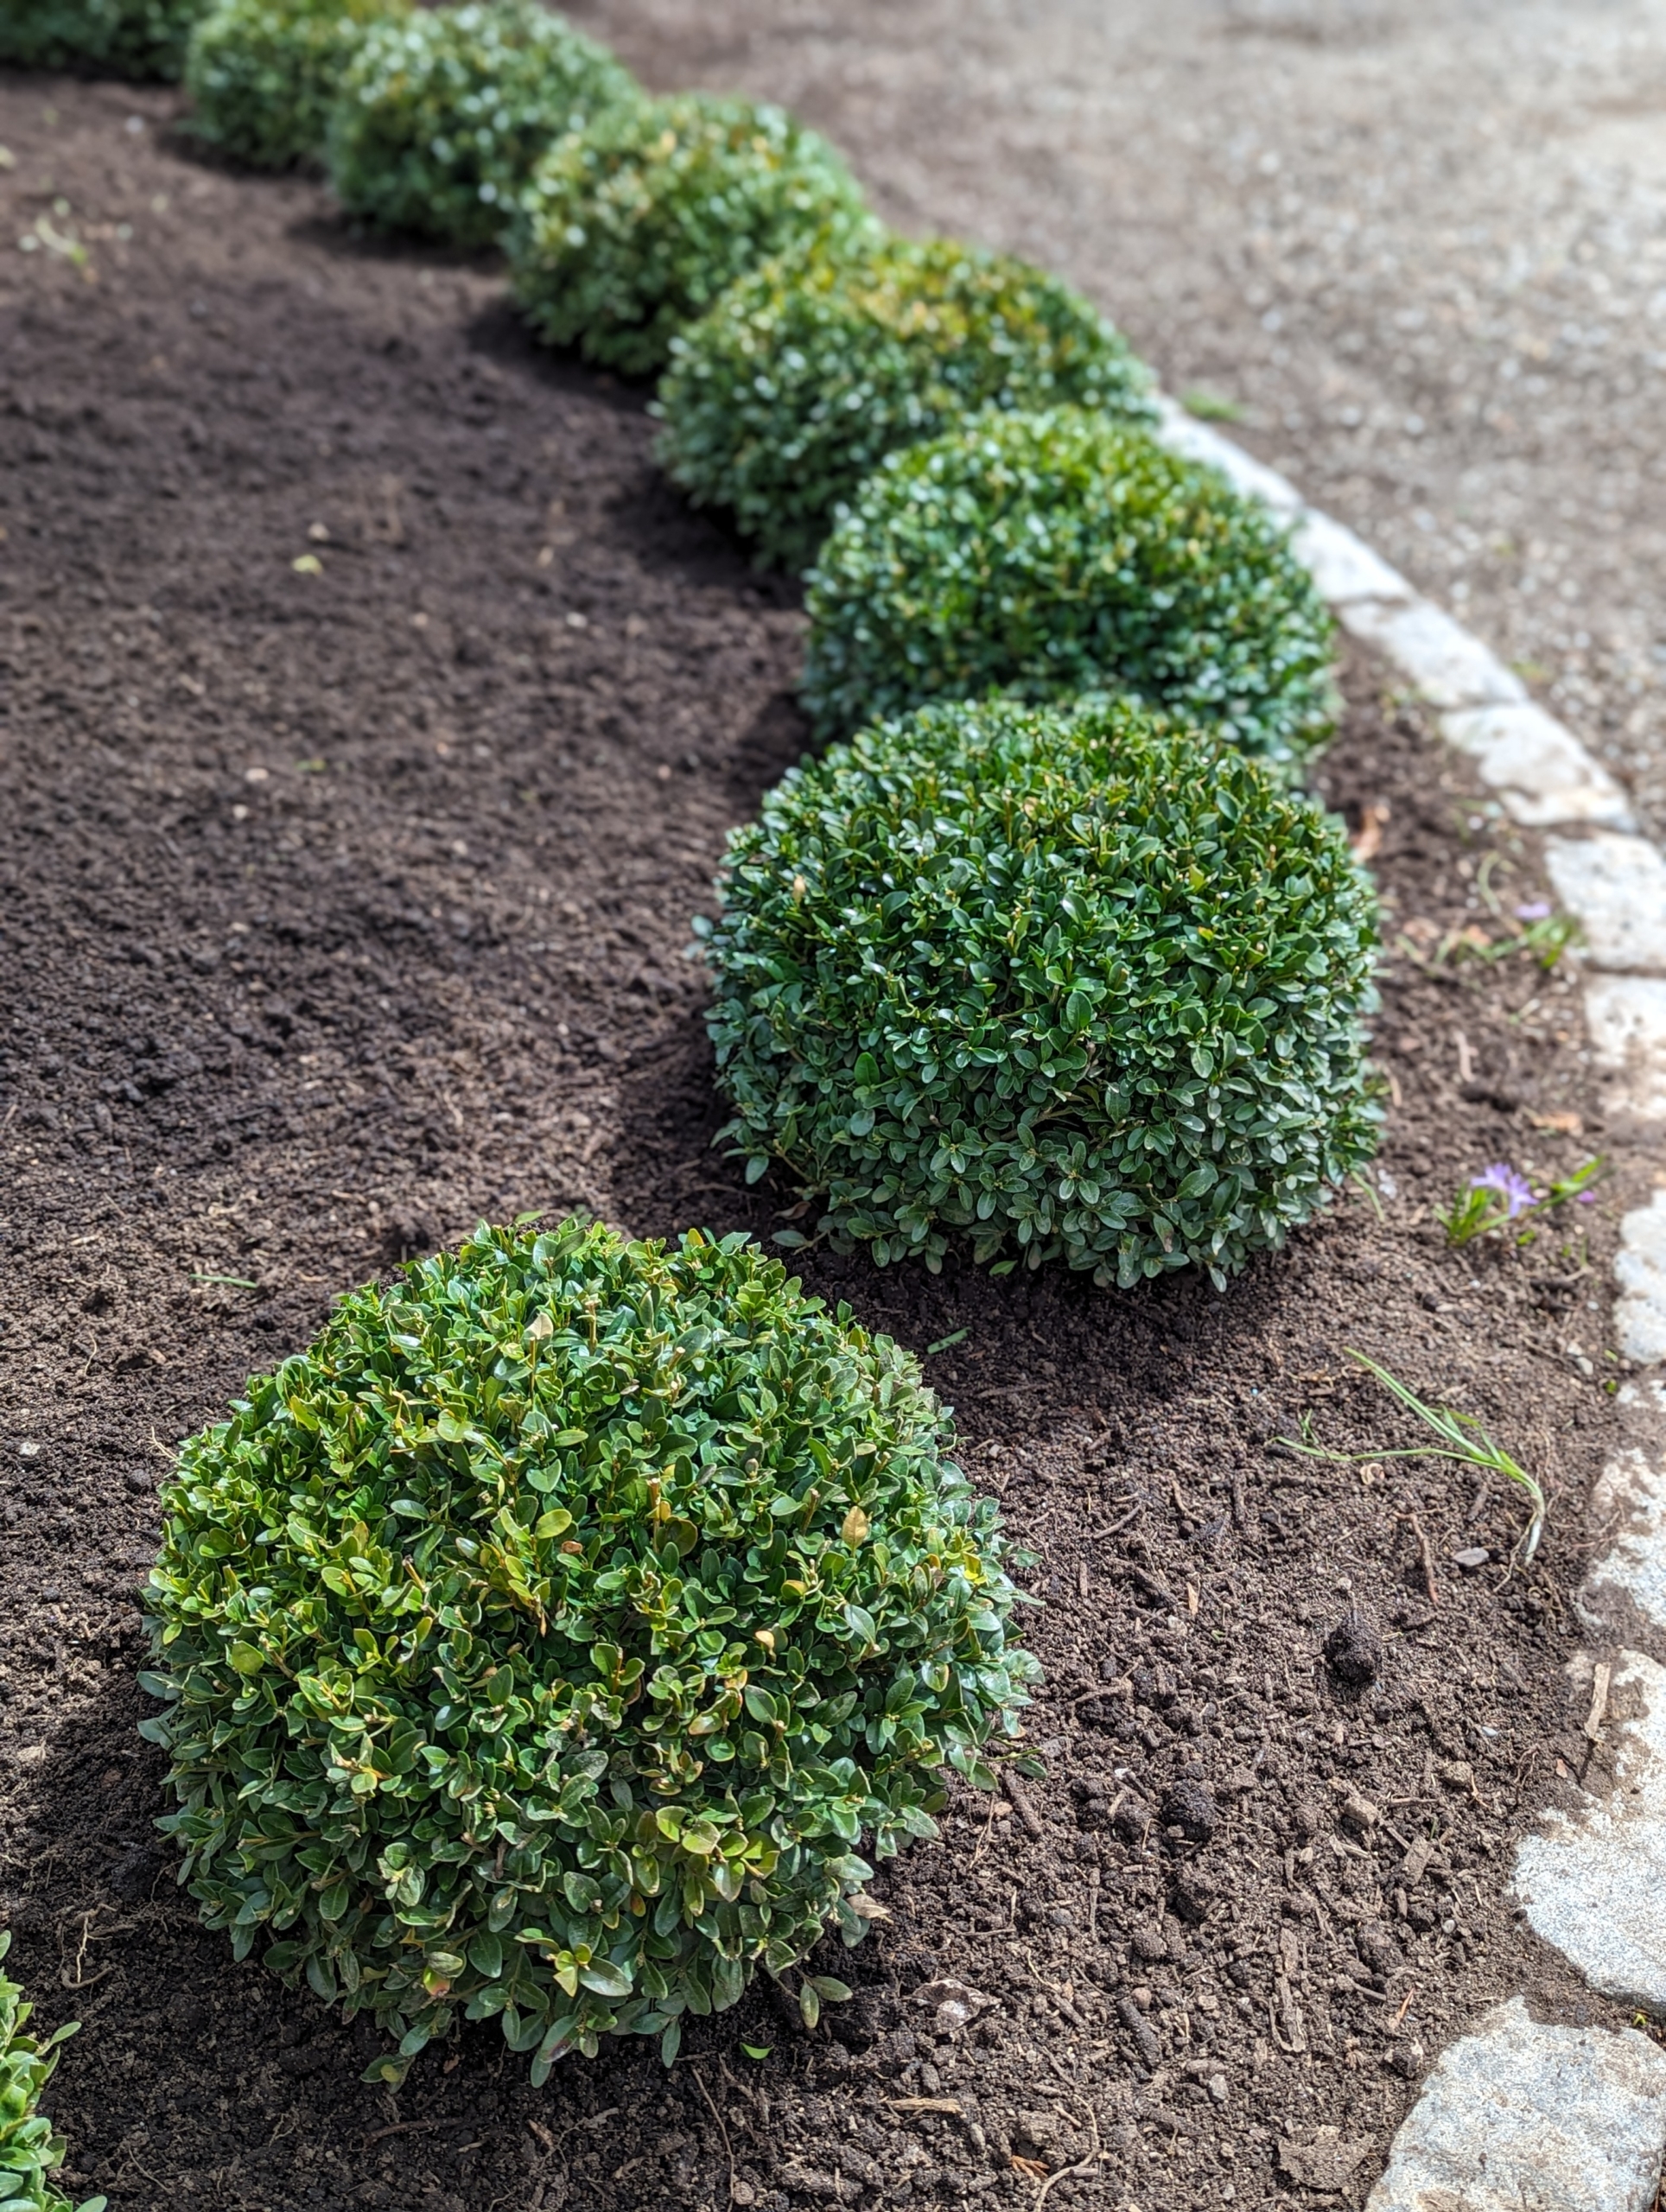
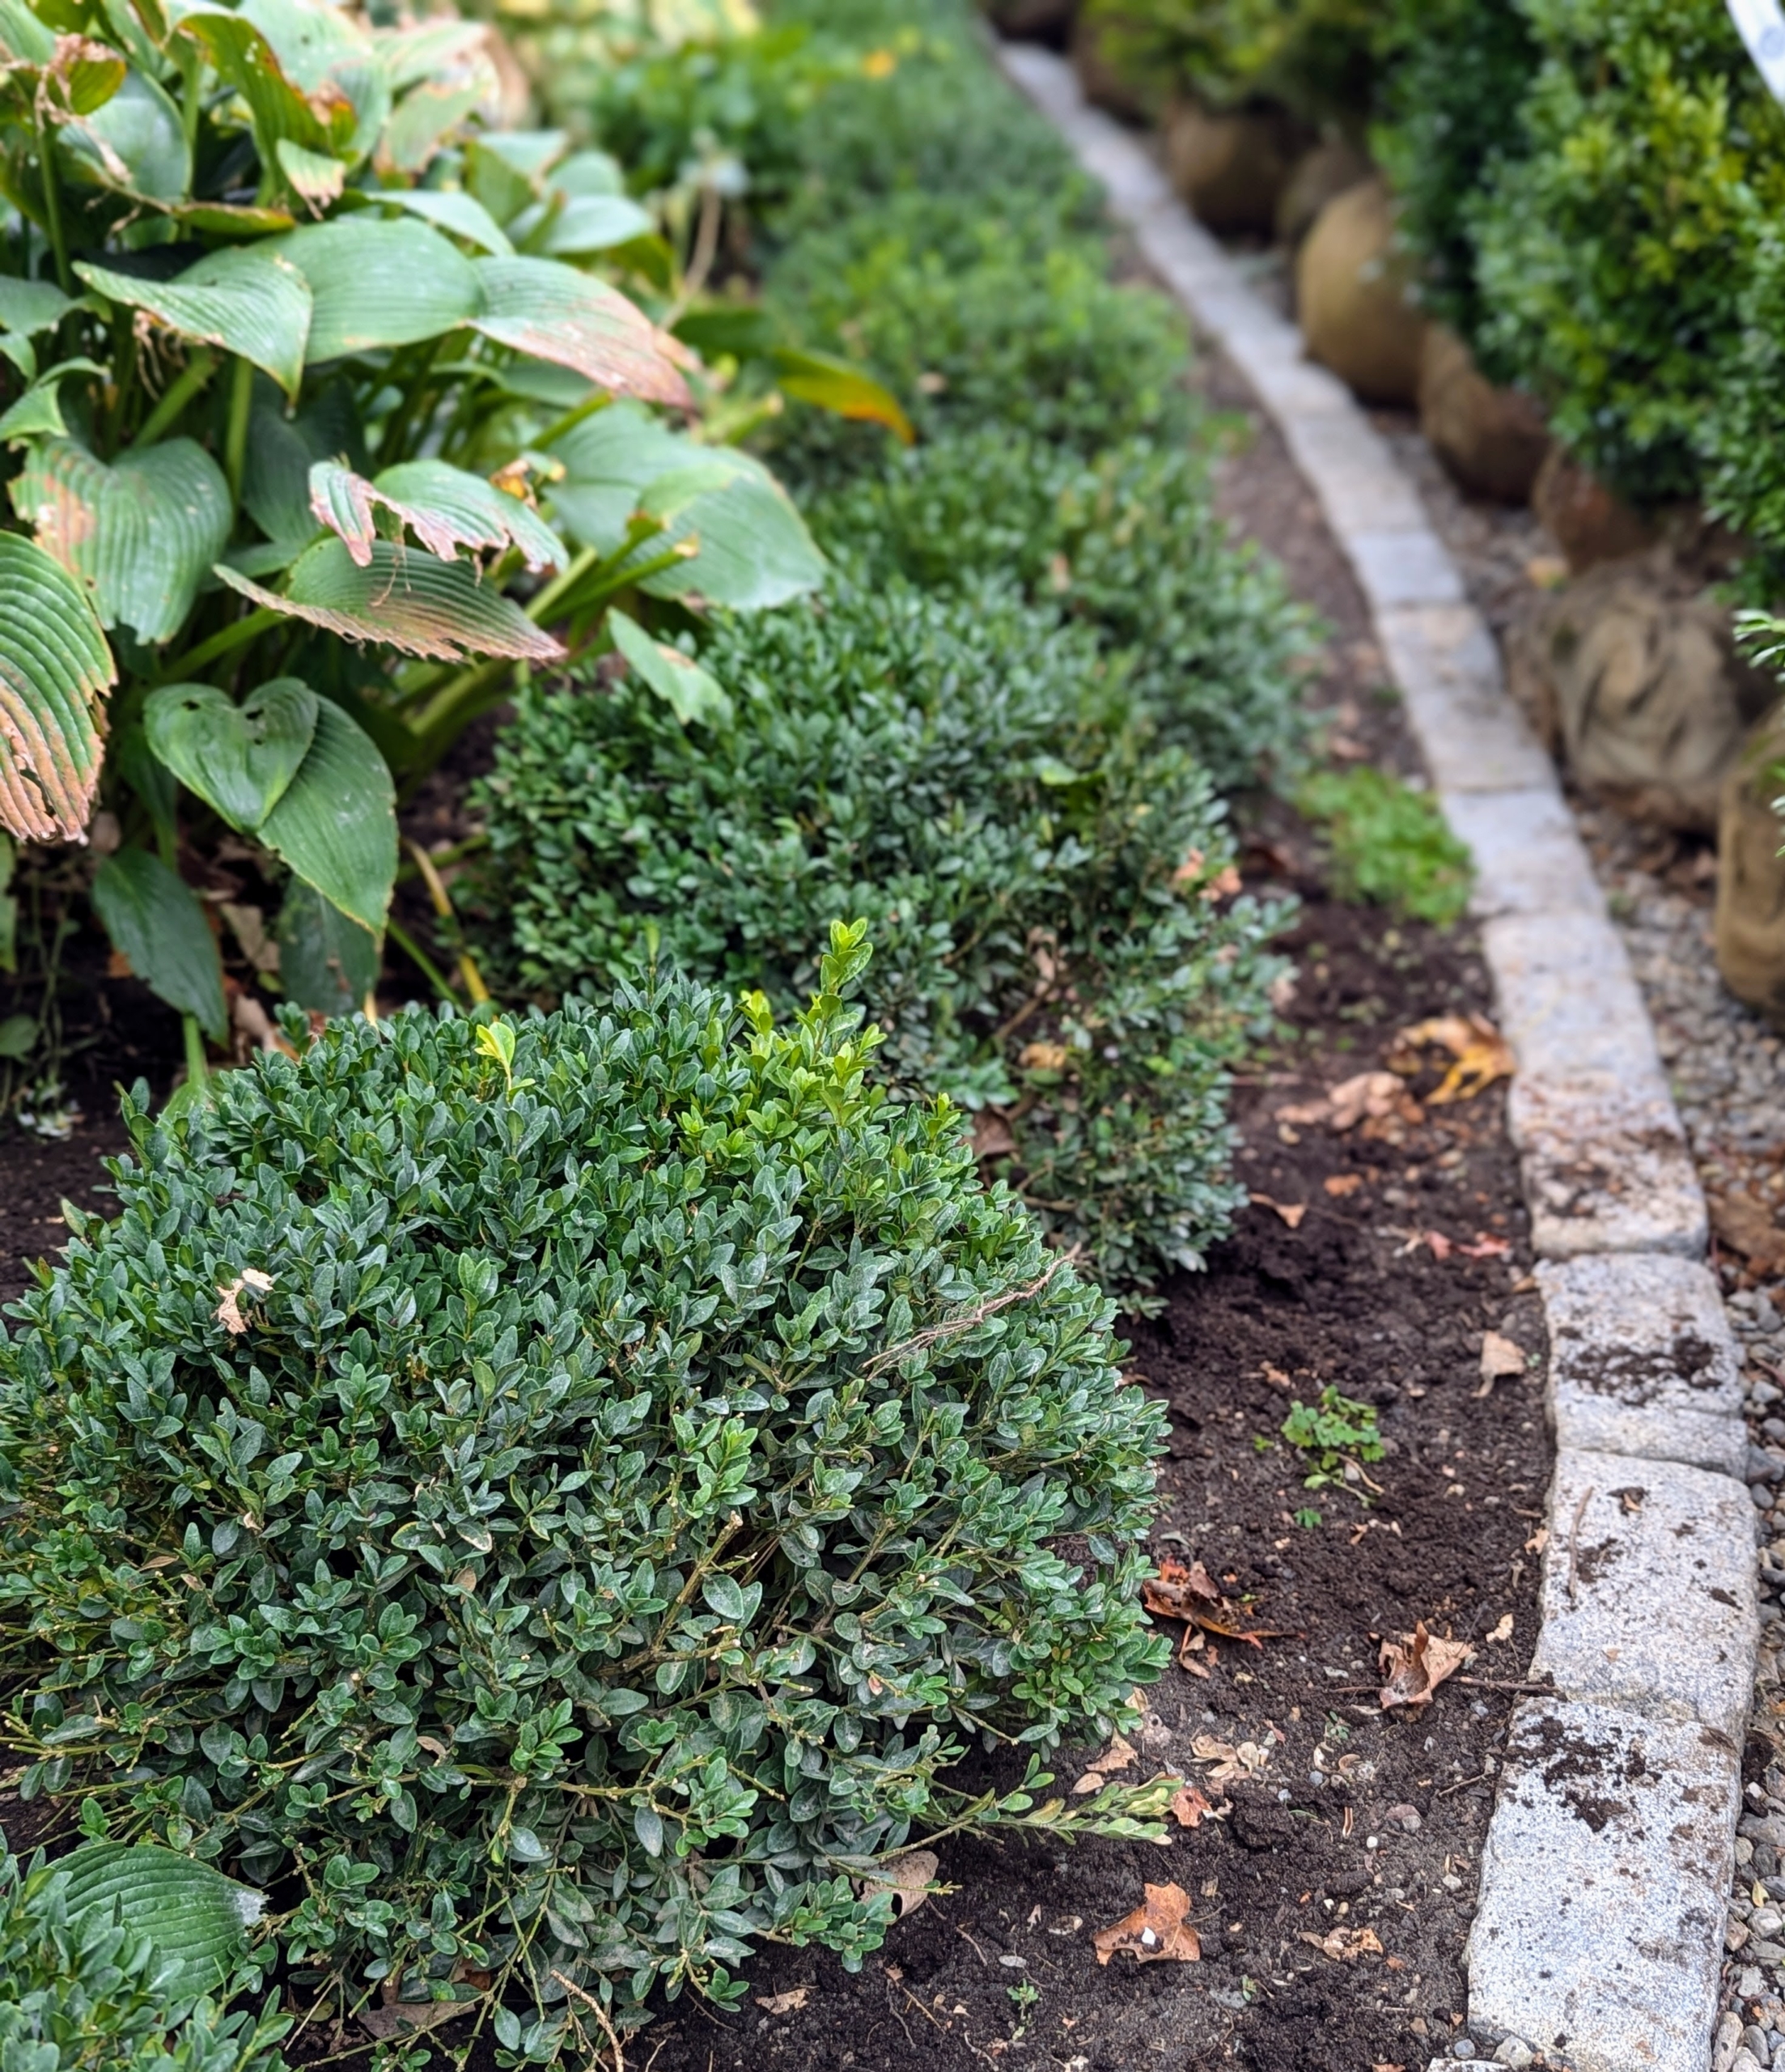
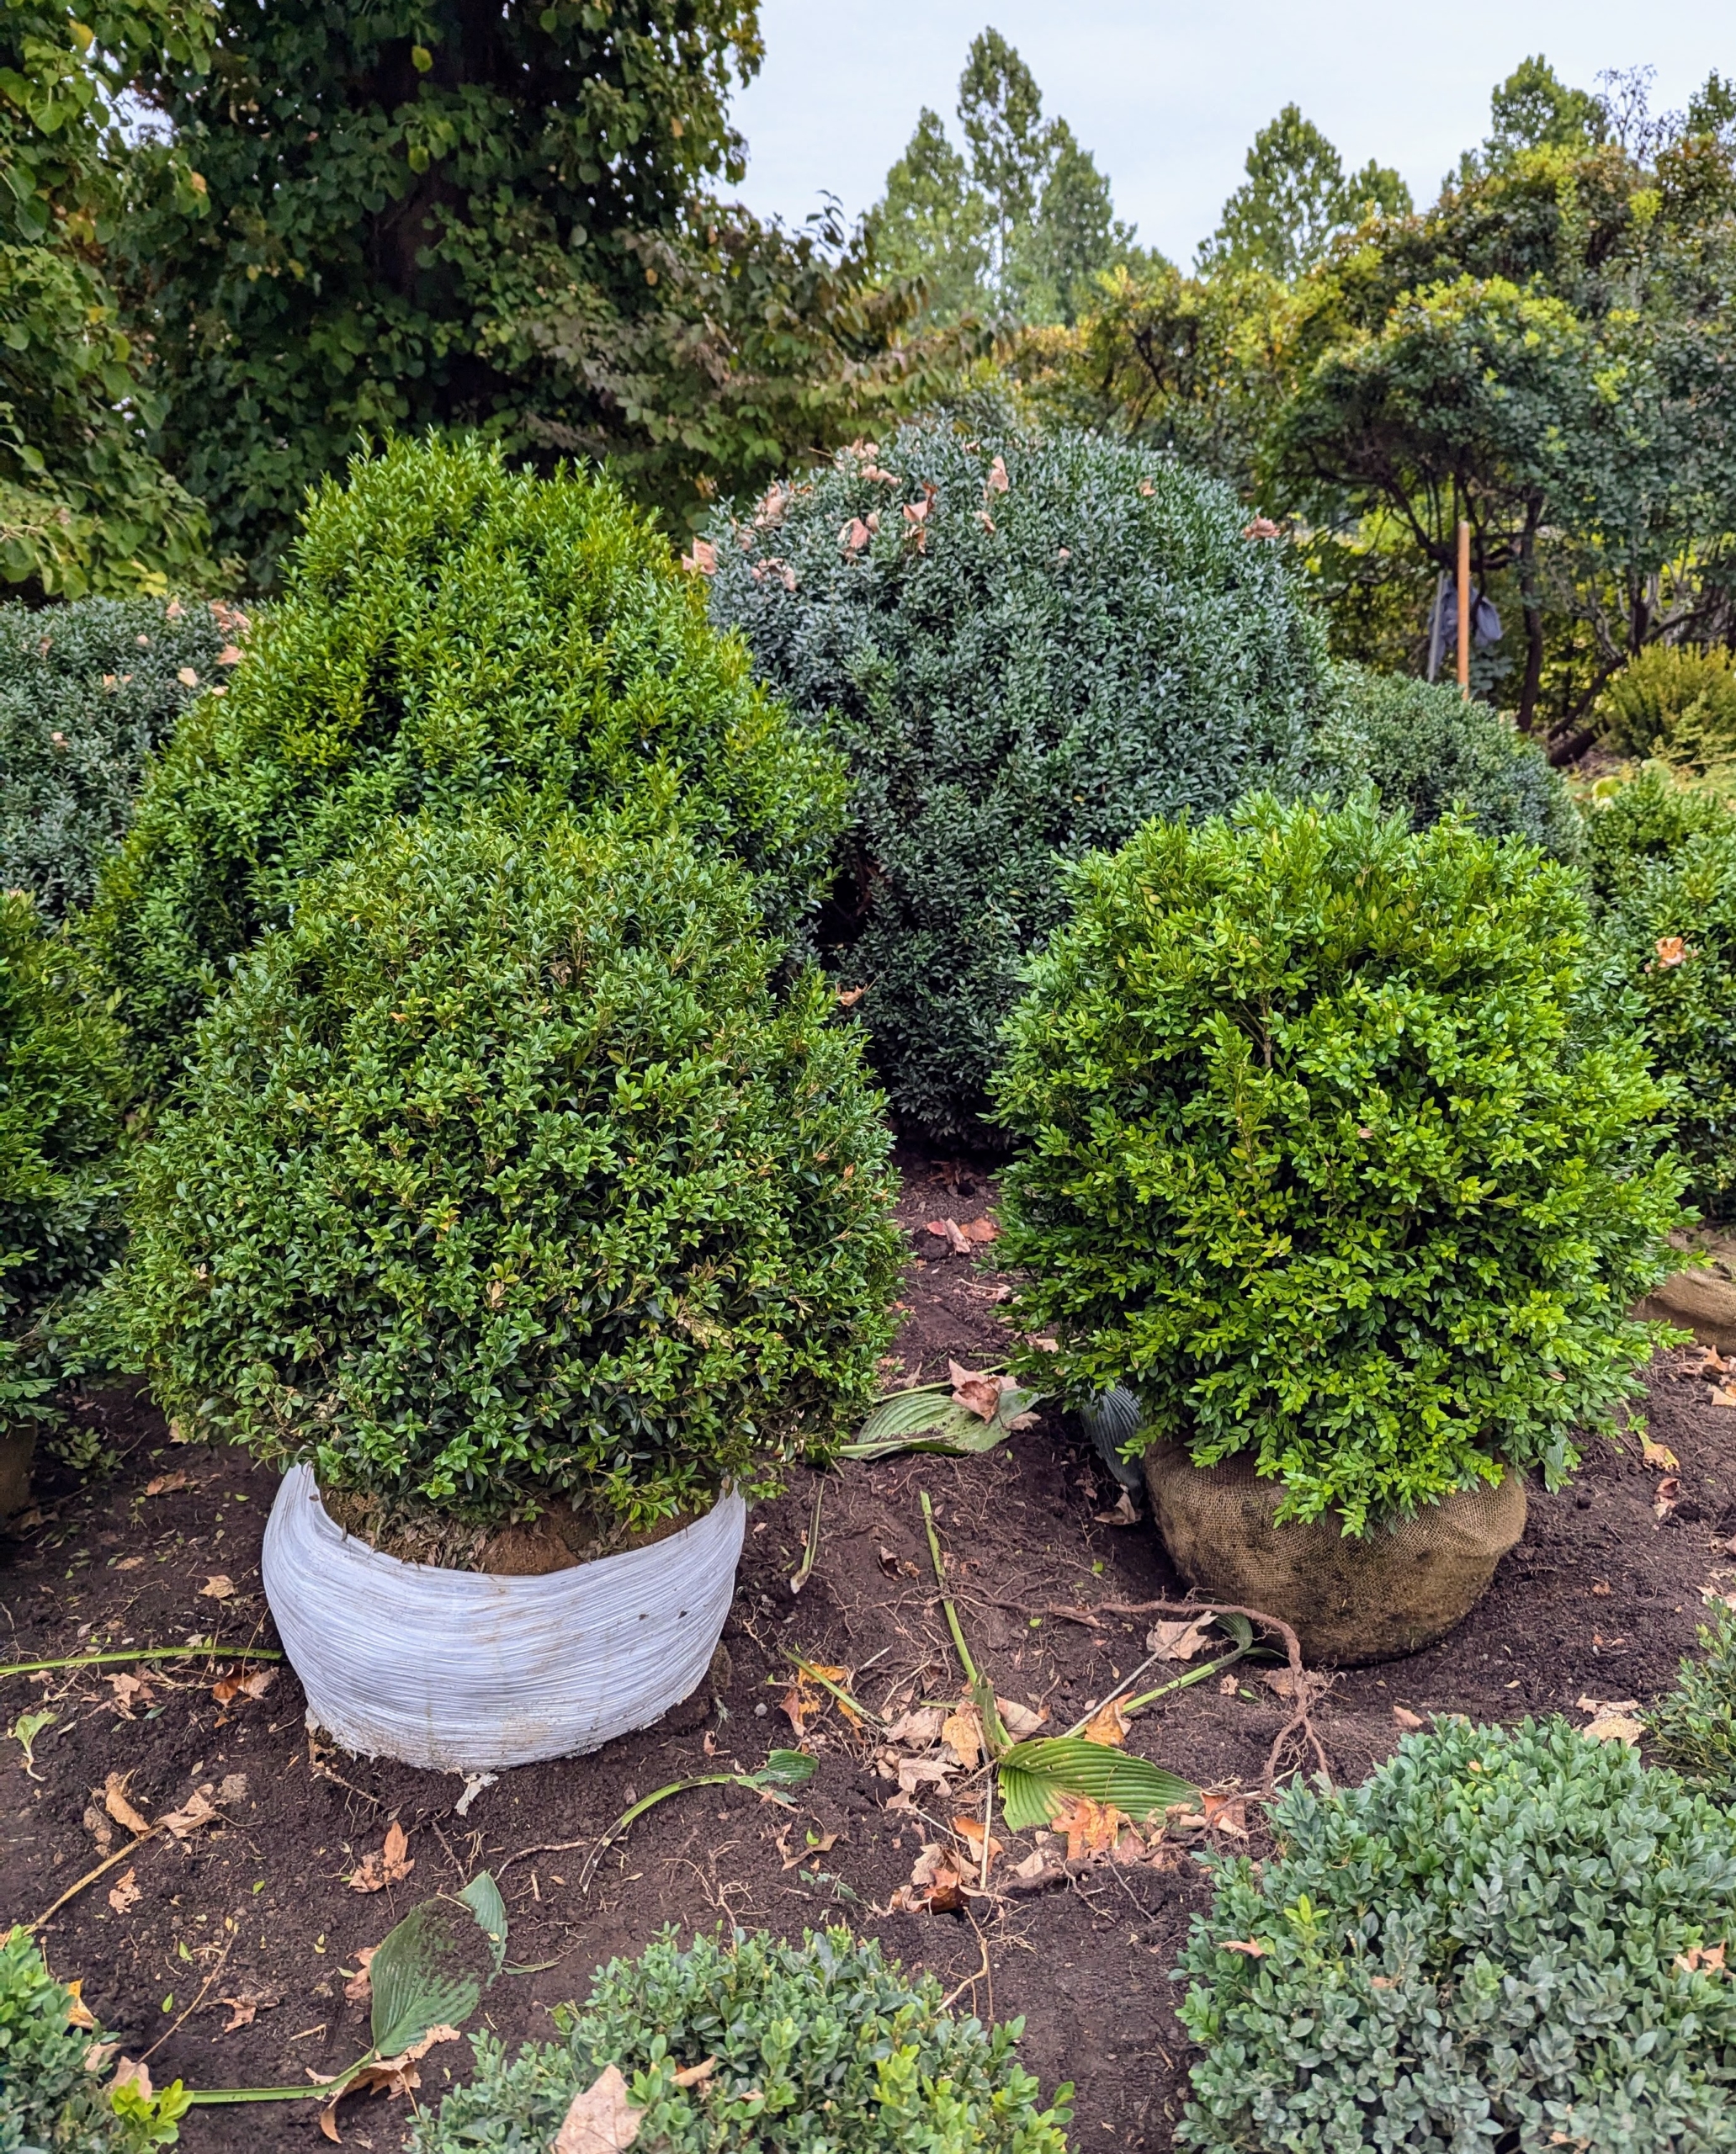
The boxwood are all positioned where they should be planted. Boxwood prefers well-drained soil with a lot of organic matter. Loamy soil or sandy conditions are best. Most boxwoods like some shade, but some varieties handle full sun exposure better than others.
Boxwood has upright, naturally cone-shaped habits making them excellent for planting free-form or for a sculpted hedge or border. I use a lot of boxwood in my gardens.
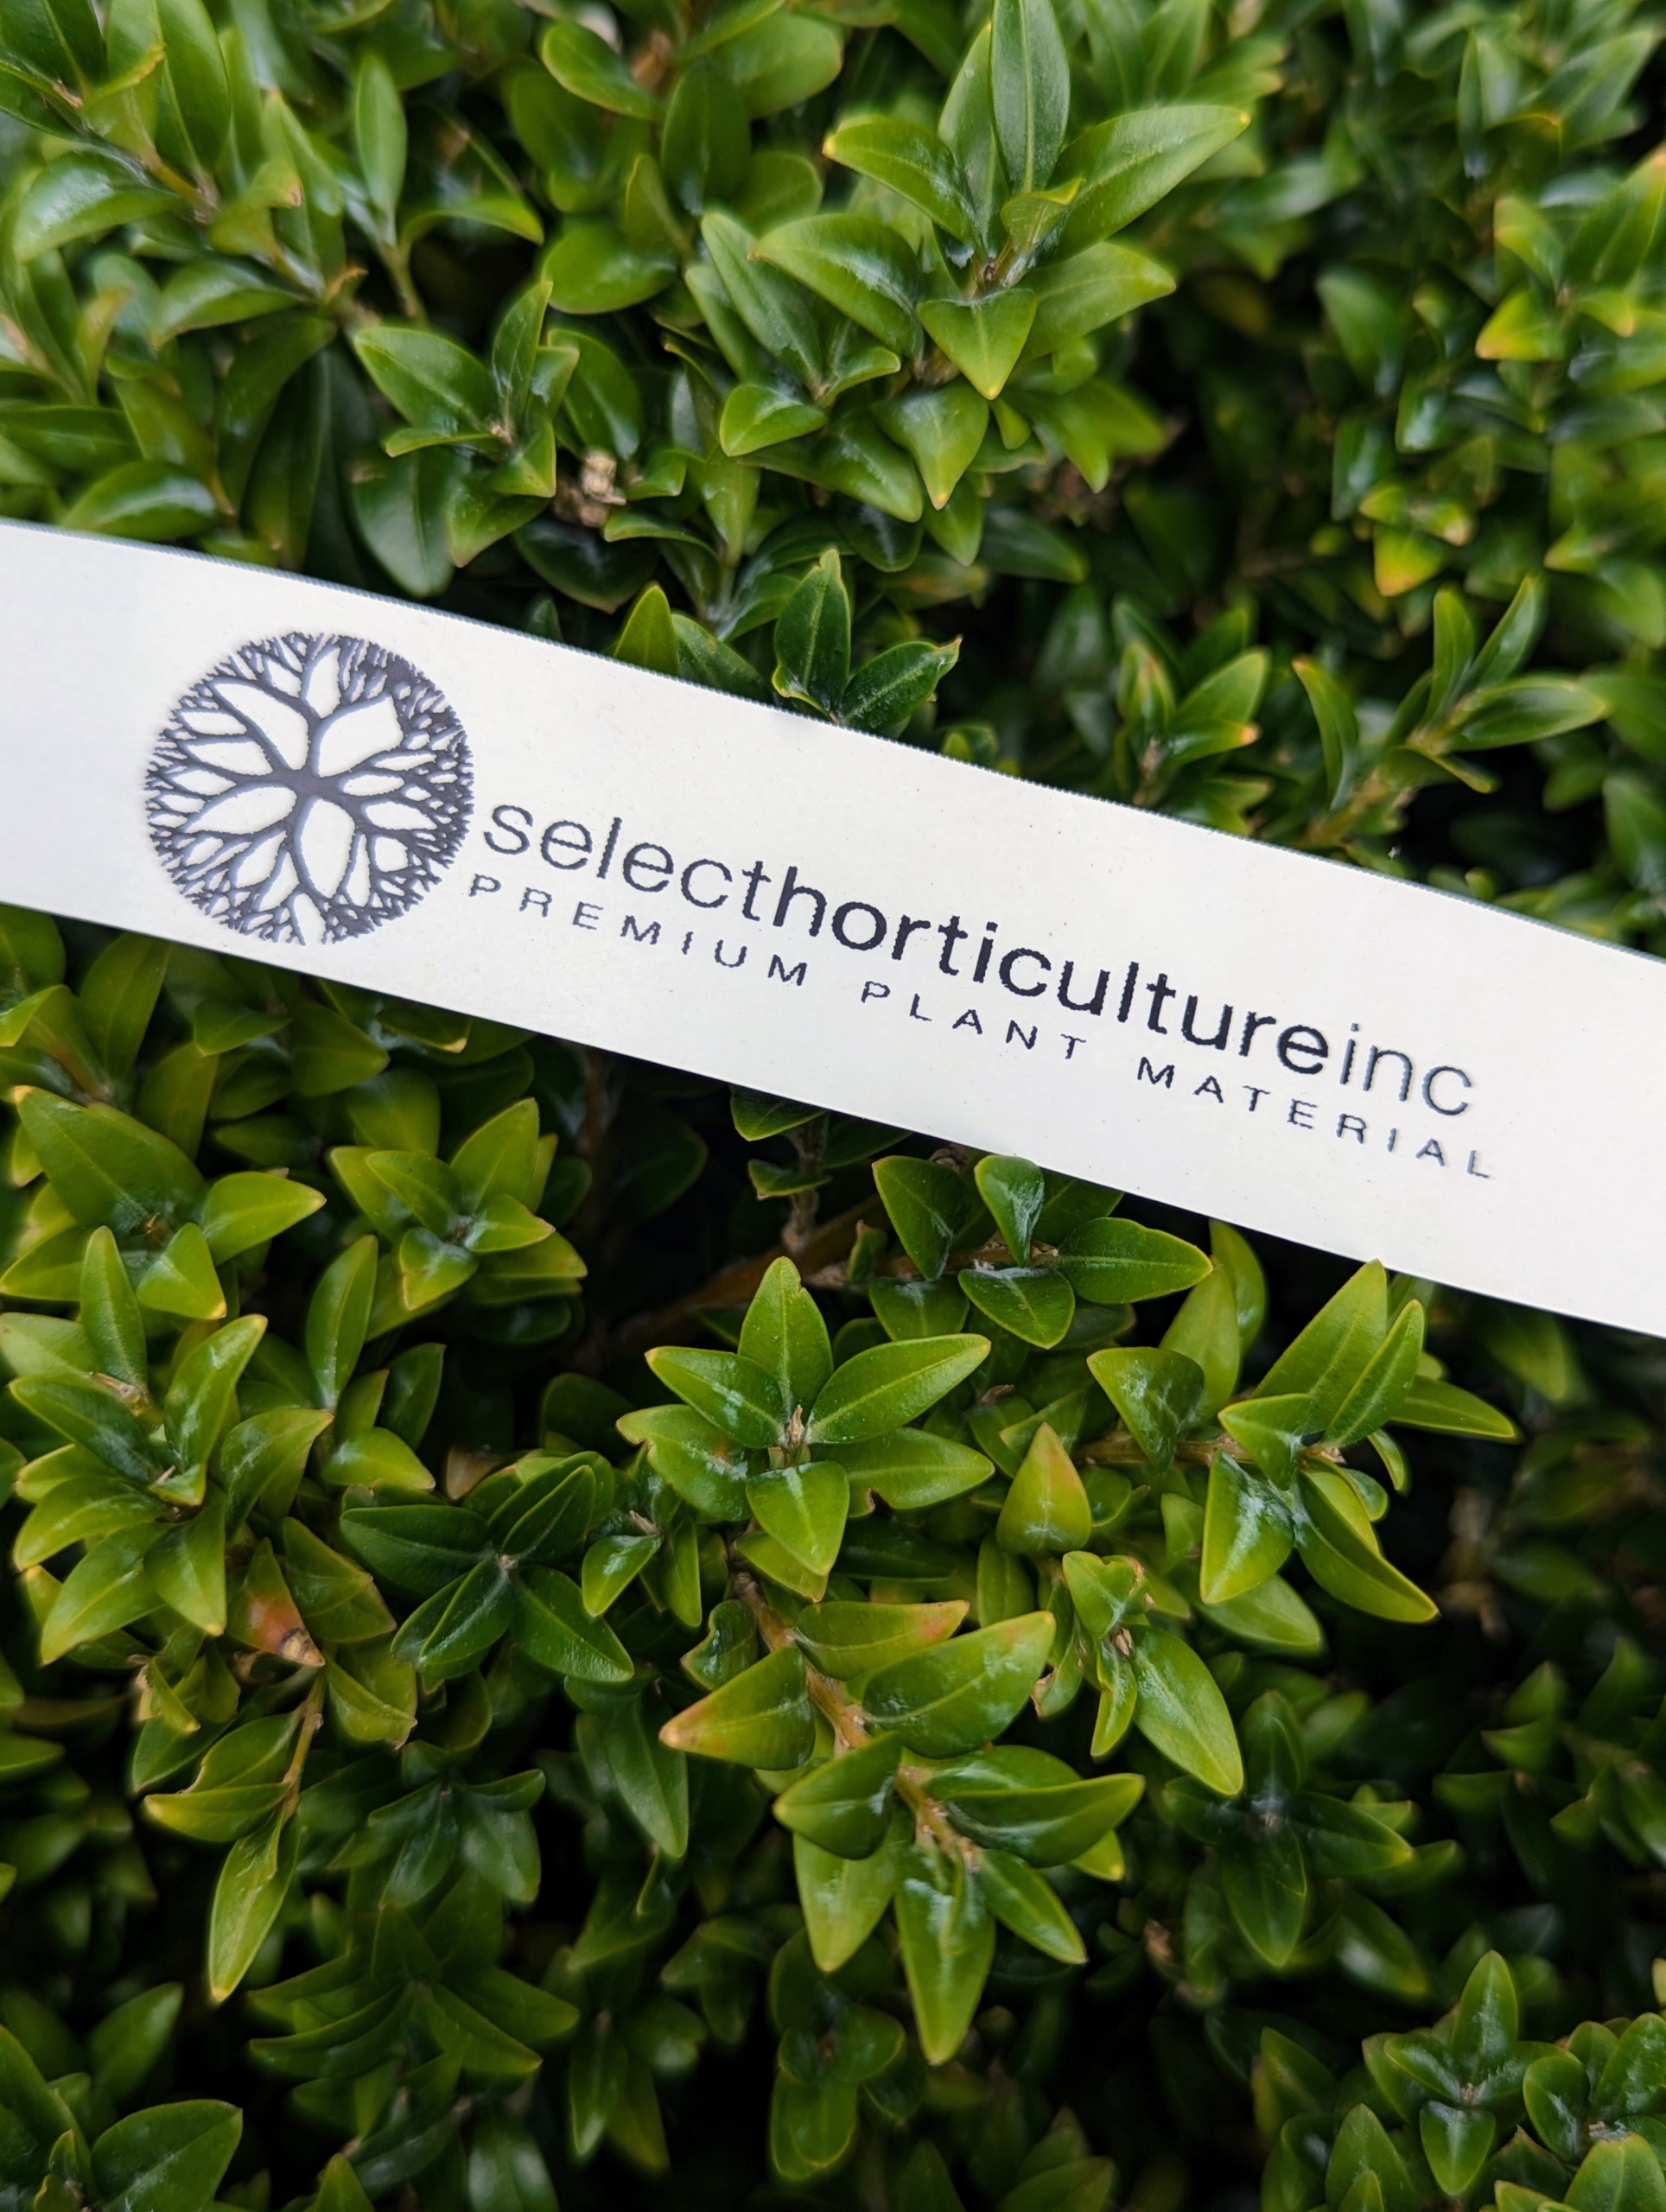
This newest grouping of boxwood is from Select Horticulture Inc., in nearby Pound Ridge, New York. Their specimens are always so lush and healthy.
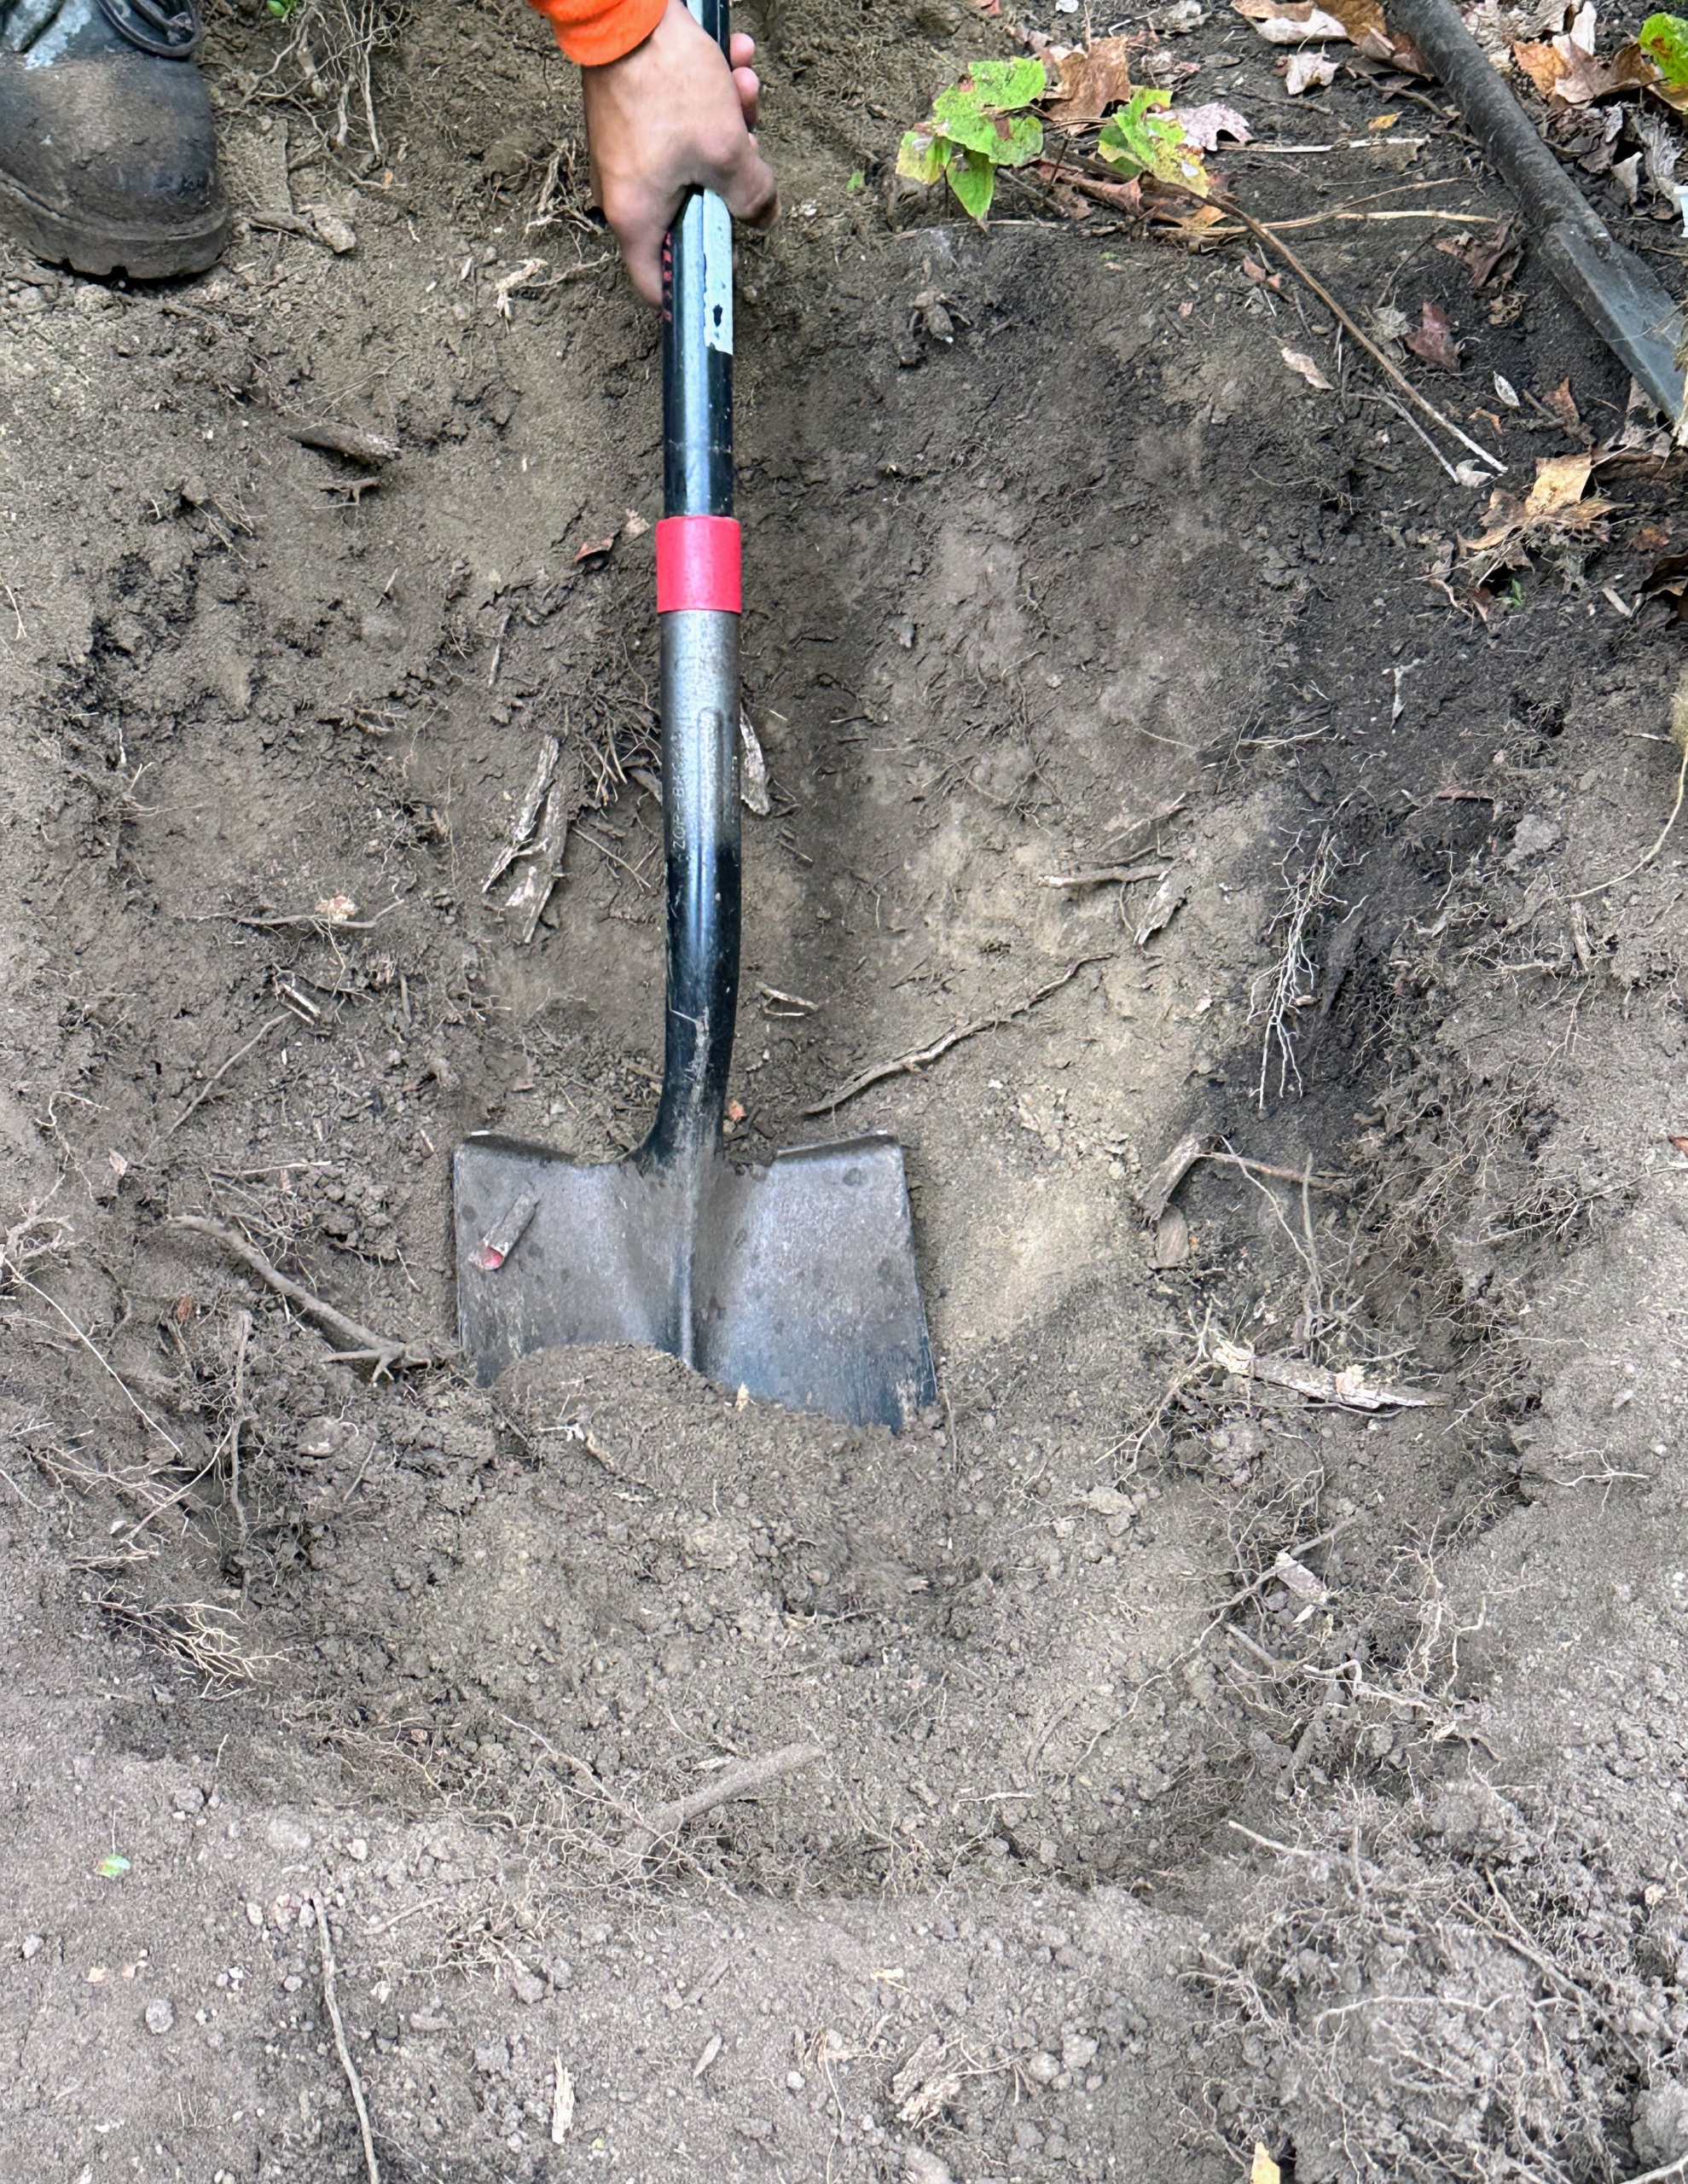
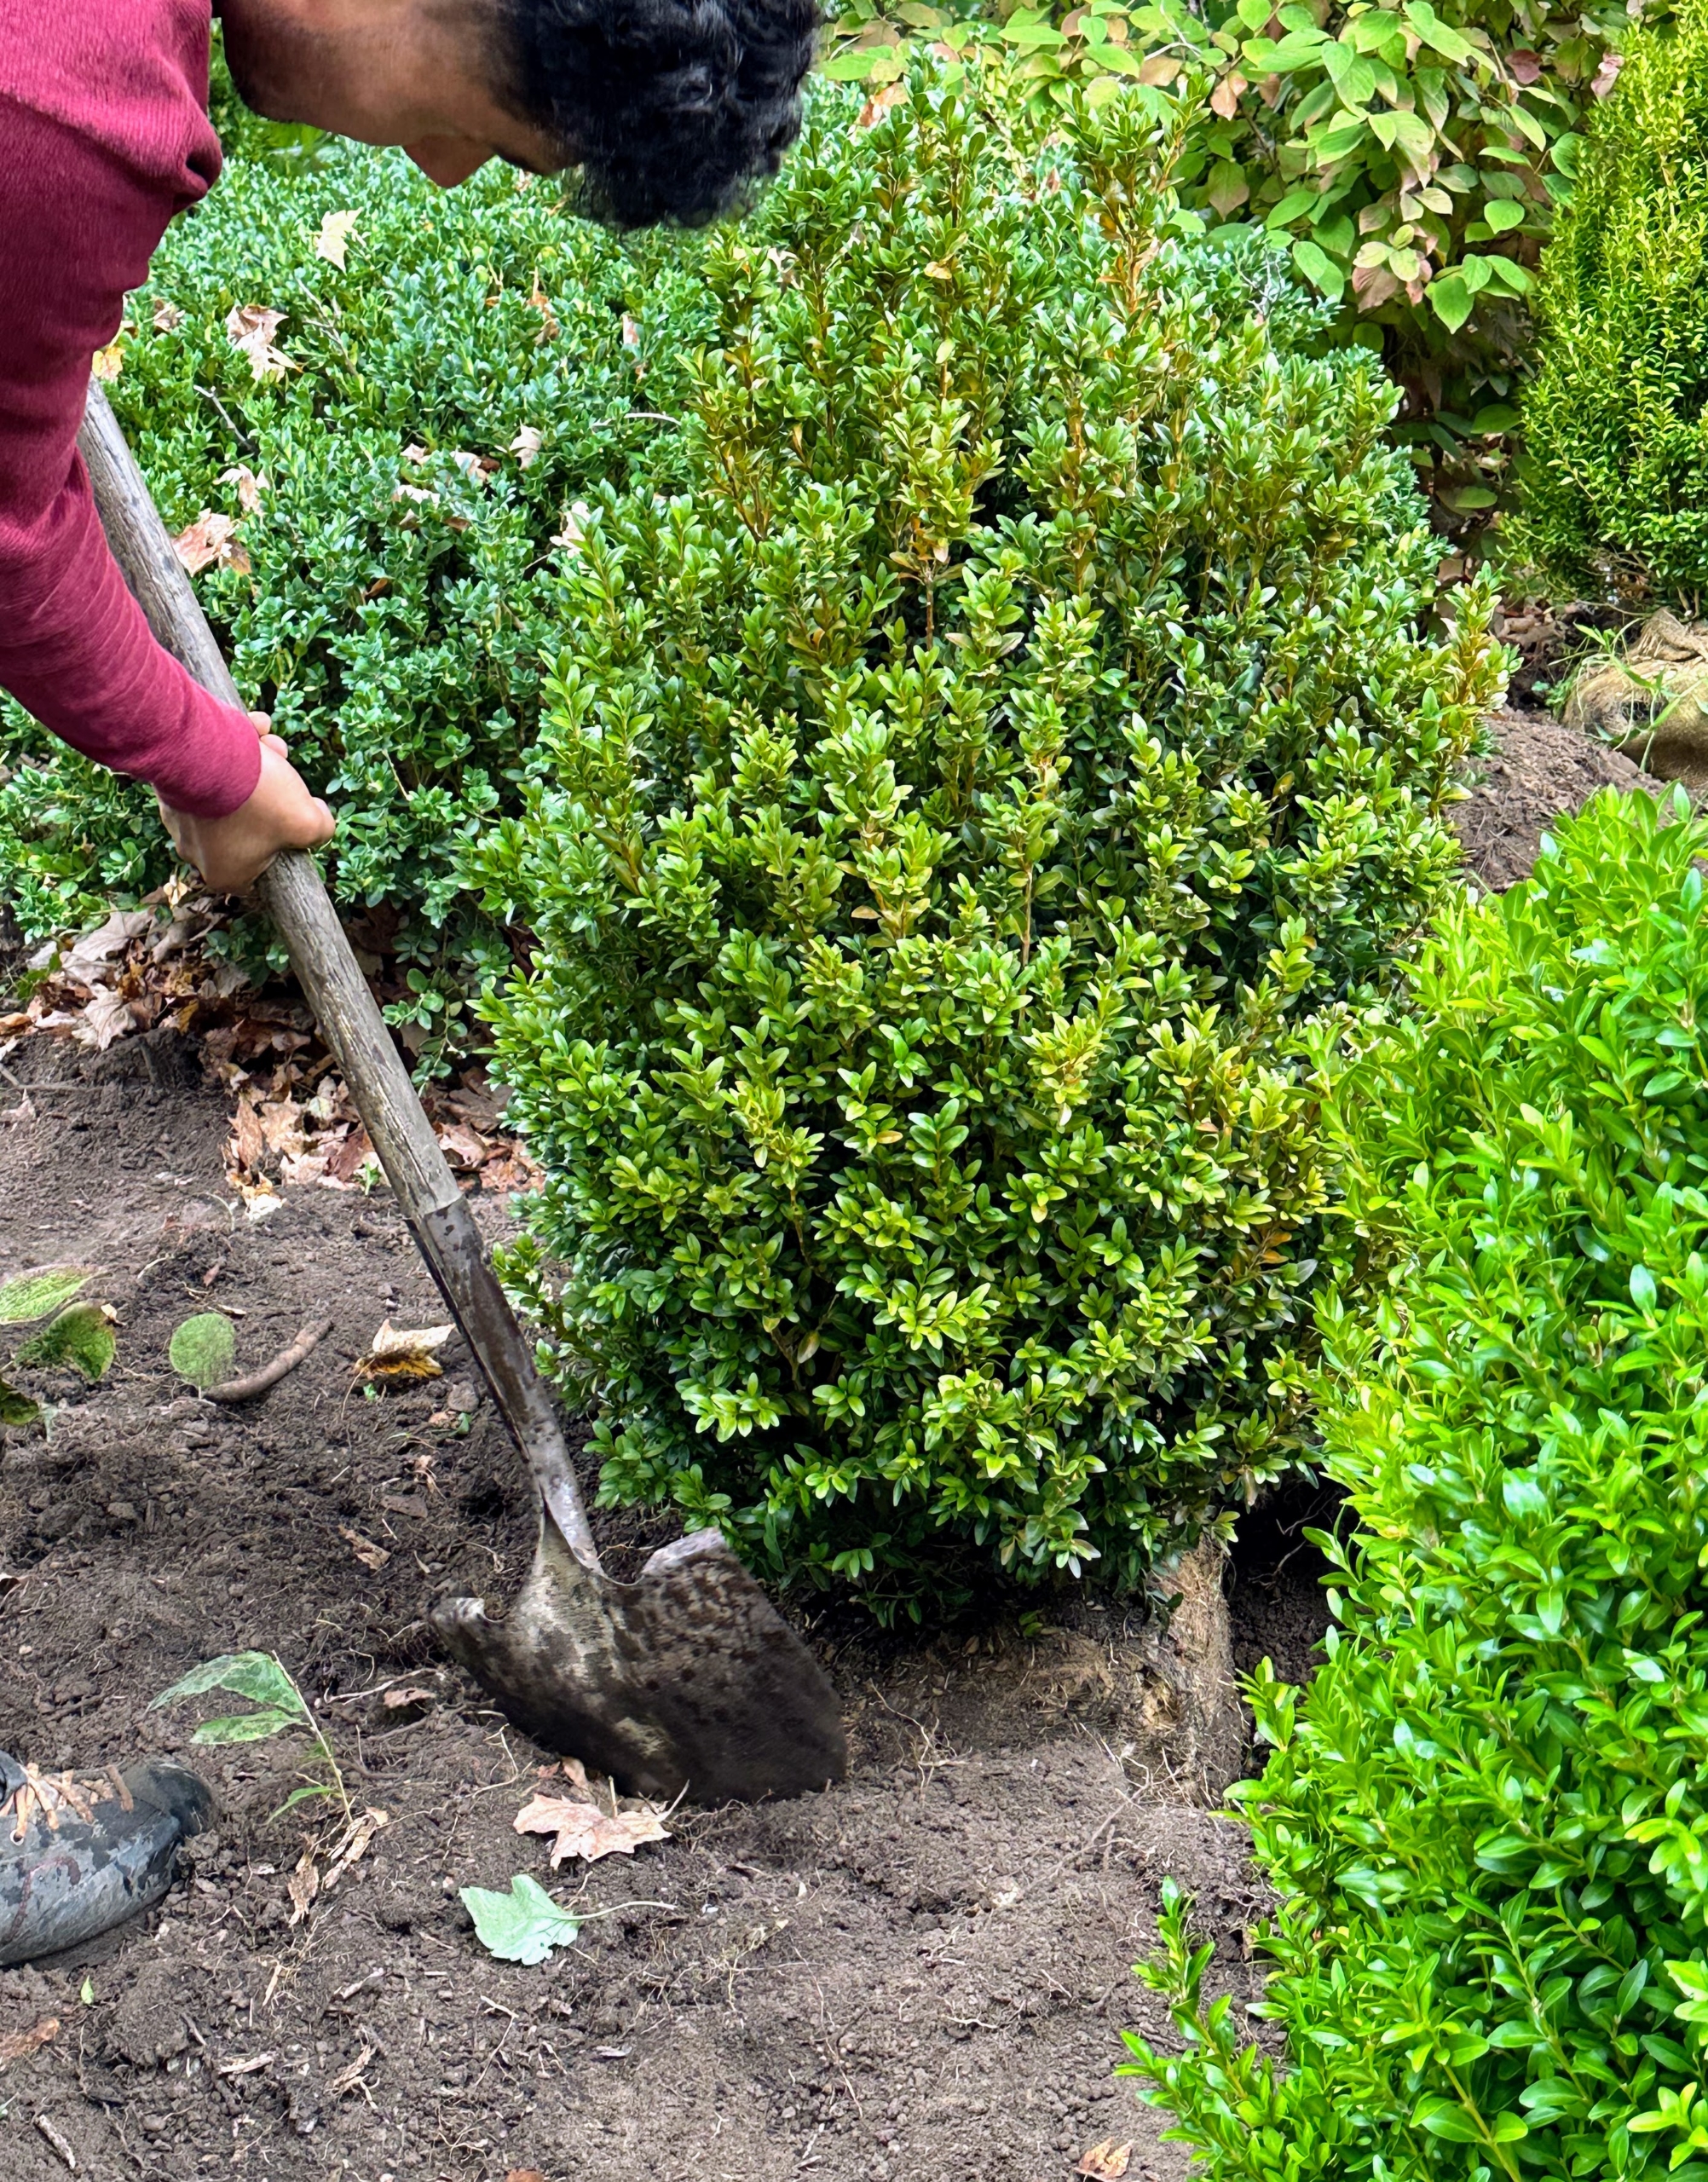
Once they are in place, the digging begins. Holes are dug twice as wide as the boxwood root balls, but no deeper.
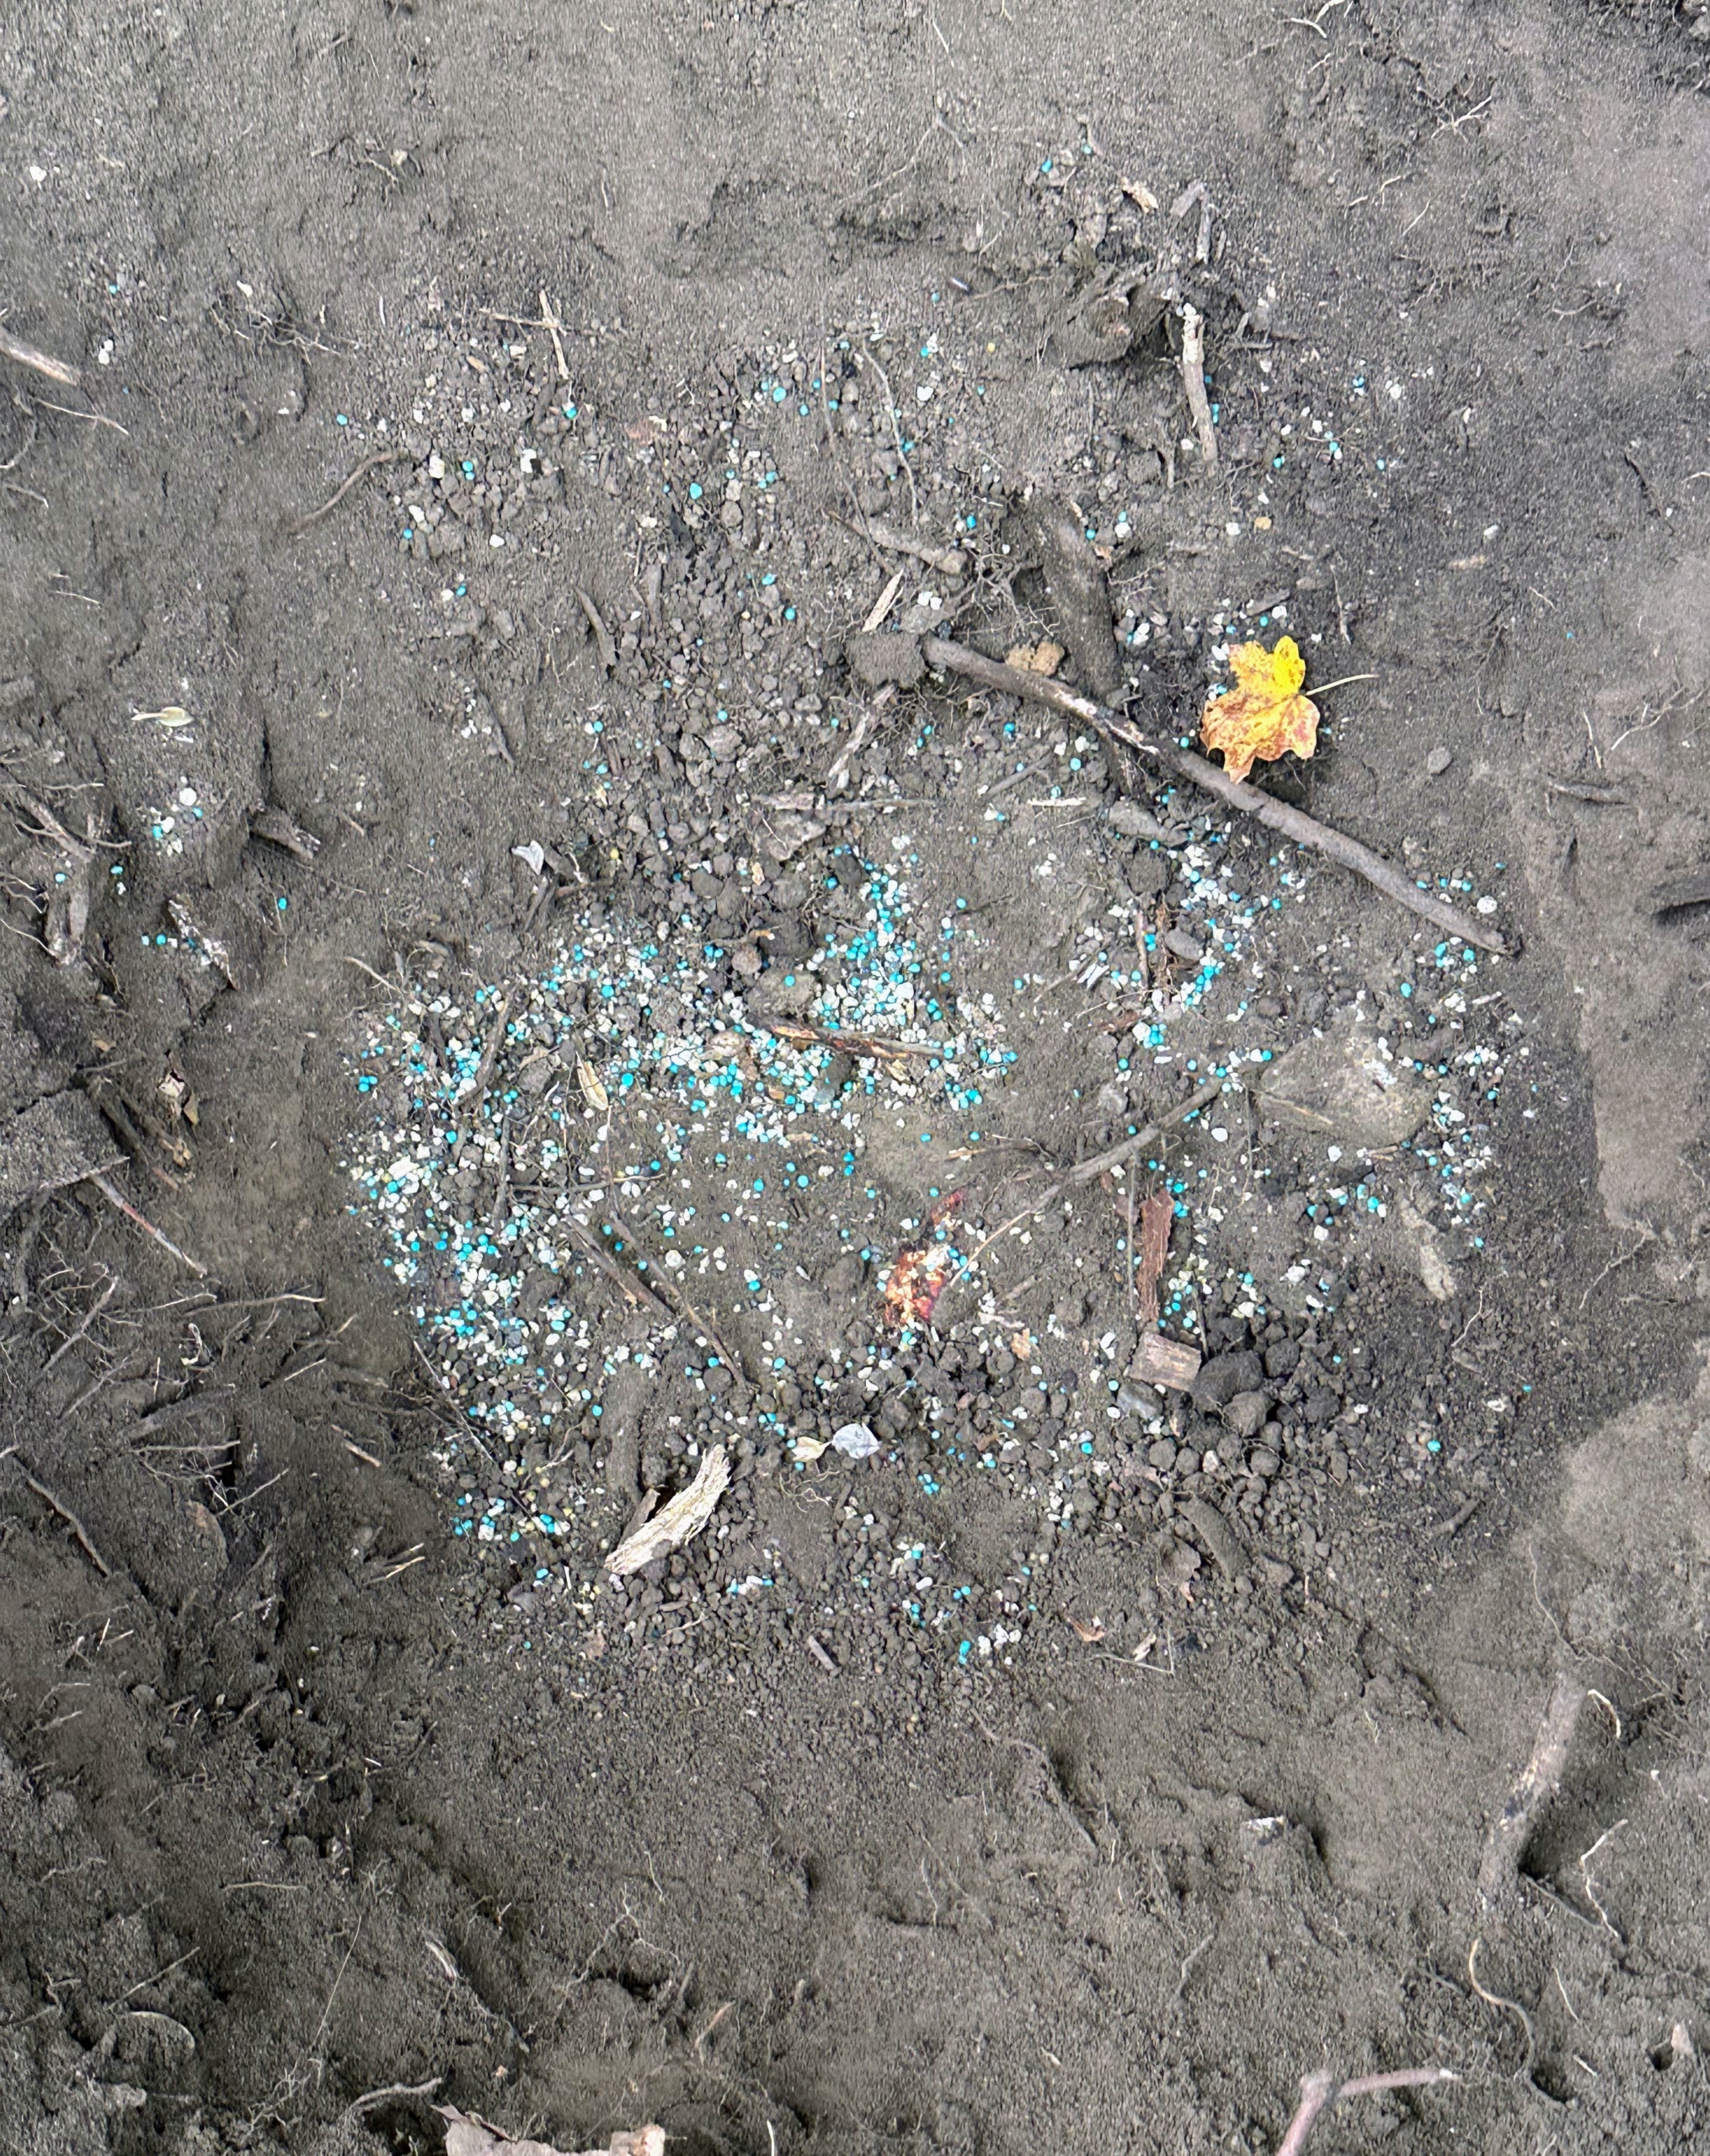
The surrounding soil is sprinkled with a generous amount of fertilizer formulated to maintain deep, lush green foliage. The food is always mixed in, so the fertilizer does not have too much direct contact with the roots, which could burn them.
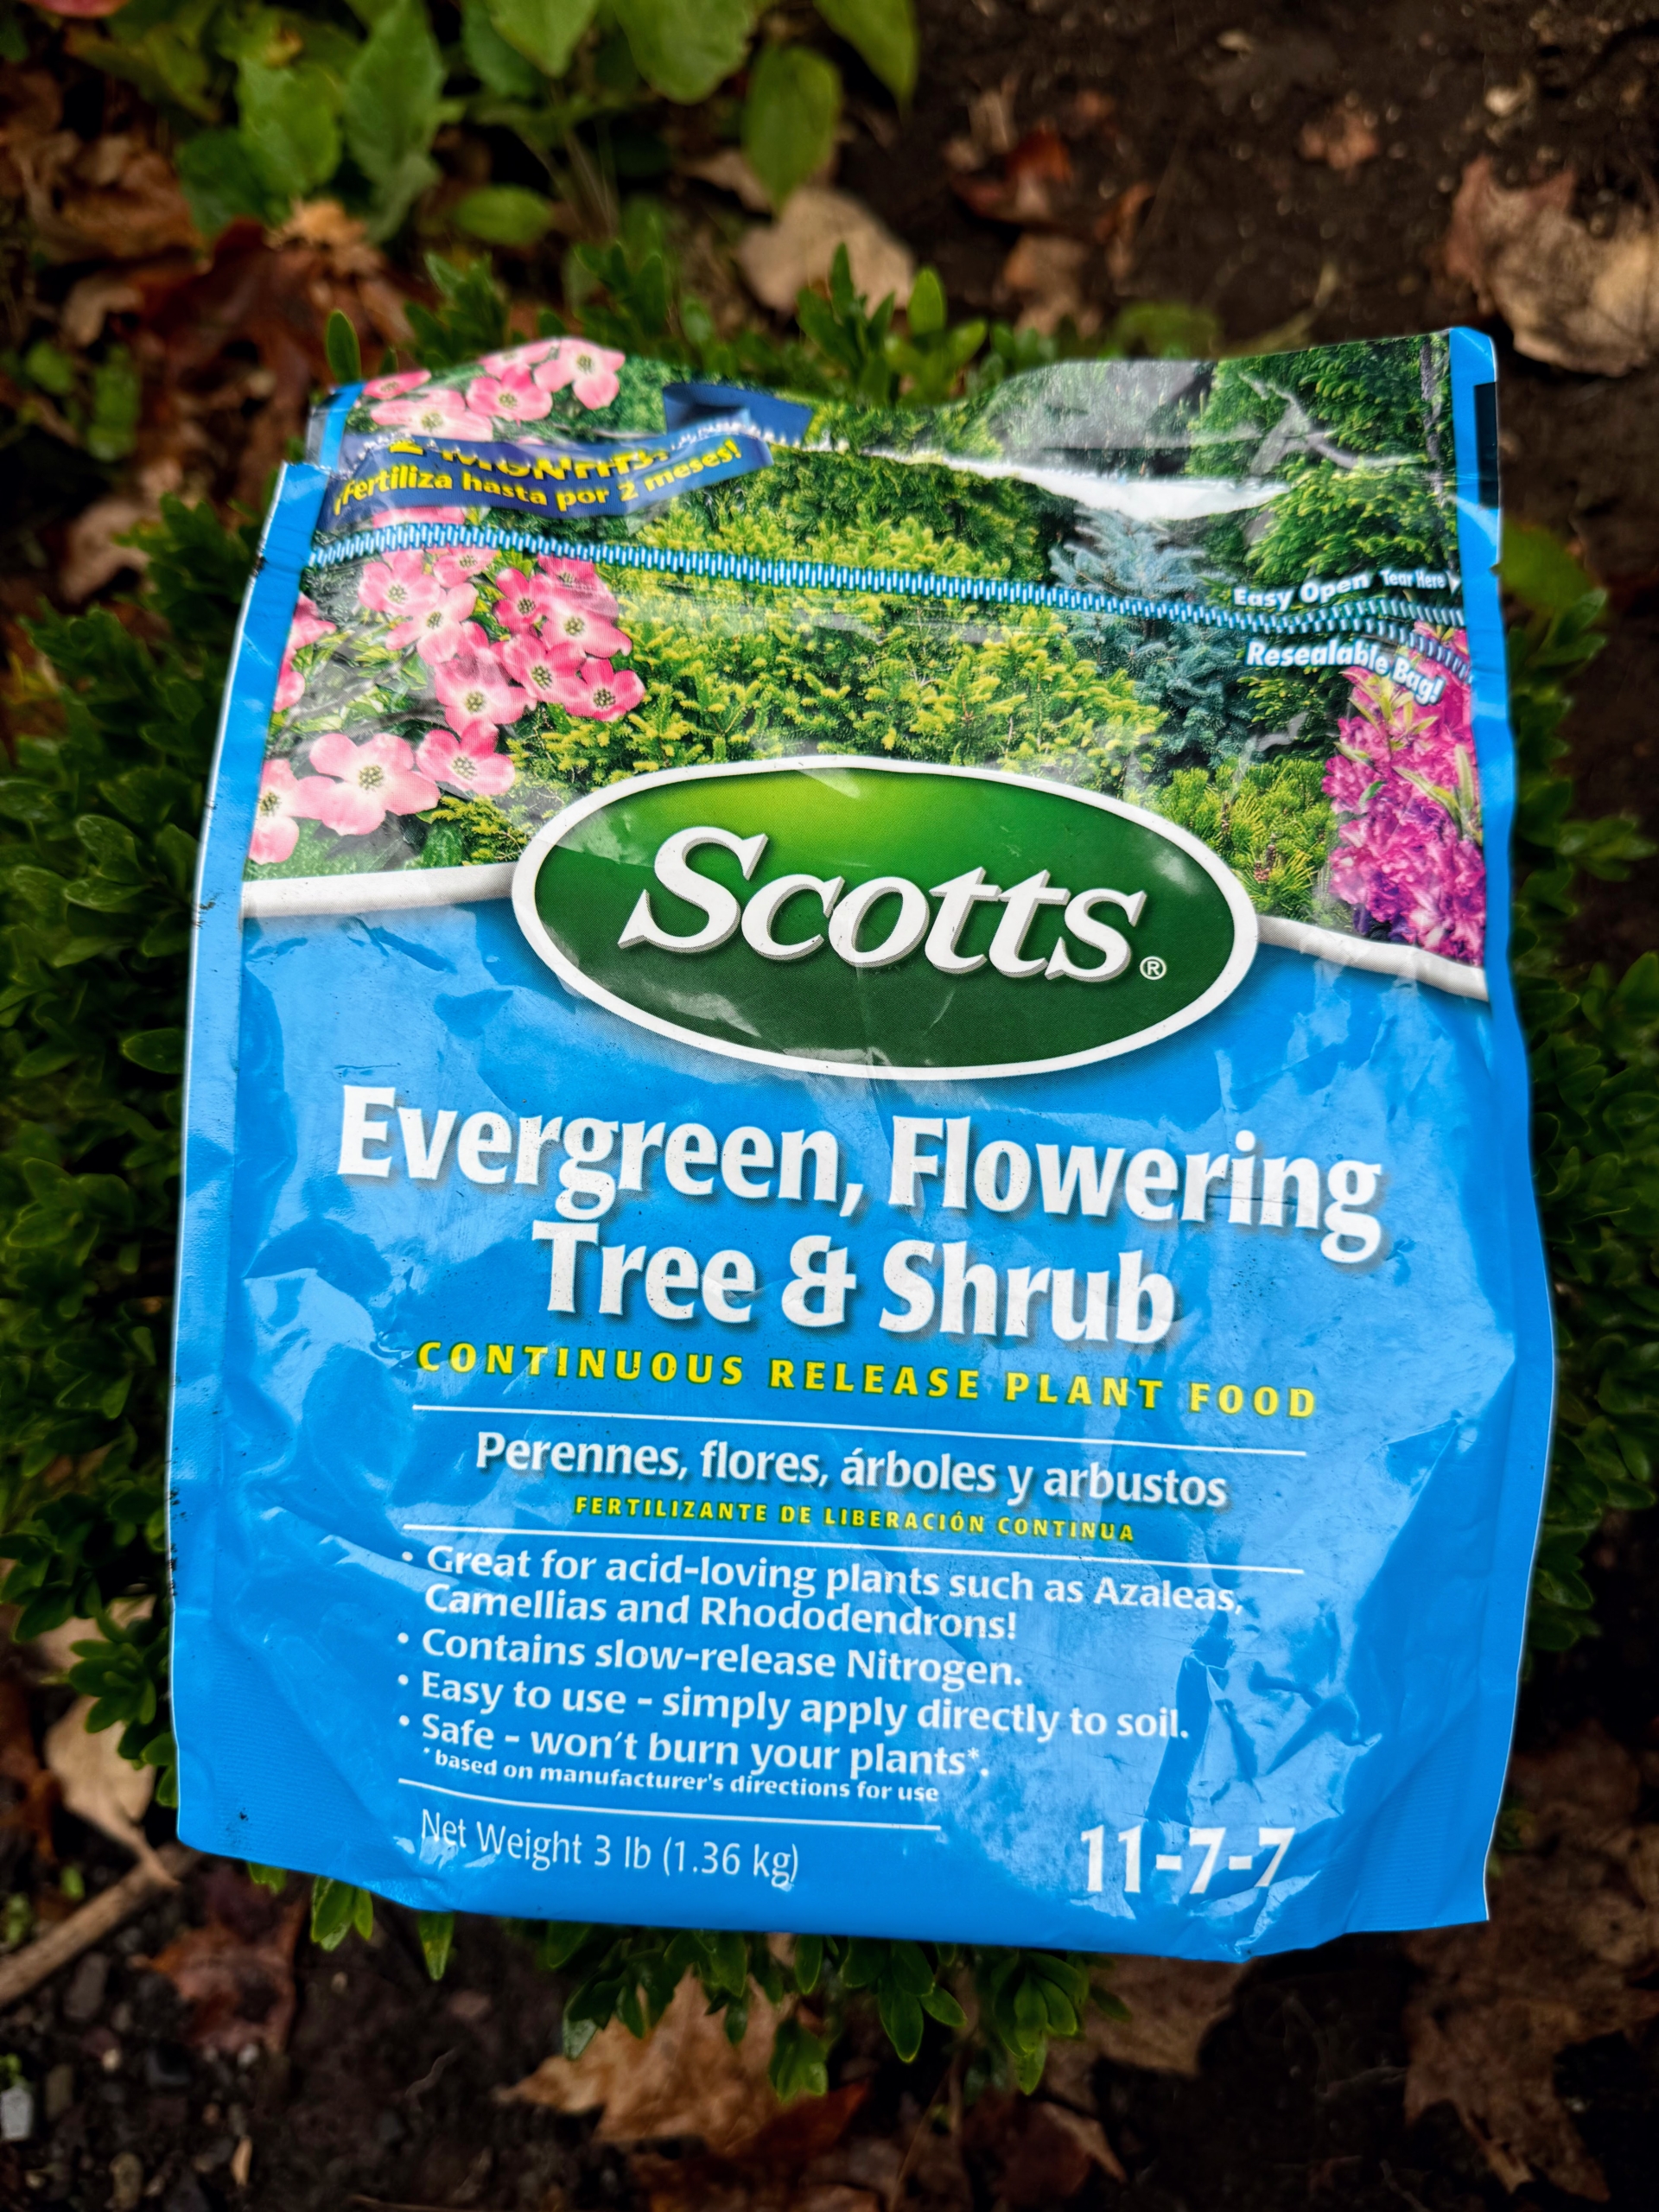
Scotts Evergreen Flowering Tree & Shrub food is a fertilizer that is ideal for acid-loving trees and shrubs. It encourages vigorous root growth and lush foliage, and is easy to use.
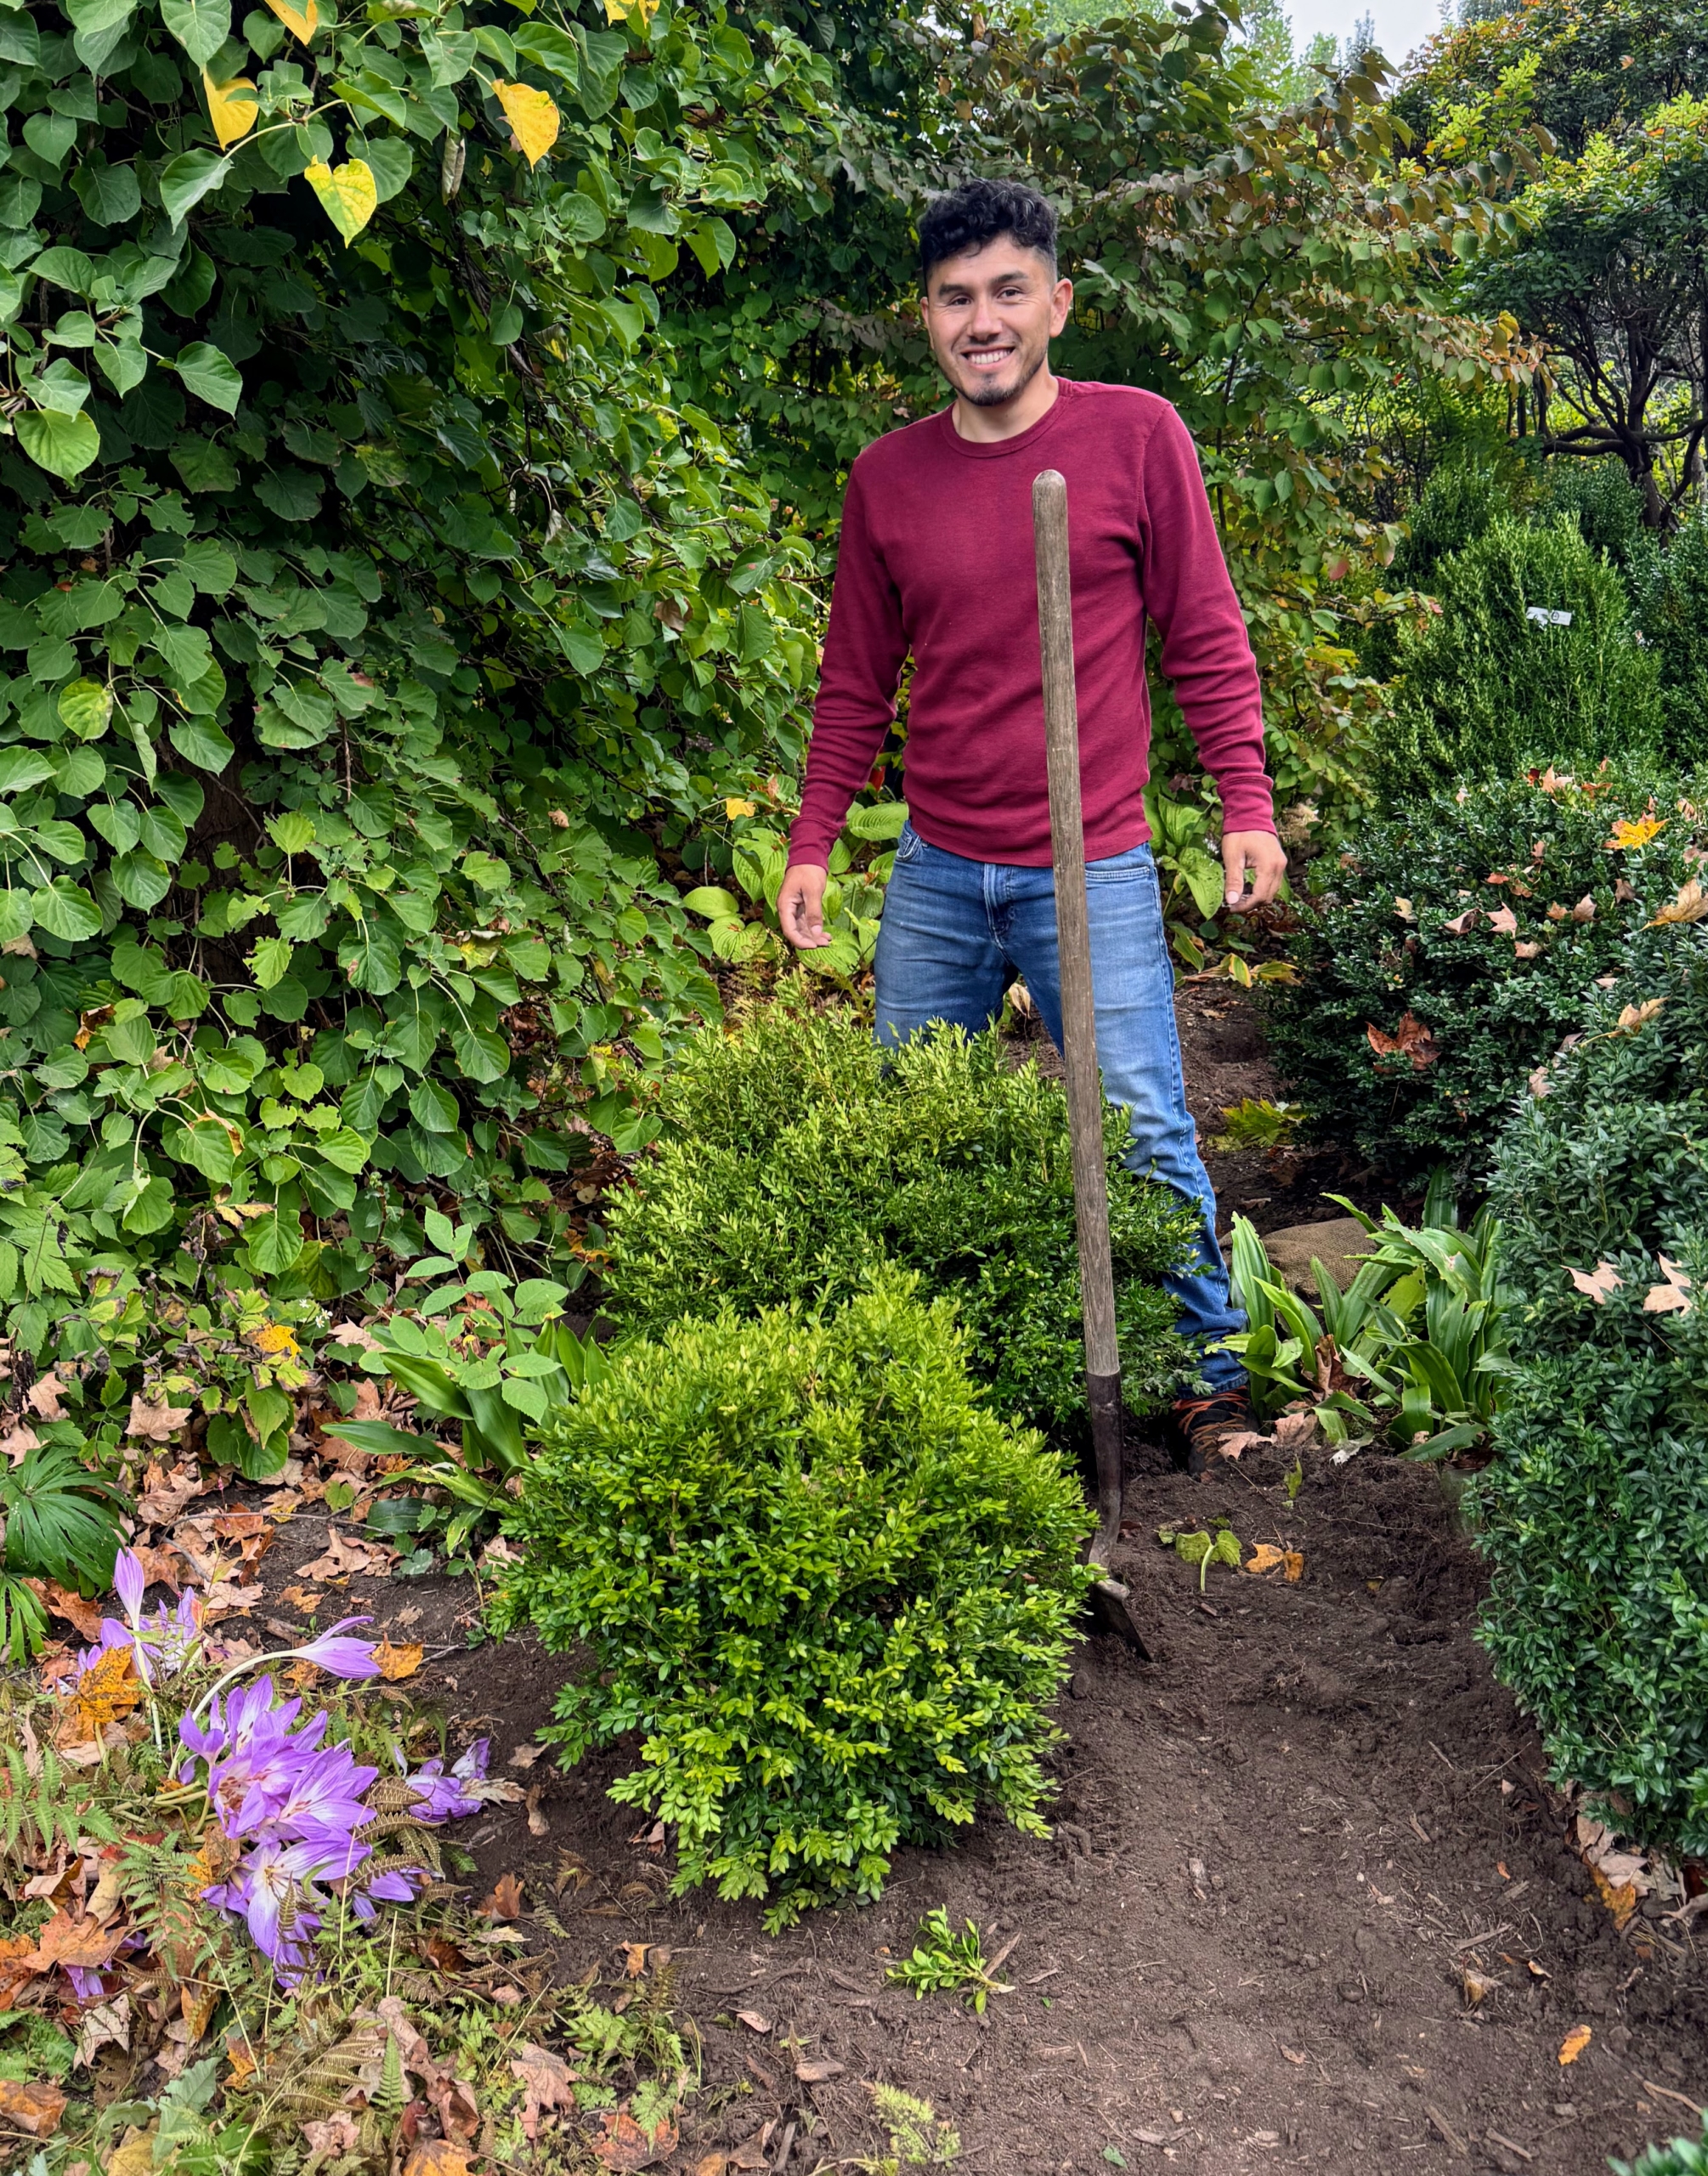
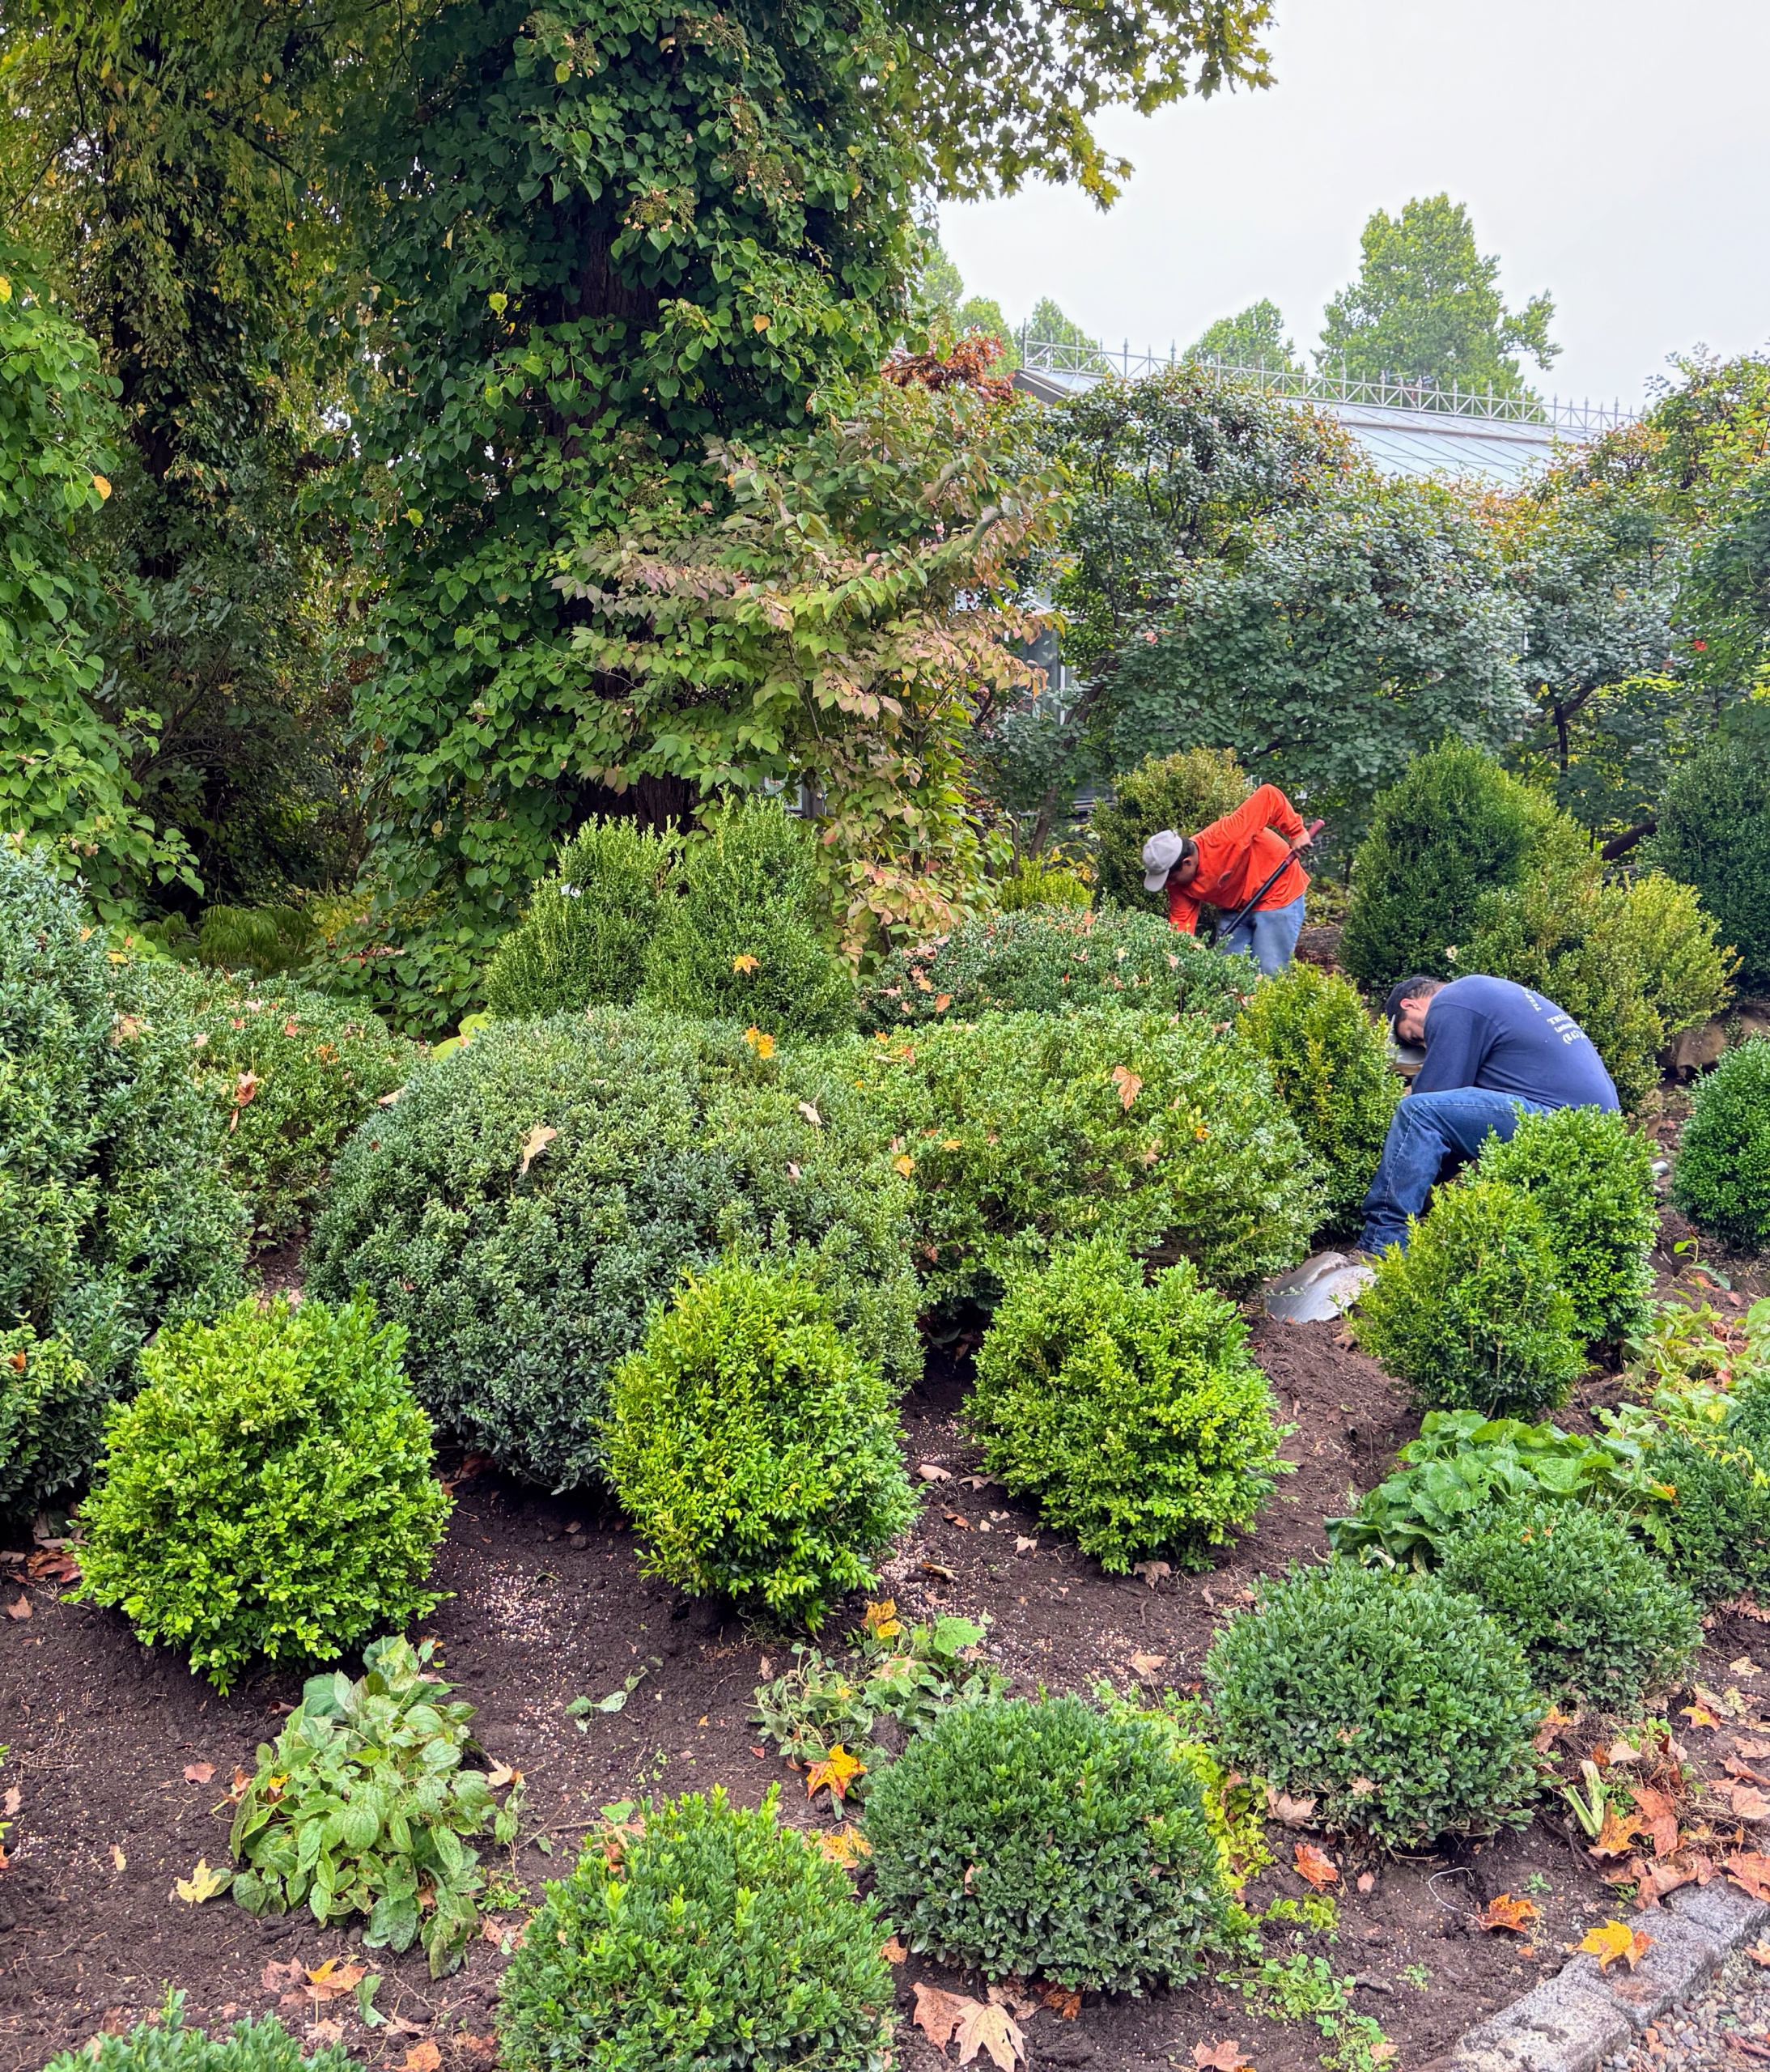
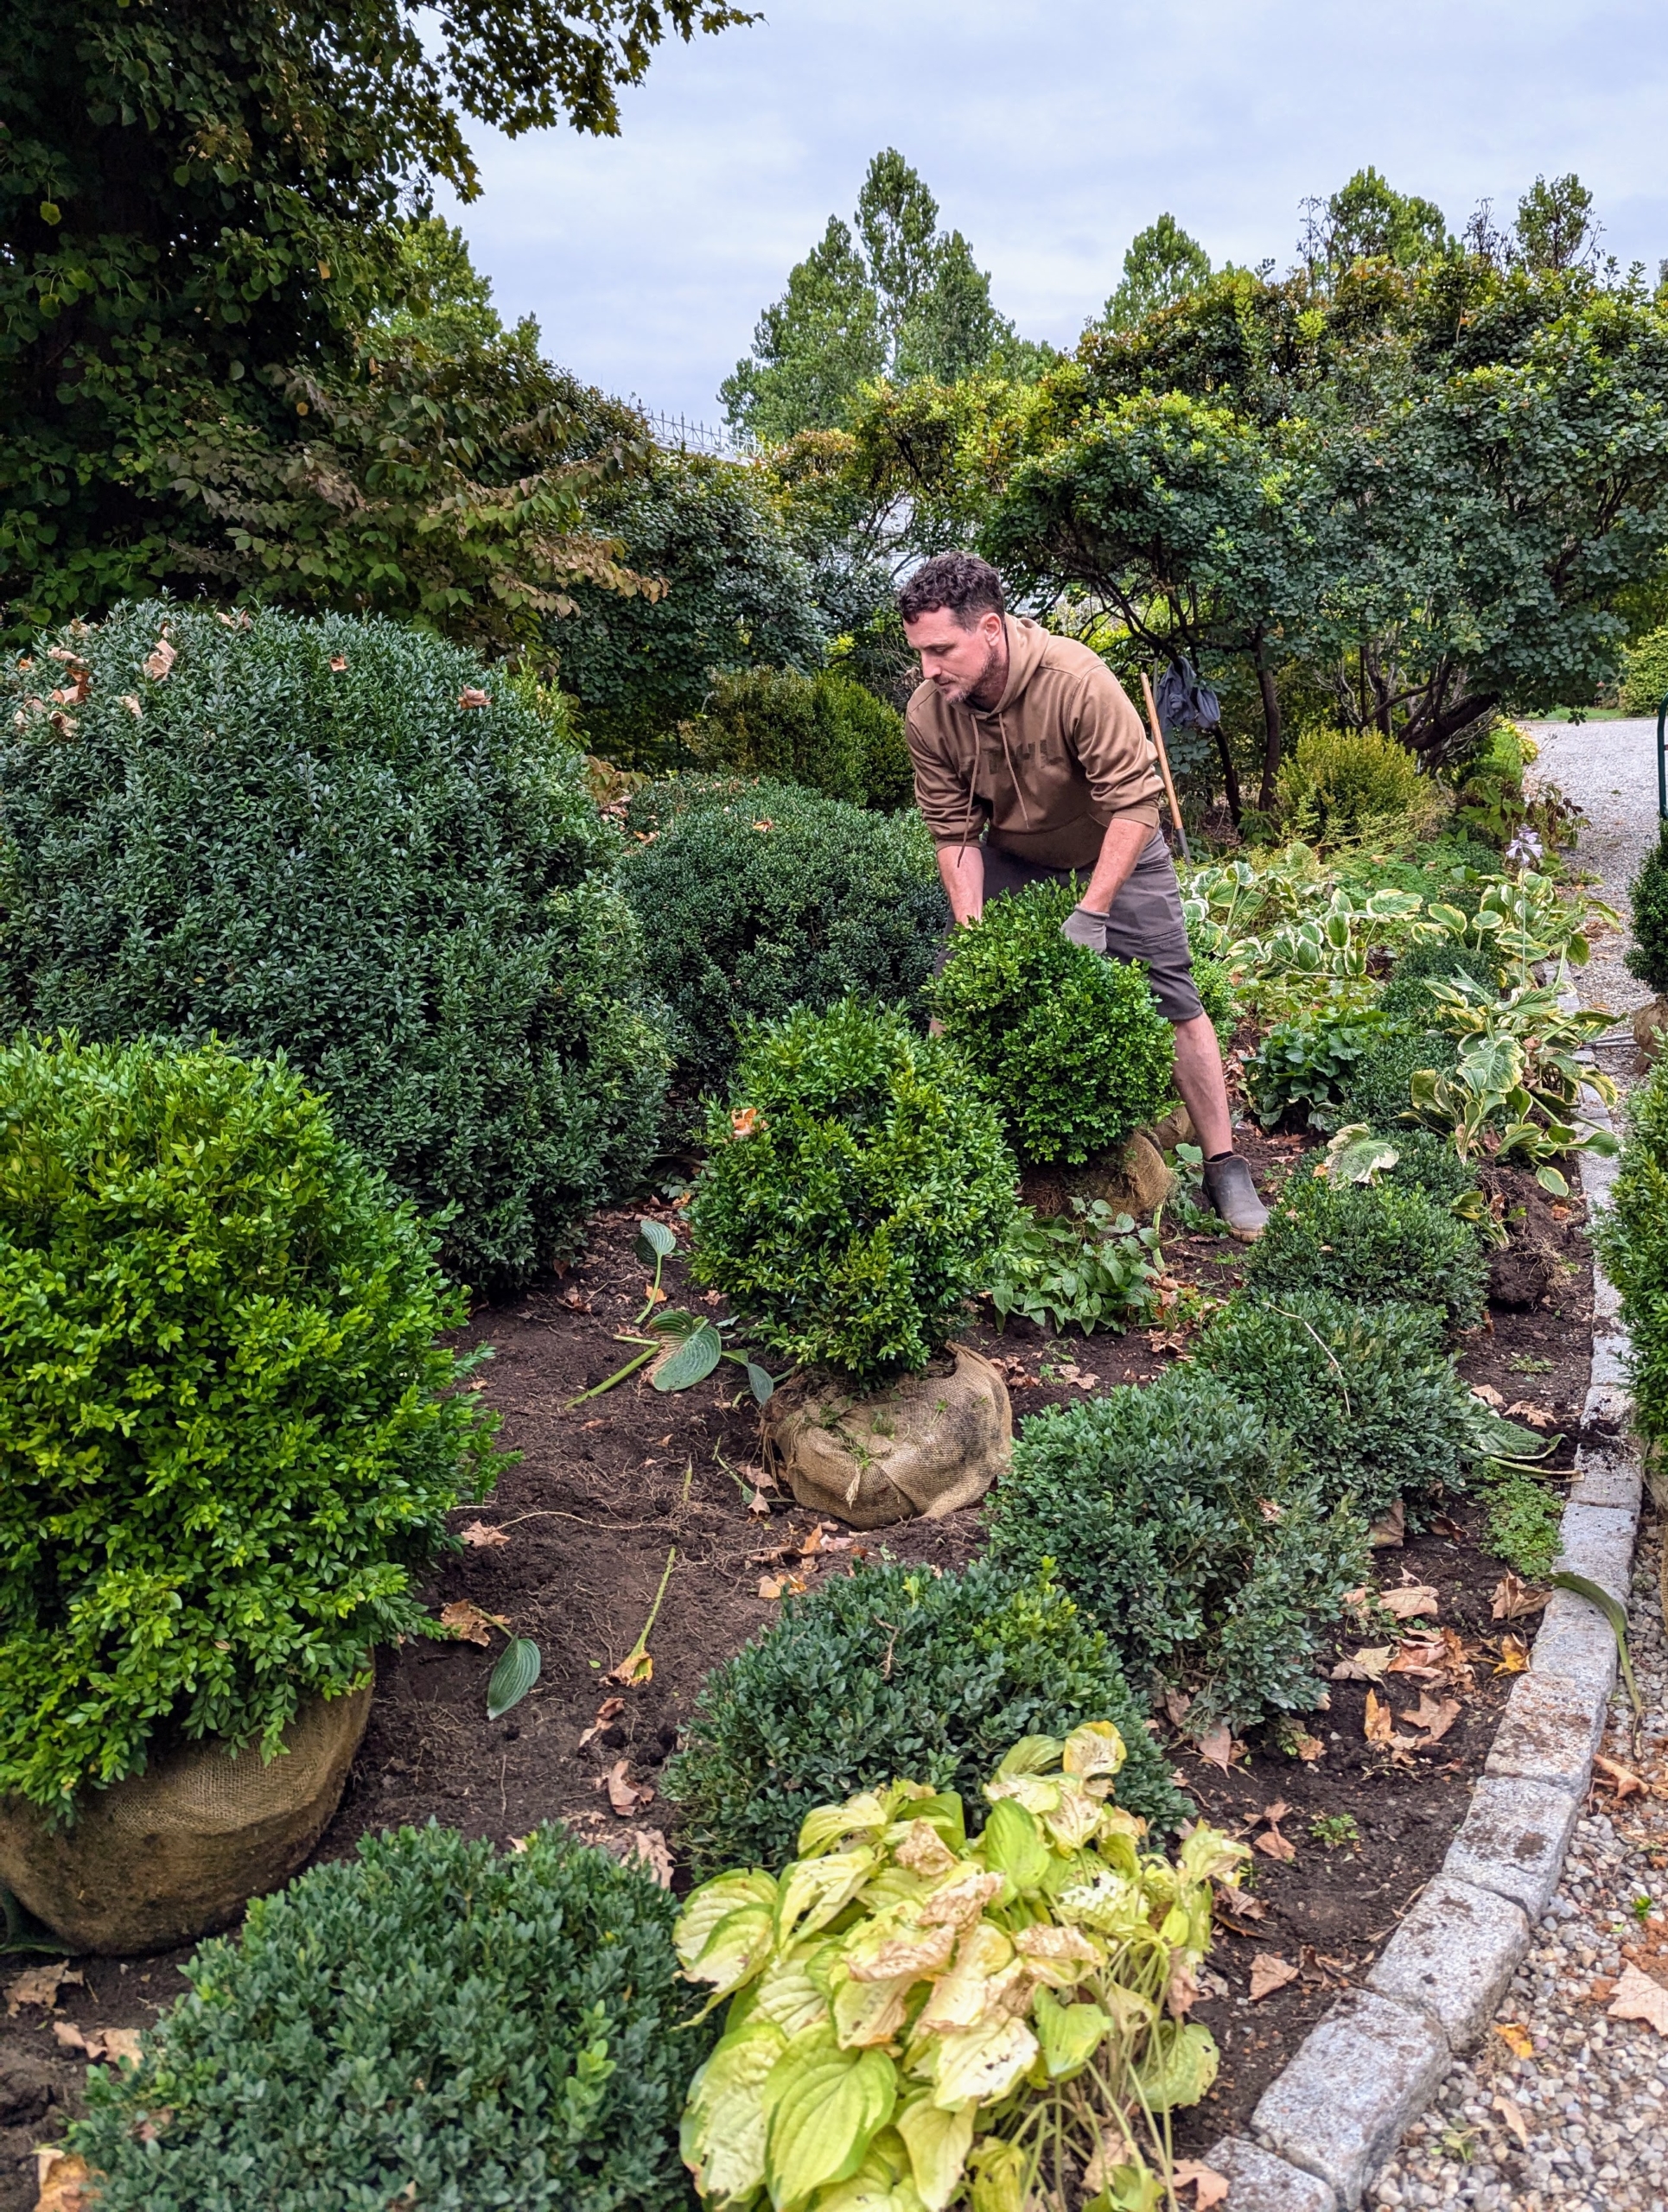
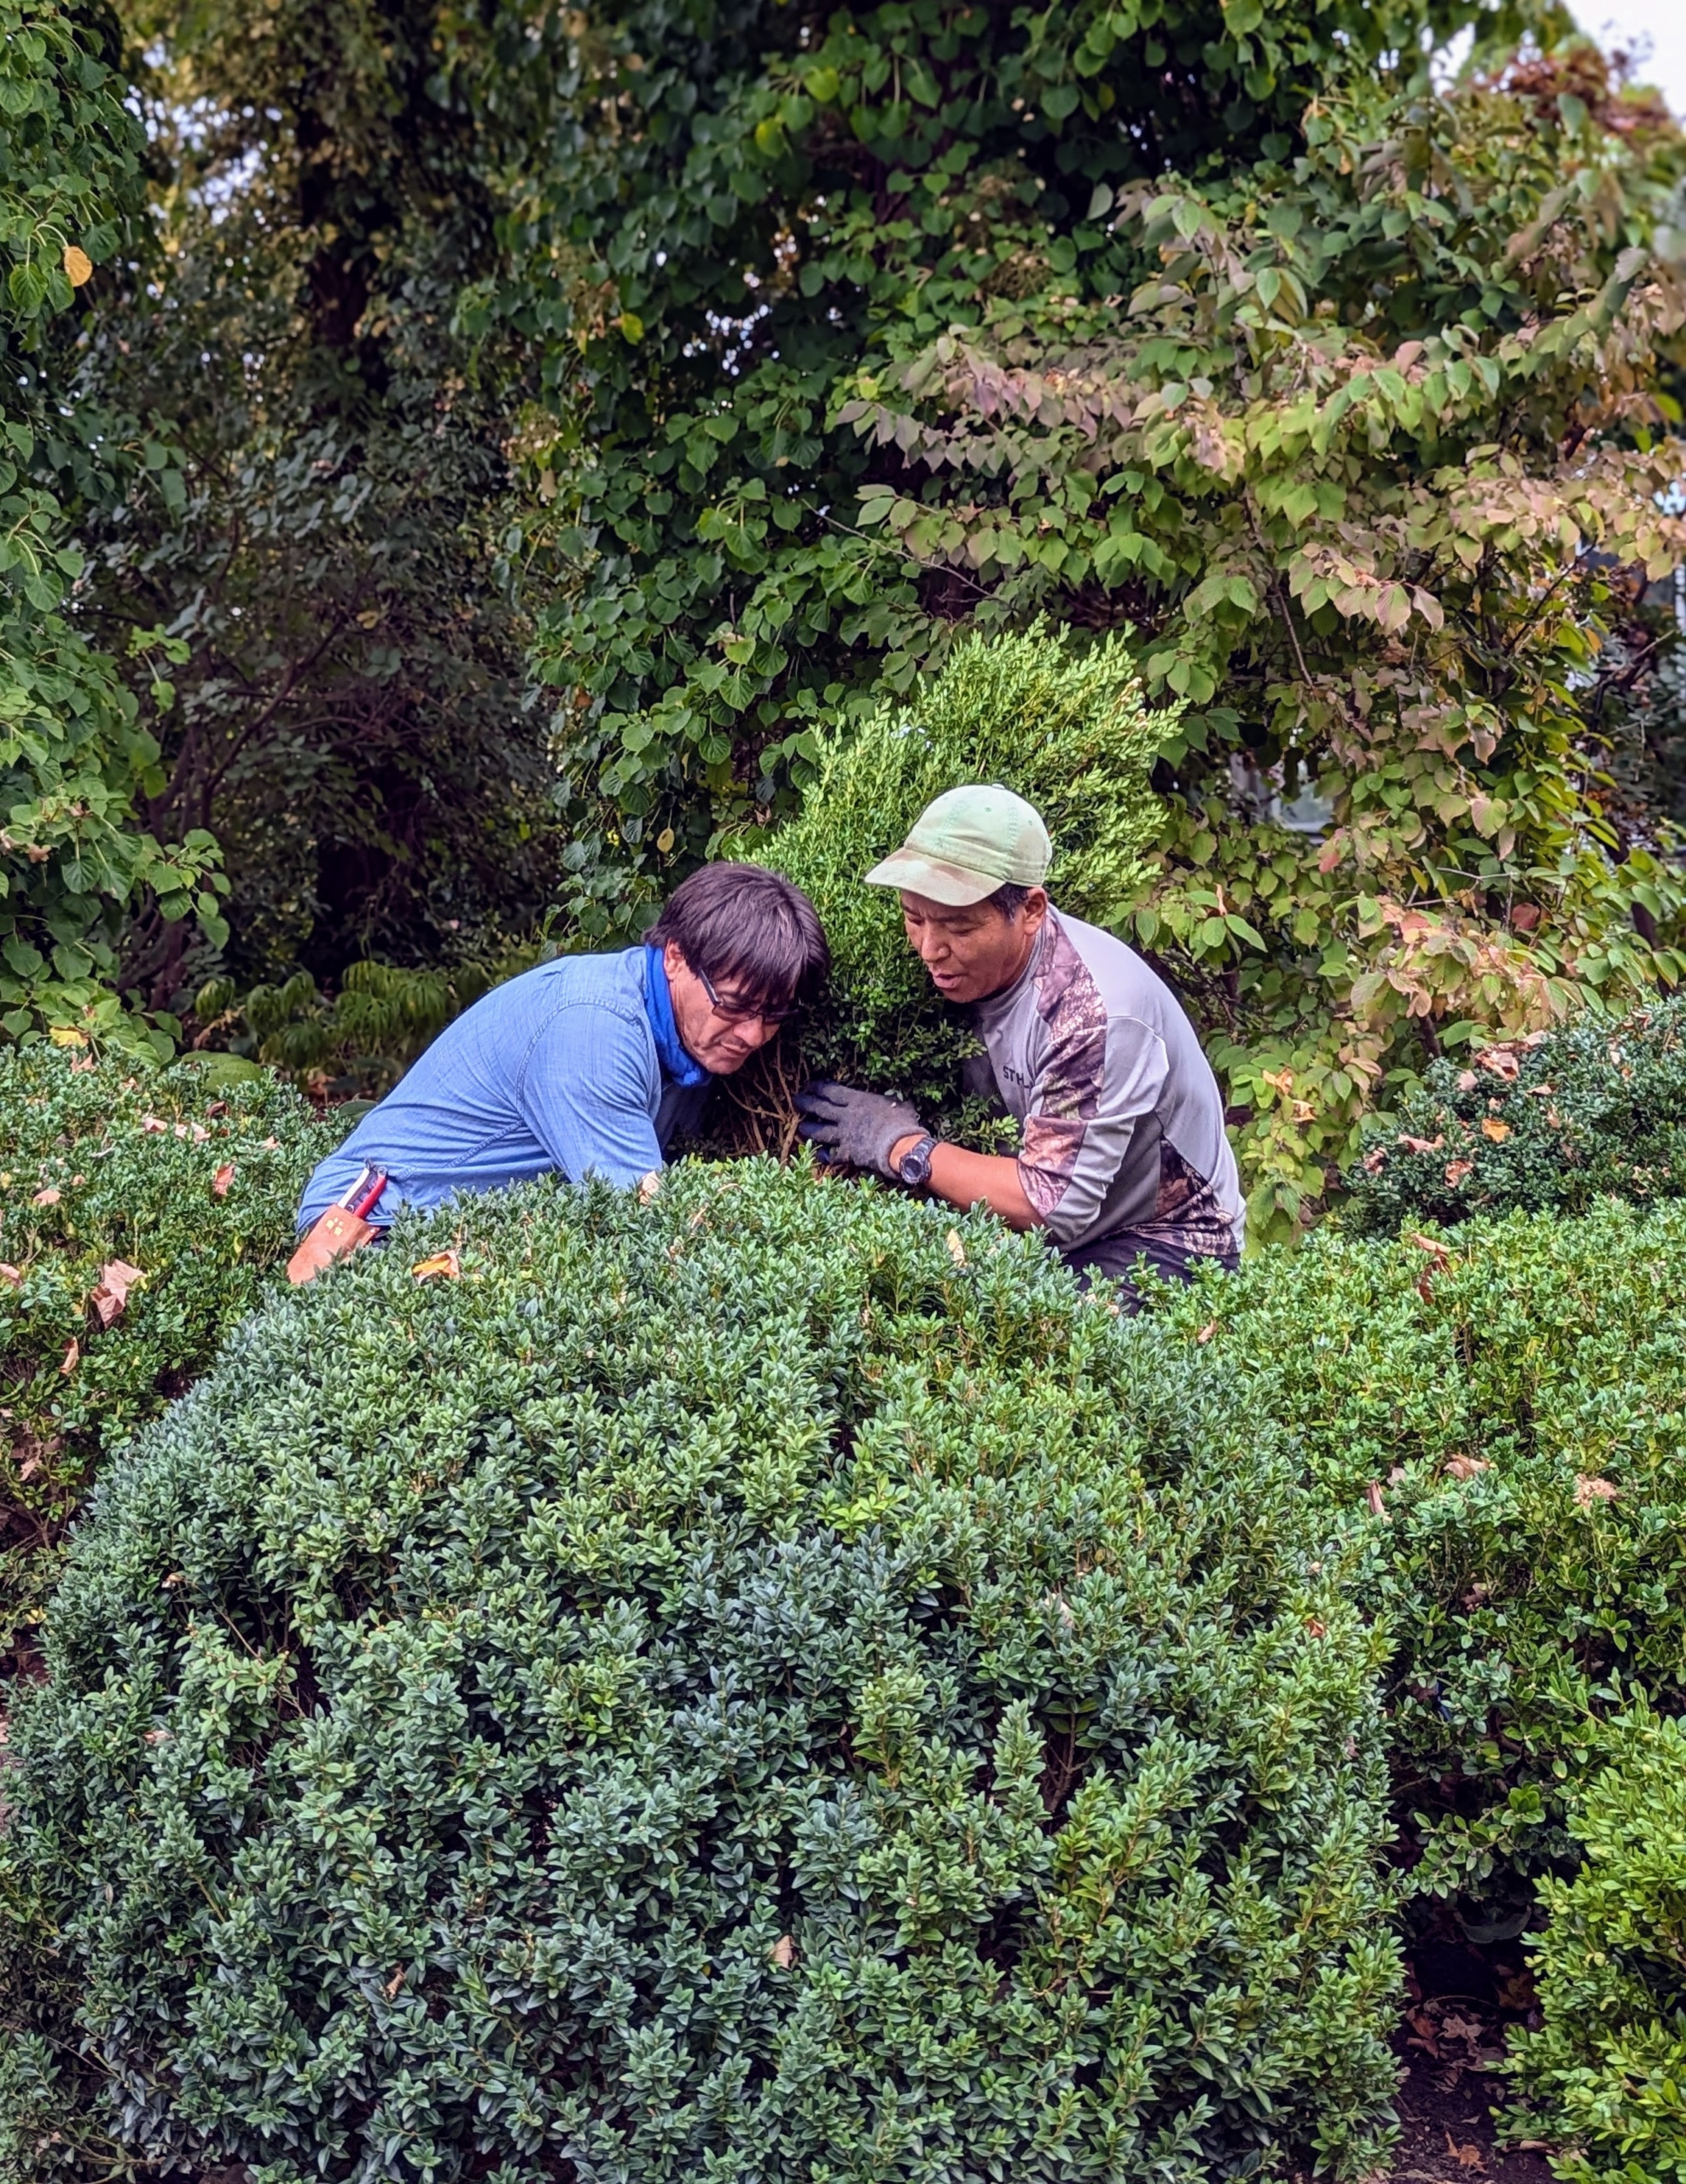
For this project, I called in some help to plant. Norman and his team are fast and efficient and started planting right away.
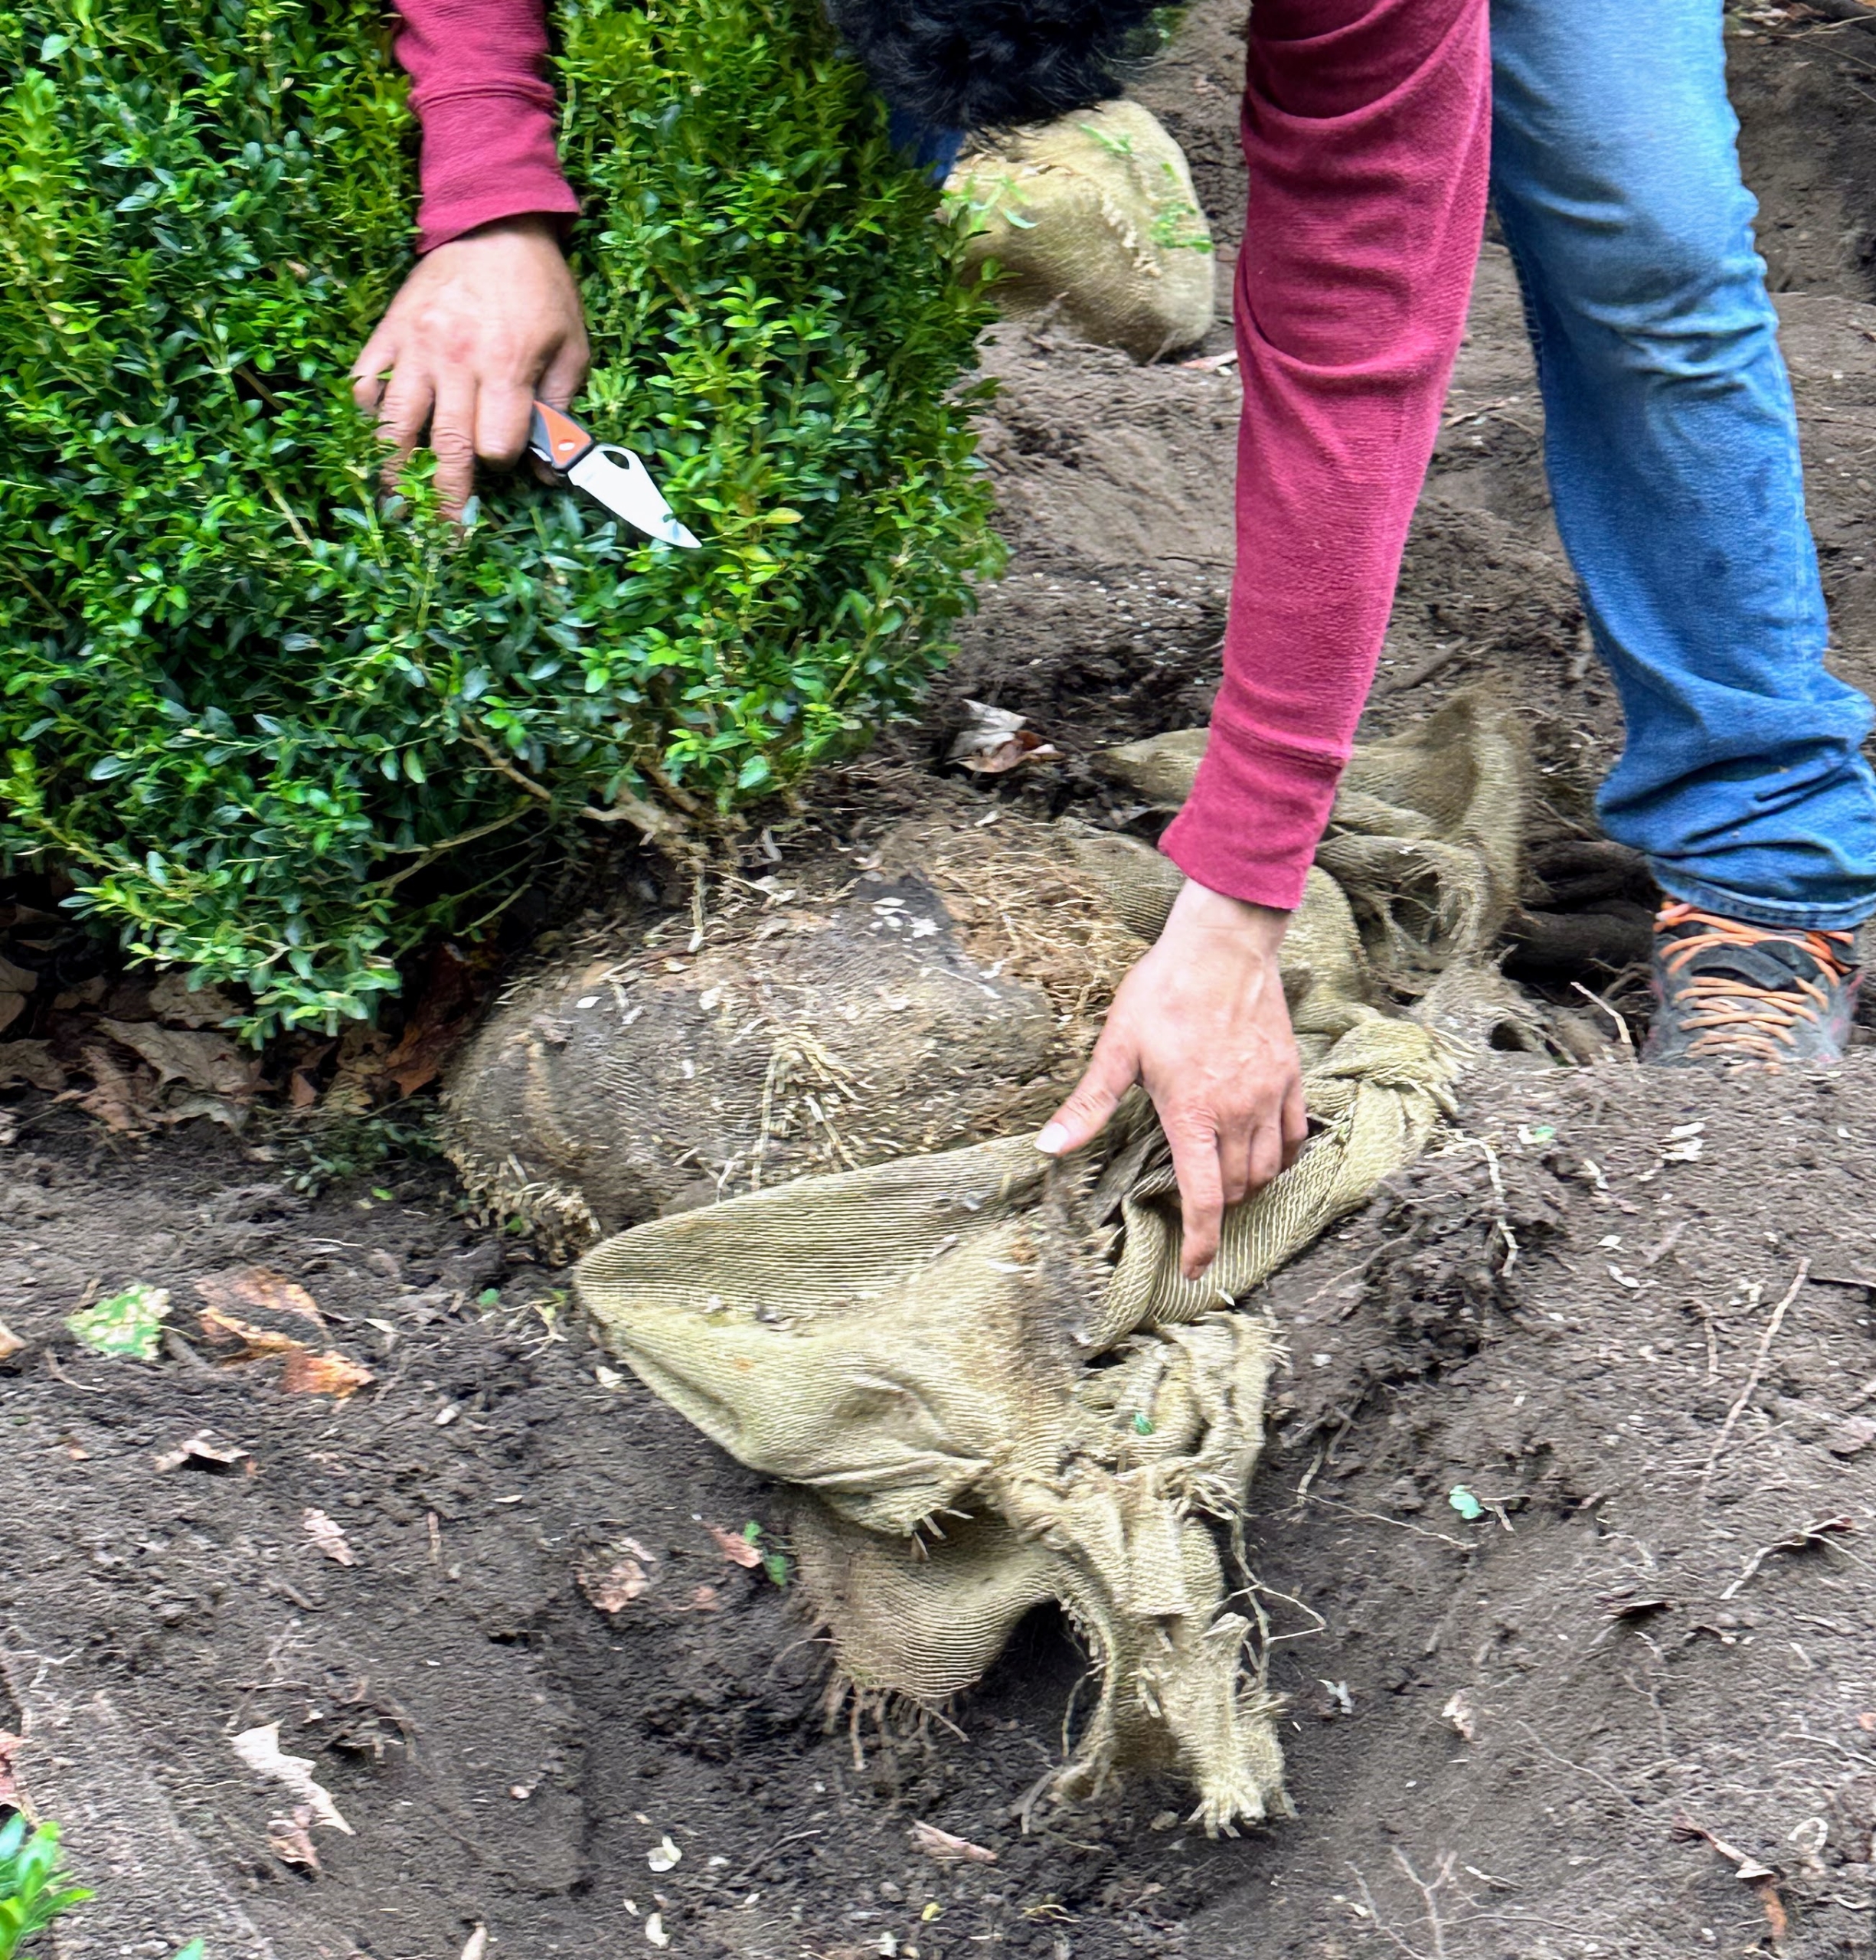
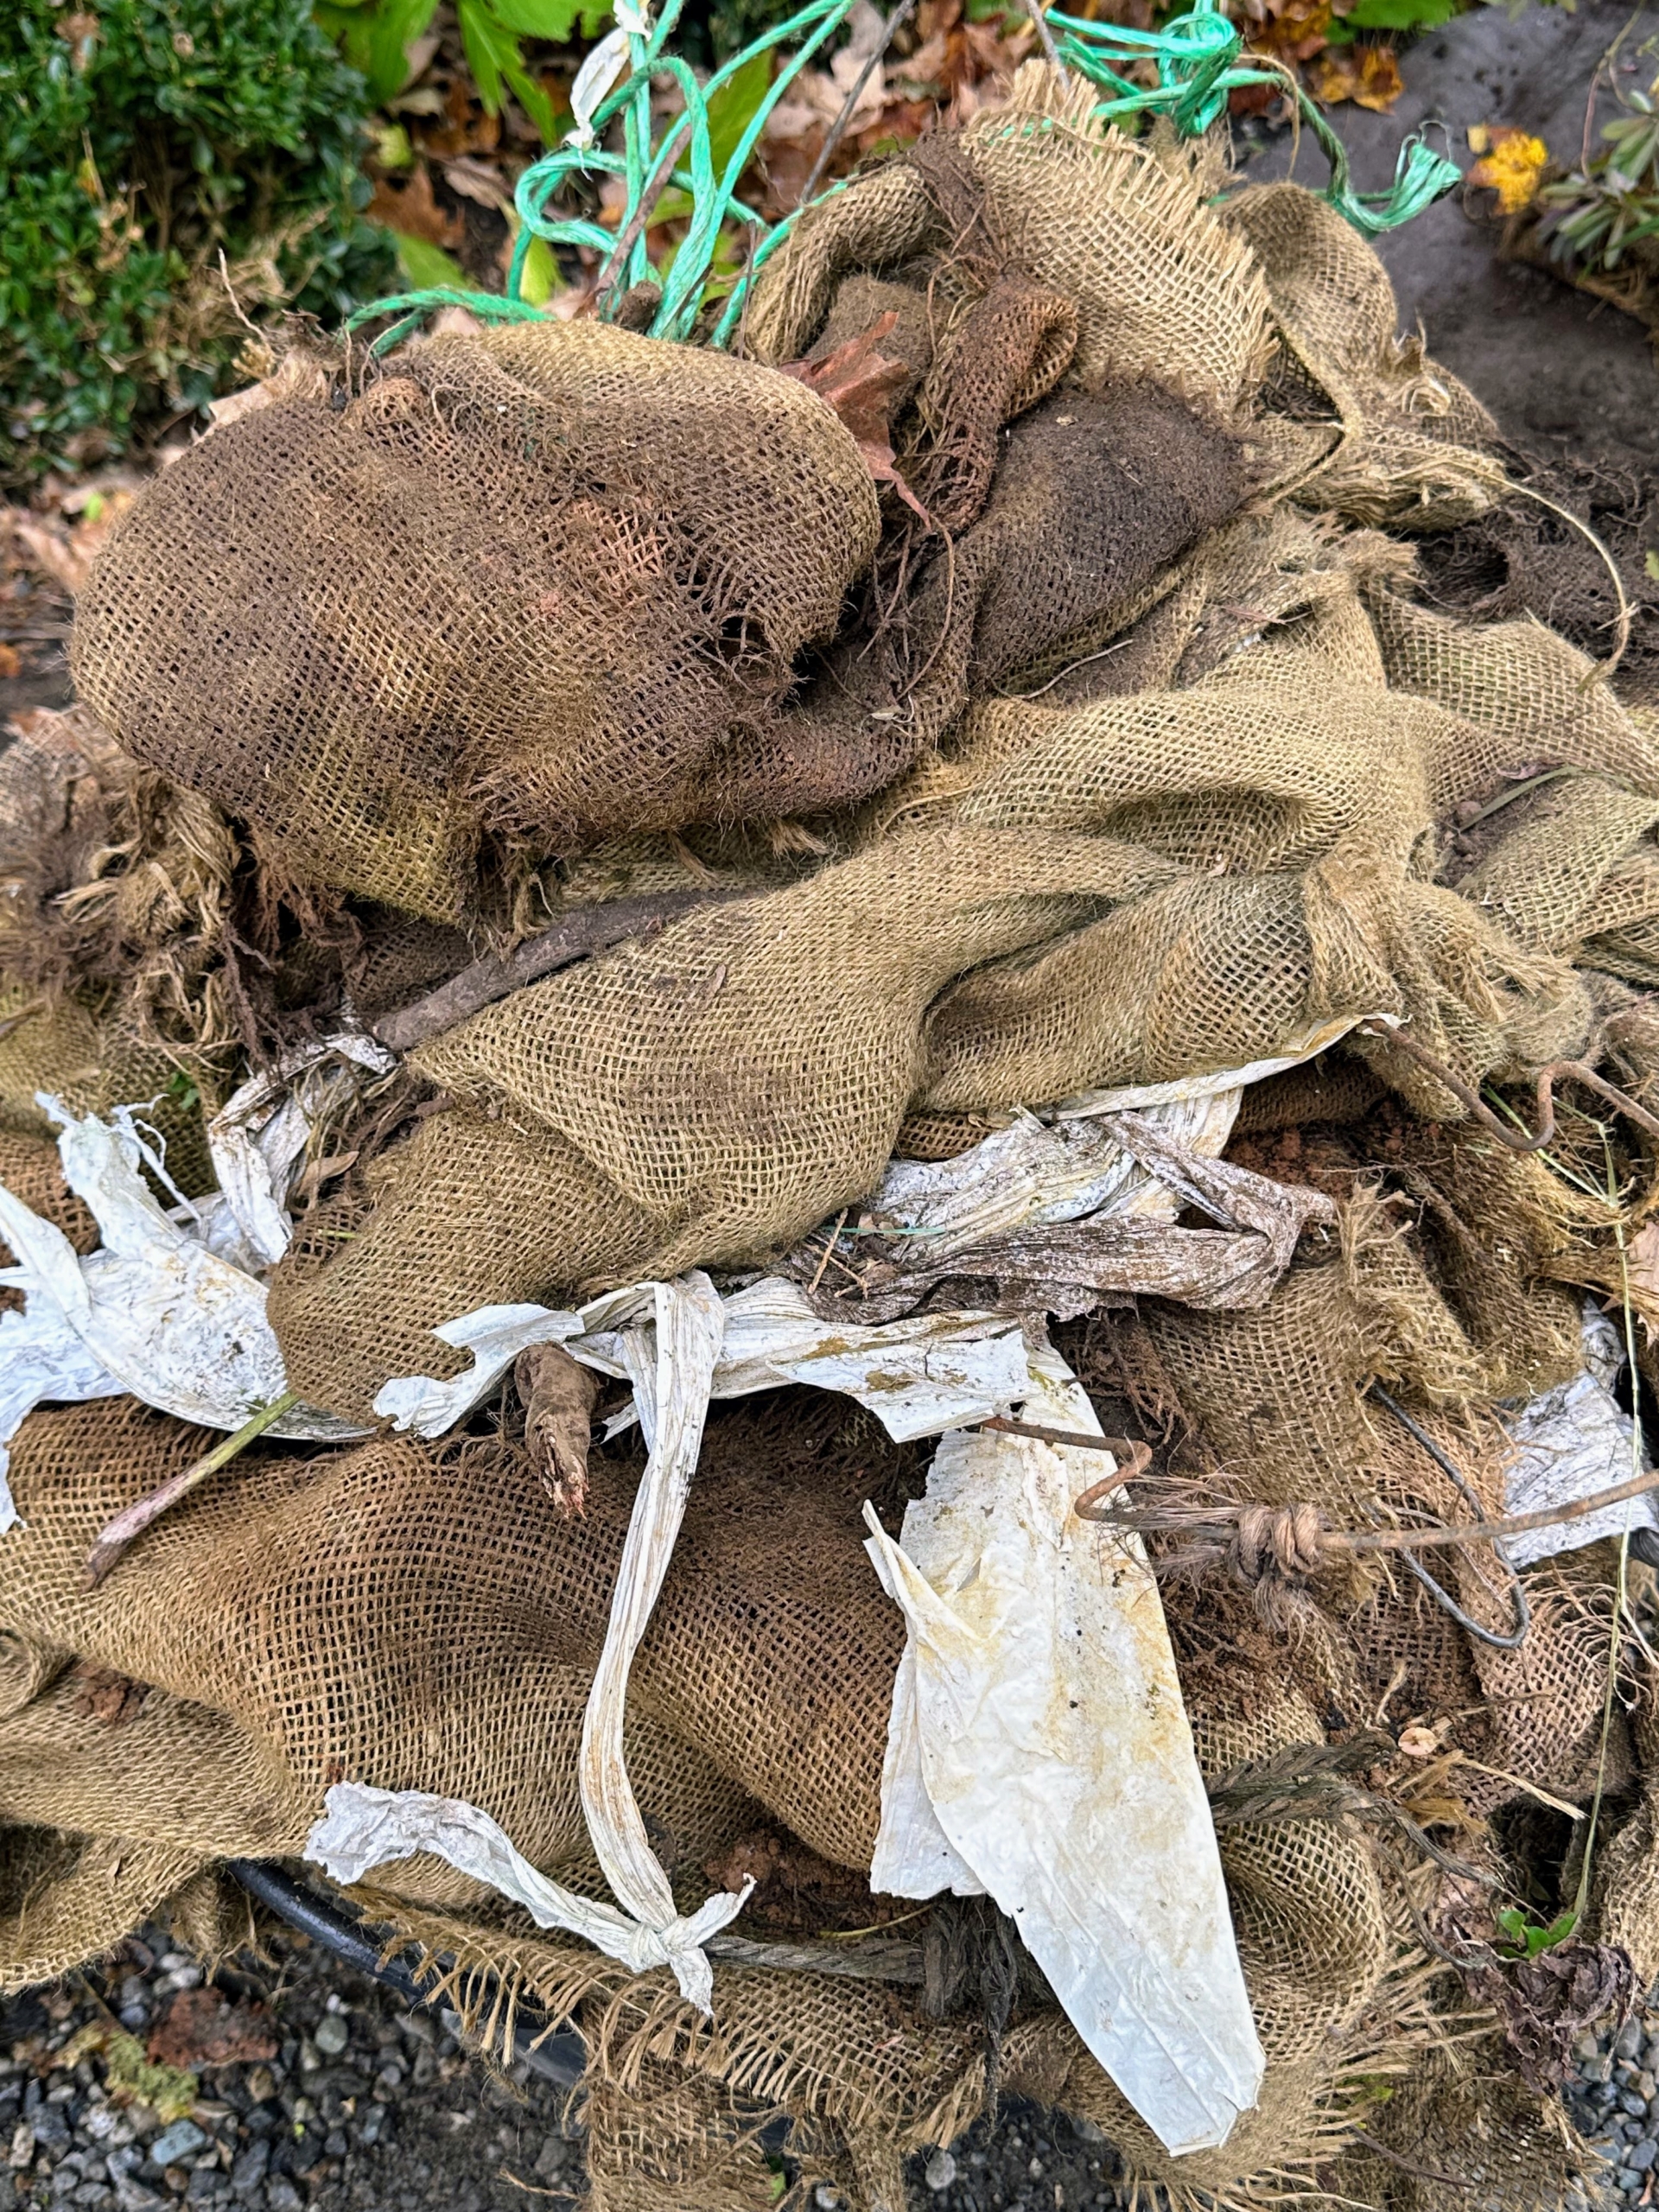
Norman removes the protective burlap from around the root ball. I believe removing all the material is very important, so there is nothing blocking its root growth.
All the wrapping materials are piled in one area, so the team knows everything was taken off.
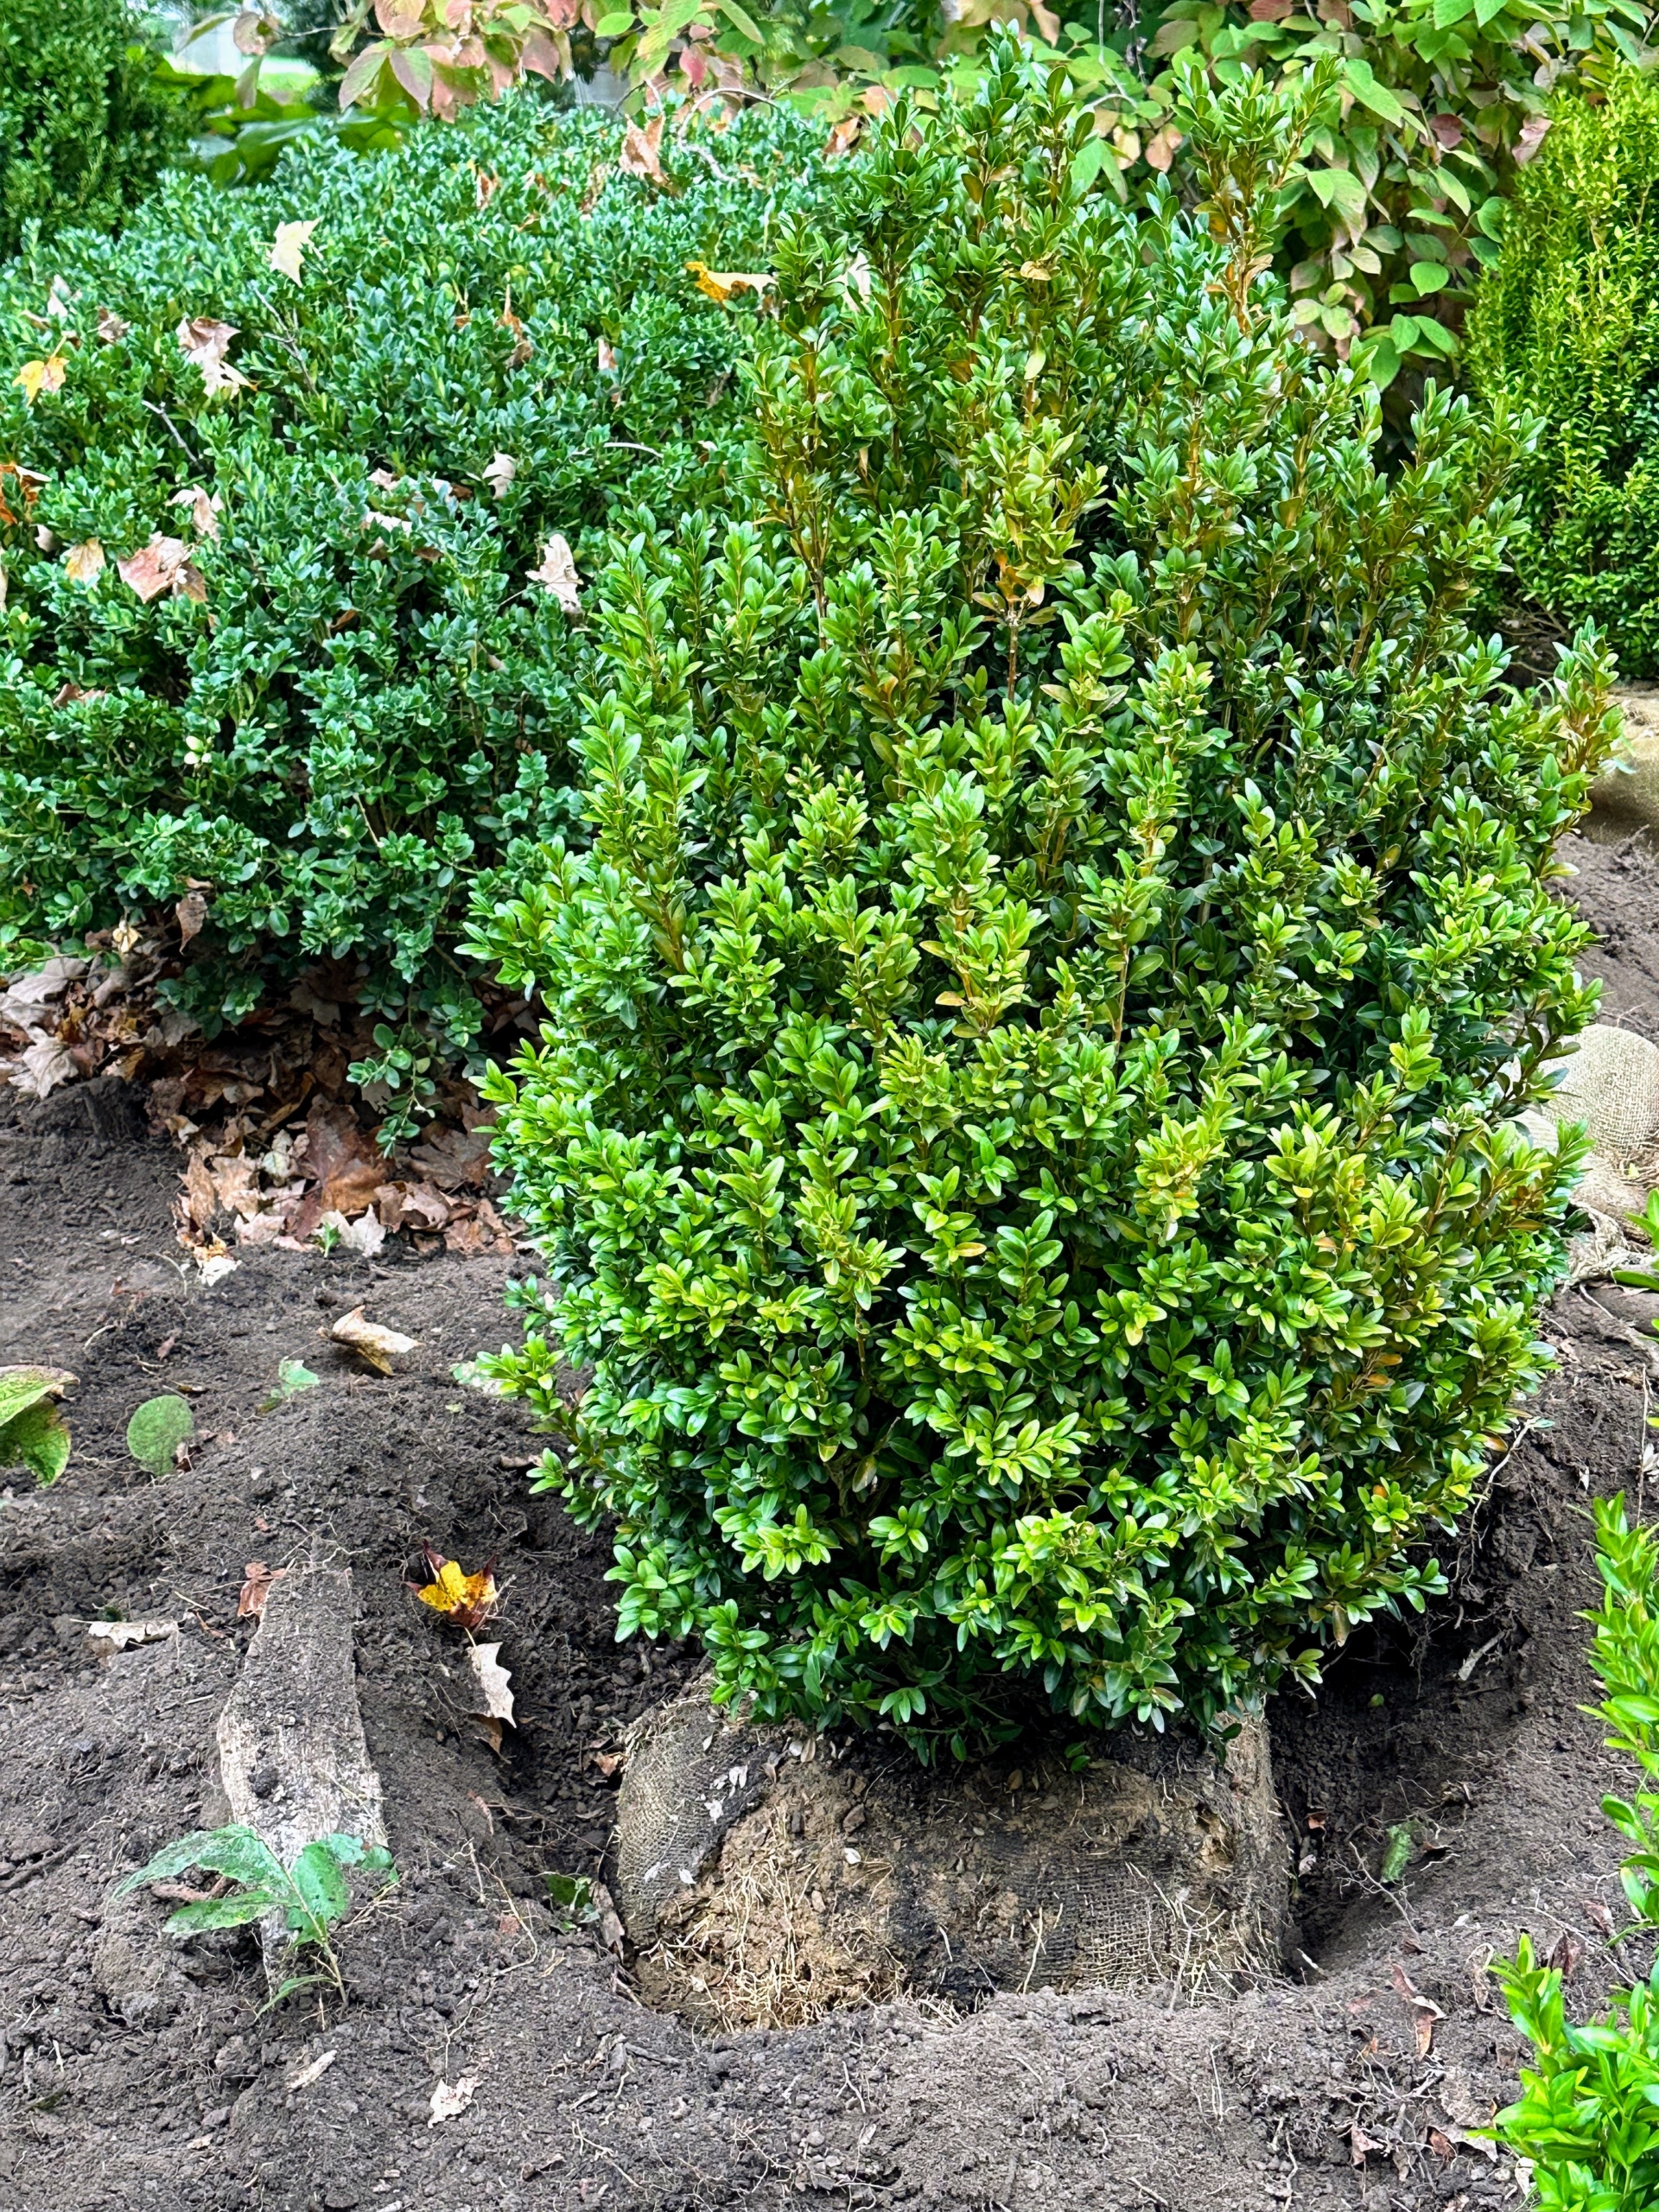
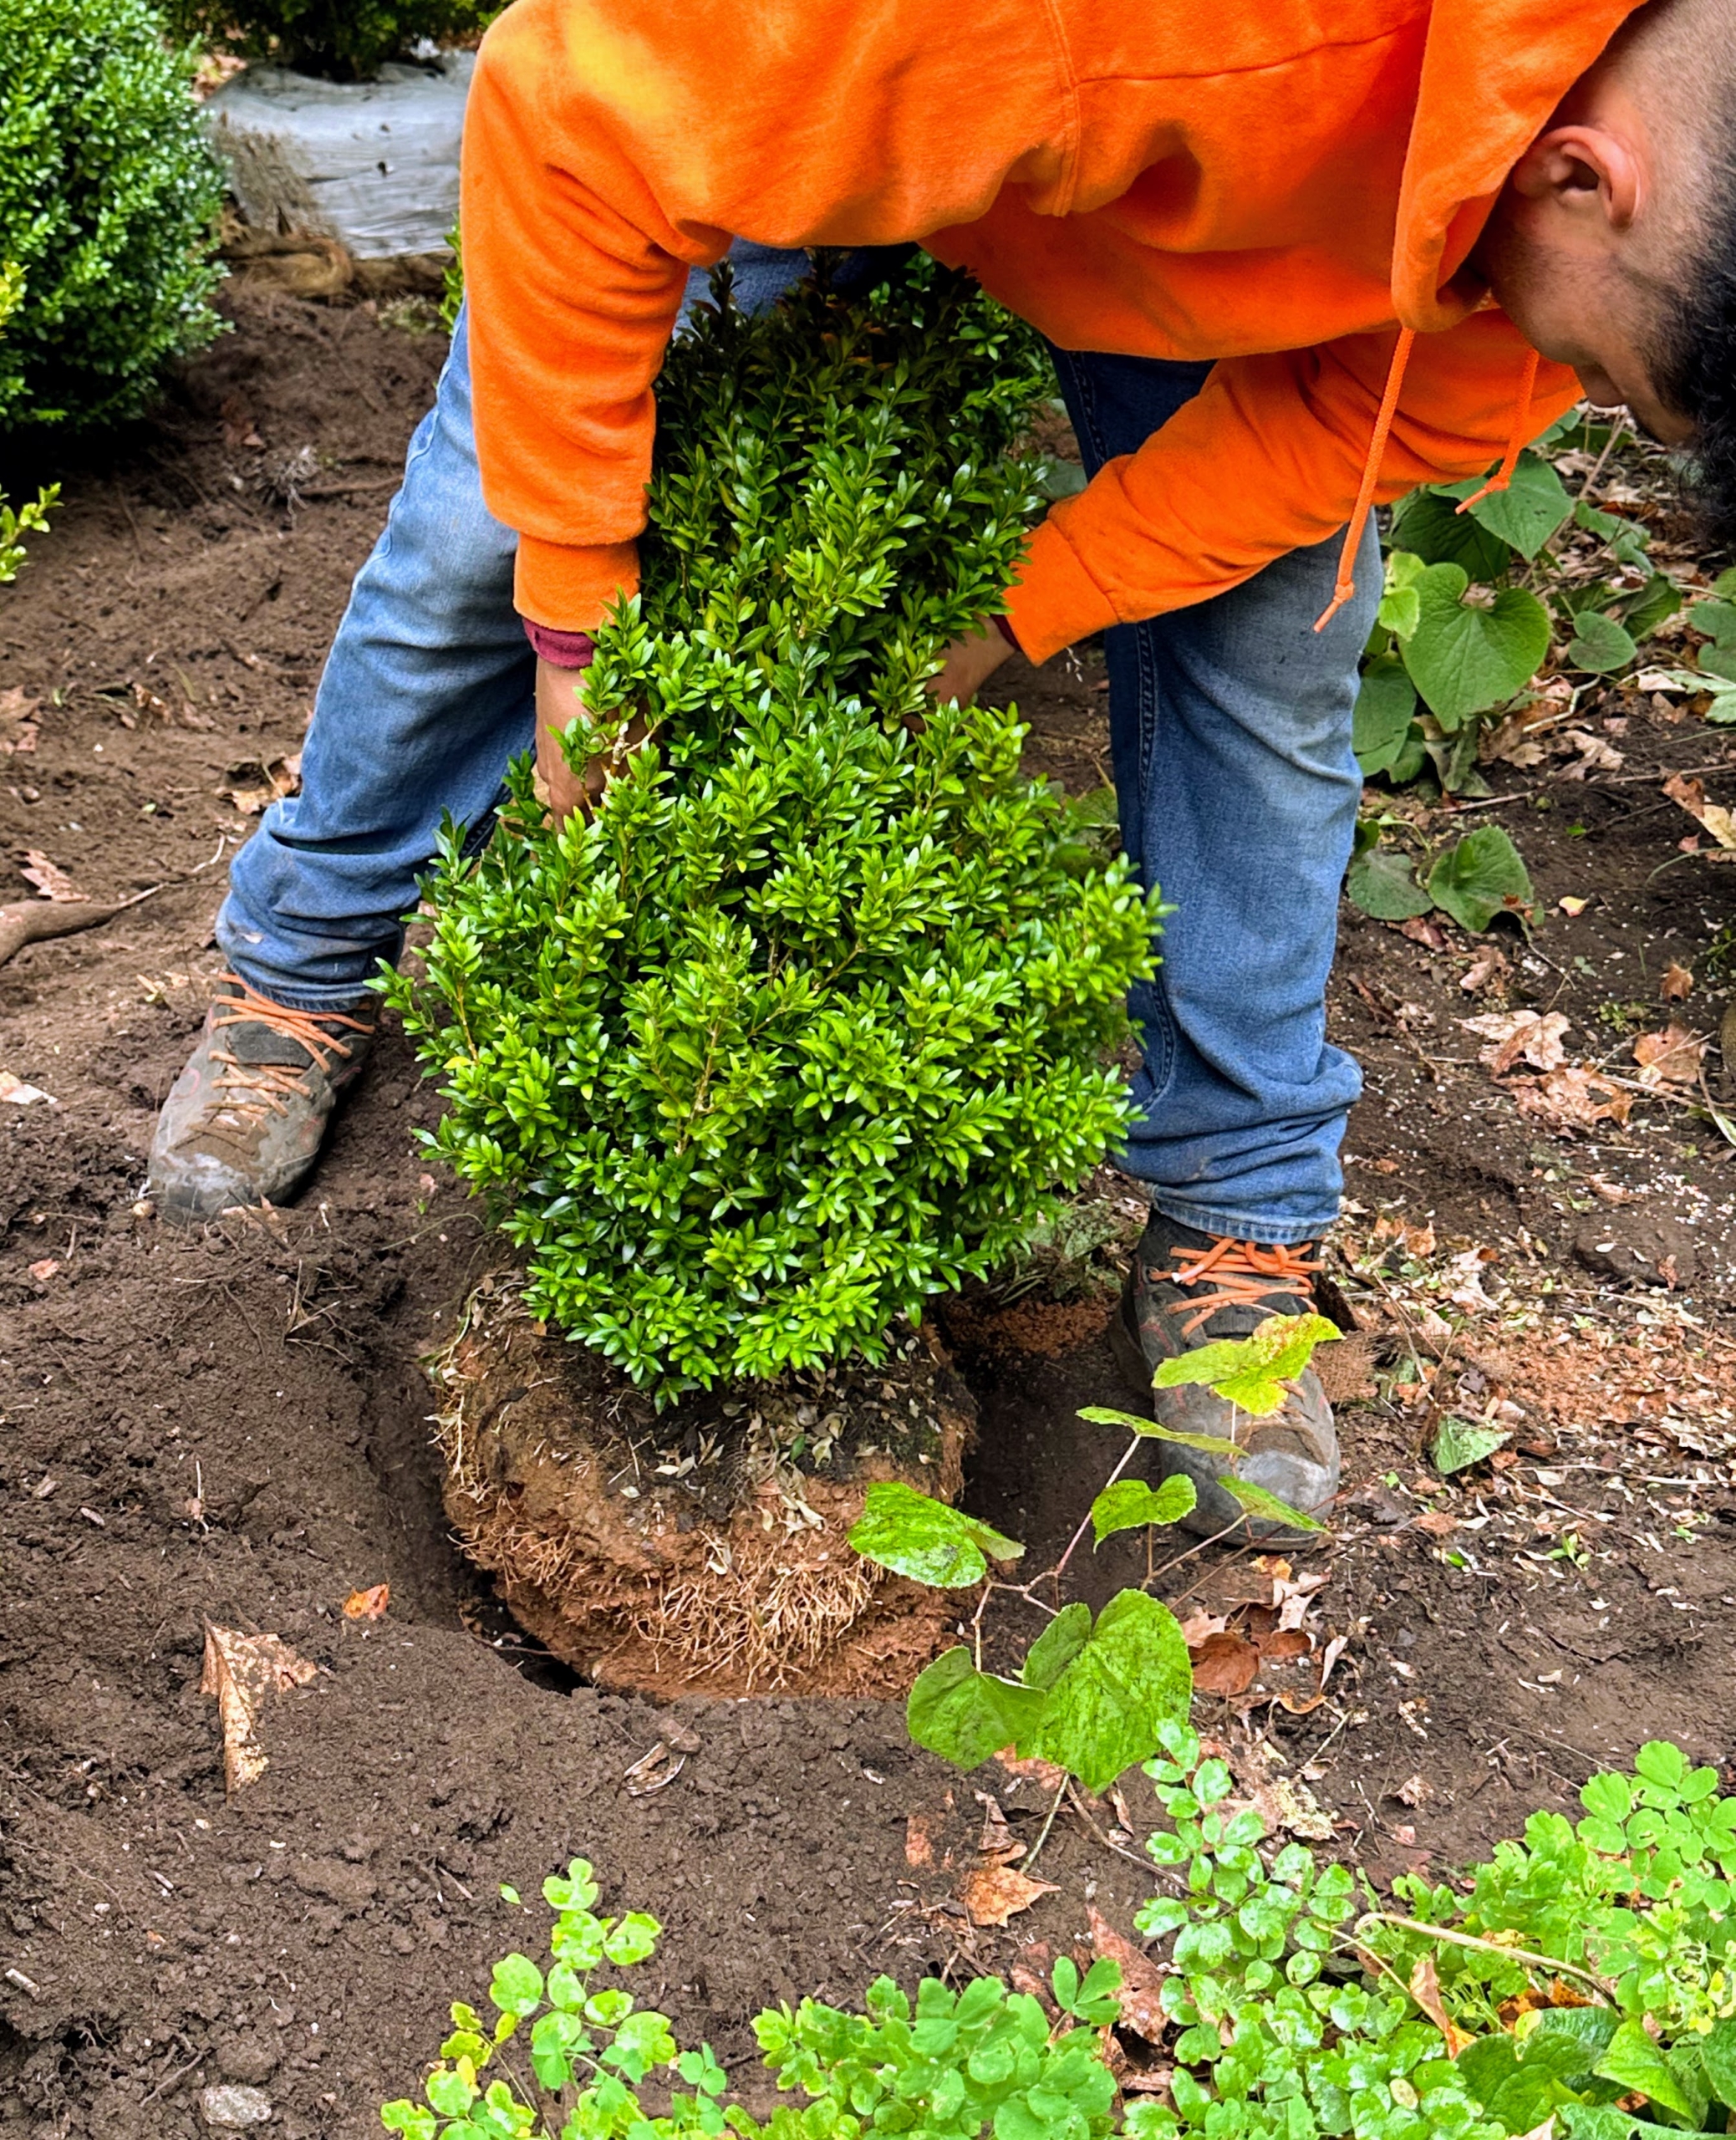
Each shrub is slowly rolled into its designated hole.
The shrubs are then backfilled. When planting boxwood, the root ball should be about 1/8 to two inches above the soil surface. This allows the plant to settle properly and ensures proper drainage.
The weather forecast called for showers in the afternoon, so the team worked hard to get everything into the ground.
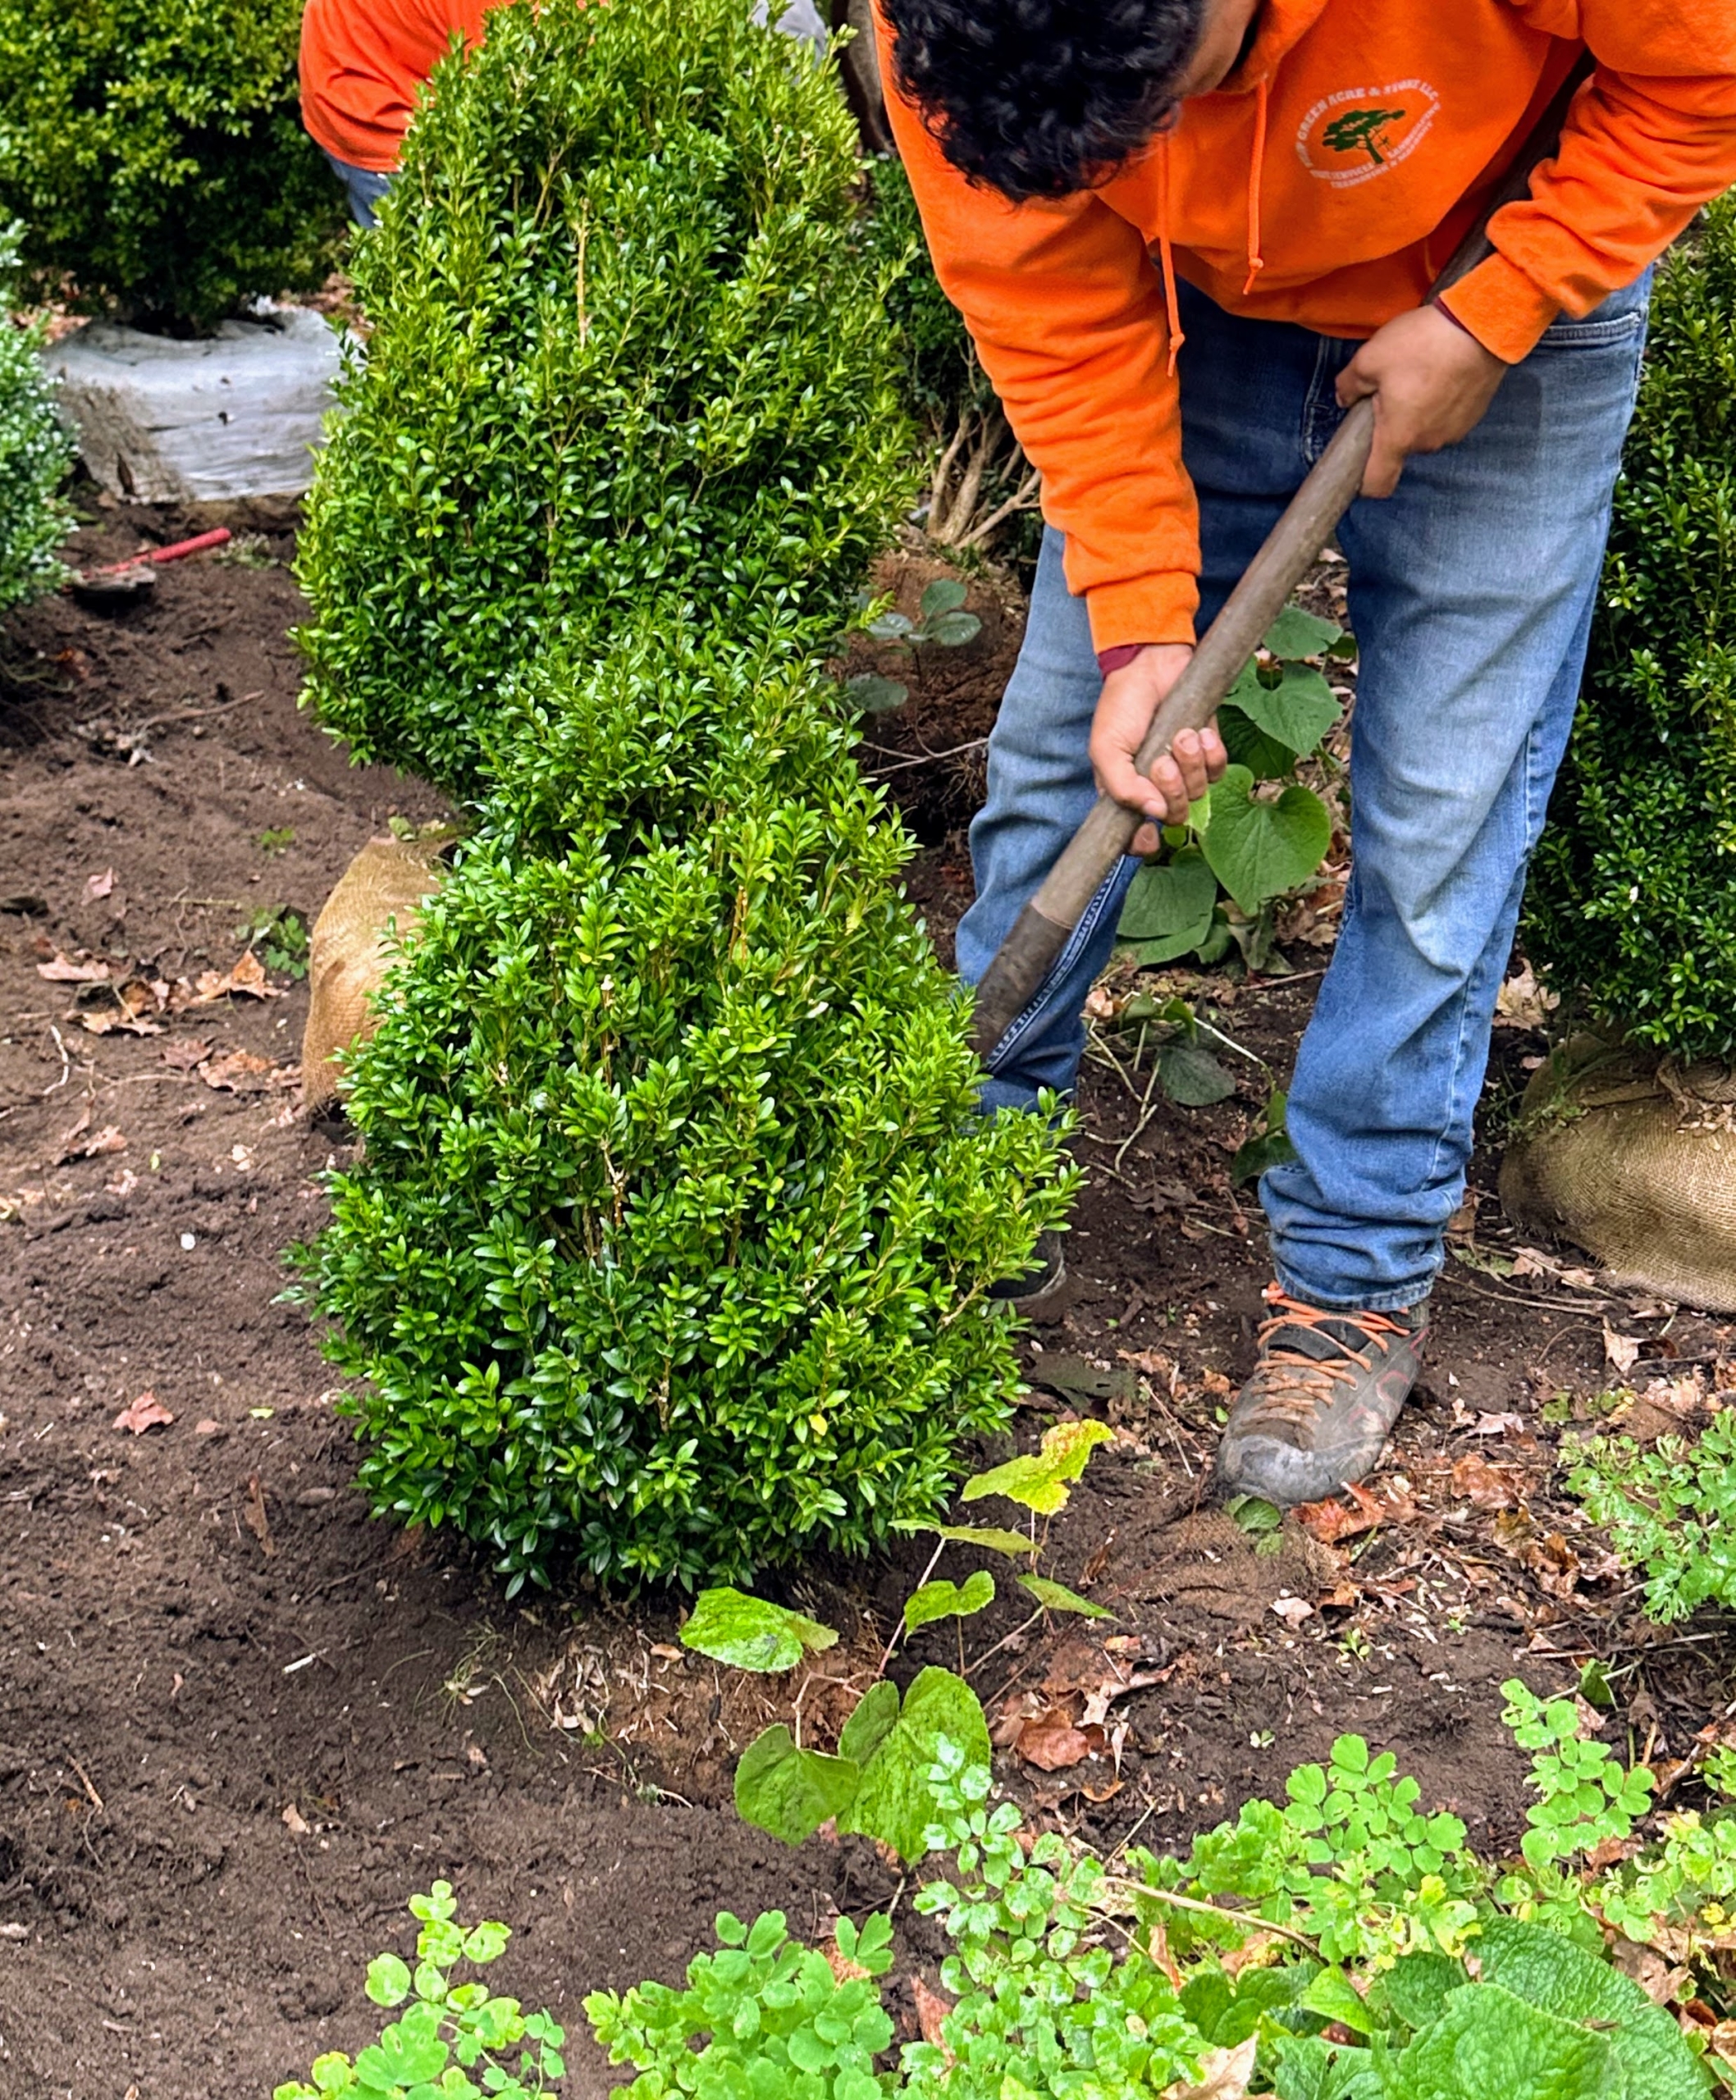
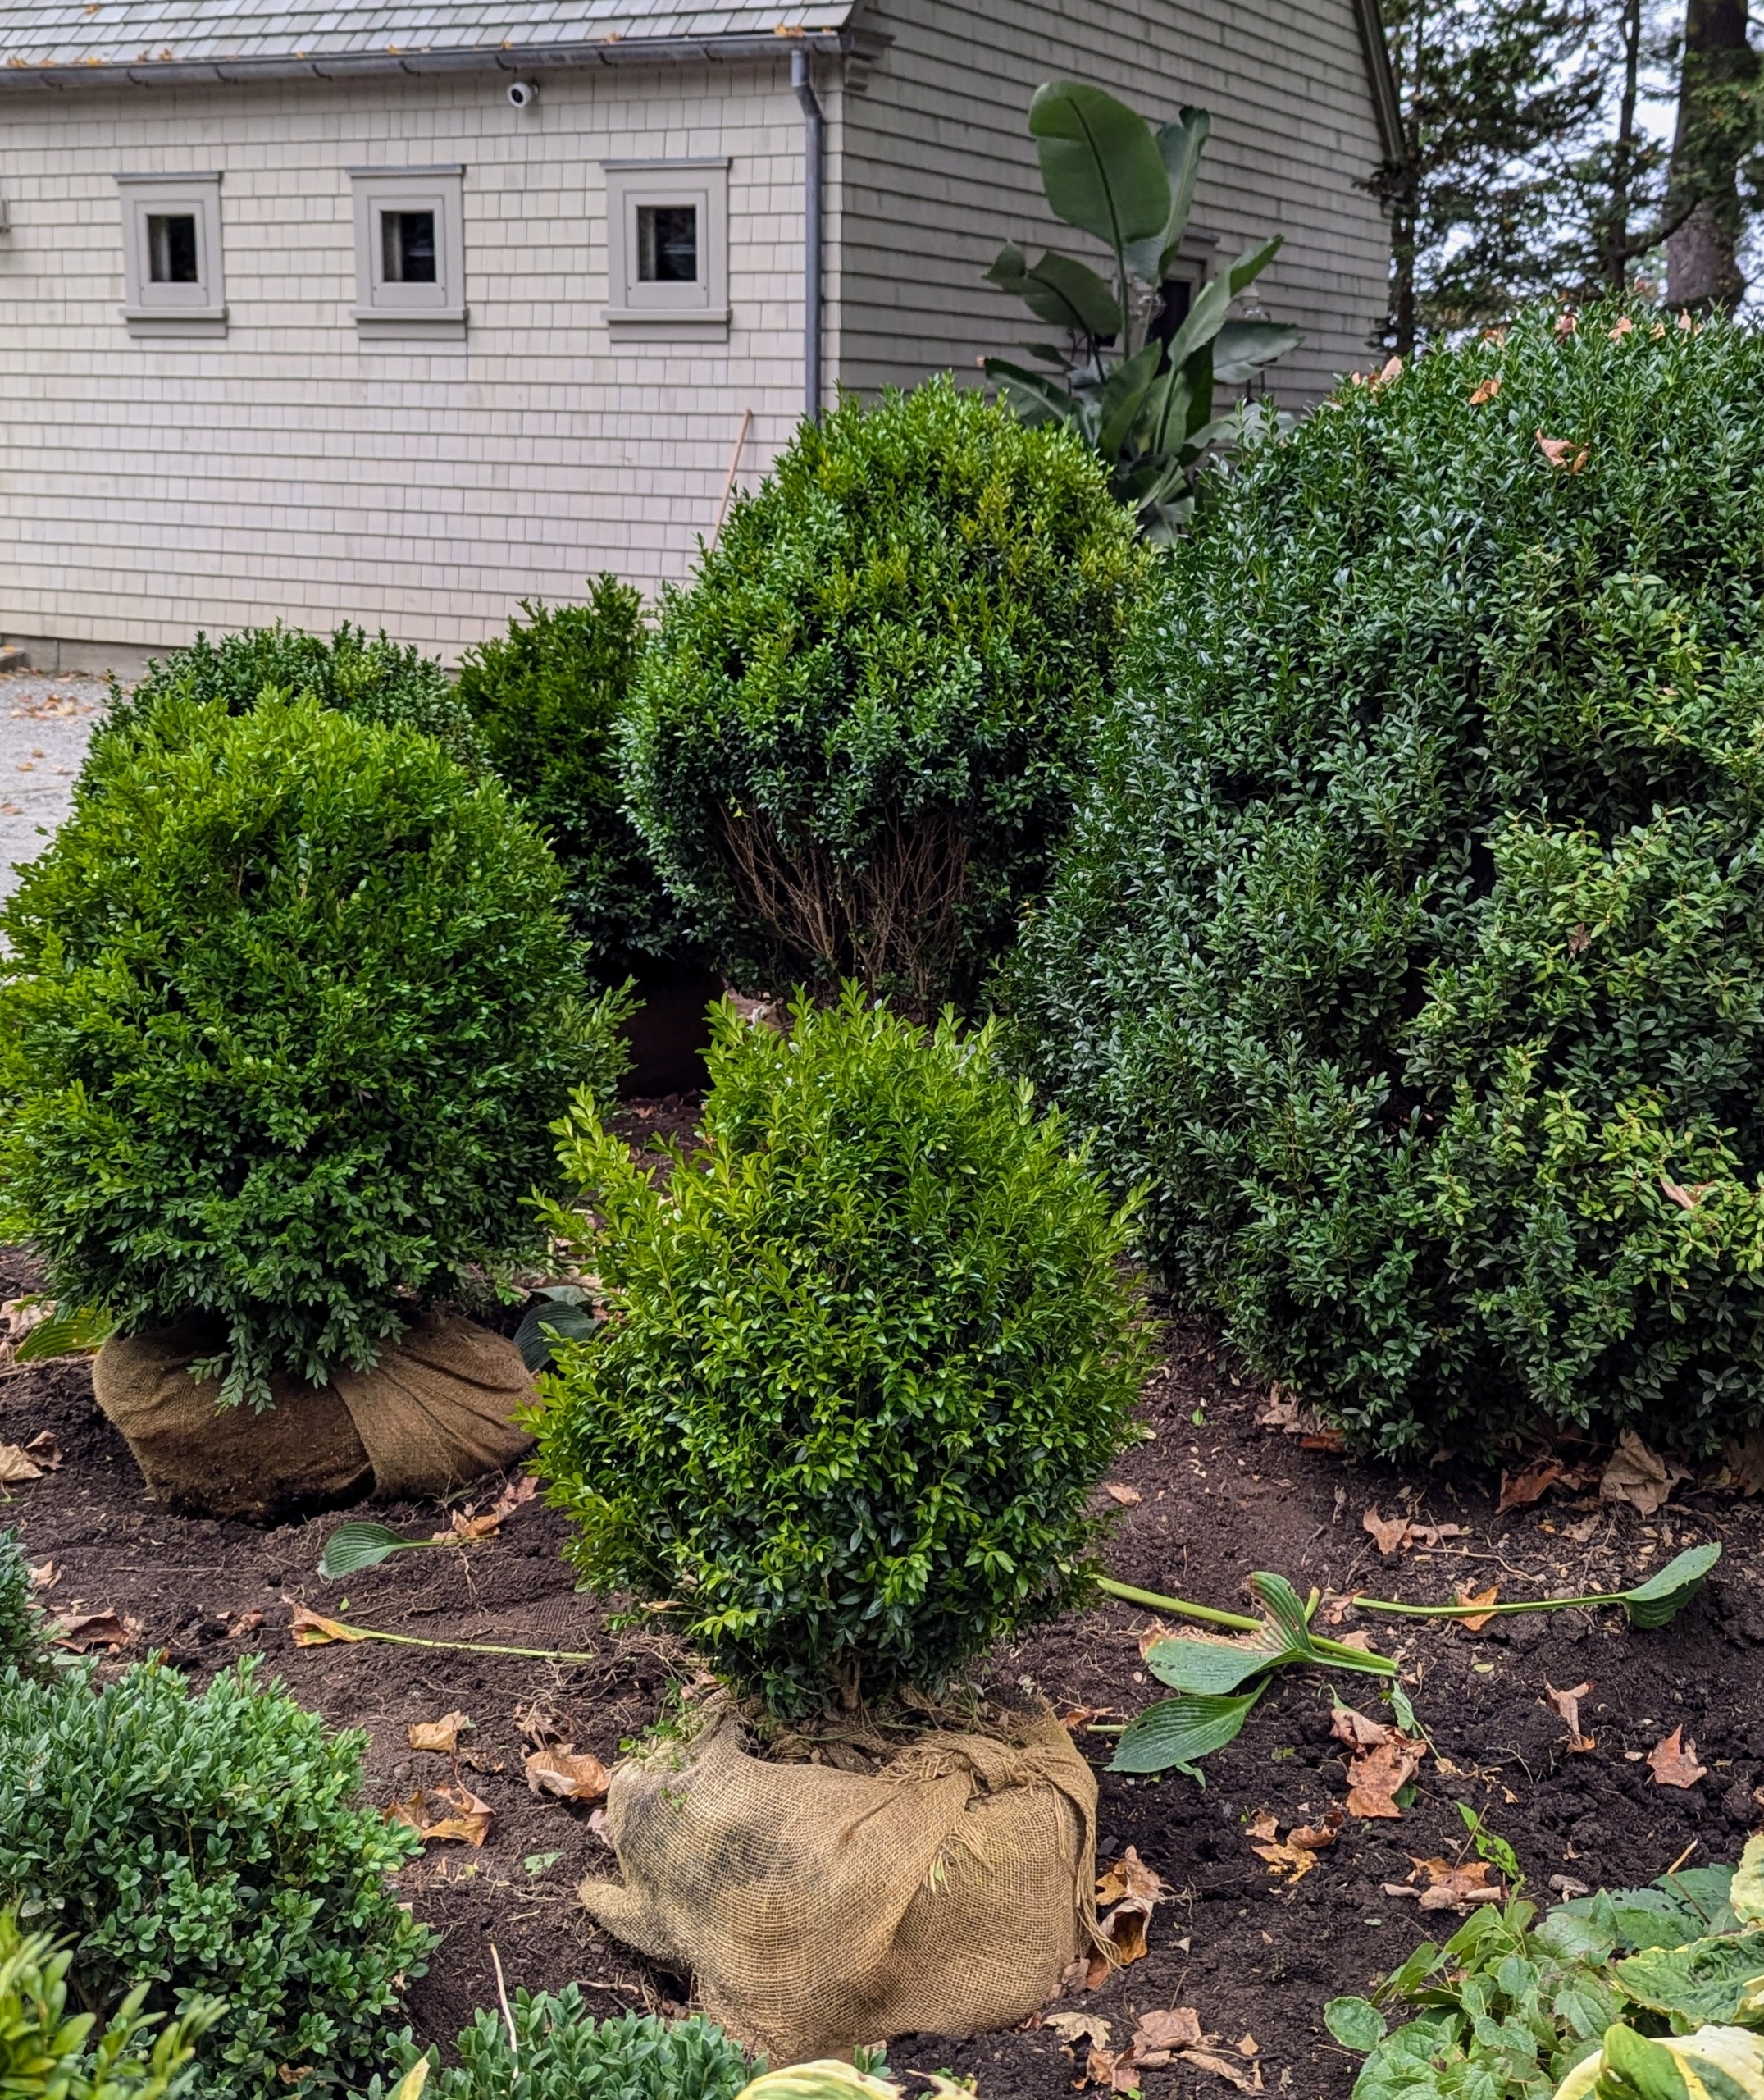
Here’s another shrub getting planted. All these shrubs are in good condition, but we always position plantings with the best side facing out.
All these shrubs are backfilled properly, but in a few weeks, they will also get a two to three inch layer of mulch made right here at my farm. It helps to retain soil moisture, regulate soil temperature, and insulate the root ball.
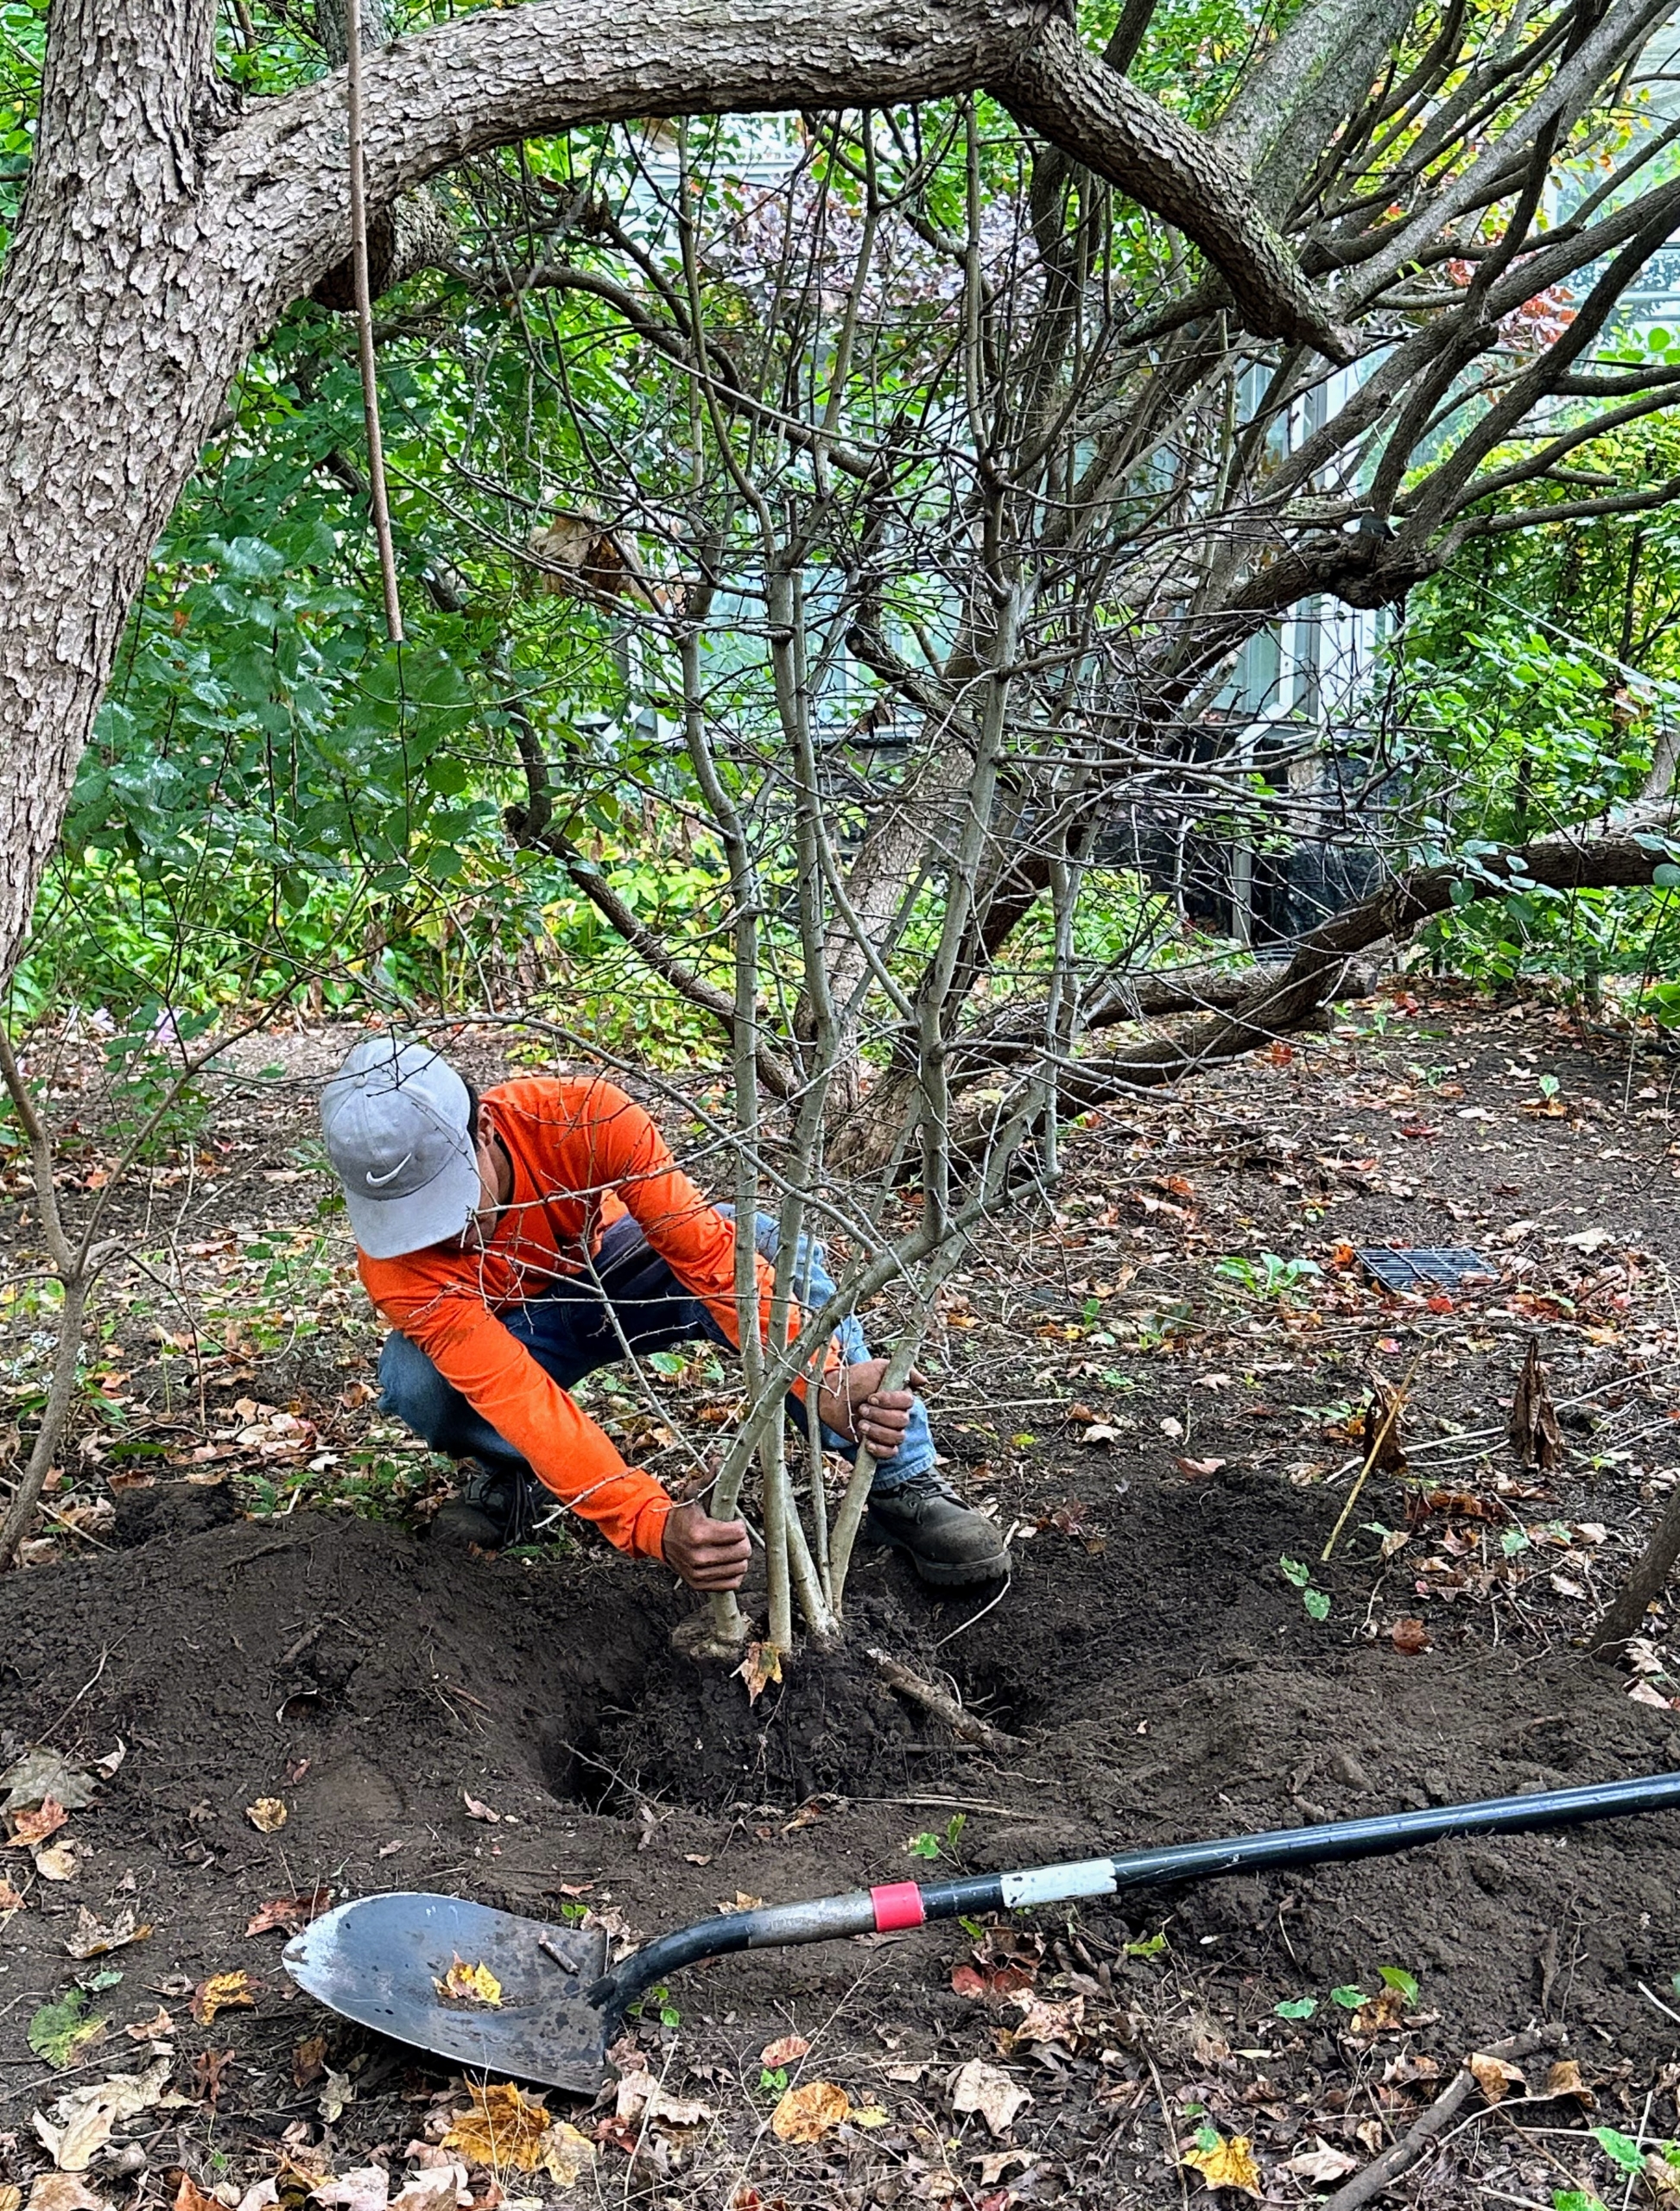
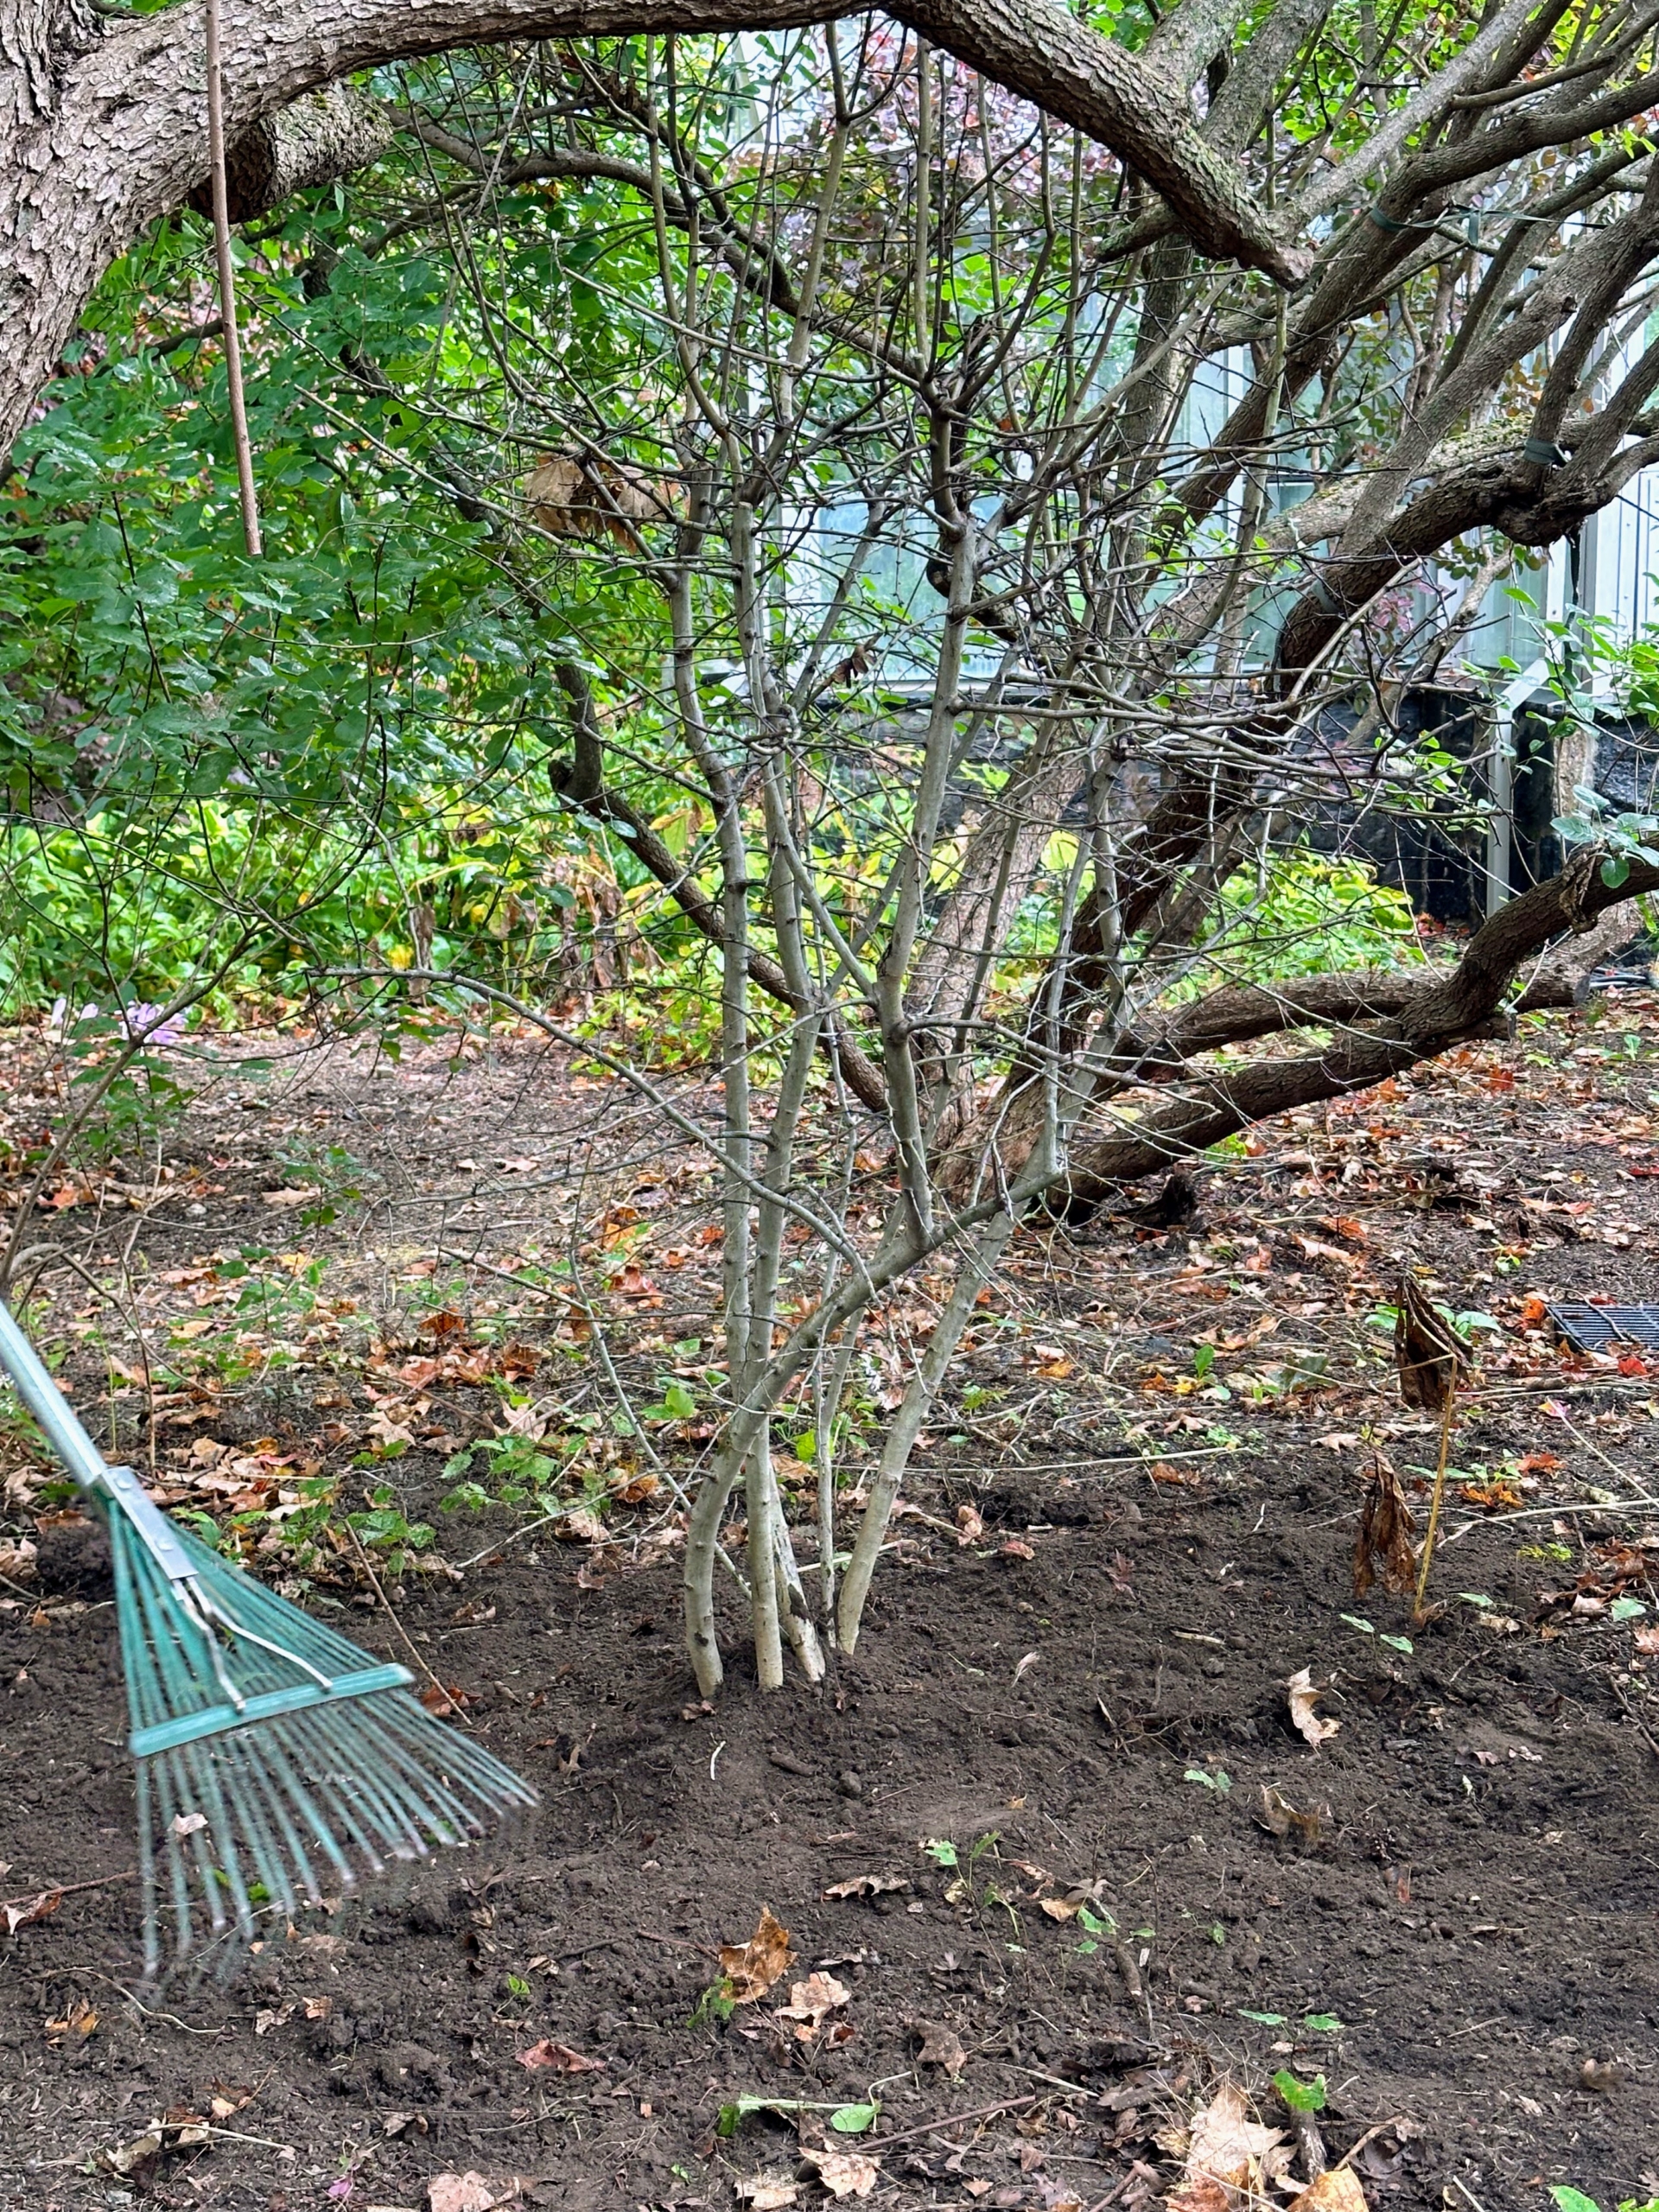
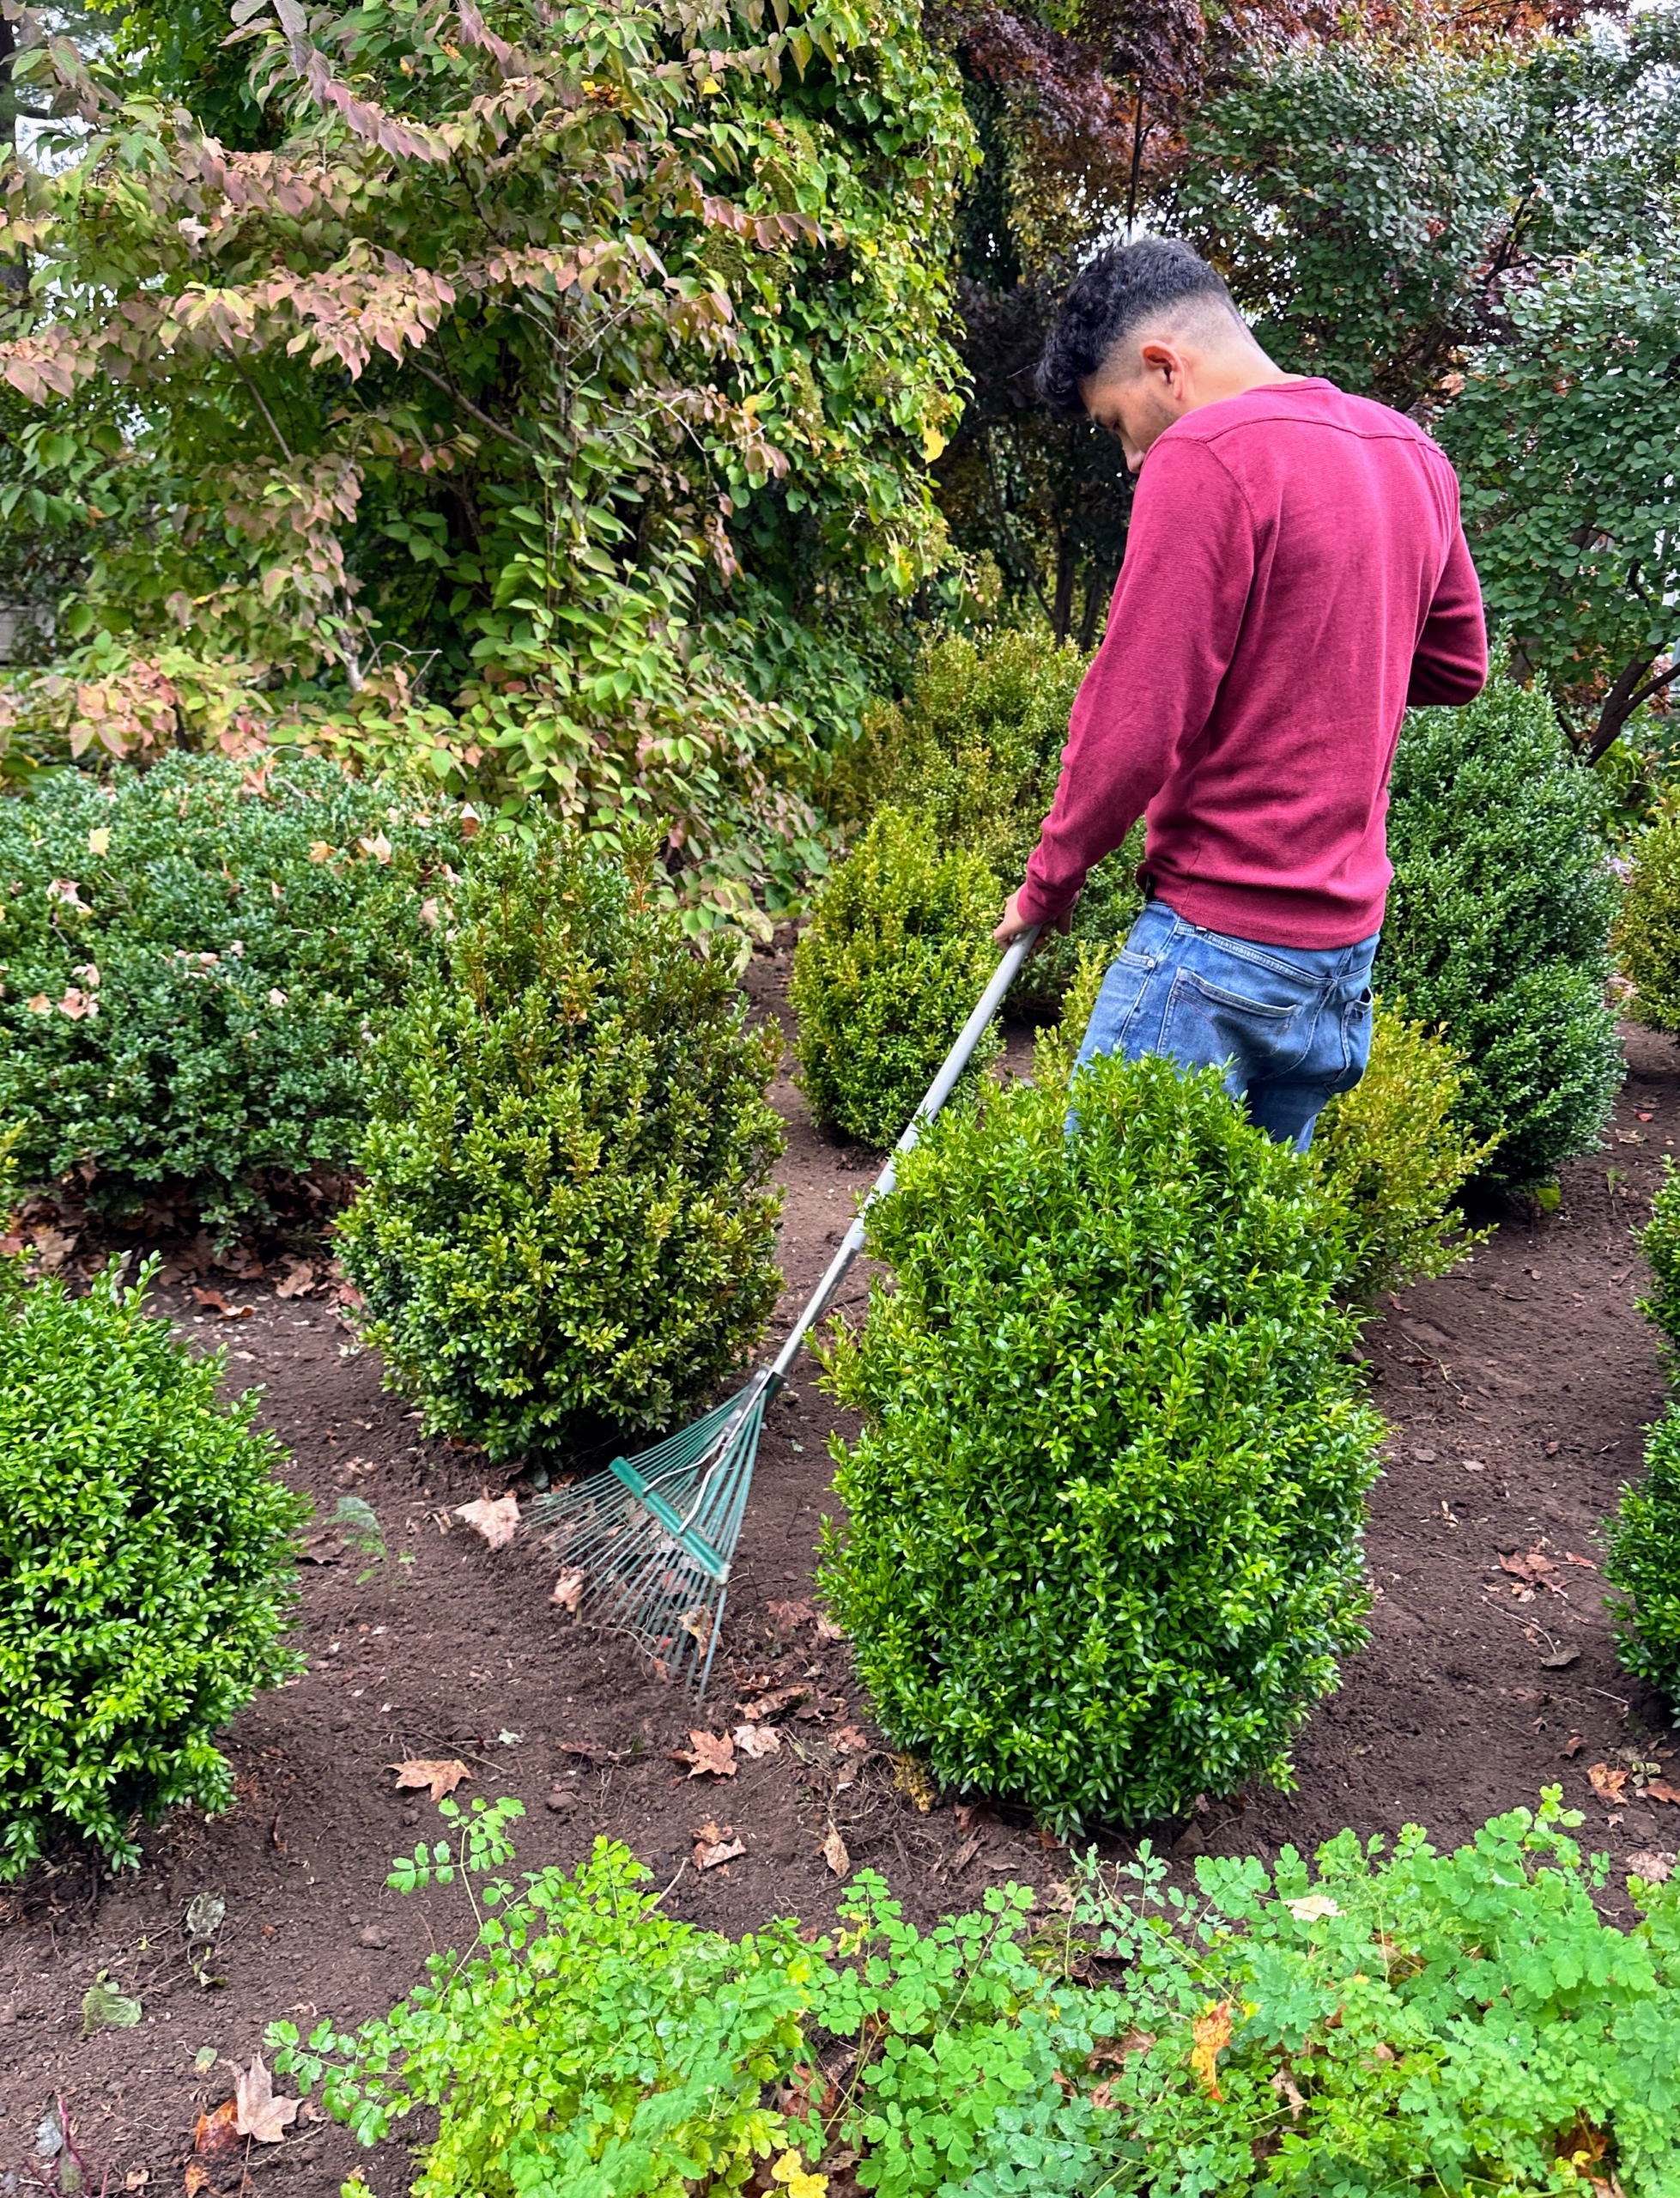
Meanwhile, José transplants a smoke bush, Cotinus, to a better location where it could get more light and space to thrive.
After planting, José rakes the area, so it is tidy. Cotinus can grow to a moderate size – up to 15-feet tall and 10-feet wide. It also has an upright, multi-stemmed habit.
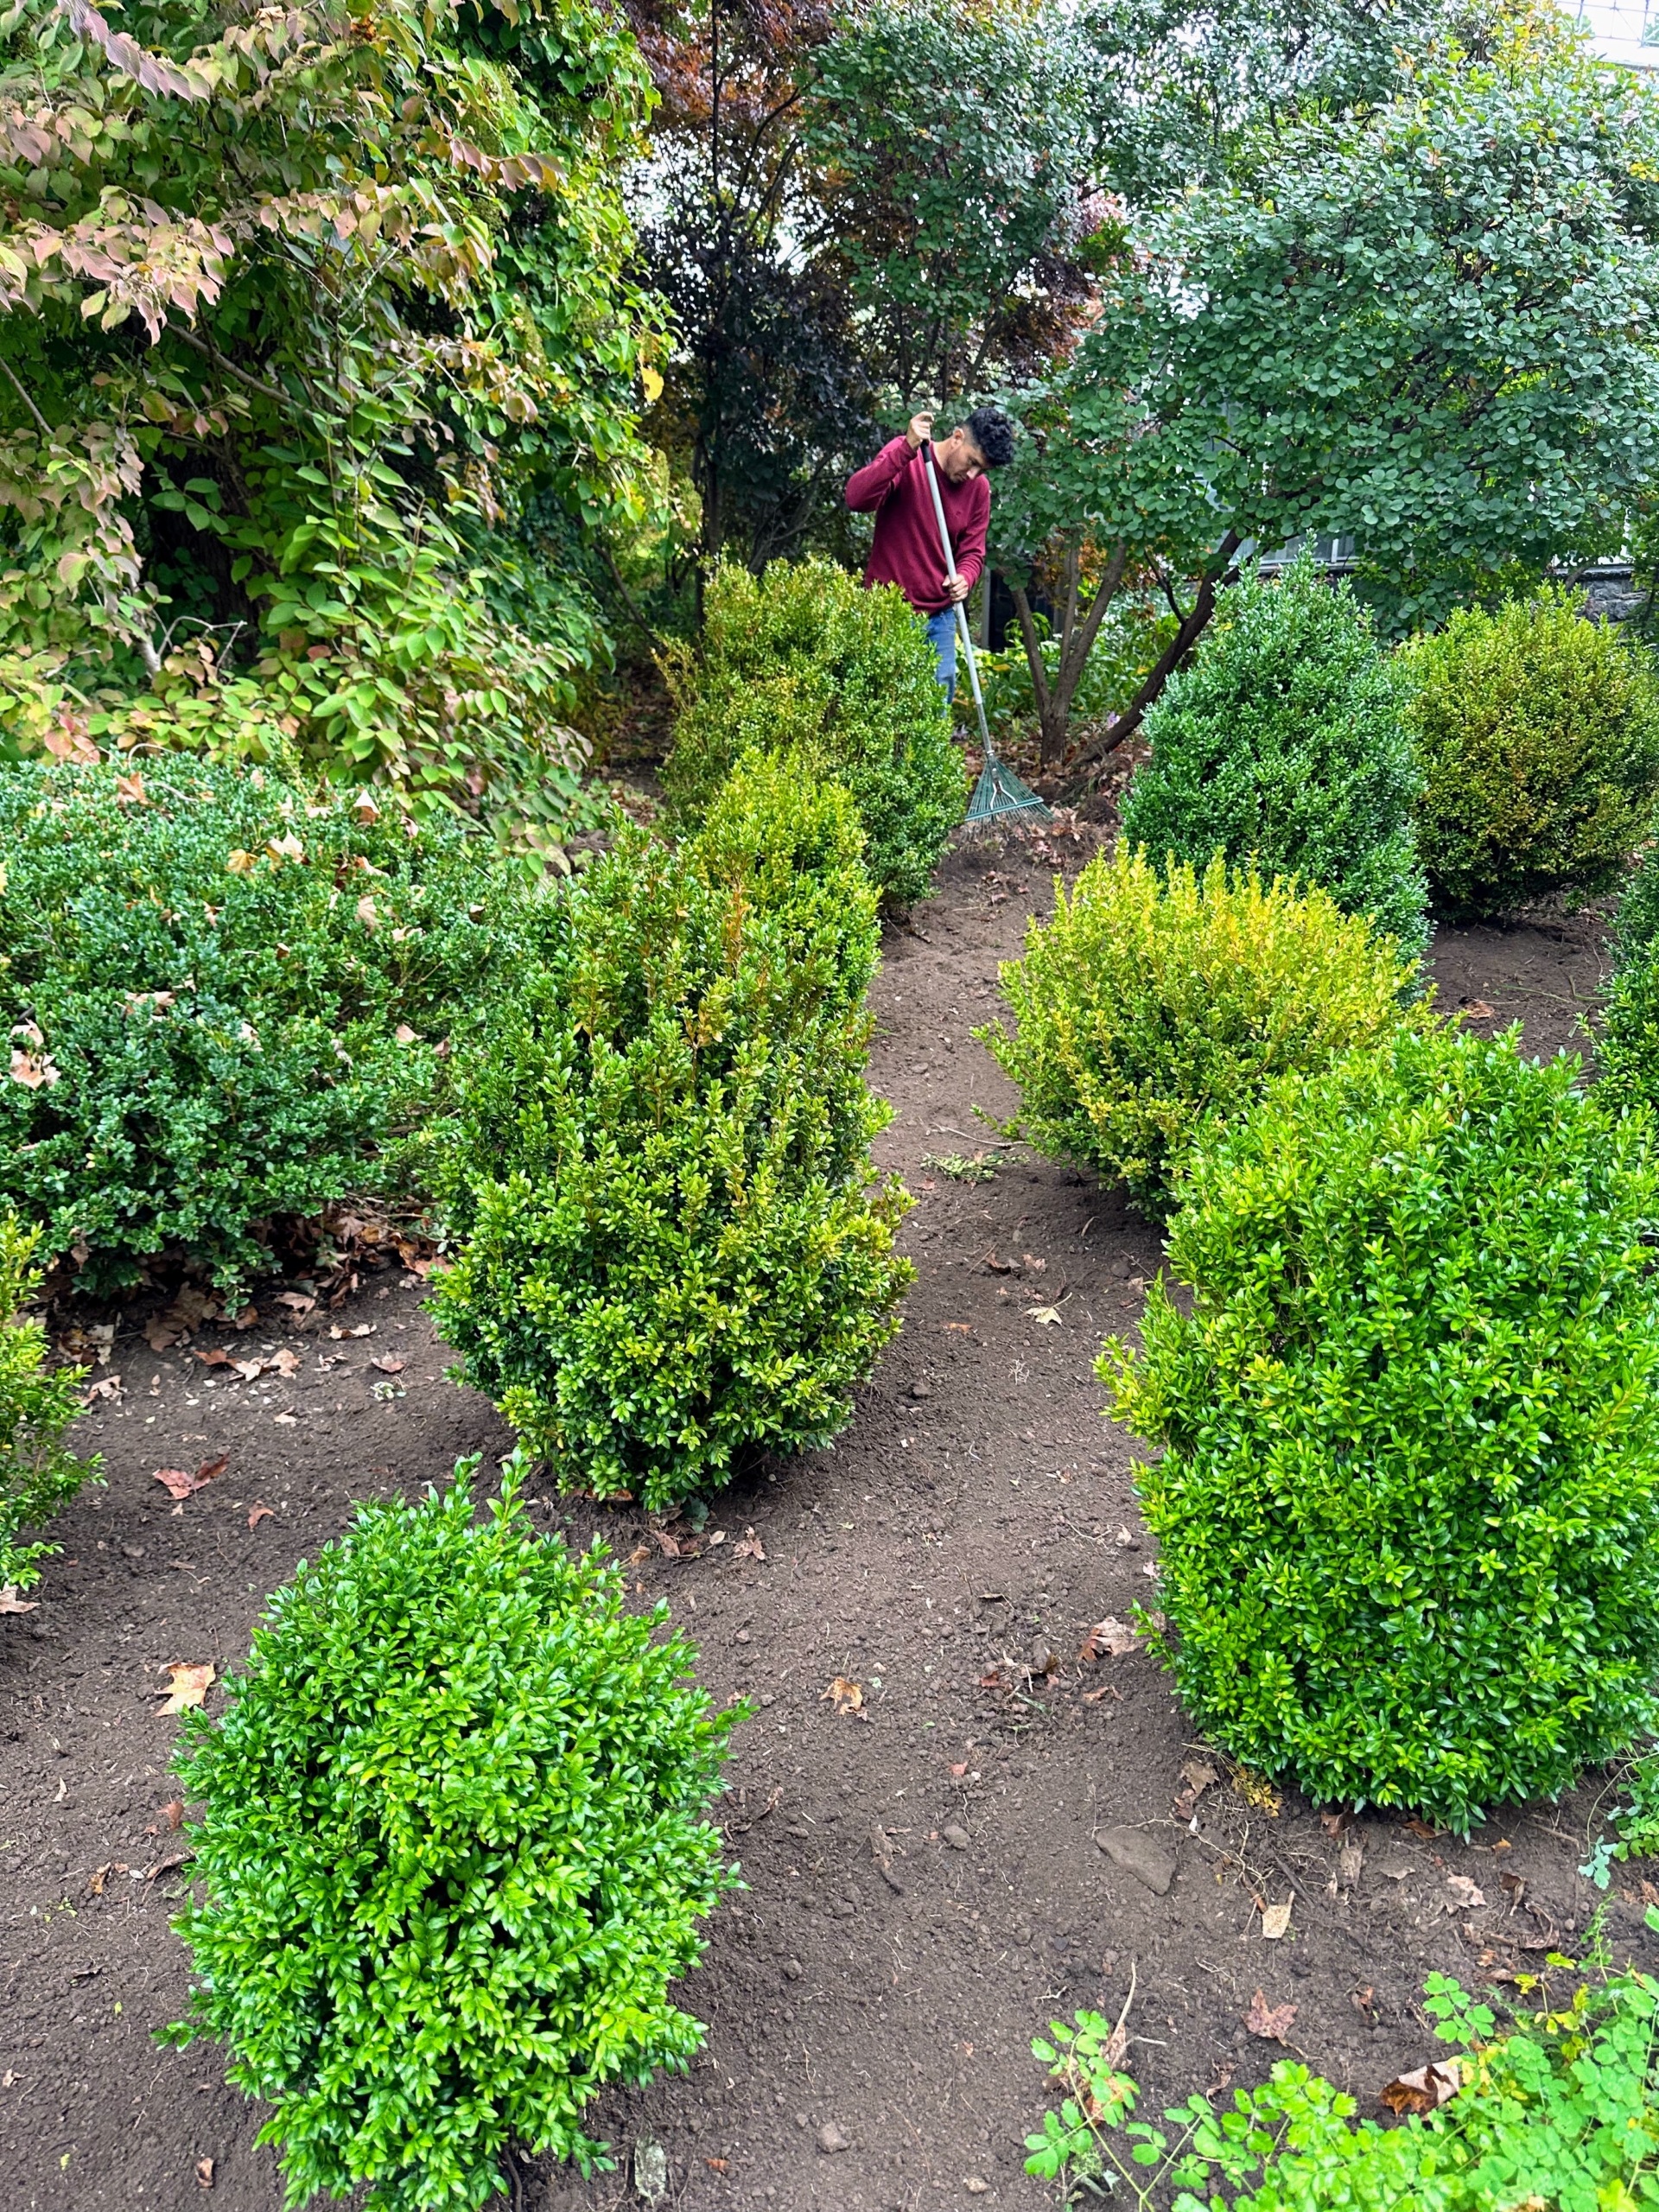
Norman also rakes after all the boxwood shrubs are planted.
These shrubs are spaced about three feet apart – enough room to grow but close enough to fill in the area nicely.
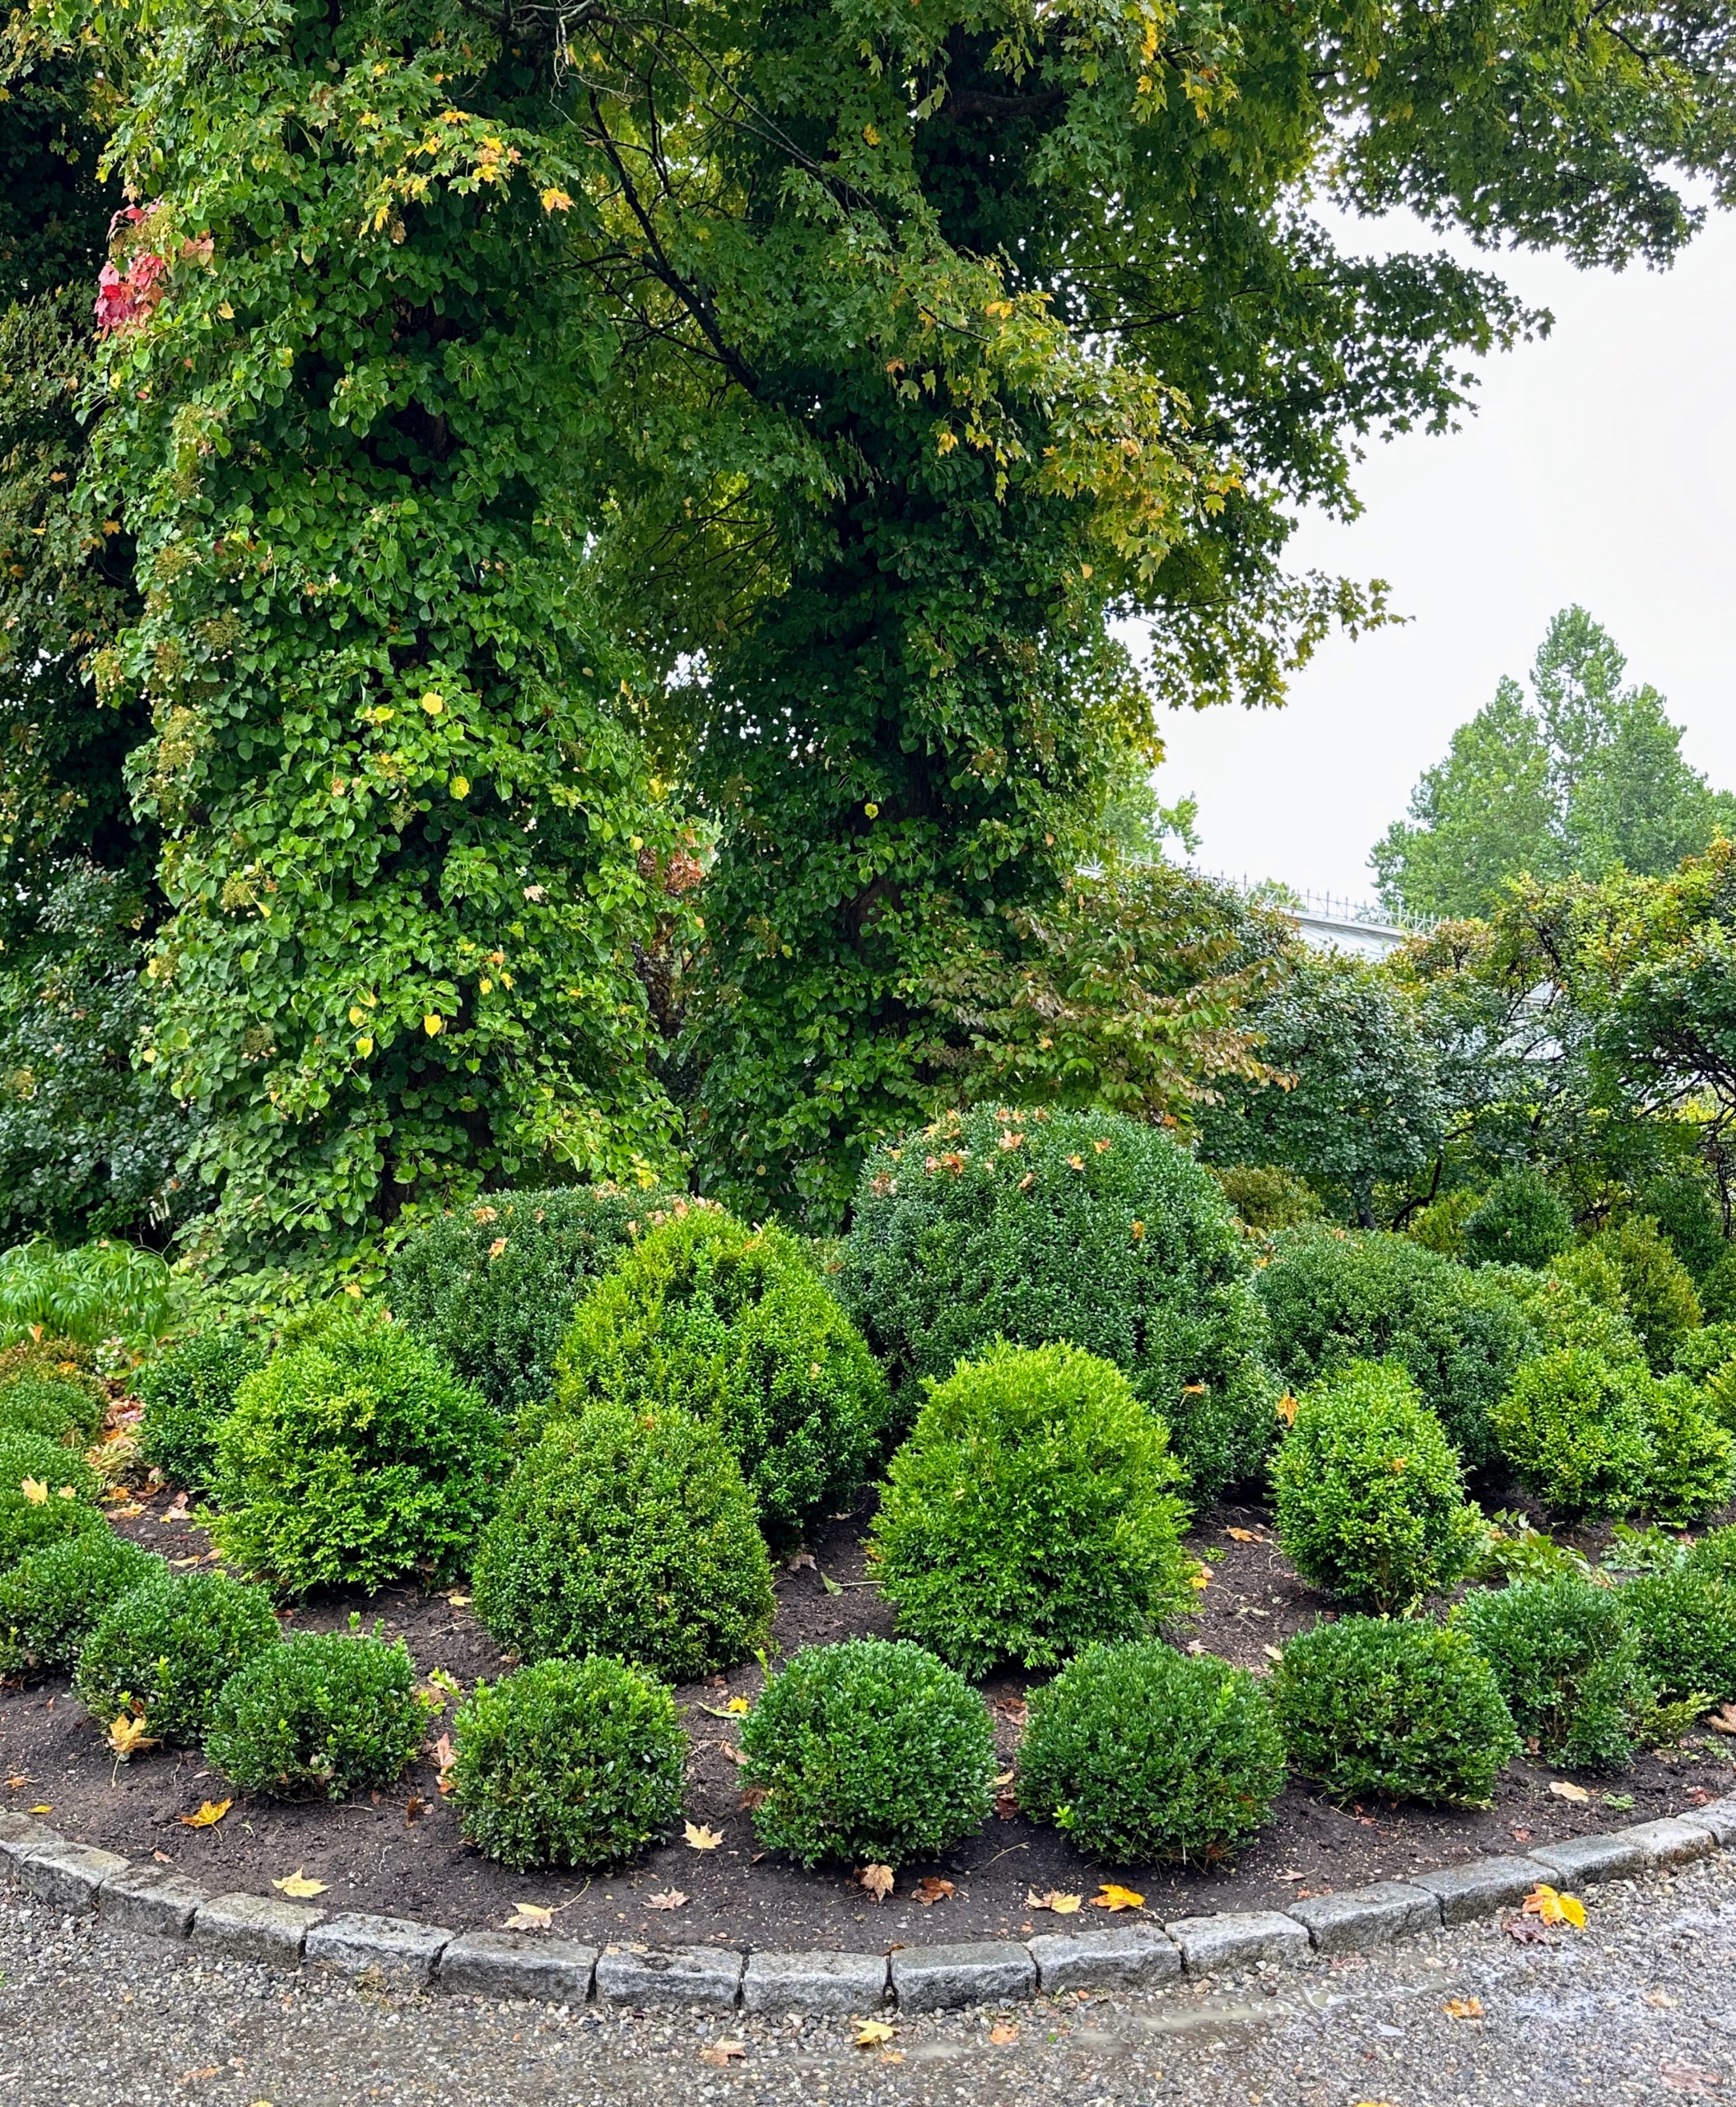
In winter, these boxwood will also be covered in protective burlap to prevent snow and ice damage.
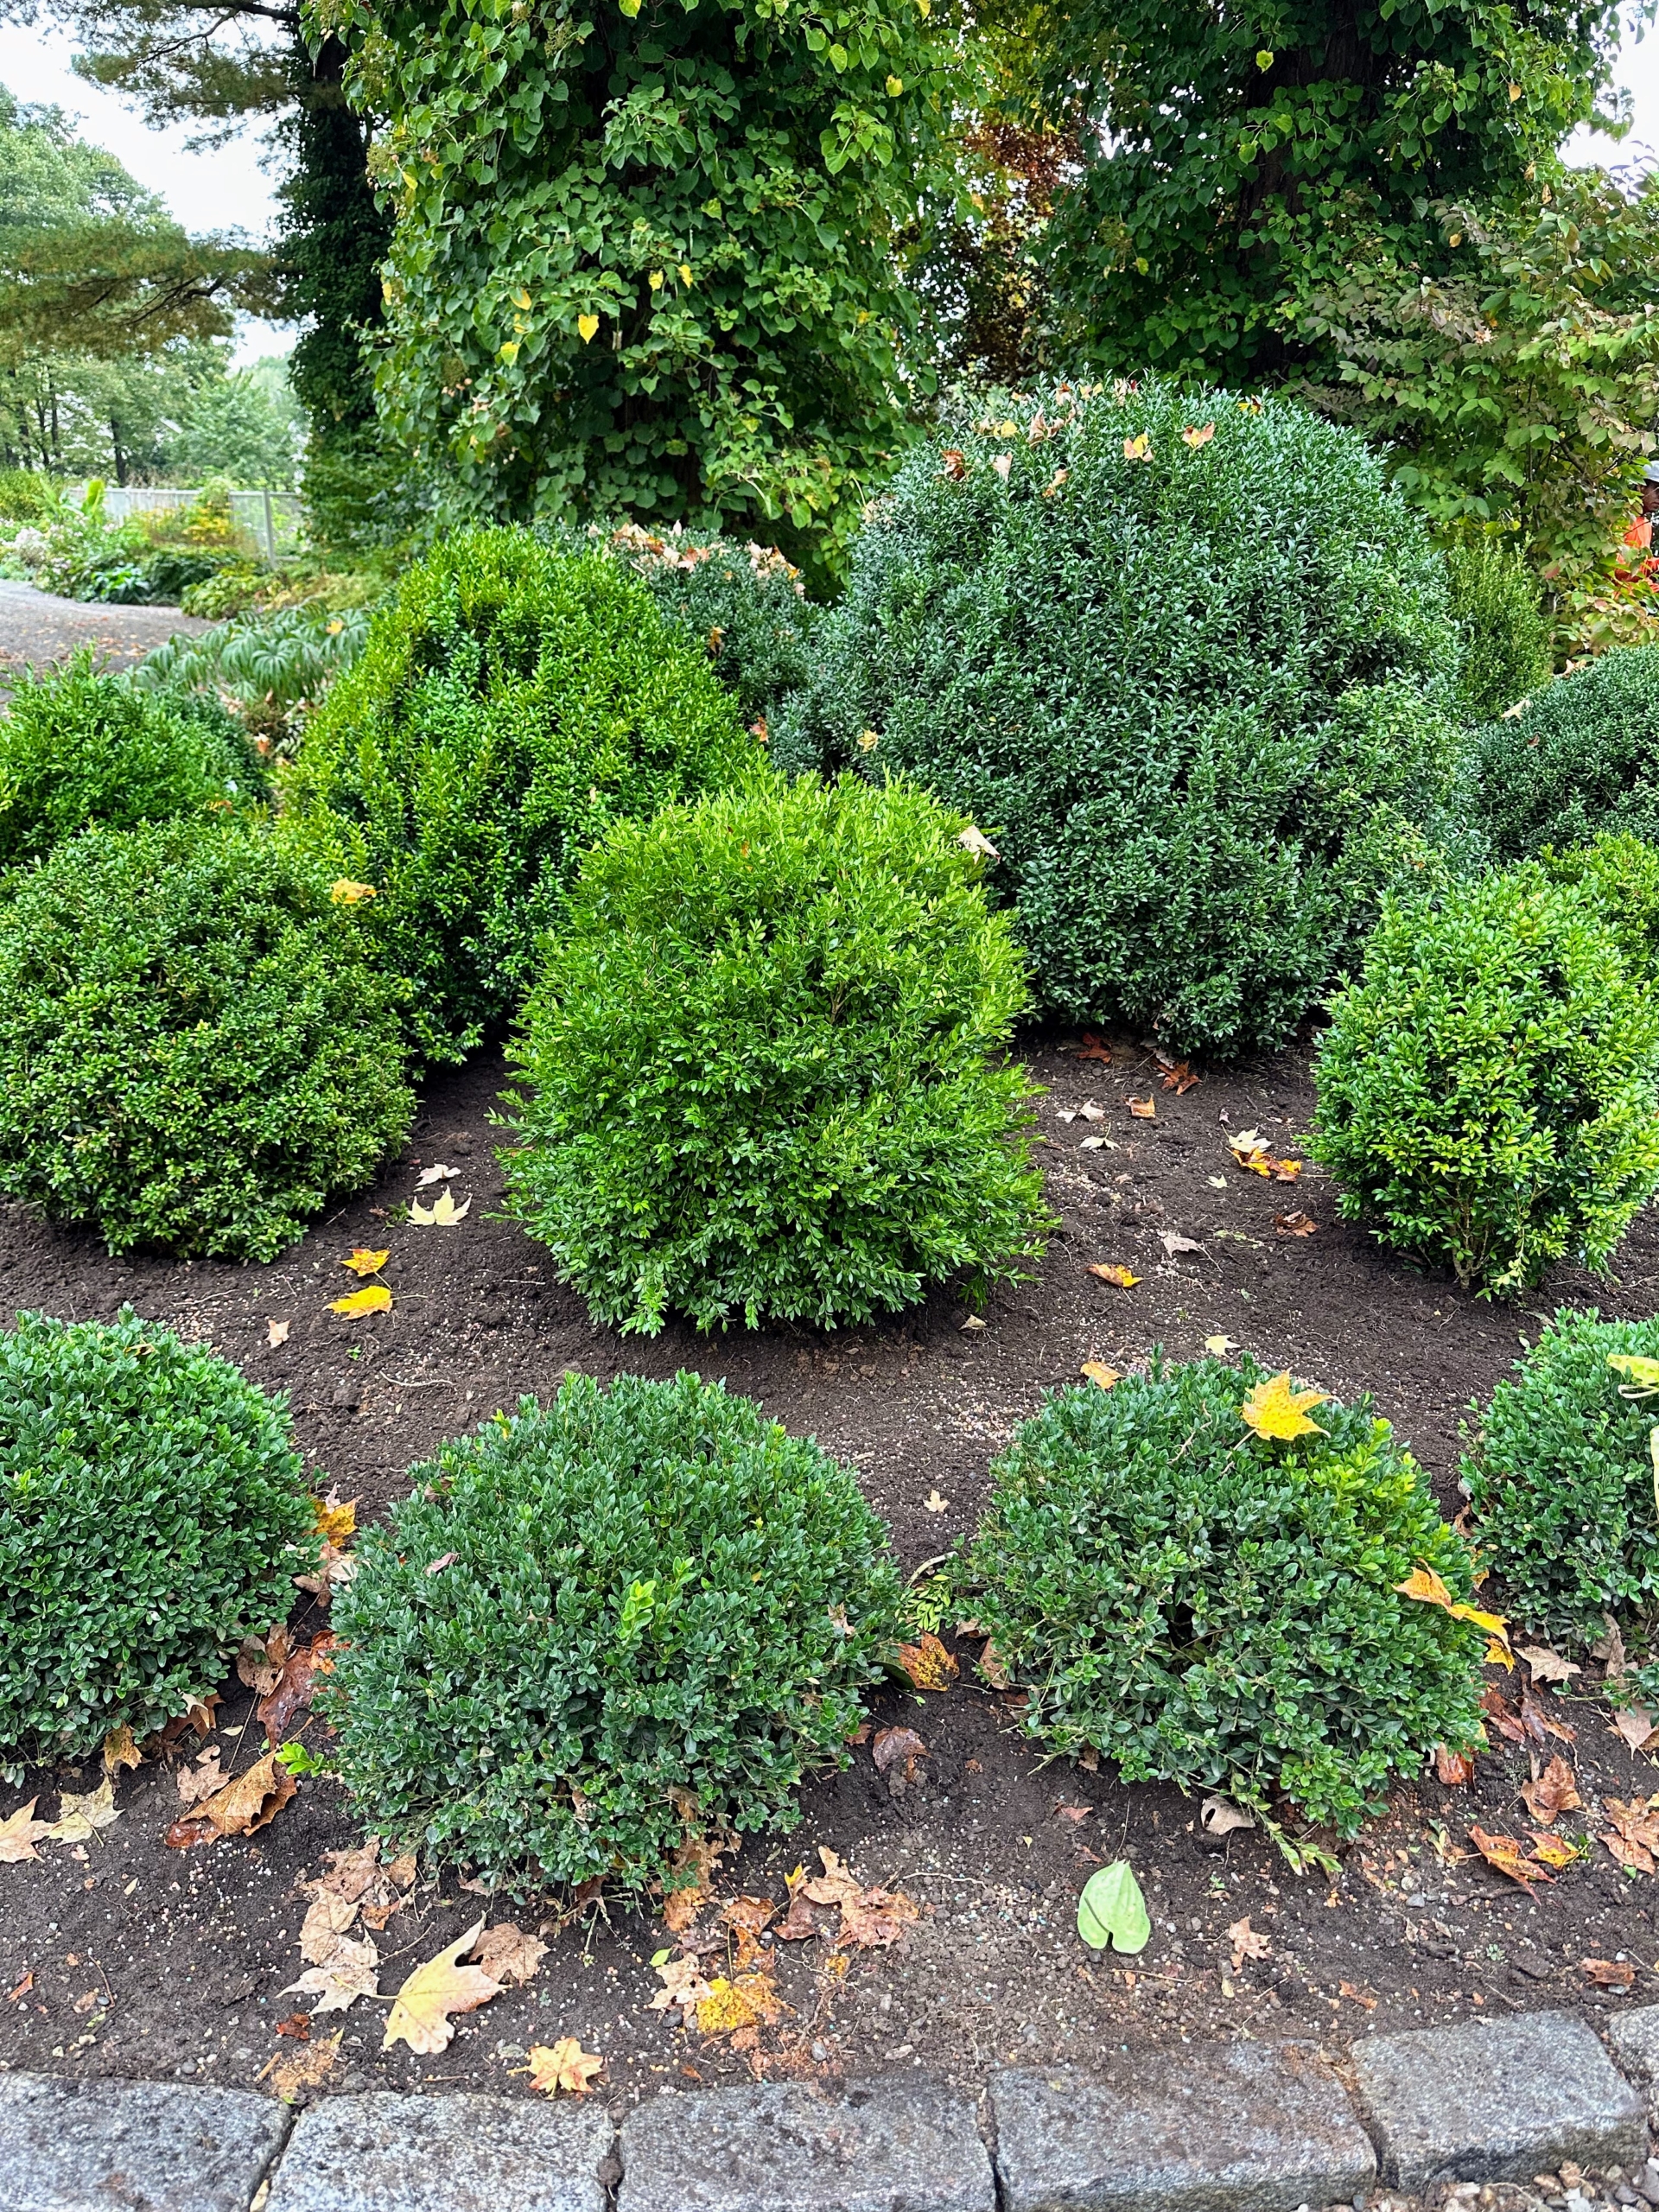
I was so excited for this garden to be finished, I asked for photos to be sent to me while I was still busy working in New York City. I think it looks great – what do you think?
I'm always looking for ways to improve and add interest to my gardens - and fall is a great time to plant trees and shrubs, so the roots have ample time to get established before the first frost.
Last spring, I decided to change the garden near my front gate. I removed the remaining trunks of a stand of white pines battered by Super Storm Sandy in 2012. In their place, I planted a group of medium sized American boxwood shrubs. Now, I want to plant a few more boxwood shrubs in various sizes for additional color and texture. Watch the transformation with me.
Here are some of the first photos of this latest project, enjoy.
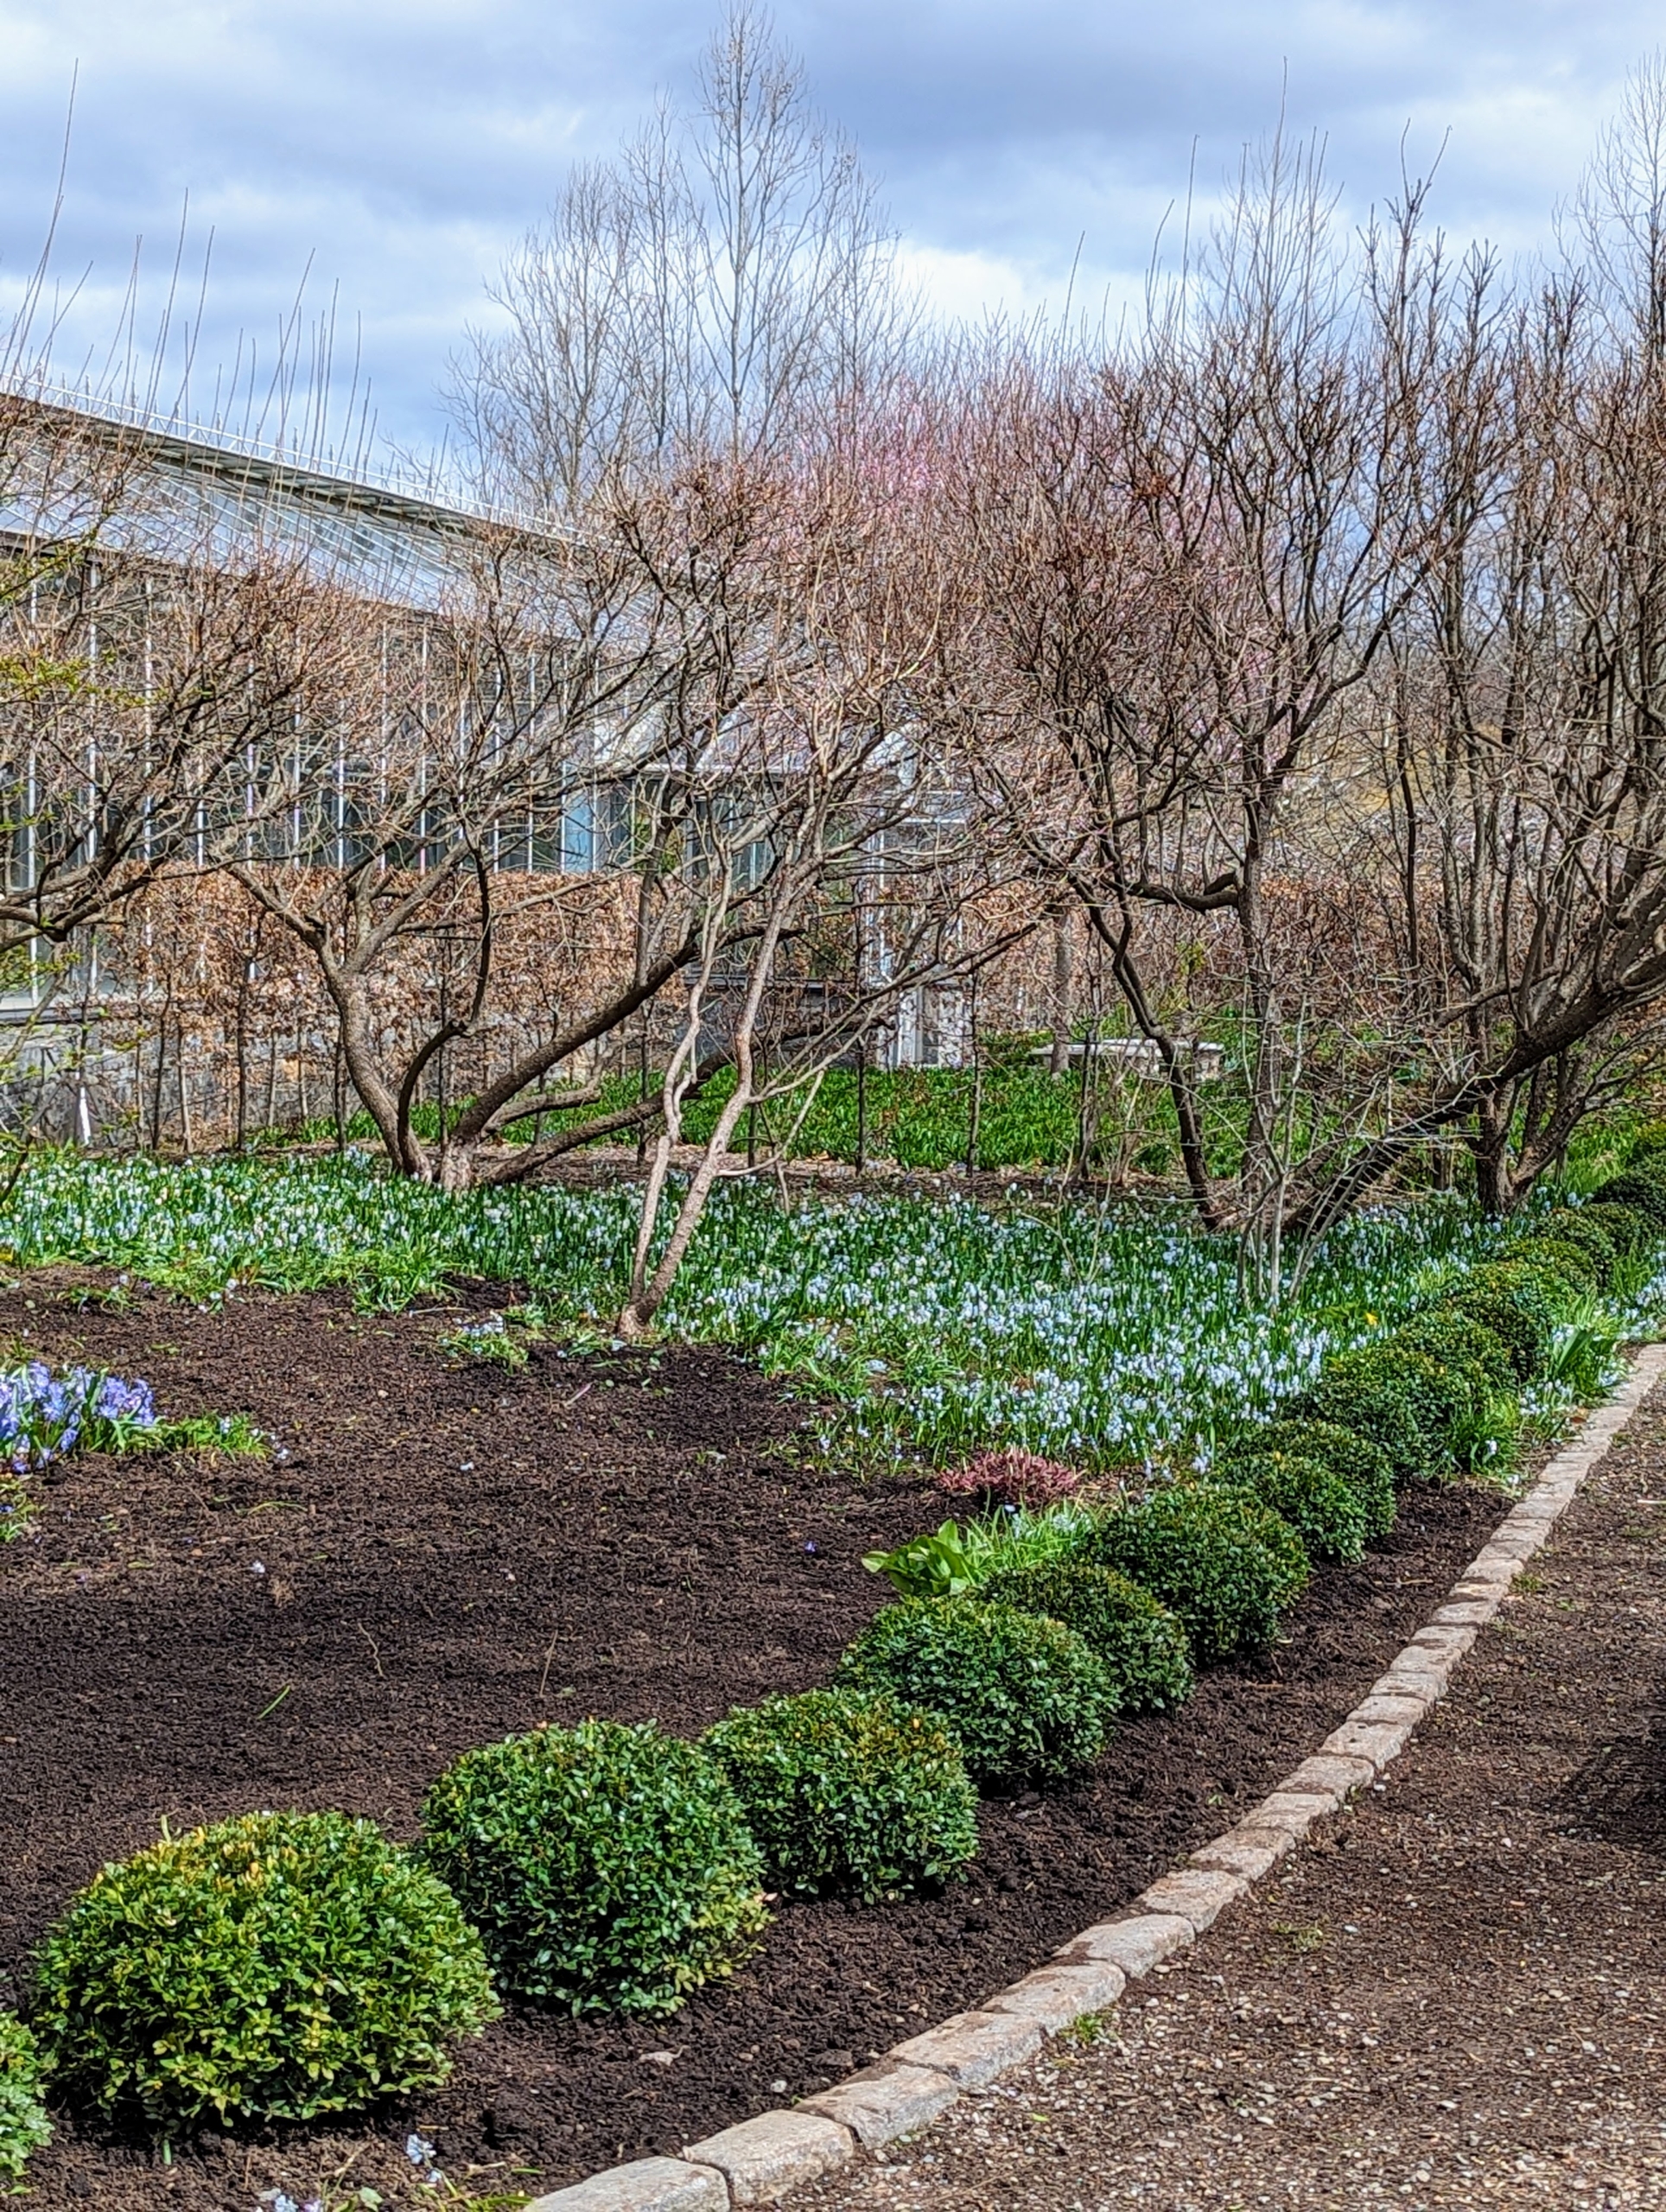
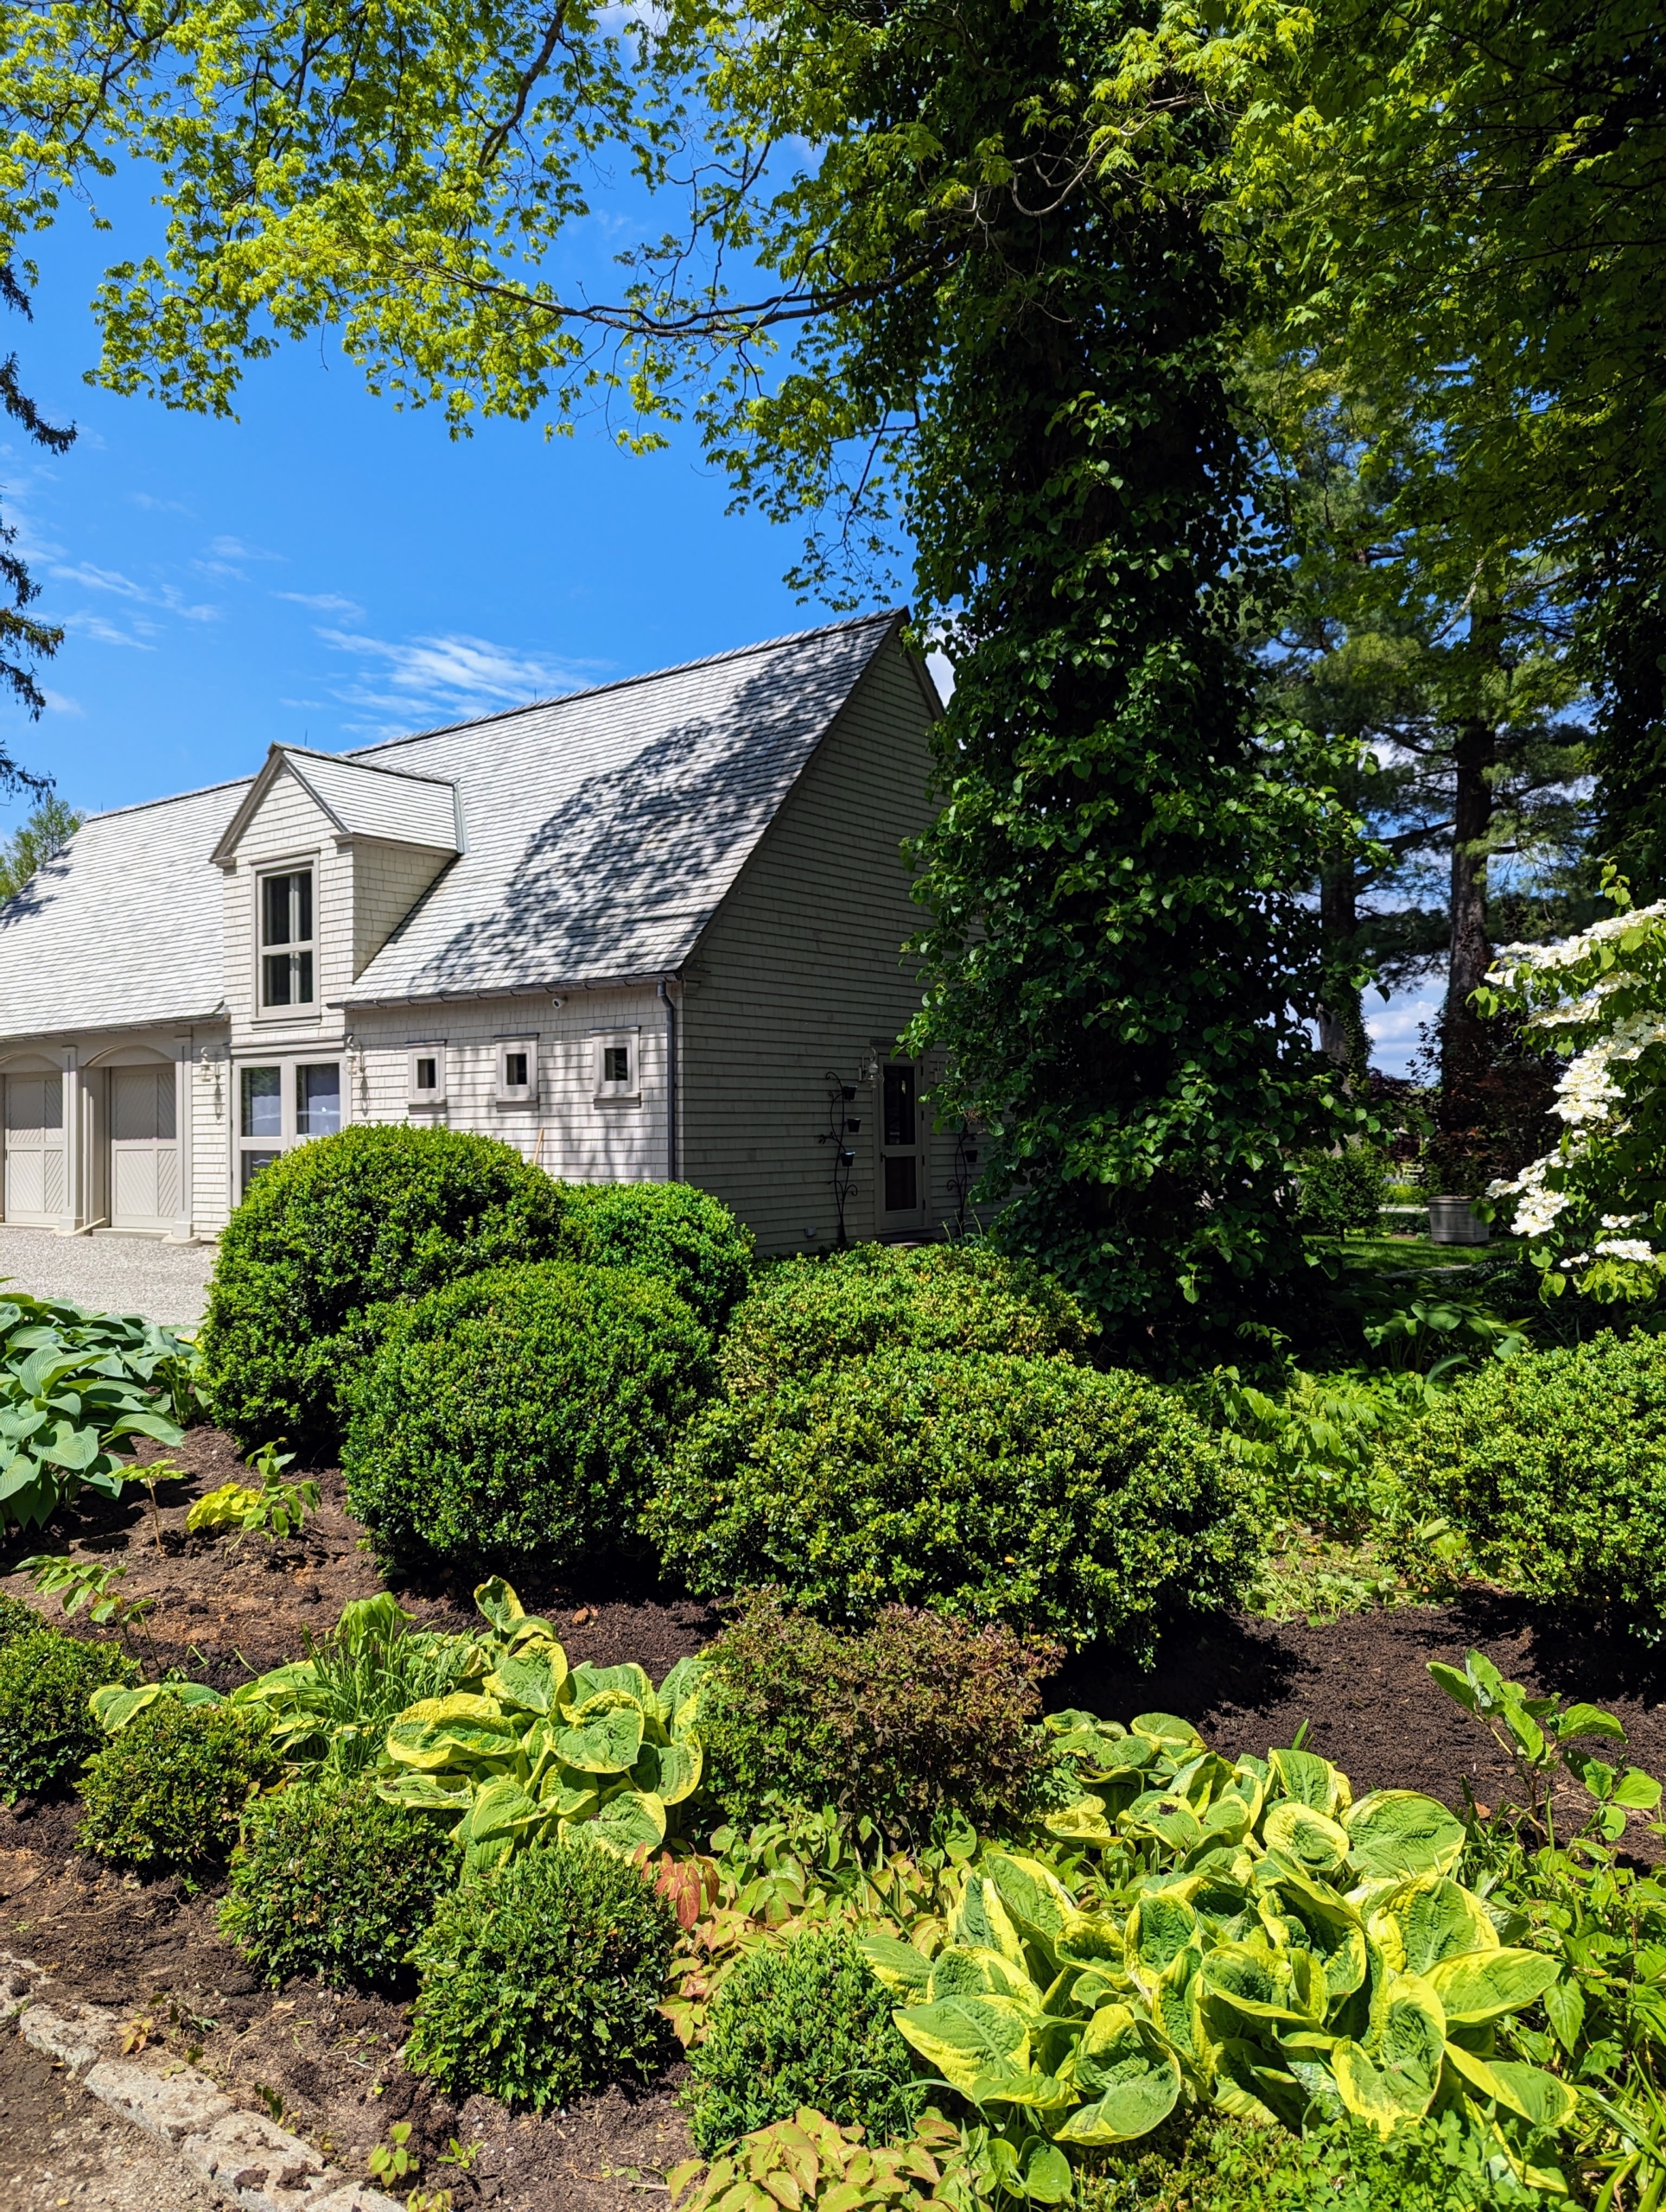
This garden is the first guests see when they come to visit my farm. Earlier this year, I cleared the area and decided it would look so beautiful planted with medium to large boxwood shrubs.
The bed is near the front entrance of my main greenhouse. I have many smoke bushes and perennials planted in this area and wanted everything to blend in nicely.
Along the edge, i planted a row of smaller boxwood to create a border.
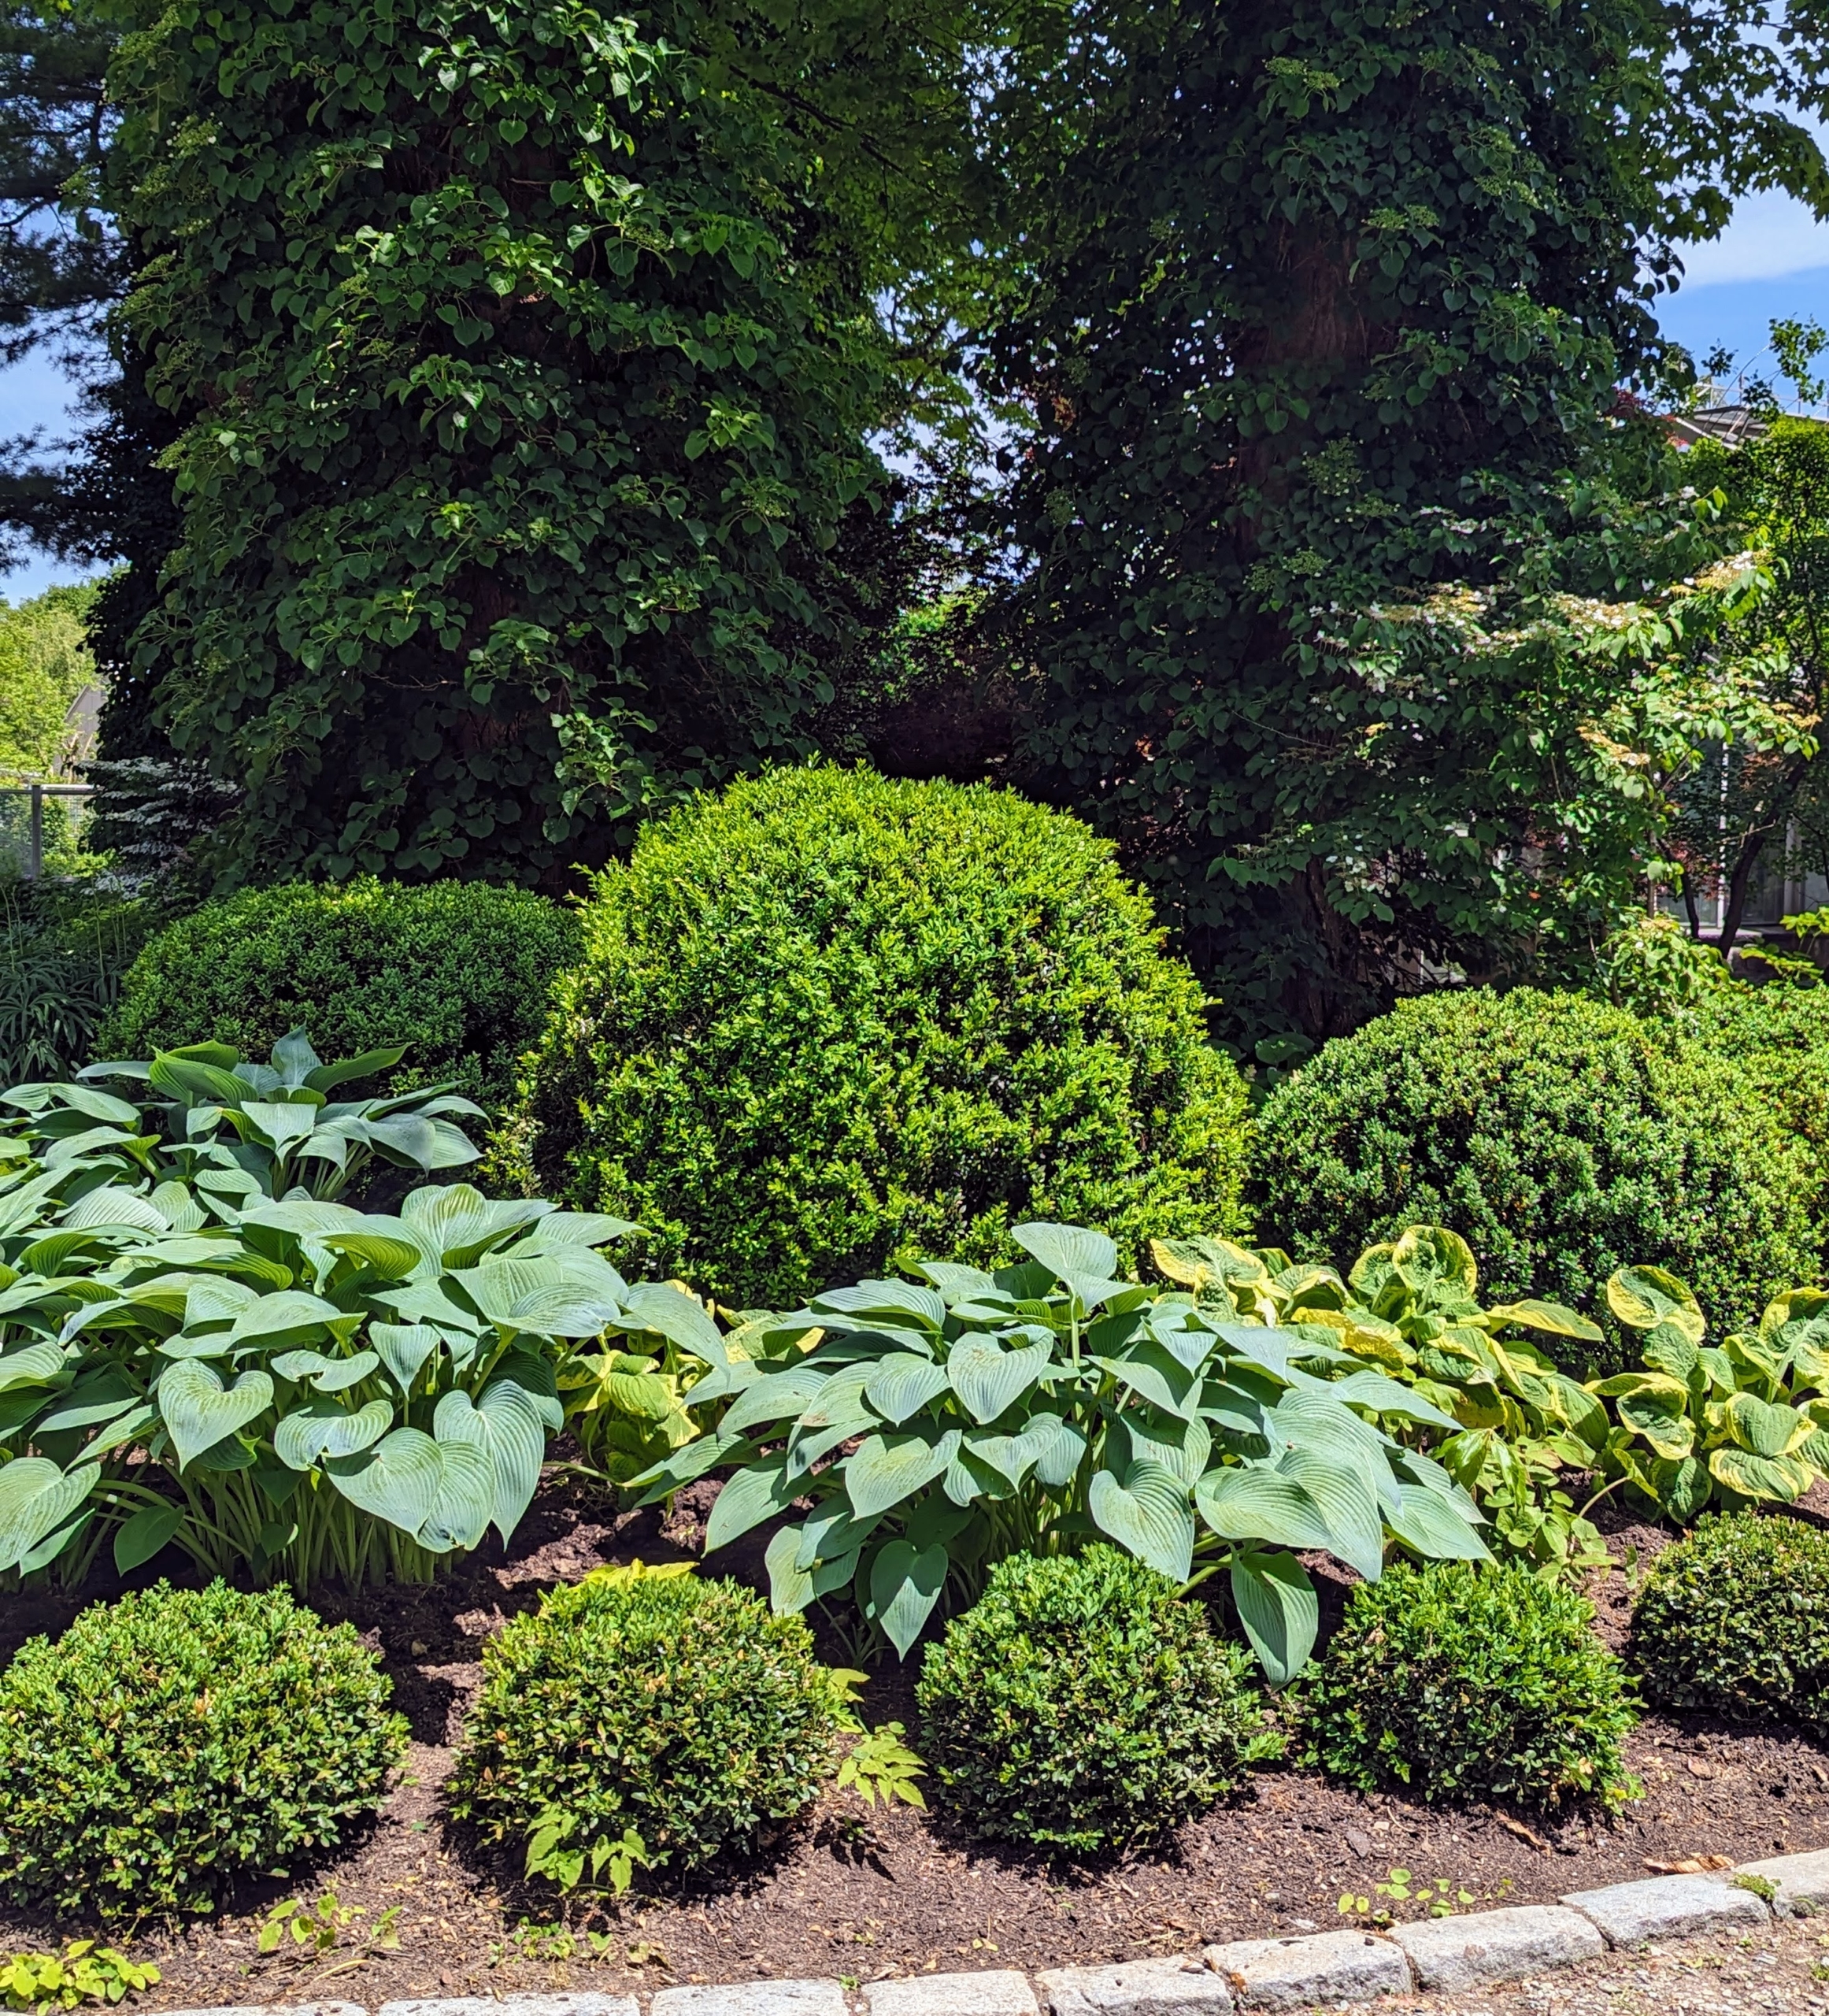
This is what the garden looked like after planting the boxwood last April.
Here is another view. My gym building is in the background.
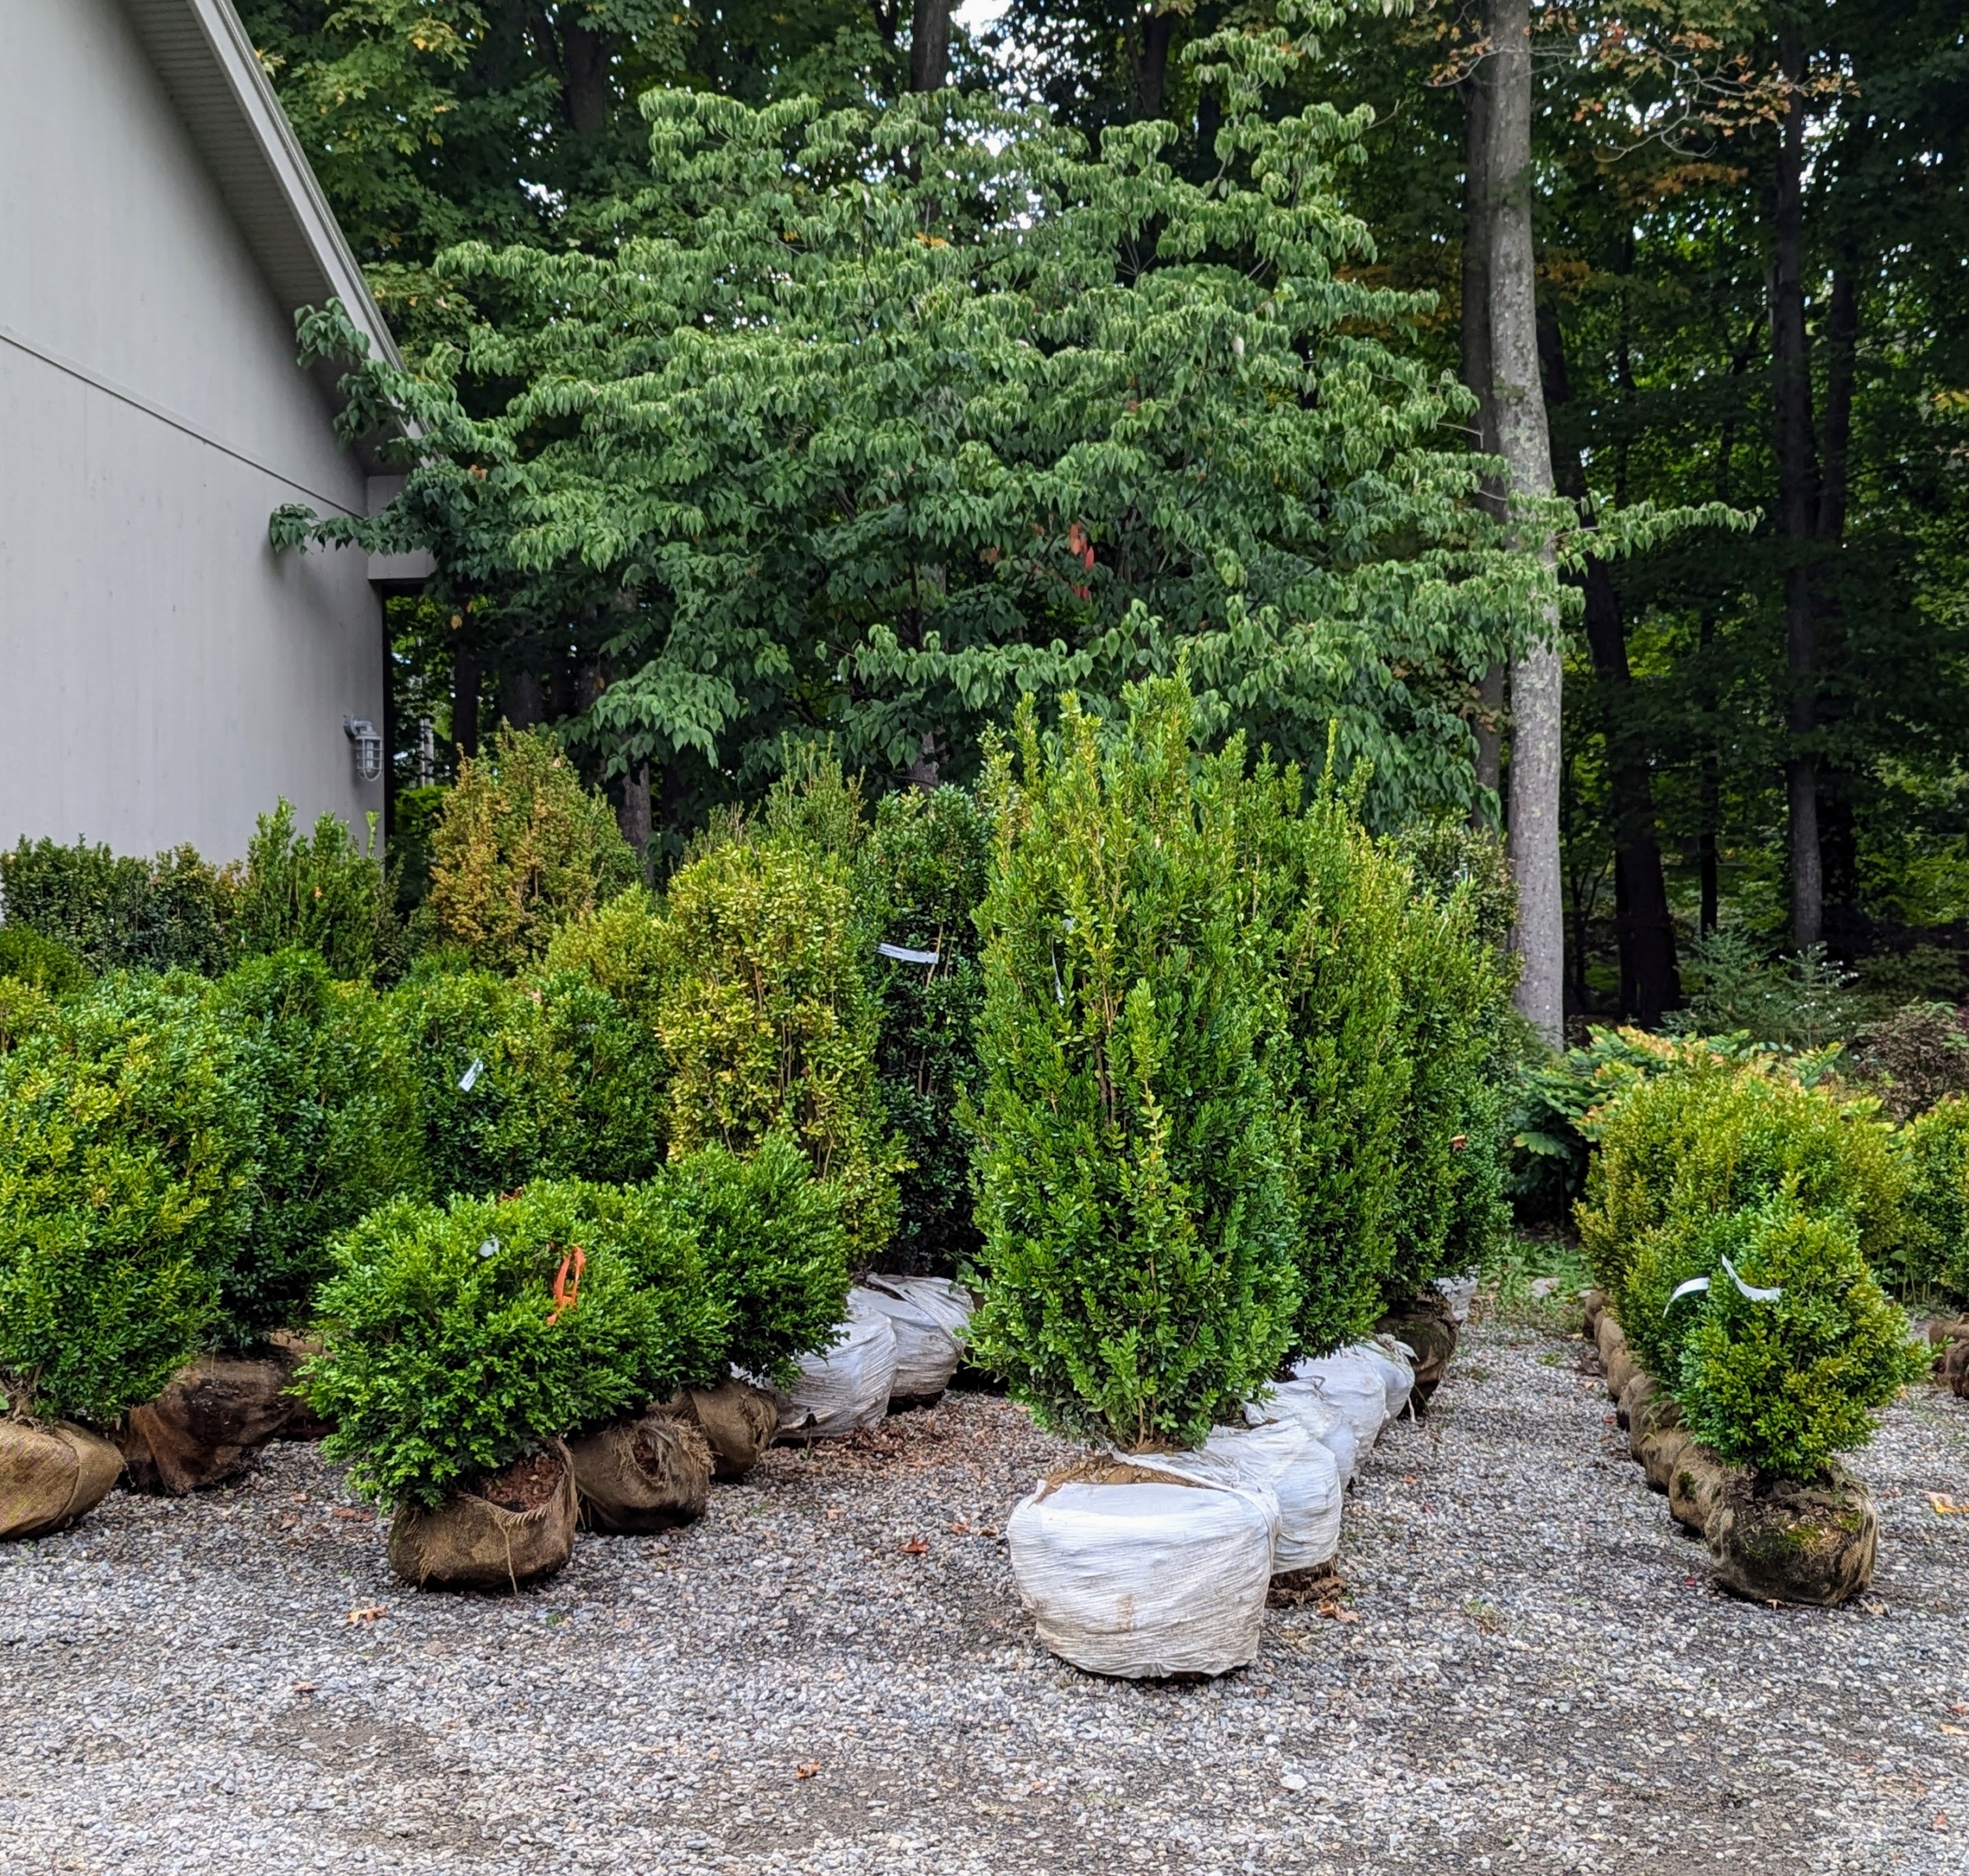
These boxwood shrubs are from Select Horticulture, Inc. in nearby Pound Ridge, New York. I knew I wanted to add more to that front garden bed. Designing a garden requires a lot of time and patience. It takes several seasons for plants to fully mature and for the garden to reach its full potential.
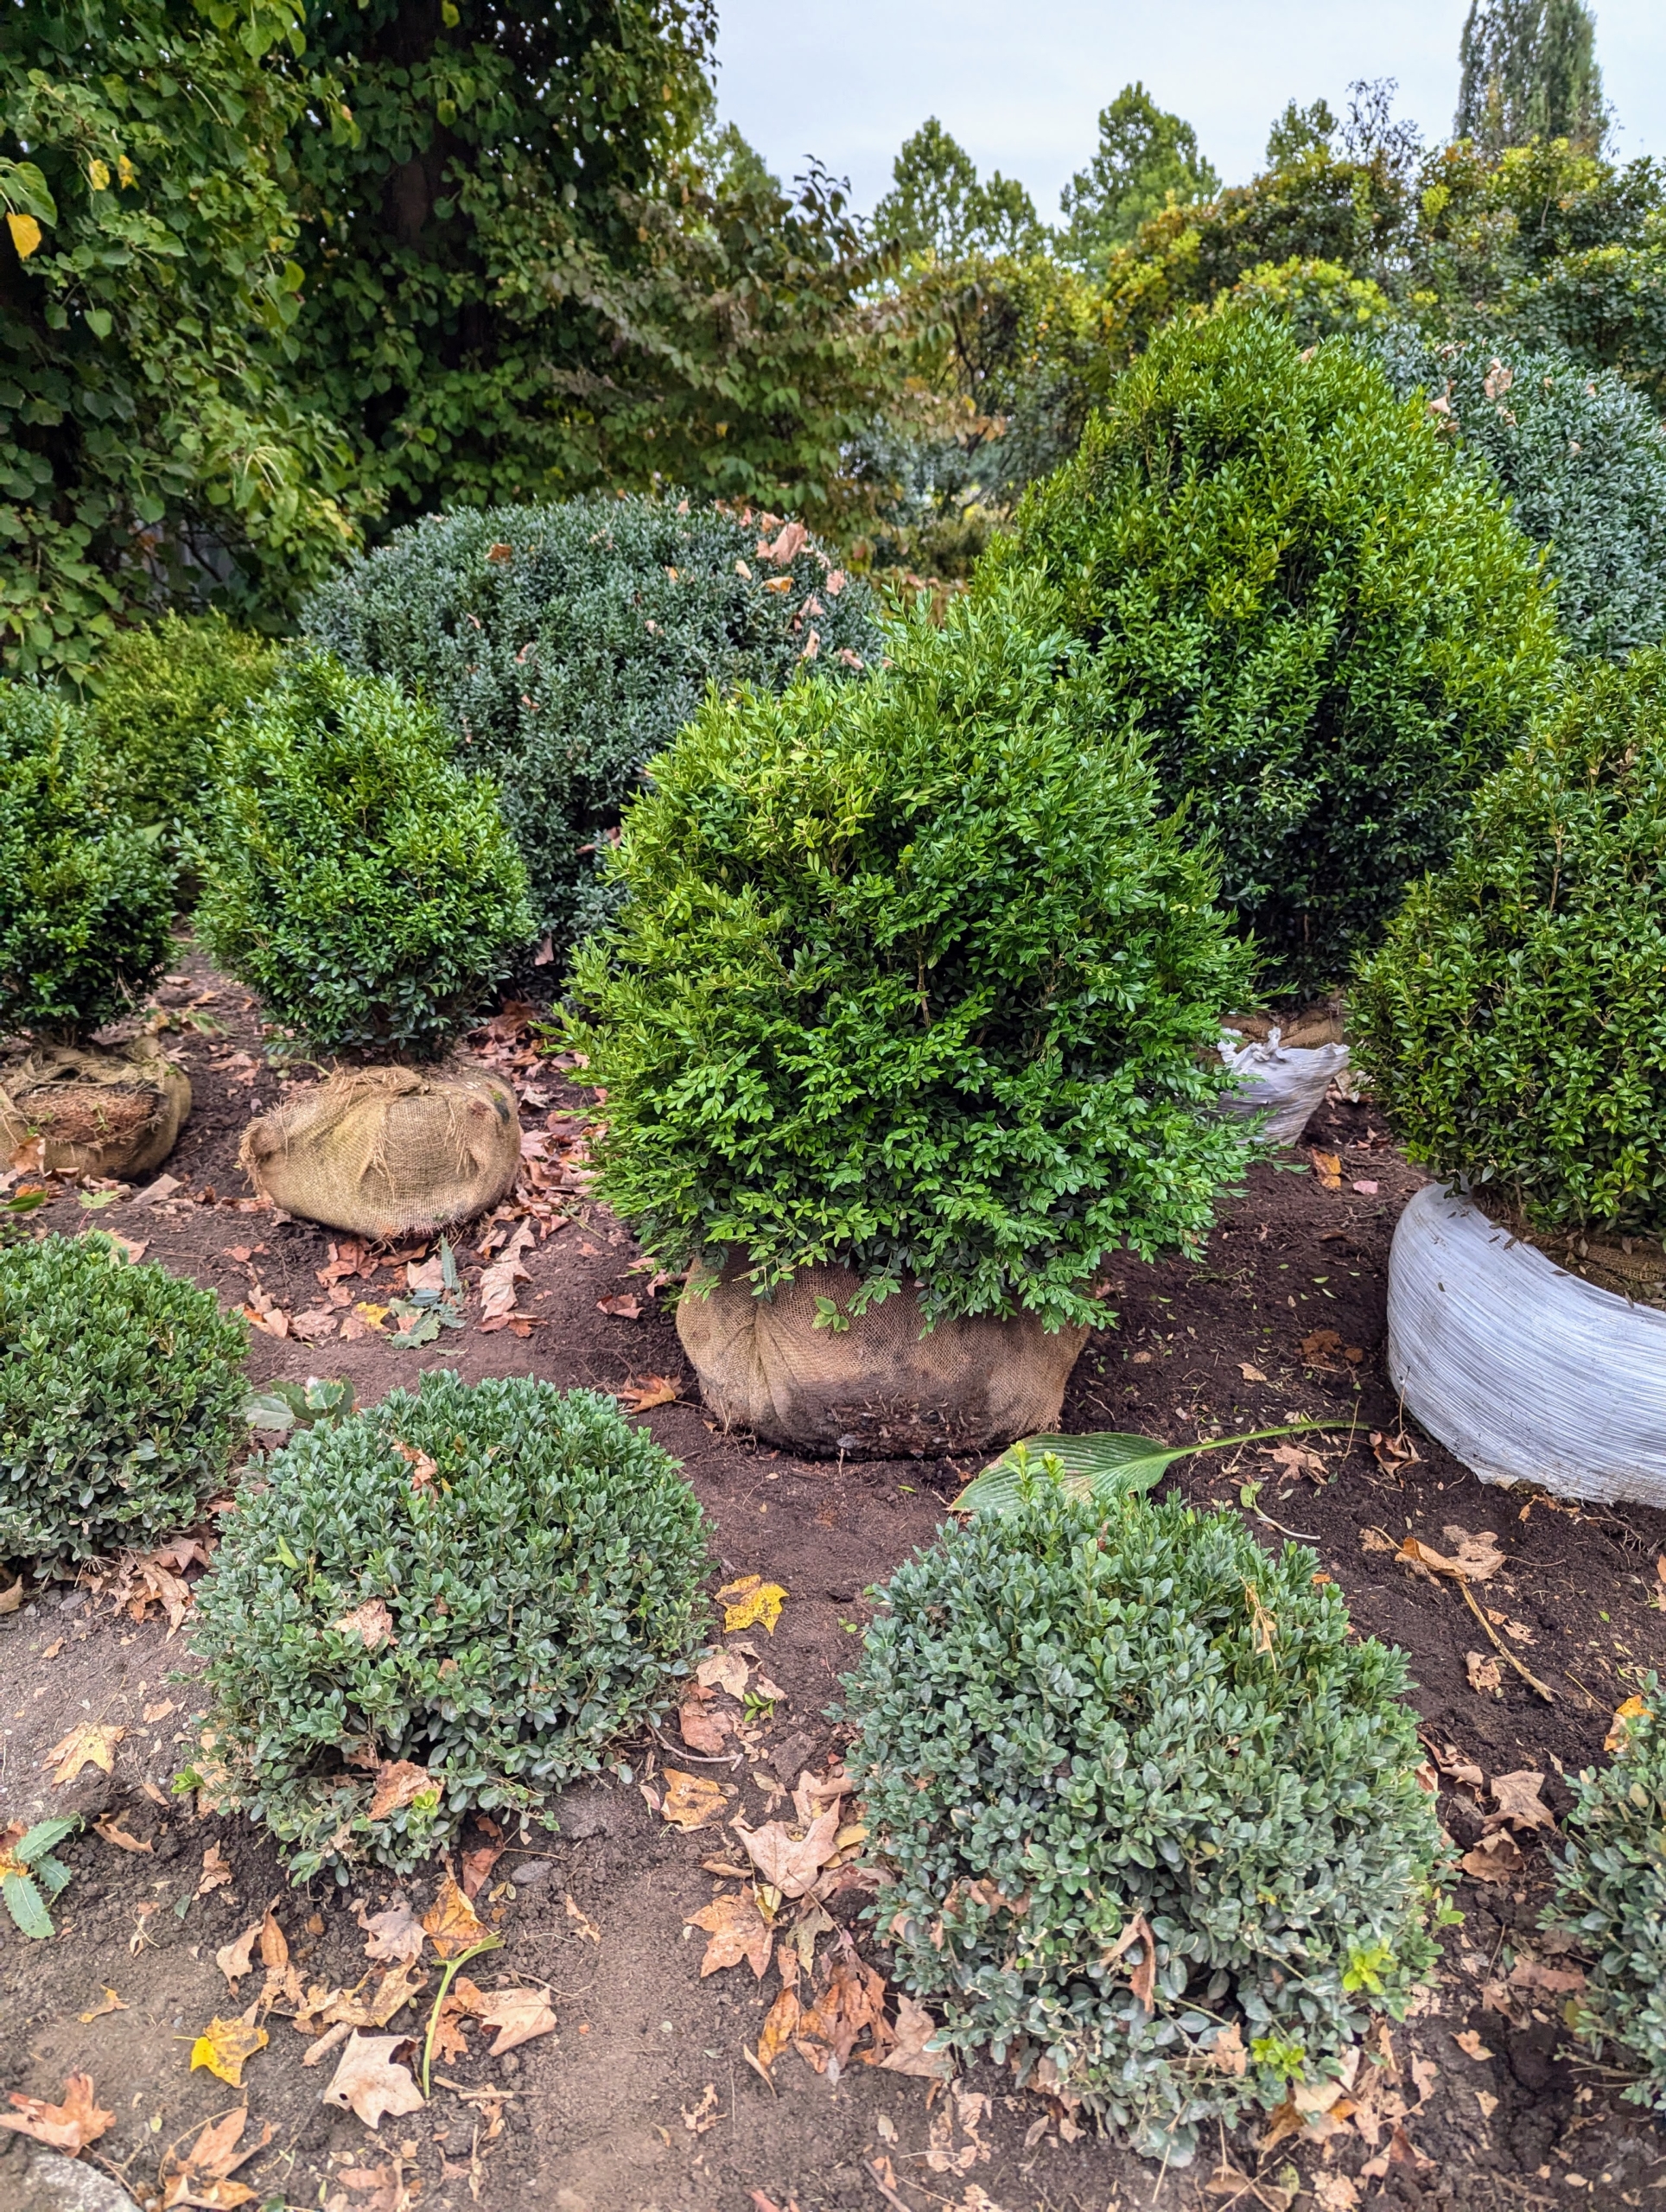
I moved a group of the boxwood in various sizes up to the garden – ones that would best fit the area when fully developed.
Among the varieties I’m planting – Buxus koreana, Buxus ‘Green Velvet,’ and Buxus sempervirens.
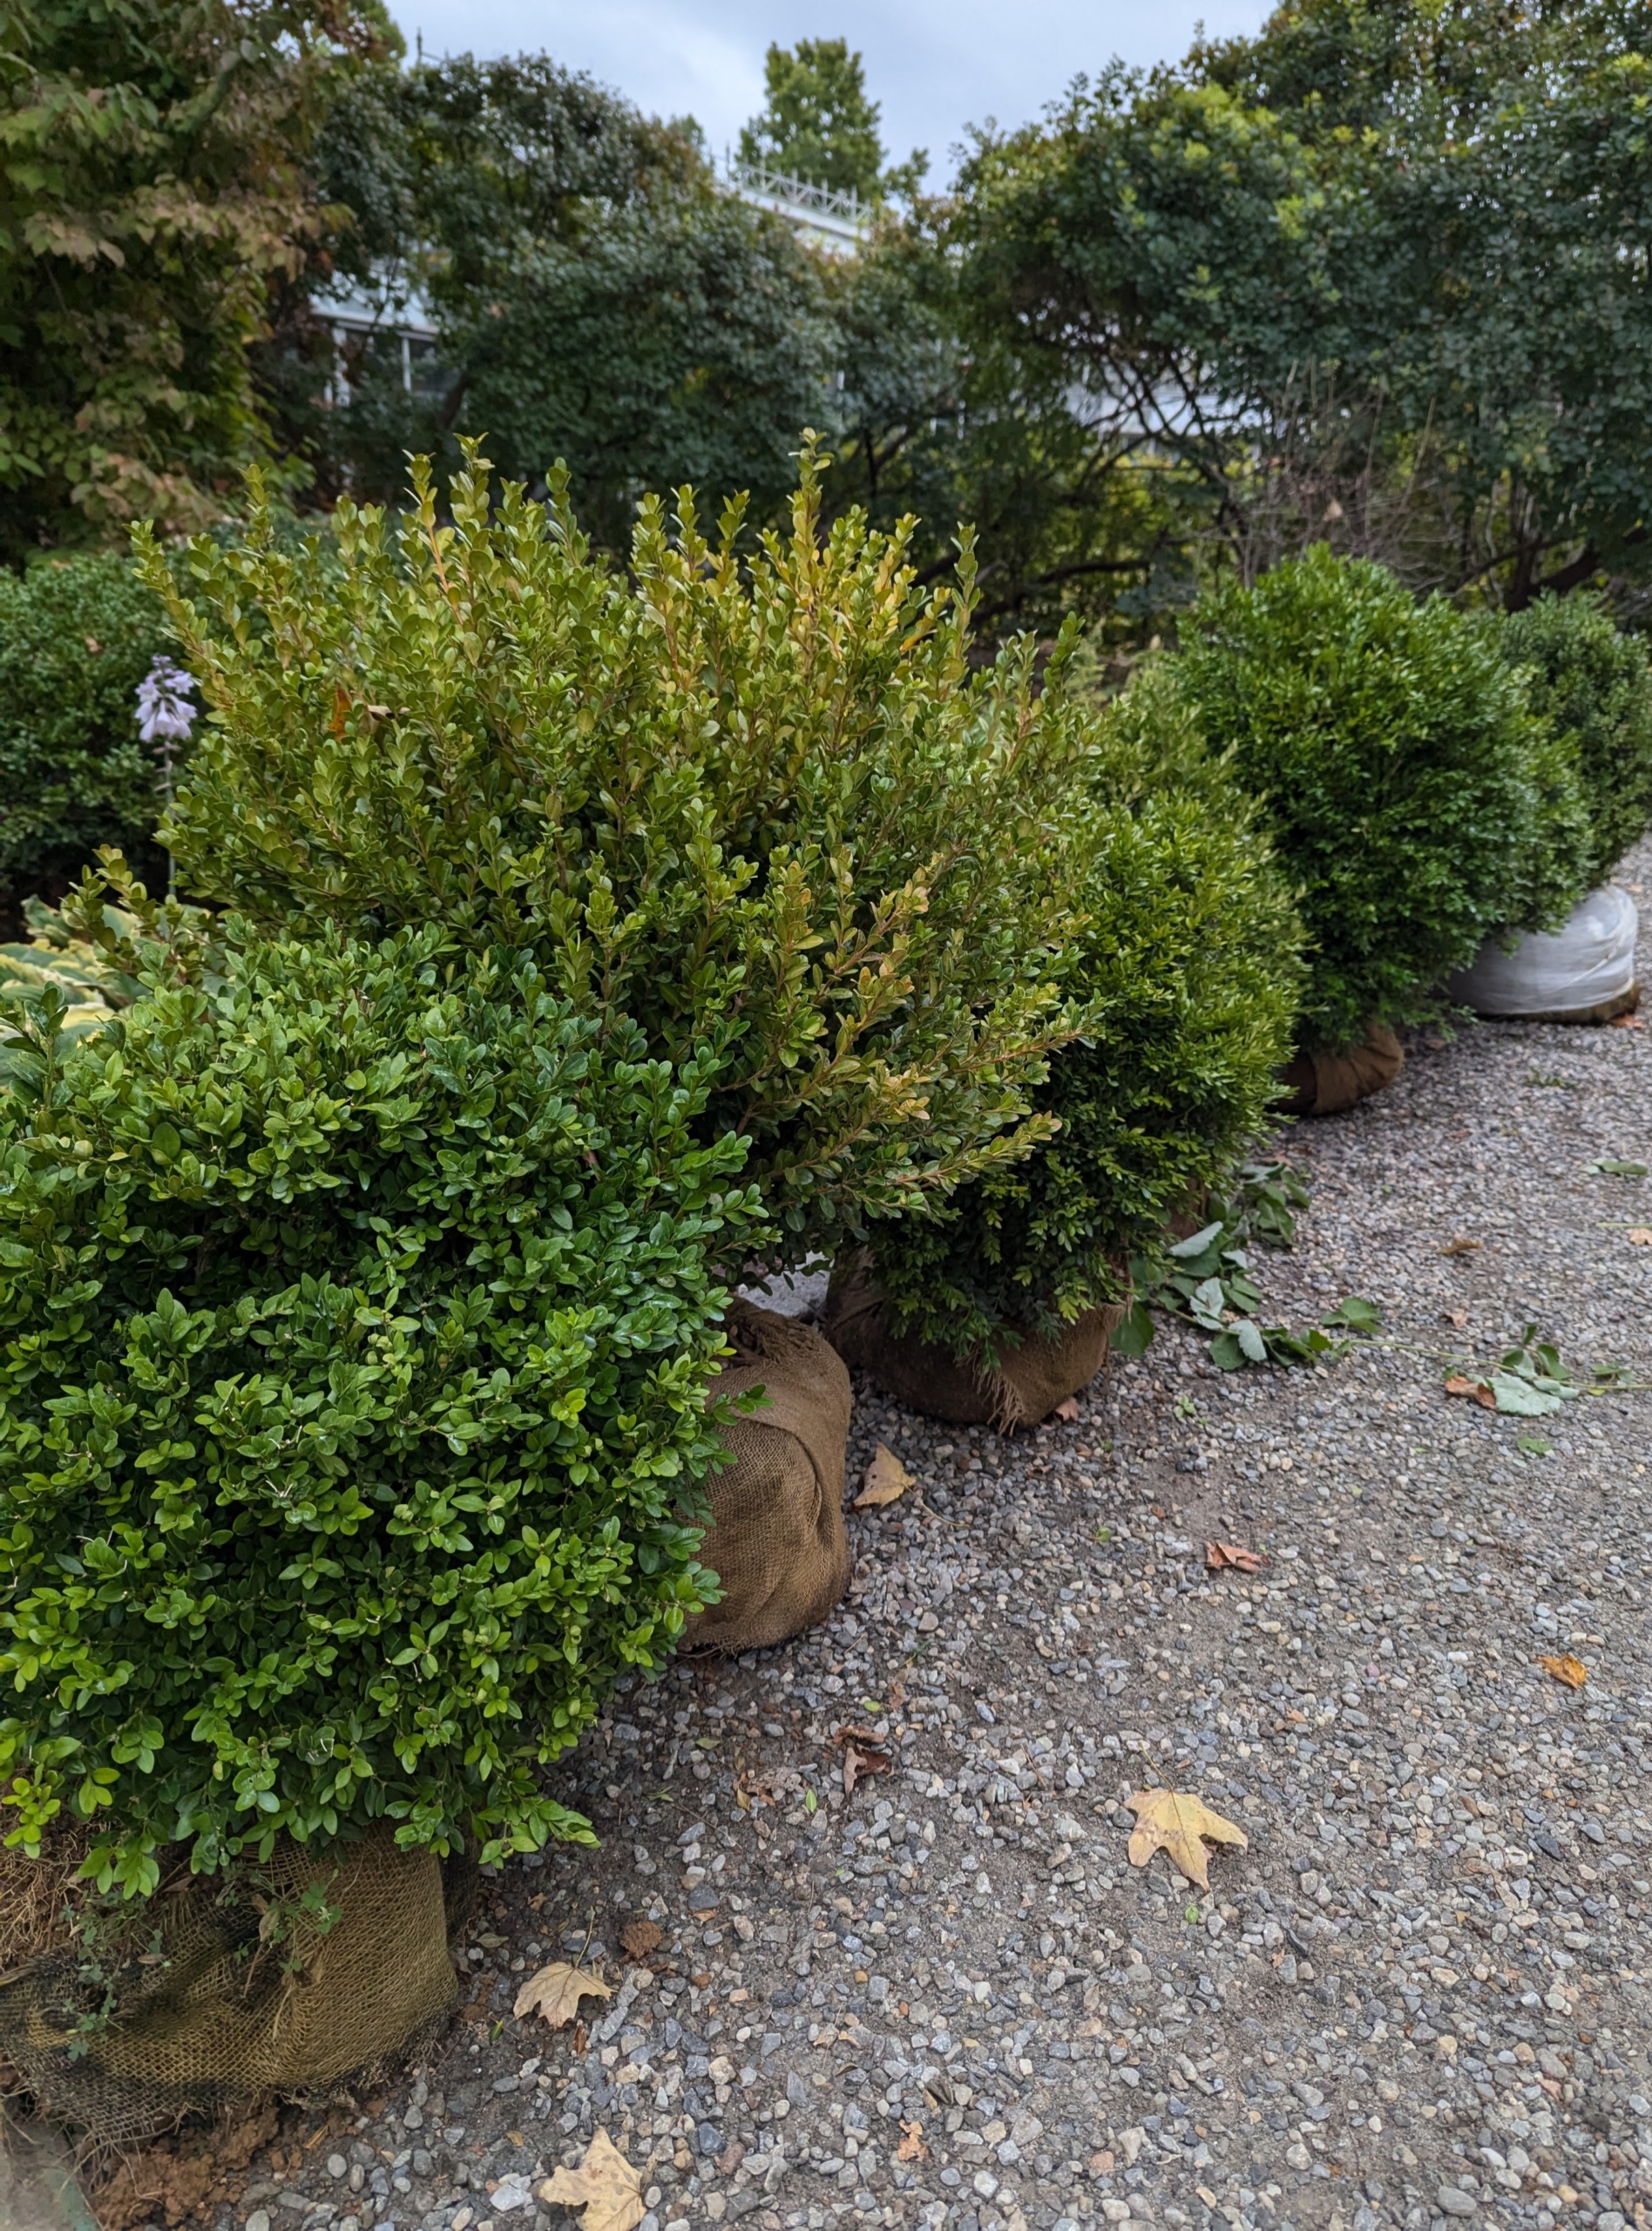
Buxus is a genus of about 70 species in the family Buxaceae. The boxes are native to western and southern Europe, southwest, southern and eastern Asia, Africa, Madagascar, northernmost South America, Central America, Mexico, and the Caribbean. Shrubs are slow-growing with dark green glossy leaves arranged opposite from each other, making pairs. Leaf shape depends on the variety; some are round while others are more elliptical.
Boxwood shrubs can come in a variety of shapes, including rounded, upright, pyramidal, spreading, and conical. I am using a mix of shapes for this bed.
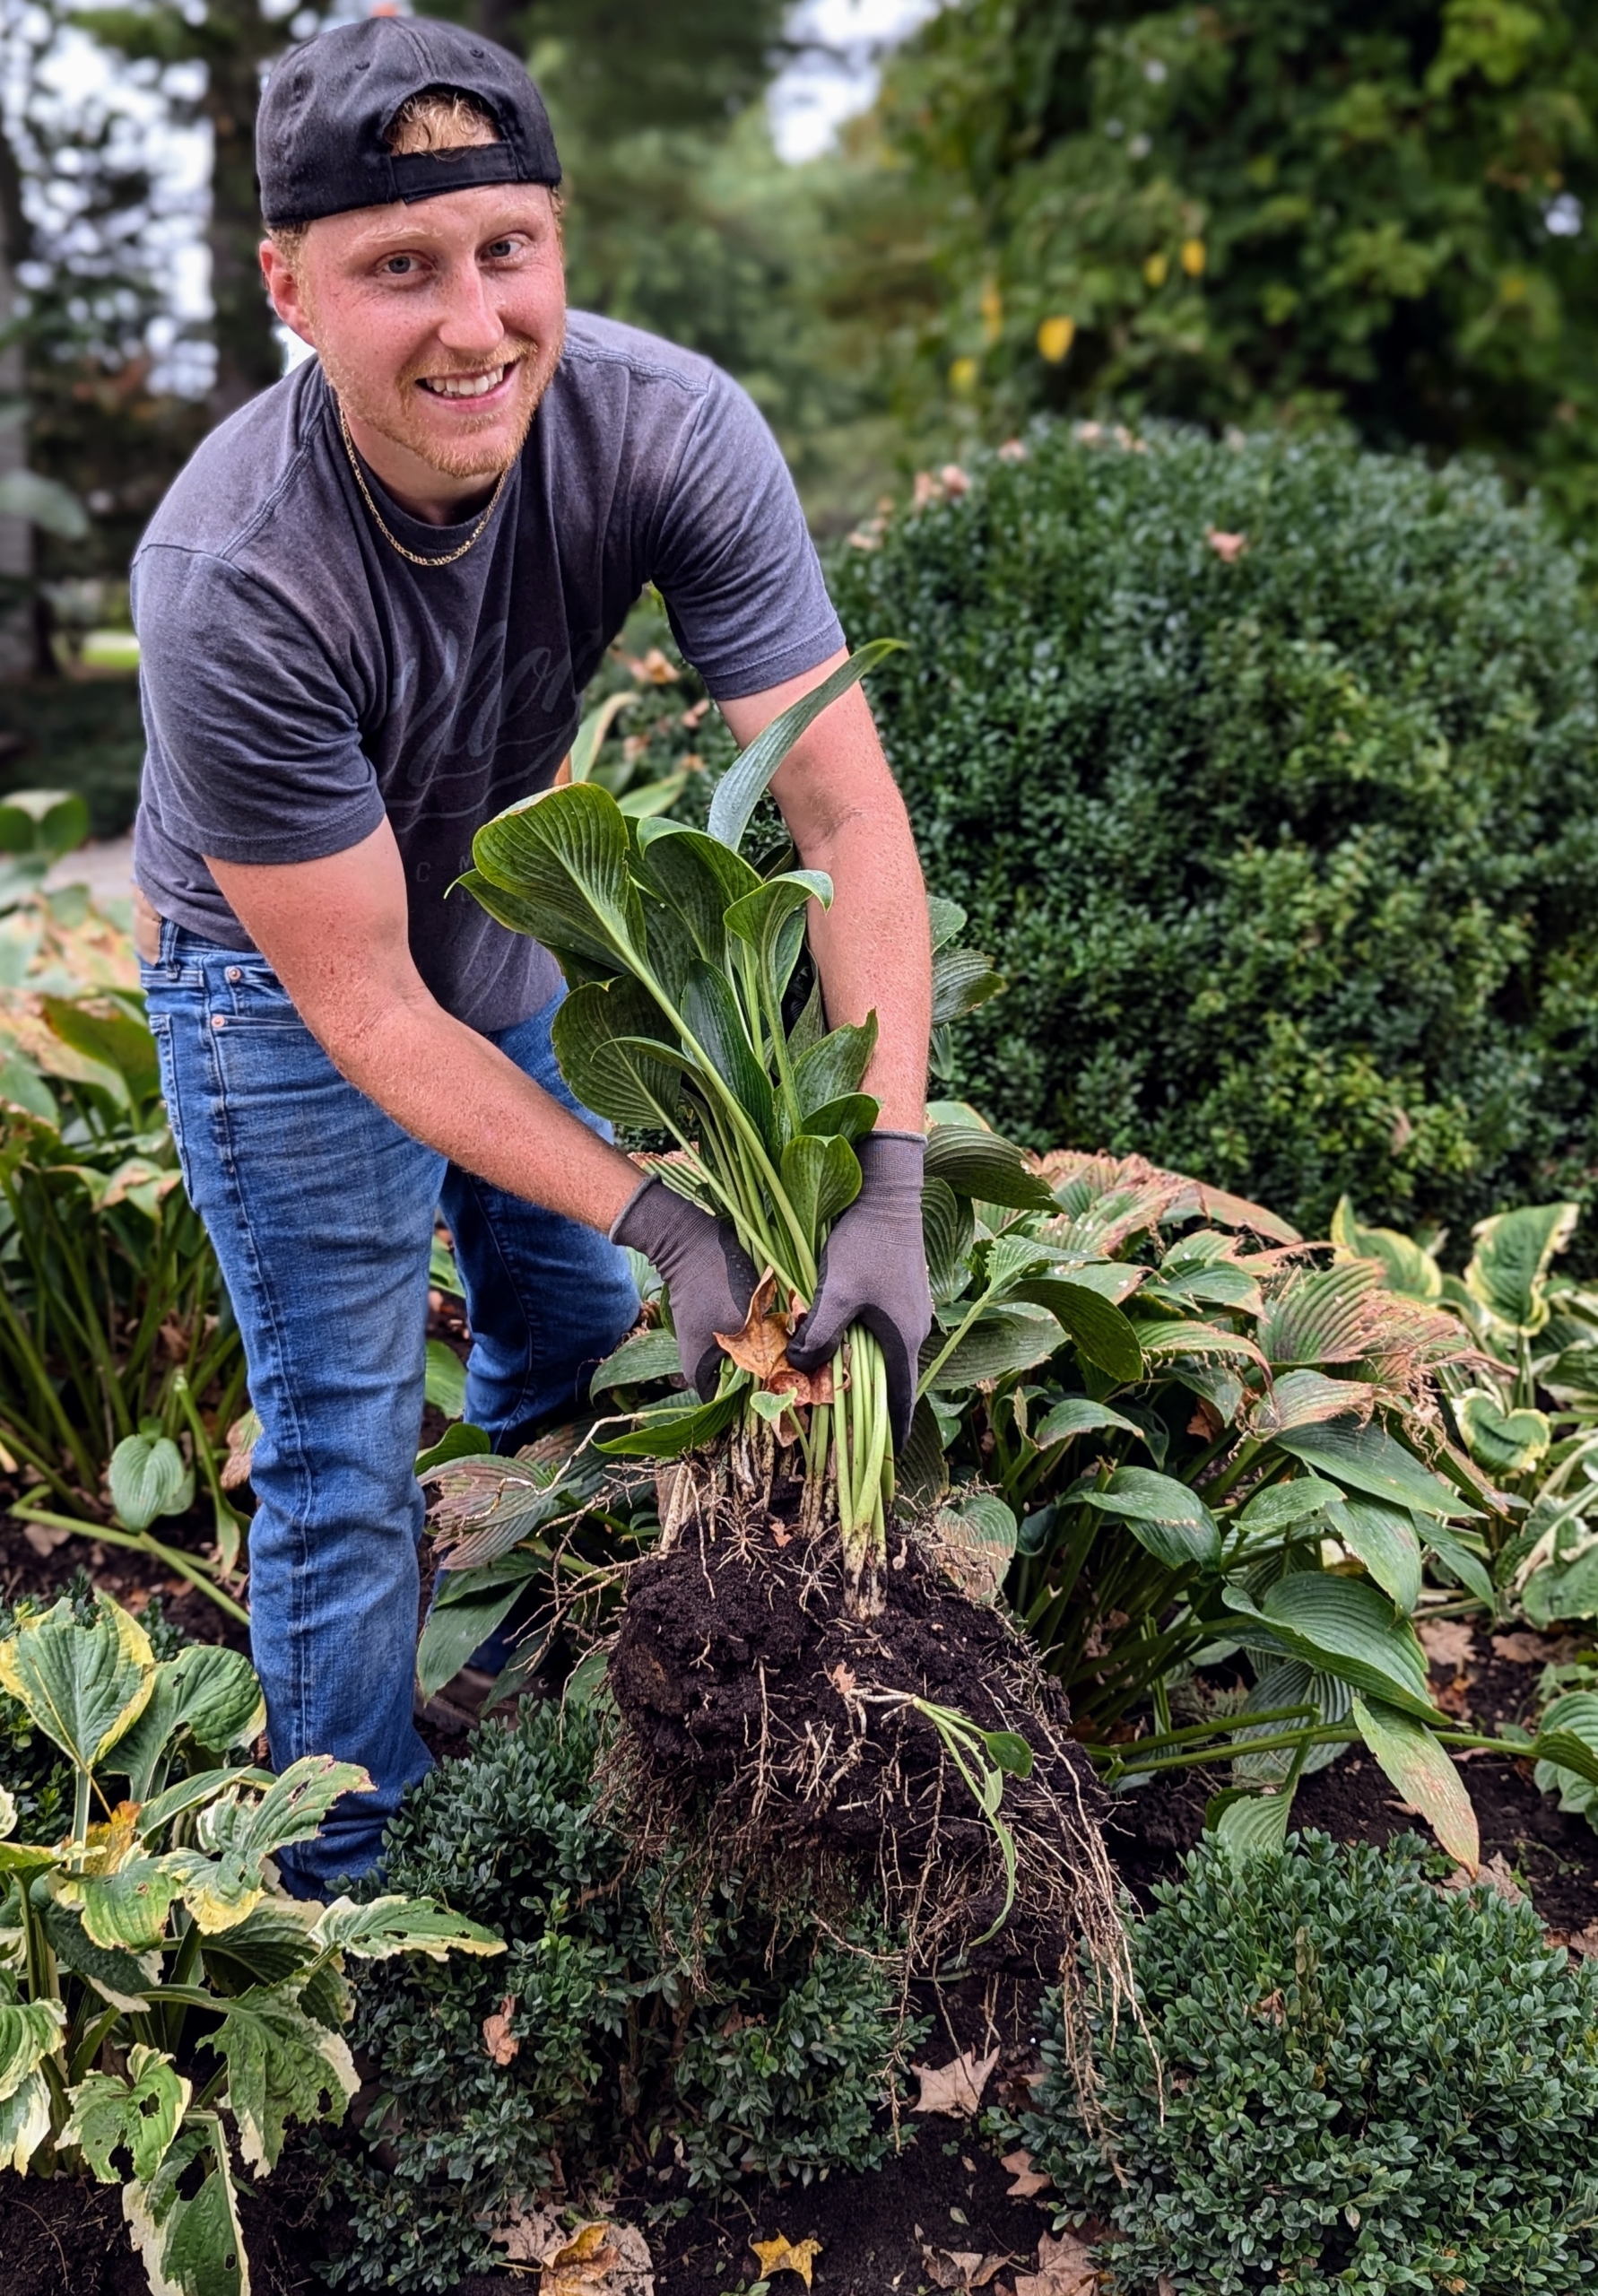
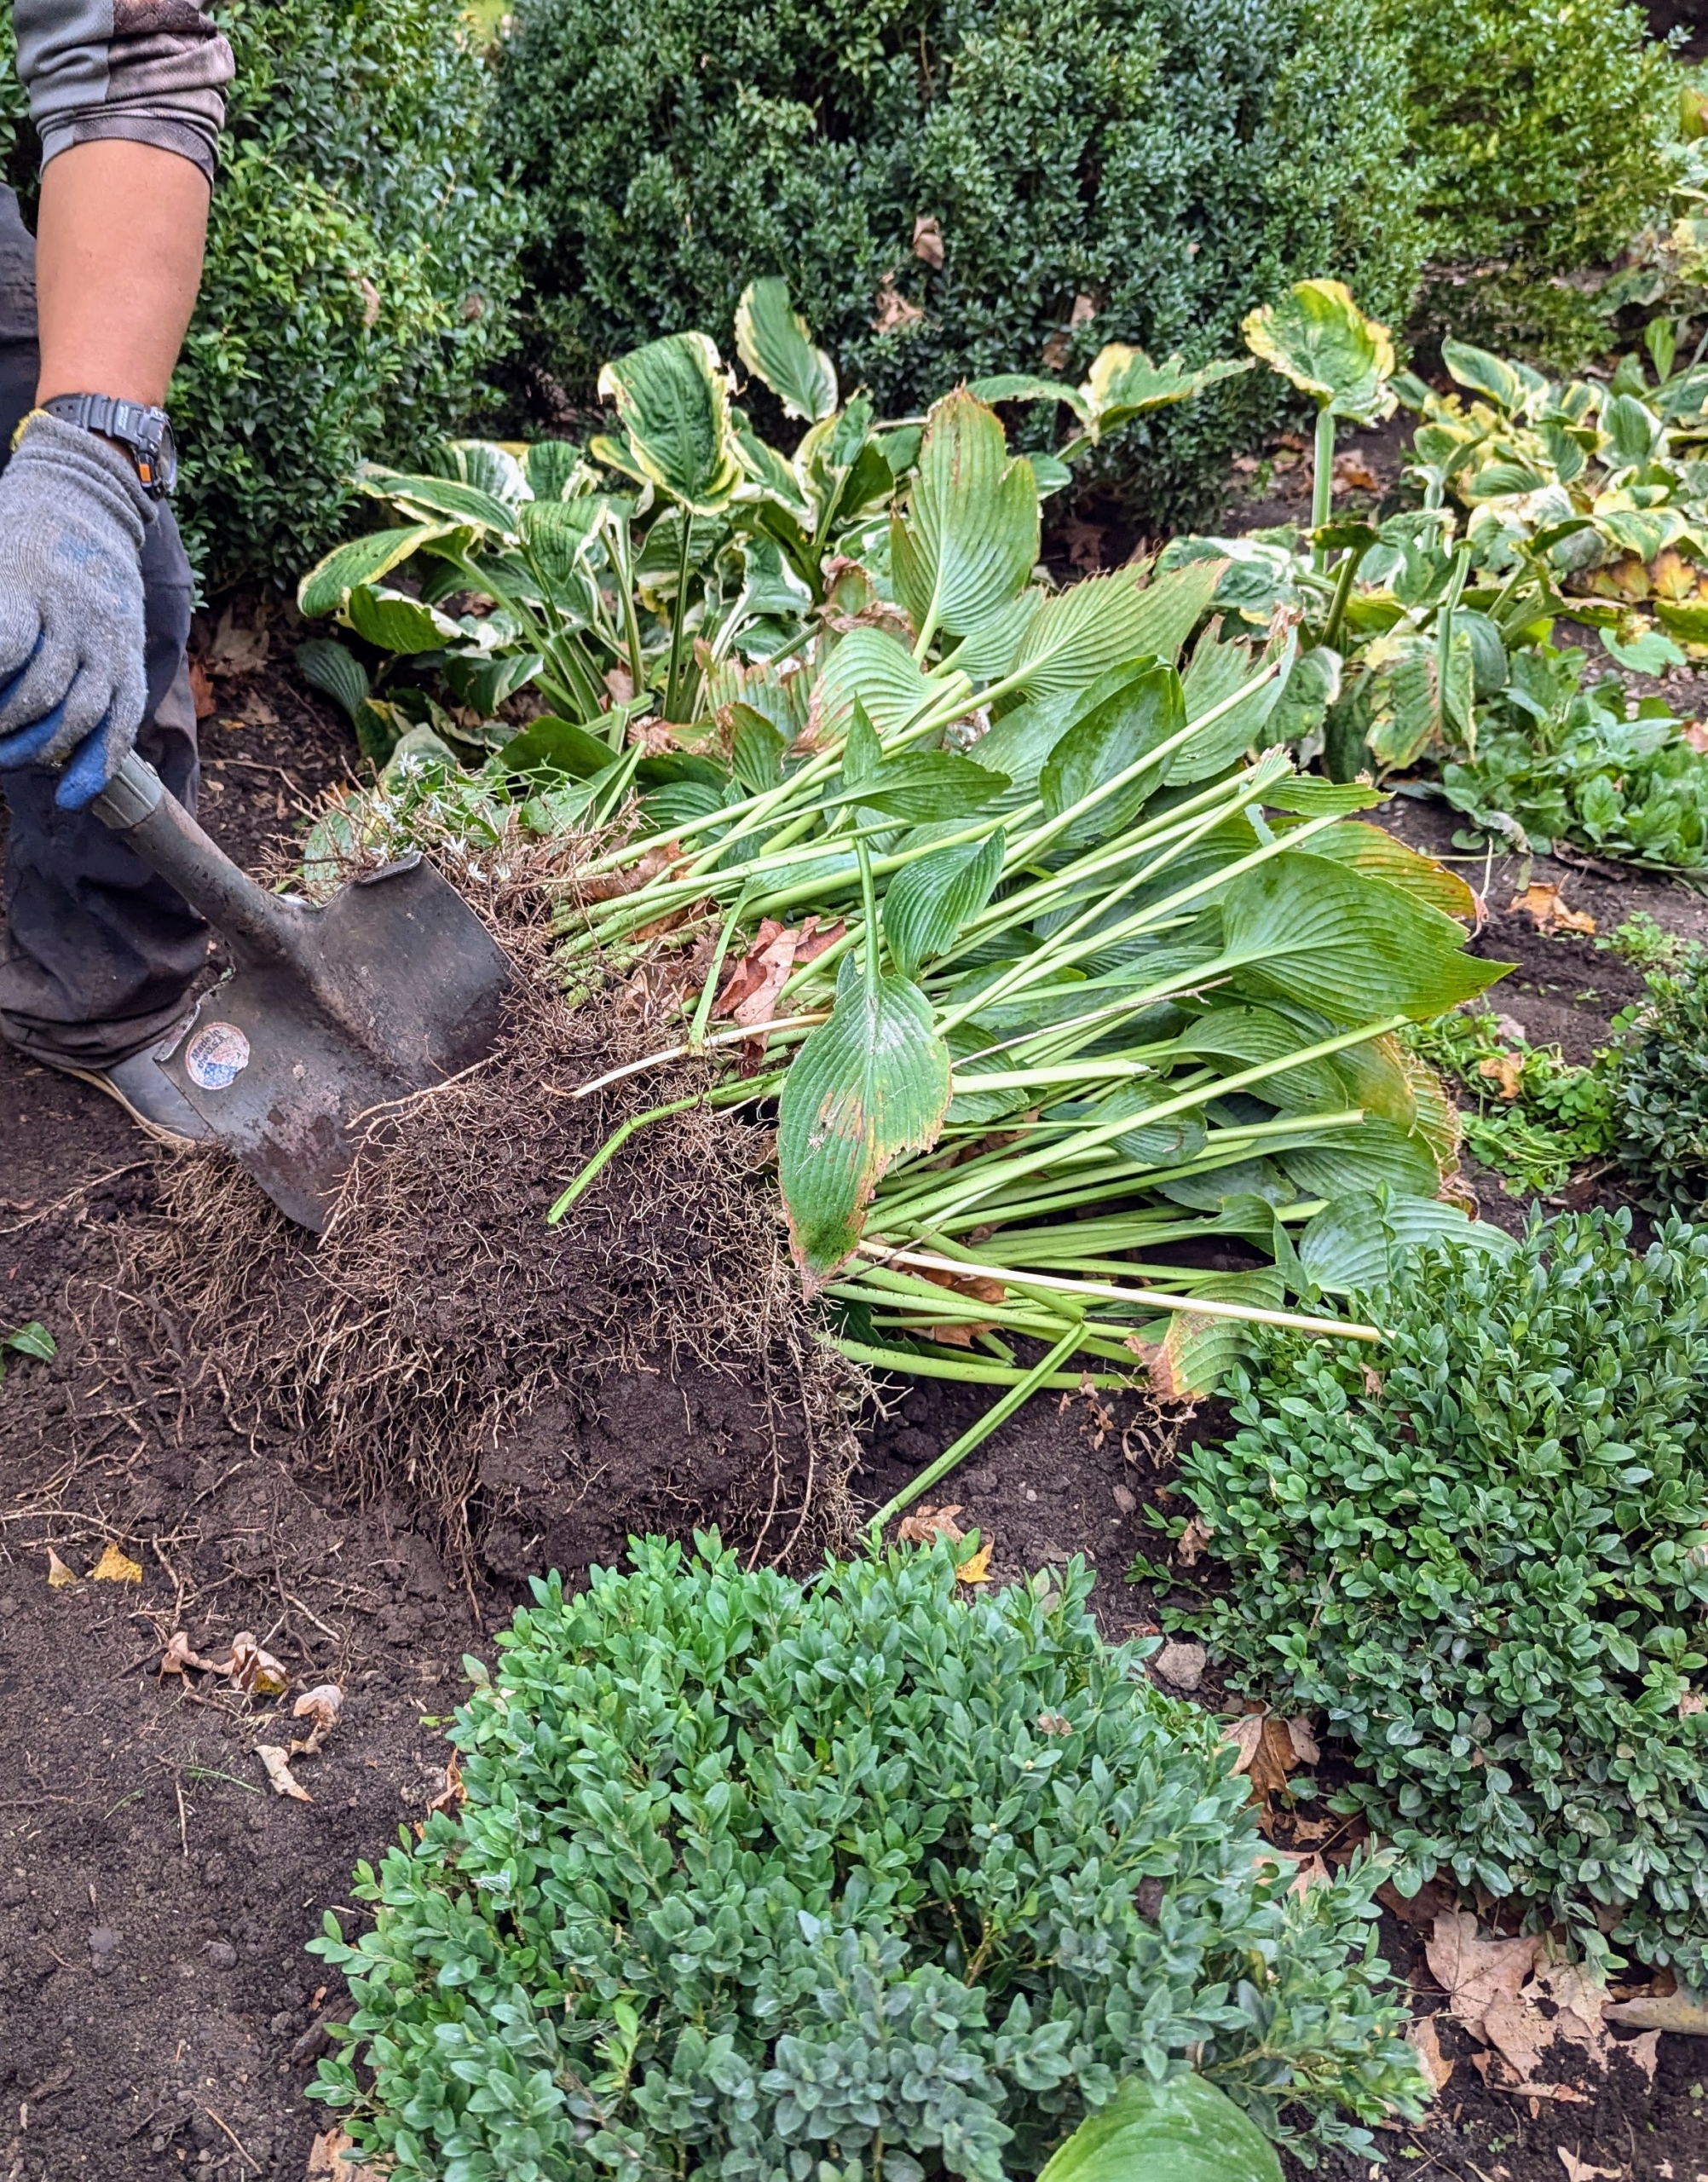
Meanwhile, my gardener Josh removes some of the hostas that are already planted, but don’t worry, they will be planted in another garden where they will also thrive.
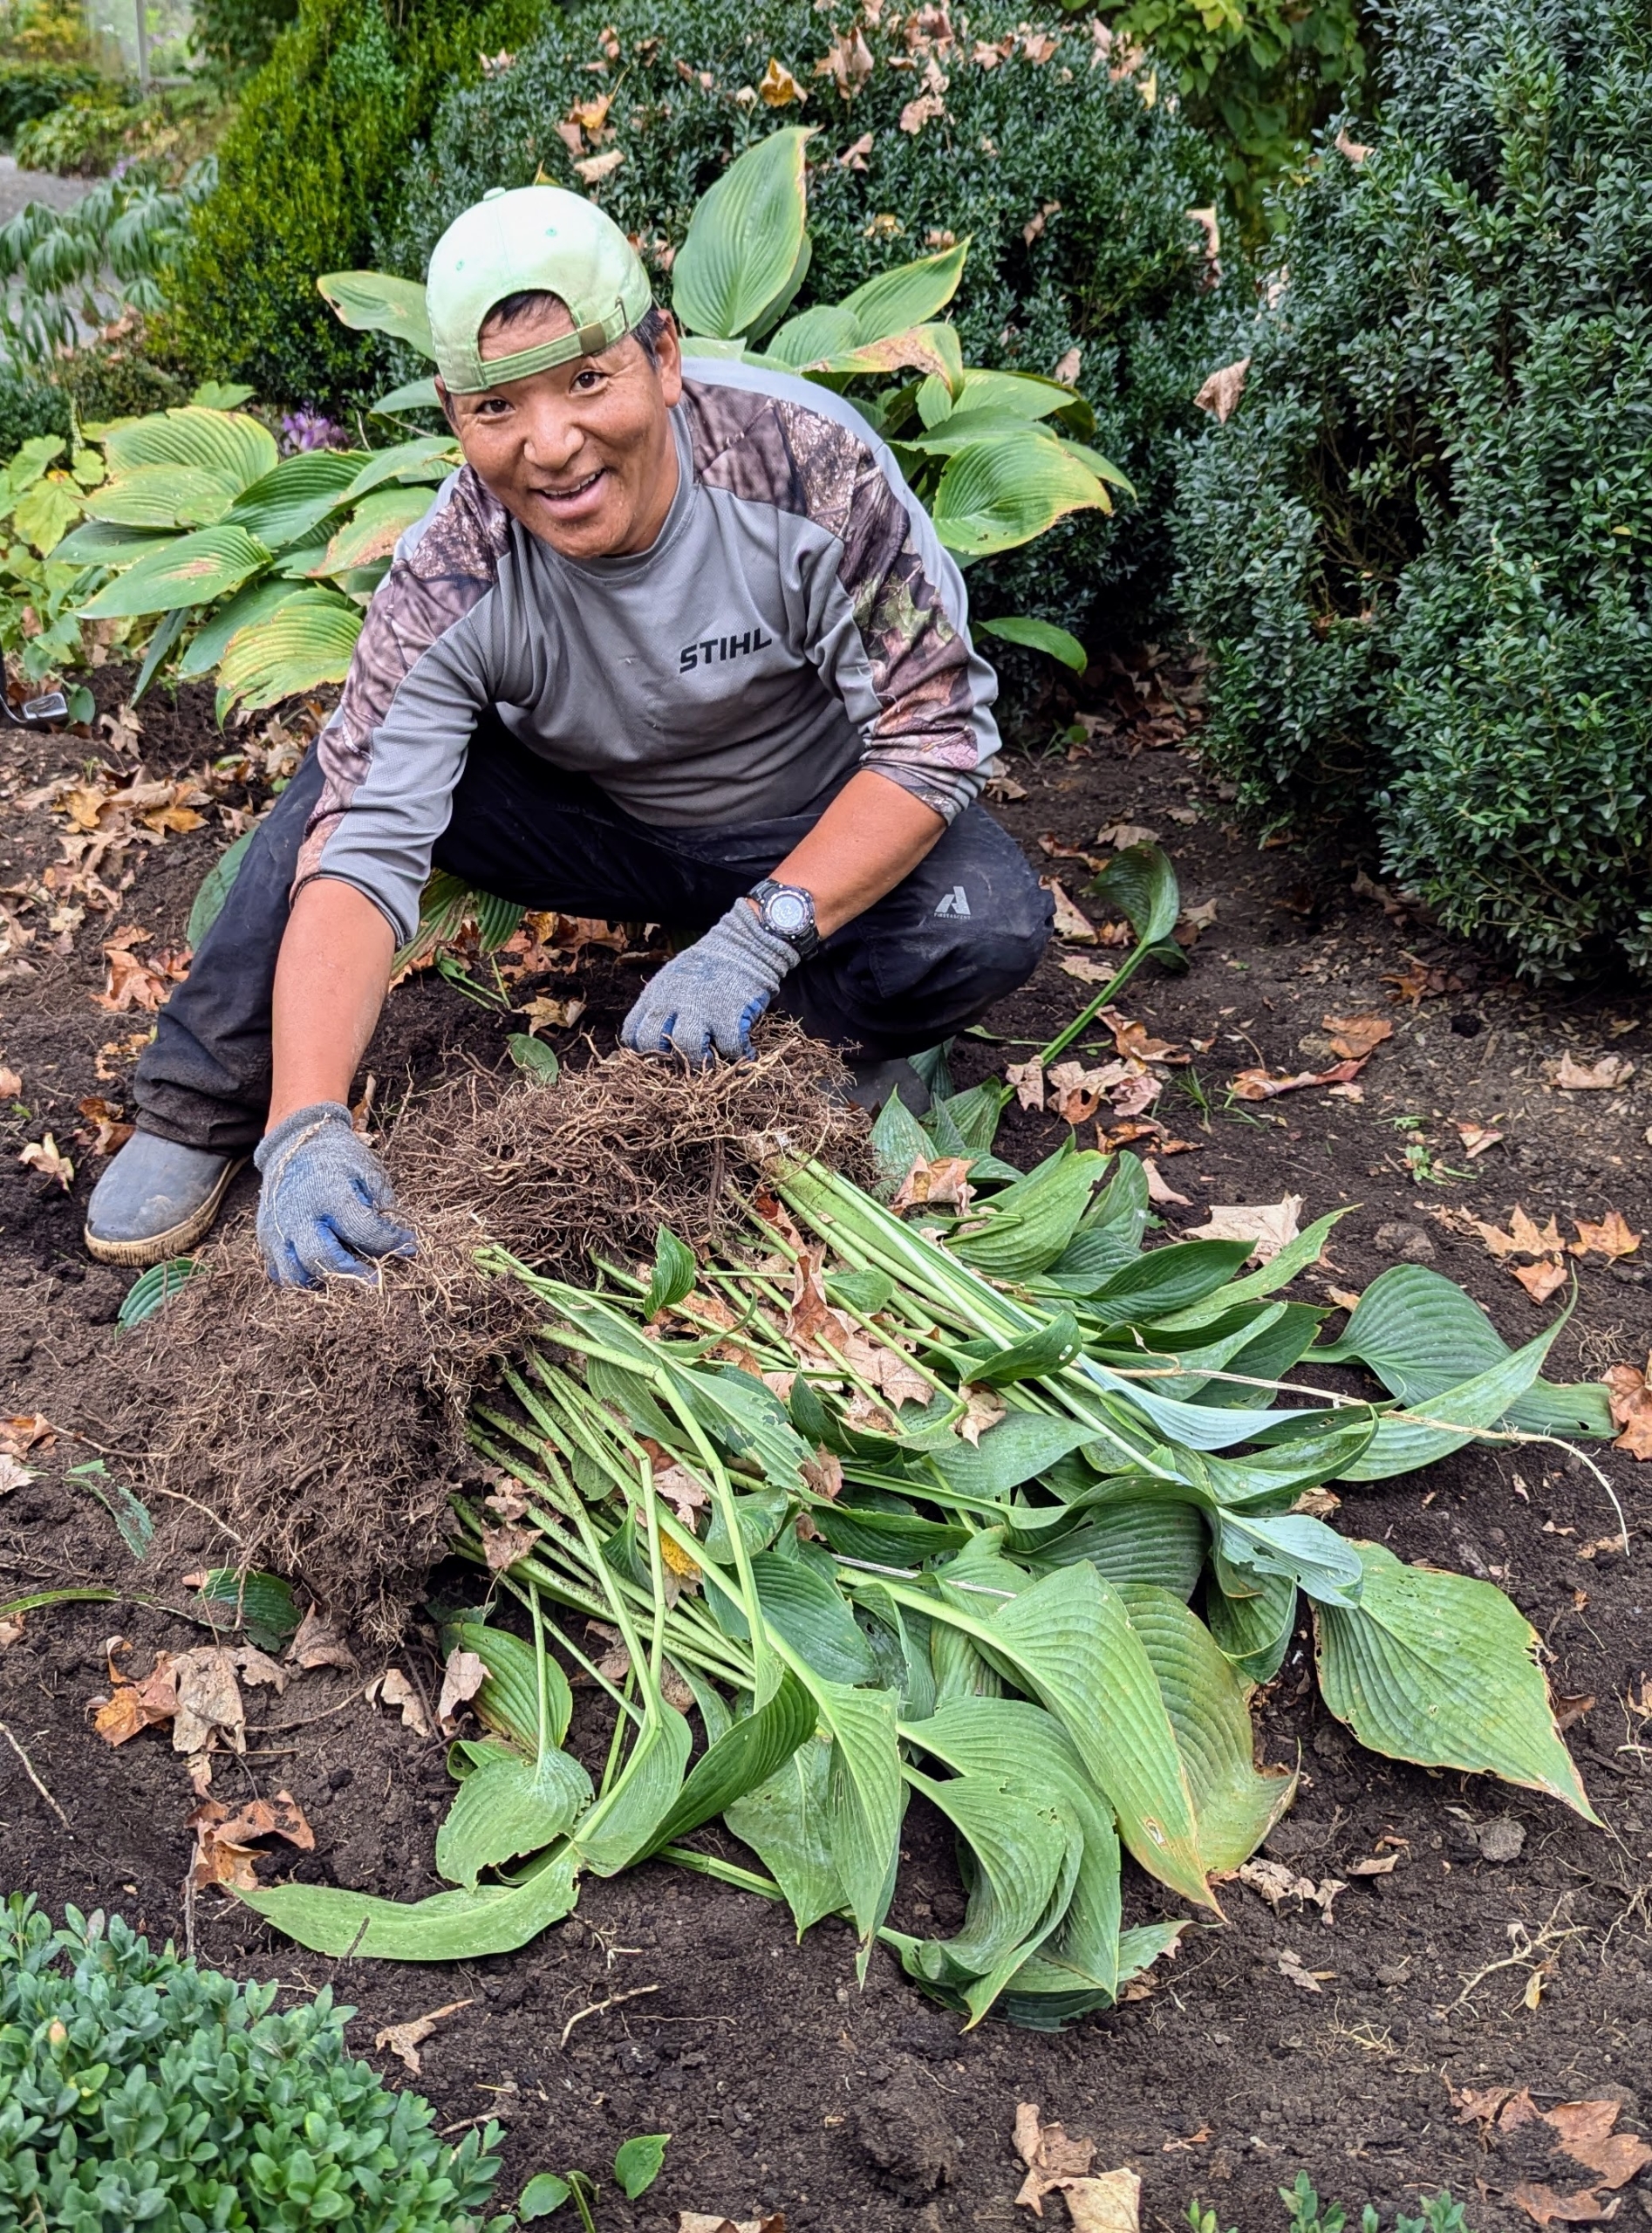
Large hostas, particularly those with more than two eyes can easily be divided. Phurba cuts this one into sections, so it can also be transplanted eslewhere.
Phurba successfully divided this one in two. It will be moved to my giant hosta garden under the shade of my stately dawn redwoods behind my chicken yard.
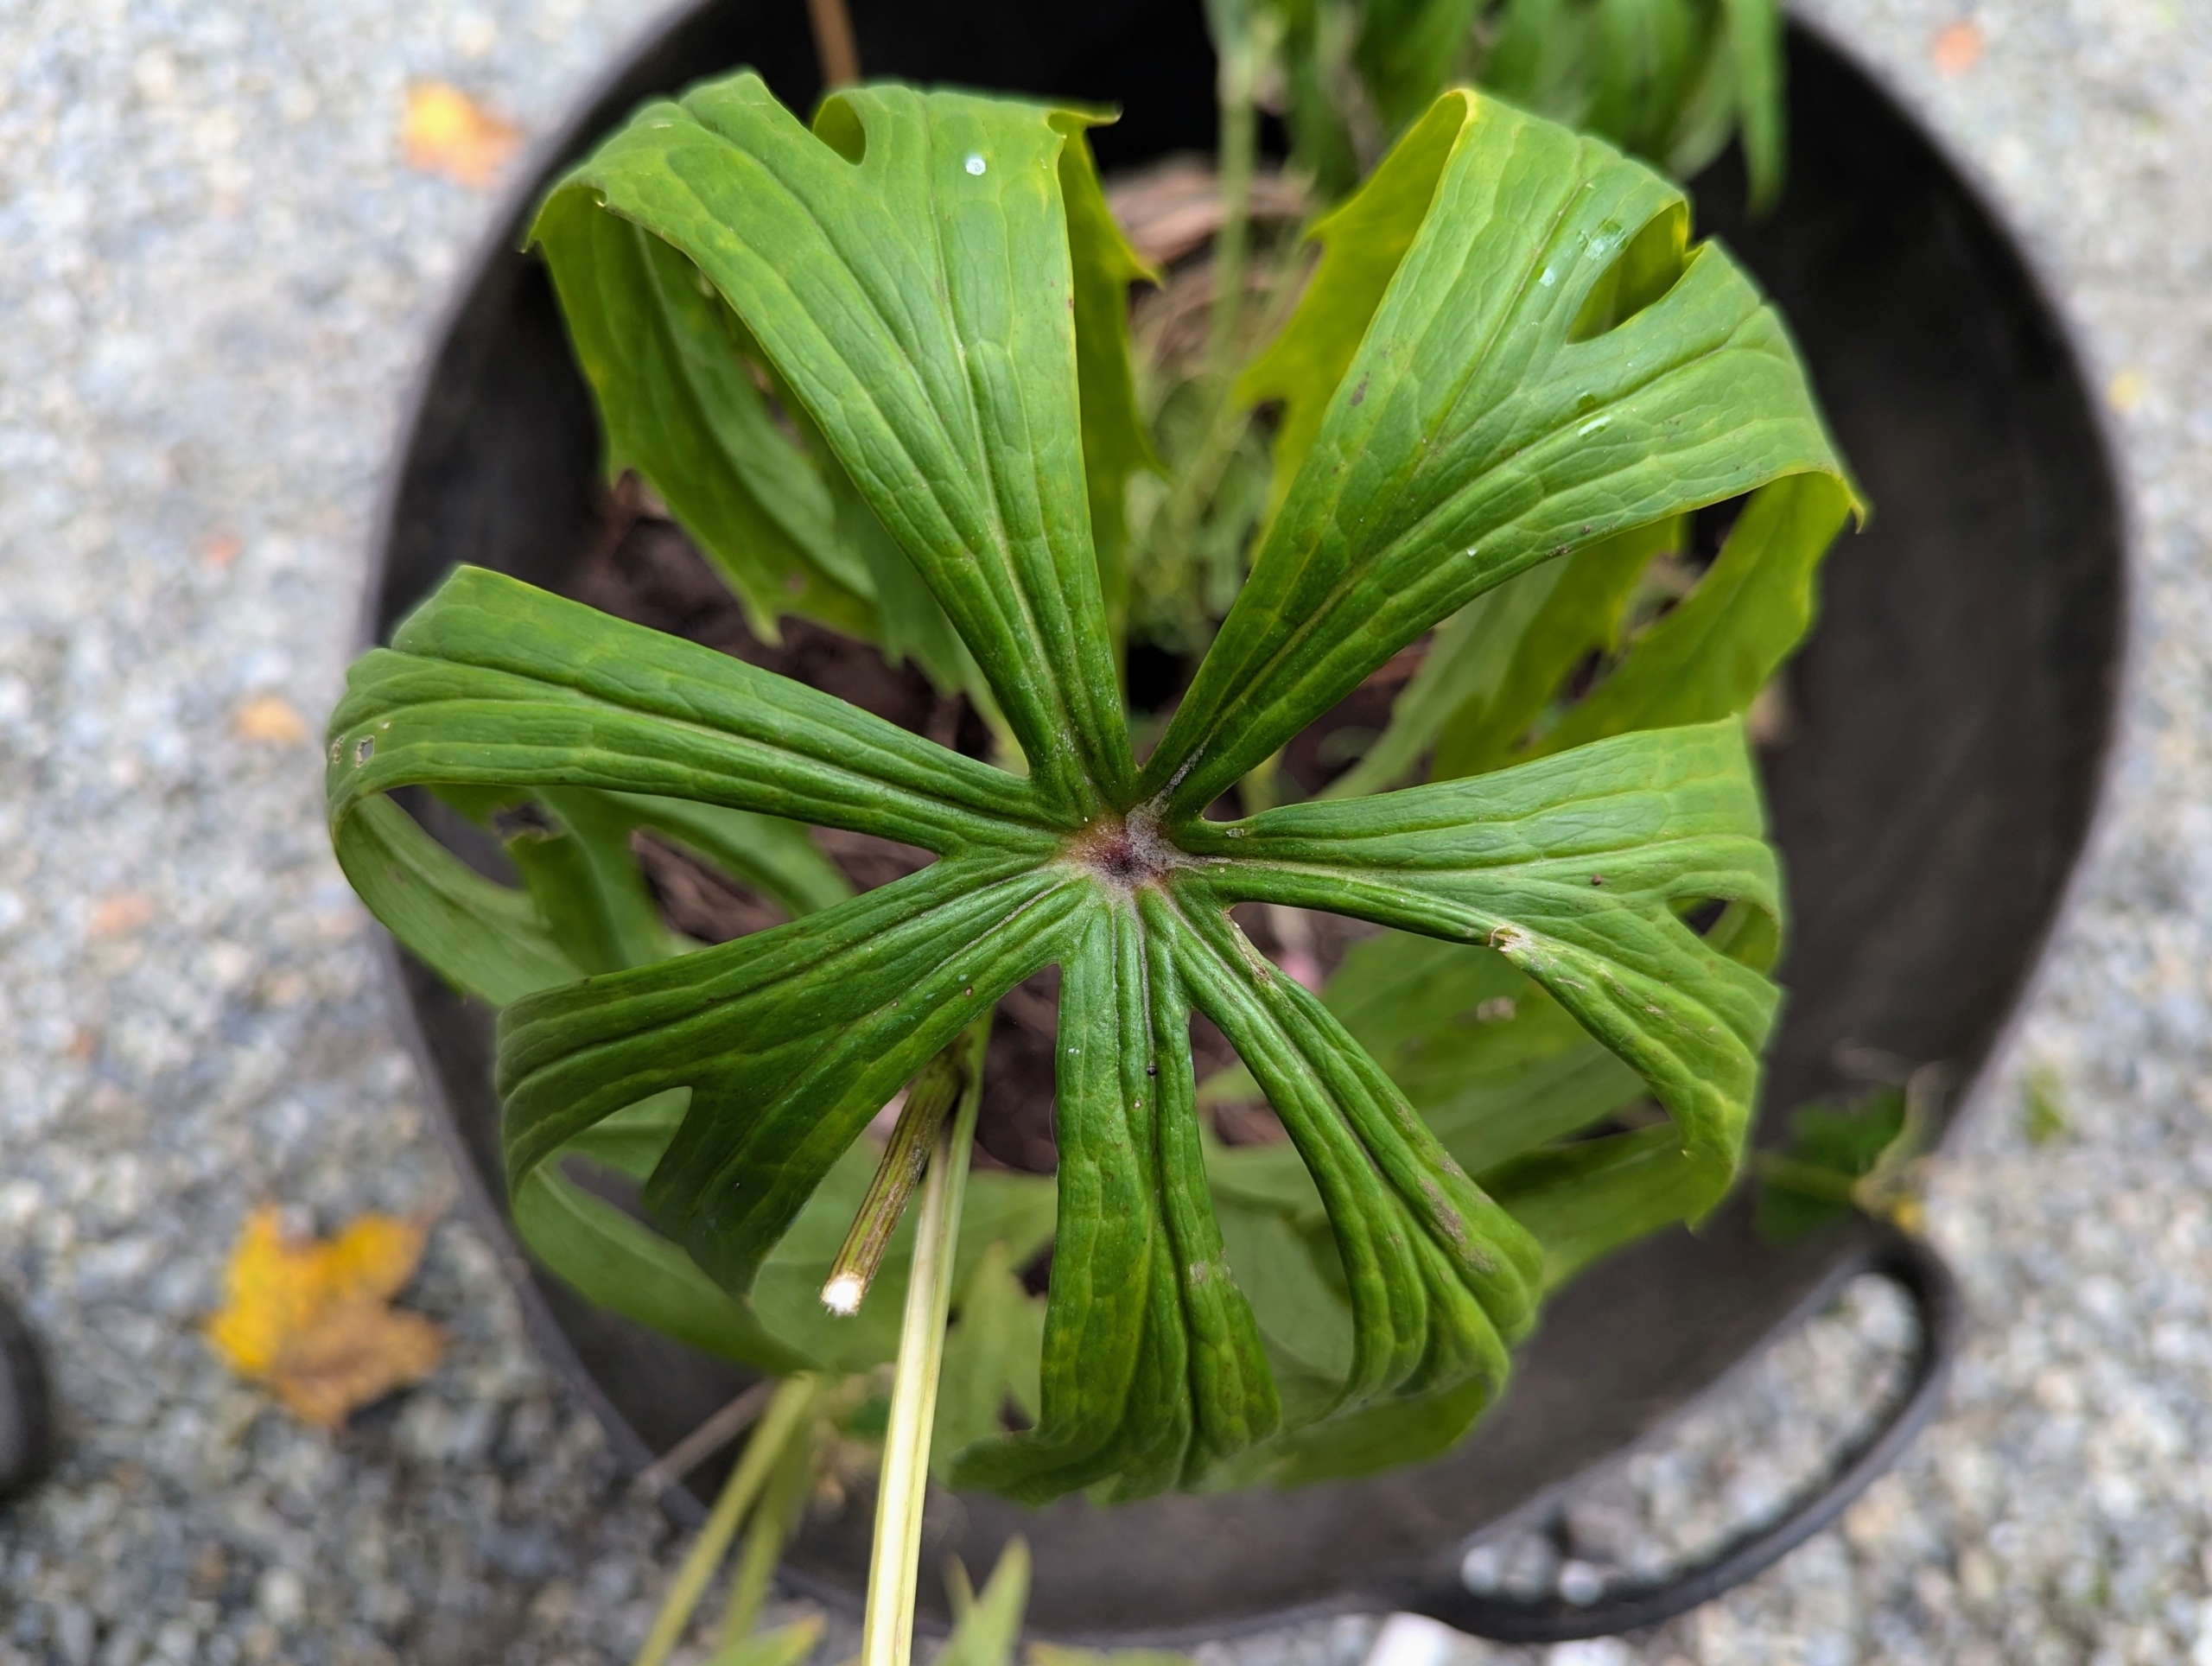
Other plants carefully removed for replanting include Syneilesis – a tough, drought-tolerant, easy-to-grow woodland garden perennial that prefers moist, well-drained, slightly acid soils. Over time, these plants form a sizable patch of green umbrella-shaped leaves. Mature foliage can be more than a foot across with deeply toothed, narrow leaves – it is really an interesting plant.
And leafy spurge, or Euphorbia, which does best in areas where it can get full sun.
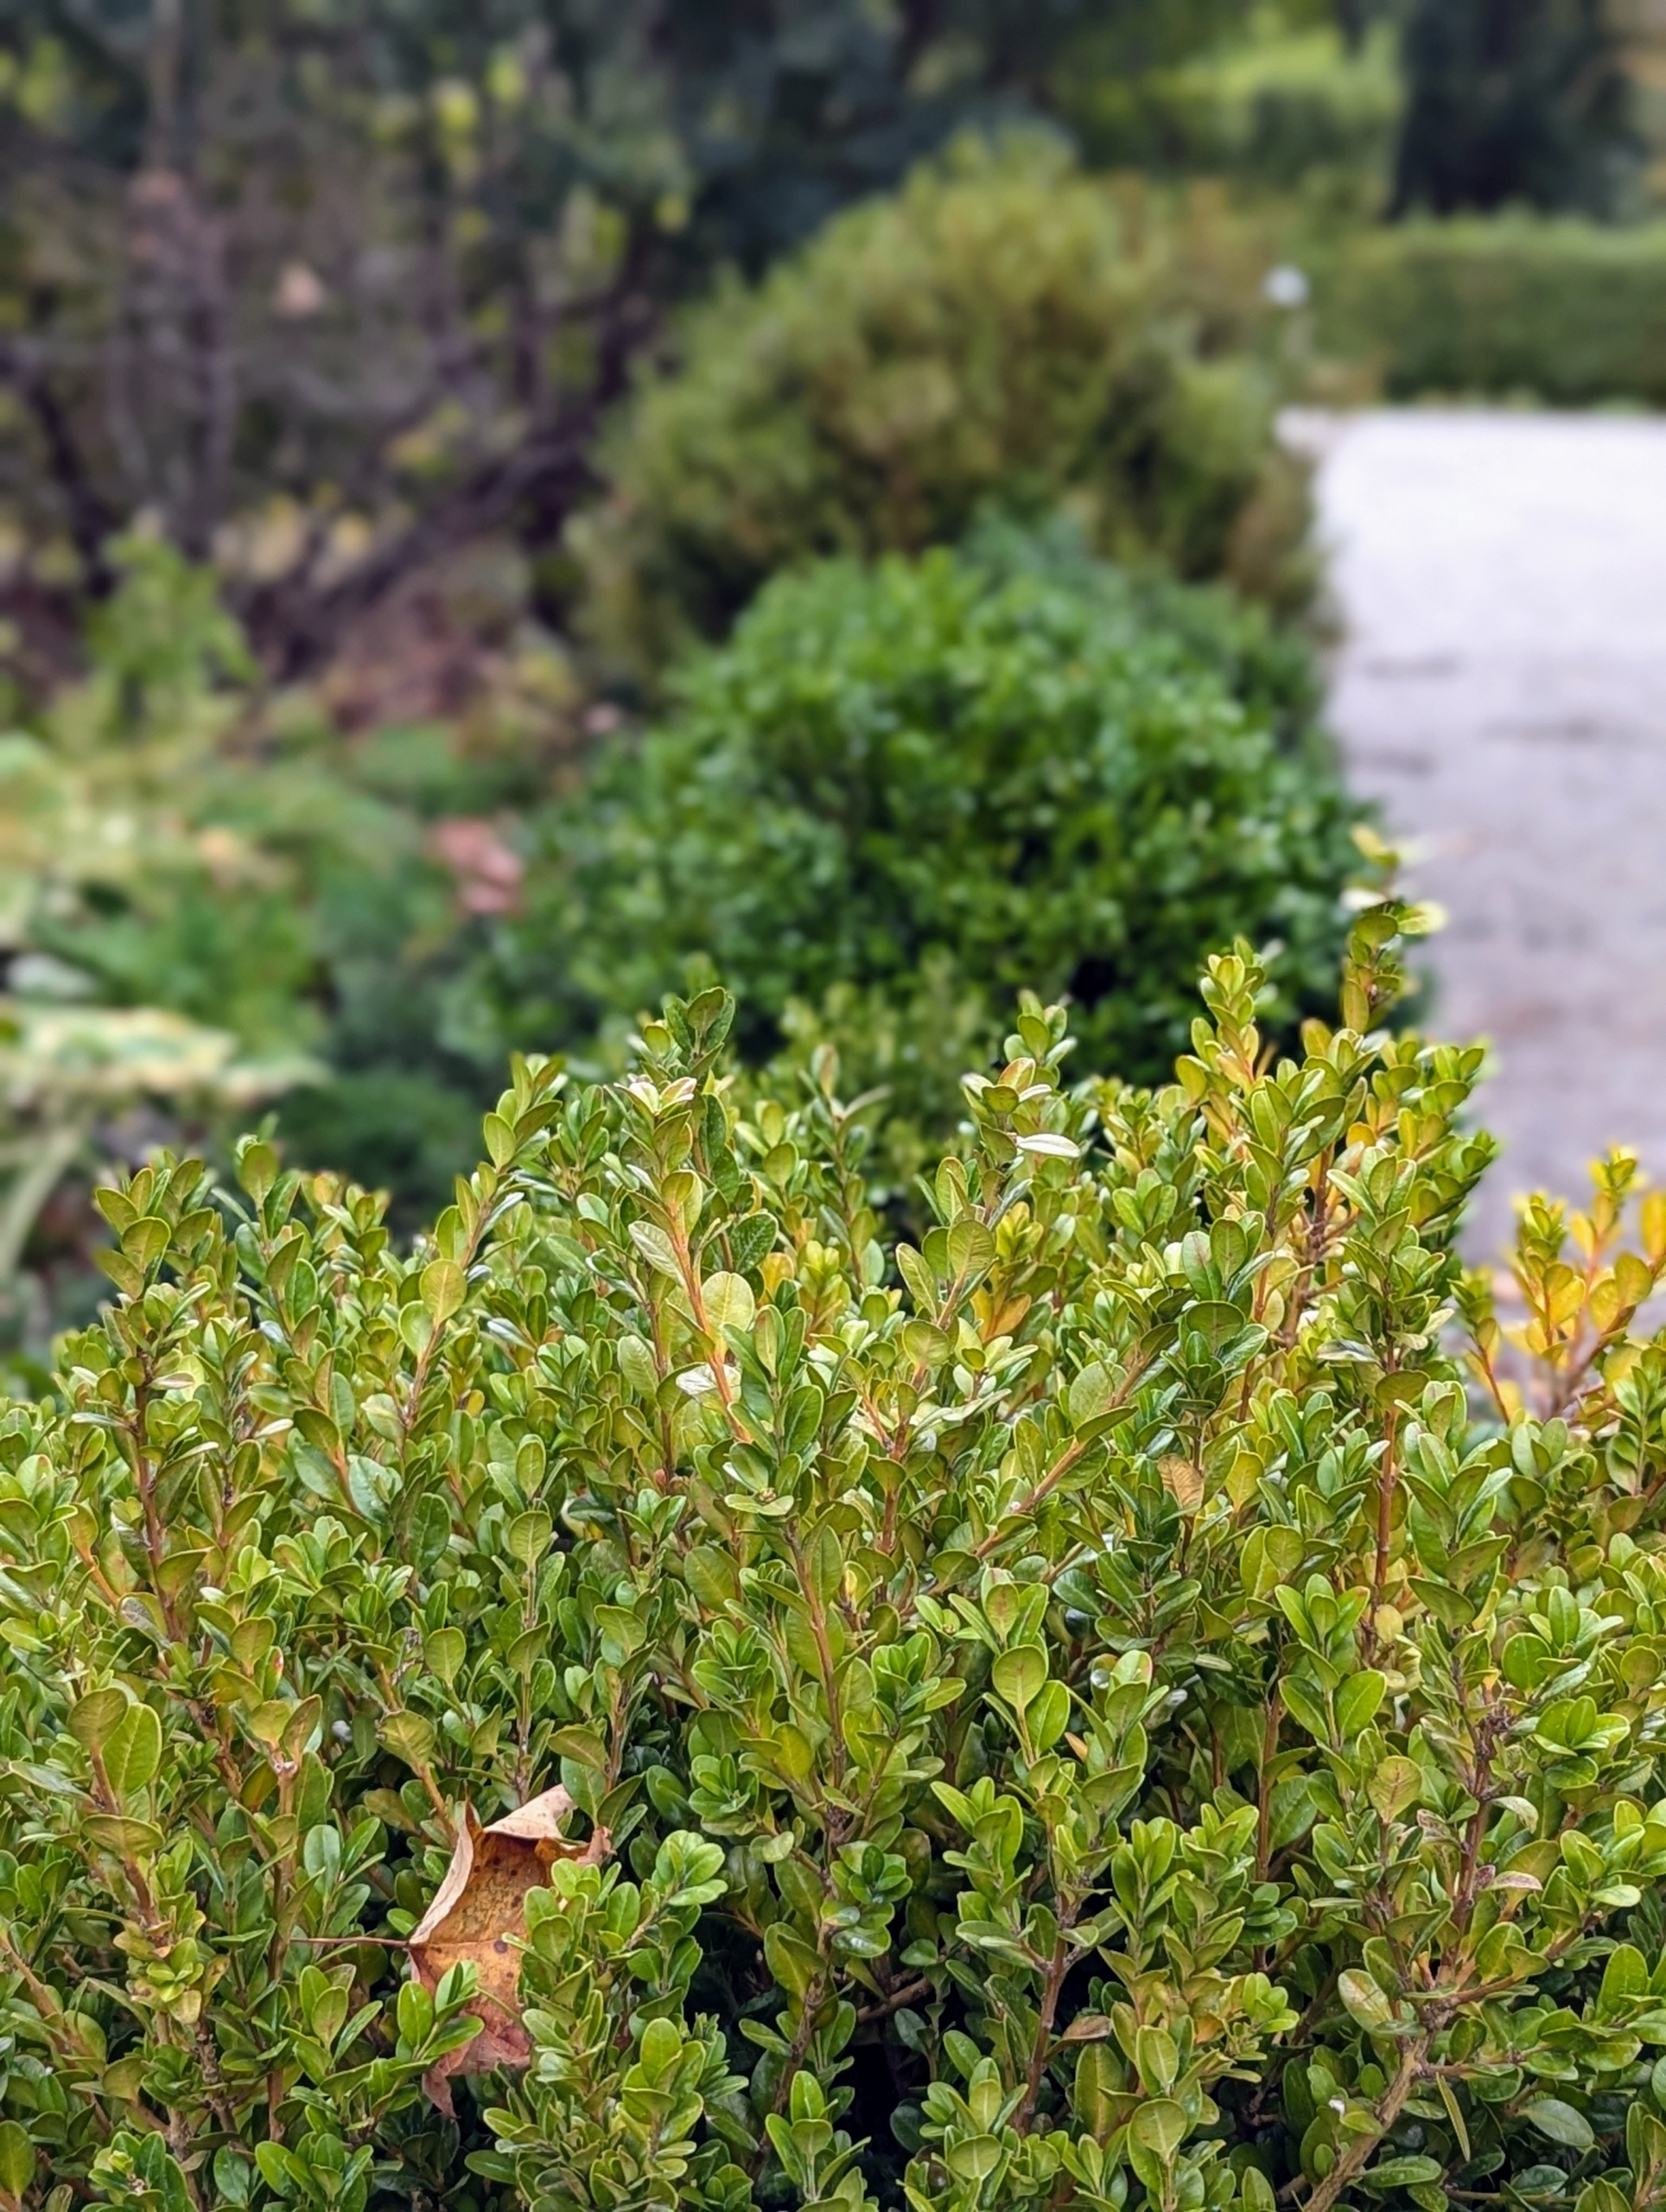
The boxwood border will remain and I think I will plant some Epimediums in front of it. Epimediums are long-lived and easy to grow and have such attractive and varying foliage.
My head gardener, Ryan McCallister, places each boxwood where it will be planted.
Ryan places them thoughtfully considering their space and light needs, as well as their sizes when mature.
Cesar and Phurba move this taller boxwood into place. Always place the plants first before putting them into the ground to ensure they are in the best locations. Another tip is to look at the plant from afar and turn the specimen so its best side is facing out for guests to see.
By afternoon, all the plants were in position. Next is planting! I’ll be sure to share photos of the finished garden bed in my next blog. Stay tuned.