So many of you are enjoying "The Martha Stewart Podcast." These shows are when I sit down for one-on-one conversations with fascinating people from all walks of life to learn how their individual careers began, how they have evolved, and what tips they have for listeners. These talks are filled with information, inspiration, and lots of laughter. If you haven’t already, please tune in - it's available on the iHeart media app, Apple Podcasts, or wherever you get your podcasts.
Today, we're releasing another great episode - this one with noted ceramist, entrepreneur, author, and my friend, Christopher Spitzmiller. Christopher is an artist. He creates one-of-a-kind, timeless lamps. In fact, he's made lamps for four different White House Administrations, the Presidential Blair House, and many other distinguished American homes. But how did he become so successful? What drives his passions? Why lamps? We delve deep into his background to hear his stories.
Not too long ago, I also had the chance to visit his New York City atelier where he and his talented team design and create the lamps - enjoy these photos and be sure to listen to "The Martha Stewart Podcast."
I always enjoy visiting the studios where beautiful handmade items are manufactured. Here I am with Christopher at his Manhattan studio where he “creates jewelry for the home.” We’re standing in front of a wall of shelves filled with some of his gorgeous and colorful lamps – ready for their new homes.
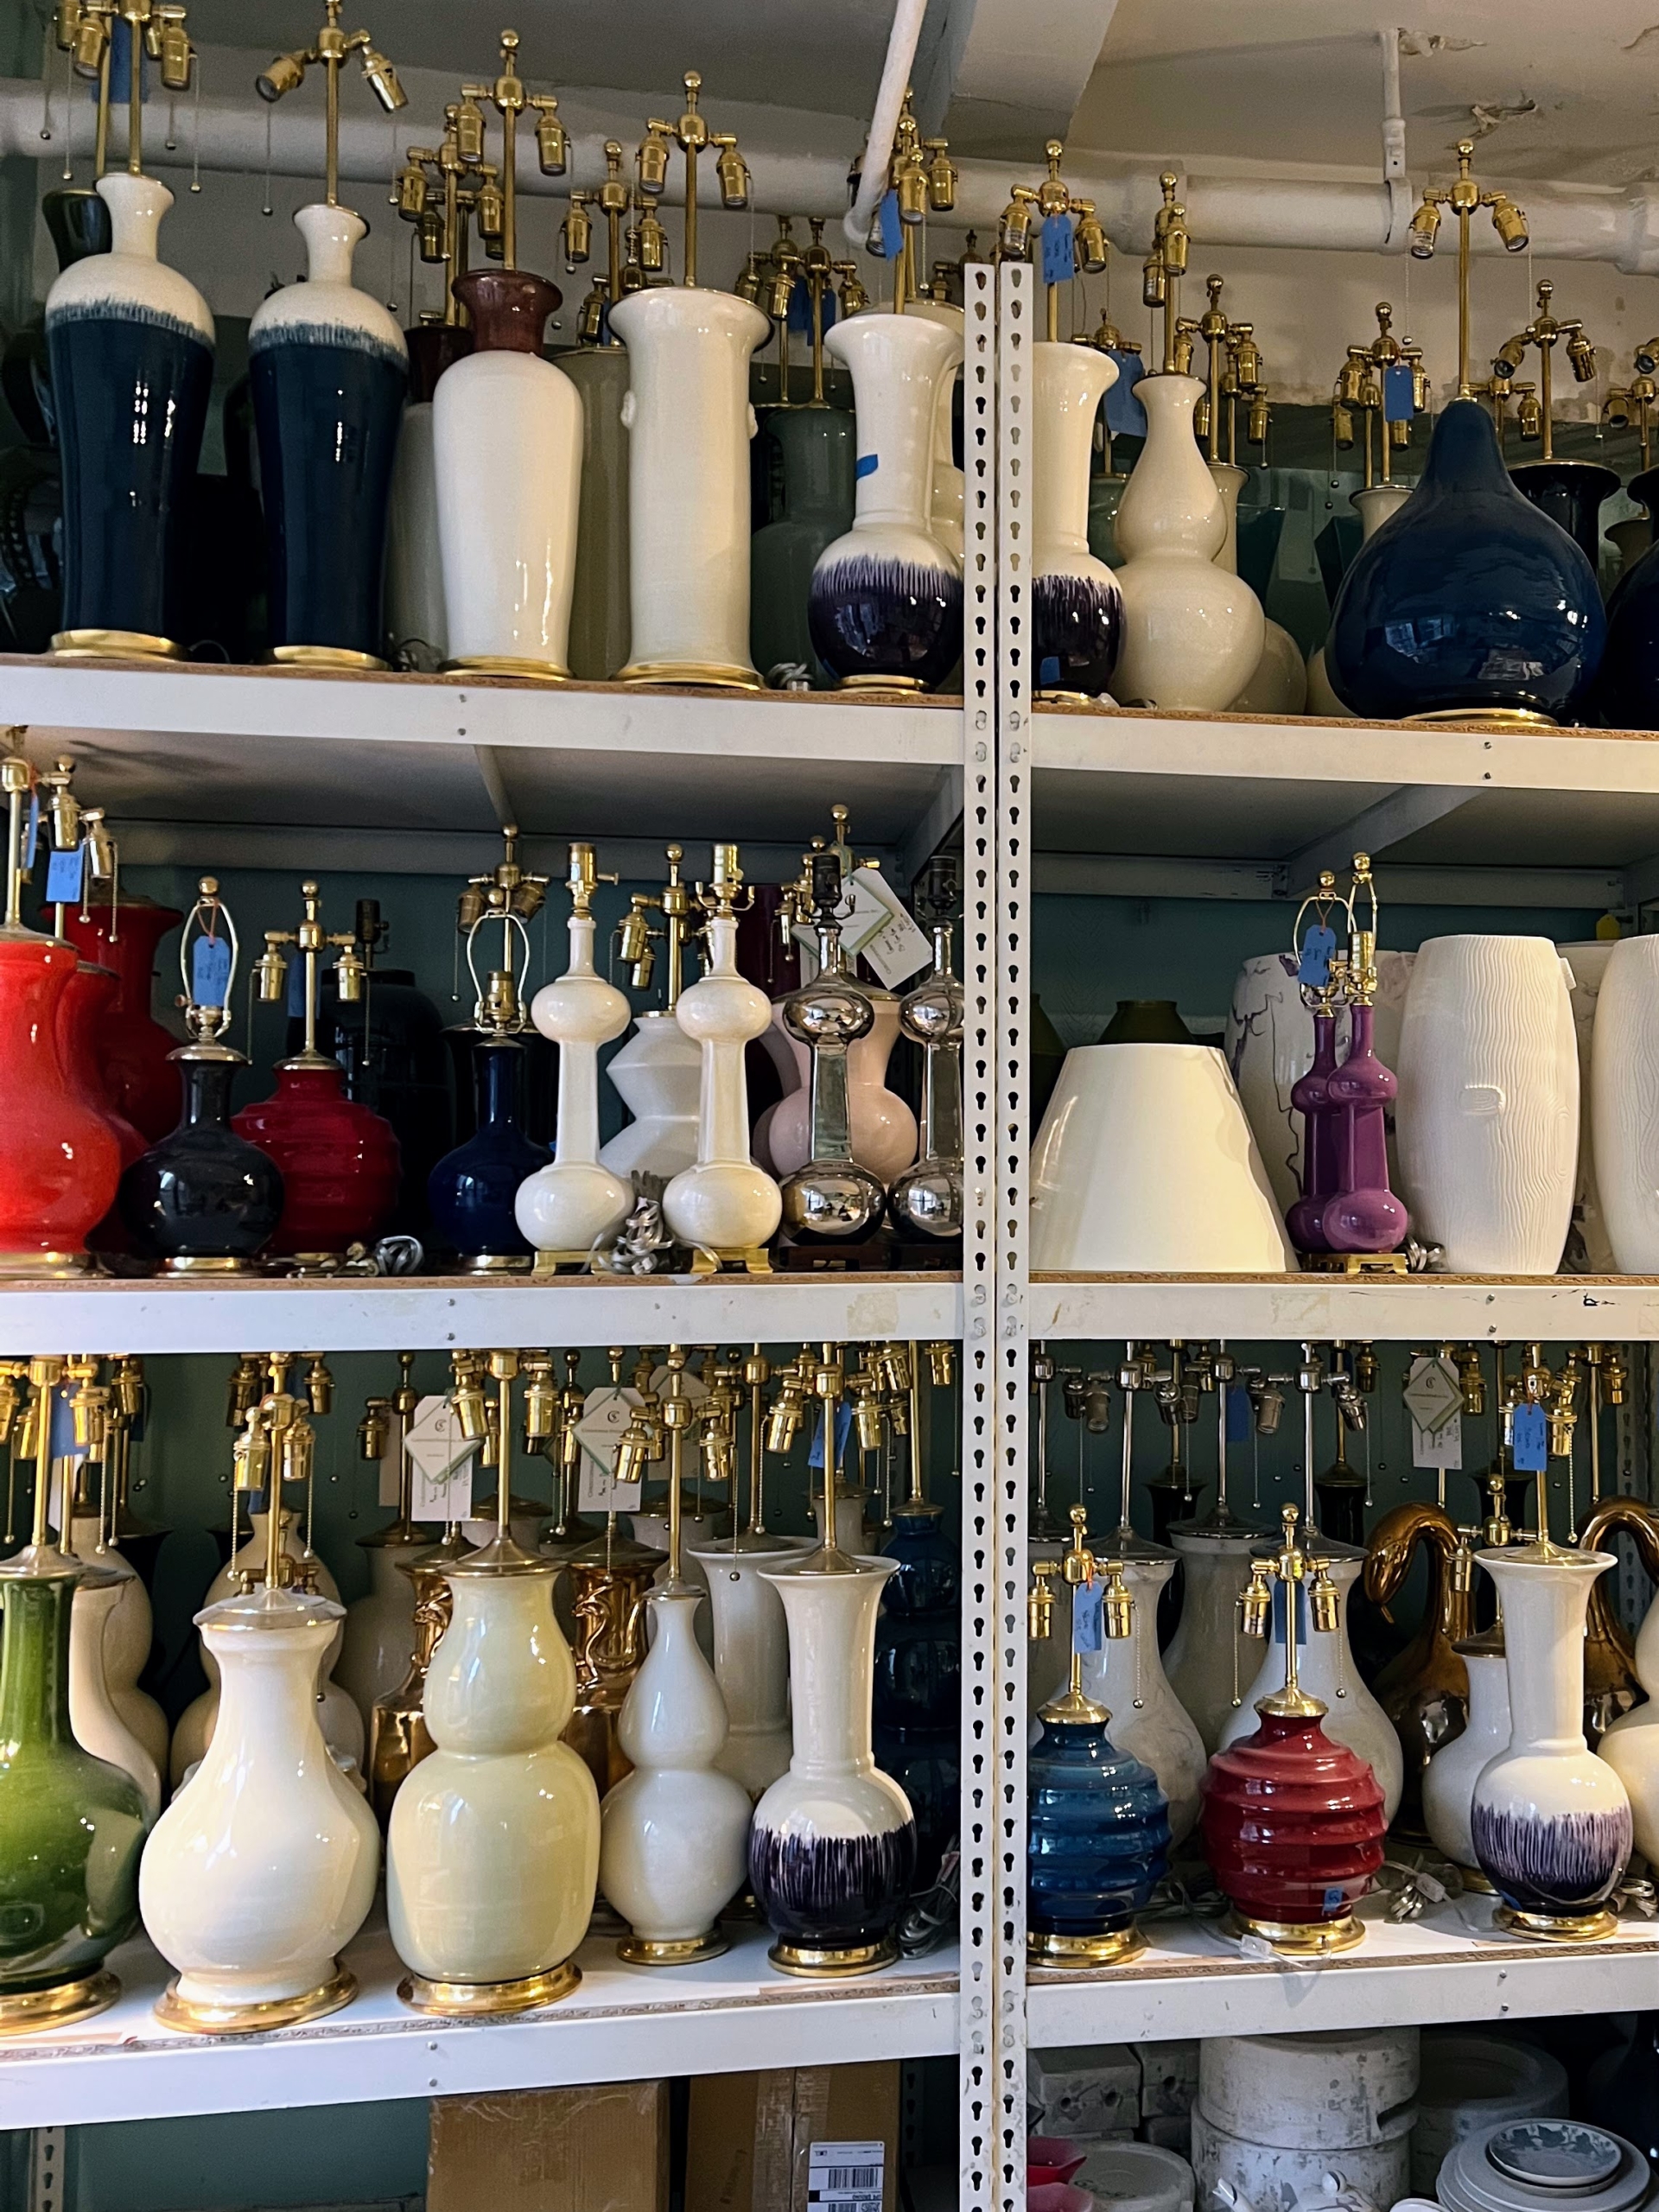
This shelf is also filled with finished pieces – all personally designed and meticulously crafted by Christopher and his team of 14 artisans.
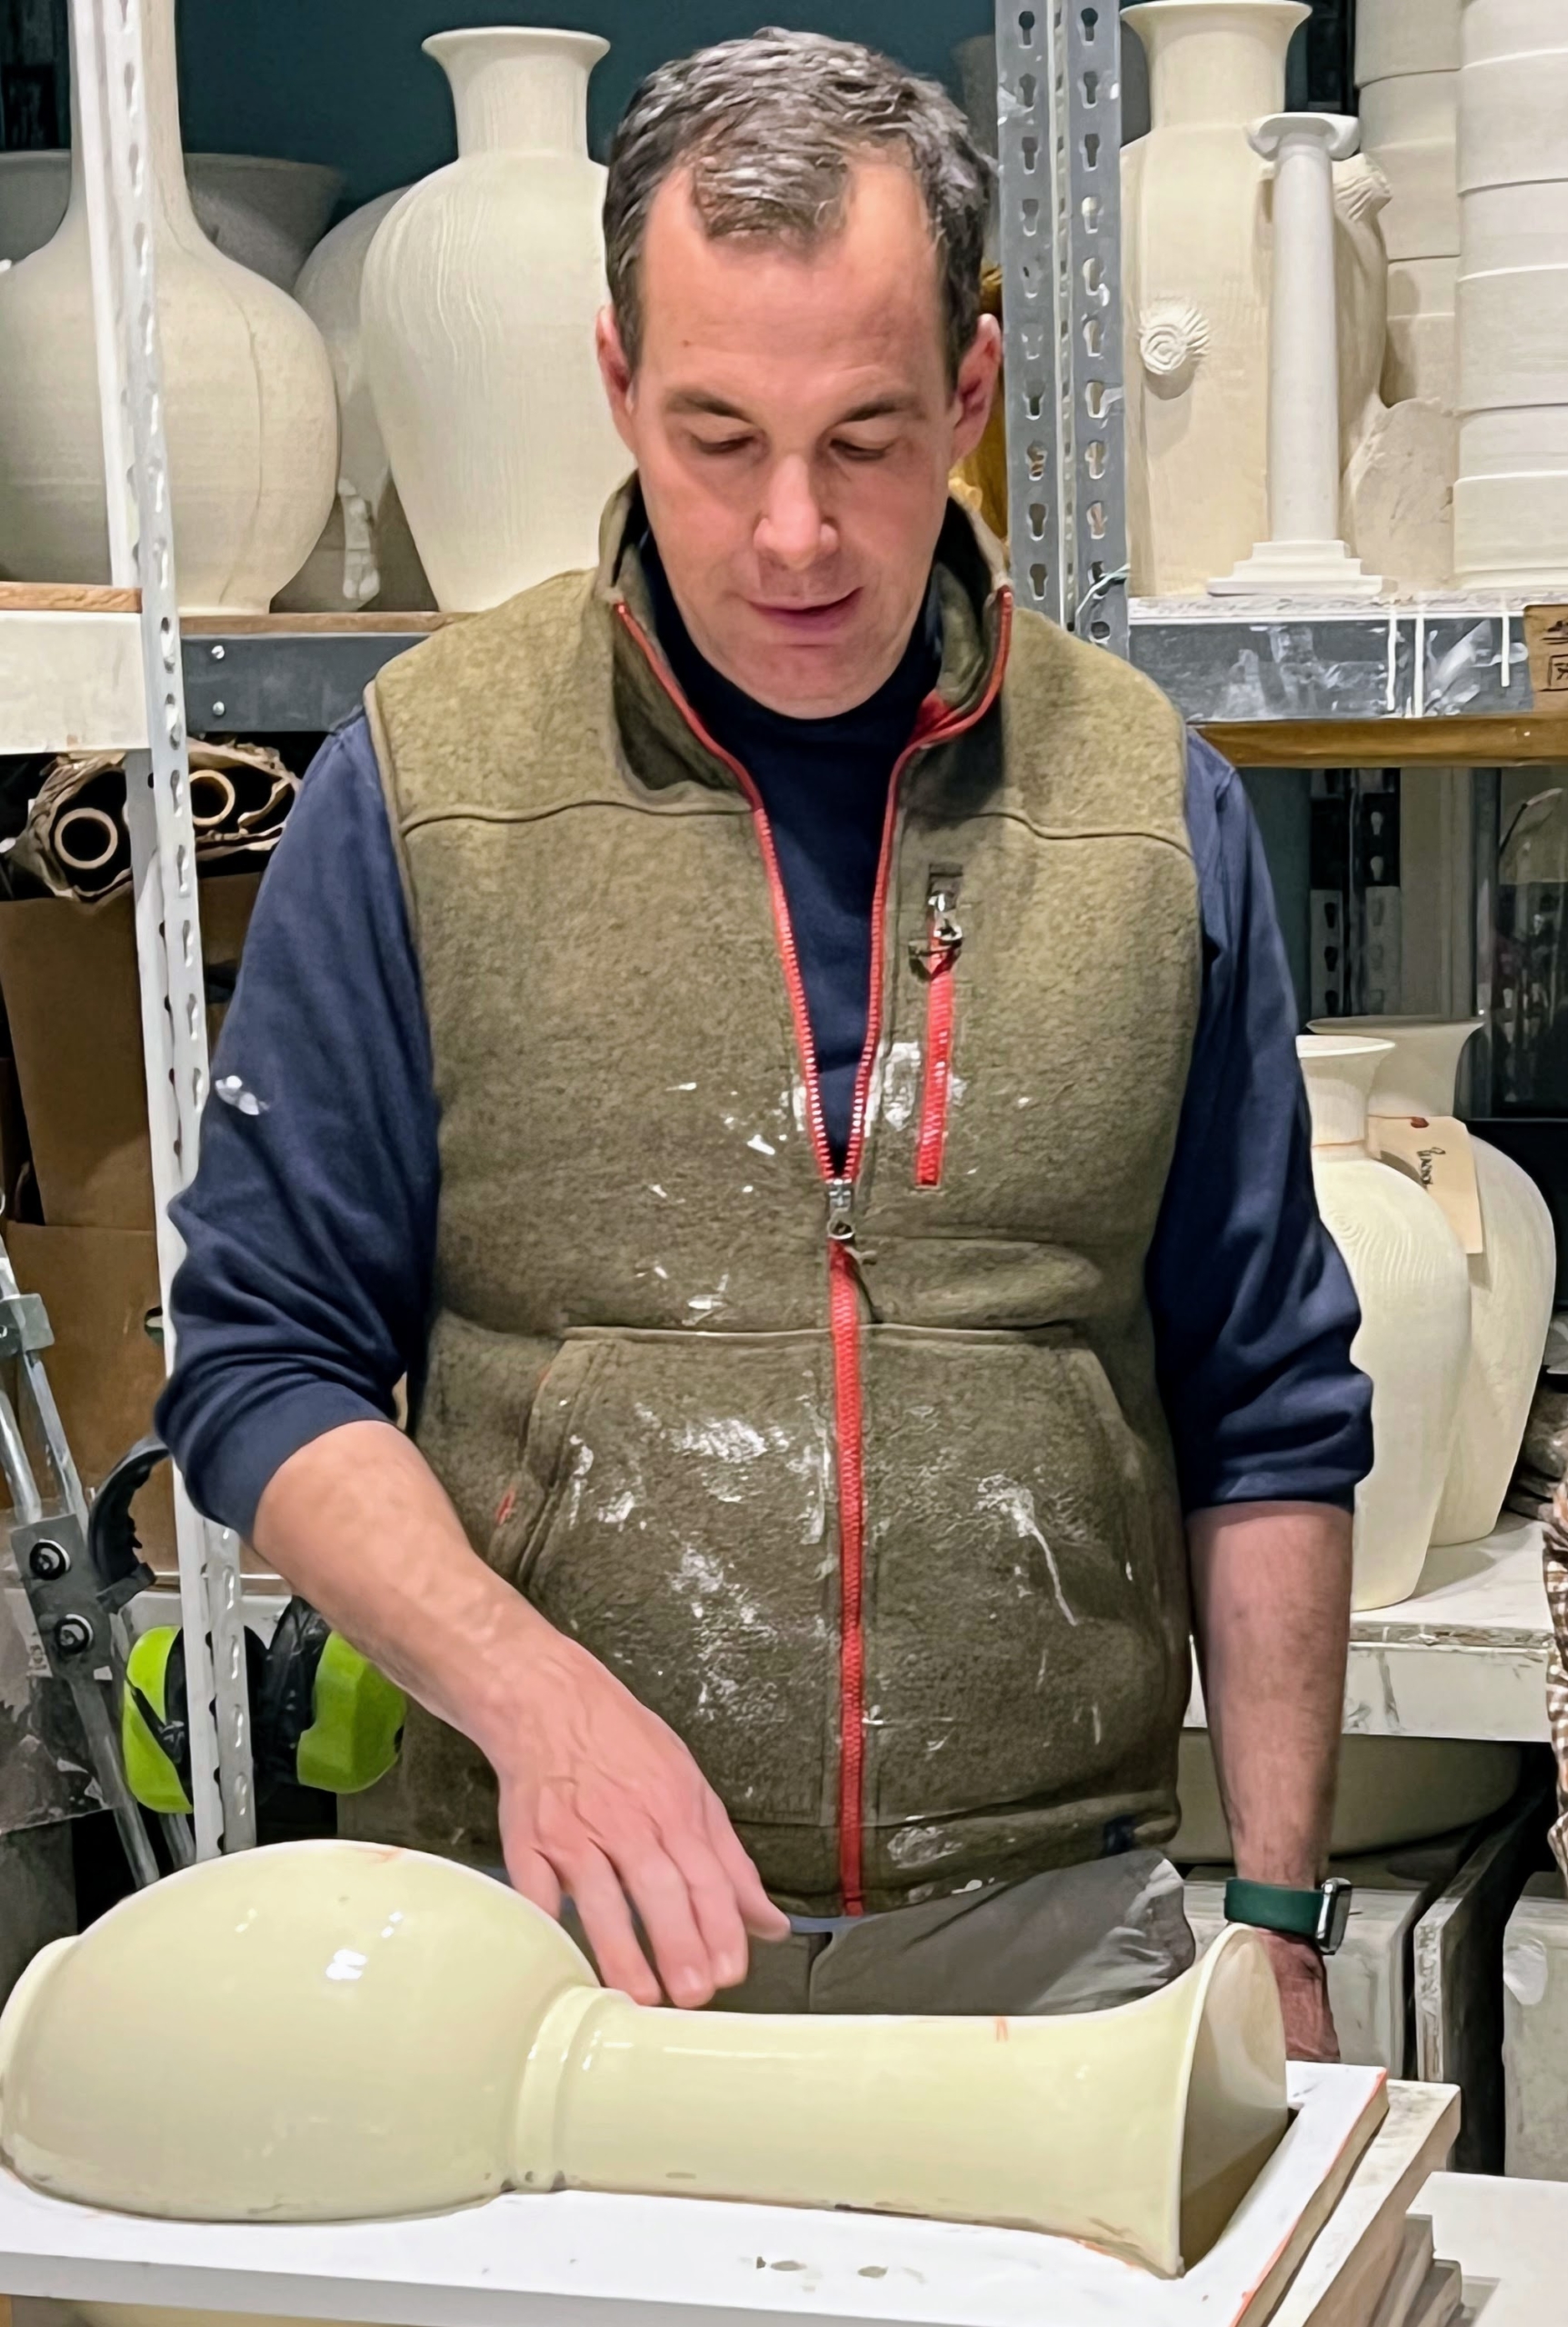
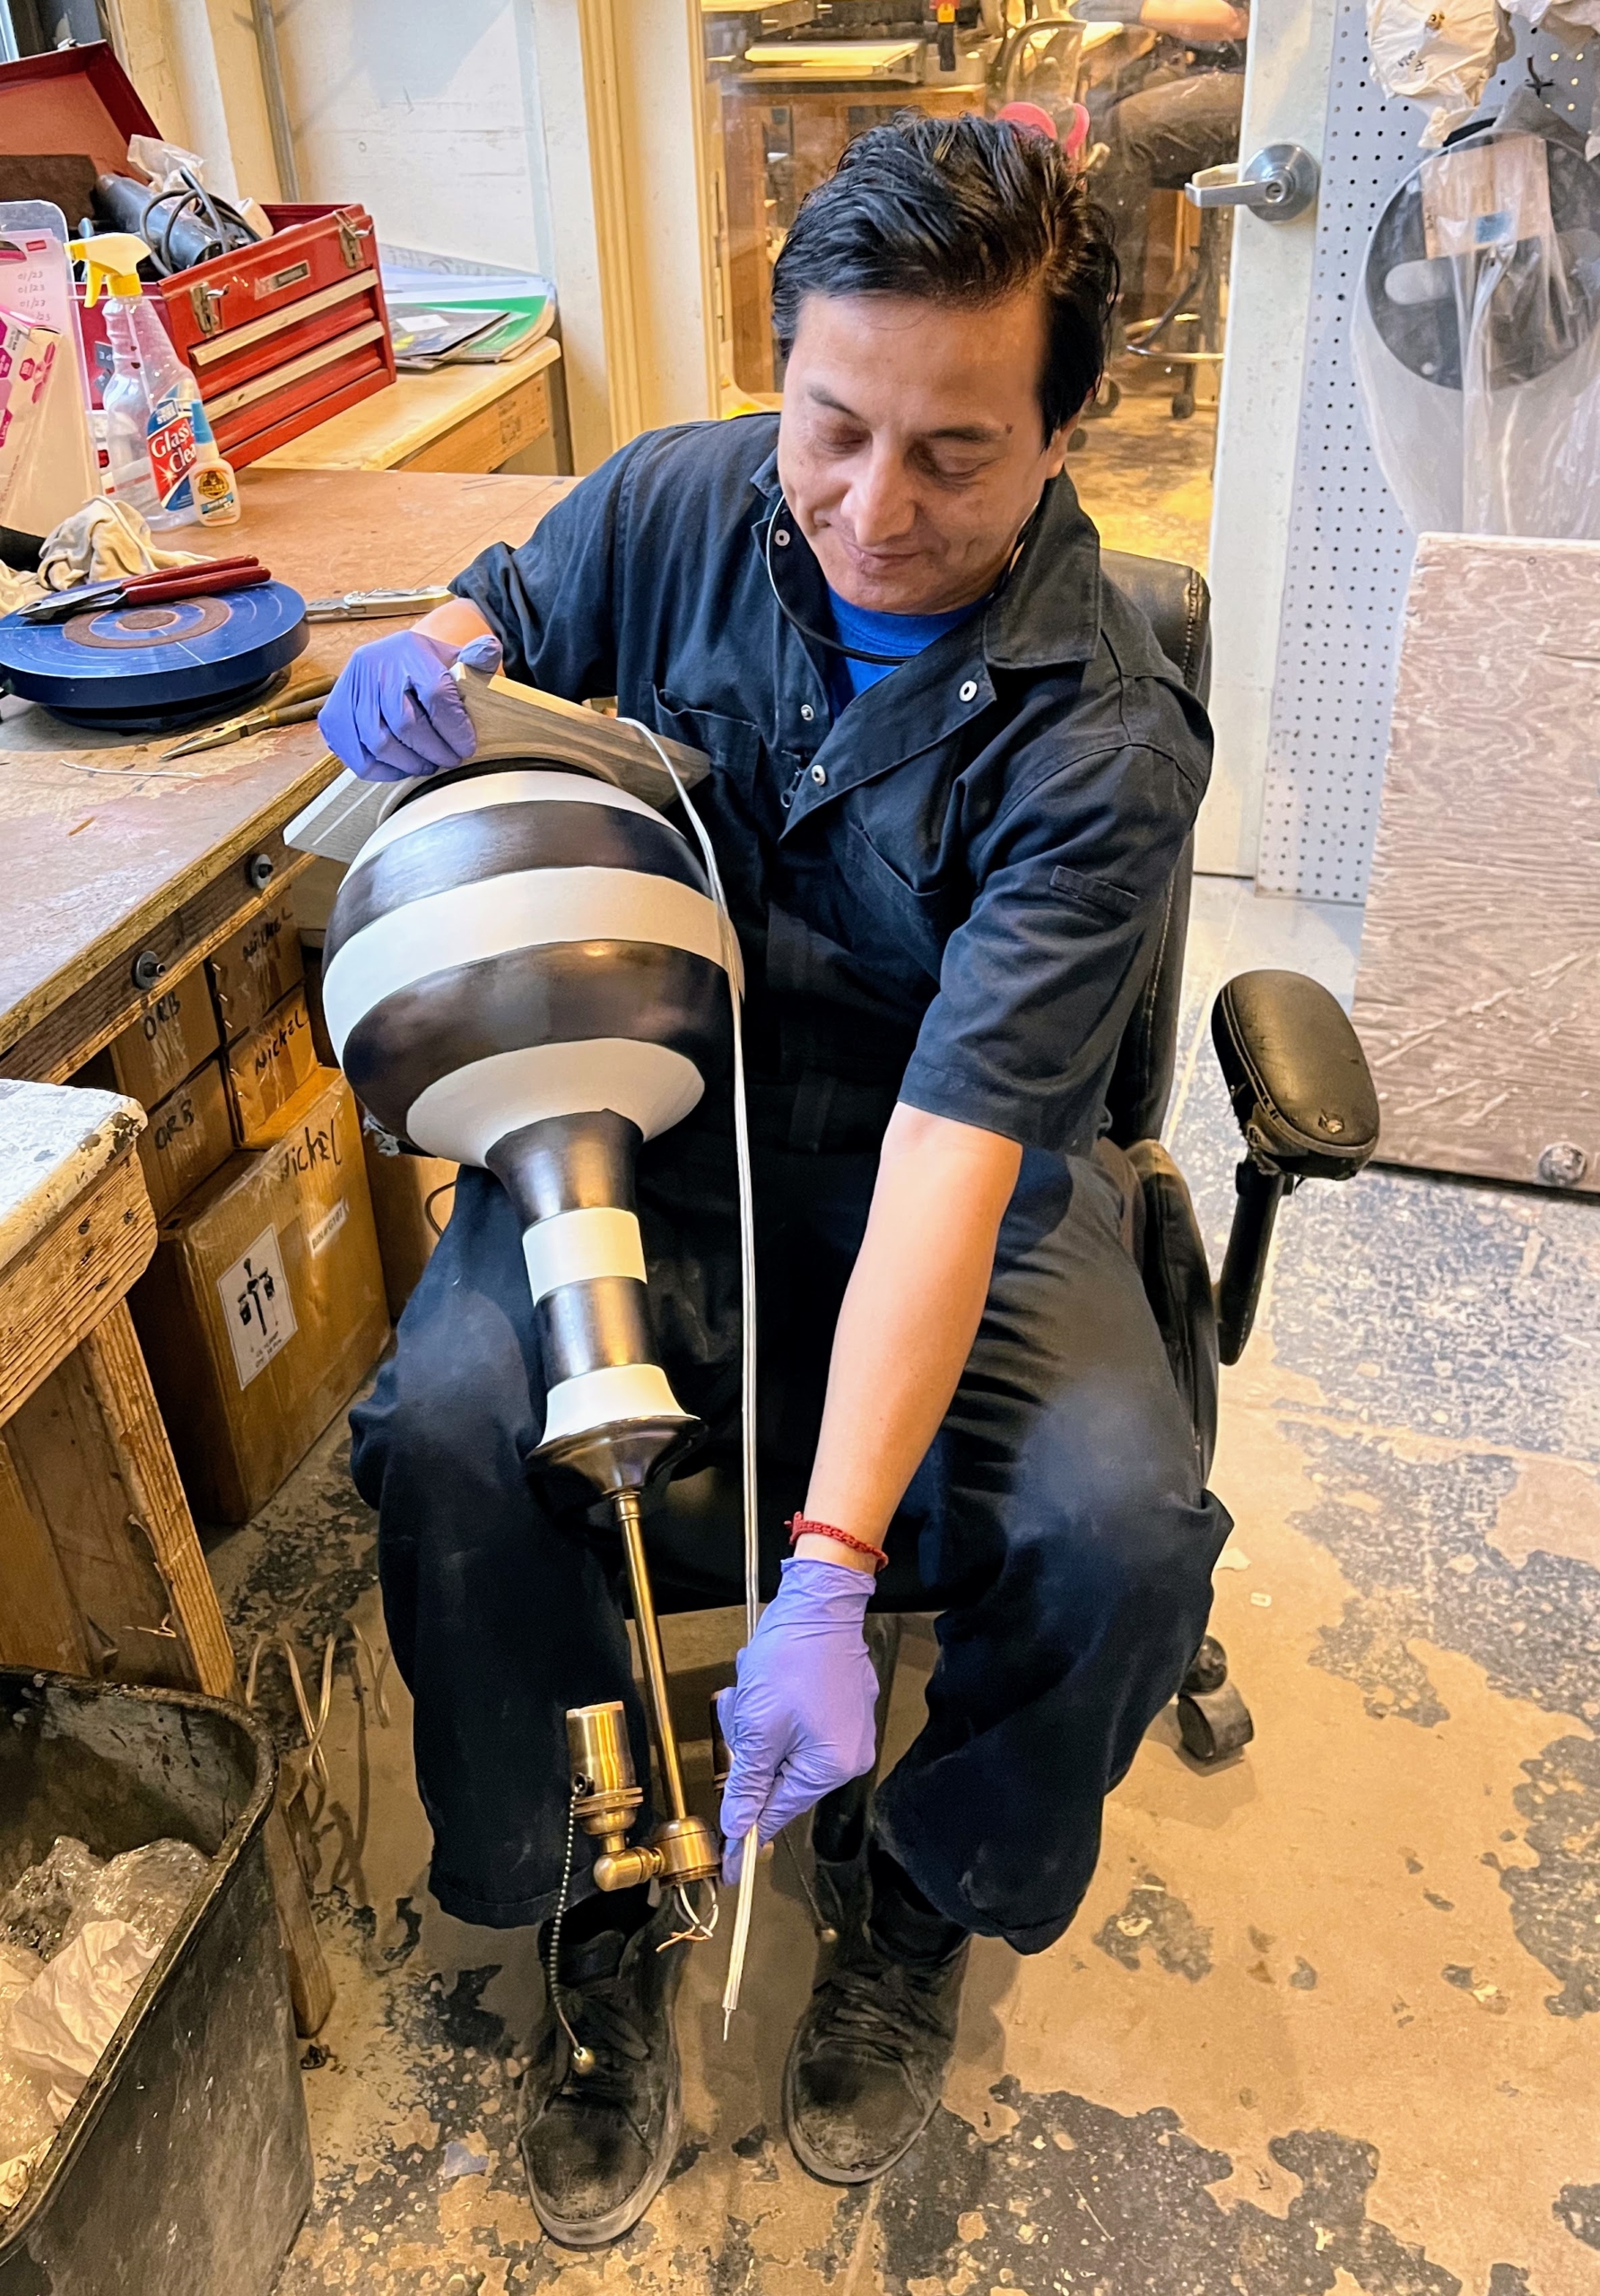
Here is Christopher explaining the manufacturing process to me. Each piece is hand thrown and then molded, glazed, and wired. Christopher is always developing new glazing techniques, new colors, and patterns.
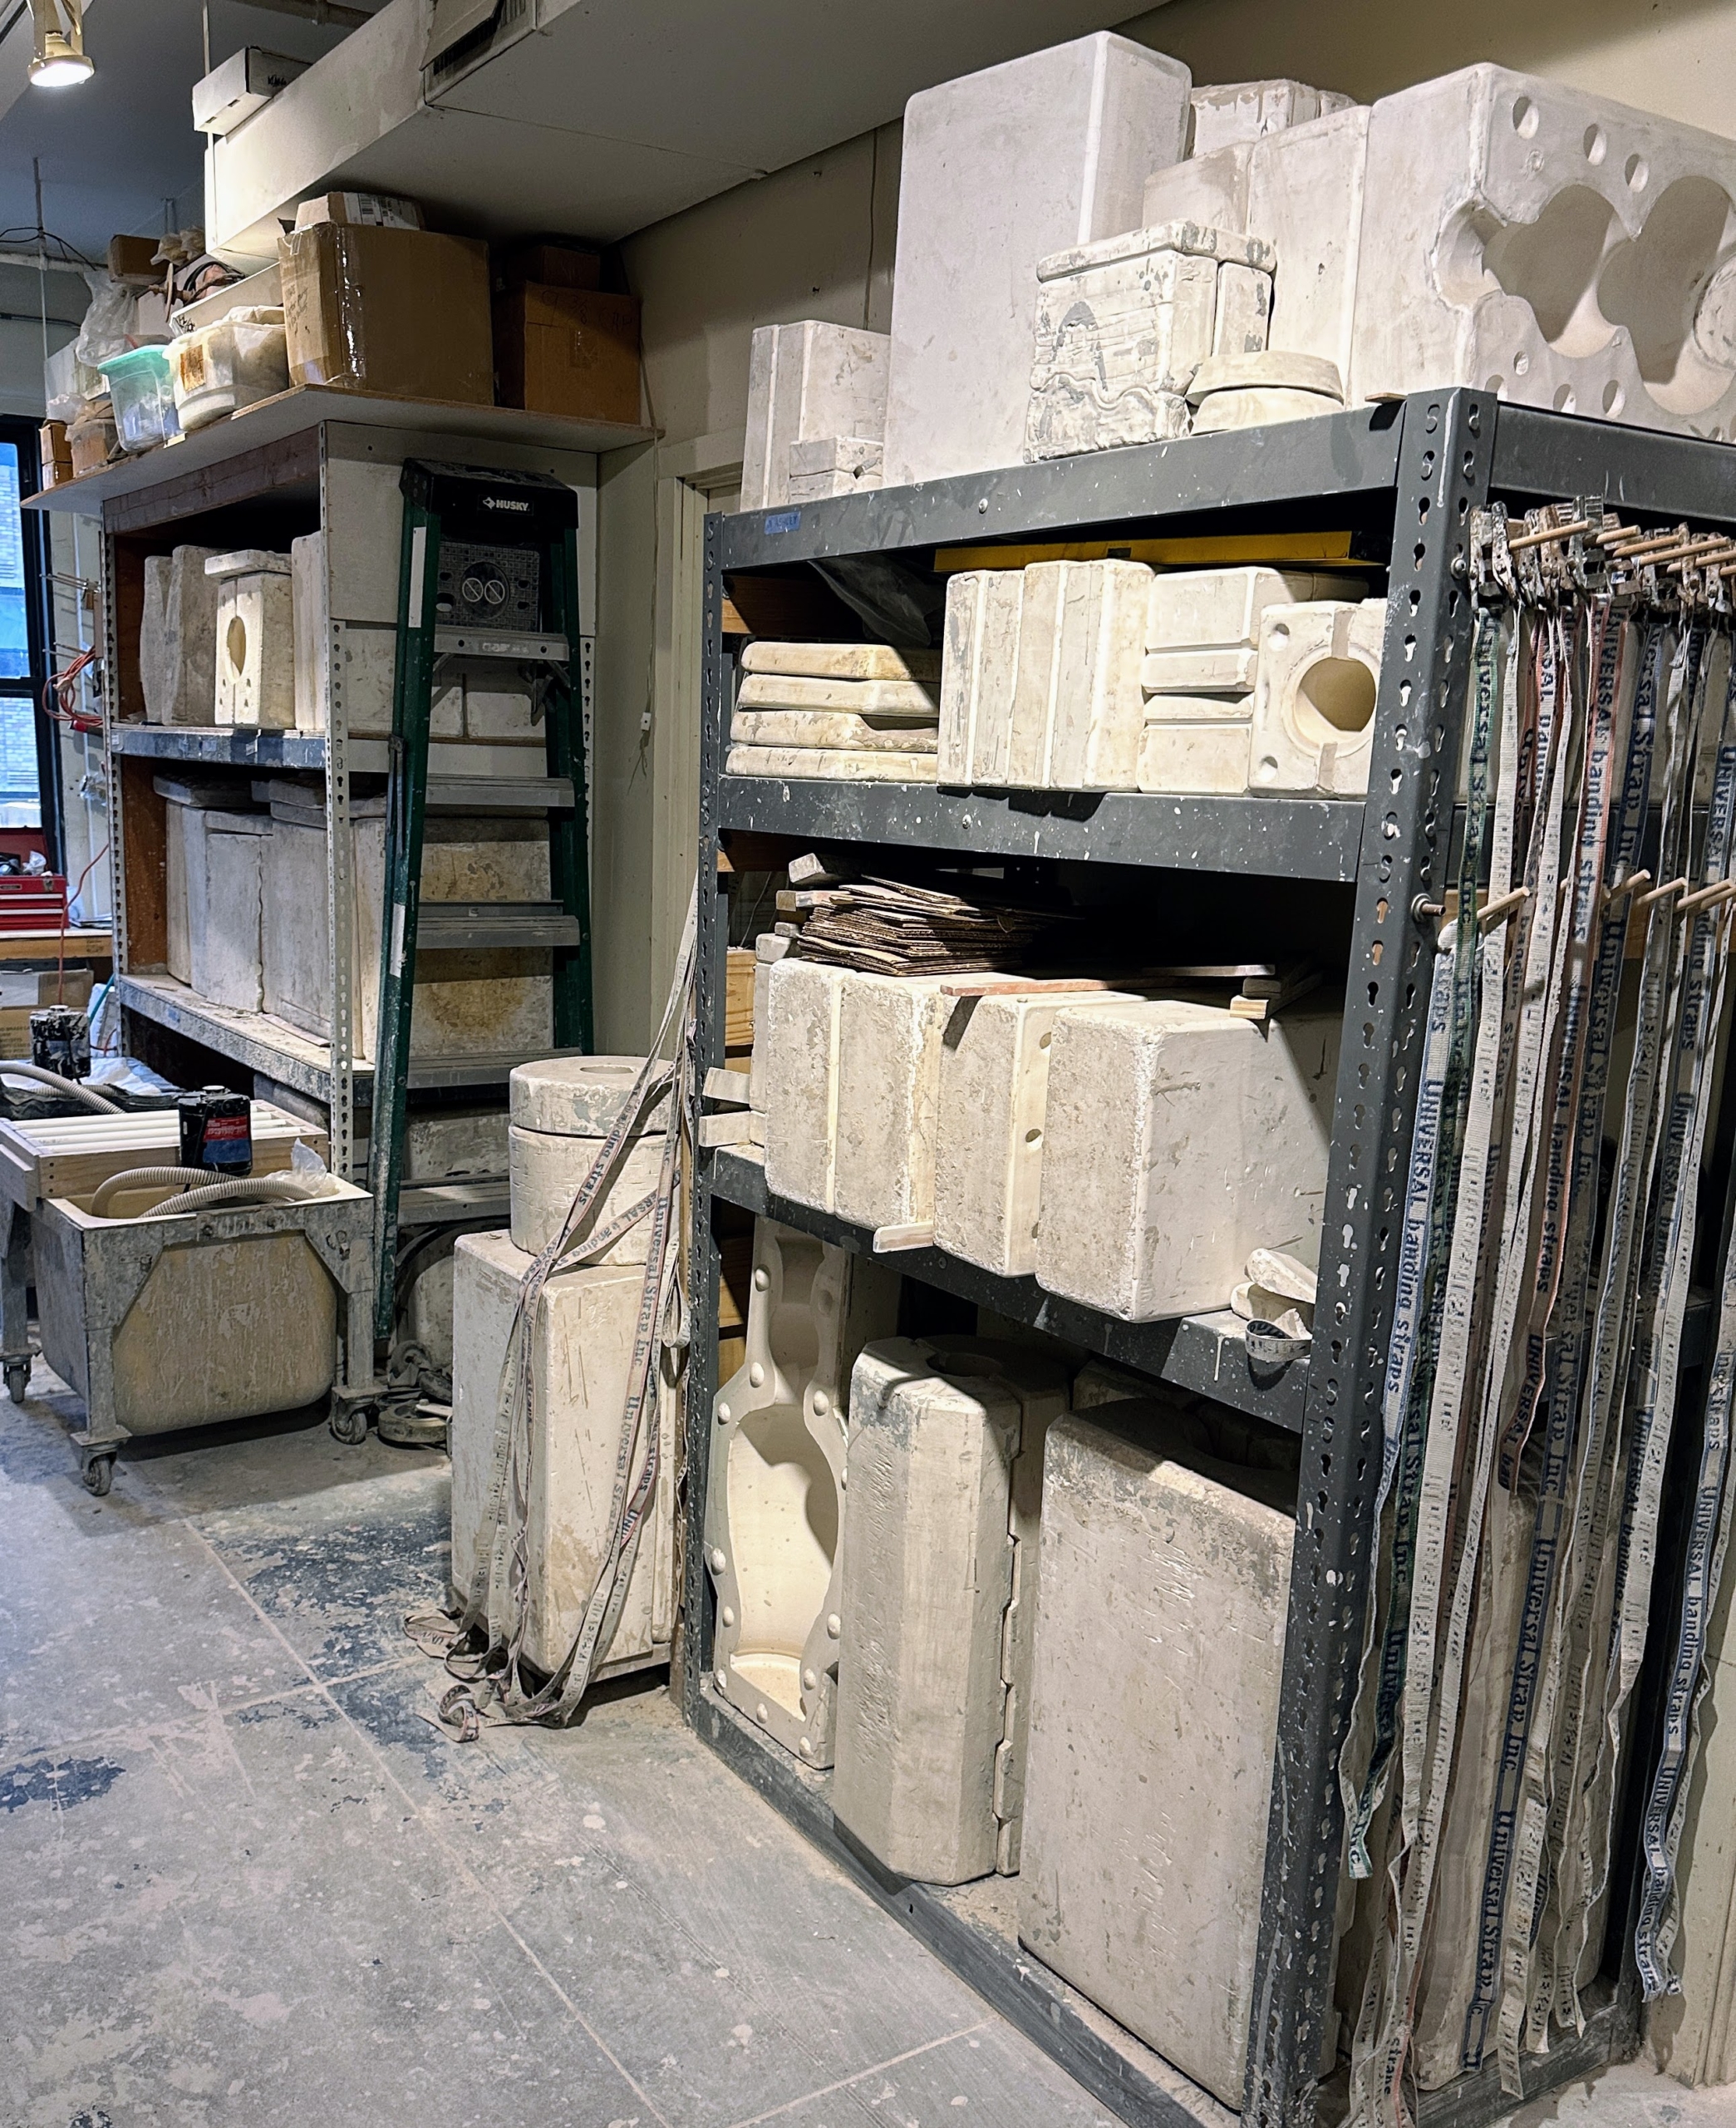
This area is where all the plaster molds and straps are kept.
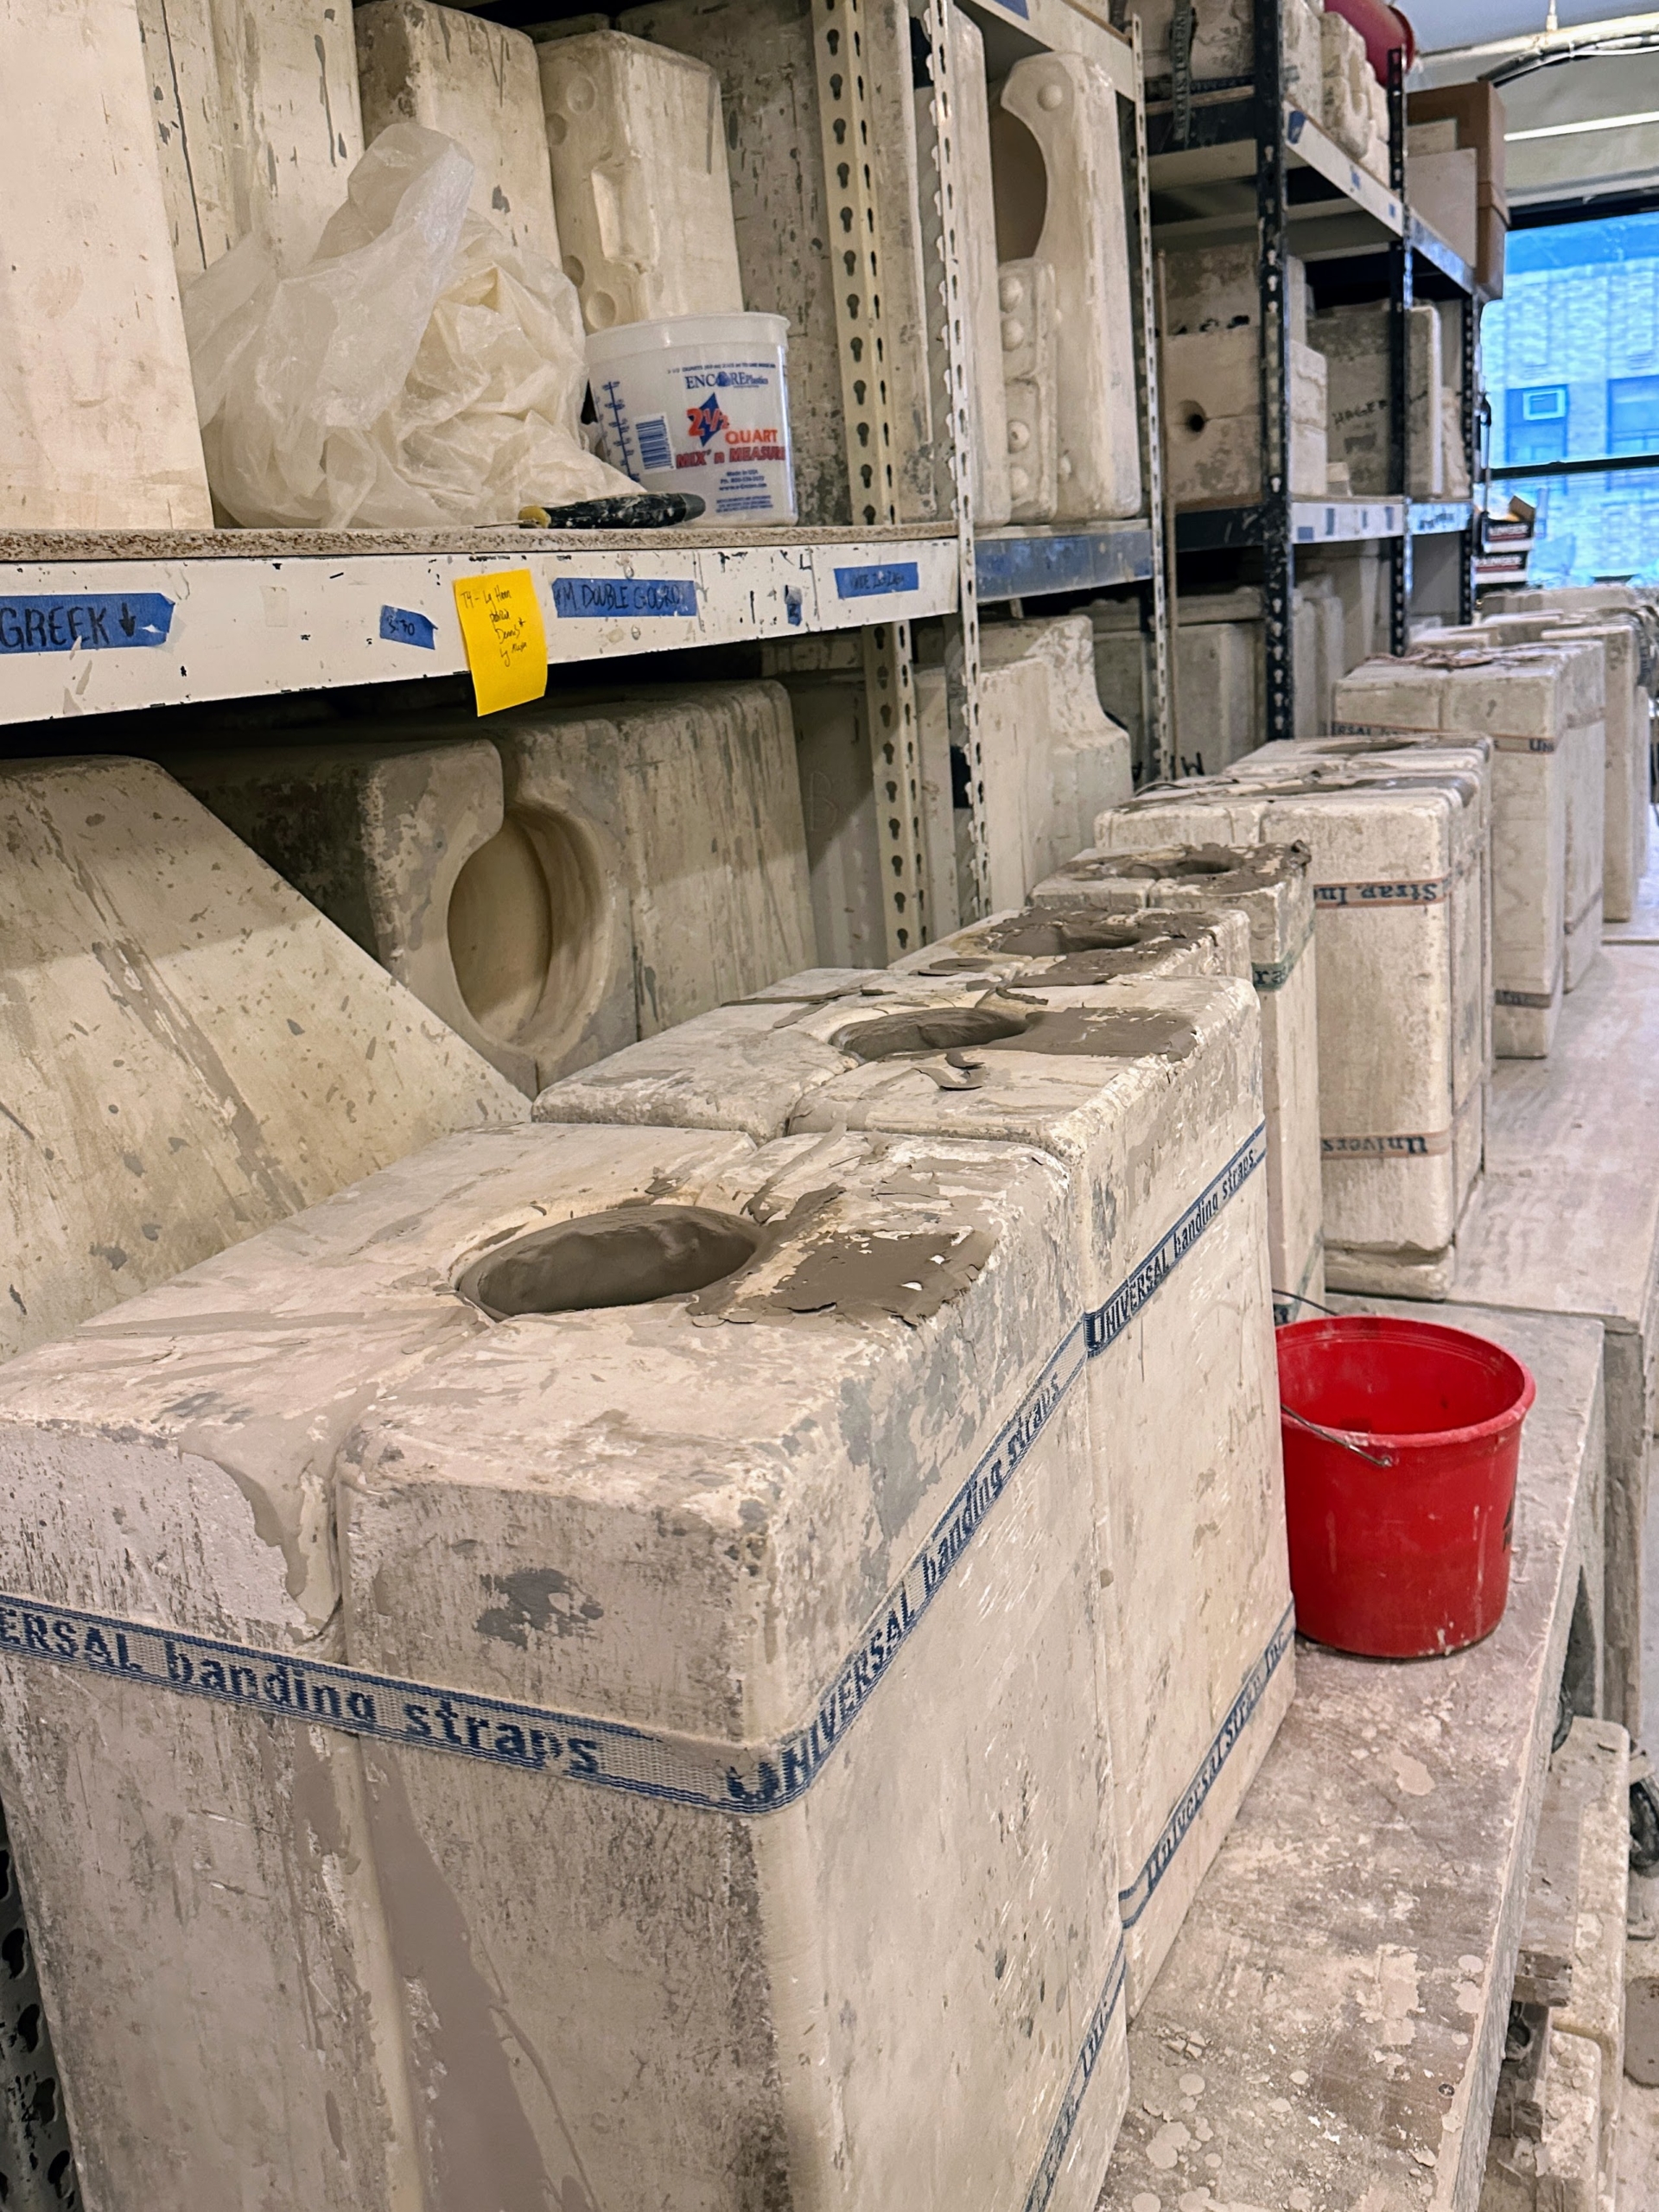
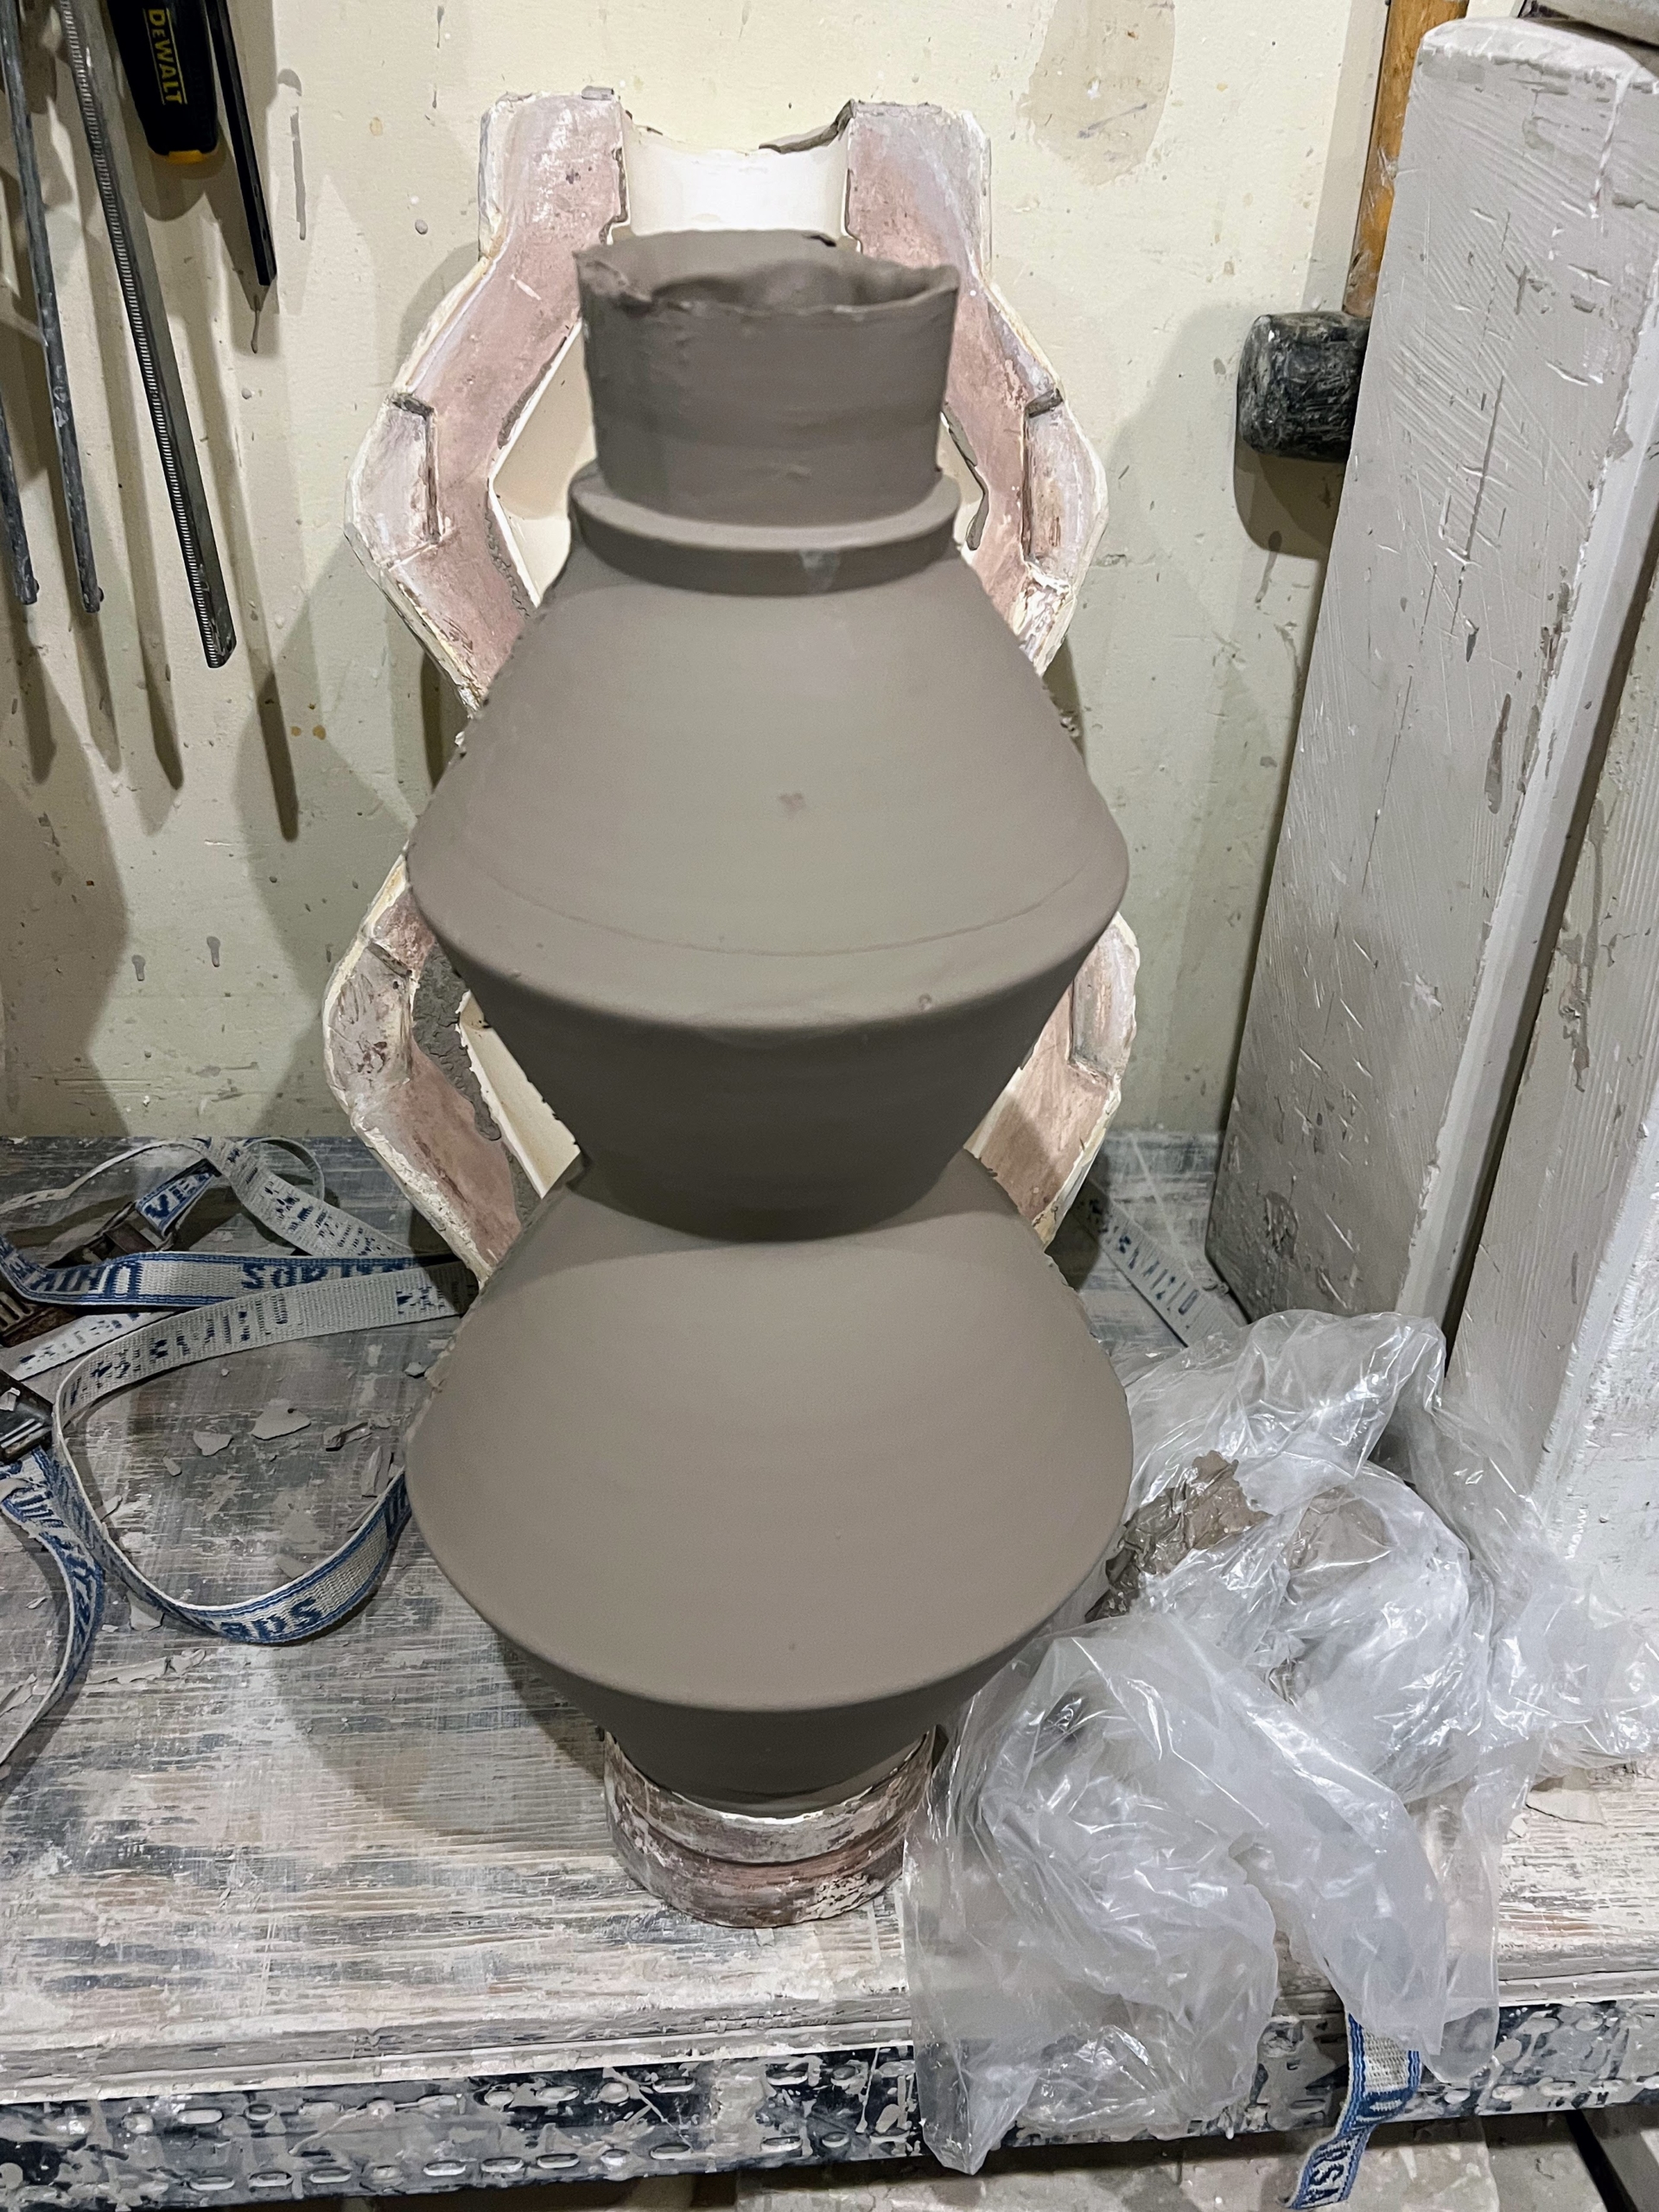
Here, the molds are strapped together and poured with the wet clay and then left overnight.
Here is a top view after the liquid clay is poured into the mold. As it dries with the slip in the mold, the plaster draws out liquid from the slip. This leaves a clay wall against the inside of the plaster mold.
And here is the piece once it is removed from the mold. The next step is to smooth out all the lines. Each mold can be used about 100-times.
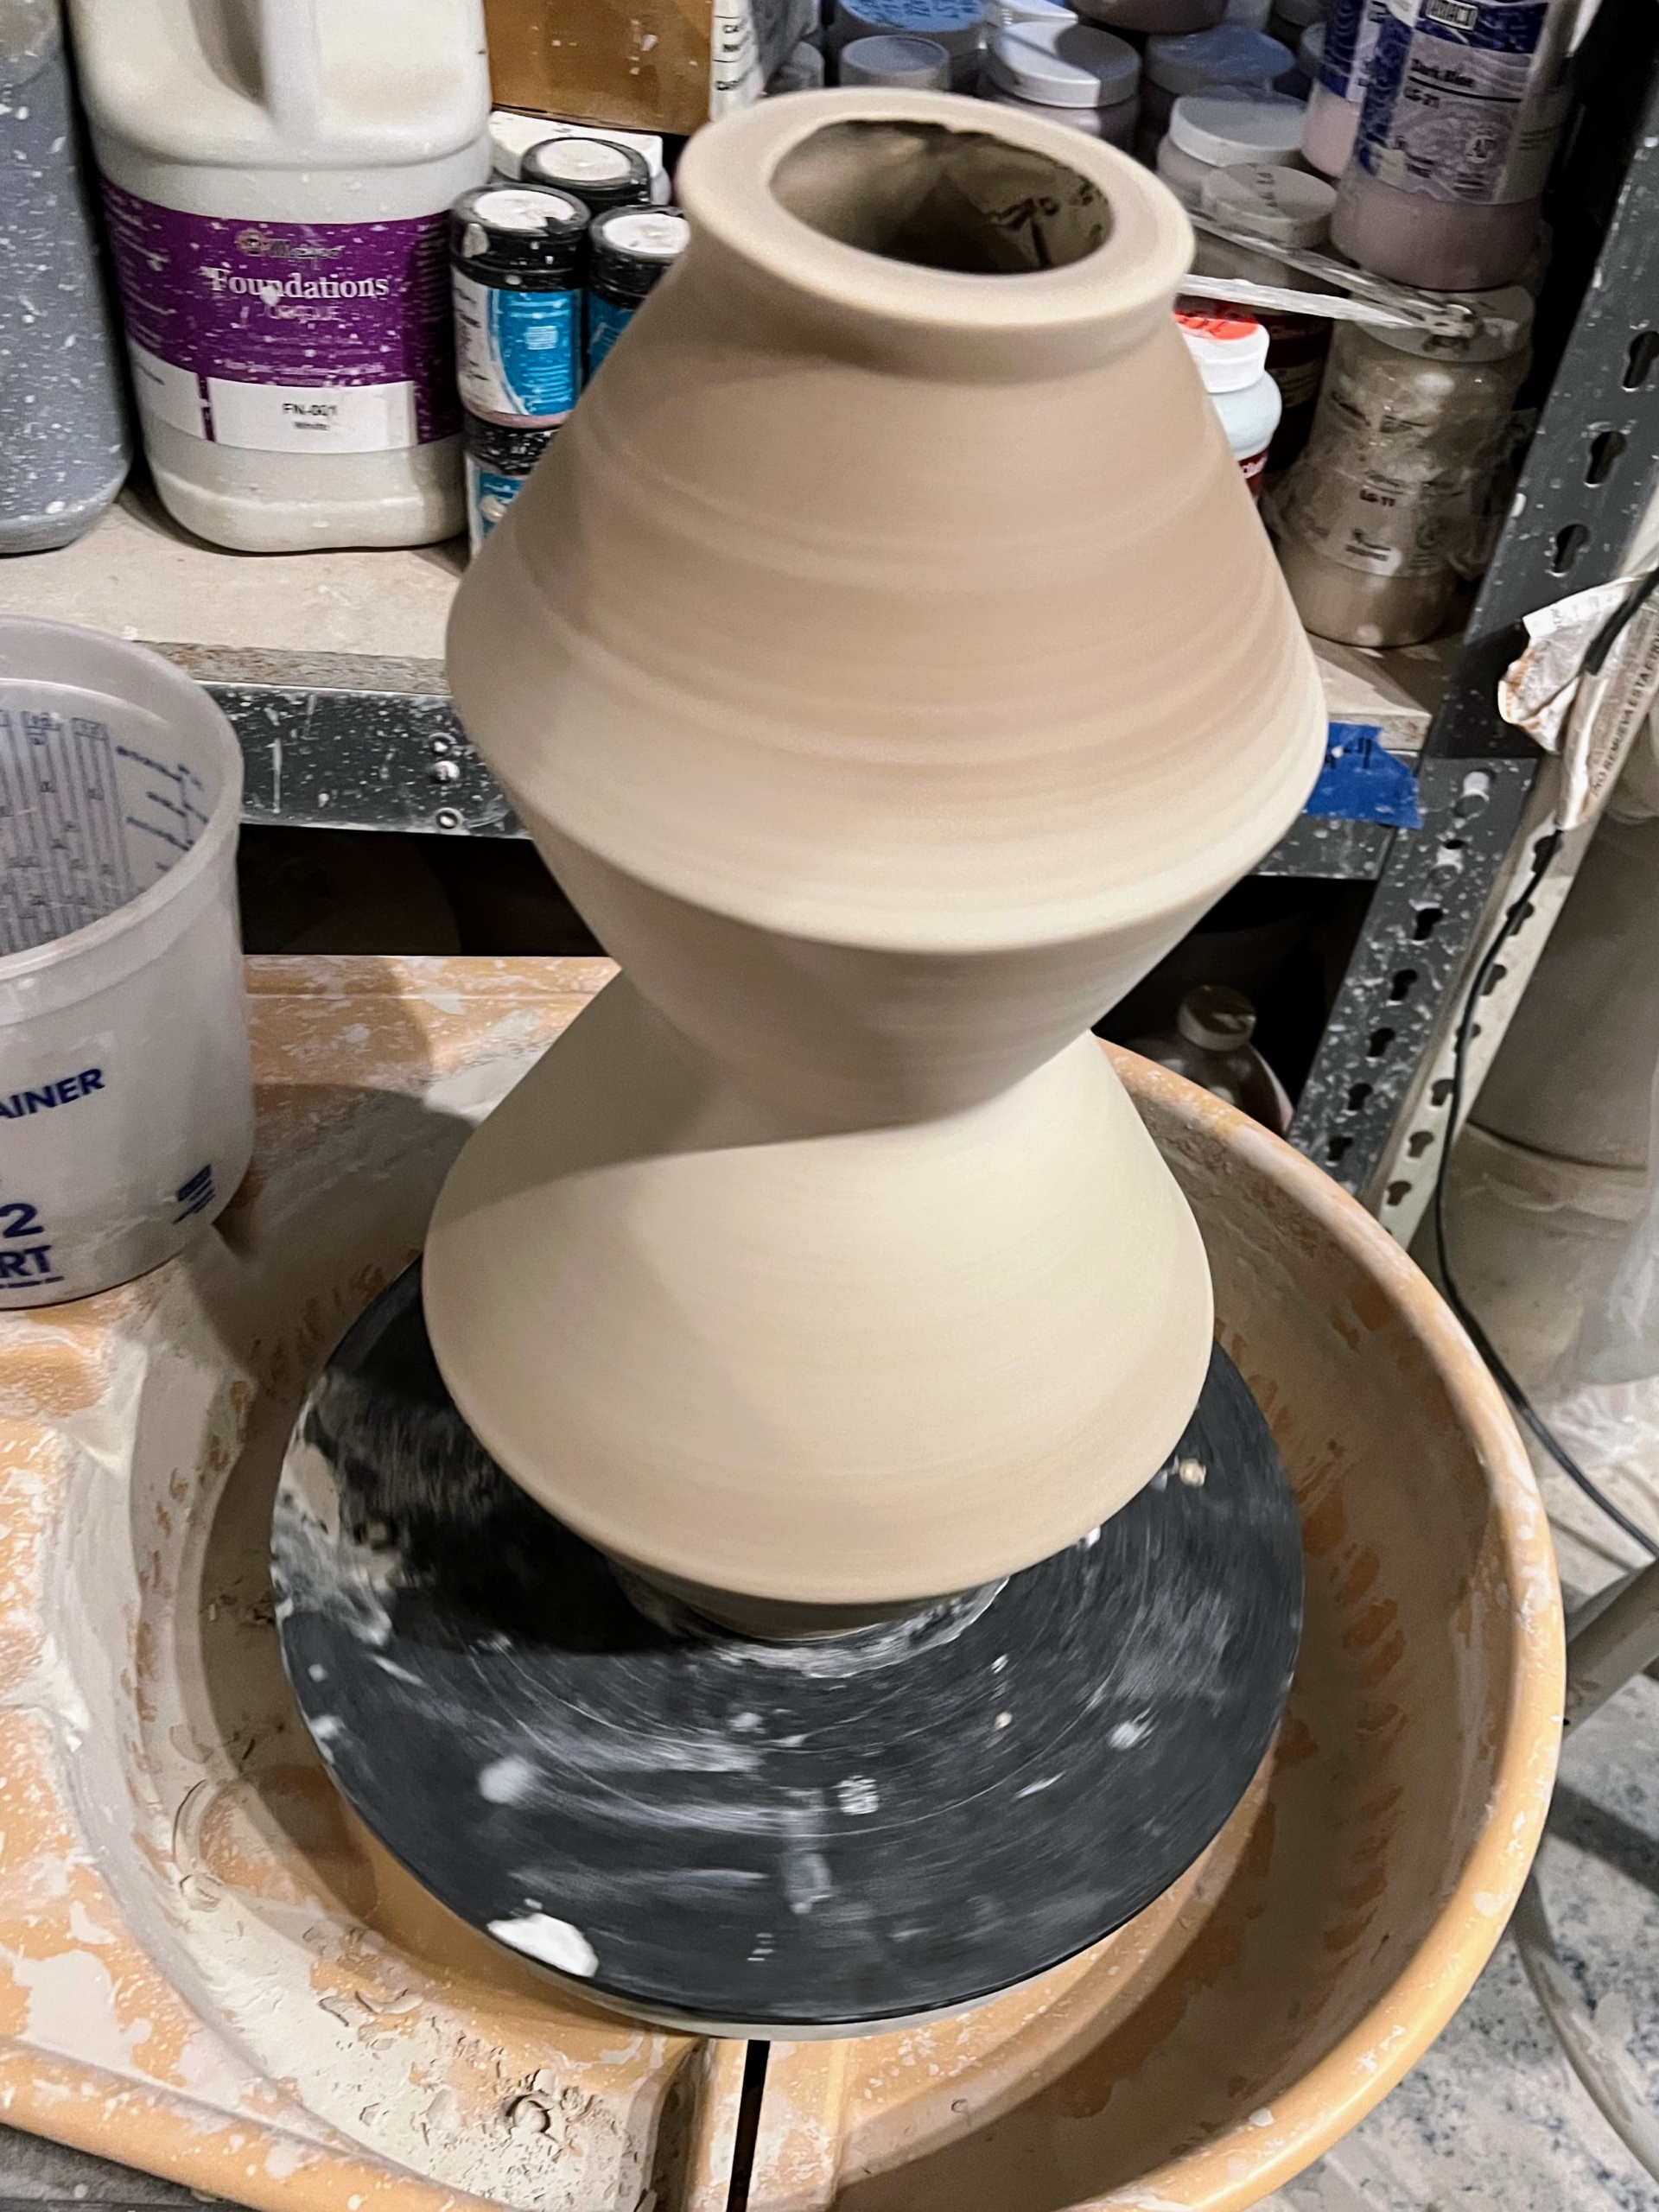
Here is the lamp on the potters wheel where more hand work is done to remove the lines from the slip cast molding process.
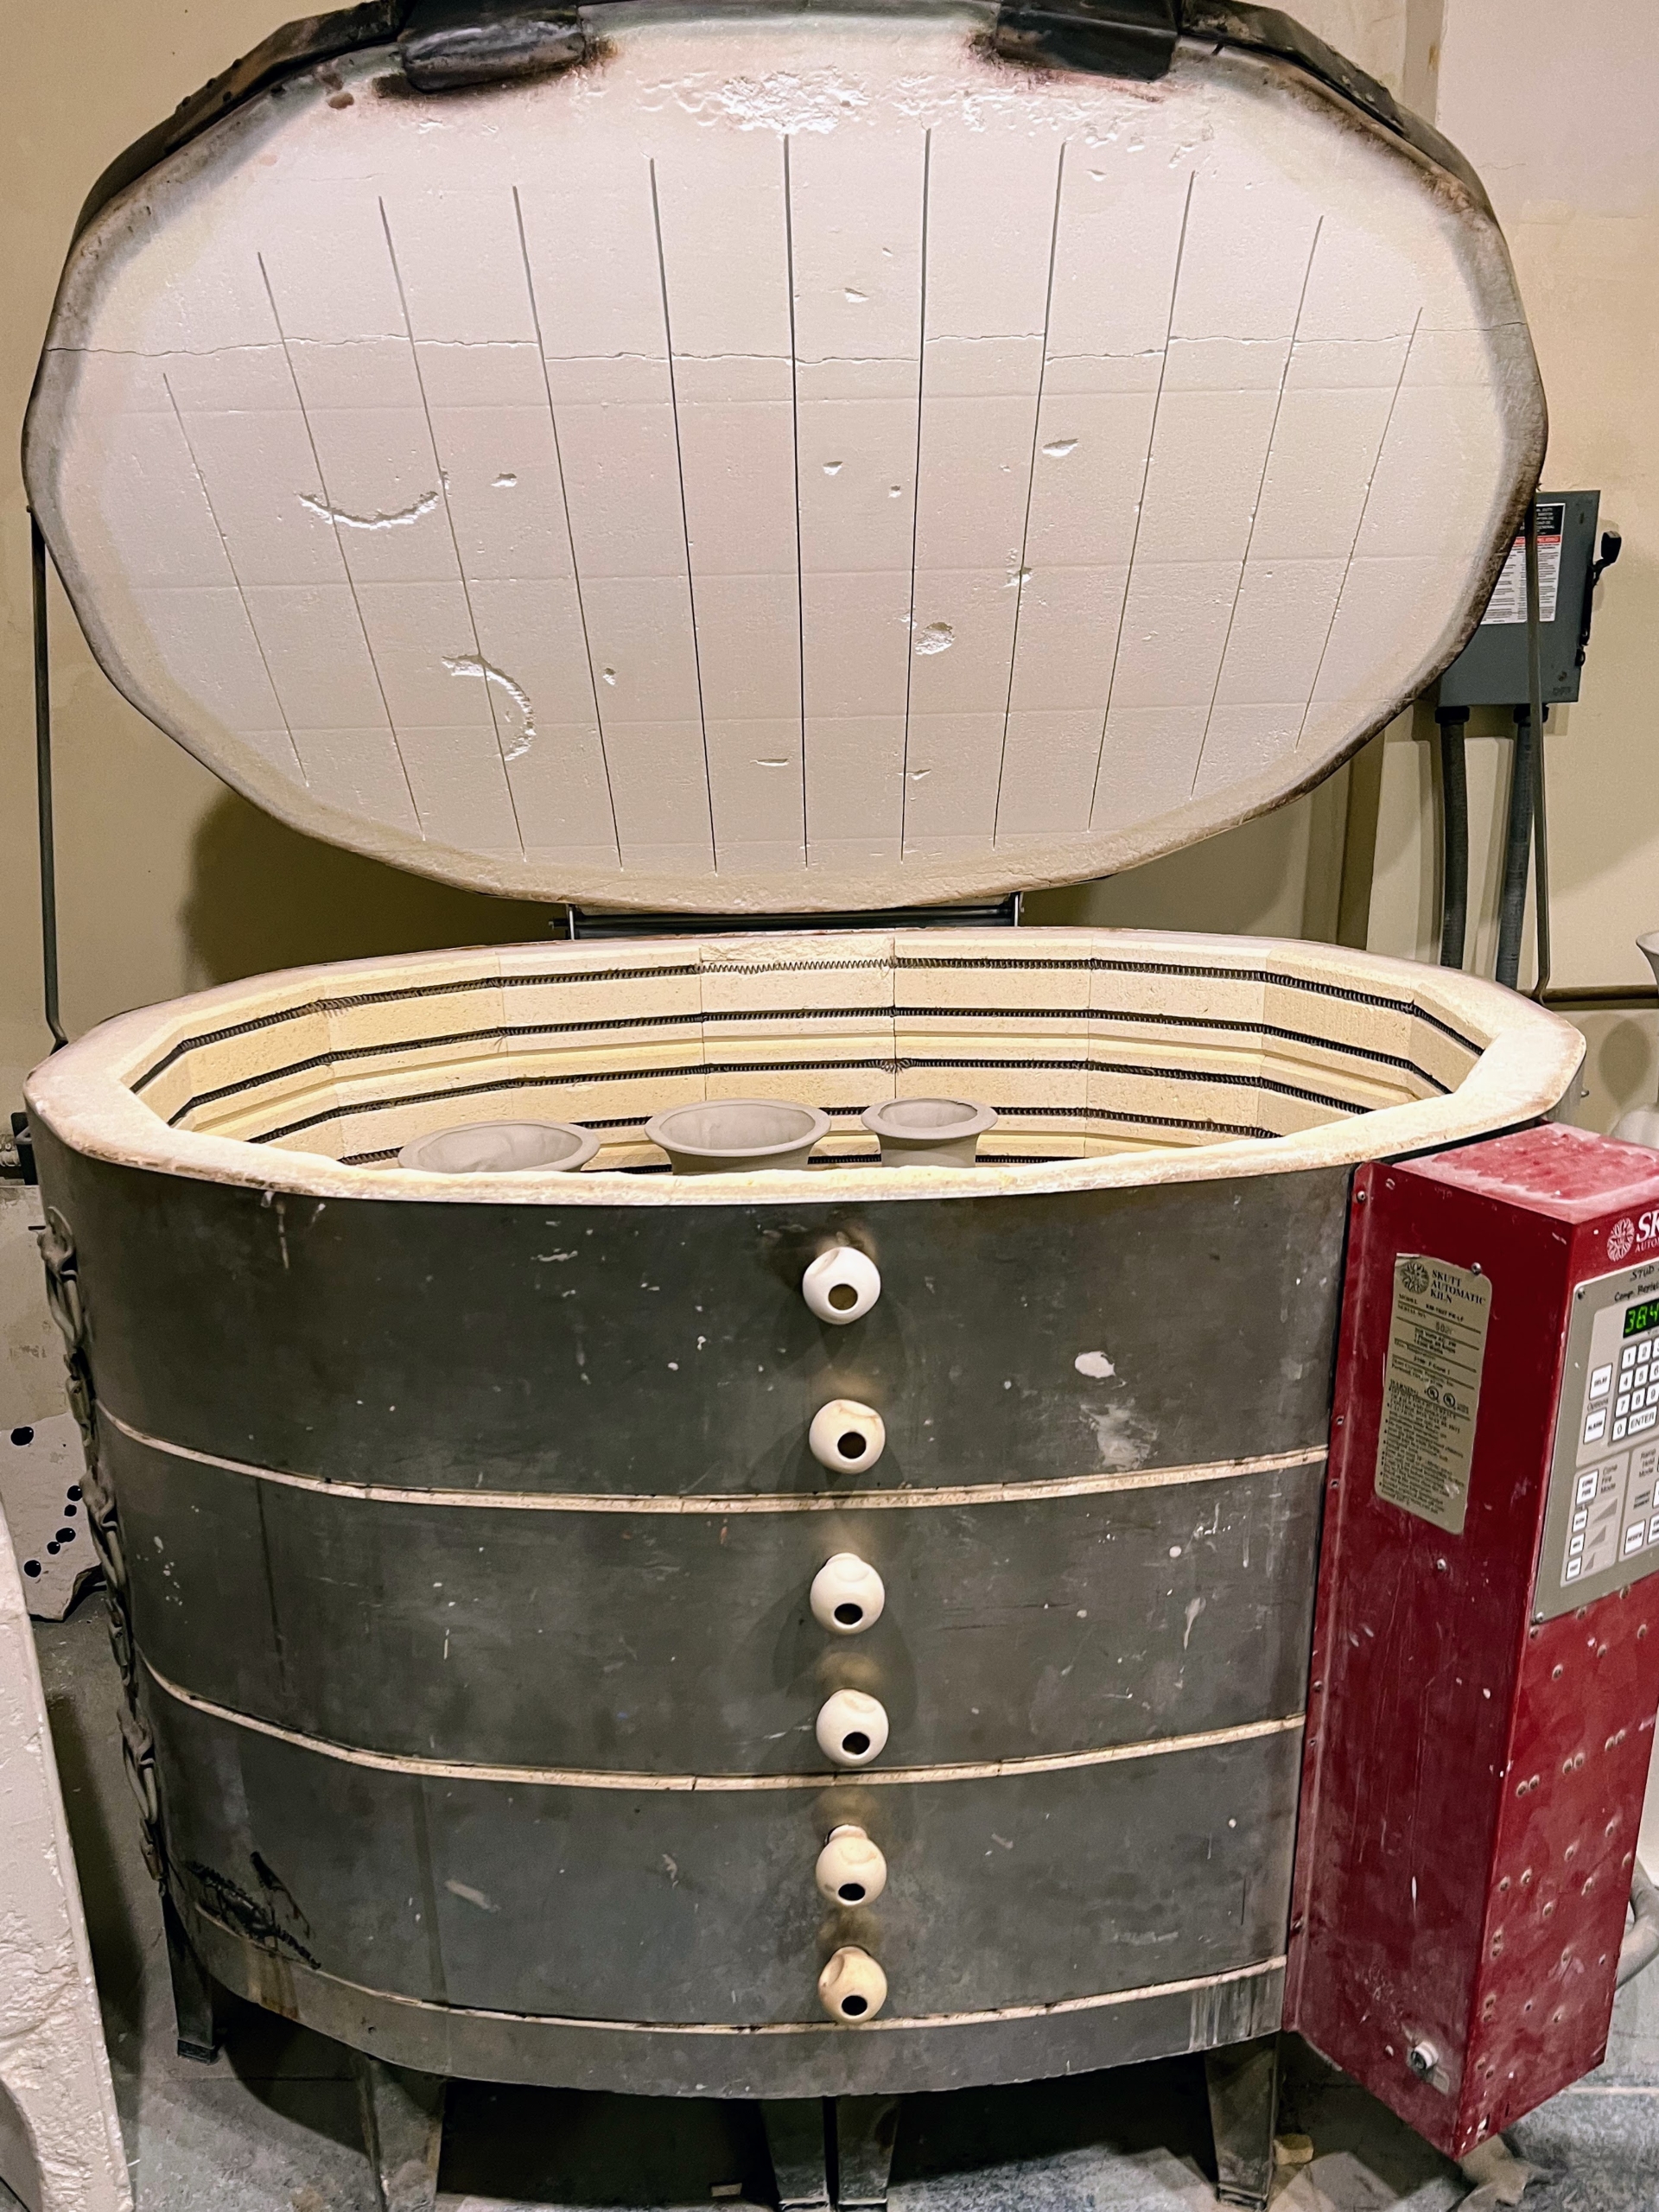
A kiln is an insulated chamber, a type of oven, that heats to very high temperatures in order to harden and dry the lamps. Unlike an oven, however, it does not melt the objects enclosed, so it is perfect for drying out ceramics or layers of glaze.
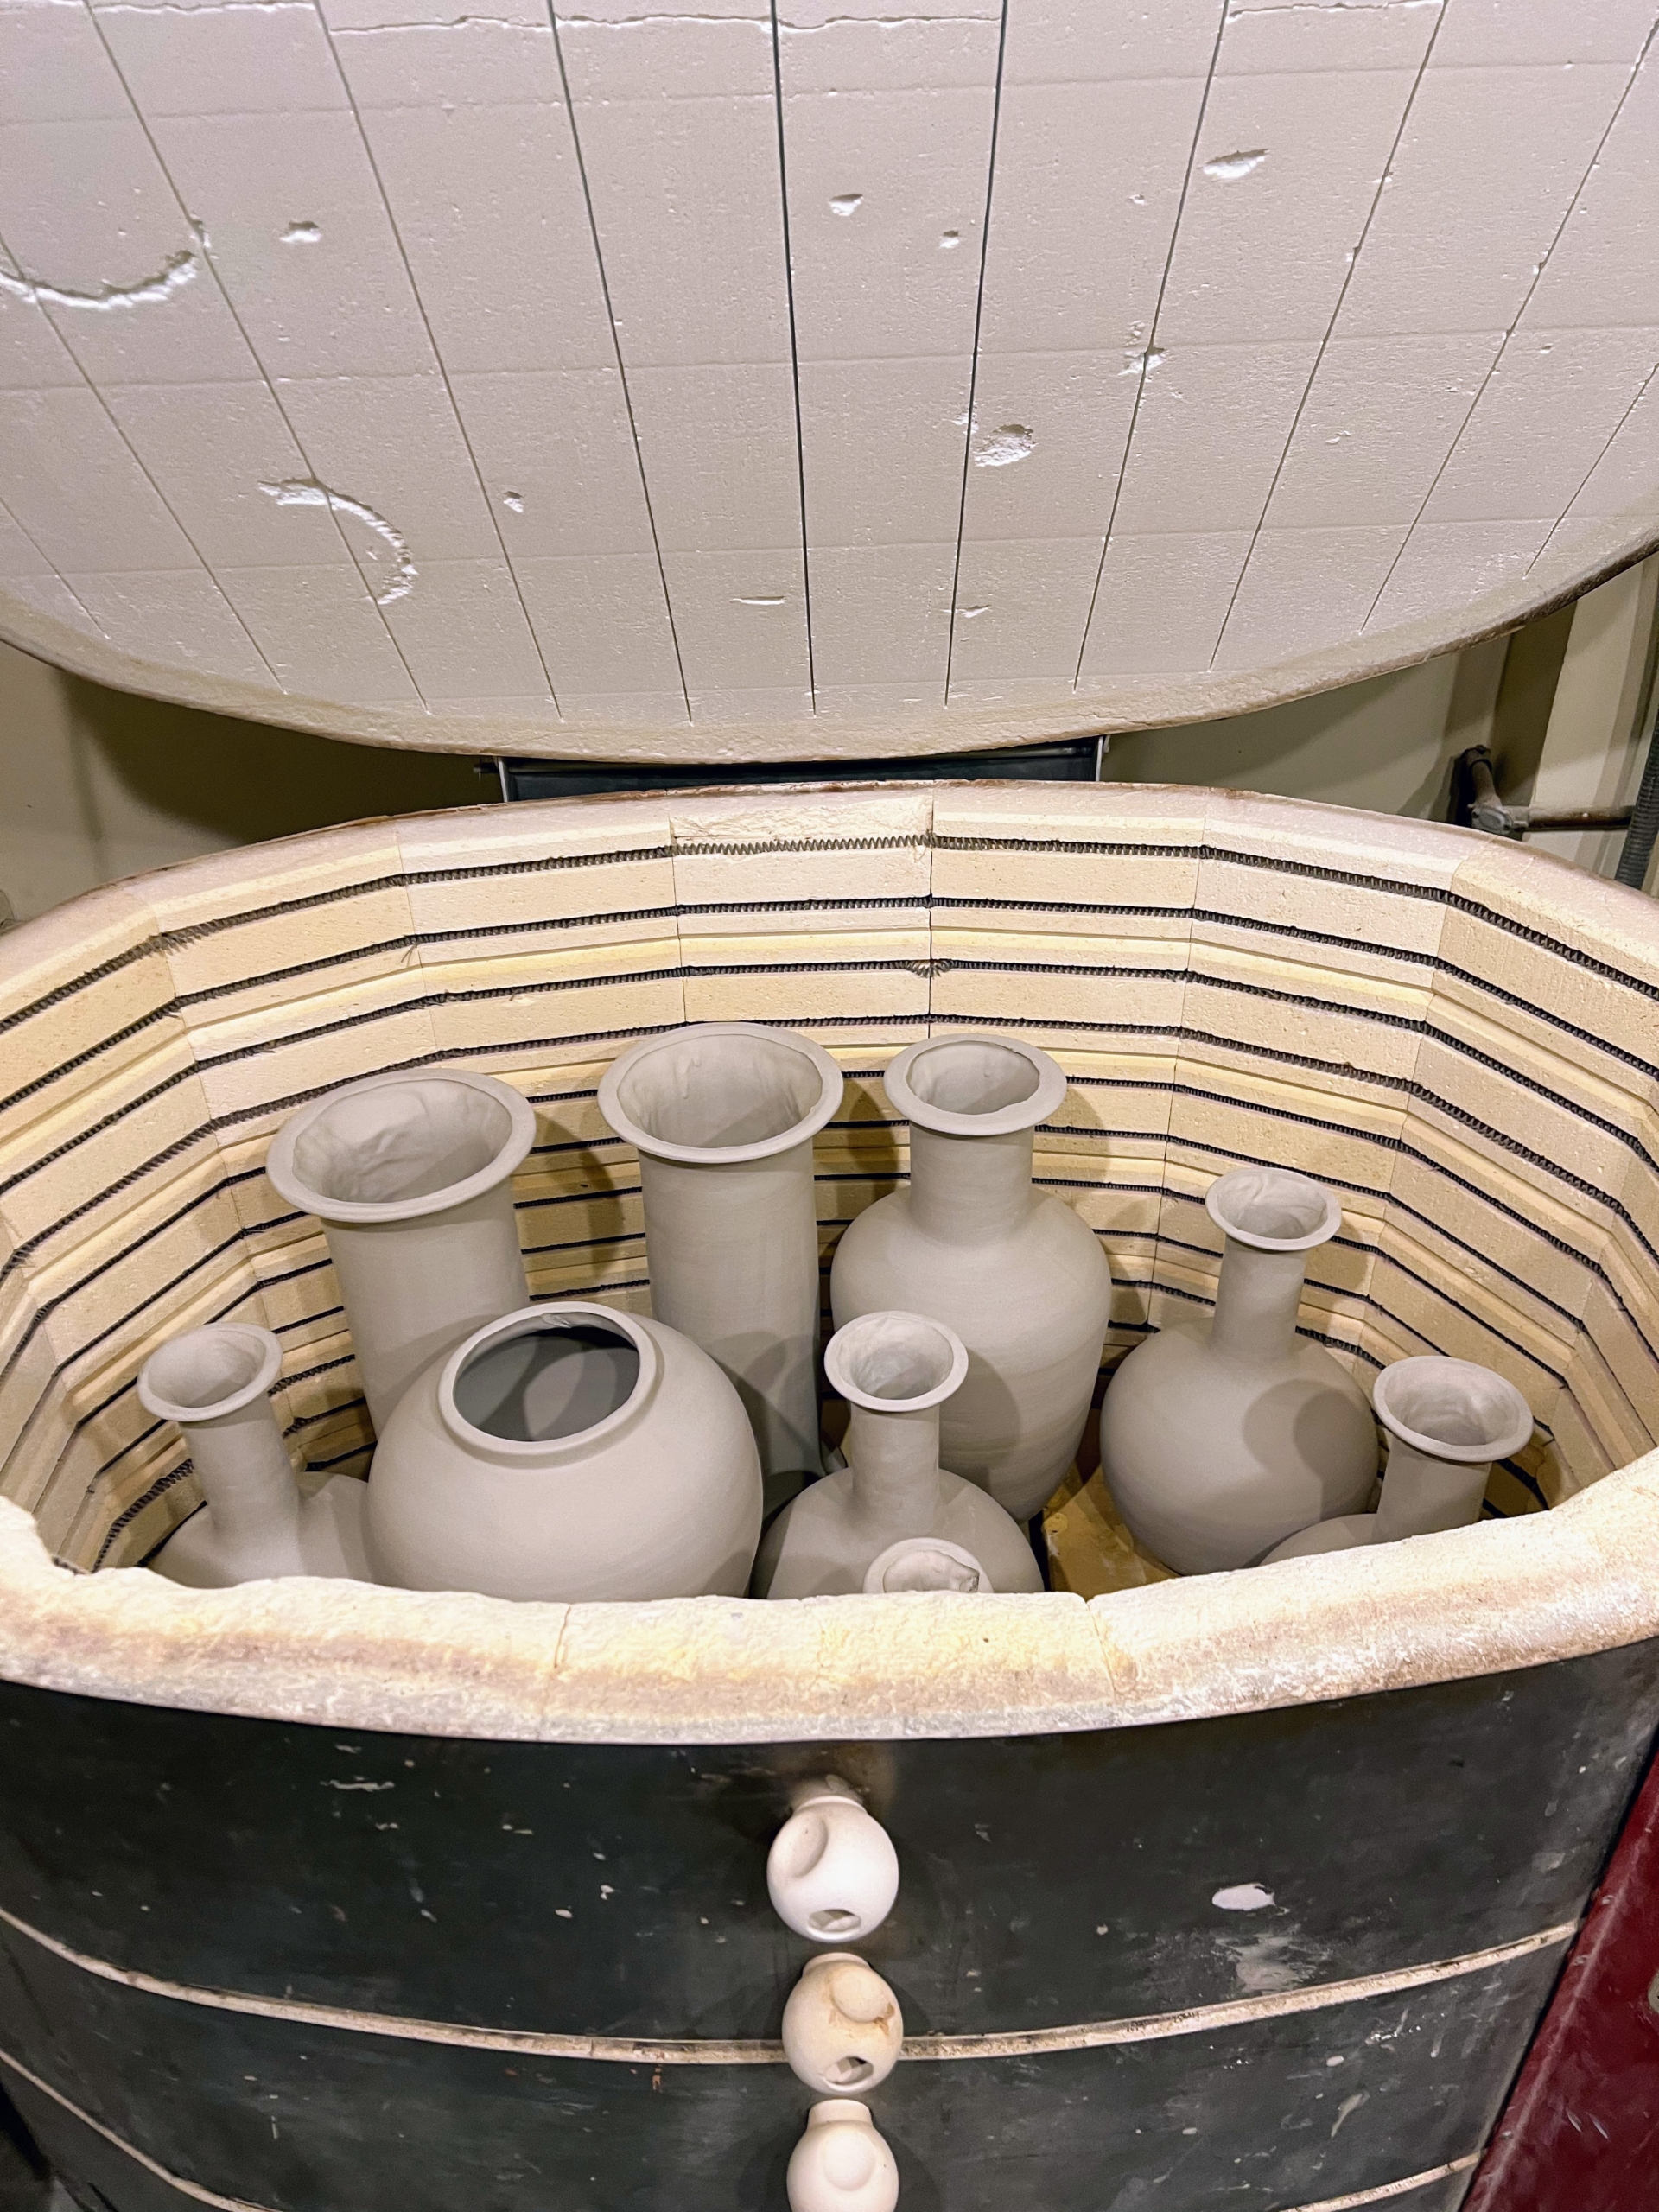
Christopher’s team fills the kilns in the afternoon and then lets the lamps sit overnight in 1900 degrees Fahrenheit. At this stage, they can pack them in pretty tightly. Once the glaze is put on and fired again in the kiln, the lamps will not be allowed to touch each other.
These pieces have been been fired once. They are now waiting for glaze.
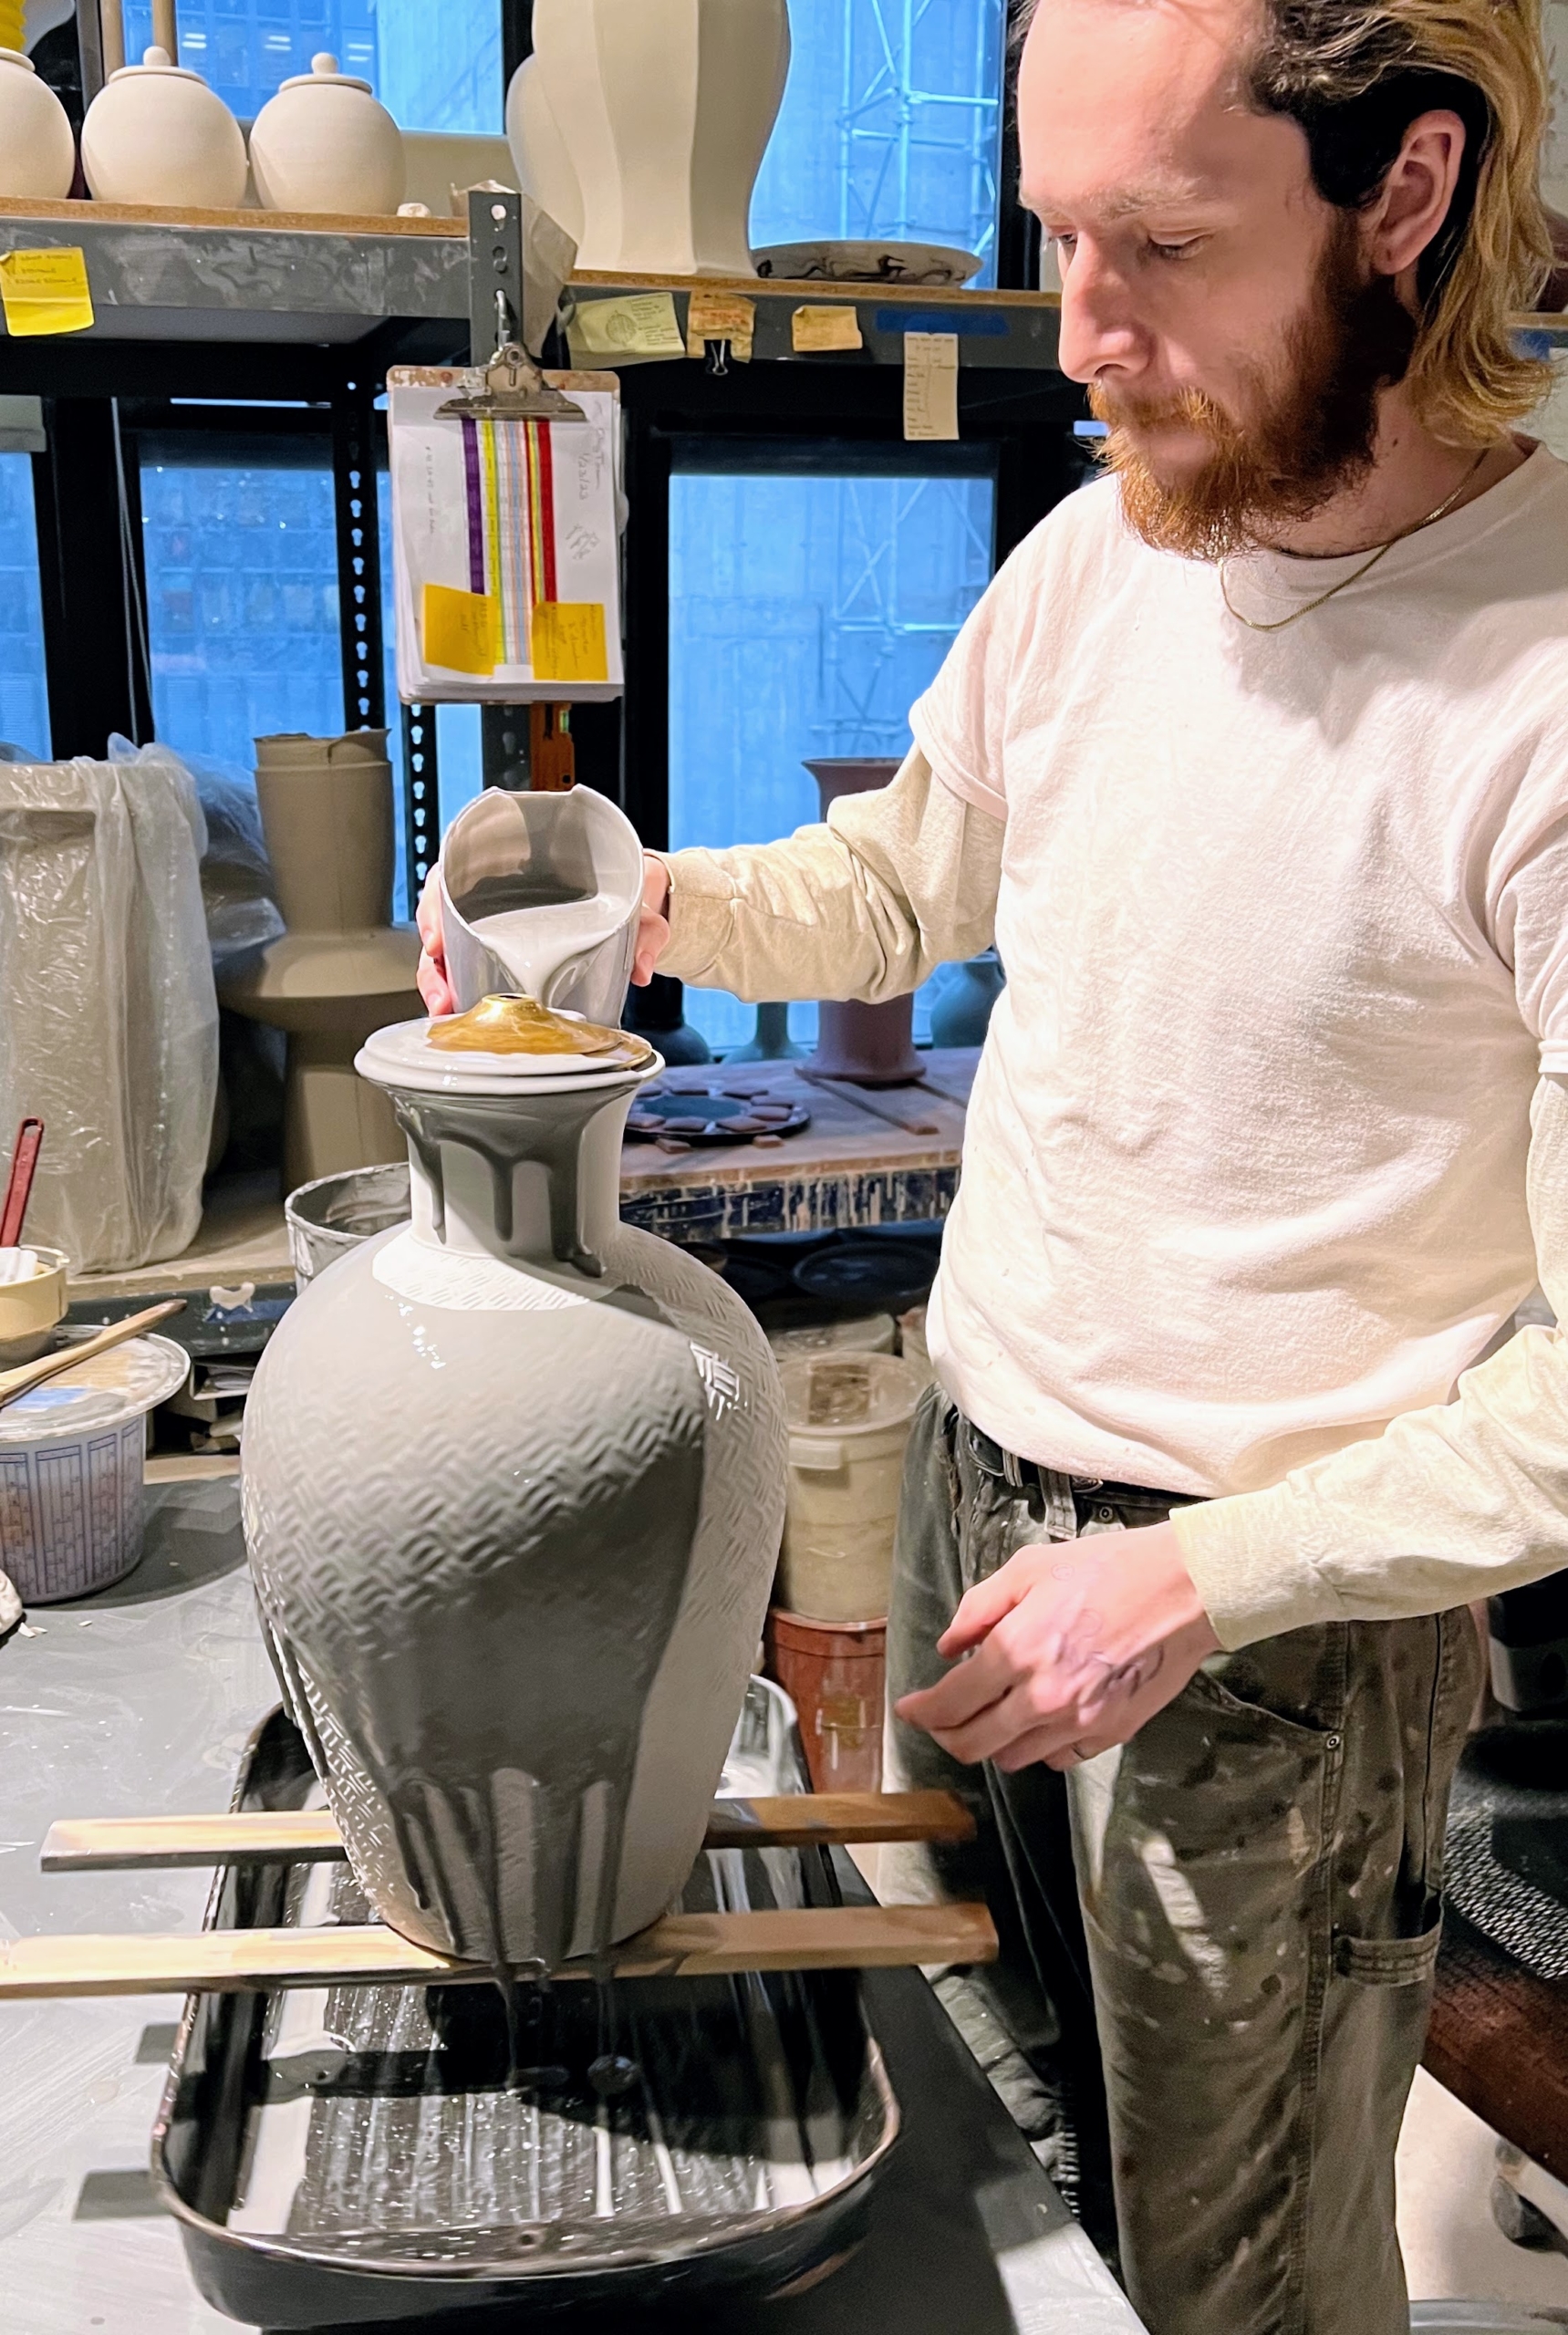
The glaze is put on from the top and then dried in between coats.
Here is one in between coats. It will dry for about an hour before another coat is poured. The amount of coats needed depends on the glaze.
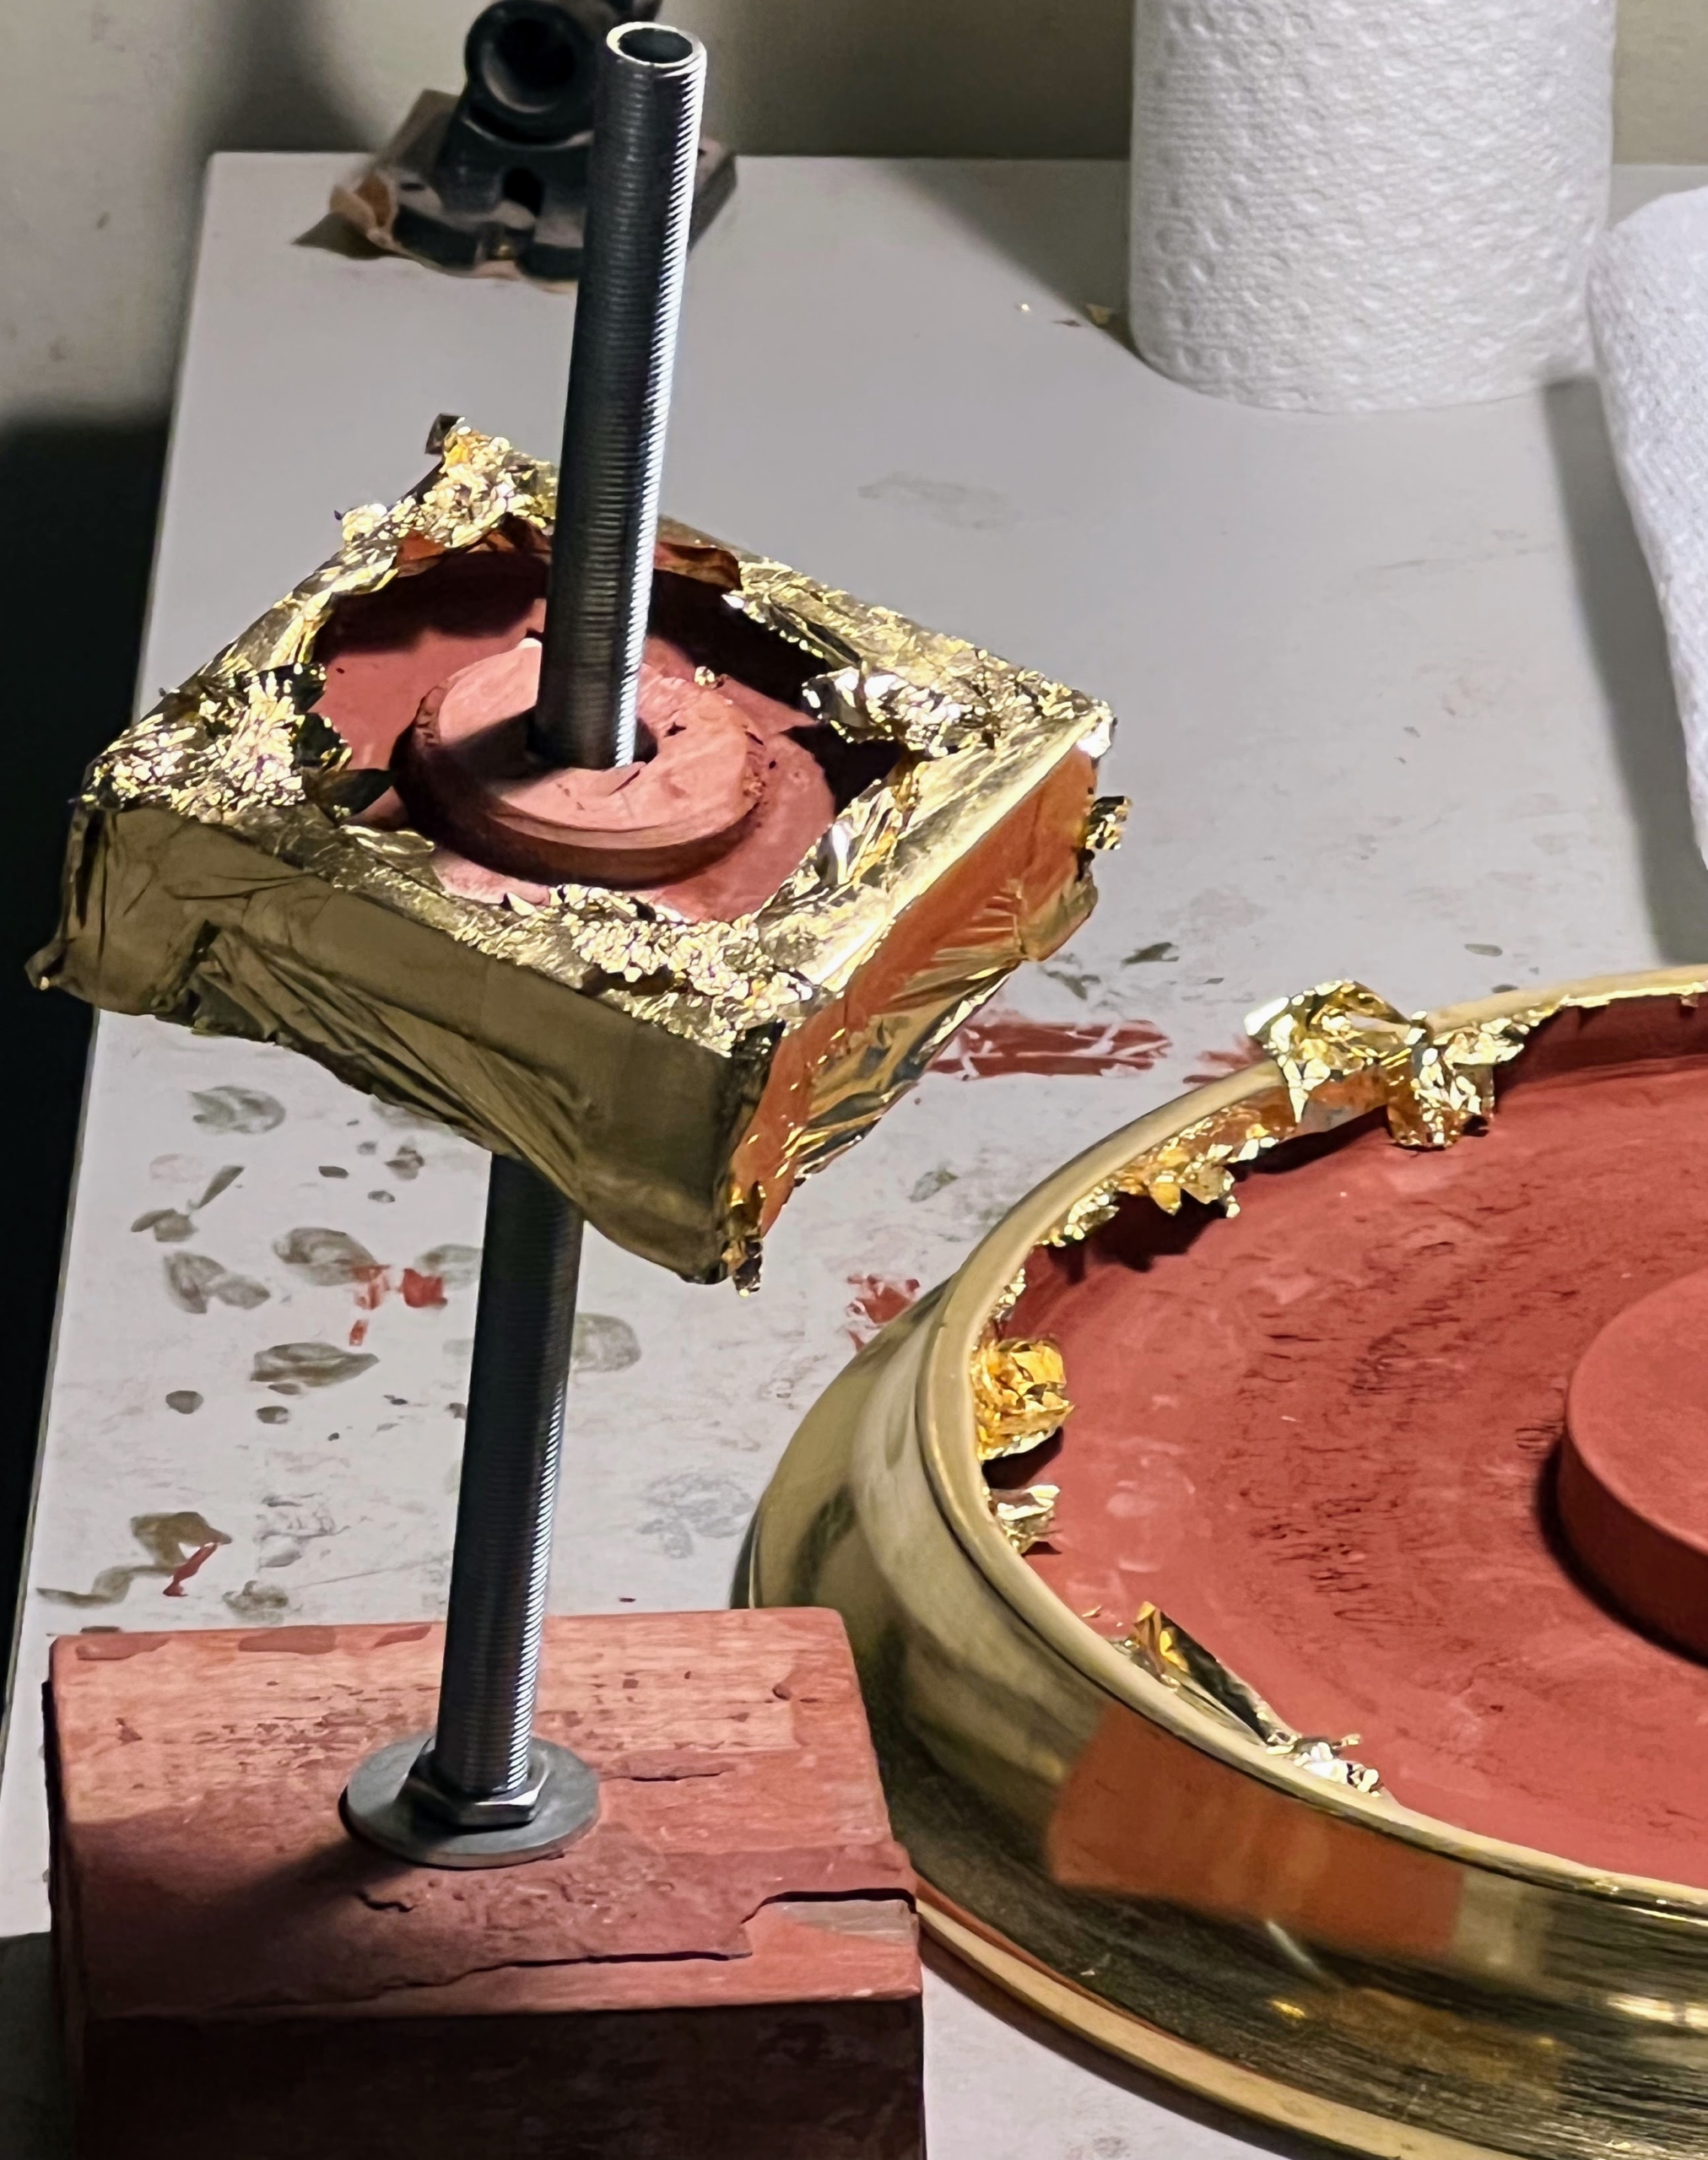
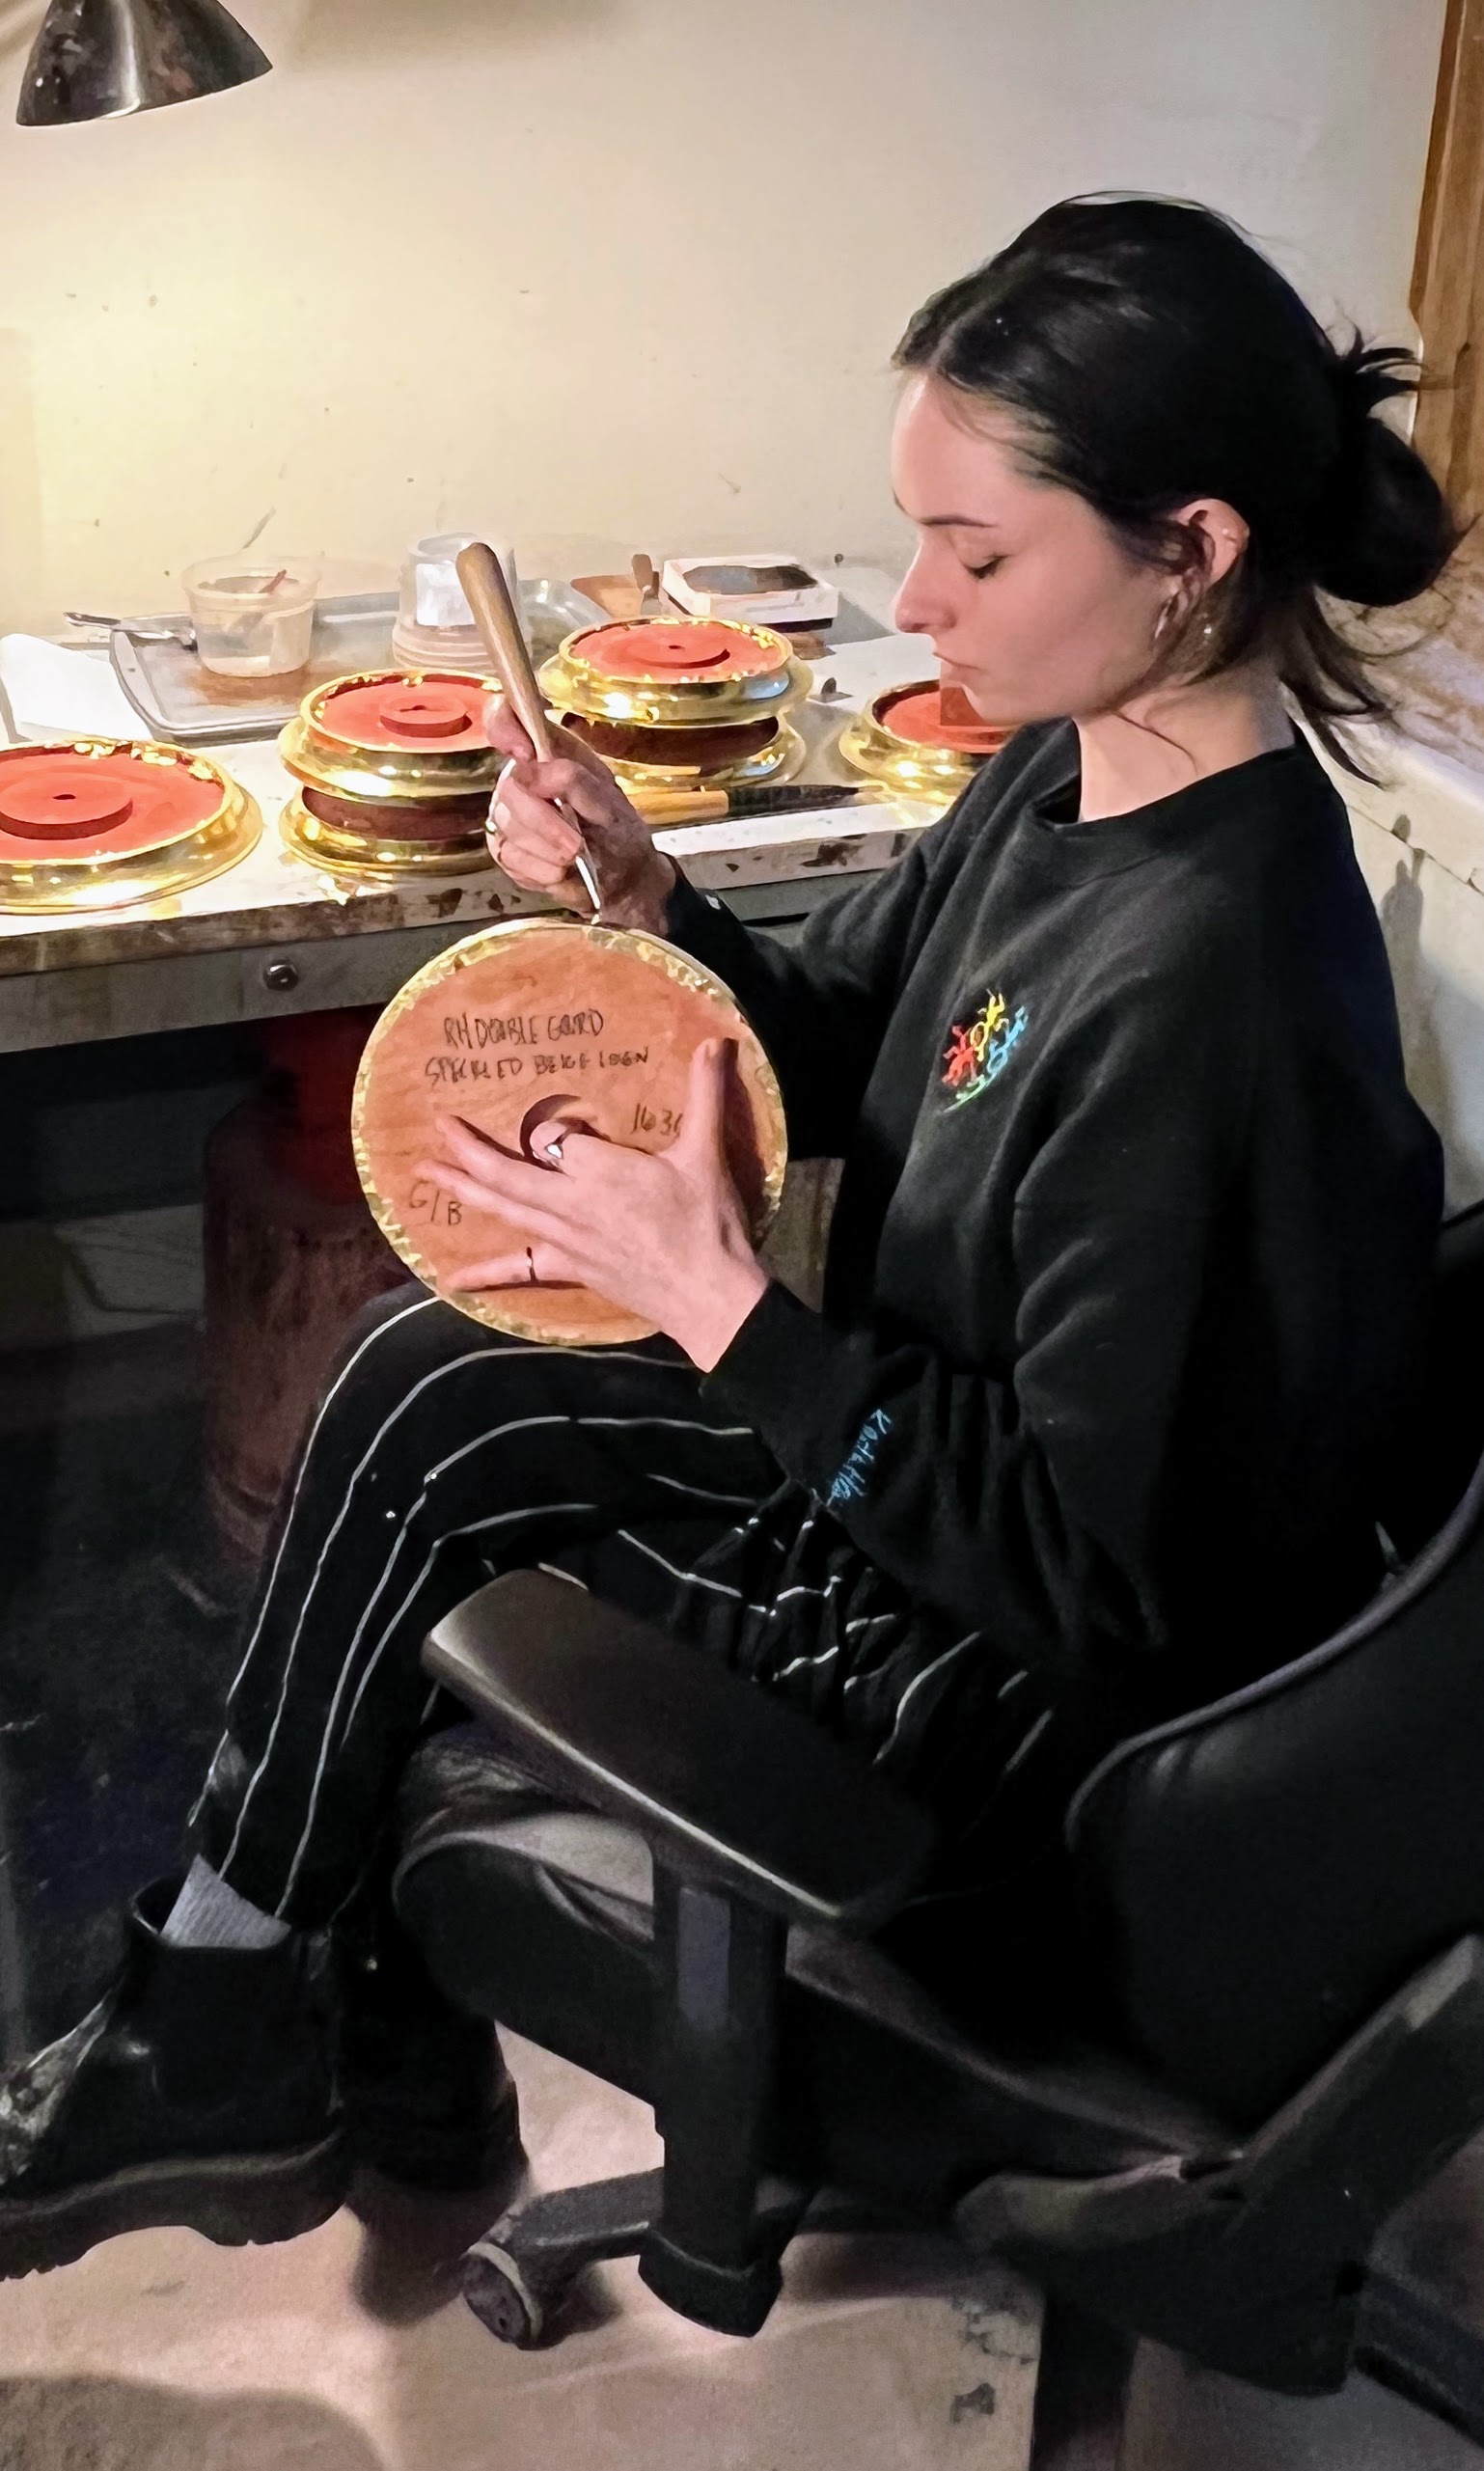
Each lamp is set in a hand turned hardwood base. This one is coated with gold leaf. Some bases are also offered stained or water gilded with white gold.
The process is done so carefully. Here is the gold leaf being applied to a base.
This lamp is waiting to be wired.
All the electrification is done at the studio.
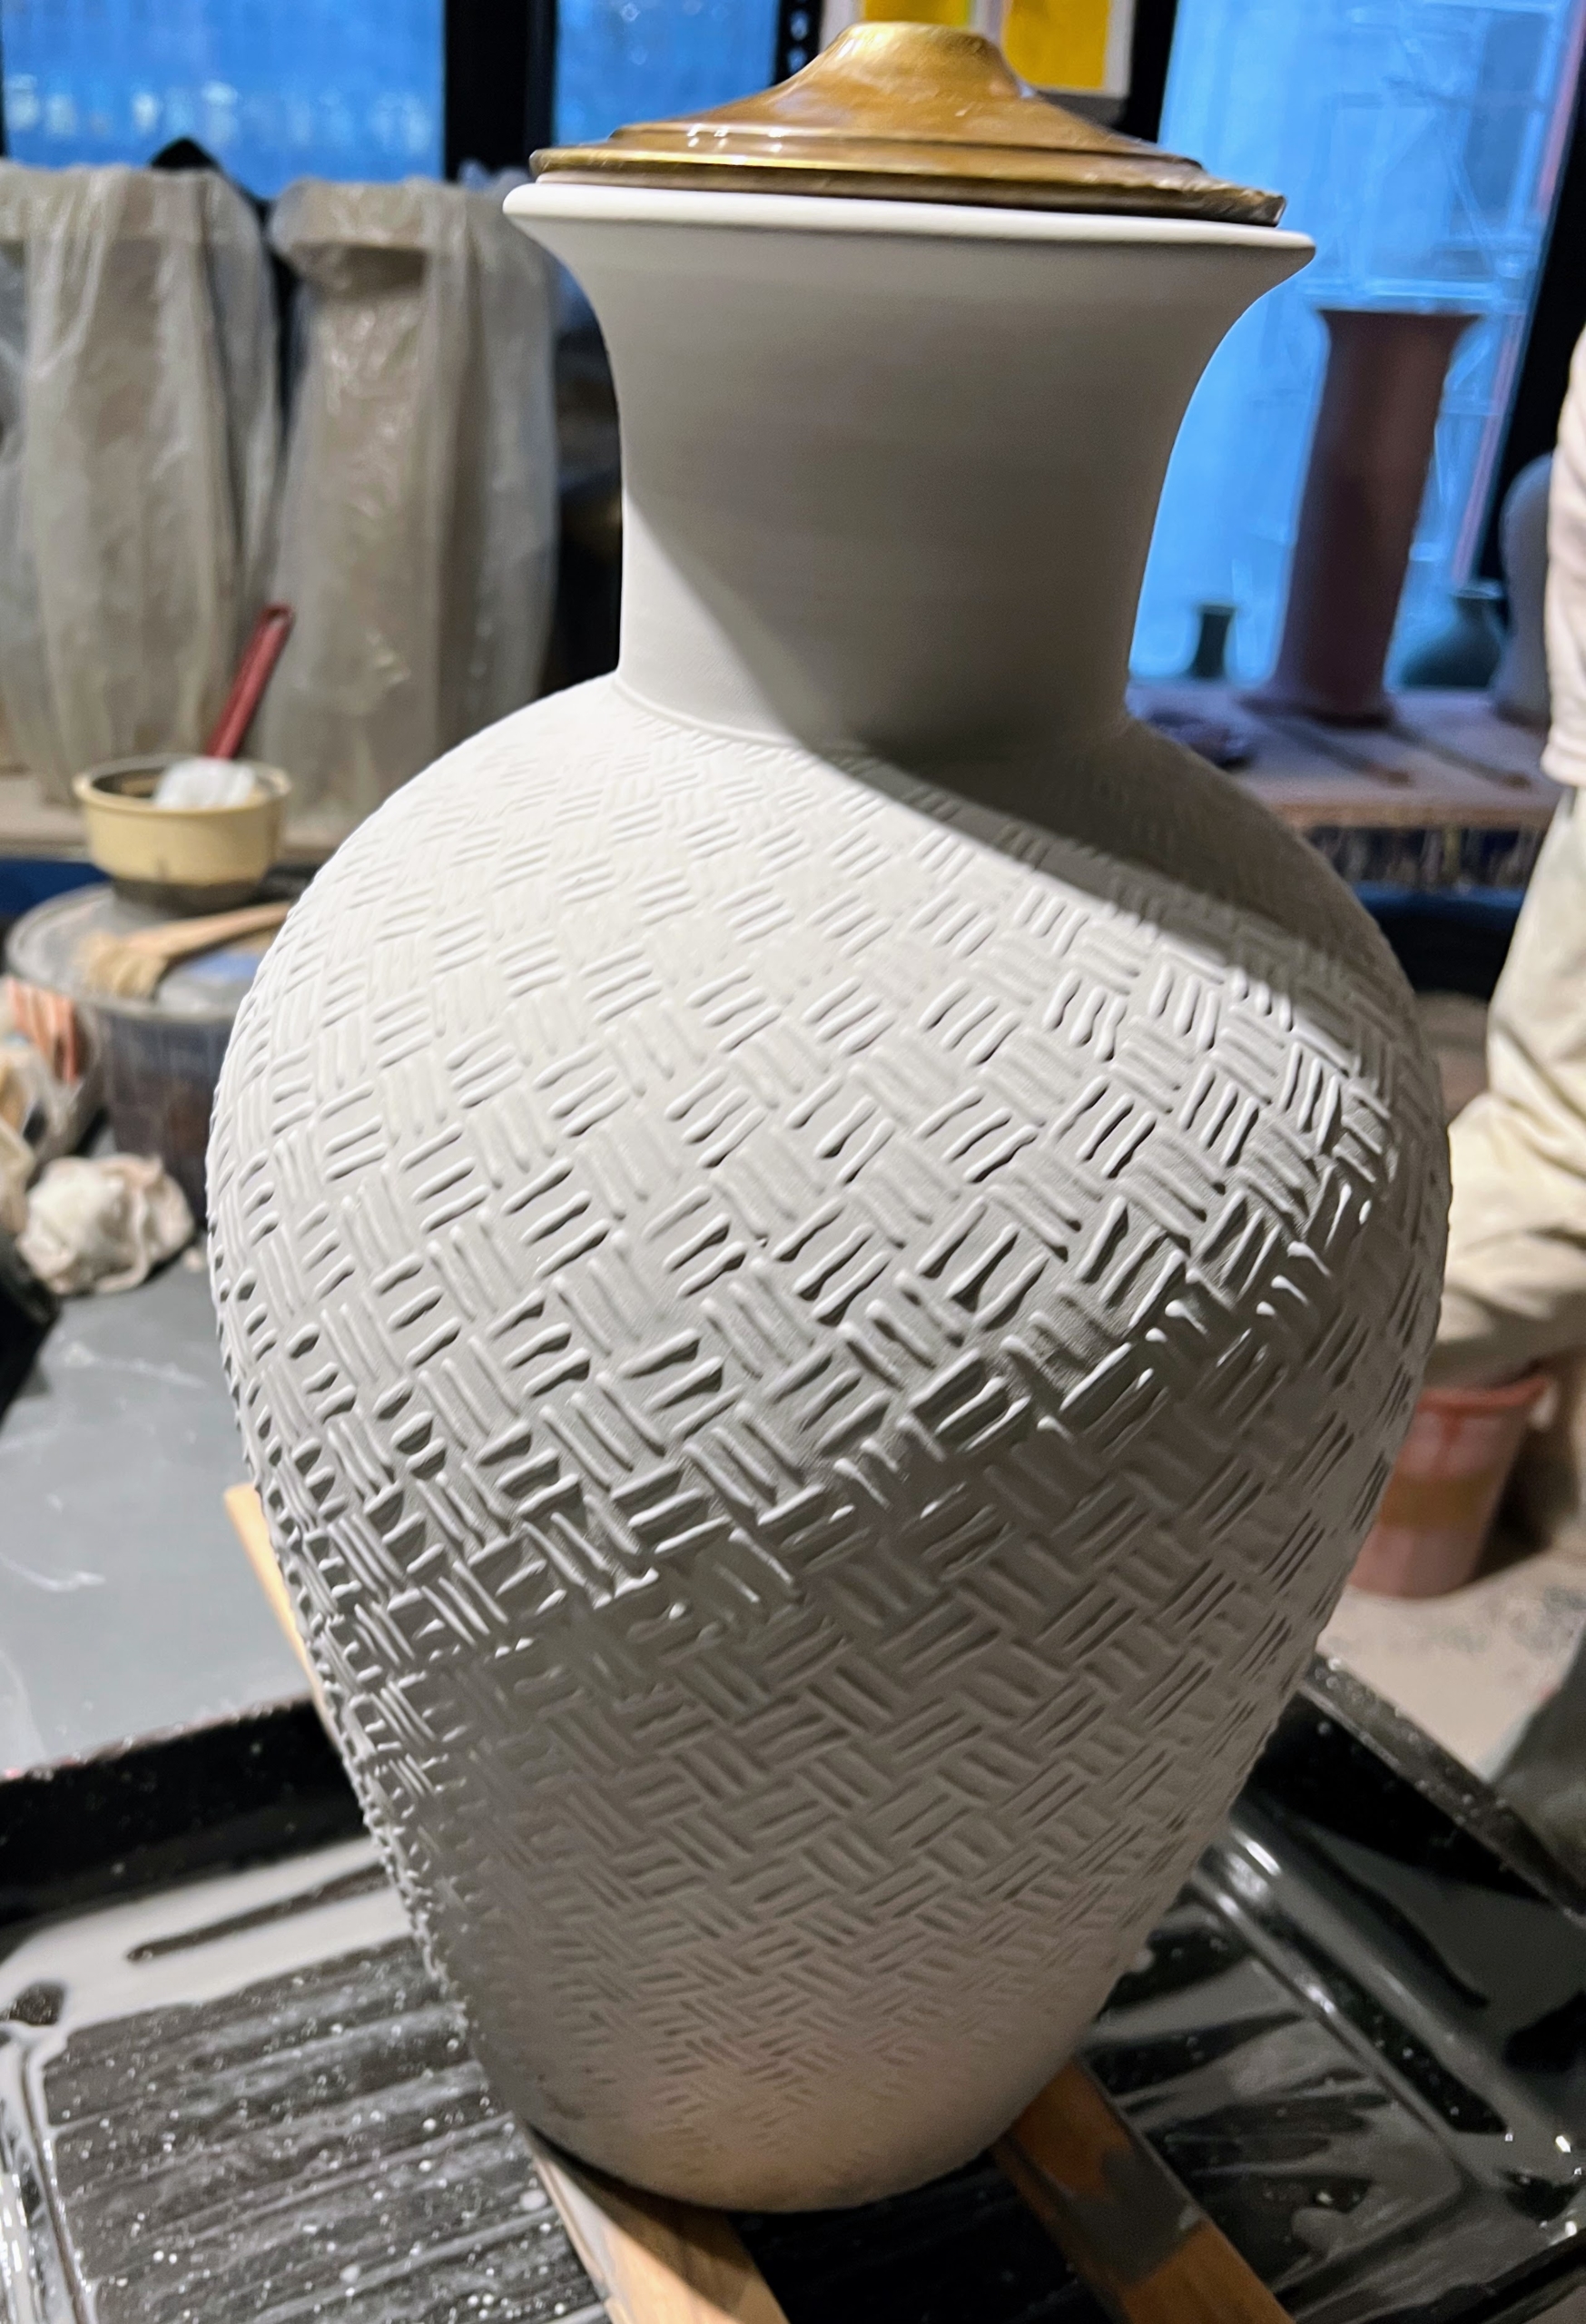
This lamp features a hand done basket weave lines grid and a rich spruce glaze.
These lamps are completed and purchased. They’re on this shelf waiting to be shipped out.
And in this section of the studio – a showroom of available pieces – every one truly a work of art and love.
Go to my podcast, “The Martha Stewart Podcast” – available on the iHeart media app, Apple Podcasts, or wherever you get your podcasts, and listen to my conversation with Christopher Spitzmiller – you’ll laugh, you’ll learn, and you’ll be inspired.
I love a good cup of cappuccino - it can be a great start to the day and a pleasant pick-me-up in the afternoon. I have several espresso machines here at my Bedford, New York farm and they get a lot of use, so of course I keep them very clean and well-maintained. Coffee beans contain essential oils and over time, the residue from those oils can stick to the machine's components and alter the flavor of the beverages. Regular cleaning not only prolongs the quality of the coffee, but also extends the life of the equipment.
Yesterday, Kobrick Coffee's service and equipment manager, Donald Ibrekic, came by to check the machines. Donald has been servicing my machines for many years. He also gave us some helpful tips for maintaining the units in-between visits, so every cup of coffee tastes perfect.
Enjoy these photos.
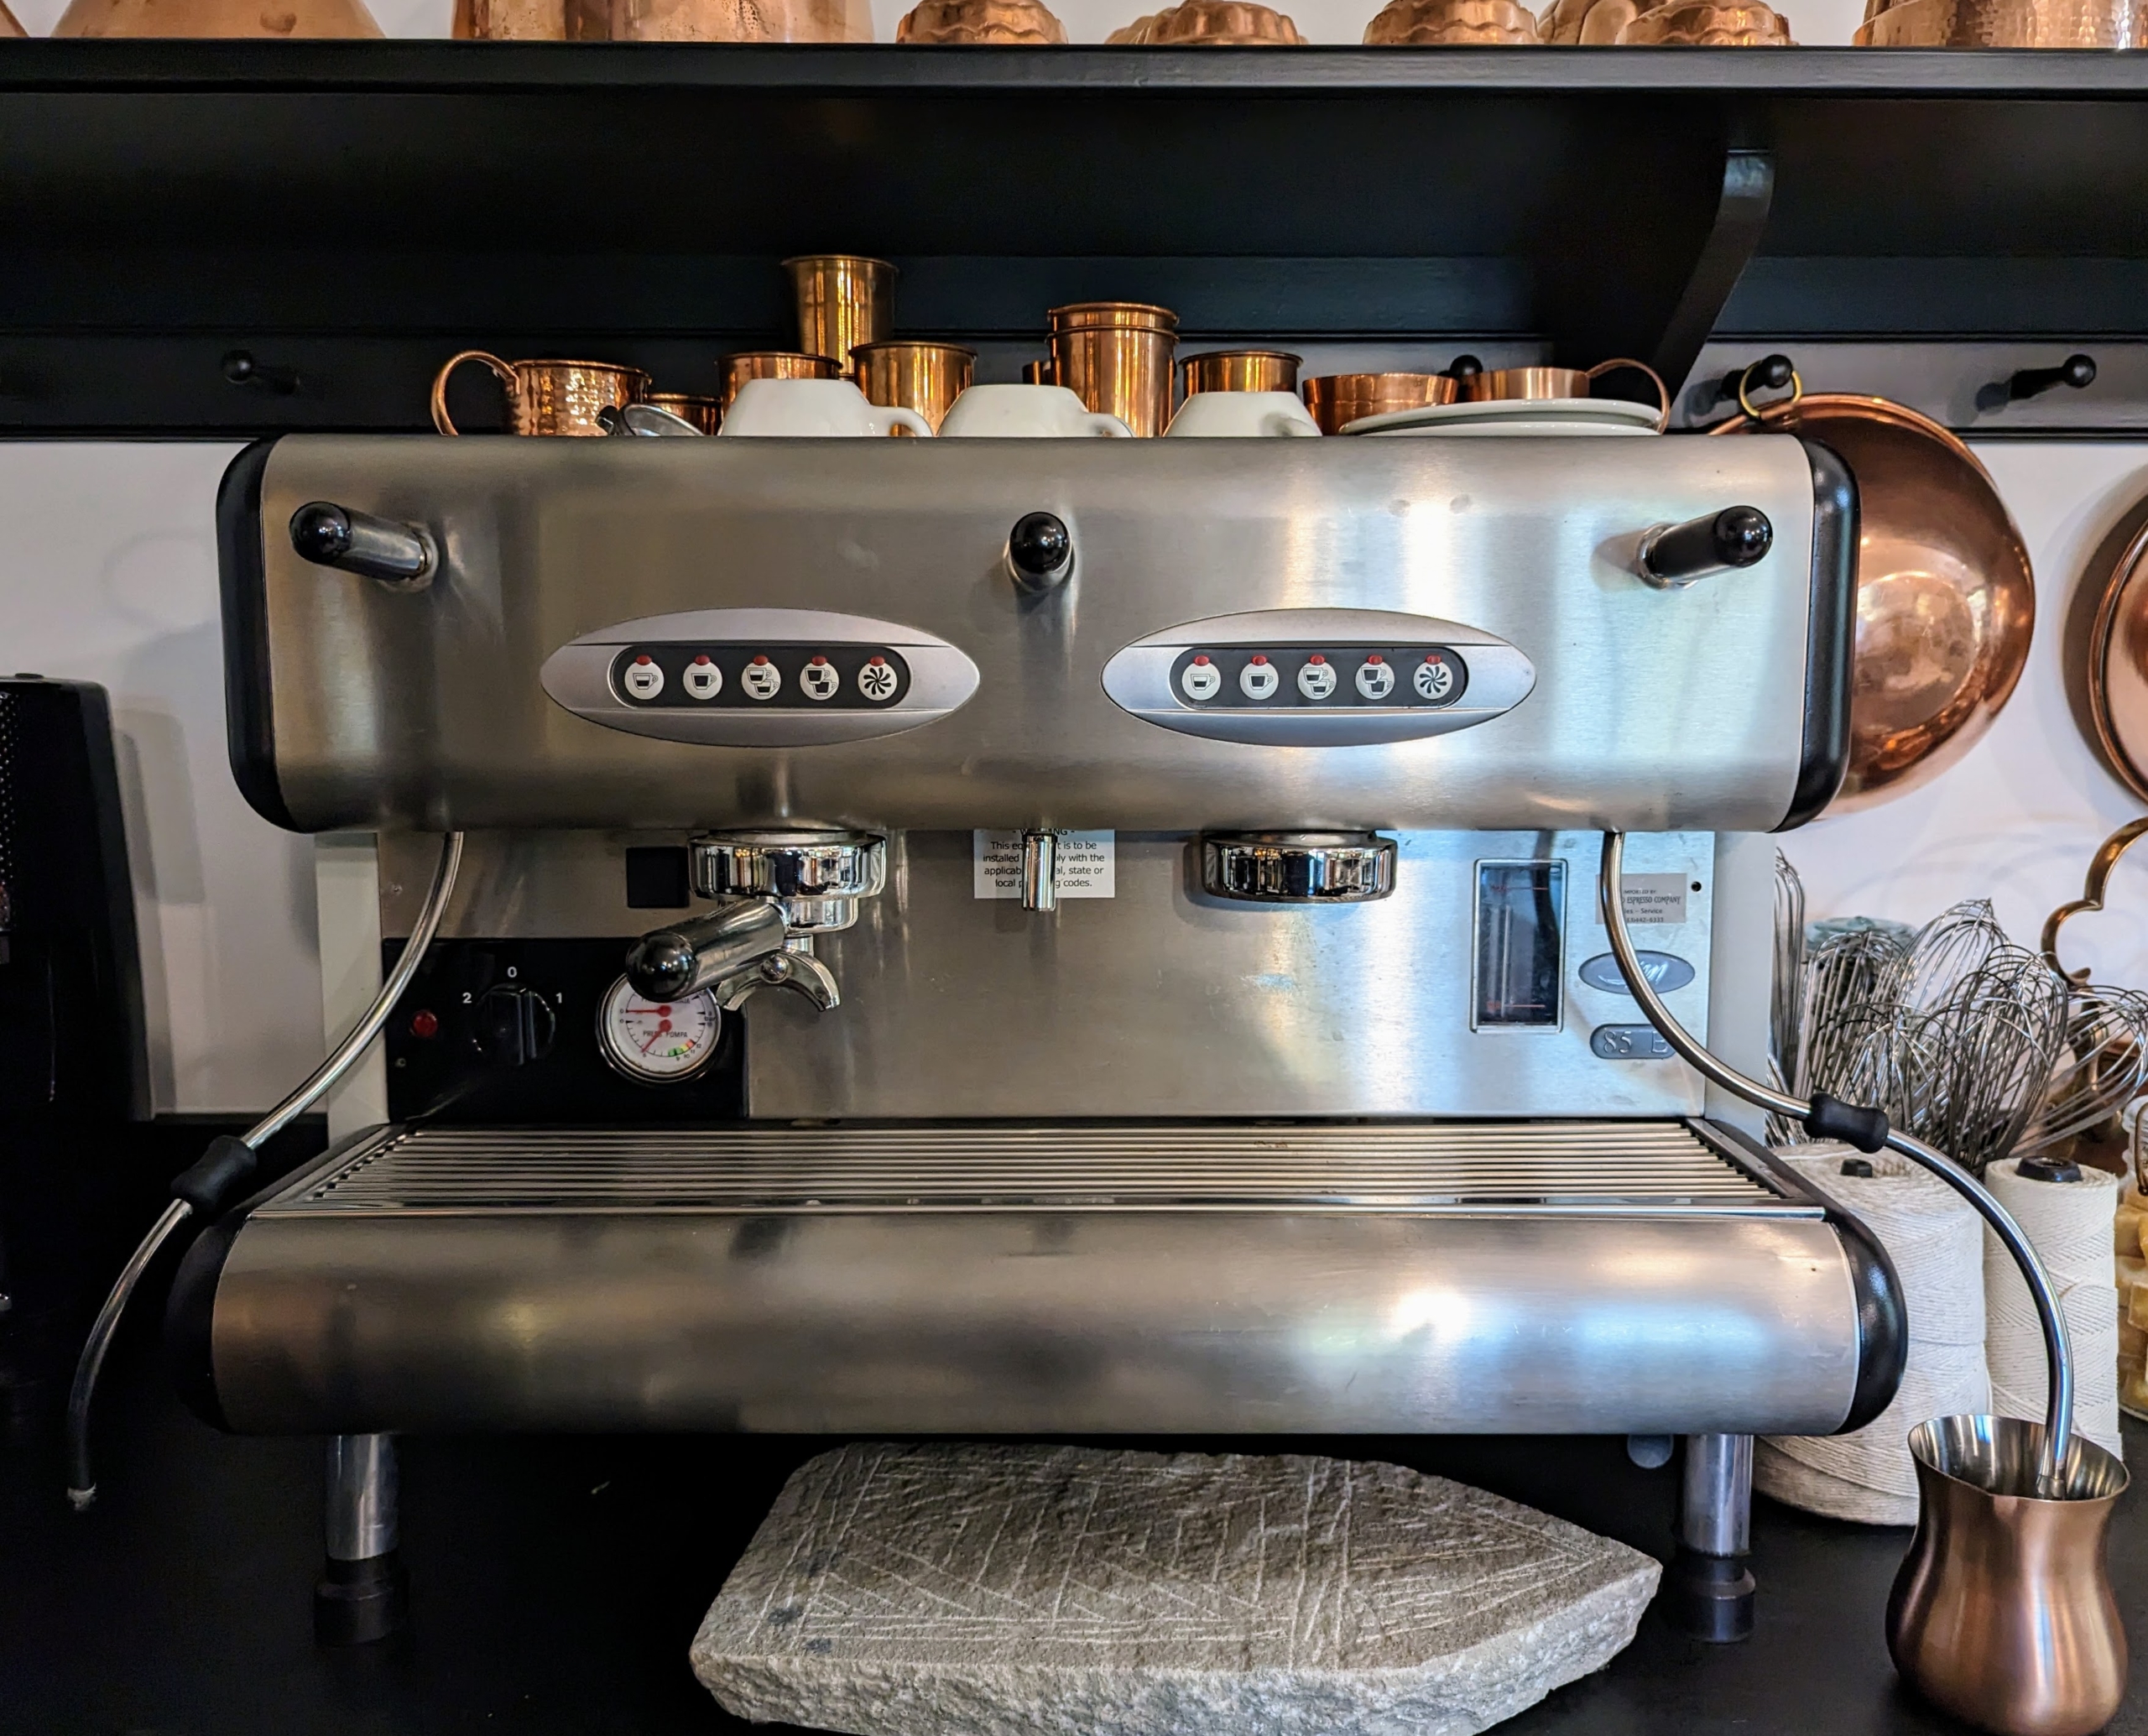
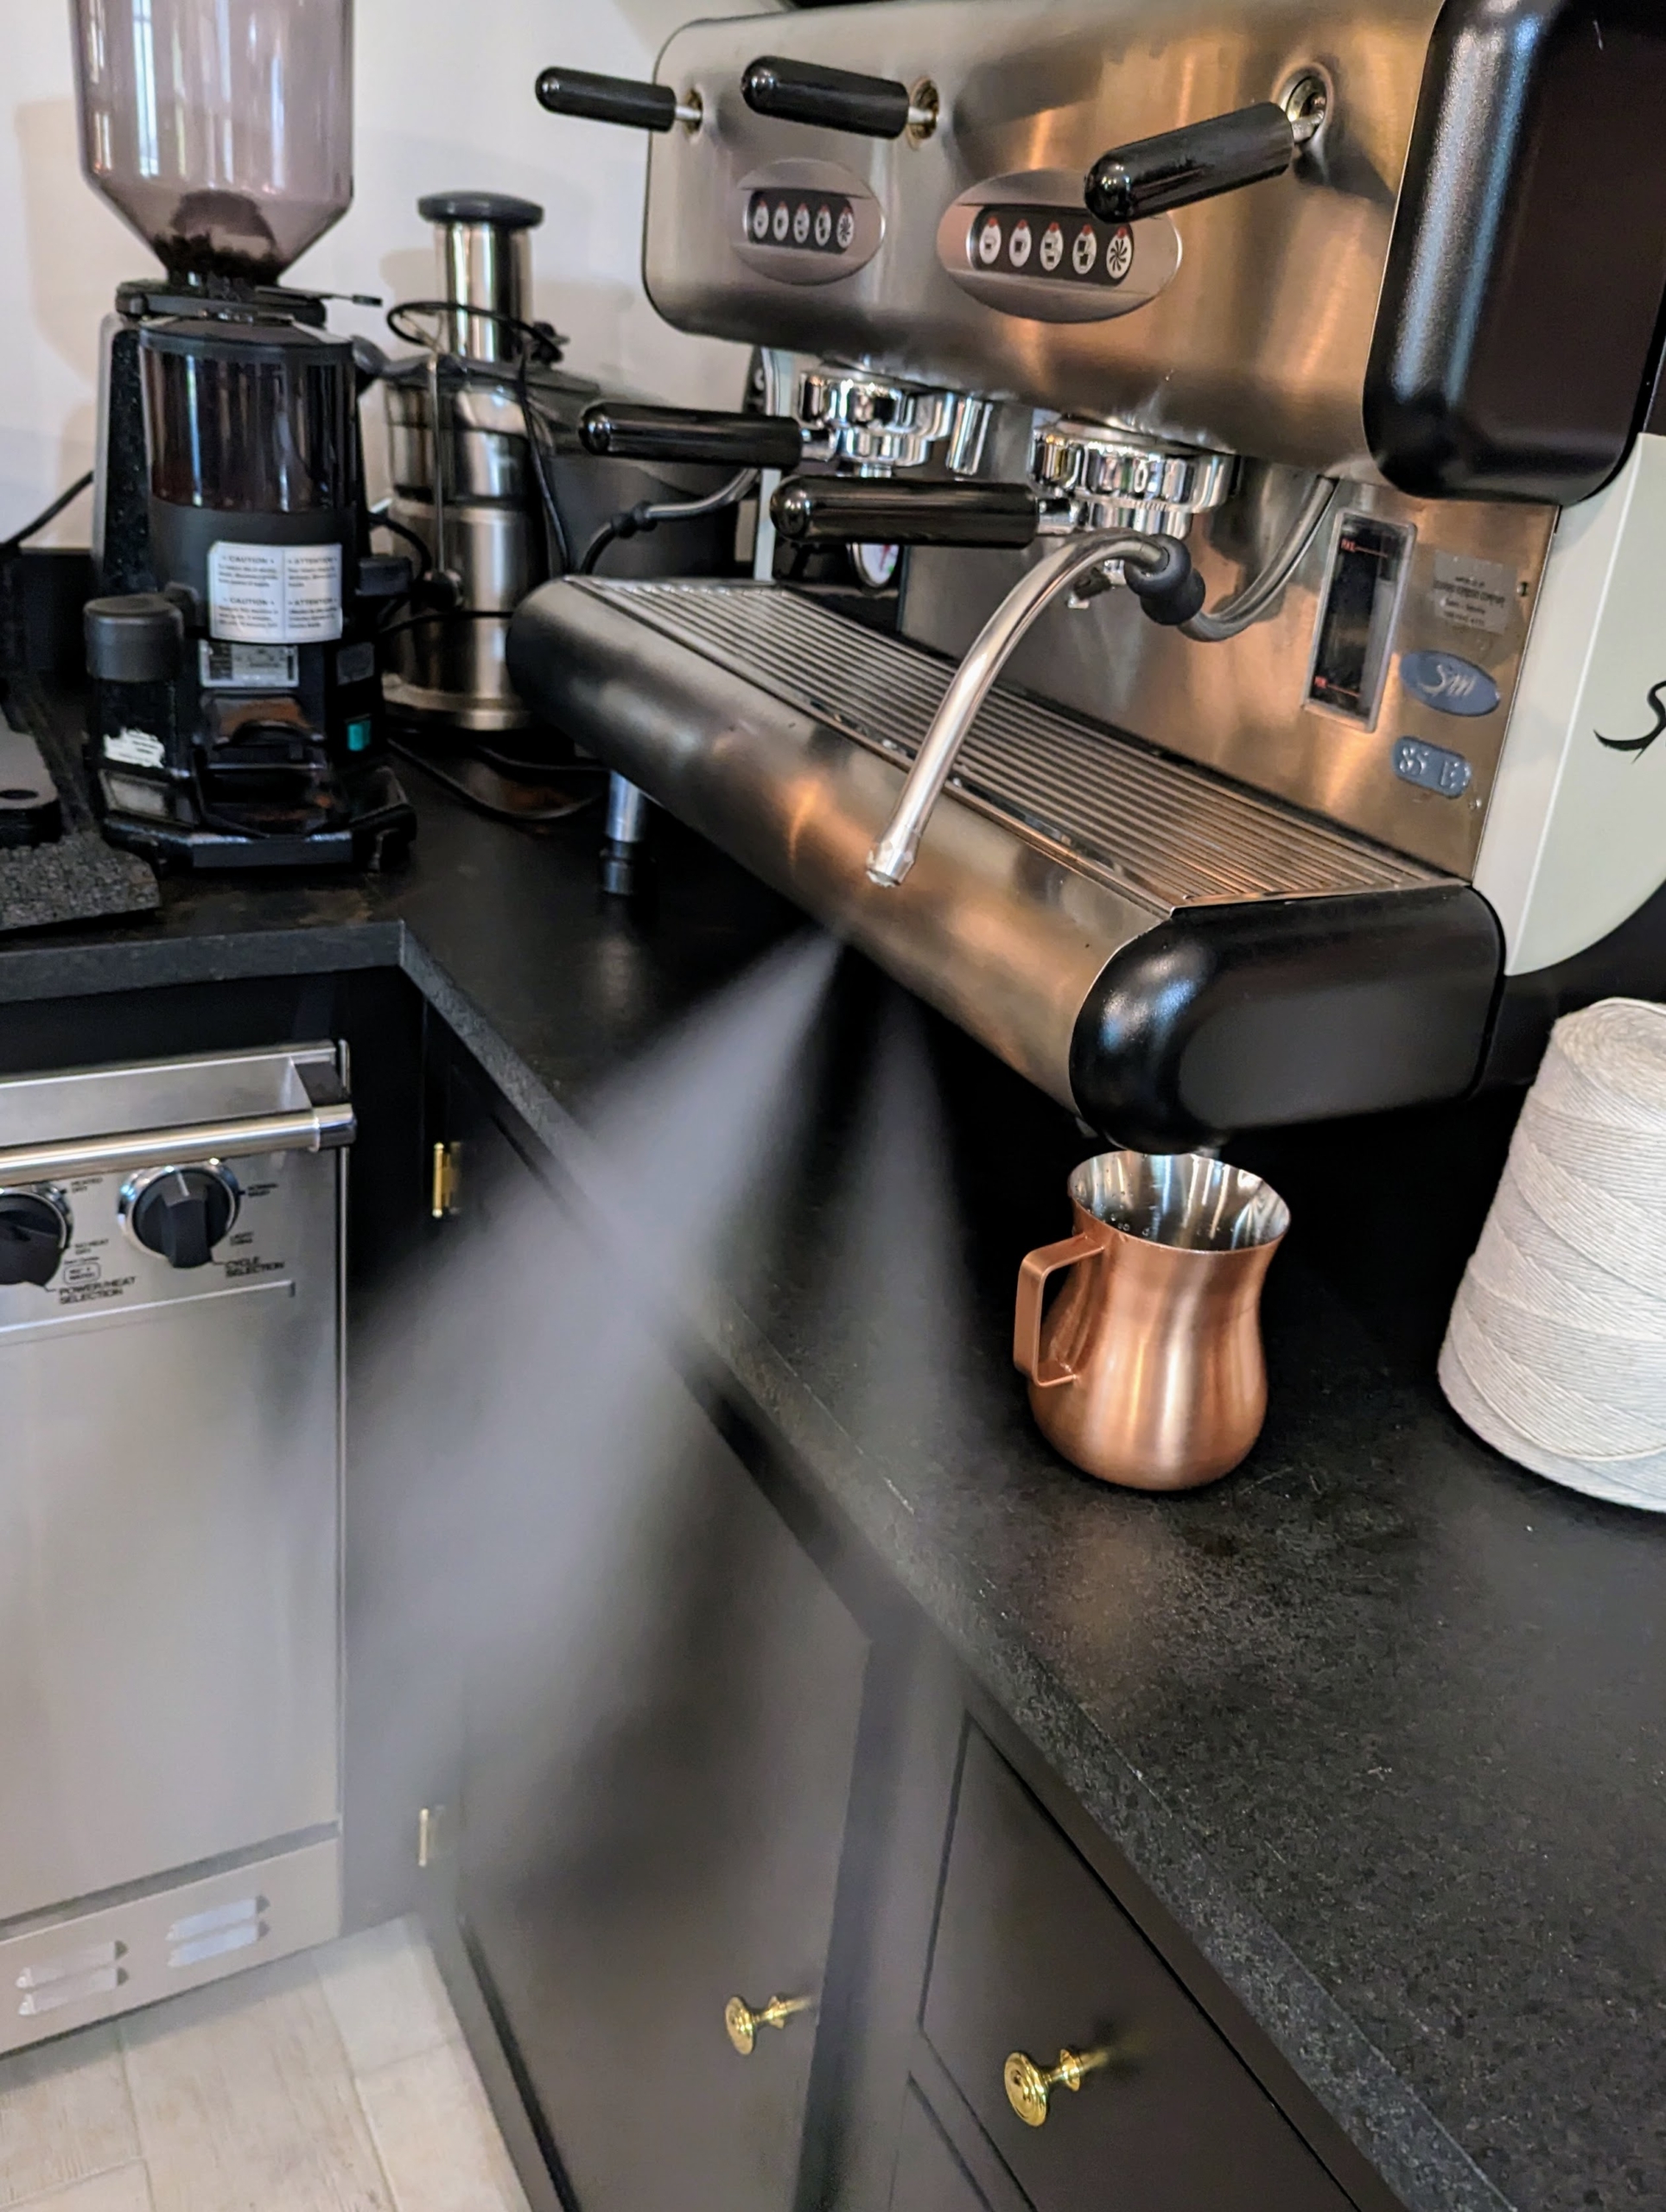
When Donald comes to the farm, he looks over every one of my La San Marco espresso machines. Each one is thoroughly cleaned and tested. This one is in my guest house studio kitchen. This machine is a commercial model – much larger than residential espresso and coffee makers, but the care is essentially the same. A good machine should be thoroughly cleaned after each use and regularly maintained to ensure that important cup of coffee is perfect every time.
This machine has two stations. Donald wipes all the exterior components and then runs the basic functions of the machine to assess what parts, if any, need replacing. Here at the farm, we make a lot of cappuccinos – up to sometimes 10 for any given business meeting, maybe even more if I am entertaining.
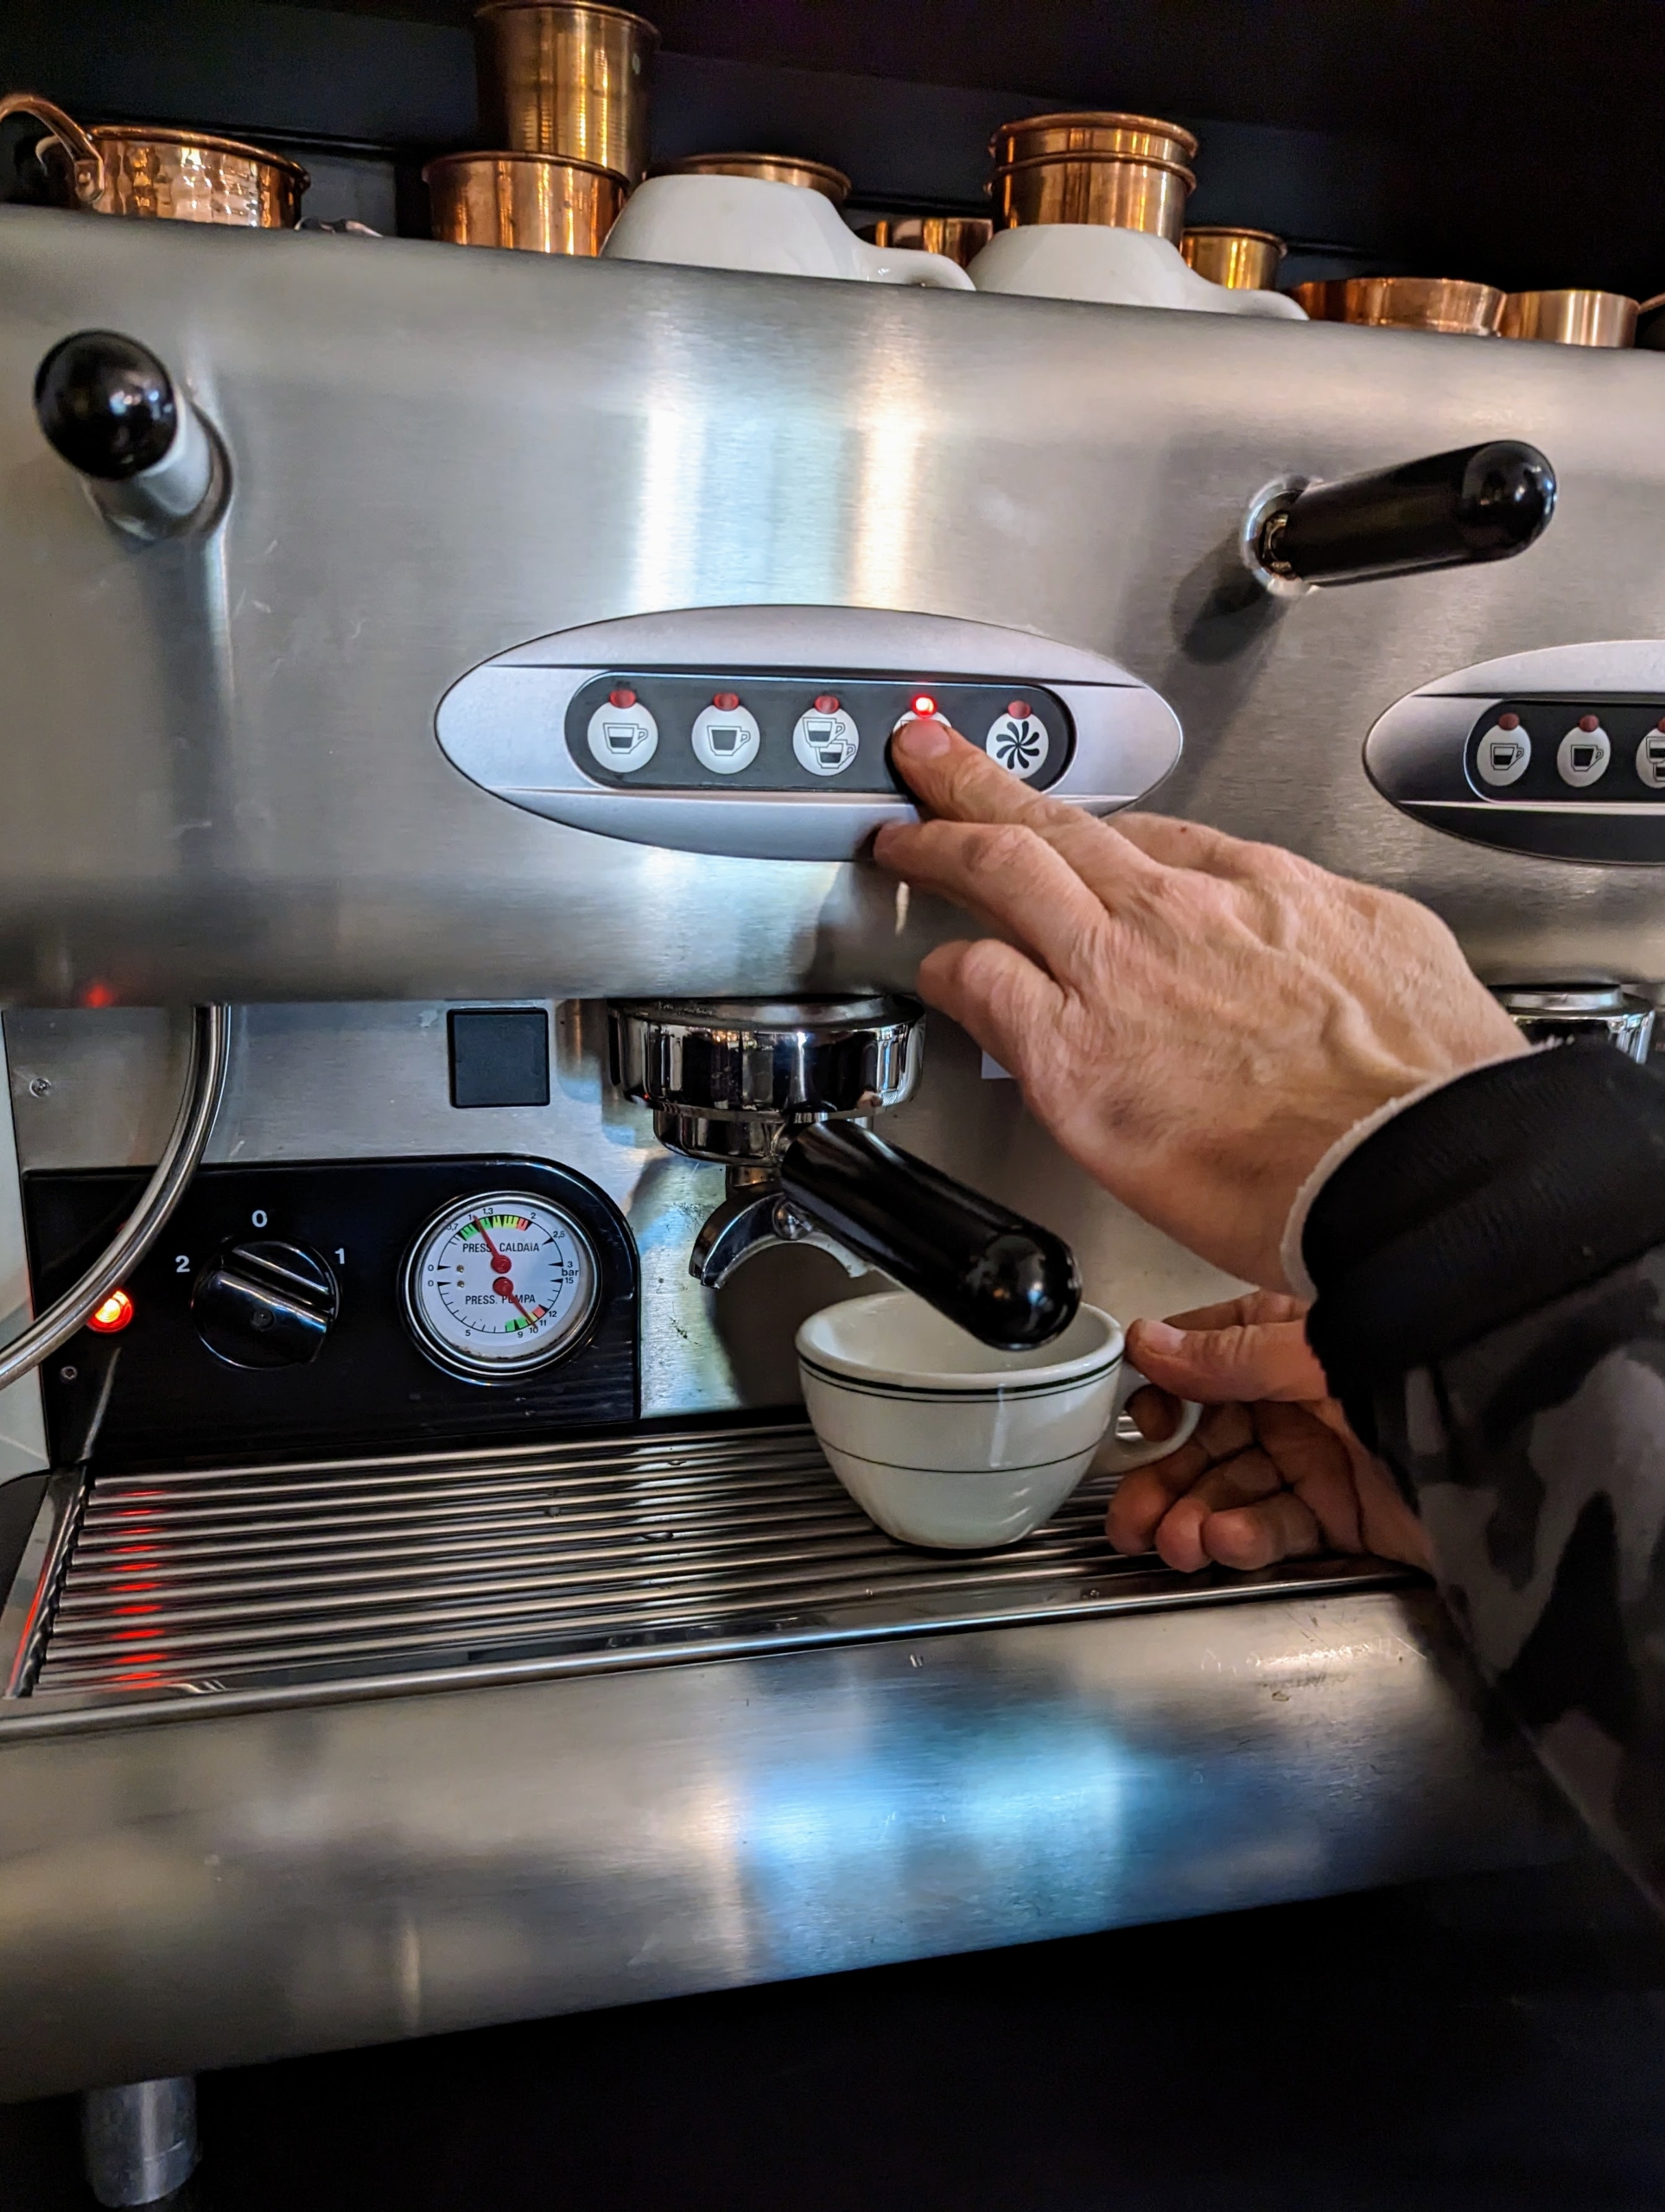
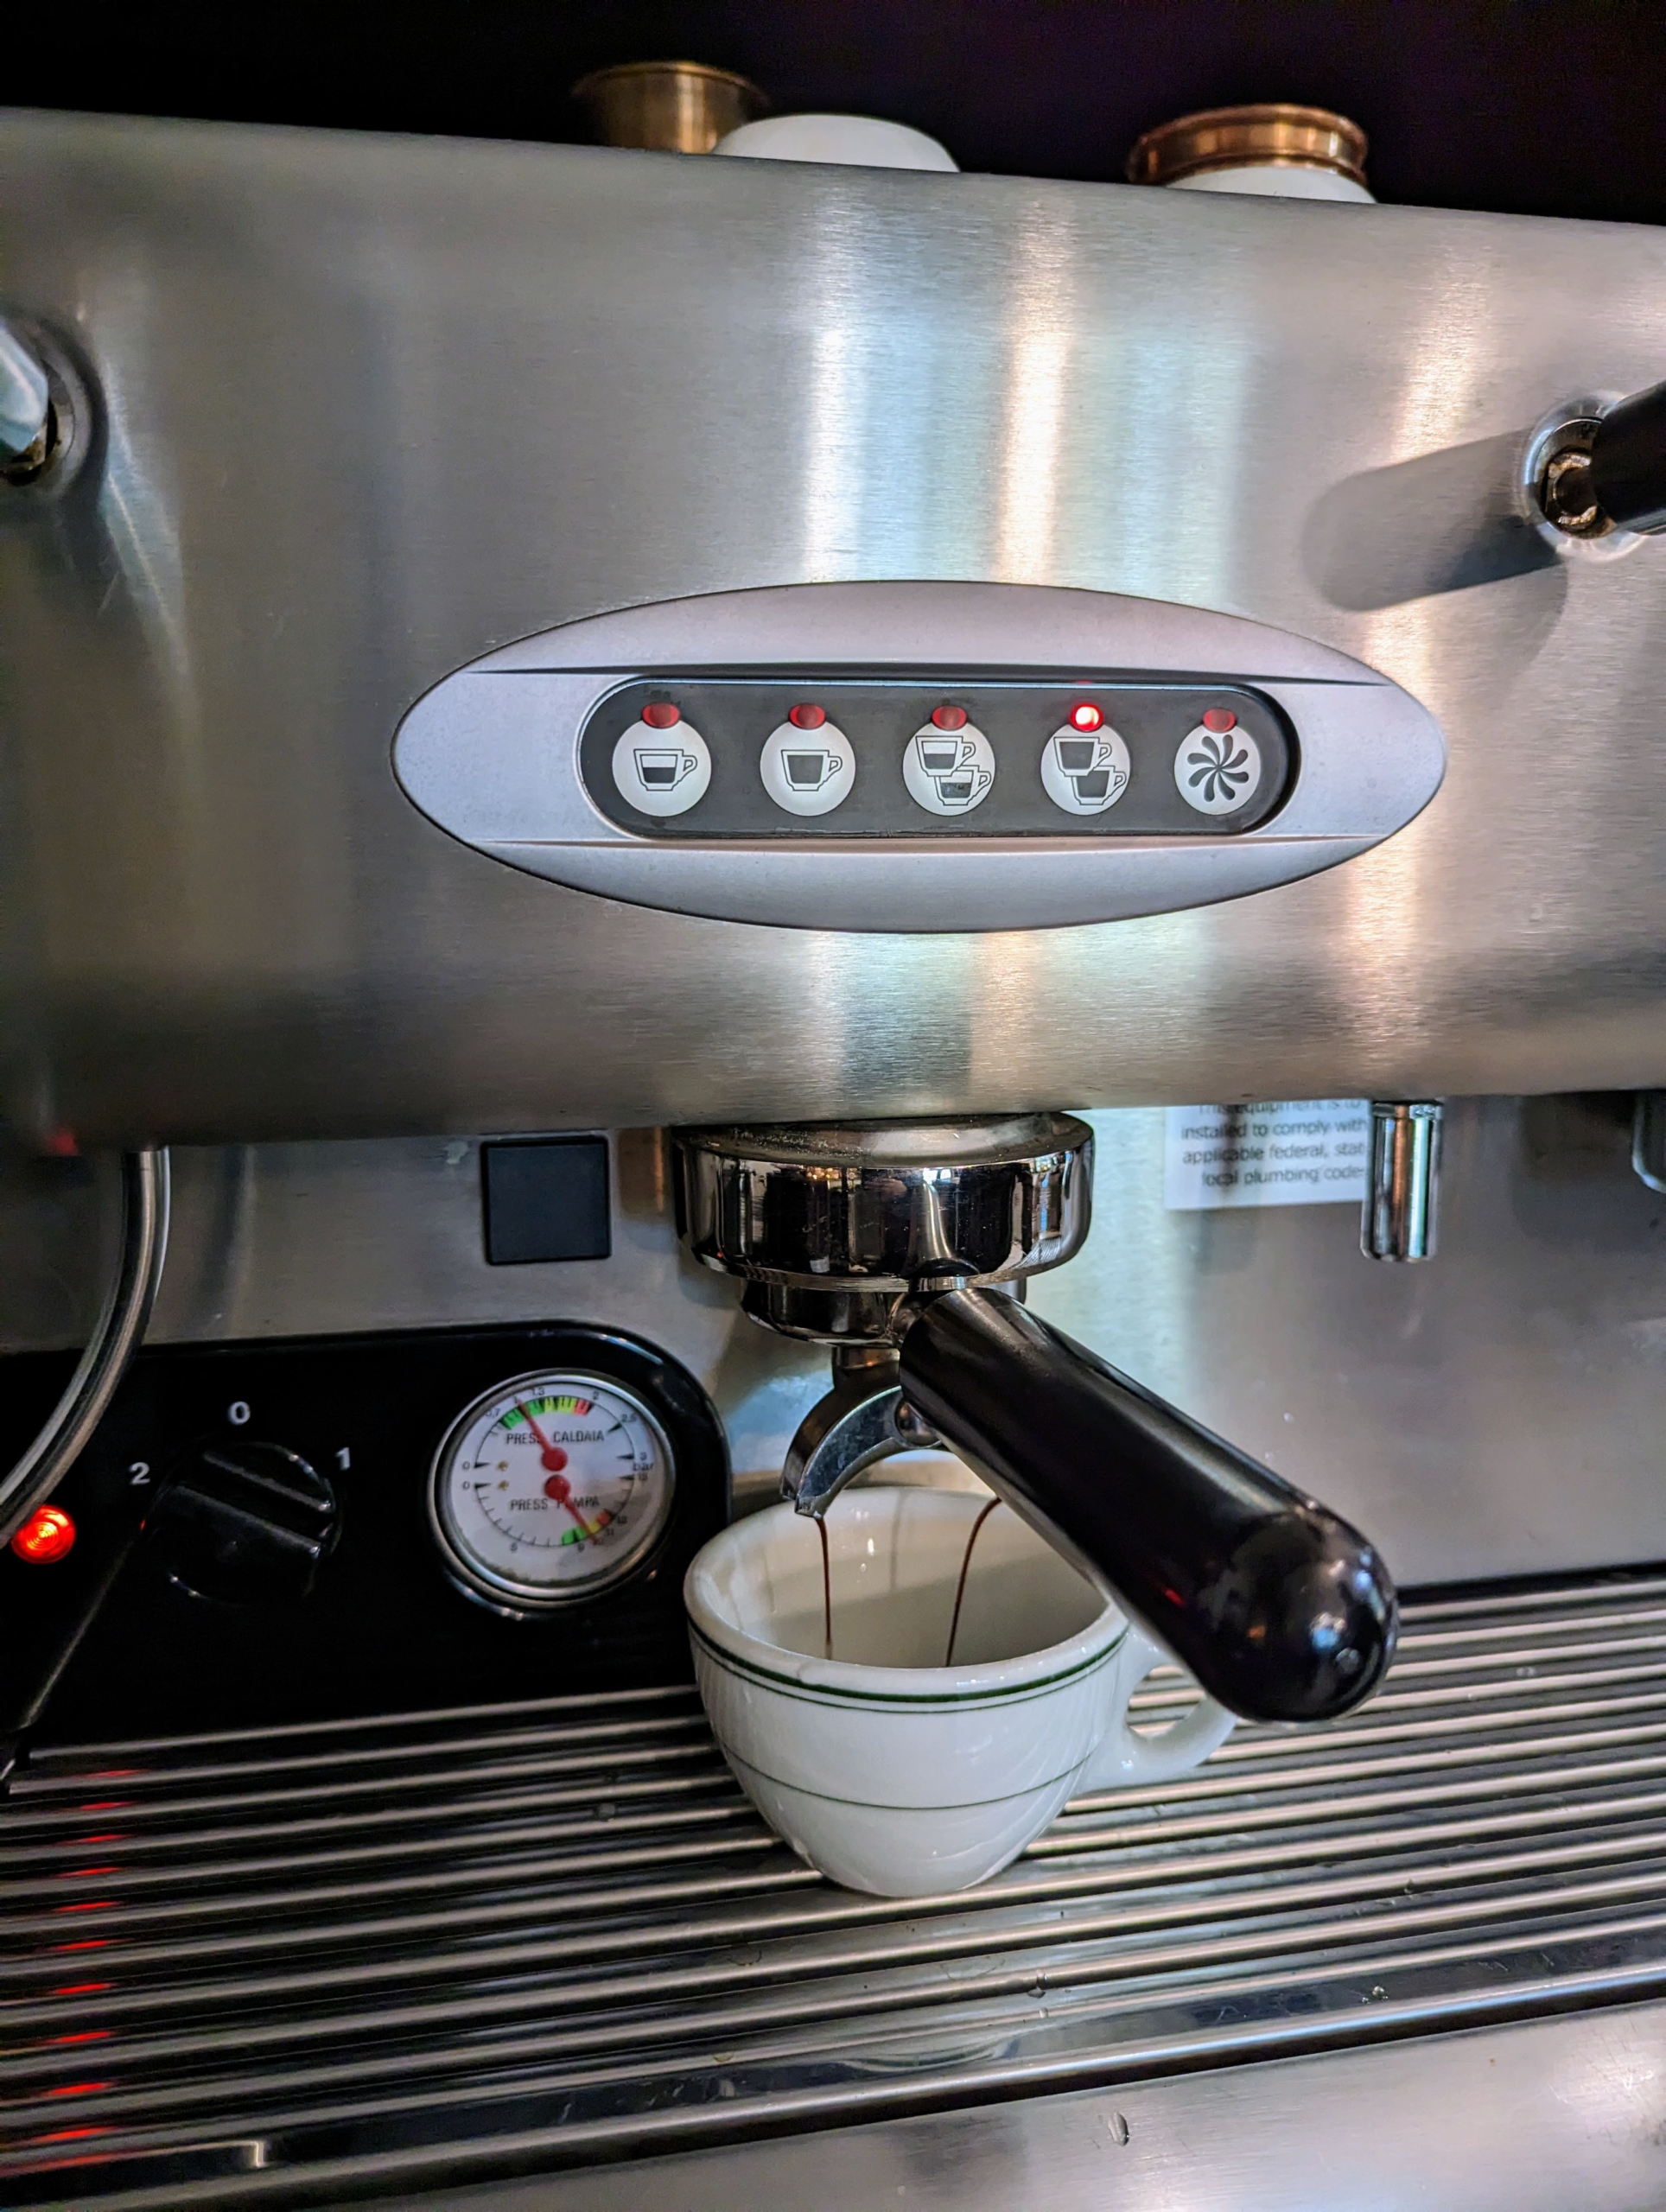
This is one of the machine’s two push button panels. It has five key buttons. The star like symbol on the far right is the continuous and programming button. The other four are volumetric keys which set the amount or strength of the beverage being made.
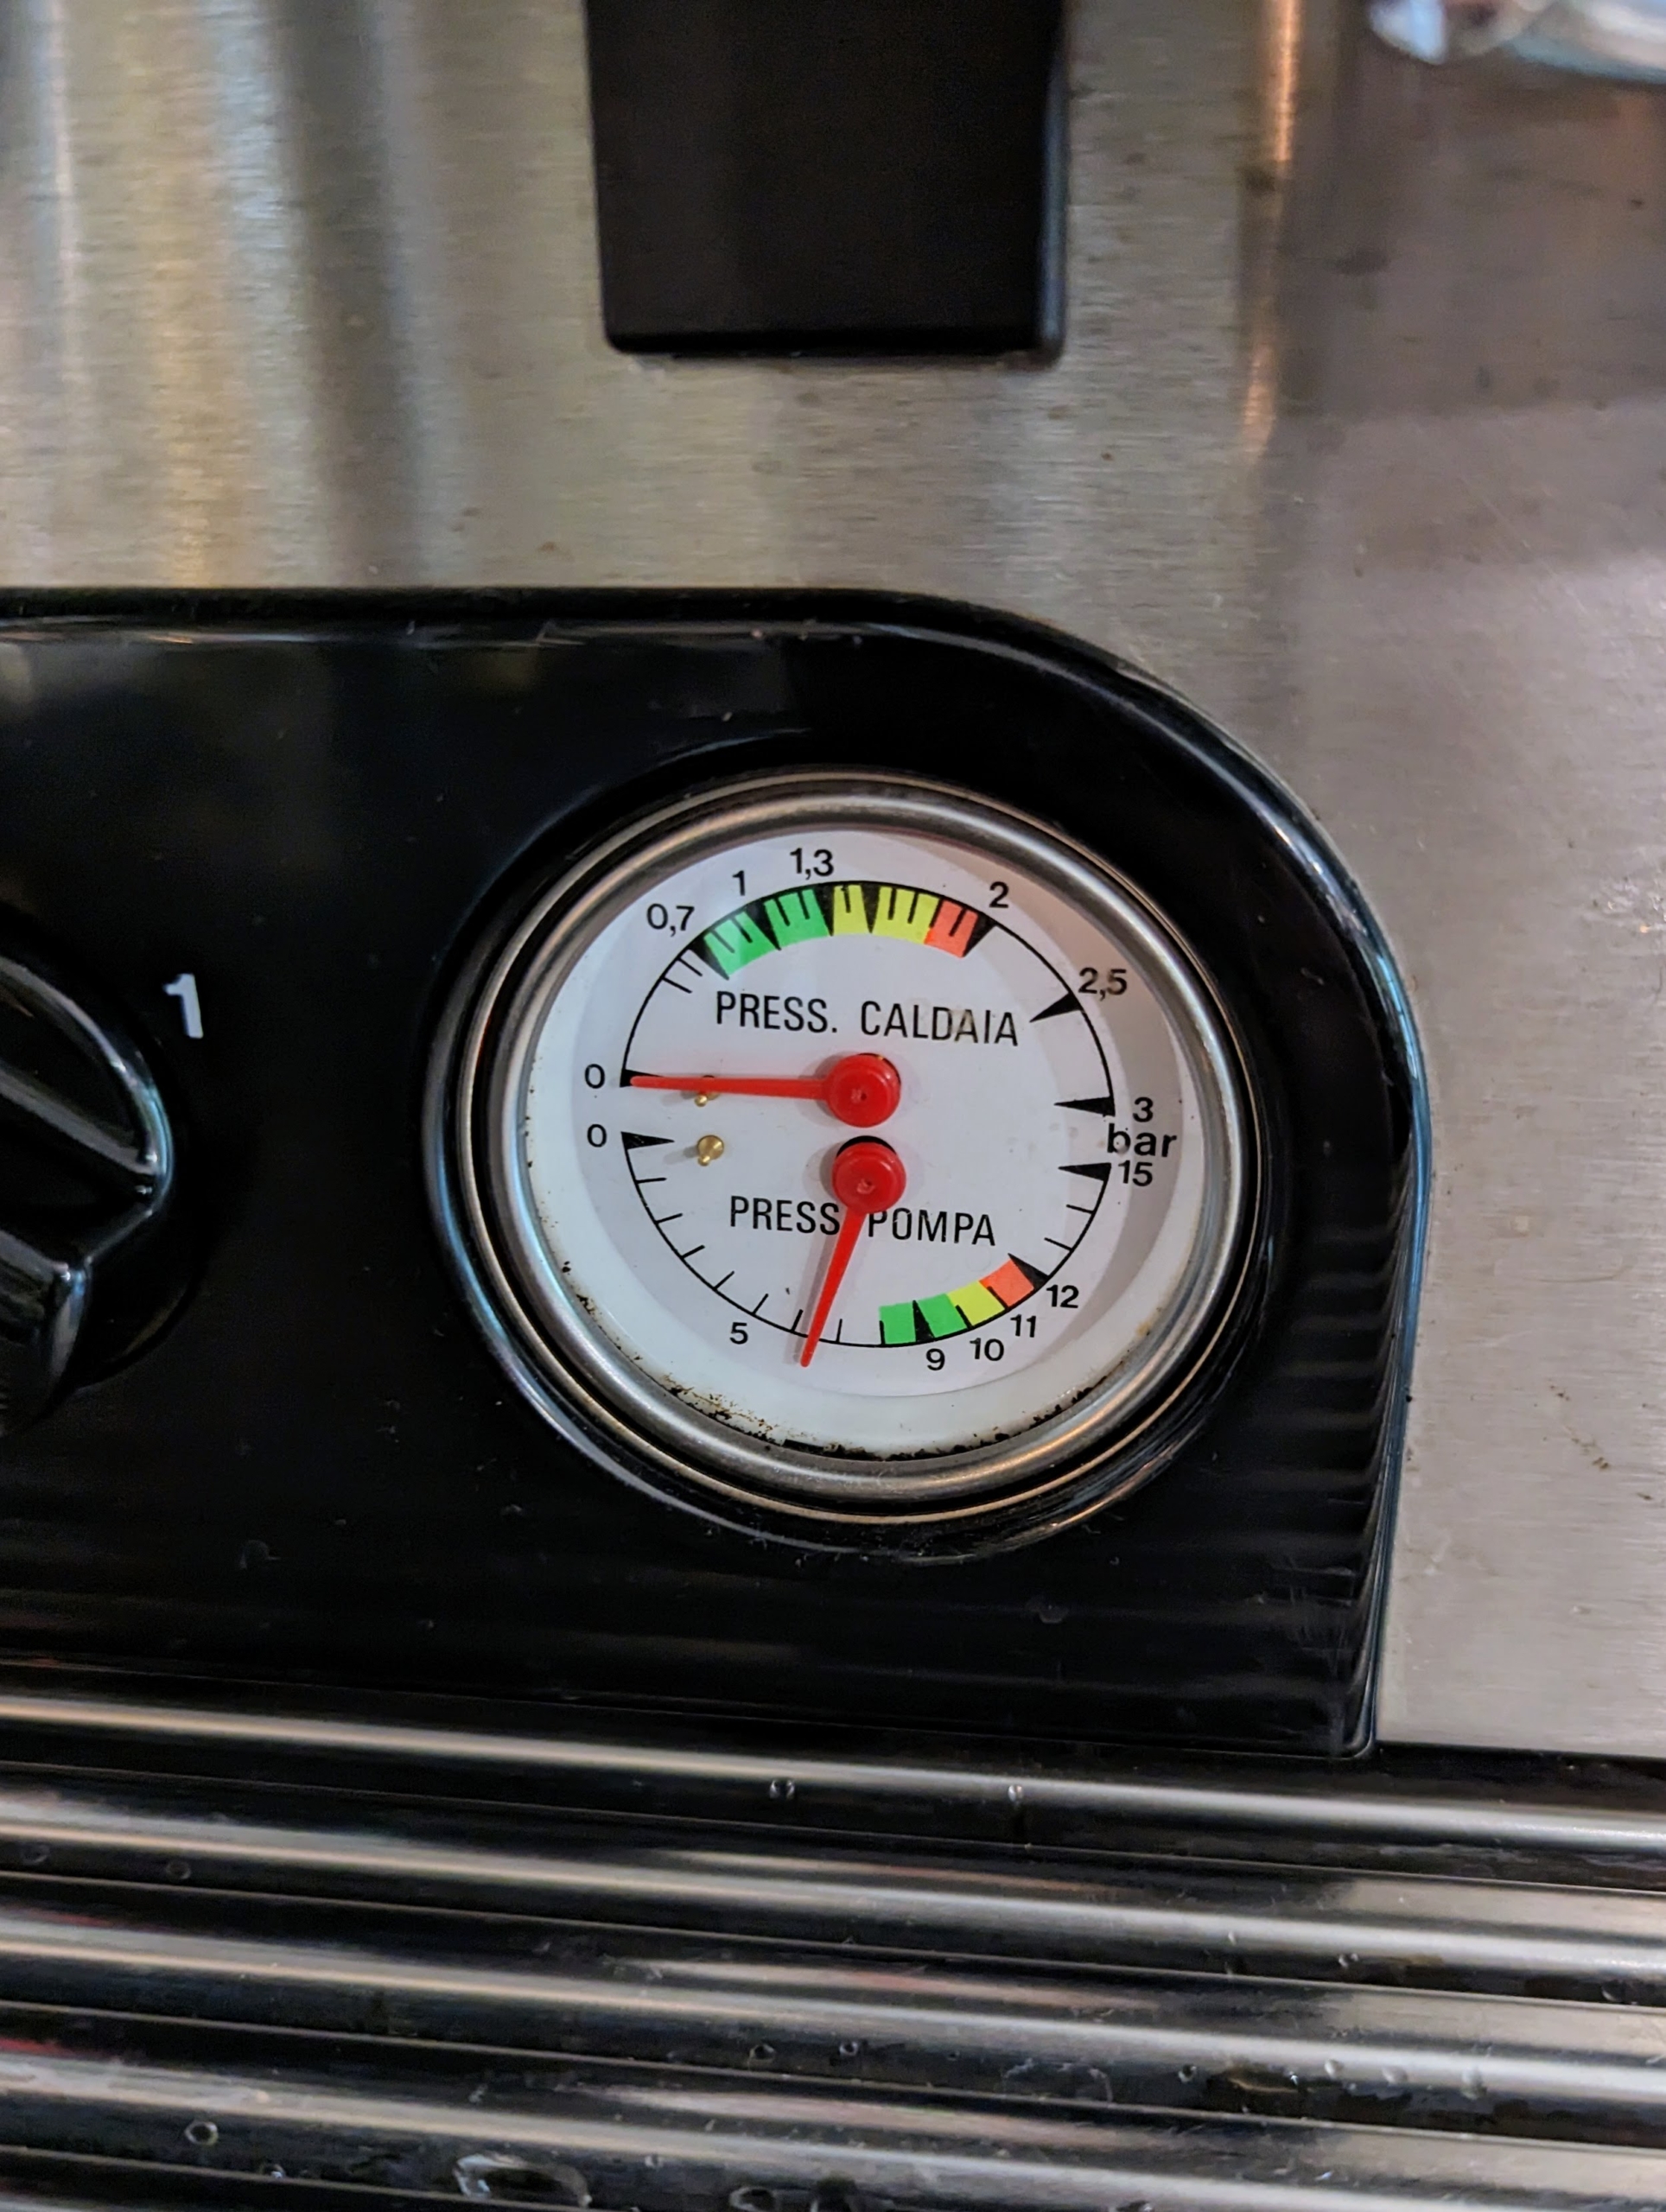
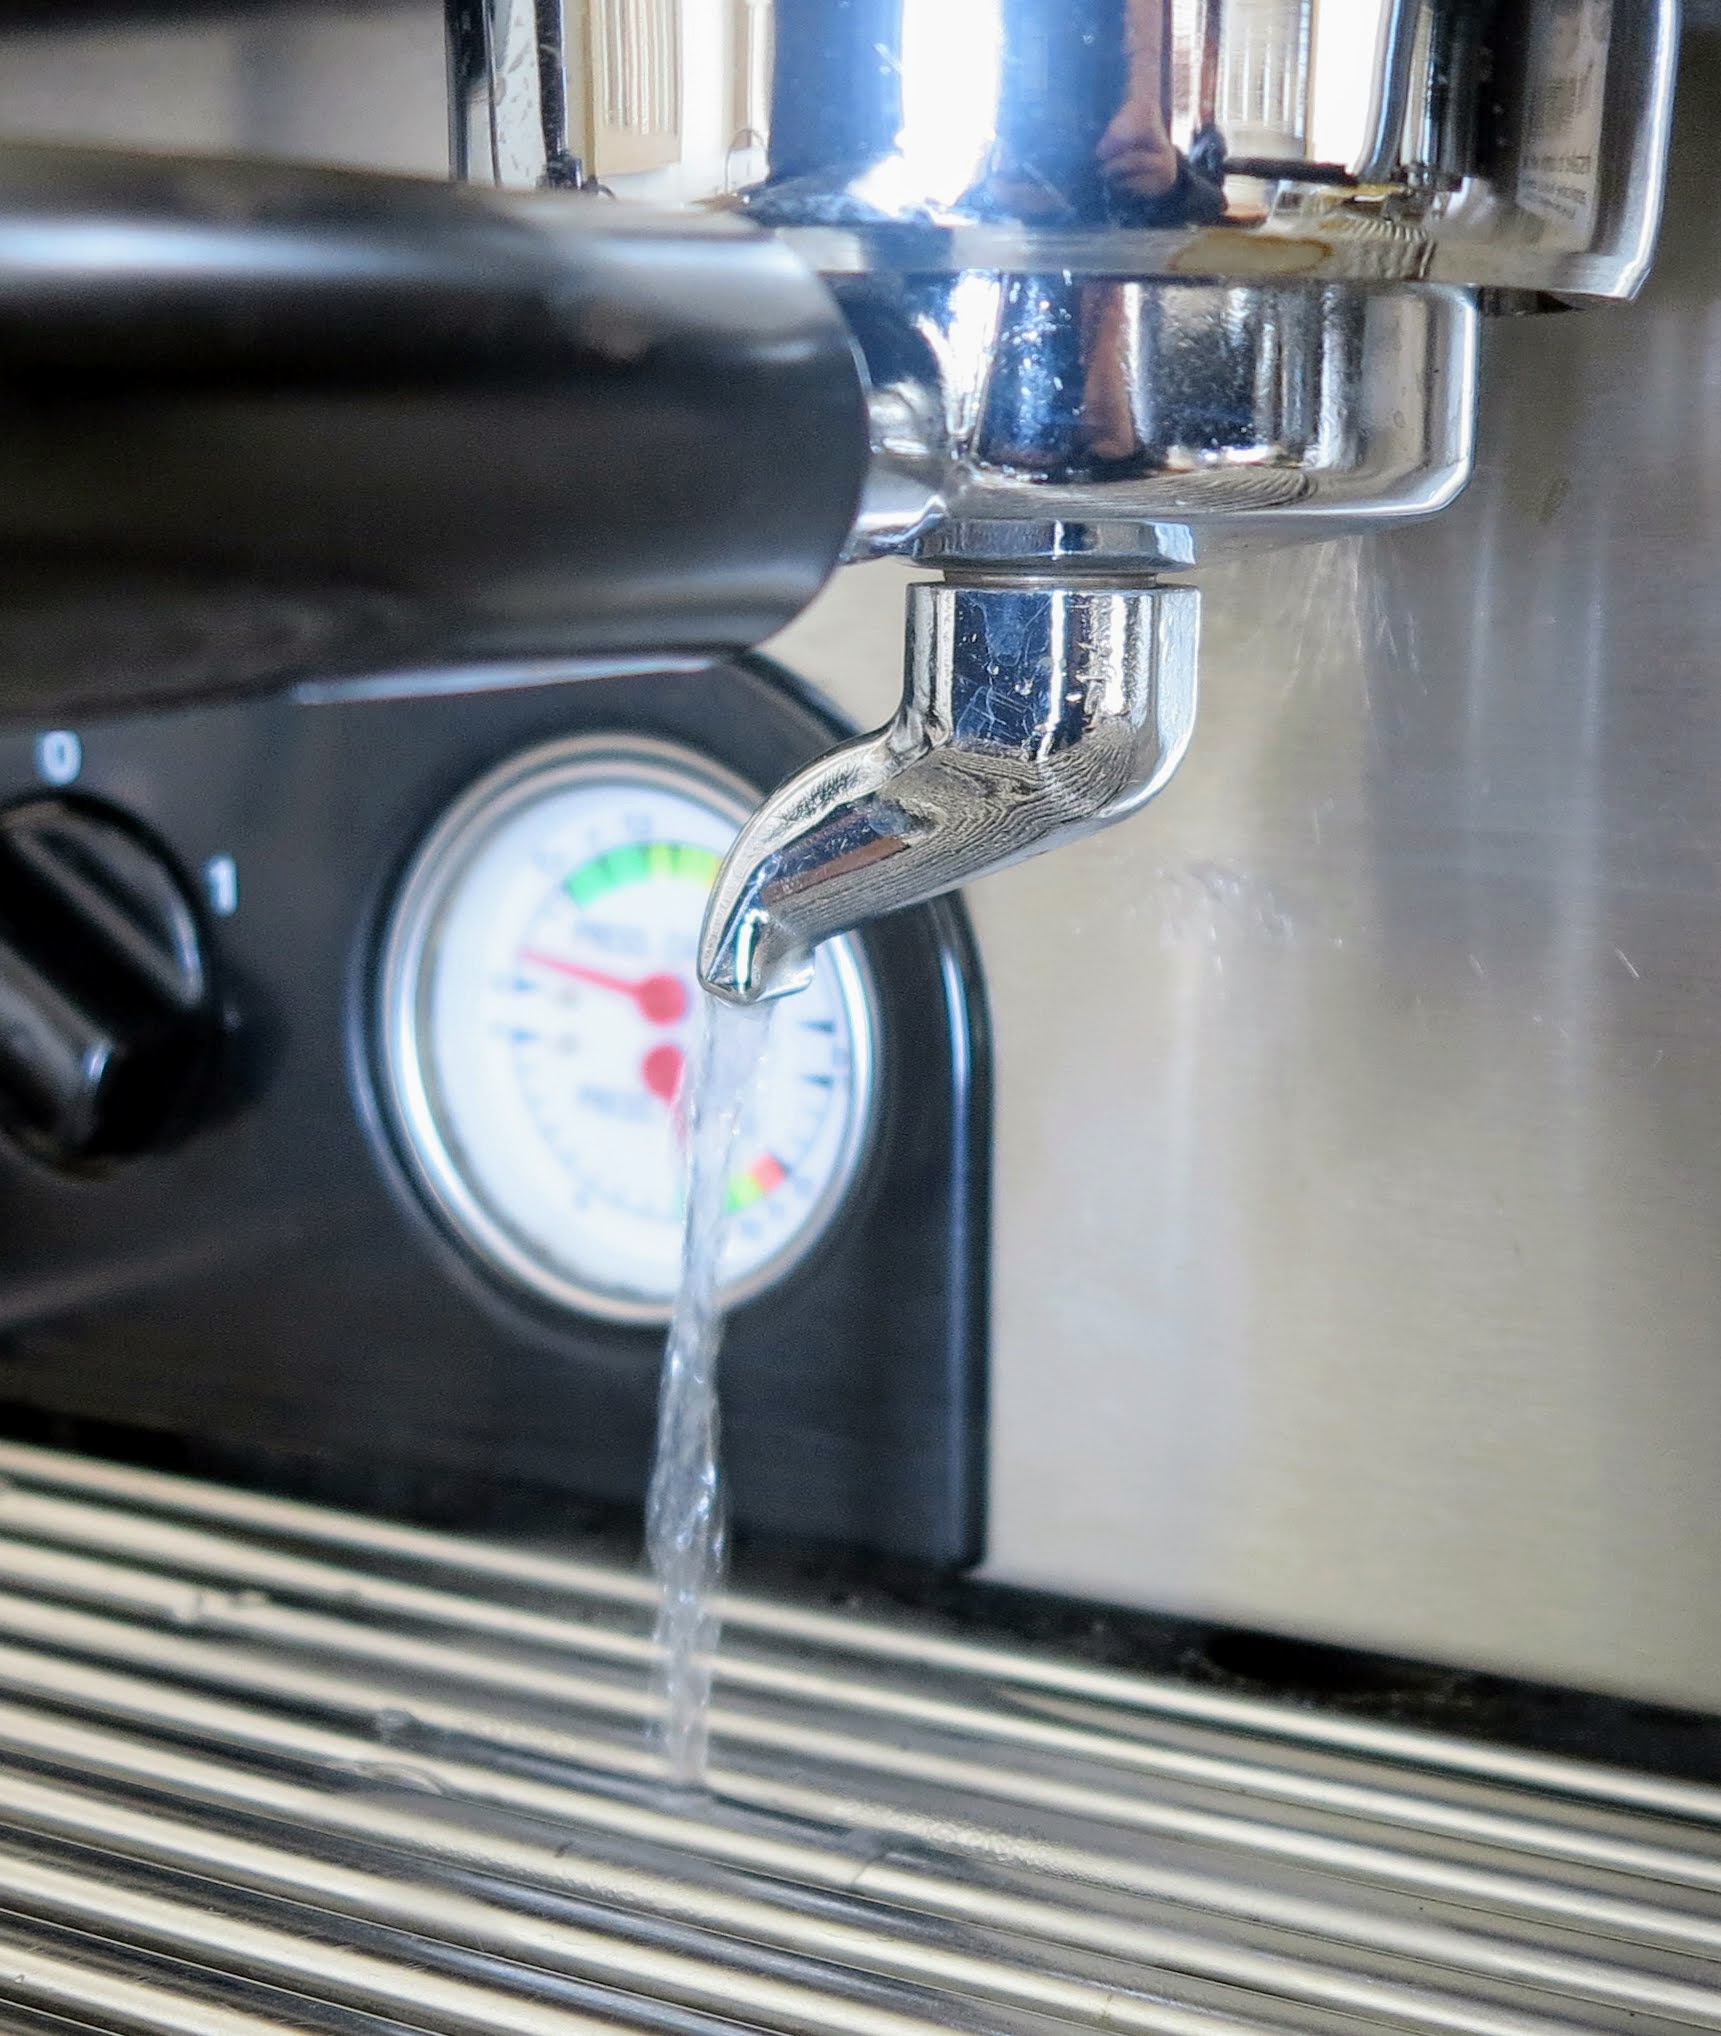
This is the pressure gage. The top indicates the pressure of the steam, while the bottom displays the pressure of the water. When it is in use, both areas should always be within the green limits.
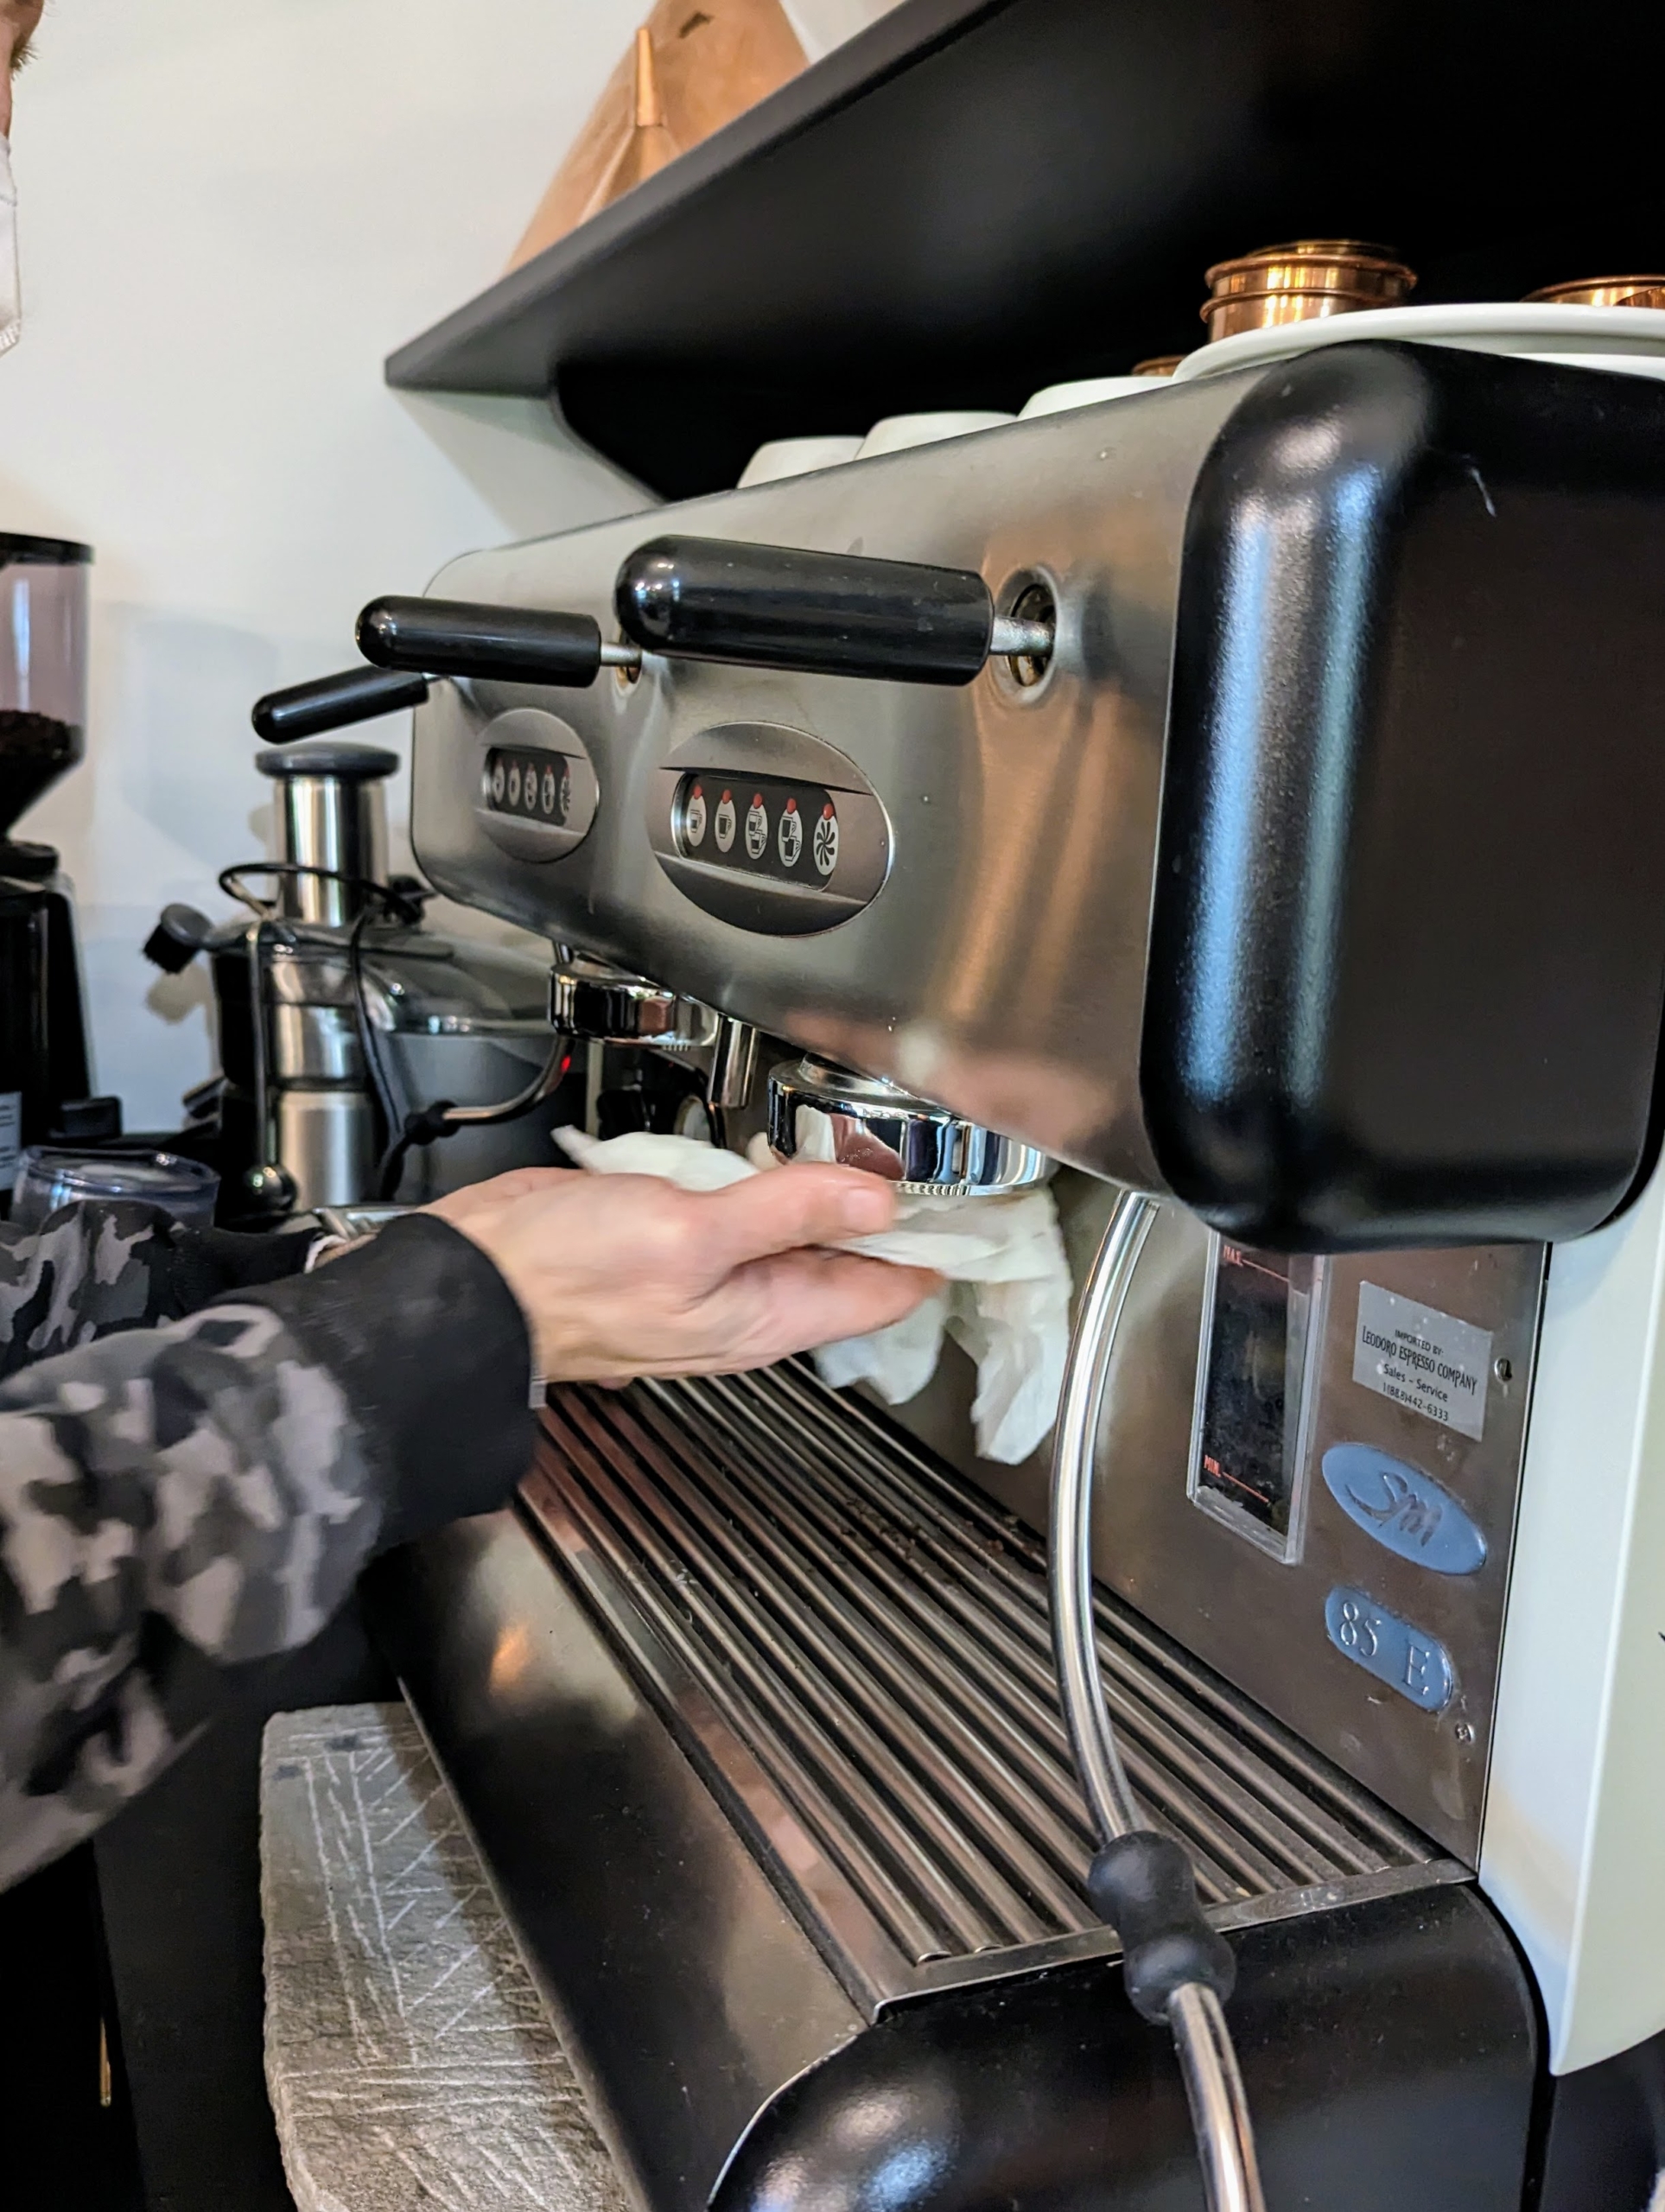
Donald runs the water. These machines are also connected to the plumbing system. Clean water moves through the machine and flushes out the components that come in contact with the water and coffee grounds.
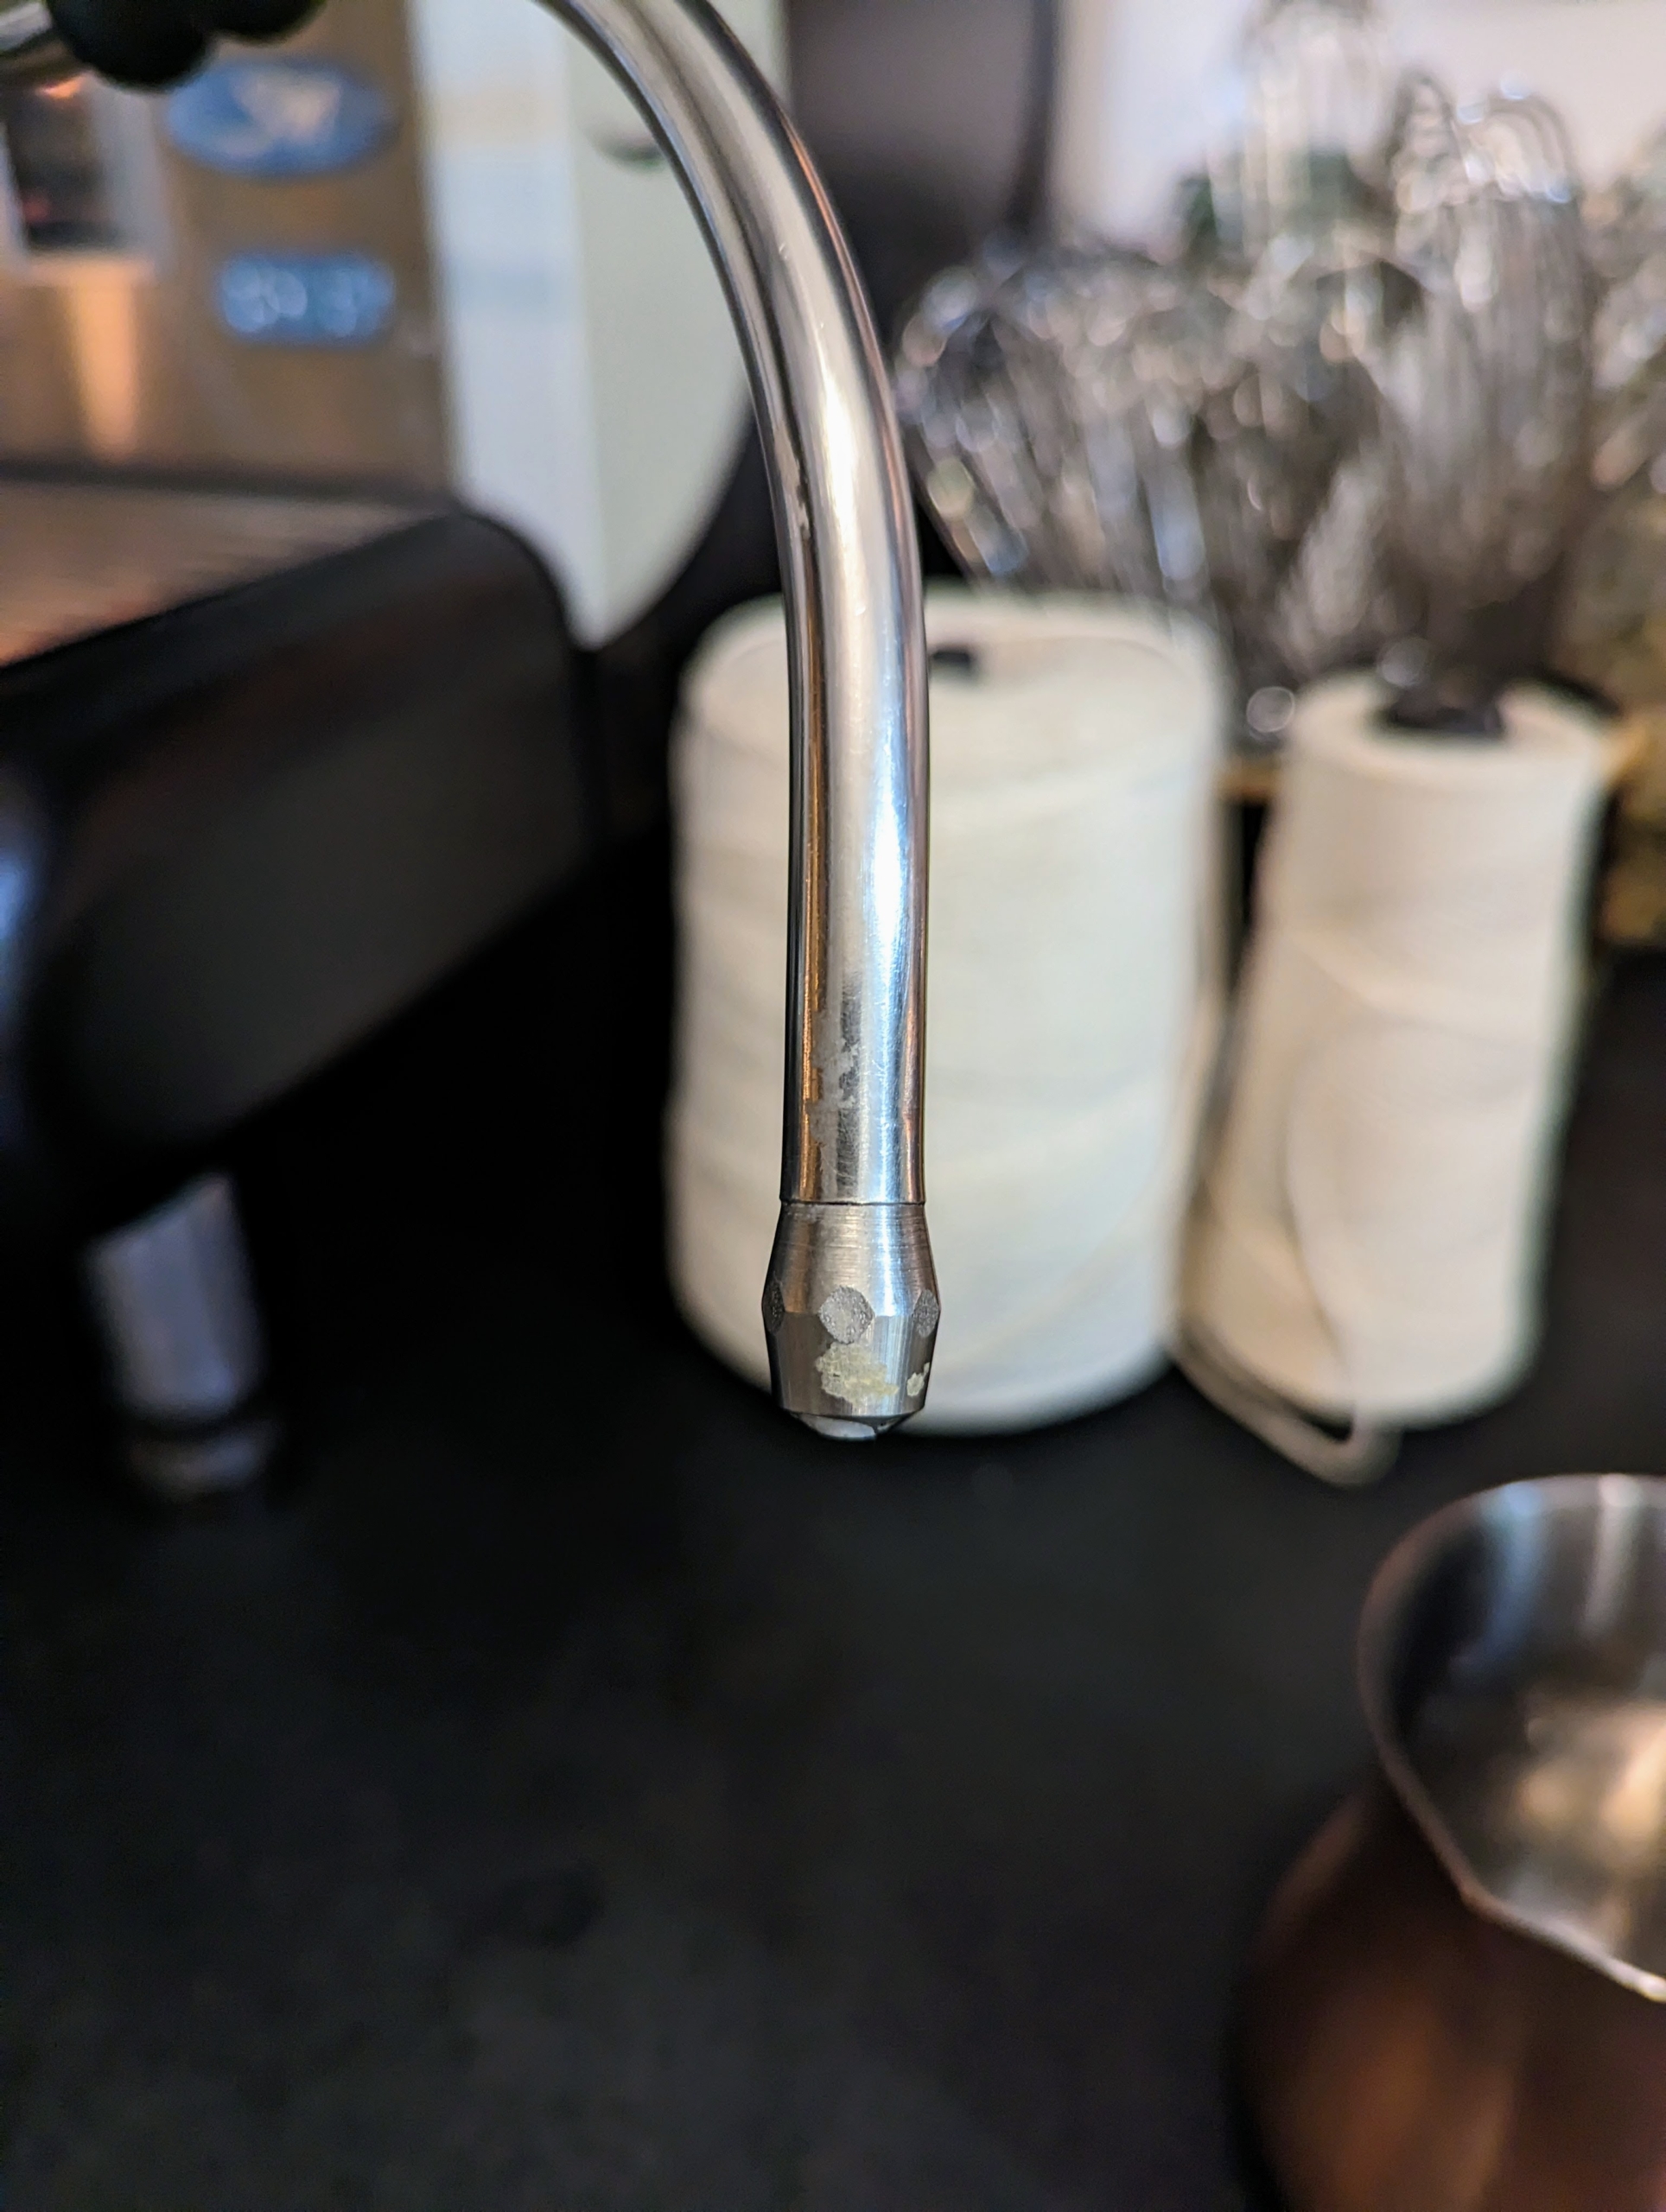
Donald also inspects the steam wand. It is important to purge and wipe the steam wand after each use and run a shot of clean water through it after every brewing session.
And always make sure there is an empty bowl or cup to catch the water that runs through the machine in order to keep spillage to a minimum.
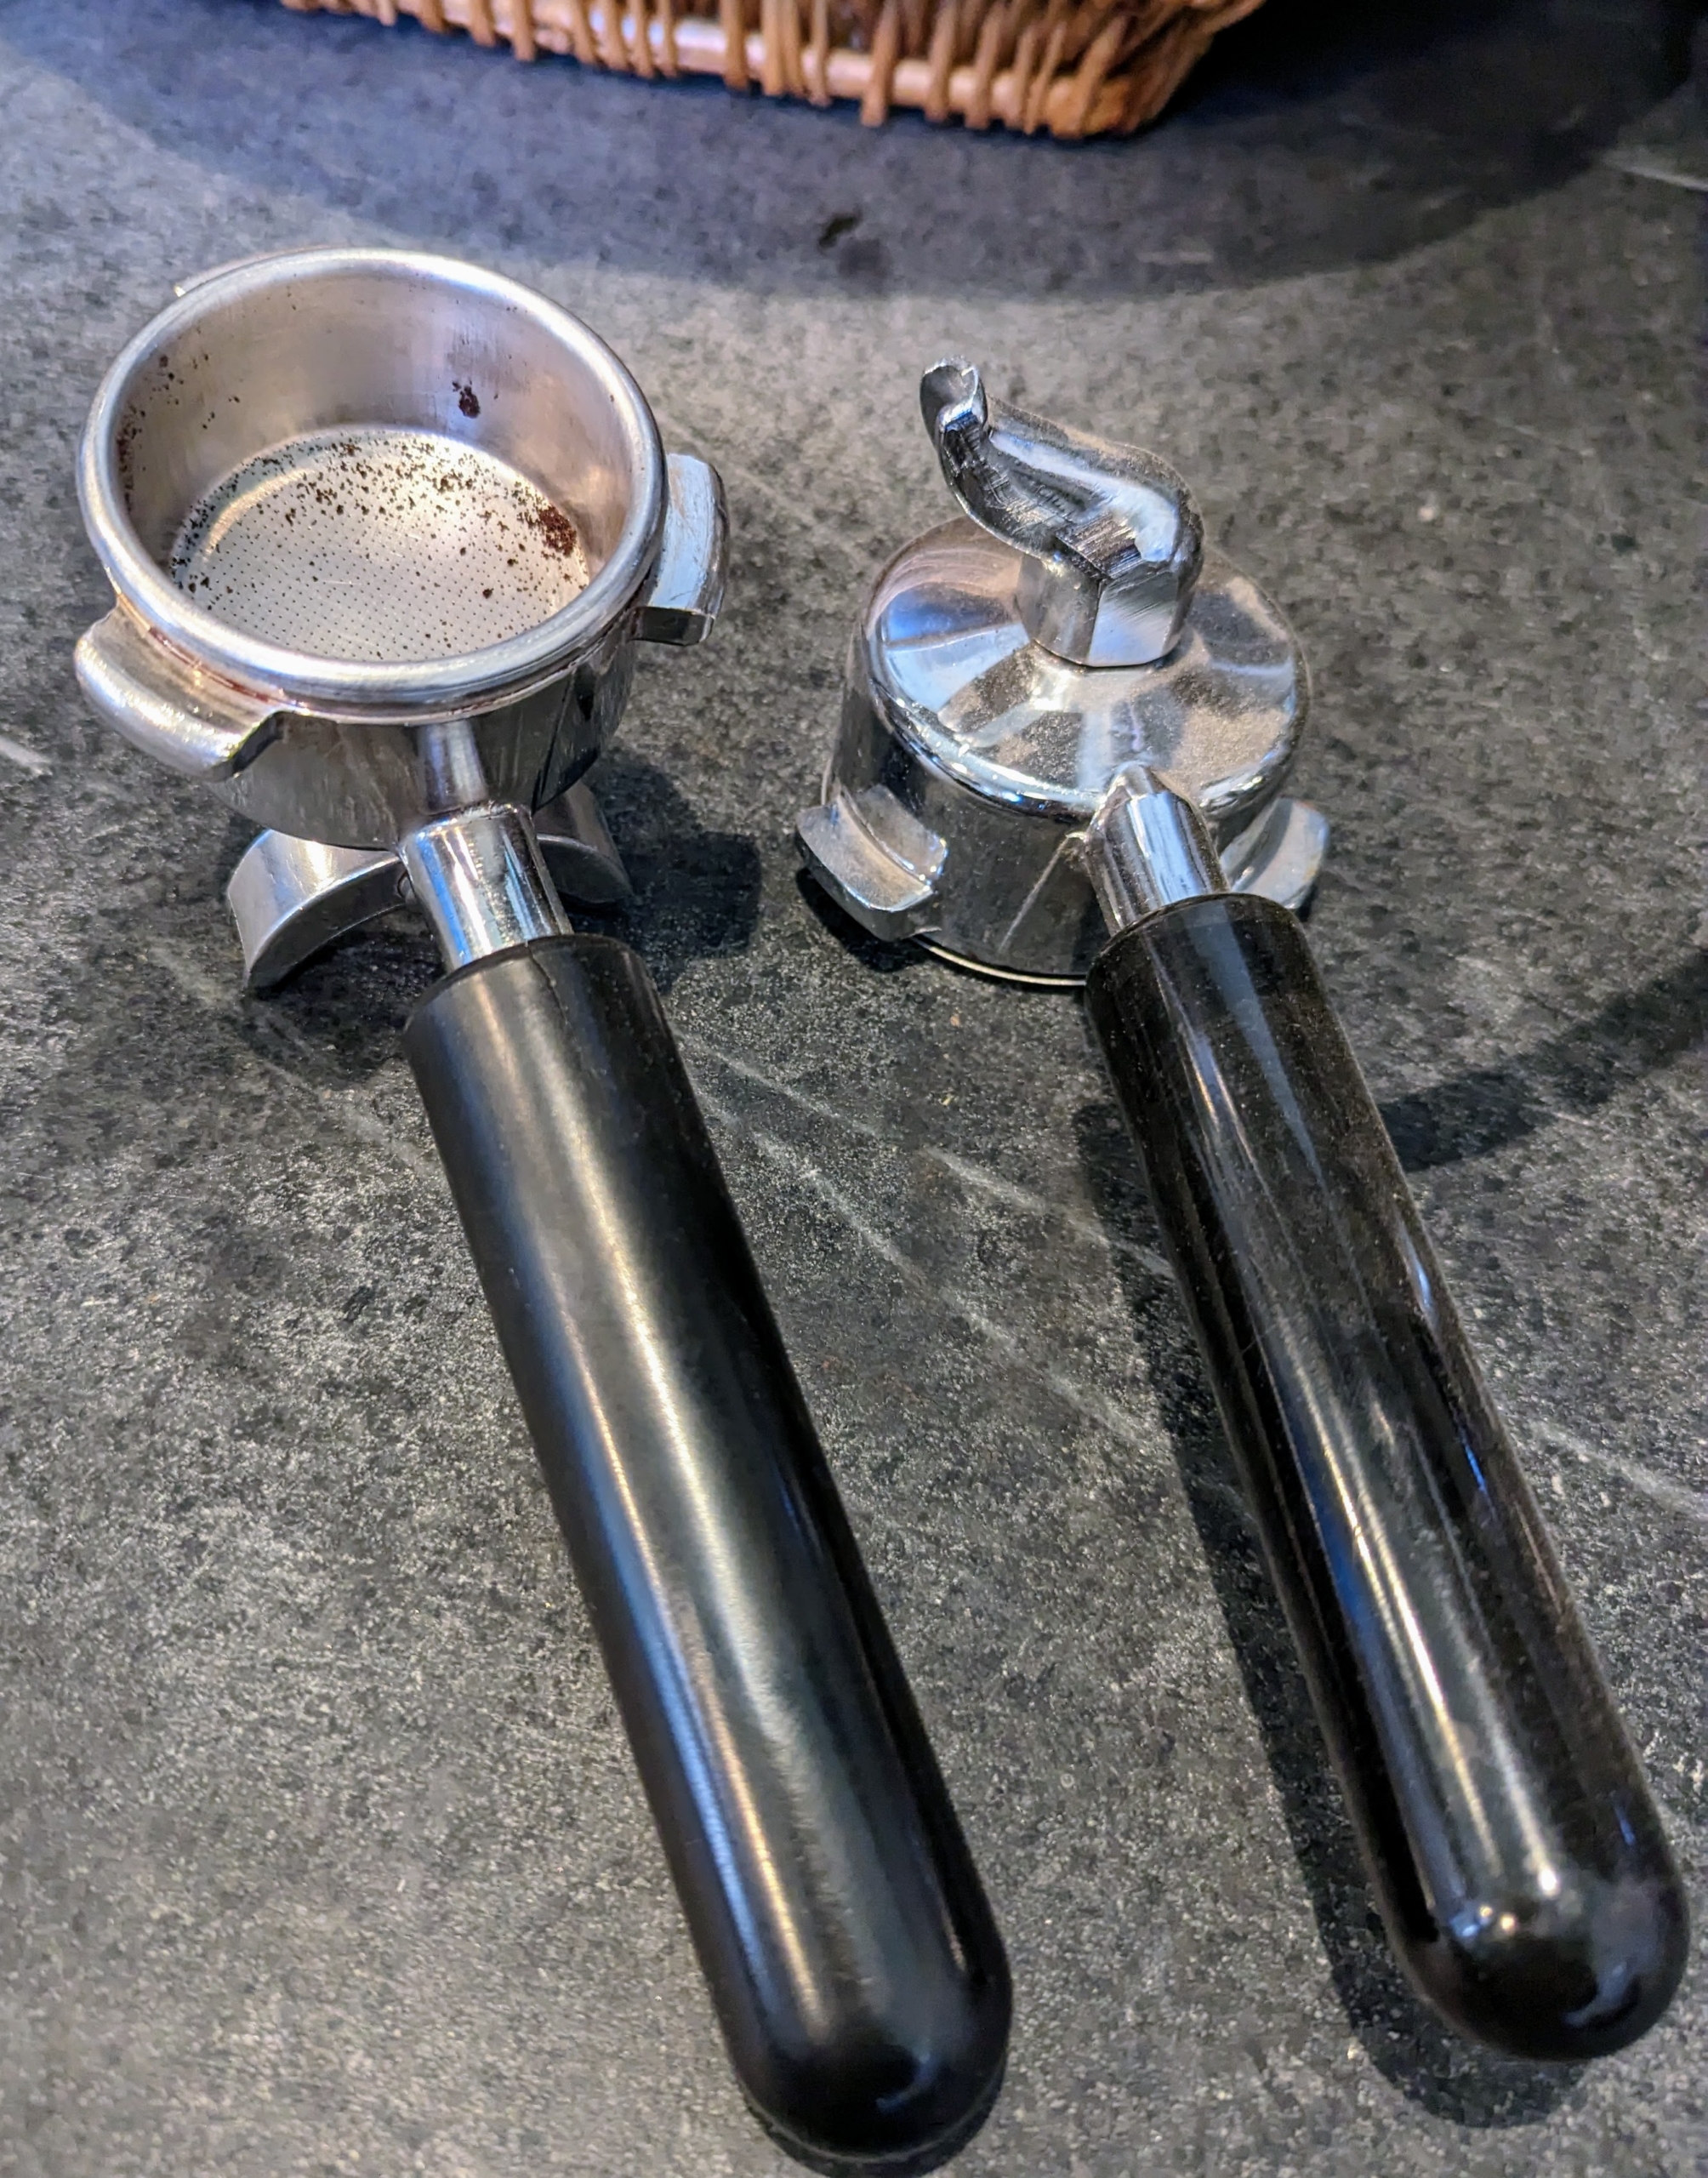
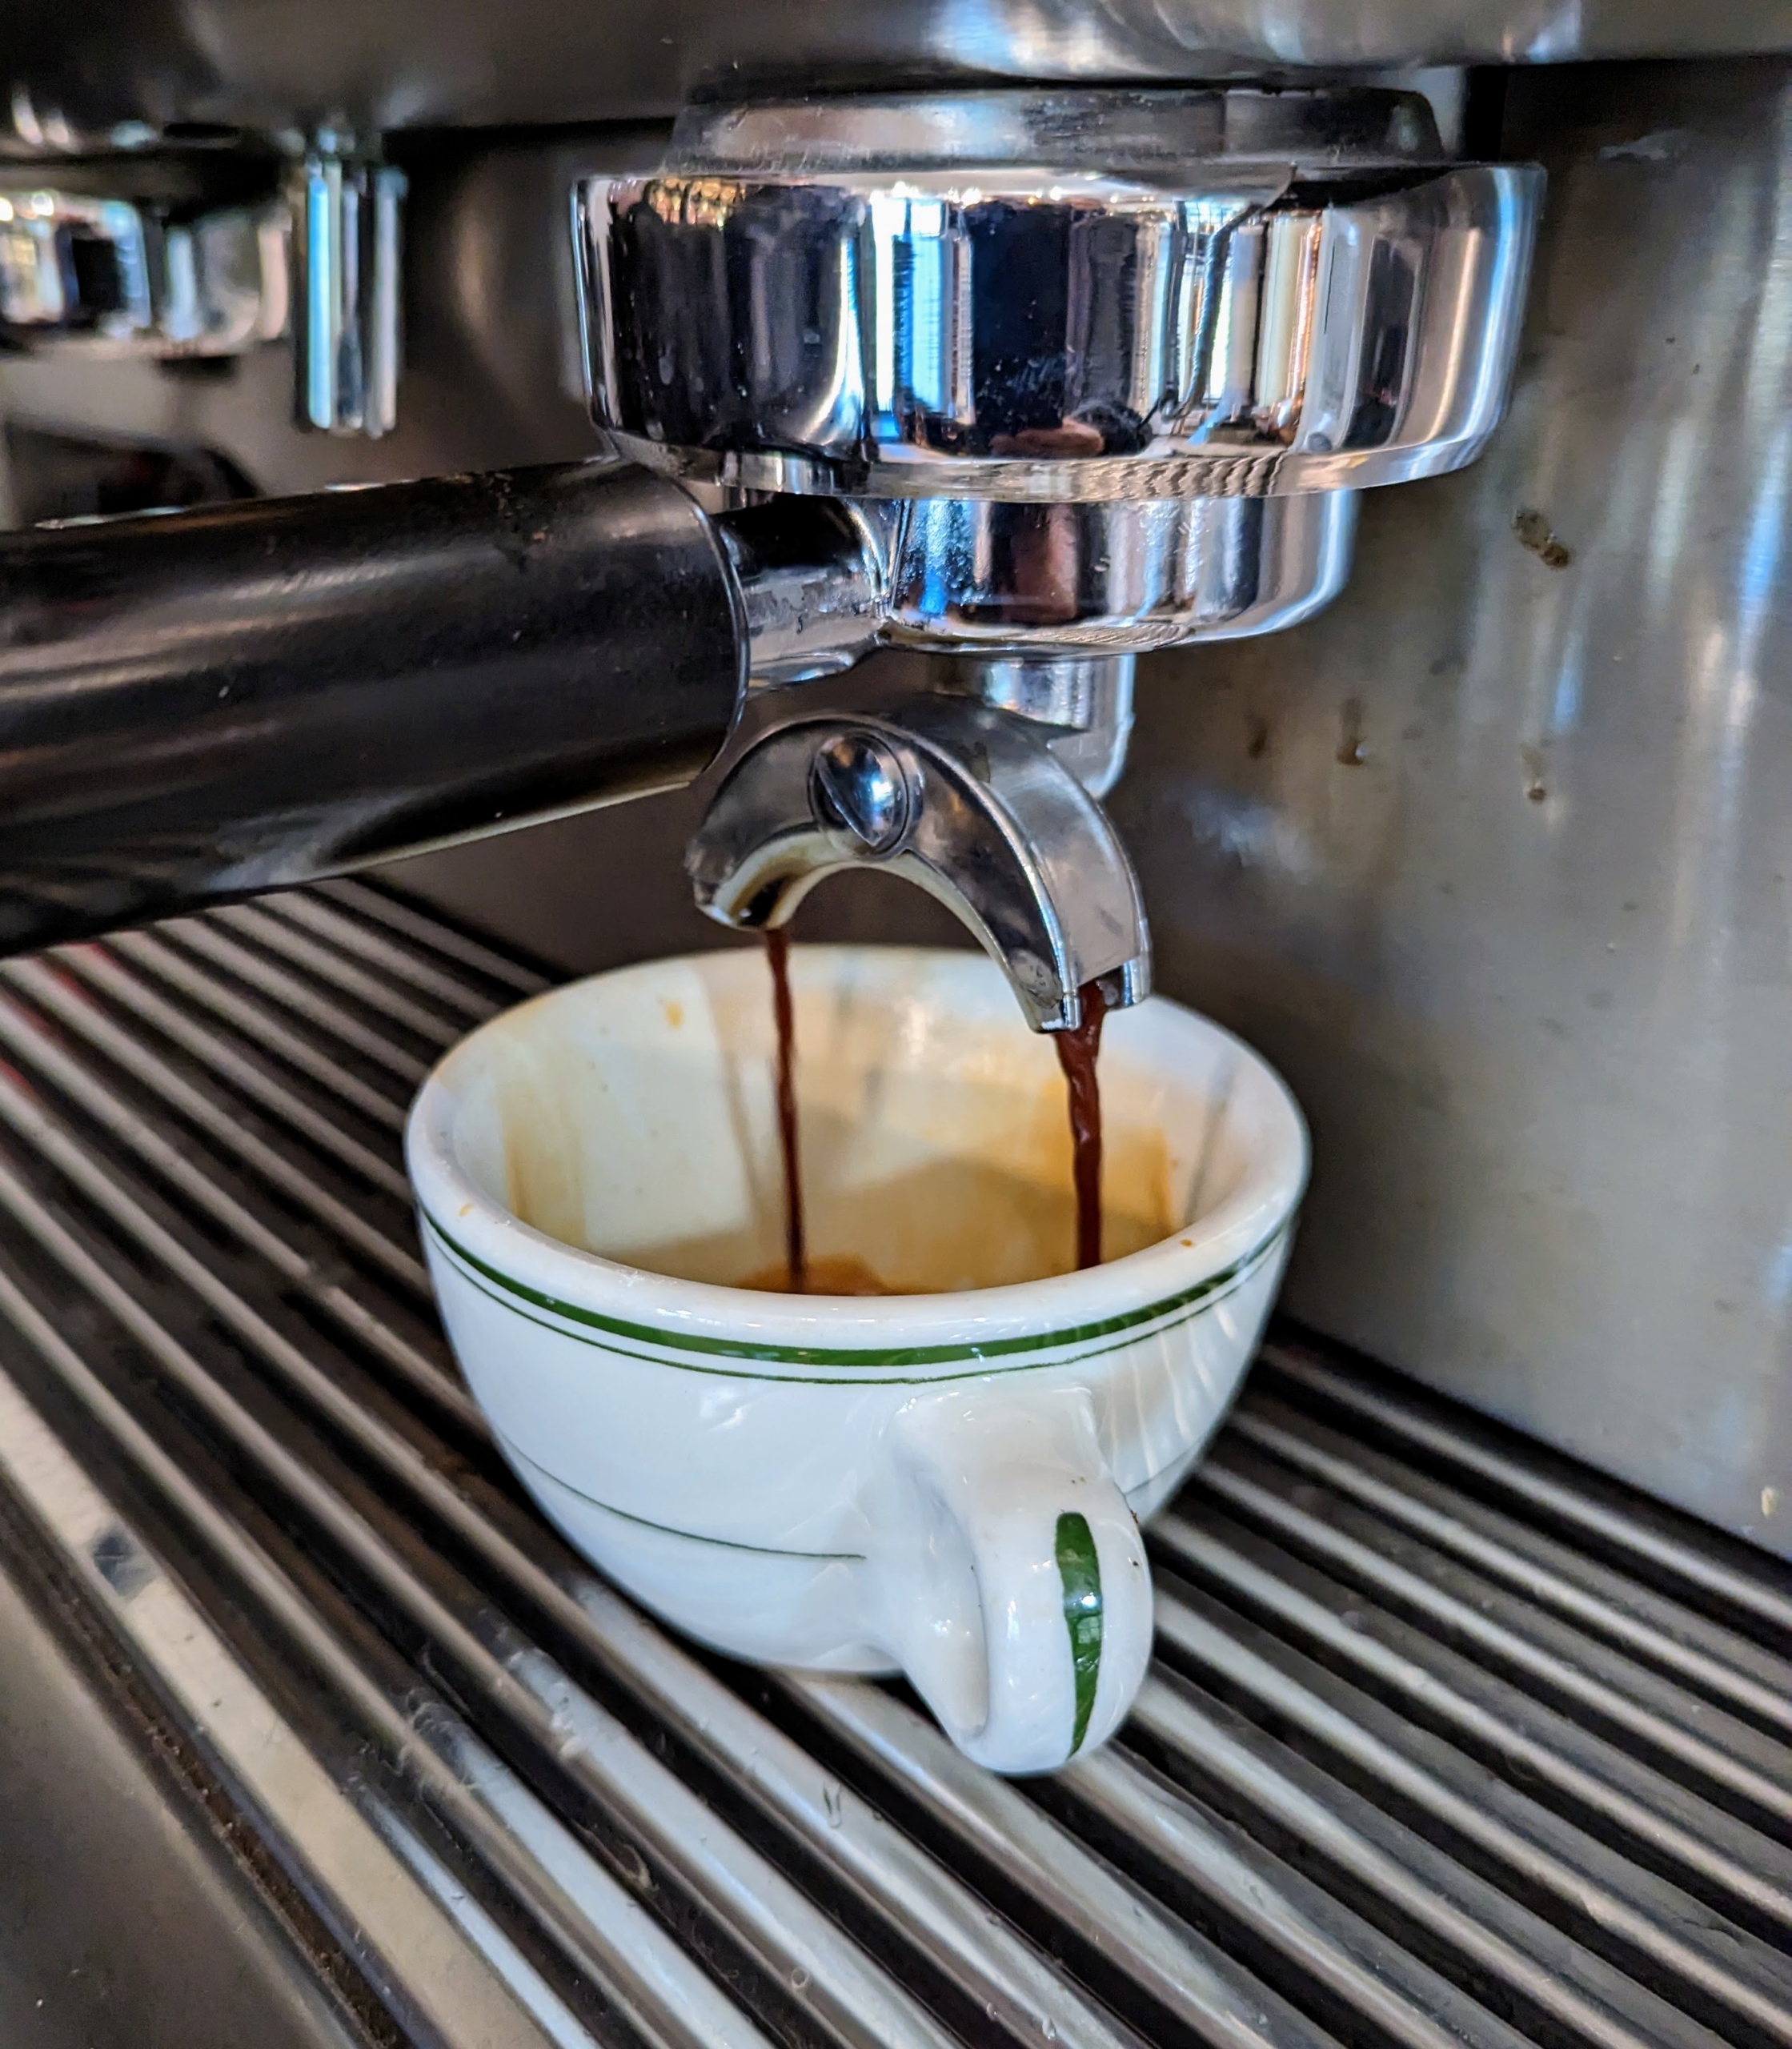
These are the portafilters. On the right, one can see the fixed spout on the bottom. These portafilters hold the ground espresso coffee from grinder to machine. These should also be cleaned after every use. Whenever cleaning any kind of espresso or coffee maker equipment and parts, avoid using dishwashing detergent, which could affect the taste of the beverages. One can use a white vinegar and water solution instead.
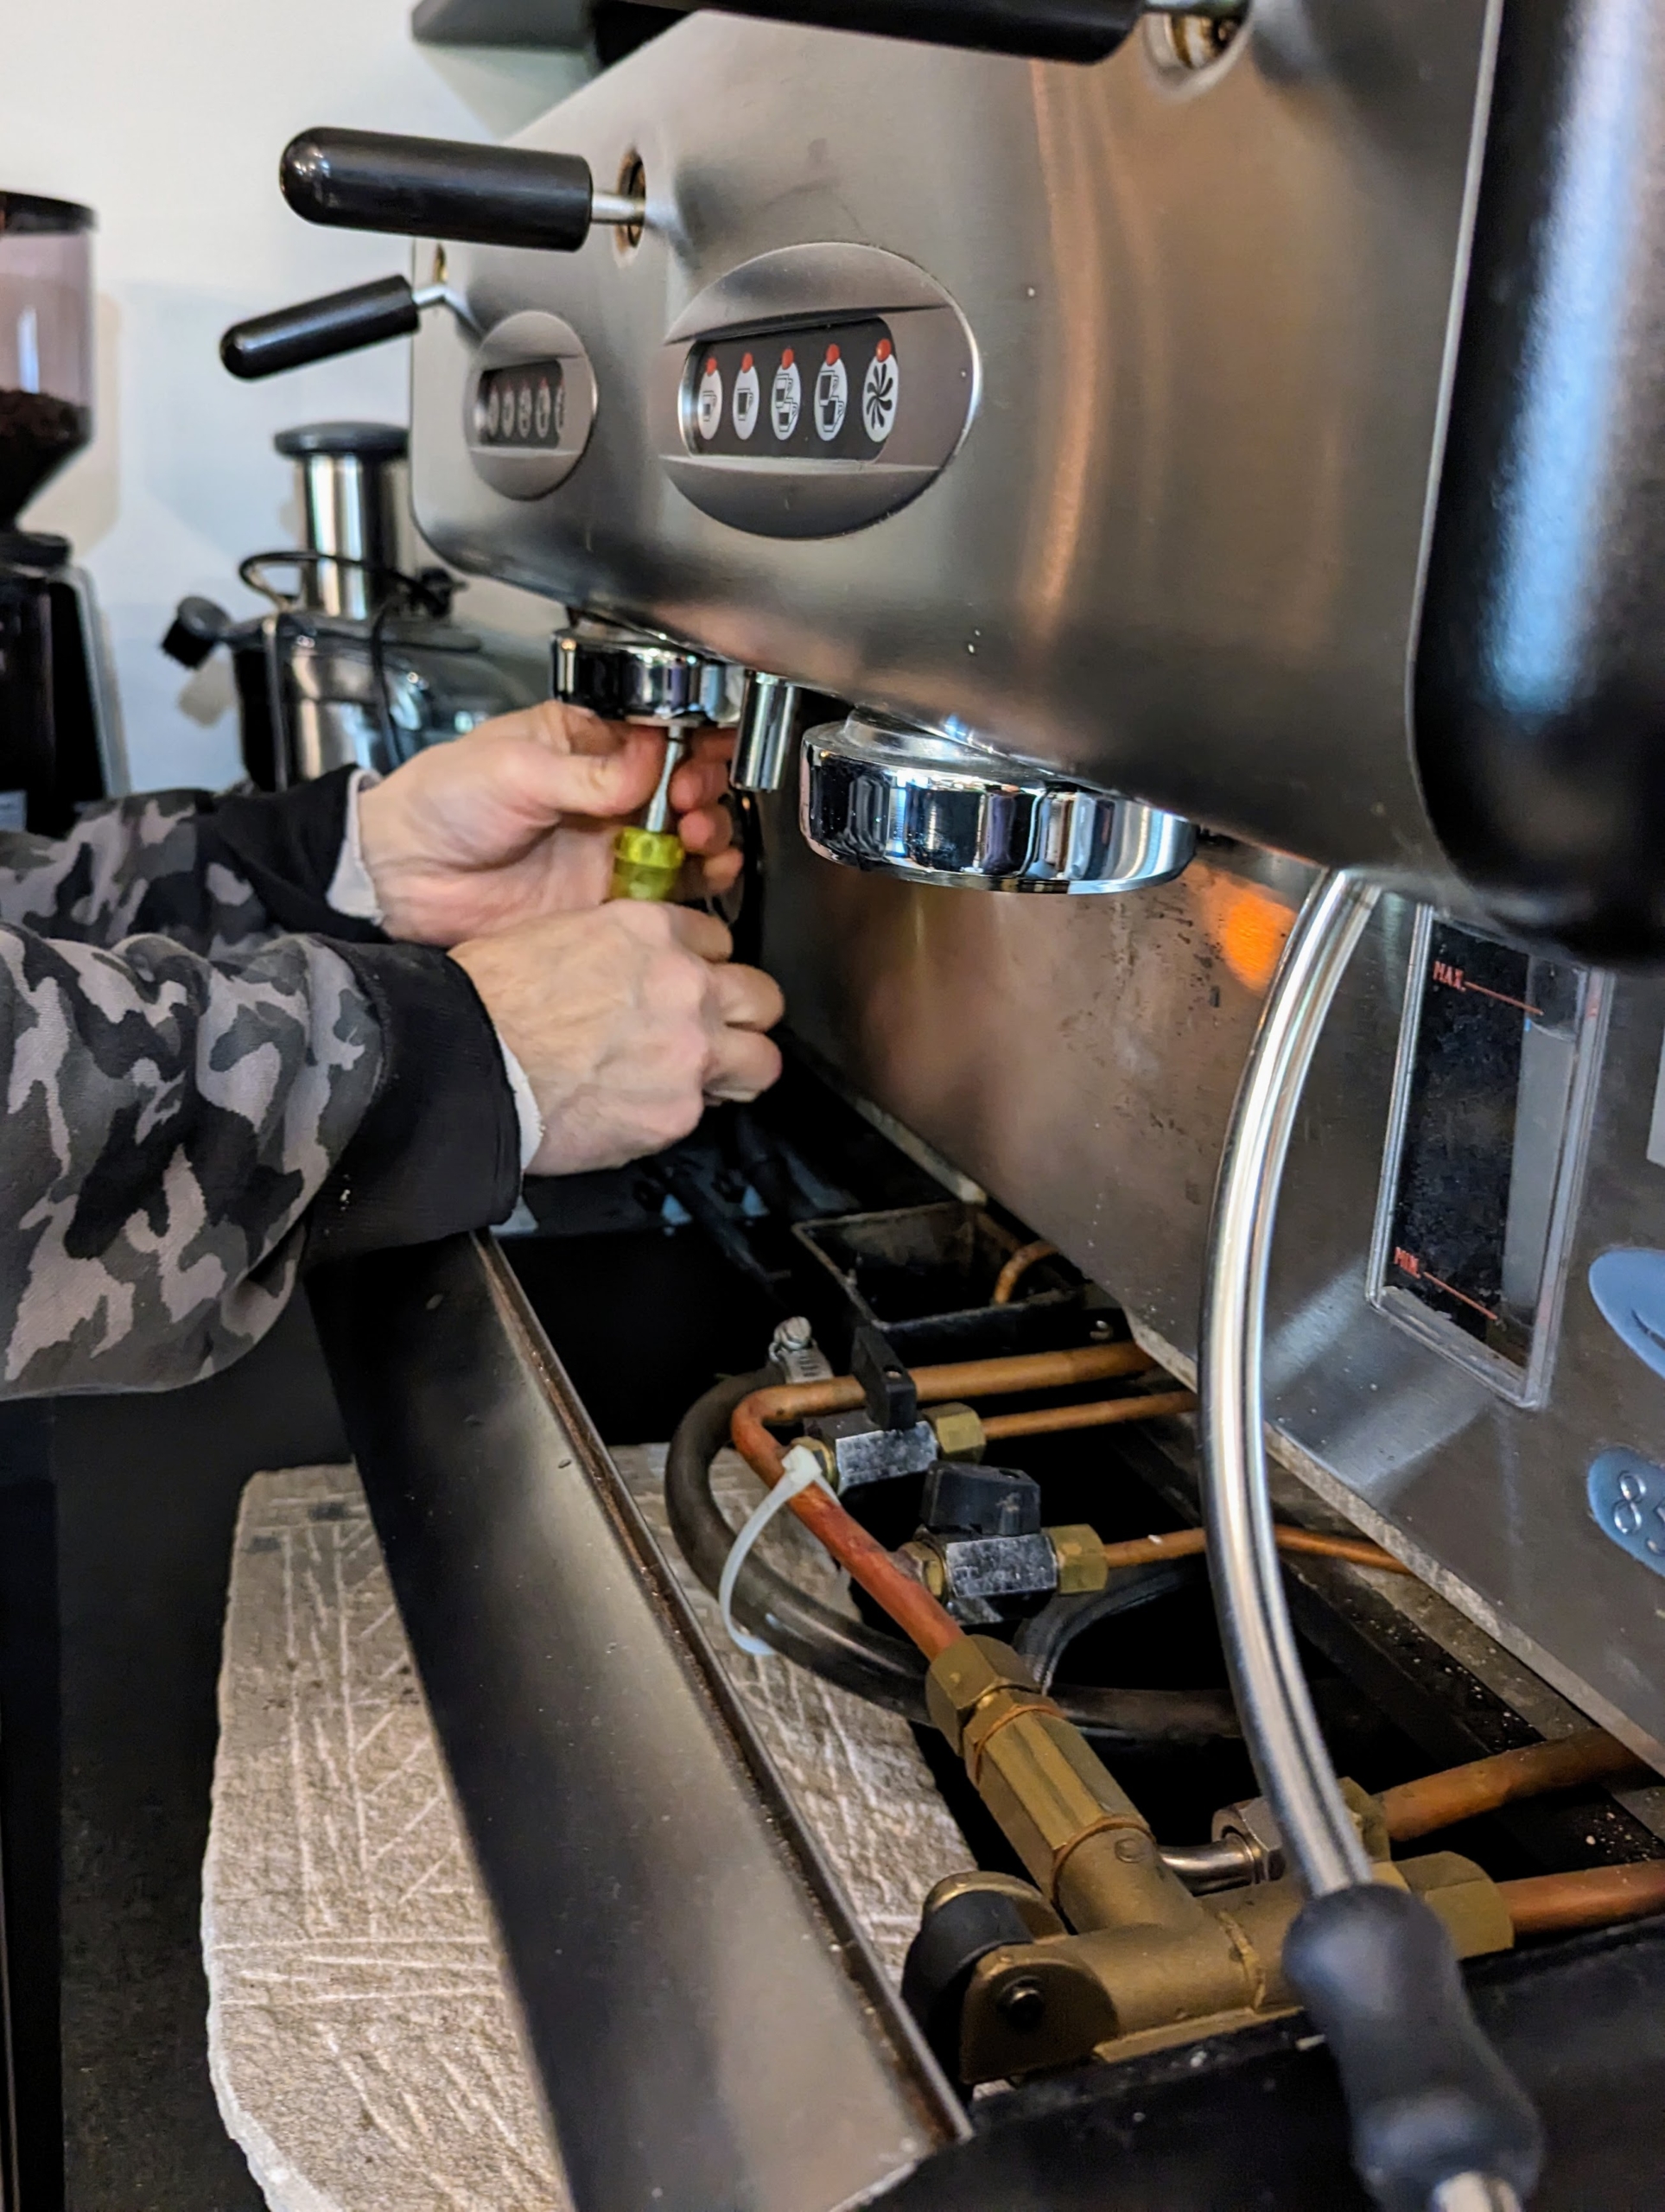
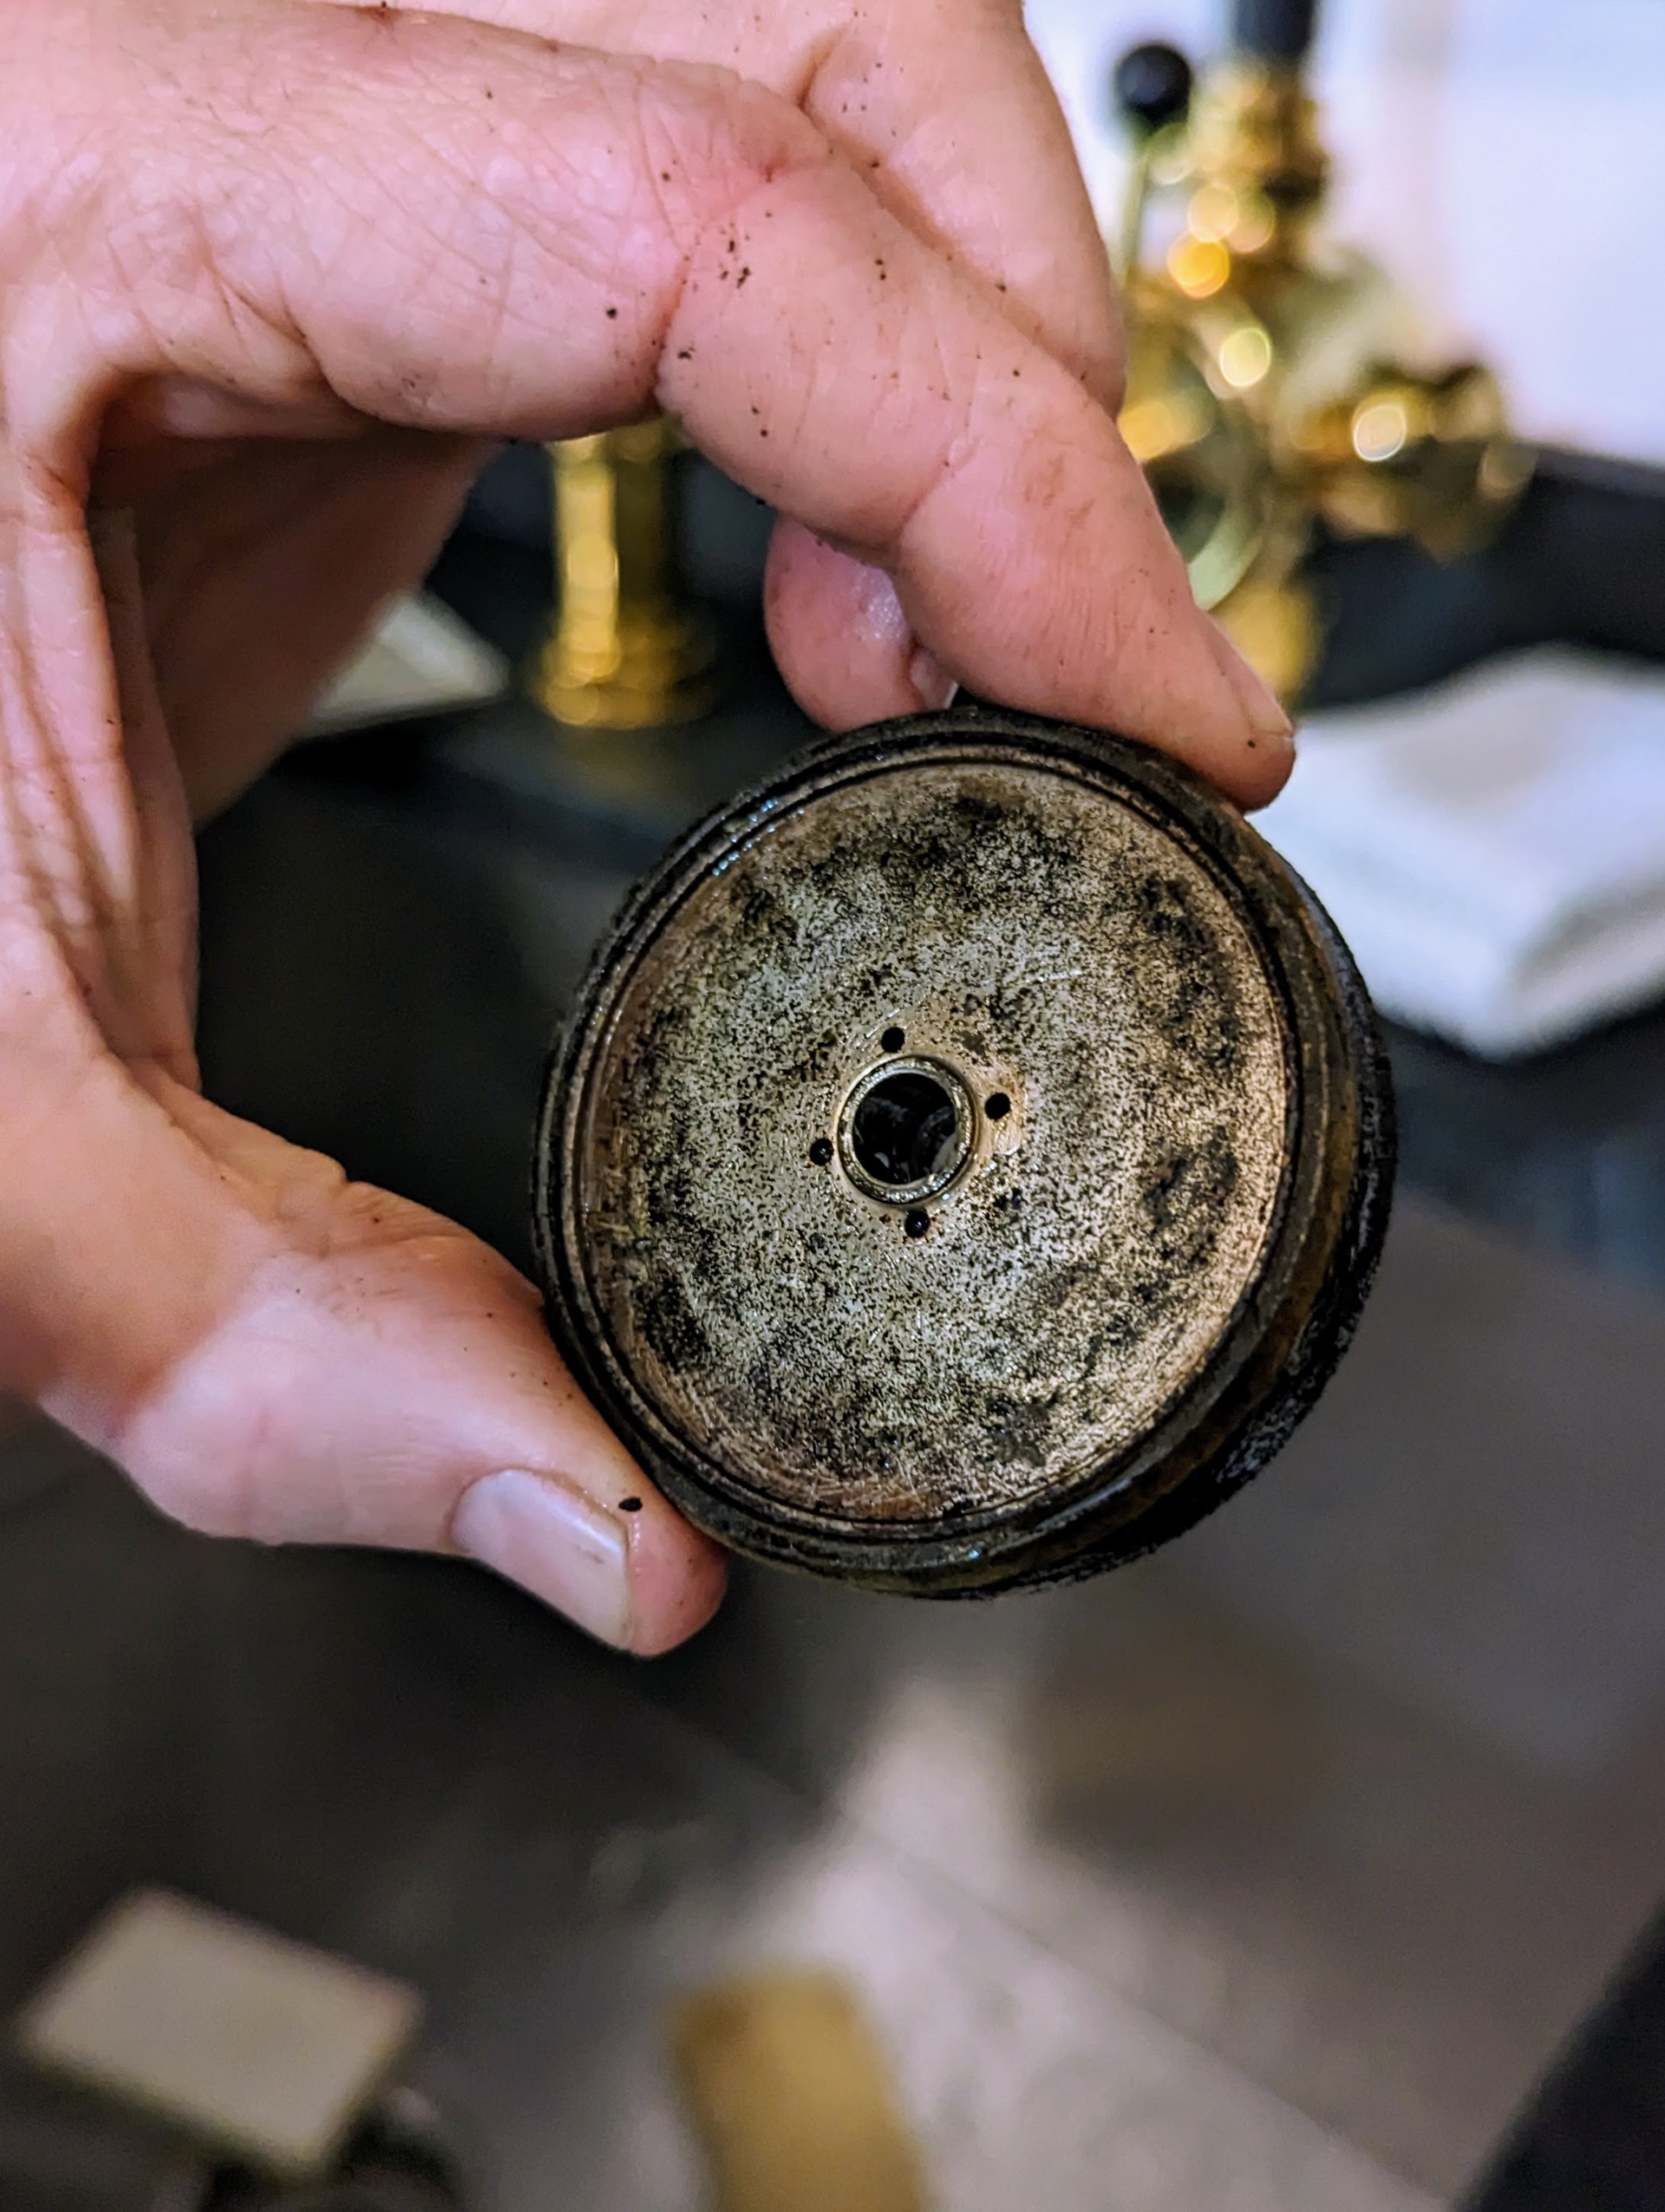
Donald checks the group heads of the machine. The group head is the part of the espresso machine where water from the boiler is dispensed into the portafilter and screen. This only takes a few minutes and can be checked every few months when maintenance visits are conducted. Any worn or dirty gaskets and screens feel stiff when the portafilter is used.
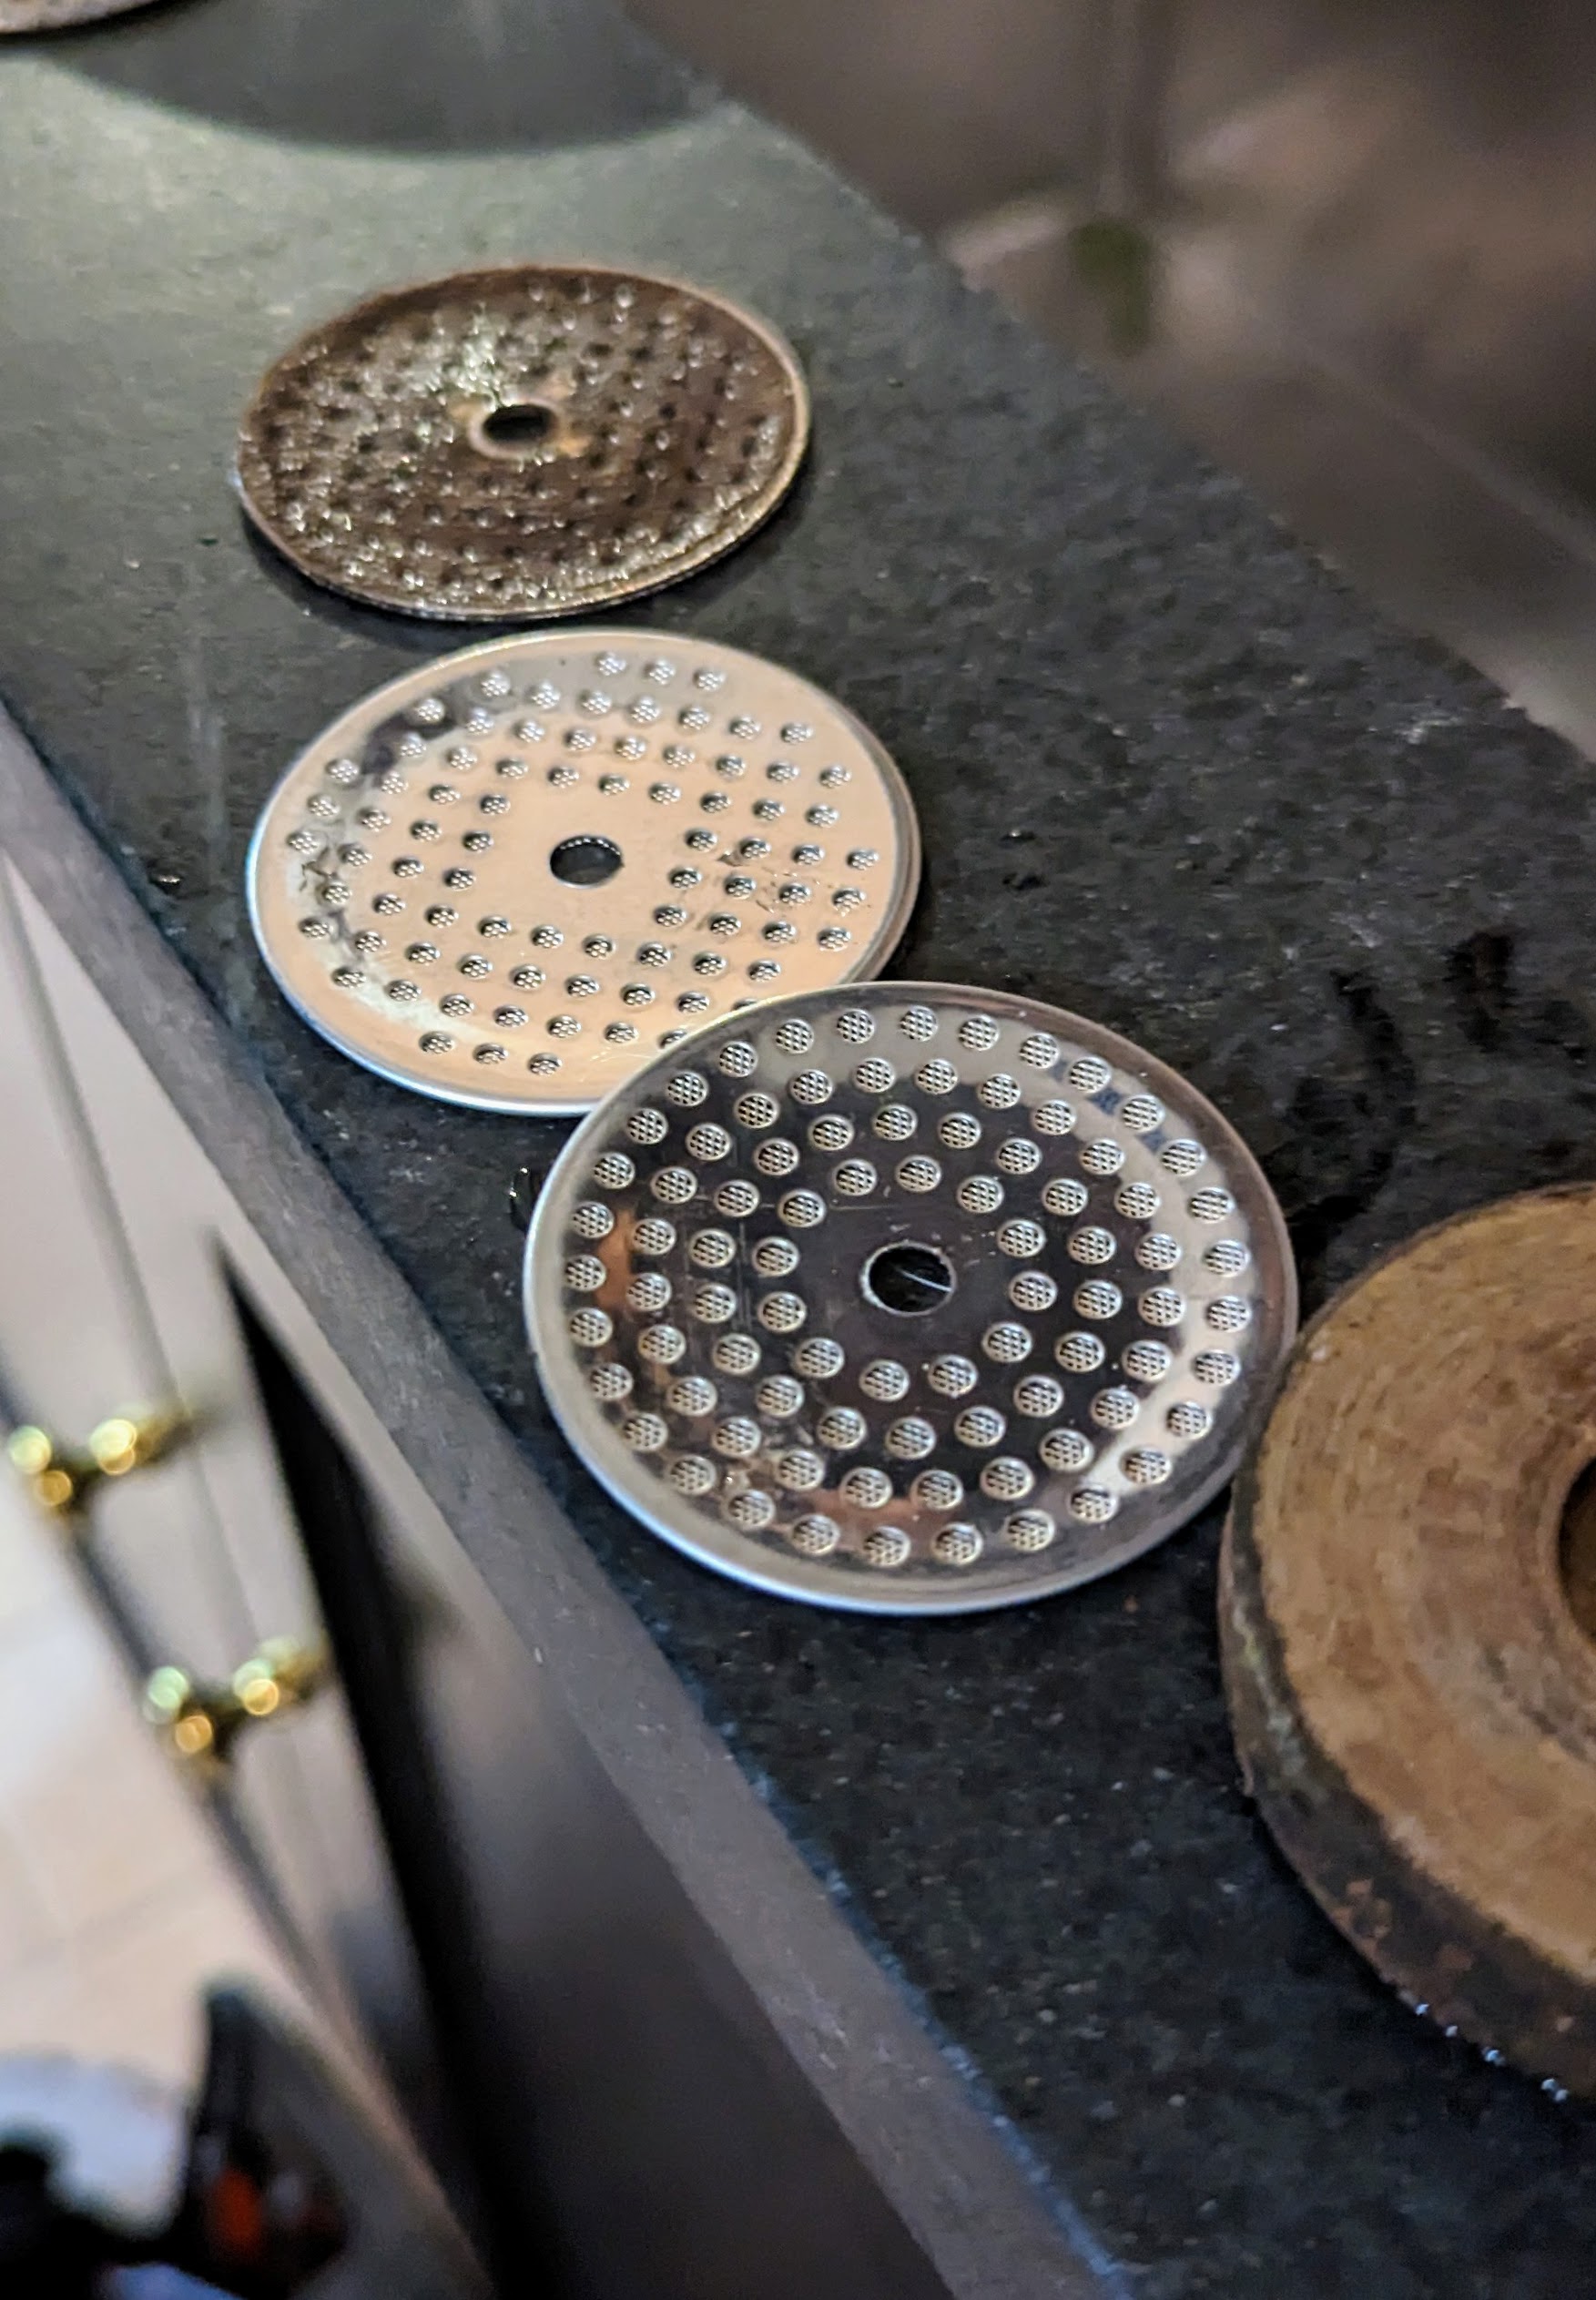
This screen shows the dirt and residue that accumulated over the last few months. It can be cleaned, but Donald will just replace it for a new one.
These are the new screens.
Other components are in good order – Donald makes sure any holes are clean and clear.
Flushing residue out of the system through the portafilter also cleans the valve of grind deposits, so it seals properly when used. This is how the water should look after proper cleaning and several backflush rinse cycles – very clear.
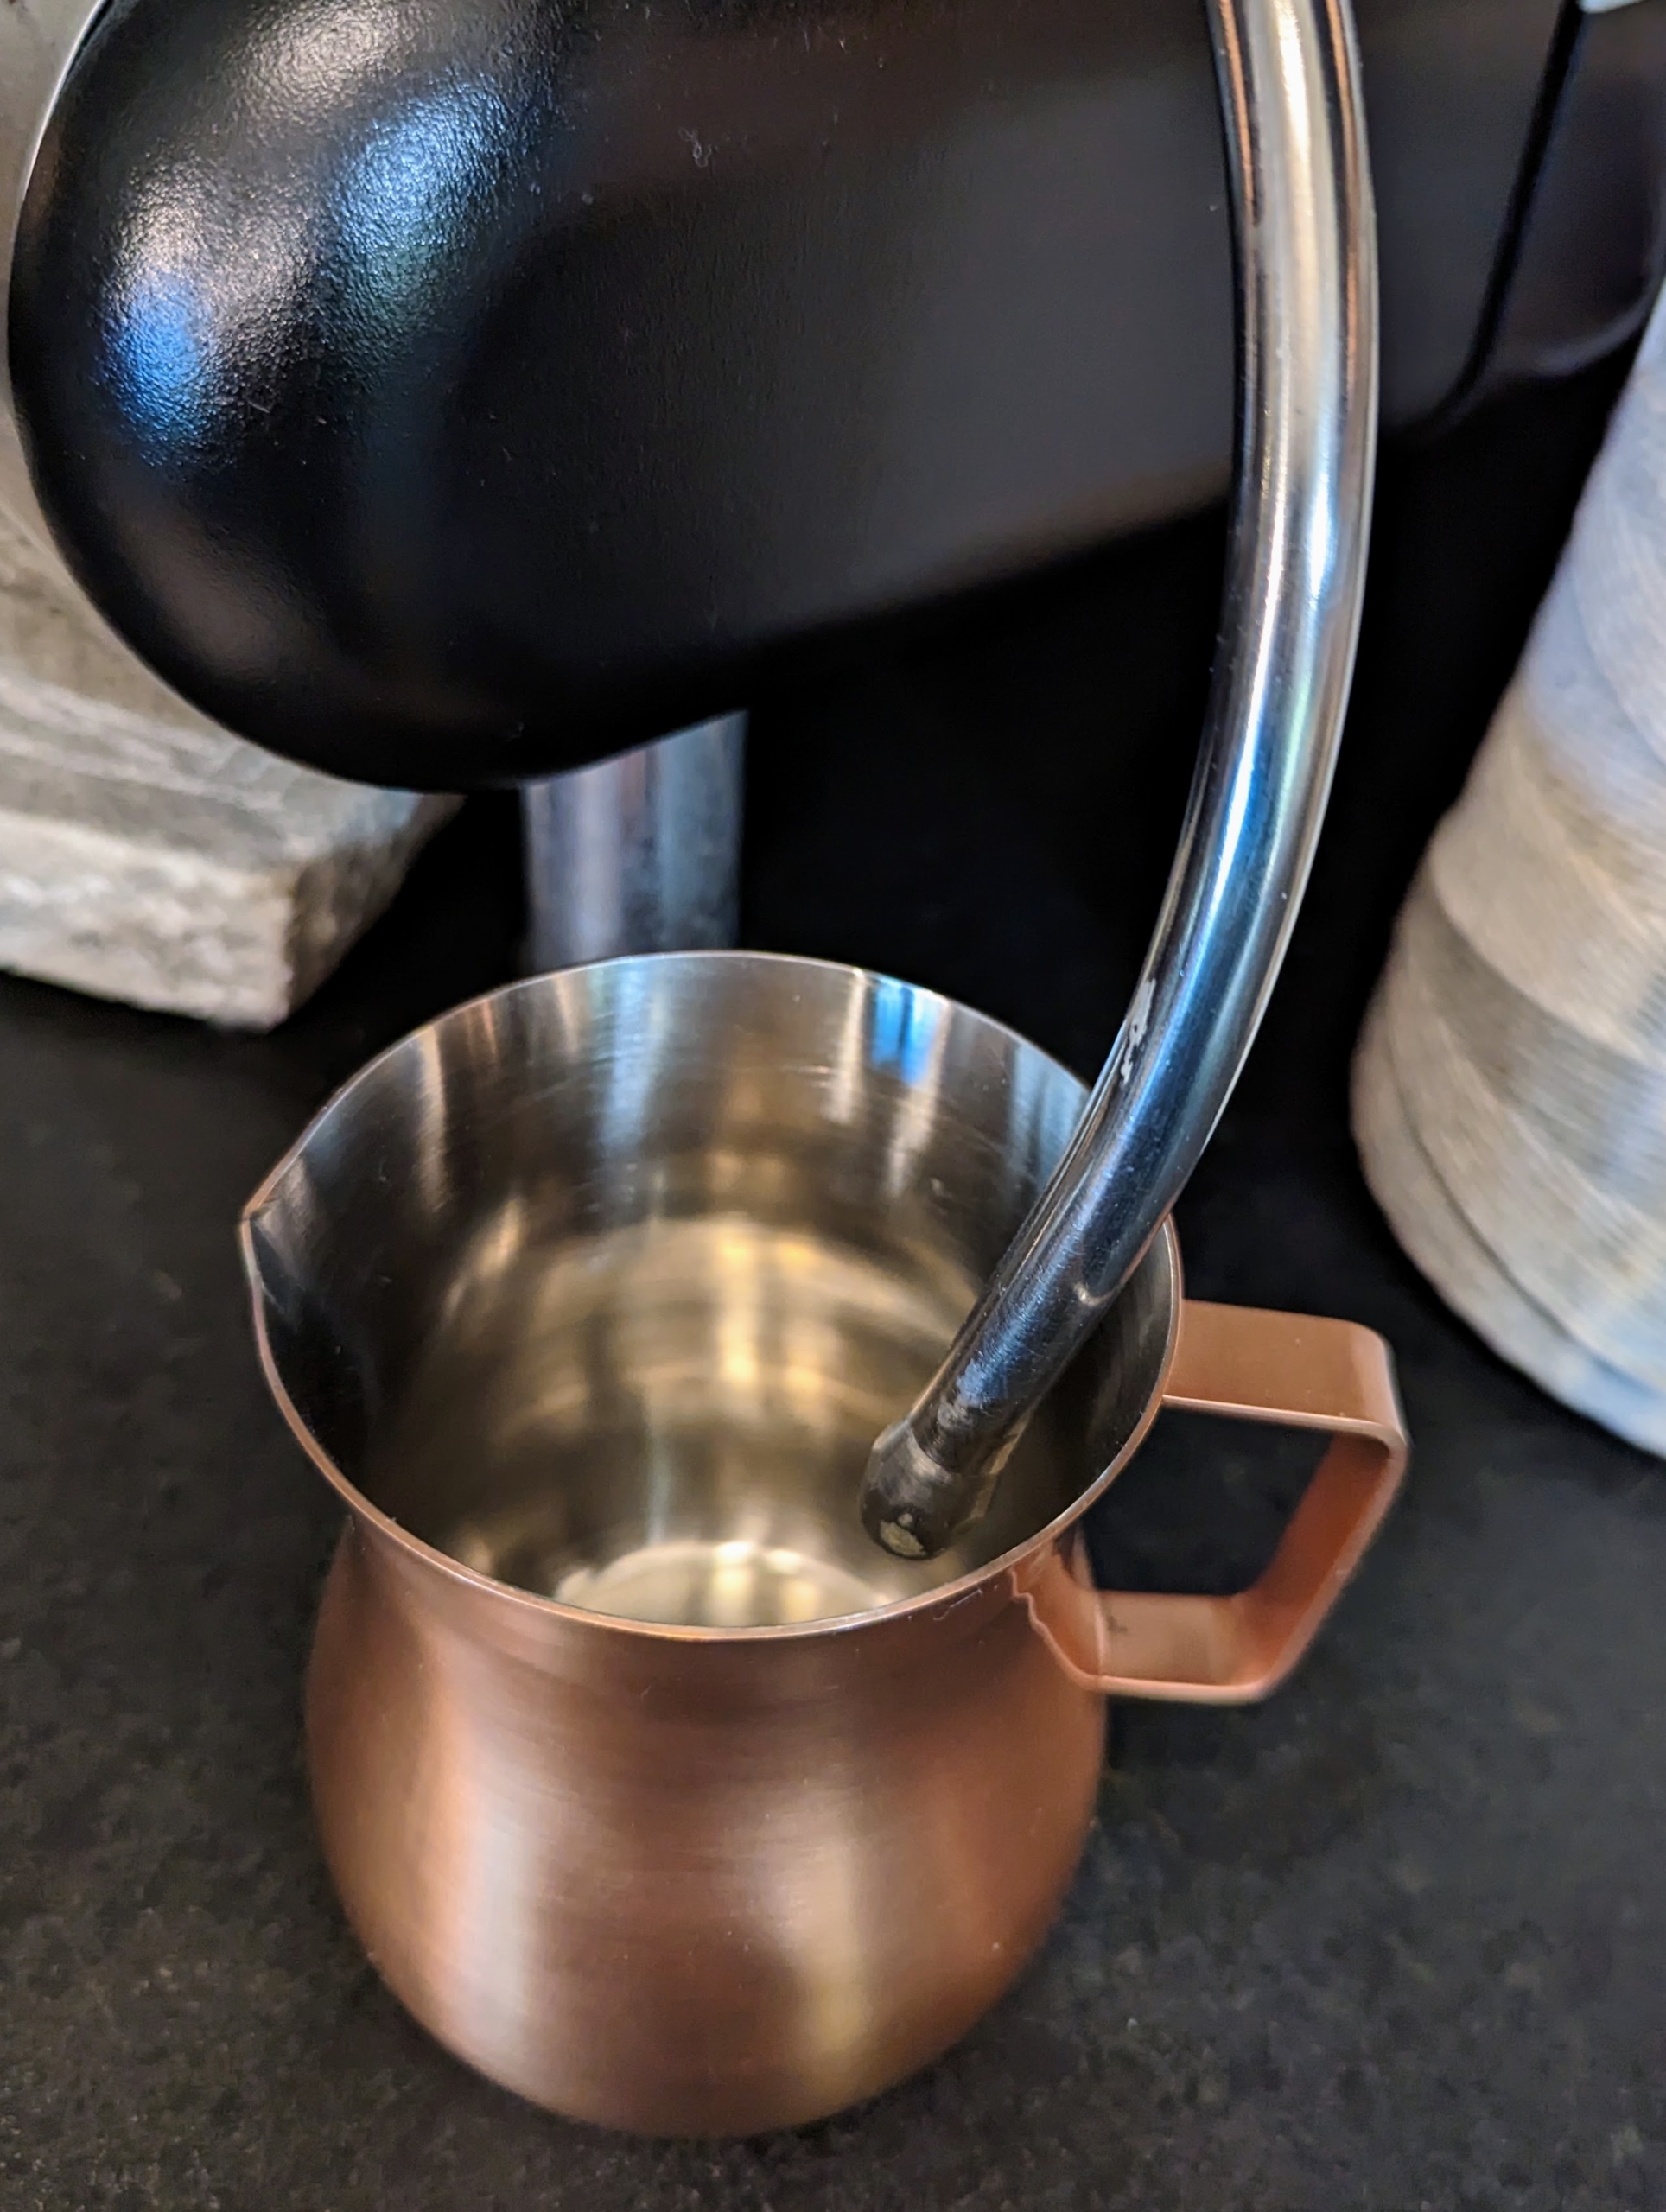
Donald also lets the steam out of the wand to ensure it is not clogged in any way.
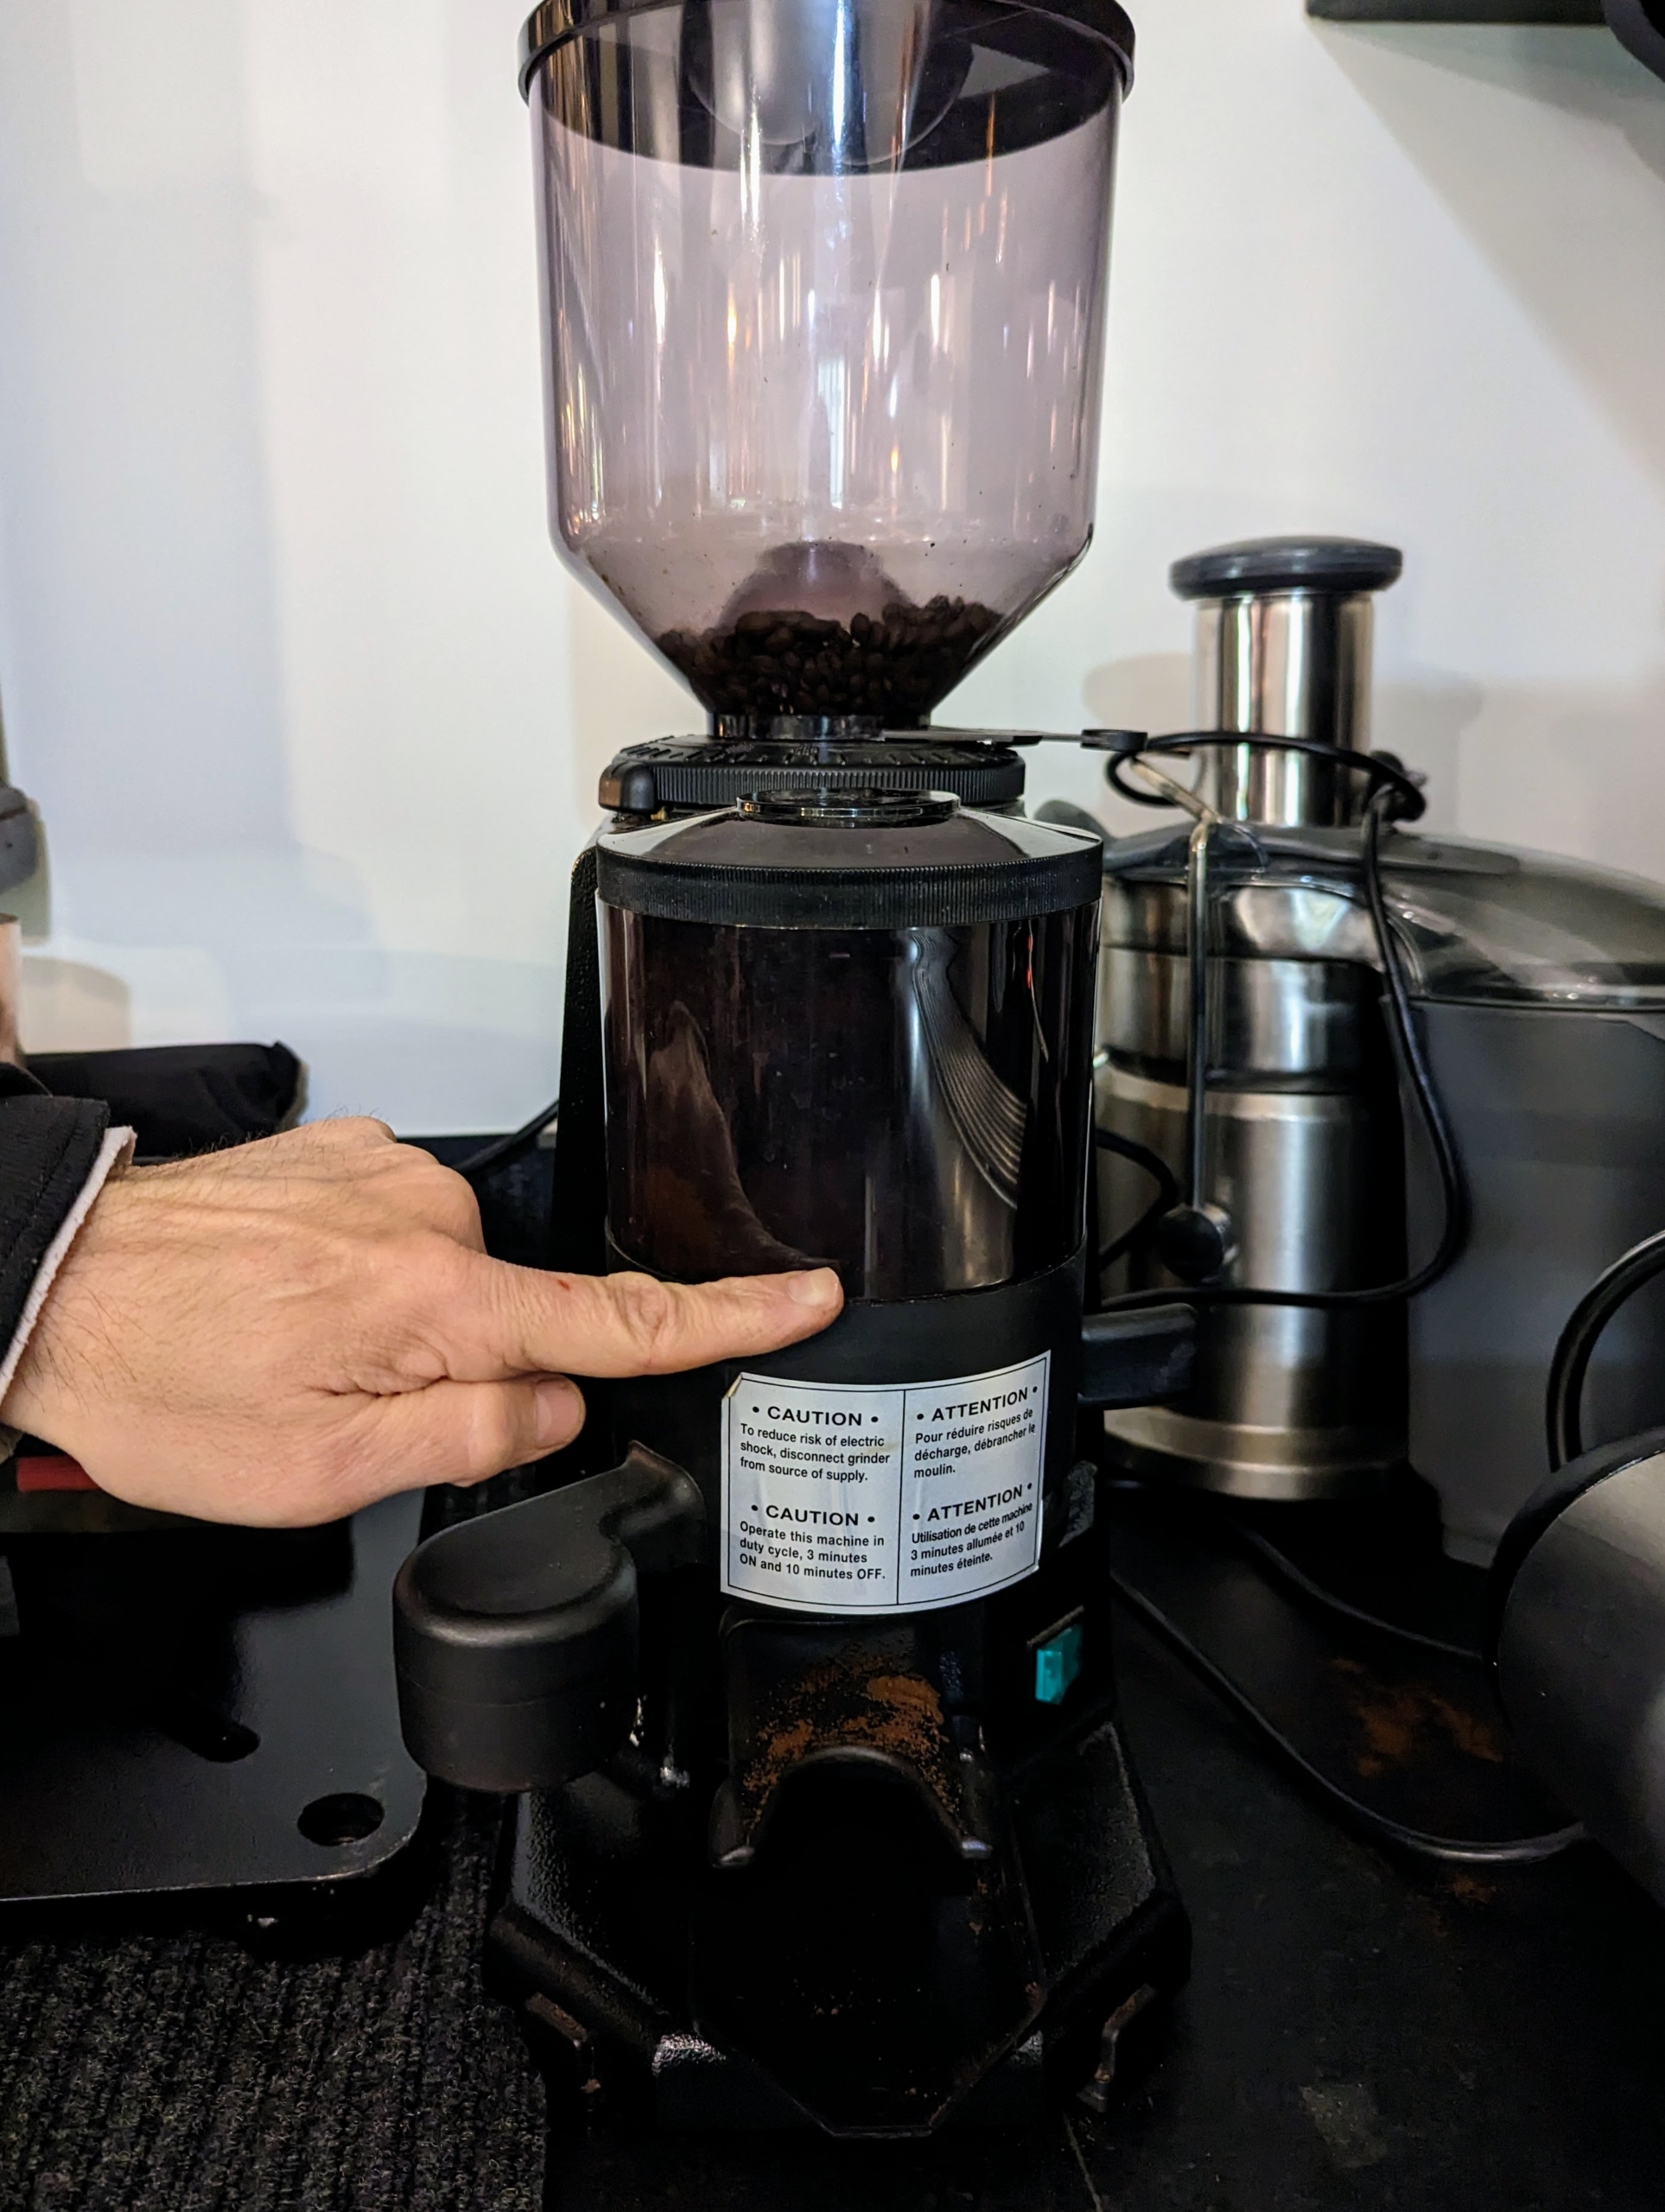
Next, Donald grinds some coffee beans to test the machine.
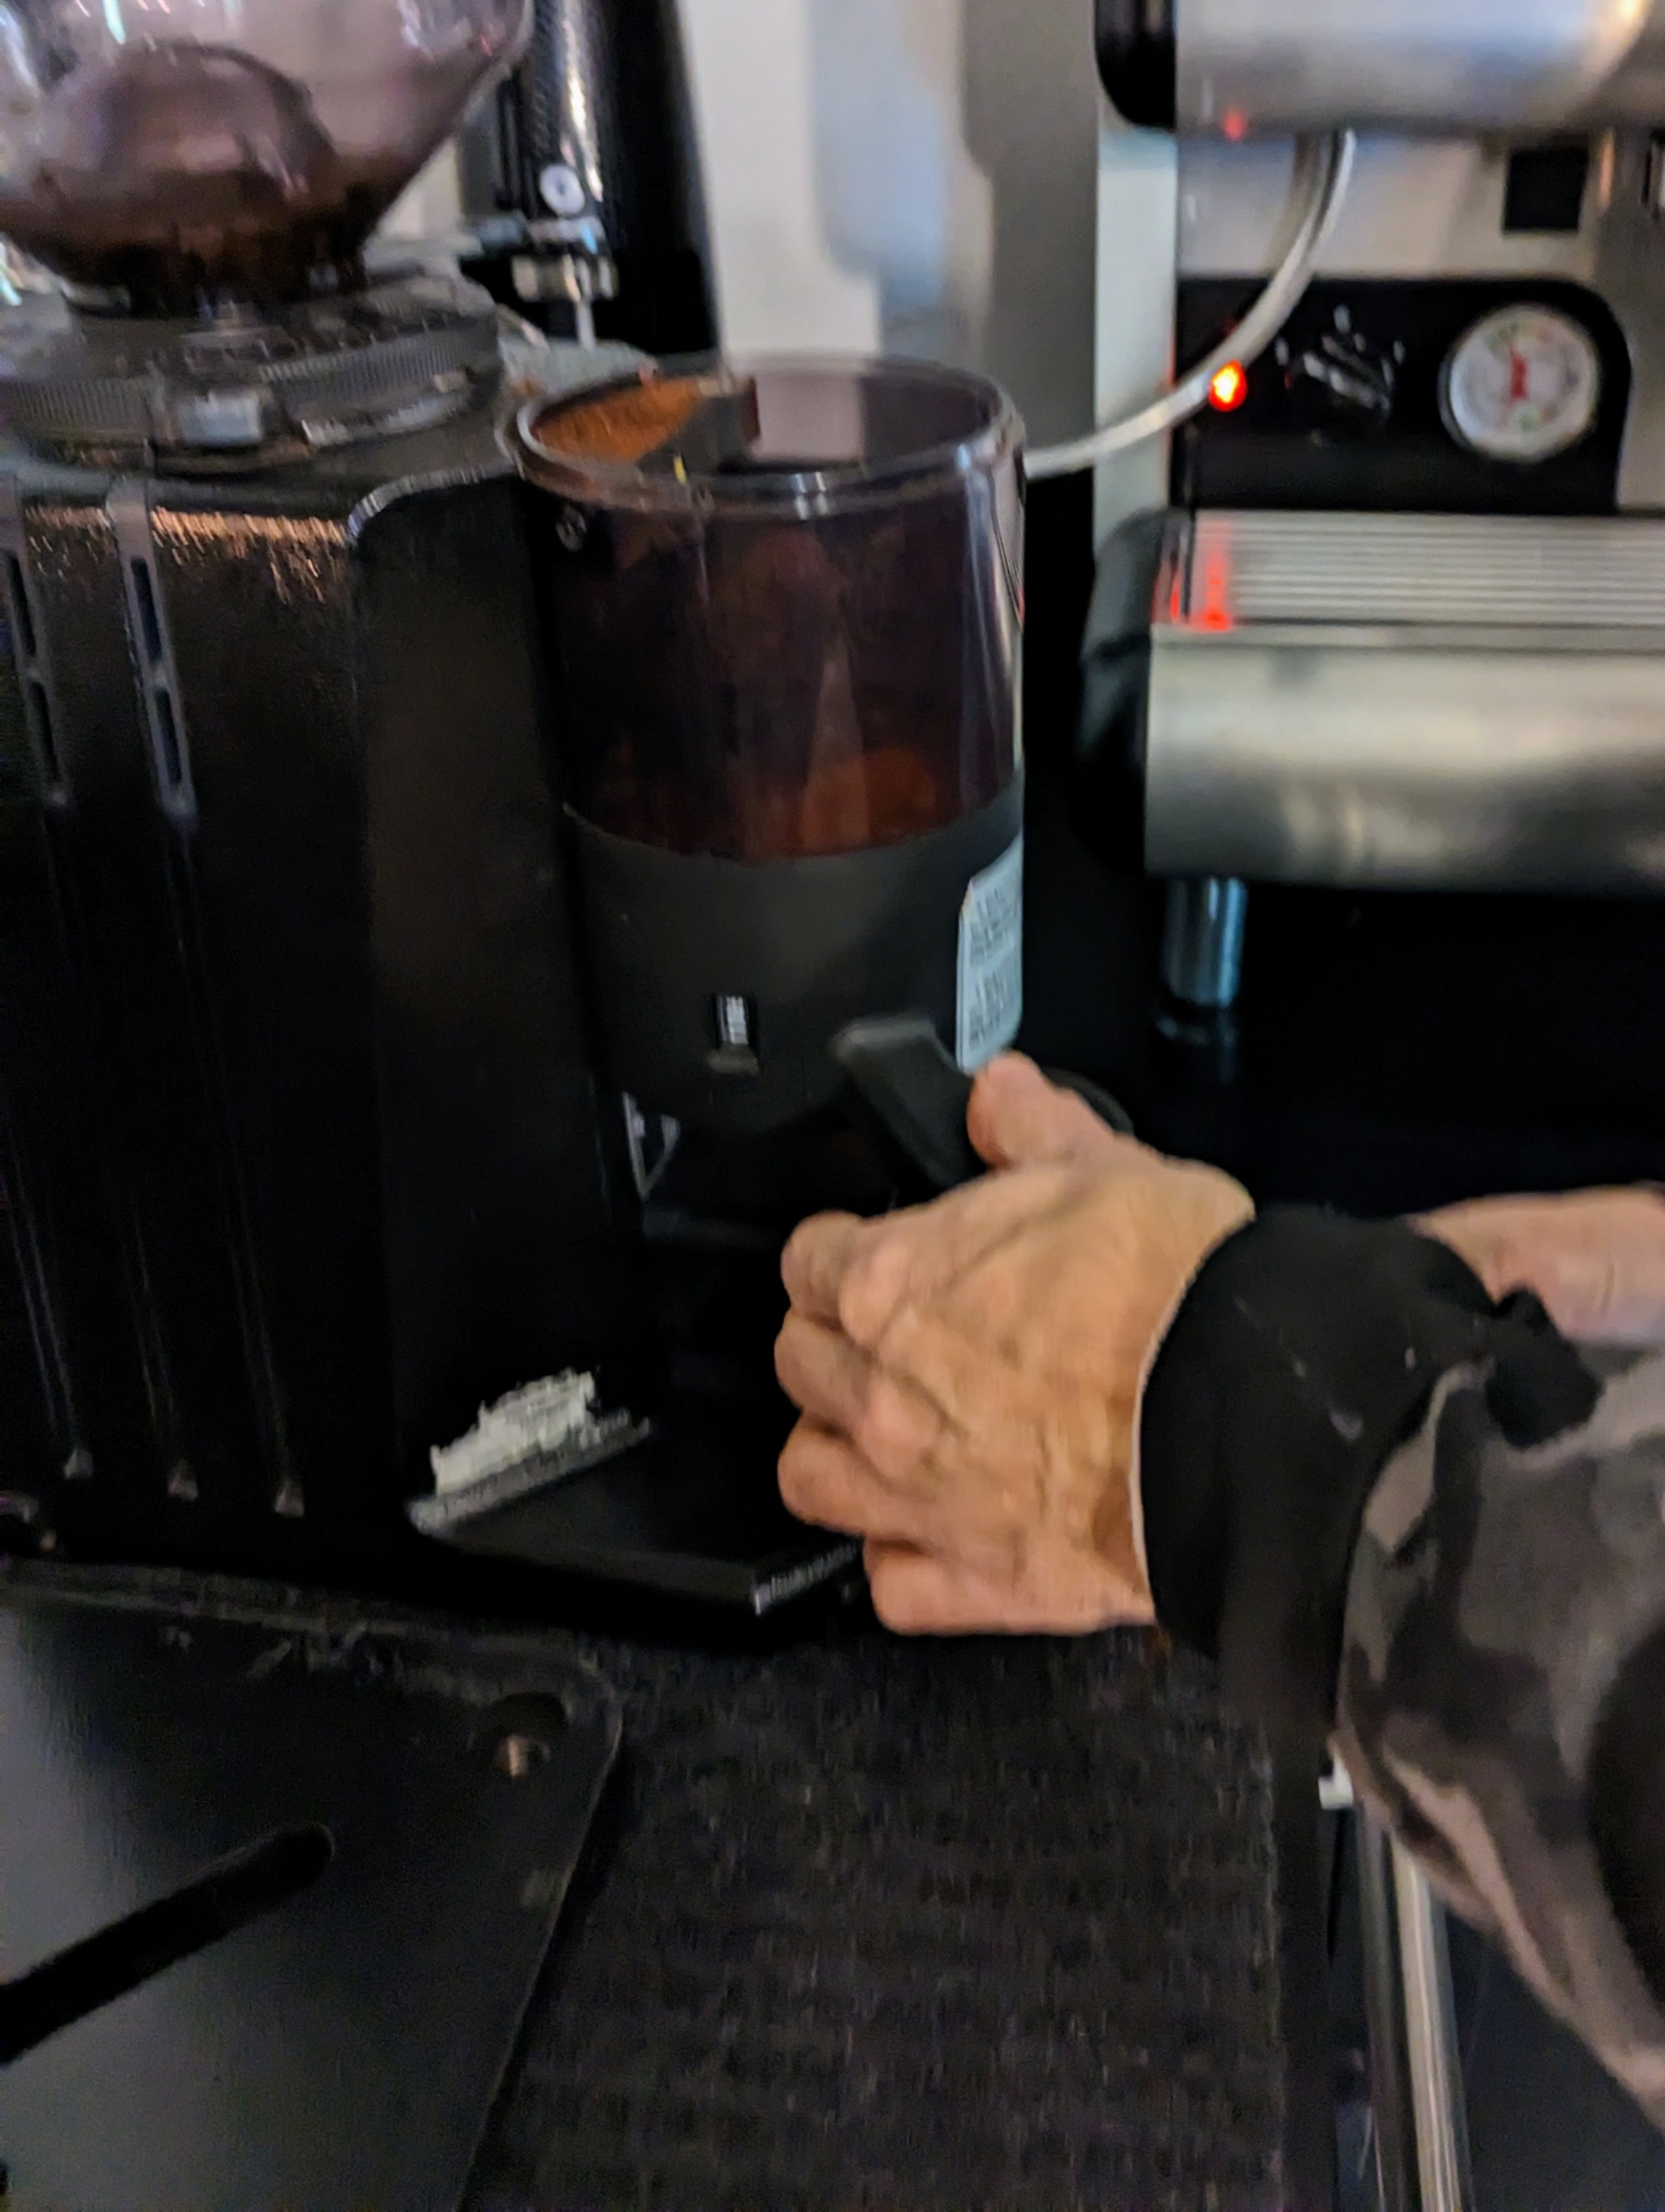
This is a doser grinder. This type of grinder has a container, a doser, that catches the coffee after it is ground. At the bottom of that container is the doser mechanism that portions out the grounds into individual, identically-sized compartments. A flip of a lever dispenses one dose at a time whether it be an espresso machine portafilter or a drip-machine filter basket. This type of grinder is good for high volume areas. Most homes only need the individual residential coffee grinders.
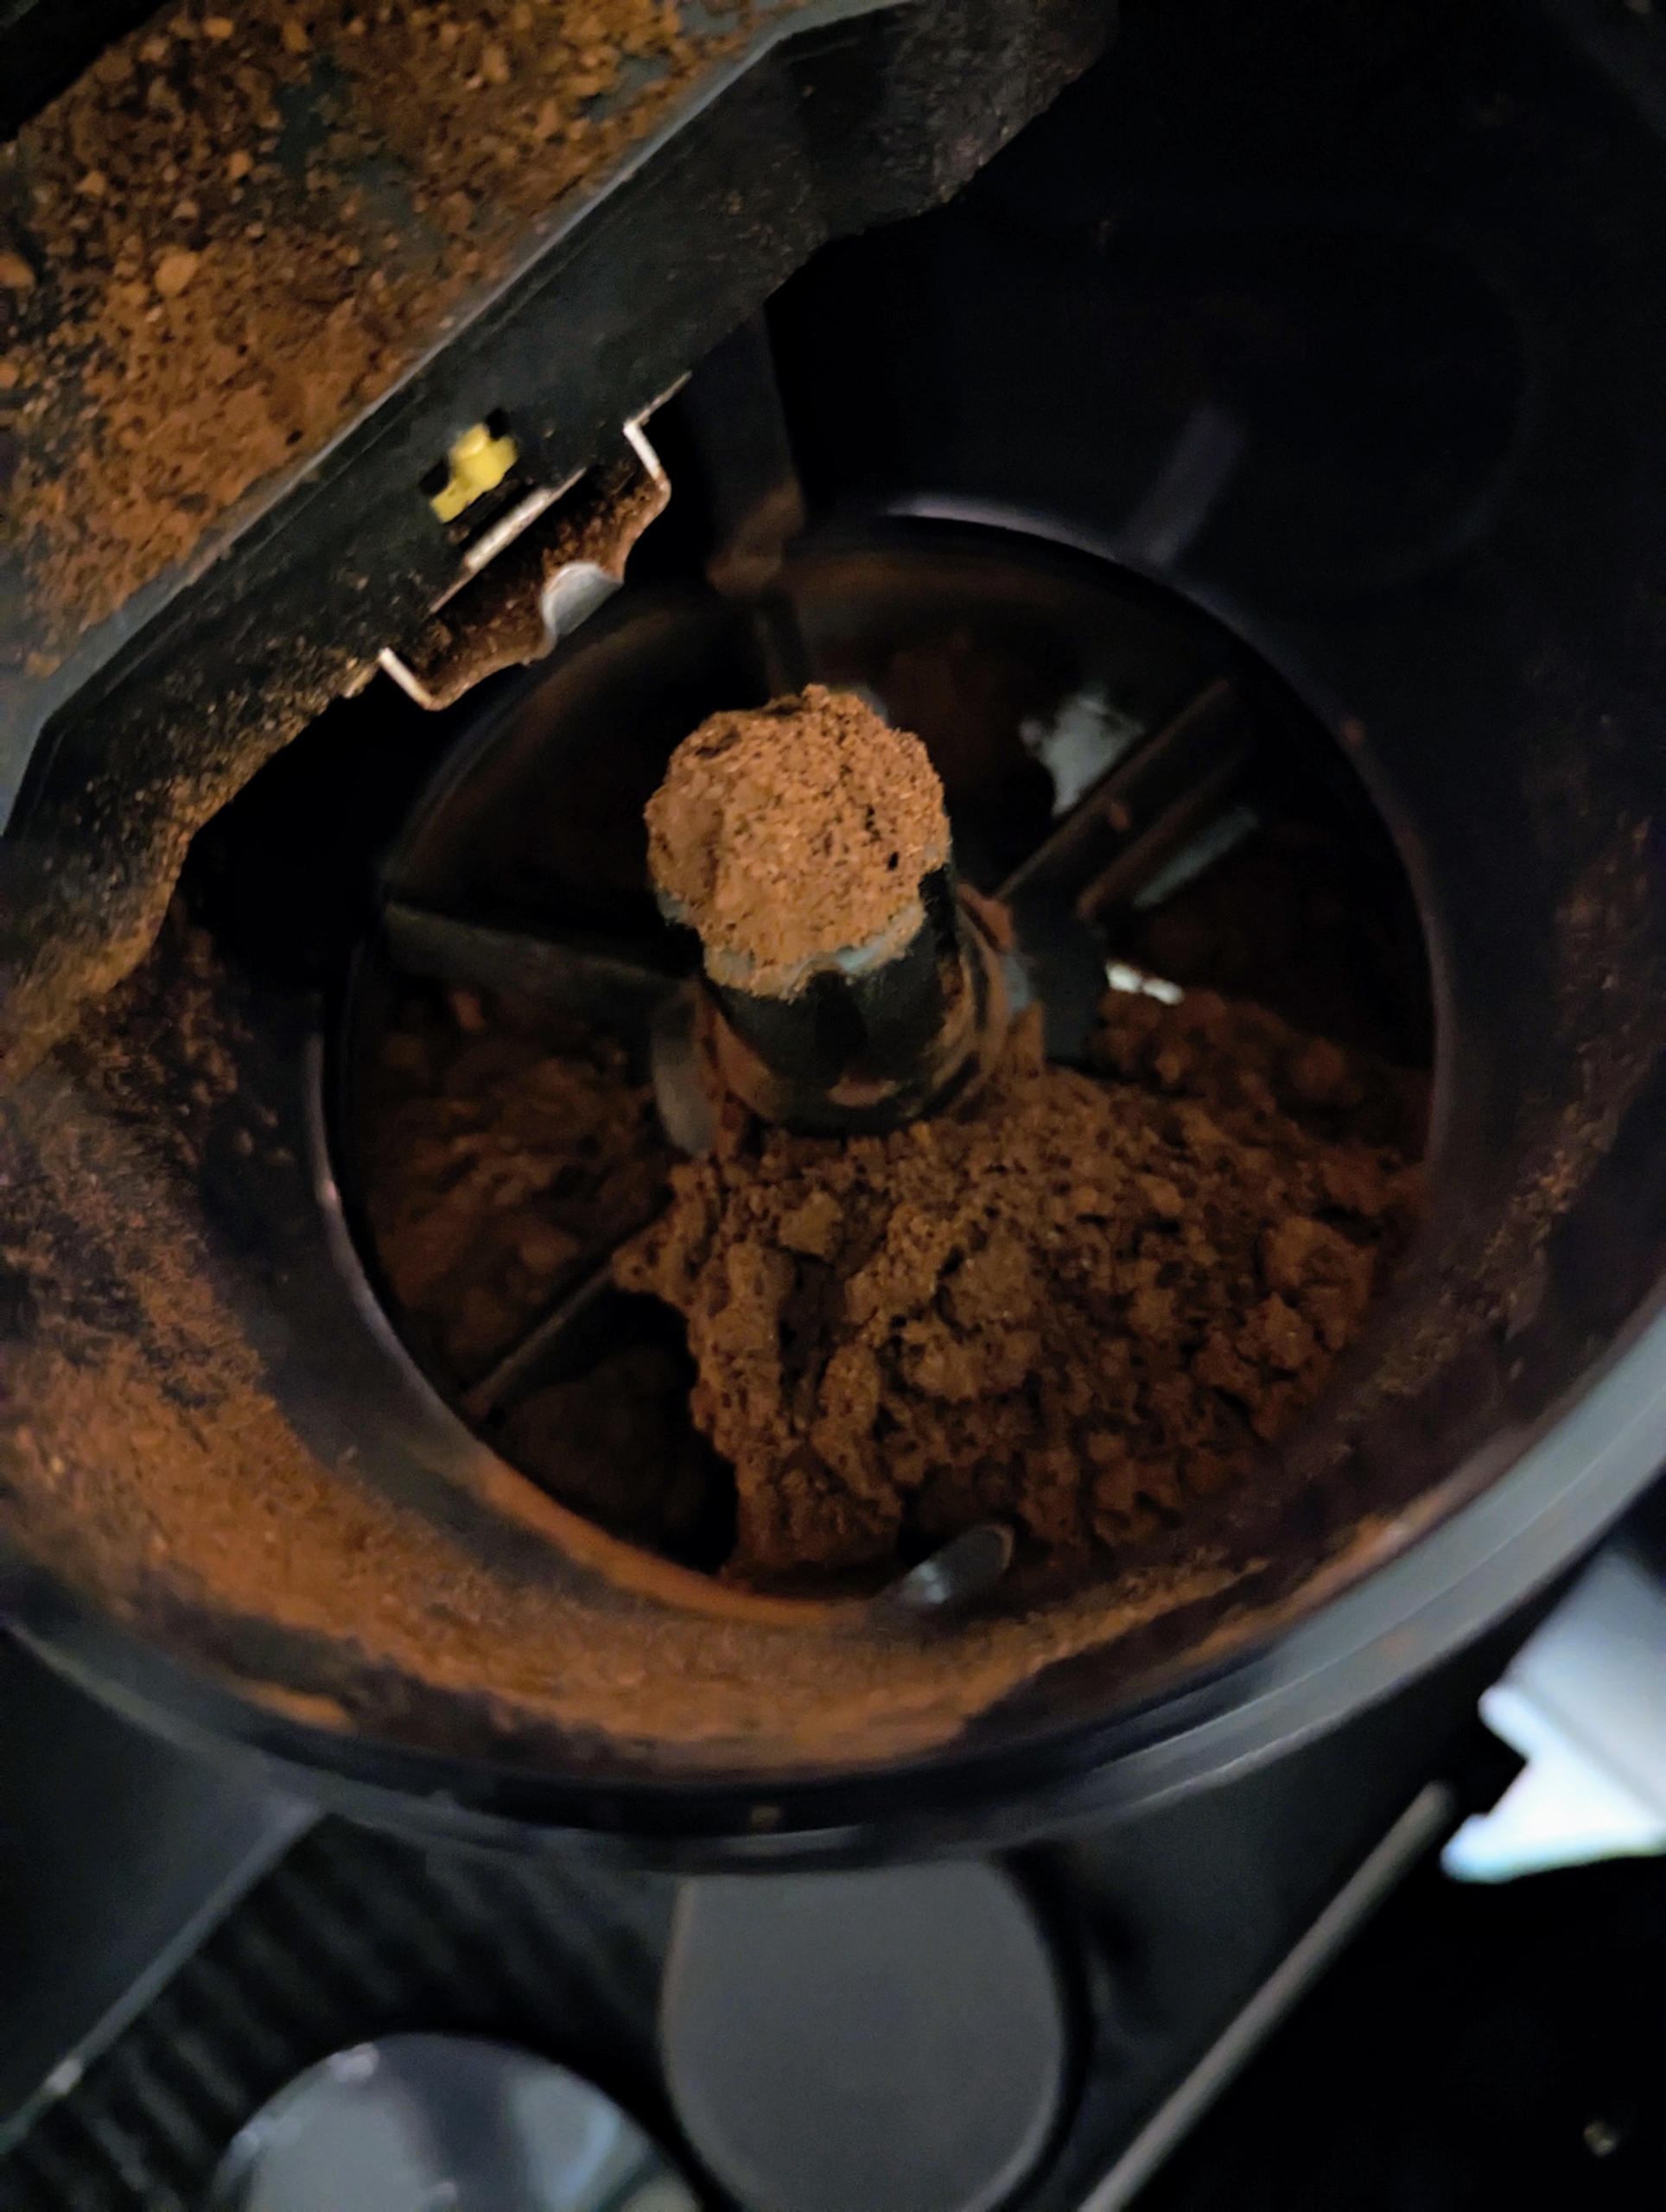
Additionally, the doser chamber is divided into segments that rotate and deliver around 7 grams of ground coffee into the portafilter.
This grinder also has a tamper which allows one to tamp down the ground coffee with an even pressing force.
Donald chooses to use the double shot function.
Two shots of espresso, equivalent to 50 milliliters, will have approximately 136 milligrams of caffeine when brewed with an Arabica coffee.
A double shot uses 14 grams of coffee and produces around 60 milliliter of espresso.
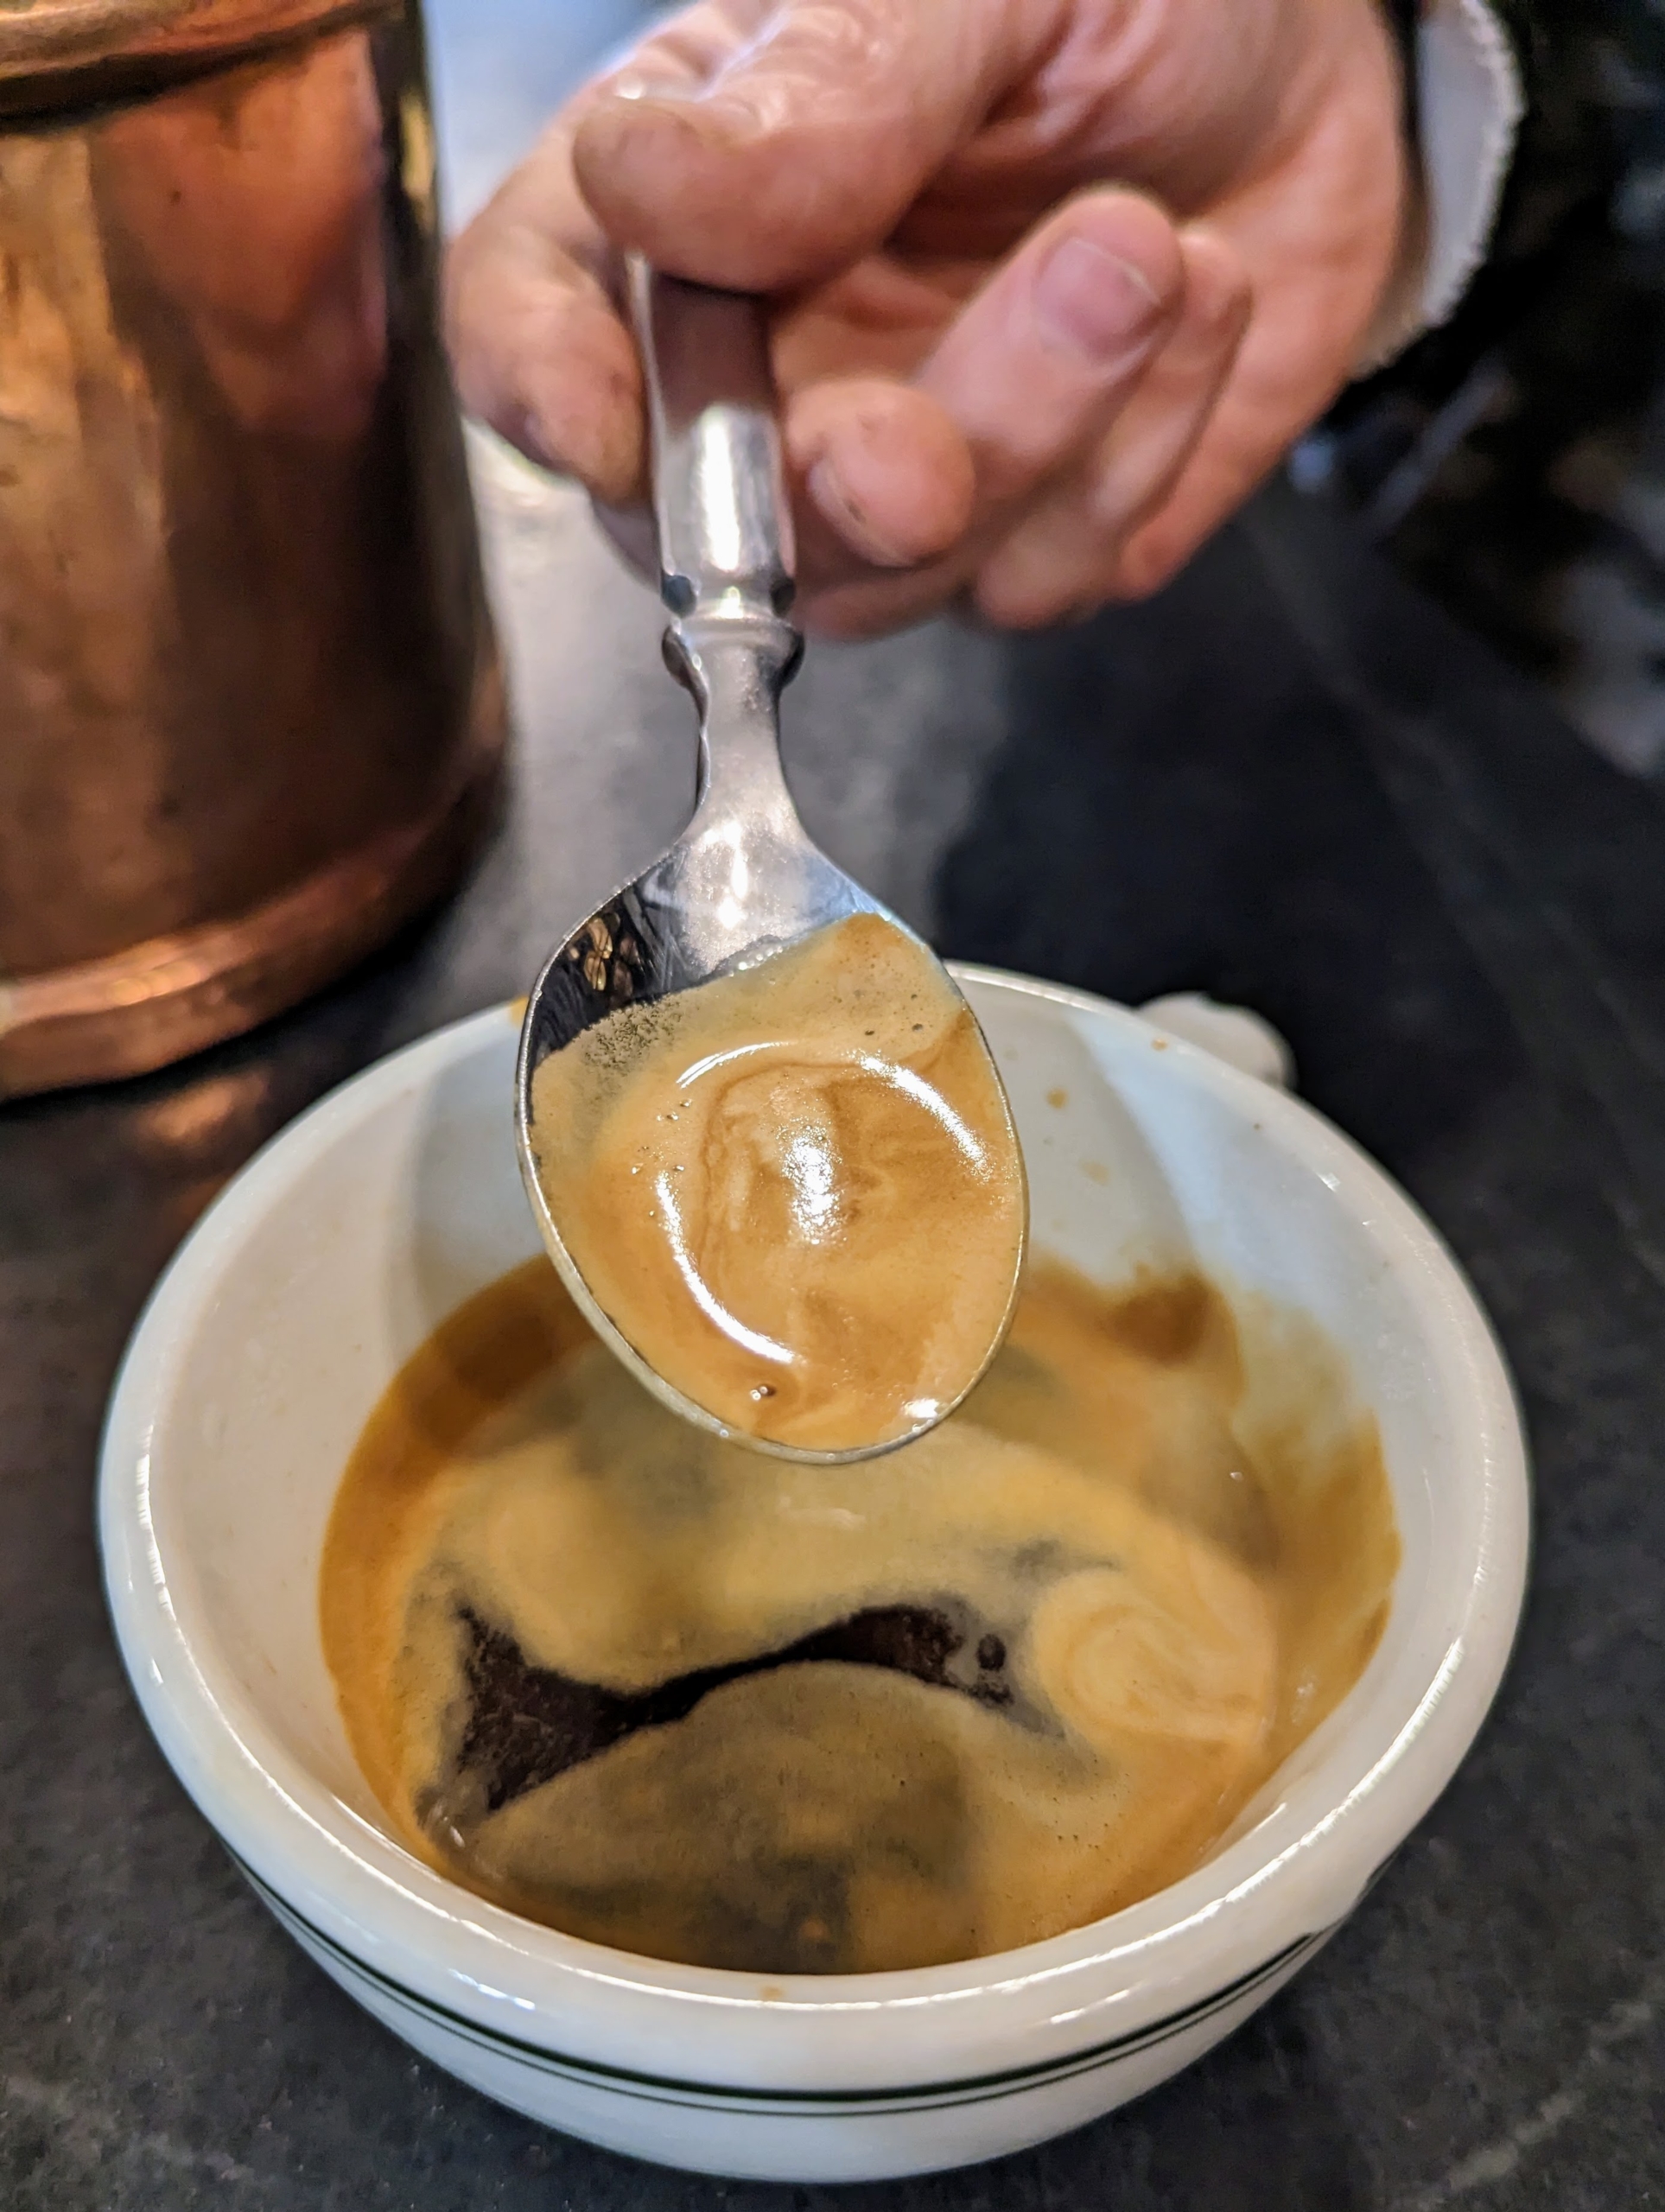
And here it is. The crema on top is made up of tiny bubbles which provide balance to an espresso. Good crema is when there is a thin layer of it that lasts for a couple of minutes. Bad crema is when it’s too thin or too thick, too light in color, disappears within a few seconds, or has a lot of big bubbles. This is excellent crema. And an excellent cup of espresso. A good, thorough cleaning makes a big difference. I hope this inspires you to take a closer look at your coffee machine, and give it a good cleaning. Your next cup of “joe” could depend on it. Thanks, Donald.
Everyone who works with me loves our Martha Stewart & Marley Spoon meal kits. Our meal-kit delivery service is full of delicious, wholesome dishes that can be on the table in 40-minutes.
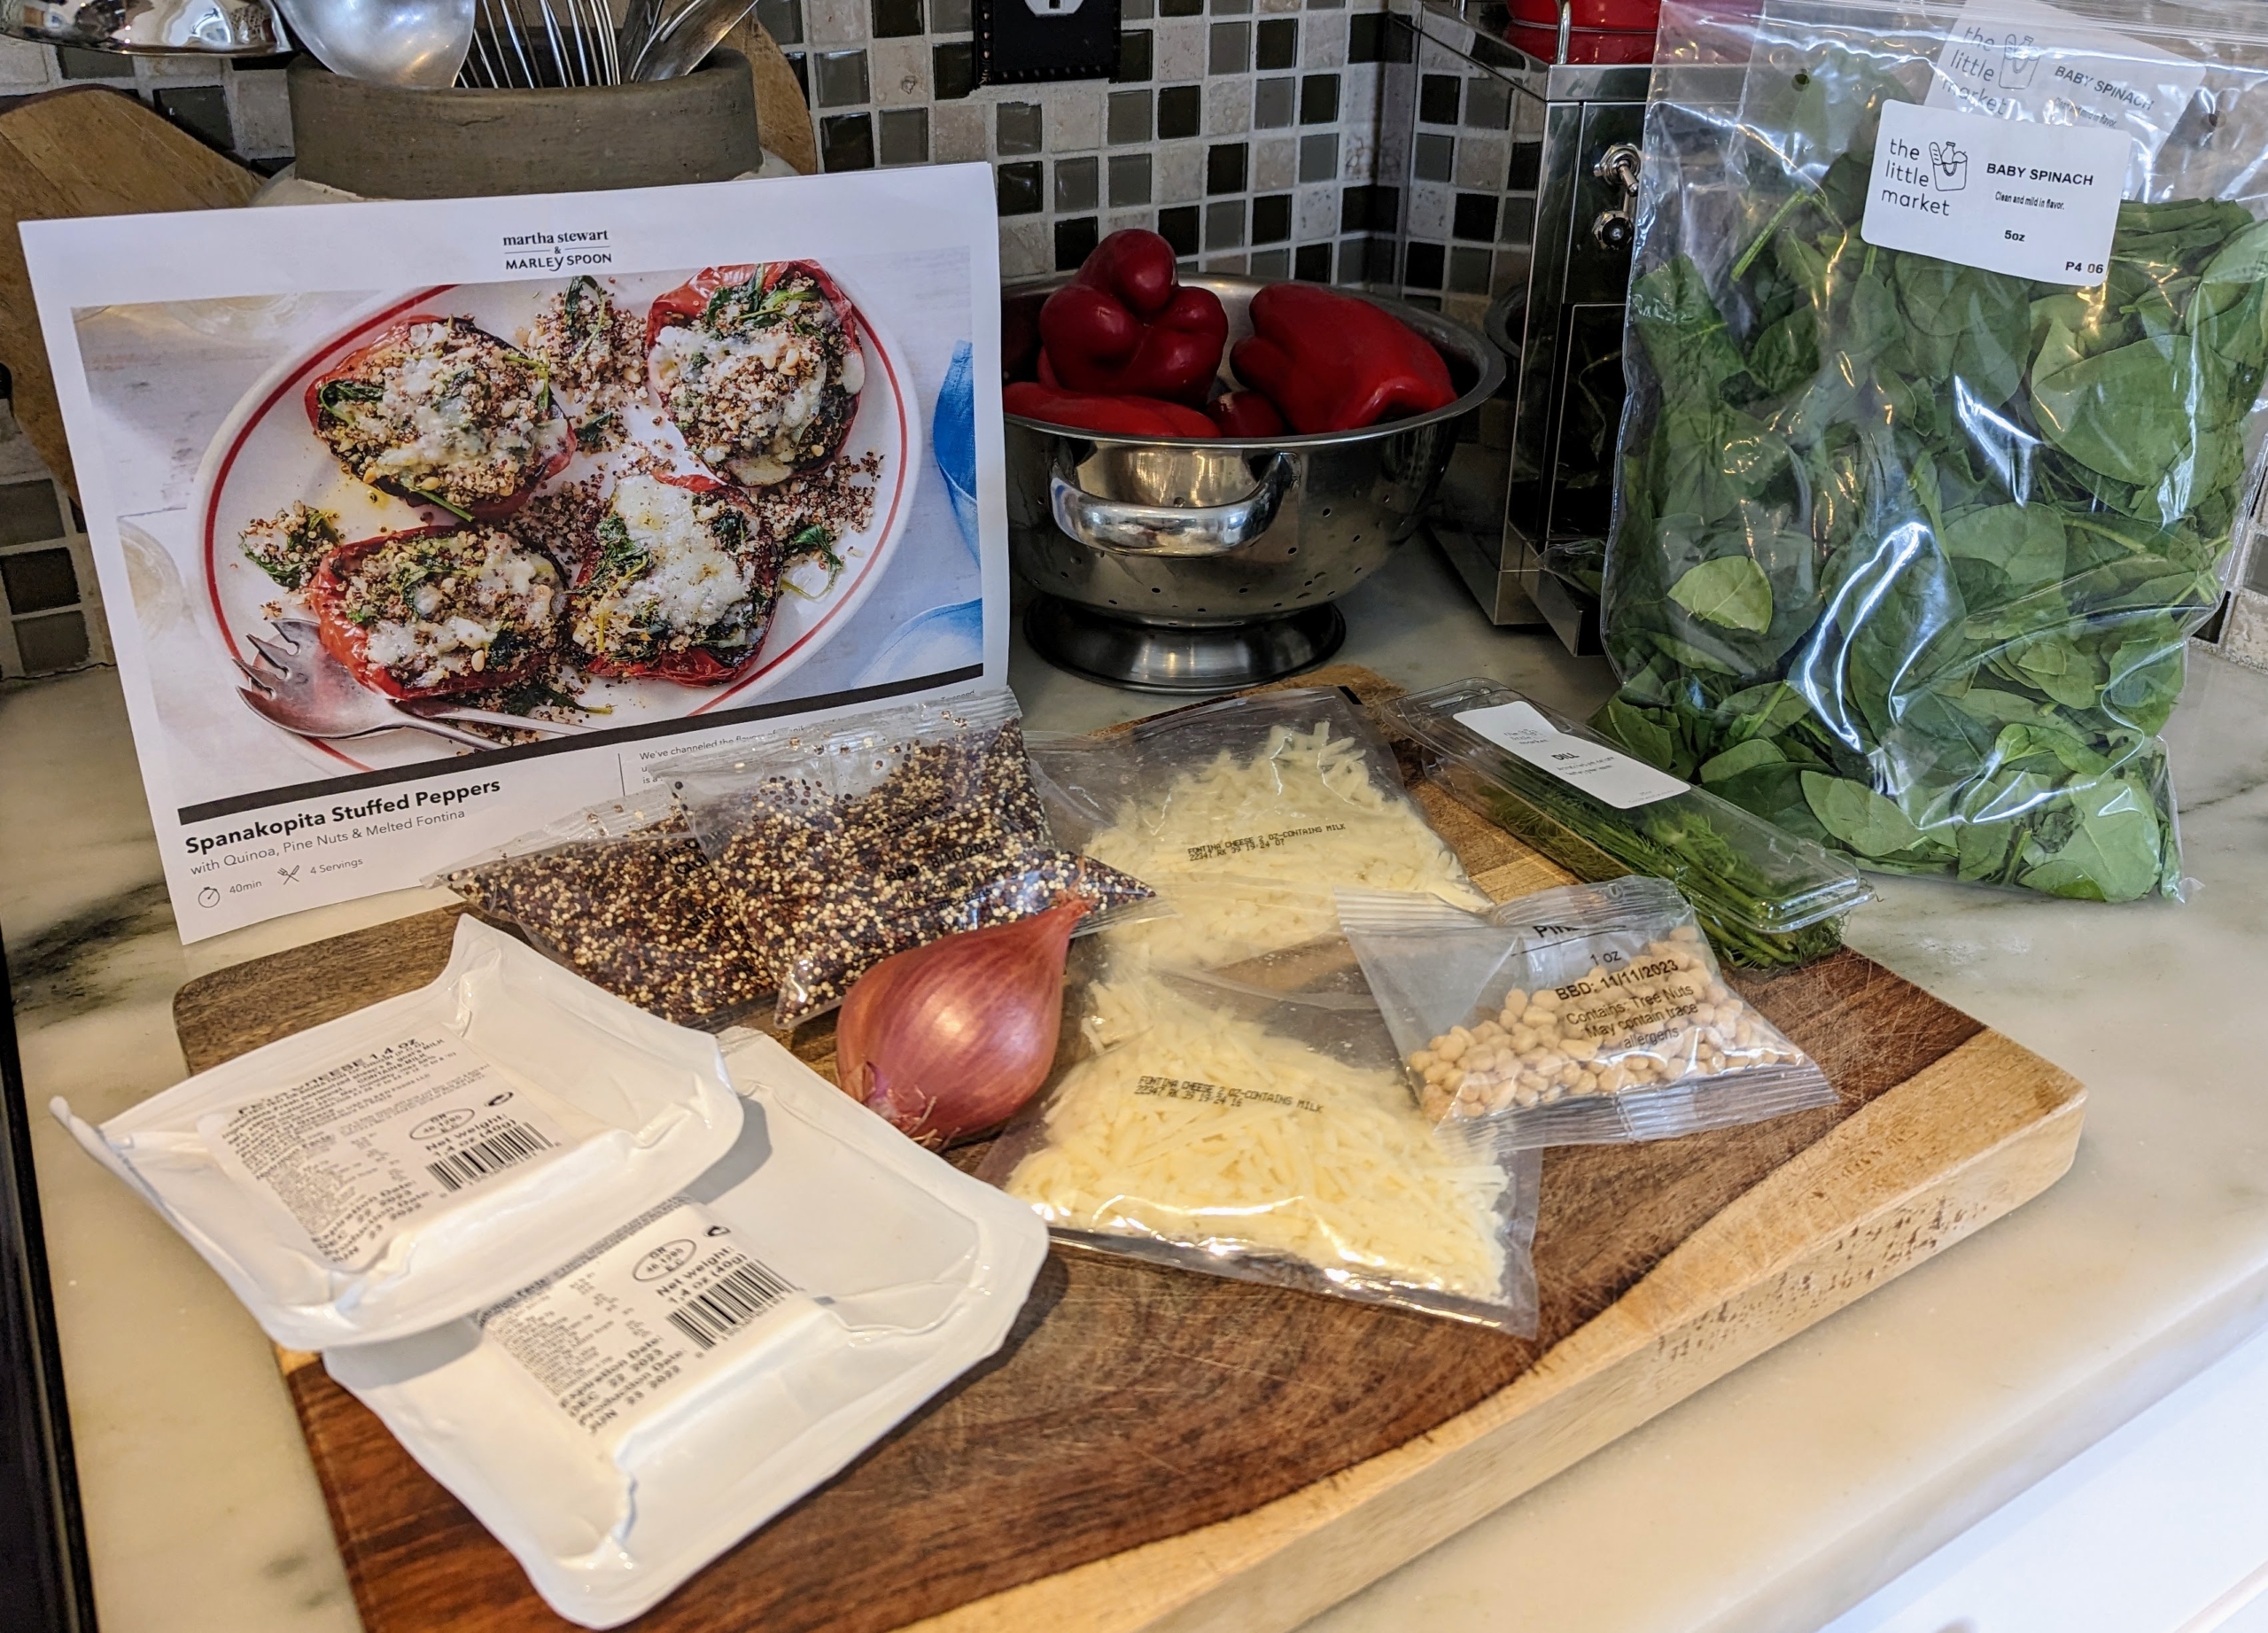
Every week, I order several Martha Stewart & Marley Spoon meal kits to enjoy at my farm. If I am away traveling for business, I like to ask members of my team to take various dishes home to try. Over the weekend, while I was away at this year's Big Game, my operations manager, Stephanie Lofaro, tried the Spanakopita Stuffed Peppers with Quinoa, Pine Nuts, and Melted Fontina. She found it flavorful and easy-to-prepare. And, as always, all the ingredients are pre-measured, pre-packaged, and included with the meal. All she needed to provide was olive oil, vinegar, salt, and pepper.
Here are some photos, enjoy.
Our Martha Stewart & Marley Spoon meal kits are great. All the ingredients are sourced to local quality purveyors and growers – just choose the dishes the week before, and pick the day of delivery – it’s that easy!
Stephanie quickly glances over the menu car and the easy-to-read step-by-step instructions.
Quinoa is a gluten-free, whole-grain carbohydrate and whole protein. If you are unfamiliar with quinoa, it is made of the seeds from the Chenopodium quinoa plant and provides many vitamins and minerals, including vitamin B and magnesium. The first step is to combine the quinoa with some water and bring it to a boil. The quinoa will cook for about 15-minutes until it tender and all the water is absorbed.
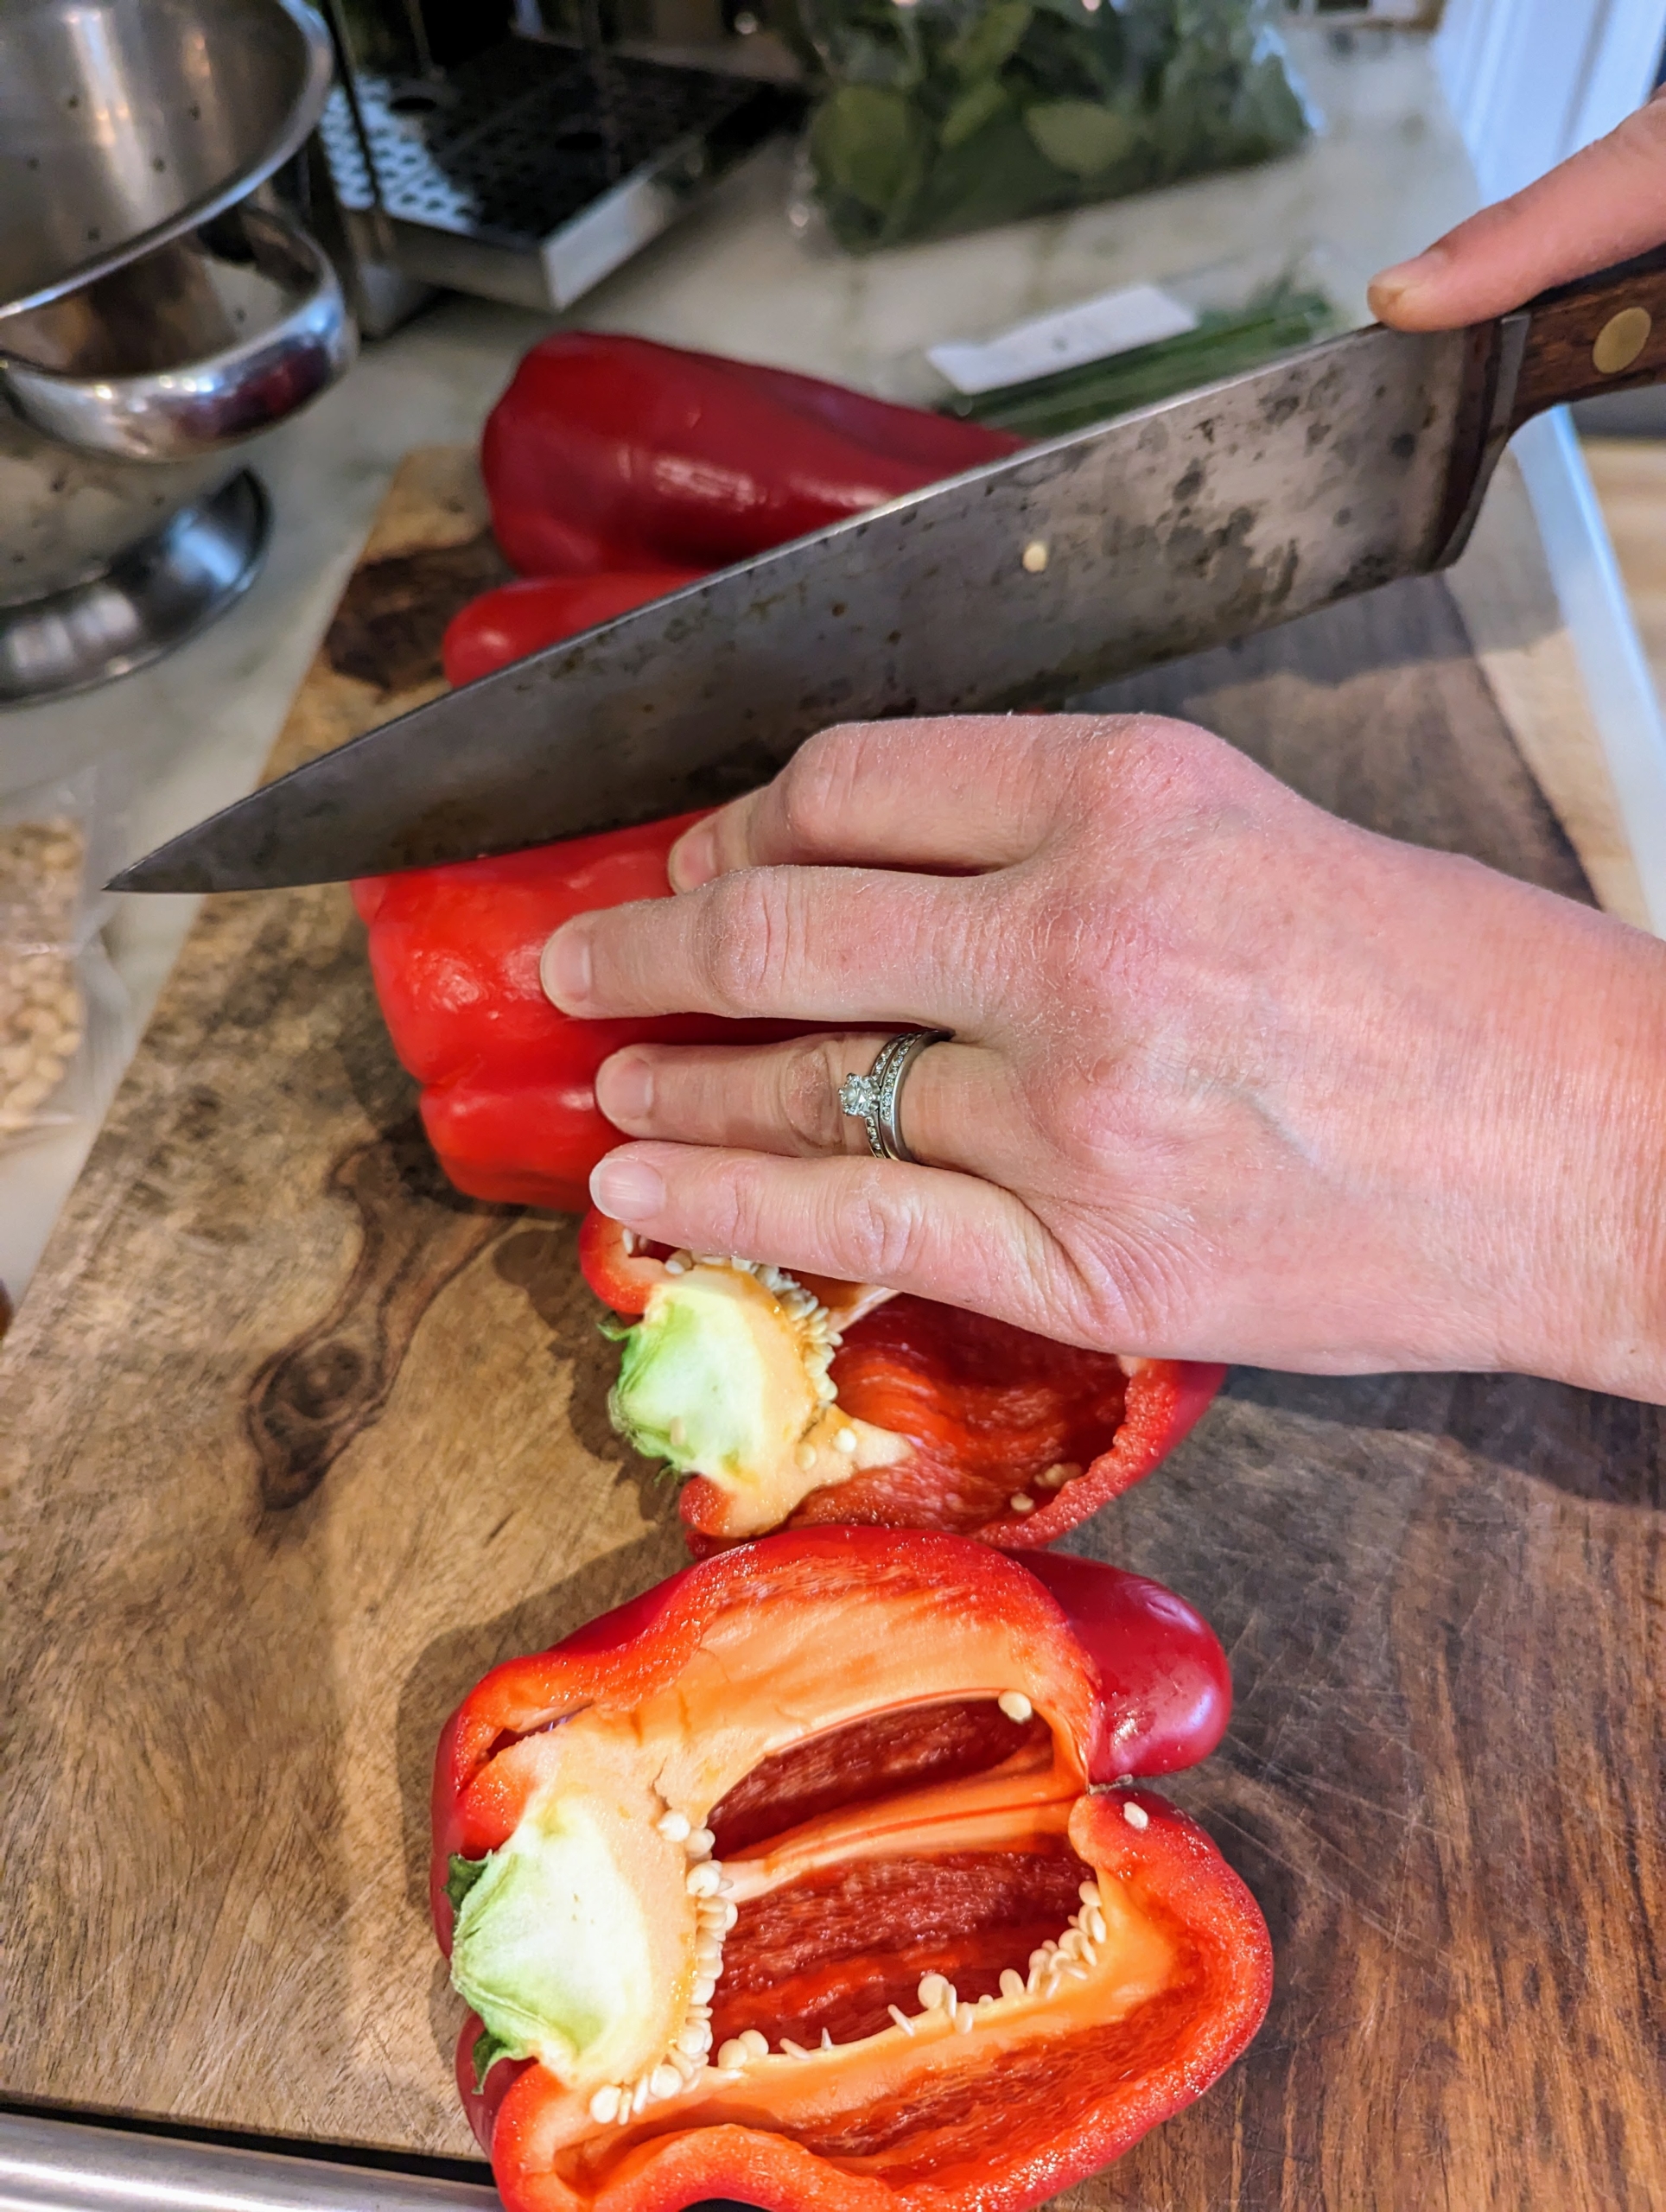
Meanwhile, Stephanie prepares the peppers. She halves them and discards all the stems and seeds.
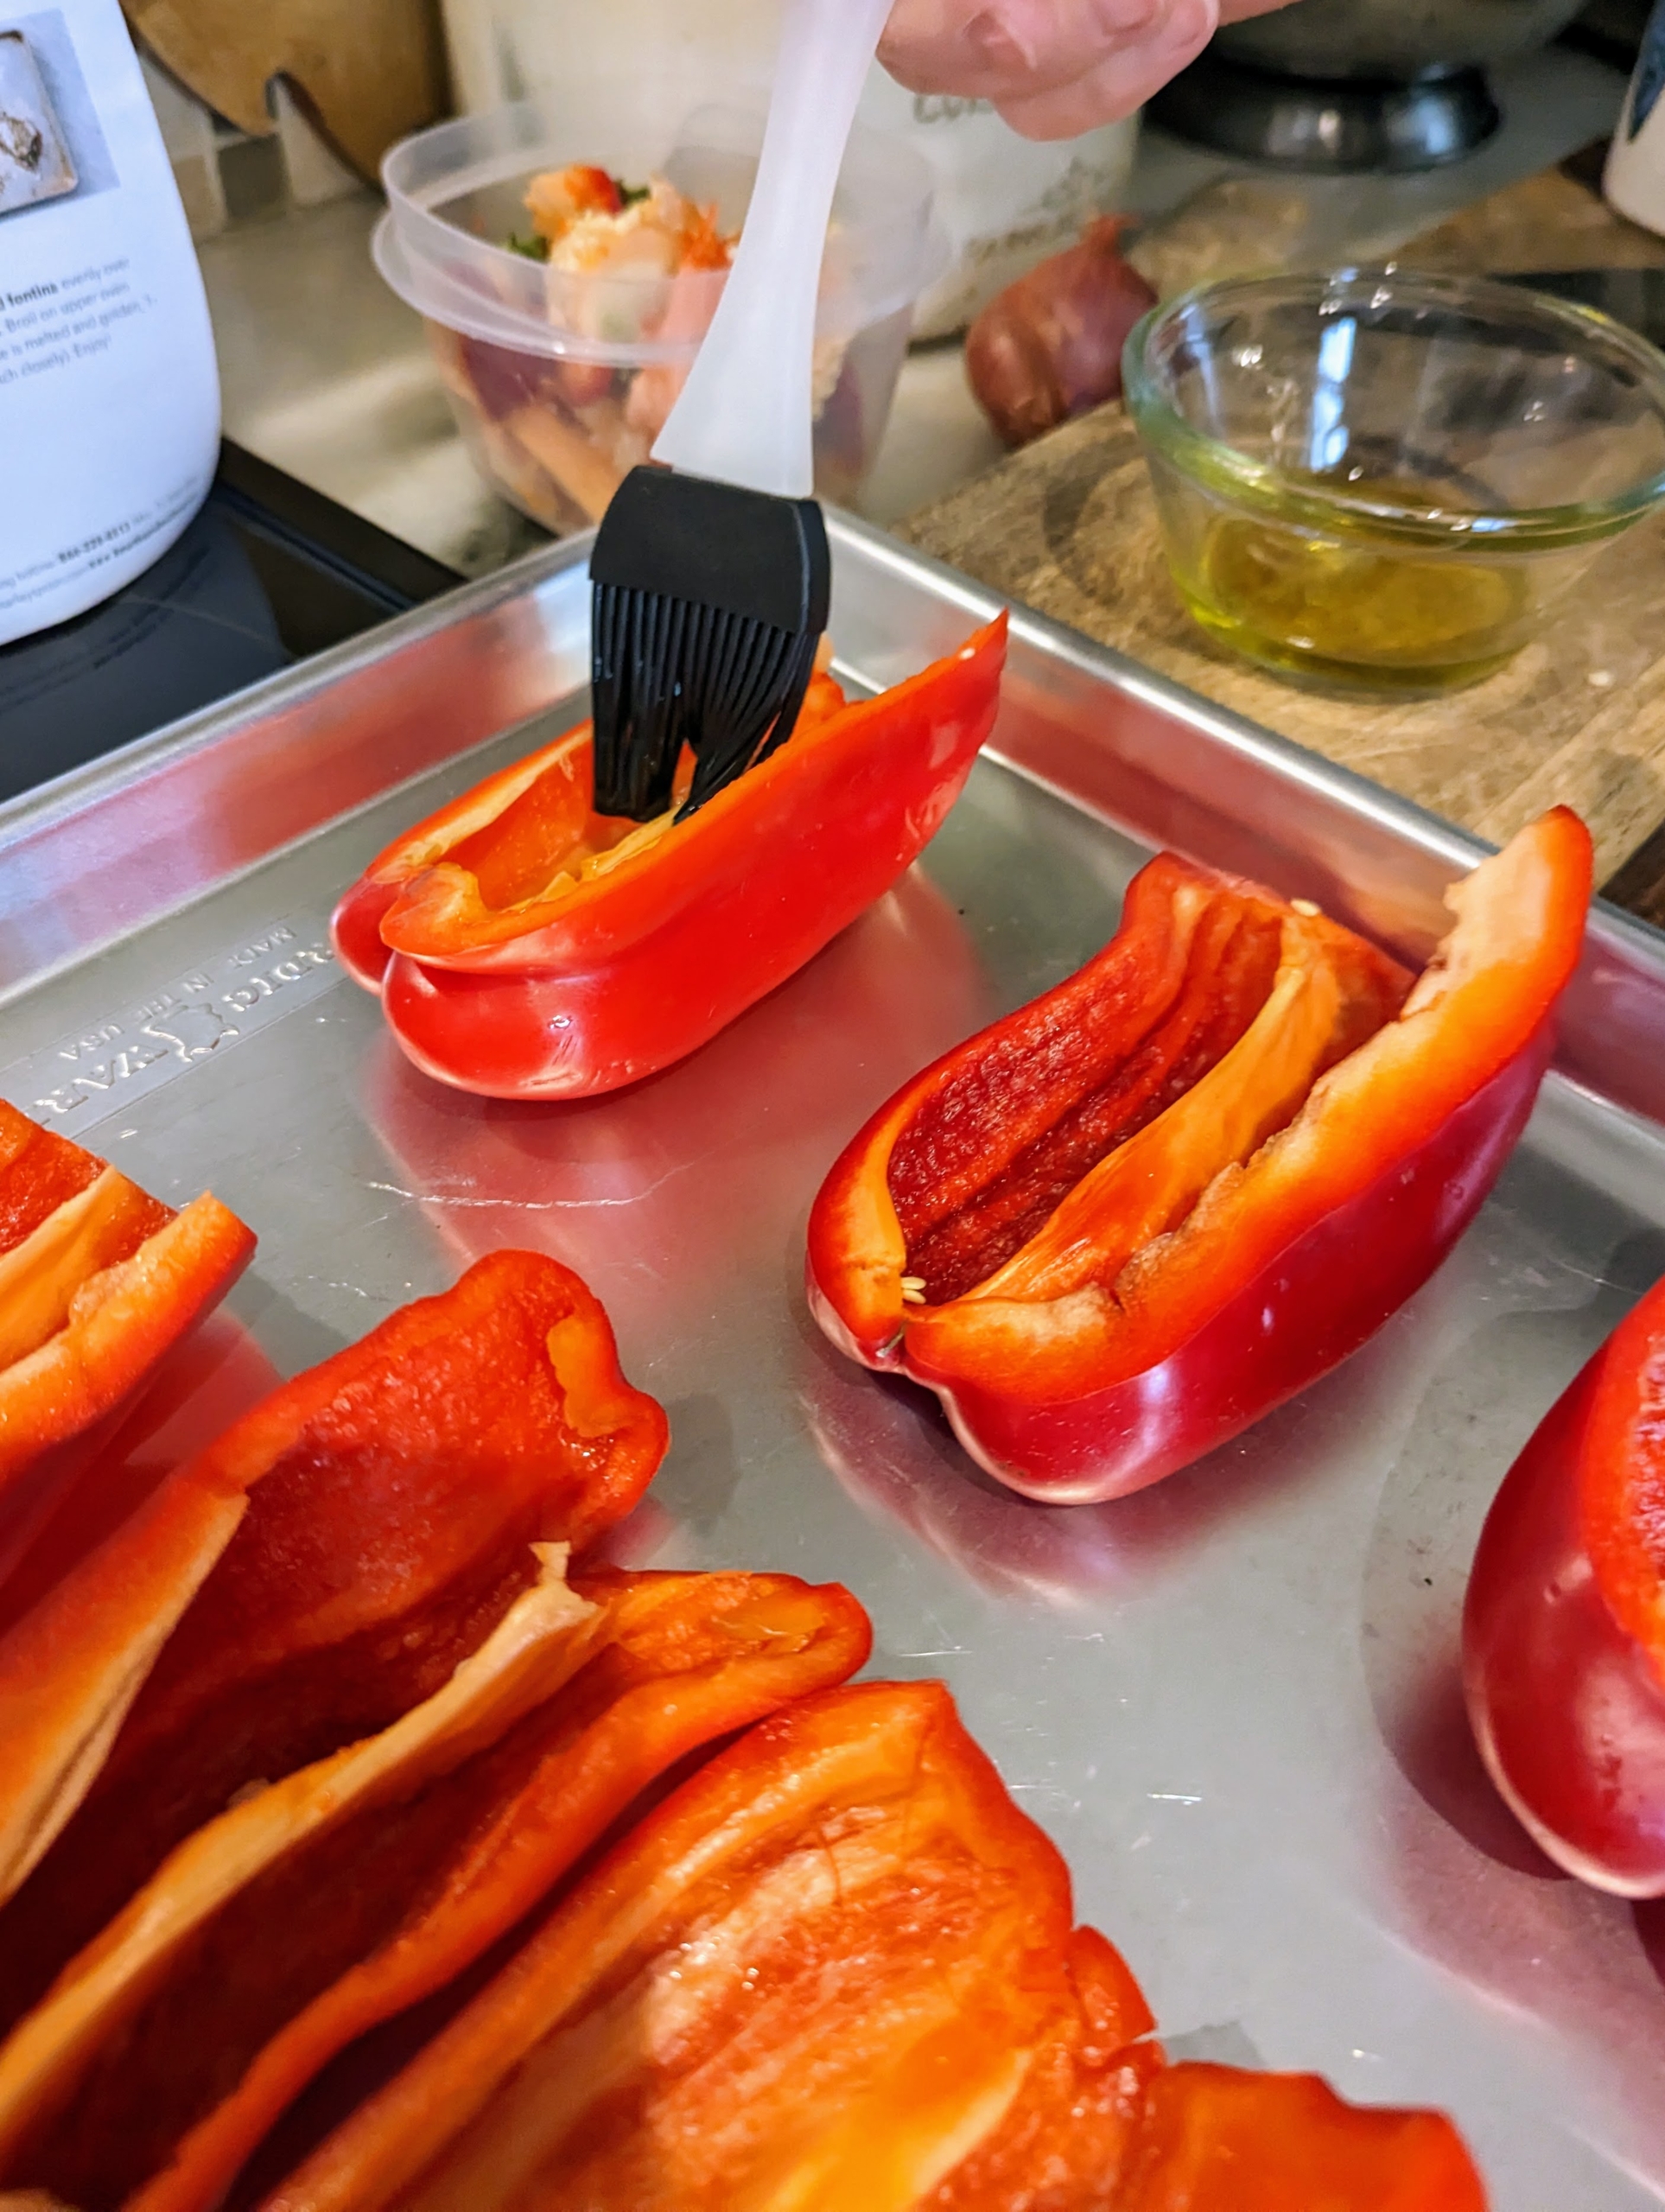
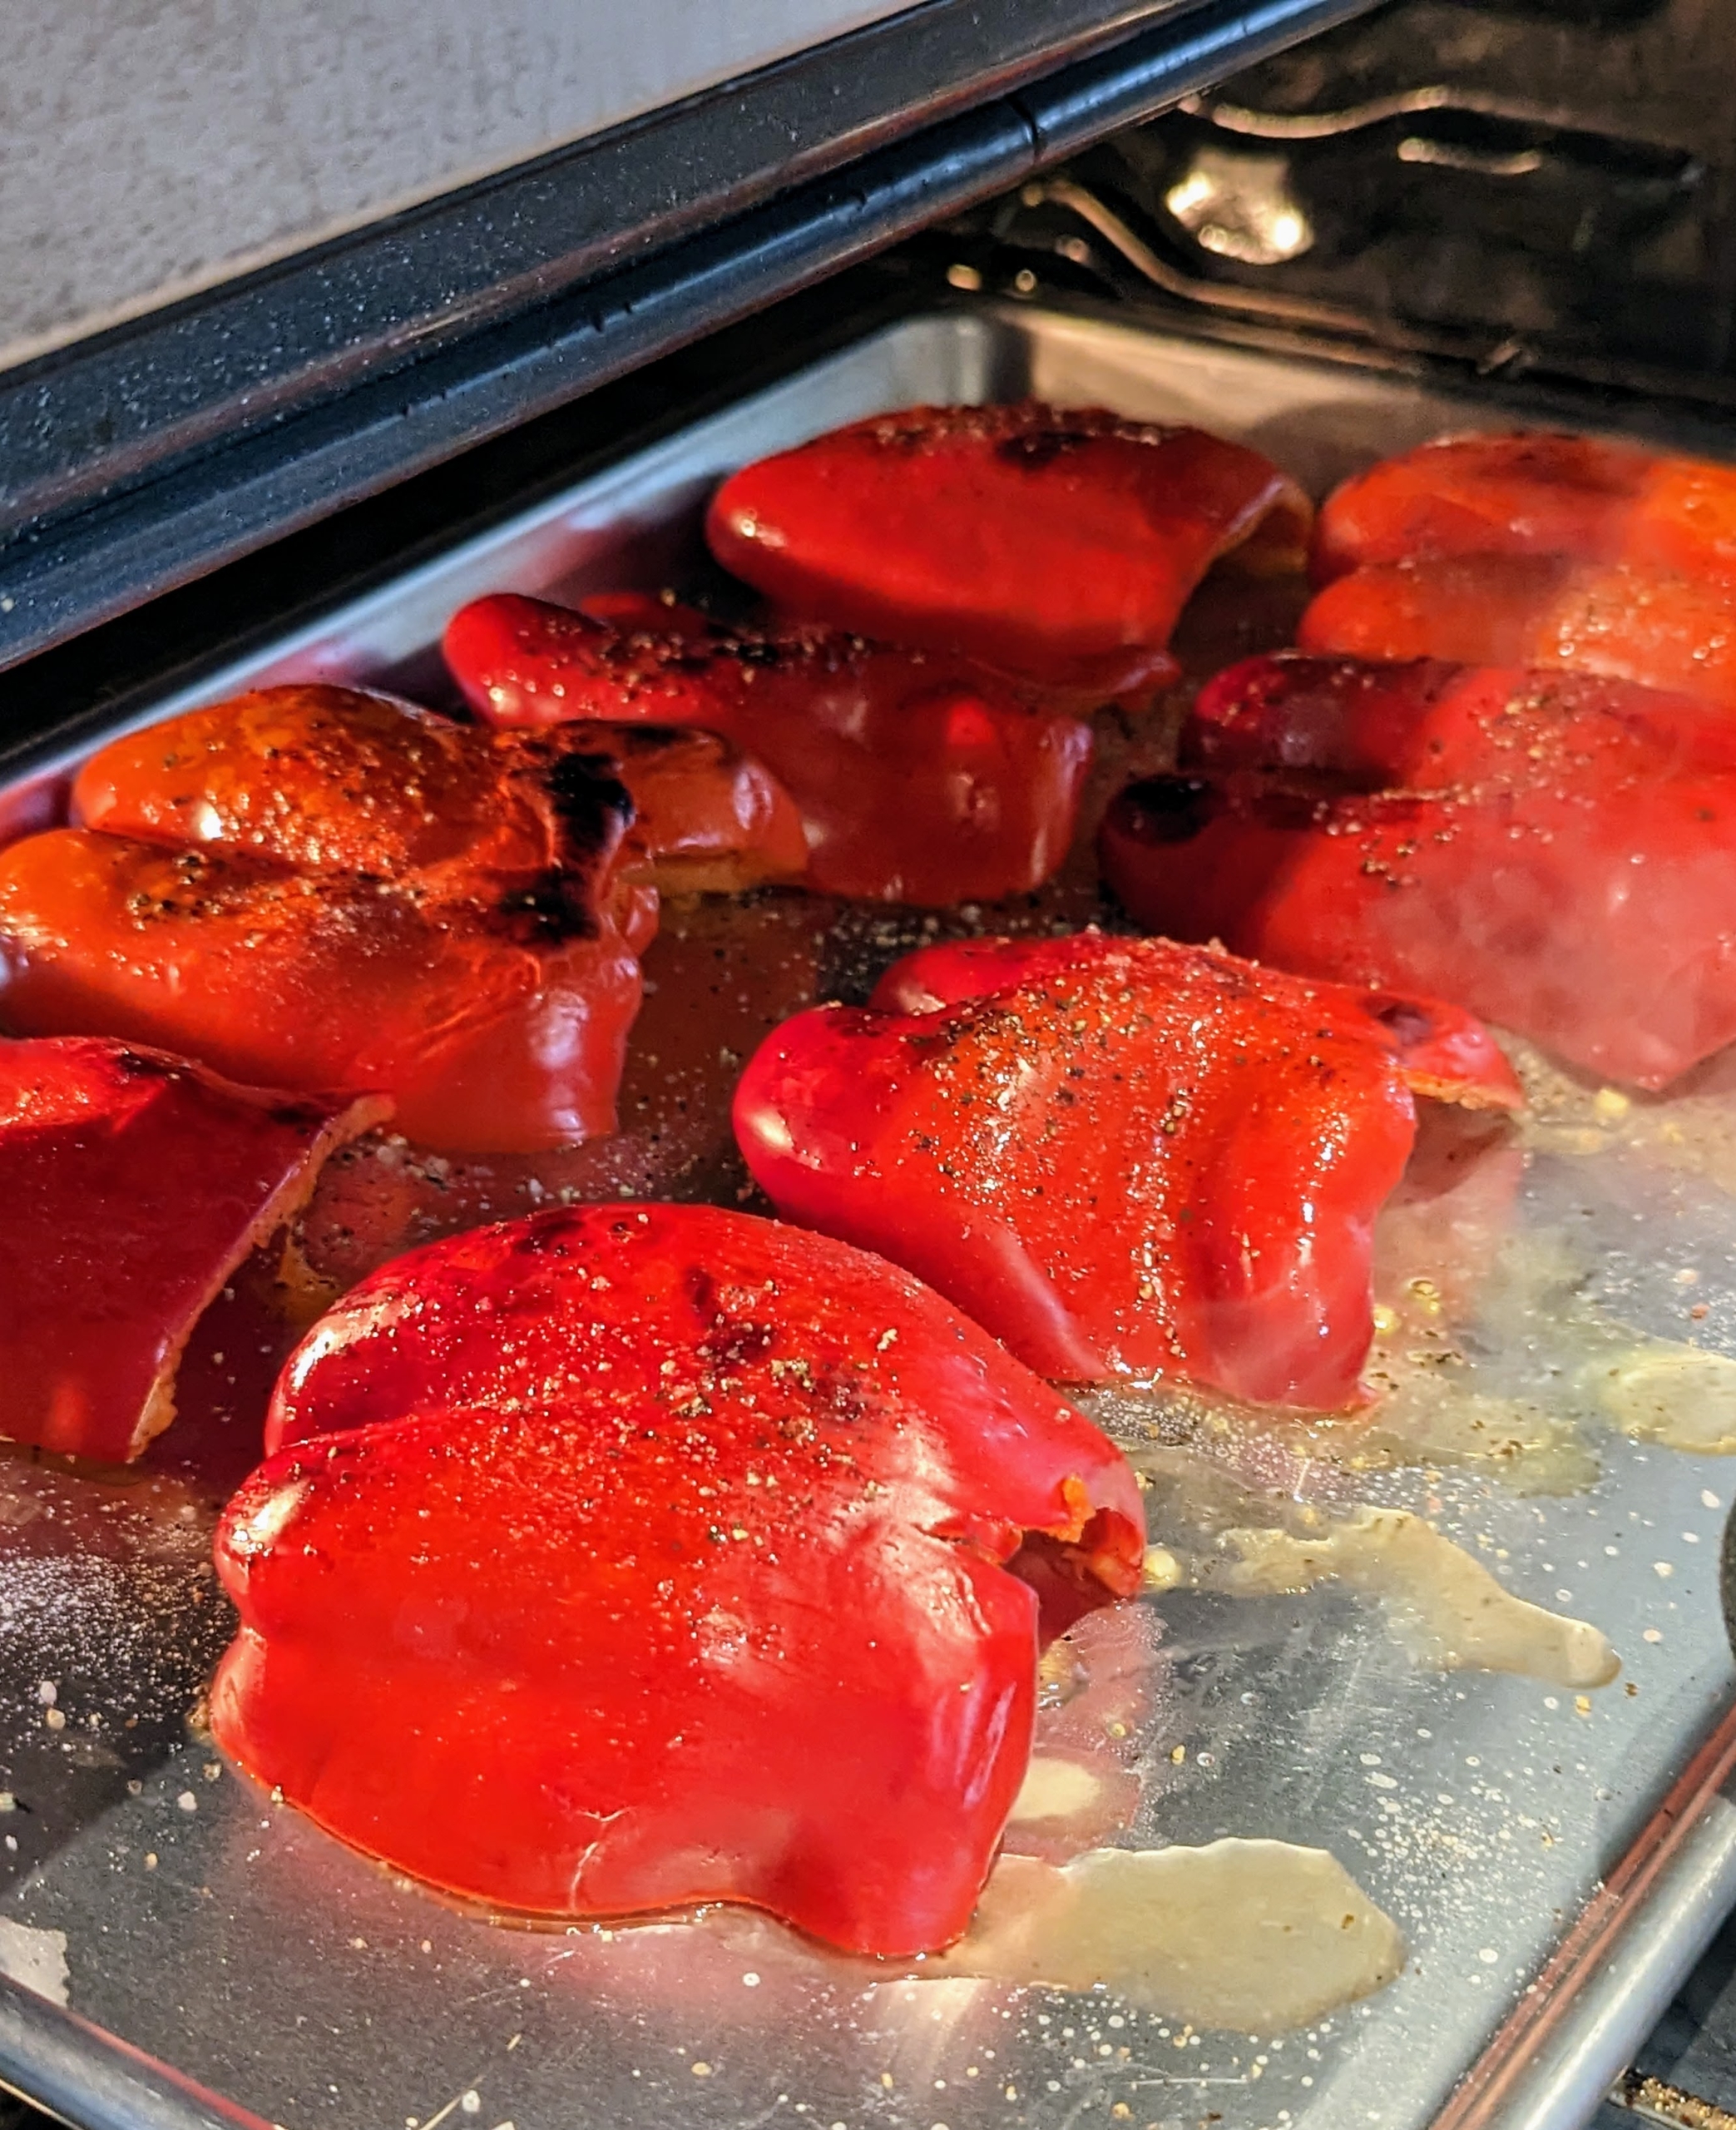
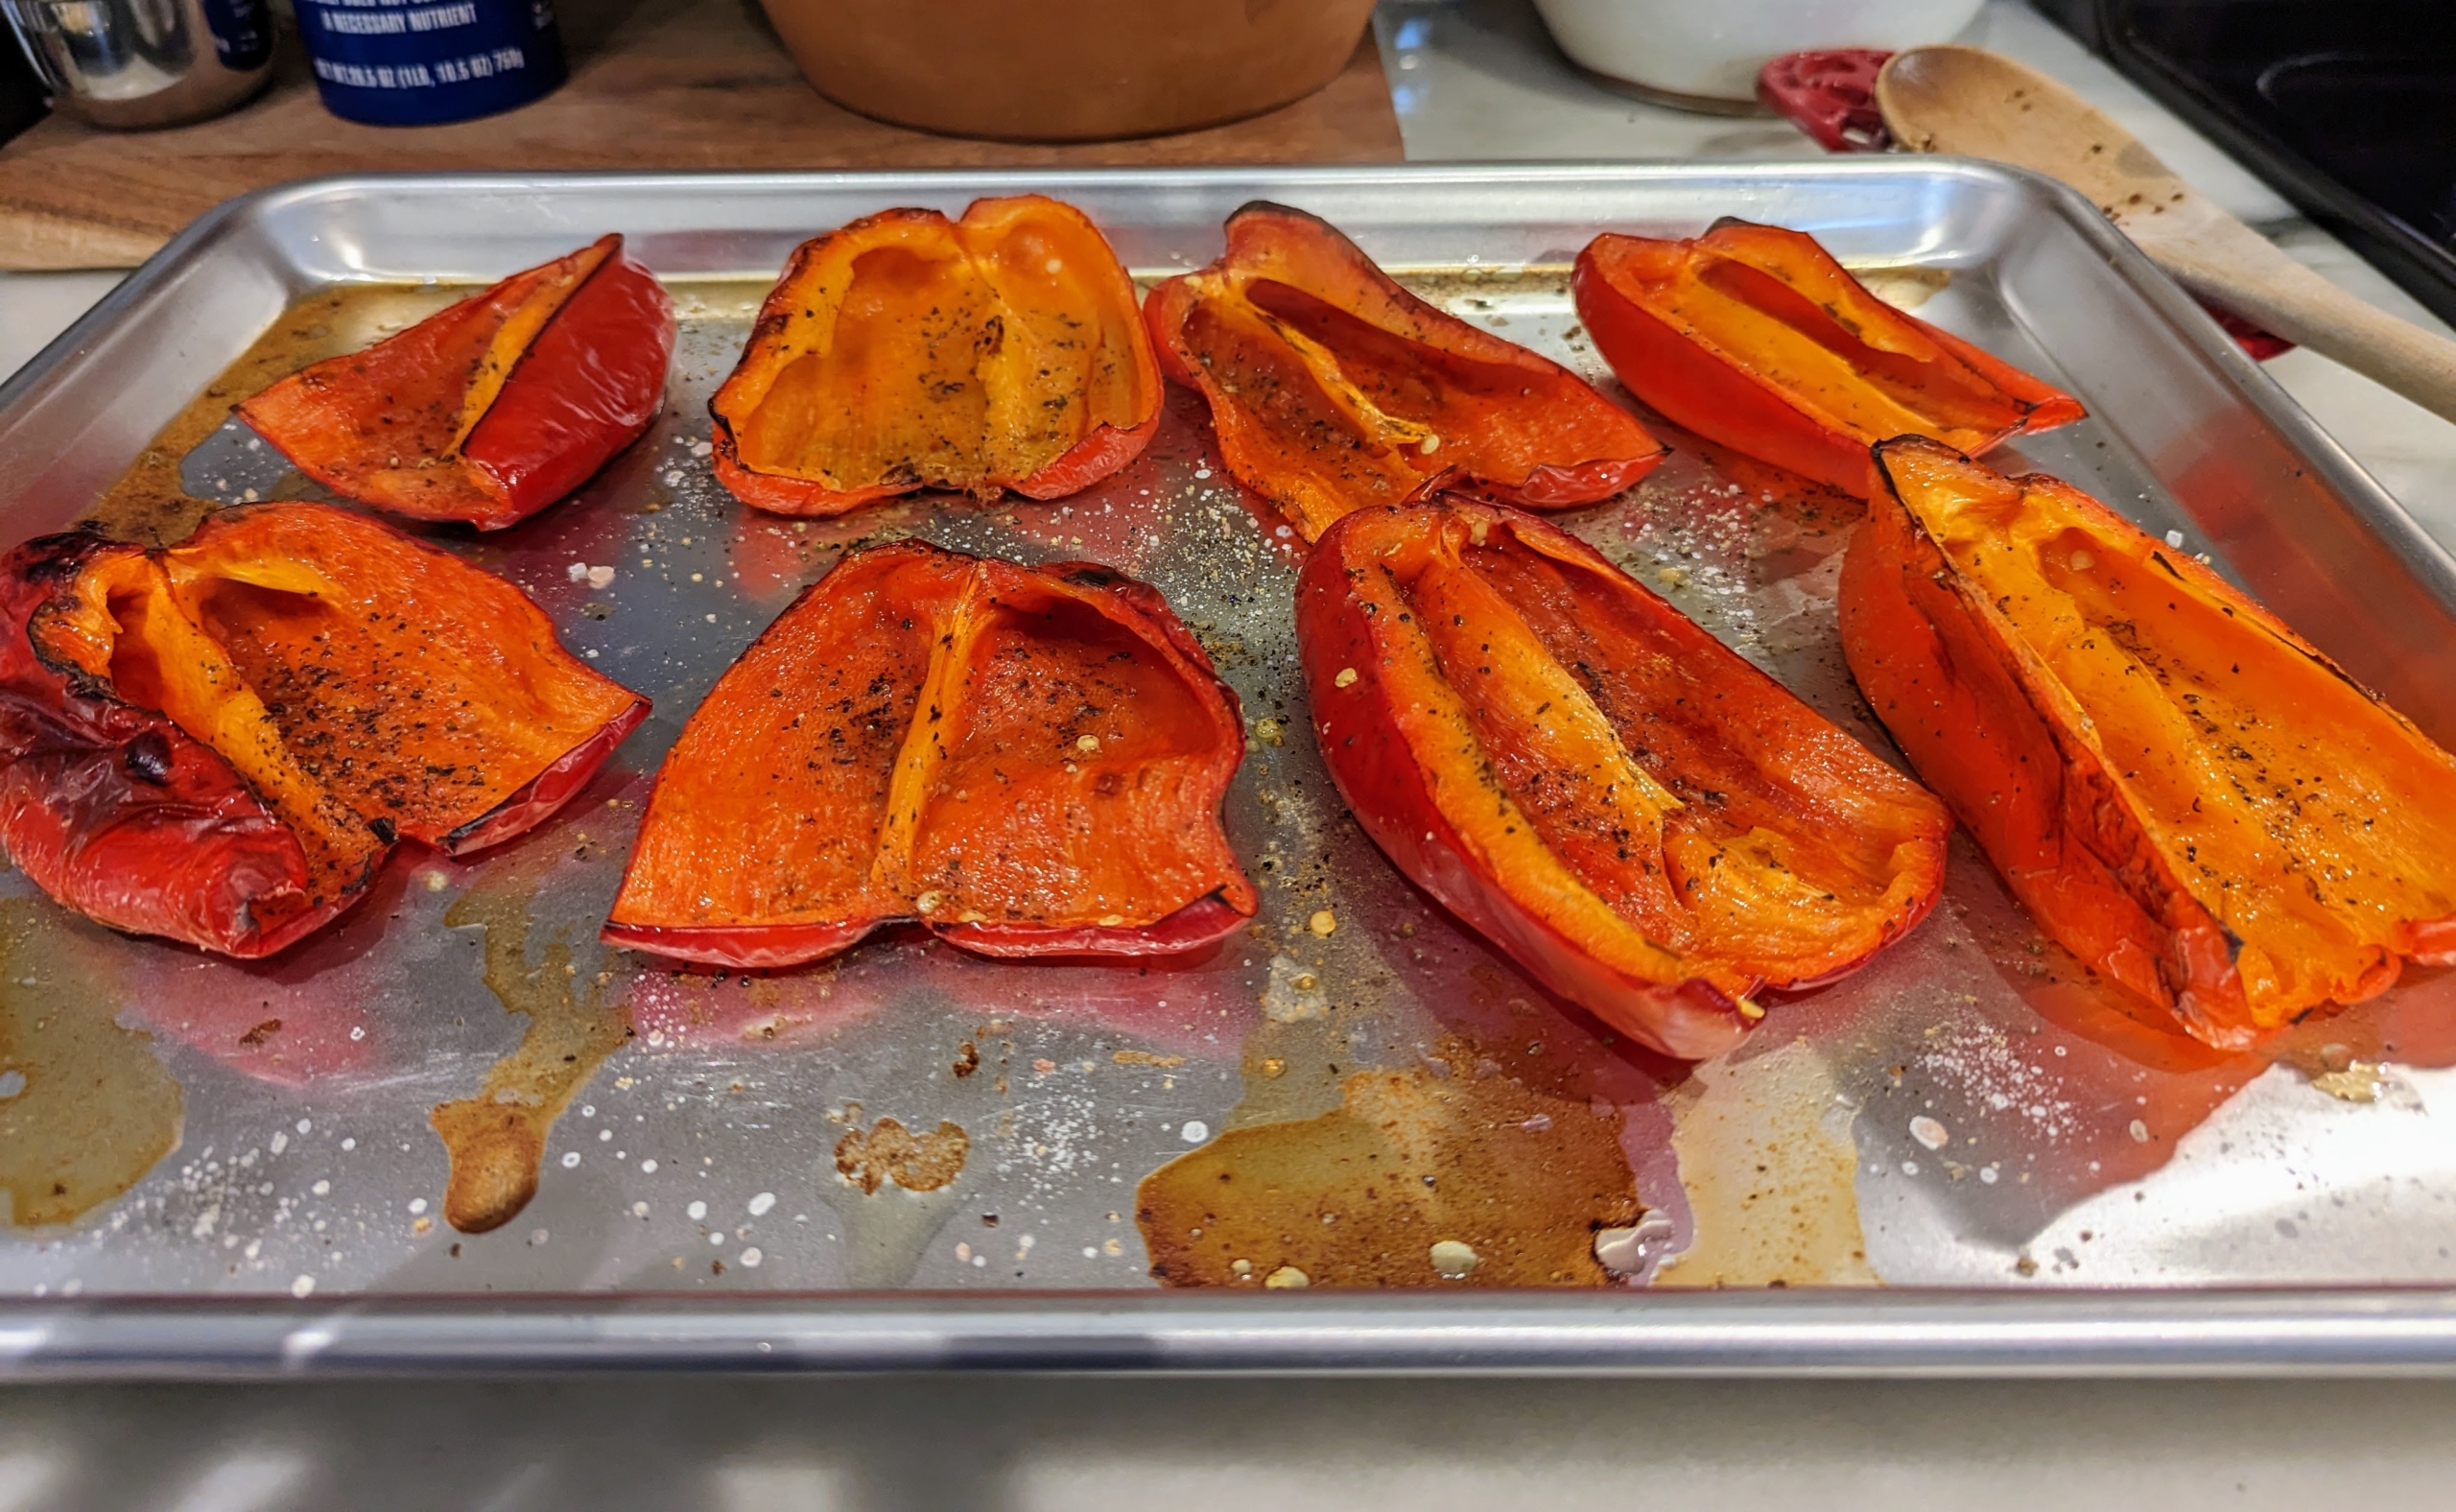
Then, she places them all on a rimmed baking sheet and rubs them with olive oil. They are then seasoned with salt and pepper to taste and placed on the top rack to broil until tender – about 12 minutes.
Half way through, the peppers are flipped.
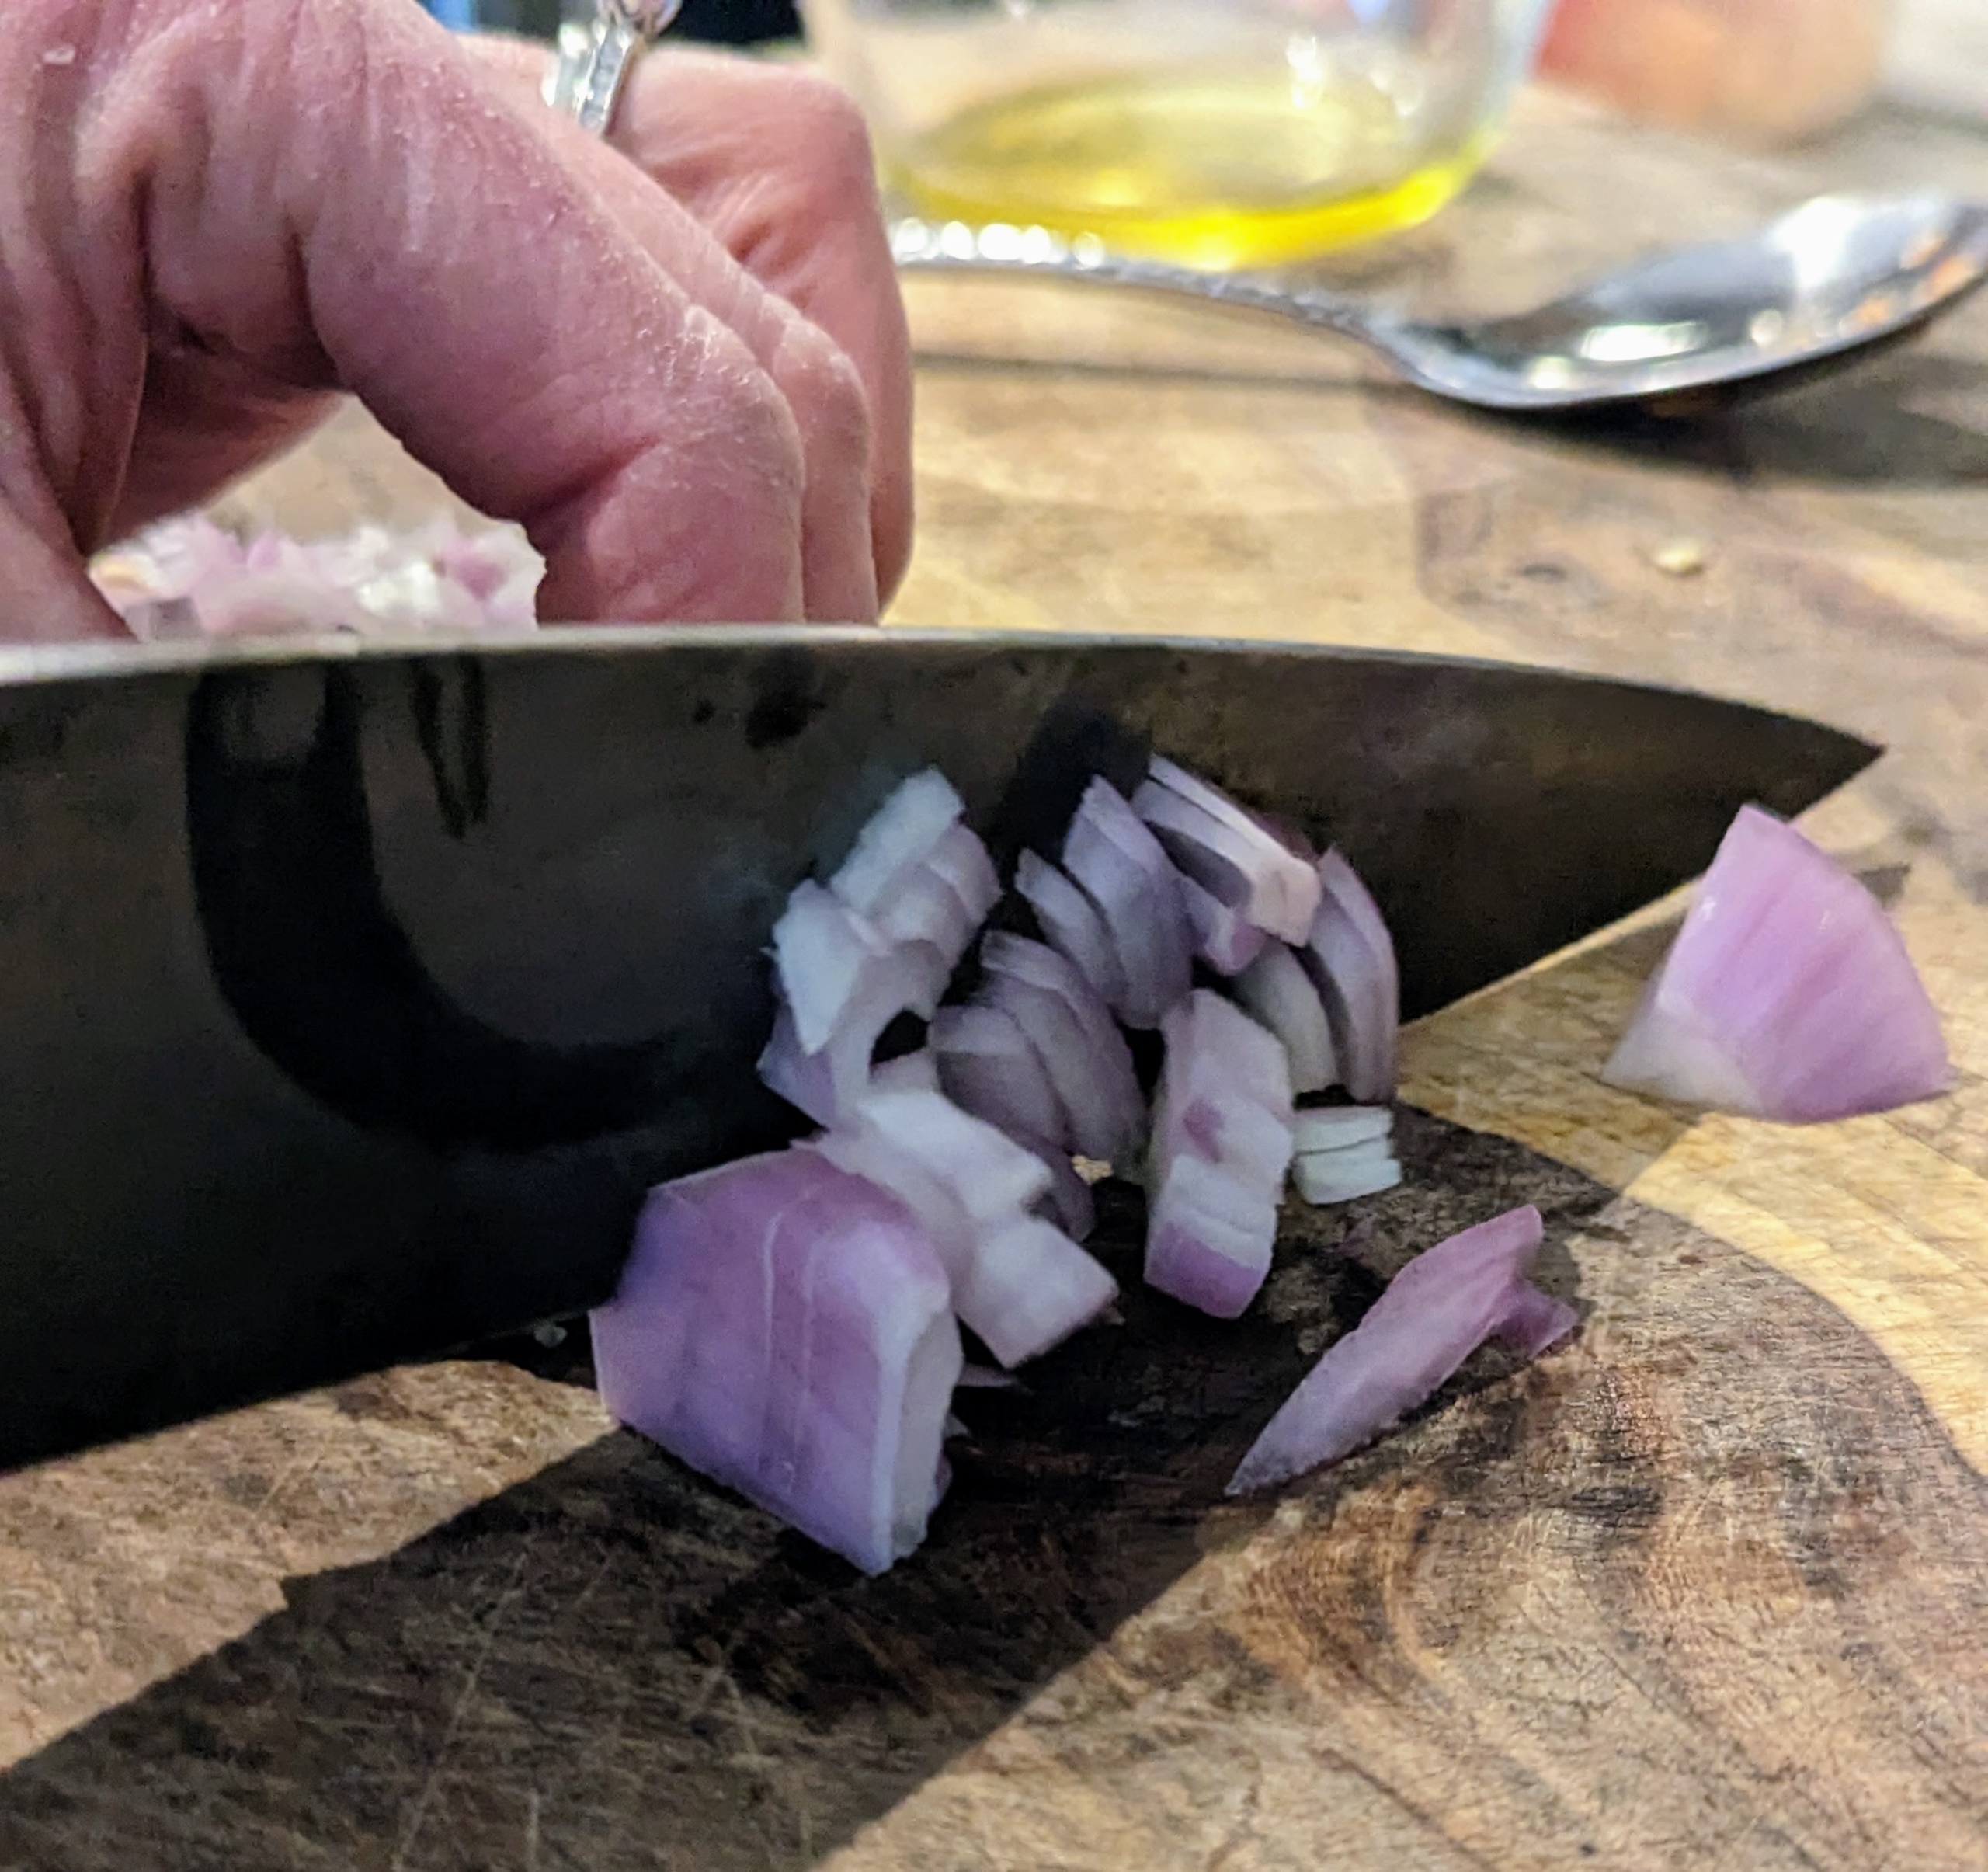
While the pepper continue cooking, Stephanie finely chops the shallot that’s included with the kit. It’s so convenient to have all the ingredients included, so there is no need to shop.
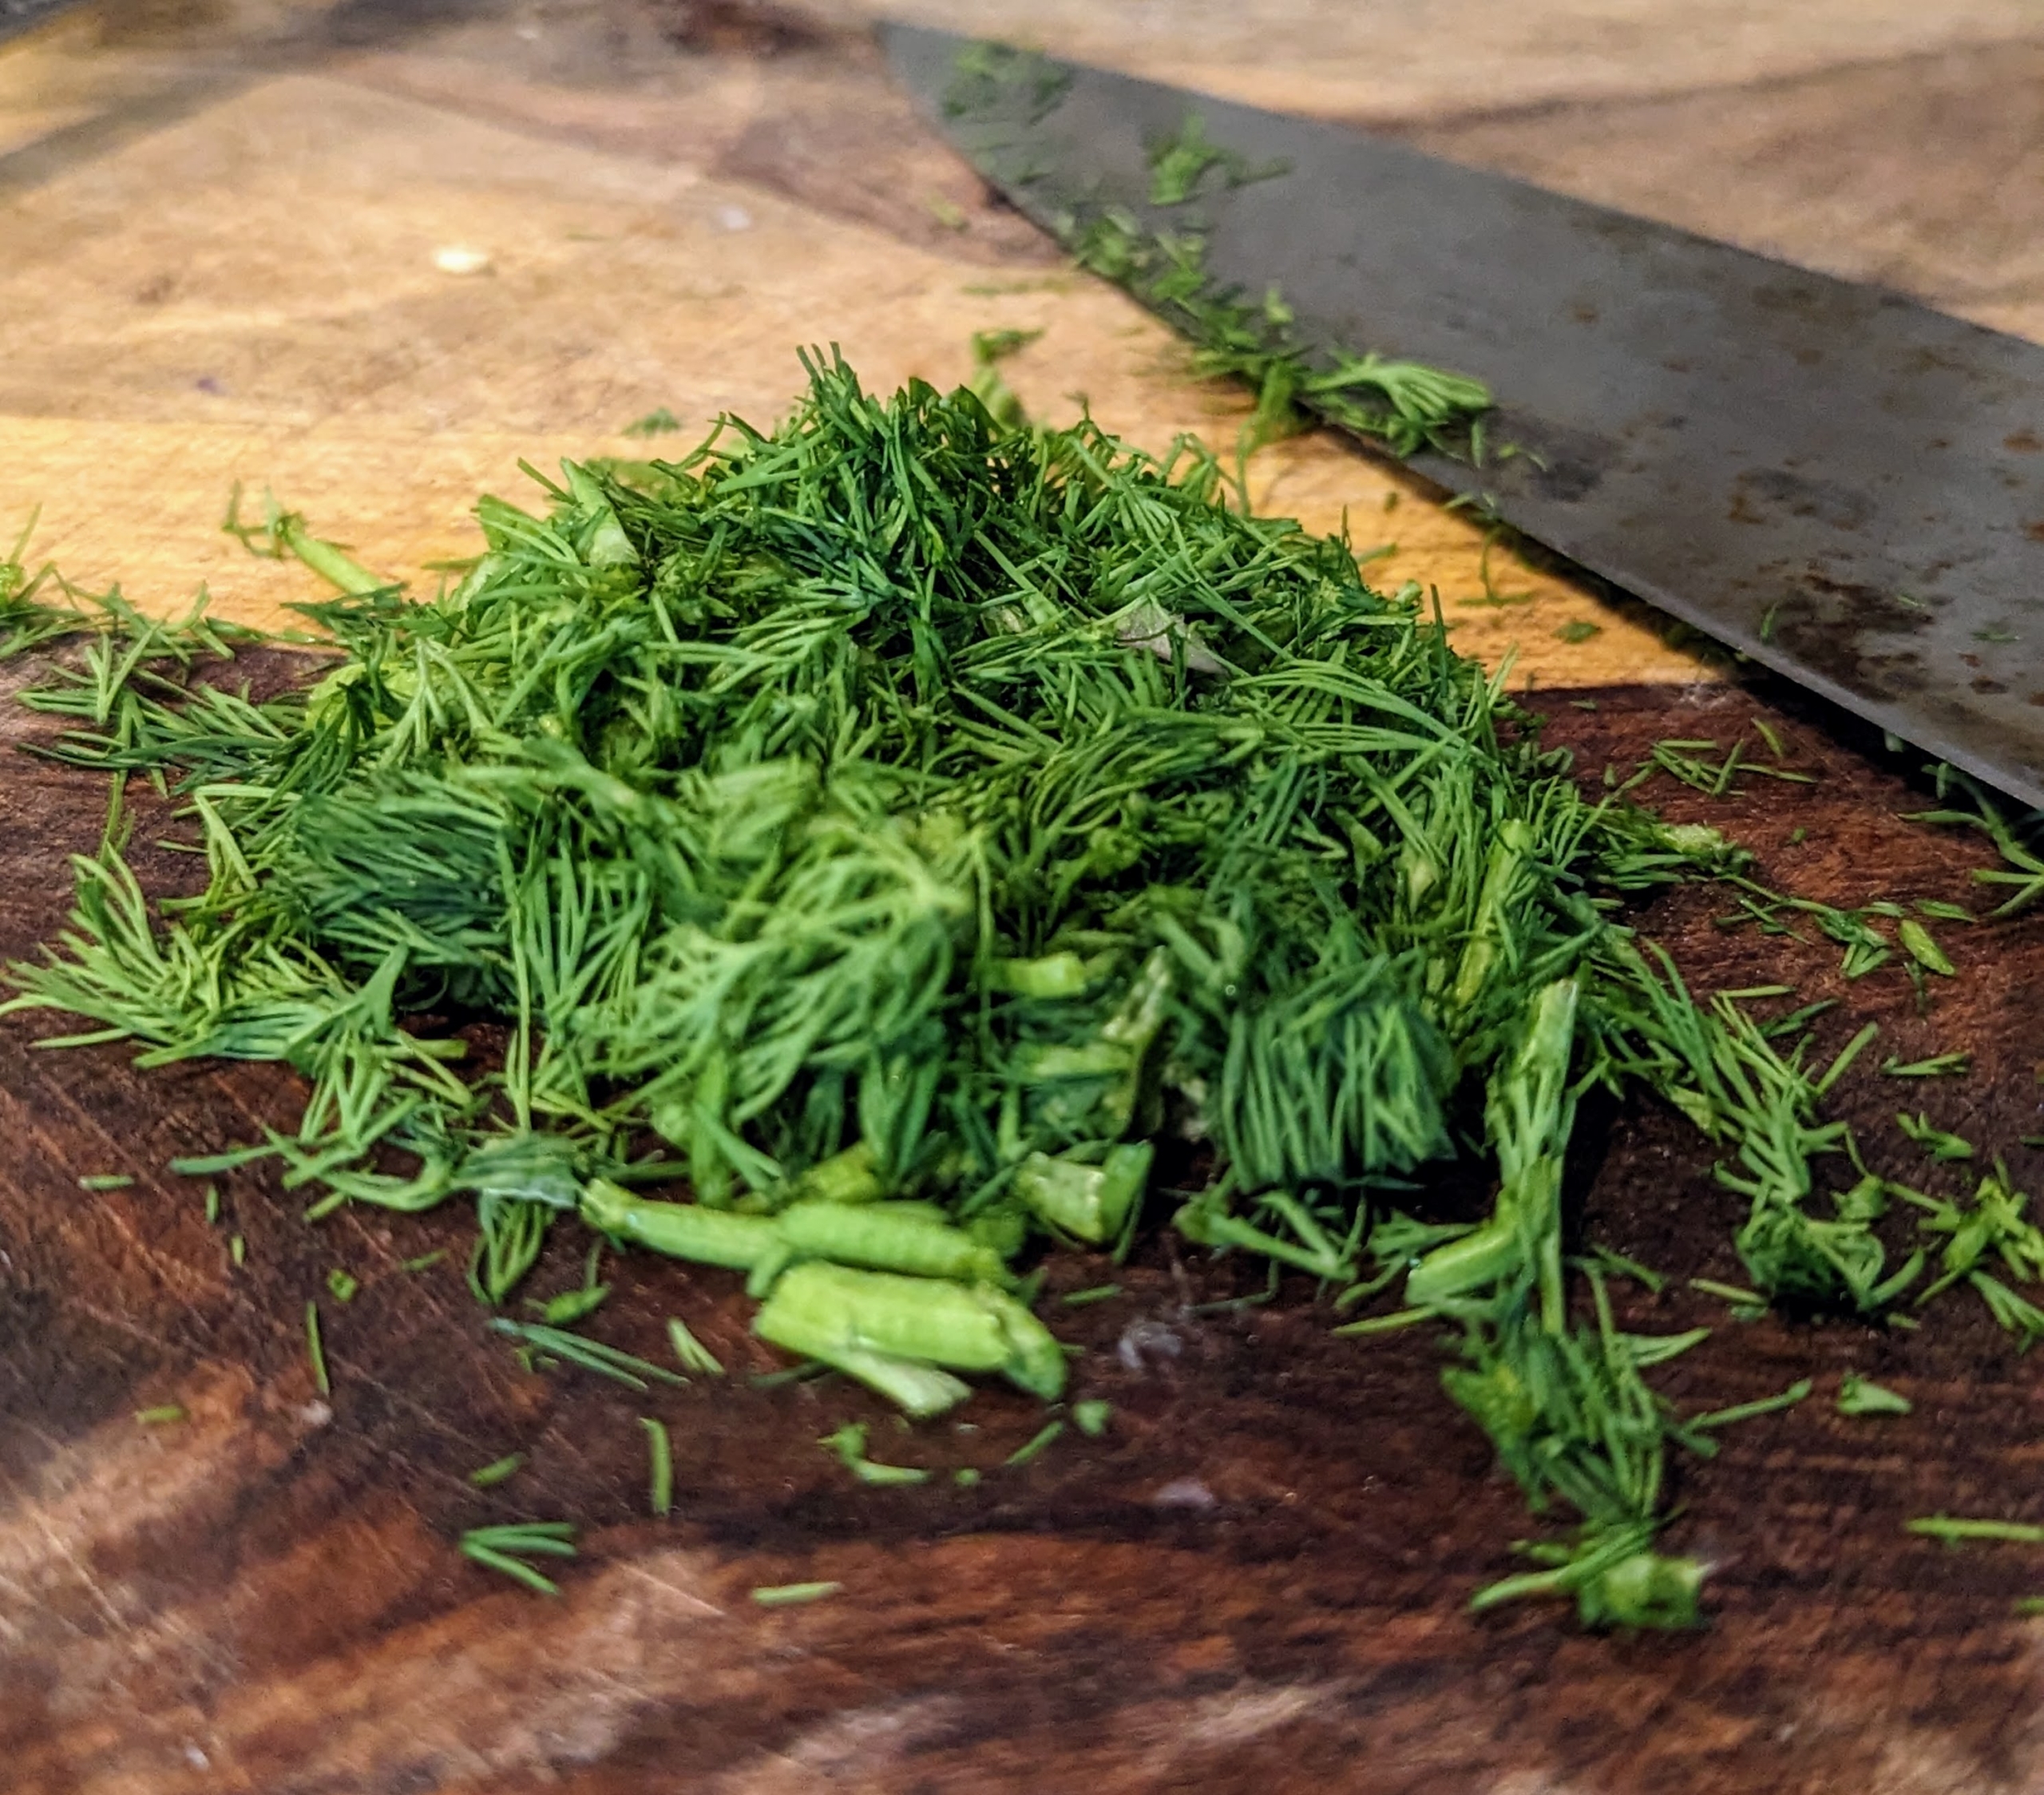
She also chops the dill fronds and stems.
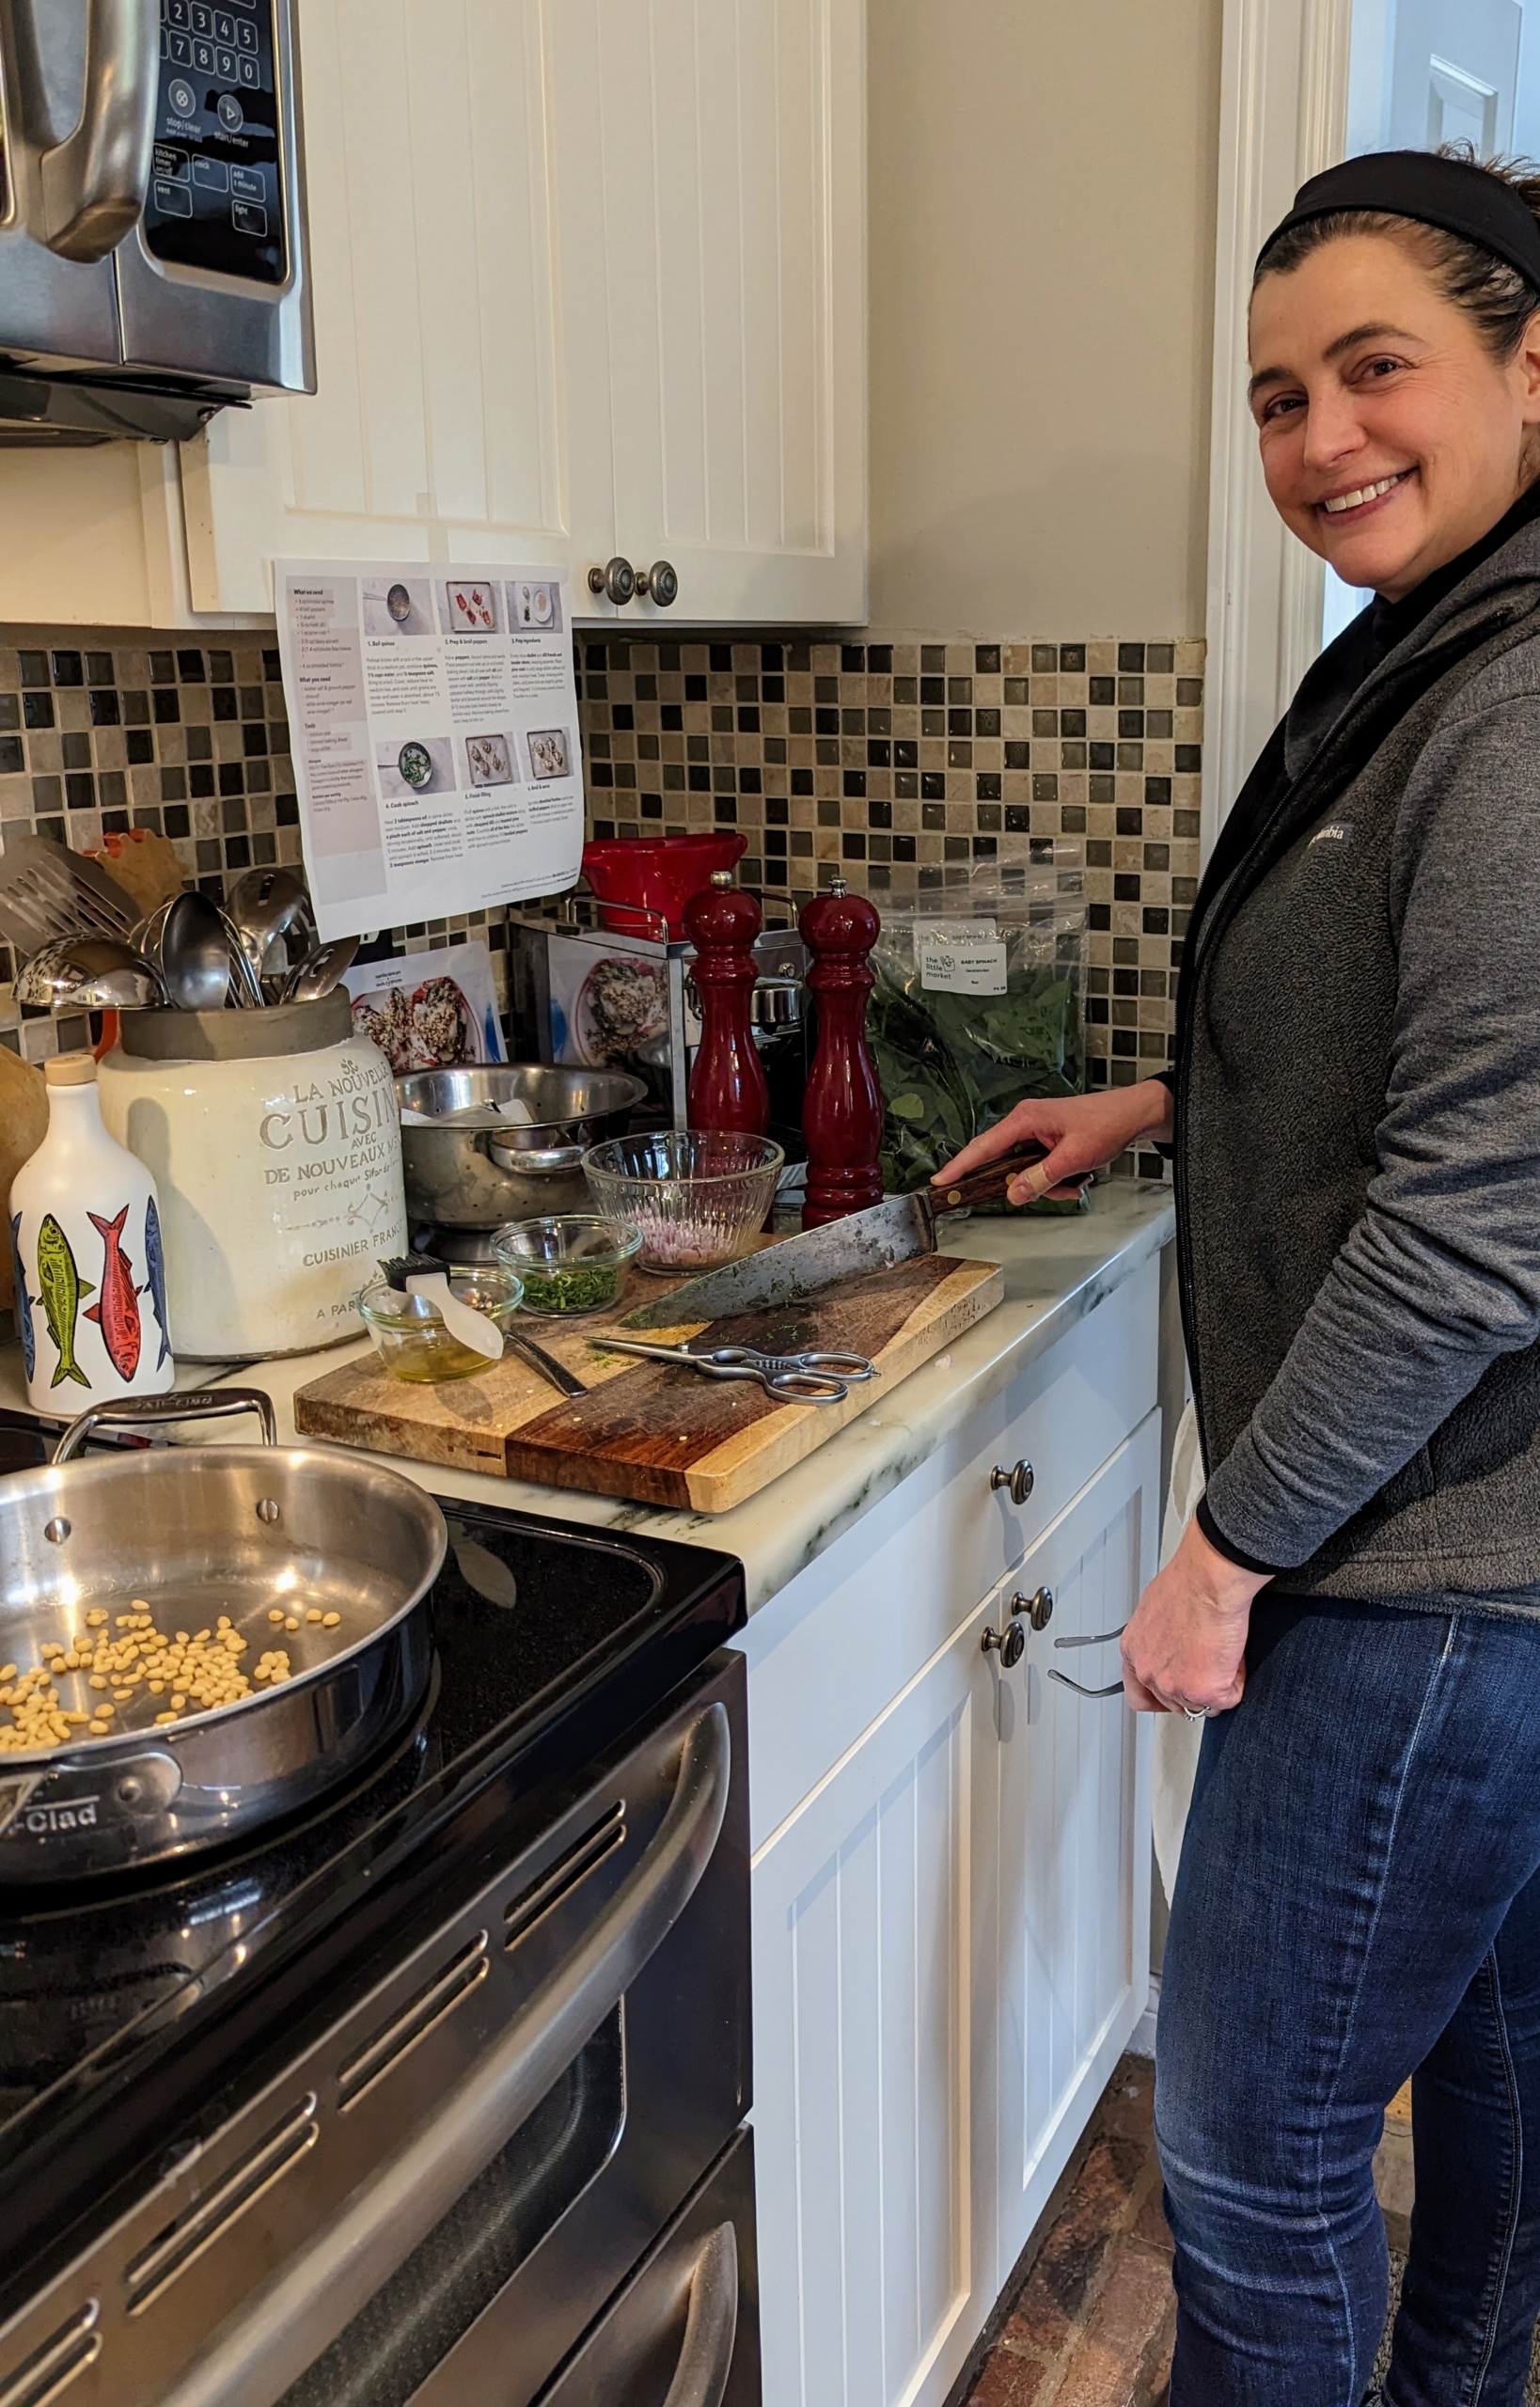
Here’s Stephanie after finishing the mis en place – a French culinary phrase which means “putting in place” or “gather” all the ingredients required before cooking.
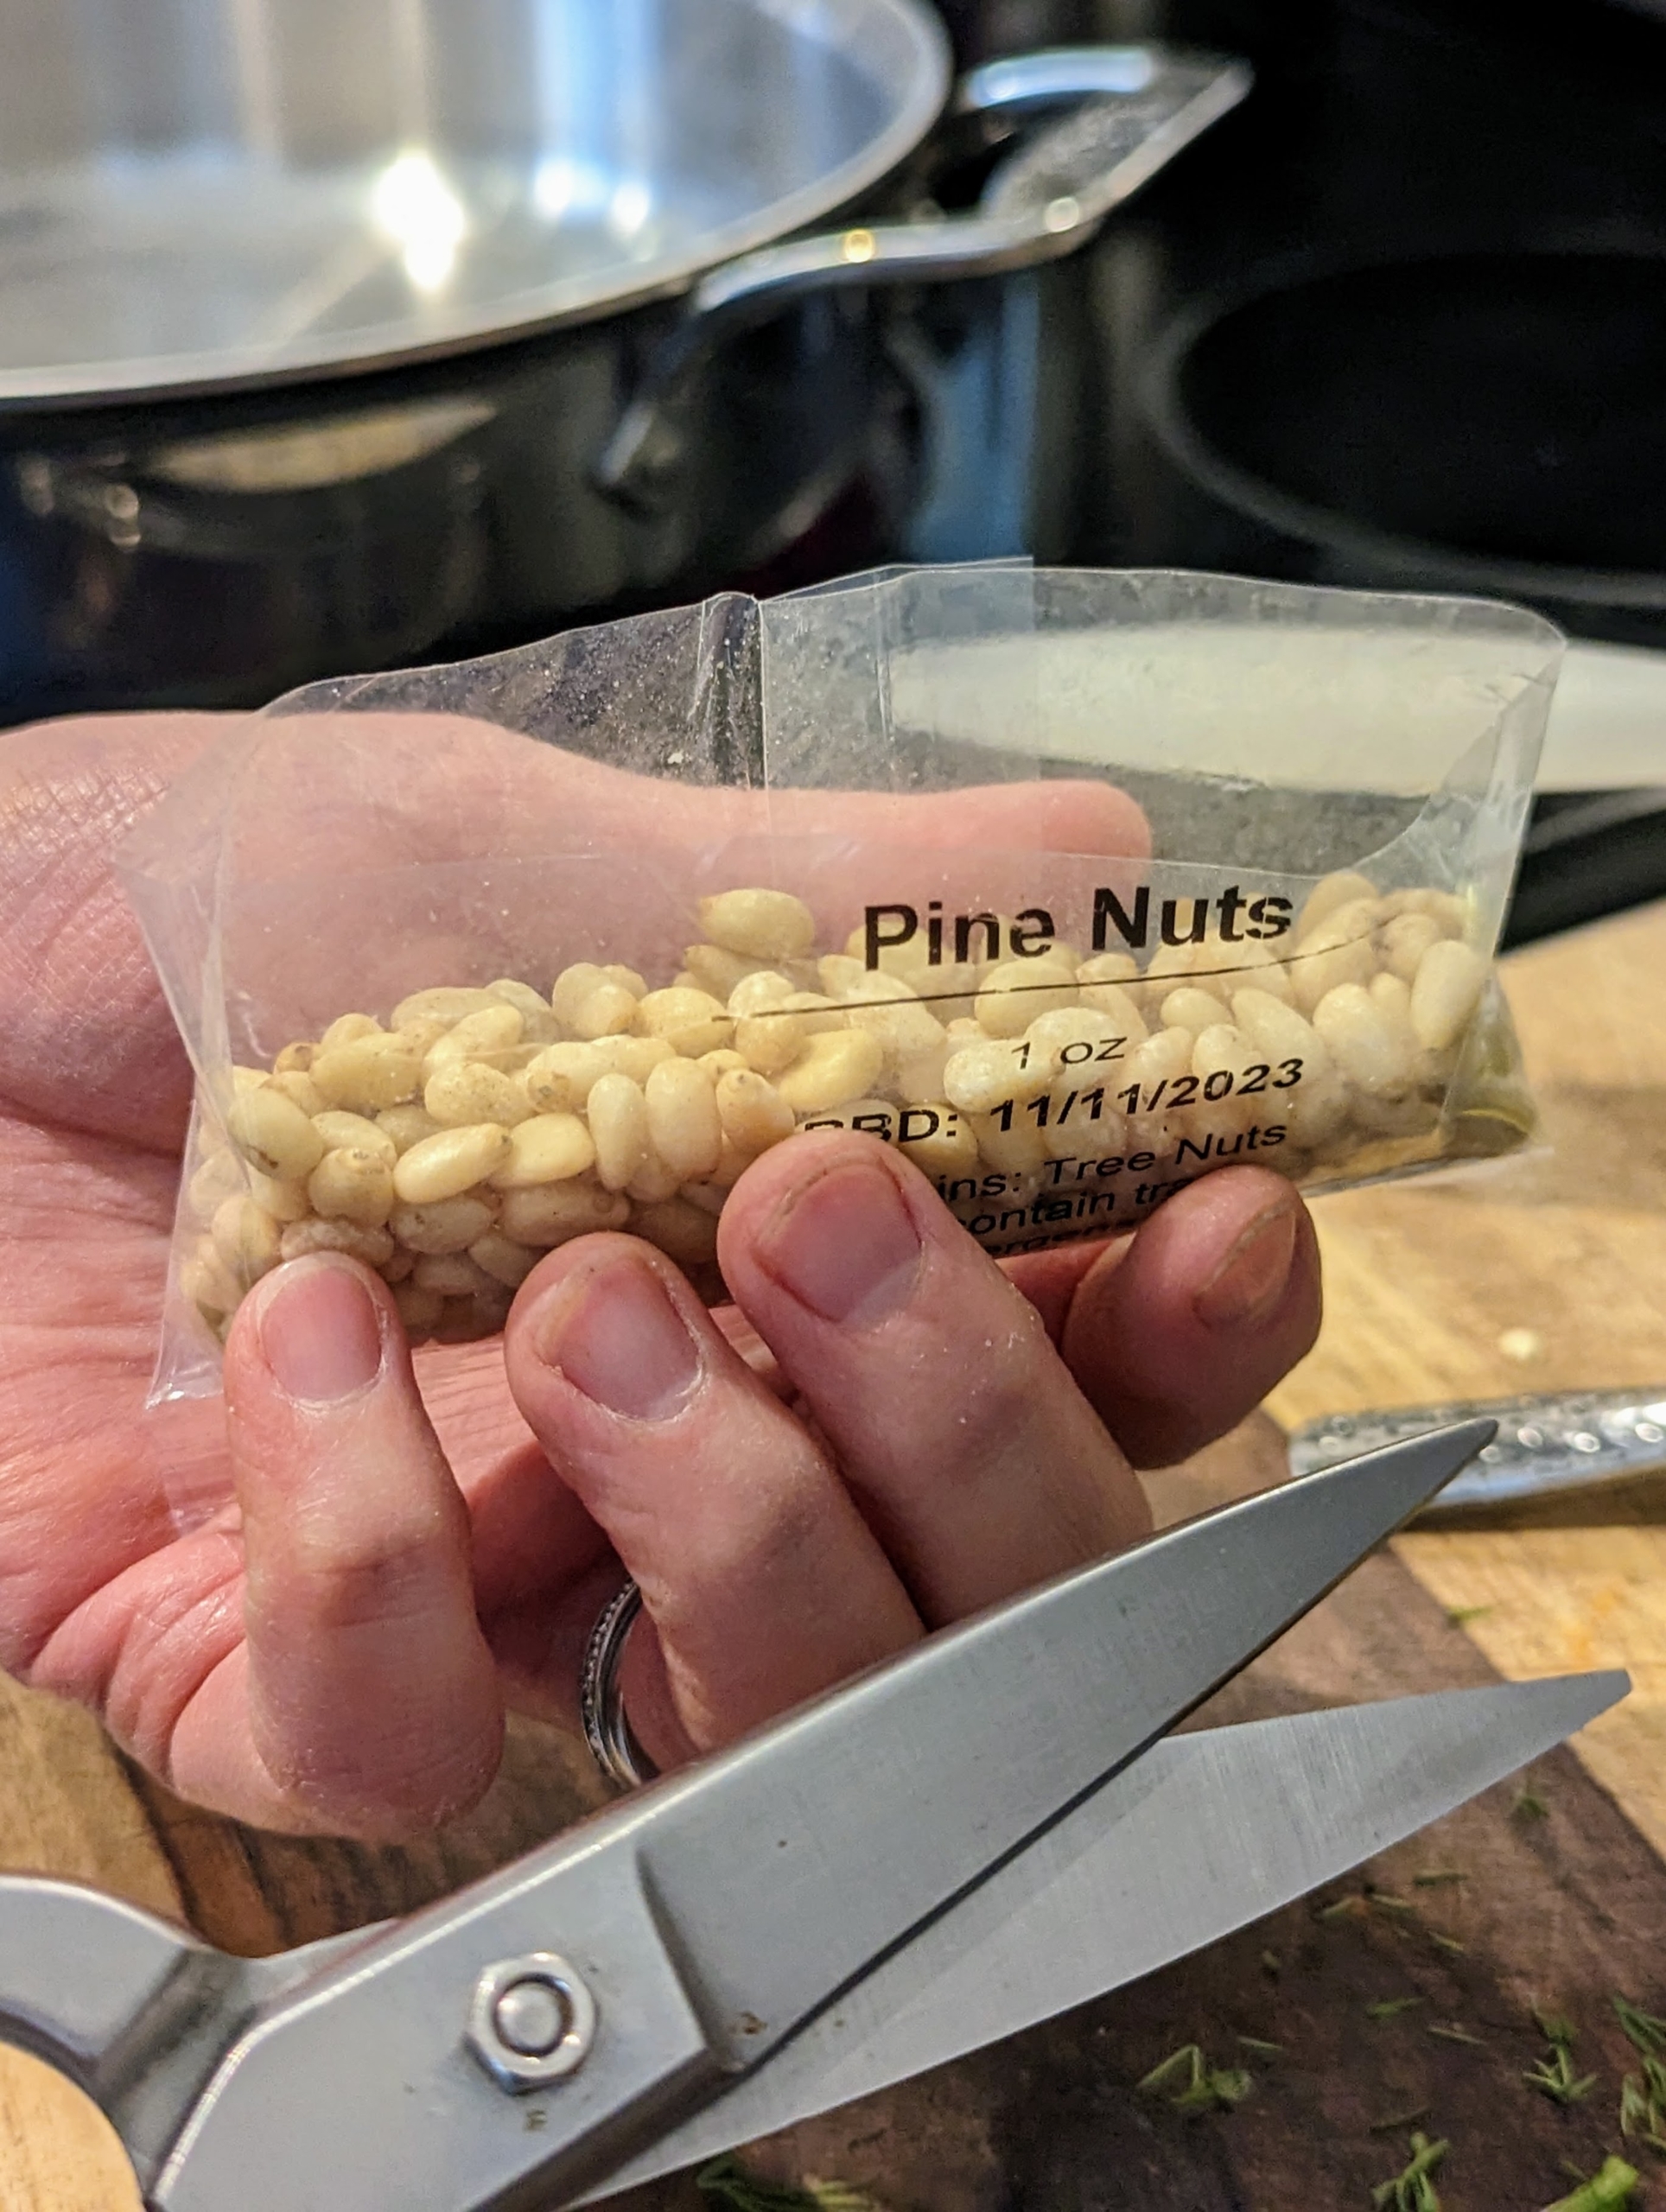
Pine nuts are also very nutritious. They’re about a 1/2 inch long. When raw, the seeds have a soft texture and a sweet, buttery flavor. They are also called piñón, pinoli, pignoli, bondoq or chilgoza. This recipe calls for one-ounce of pine nuts.
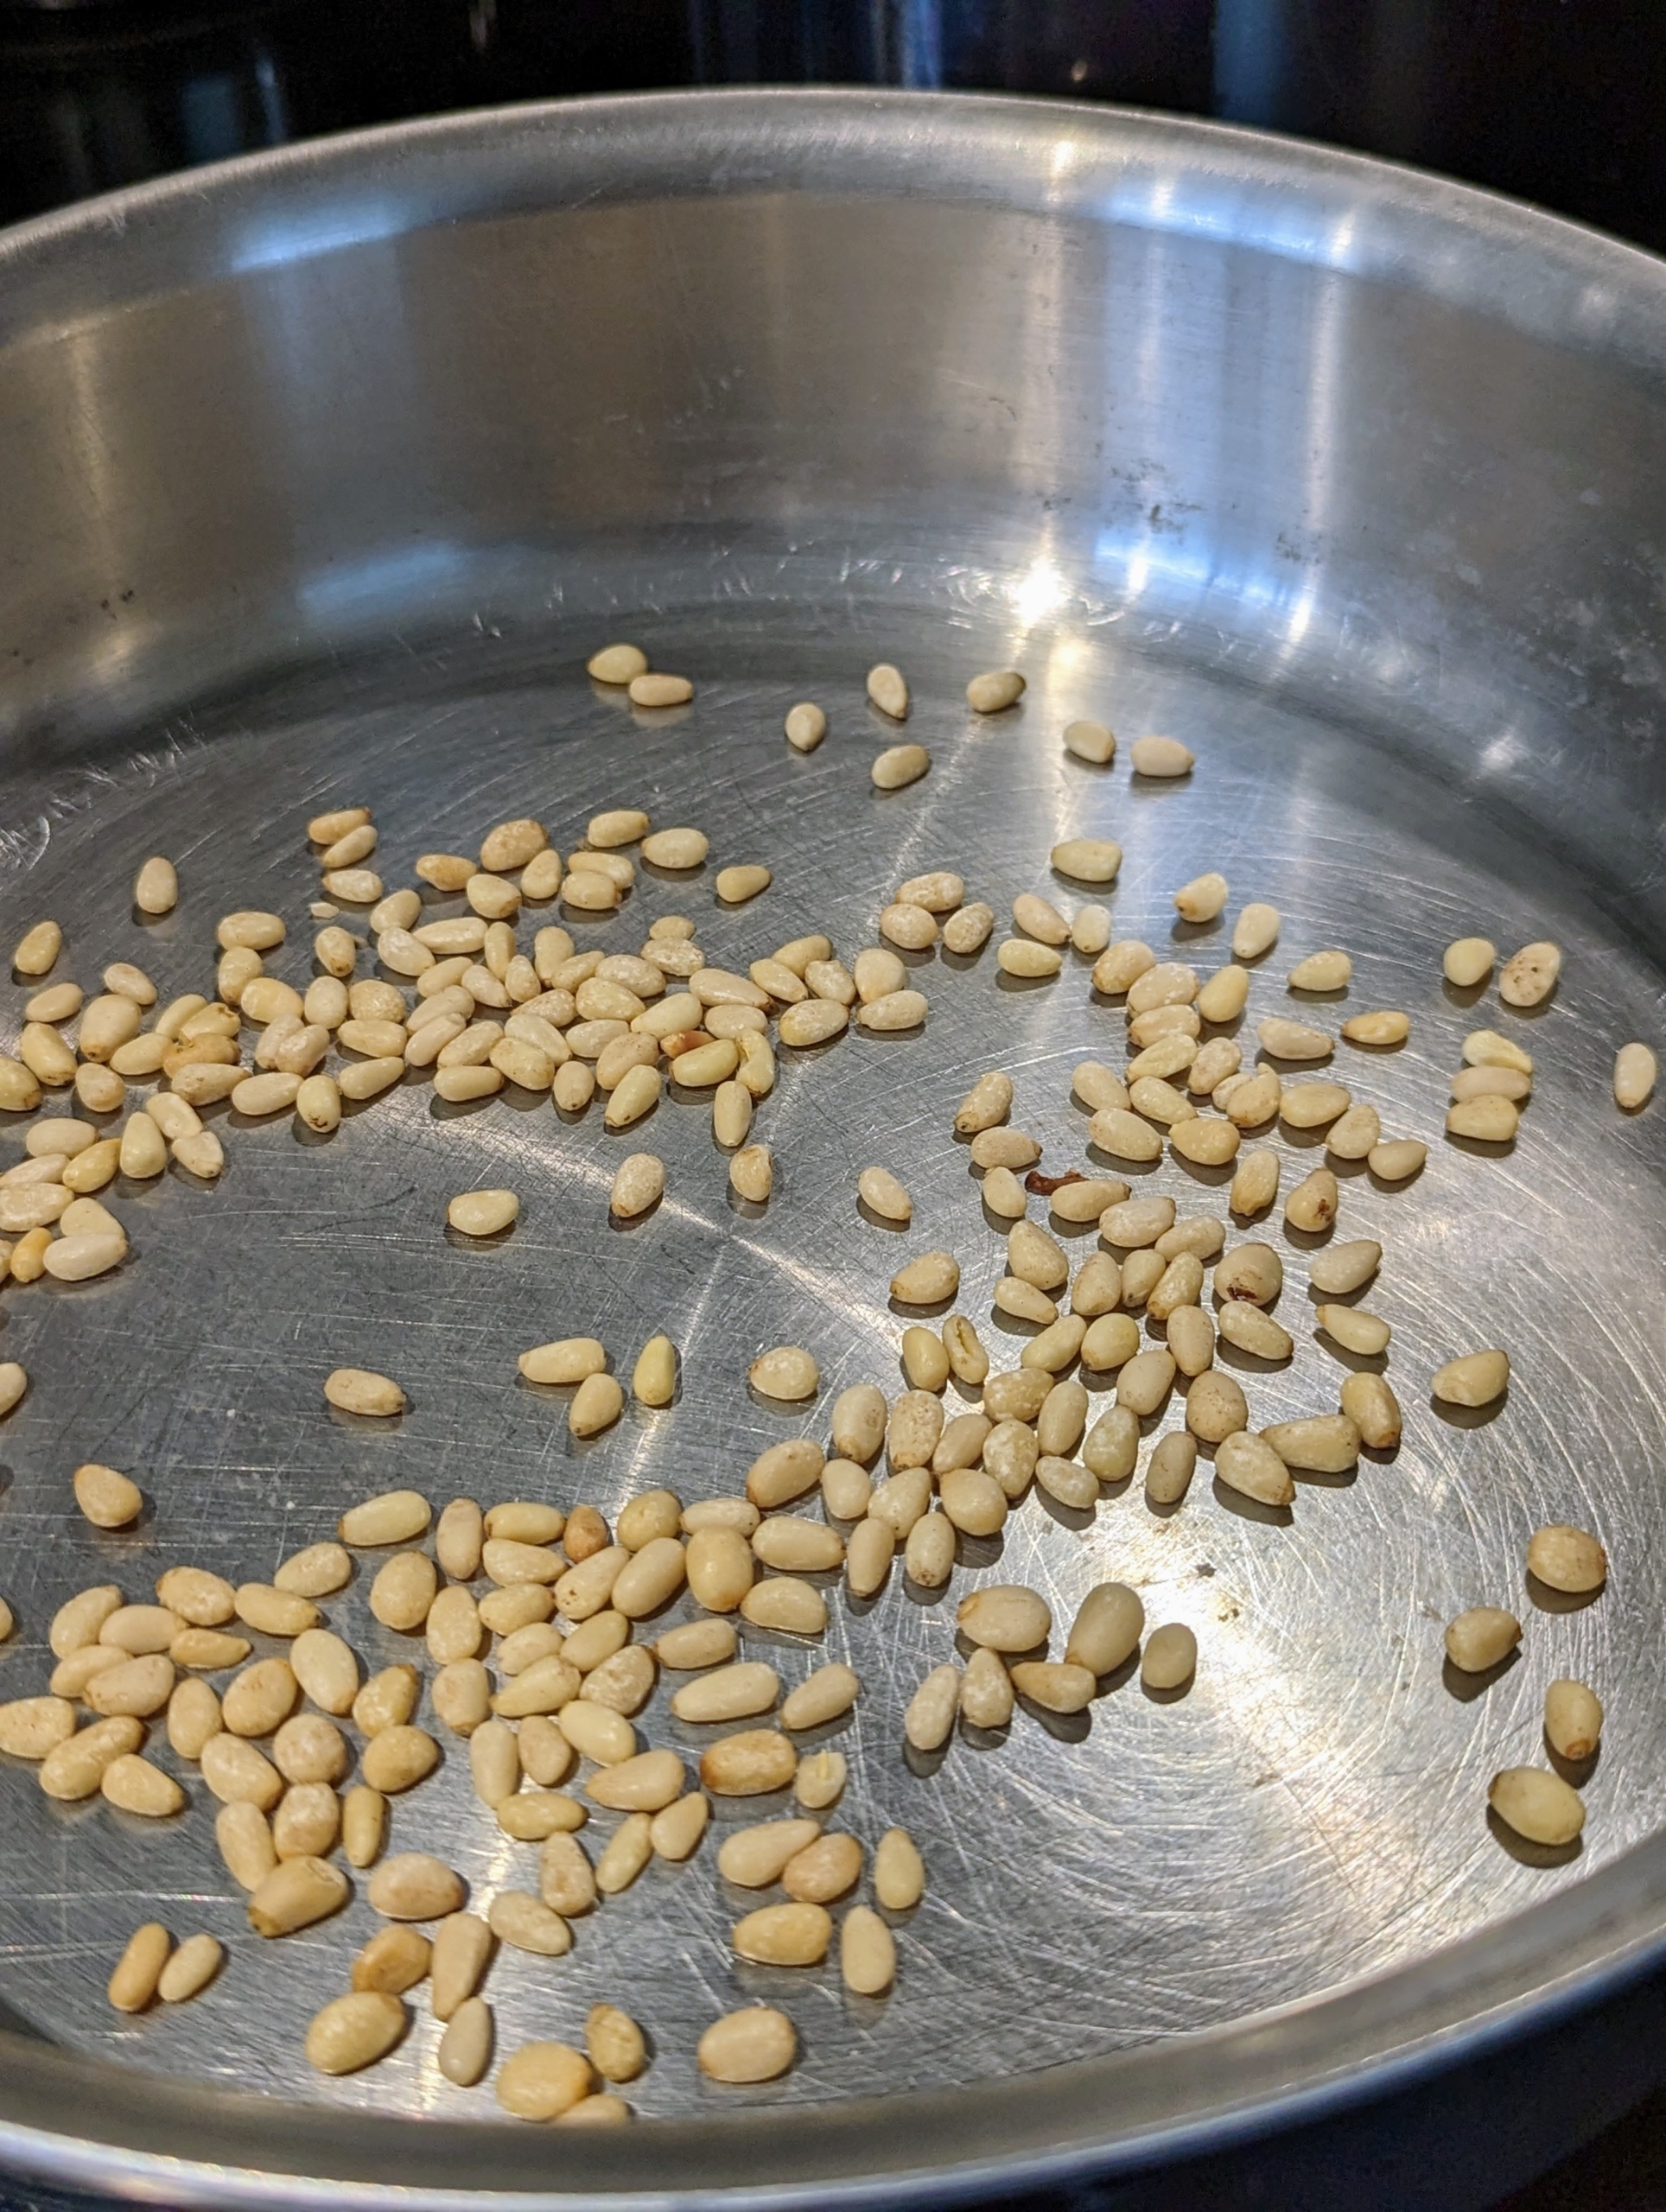
The pine nuts are placed into a skillet without oil and toasted lightly until they are slightly golden and fragrant. Once they’re cooked, they’re removed from the pan and put aside.
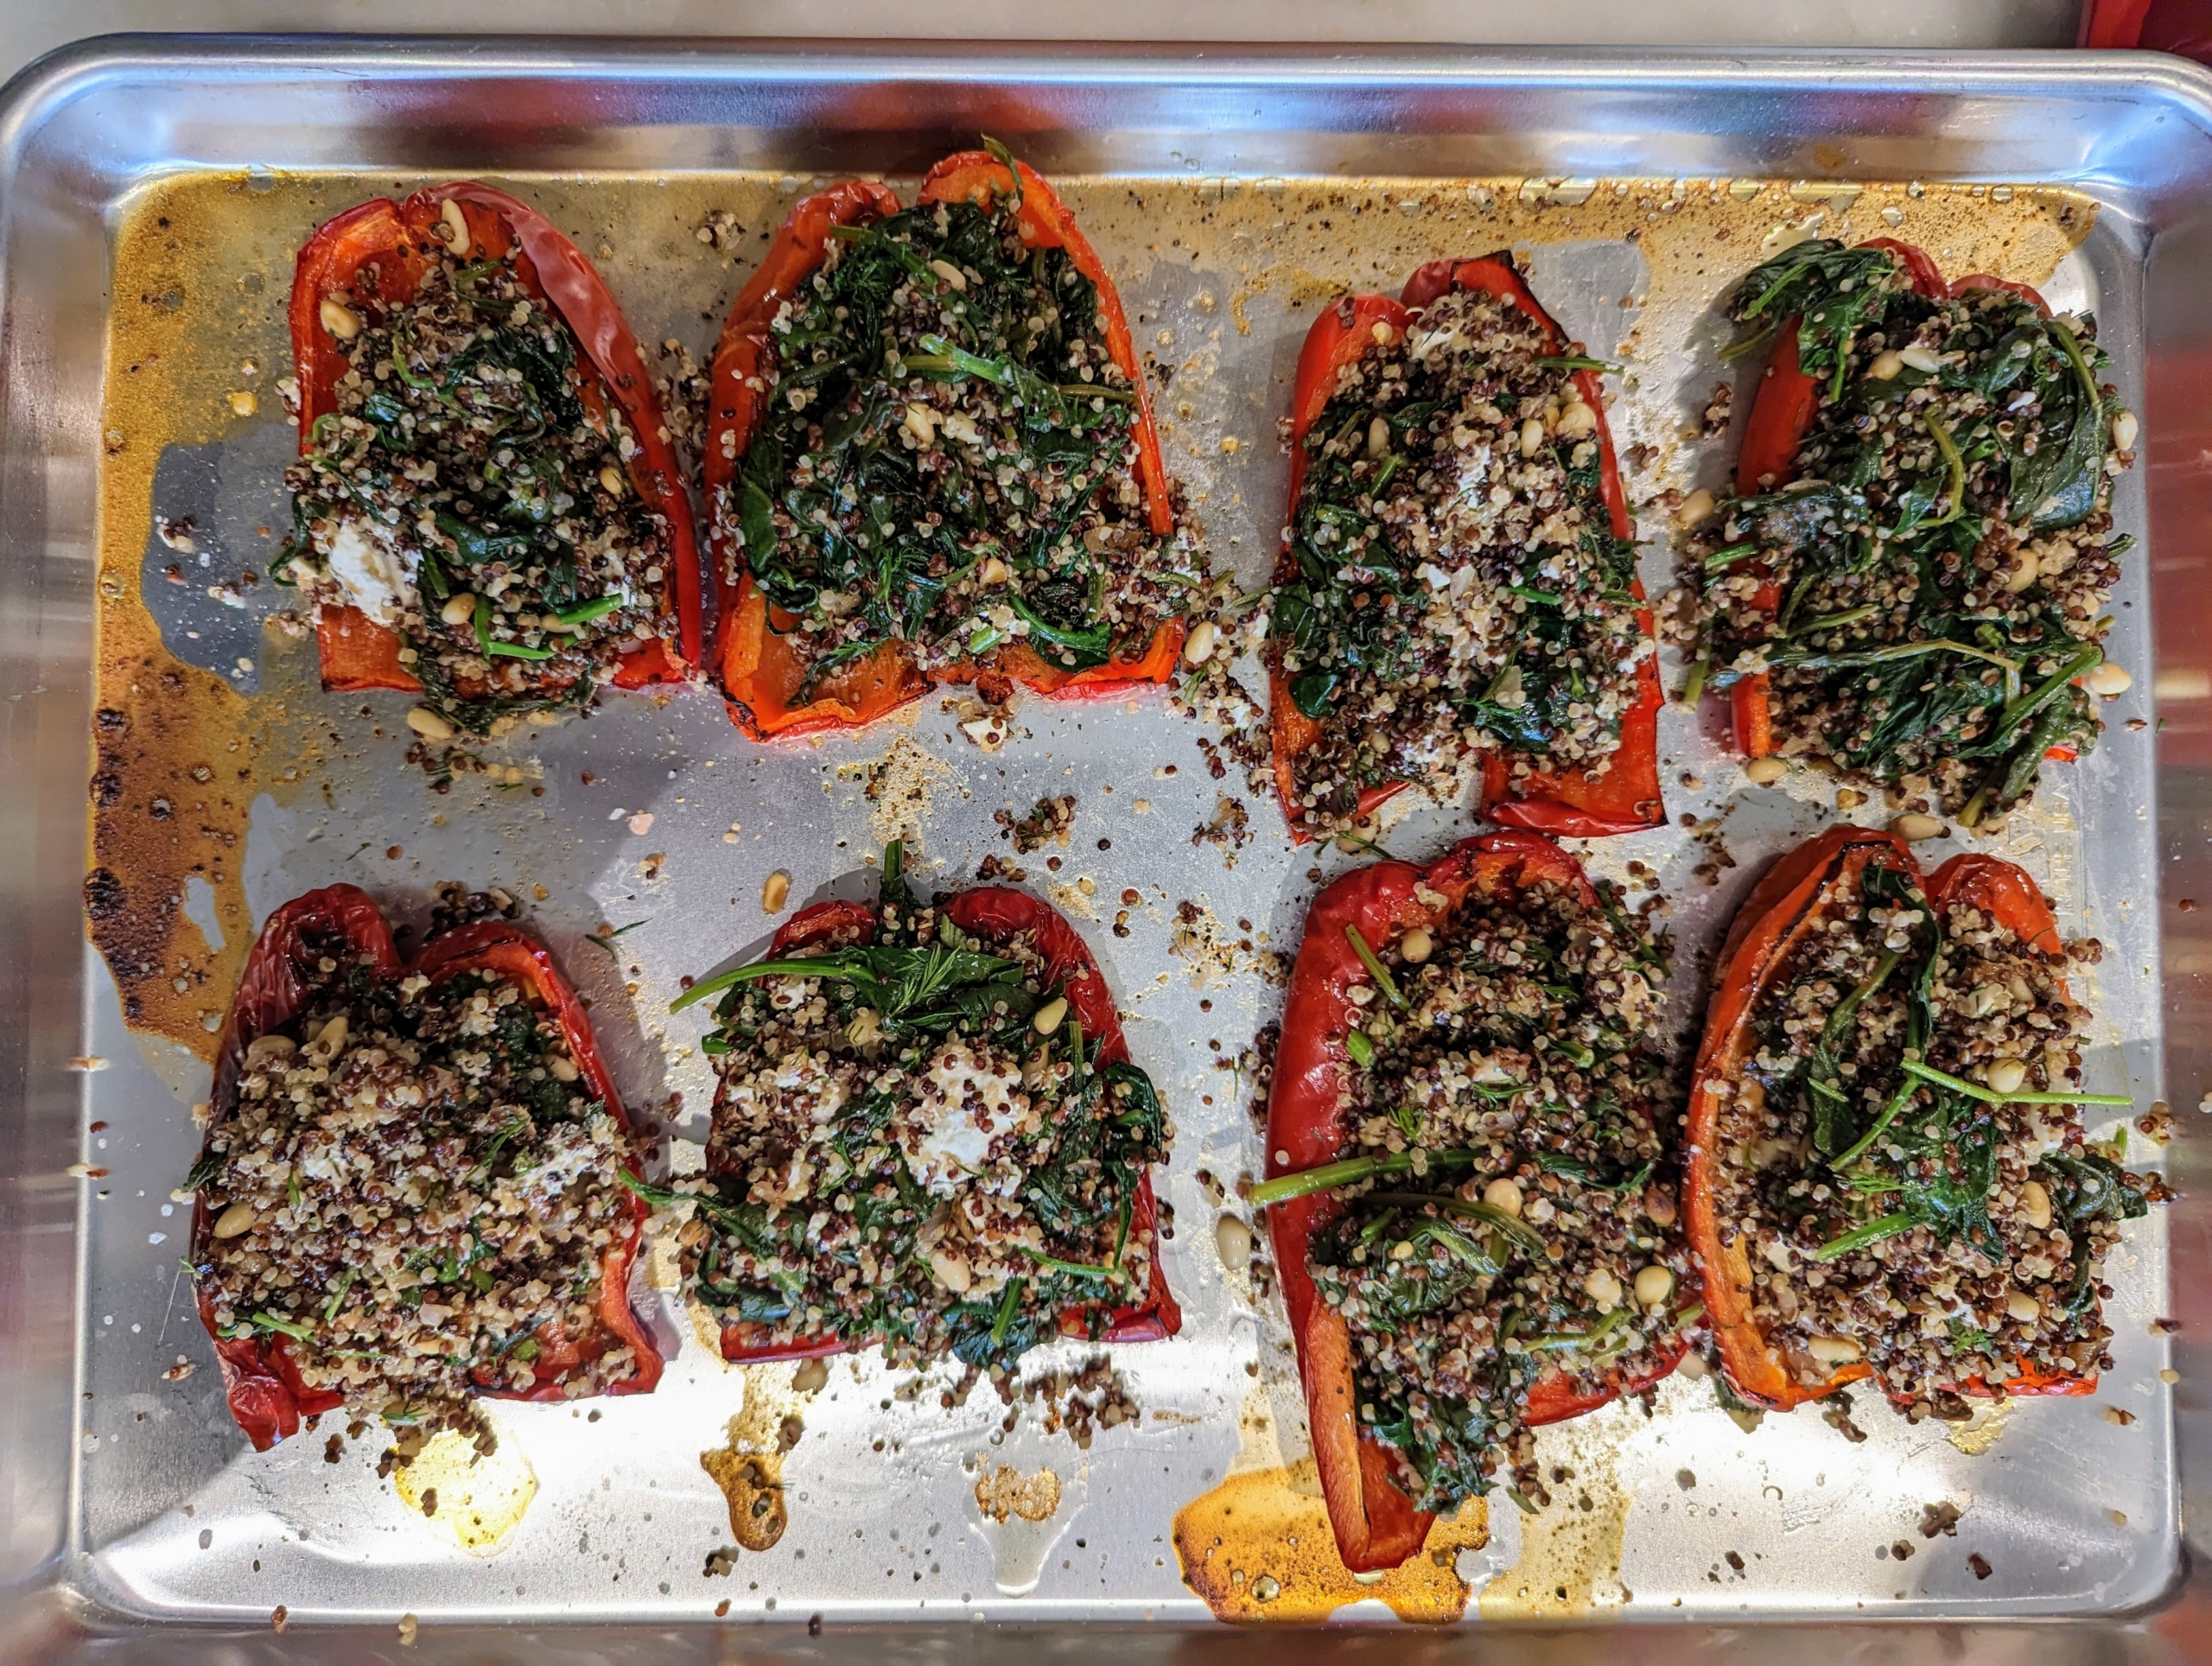
Here are the cooked peppers – perfectly browned around the edges.
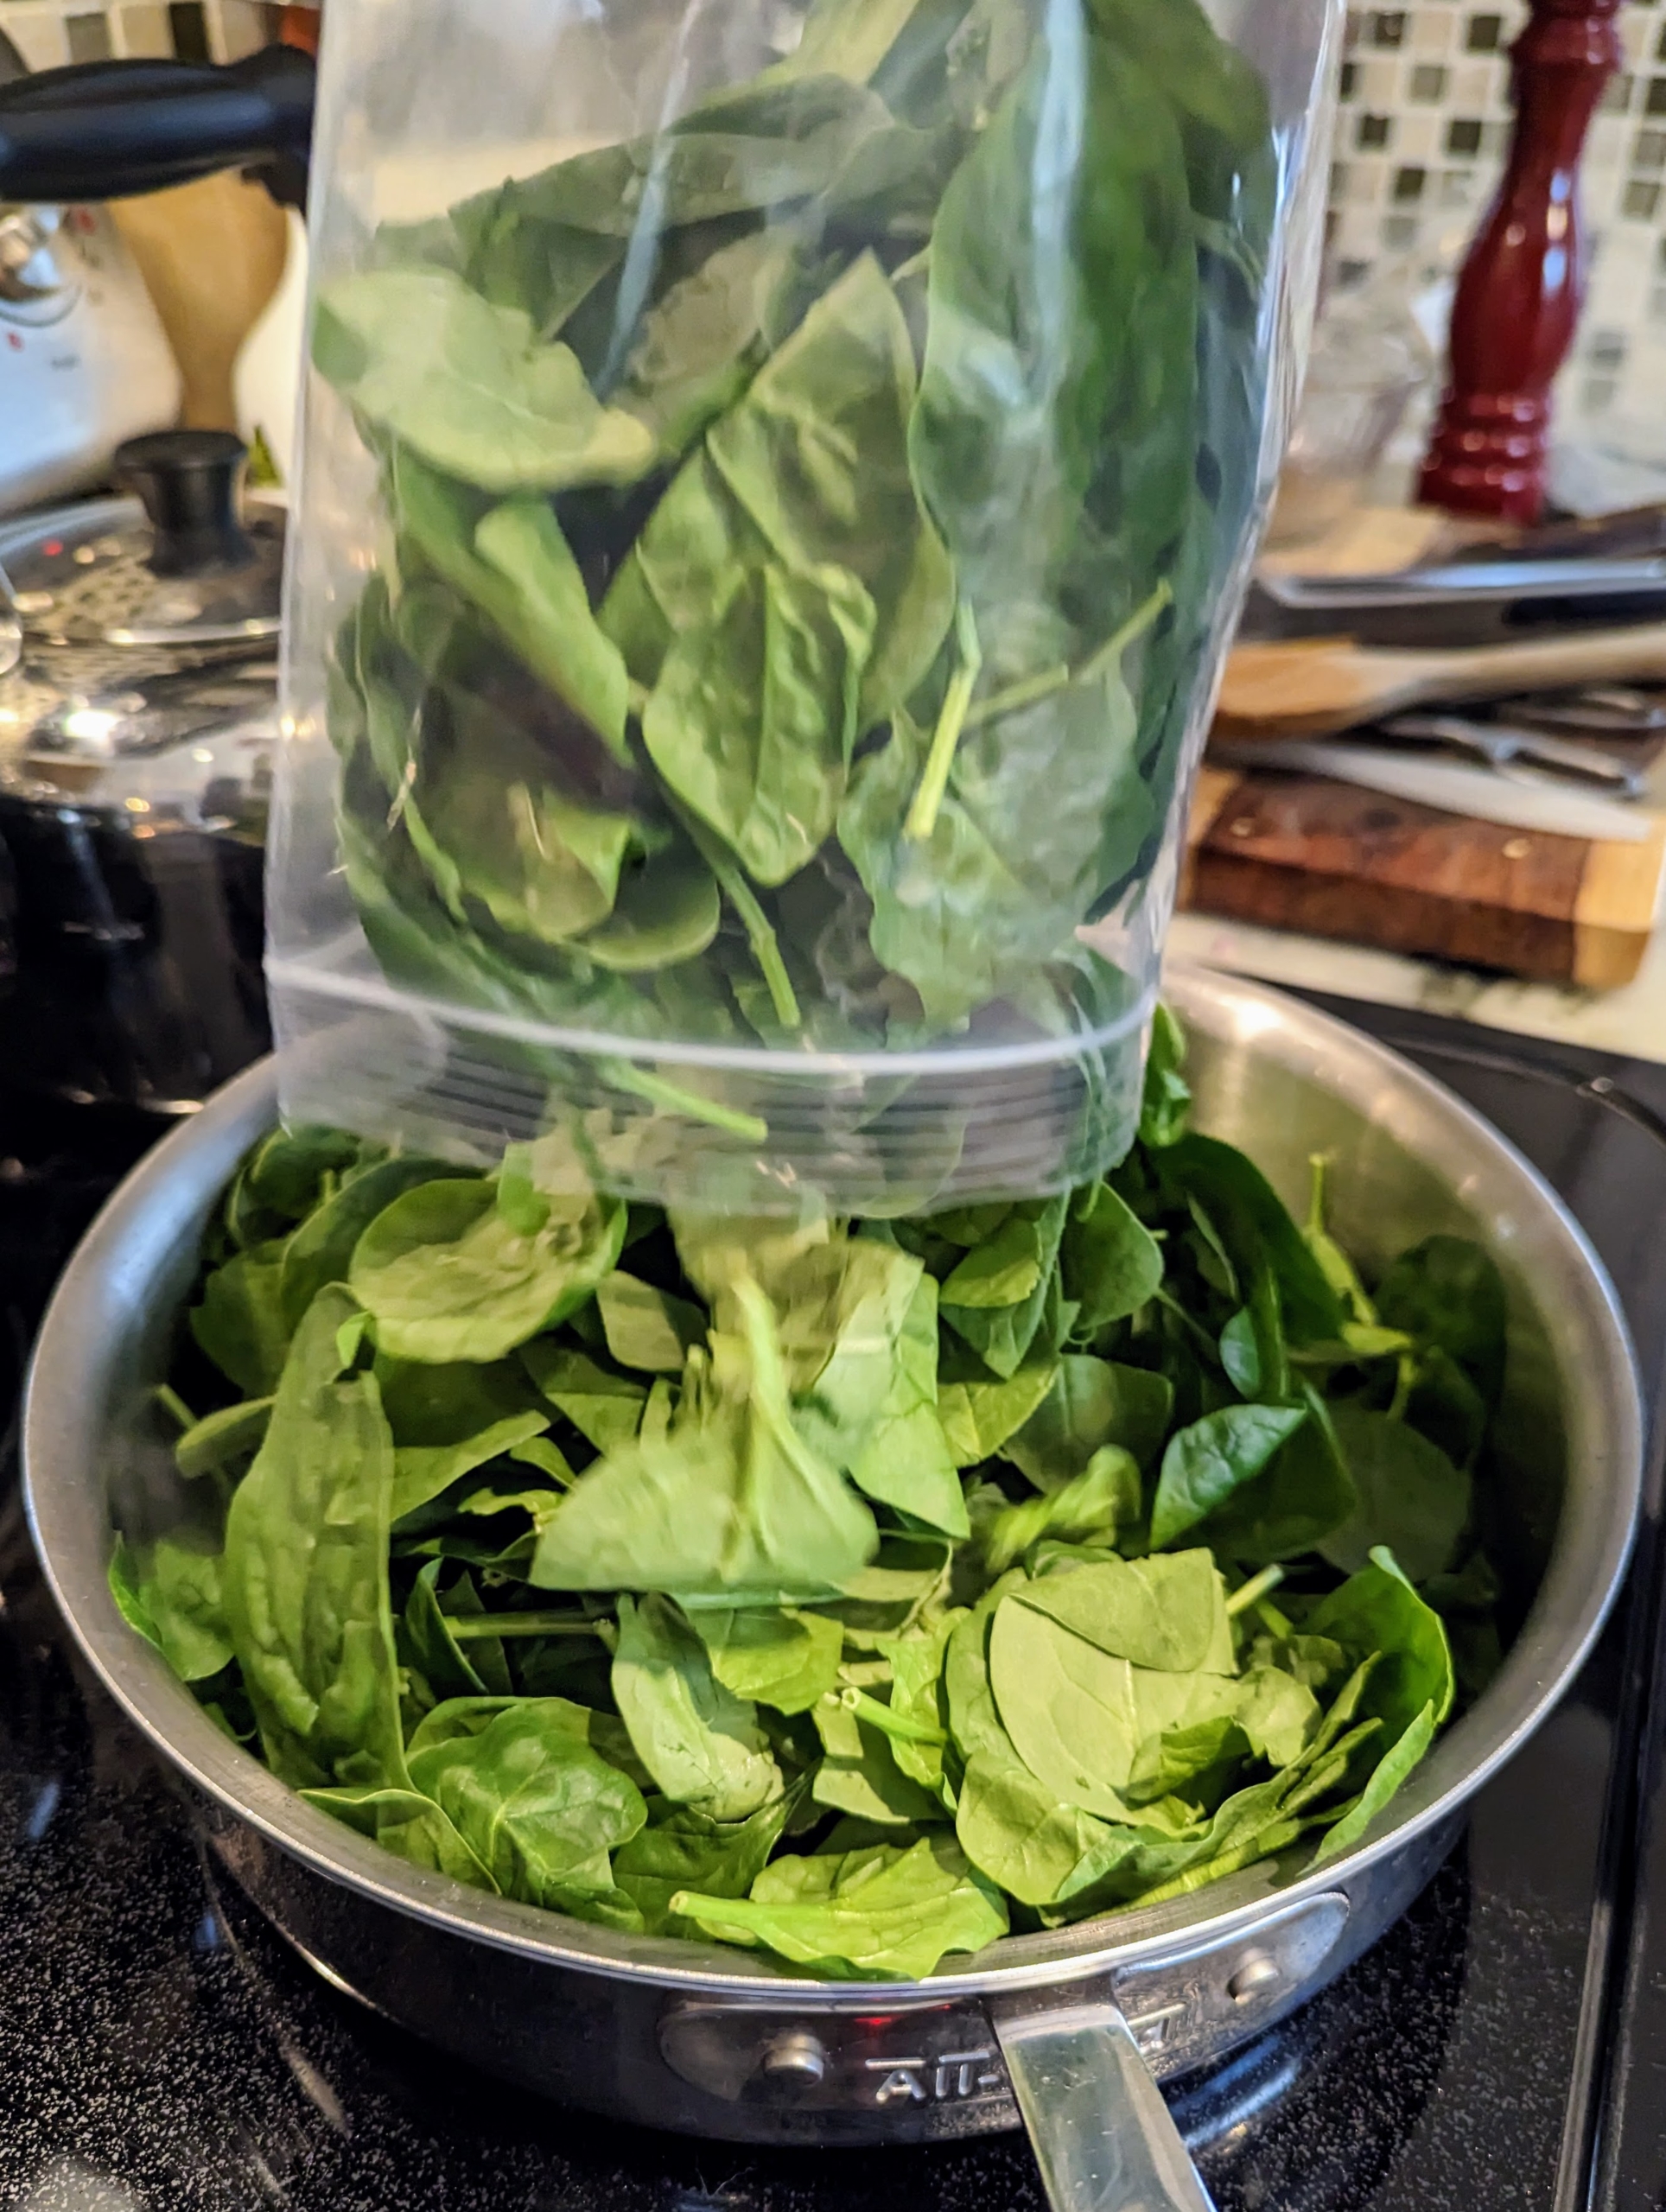
Next, the shallots and spinach are cooked over medium heat in the same skillet with two tablespoons olive oil.
Once the spinach is wilted, she adds the vinegar and removes from the heat.
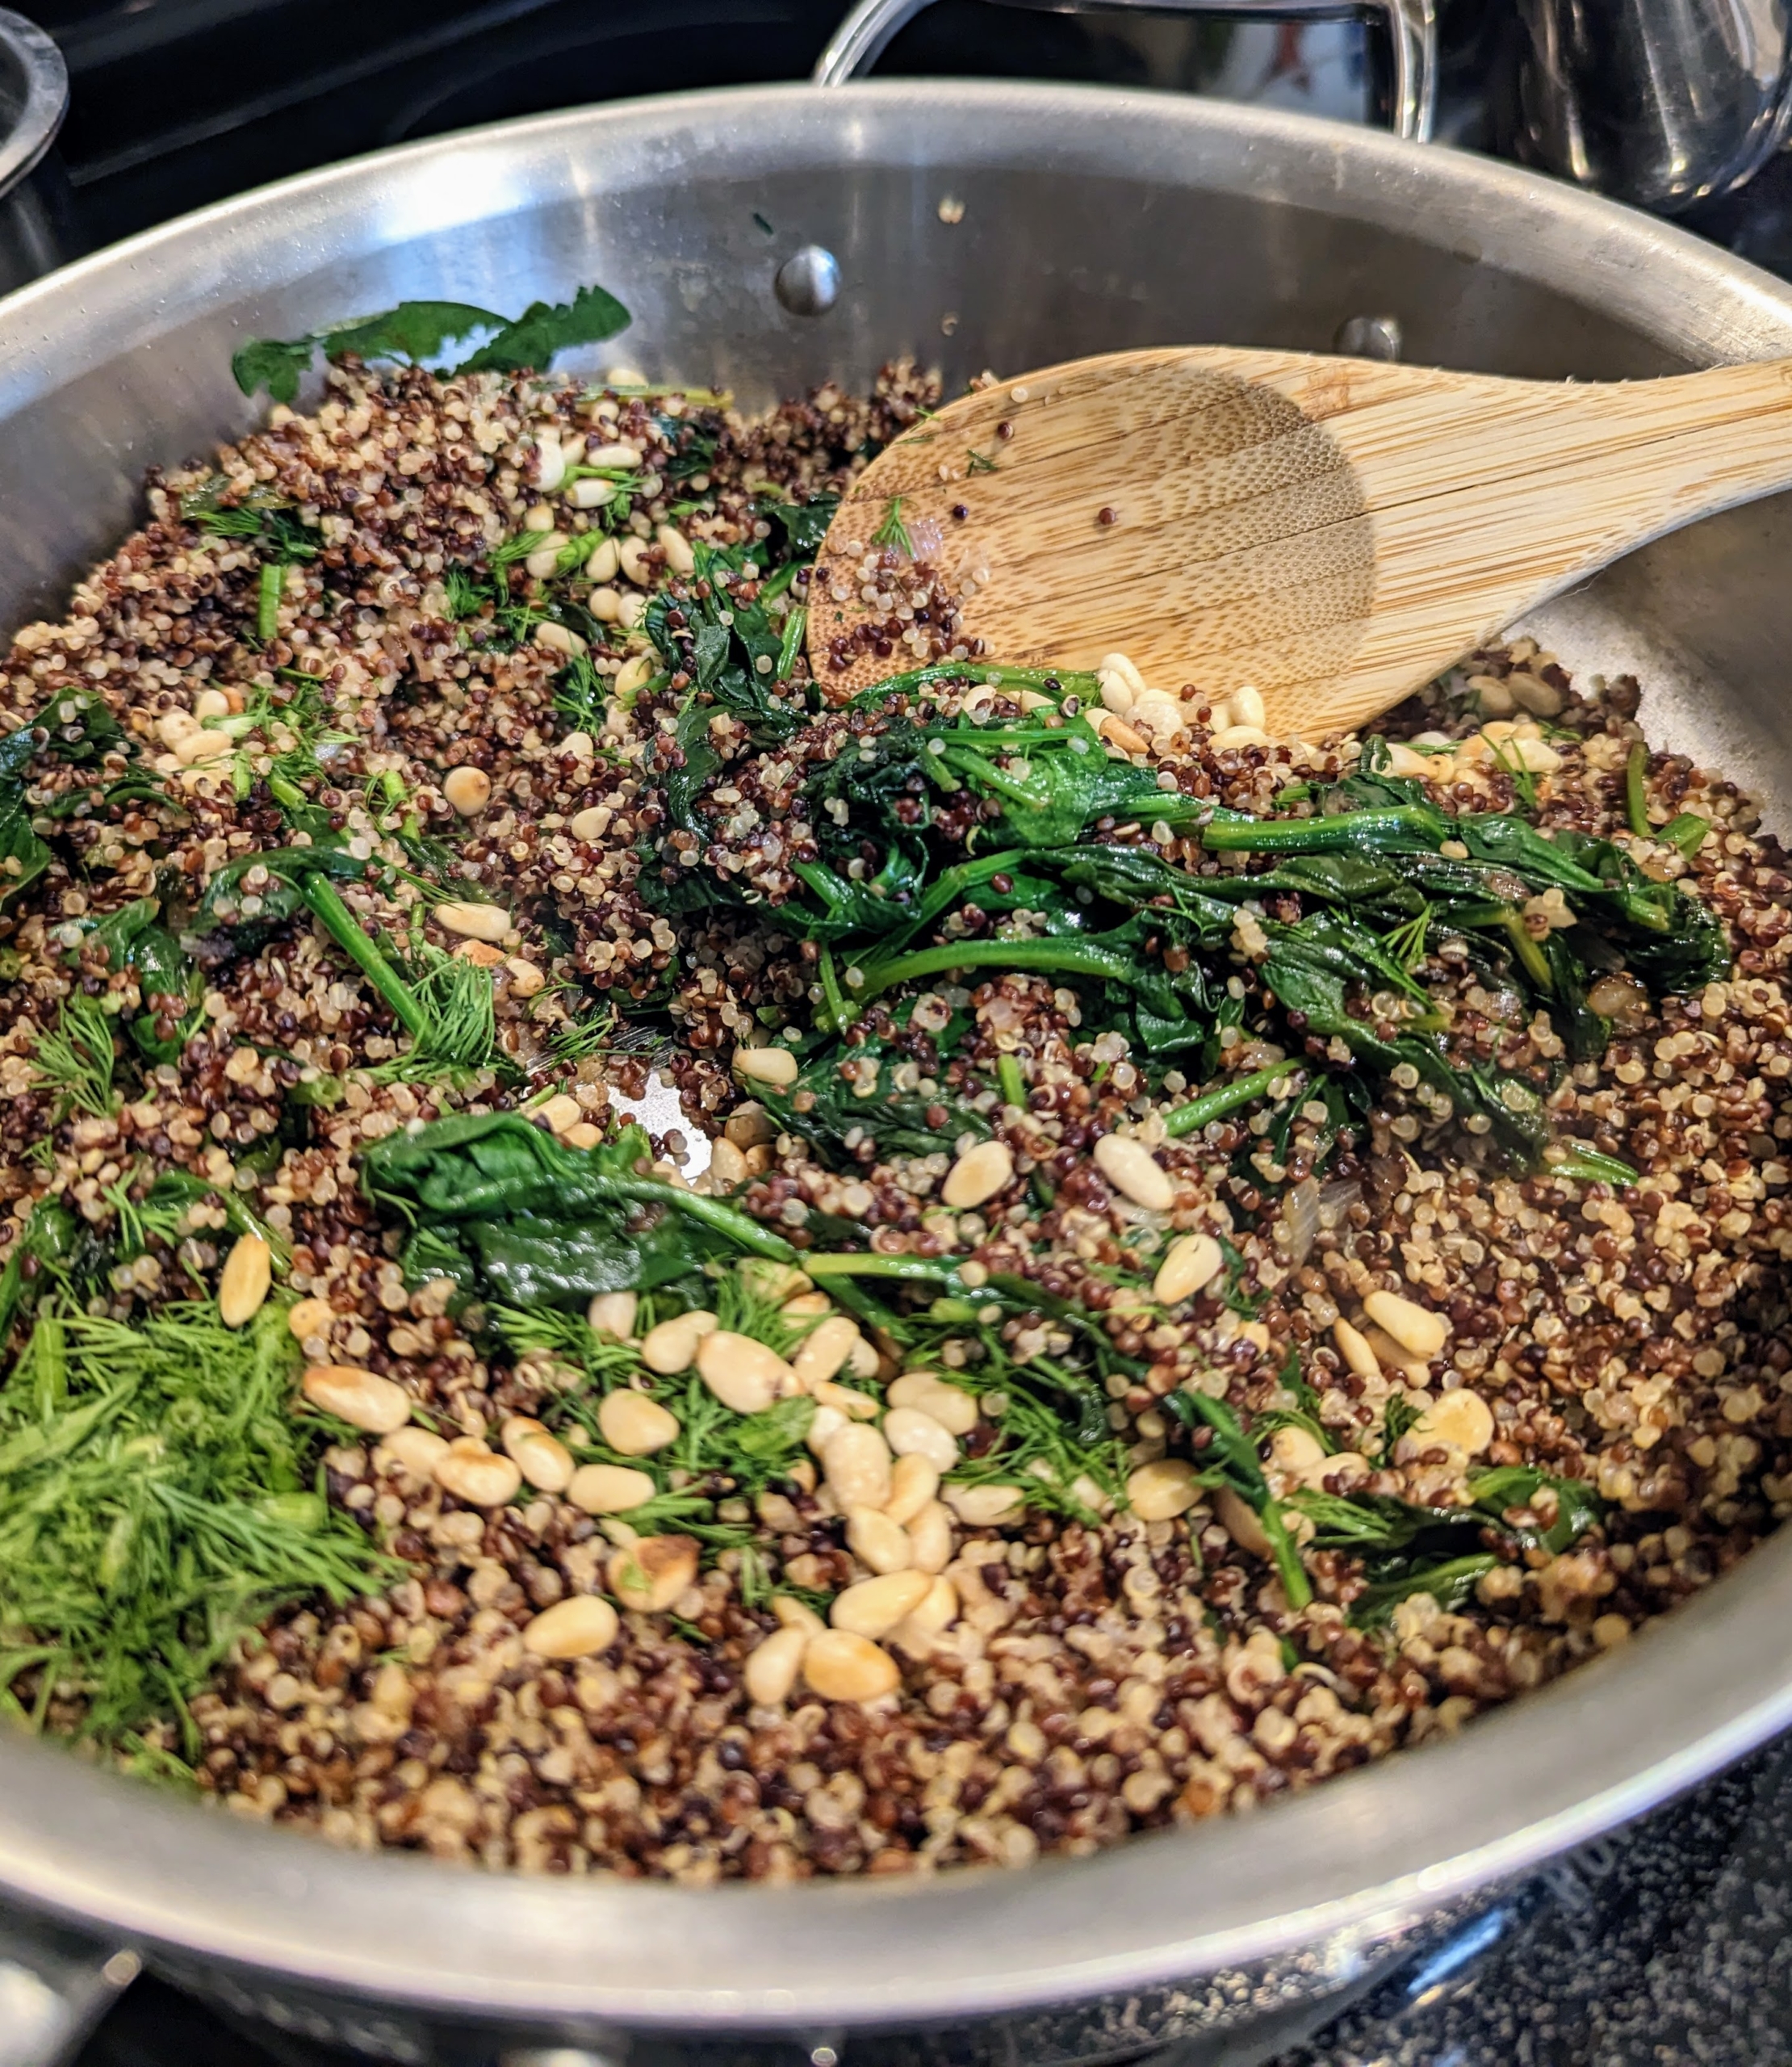
She adds the quinoa, dill and pine nuts to the pan and mixes them together.
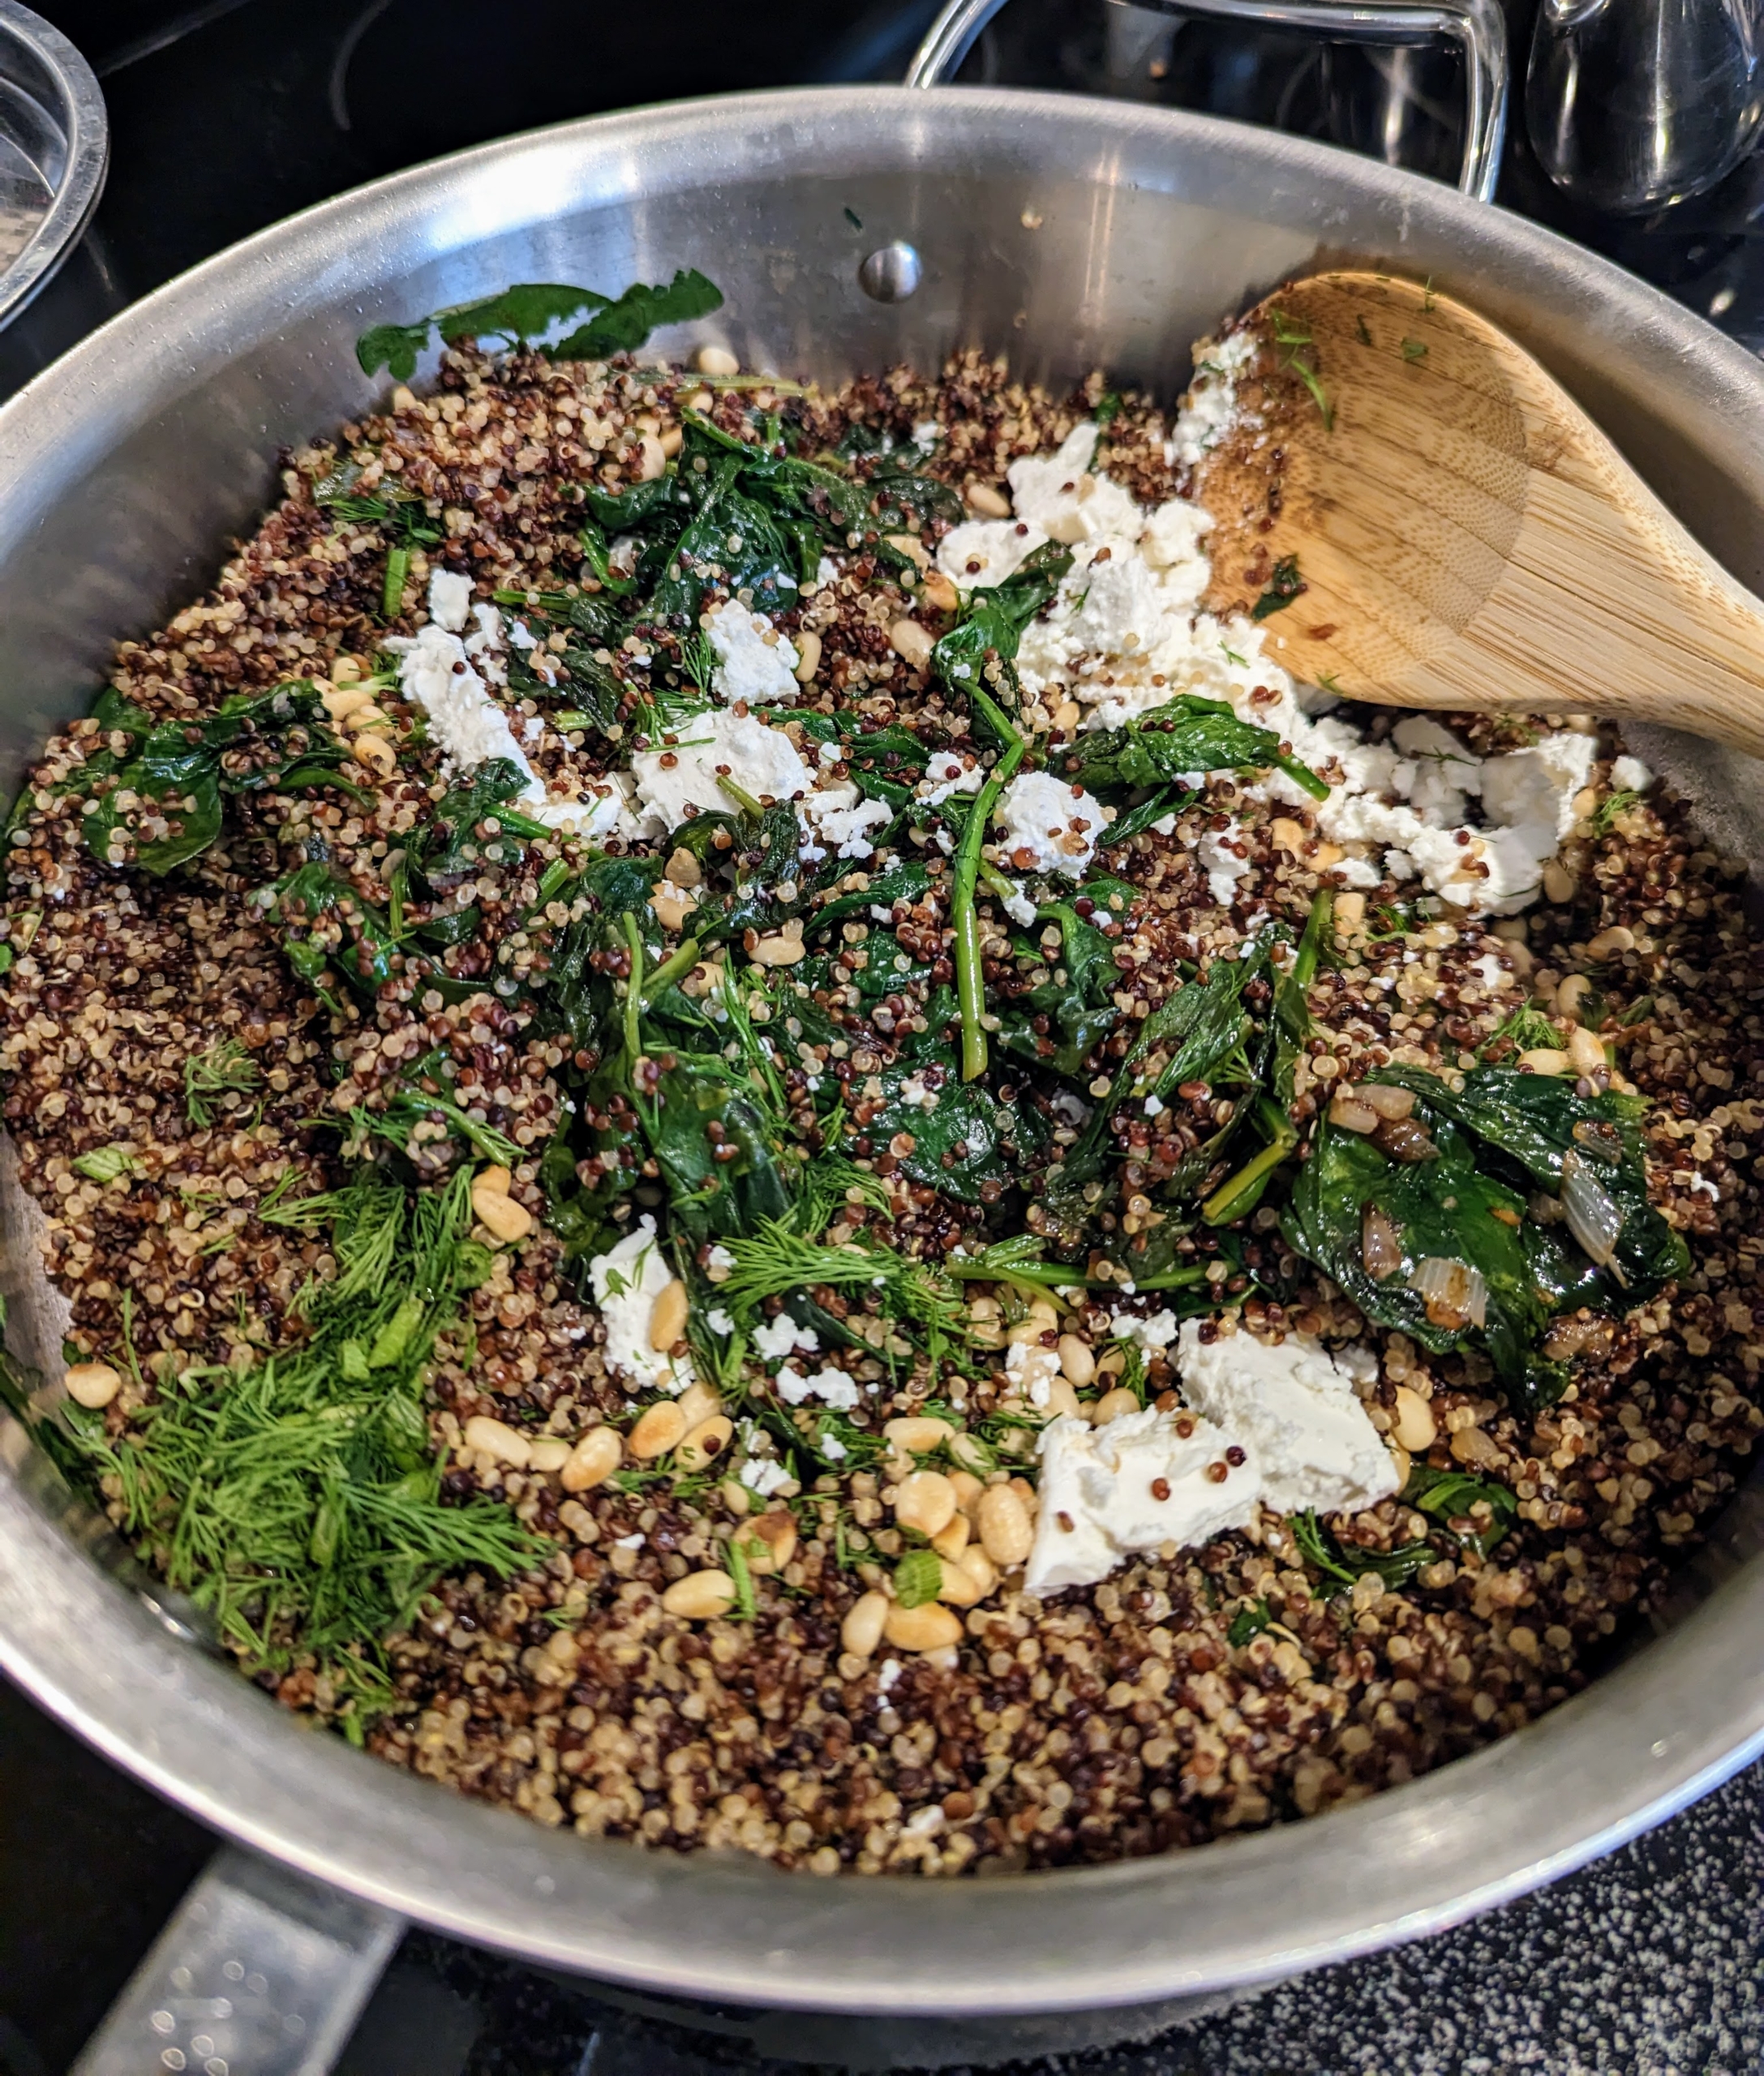
Then she crumbles the feta cheese – also included with the meal kit and tosses to combine.
She fills all the broiled peppers with the spinach-quinoa mix – there’s enough to generously fill the pepper halves.
These meal kits can be ordered for two or four servings – and each is enough to satisfy even the hungriest of eaters.
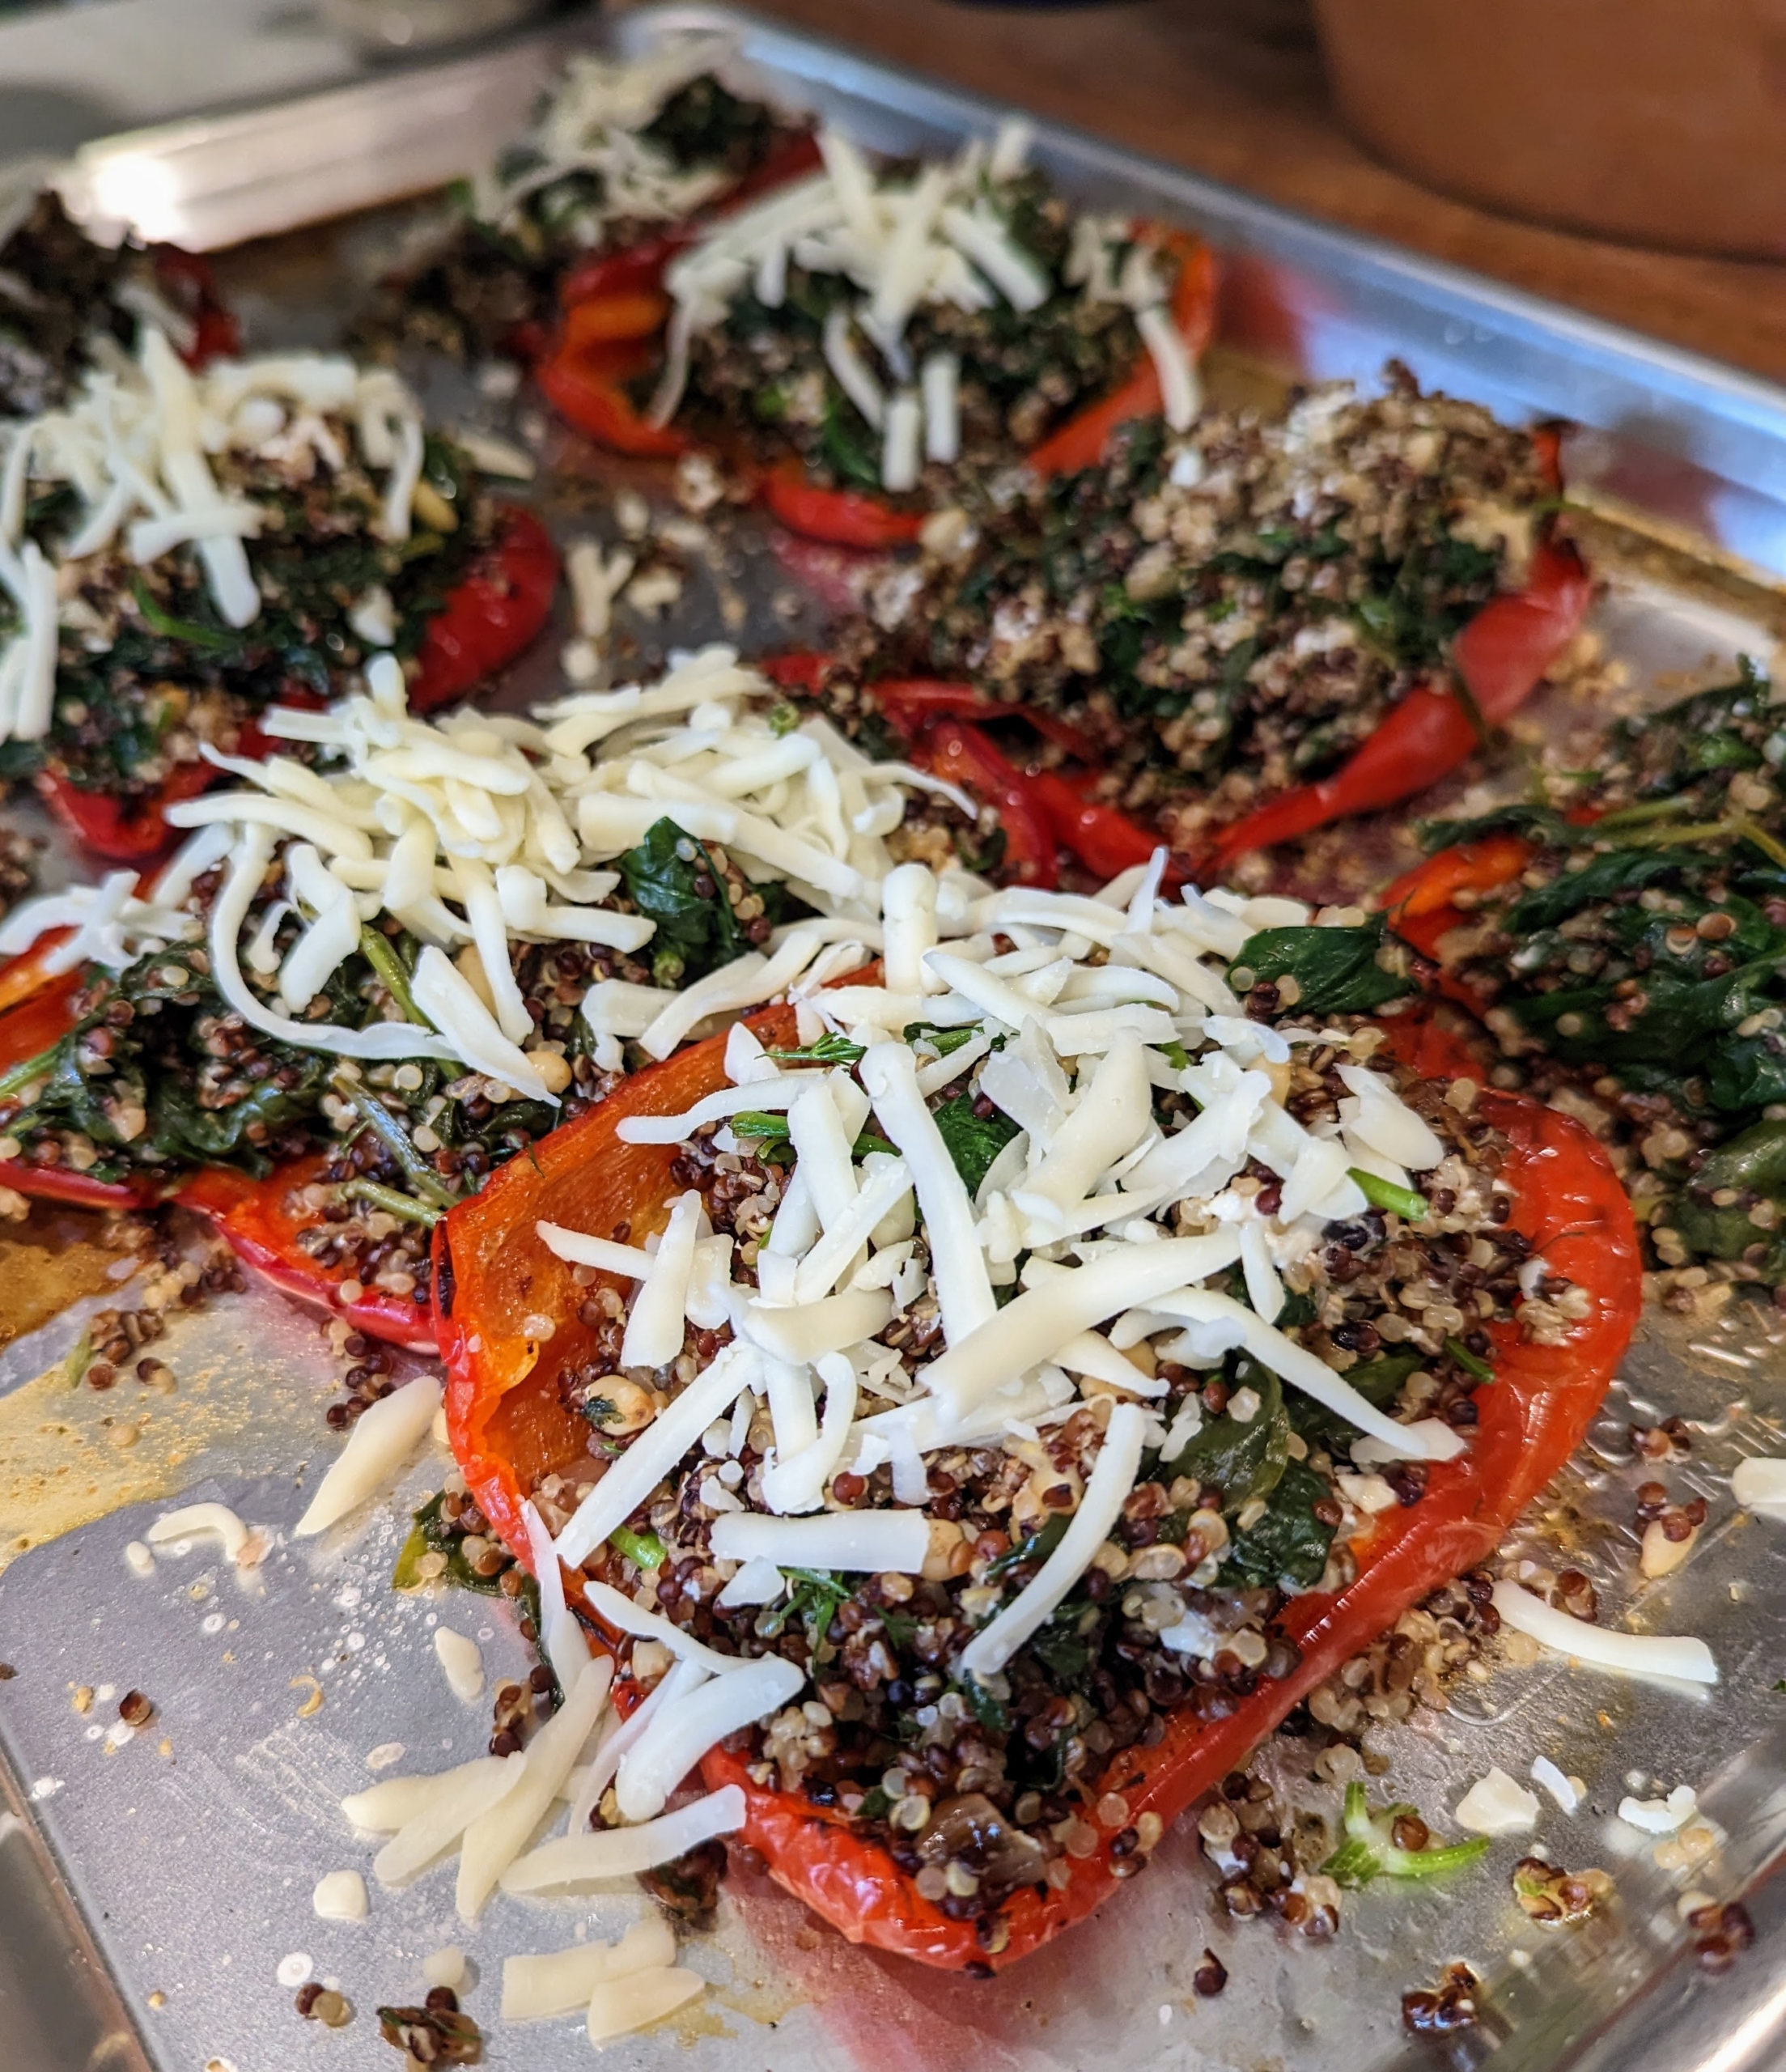
Finally, Fontina cheese is sprinkled on top and placed back into the oven to melt.
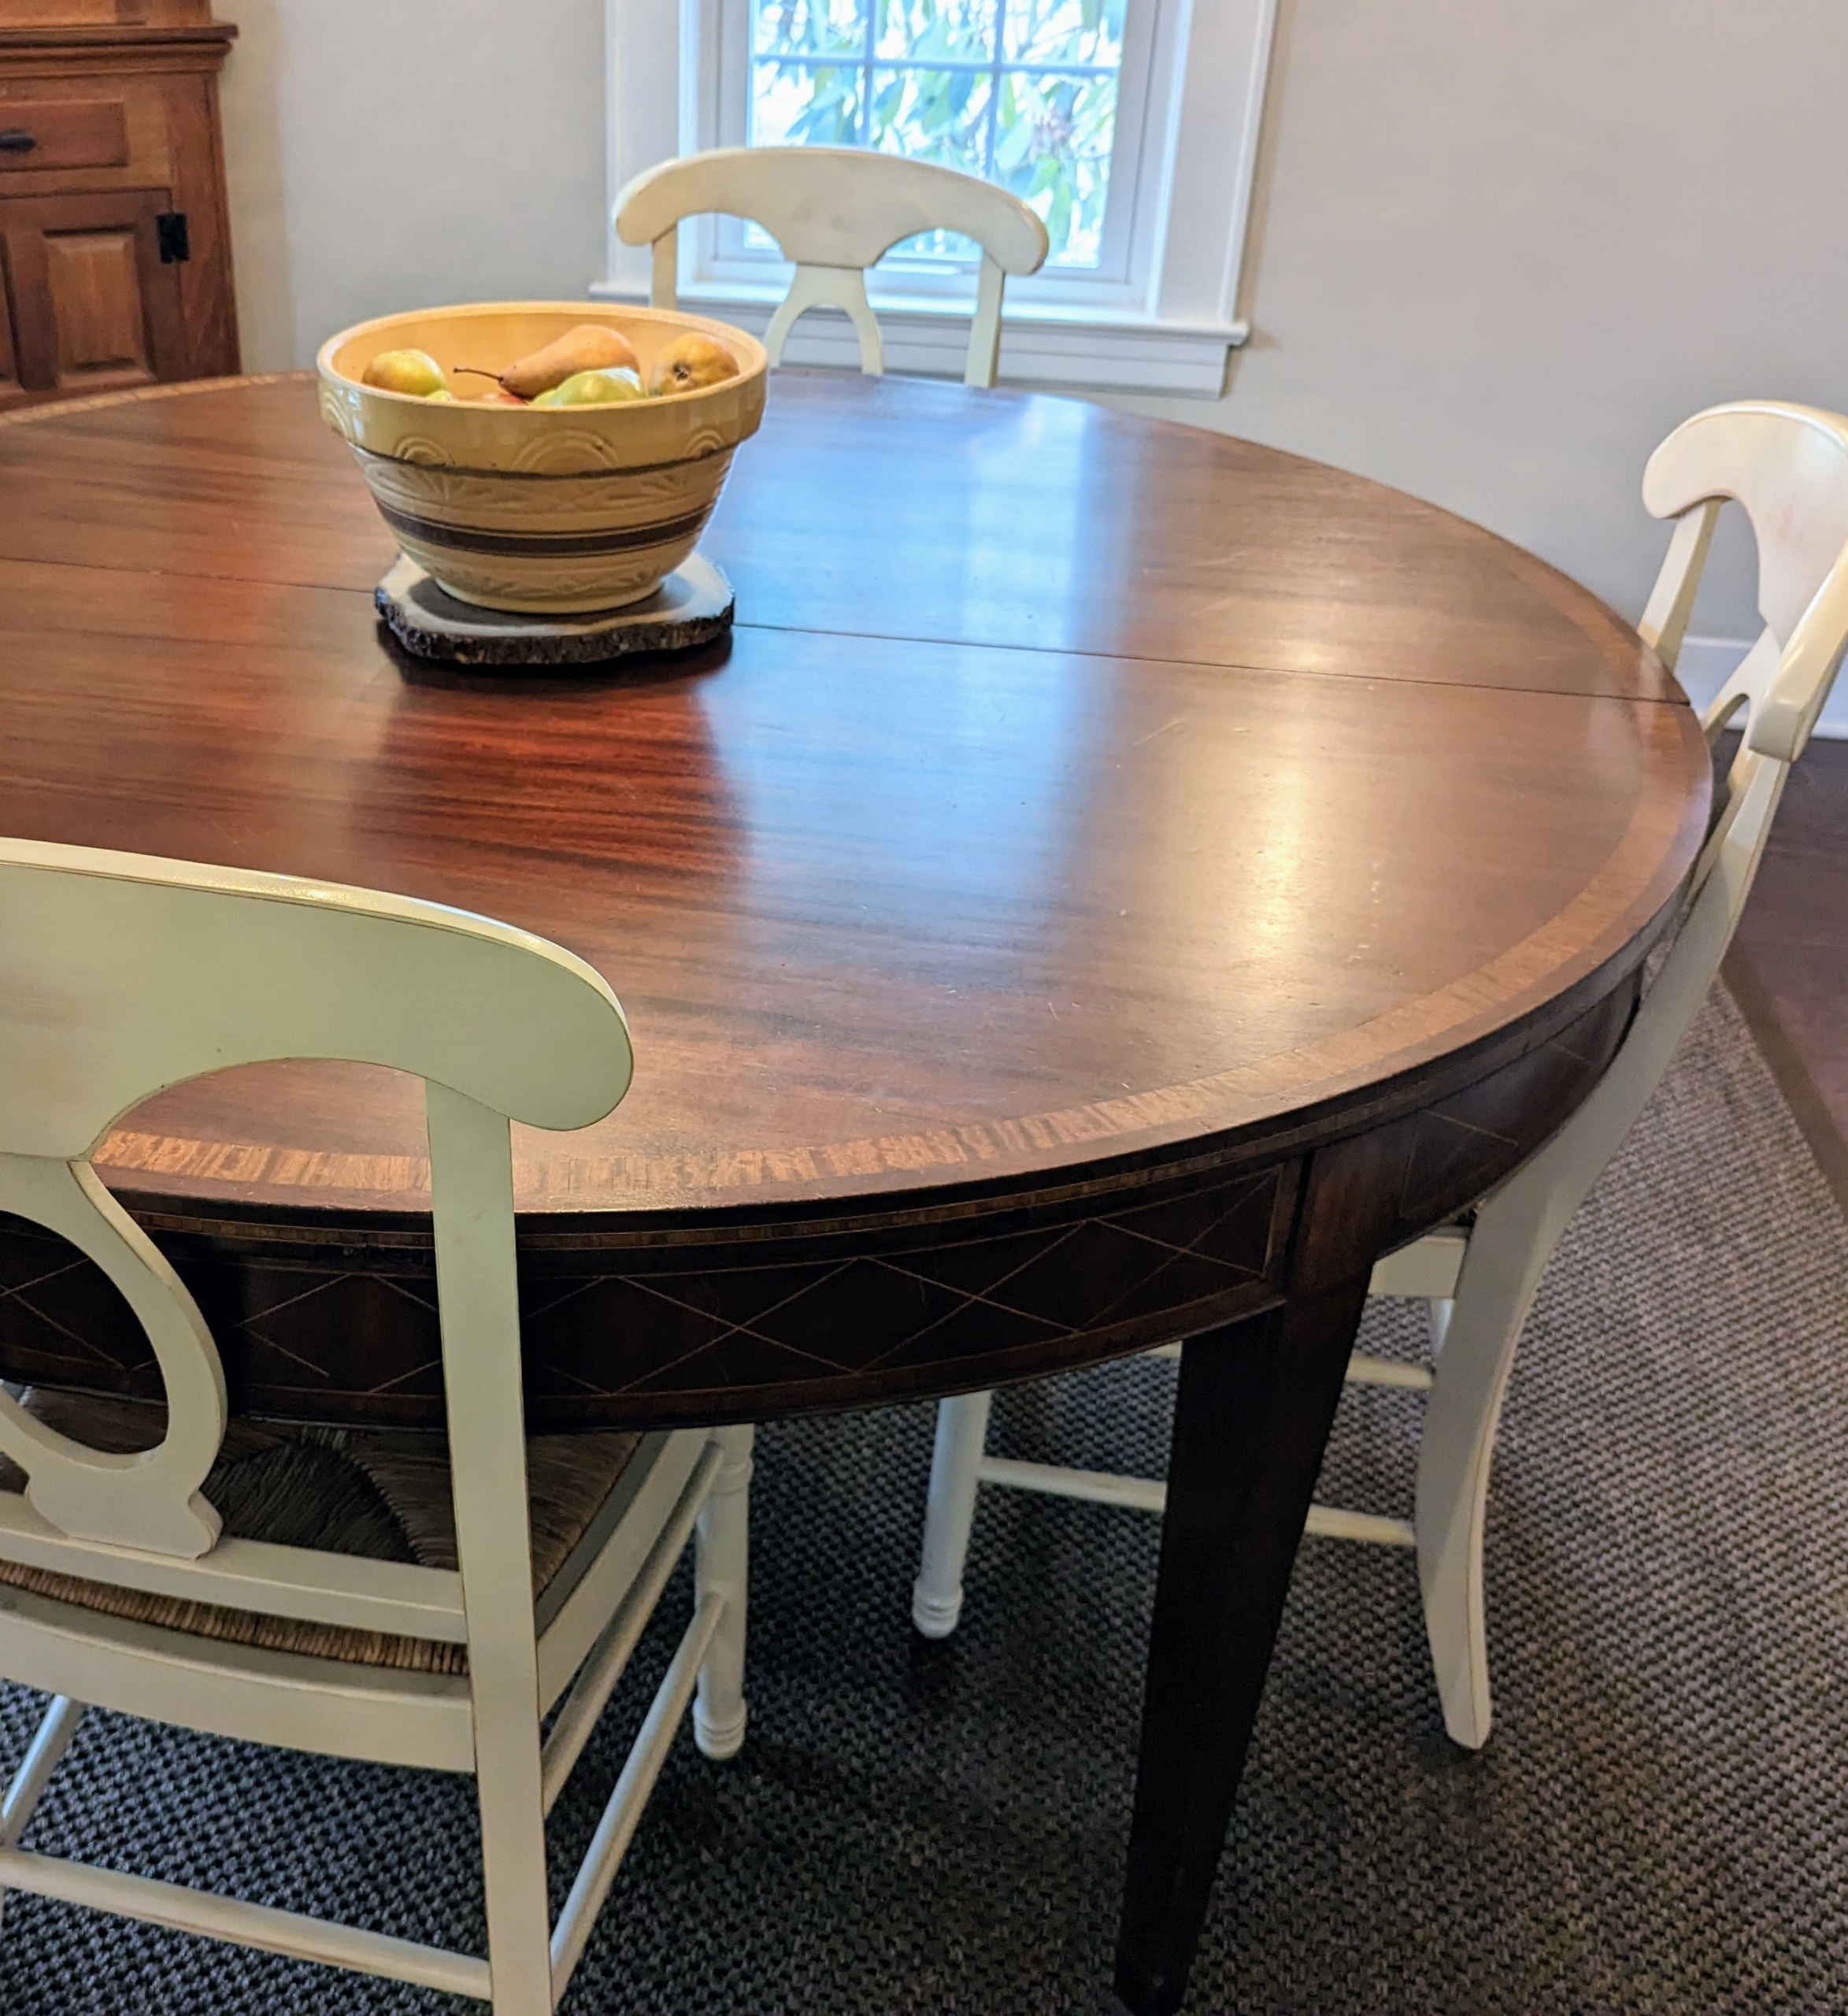
Here’s Stephanie’s dining room table – she purchased it from my Great American Tag Sale last year. It used to belong to my mother, Big Martha.
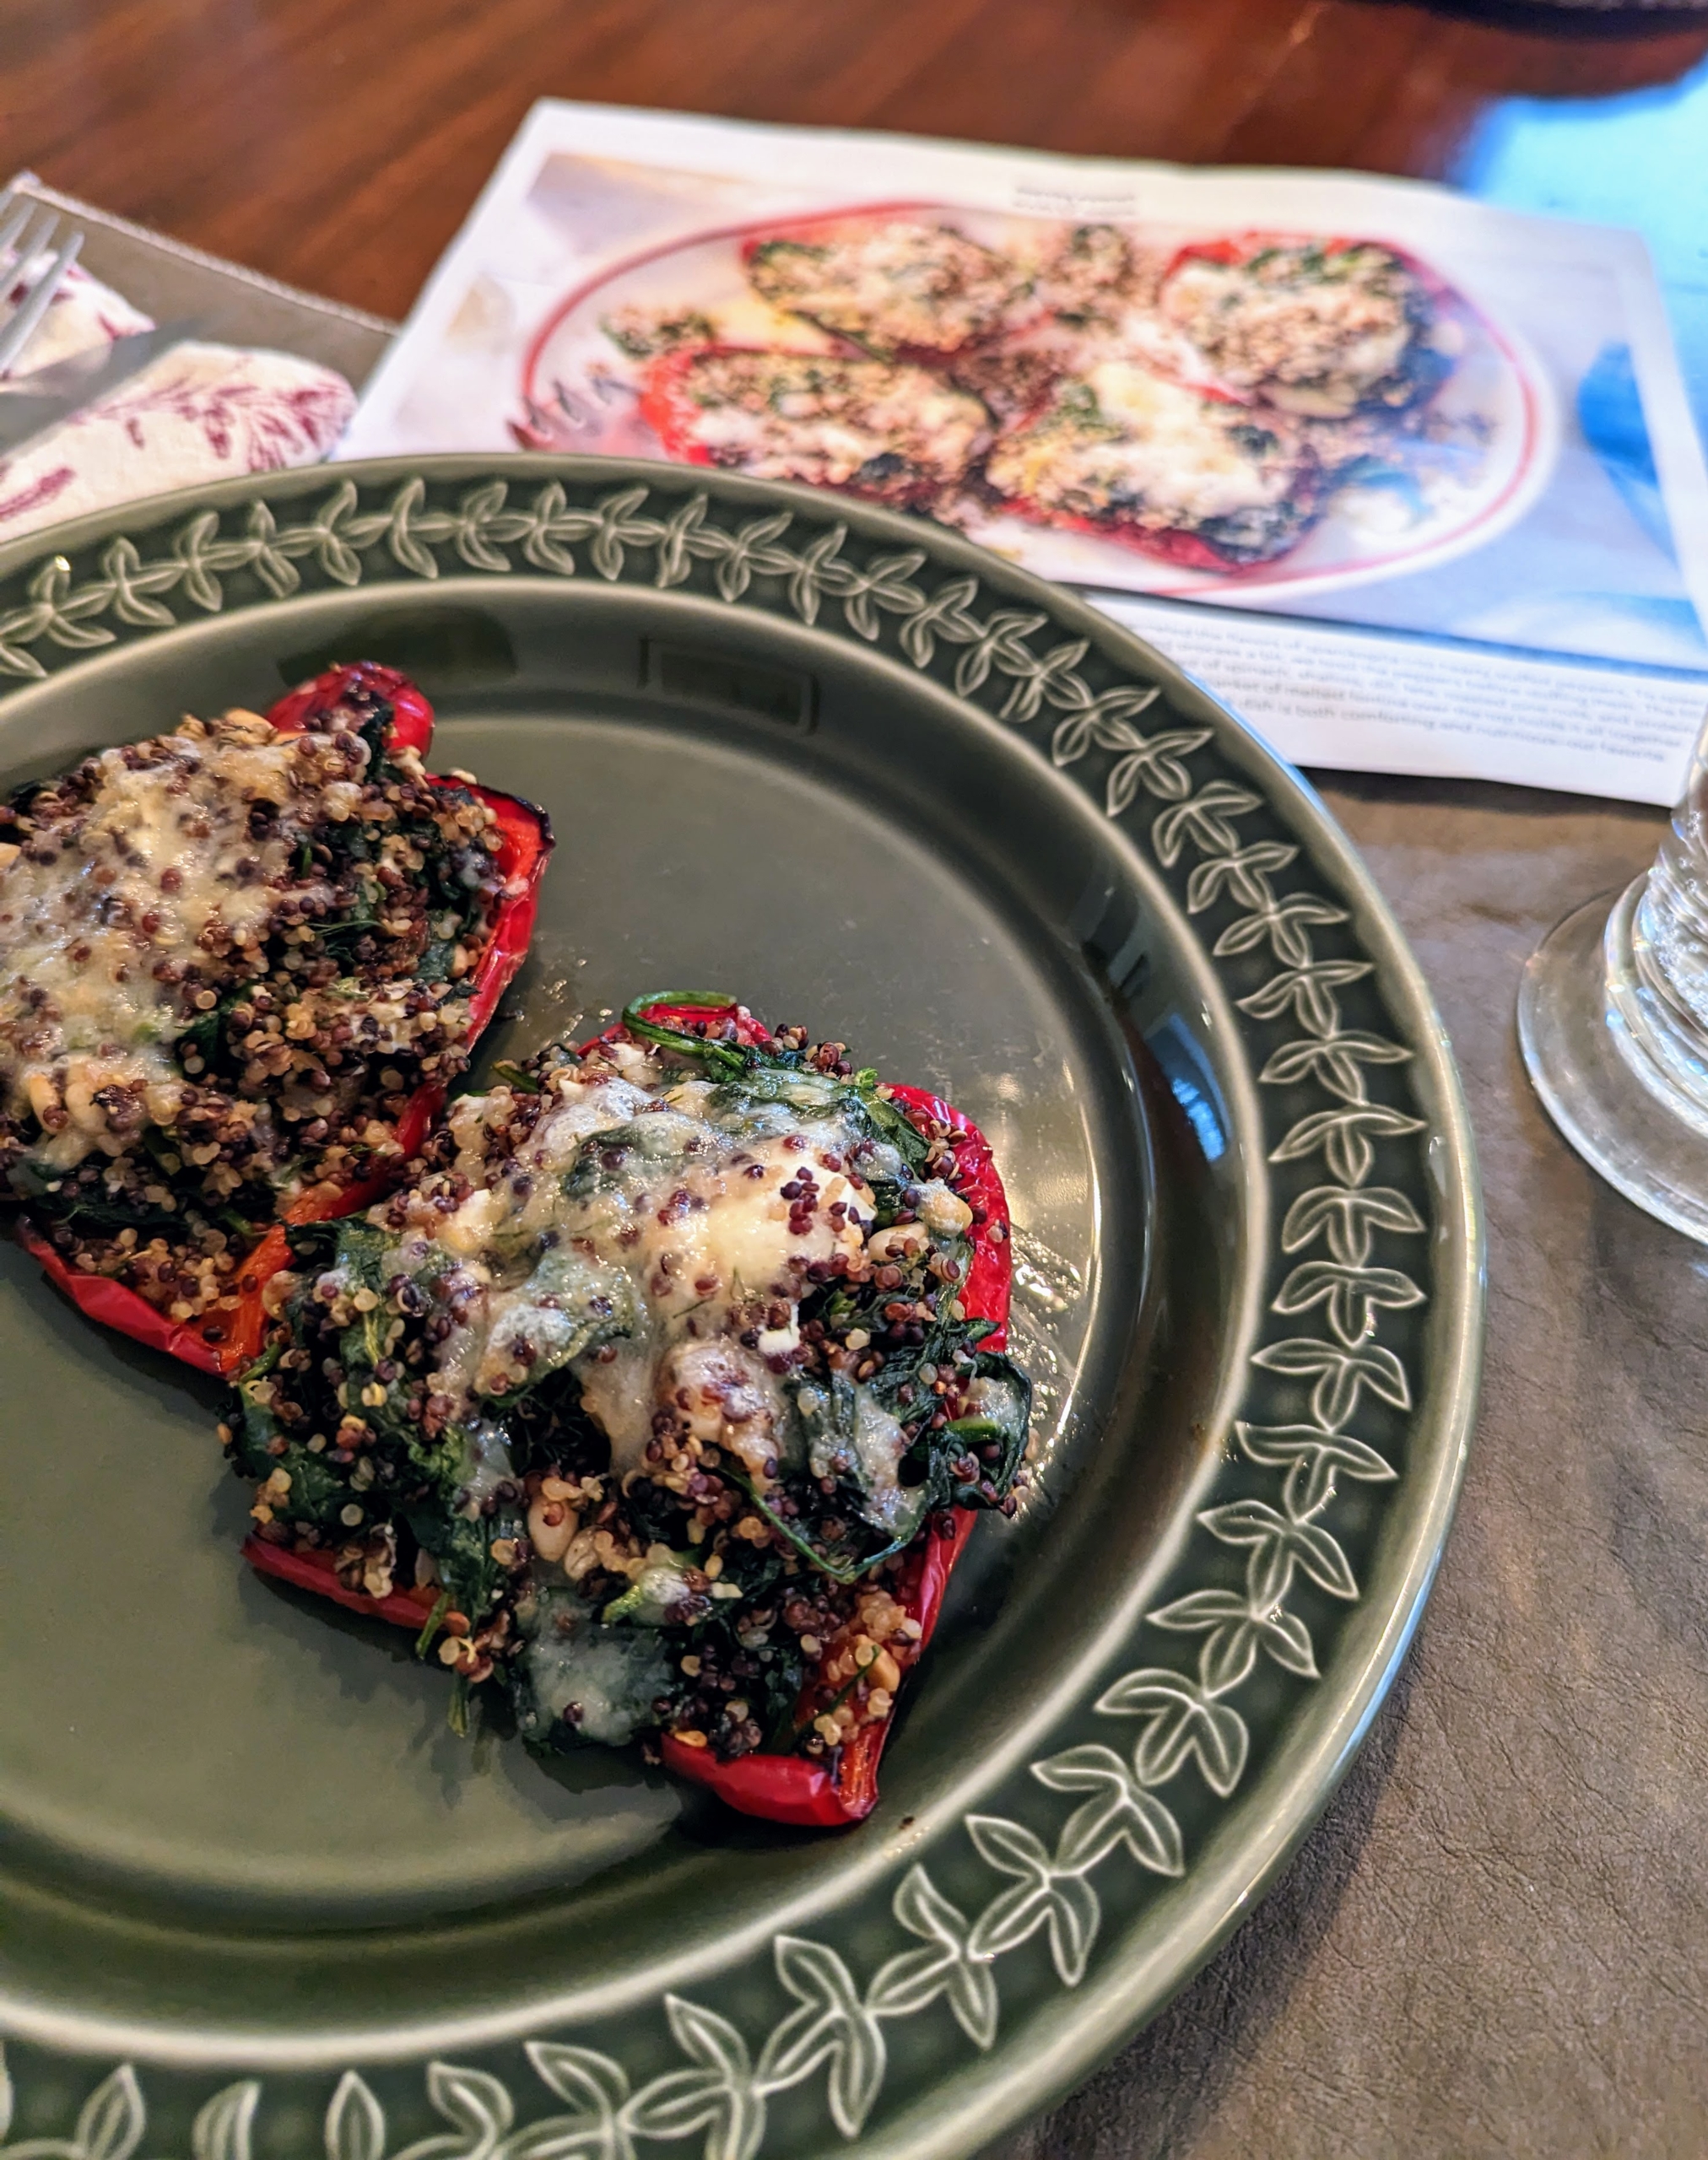
And here it is – perfectly cooked just like the photo on the large recipe card. It was so delicious. Stephanie says it’s one to definitely make again. For tasty, fun, and easy-to-cook meals, be sure to try Martha Stewart & Marley Spoon. You and everyone in your family will love them!