I have long loved begonias - with their bold, beautiful foliage and delicate flowers, it’s hard to resist such an amazing family of plants.
There are thousands of species and varieties of begonias. Some are classified as tuberous, and others as fibrous, but it’s the rhizomatous begonias that make beautiful houseplants all year long because of the amazing colors, shapes, sizes, and textures of their foliage. Regular maintenance keeps the plants full and in excellent condition. This includes repotting them every couple of years to maintain soil quality and drainage.
Here are some photos, enjoy.
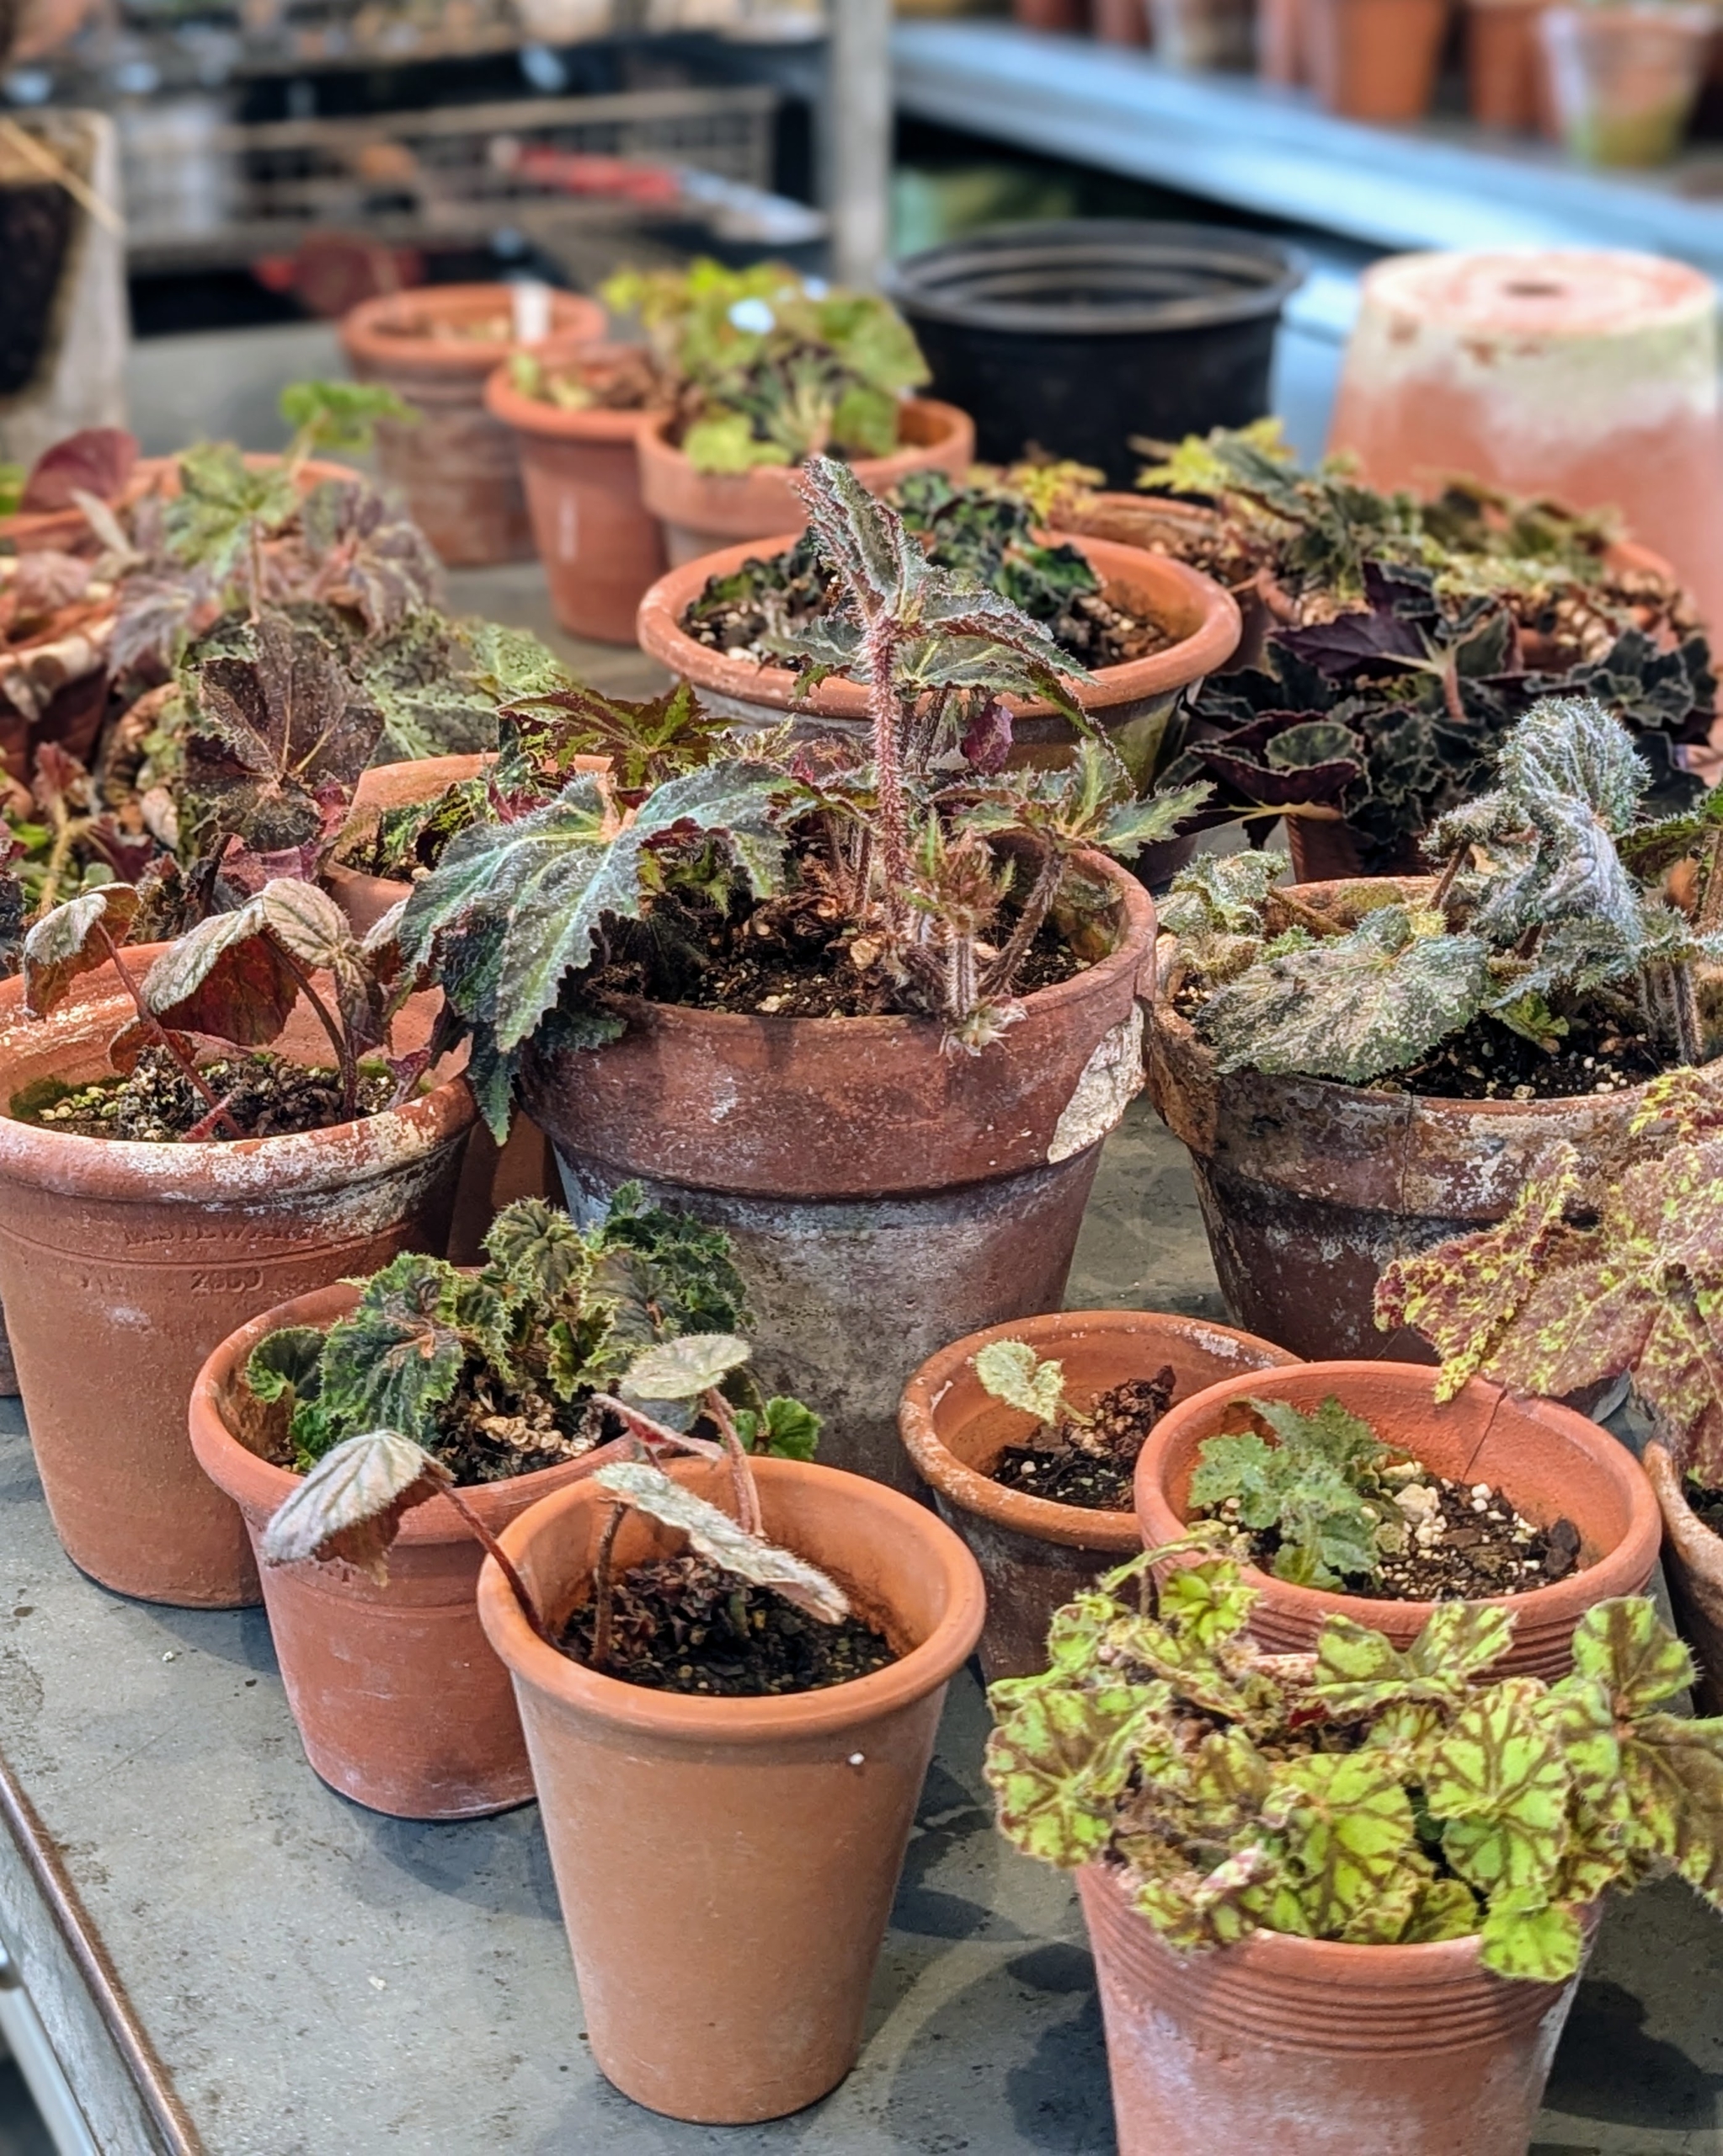
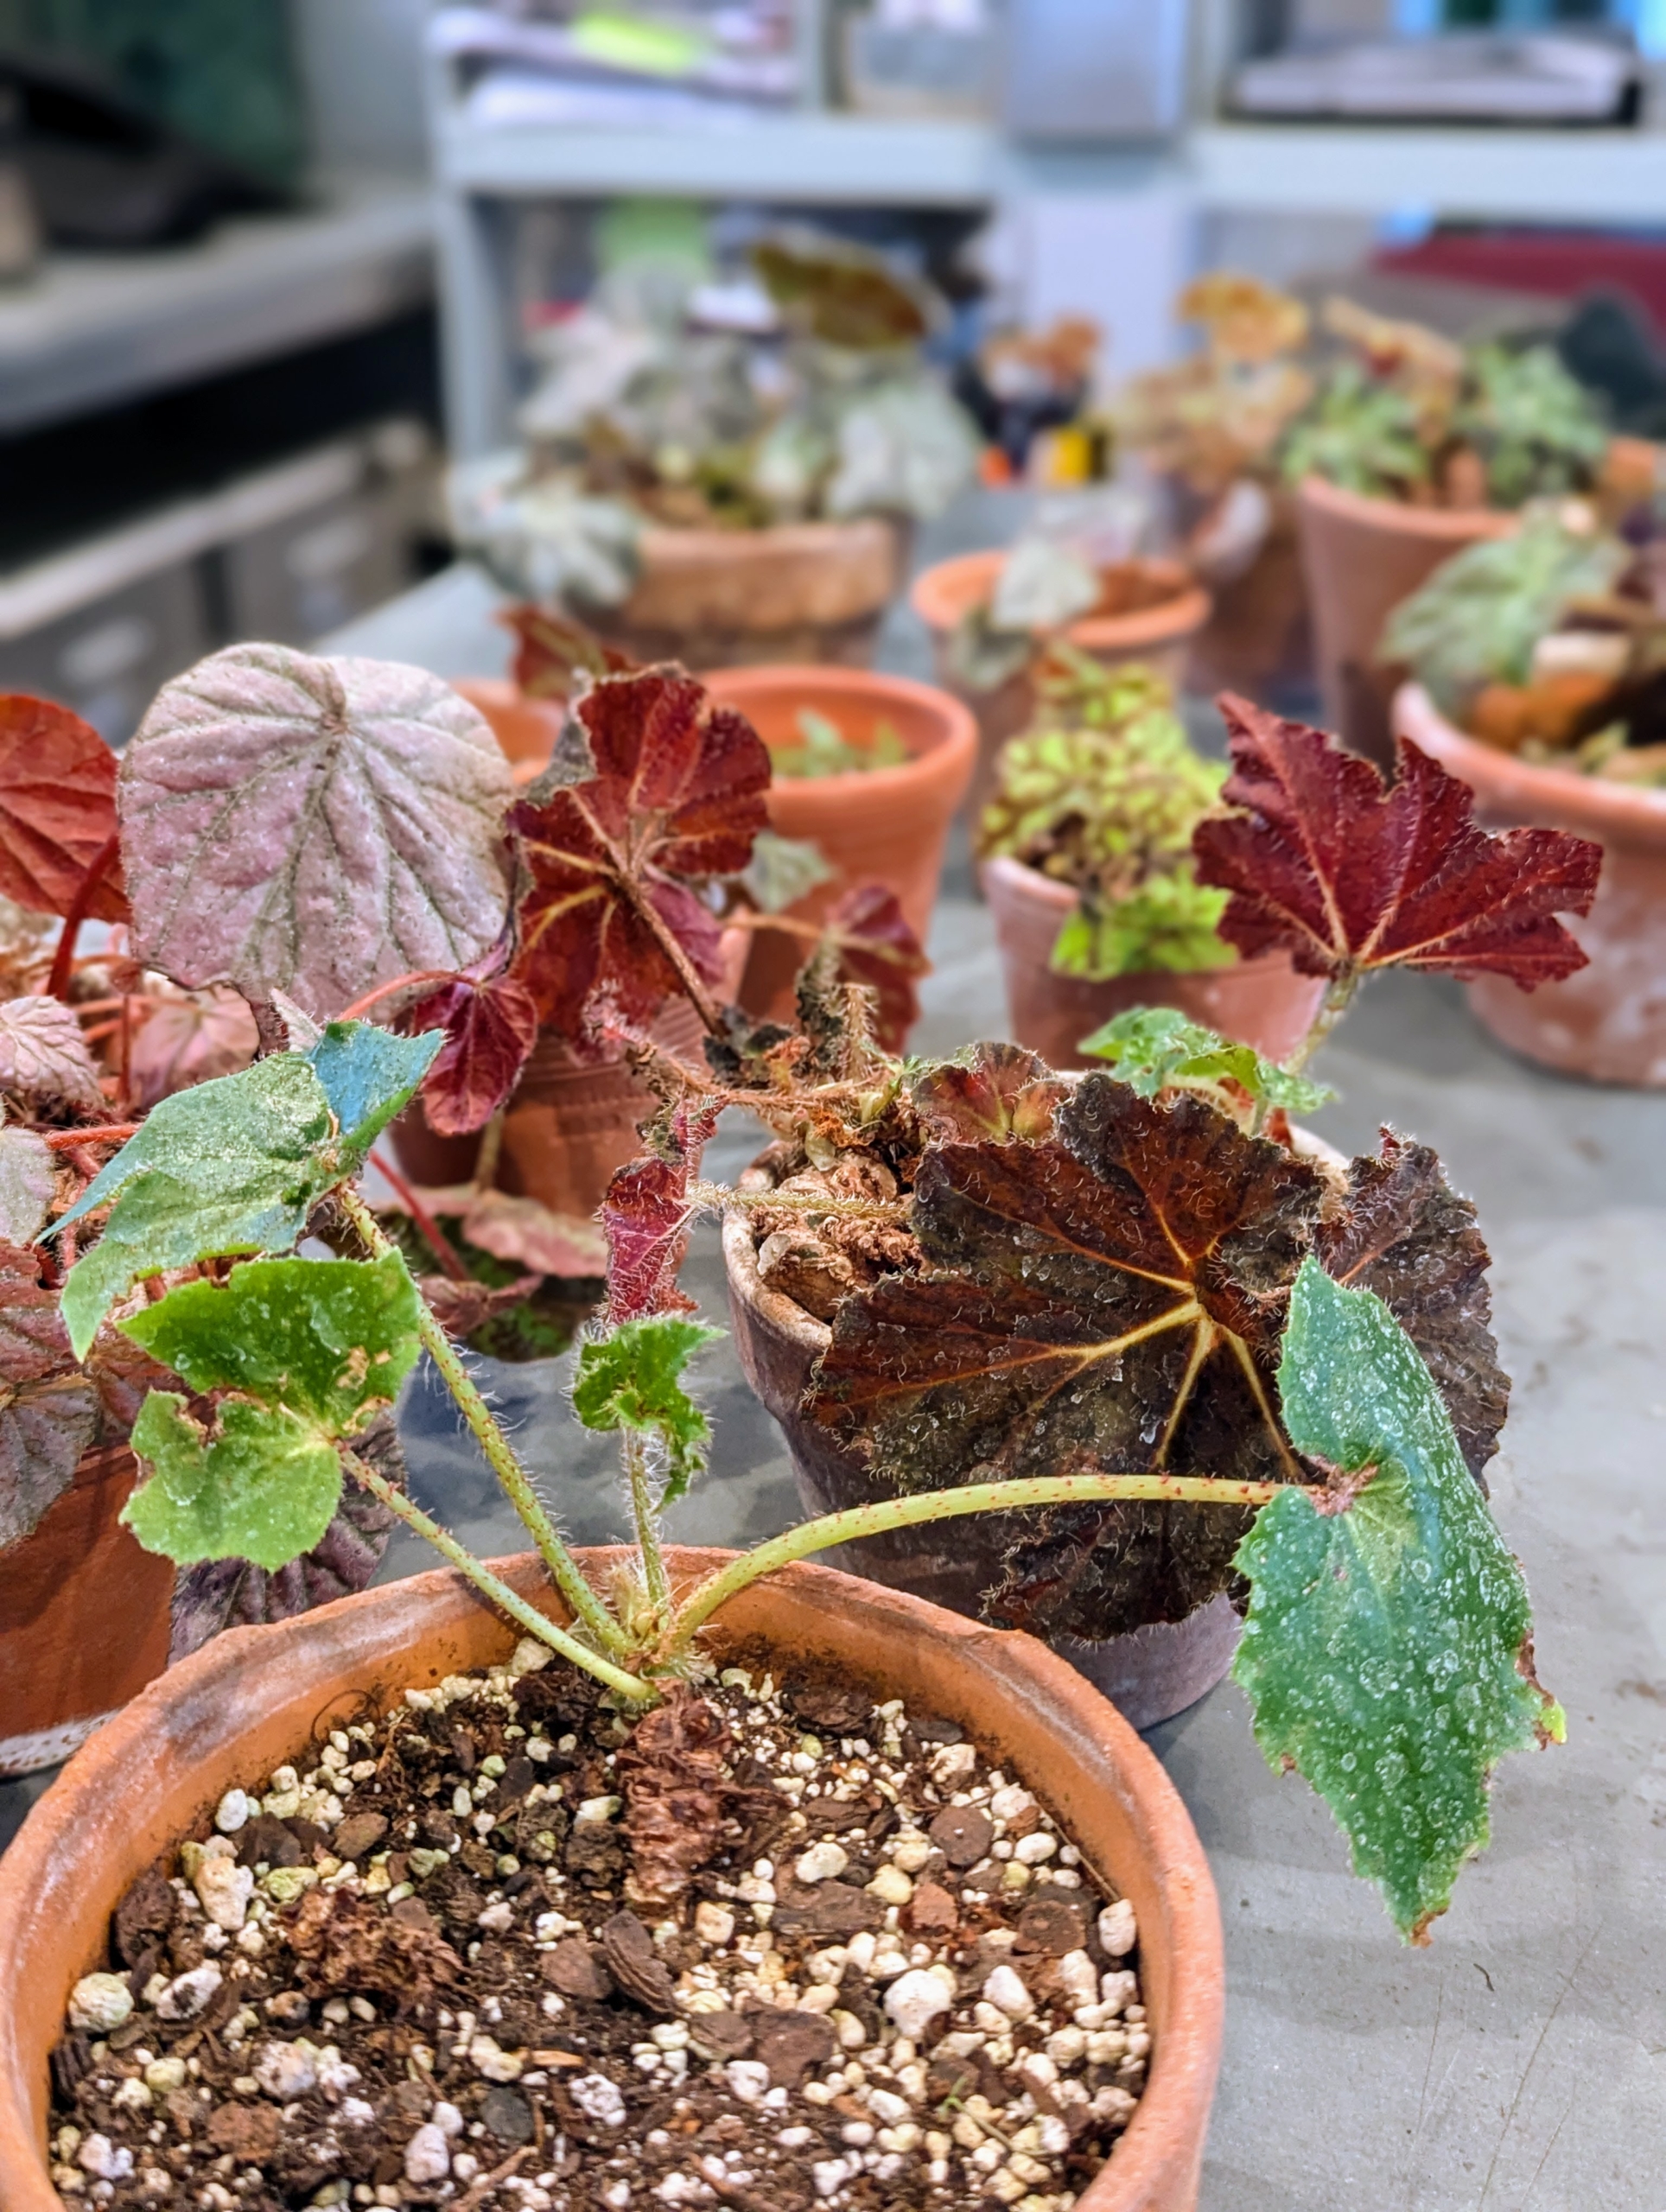
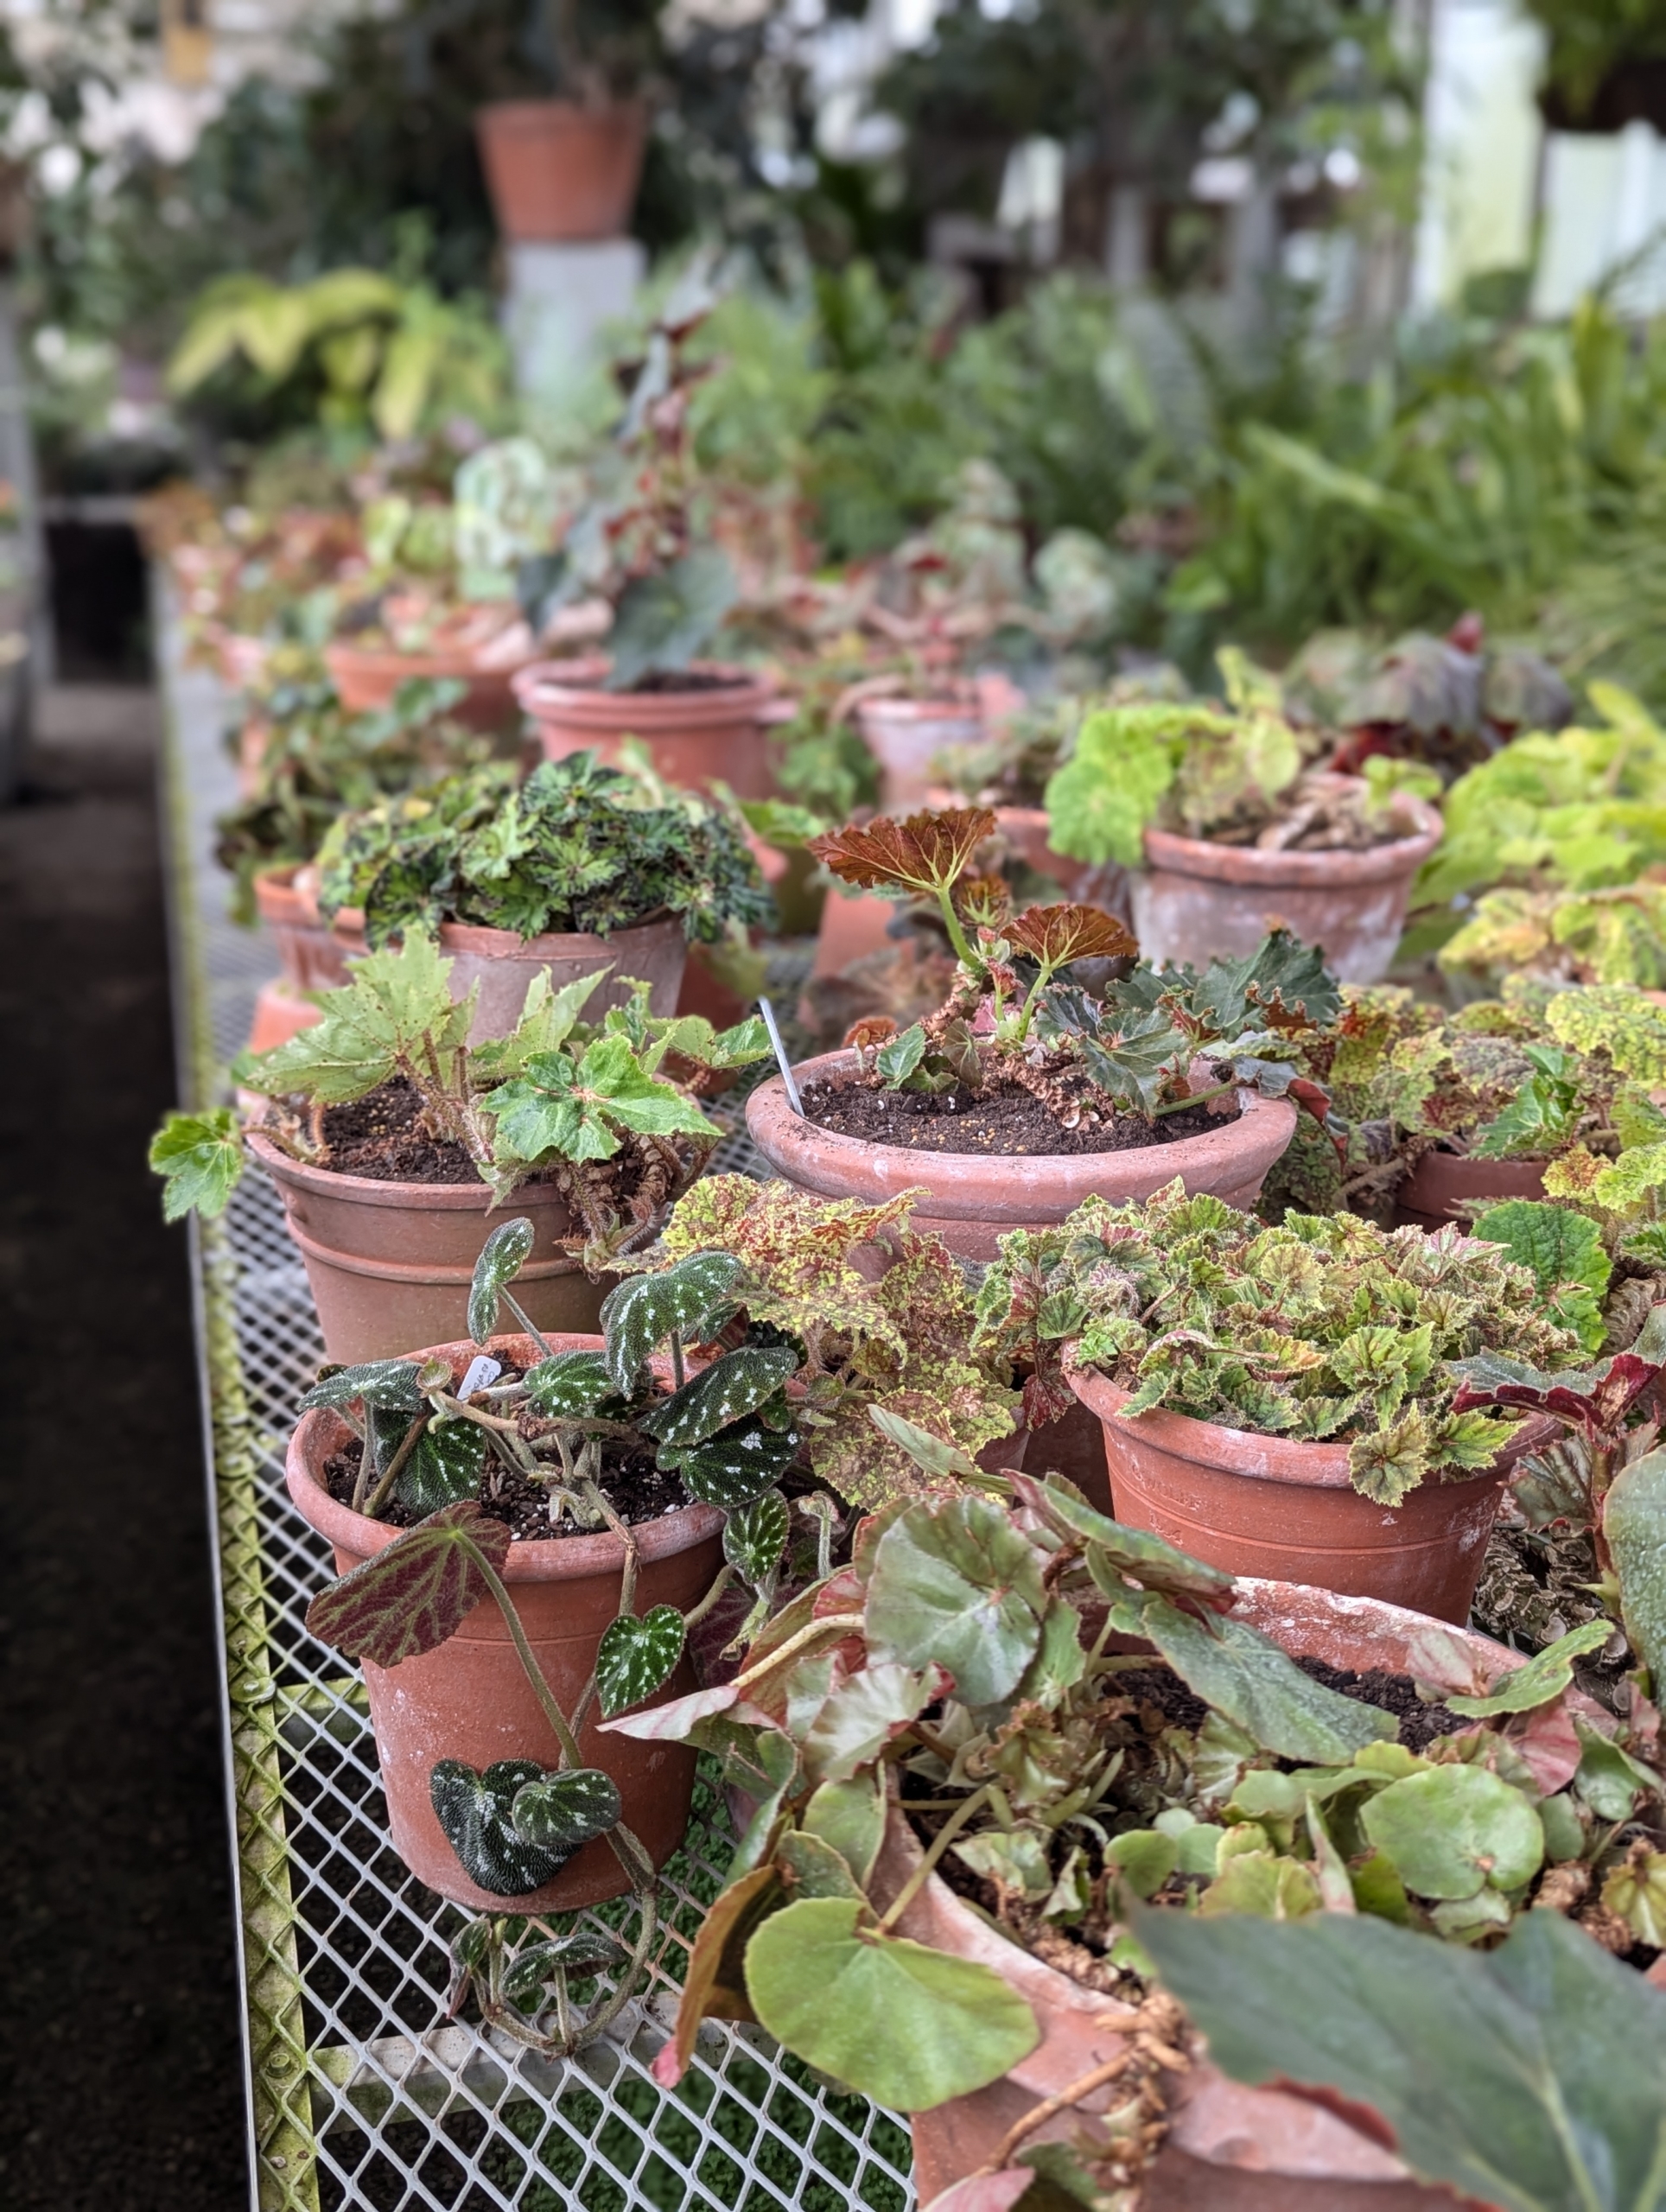
I have a large collection of beautiful begonias. I keep them on a long, sliding table where they can be watched closely and maintained in a temperature and humidity-controlled space. My head gardener, Ryan McCallister, pulled these begonias to be repotted.
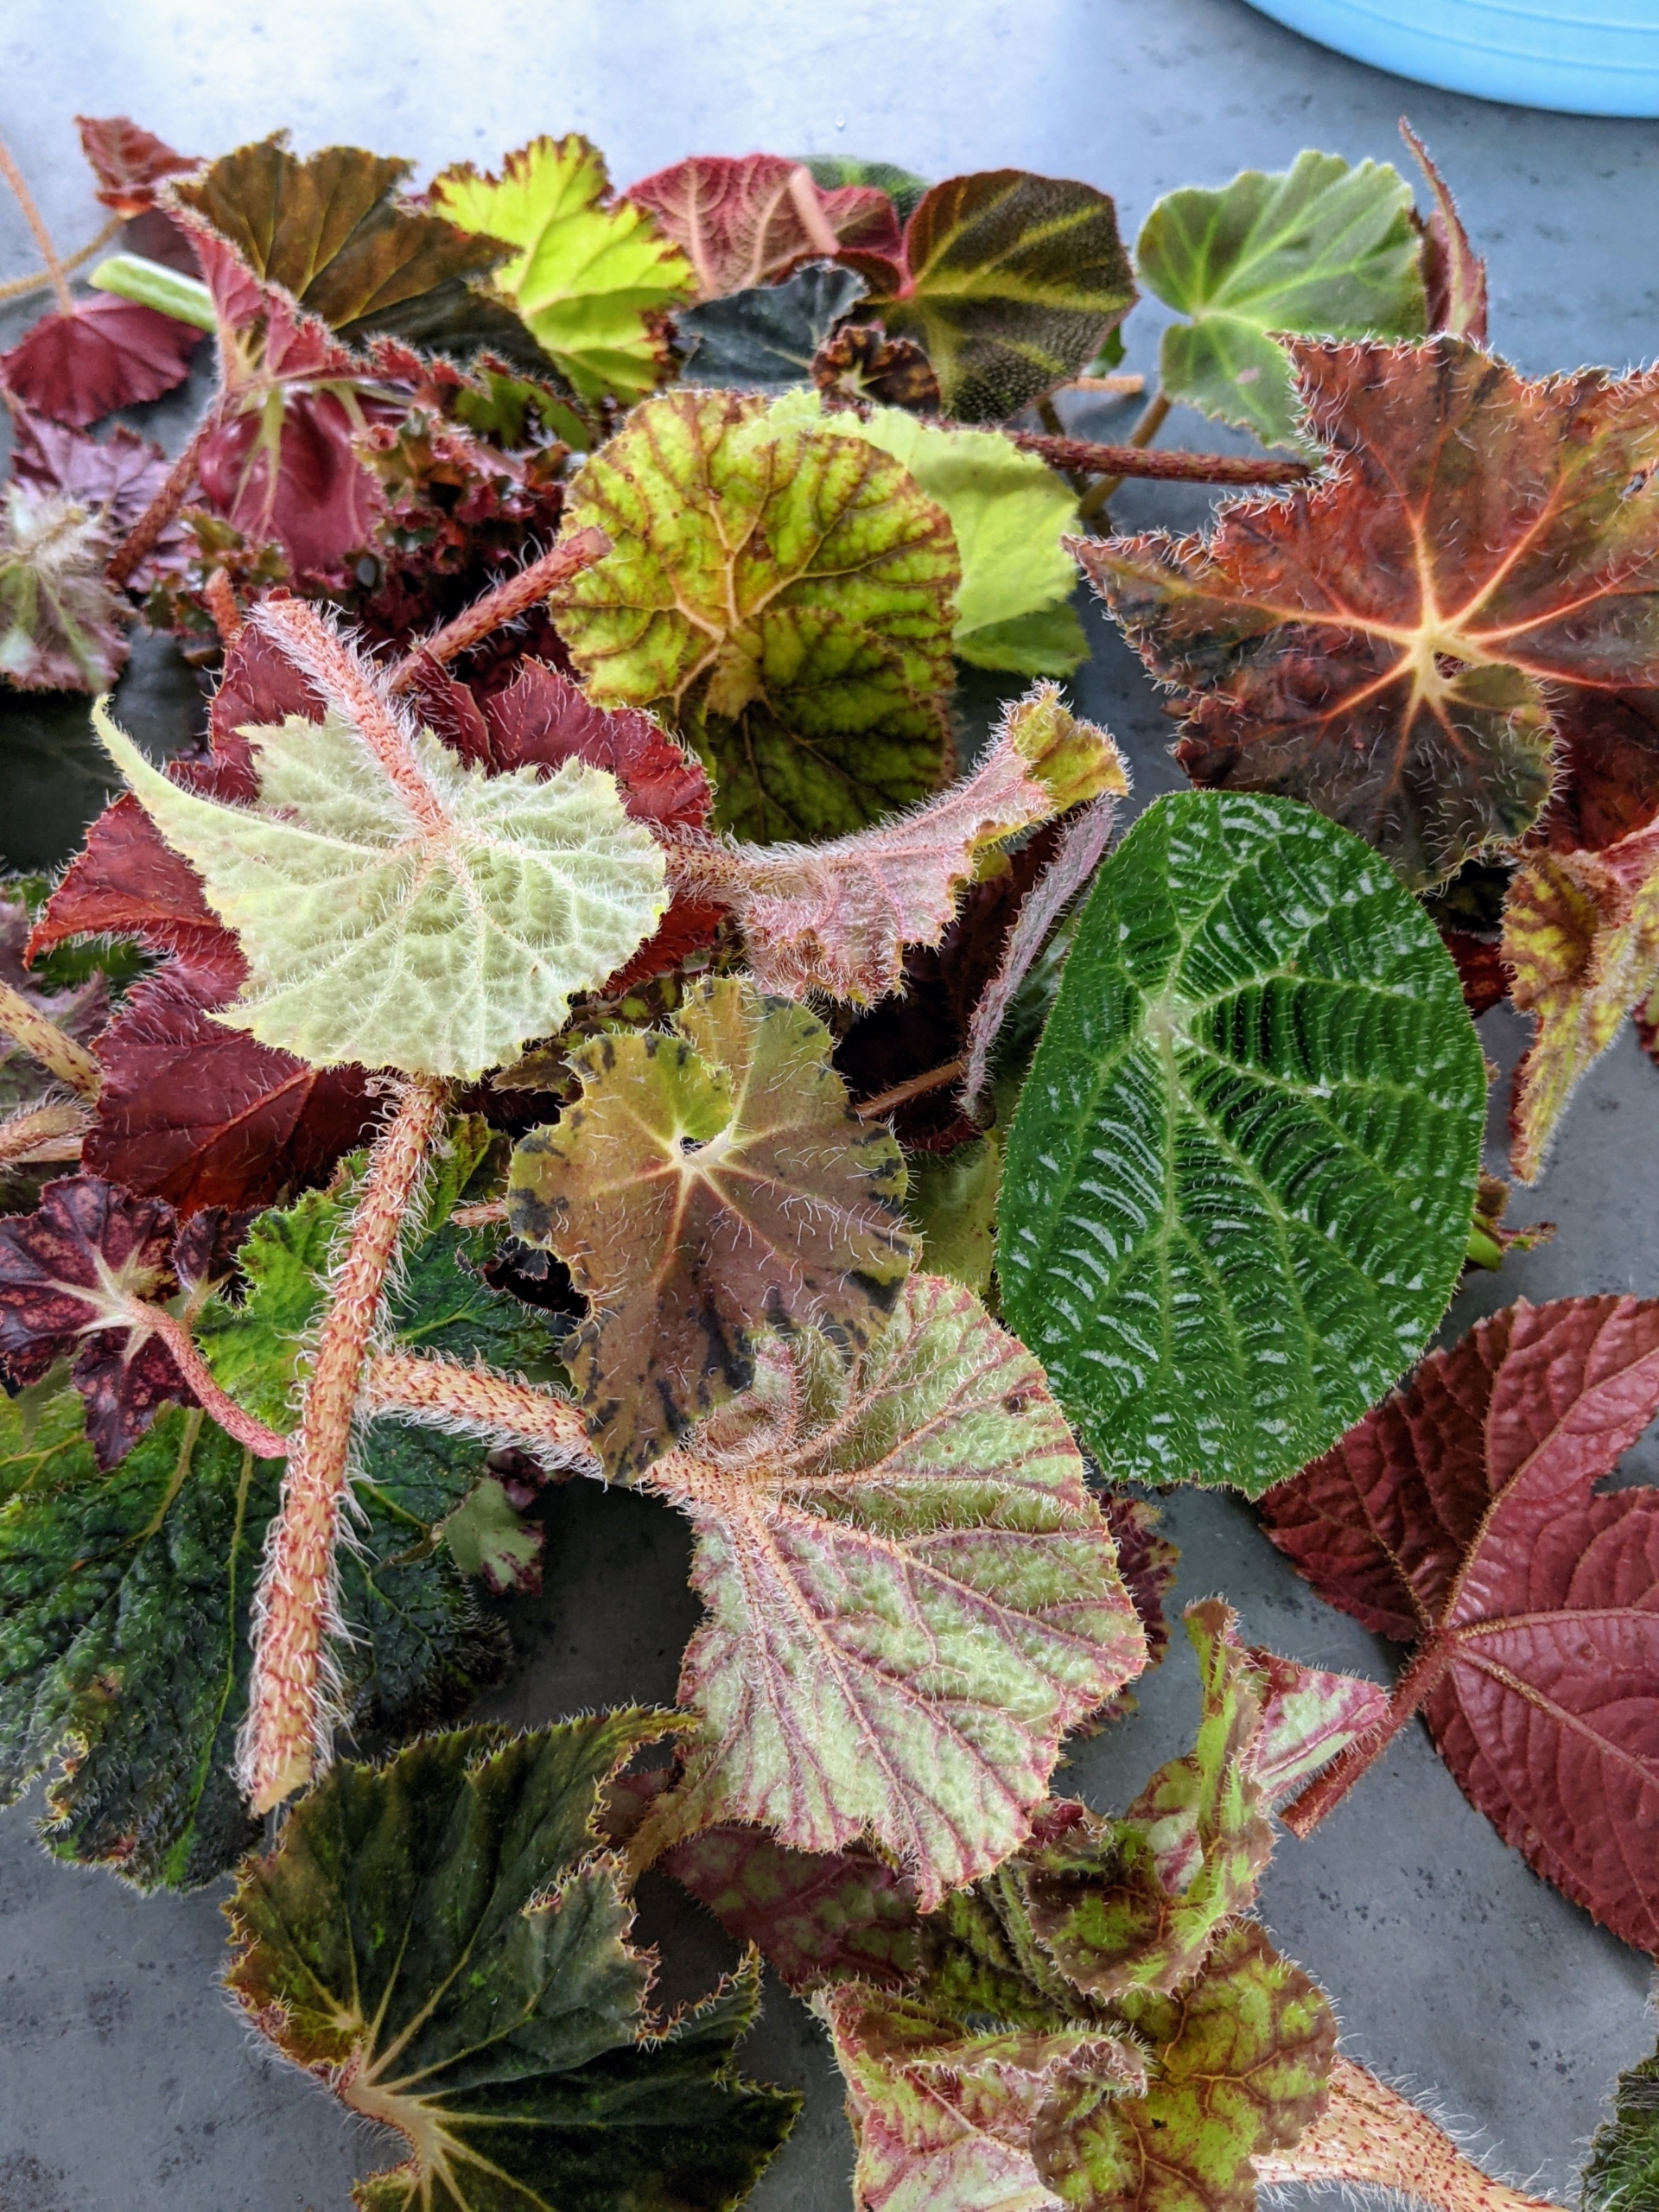
Some of my begonias were purchased from various nurseries over the years, but many were also grown from leaf cuttings right here in my greenhouse.
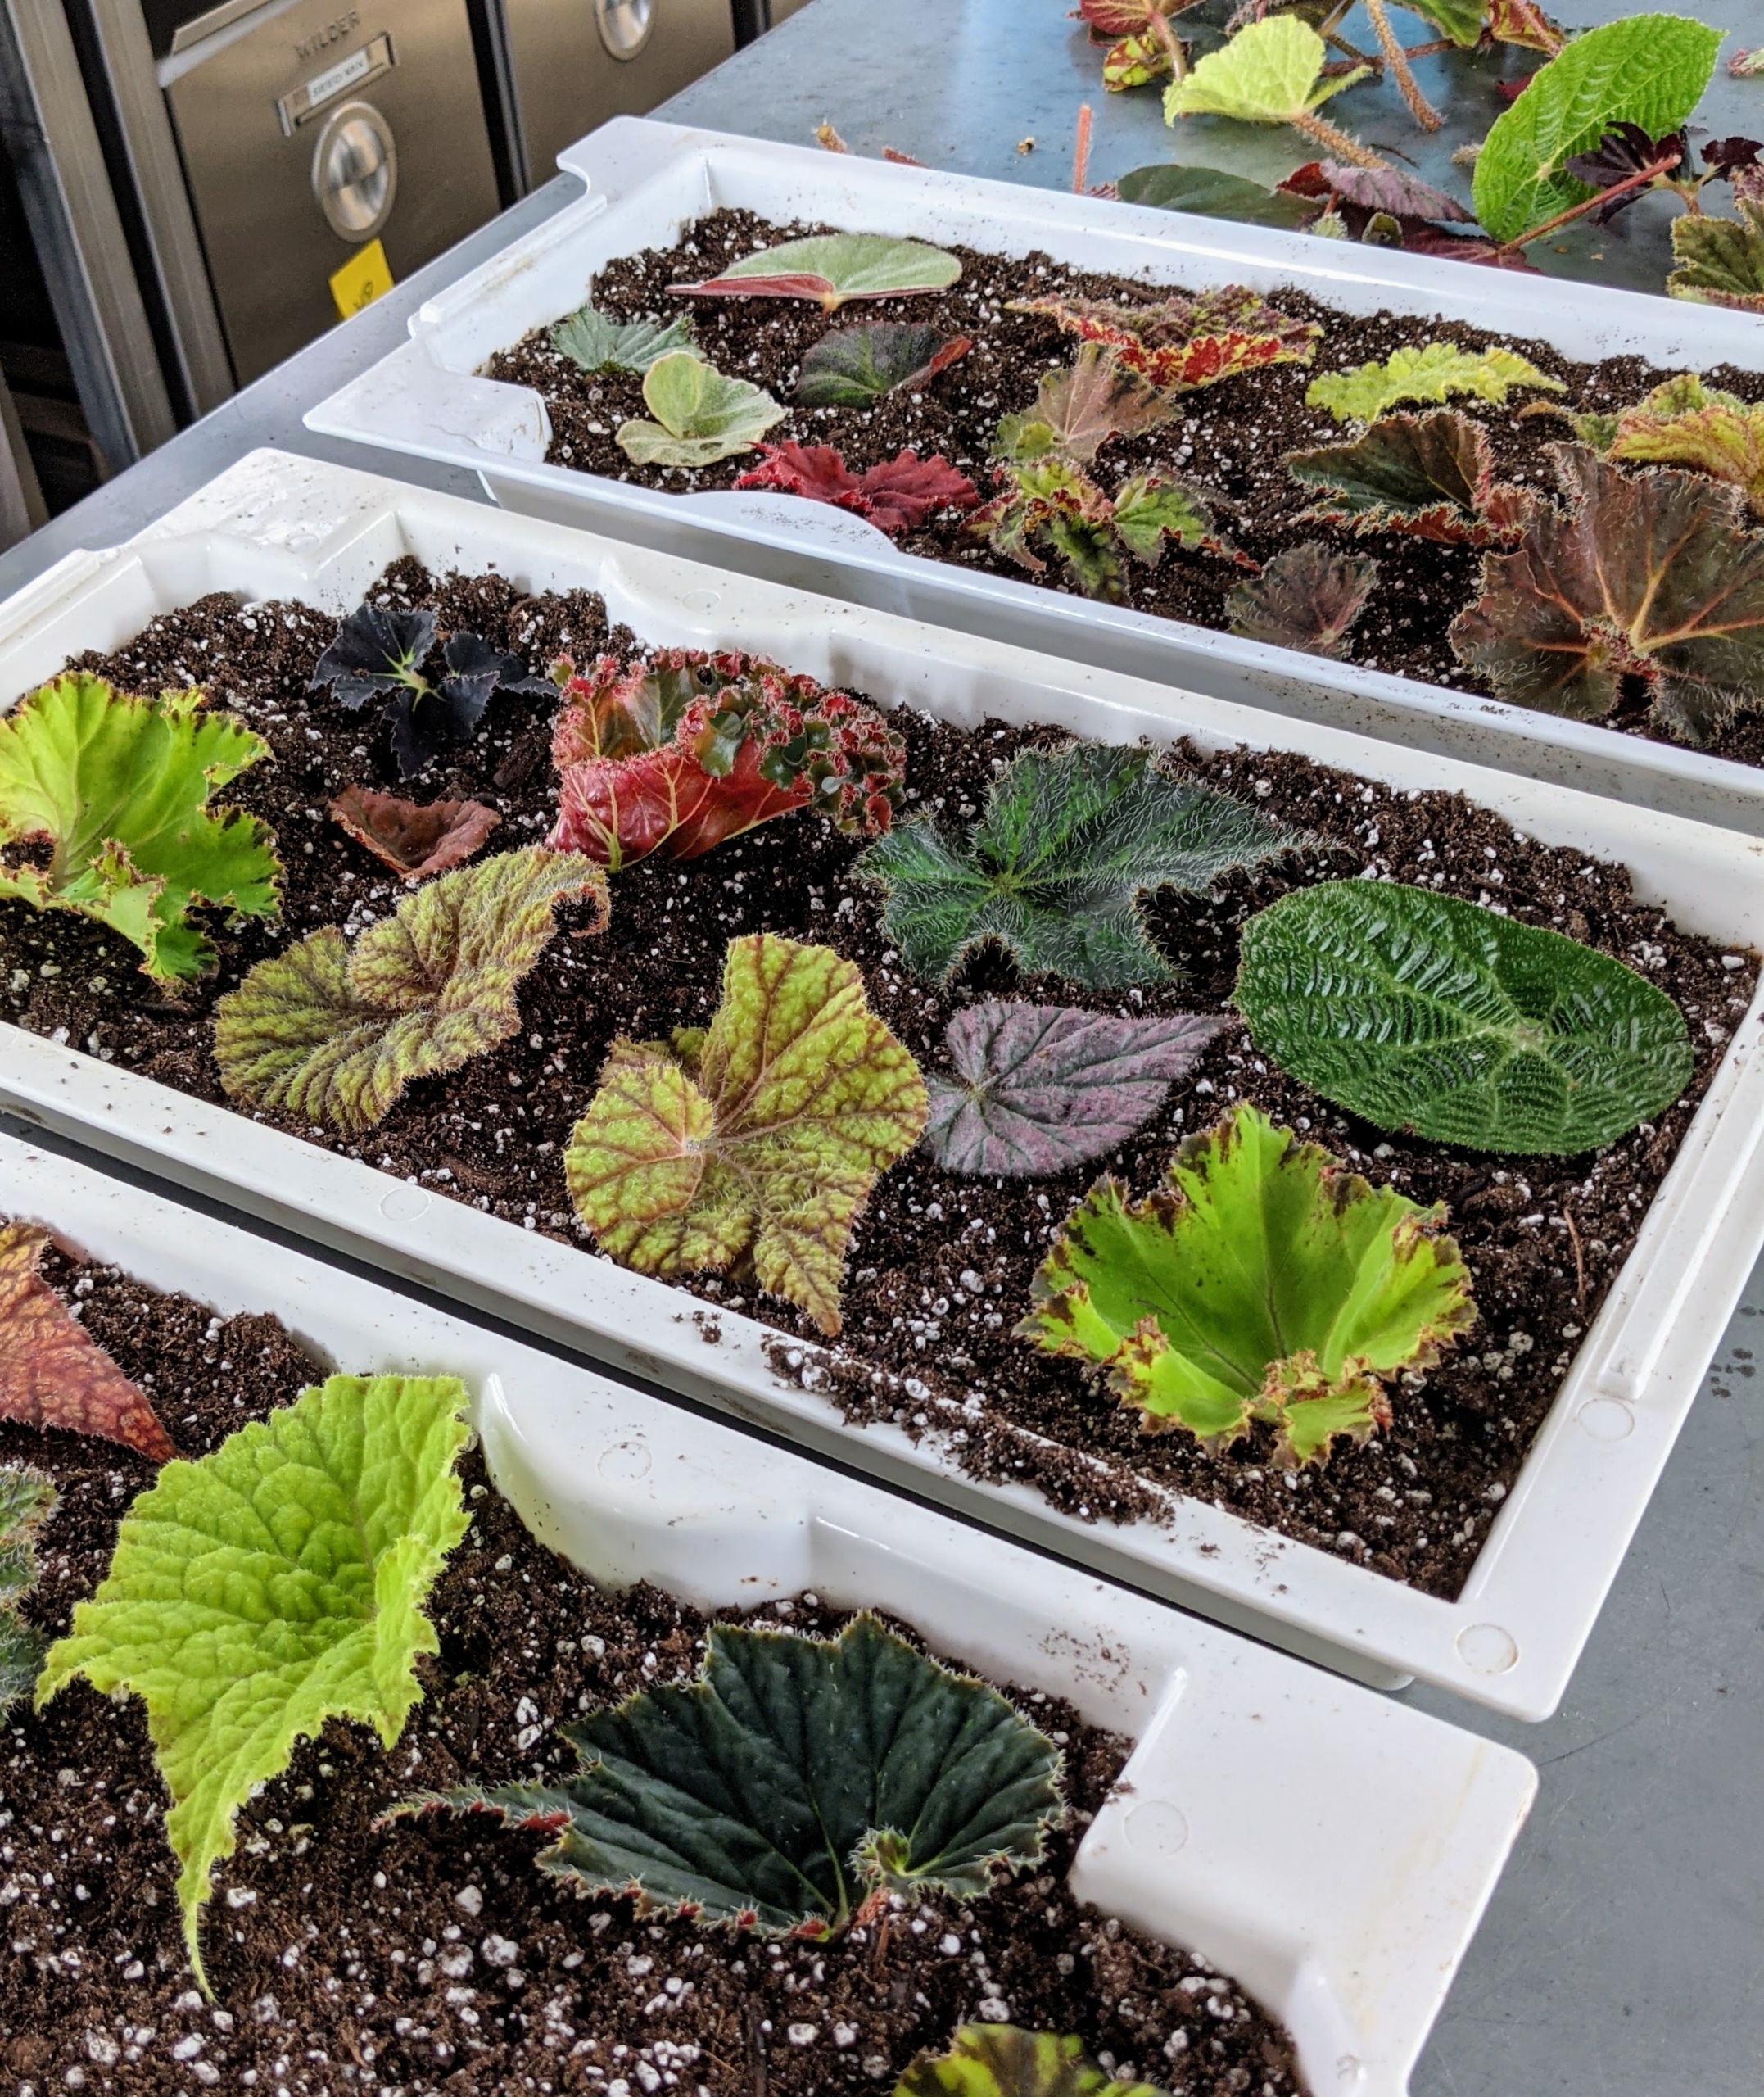
Begonia leaves root easily – just push its stem into potting soil, and keep it moist. After a few weeks, new leaves emerge.
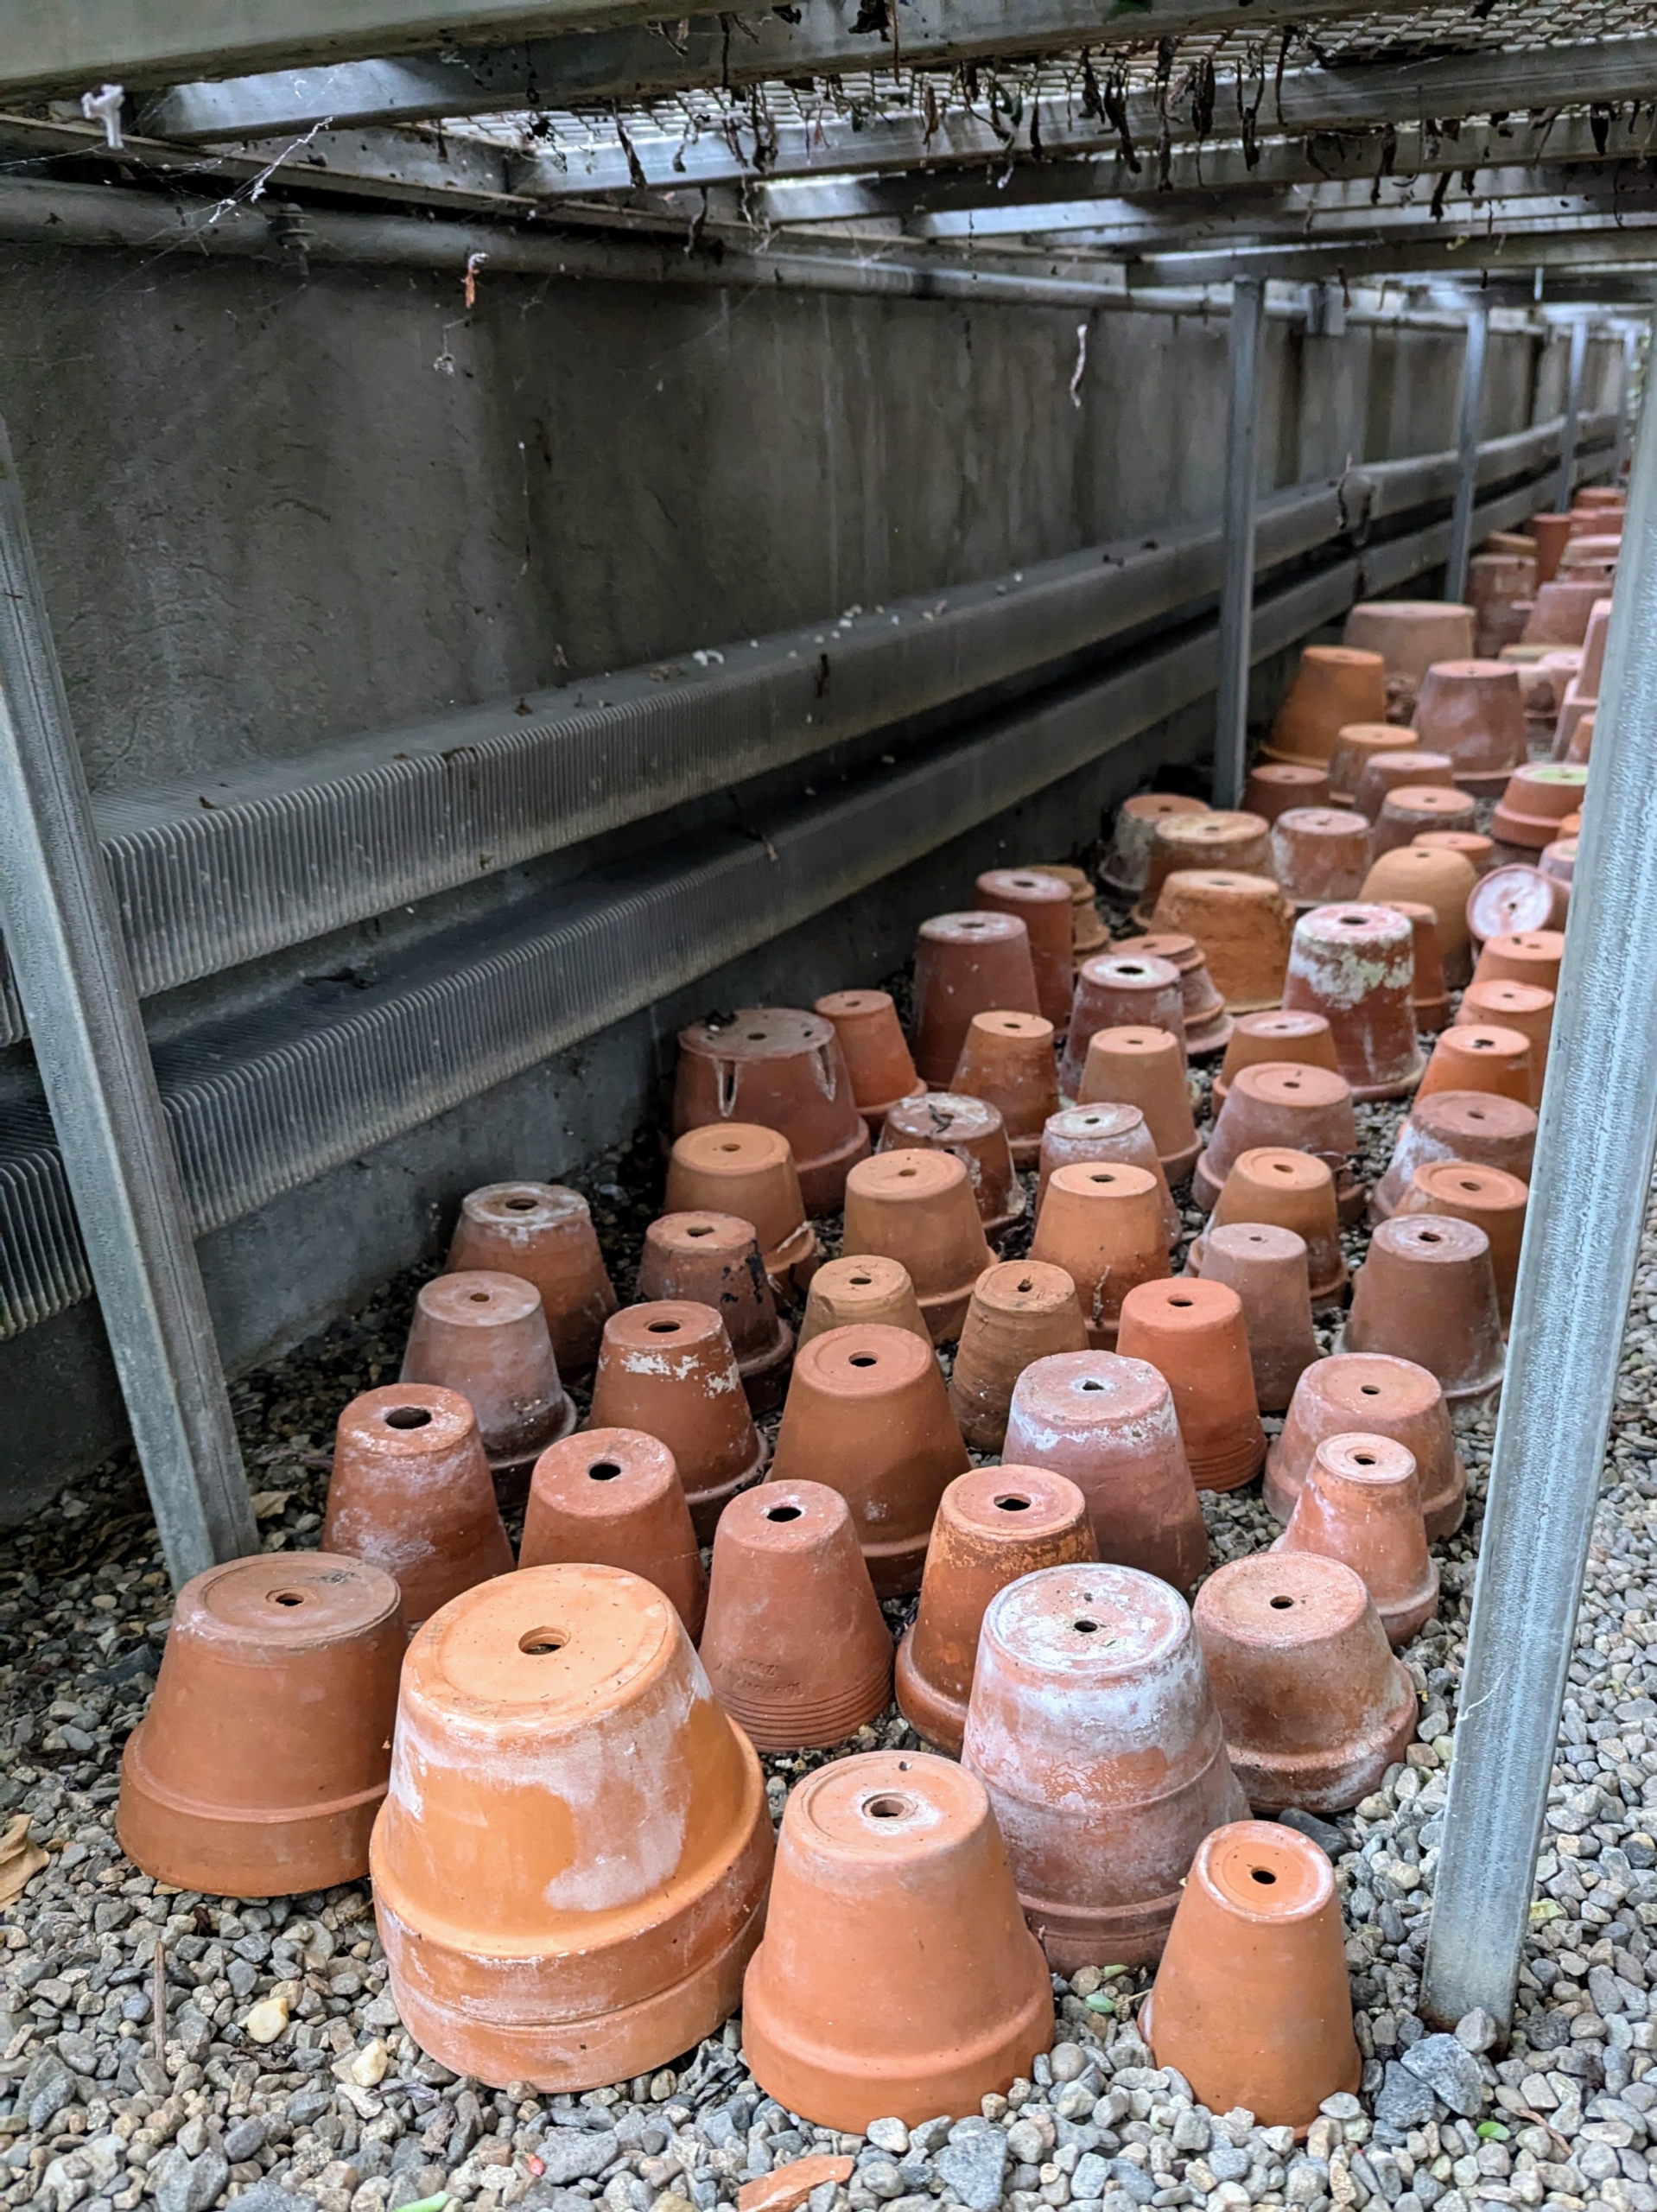
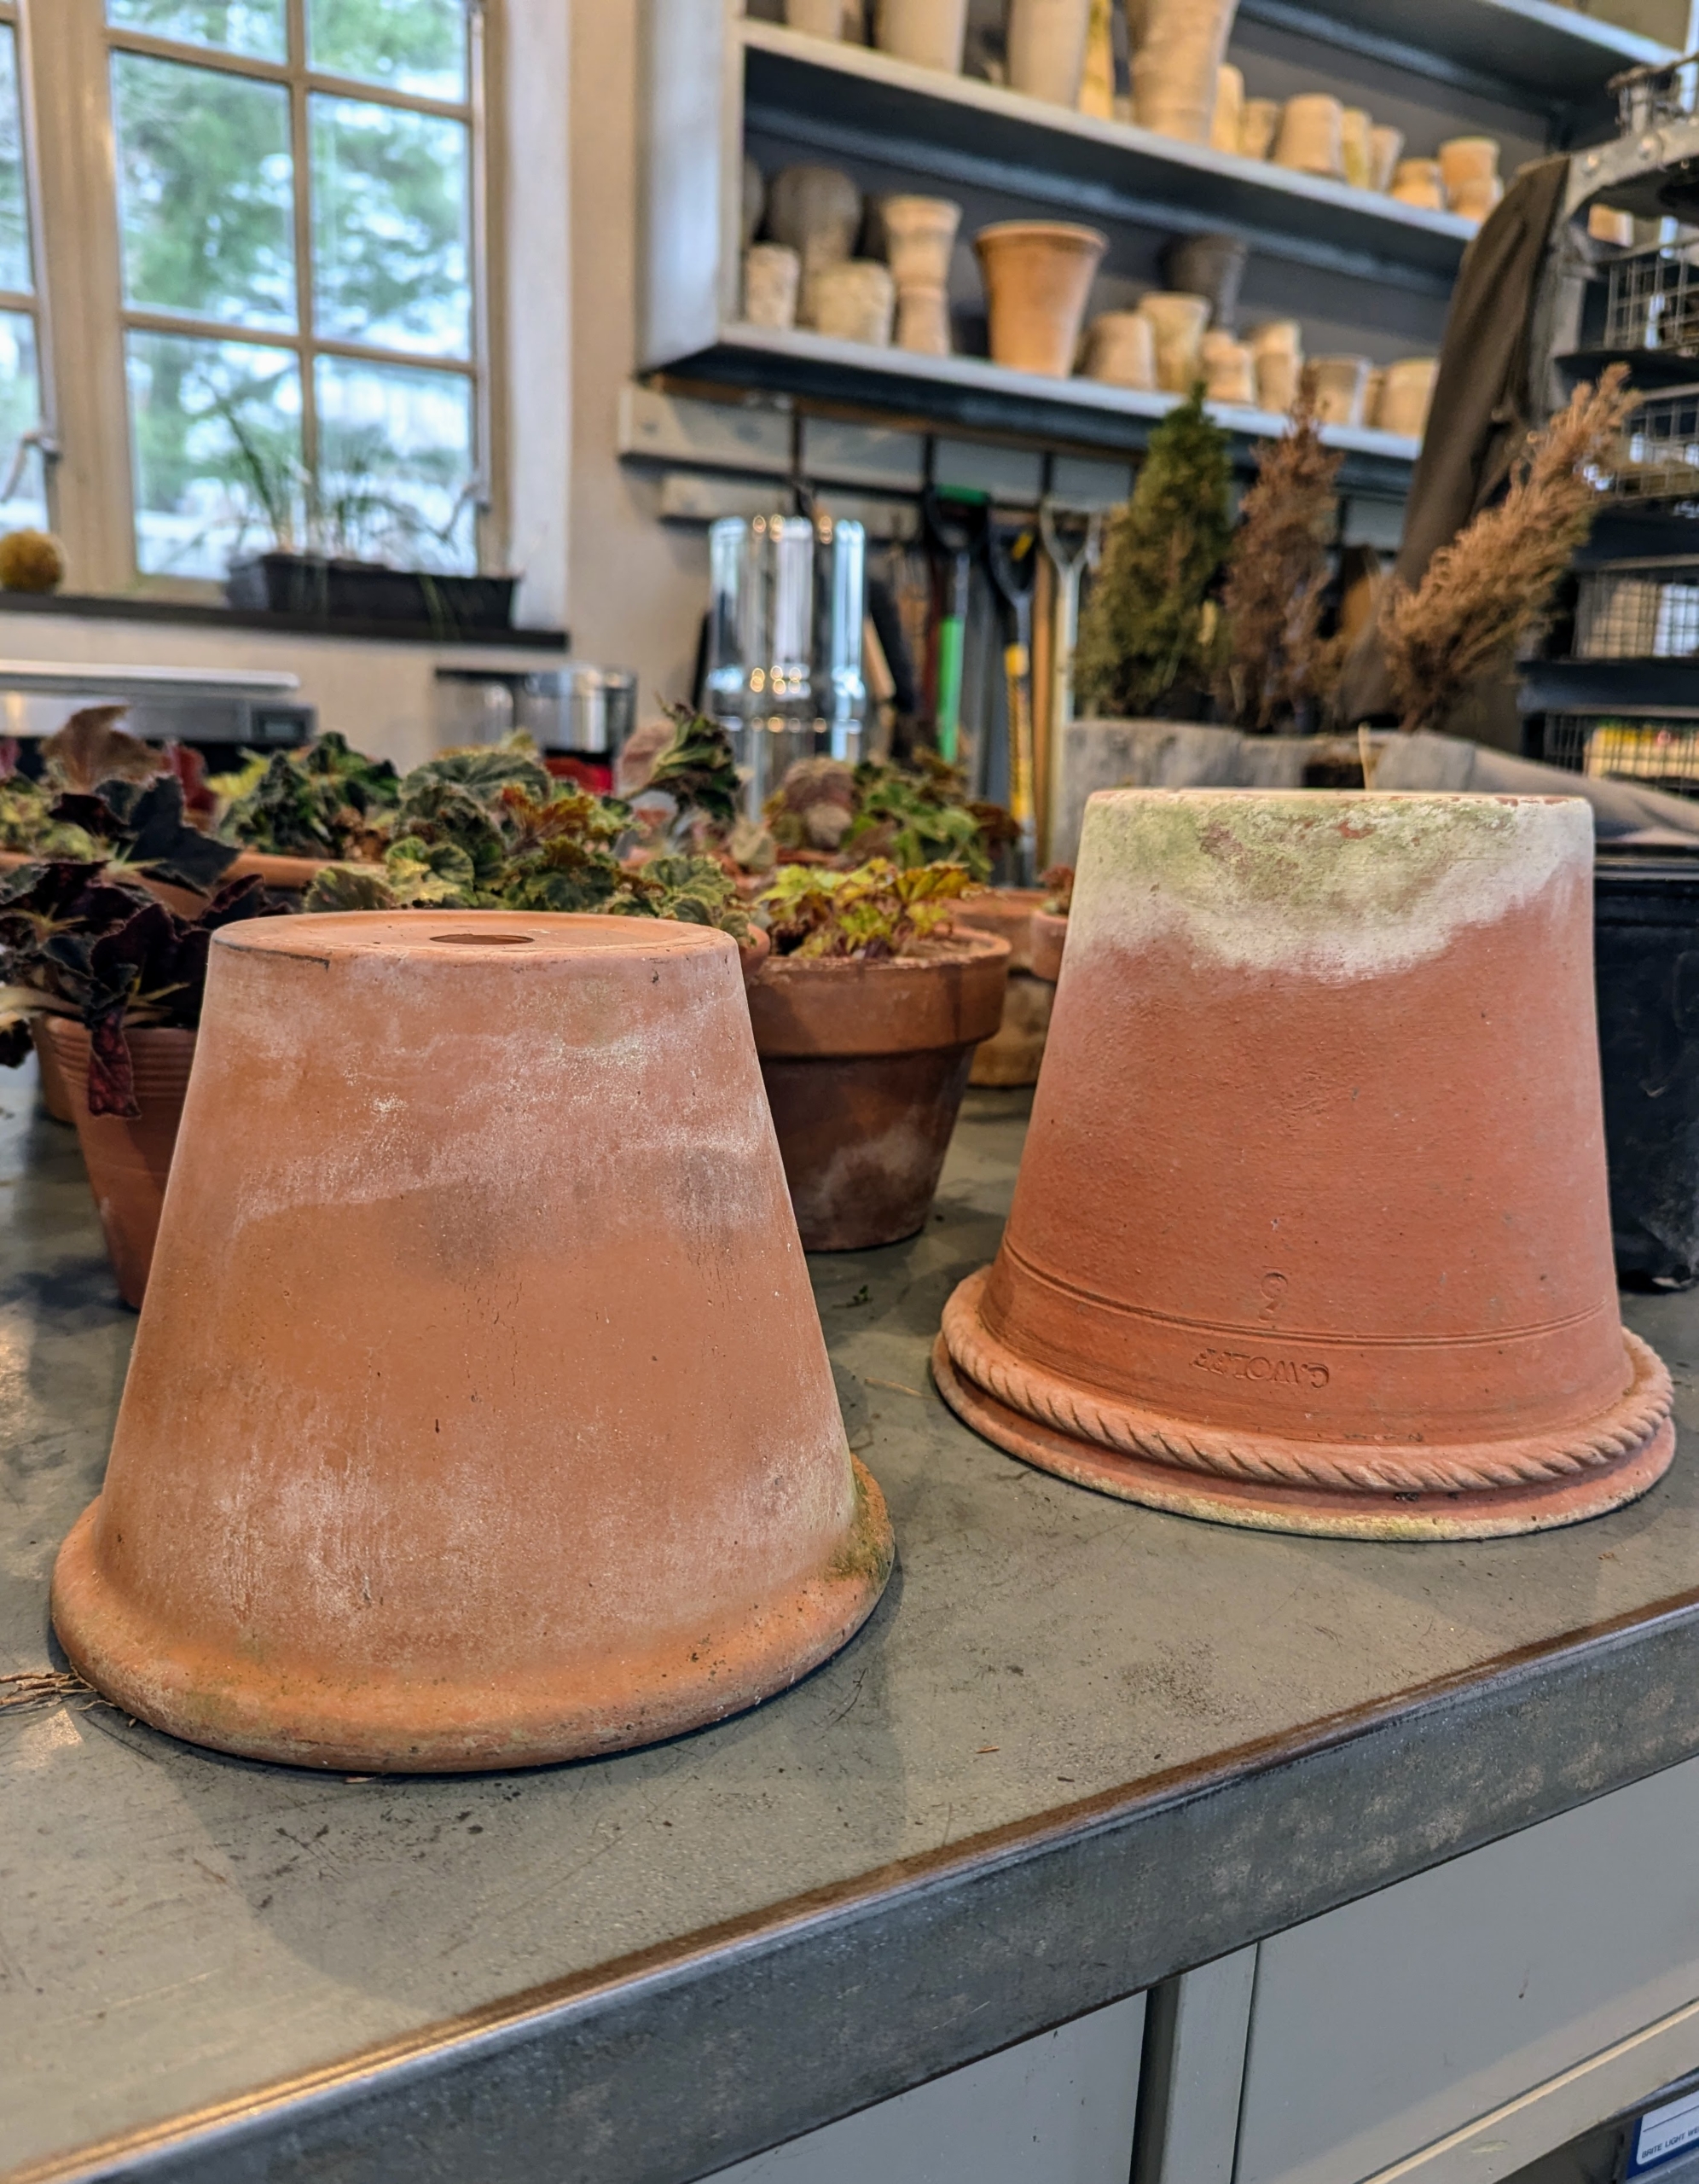
We store many of the empty pots underneath the sliding tables where they can be accessed quickly. Clay and terra cotta containers can be stored anywhere where the temperatures will not fall below freezing.
I like to use clay pots for my begonias. They allow proper aeration and moisture to penetrate through the sides and to the plant.
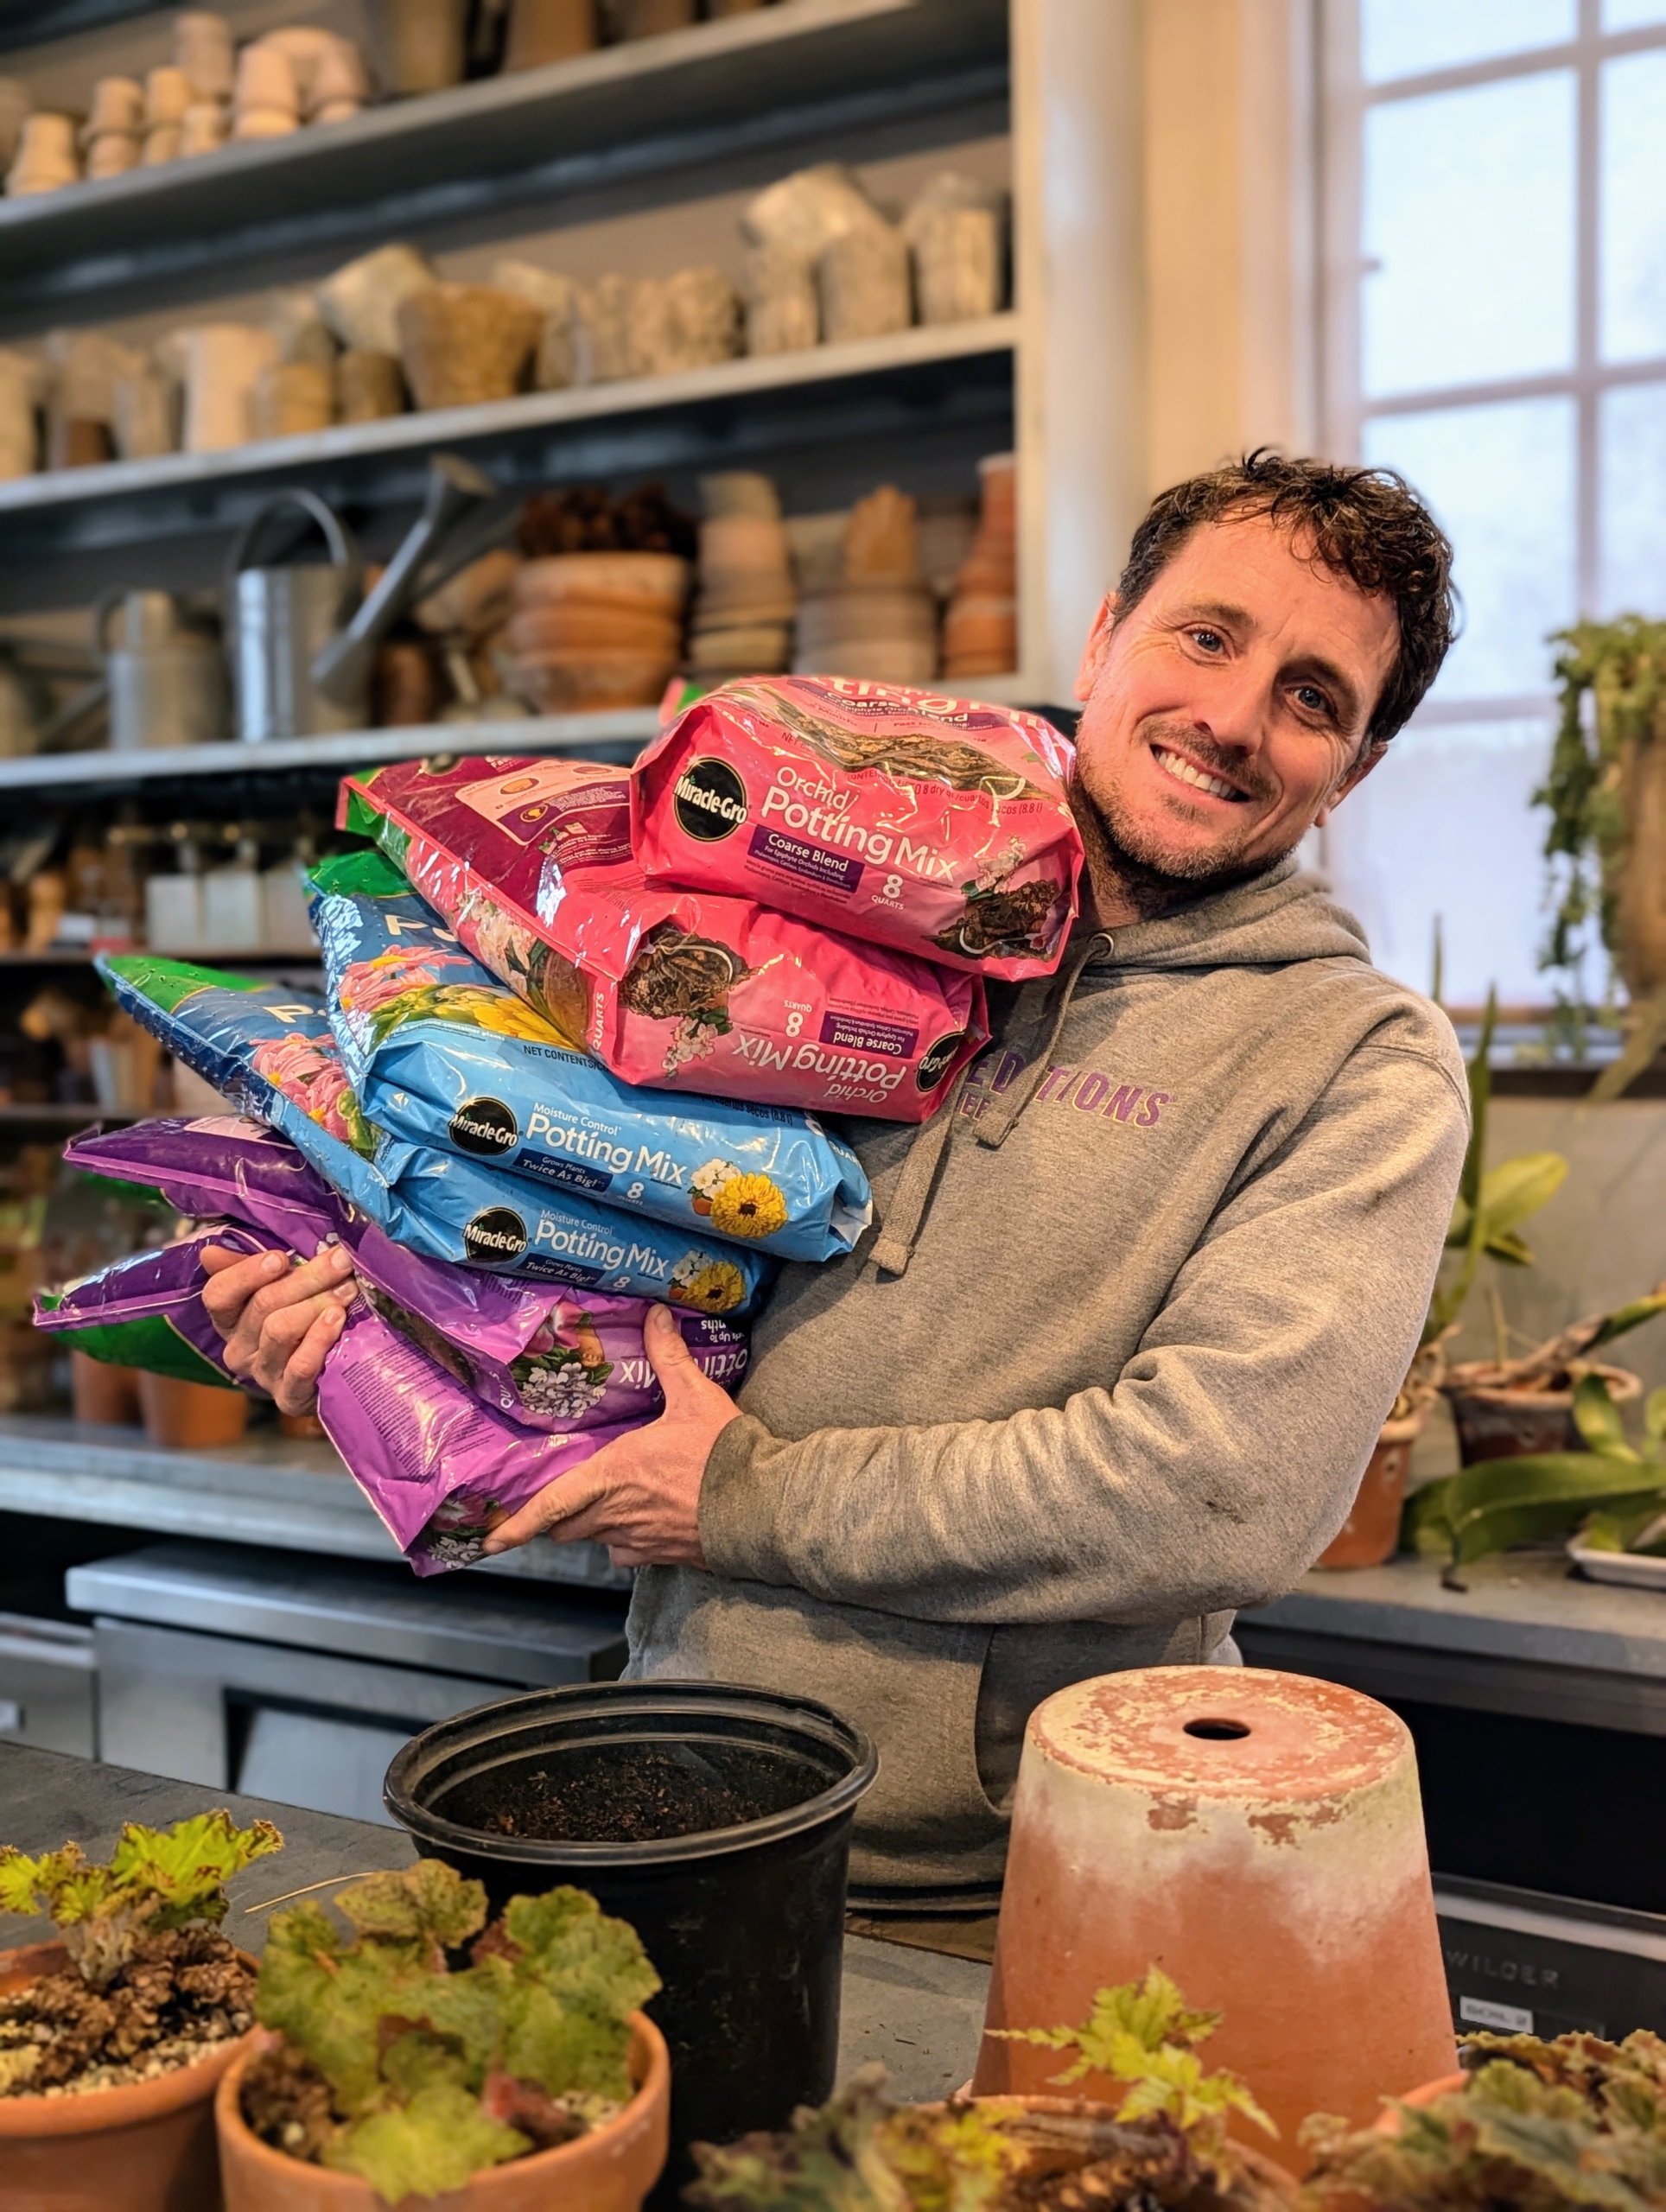
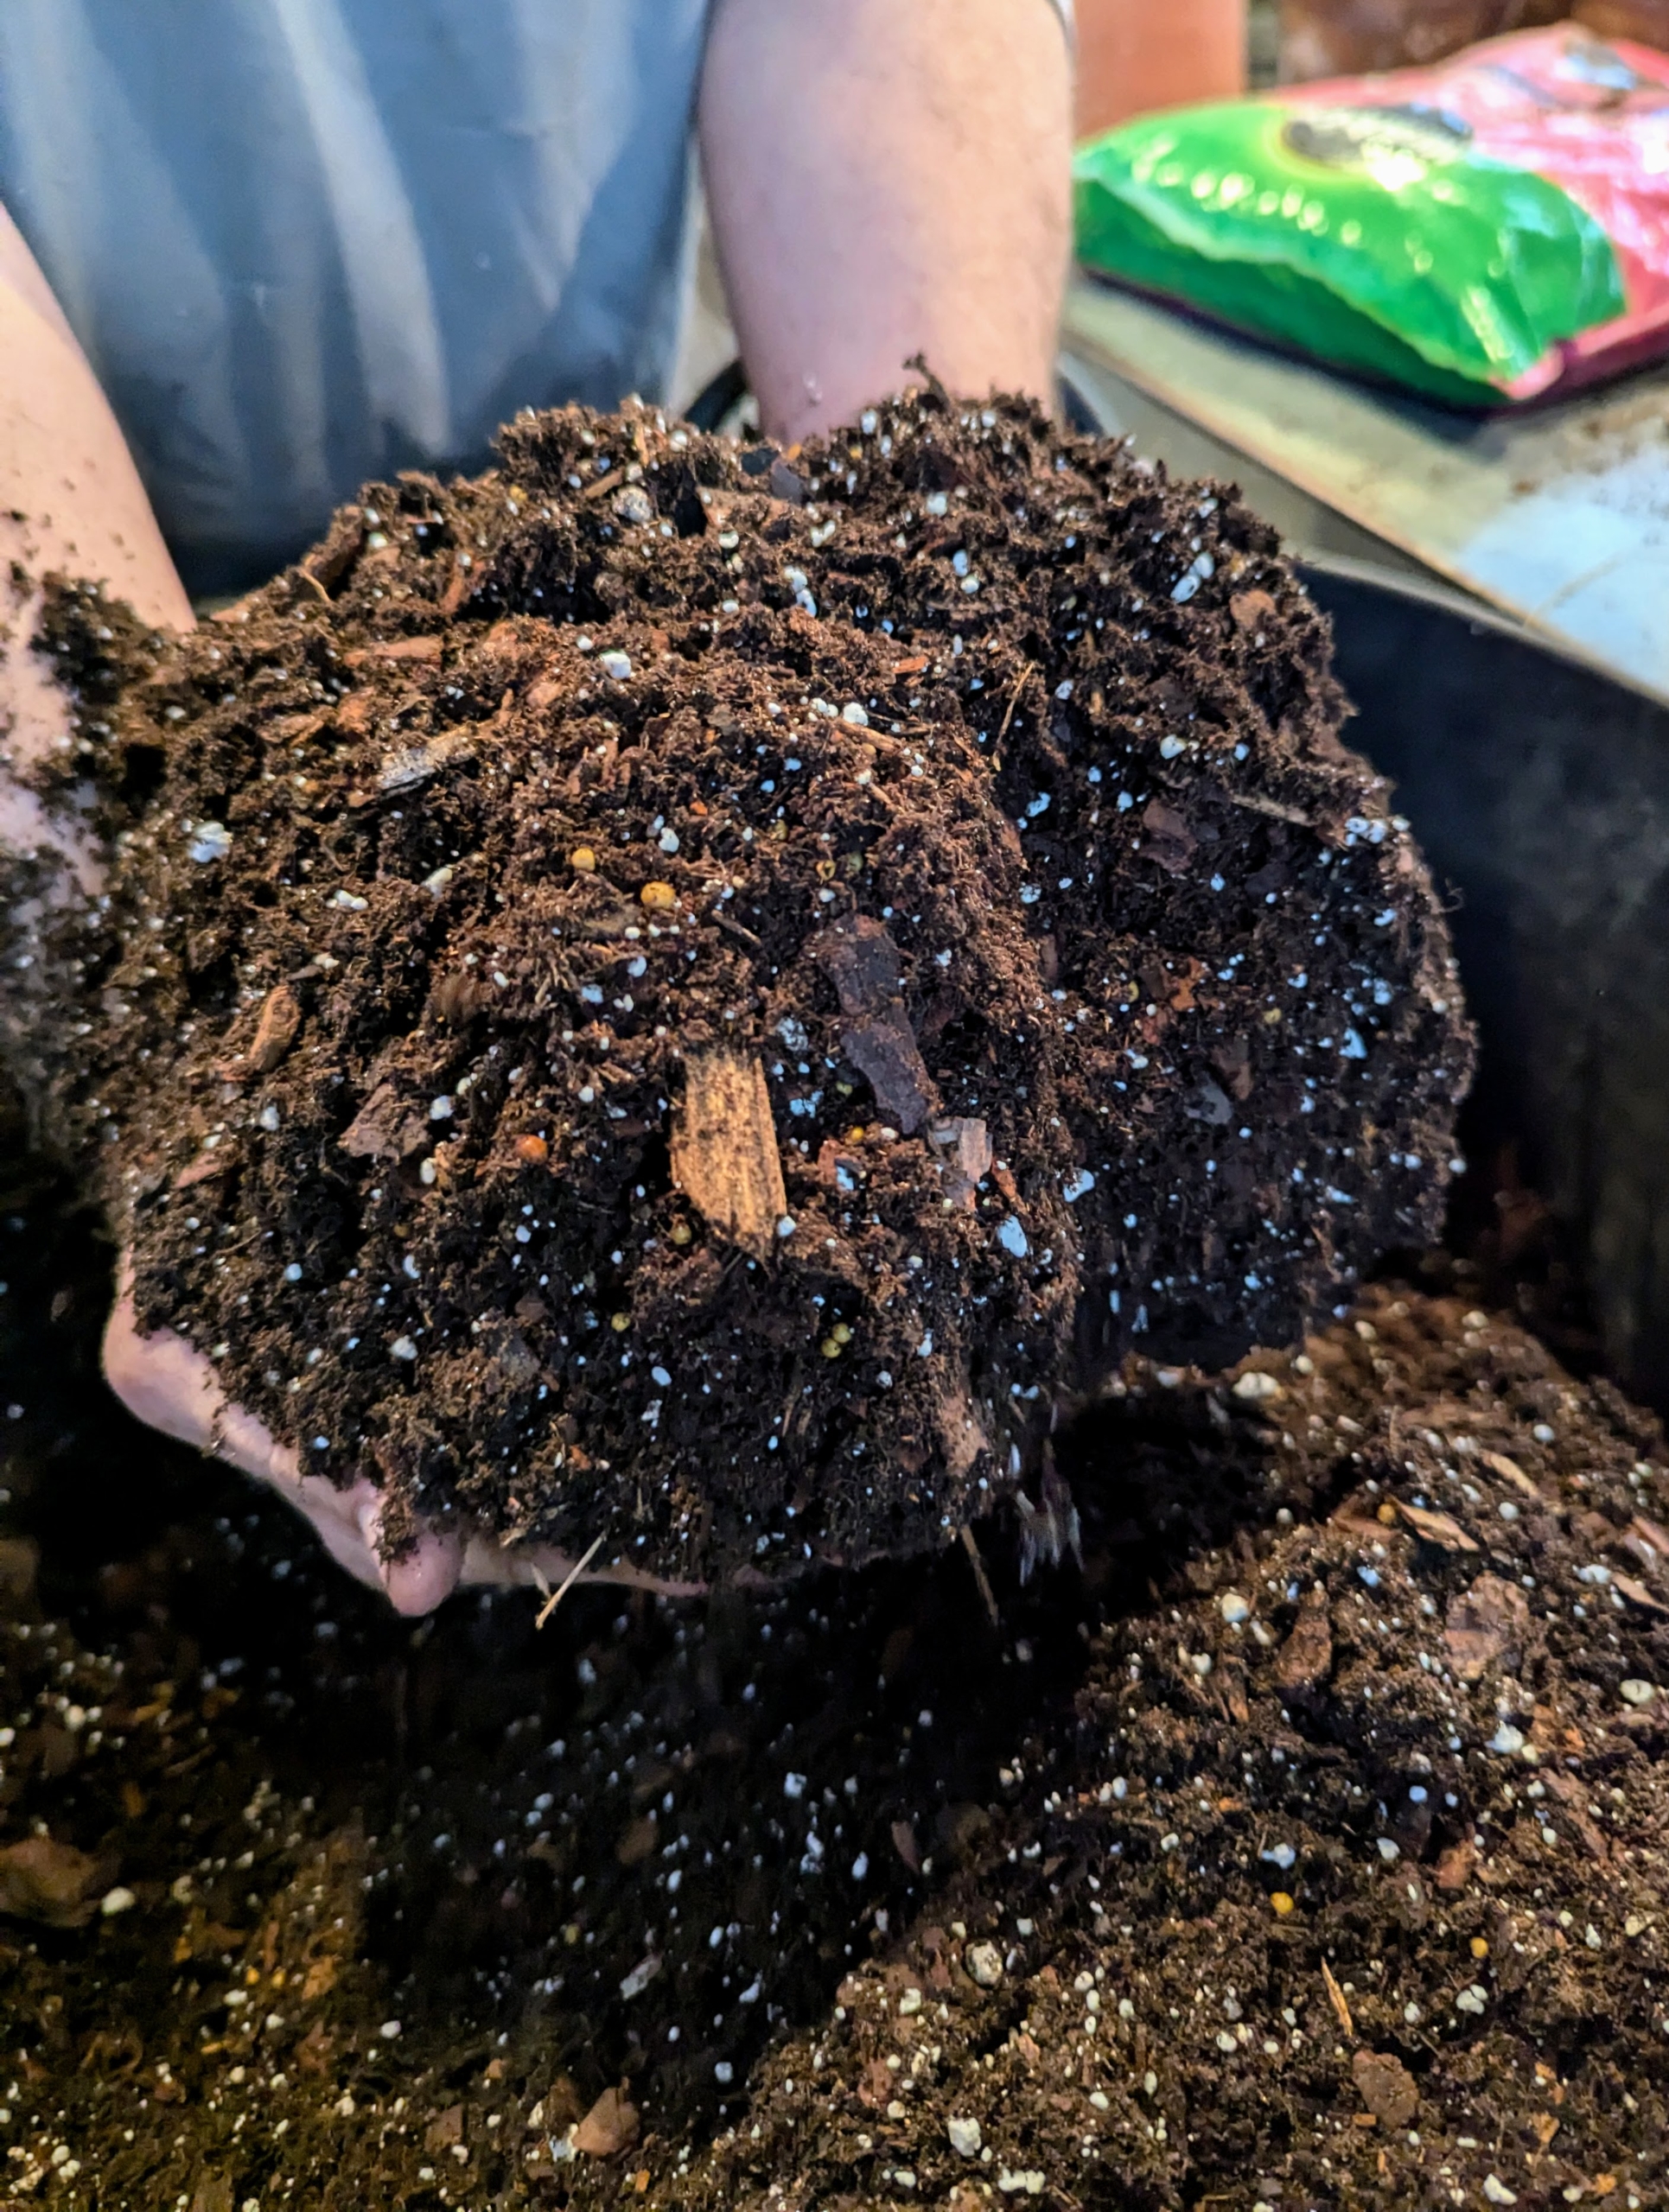
For growing begonias indoors, use a soil-less mix – one that is mostly peat-moss based with additional perlite and/or vermiculite to improve aeration around the roots. For repotting, Ryan combines three different kinds from Miracle-Gro – Moisture Control to prevent under and over watering, one made especially for African Violets, and an Orchid Potting Mix – both of which are well-draining, coarse formulas.
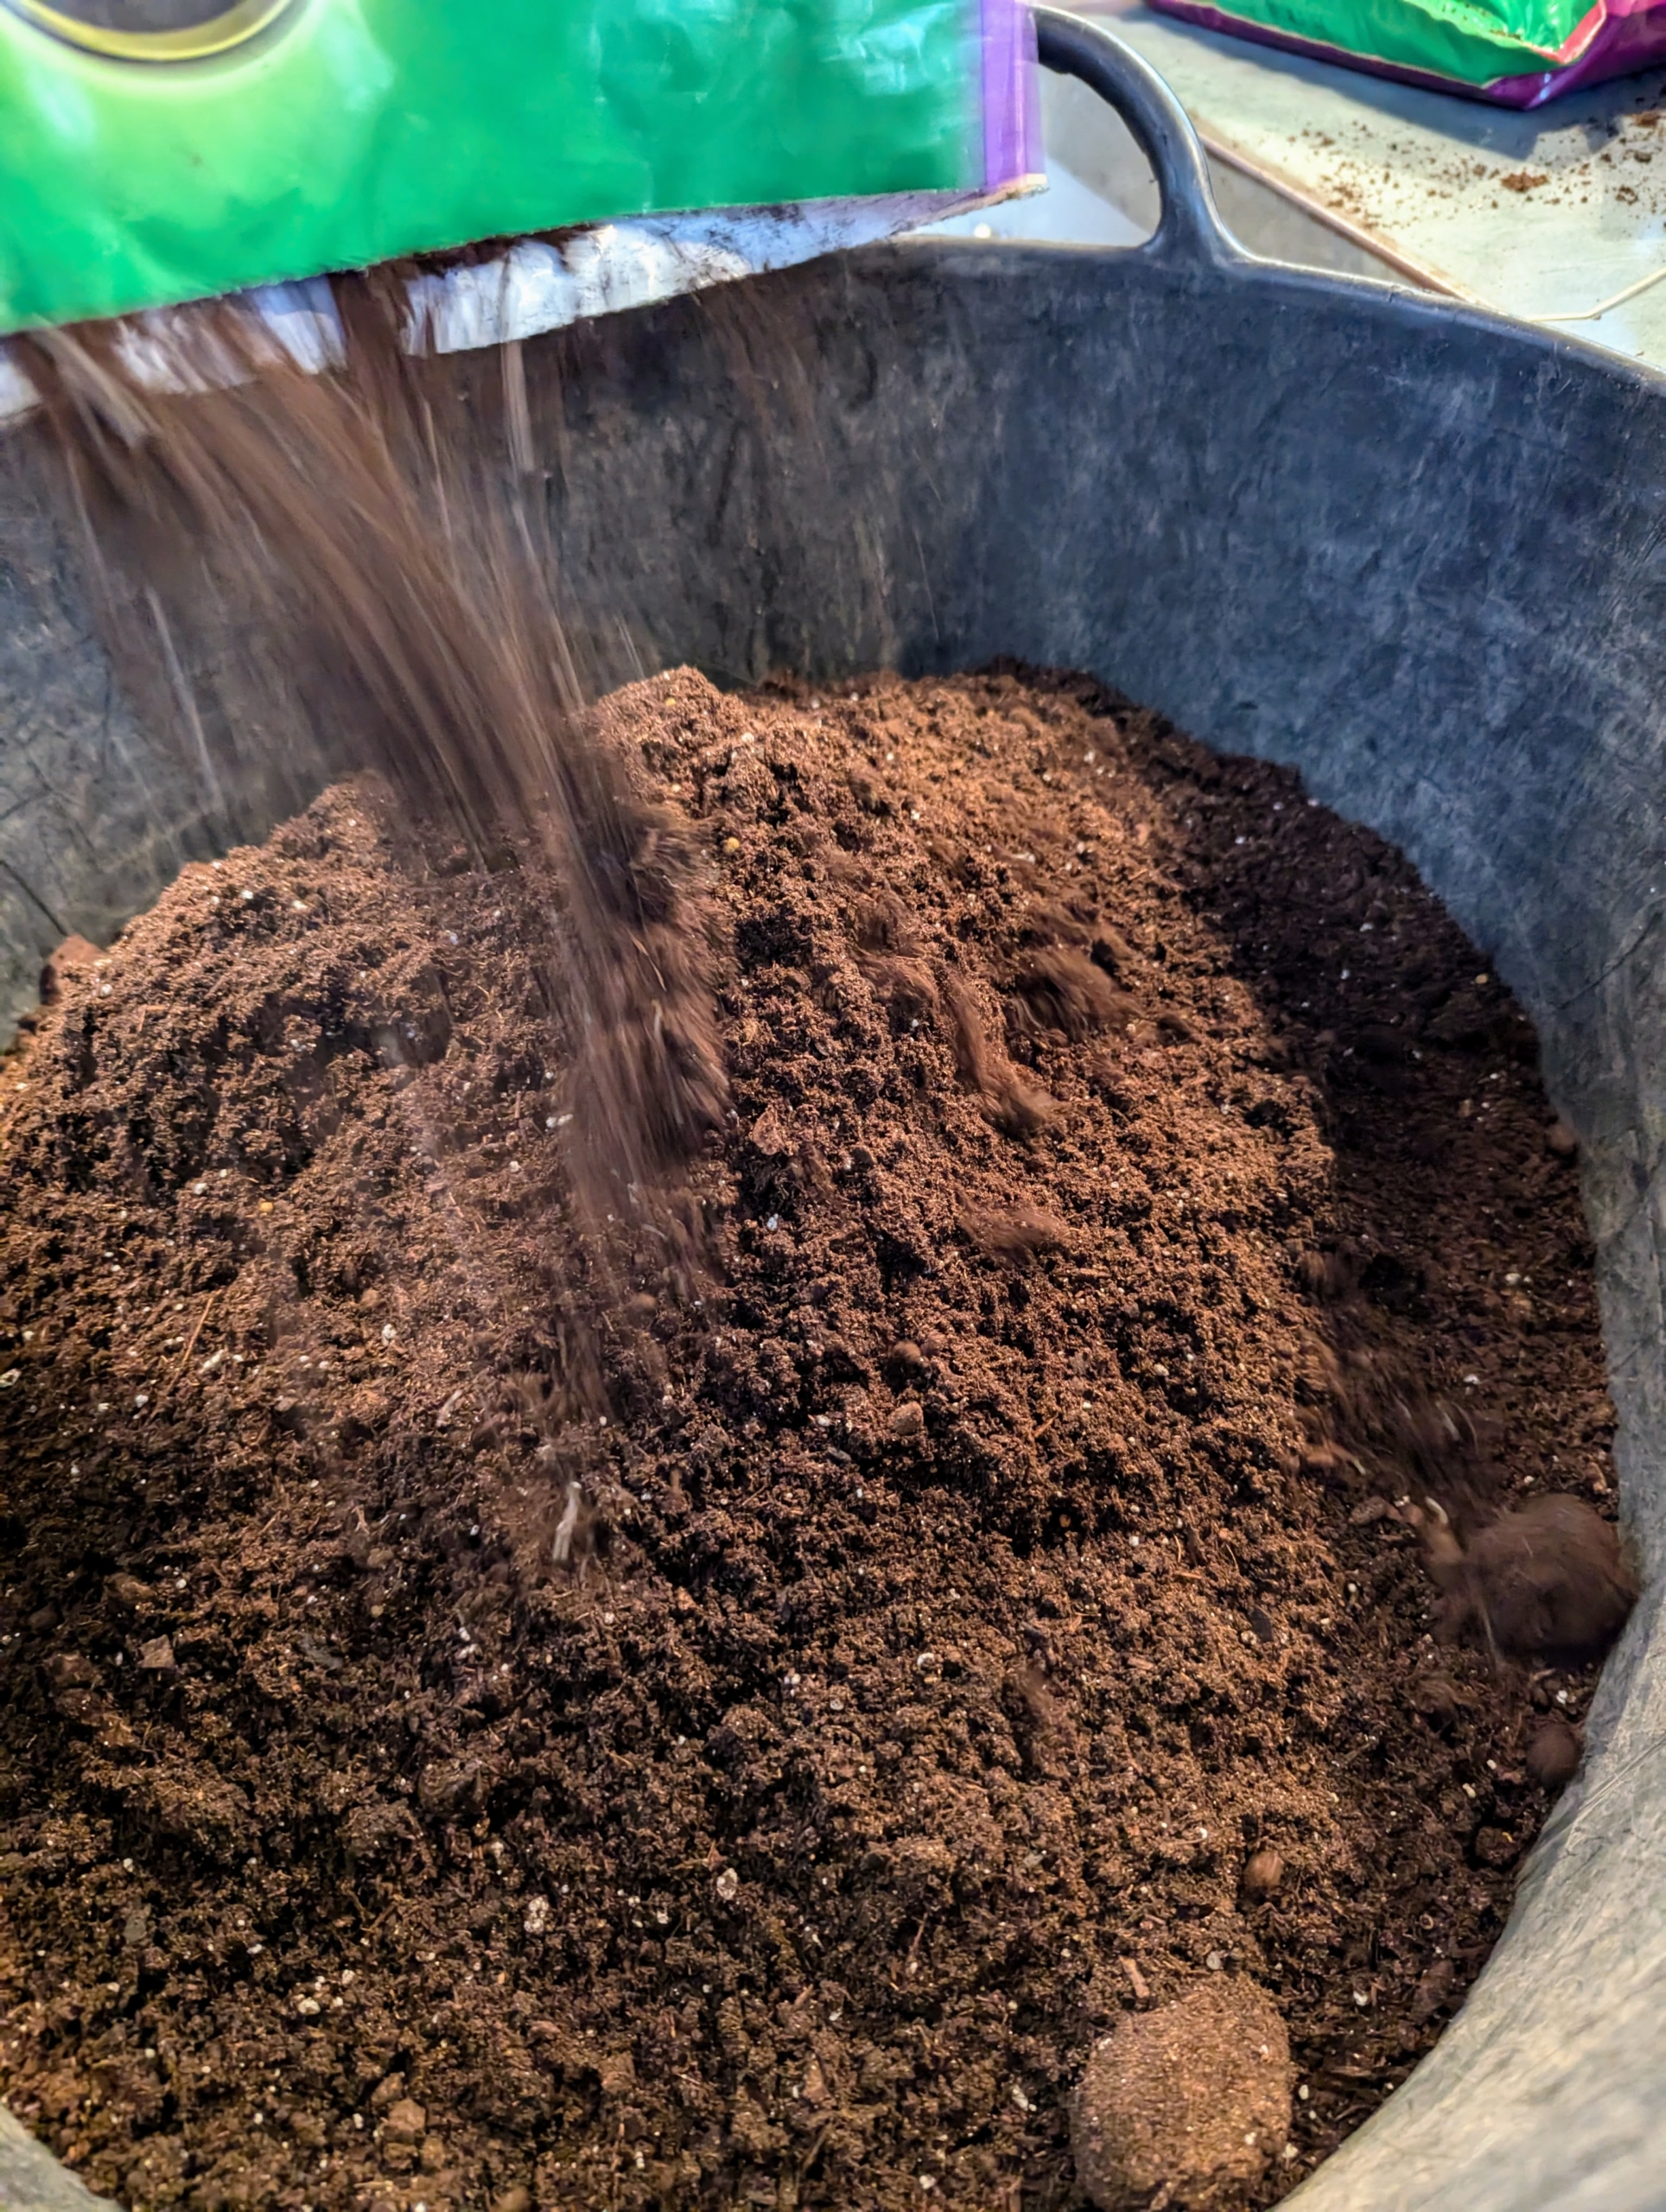
Ryan combines all three potting mixes in one large trug bucket.
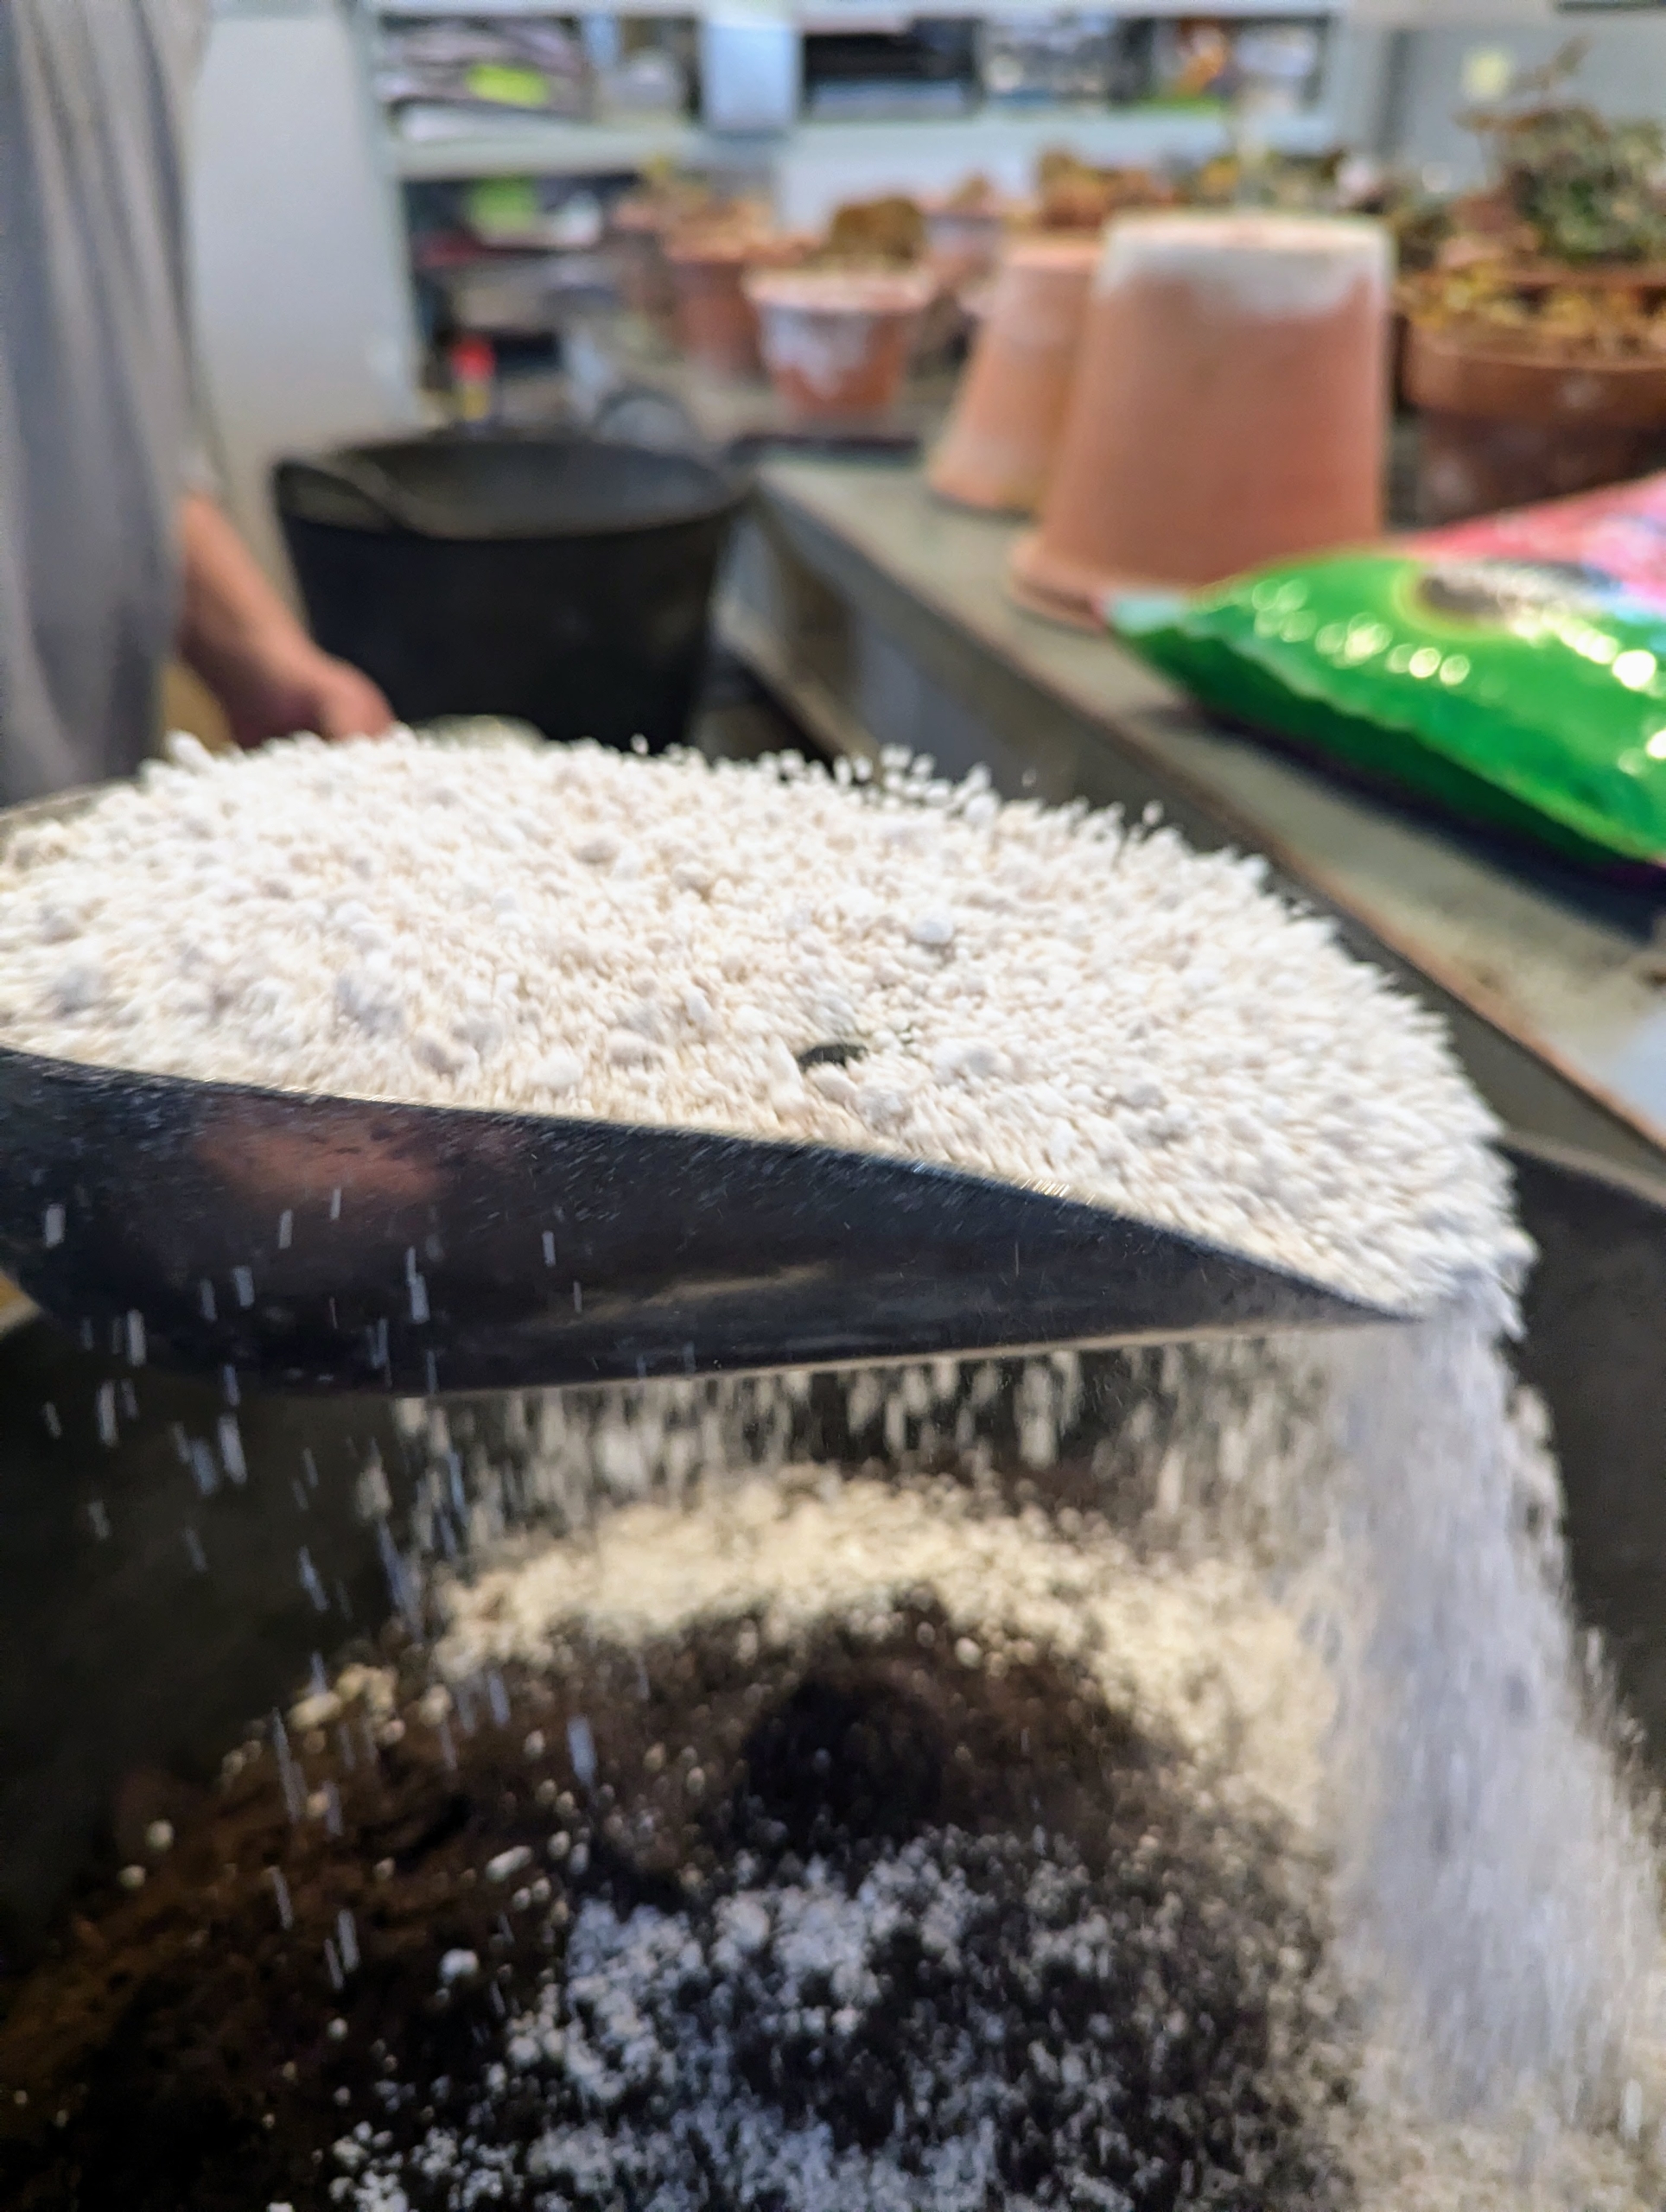
He also adds a hefty scoop of perlite. Perlite is a lightweight, white, granular material often used to improve soil structure and promote healthy plant growth.
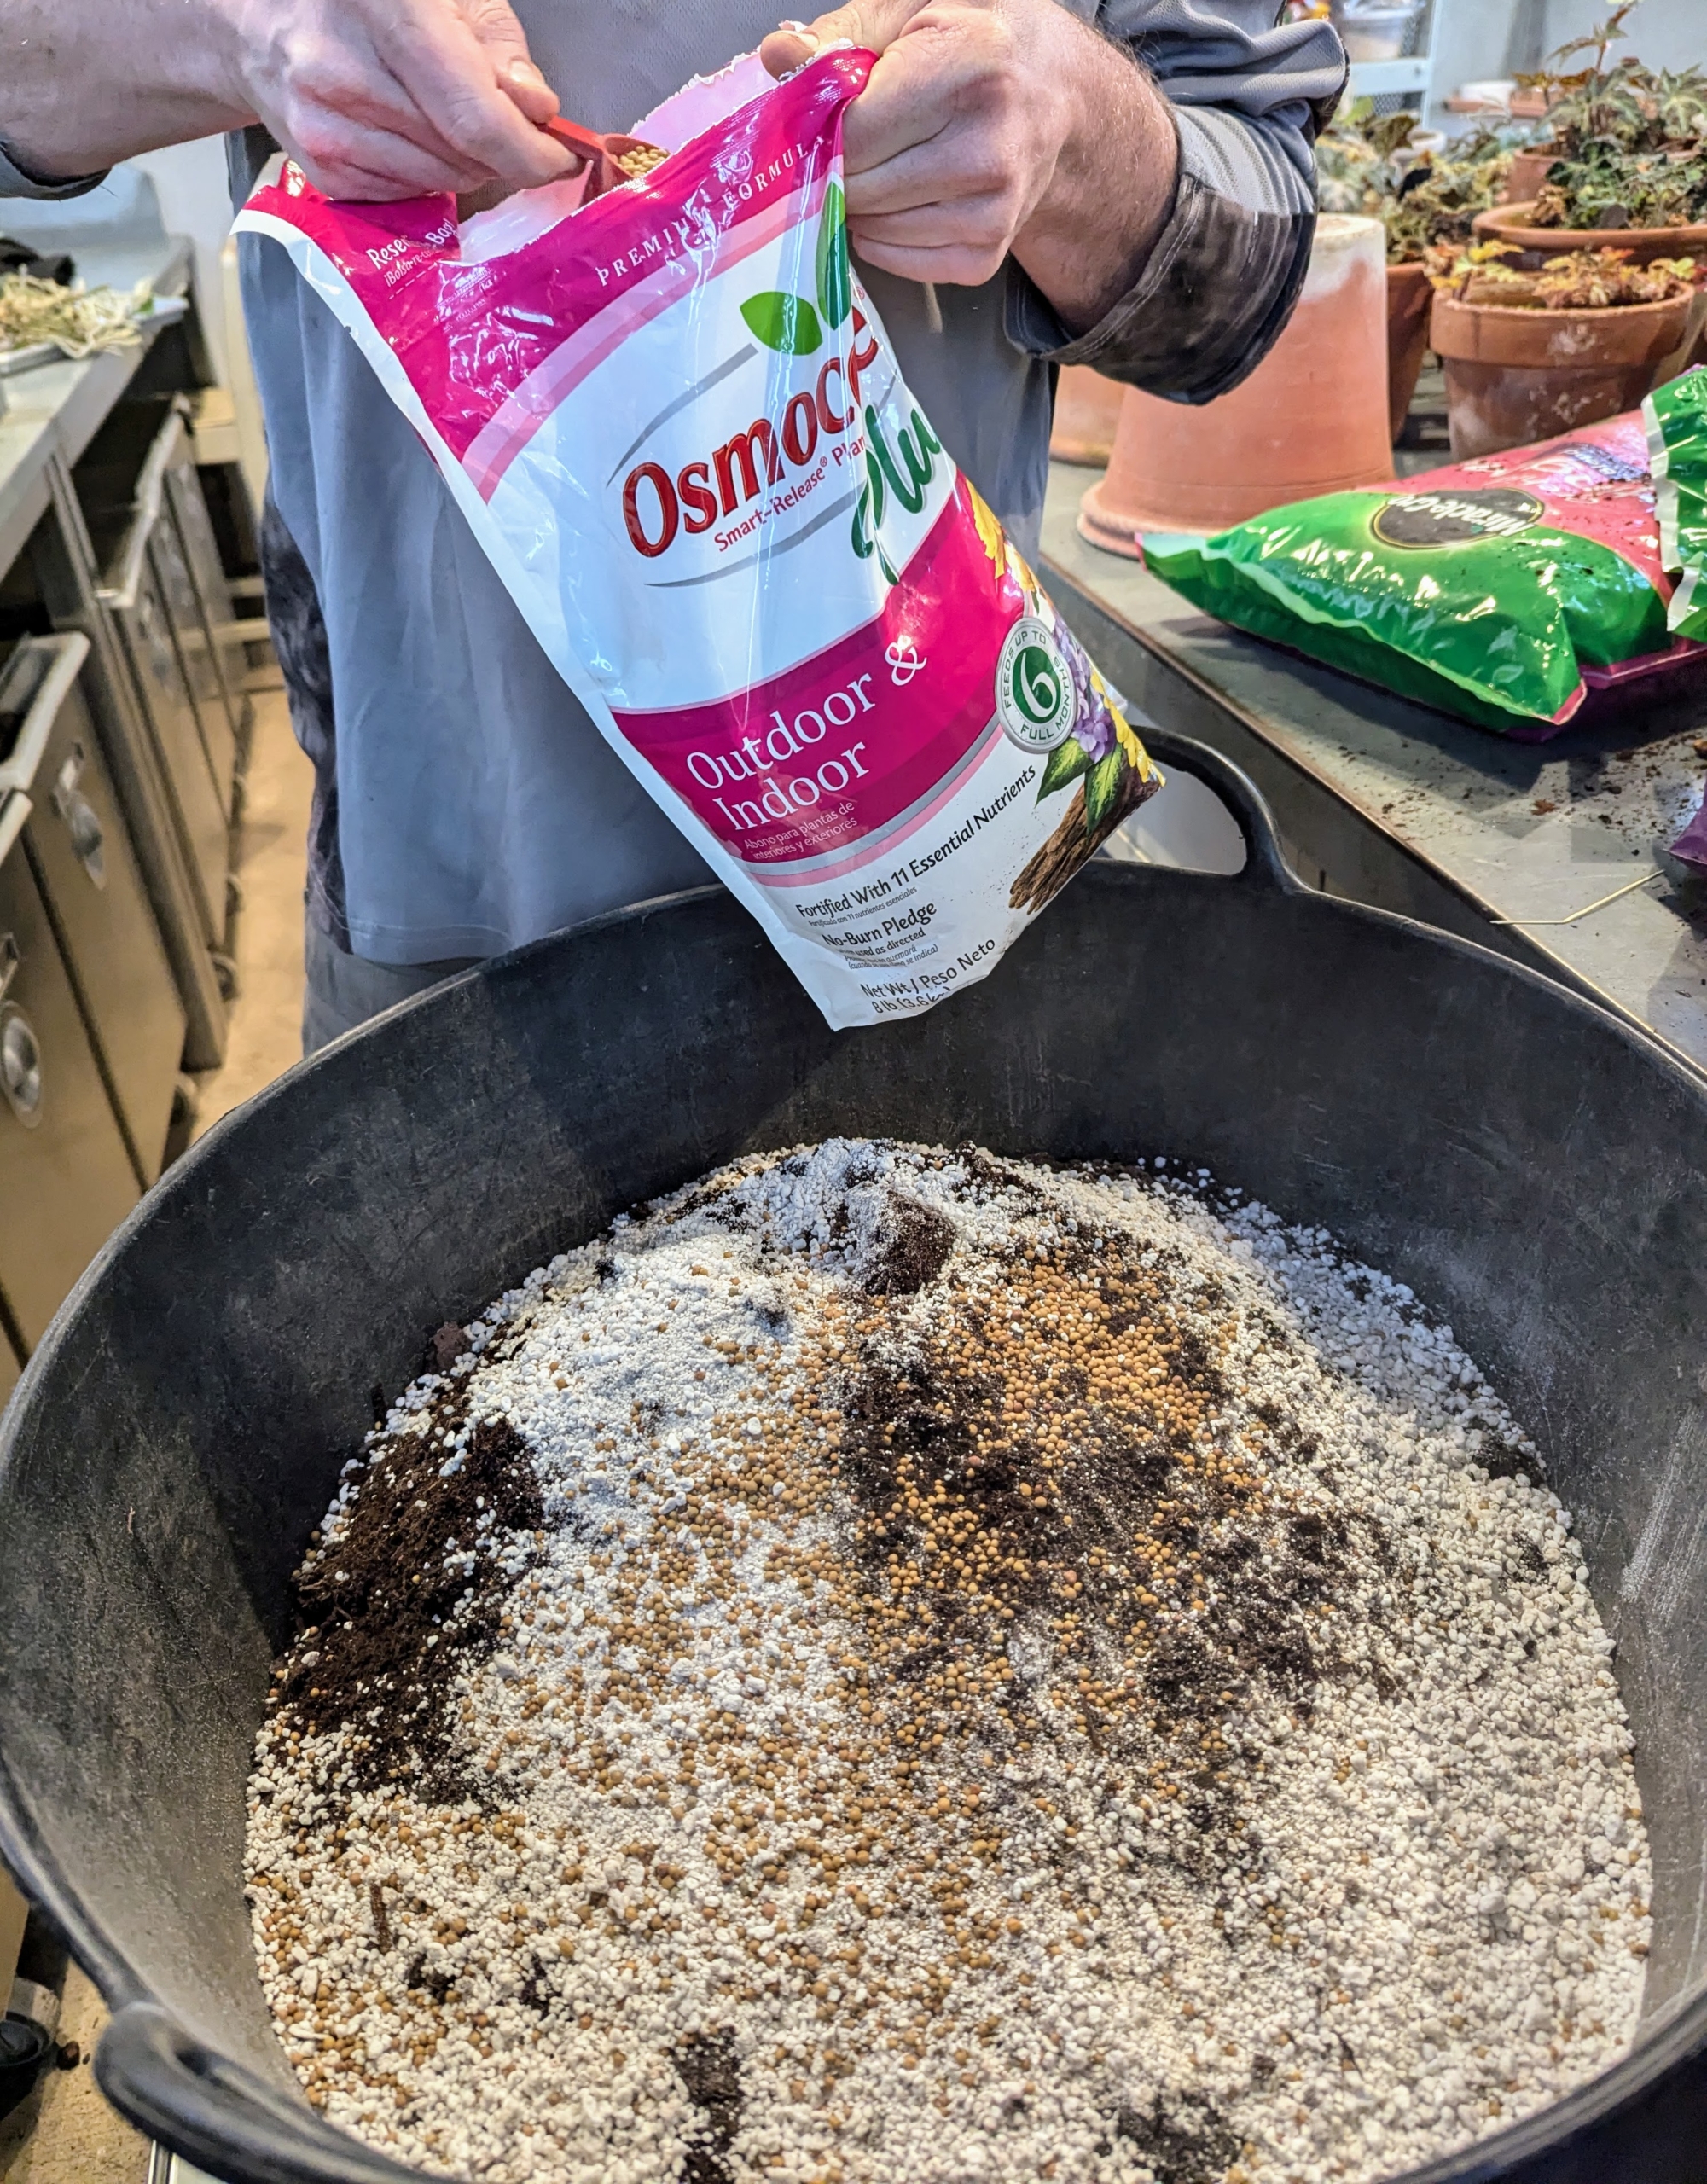
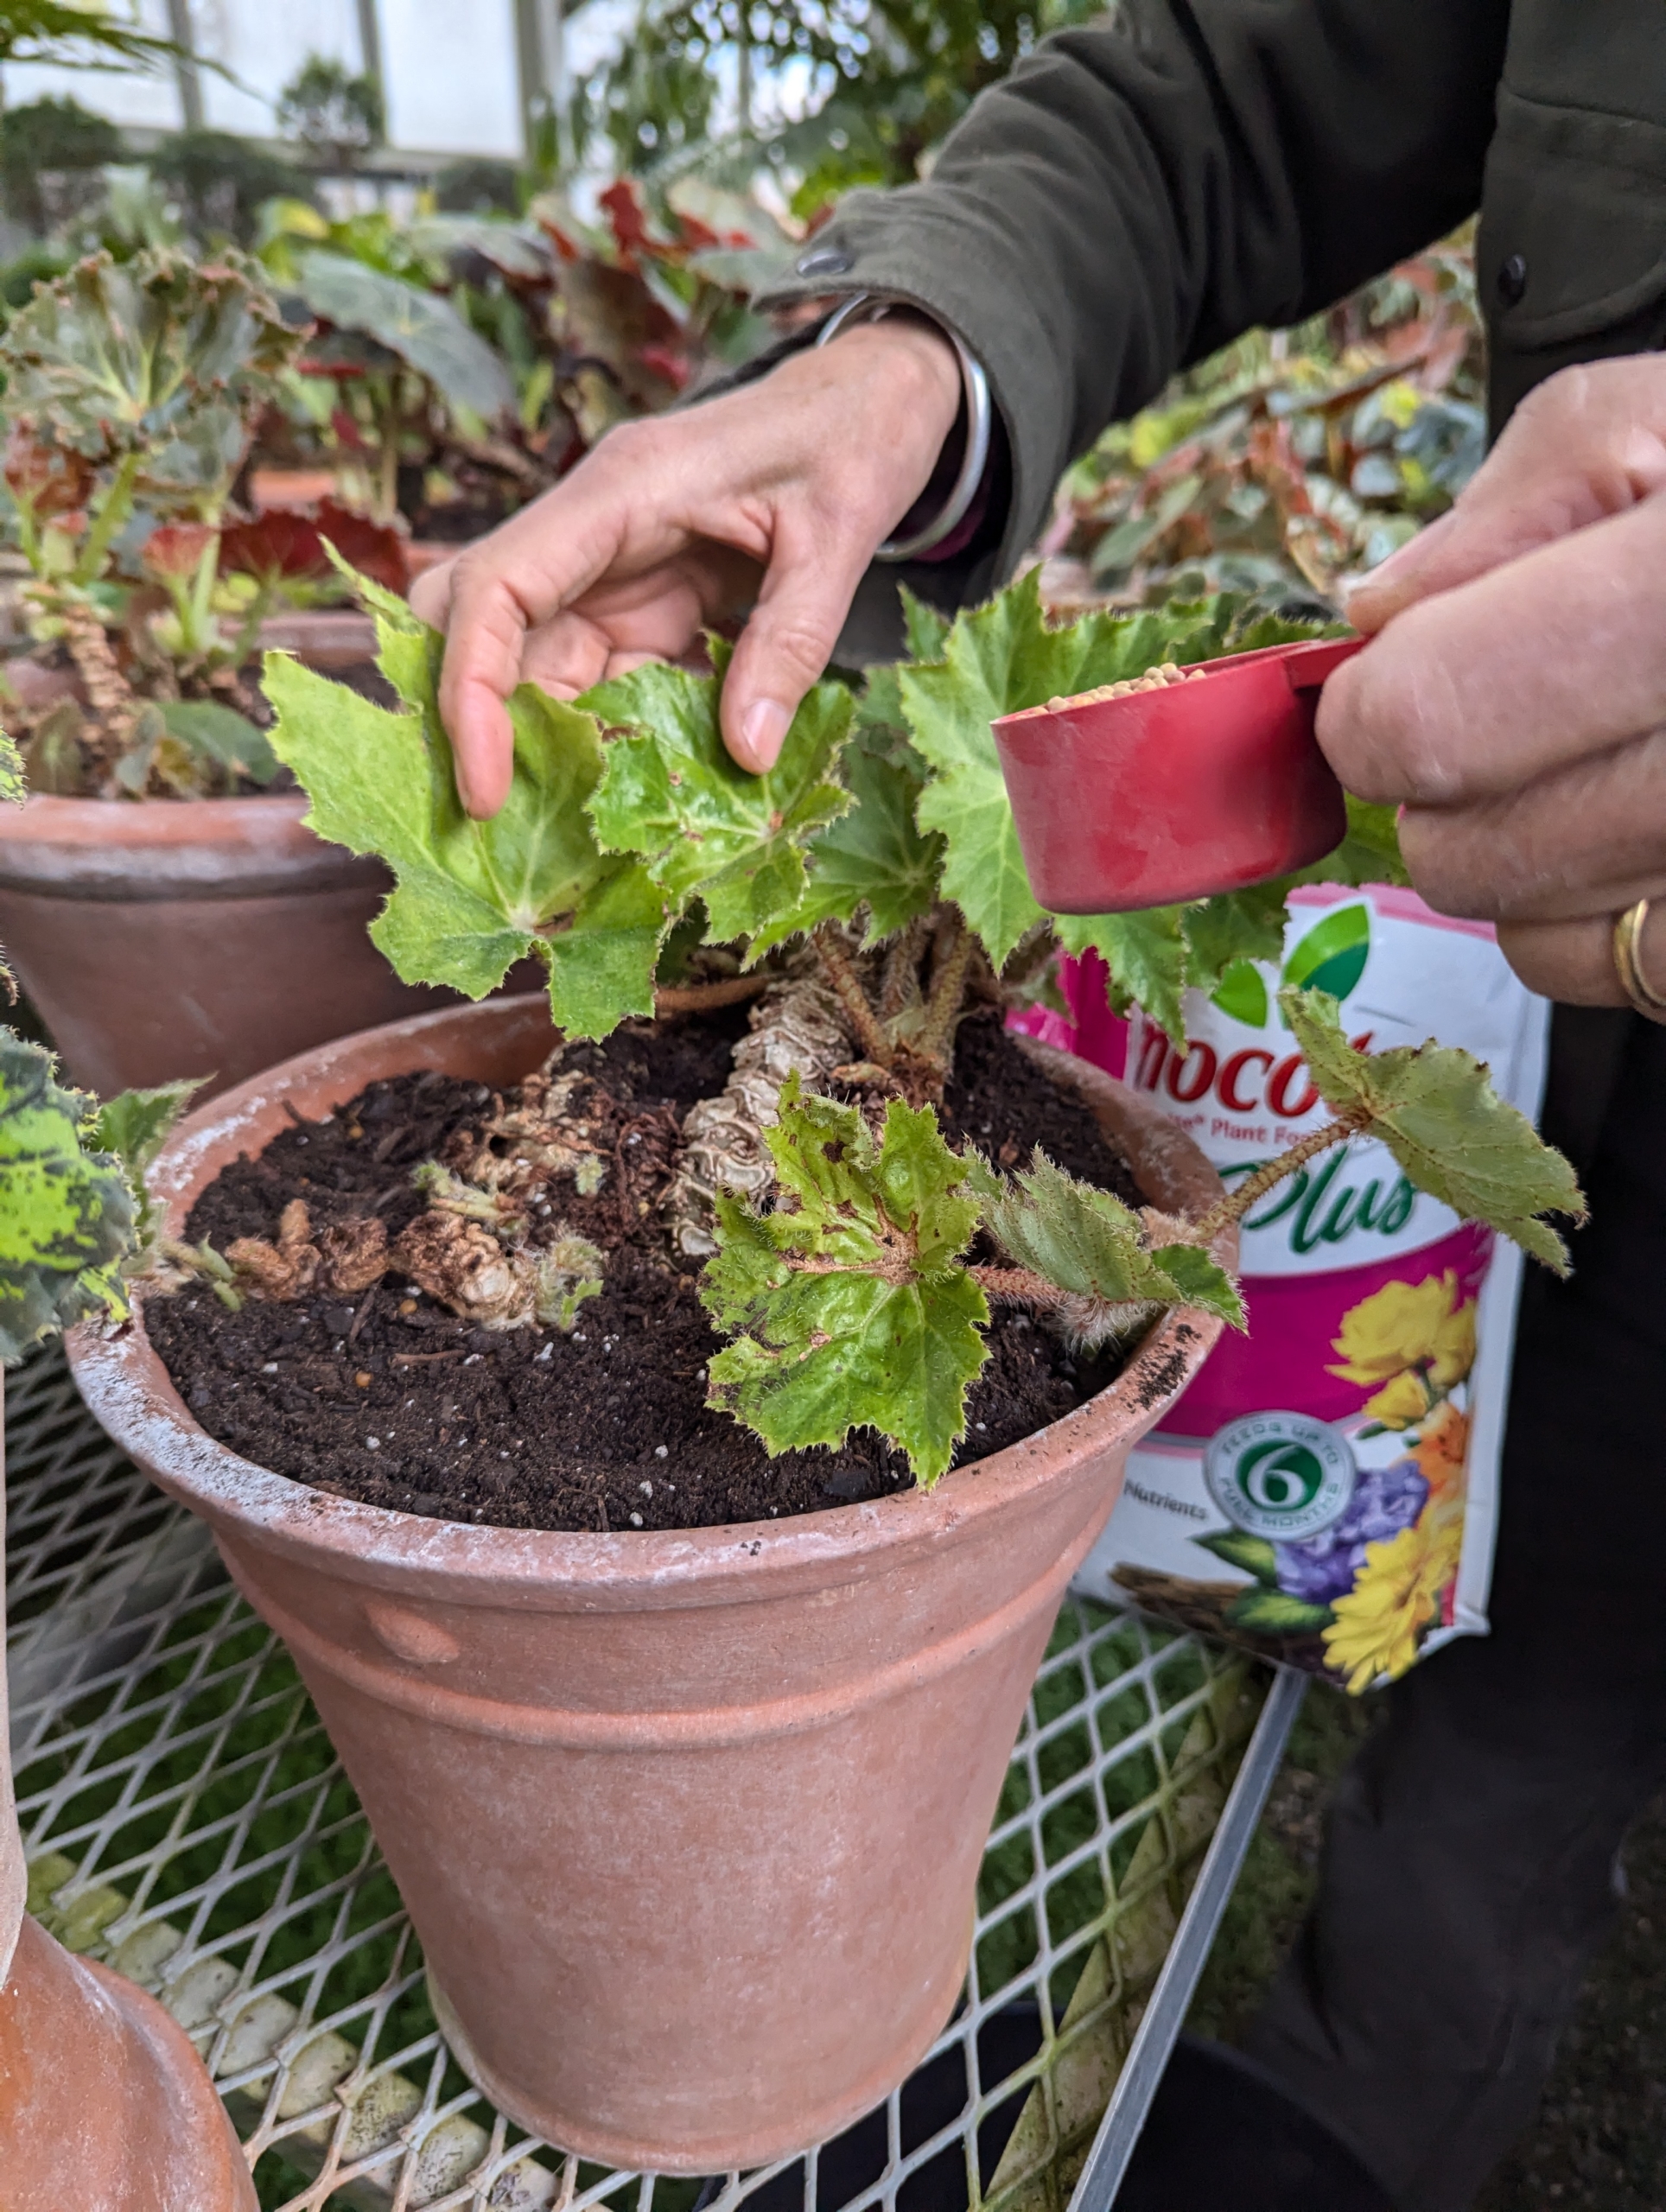
And he adds a generous amount of Osmocote fertilizer, which will provide a good supply of nutrients to the plant for several months.
Because there are so many plants to repot, Ryan adds another three bags of each potting mix to the bucket.
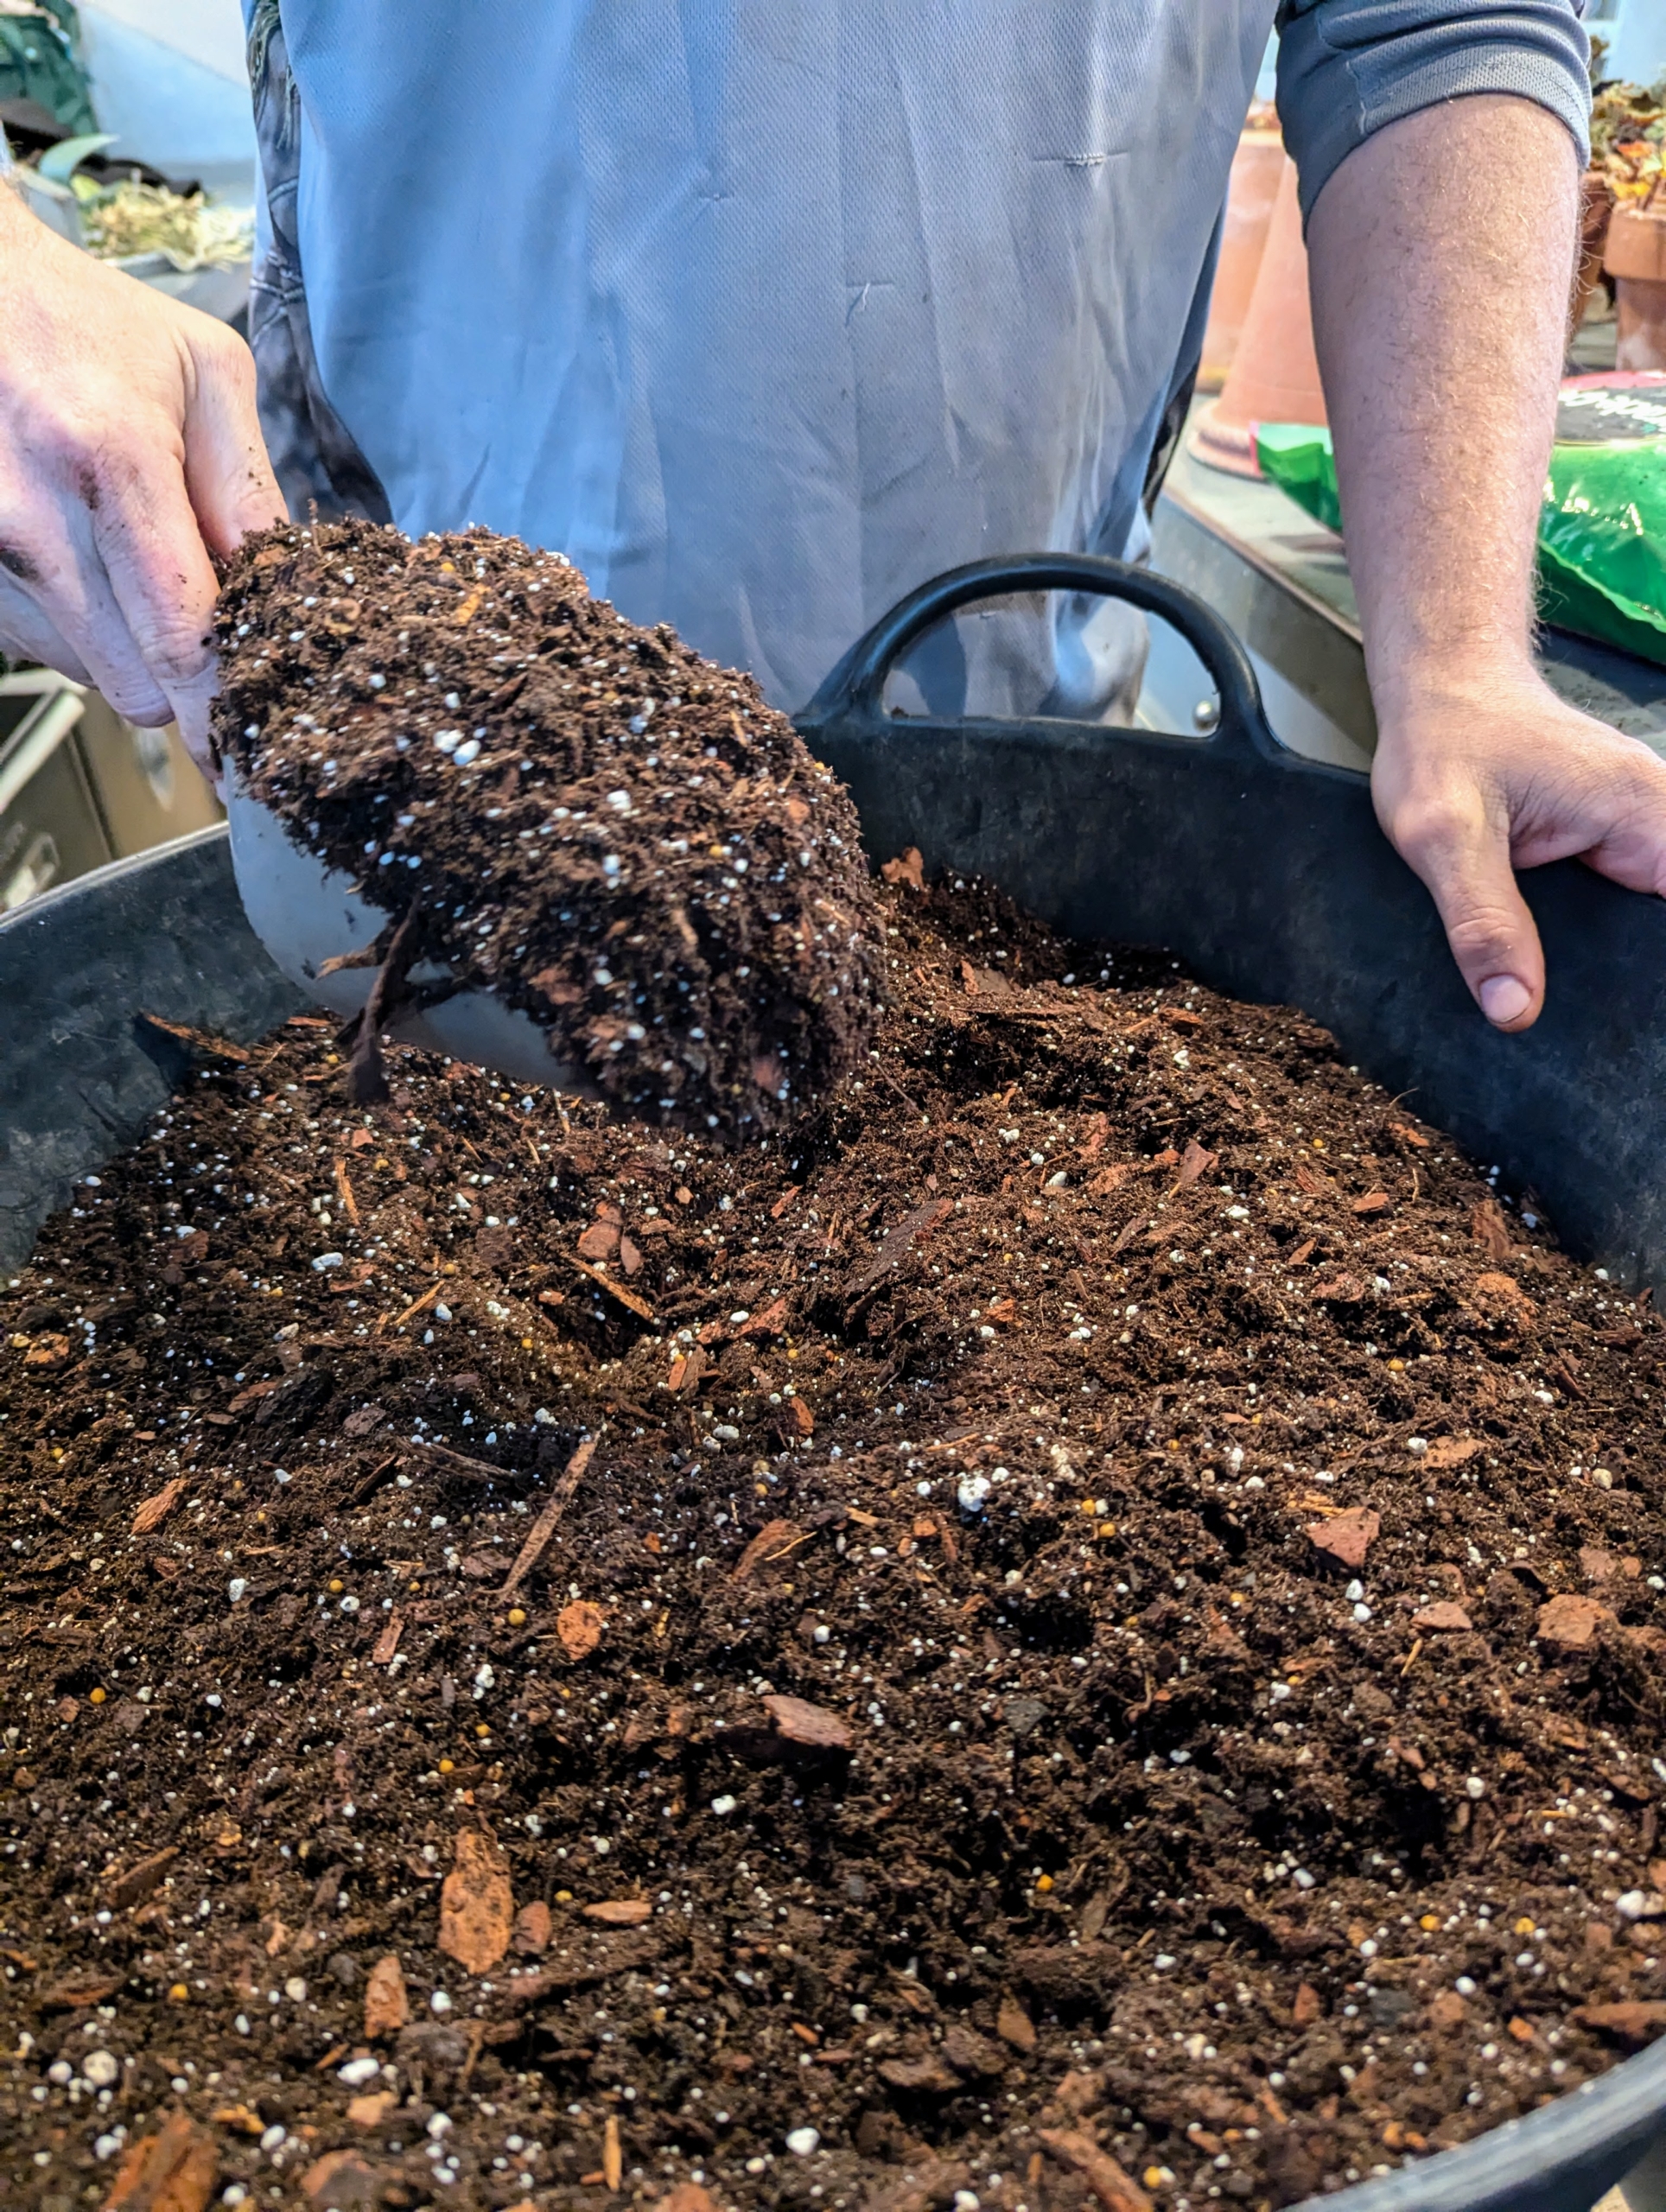
And then using his hands, Ryan mixes everything together.
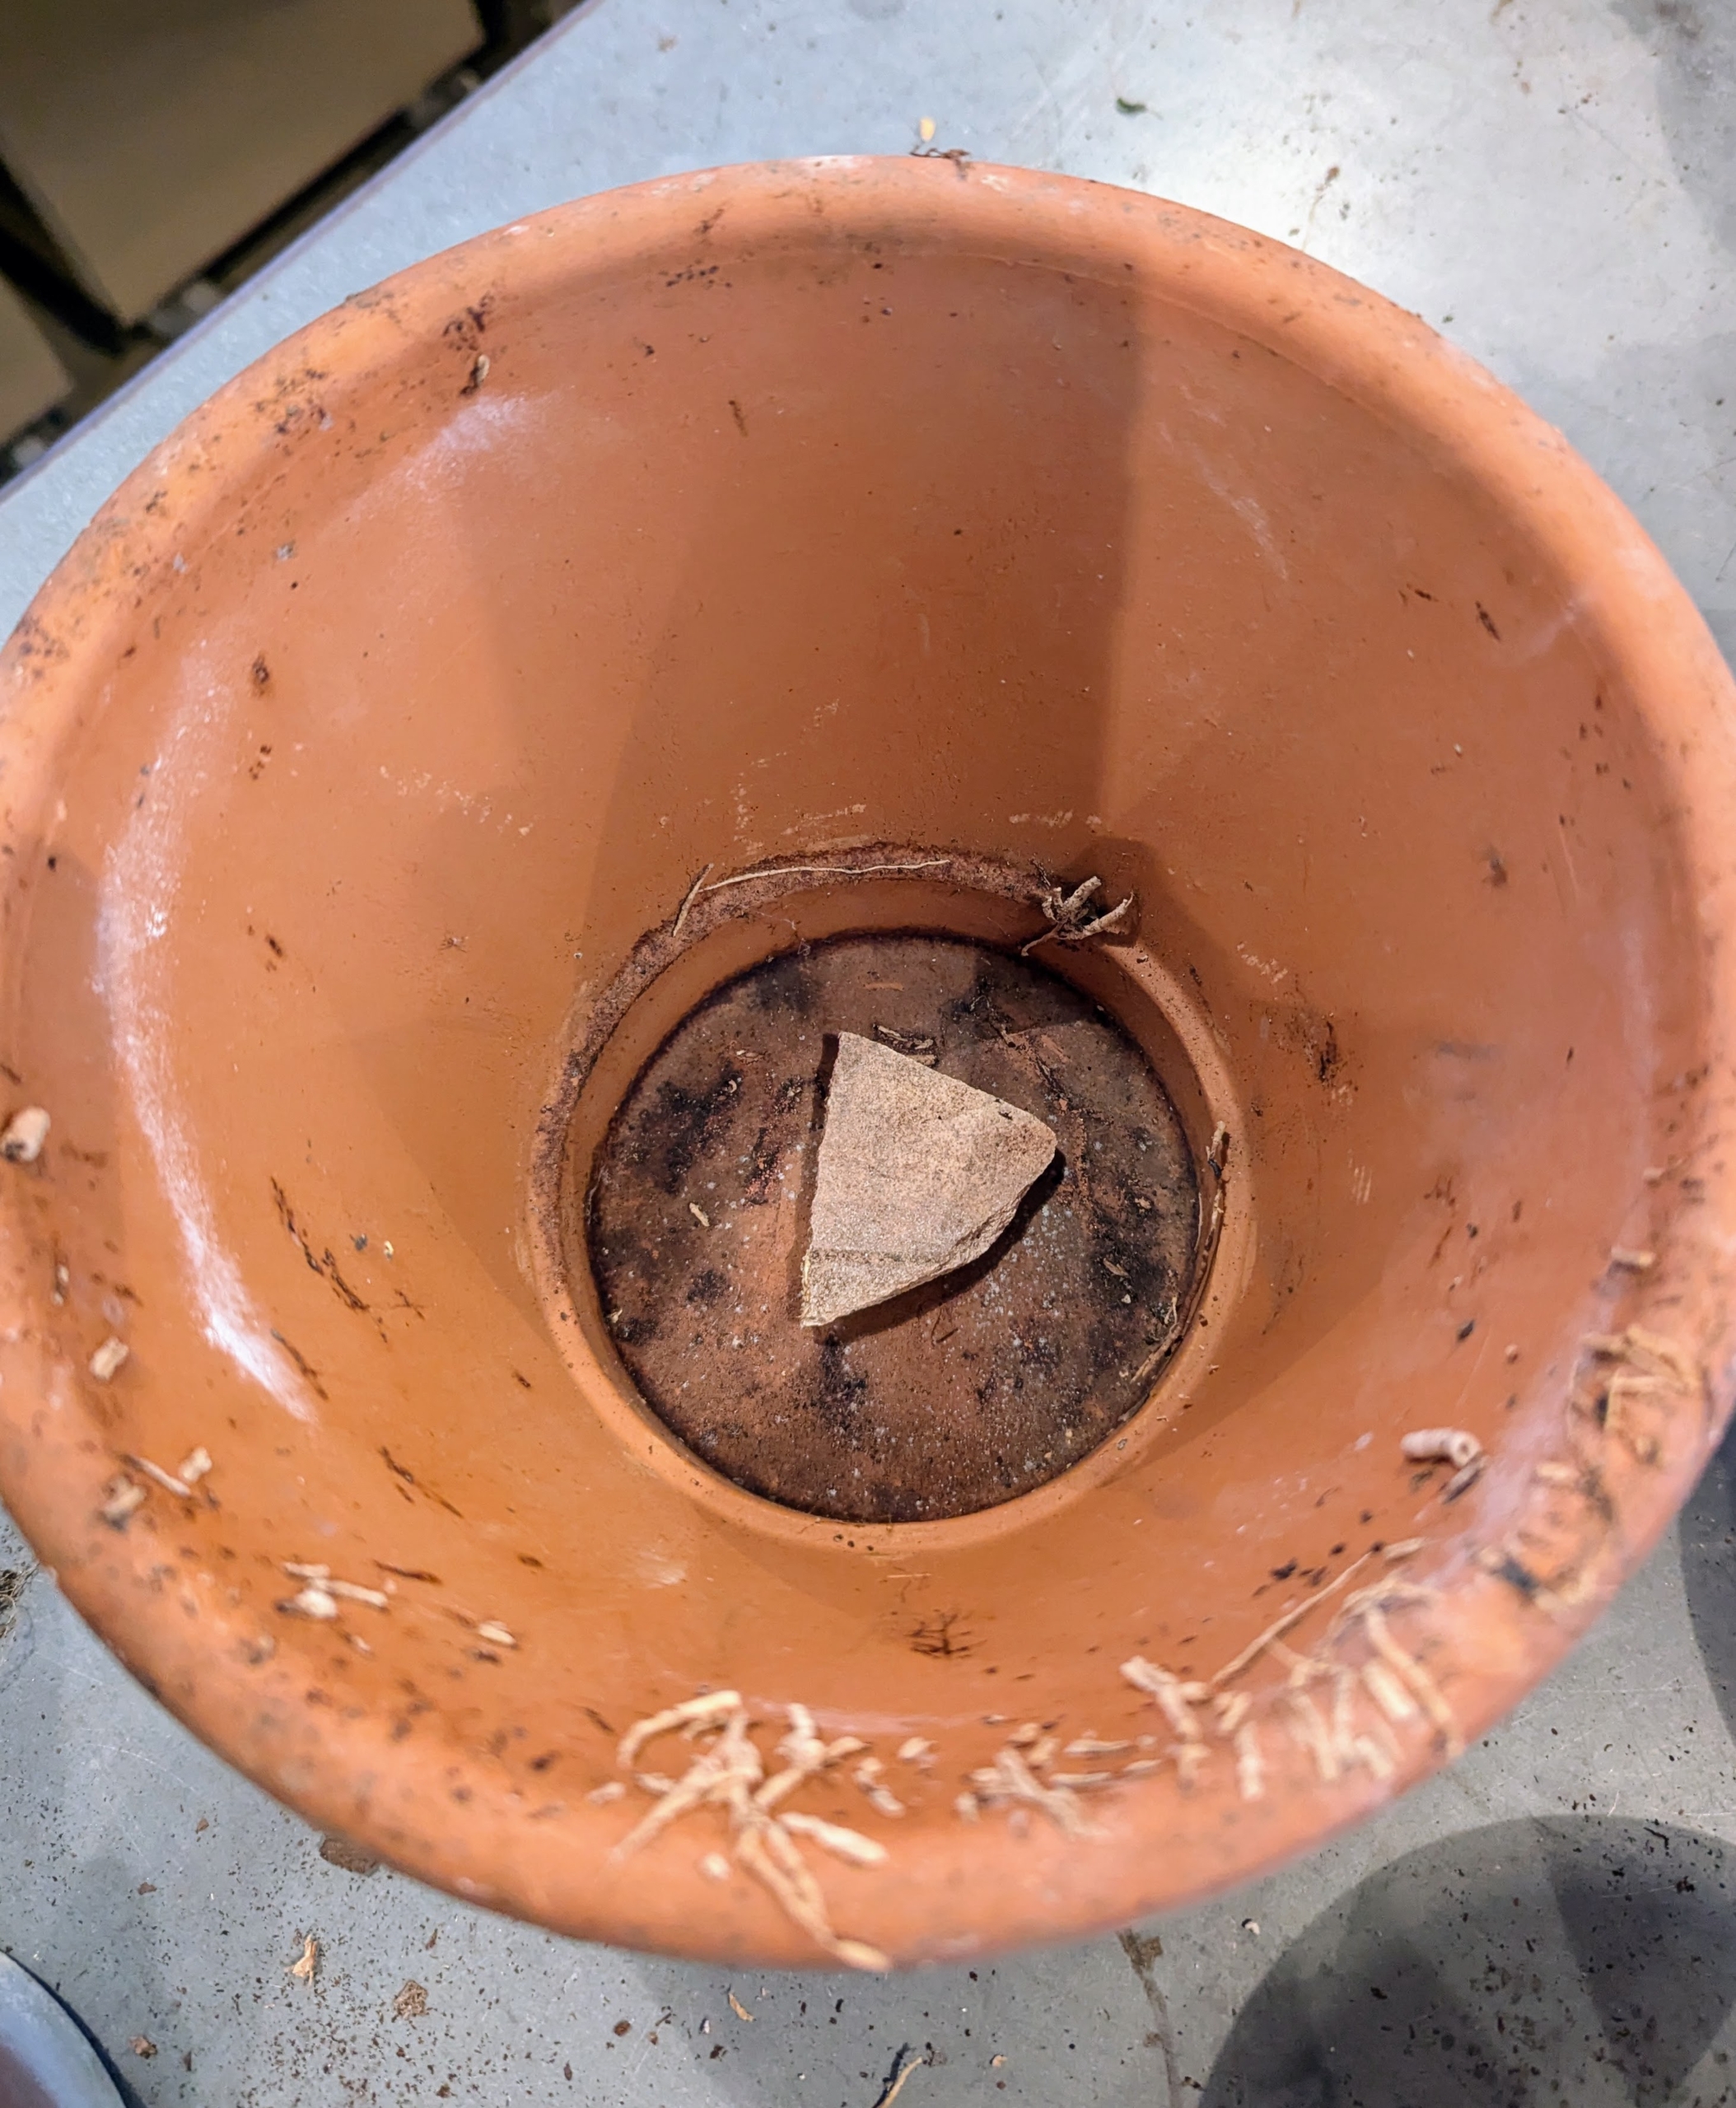
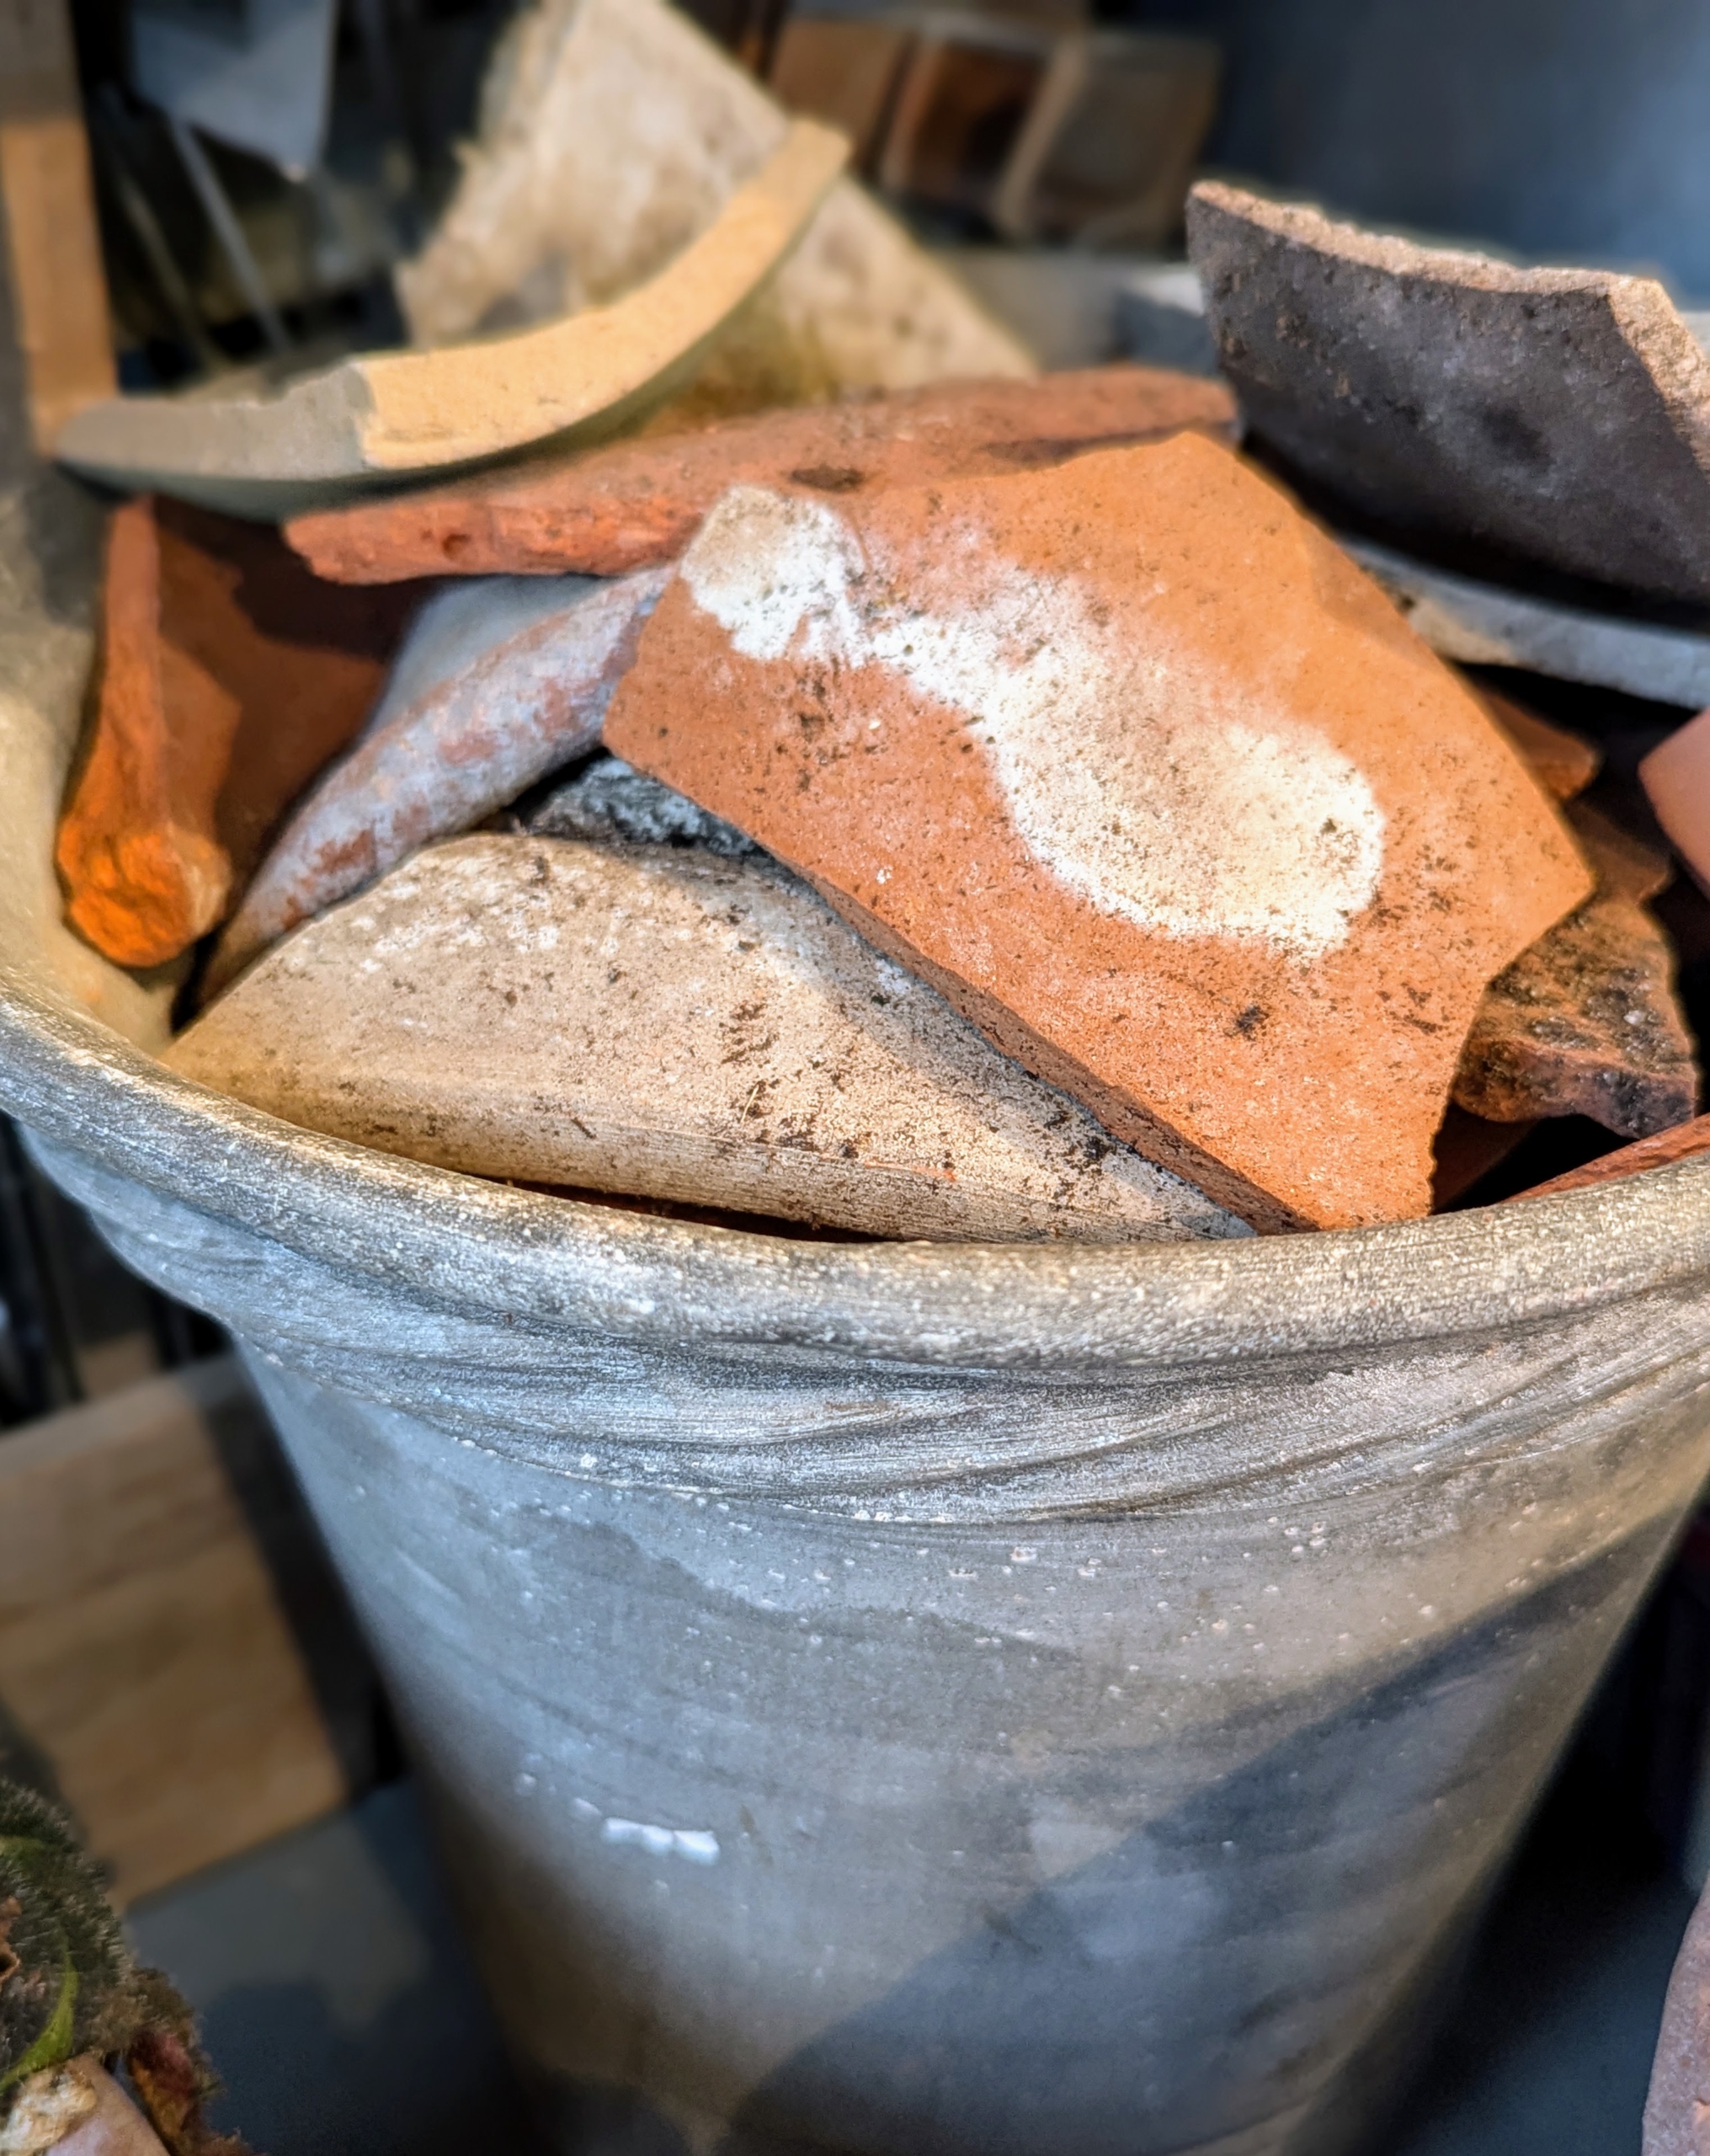
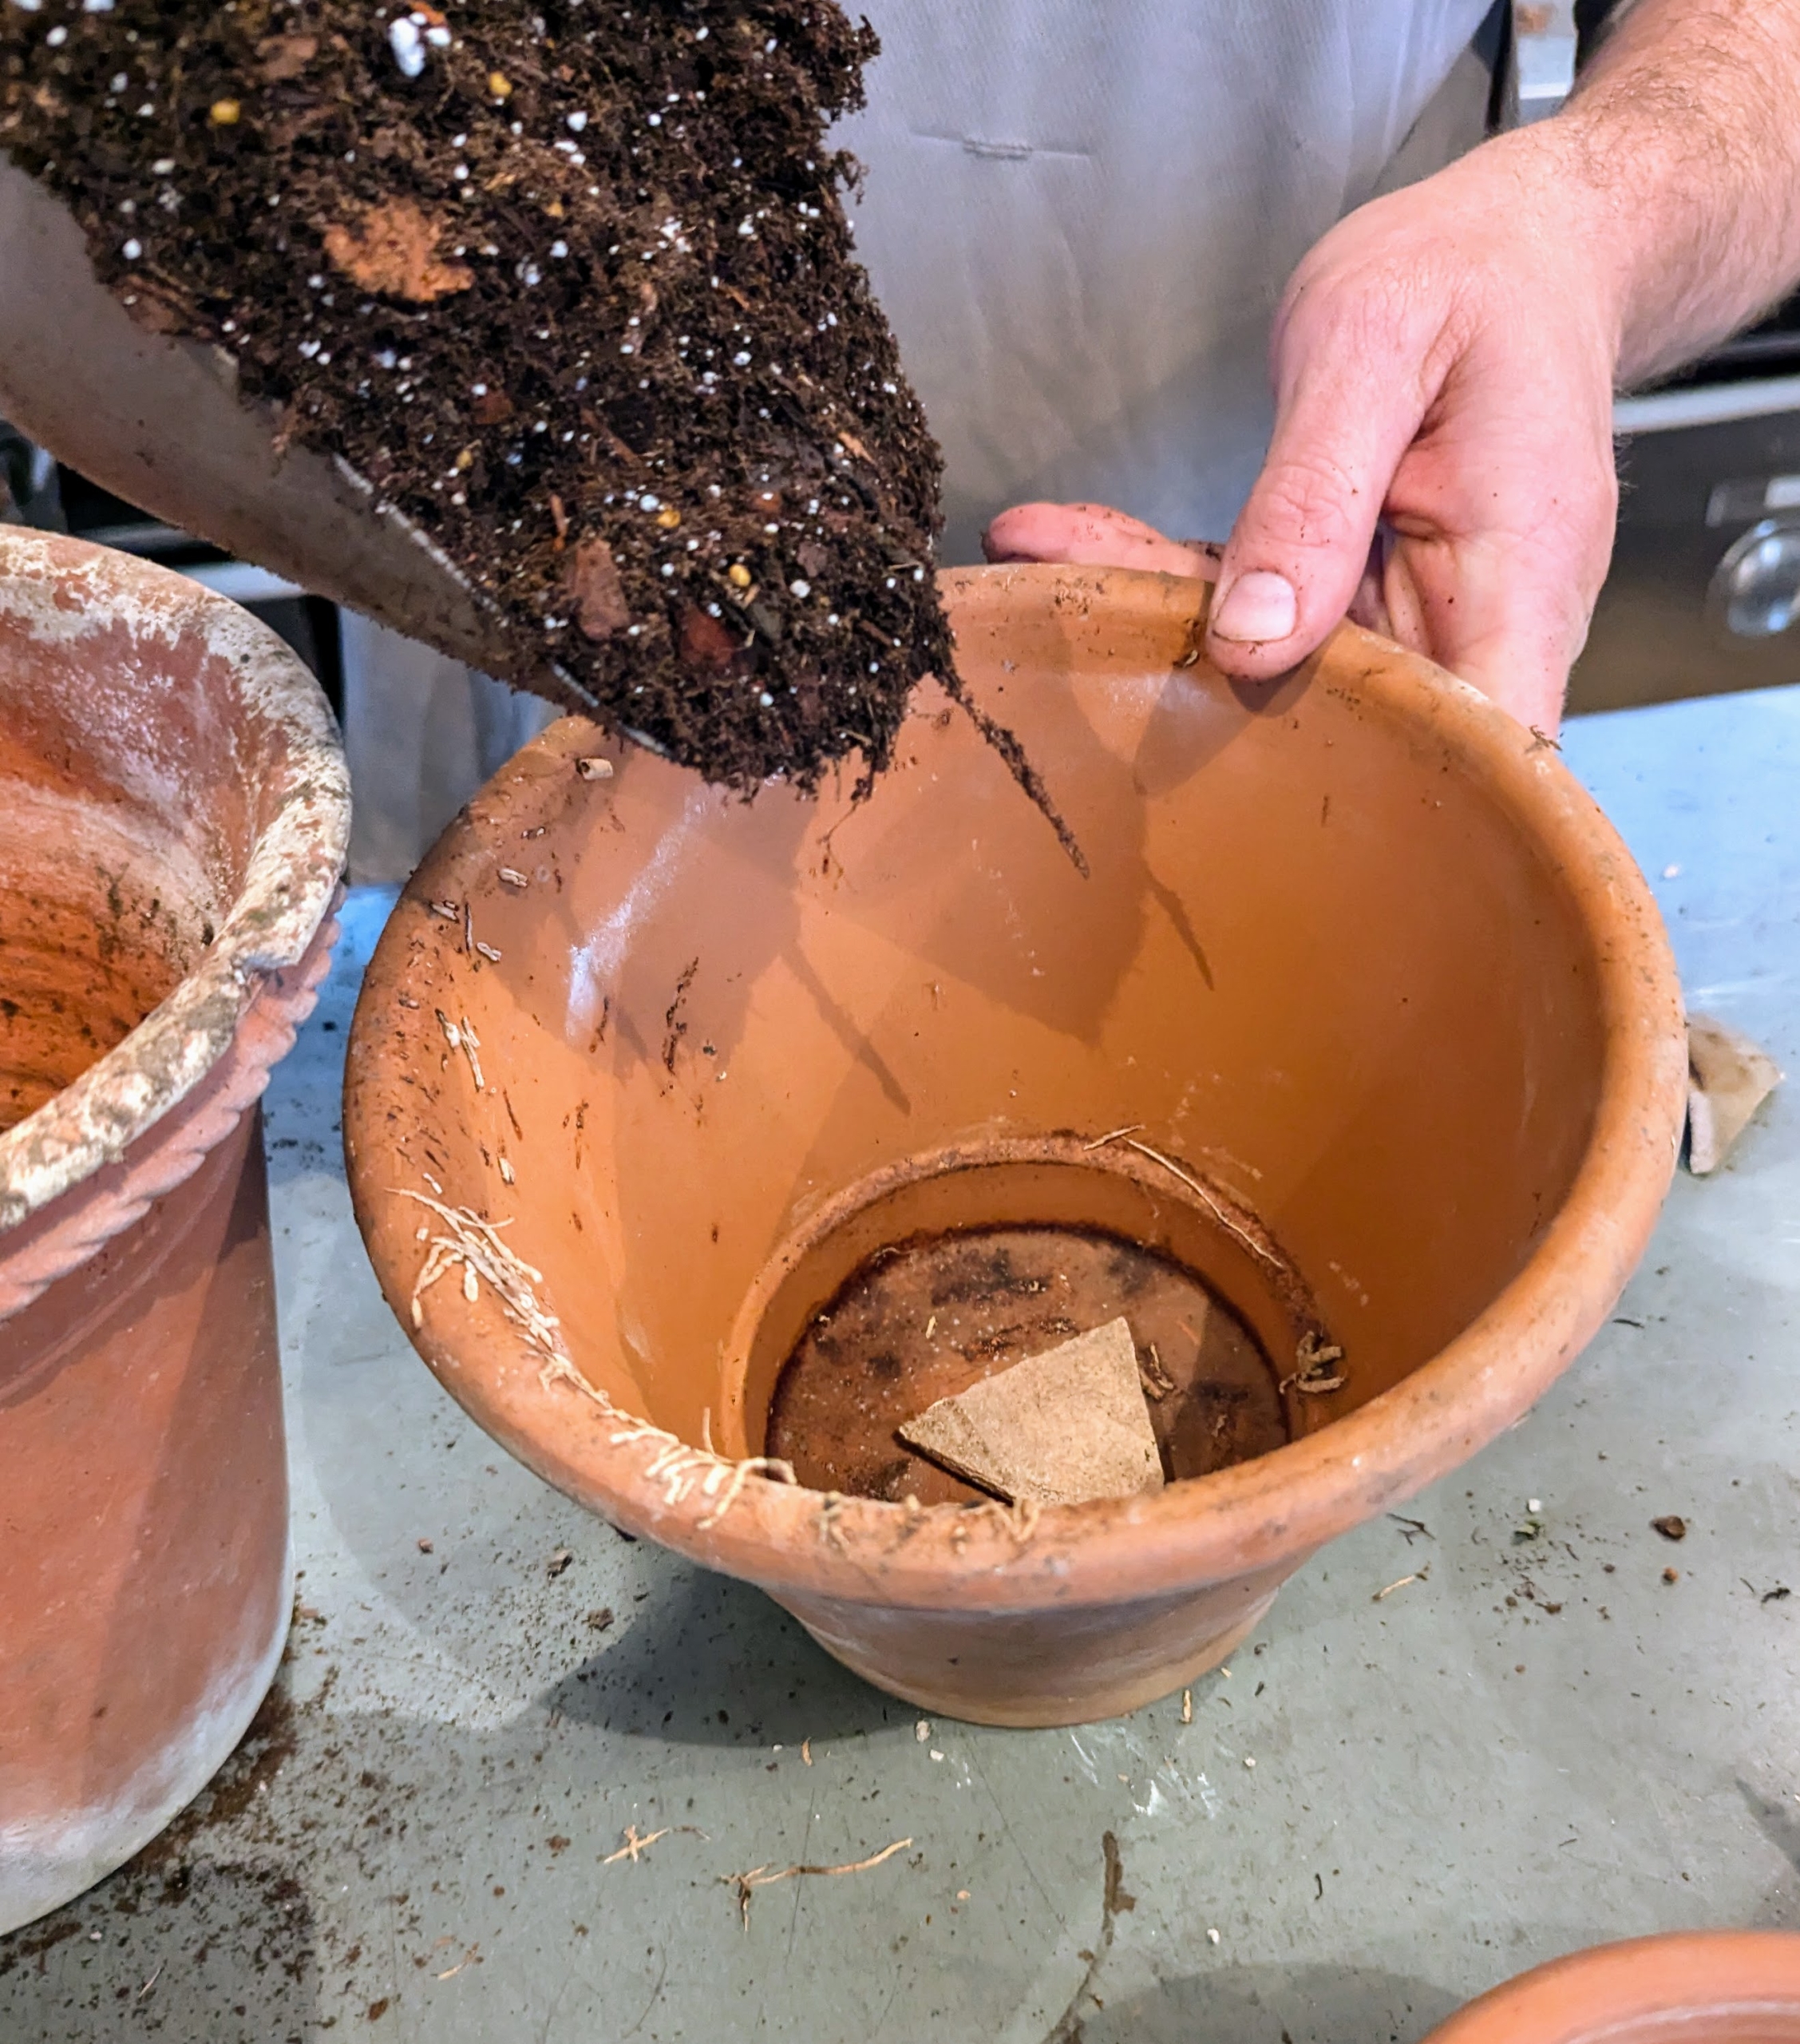
When repotting any plant, always place a clay shard over the hole in the bottom of the pot to help with drainage and to prevent any soil from falling out.
It does not happen often, but pots do occasionally break. I save all the shards in a pot, ready to use.
Here, Ryan begins to fill the pot with the appropriate mixed medium. Just a scoop to cover the bottom is sufficient.
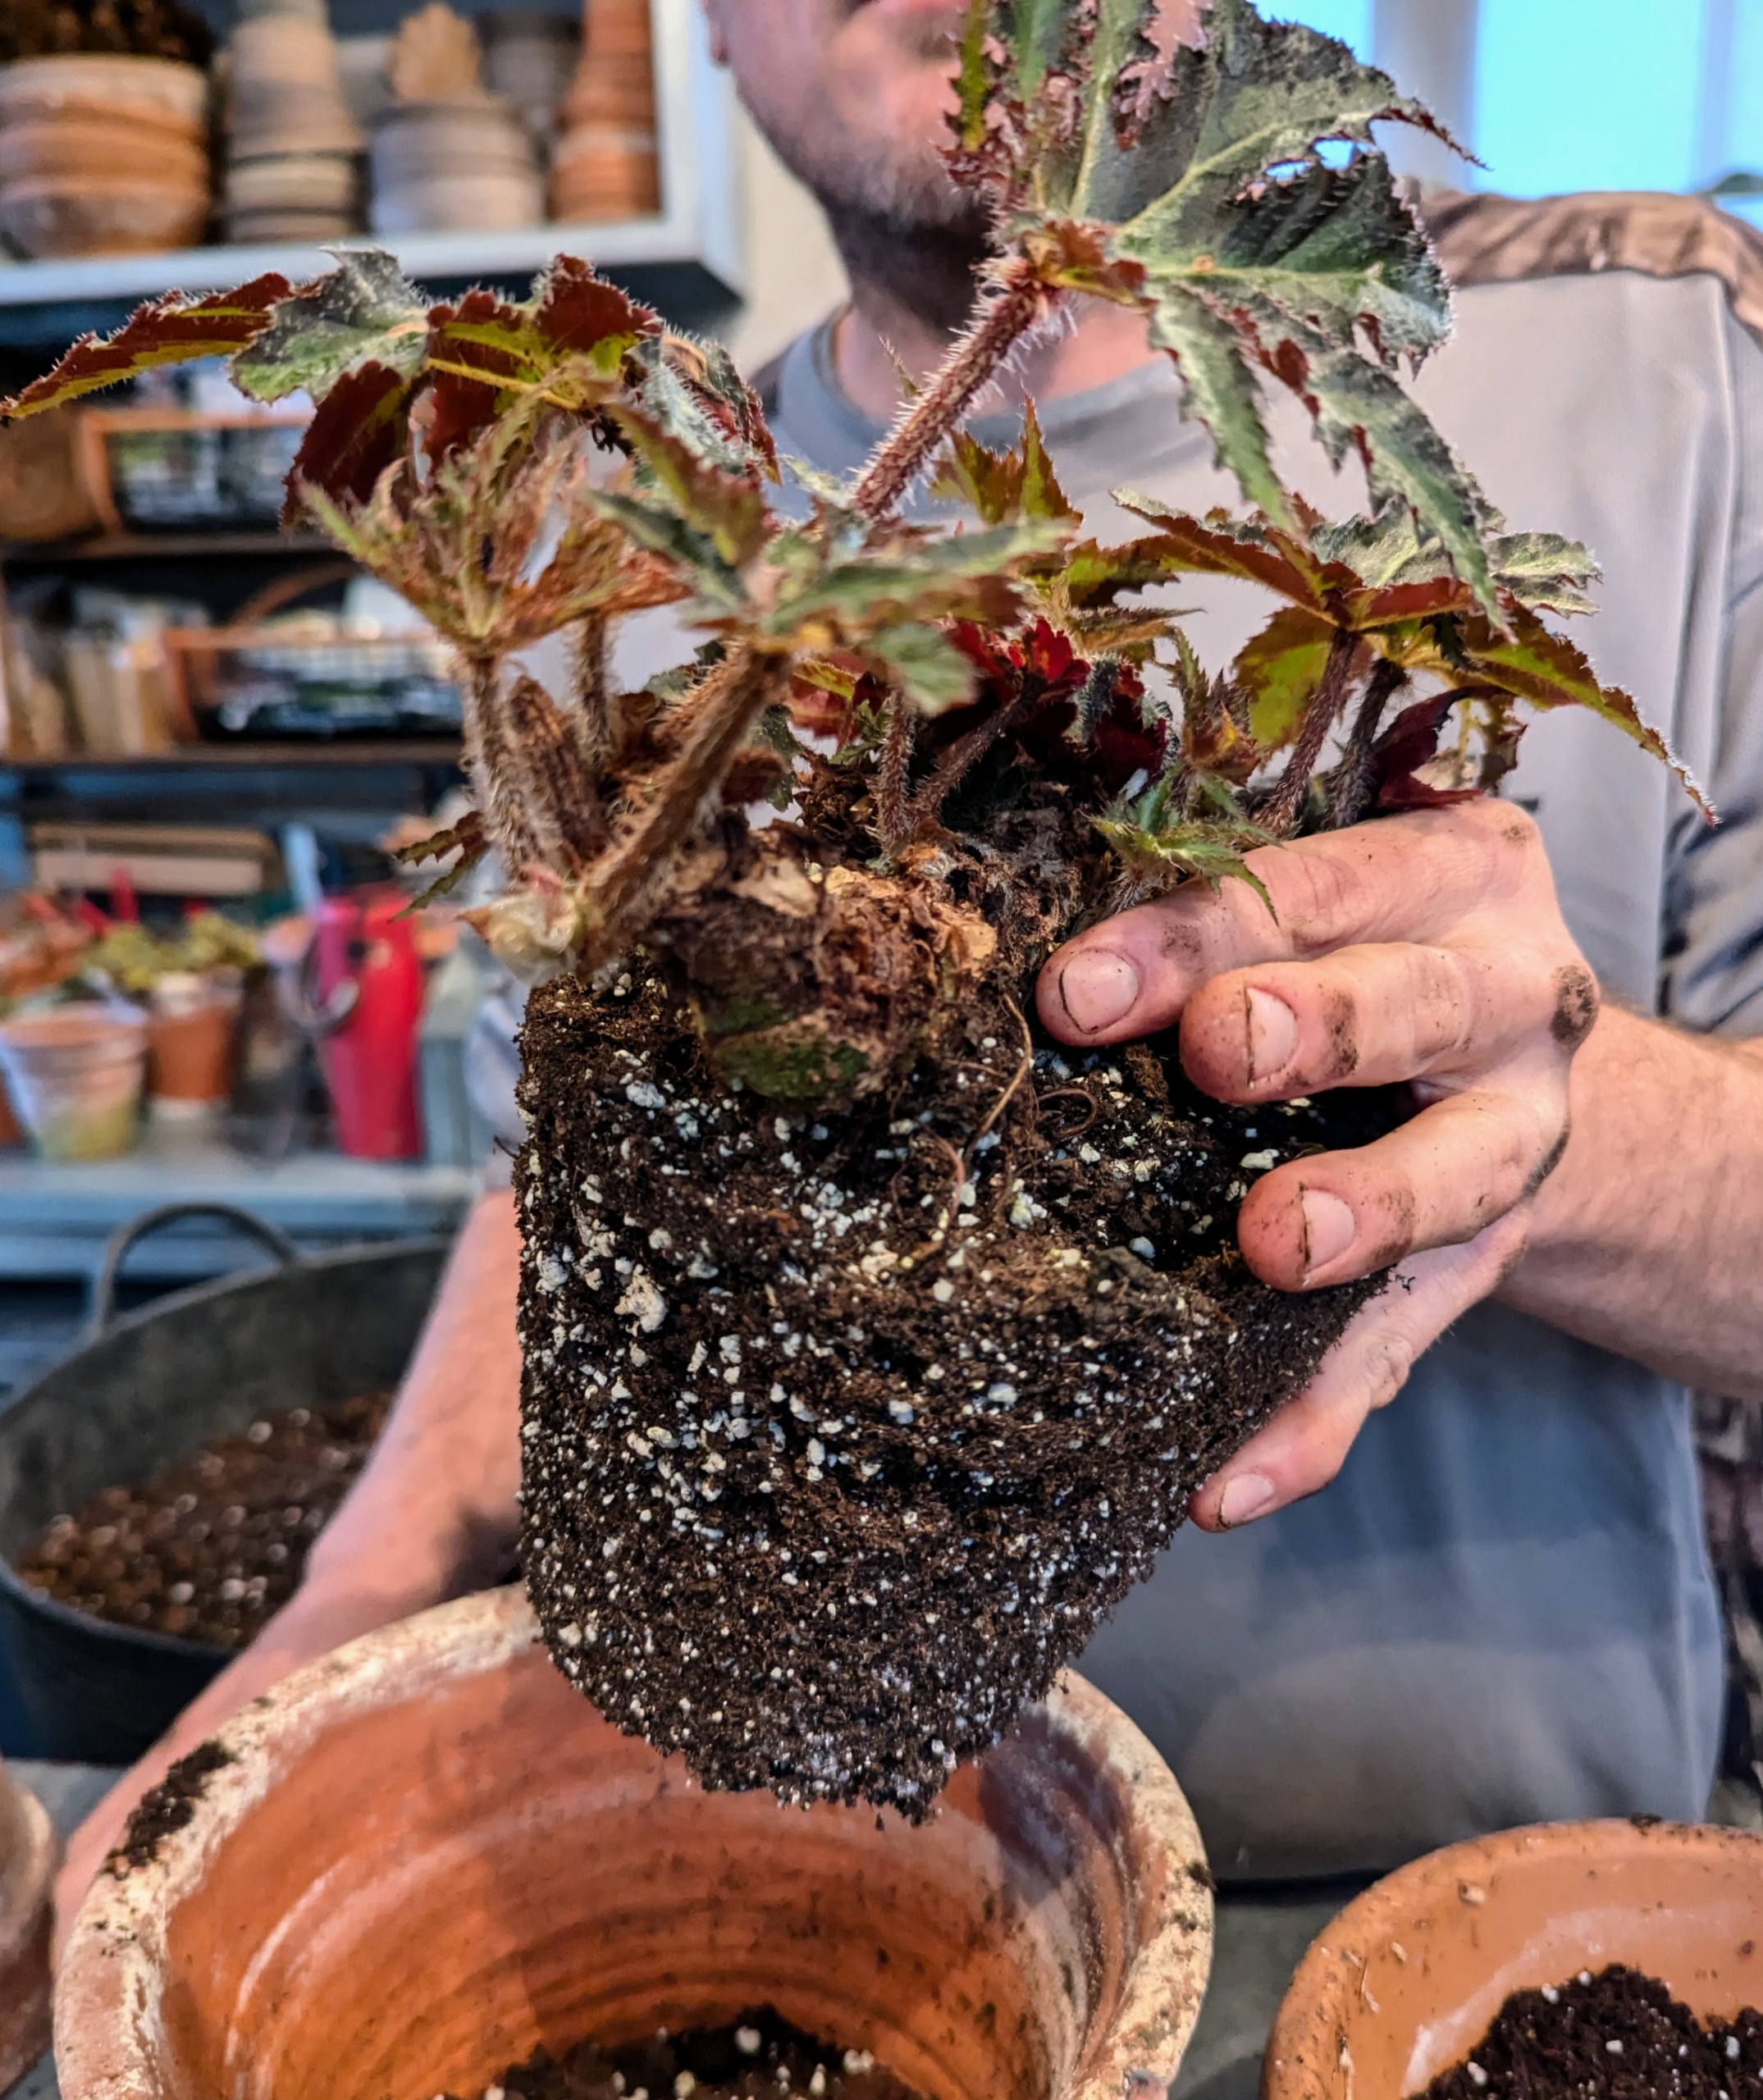
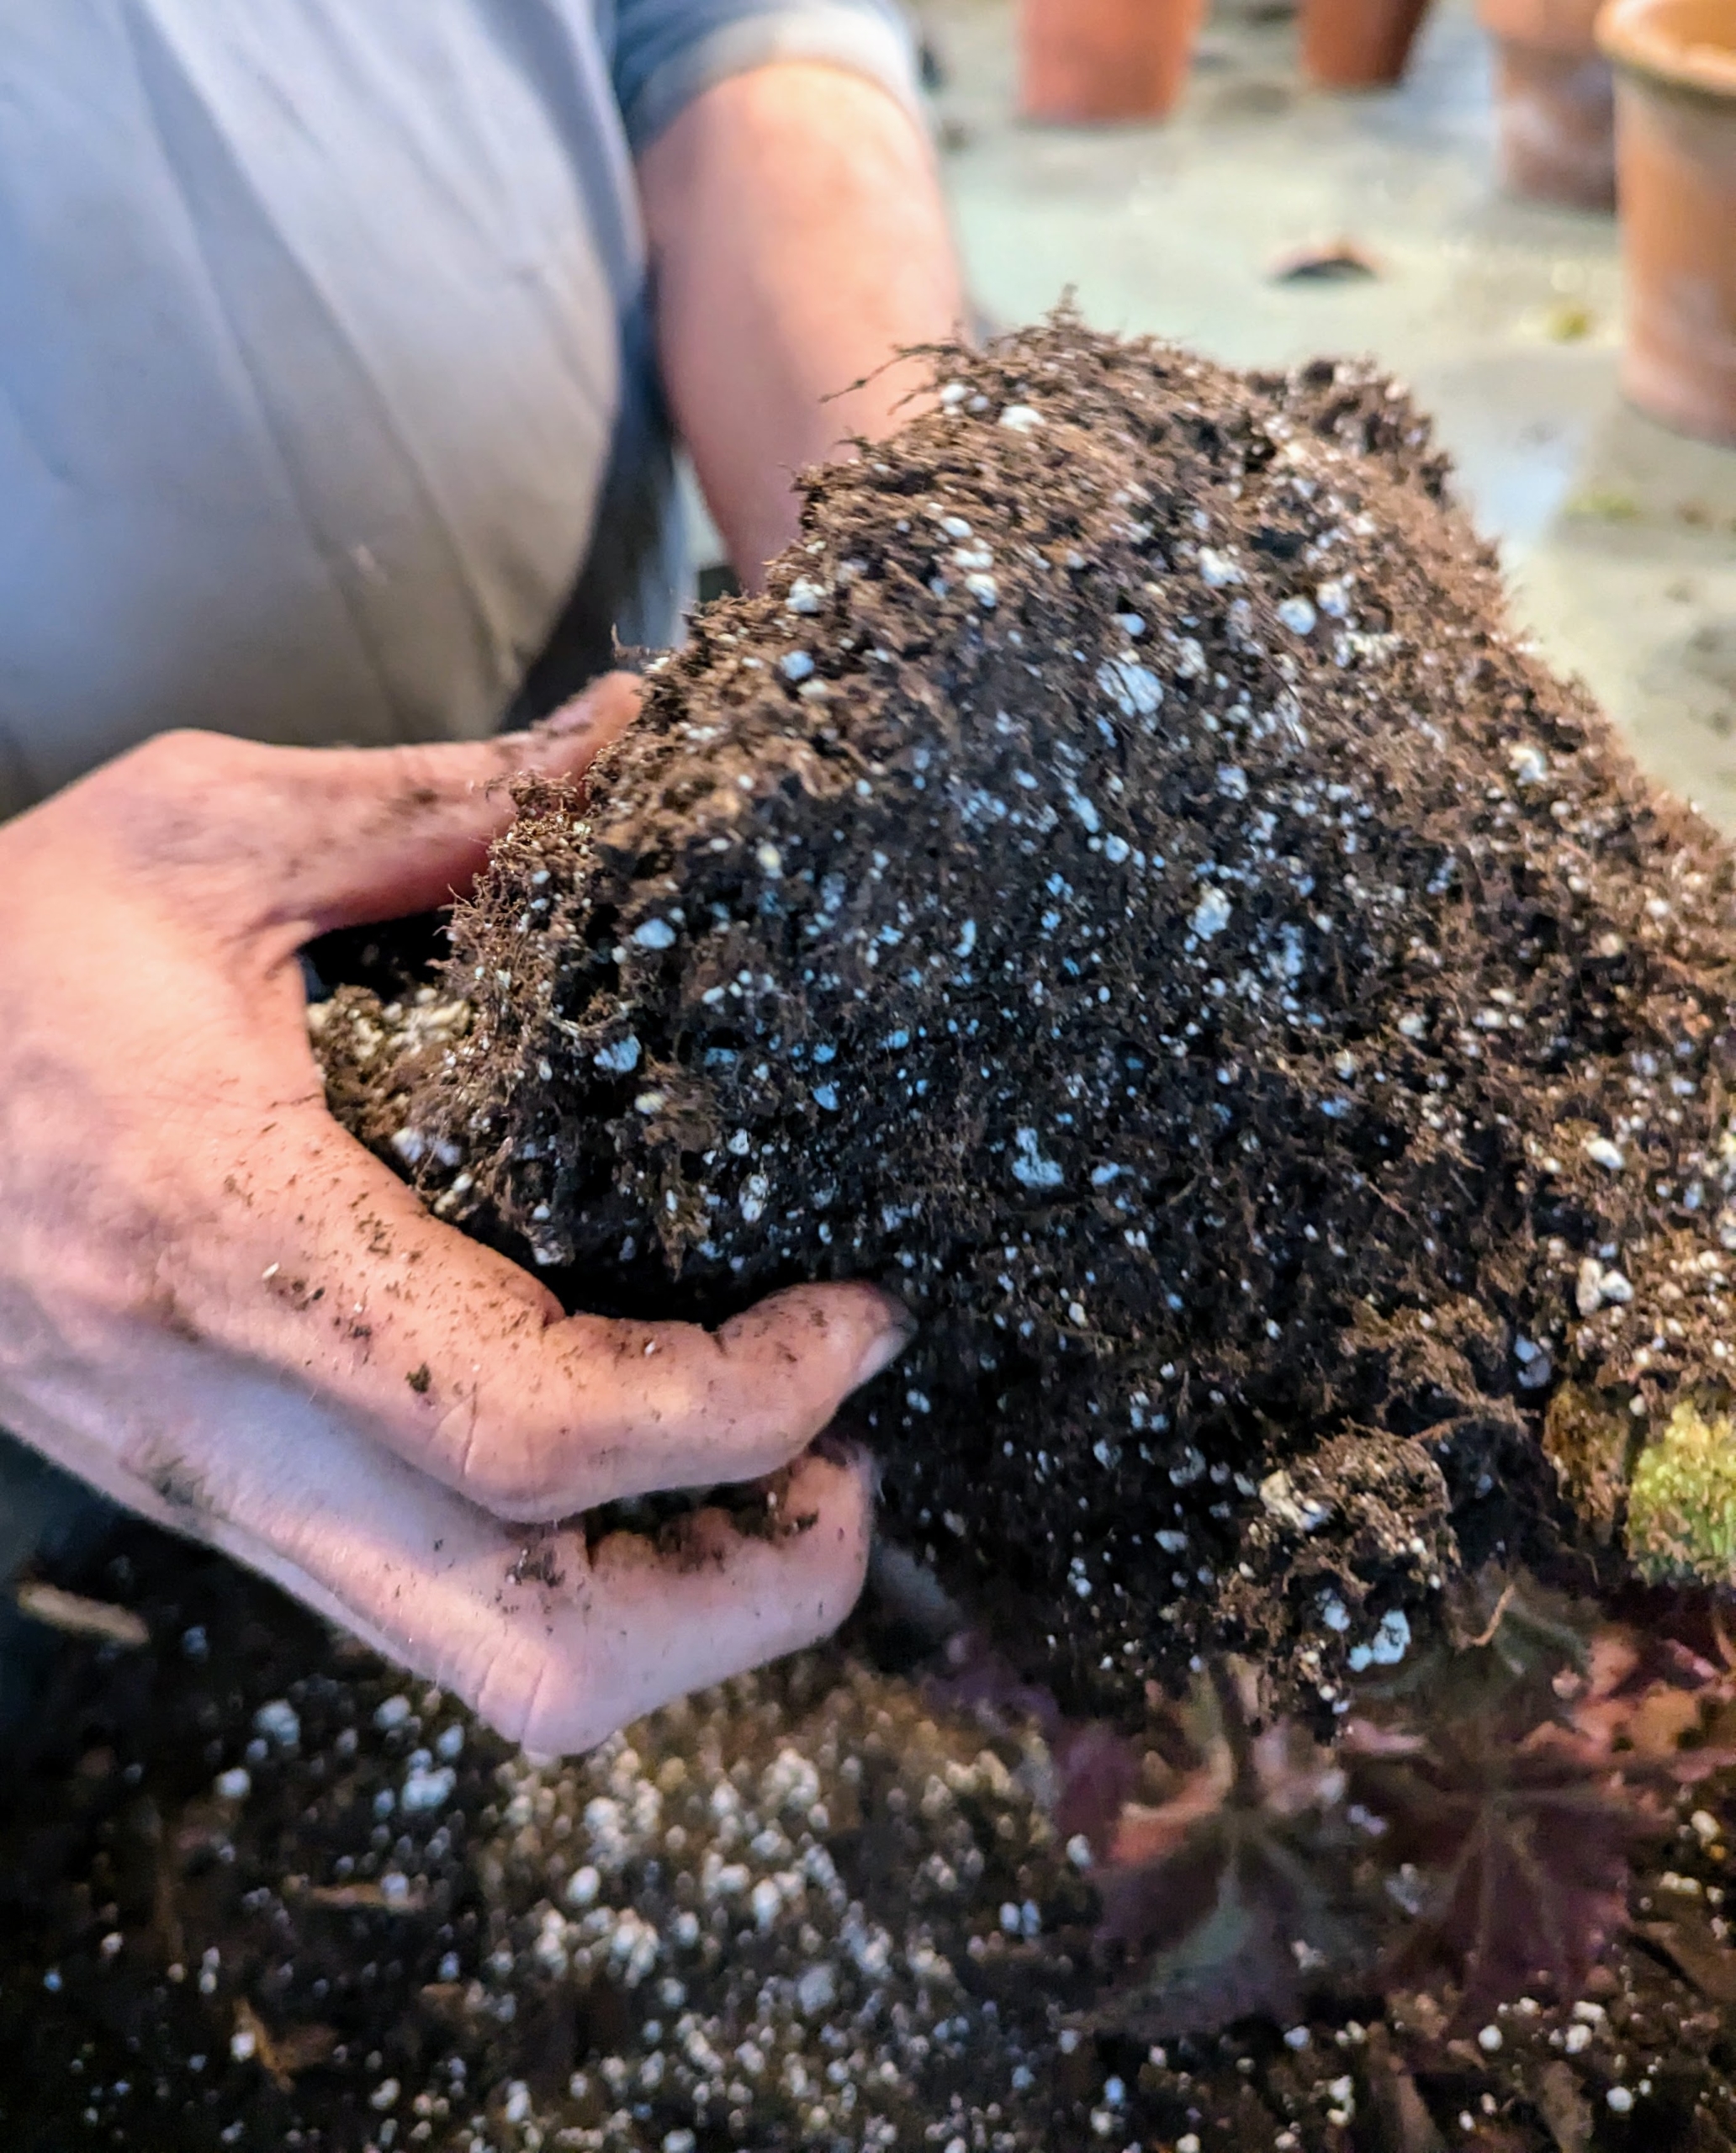
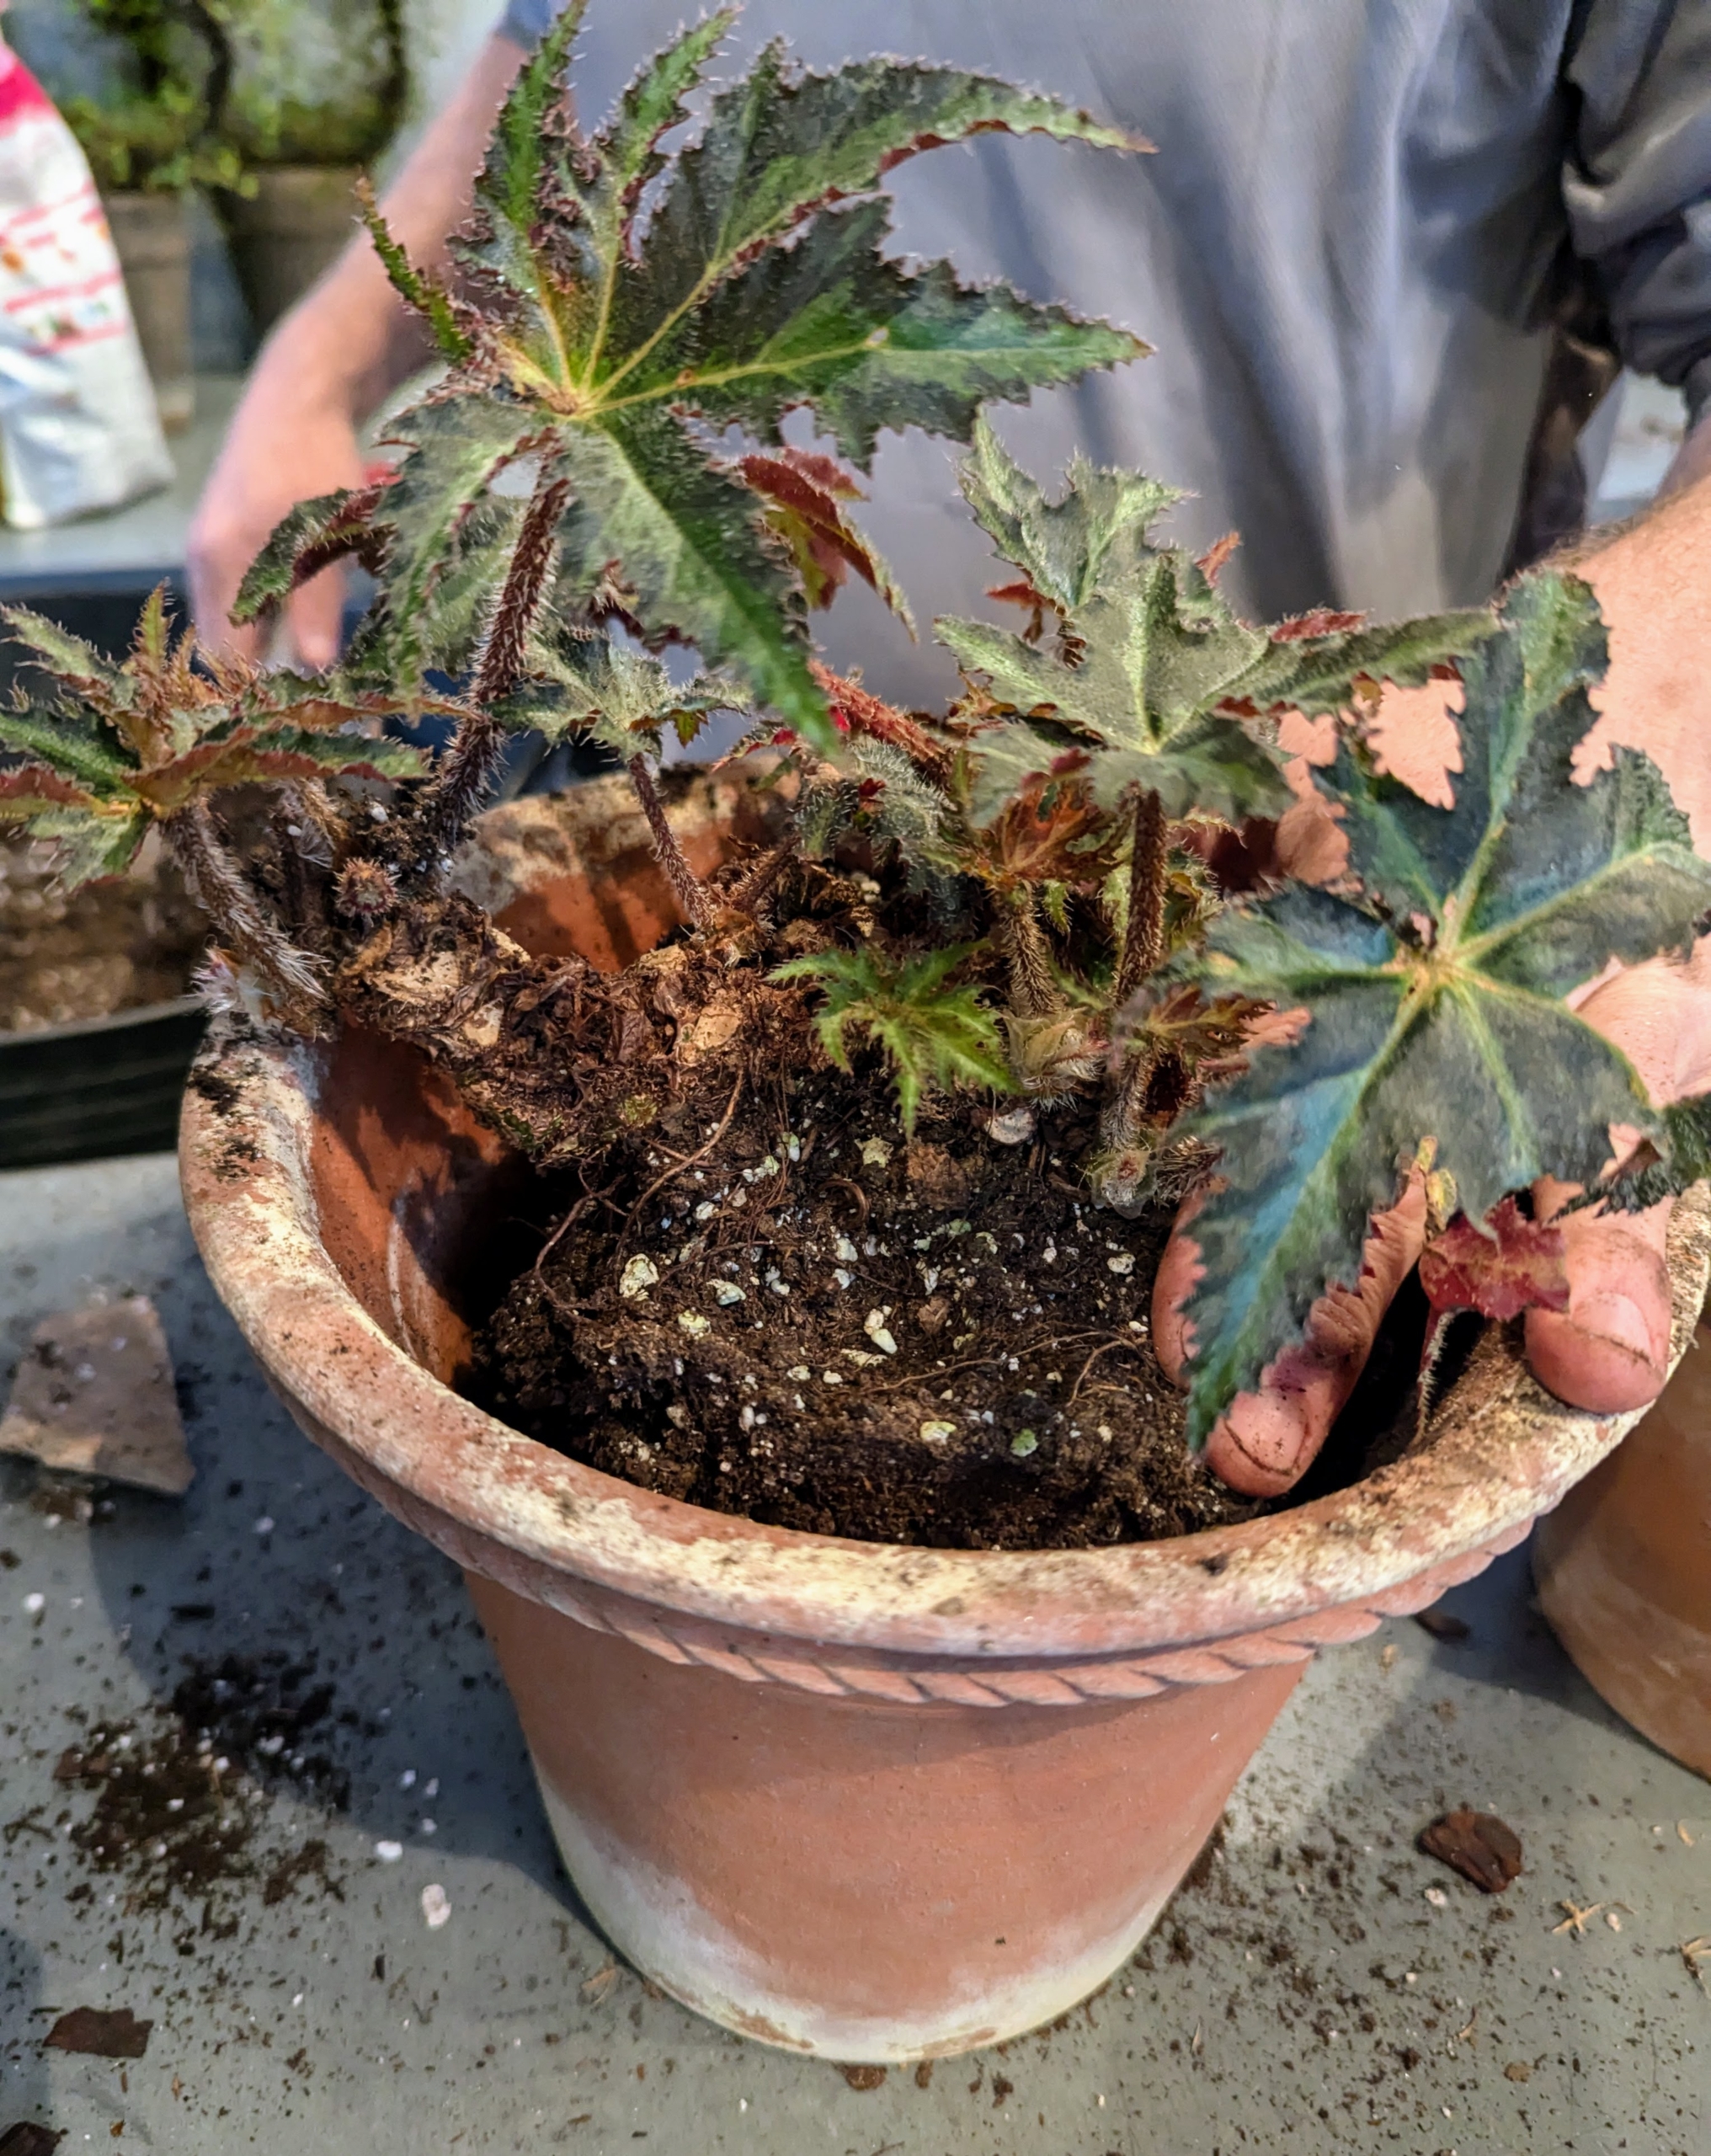
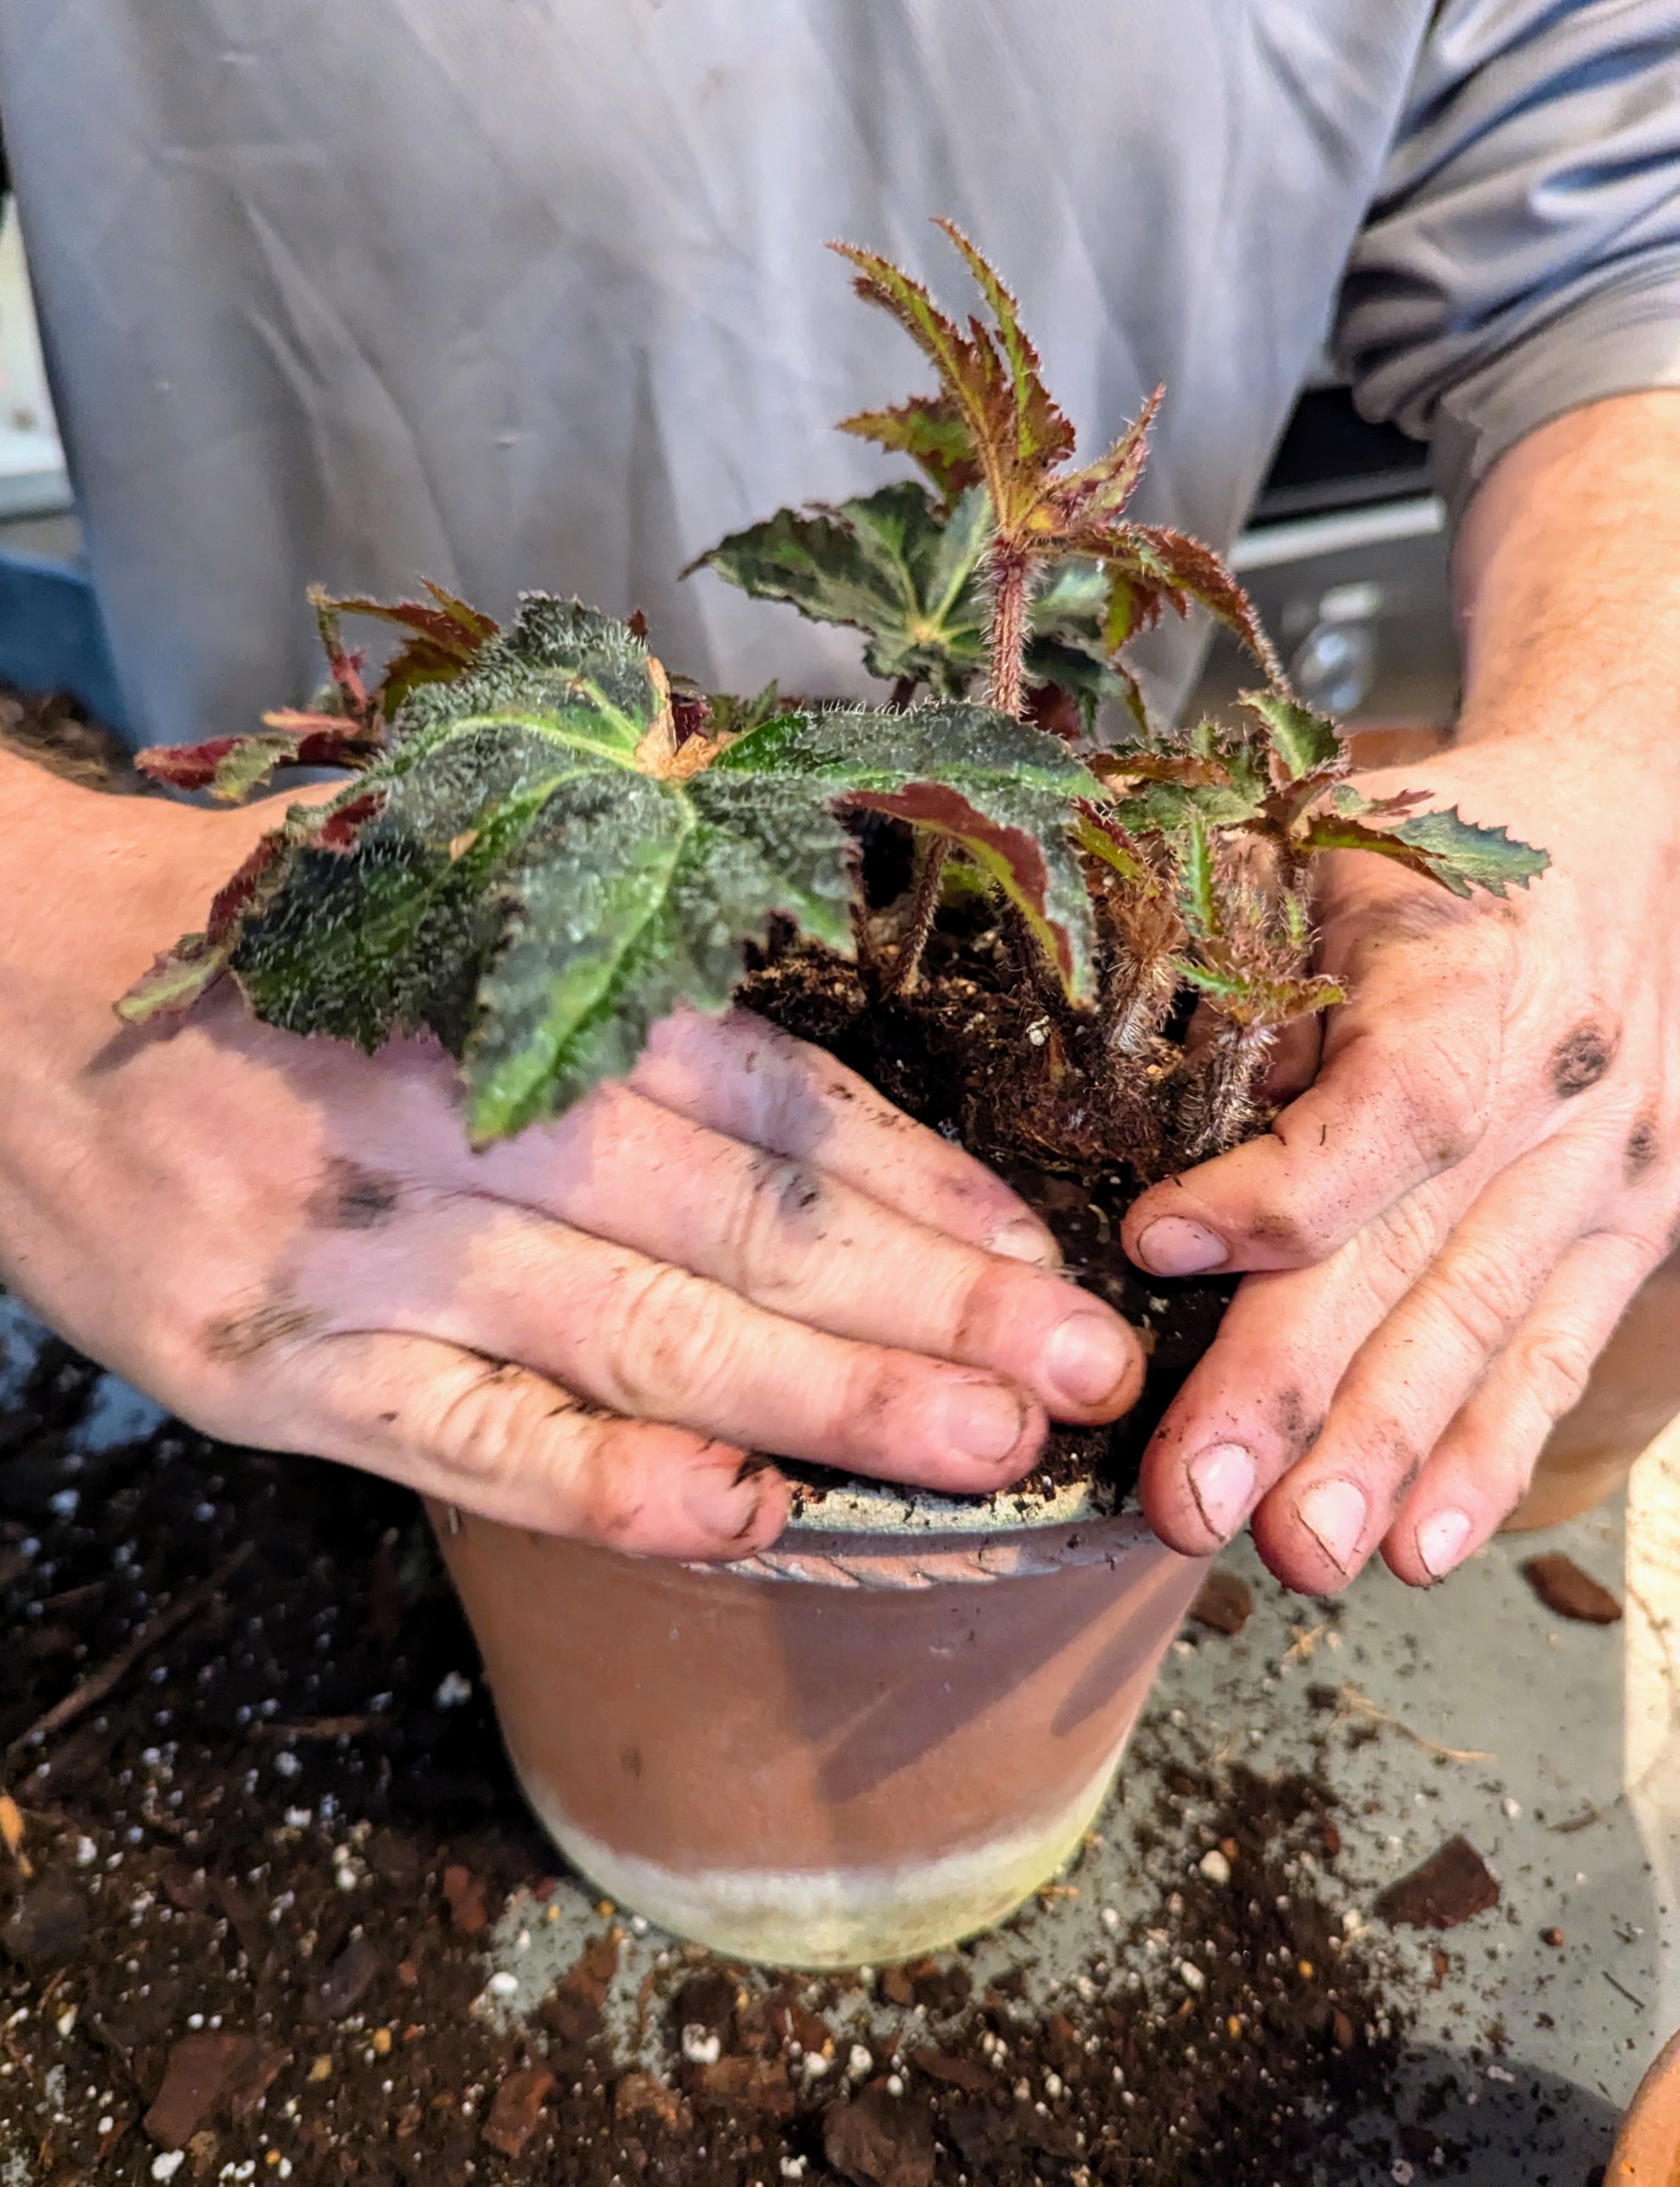
Ryan gently removes the begonia from its previous pot. This is a good root ball – neither rotted nor root bound.
Because the root ball is healthy, Ryan doesn’t have to do any excessive scarifying. He just teases and loosens the roots with his hands and places it into the new vessel.
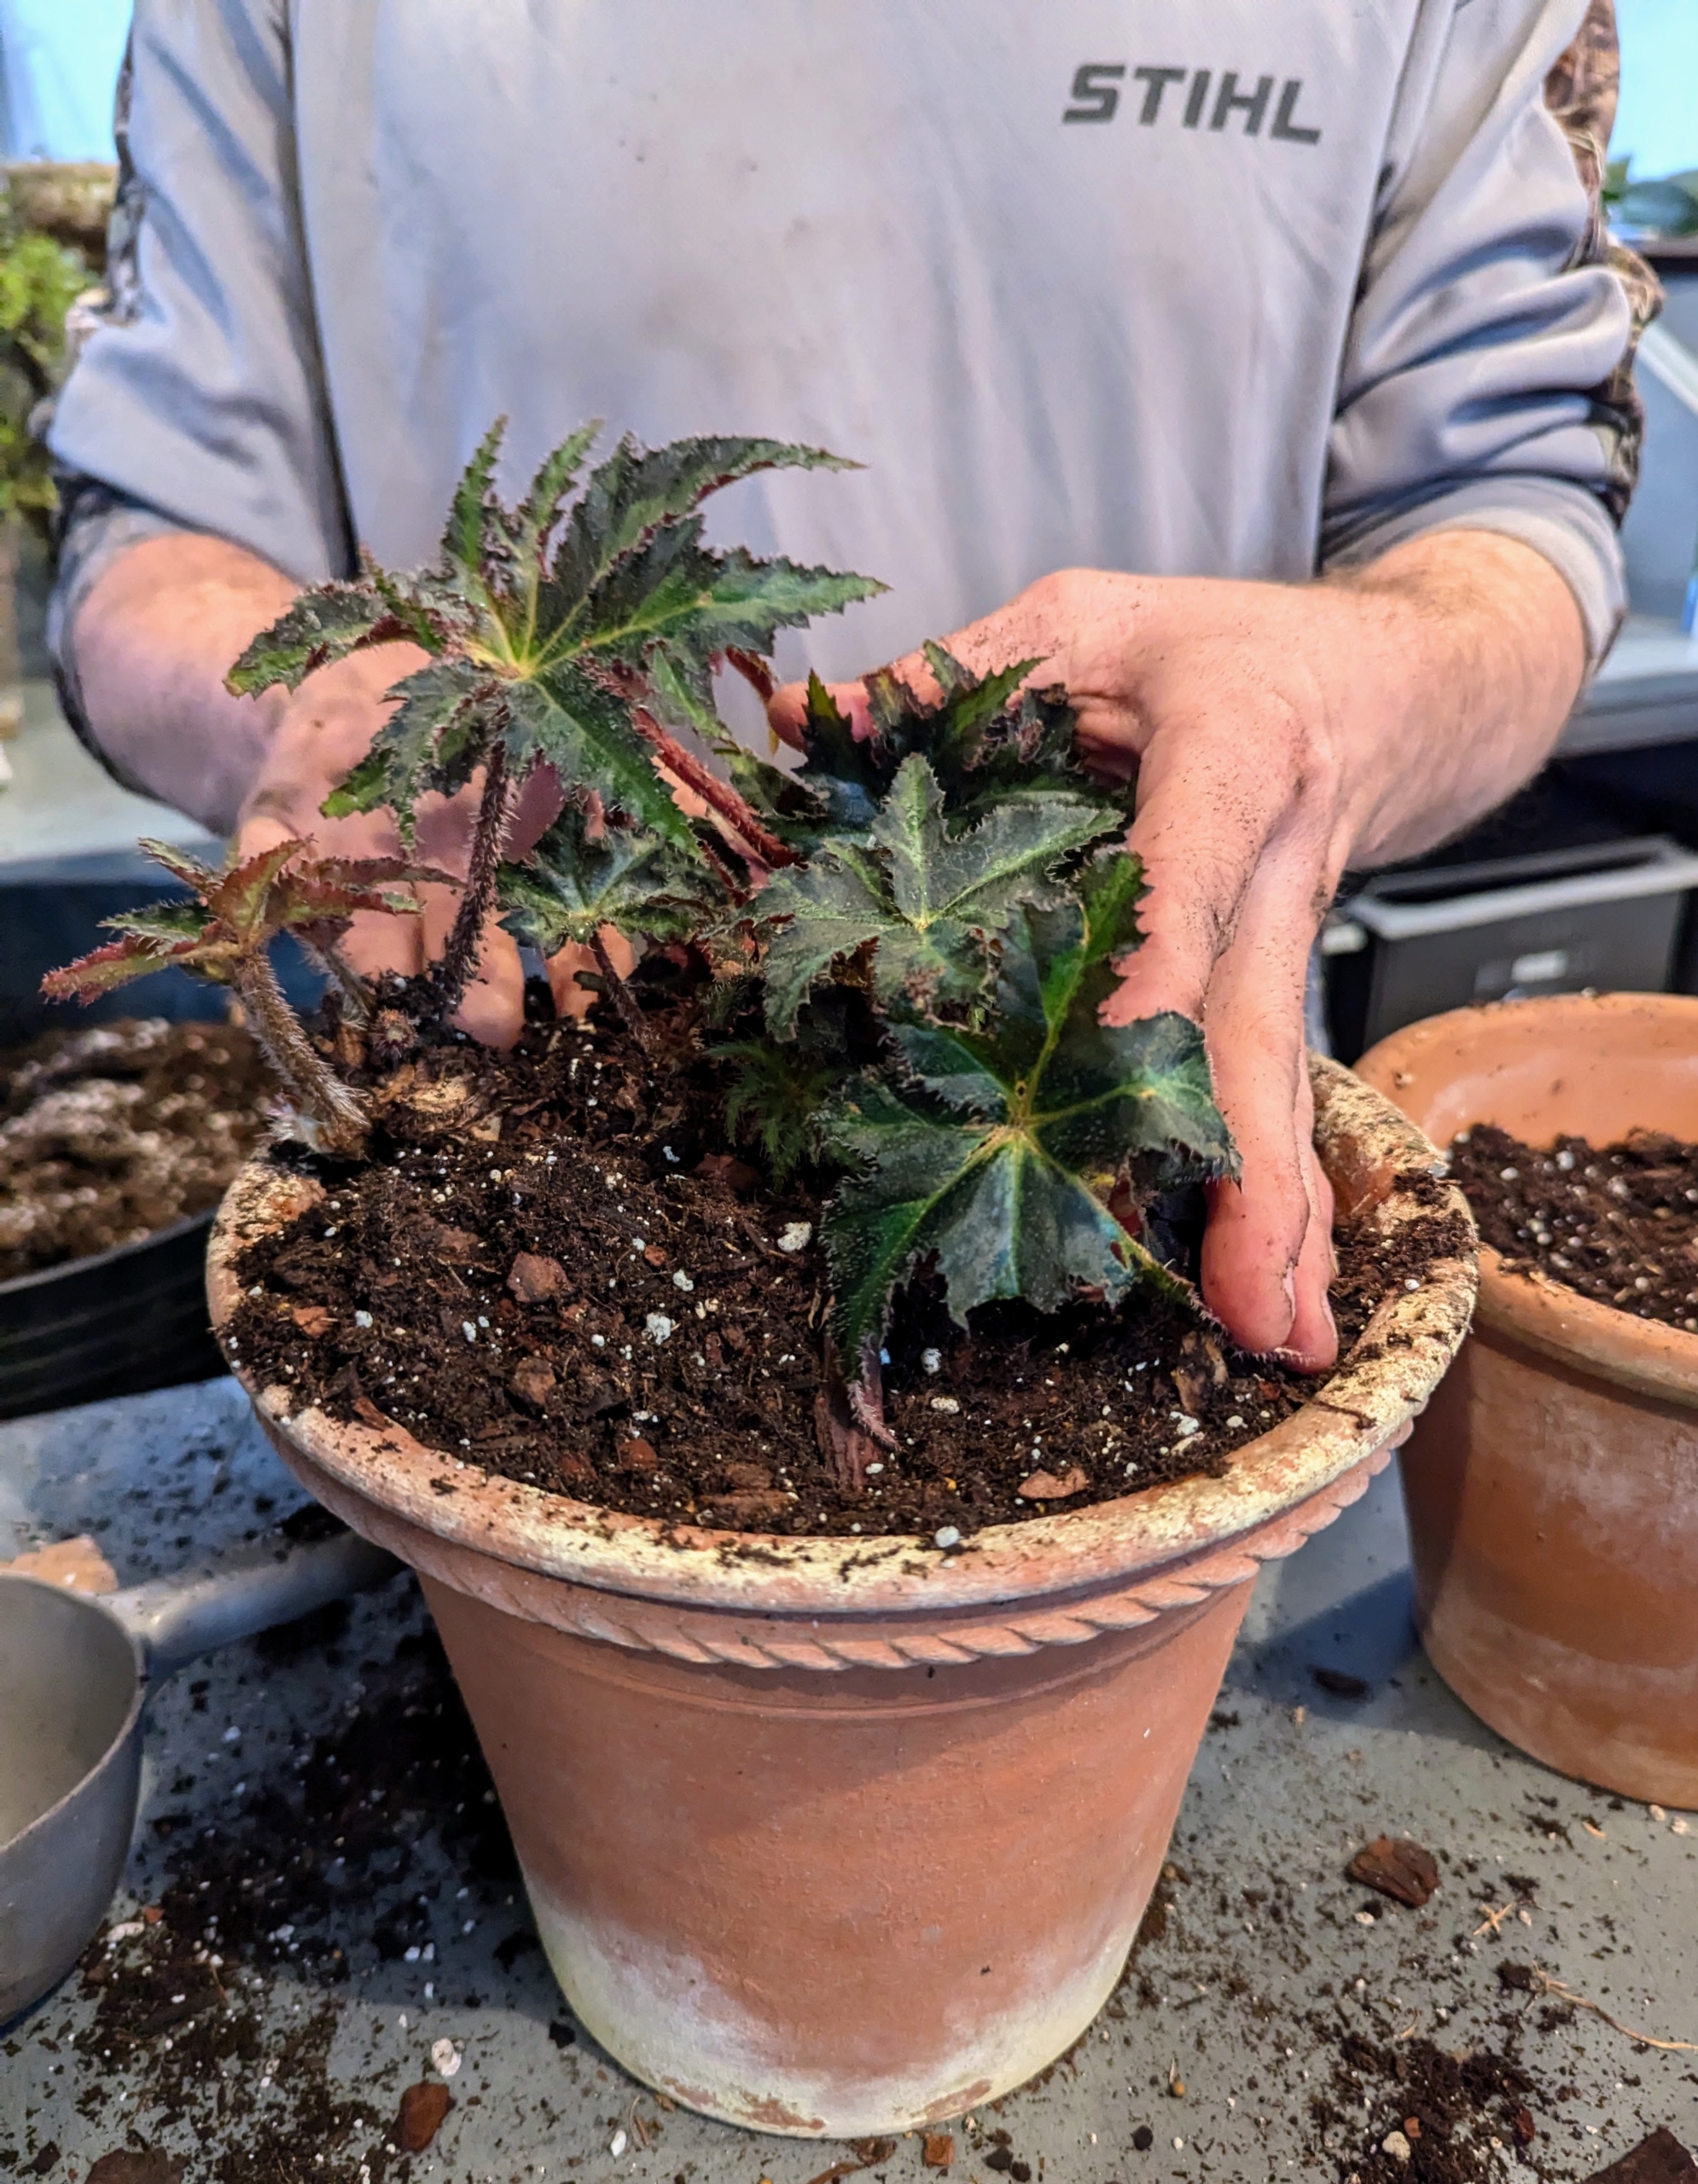
Select a new pot that’s only one or two inches larger in diameter than the old one. This pot is a good size up for this plant.
More potting mix is added around the plant until just under the rim of the pot.
Ryan presses down slightly on the soil to ensure there is good contact between the plant and the potting mix.
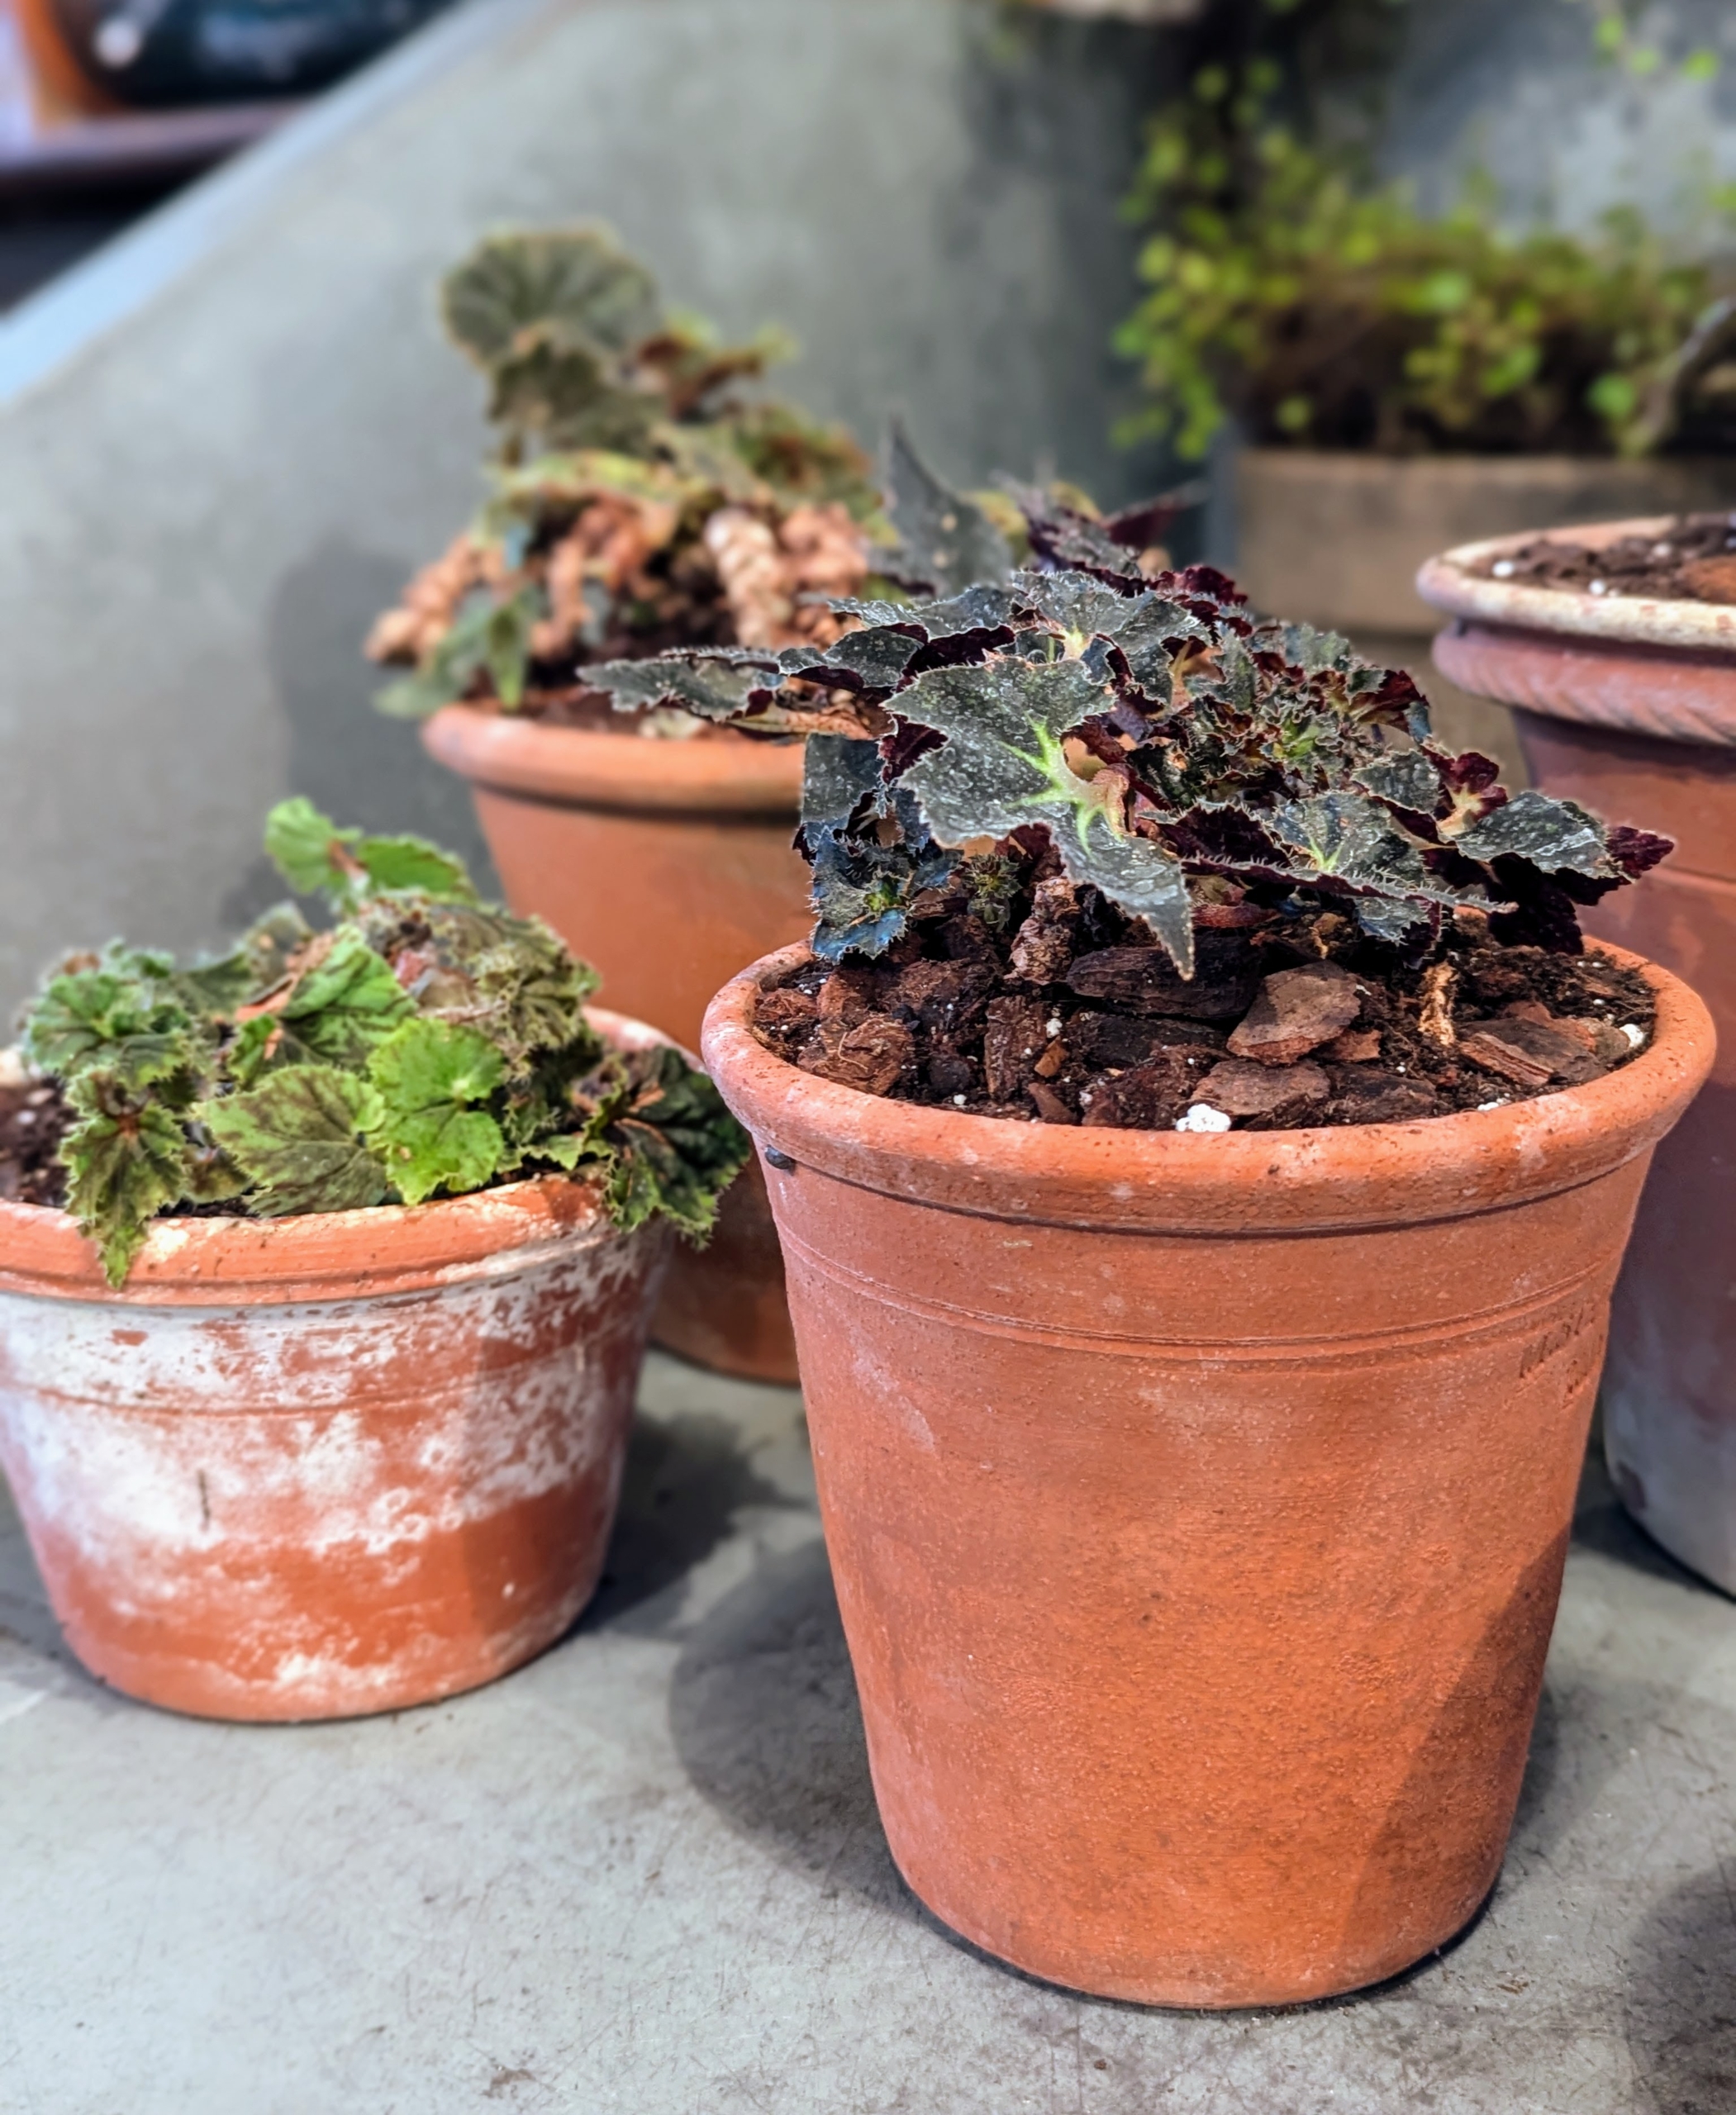
Here are three begonias all potted up in their new containers. It’s good to repot or change the soil every couple of years – potting mix elements break down over time and lose draining qualities and airspaces to hold oxygen.
But the project has only just begun. There are so many more to do… Repotting begonias regularly to keep them in the best condition – it’s a good thing.
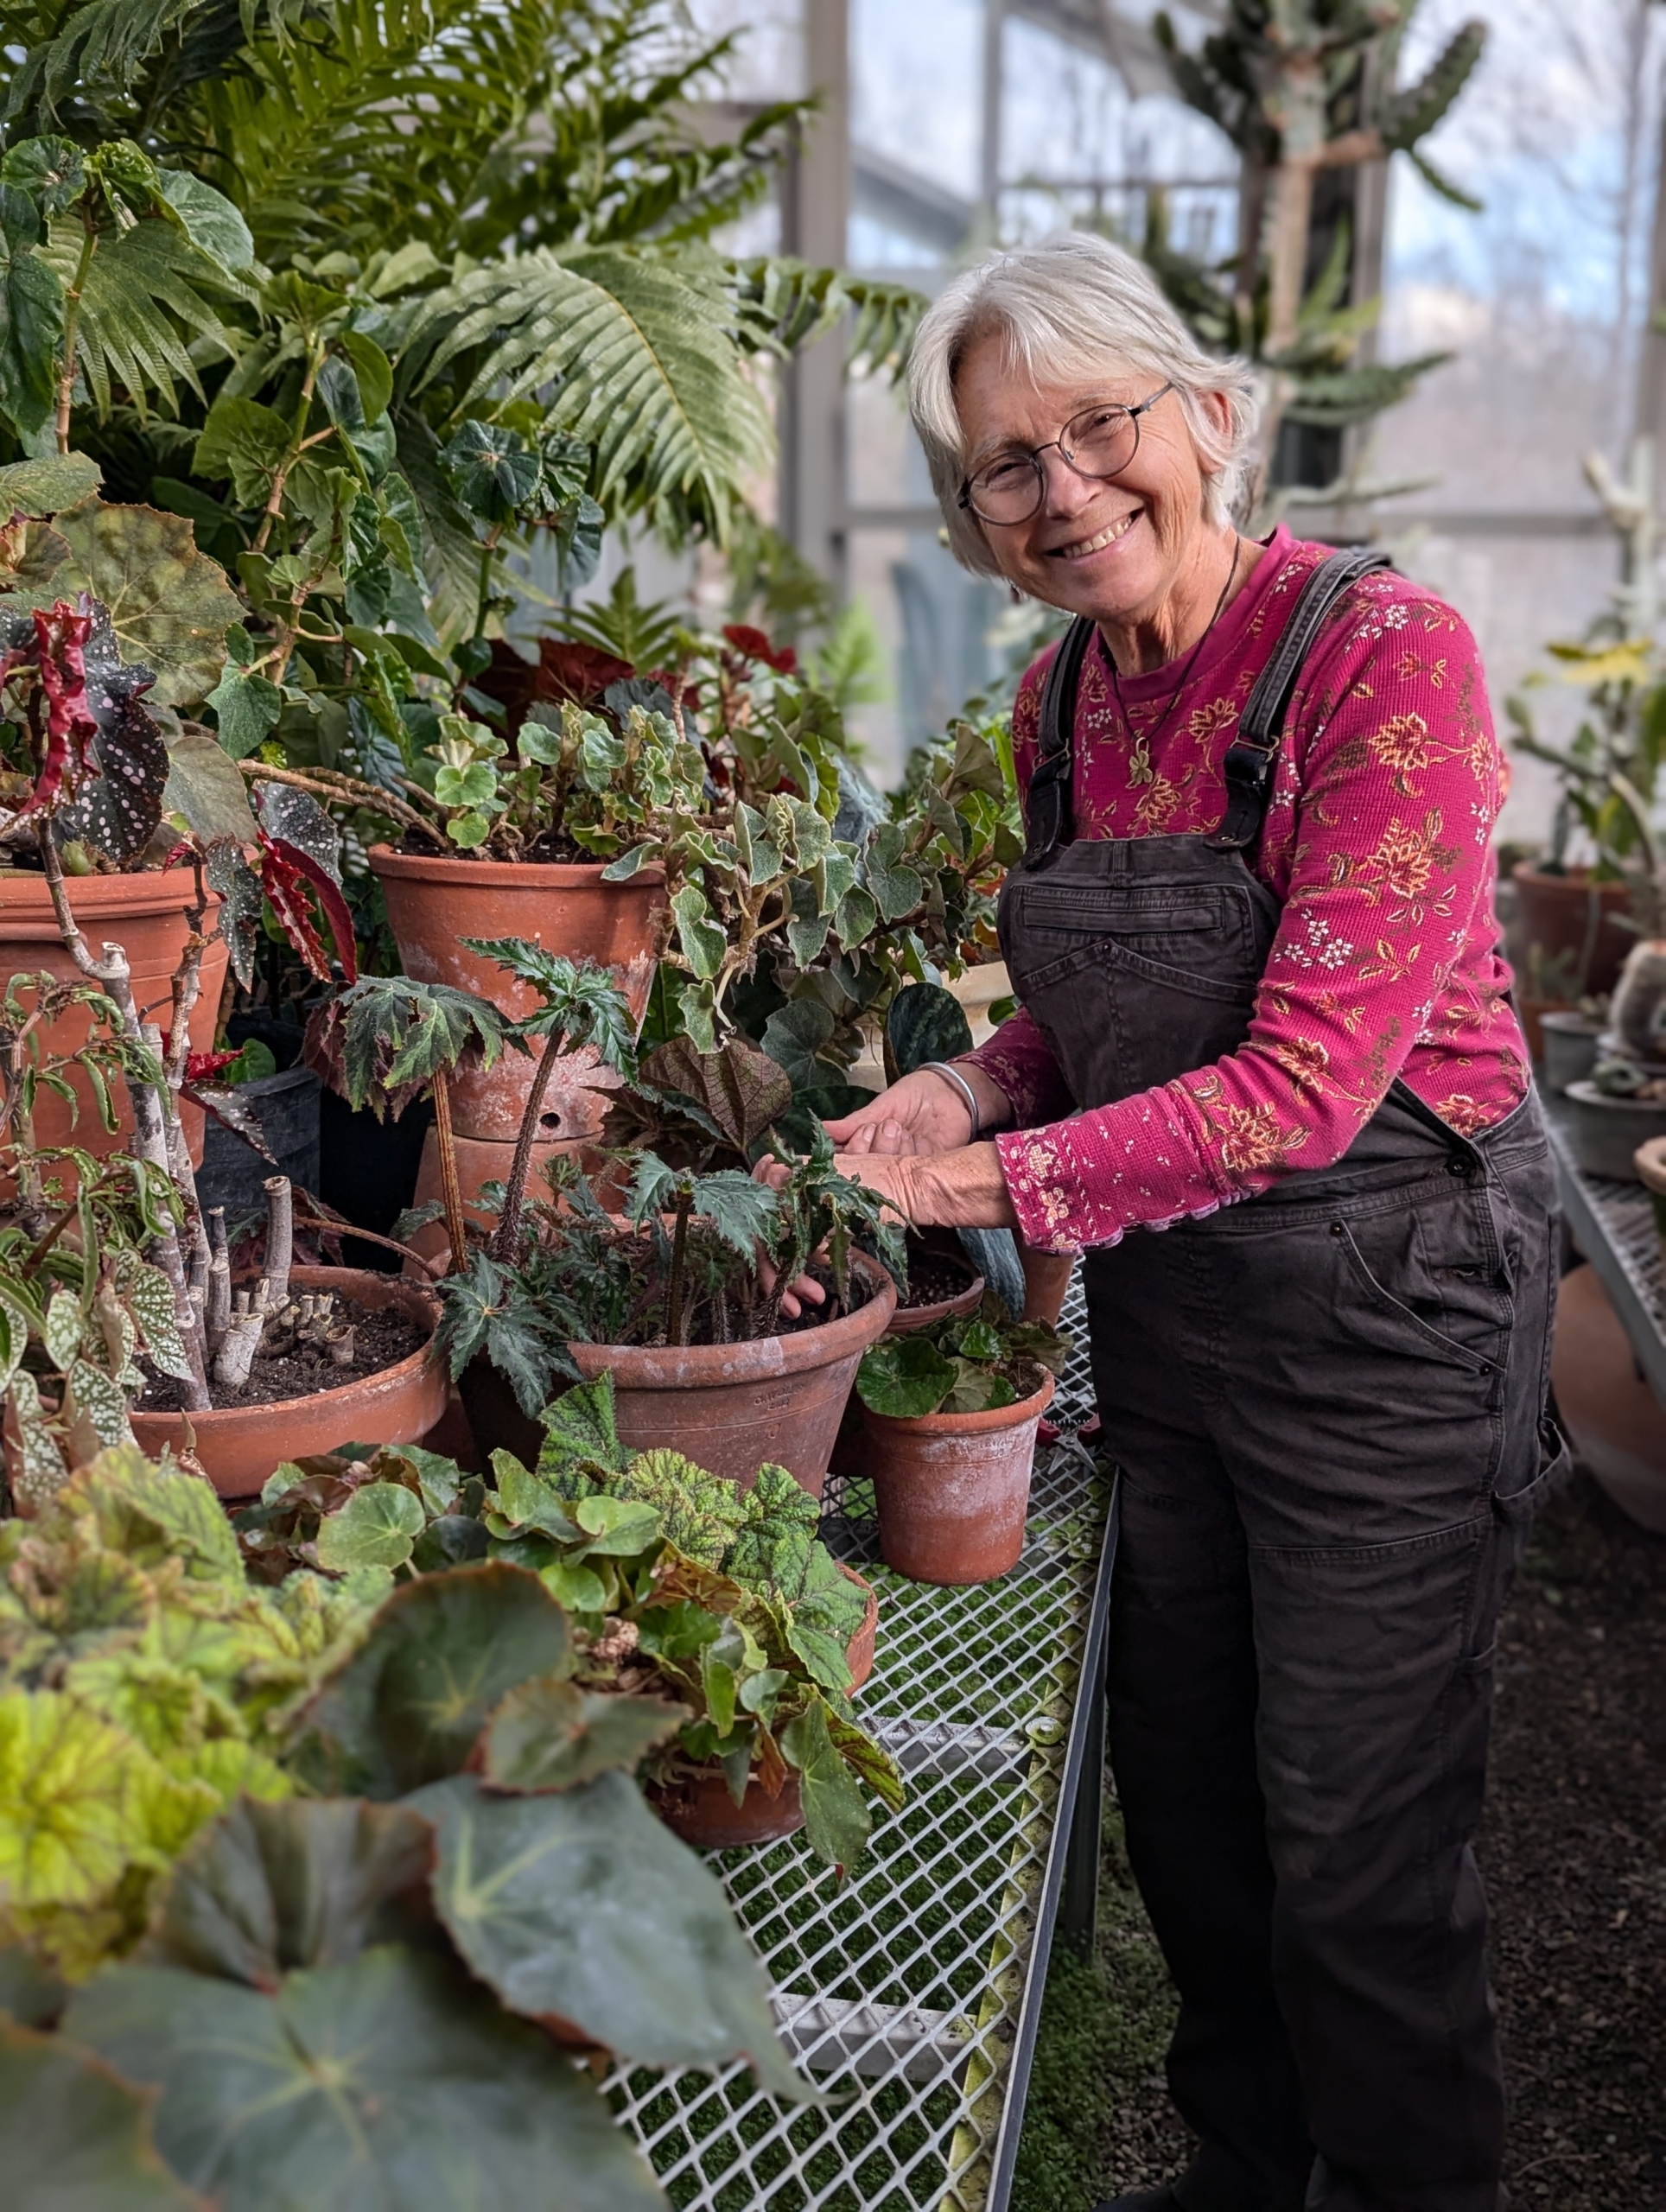
During this time of year, the outdoor gardens at my farm are pretty bare, but there's a lot of work to do in the greenhouses, including grooming my large collection of begonias. And this week, we have an extra set of hands helping out.
Wendy Norling is one of my gardeners at Skylands, my beloved home in Maine. She's visiting New York this week to help with some of our indoor chores. On the list - carefully inspect each begonia plant, trim any dead or discolored leaves and stems, remove any crisscrossing canes, top dress with fresh potting mix, and feed, feed, feed.
Here are some photos, enjoy.
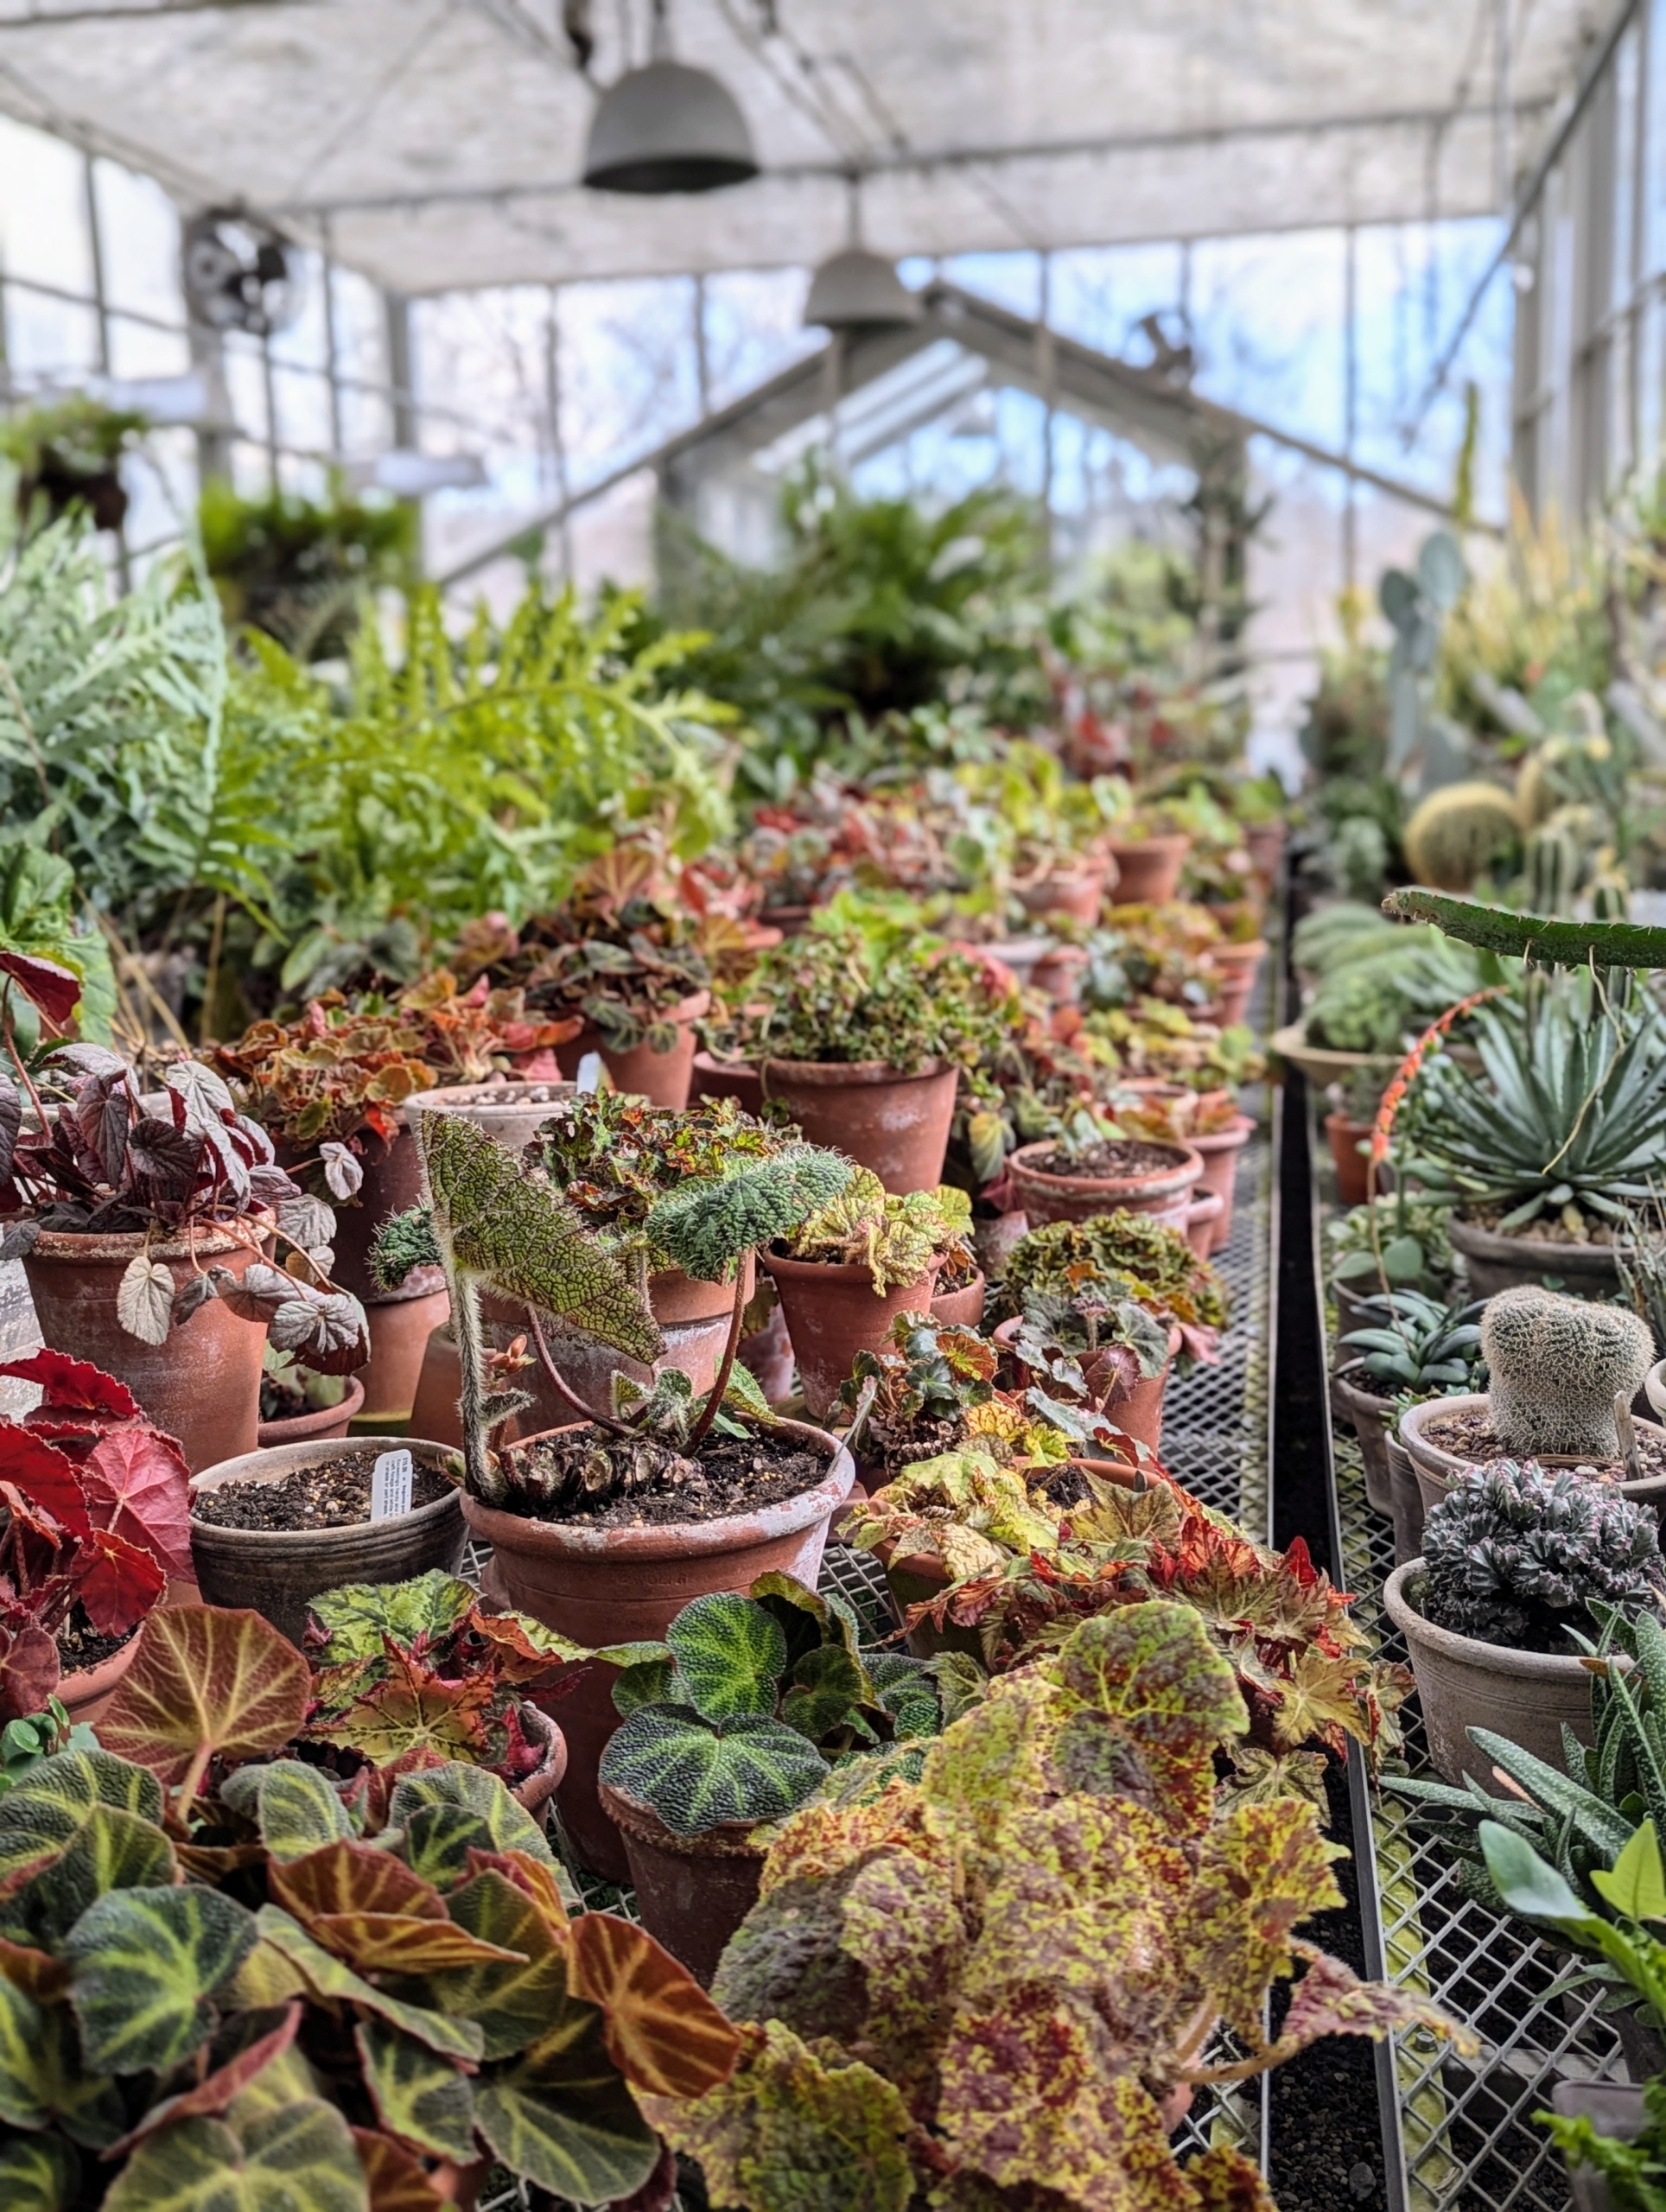
My growing collection of begonias is one of the first you see when entering my main greenhouse. I keep my begonias on a long, sliding table, so each plant is within easy reach. They are also placed where they get bright, indirect light.
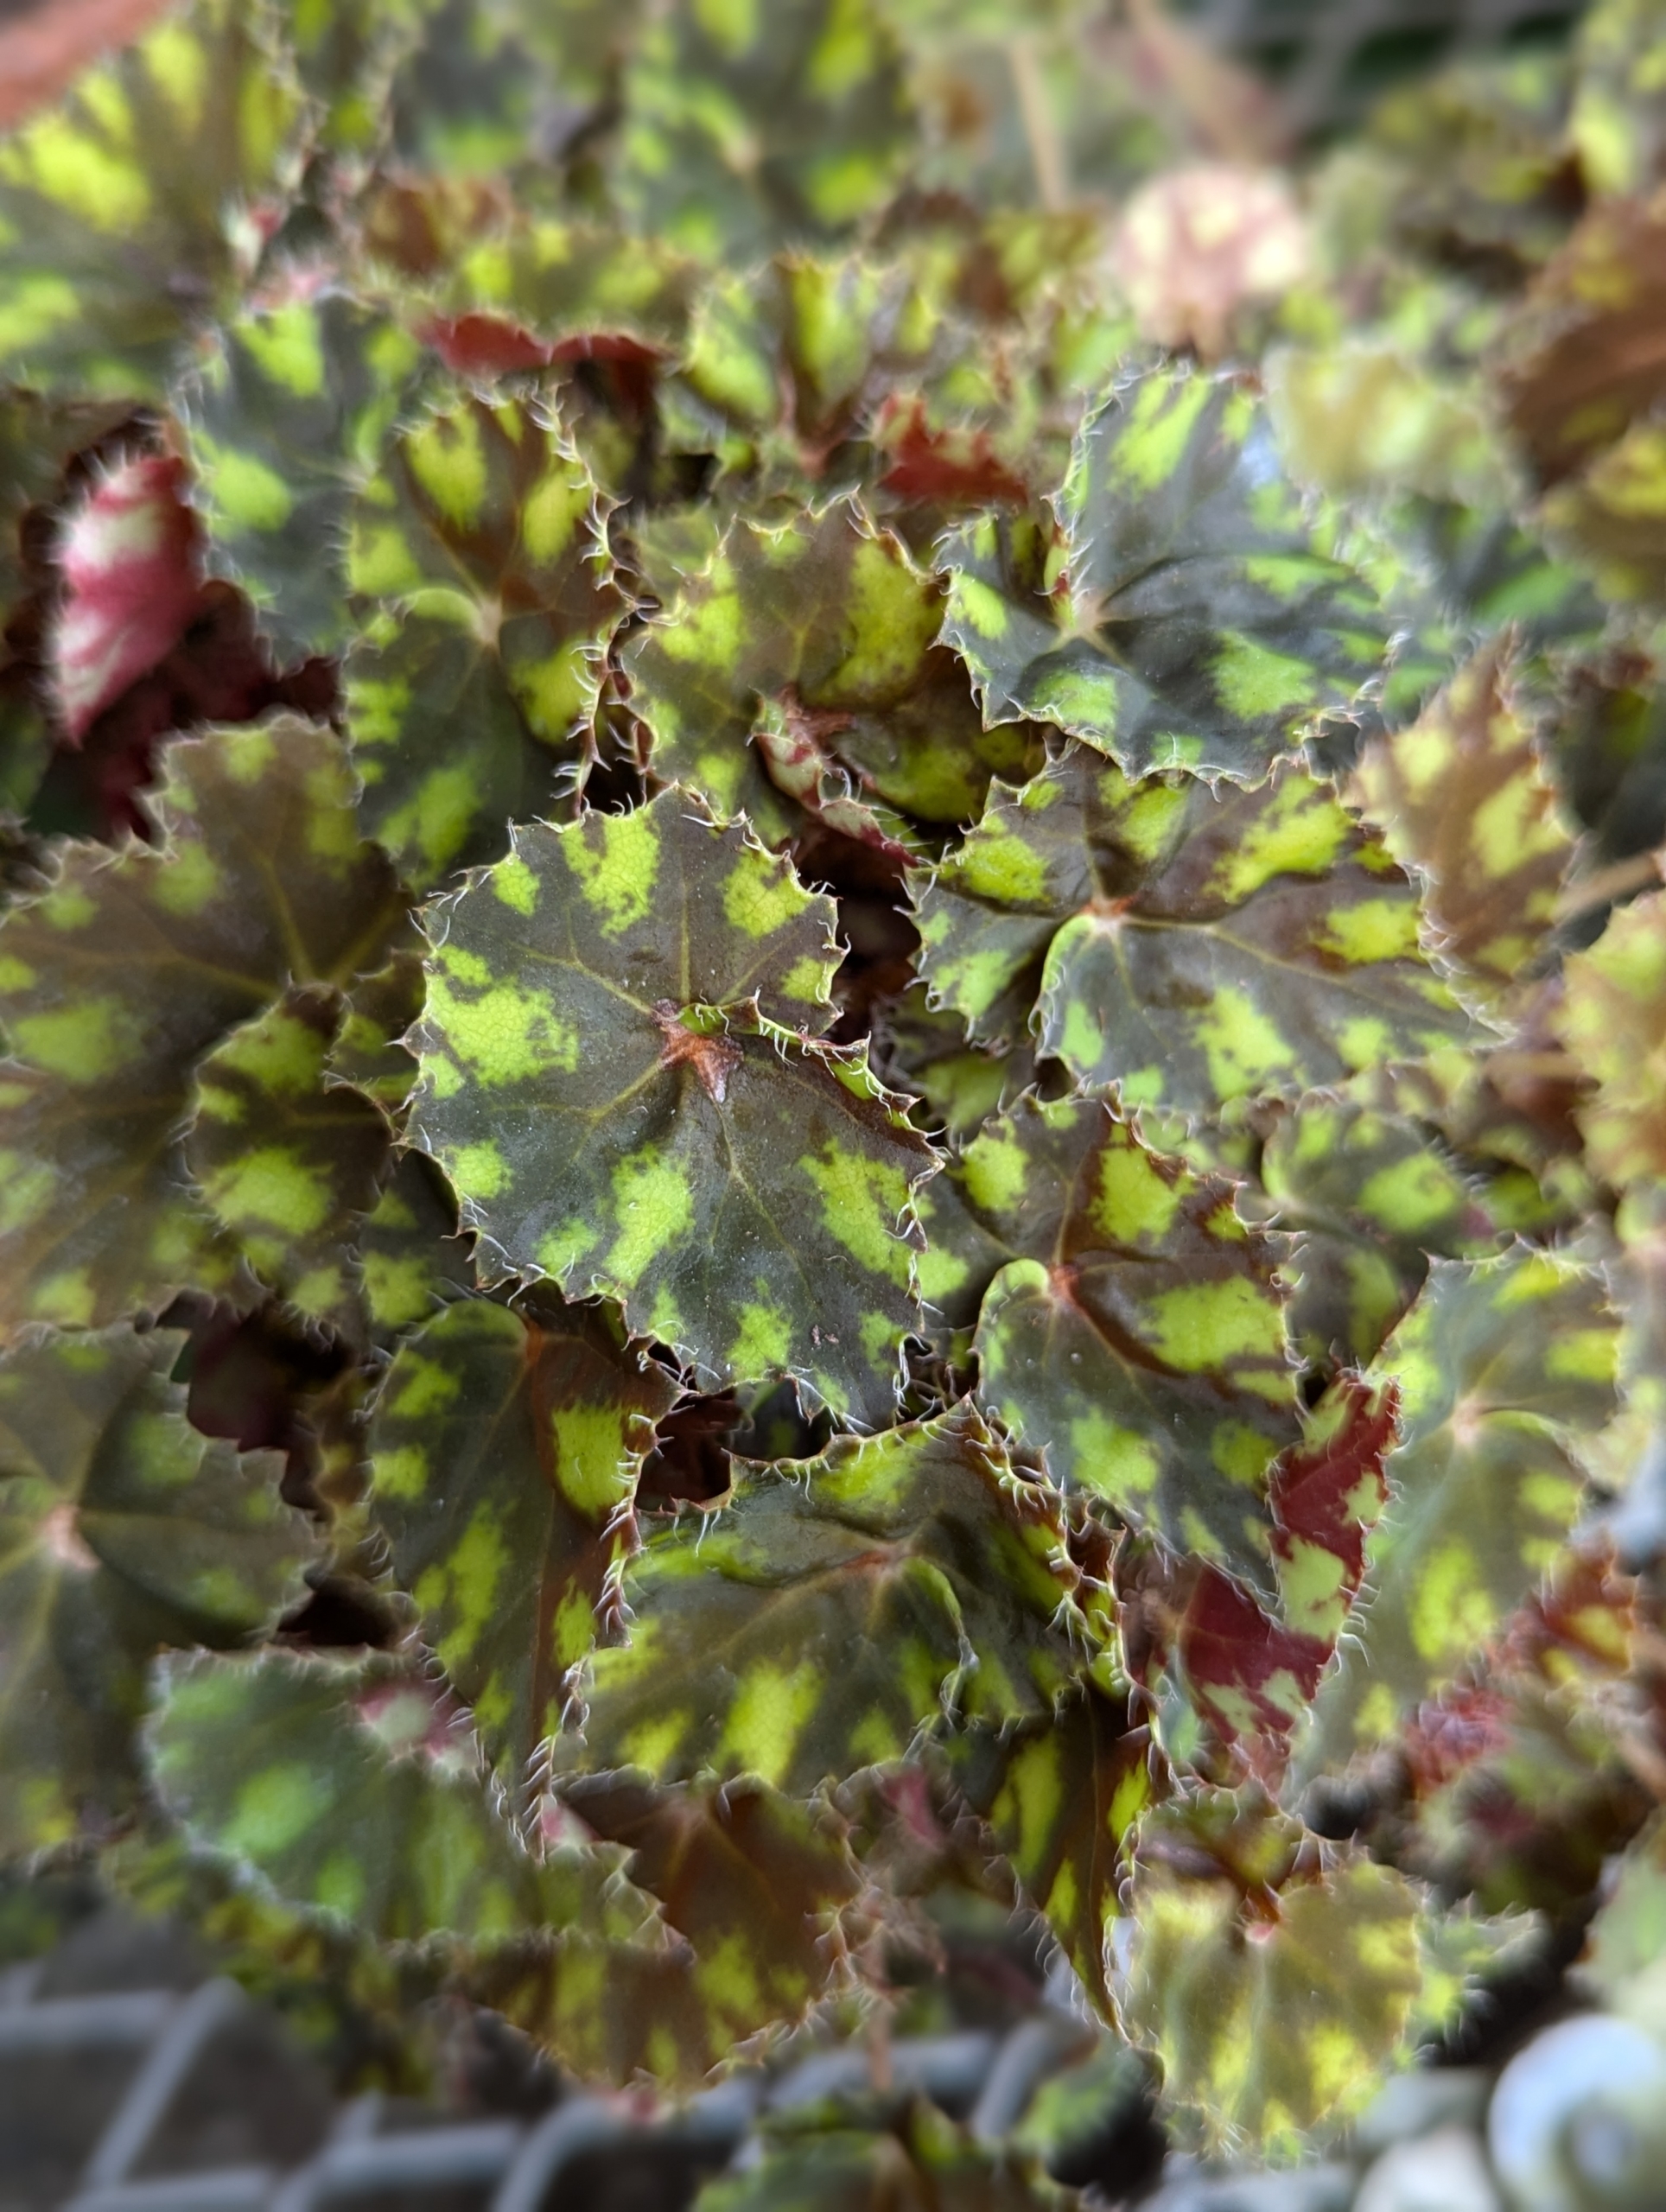
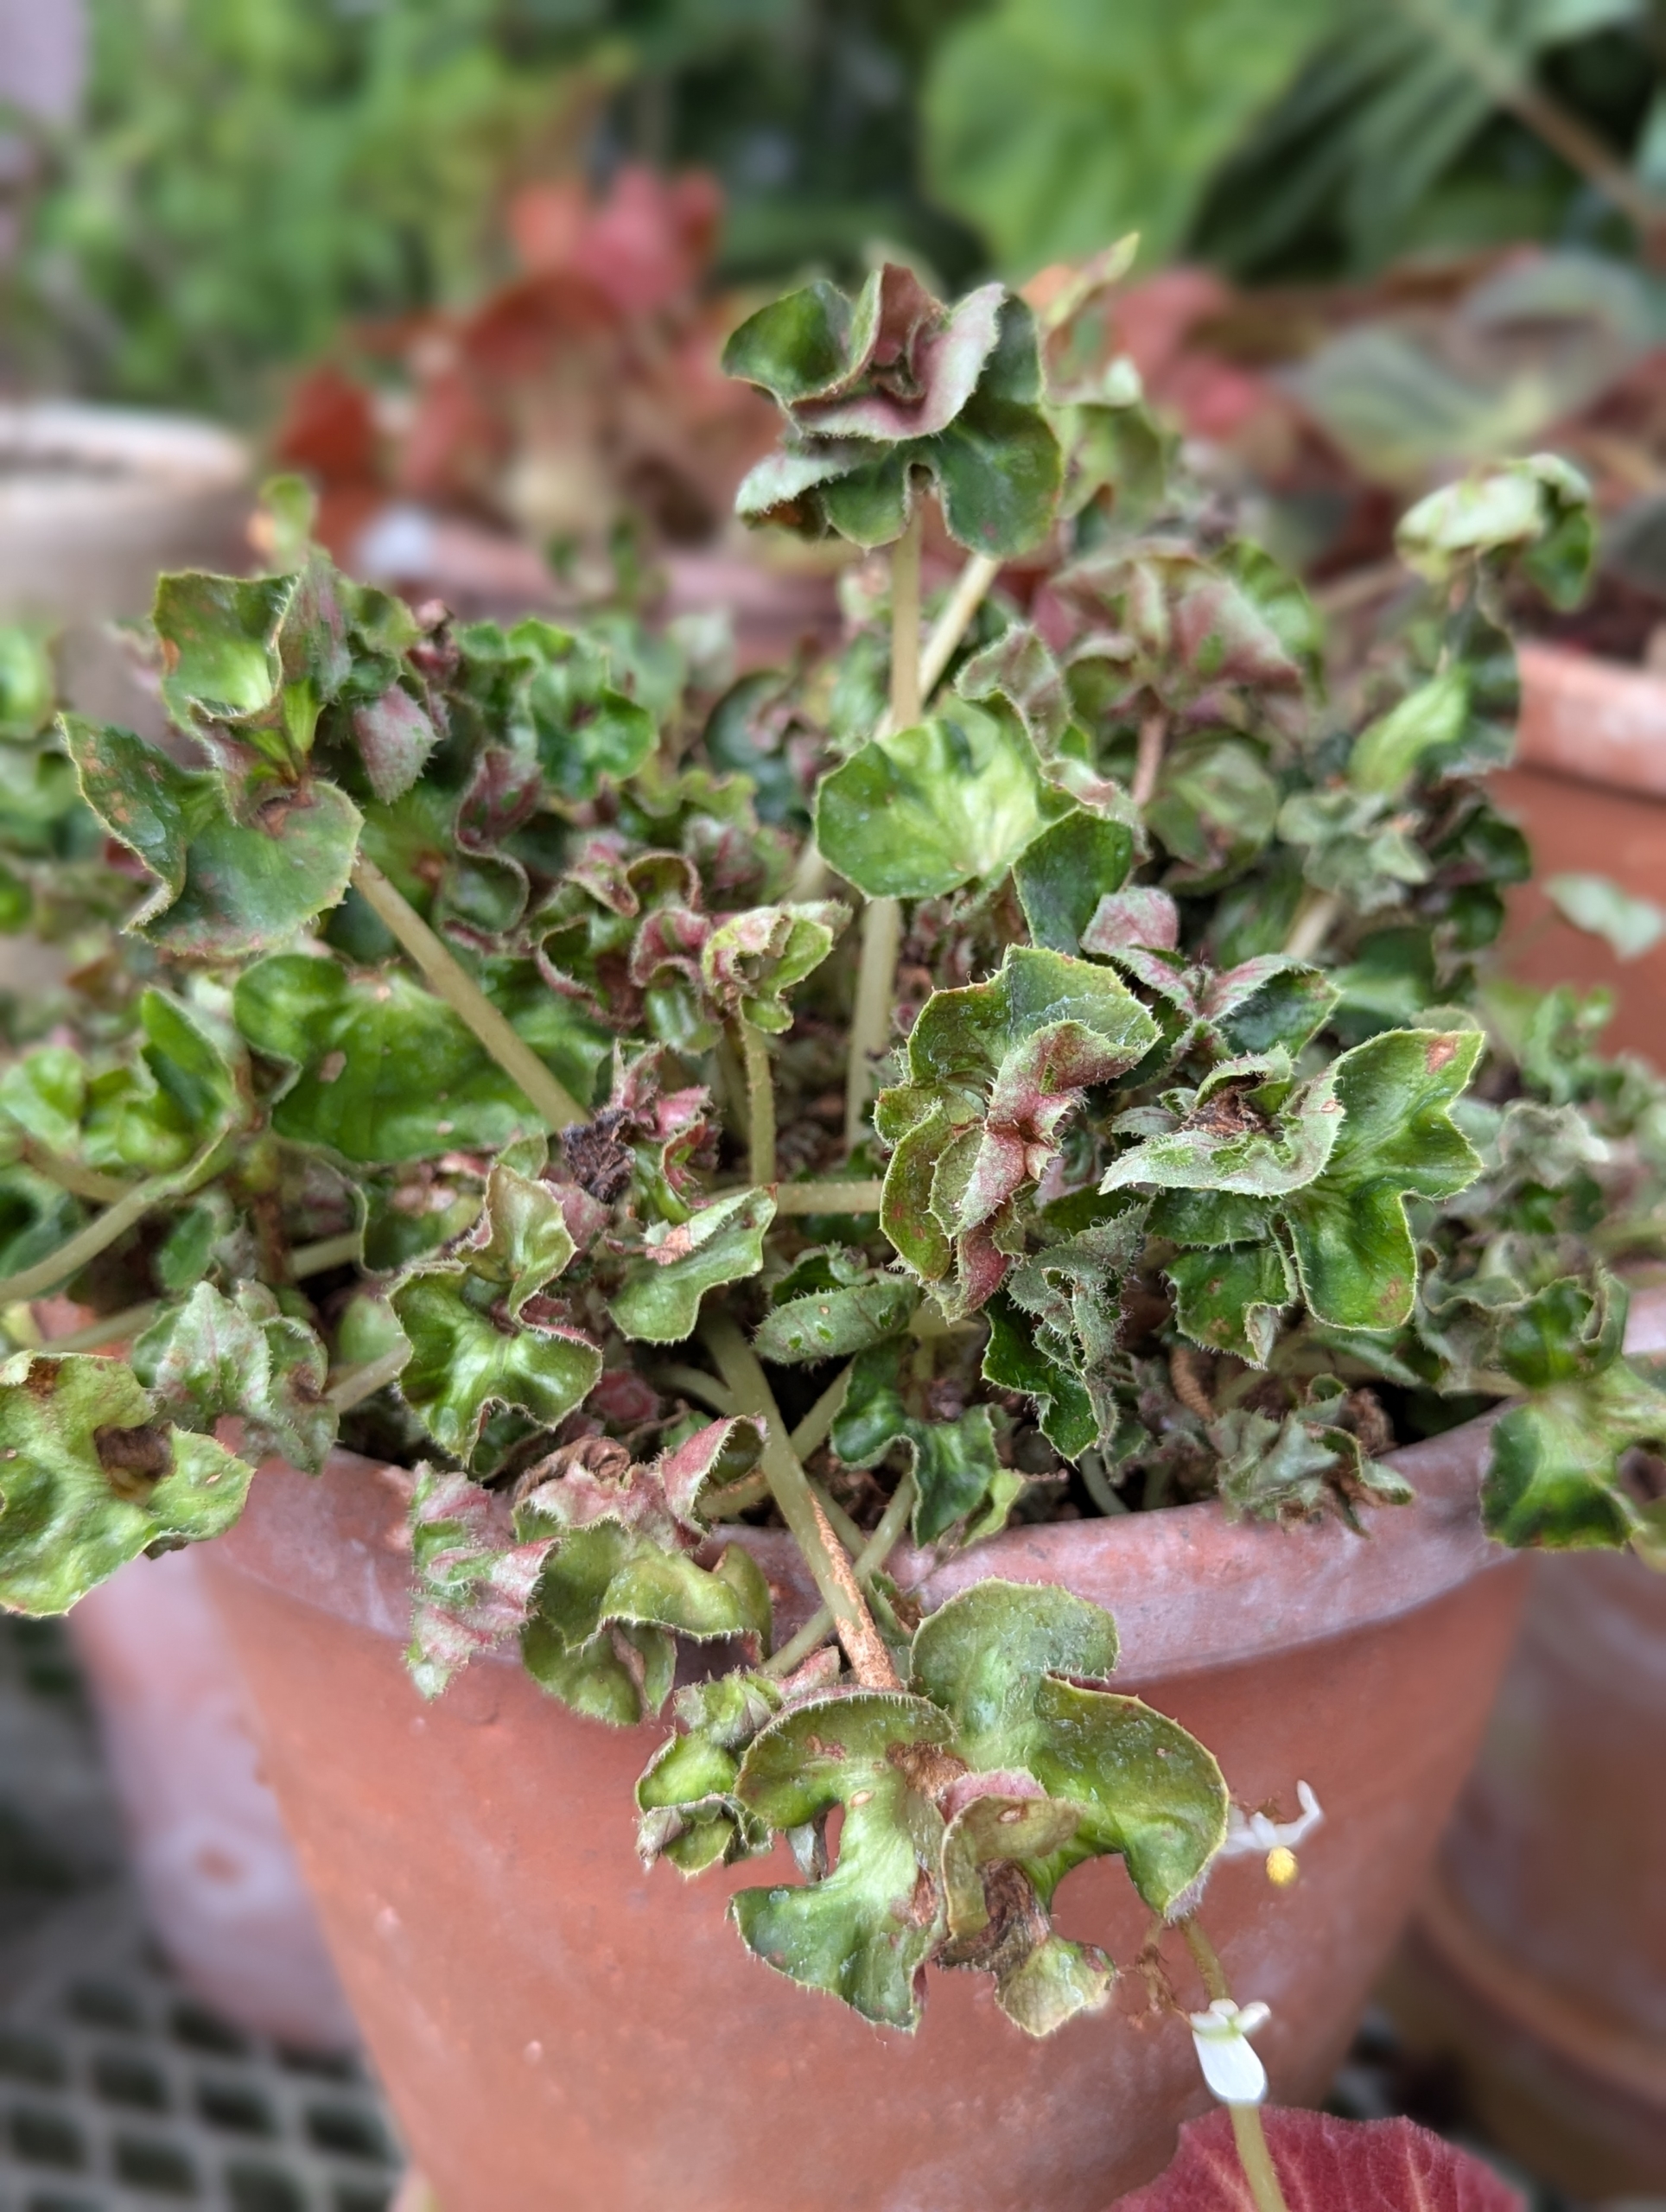
Rhizomatous begonias range from small, delicate plants with one-inch wide leaves to large, robust specimens with 12-inch wide leaves or more.
All begonias have oval-shaped leaves that can be spade-like with a pointed tip in some varieties. The leaves grow from the main stem in an “alternate” structure. This means they never grow opposite one another, but instead, each individual leaf emerges slightly higher on the stem than the previous one.
Begonias are native to tropical and subtropical climates, so many specimens are kept indoors as ornamental houseplants.
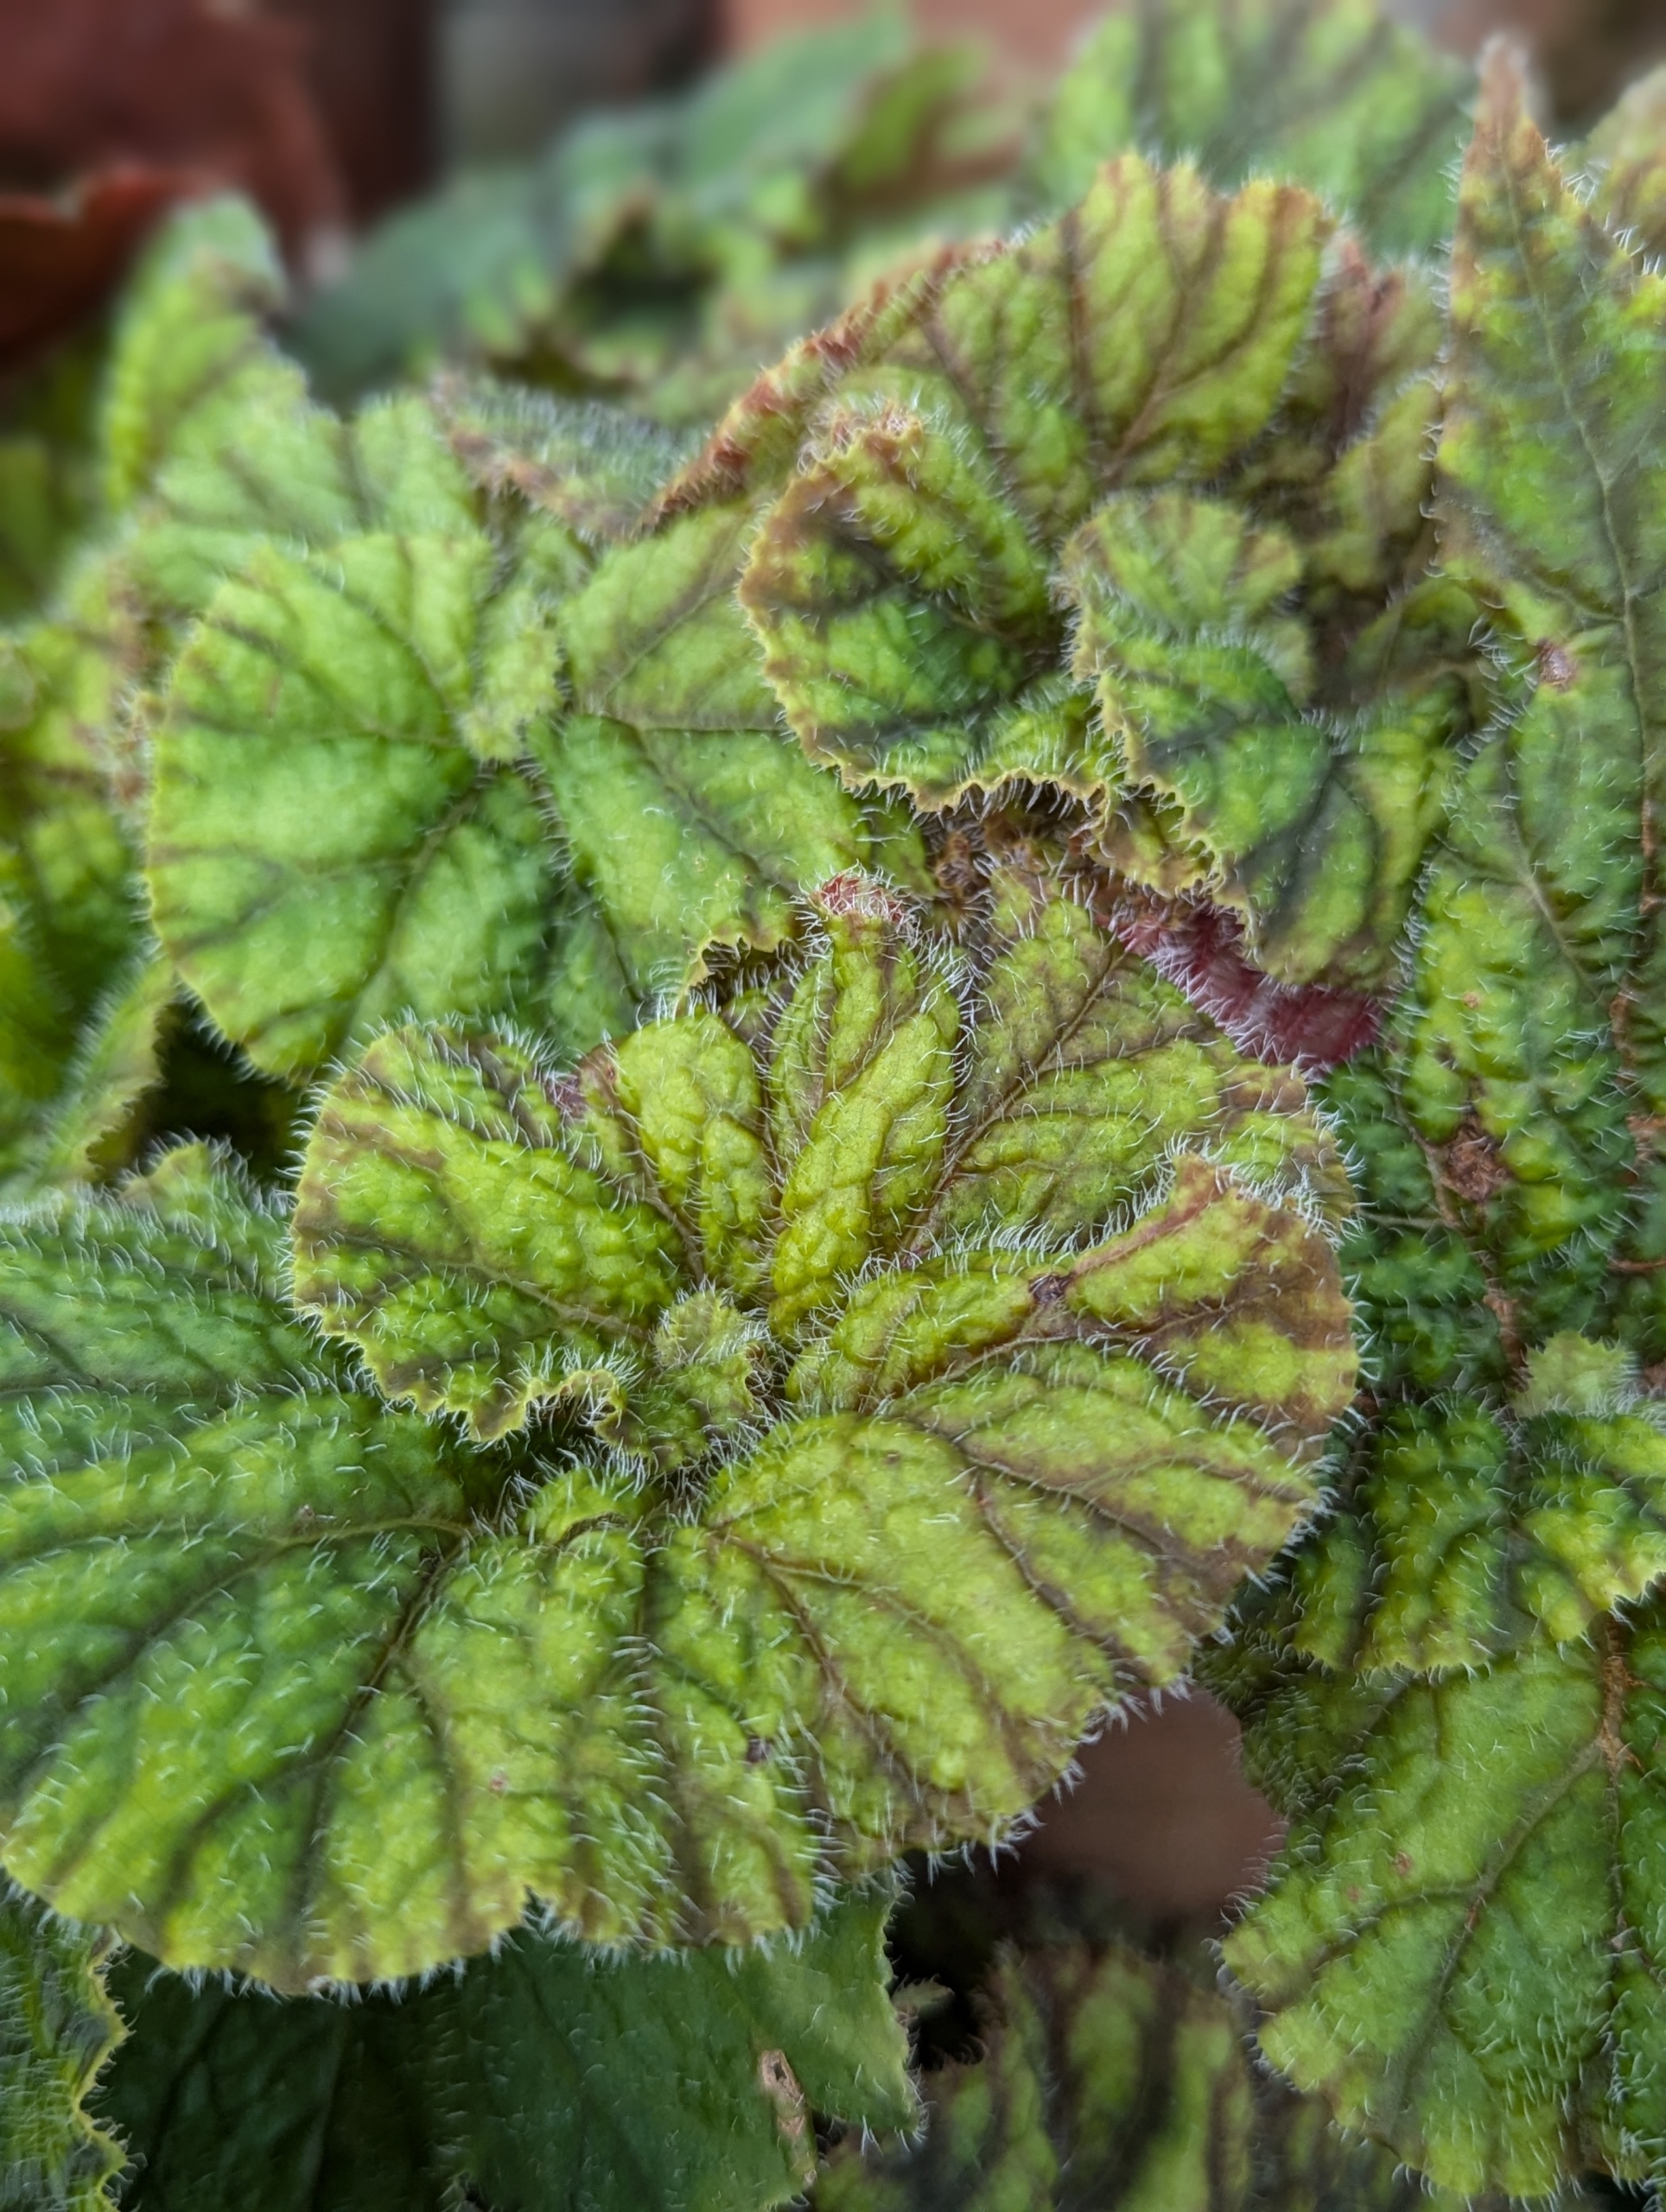
They come in many colors and textures, and can be smooth or veiny, decorated in bold accents of red, copper and silver or subtle shades of green.
Here’s Wendy tending the many plants. I have been collecting begonias for years. The genus begonia contains about 1500 different plant species and hundreds of hybrids.
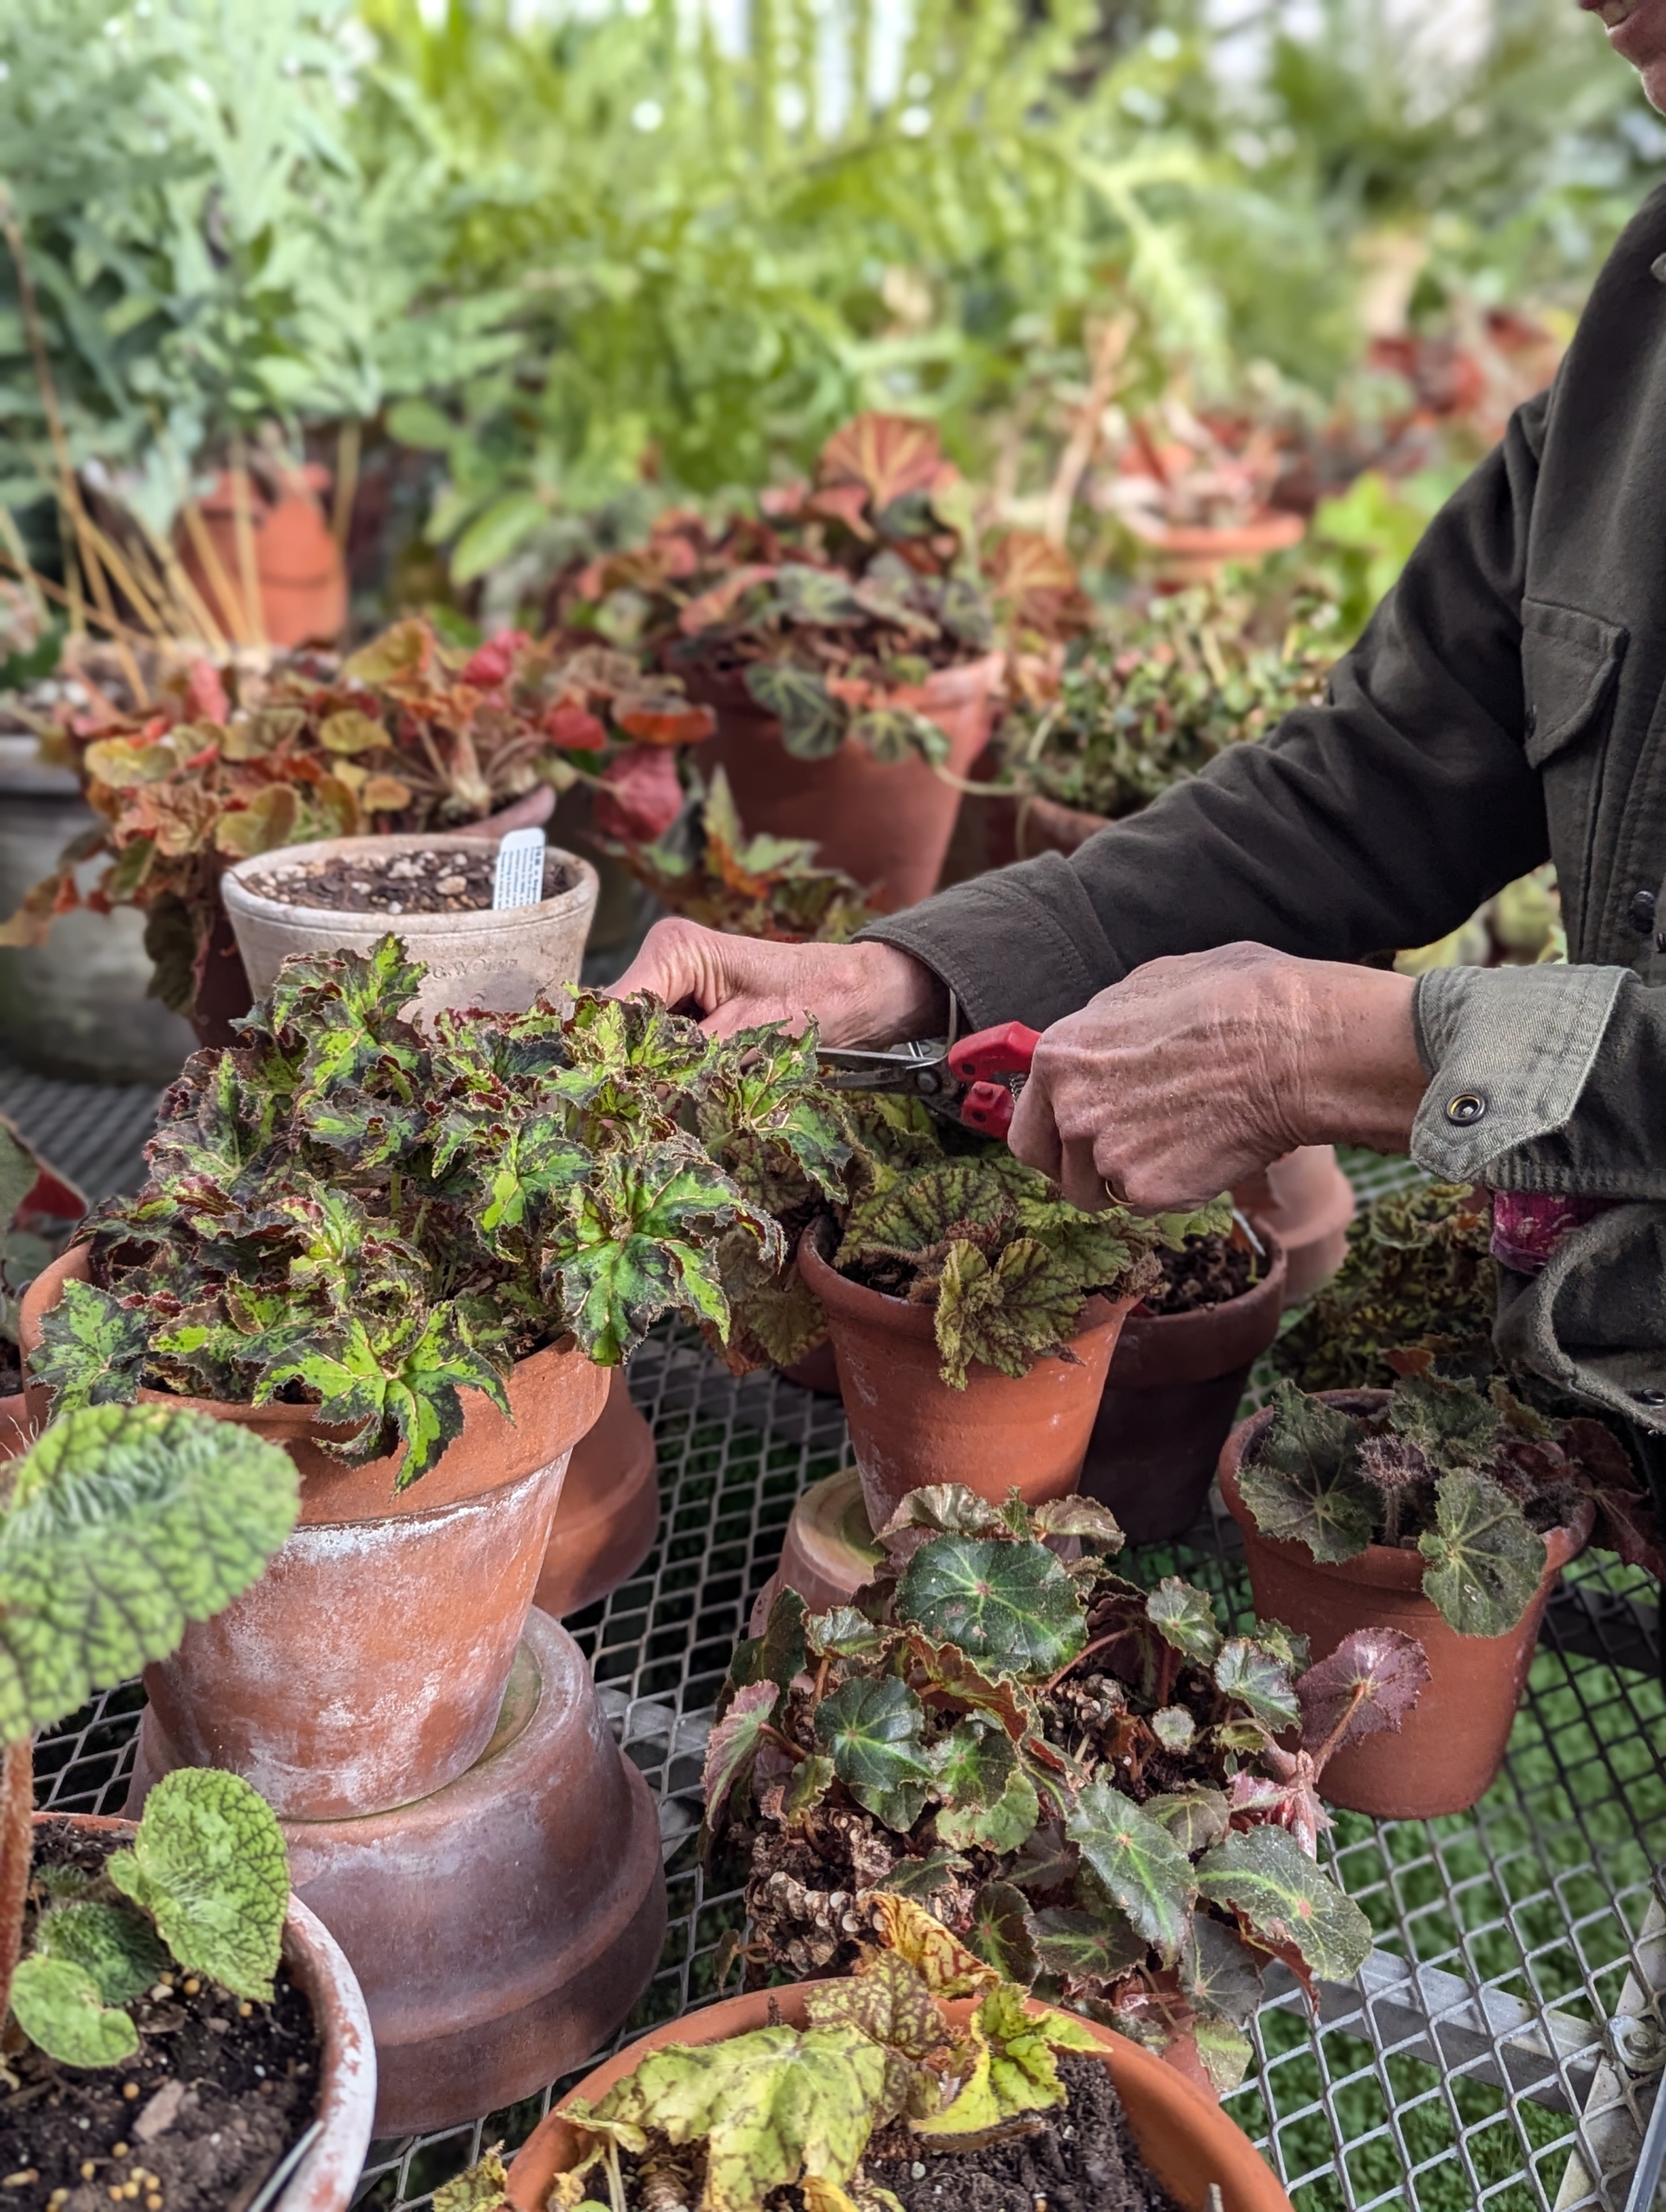
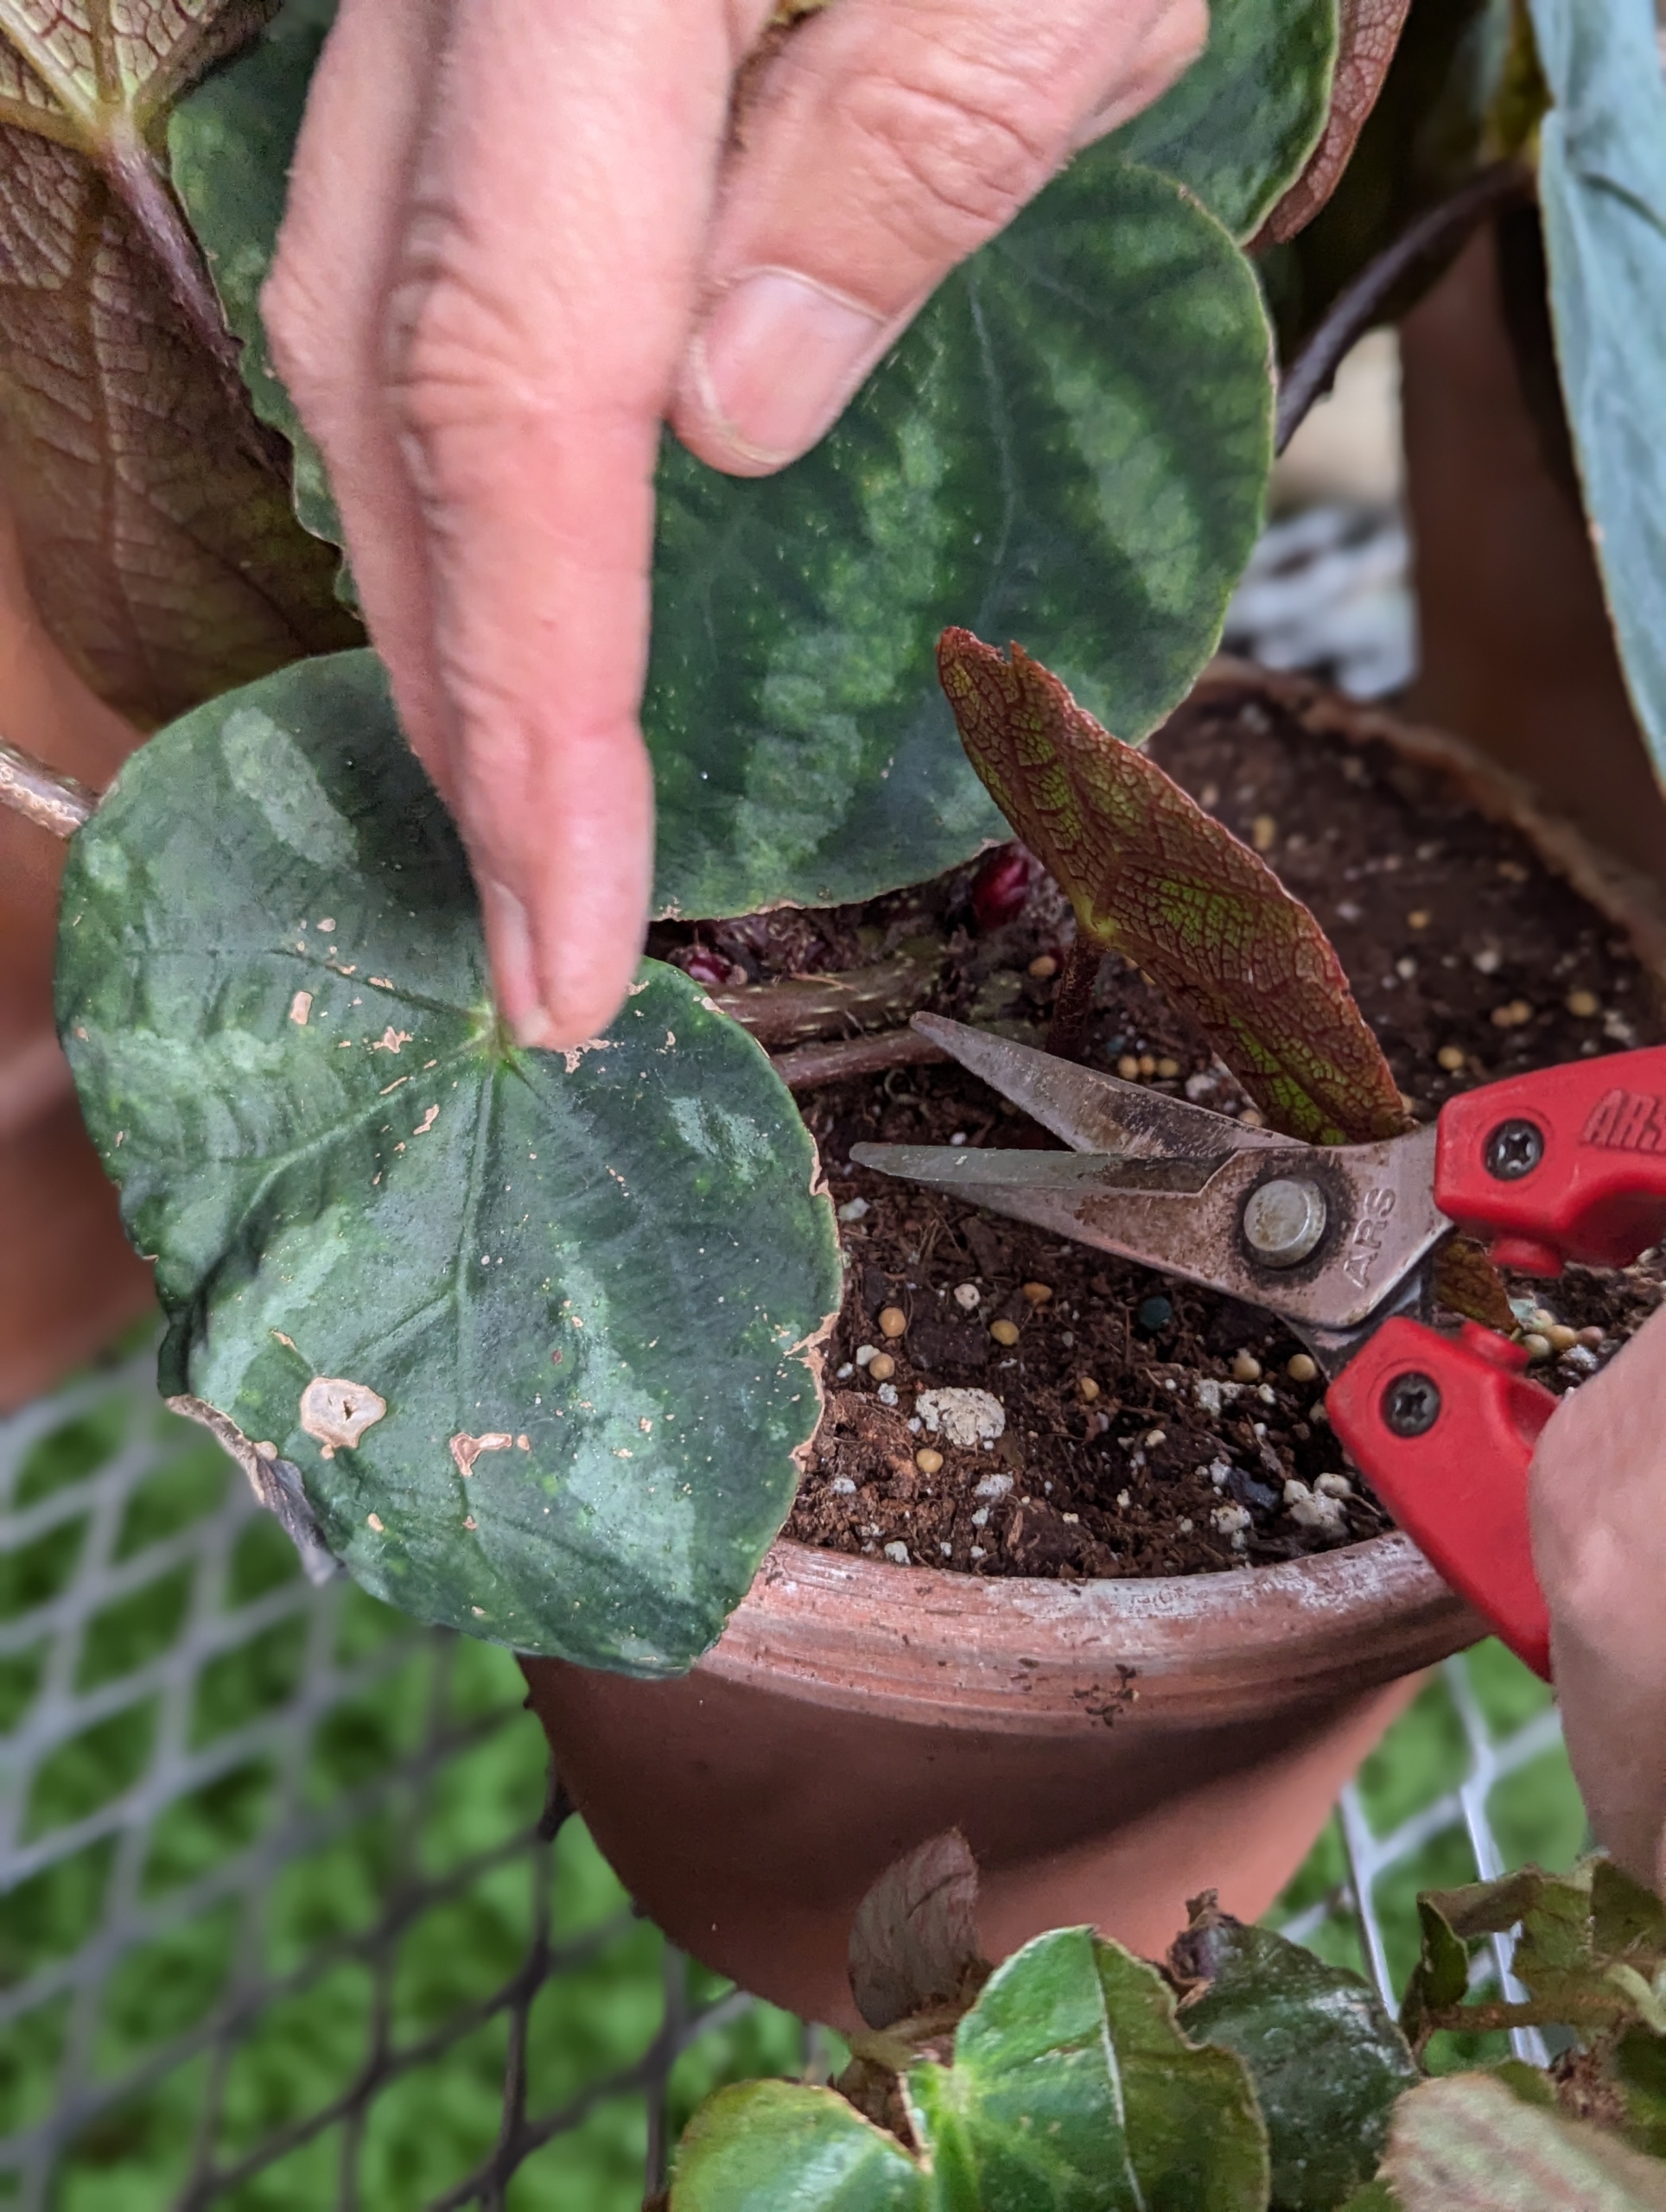
As part of the grooming process, using sharp snips Wendy gives the plants a slight pruning to encourage new growth and aeration.
Any viable leaves that are trimmed or fall off are always saved for future rooting purposes. Begonia leaves root easily – just push its stem into potting soil, and keep it moist. After a few weeks, new leaves emerge.
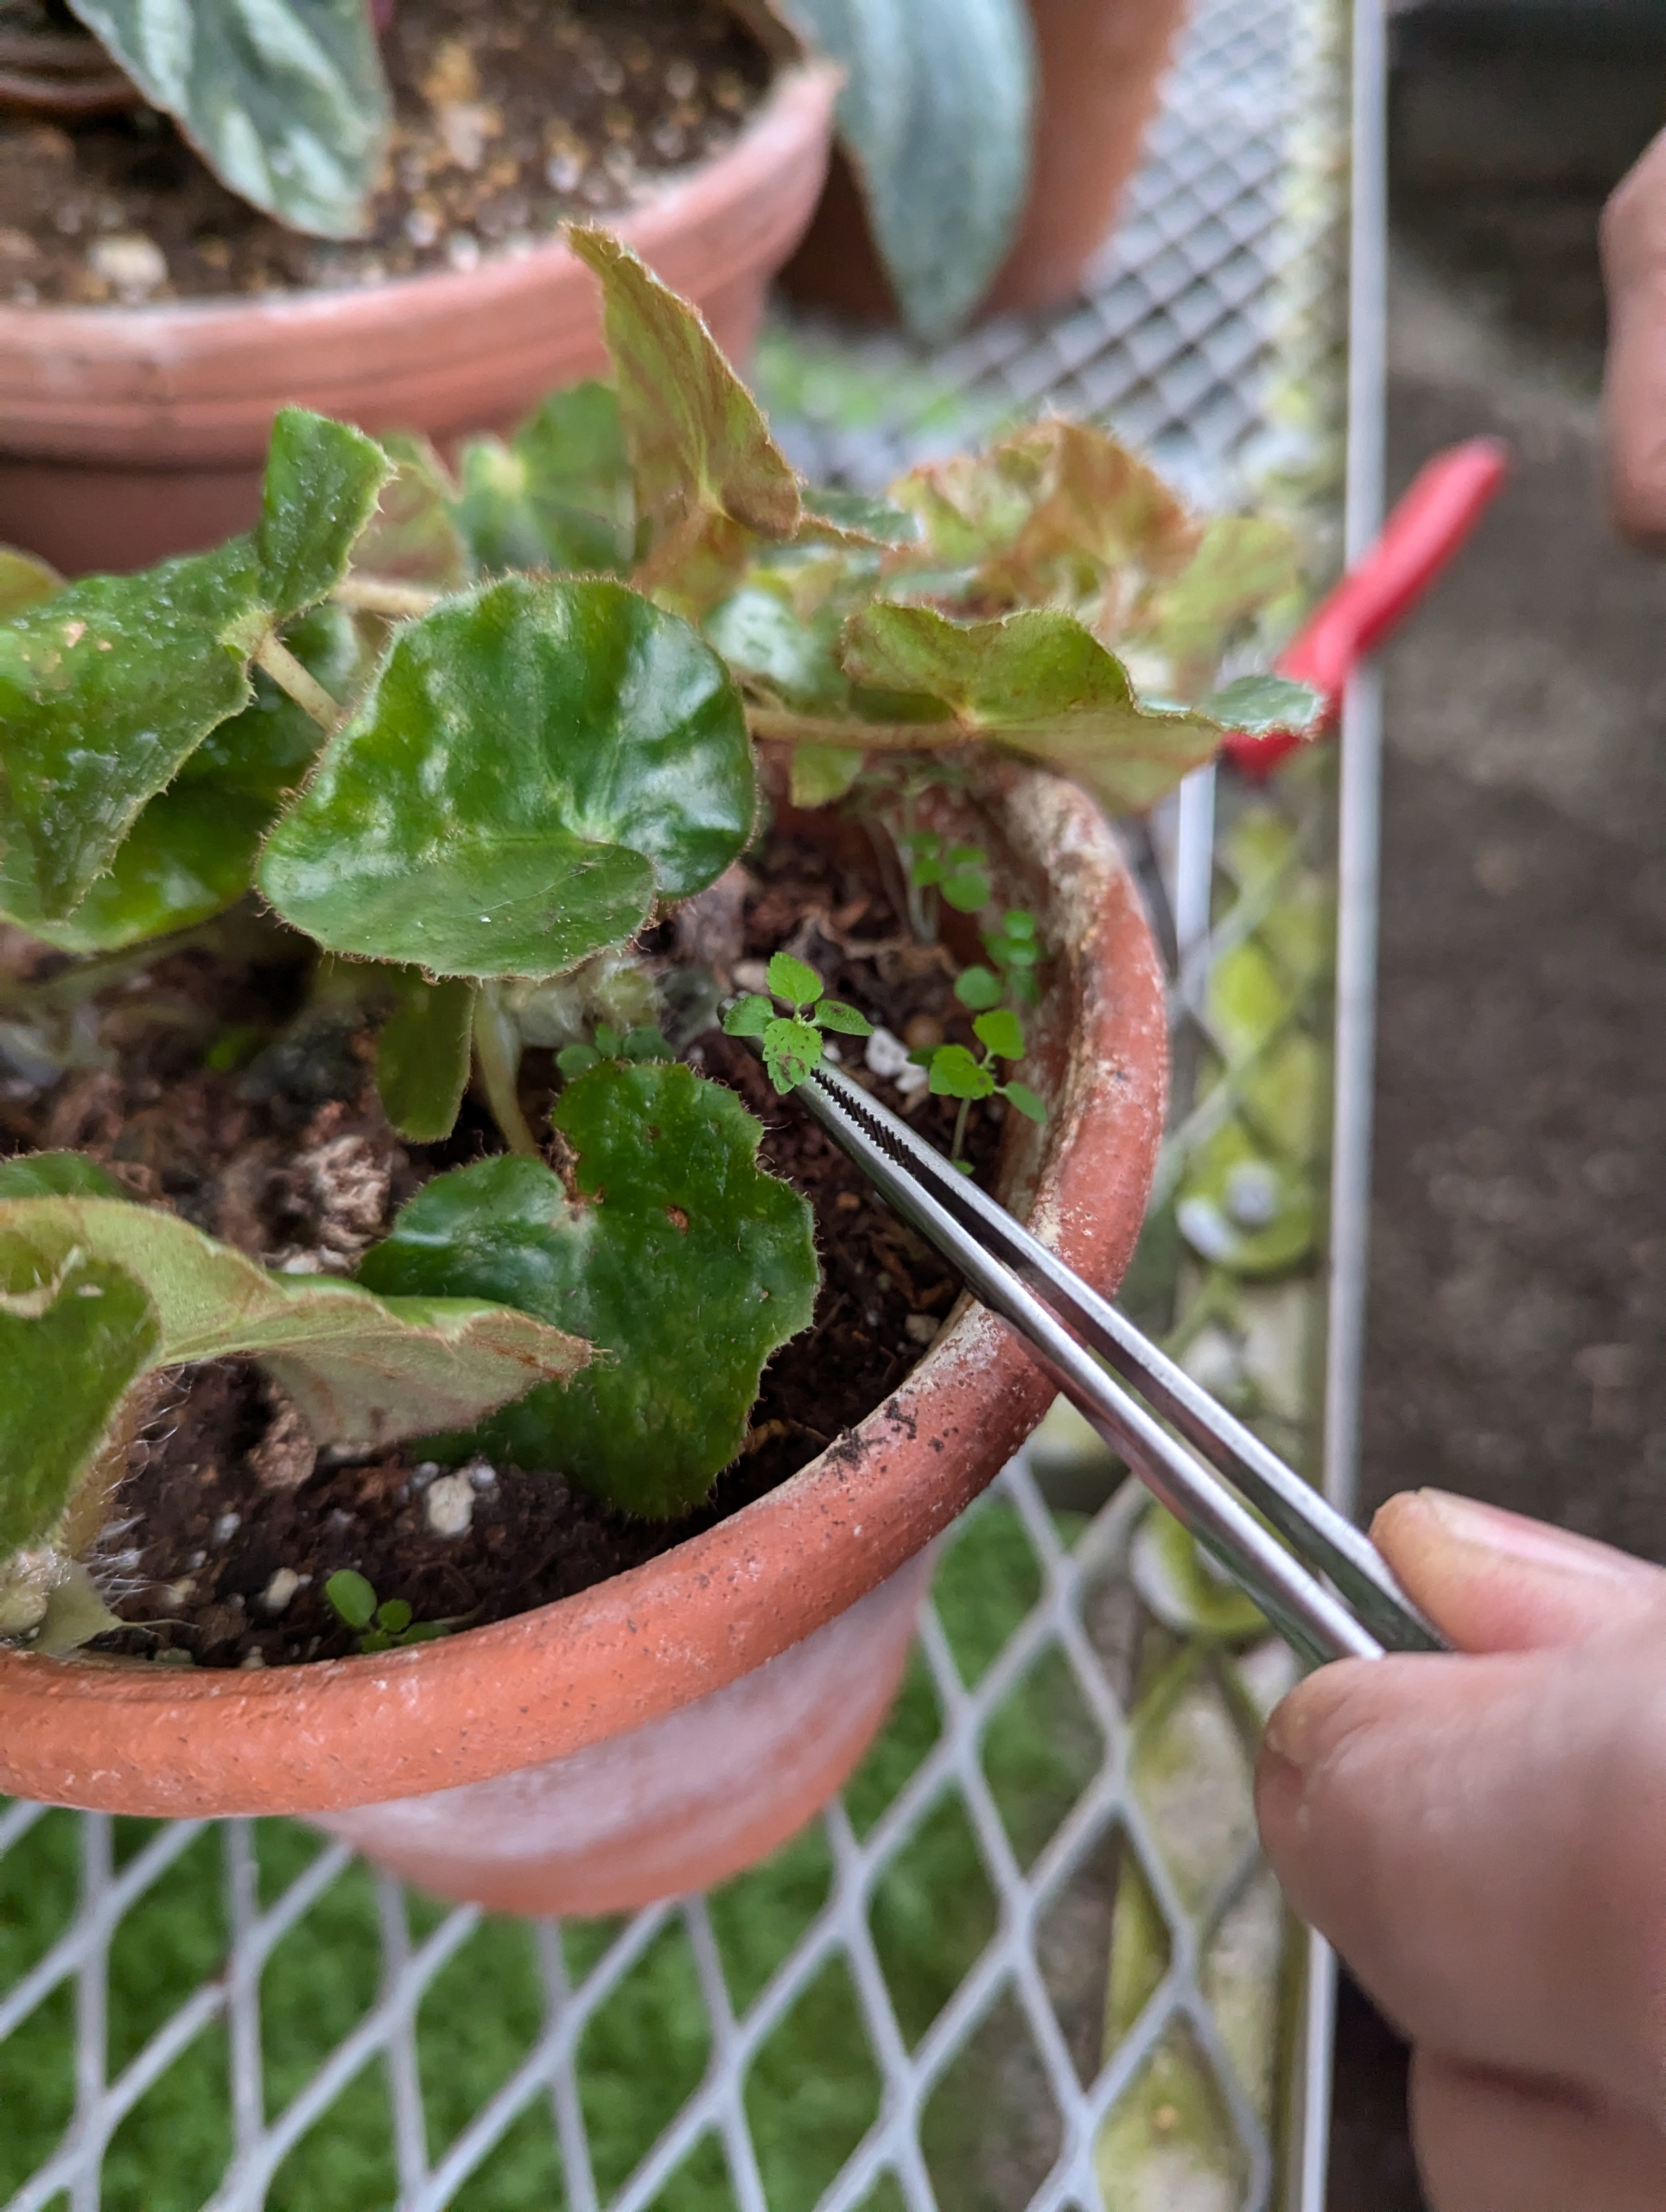
She uses these large tweezers to carefully pluck any weeds growing under the plant.
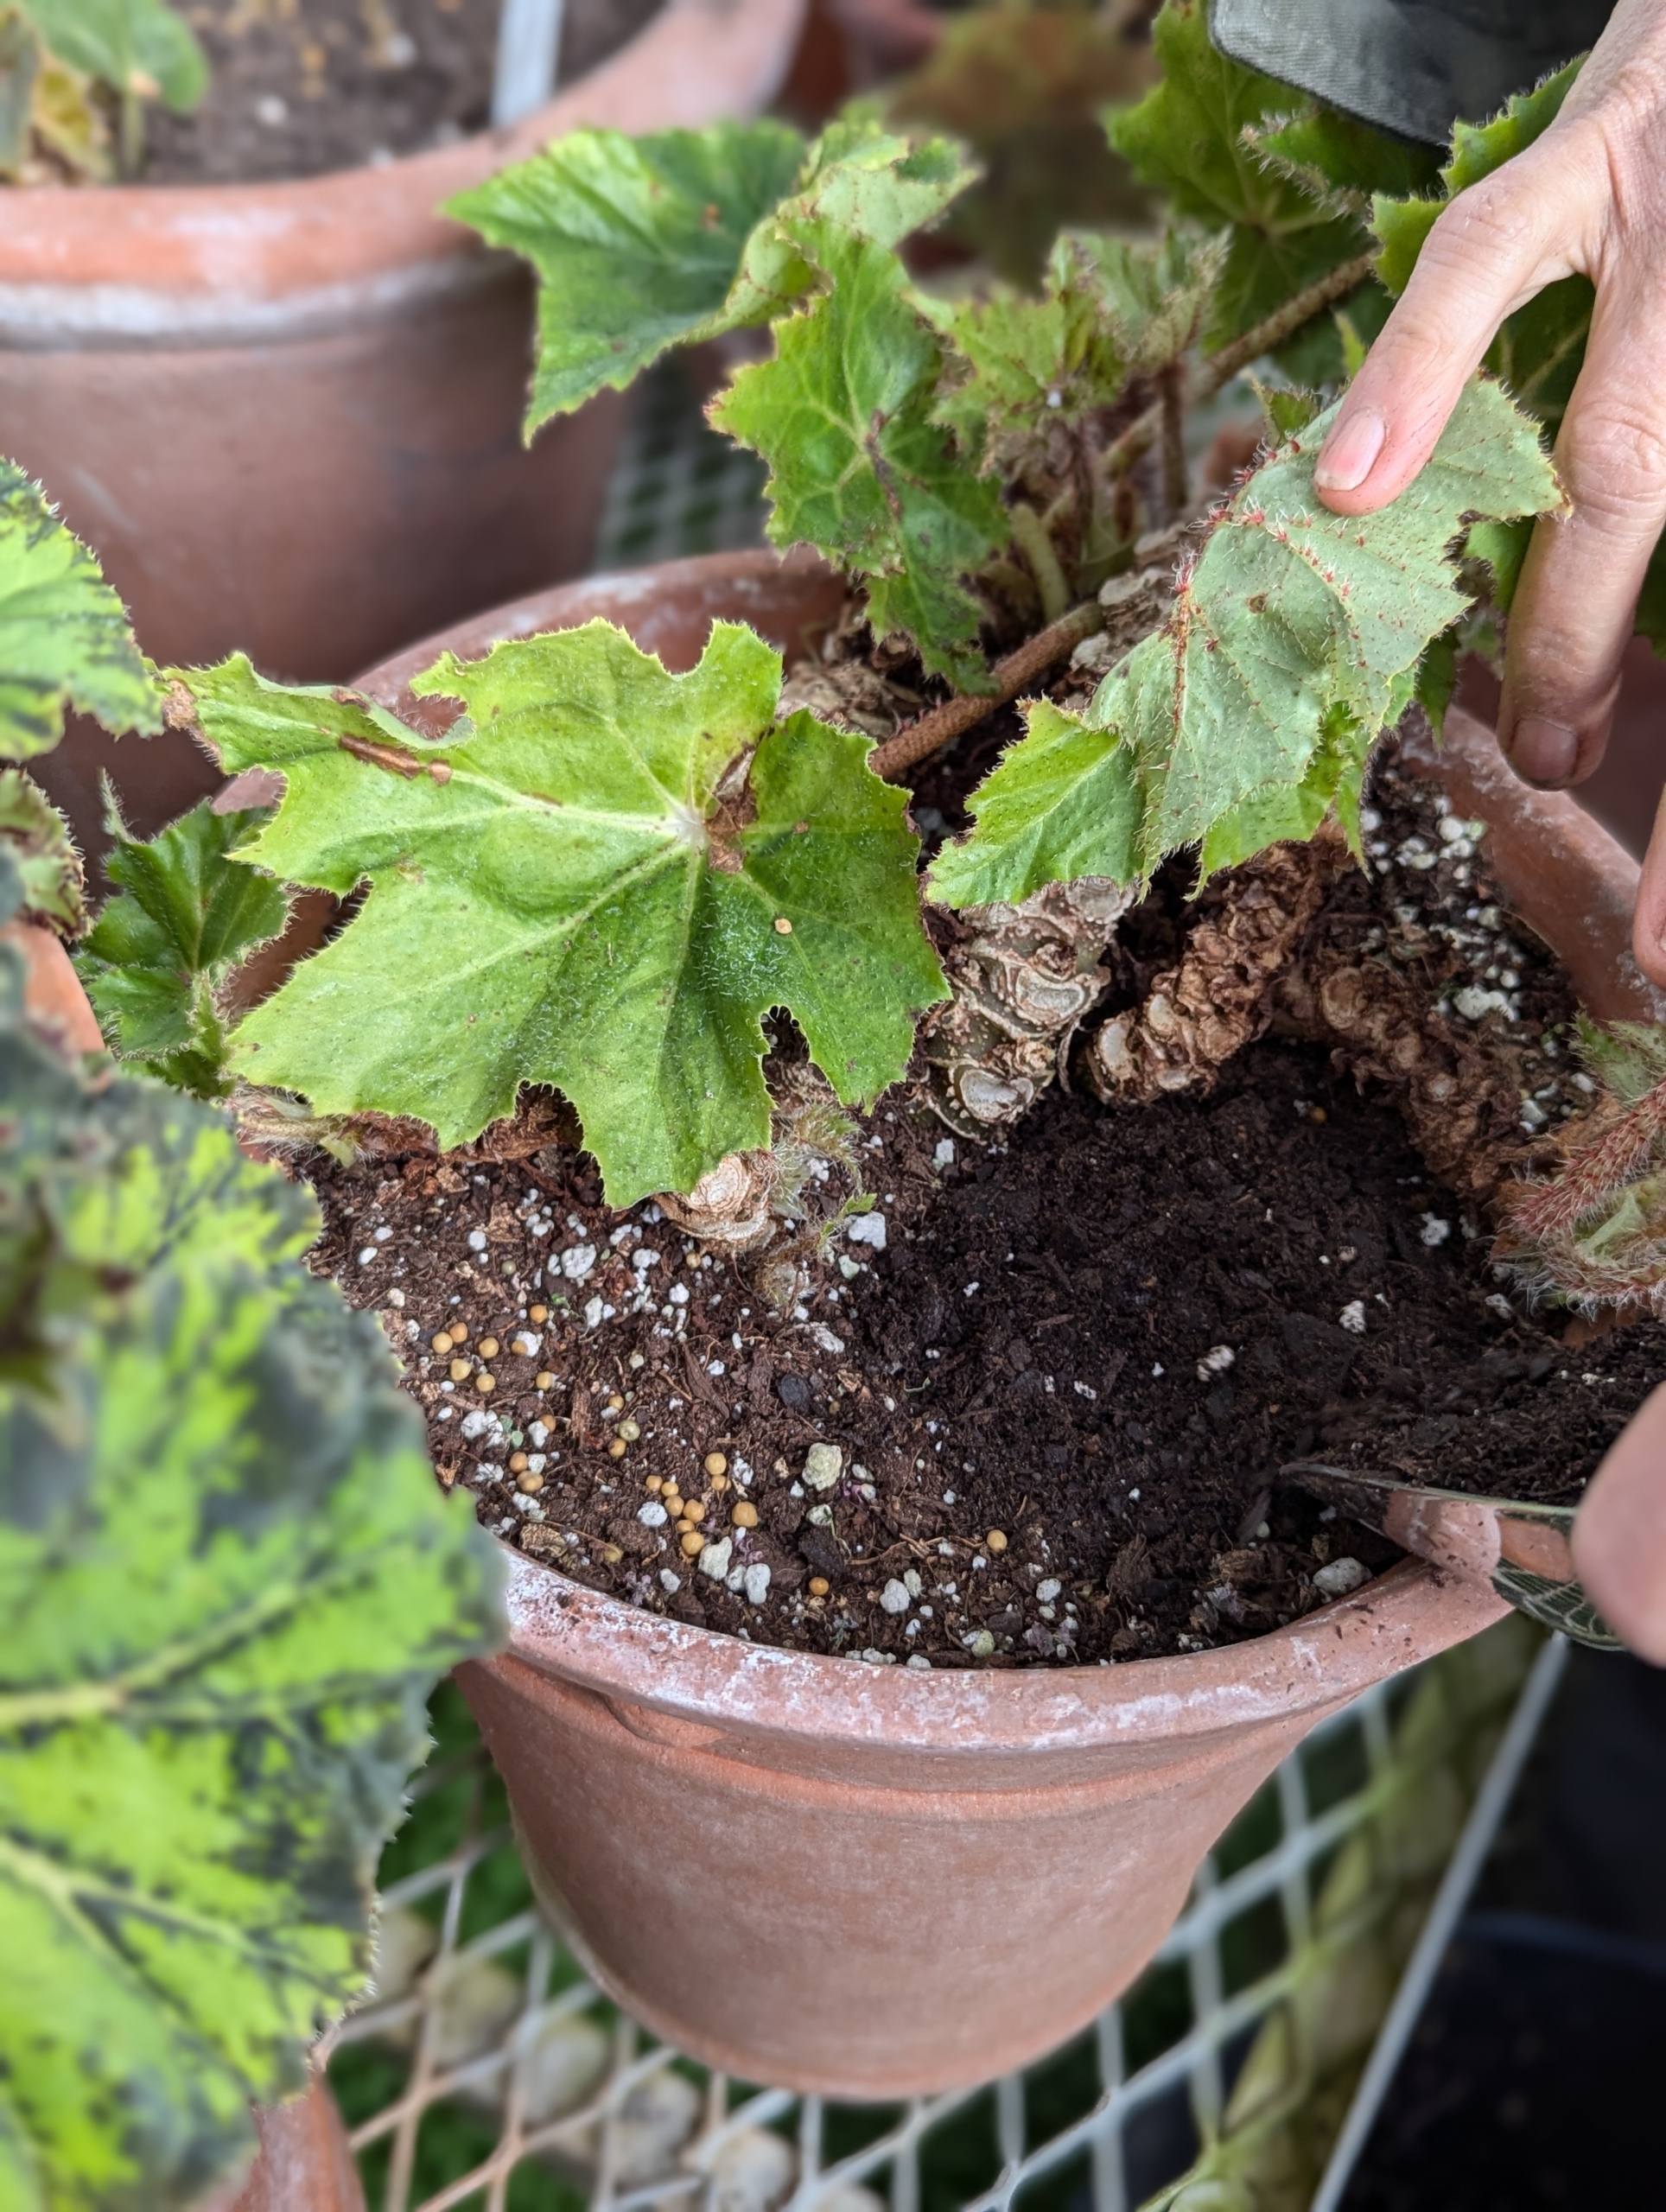
Begonias grow best in a light well-draining potting mix. Wendy top dresses each pot with a fresh layer. Any good quality light potting mix will work well. We use one from Miracle-Gro, which can be used for both indoor and outdoor container plants.
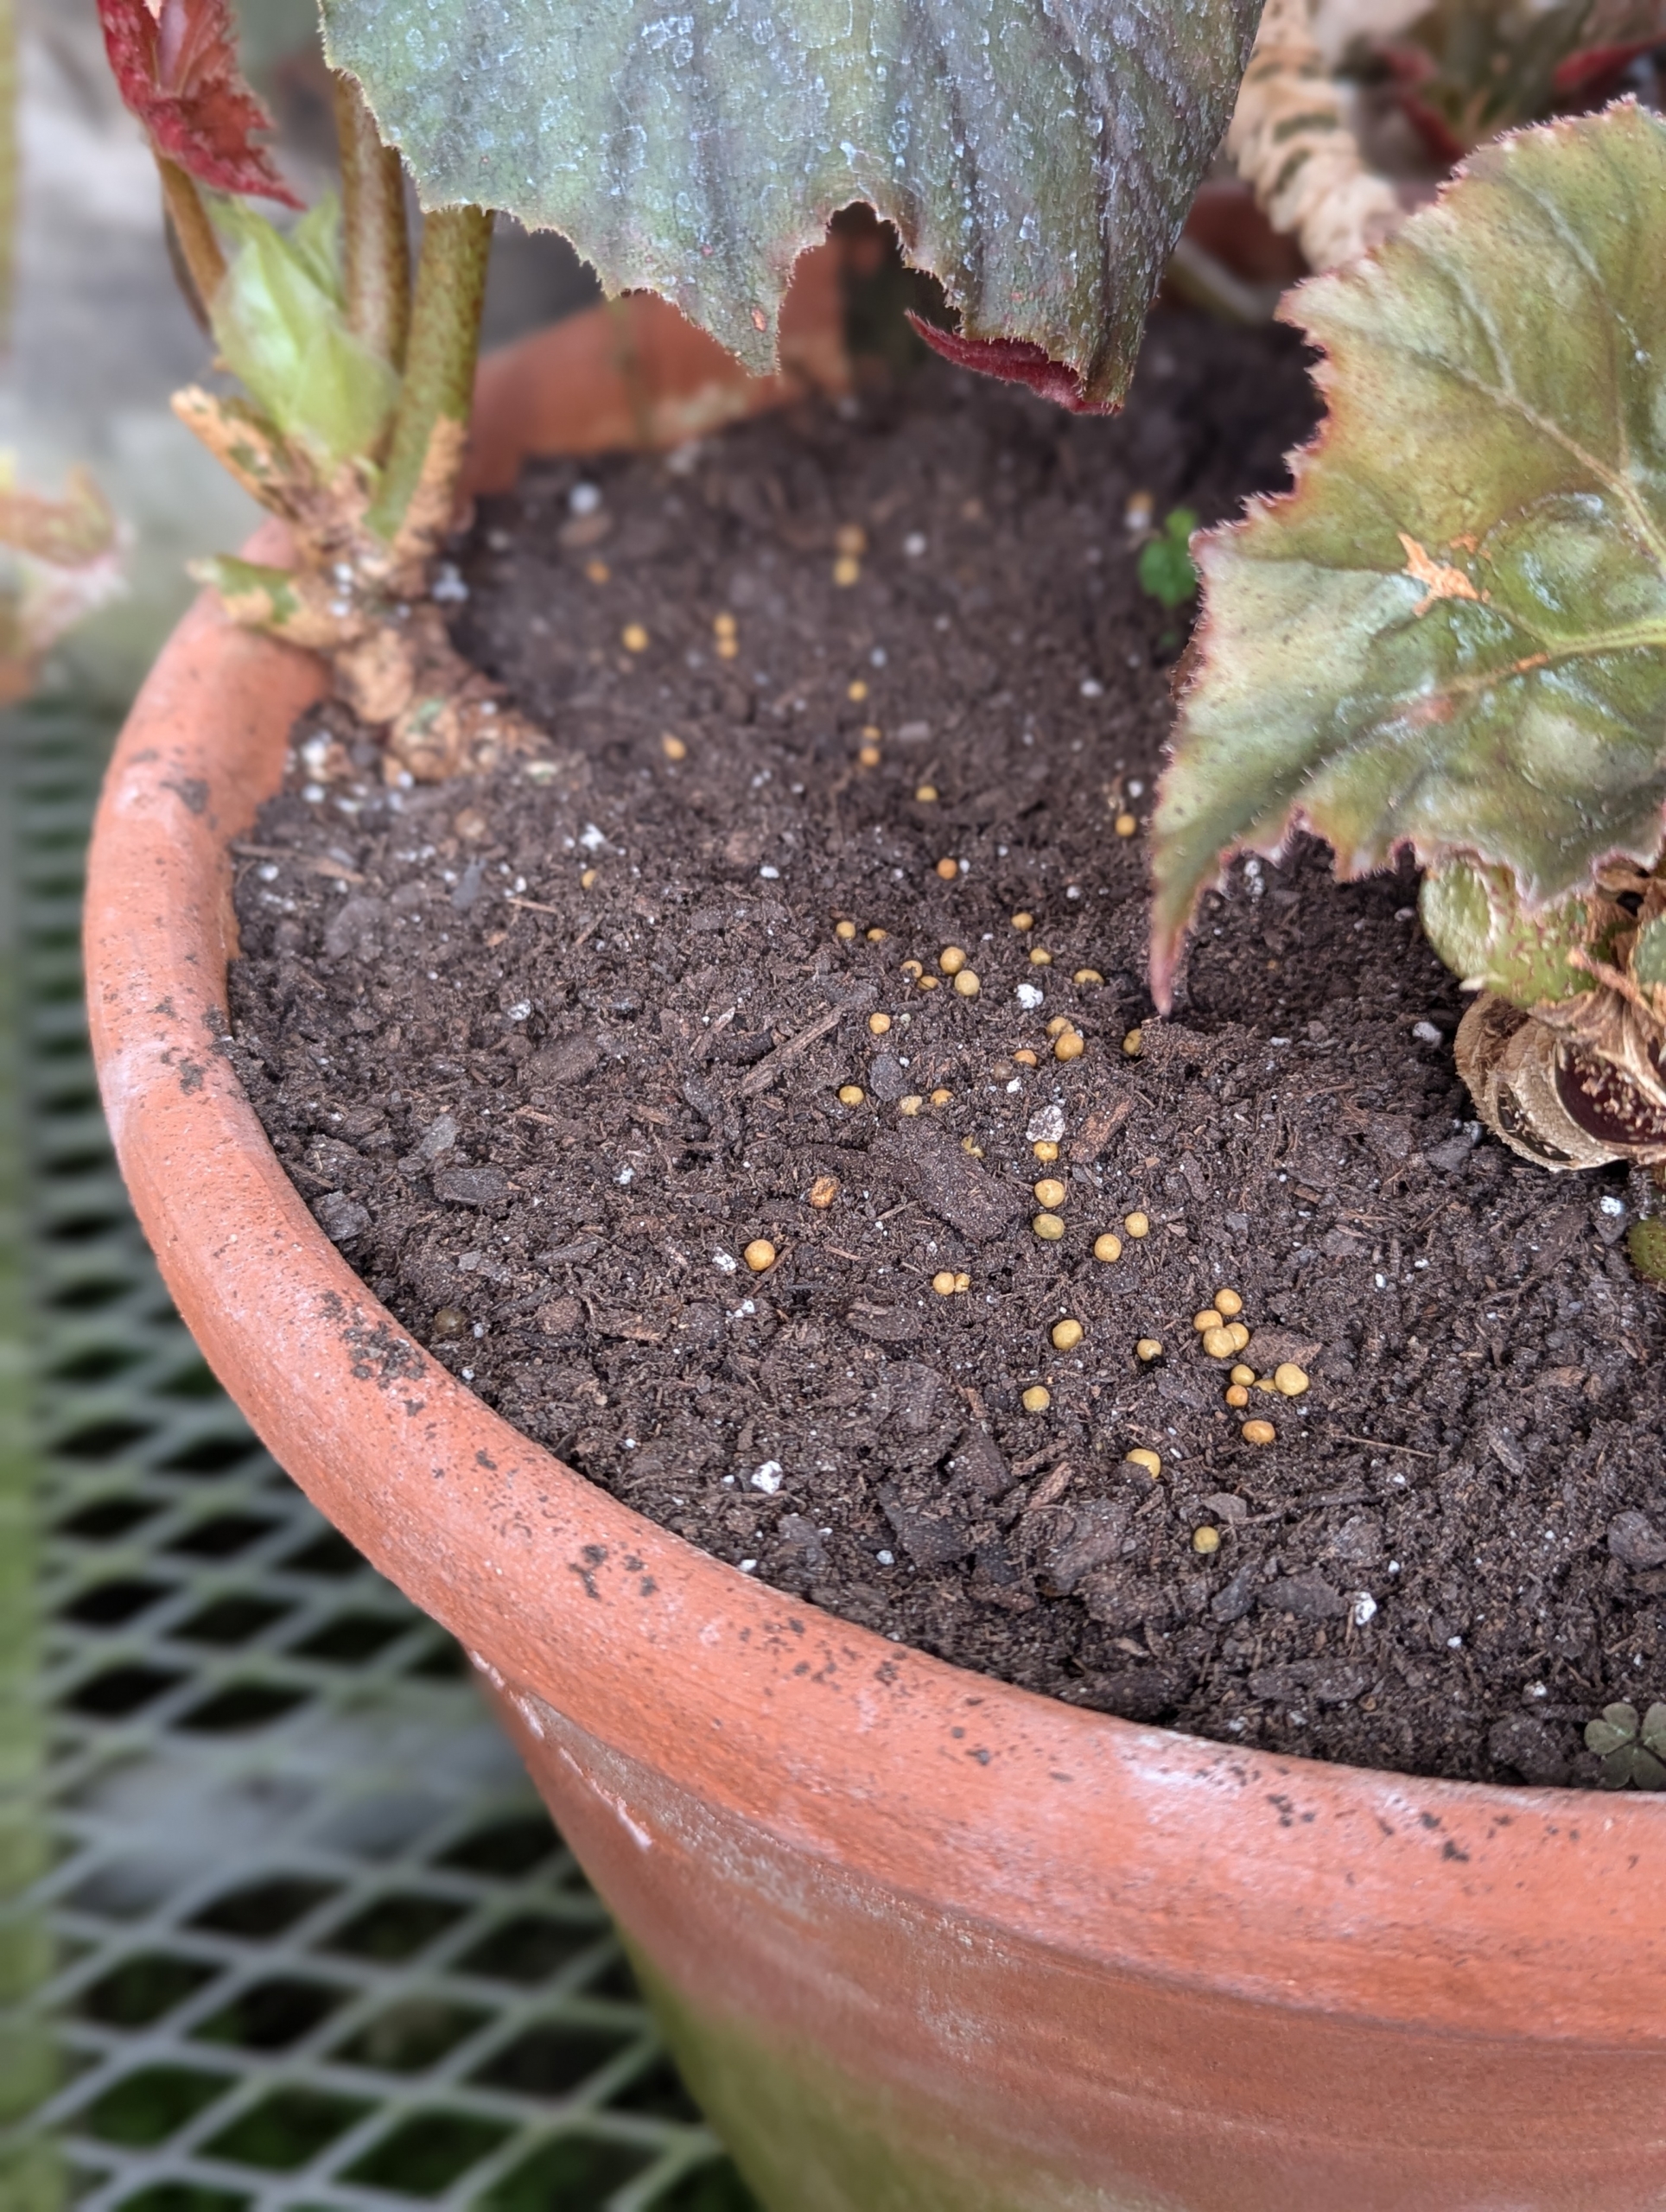
Osmocote is an all-in-one solution containing essential nutrients in tiny resin-covered prills.
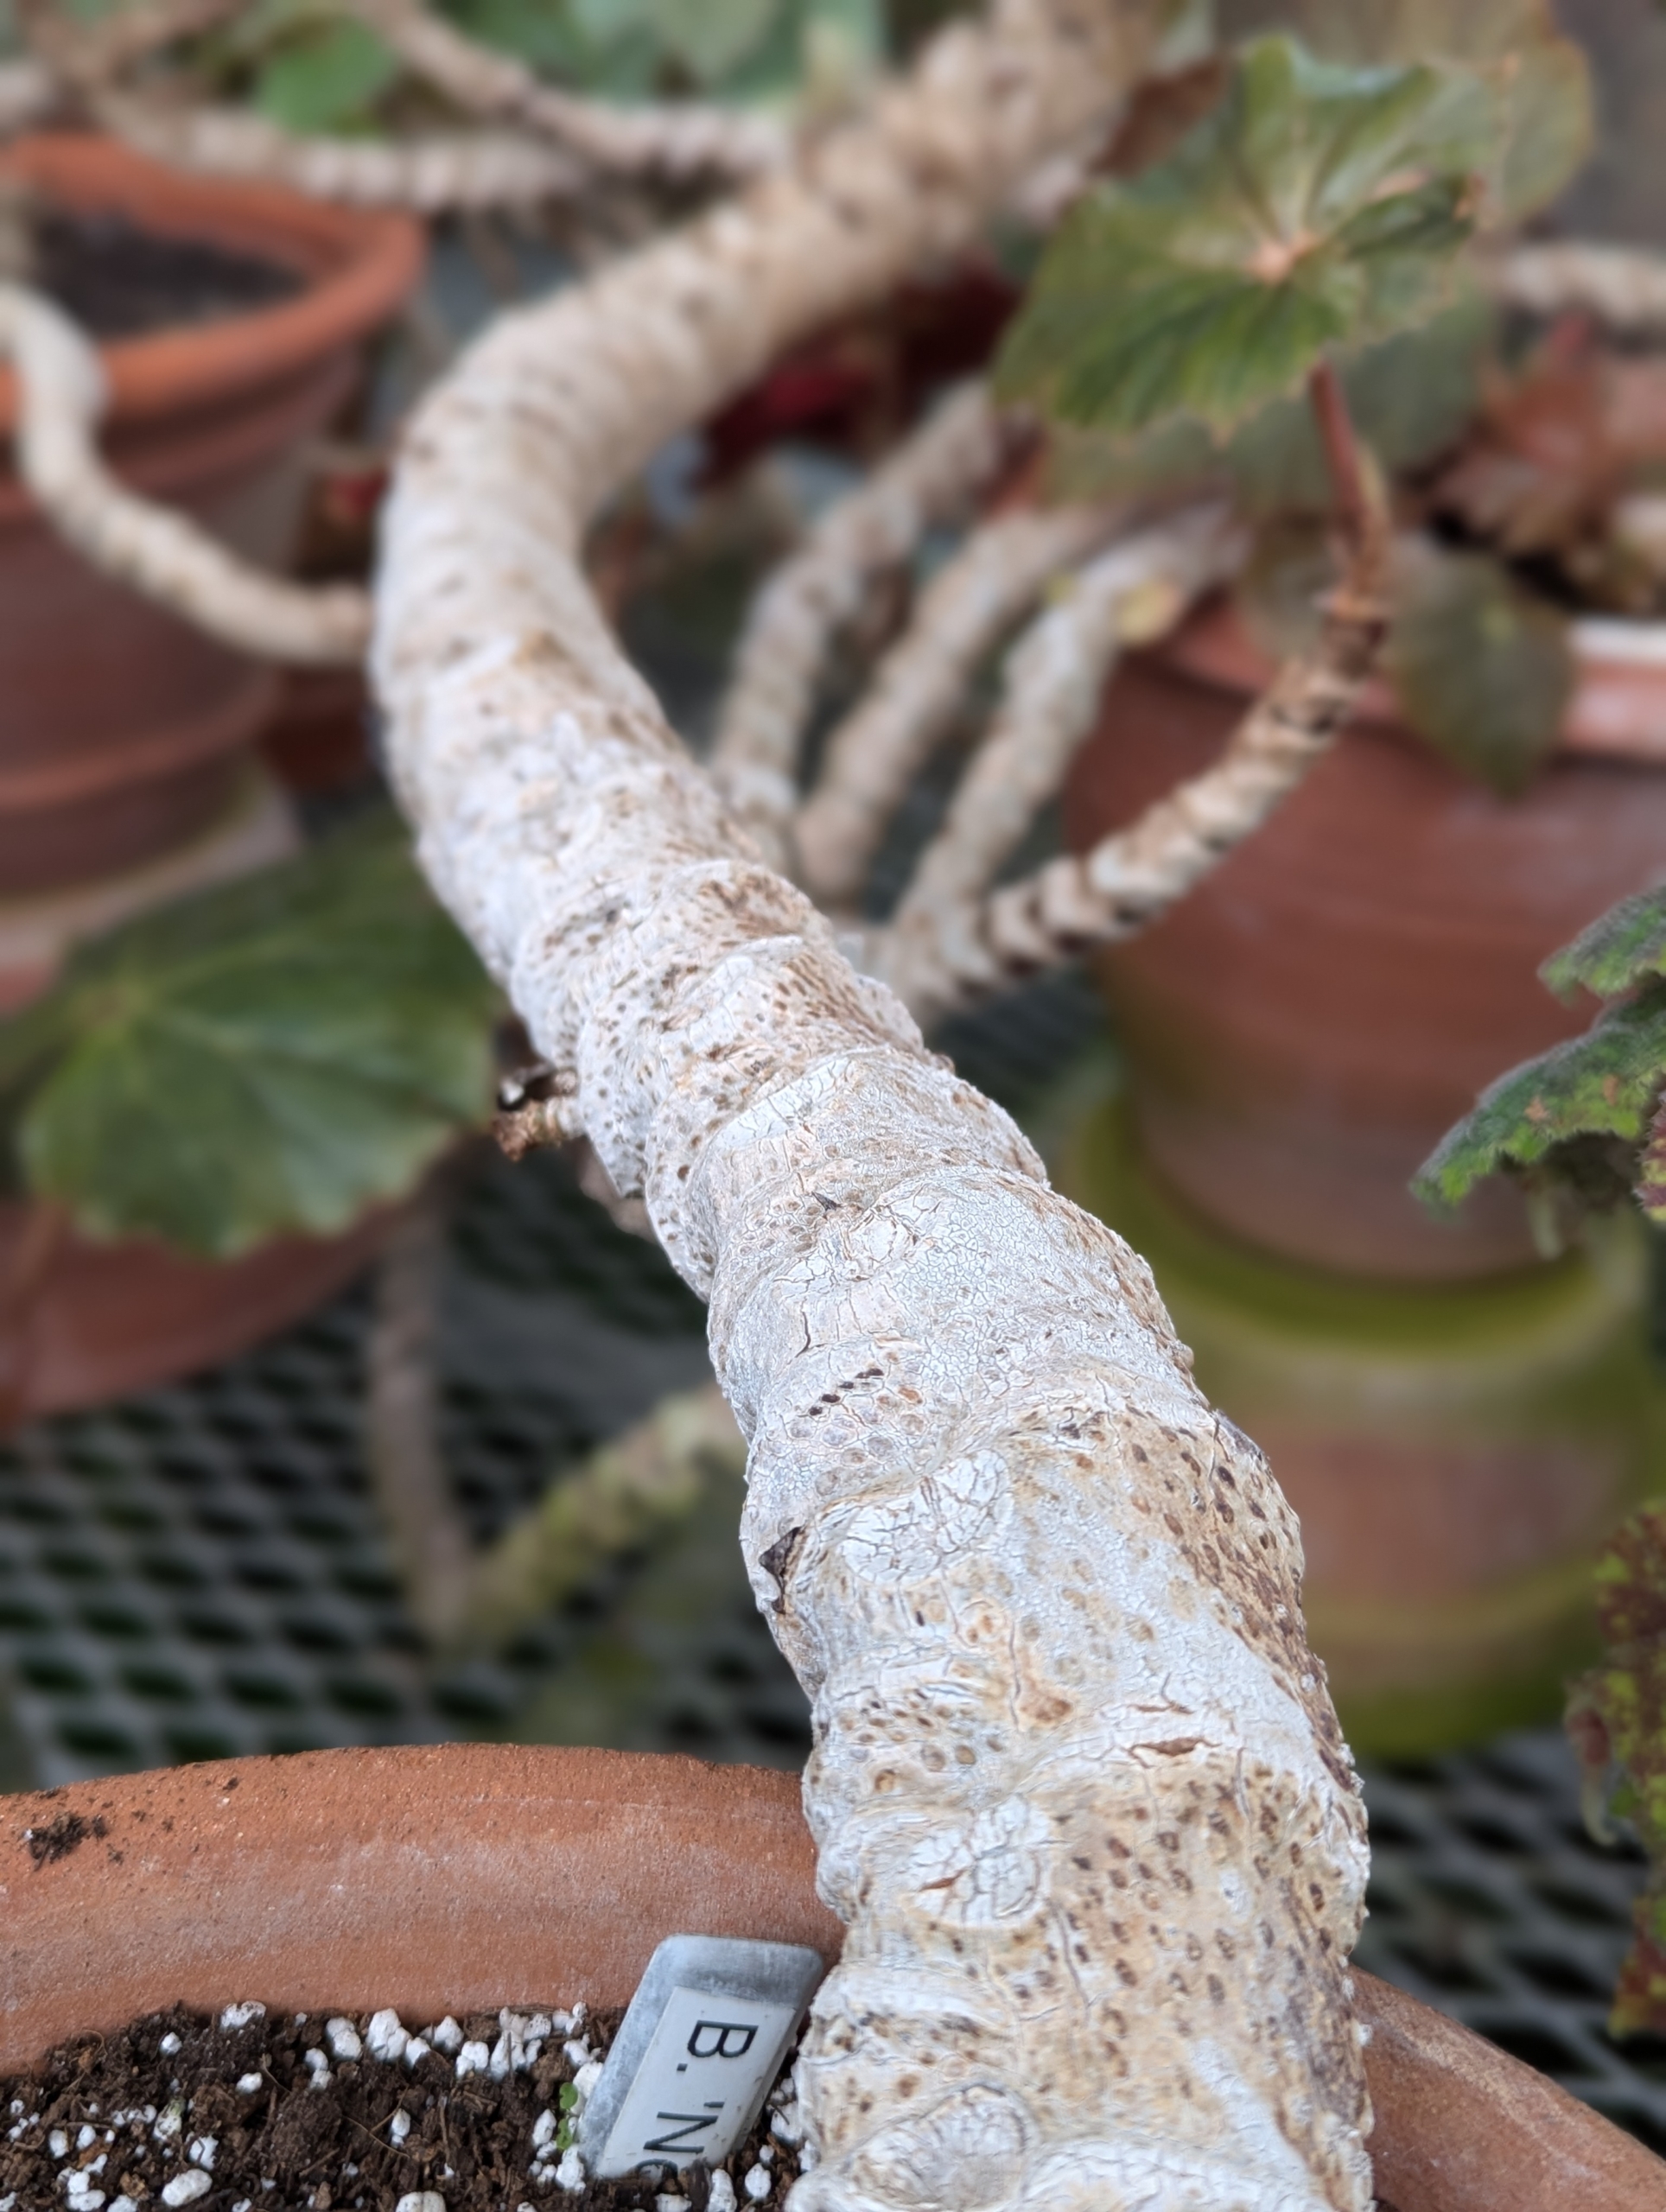
Because these plants store water in the rhizomes, which are their thick, fuzzy stems, it is important not to overwater them. Only water these plants when the top one-inch of soil feels dry. This is Begonia ‘Northern Lights.’ The stems are exceptionally thick and show the scars of felled leaves.
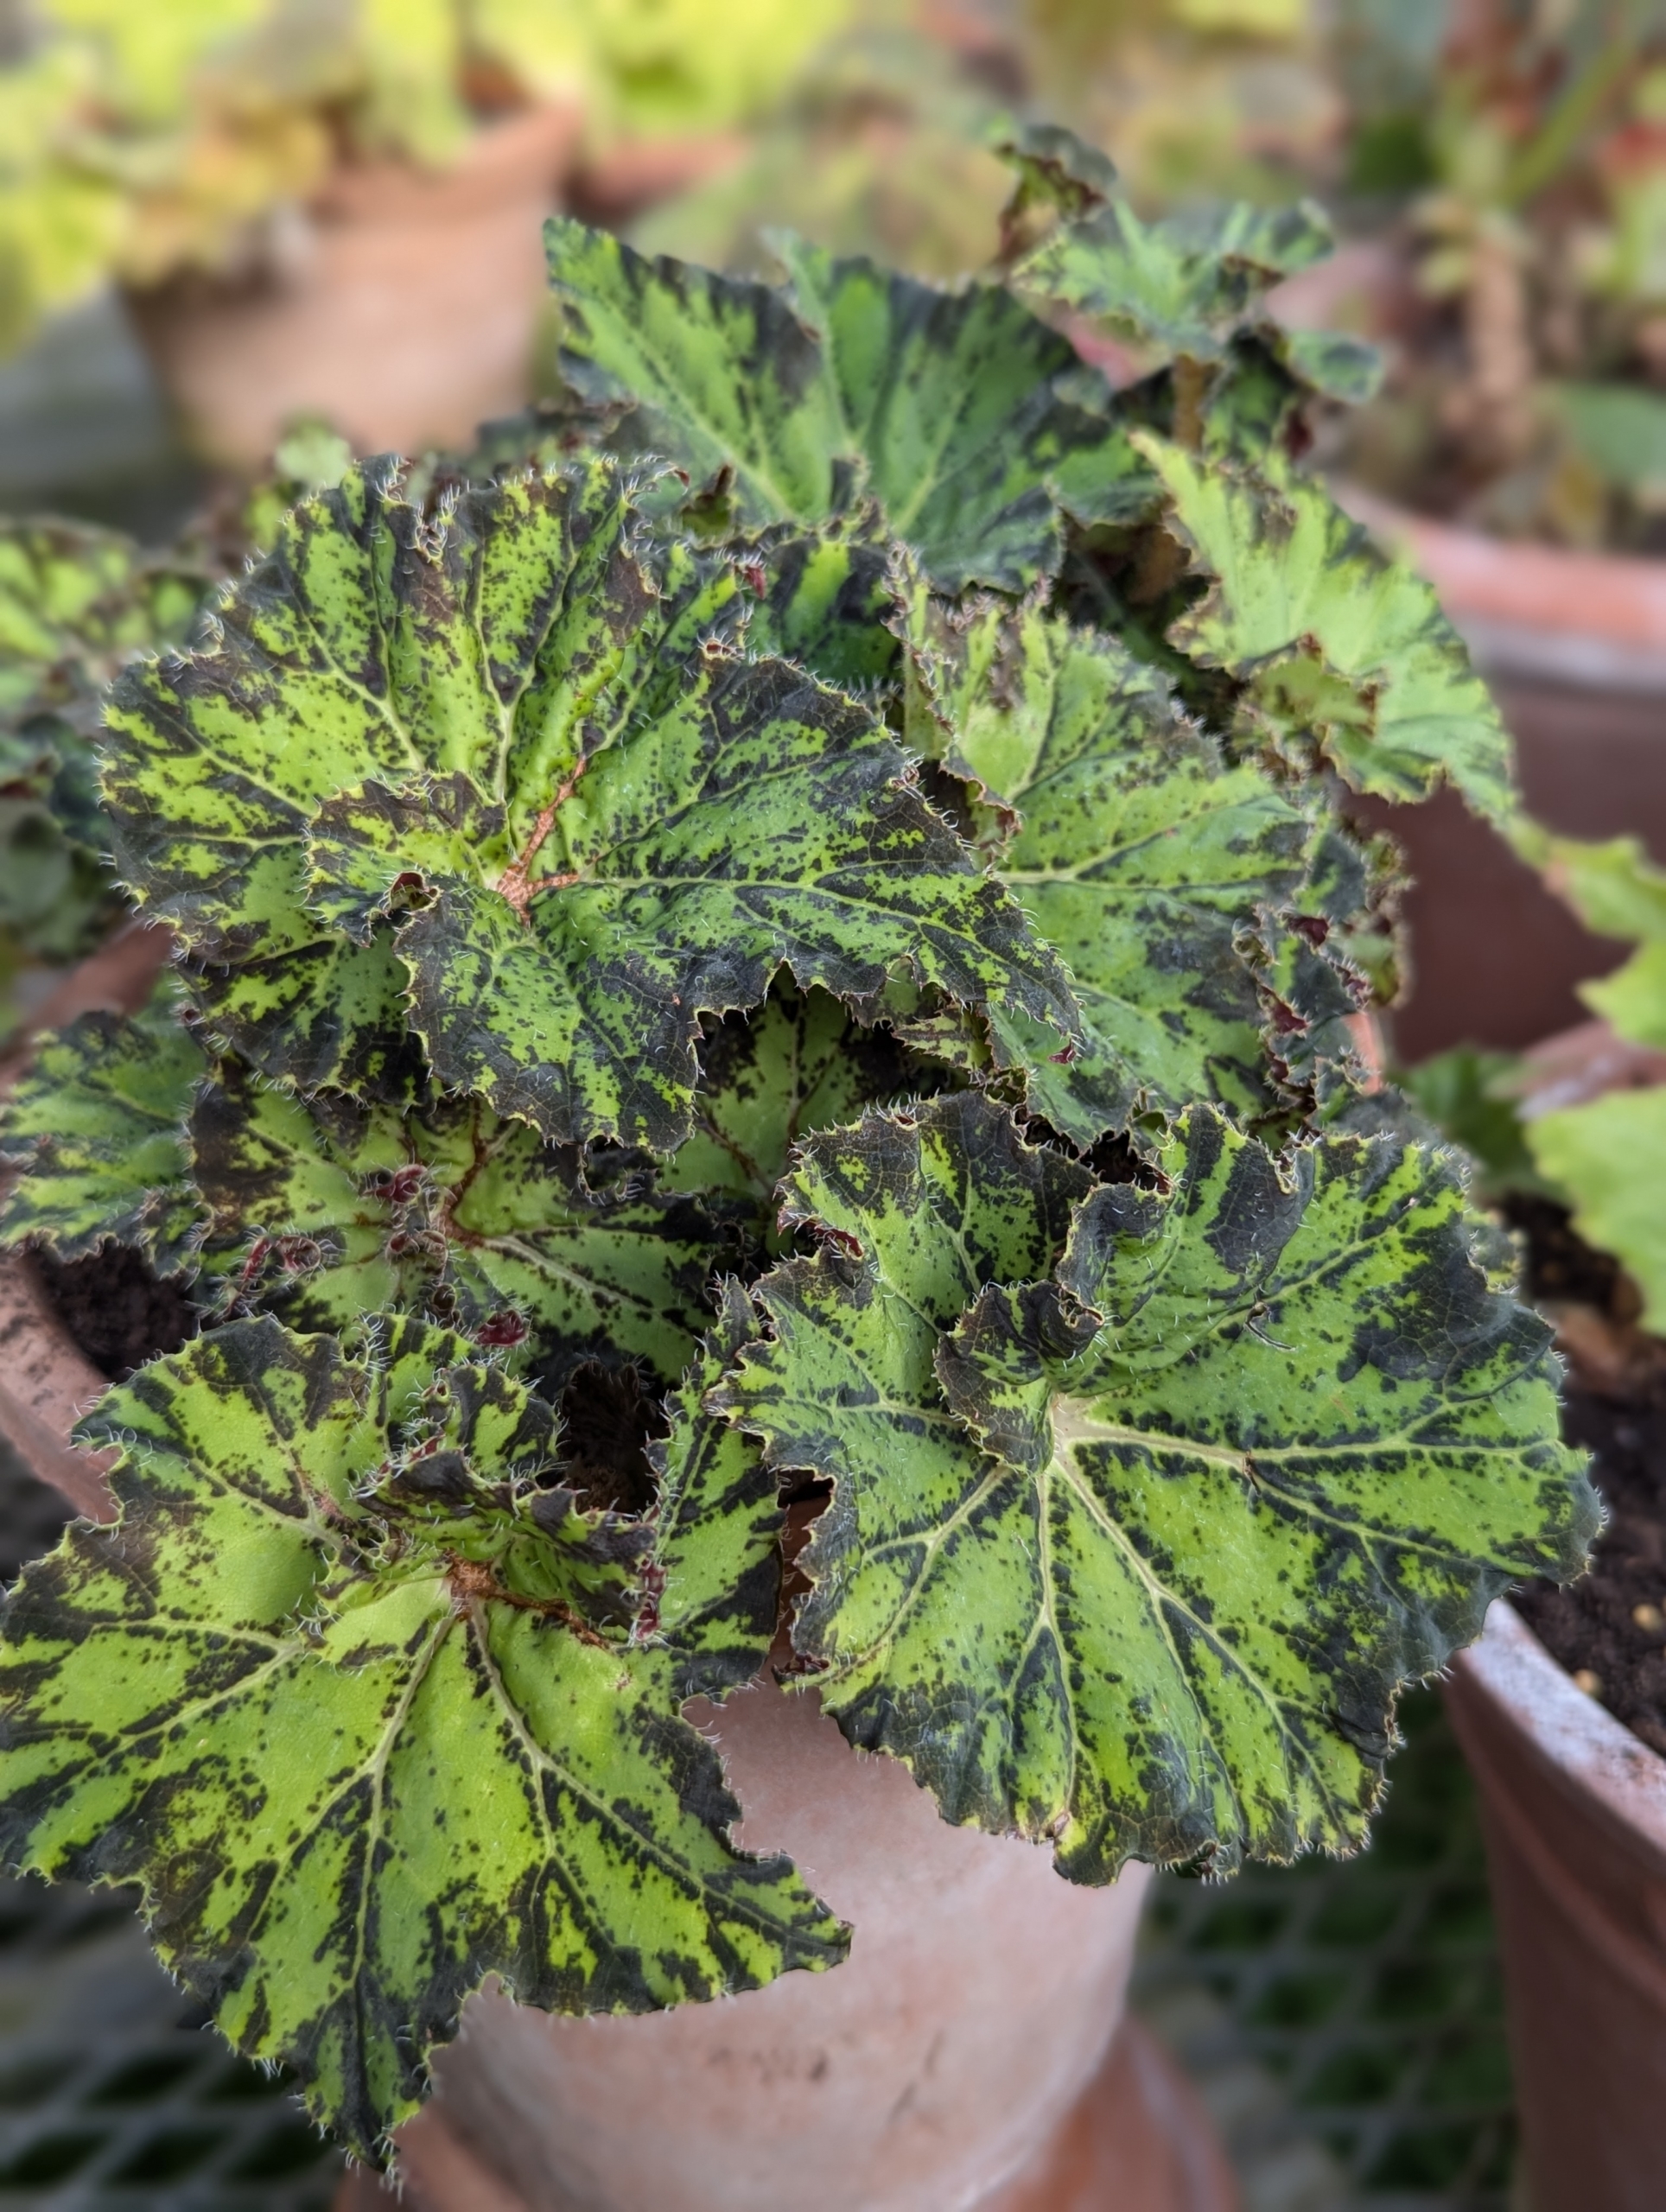
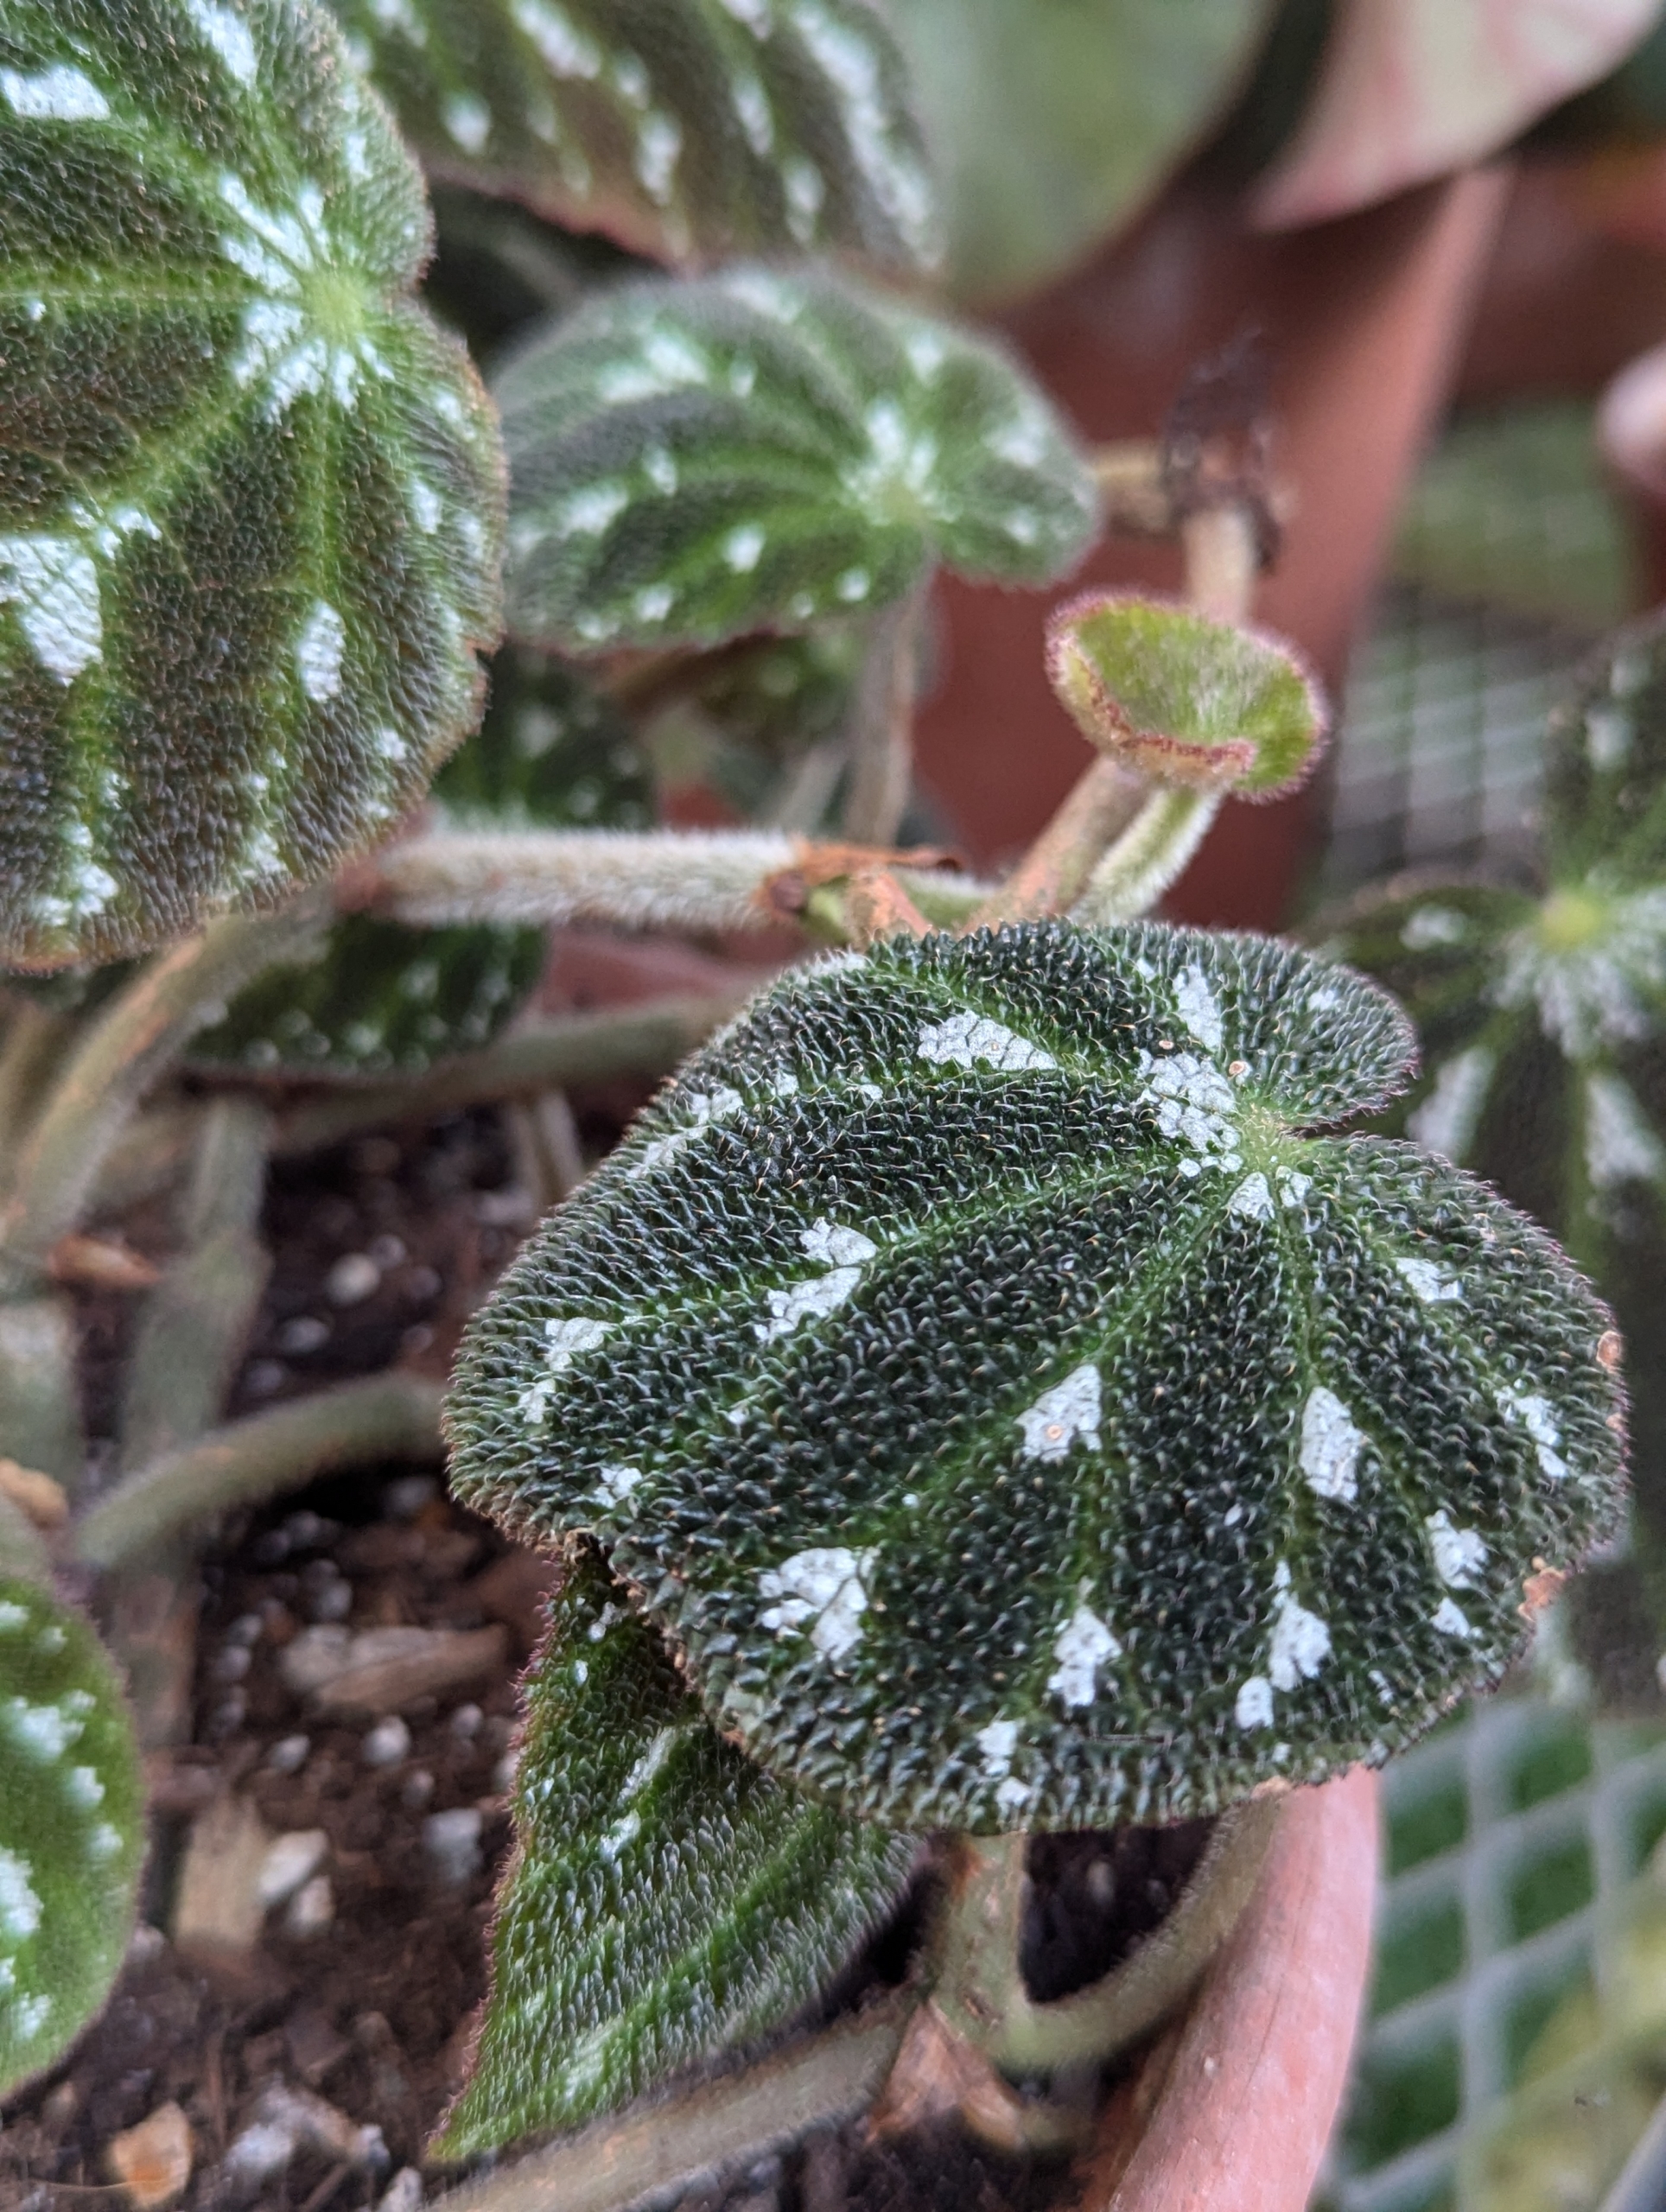
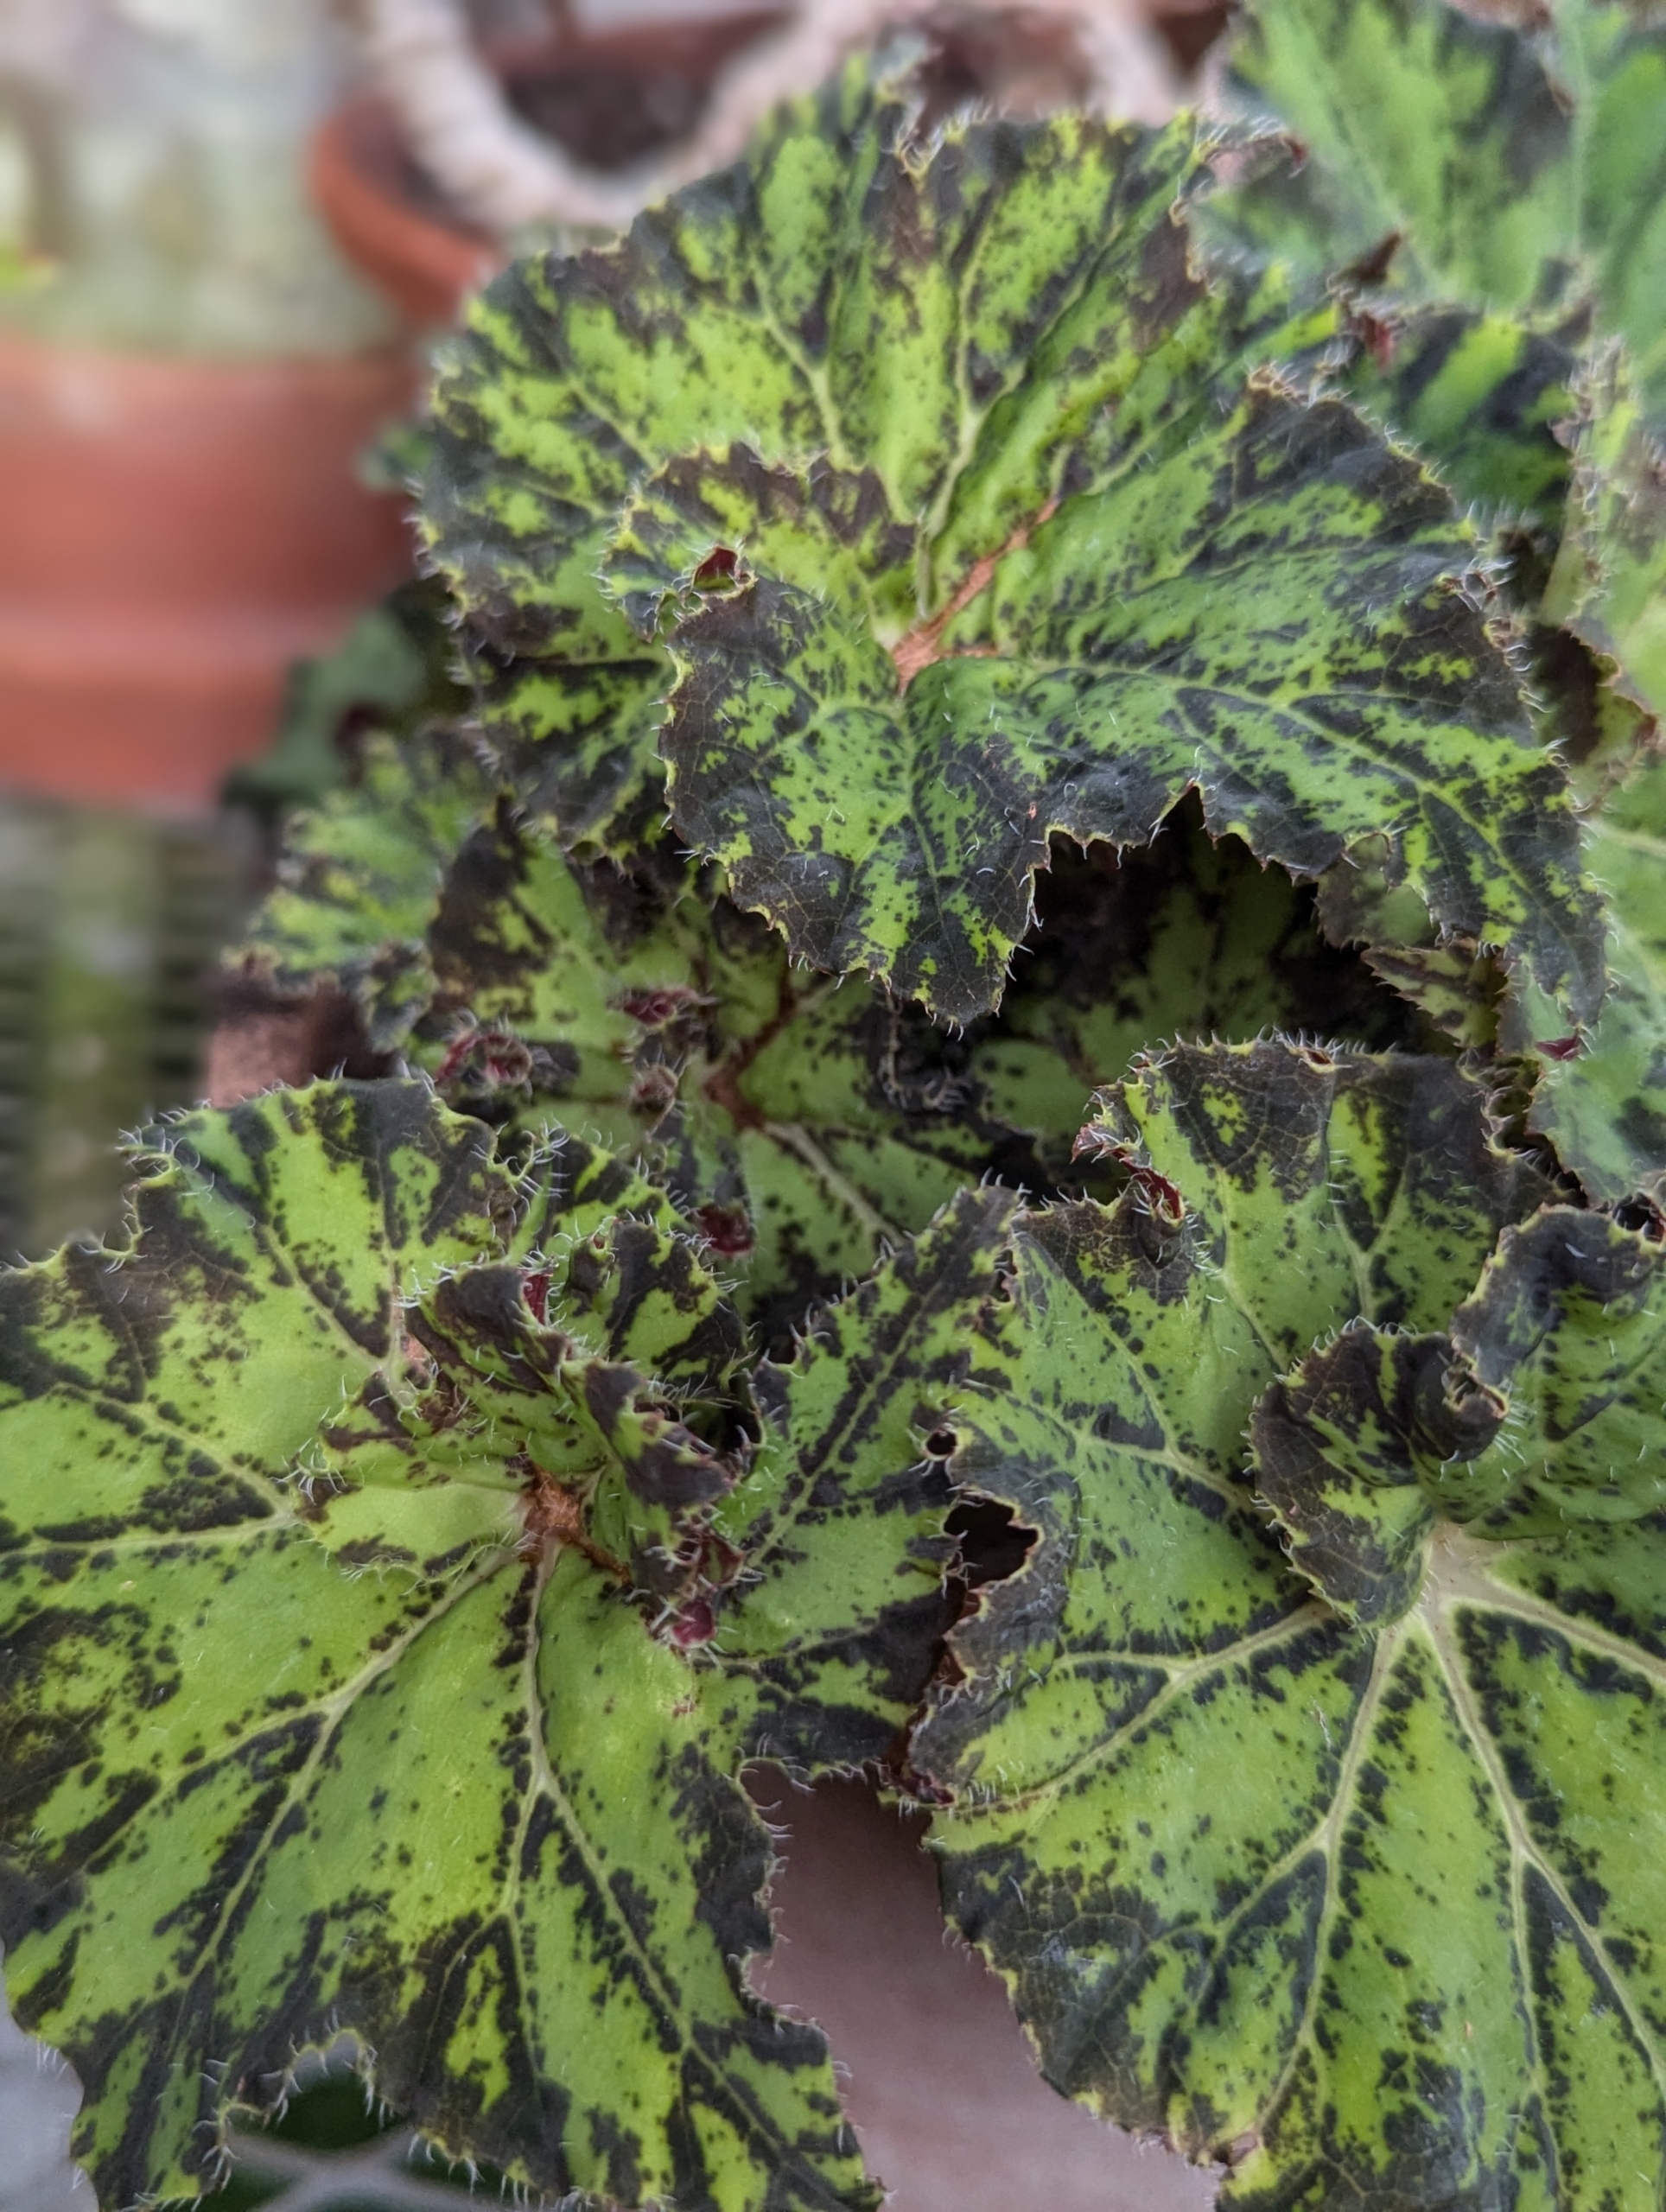
This interesting begonia has dark green leaves and white markings.
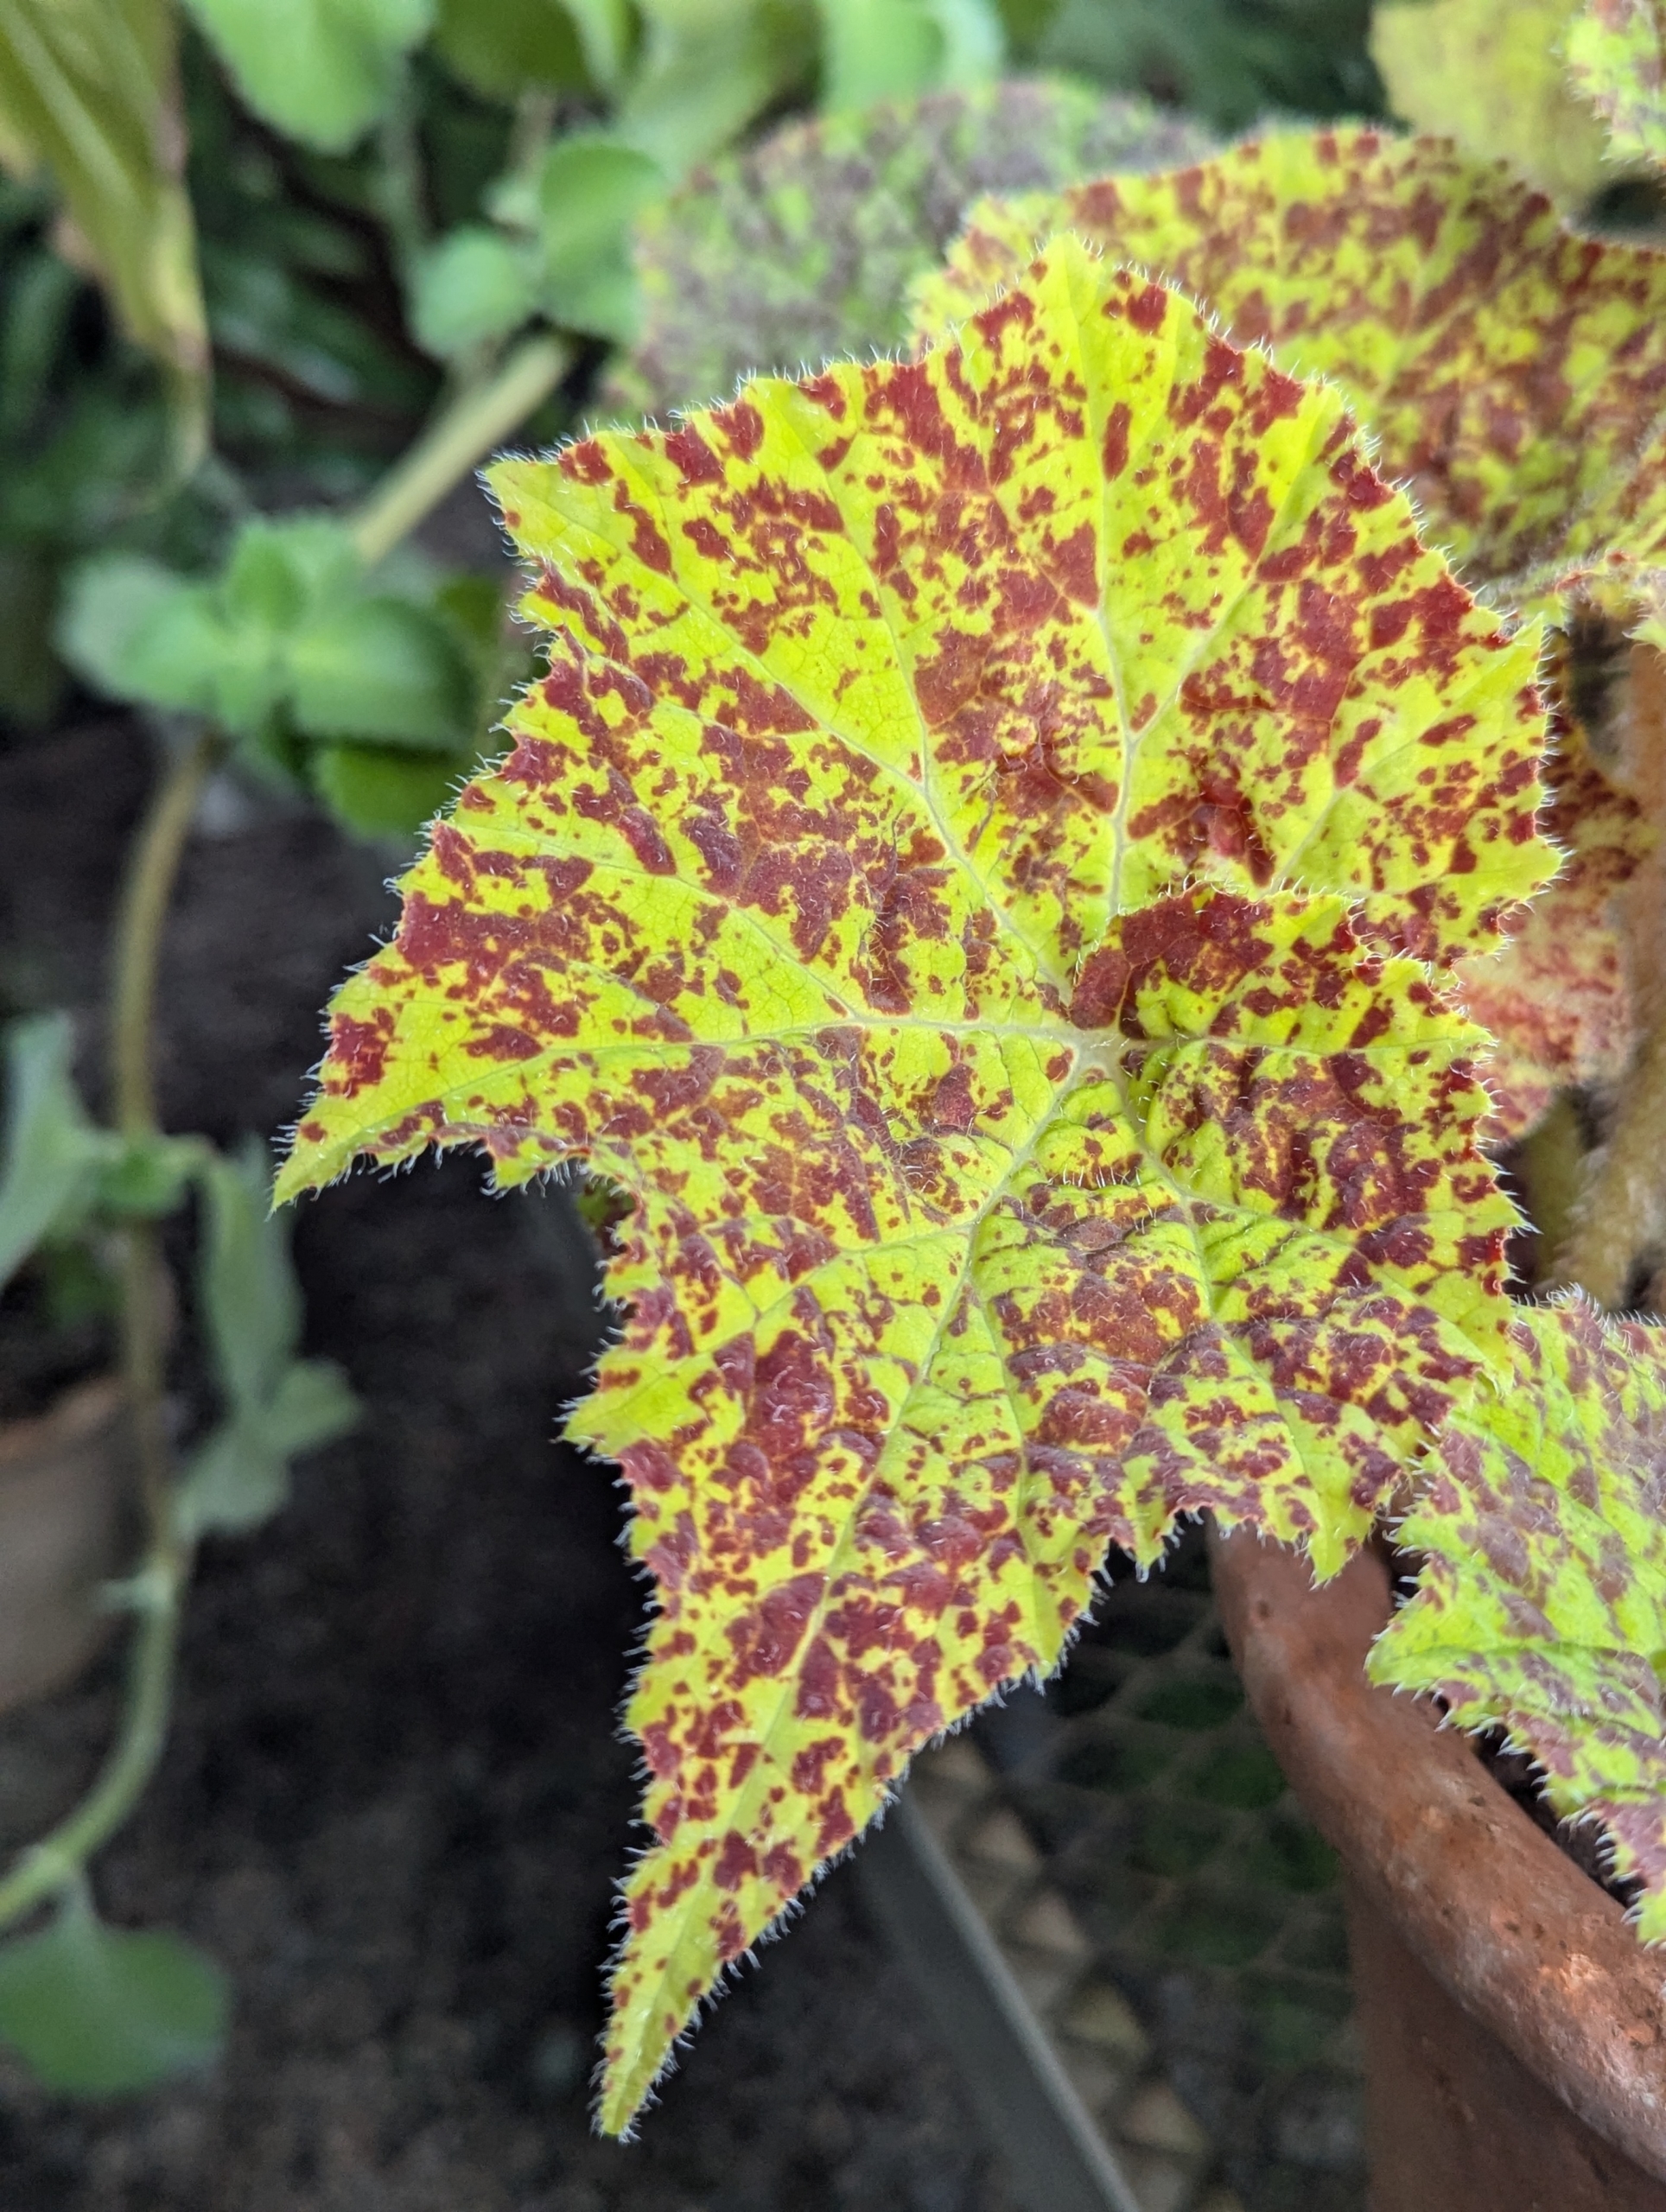
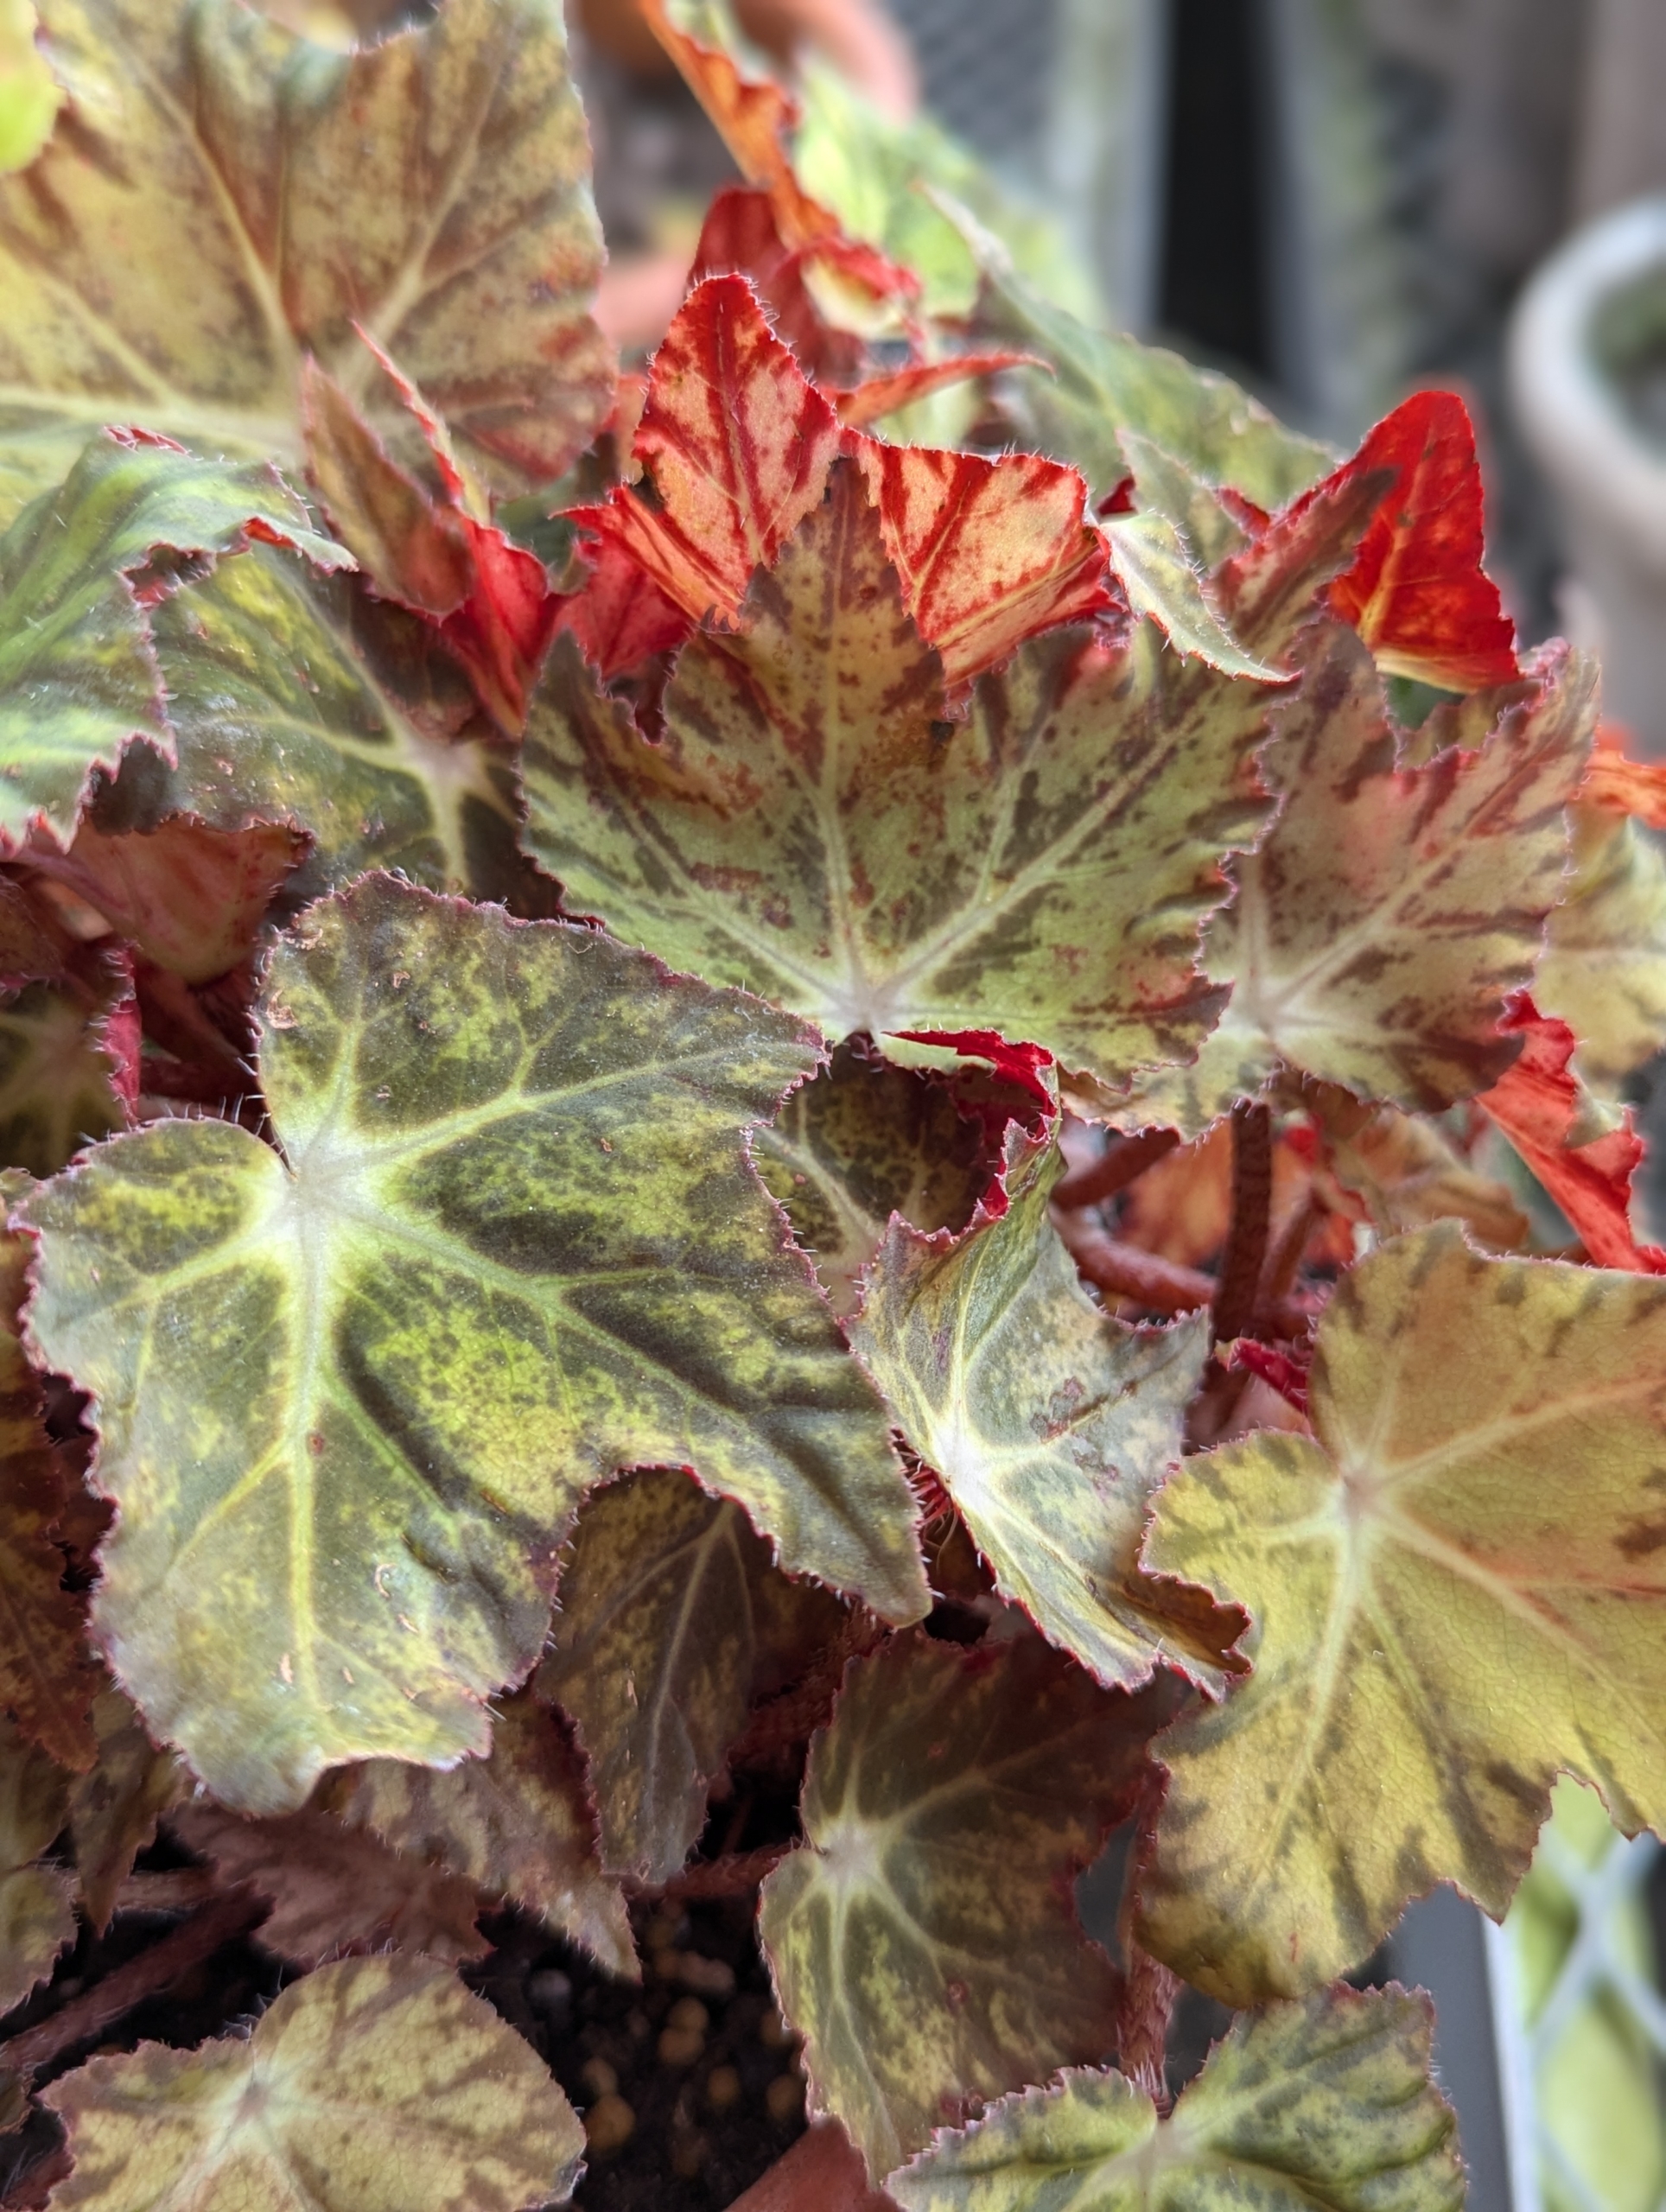
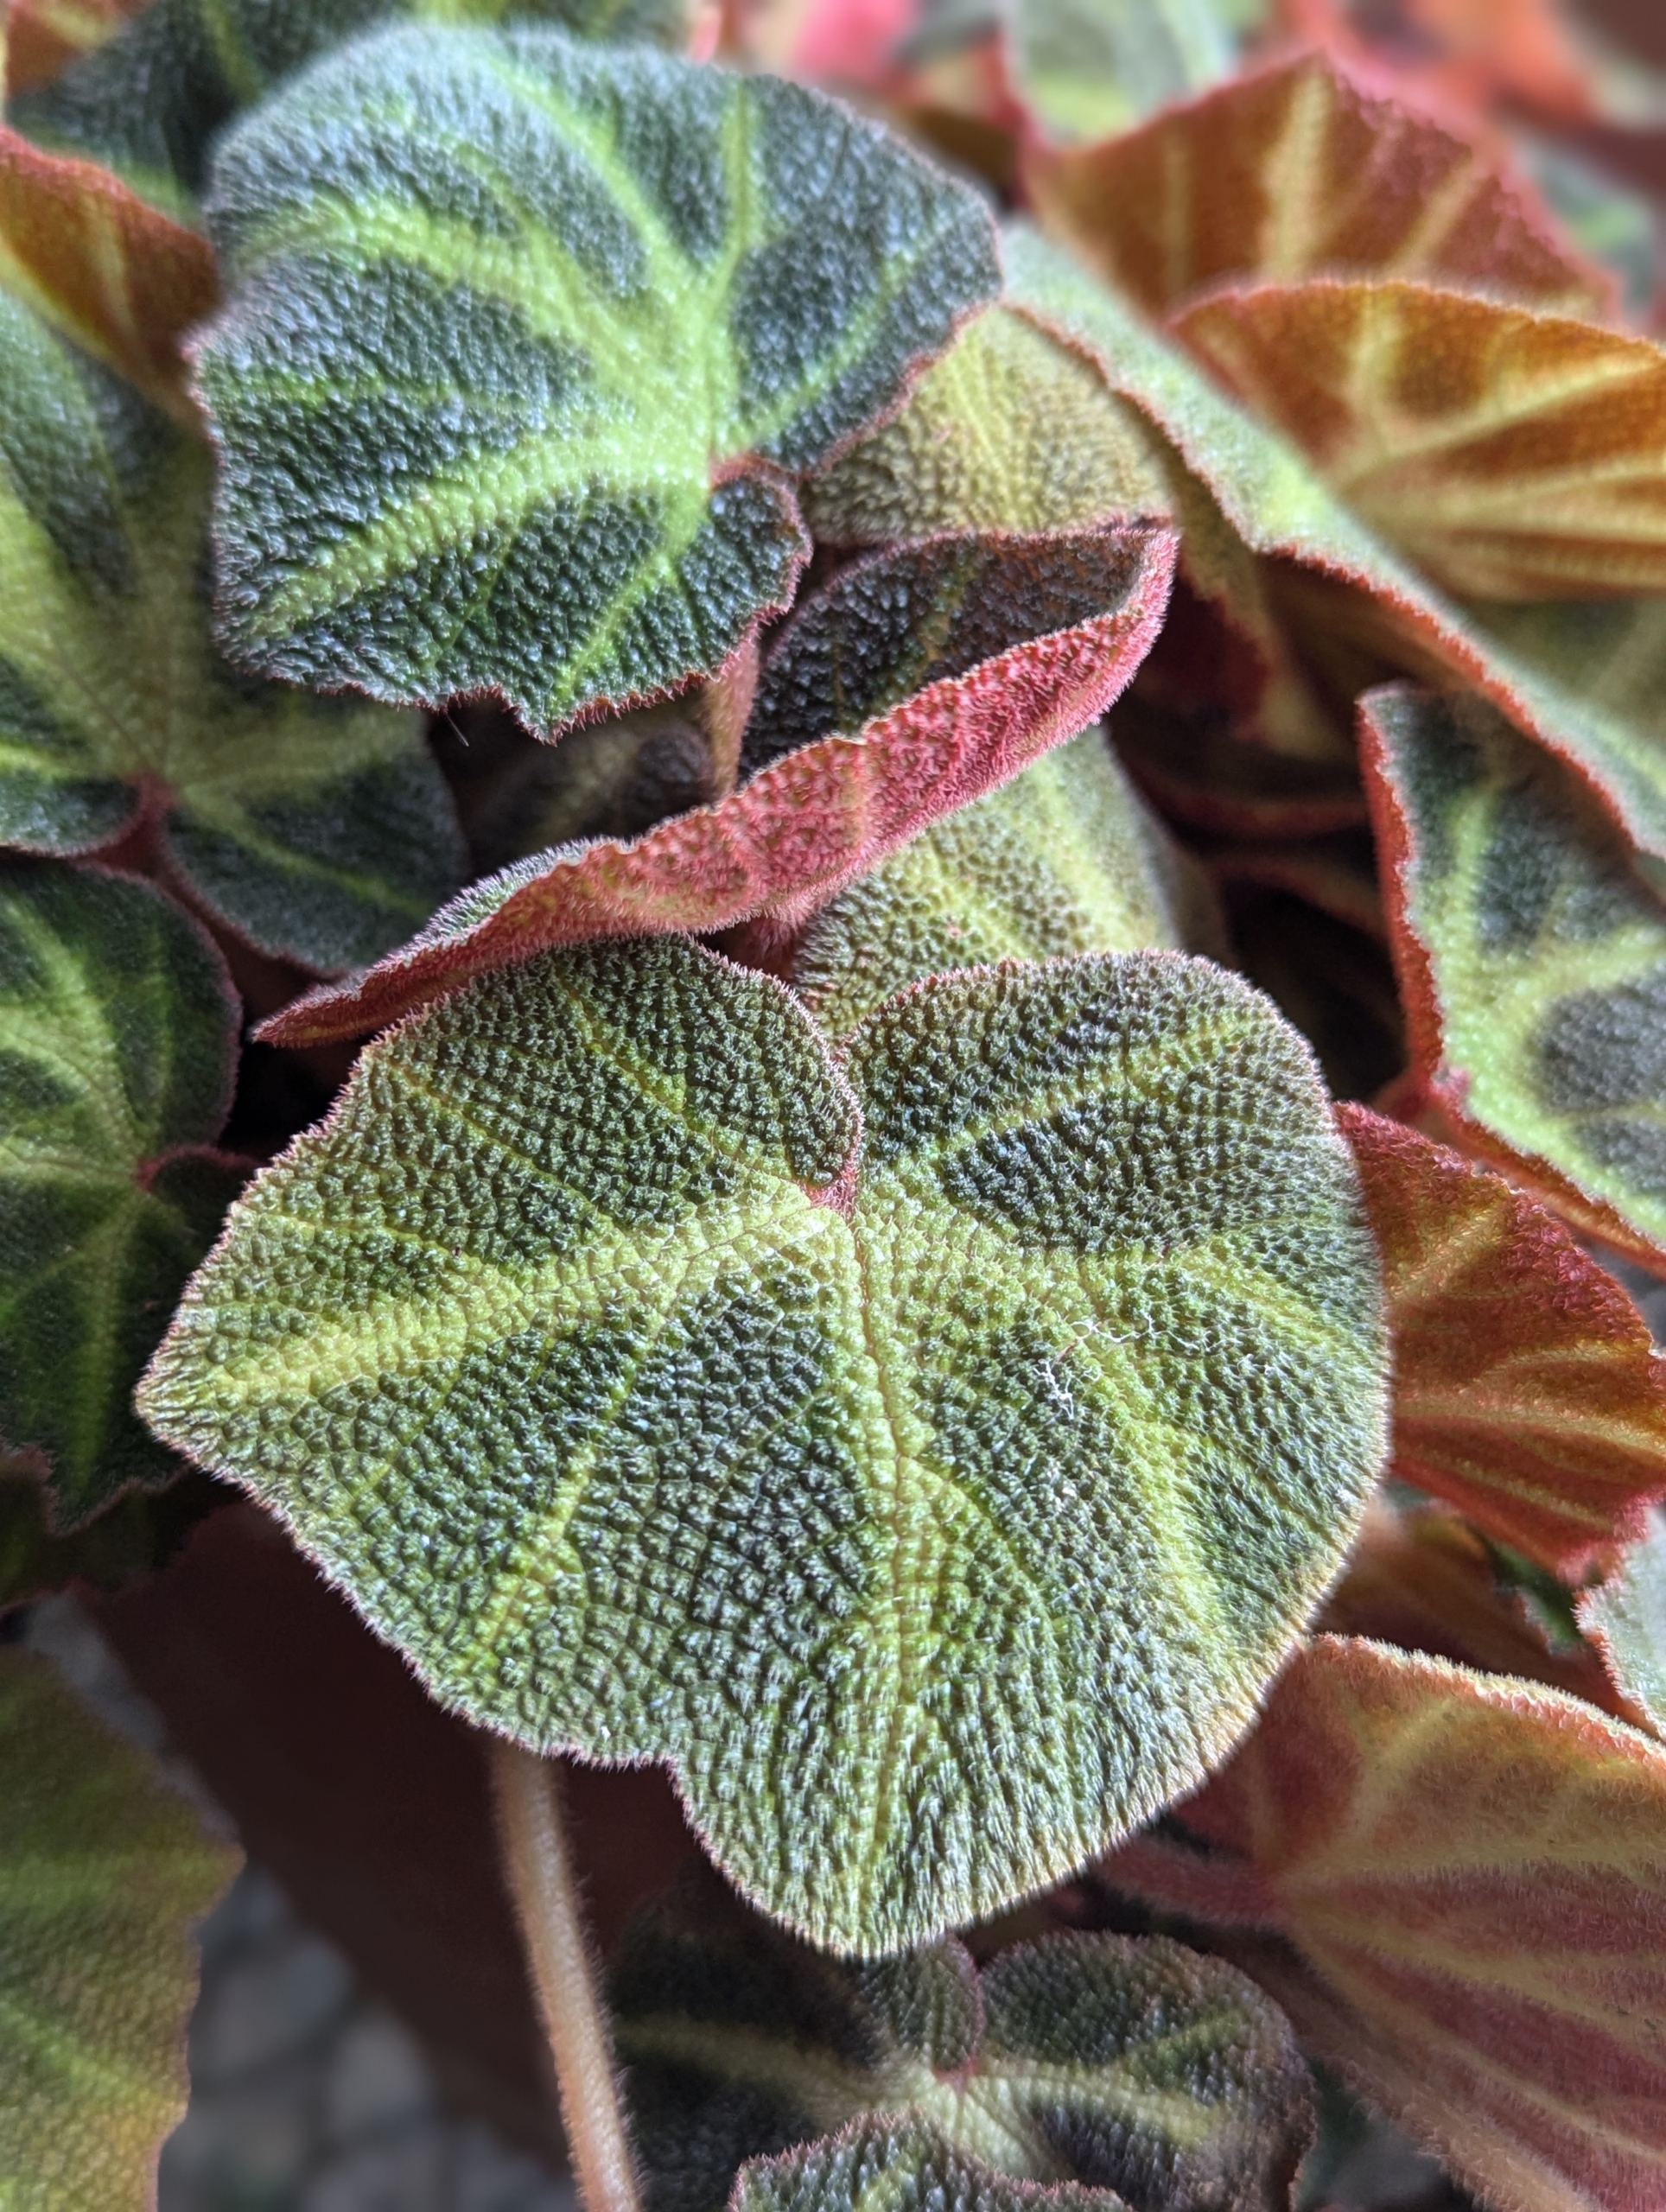
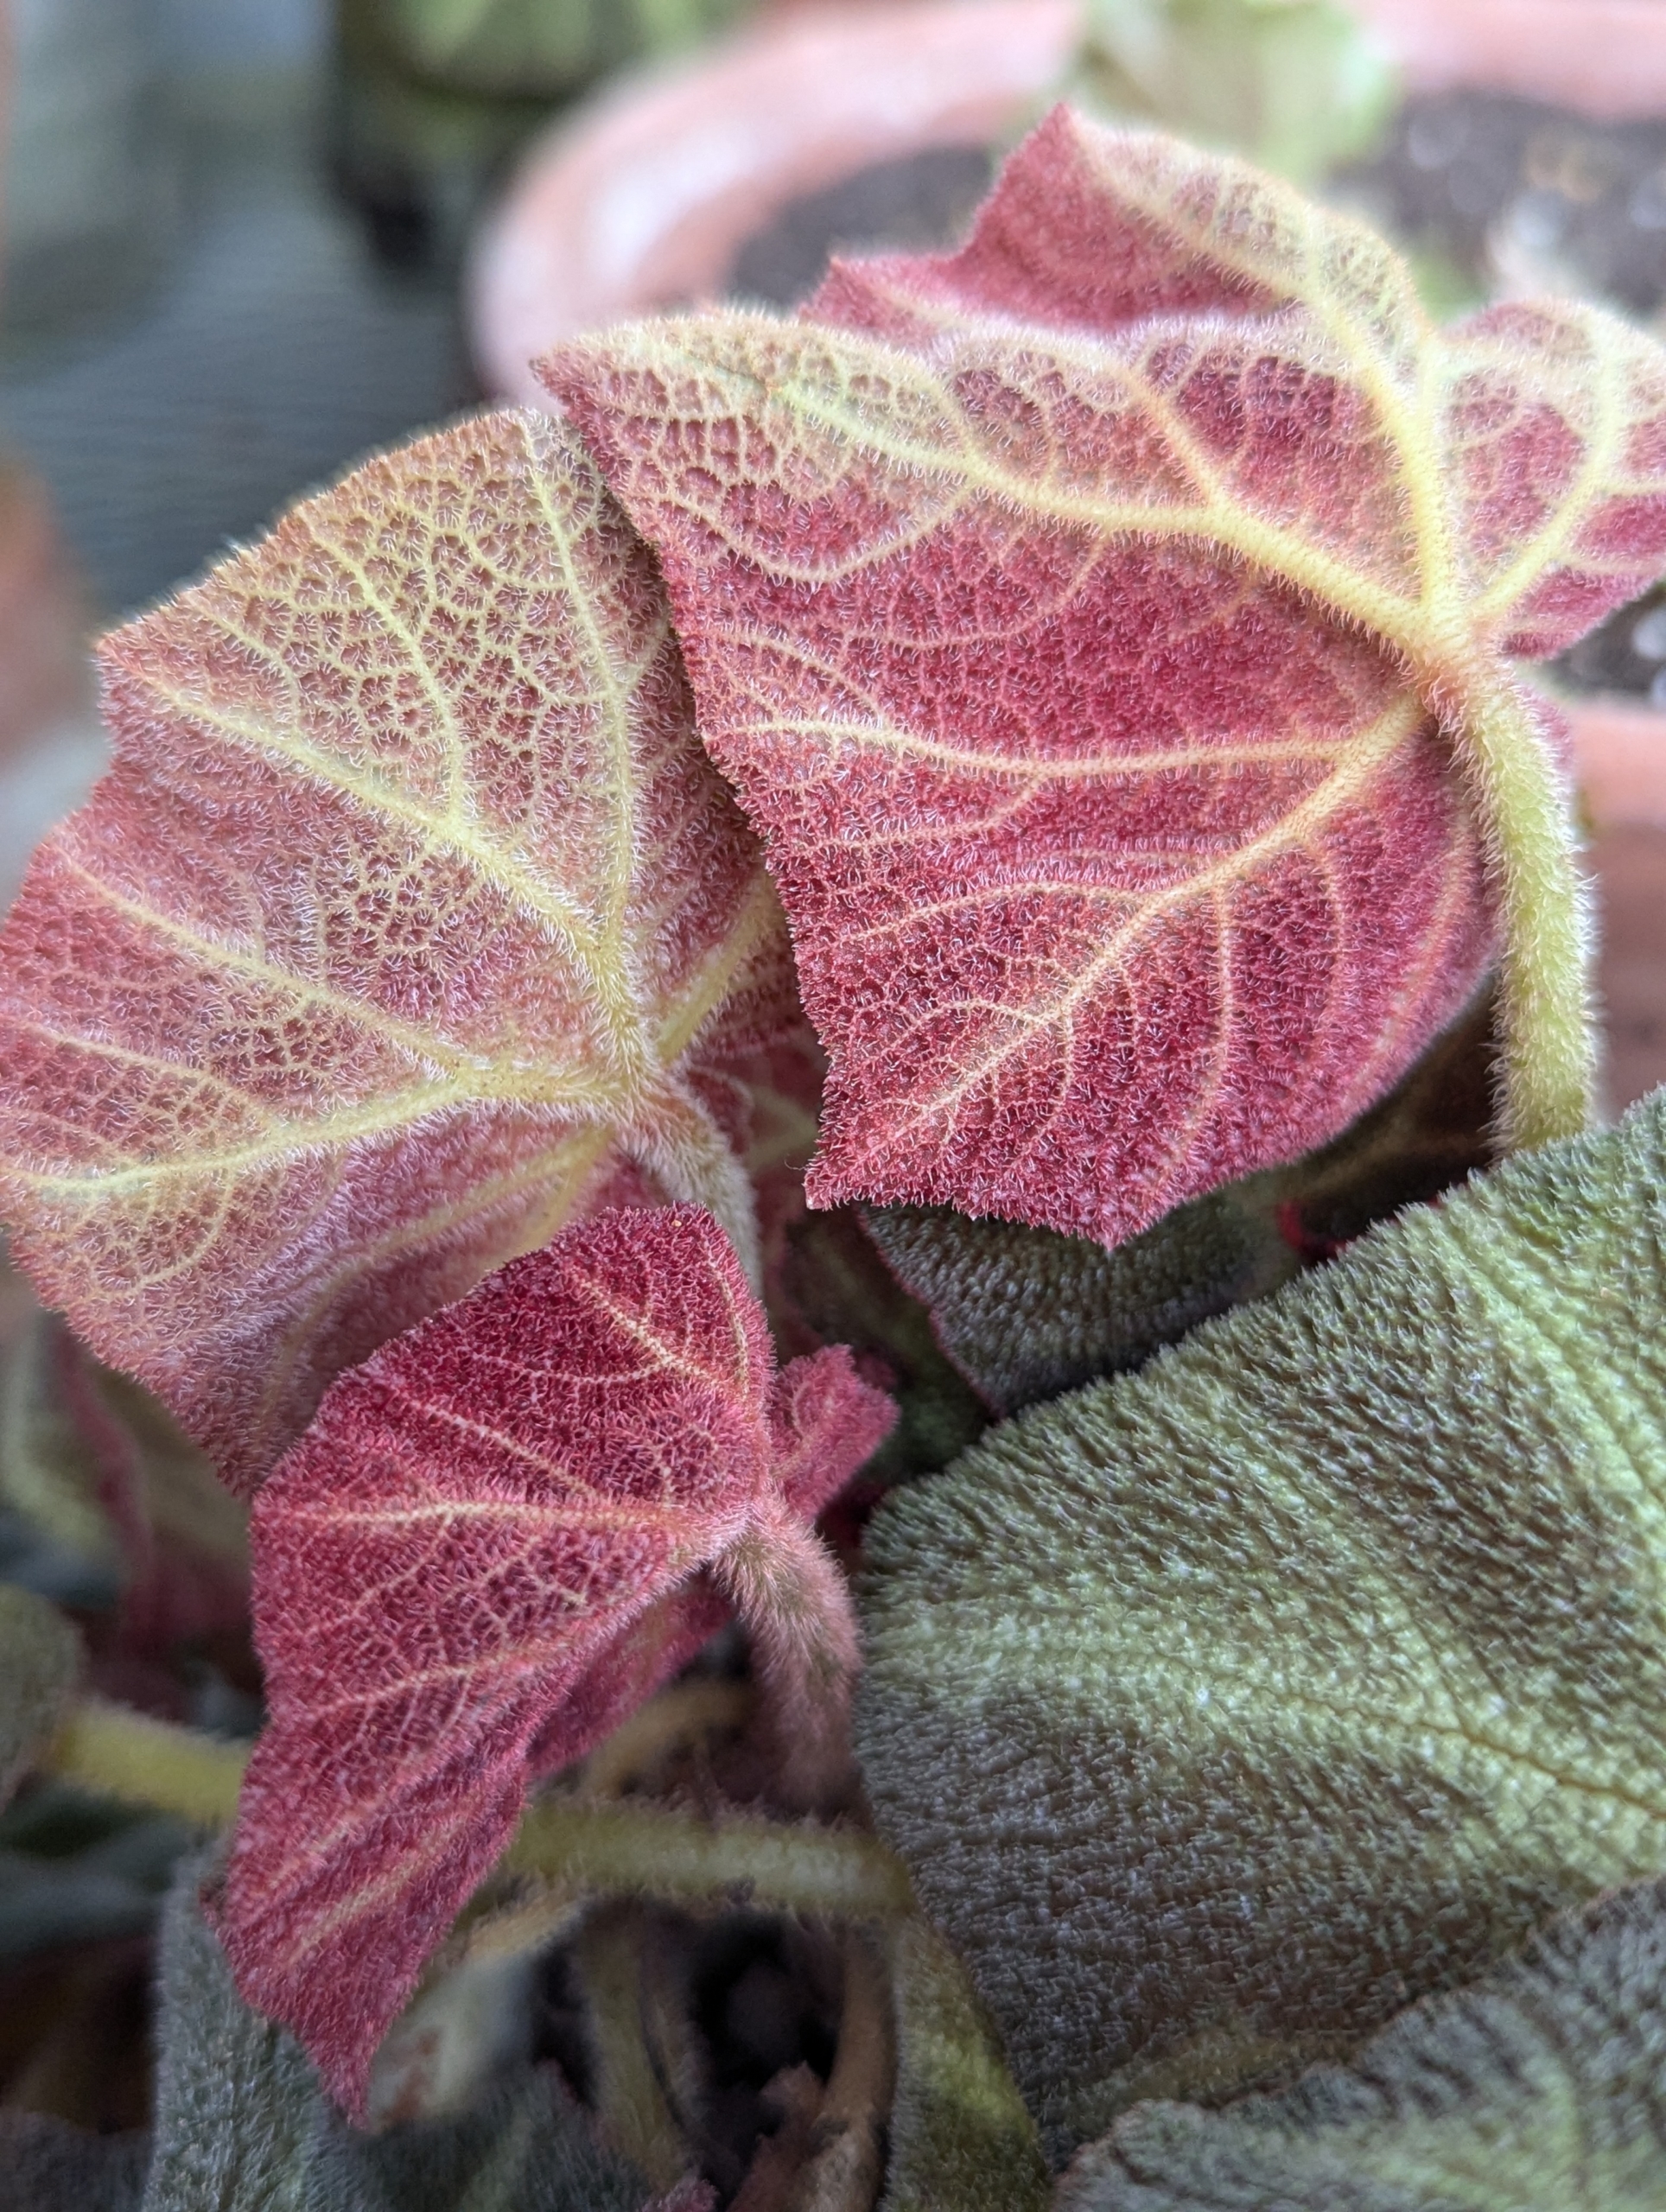
This is Begonia ‘Soli-mutata’. It is a compact medium-sized species from Brazil. The heart-shaped leaf colors vary depending on its exposure to bright light, which is why its common name is Sun Tan Begonia. Several of my ‘soli-mutata’ plants were grown from leaf cuttings off one parent plant.
The undersides are a dark pink with light green veining.
Begonias dislike wet feet. Between waterings, let the soil dry out slightly. And for the best results, repot begonias every couple of years – potting mix elements break down over time and lose draining qualities and airspaces to hold oxygen.
Begonias are considered cool temperature plants and do best in temperatures ranging from 58 to 72 degrees Fahrenheit.
They are remarkably resistant to pests primarily because their leaves are rich in oxalic acid – a natural insect repellent.
There is no end to the variety of leaf shape, color and texture in the begonia. Begonias make wonderful year-round houseplants. My collection of begonias continues to grow.
Do you know... some vegetables taste even better after a frost? Many root vegetables are best when harvested in colder weather.
Here at my farm, many of the raised beds in my vegetable garden have been cleared and cleaned for winter, but a few beds still continue to thrive with fall carrots, parsnips, and one of my favorites, celeriac. These vegetables take the longest to reach maturity - about four months, but when they're finally picked, they're so delicious.
Enjoy these photos.
My half acre garden has produced bounties of wonderful vegetables this year. Even now that the weather is colder, we’re still able to harvest delicious organic produce.
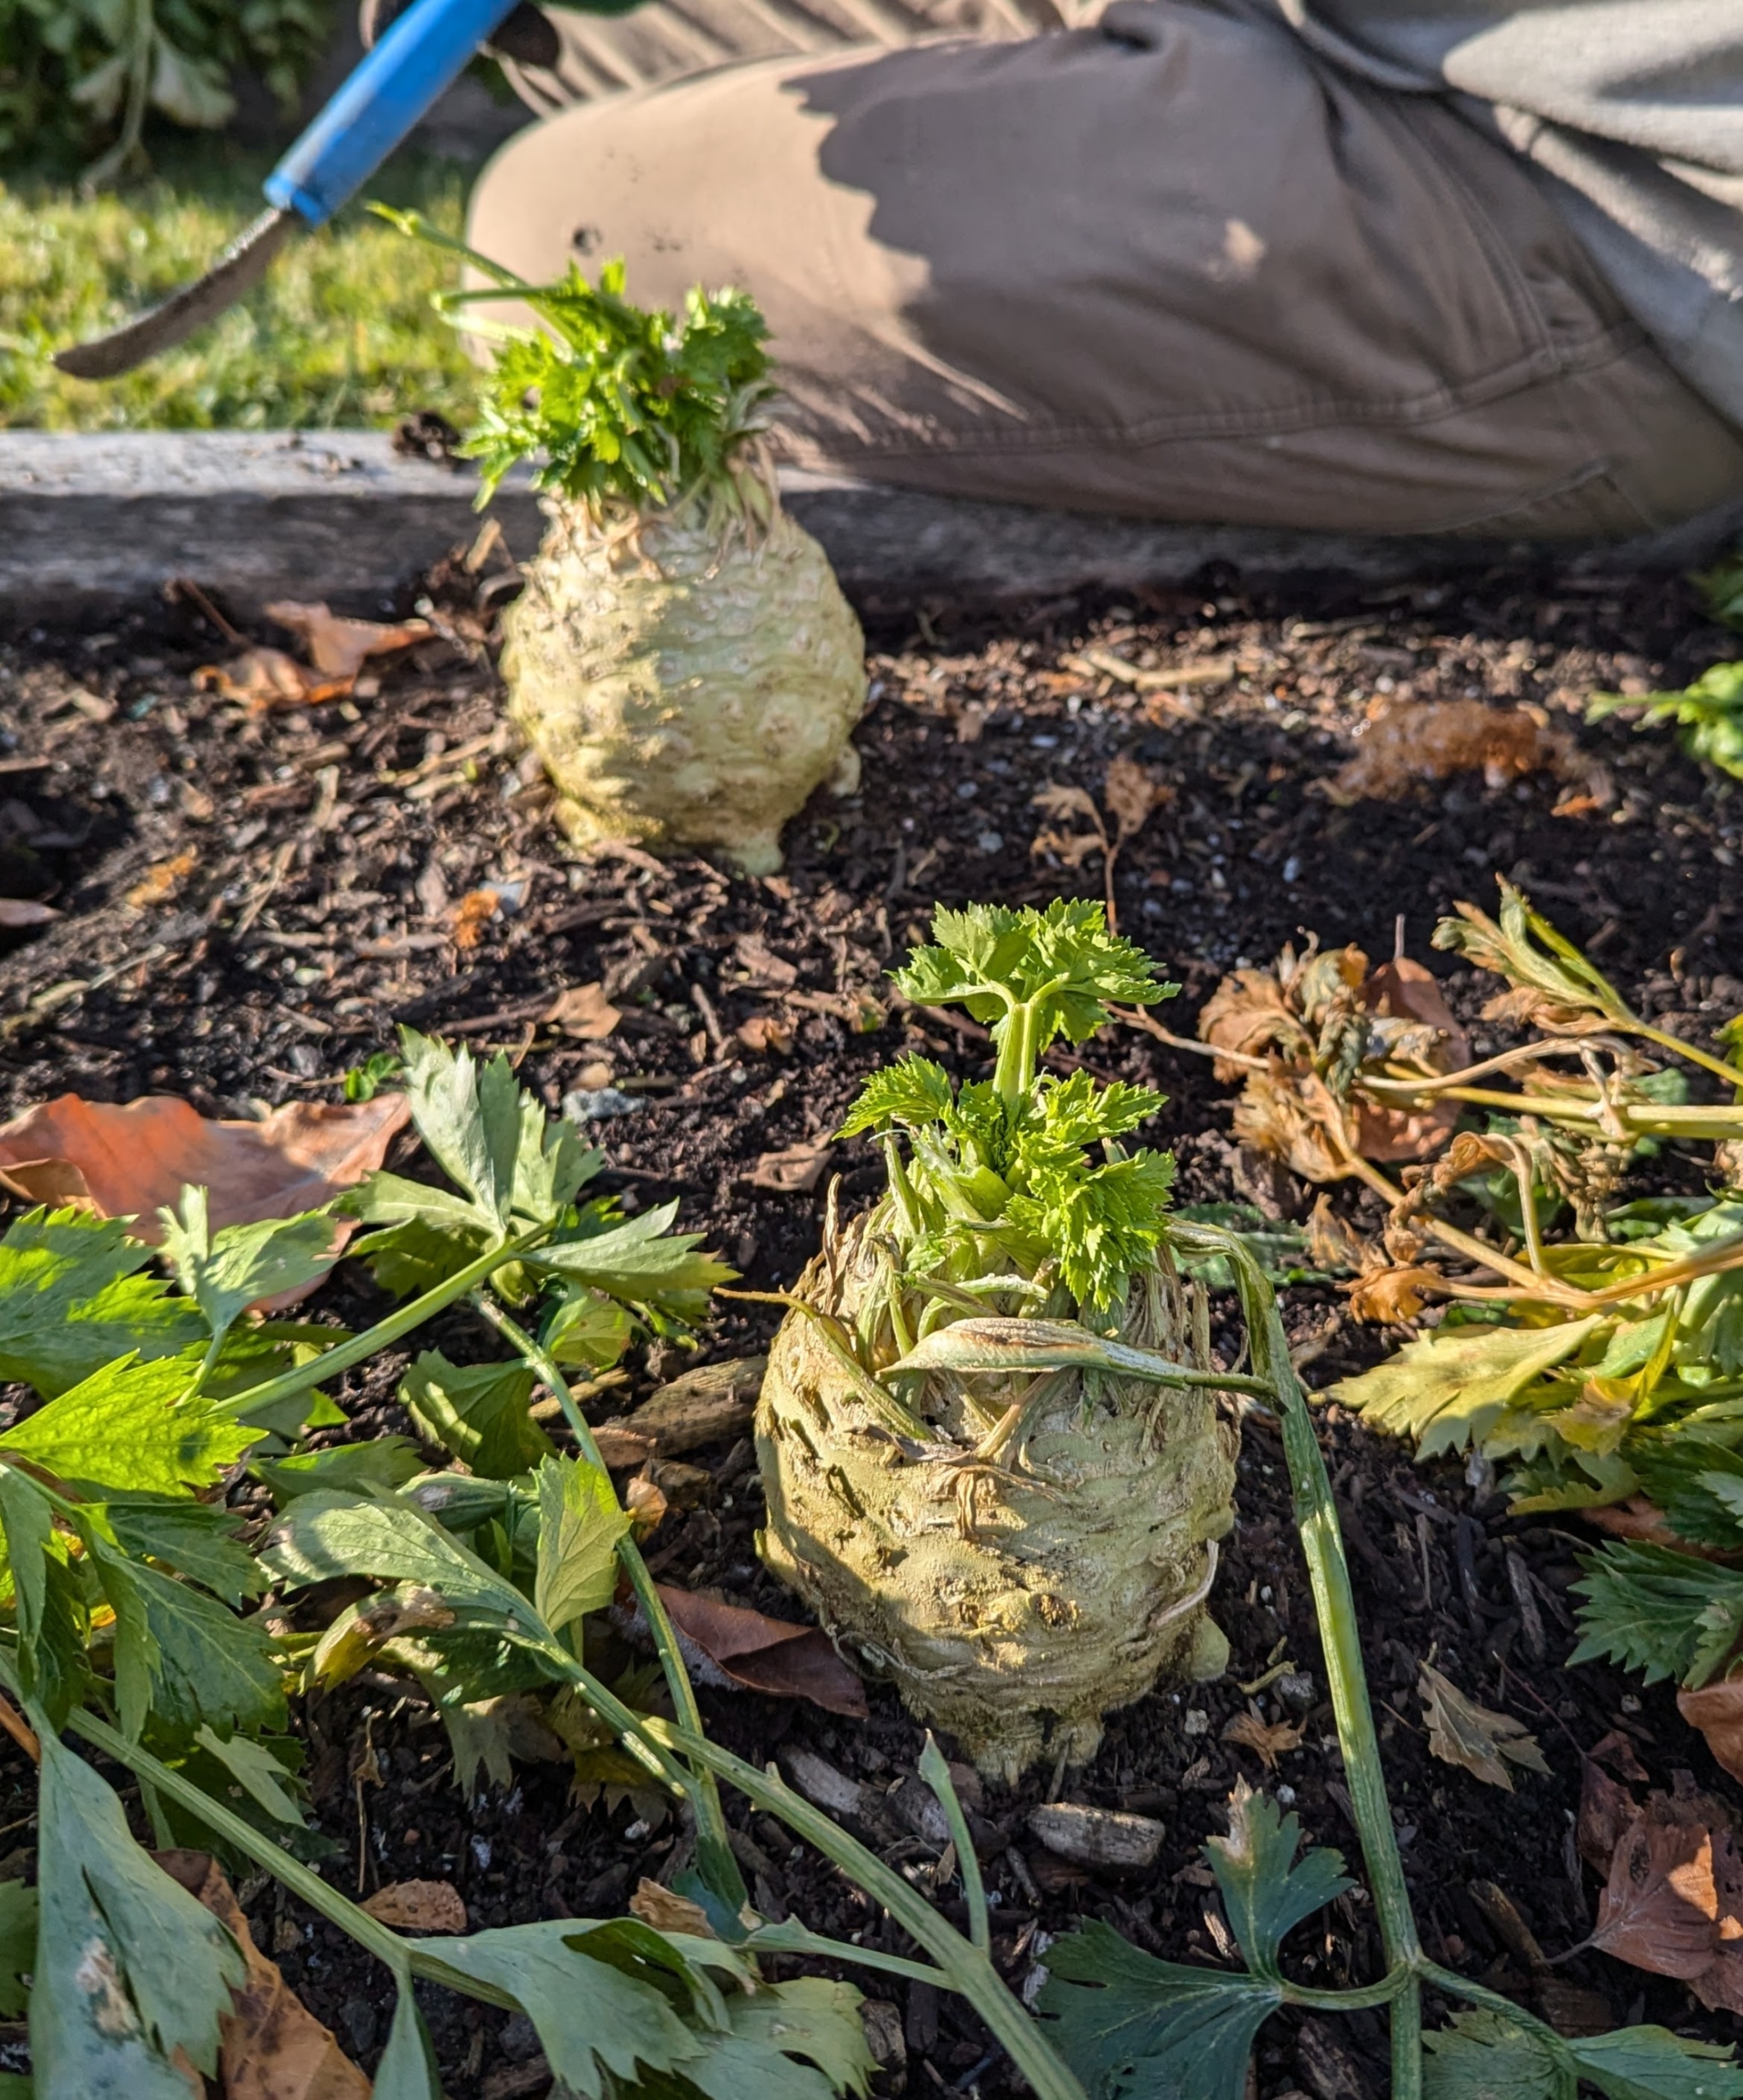
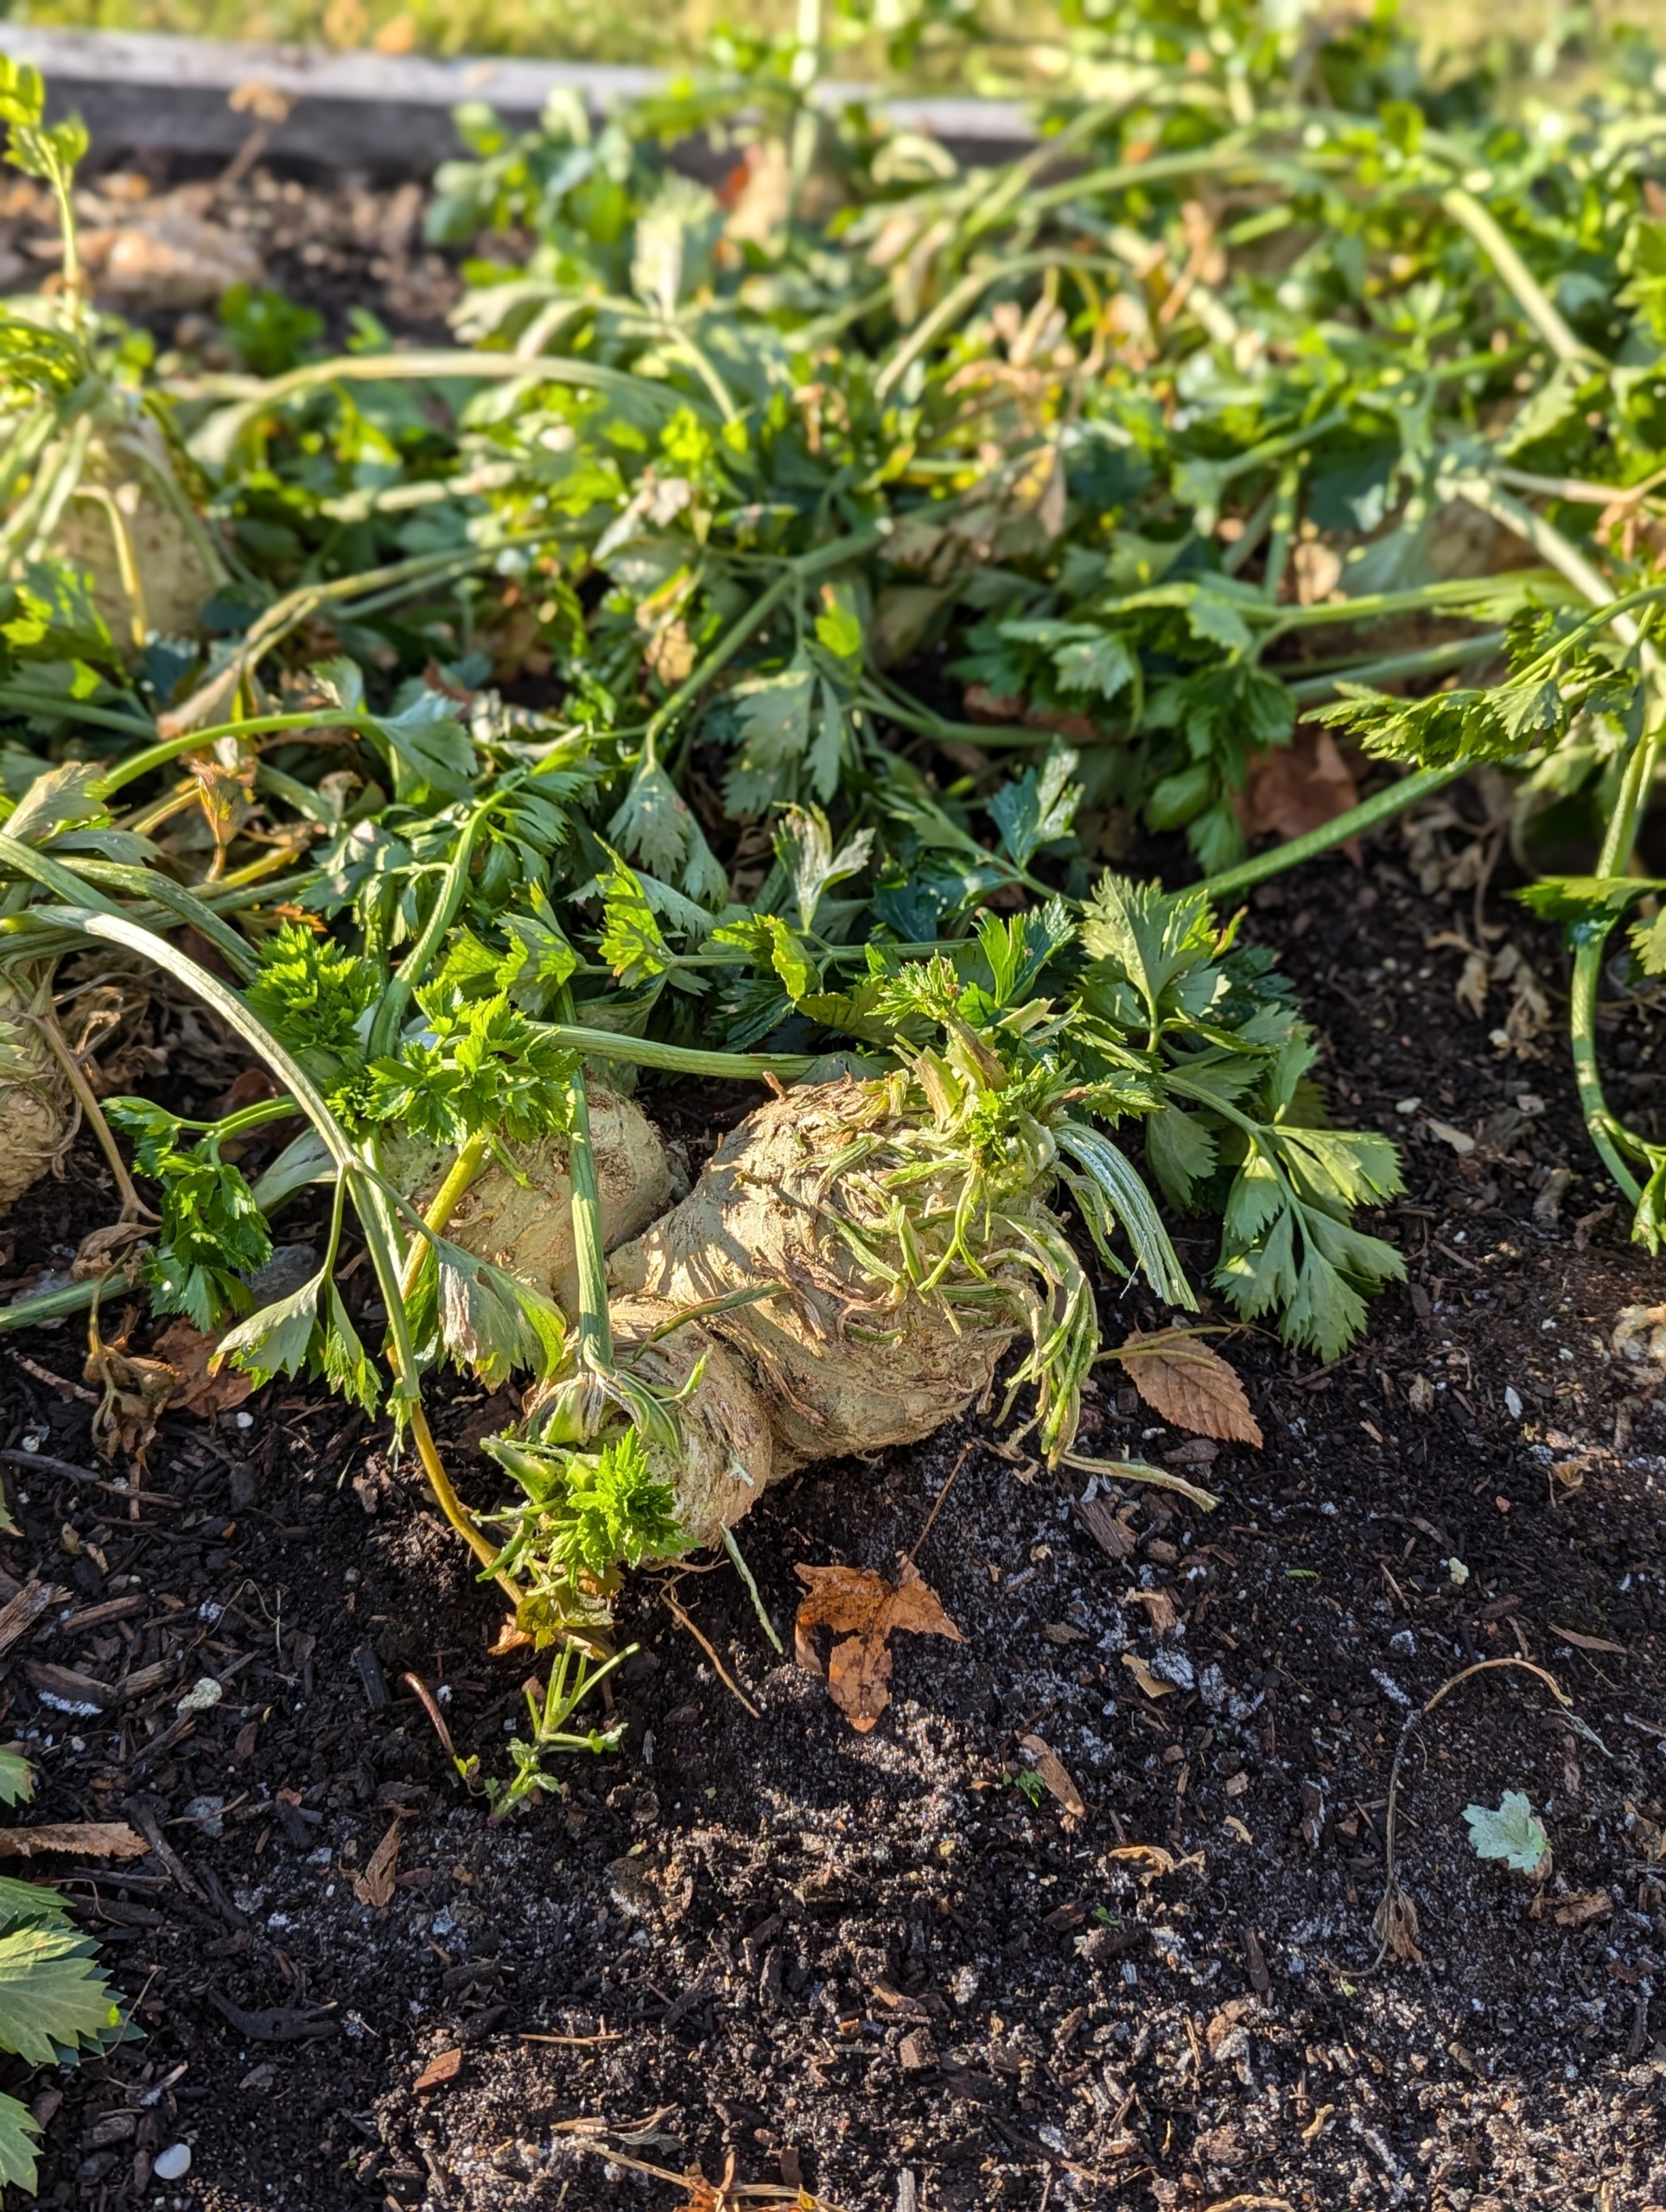
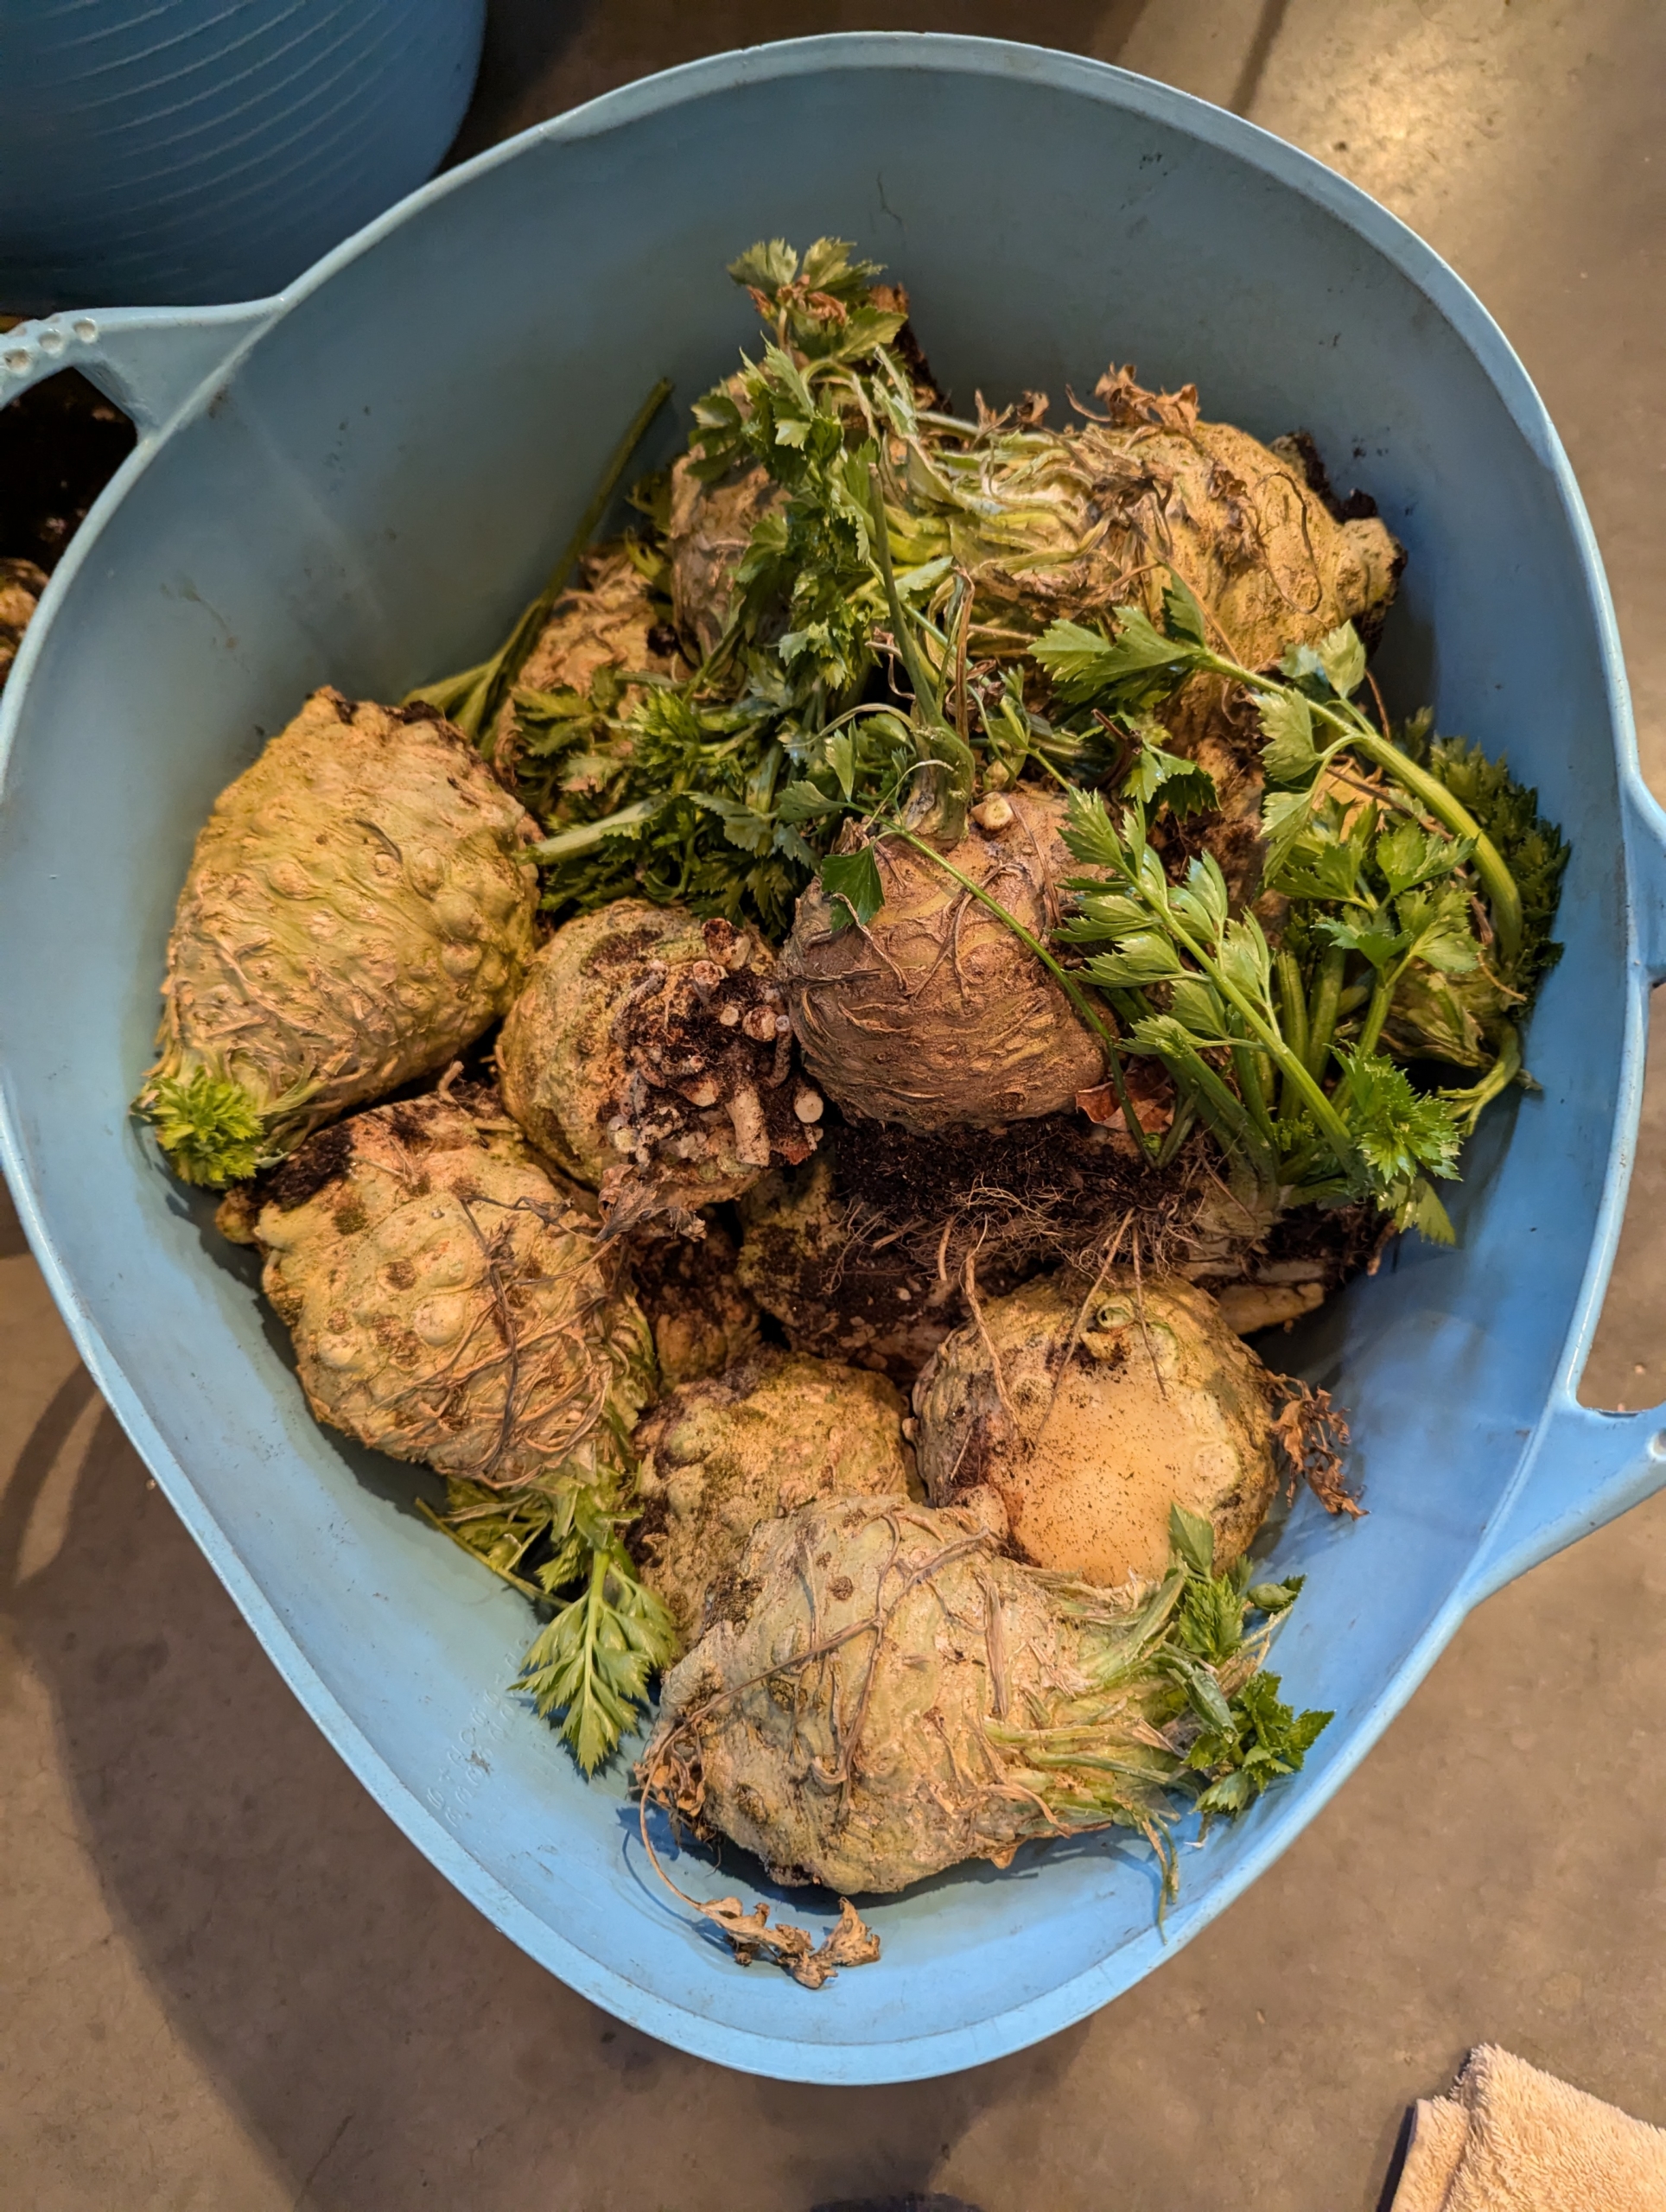
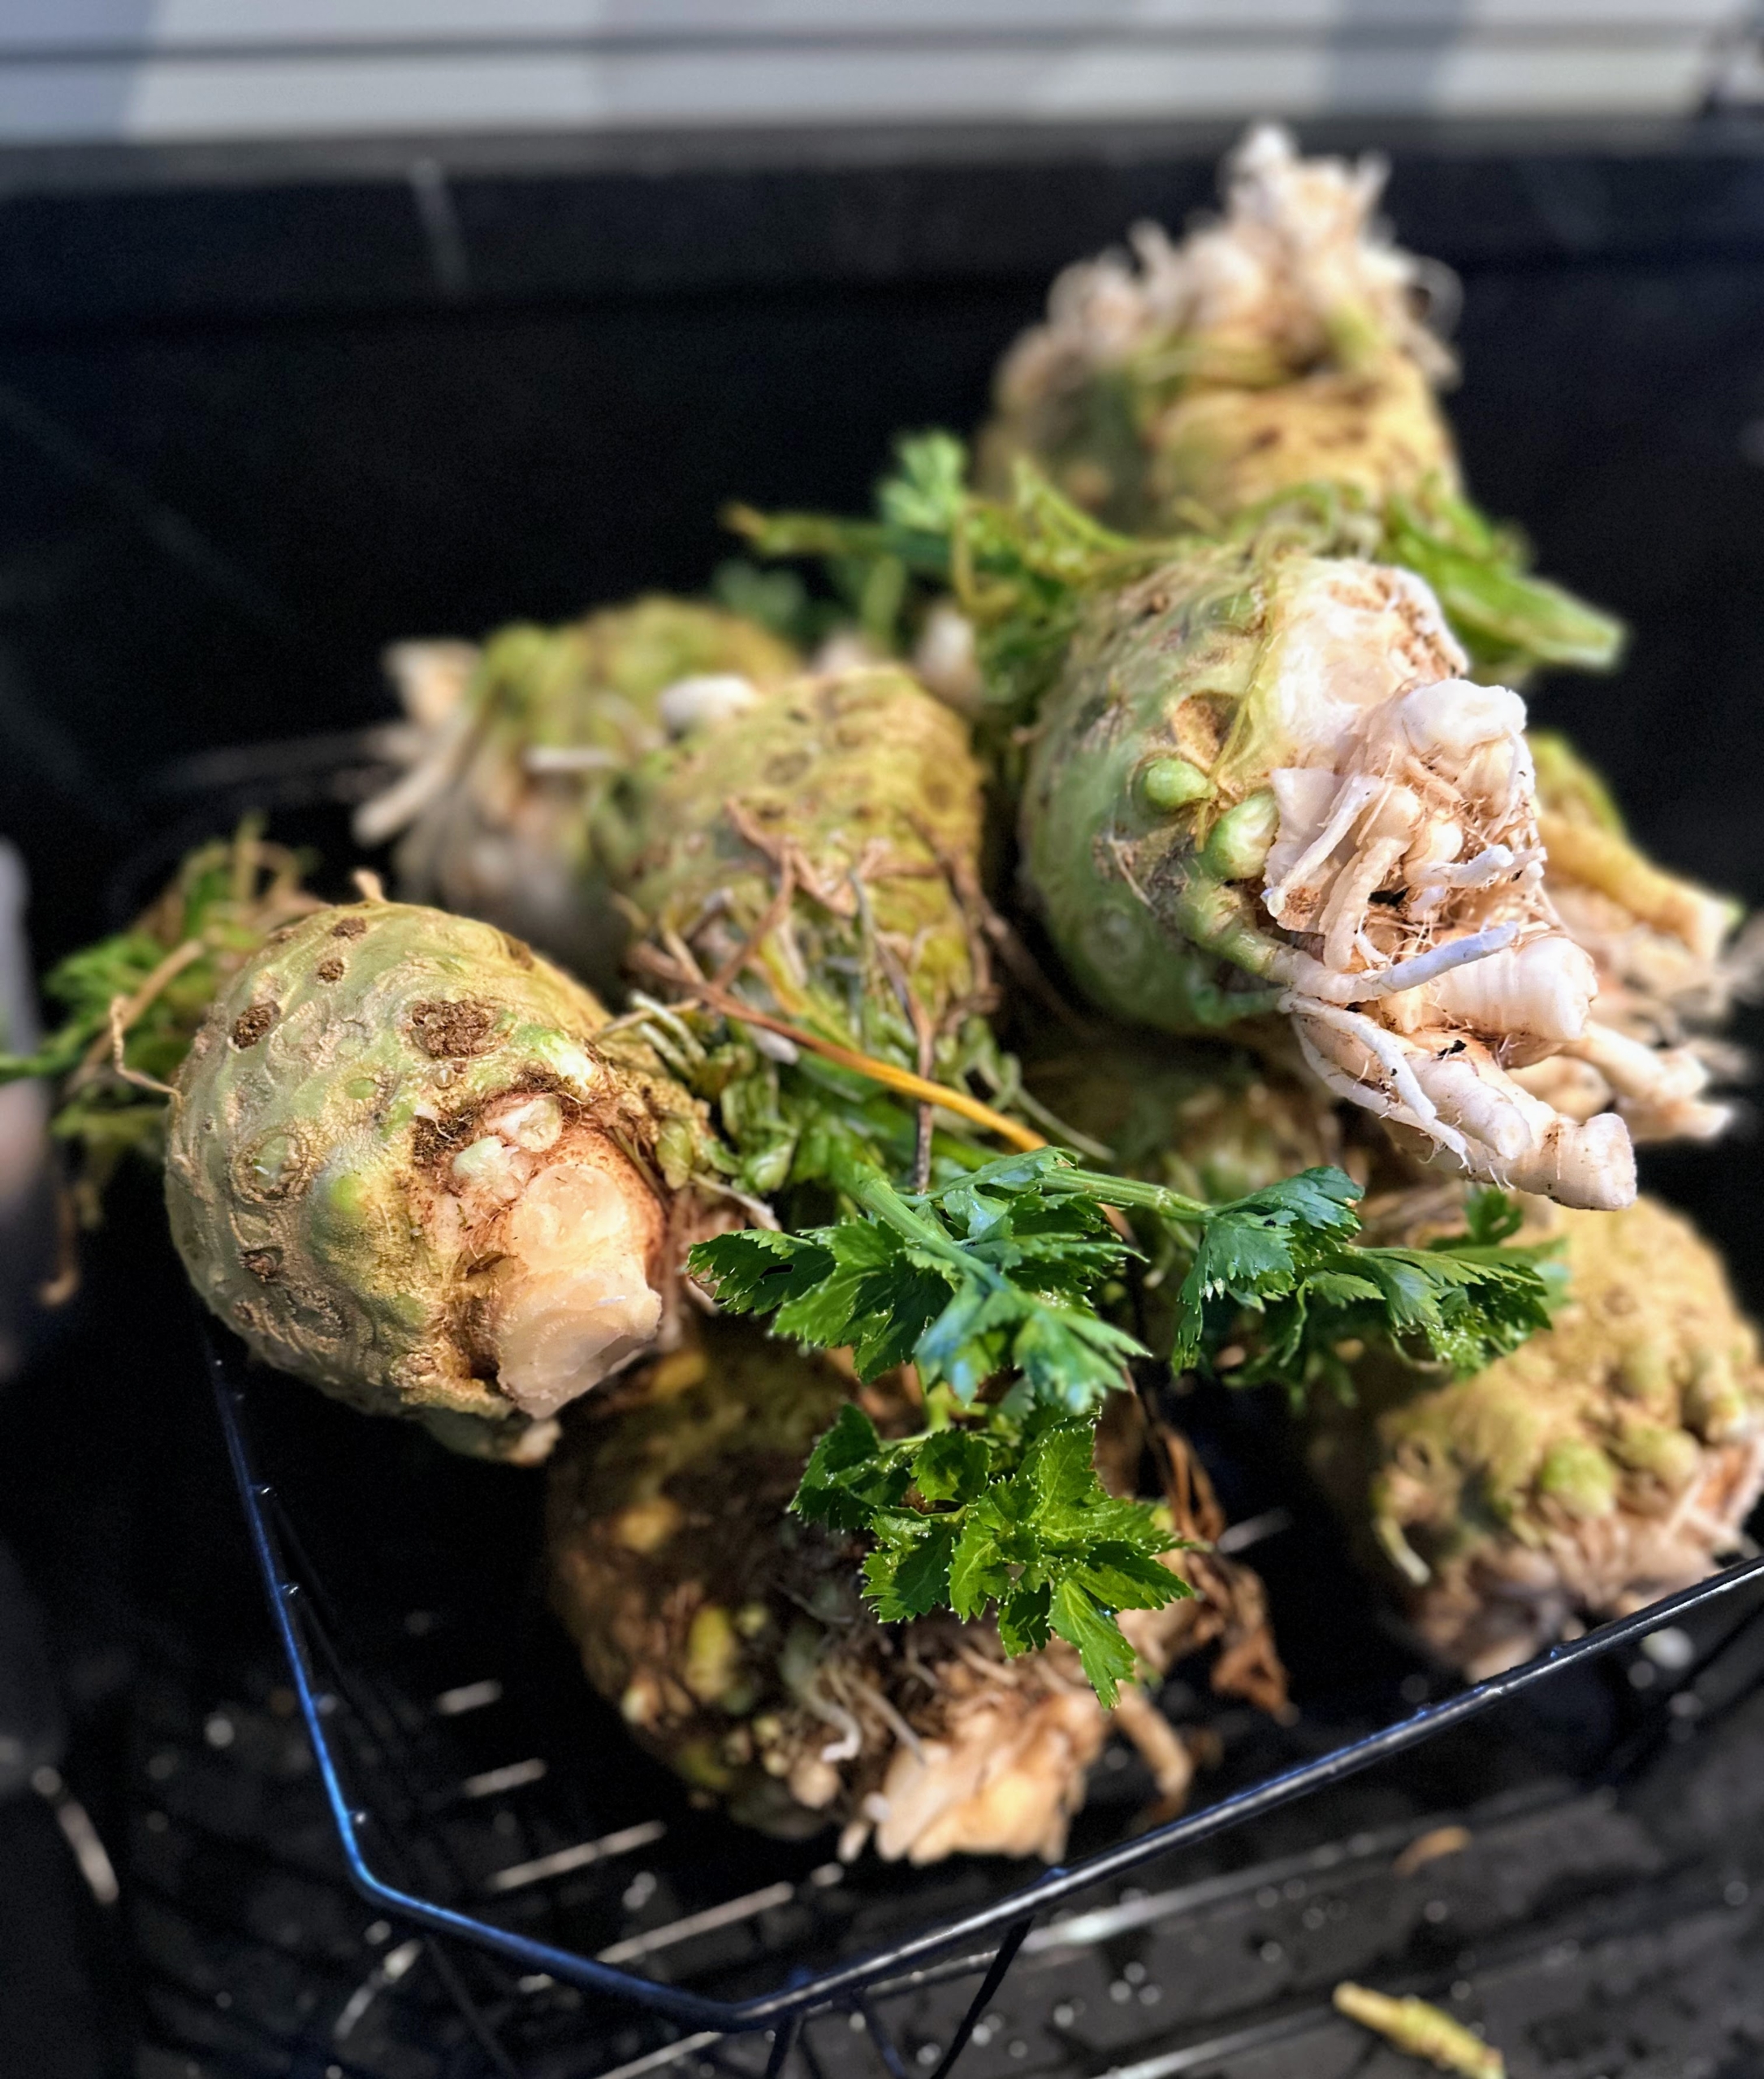
Among them, celeriac – also known as celery root, knob celery, and turnip-rooted celery. It is a variety of celery; however, while celery is grown for its succulent stalk and foliage, celeriac is cultivated for its edible and bulbous stem or hypocotyl, and shoots.
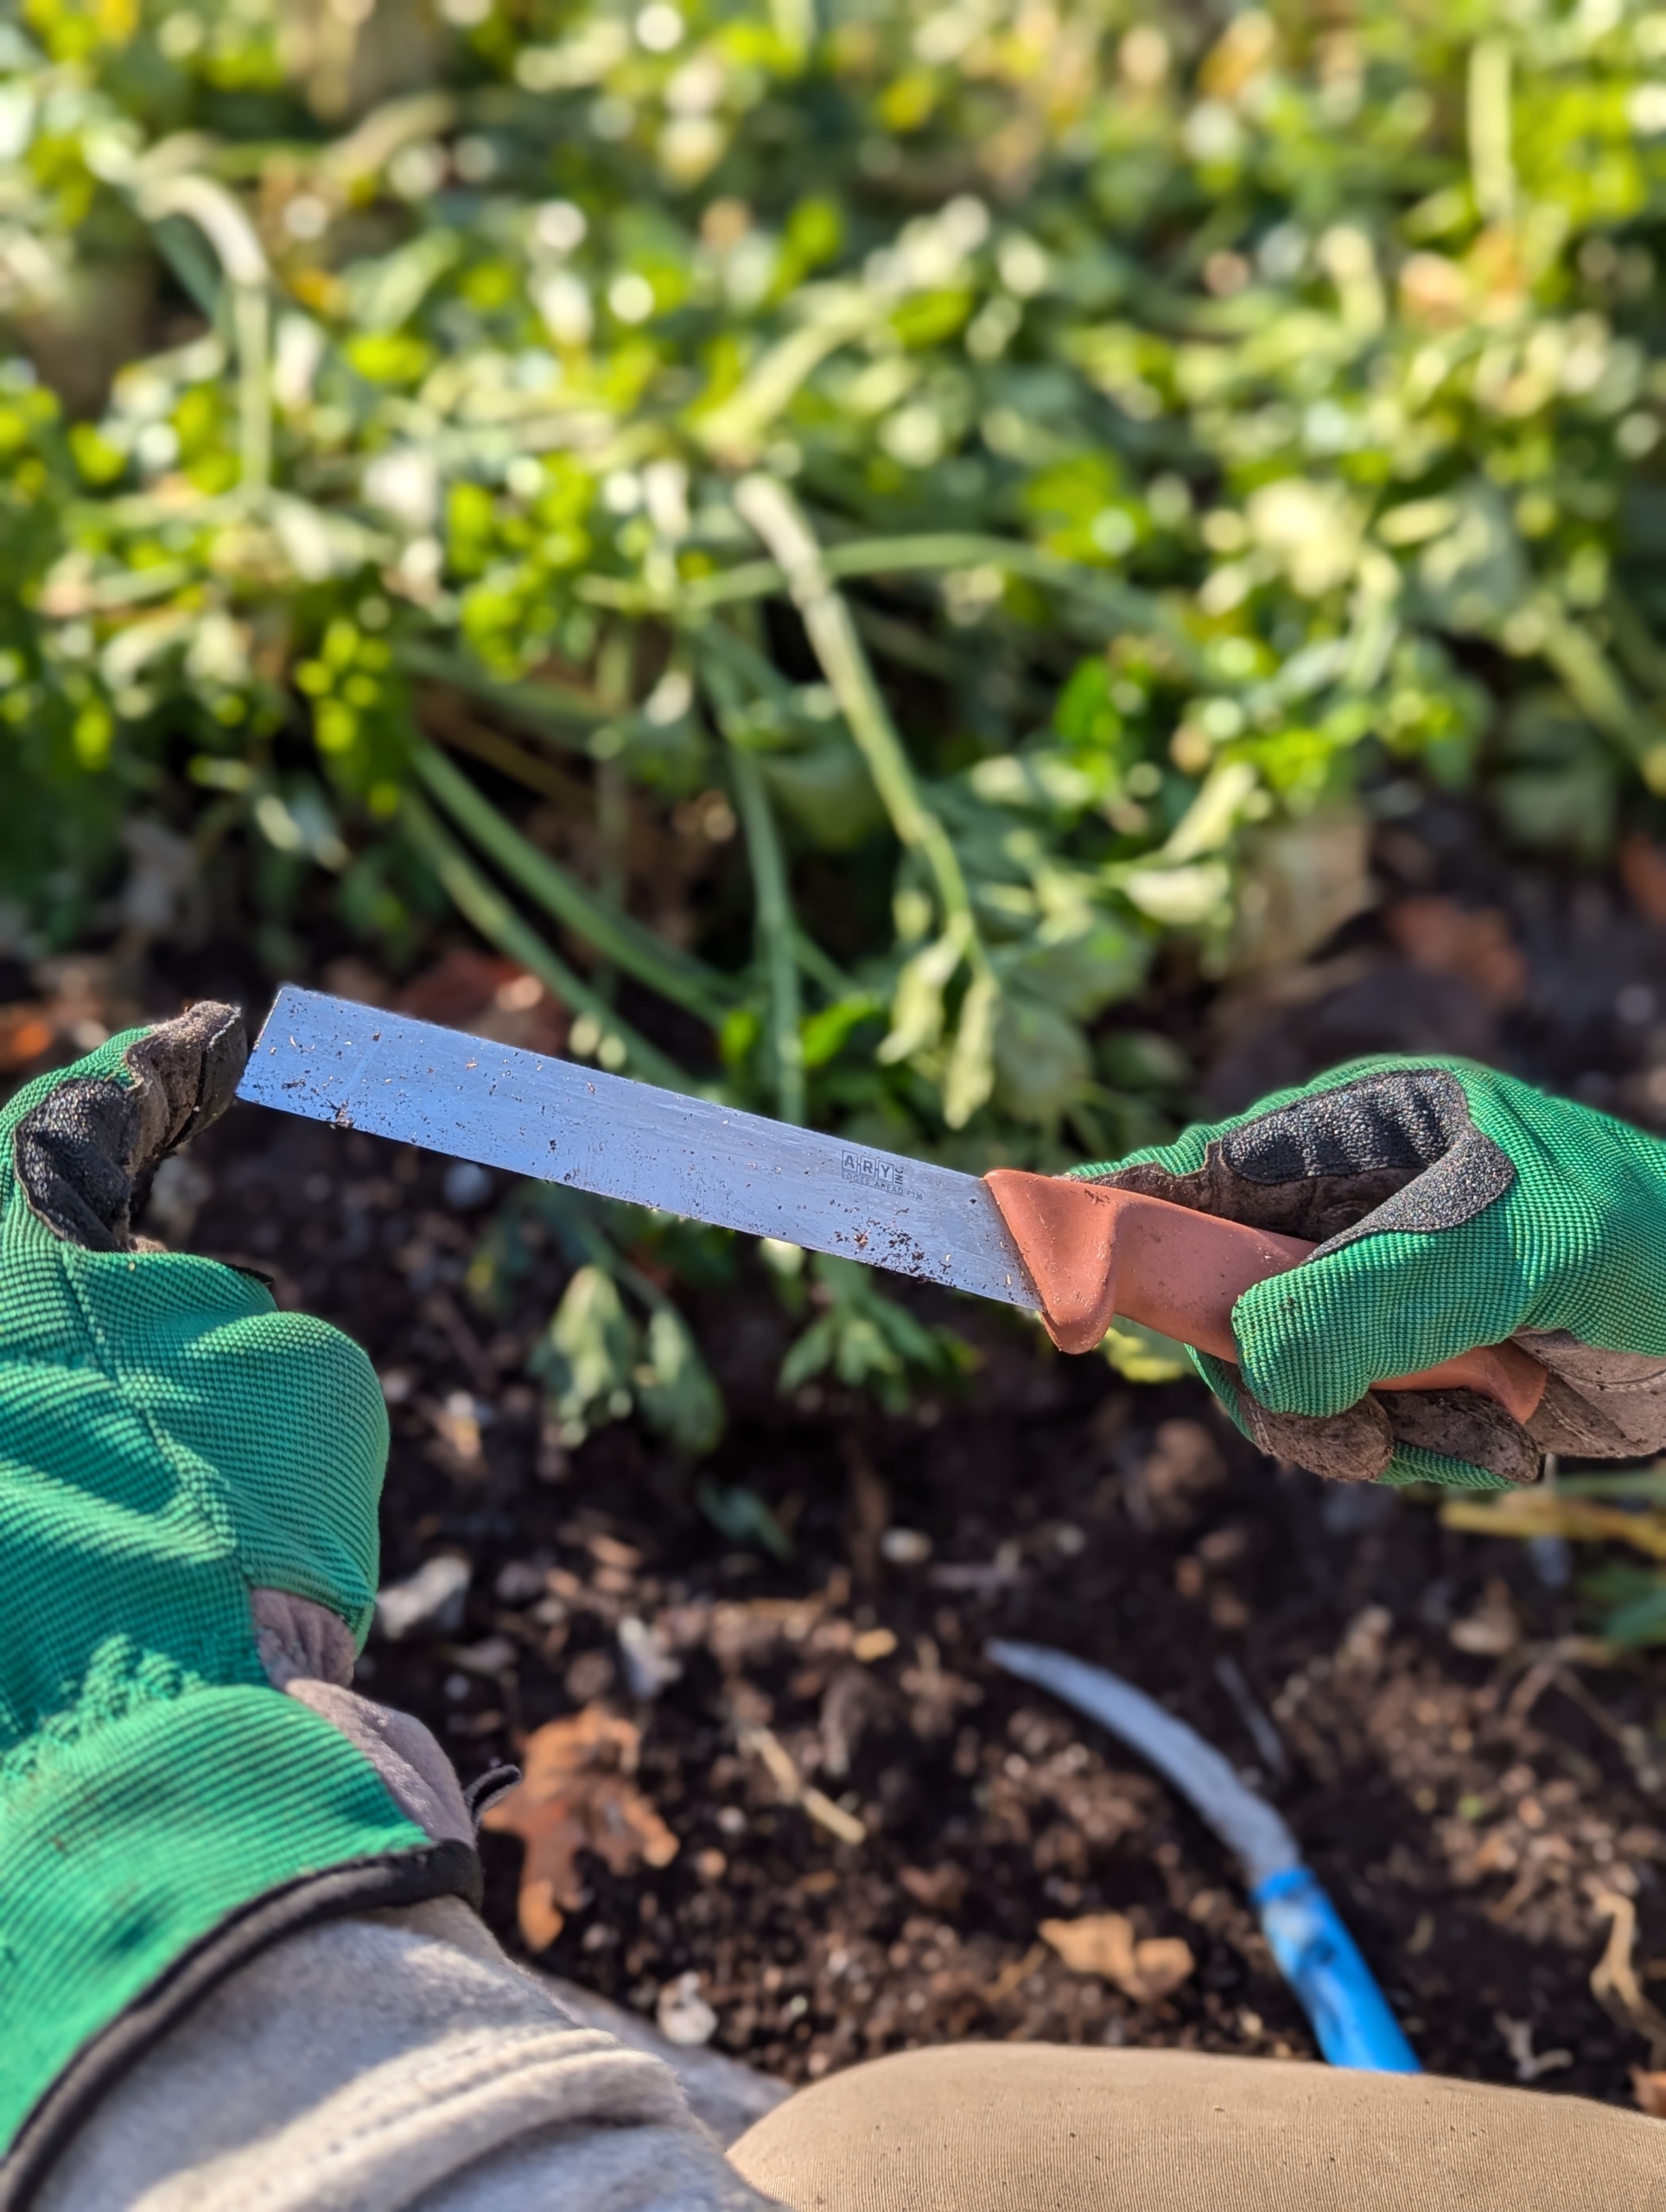
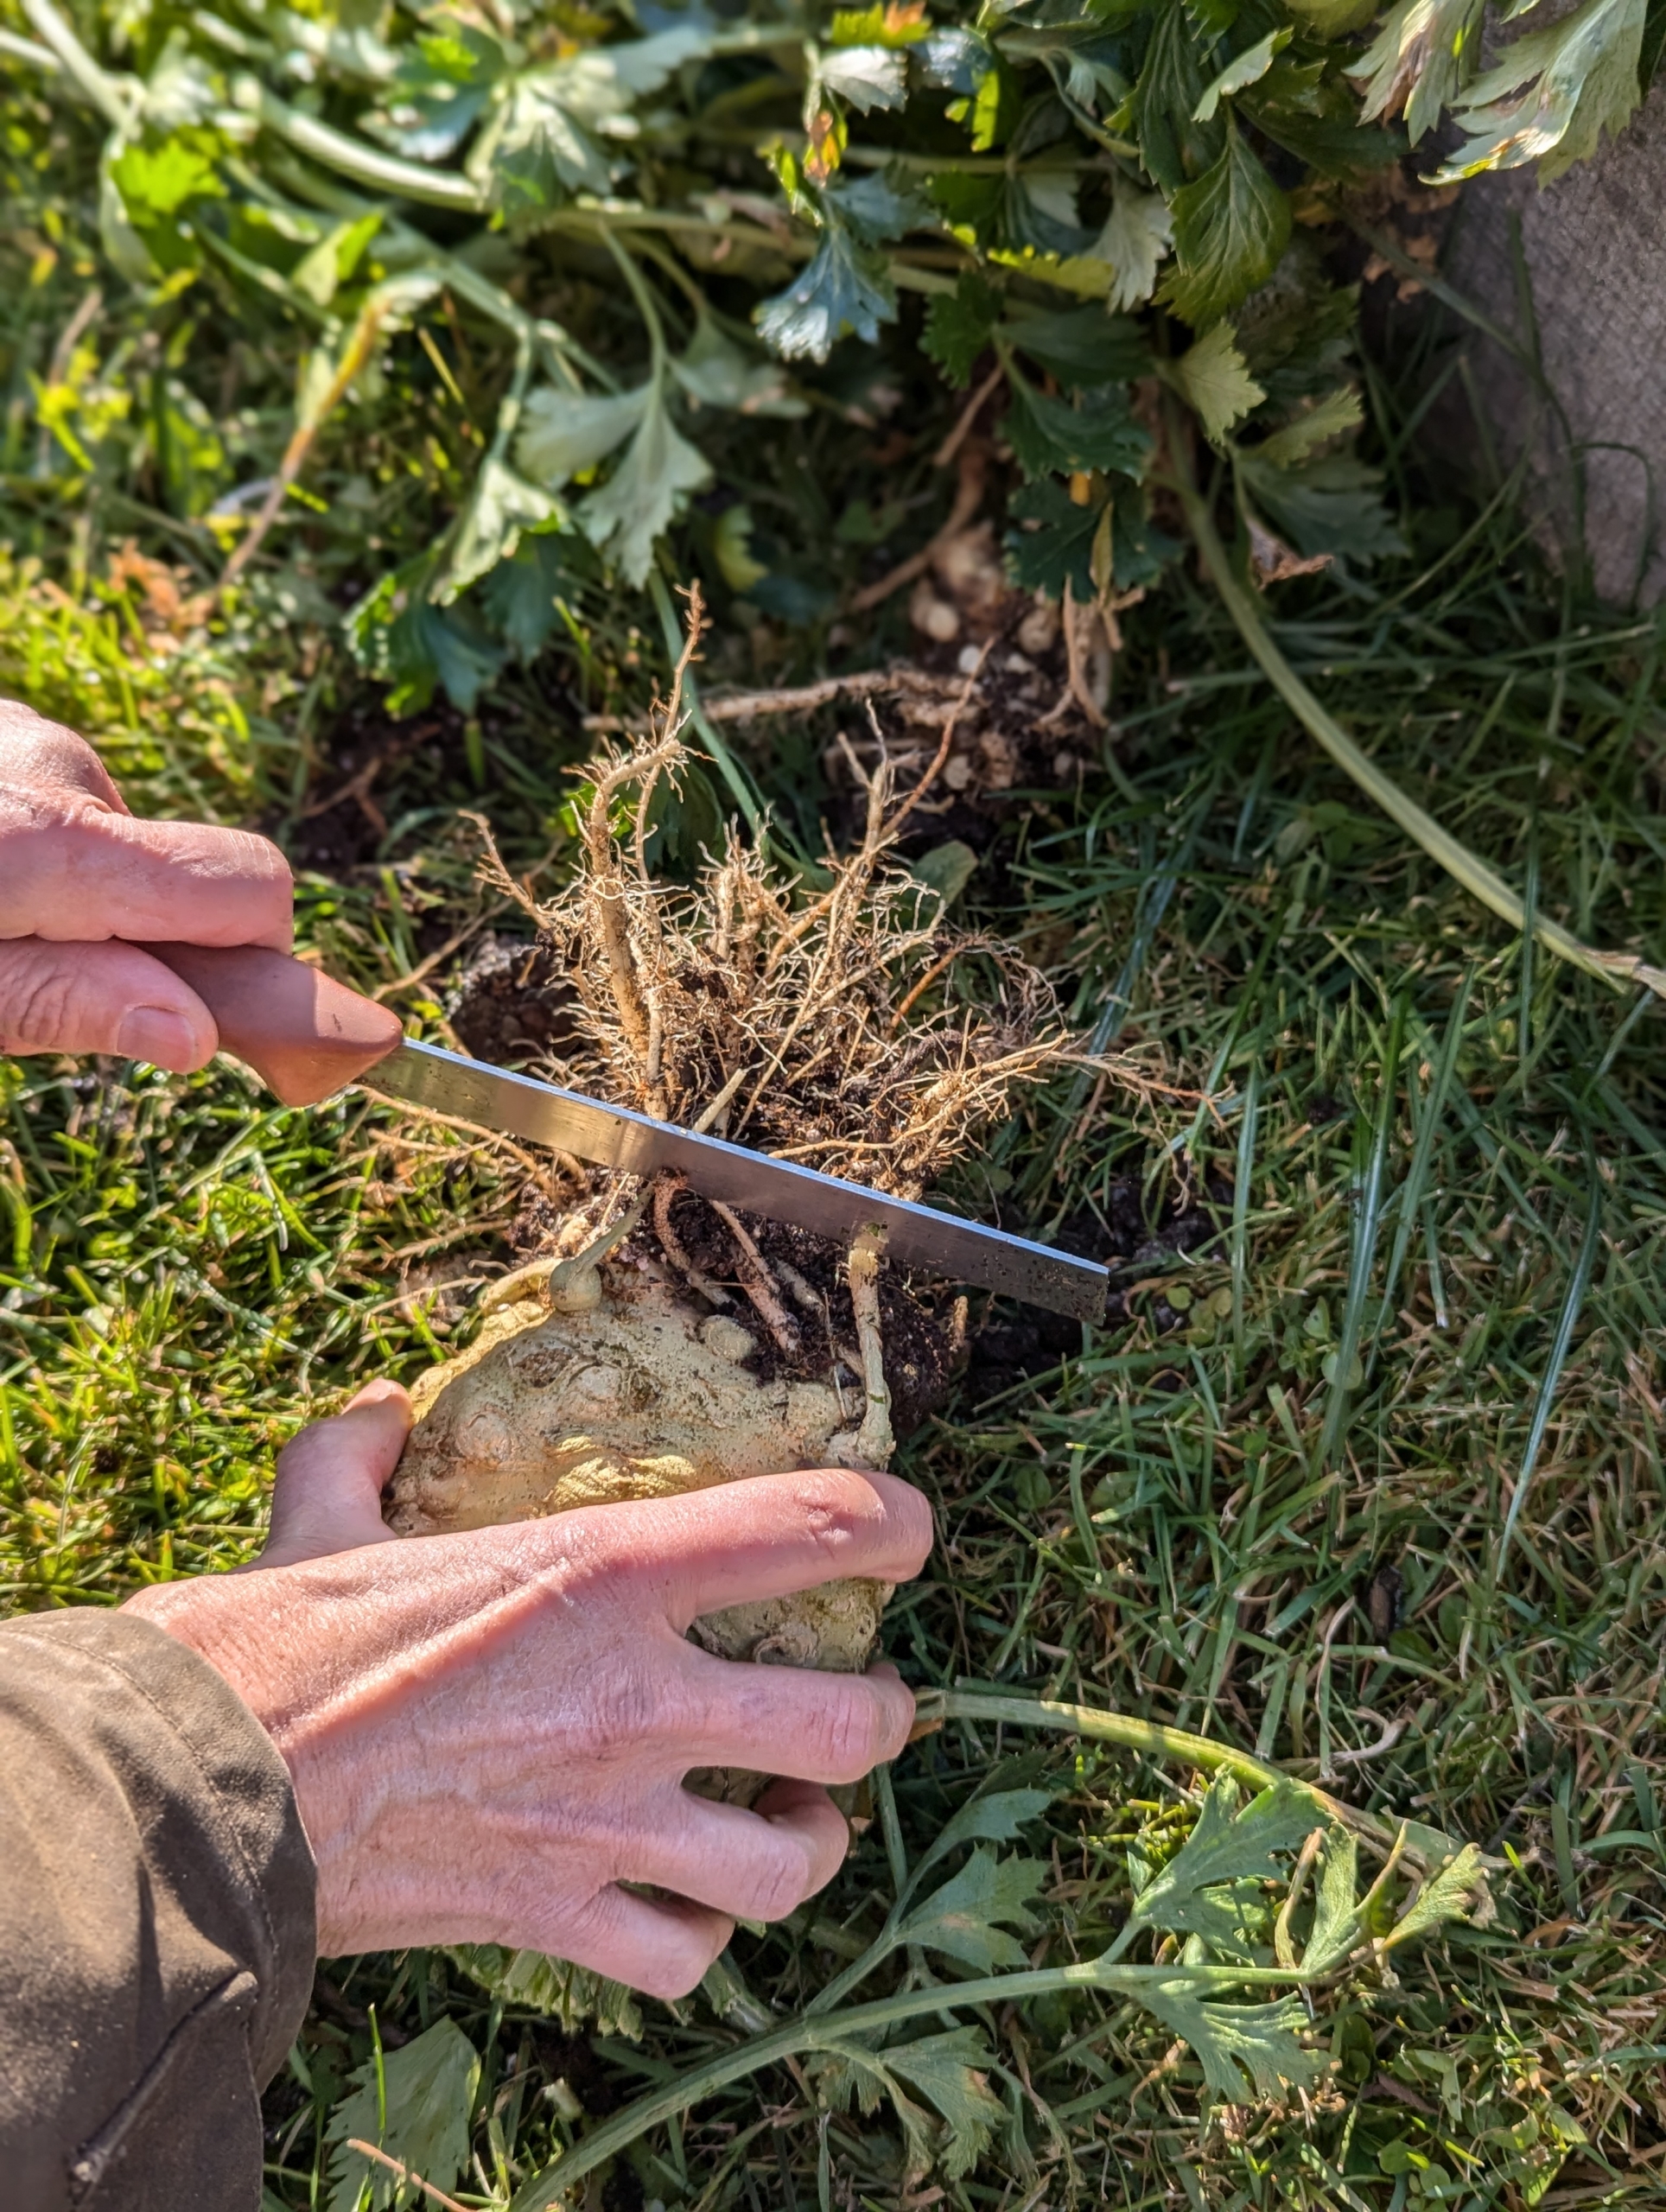
Ryan uses this straight edged harvesting knife to cut off the long leafy stalks and reveal the celeriac.
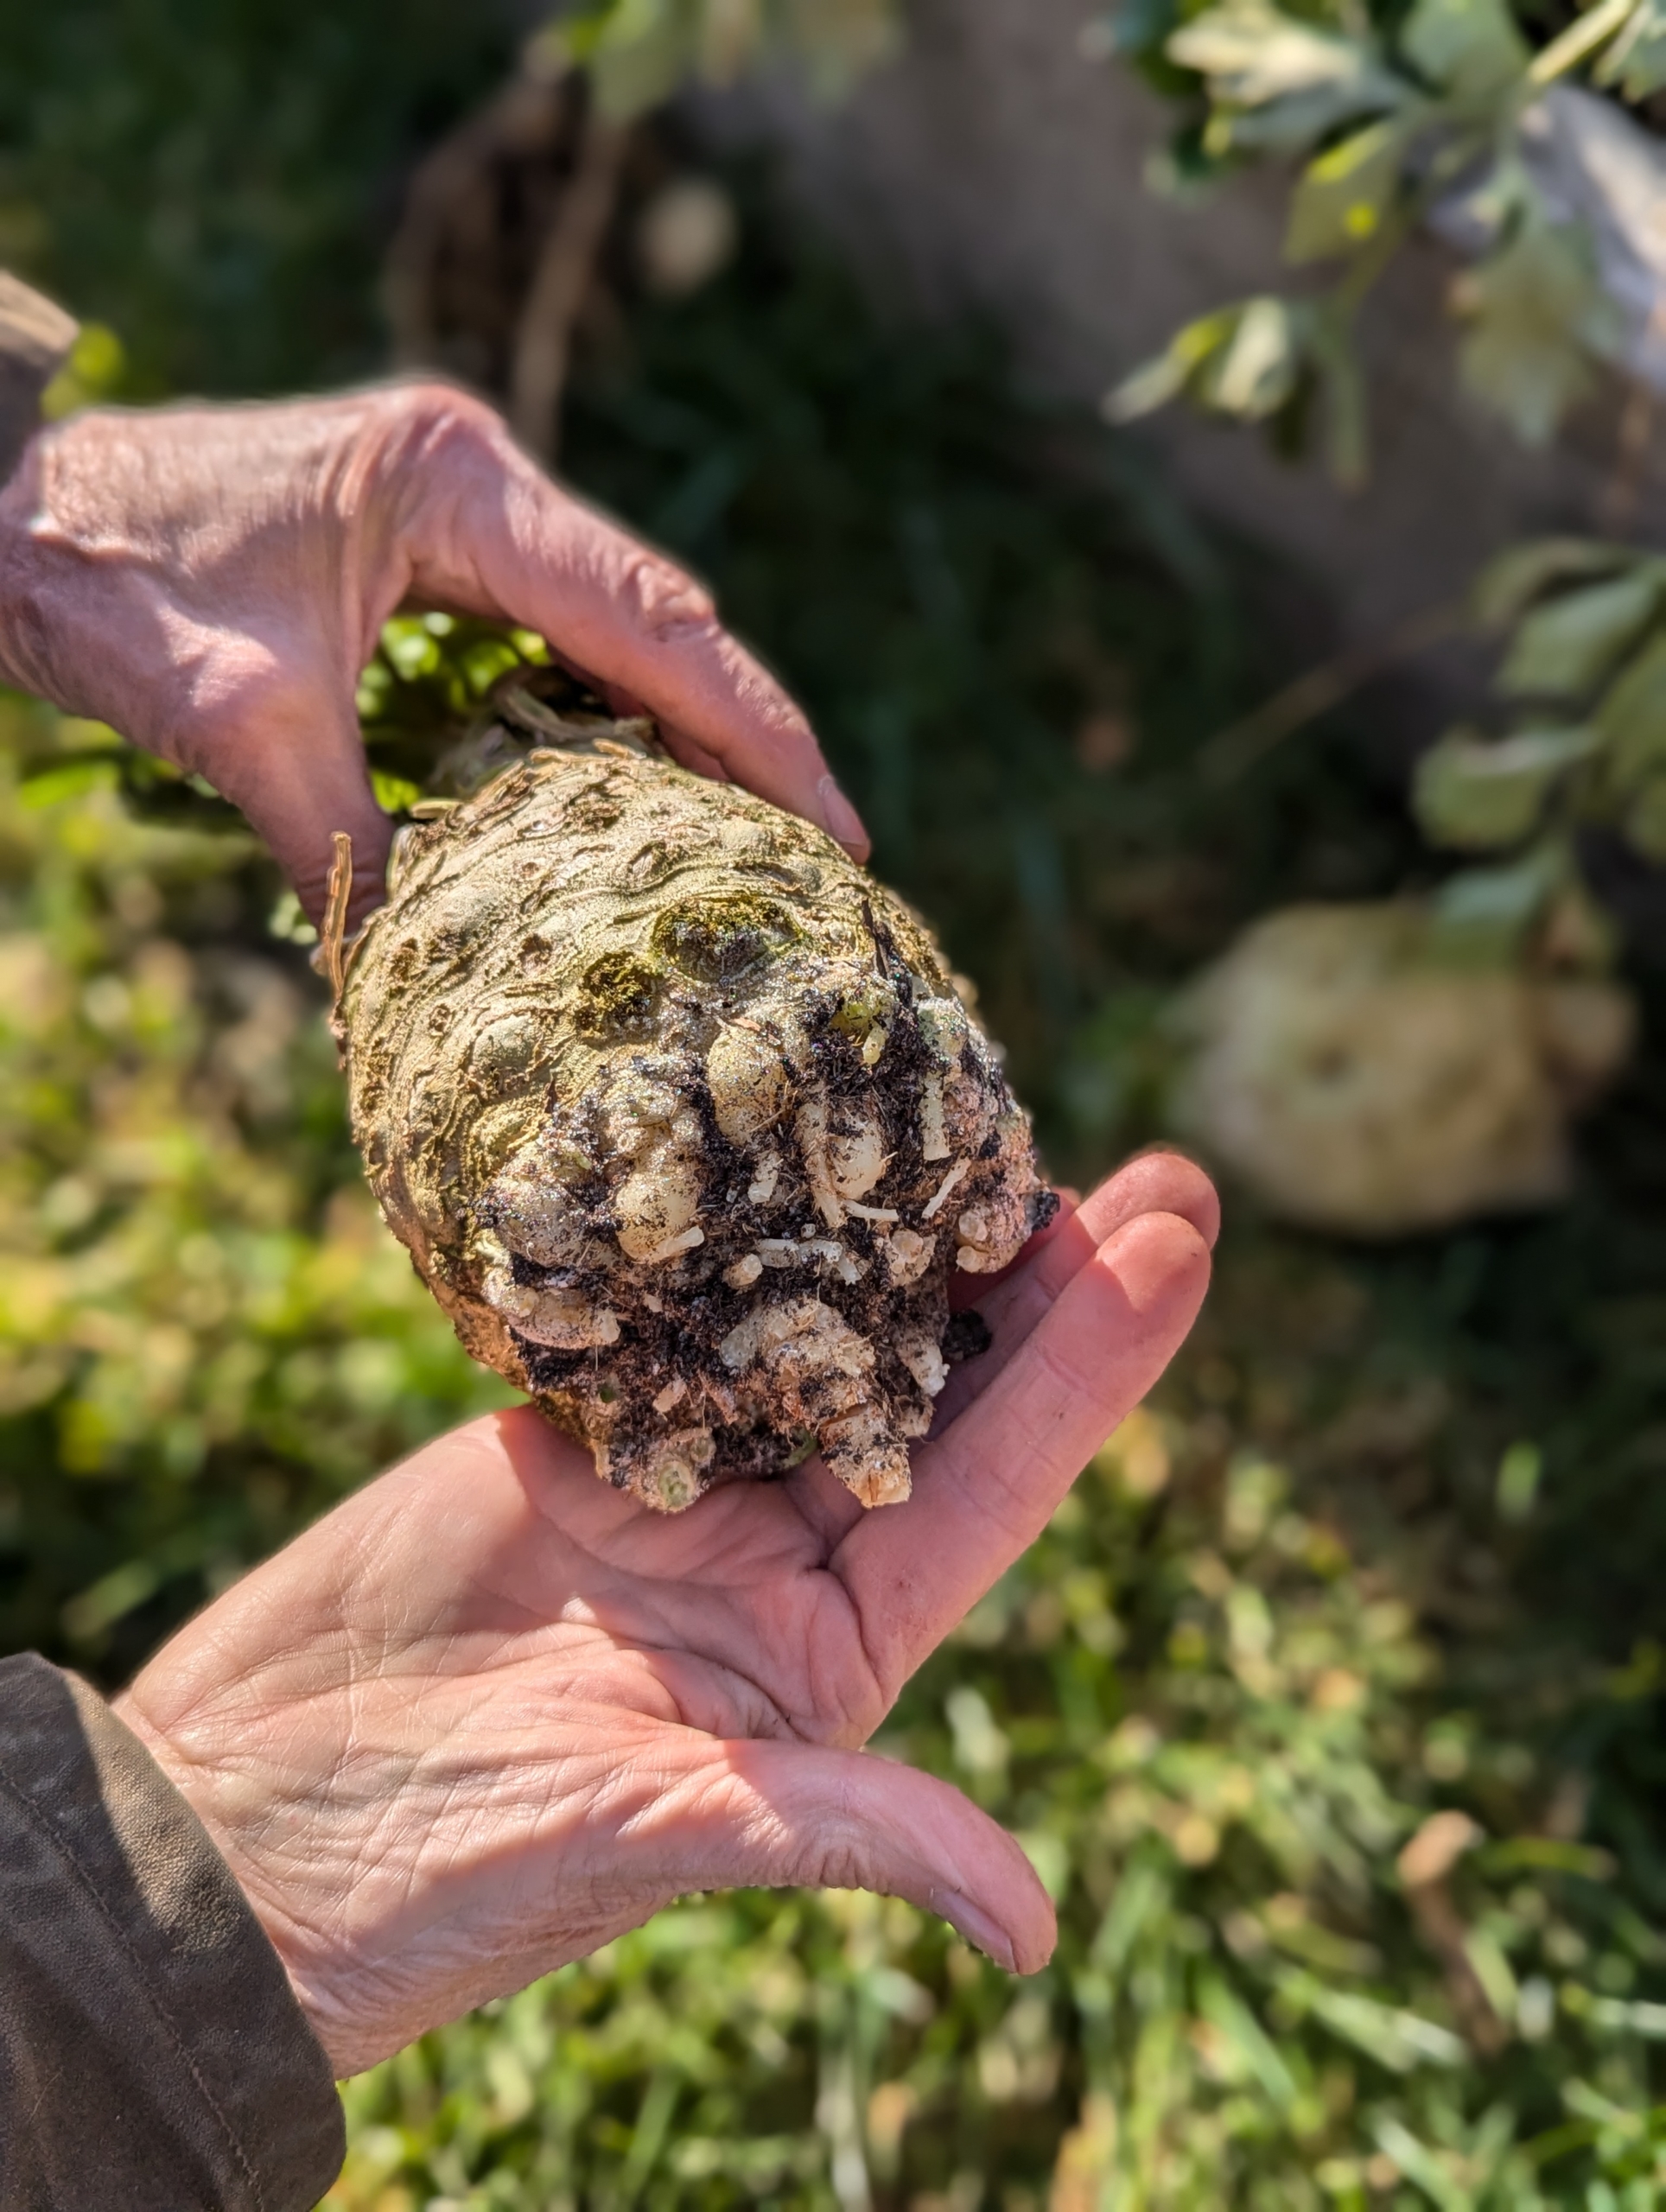
Celeriac has many small roots, so it is sometimes hard to pull from the ground. Once picked, Wendy cuts off the stringy roots from the bottom of the celeriac ball.
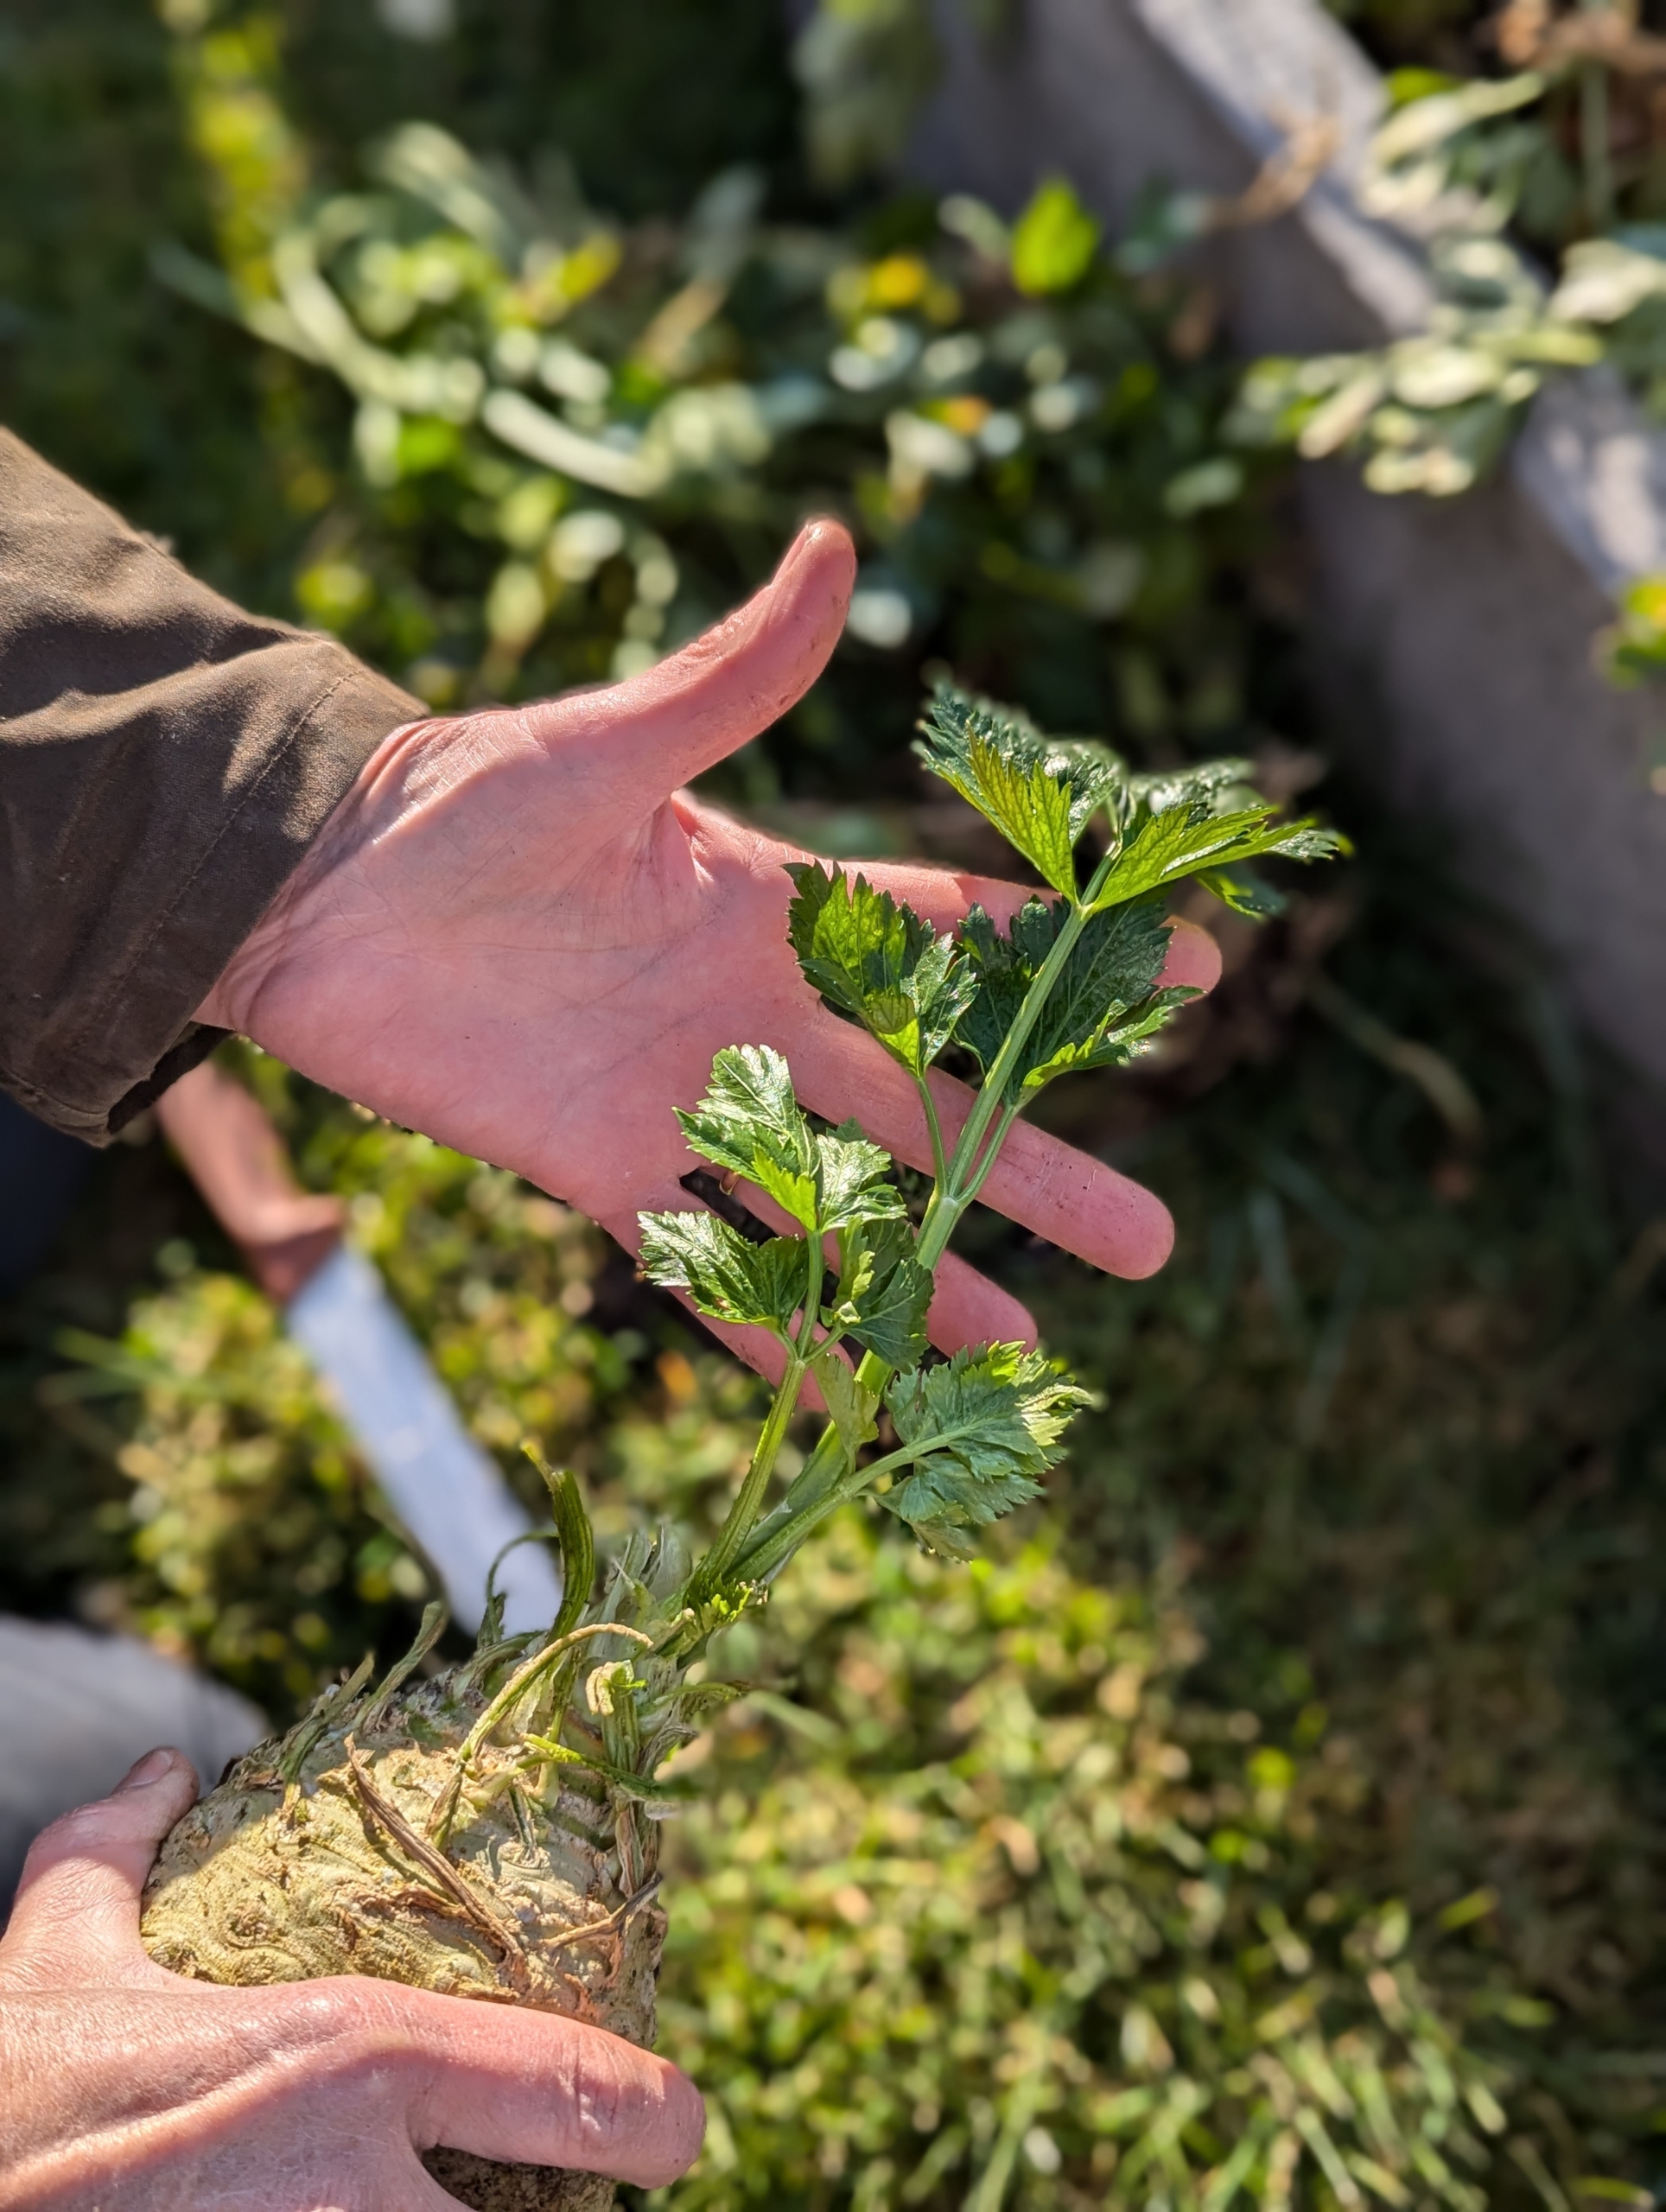
The celeriac should be clean of any roots at the bottom. These vegetables are big – about the size of one’s palm. The flavor is very mild, slightly sweet and nutty, and doesn’t have any bitterness.
The leaves of celeriac are also edible and can be chopped finely and used as a garnish or to flavor soups and stocks.
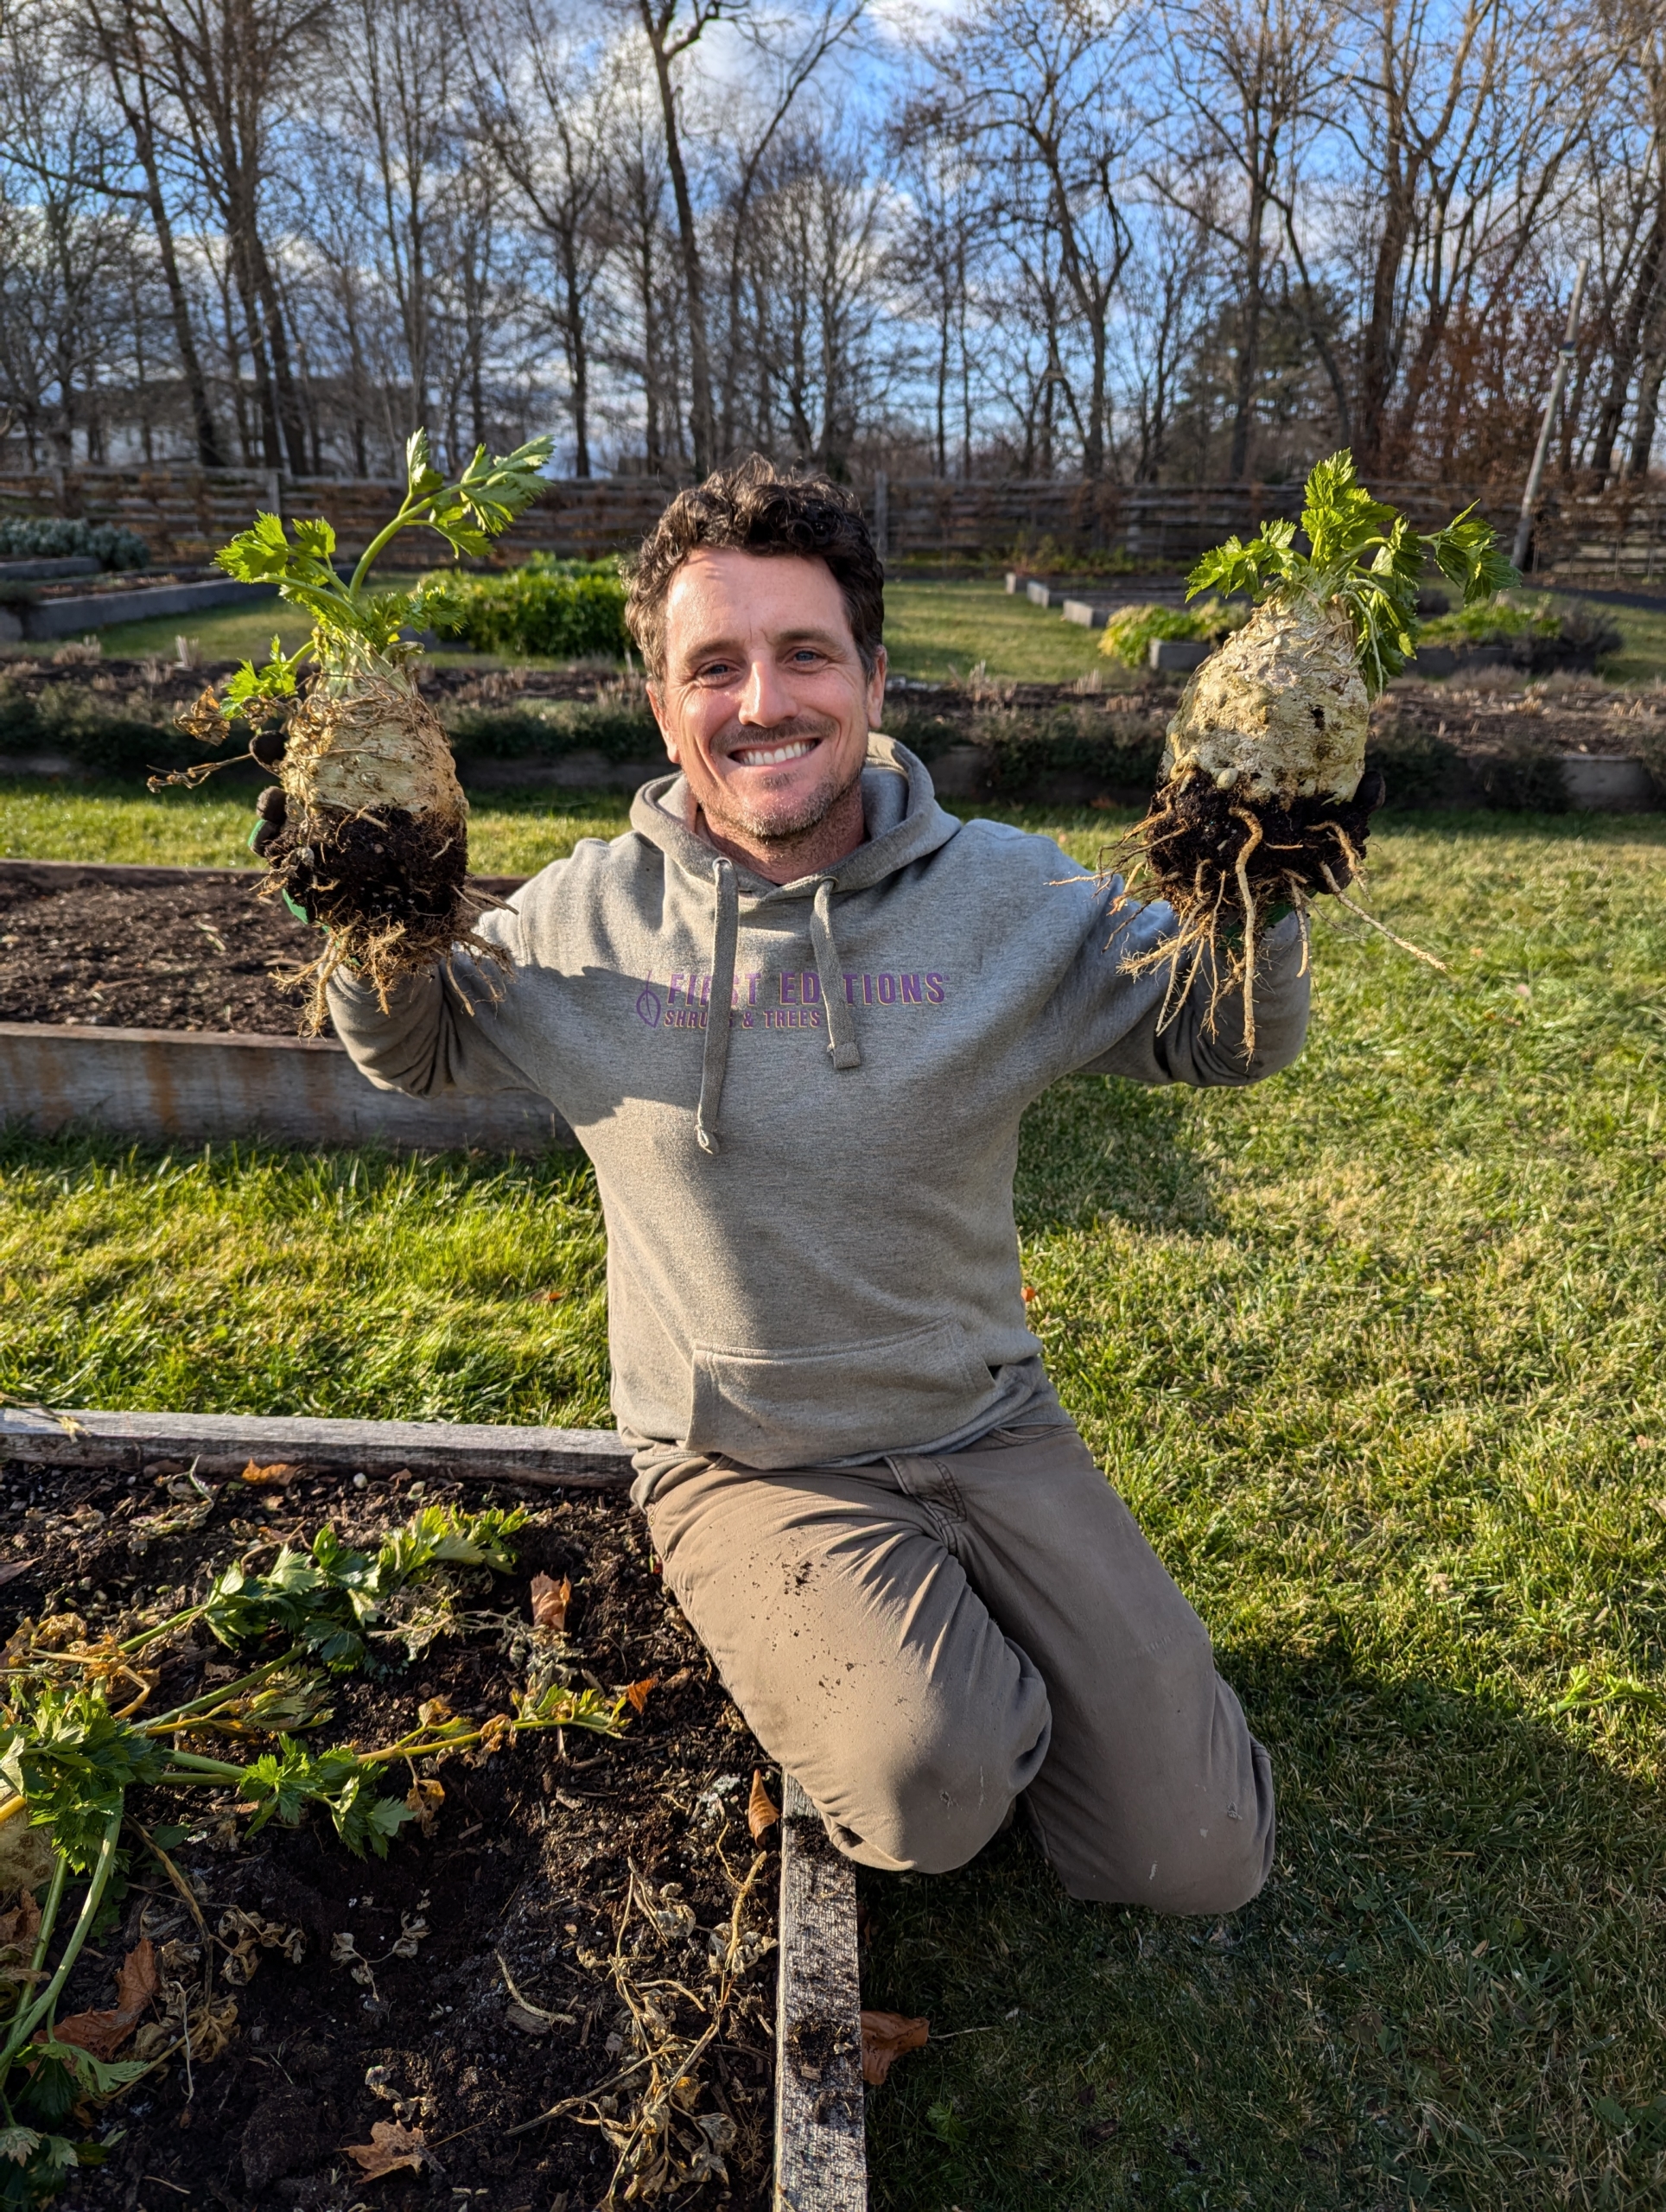
Ryan and Wendy harvested an entire bed and a half of delicious celeriac.
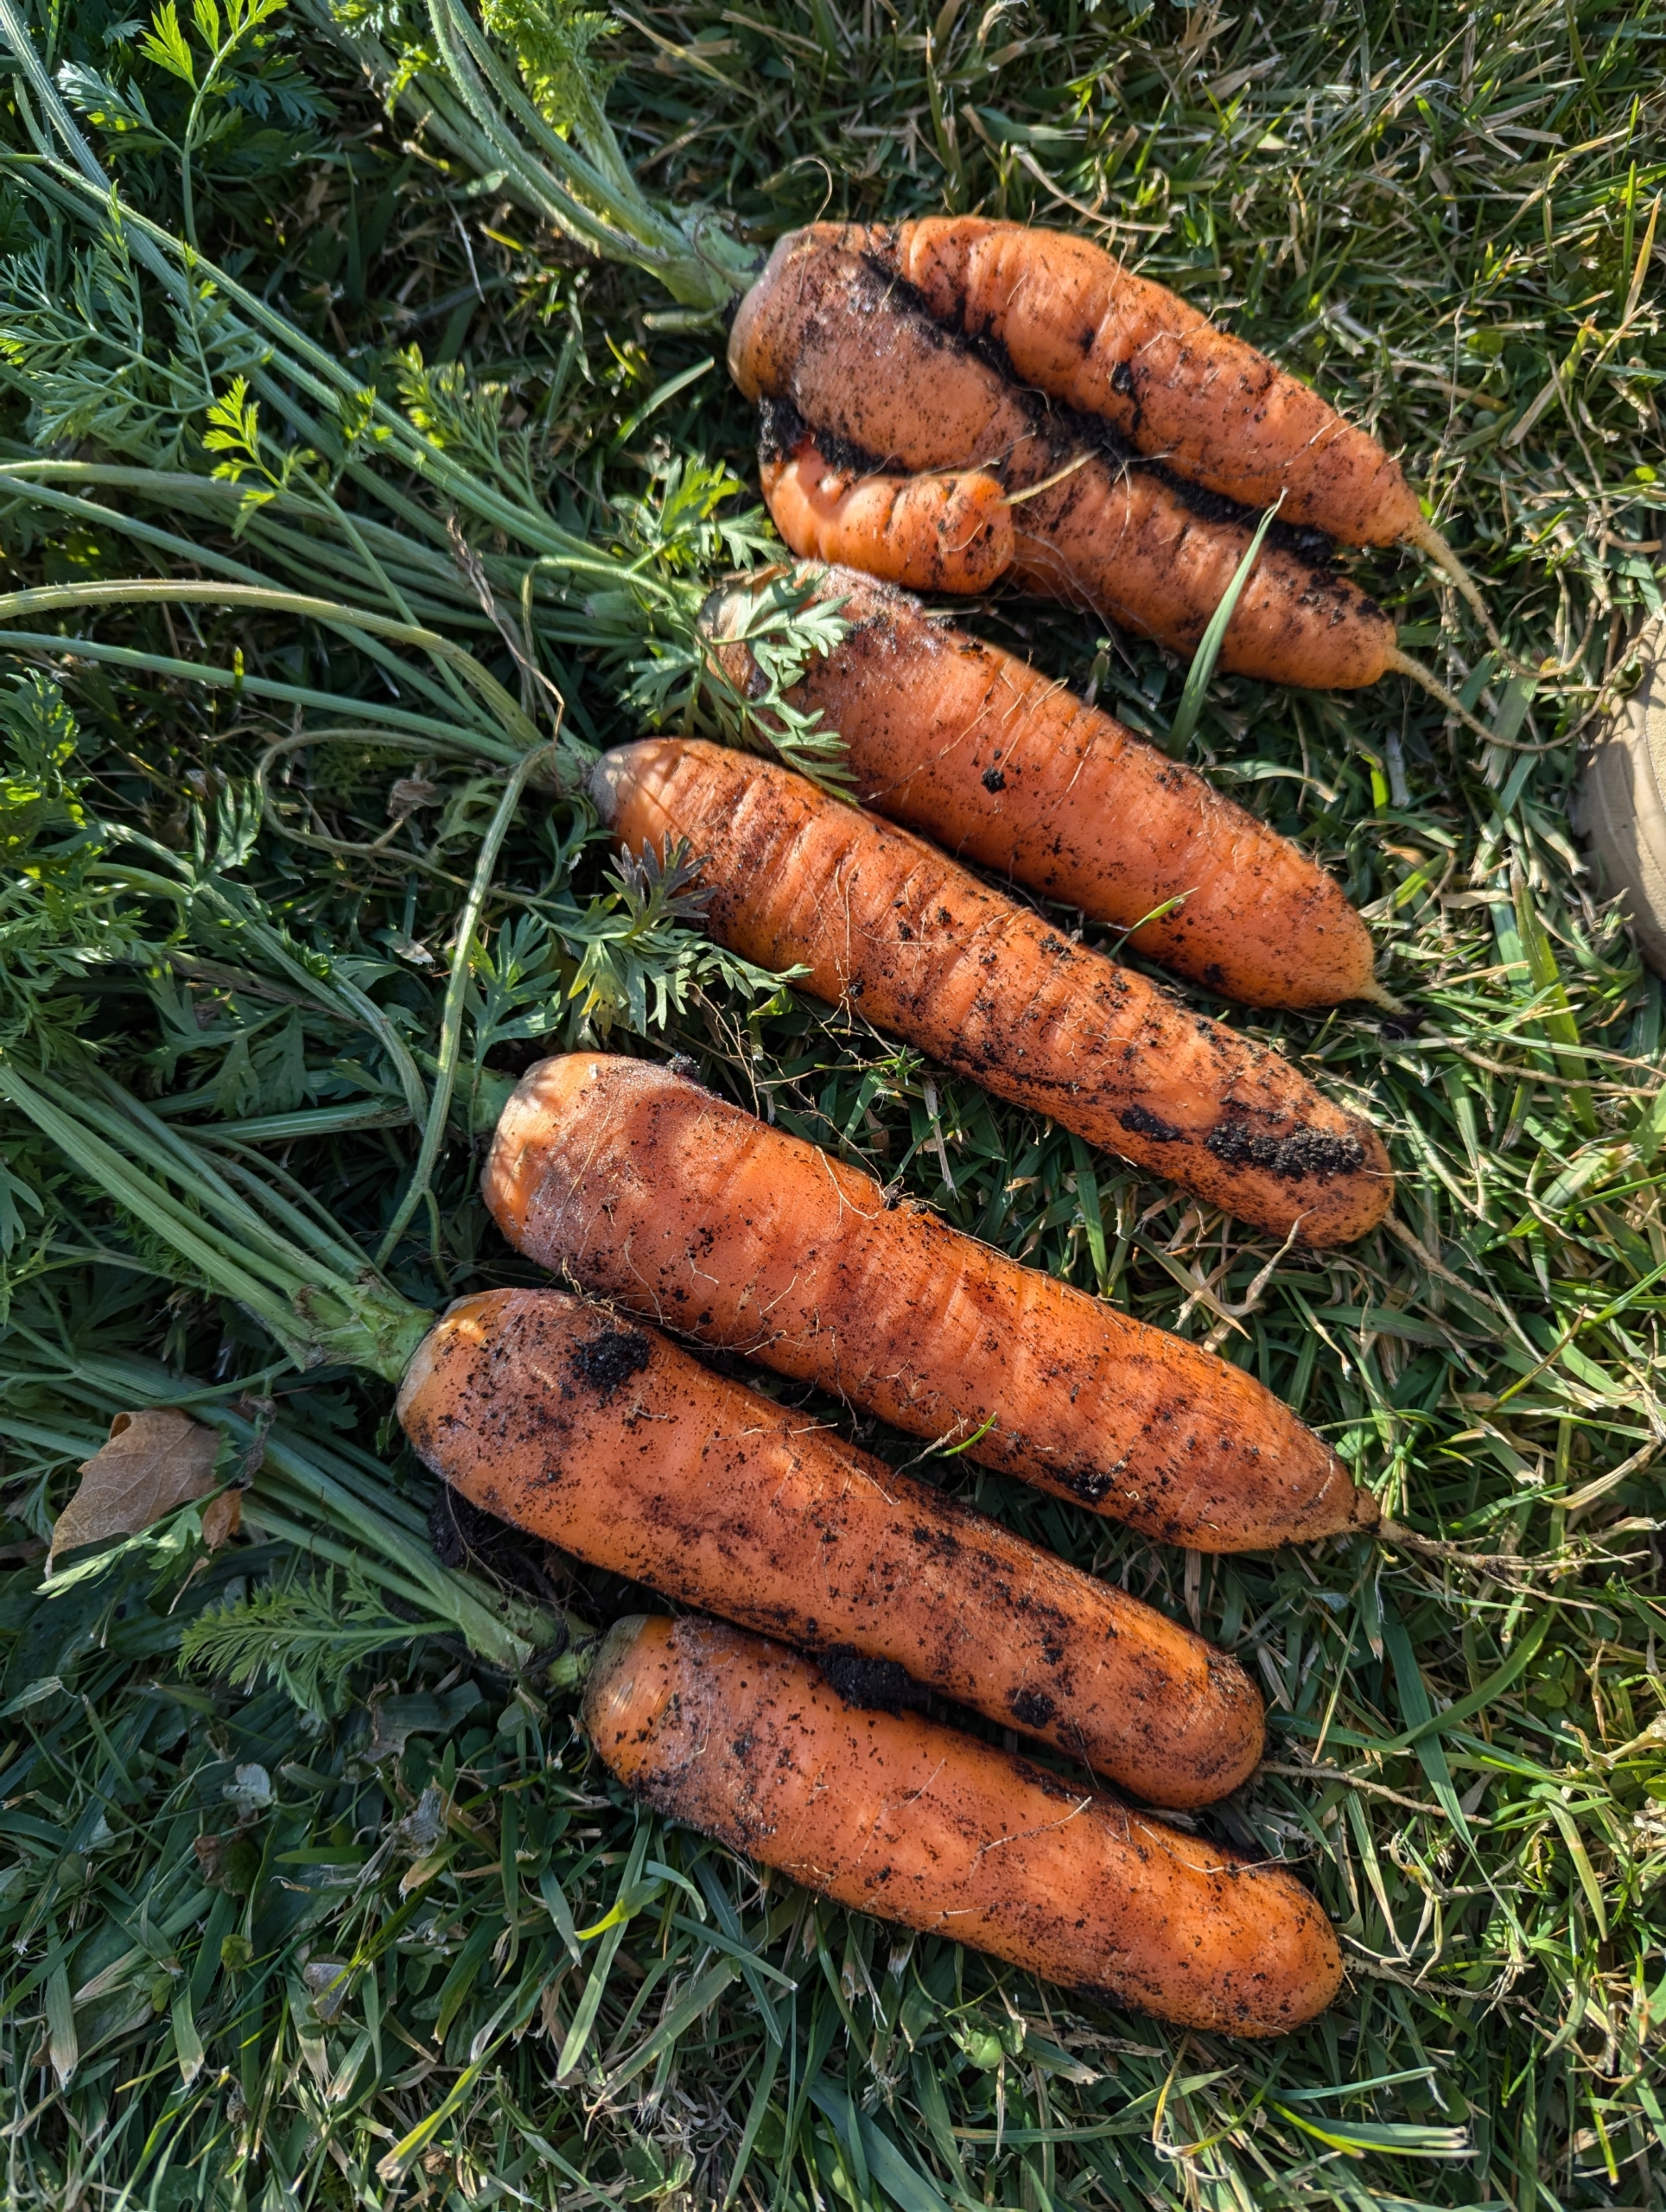
They also picked a good number of autumn carrots. These are sweeter than summer carrots because they matured in cooler conditions. Carrots convert stored starches into sugars to protect themselves from freezing. This process makes them sweeter and tastier.
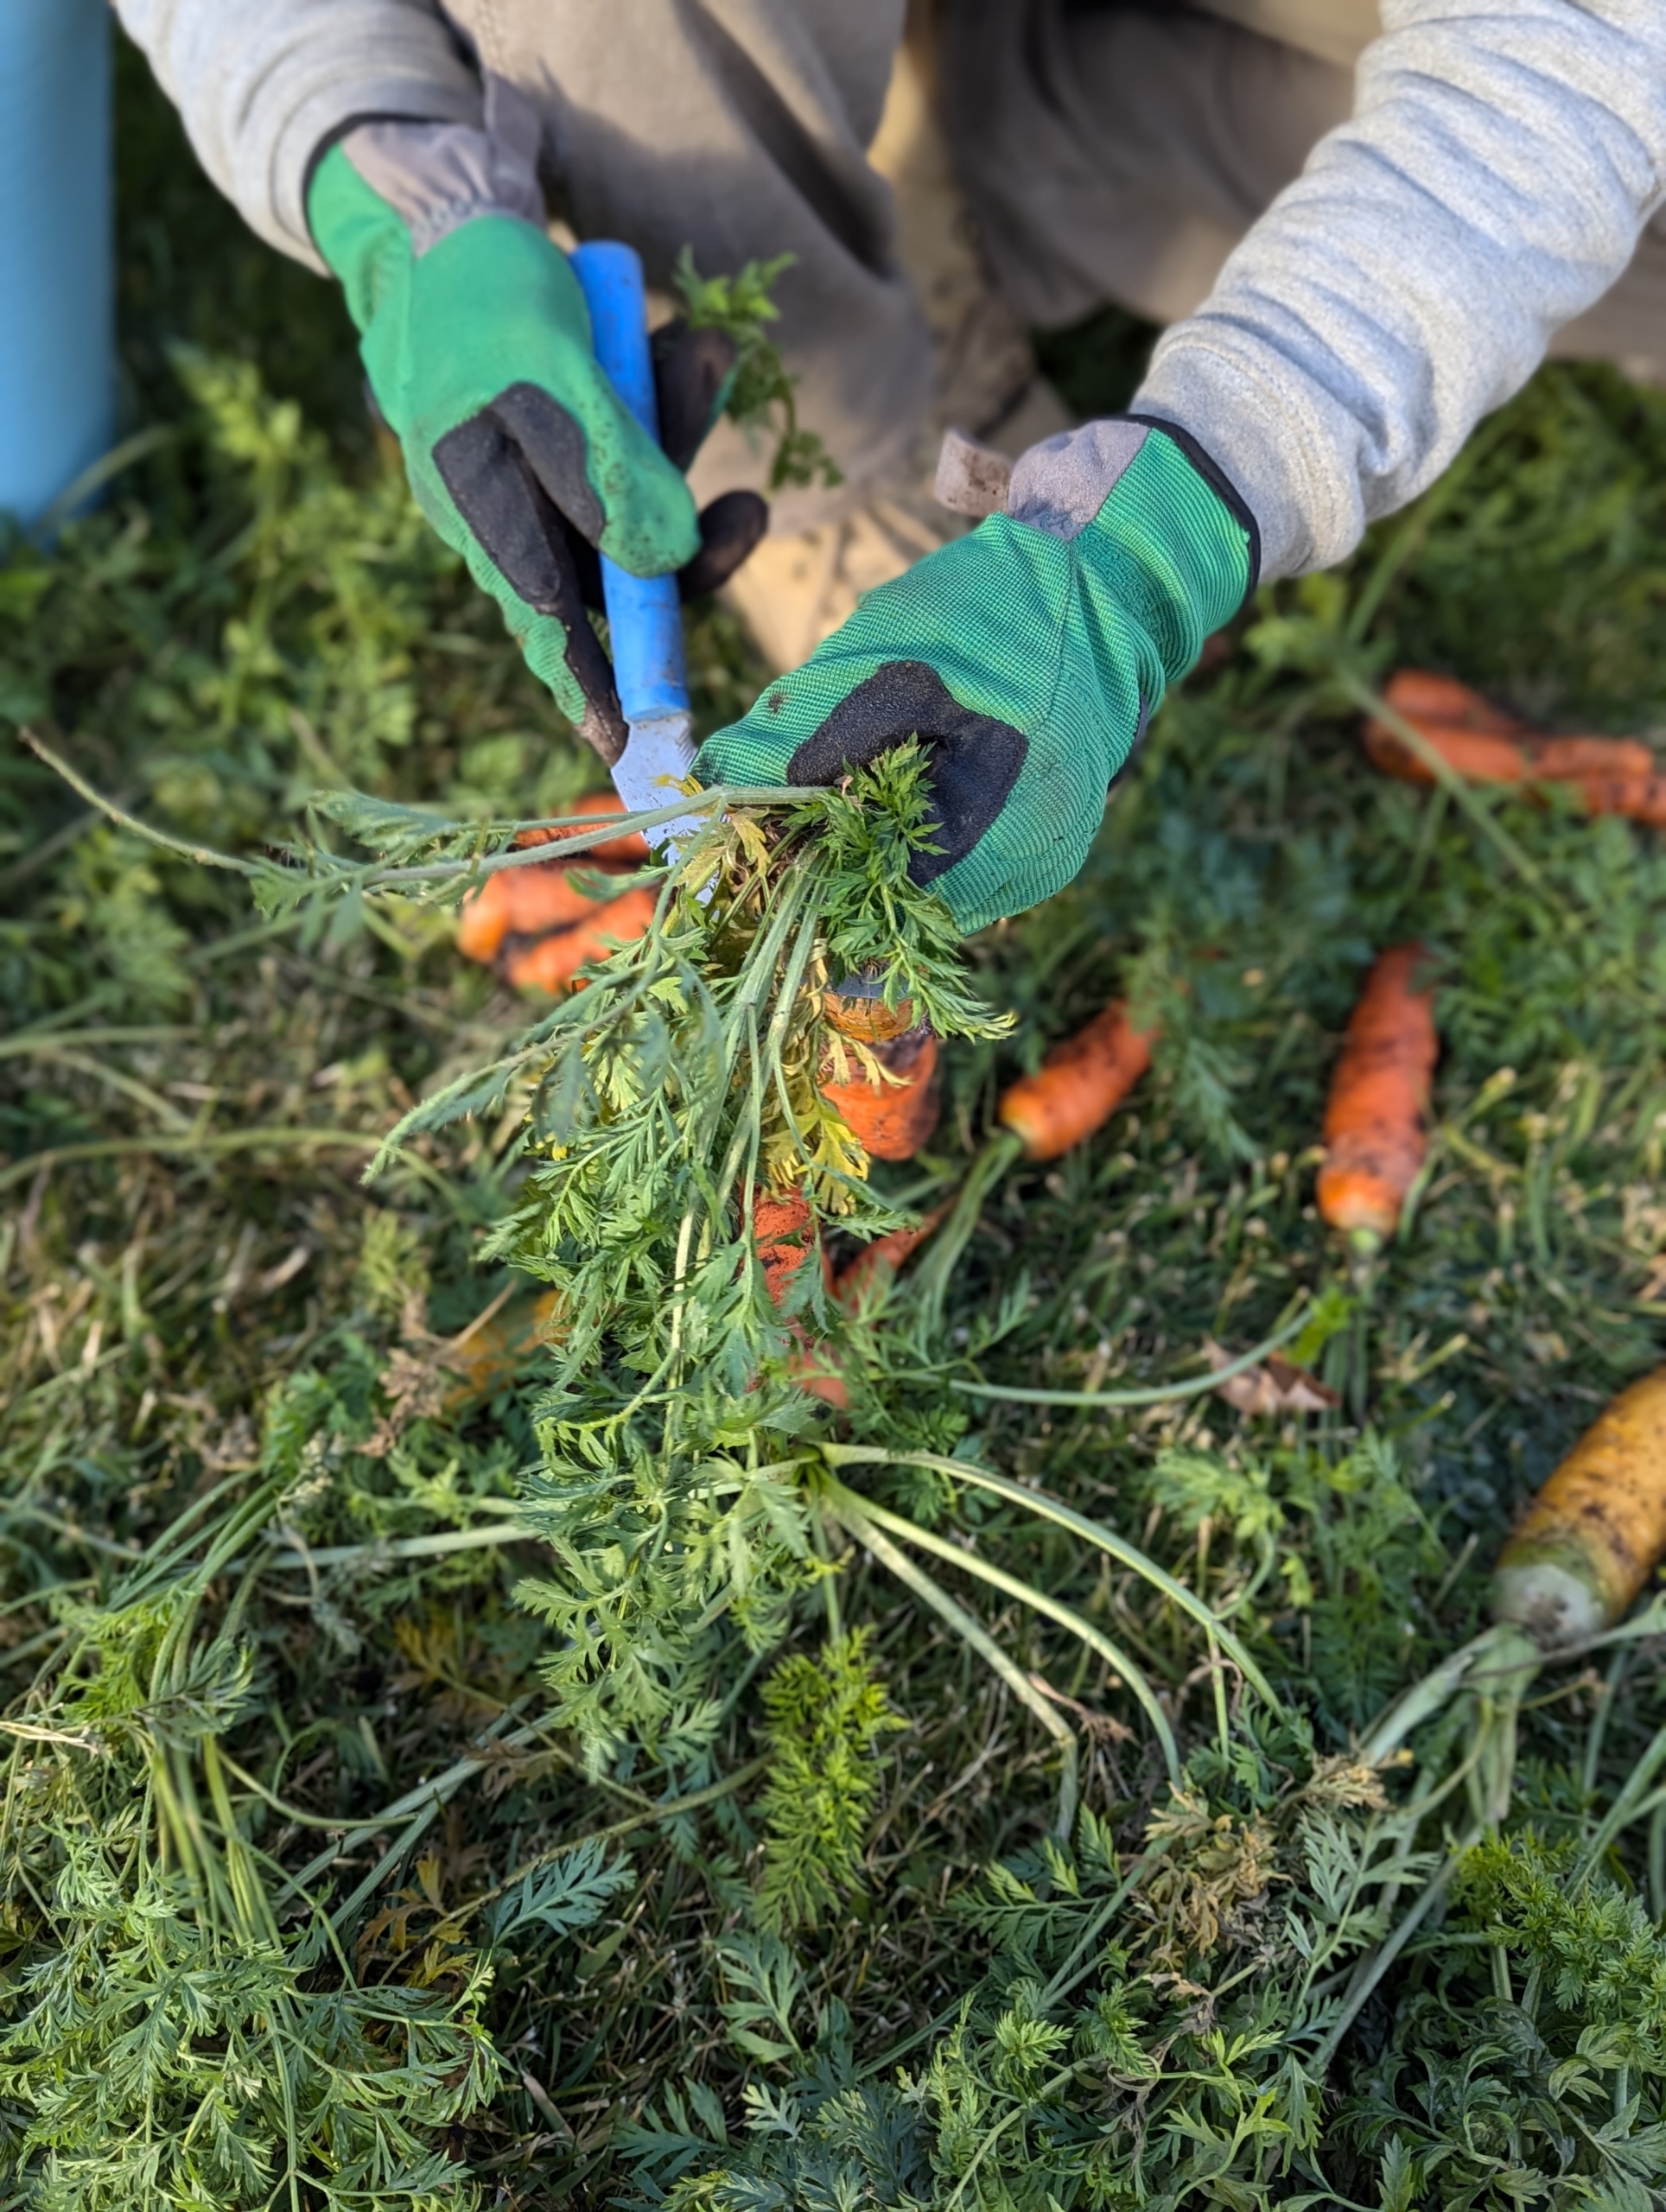
Ryan cuts off the tops leaving about two to three inches on each carrot.
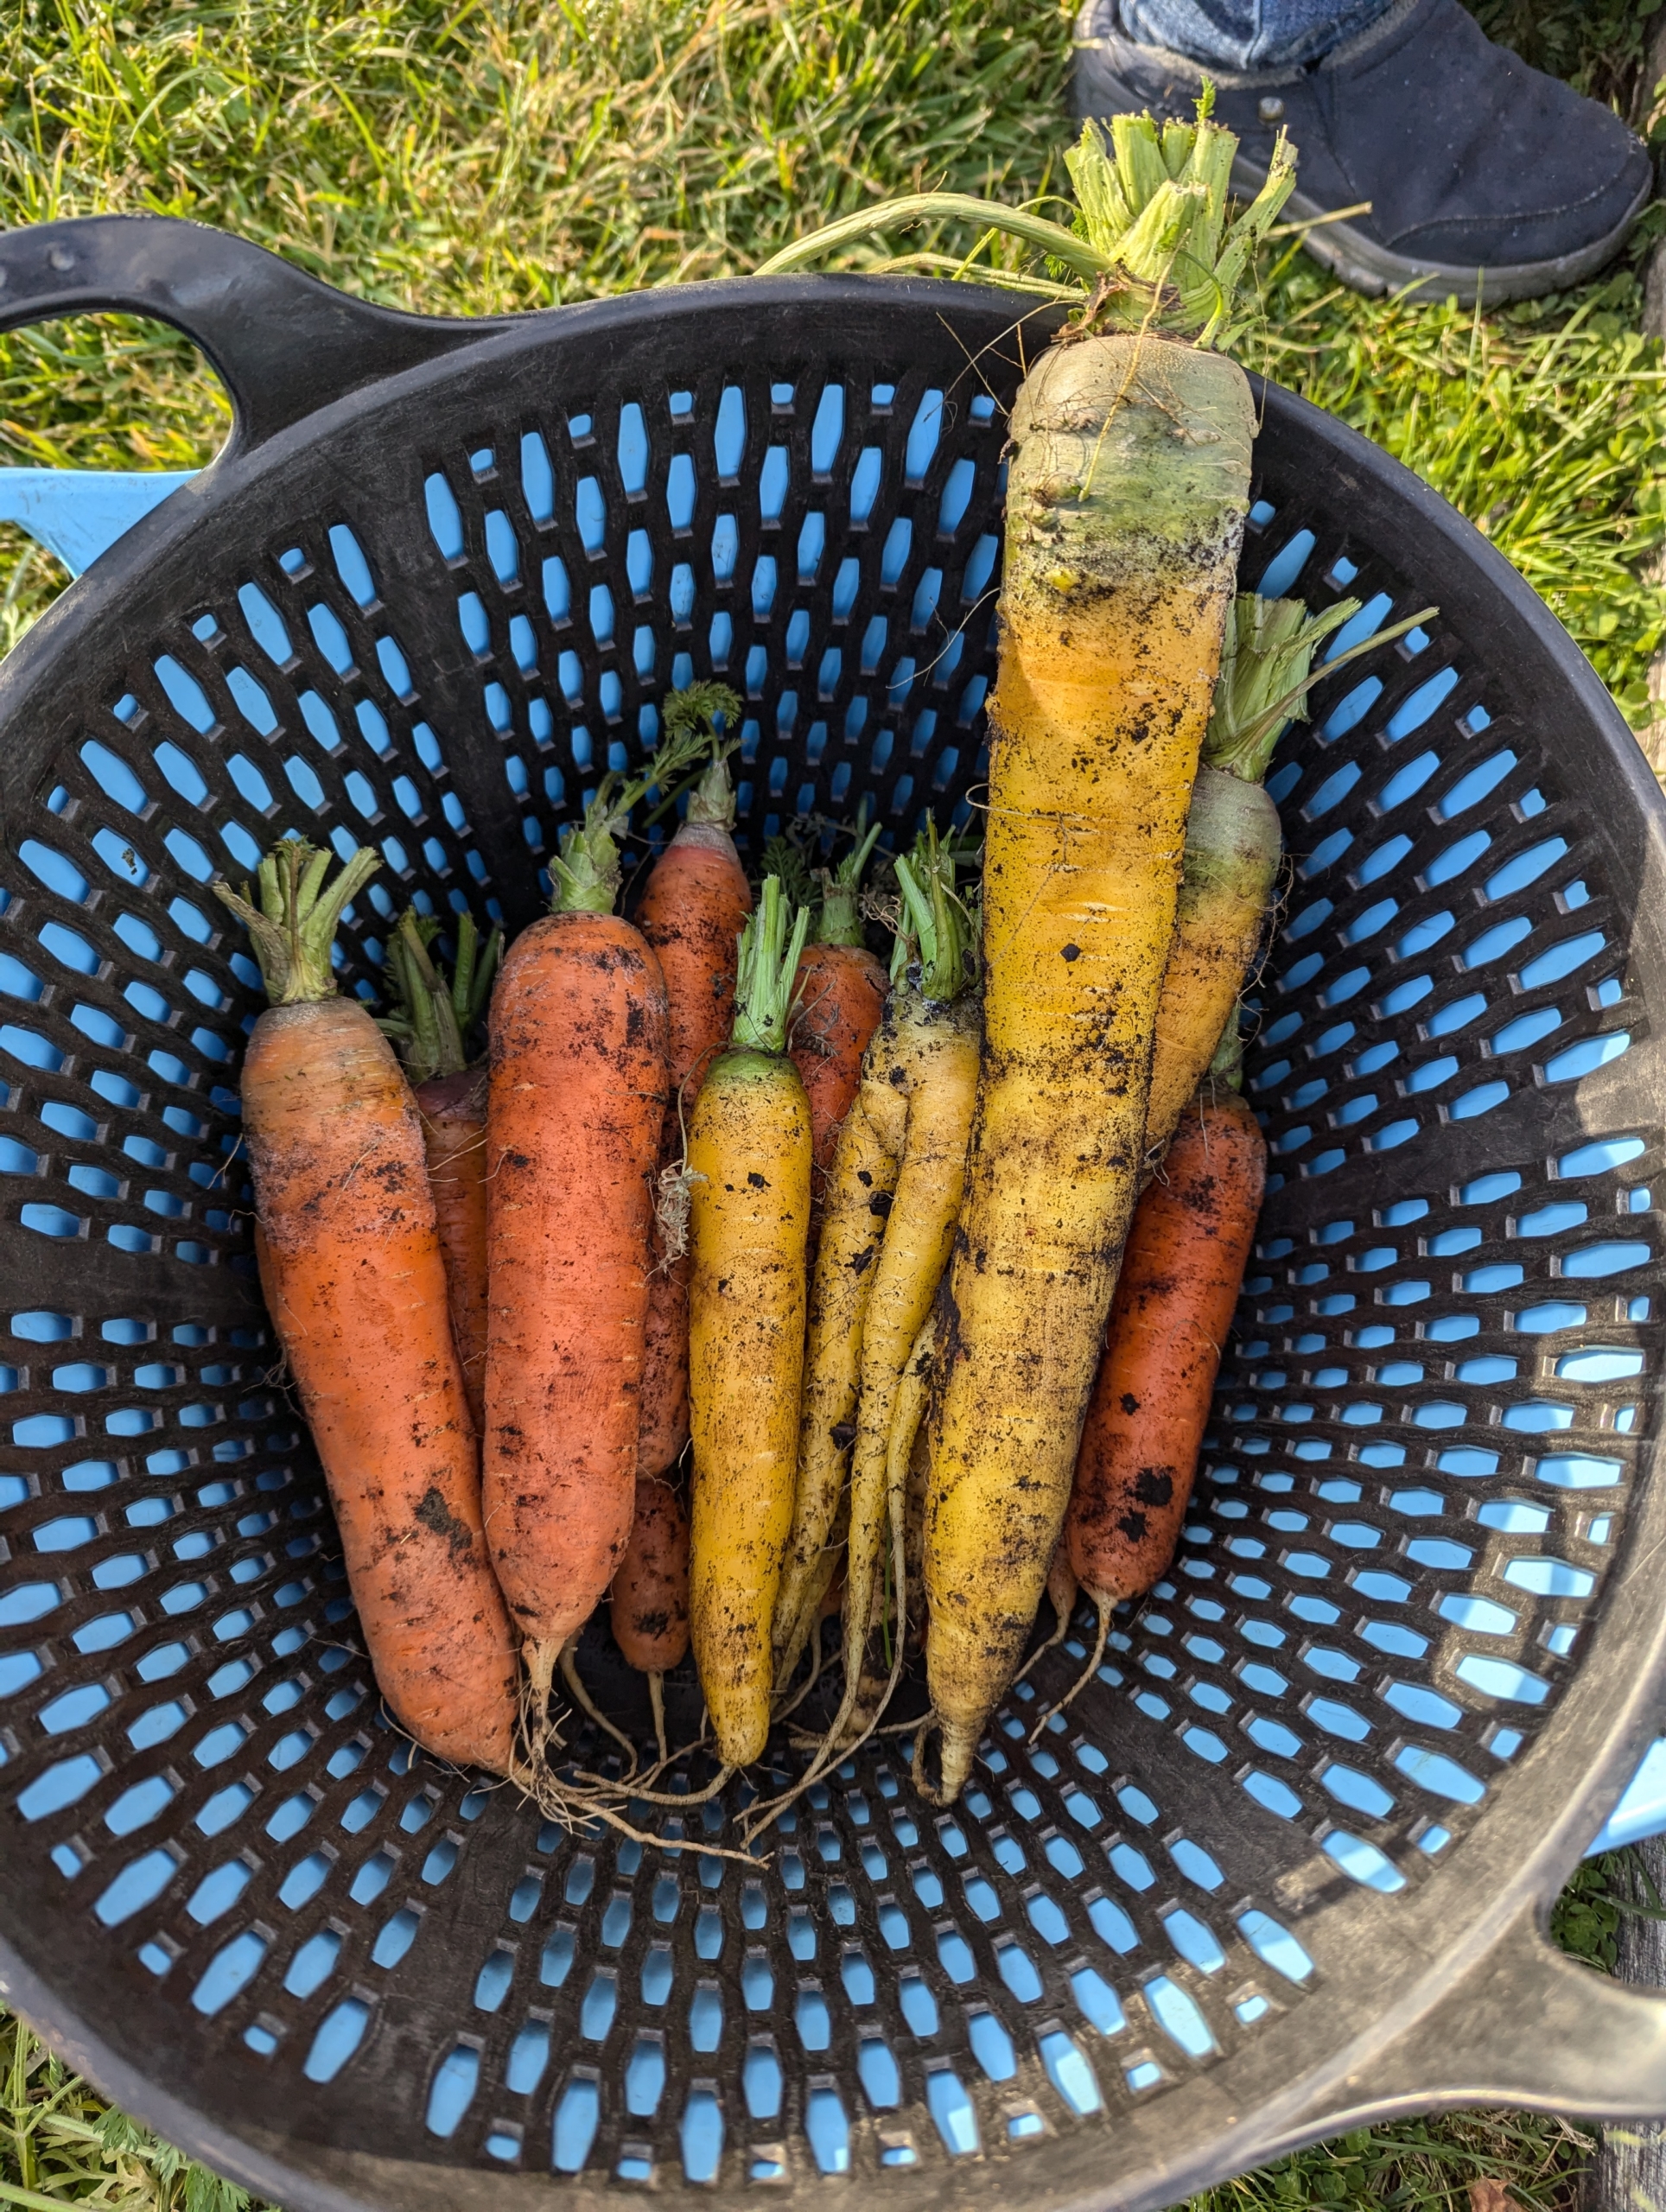
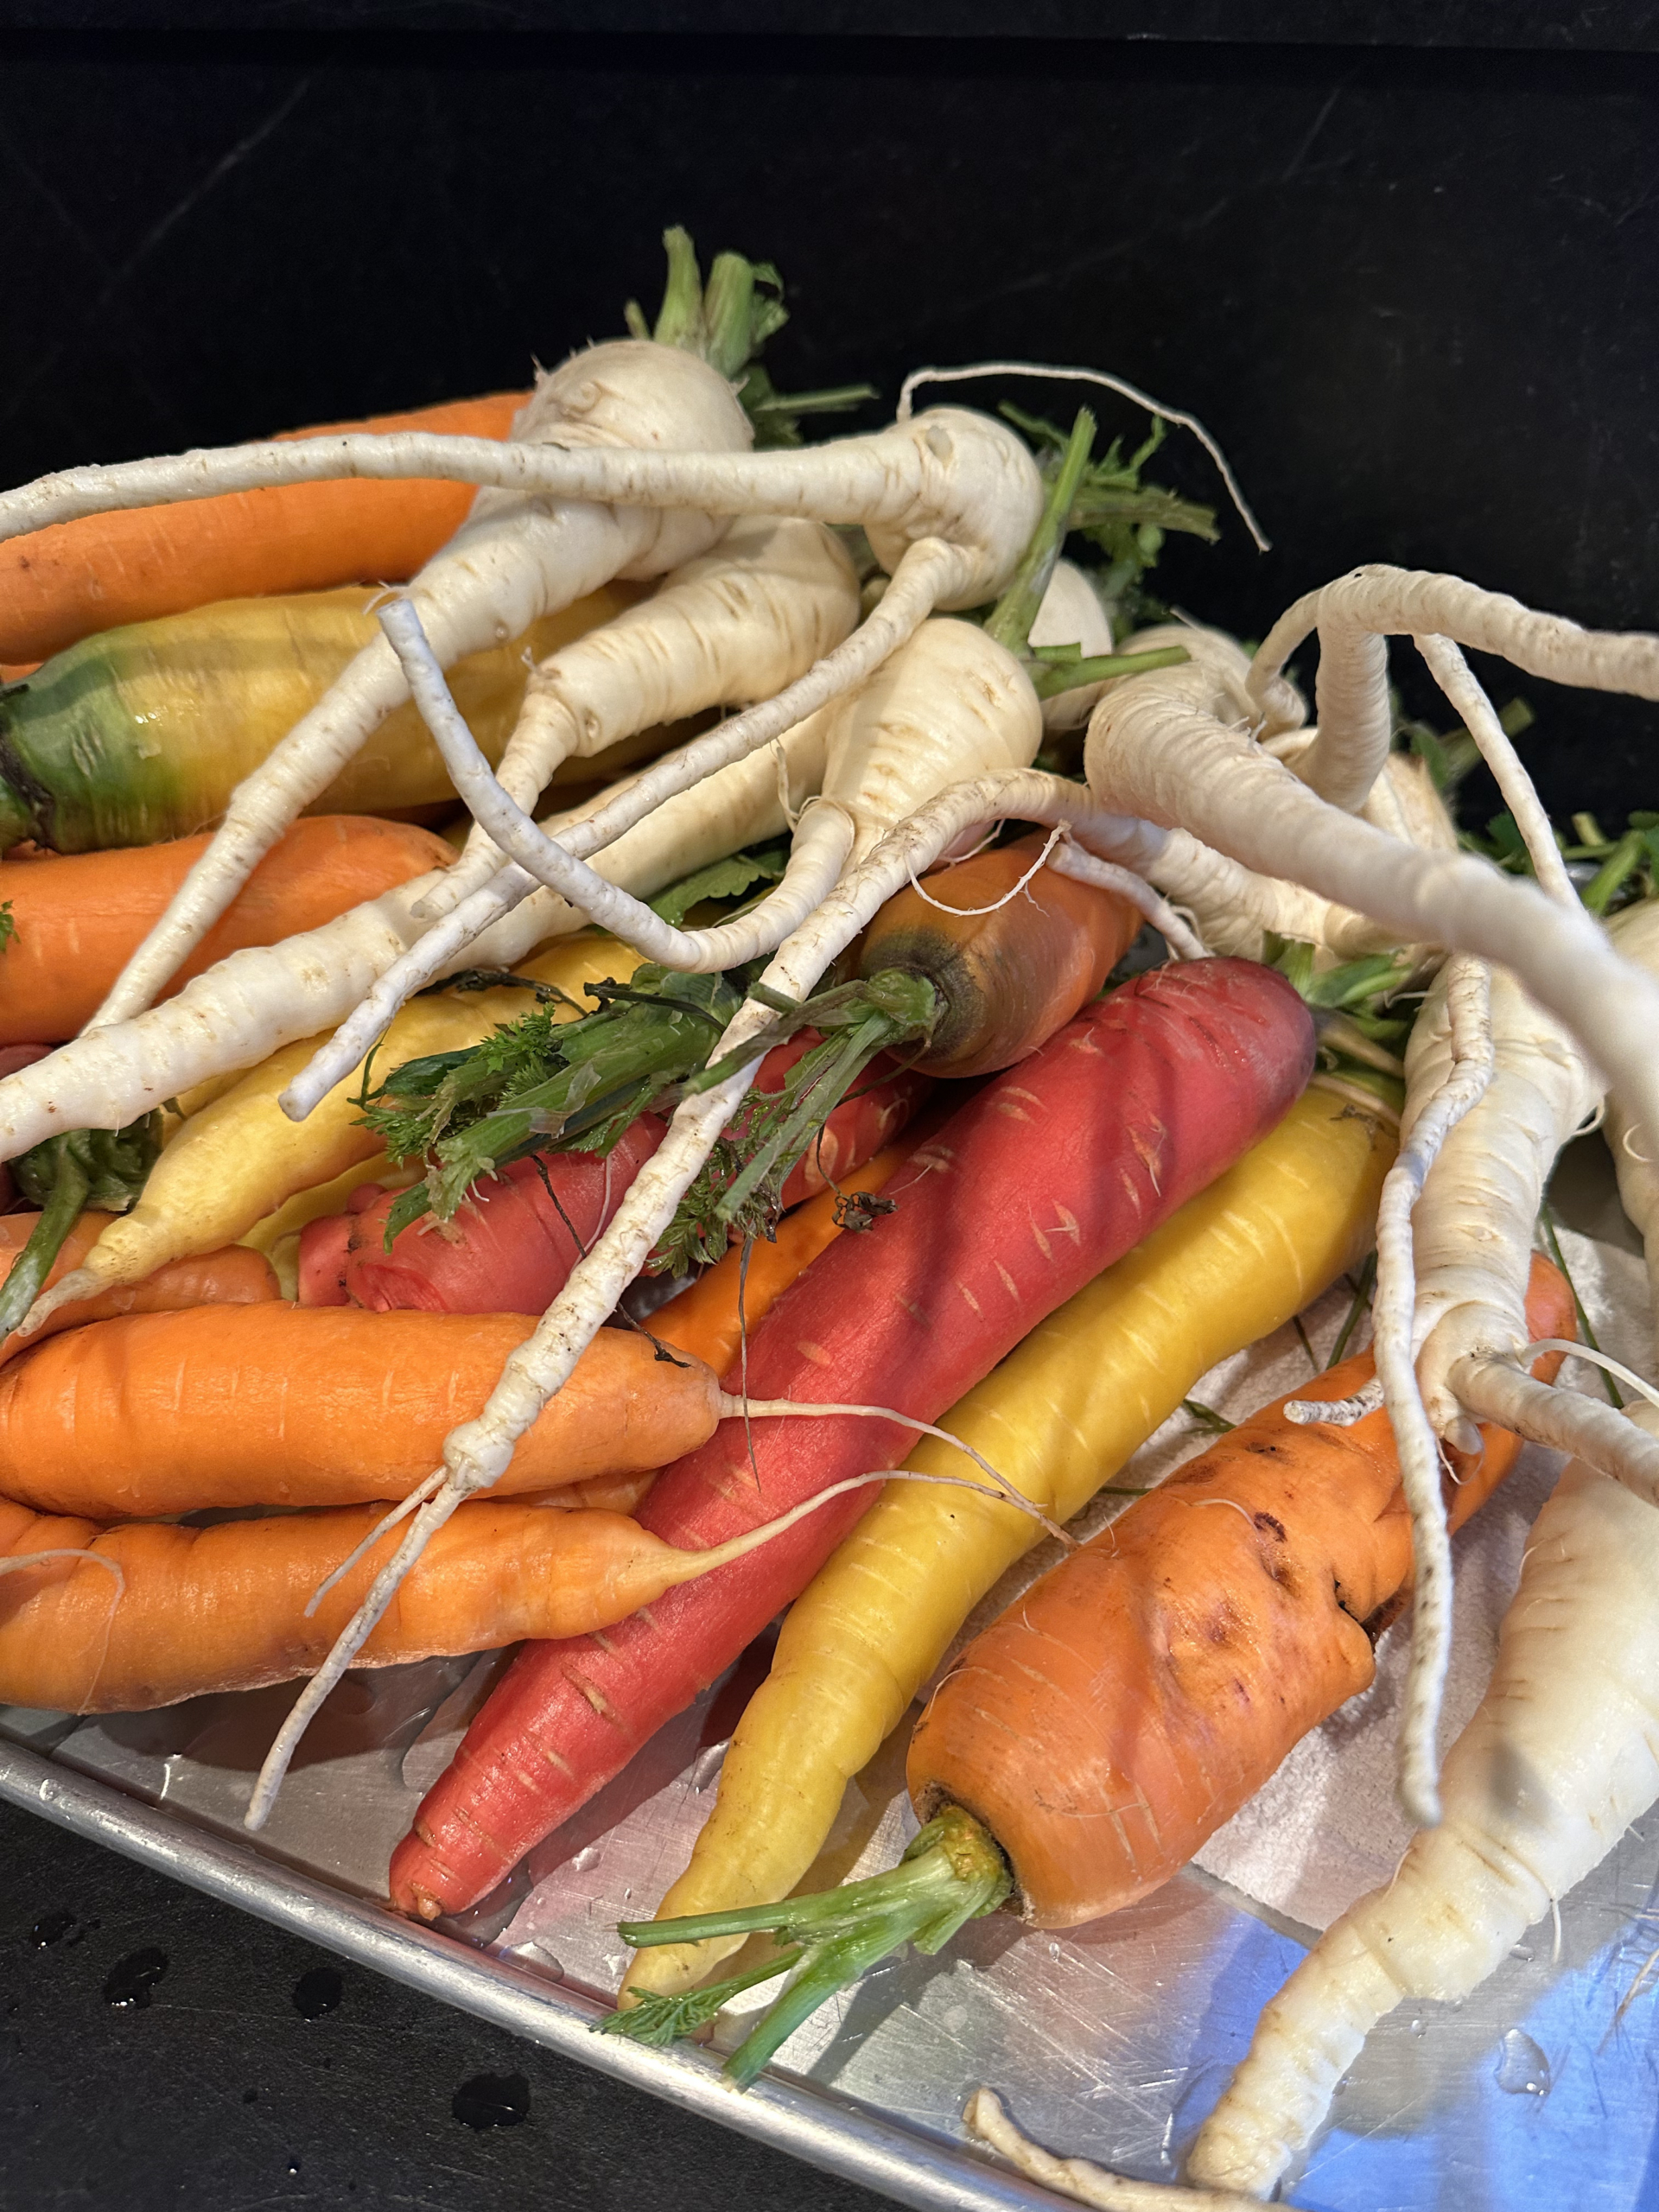
Carrots come in many colors, including orange, purple, red, white, and yellow.
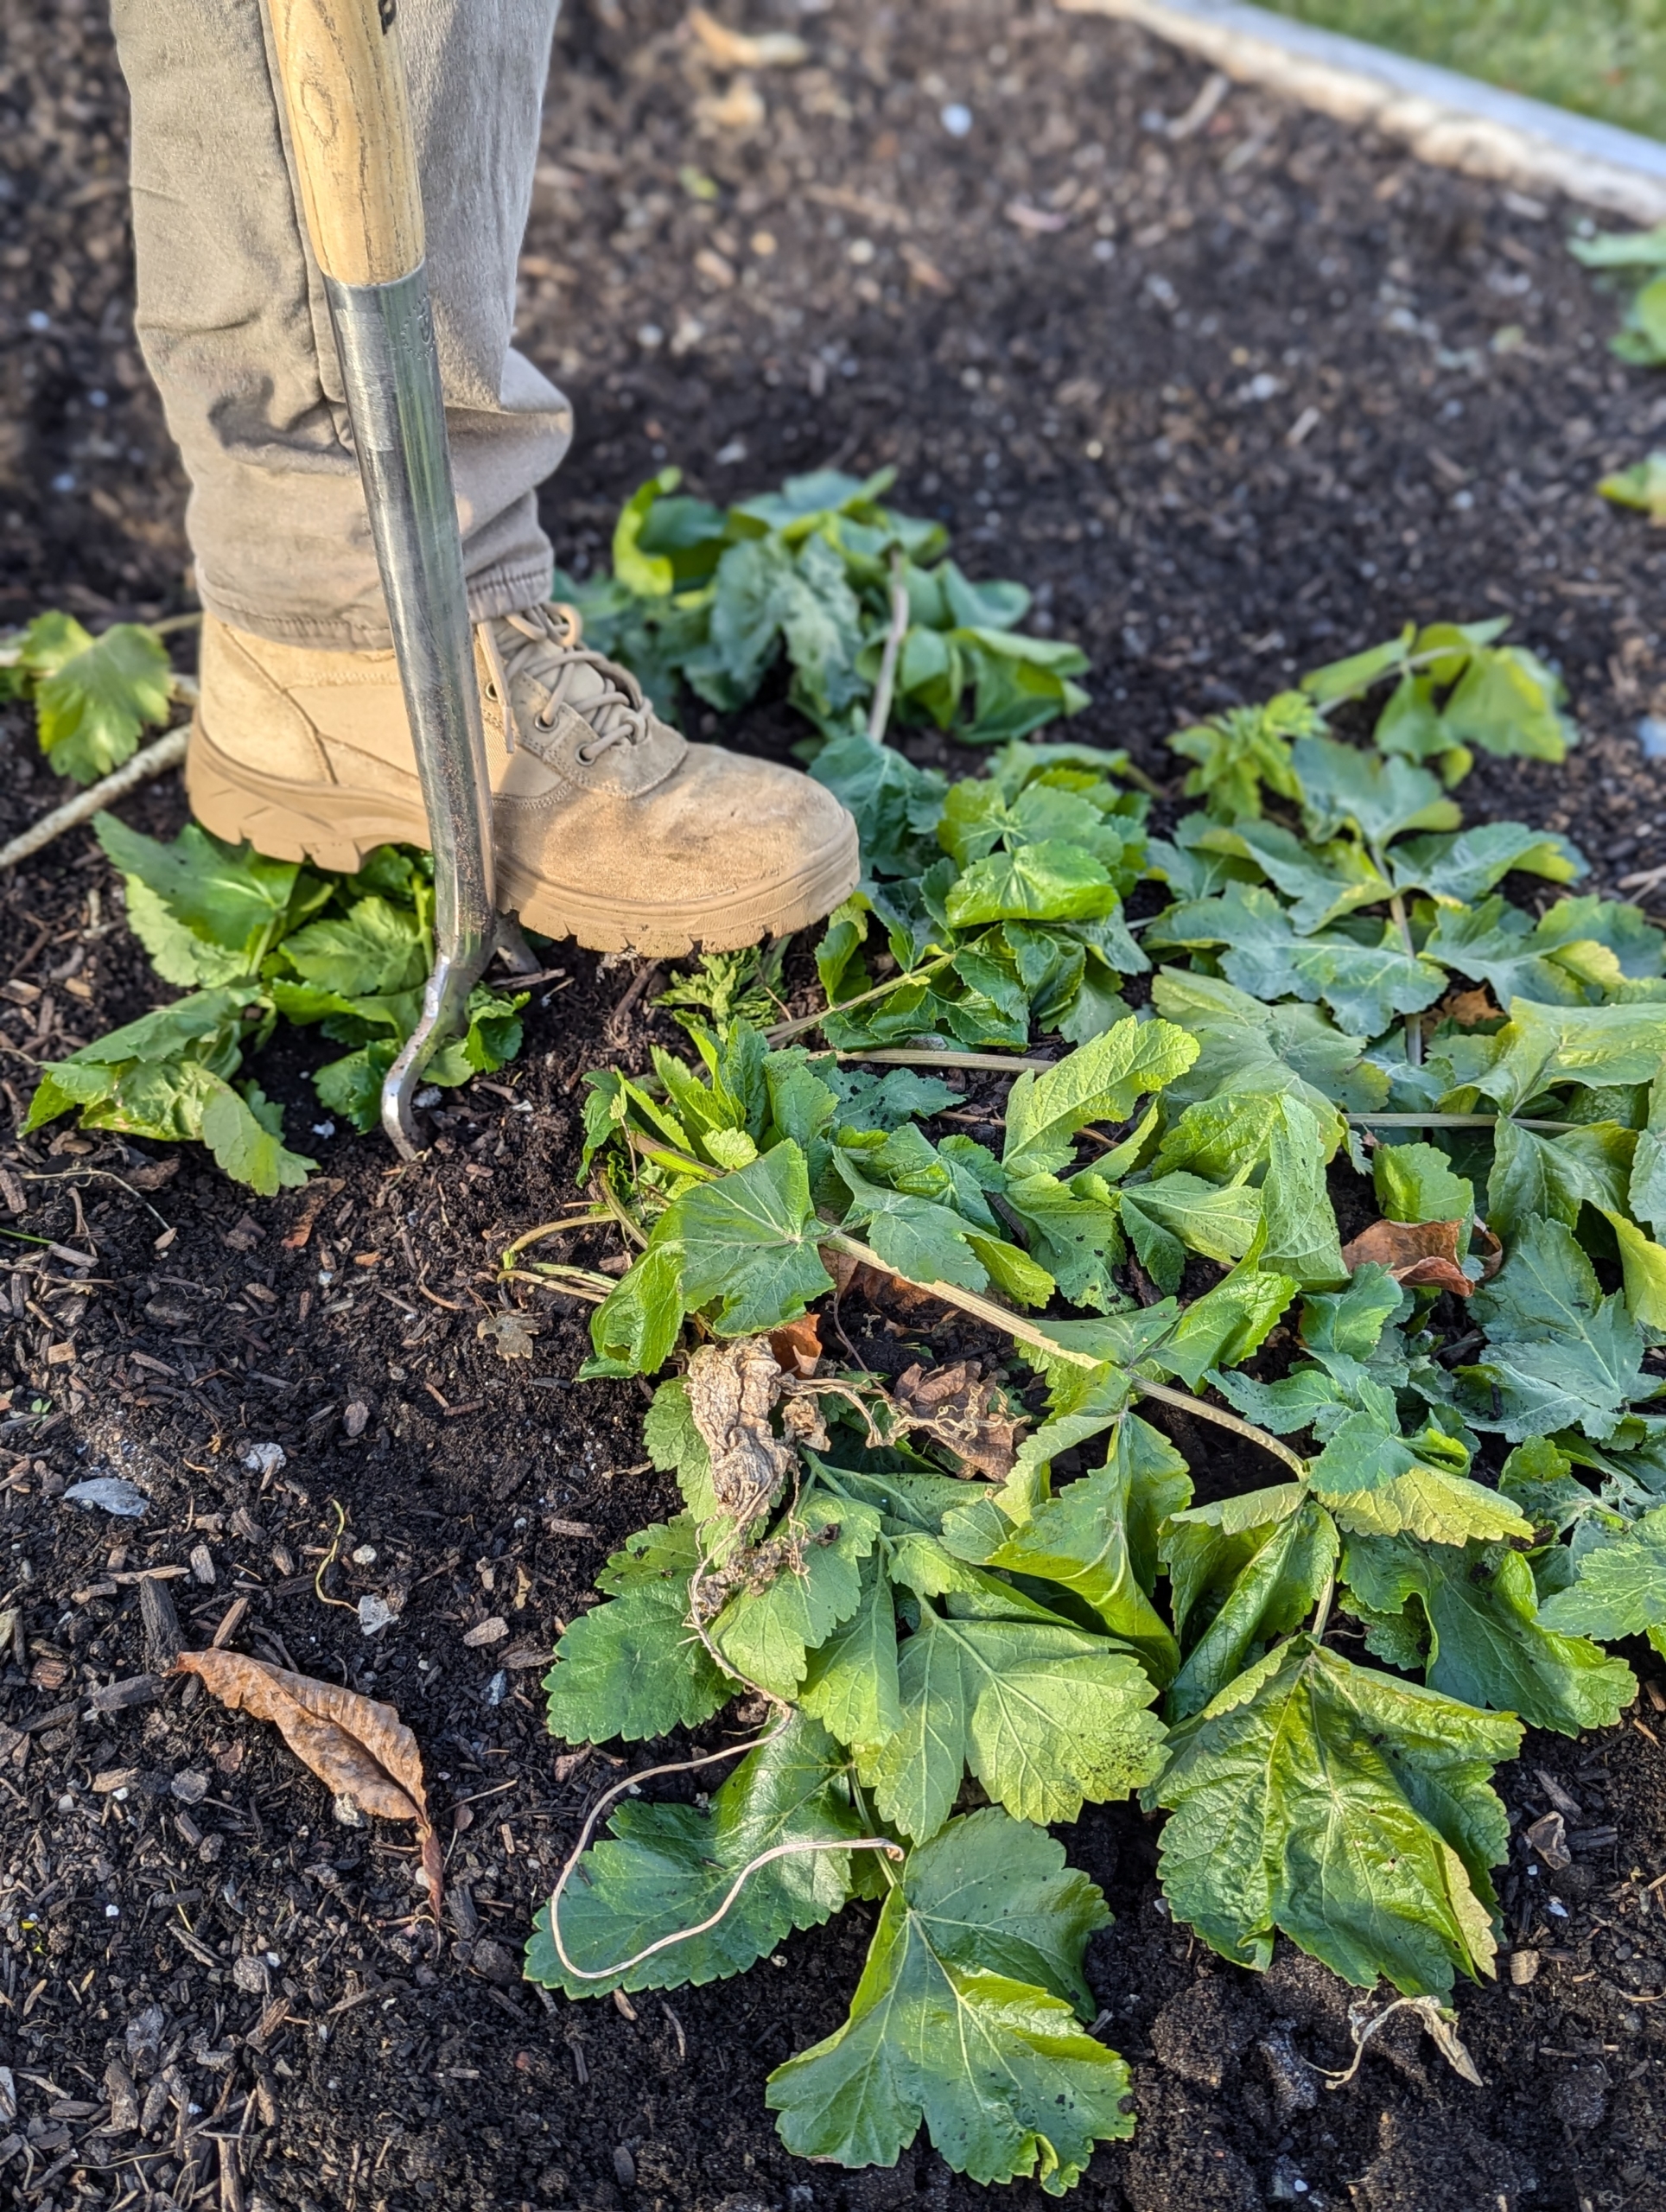
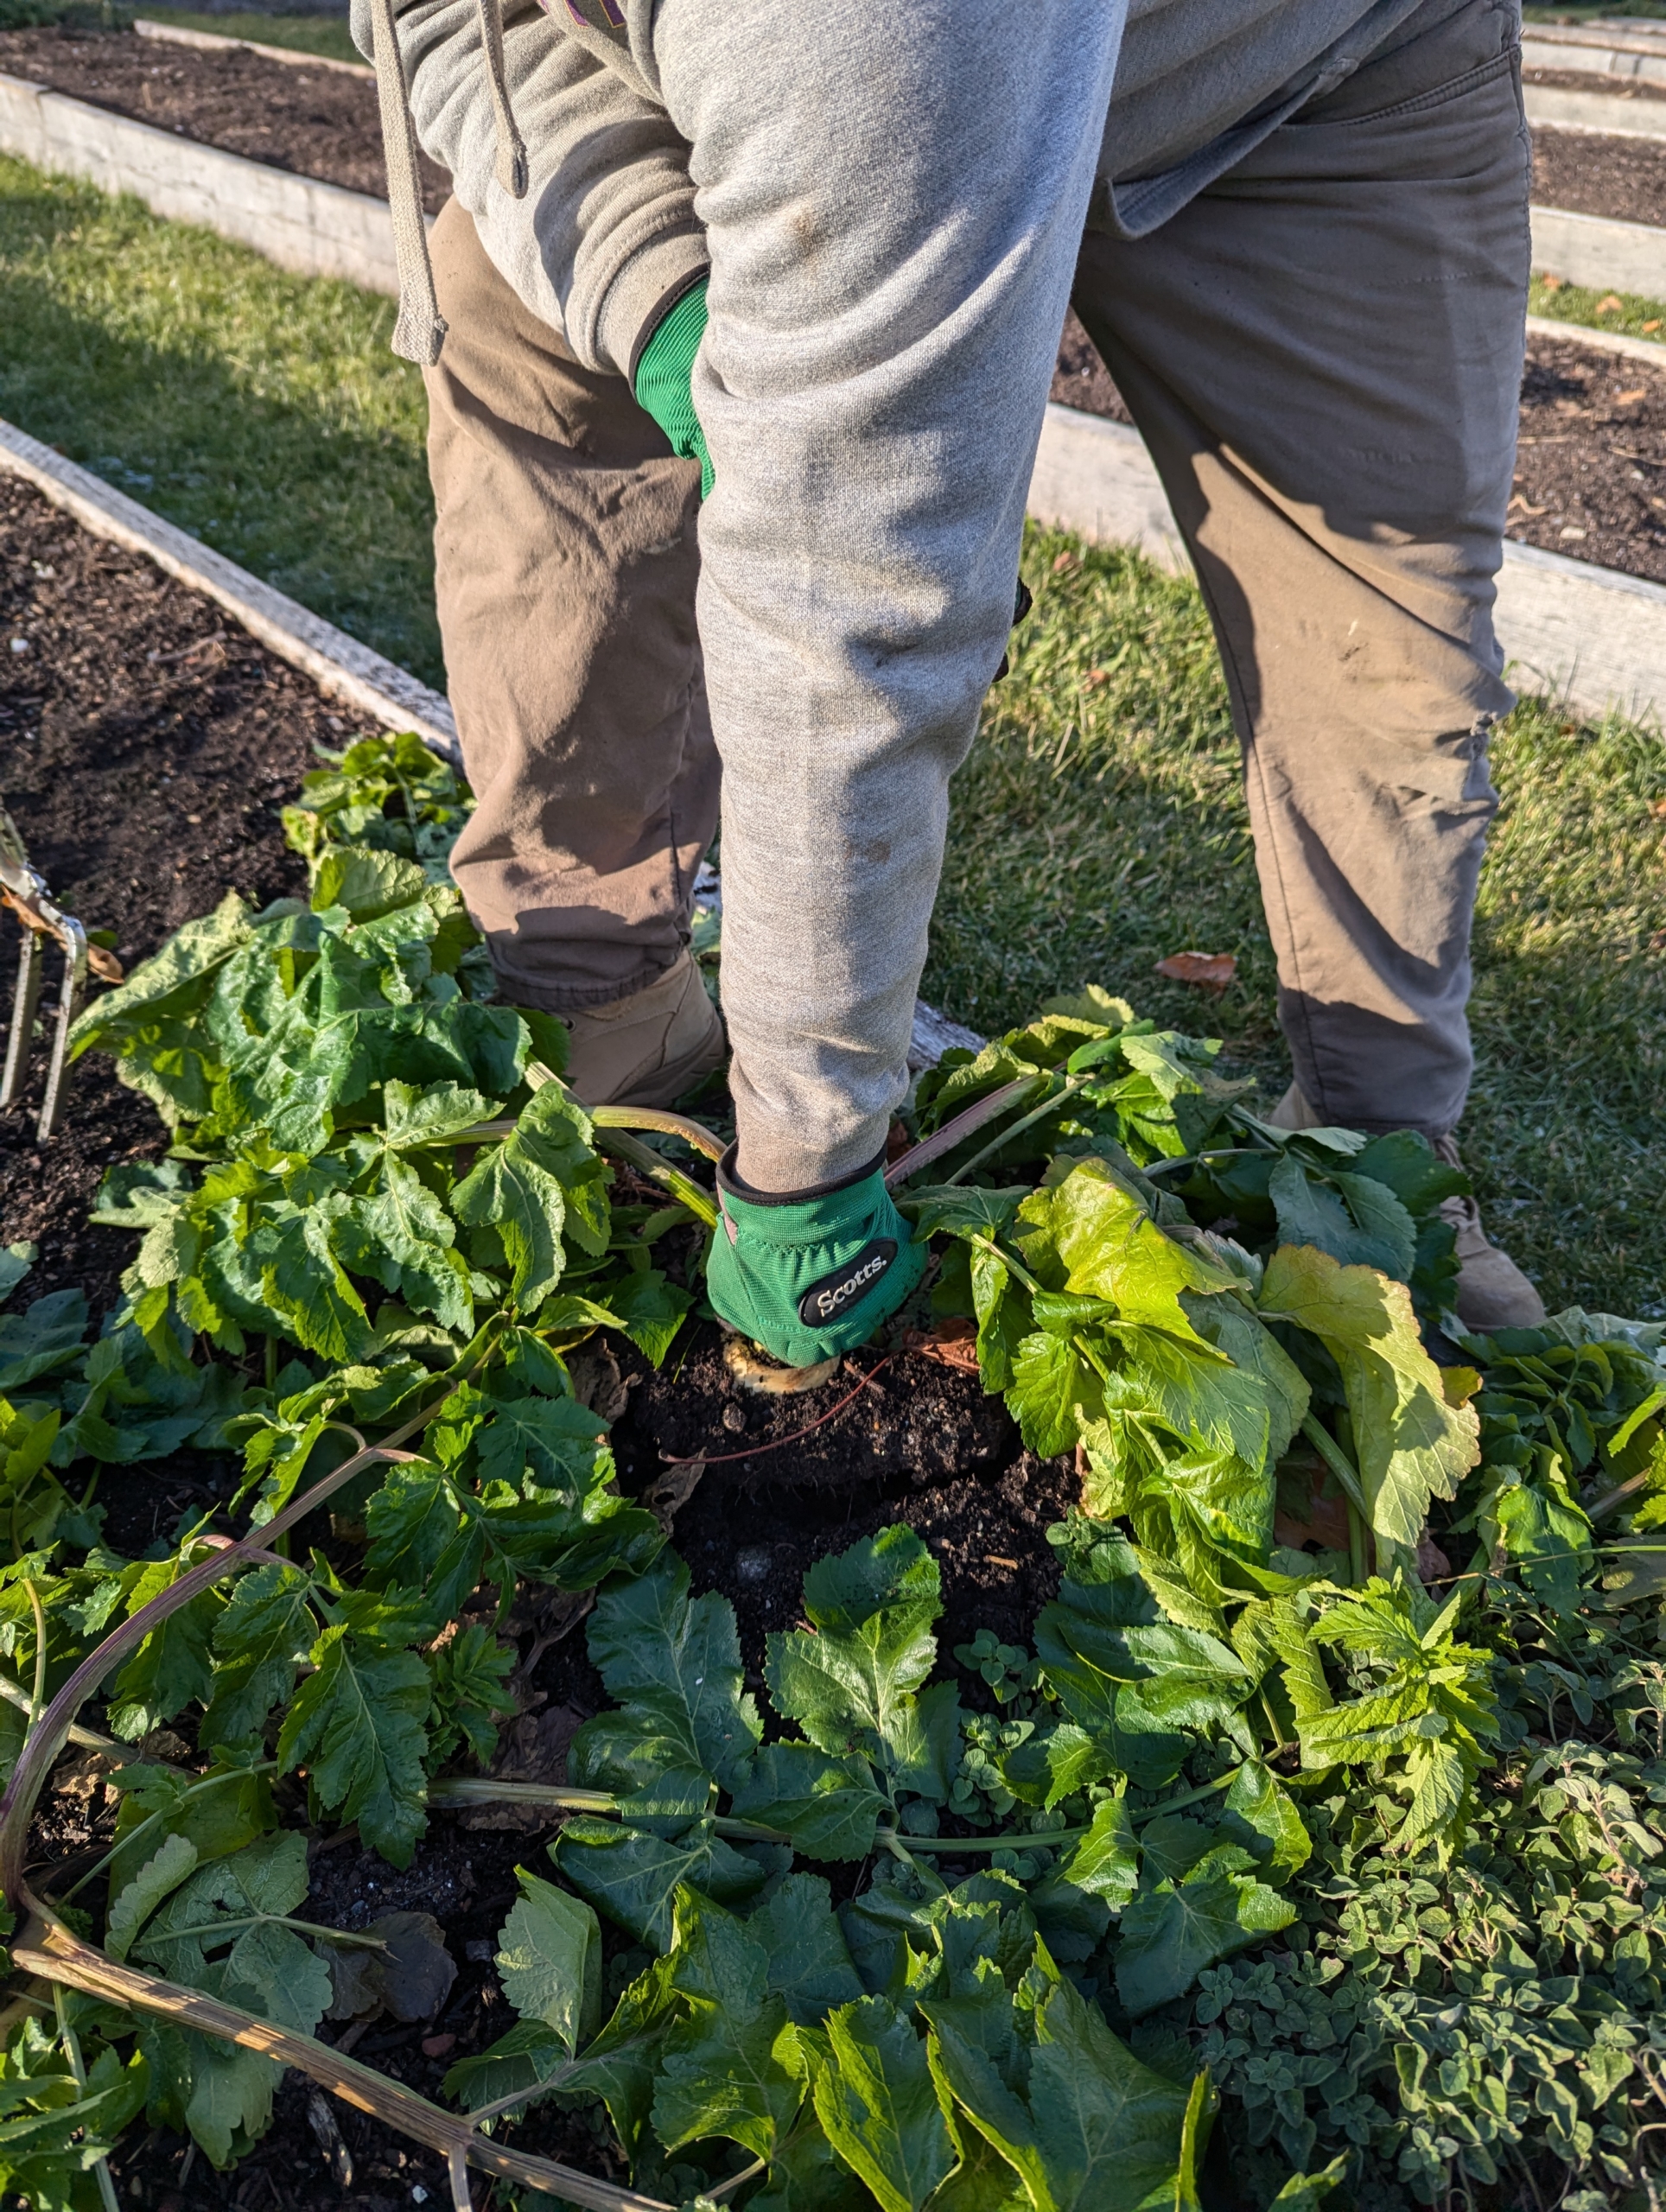
Next, Ryan moves to another bed to loosen the parsnips from the soil. Ryan is careful when he uses the pitchfork – one does not want to pierce the parsnips if possible.
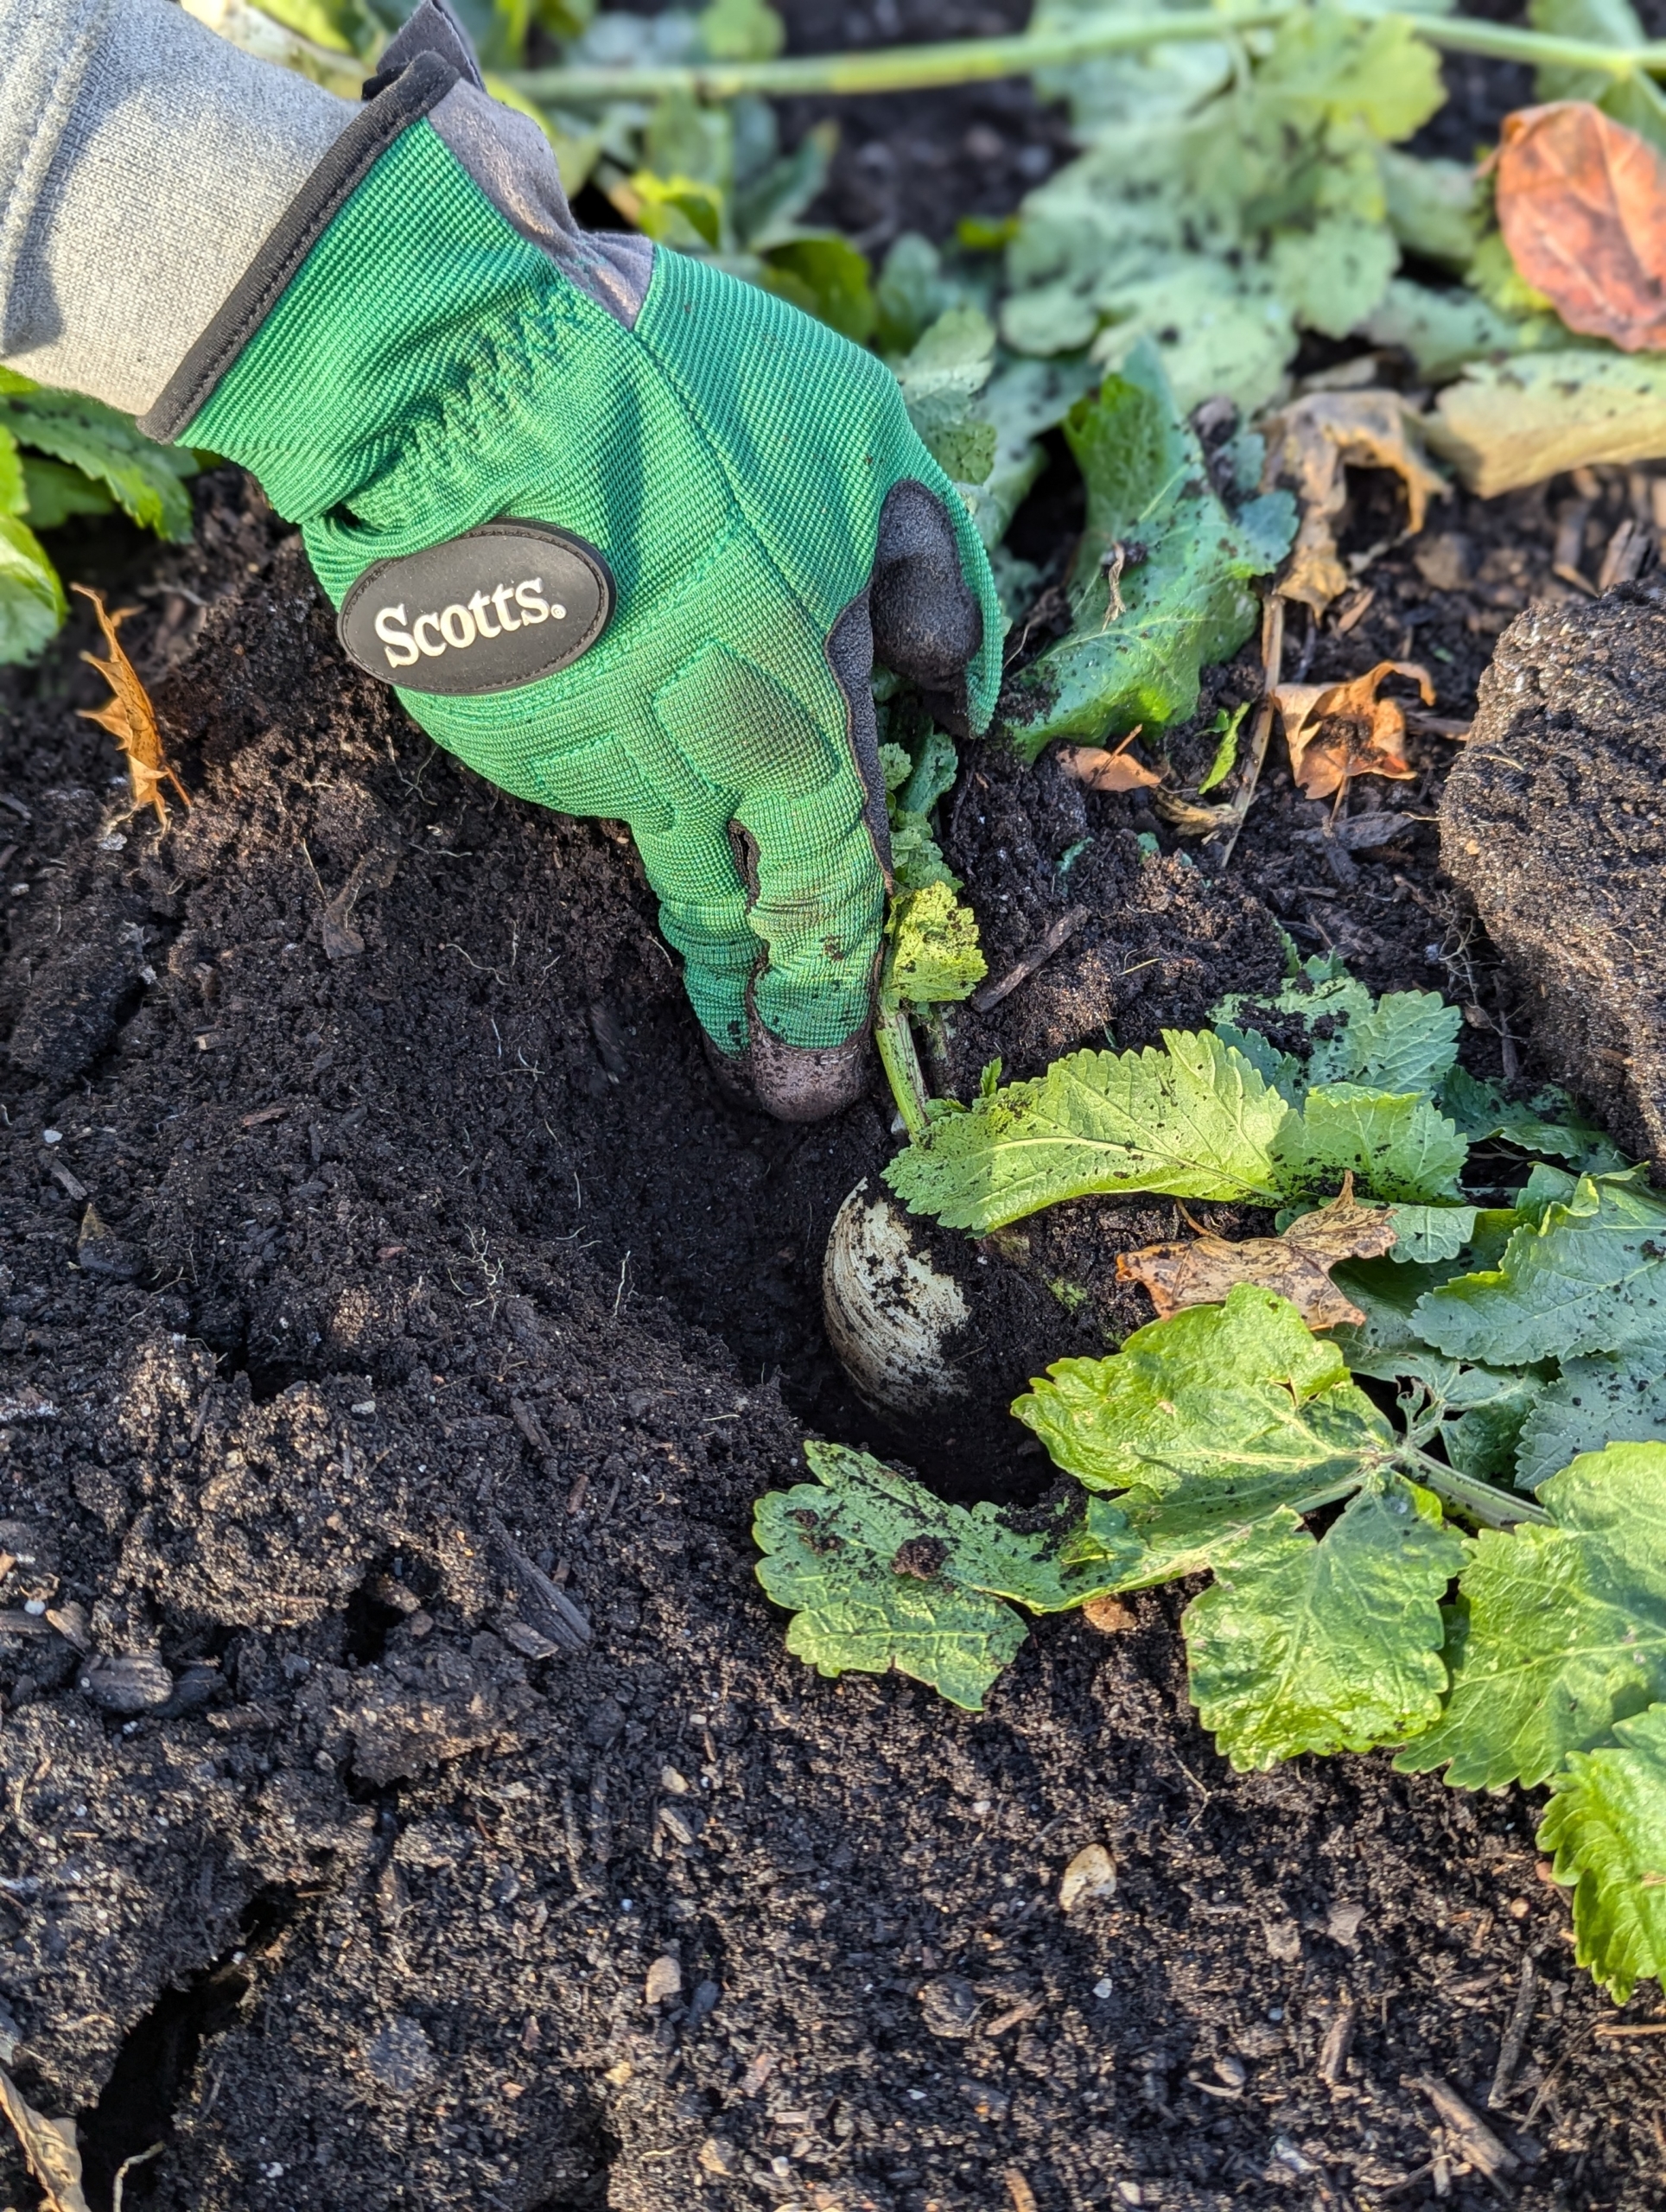
Once the soil surrounding the parsnips is loosened, Ryan pulls each parsnip carefully, much like harvesting carrots.
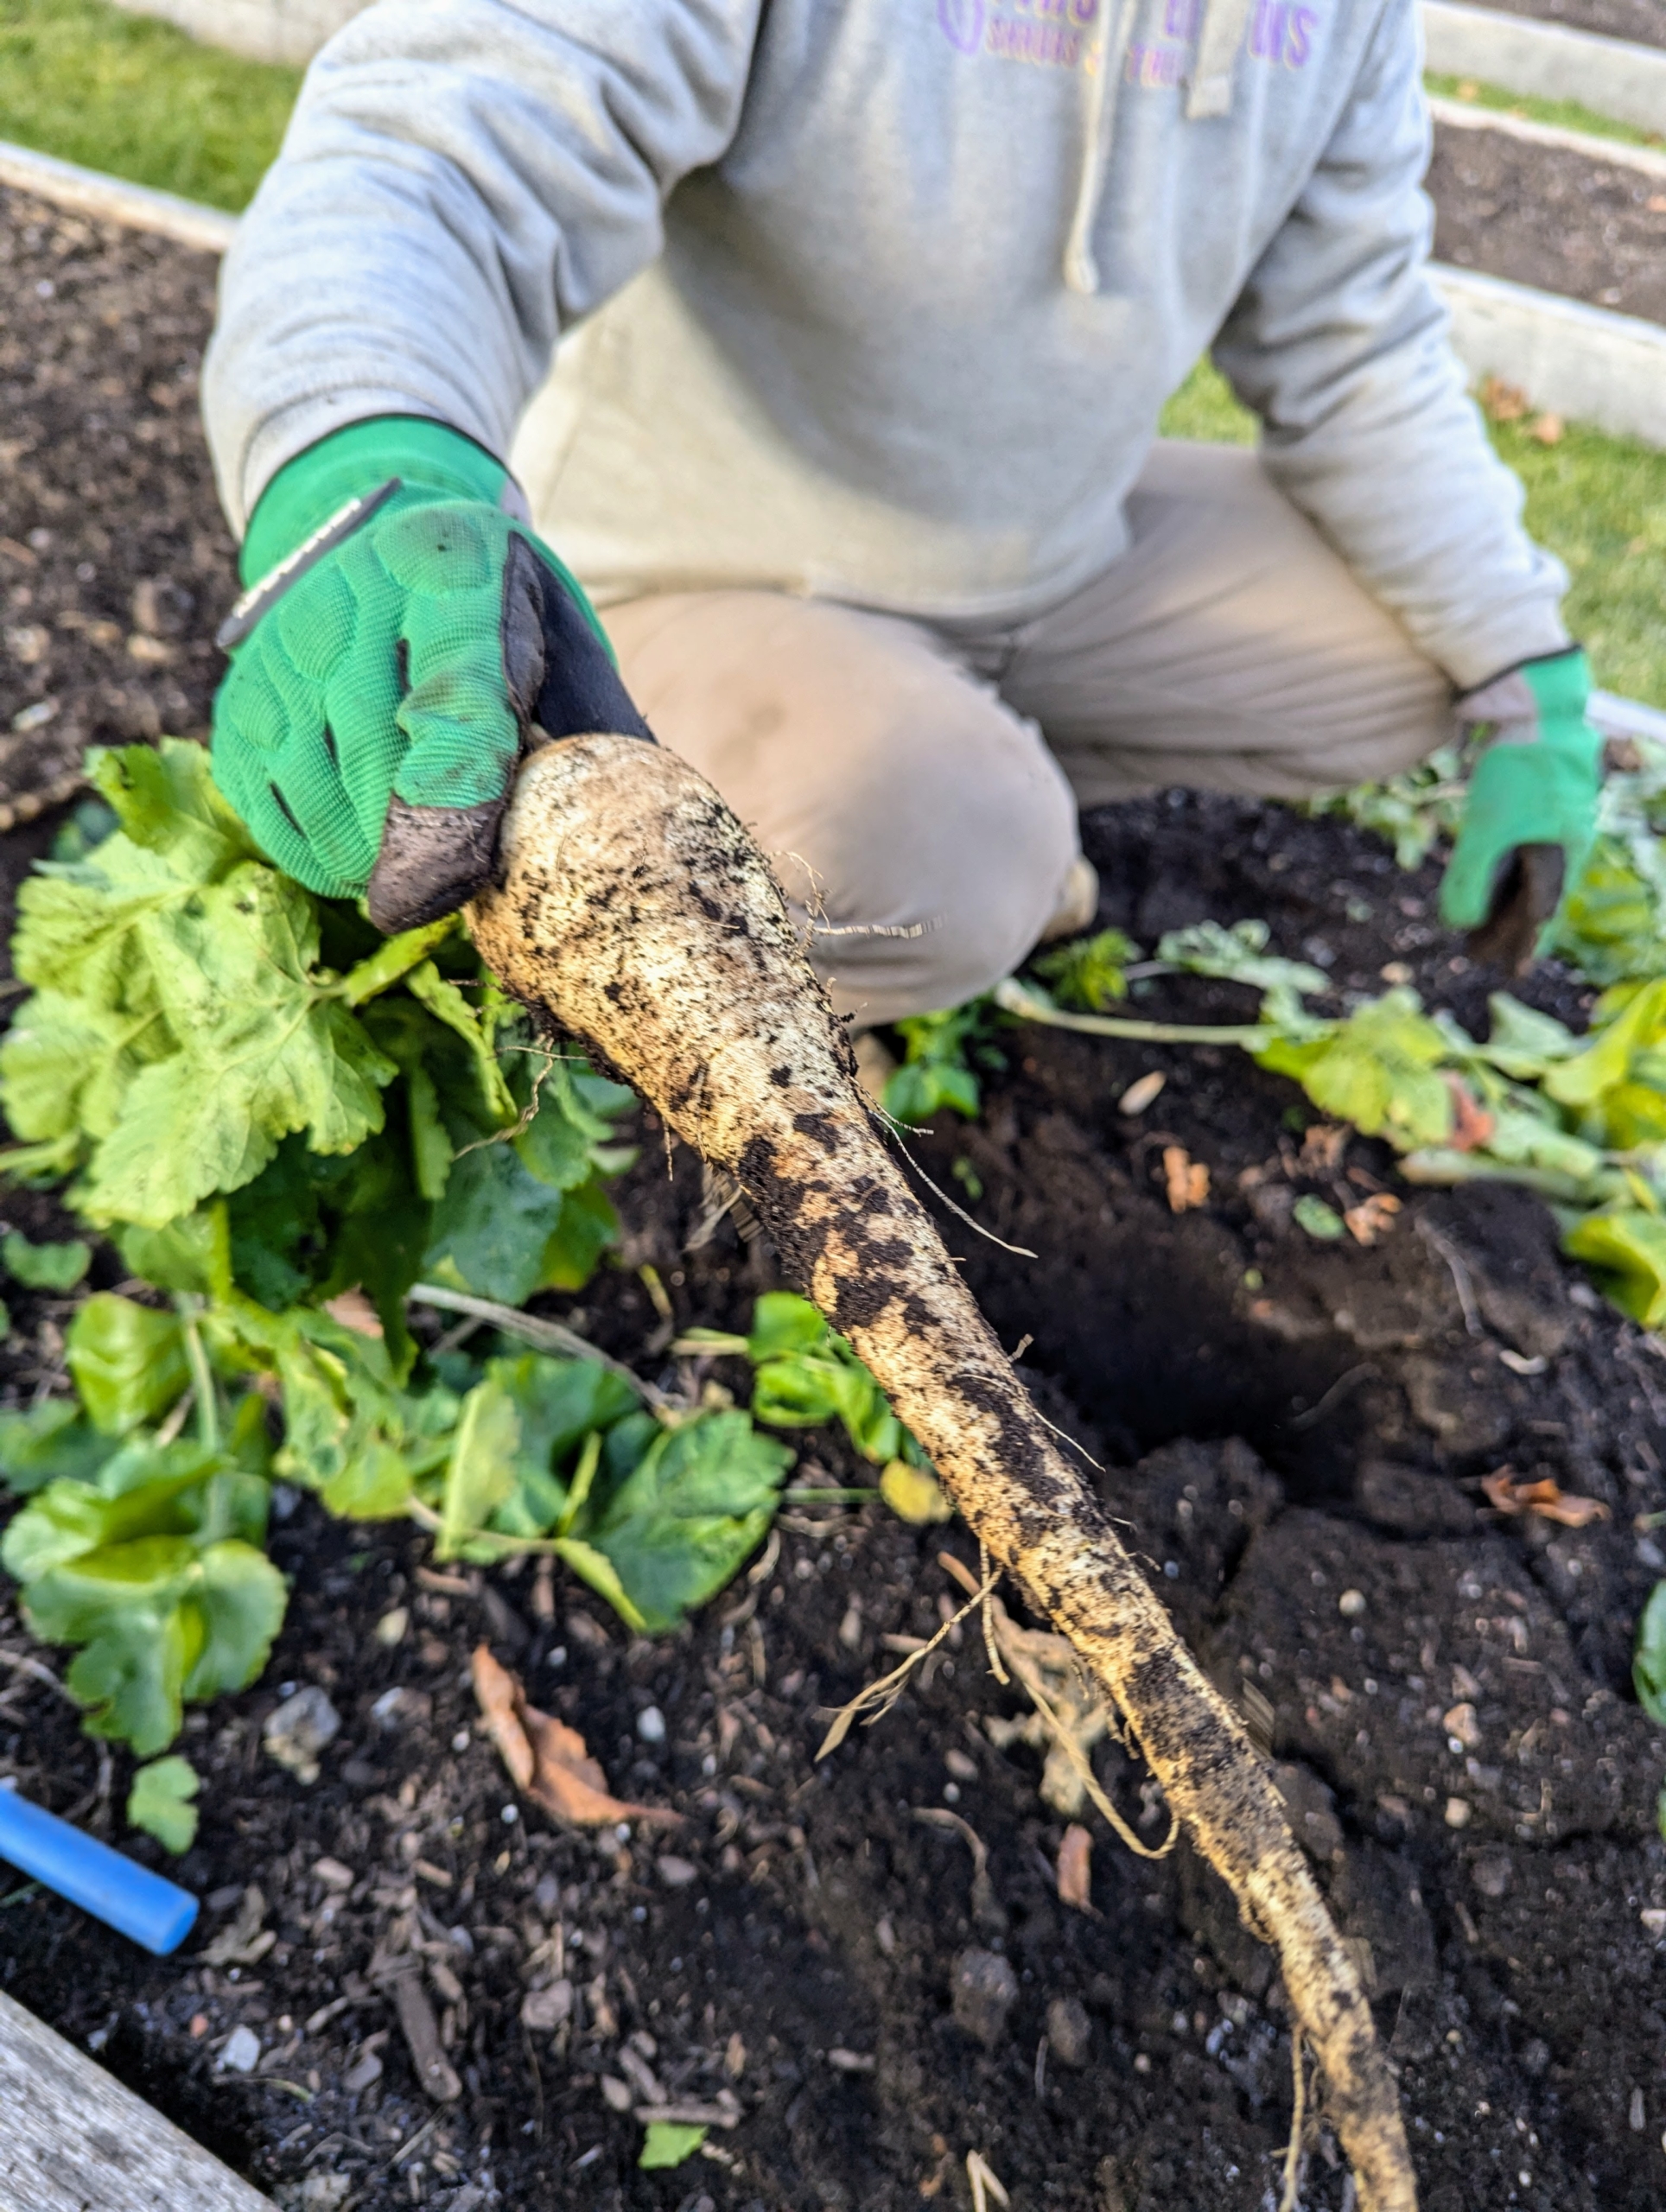
Here, a glimpse of what is to come out – looks like a big parsnip.
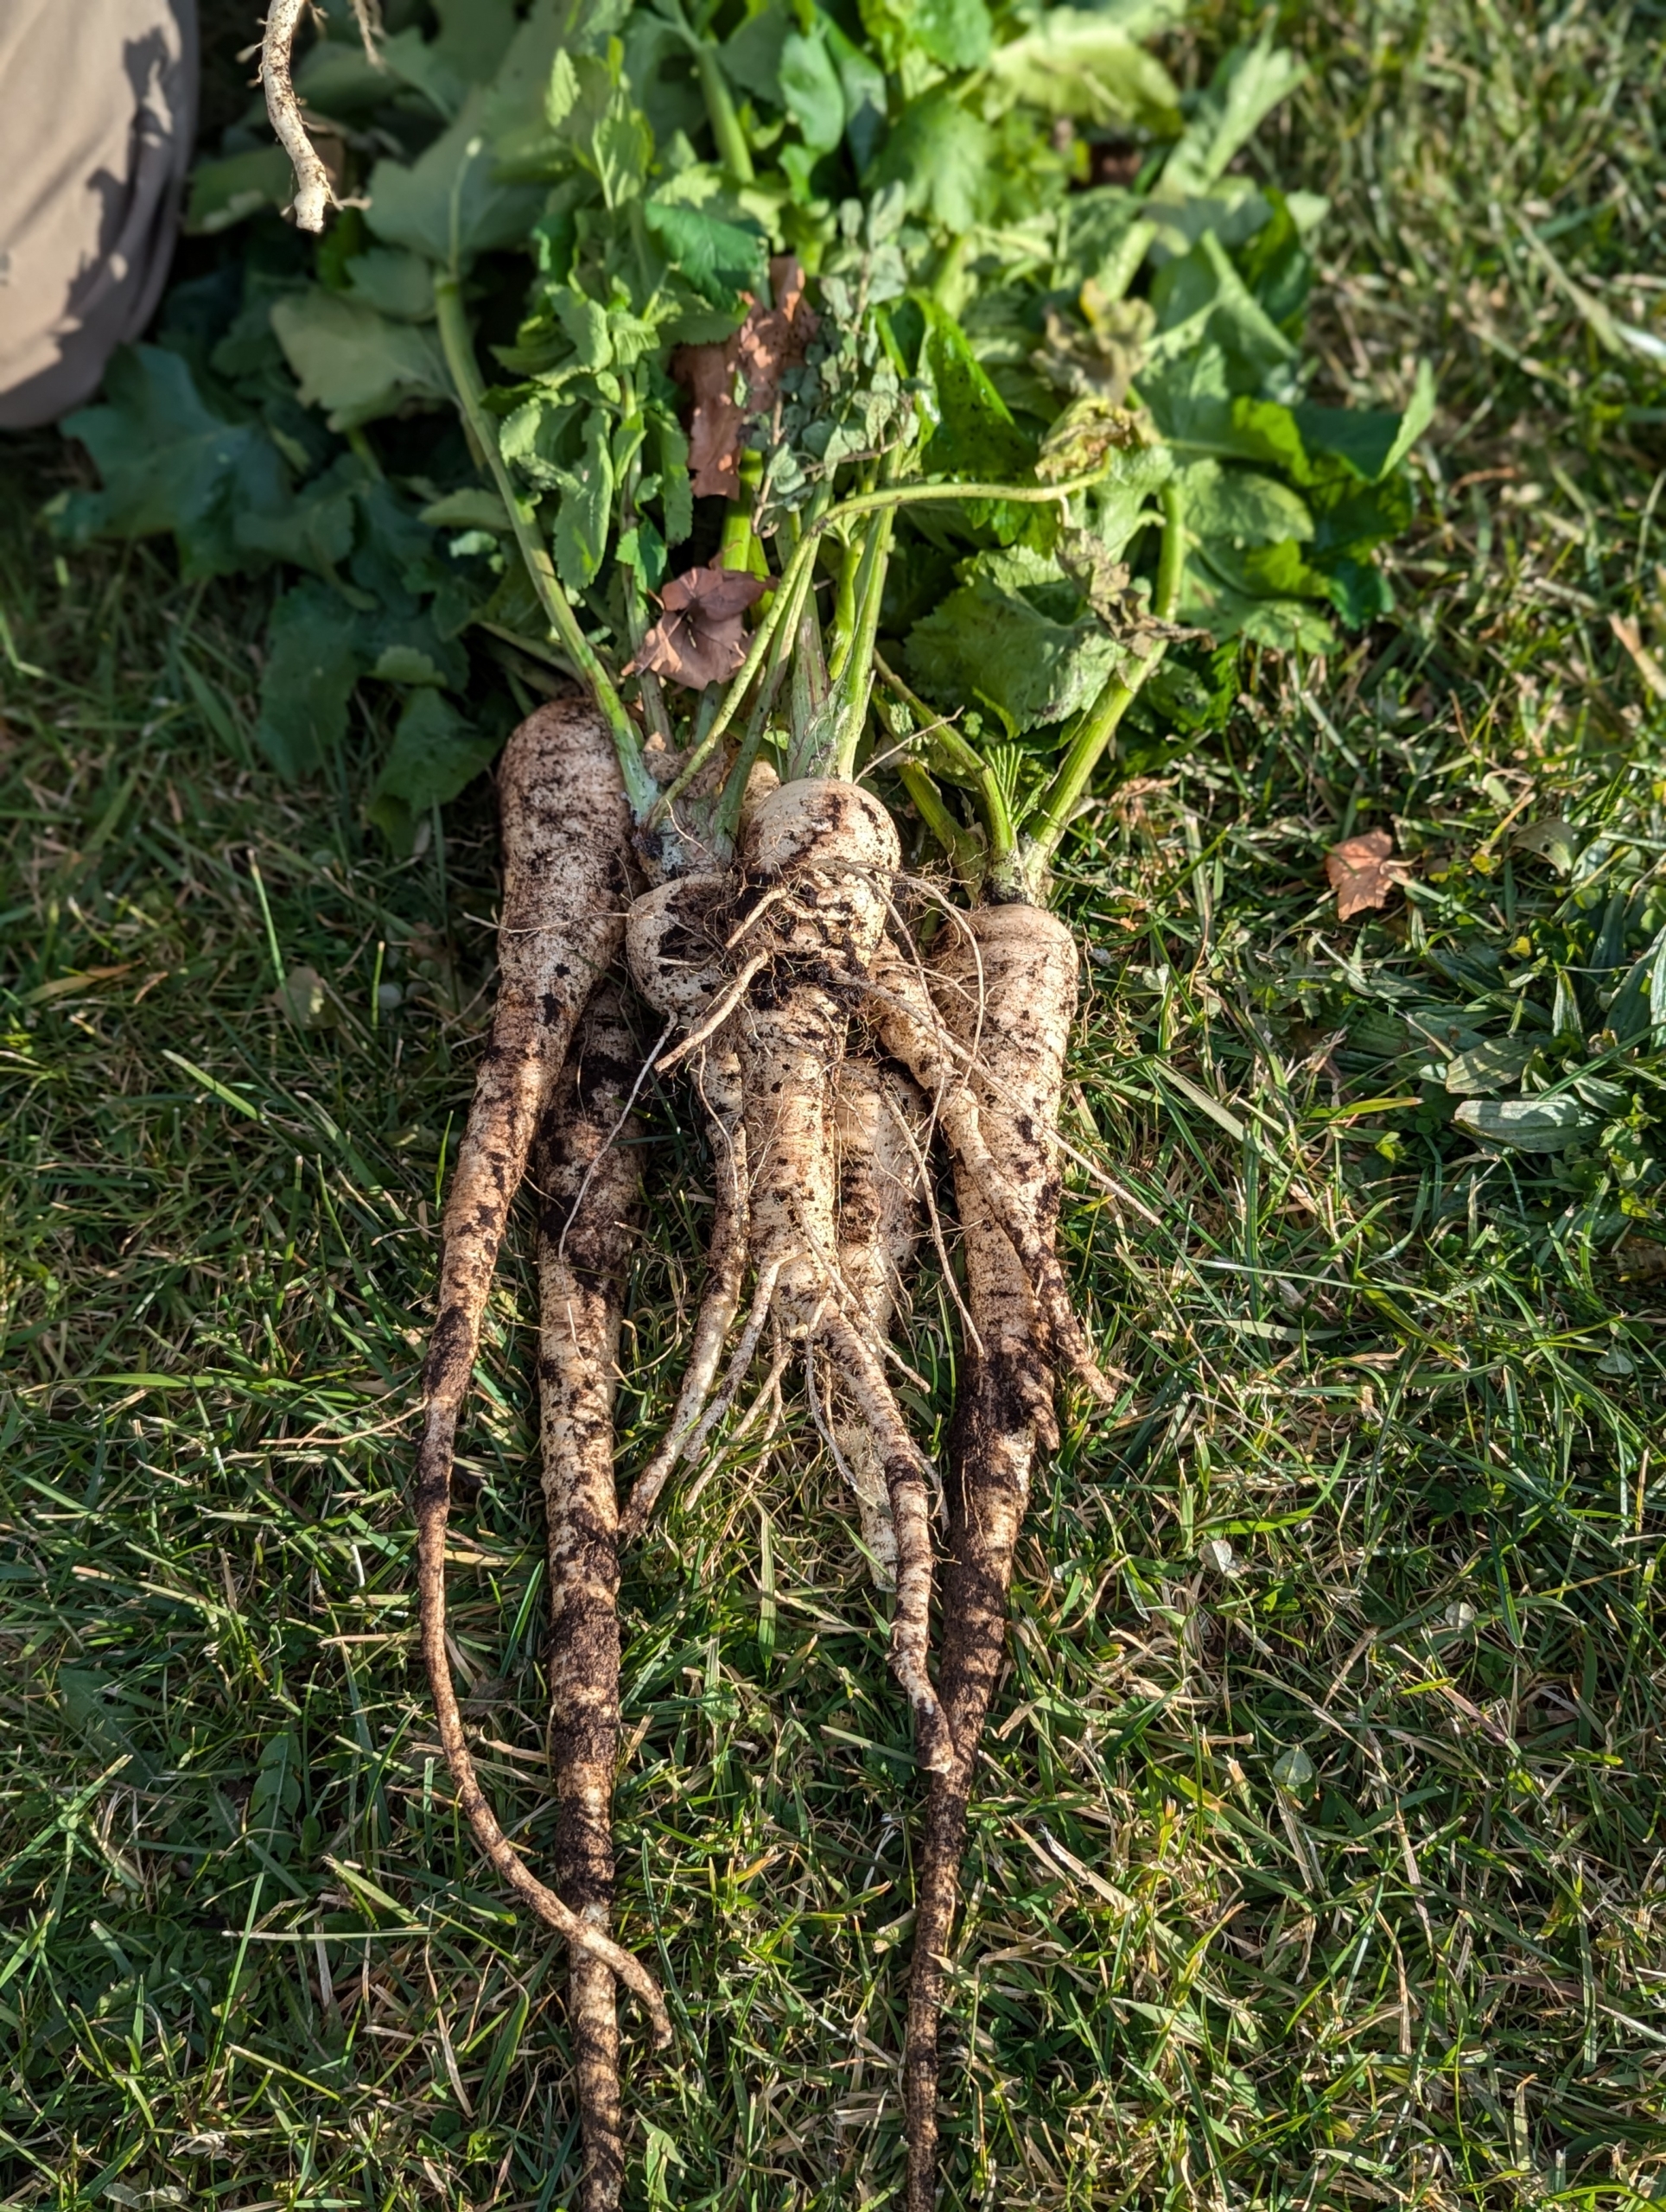
The parsnip is closely related to carrot and parsley, all belonging to the flowering plant family Apiaceae.
Parsnips have broad, hairless, ovate, compound pinnate leaves, up to six inches in length. These leaves and the stems can also be eaten or used to flavor soups and stews. Parsnips that are about eight to 10-inches long are the best tasting. They have thicker skin and a woodier center compared to carrots, but they are delicious cooked.
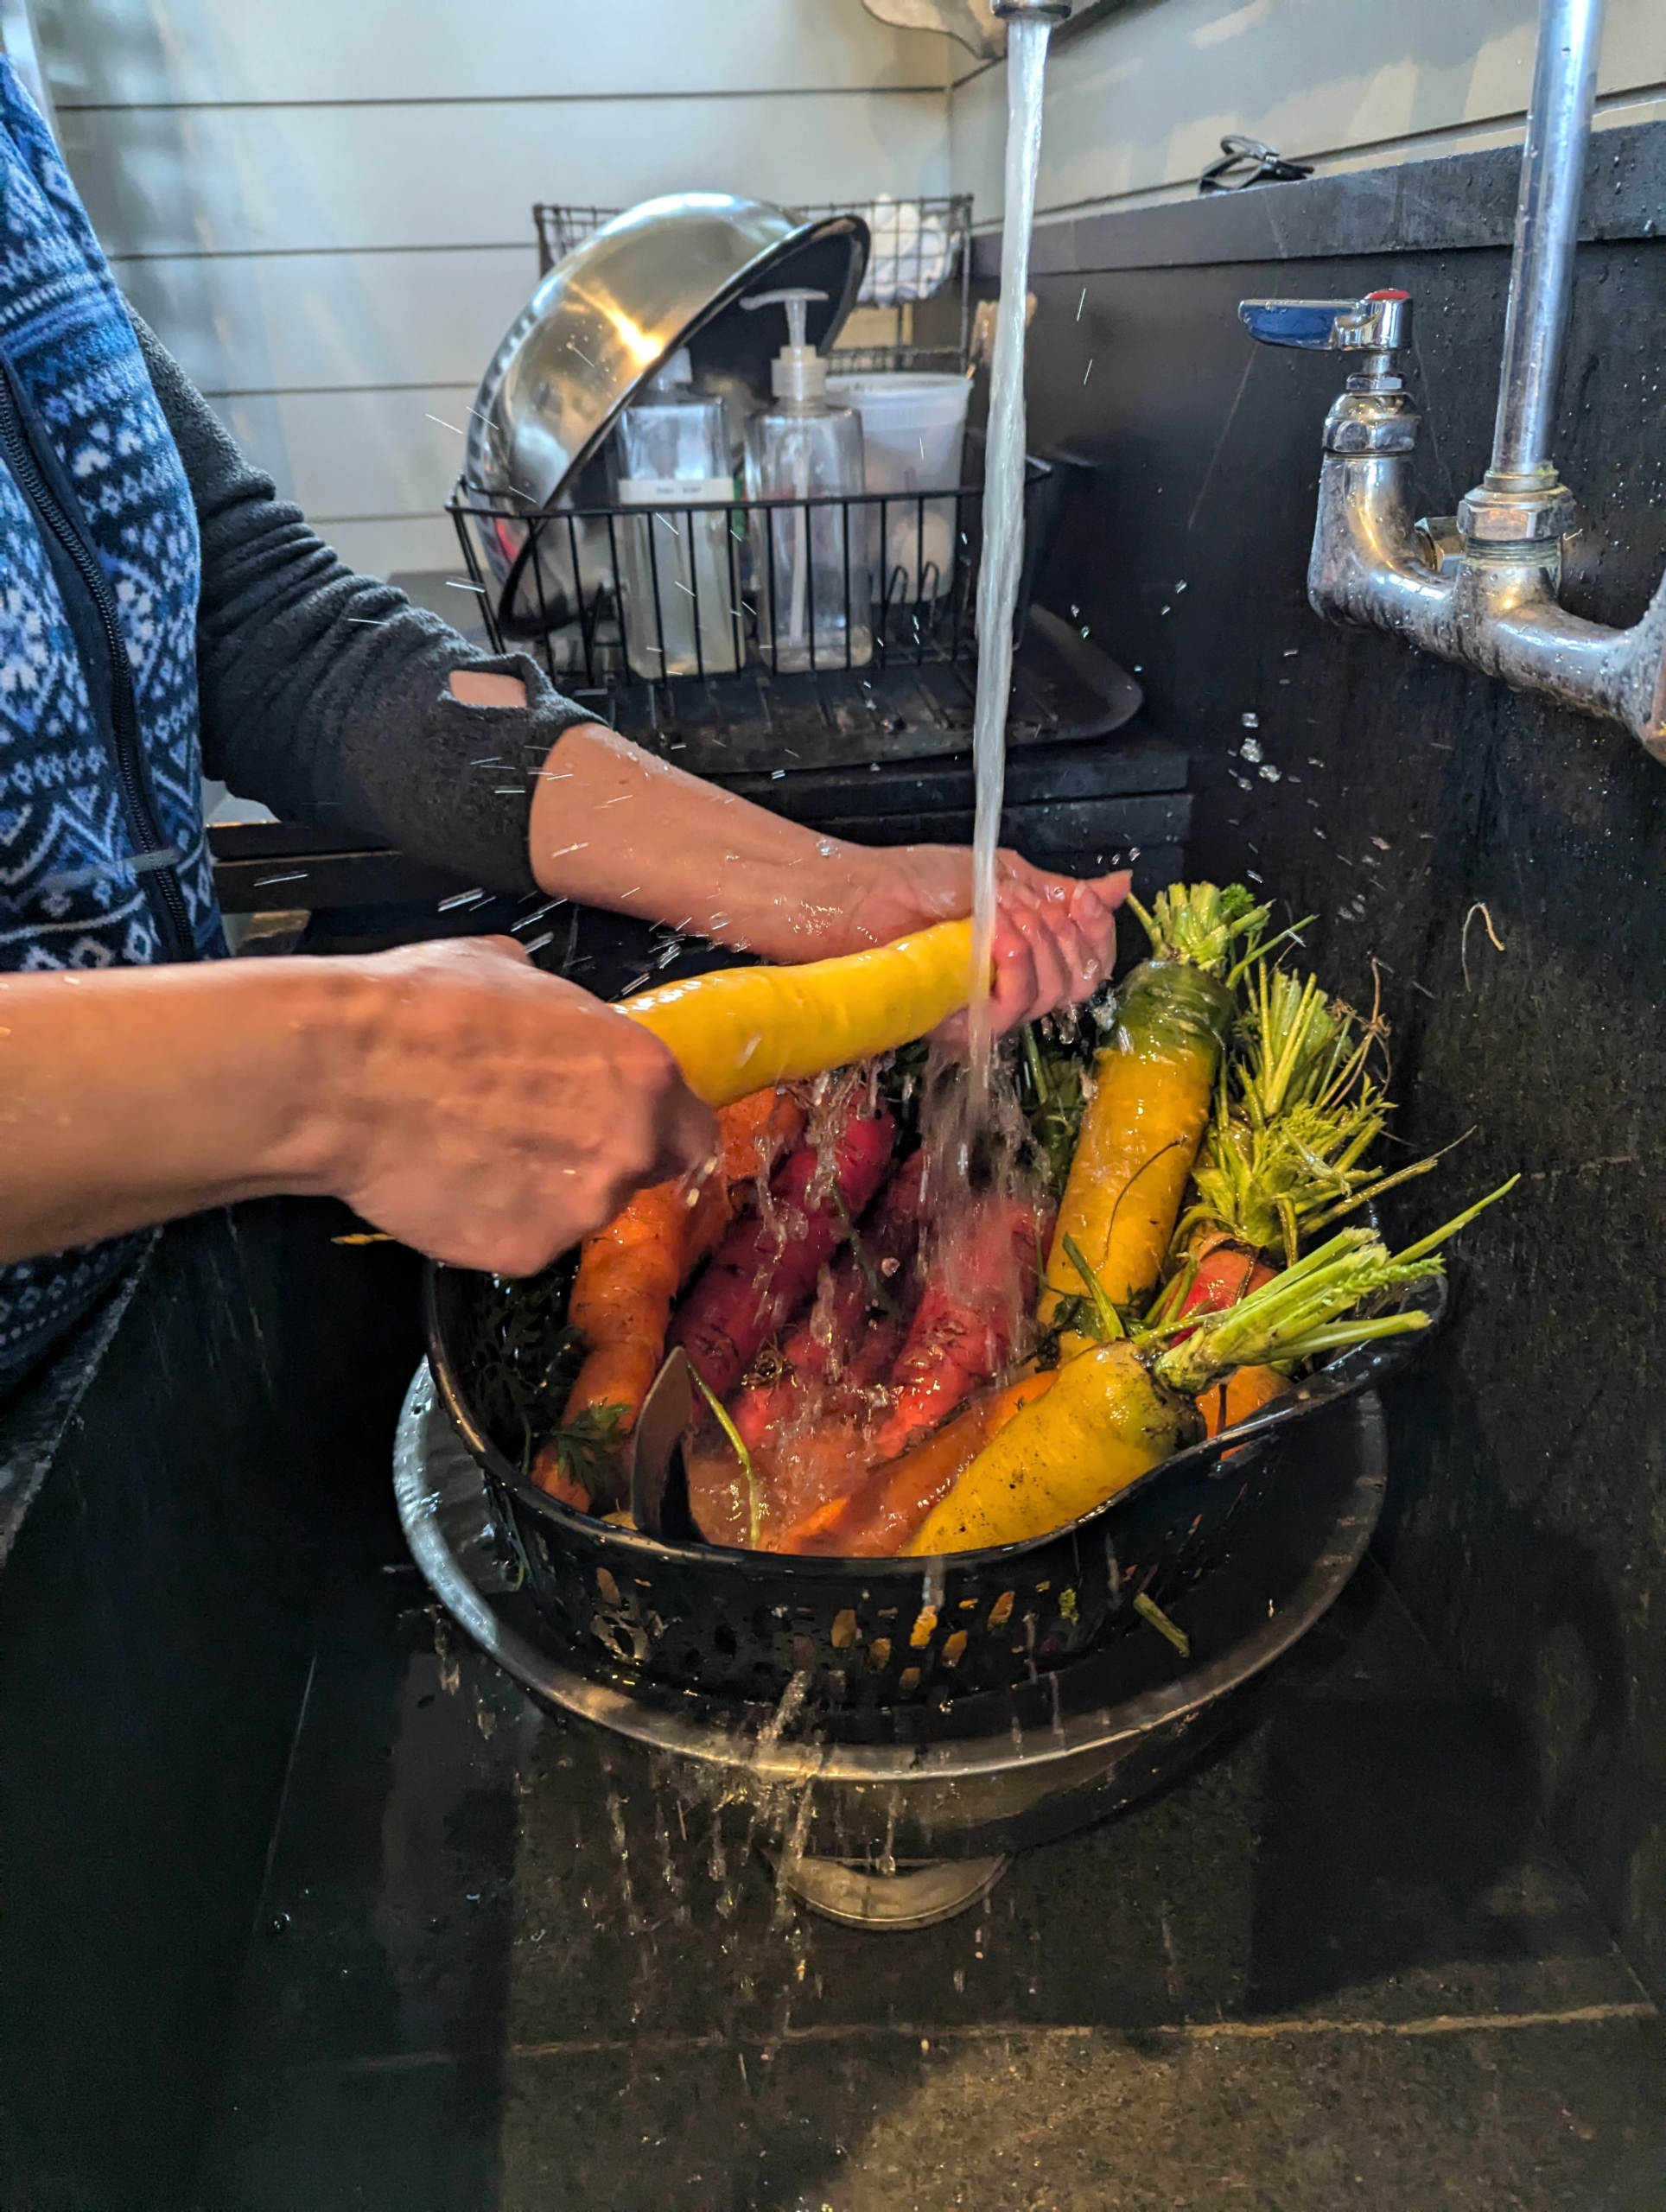
All the freshly picked vegetables are brought up to my flower room where they are cleaned and stored.
Elvira washes all the soil off the carrots – a good rinse is all these need.
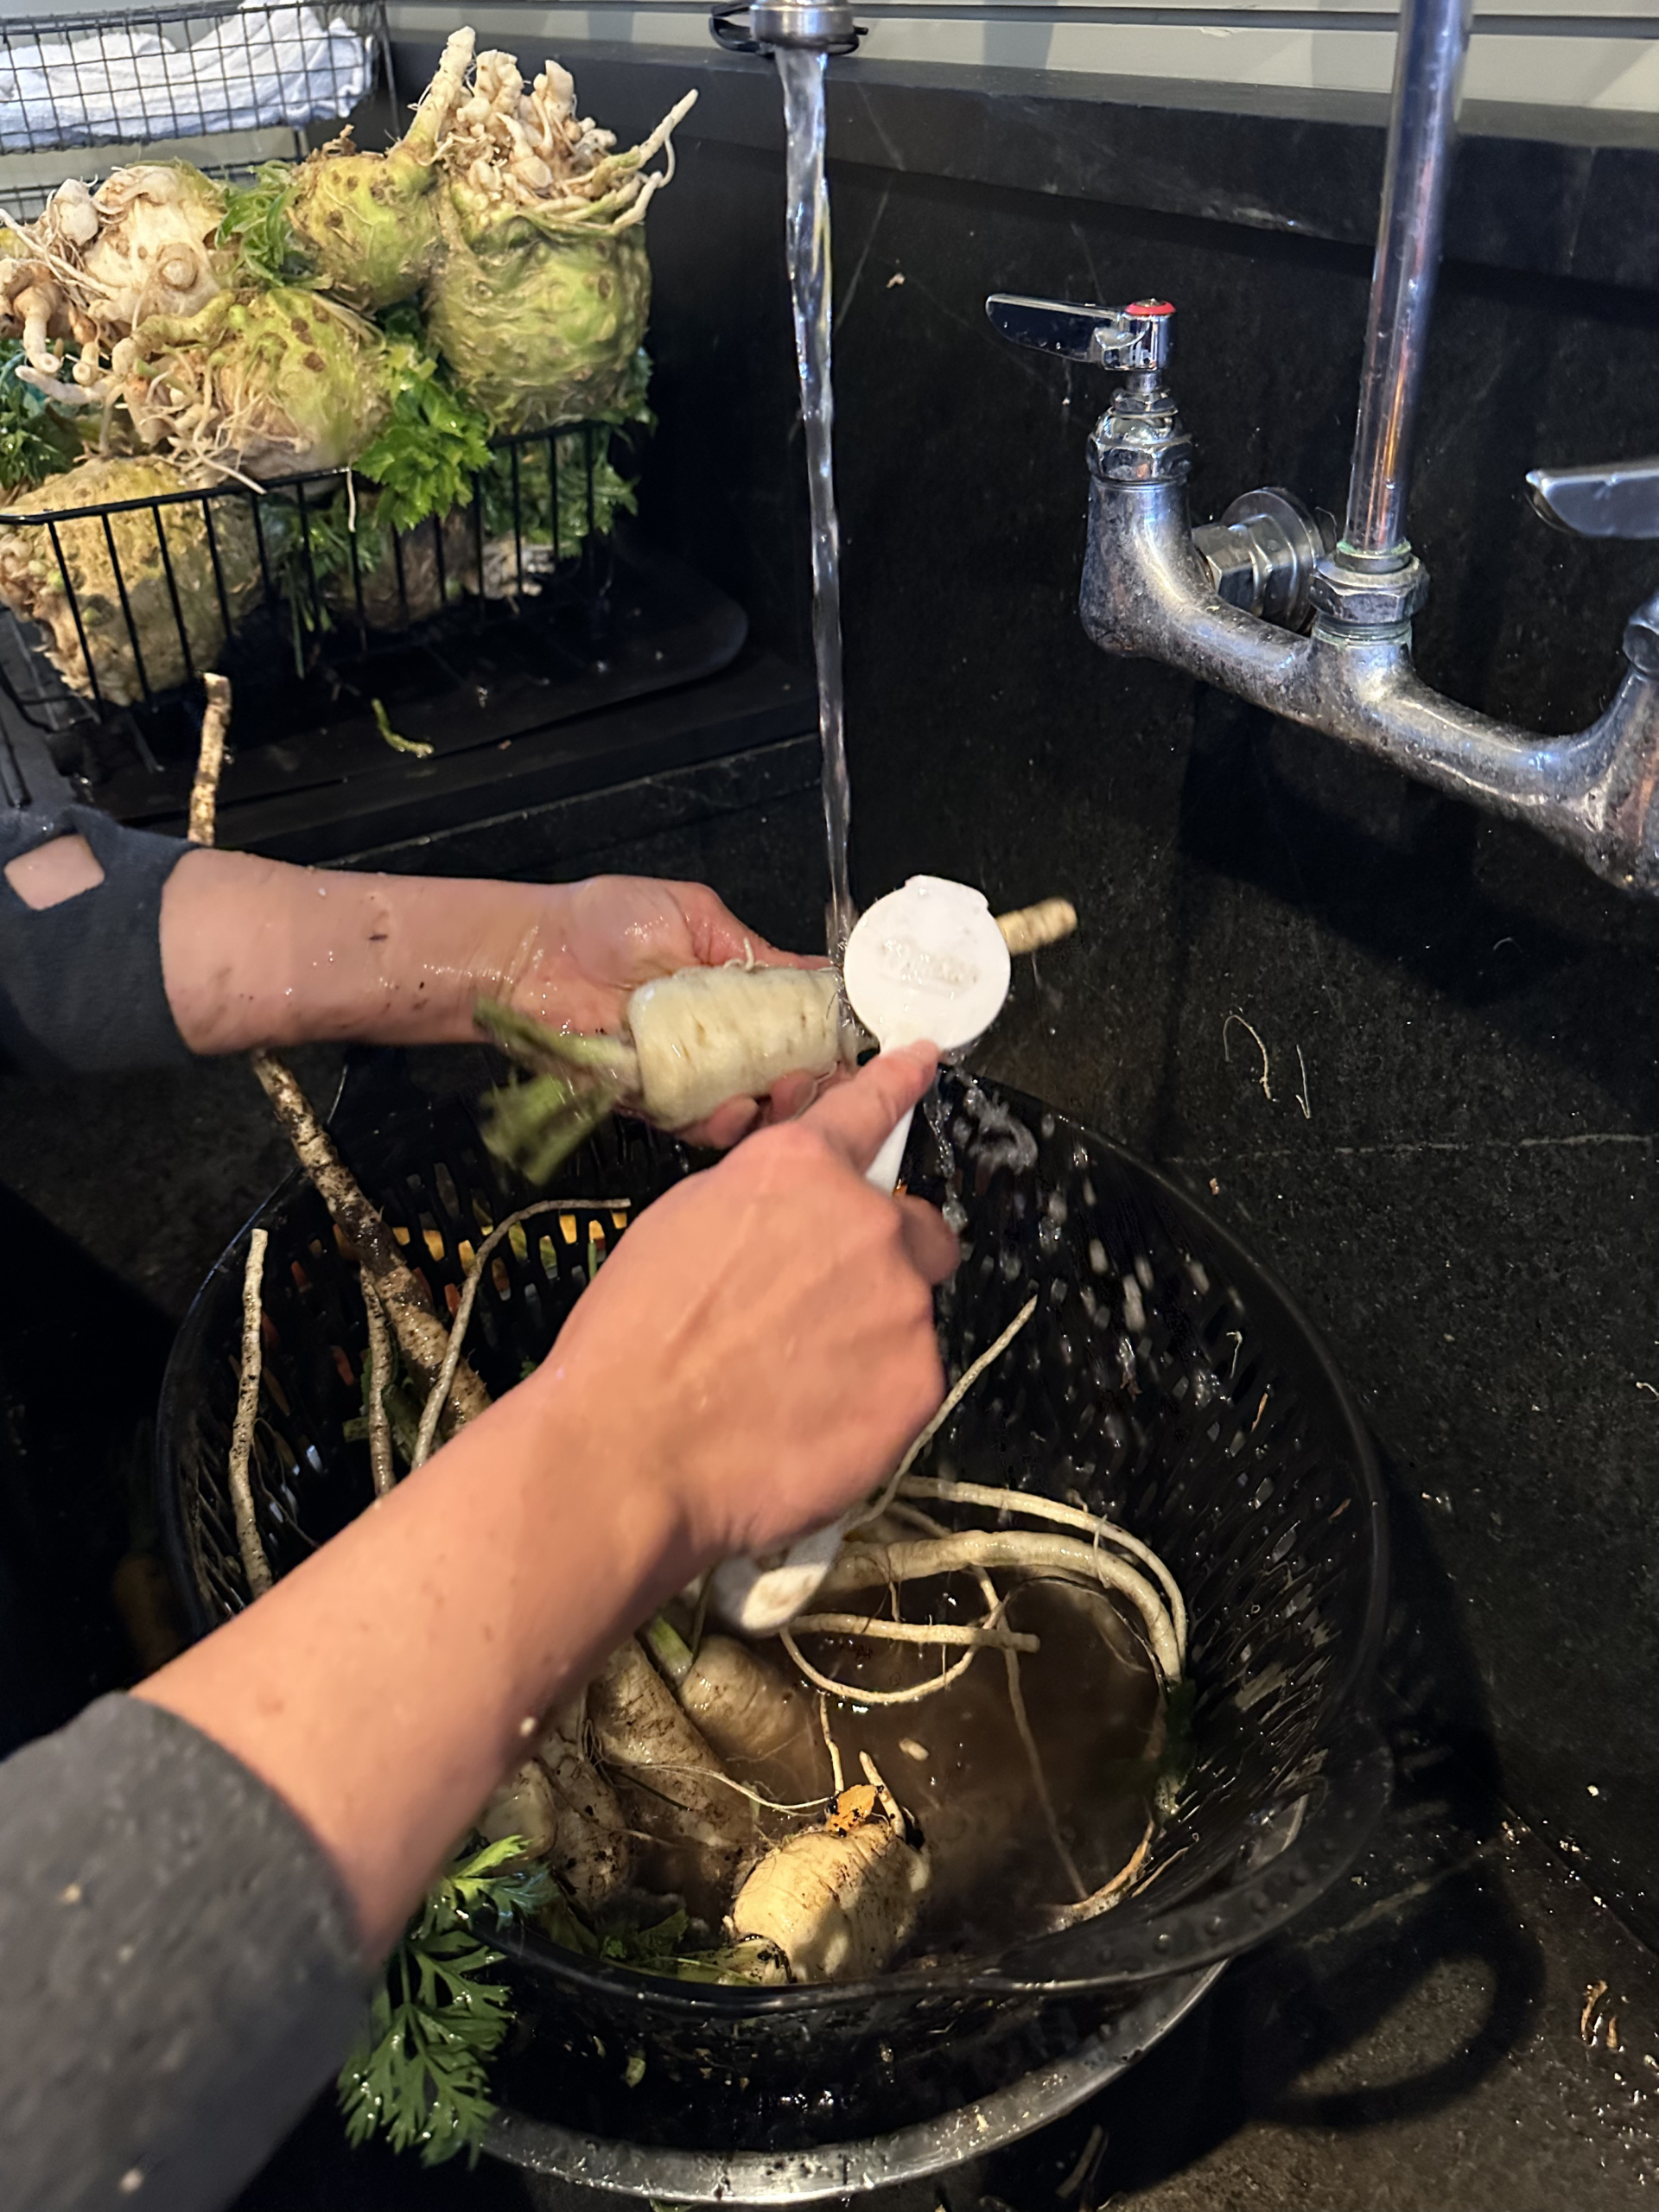
When cleaning parsnips, wash them under cool running water using a vegetable brush. Never use soap. Once they are clean, they can be wrapped in paper towel and stored in the refrigerator for up to two weeks.
What a bounty of colorful and flavorful vegetables. They’ll be stored in the refrigerator until I can cook them.
Celeriac is a concentrated source of many nutrients, including vitamins C, K, B6, potassium, phosphorous, and fiber. I will make some delicious soup out of these. The celeriac is also scrubbed thoroughly and placed into the refrigerator. I am always so excited to see what comes out of the garden. If you haven’t tasted them yet, give parsnips and celeriac a try – you’ll be glad you did.