Wherever you live, I hope you’re able to enjoy the beautiful blooms of those fall perennials called Colchicum.
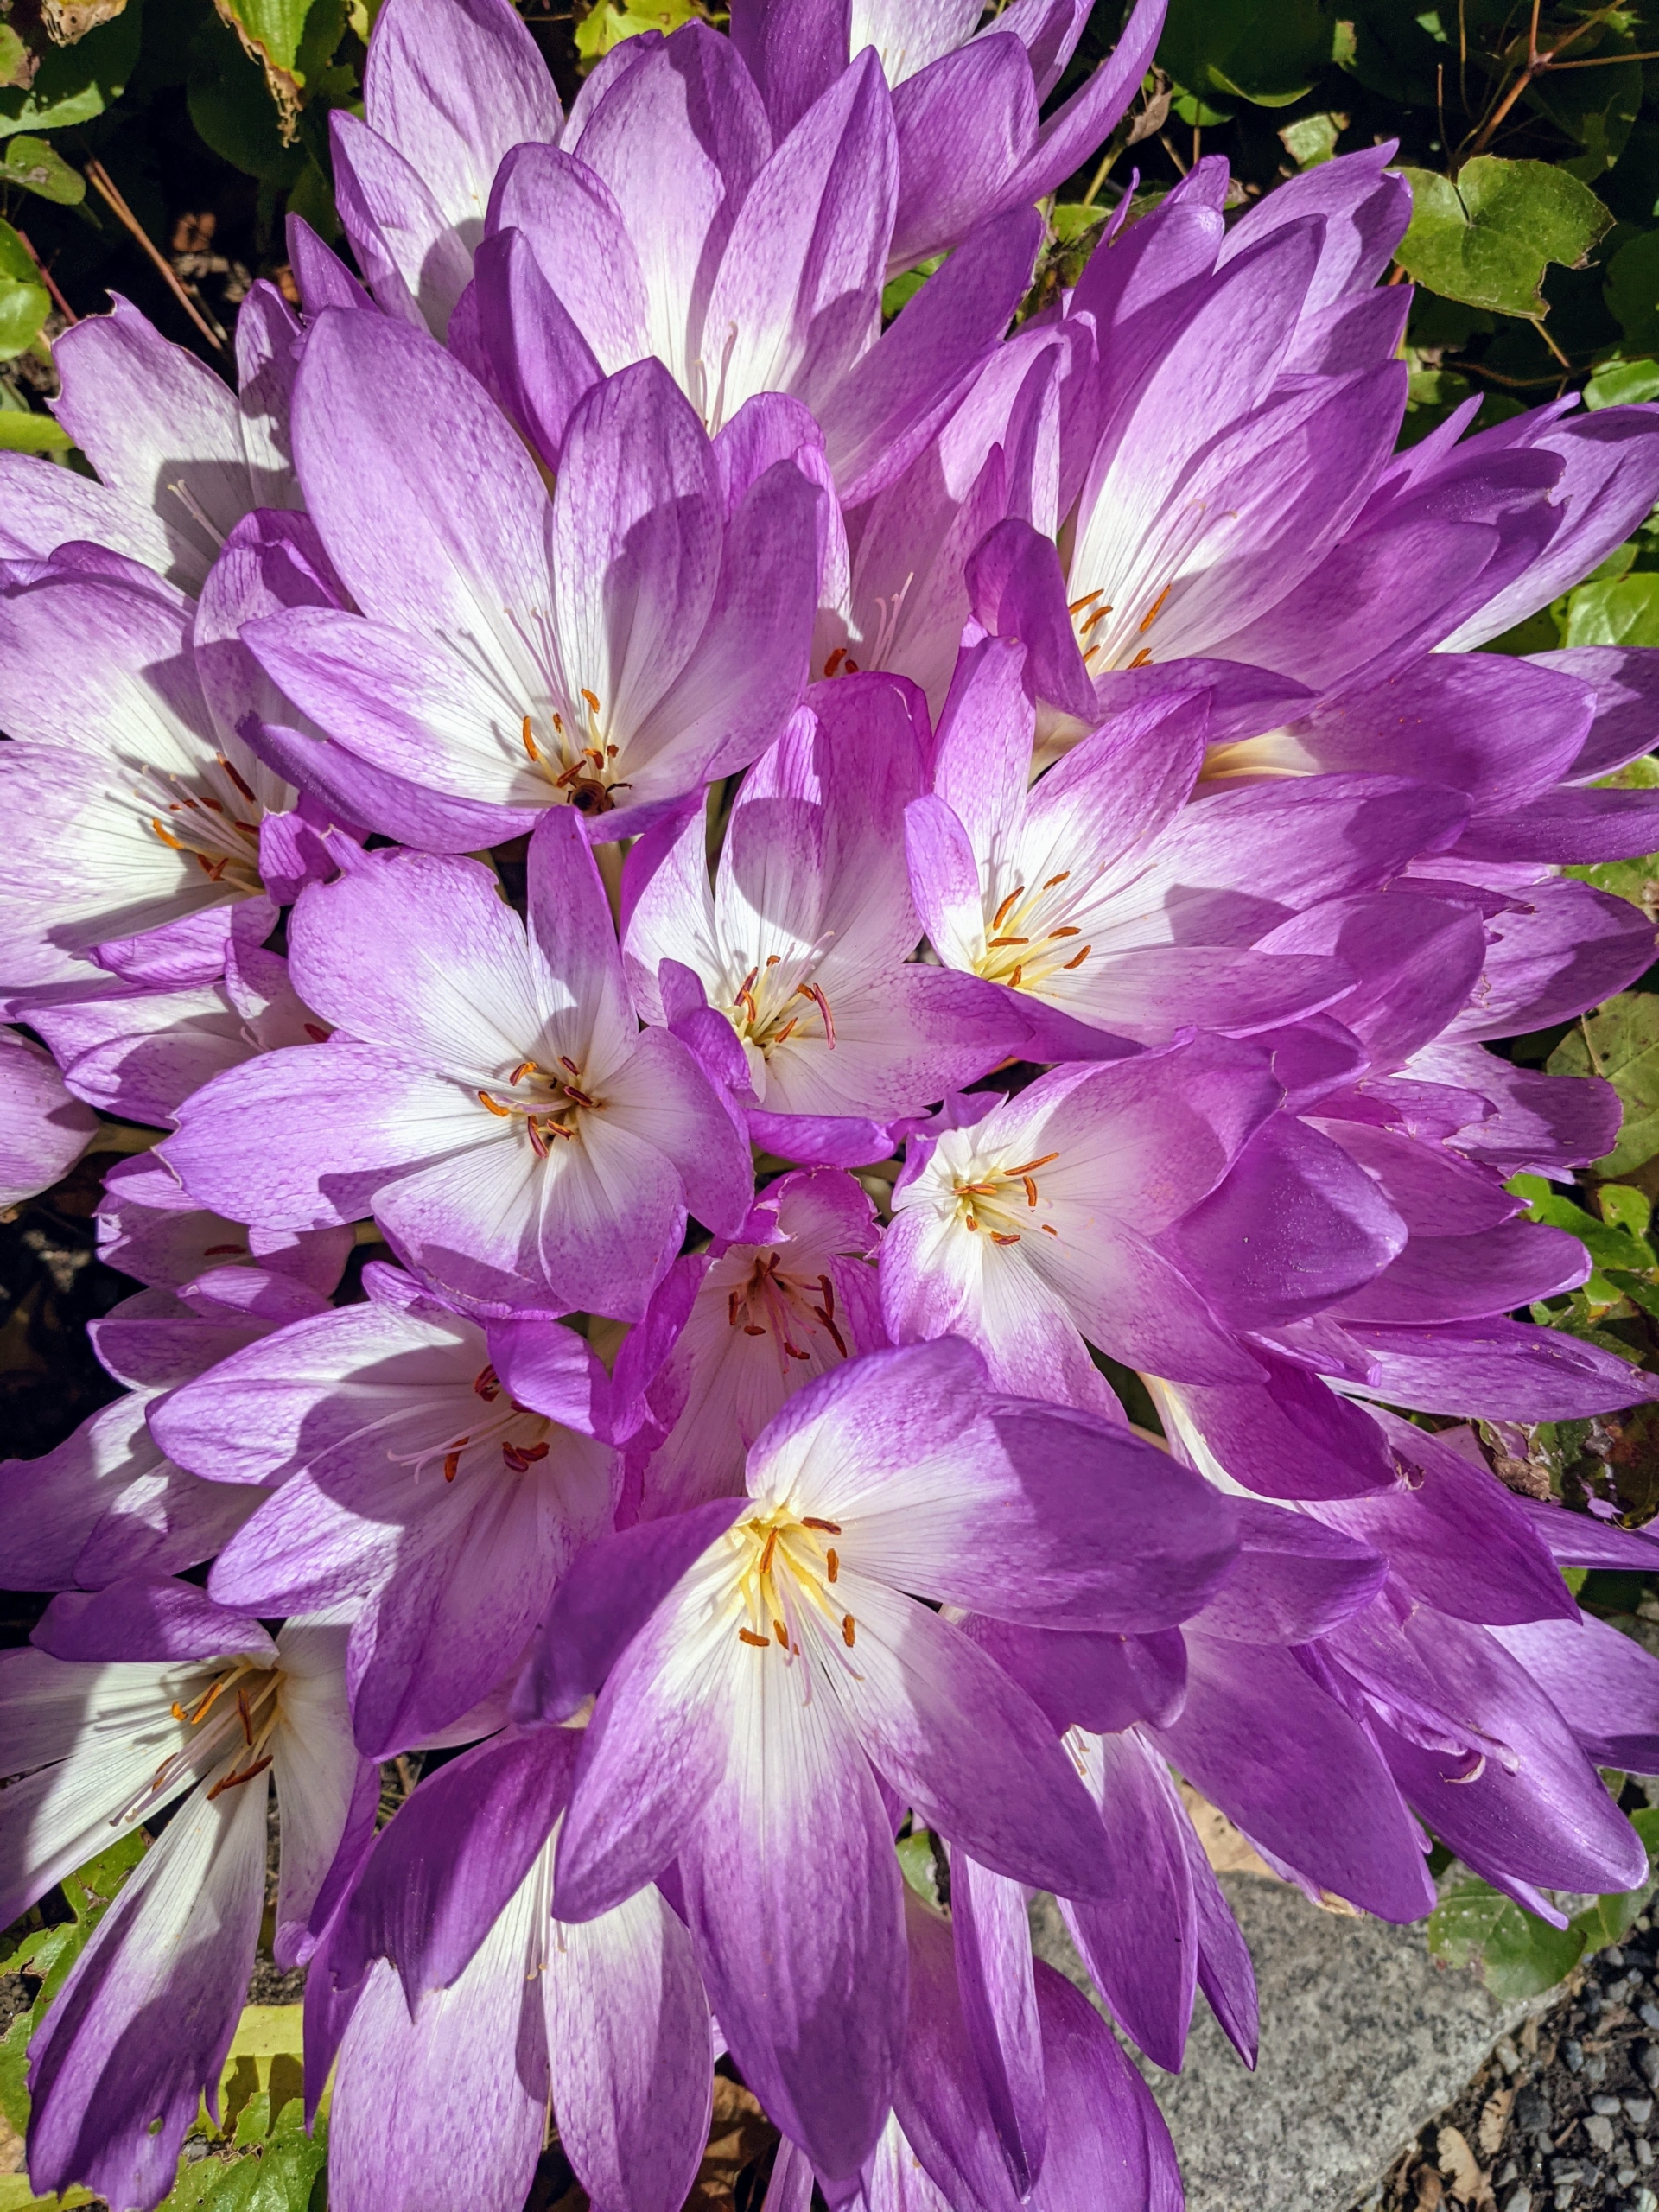
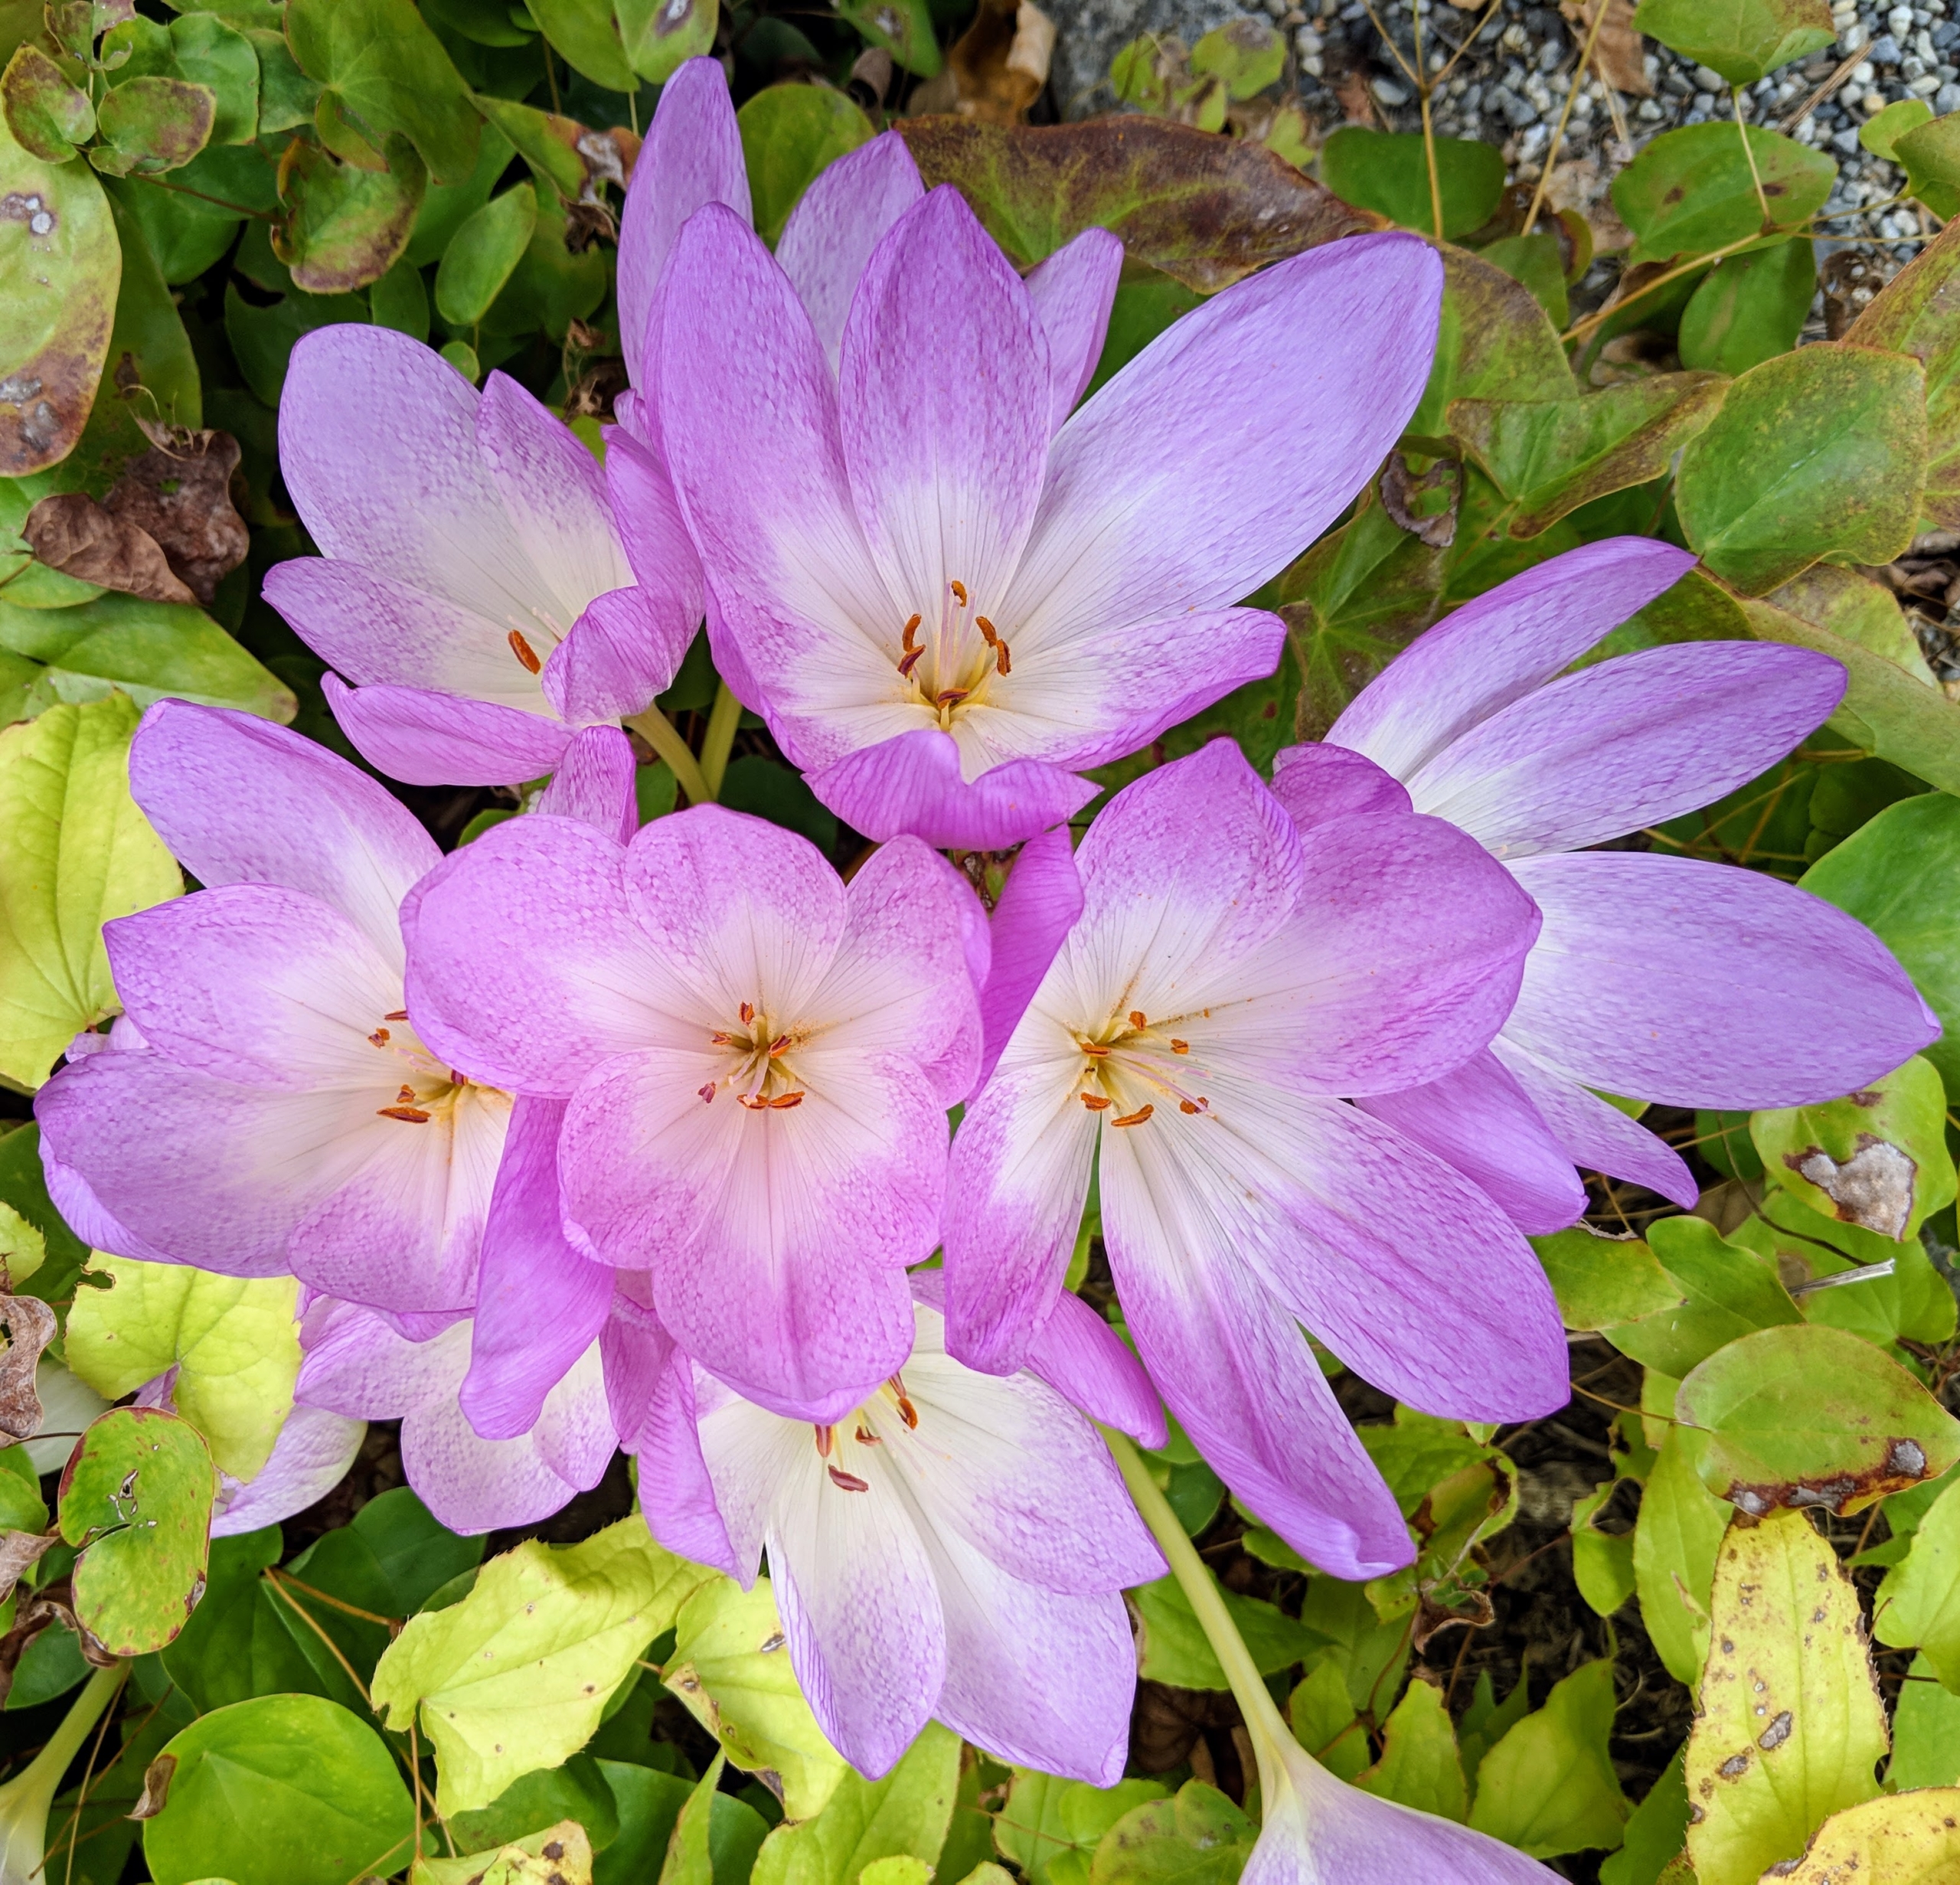
Colchicum produces such cheerful colors when most other plants have faded. Over the seasons, I've planted a number of colchicum corms around my farm - near my front gate, along the edge of my Stewartia garden, under my tall, handsome bald cypress trees, and outside my Winter House. The blossoms are gorgeous with large, elongated petals of fuchsia and soft lilac, some even a crisp white. I am so happy these plants are flourishing.
Enjoy these photos.
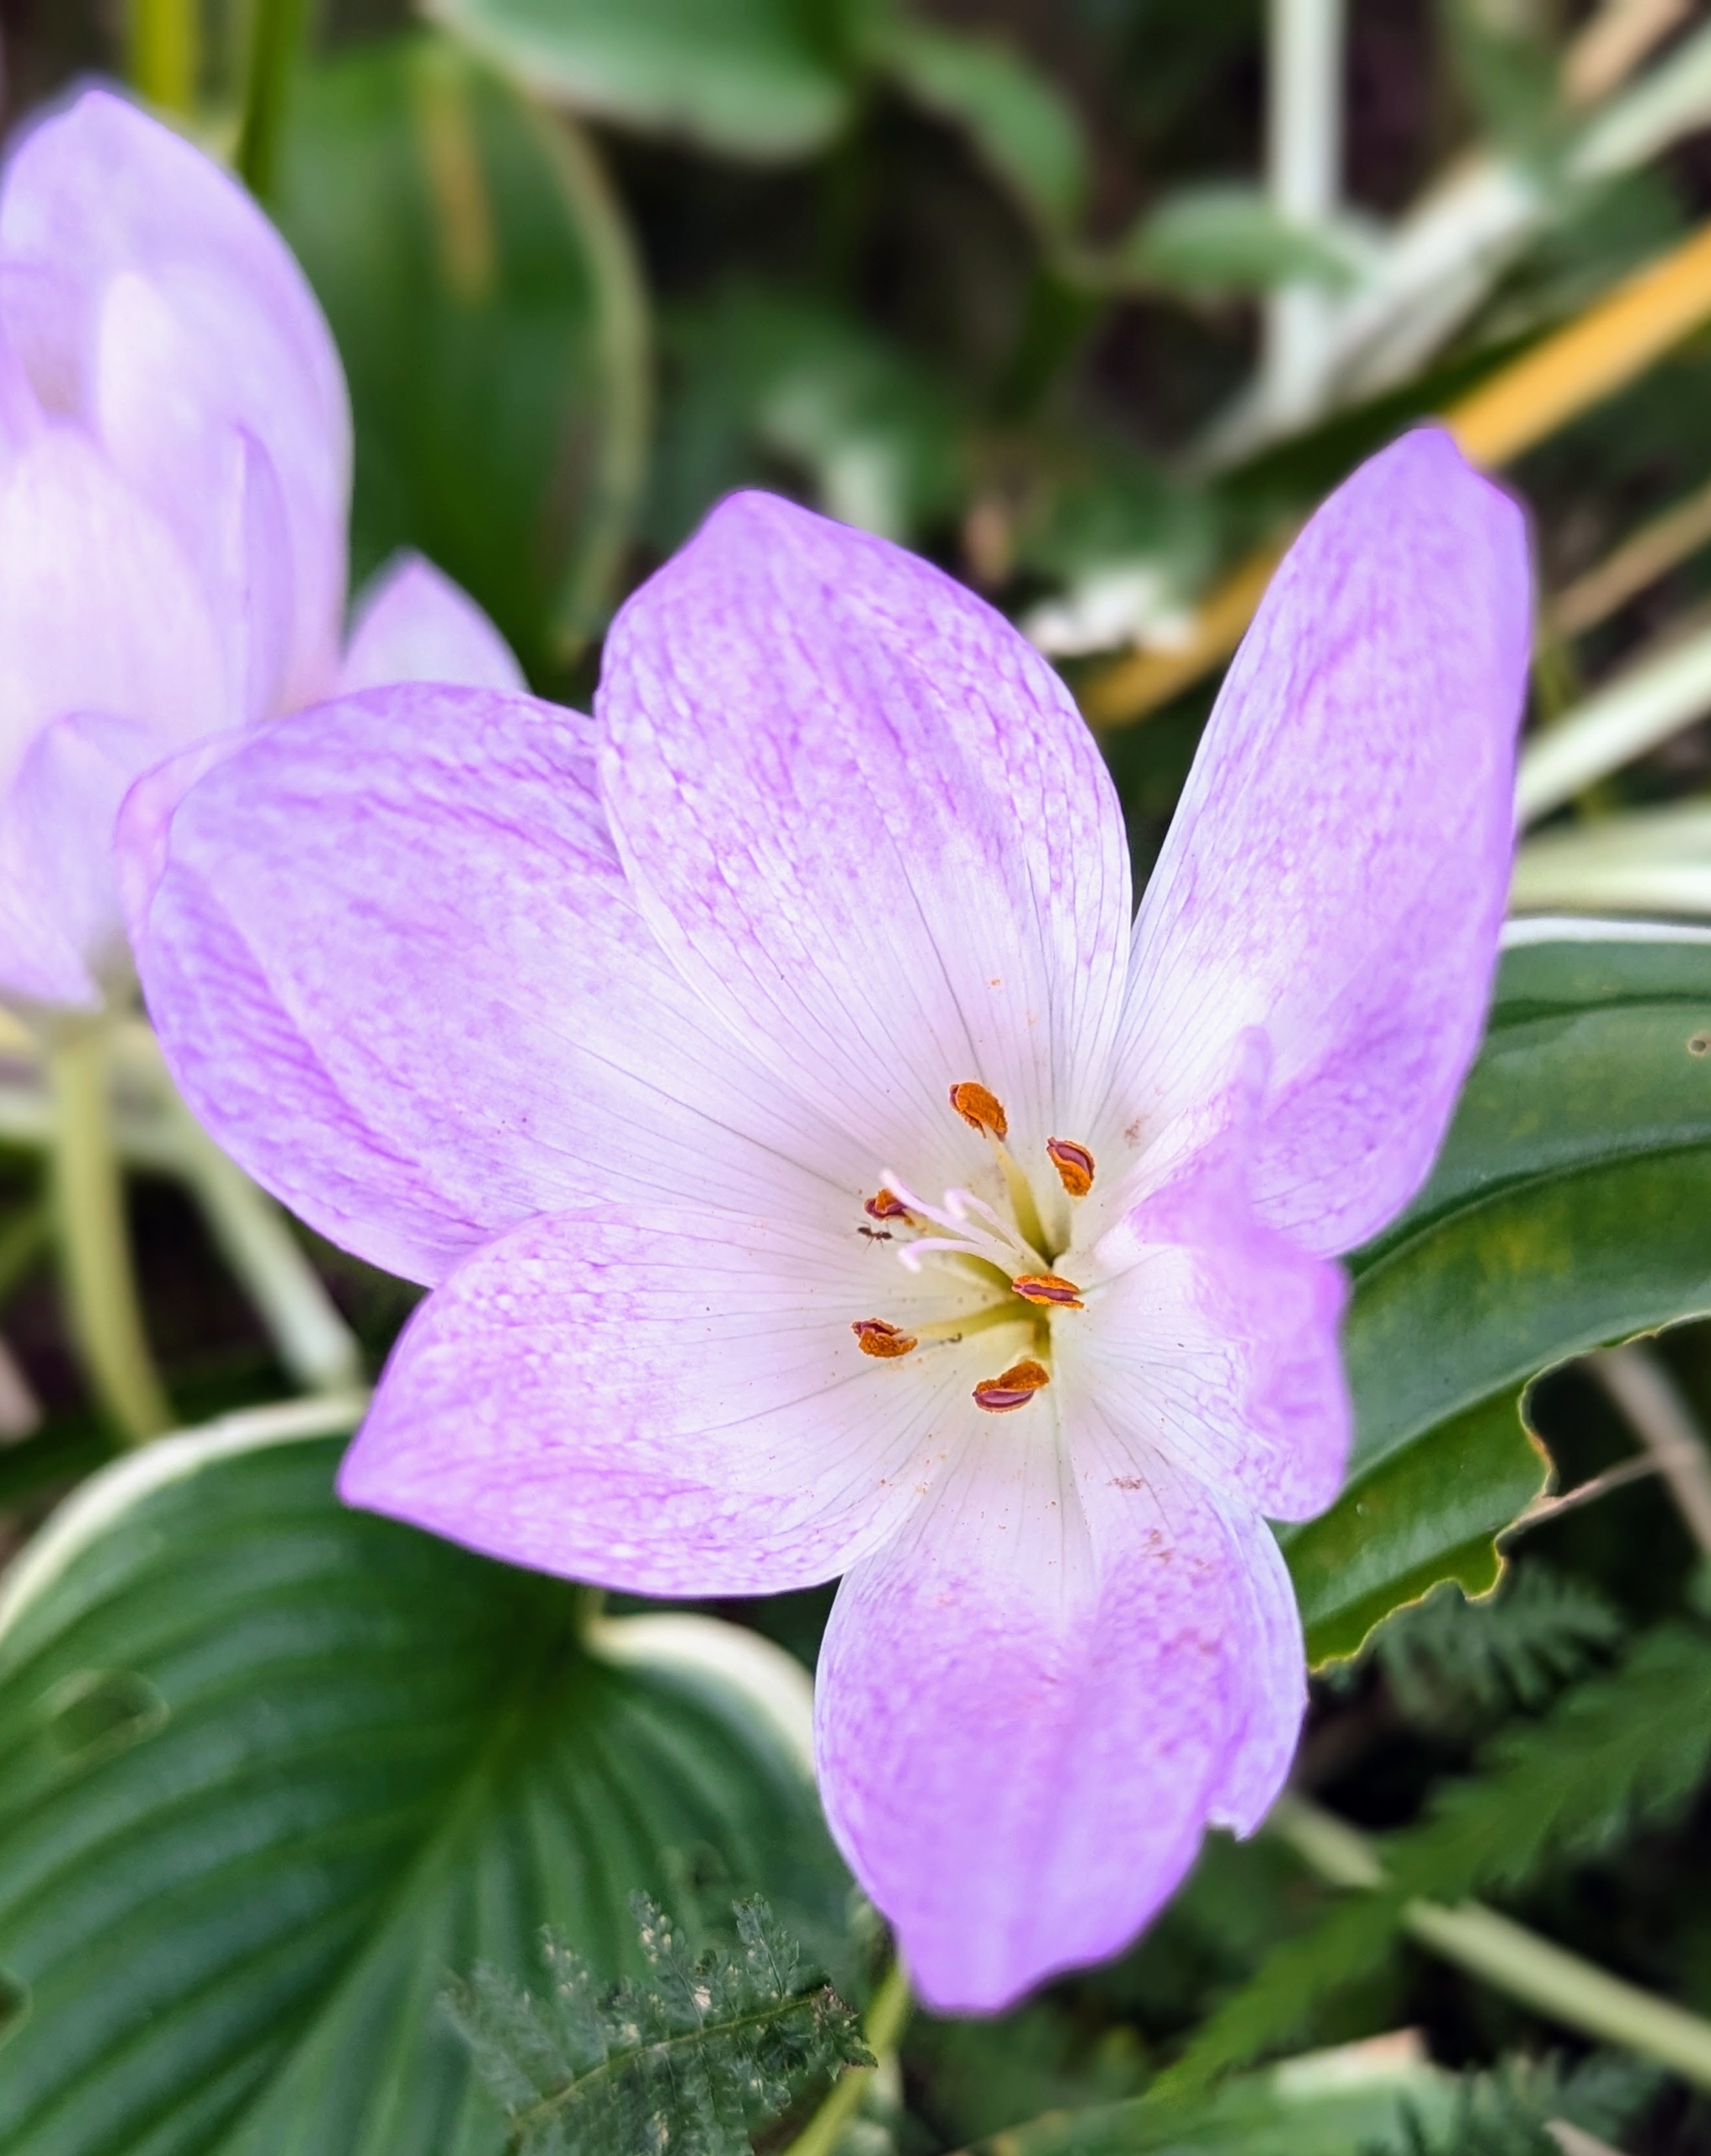
Guests that come around this time of year often ask, “what are those flowers that look like crocus?” The common name for Colchicum is autumn crocus, but they are not true autumn crocus because there are many species of true crocus which are autumn blooming. Also, Colchicum flowers have six stamens while crocuses have only three.
Colchicum is a member of the botanical family Colchicaceae and is native to West Asia, Europe, parts of the Mediterranean coast, down the East African coast to South Africa and the Western Cape.
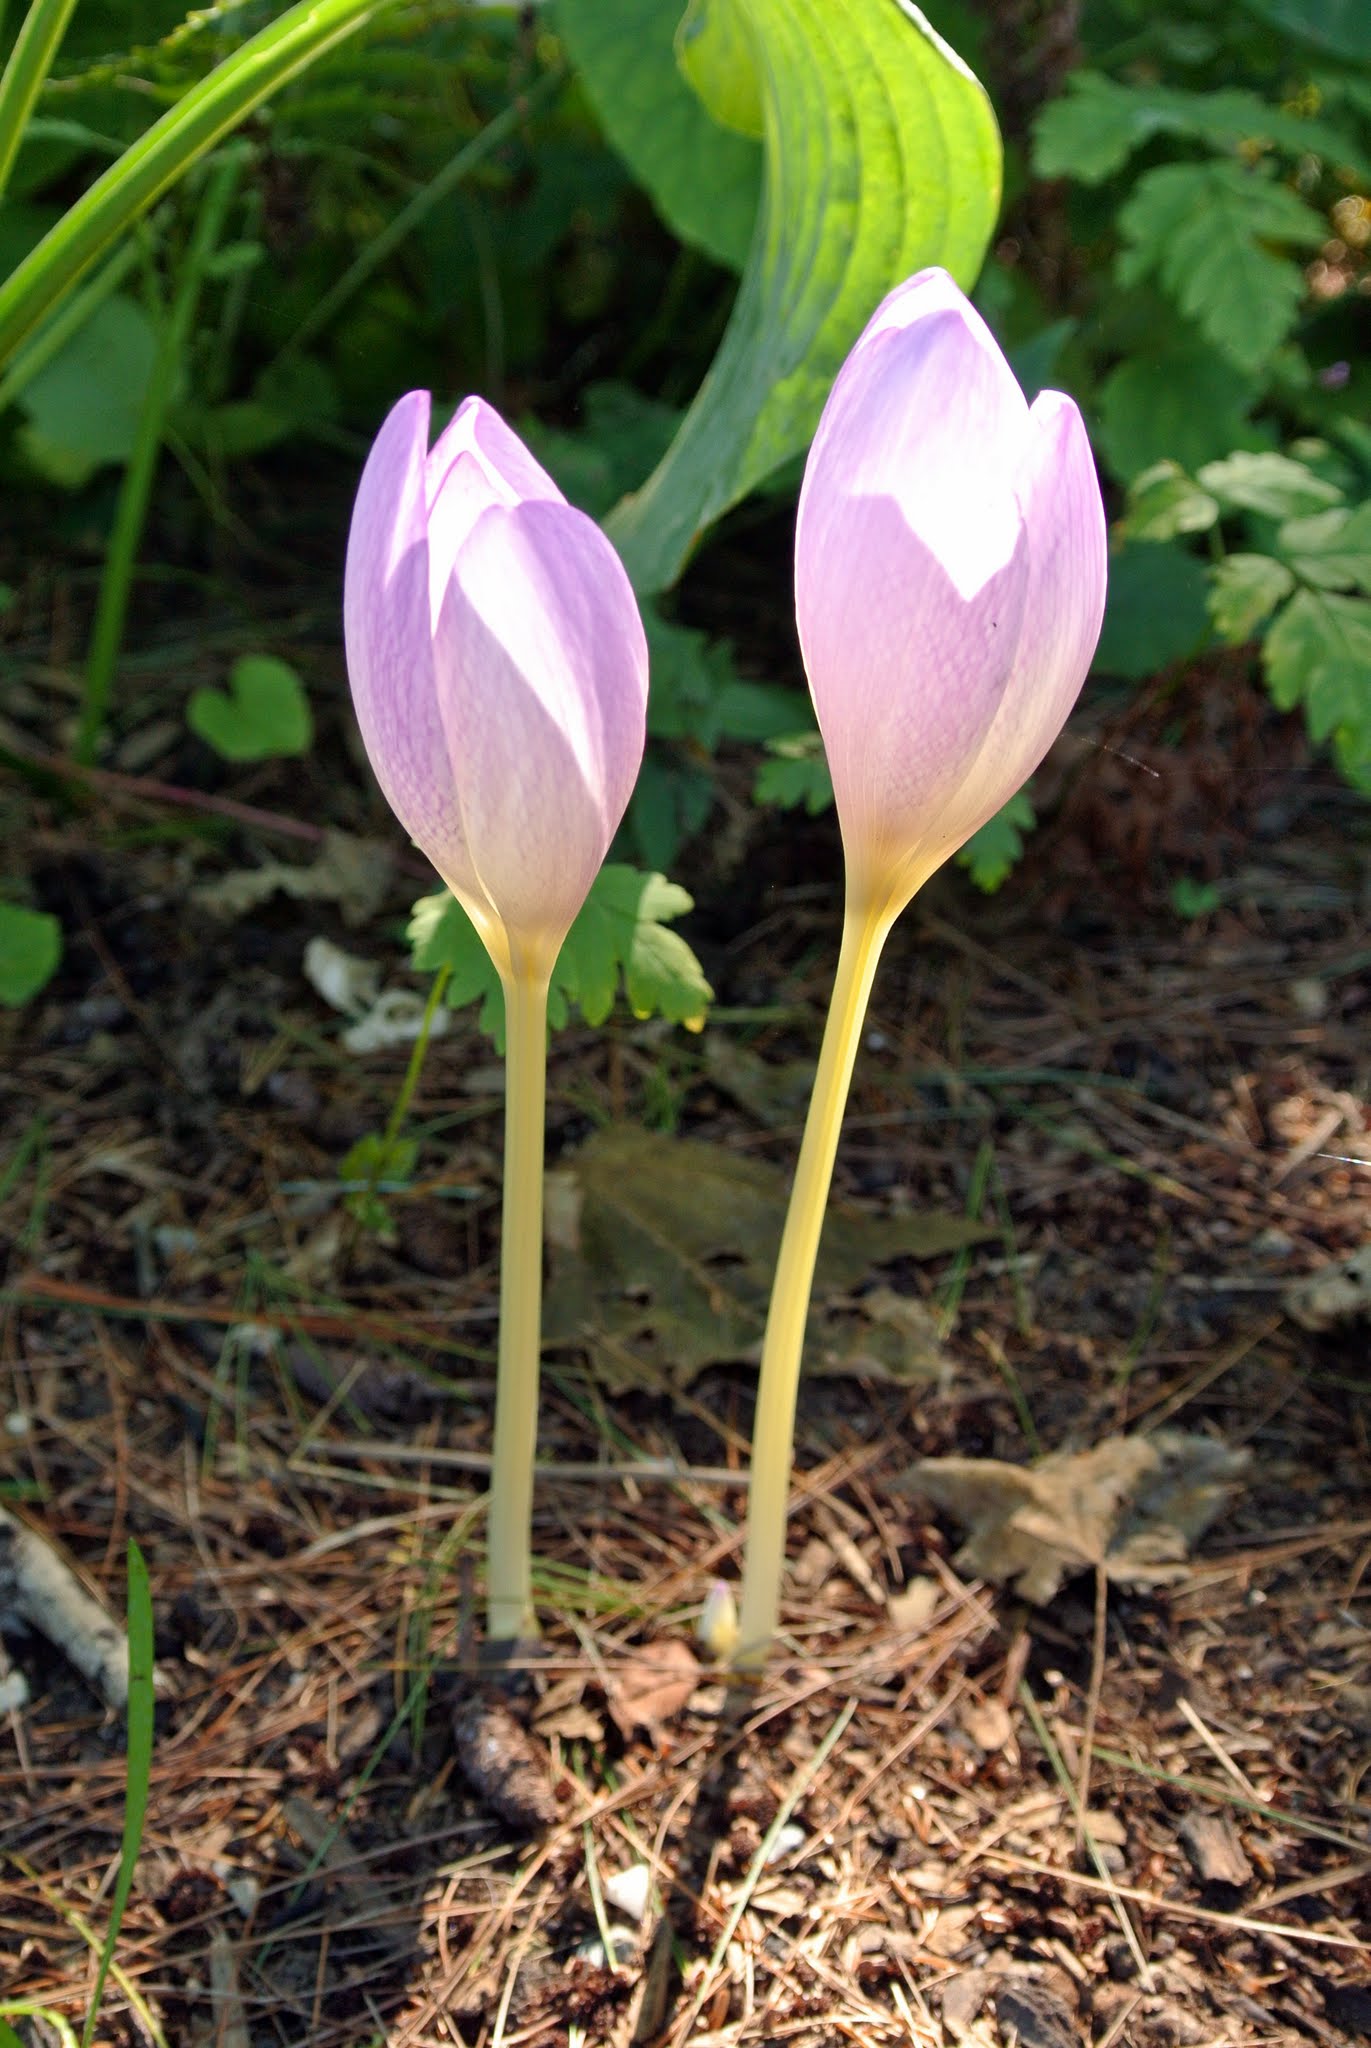
Most Colchicum plants produce their flowers without any foliage – this is why these flowers also go by the common name “naked ladies” or “naked boys”.
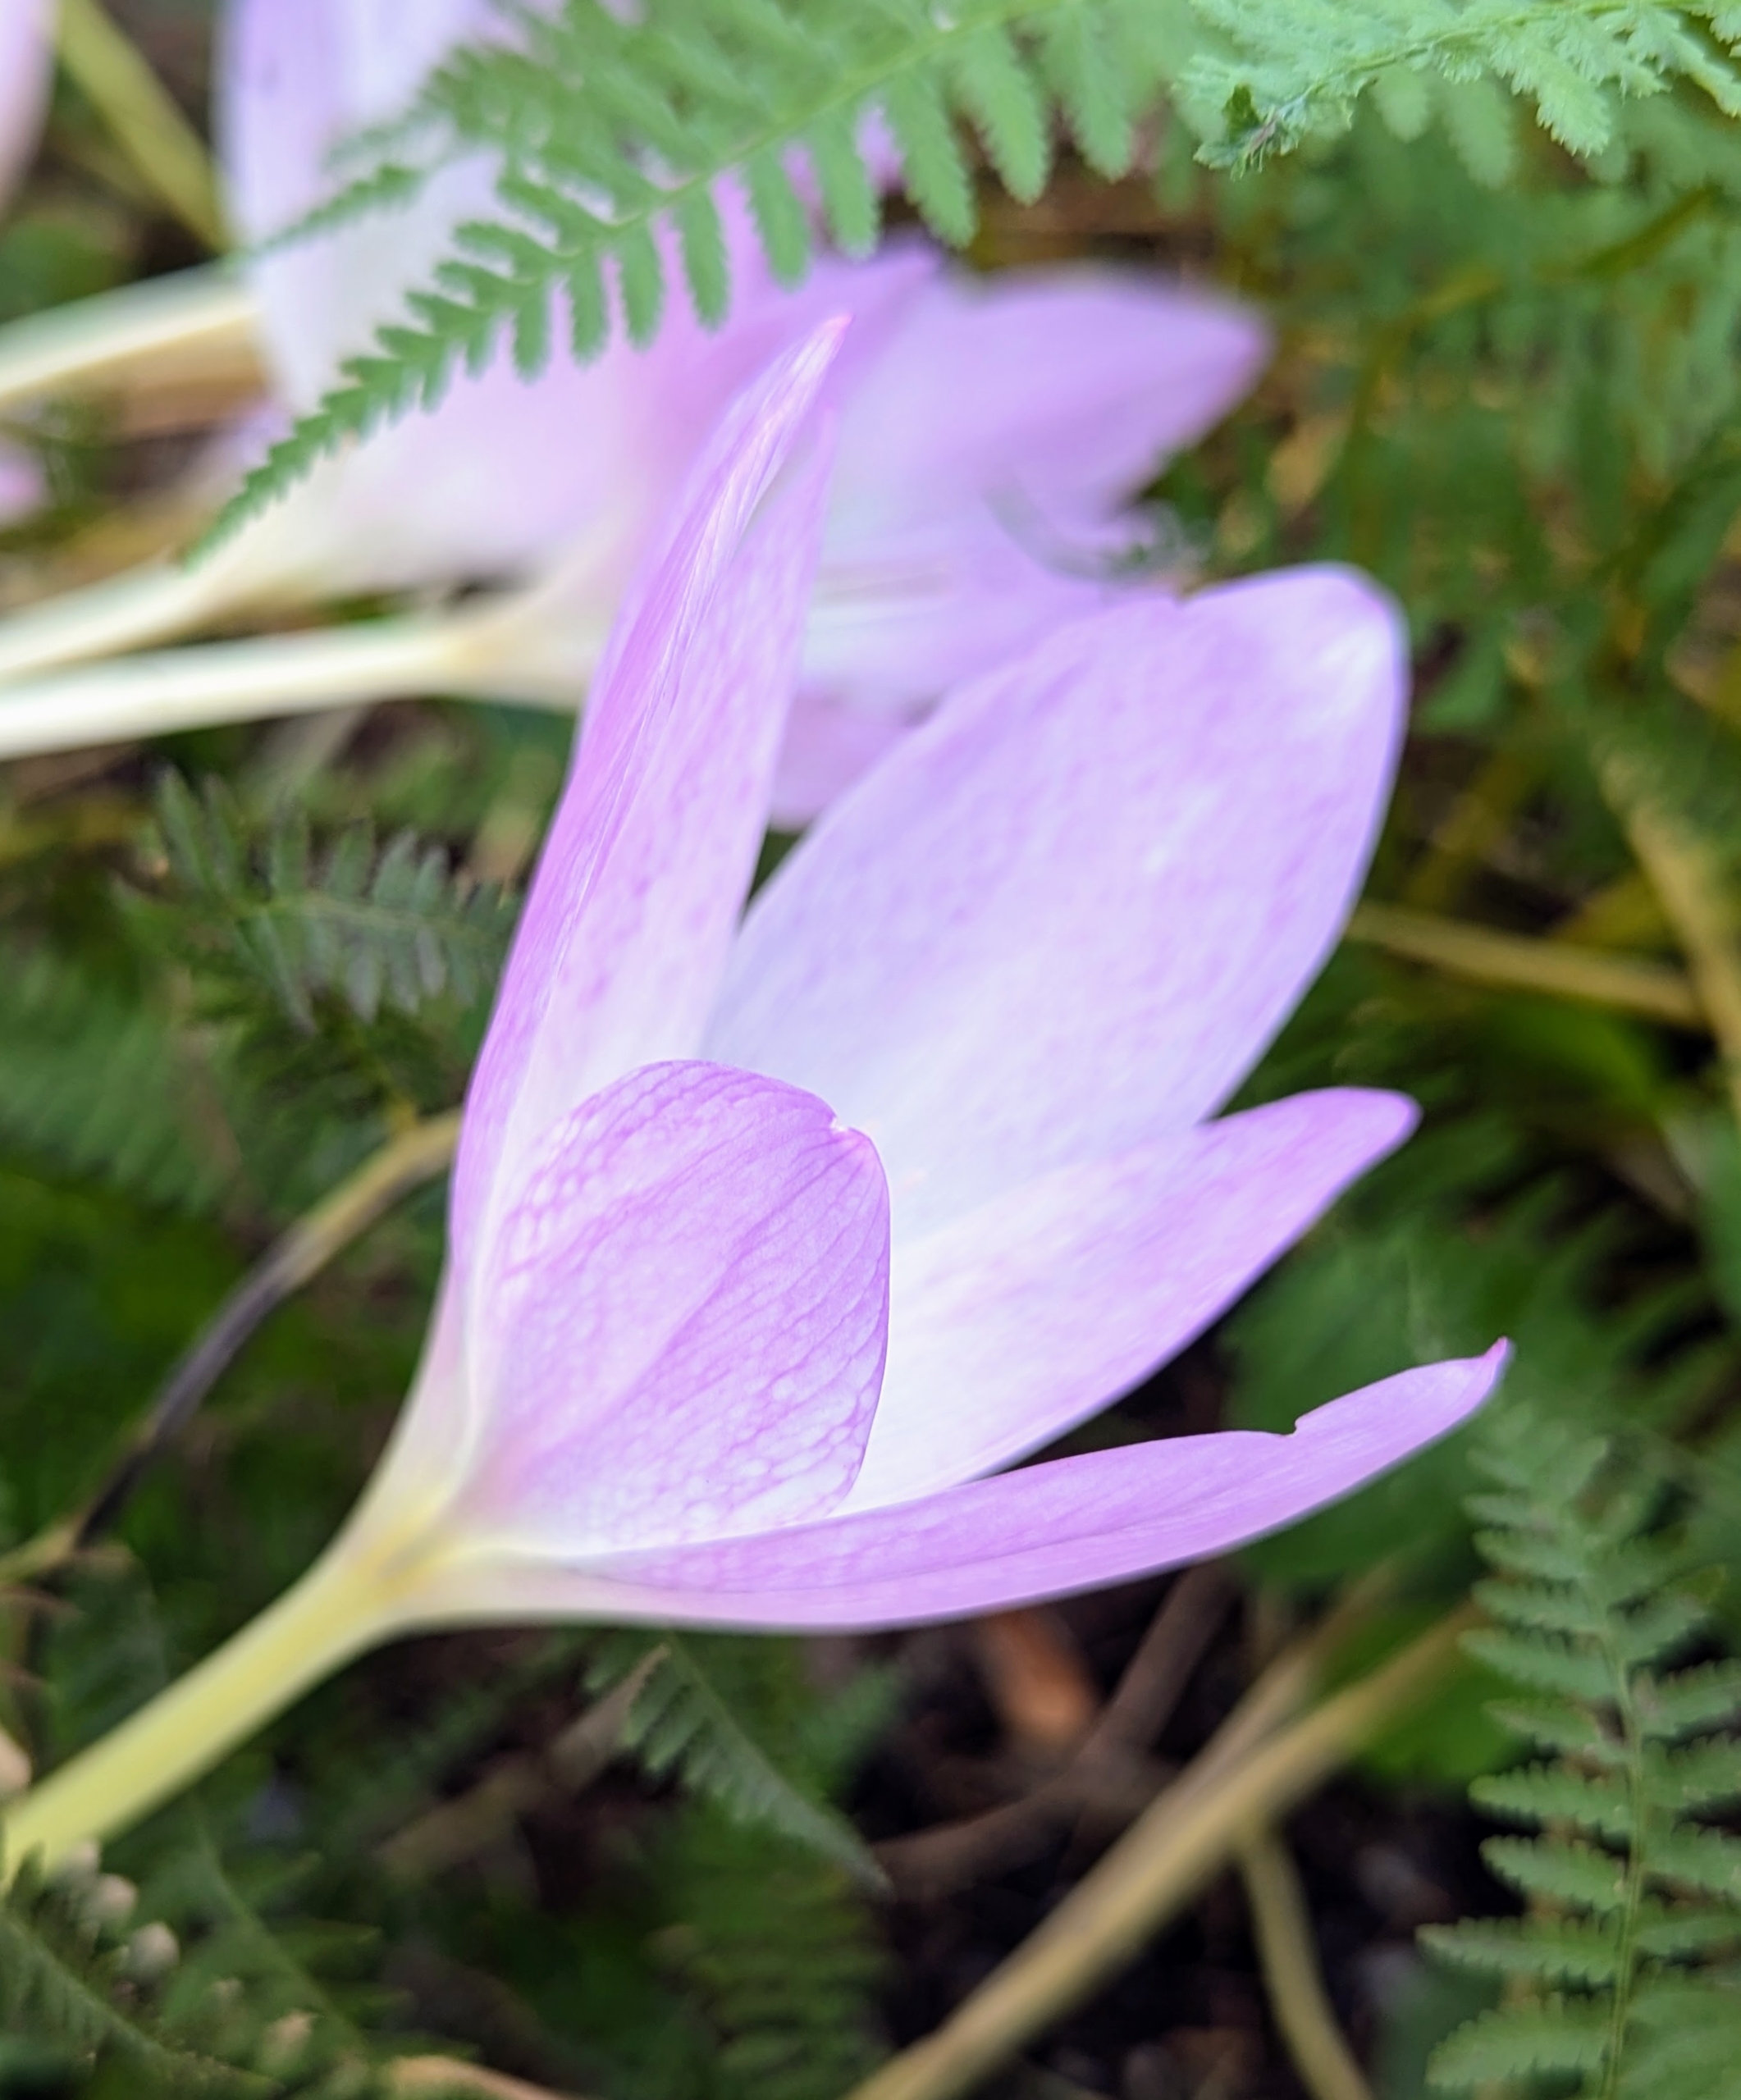
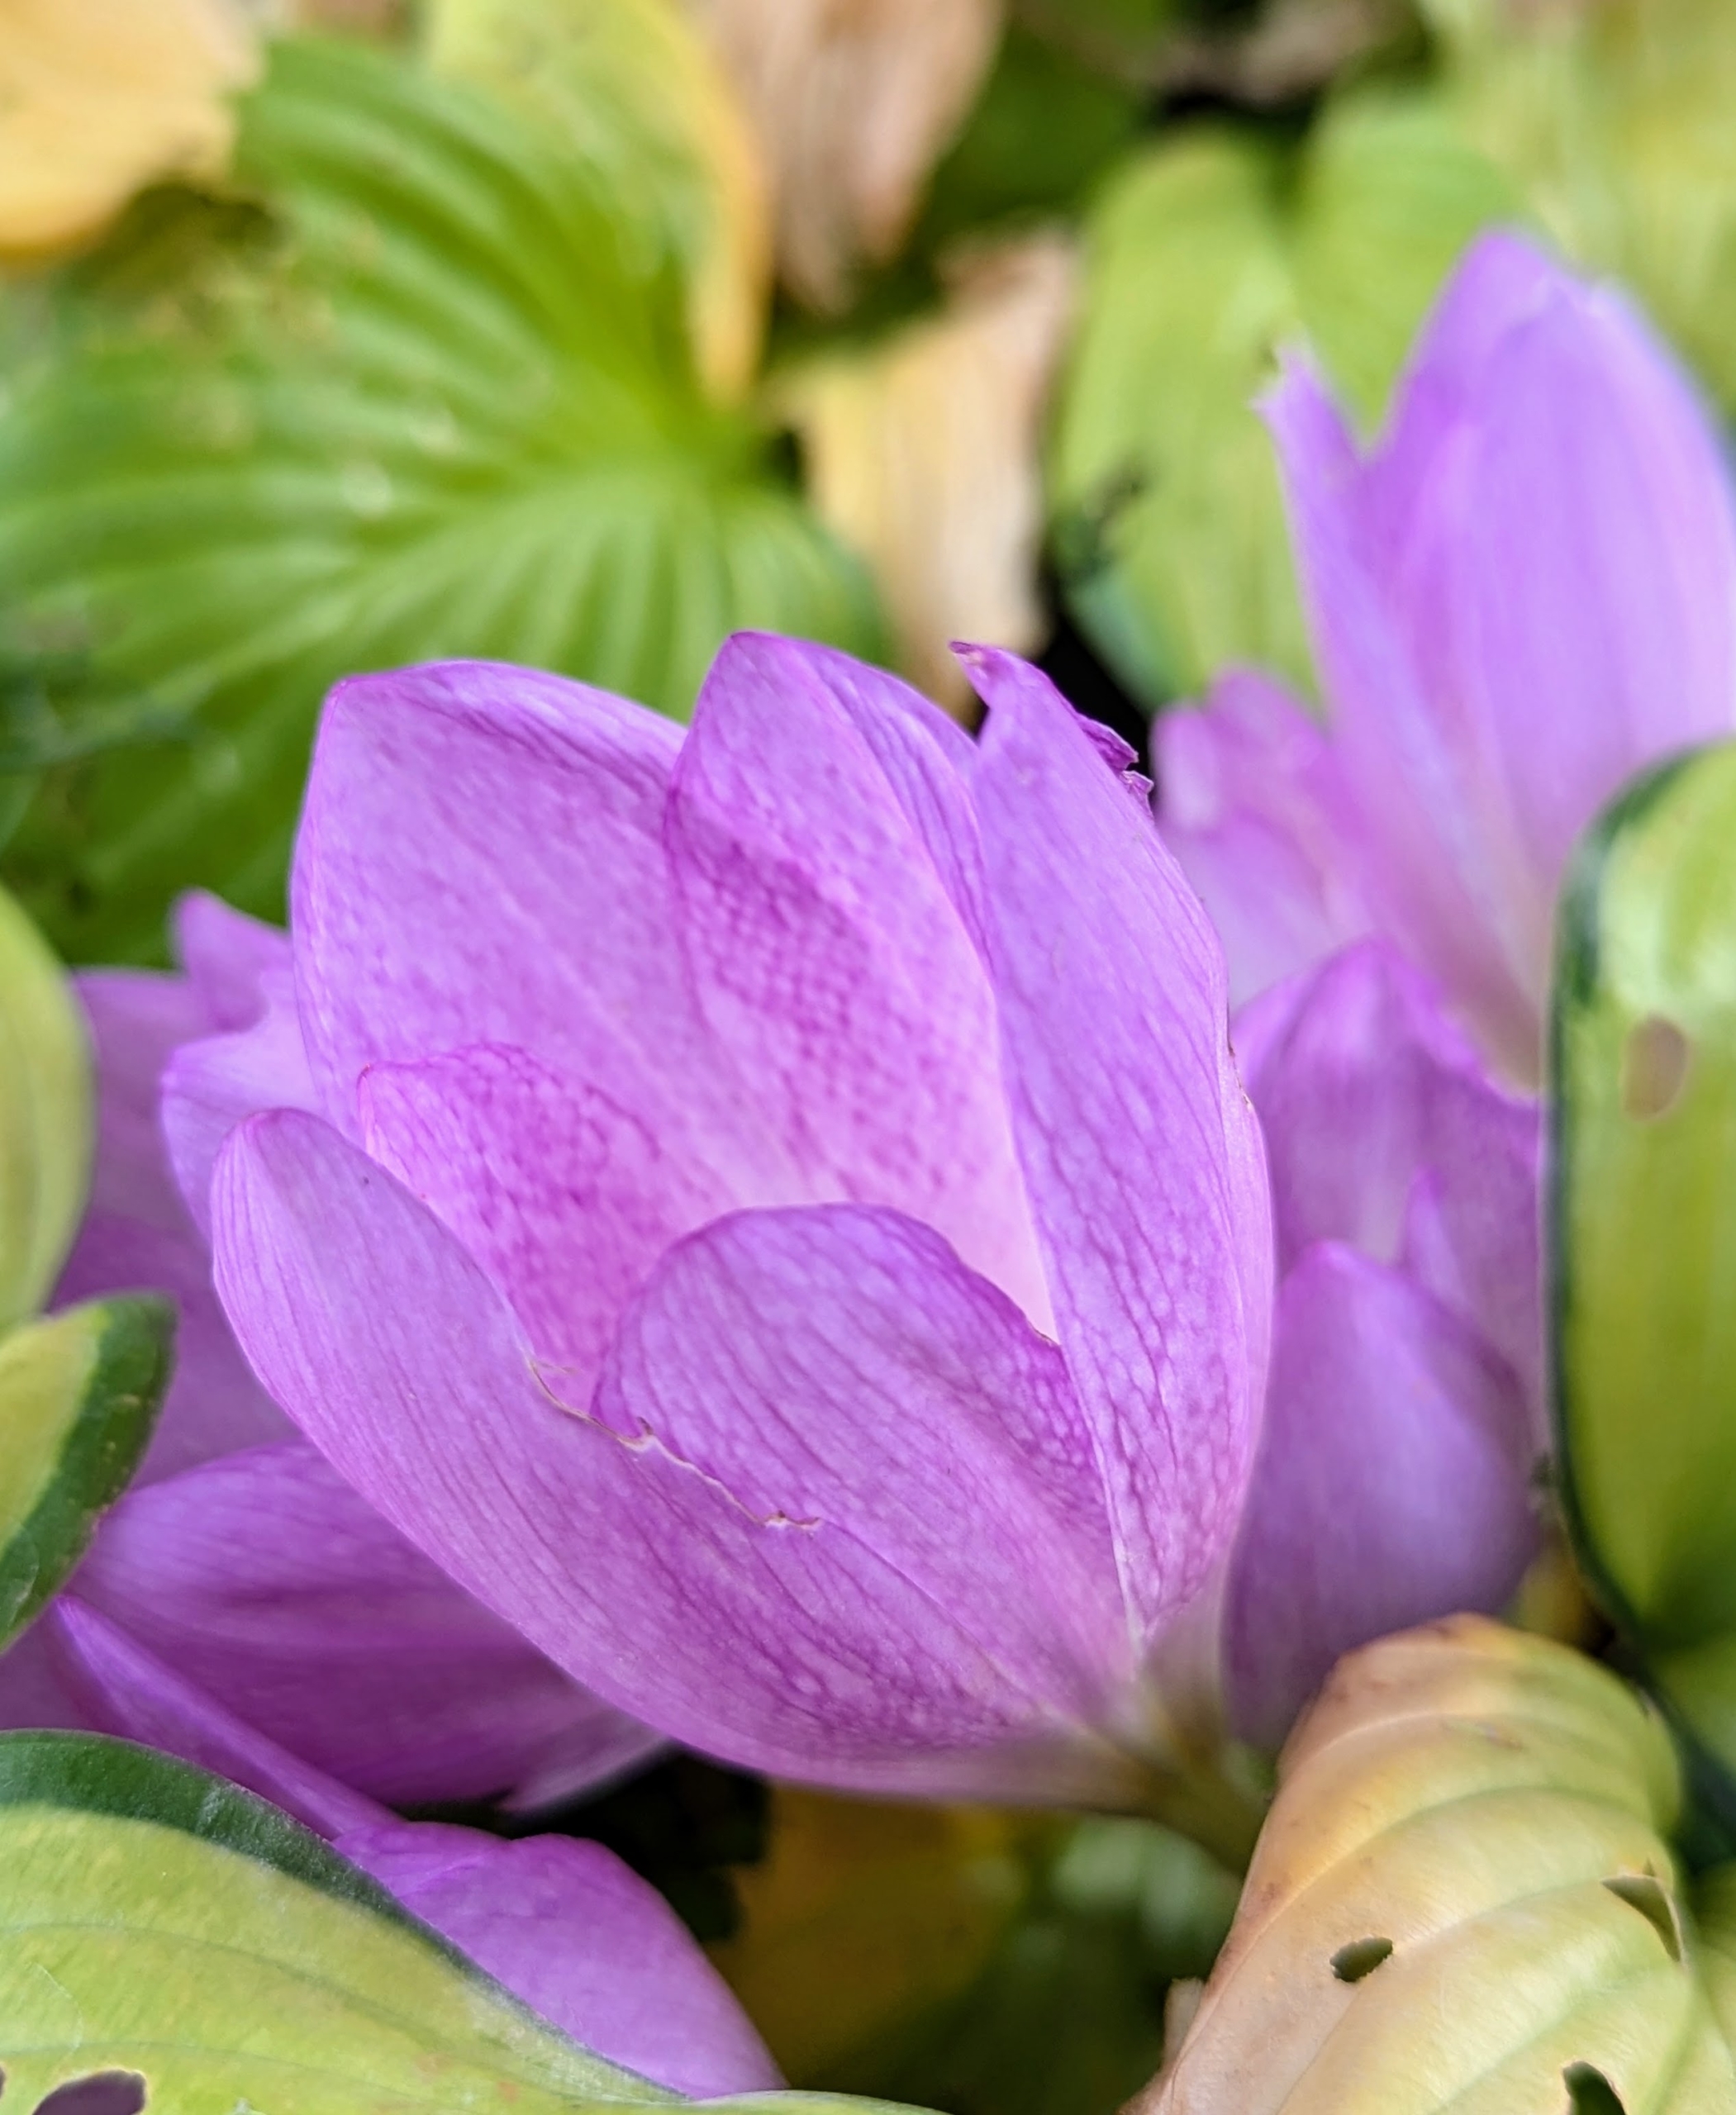
Colchicums require little effort to grow. And when the weather is mild, colchicum’s flowers begin to unfurl.
The scientific name comes from Colchis, a region on the coast of the Black Sea. The name Colchicum alludes to the poisonous qualities of the species. The plant contains an alkaloid known as colchicine, which is found in all parts, but mostly in the seeds.
Because Colchicums are toxic, they provide a natural way to repel animals such as deer, mice, squirrels, and moles.
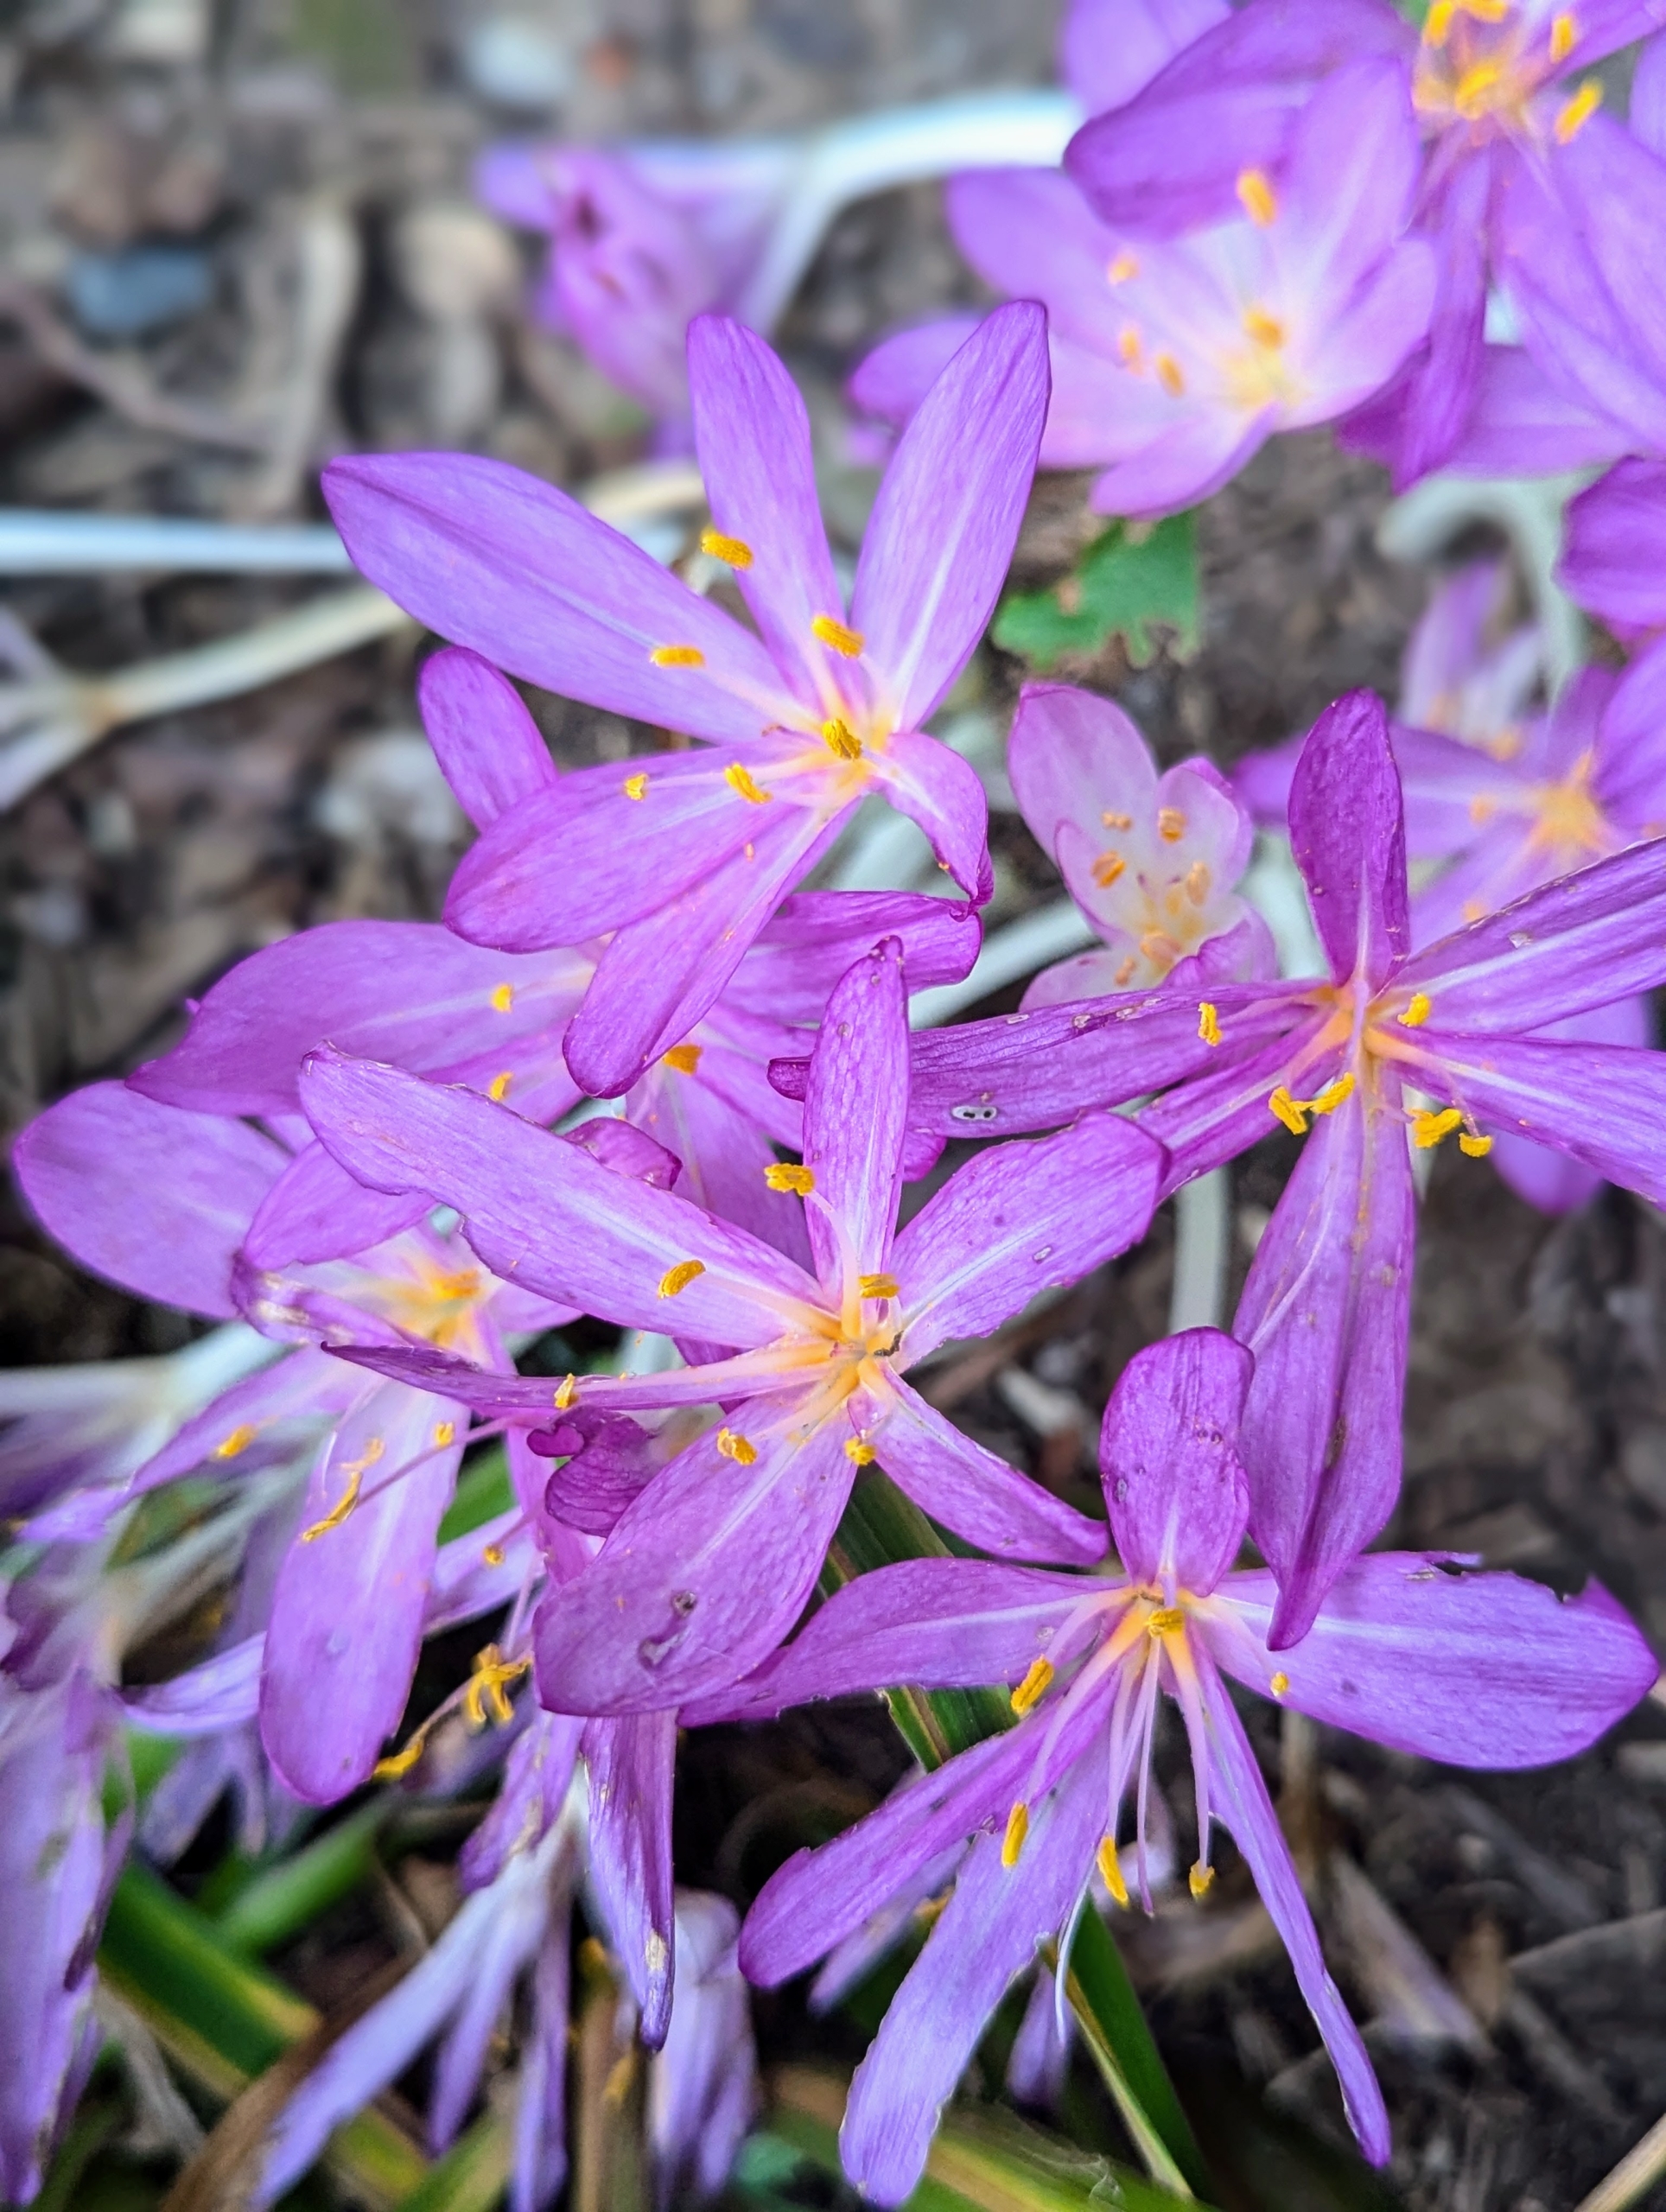
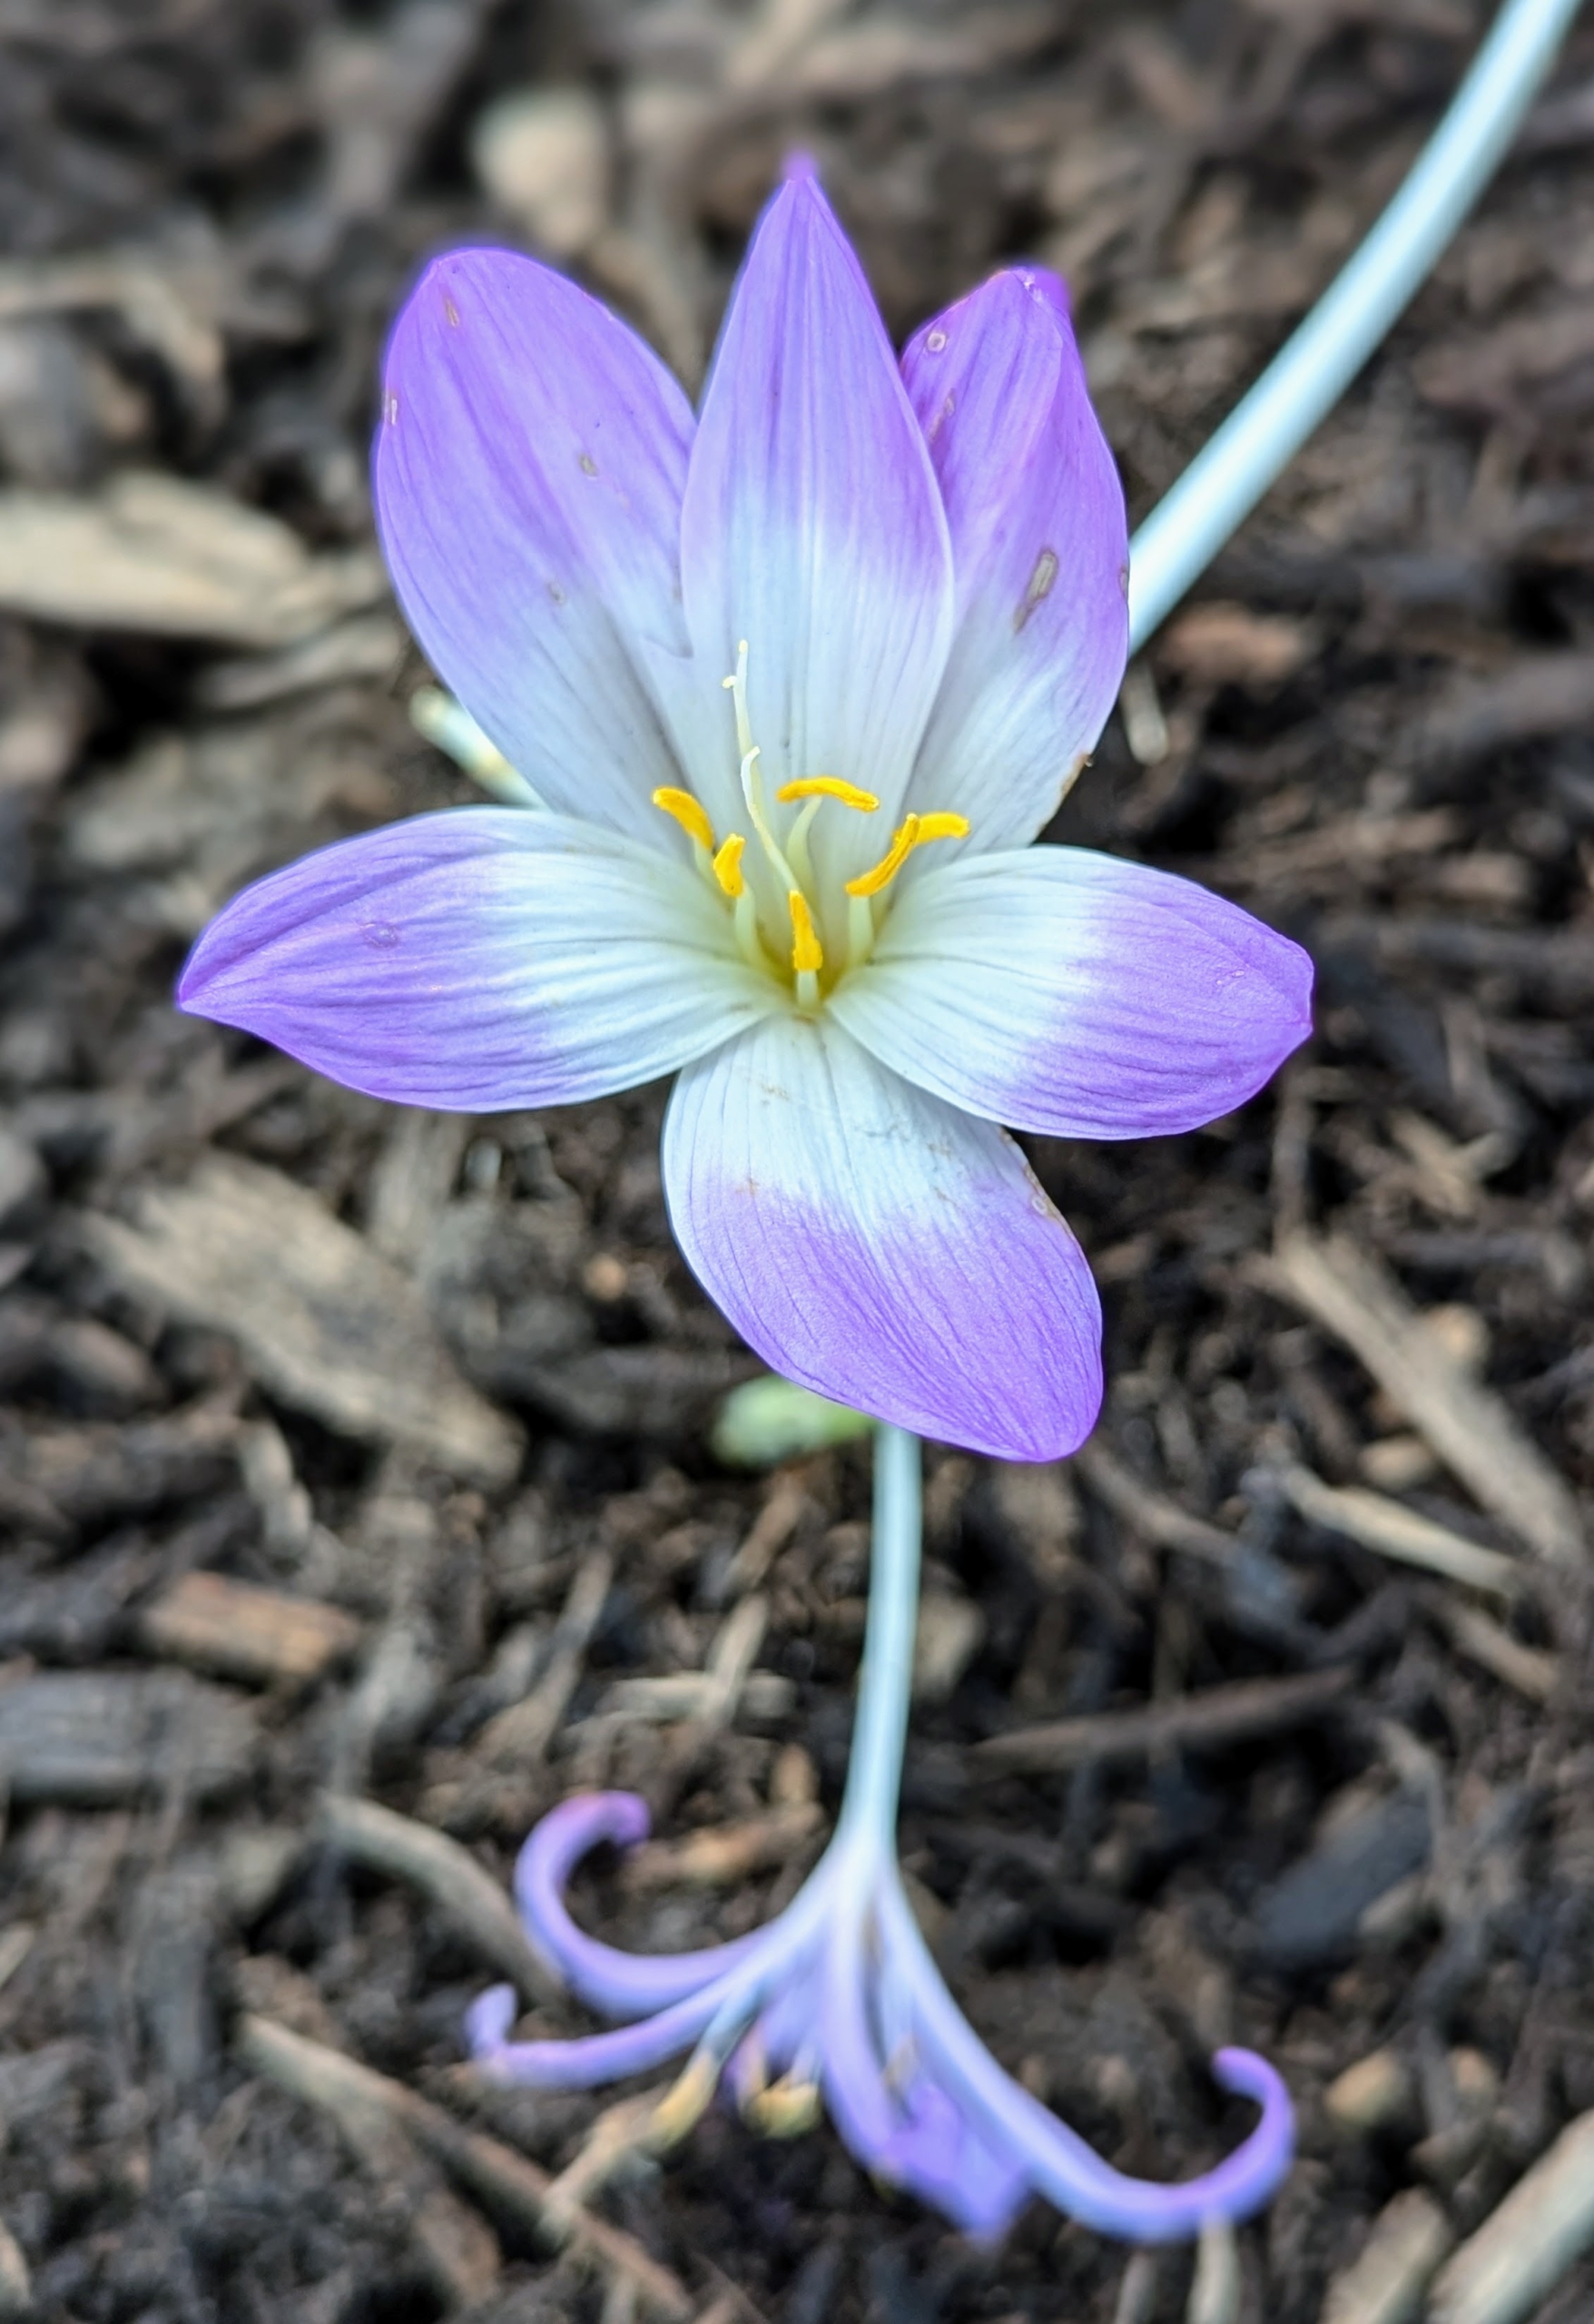
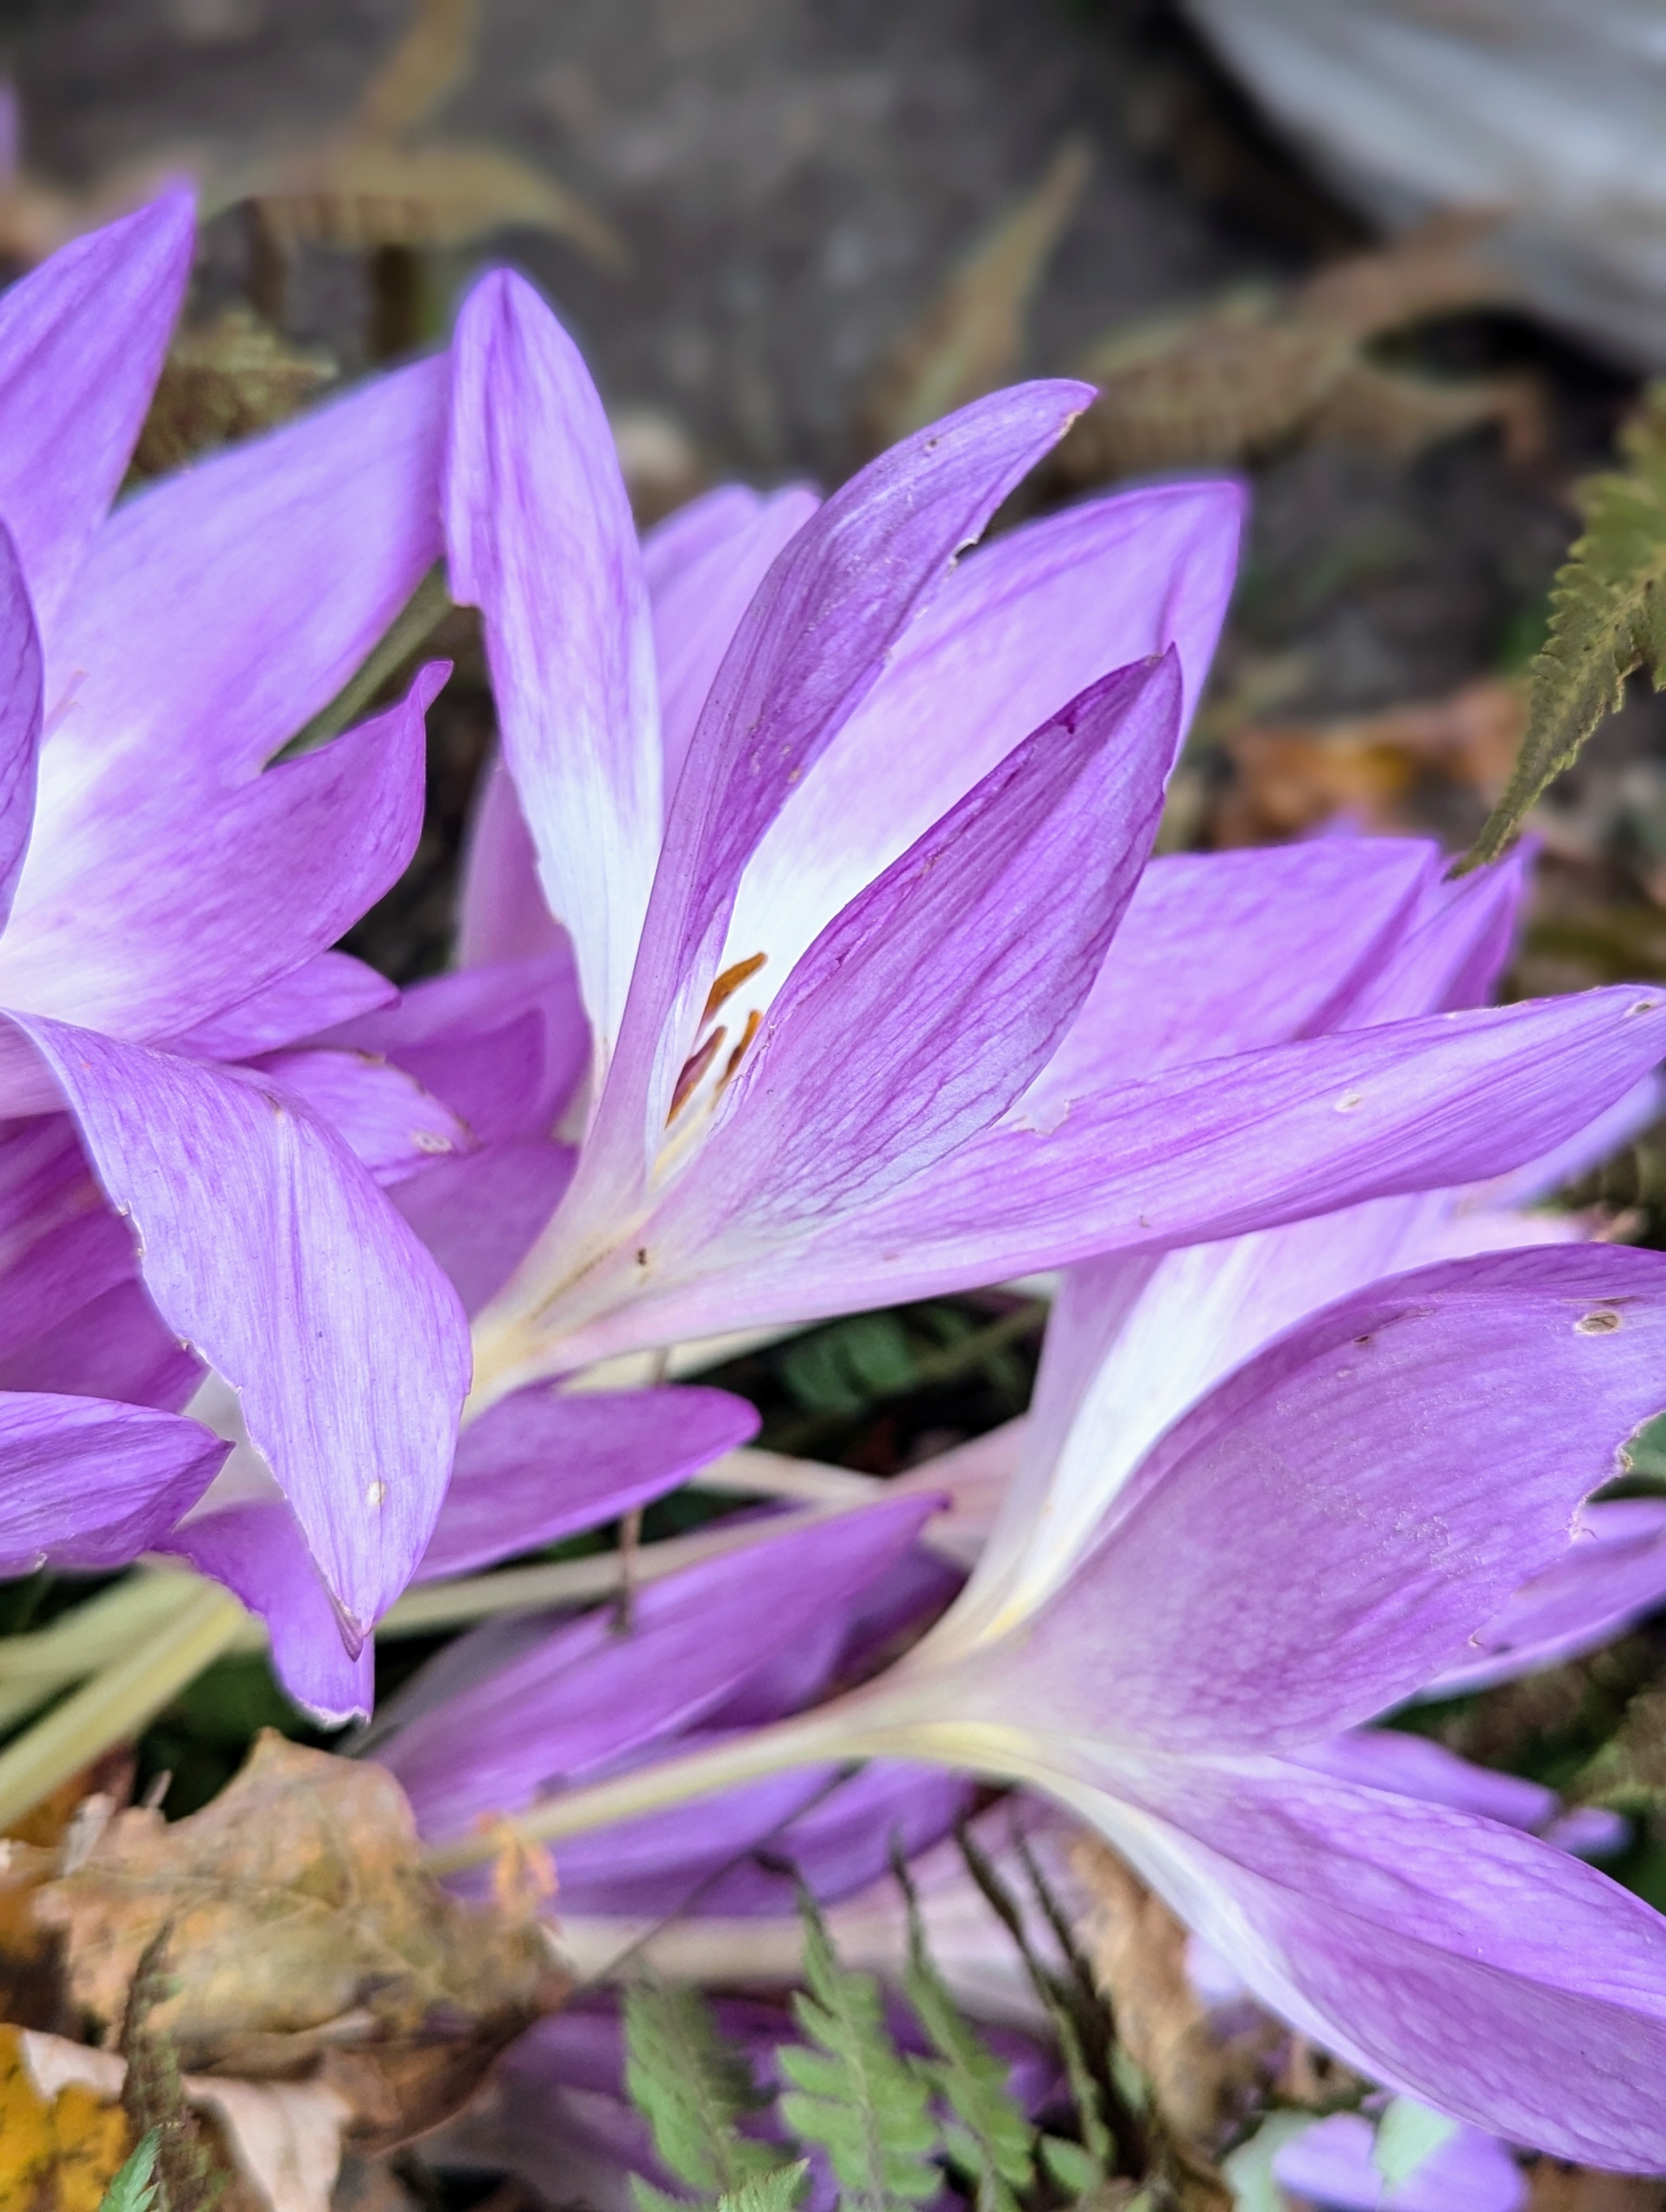
Once open, Colchicums produce goblet-like blooms in shades of pink, violet, or white. They are large striking flower heads, with white at the base leading to pale pink at the apex.
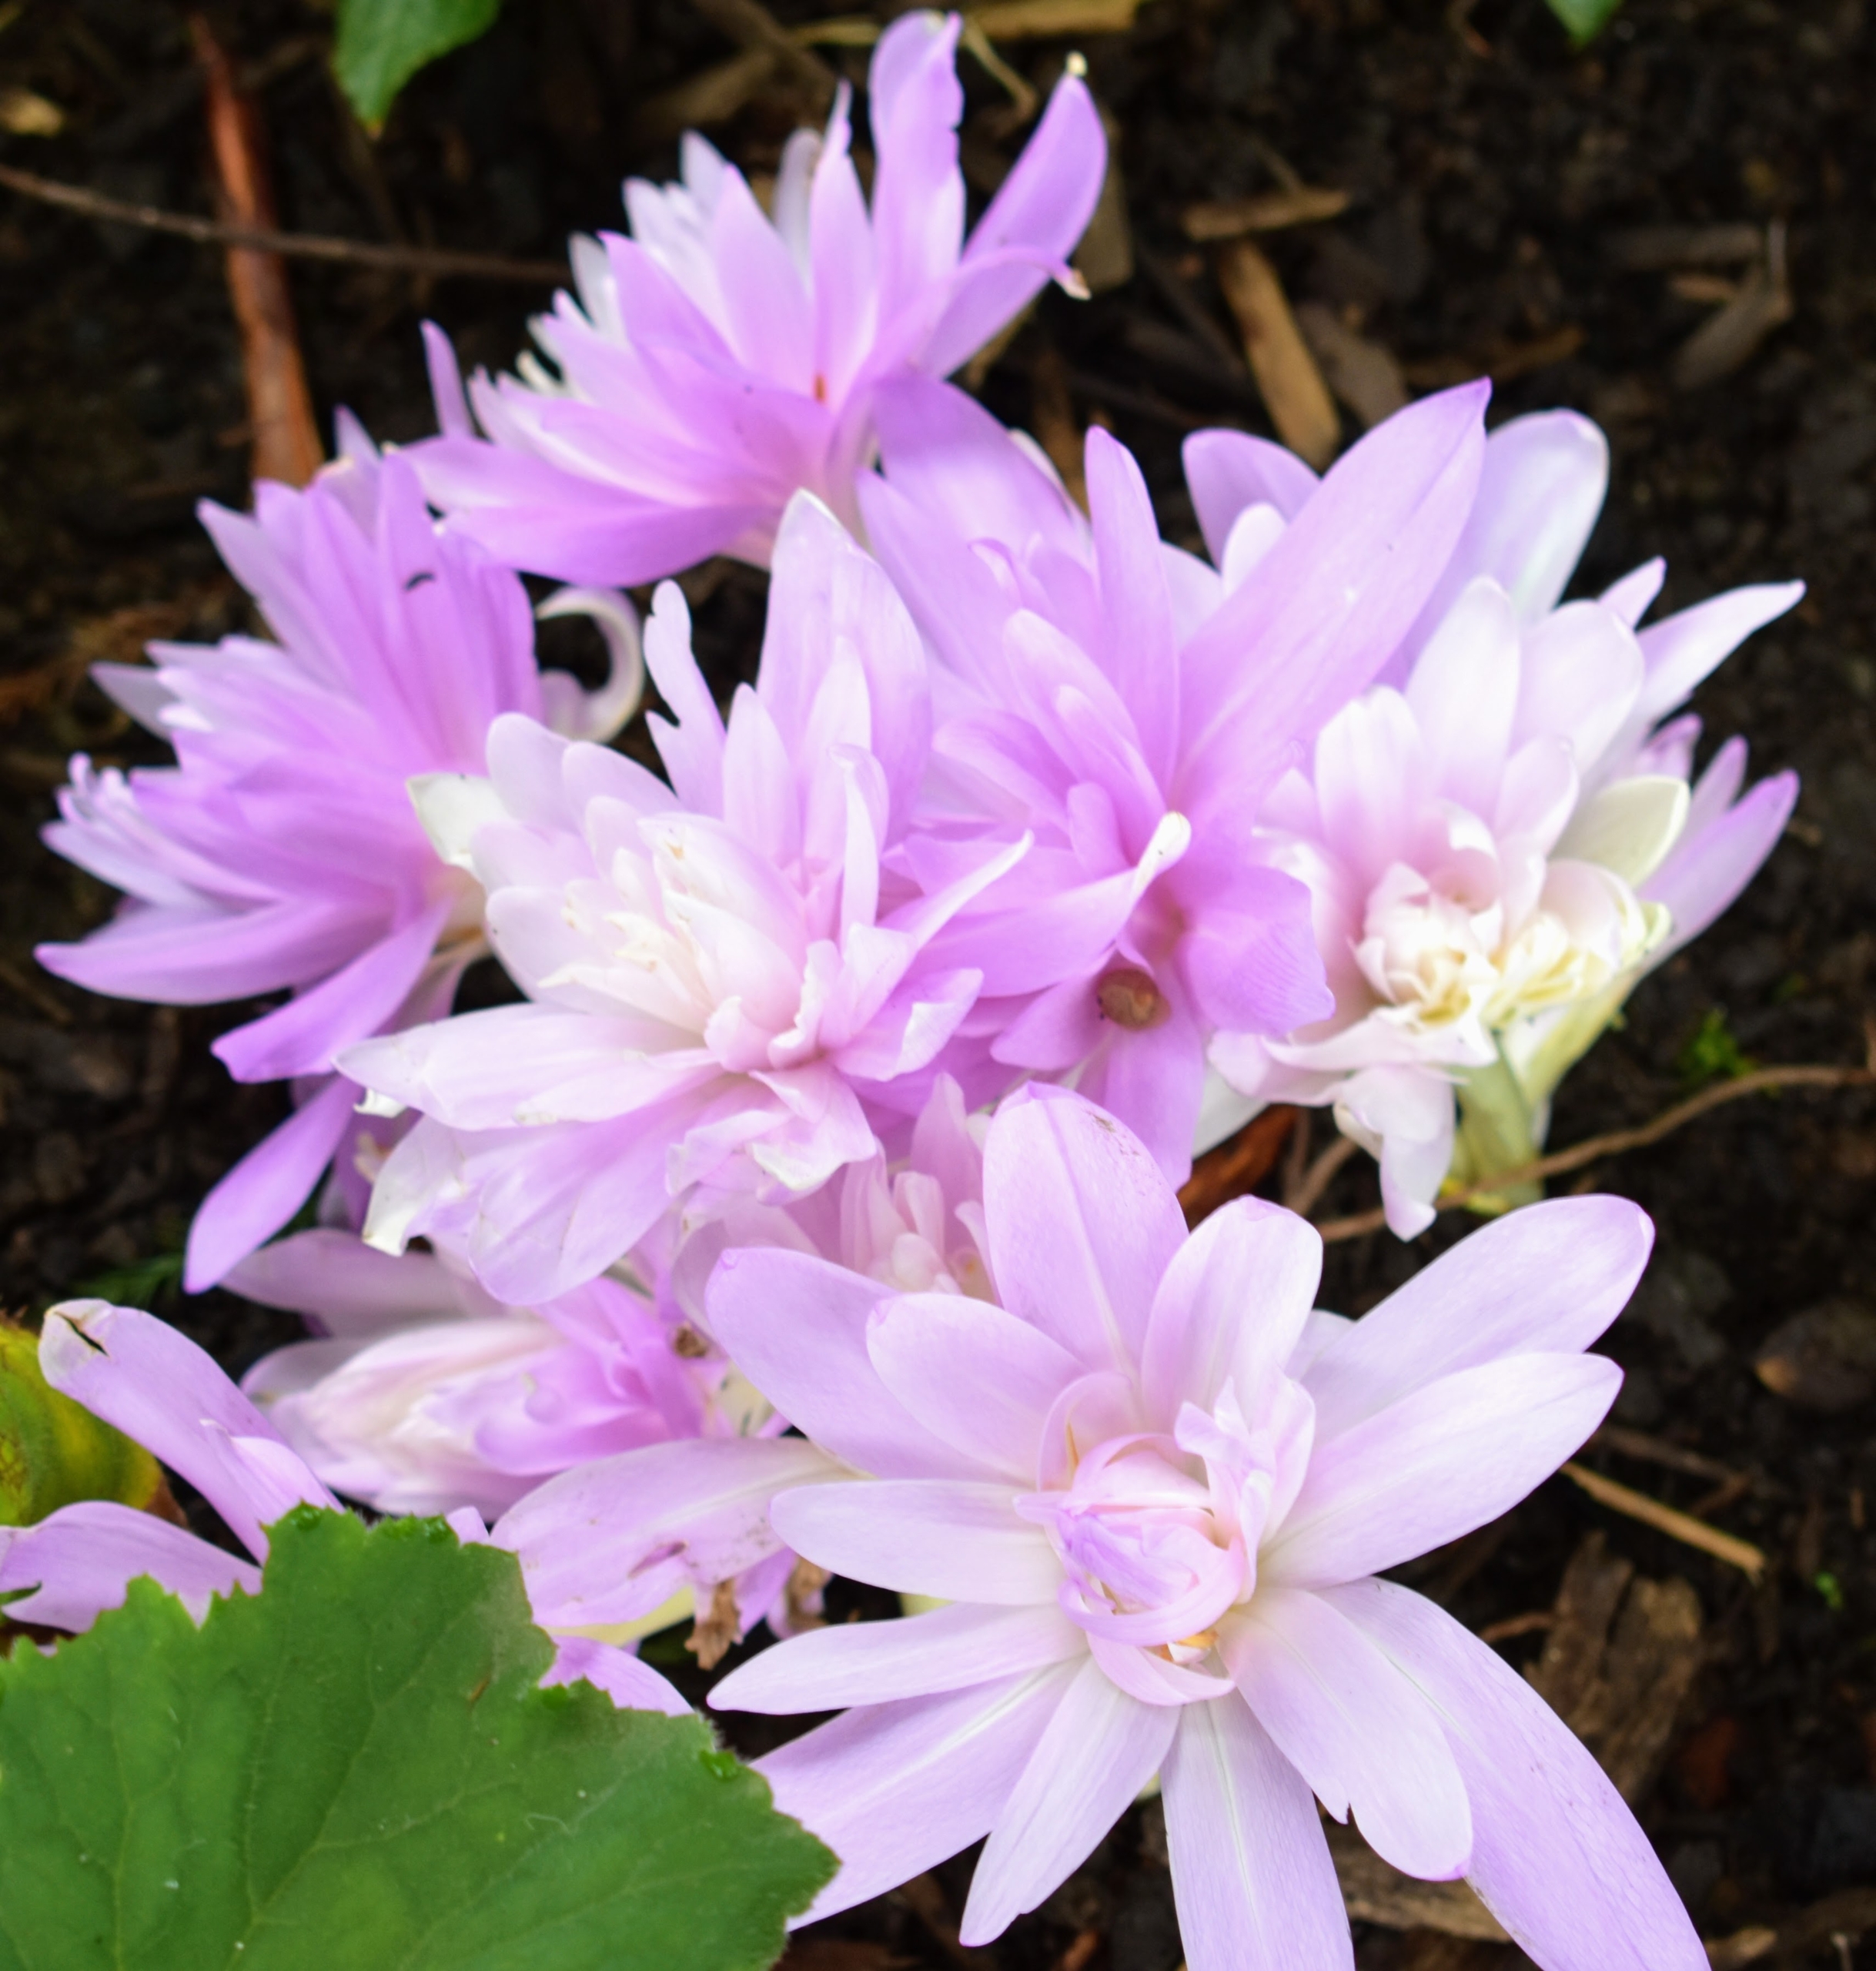
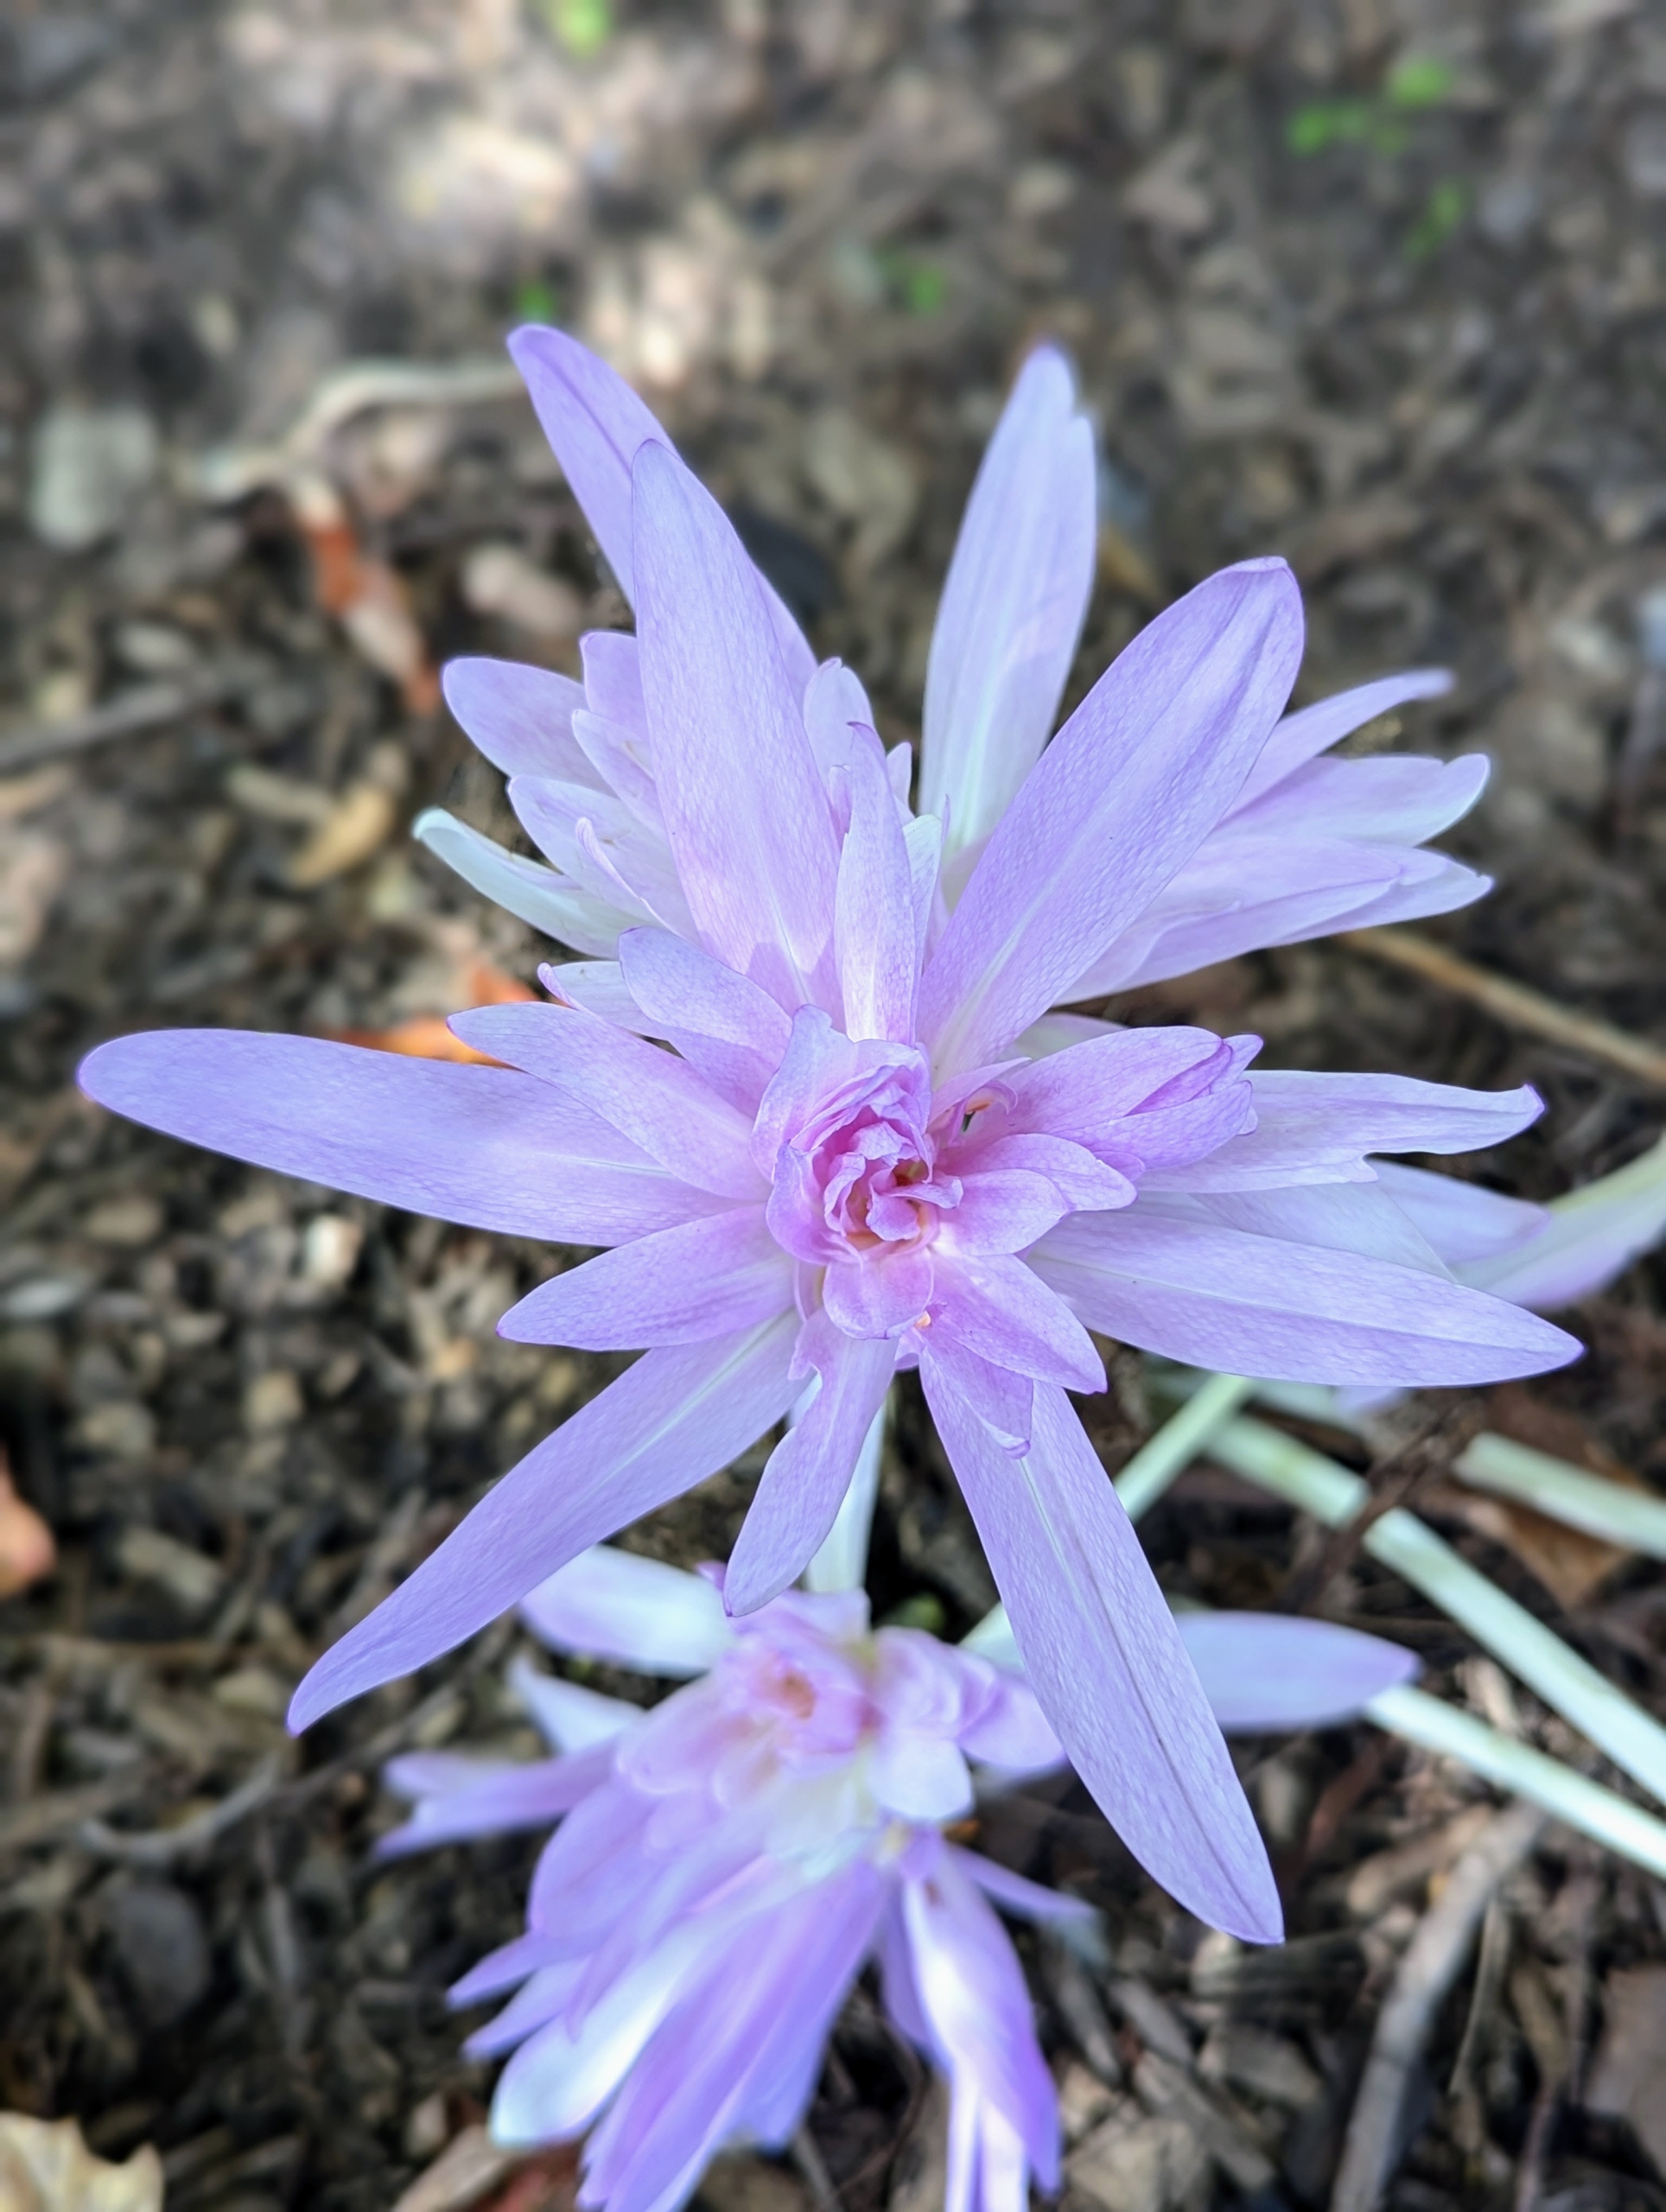
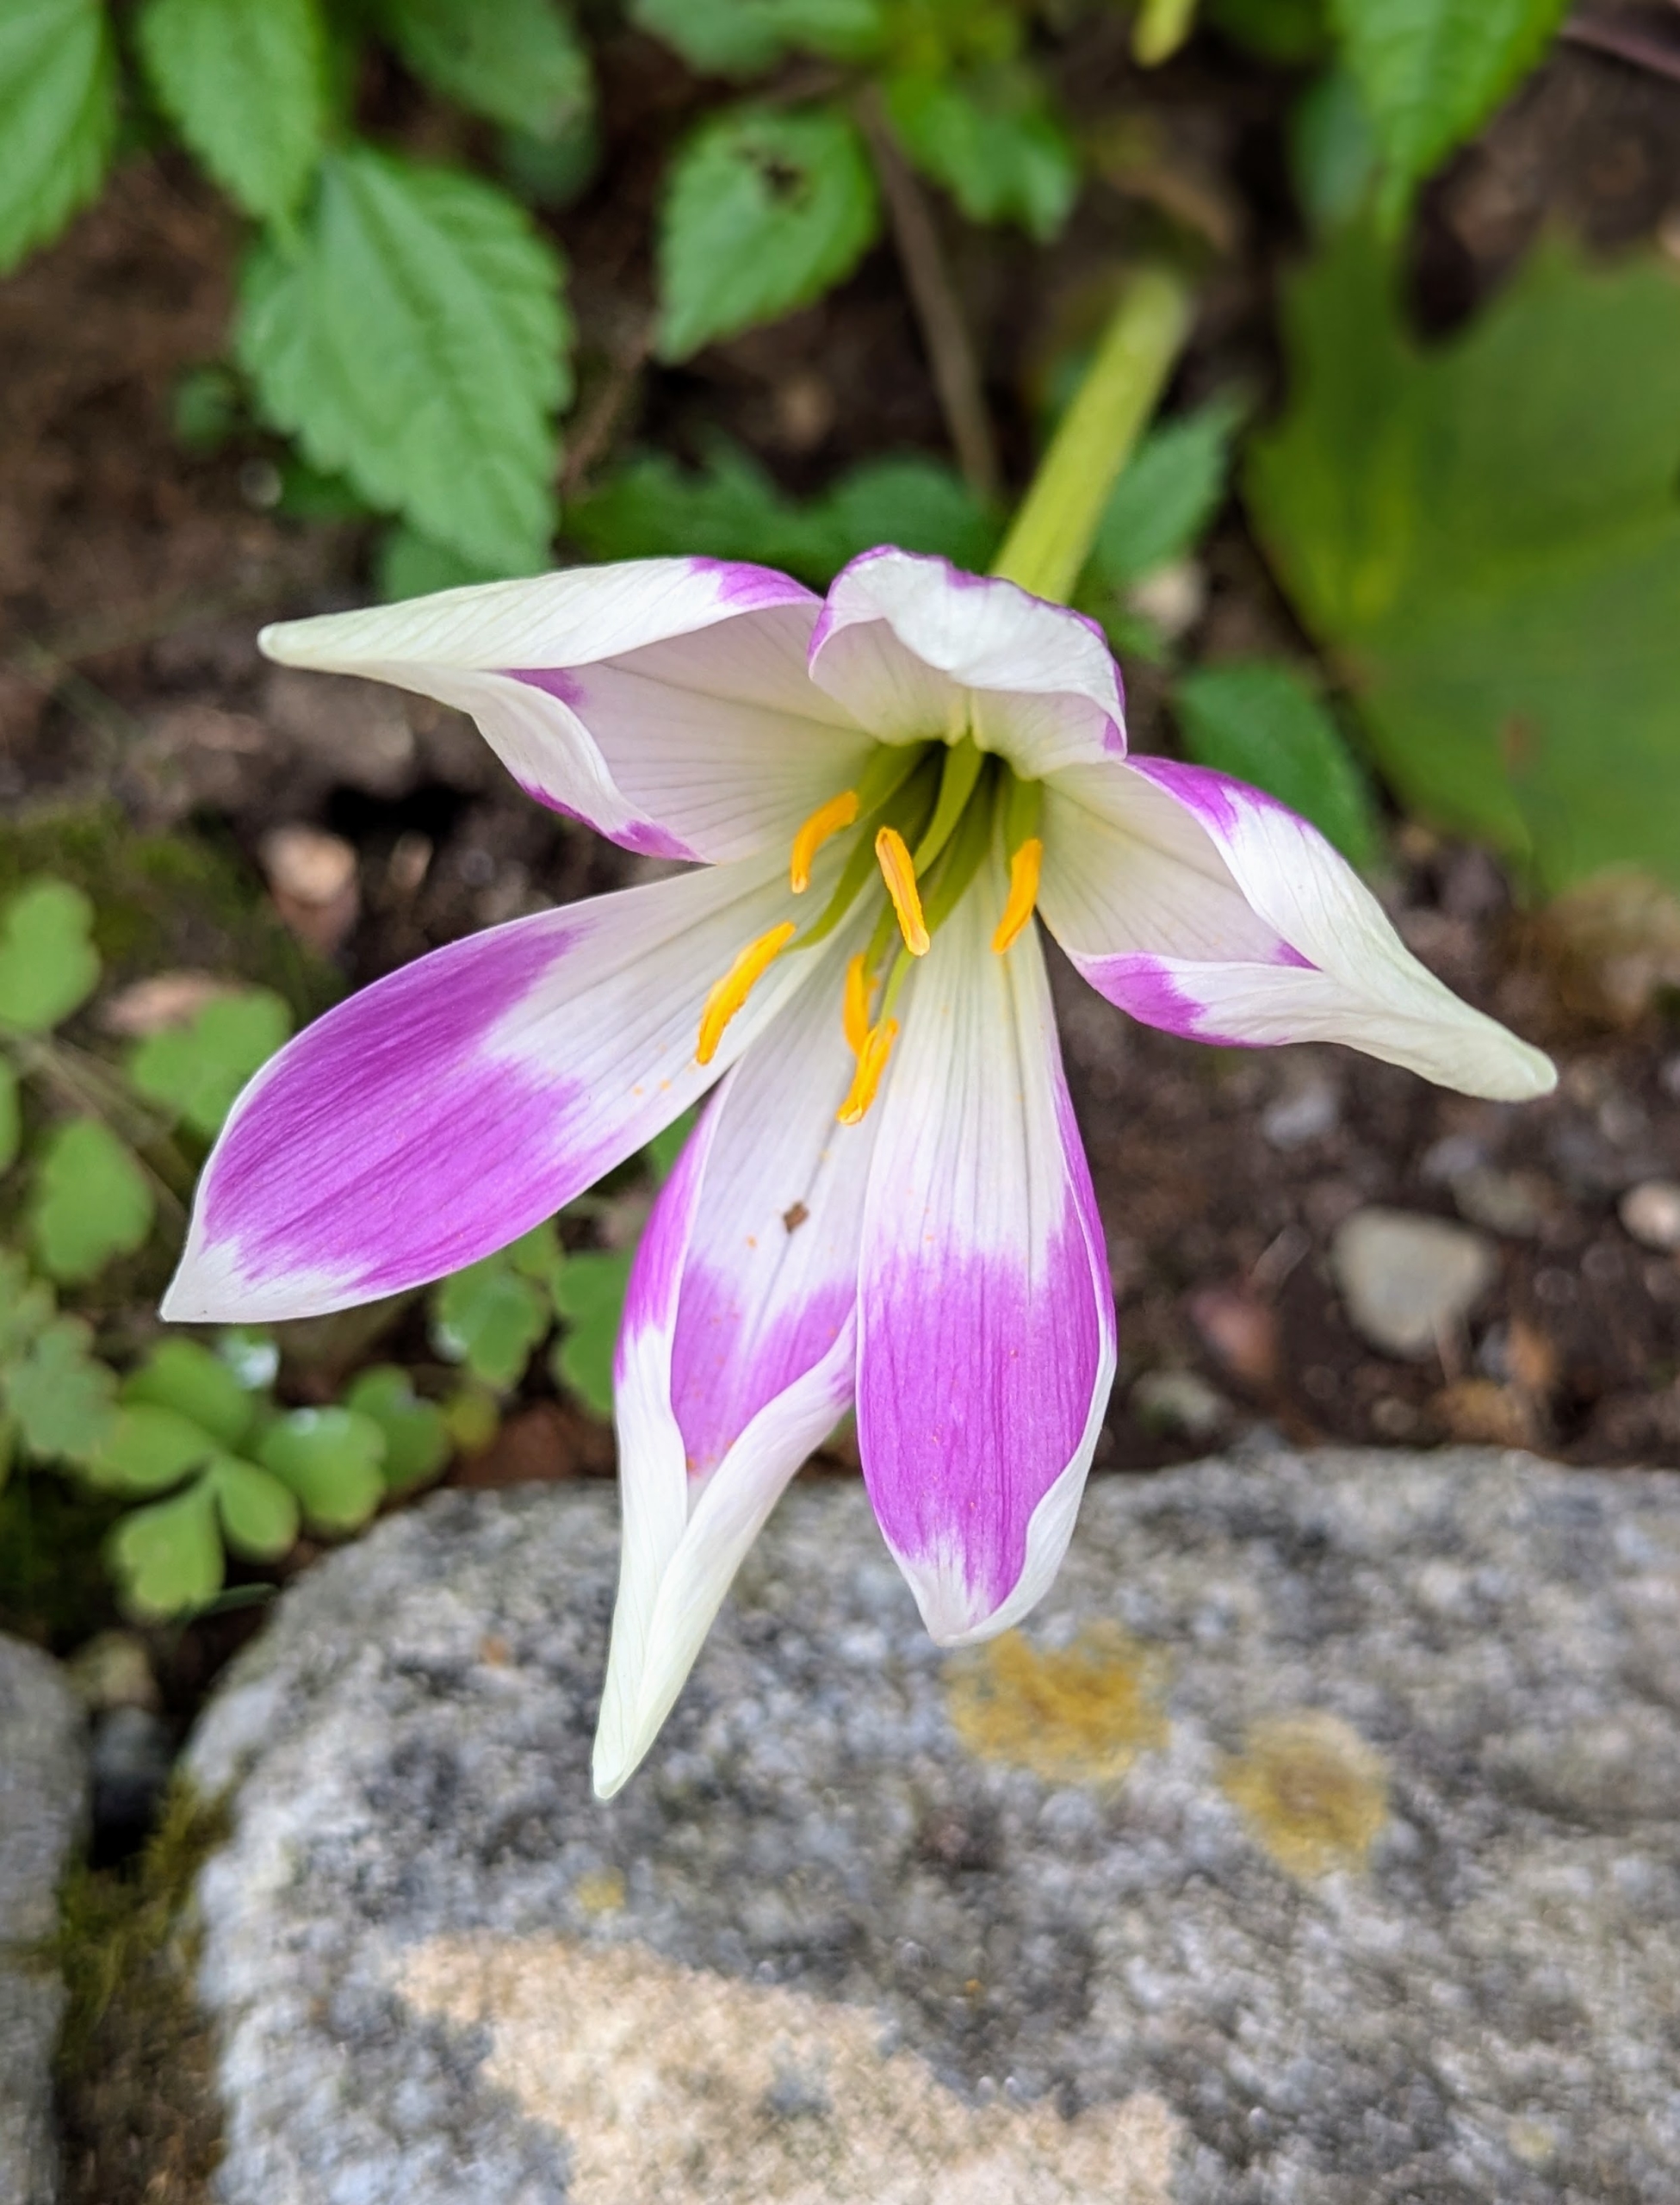
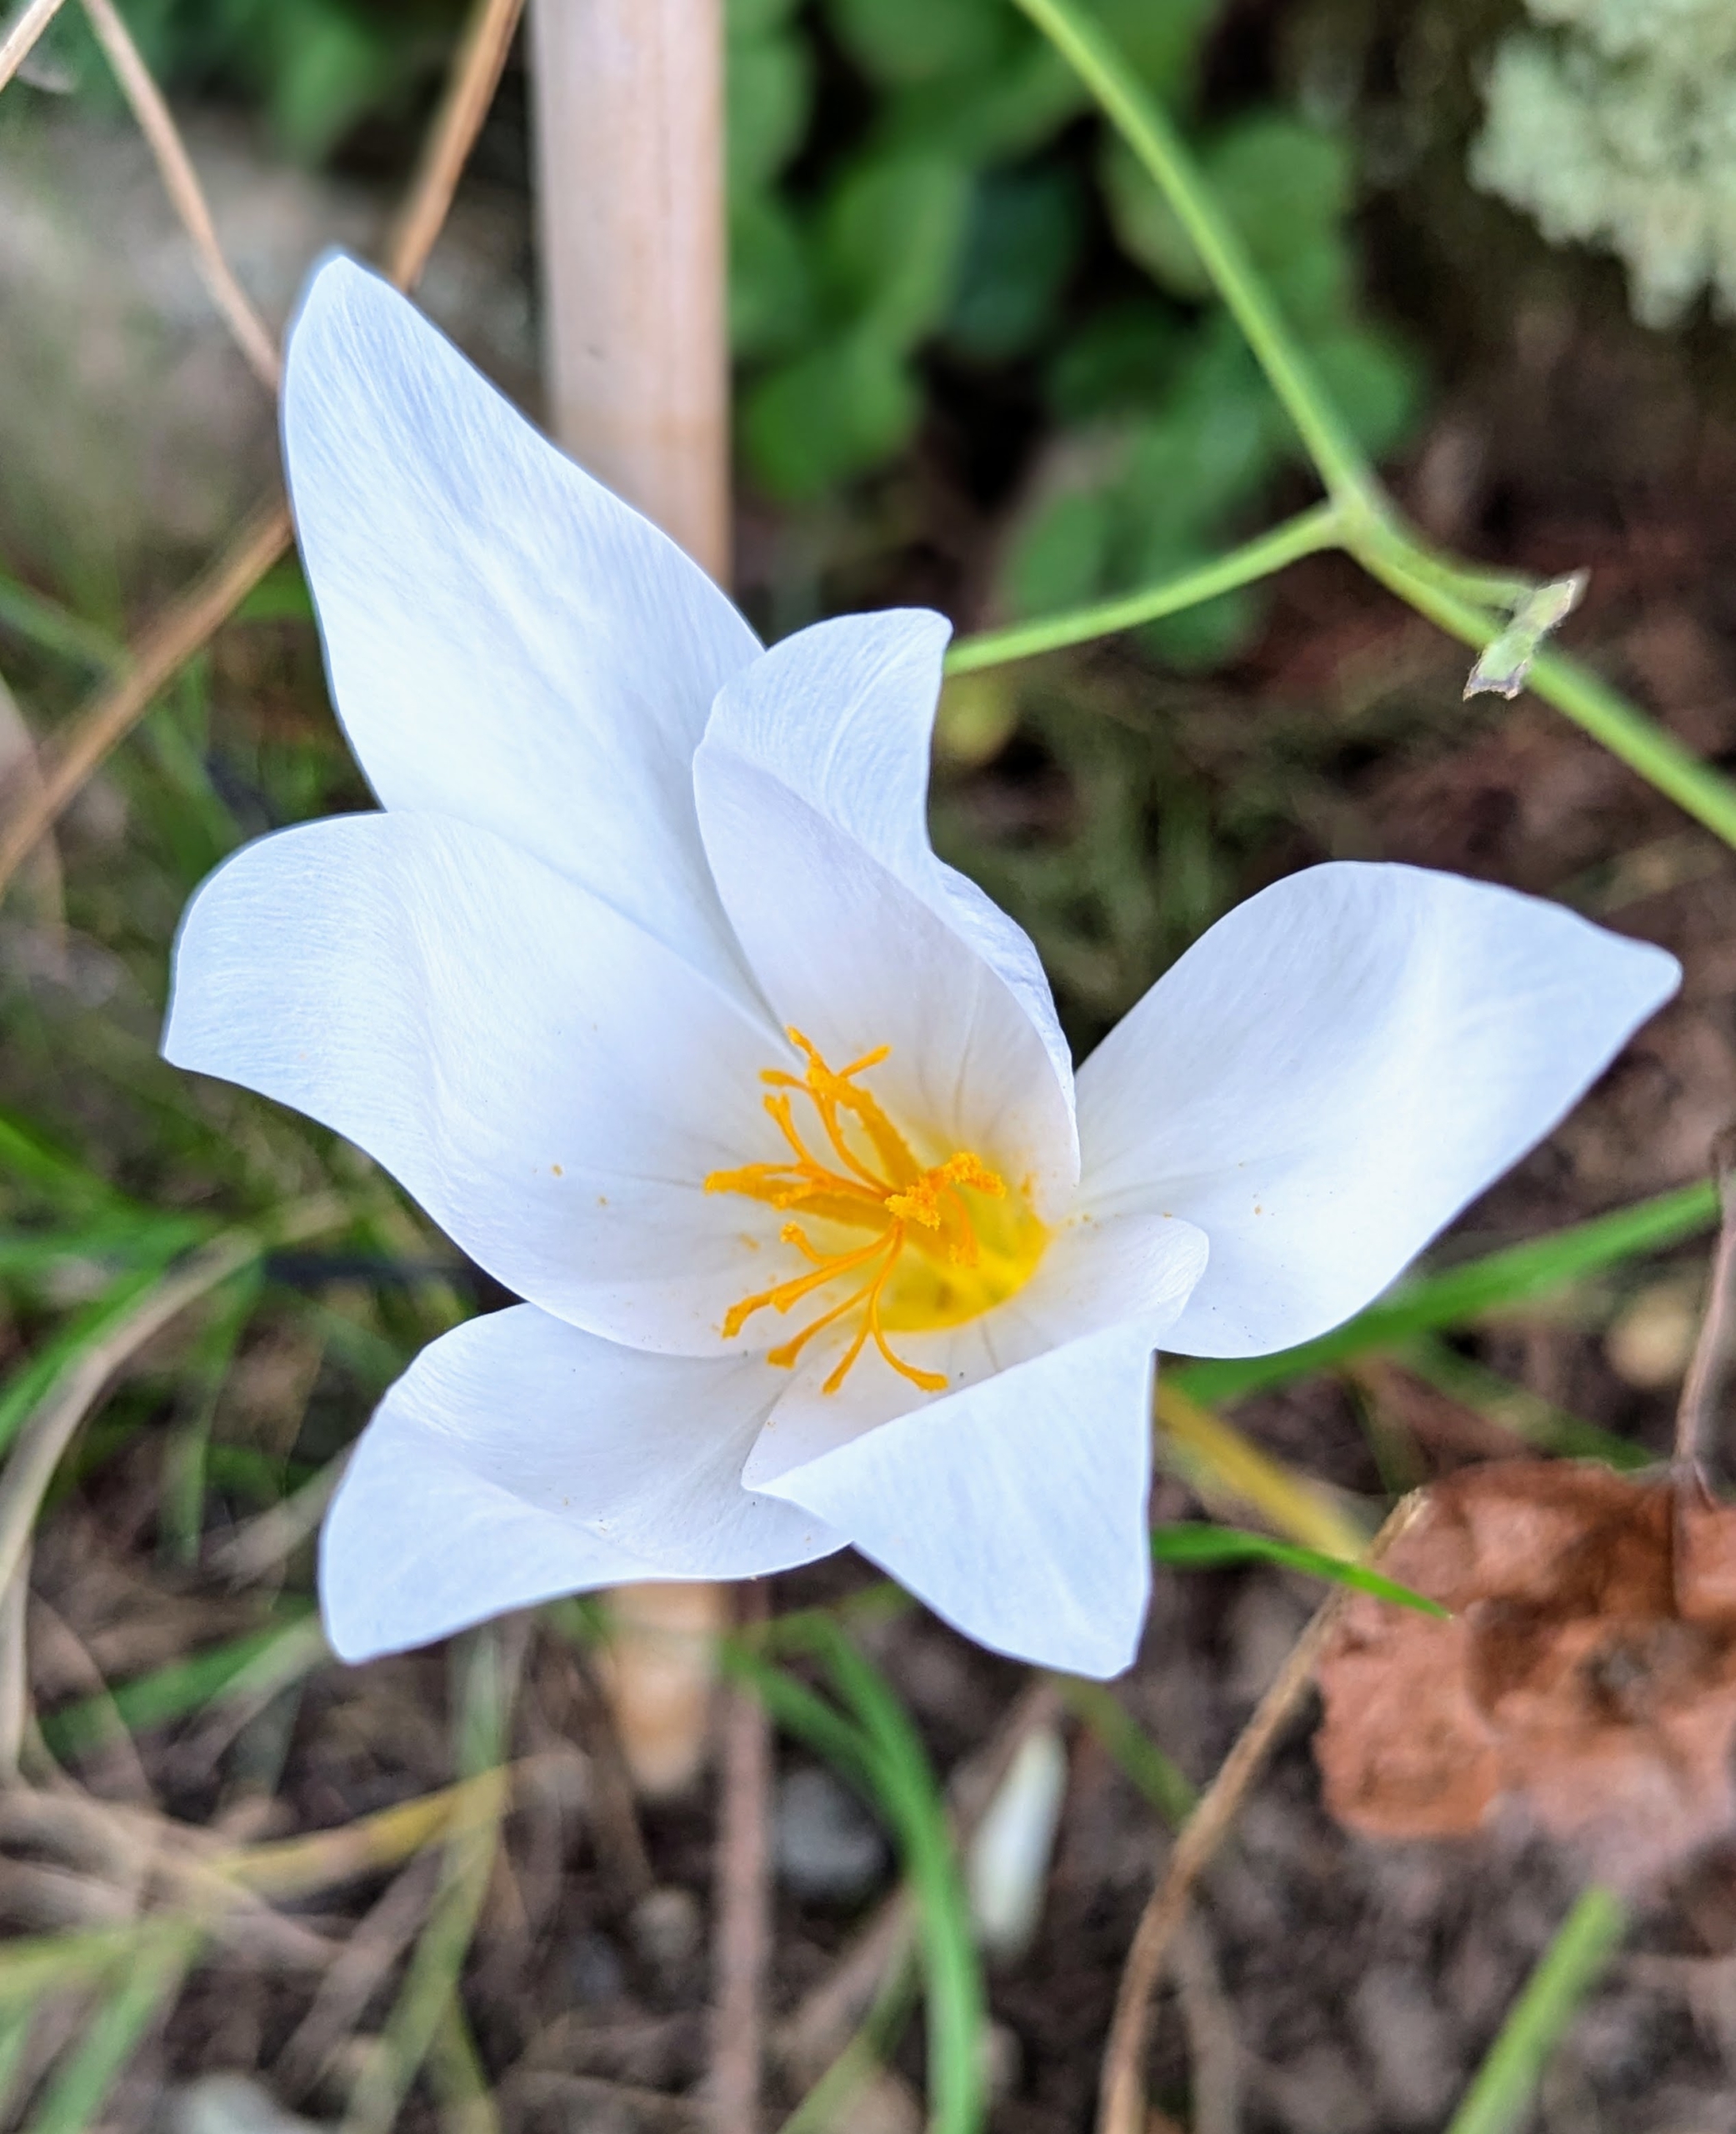
Some of the varieties we’ve planted at the farm include ‘Lilac Wonder’, ‘Waterlily’, ‘Dick Trotter’, Colchicum byzantinum, and Colchicum bornmuelleri. This one is “Waterlily” – a double petaled cultivar in soft pink.
‘Waterlily’ is a hybrid resulting from a cross of Colchicum autumnale ‘Alboplenum’ and Colchicum speciosum ‘Album’. Each flower resembles the form of a water lily, hence the cultivar name.
Colchicums are quite delicate but spread nicely in the autumn garden. Colchicum is a good pollen source for bees in fall when little else is available for them.
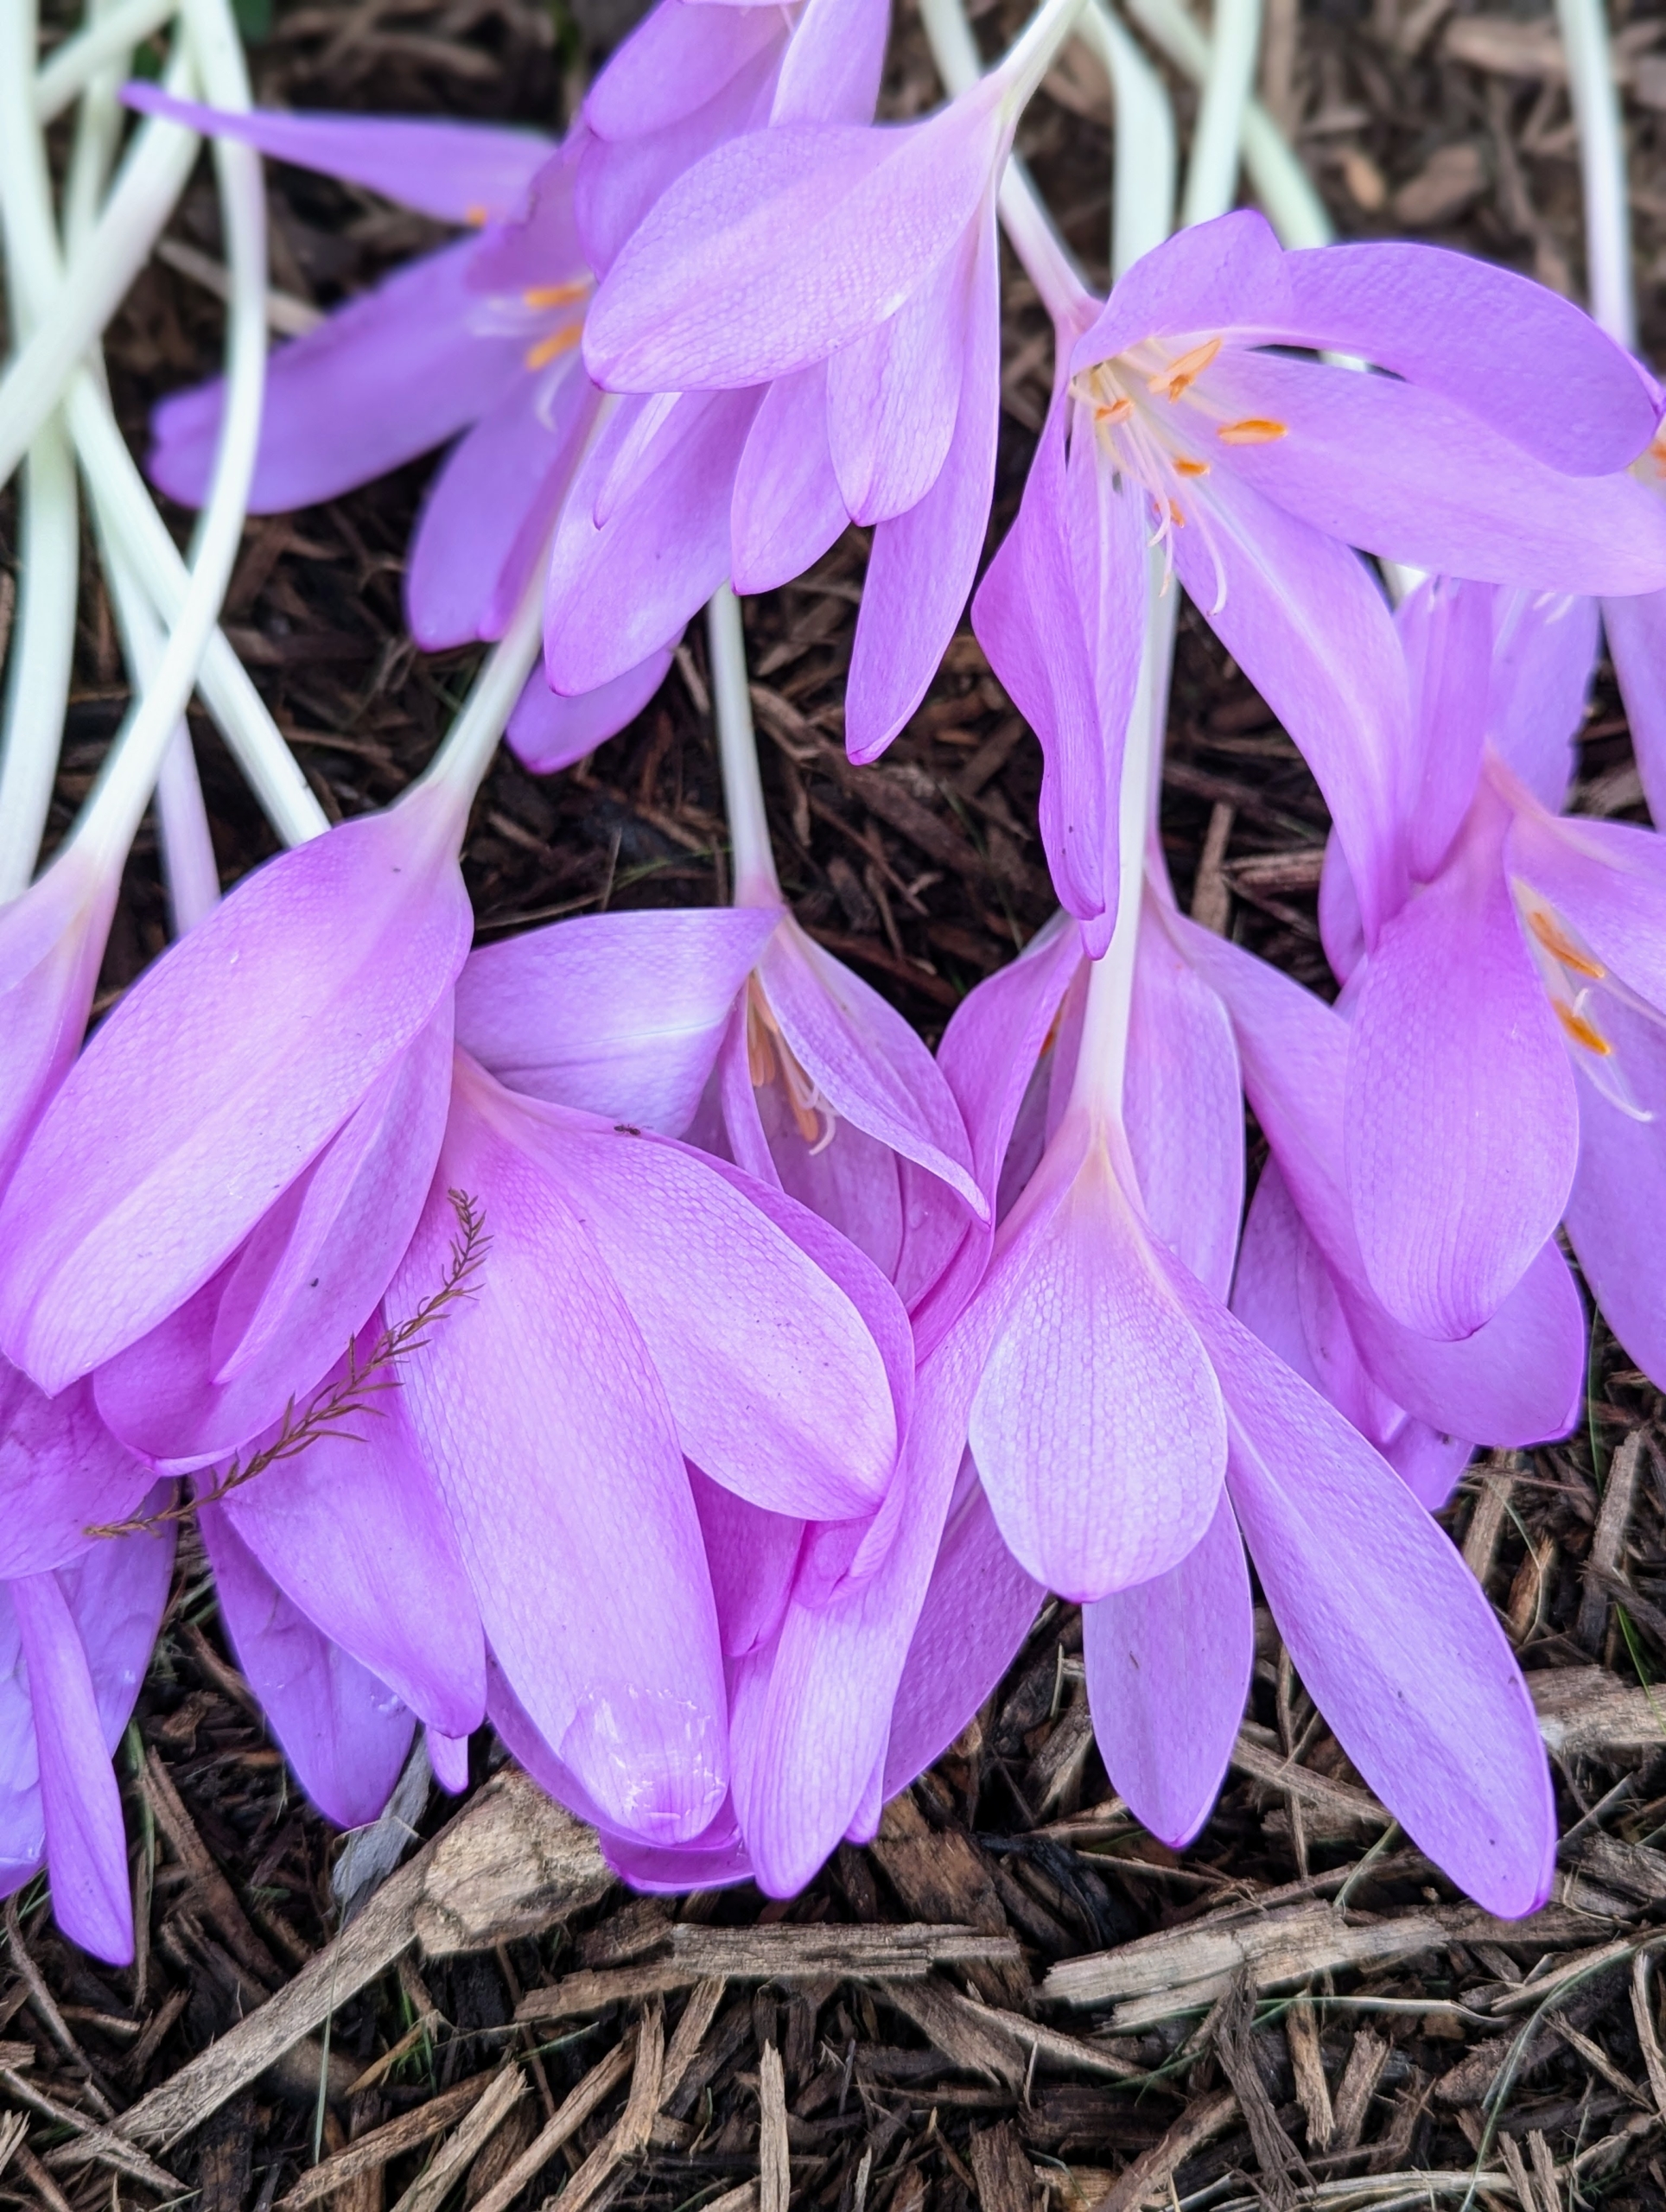
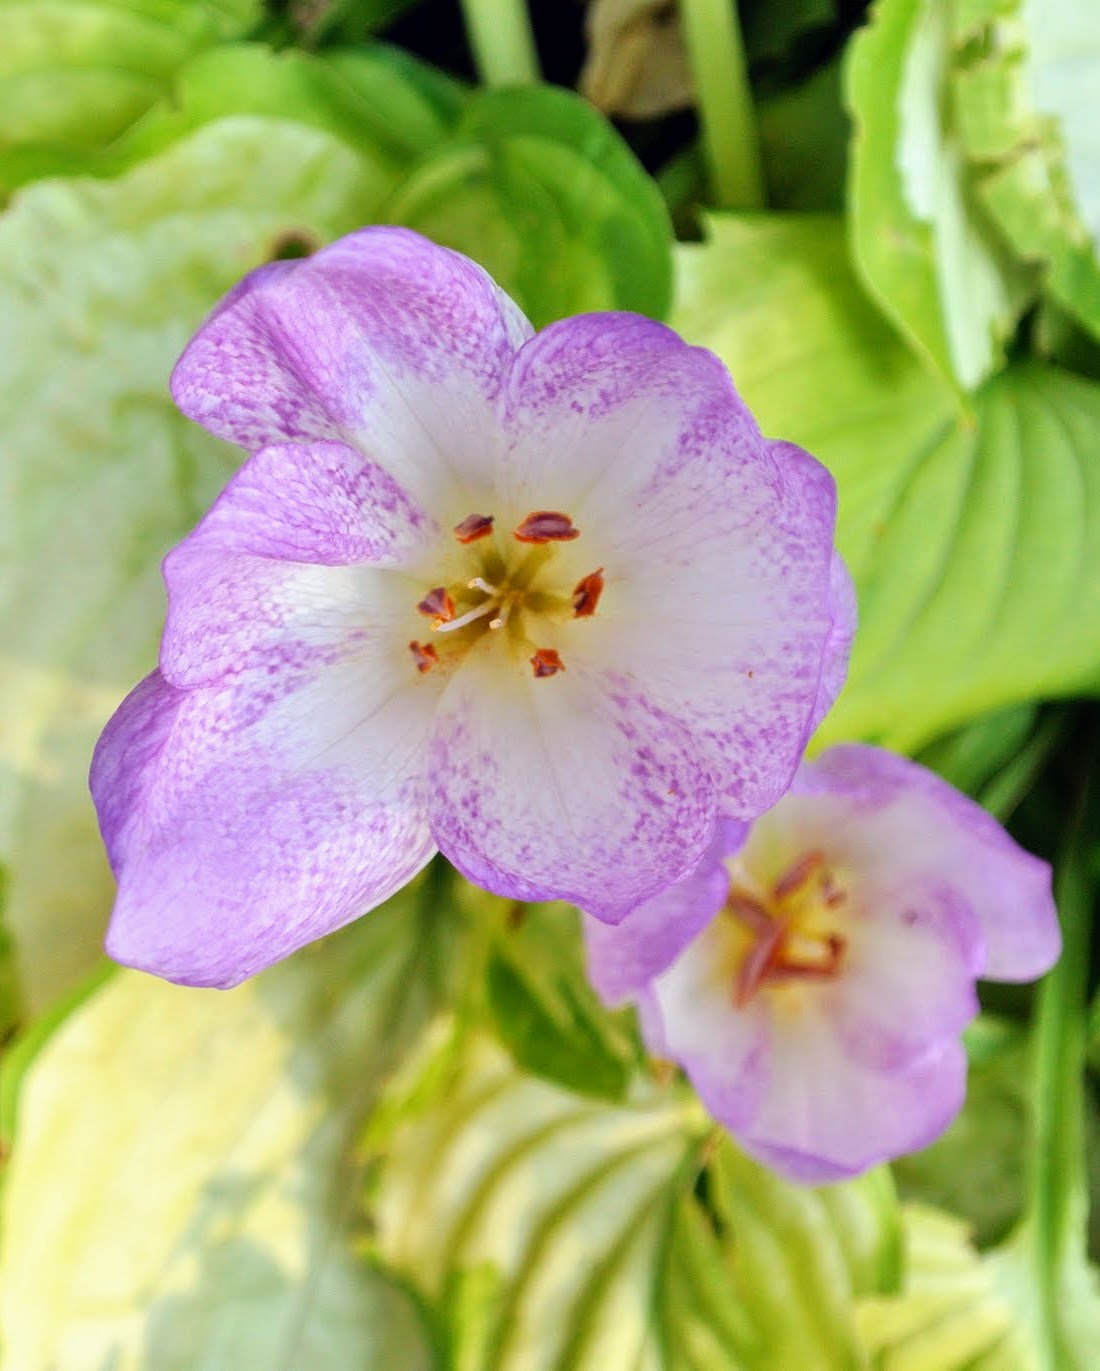
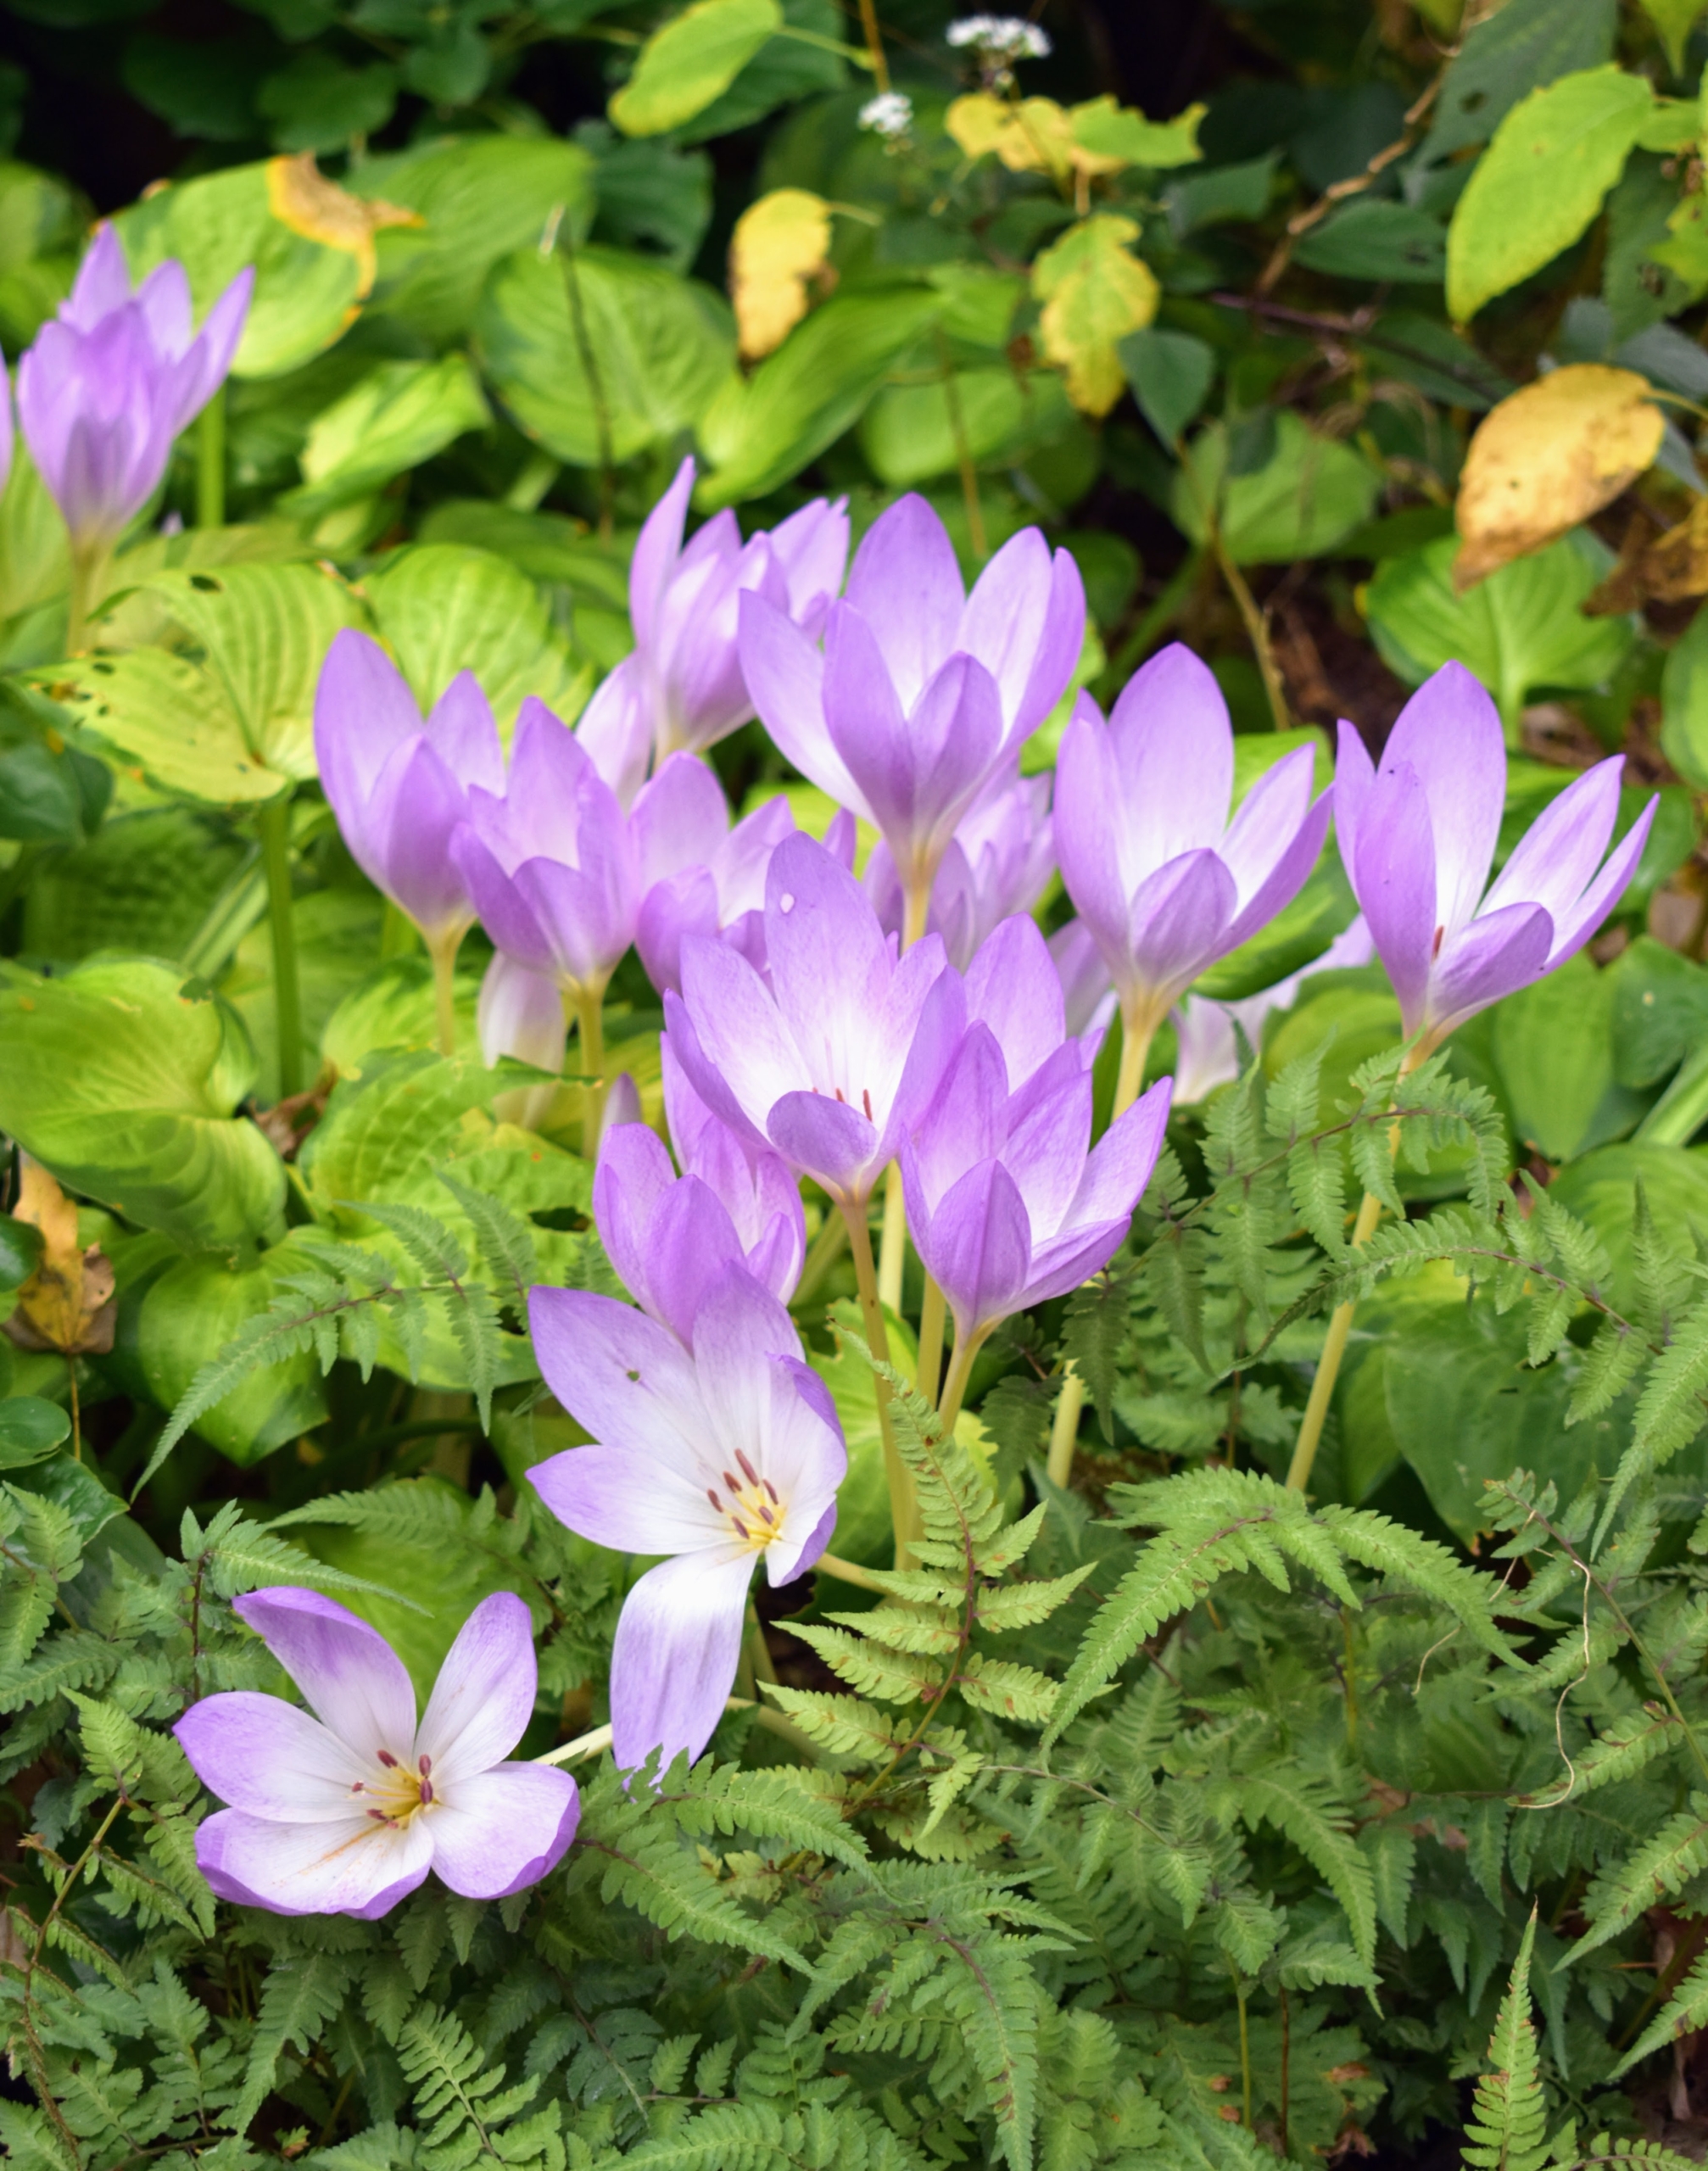
This variety is called Colchicum ‘Byzantinum.’ It is an early fall-blooming Colchicum which bears up to 20 small, funnel-shaped, soft lilac flowers that are four to six inches long.
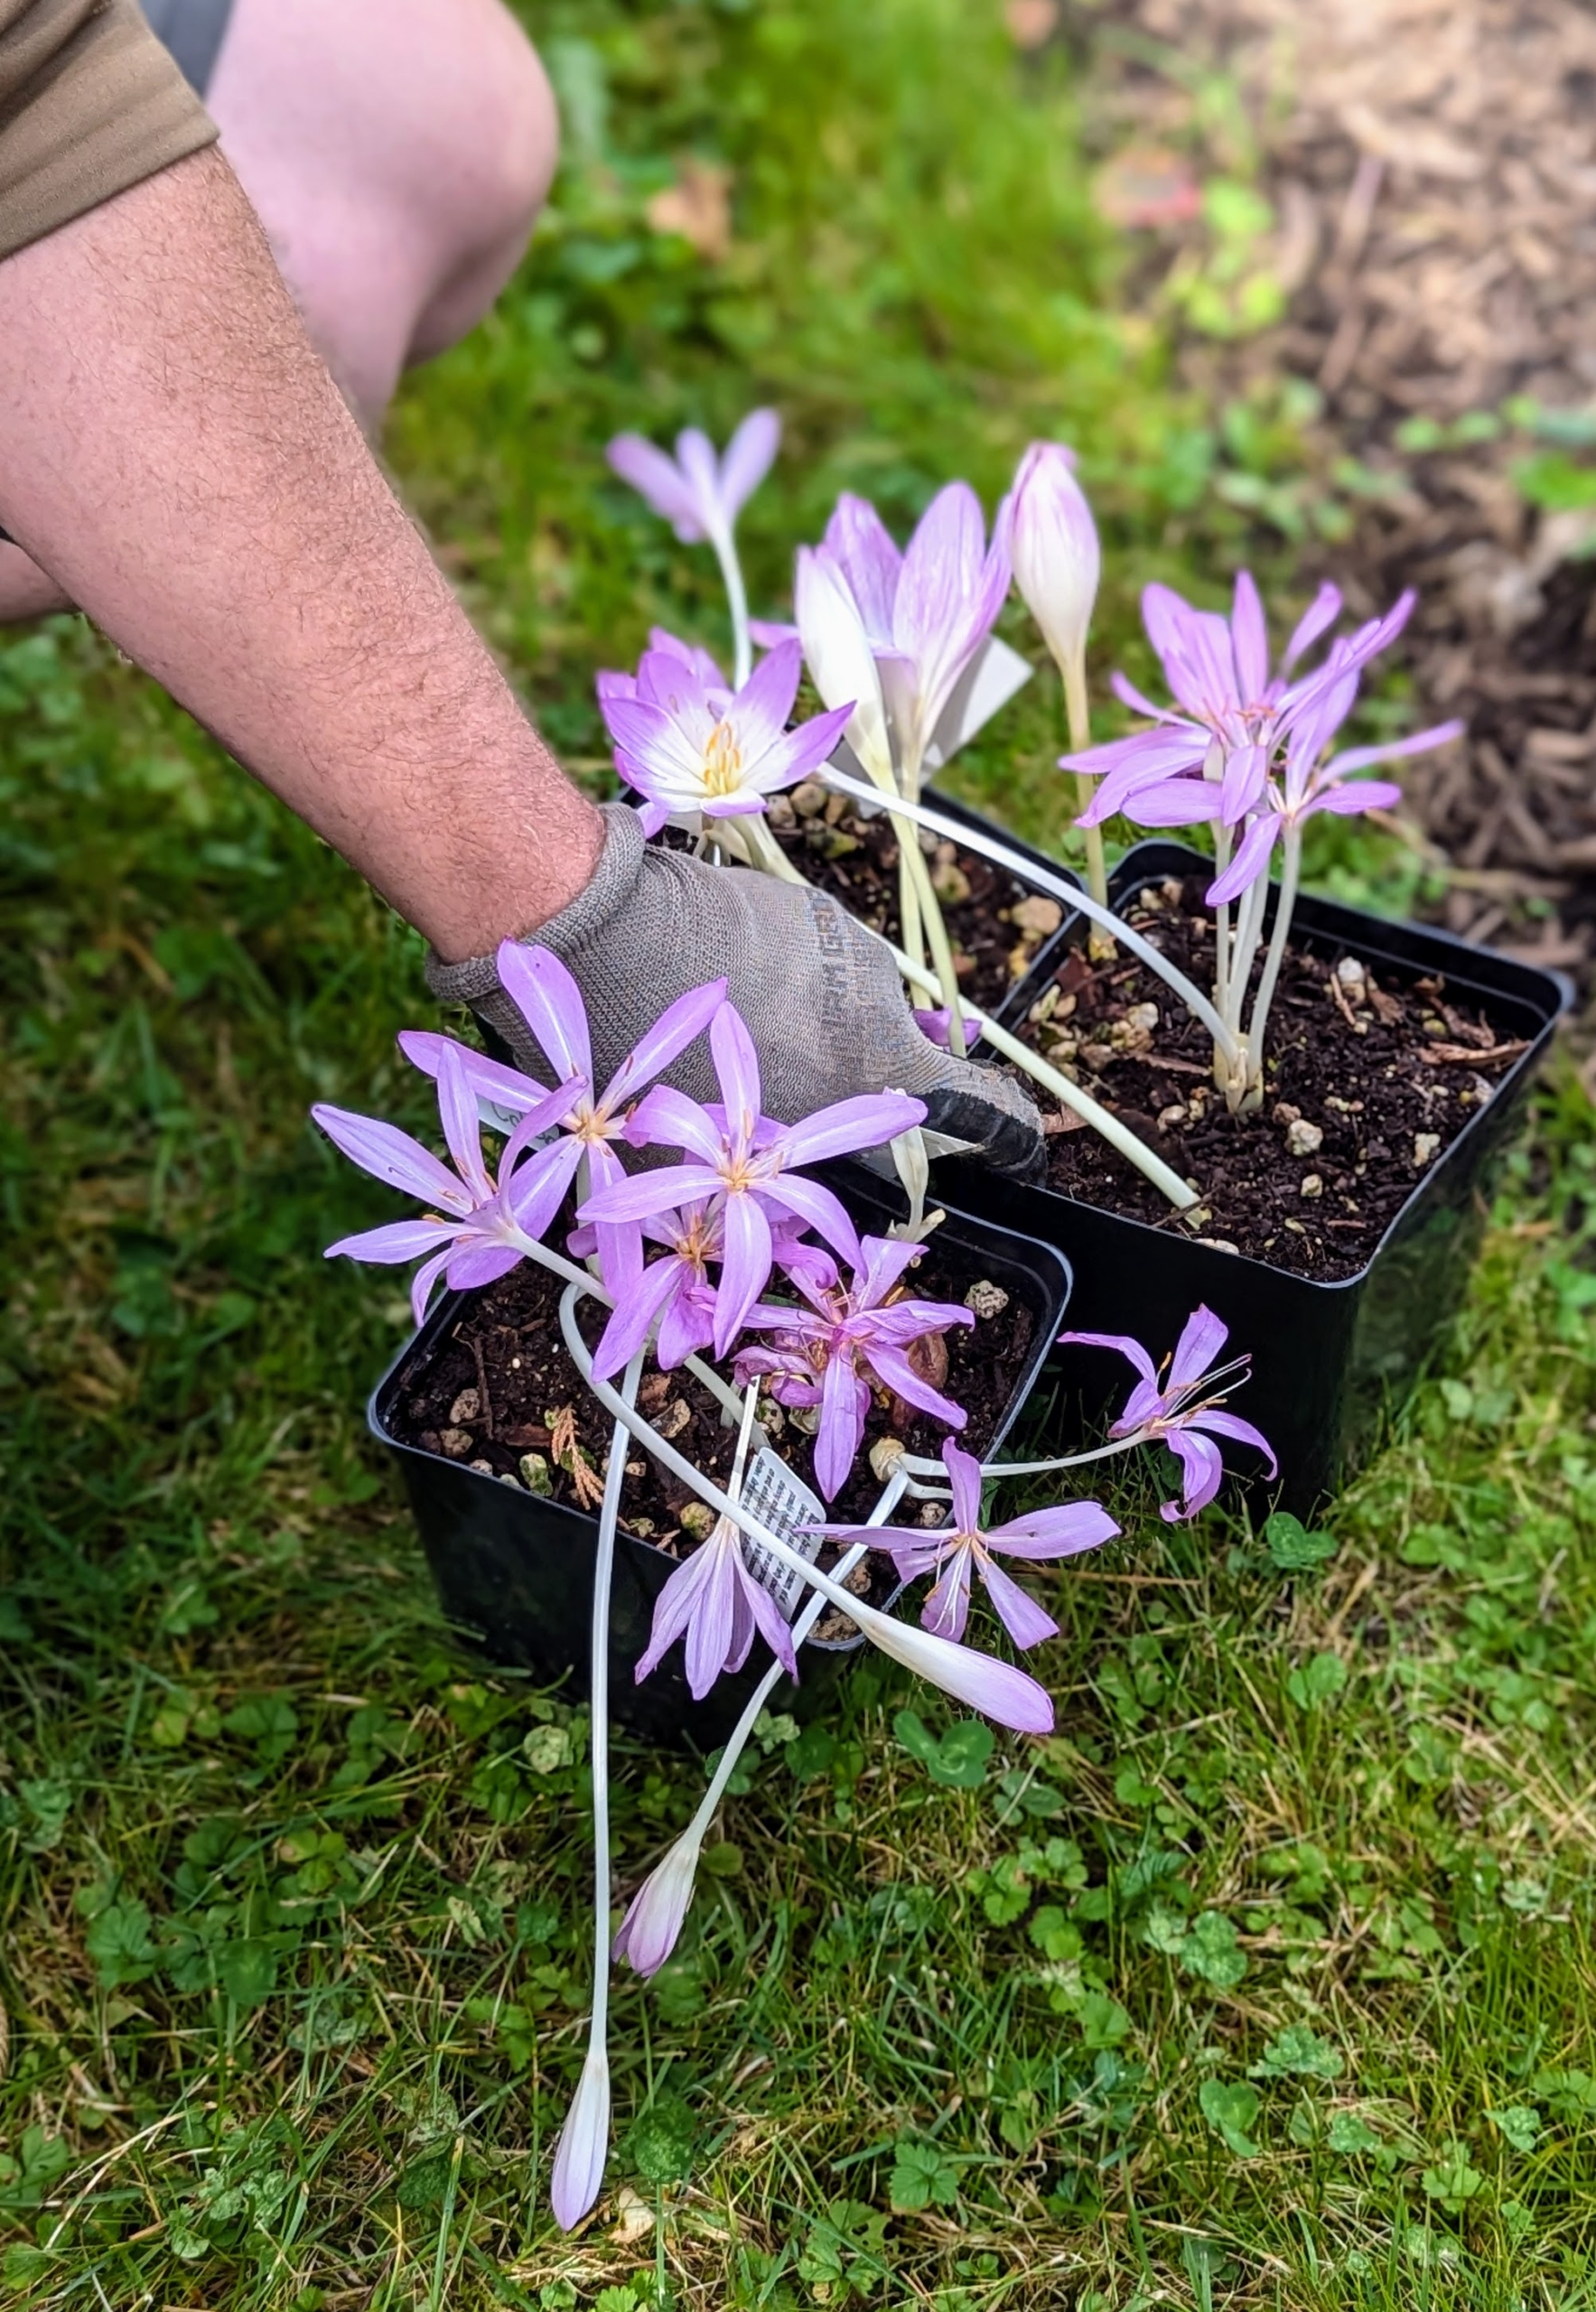
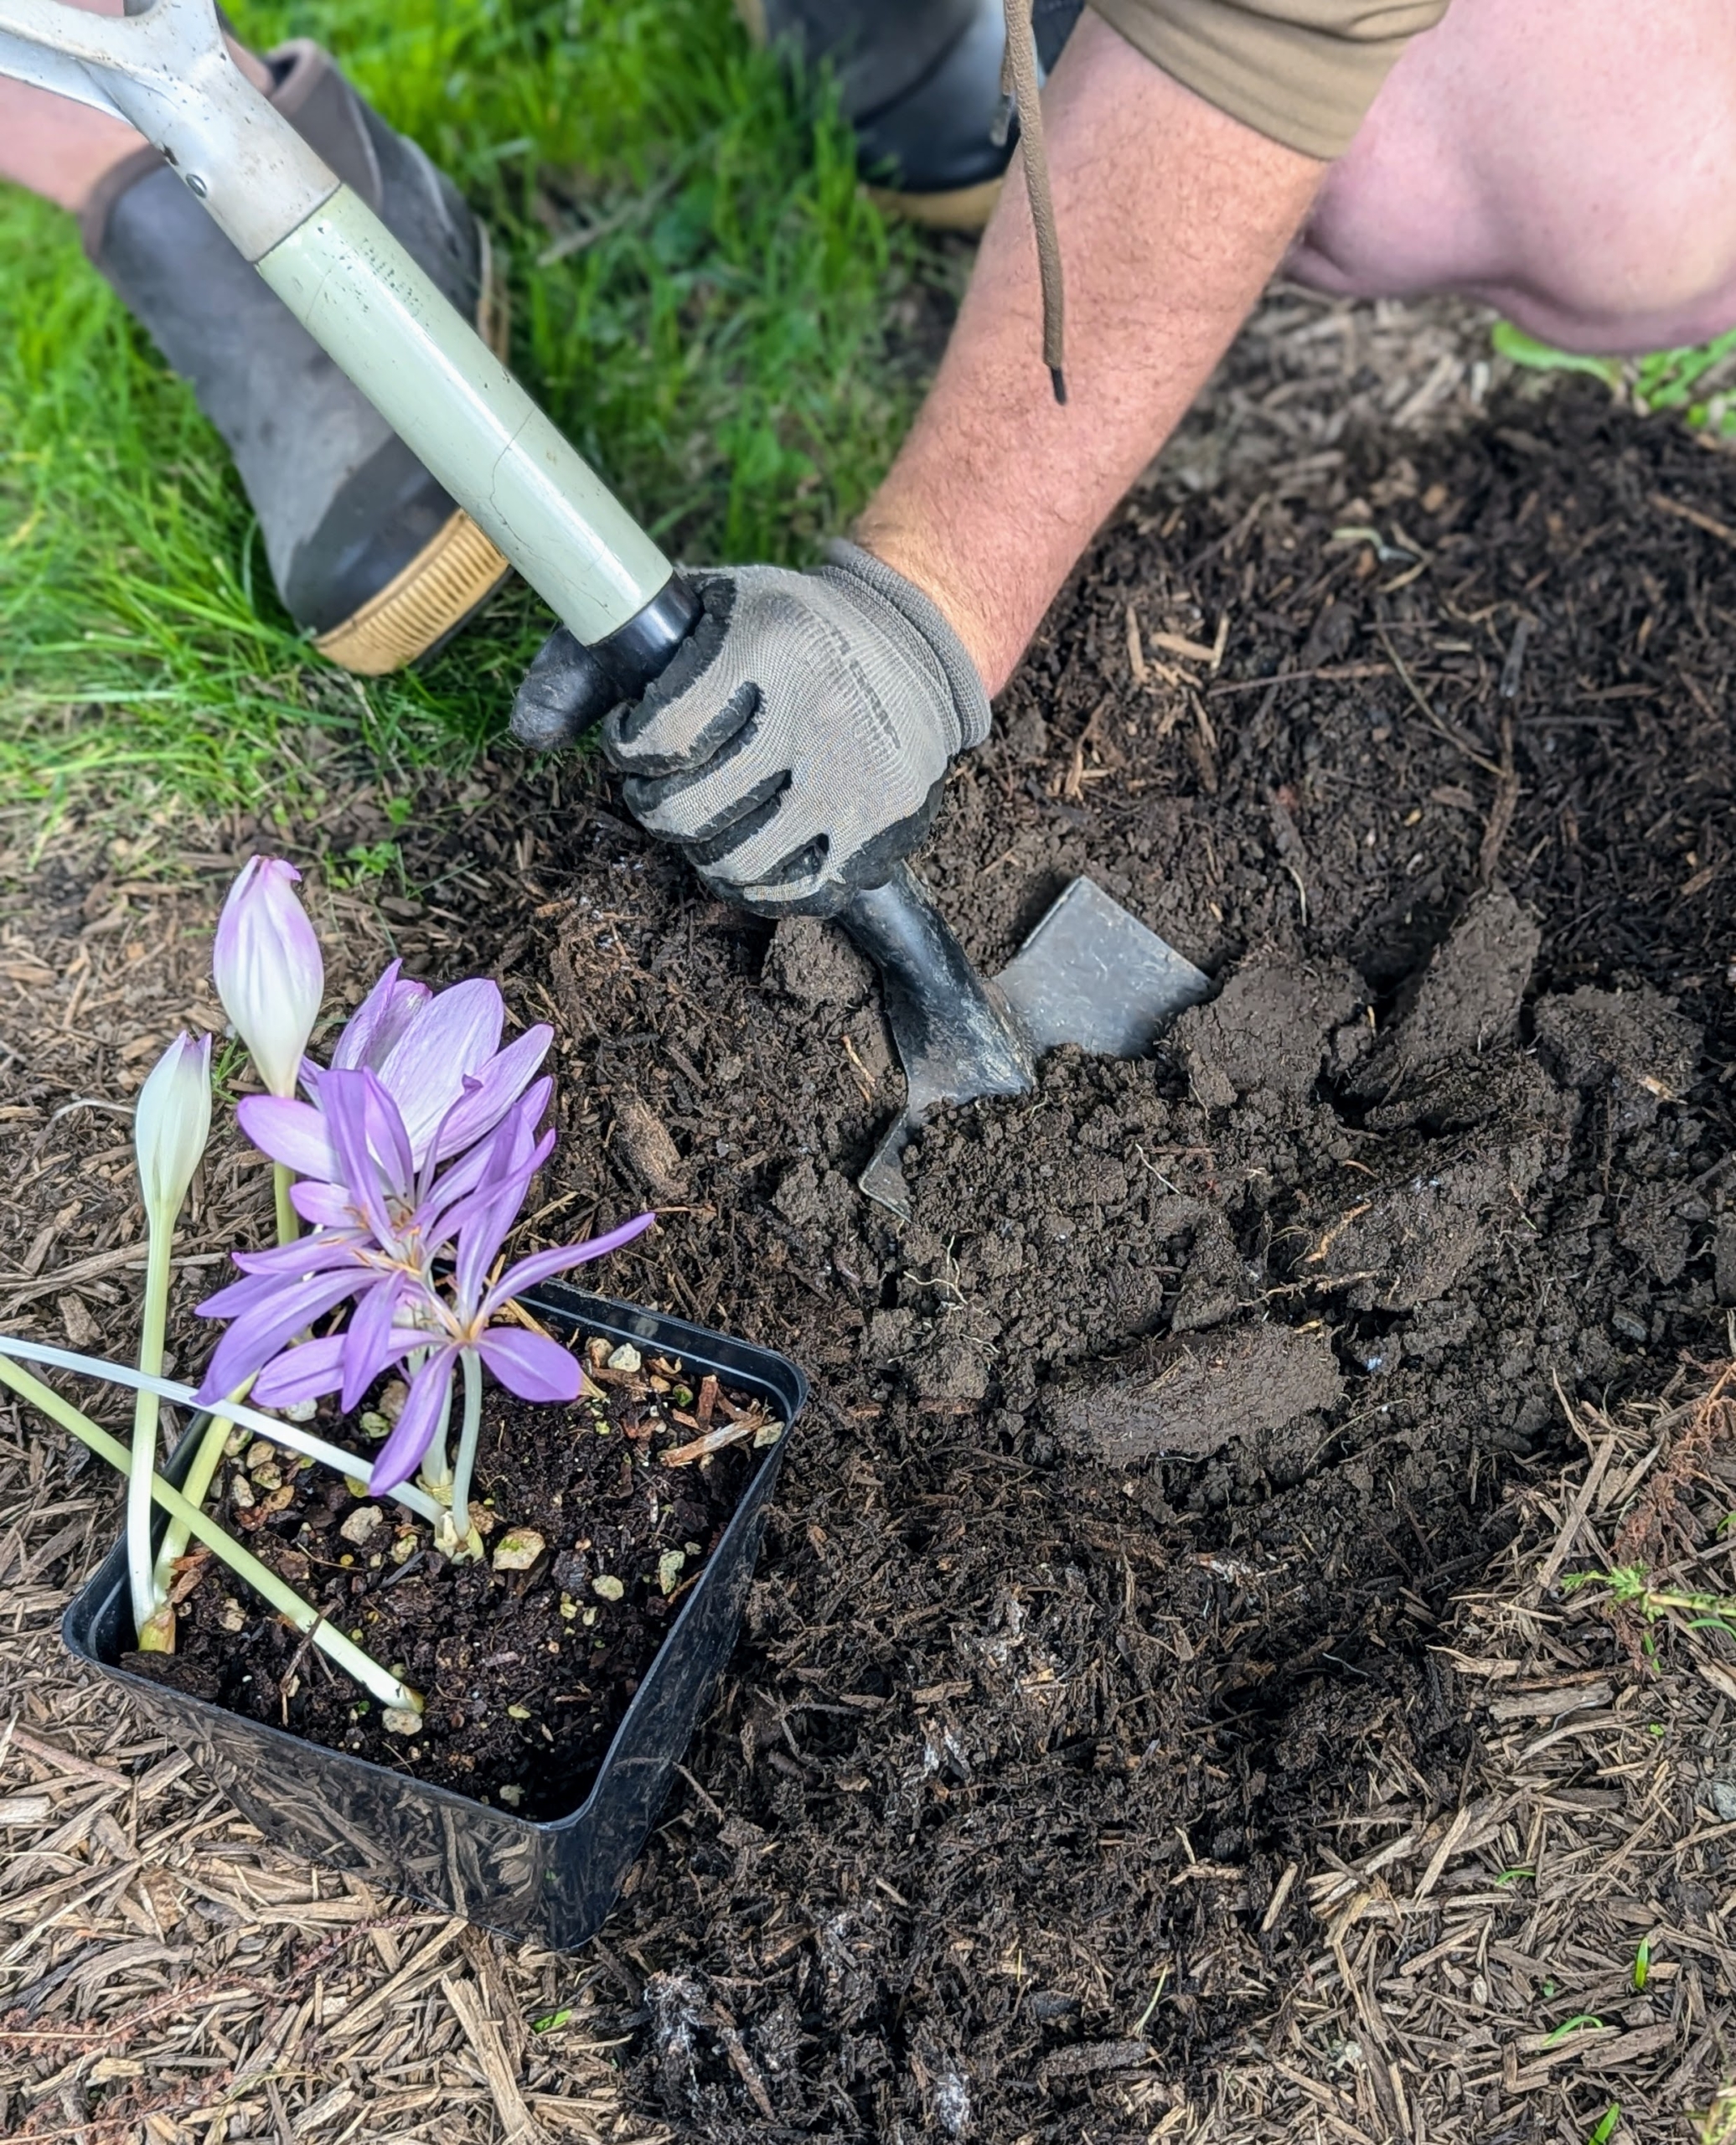
Recently, I was gifted some colchicum plants from my friend and plantsman, Dan Hinkley.
Colchicum should be planted about six to 10 inches apart. They will look plentiful once established.
Colchicum is best grown in a sheltered spot that enjoys afternoon sun because this encourages a good succession of wide-open flowers.
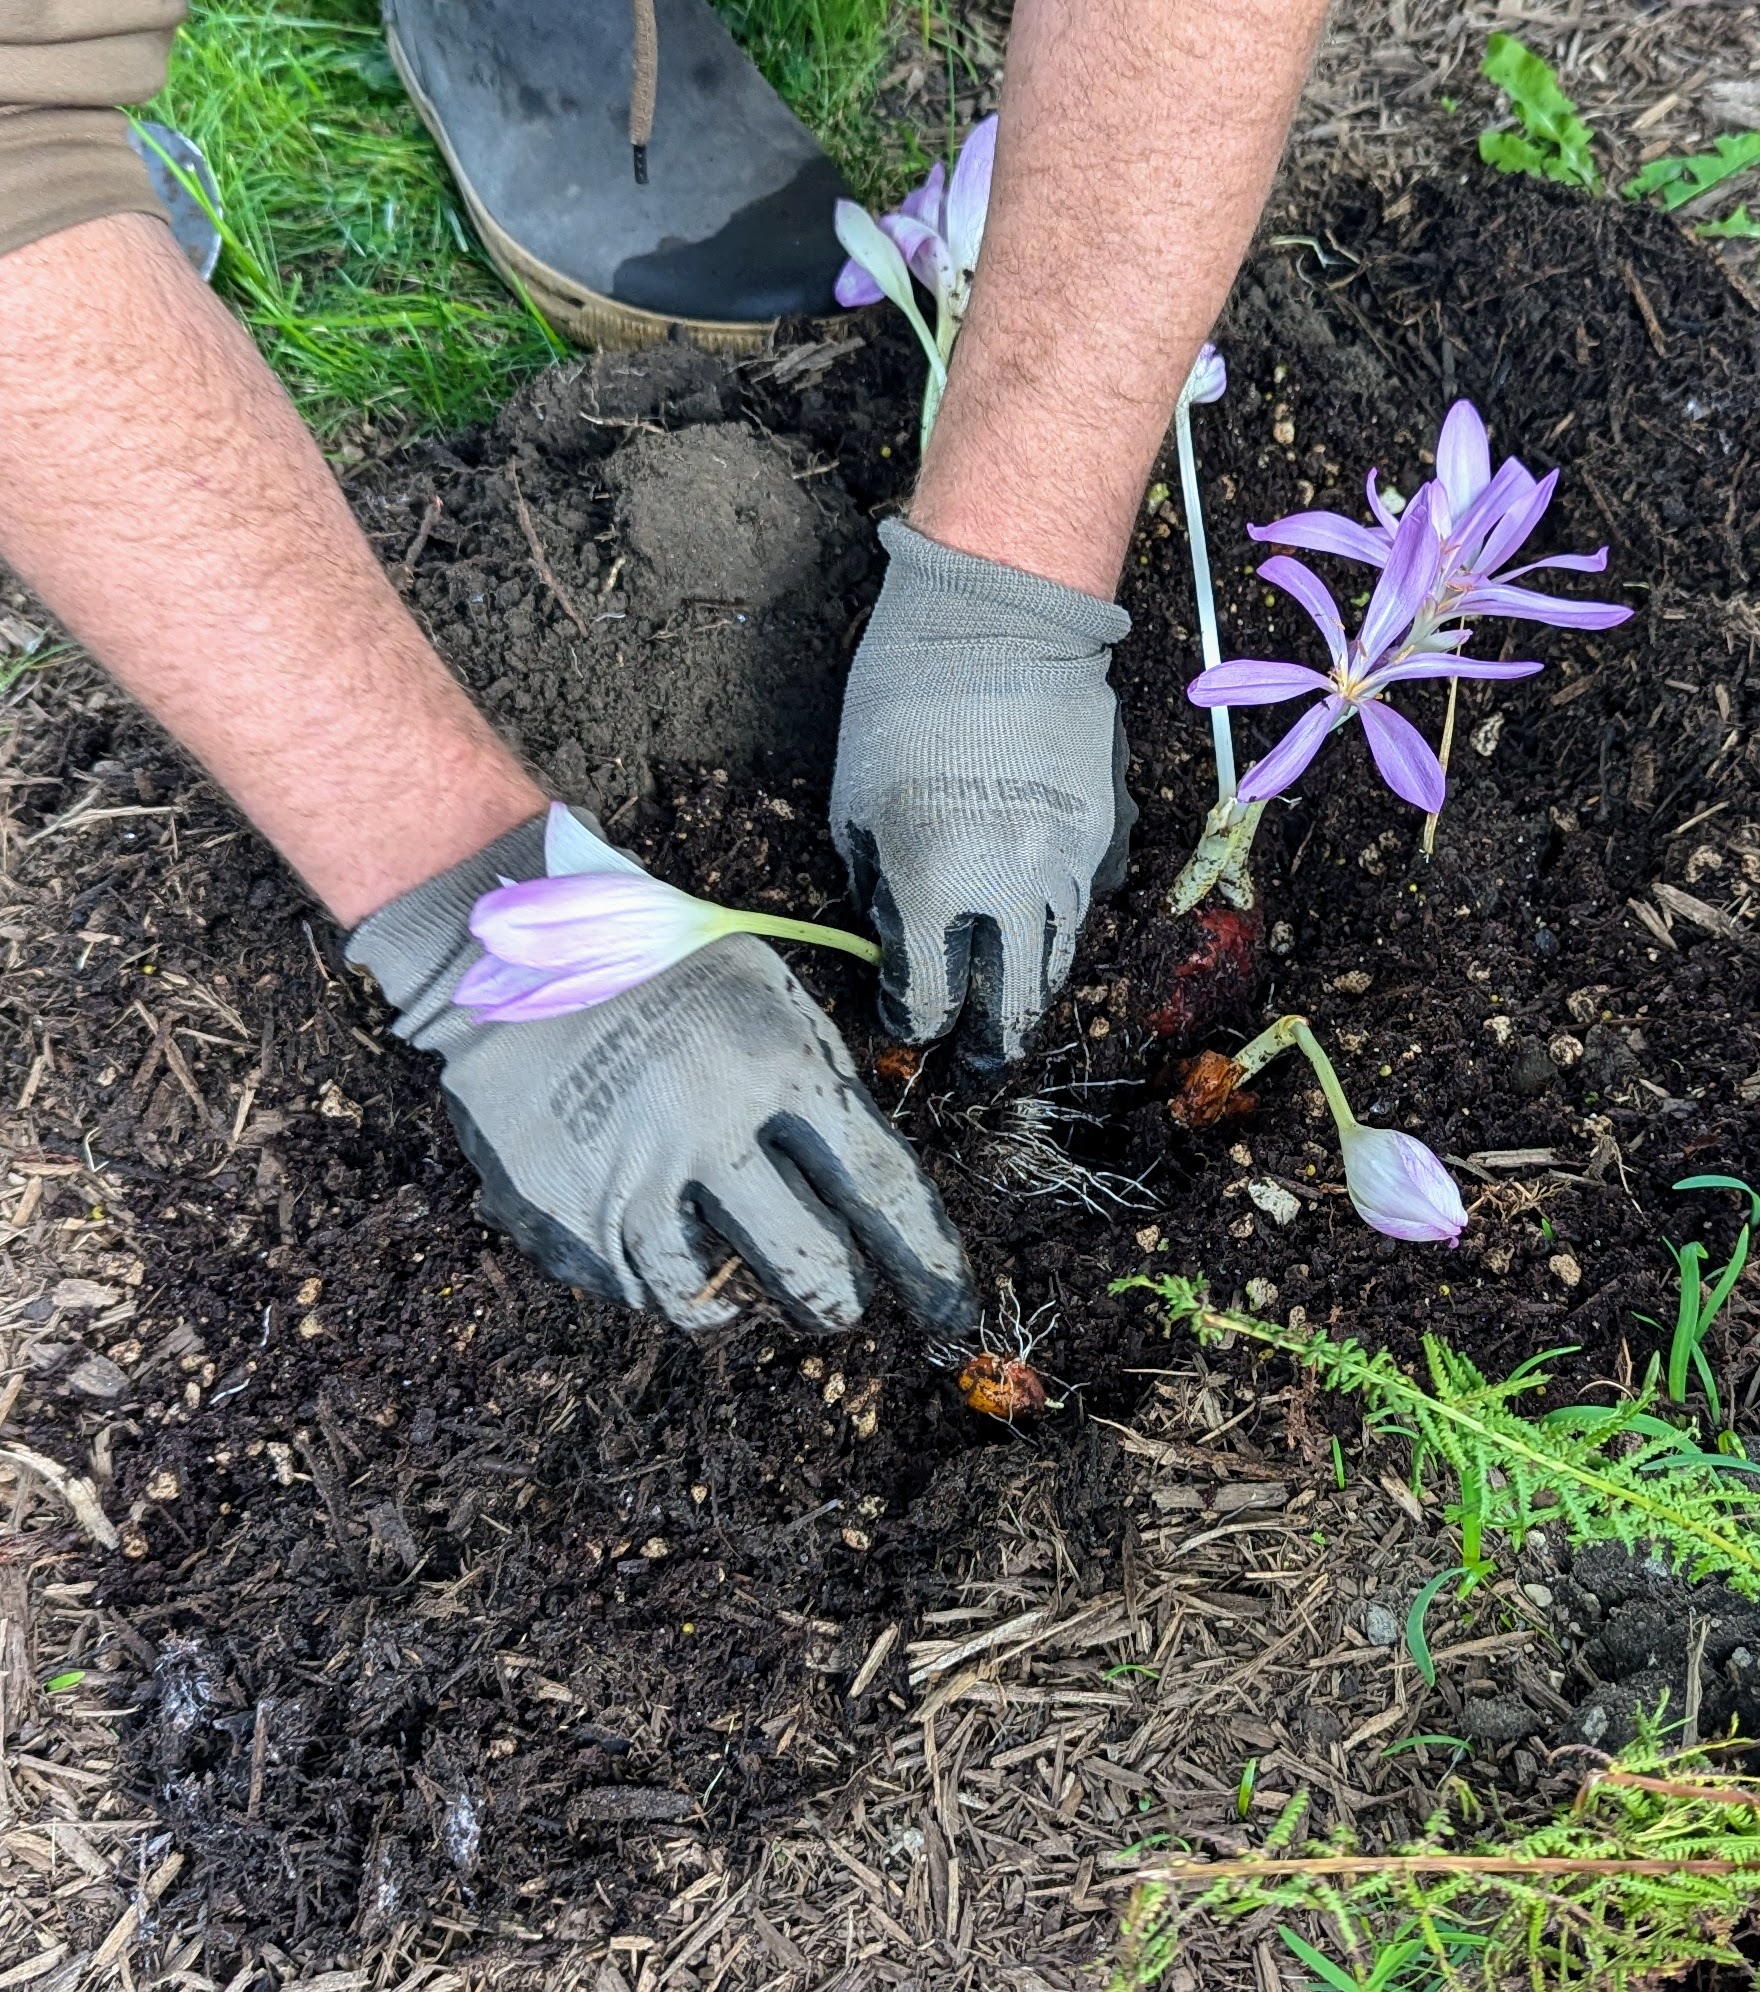
These colchicums will be nice additions to the garden. By next season, they should also multiply.
Here is an interesting variety called Colchicum ‘Harlekijn’ and shows amethyst violet with ivory white tops and an ivory white base, and green center.
This white variety is growing outside my Basket House.
Colchicum typically blooms from September to November. Here are some just beginning to open.
Avoid windy sites, as these plants tend to get floppy.
But like other bulbs, when they are done blooming, they need to be left until they dry out in order to supply nutrients to the bulb. And then come next fall, they will bloom beautifully once again.
For anyone passionate about gardening, it's always so rewarding to plant new specimens and watch them flourish.
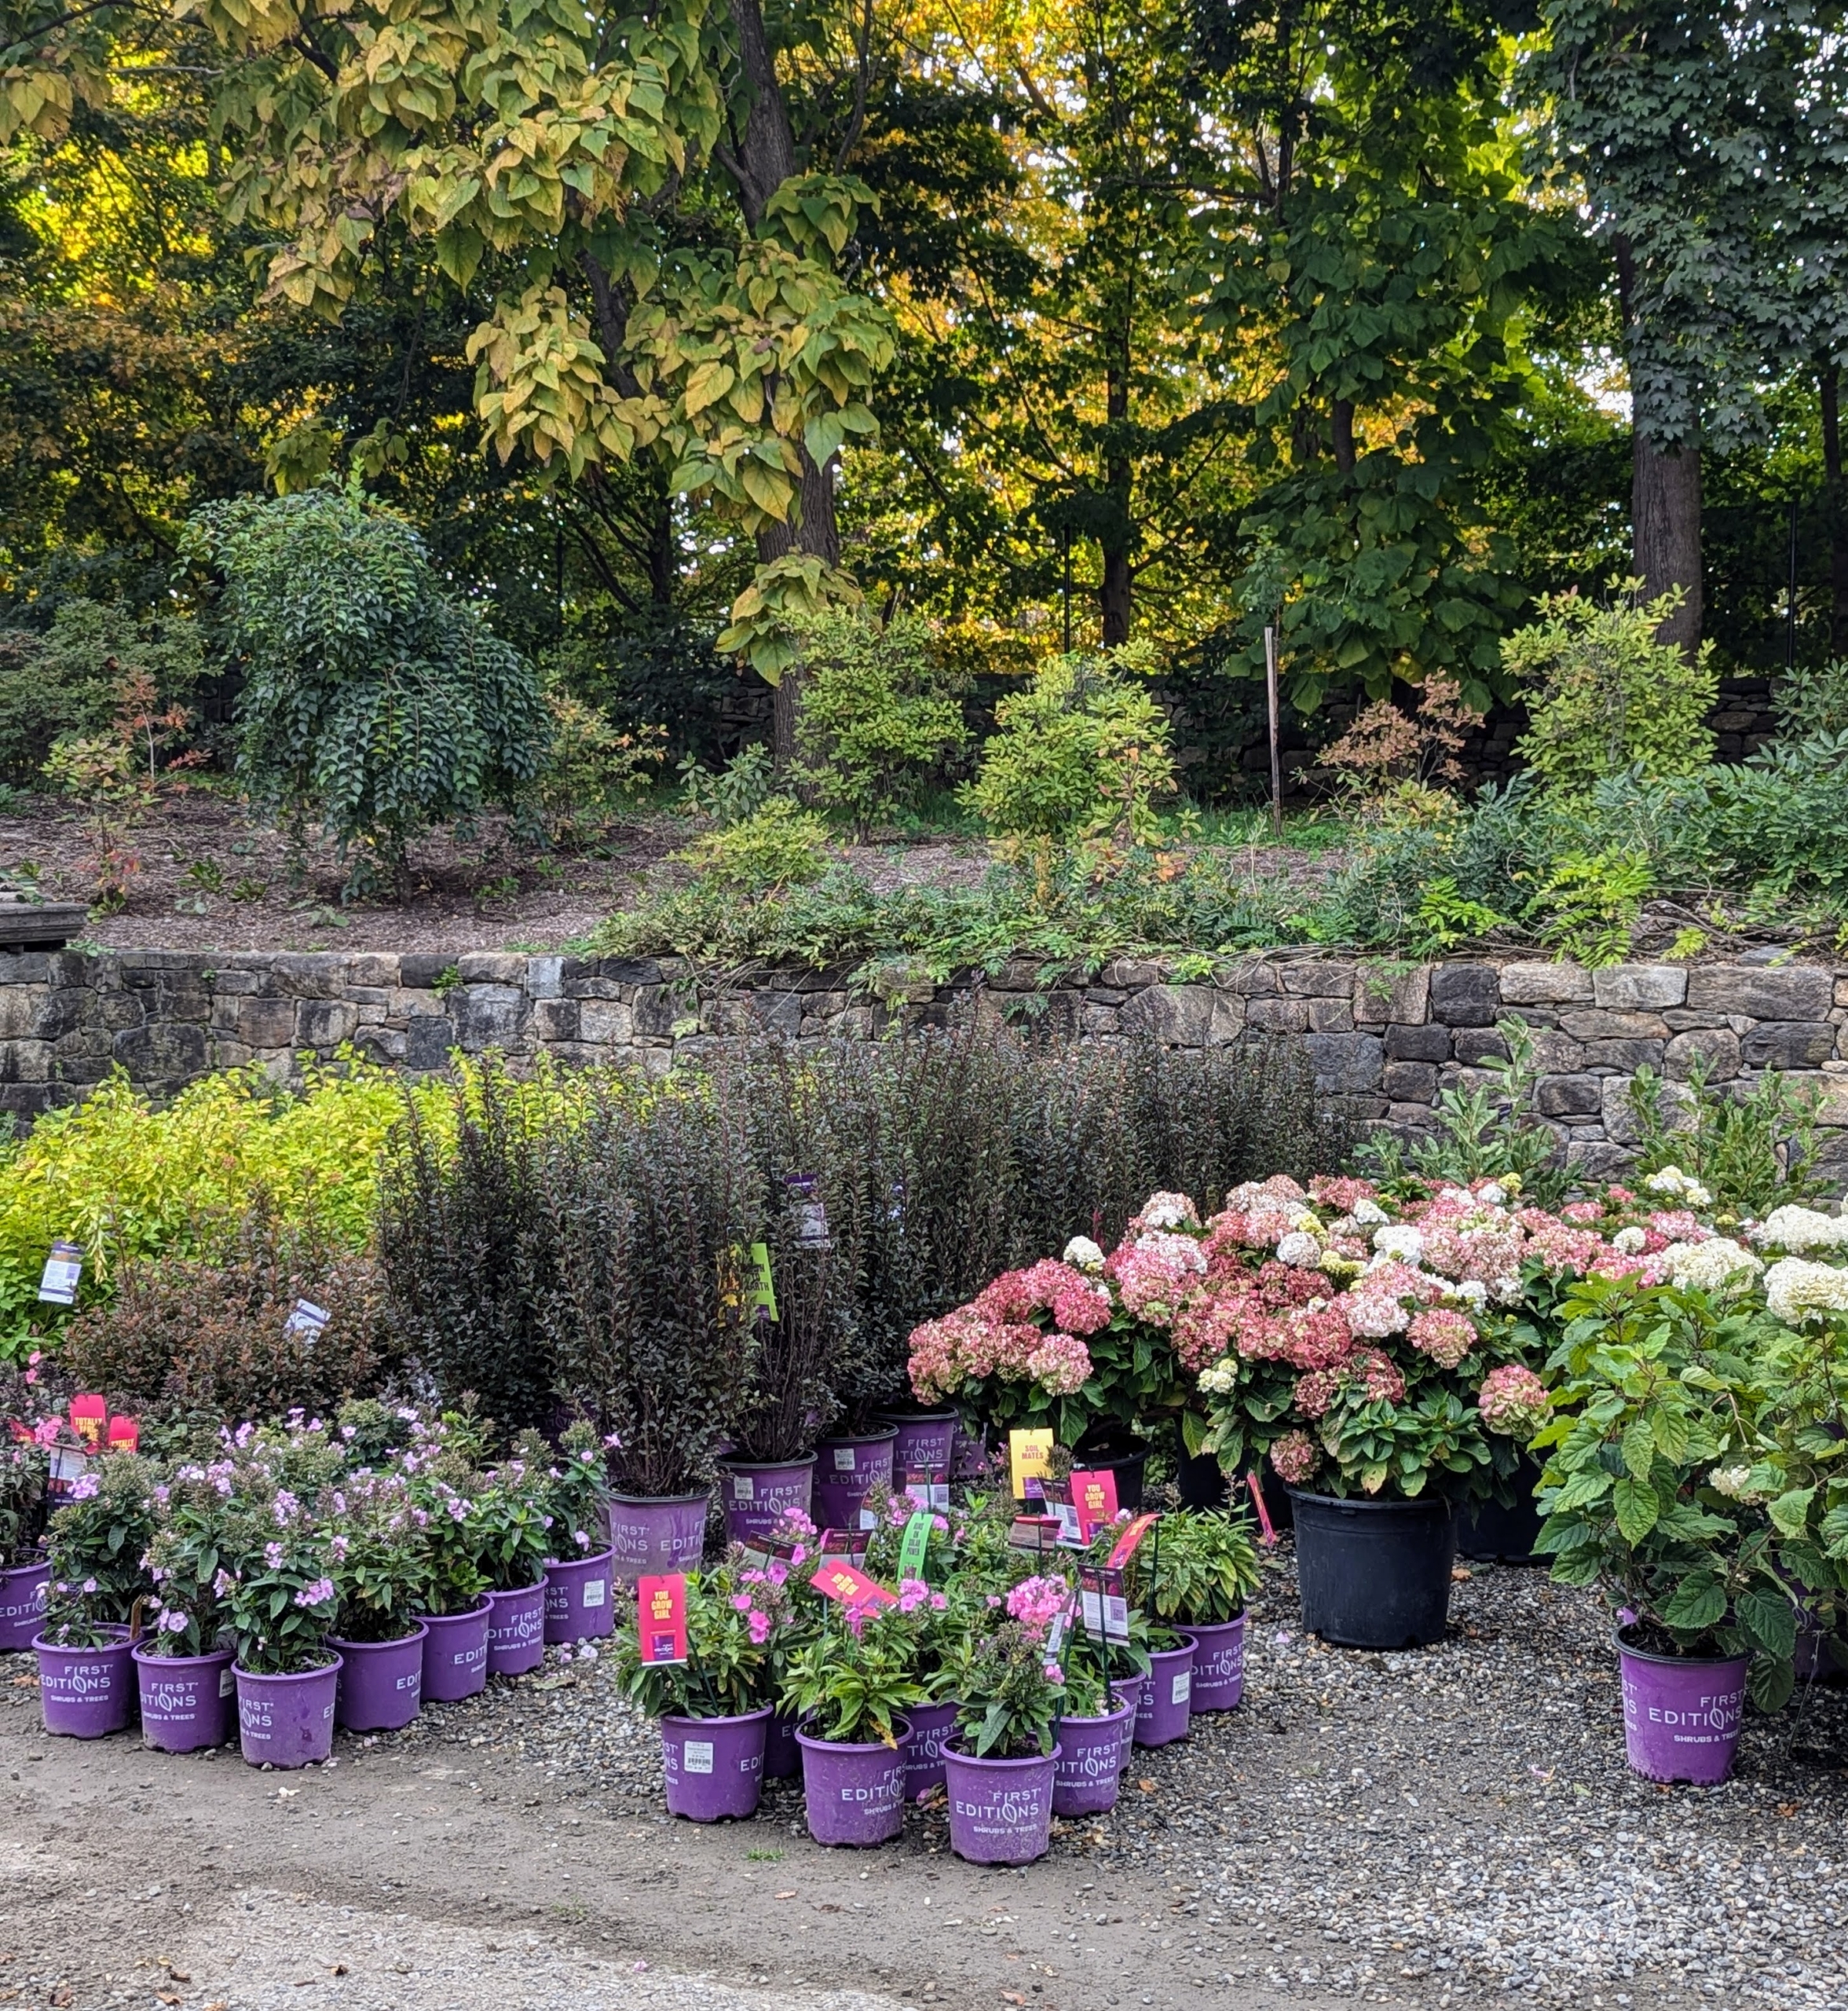
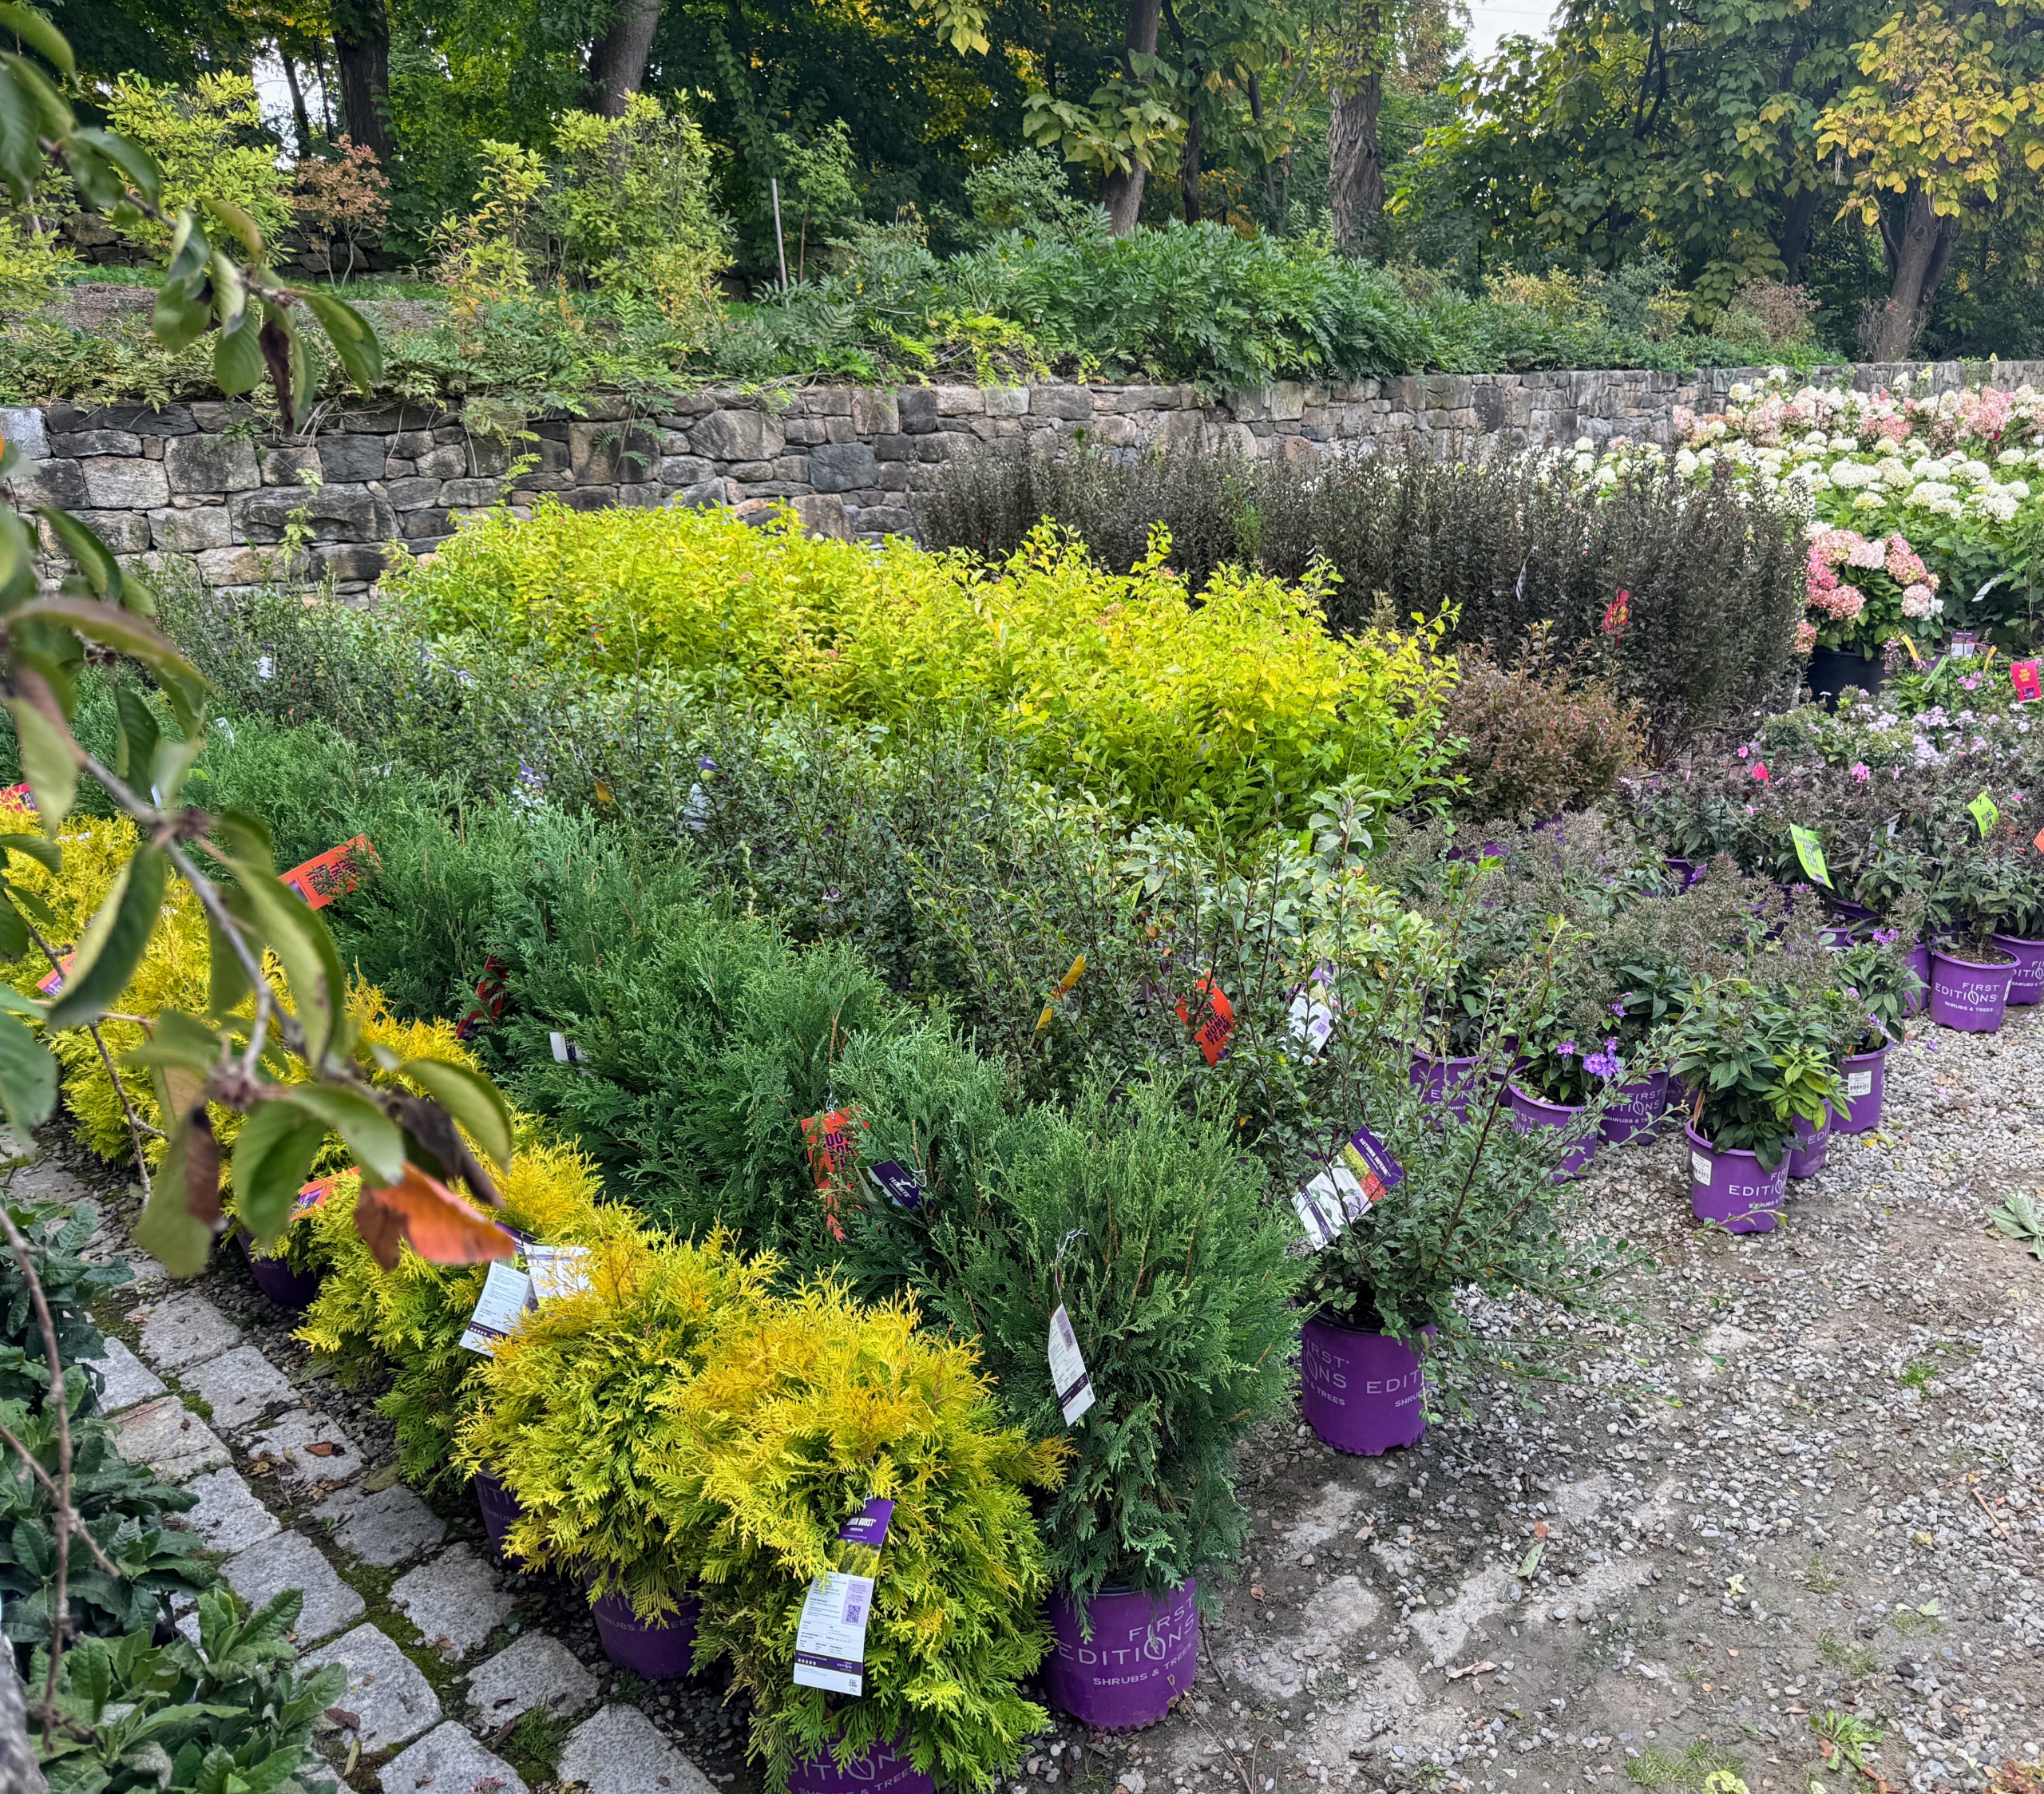
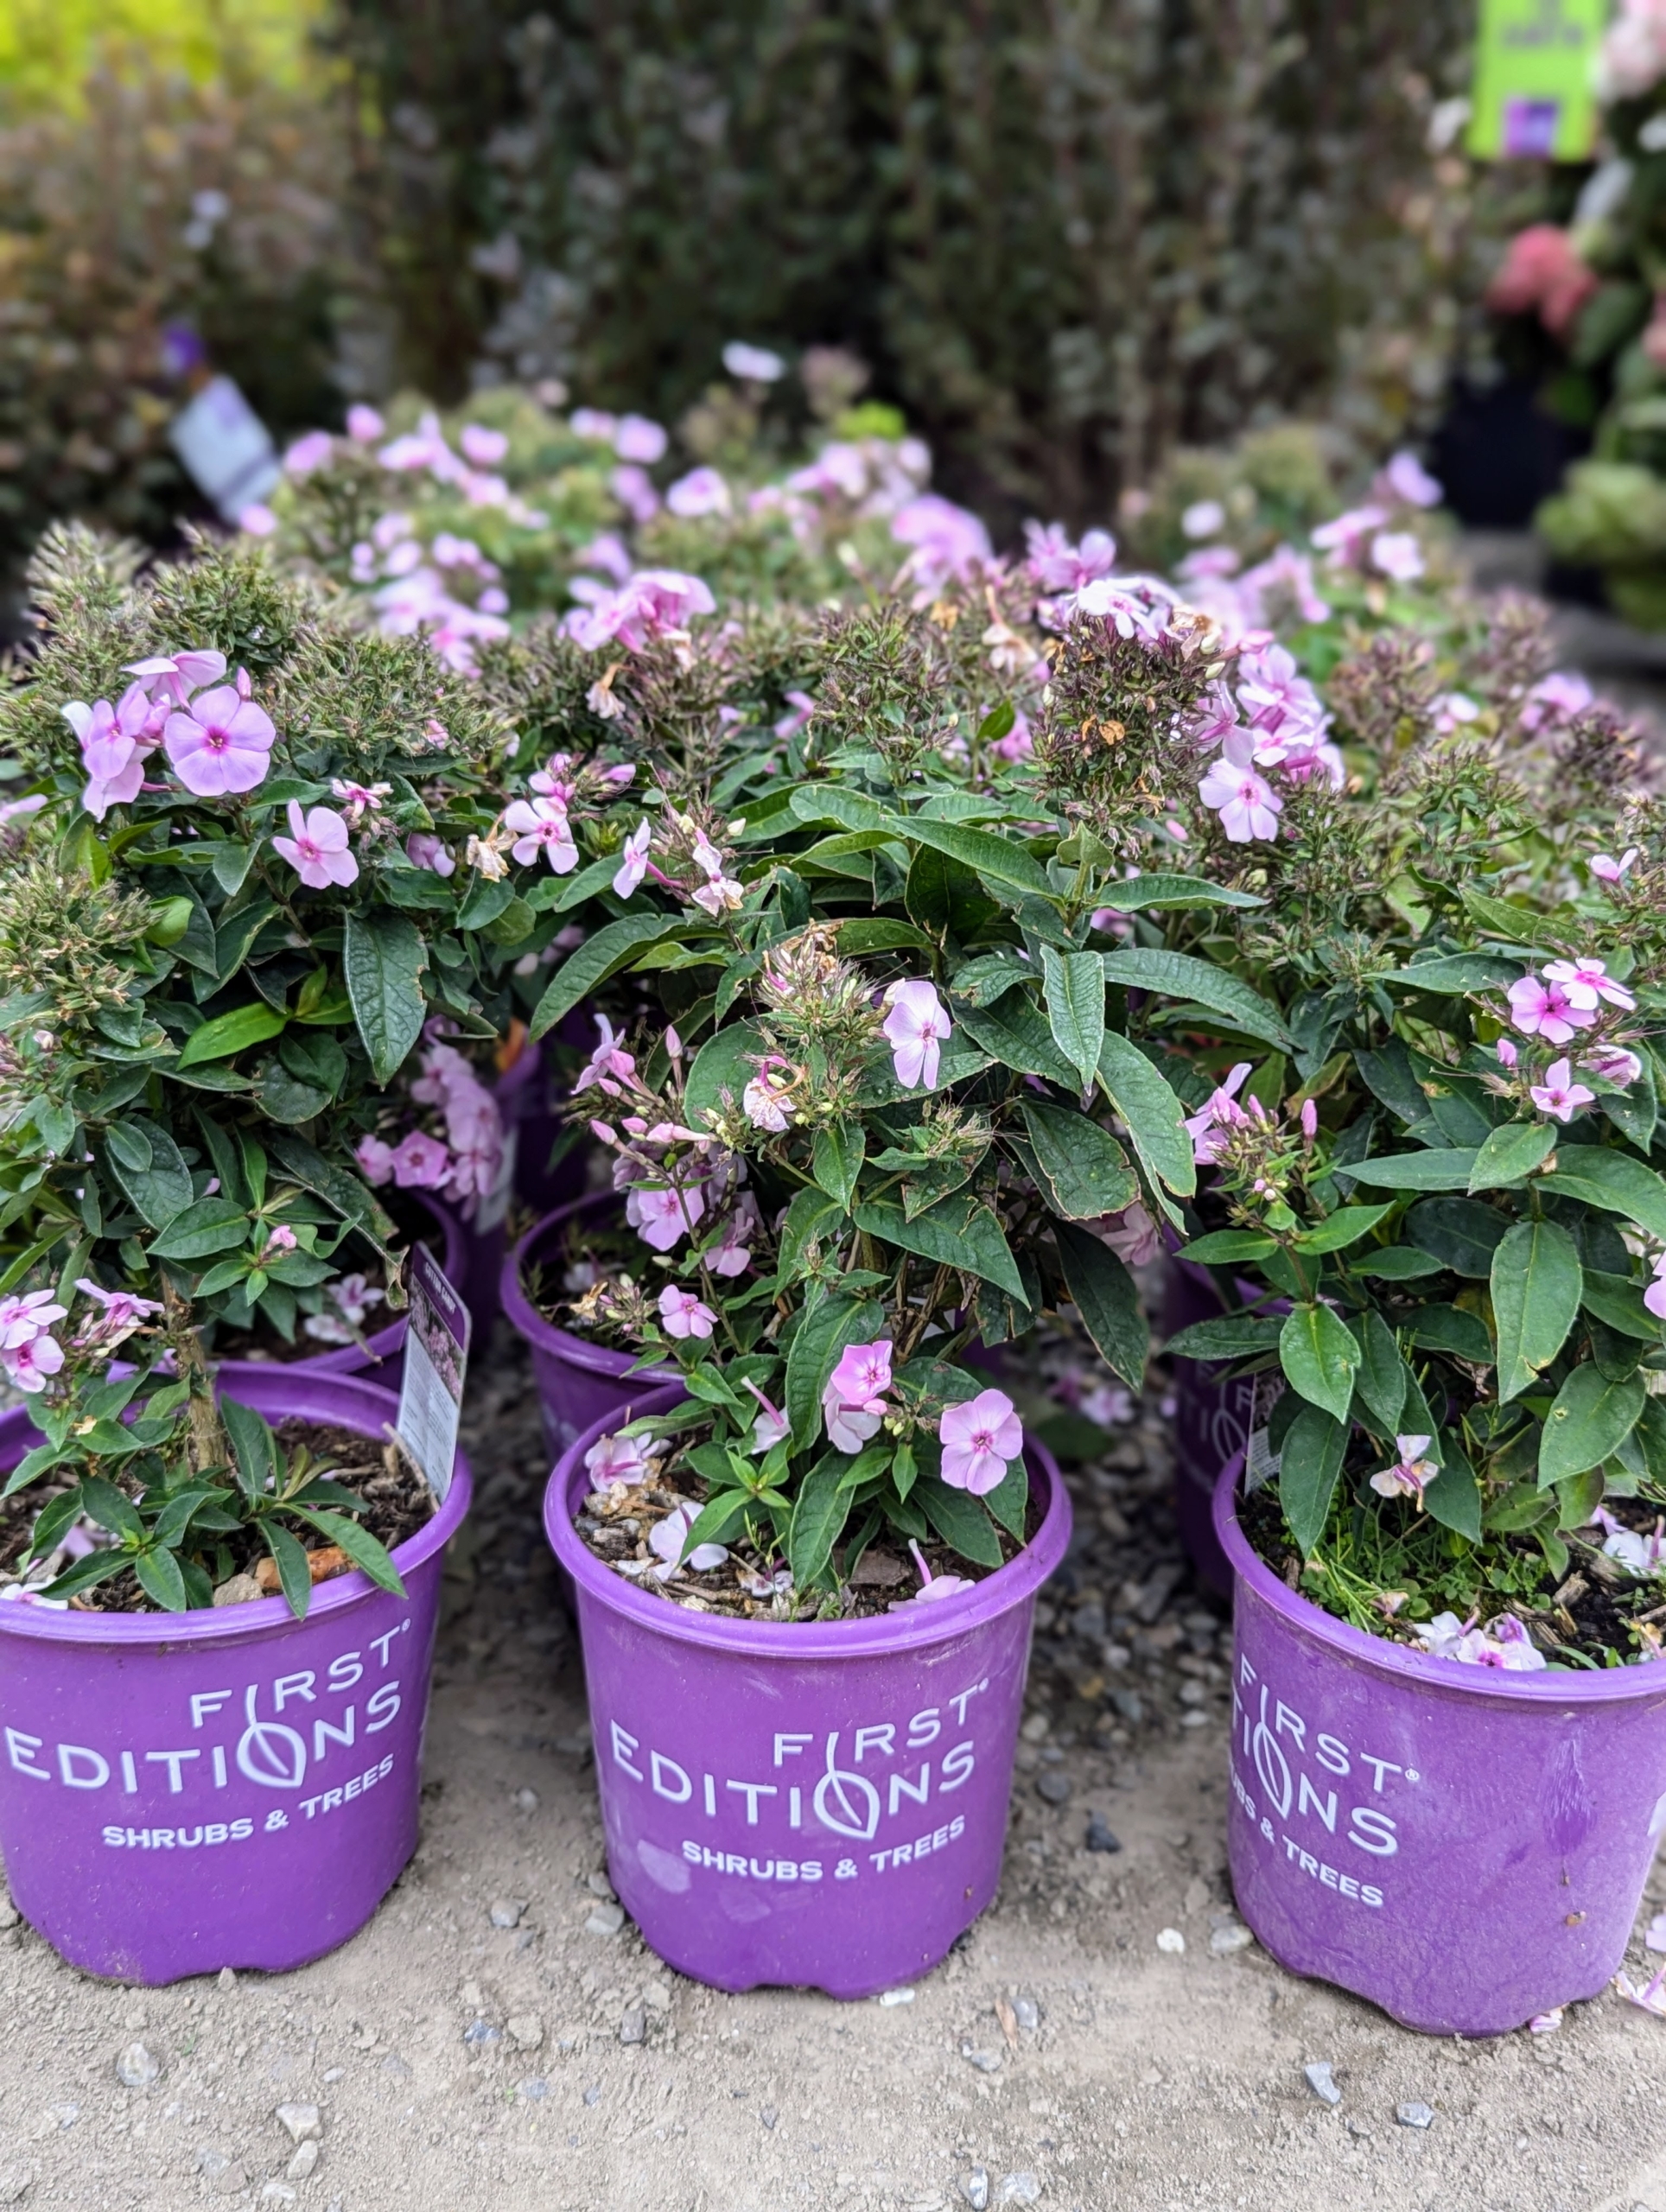
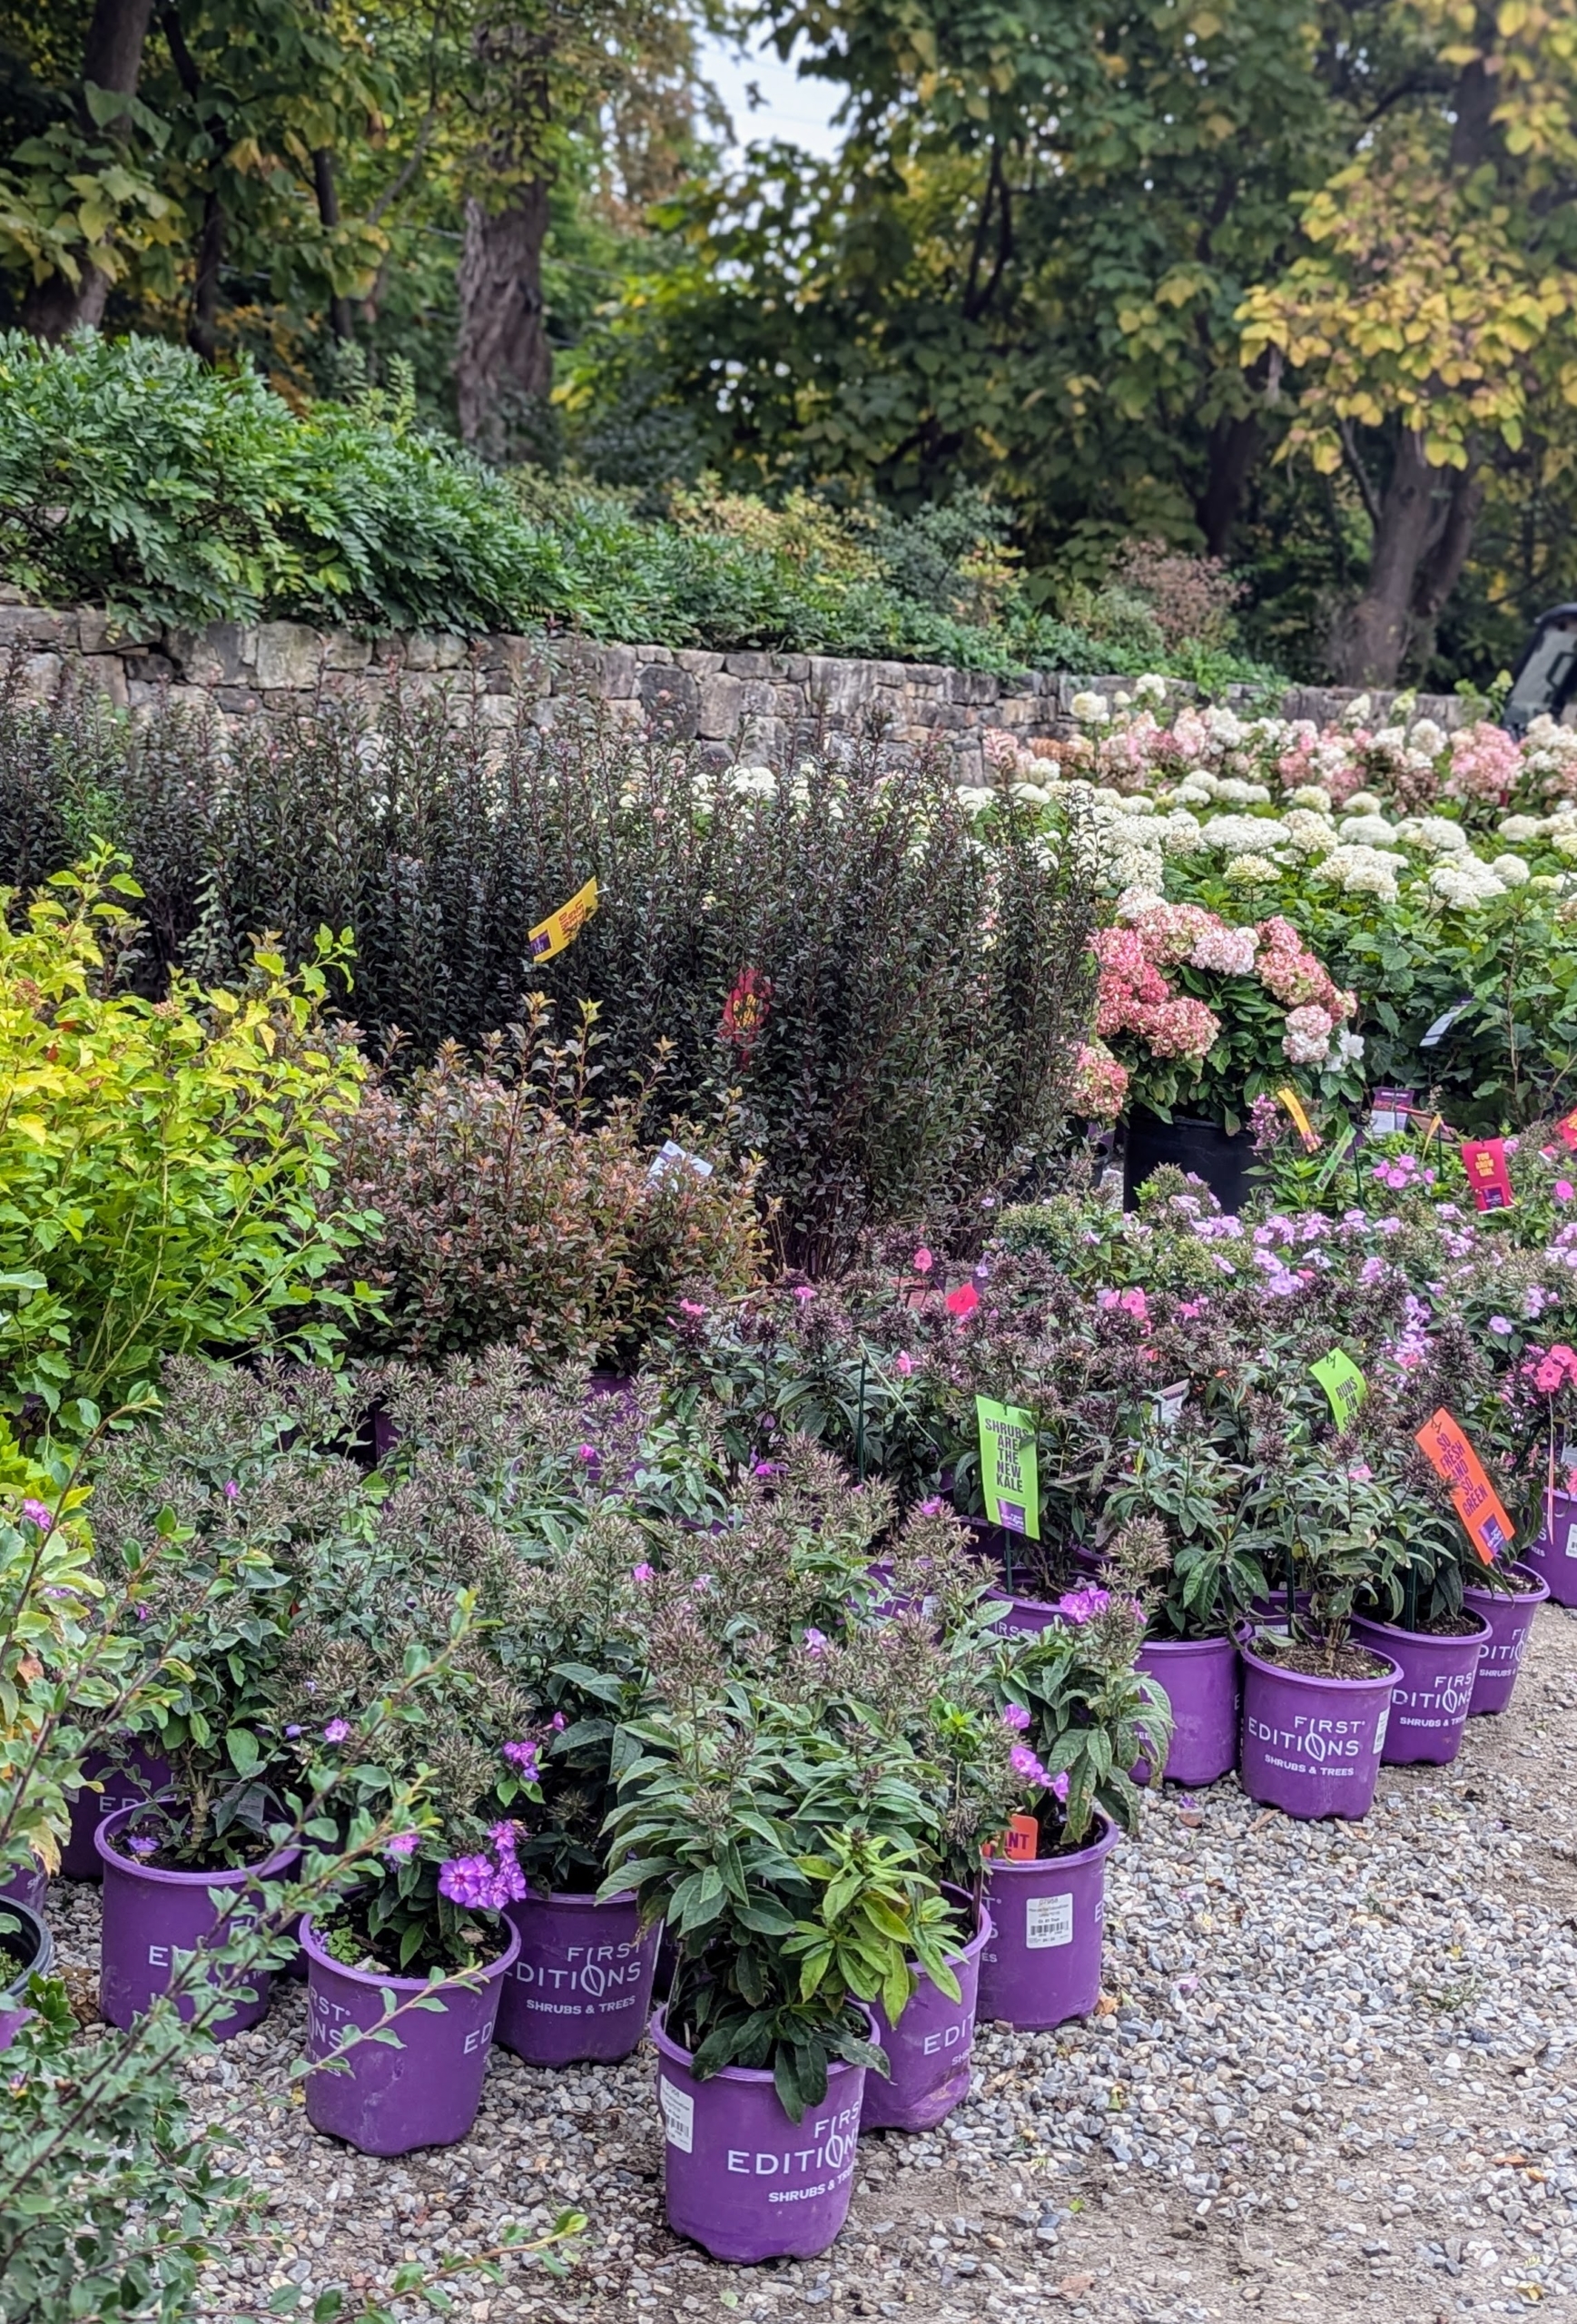
Recently, I received a large delivery from First Editions Shrubs and Trees, a brand of premium evergreens and perennials from the fifth-generation, family and brand owner Bailey Nurseries in St. Paul, Minnesota. These plants will be added to existing gardens and borders around my farm - hydrangeas, phlox, Physocarpus, cotoneaster, arborvitae, and azaleas.
Here are some photos, enjoy.
As a serious and curious gardener, I am always looking for ways to add more beauty and texture to all my garden beds.
I was so excited when this delivery of plants arrived at my farm. Right away, the plants are placed in organized rows according to type so they are easy to see, count, water, feed, and access when it is time to plant.
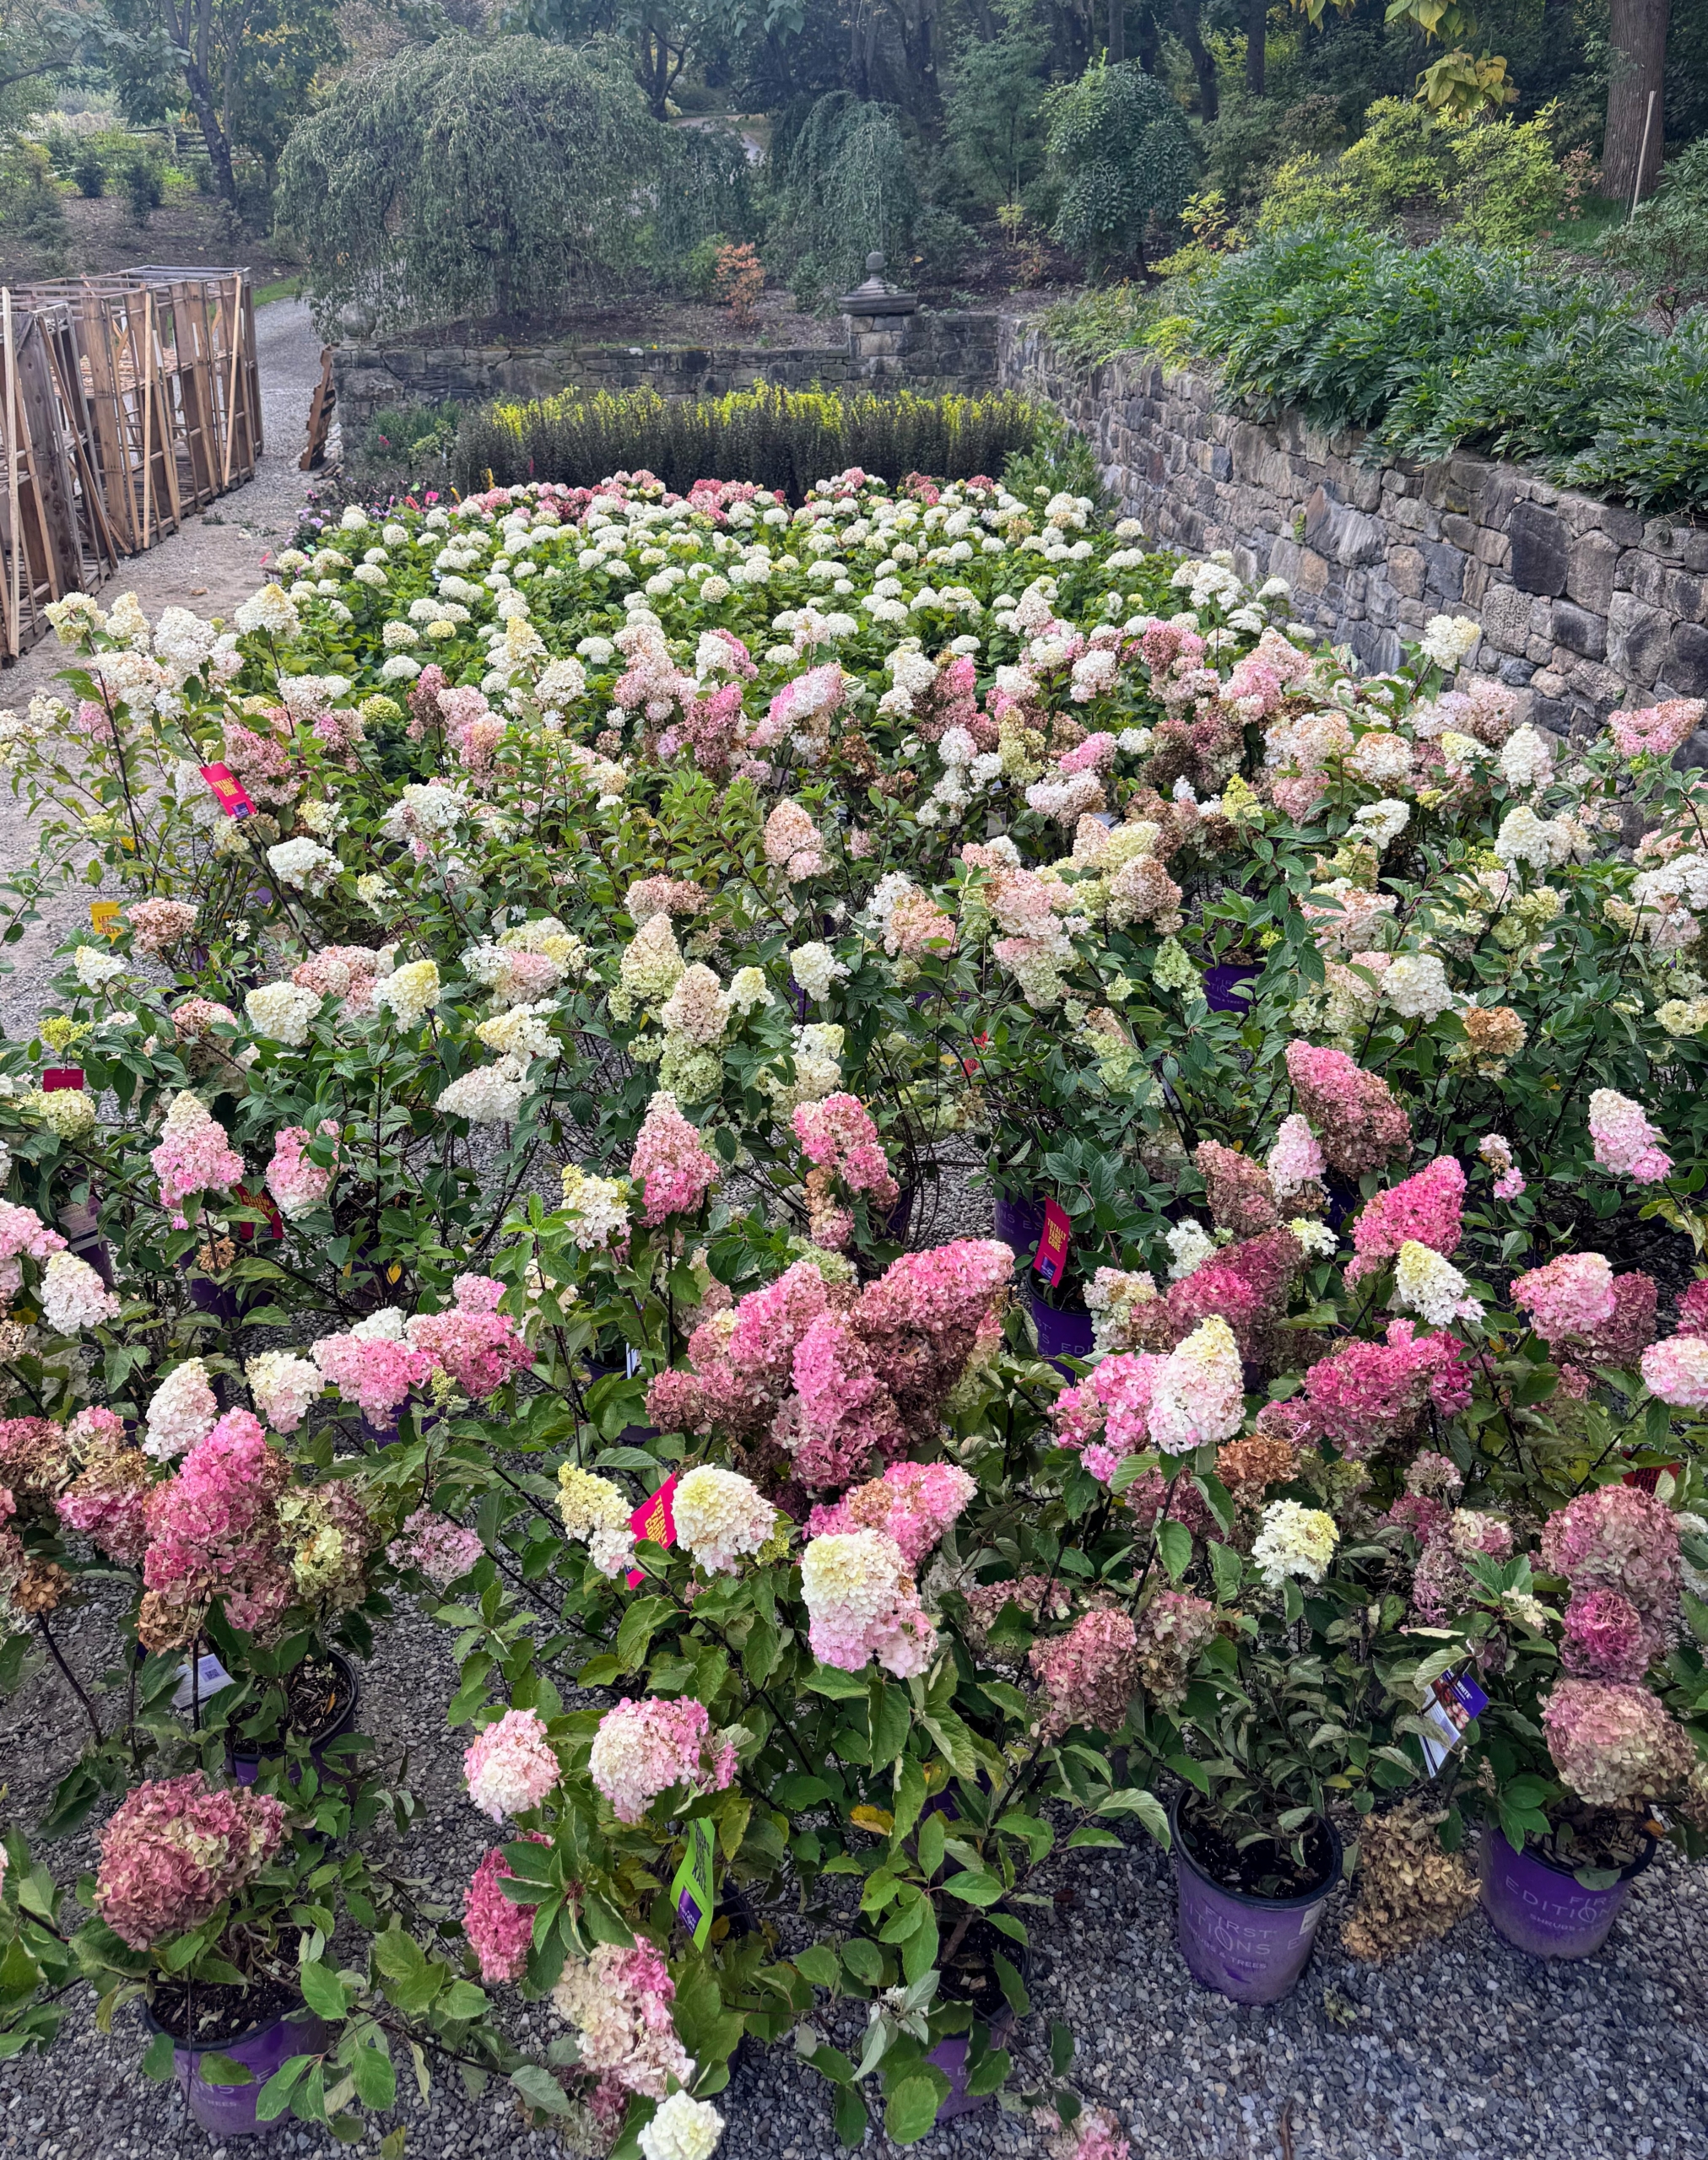
Many in this collection are hydrangeas. Hydrangea, commonly named the hortensia, is a genus of more than 70 species of flowering plants native to Asia and the Americas. Hydrangea flowers bloom from early spring to late autumn.
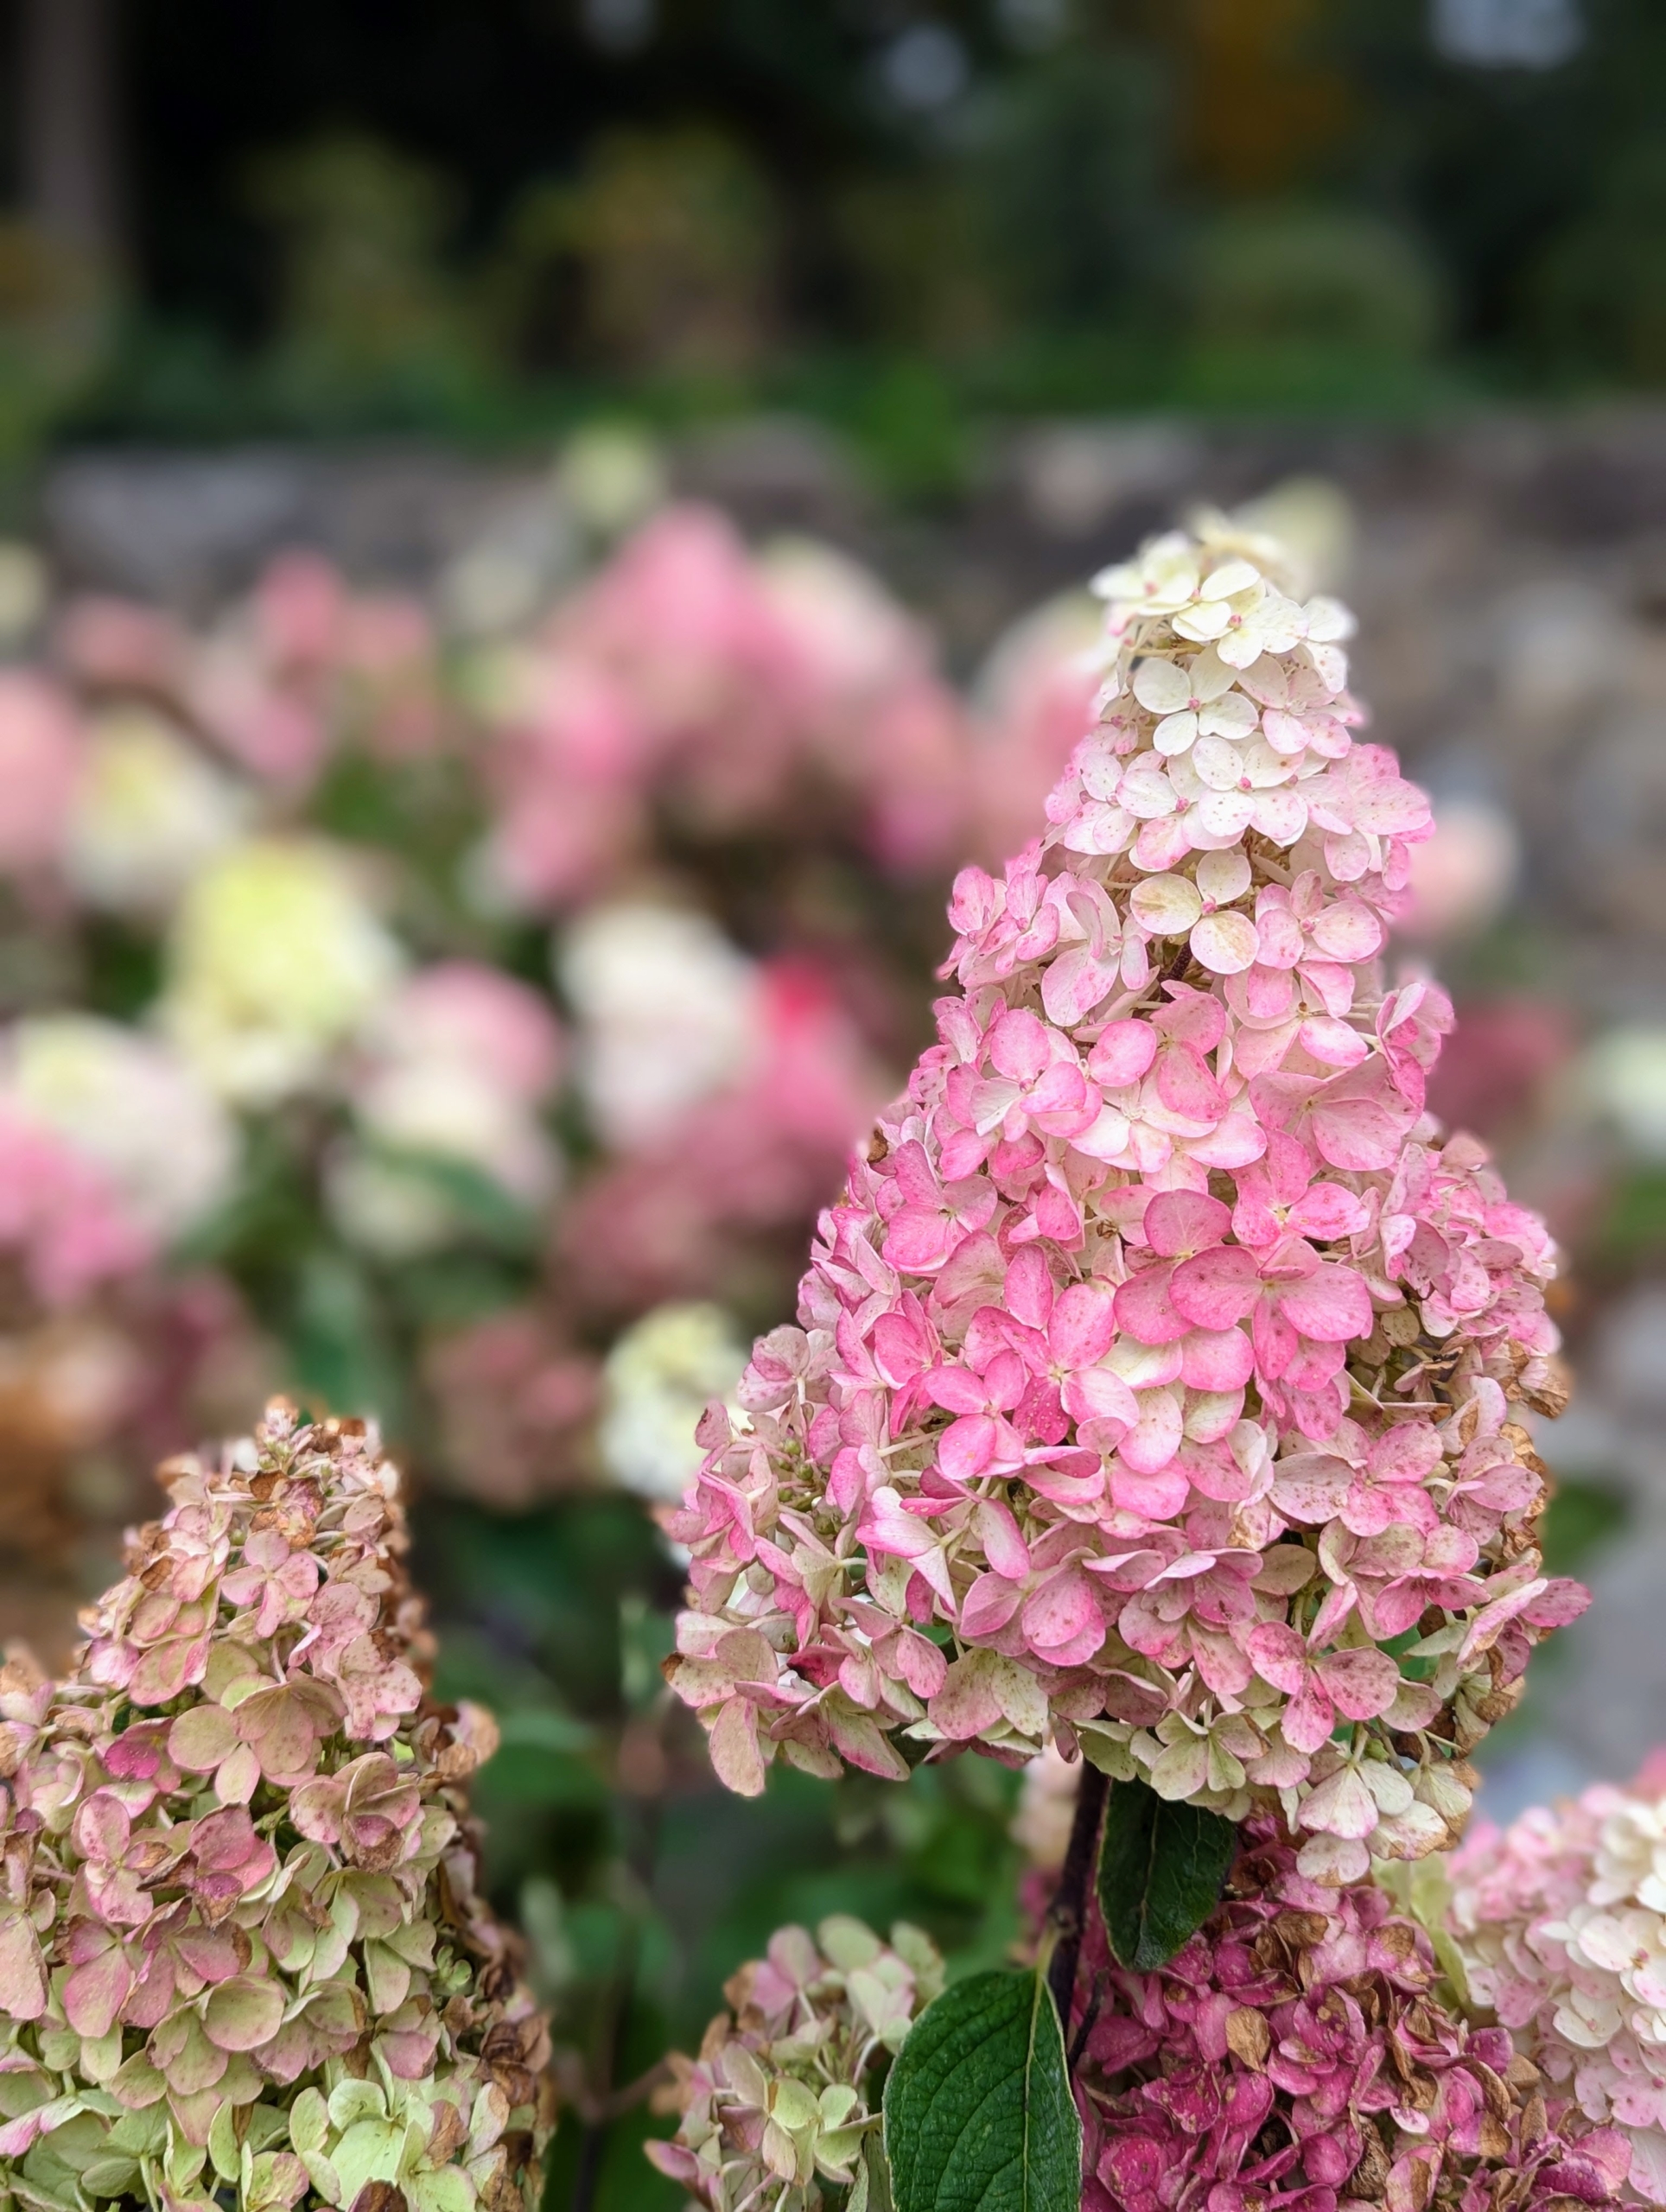
This is a Berry White Panicle Hydrangea, Hydrangea paniculata ‘Renba.’ It has strong, upright stems and large cone-shaped flower panicles. The flower color starts white in July then progresses to dark pink, beginning at the bottom and developing up to the top of the panicle.
Strawberry Sundae is also a panicle hydrangea. This one is perfect in small hedges or as part of mass plantings. The flowers emerge creamy white in midsummer and change to pink as night temperatures cool down.
The Vanilla Strawberry™ Panicle Hydrangea features enormous flower heads that are held upright – first white, then pink, then red in later fall.
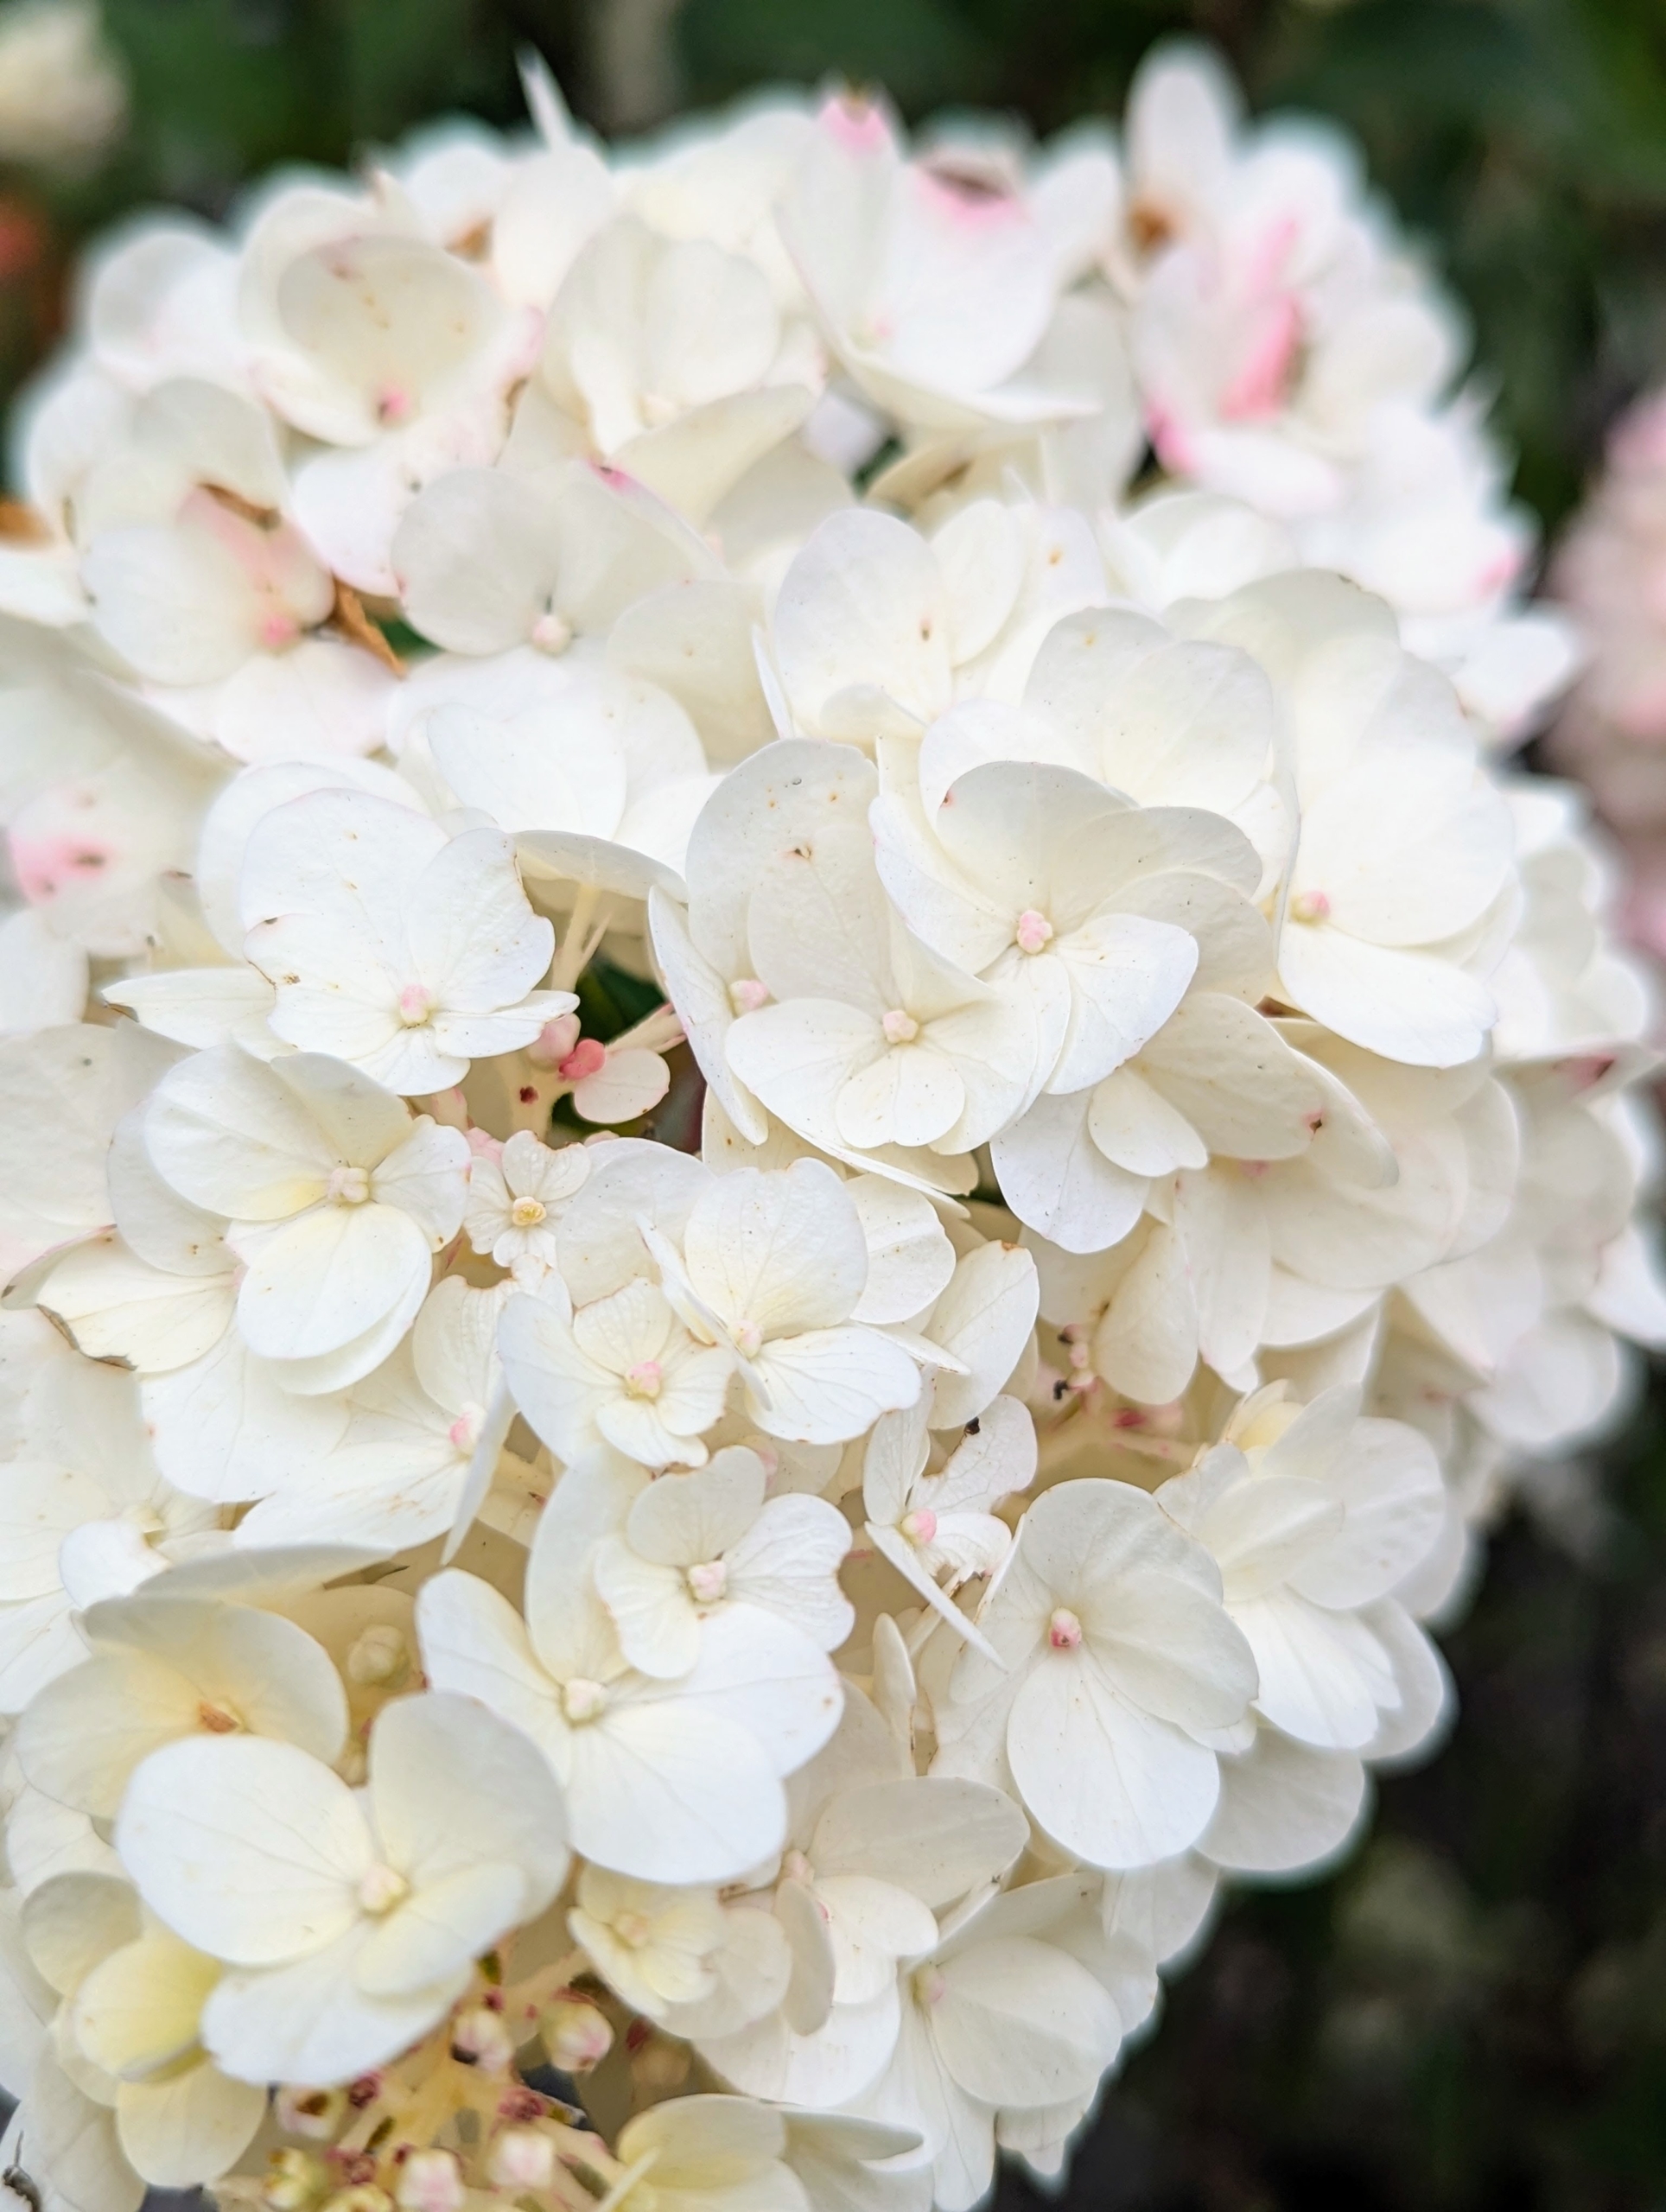
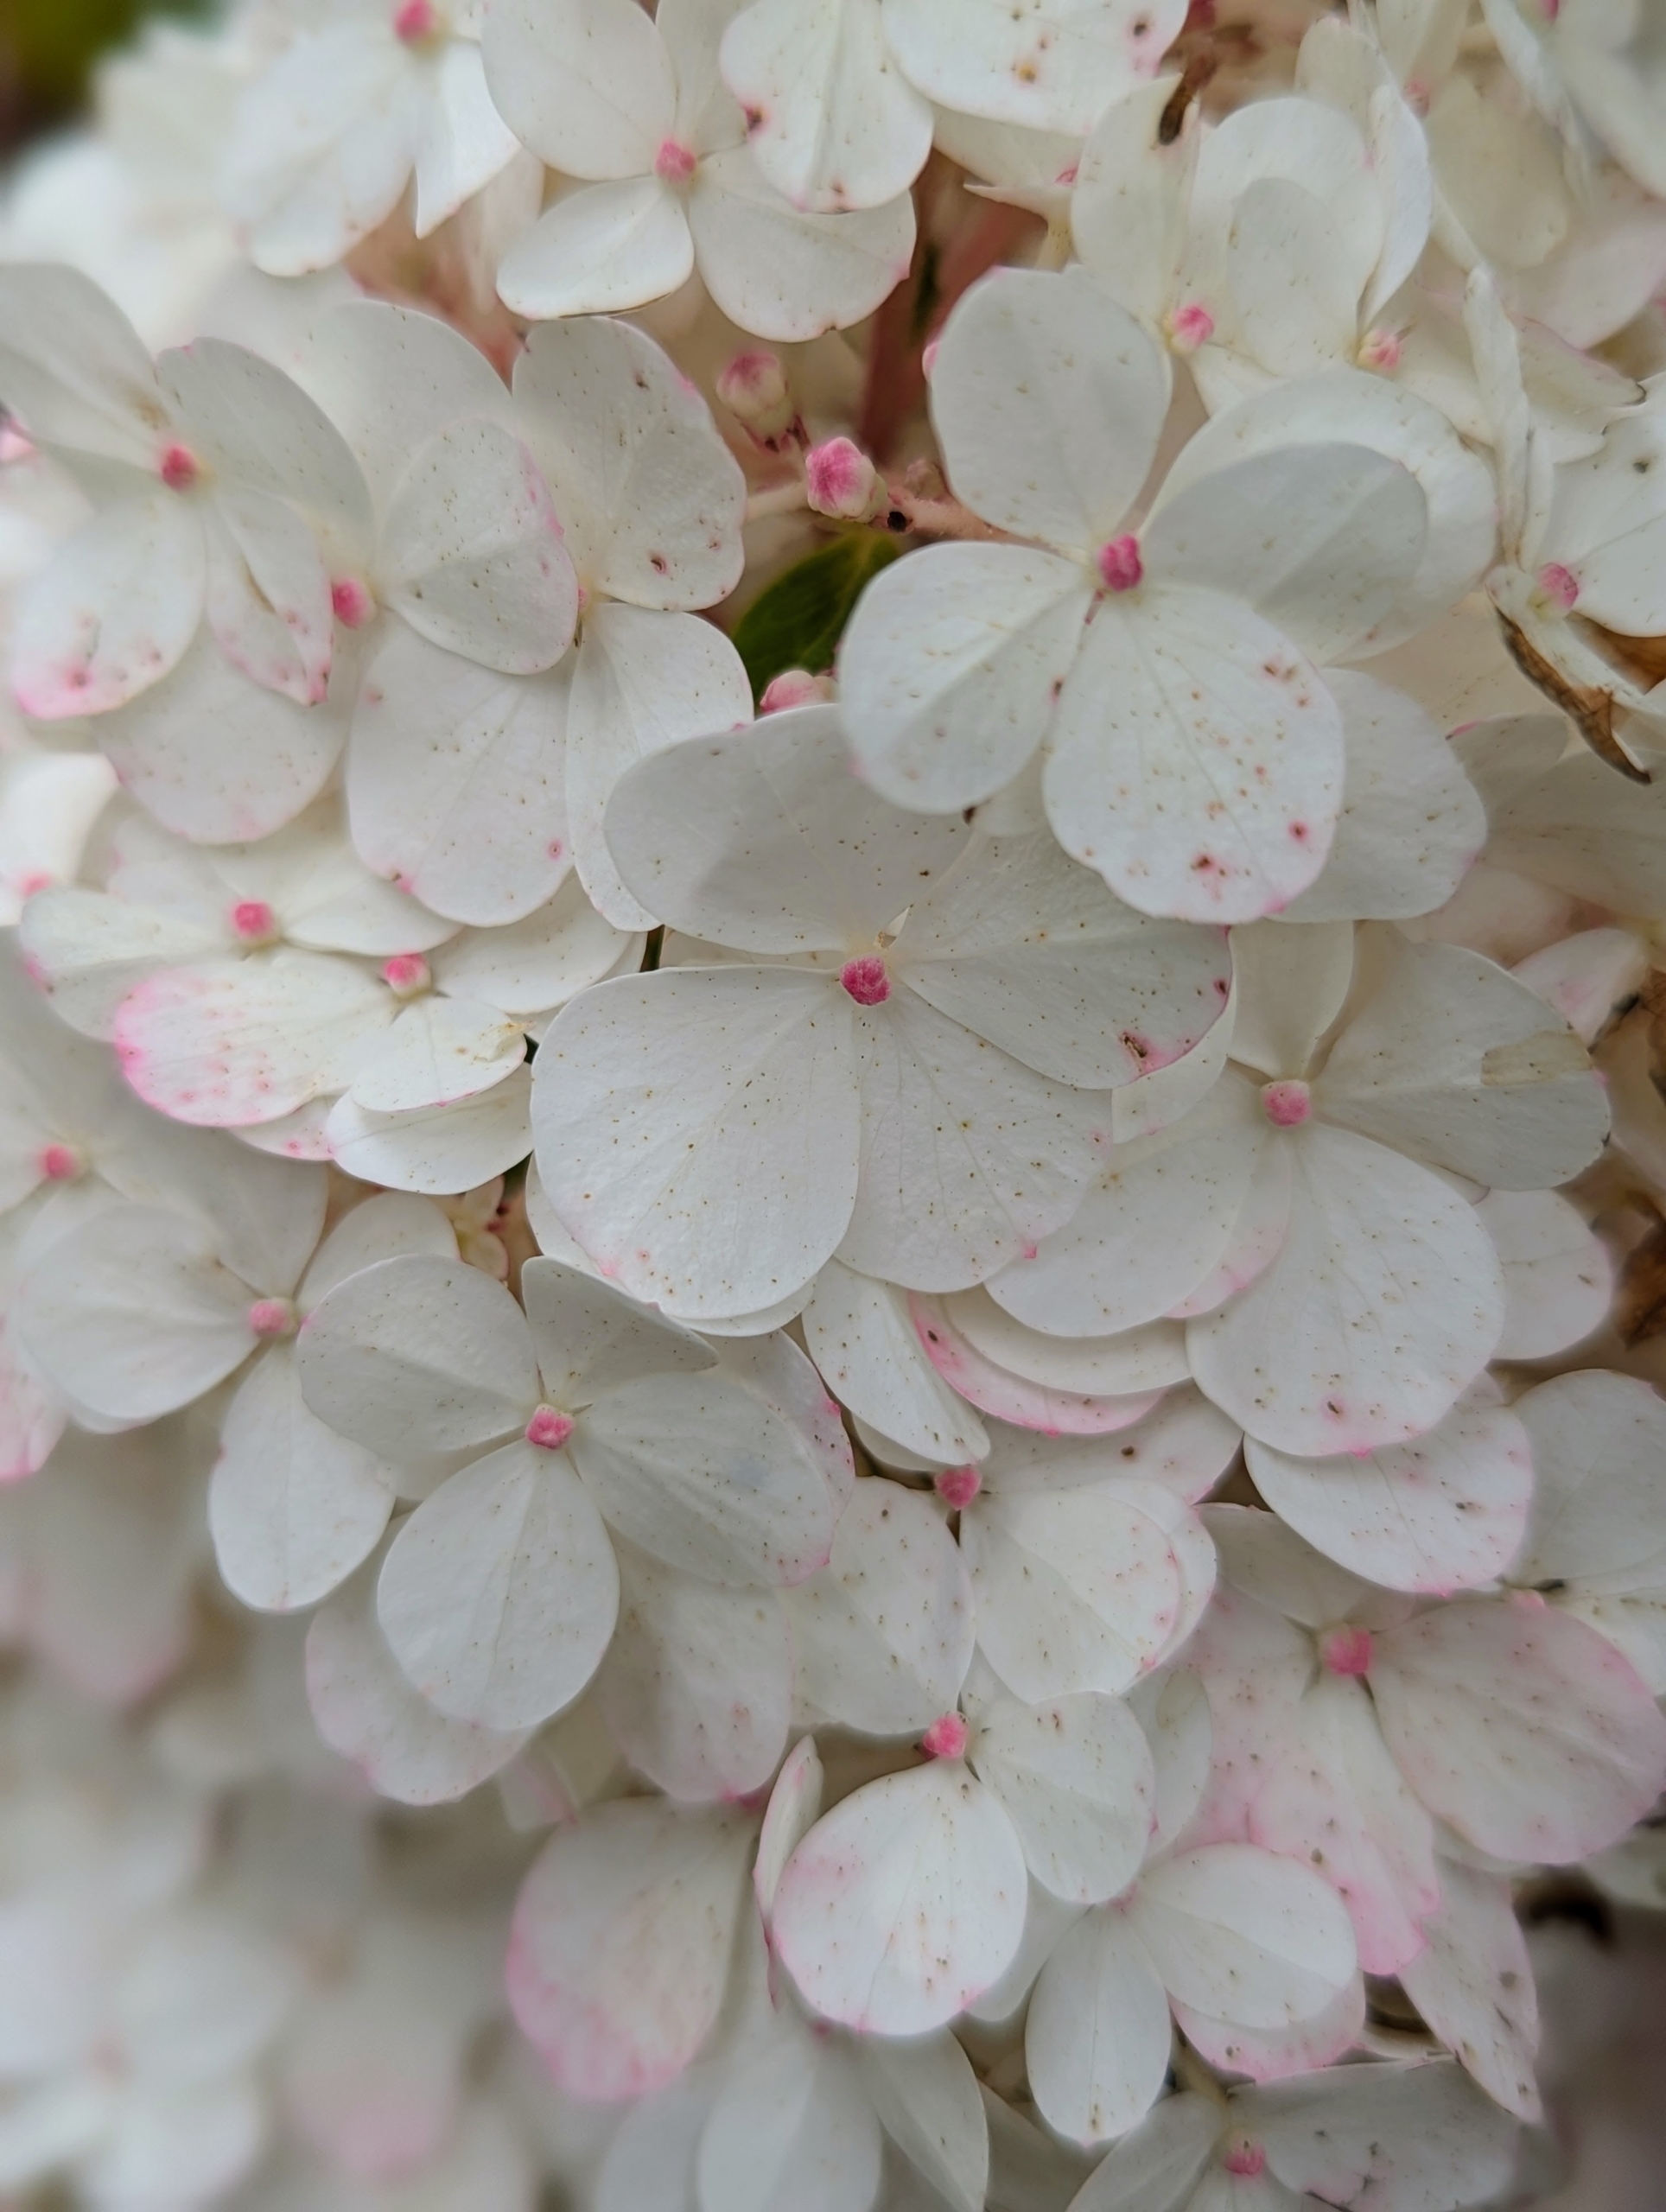
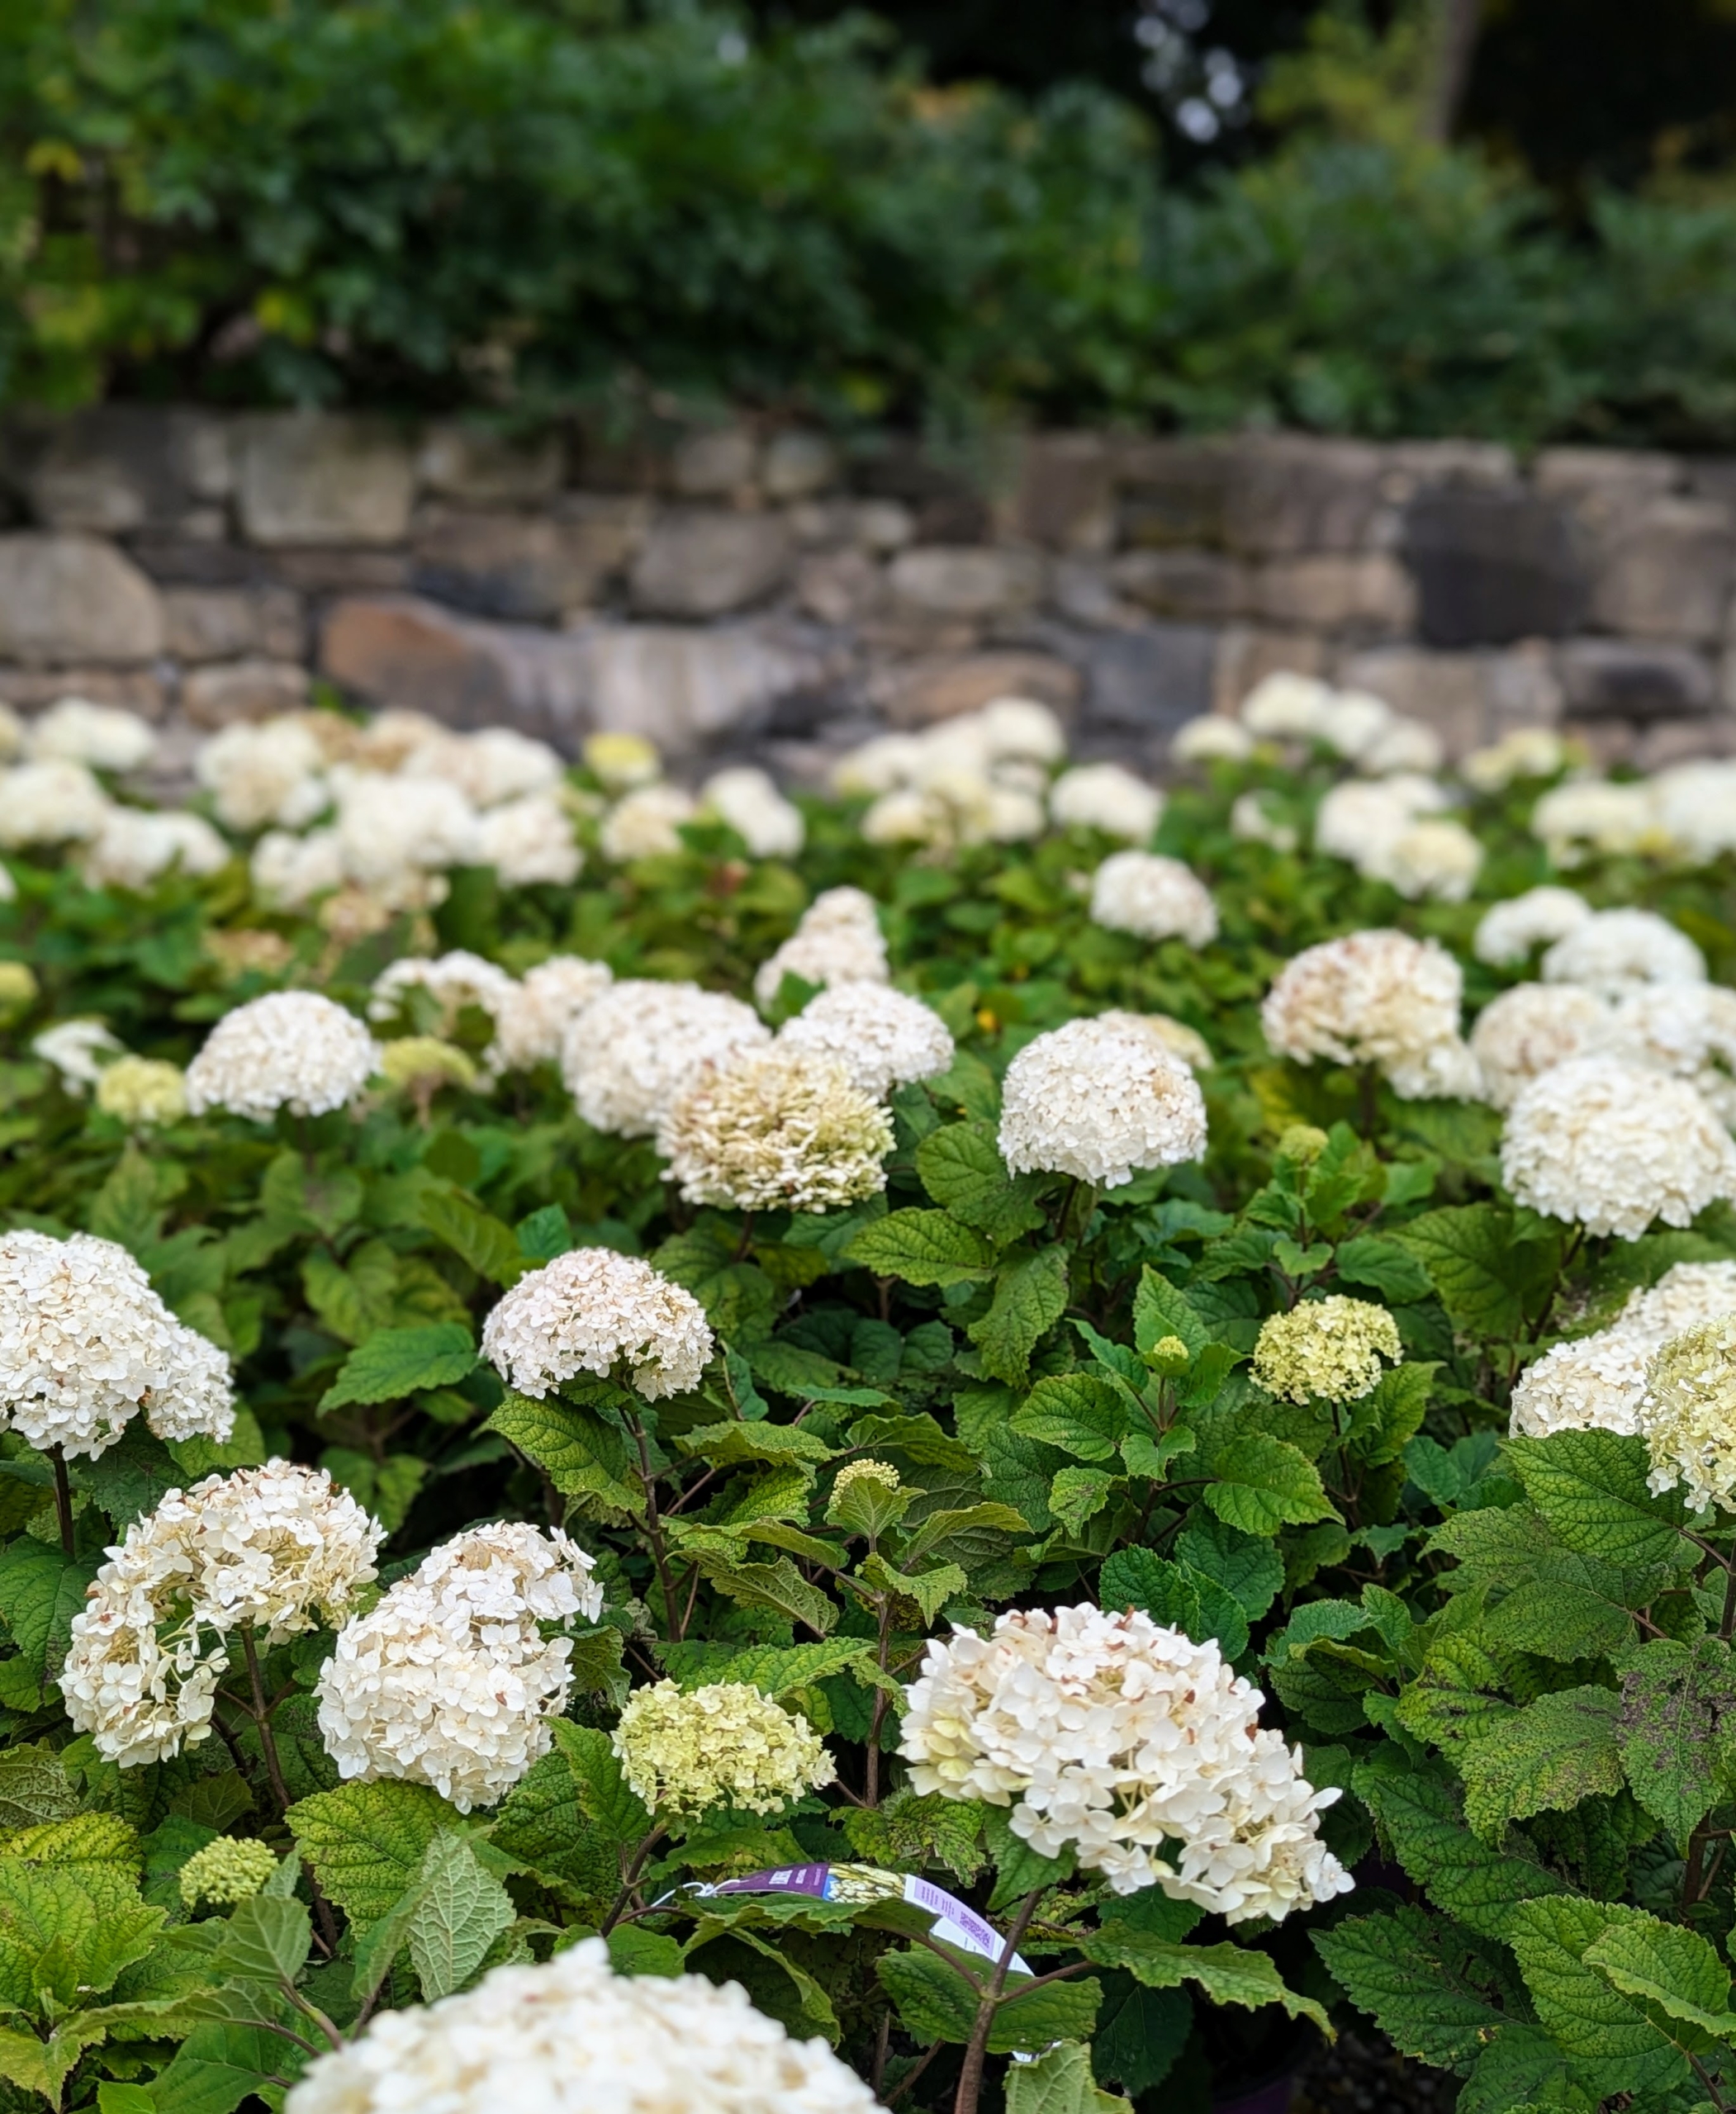
And new from First Editions is the FlowerFull Smooth Hydrangea. It was nice to see them all in bloom when they arrived at the farm.
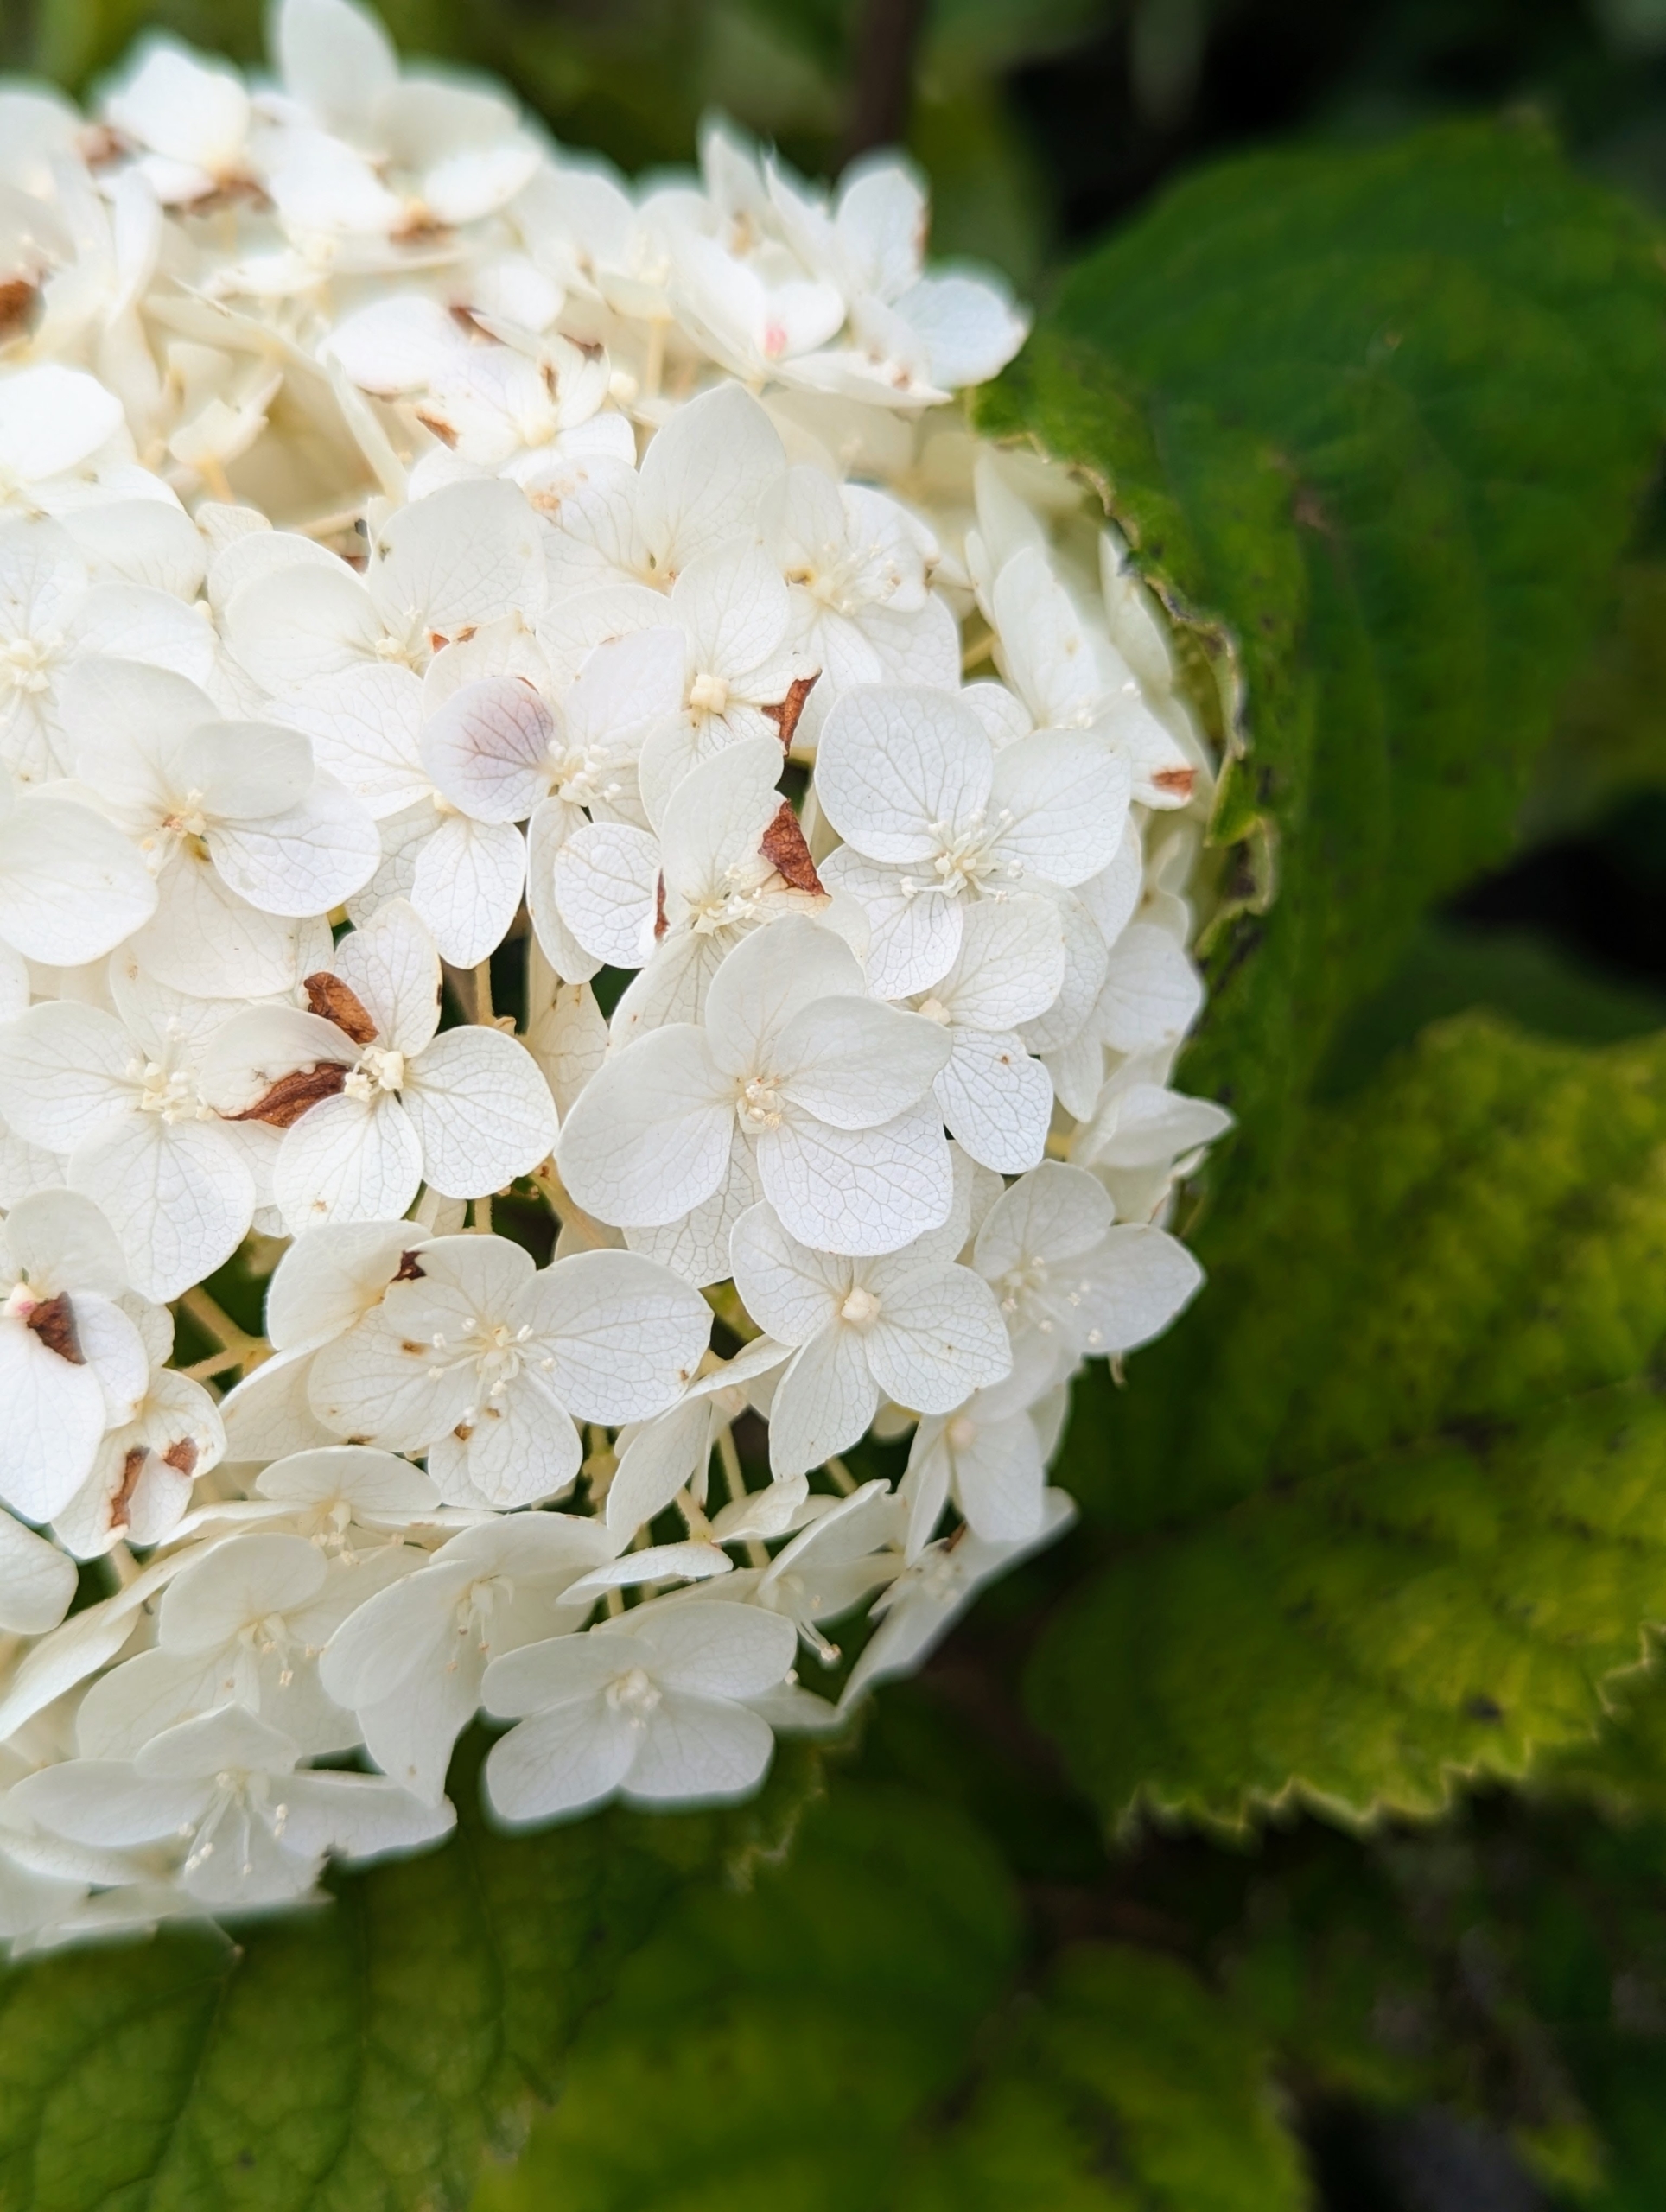
Born in a tight cluster, the blossoms of FlowerFull are initially green and open to a creamy white.
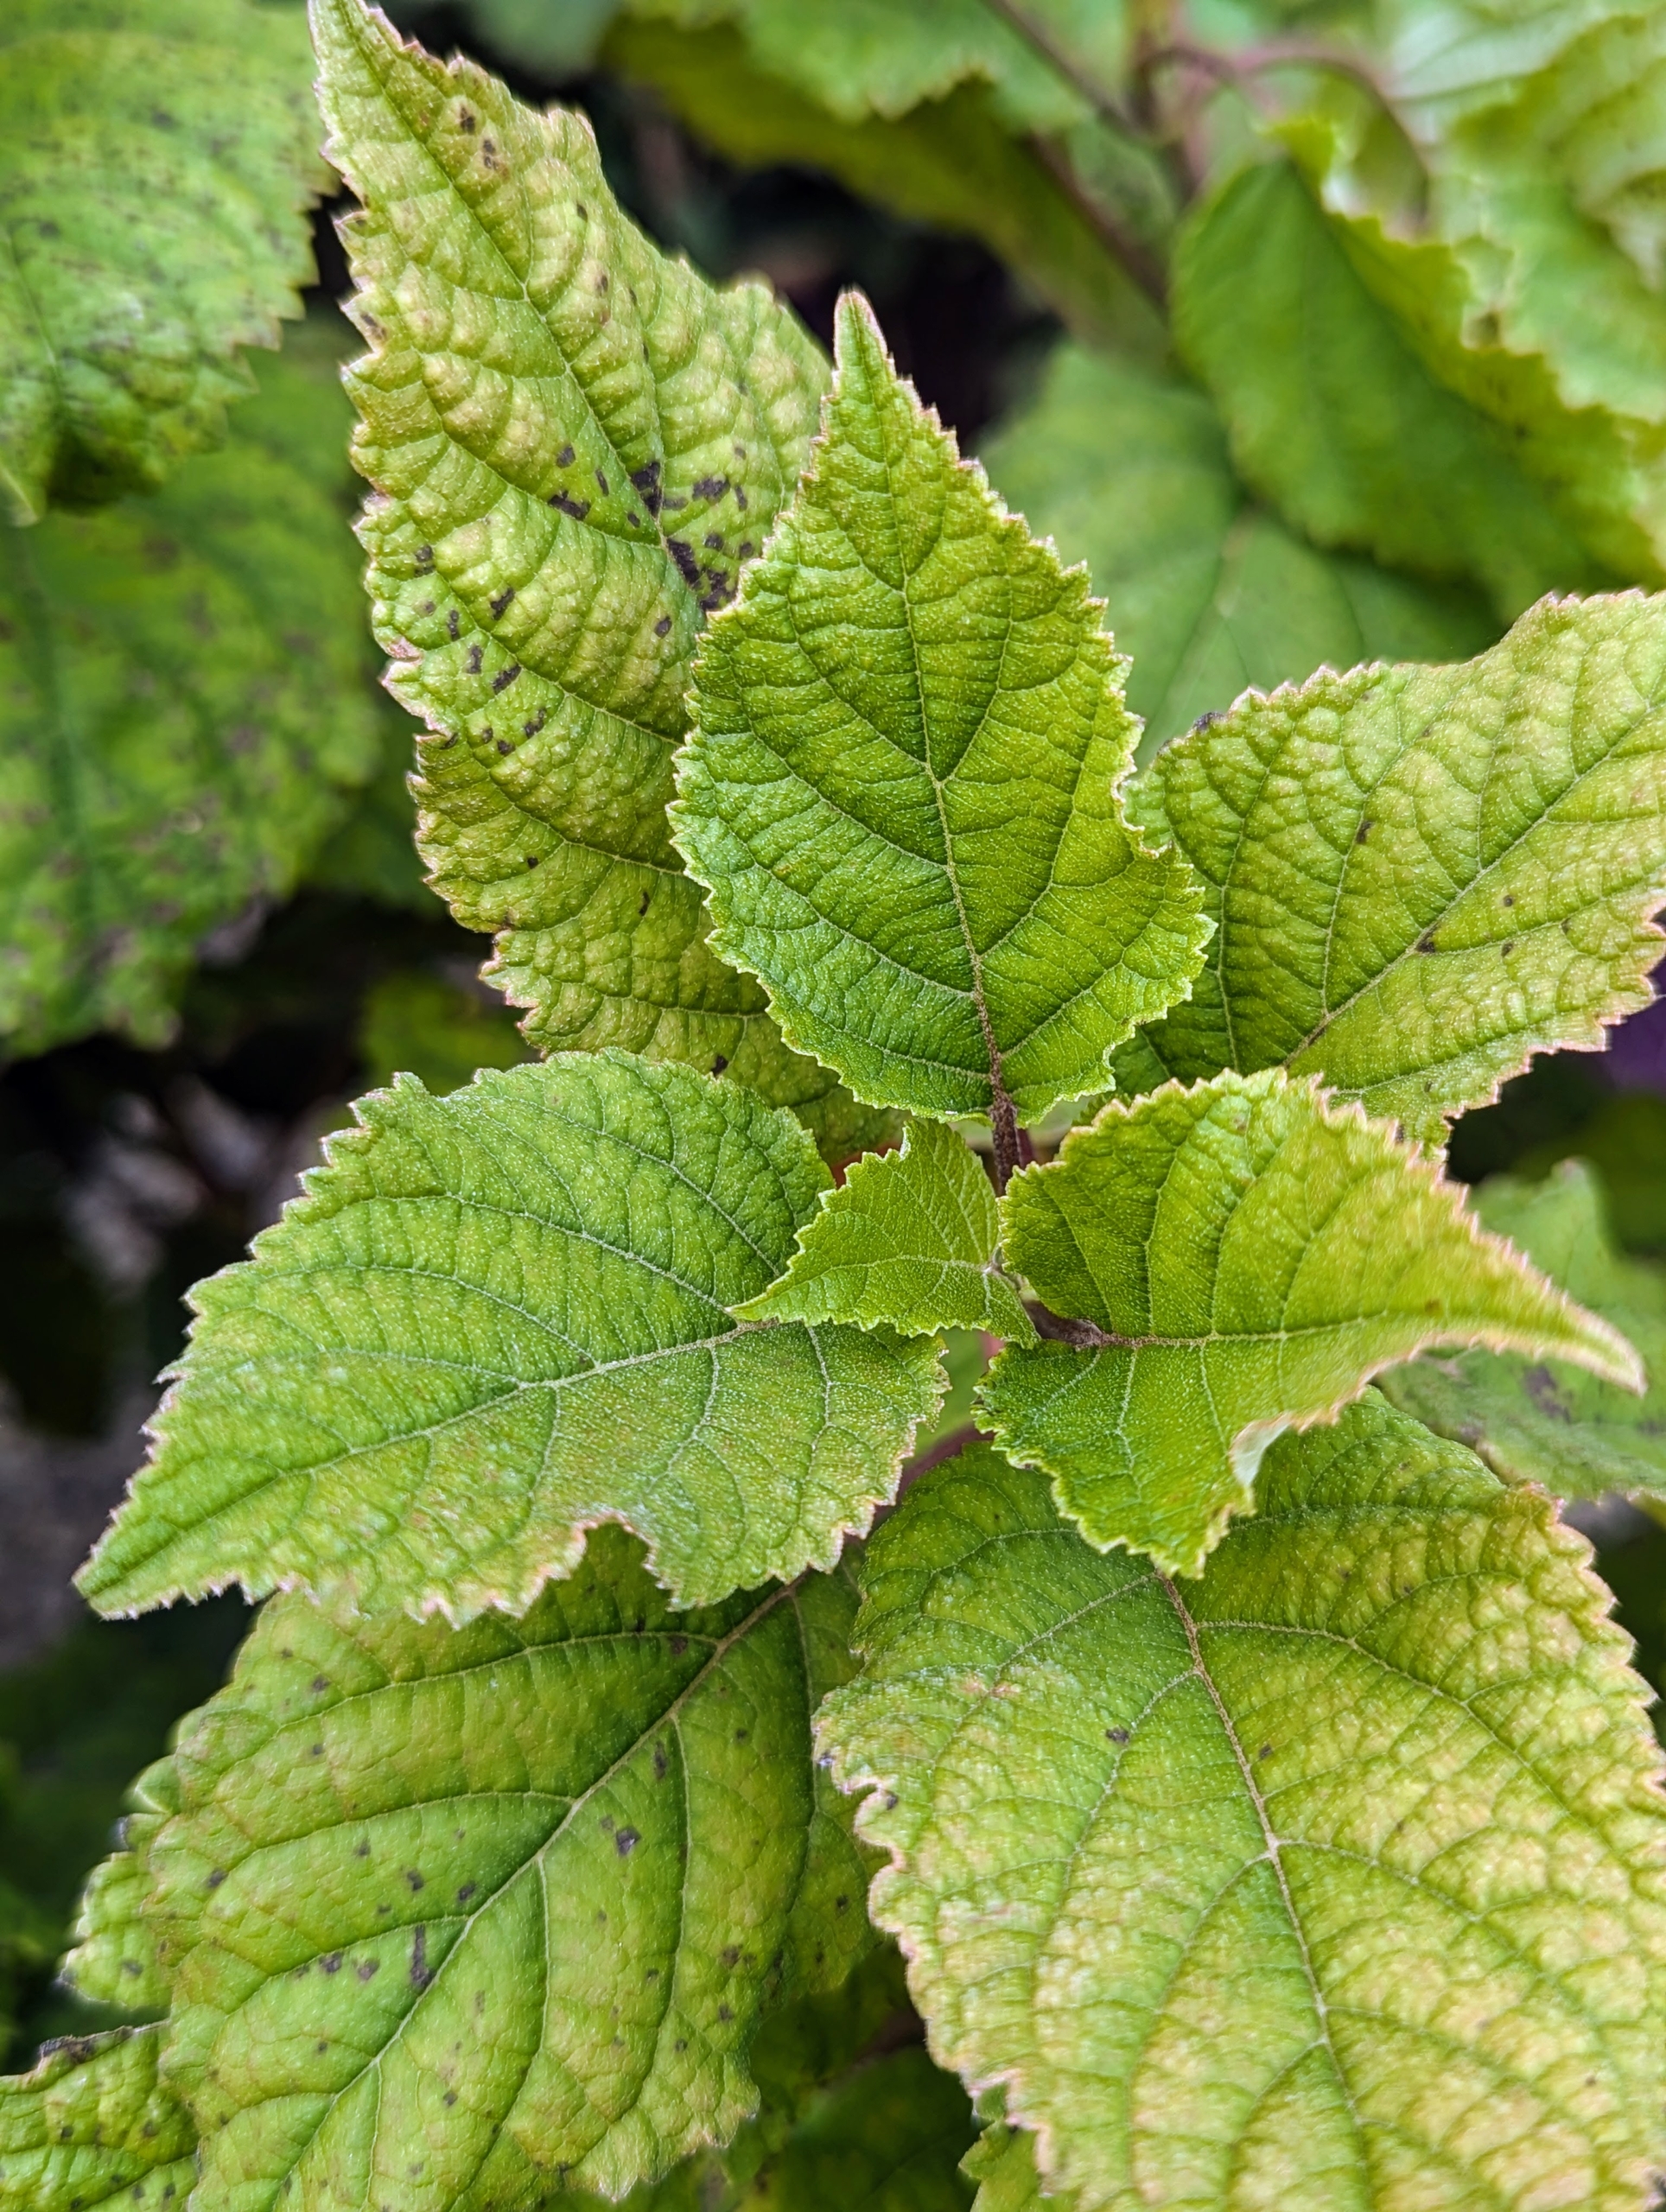
Its leaves are more rounded, slightly heart shaped with a matte surface.
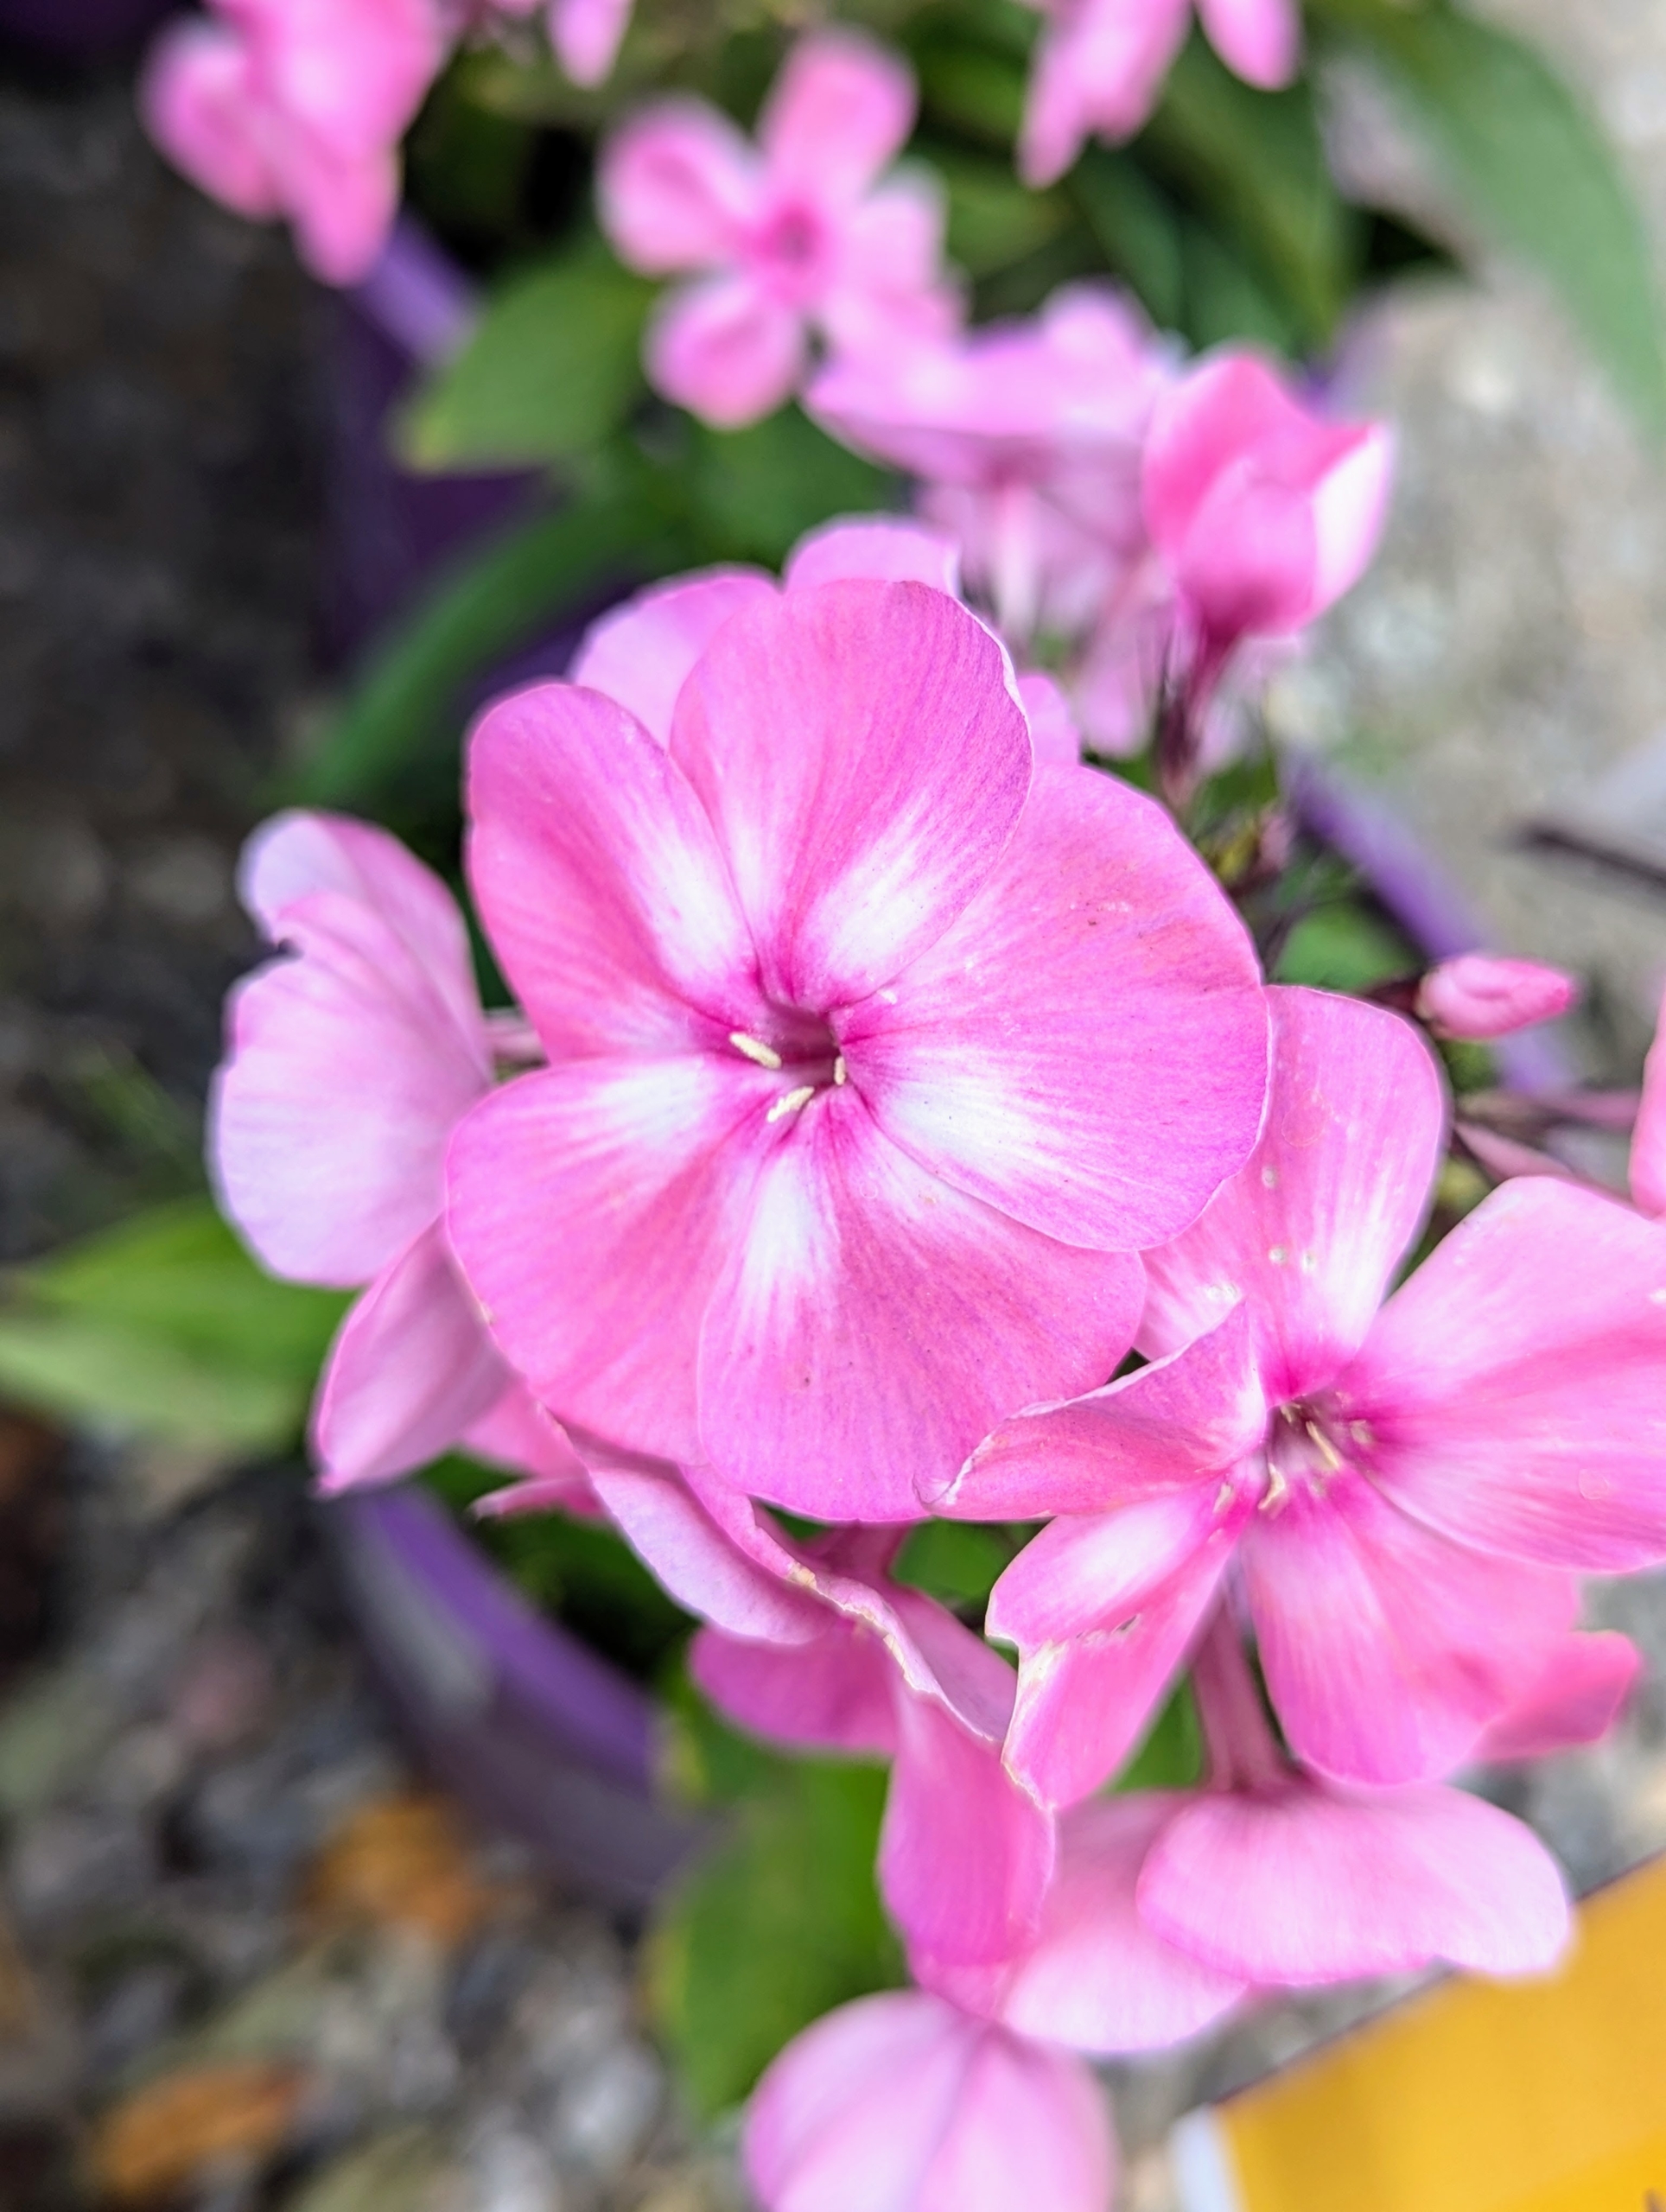
Phlox is a hardy, long-lived perennial that blooms from mid-summer to early fall. I grow a lot of phlox in my flower garden. This Bubblegum Pink Phlox is fragrant with bright blossoms accentuated with dark pink eyes.
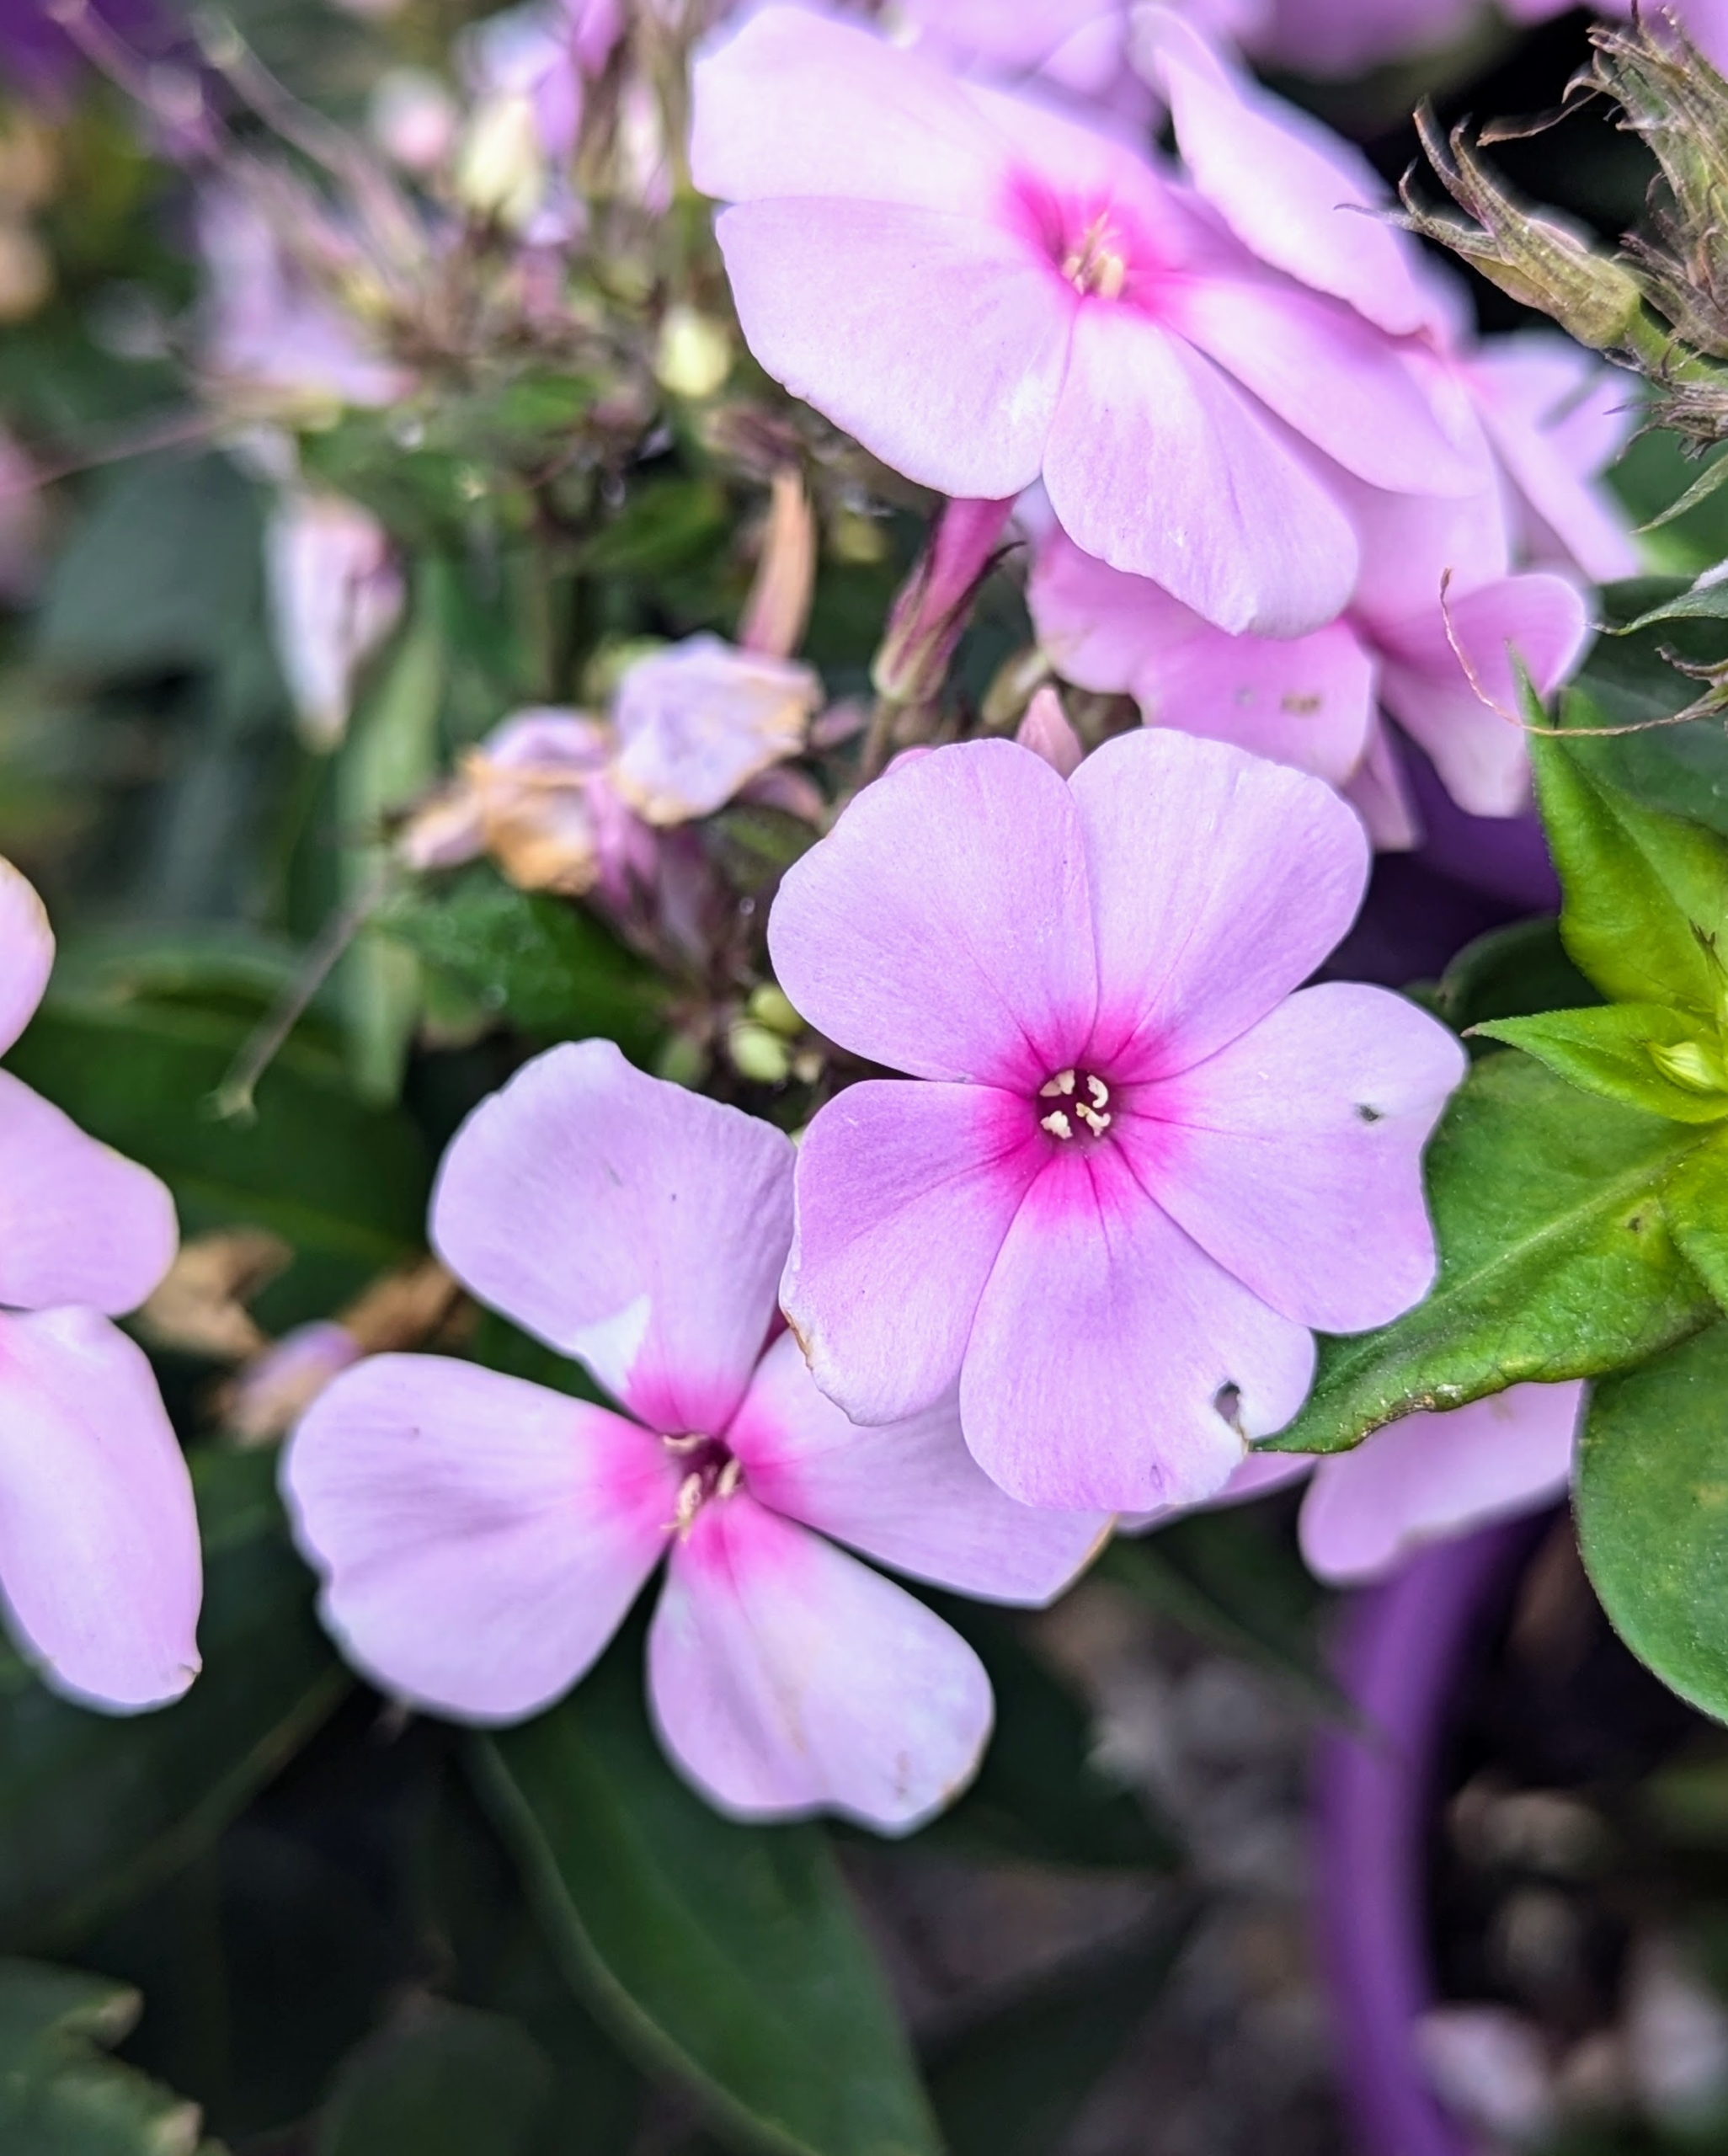
Cotton Candy Phlox, Phlox paniculata ‘Ditomfav,’ is also bright pink.
This variety has soft lavender-pink flowers with cotton candy centers that bloom in the summer. Phlox is mildew resistant, compact, and wildly floriferous.
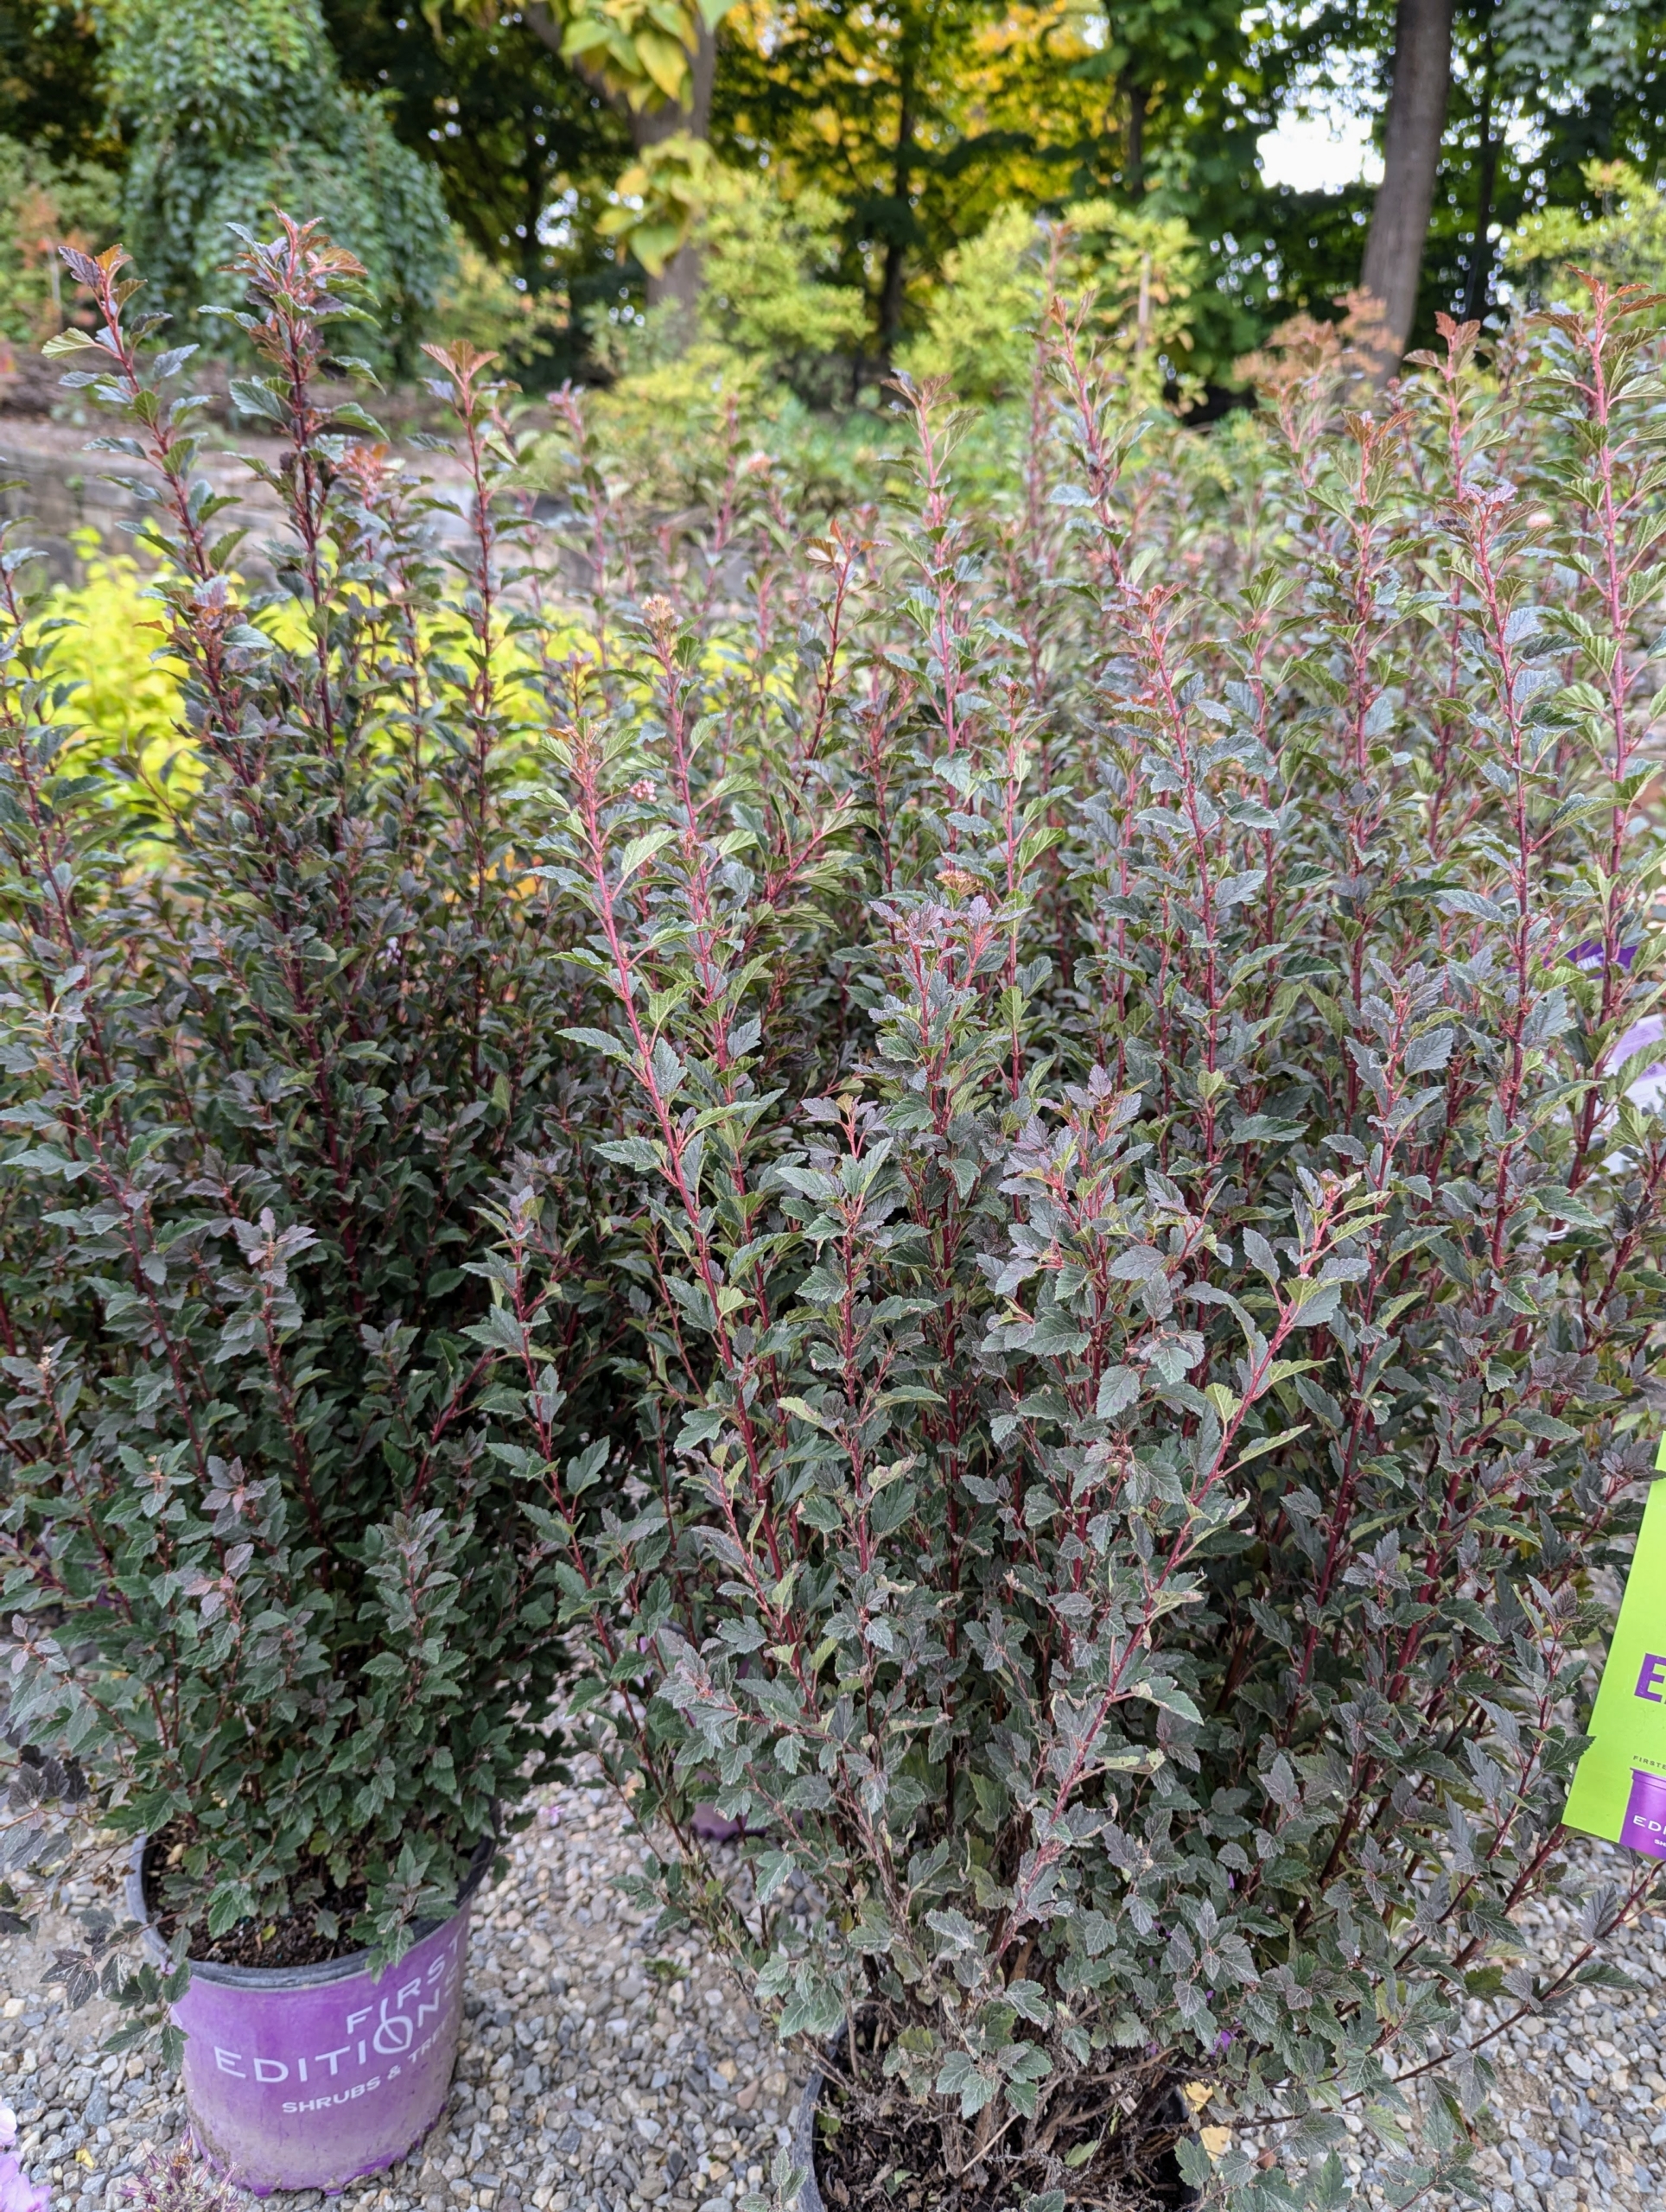
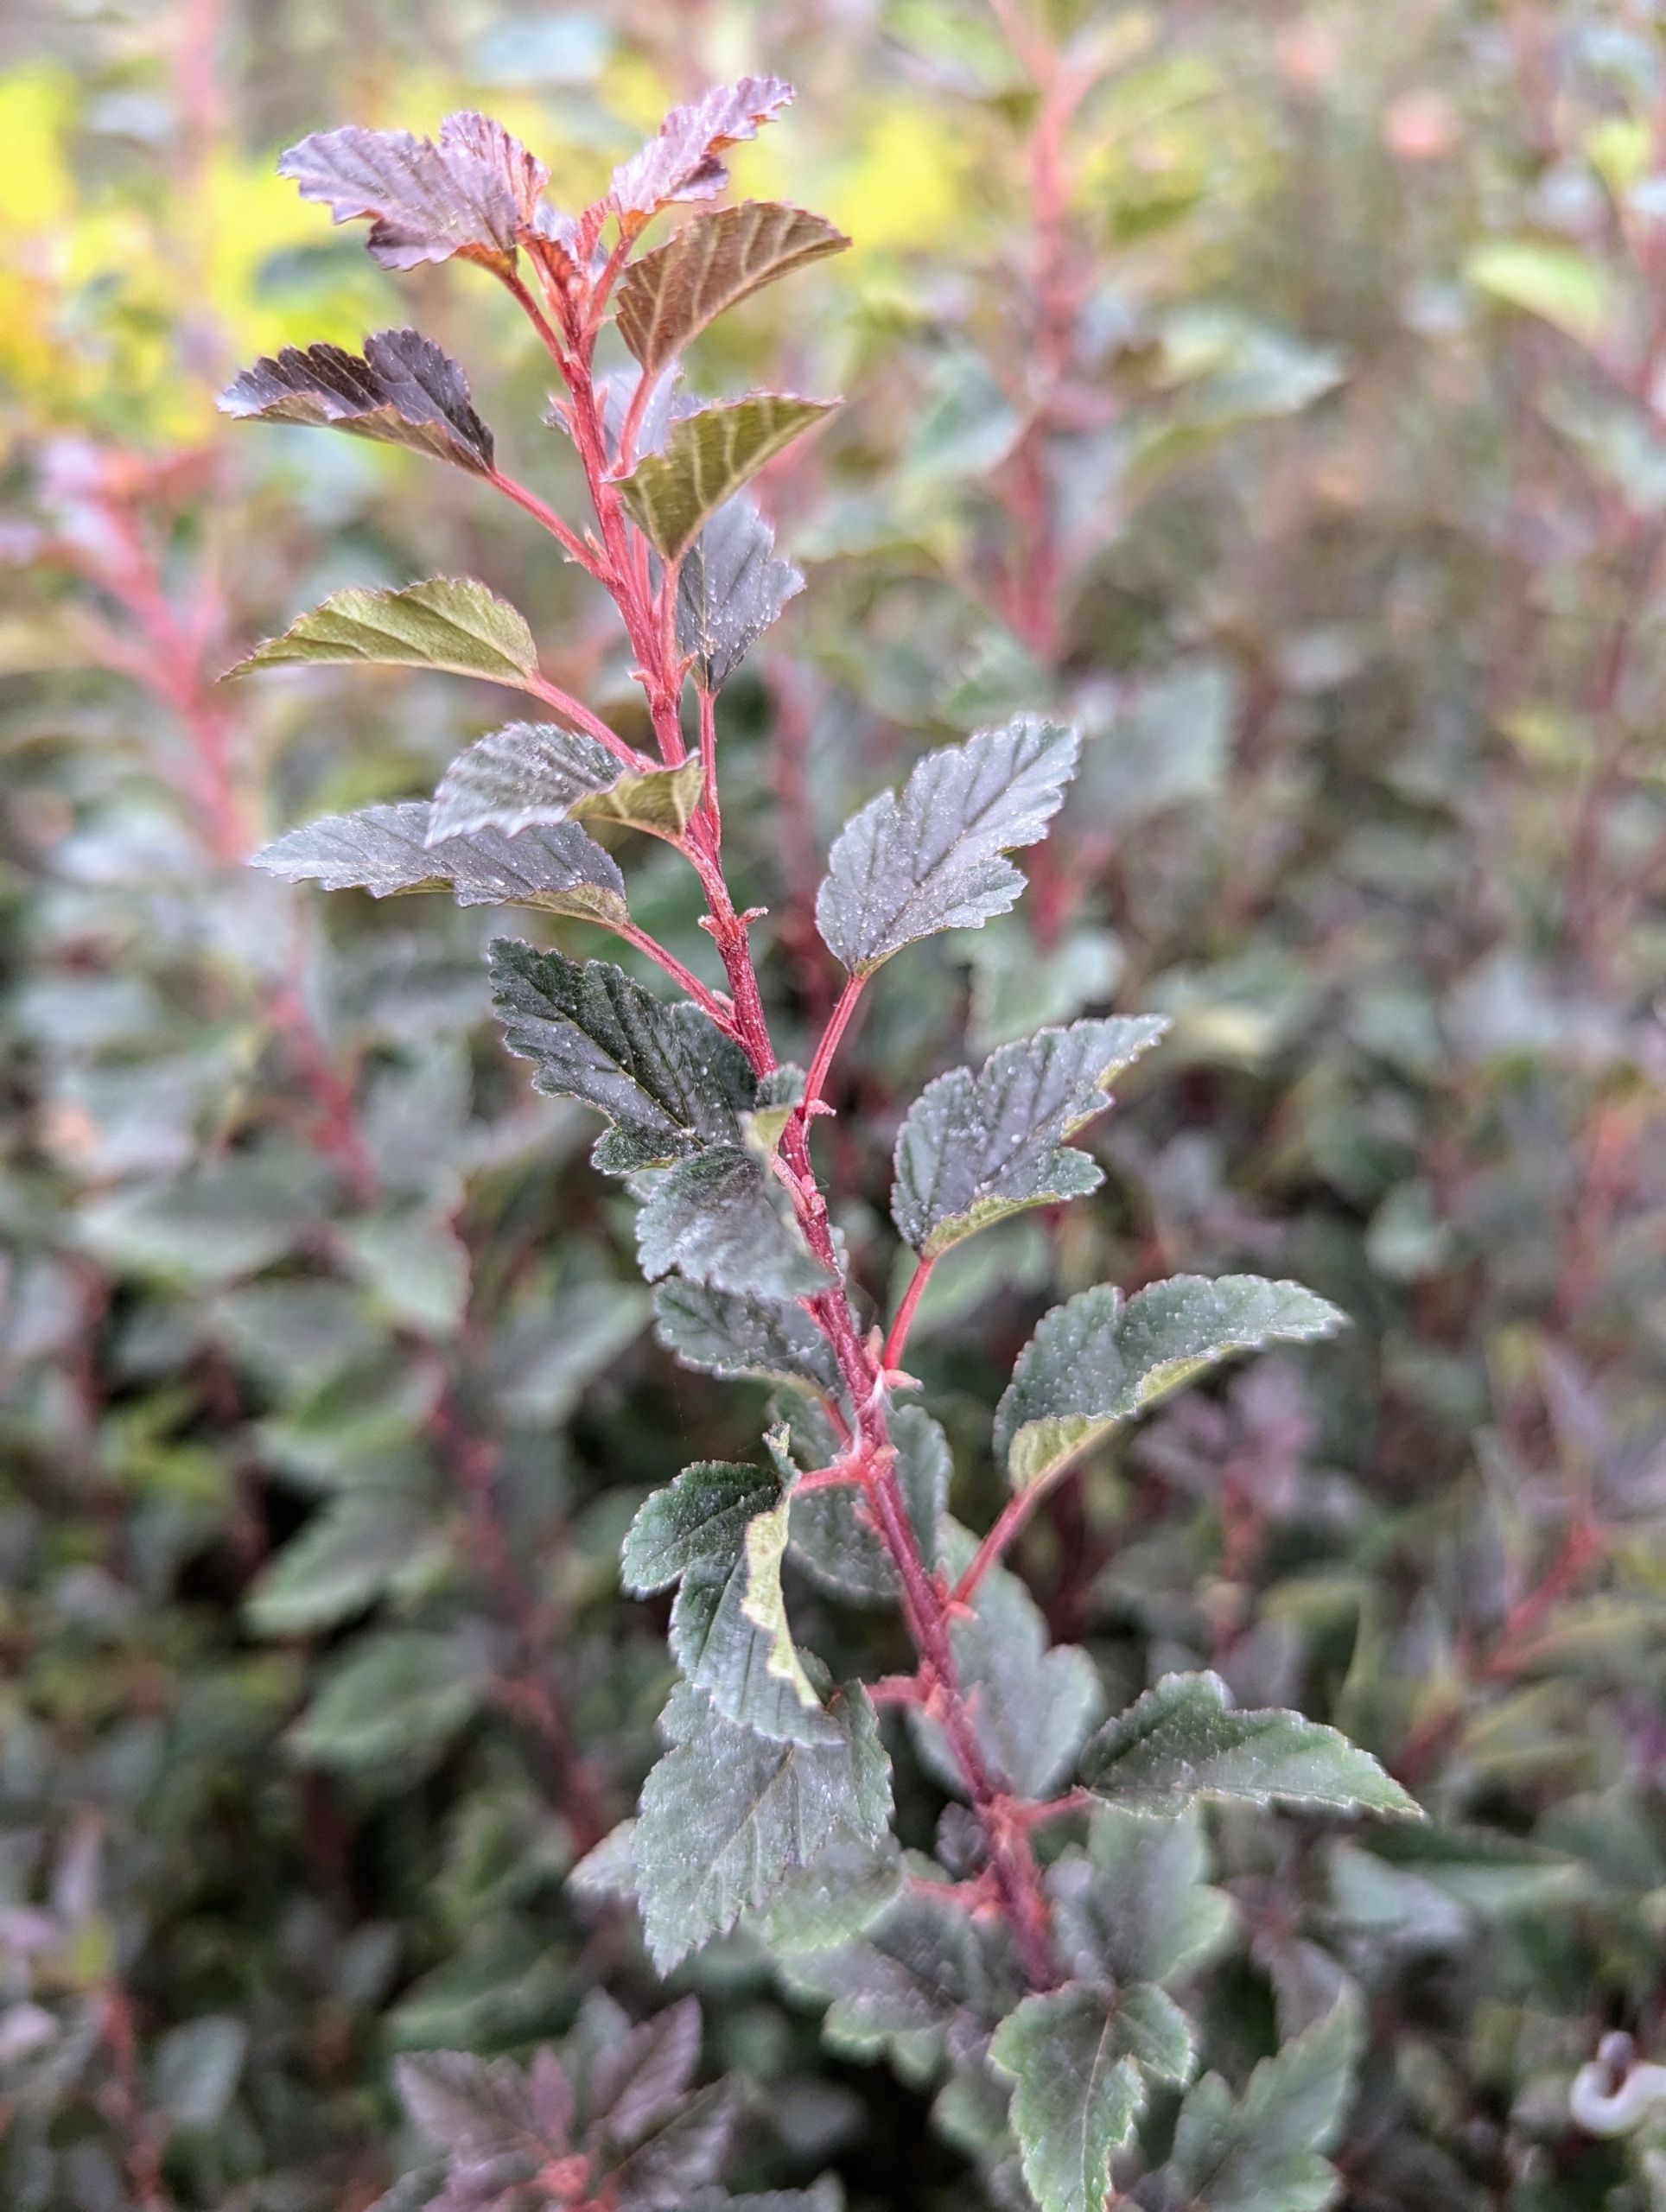
Physocarpus, commonly called ninebark, is a genus of flowering plants in the family Rosaceae, native to North America and northeastern Asia. Ninebarks are large shrubs that grow to about 10′ tall and wide. They get their common name from the bark, which sheds in reddish-brown strips. This one is Little Devil Ninebark.
Little Devil Ninebark has an upright spreading habit and fine-textured, dark foliage.
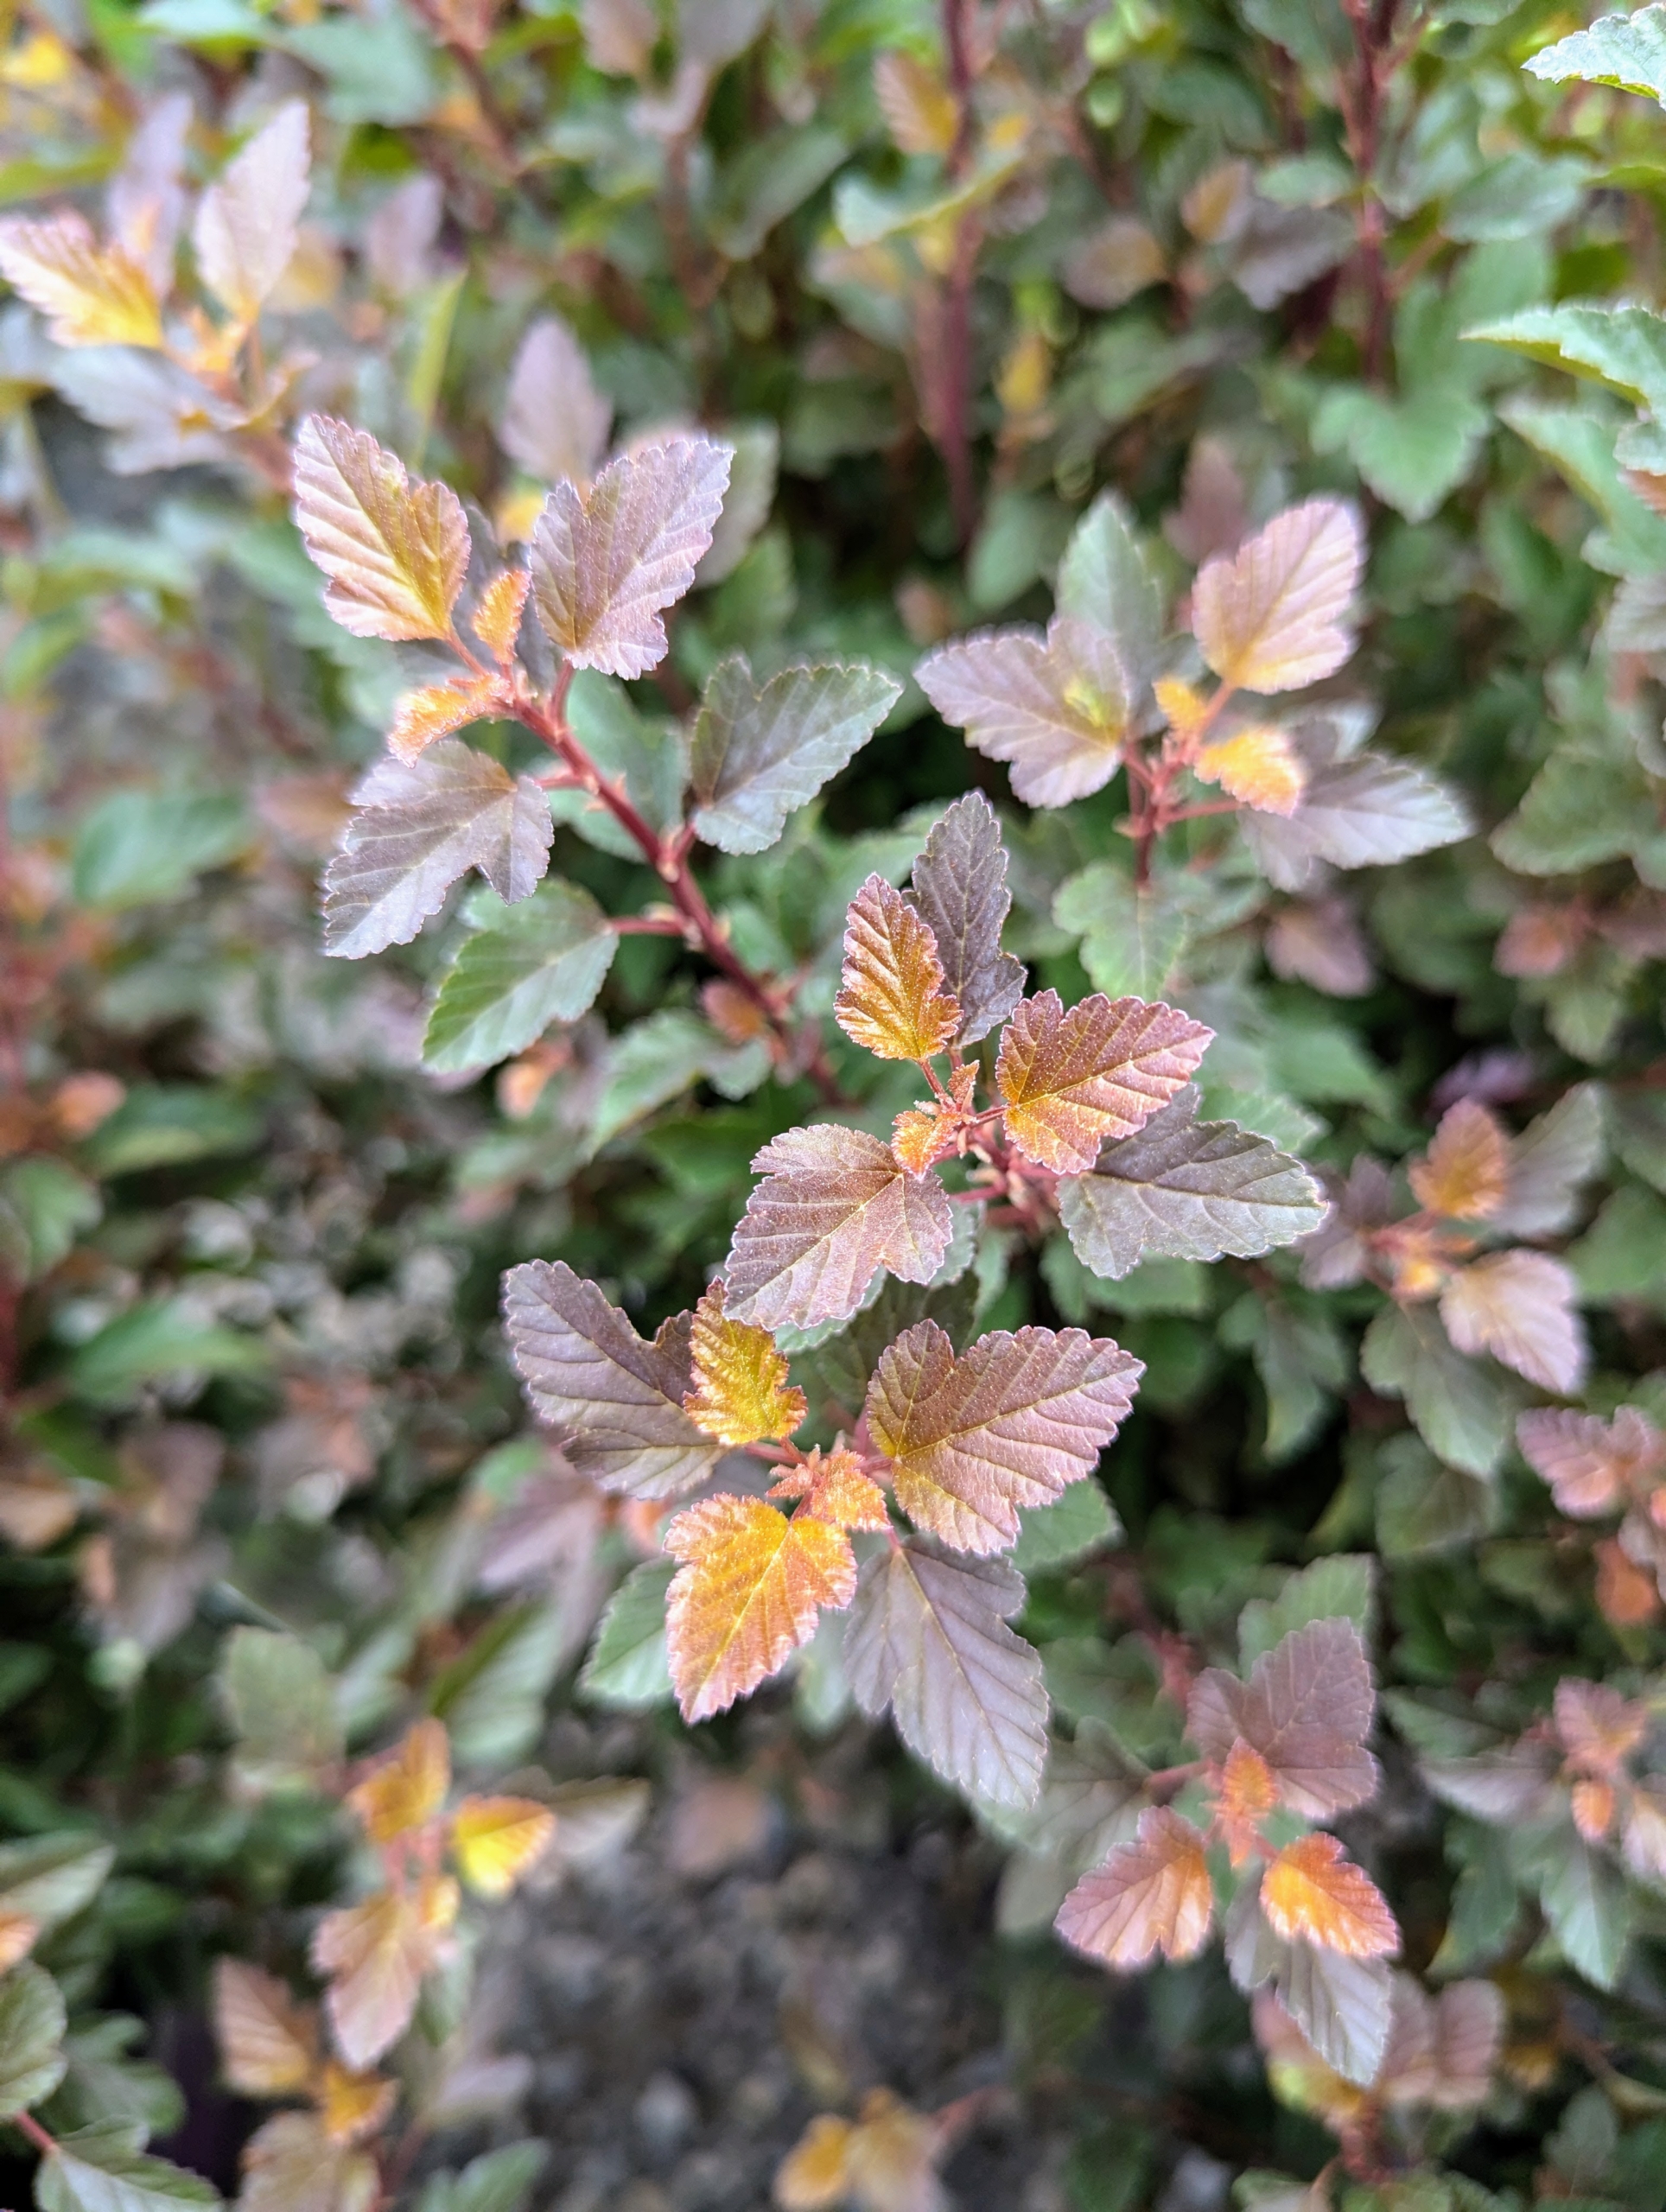
In comparison, the Spicy Devil Ninebark, Physocarpus opulifolius ‘ZLENatalie,’ has a fiery combination of orange and yellow leaves that mature to a vibrant reddish-purple and then shows off white-pink flowers in spring.
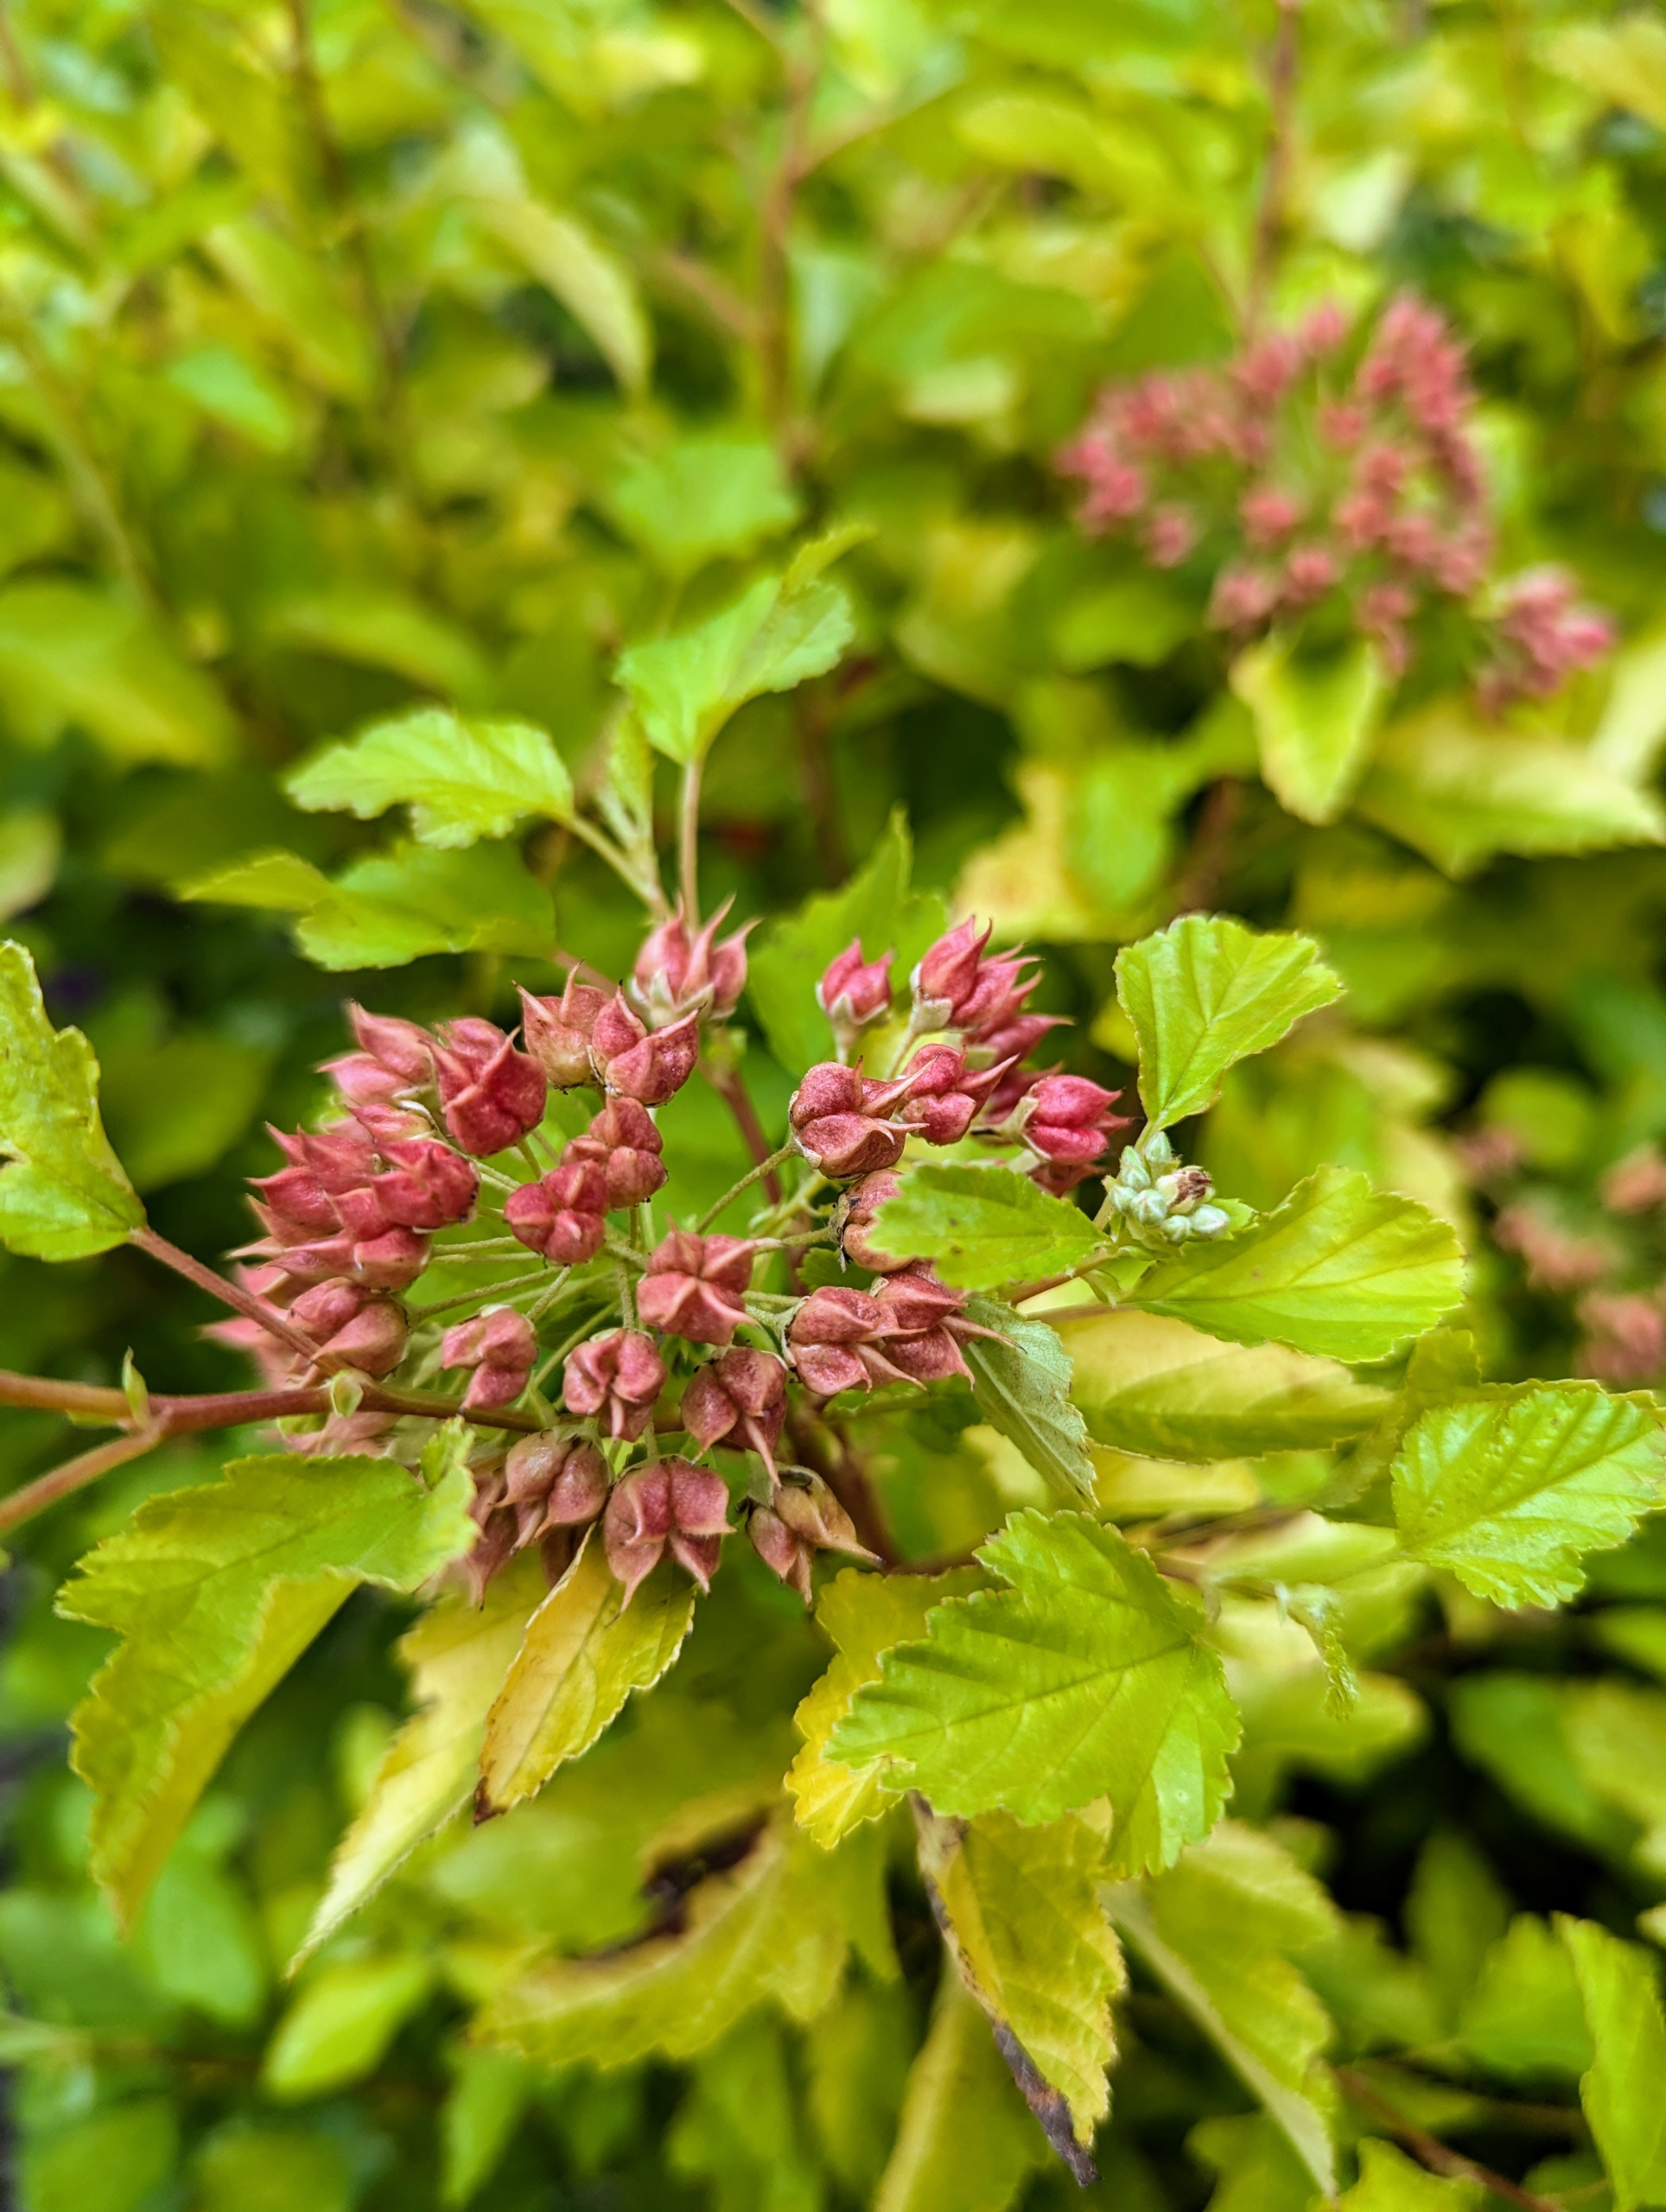
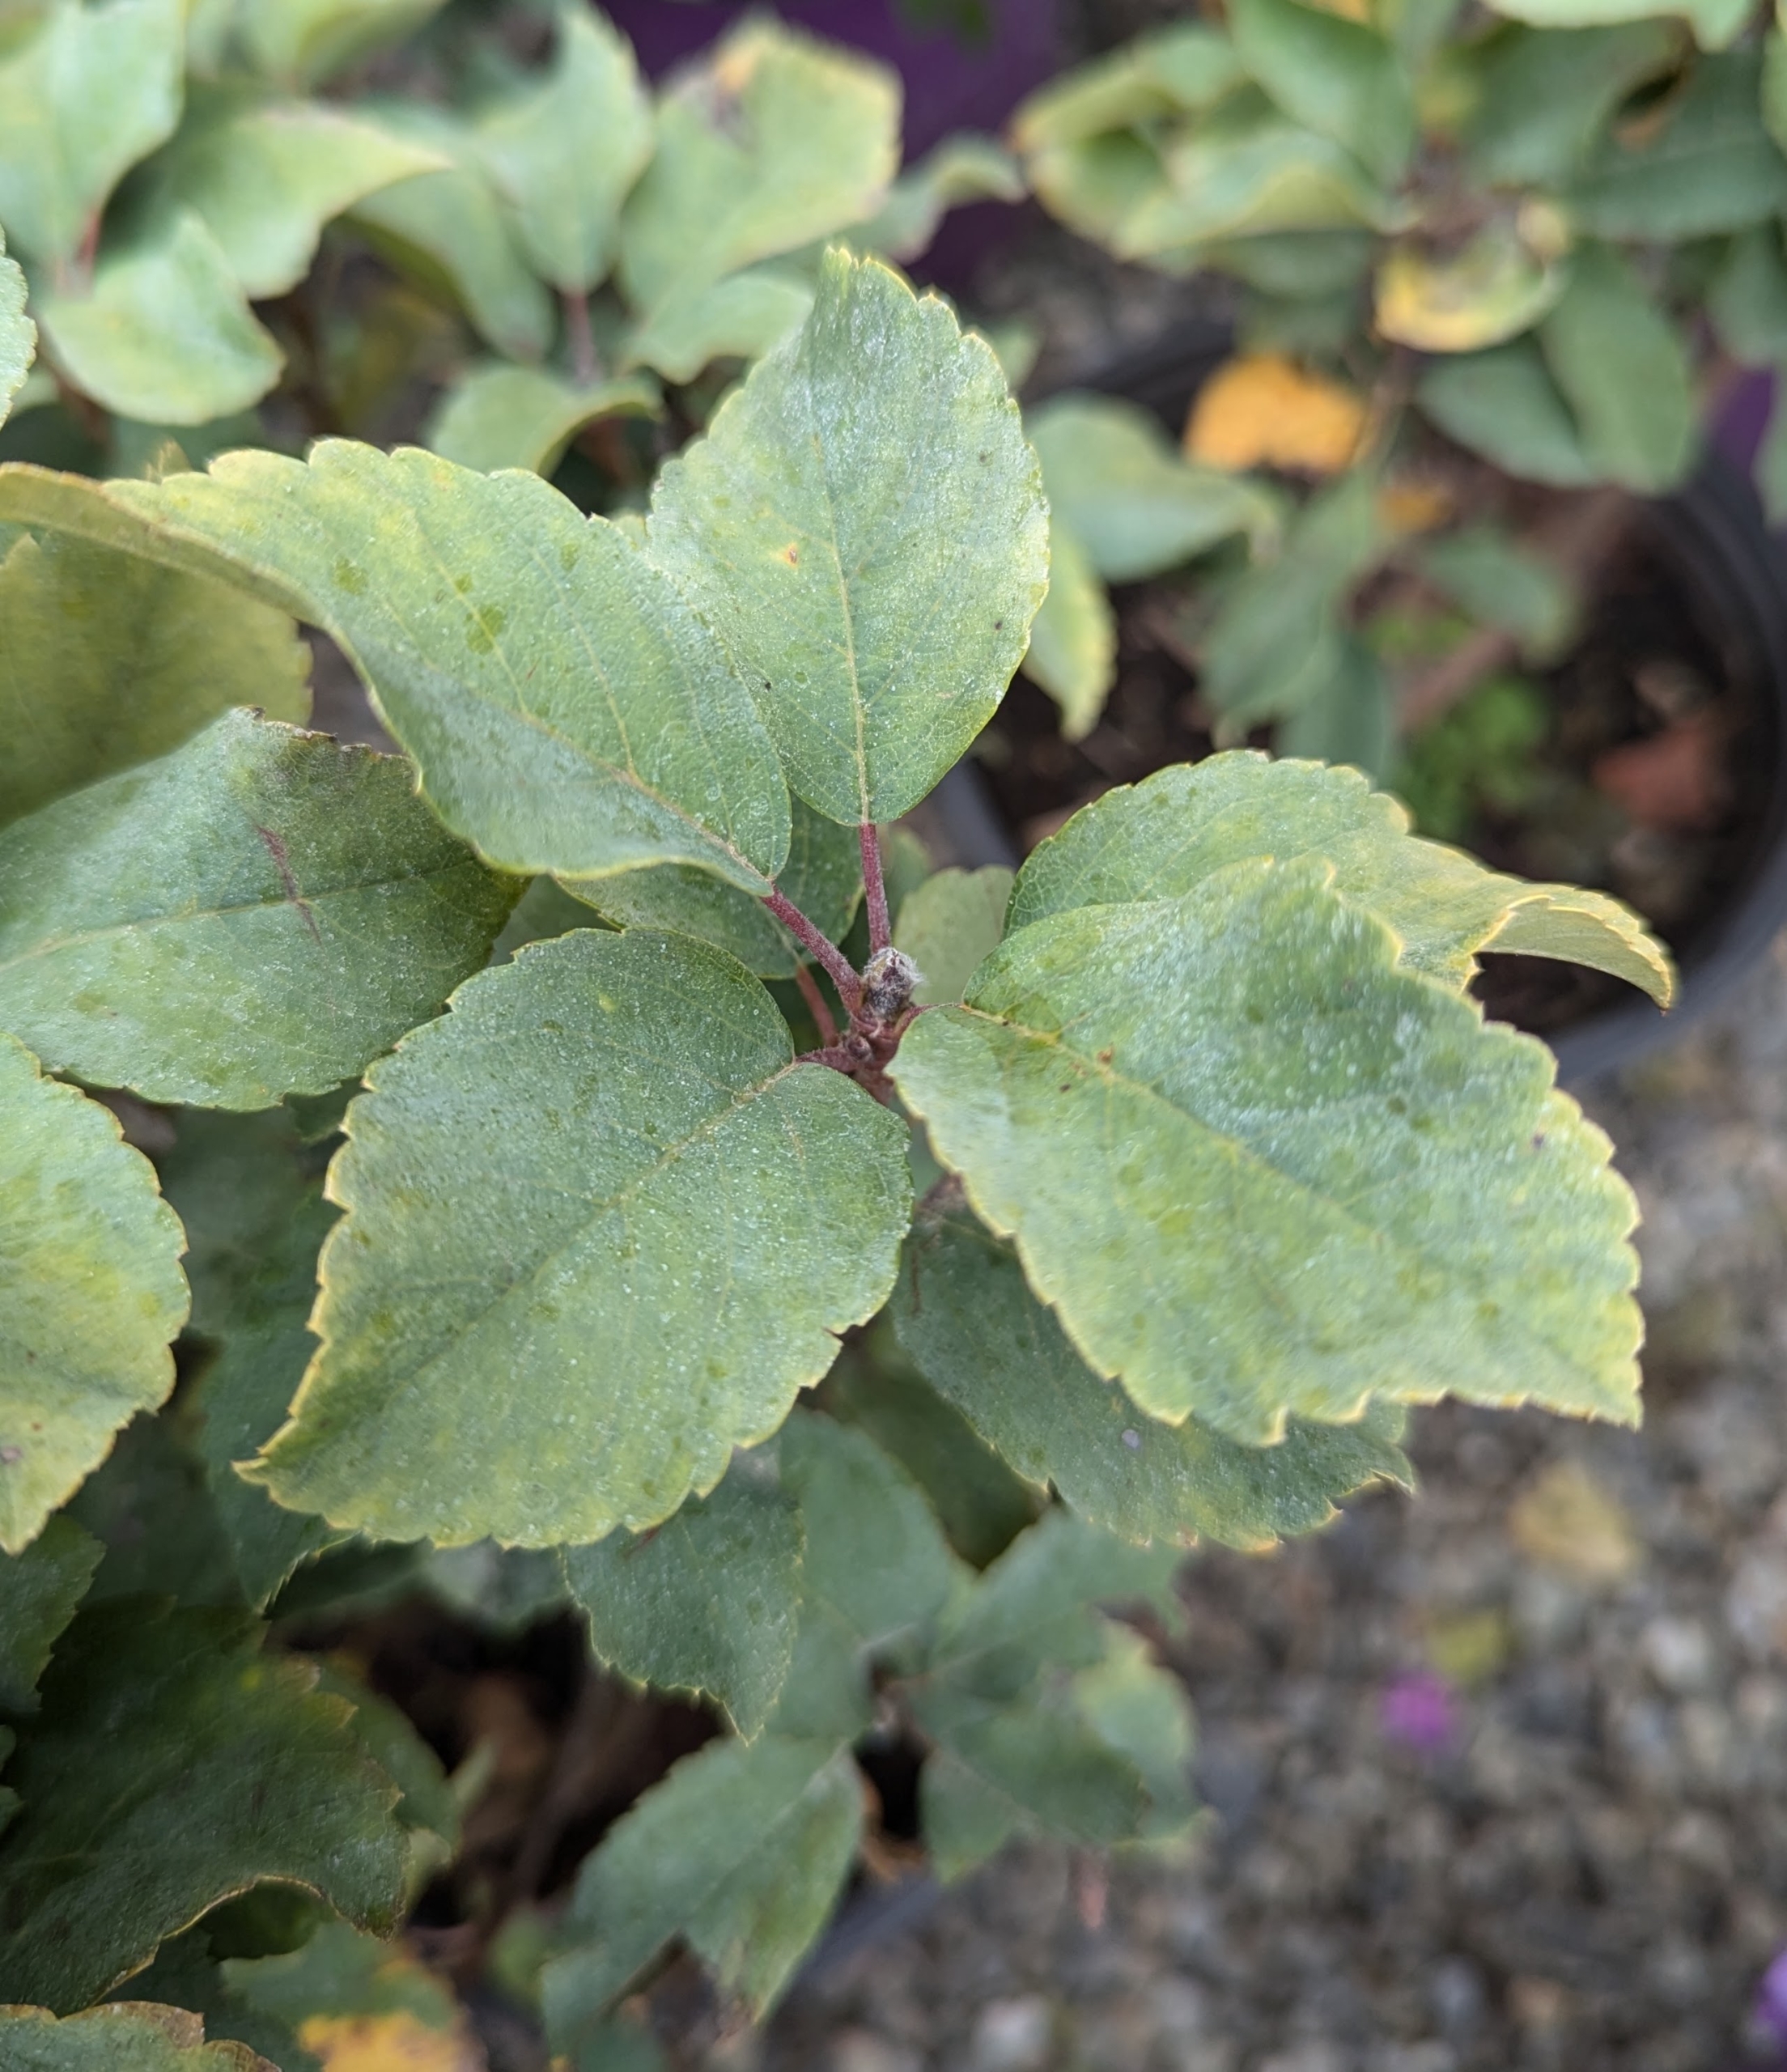
Honeycomb Ninebark has large, vibrant, chartreuse leaves that hold their color all season long, even in full sun. In the spring, white flowers provide contrast to the leaves, and in the fall, gold leaves stand out in the garden.
I grow many berries here at the farm – blueberries, raspberries, strawberries, gooseberries, and currants. This addition will ensure even bigger, more interesting harvests. This is Standing Ovation serviceberry, Amelanchier alnifolia ‘Obelisk’. Serviceberries taste like a blend of strawberry and blueberry with a touch of almond and are rich in fiber, antioxidants, and protein.
Autumn Inferno™ Cotoneaster, Cotoneaster ‘Bronfire,’ shows clean foliage all season long, and vibrant fall color. It forms small red berries in fall that stay on the branches until birds take them away.
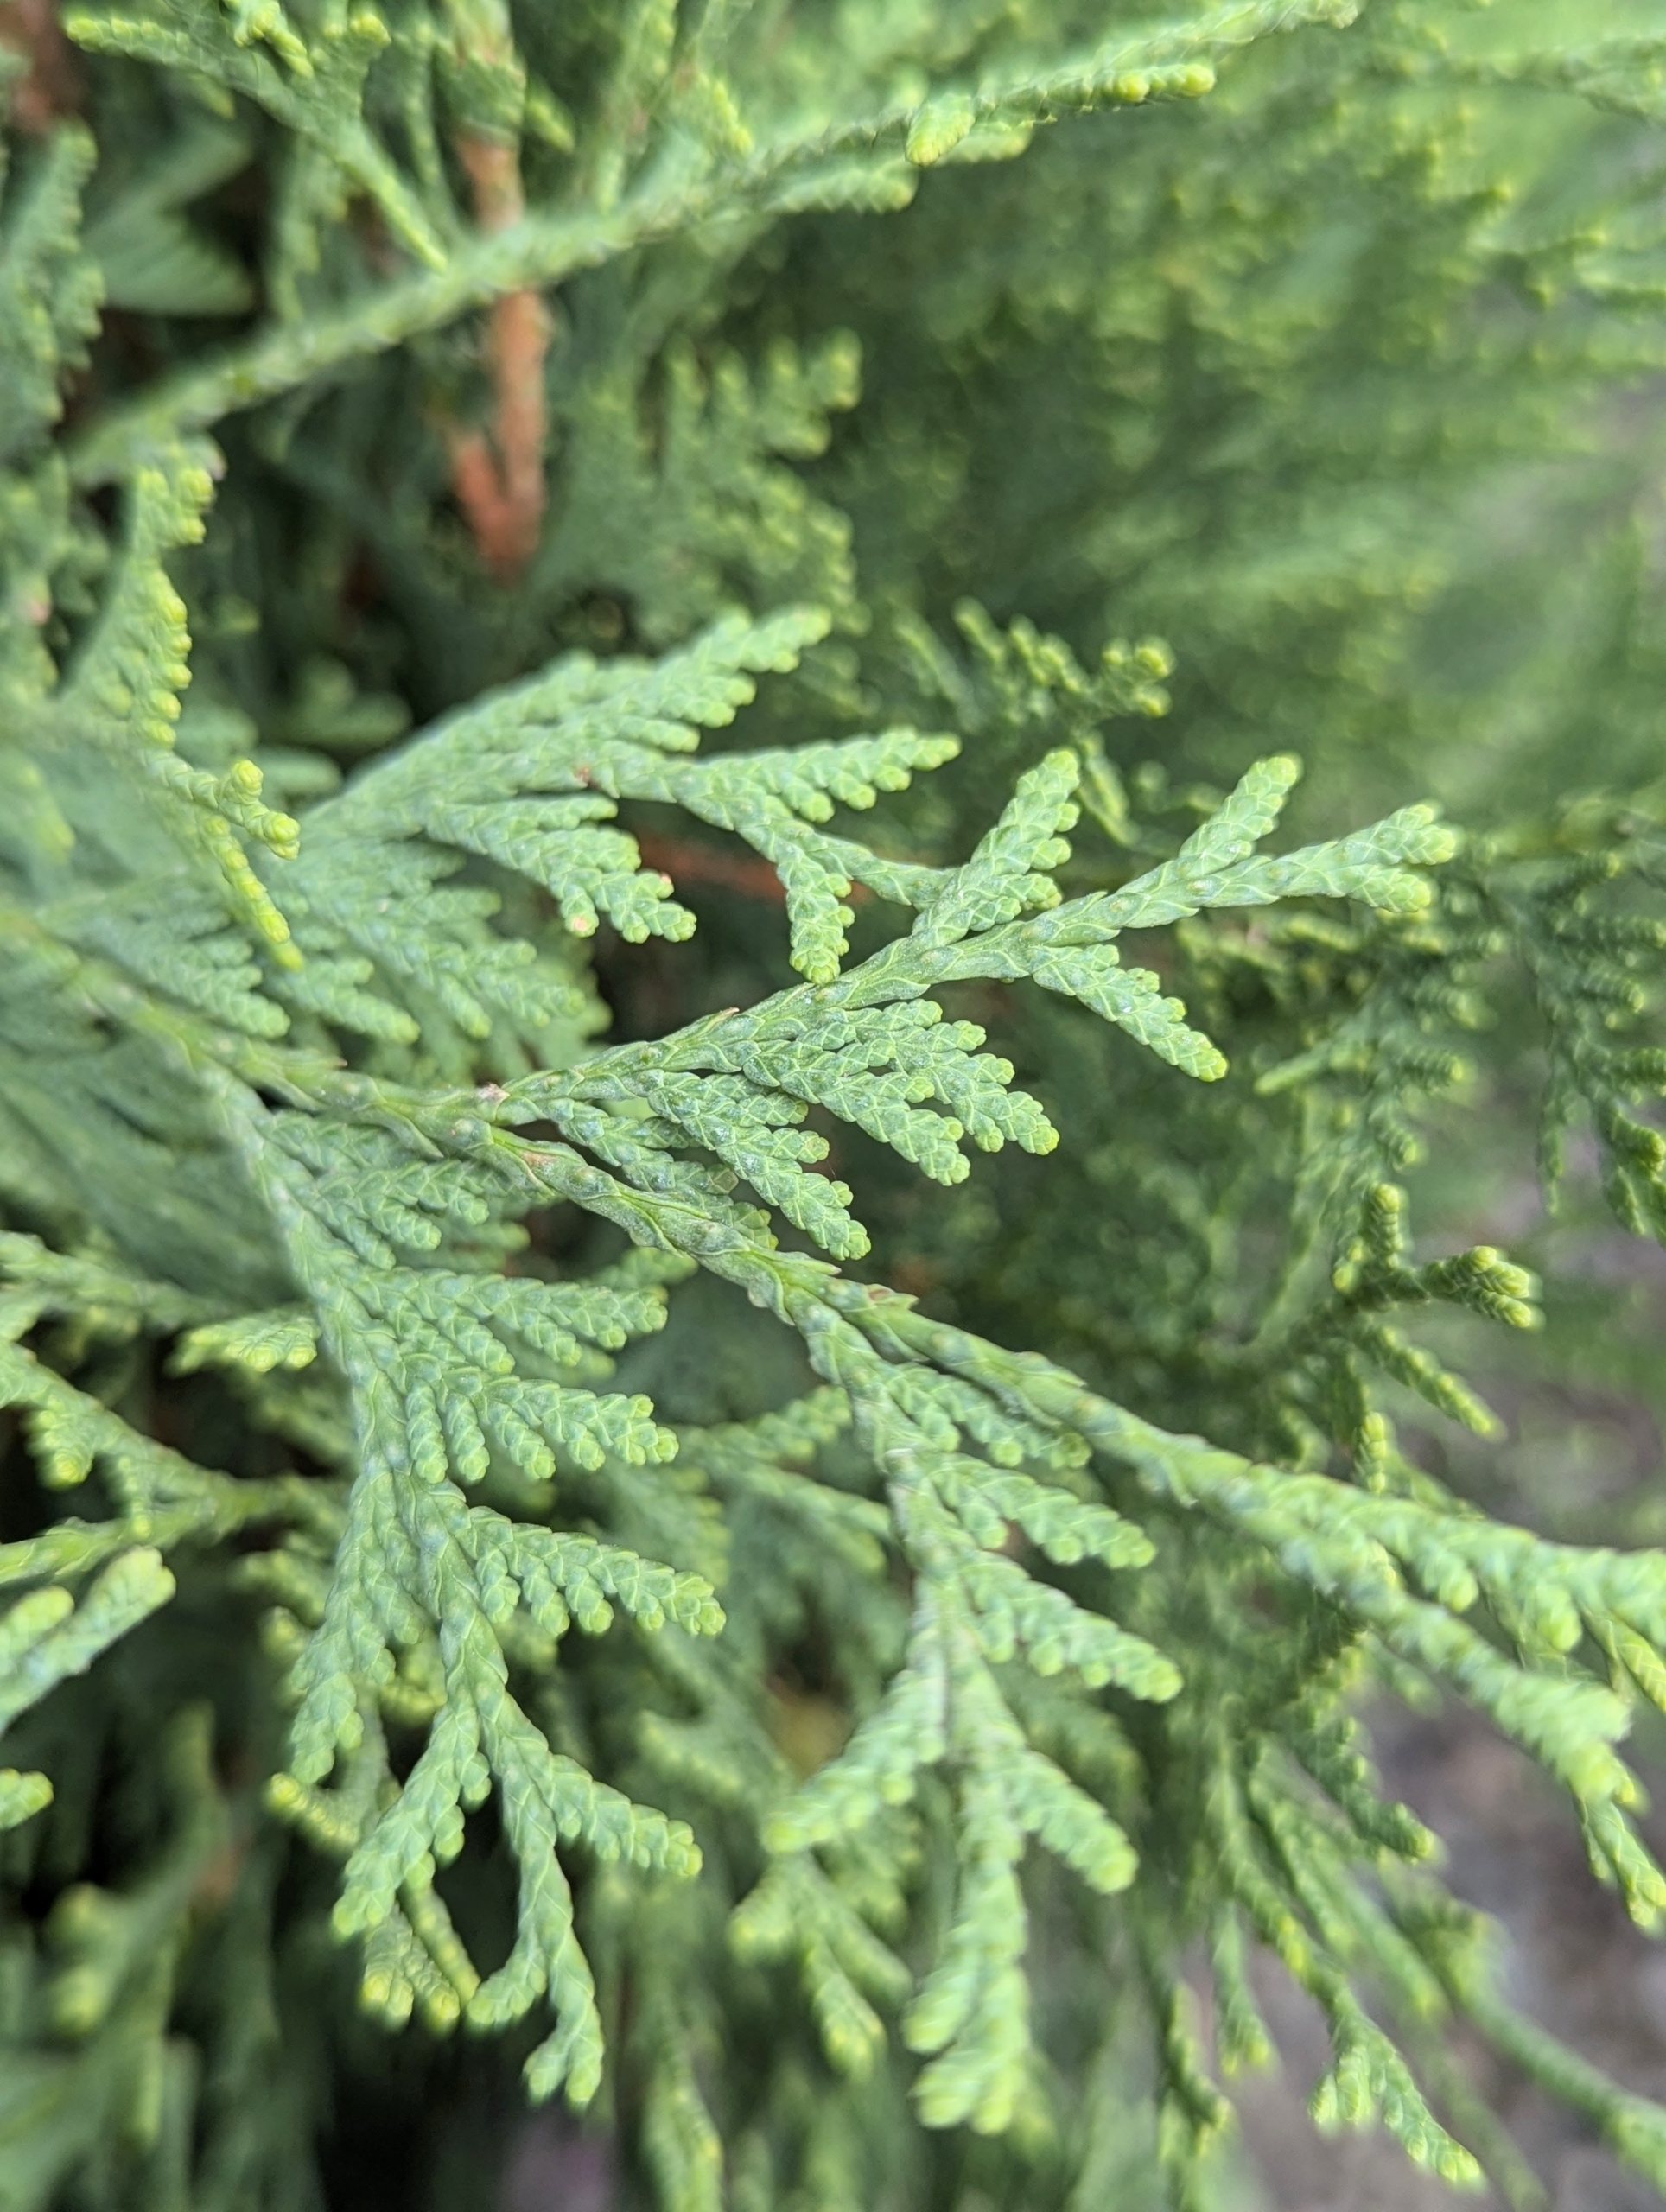
Many may recognize the foliage of arborvitae. This is Technito arborvitae, Thuja occidentalis ‘BailJohn.’ This plant has attractive dark green color that stays through winter. It grows up to 10 feet tall and five feet wide.
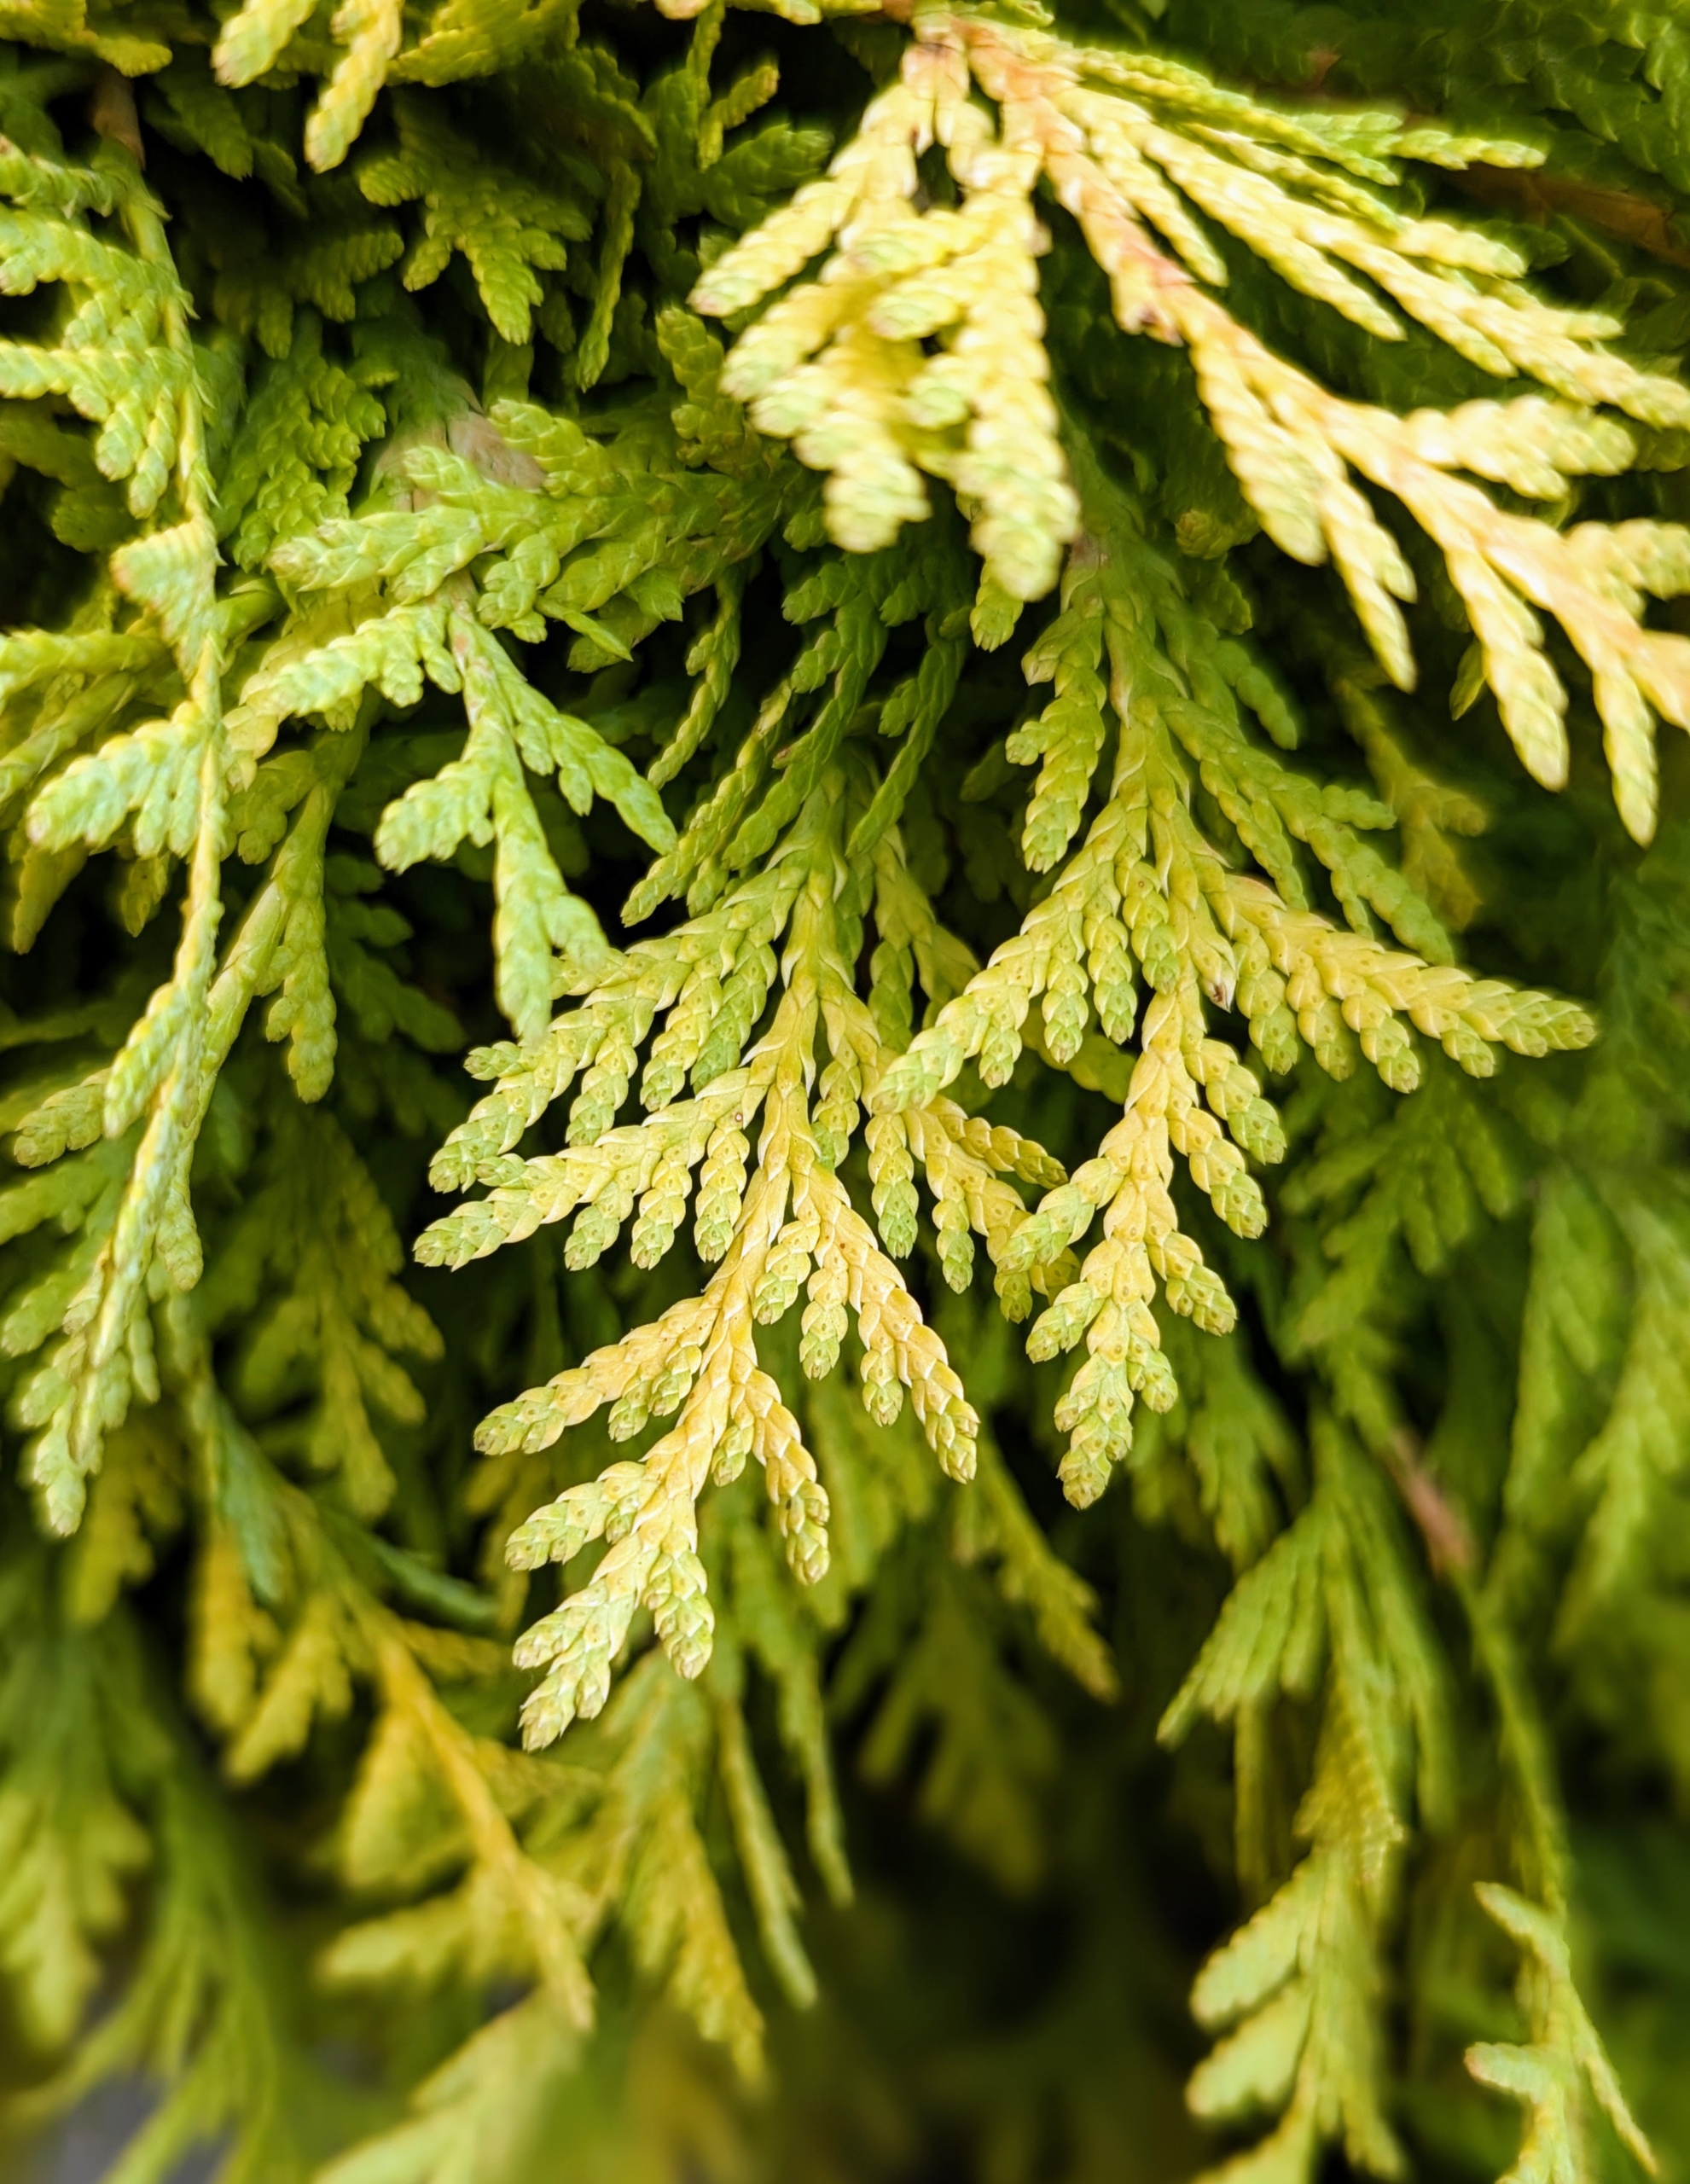
Lemon Burst® Arborvitae is moderately sized with broadly conical form and tight habit. Yellow new growth keeps its color even in full sun. In cooler temperatures, the foliage takes on interesting orange tones.
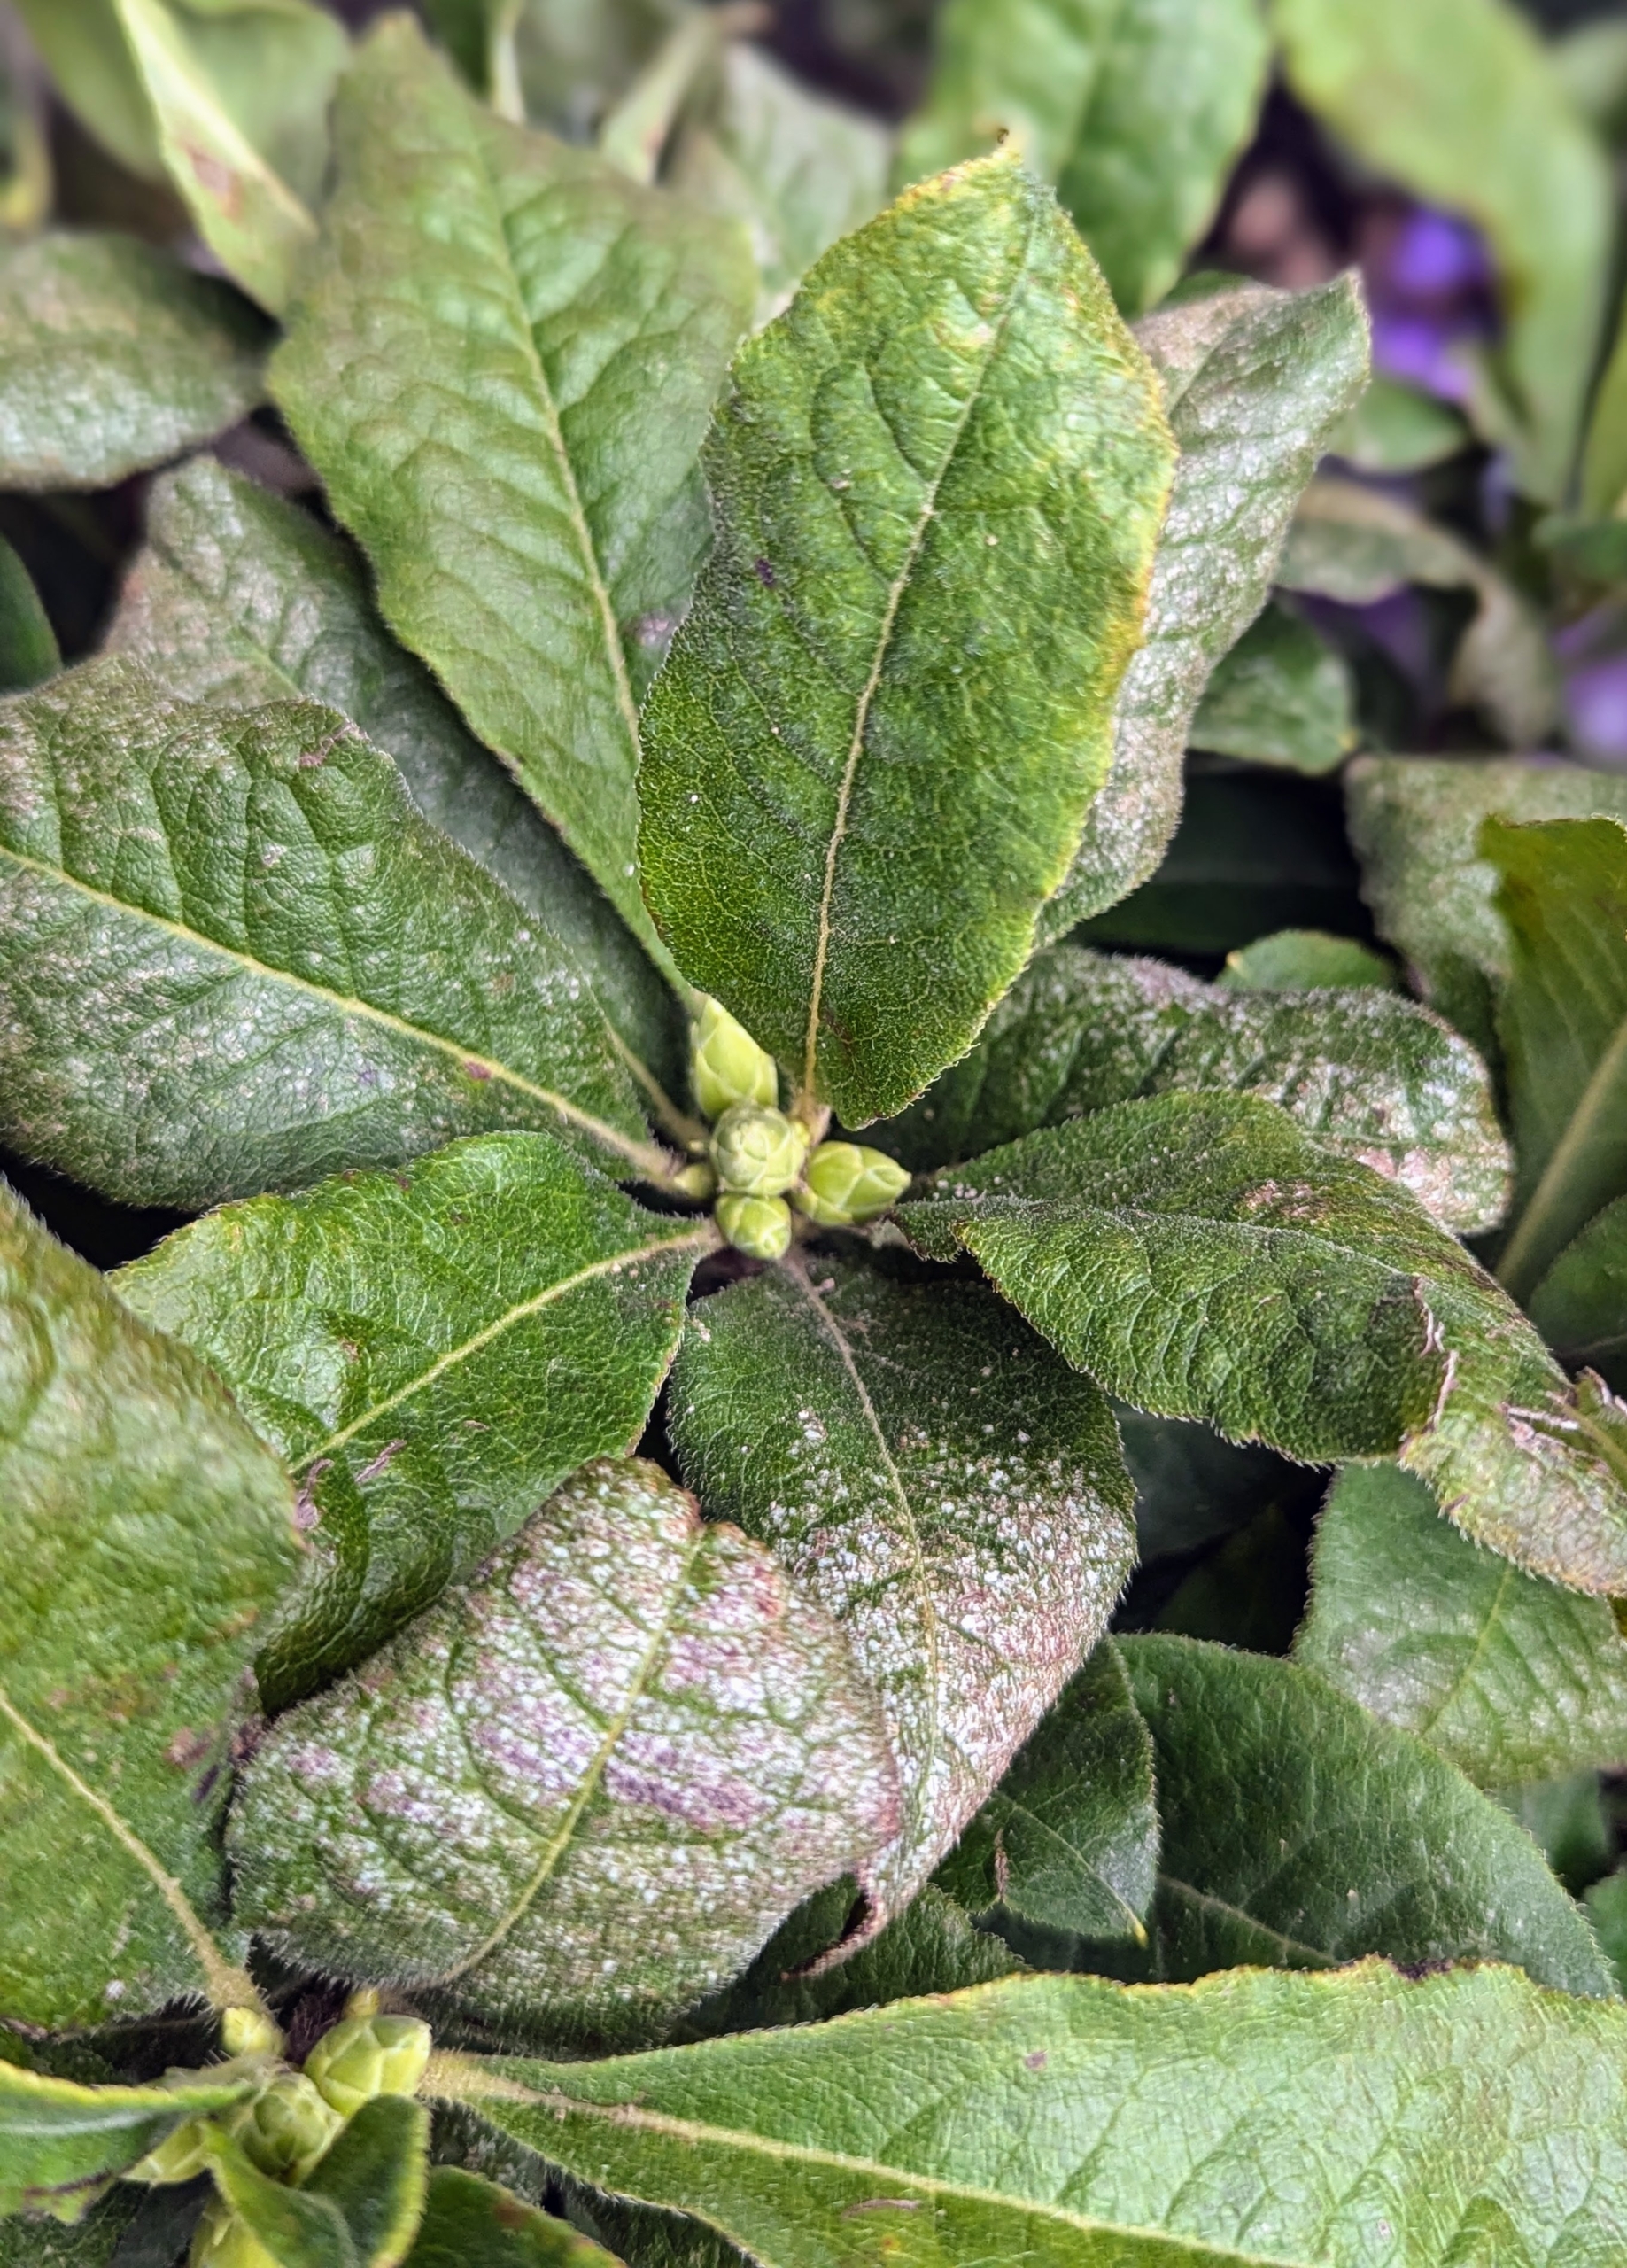
Electric Lights™ Double Pink is a double-flowered form azalea. Pink, fragrant blooms cover the plant in spring and does best in full sun to part shade.
Planting season hasn’t ended just yet – hope you get in some gardening this weekend. Happy planting!
Here at my farm, we're rushing to get lots of beautiful trees and shrubs planted. Fall is one of the best times to plant because the soil temperature is still mild.
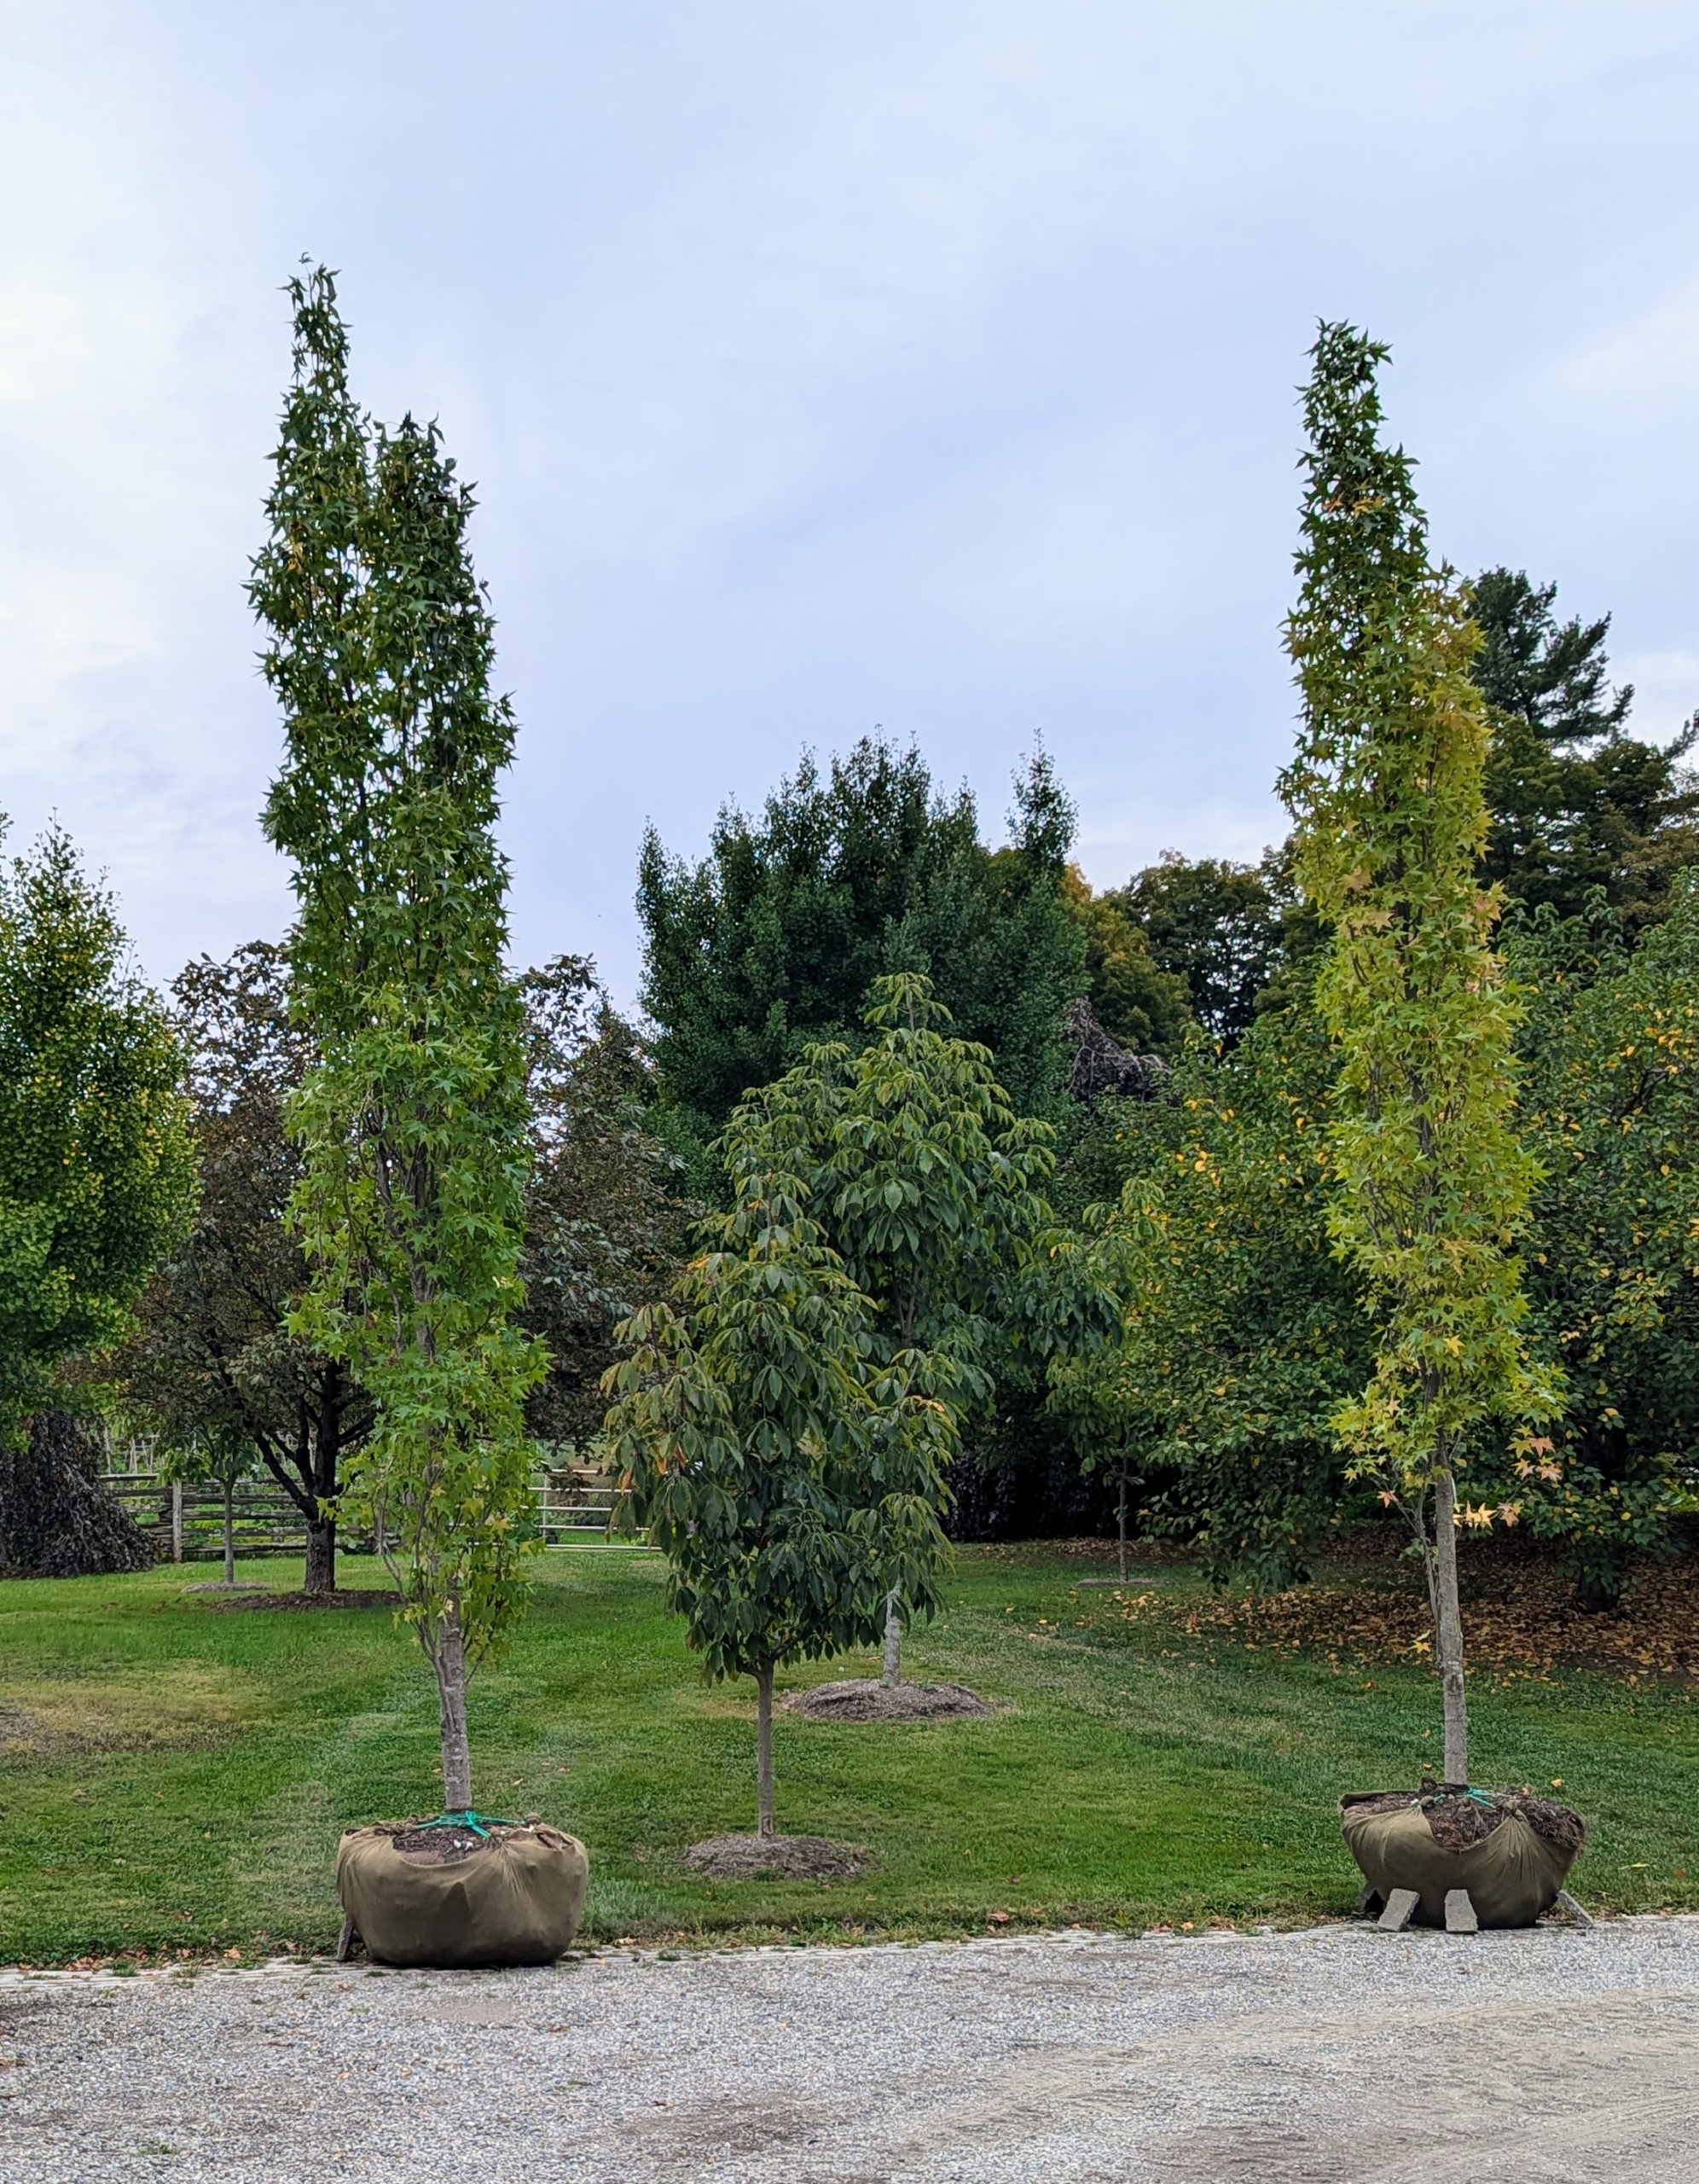
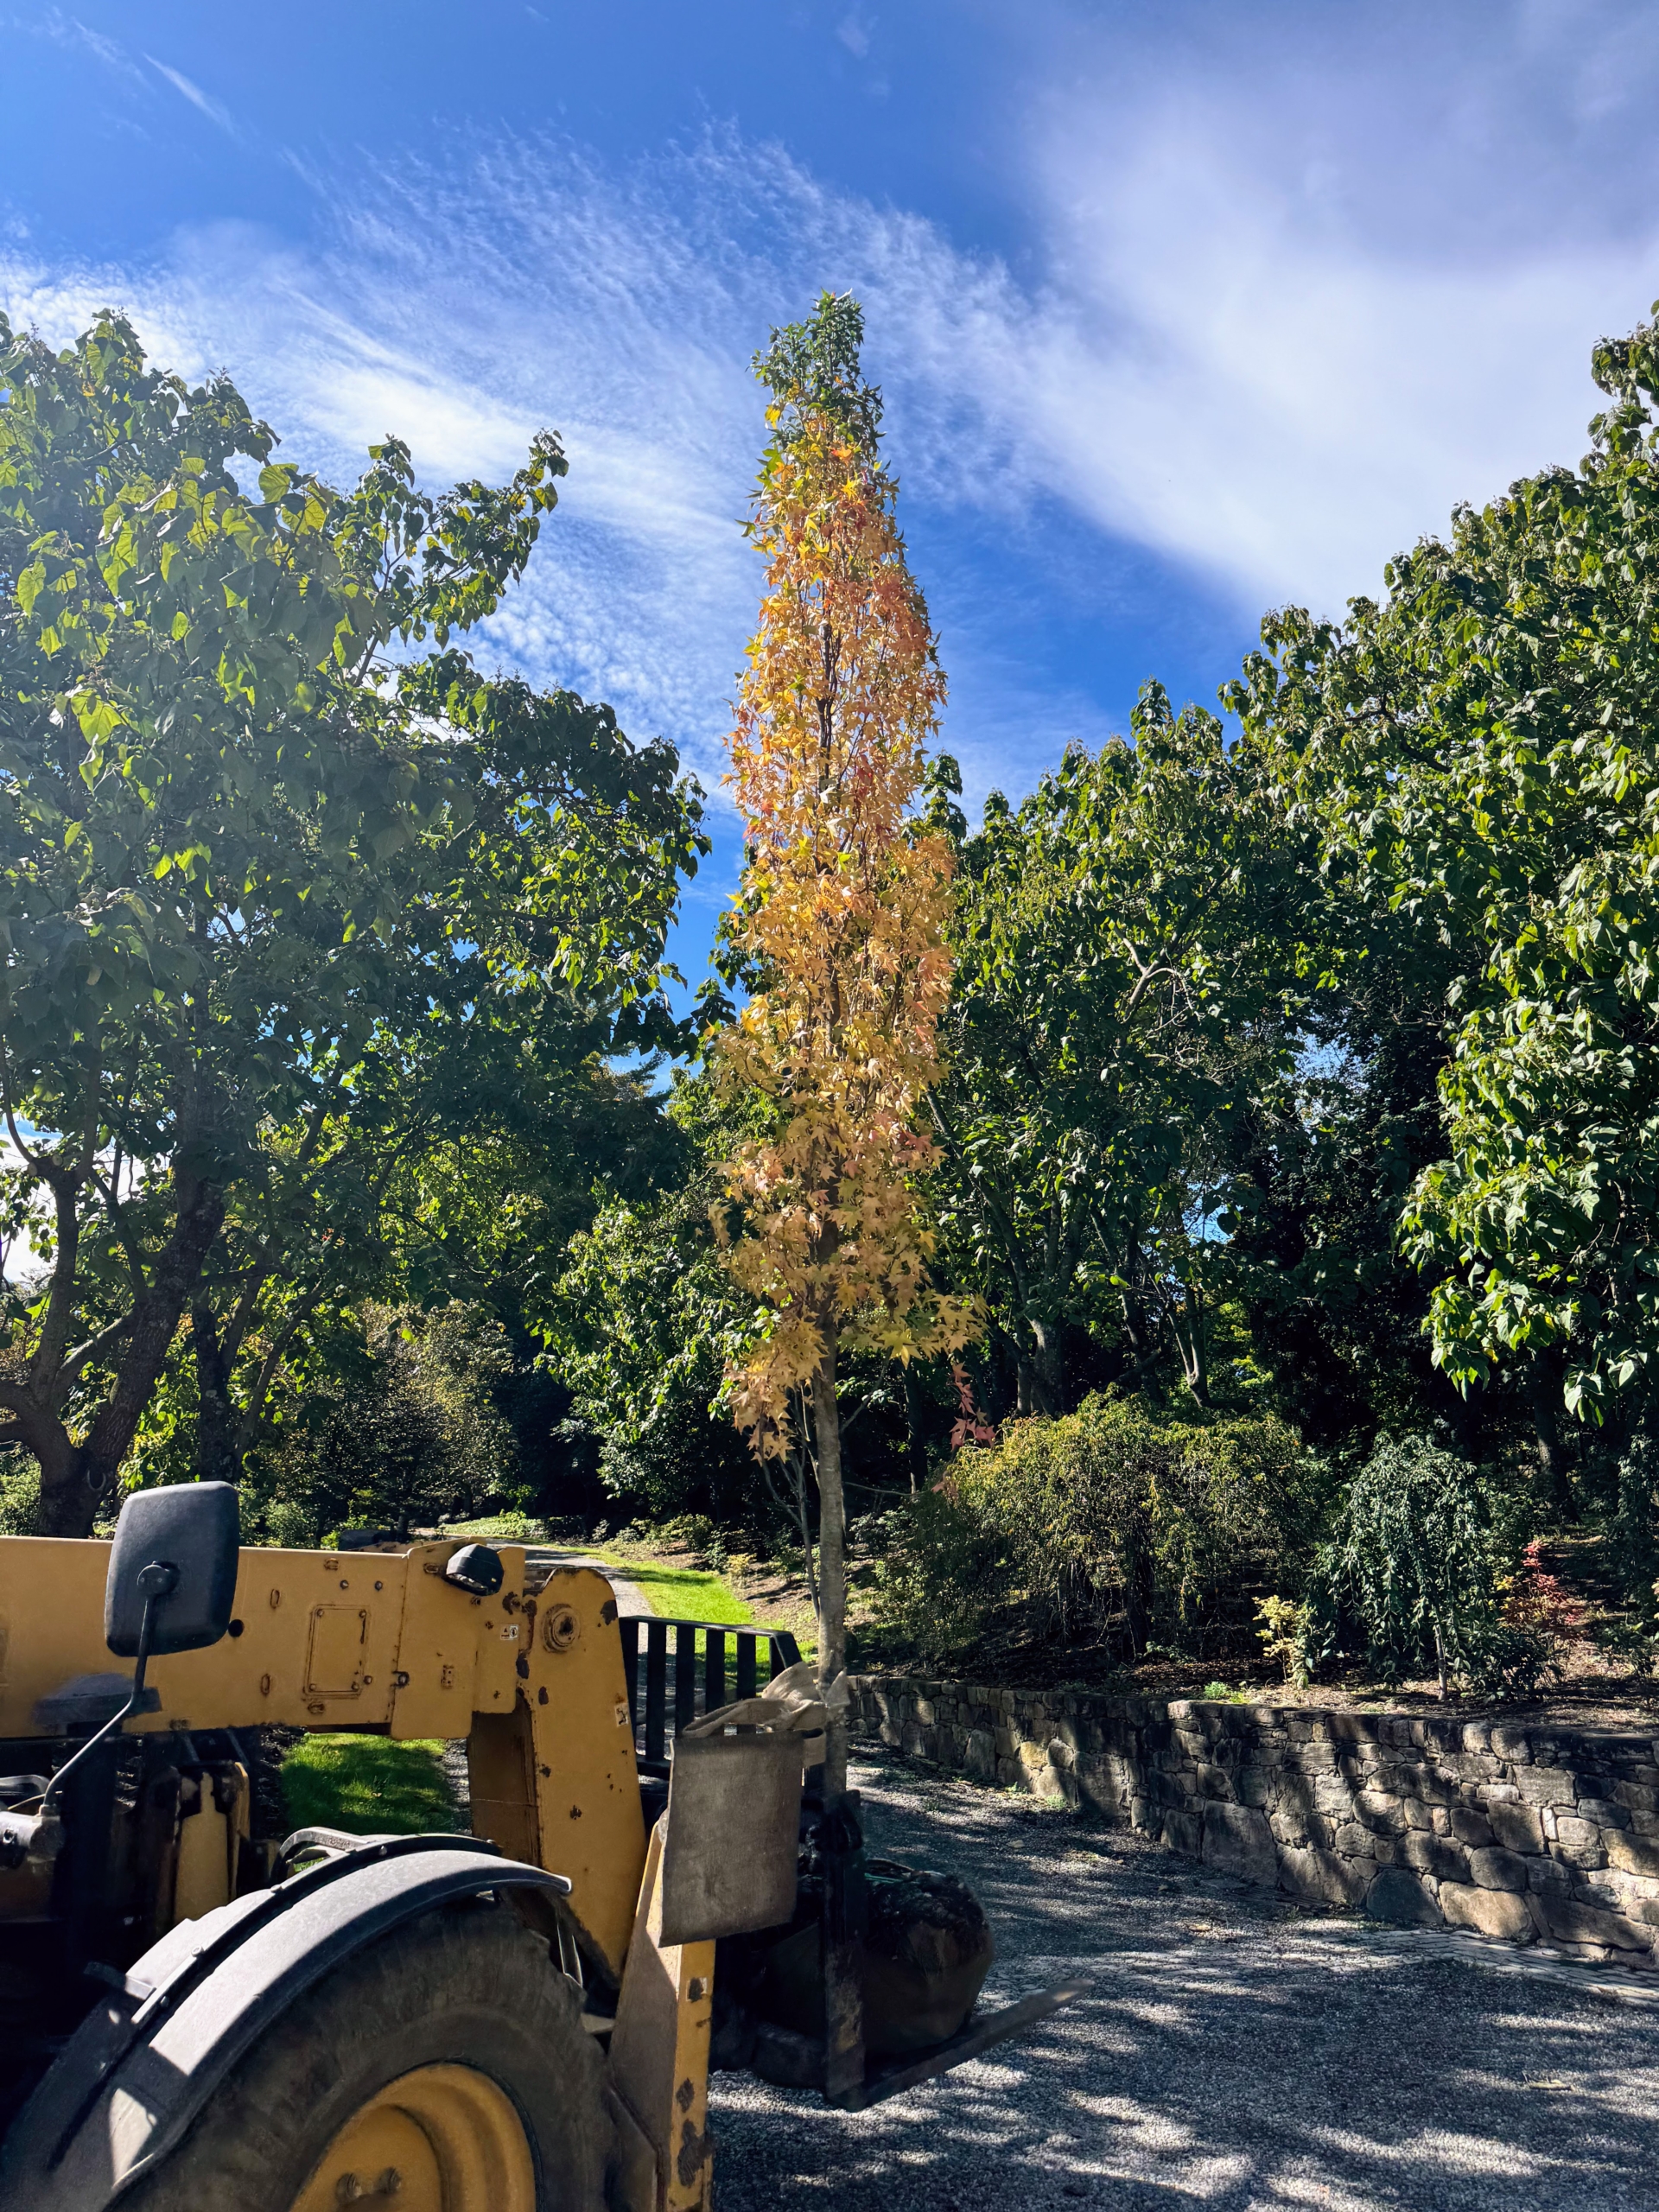
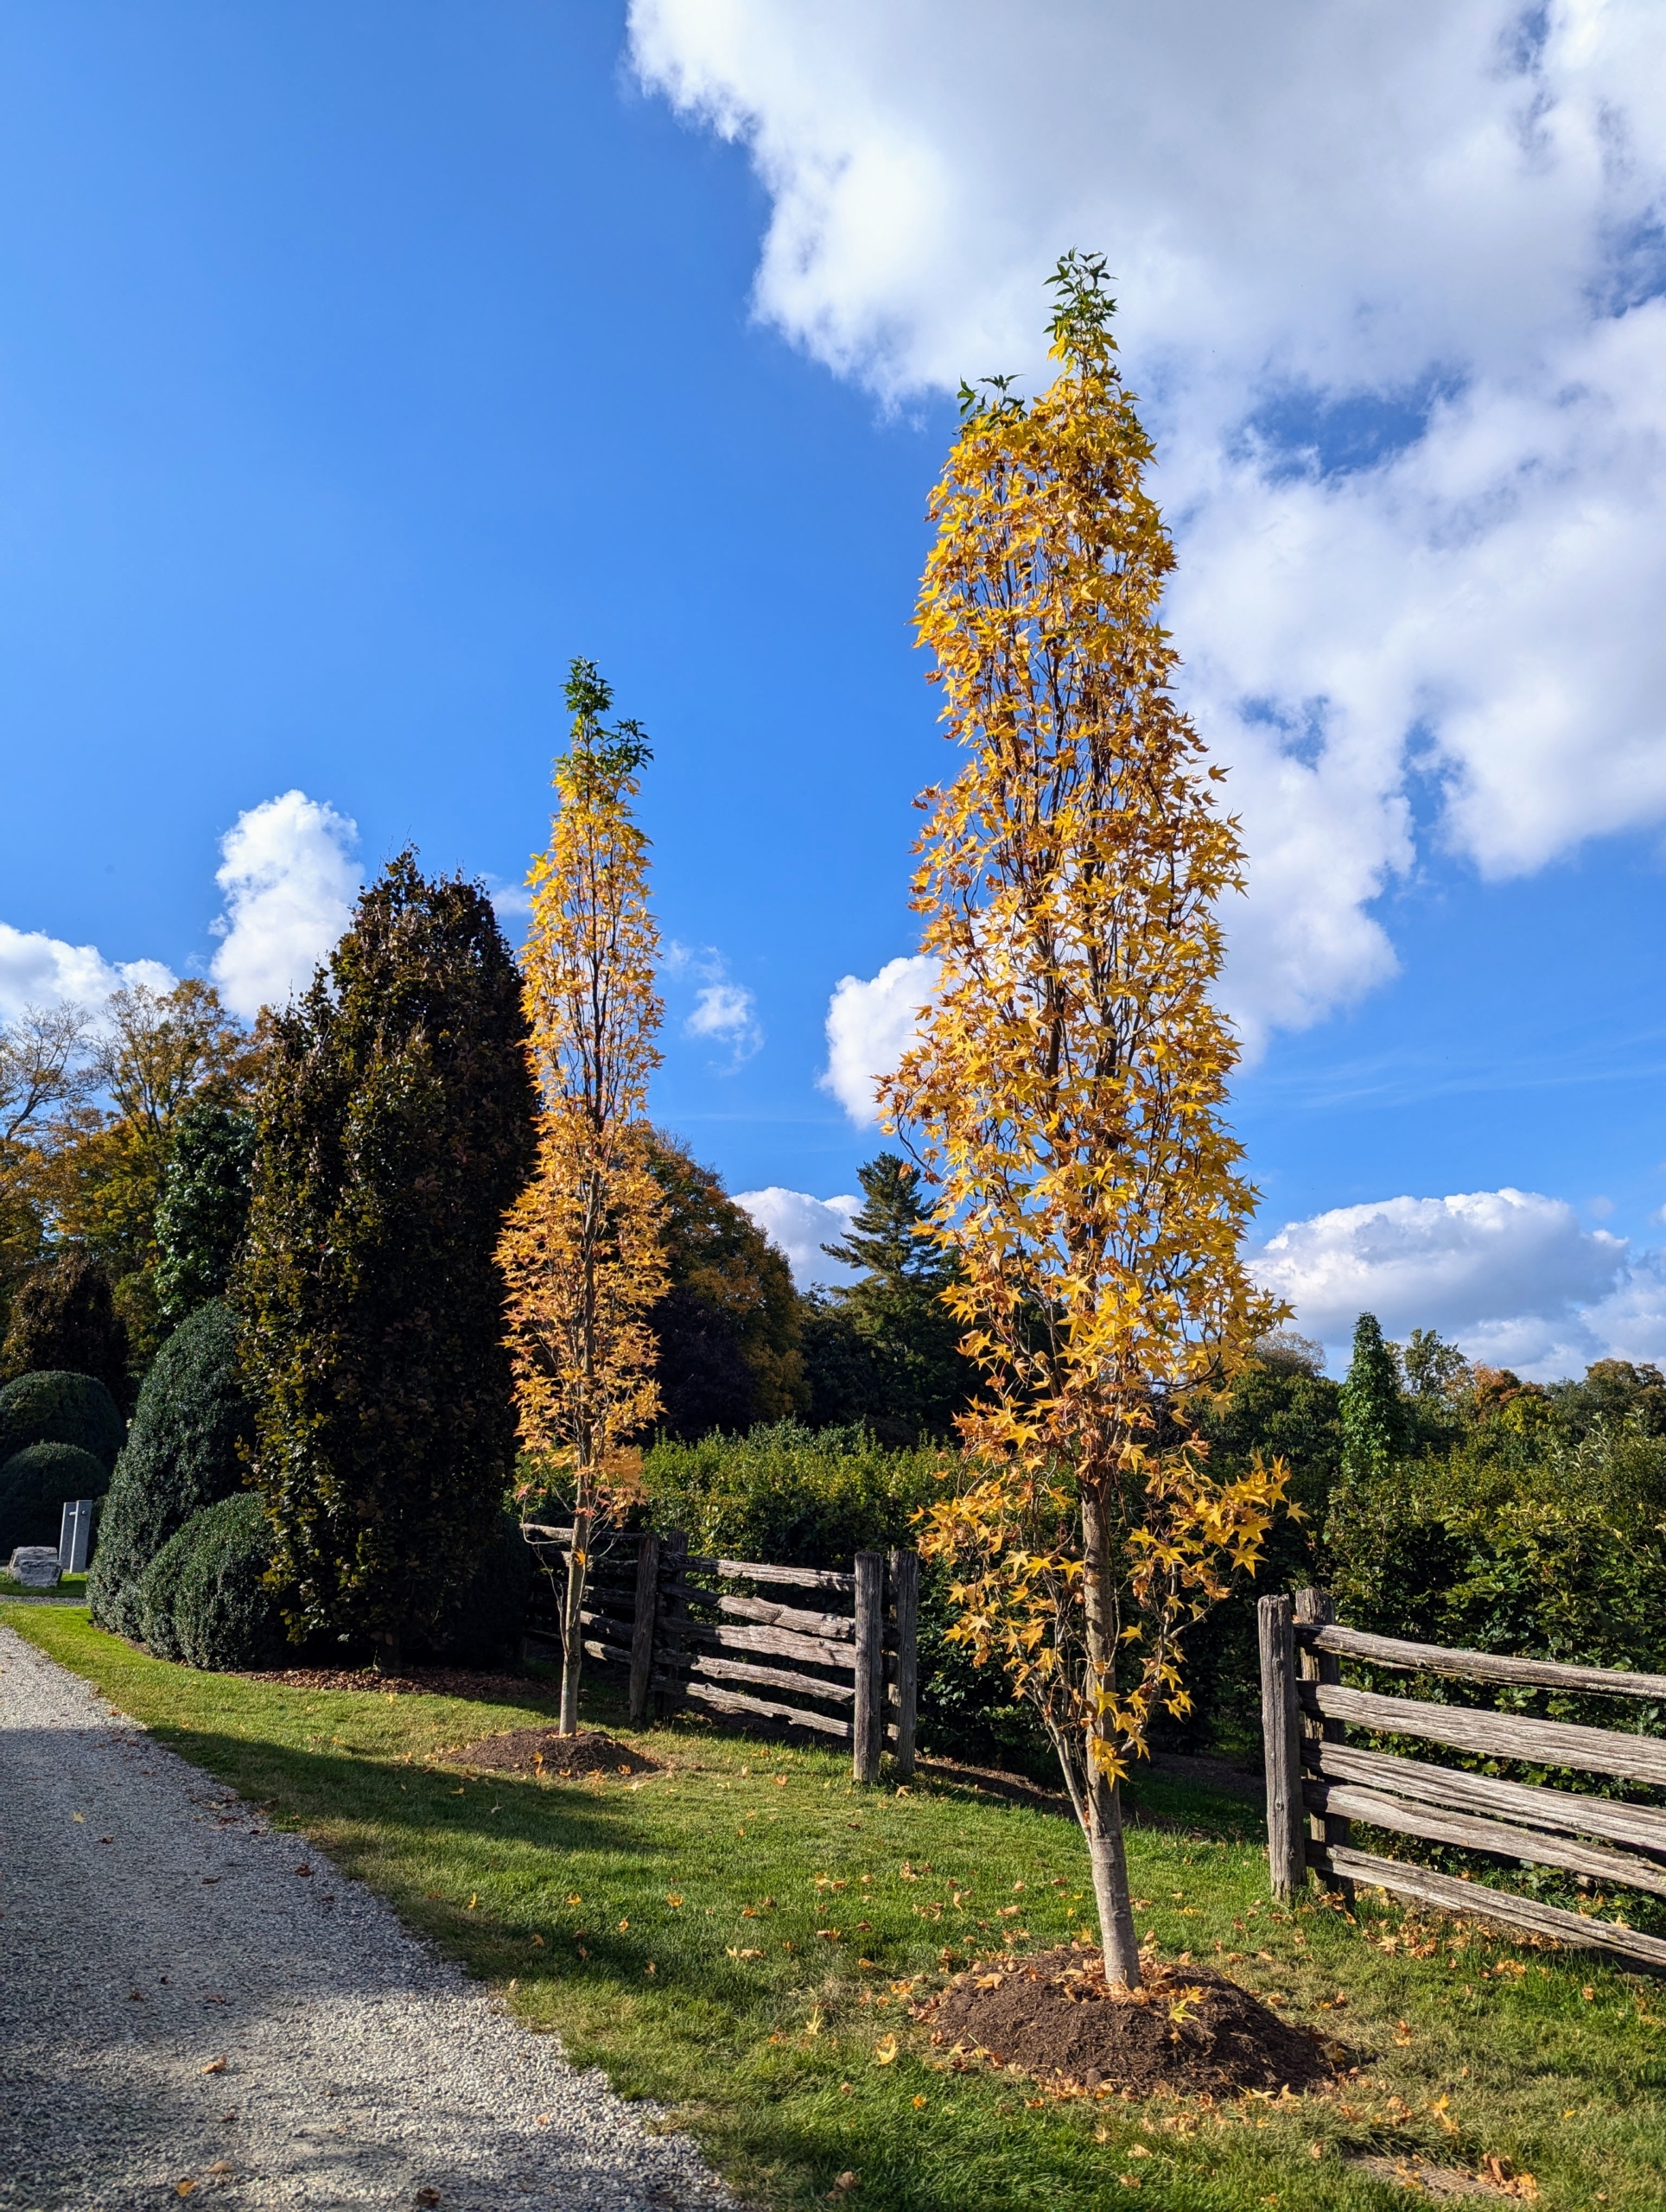
Earlier this week, we planted two Liquidambar styraciflua 'Slender Silhouette' trees, American sweetgums, at the south entrance of my living maze. These handsome trees are from our friends at Select Horticulture, Inc. in nearby Pound Ridge, New York. As these trees mature, they will maintain their erect, columnar form, growing up to 50 or 60 feet tall and only about five to eight feet wide. I think they are just perfect for this space.
Here are some photos.
The slender habit of the American sweetgum ‘Slender Silhouette,’ Liquidambar styraciflua, makes it ideal for narrow spaces. I was so excited to acquire these specimens from Select Horticulture, Inc. I have several ‘slender silhouette’ sweetgums here at the farm already.
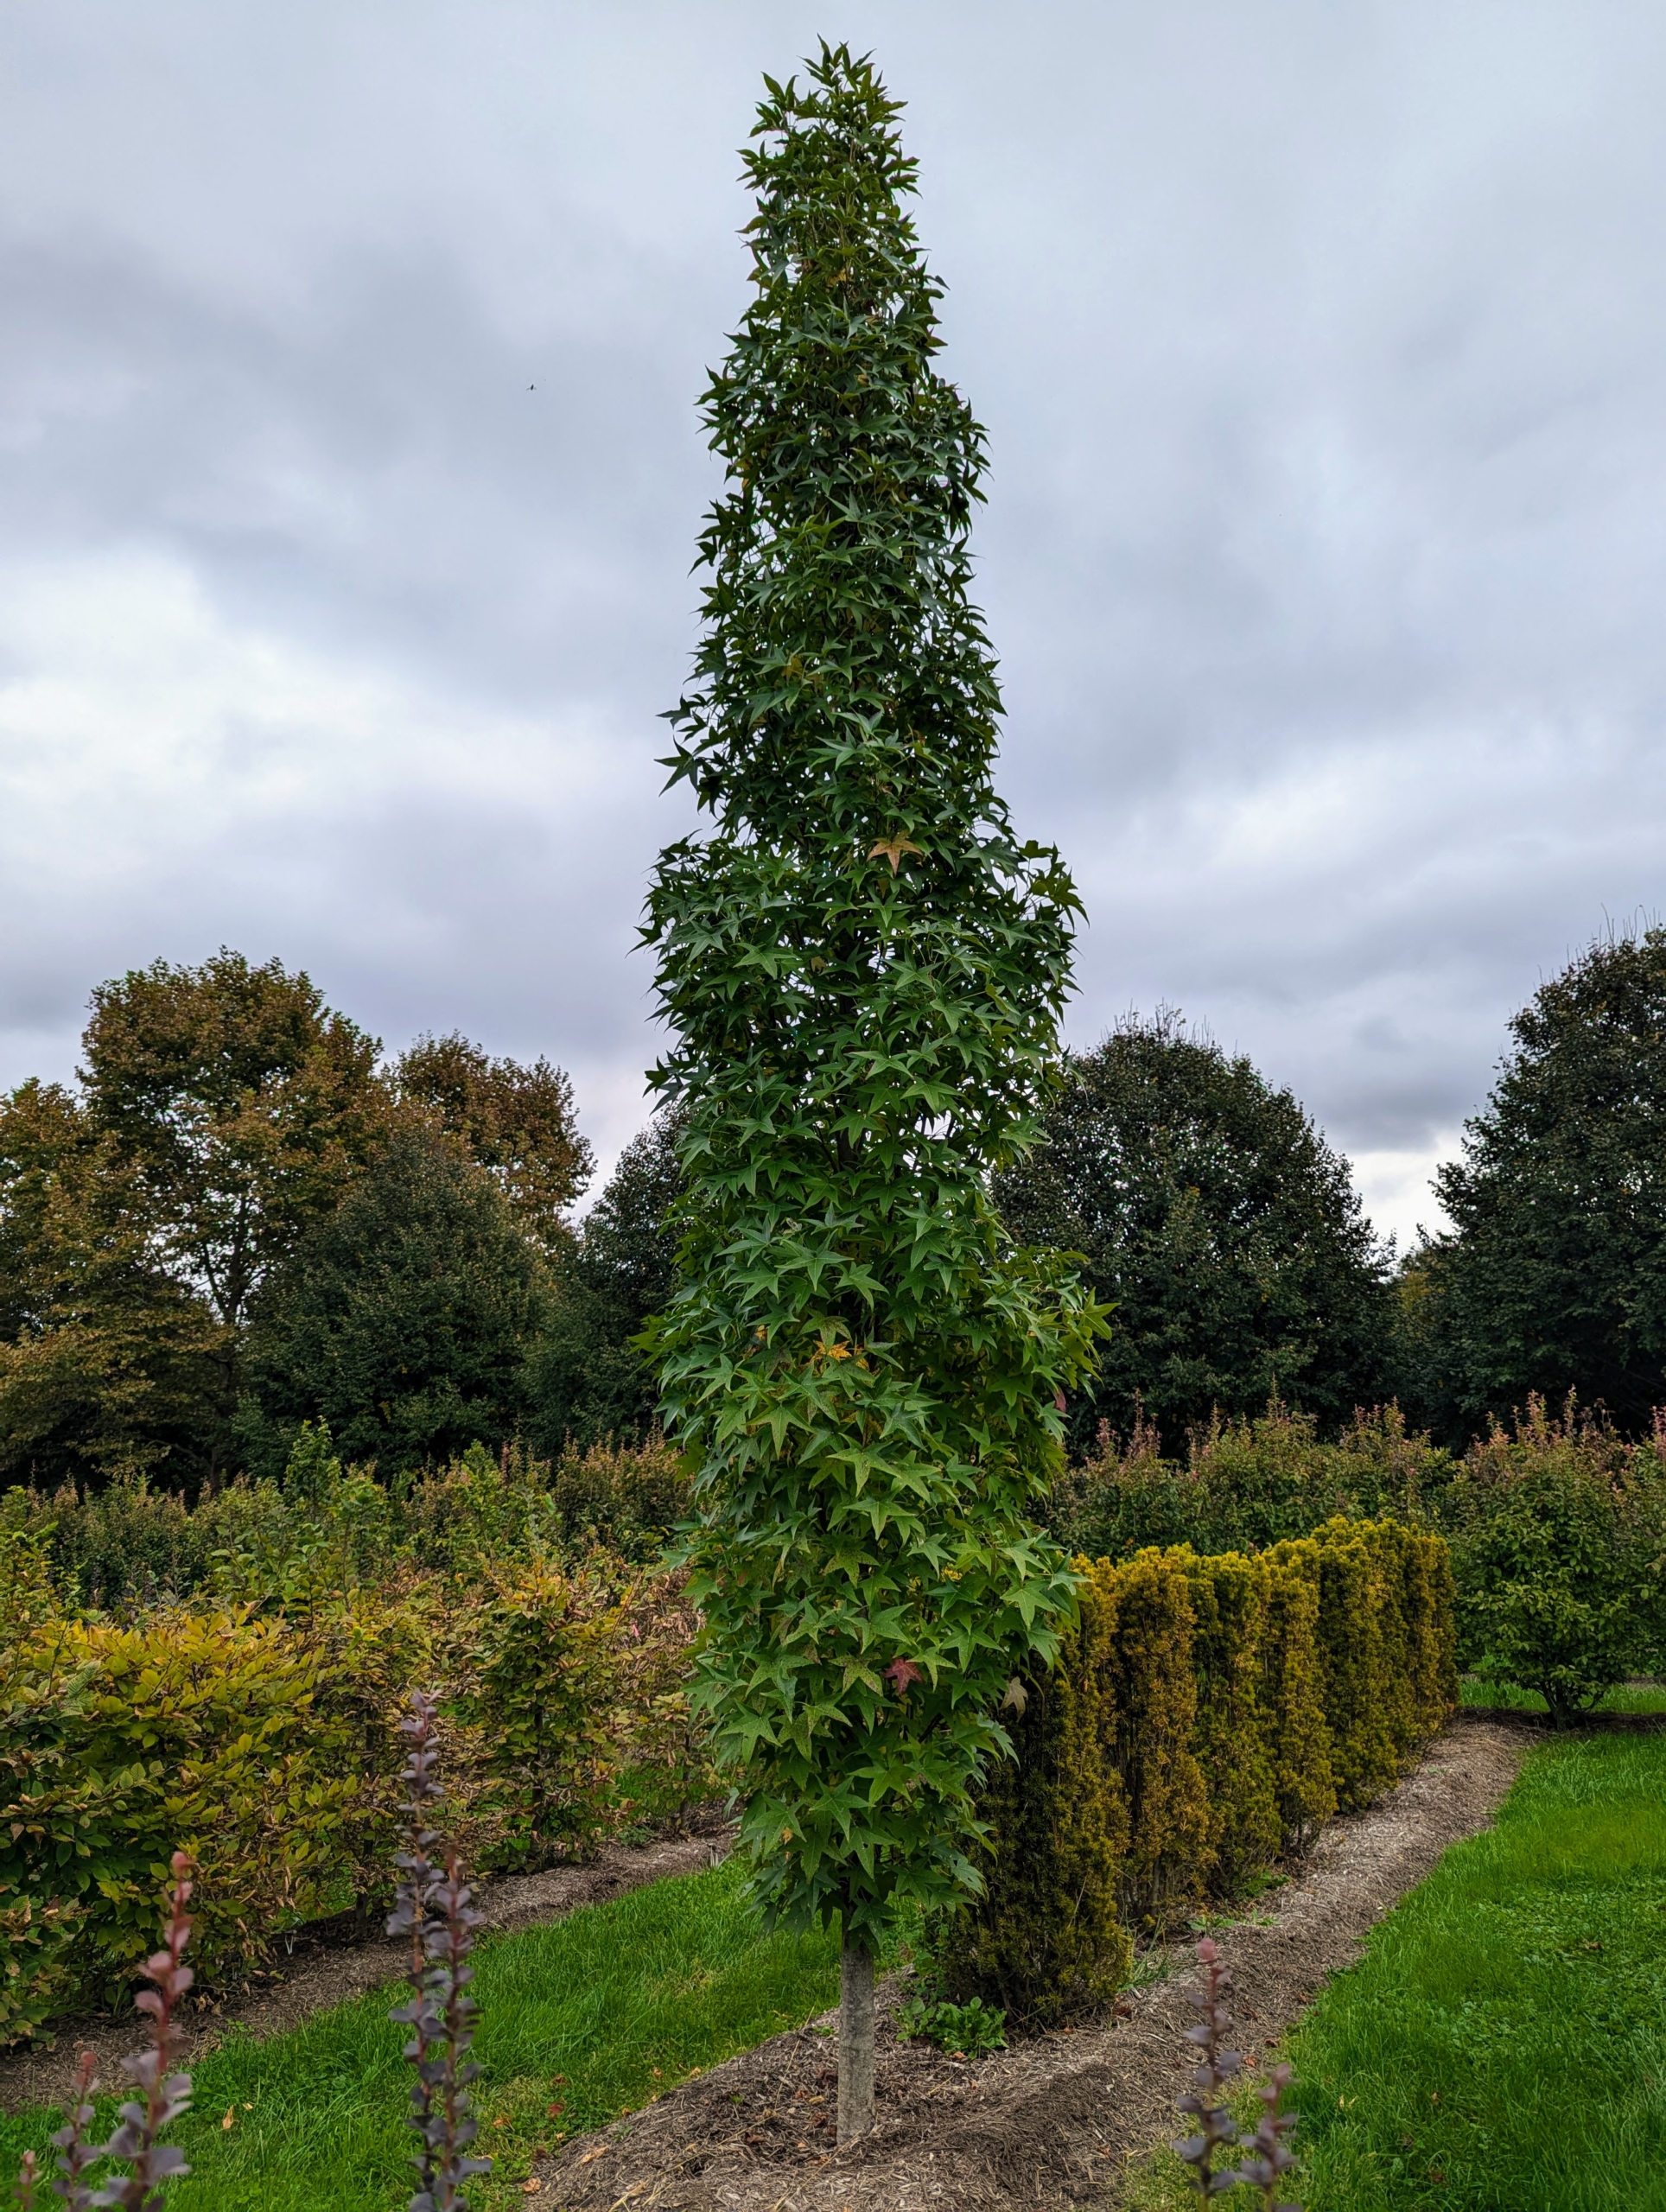
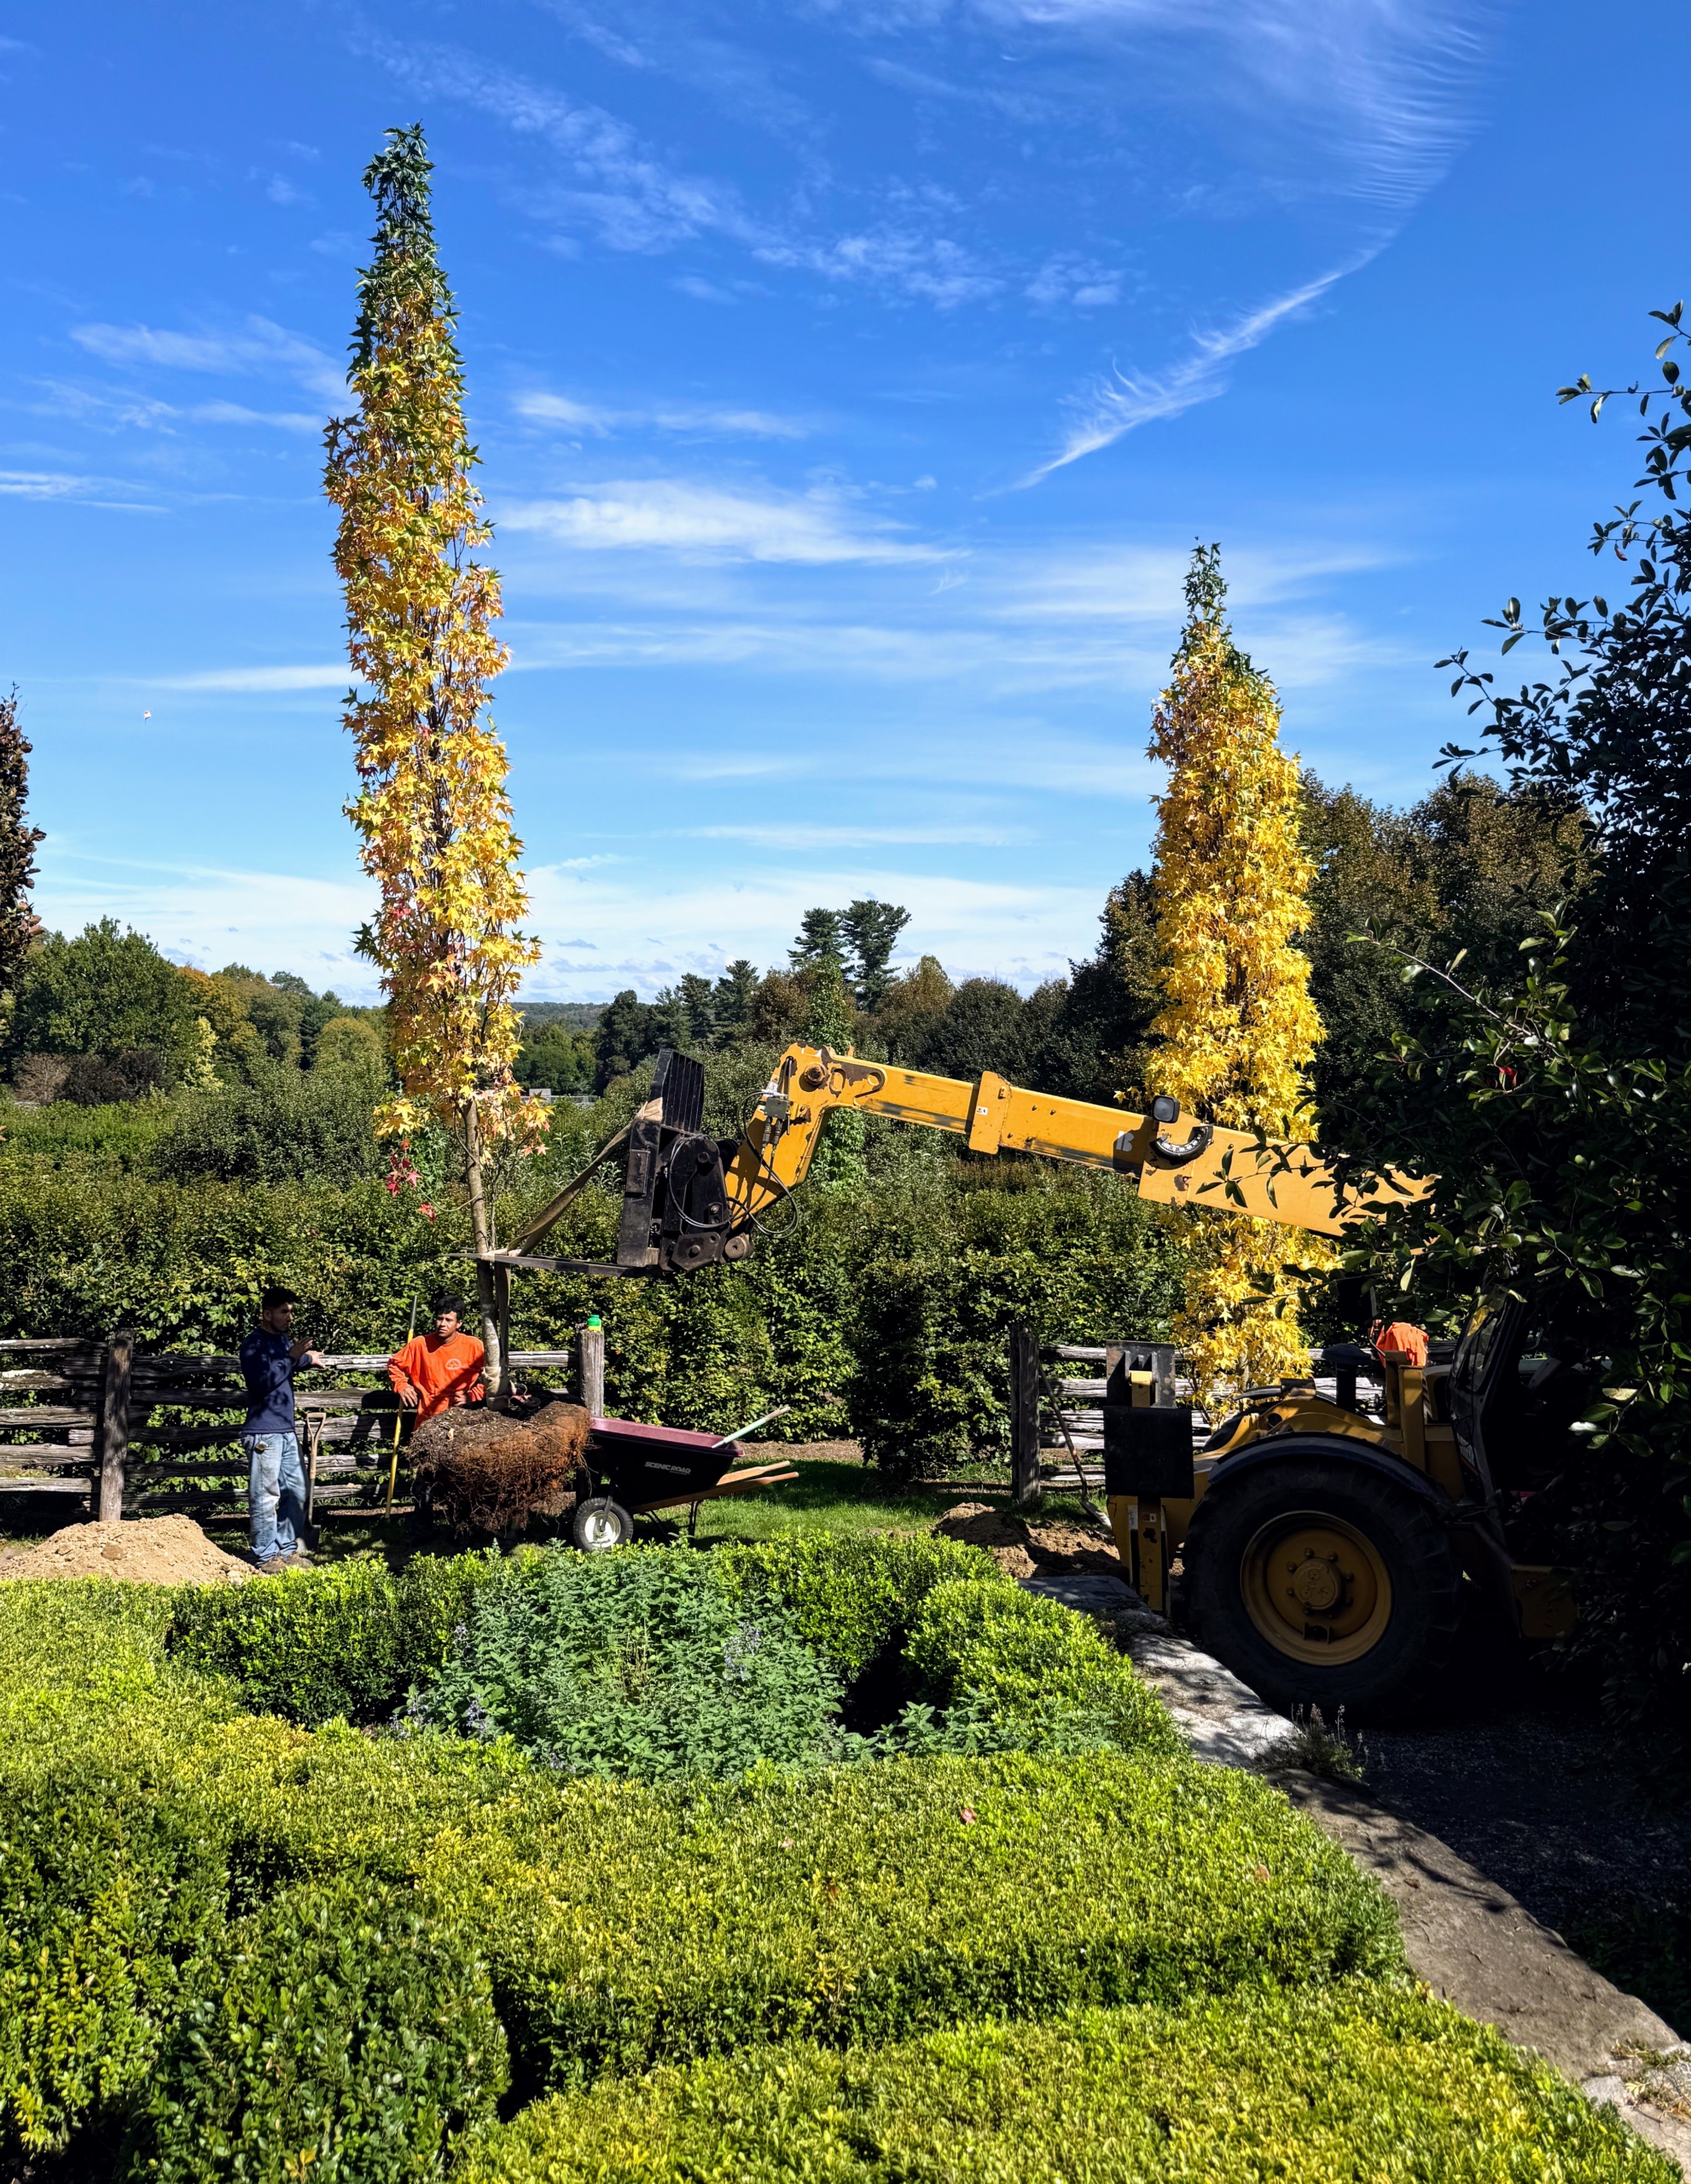
Here’s one of them in my maze planted two years ago. It’s towering appearance is so perfect at the end of a maze row. And, it attracts native bees and birds.
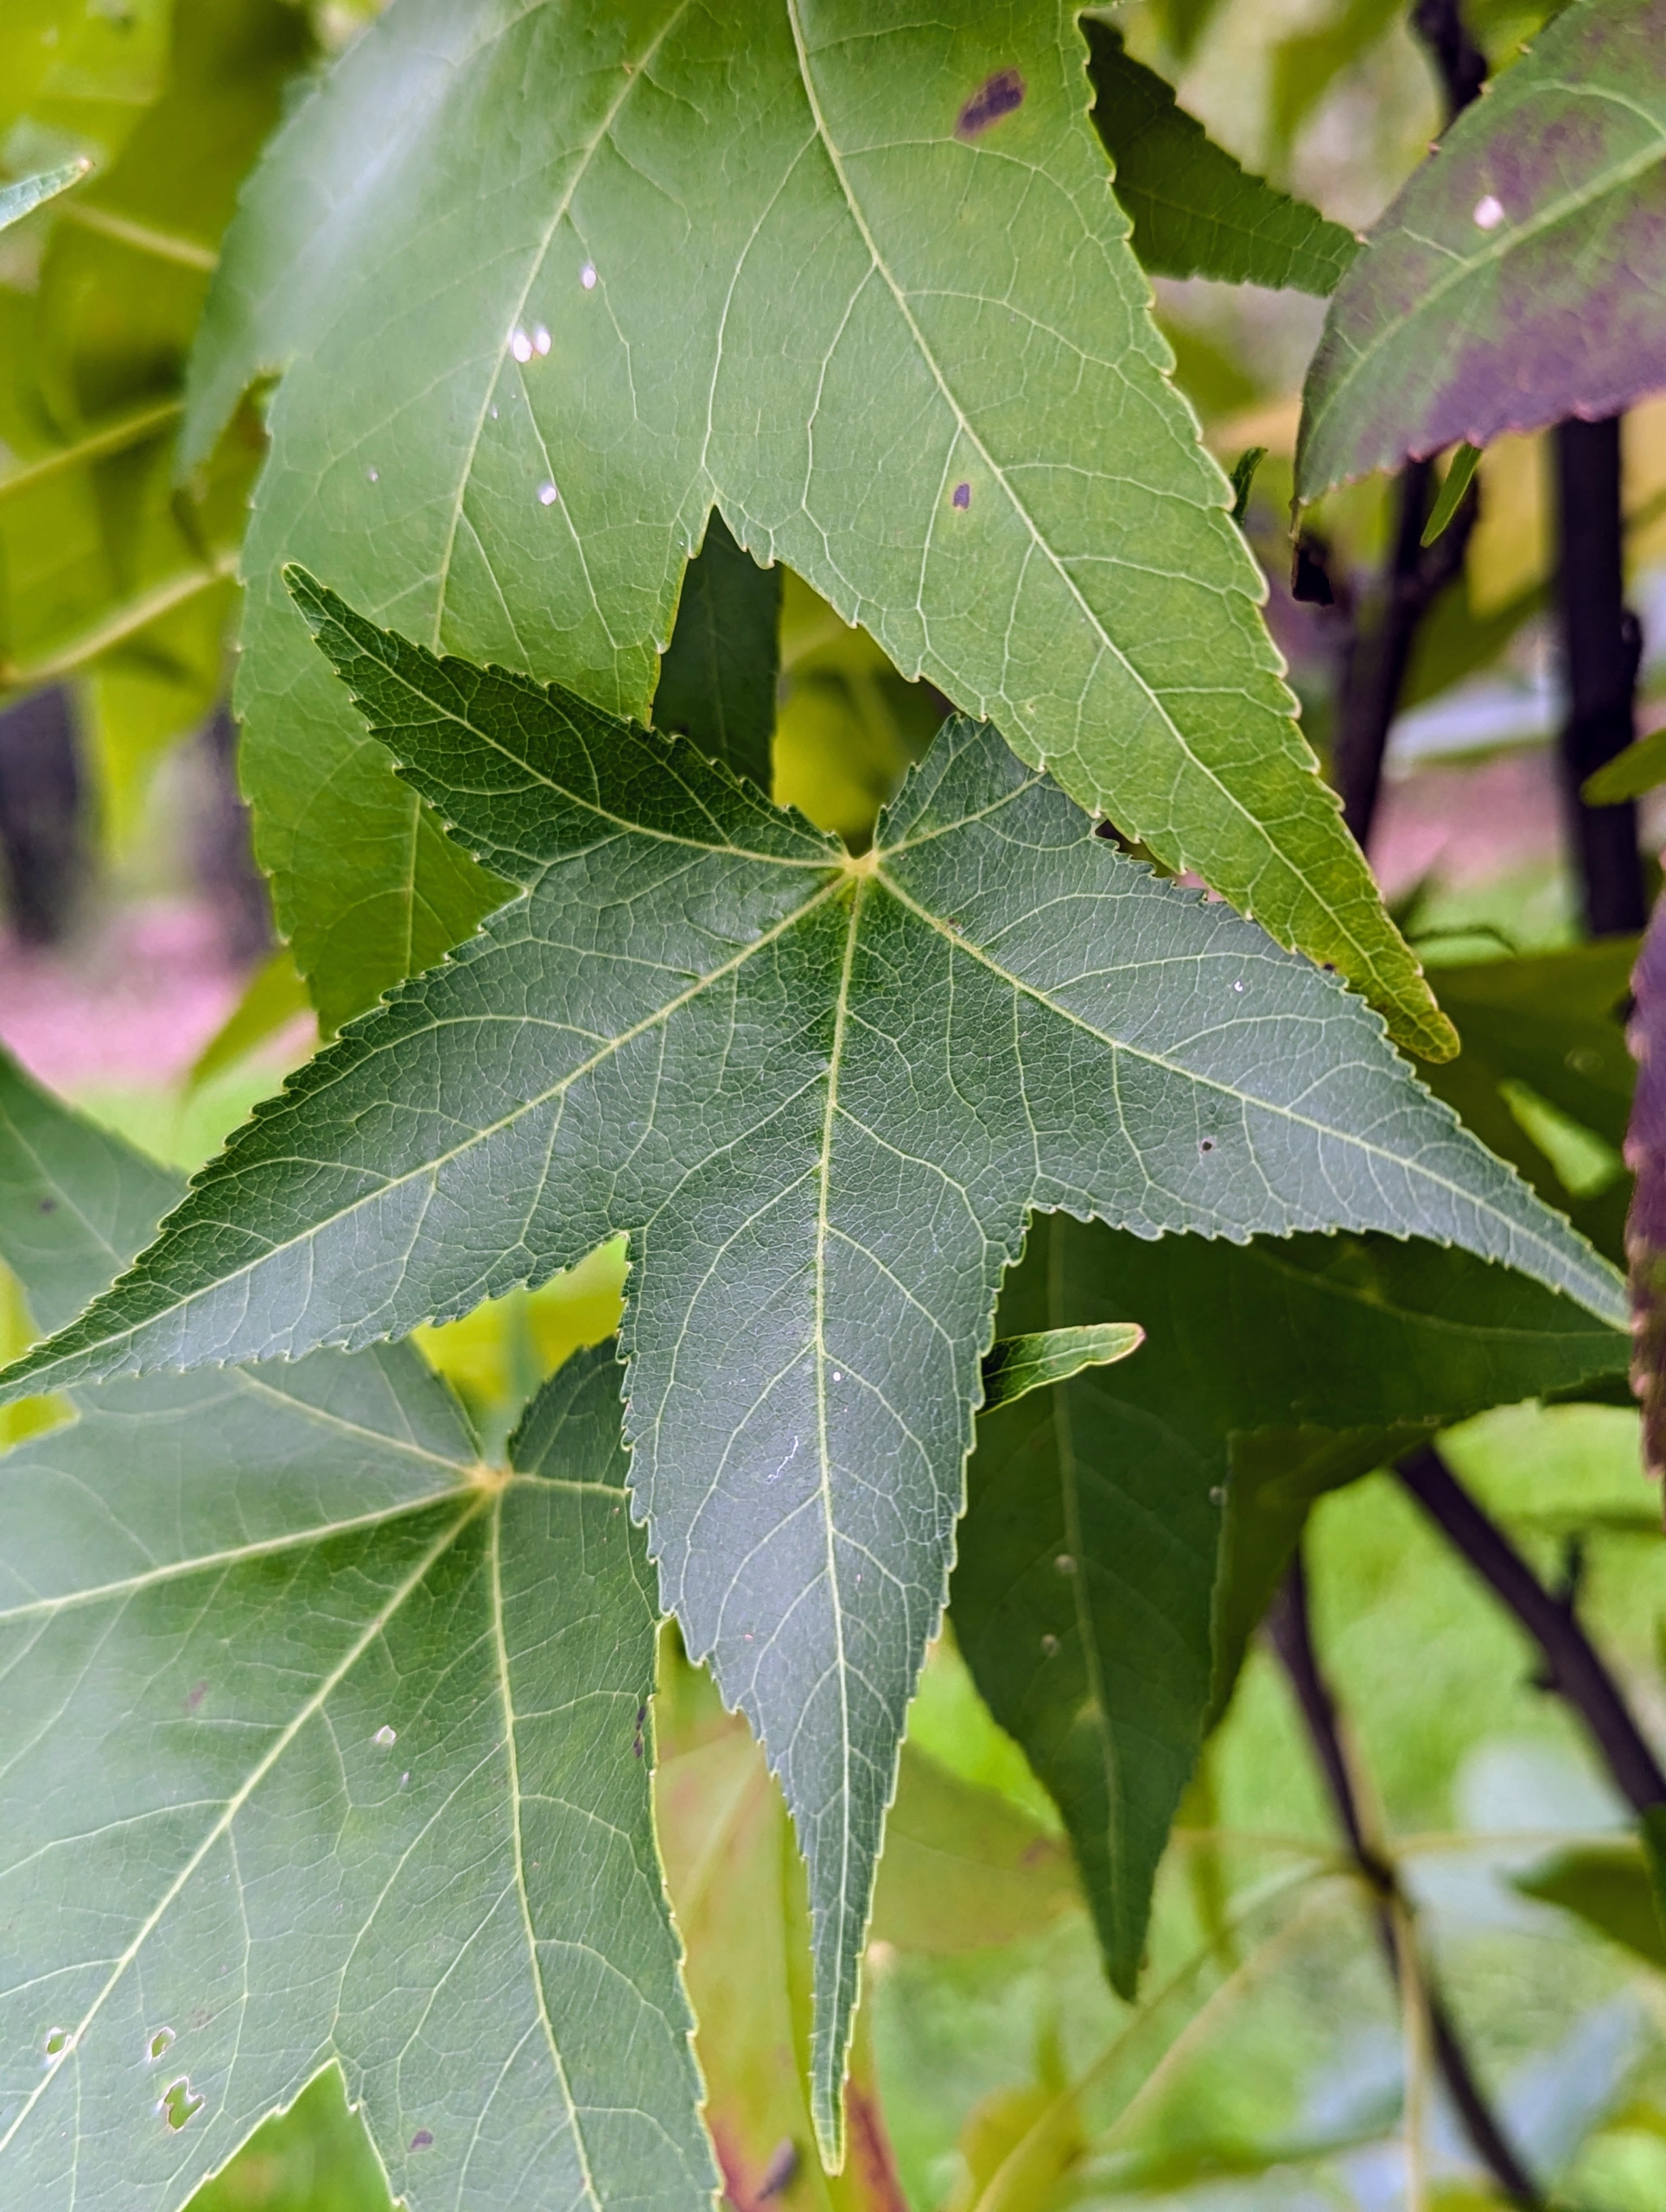
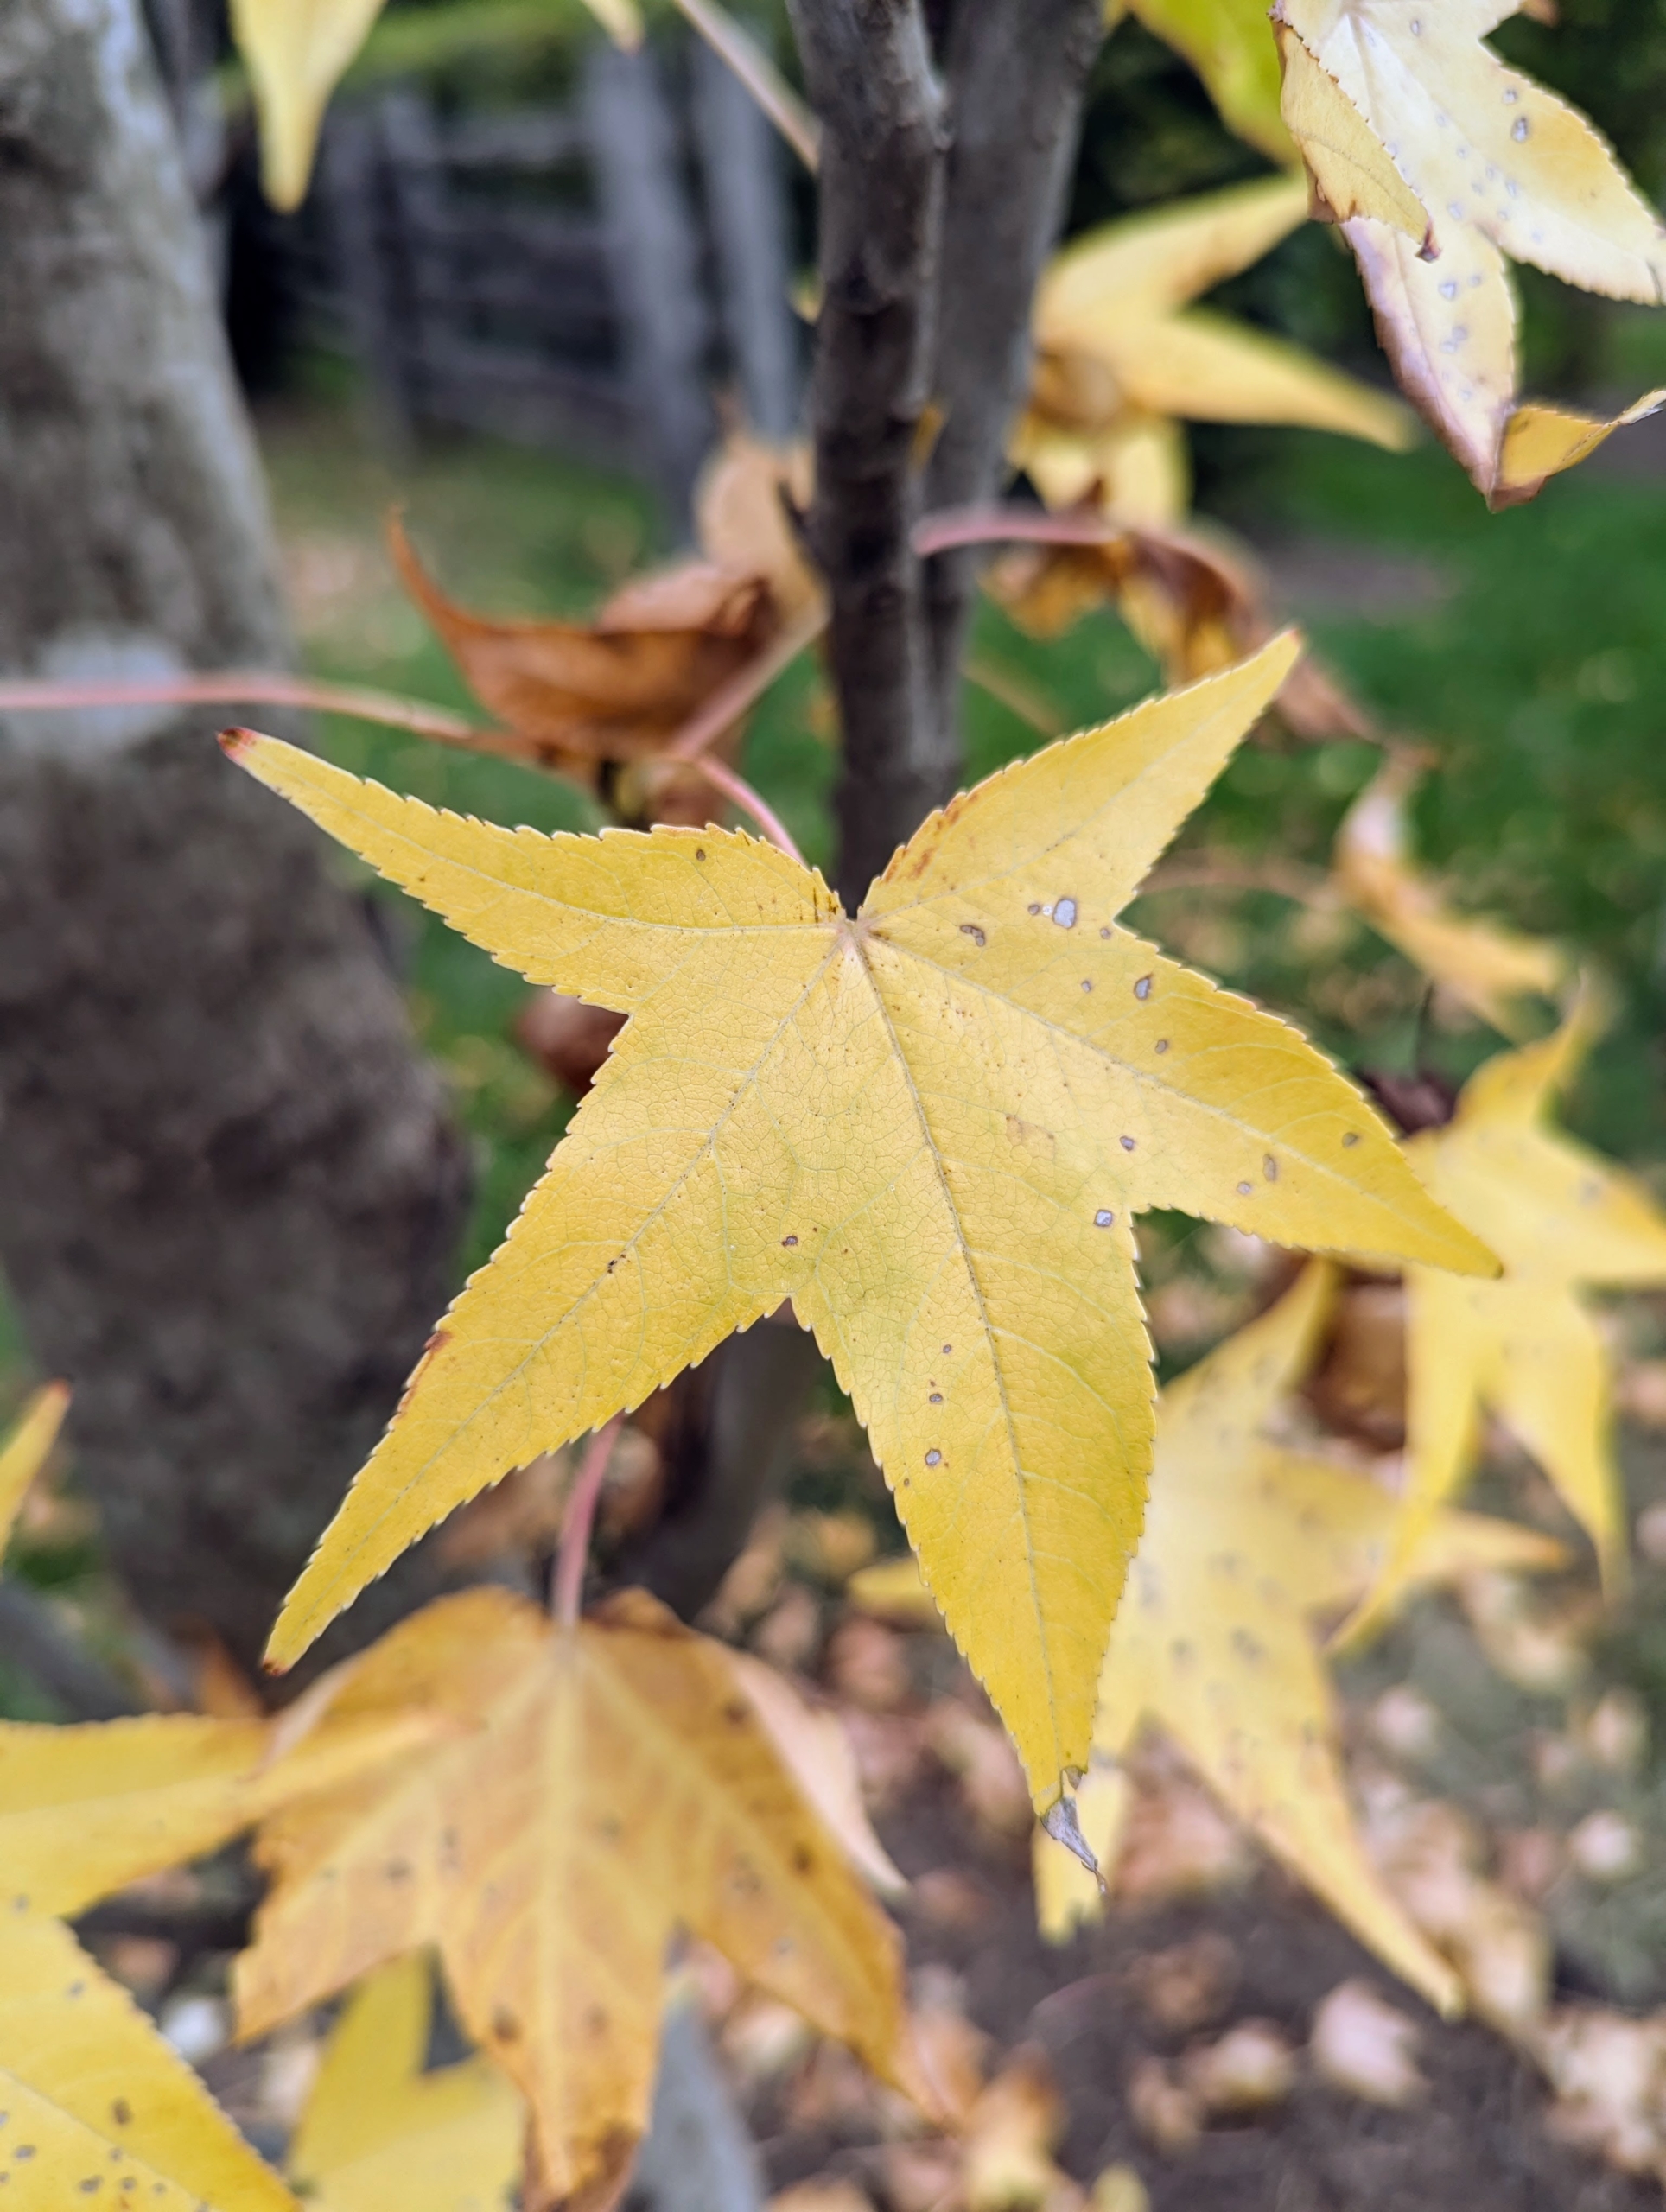
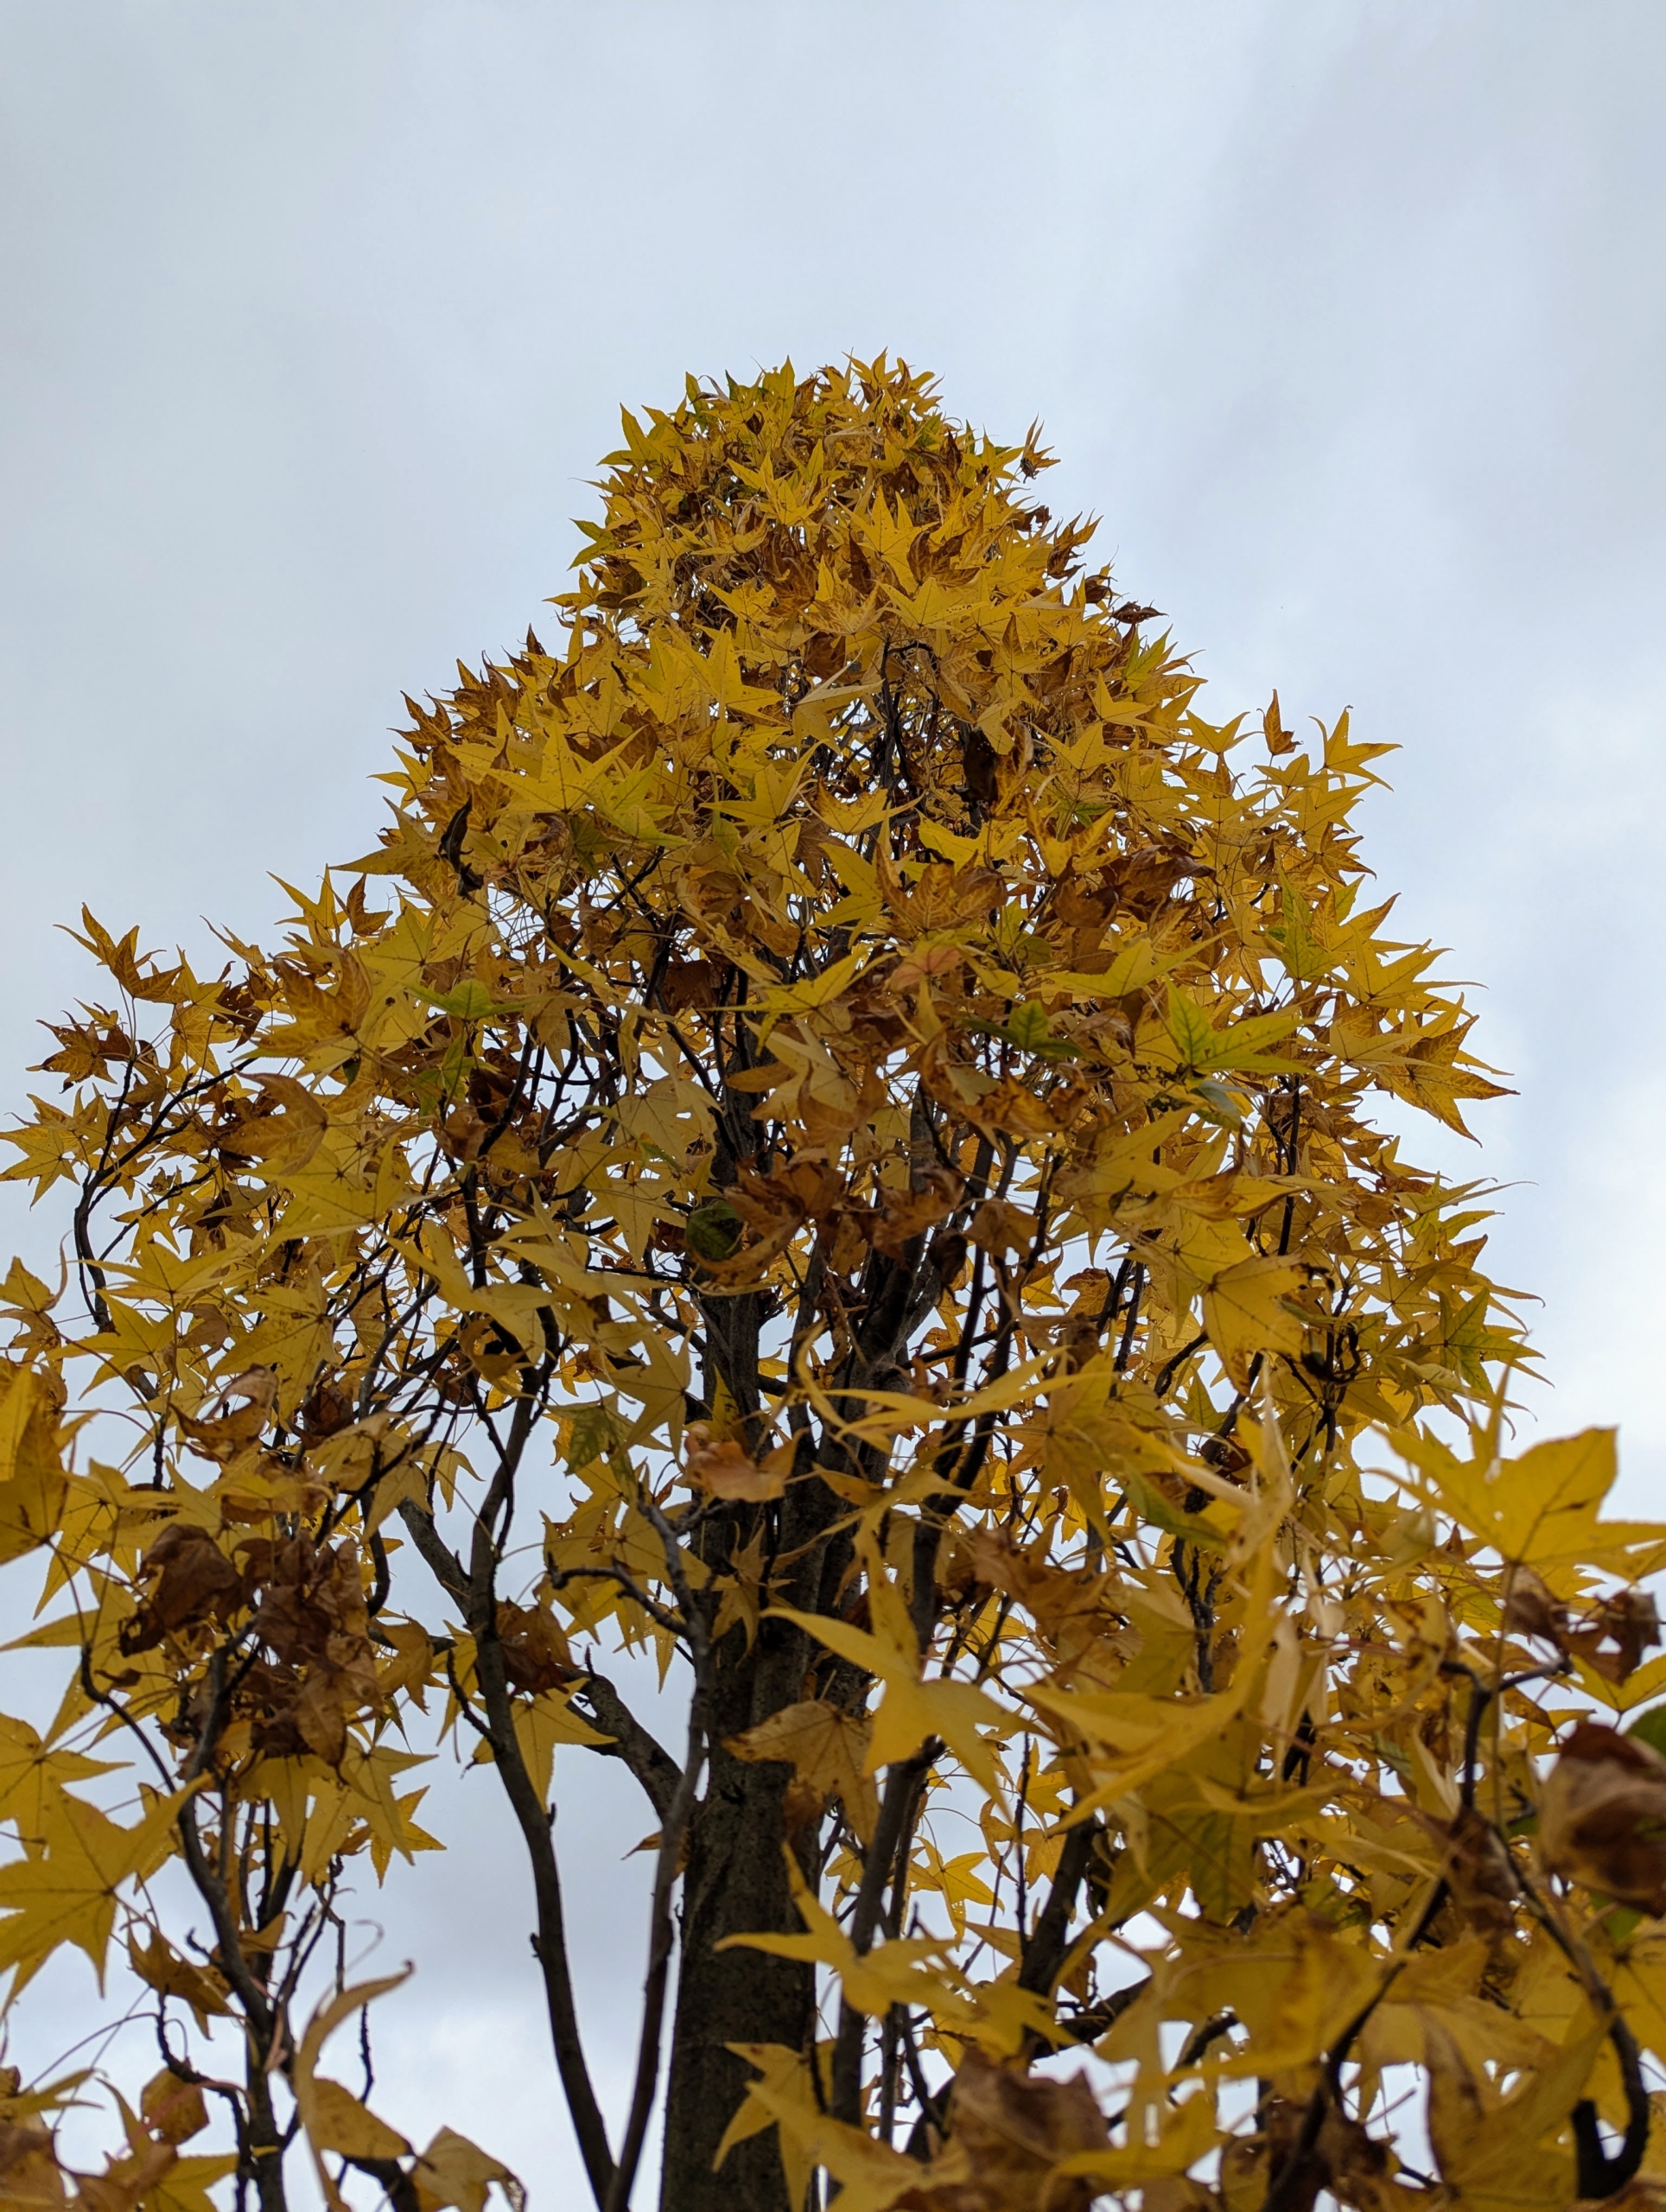
The deciduous dark green leaves are a beautiful star-shape.
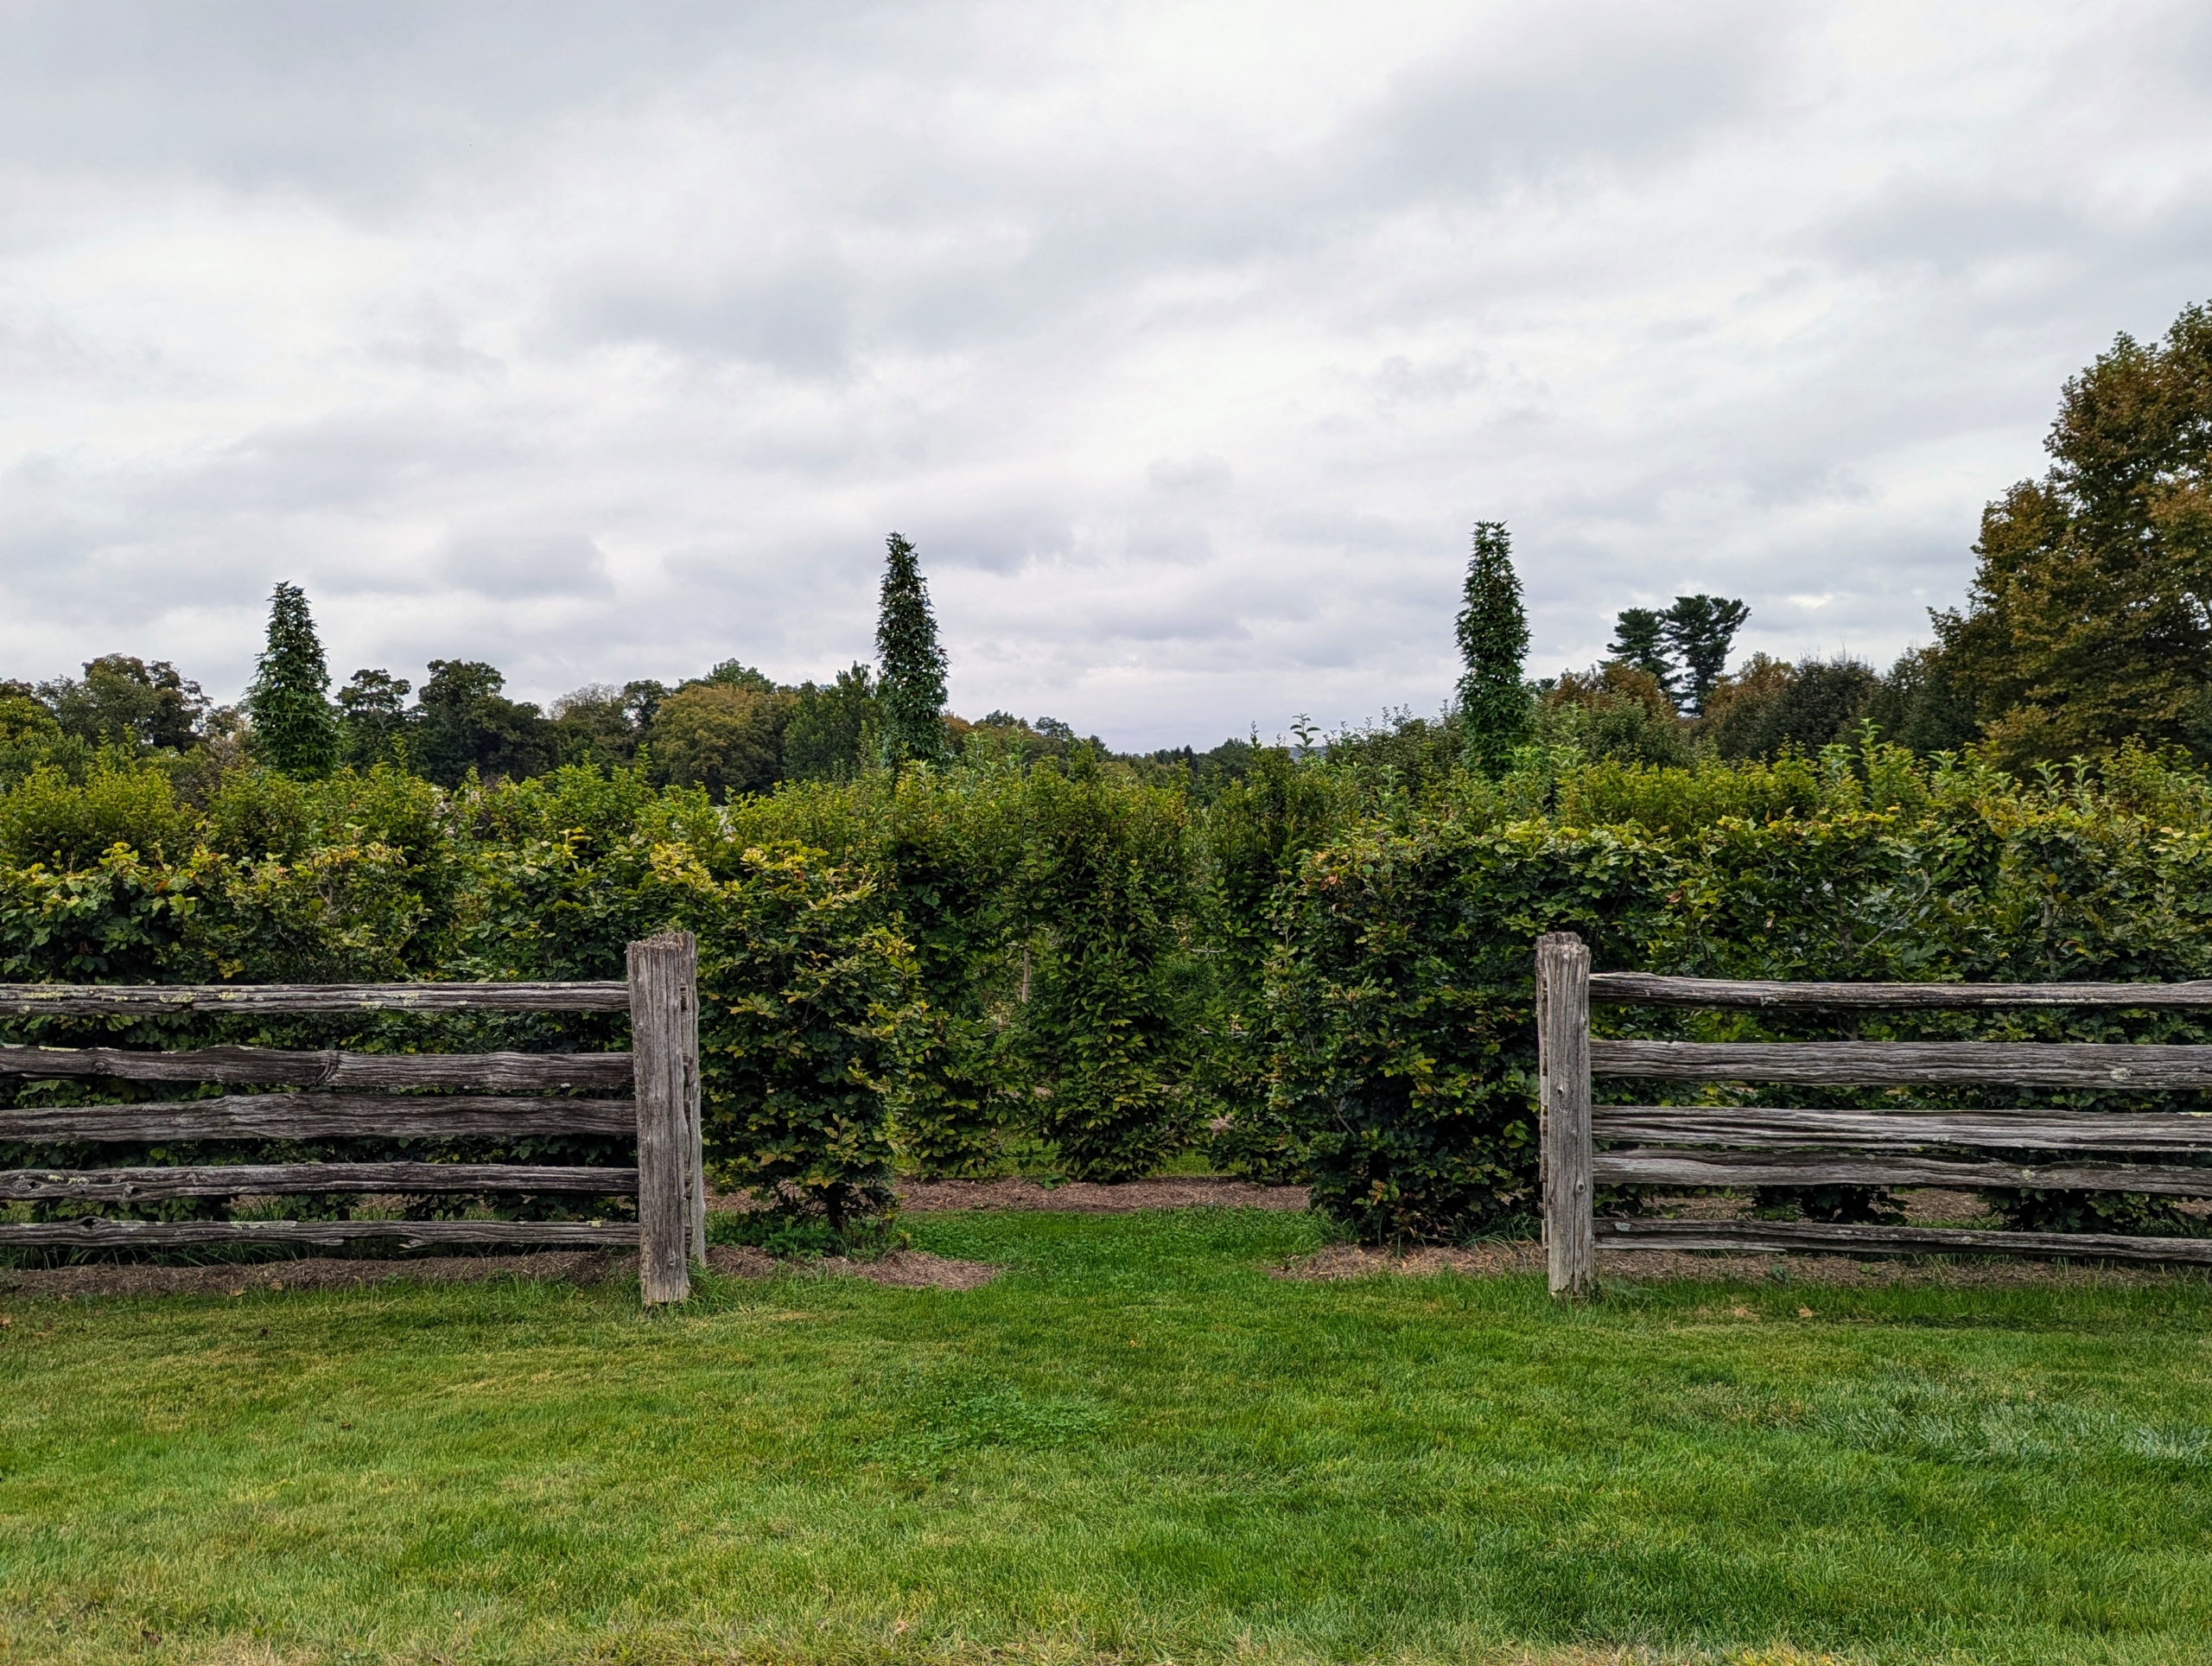
I decided the trees would look great at this entrance to the maze, which is just off the carriage road. When planting any tree or shrub, always consider the size of a mature specimen when selecting where to plant it.
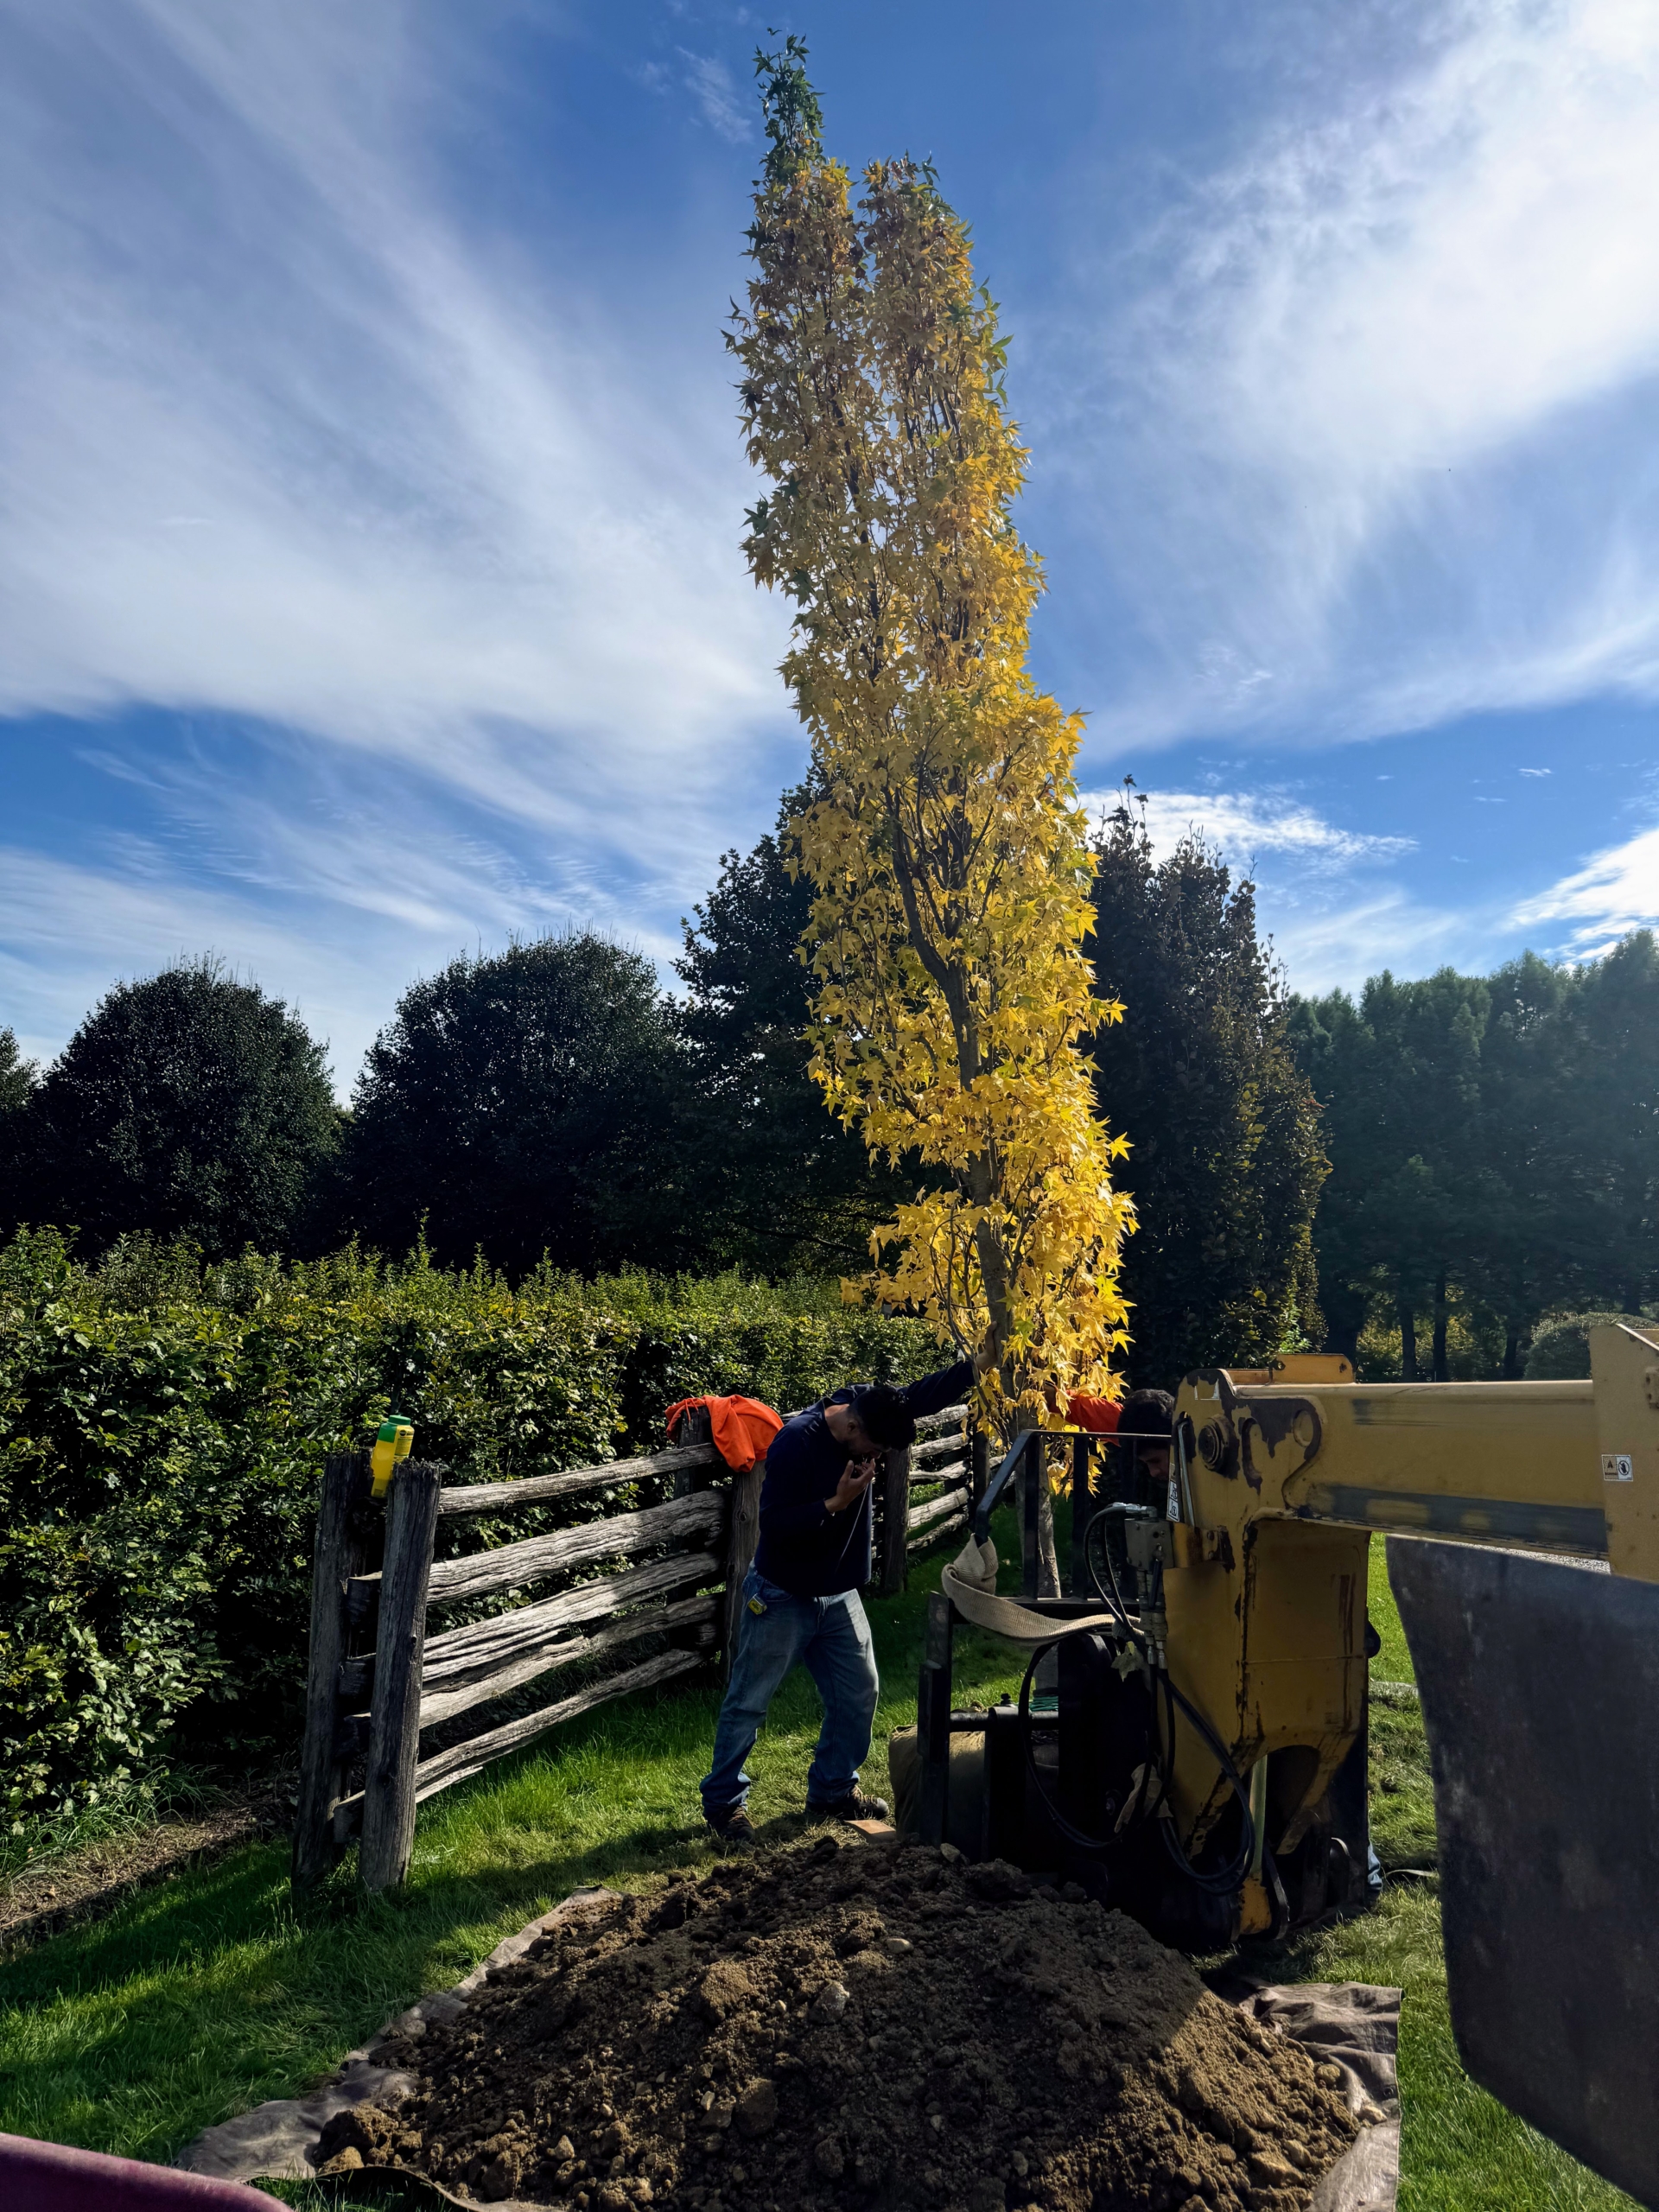
My gardeners and outdoor grounds crew started digging right away. The holes must be pretty wide – at least two to five times as wide as the root ball. The hole sides should also be slanted. Digging a wide planting hole helps to provide the best opportunity for roots to expand into its new growing environment. Once the hole is dug, it is amended with fertilizer.
The crew uses a tarp to collect the soil from the hole. This makes cleanup much easier and much more efficient.
Pete prepare the trees for transport. Notice how the tree is already showing its fall foliage. This early change of color can often happen with specimens that are not planted. It will be fine after it is established in the ground.
The tree is carefully loaded onto the Hi Lo and driven slowly up the carriage road to its planting location.
Then the crew slowly removes the tree from the fork and into the hole. When moving heavy trees, only hold it by the root ball and the base of the trunk – never by its branches, which could easily break.
The tree is also turned so its best side faces the carriage road.
The Slender Silhouette sweetgum is highly adaptable, drought-resistant, and easy-to-grow, but it does best in well-drained soil where it can get full sun.
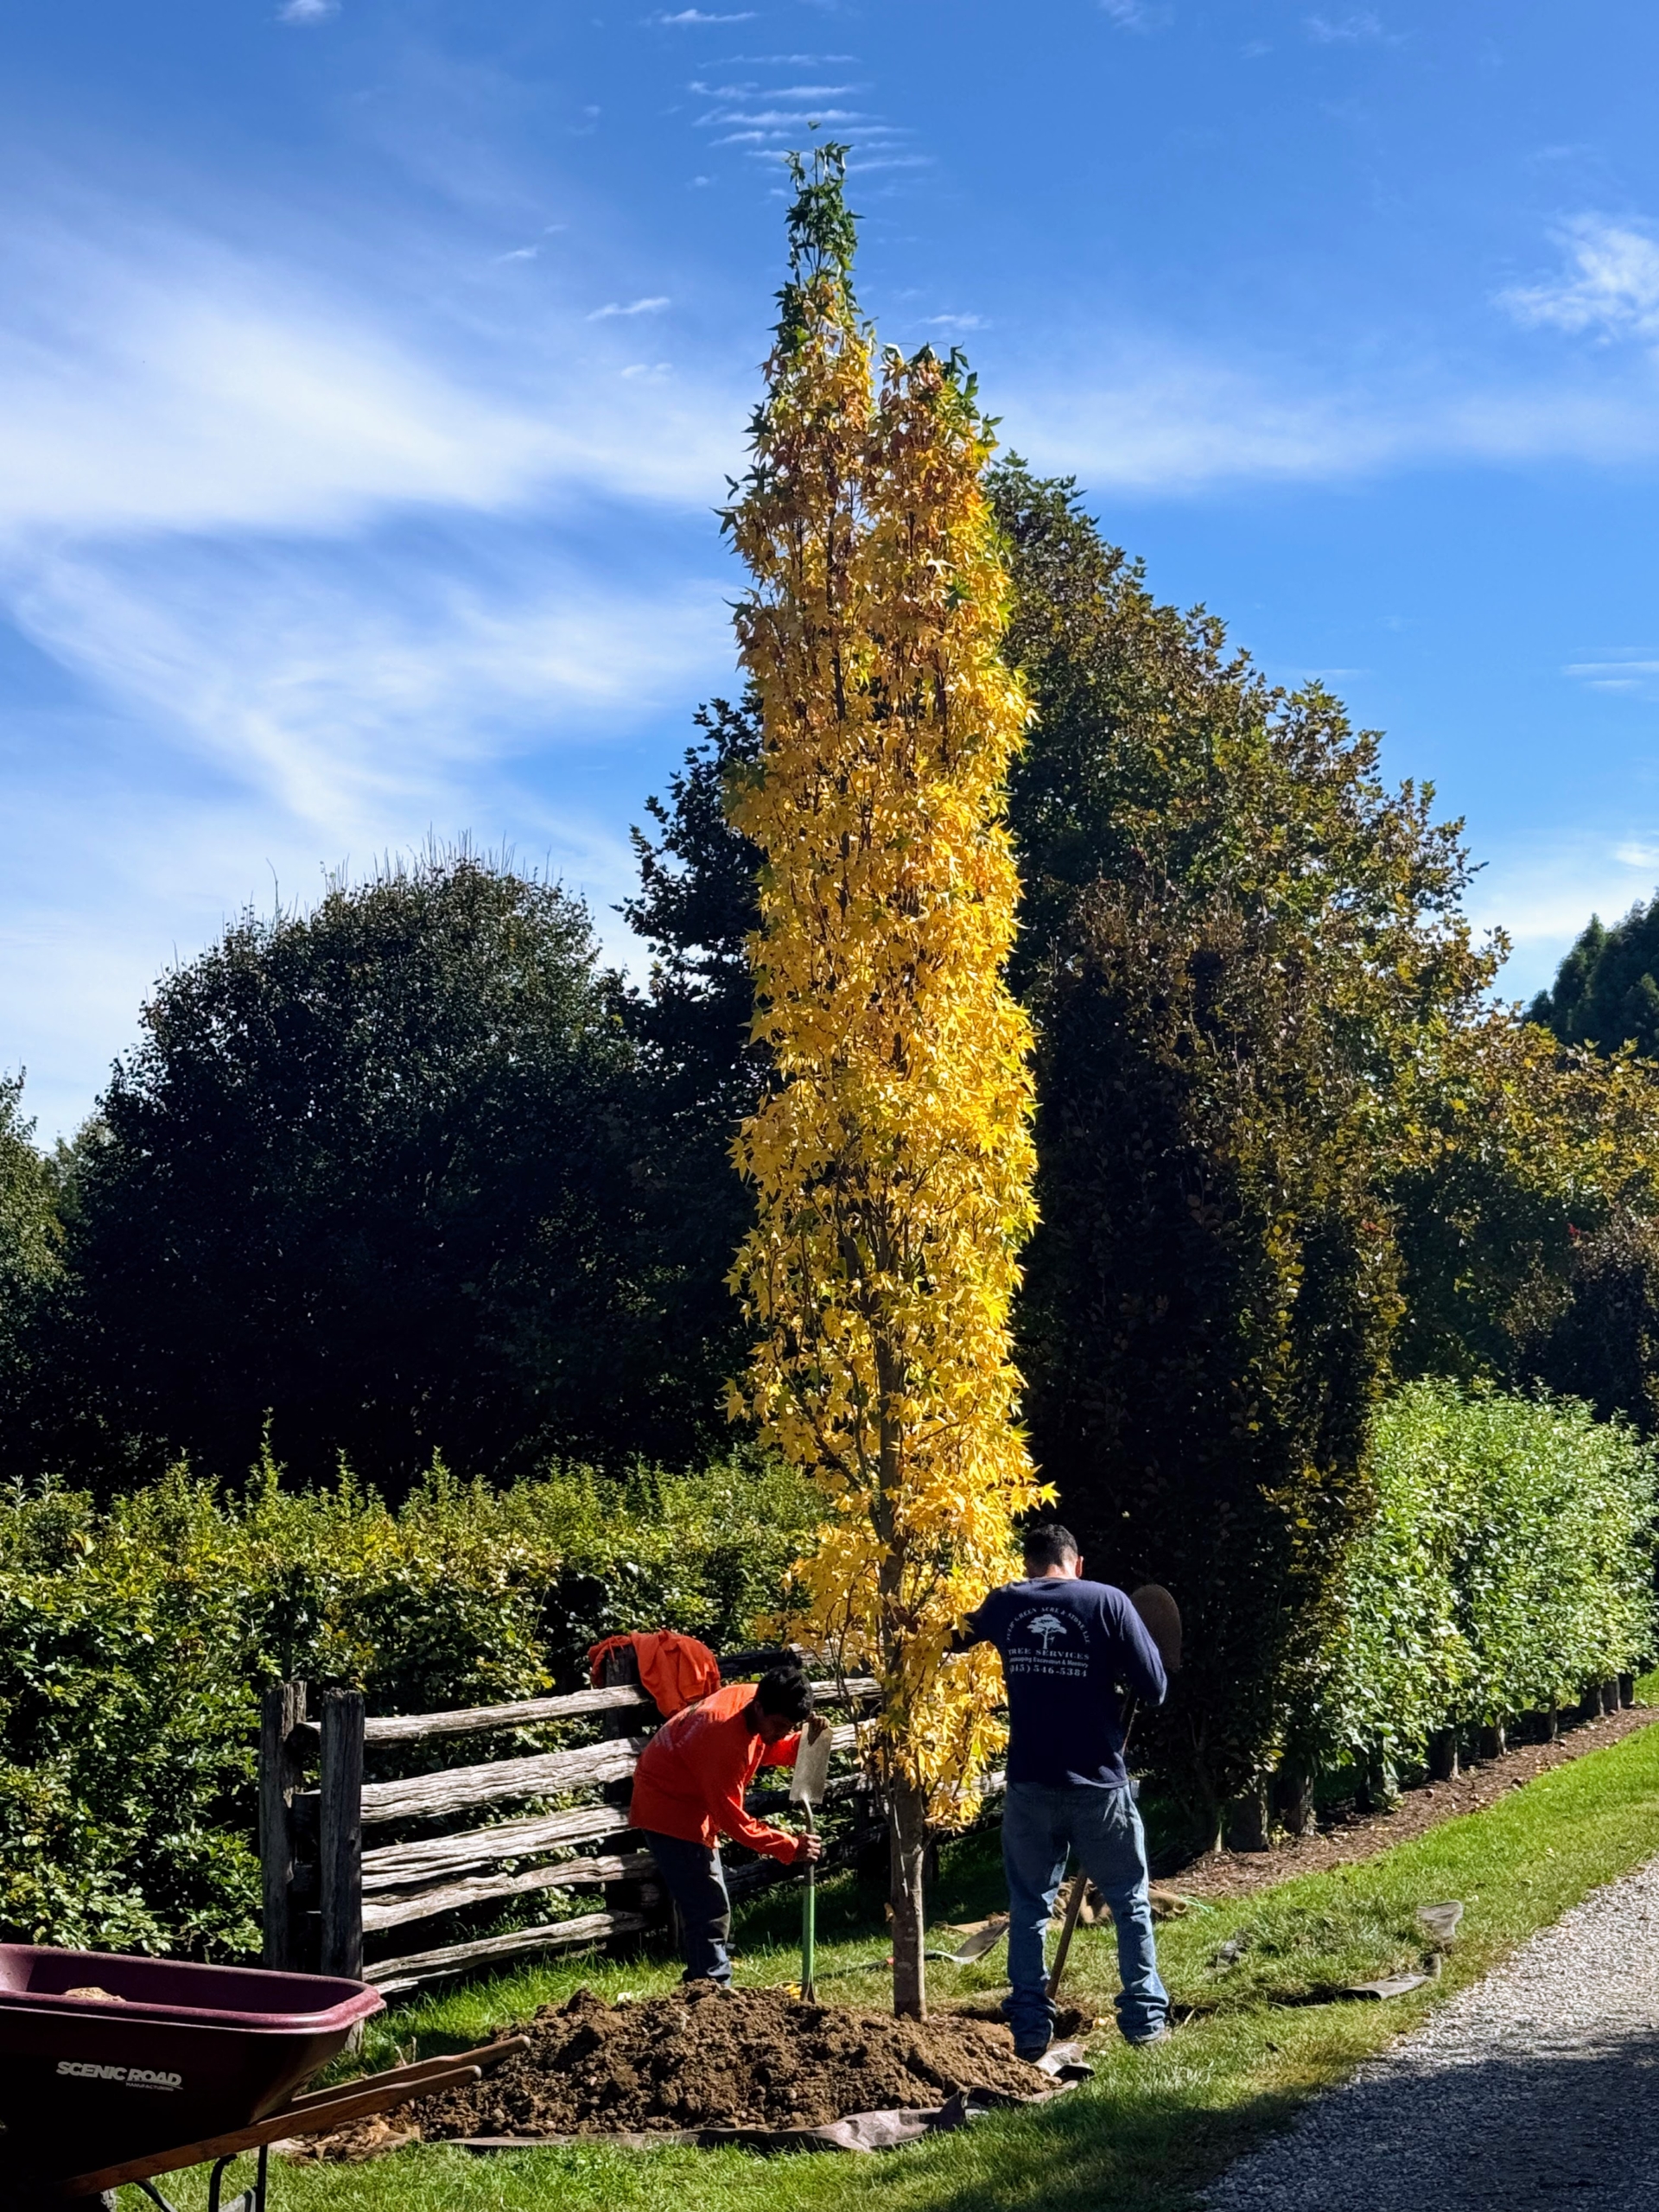
Before backfilling, it’s important to stand several feet away from the tree to also make sure the tree itself is straight.
Here’s the second one going into its designated hole… very slowly and carefully.
In autumn, the American Sweetgum shows a kaleidoscope of colors, including vibrant yellow, orange, red, and purple.
Here’s a reddish leaf on the same tree.
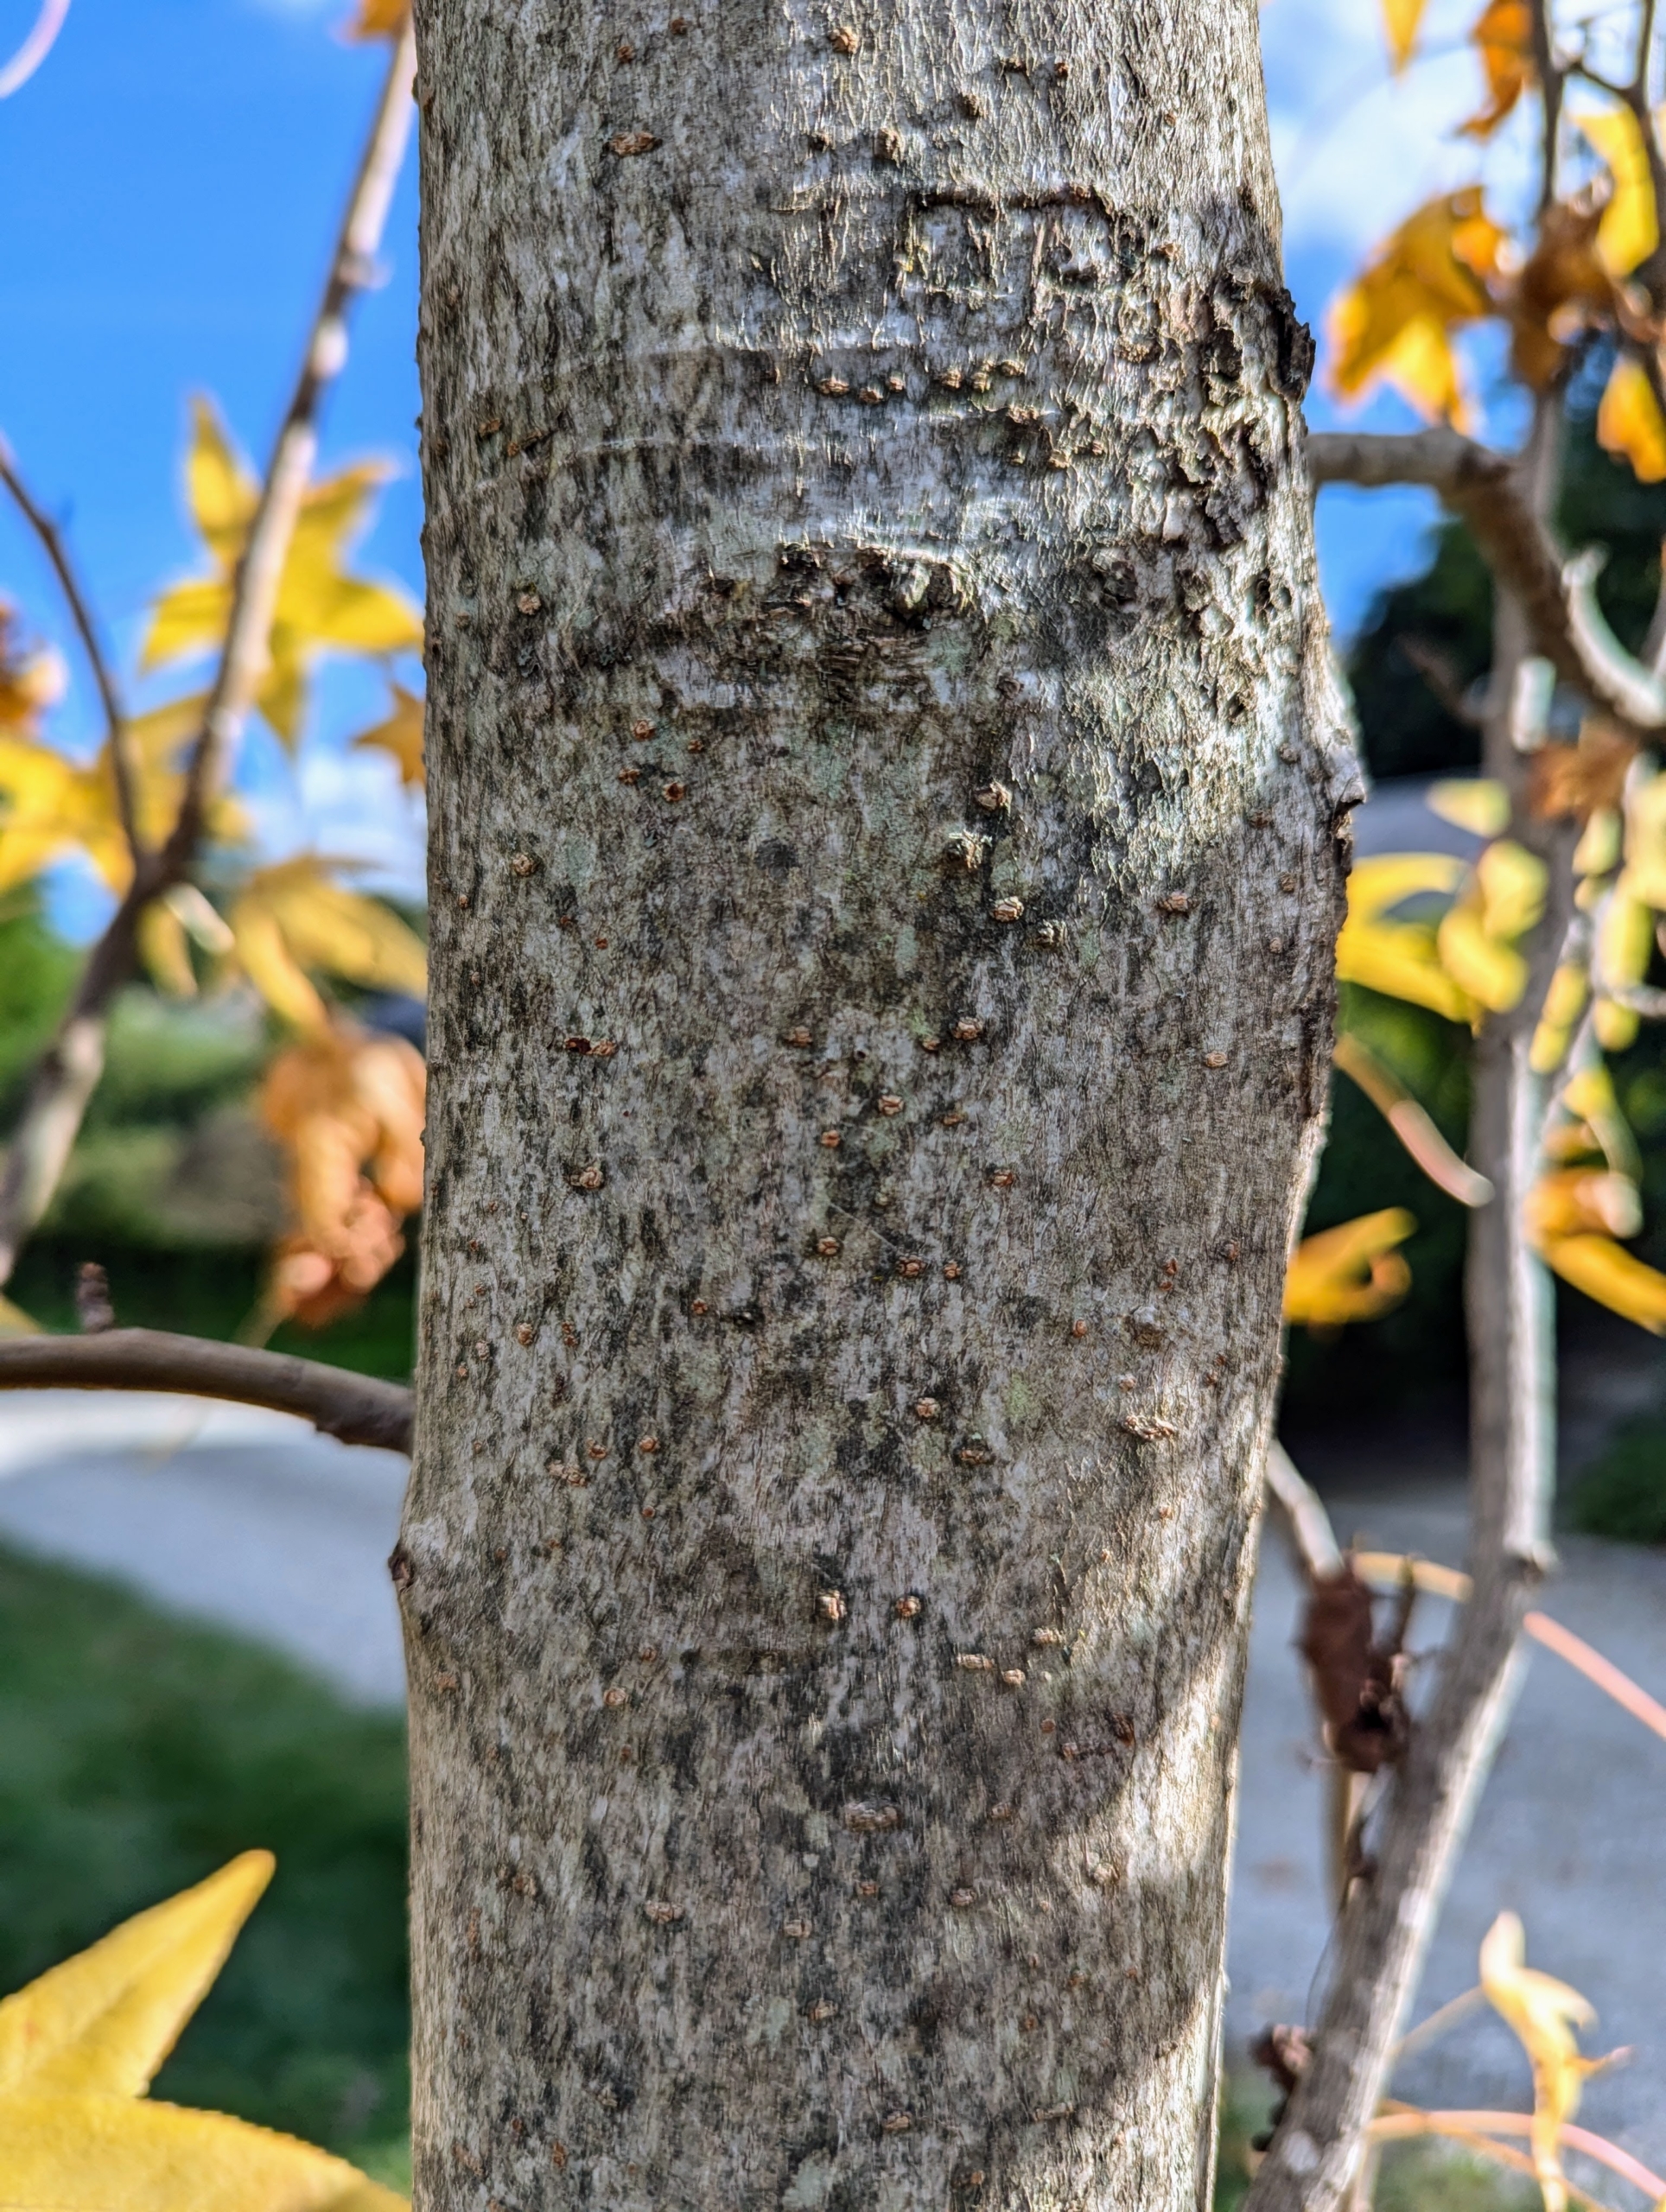
The grayish brown bark will become more rough with deep grooves and narrow, slightly scaly ridges as it ages.
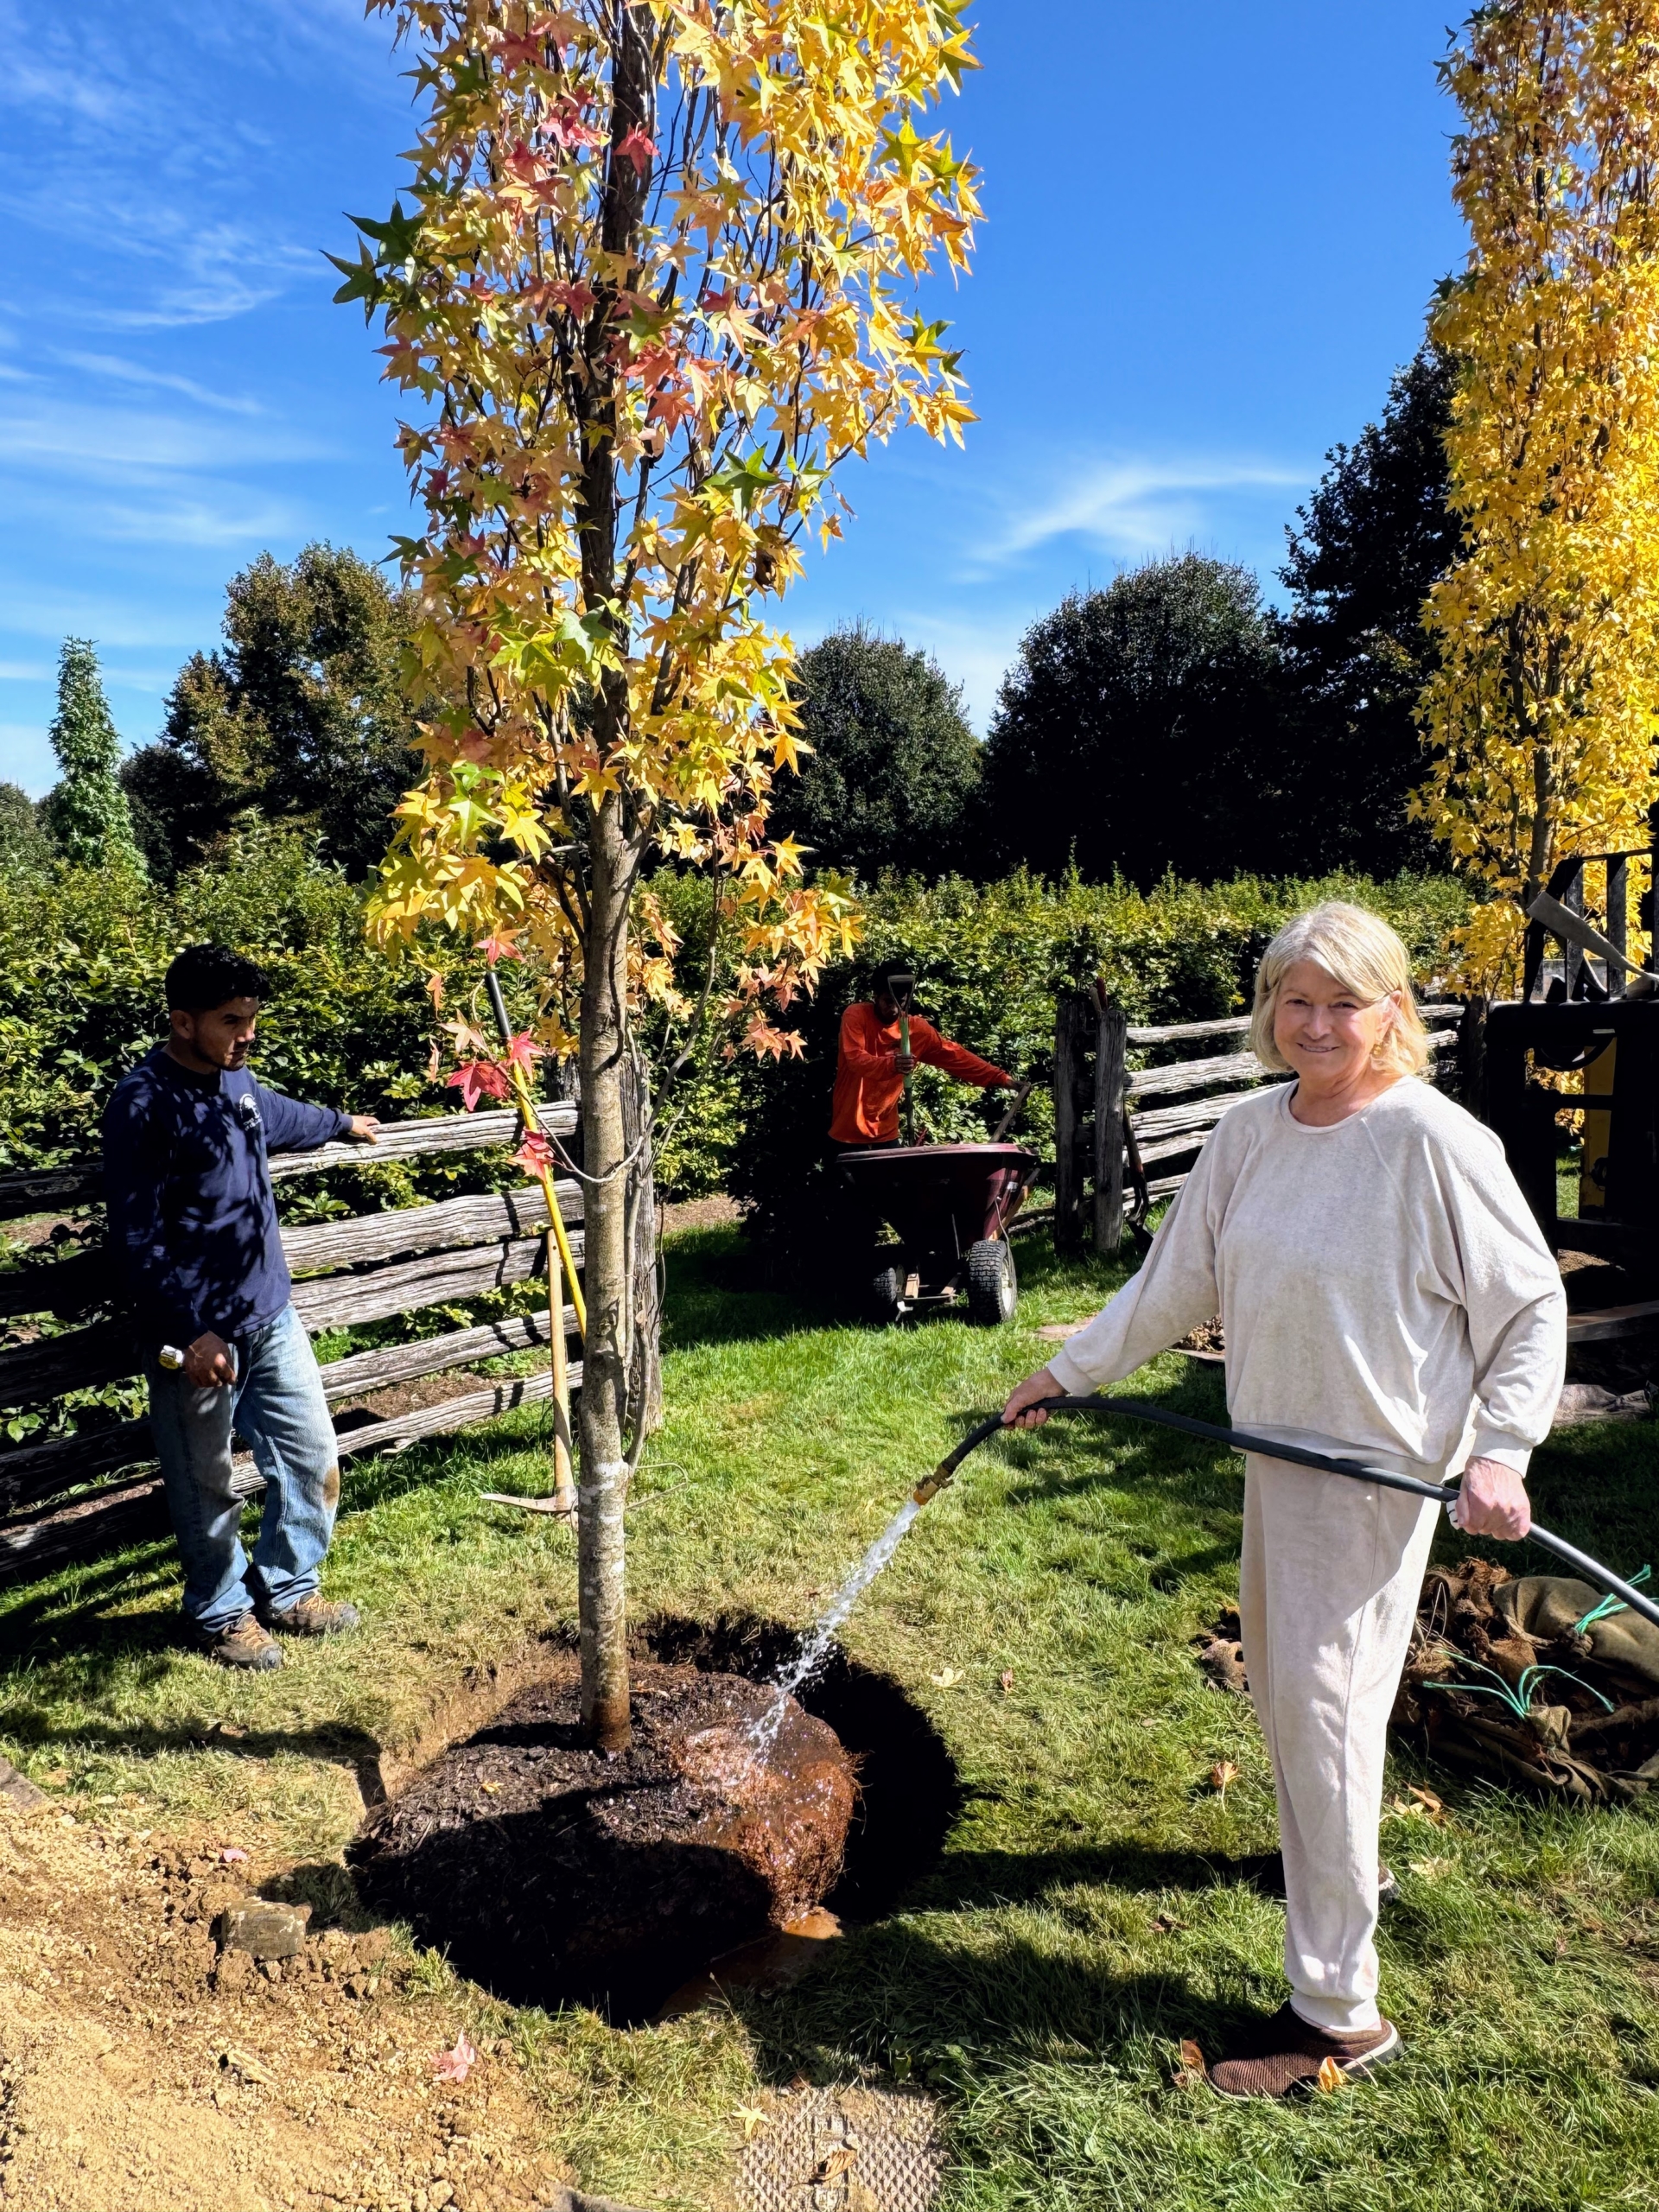
I like to water the root ball as fast as possible after it is in the ground and before it is backfilled. It’s so important to water and feed – remember what I always say, if you eat, so should your plants.”
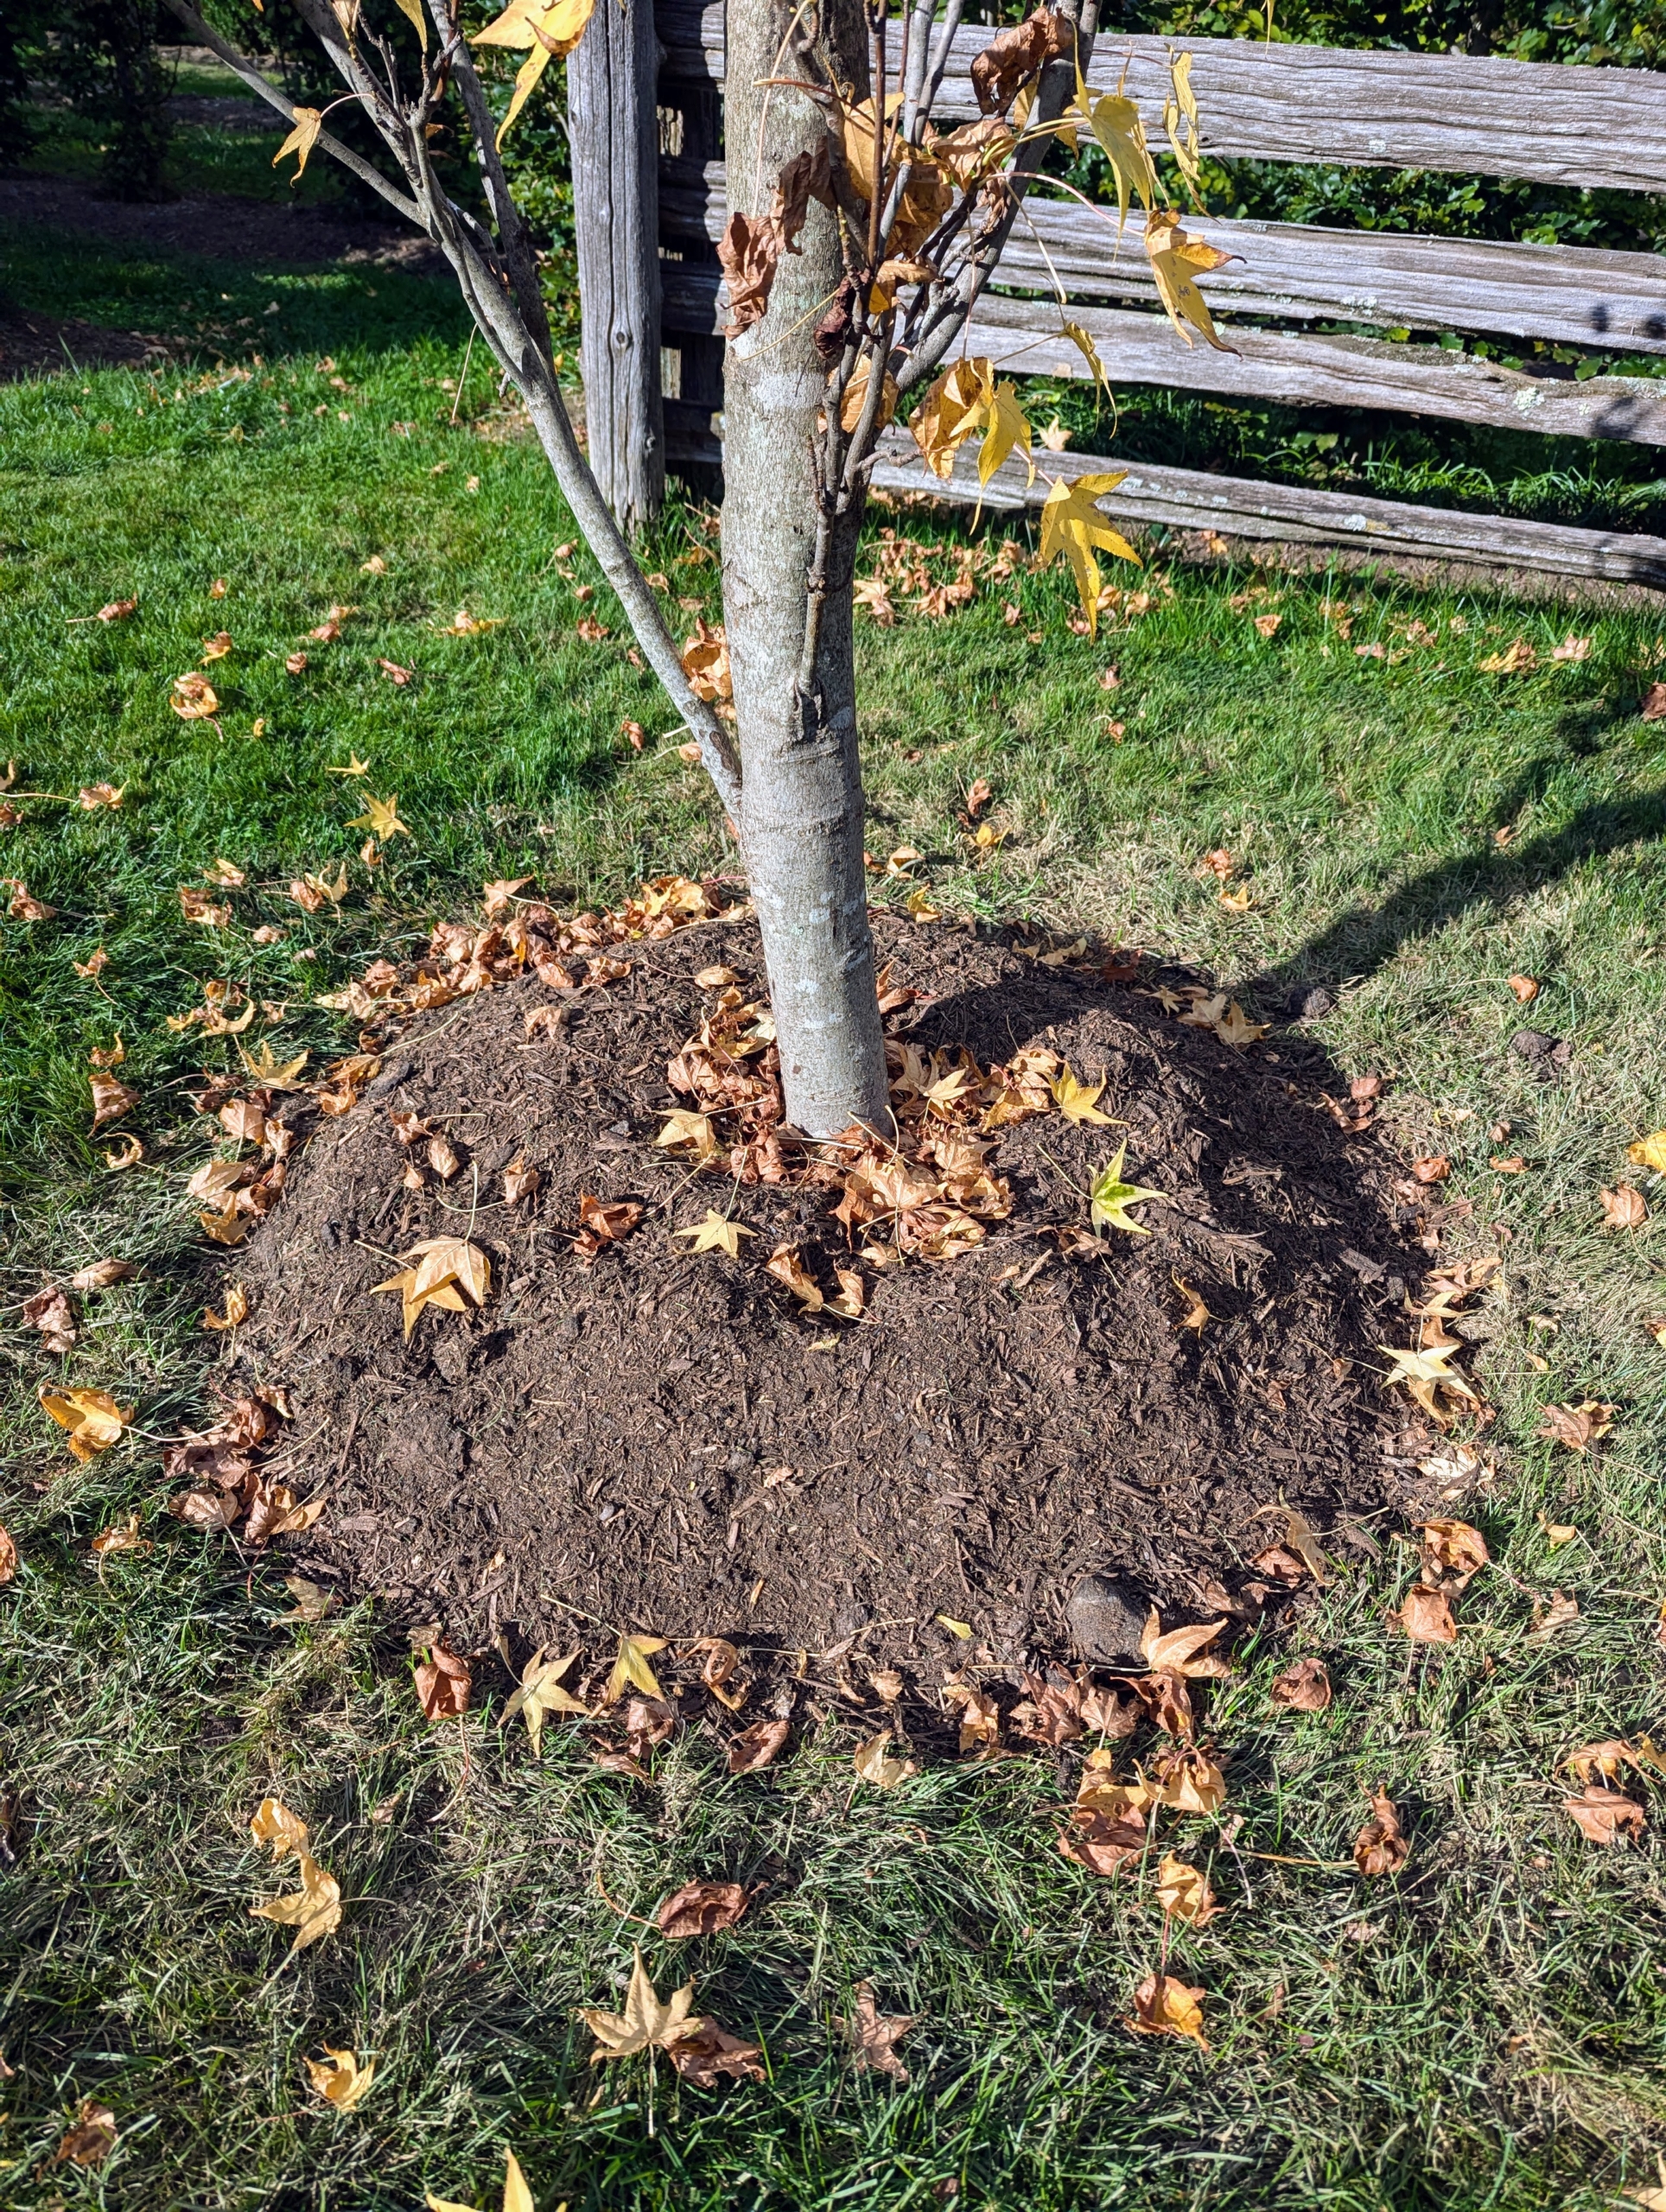
Remember, don’t backfill any tree too deeply – leave it “bare to the flare.” The flare of the tree is the area where a tree’s trunk meets its first main roots.
The American sweetgum is deciduous, but It’s nice that we can all enjoy the foliage of the tree for a short while before all the leaves fall off for the season.
Two Liquidambar styraciflua ‘Slender Silhouette’ trees, American sweetgums. I know they will thrive here for years to come.