Our spring gardening season is always extremely busy. My outdoor grounds crew, gardeners, and I work very hard to make sure all the gardens look their best.
Among our annual tasks this time of year - planting and potting up thousands of bare-root trees and other small seedlings. Over the last week, the crew planted about 600 young boxwoods. These boxwoods are still too small to plant in the garden beds, so they are placed in an enclosure designated for young specimens, where they can be carefully maintained until they are large enough to transplant.
Enjoy these photos.
Because the boxwood grows so well here, I plant a few hundred bare-root cuttings every year. I ordered another 600 hundred from Musser Forests, Inc., a Pennsylvania-based company specializing in conifer and hardwood seedlings and transplants. Buxus is a genus of about 70 species in the family Buxaceae. Common names include box or boxwood. Boxwood is native to western and southern Europe, southwest, southern and eastern Asia, Africa, Madagascar, northernmost South America, Central America, Mexico, and the Caribbean.
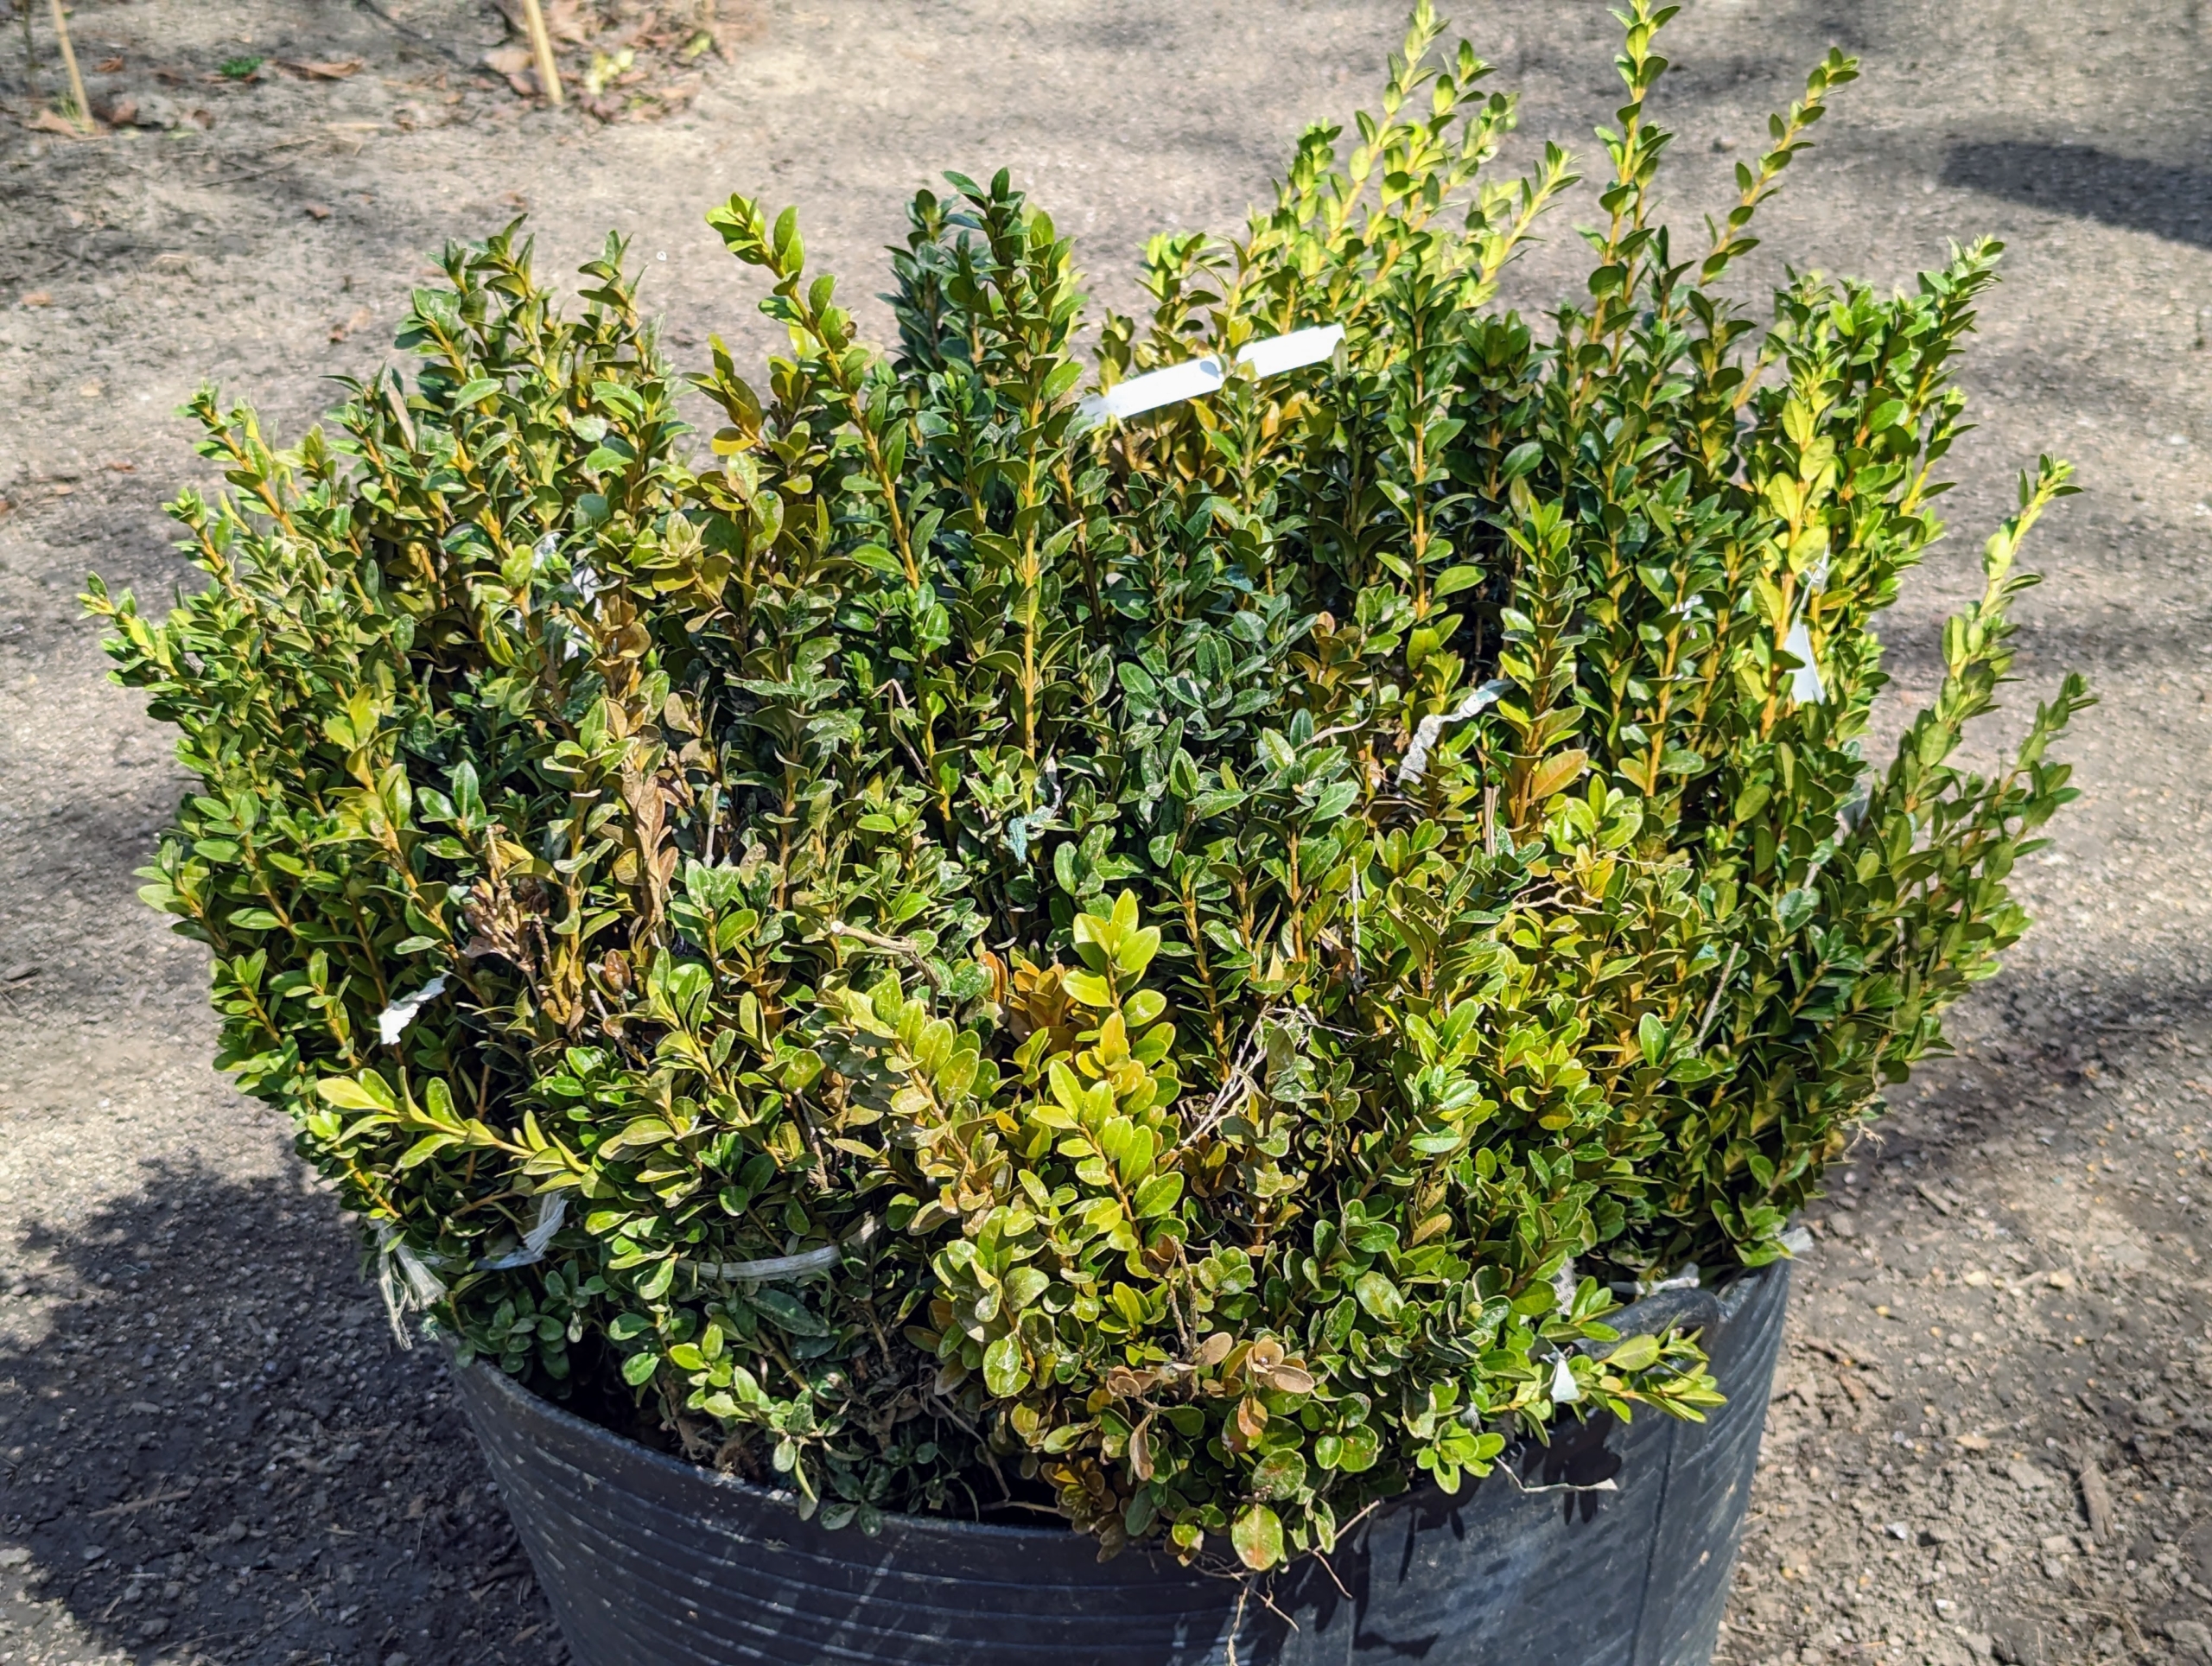
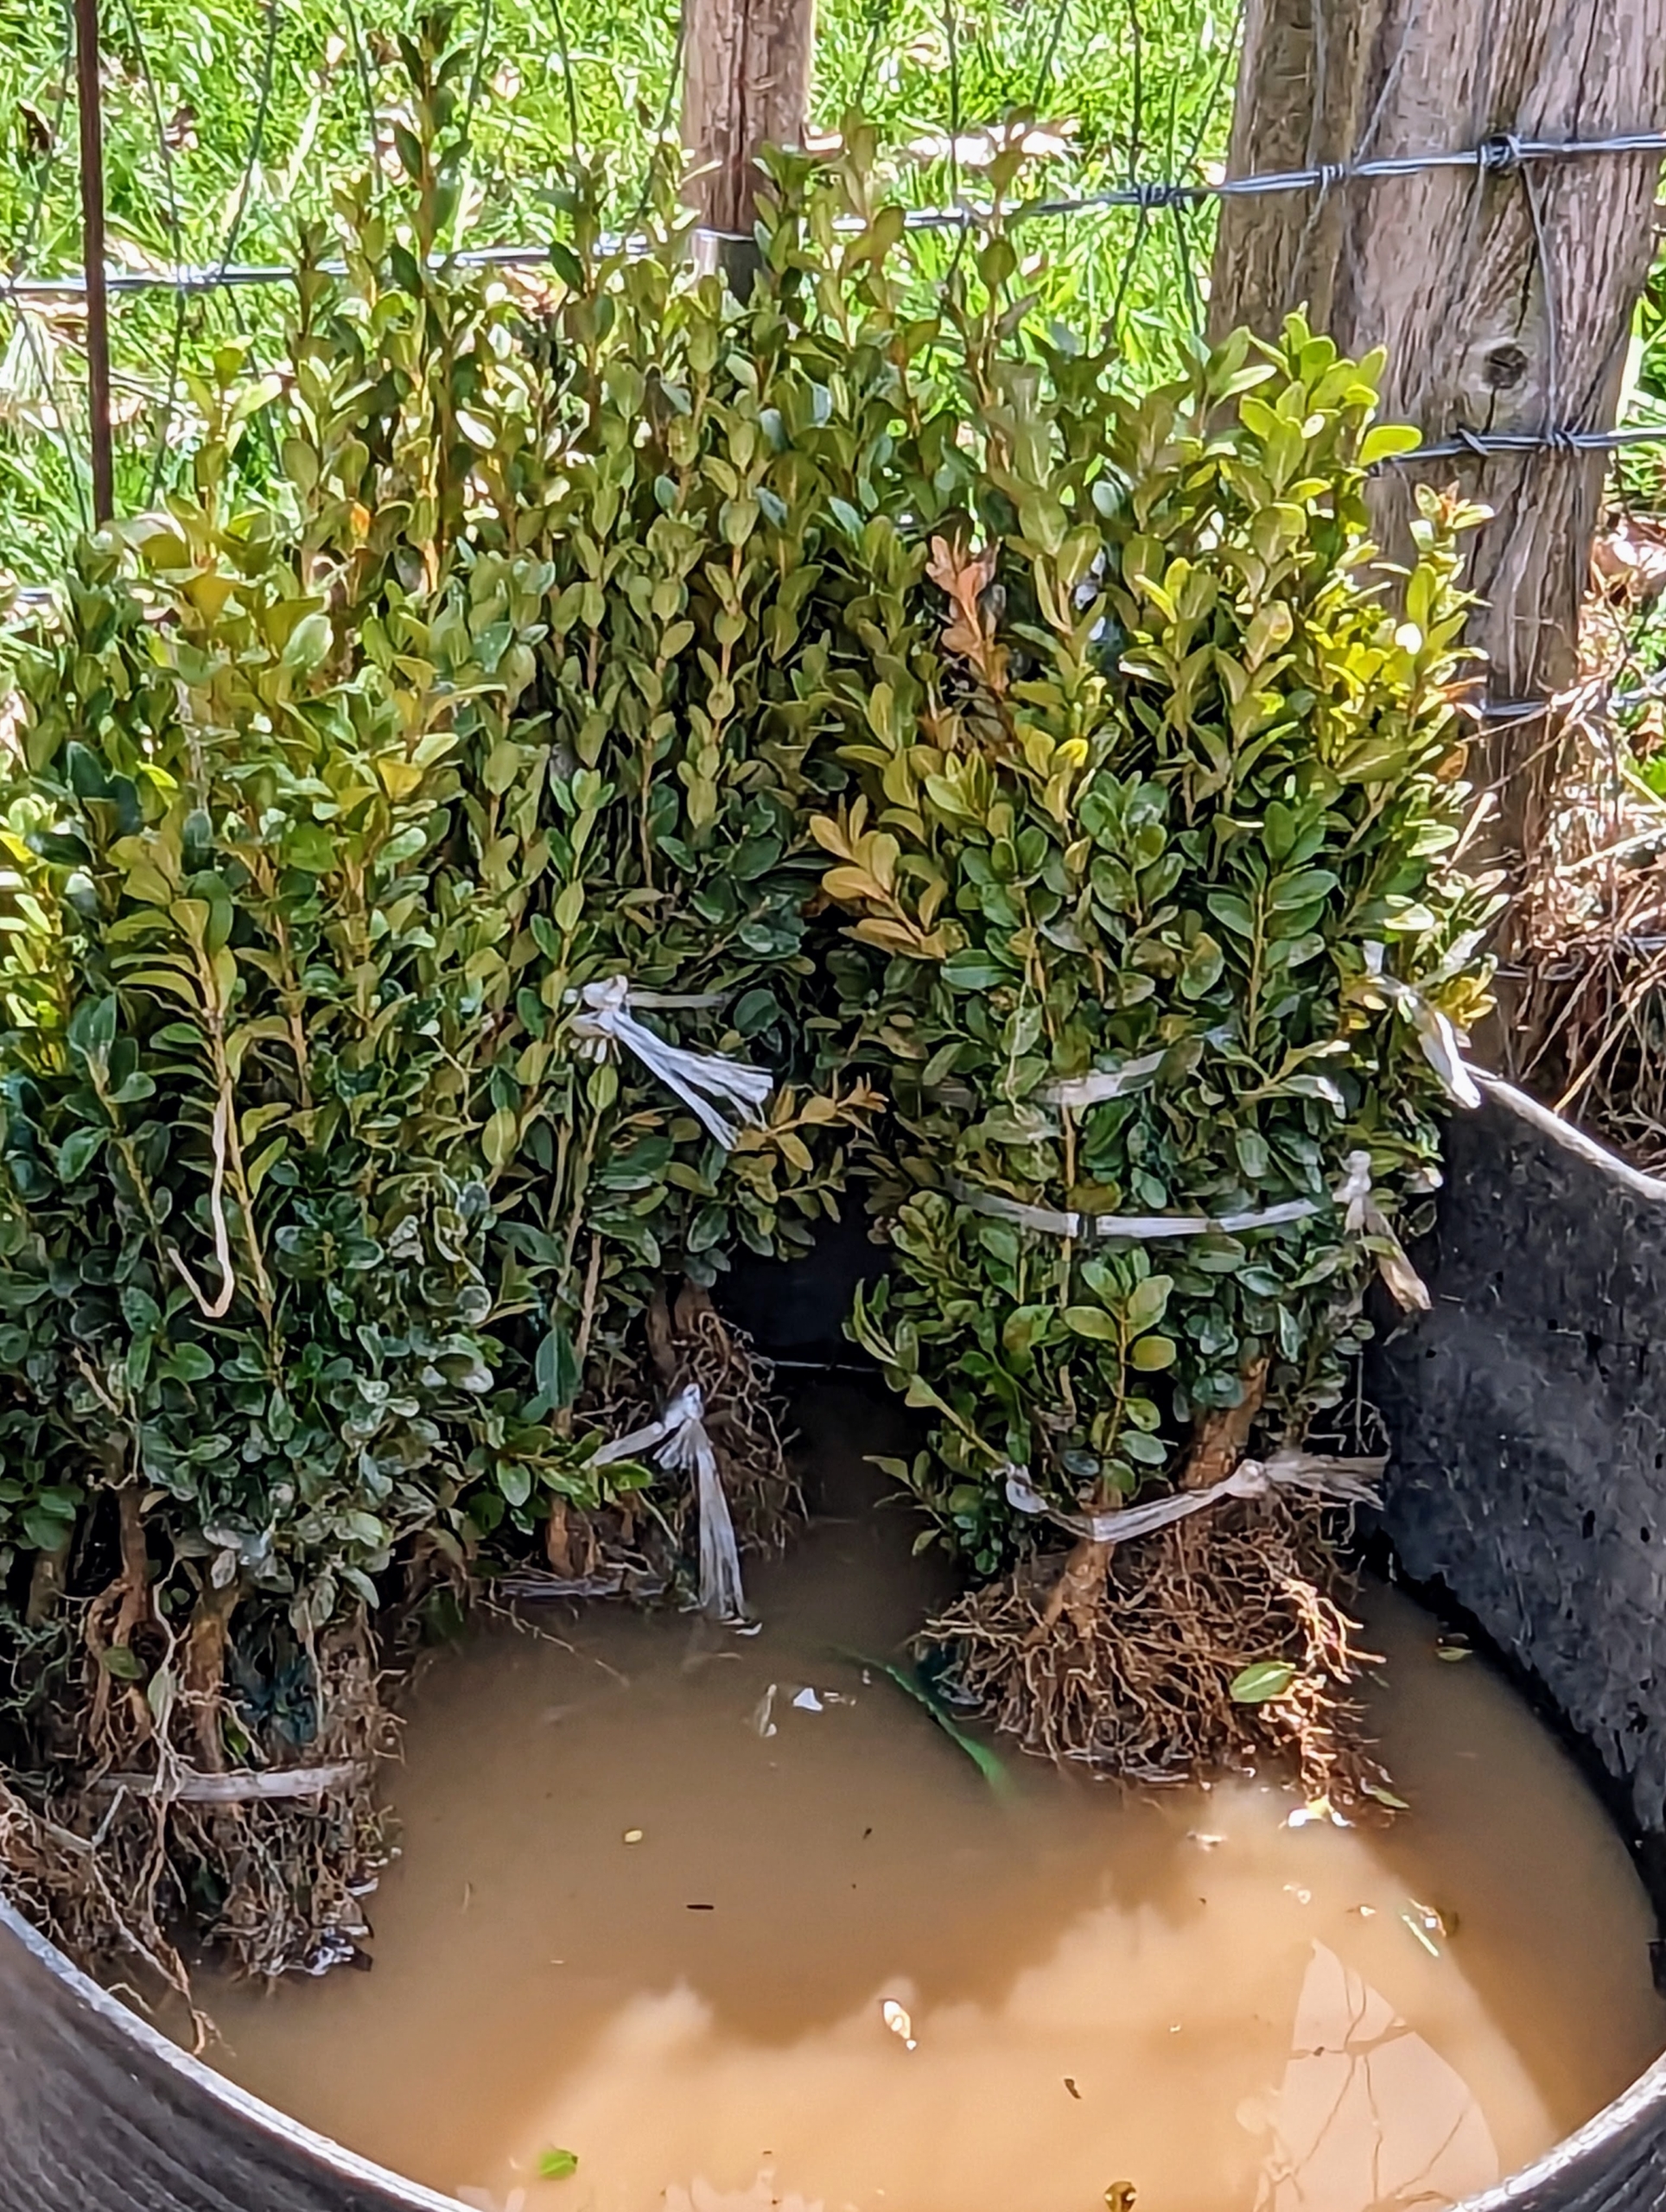
These are bare-root seedlings, meaning they arrived free of soil on the roots. This helps reduce the price of the seedling and makes them more adaptable to the soil in which they are planted. Once they arrive, they are placed in water right away.
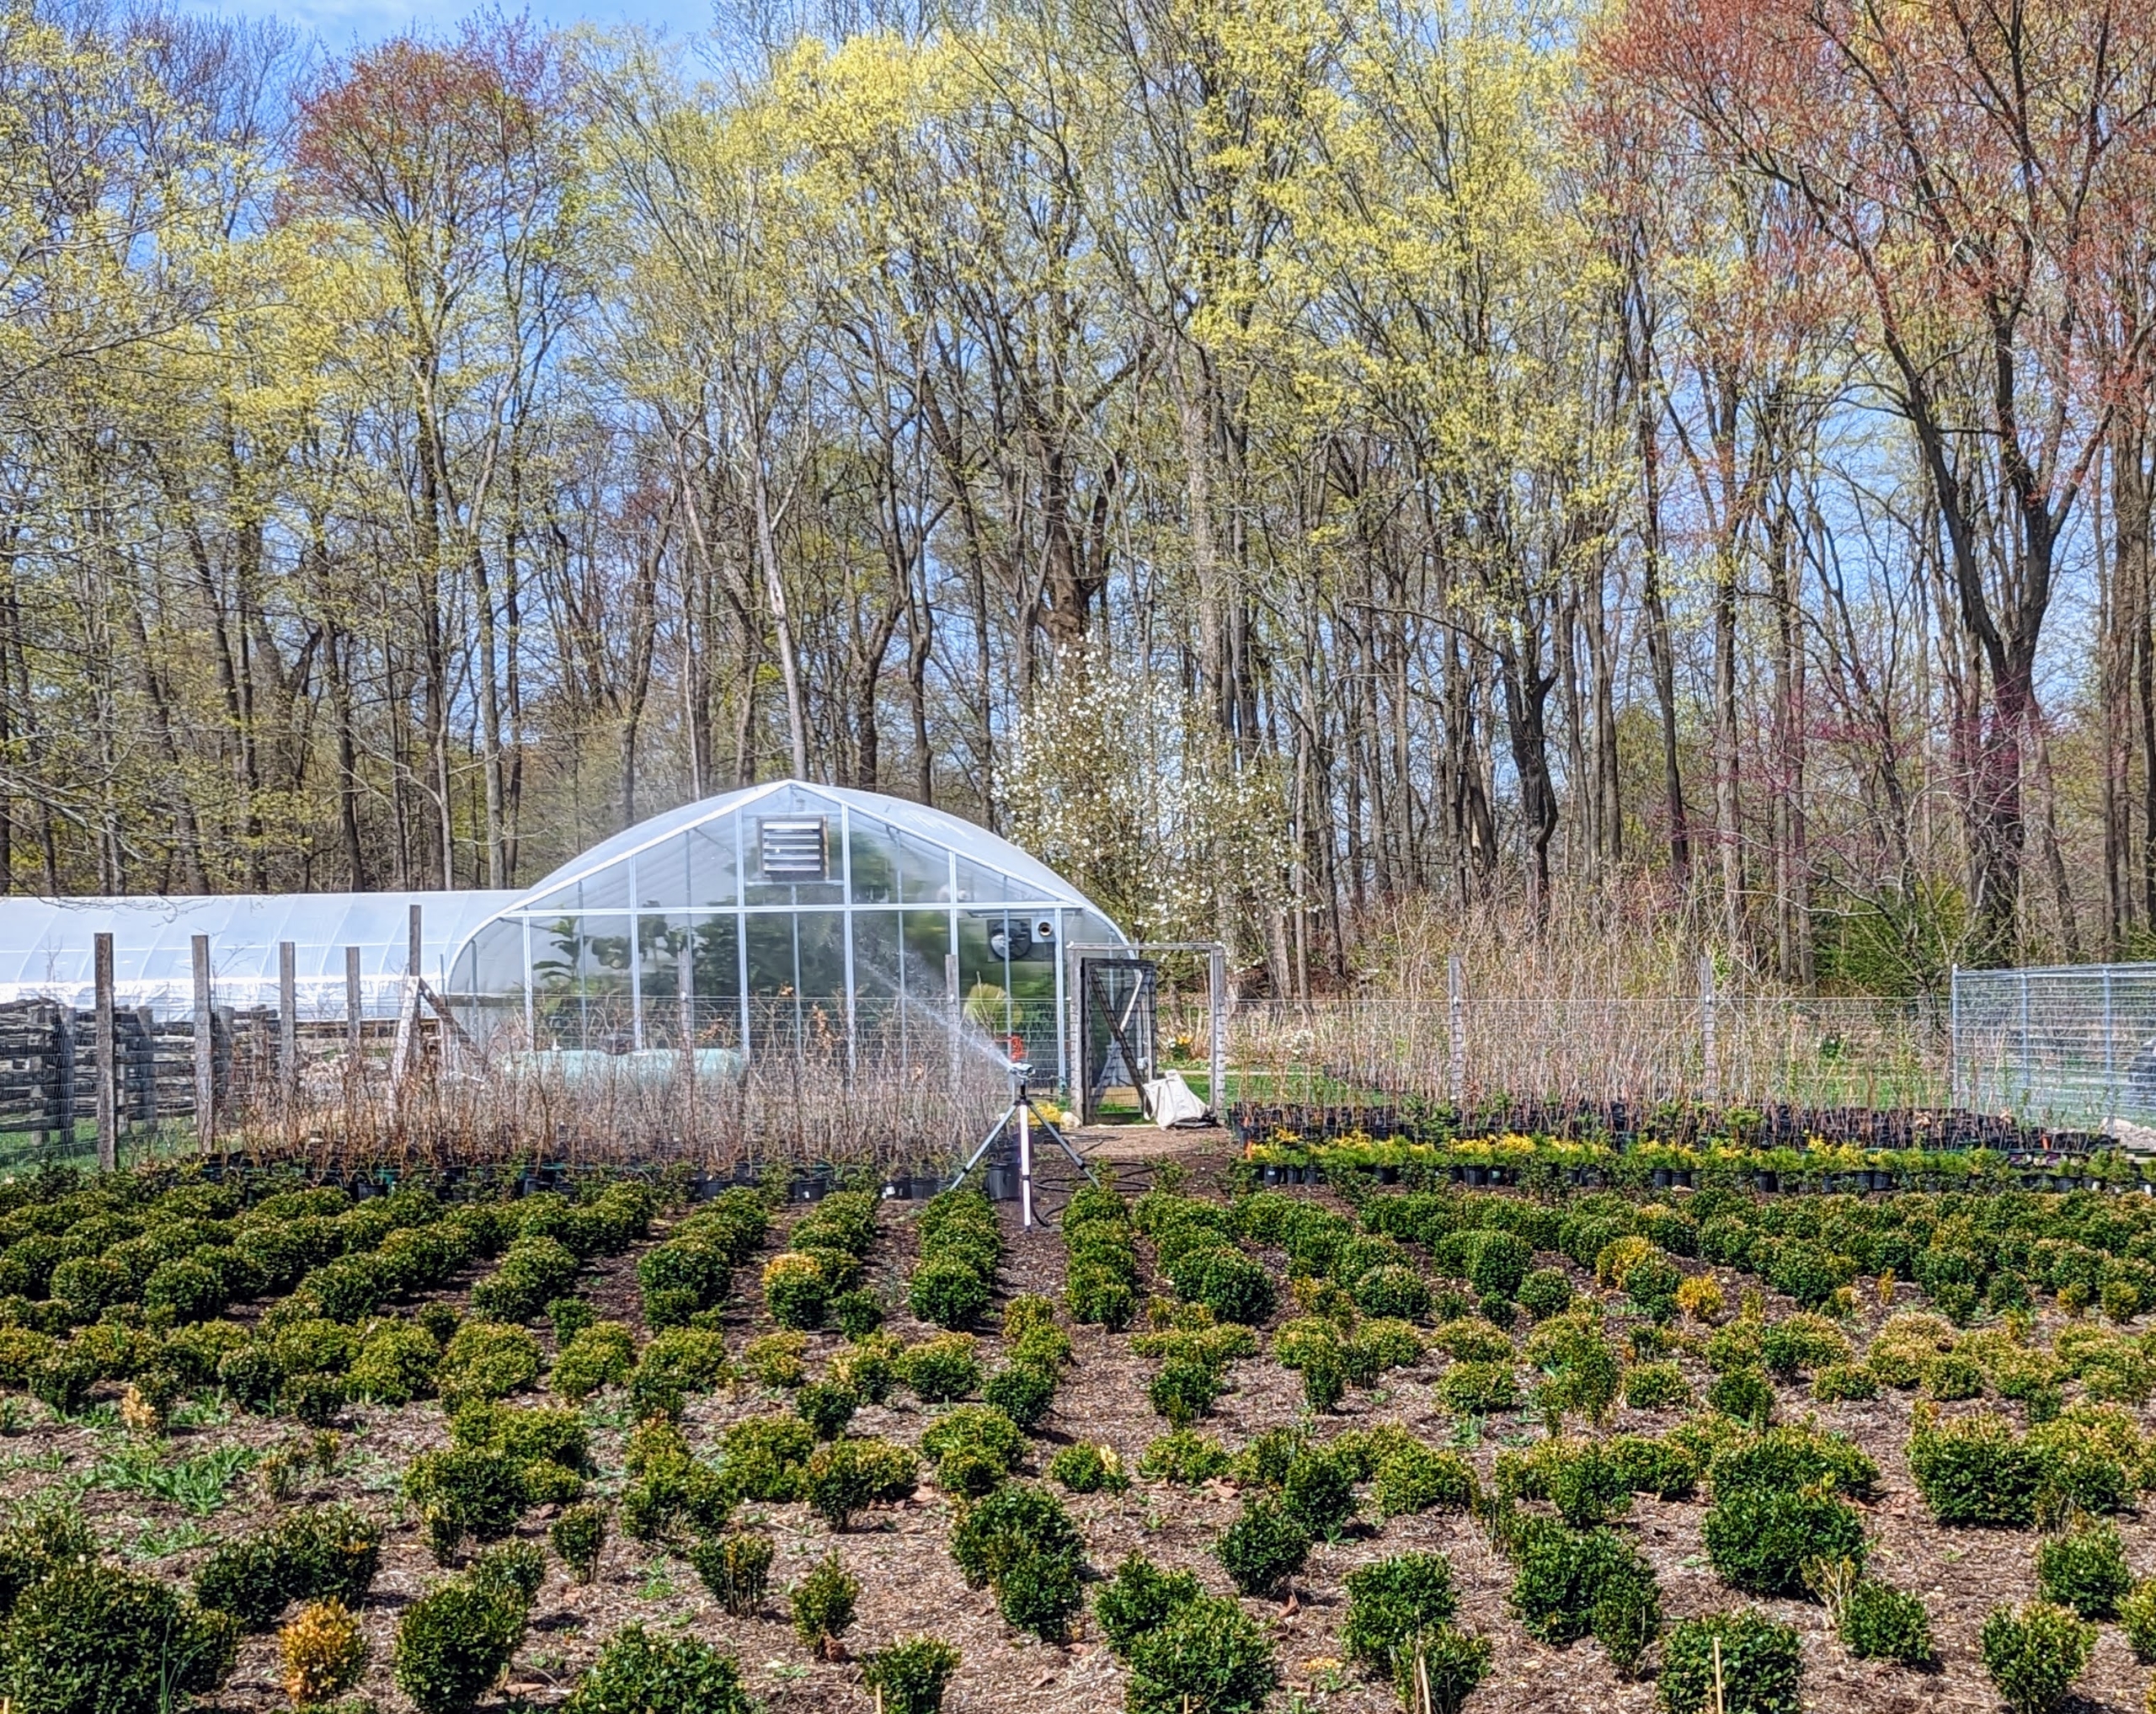
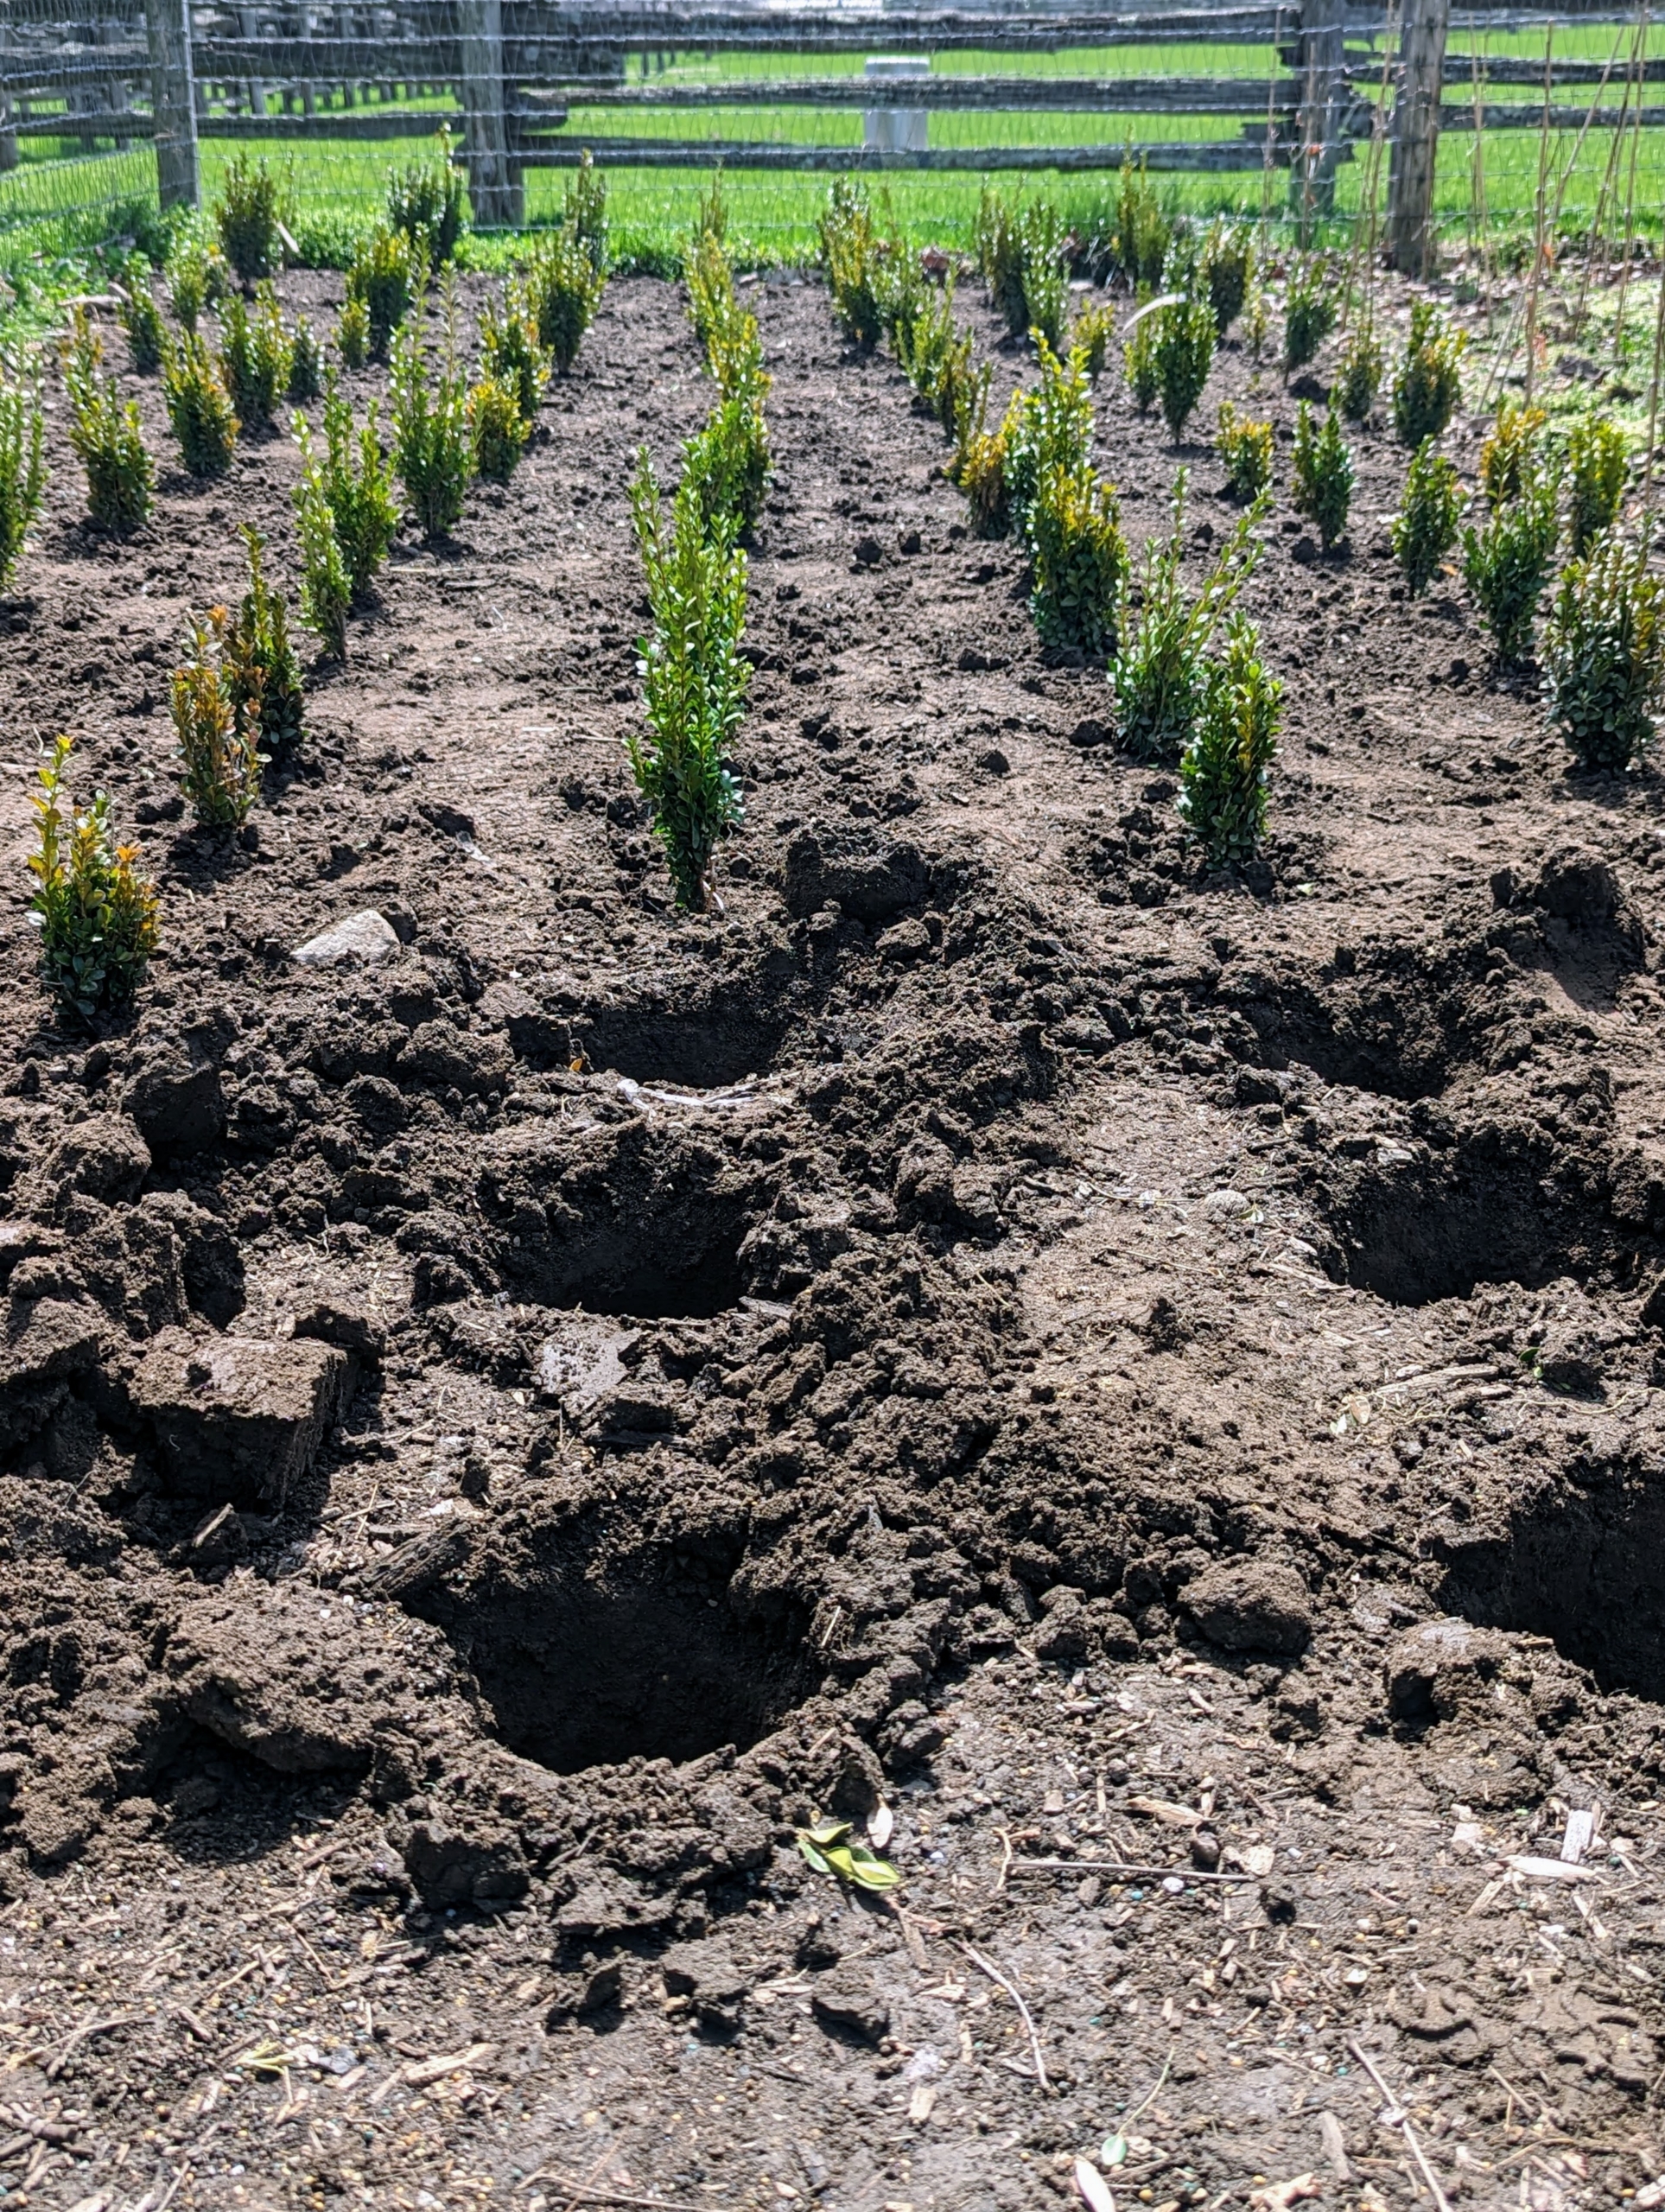
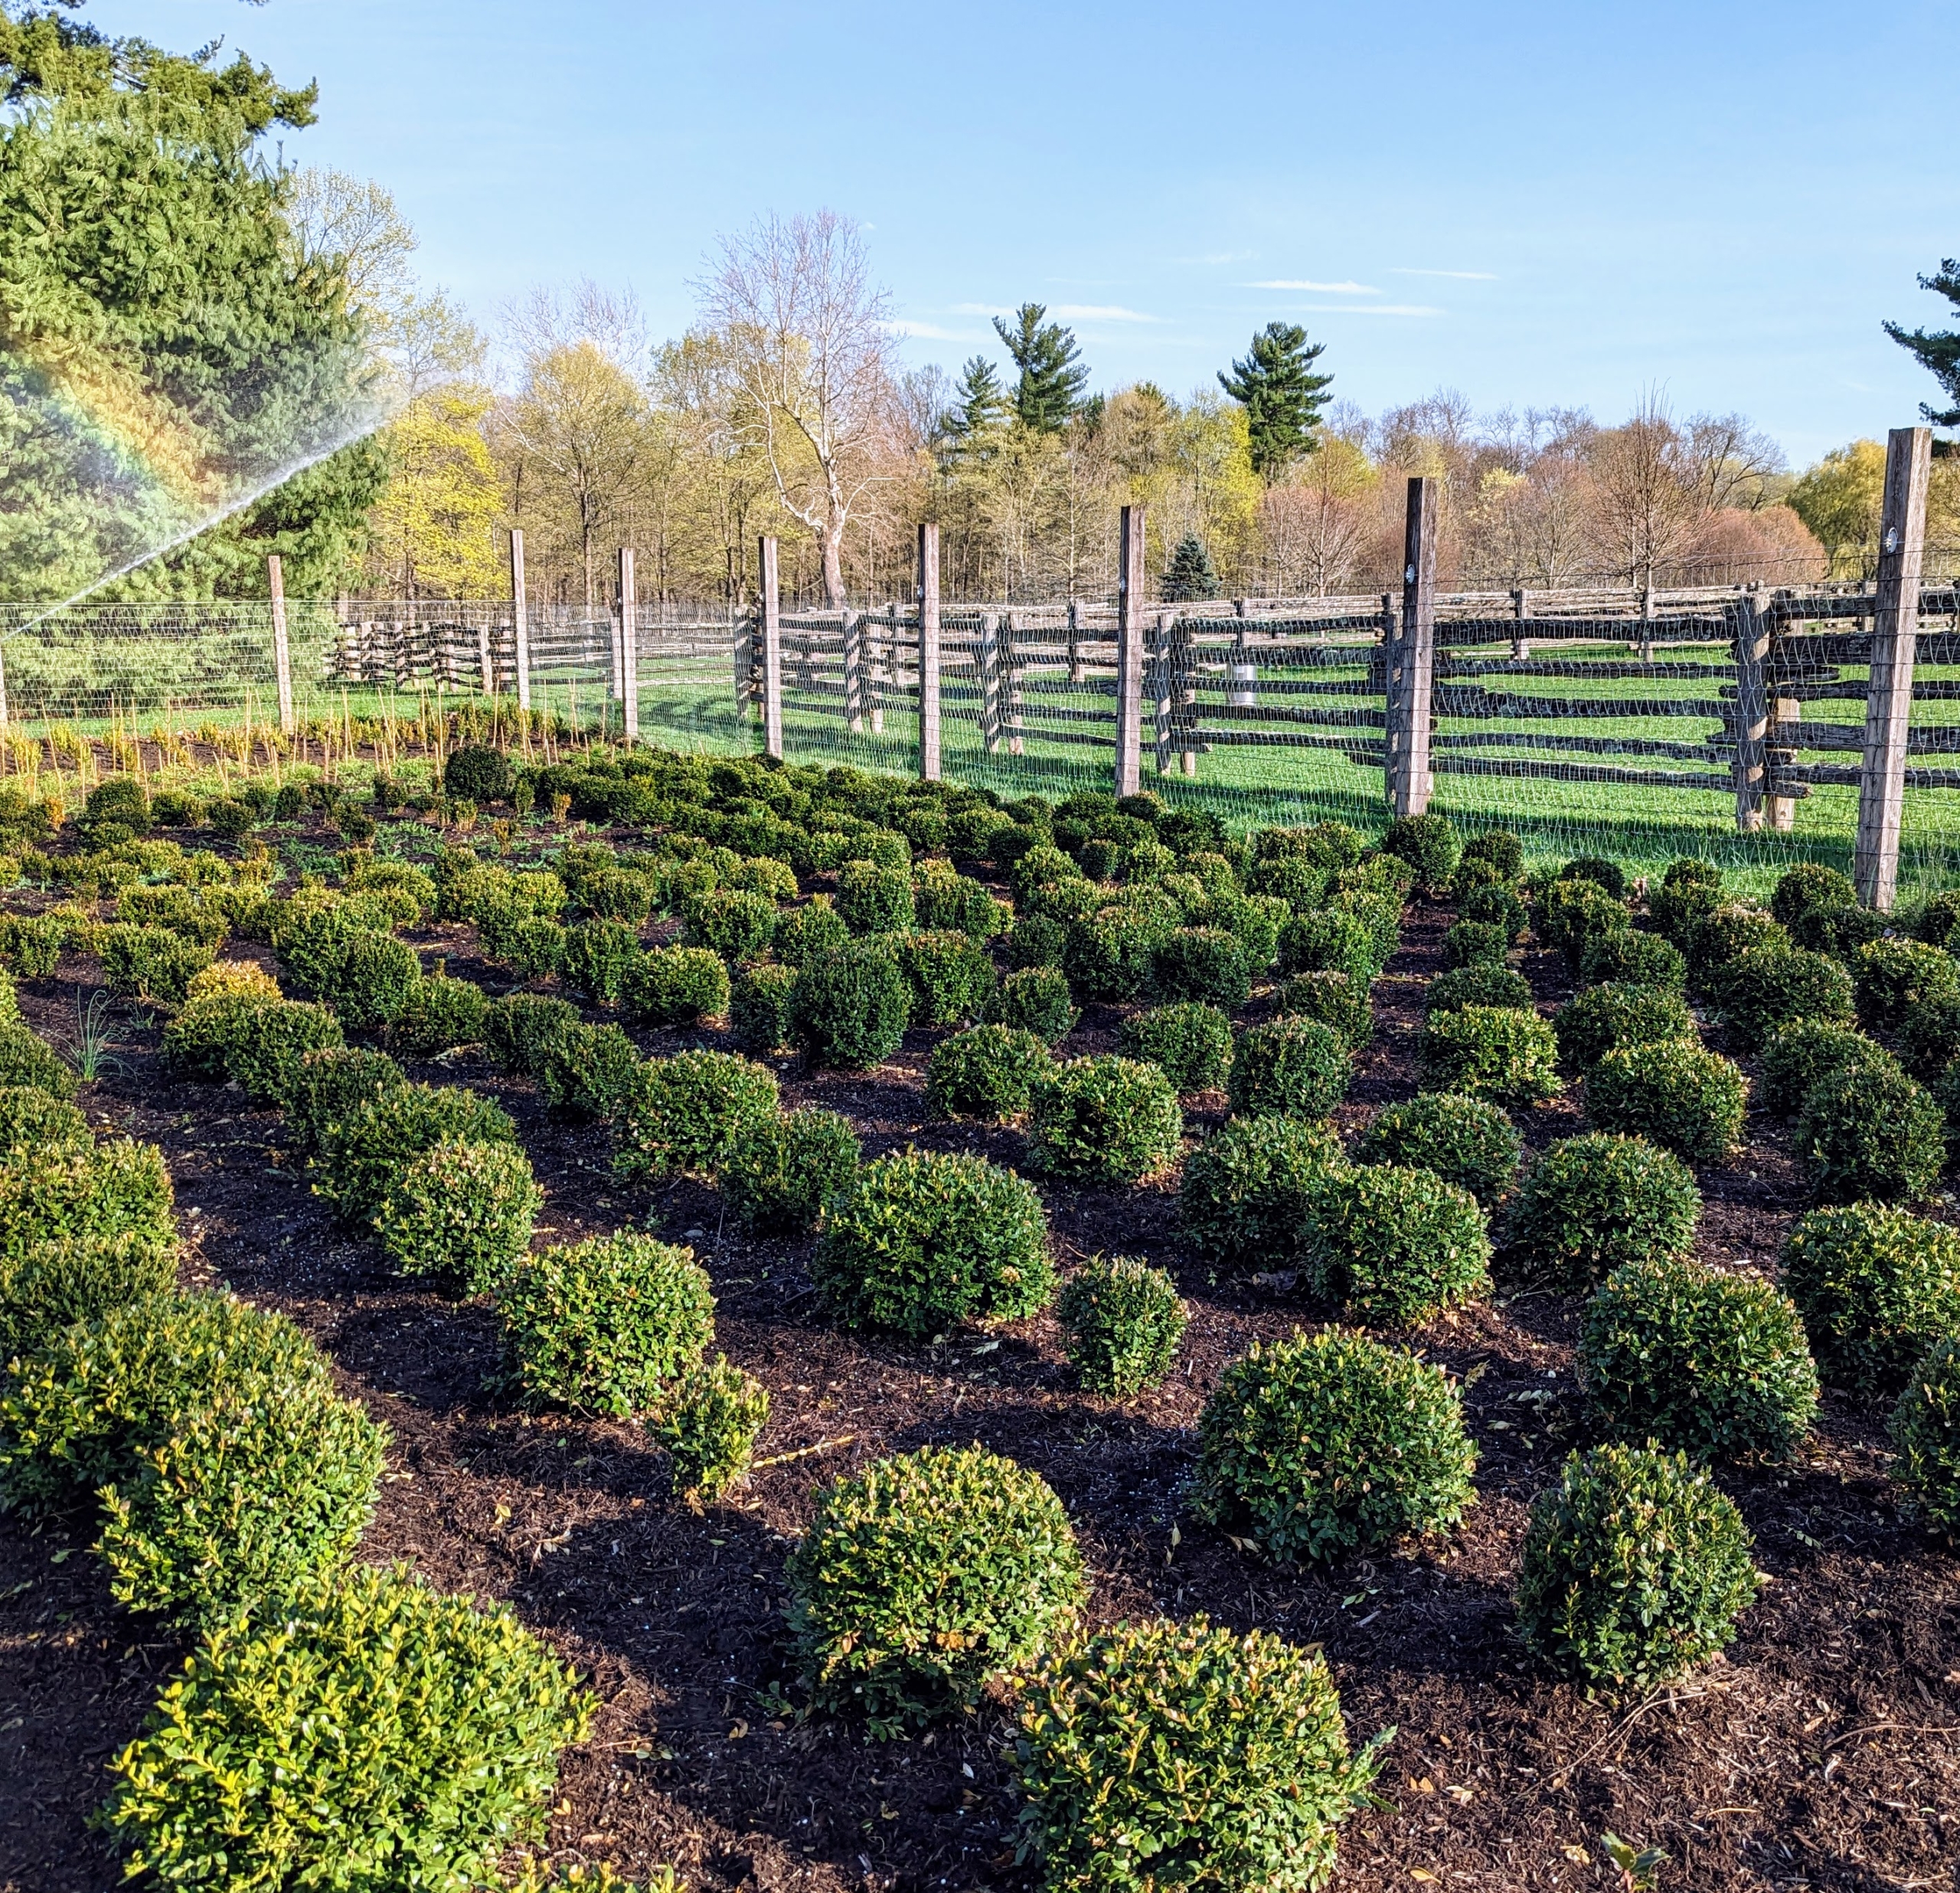
This area behind one of several hoop houses and near my chicken coops is where I grow many young boxwood shrubs – the boxwood “nursery.” The back section of this enclosure is where our youngest bare-root cuttings will be planted.
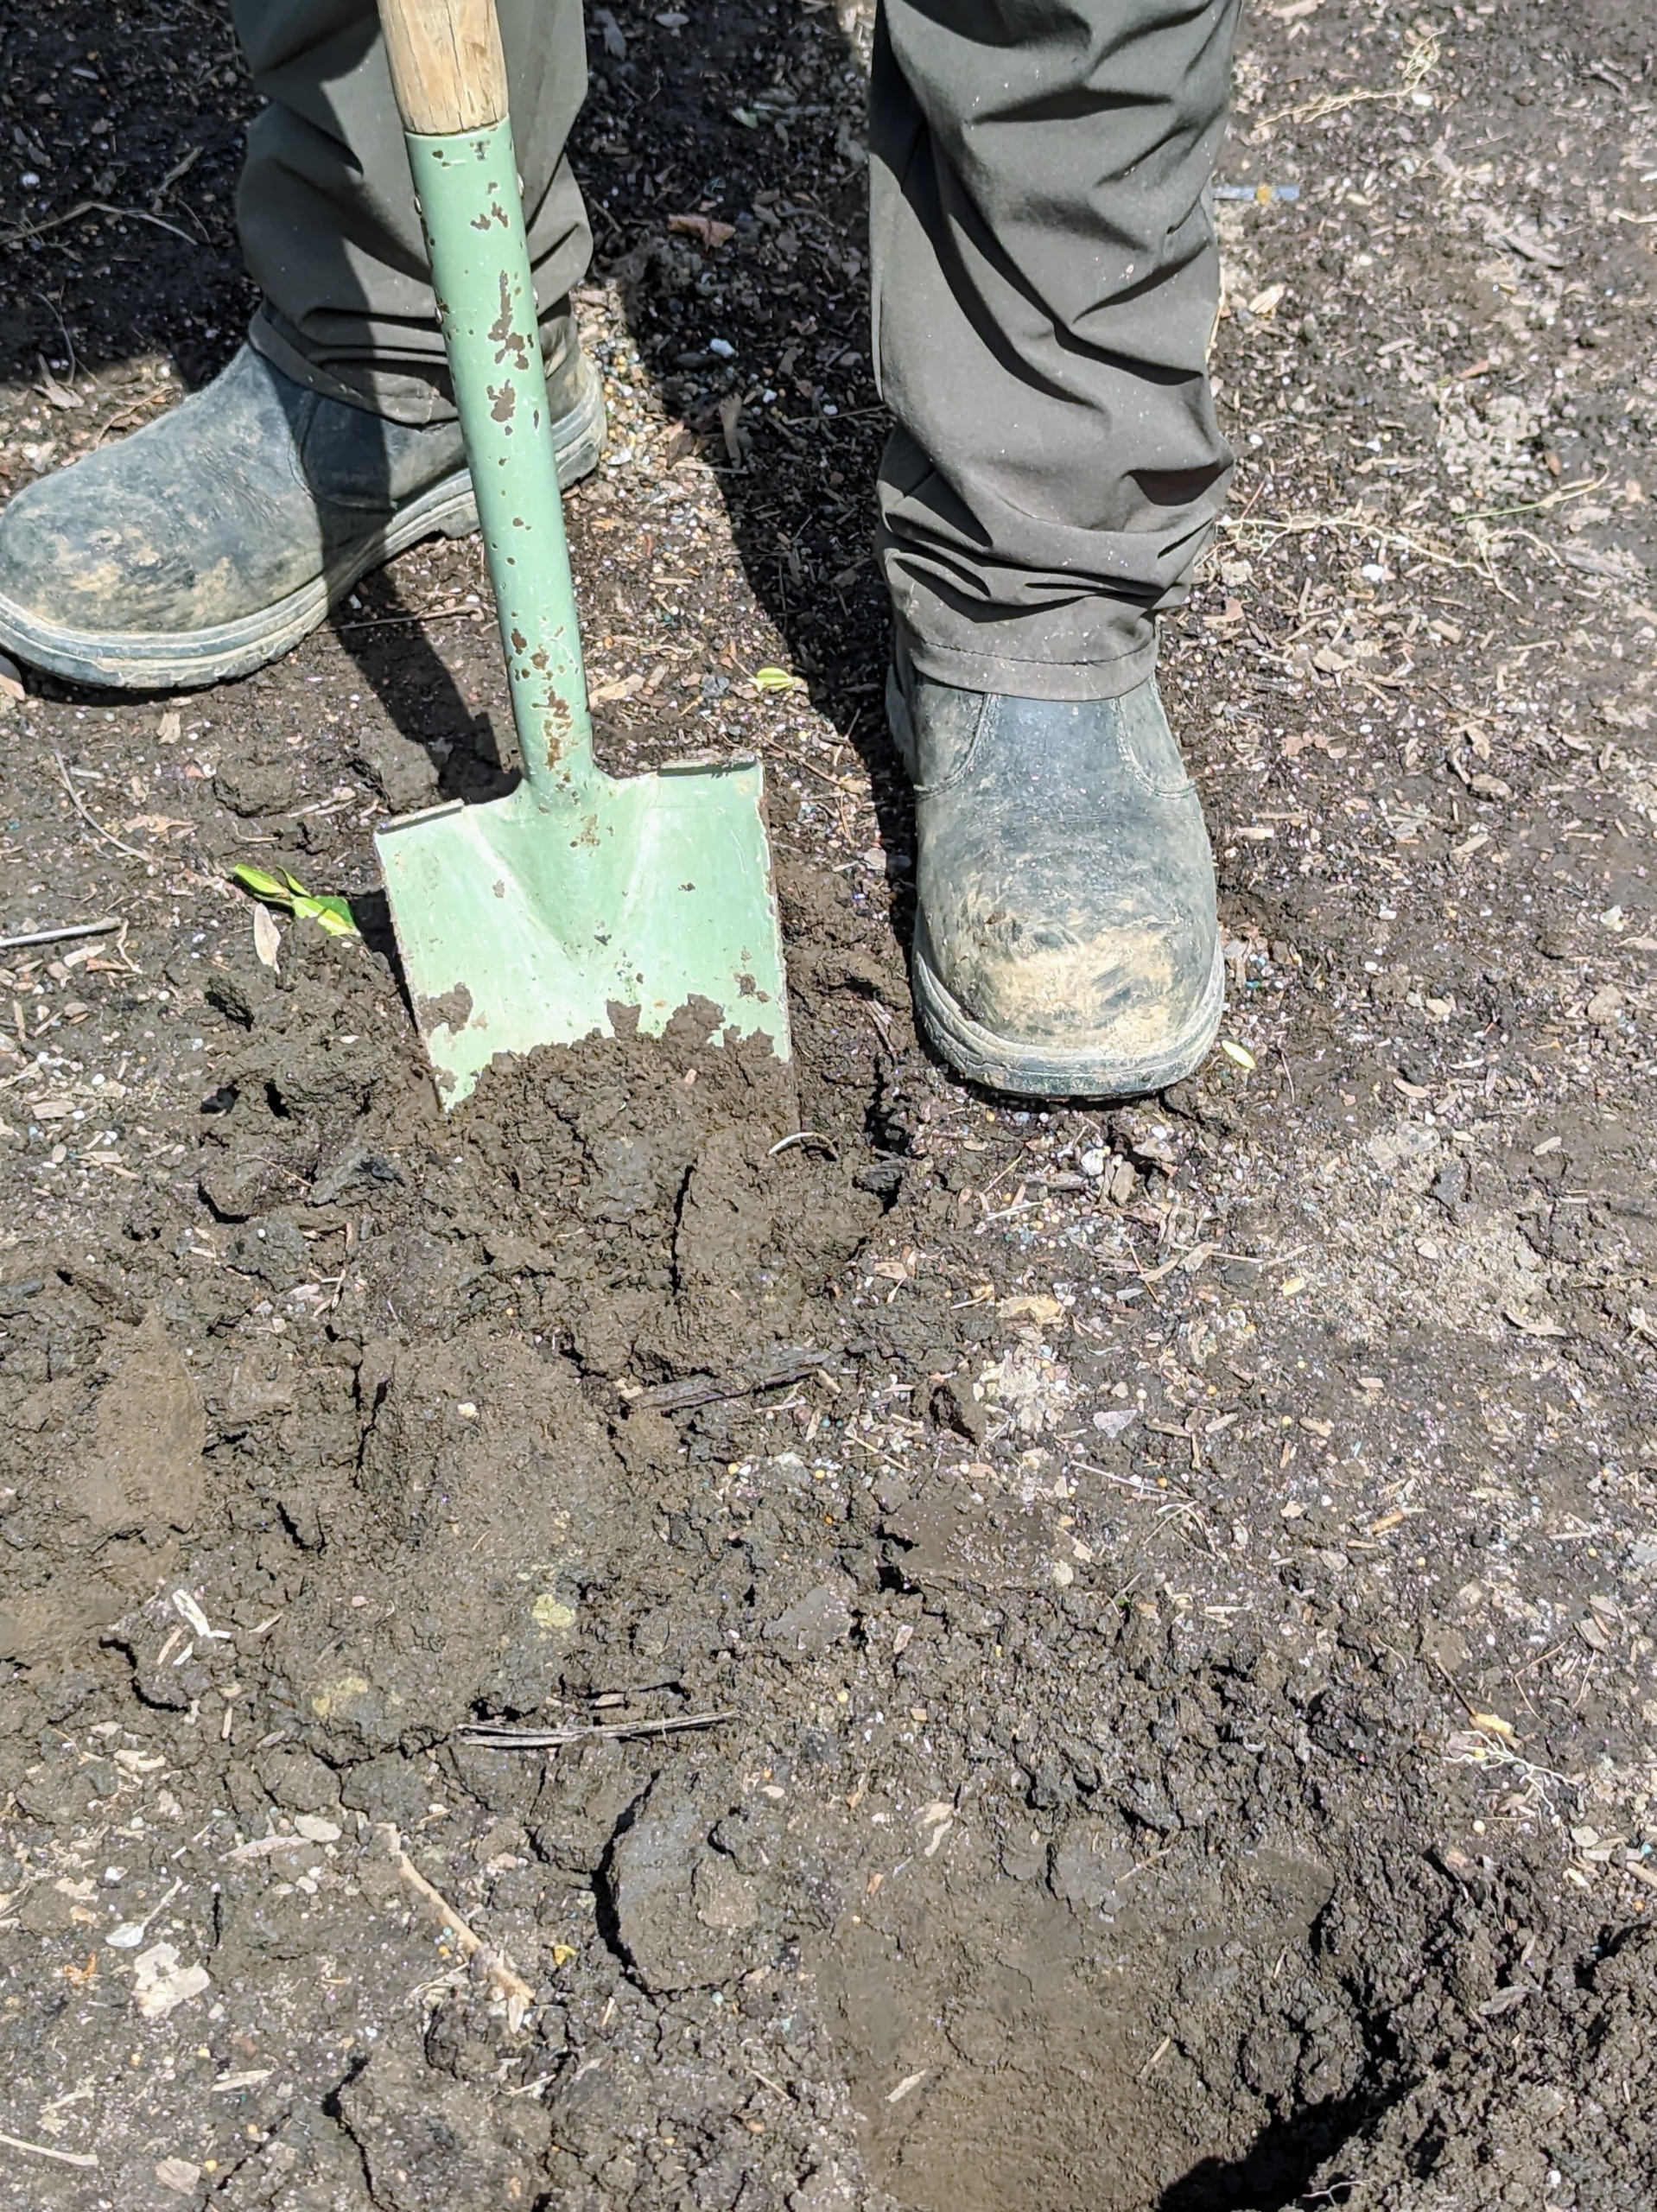
Chhiring begins digging holes for each of the seedlings. Because there are so many, the crew works in a production line process.
Each hole is about eight-inches deep.
The soil in this yard is rich with nutrients, so the boxwood will grow very well here. The space has several sections of growing boxwood – all at different stages of growth.
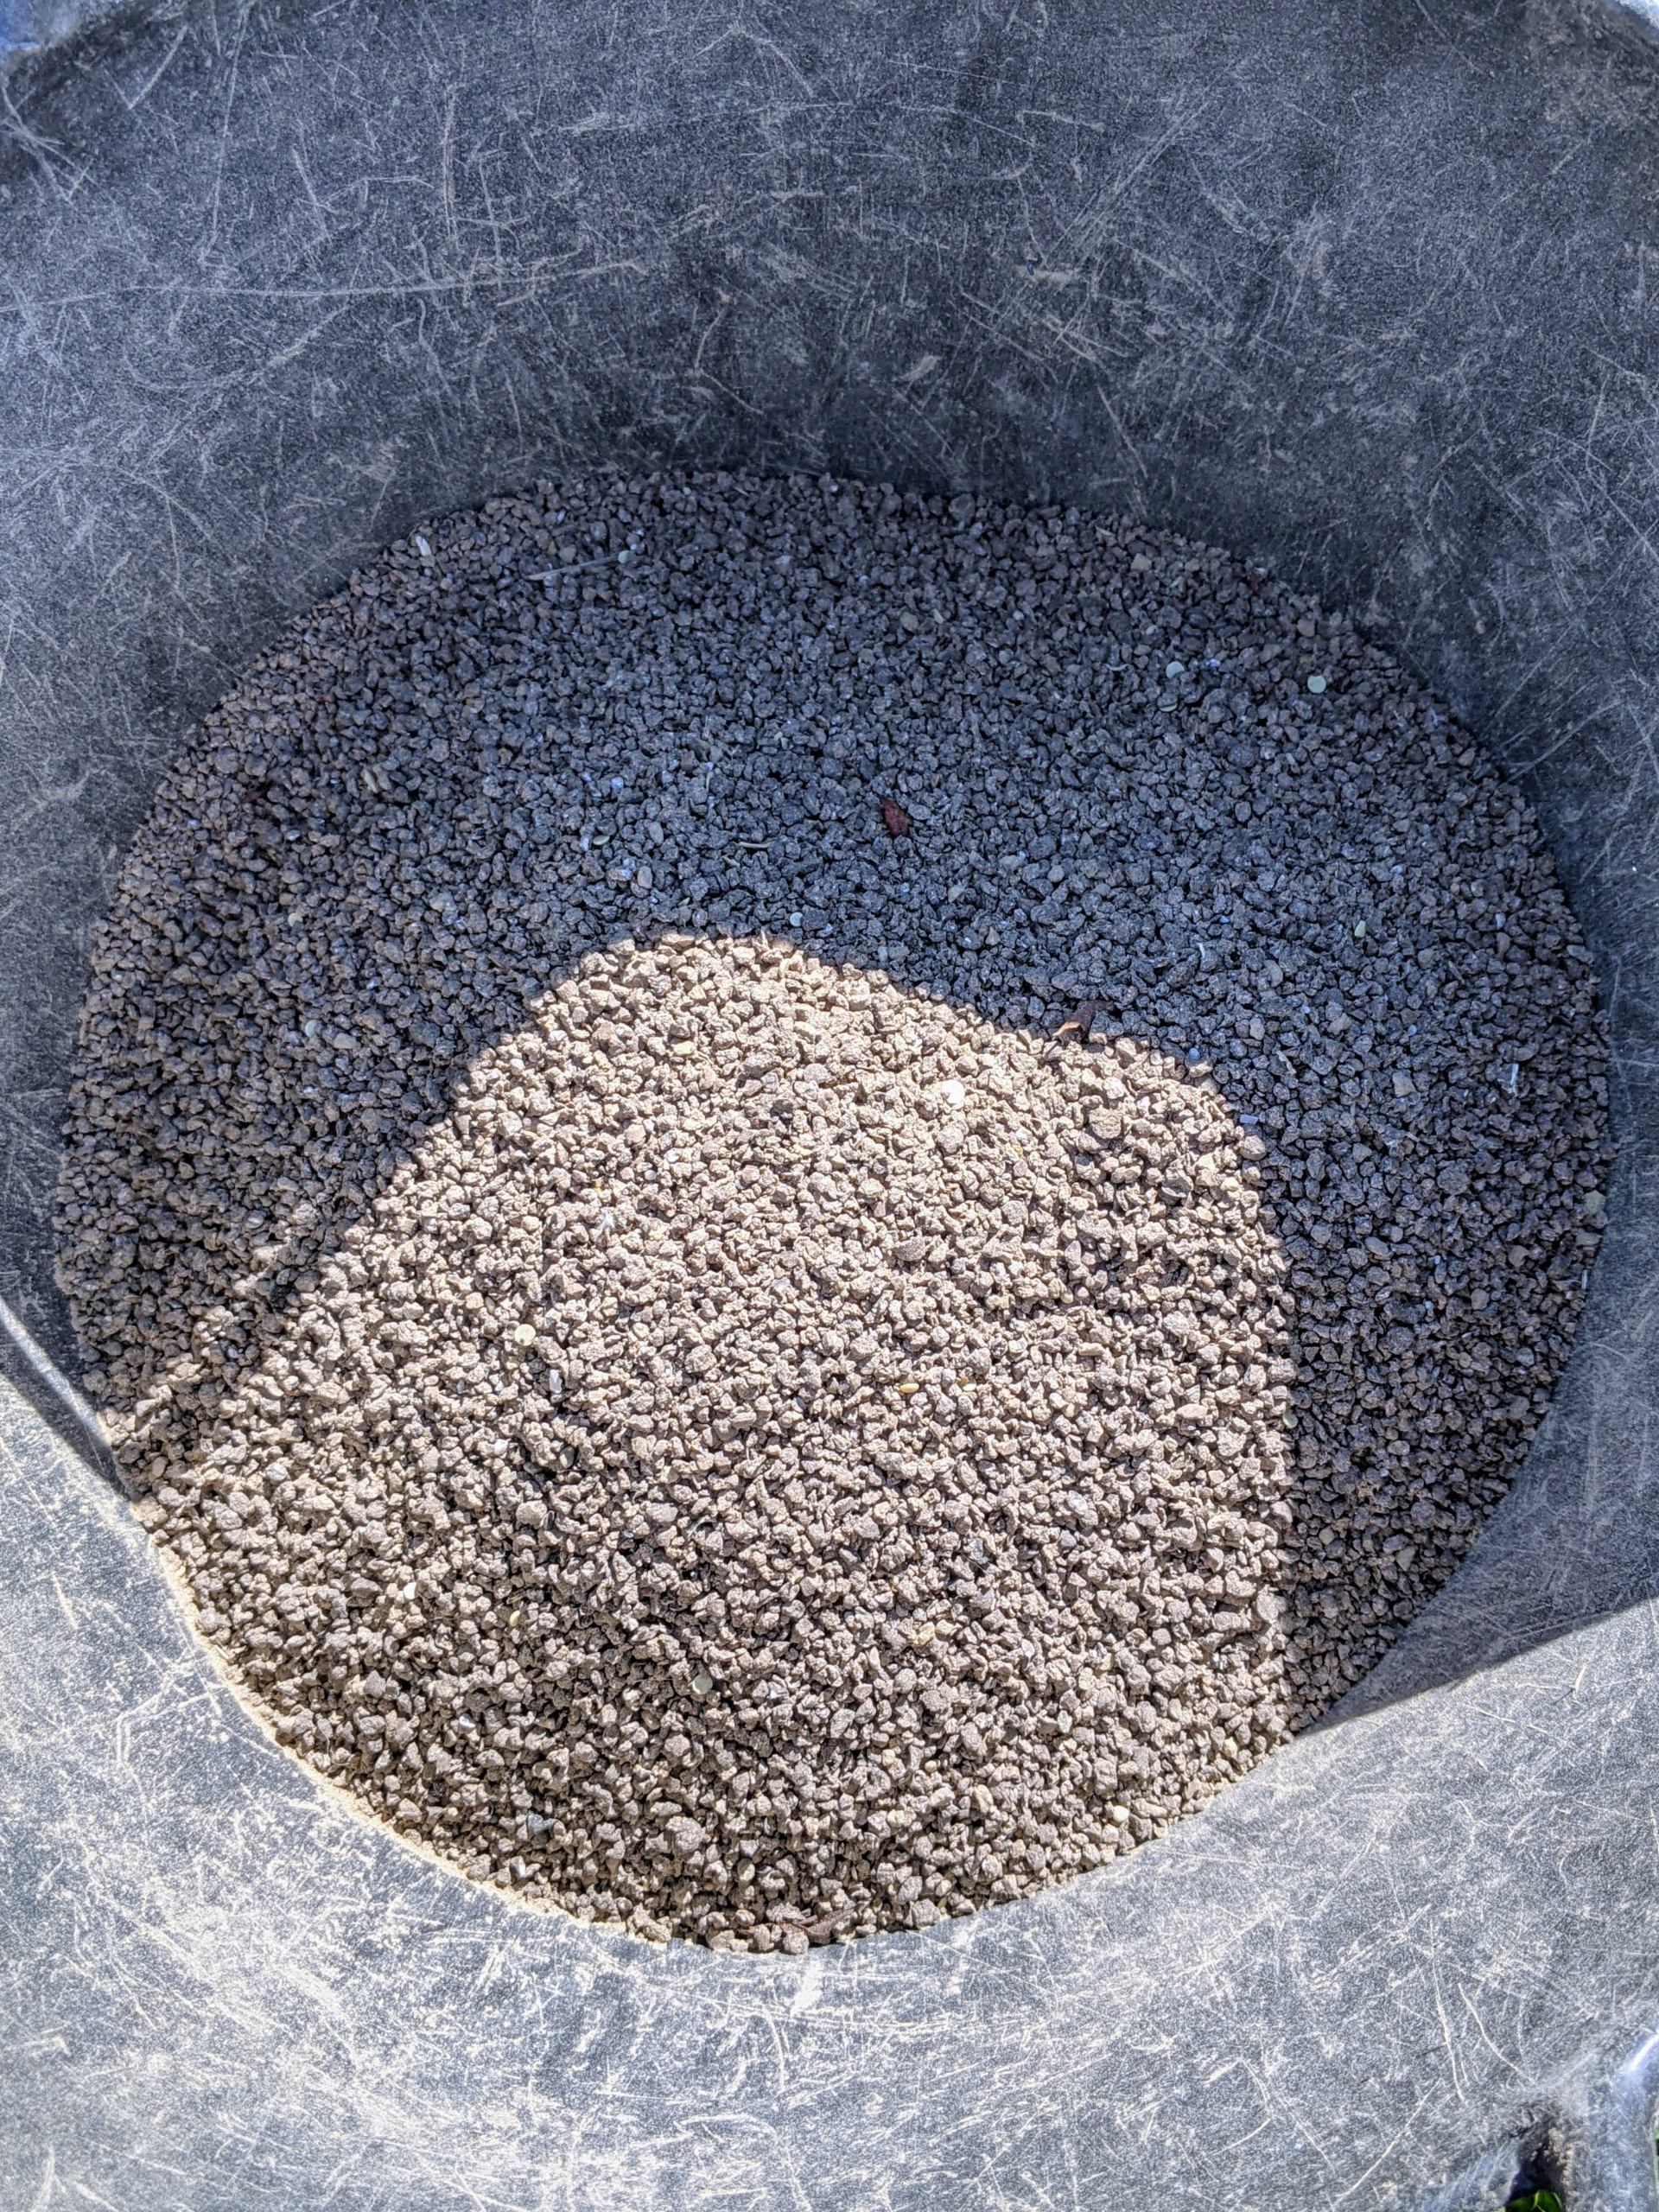
Chhiring sprinkles a generous amount of fertilizer into the holes. Slow-release, balanced fertilizers are best for boxwood.
Next, one boxwood seedling is dropped near each hole. Phurba does this in small batches, so the boxwood doesn’t dry out. If planting a lot, keep the new seedlings in shade until they are planted in the ground. And make sure to only use healthy stems with no insect damage or discoloration. These are in excellent condition.
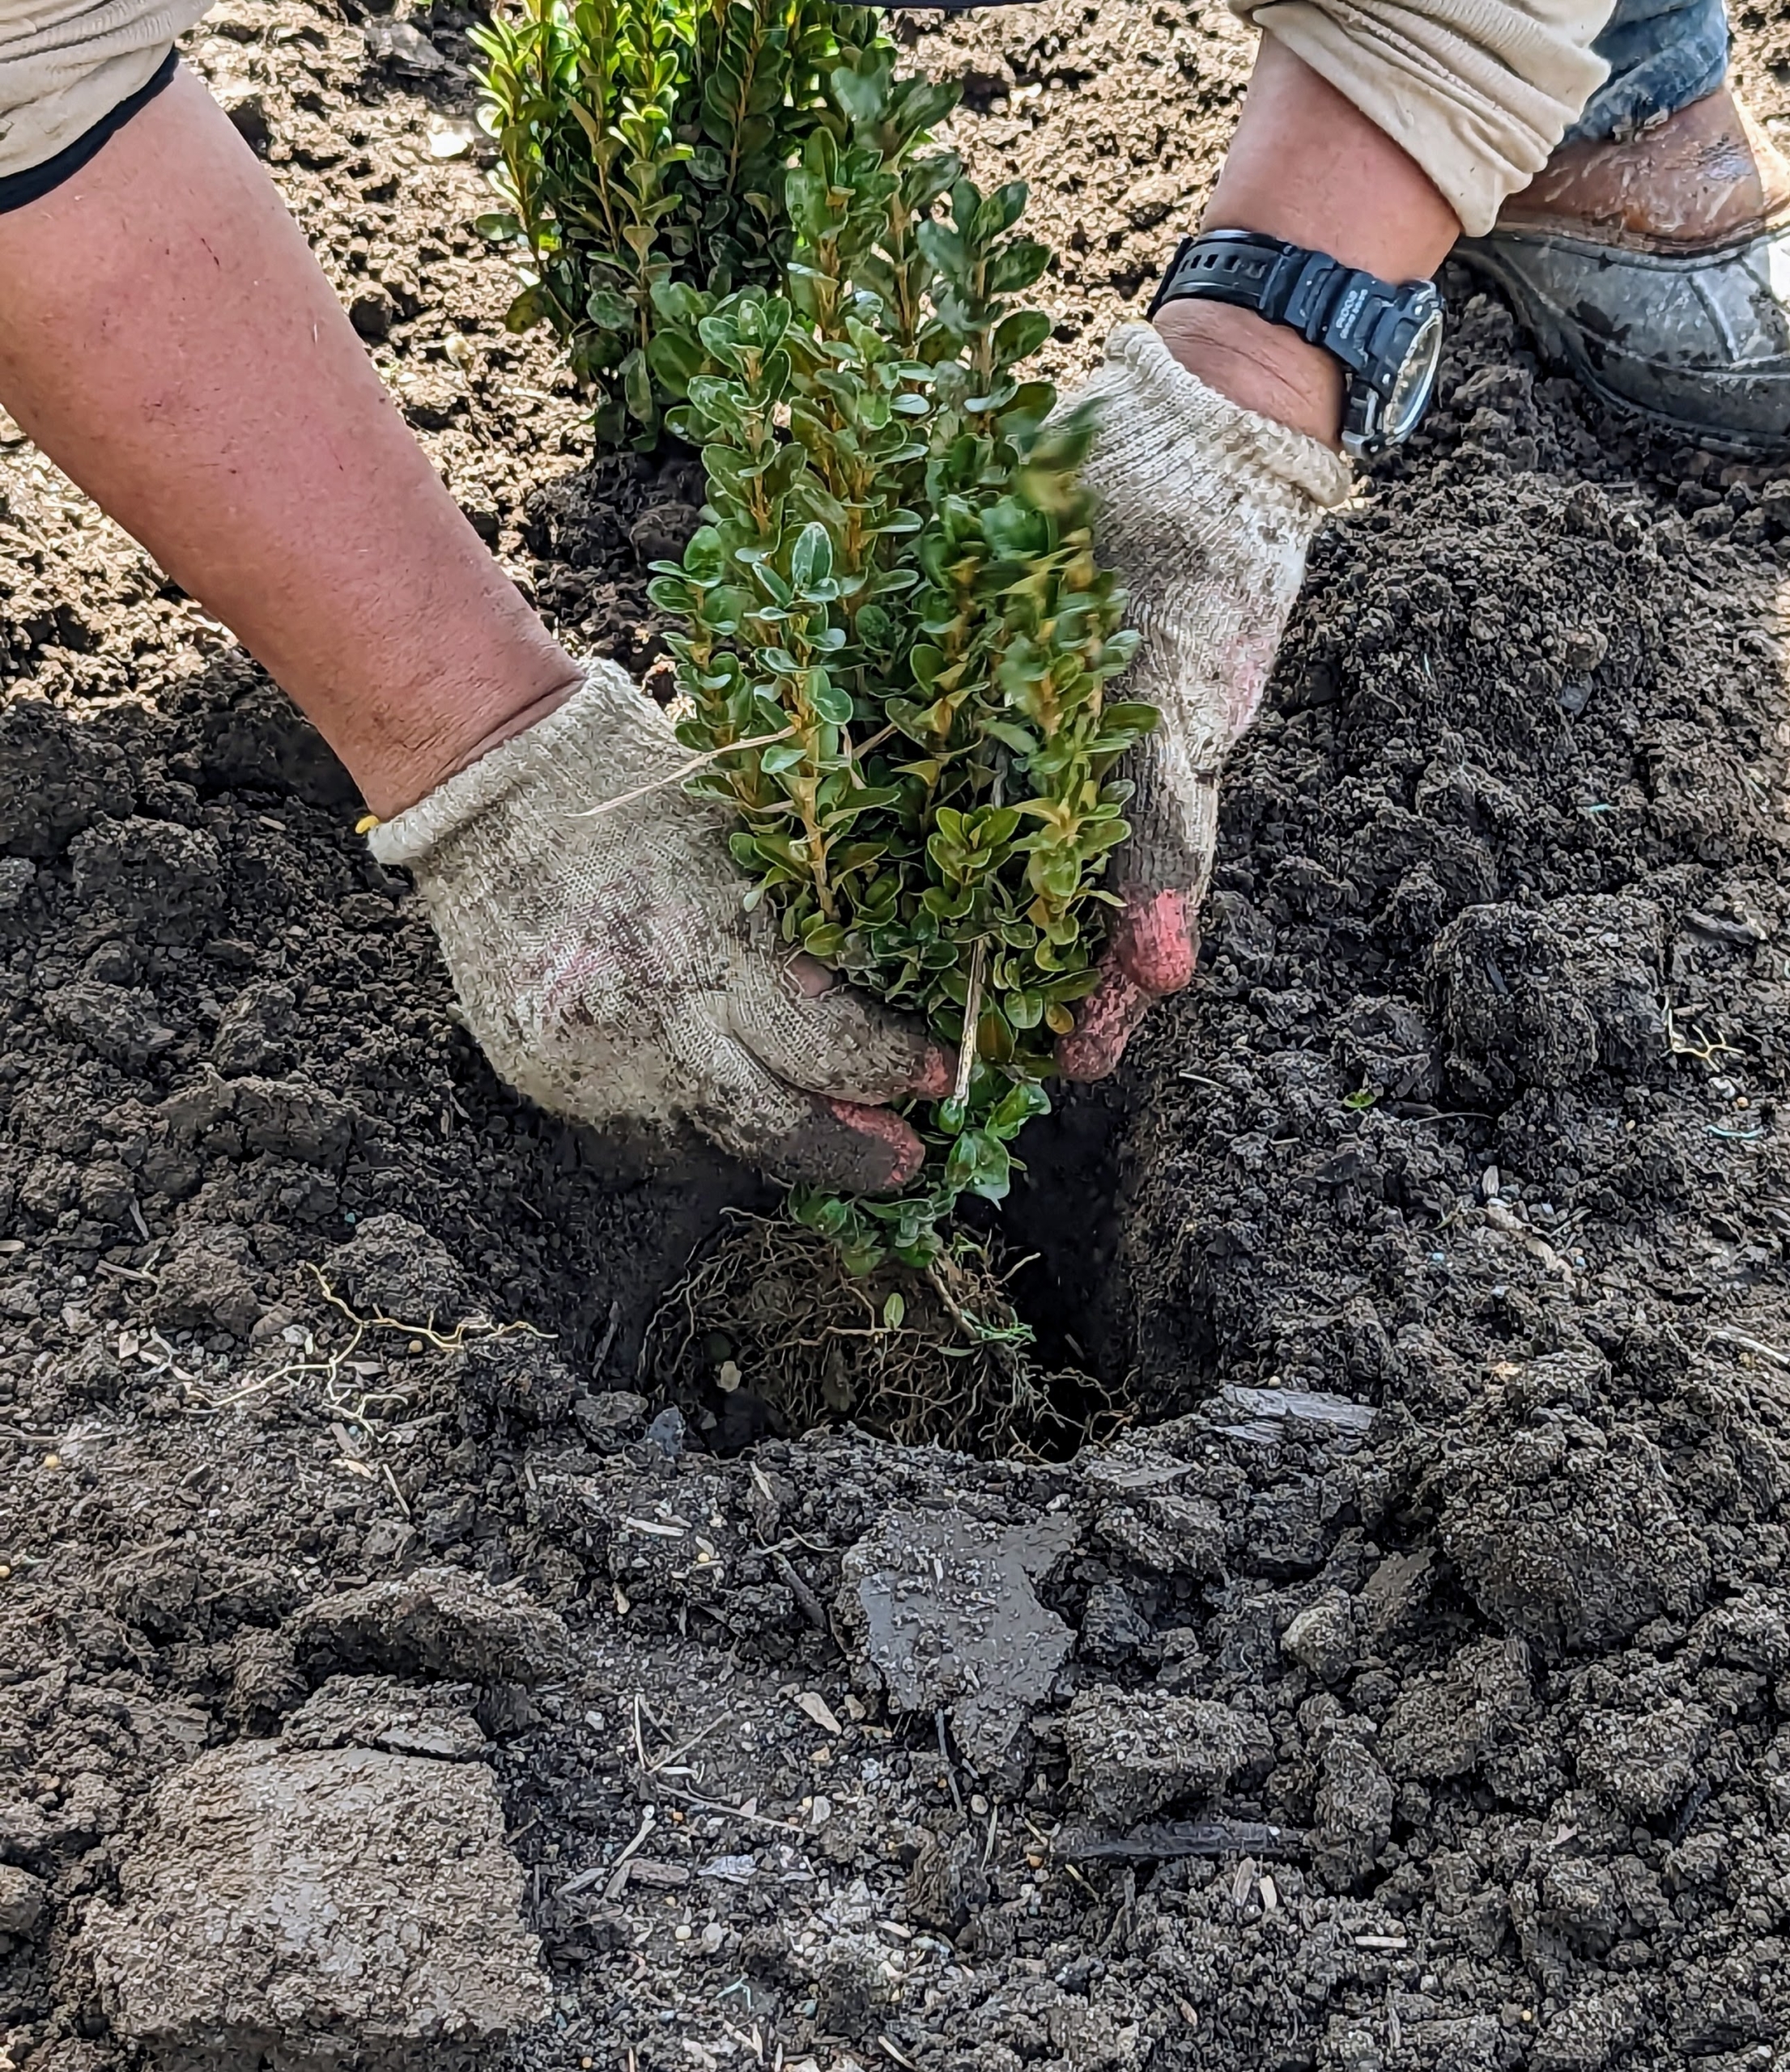
Phurba plants each specimen in a hole – keeping them all in a straight line.
Then, each hole is back filled, and lightly tapped to ensure good contact with the soil.
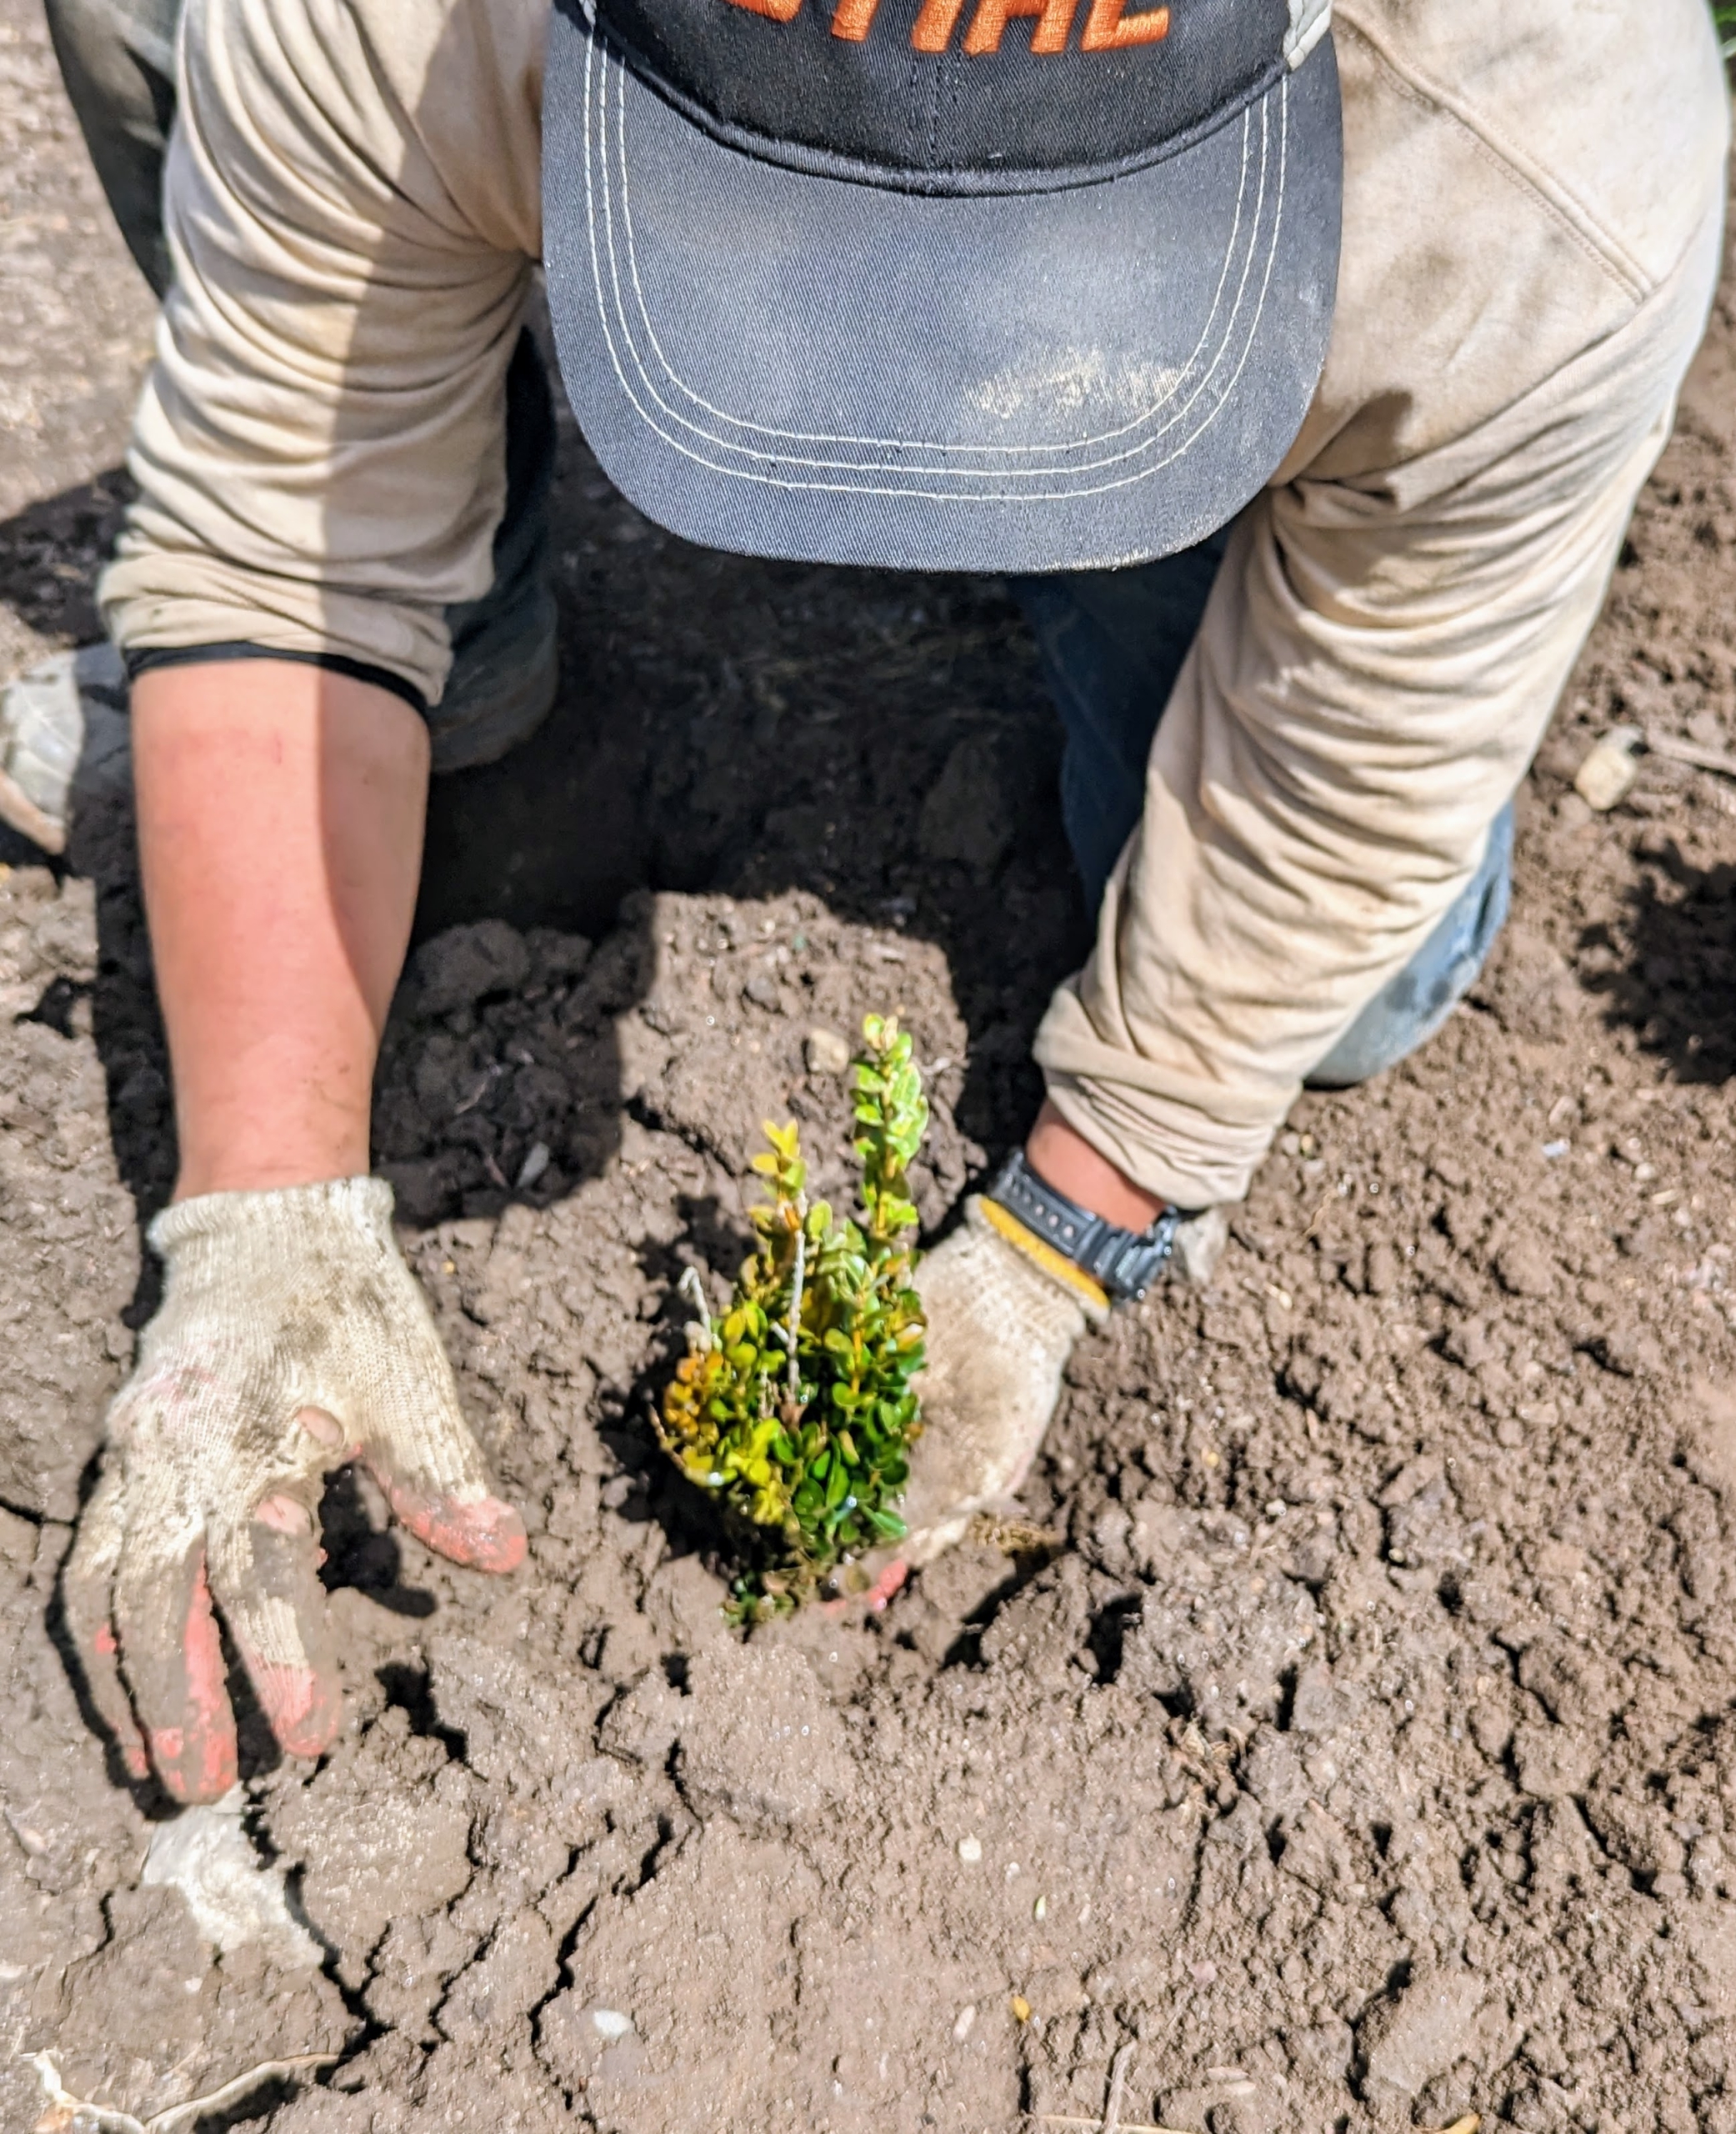
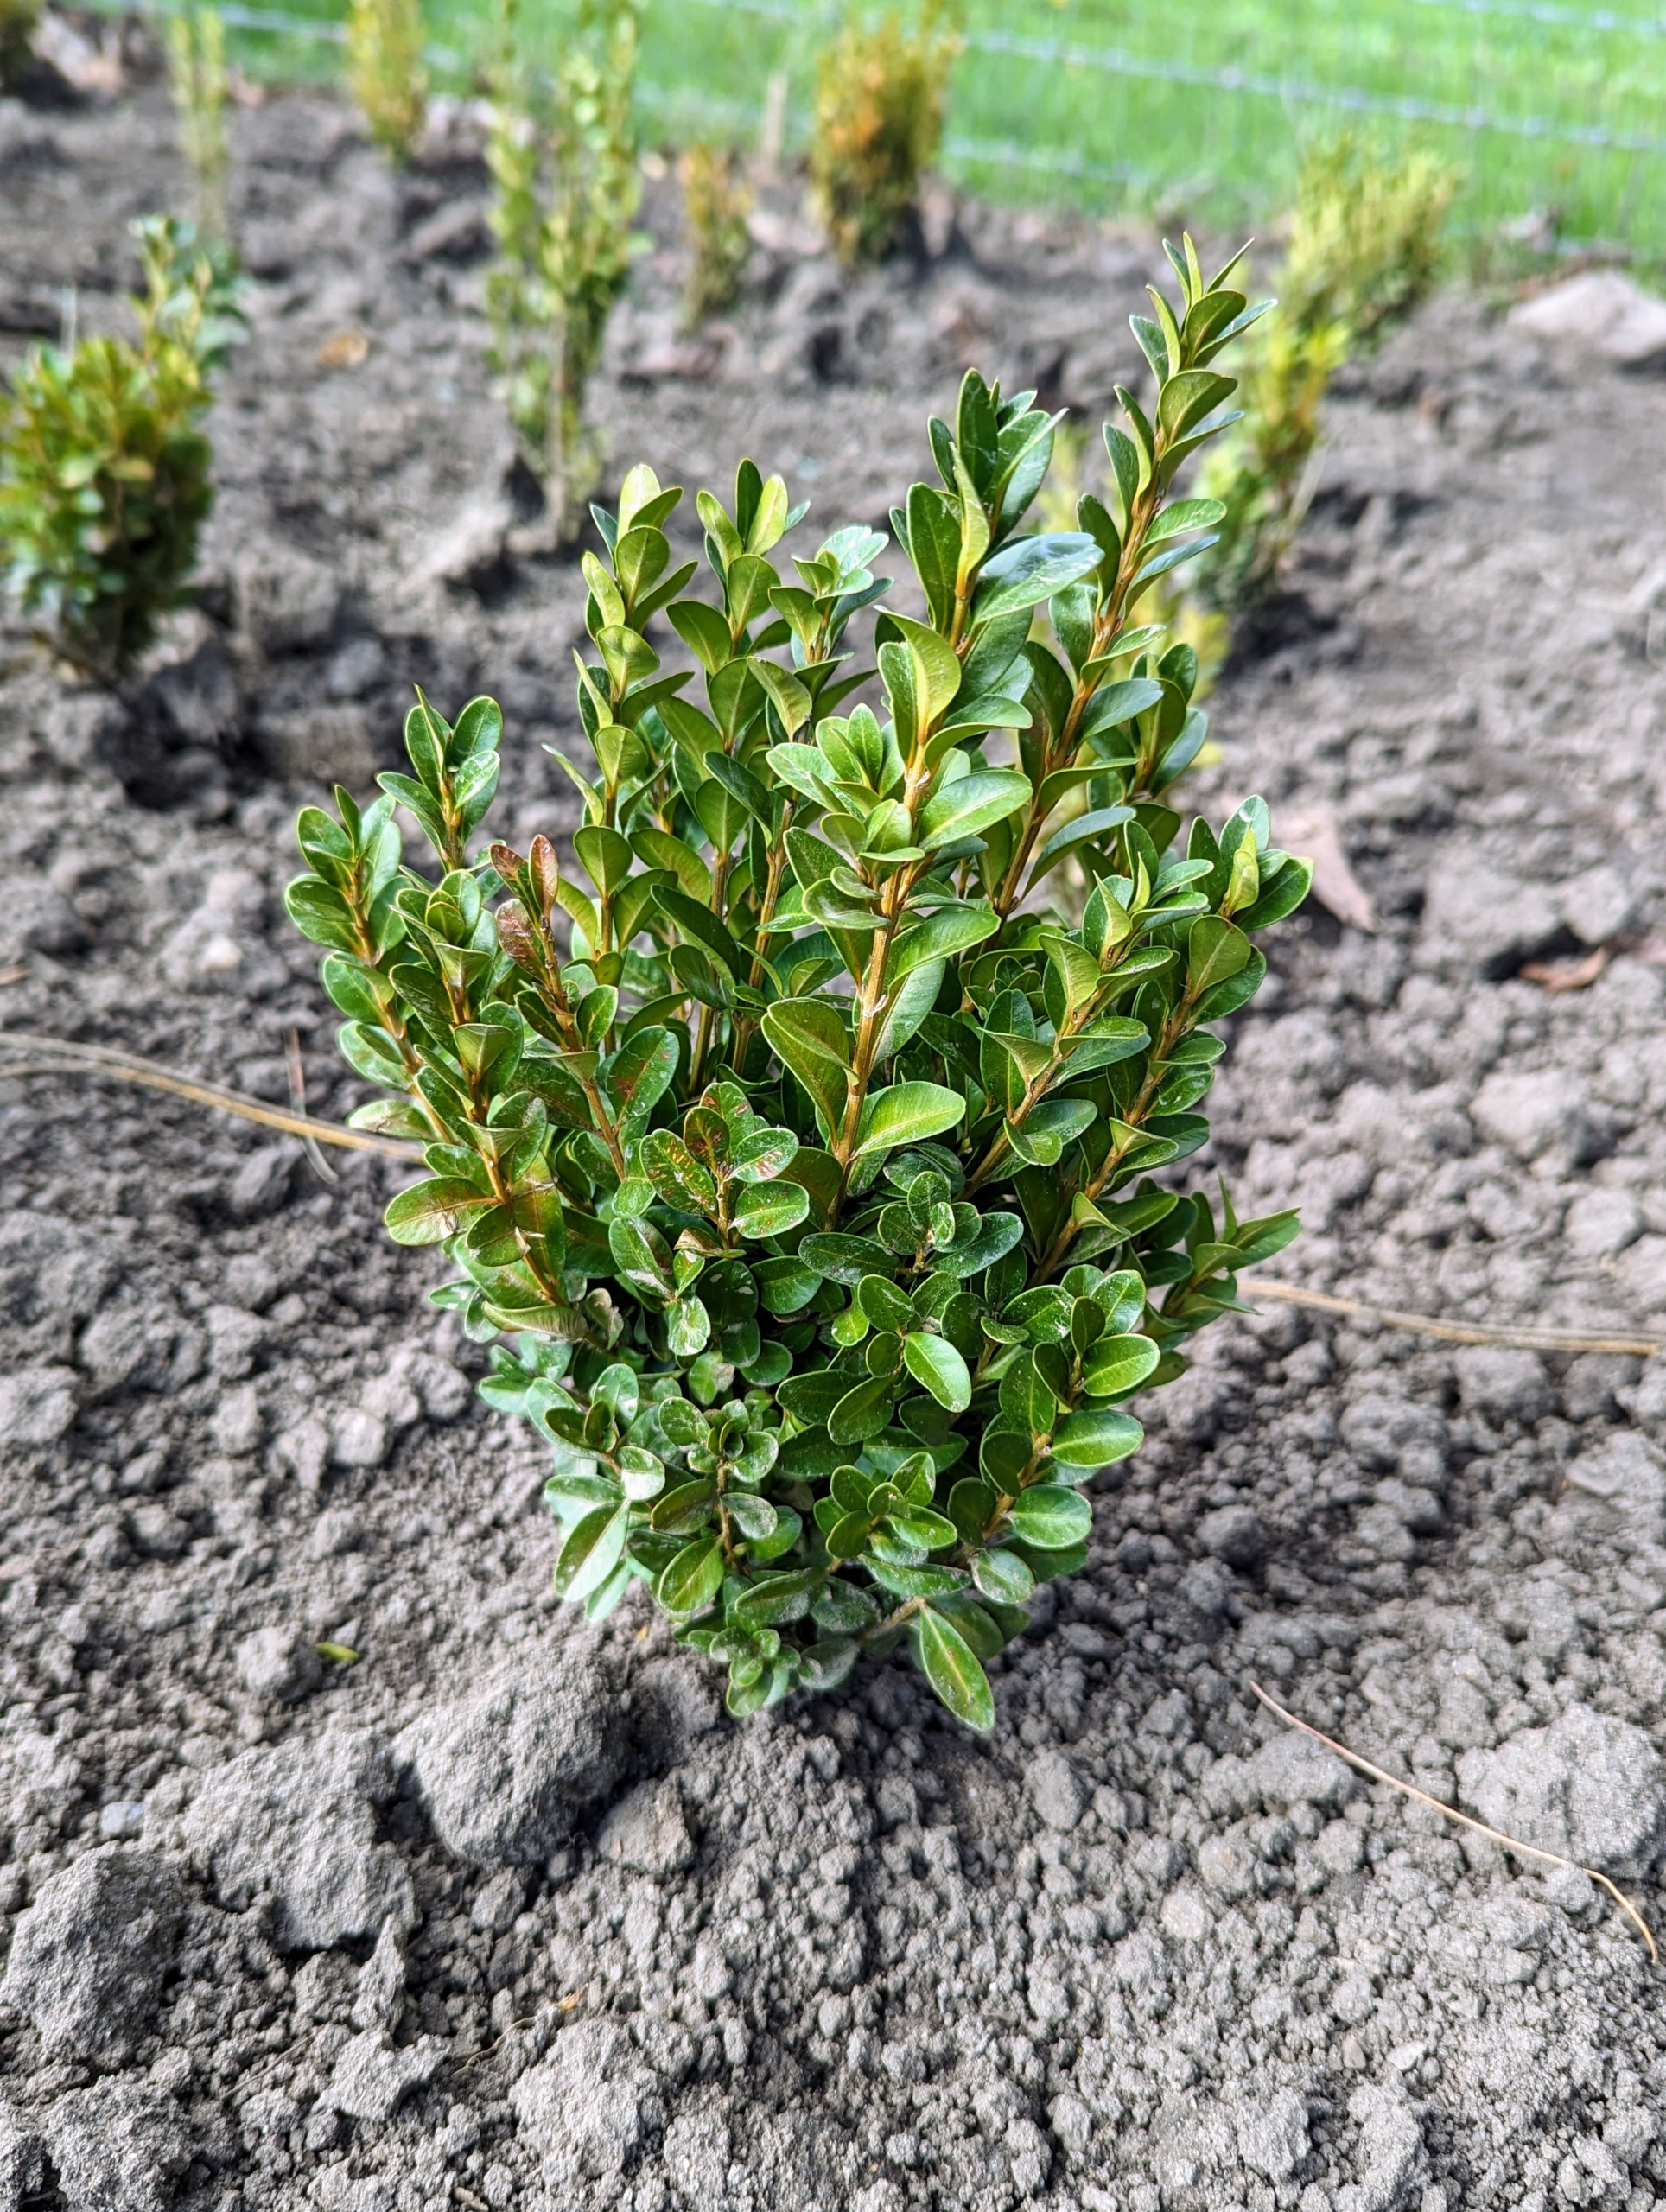
These two to three year old seedlings are only a few inches tall, but they will grow quickly.
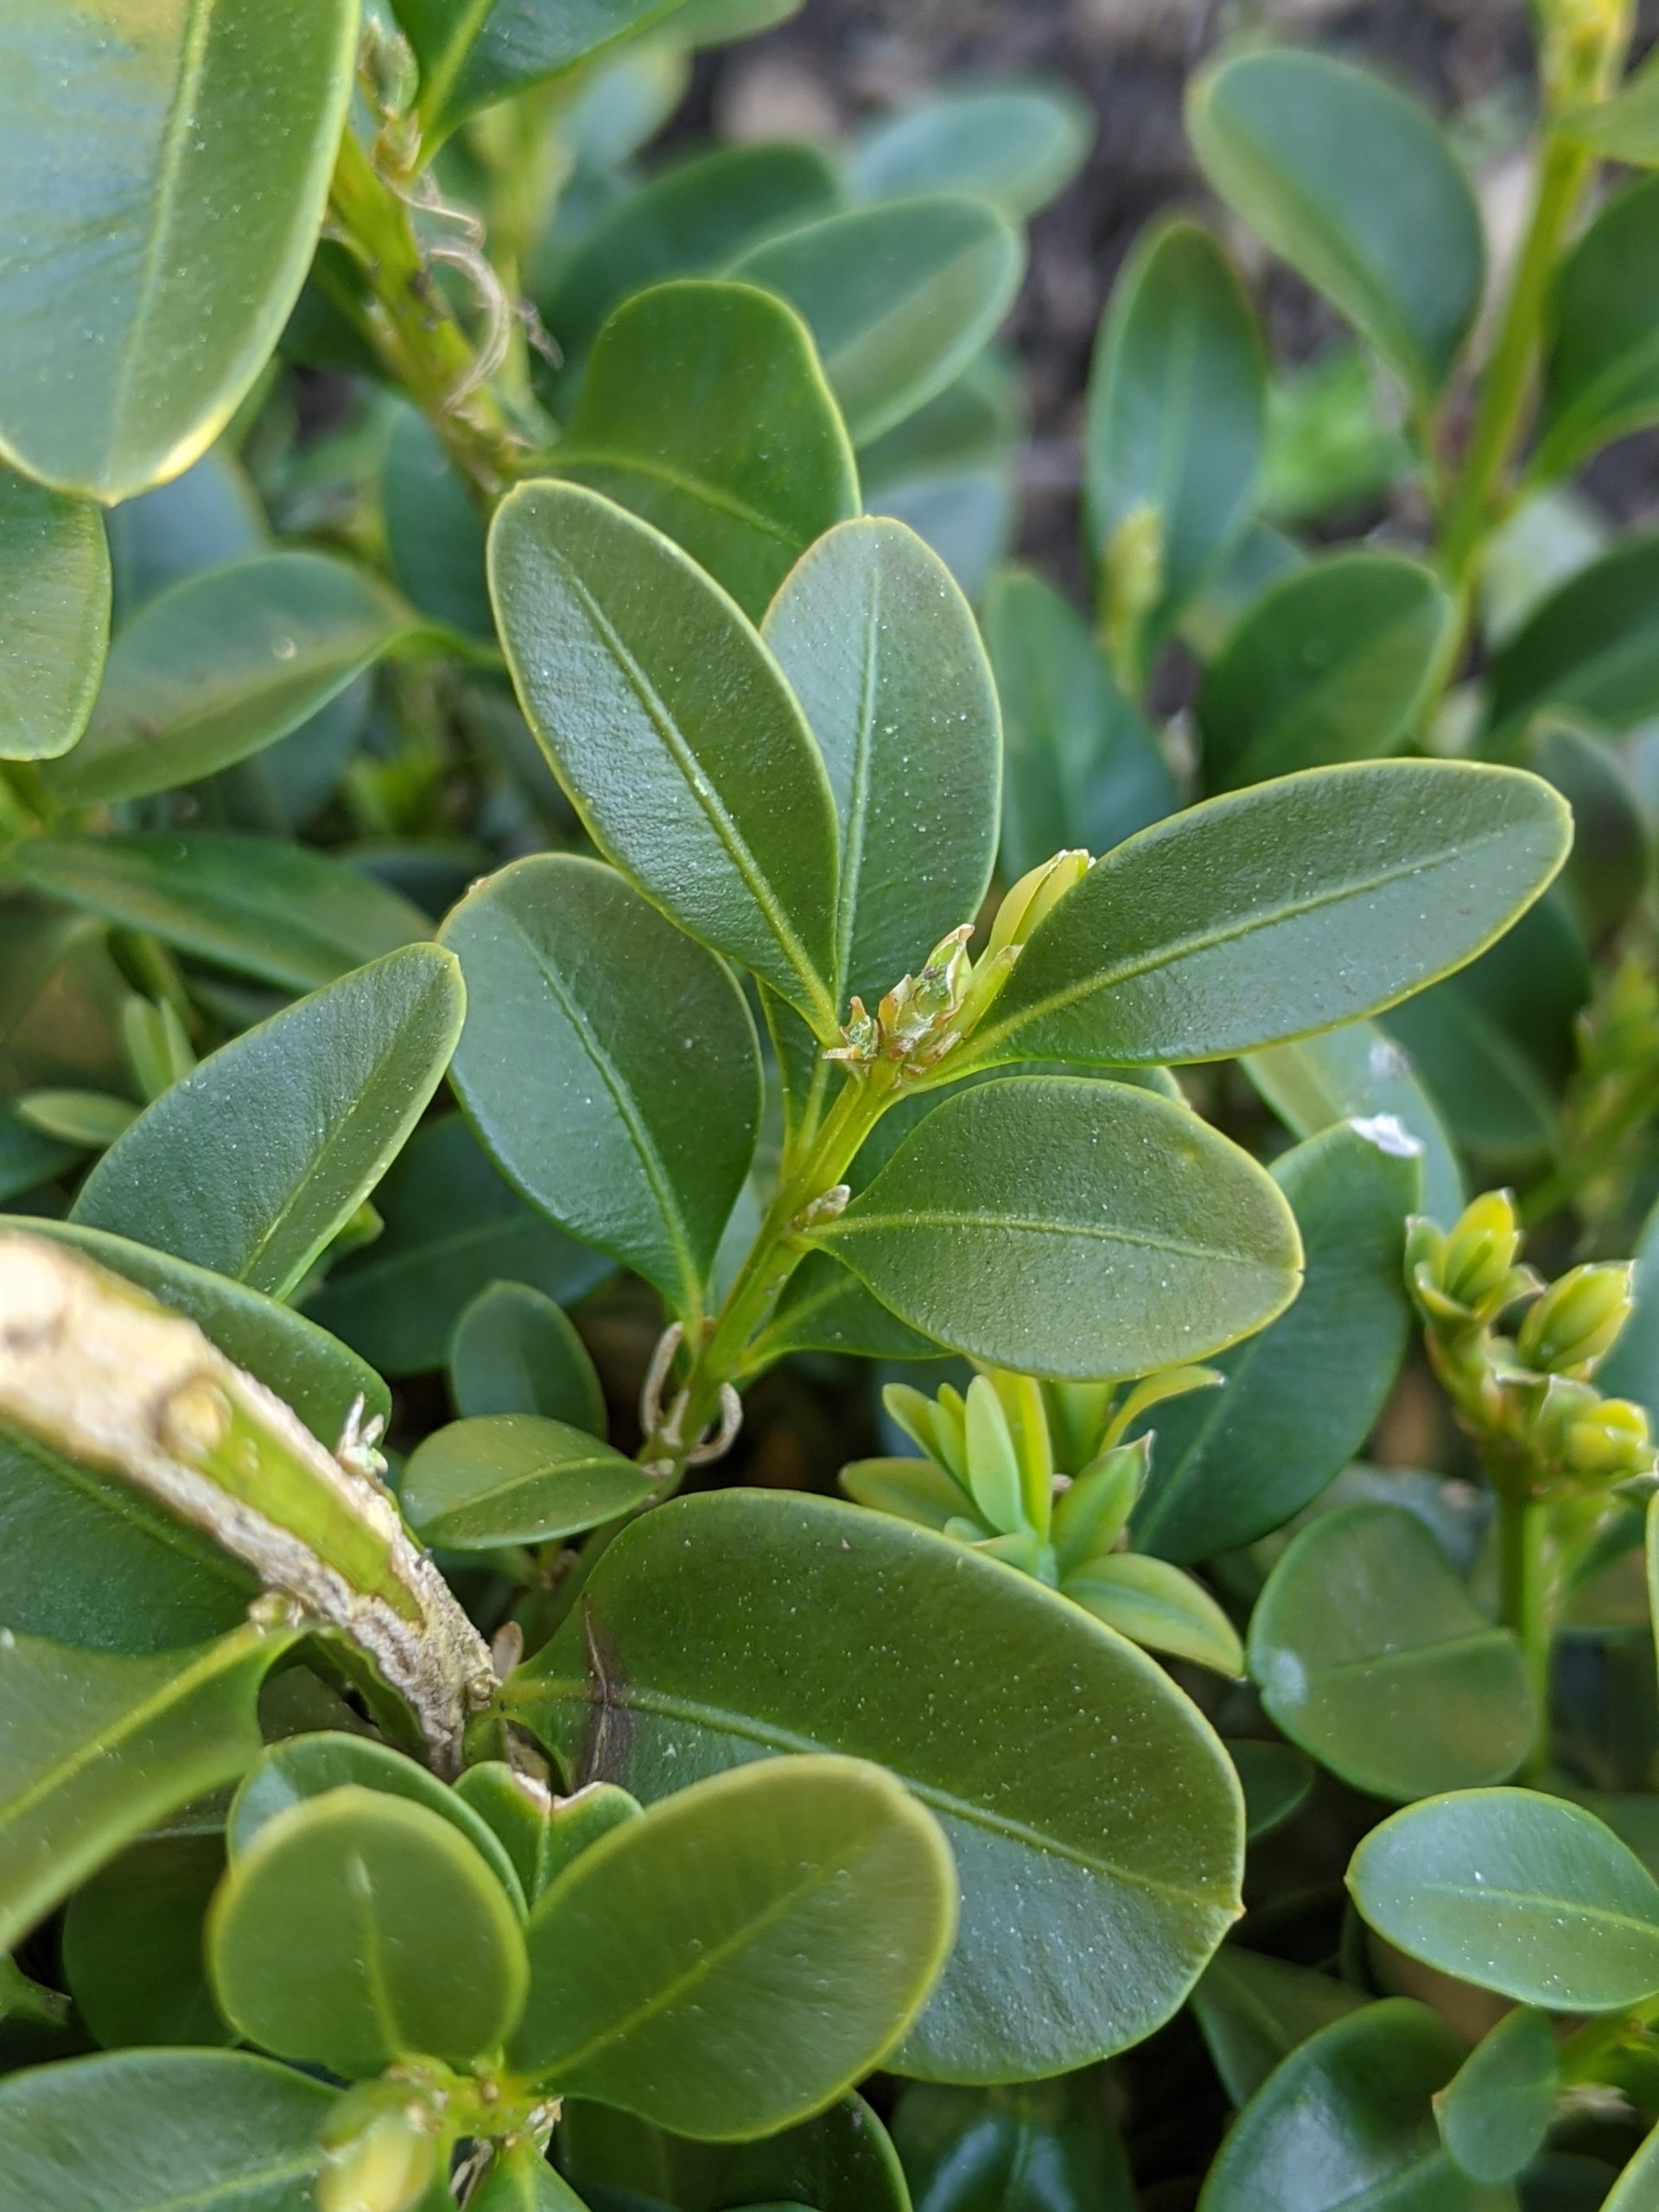
This variety is called Buxus ‘Green Mountain’. It is a vigorous evergreen shrub with bright green foliage that retains good color throughout winter. The upright, naturally cone-shaped habit makes it an excellent candidate for planting free-form or for a sculpted hedge. The leaves on boxwood branches are arranged opposite from each other, making pairs.
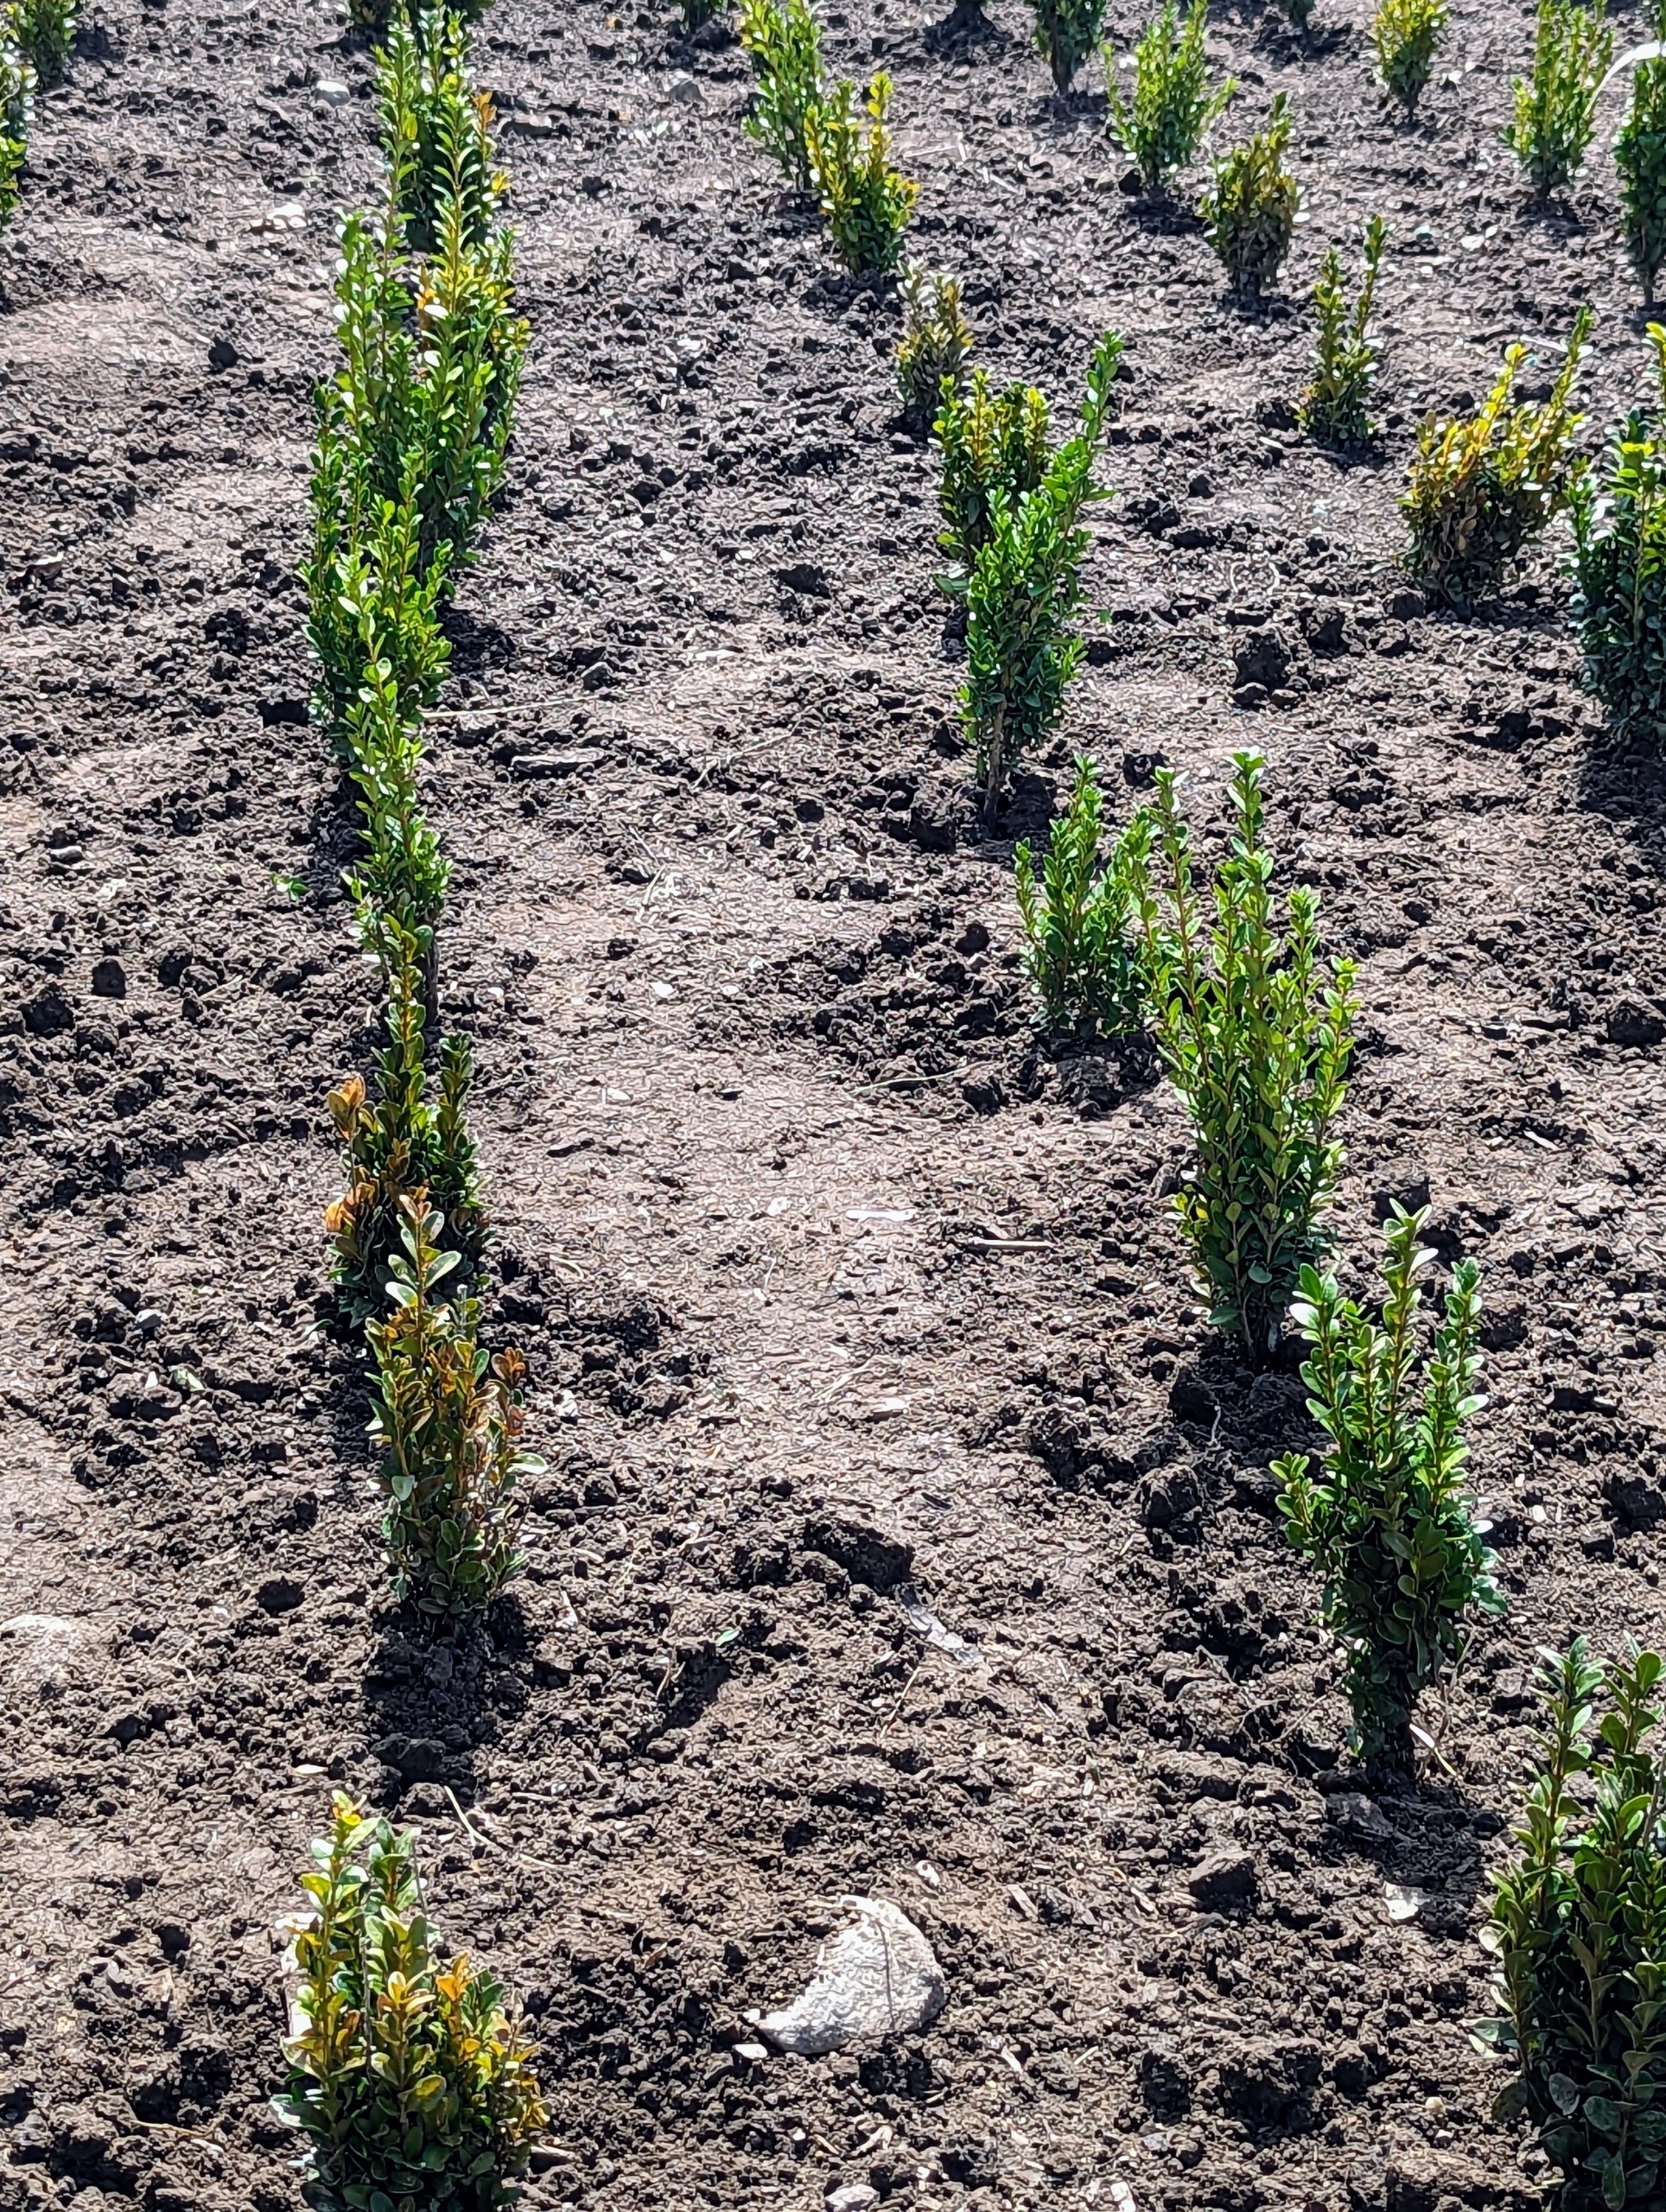
These plants are placed about a foot apart – enough room for them to grow before moving to more permanent locations.
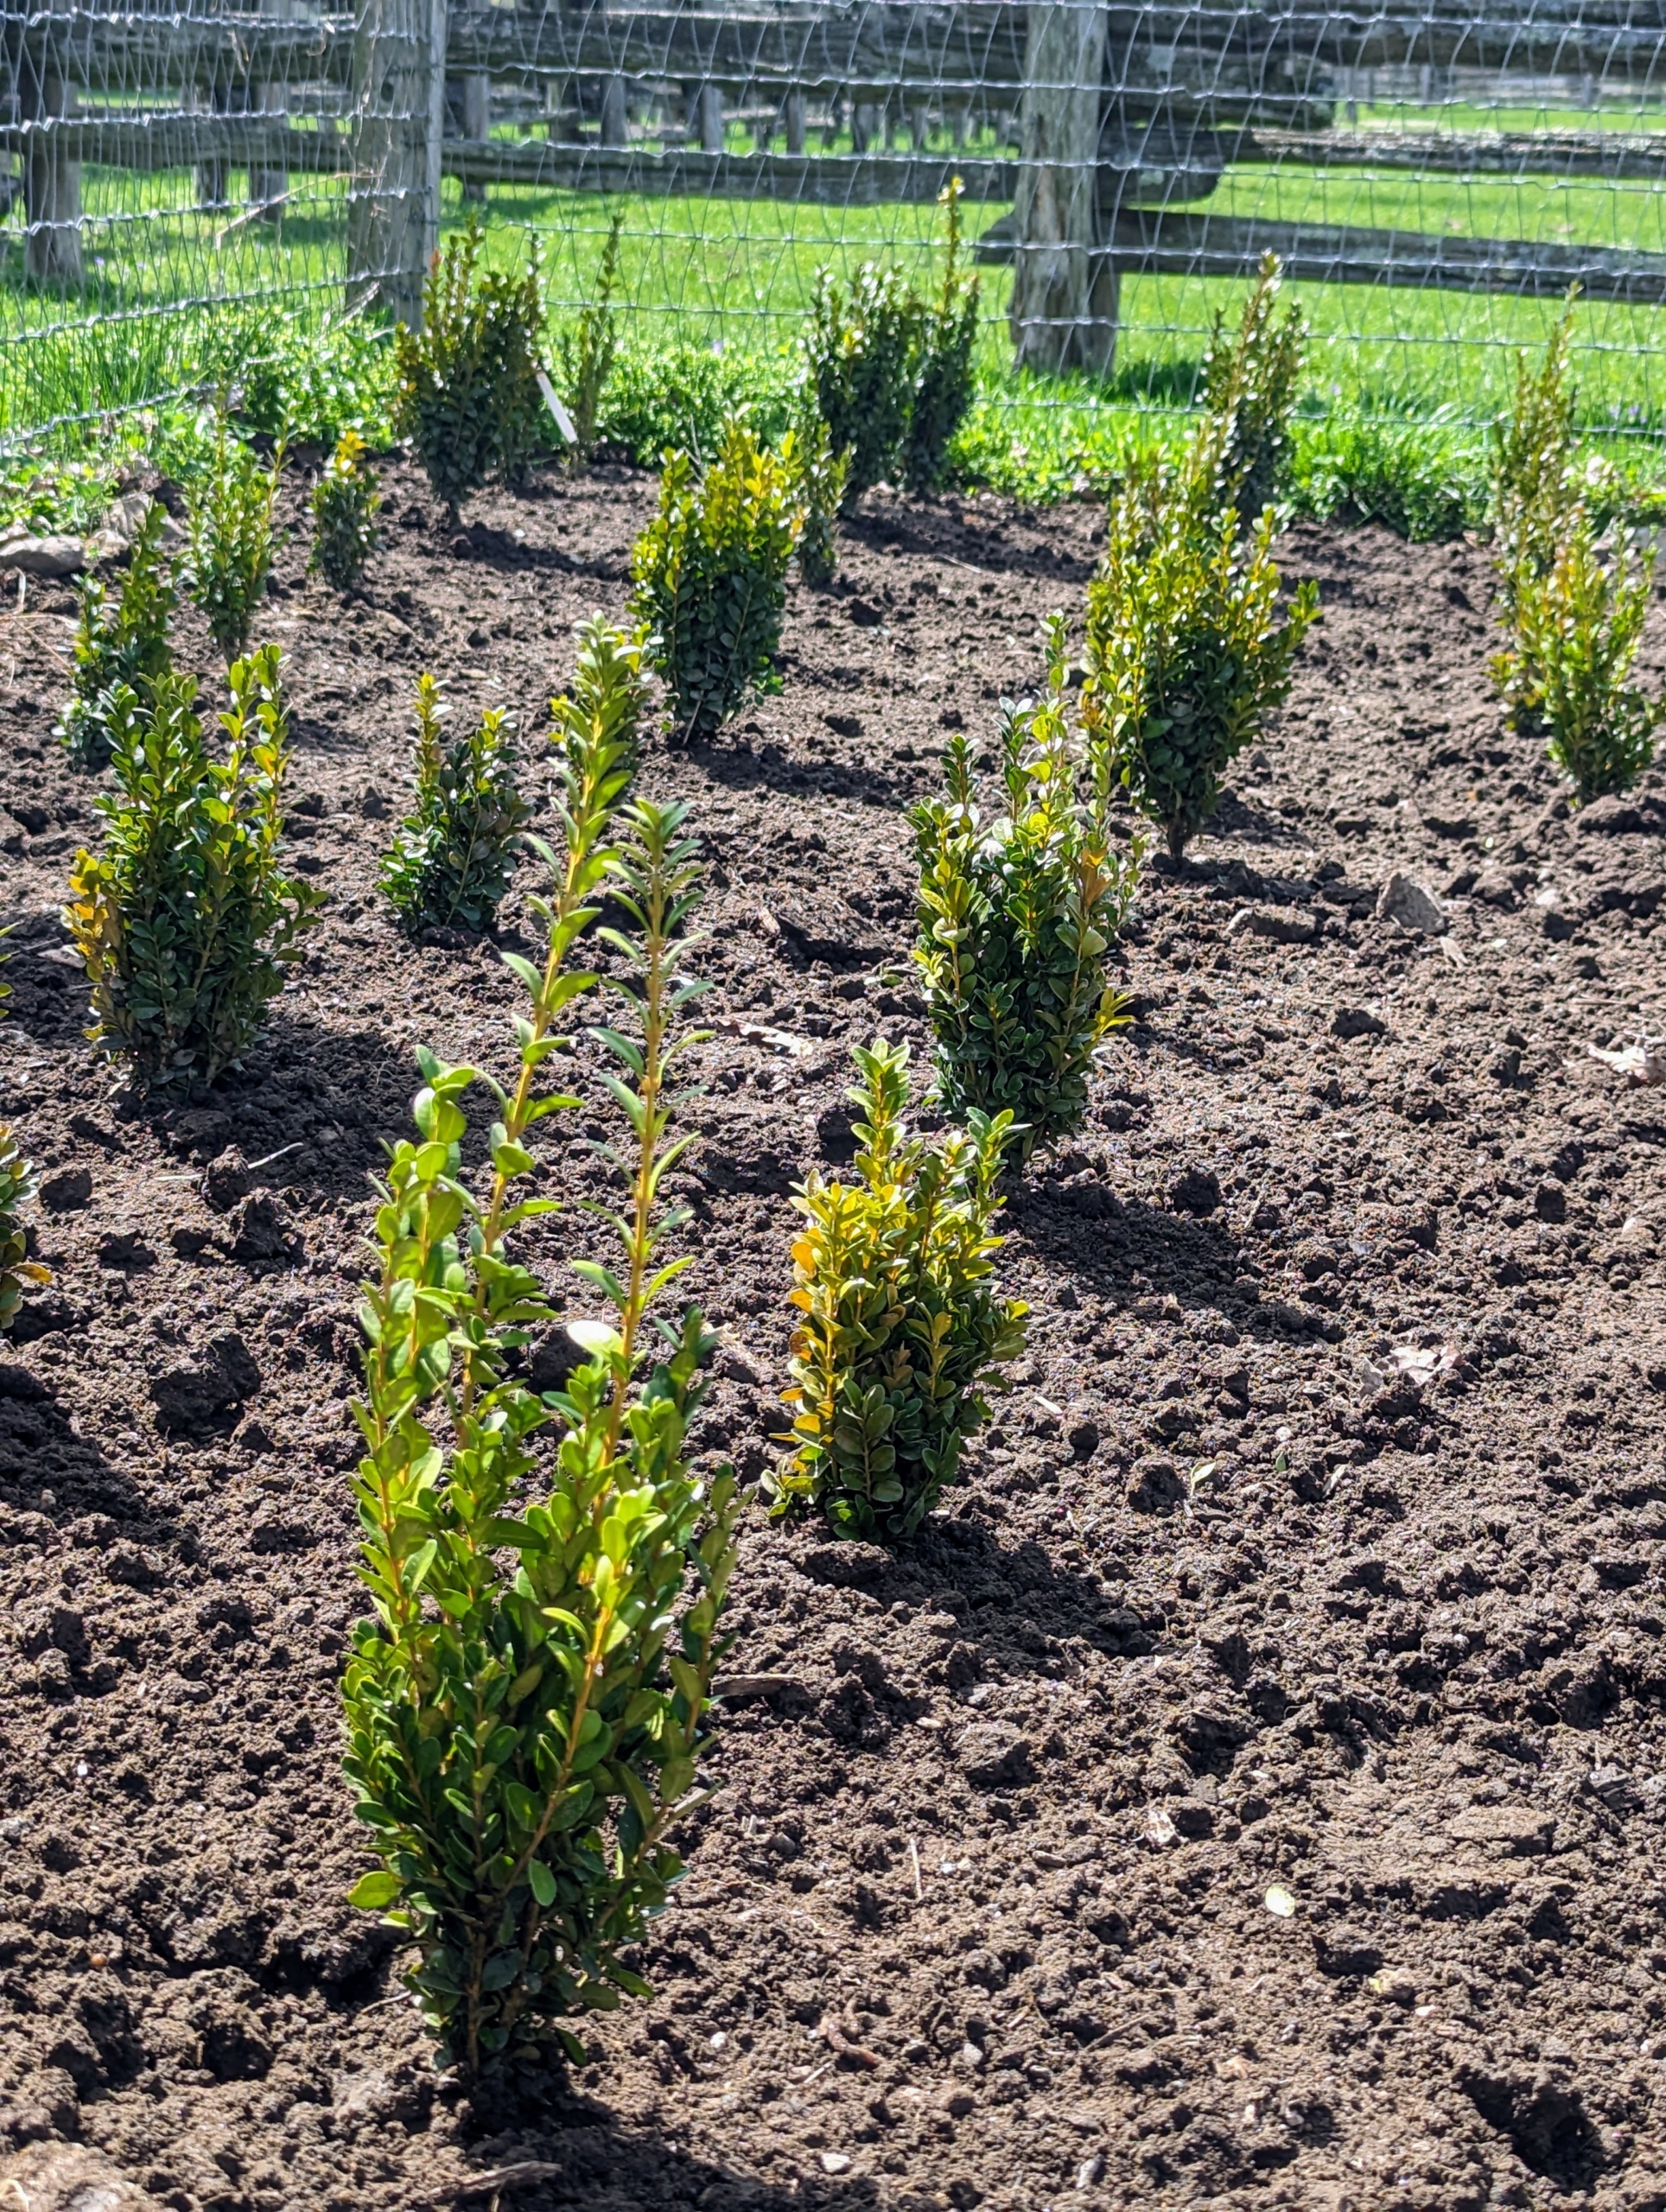
These boxwoods were planted just last year – slightly taller and more dense. These young boxwoods will remain here for a couple years before they are transplanted into the garden beds.
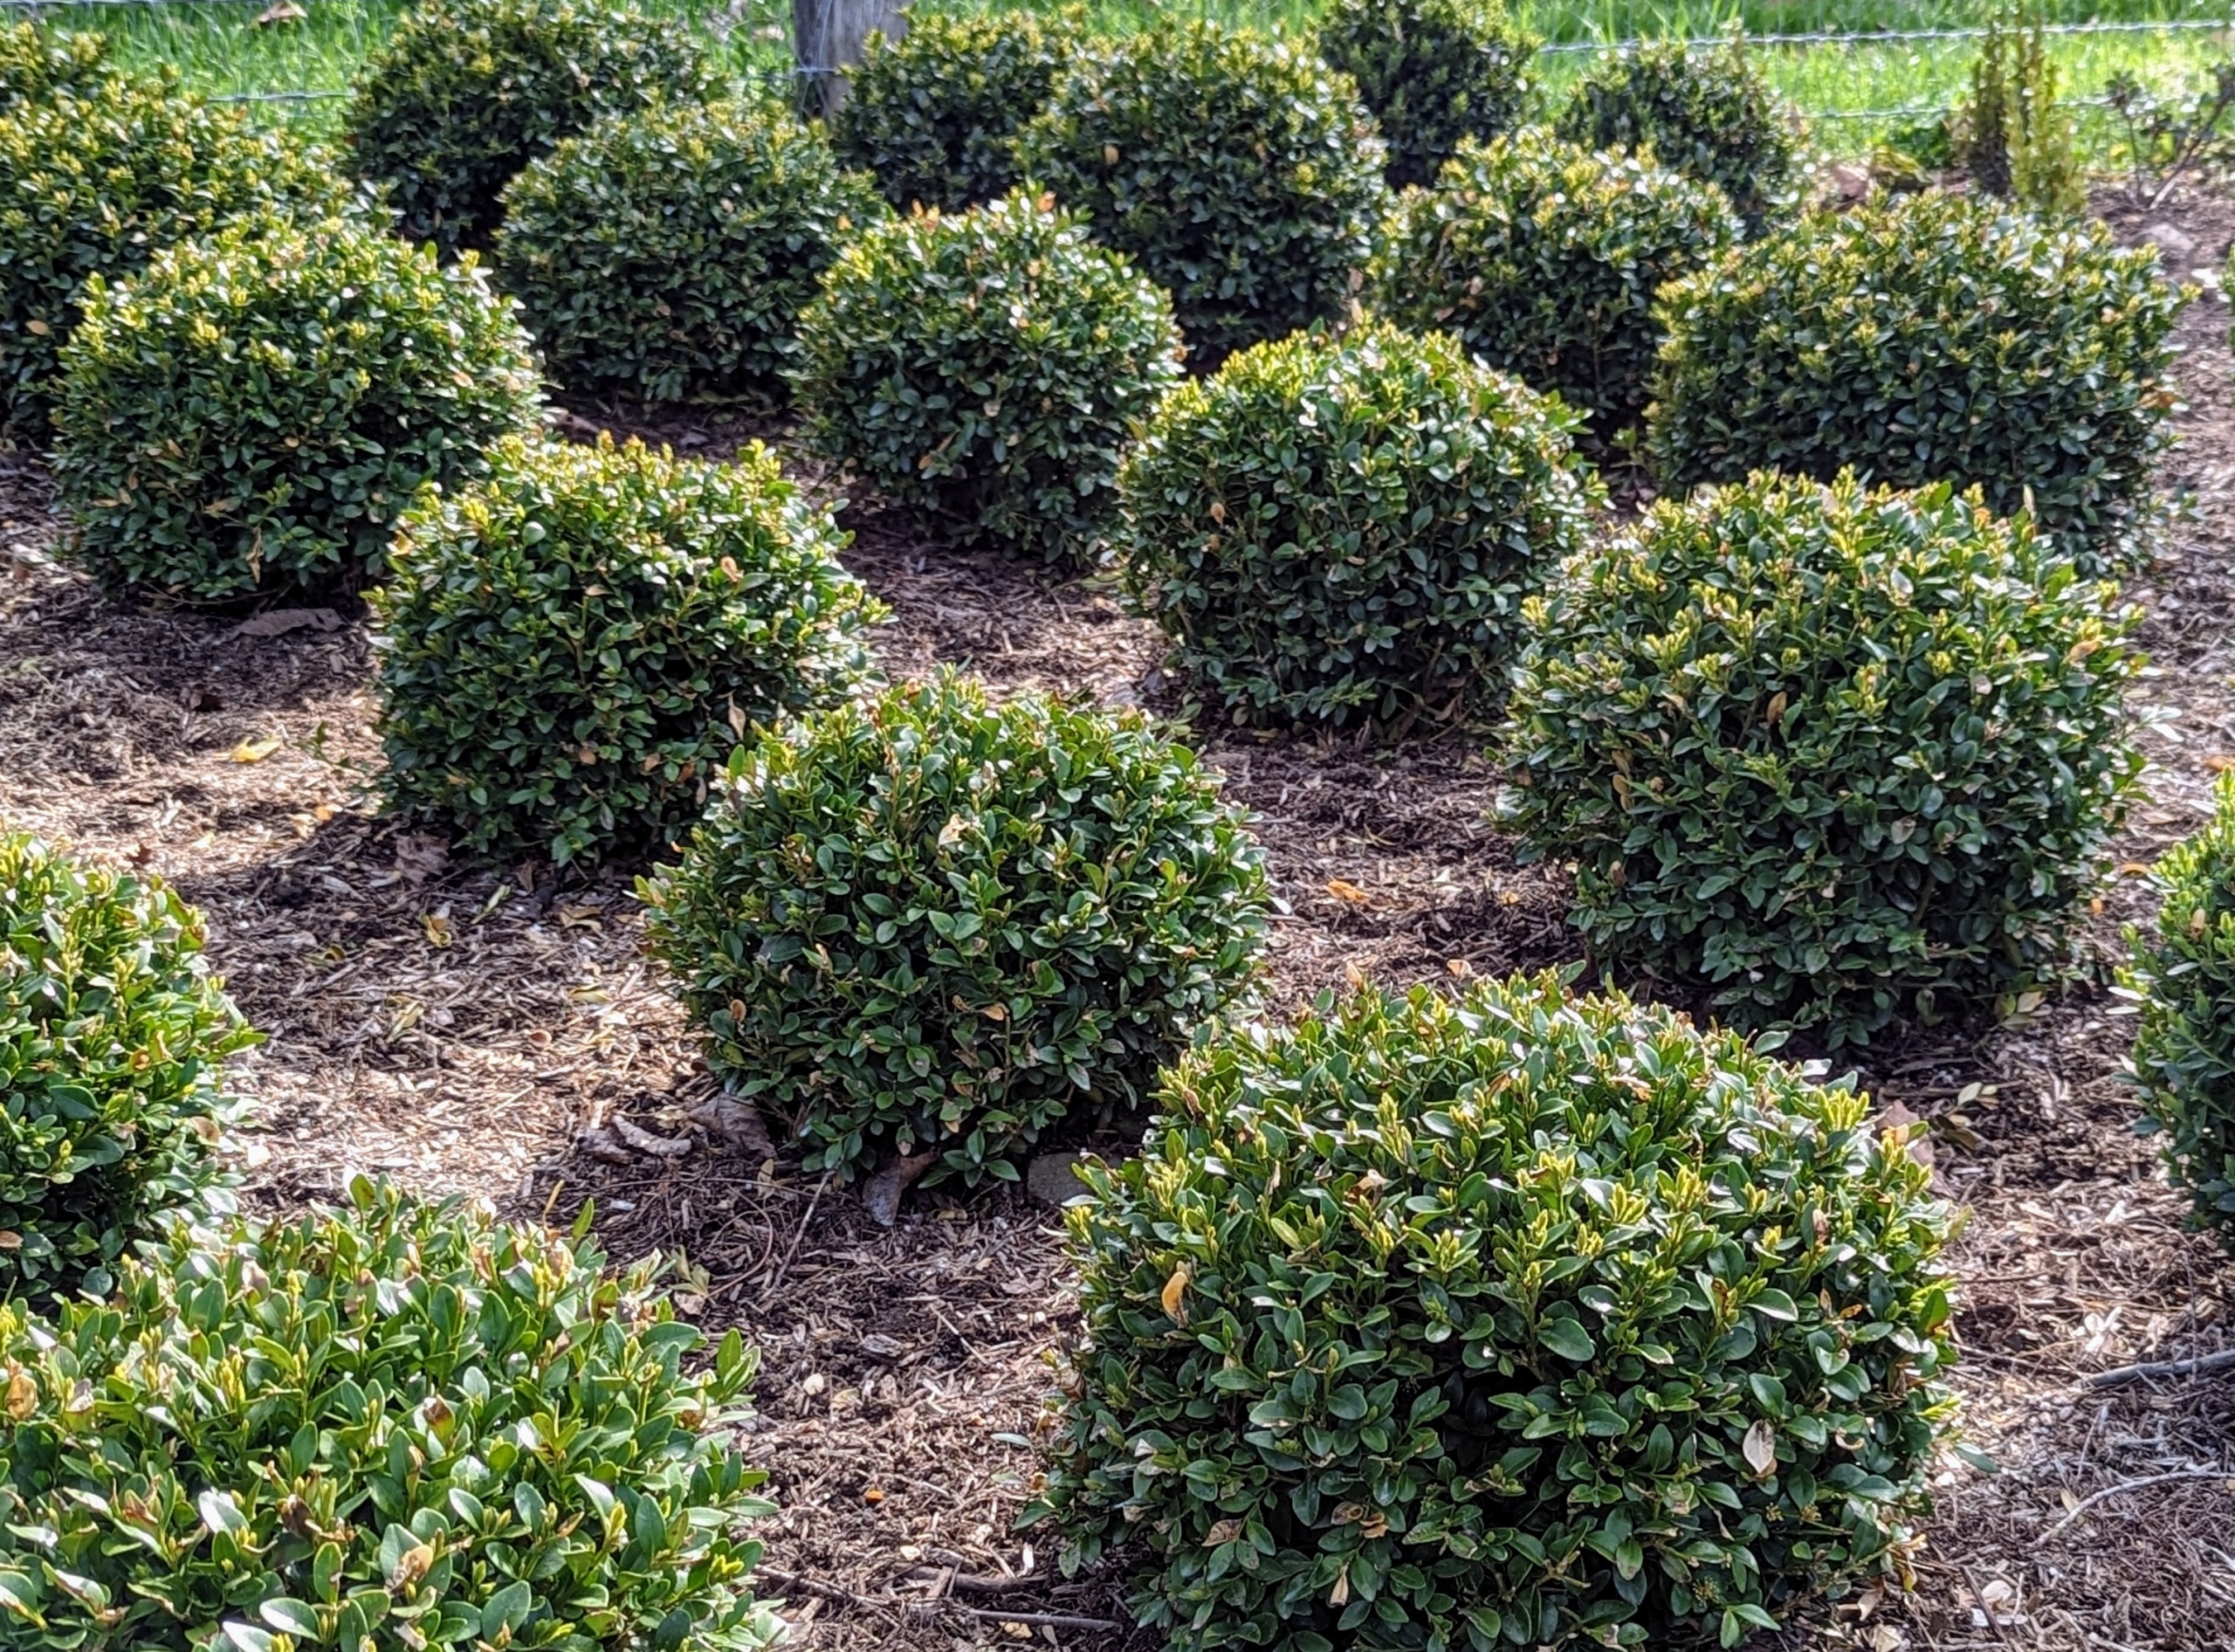
And these specimens are about three and a half years old. These are growing very well in this “nursery.” These have also already been pruned to give them their round shapes.
Some of the exisiting boxwood in this area is Buxus ‘Green Velvet’. This variety is a full-bodied boxwood well-suited for dense, low hedges. Its foliage also retains its rich green color throughout winter and develops a vigorous form.
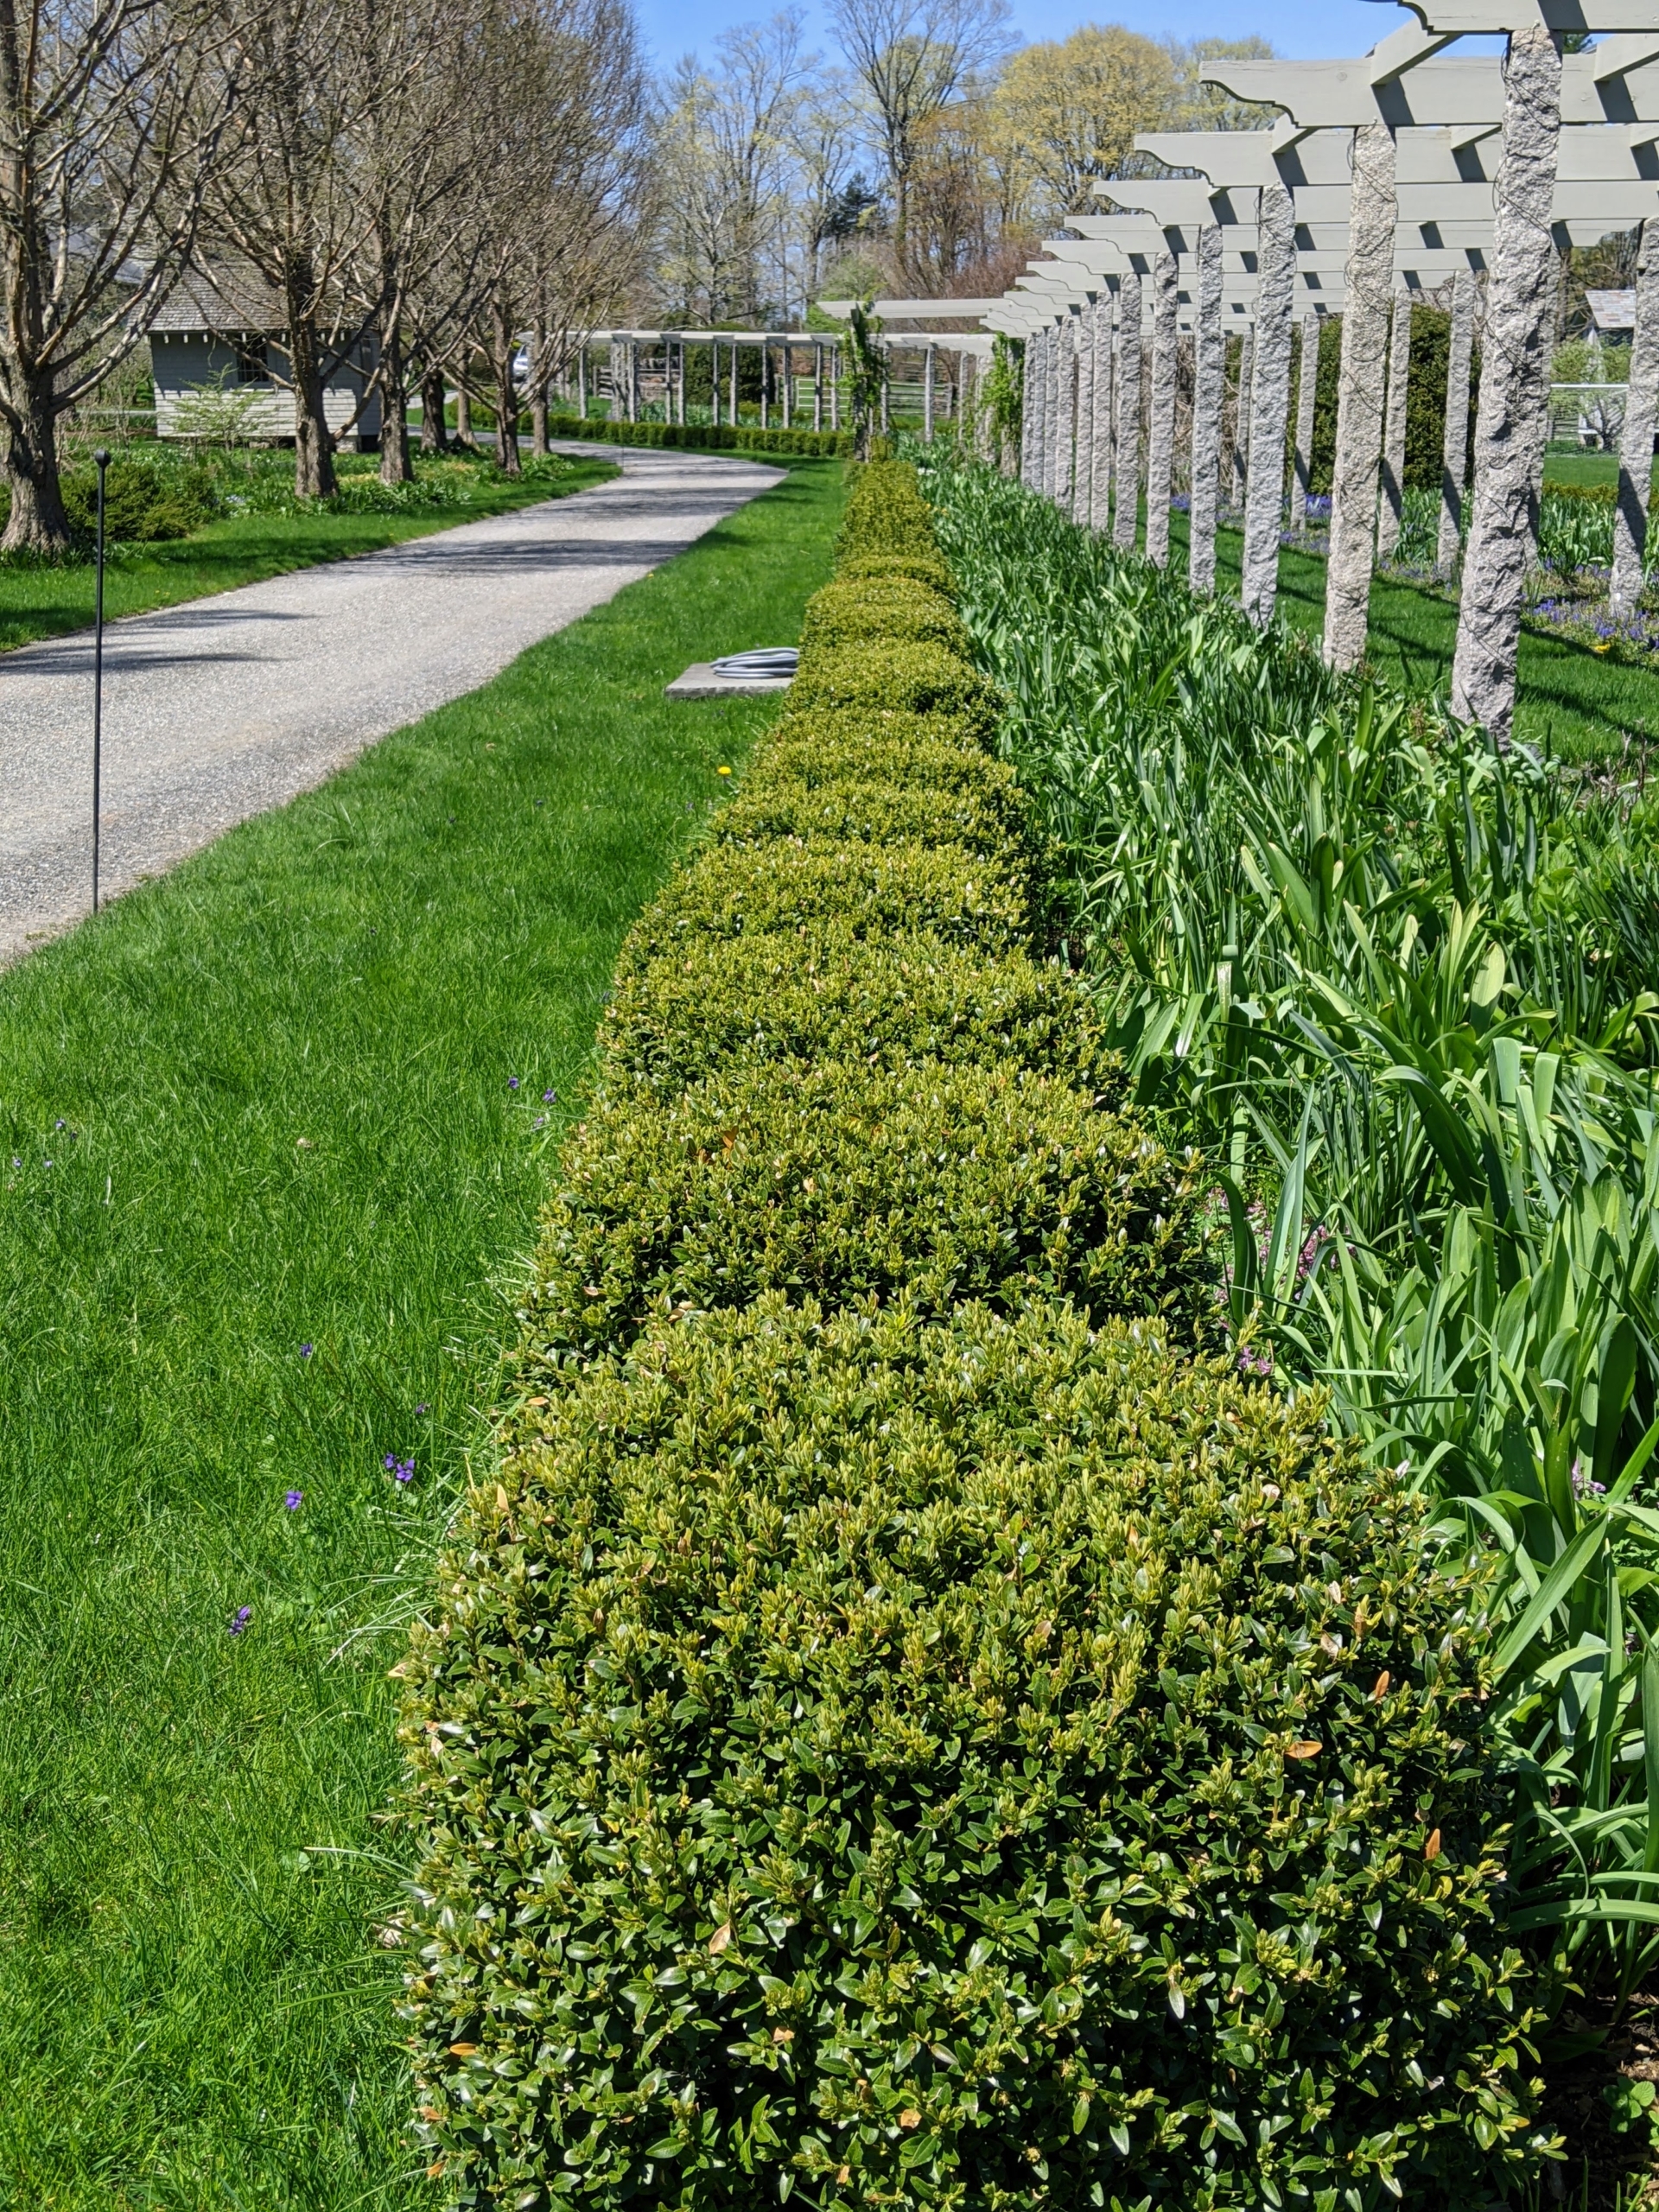
In 2017, I decided to line both sides of my clematis pergola with boxwood. These started off as small cuttings and developed in the “nursery” before being transplanted here. There are more than 300-shrubs planted under the pergola, and they continue to thrive.
I have scores of mature boxwood growing around the farm. These boxwood shrubs surround my herbaceous peony garden bed.
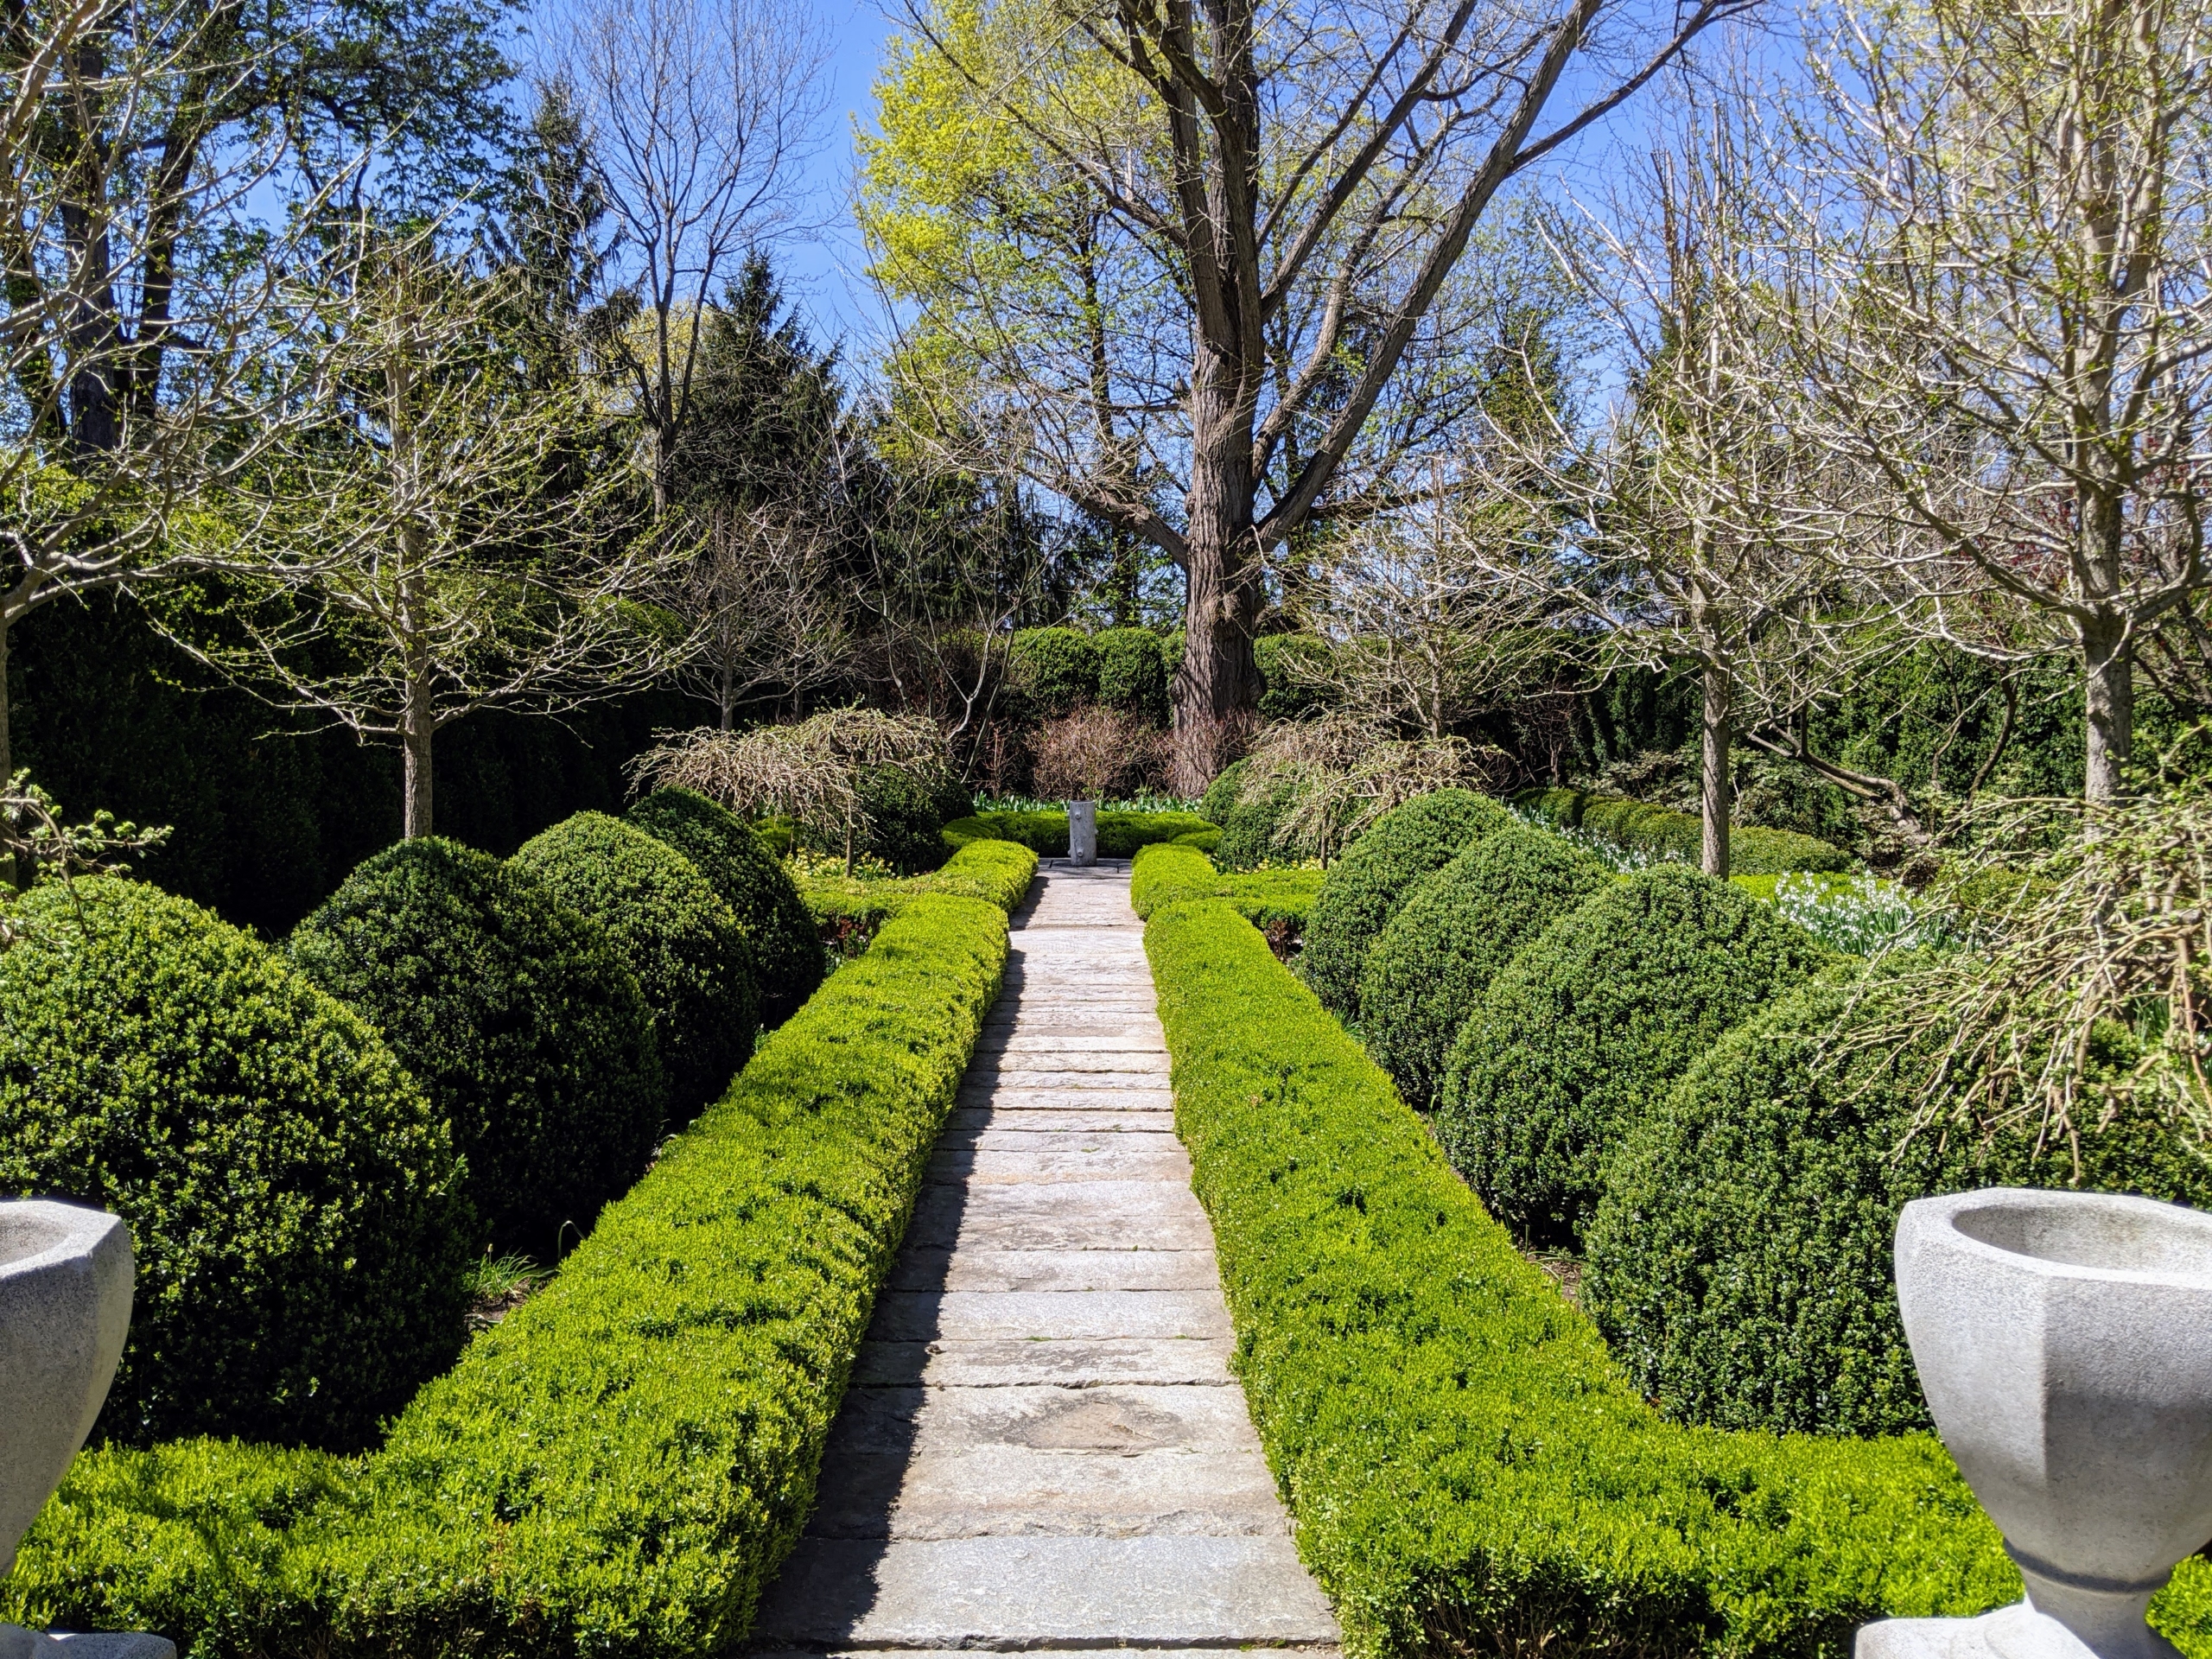
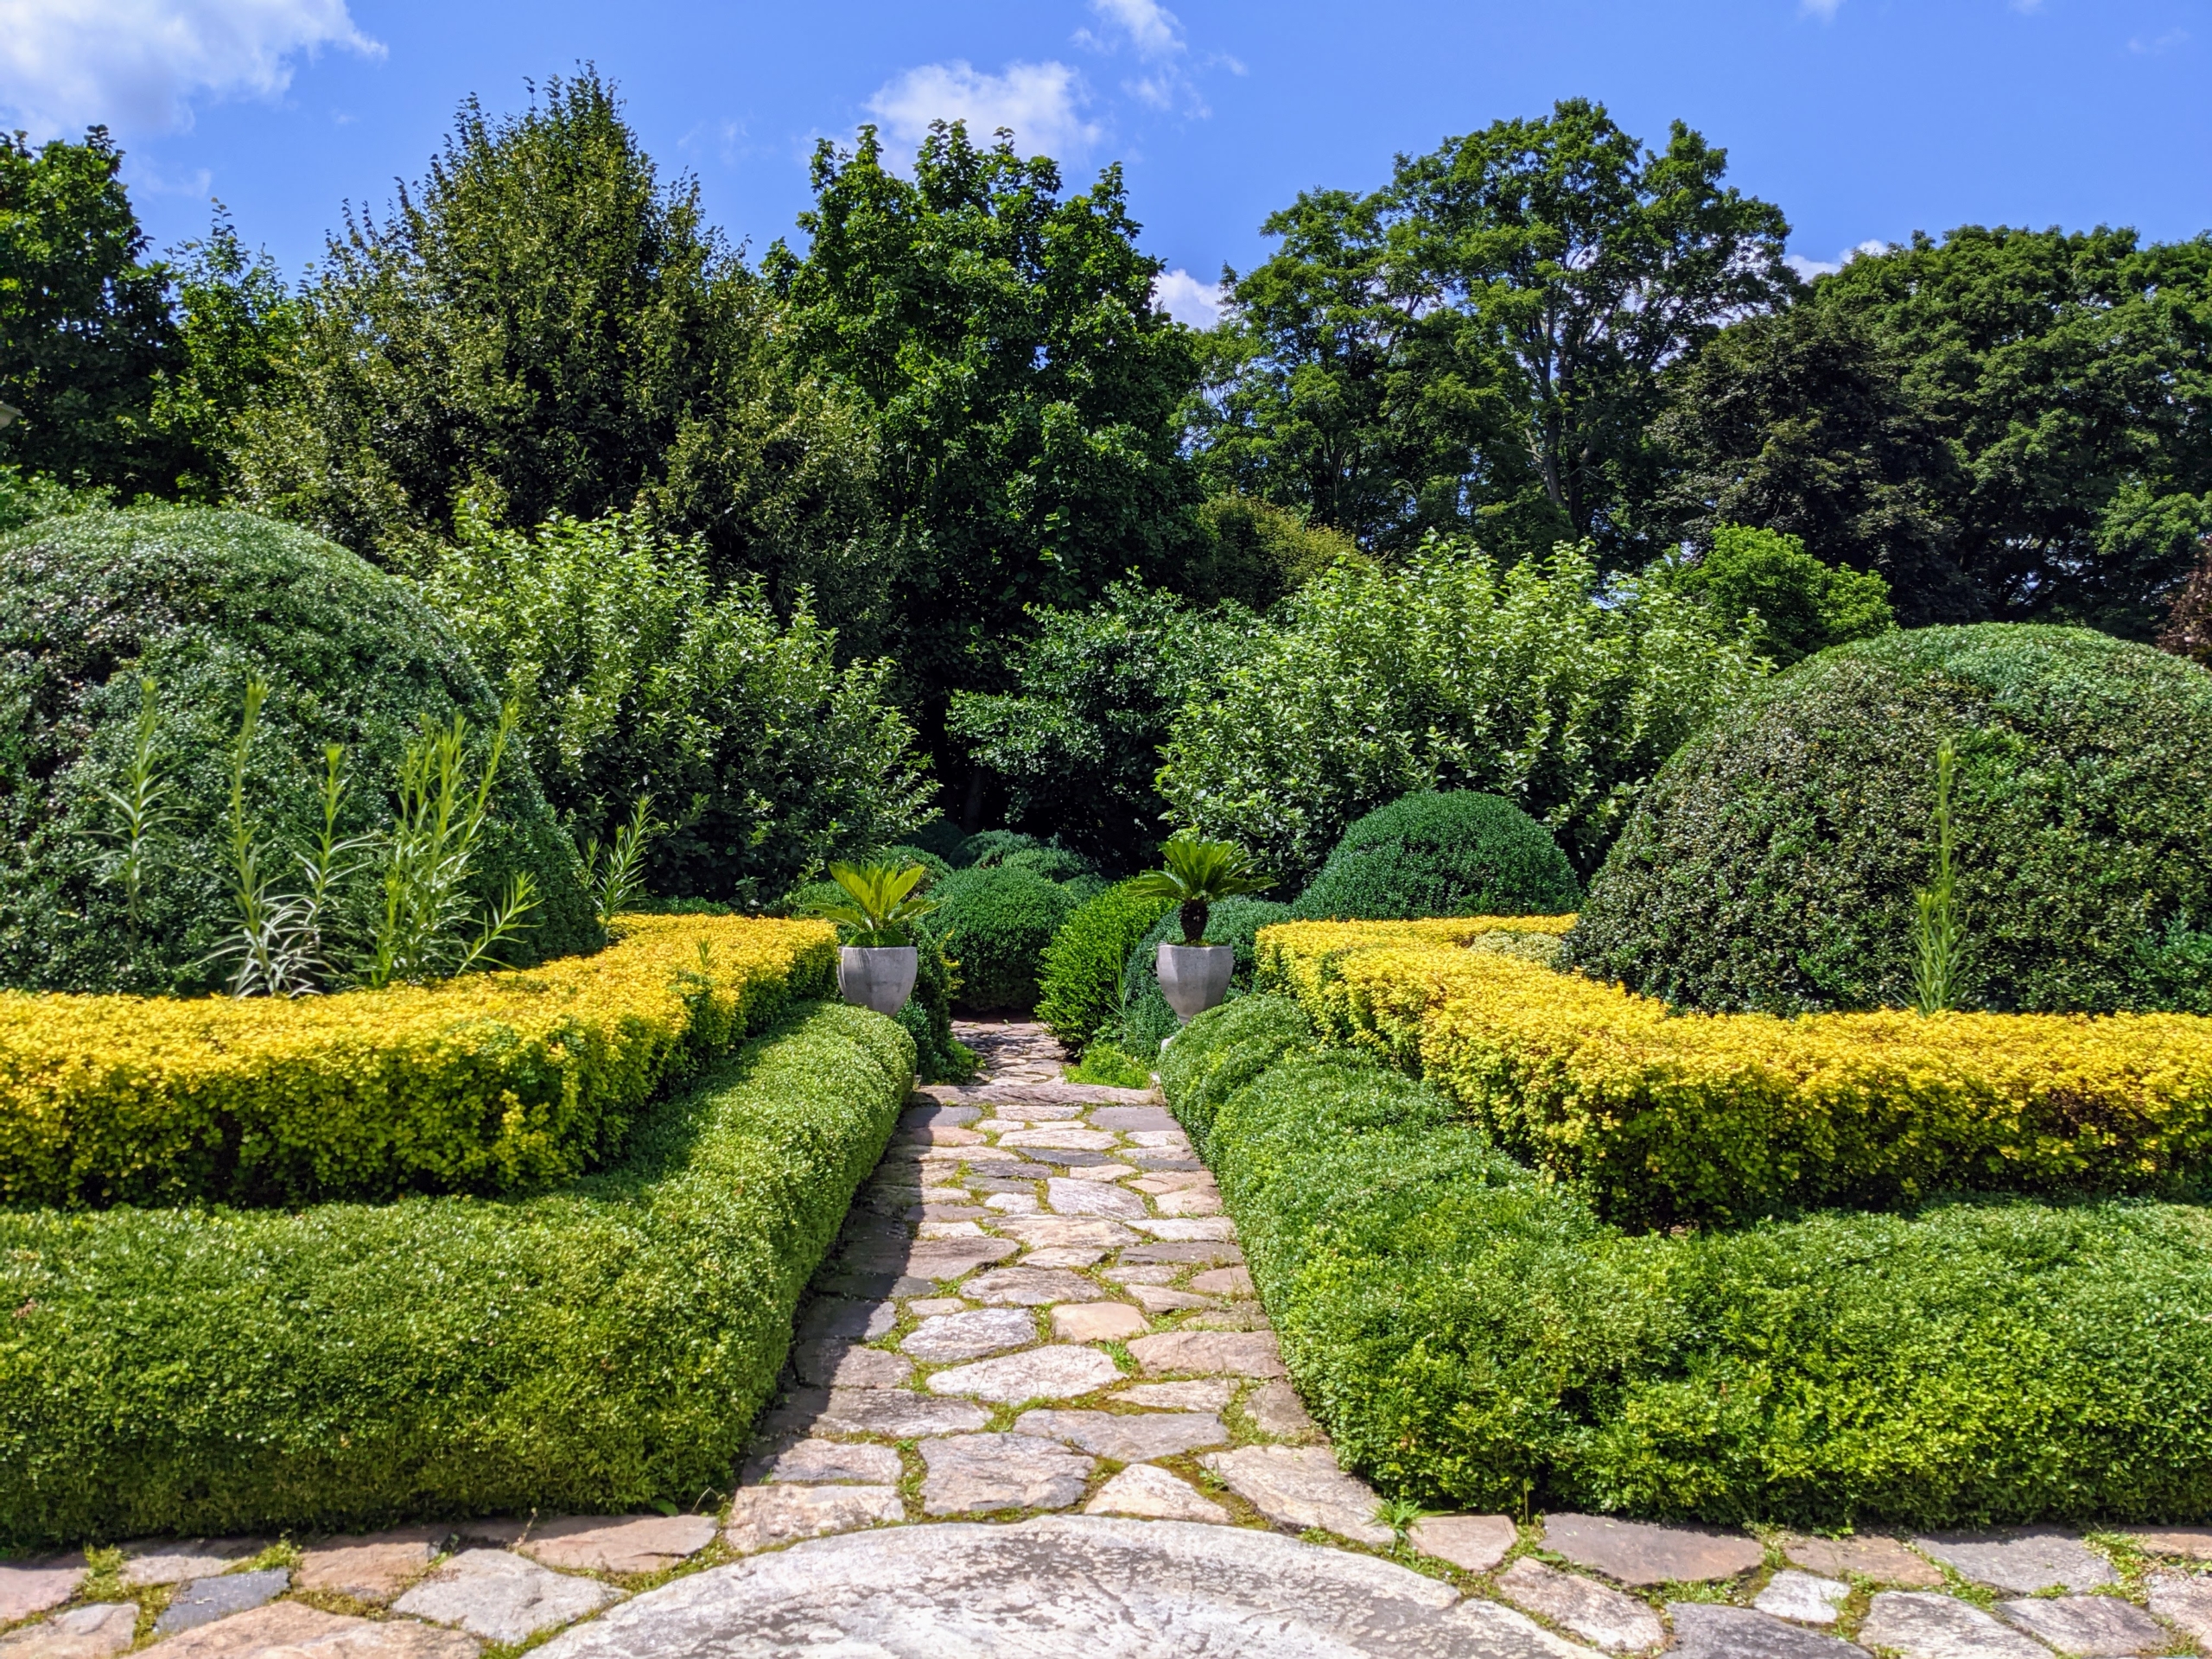
This is my sunken Summer House Garden – a more formal garden with both English and American boxwood. Boxwood, a popular evergreen shrub in garden landscape, is a very ancient plant. Its ornamental use can be traced back to 4000 BC Egypt. The early Romans favored it in their courtyards. The wood itself is harder than oak and its foliage is dense and compact. Because of its growing habit, boxwood can be sculpted into formal hedges, topiaries, and other fanciful shapes.
I also have boxwood hedges on the terraces outside my Winter House.
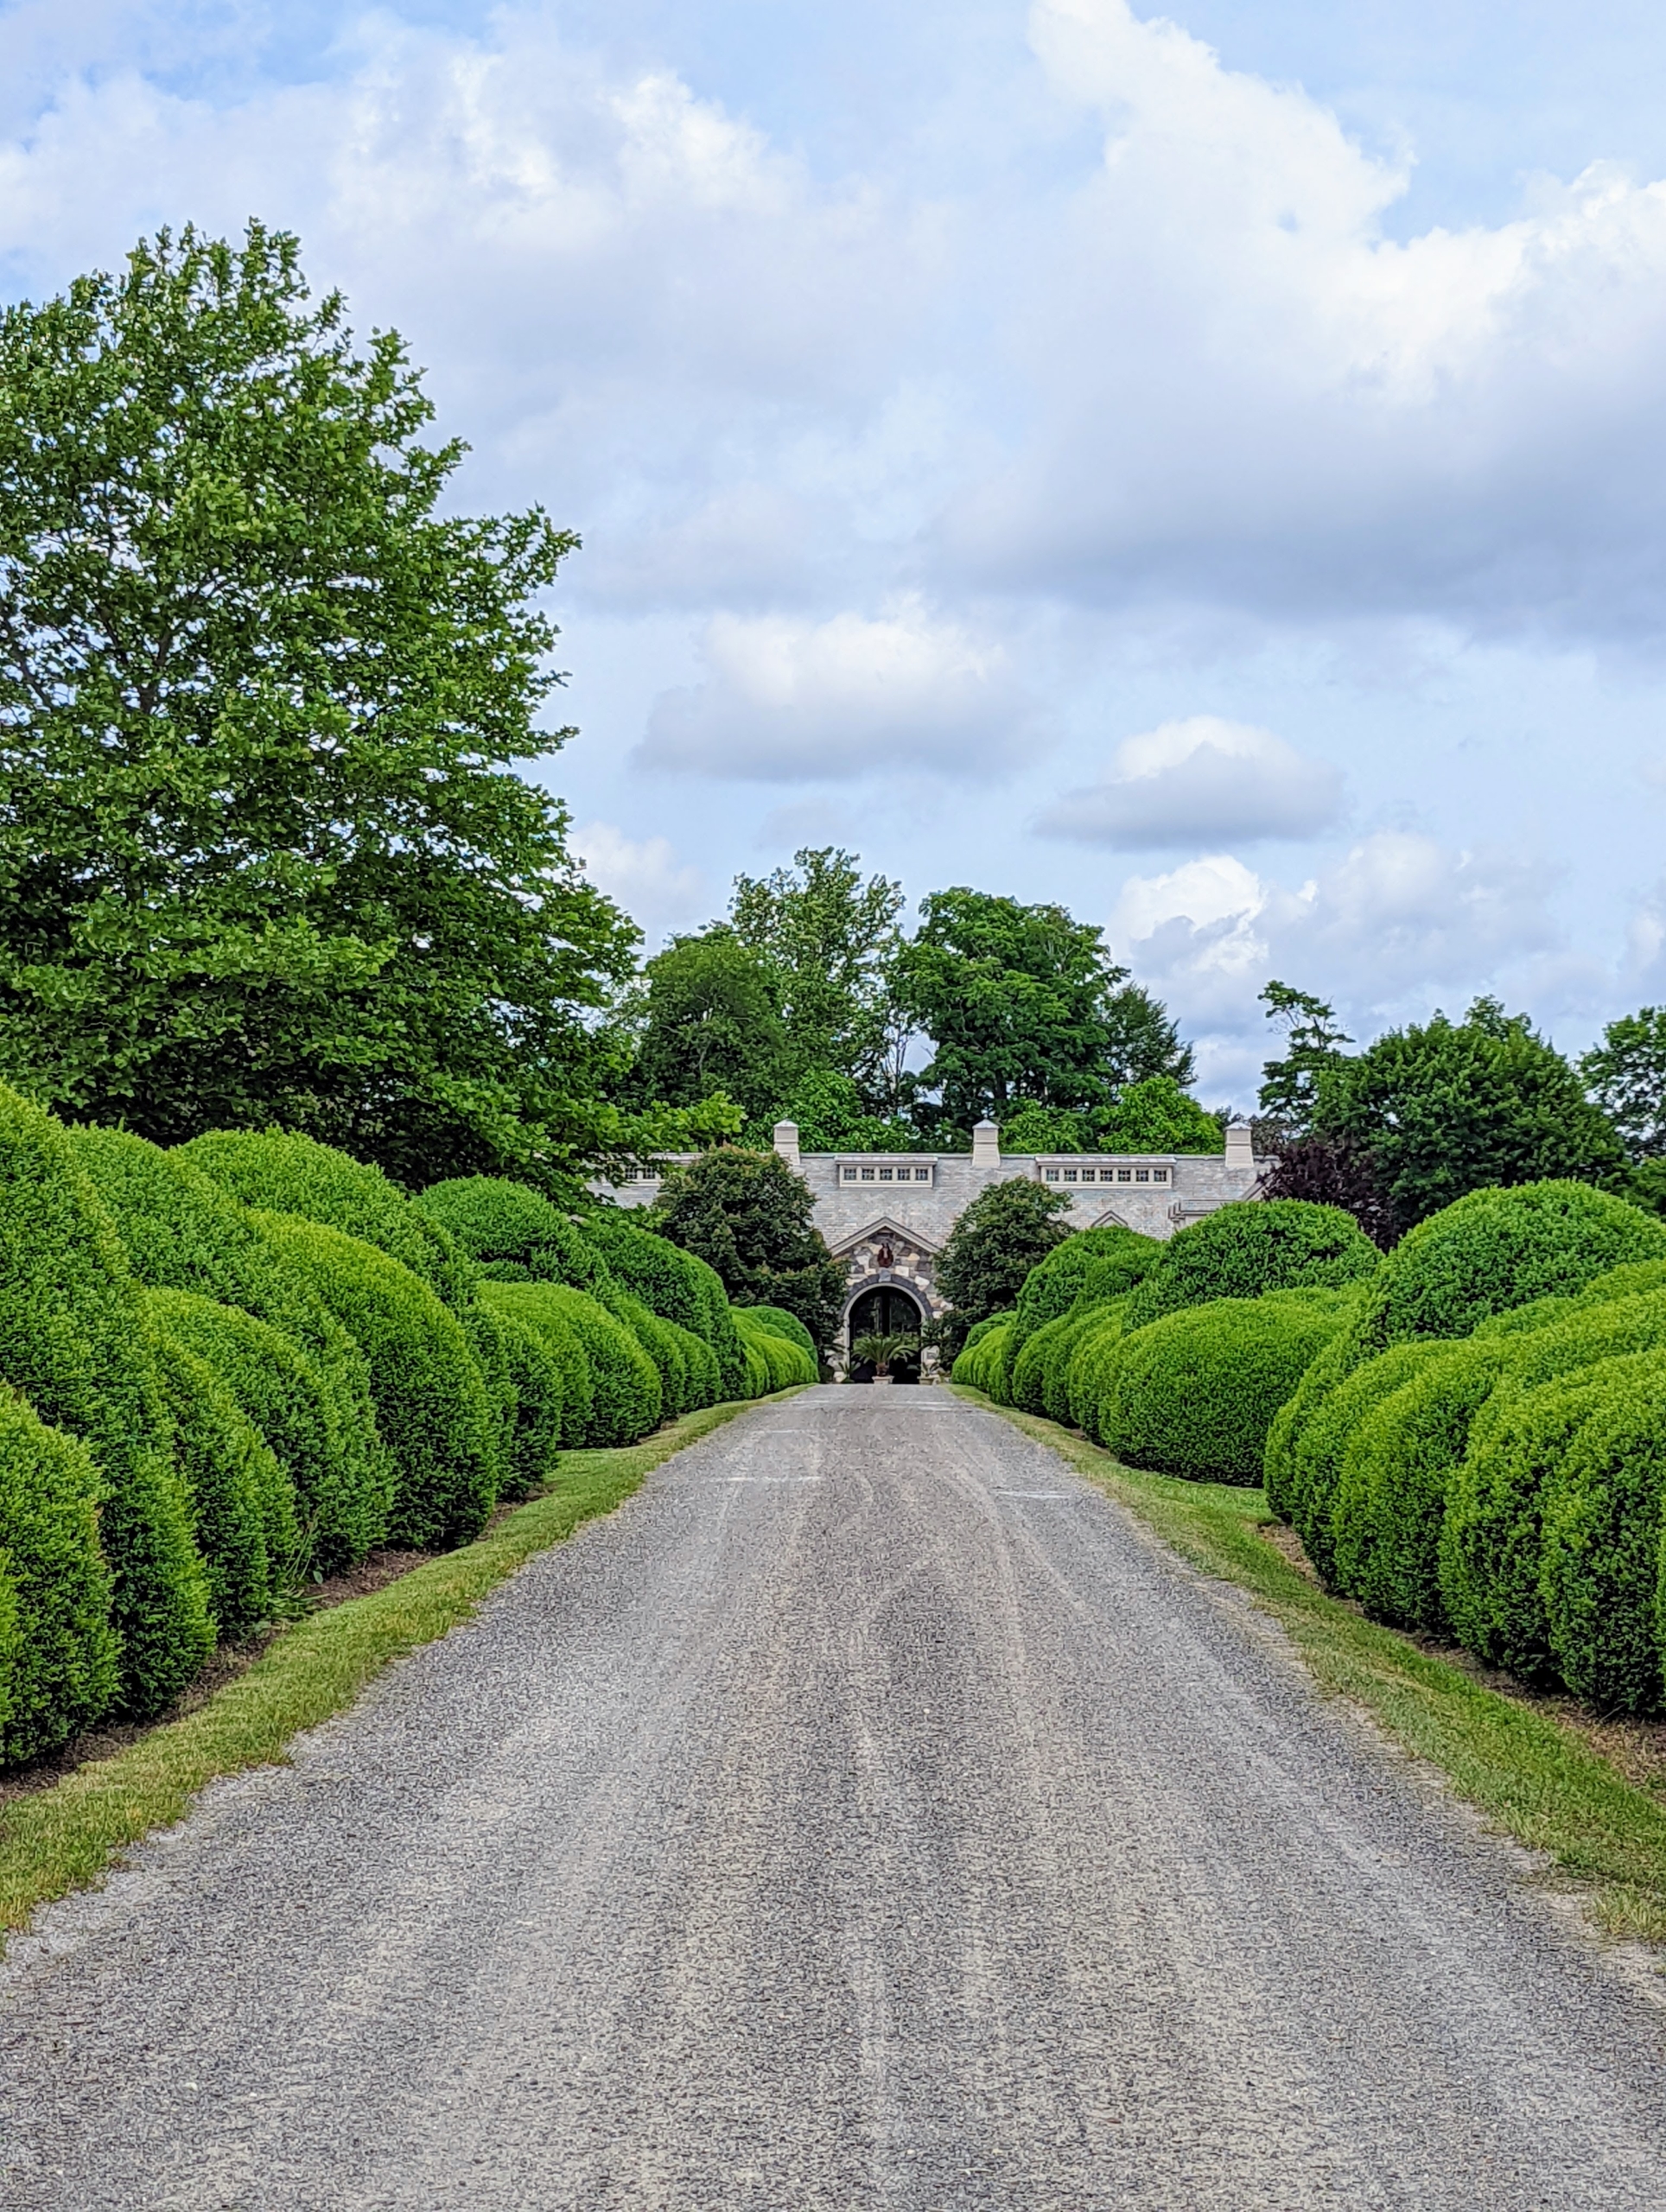
This is a section of my long 450-foot Boxwood Allée. It runs from my stable all the way to the carriage road that leads to my hayfields and woodlands. It is so lush and green and healthy – so healthy, we had to move an entire side of fence to accommodate its growth a couple of years ago. I am so proud of the boxwood here at my farm. Growing boxwood for the garden… it’s a good thing.
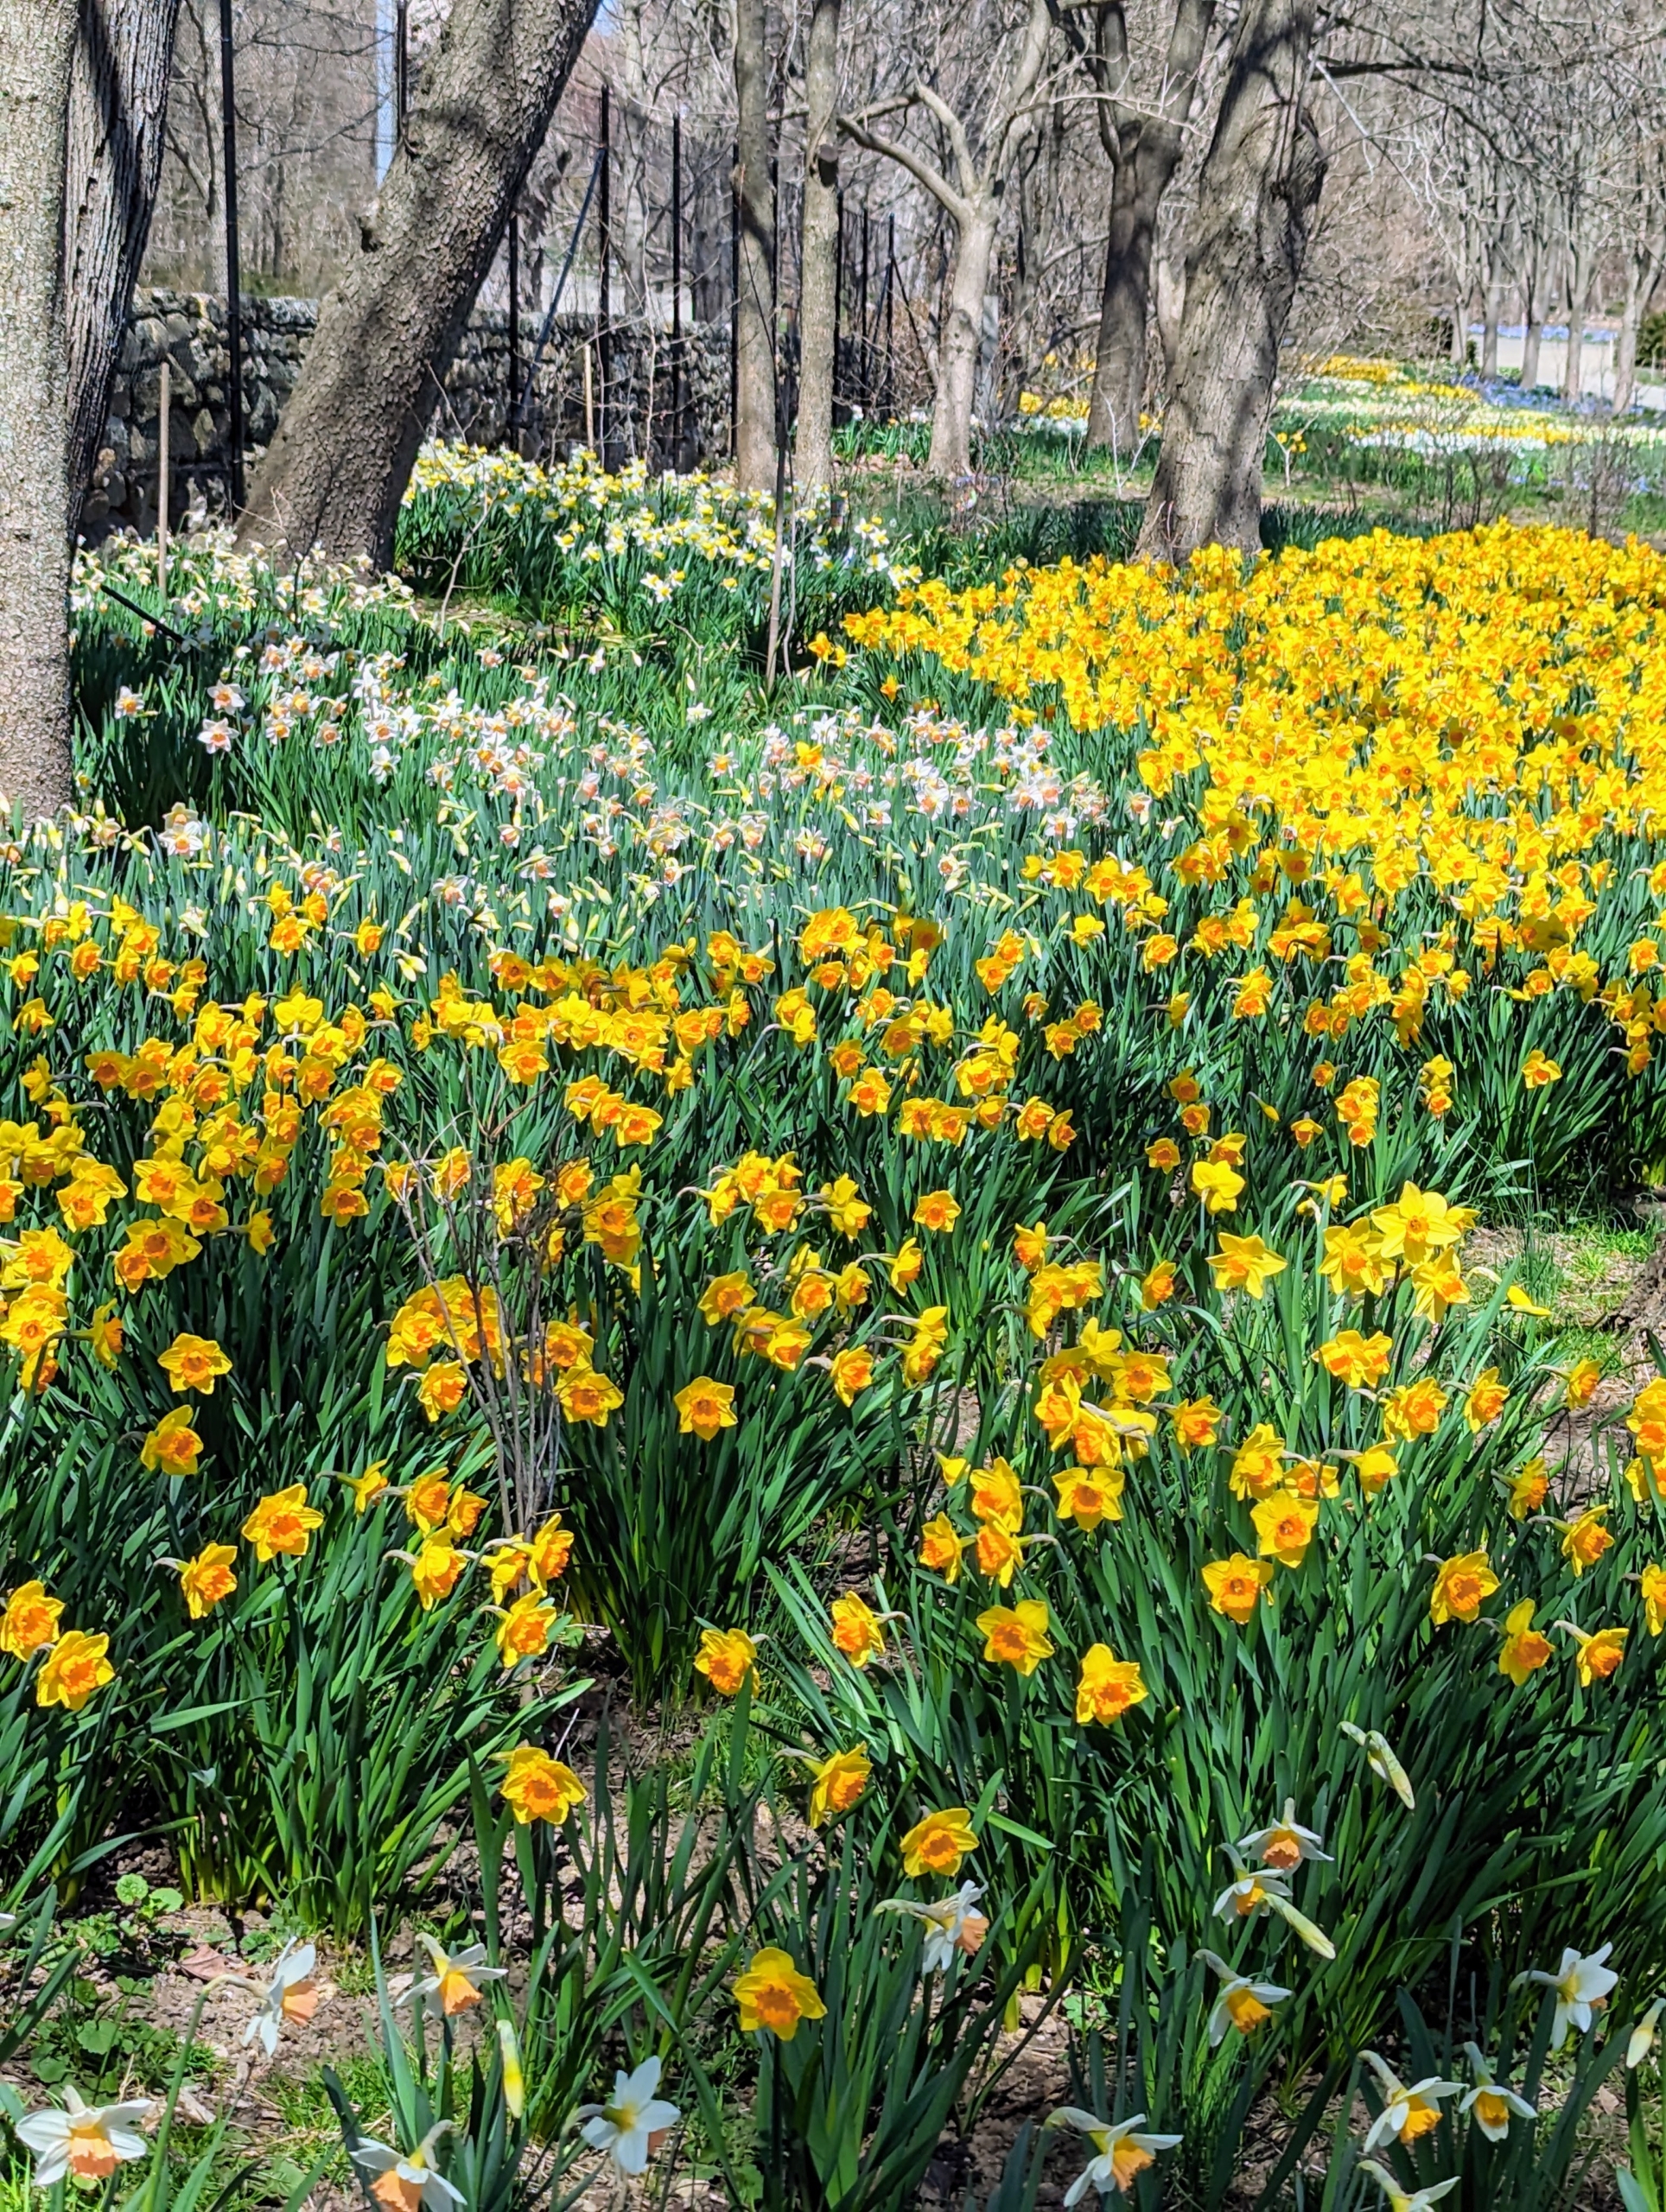
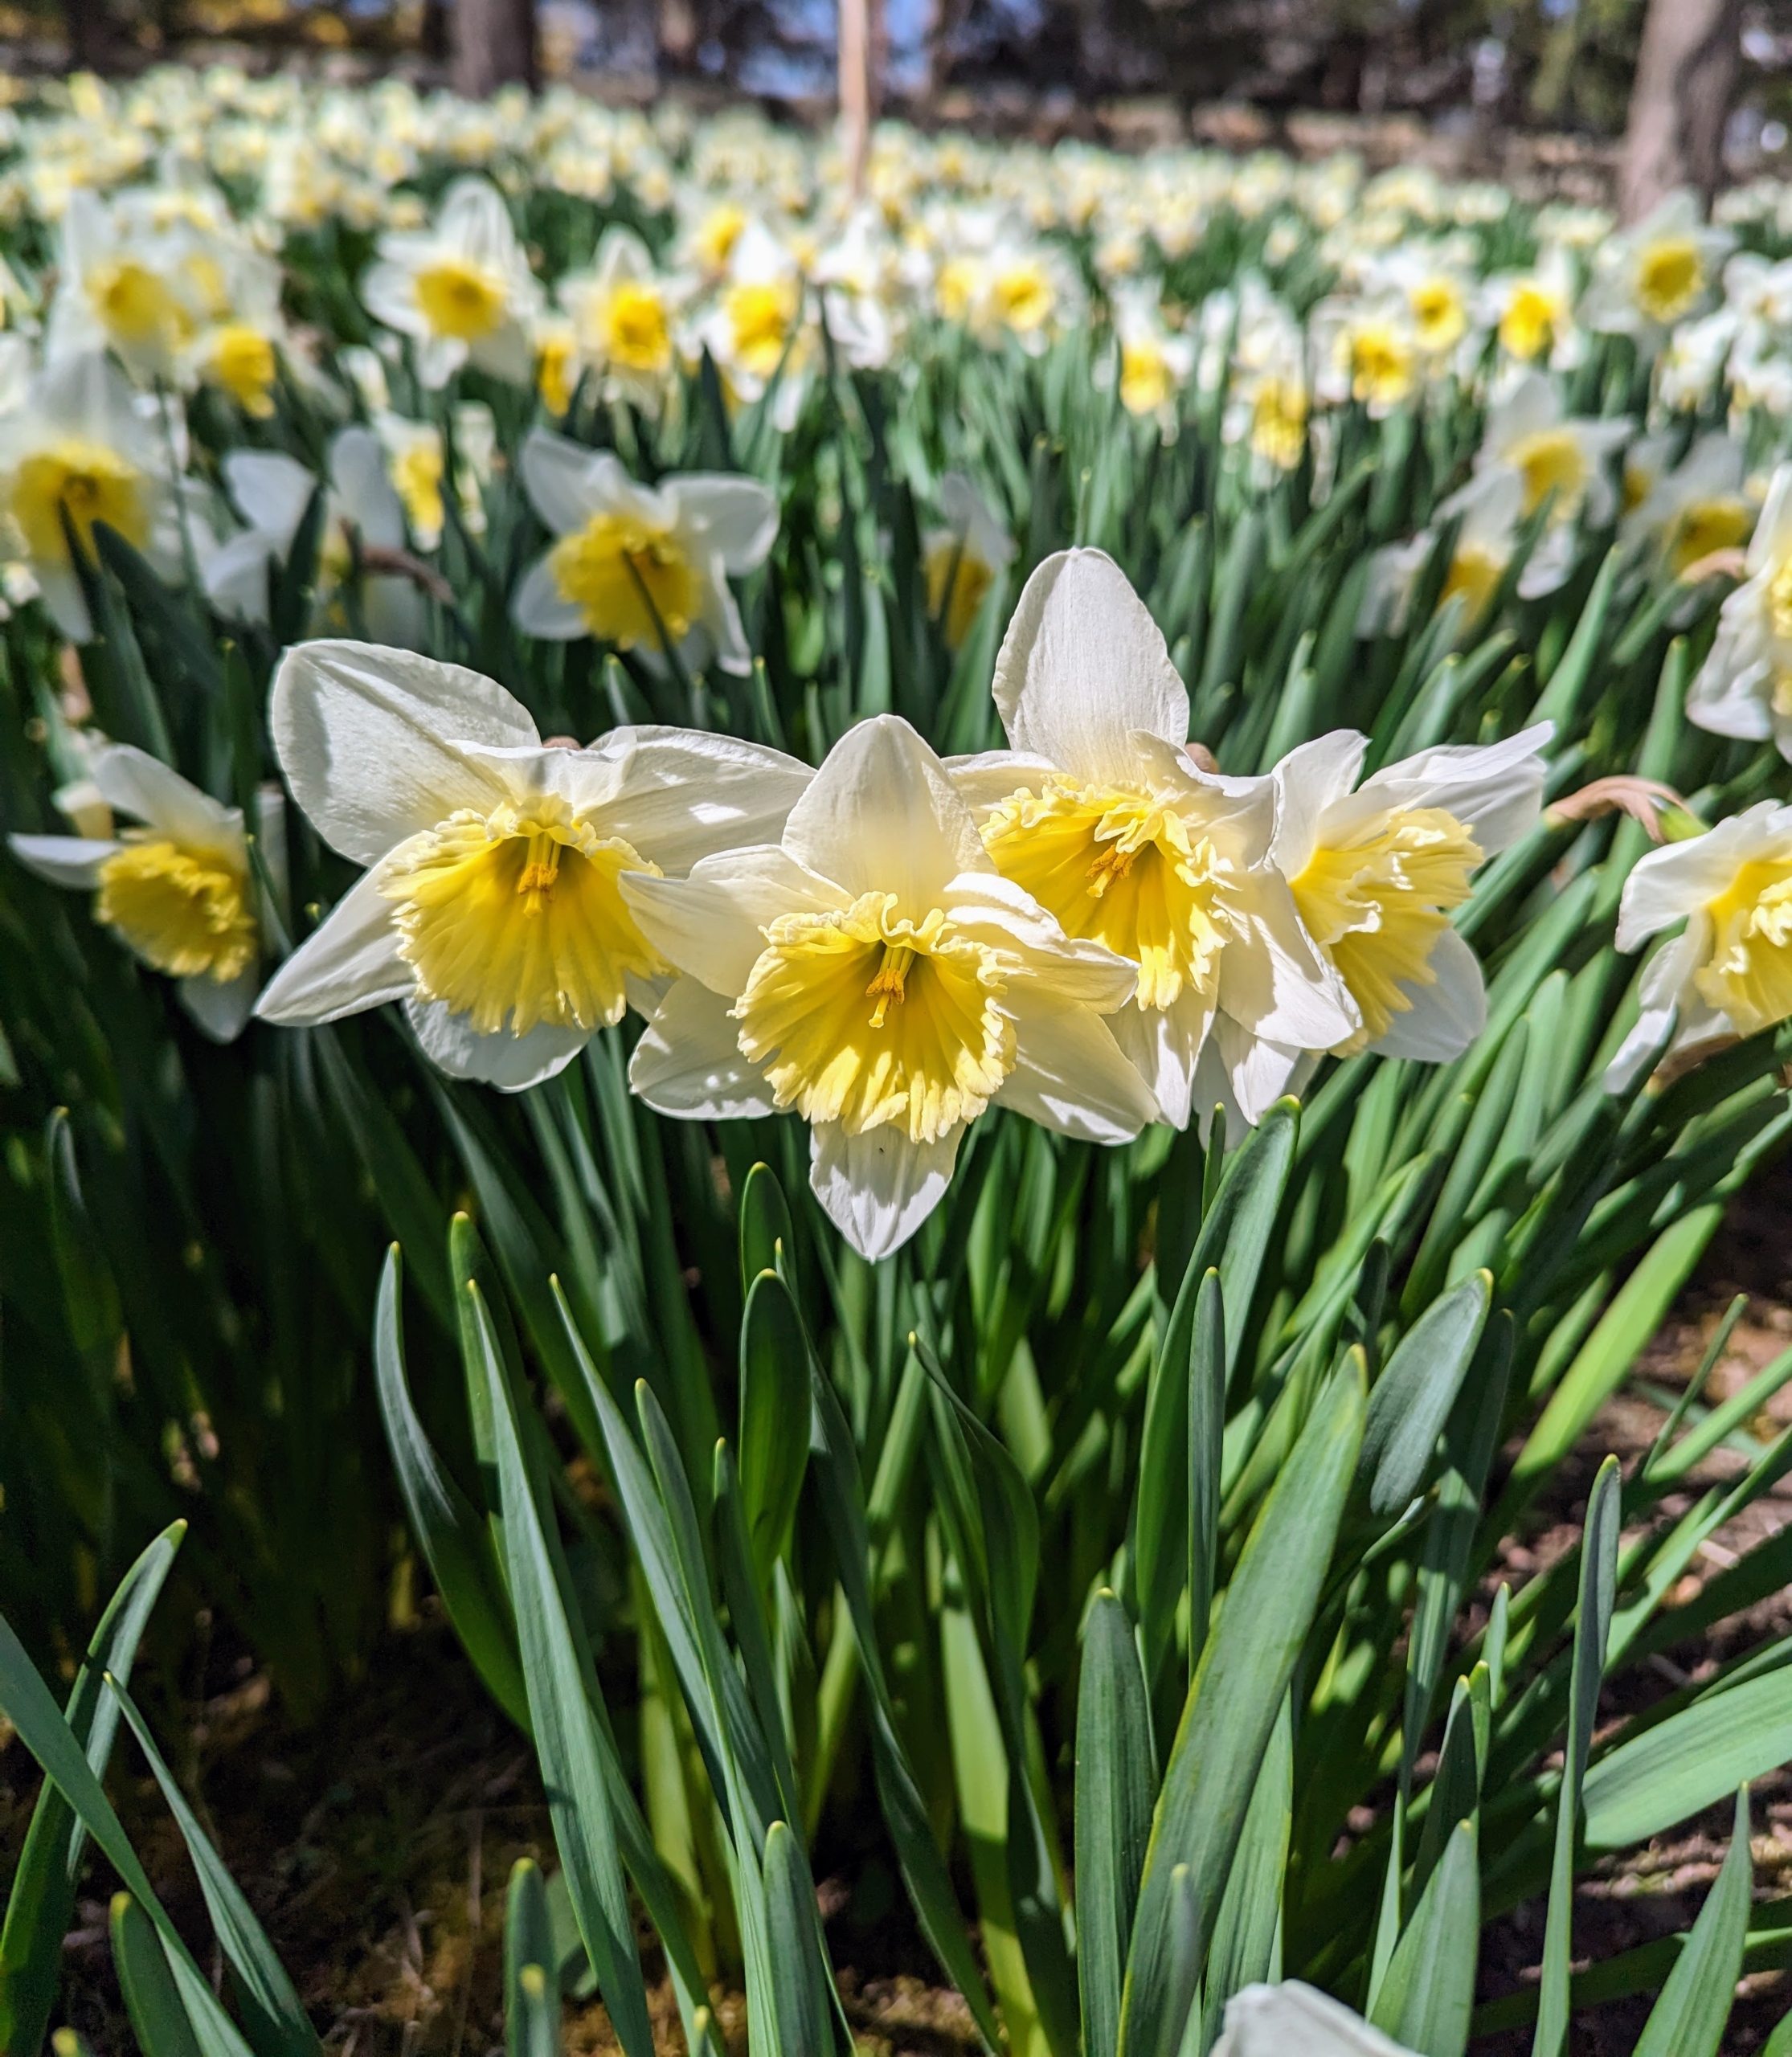
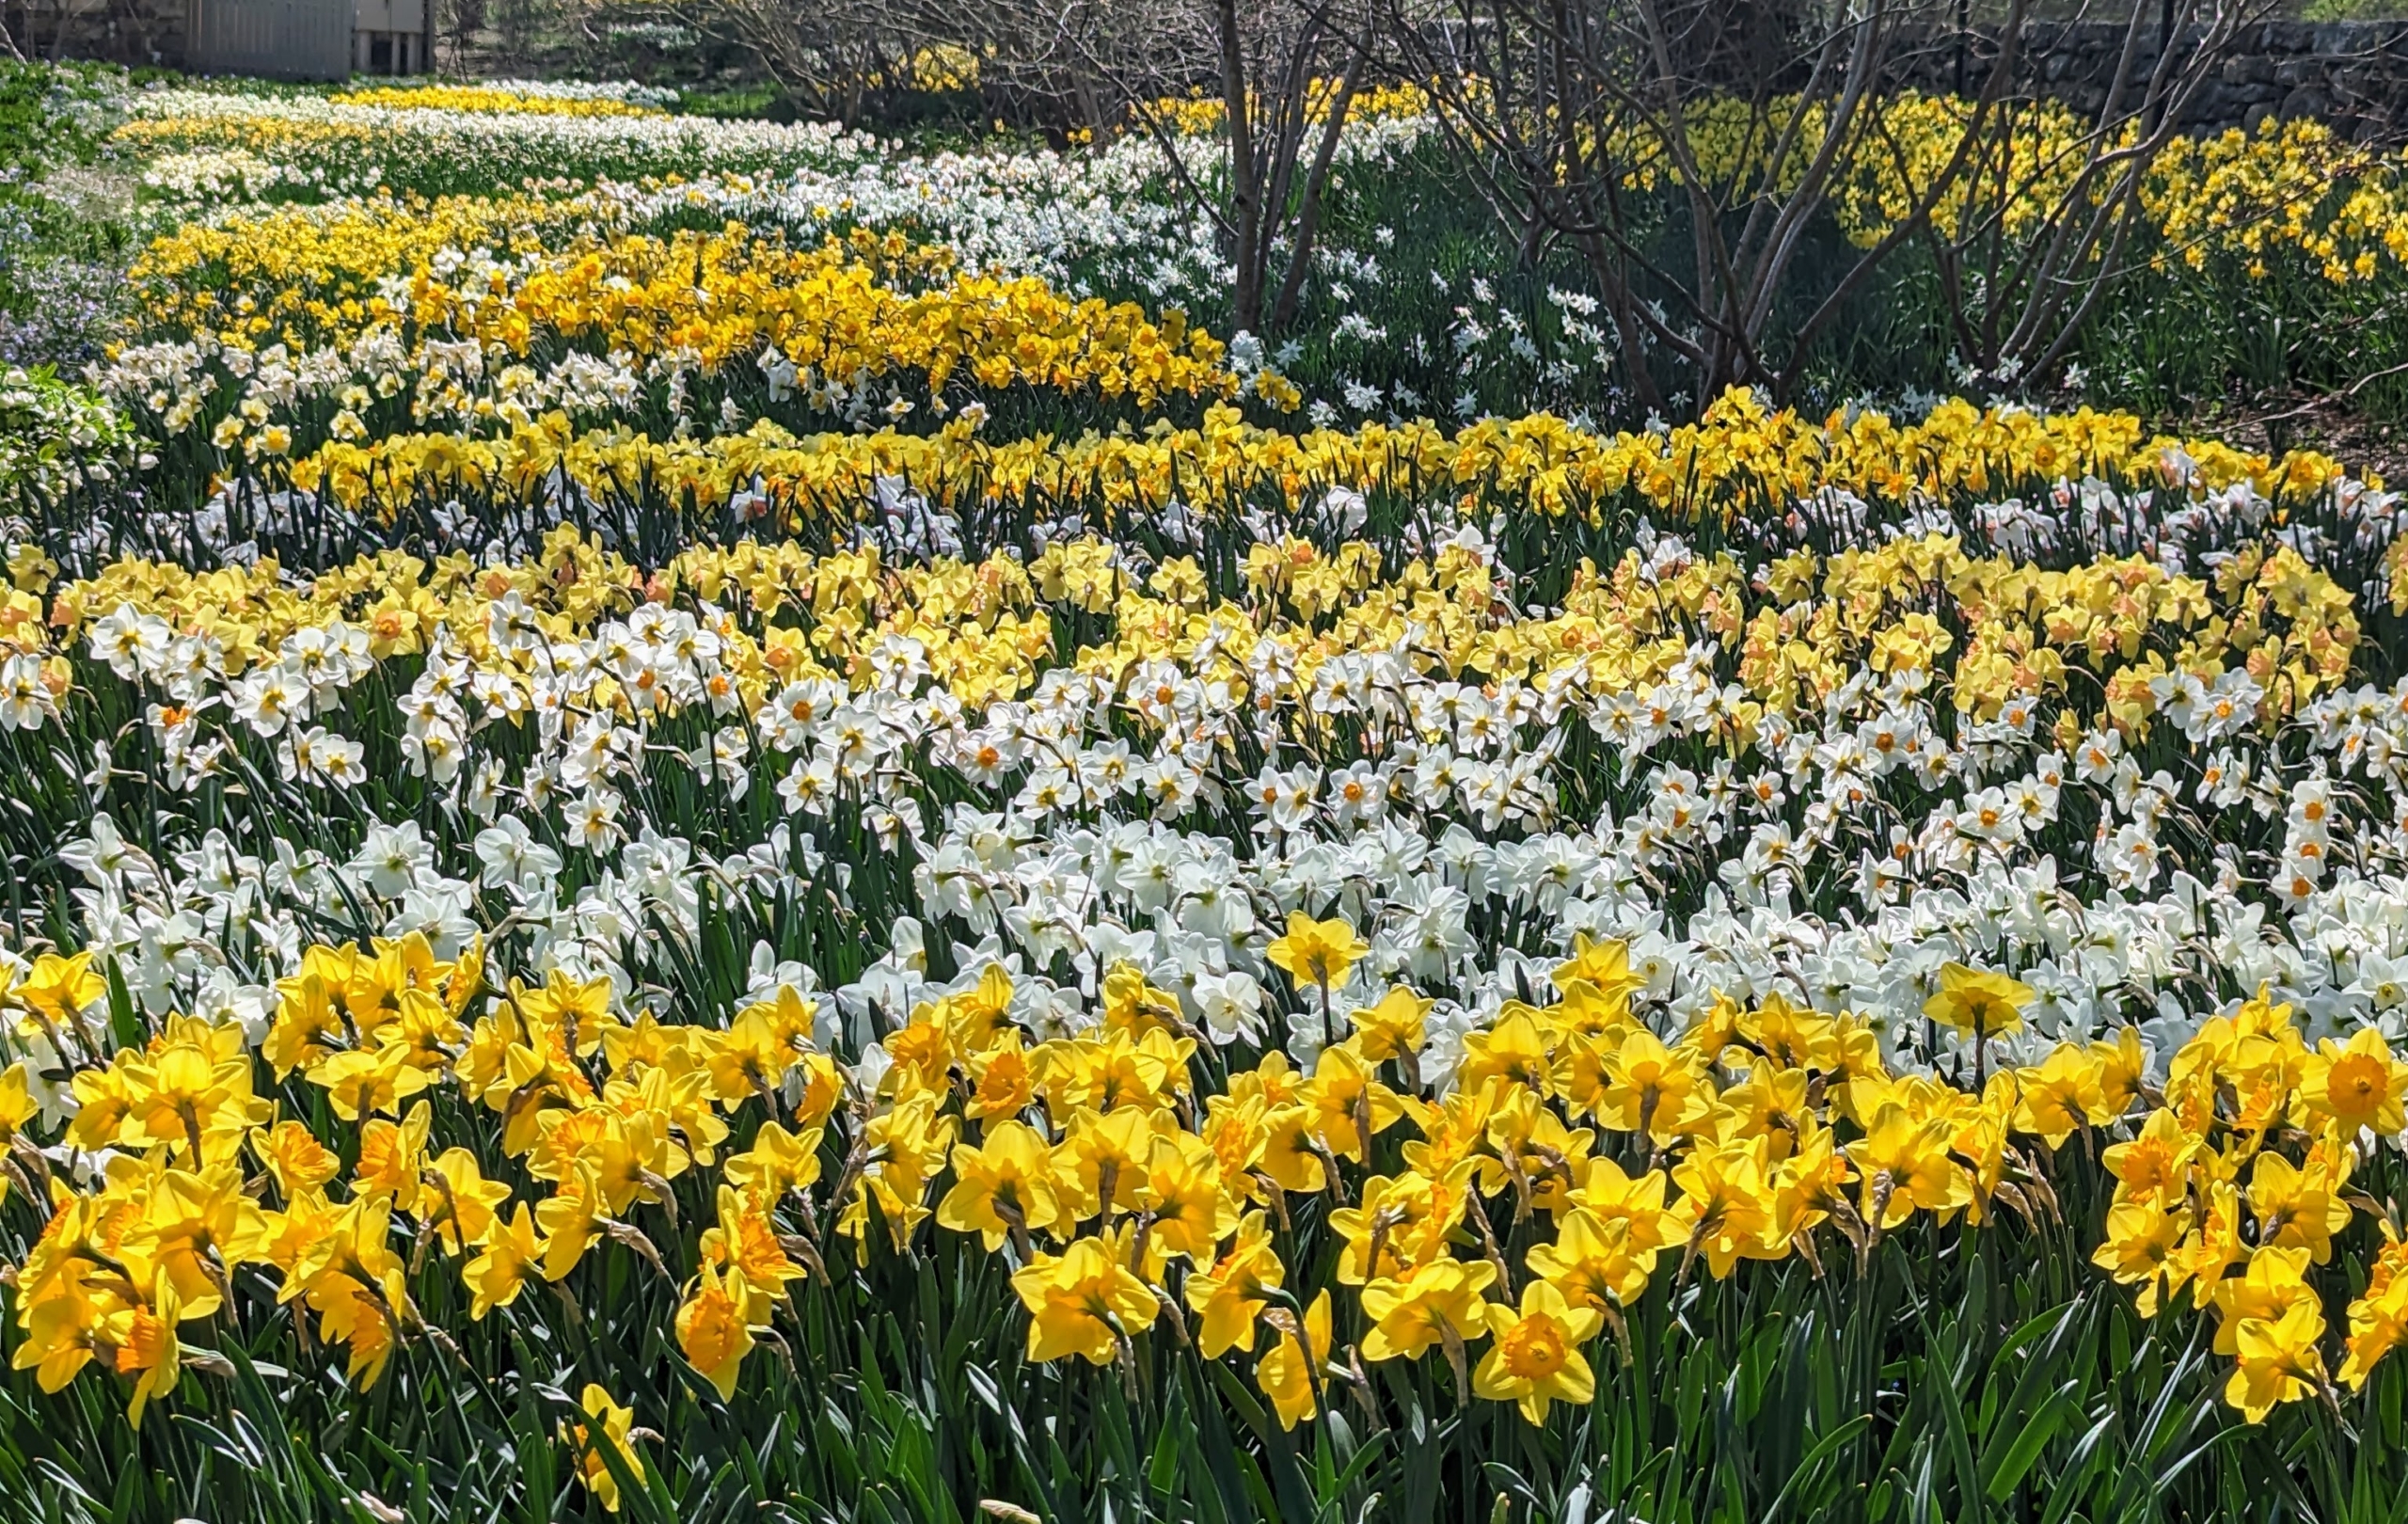
Brightly colored daffodils are blooming at my farm. It's quite a sight to see - all the swaths of white, yellow, and orange Narcissi gently blowing in the spring breeze.
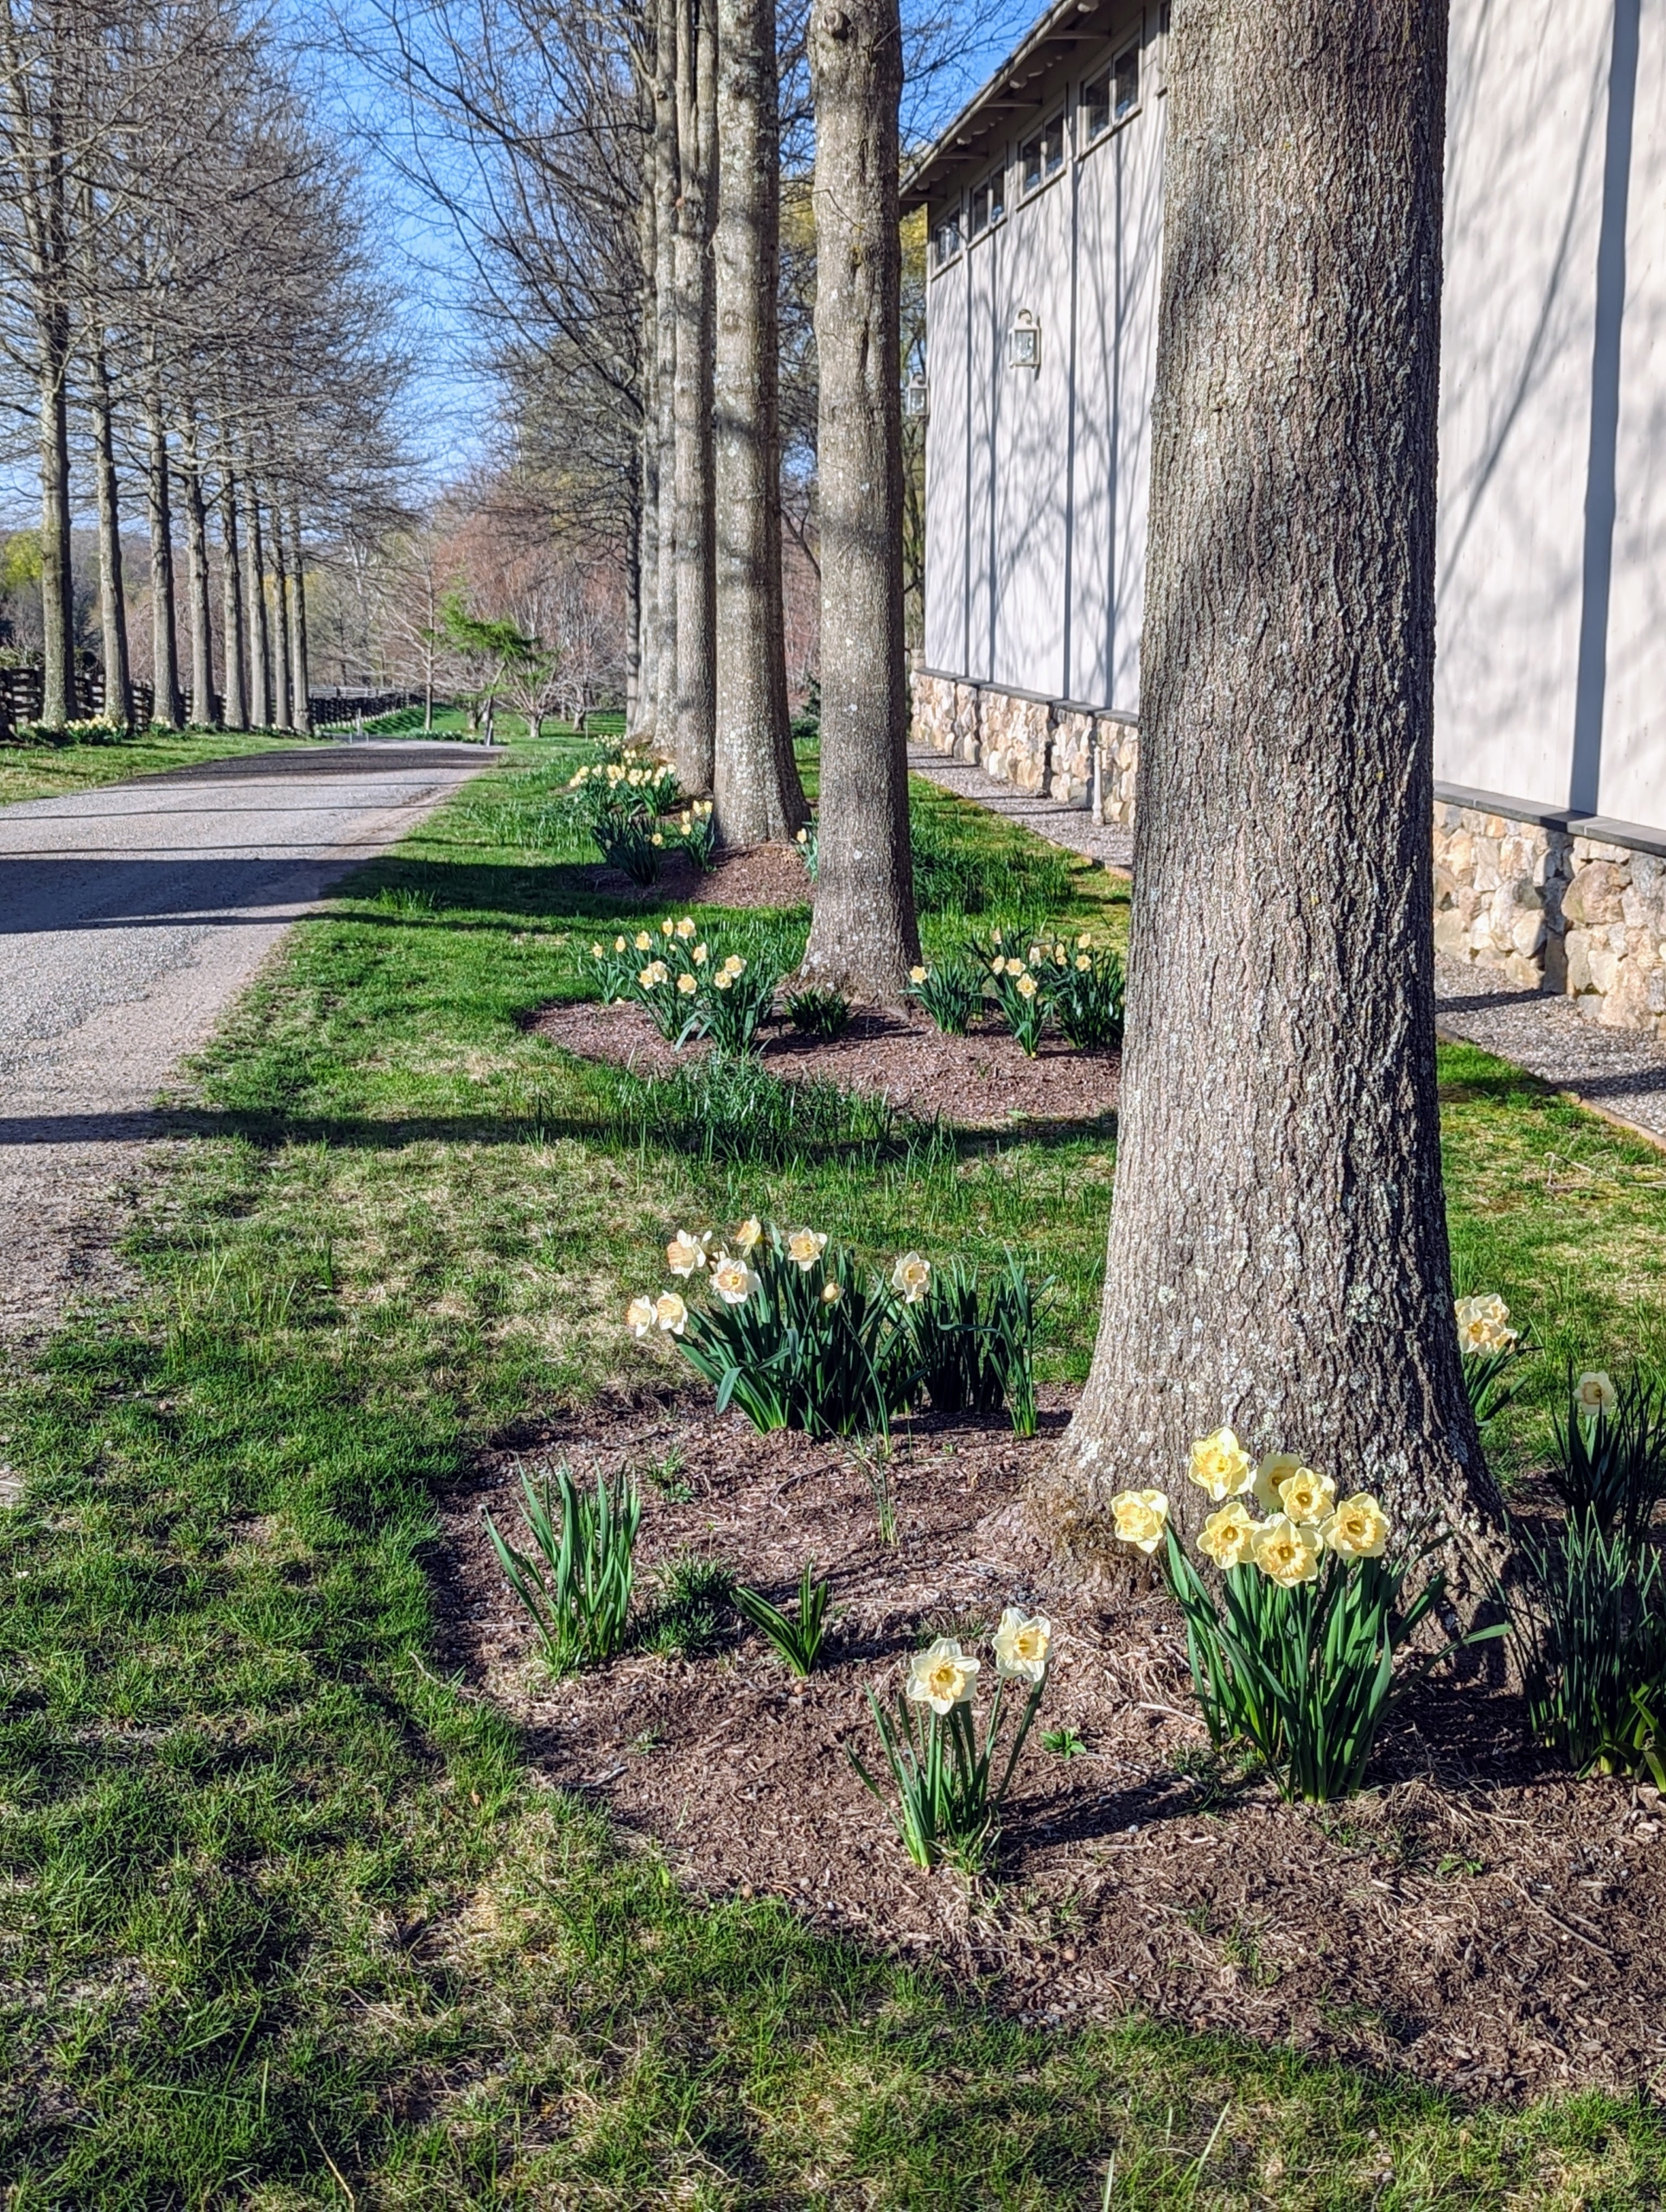
I started developing my long daffodil border in 2003, in the early years of my farm ownership. After lots of planning and adding to the collection, the border now extends the length of one side of my farm from my Summer House, past the stable and down to the Japanese maple grove. Over time, some have faded away and are being replaced with other varieties, while others continue to flourish. I’ve also planted daffodils in the garden beds outside my Tenant House, across from my chicken coops, near my main greenhouse, in patches through the woodland, and in various tree pits around my home, including those underneath the majestic allée of pin oaks - there, I planted a variety of Narcissi named after me, Narcissus ‘Martha Stewart.'
Enjoy these photos.
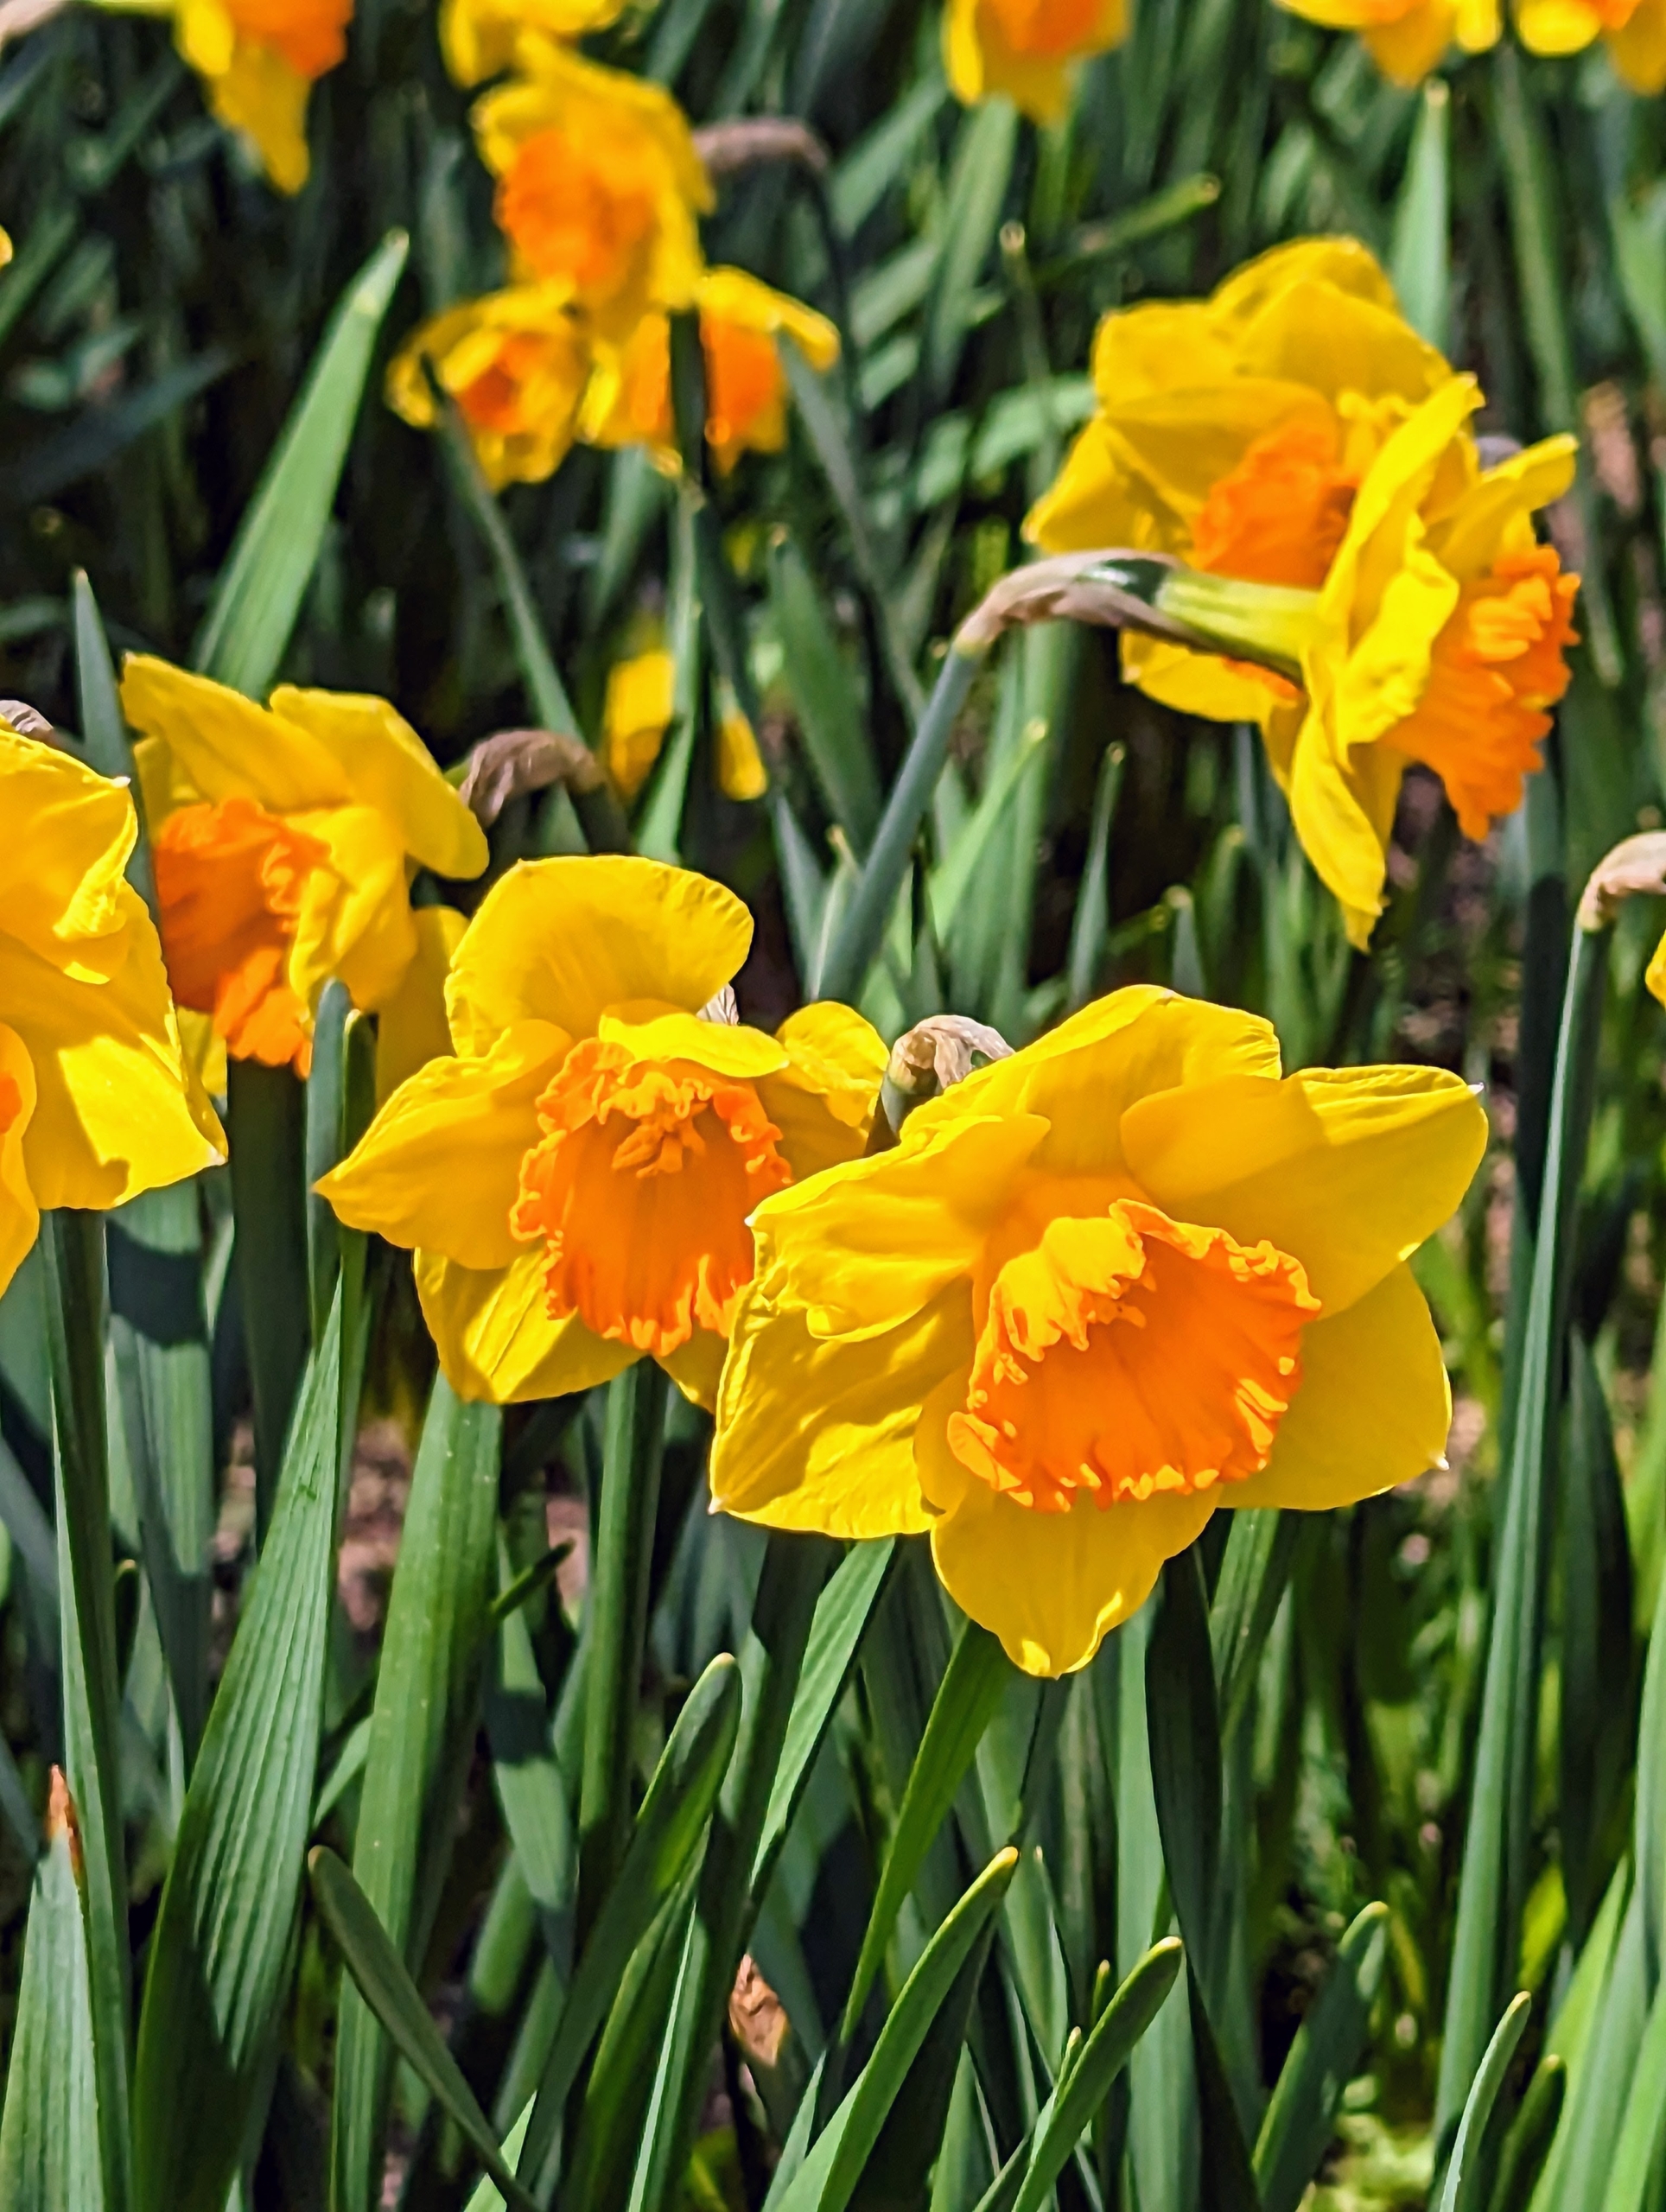
My long daffodil border is broken up into various groupings – different varieties, different shapes and sizes, and different blooming times. This provides a longer splash of color through the season.
Narcissus is a genus of spring perennials in the Amaryllidaceae family. They’re known by the common name daffodil.
The species are native to meadows and woods in southwest Europe and North Africa. Narcissi tend to be long lived bulbs and are popular ornamental plants in public and private gardens.
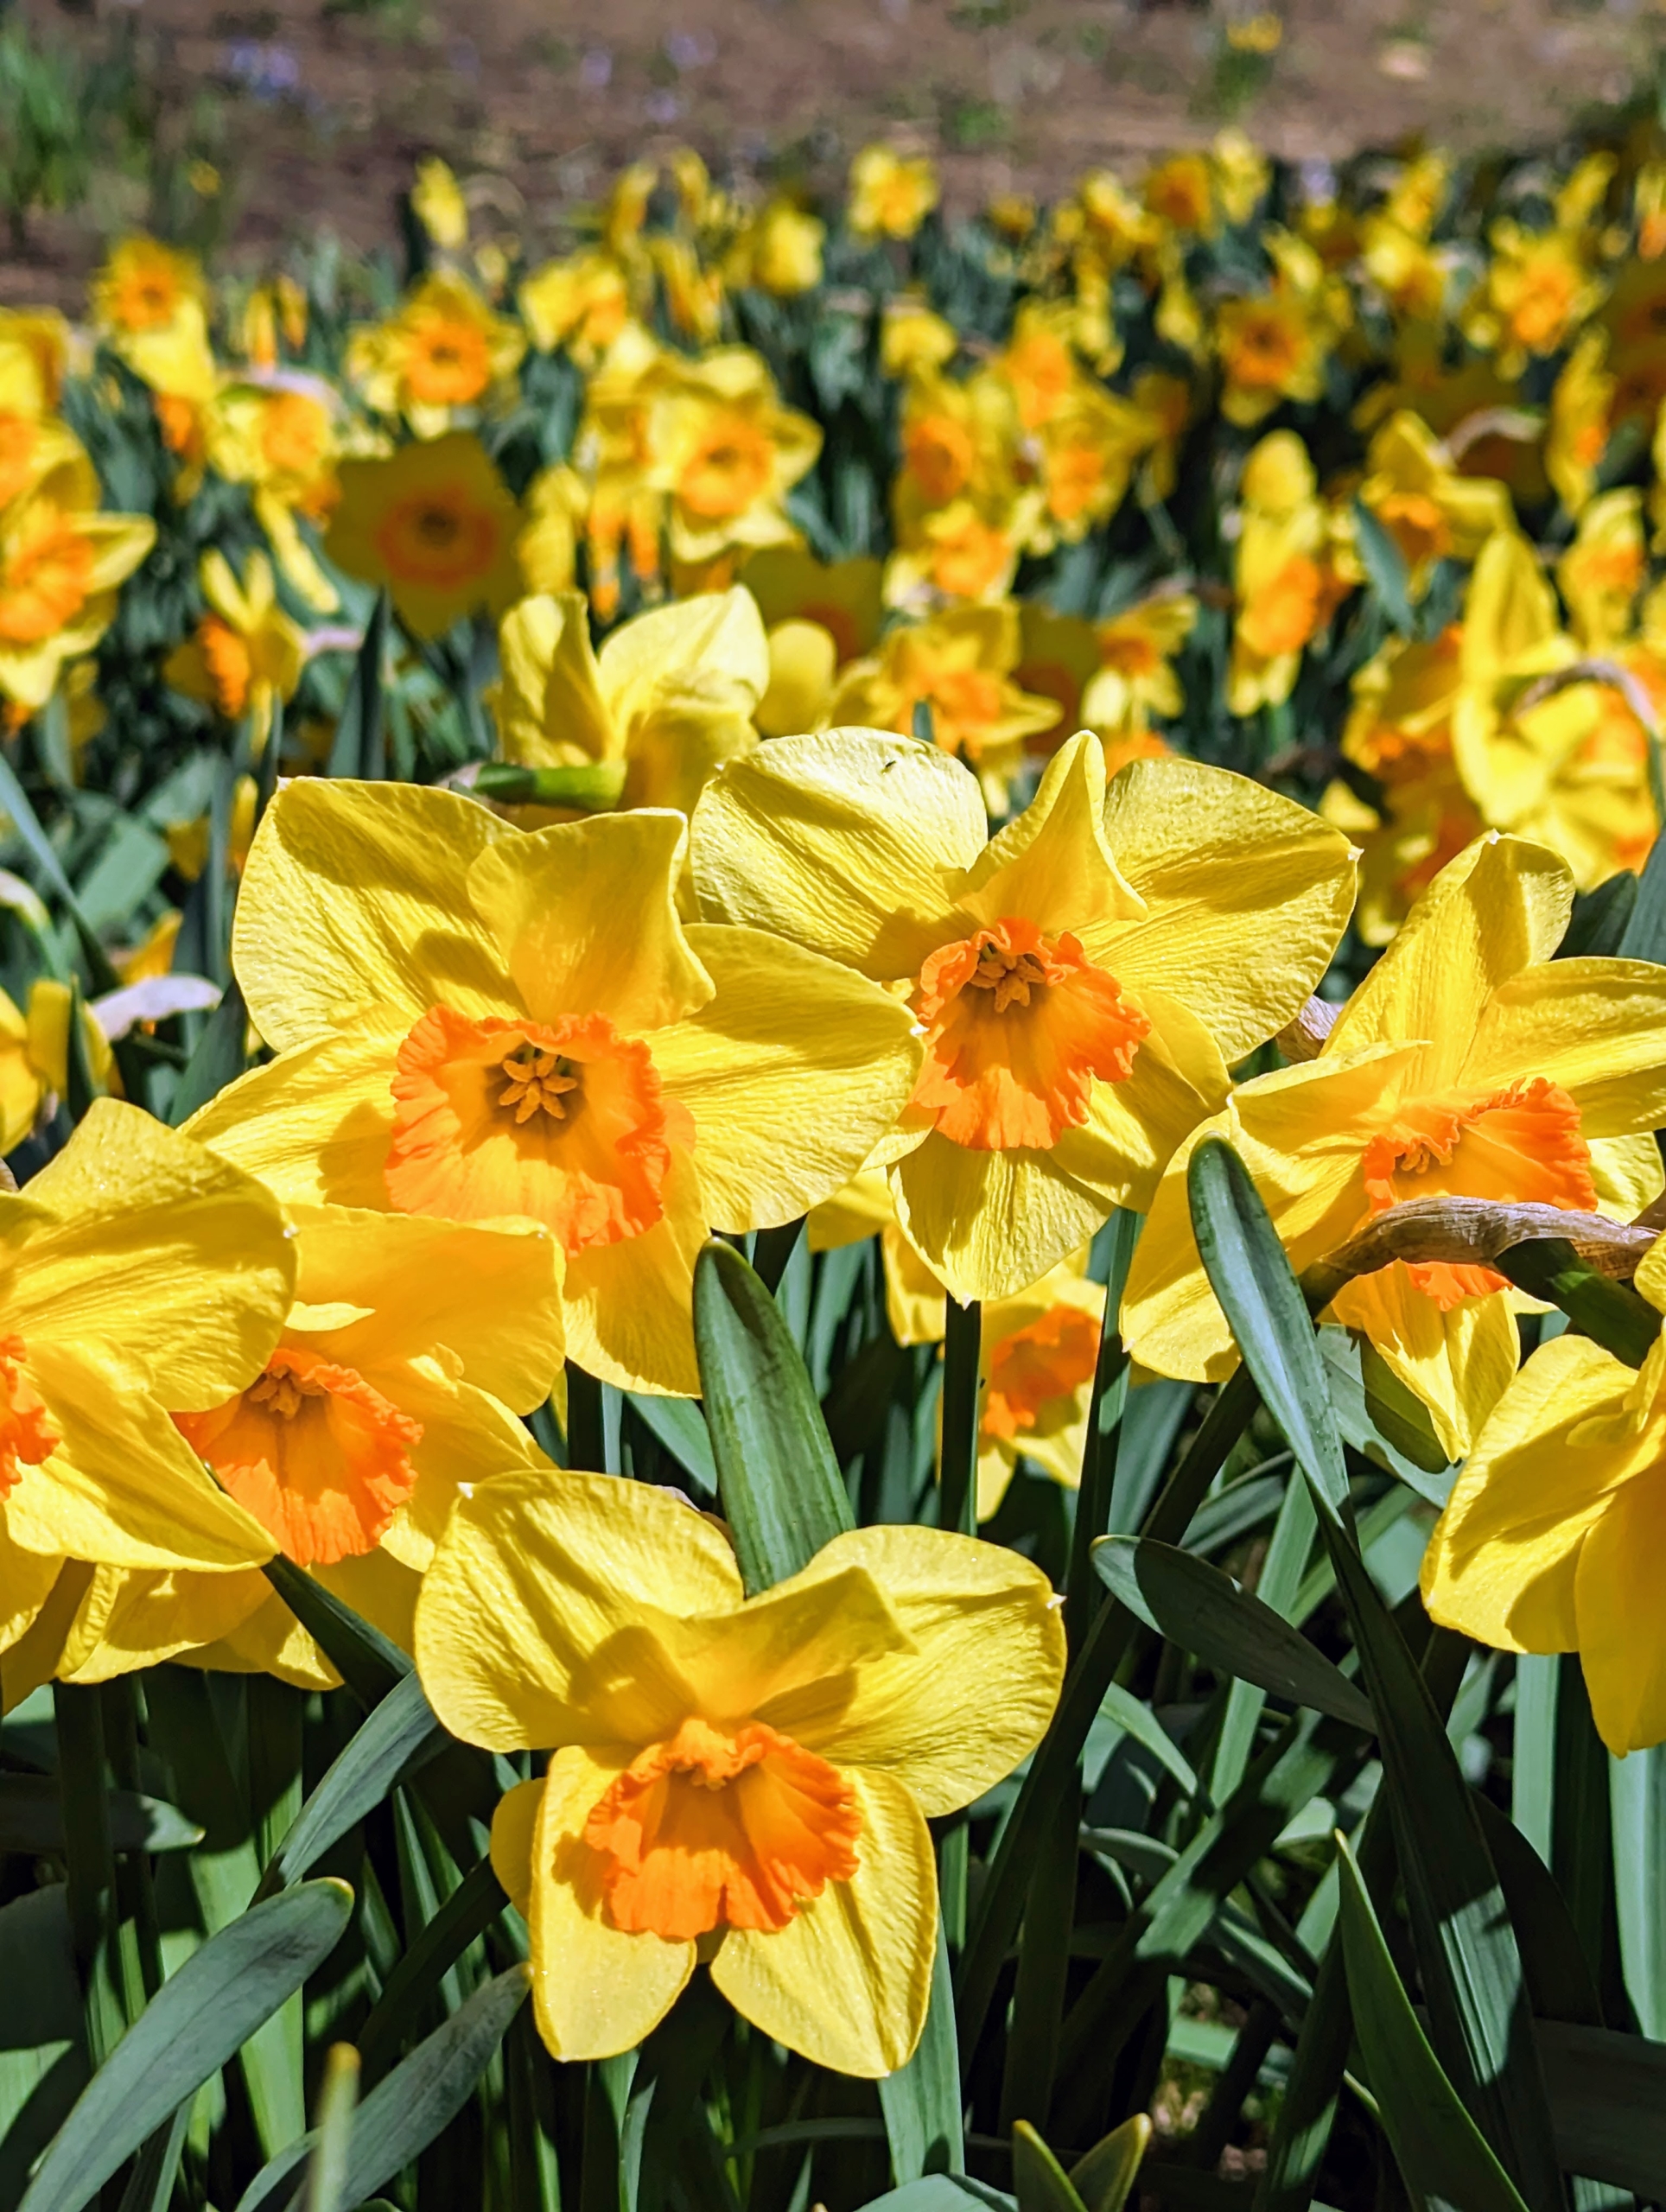
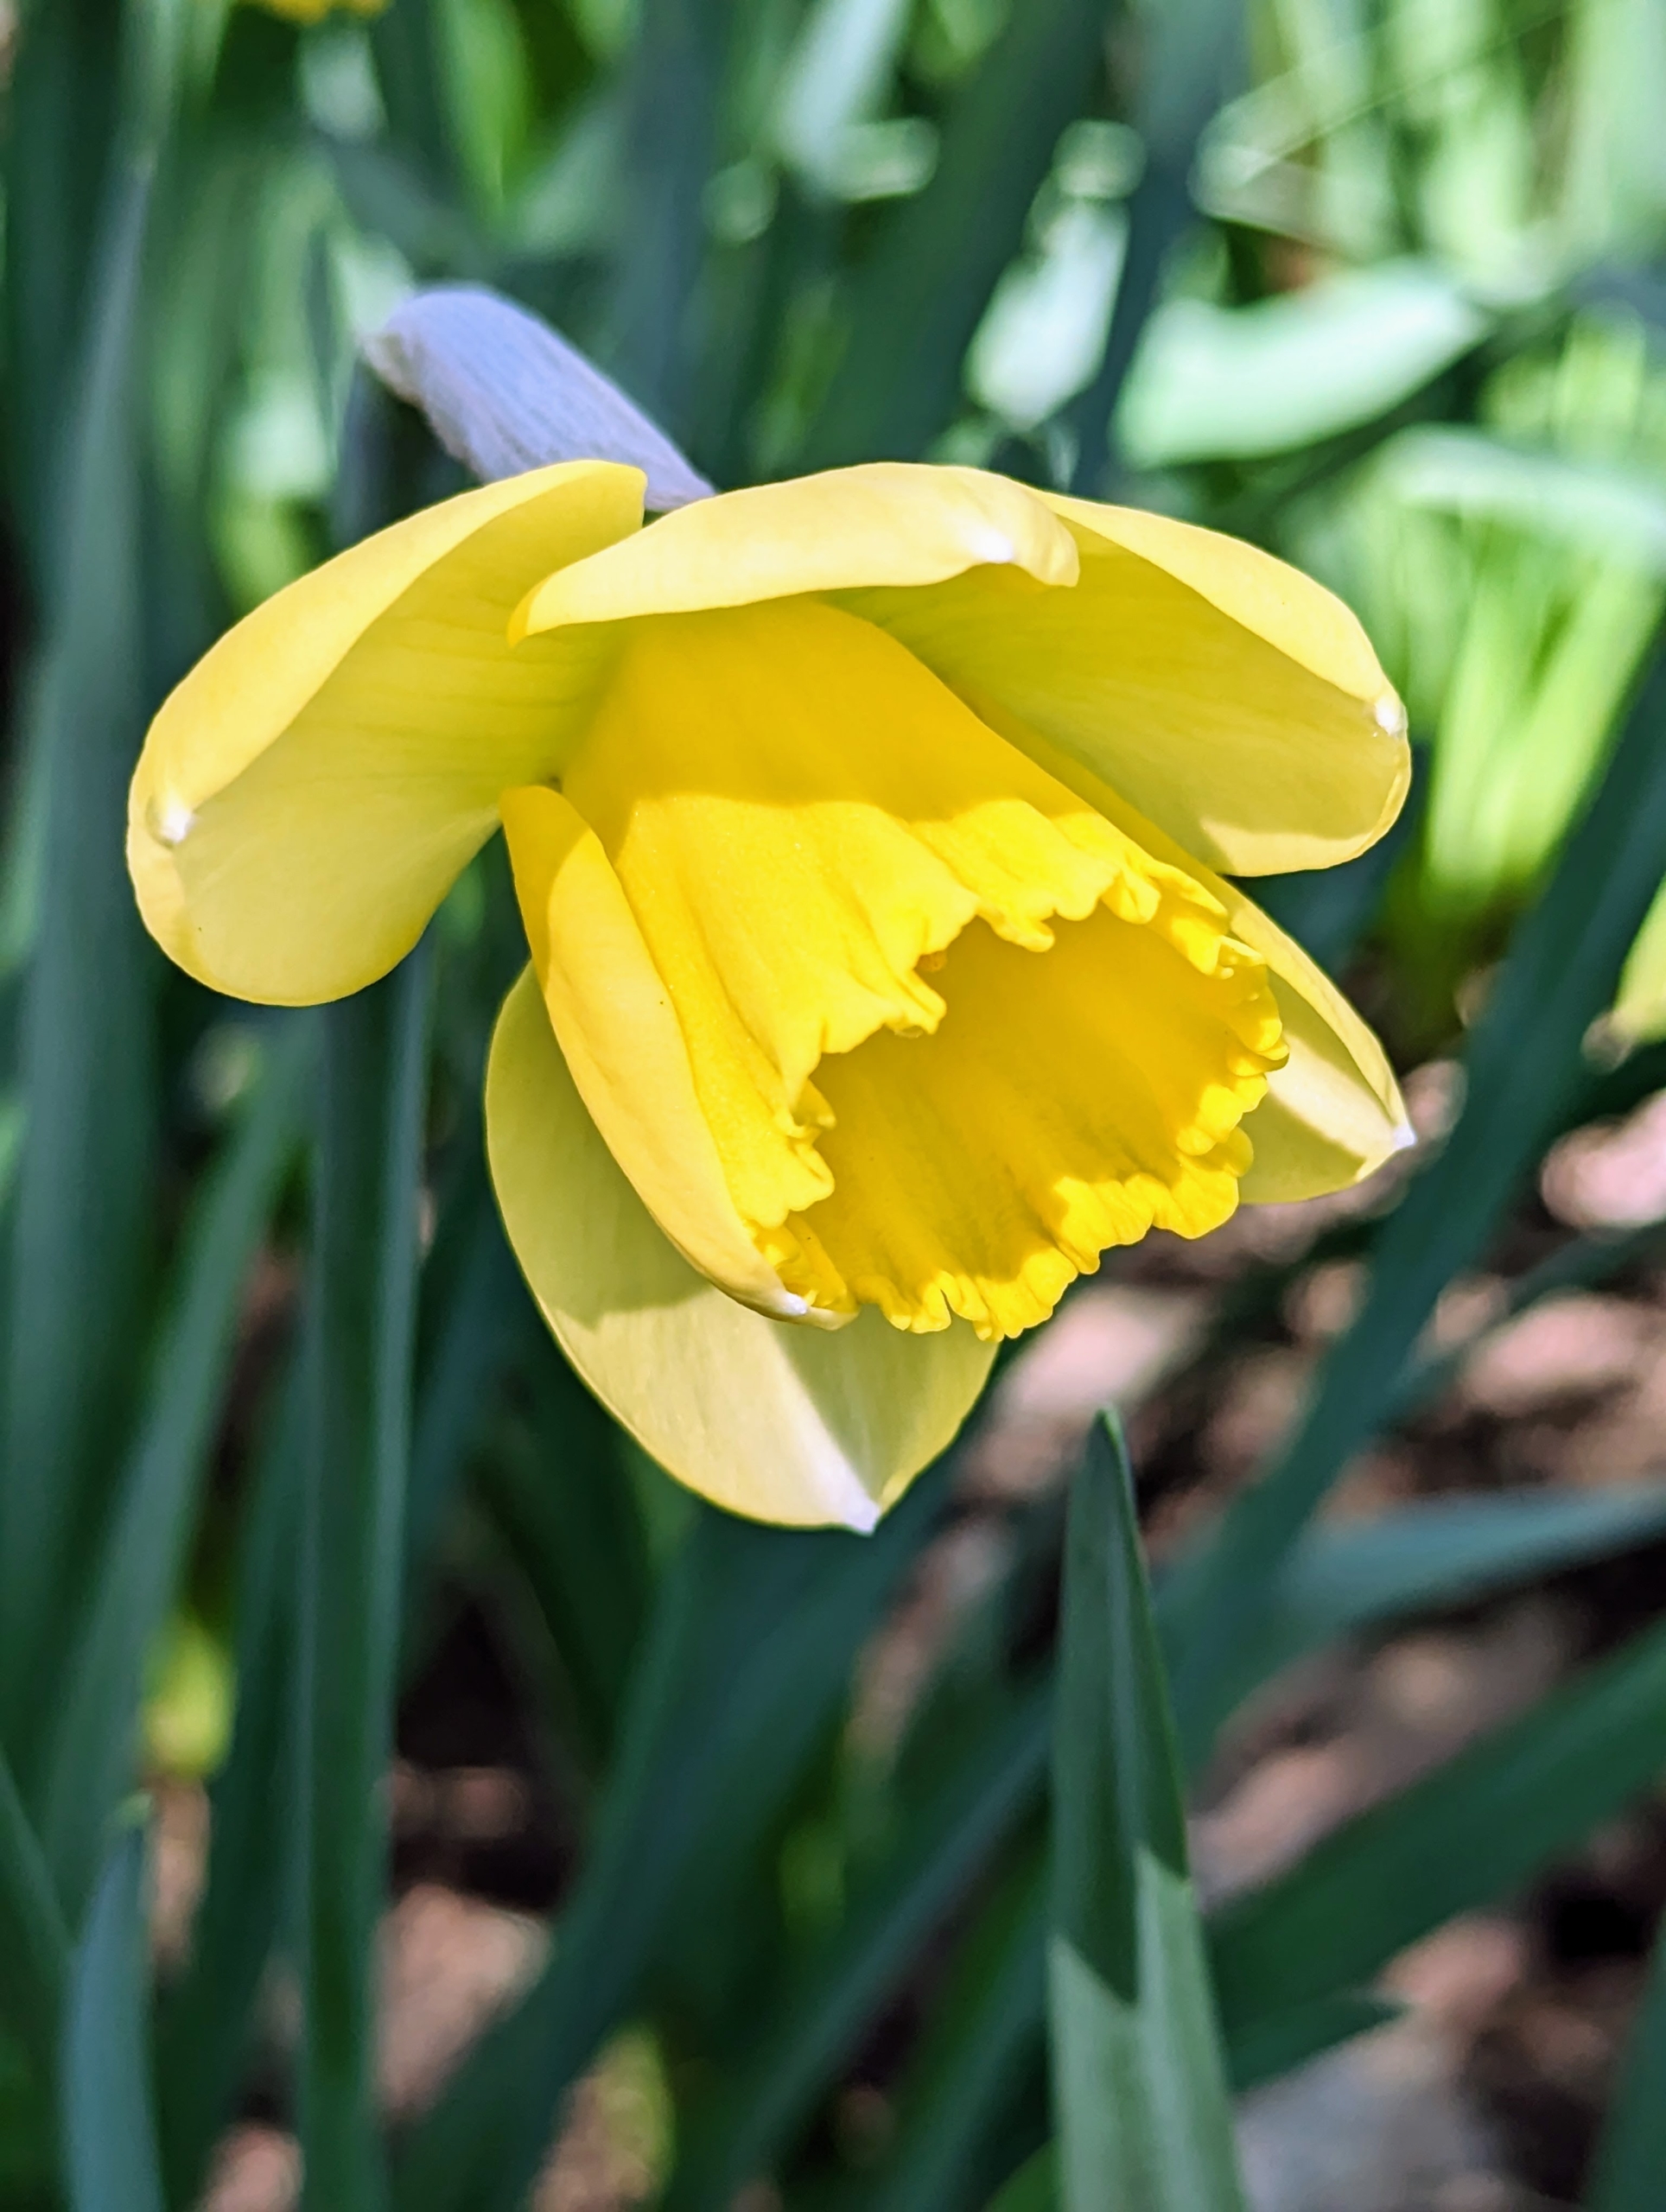
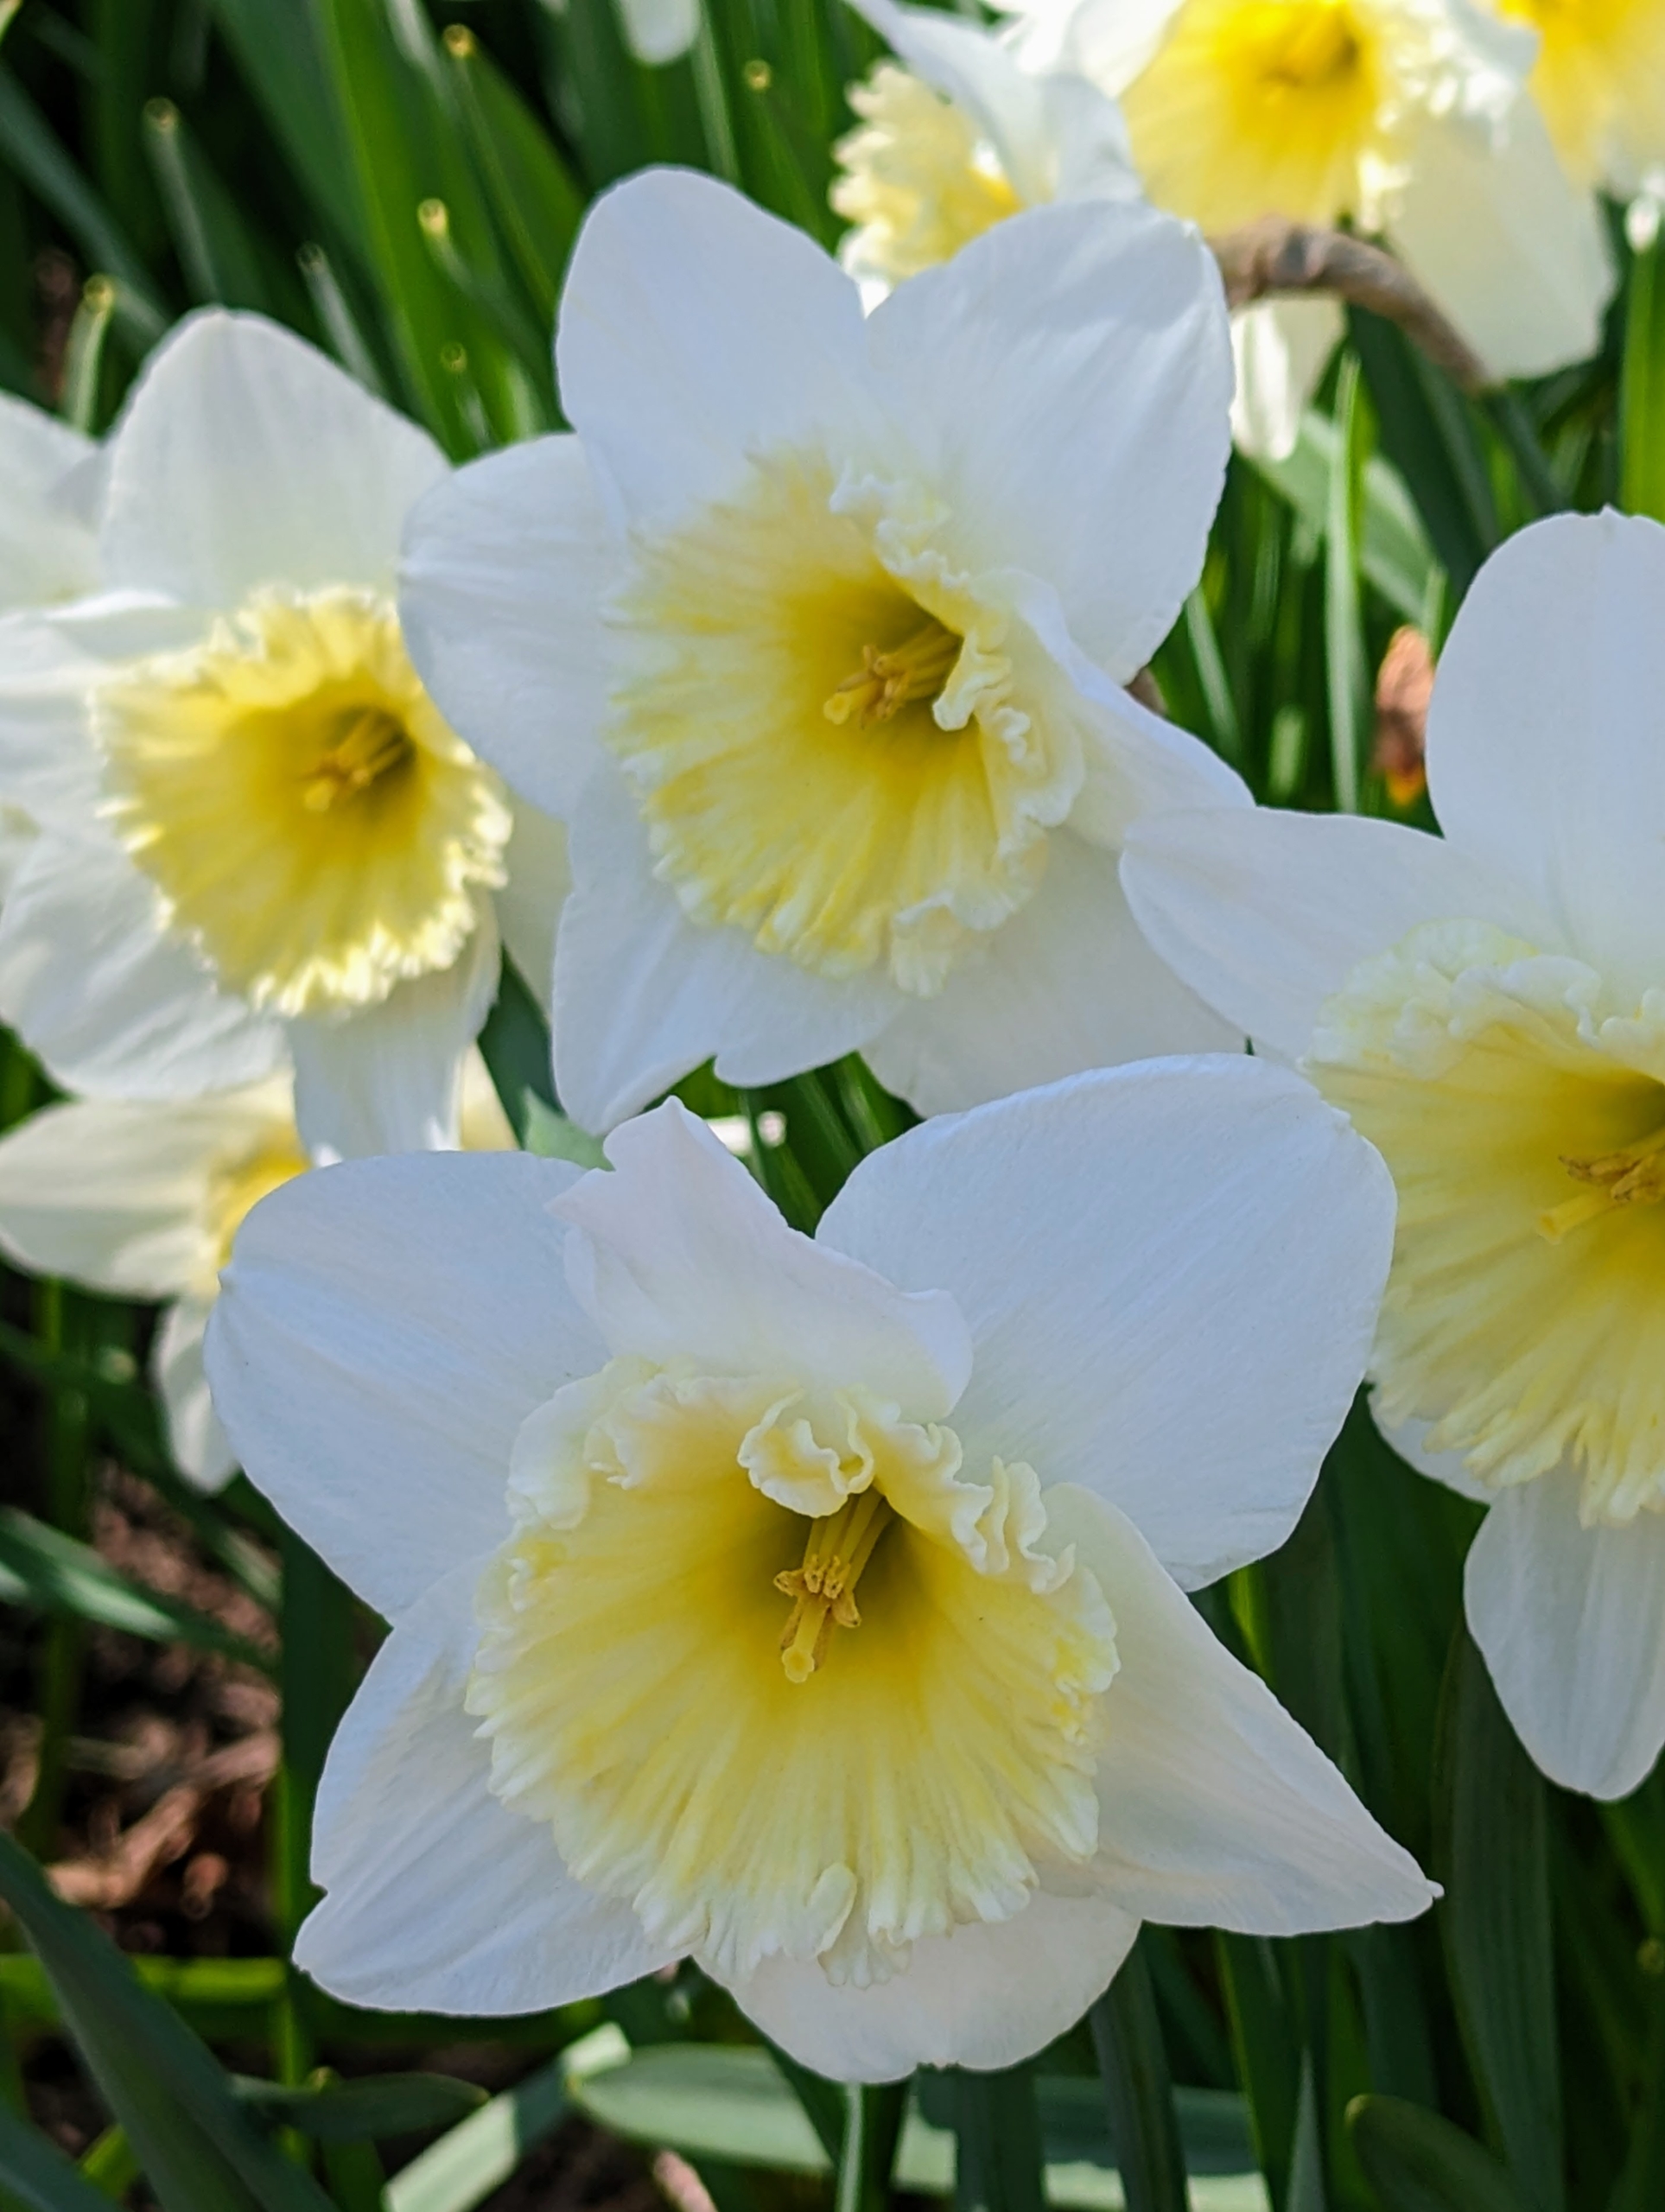
The flowers are generally white or yellow with either uniform or contrasting colored tepals and coronas.
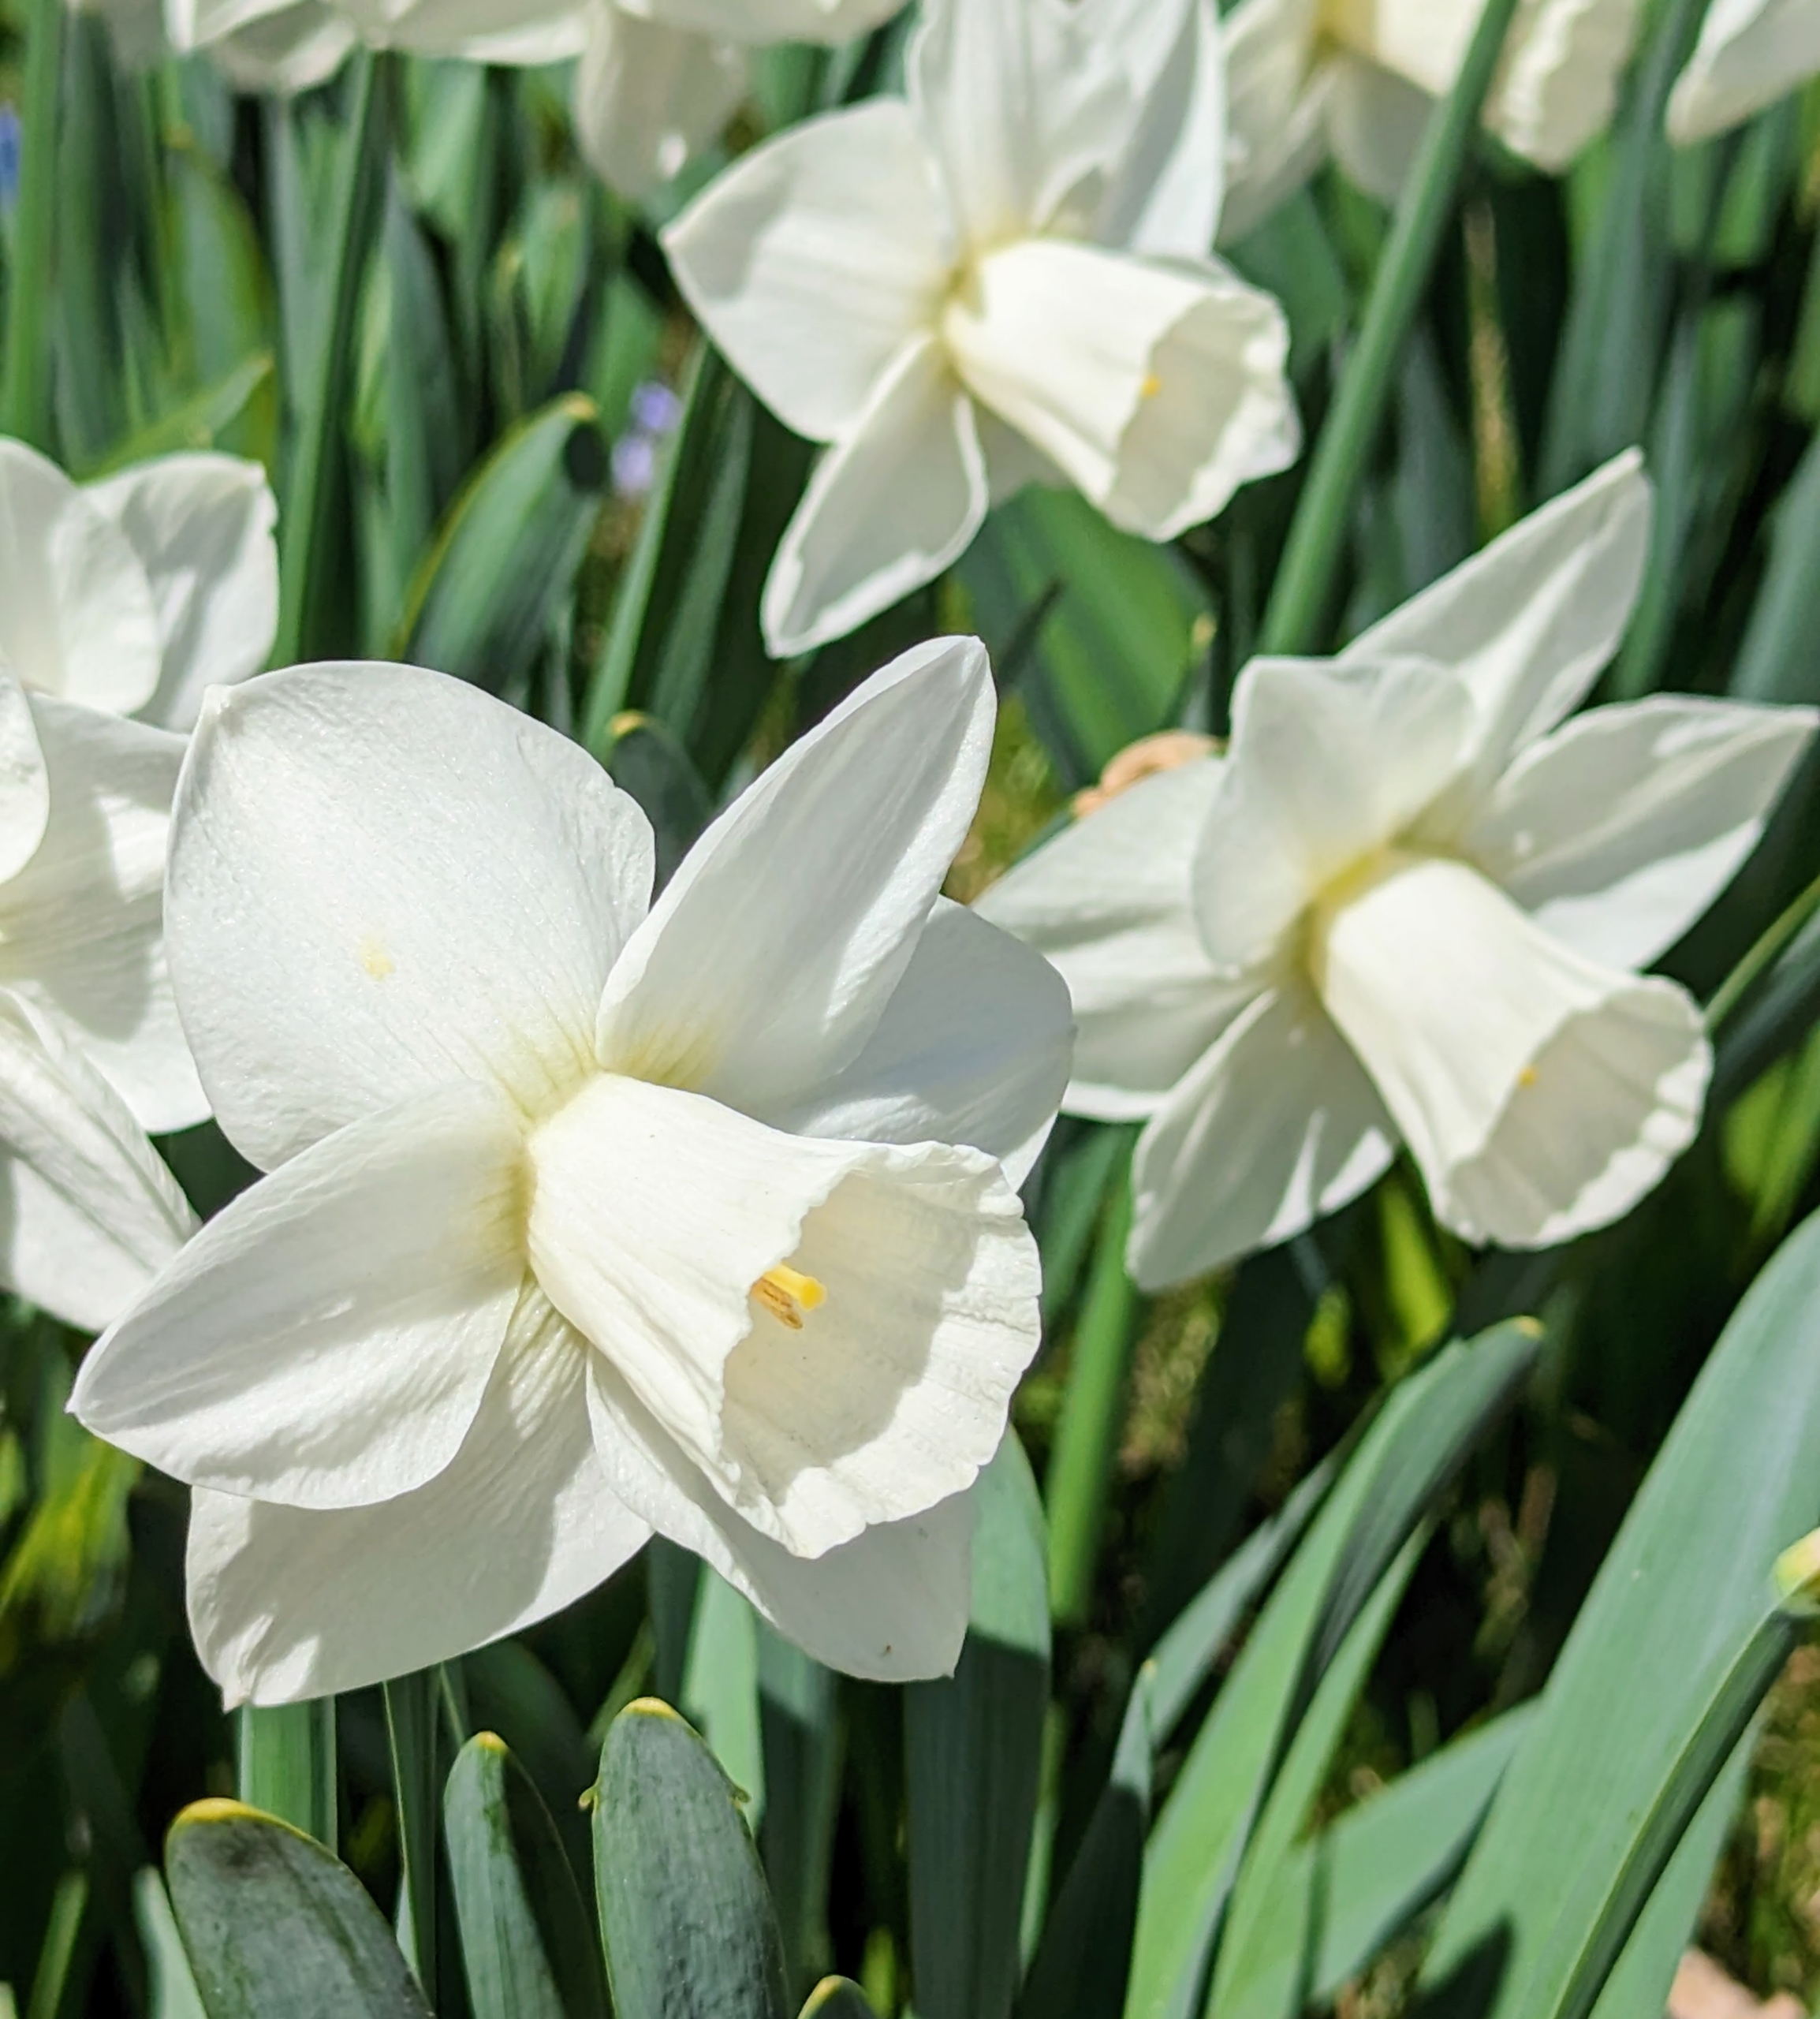
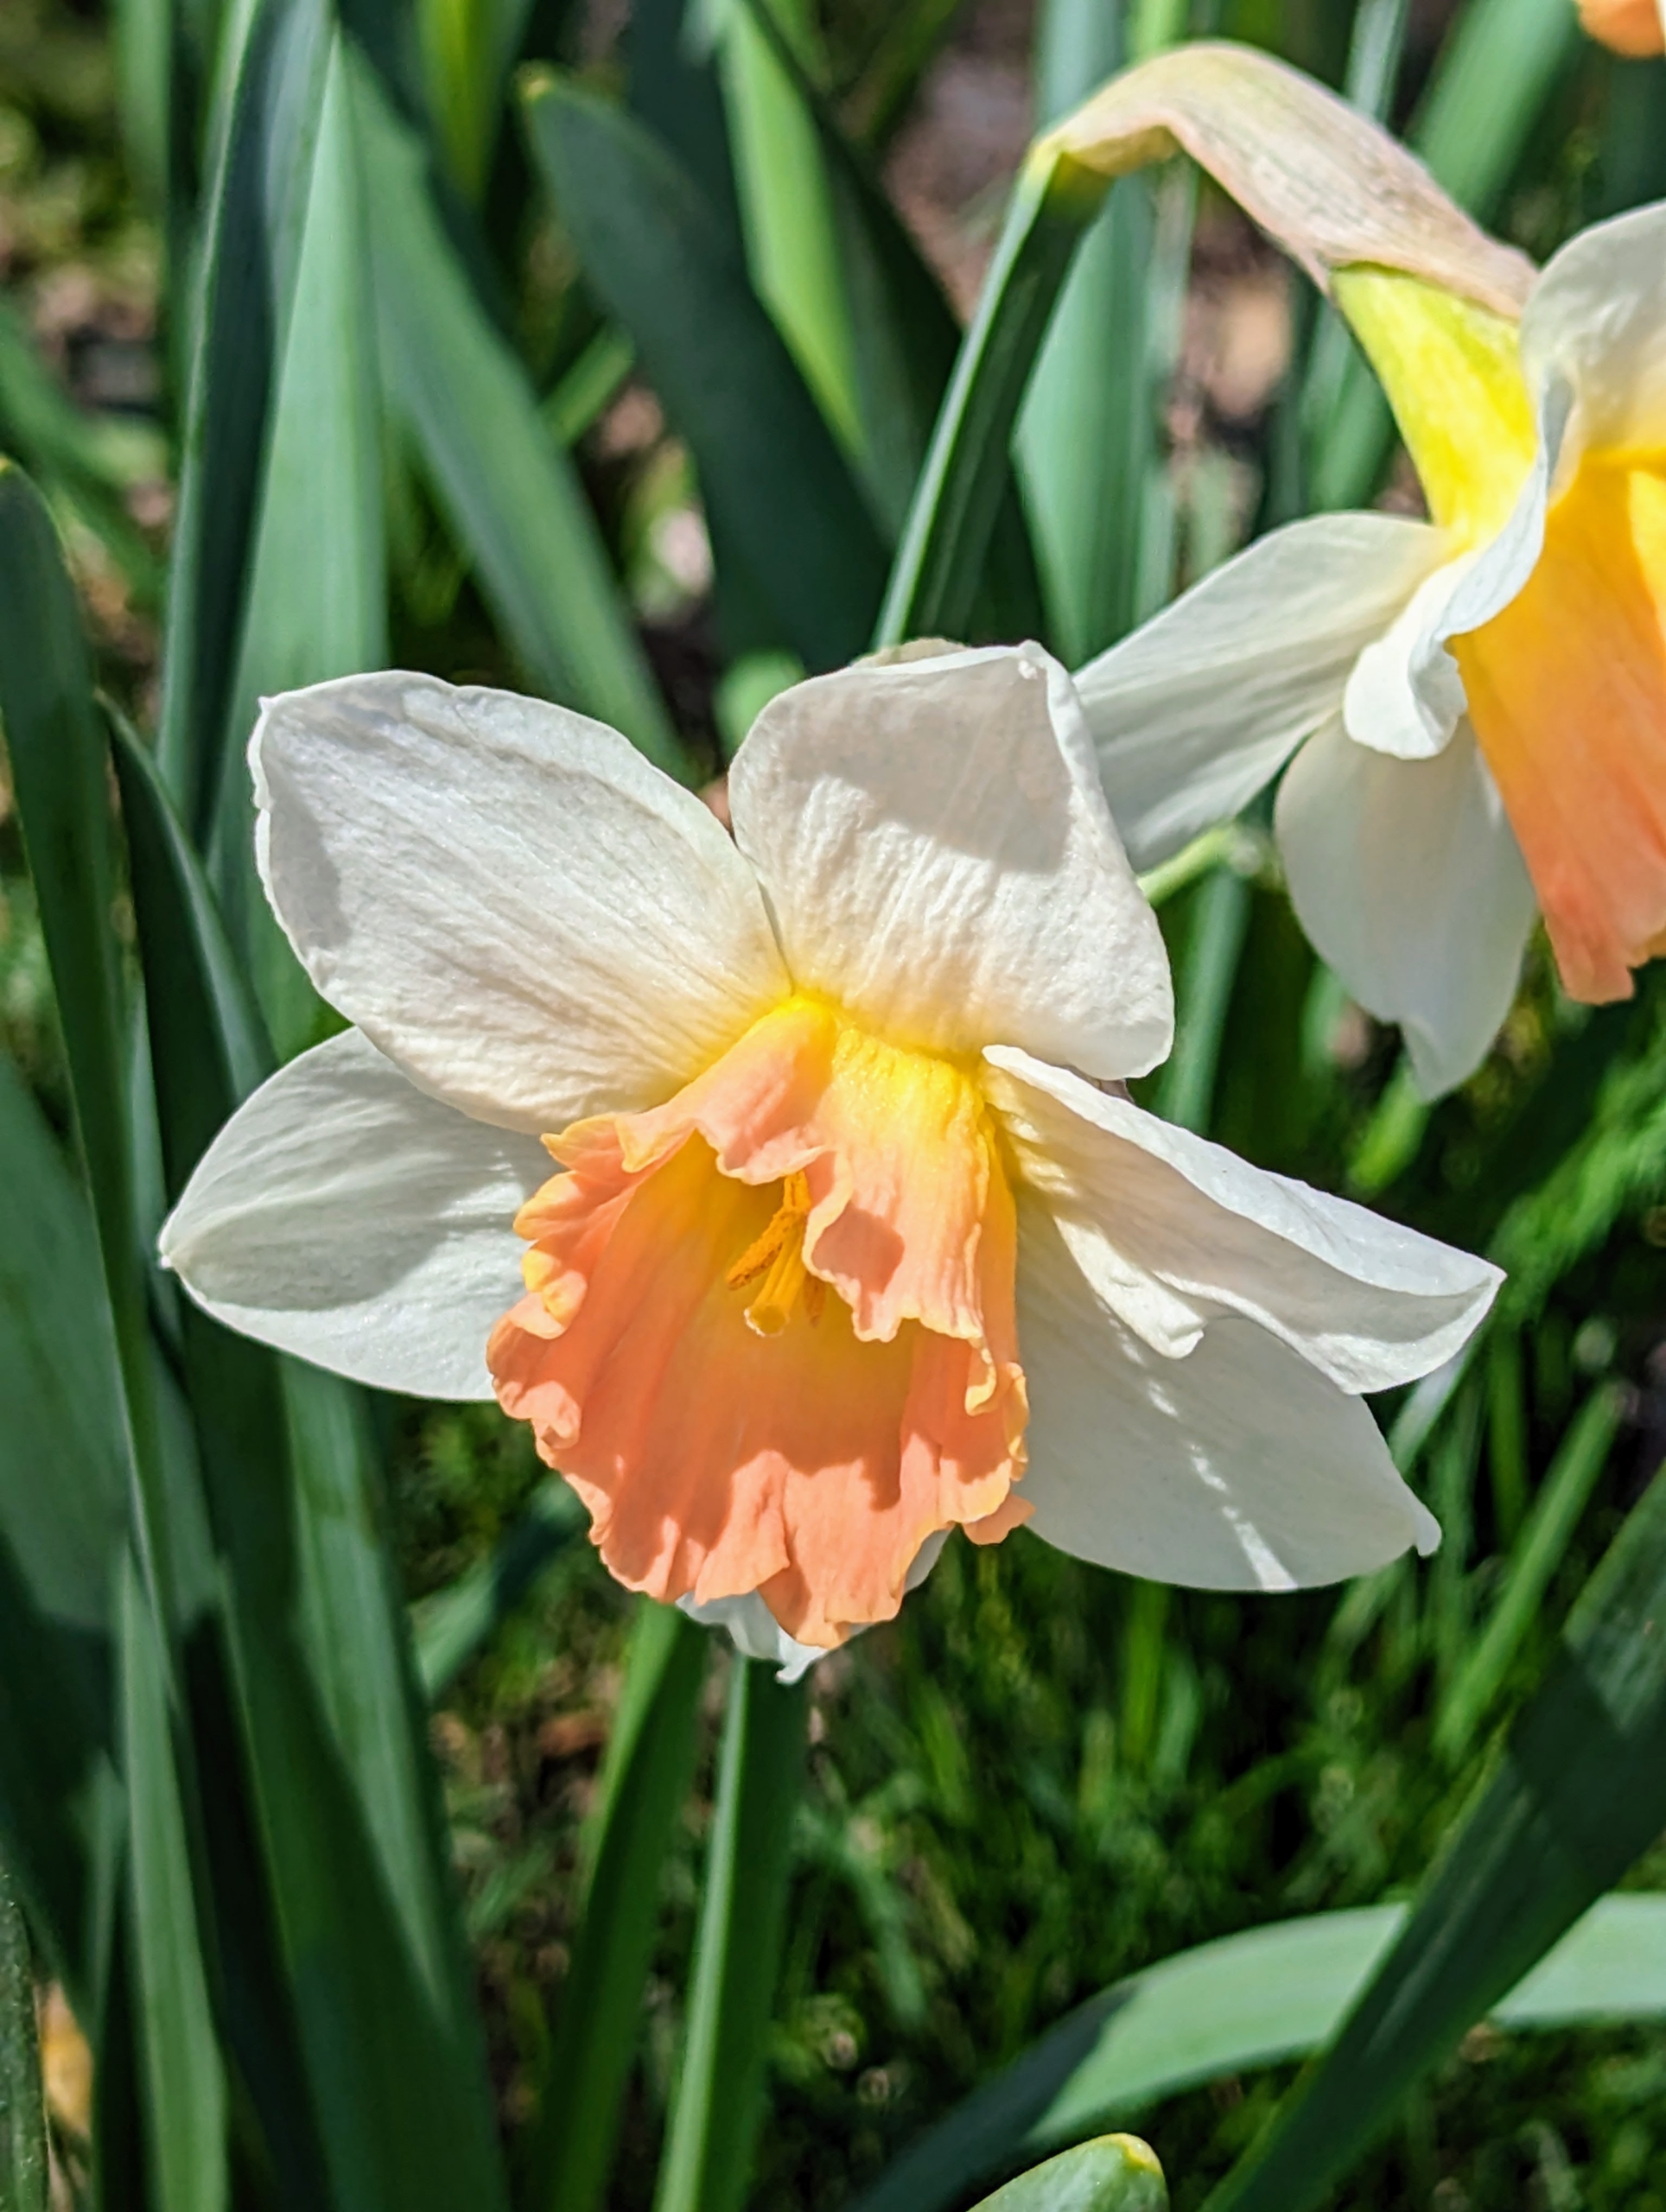
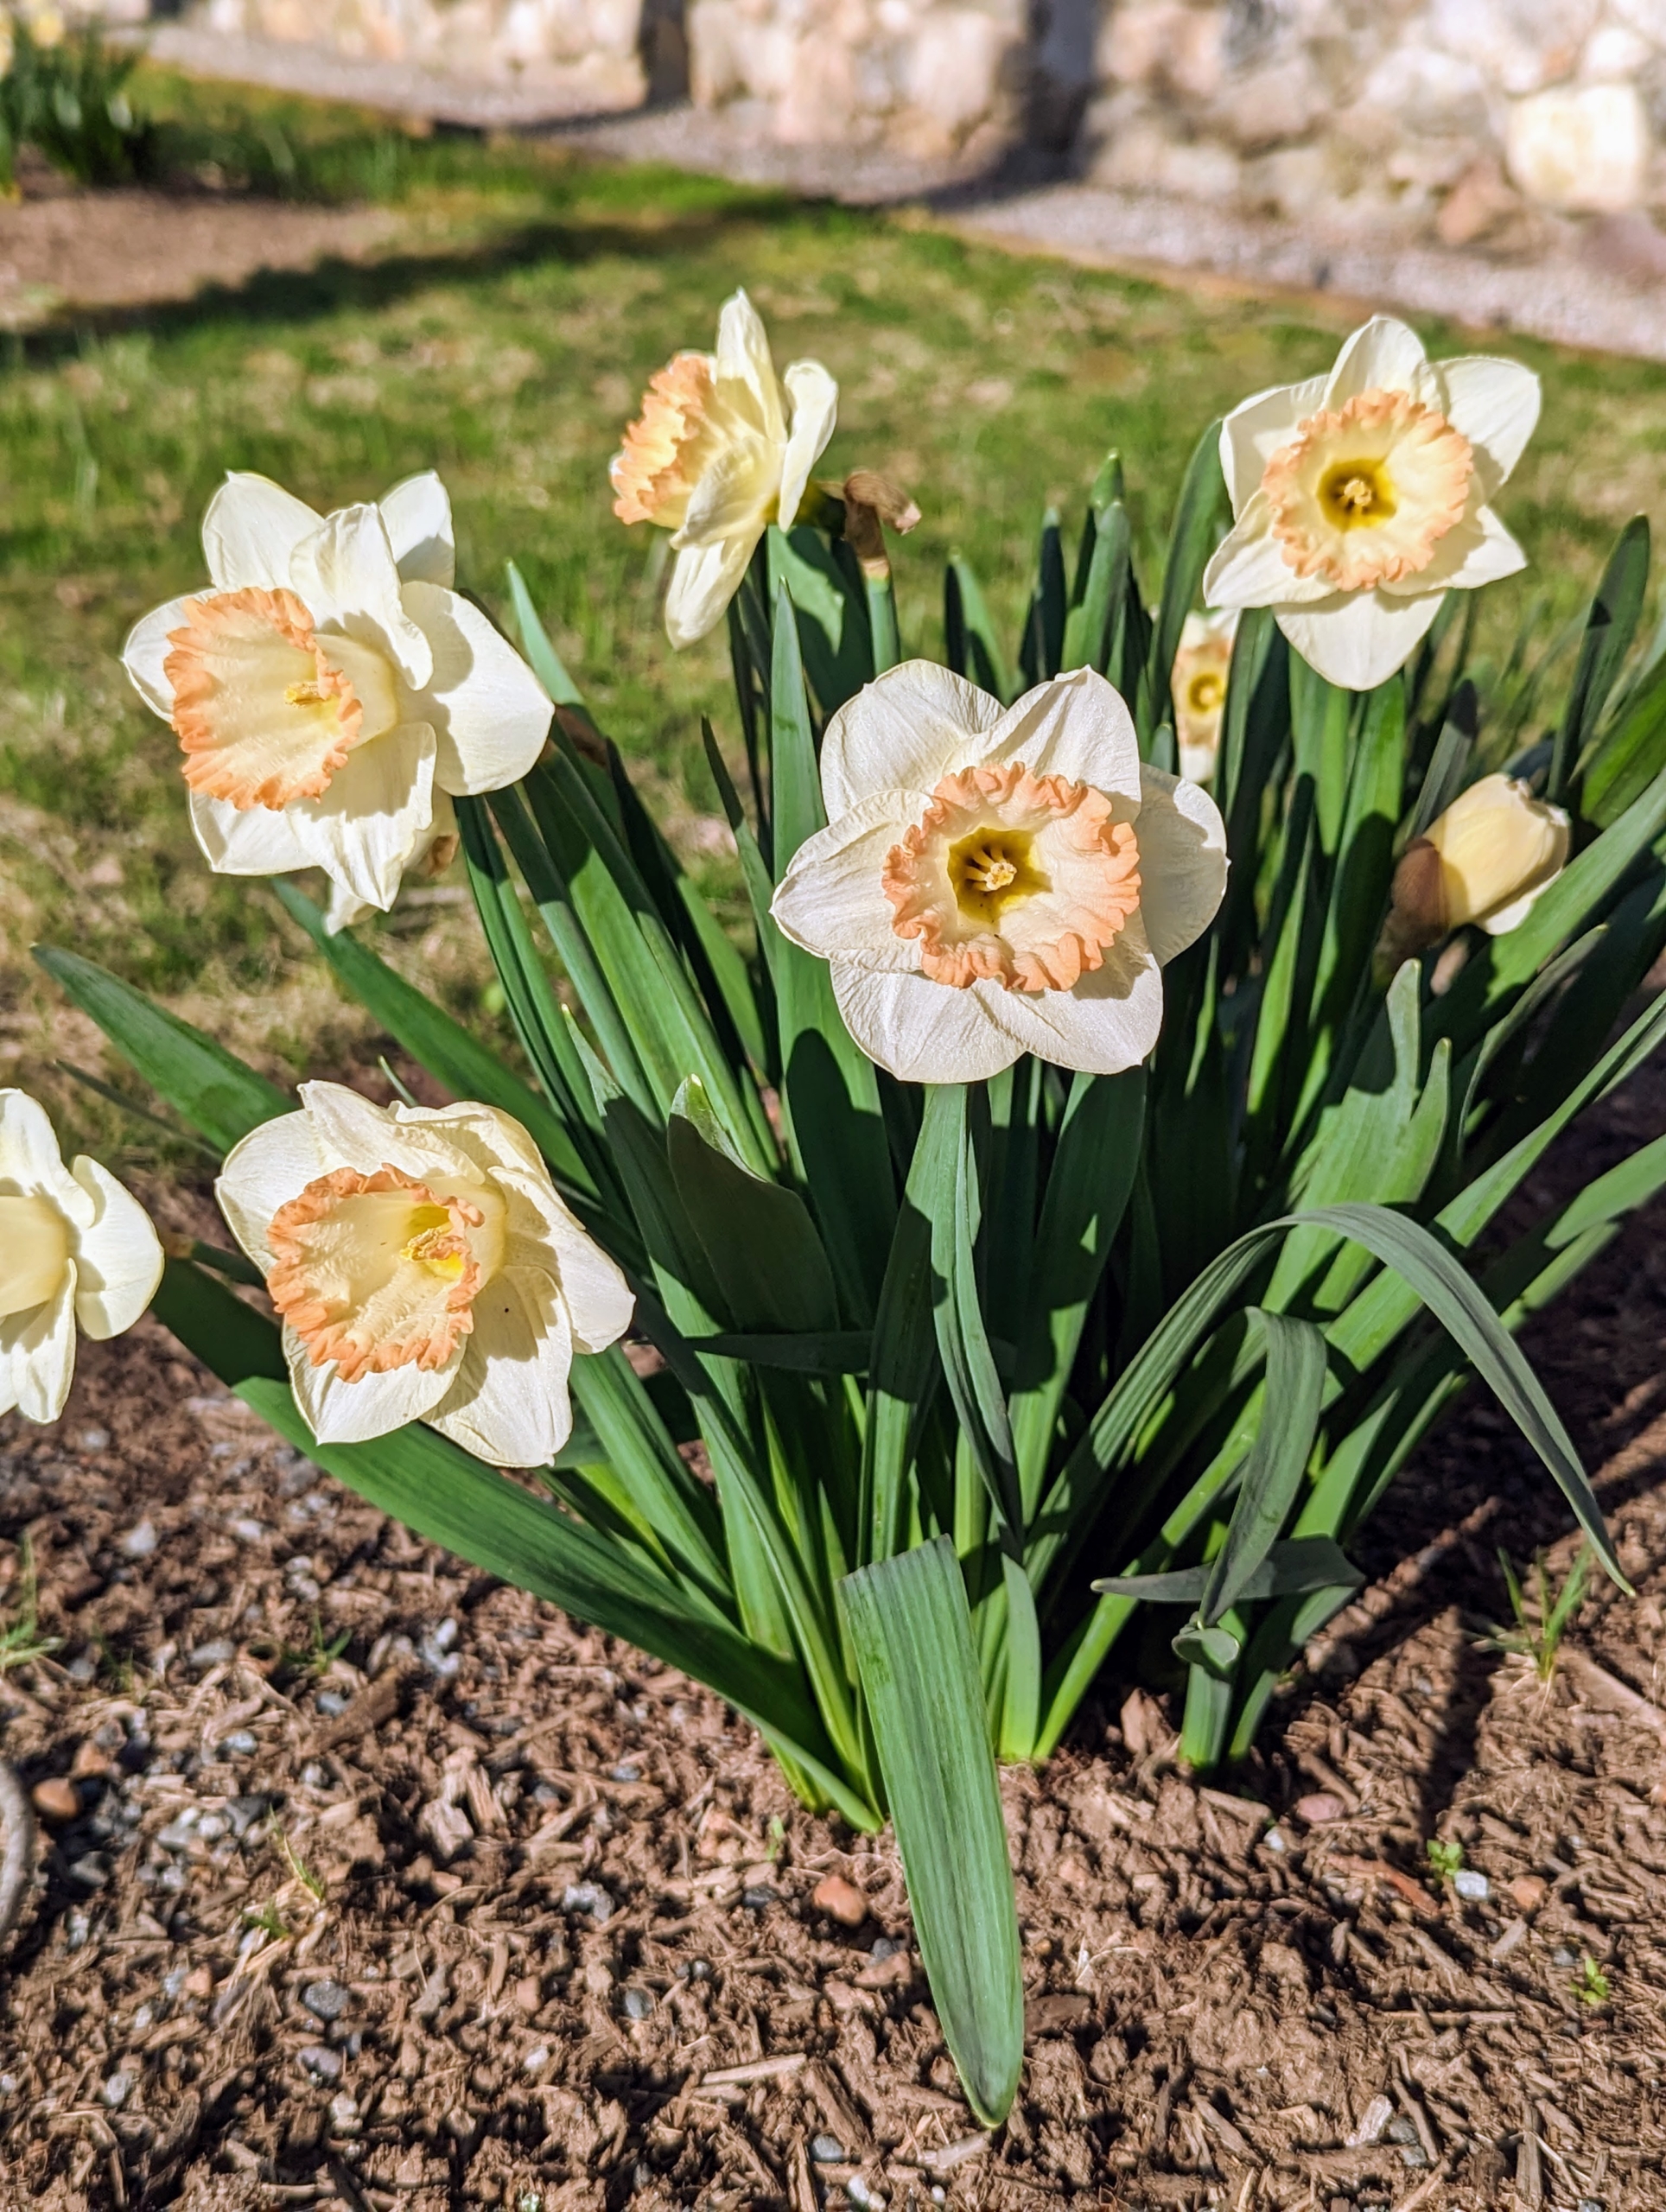
During this time, everyone here at the farm loves photographing all the many blooms. Here is a white daffodil with a bold orange center.
There are up to 40-species of daffodils, and more than 27-thousand registered daffodil hybrids.
When choosing where to plant daffodils, select an area that gets at least half a day of sun. Hillsides, and raised beds do nicely.
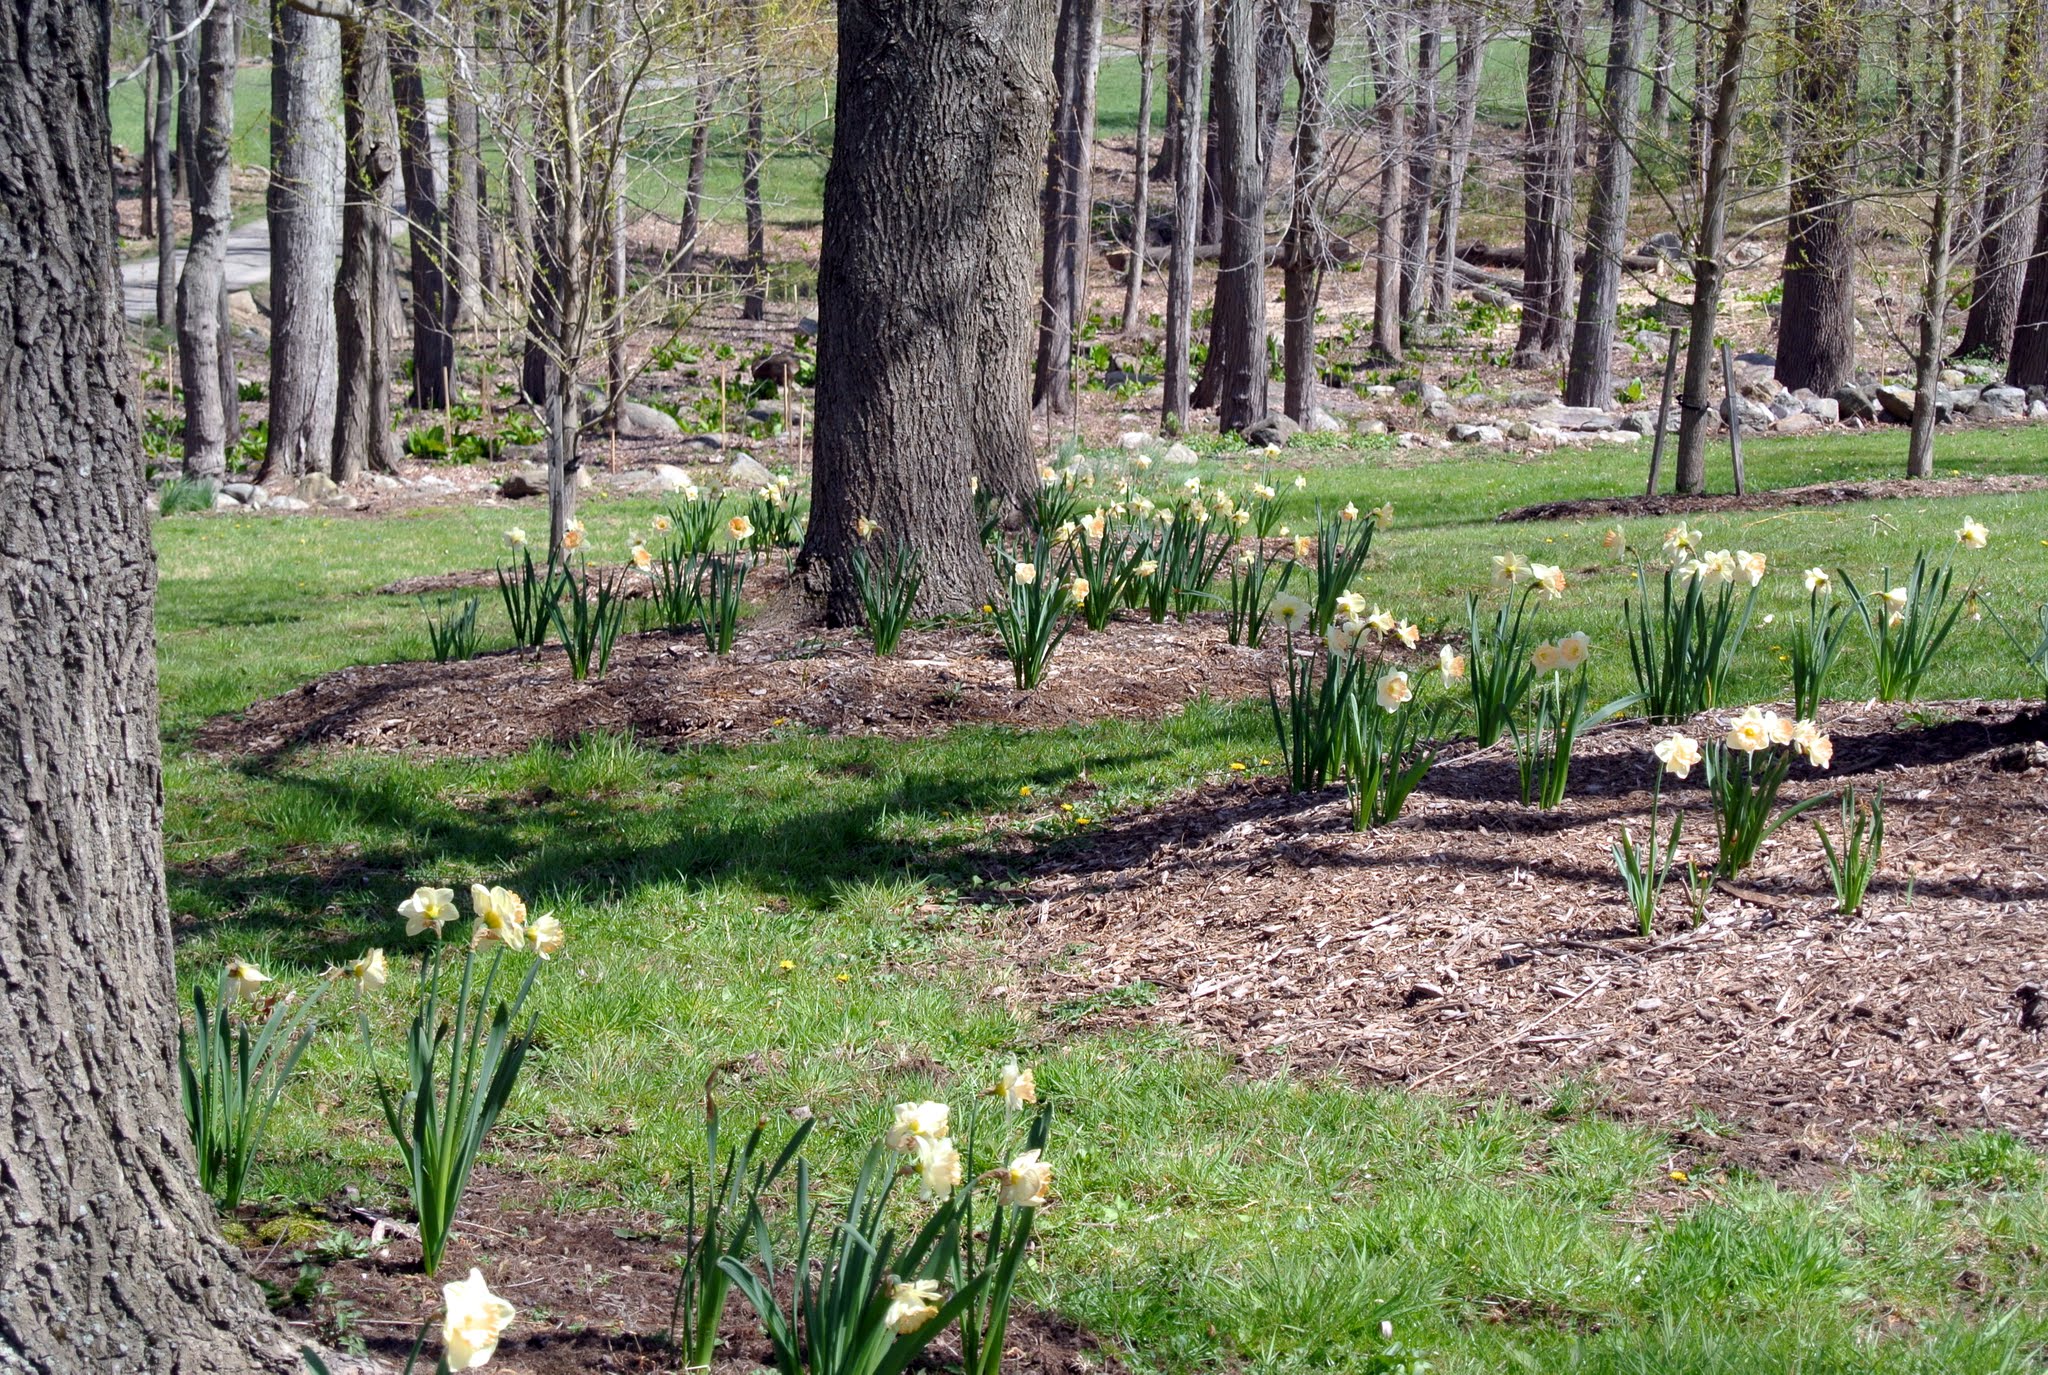
Narcissus naturalize very easily. Lift and divide overcrowded clumps in late June or July. I take stock of my daffodils every year to see what is growing well and what is not, so I can learn what to remove, where to add more, and what to plant next.
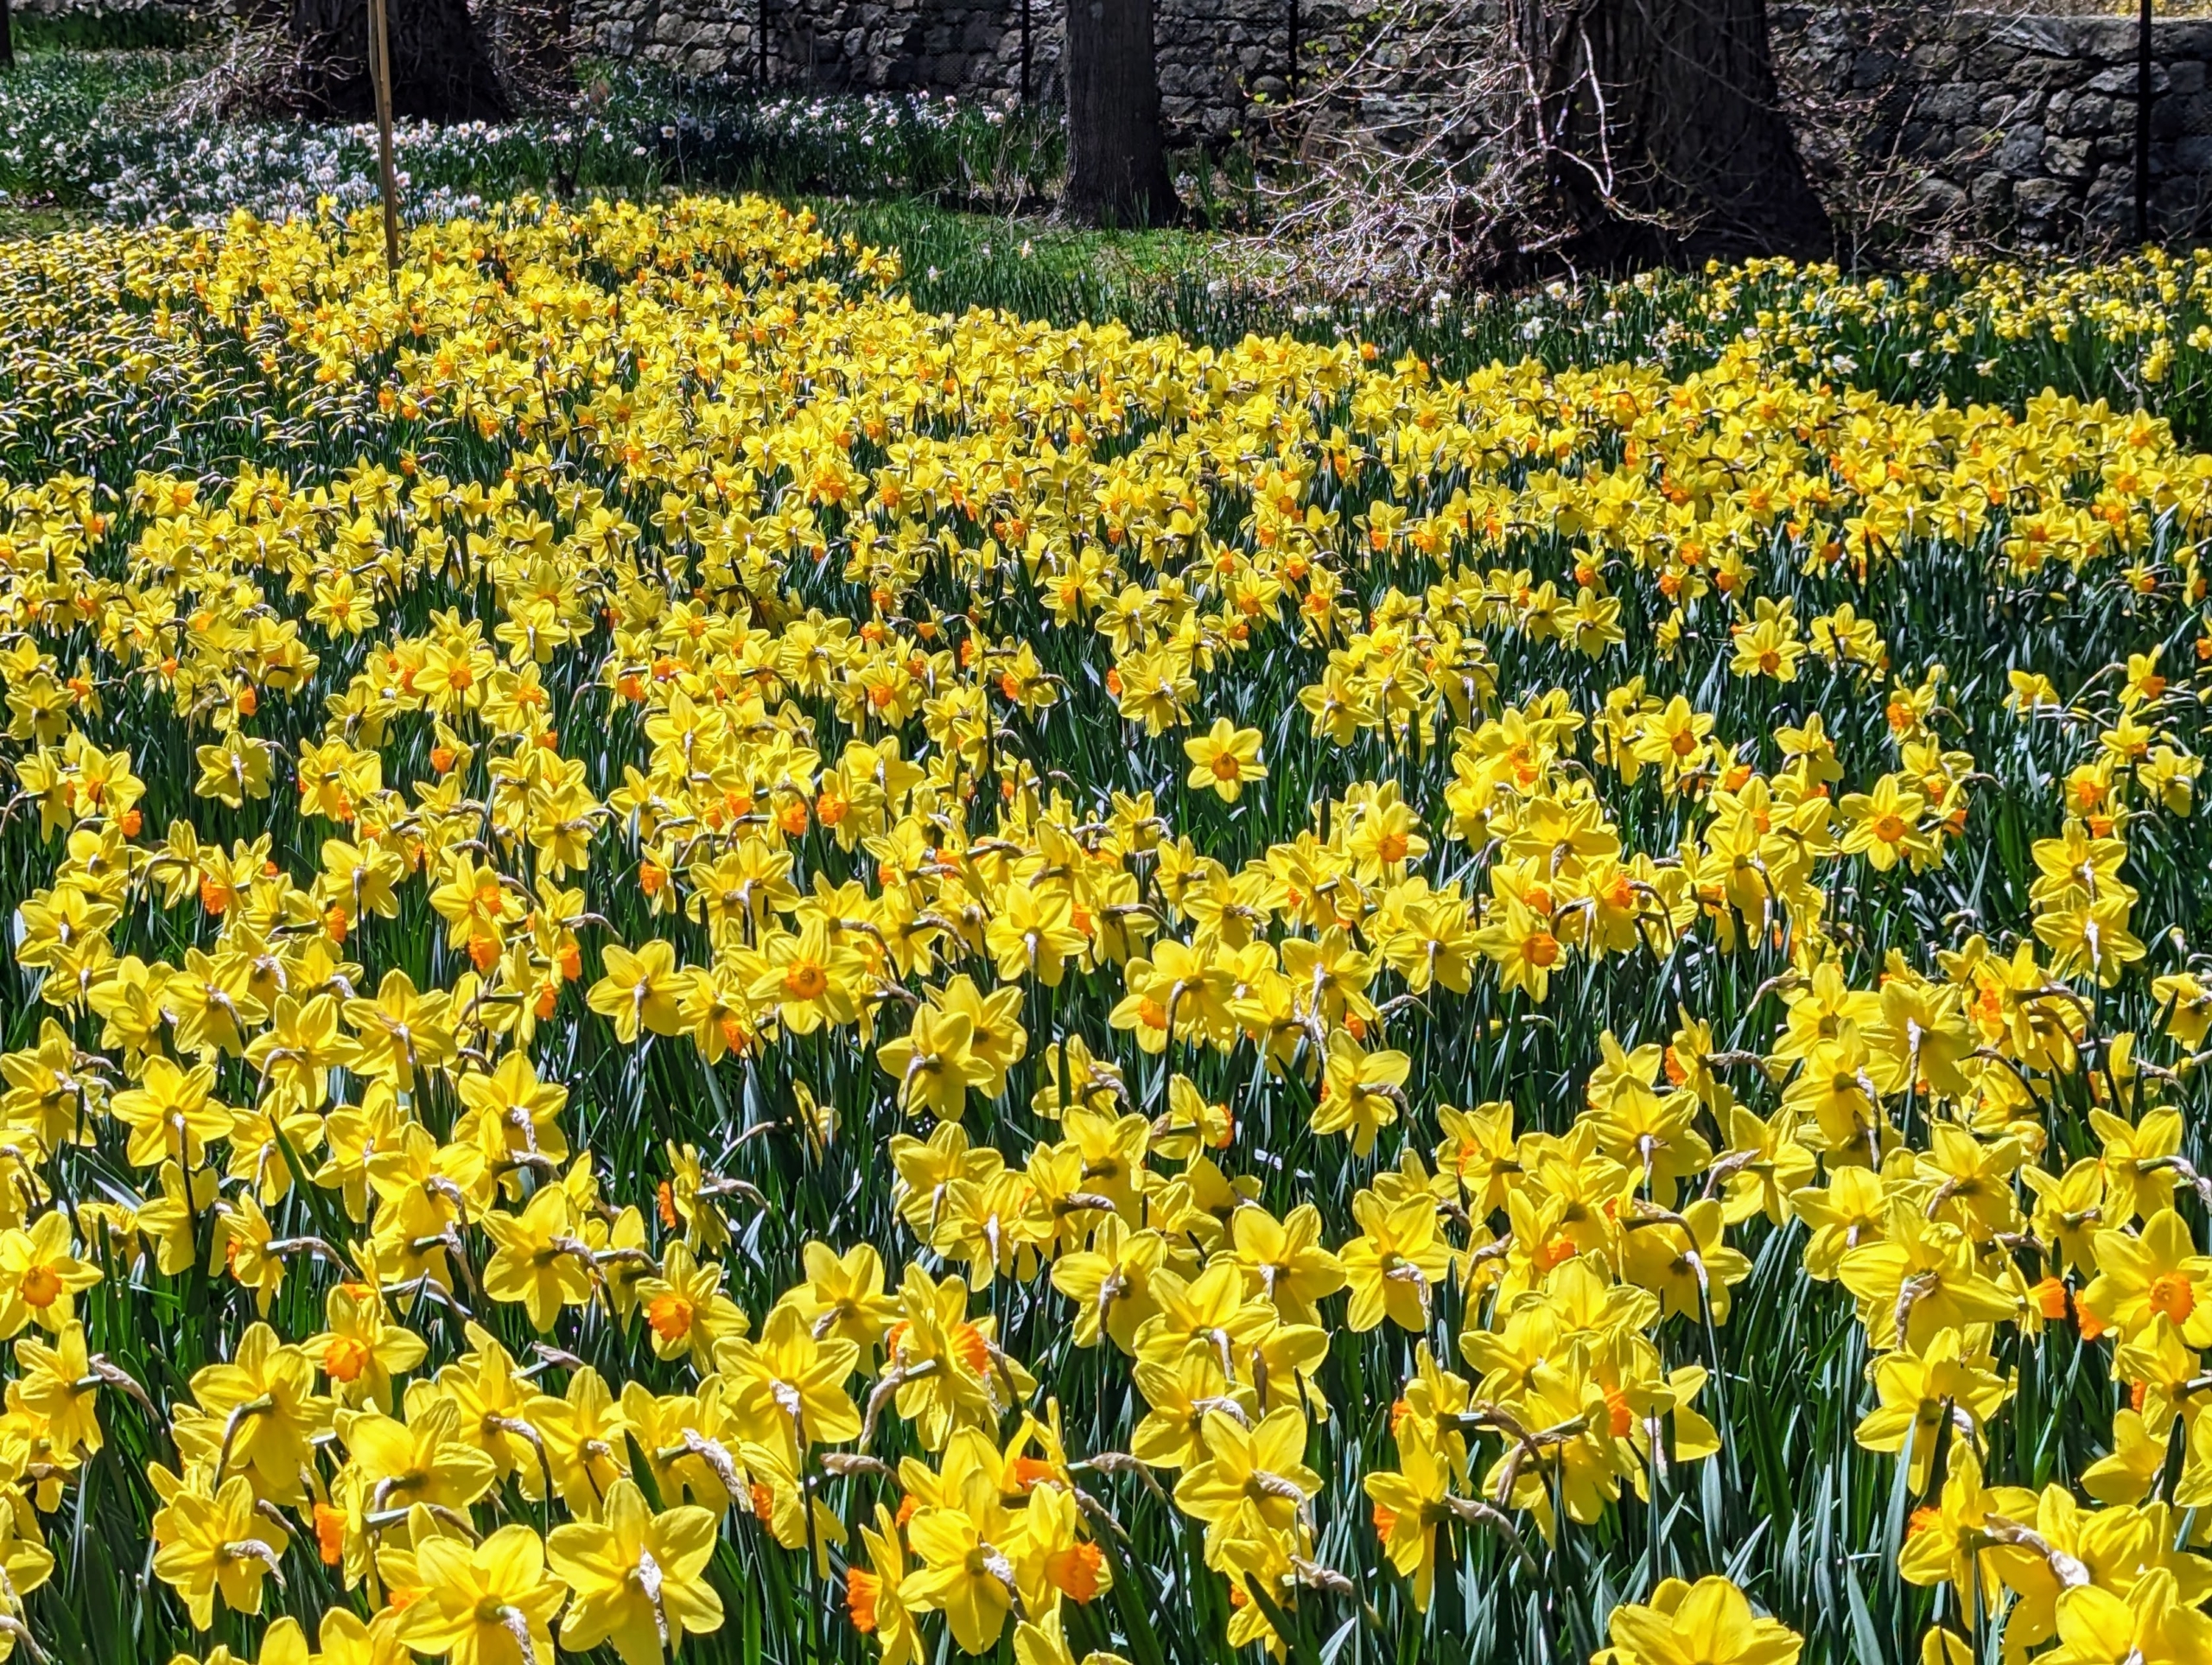
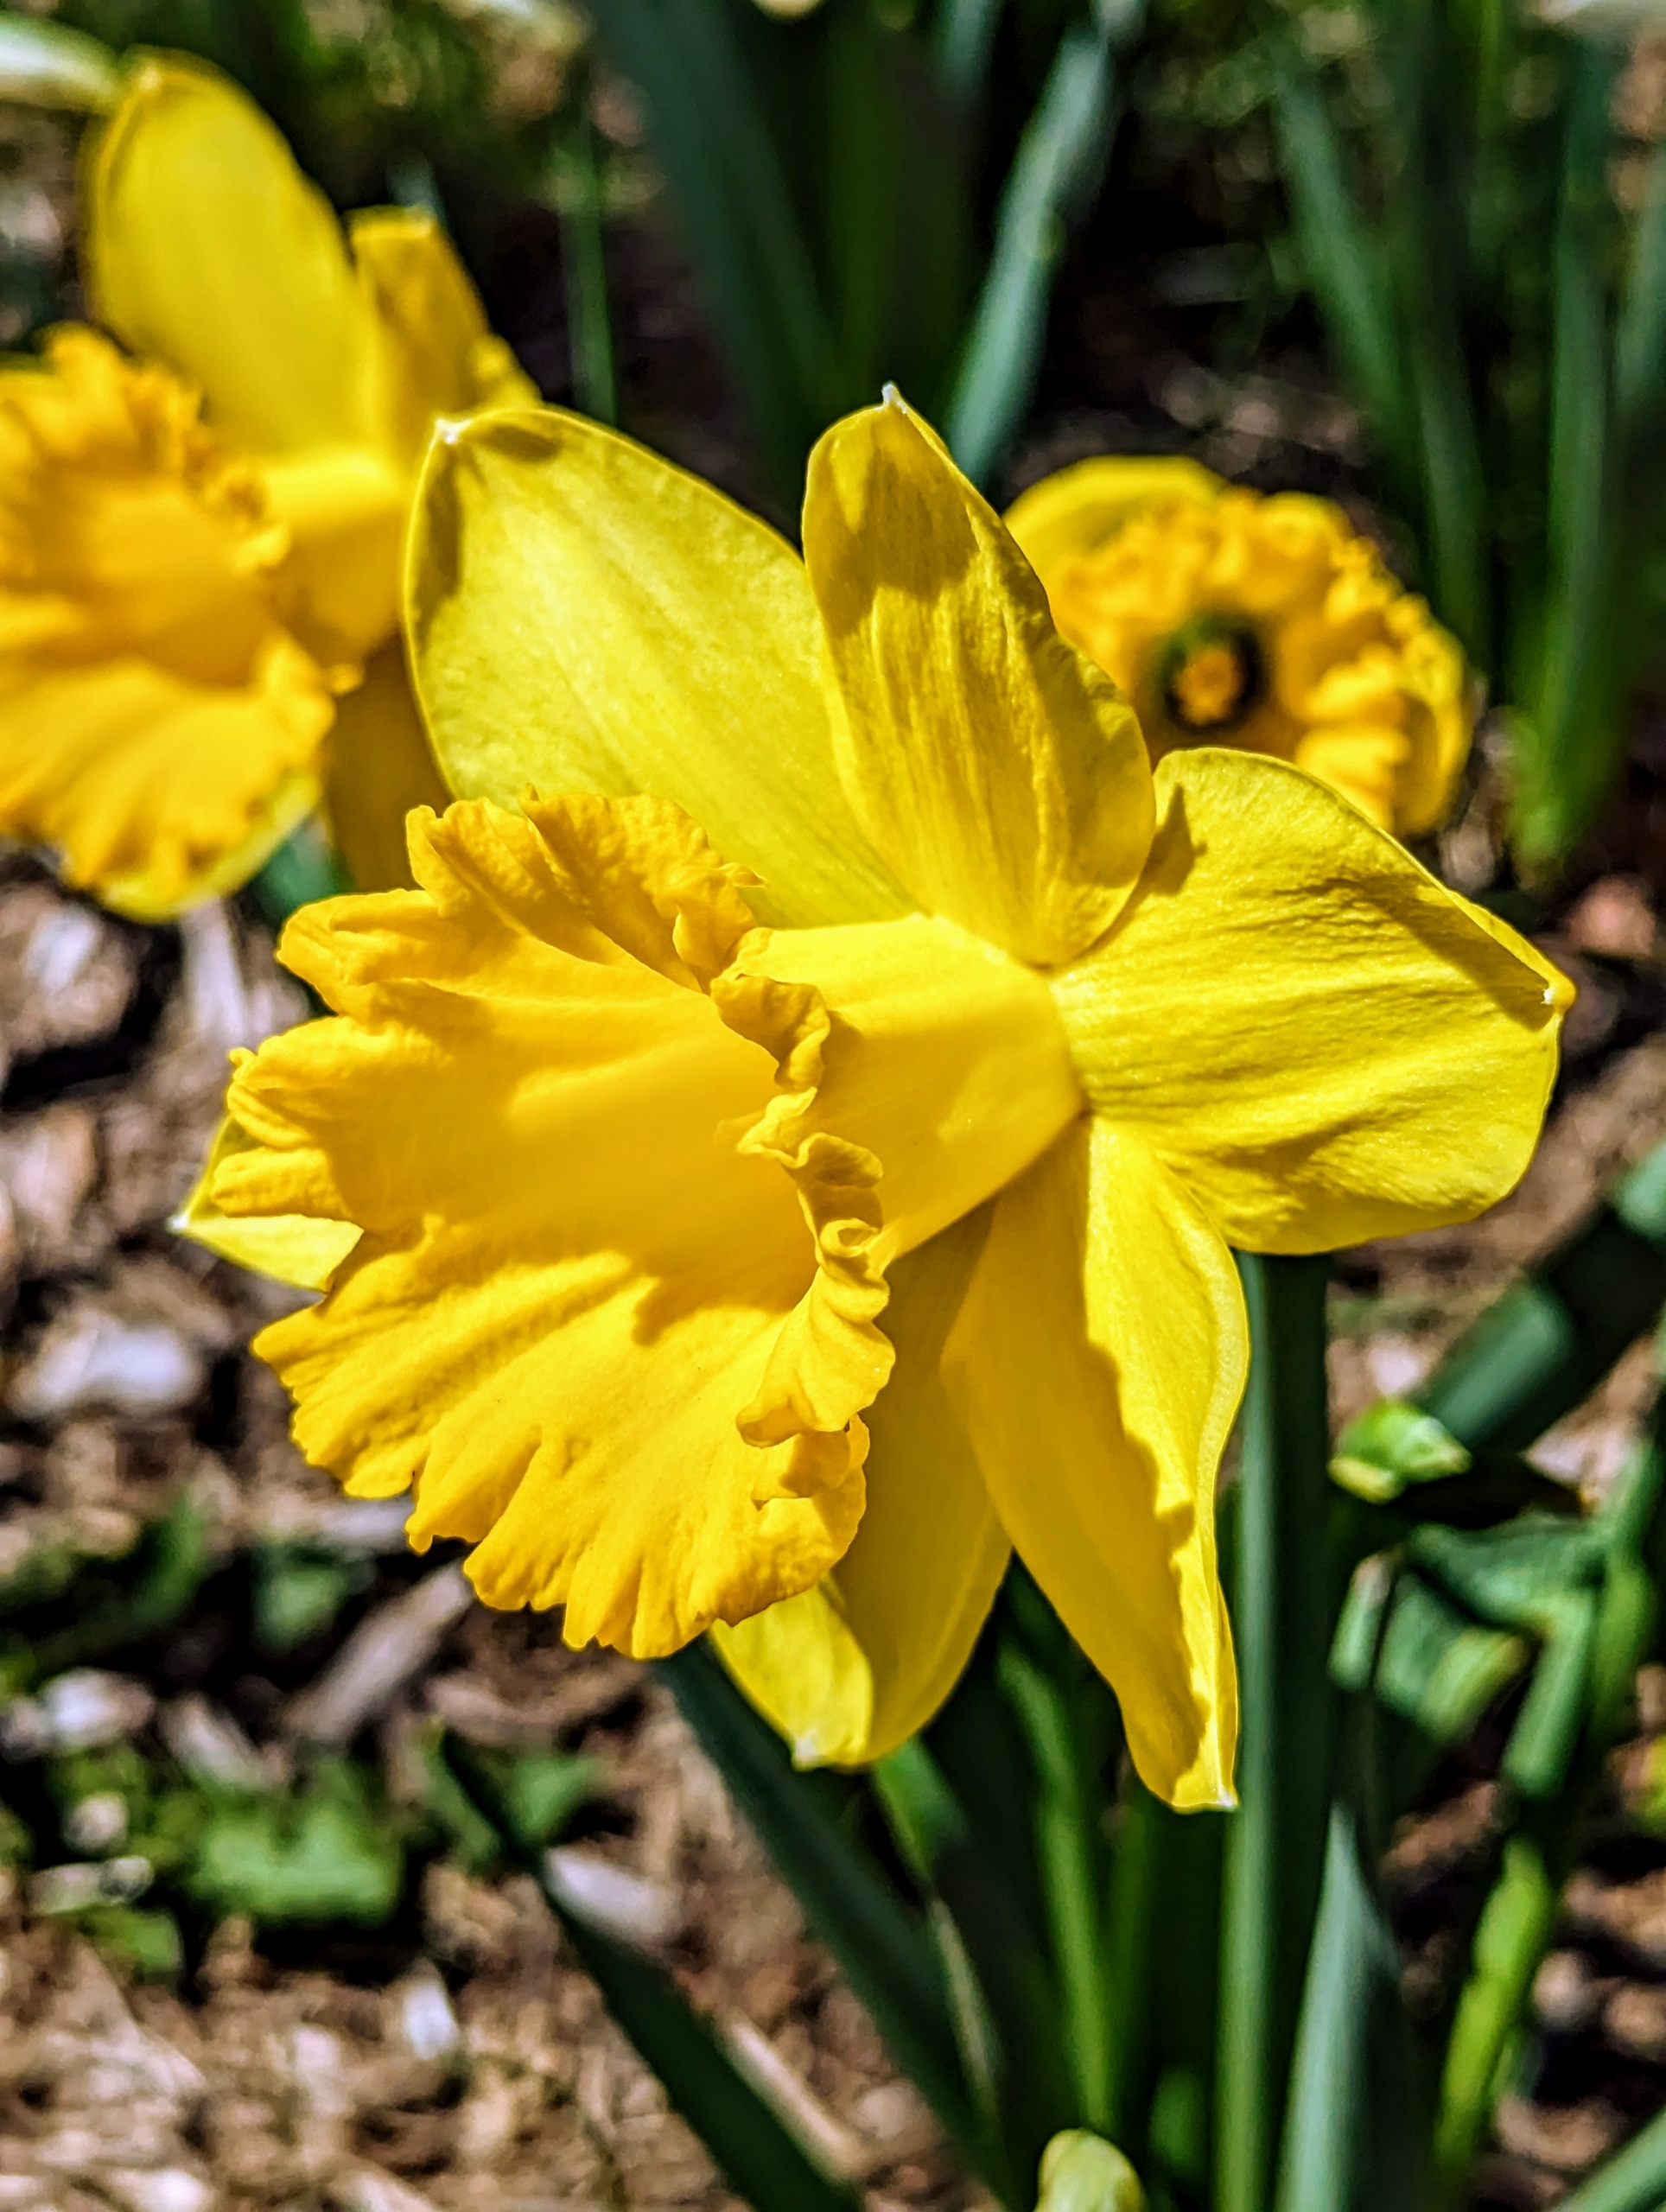
In my daffodil border, I planted early, mid, and late season blooming varieties so that when one section is done blooming, another is just opening up.
Normal rainfall will typically take care of any watering requirements during the spring flowering season. The most important care tip is to provide daffodils with rich, well-drained soil.
Daffodil plants prefer a neutral to slightly acidic soil. Be sure they are planted where there is room for them to spread, but not where the soil is water-logged.
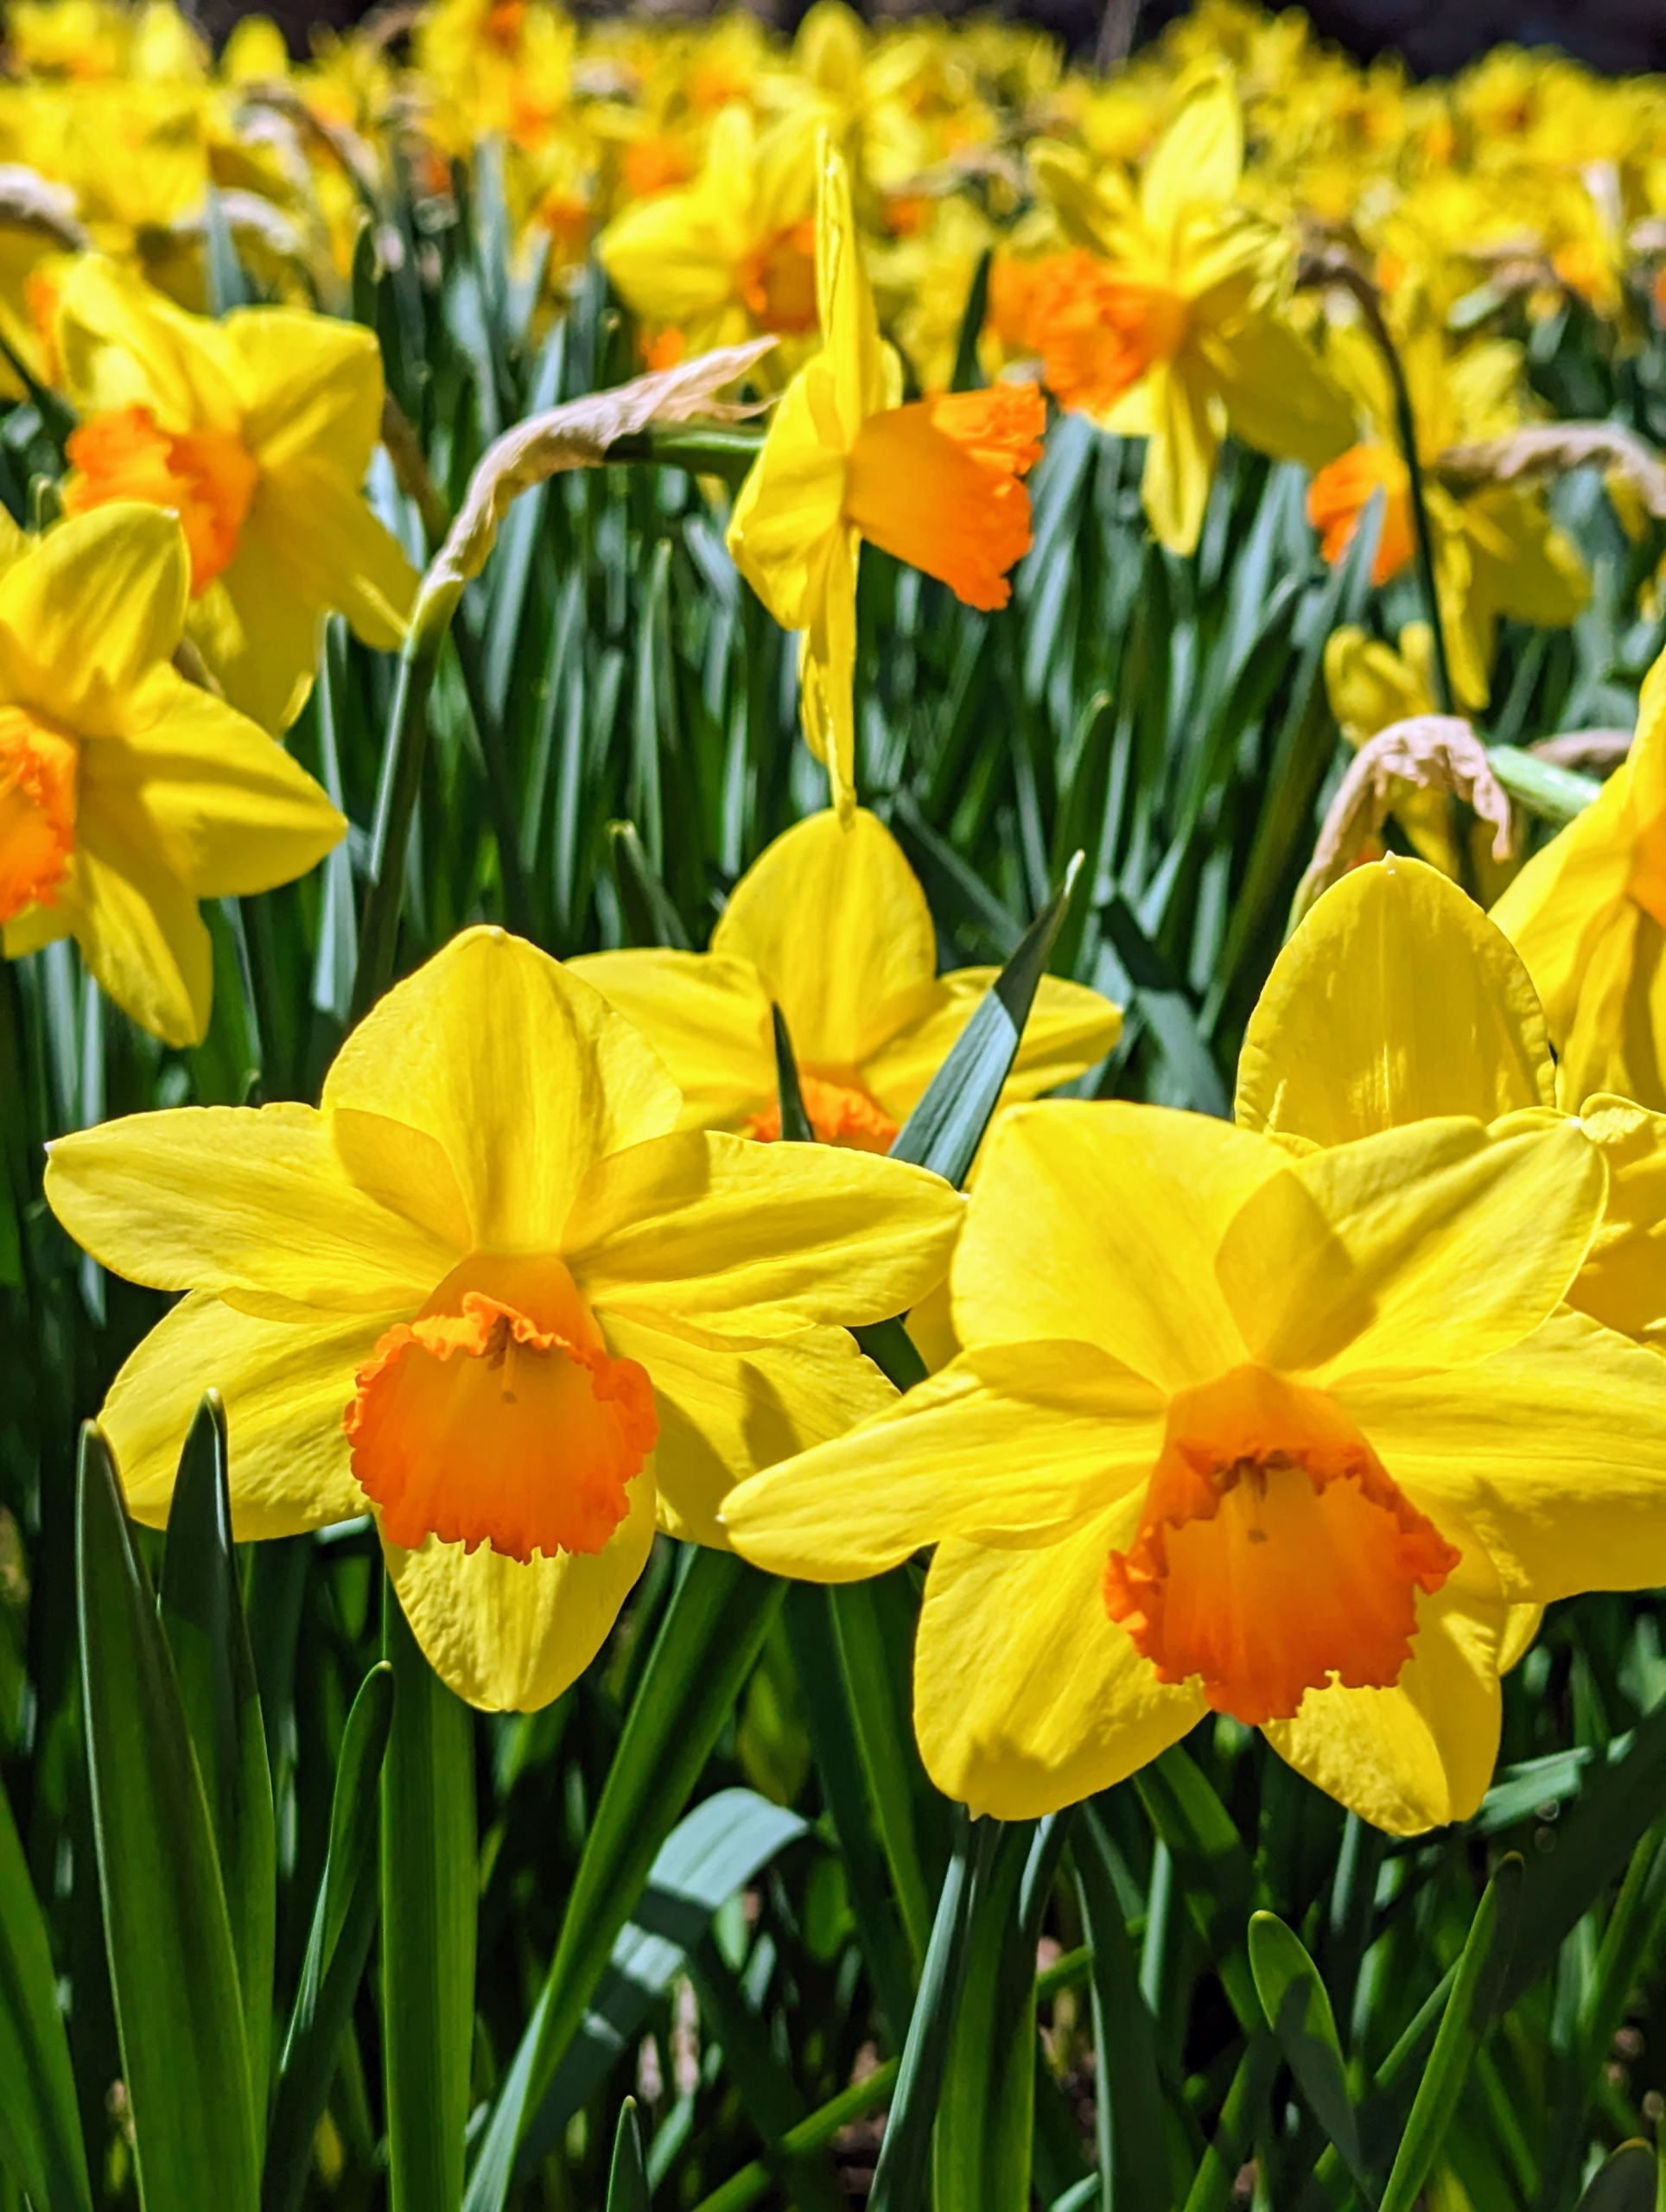
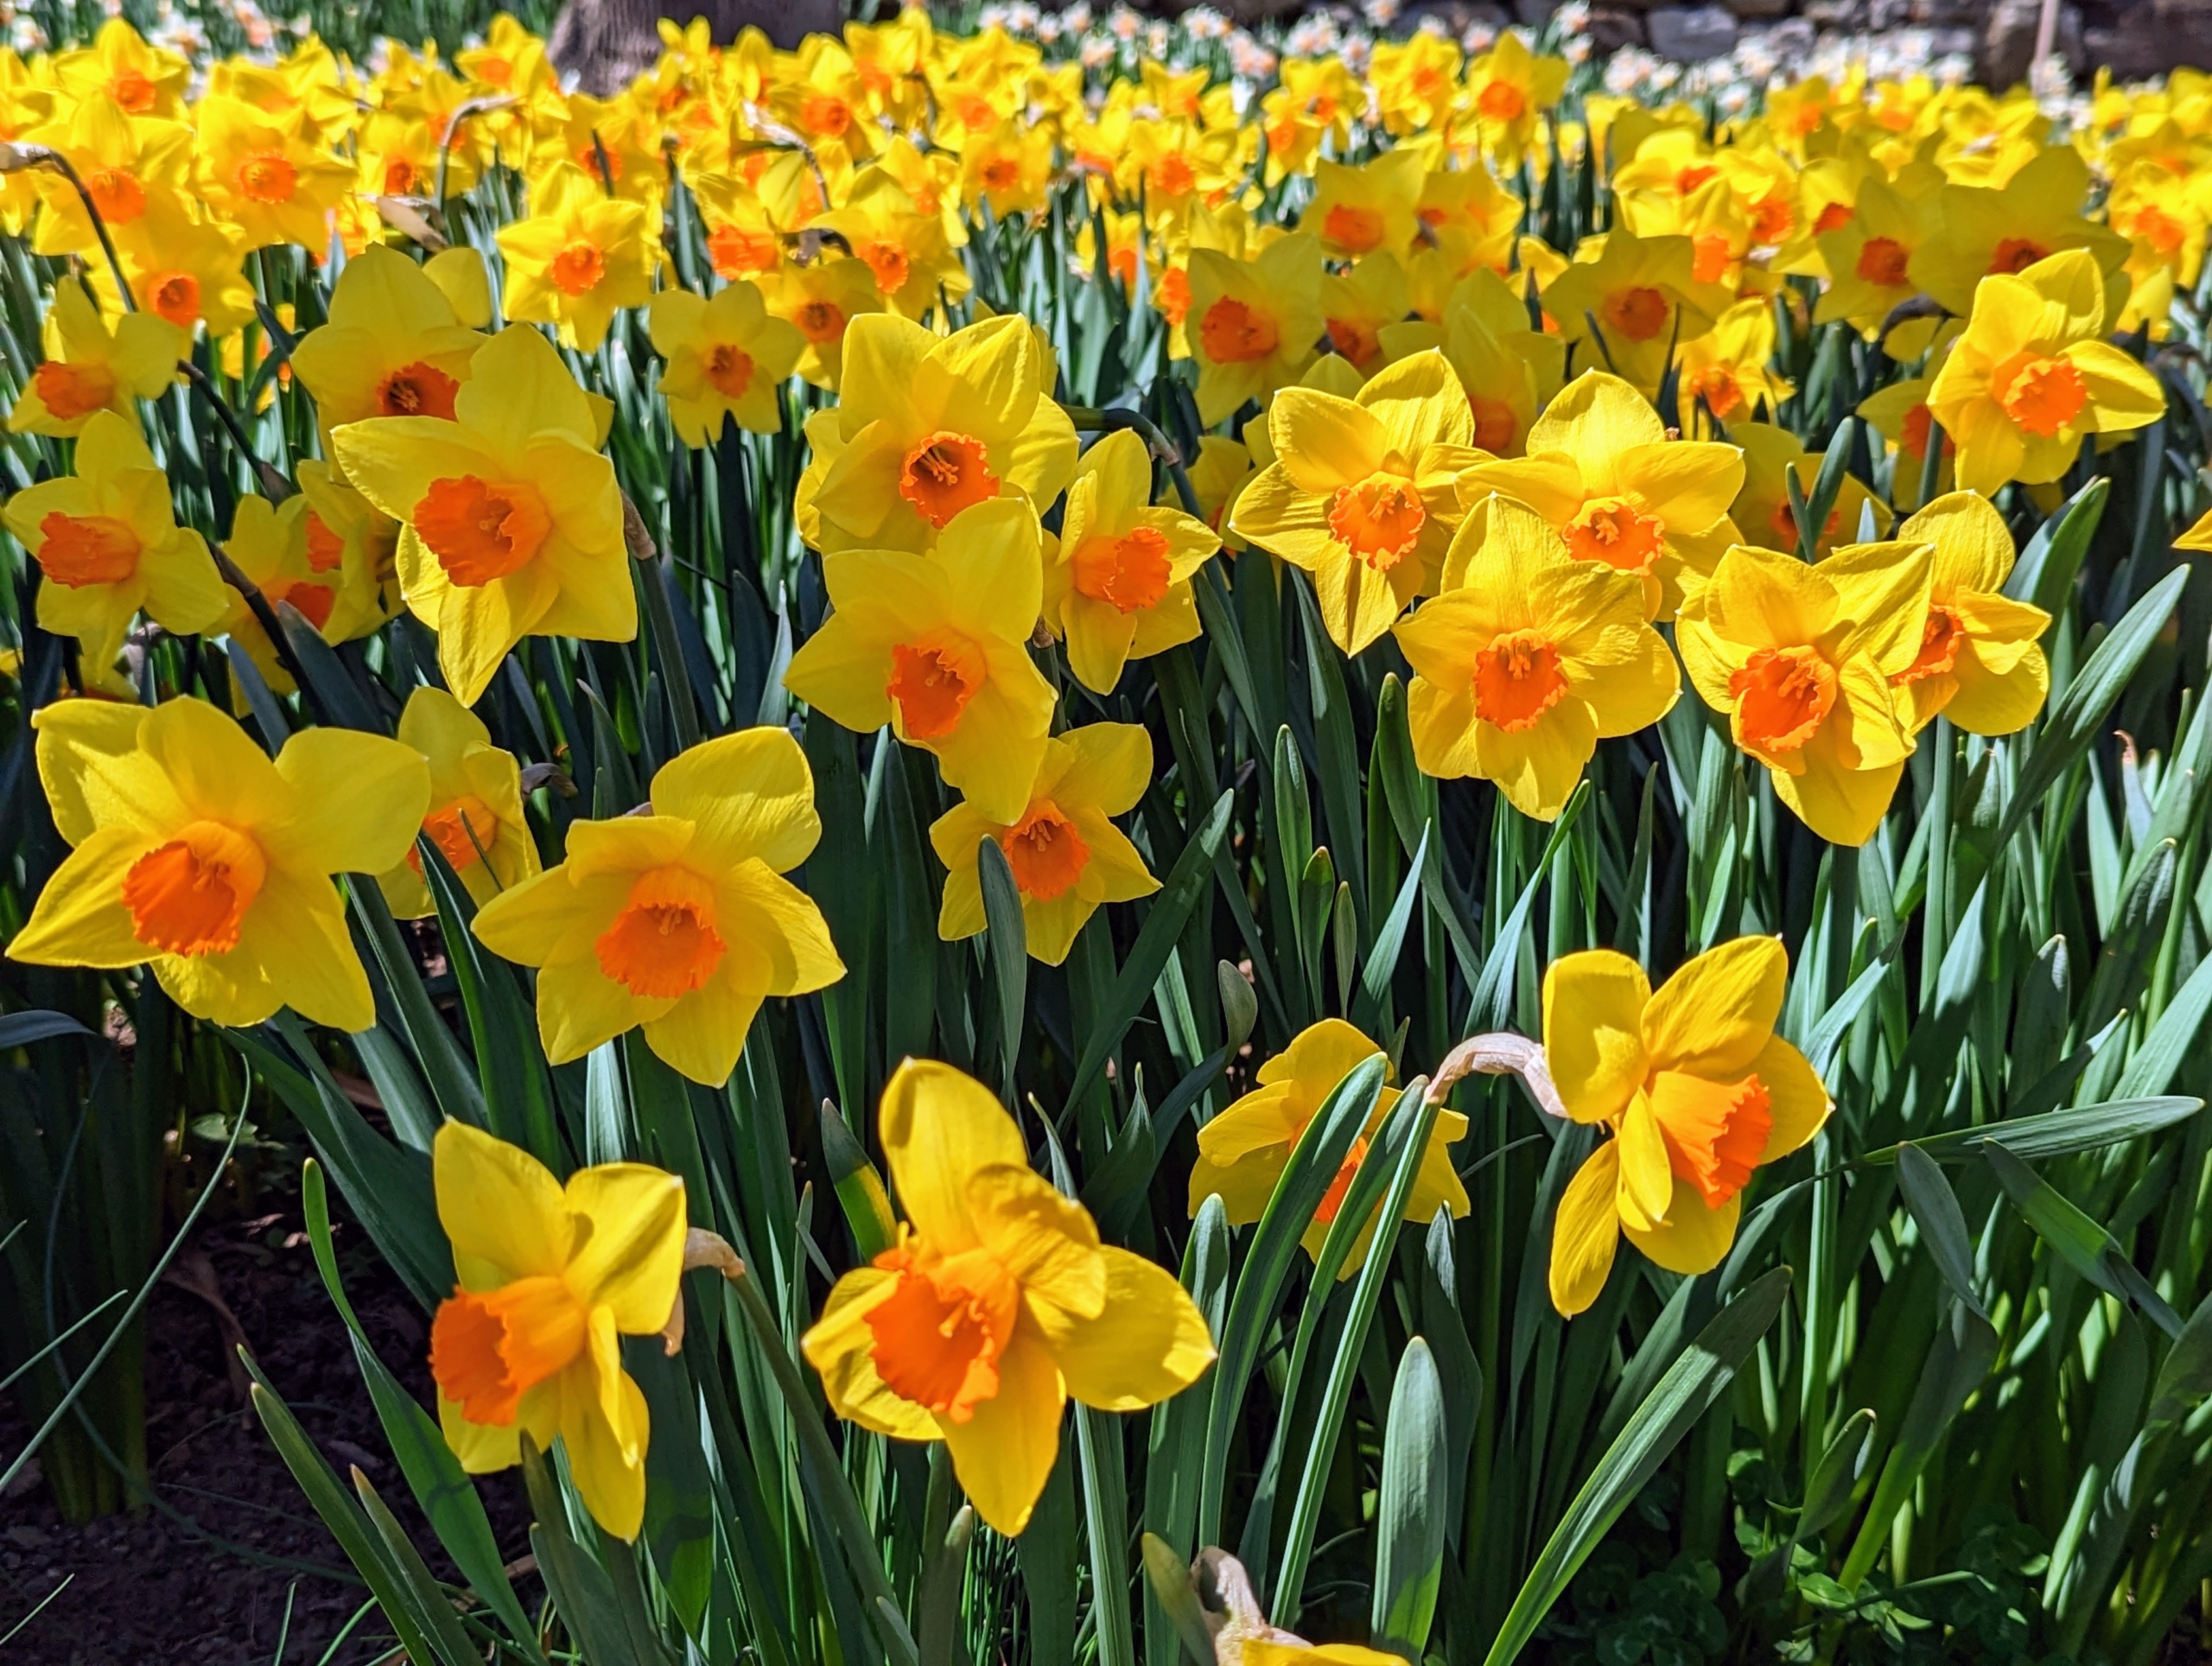
This cheerful daffodil, with its color contrast, makes a bold statement in the border. Cultivars with bold colored cups generally retain better color when planted in a little shade to protect them from the hot afternoon sun.
And remember what I always say about all plants and flowers – if you eat, so should your plants. Fertilize daffodils with extra phosphorous to encourage good root development, especially when they’re young.
Few pests bother daffodils. The bulbs are actually quite unappetizing to most insects and animals, including deer and voles.
After daffodils bloom in the spring, allow the plants to continue growing until they die off on their own. They need the time after blooming to store energy in their bulbs for next year.
When cutting daffodils, they should be kept alone in the vase as their stems secrete a fluid that promotes wilting in other flowers. If you need to combine flowers, soak them alone first and then add them to the arrangements last.
In general, daffodils are easy to care for and are hardy plants. Diseases common to daffodils include basal rot, various viruses, and fungi.
Daffodils can also grow in containers as long as there is room to multiply and room for the roots to fill out. They can bloom well for two to three years – after that, it’s best to move them to a spot in the ground where they will come up once a year.
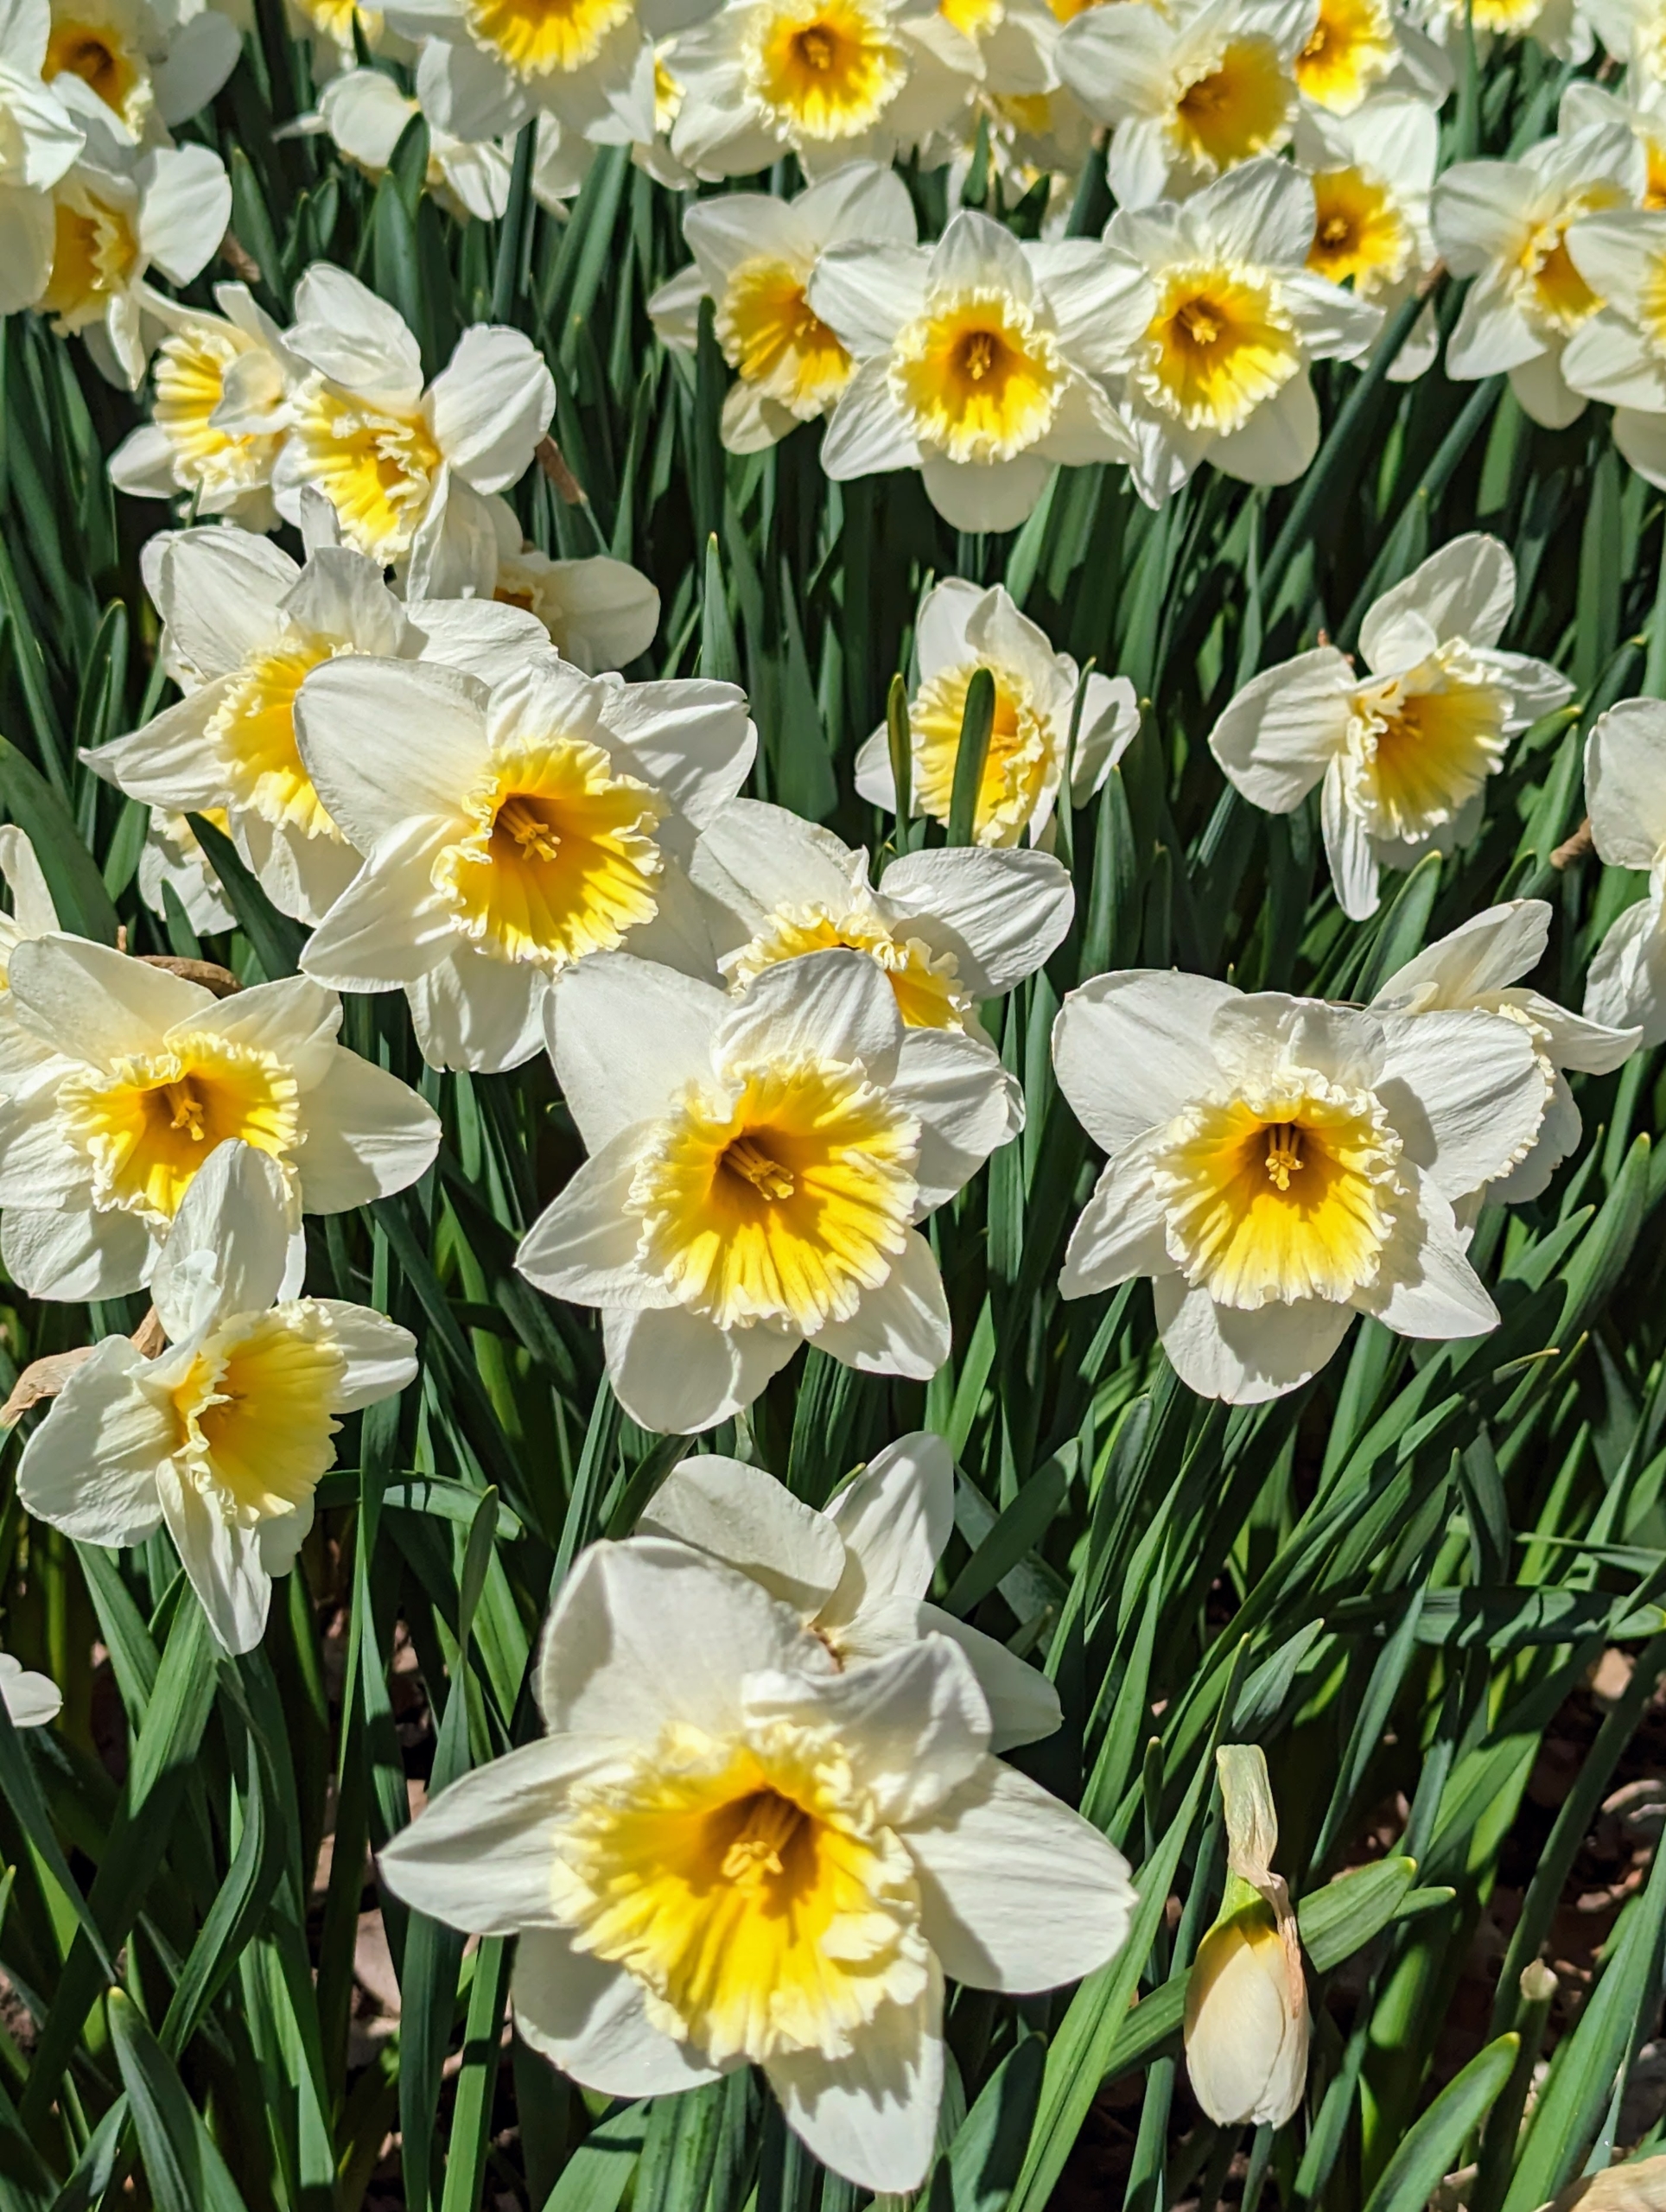
Bulbs should be planted in groups or drifts of like kinds and like colors to give the best presentation.
This view is from the one end of my allée of lindens looking south. We planted this section in 2019 and the flowers continue to blooms profusely every year.
And underneath the majestic pin oaks in the allée and in the pits of the weeping willows is a variety of Narcissi named after me by Van Engelen Inc., a wholesale flower bulb company in Bantam, Connecticut.
These flowers are all reliable bloomers and can continue to produce each spring for decades.
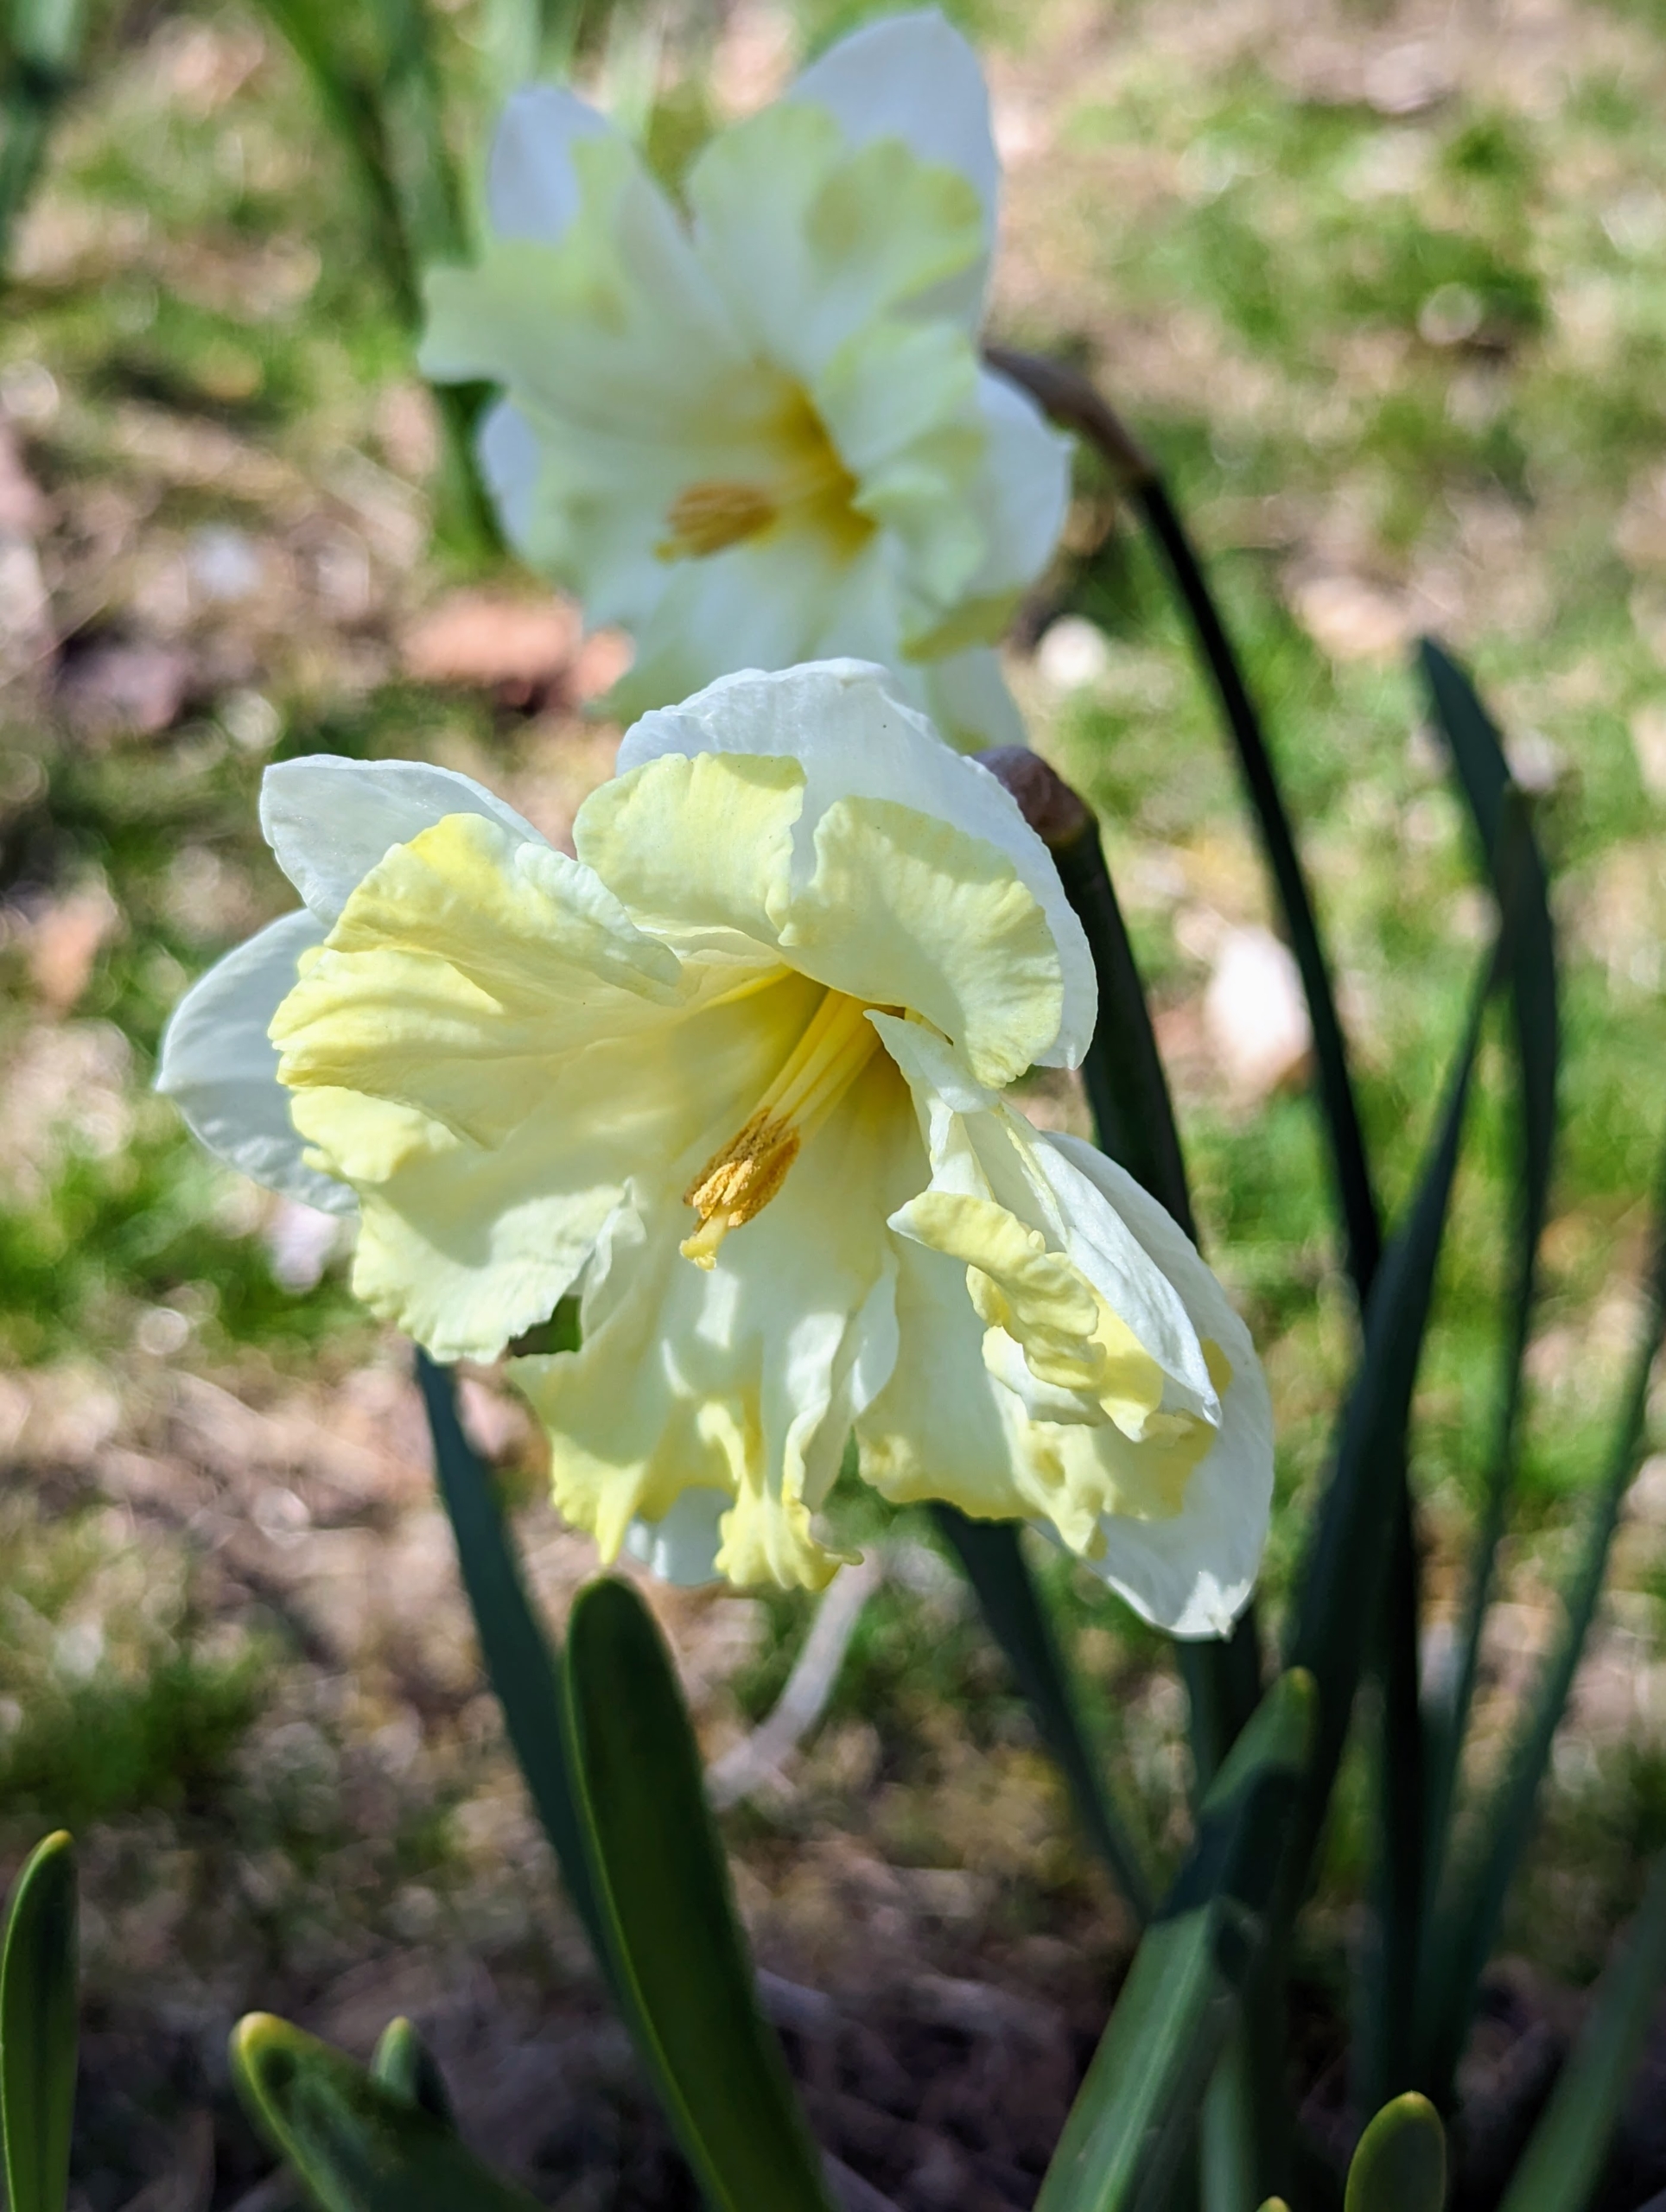
Here’s a closer look at Narcissus ‘Martha Stewart’ – a Karel van der Veek hybrid with a three-inch white perianth surrounding a pale yellow cup. In full bloom, these flowers grow up to about 16 to 18 inches tall and look stunning against my luscious green lawns. Daffodil season is a great time of year, but it’s only the beginning. There are so many more beautiful blooms to come…
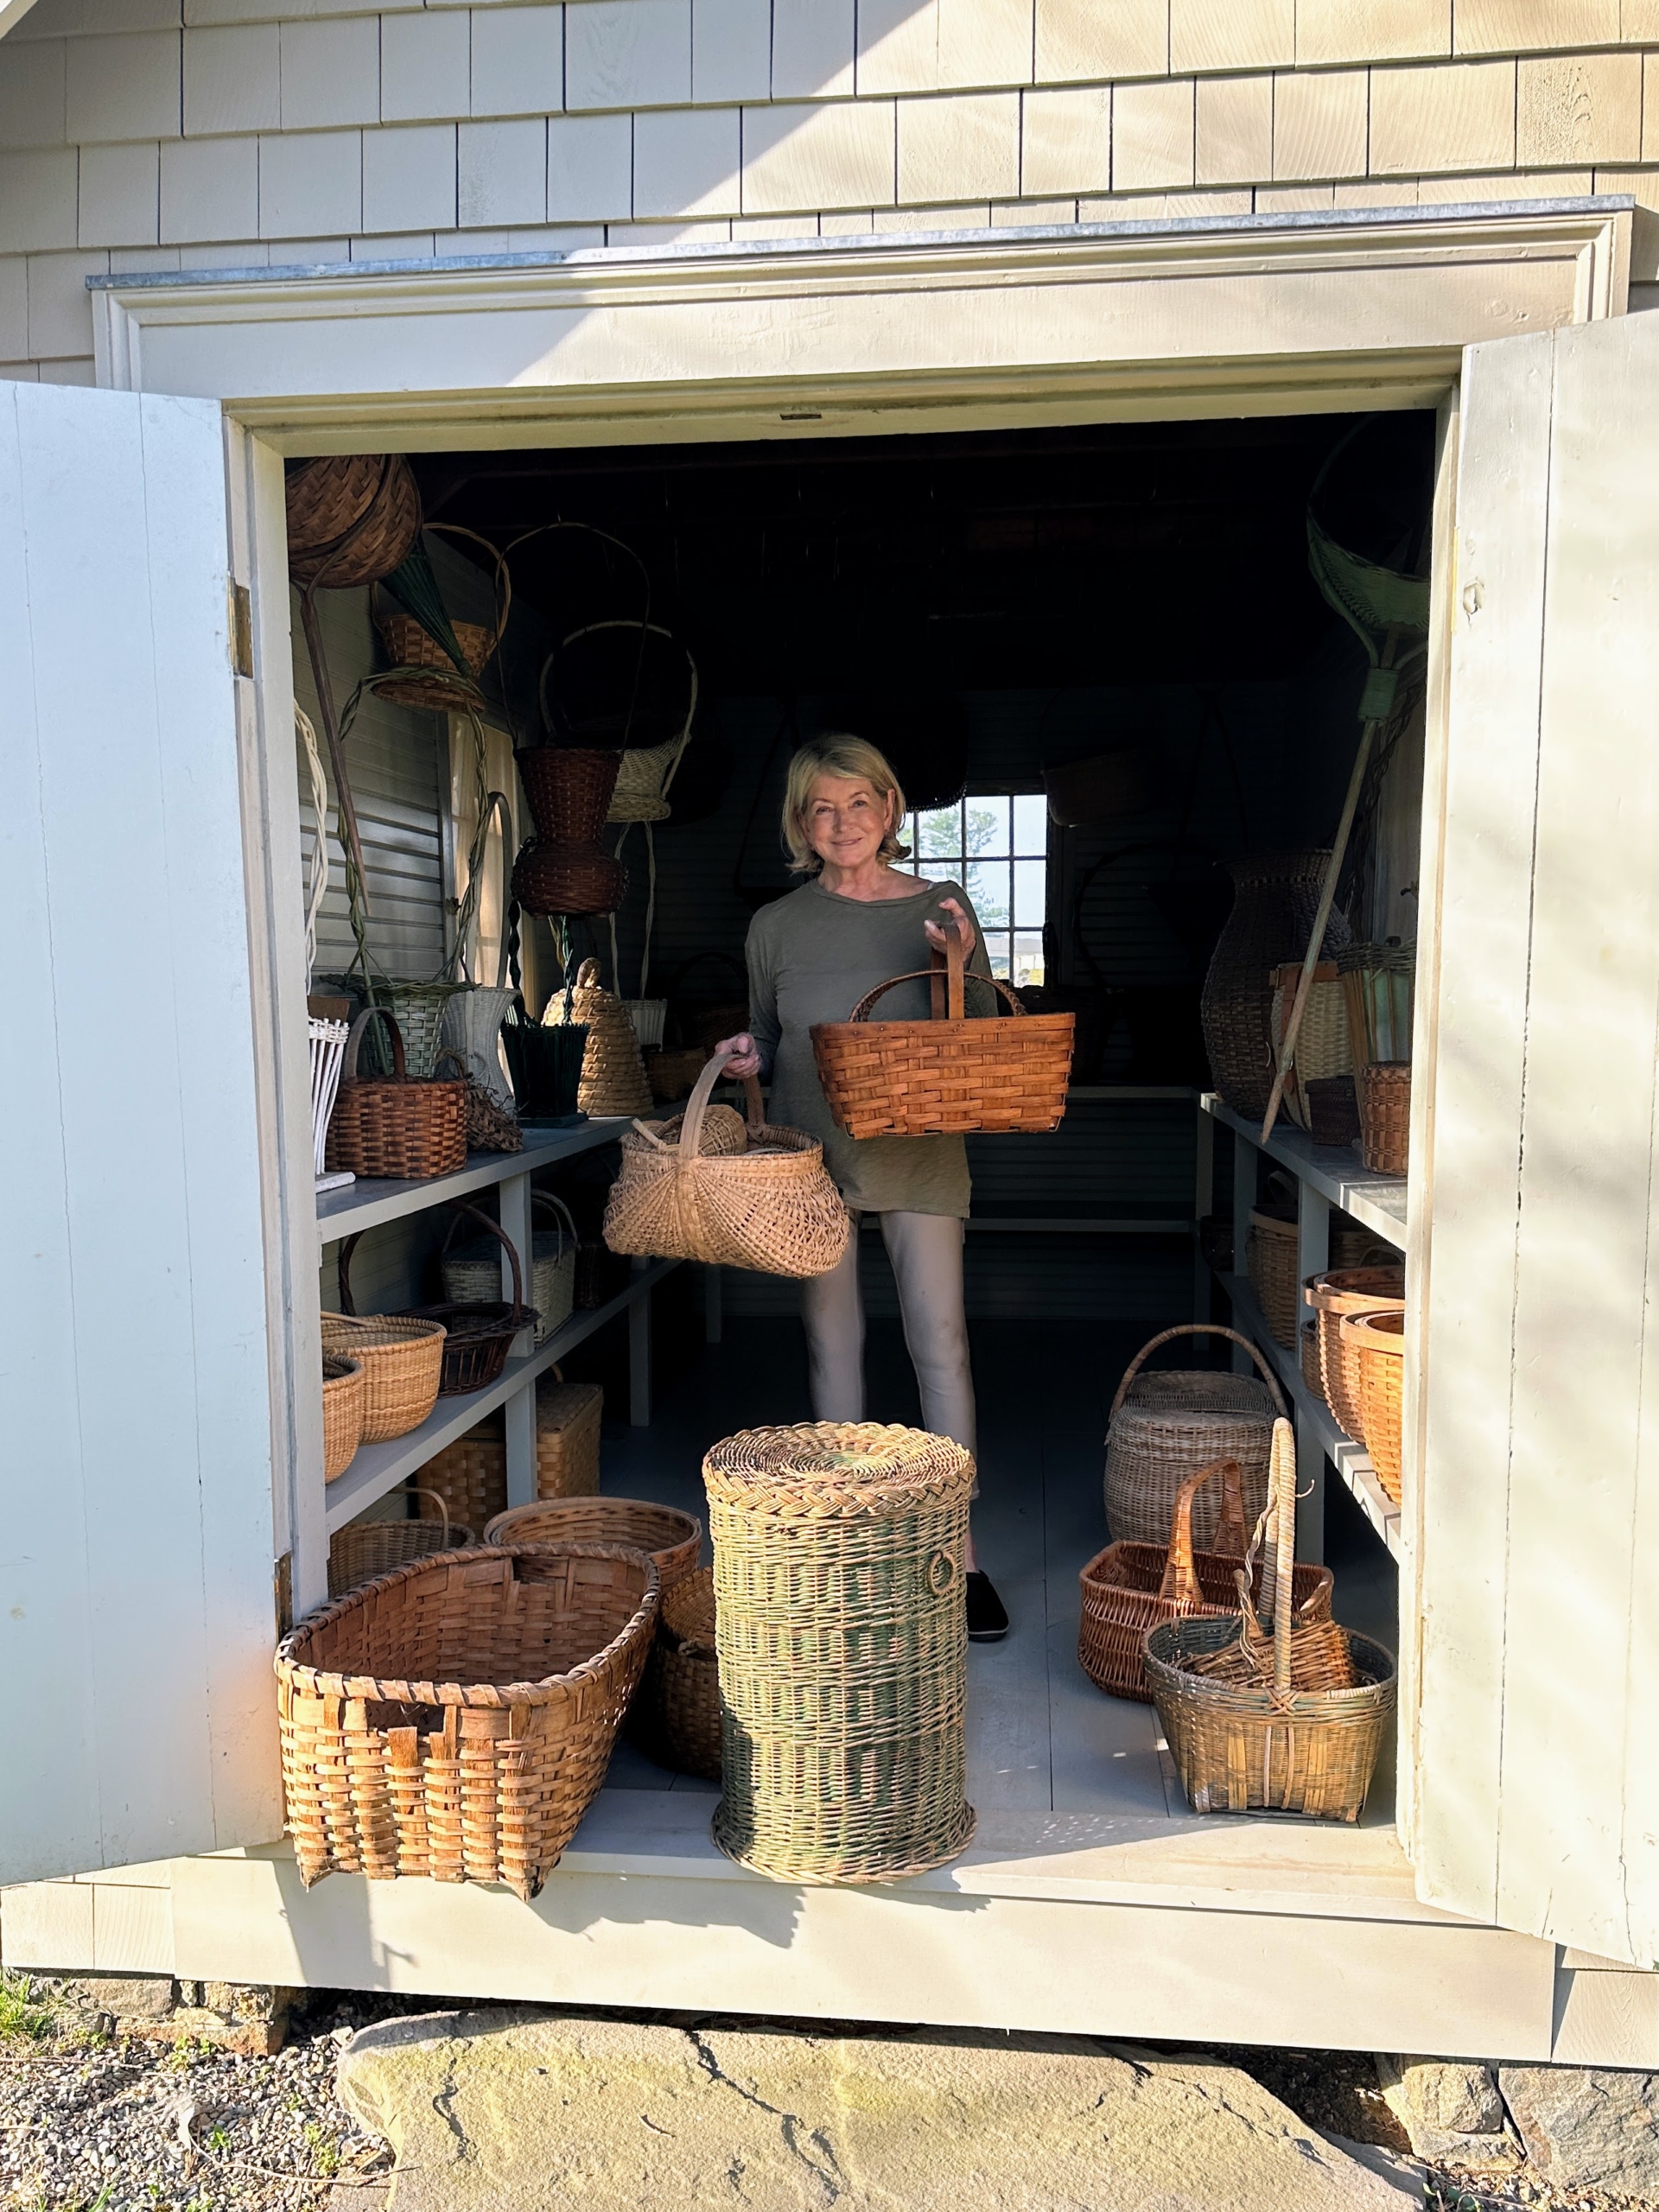
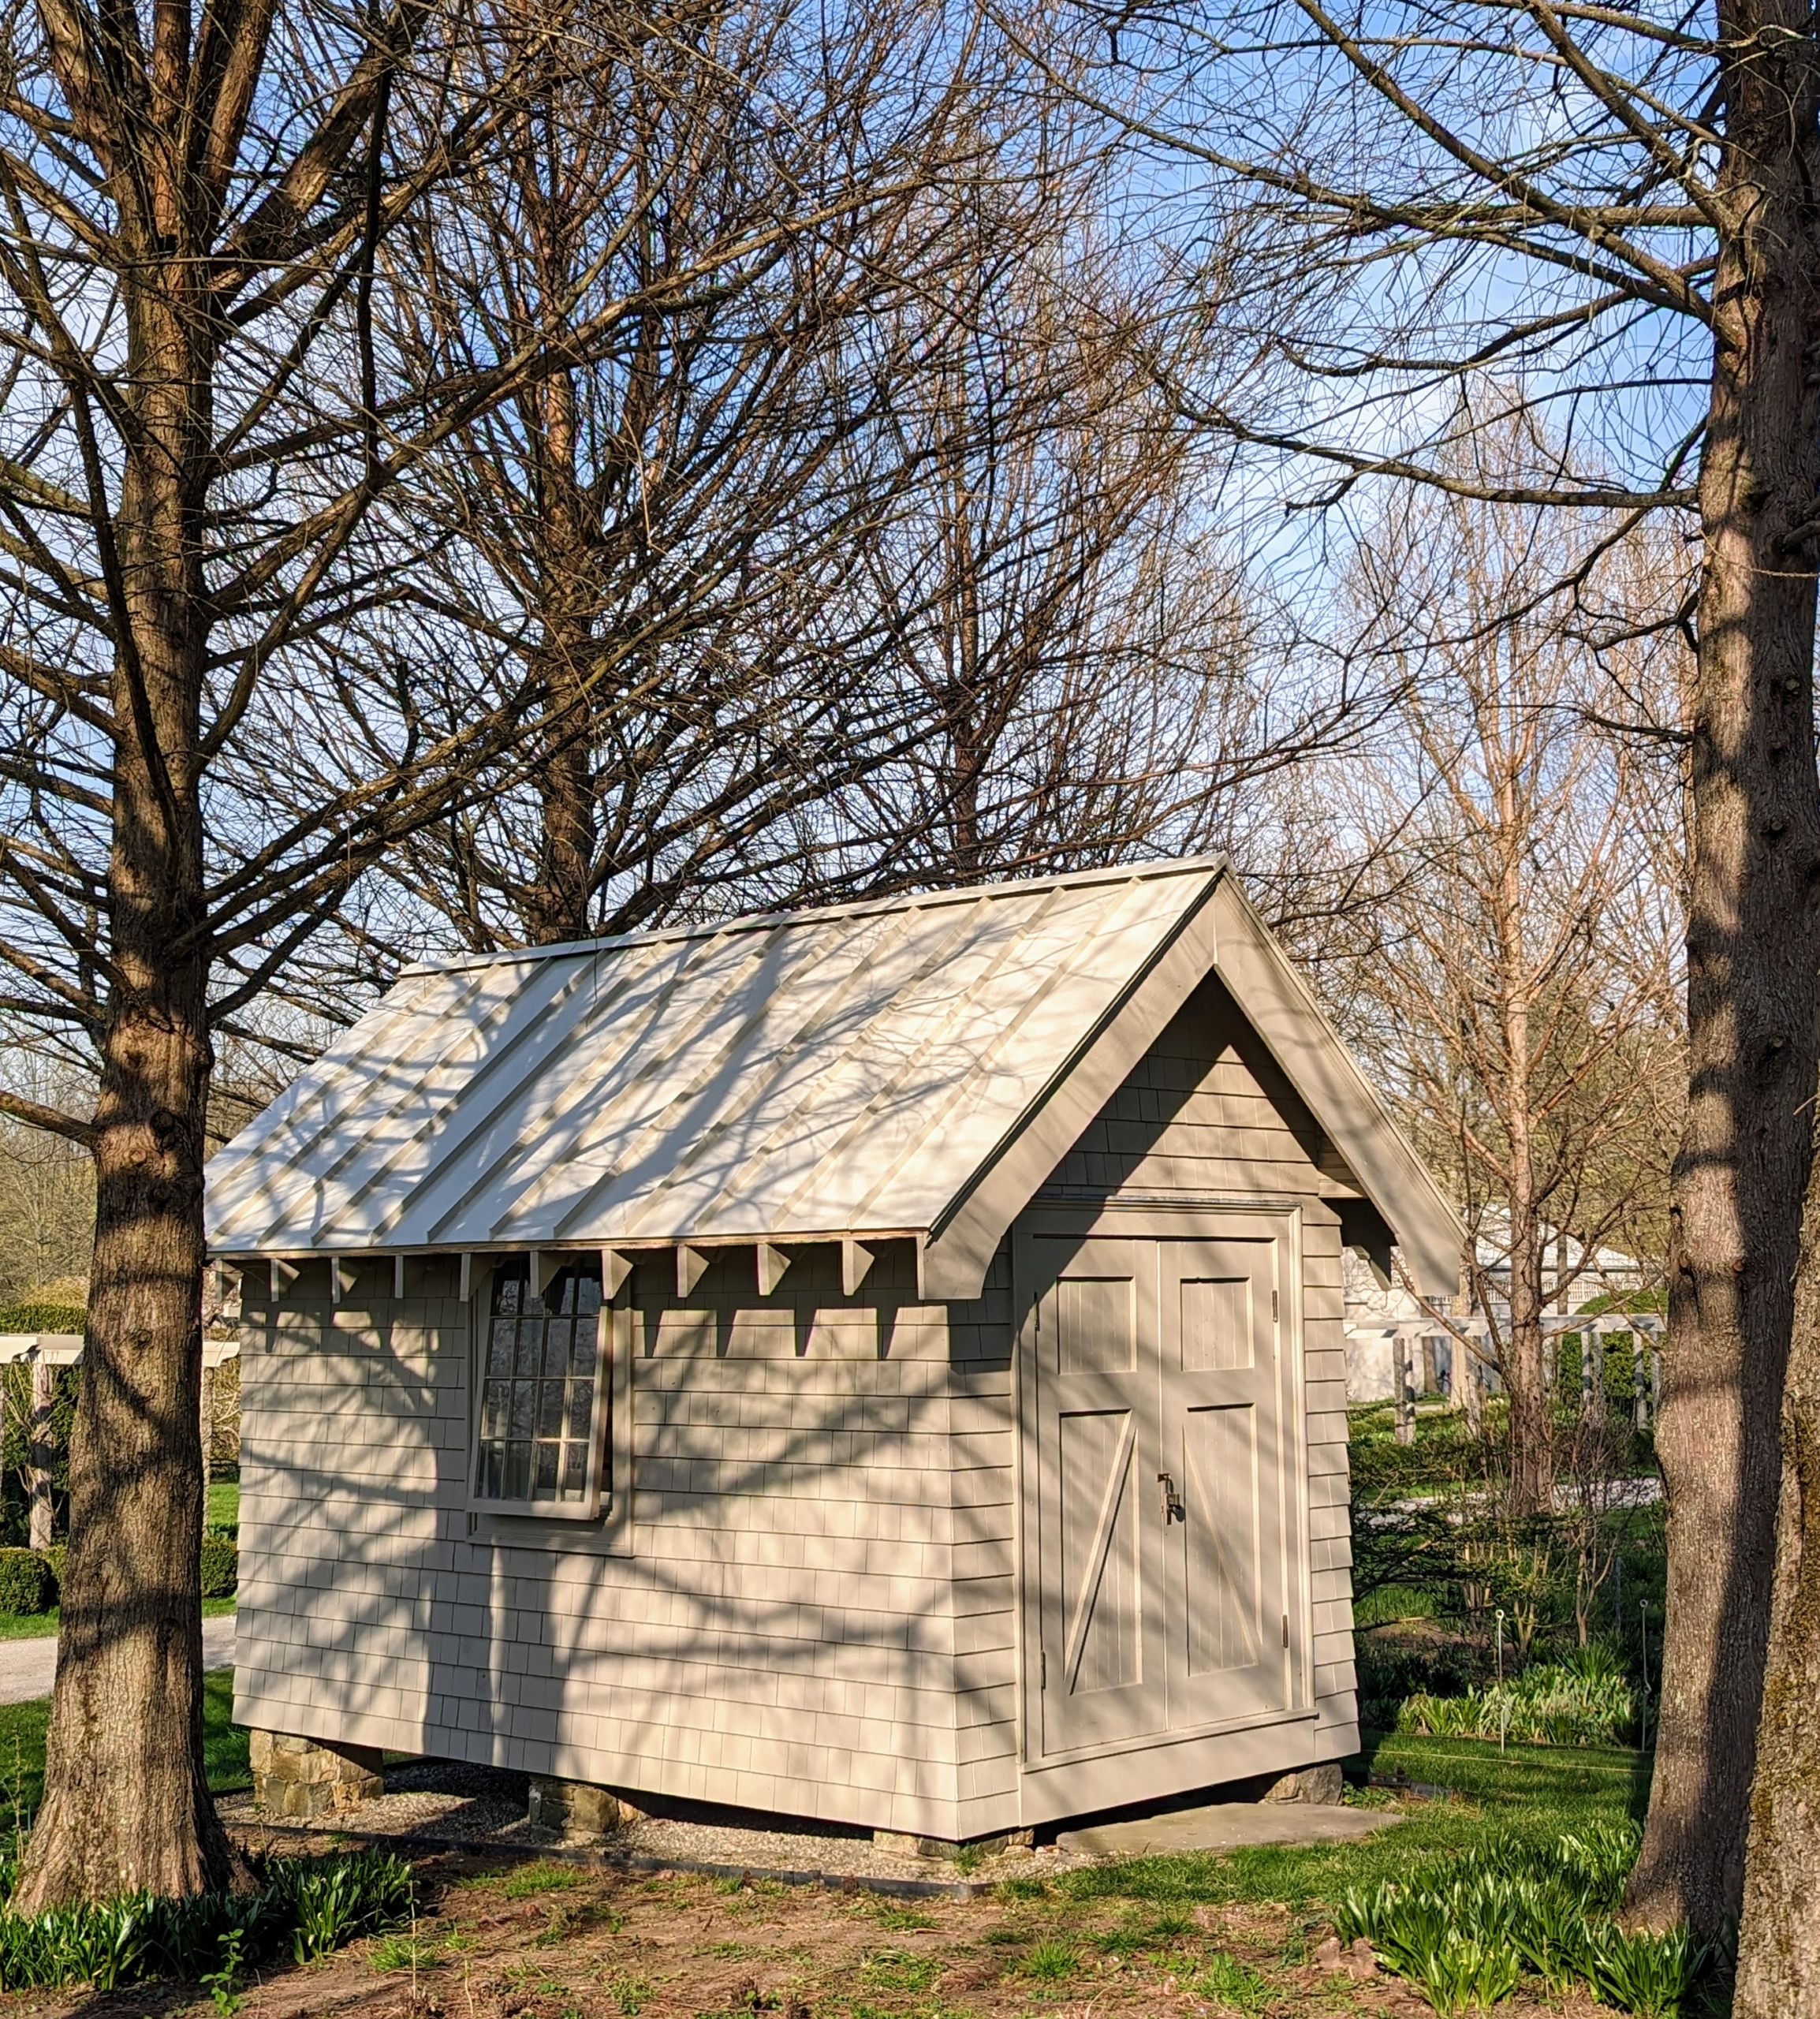
My newly re-roofed Basket House is now also clean and organized.
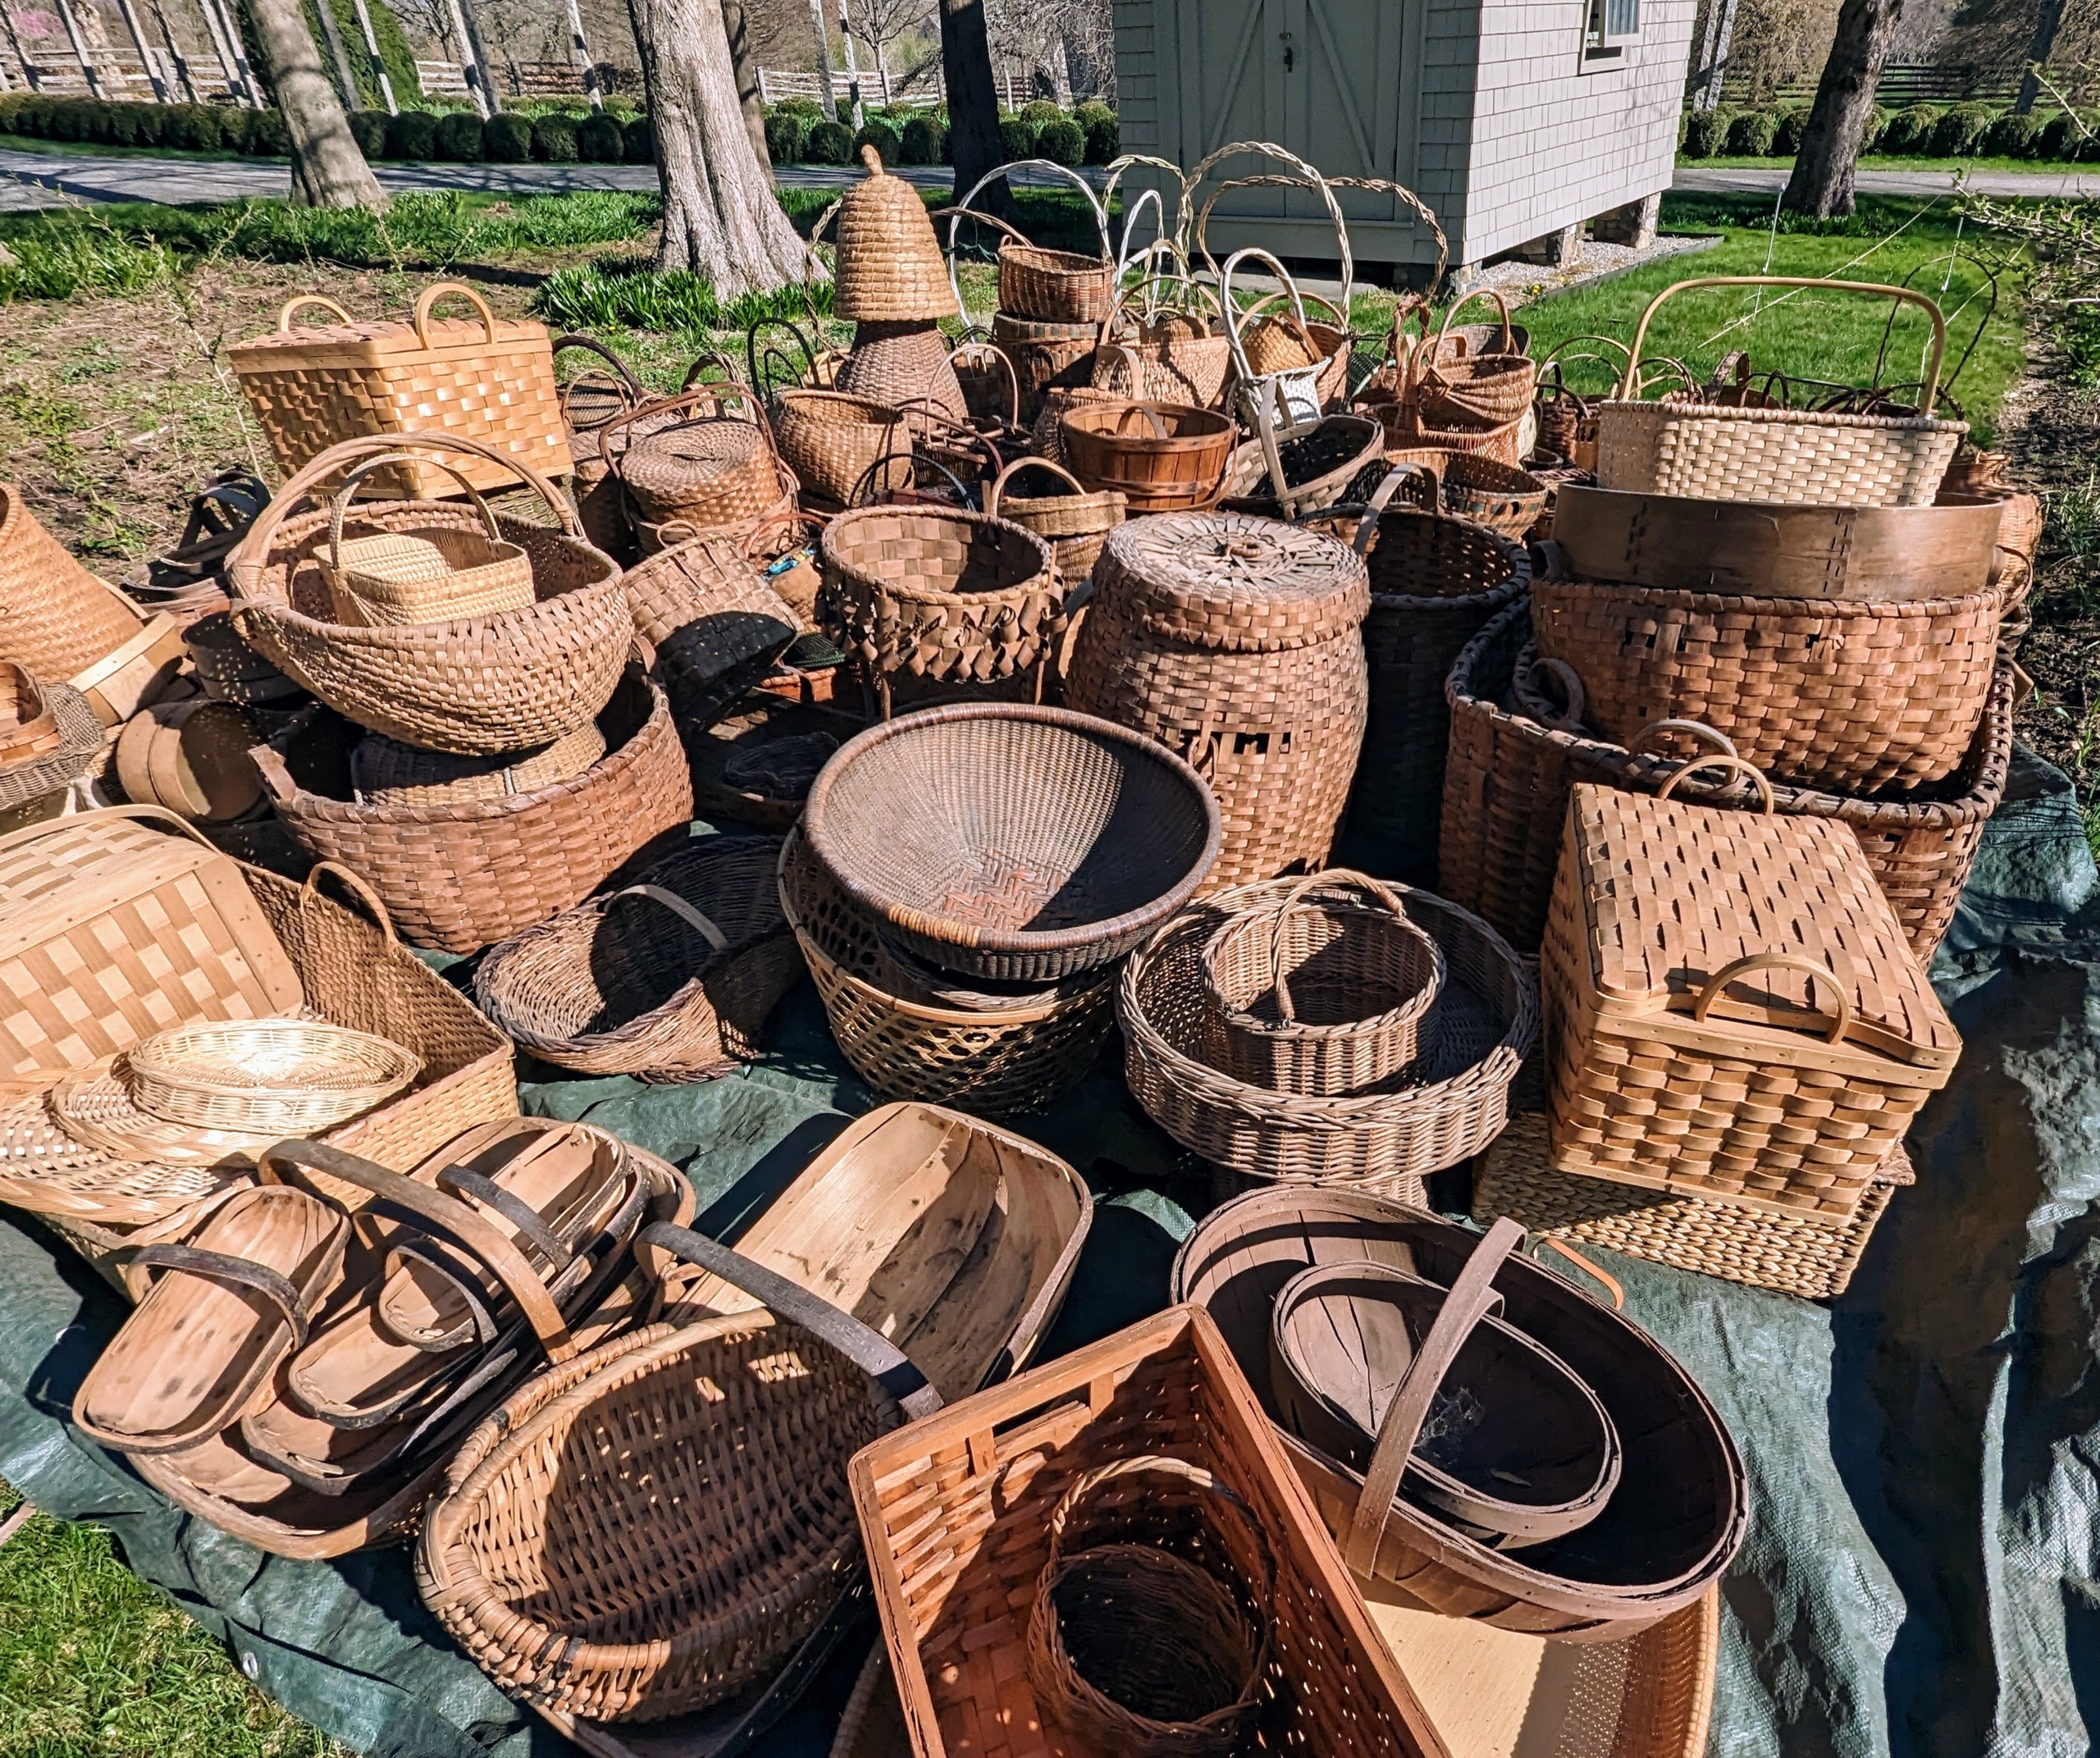
Basketry is made from pliable materials that bend and form shape. Some examples include pine, straw, willow, various grasses, threads, and fine wooden splints. I have hundreds of baskets in my collection - some are rare and antique, some are vintage, and some are more contemporary. Last week, I had the timeworn cedar roof of the Basket House replaced with a longer-lasting standing seam snap lock roof system. Afterward, the structure was cleaned and all the baskets were re-organized and returned. If you follow my Instagram page @MarthaStewart48, you may have seen my posts showing some of the process.
Here are a few more, enjoy.
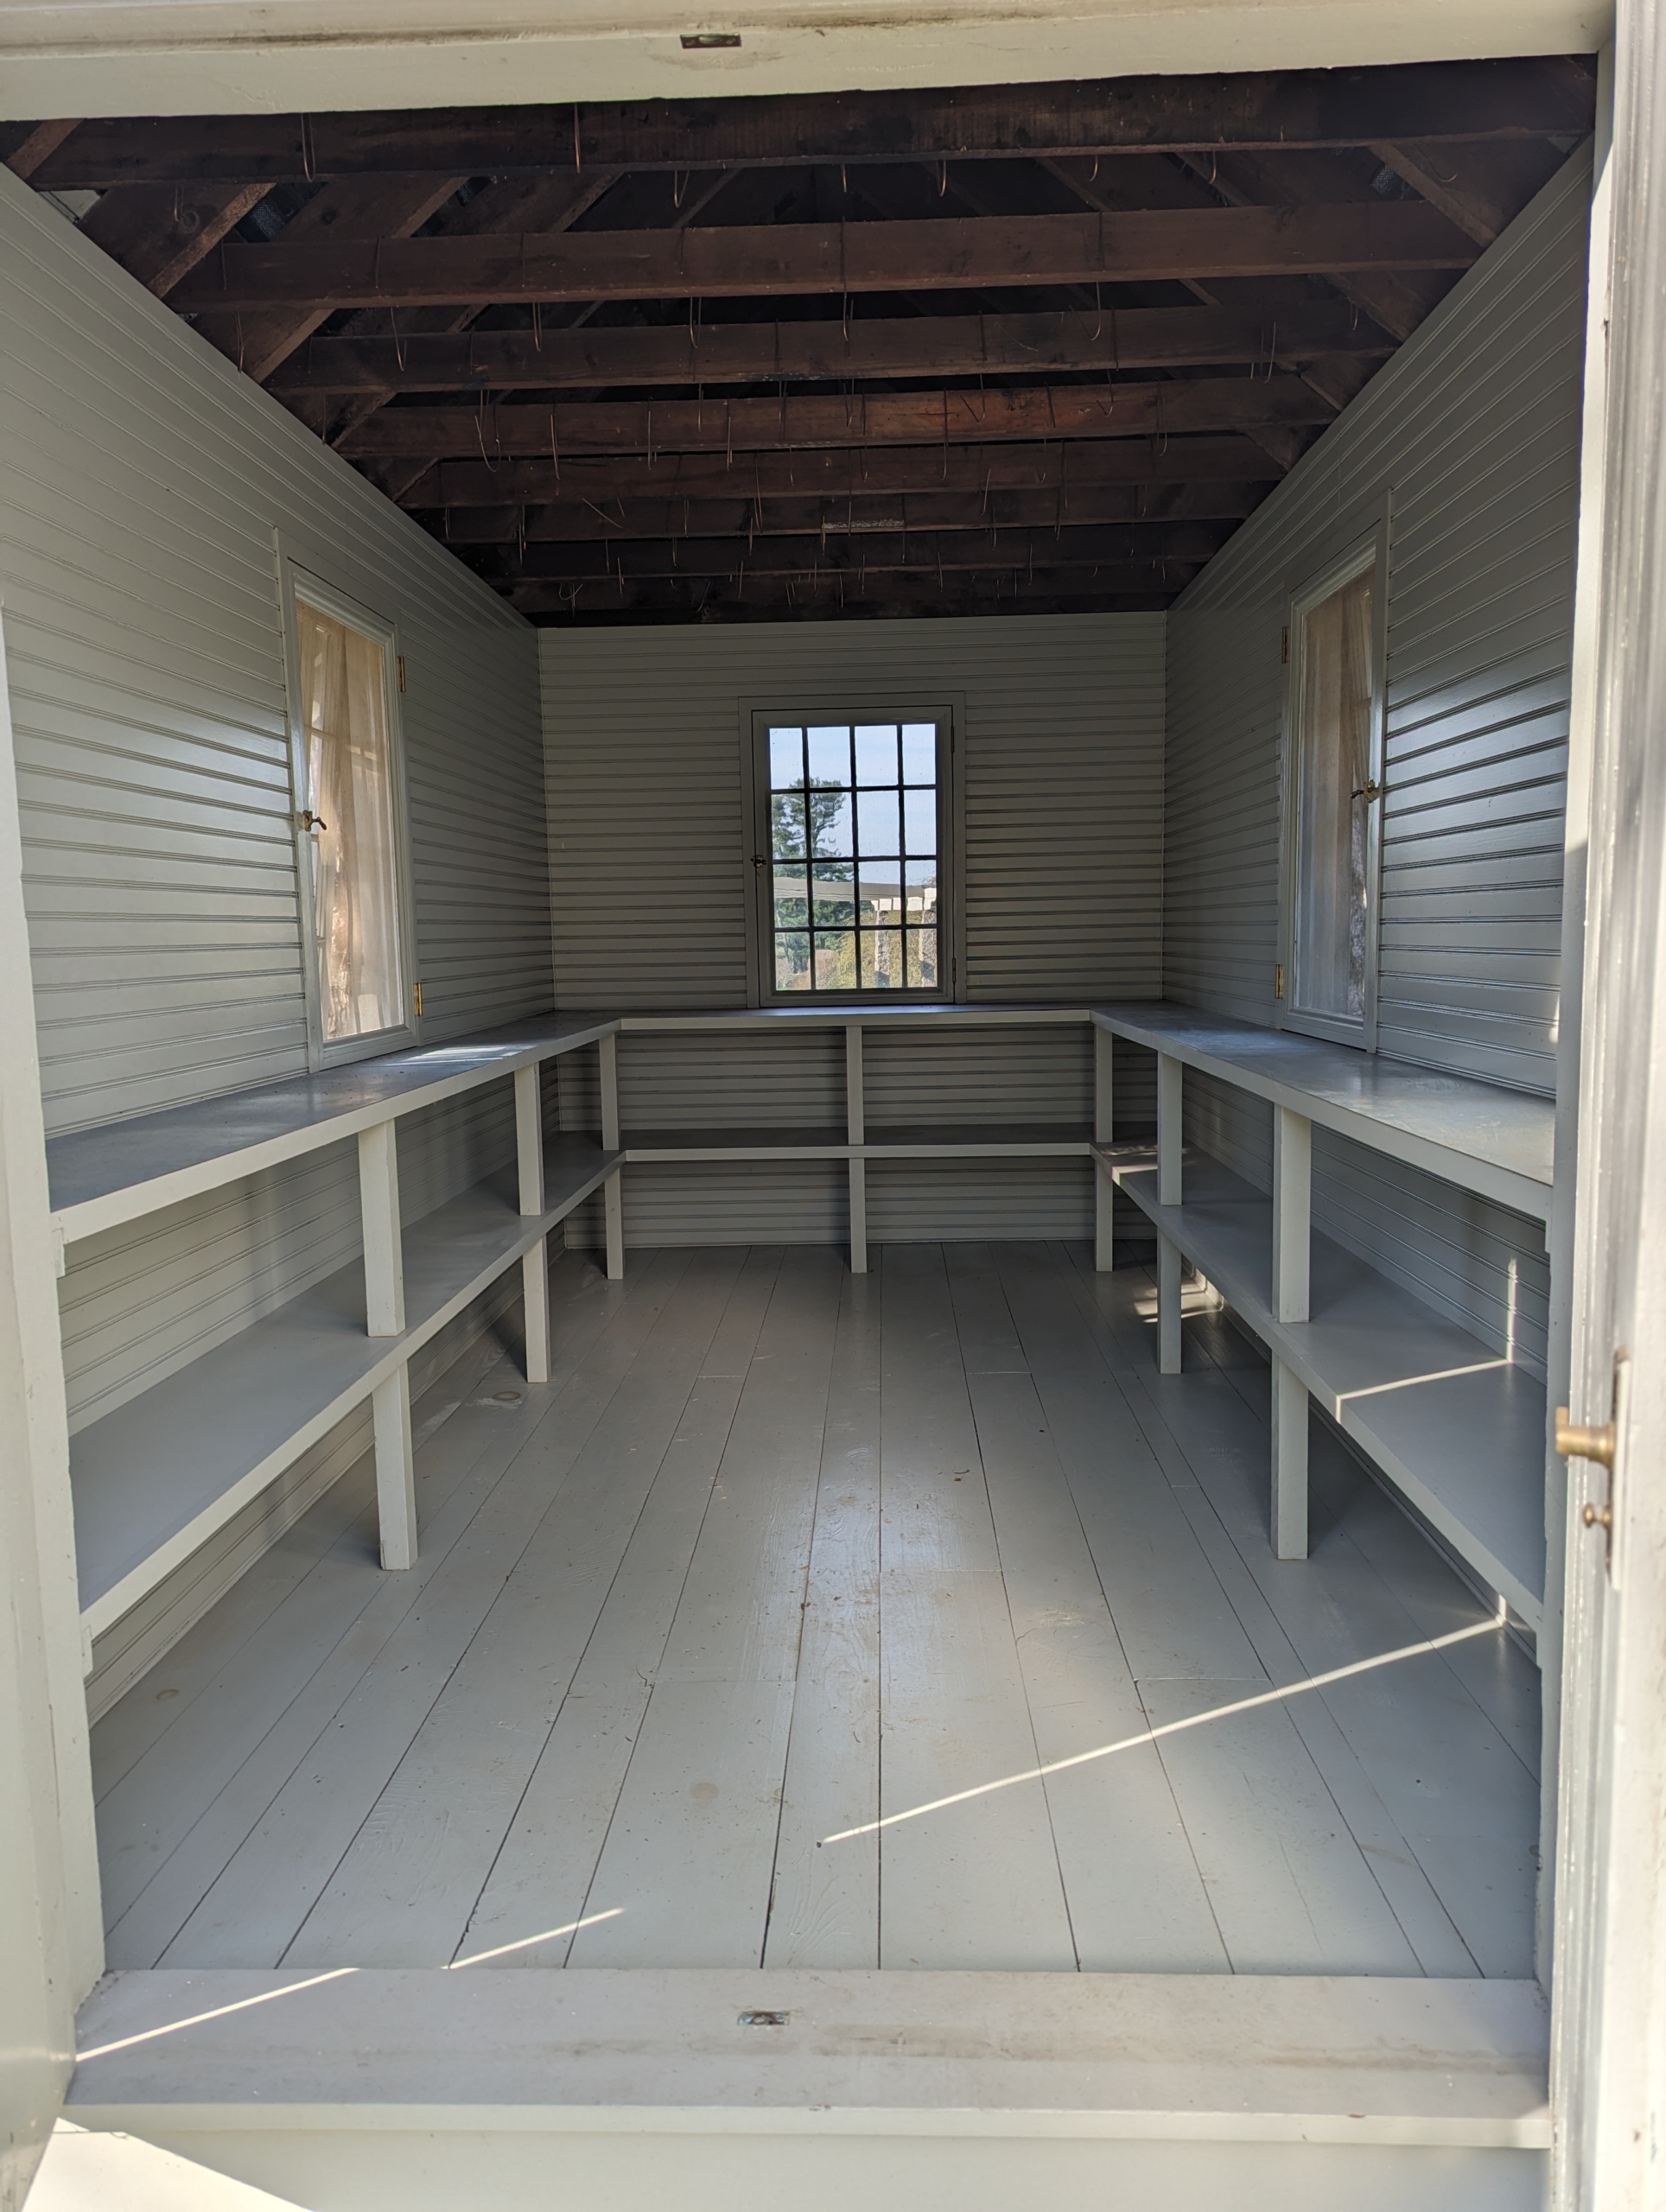
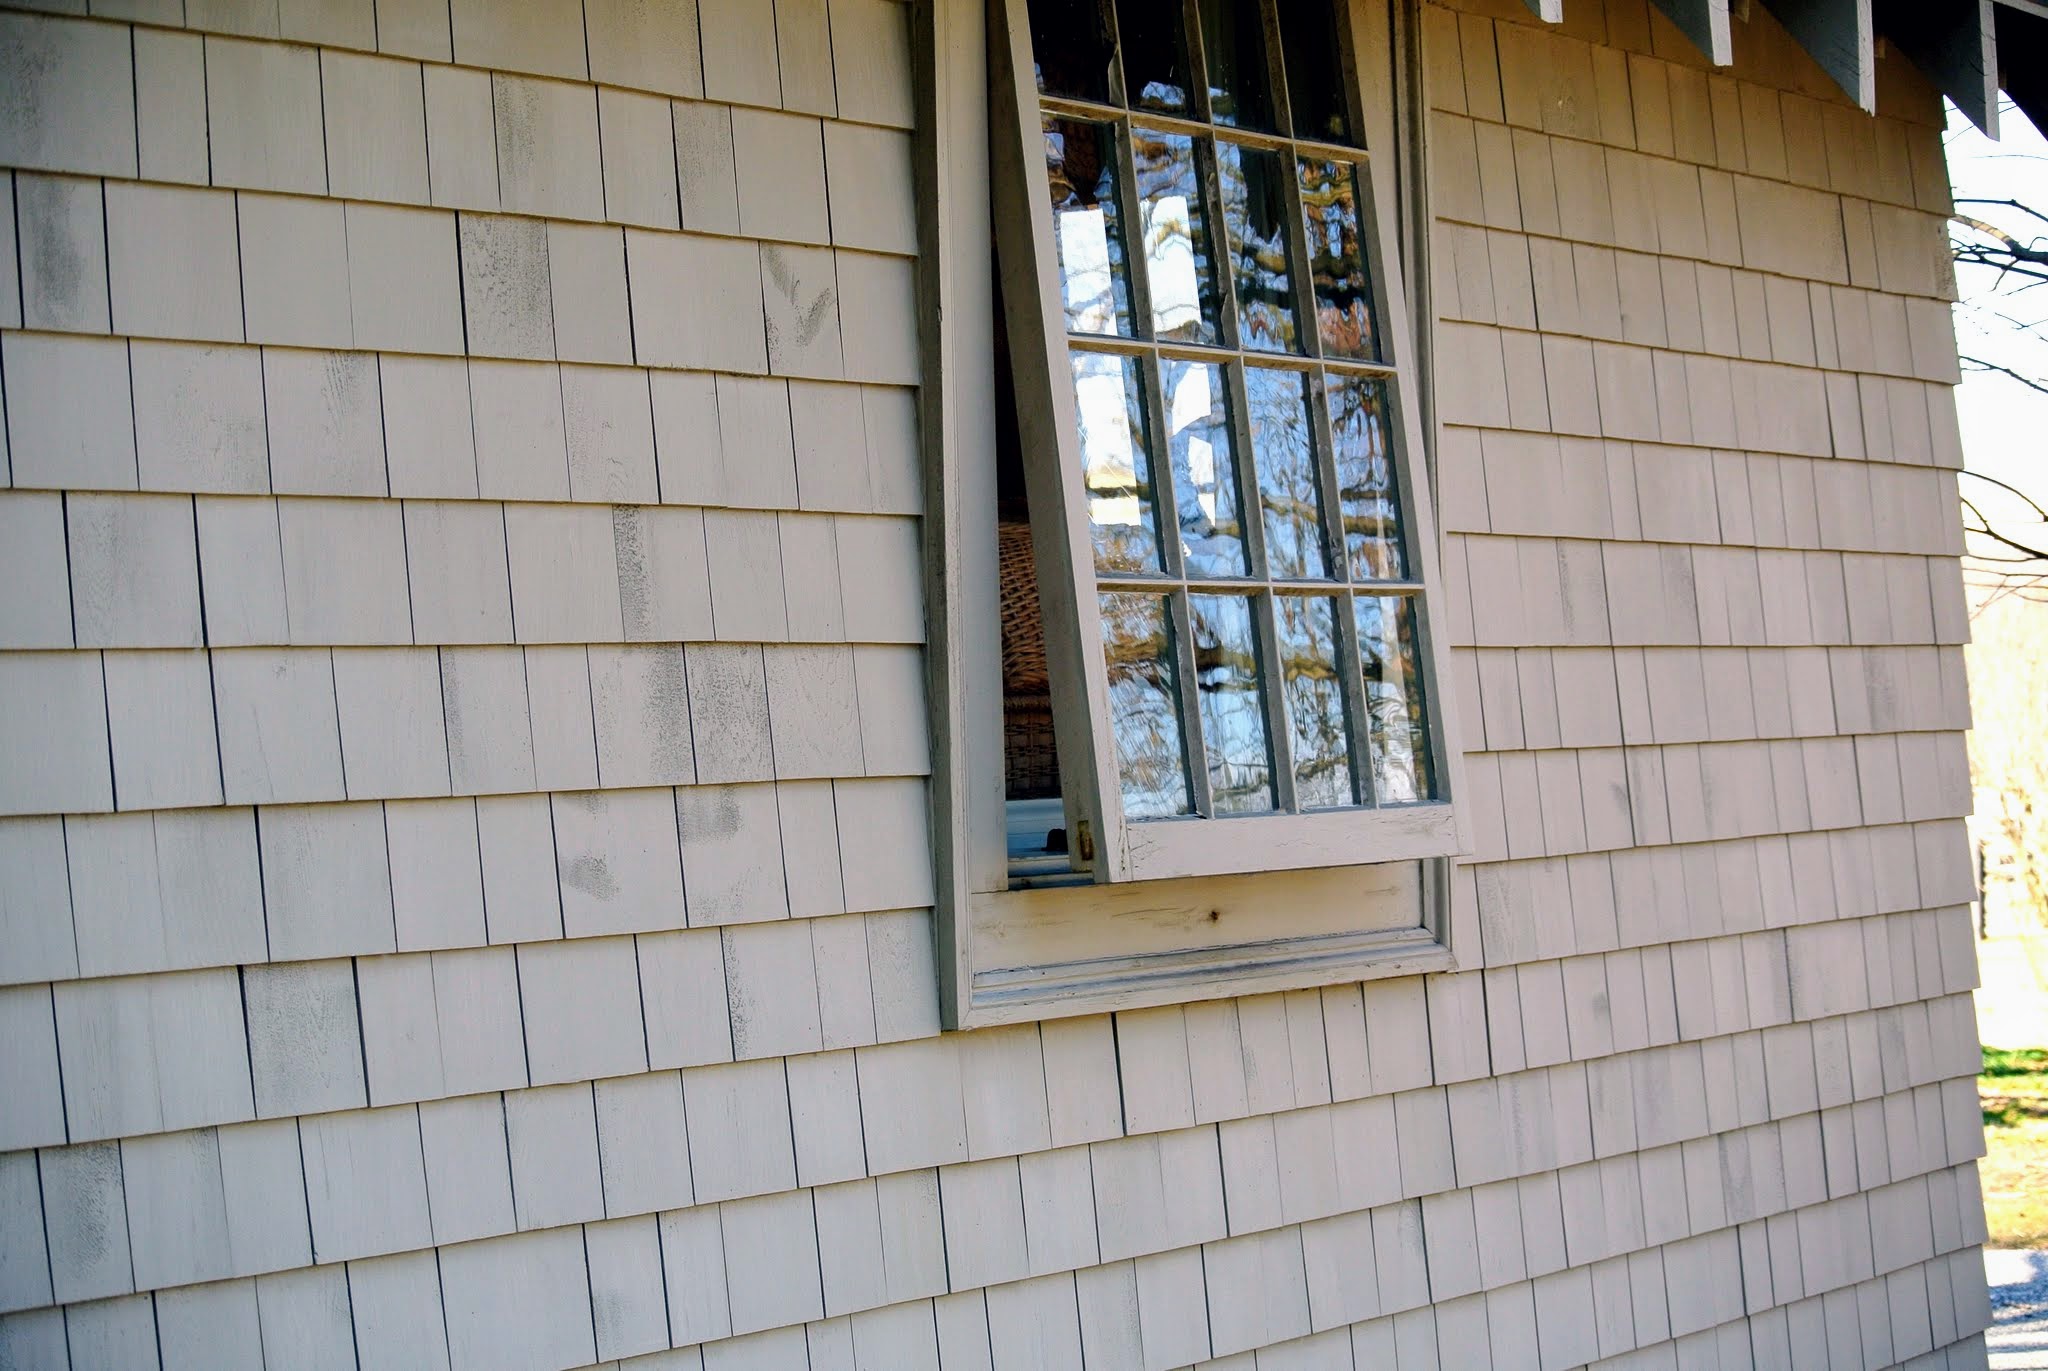
This is the little house where I store my basket collection. It is located across from my long clematis pergola. It now has a brand new metal standing seam snap-lock roof in “Bedford Gray” that should last many, many years.
After the roof was replaced, the inside was swept clean. Now it is ready for all the baskets to be stored and re-organized. I like to do this task once every couple of years to ensure all the baskets are in good condition.
Many of these baskets I hadn’t seen in awhile. They always bring back fond memories.
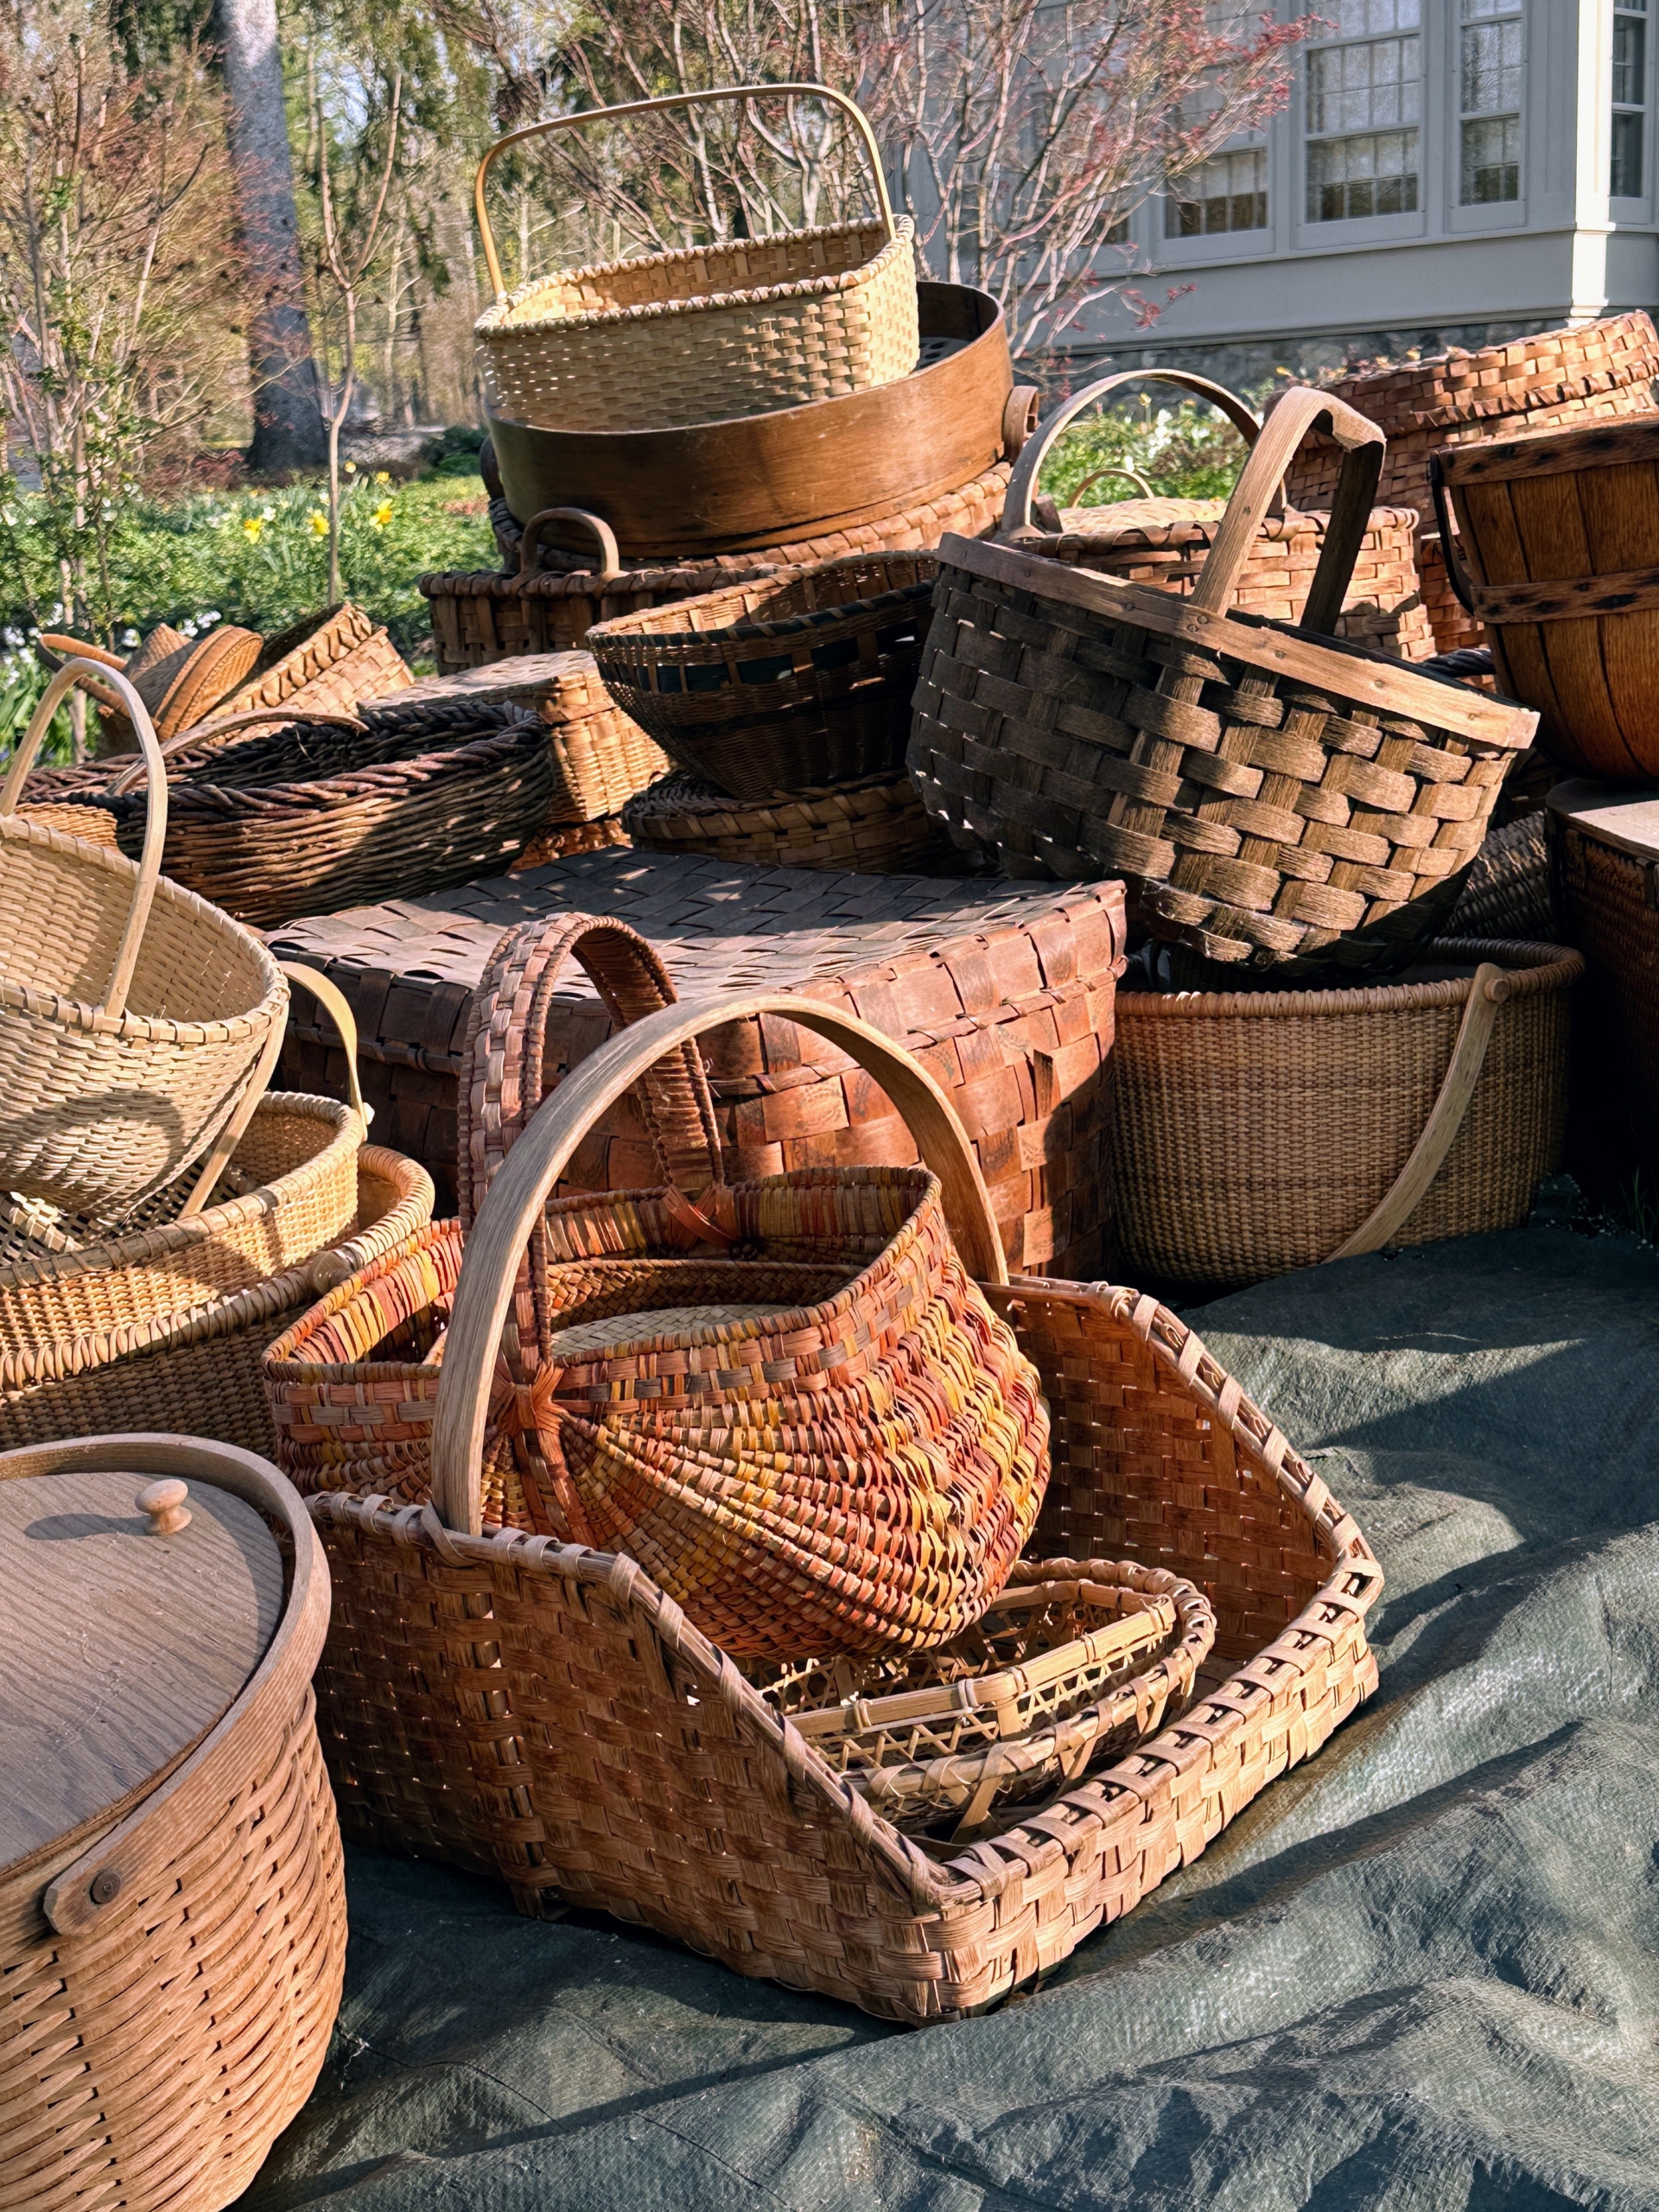
A good number of these baskets were used during my catering days. Fortunately, the days during the roof work were dry and warm, but on this afternoon, we rushed to get all the baskets back inside before the forecasted showers.
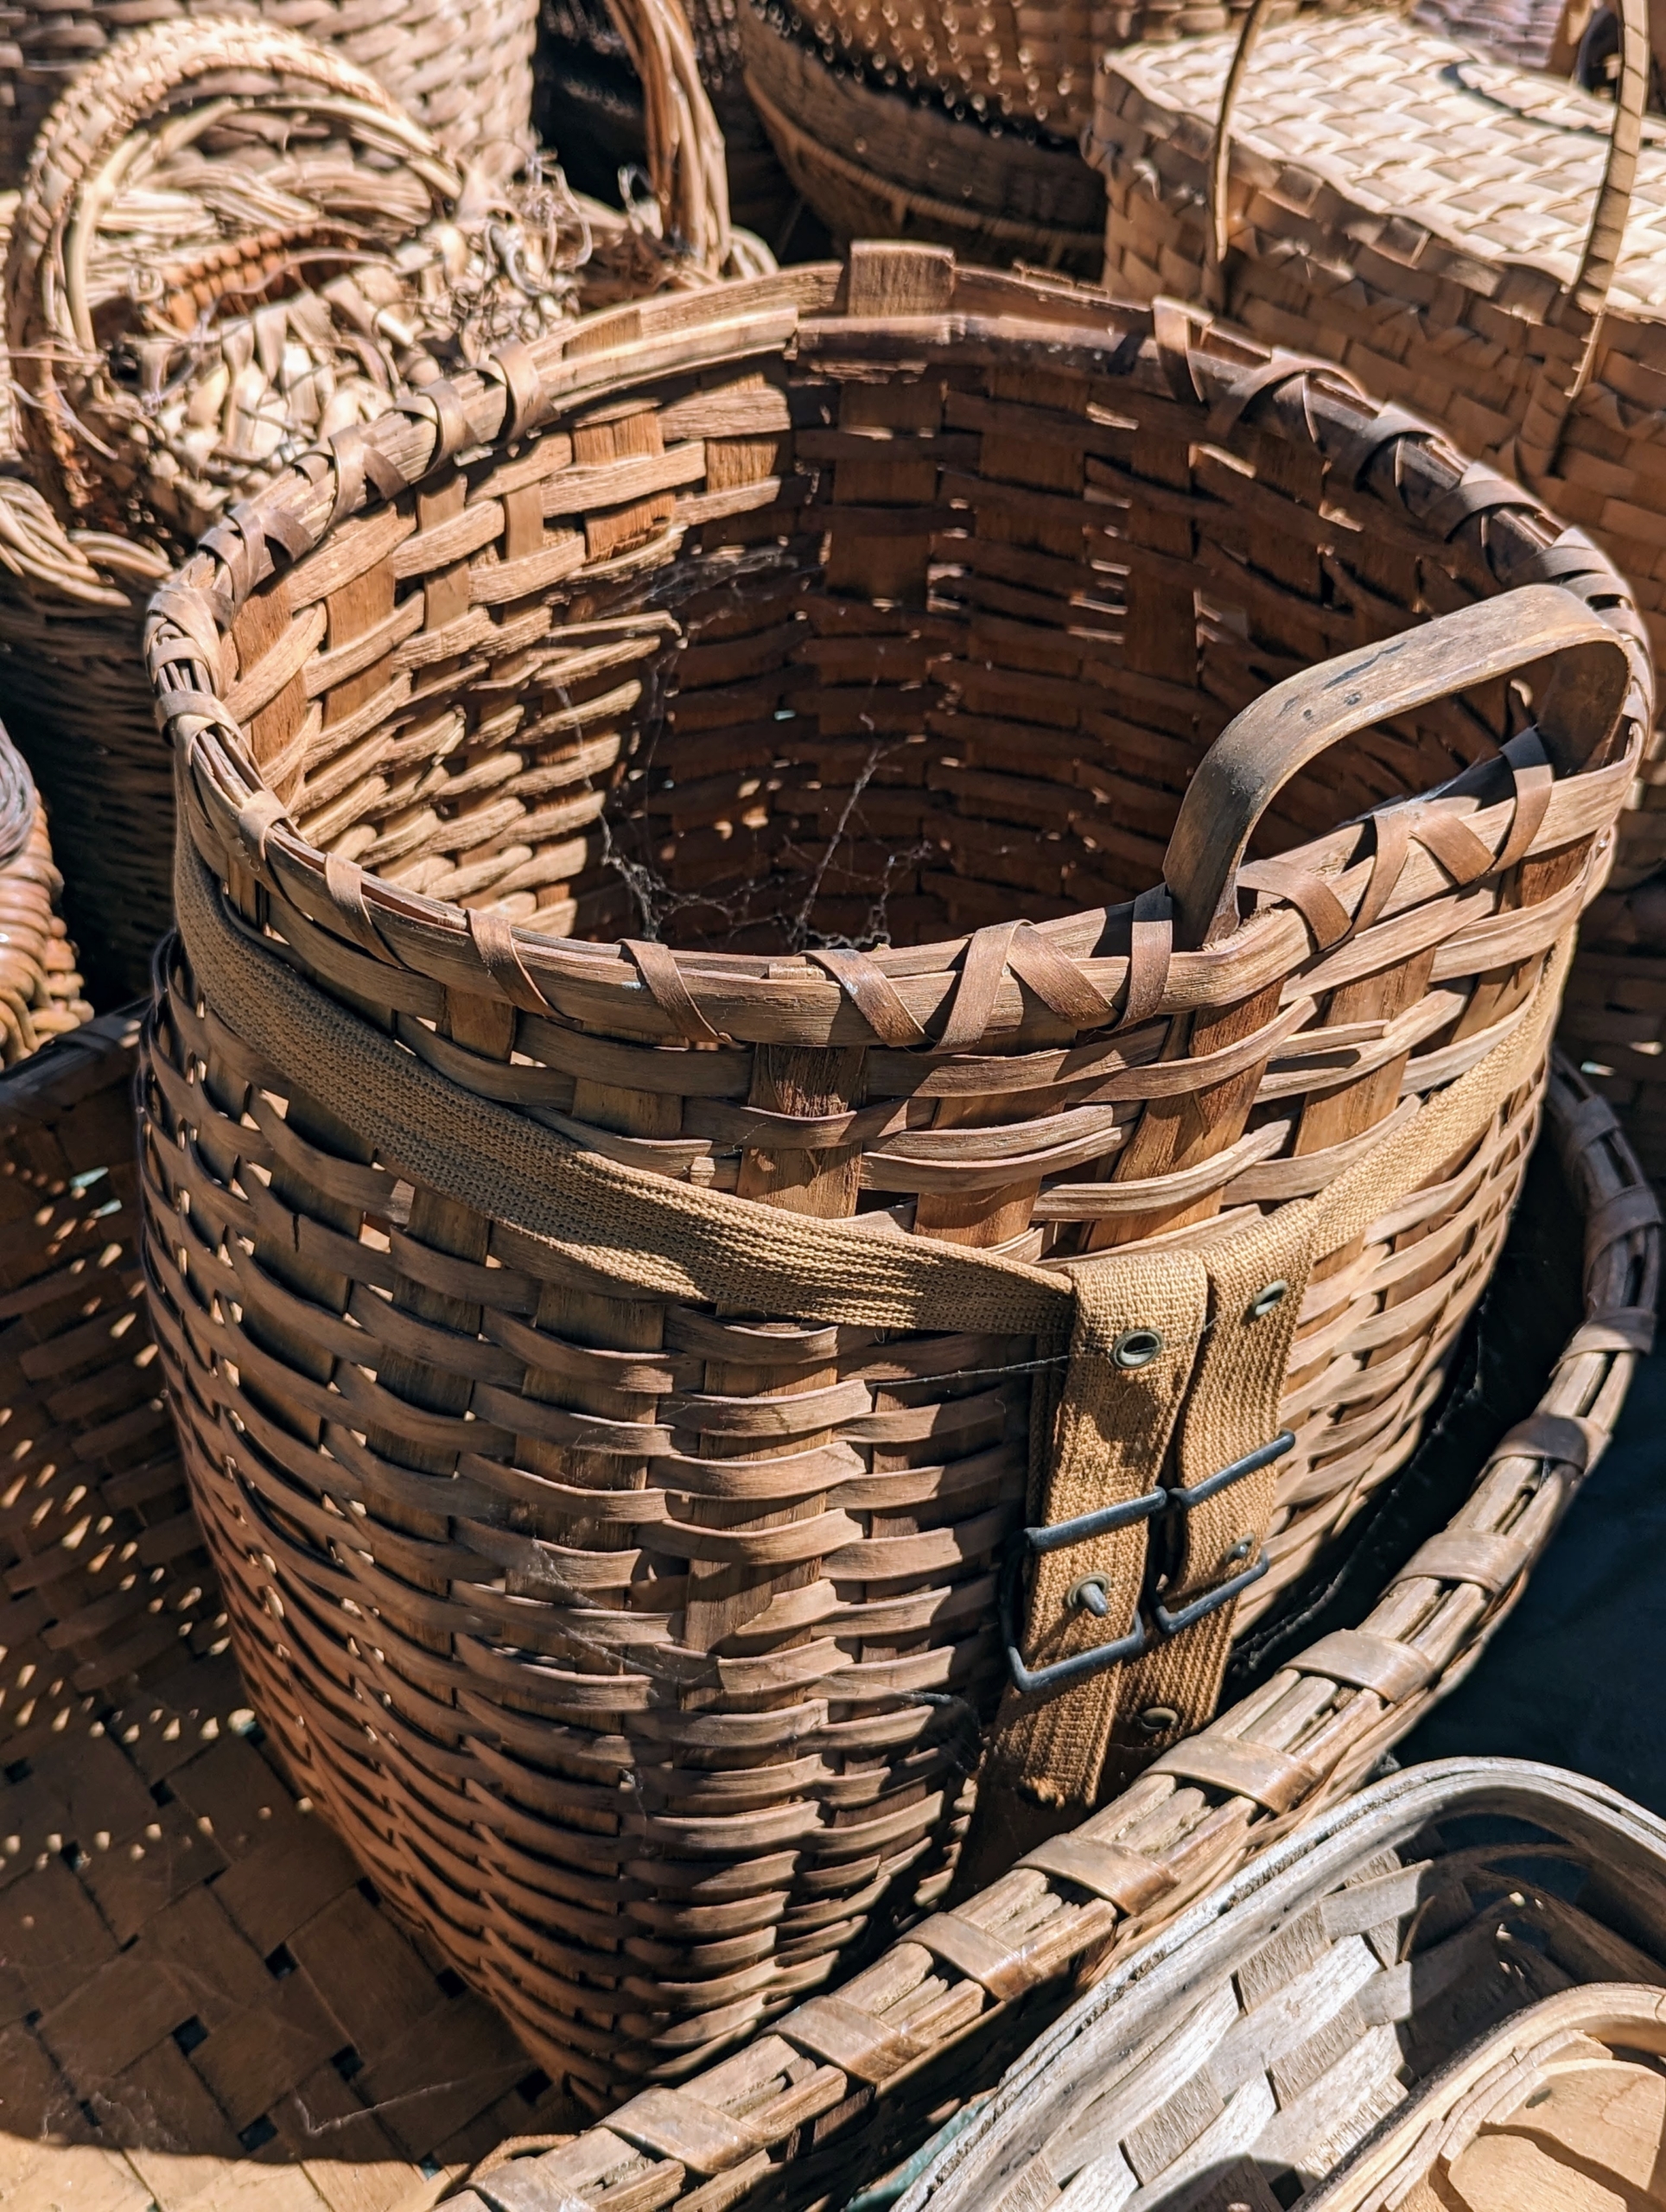
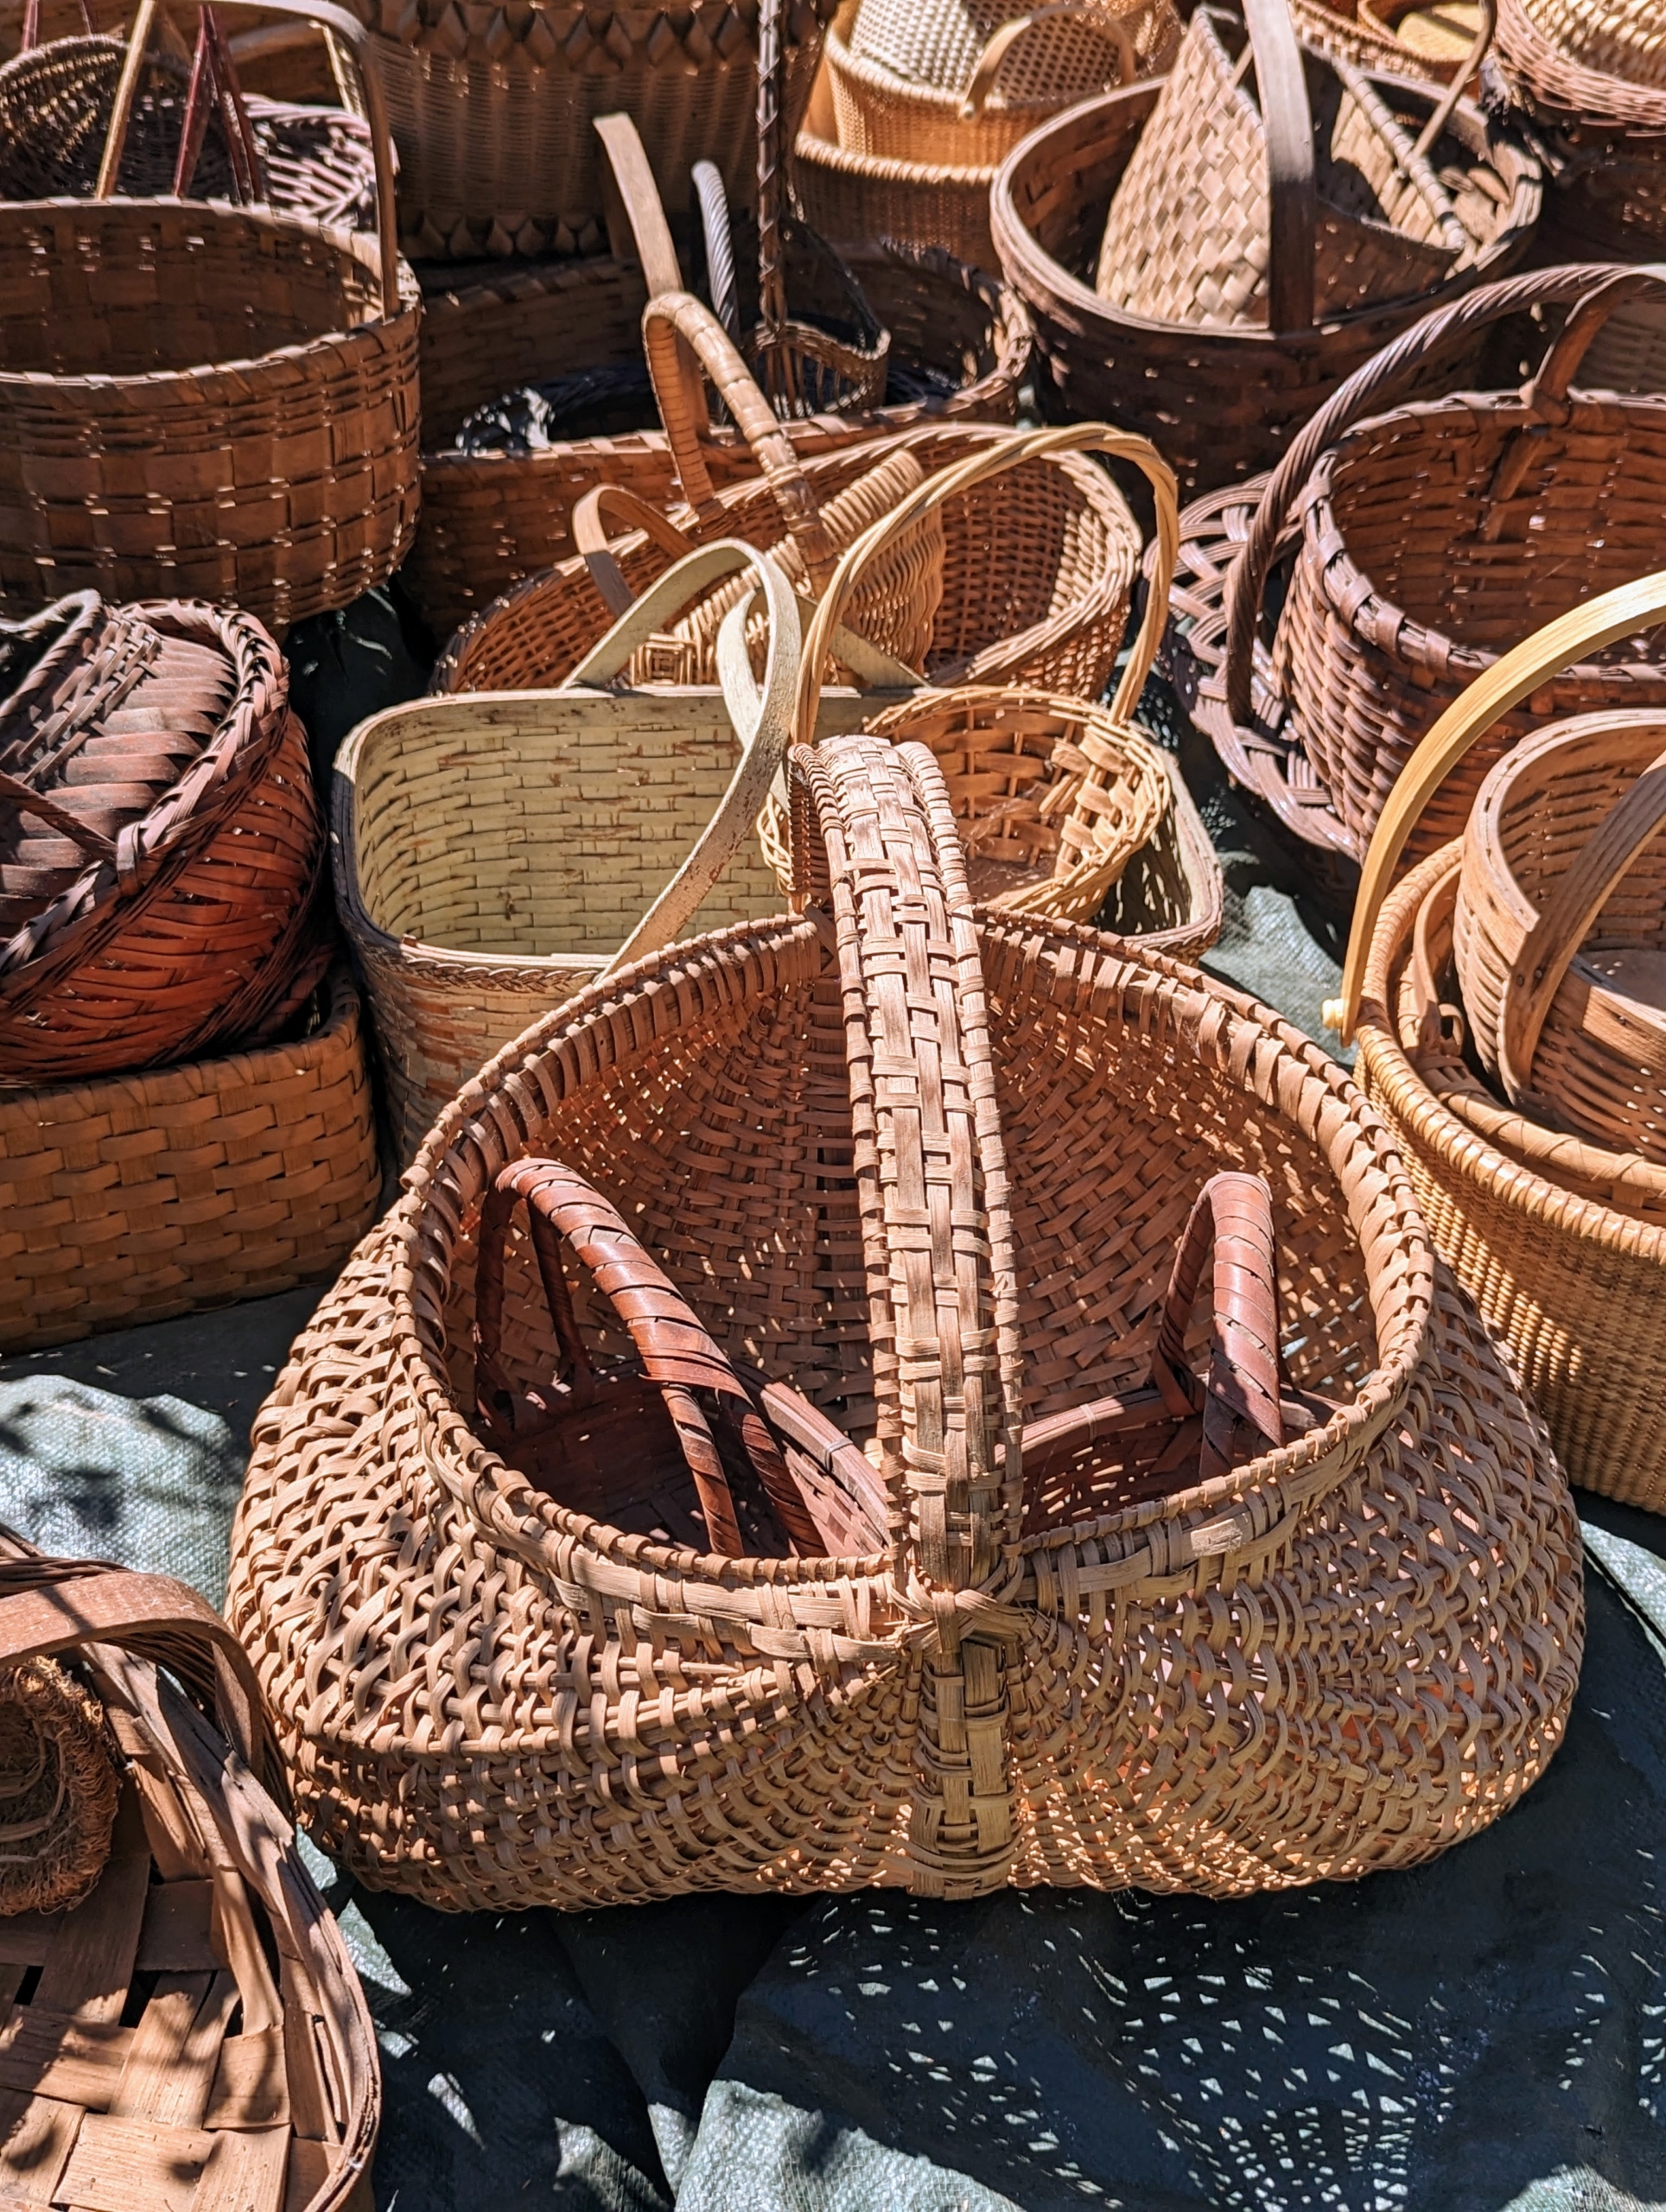
Basket weaving is the process of weaving or sewing pliable materials into two or three dimensional objects – anything that will bend and form a shape can be made into basket. Baskets are made using different techniques, such as “plaiting”, which uses materials that are wide and braid like,”twining”, which uses materials from roots and tree bark. Twining refers to a weaving technique where two or more flexible elements cross each other as they weave through the stiffer spokes.”Wicker” basketry uses reed, cane, willow, oak. “Coiled” basketry uses grasses and rushes.
This basket also has straps for wearing on one’s back and handles for carrying – it was likely used to gather twigs and wood. Baskets were needed as containers for everything imaginable – food, clothing, storage and transport. Fruit, nuts, seeds and dried meats were often collected and stored in these hand-made containers.
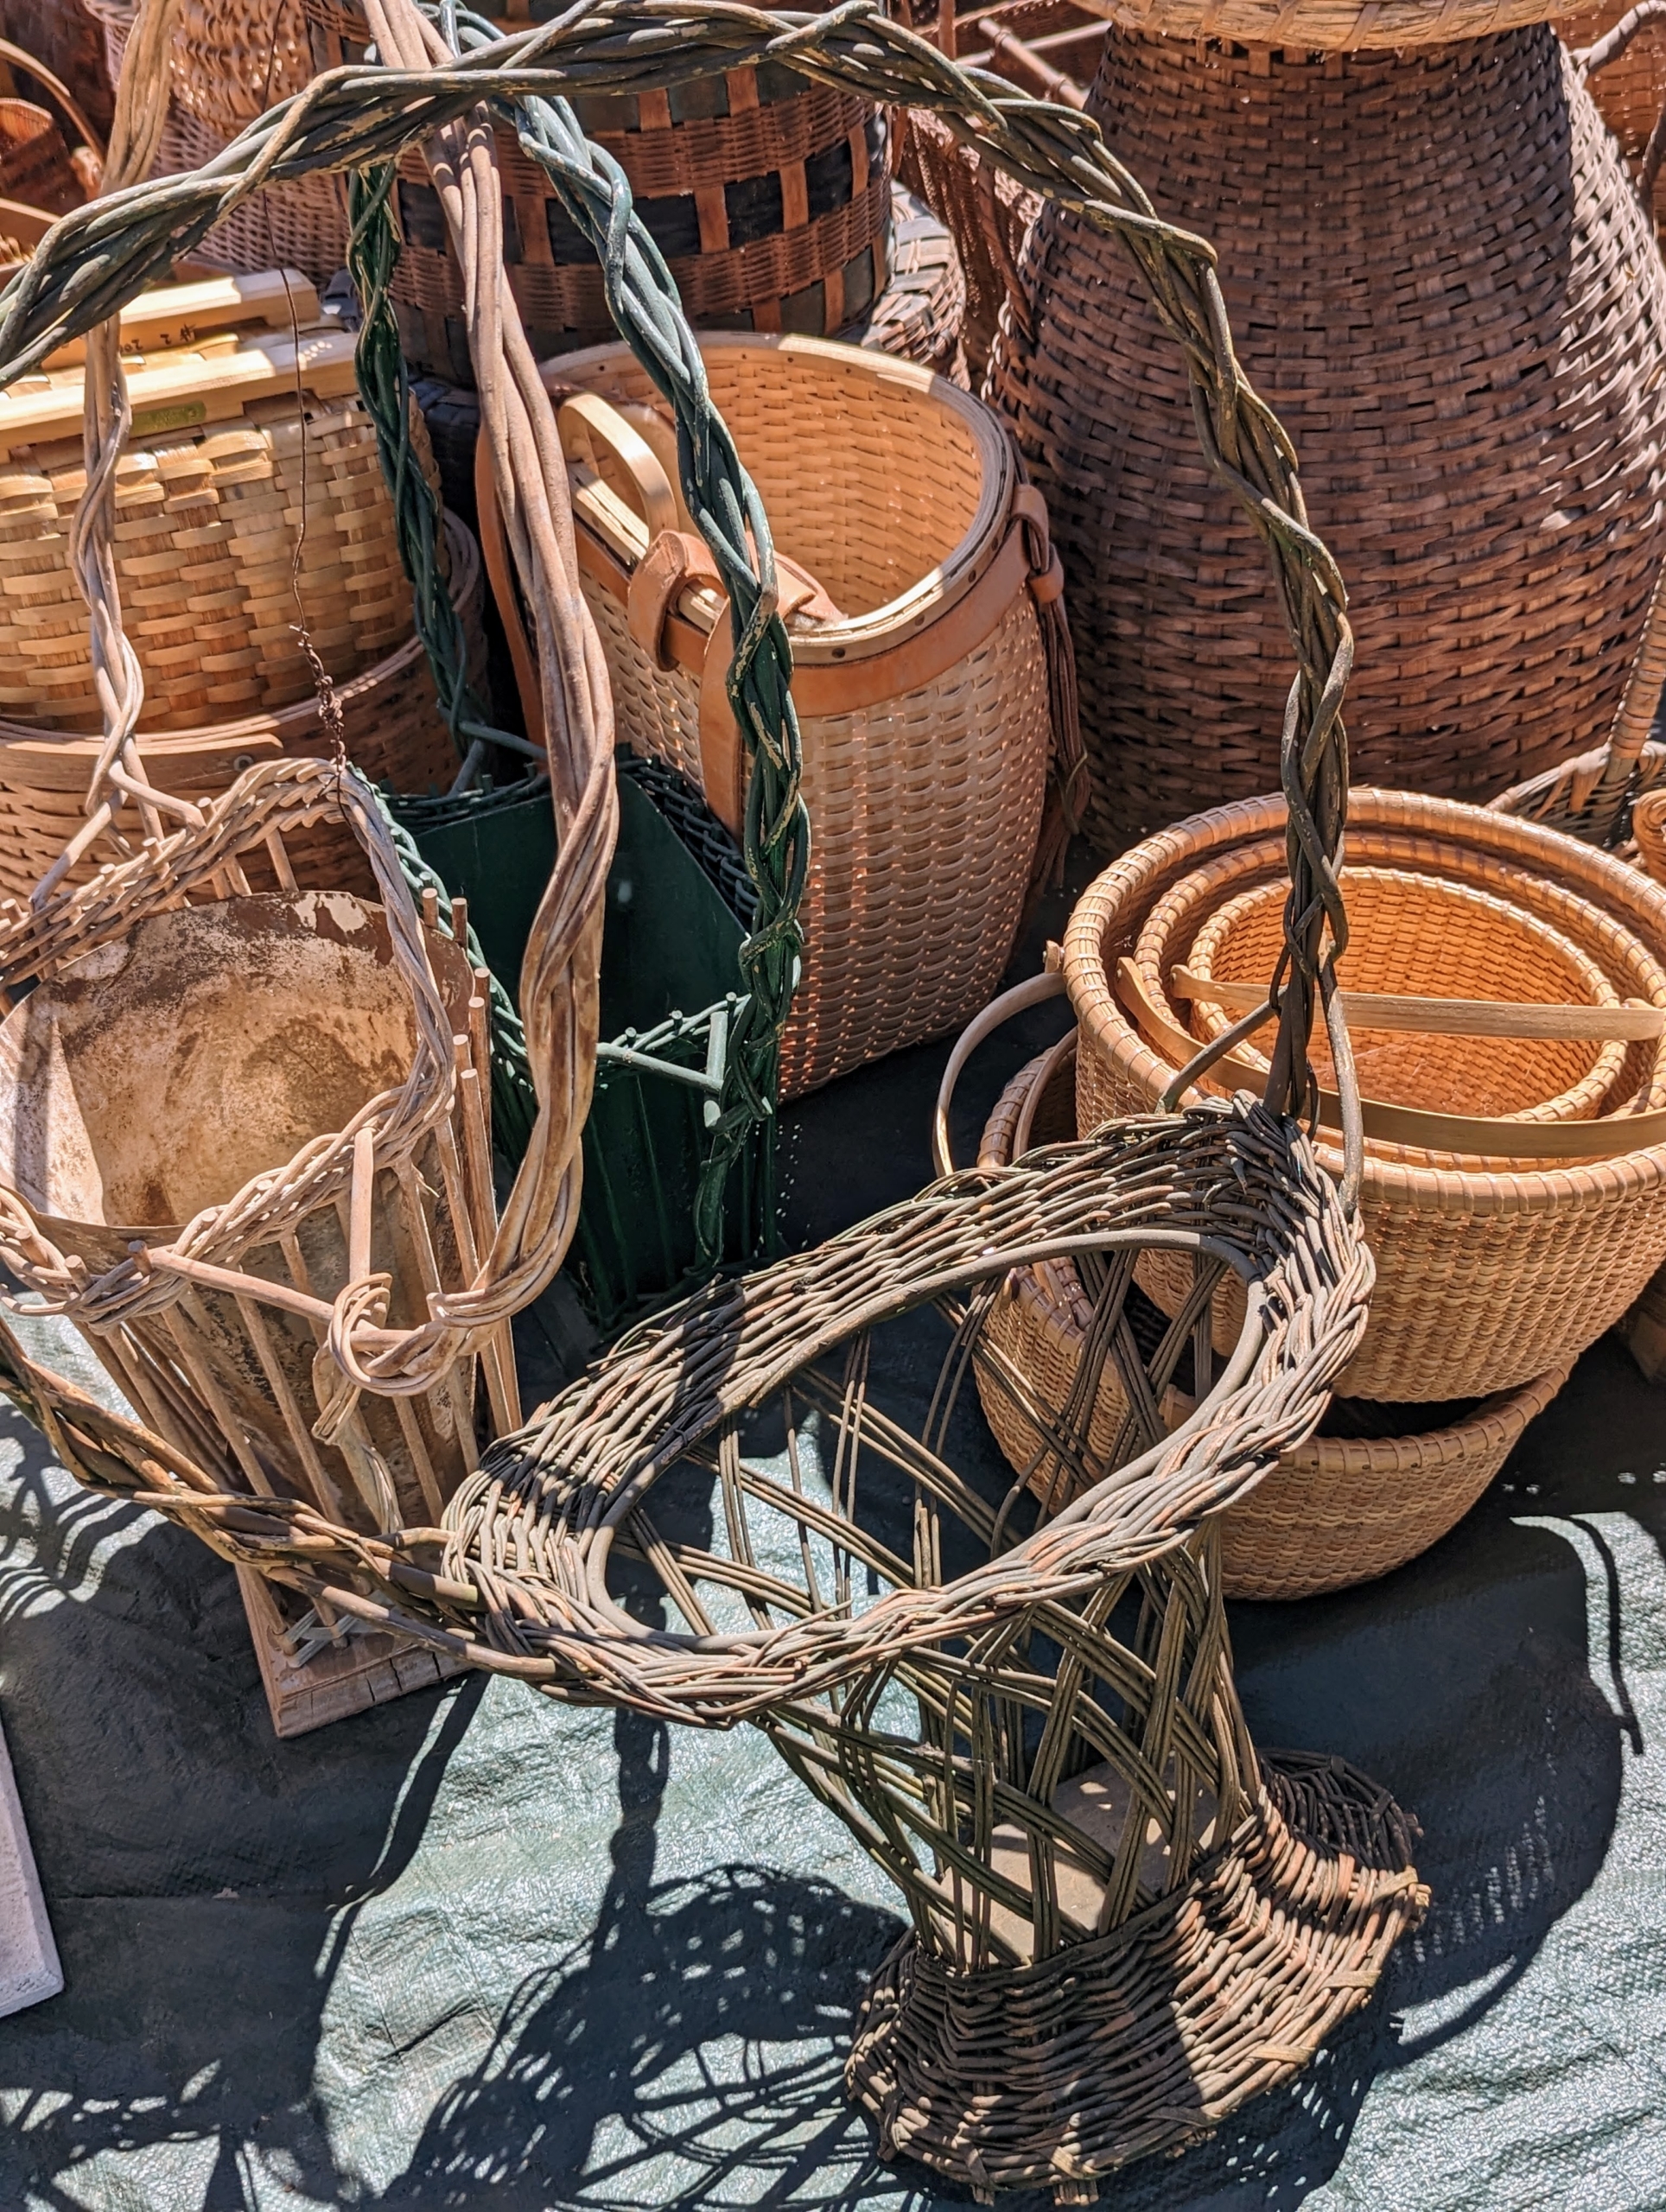
Early basketmakers selected materials from nature, such as stems, animal hair, hide, grasses, thread, wood, and pinstraw. Baskets vary not only across geographies and cultures, but also within the regions in which they are made.
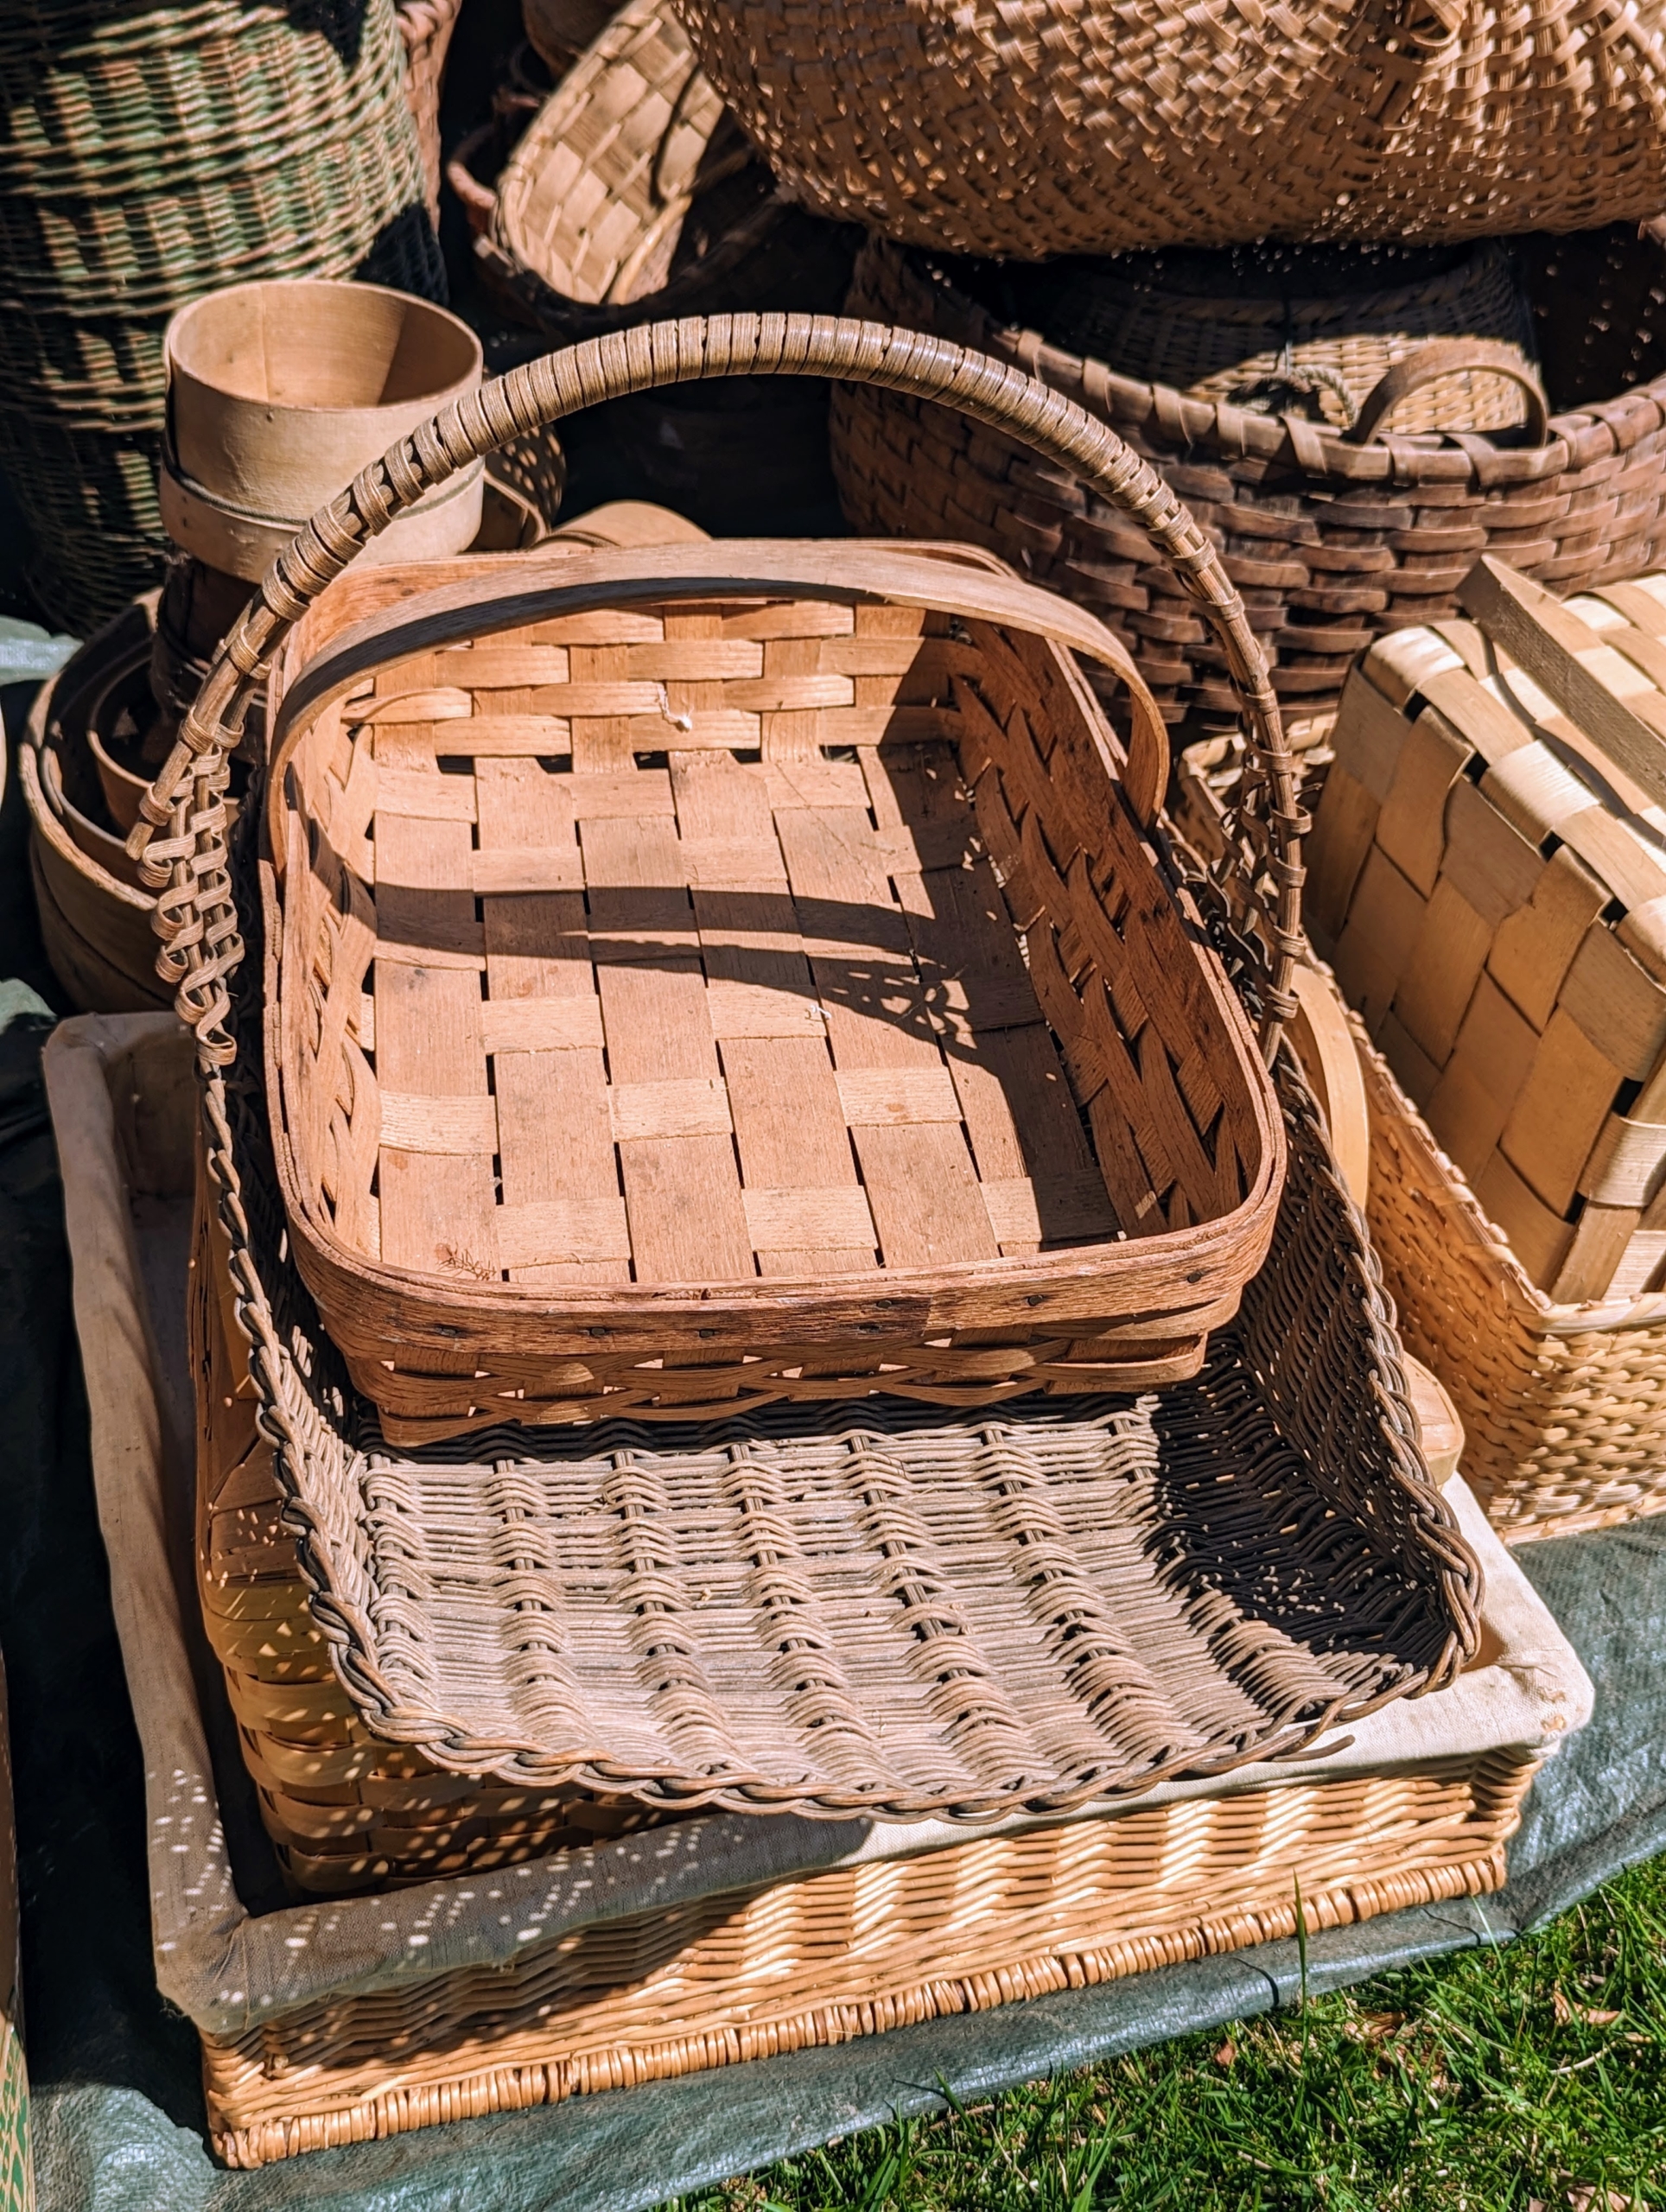
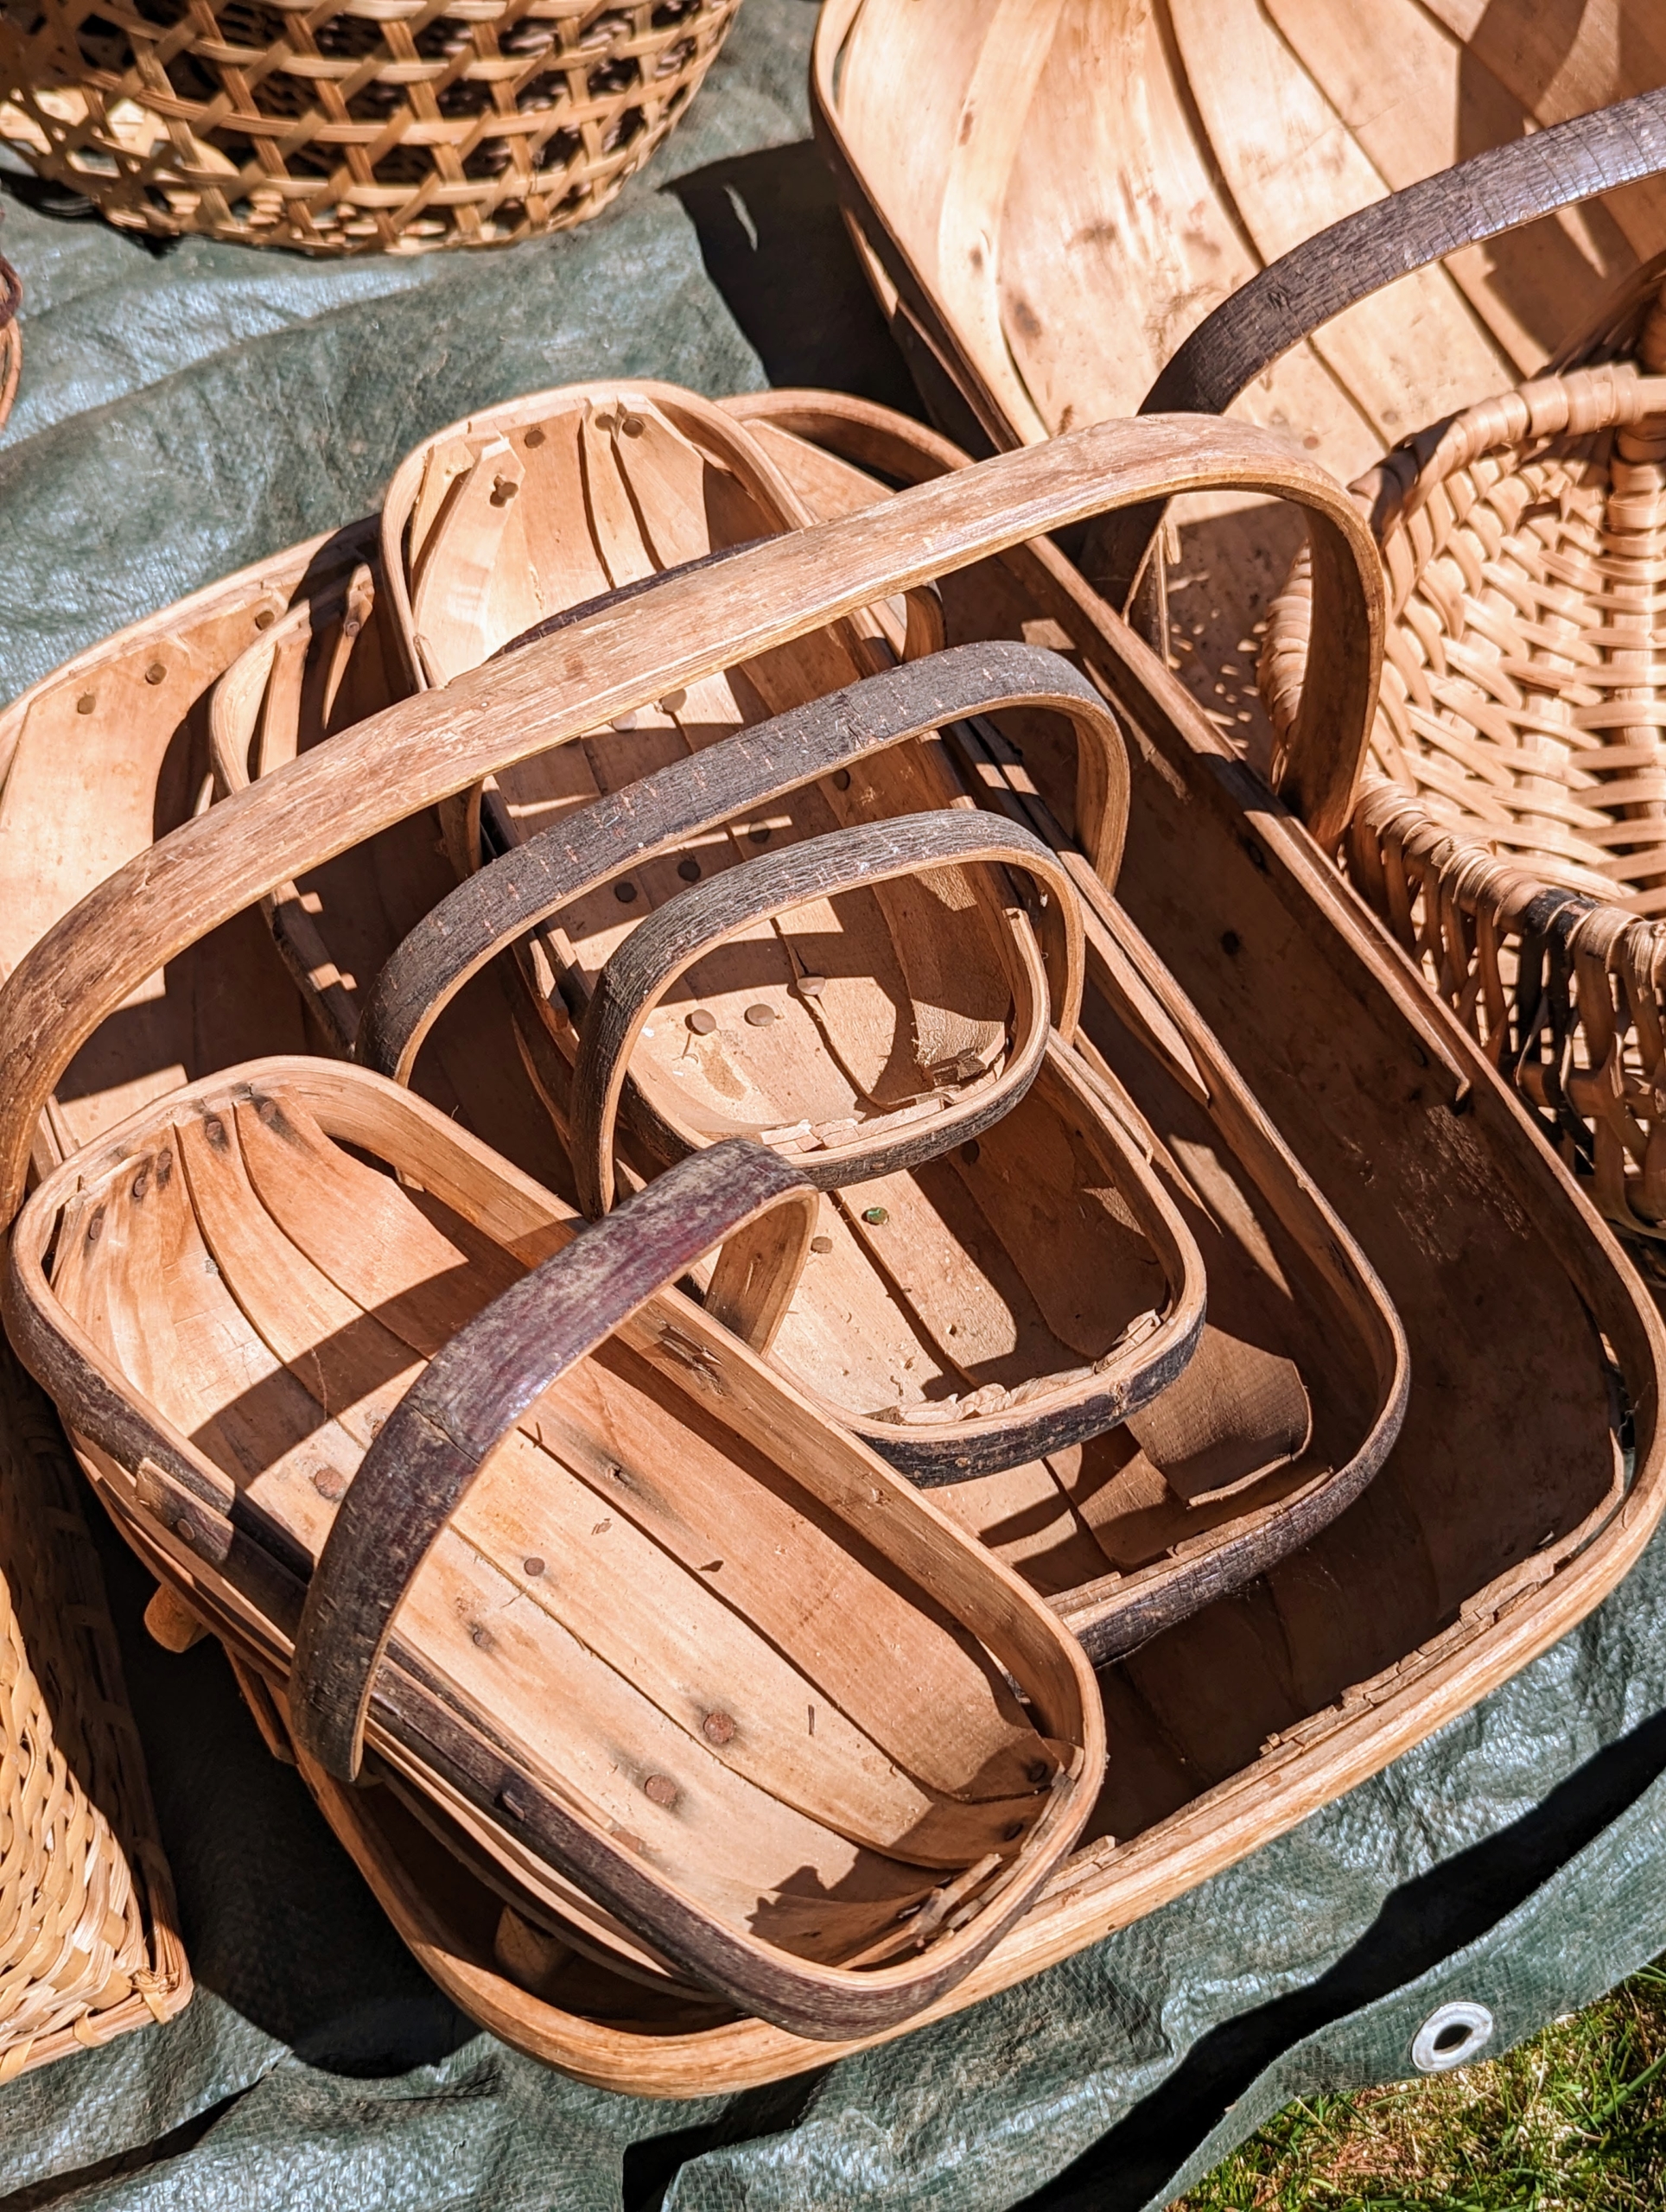
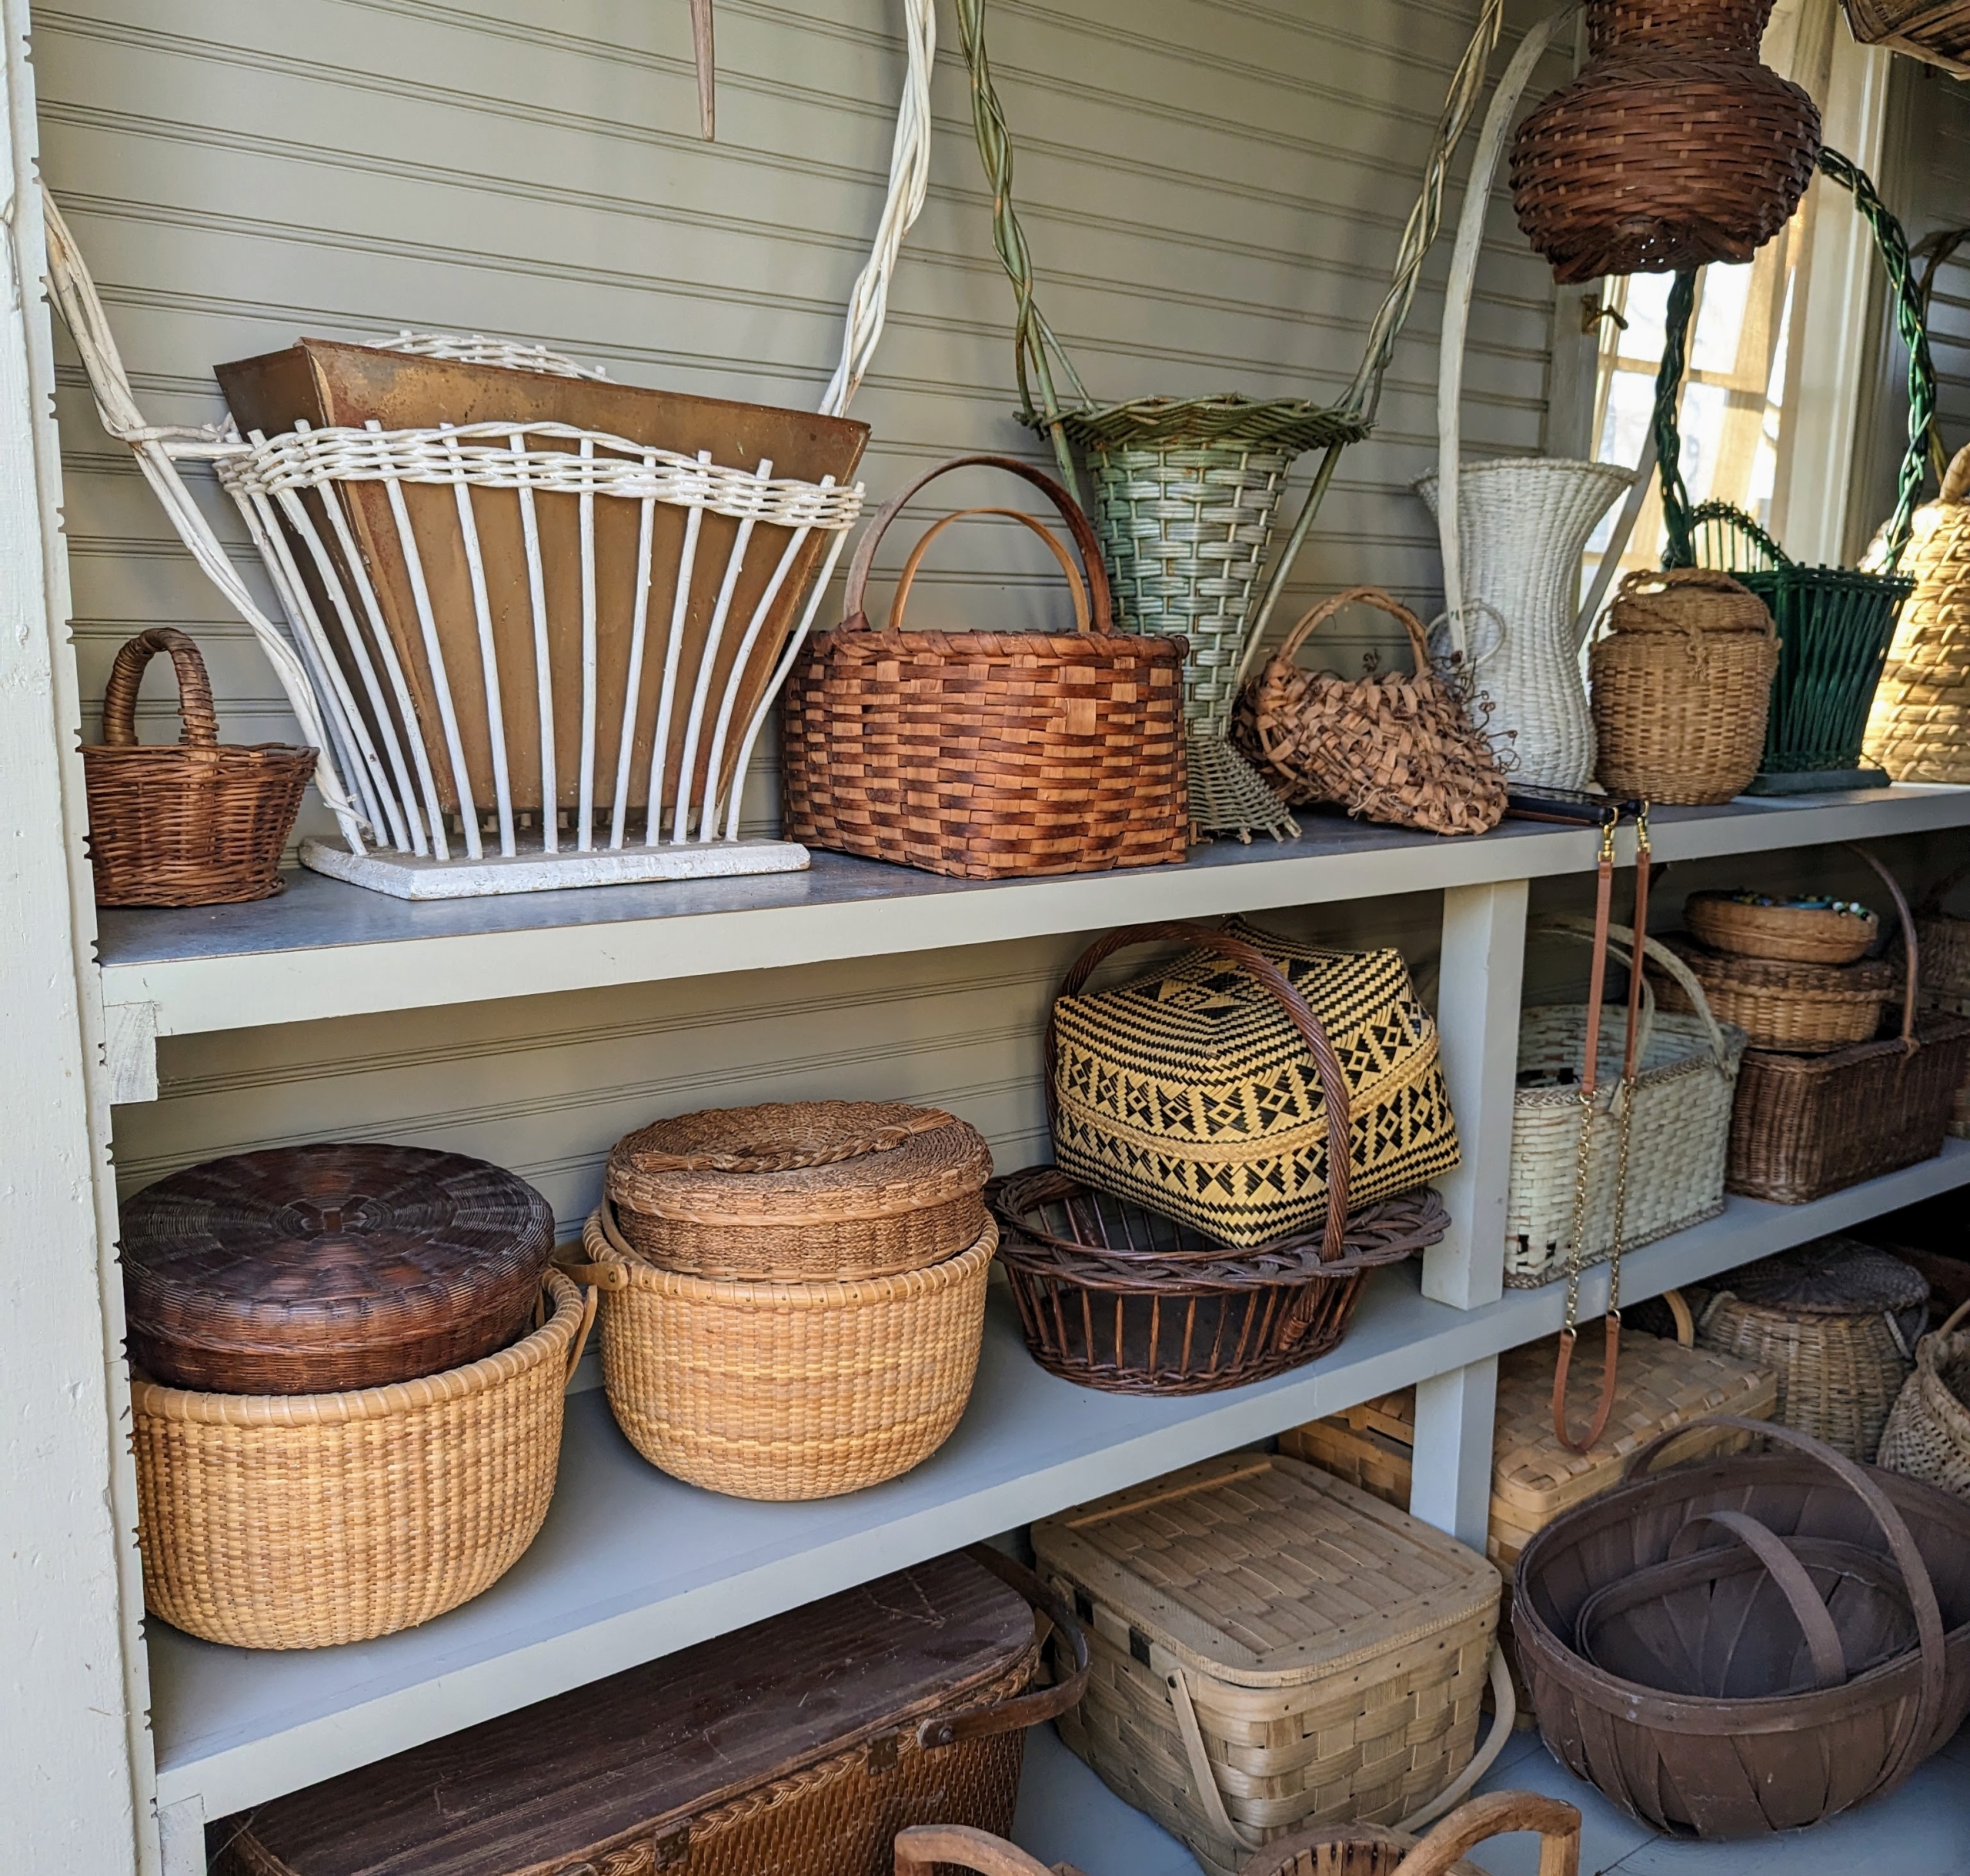
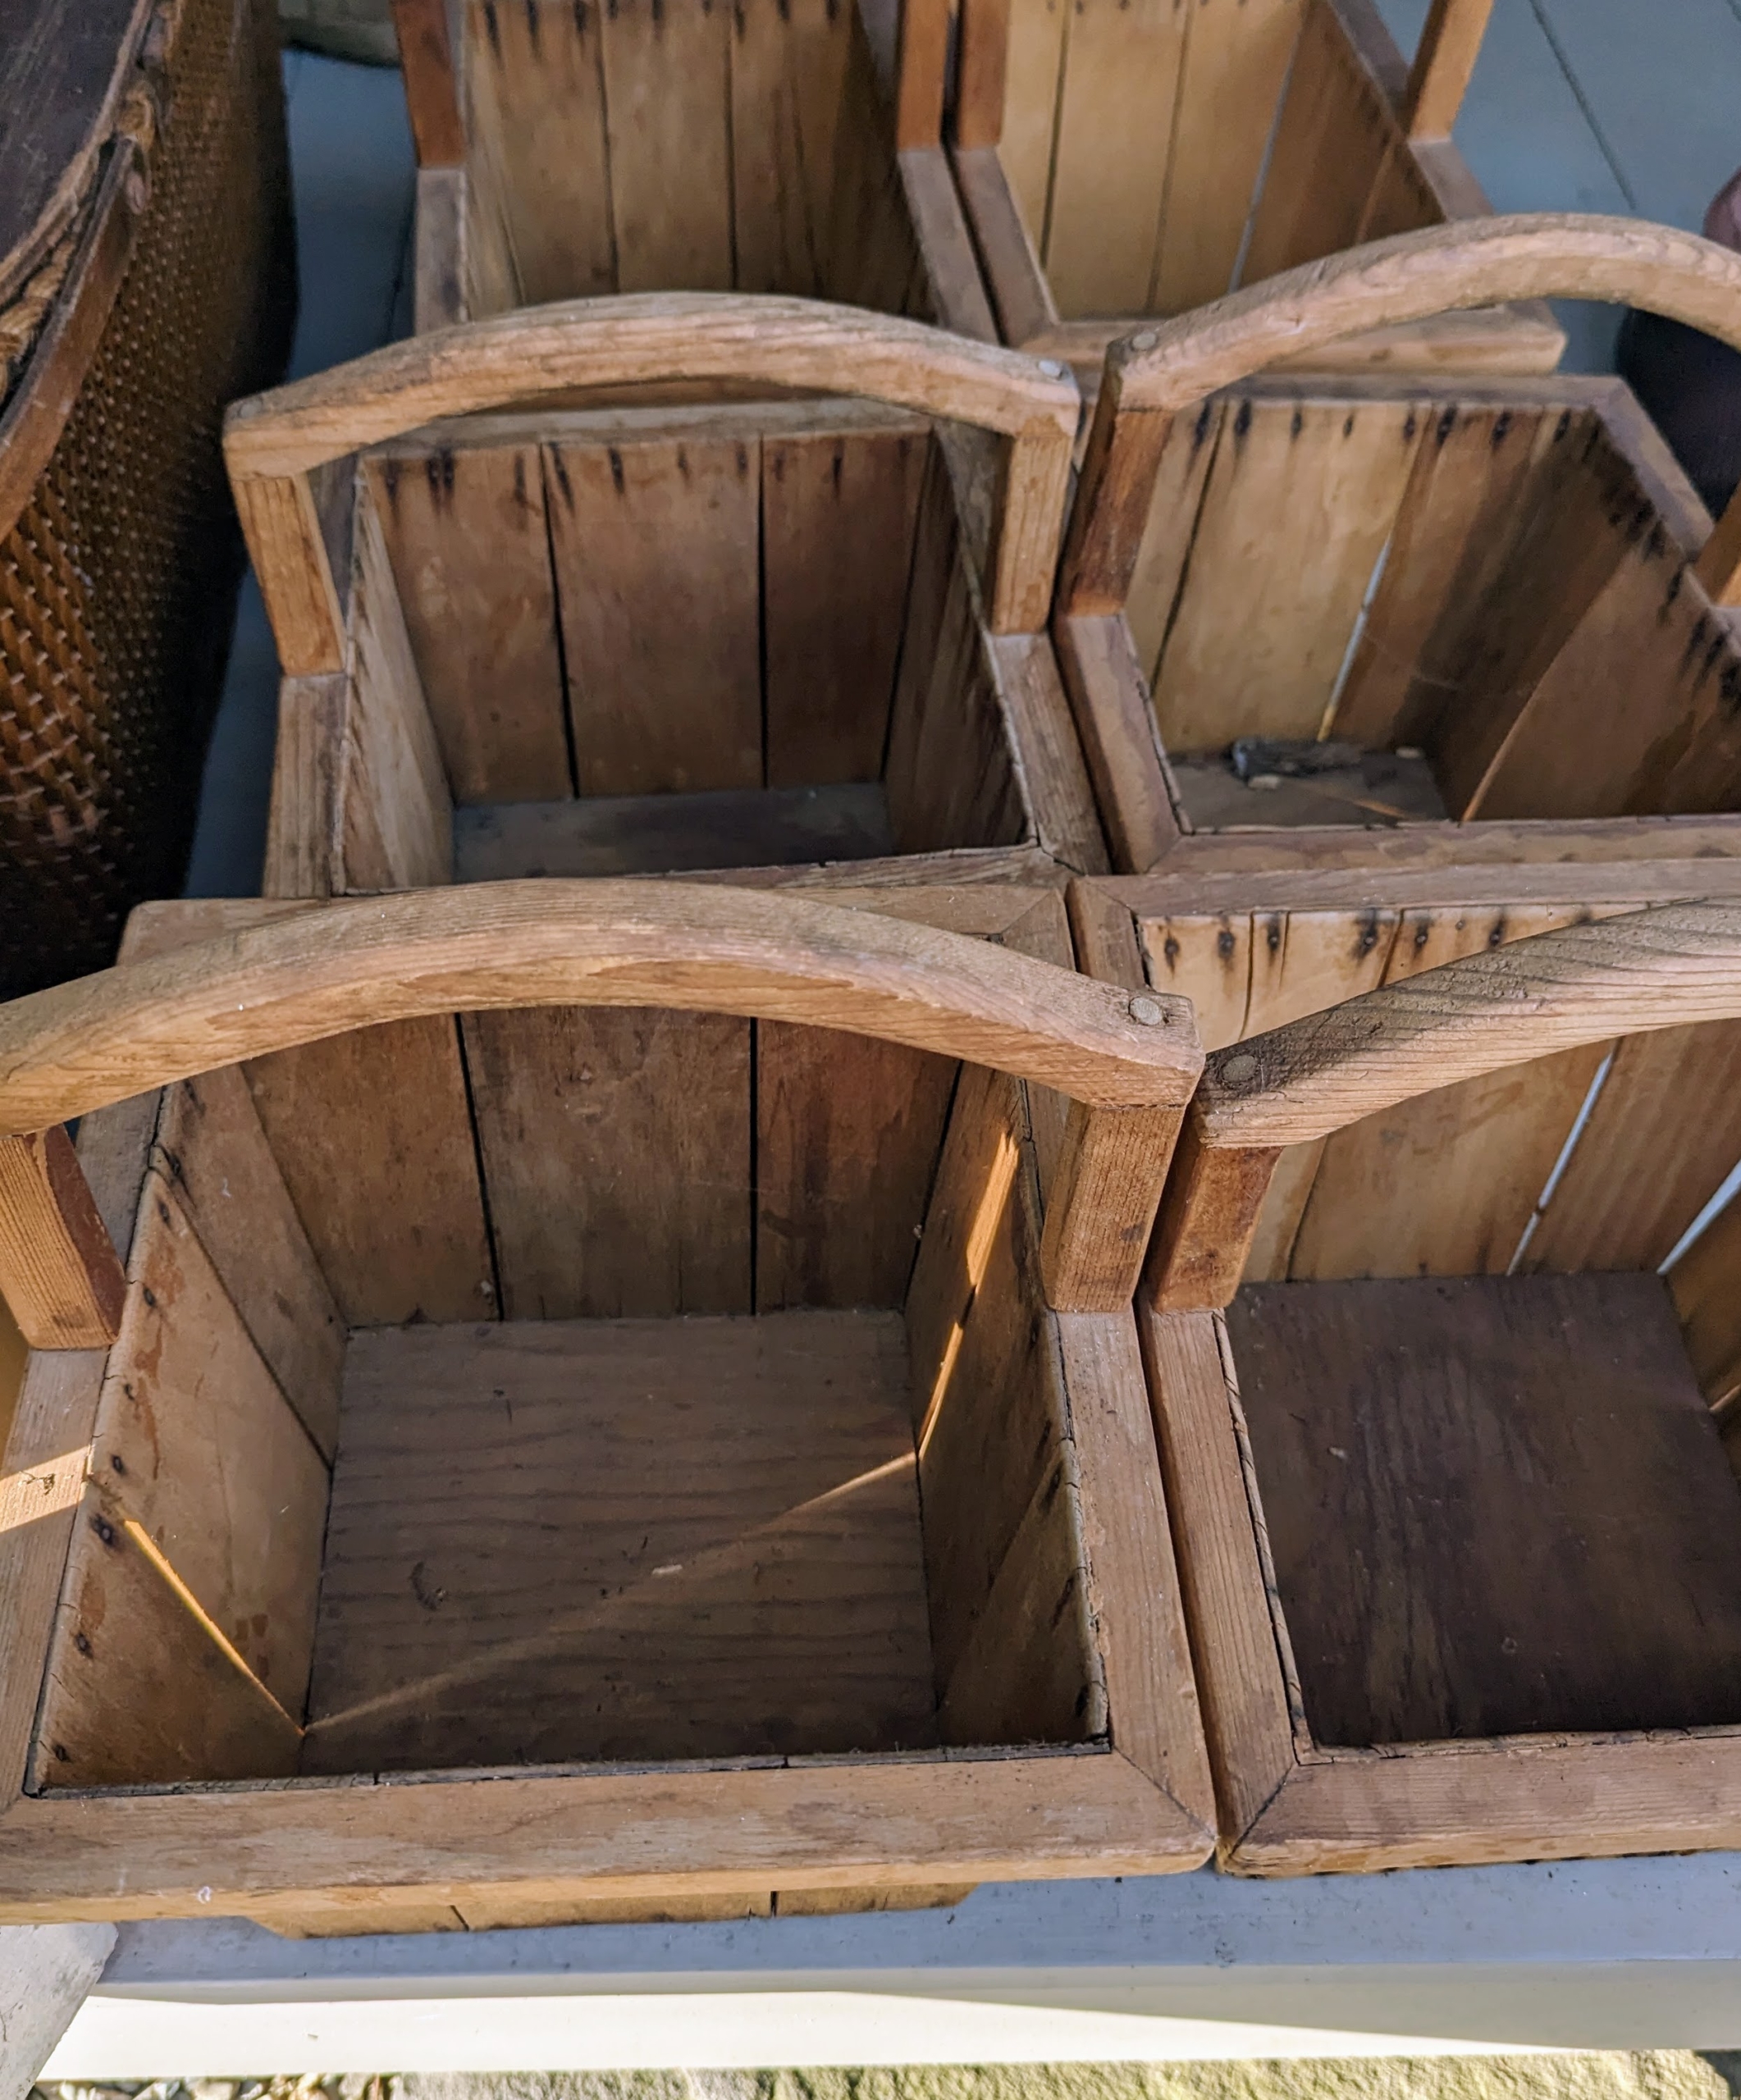
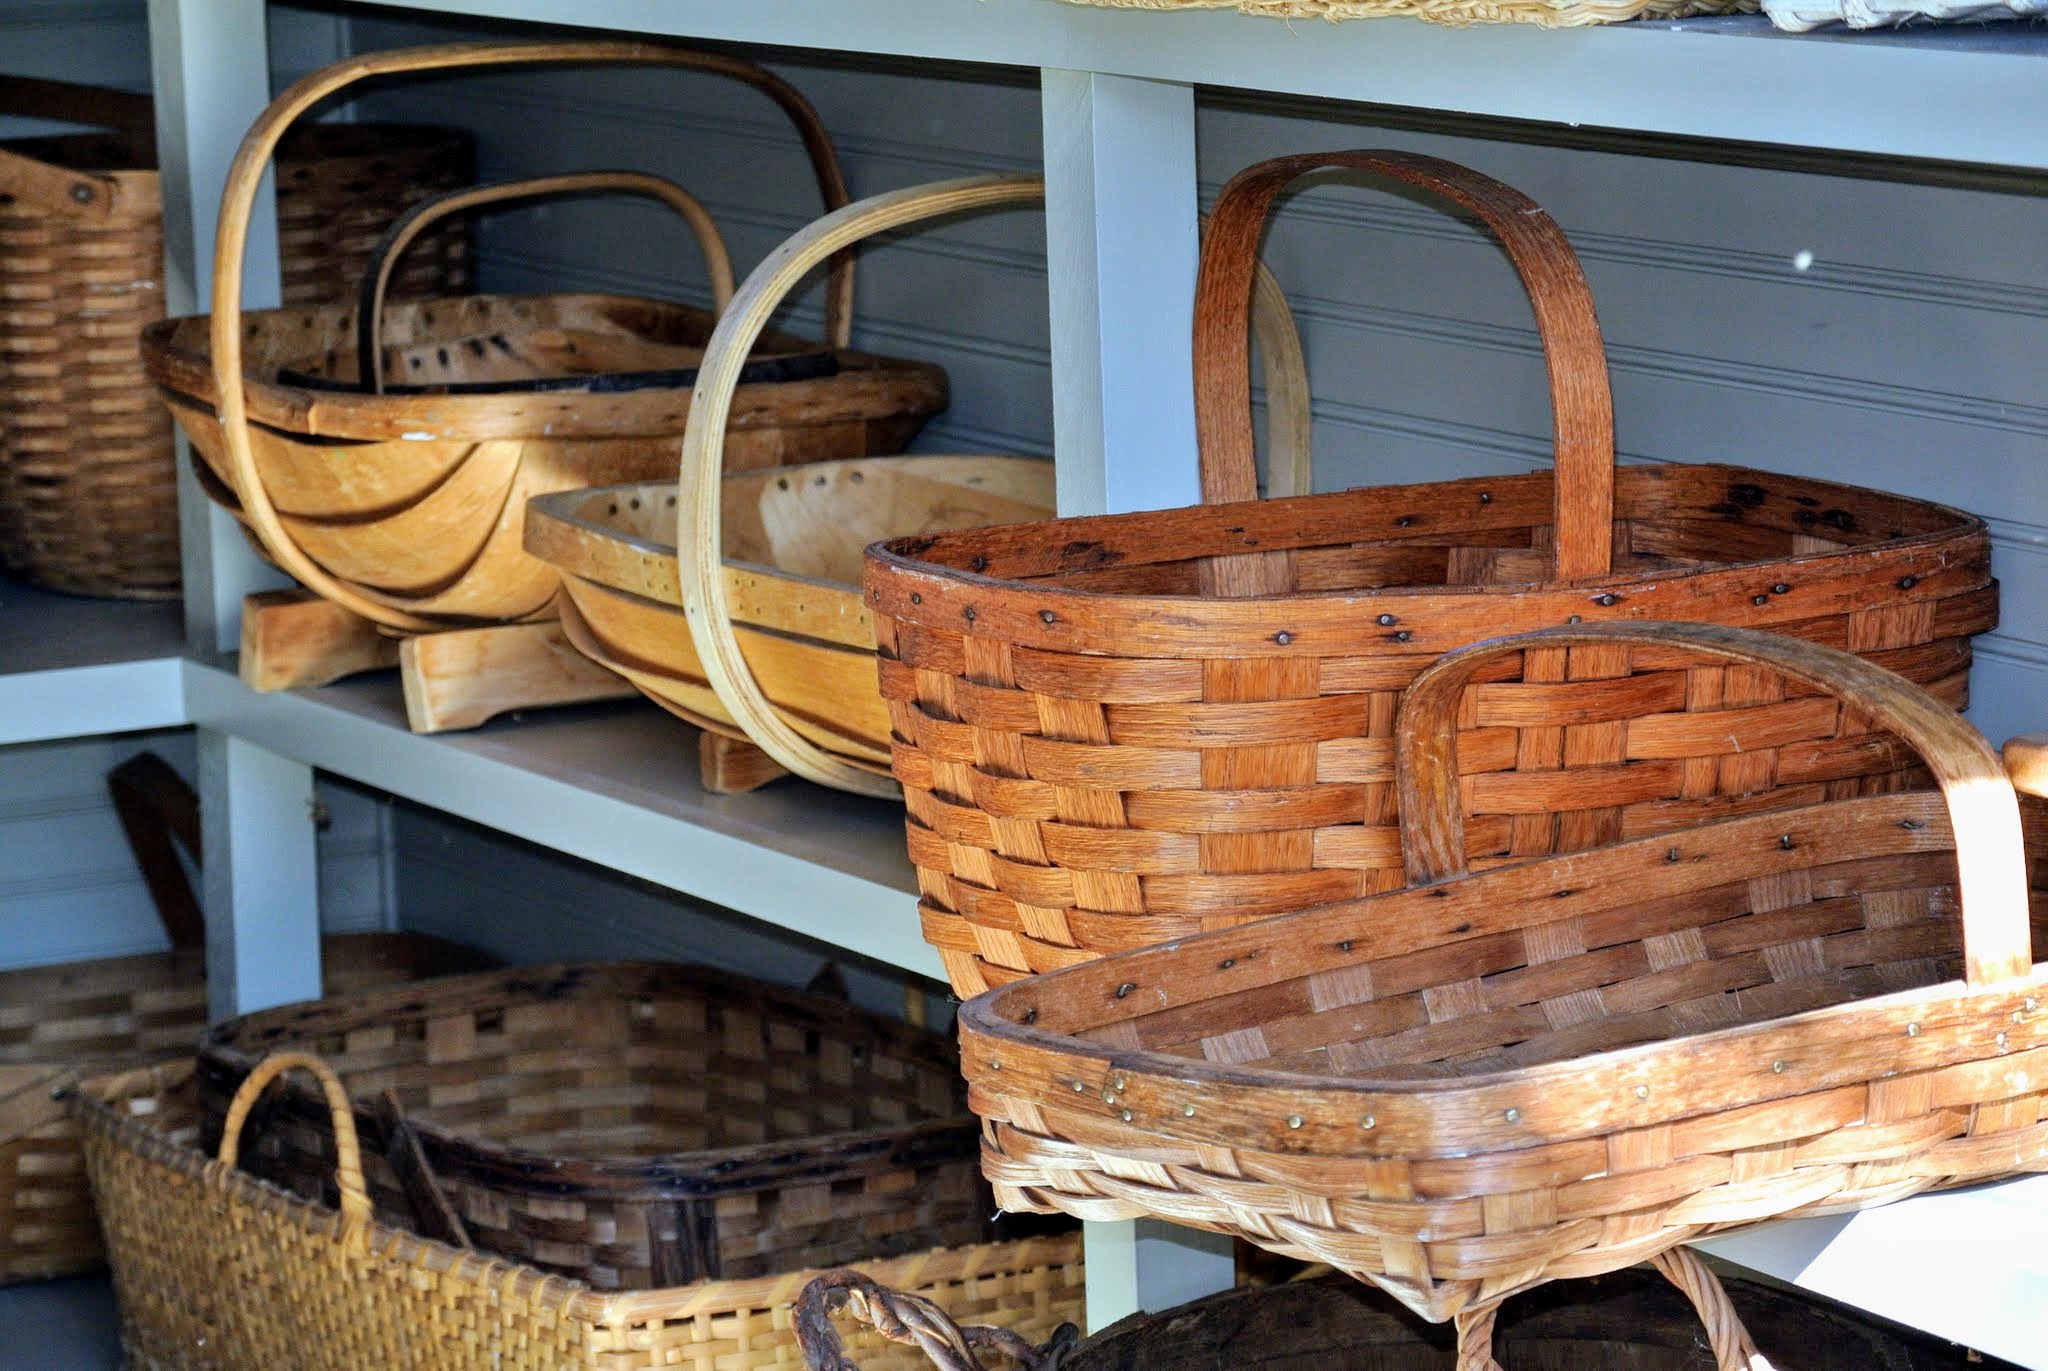
Some of these are traditional English garden baskets called trugs. They were handmade using bent wood. They are sturdy, functional, and beautiful.
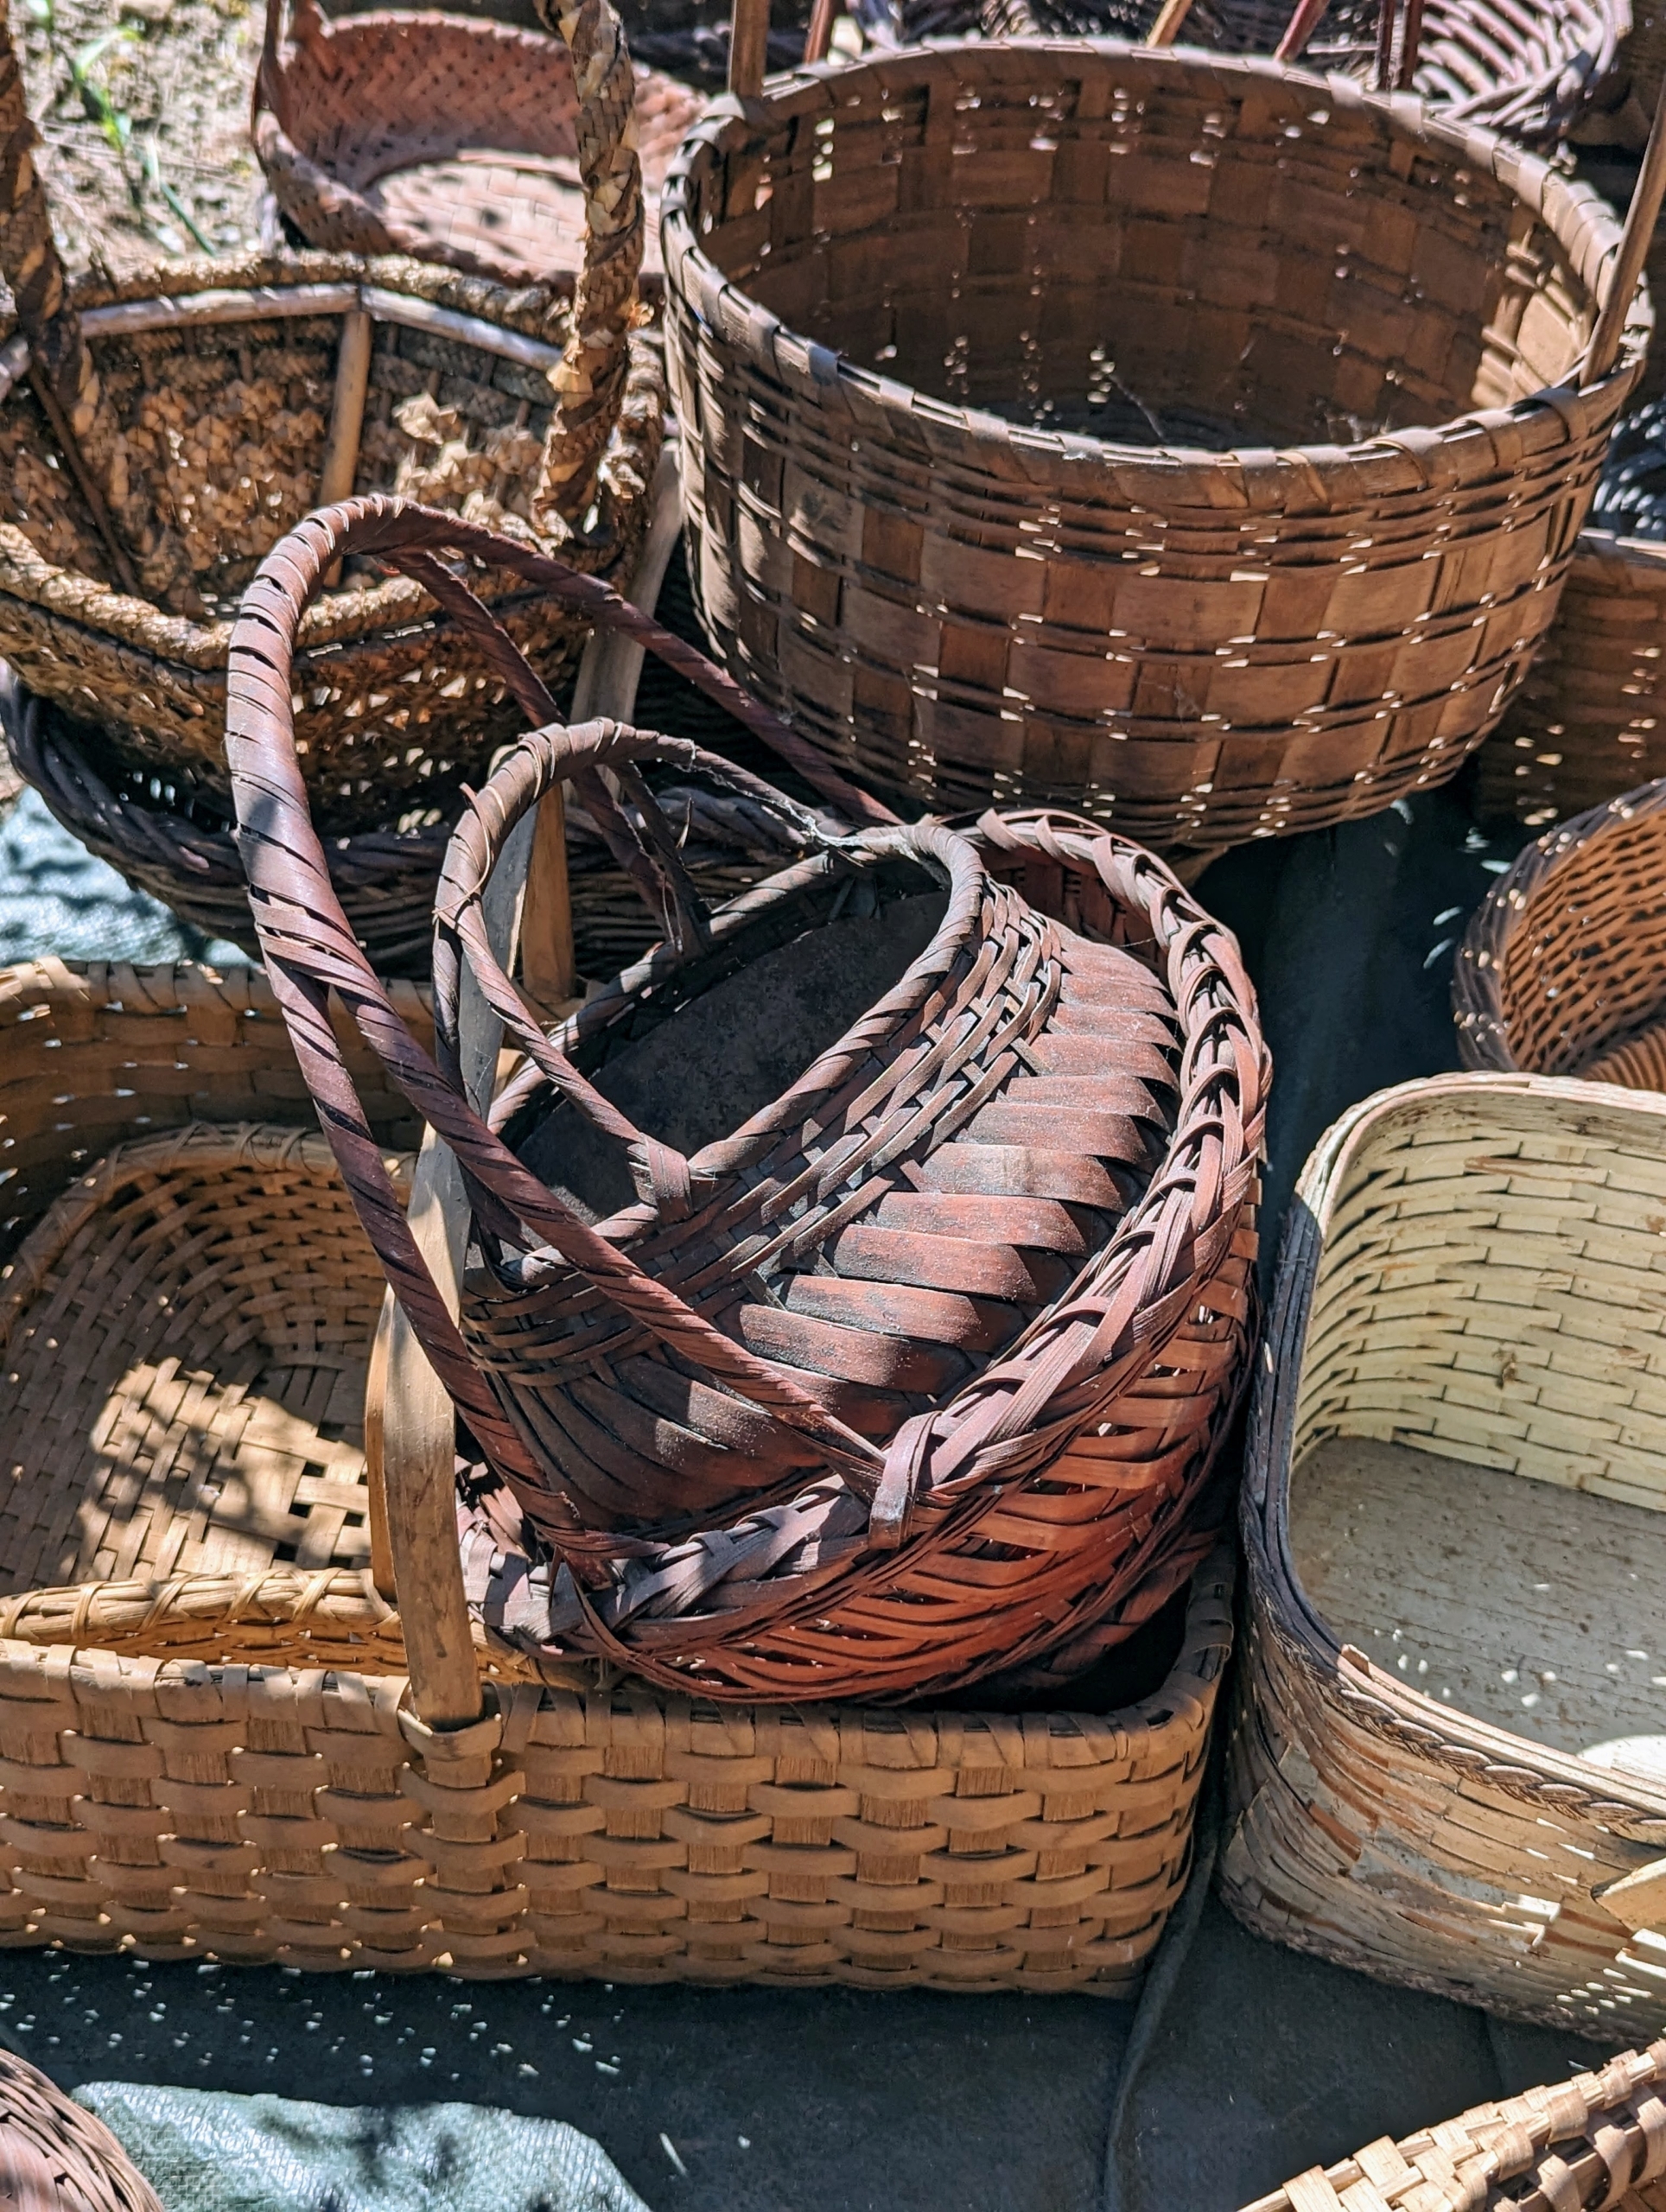
I also have a nice collection of flower arrangement baskets with long handles.
This basket in the front is called a buttocks basket, so named for its shape. Similar baskets are also called melon baskets, egg baskets, and gathering baskets.
Human civilizations all around the world embraced the craft of basket weaving. But, because the natural materials used in weaving baskets naturally decompose, it’s hard to know exactly how old the craft really is.
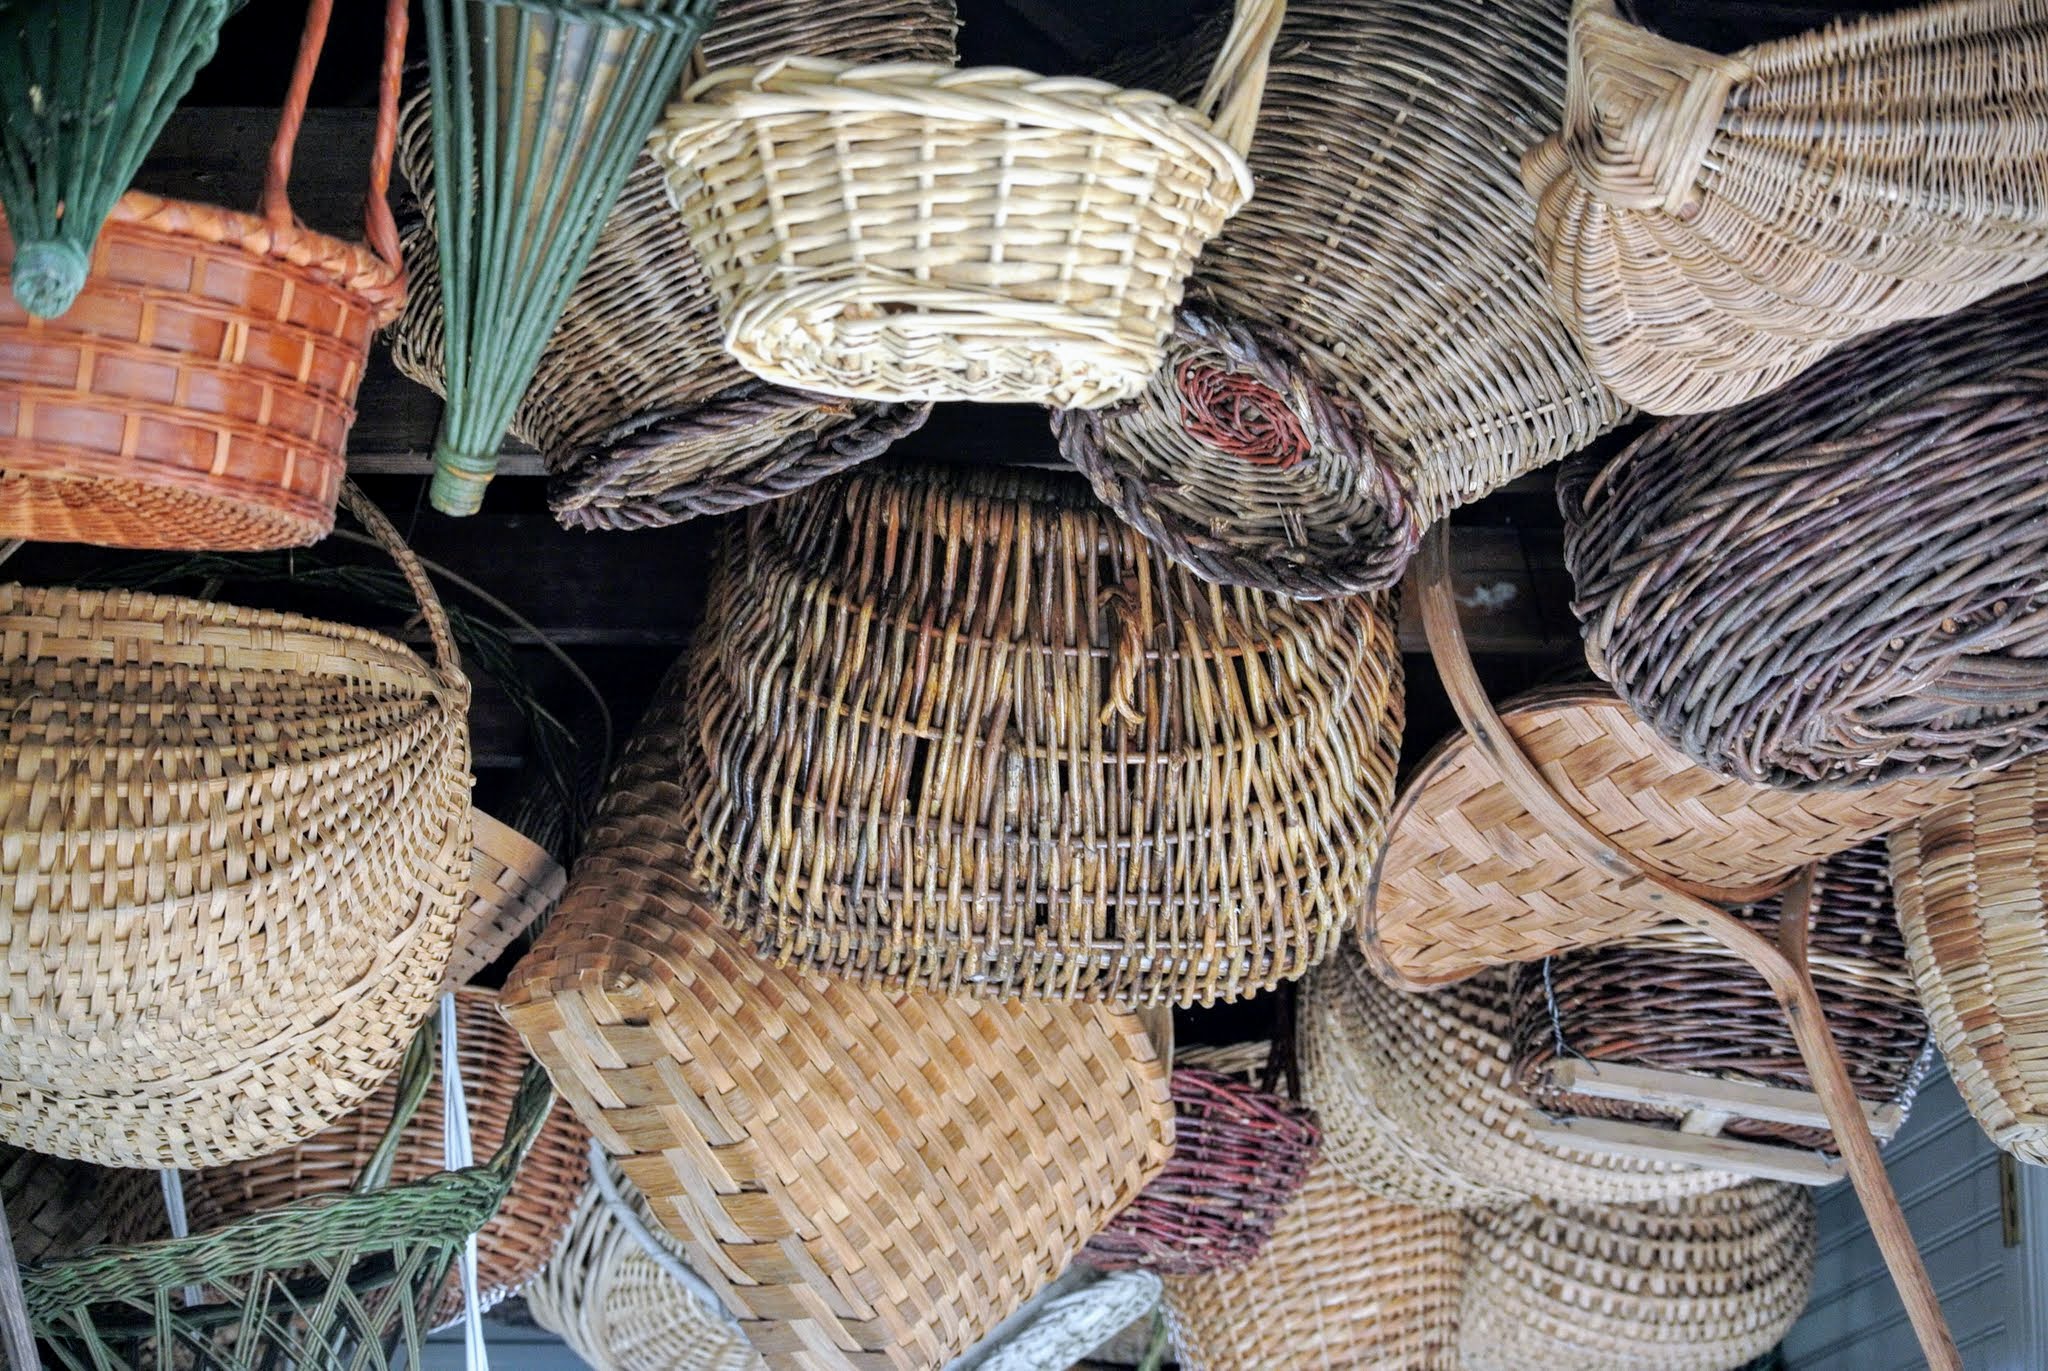
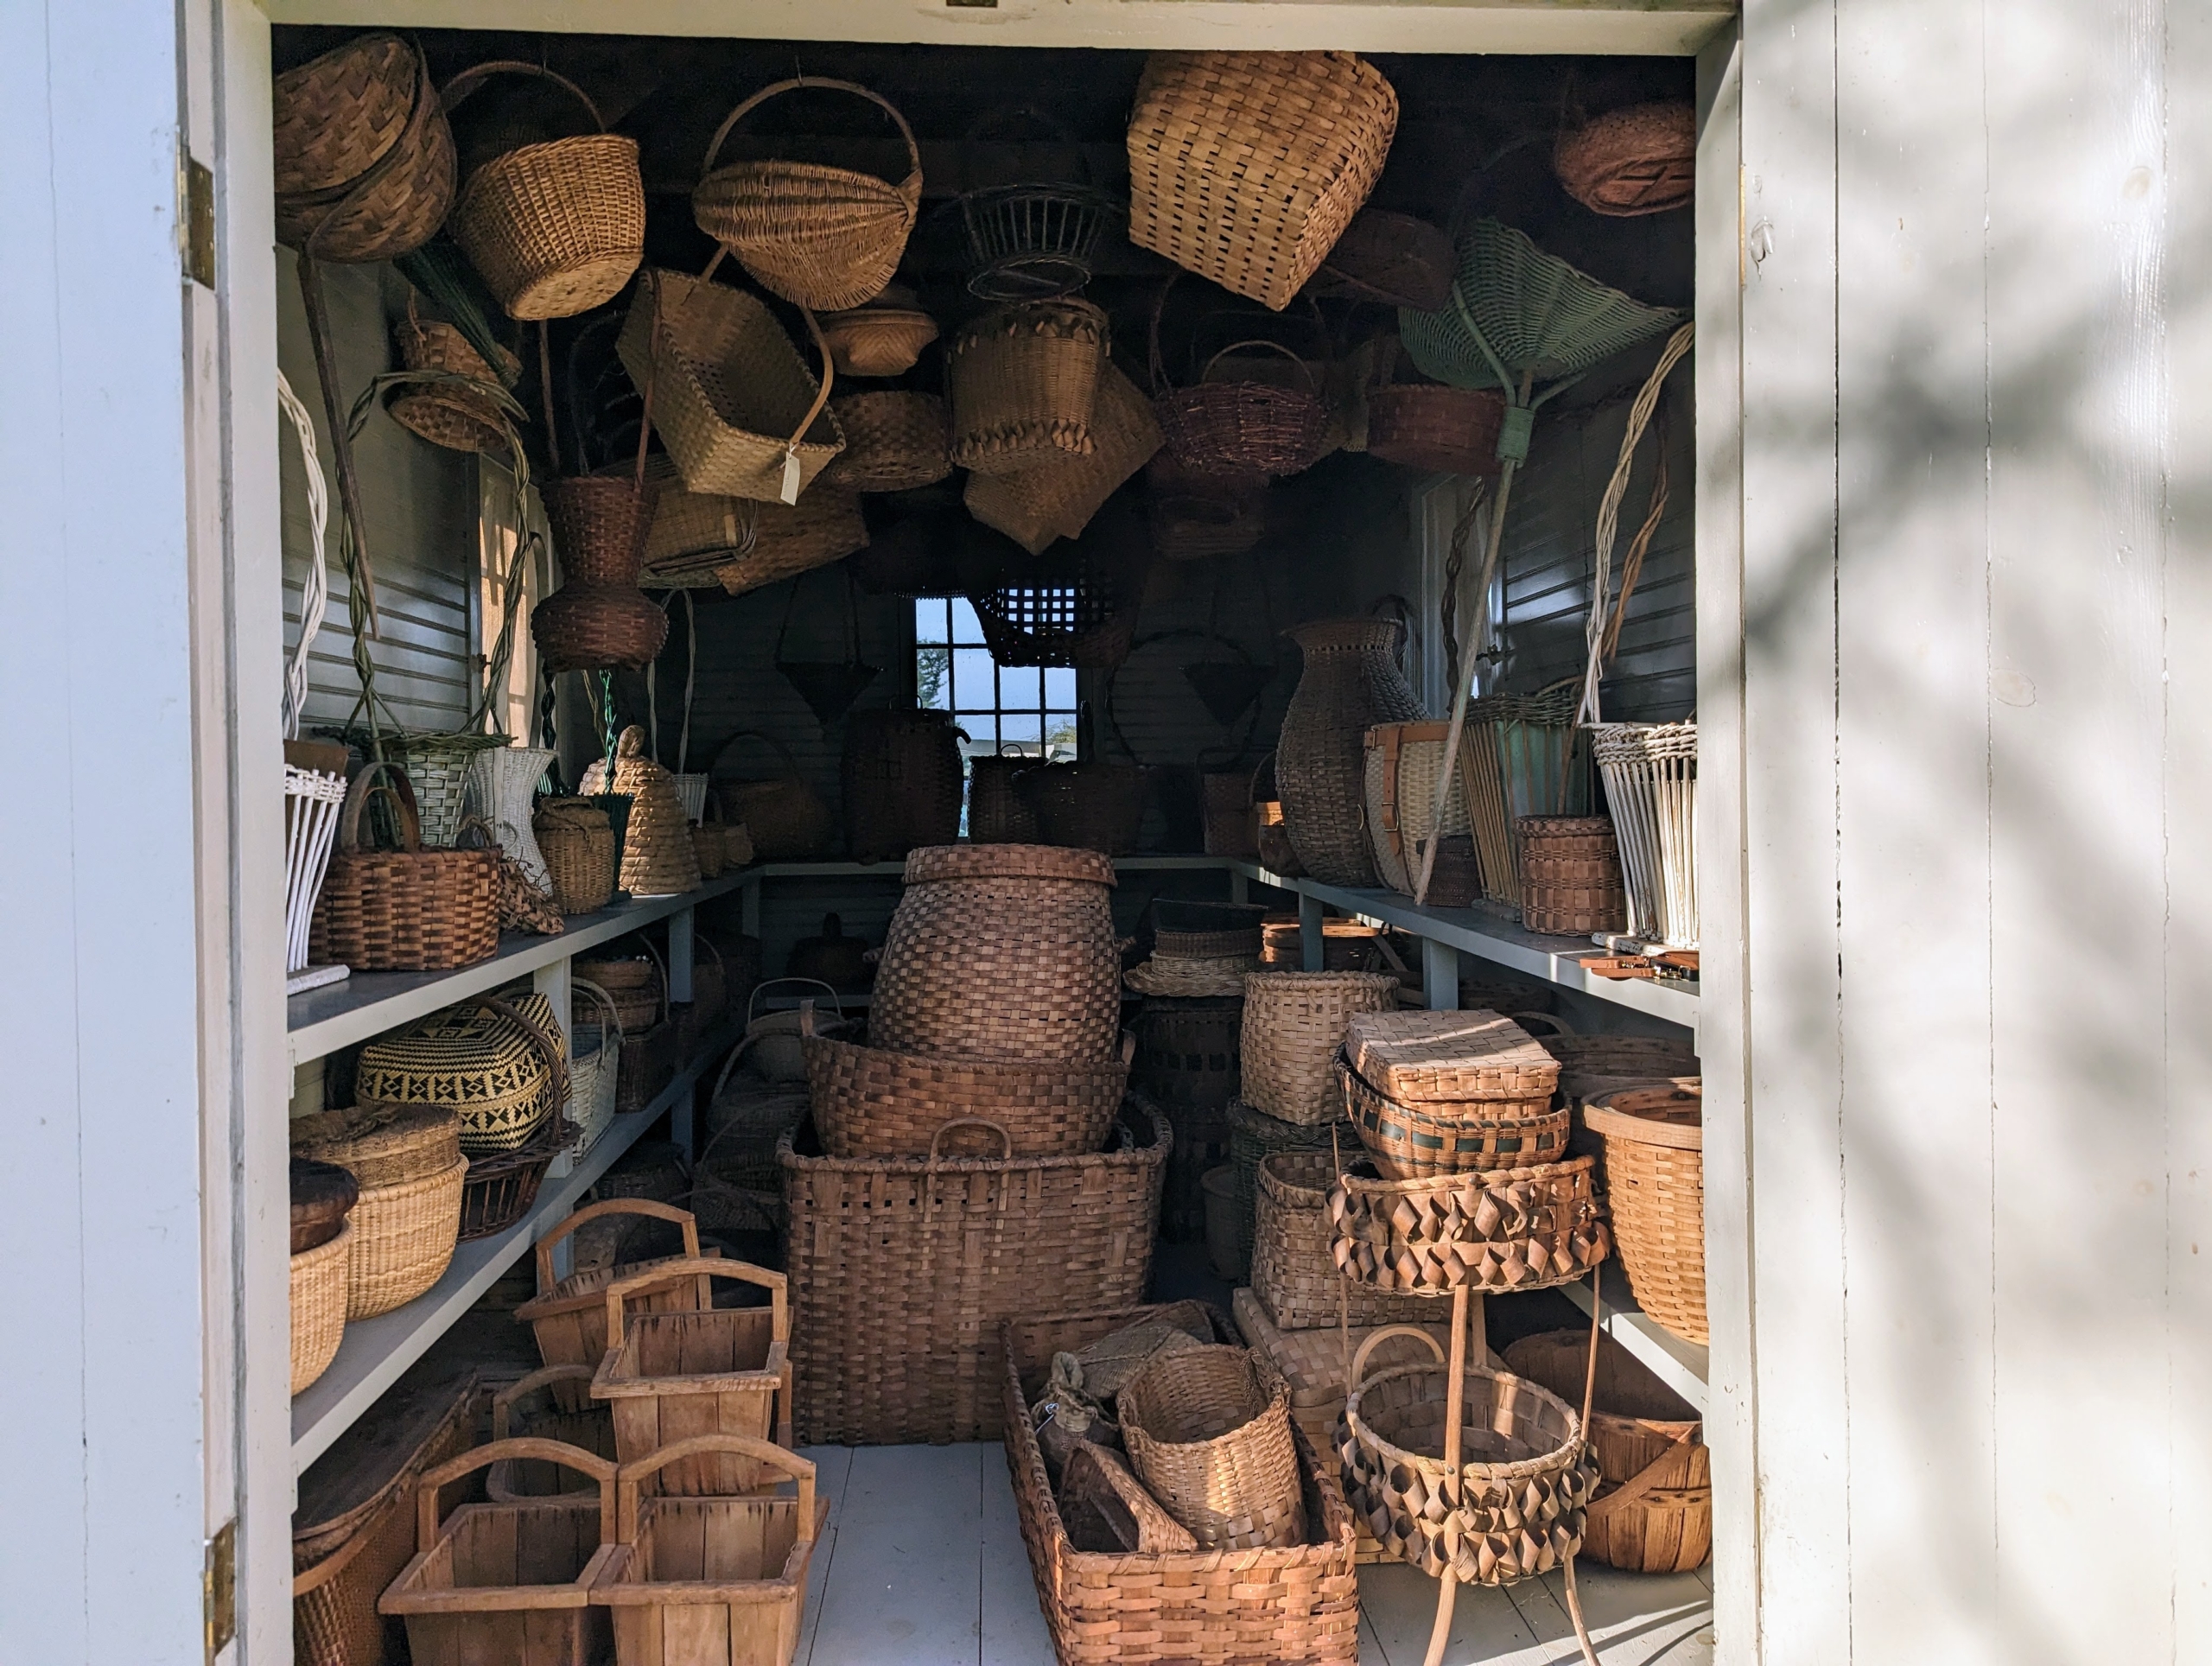
Slowly, the baskets are returned to the house. Many of these baskets can actually be hung from the rafters – to save shelf space for baskets without handles. I had “S” hooks made out of a heavy gauge copper wire to suspend them inside.
Each basket was lightly dusted before returning to the shelves.
These are berry baskets. Some baskets are also organized by type and neatly placed together without stacking.
This structure also has a window on three sides for good cross ventilation.
Here I am organizing and re-assessing each basket as it is returned to the house.
I love baskets of all kinds, and am always looking for rare pieces to add to my collection.
Here is the Basket House completely re-organized. It’s amazing how many can fit in this structure.
All my baskets are now tucked away neatly in the shelter – protected from all the elements.
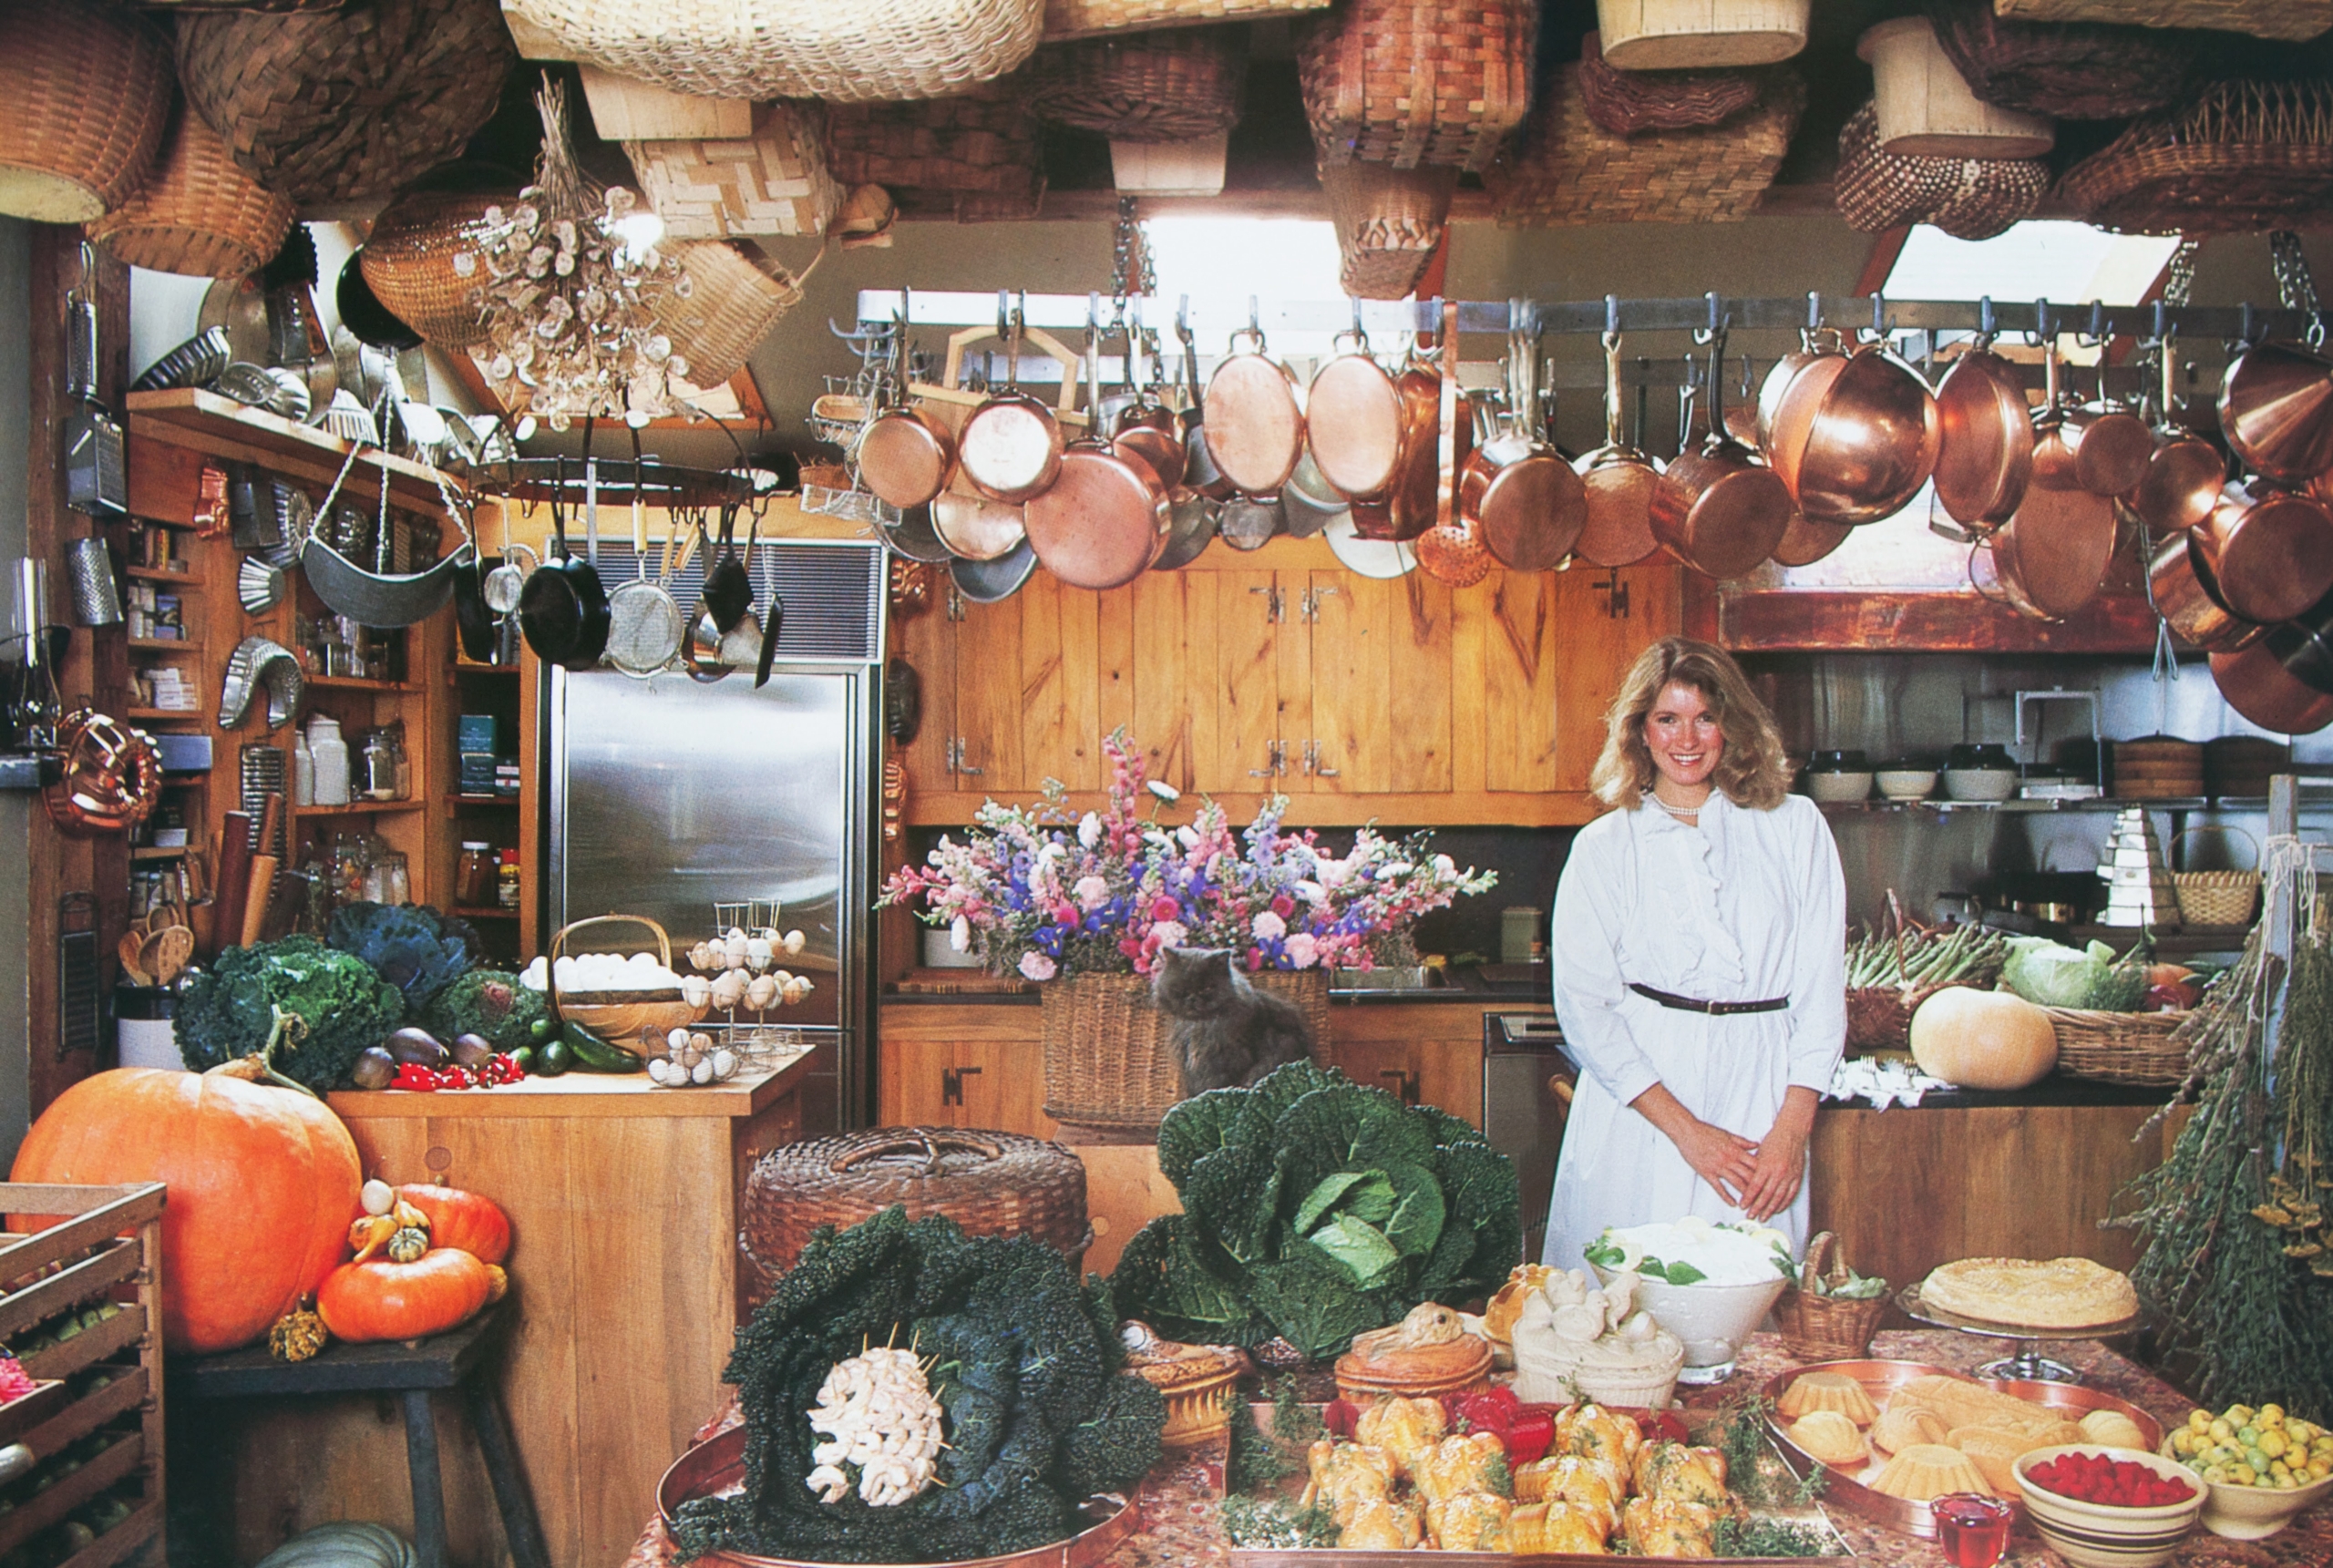
And here’s a good “throwback” photo. Perhaps you recall this photo from the pages of my very first book, Entertaining, published in 1982? The beamed kitchen ceiling of my 1810 Turkey Hill farmhouse in Connecticut was lined with many of the same baskets.