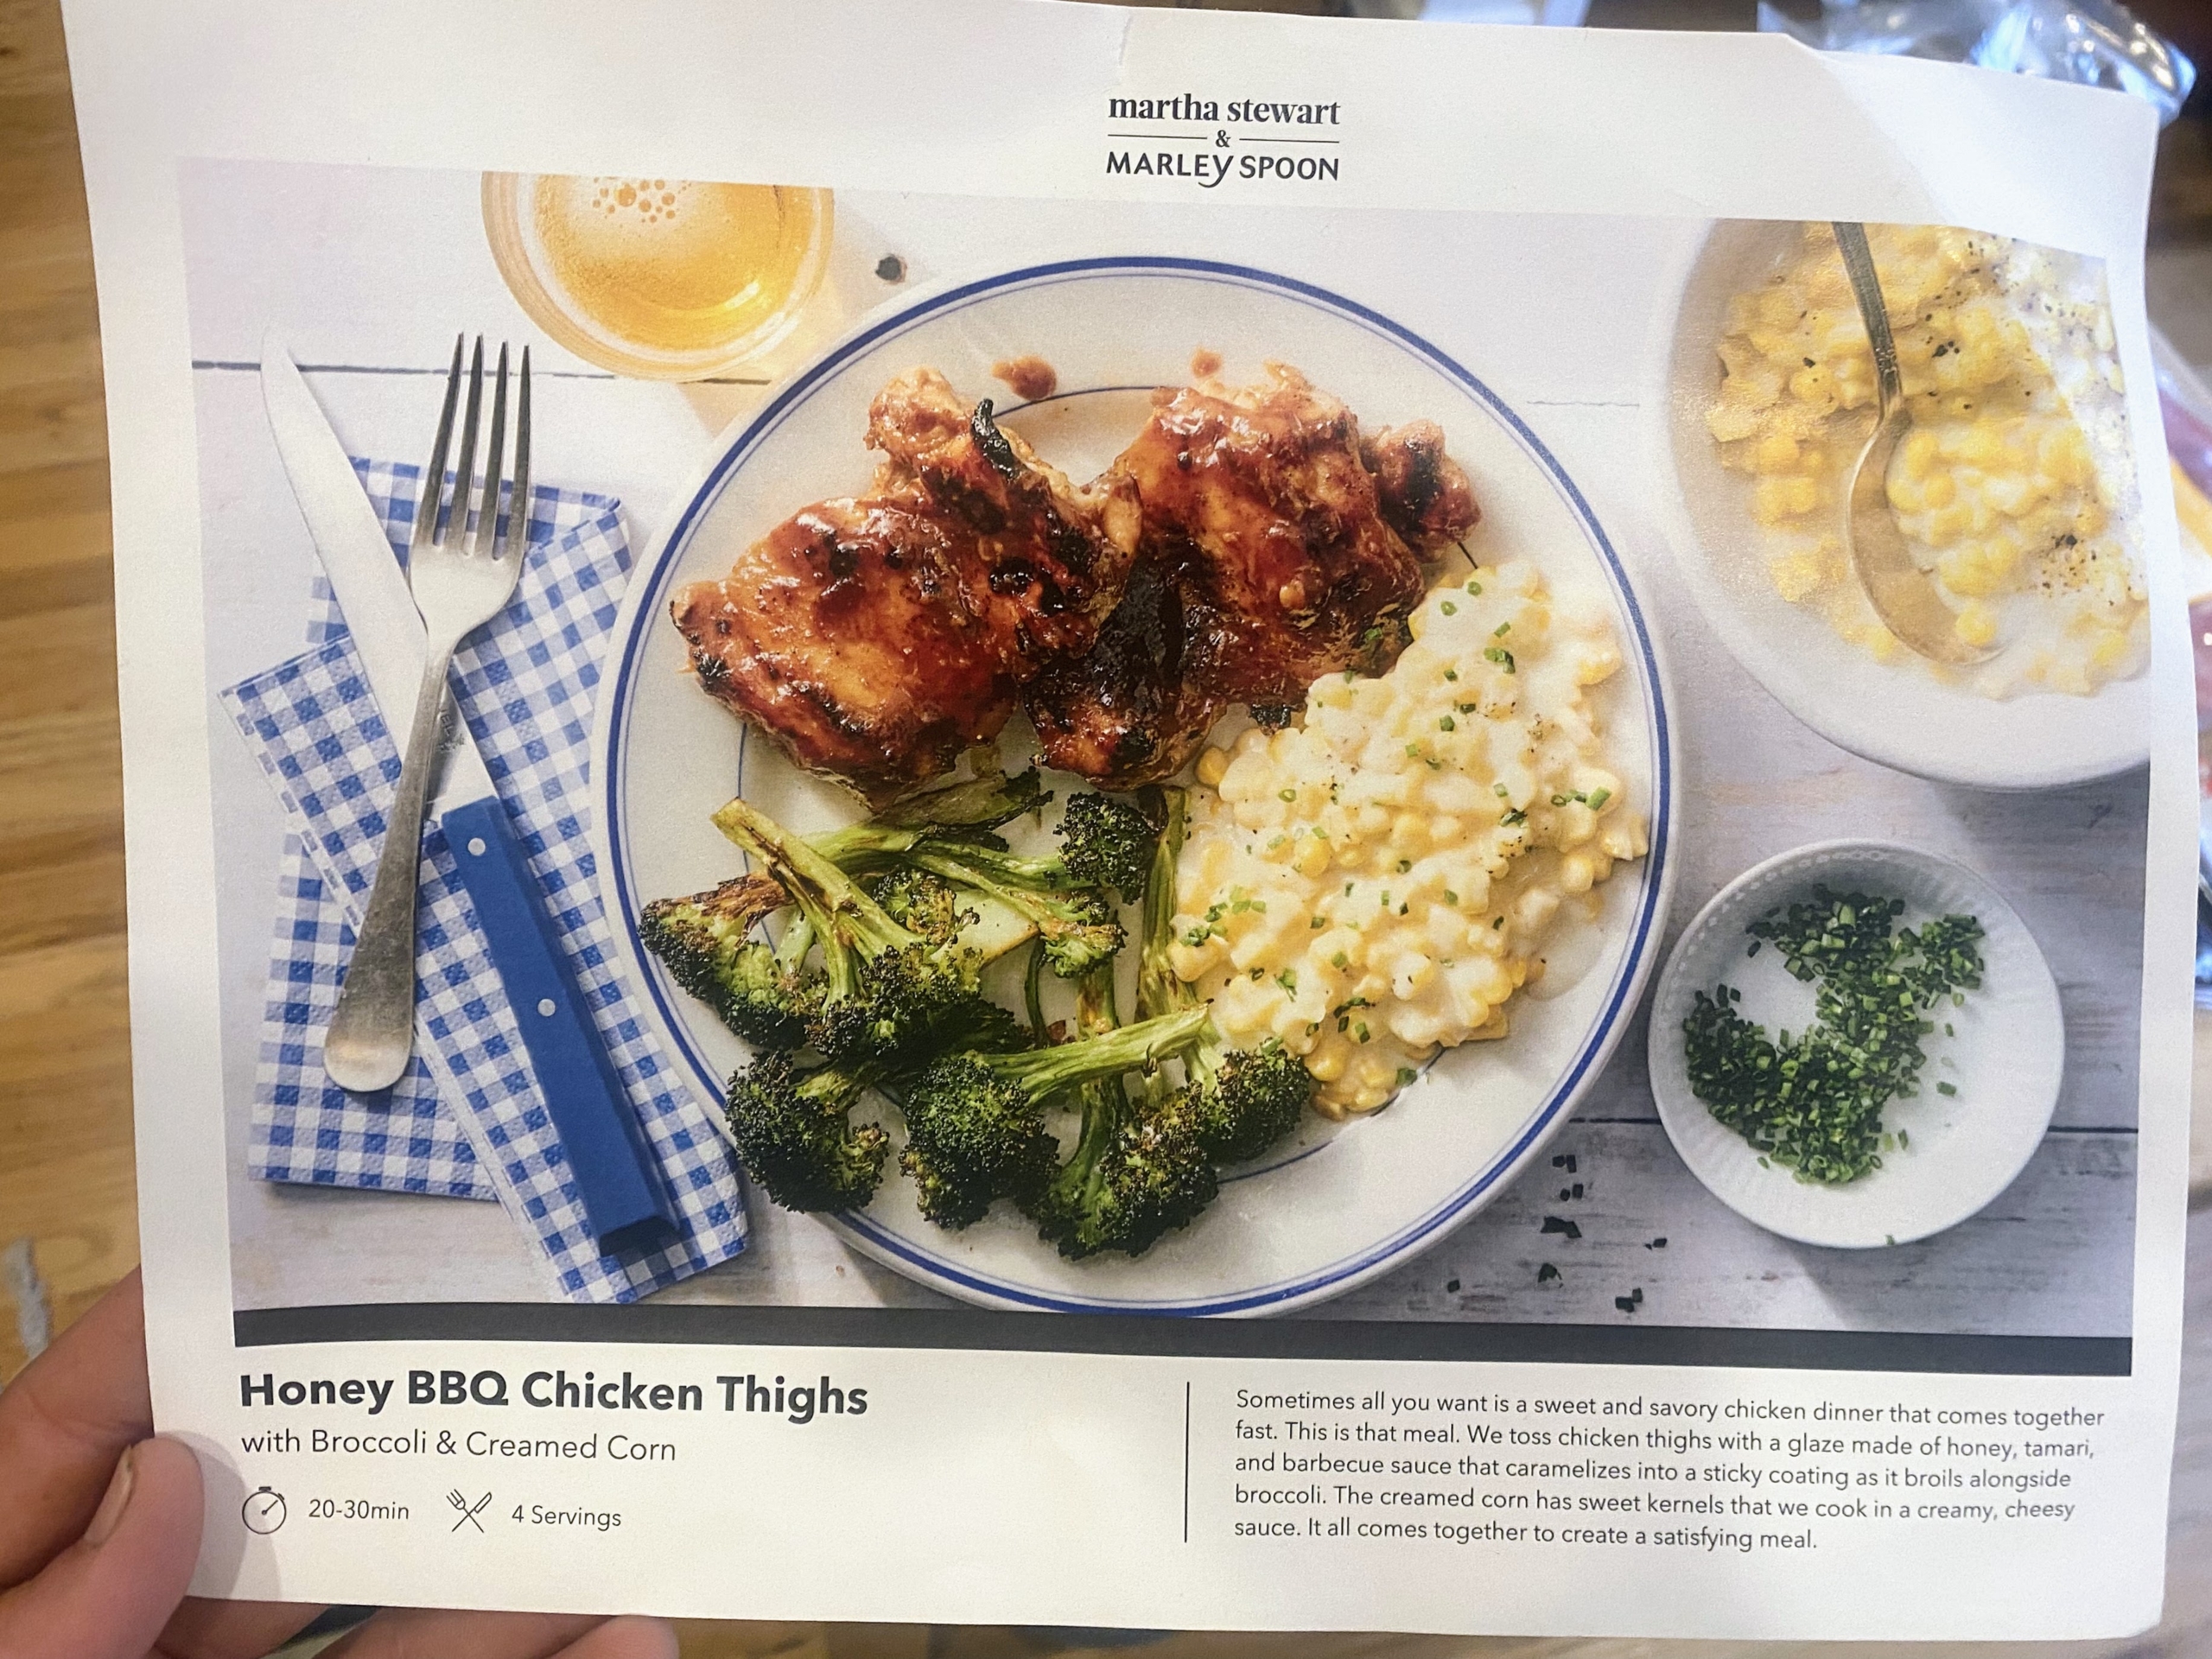
Every week, I receive several meal kits to test in my kitchen. I test as many recipes as possible to ensure we're sharing the best ones with all of you. Last week while I was away on a business trip, I gave some of the kits away. My gardener, Brian O'Kelly, loves to cook, and was excited to take home one of our time-saving meals - Honey BBQ Chicken Thighs with Broccoli & Creamed Corn. It was a huge hit. Brian, his roommate, and their friends loved every bite. Plus, just as promised on the recipe card, the entire dish was done in less than 40-minutes. Martha Stewart & Marley Spoon features so many inspiring recipes and cooking ideas, and you can customize the menu and choose the recipes that best fit your tastes. If you have a busy schedule like mine, and haven't yet tried Martha Stewart & Marley Spoon, please go to the website for more information on how you can subscribe today. You'll love it!
Enjoy these photos.
Here is the large recipe card for the Honey BBQ Chicken Thighs with Broccoli & Creamed Corn. Every Martha Stewart & Marley Spoon kit comes with this large recipe card complete with a photo of the finished dish on one side…
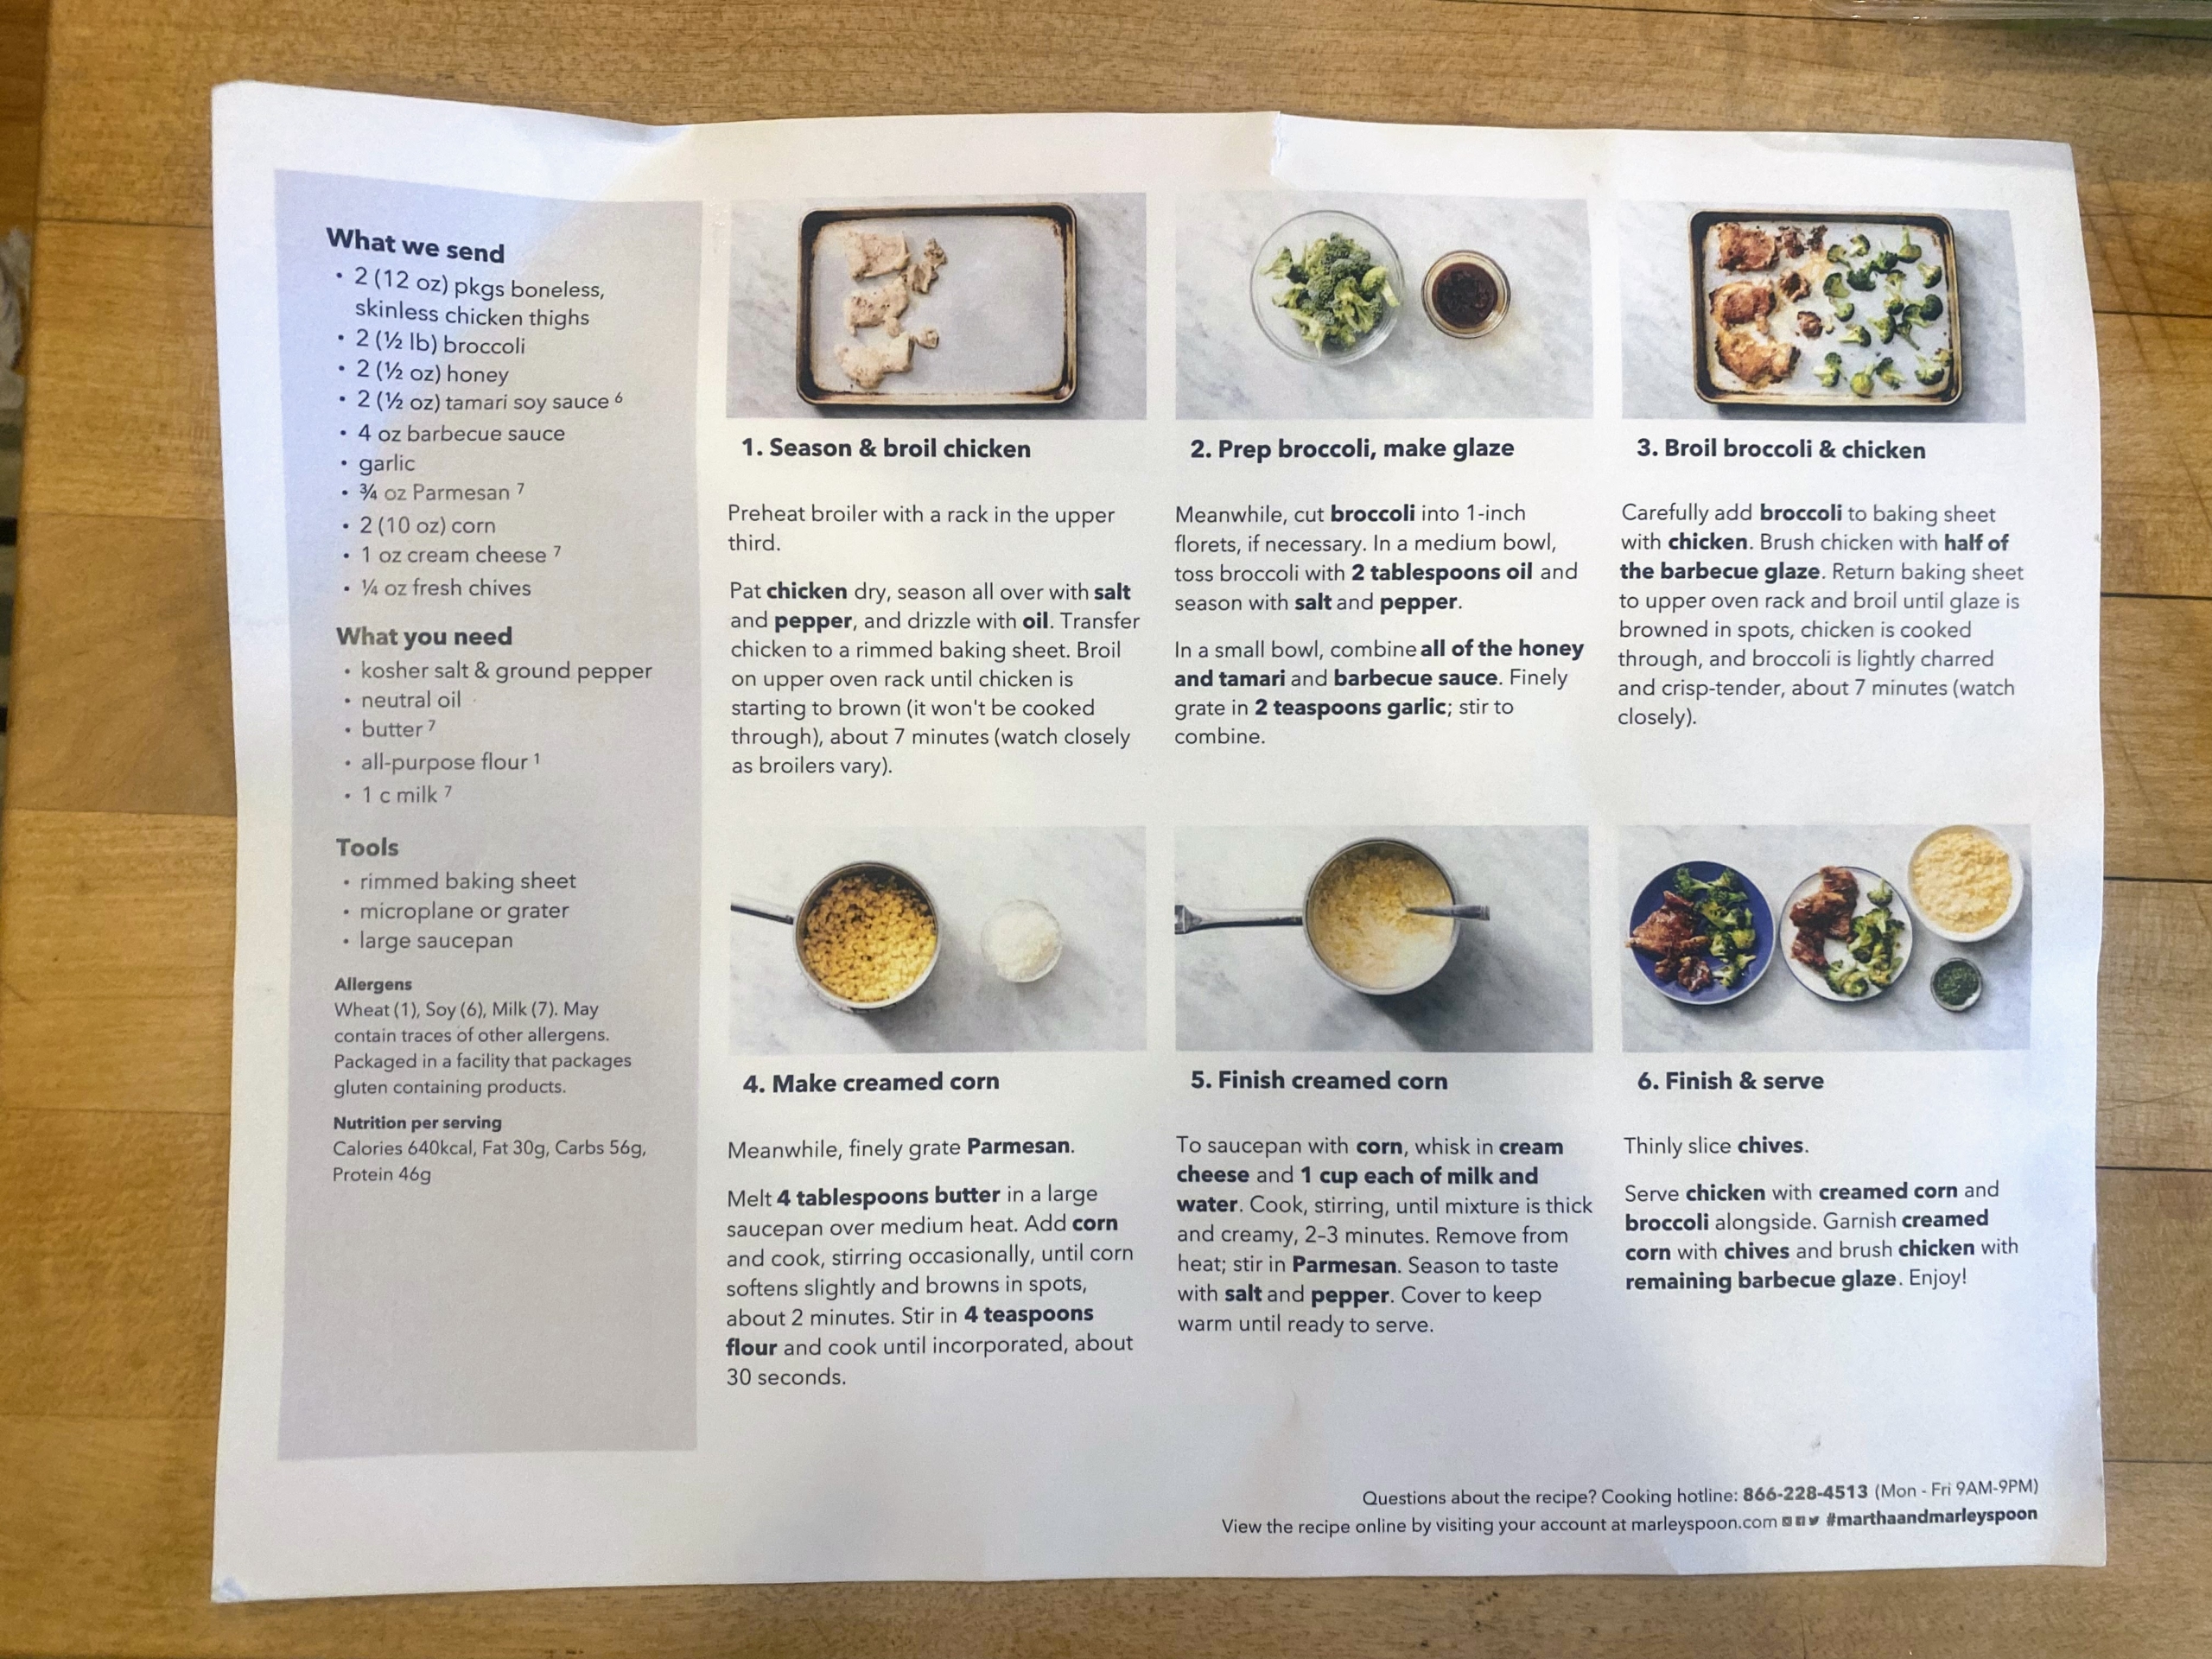
… And on the other, the complete how-to, step-by-step instructions and detailed photos to match. These photos help so much when preparing any meal – we make sure there are only six main steps for every dish. We work hard to develop every Martha Stewart & Marley Spoon meal kit recipe so it is time-saving, easy to make, and most of all delicious.
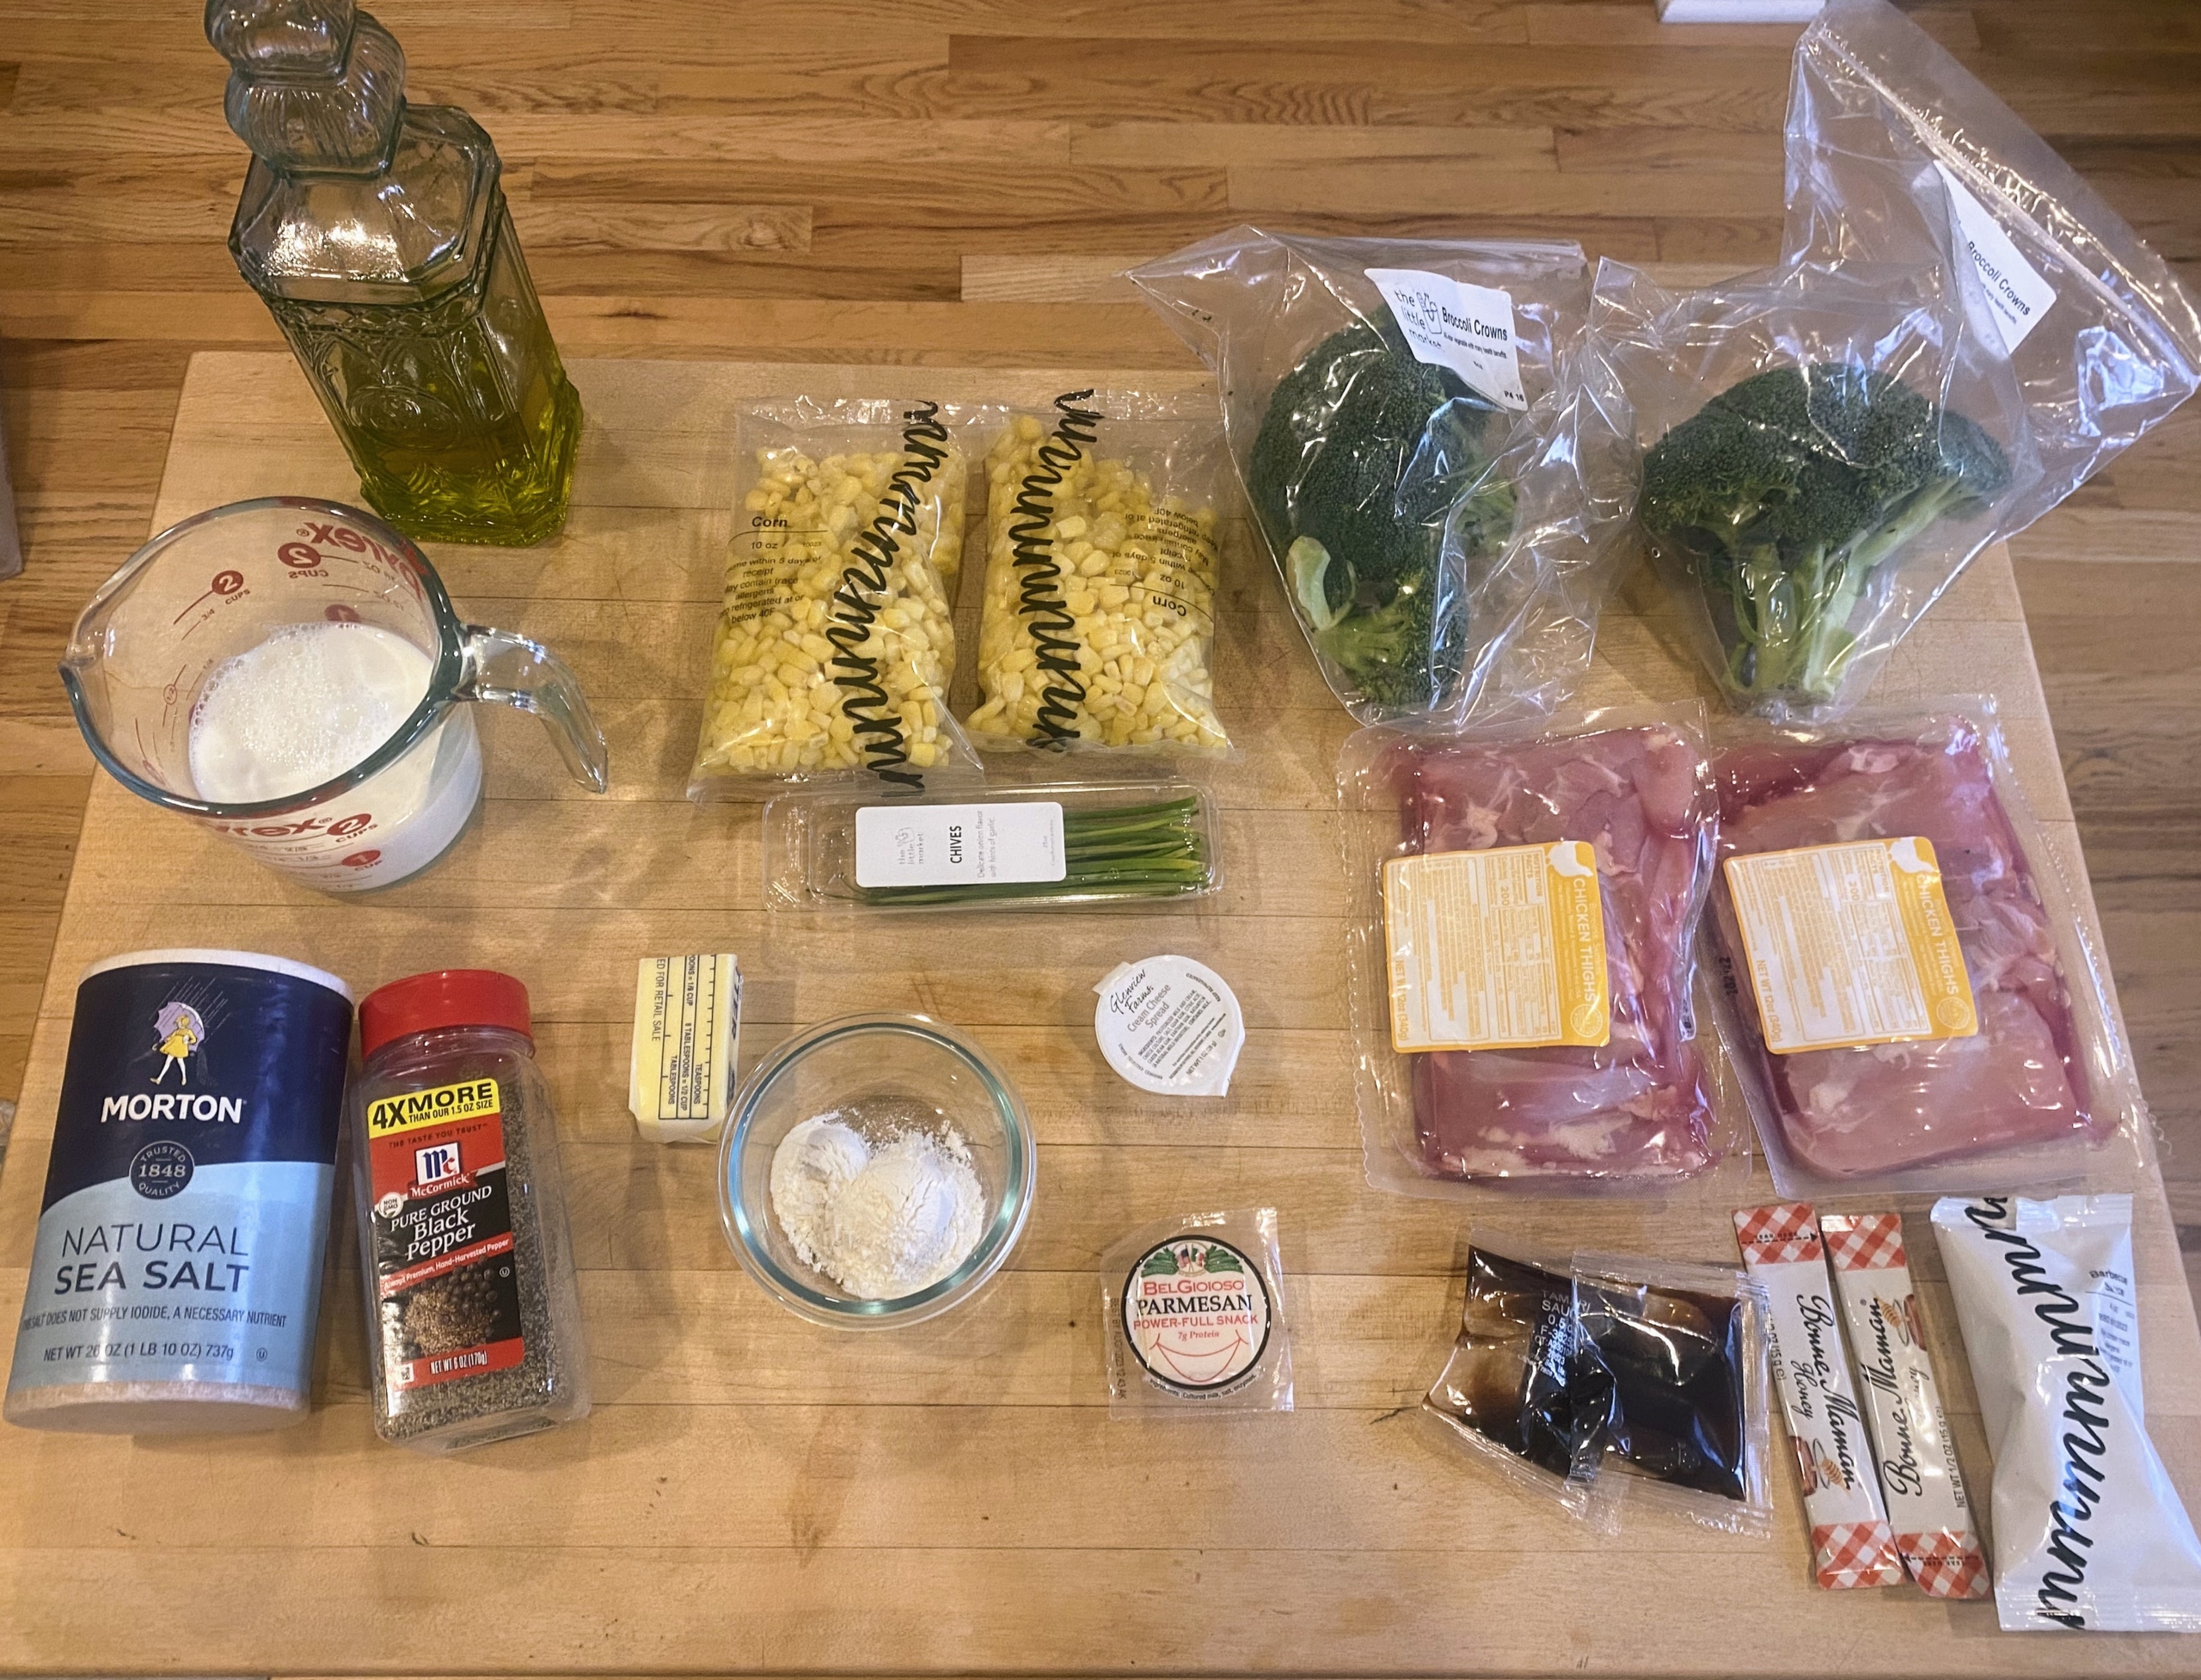
To start, Brian takes out all the ingredients from the box. Our Martha Stewart & Marley Spoon meal kits are great. All the ingredients are sourced to local quality purveyors and growers – just choose the dishes the week before, and pick the day of delivery – it’s that easy! We provide all the ingredients except salt, pepper, oil, butter, flour and milk – items one usually has right at home.
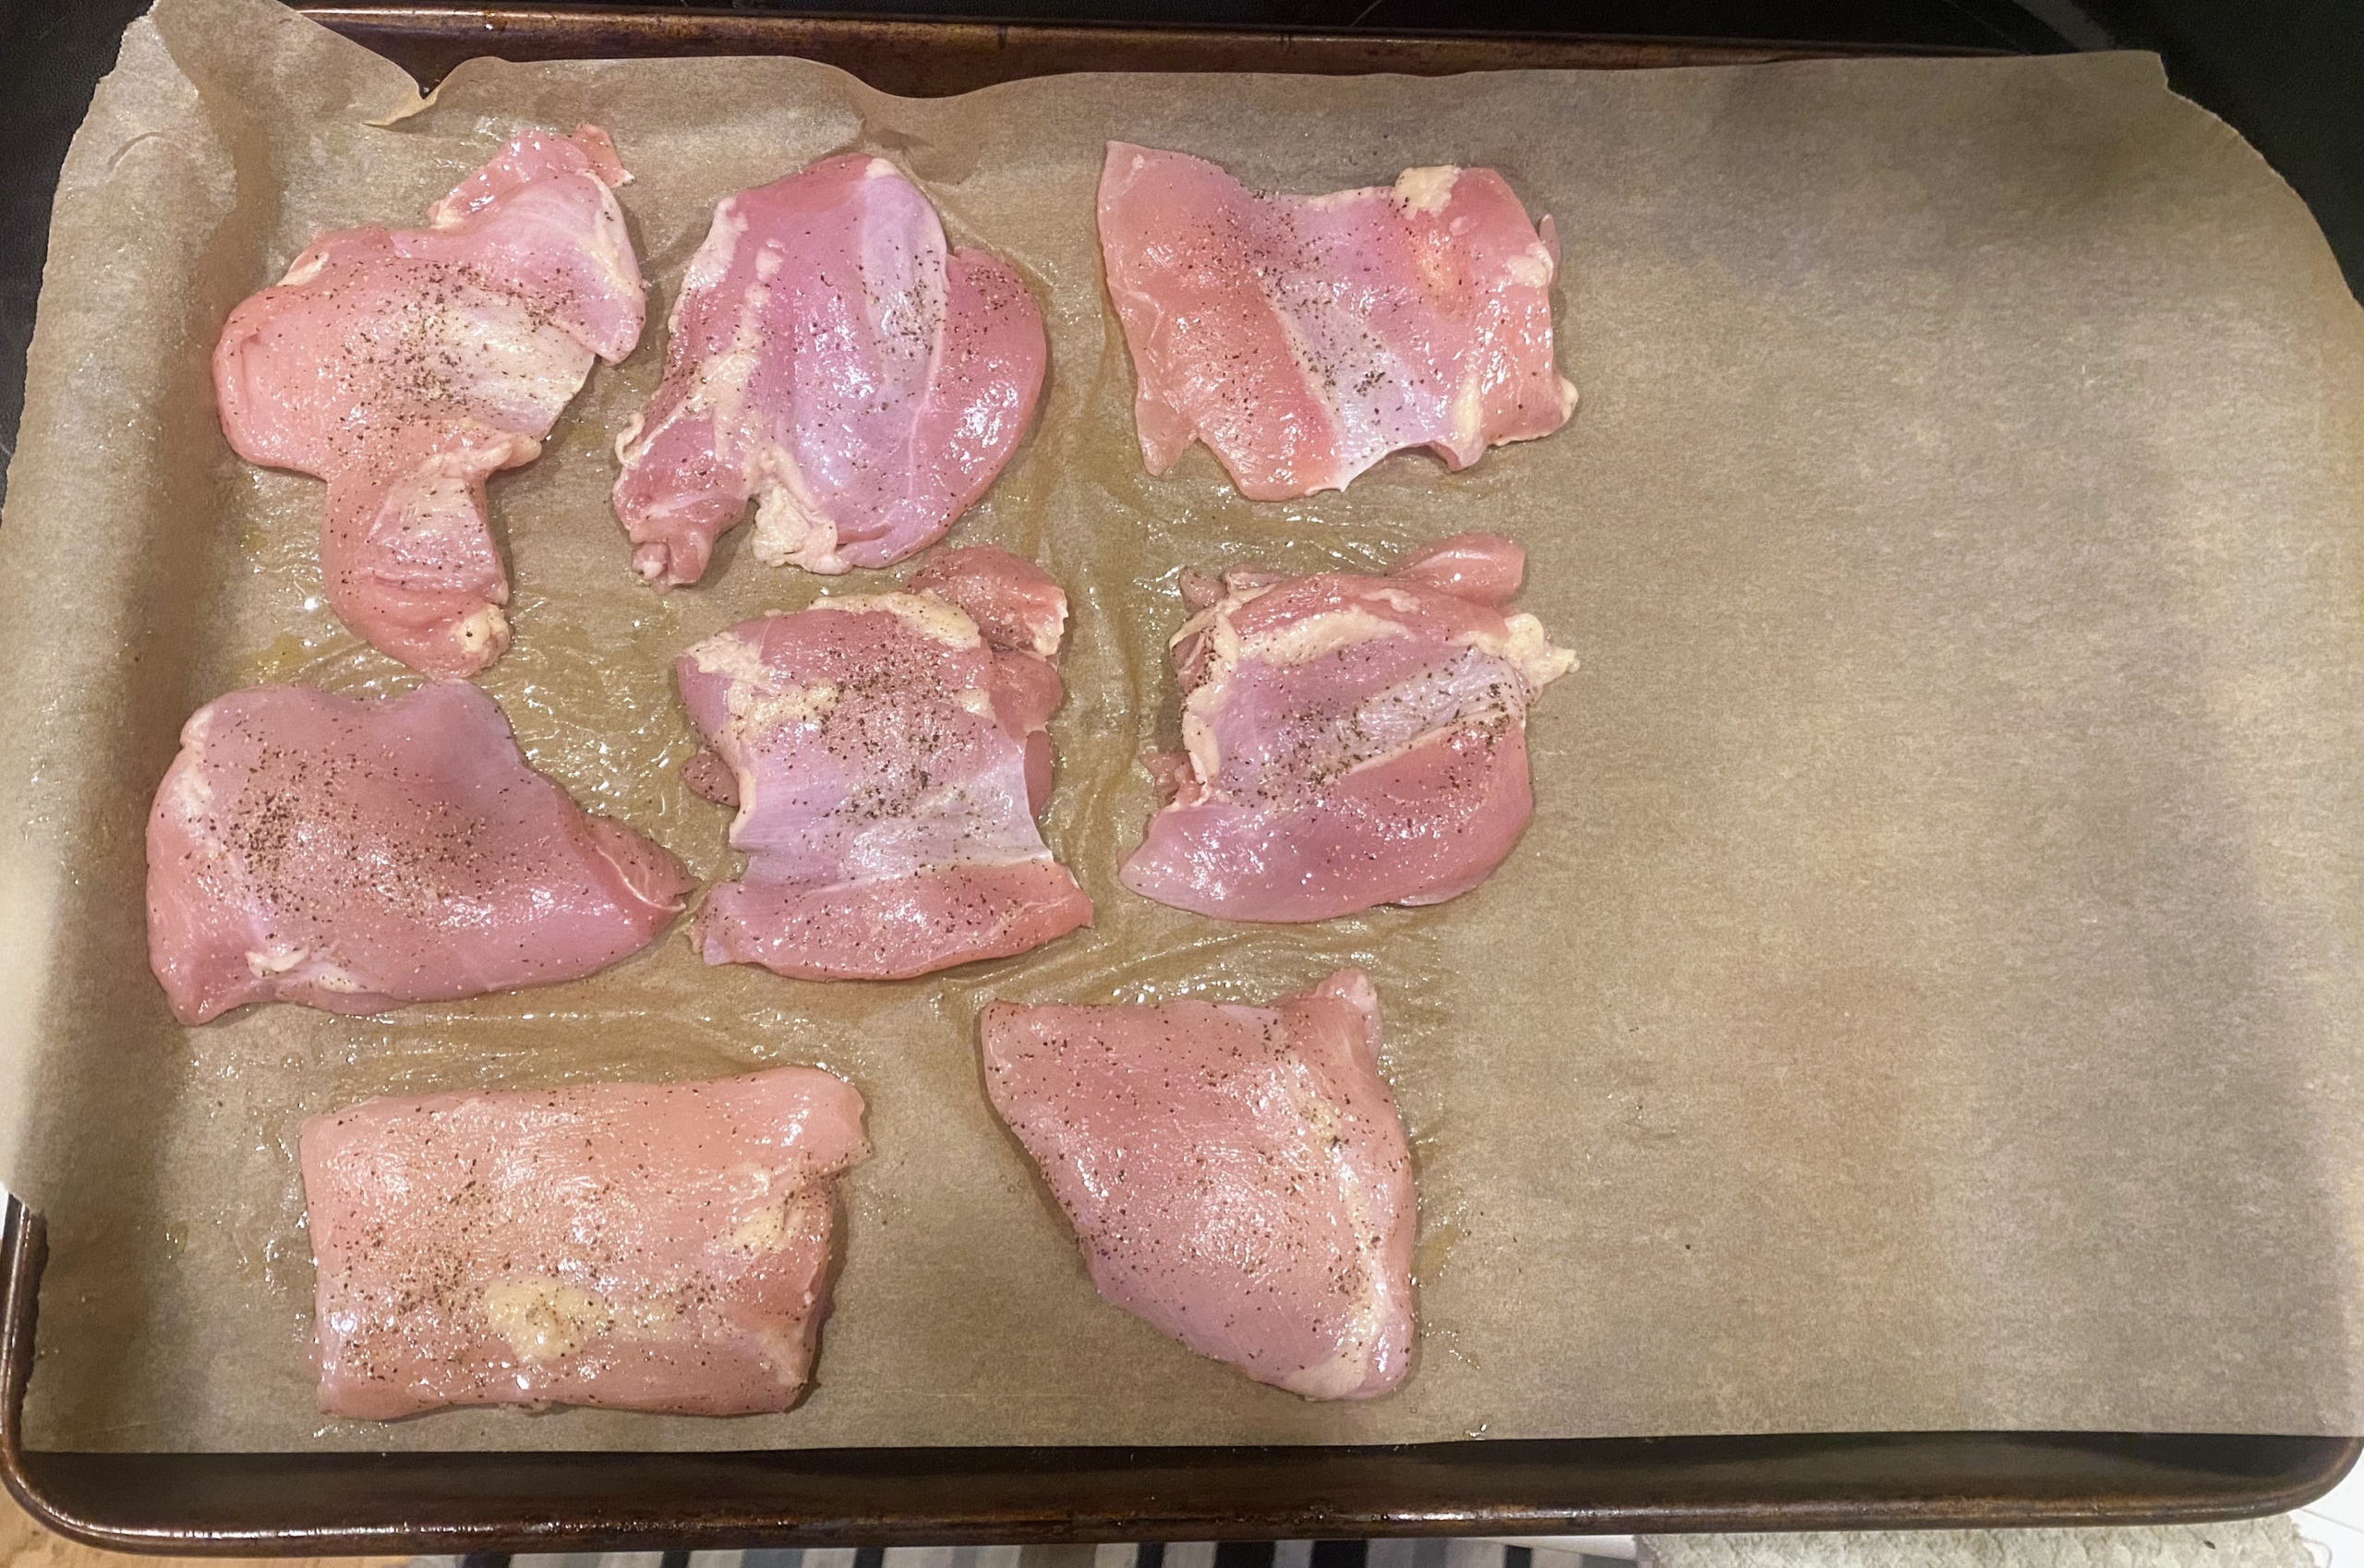
The first step after Brian pre-heats the broiler, is to prepare the chicken. The meals come with all the ingredients to make a meal for two or four hungry eaters. The chicken is placed onto a rimmed baking sheet, sprinkled with salt and pepper and then drizzled with oil. Then Brian puts the chicken into the oven until it starts to get brown. – about seven minutes.
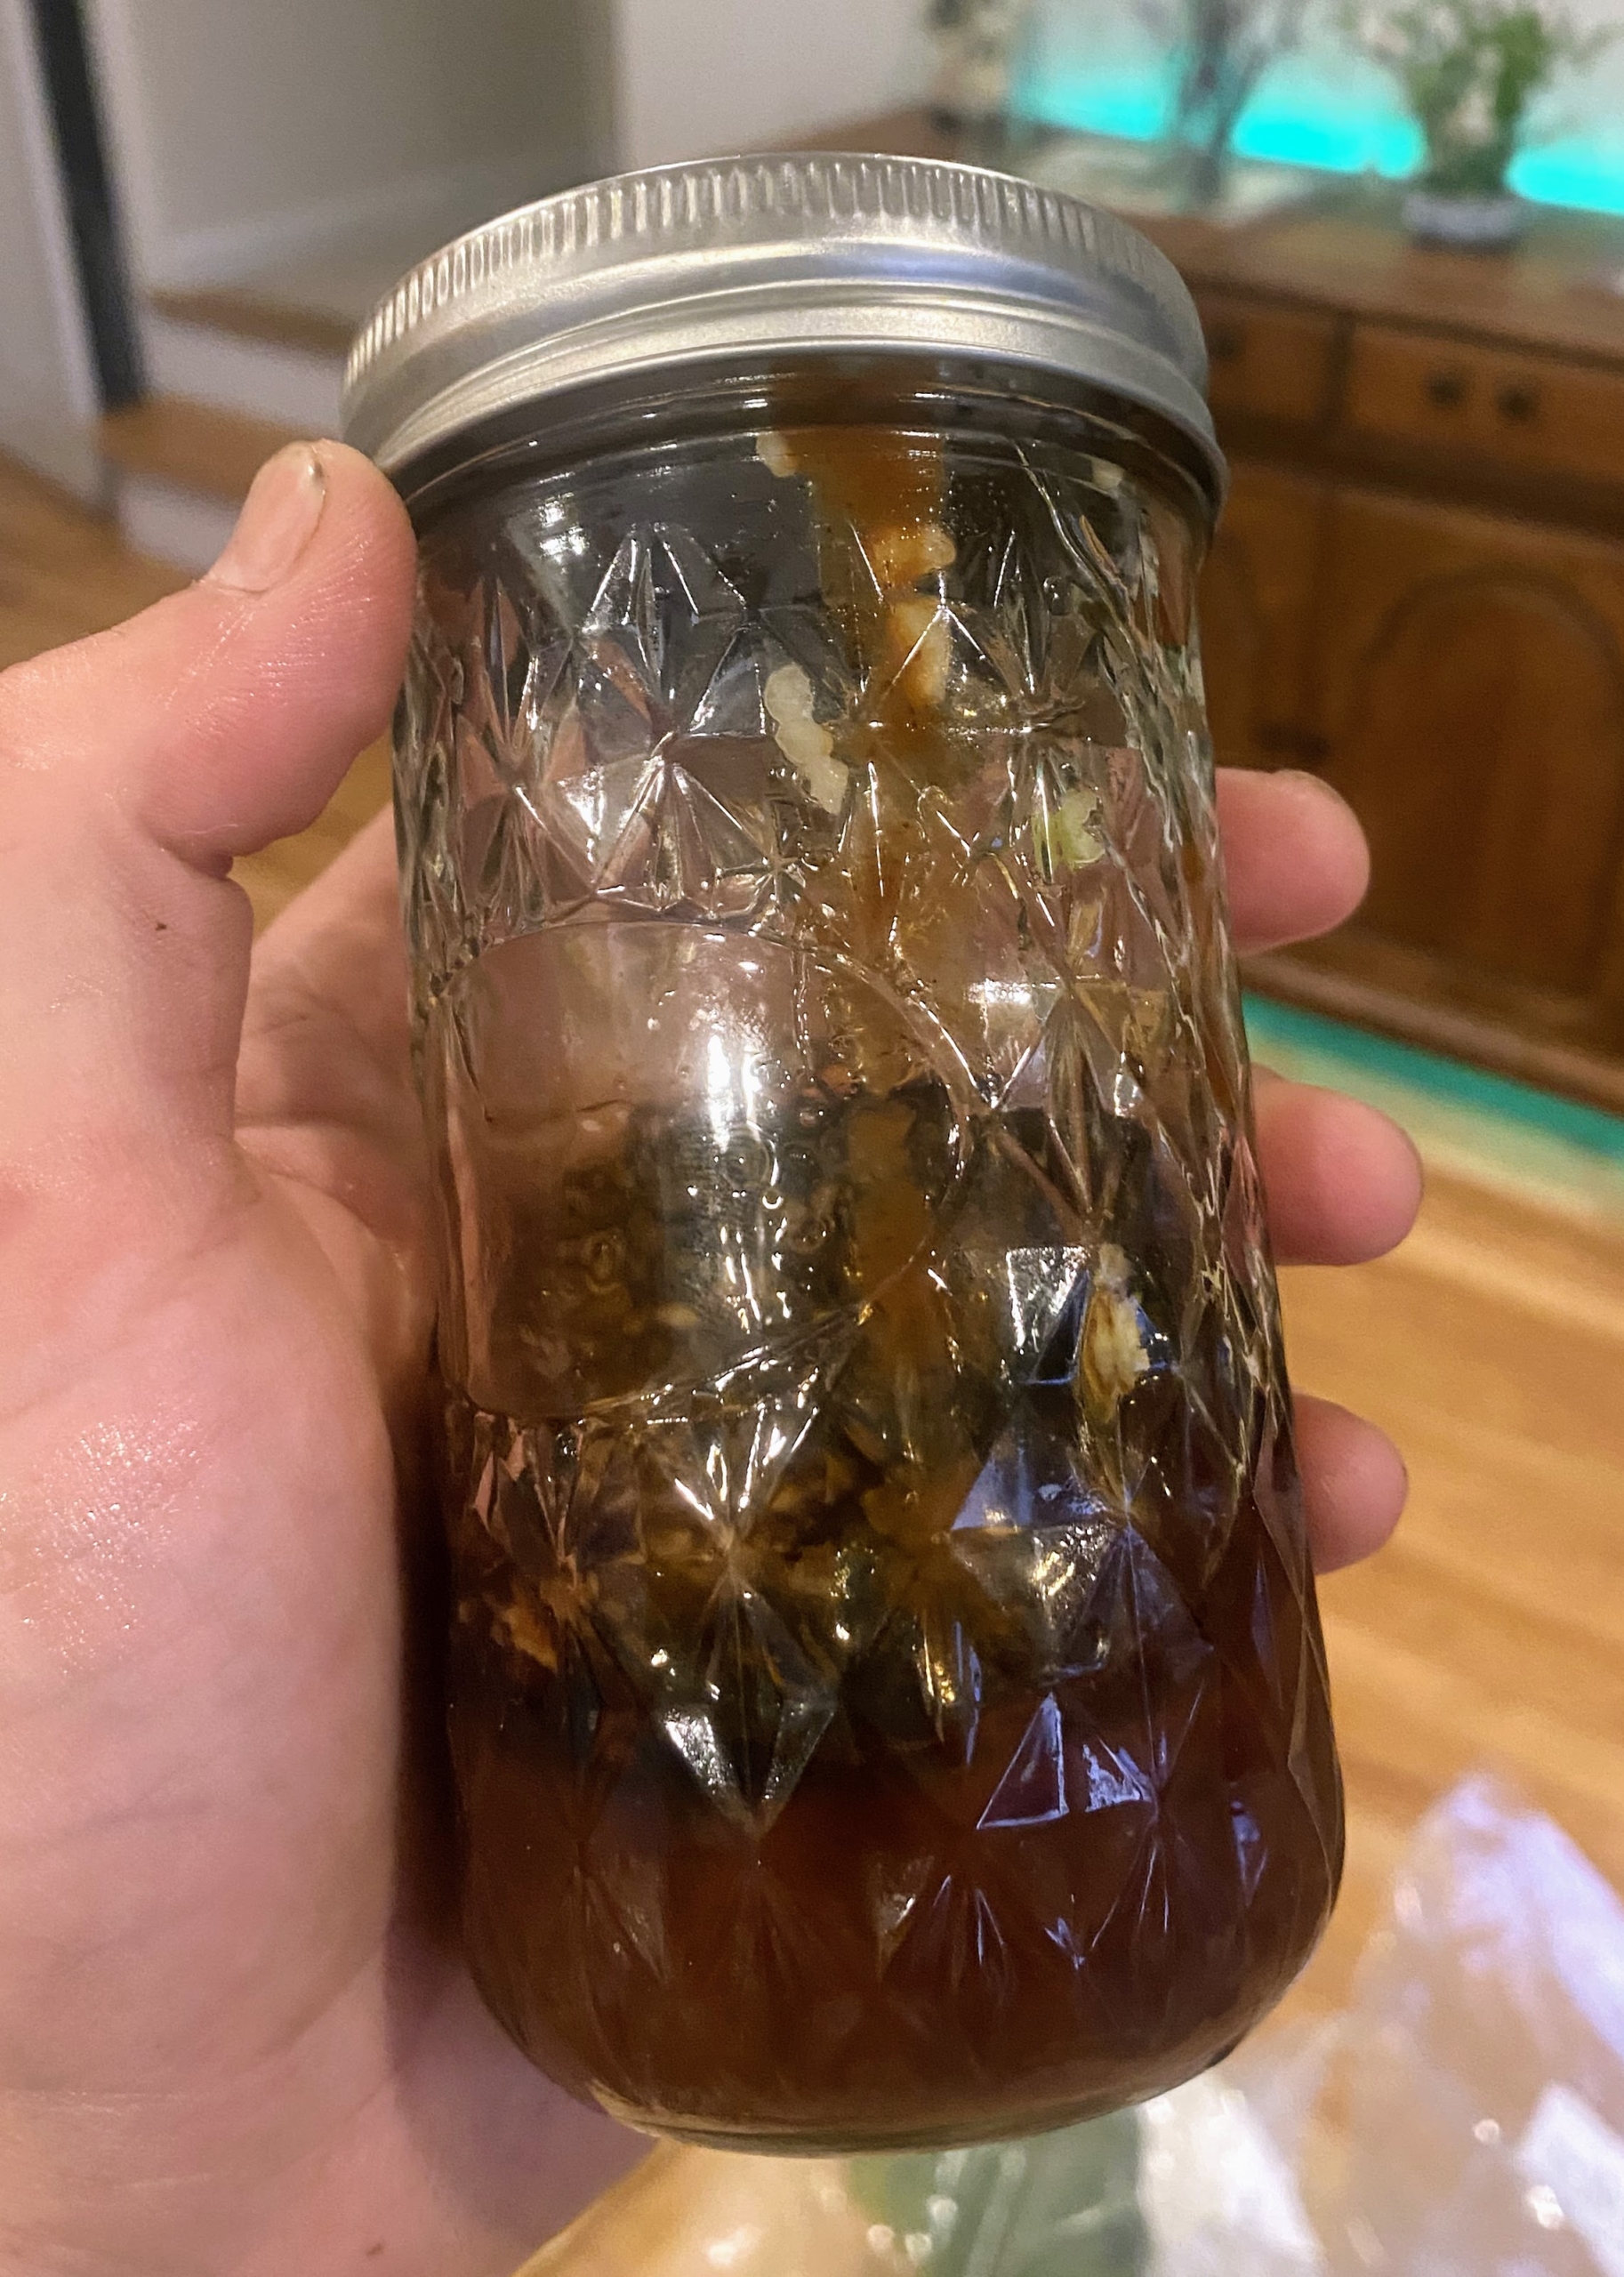
Then, Brian prepares the BBQ glaze. He combines all the provided honey, tamari, barbecue sauce, and two teaspoons of garlic.
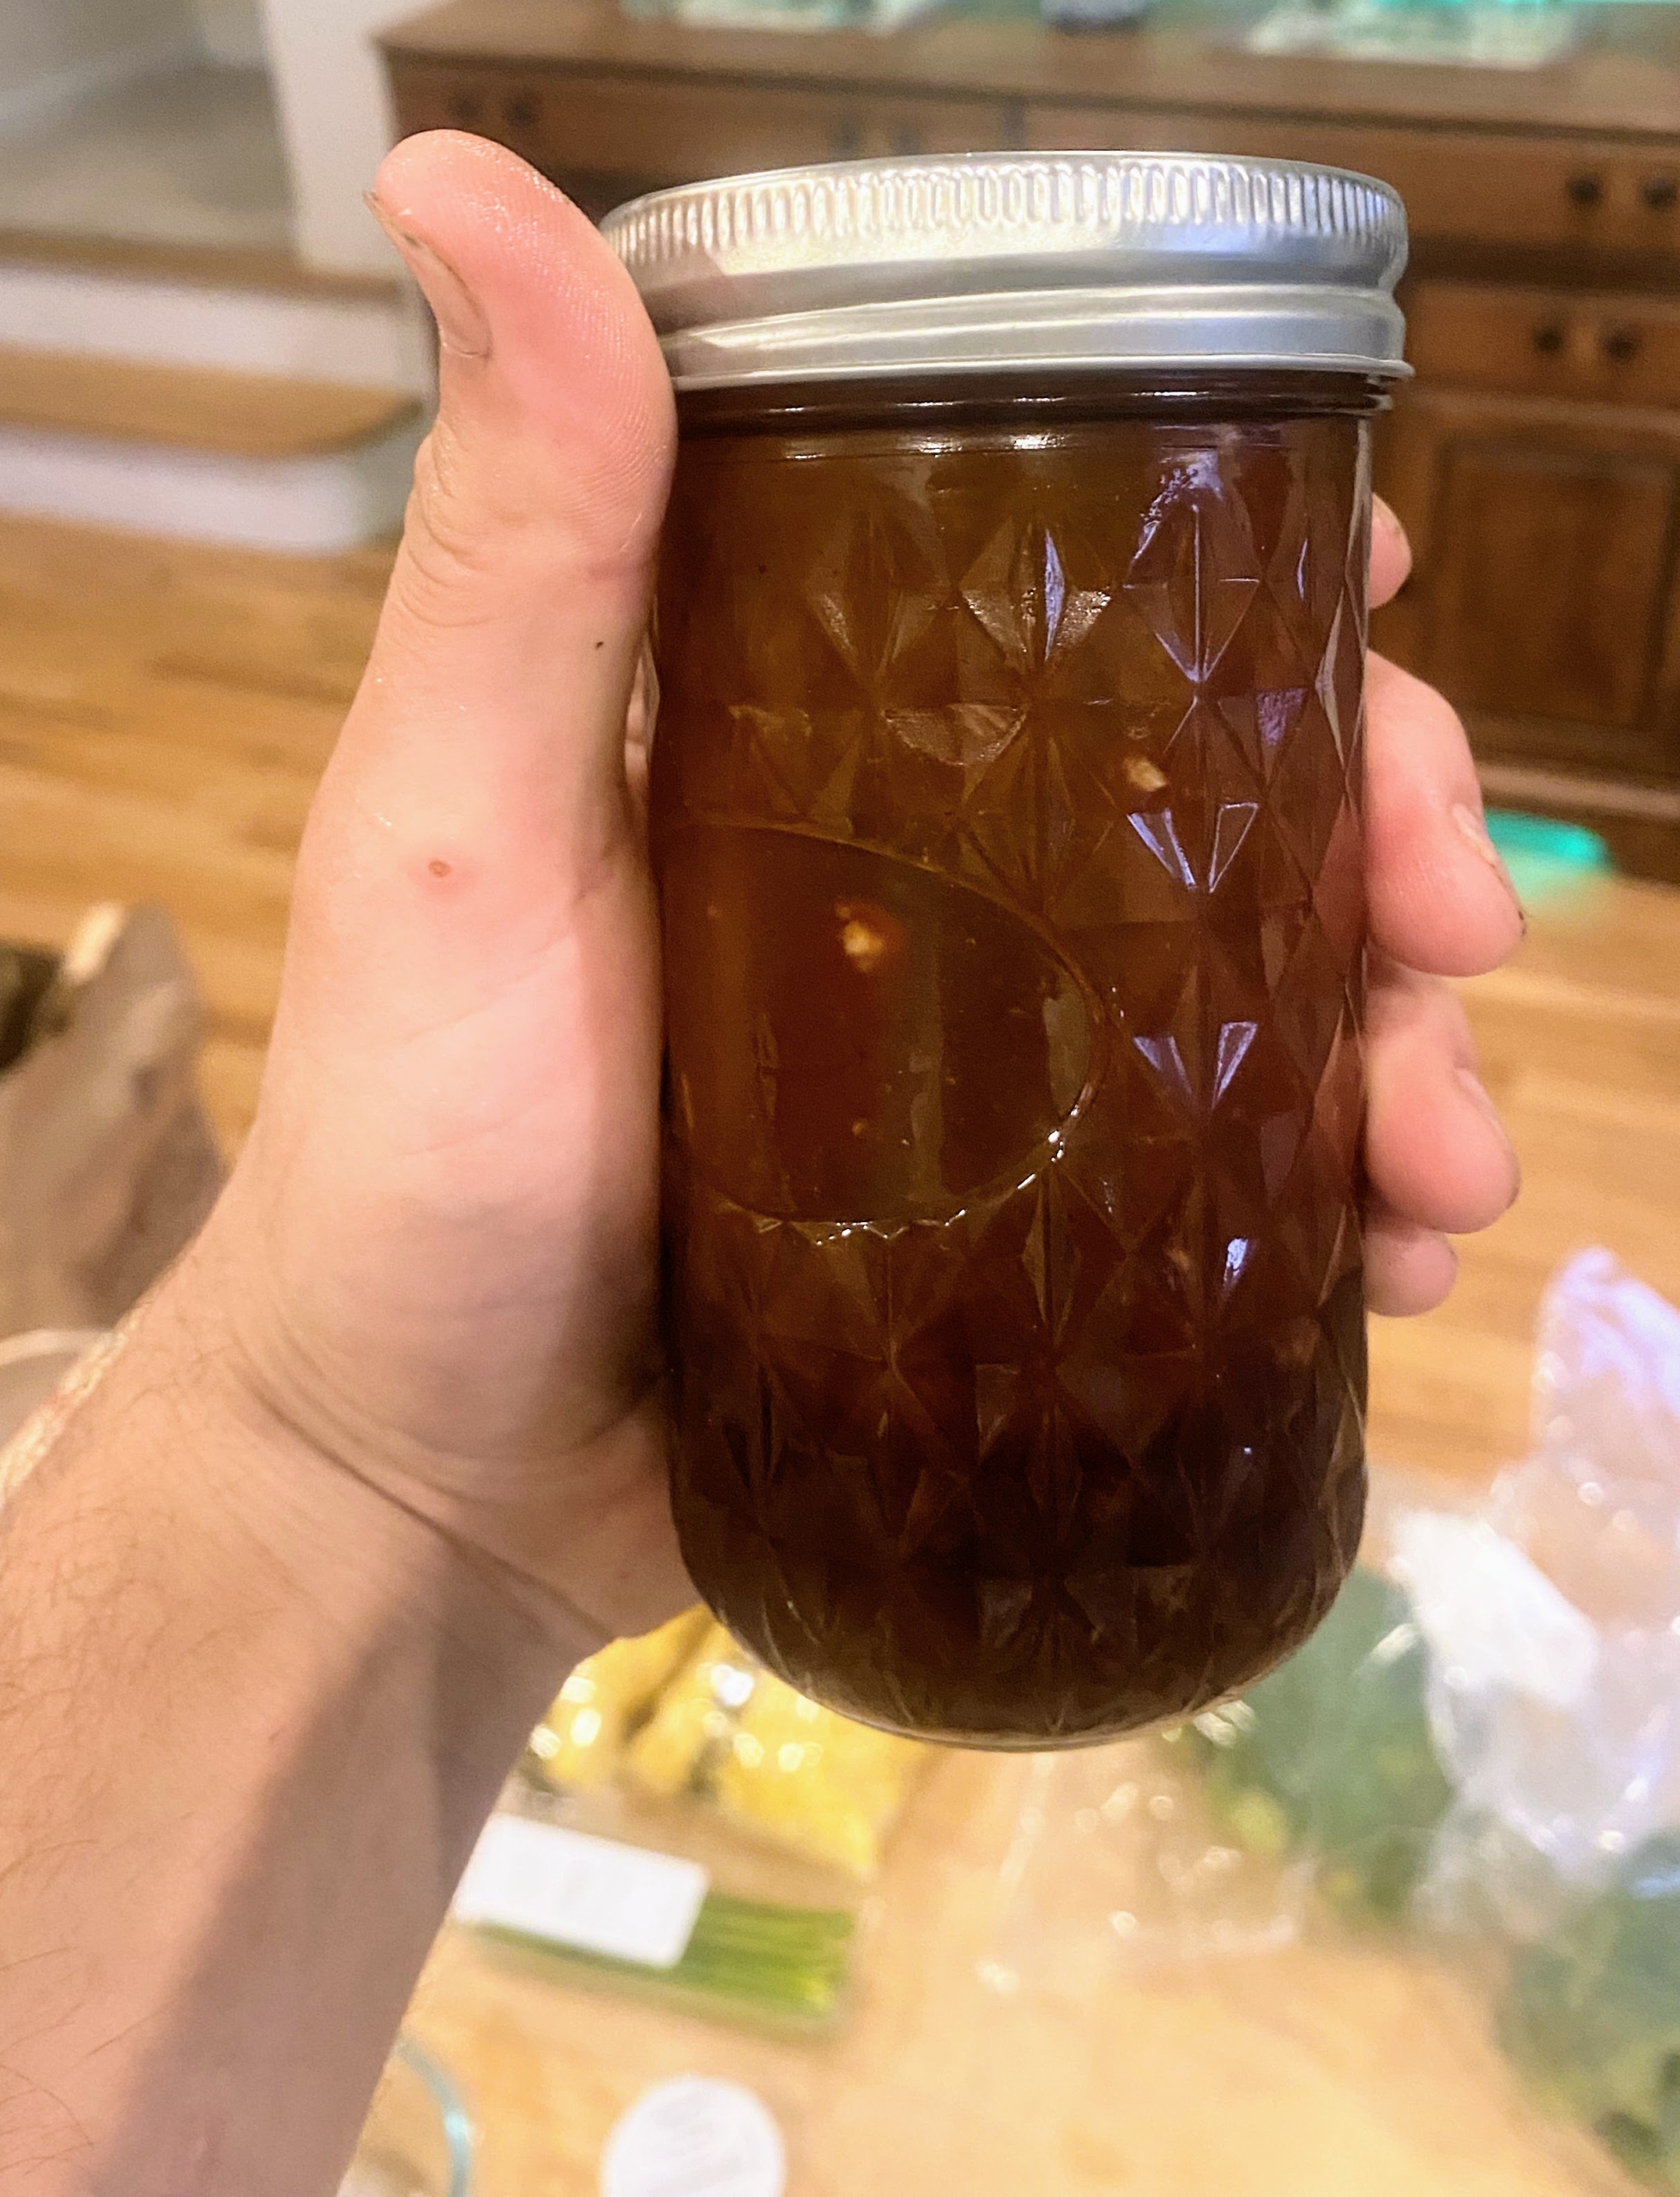
And then instead of stirring in a bowl, he uses a jar and shakes all the ingredients together to mix.
Doing this is just as easy as combining in a small bowl.
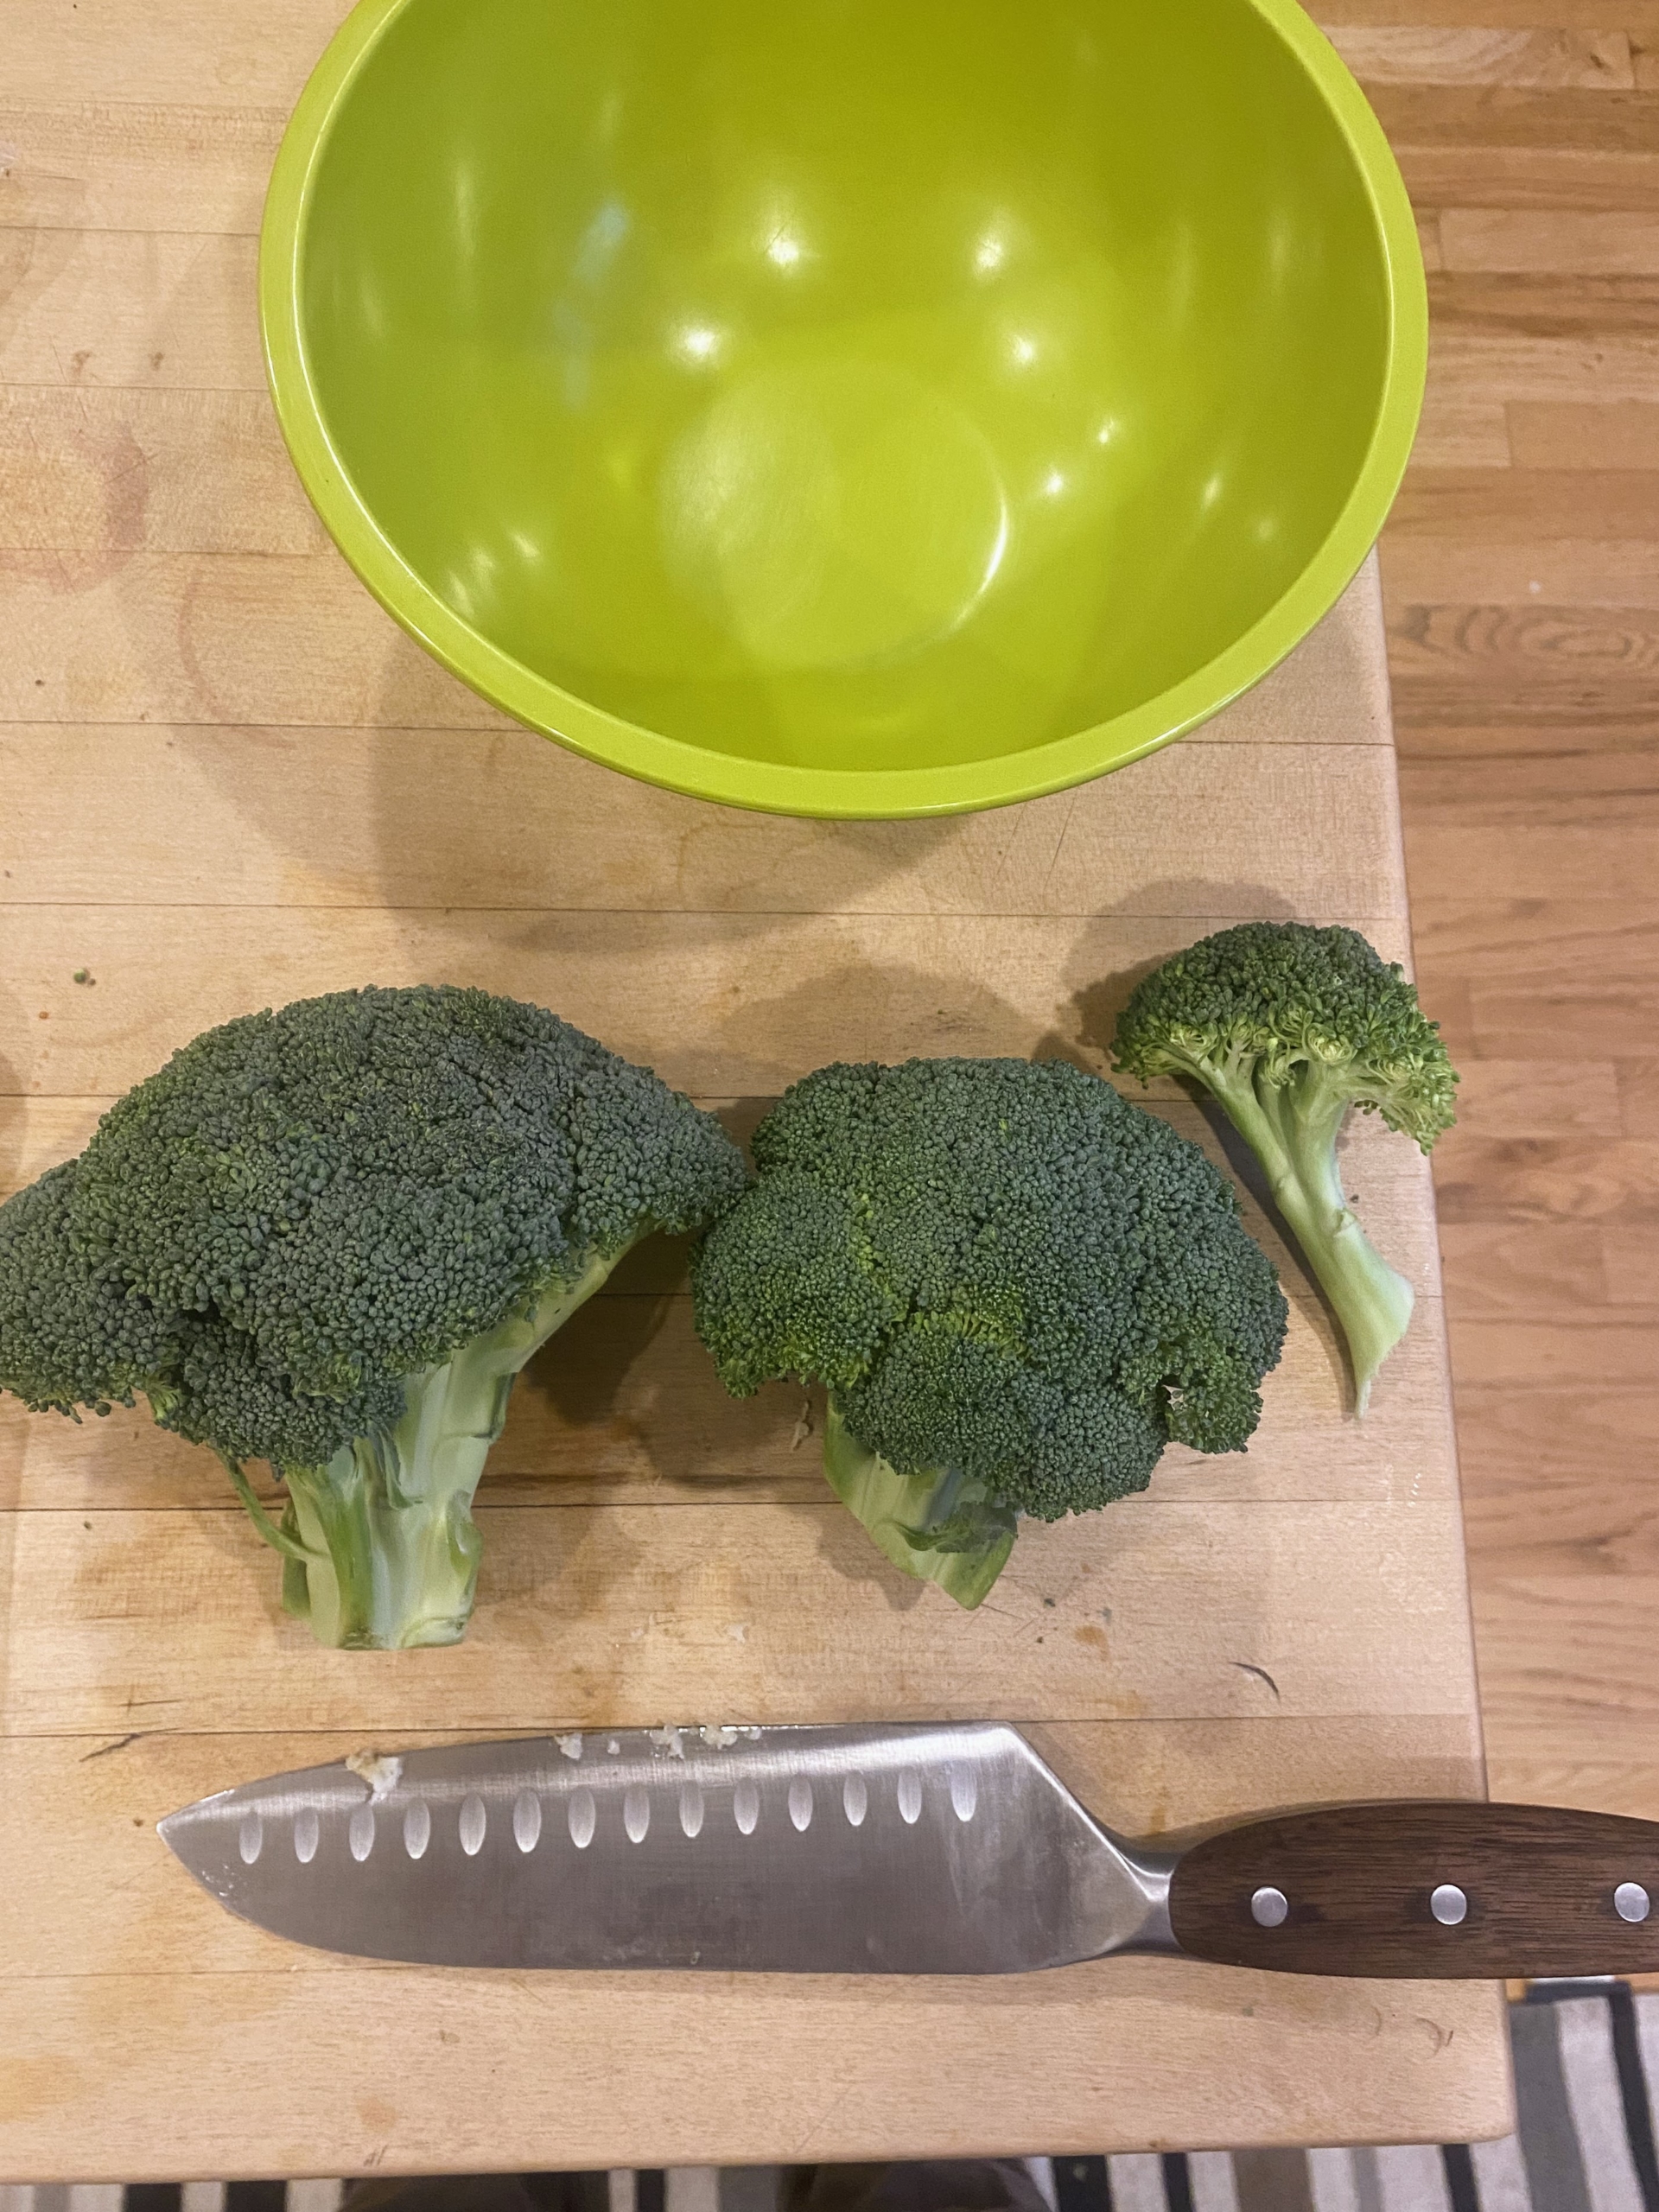
Next, Brian cuts the broccoli into one-inch florets.
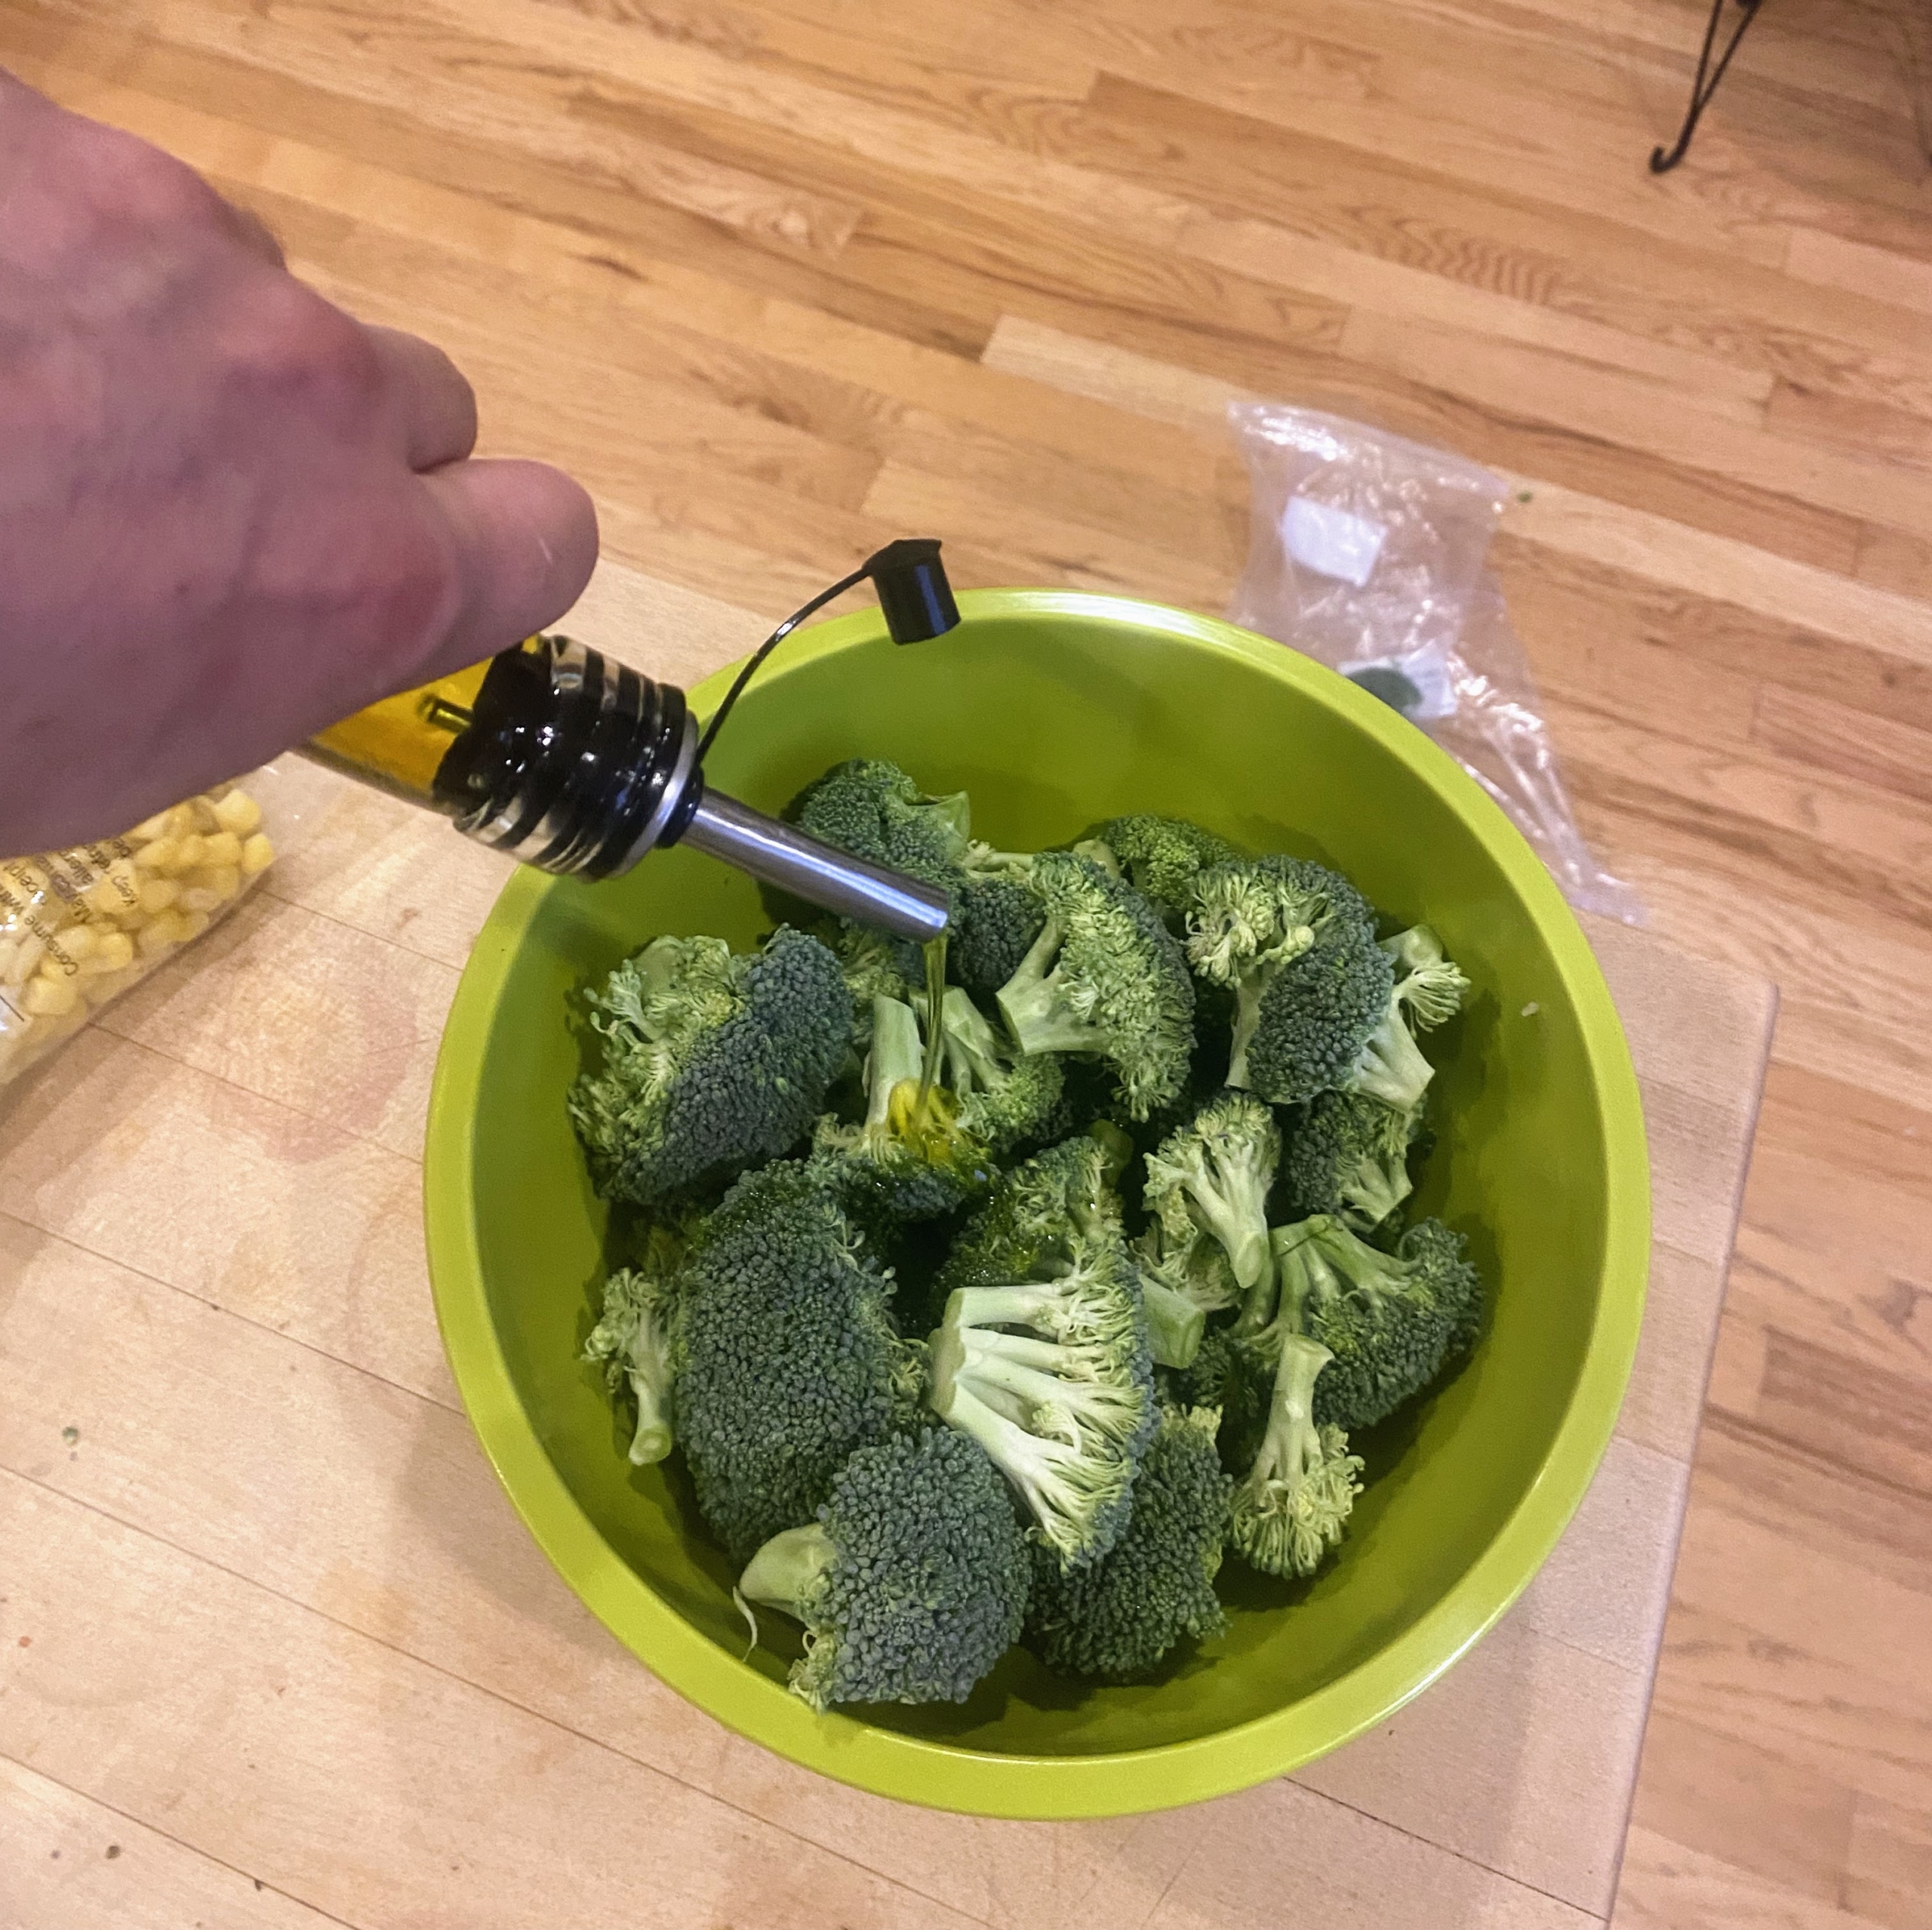
And then tosses the broccoli with salt, pepper and two tablespoons of oil.
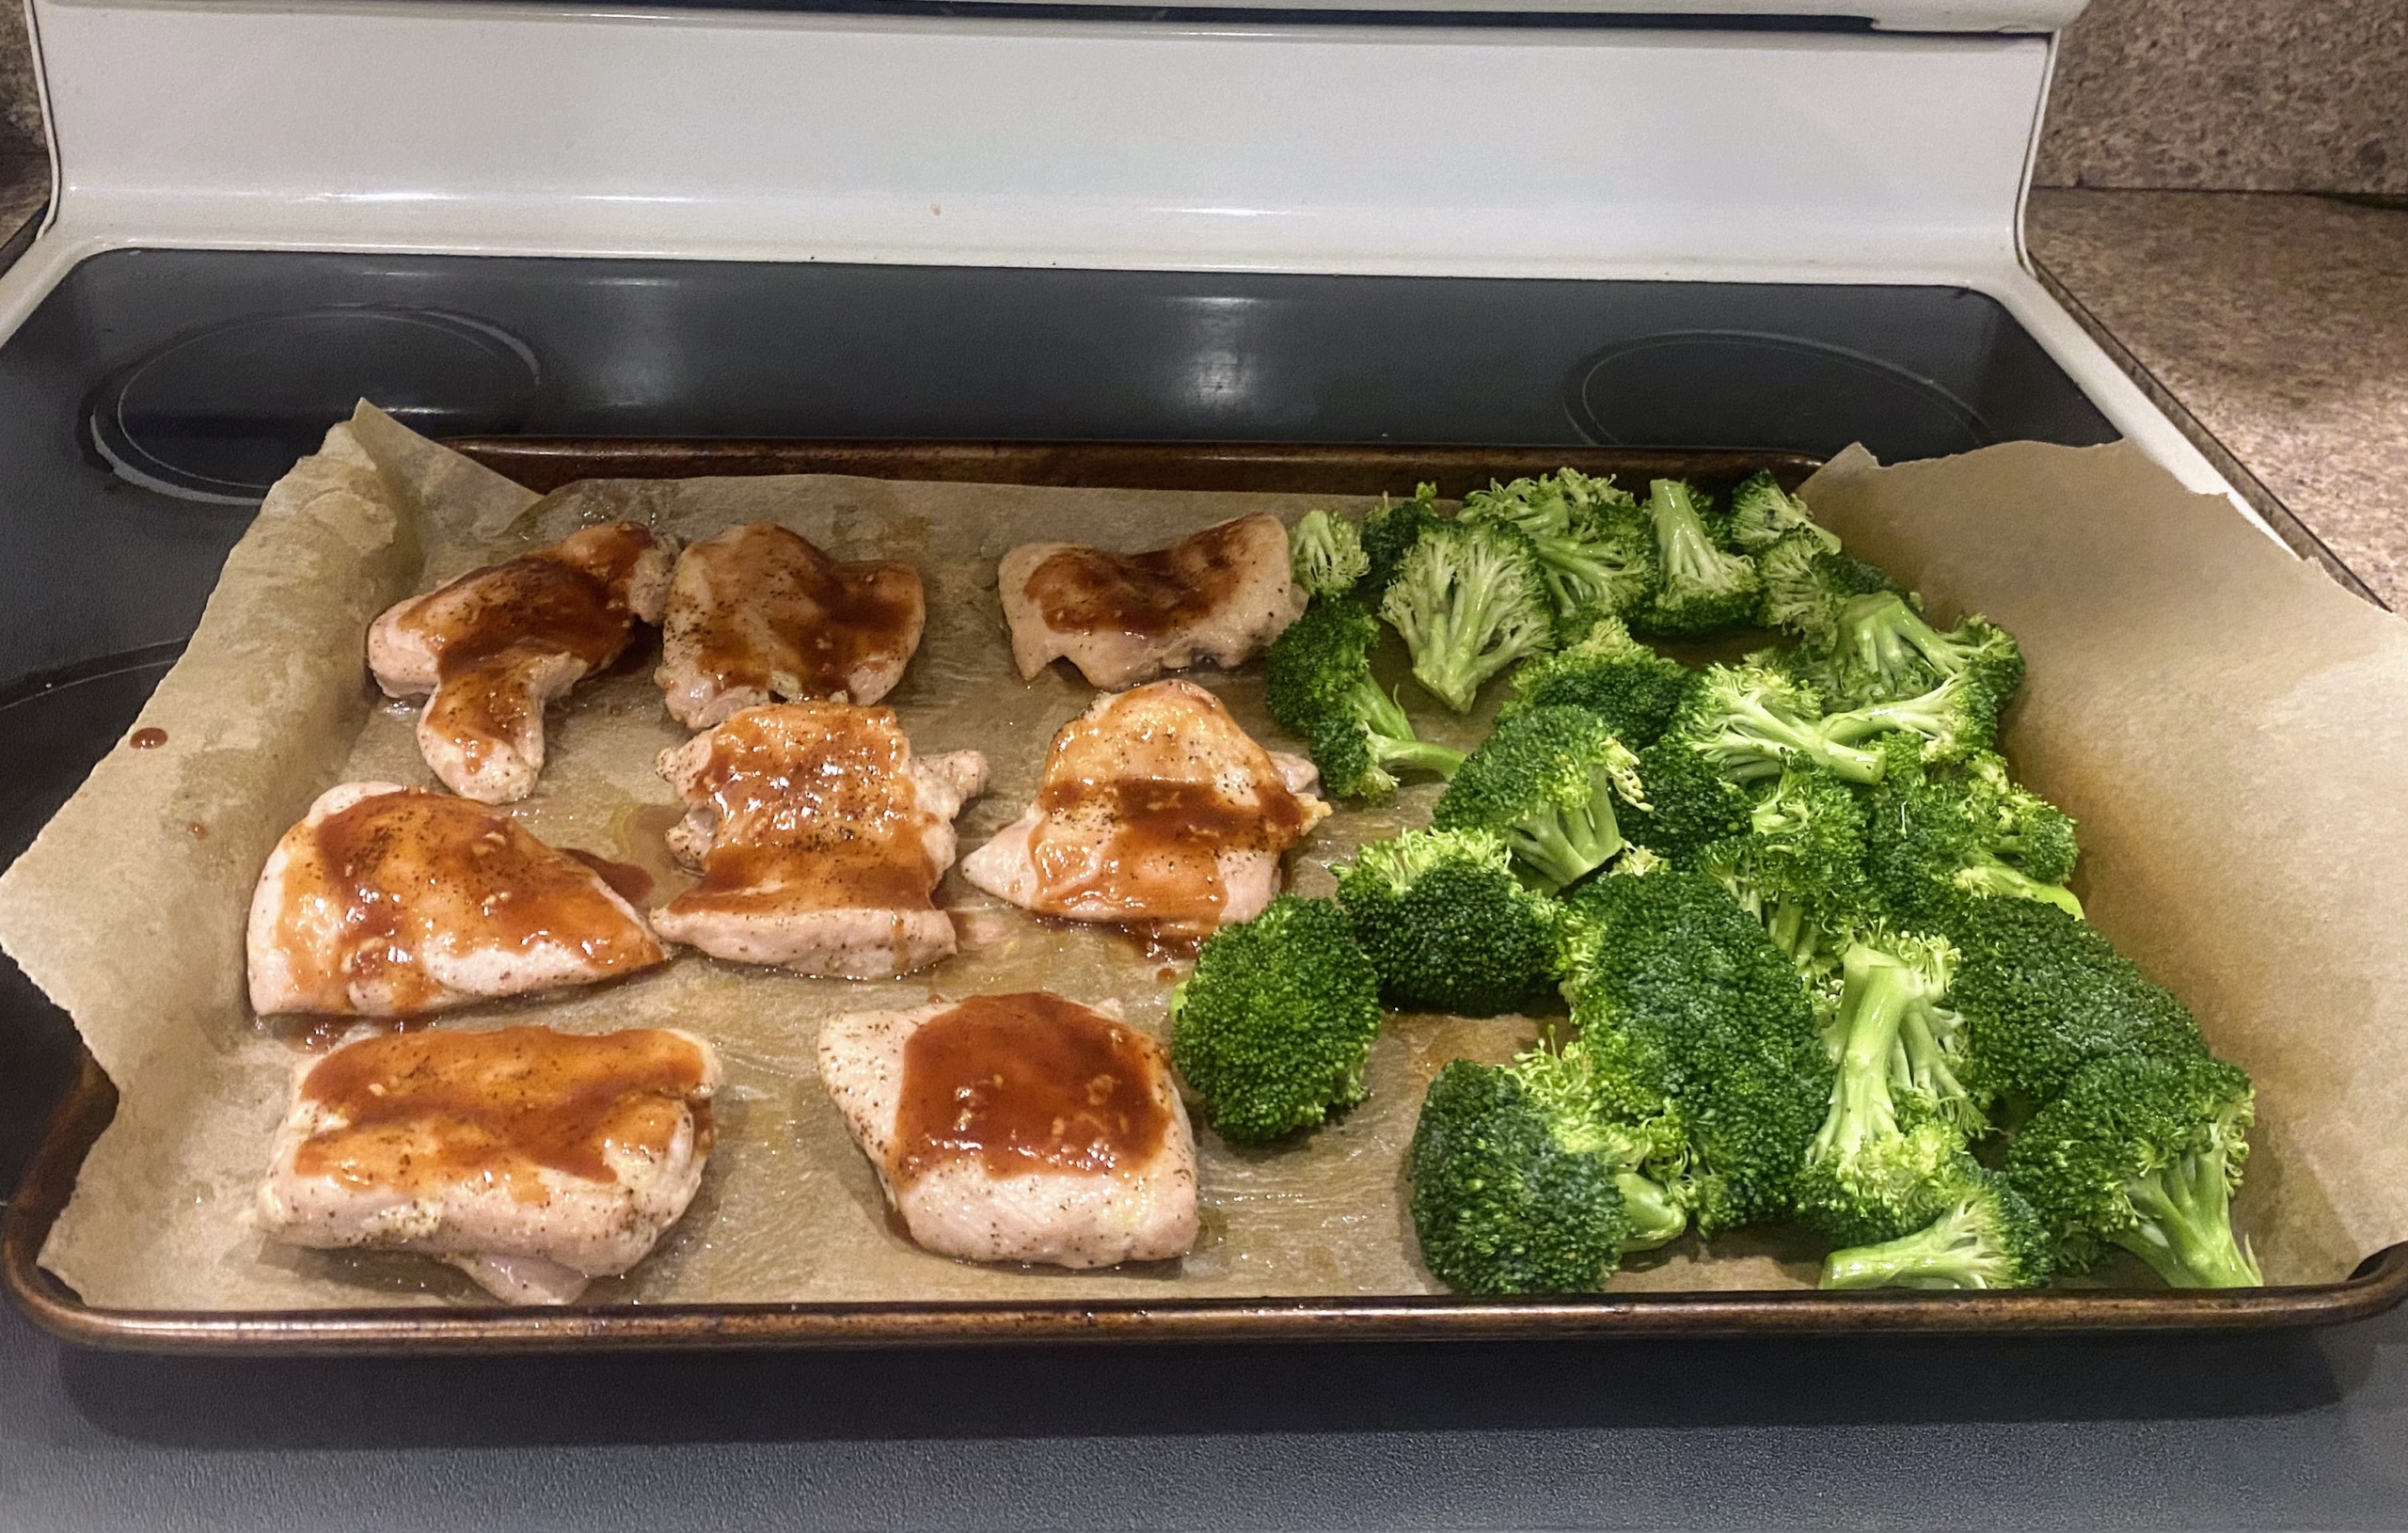
Once the chicken is out of the broiler, Brian uses half of the barbecue glaze and coats each piece of chicken.
Brian spreads the broccoli onto the same baking sheet and returns it to the broiler. It is cooked for another seven minutes depending on the oven – until the chicken is cooked through, the glaze is browned in spots, and the broccoli is lightly charred.
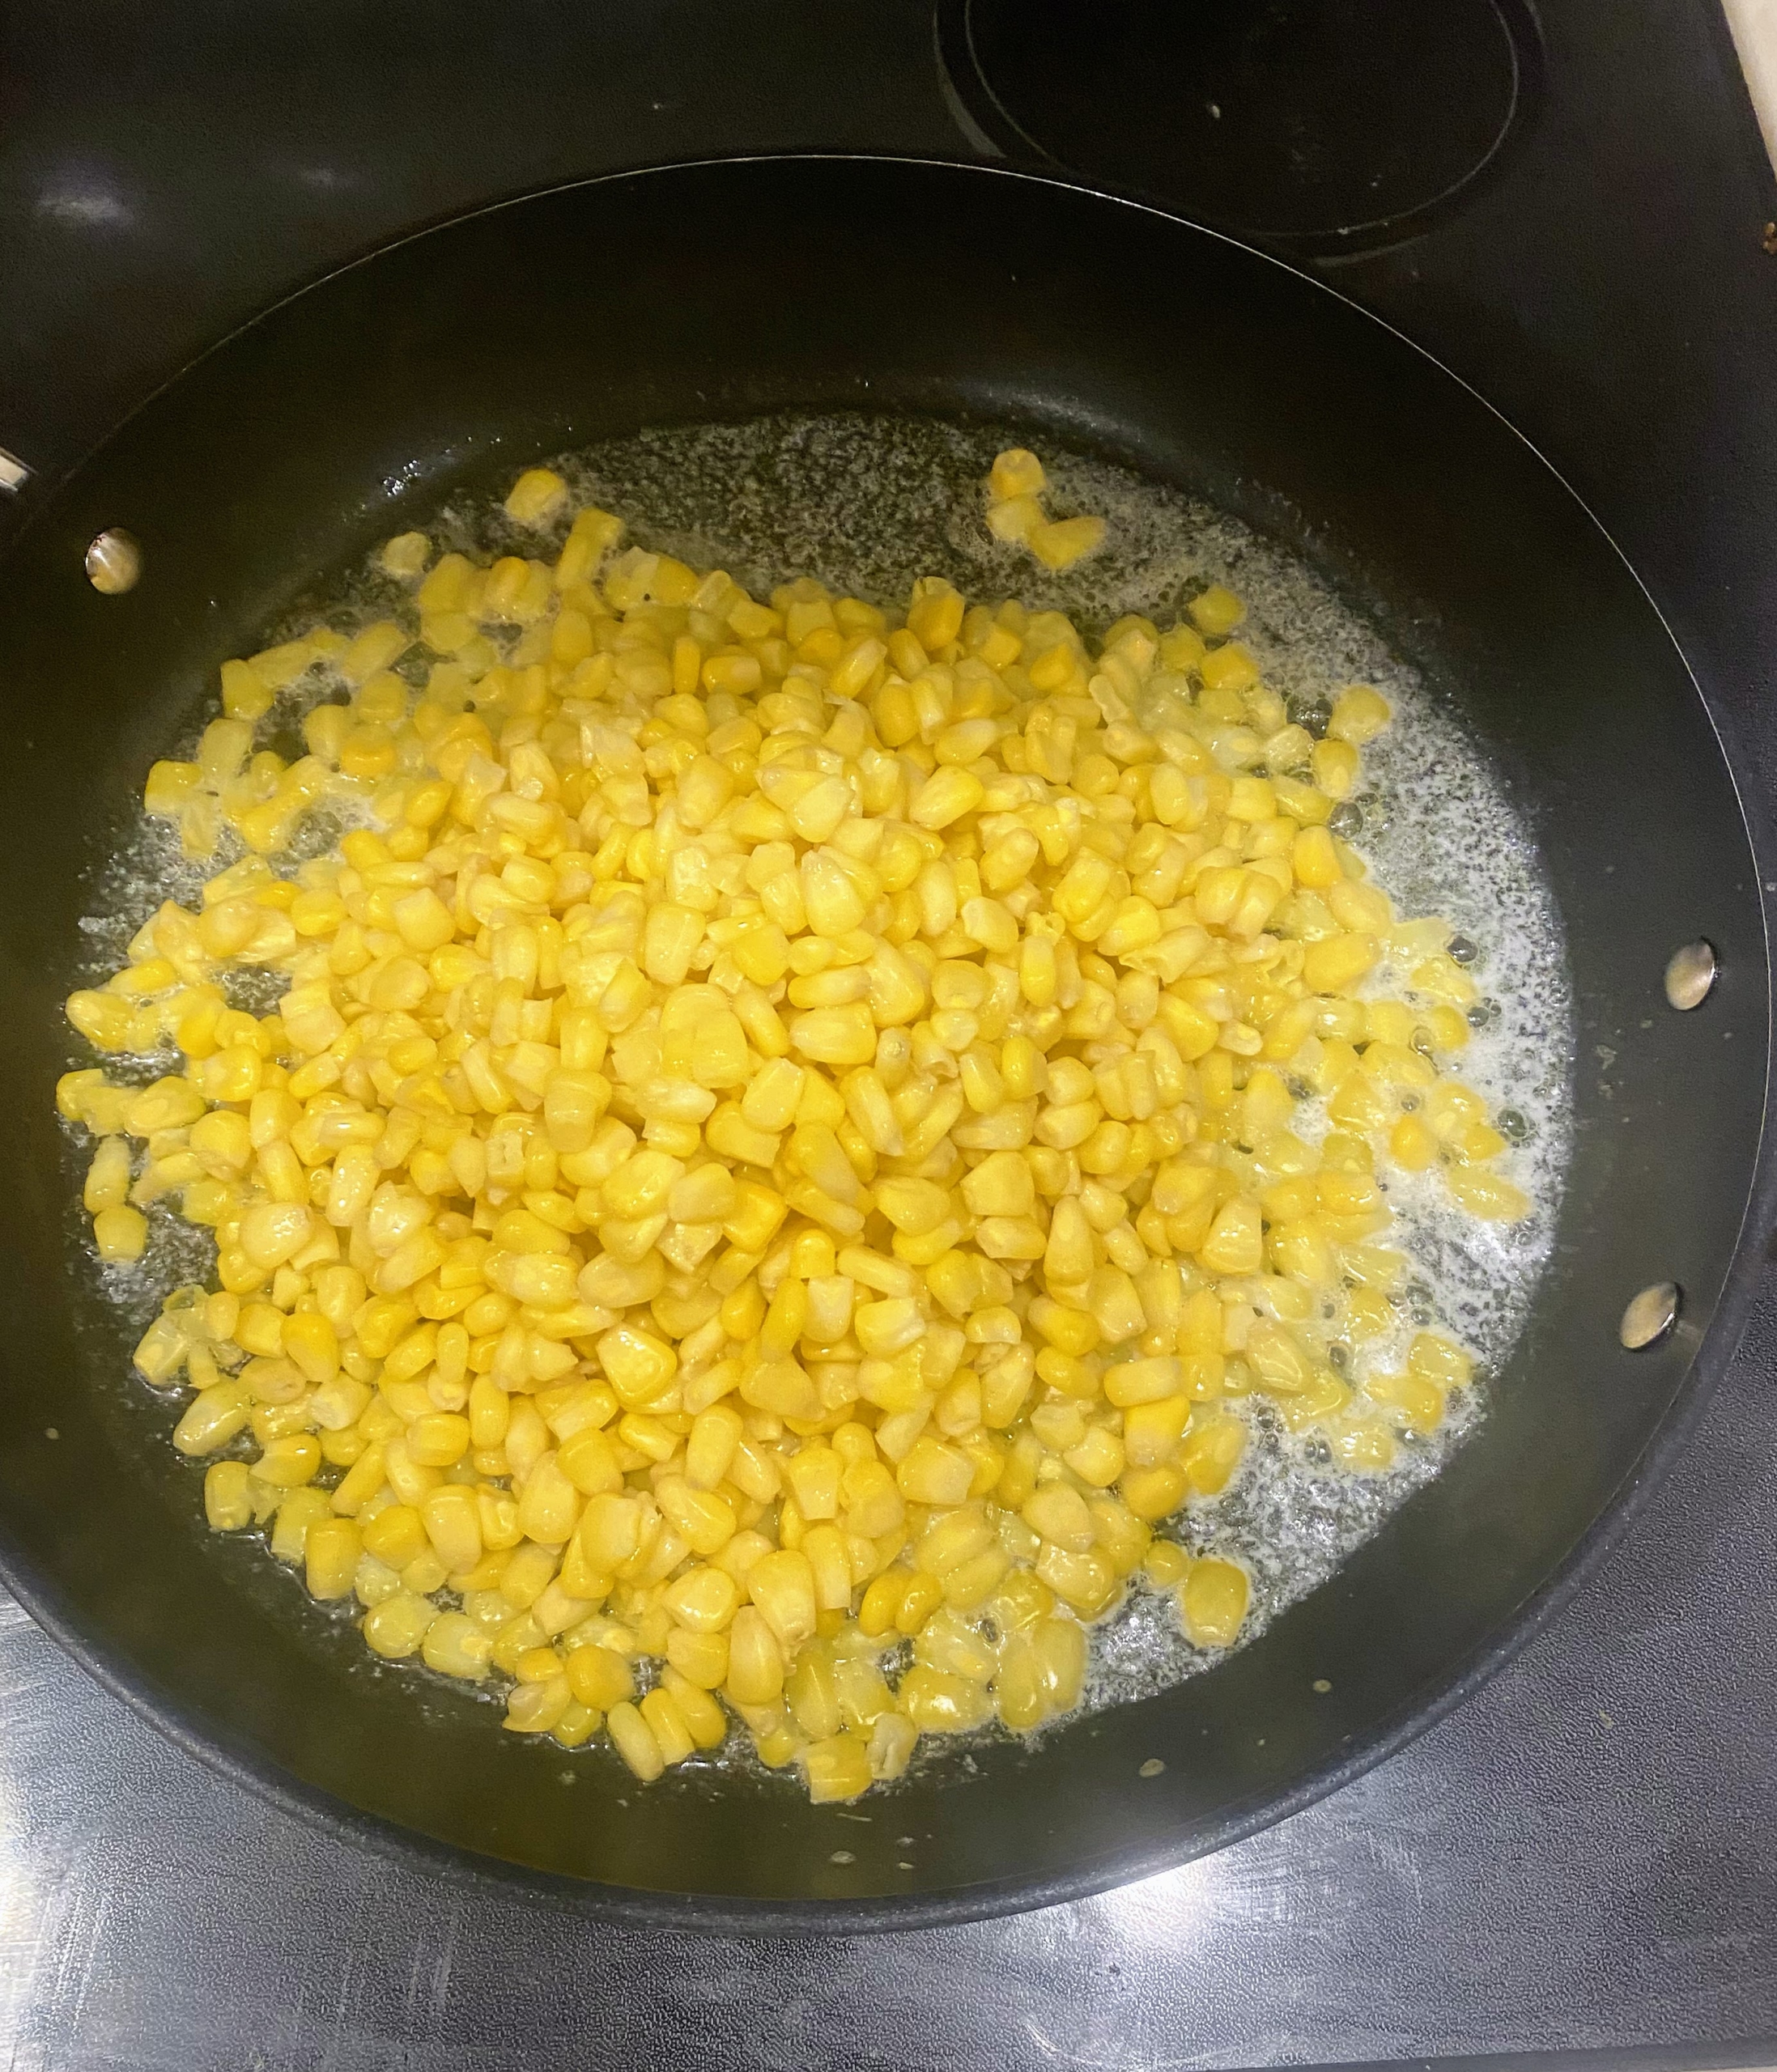
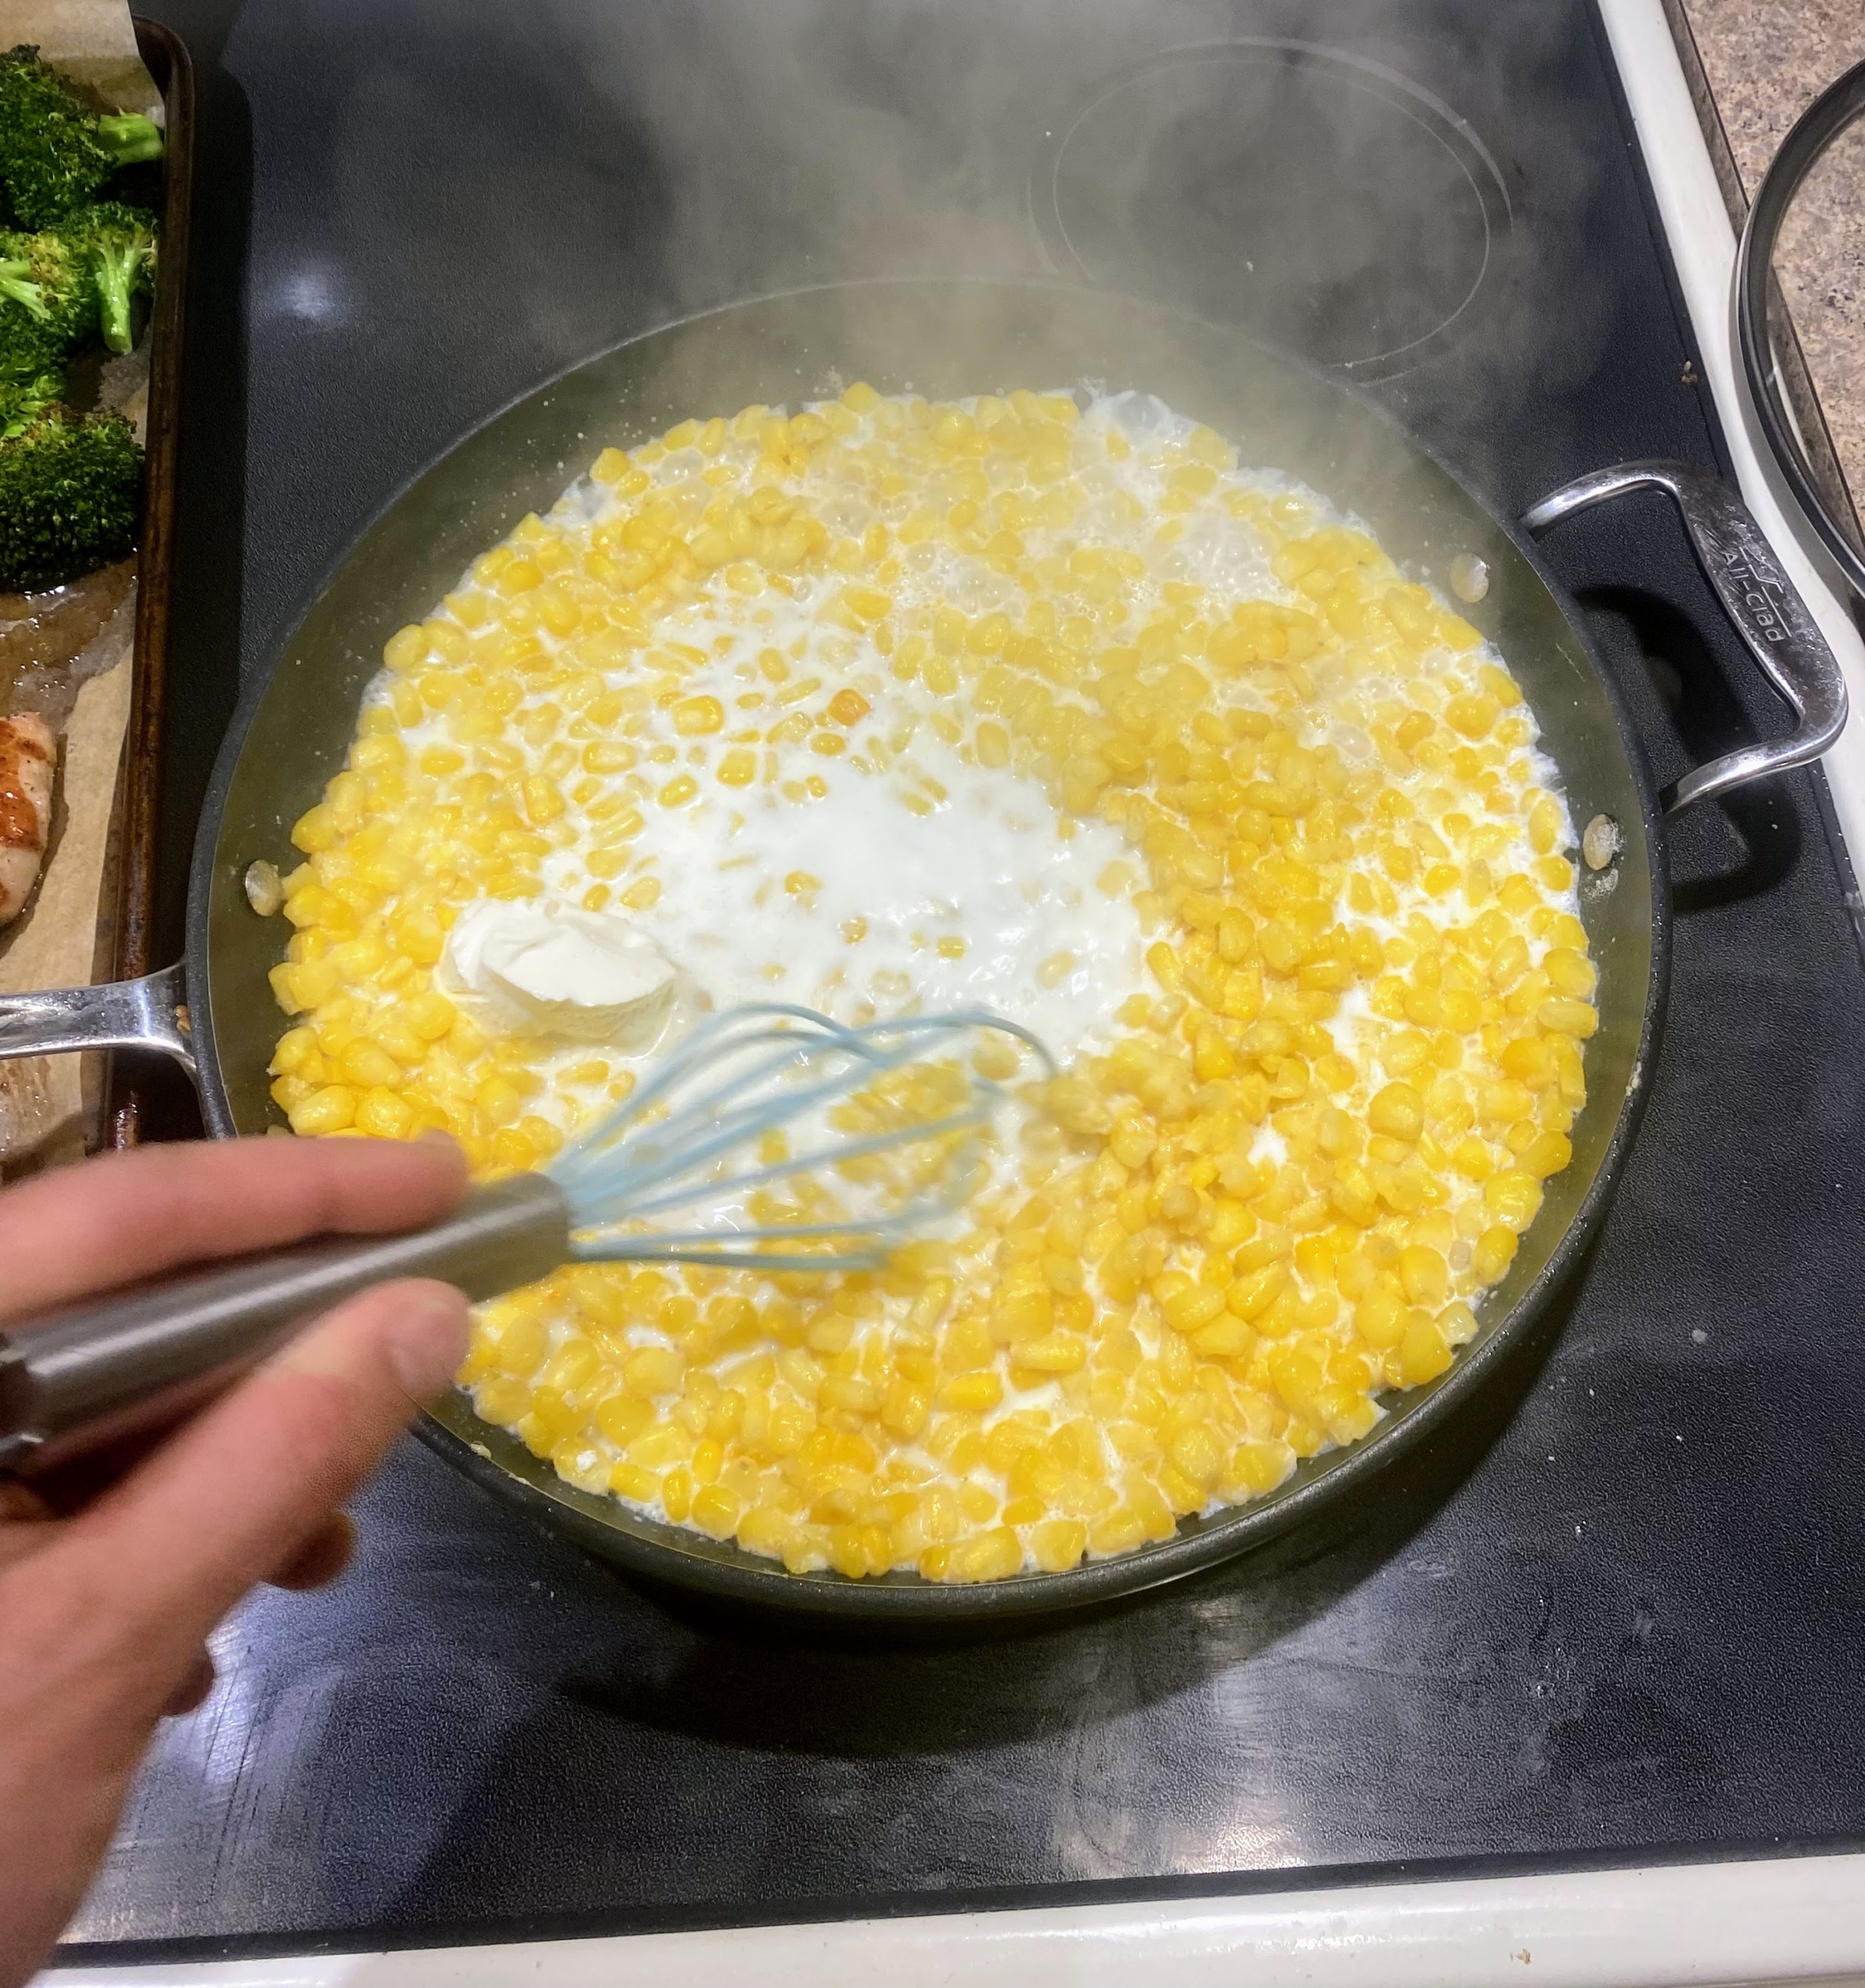
Brian then makes the creamed corn. He melts four tablespoons butter into a large saucepan over medium heat and adds all the corn.
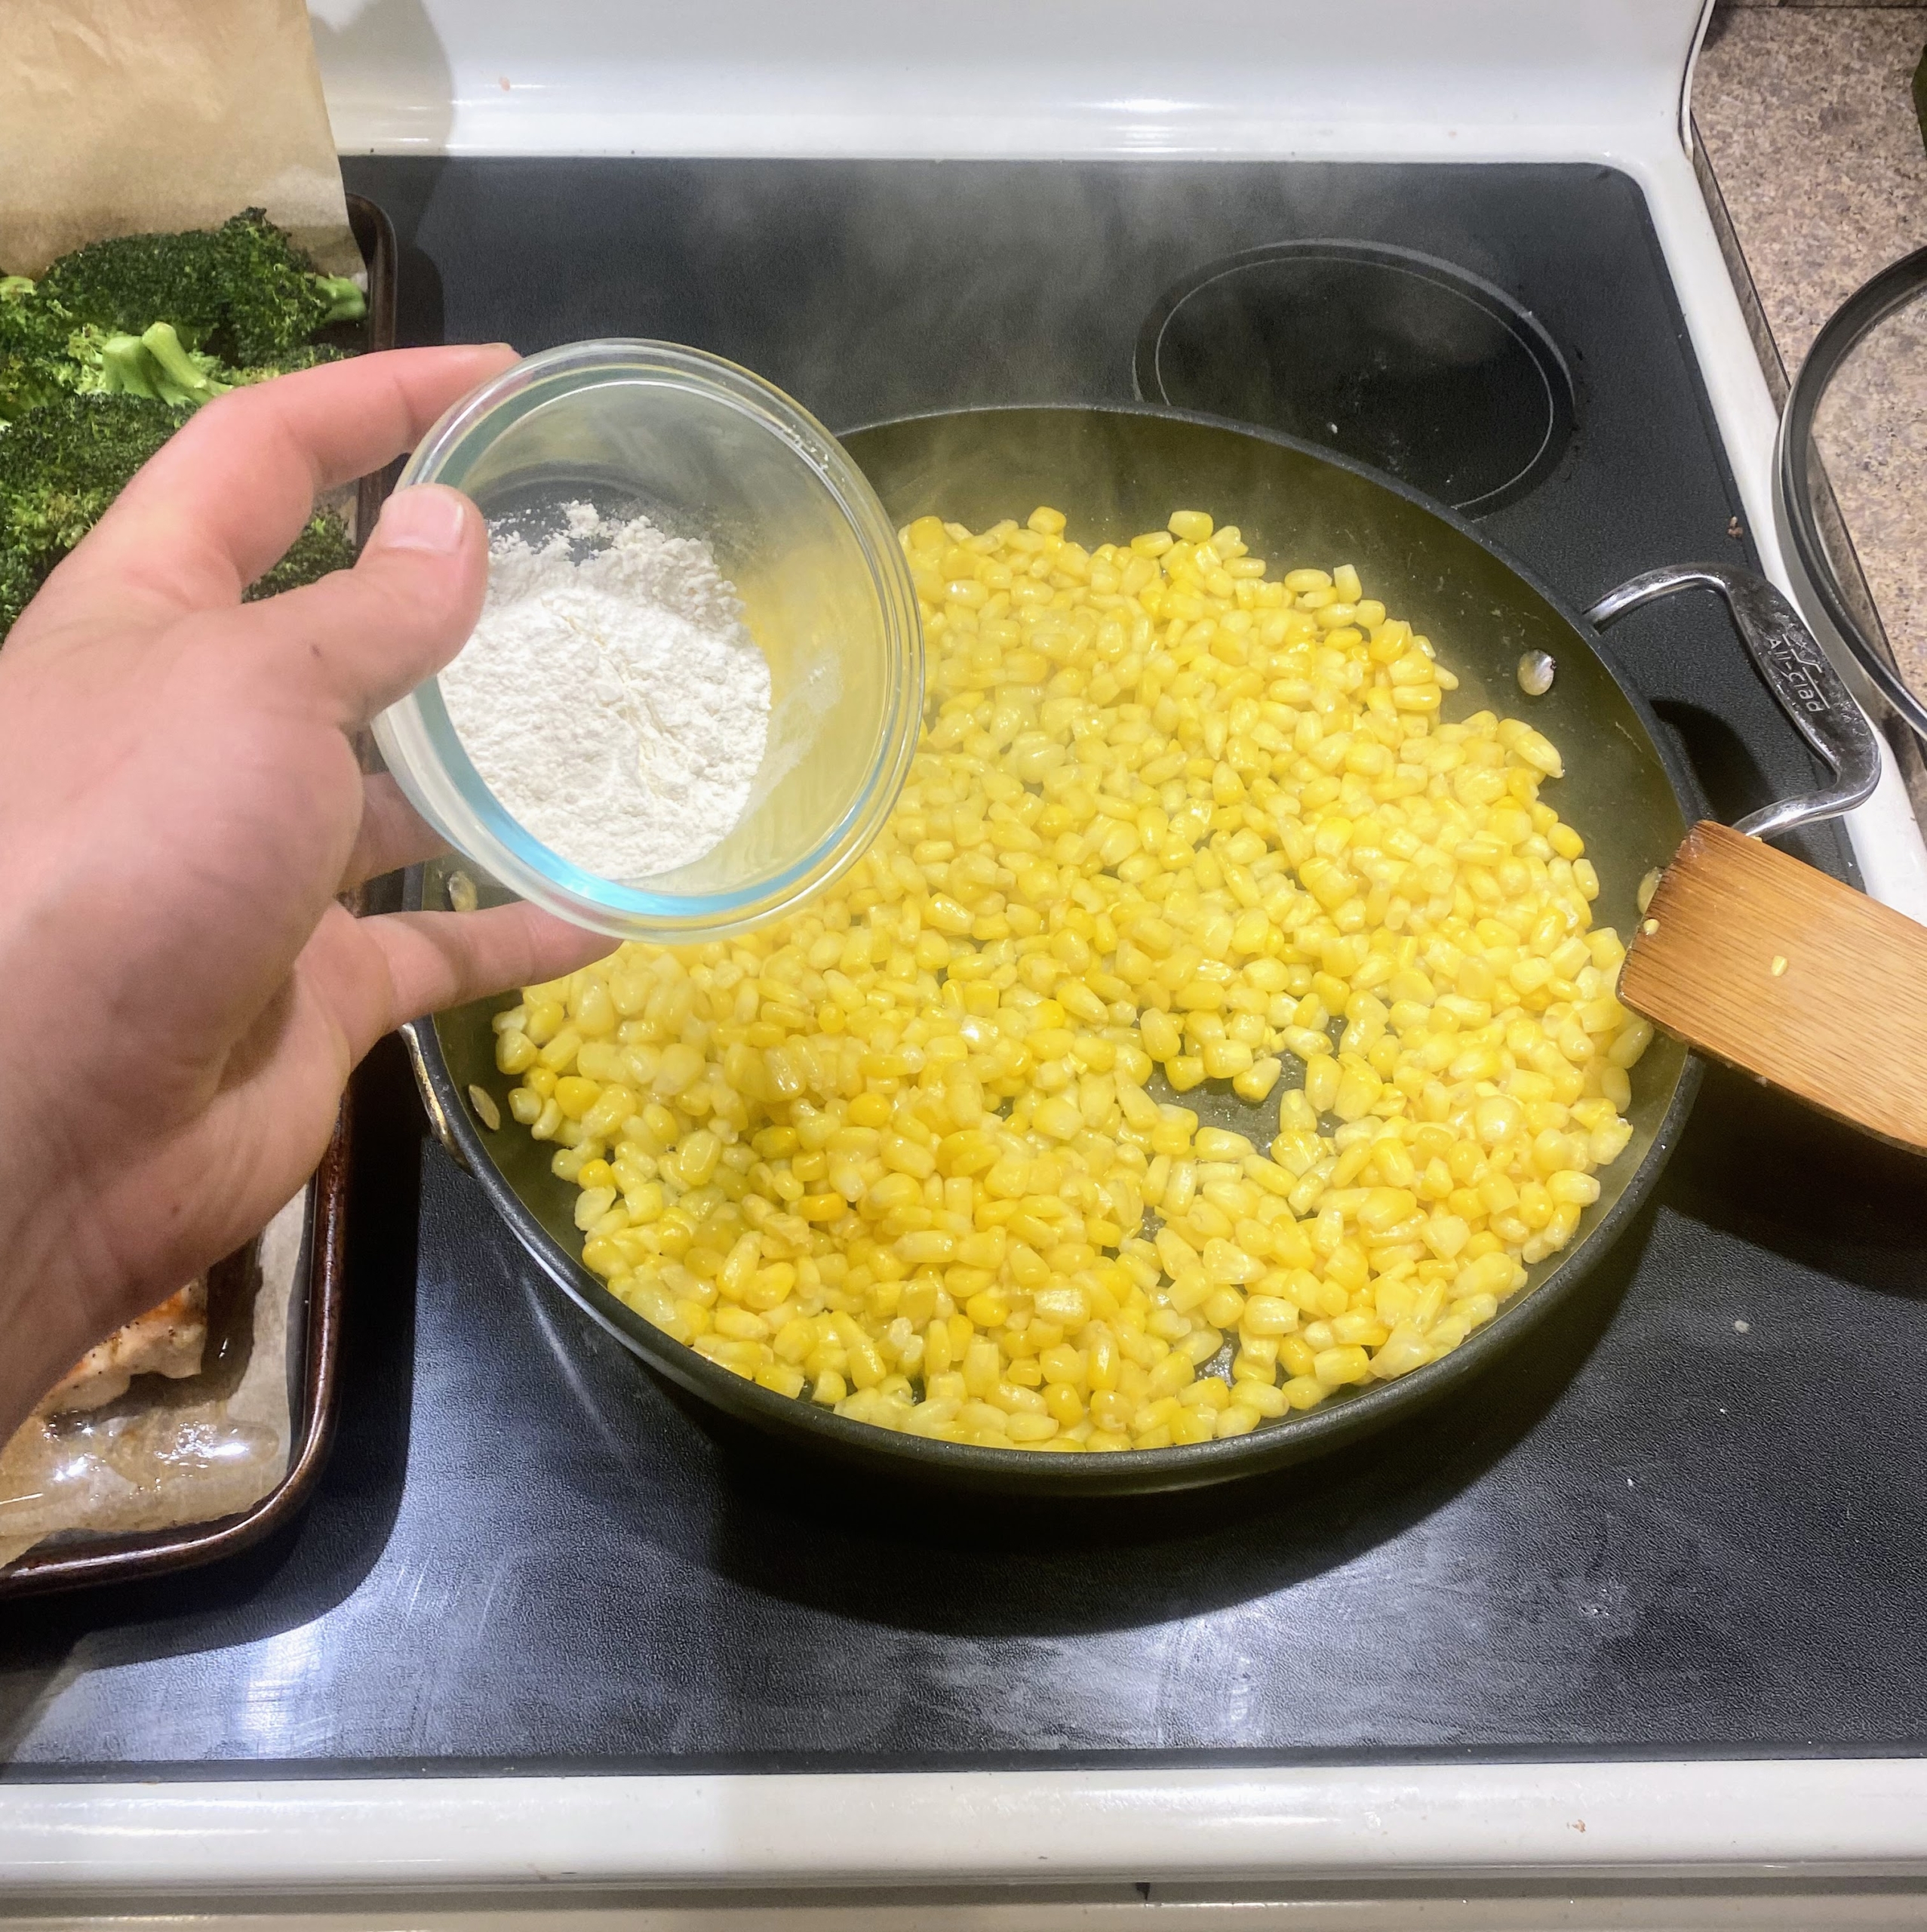
Here, Brian adds the necessary flour and cooks for under a minute.
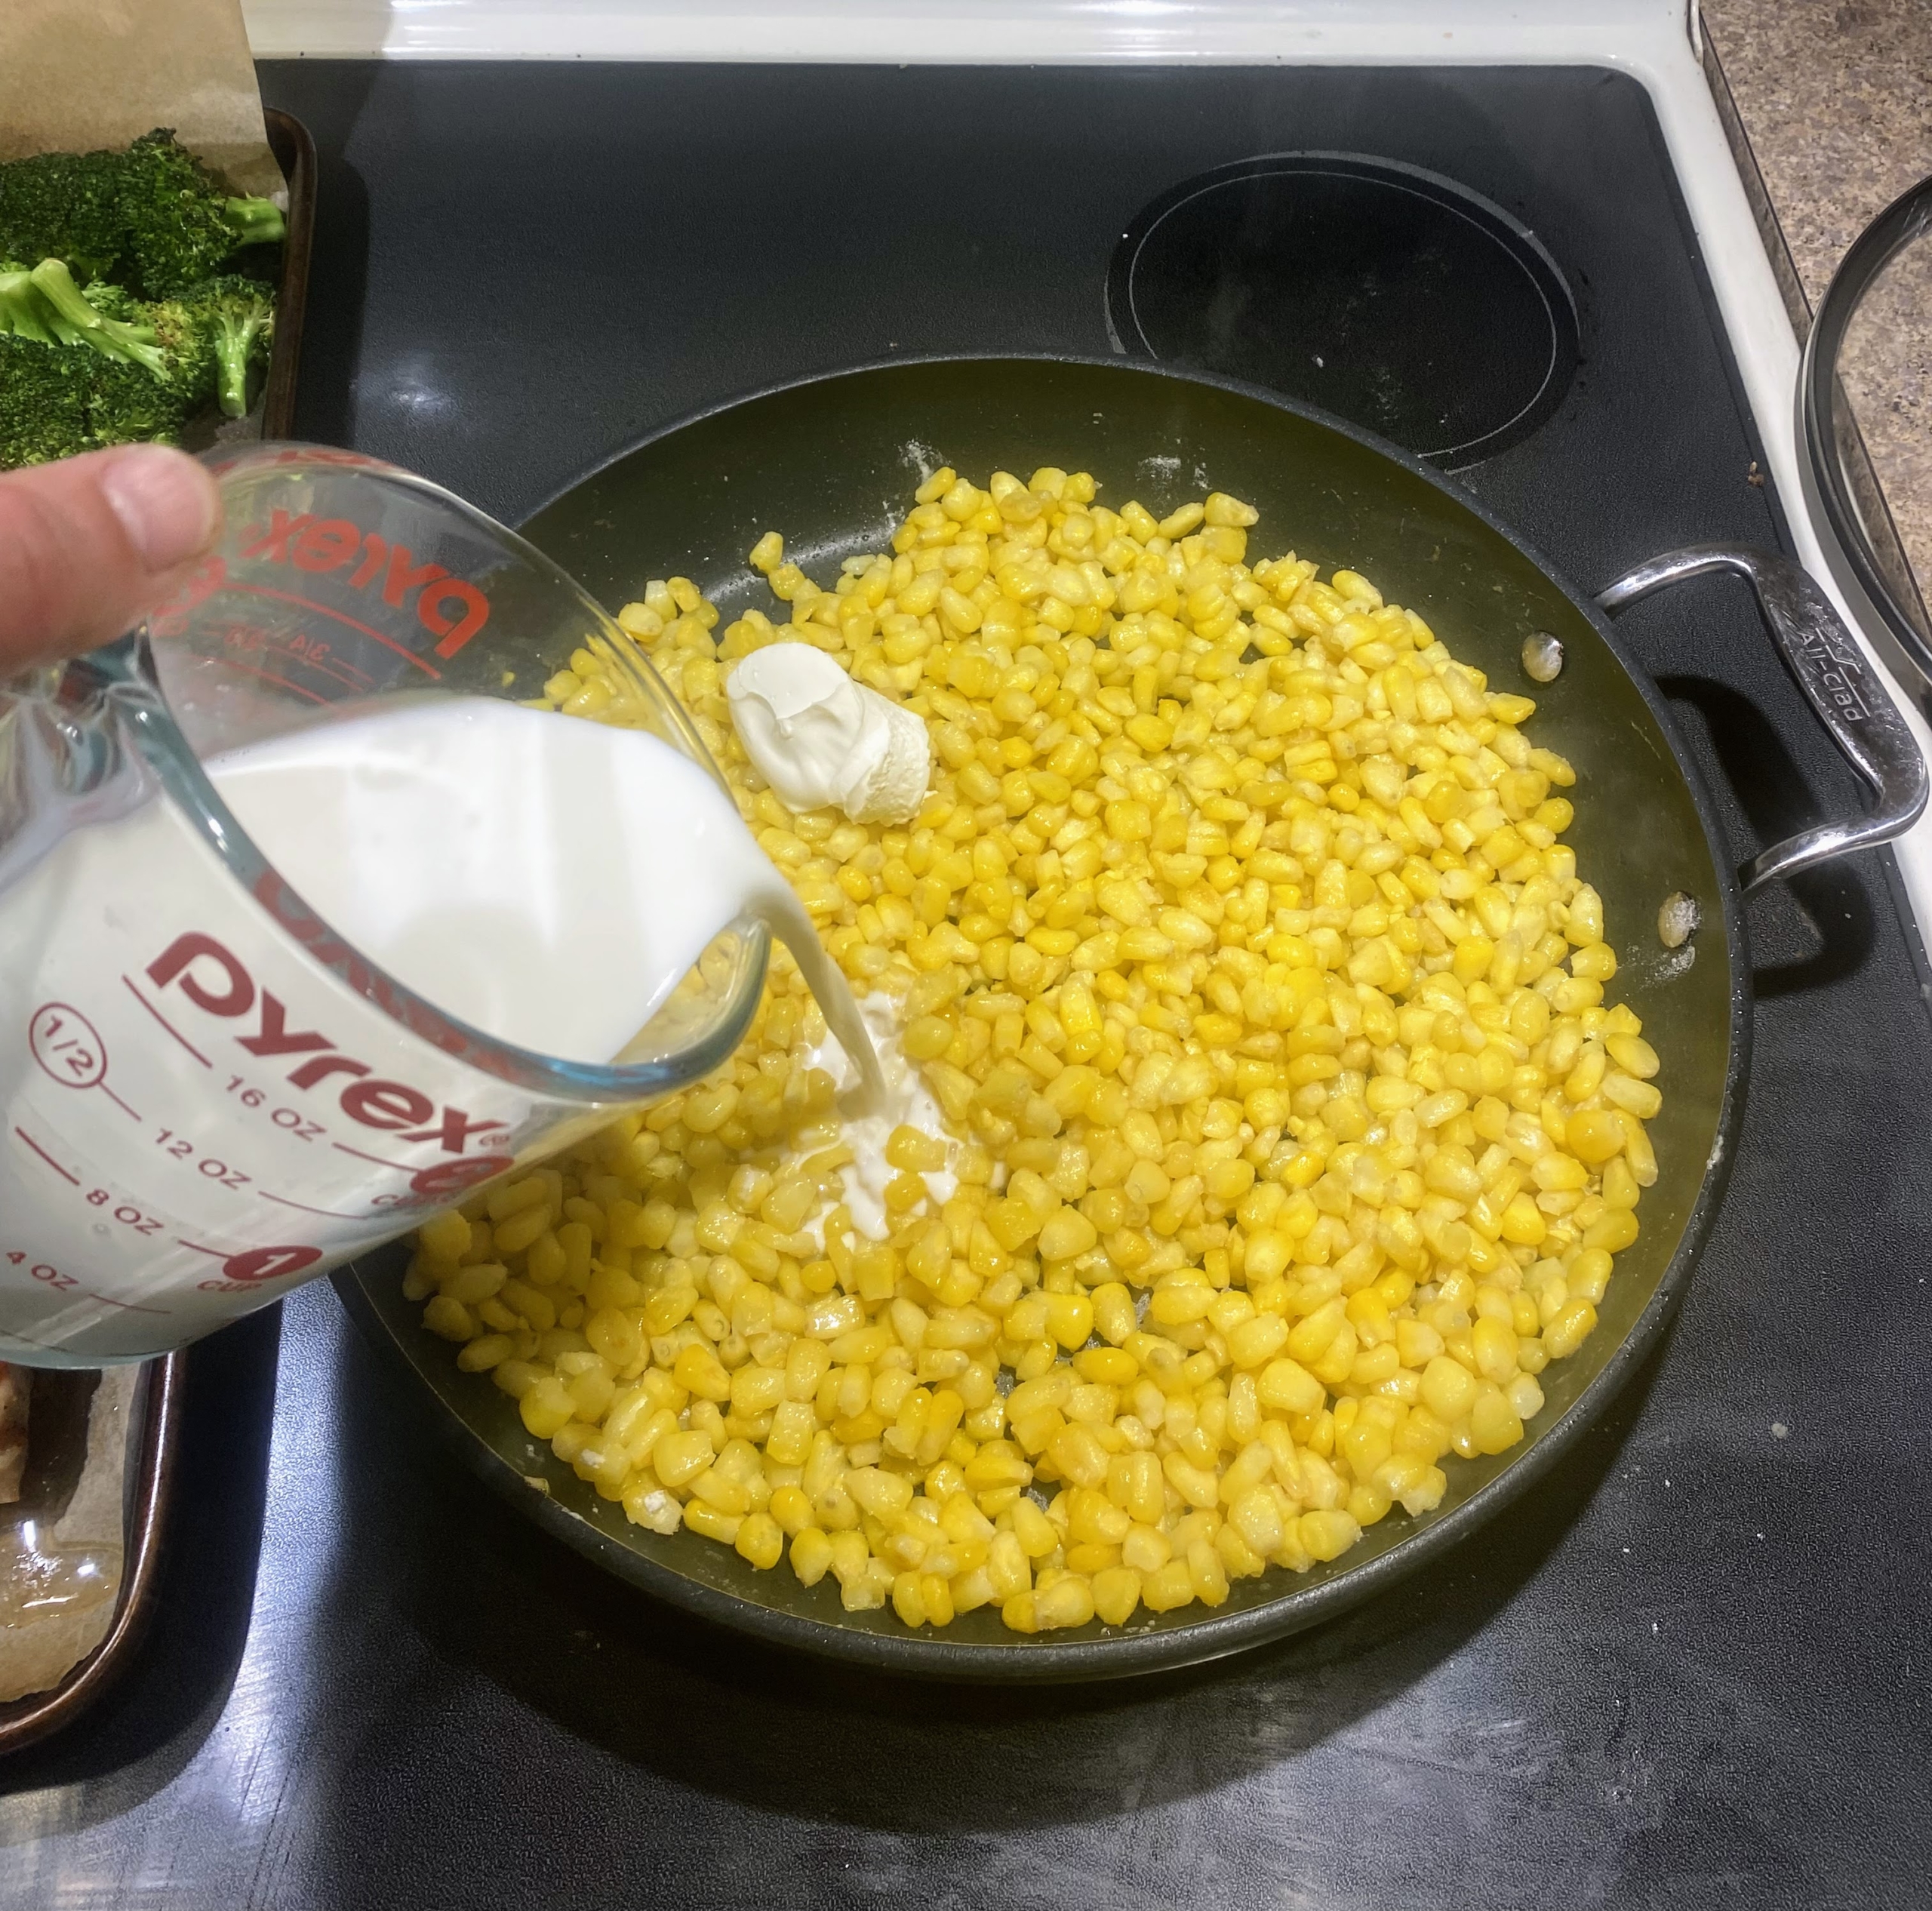
He adds cream cheese and a cup of milk and a cup of water.
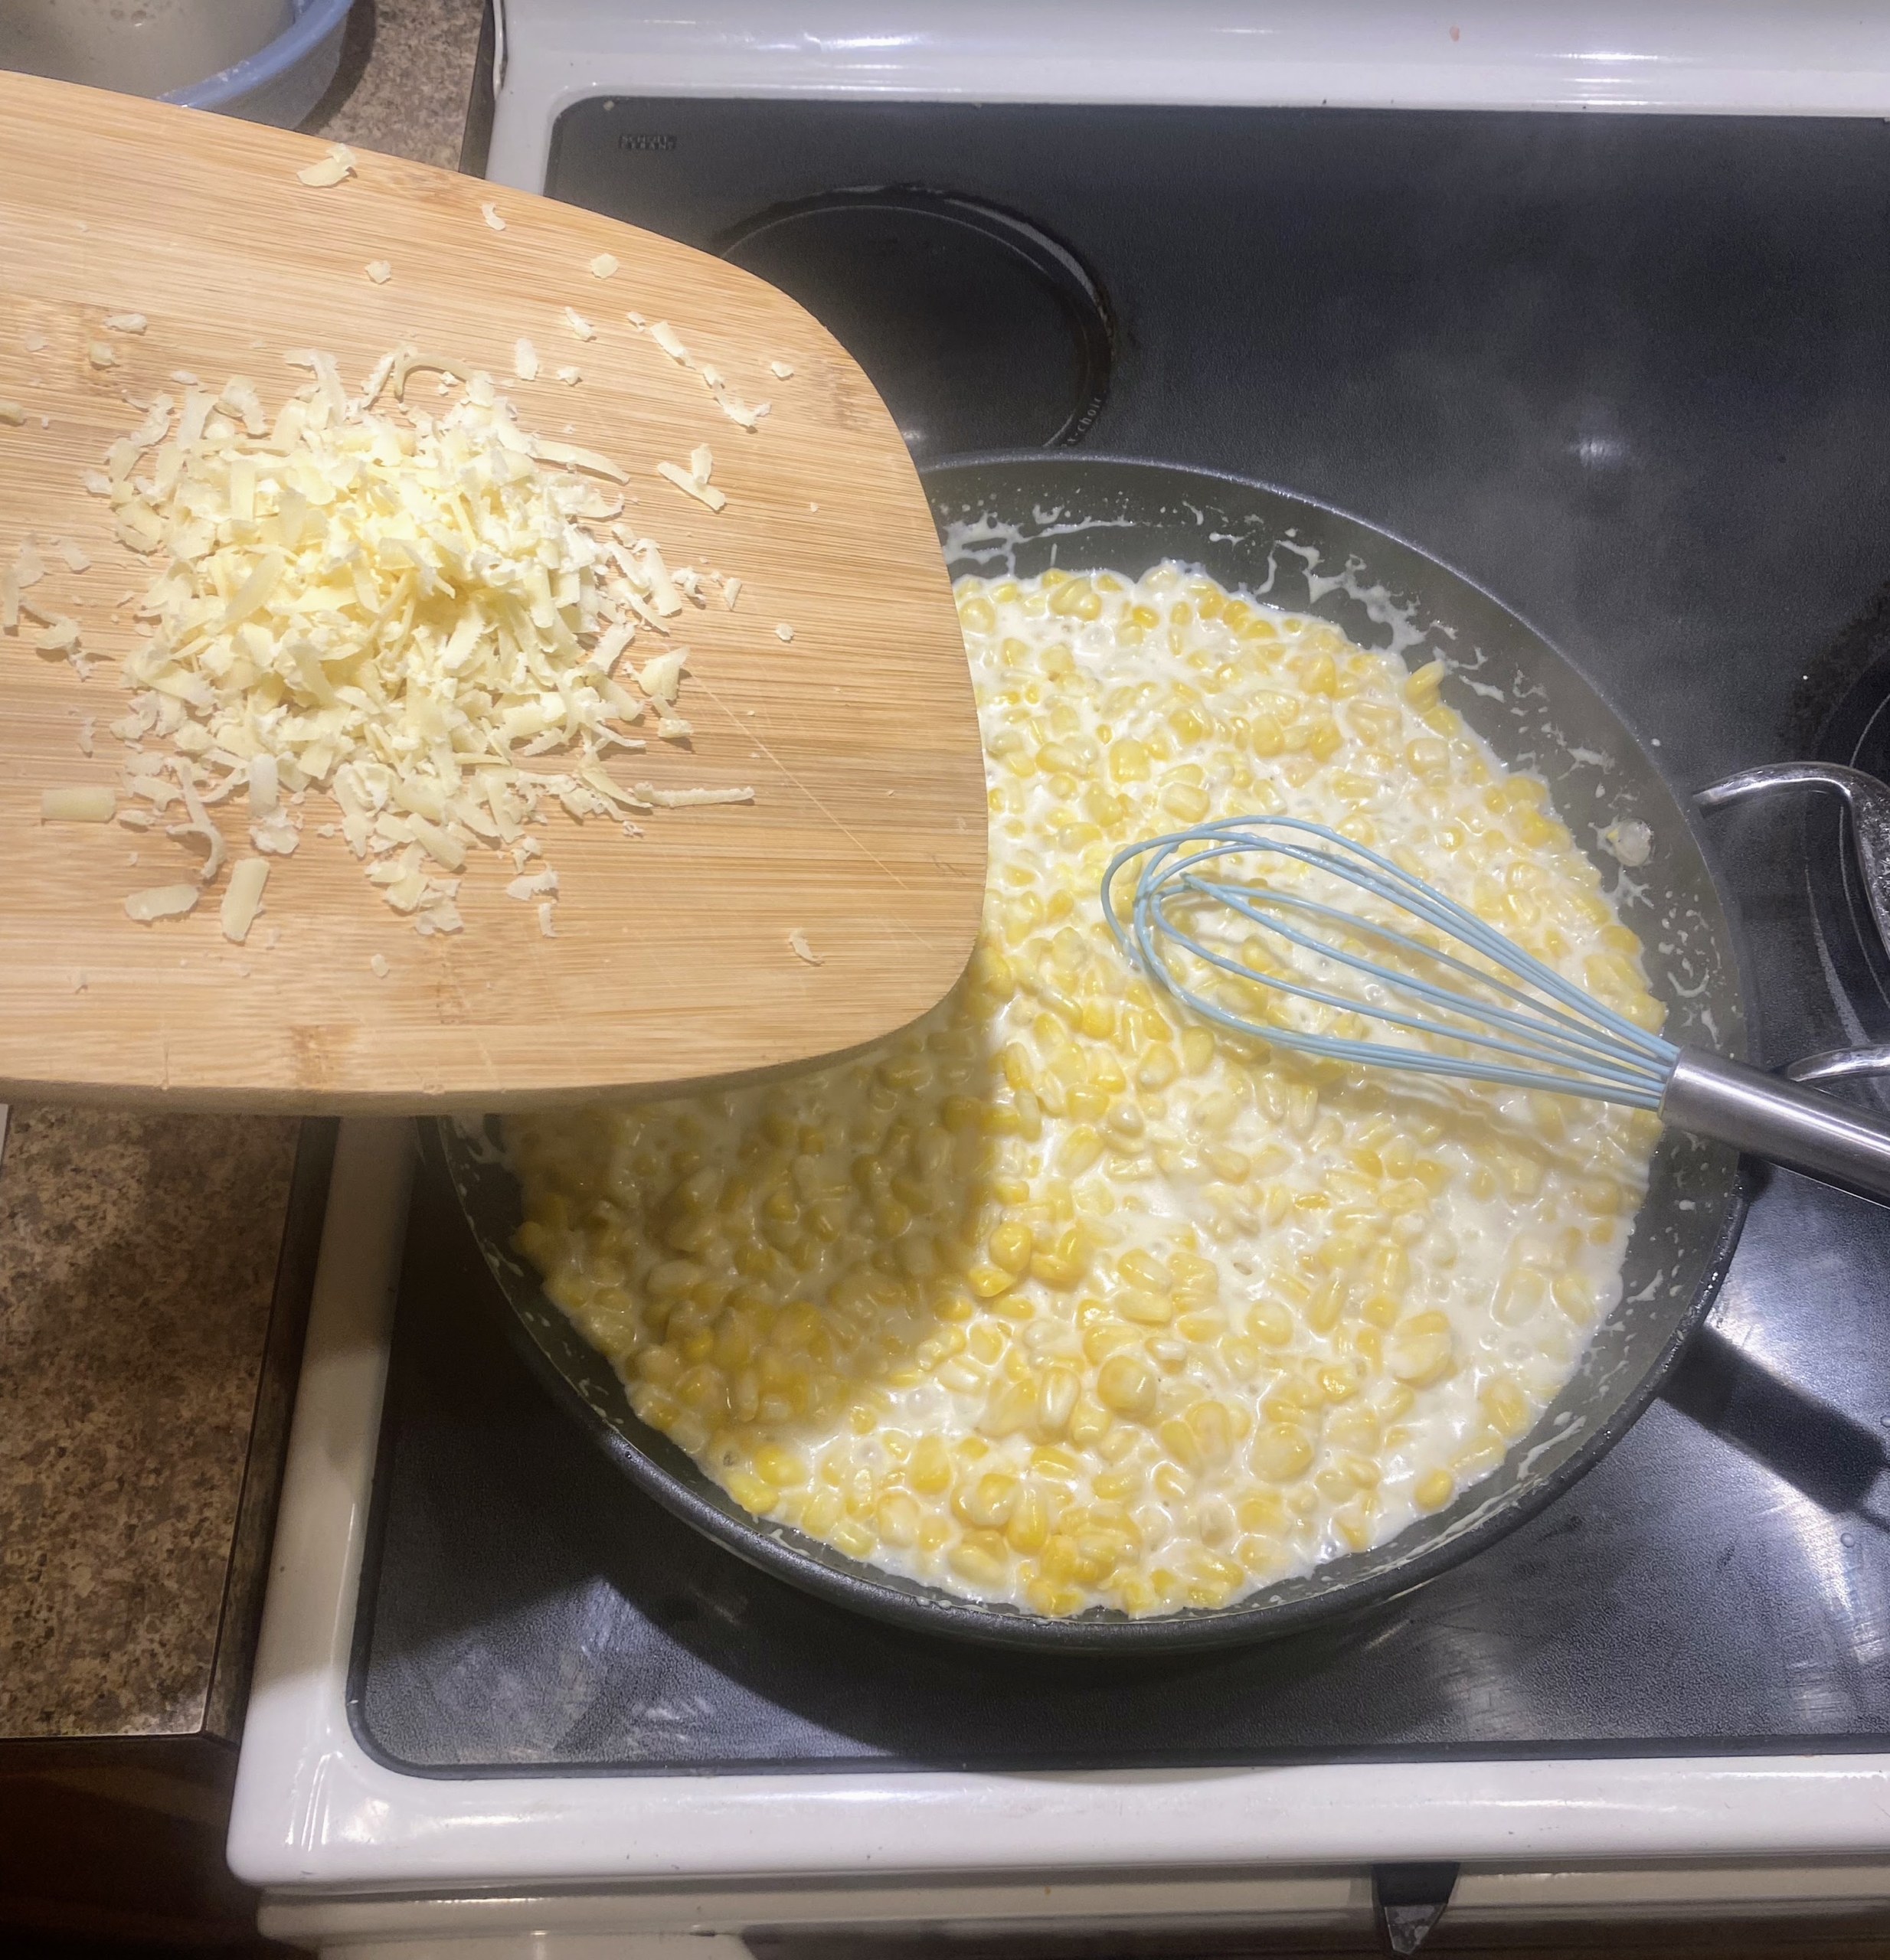
Brian then mixes everything until it is thick and creamy.
Next, he stirs in Parmesan cheese and mixes to combine.
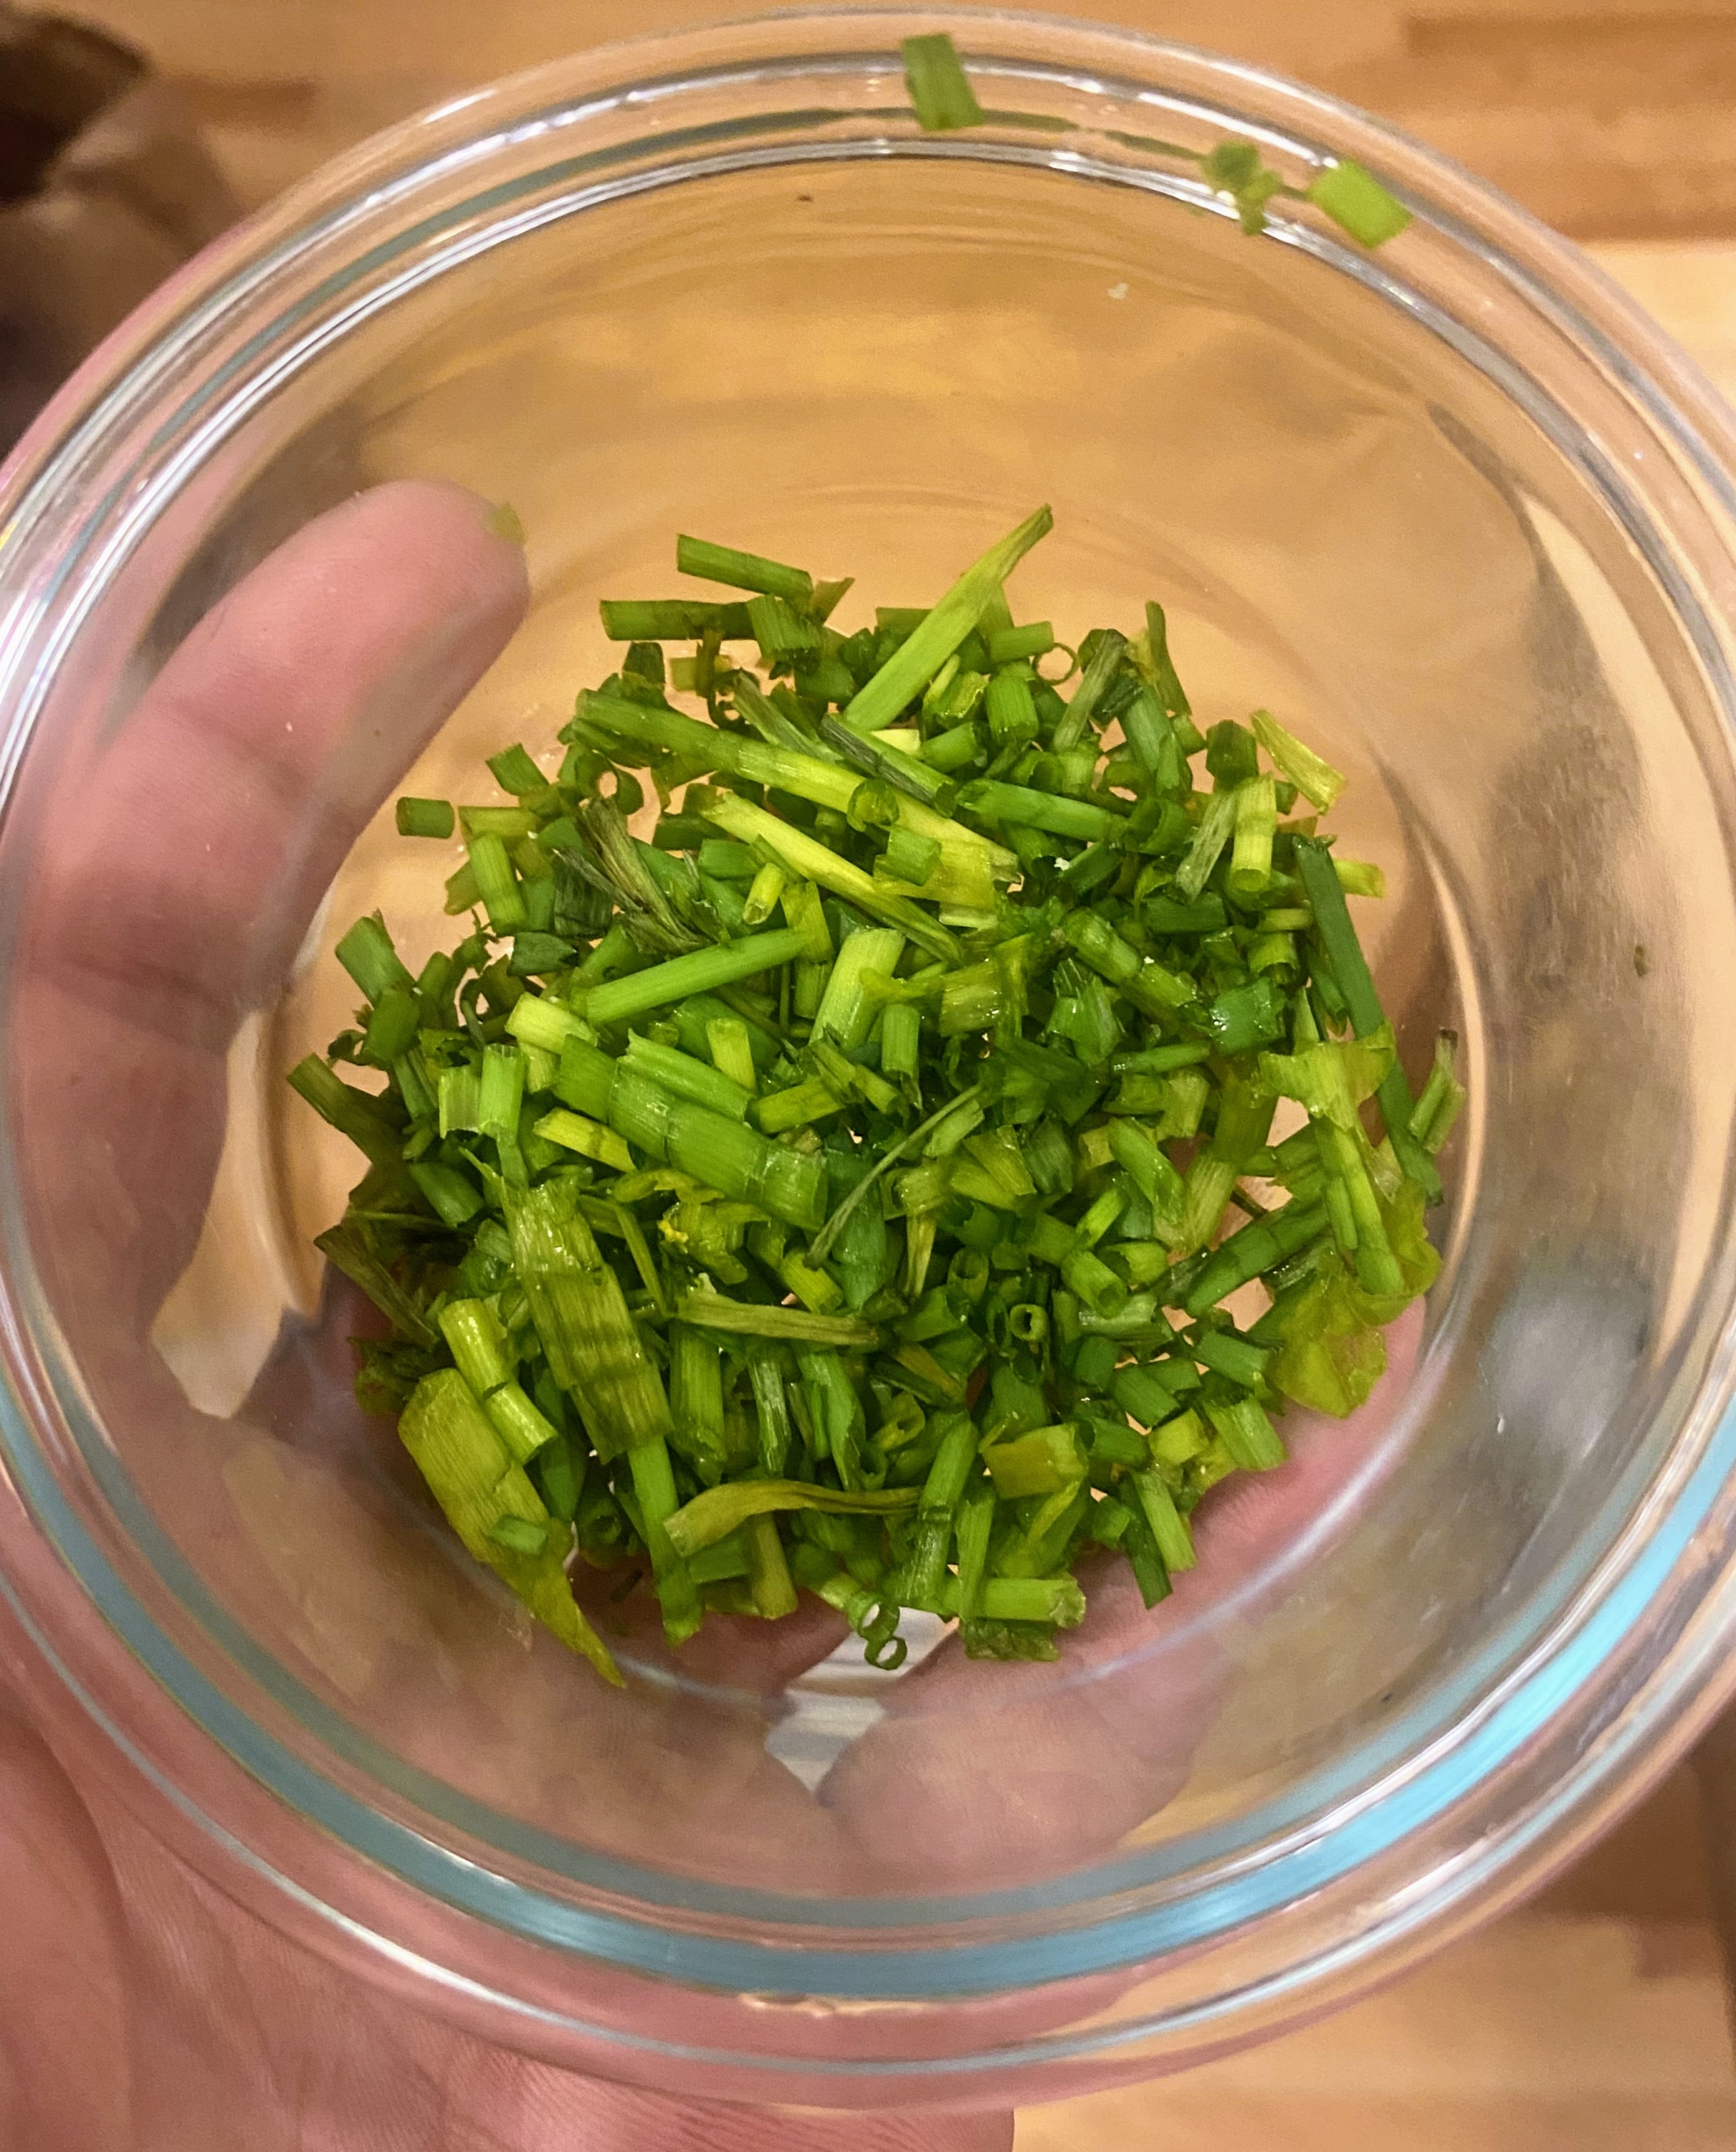
Lastly, Brian slices the chives and uses it to garnish the corn.
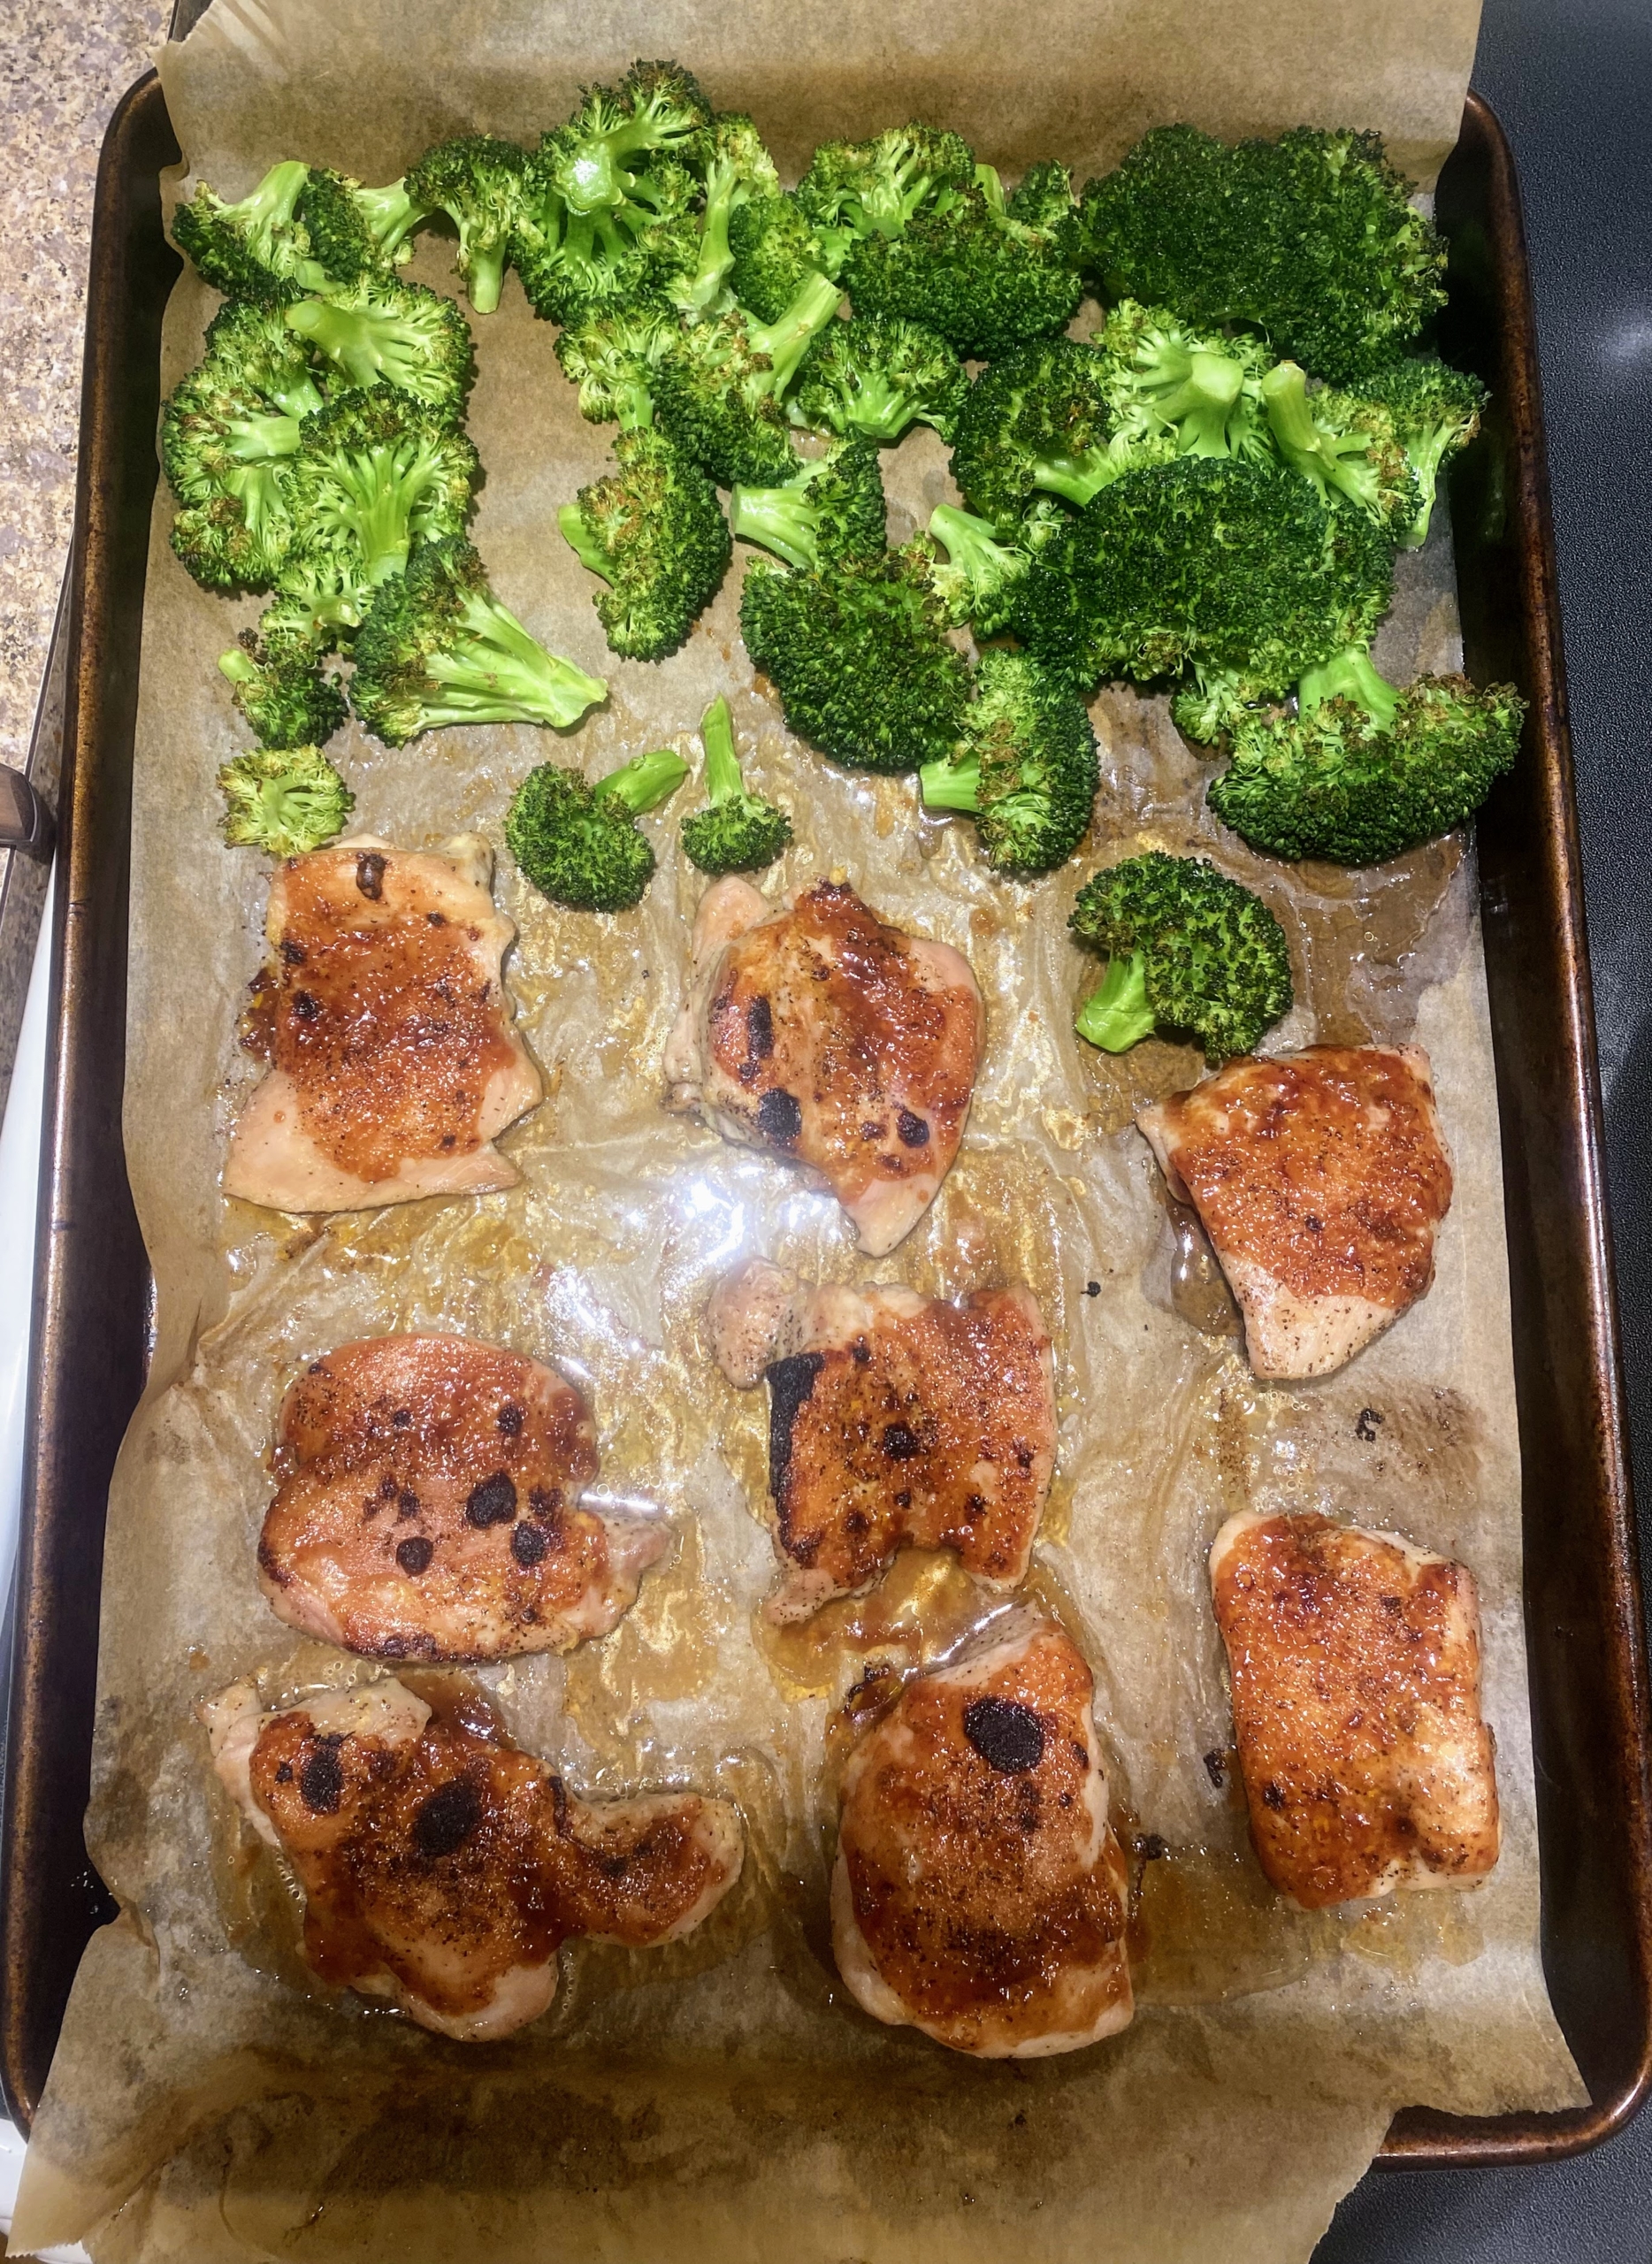
The chicken thighs and broccoli florets are fresh from the oven and looking so delicious. The chicken is brushed with any remaining barbecue sauce and then served.
And here is a plateful – just like the photo on the recipe card. The entire meal was cooked in about a half hour. It was easy to prepare and everyone said they’d definitely eat it again. Subscribe to Martha Stewart & Marley Spoon now.
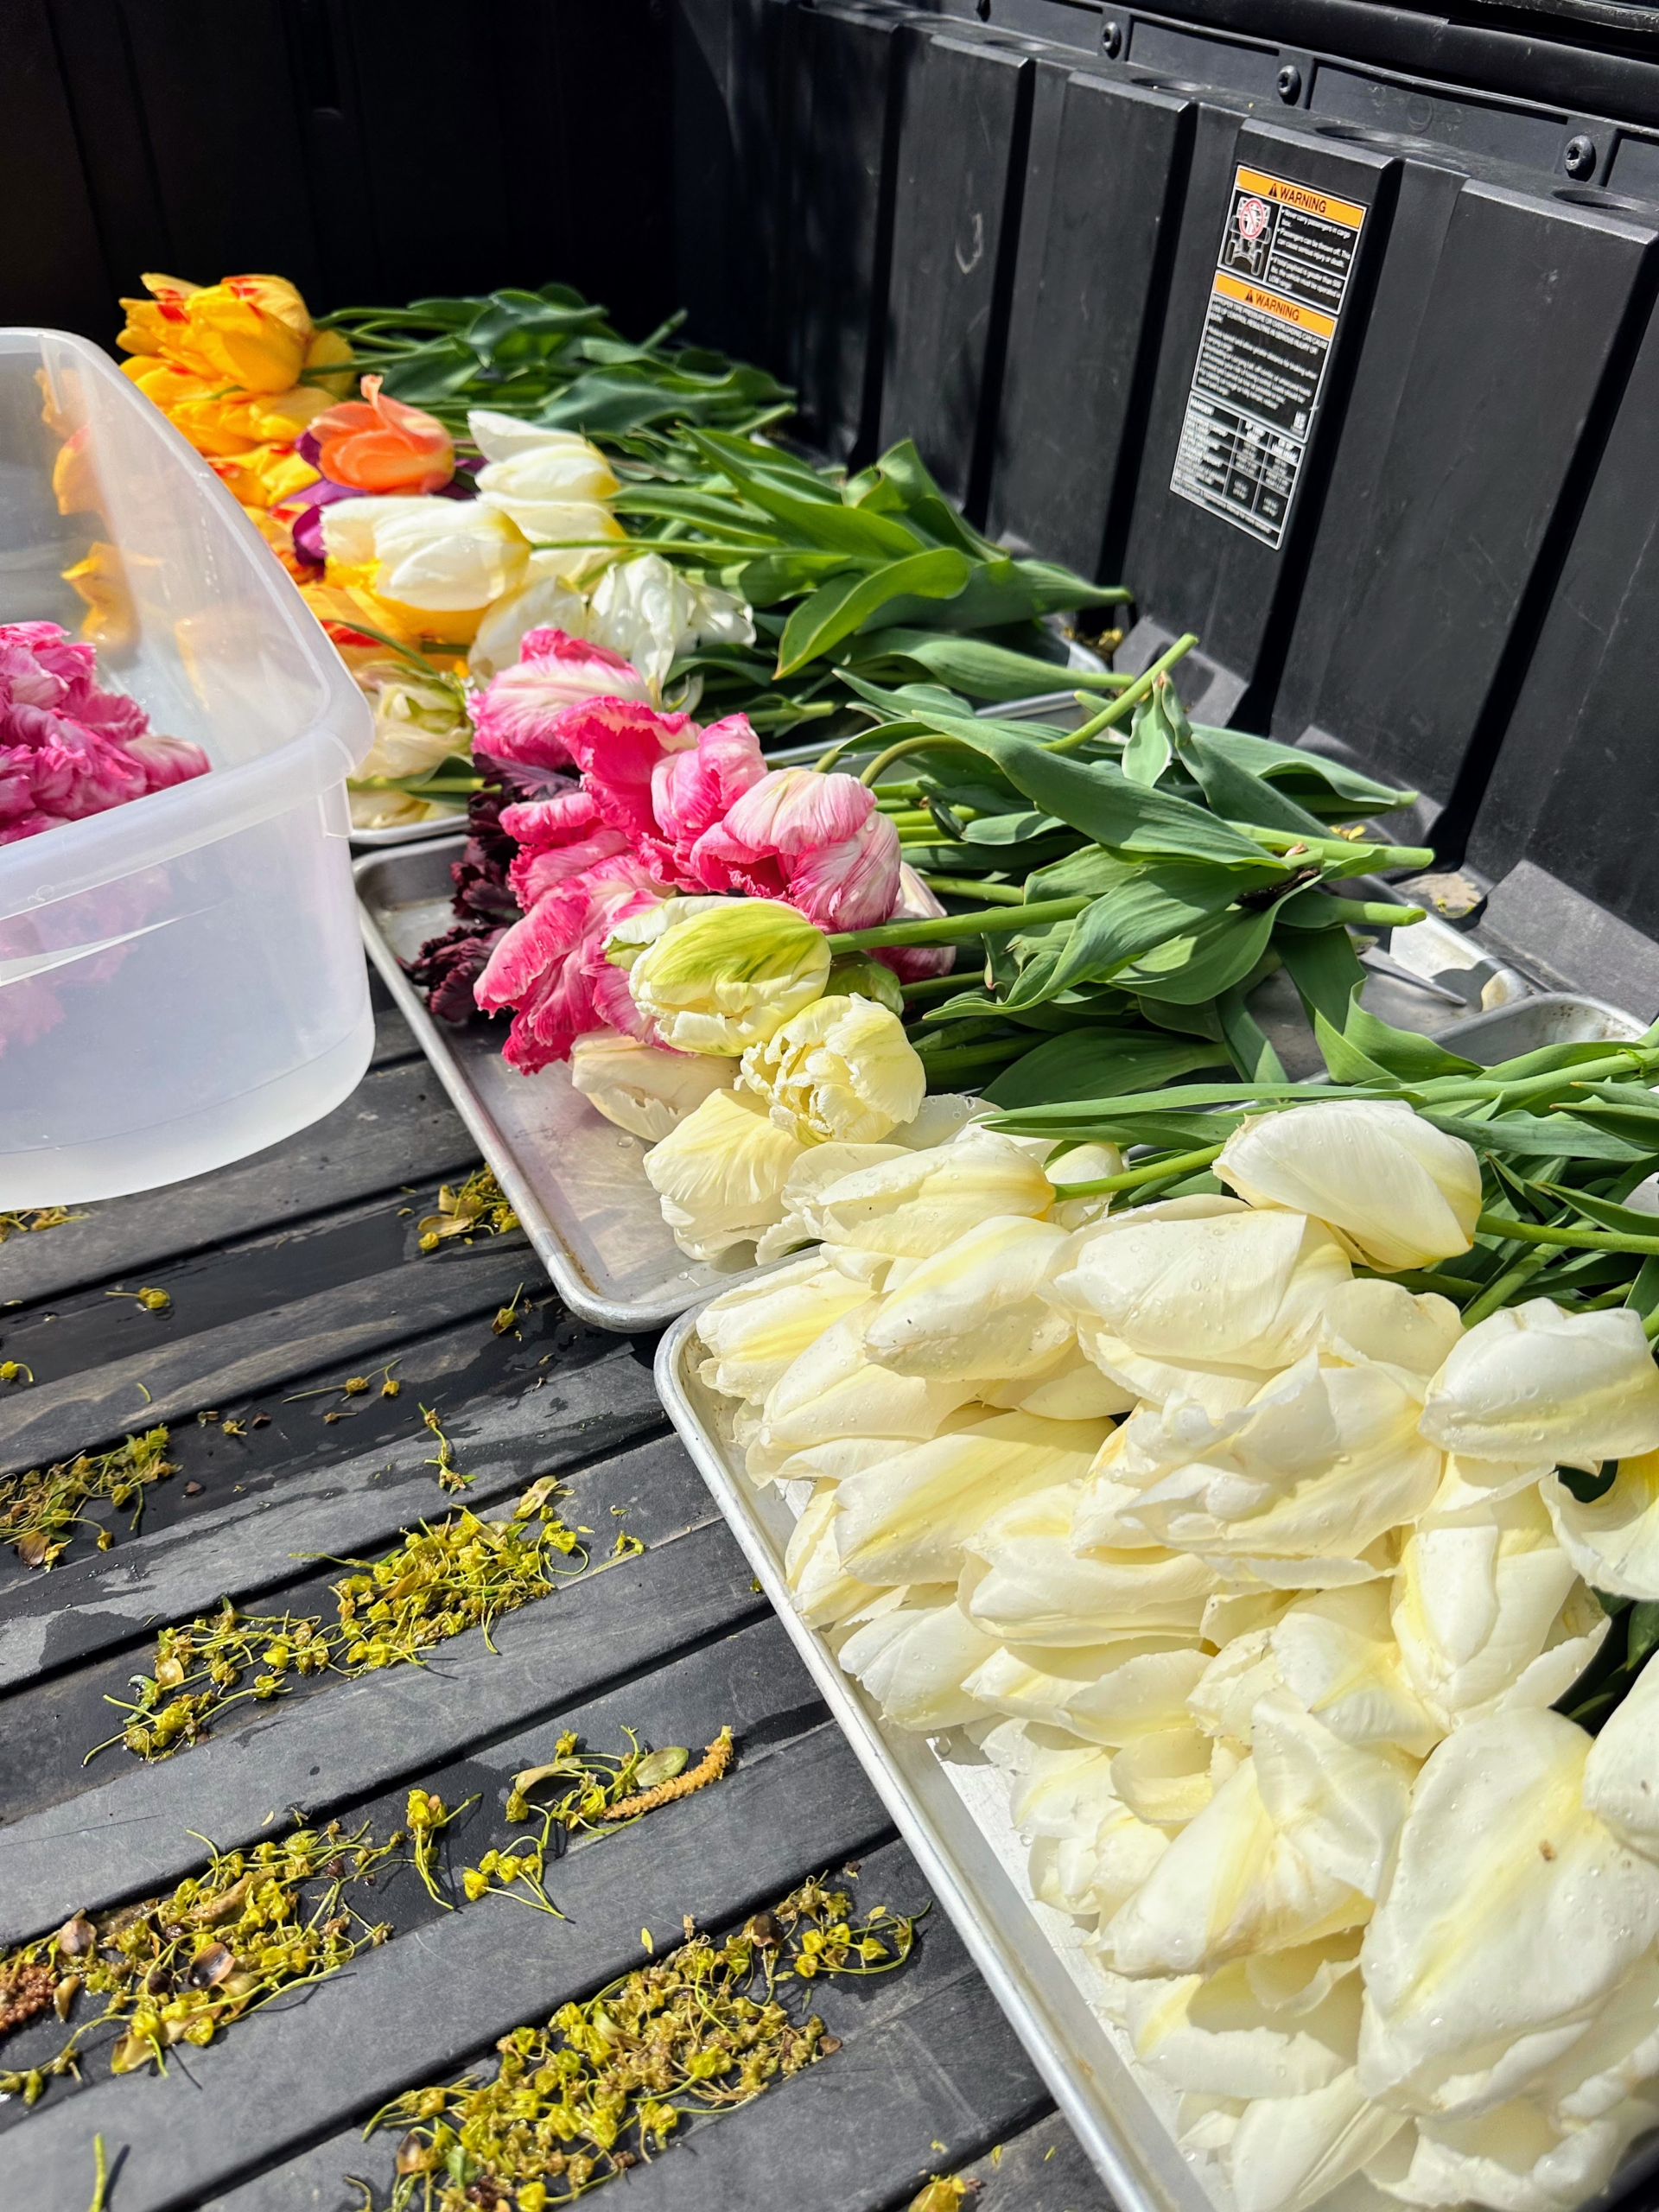
So much is growing around my Bedford, New York farm - this week, the tulips are in full bloom.
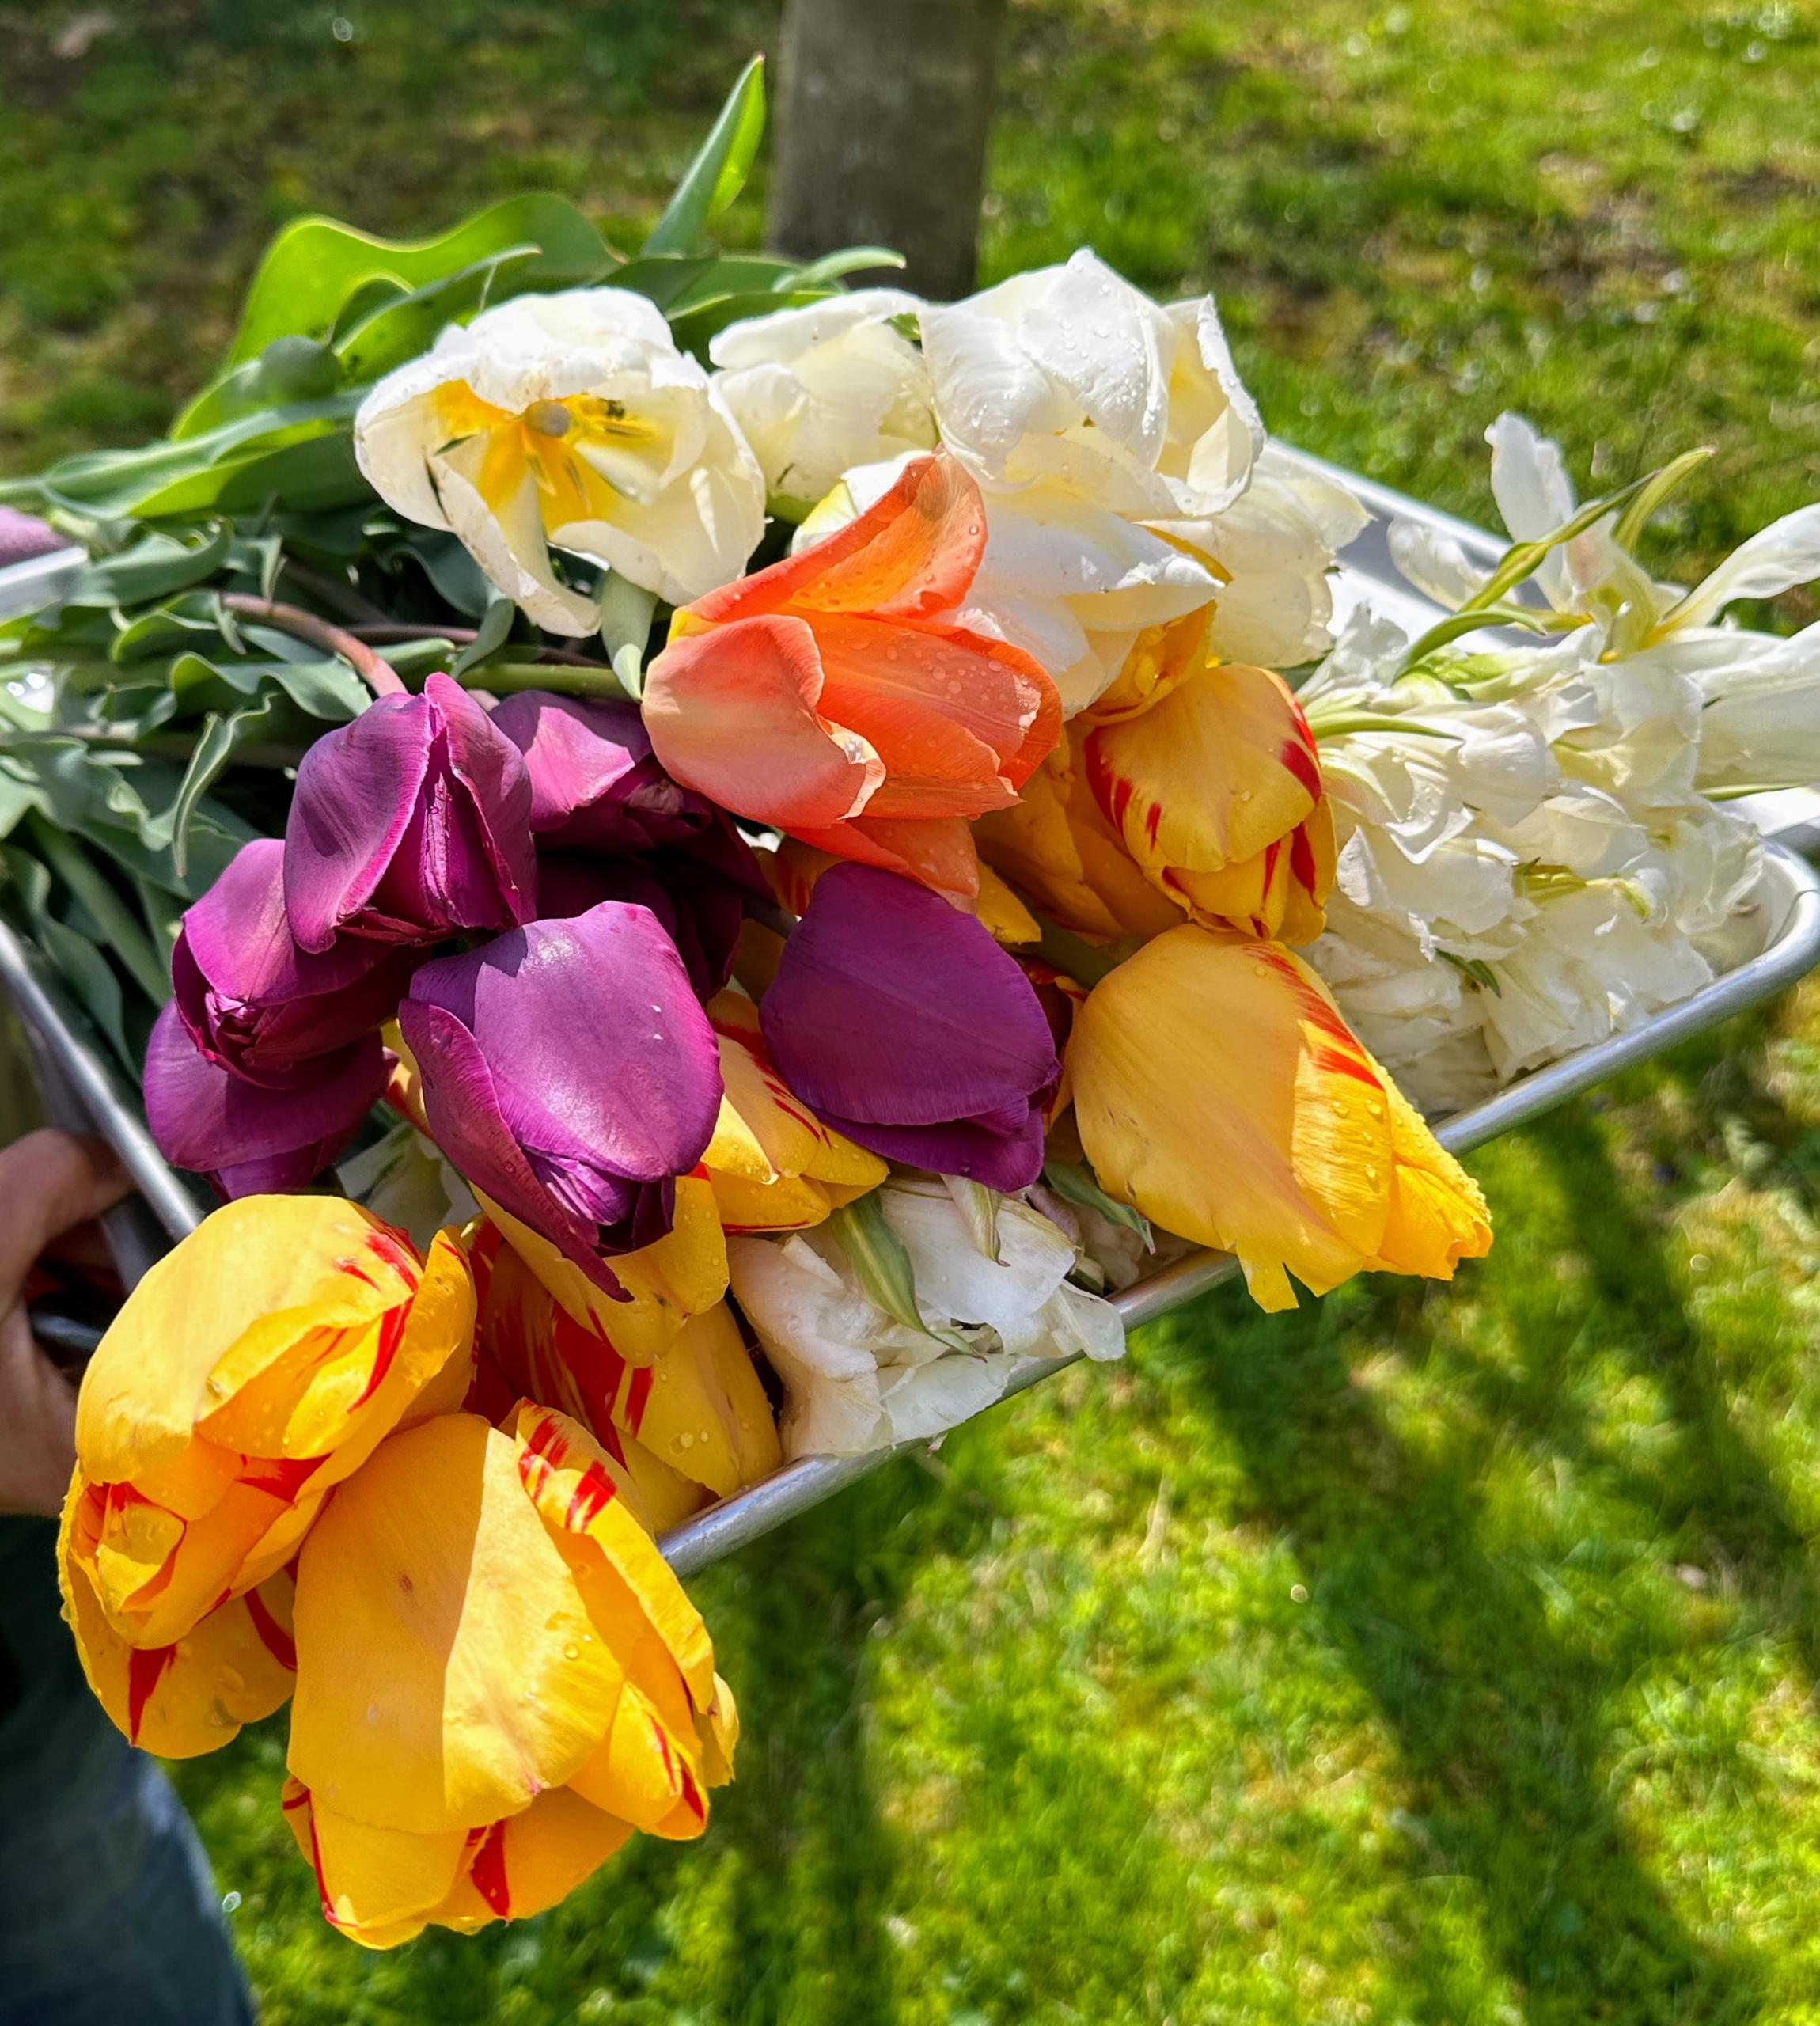
Every year, I always plant a variety of tulips in my garden. For this season, I planted a small selection in rows specifically for cutting. Tulips, which come in a variety of shapes and sizes, are perennial plants that open up each spring. They're grown for their graceful leaves and bright, cheery blooms. Some are traditional and cup-shaped, some have fringed petals, others have pointed ones, and some are full of fanciful ruffles. Yesterday, we cut trays of gorgeous tulip flowers to display in my home.
Here are some photos, enjoy.
Tulips normally begin emerging from the ground in late winter or early spring. If mild winter weather causes premature growth, the danger is not as great as it may seem. Tulips are quite tolerant. I have some tulips growing in my flower cutting garden, in one section of a garden behind my main greenhouse, and on the side of my greenhouse where I previously grew some strawberries.
Tulip bulbs are planted in the autumn before the ground freezes. And always plant them in a sunny area with well-drained soil.
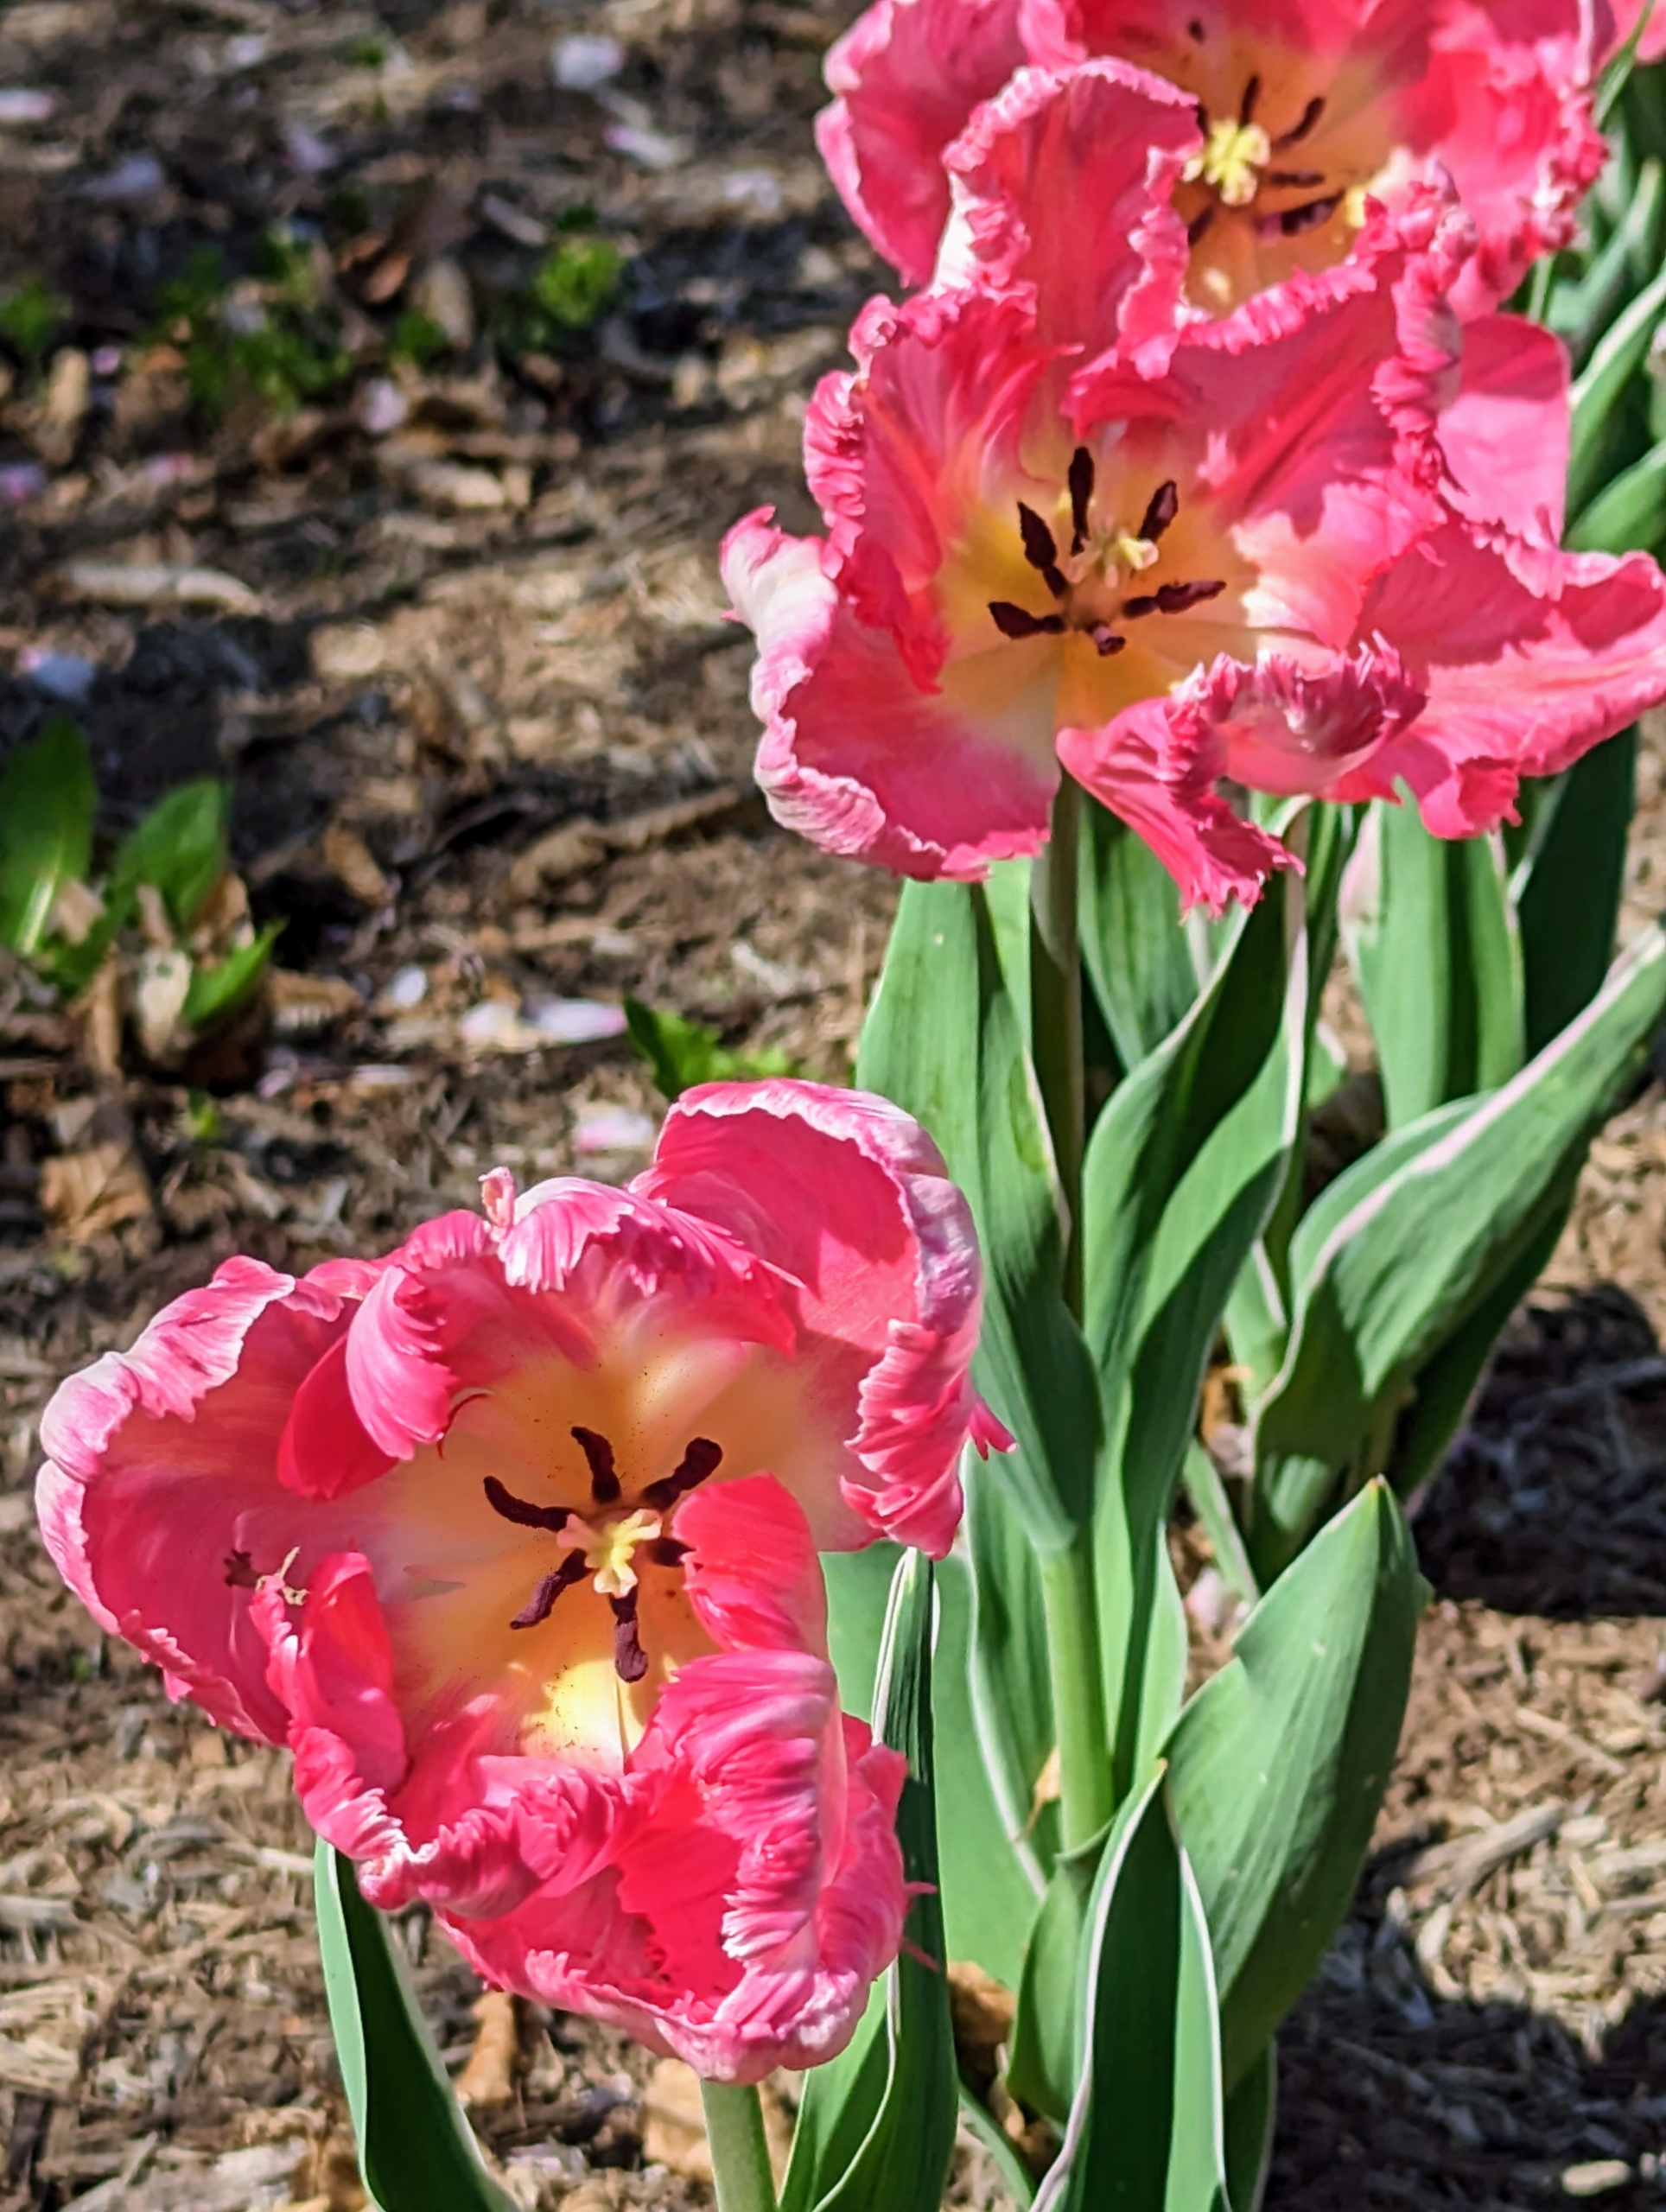
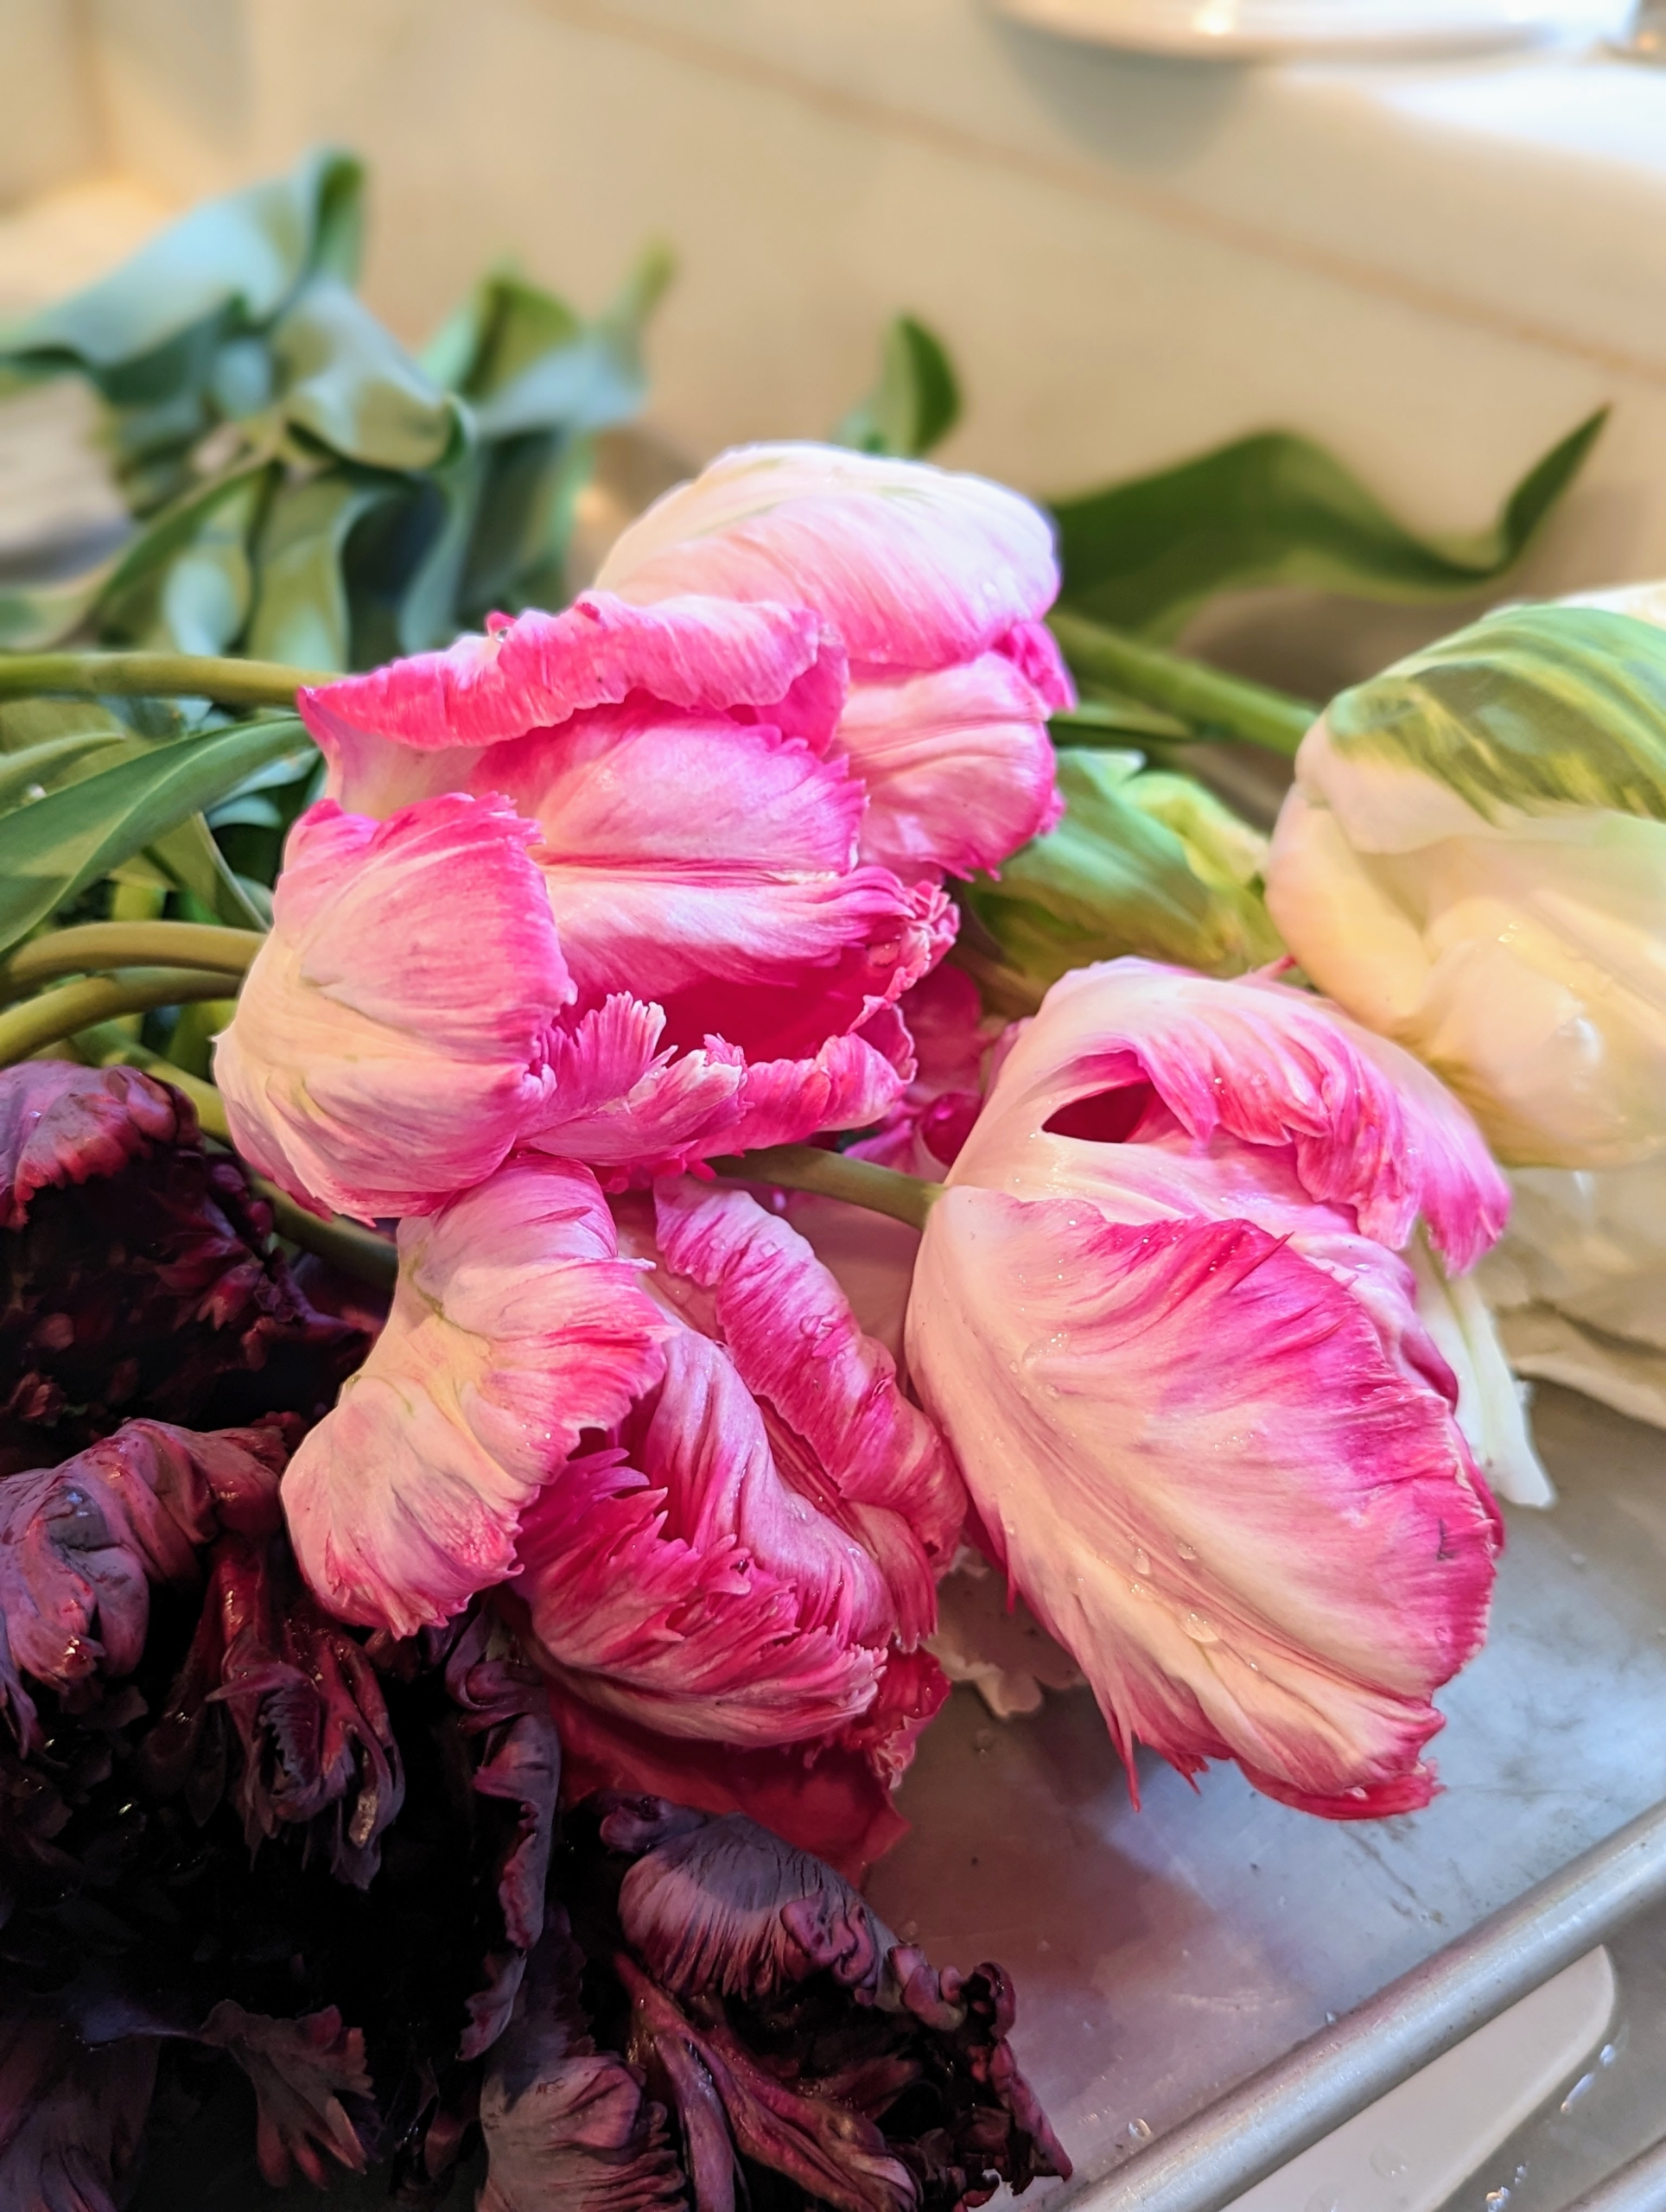
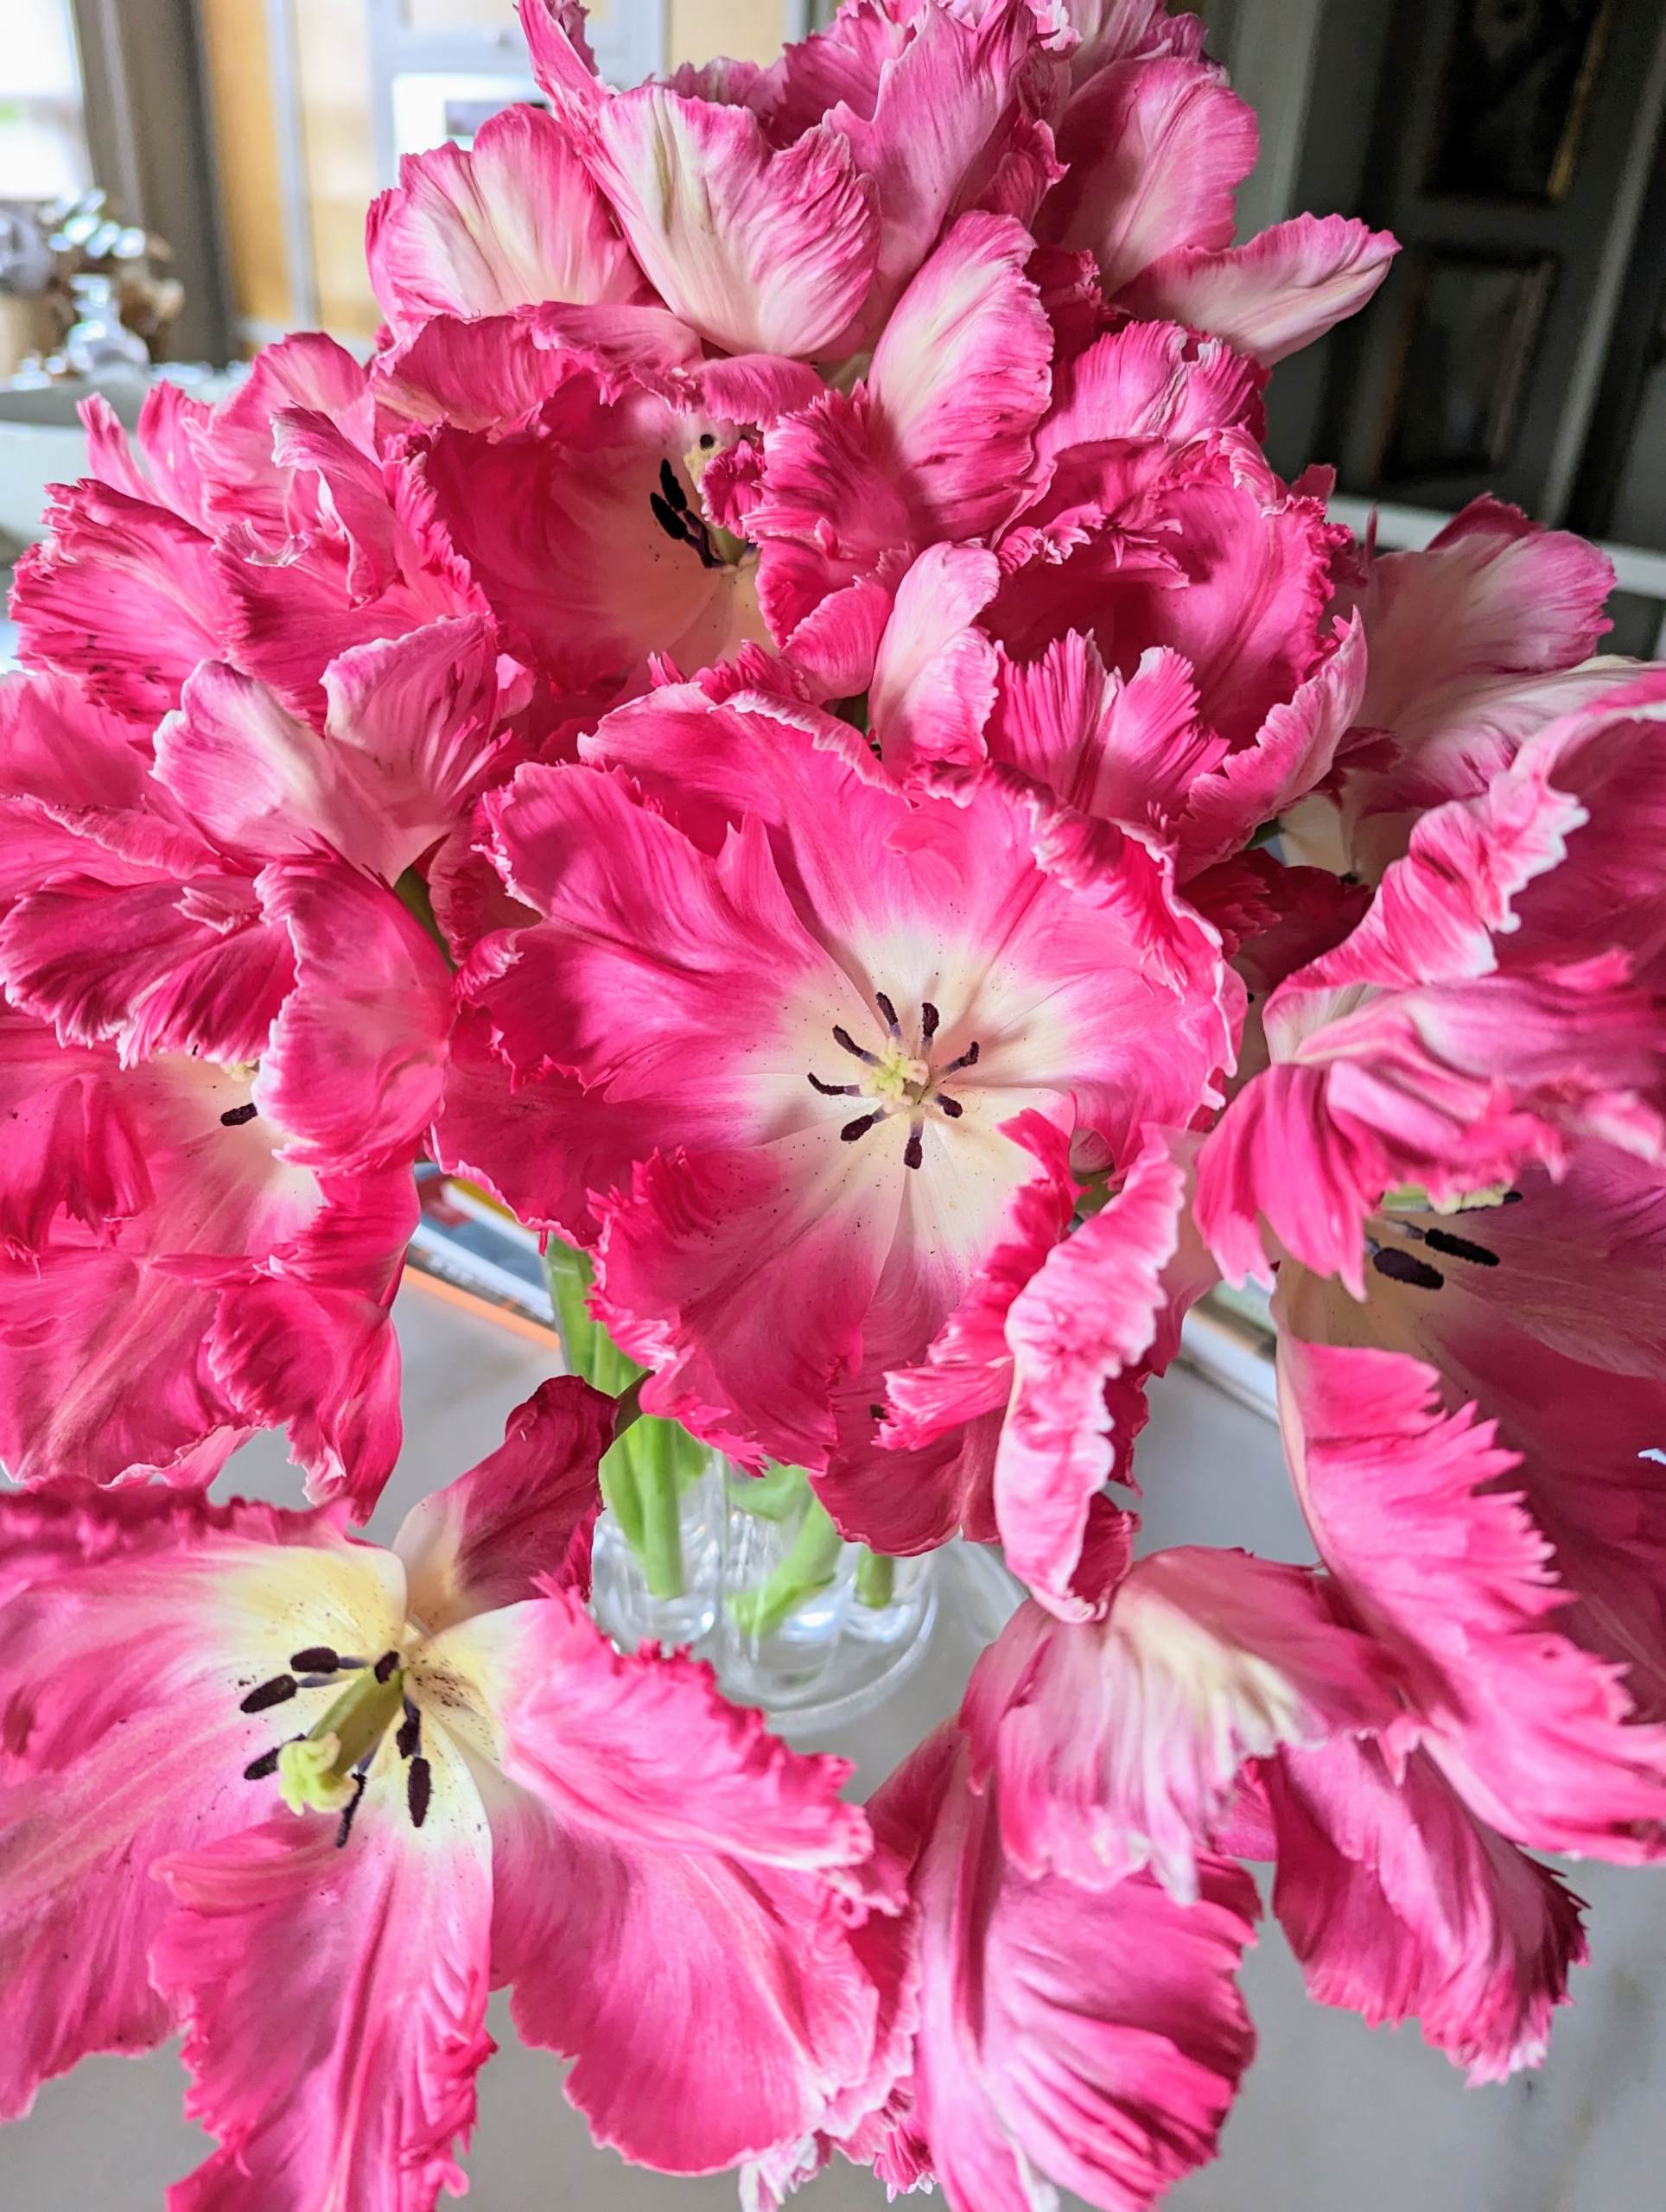
These are ‘Silver Parrot’ tulips with silver-white and flamboyant fuchsia-pink petal edges and highlights. Parrot tulips have showy, fringed, and scalloped plumage.
Early in the morning, Enma and Elvira cut the tulip flowers and carefully placed them on sheet pans. Tulips have a fascinating history. Although closely associated with Holland, tulips were first cultivated in Turkey. The name tulip is believed to be derived from the Turkish word for turbans, “tulbend,” because of their resemblance. They gained popularity in Europe in the 17th century, peaking in 1636 to 1637.
Look at all the gorgeous cut flowers. Most tulip plants range between six to 24 inches tall.
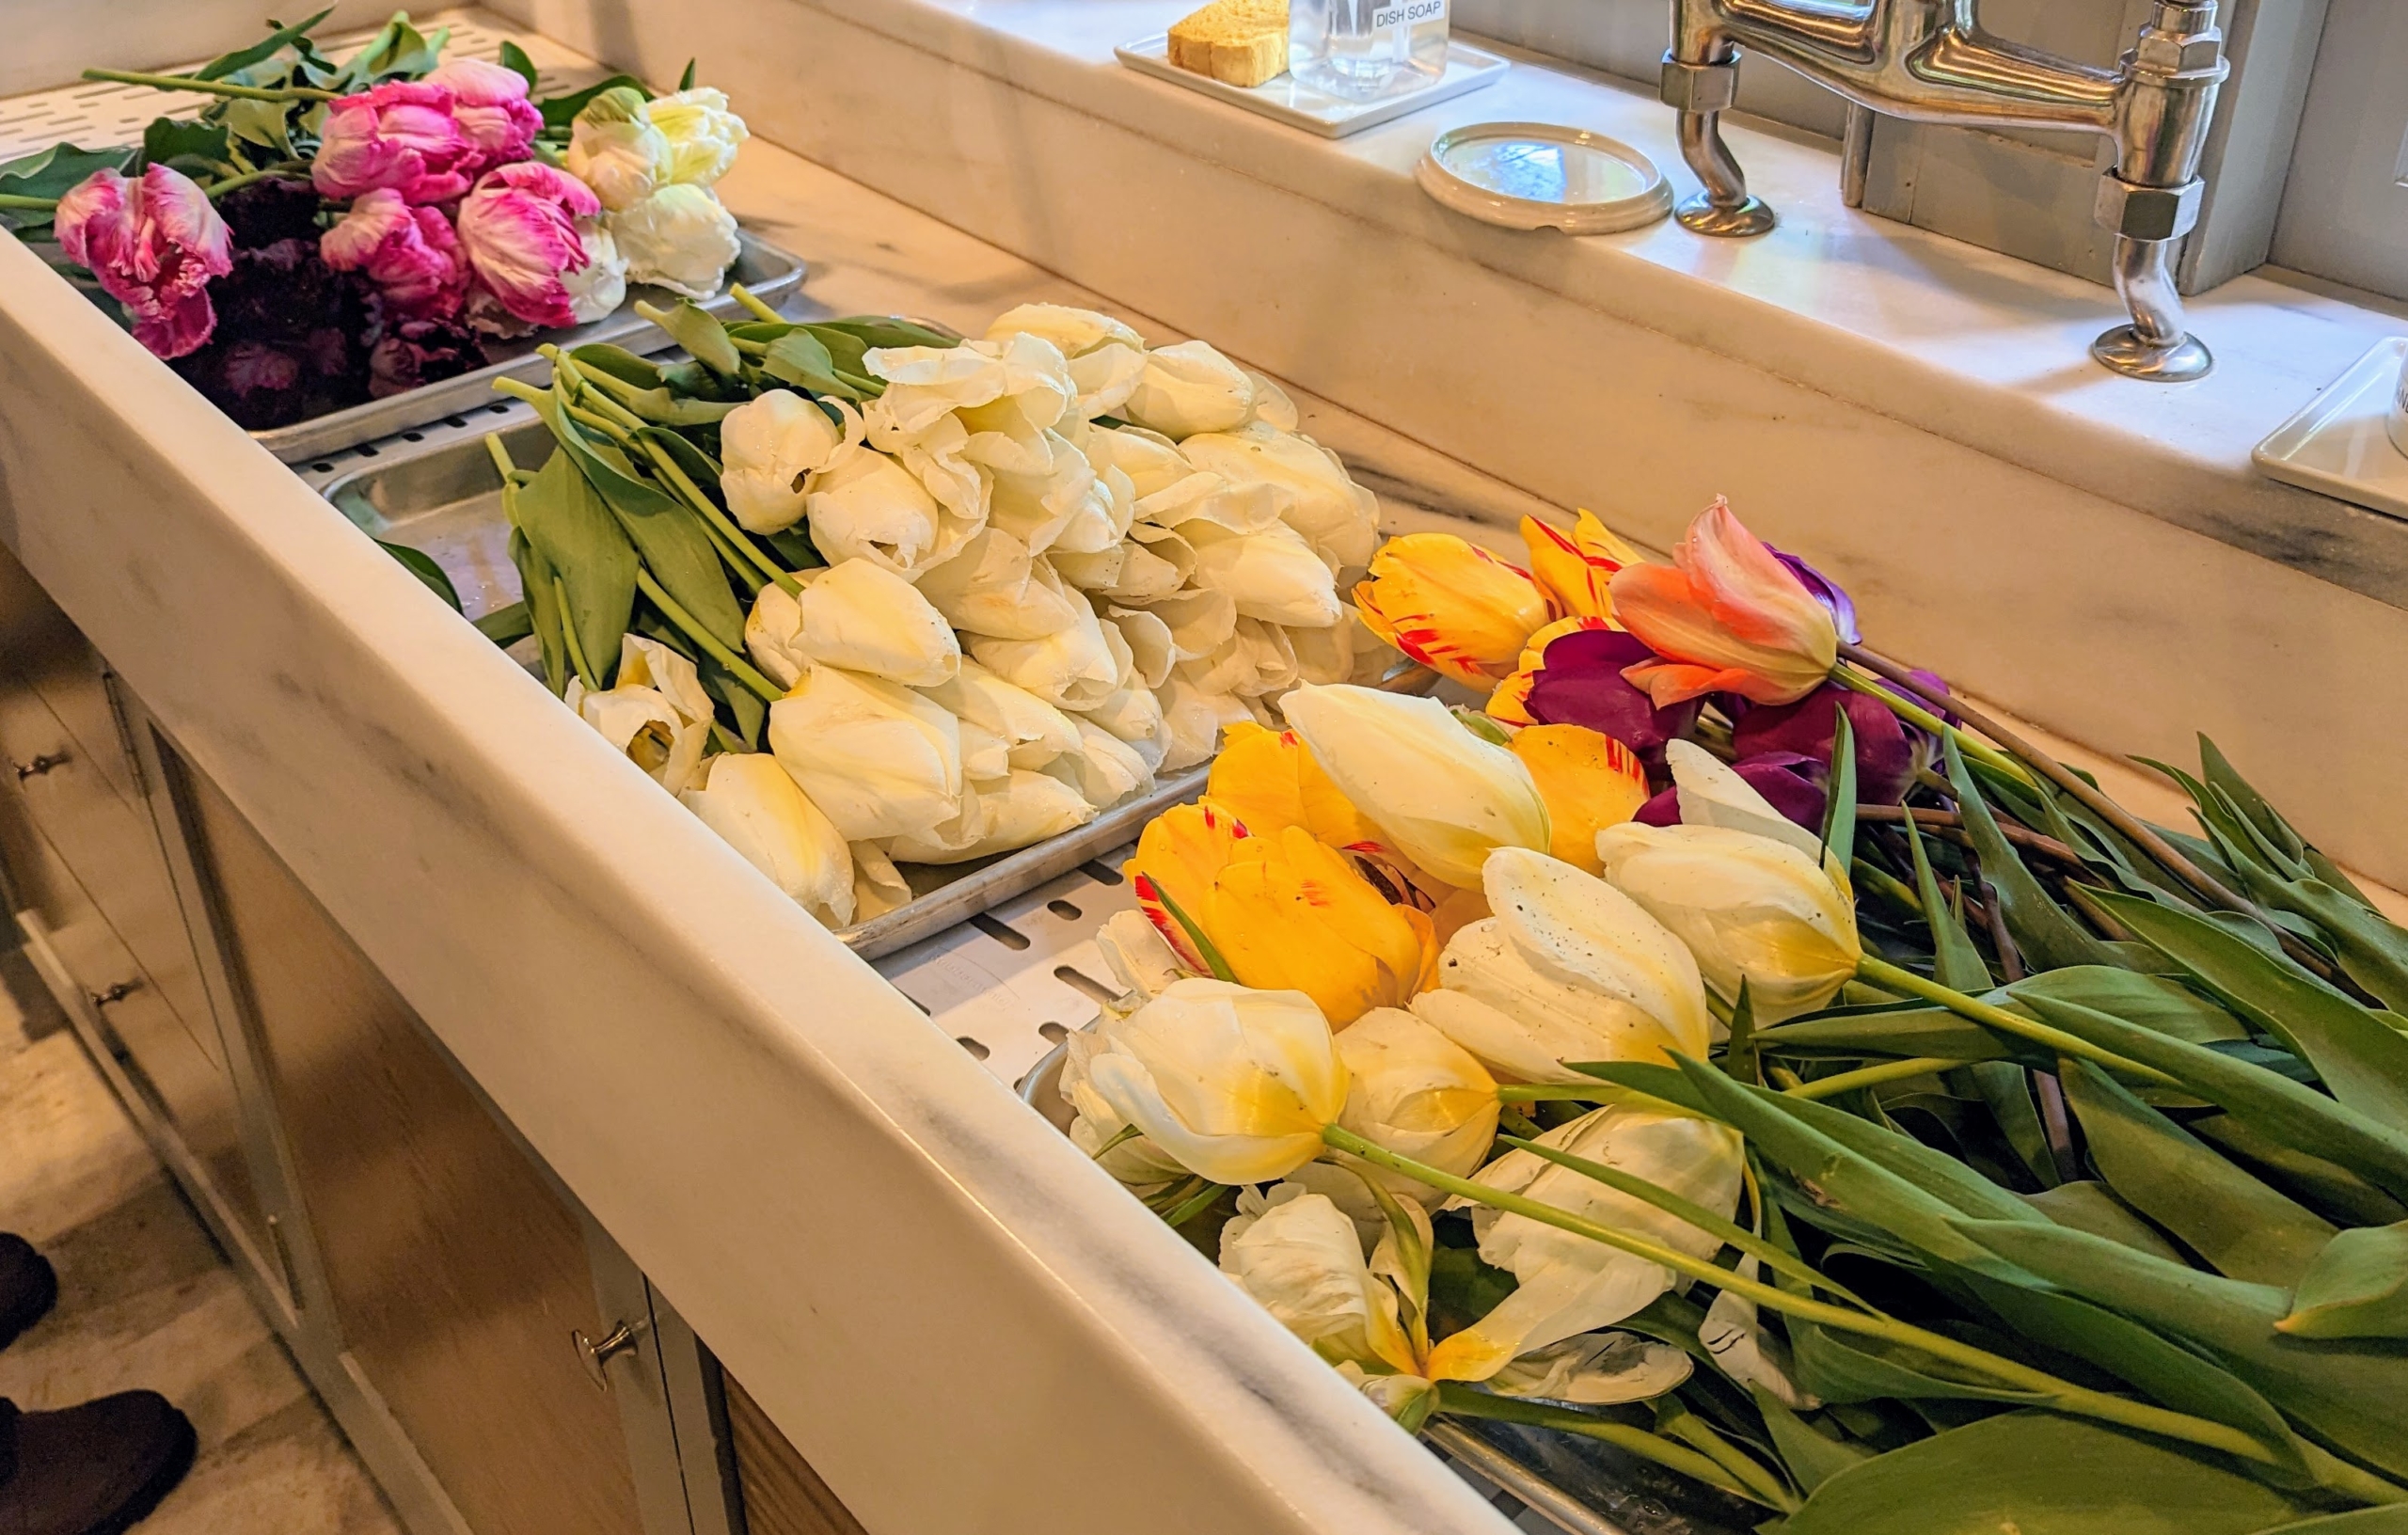
All the full trays are then placed in the back of my Polaris Ranger ready to be taken up to my Winter House.
Right away, the cut flowers are brought into the servery where they can be trimmed and placed into vases. There are currently more than 3,000 registered varieties of tulips – separated in about 15 divisions based on shape, form, origin, and bloom time.
Tulips have been hybridized in just about every color except blue. Most tulips have one flower per stem, but there are some multi-flowered varieties.
Enma and Elvira cut the stems at a 45-degree angles so they don’t sit flat in the vase. They also remove any leaves under the water line to prevent any rotting.
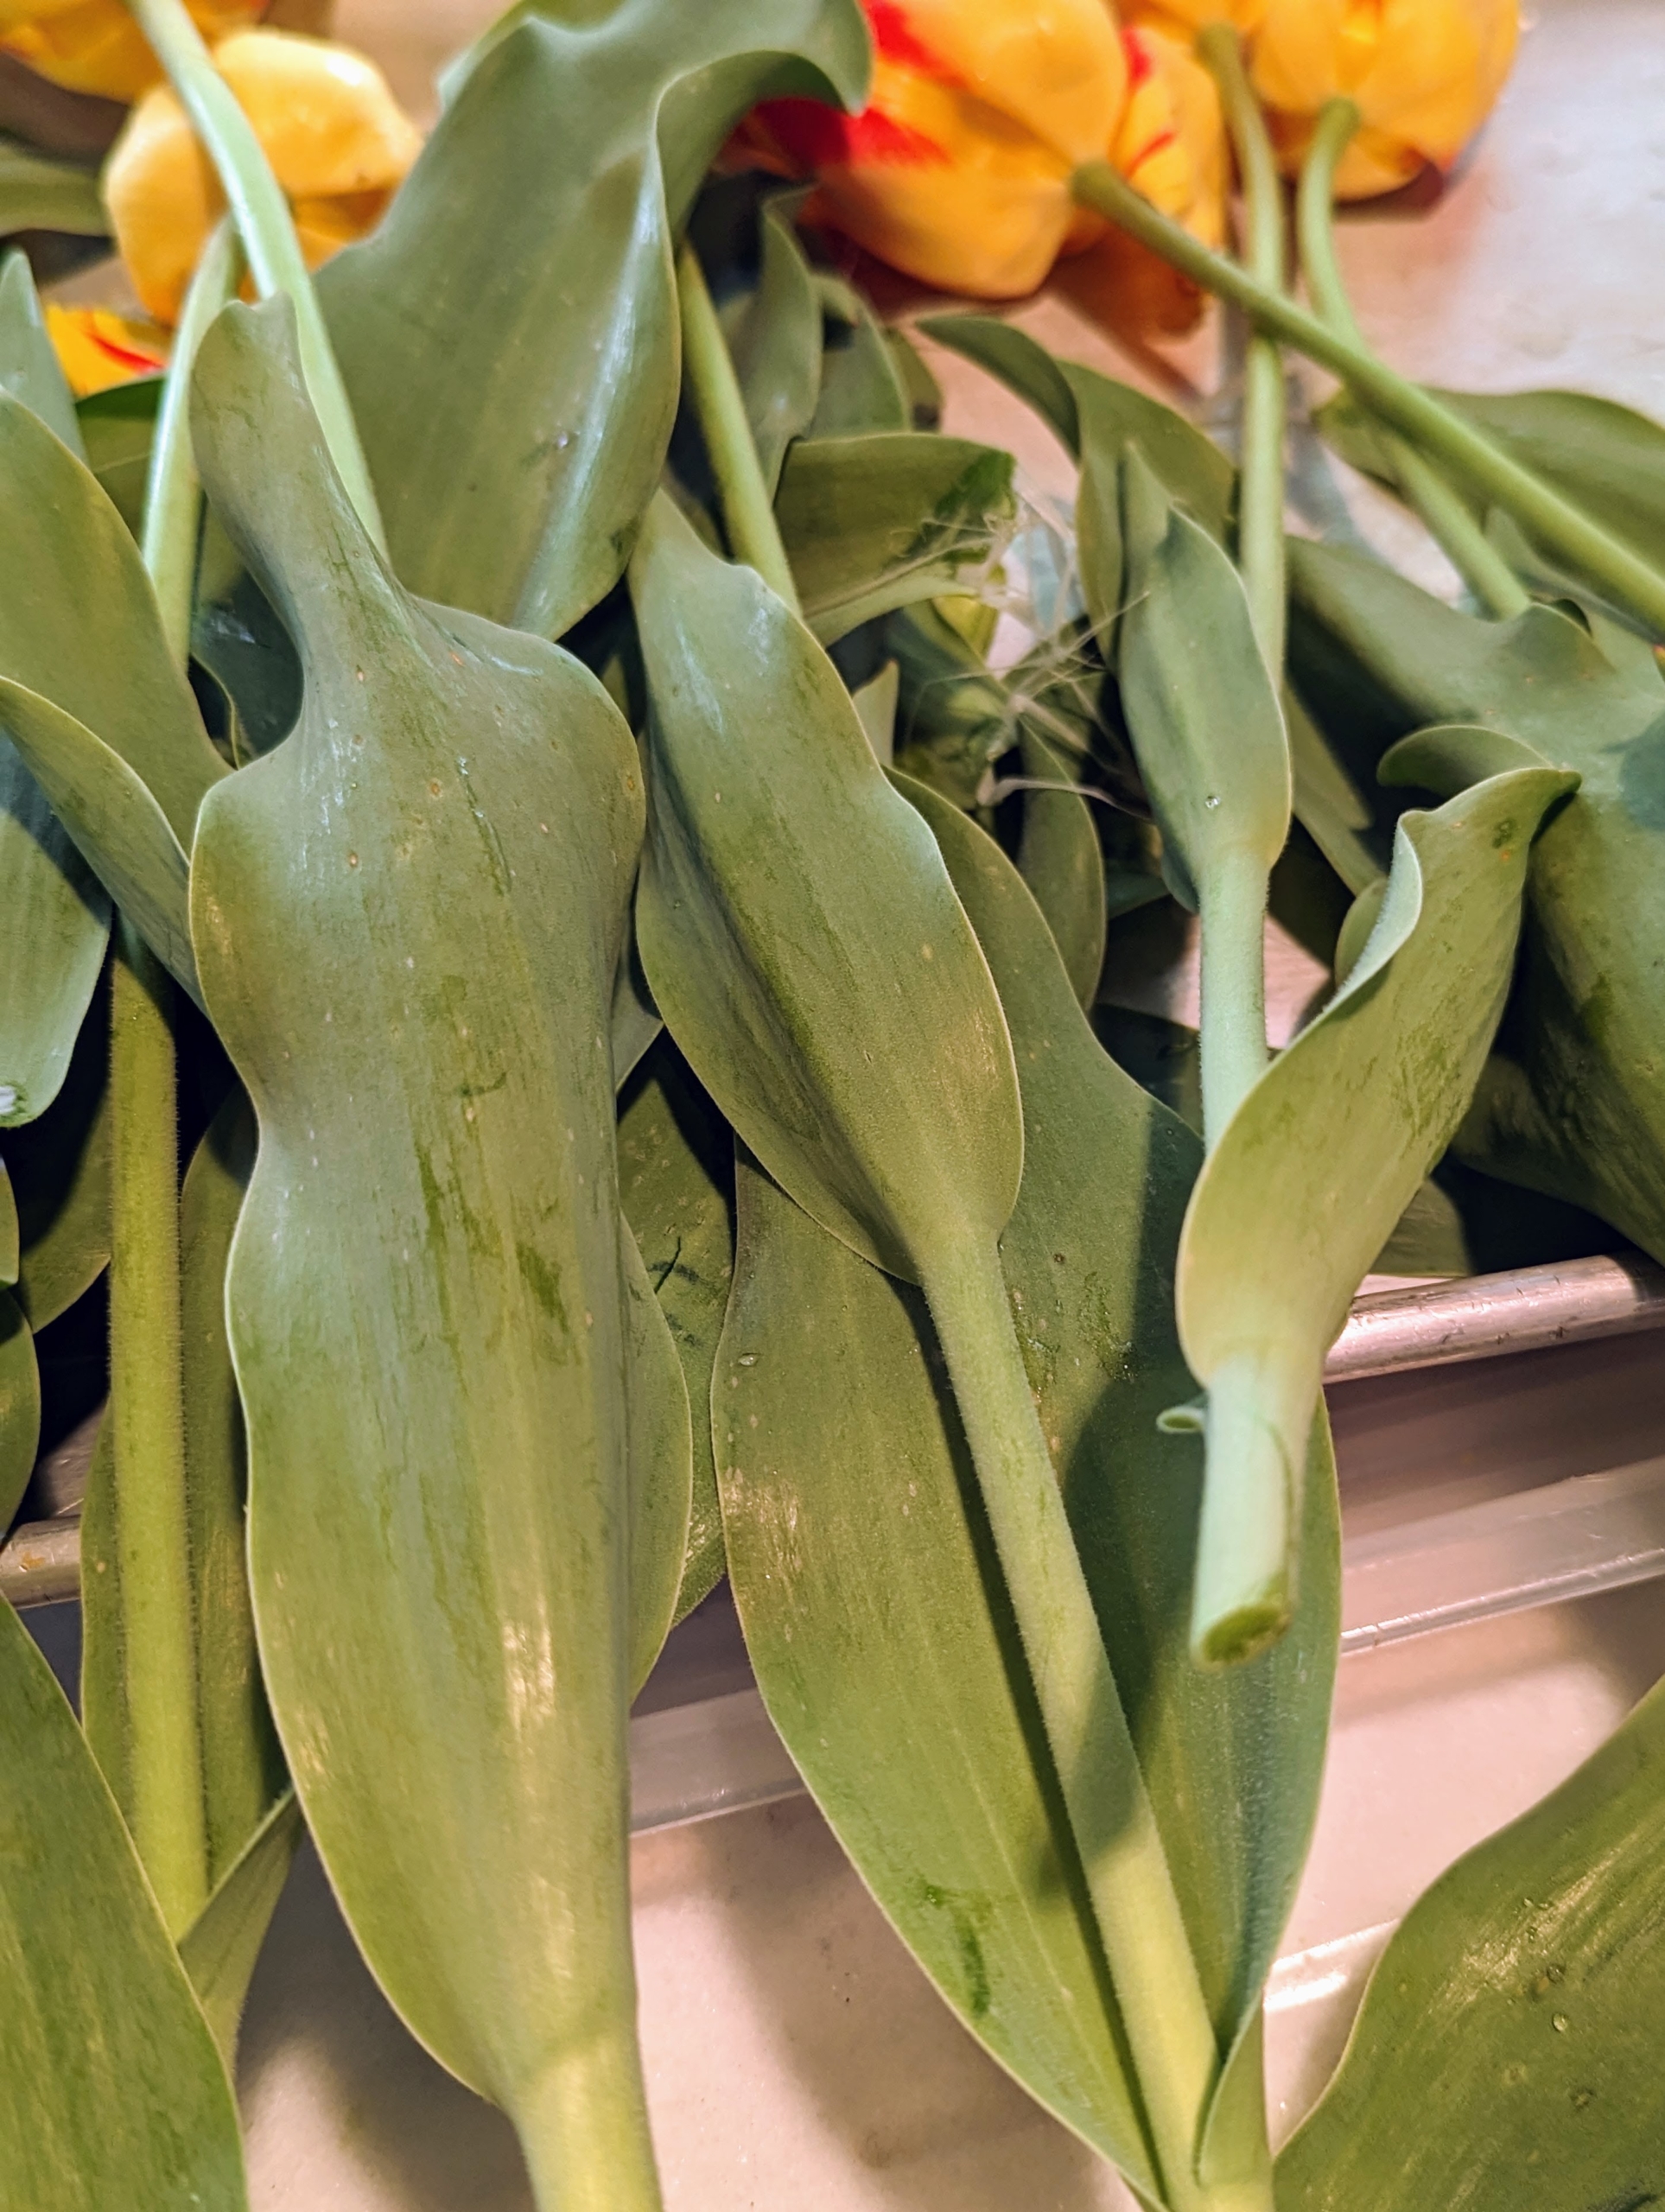
To remove the leaves, gently pull them back and peel them away from the stem. The broad, strappy leaves of tulips have a waxy coating that gives them a blue-green color. There are usually two to six leaves per plant.
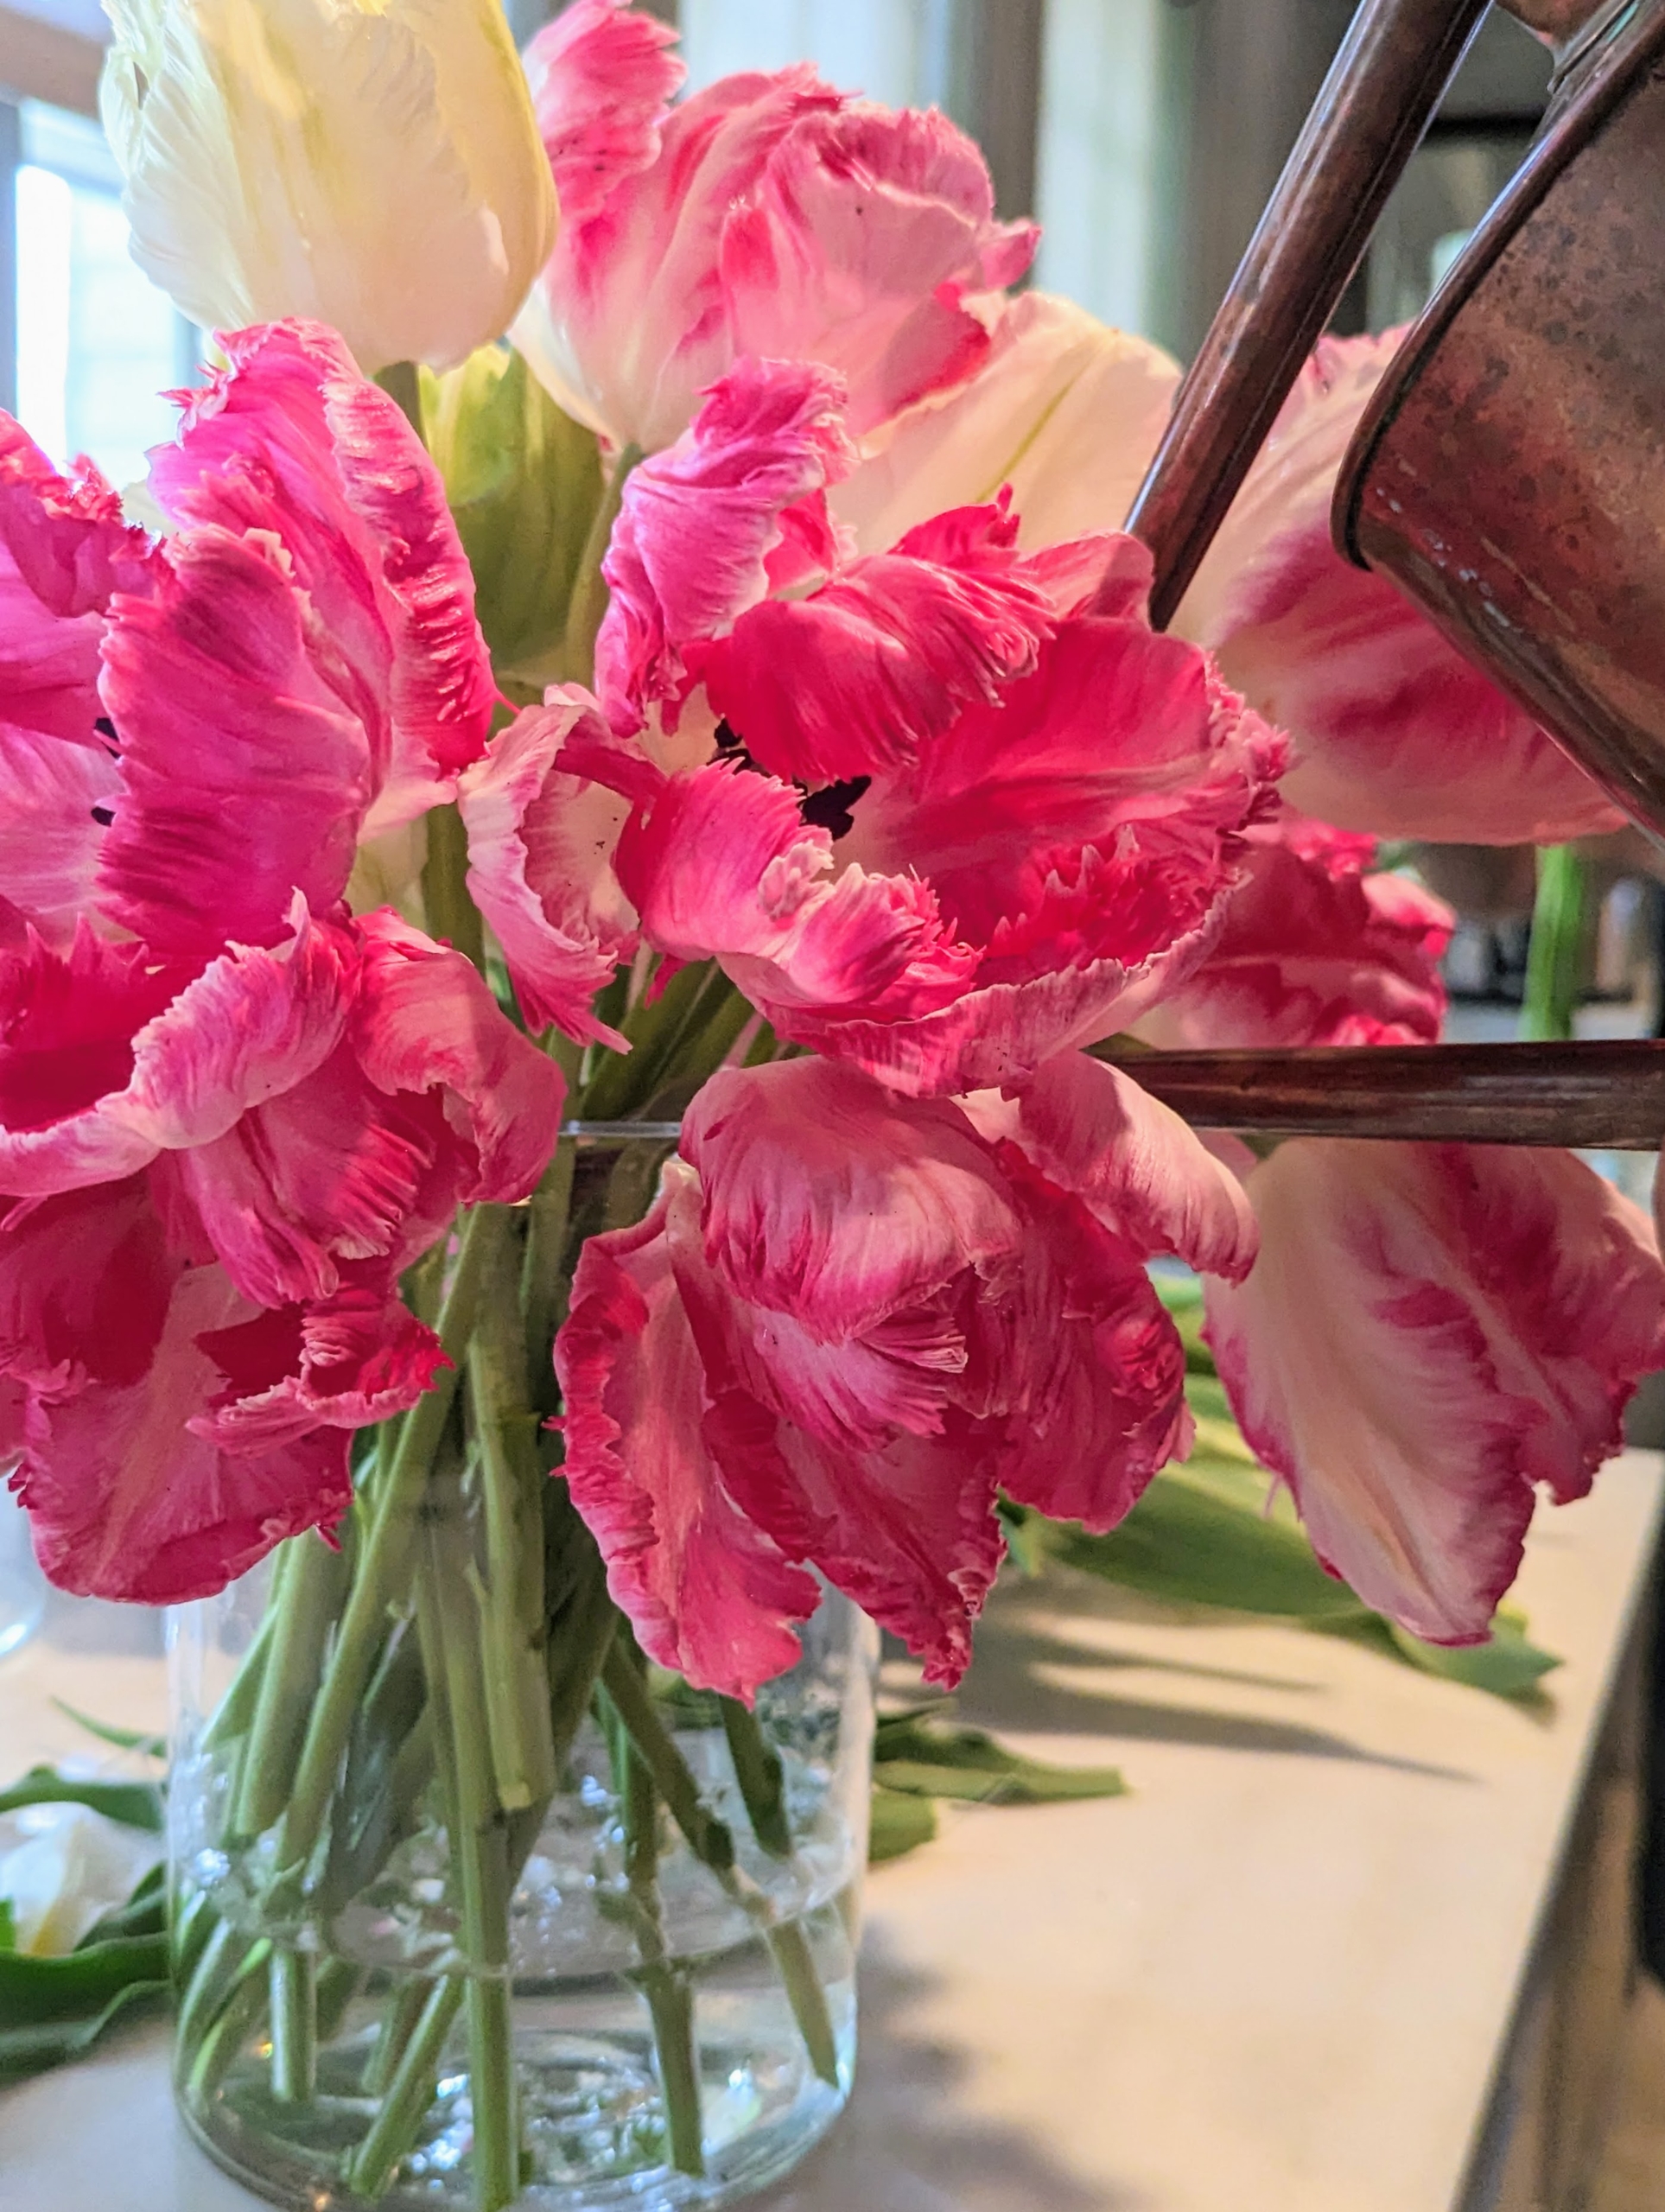
I like to keep like colors and same varieties together, but tulips can be mixed depending on preference.
Here, Enma places all the ‘Silver Parrots’ in a vase. When cutting, select those that are just about to open fully, when they have about 75-percent of their full color.
This vase of ‘Silver Parrot’ tulips were cut this weekend by my granddaughter Jude. They opened perfectly.
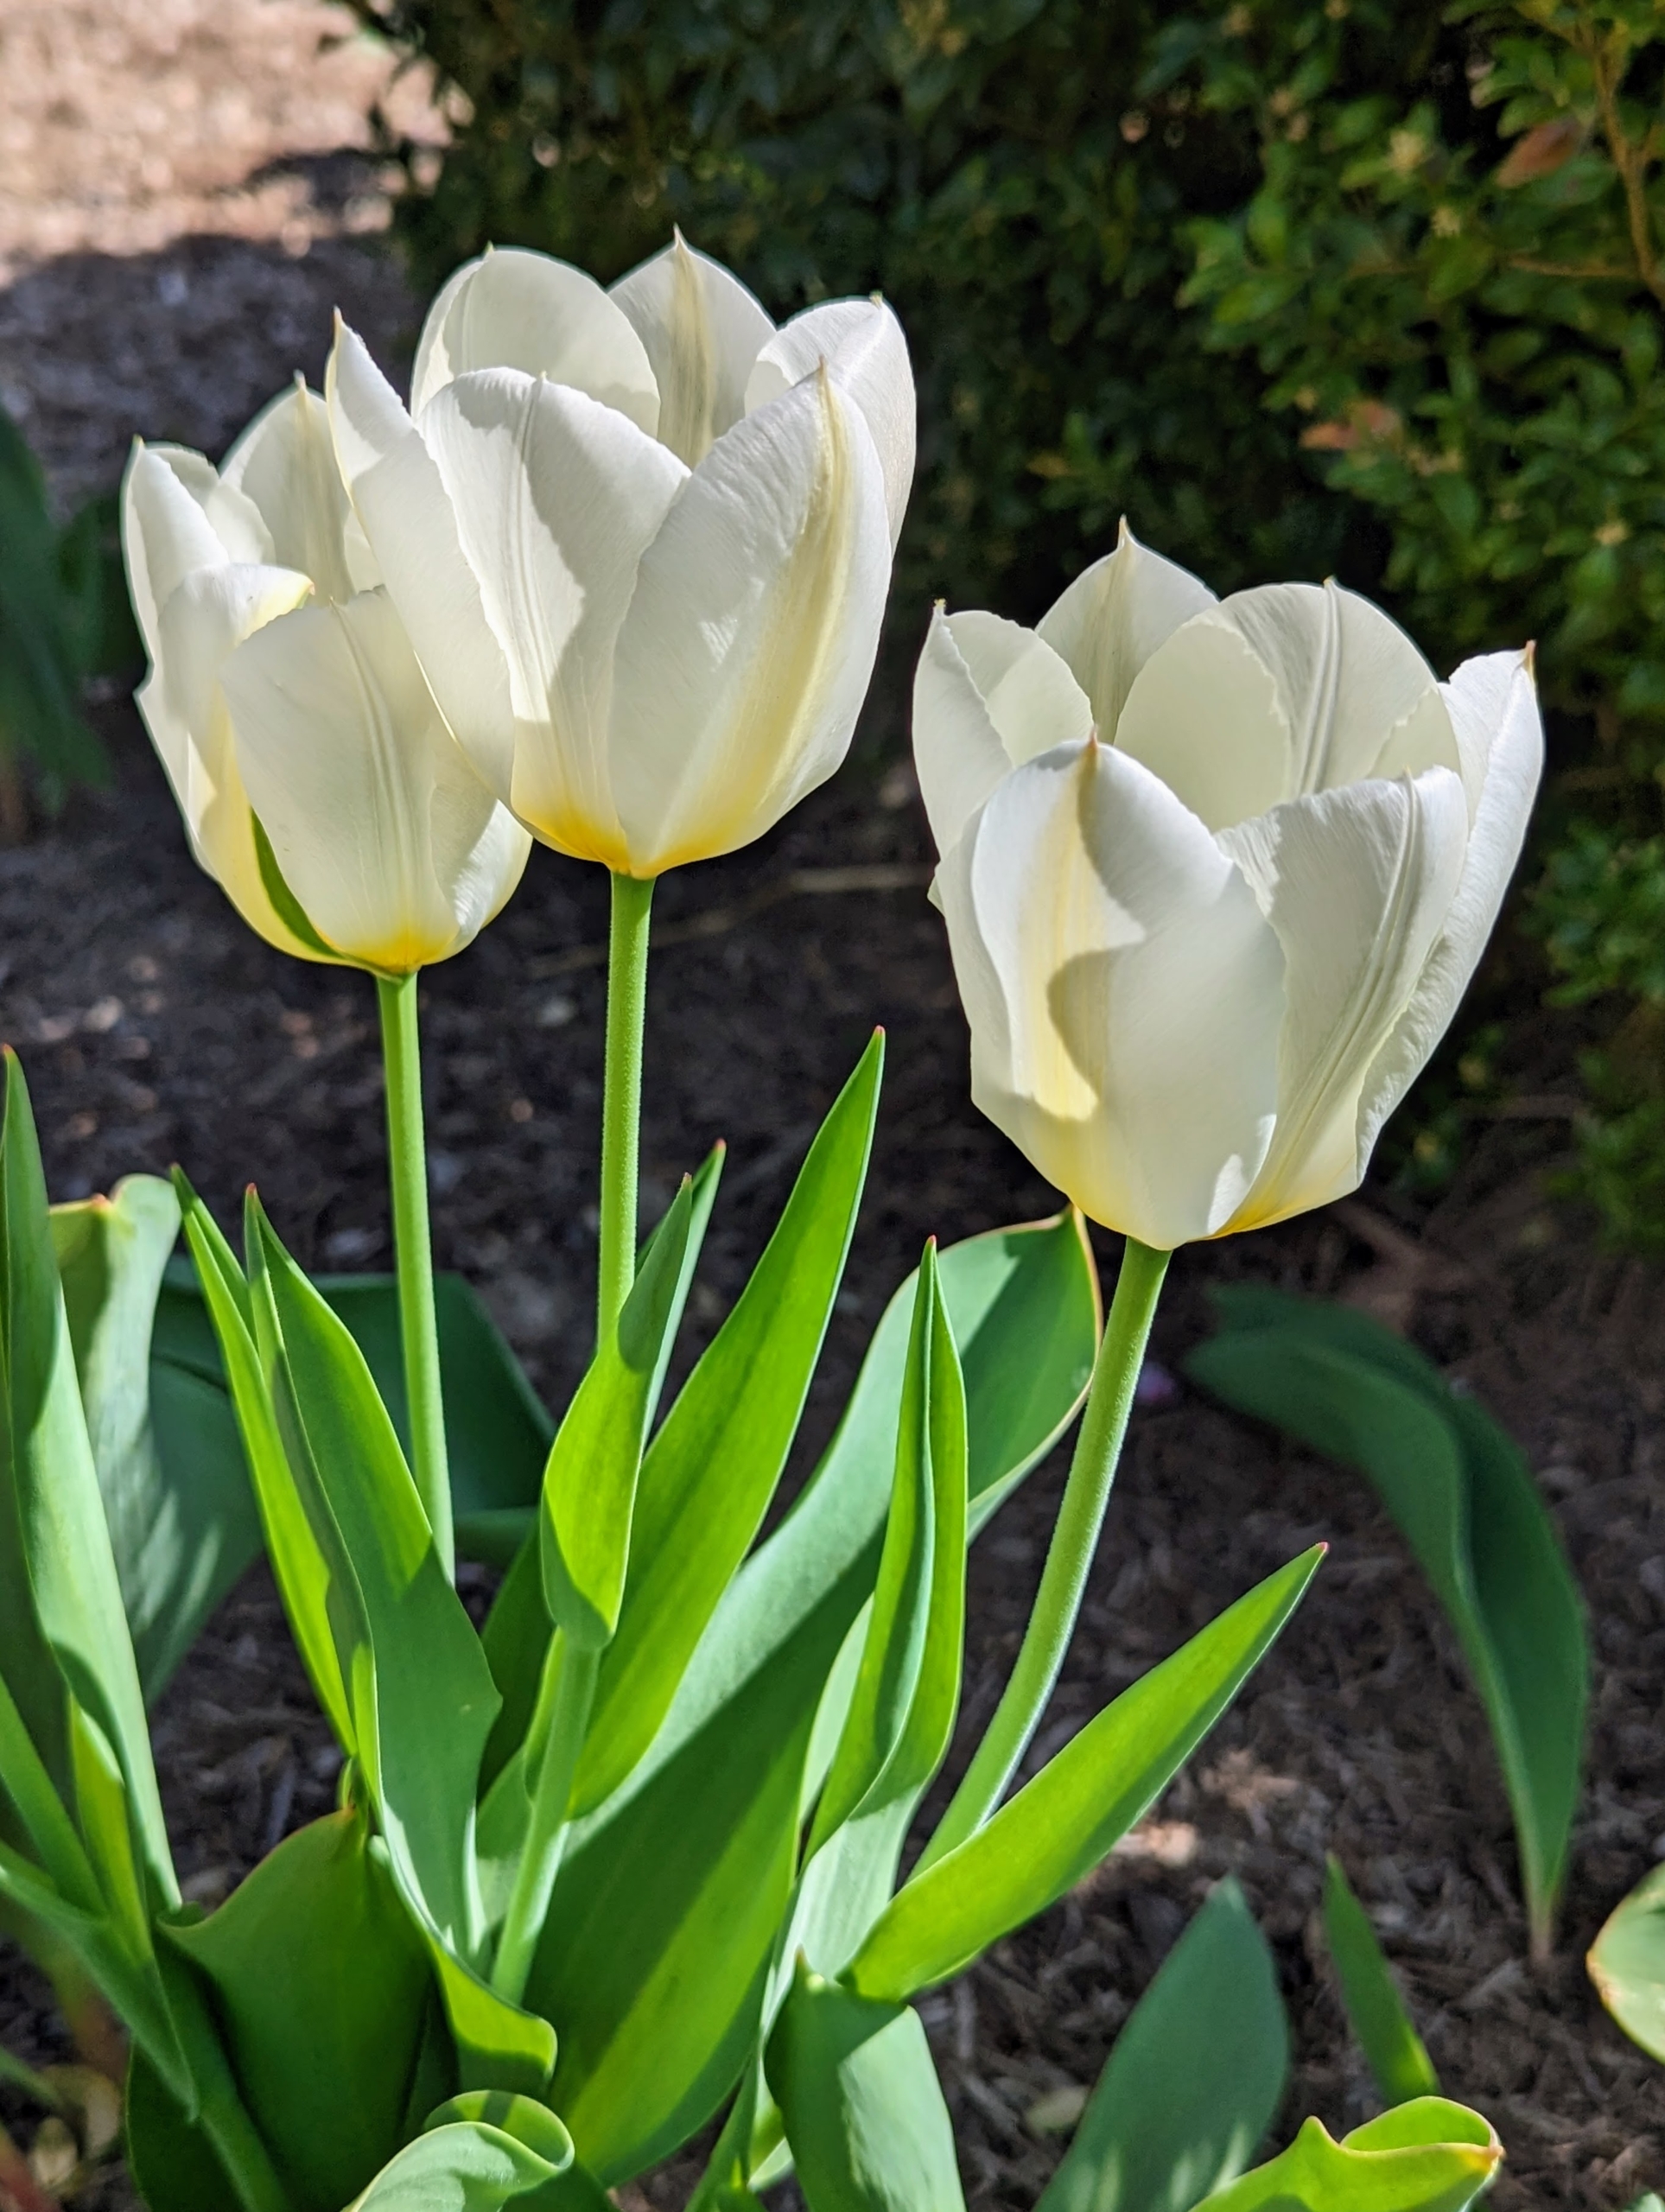
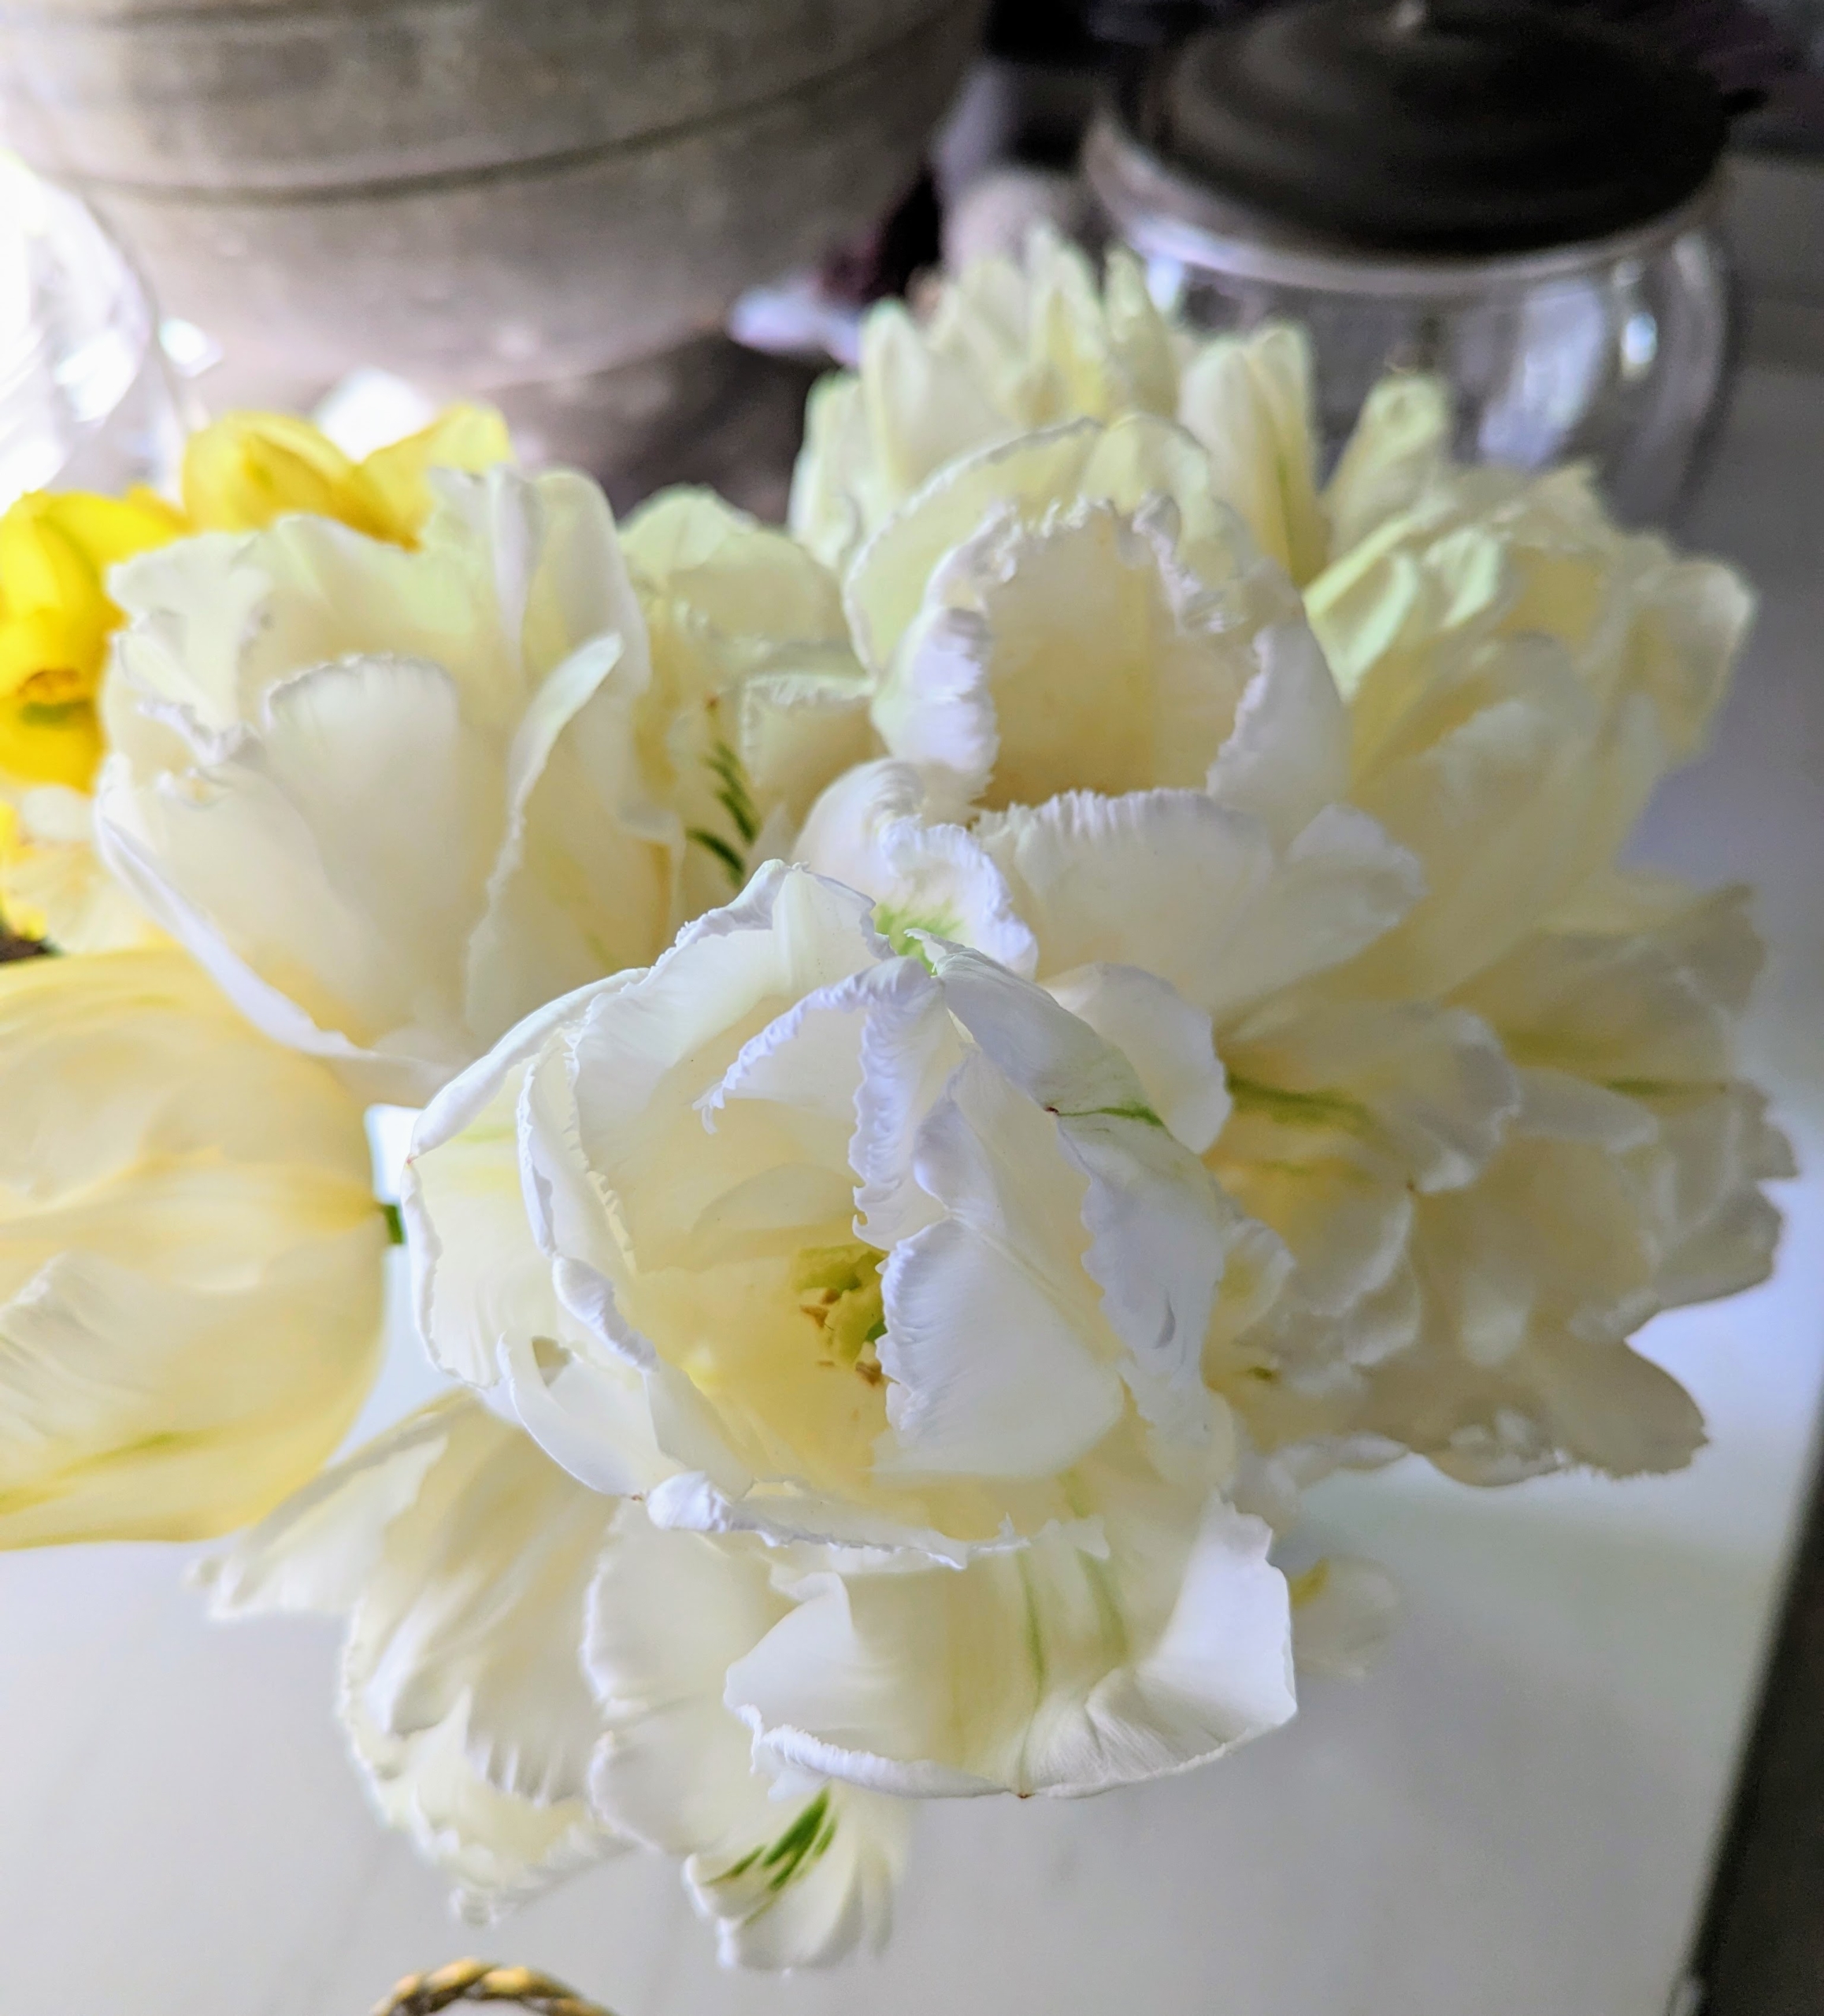
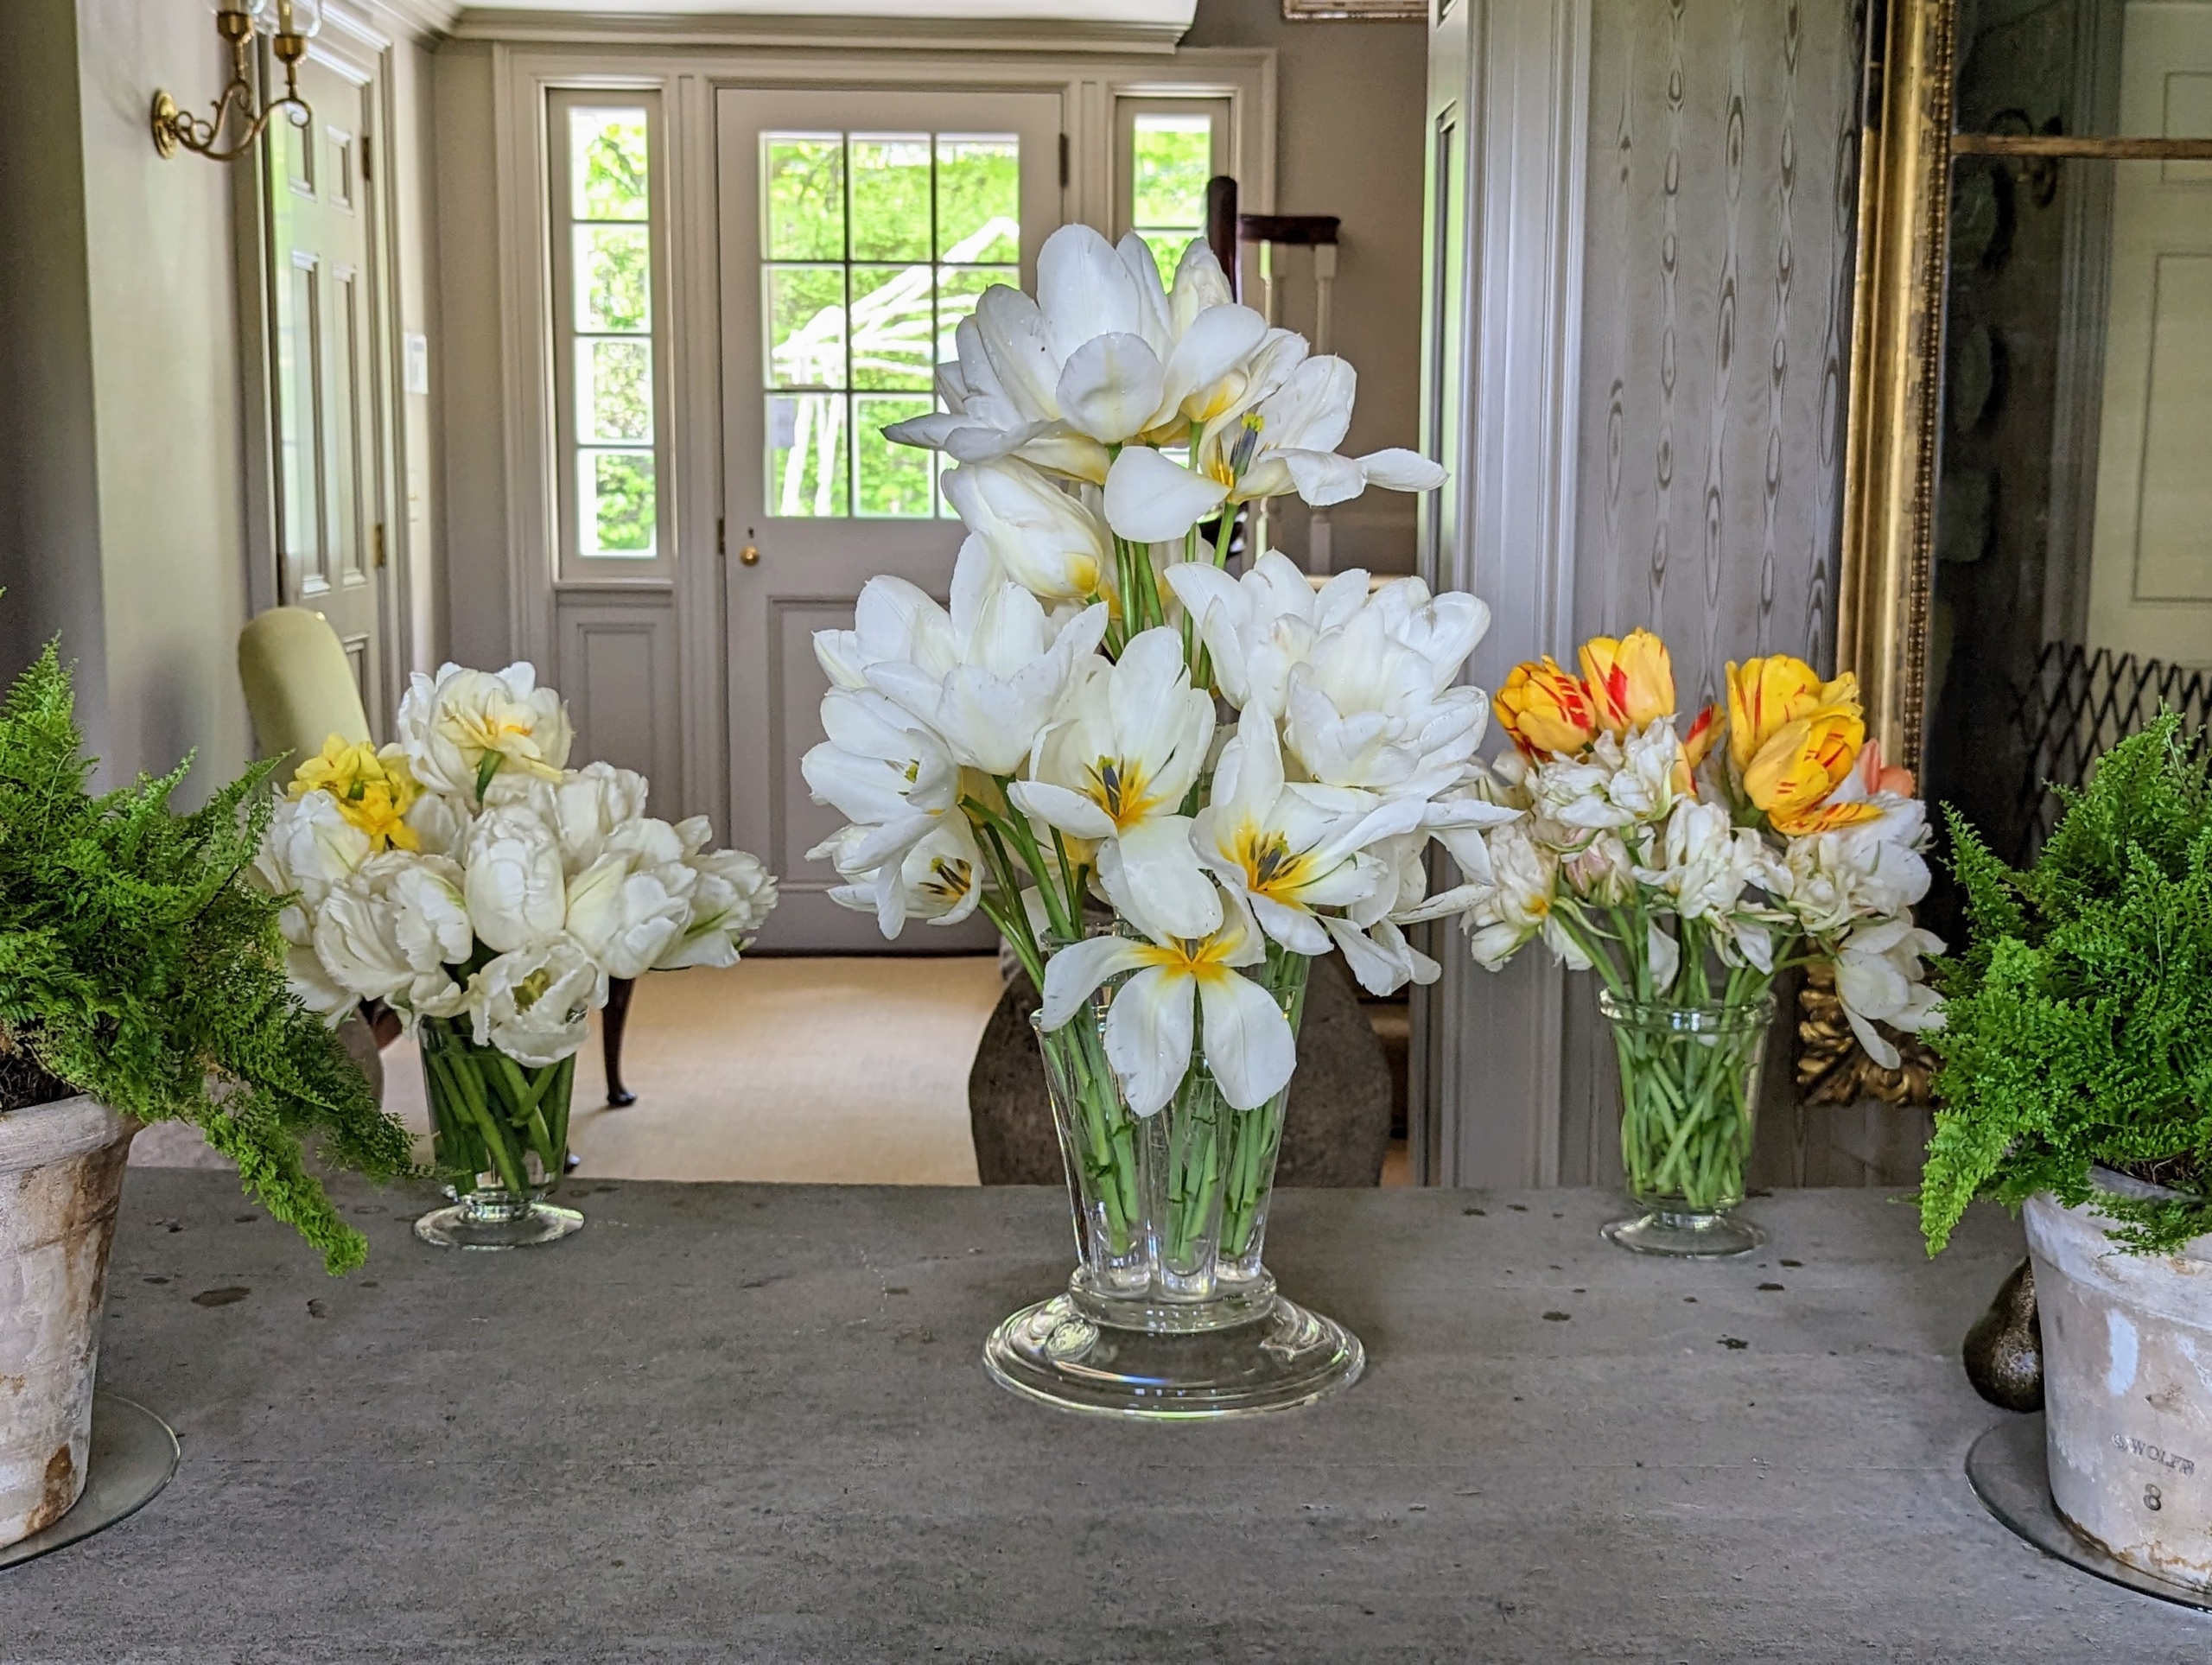
Here’s an all white arrangement – gorgeous pure white tulips, one cannot even see the vessel in which they are displayed.
Inside, a touch of soft yellow.
Once the flowers are in a vase, Elvira carefully pours the water. Tulips last longer in shallow water, so no need to fill to the very top.
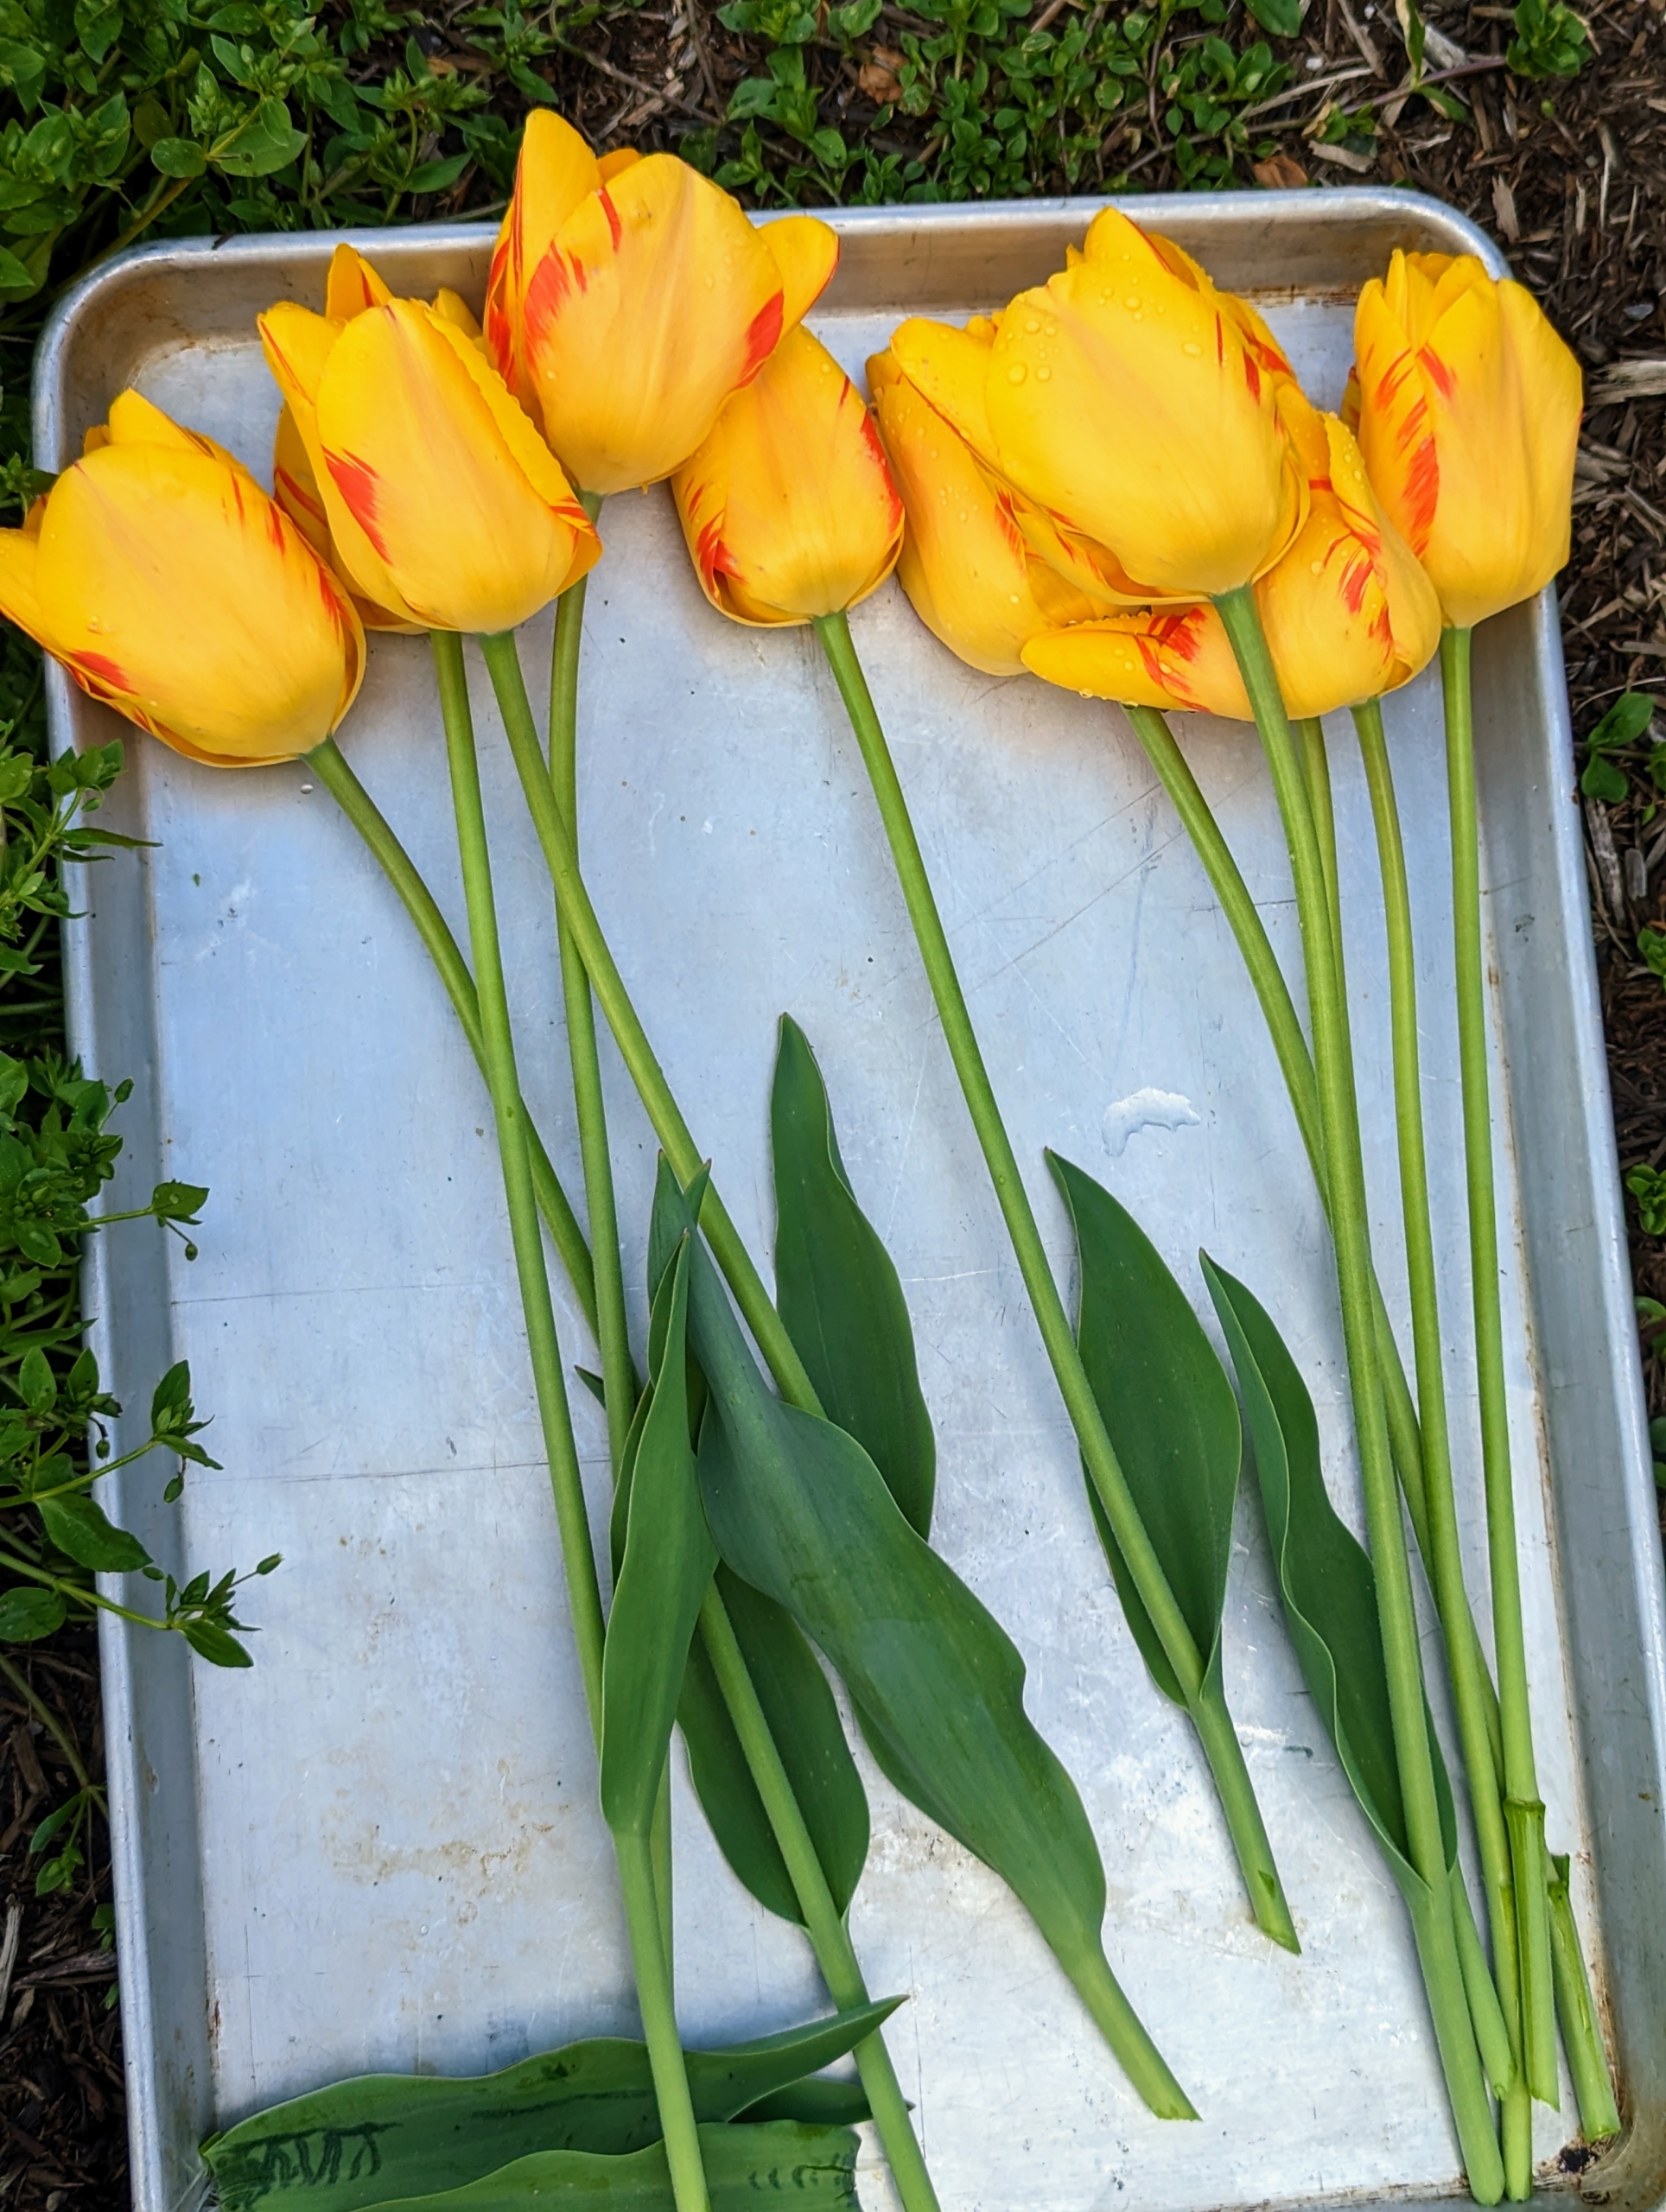
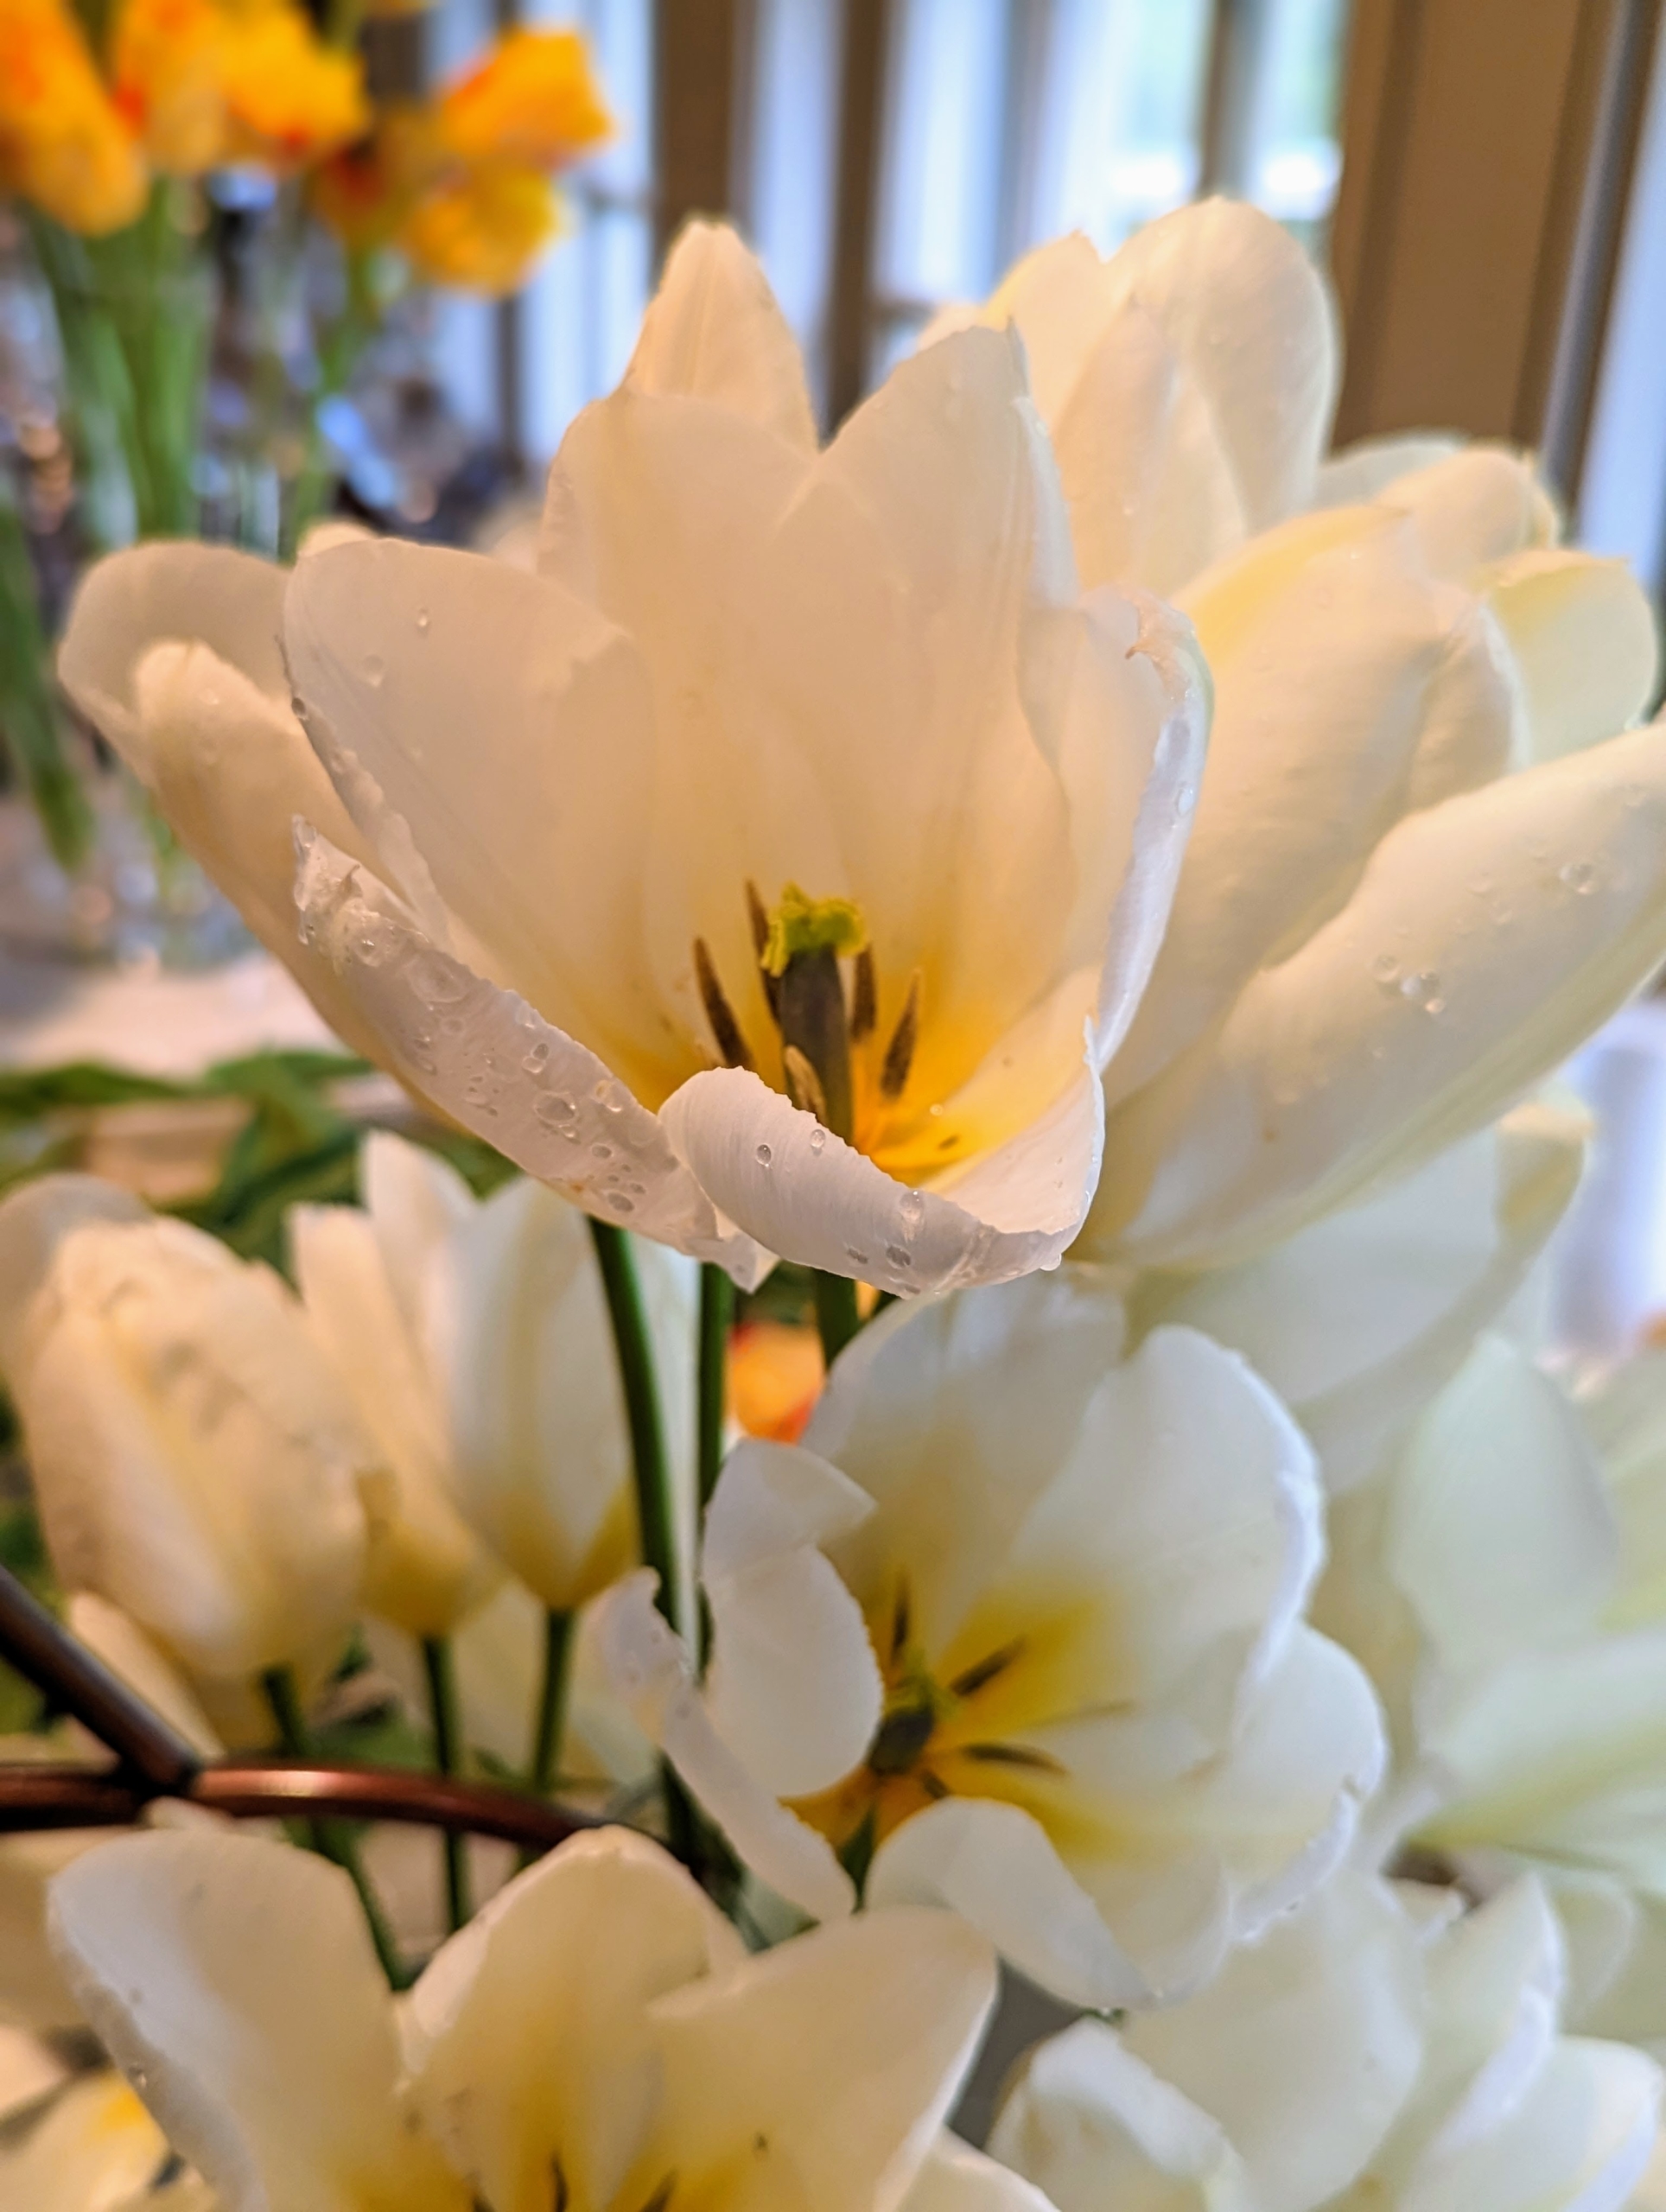
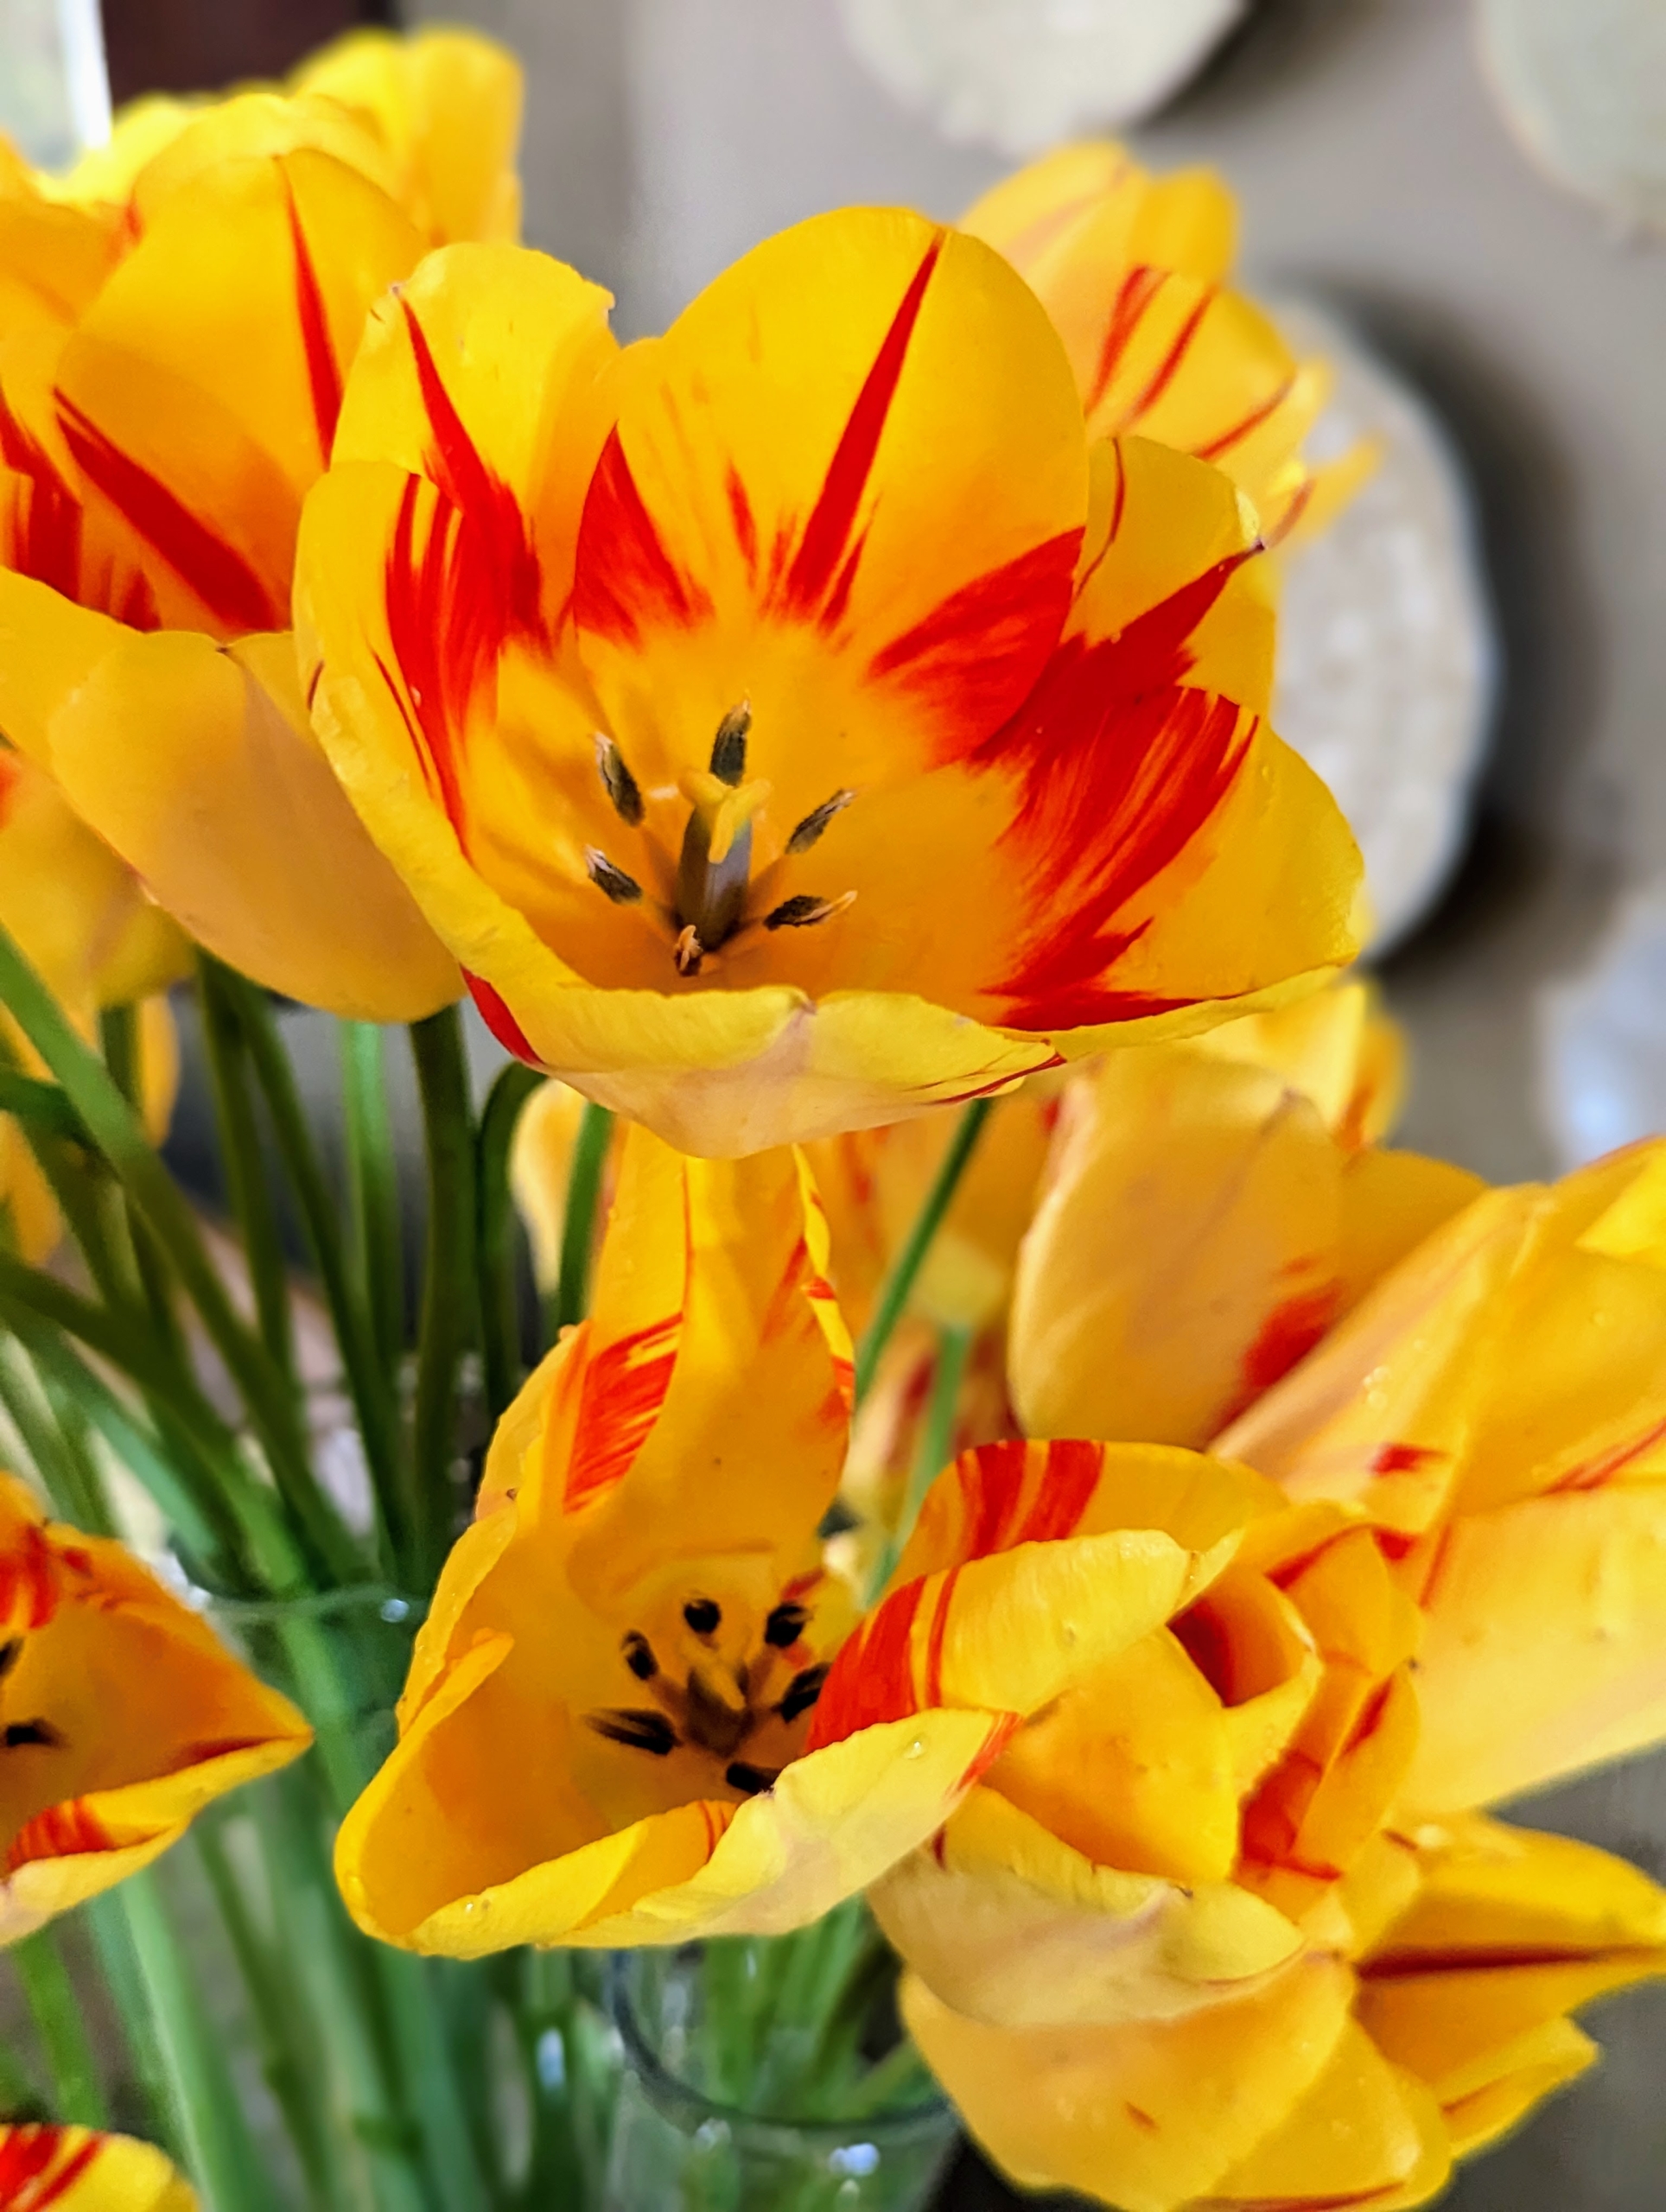
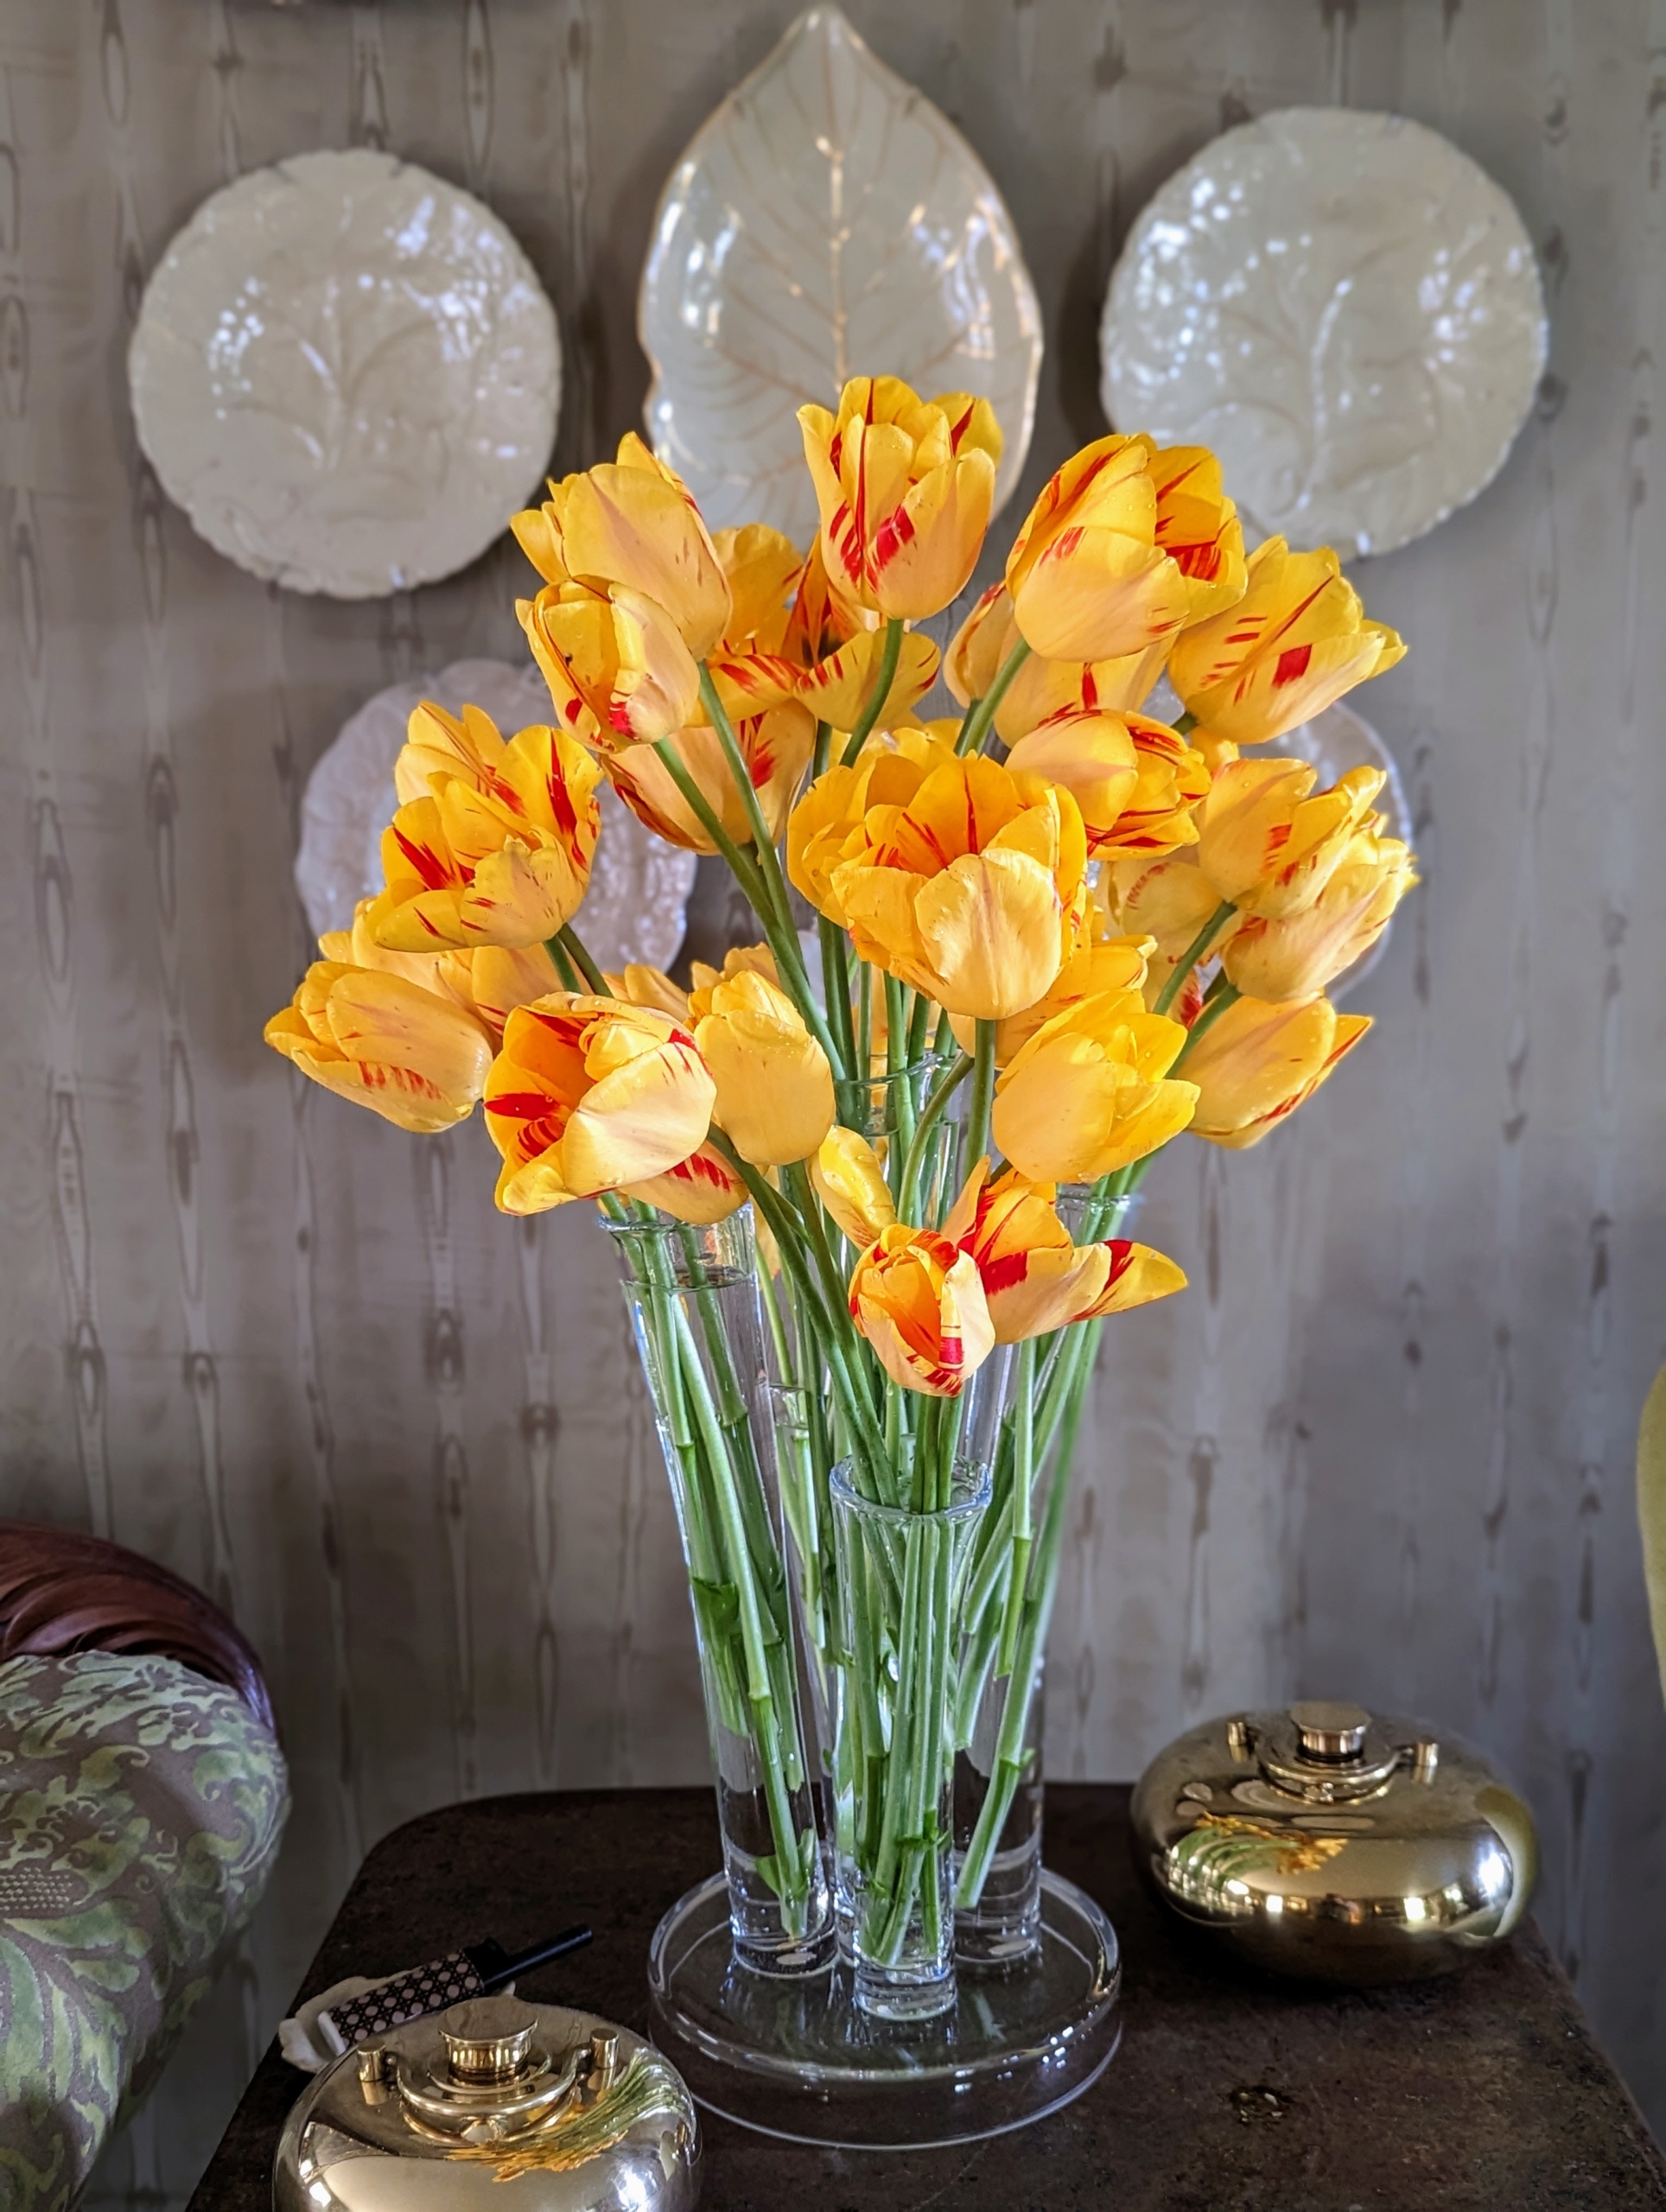
These yellow tulips with bright red streaks are striking for cut arrangements.
They are now displayed in my sitting room on a table. They stand out beautifully in this room. Keep cut flowers in a cool area as heat reduces the bloom time.
These tulips are in my entrance hall. And do you know… tulips follow the sun even when they’re in a vase? Watch them. Tulips also continue to grow even after they’ve been cut.
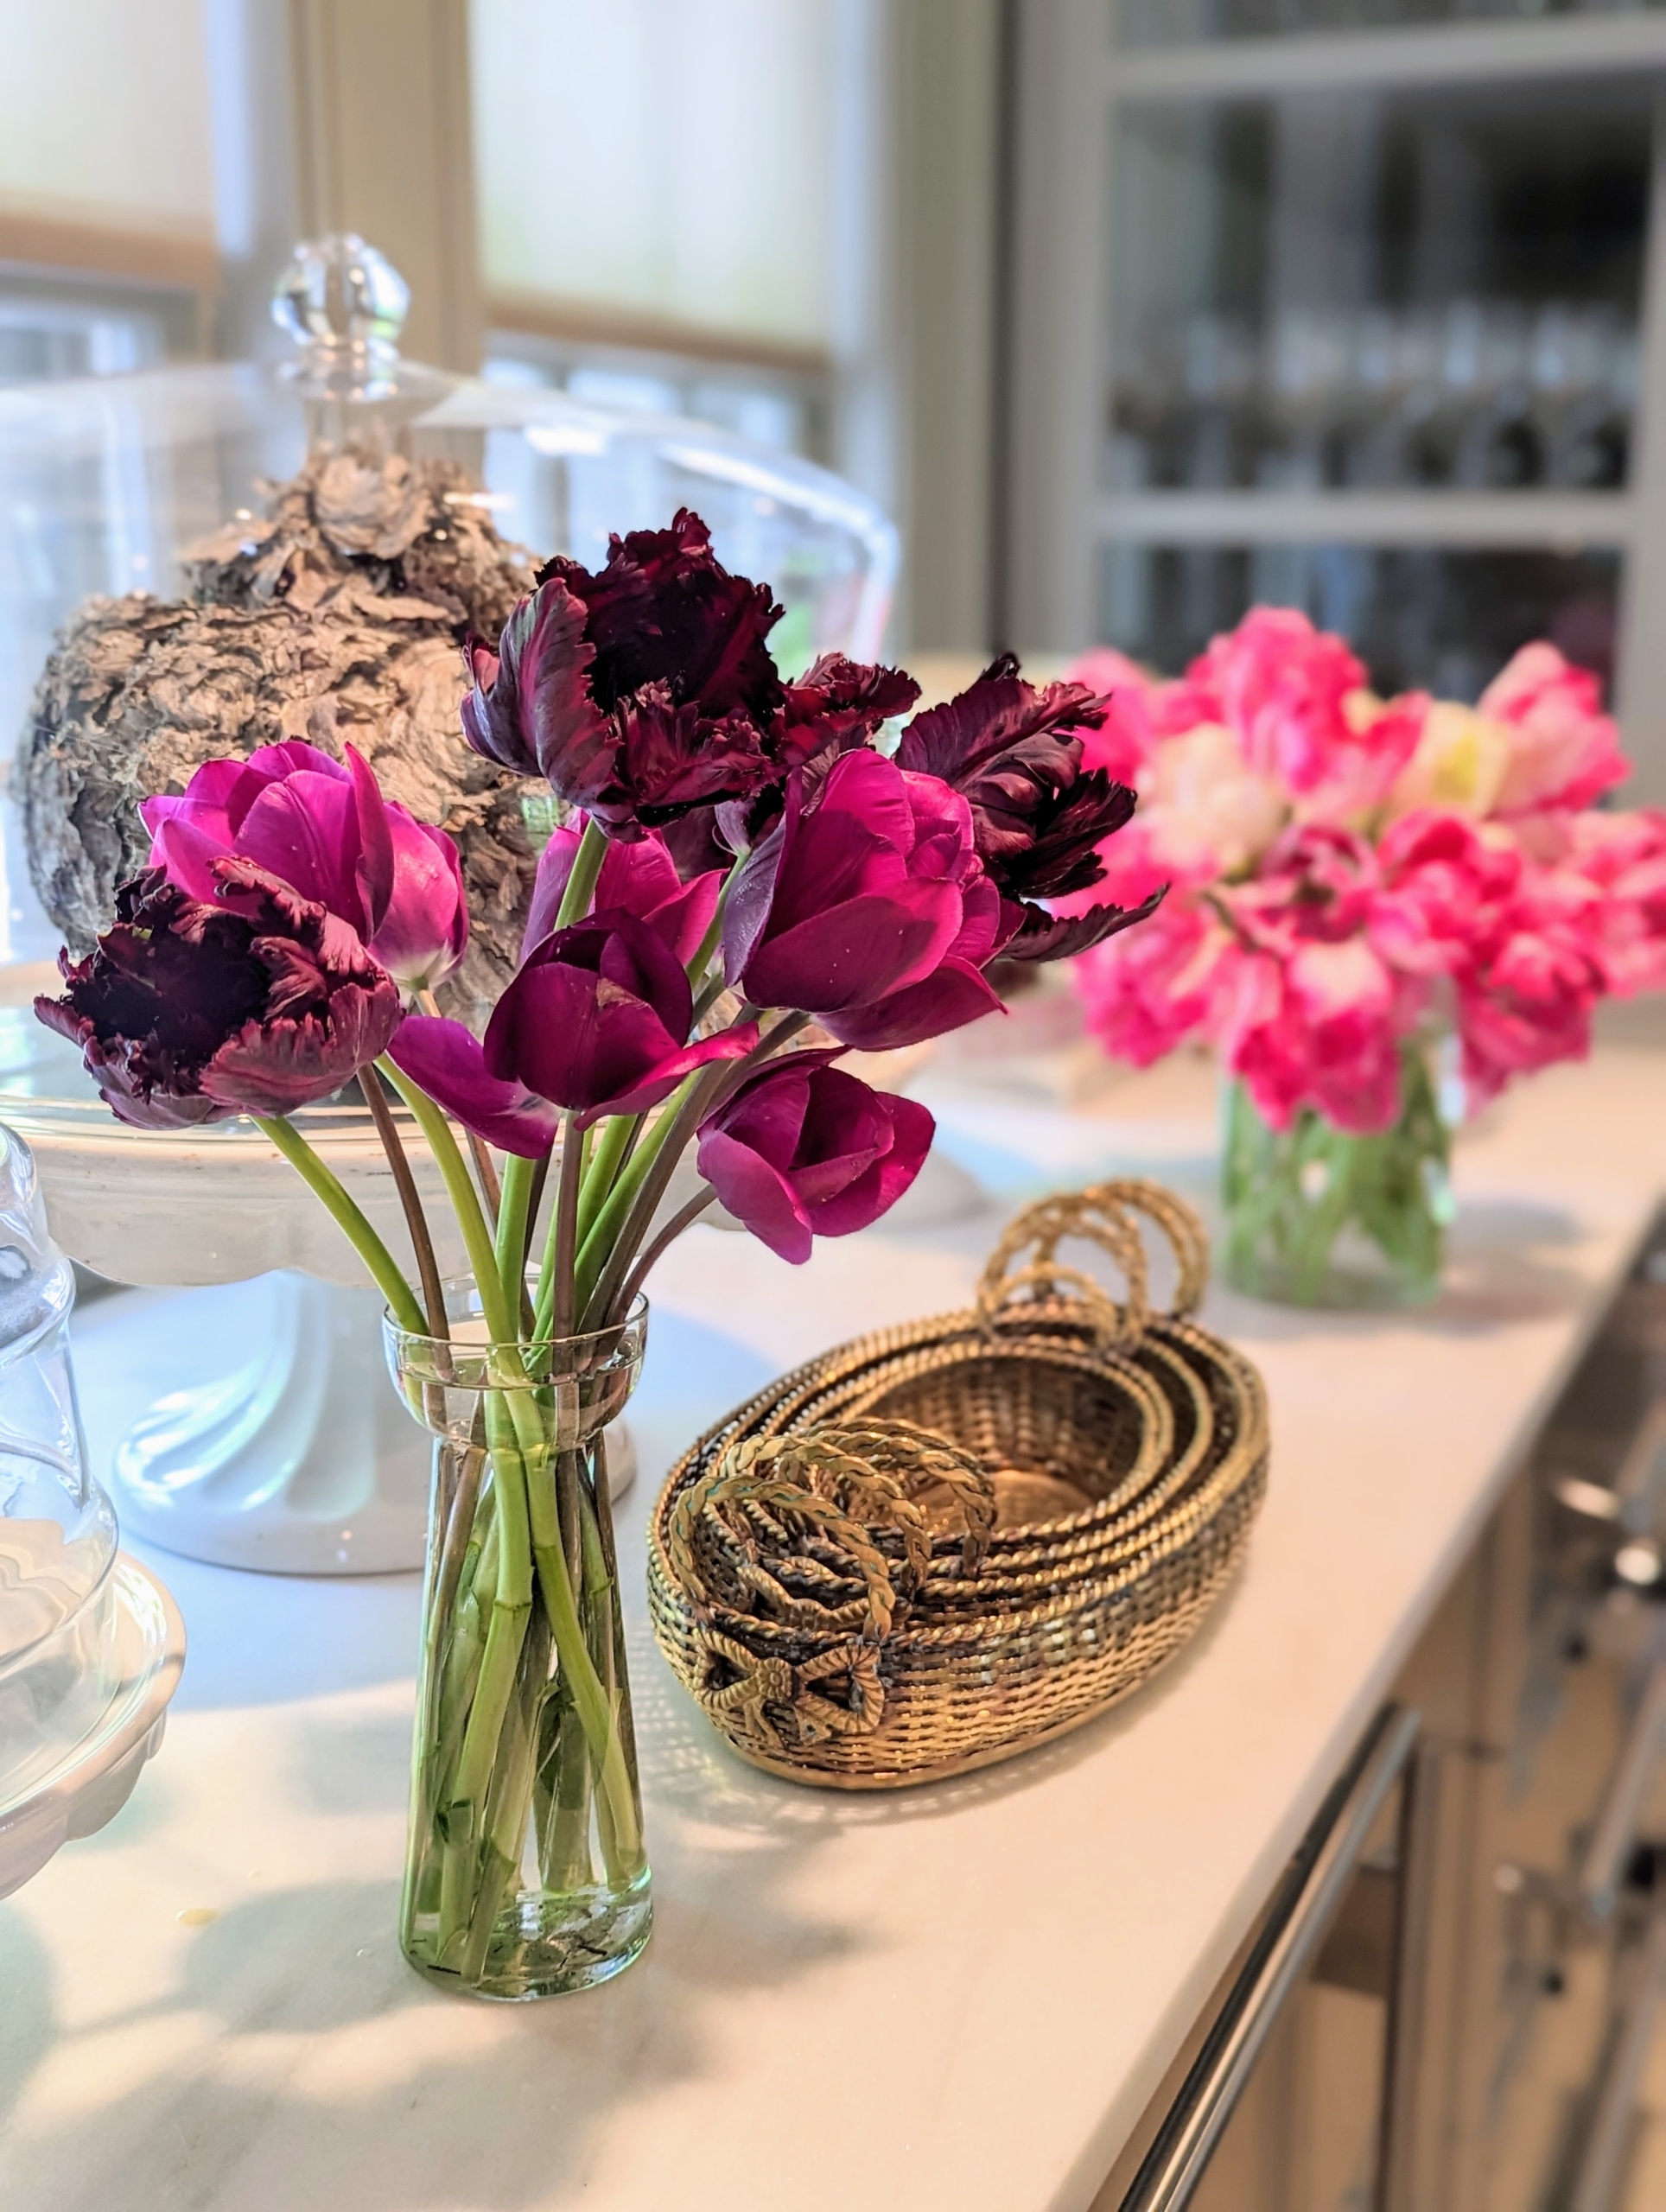
These tulips are on the counter in my servery, where I can see them every morning on my way to my kitchen. What tulips are in your garden? What colors are your favorites? Share with me in the comments section below.
Our busy vegetable gardening schedule continues with the planting of four long rows of asparagus.
Here at my Bedford, New York farm, I already have several asparagus beds located in the back of my flower cutting garden. Every year, we harvest bunches of delicious spears. I decided to plant more asparagus in my new garden. We won't be harvesting these for at least three years as asparagus needs all that time to develop, but after that they will produce an abundant crop of spears spring after spring.
Here are some photos, enjoy.
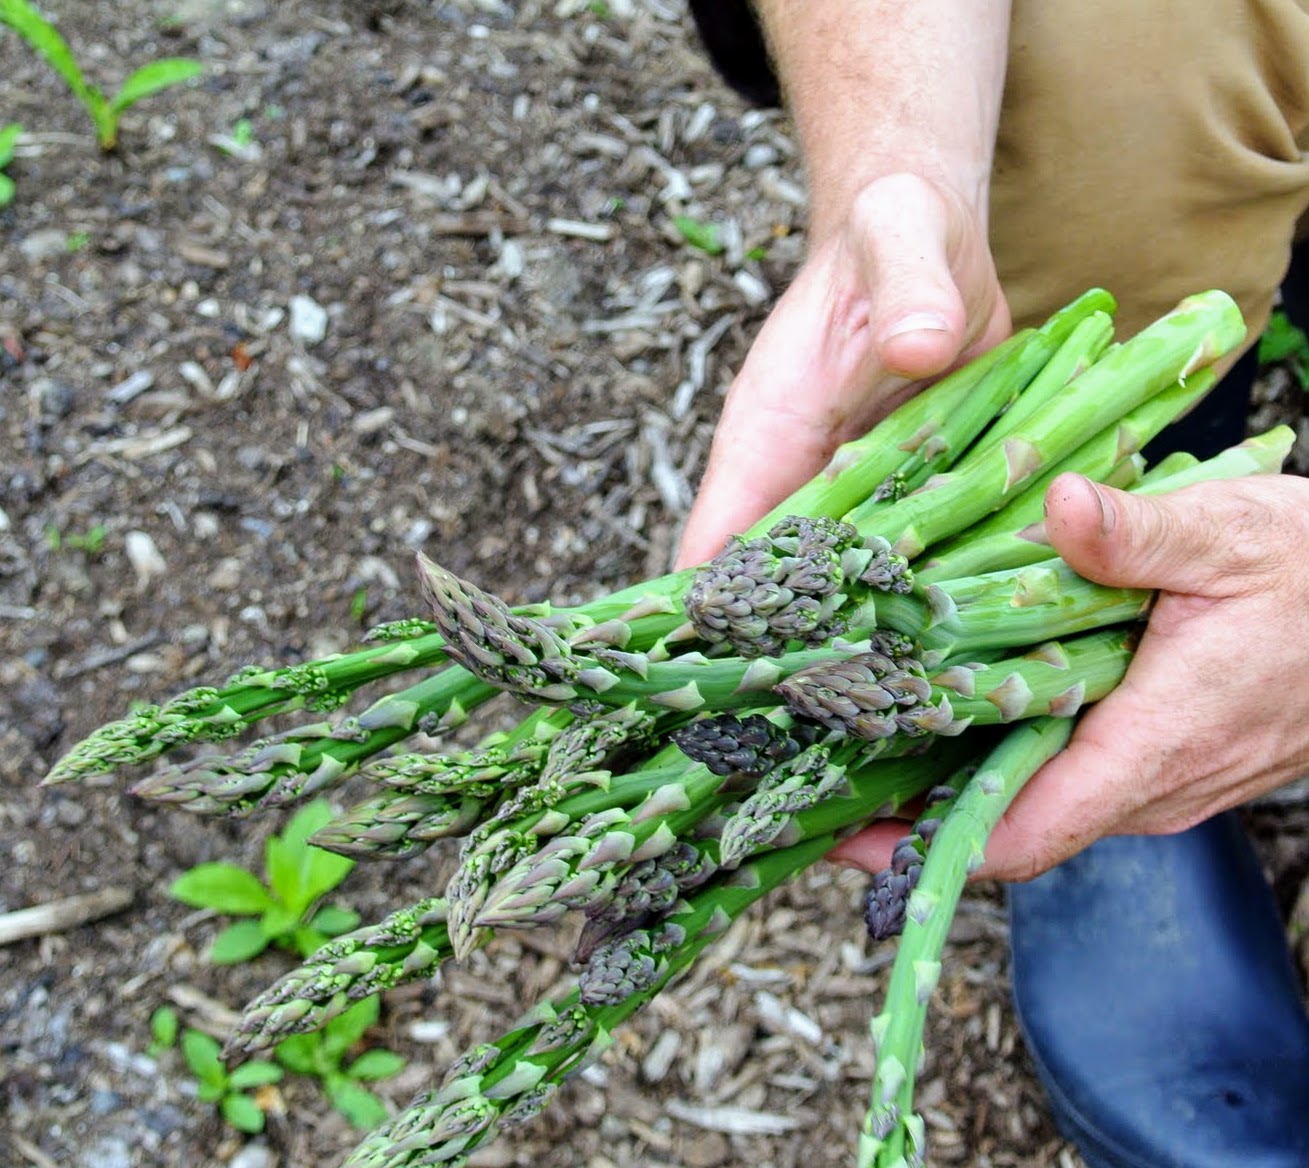
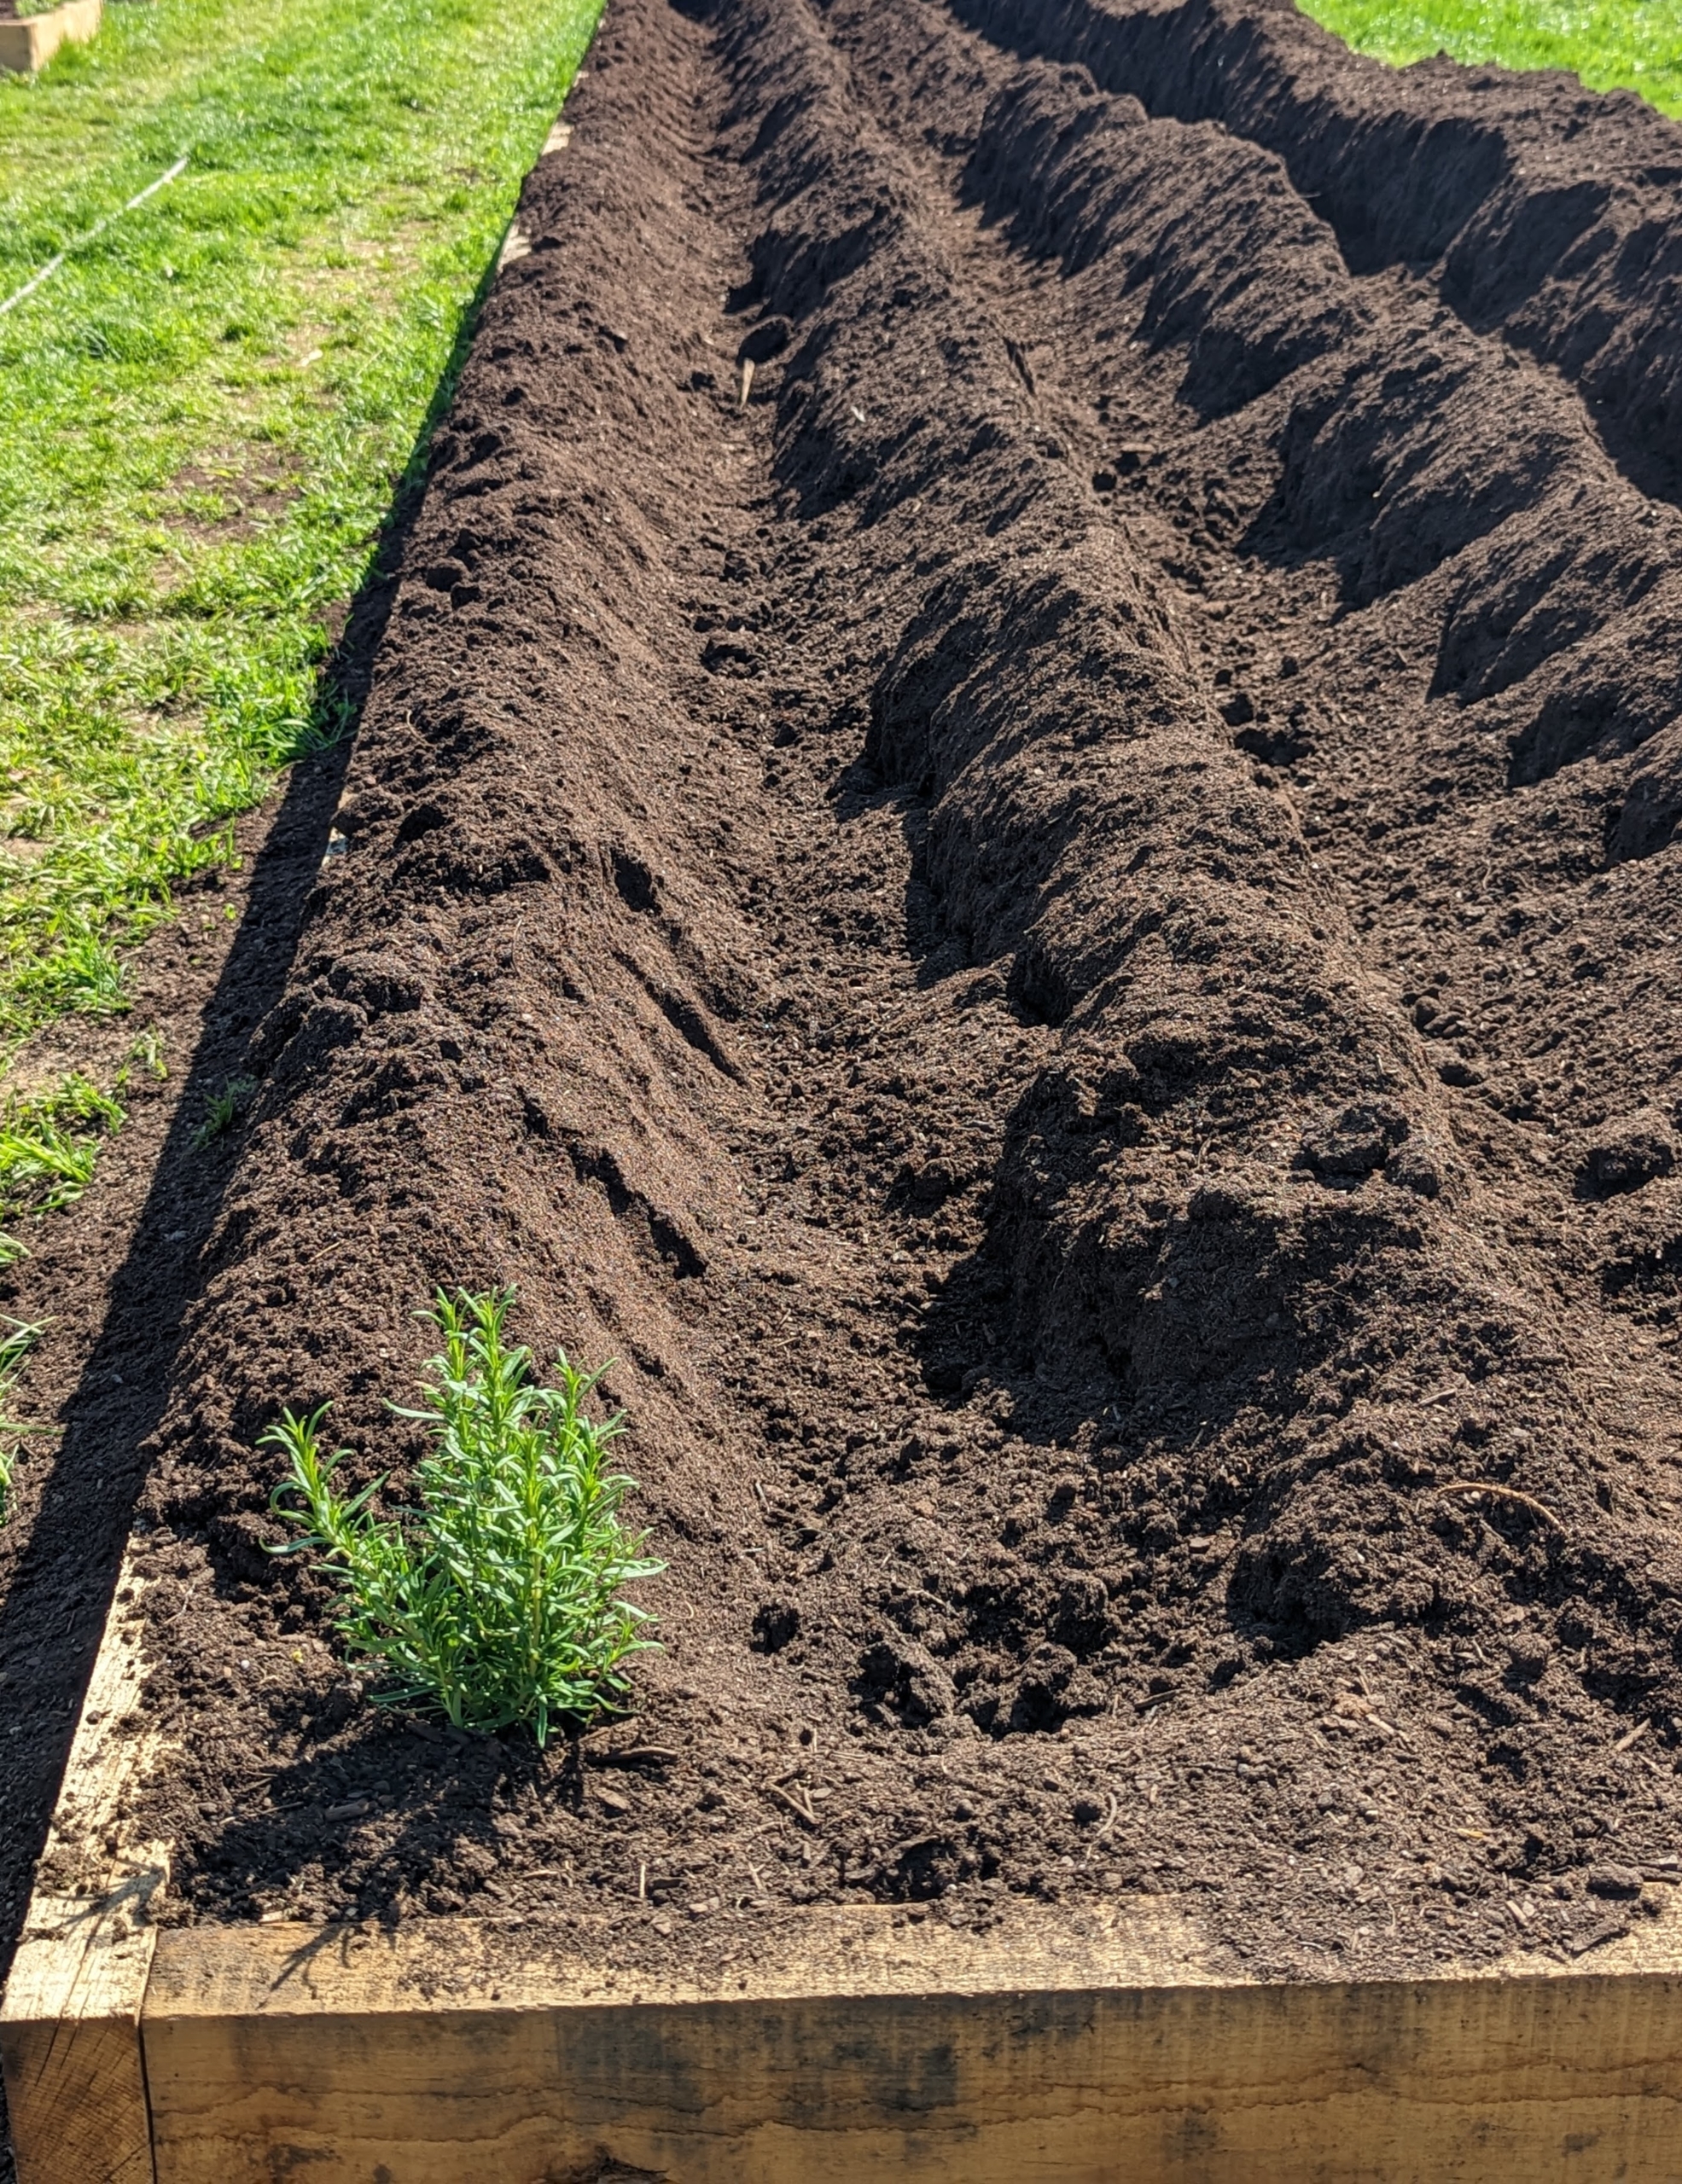
Asparagus are edible shoots, commonly called spears that rise early in the spring from underground stems called crowns. This asparagus is growing in my flower cutting garden now, where the plants are already about 10-years old and well established.
Every spring, we pick lots of beautiful and delicious asparagus. Asparagus is a long-lived perennial plant that has been cultivated for centuries. Asparagus, or garden asparagus, is also known by the folk name sparrow grass. Its scientific name is Asparagus officinalis.
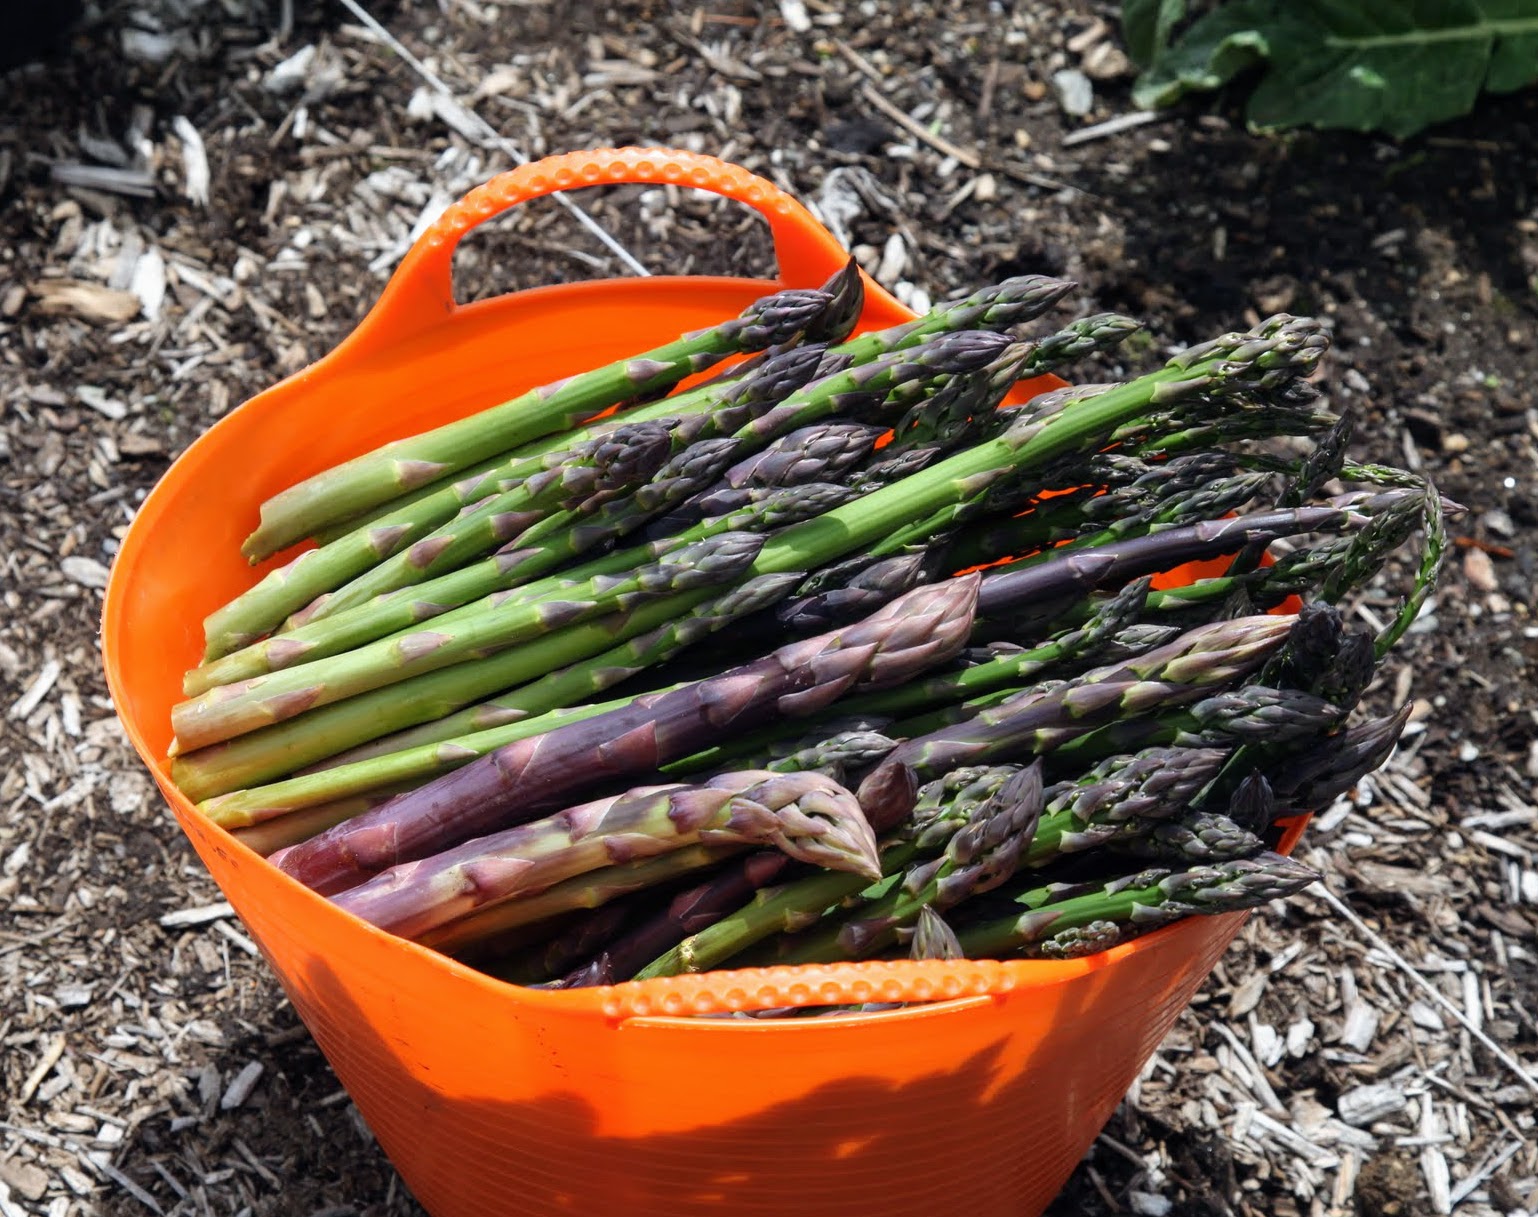
Here is a trug bucket filled with asparagus from the garden. These plants can produce for 15 to 20-years and more.
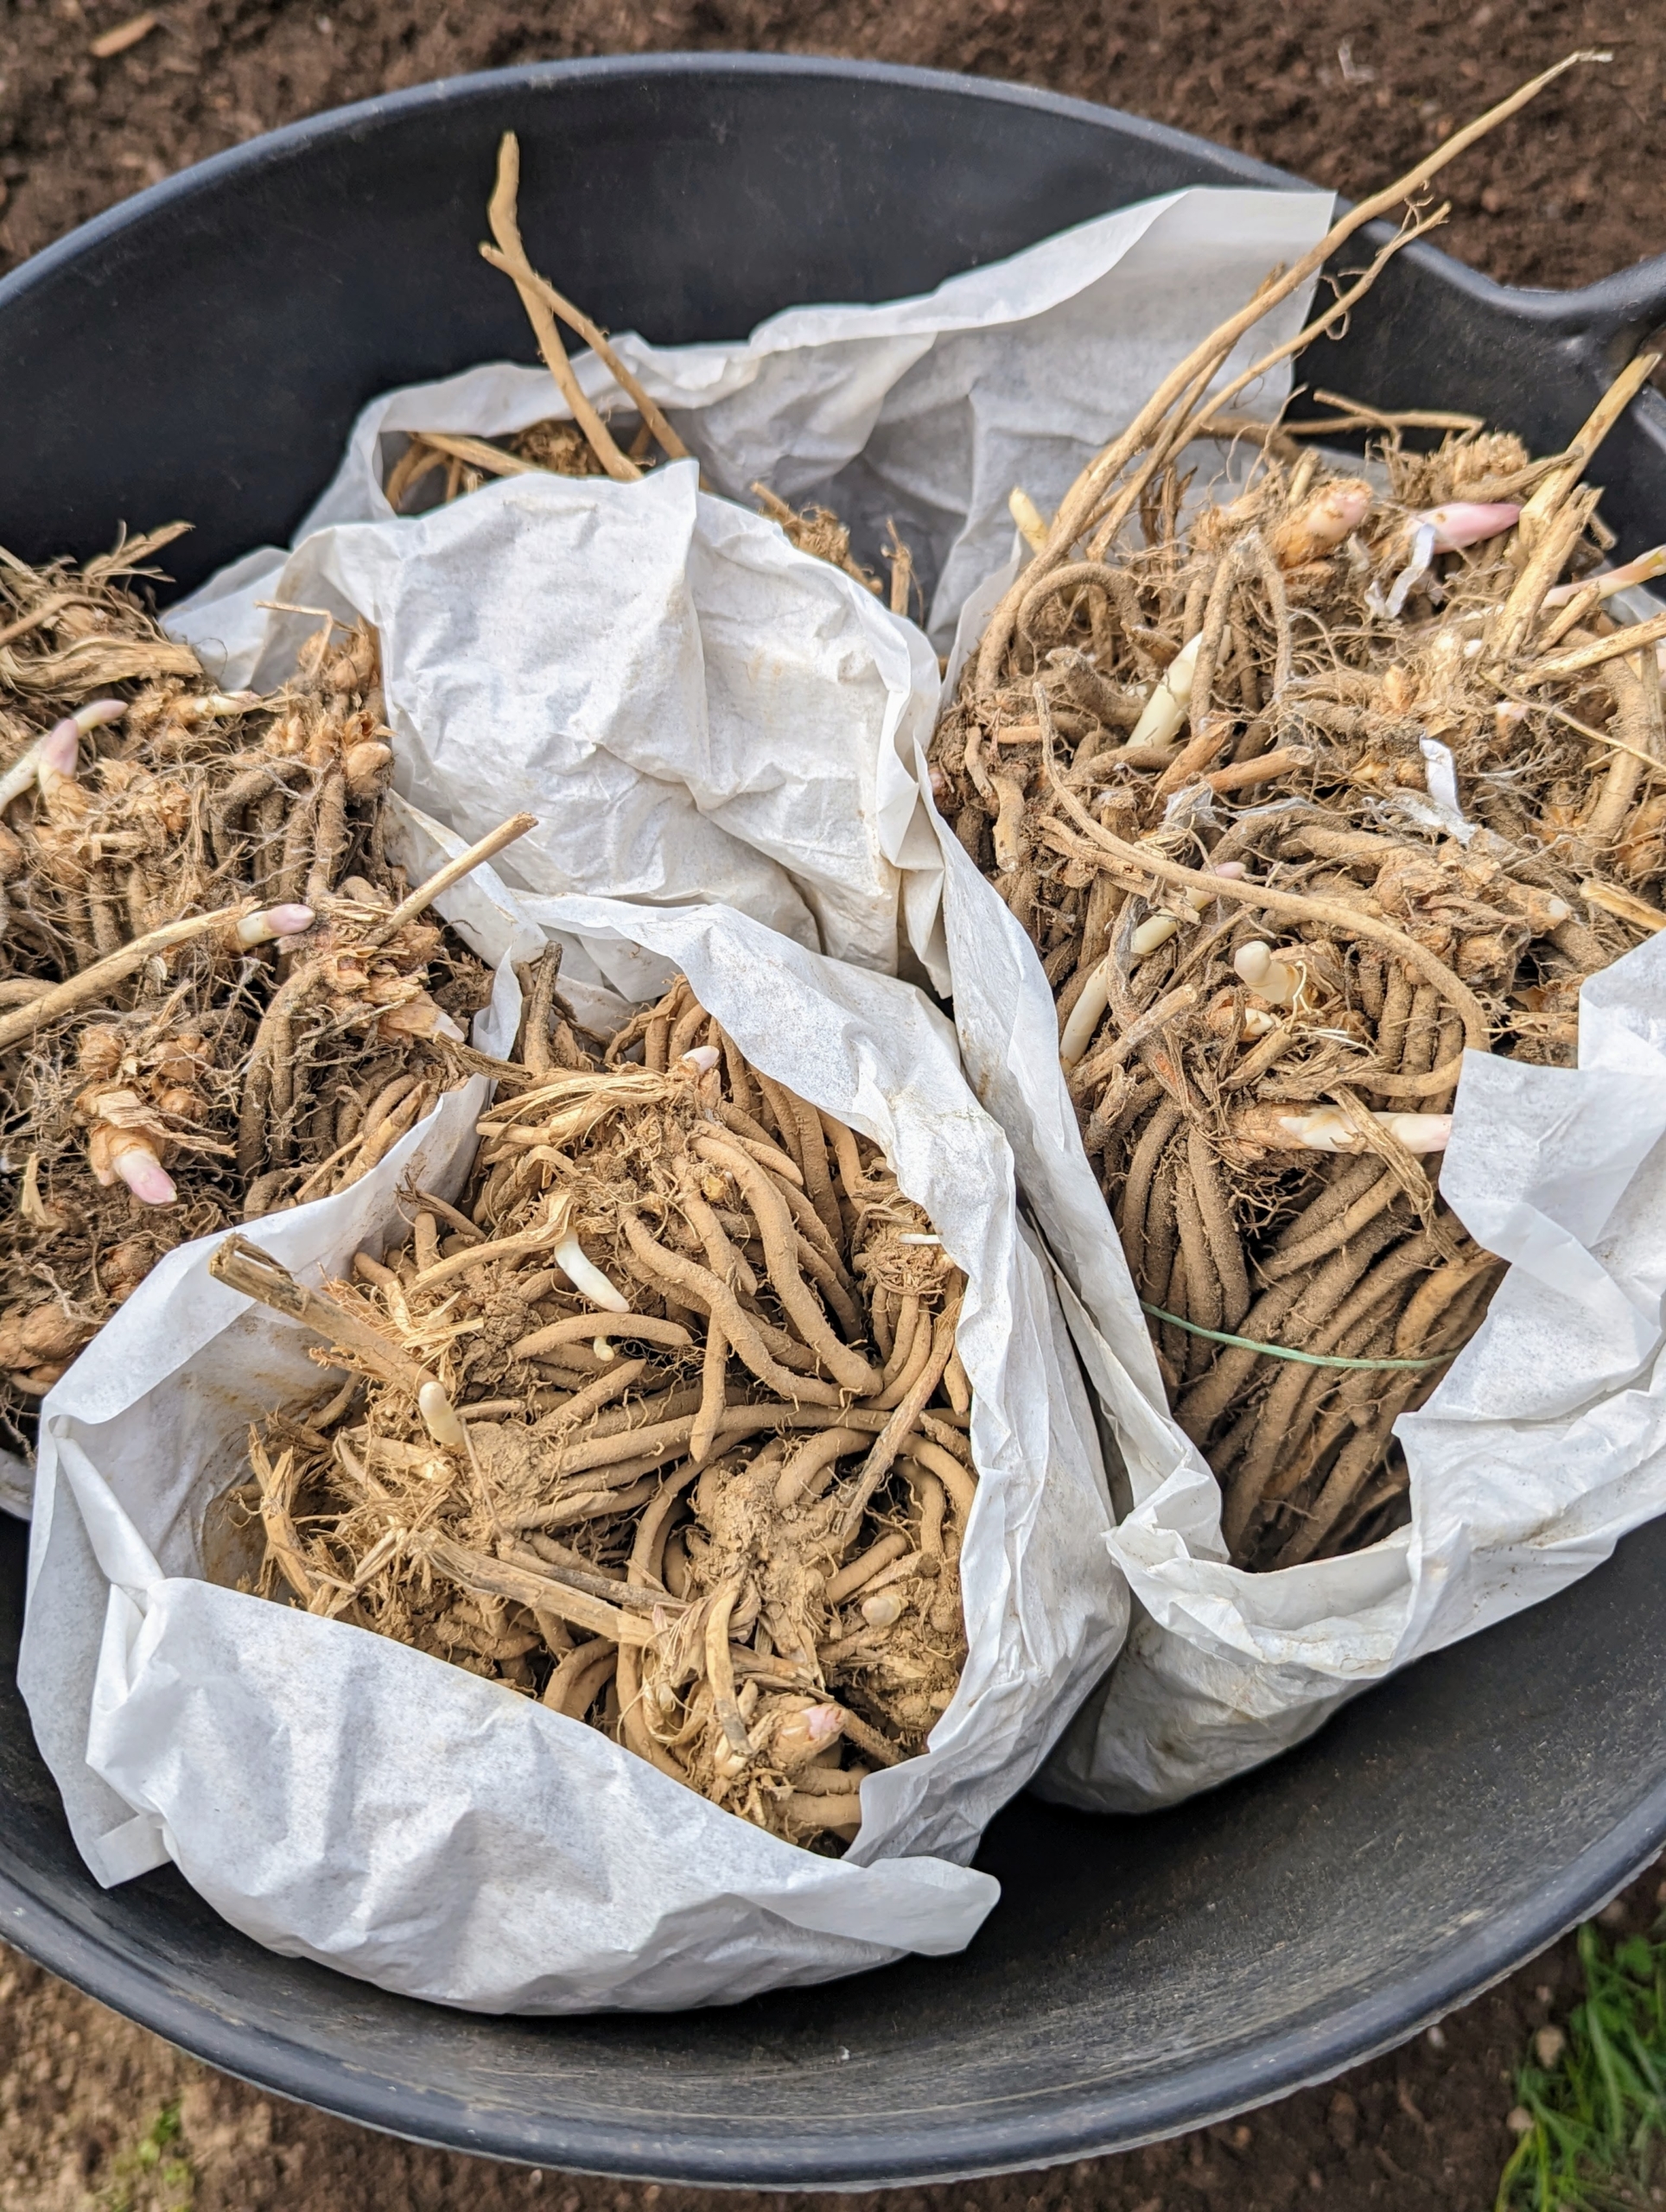
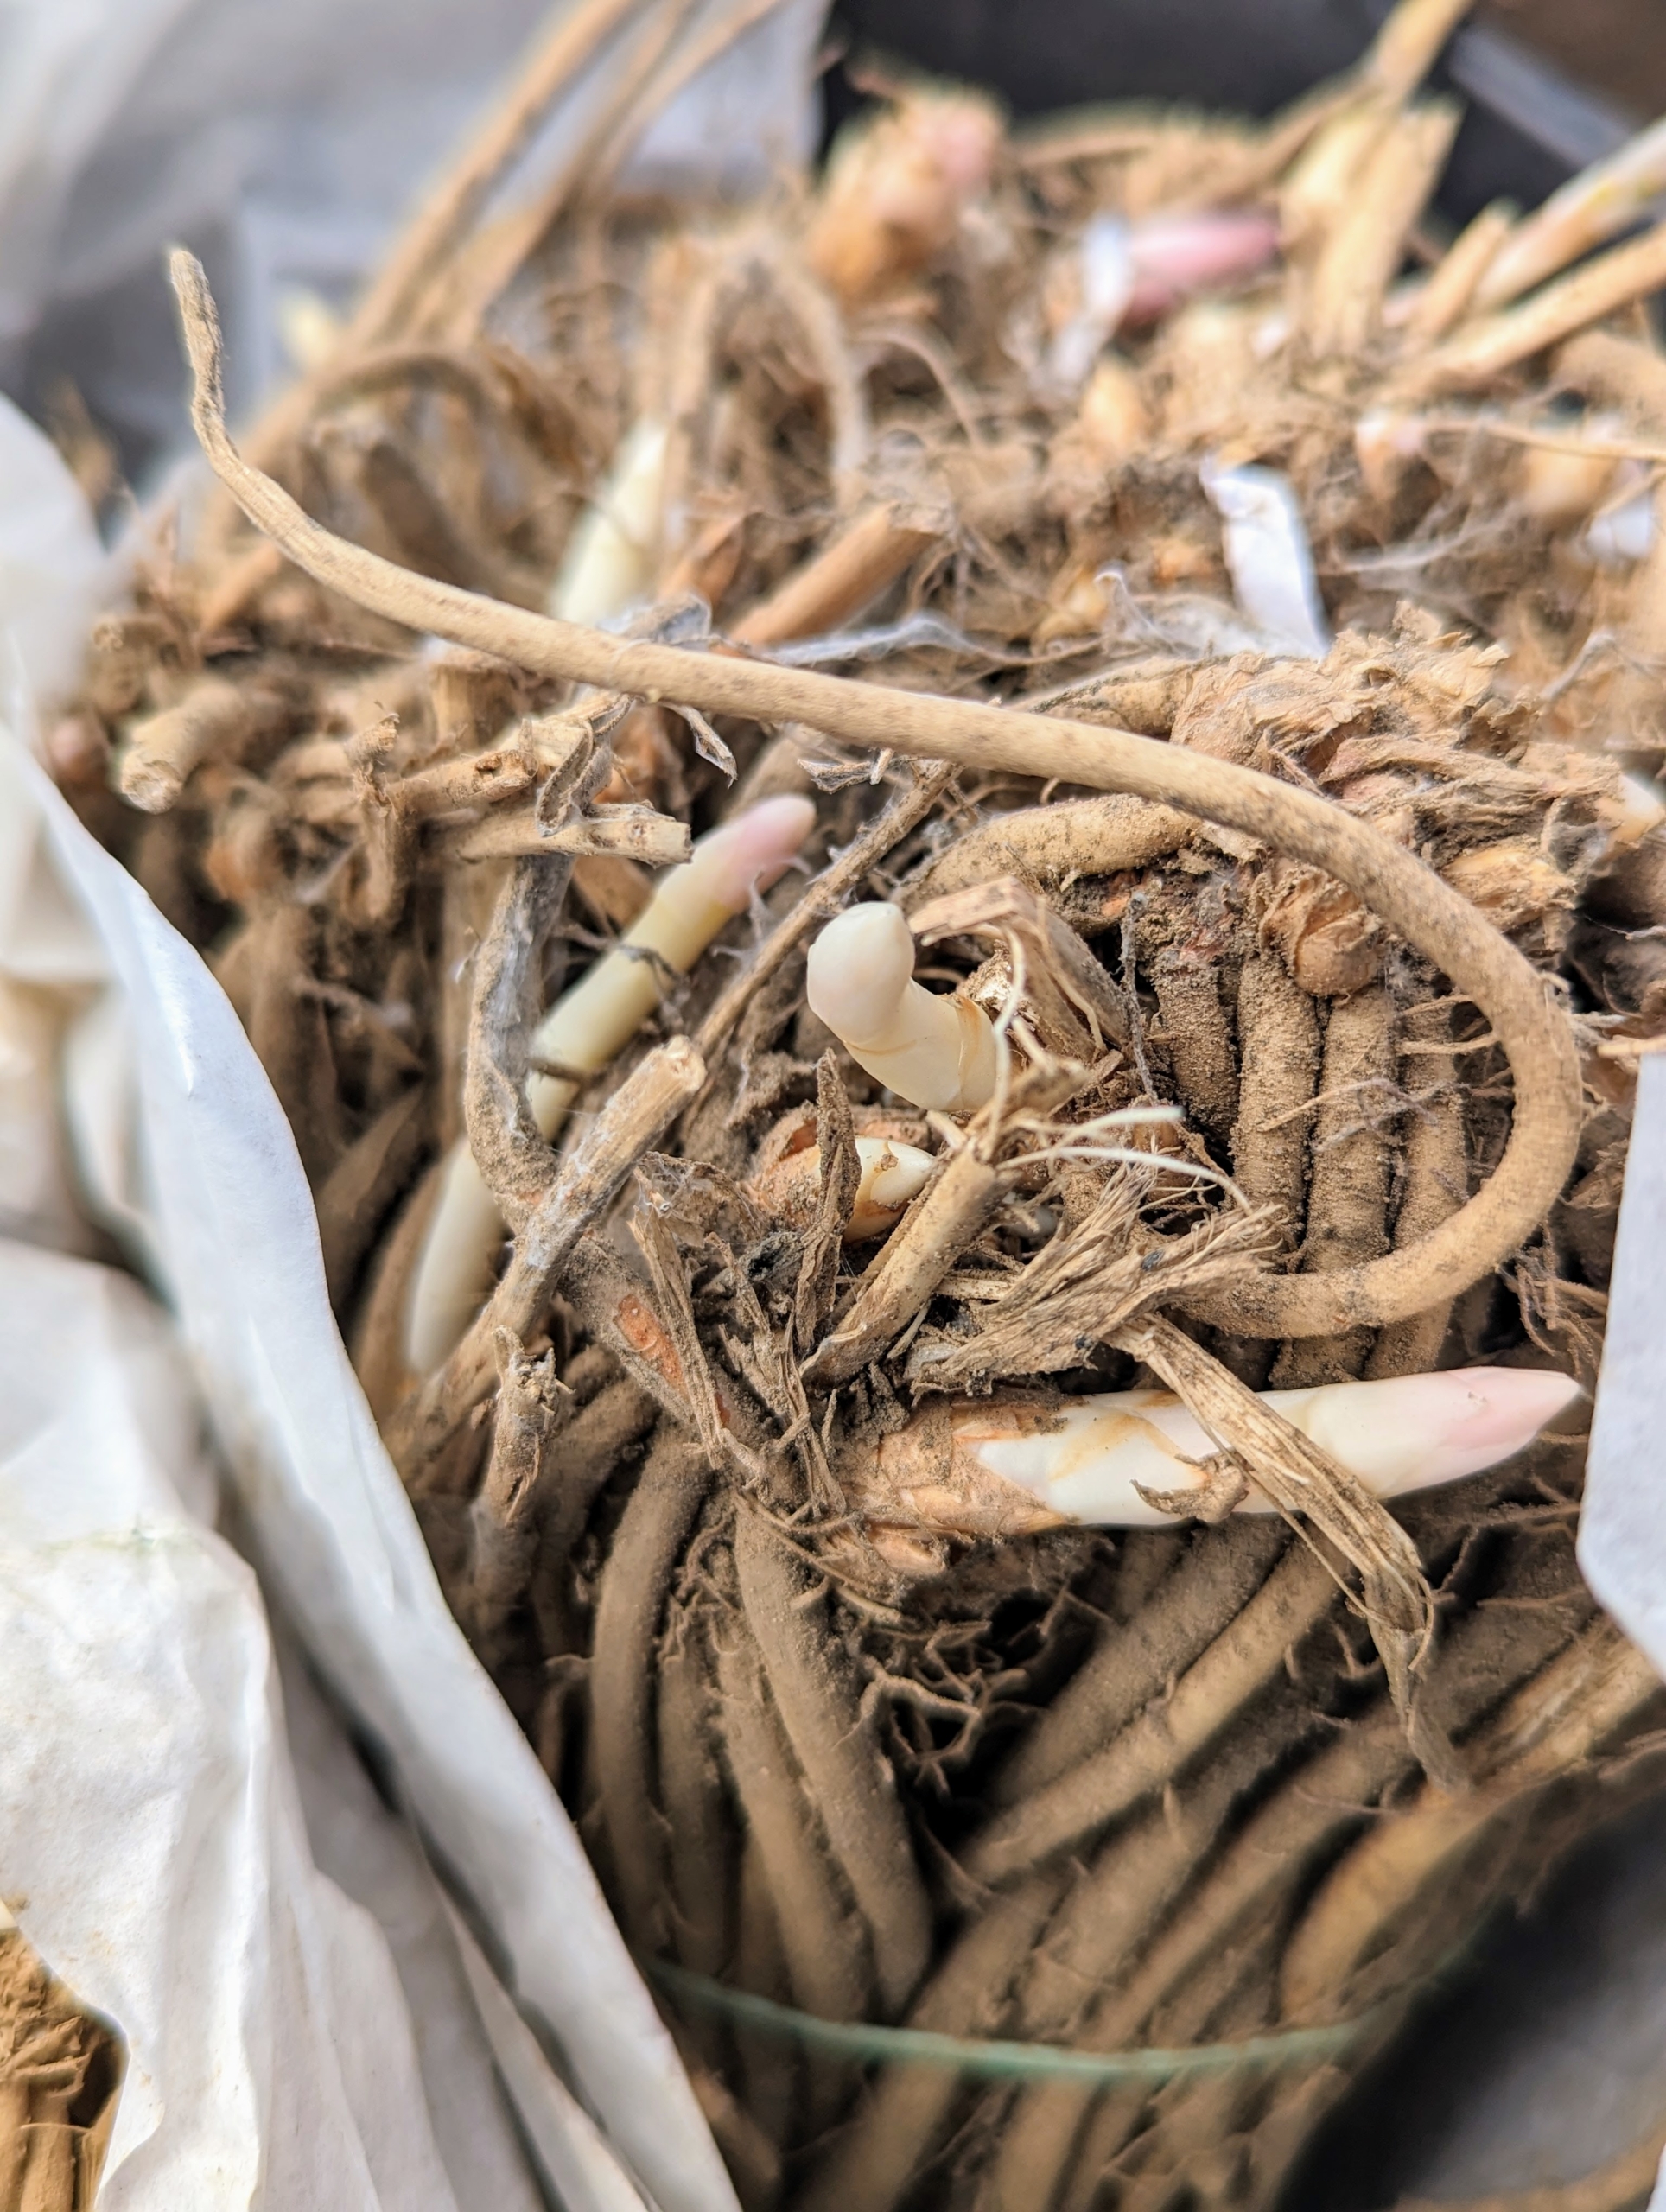
Here are the young crowns ready to be planted. Each of these is about a year old. These are from Johnny’s Selected Seeds, one of my favorite sources for seeds, vegetable plants, tools, and supplies – I’ve been using Johnny’s for years.
Asparagus has modified adventitious roots that swell to store food and to support the plants.
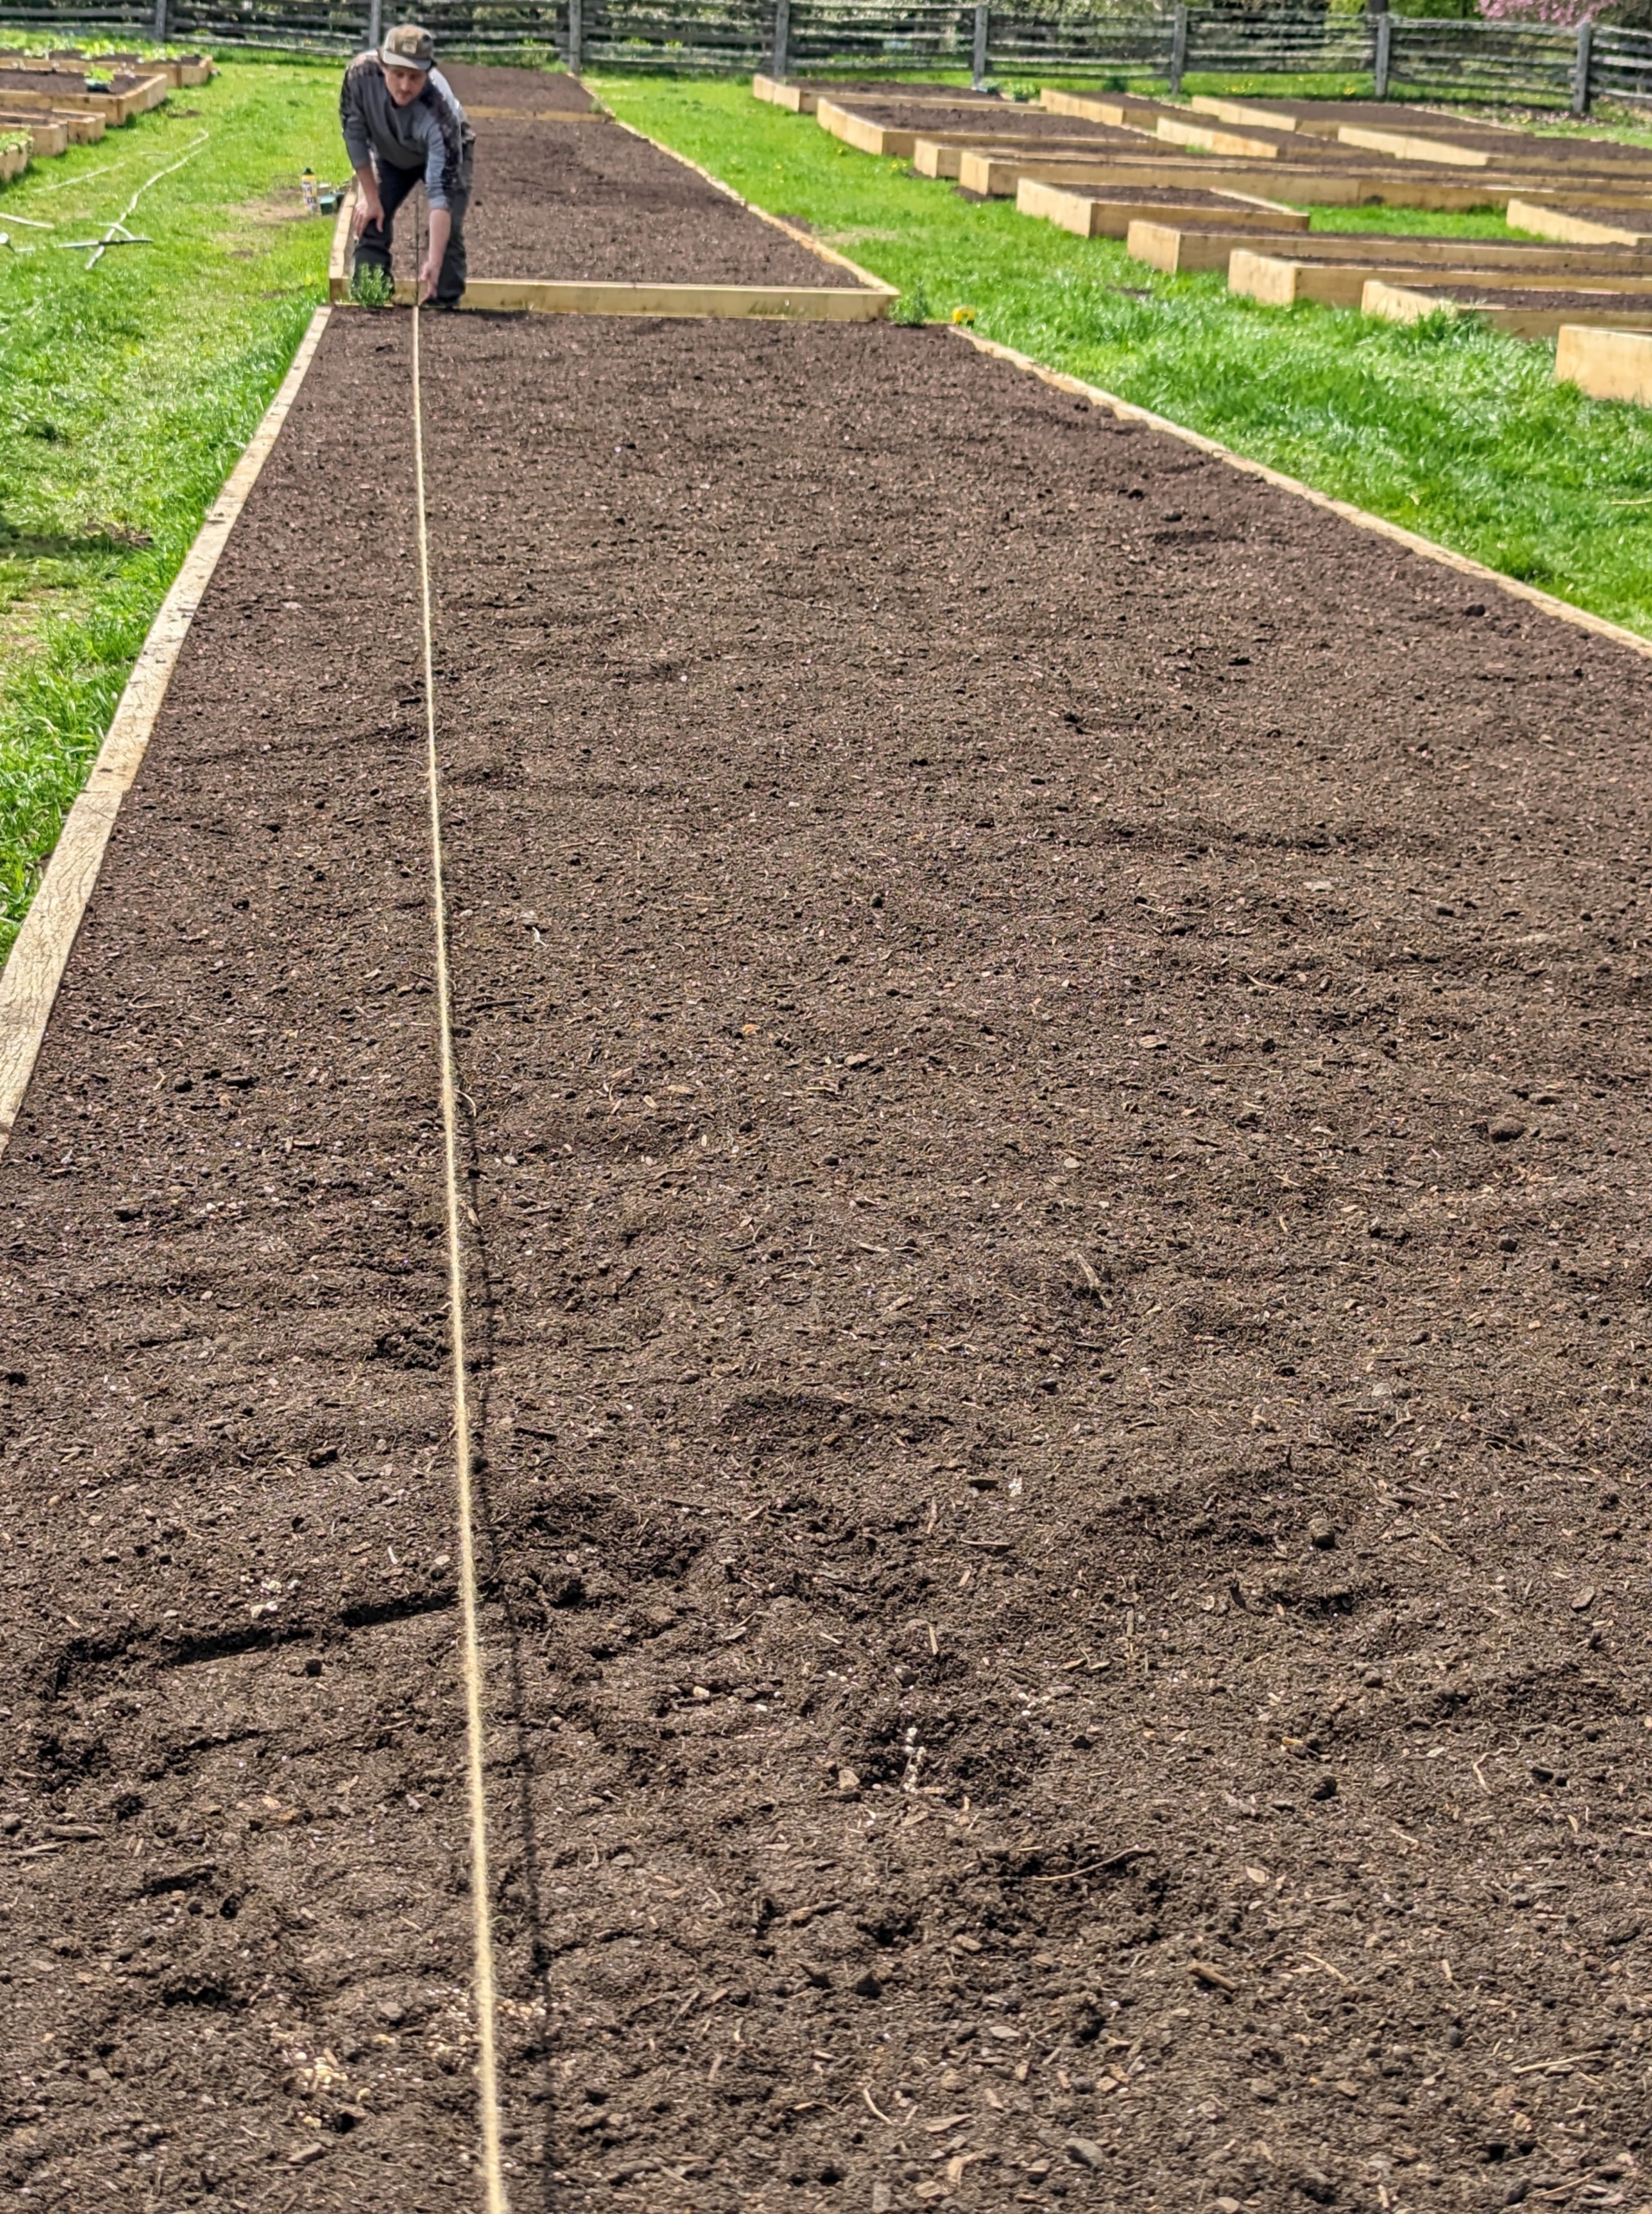
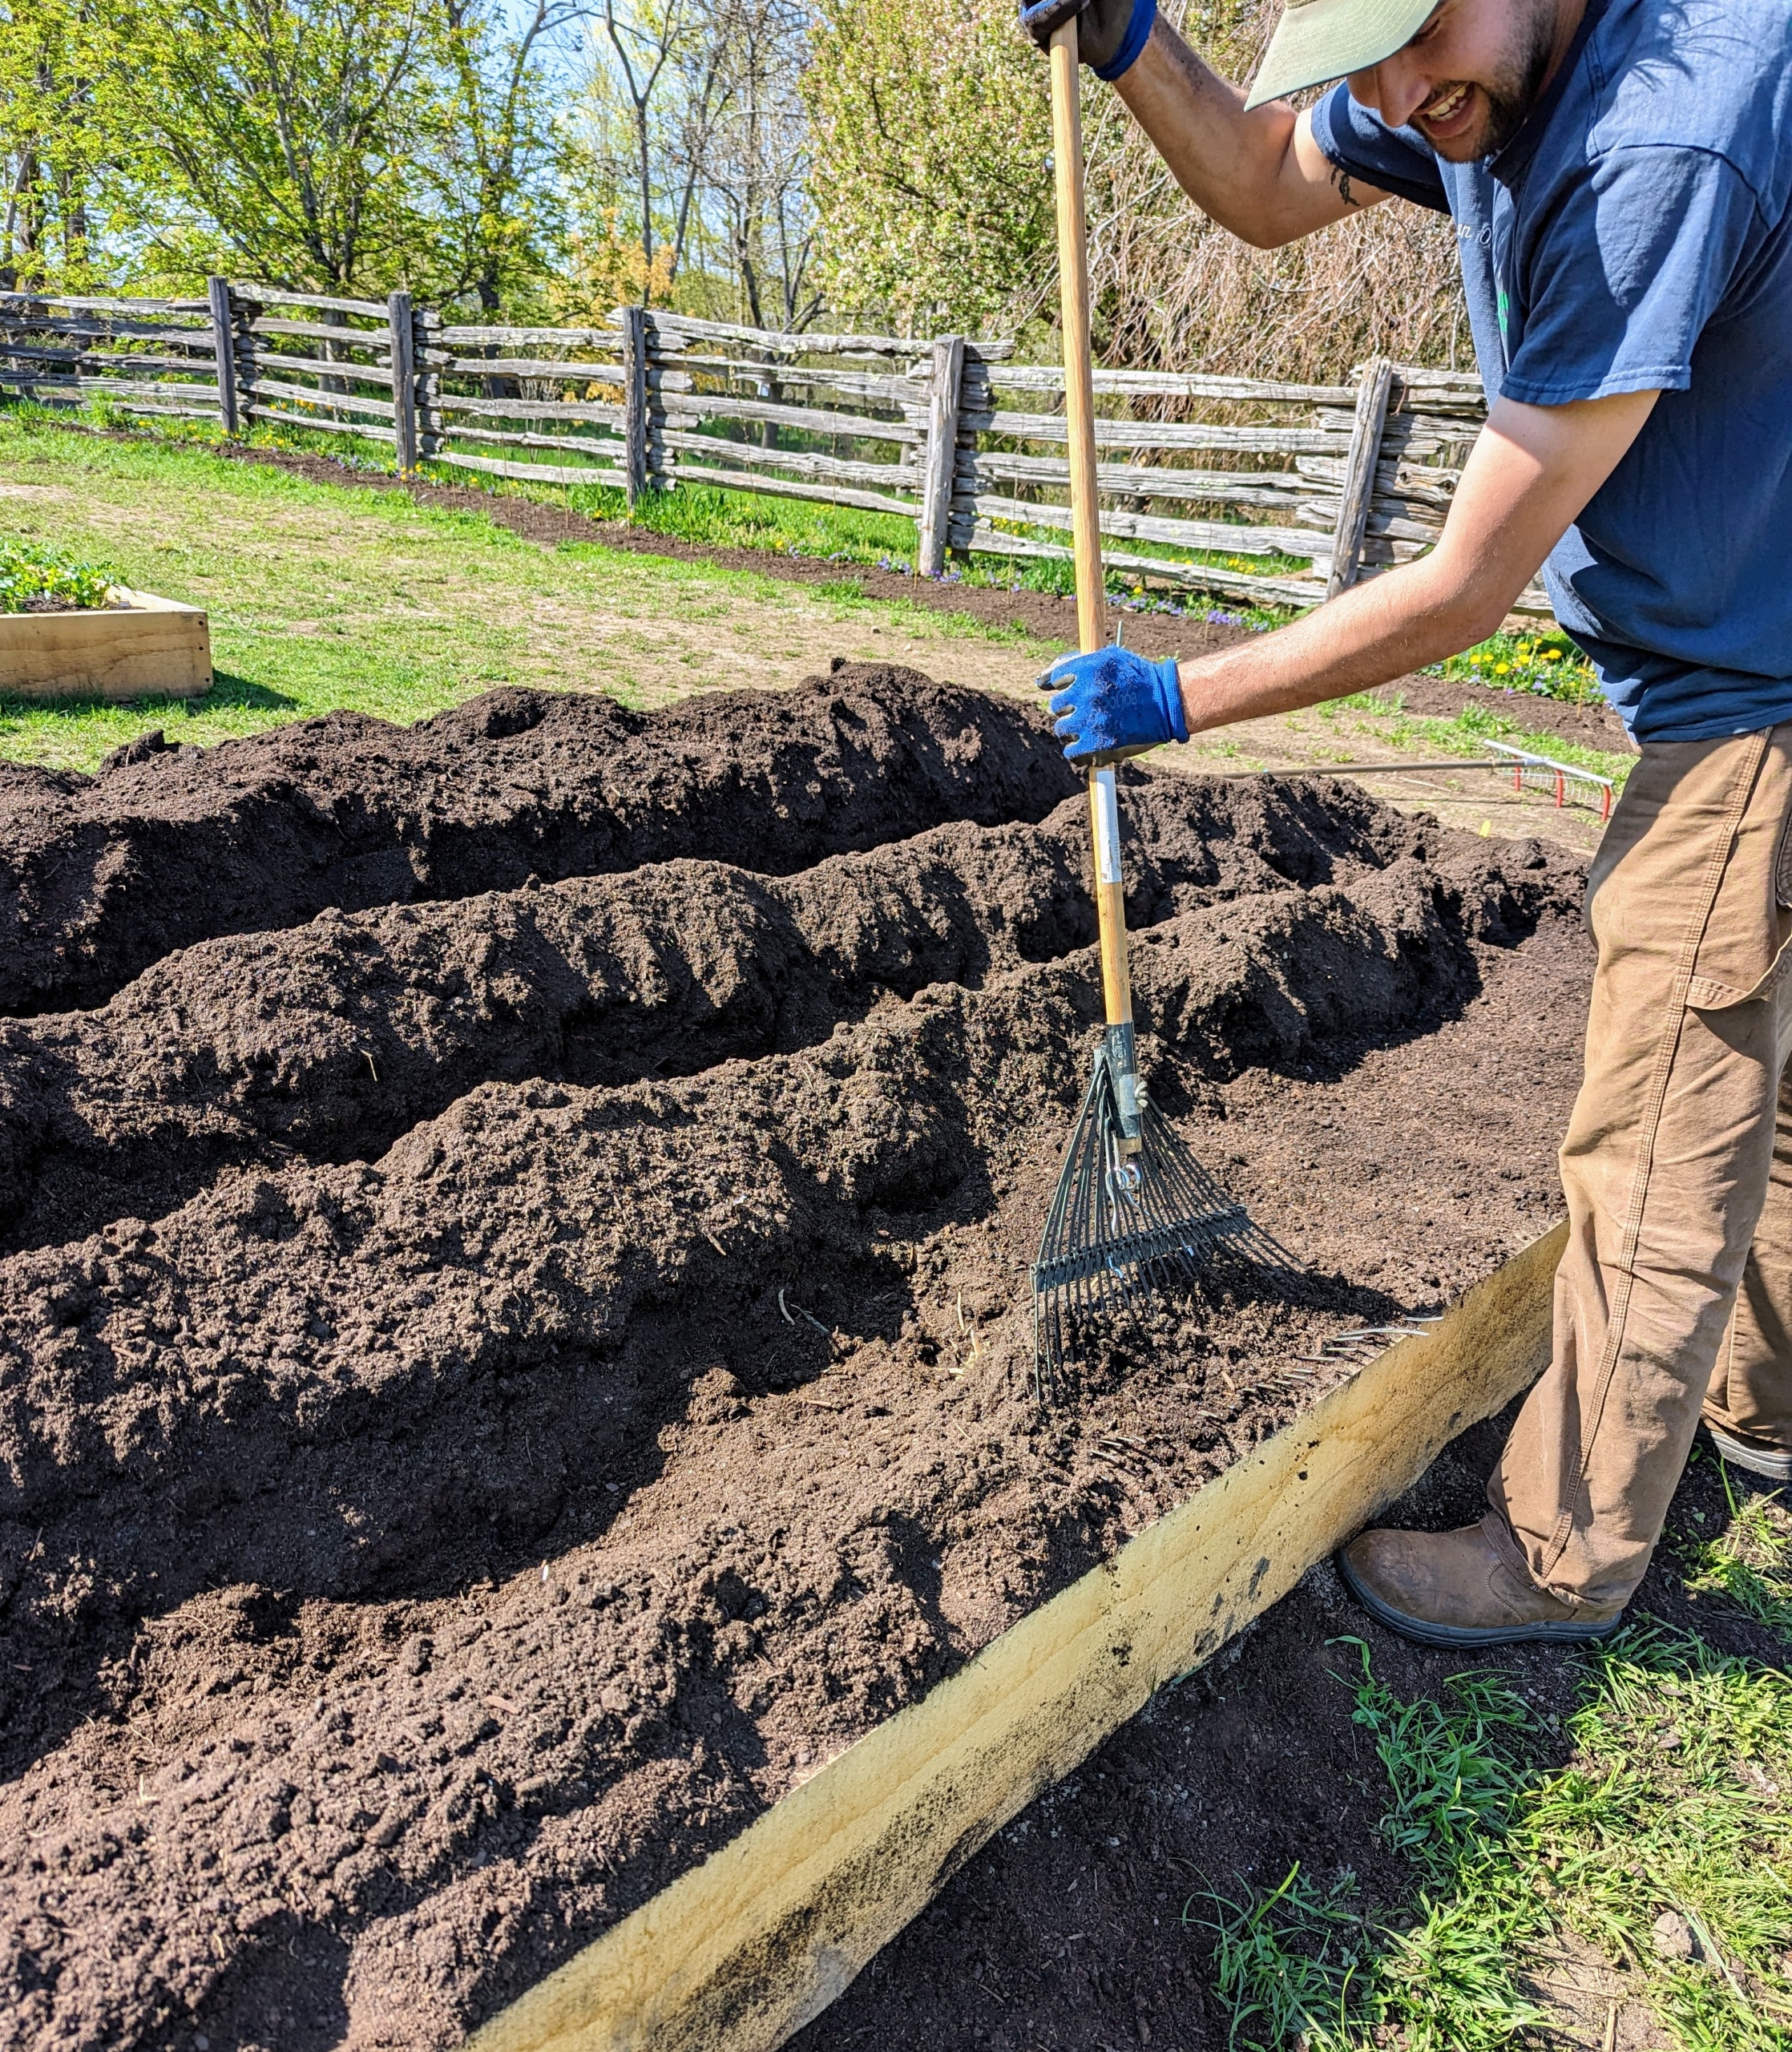
Before planting, Brian prepares the rows in the bed. Using stakes and garden twine, Brian measures where the four long rows will be planted.
Ryan secures the twine at the other end. Asparagus prefers a sunny location in well-amended soil with a pH of 7. This soil has already been fed with lime, and good, nutrient-rich fertilizers.
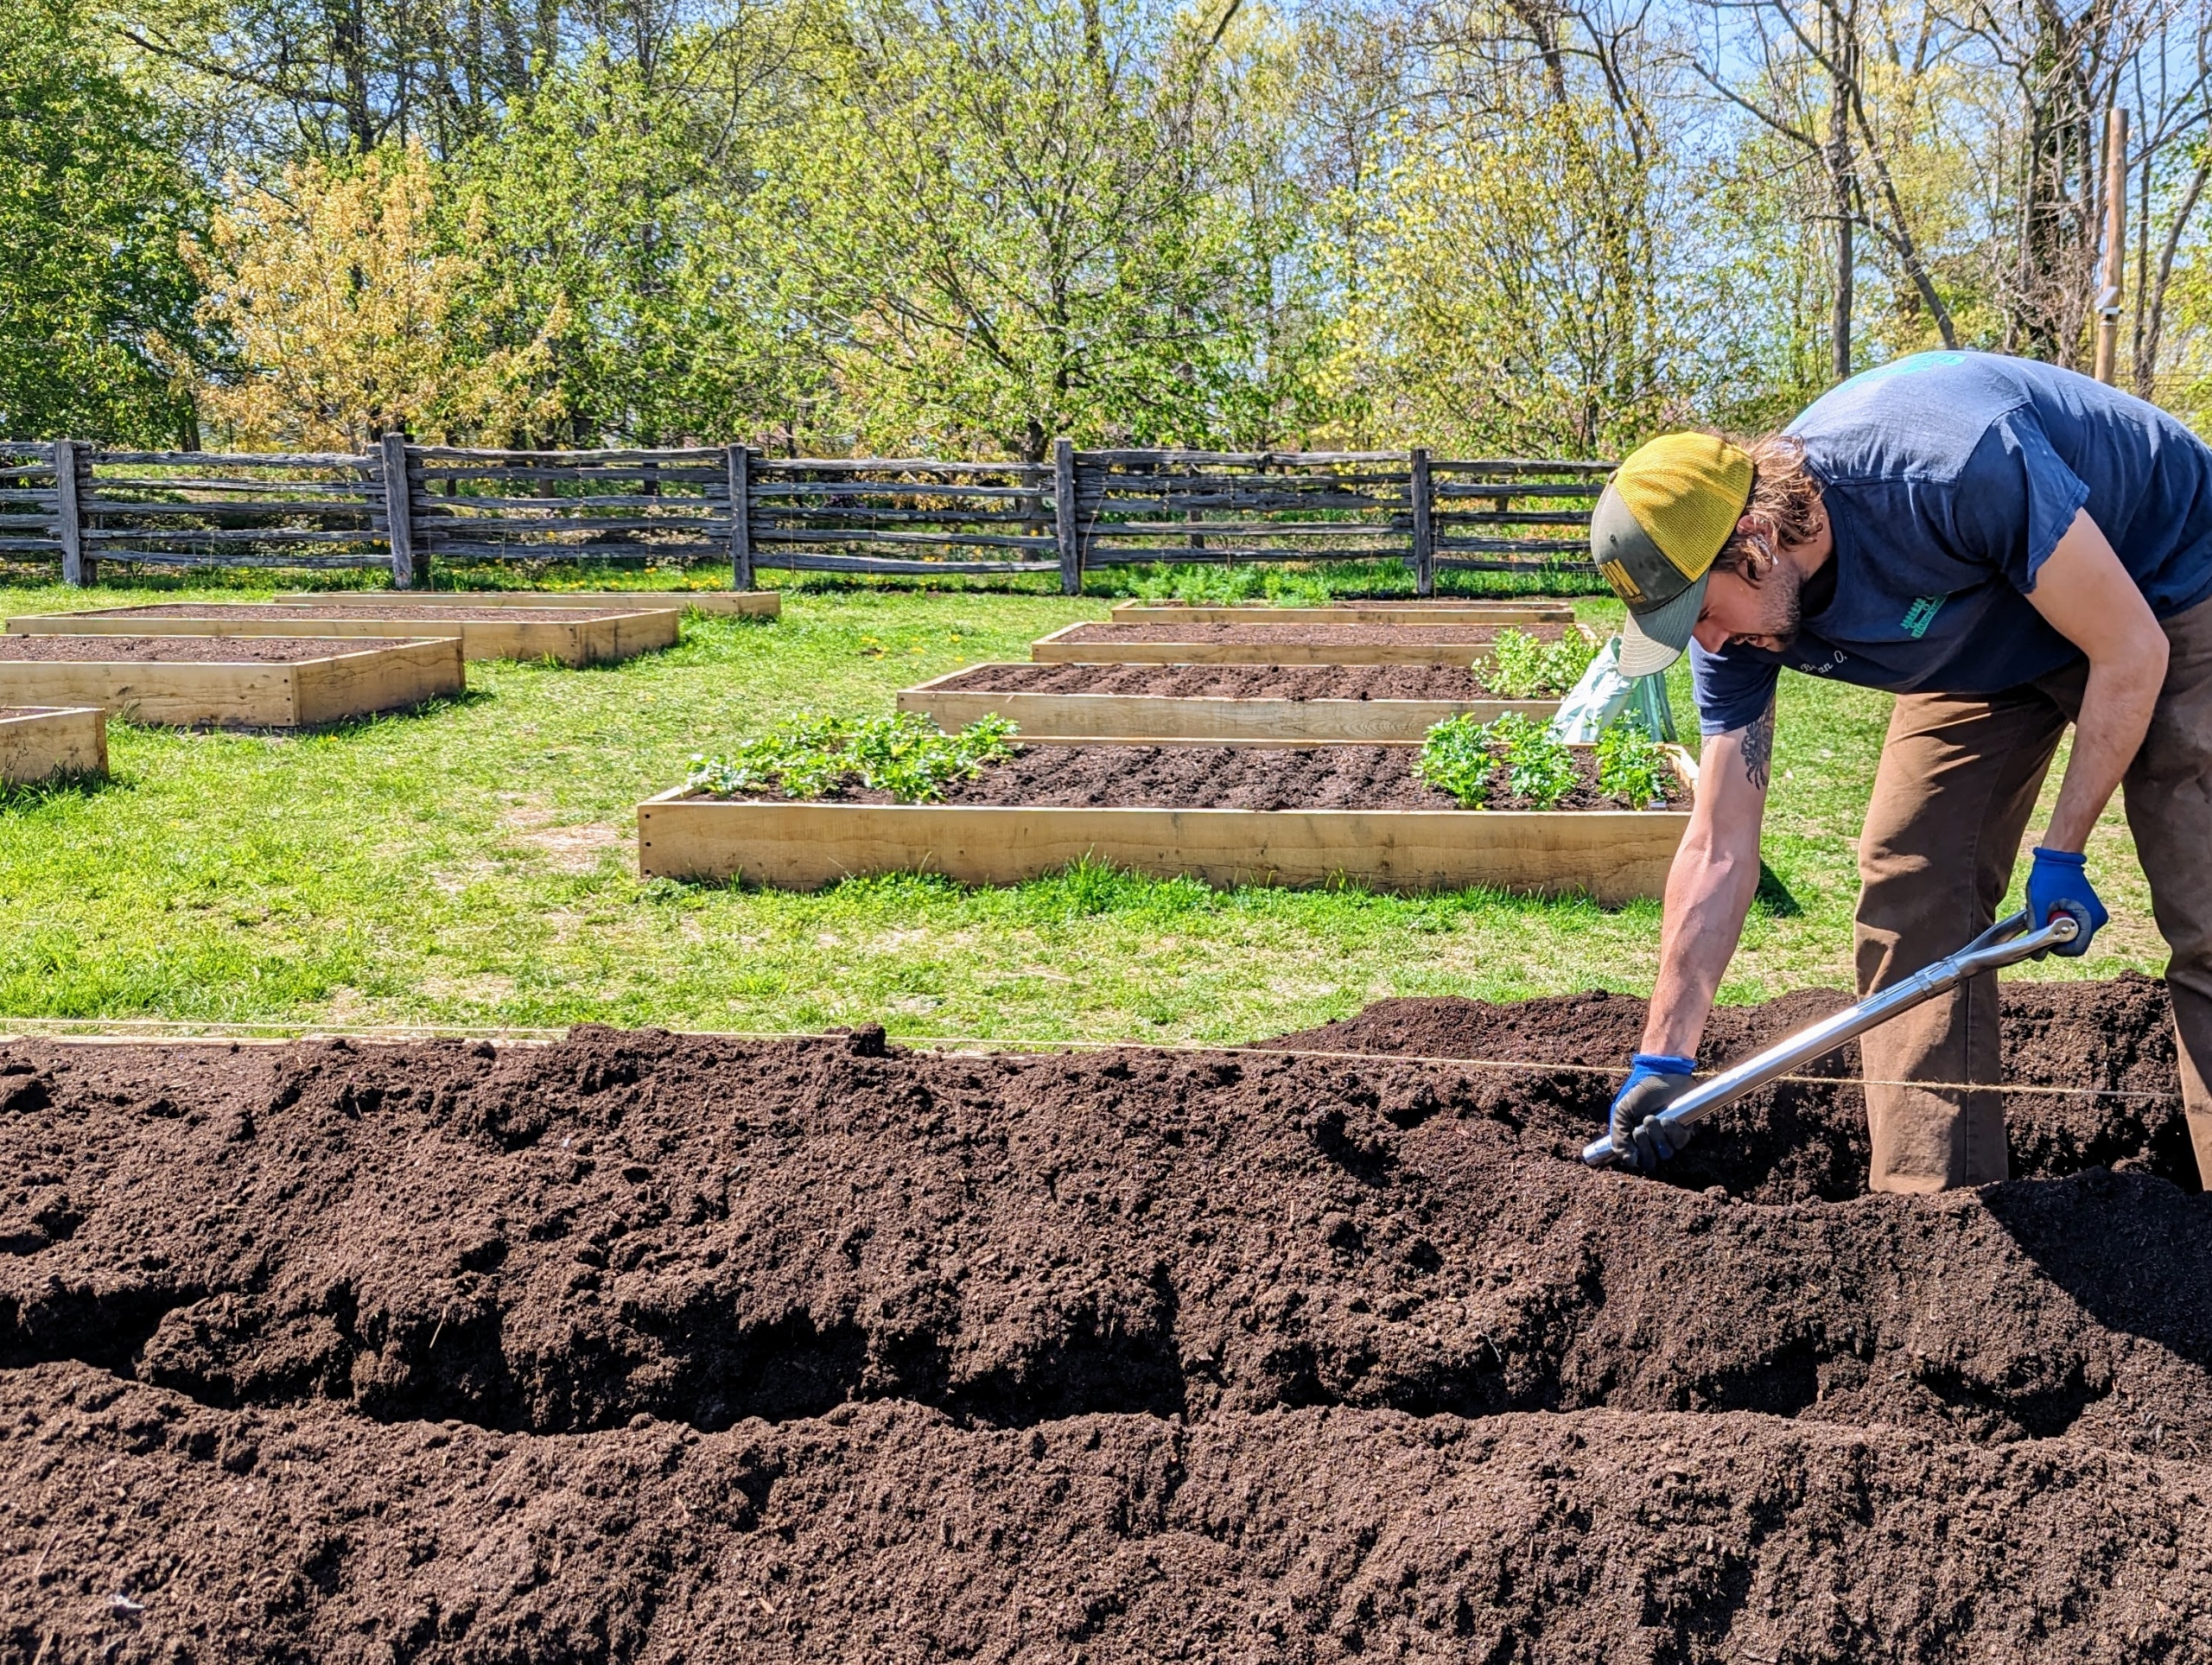
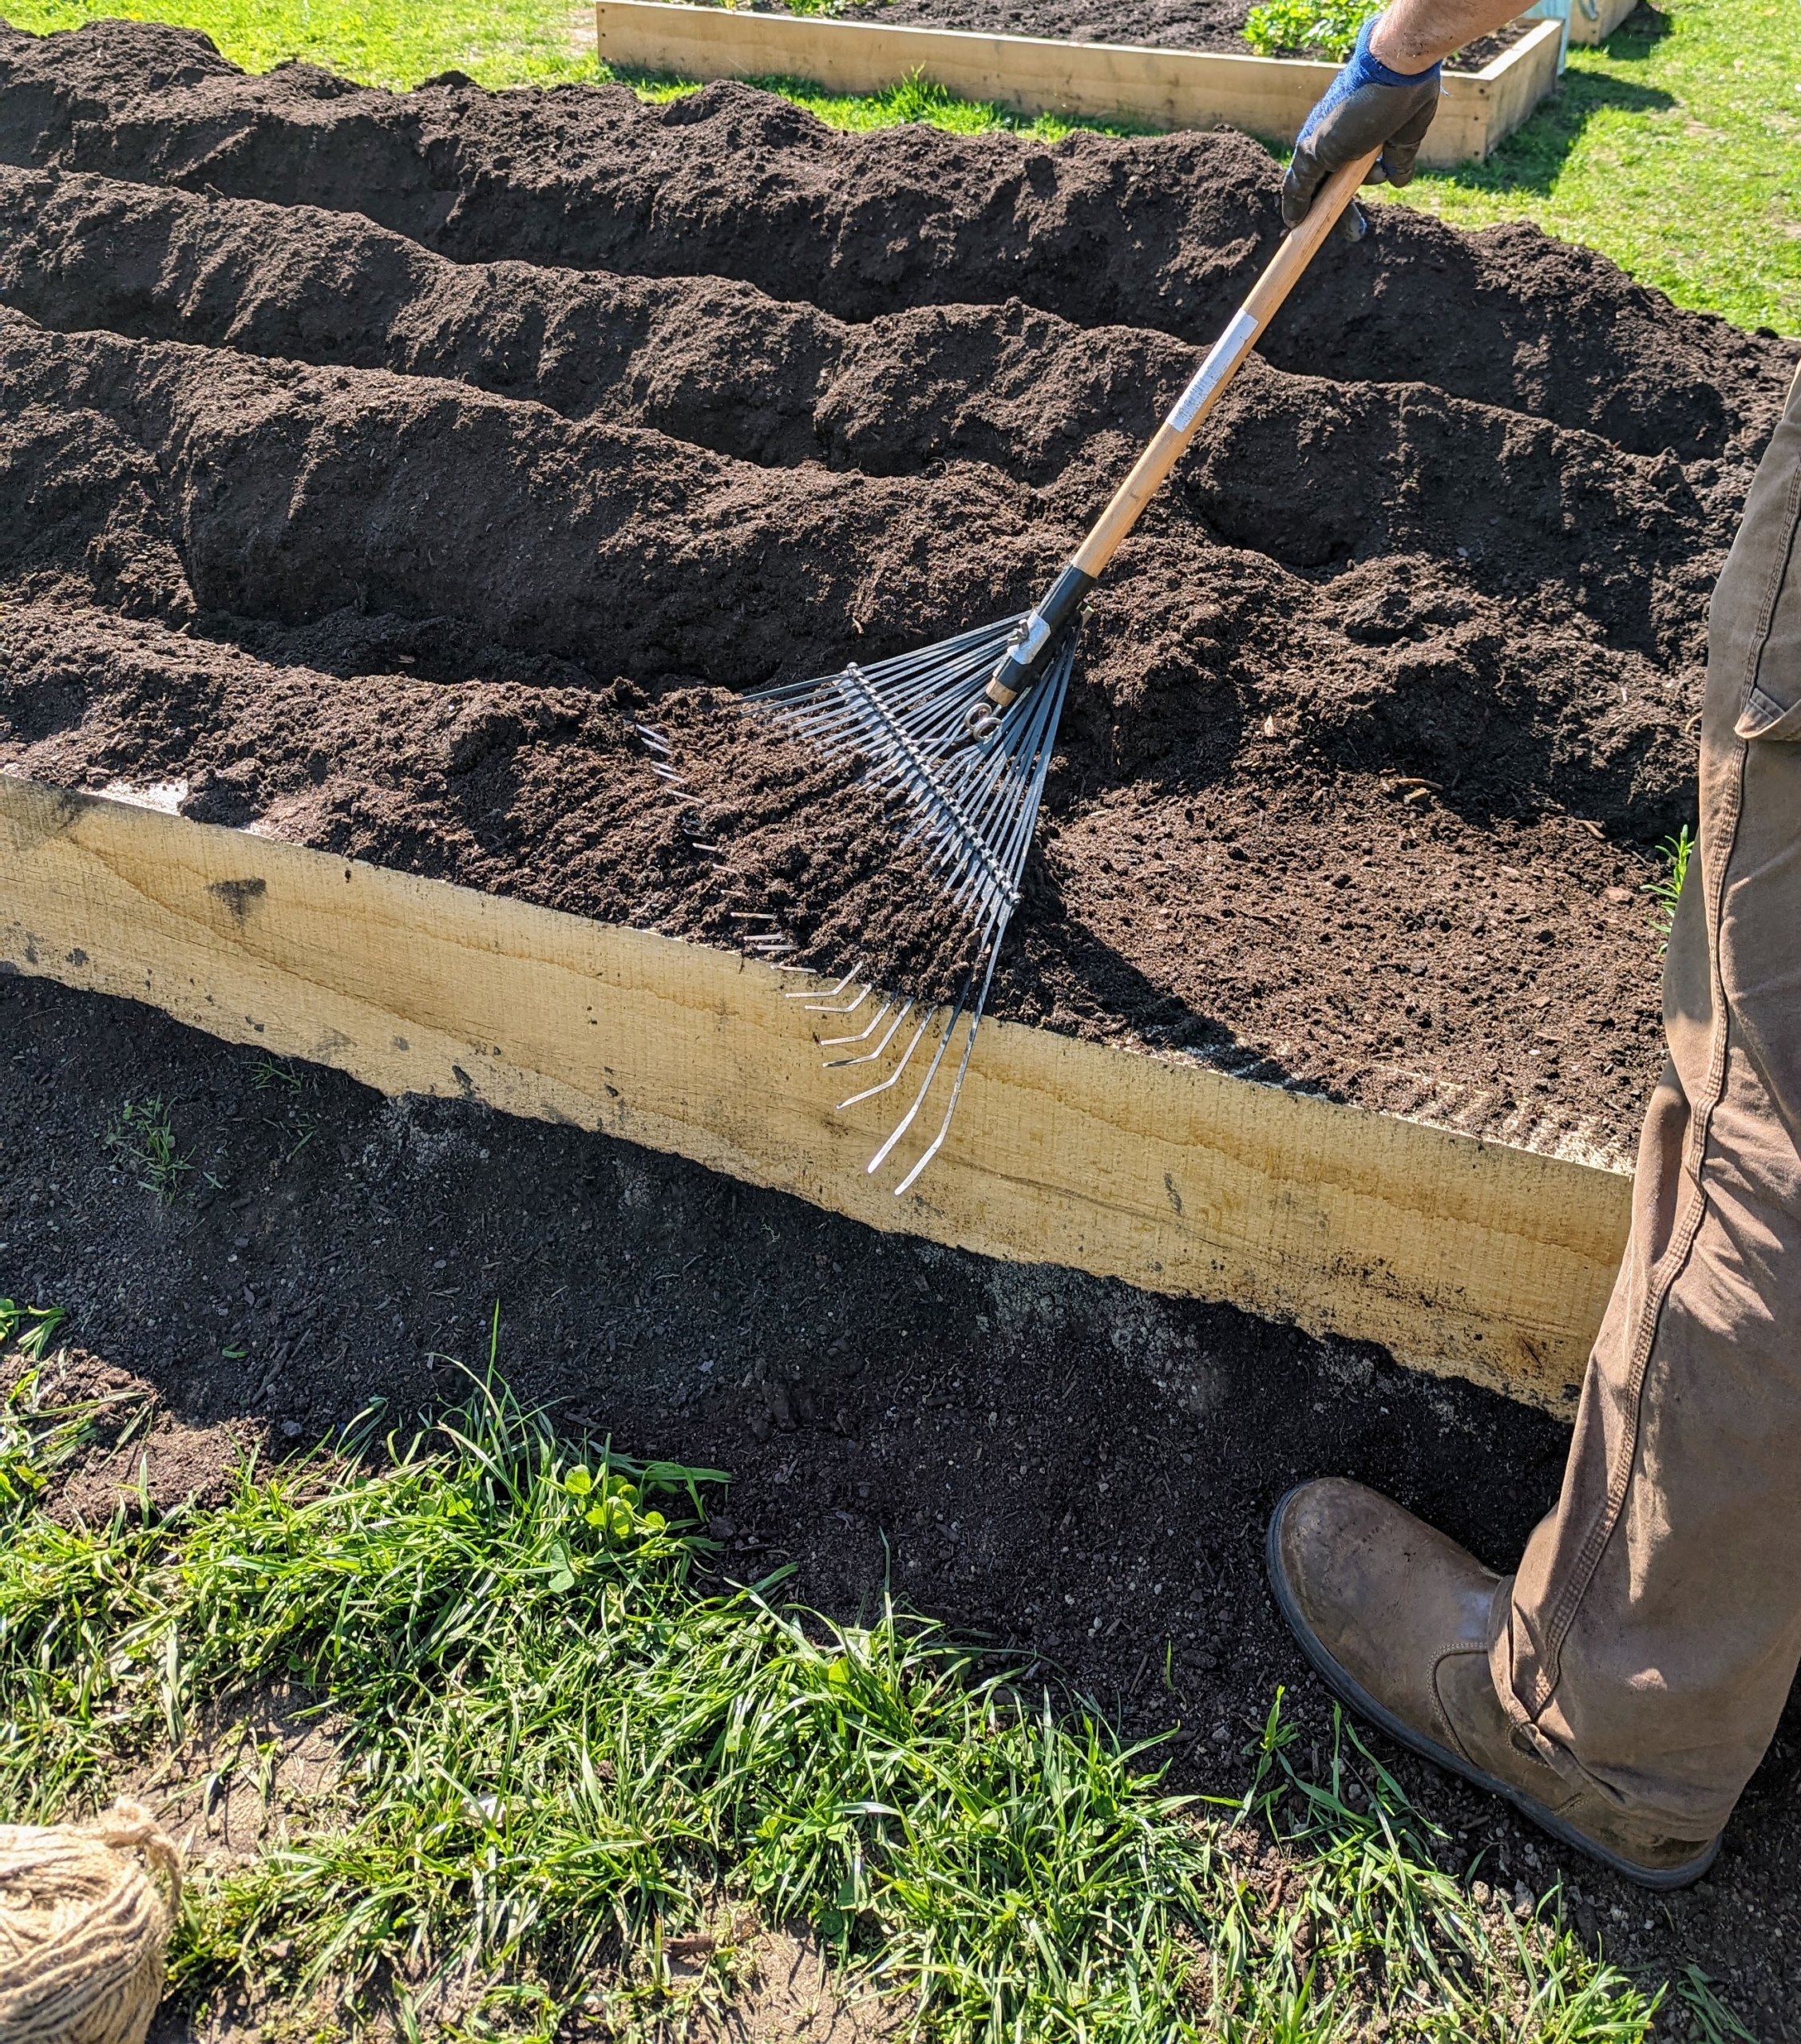
Here, Brian begins digging the trenches for the asparagus plants. Depth of planting is critical. If too shallow, the plants will produce a large number of small spears. If planted too deep, the spears will be large, but few in number. Brian digs furrows that are at least eight-inches deep and a foot wide.
Brian digs each furrow and carefully piles the soil in berms, which will later be backfilled over the plants.
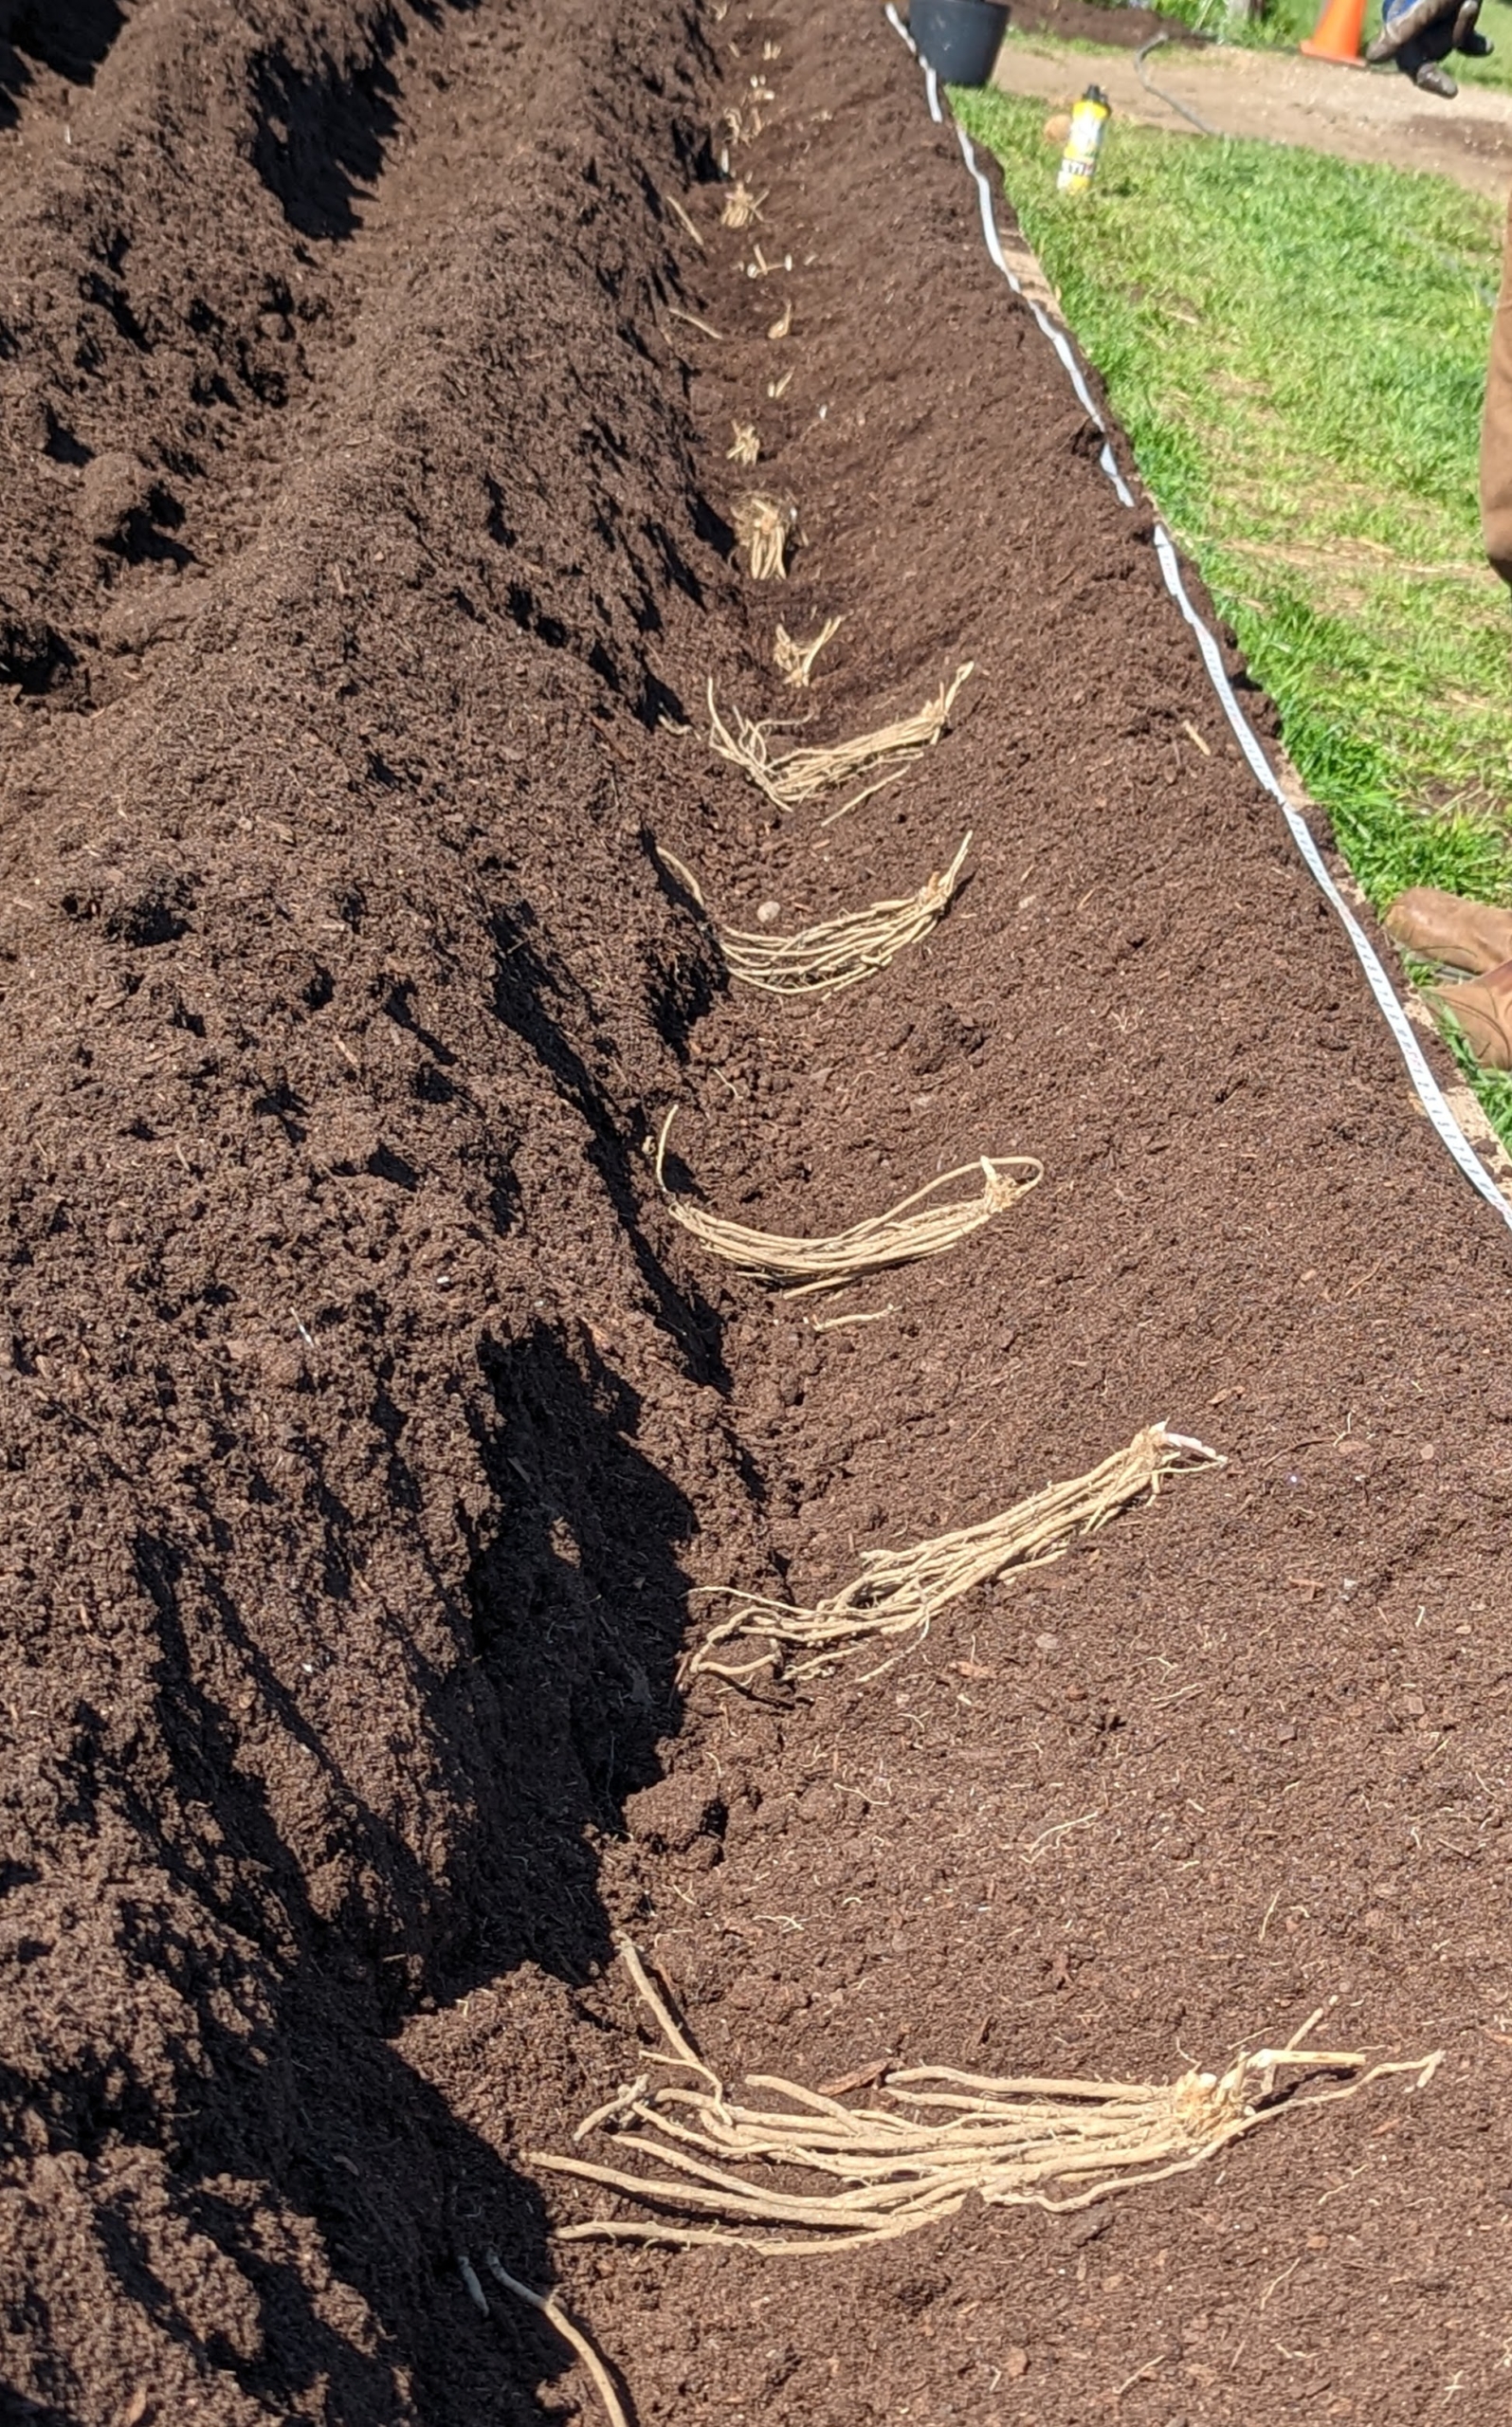
There are four long rows dug in this bed – at least 18 inches apart. Next, it’s time to plant.
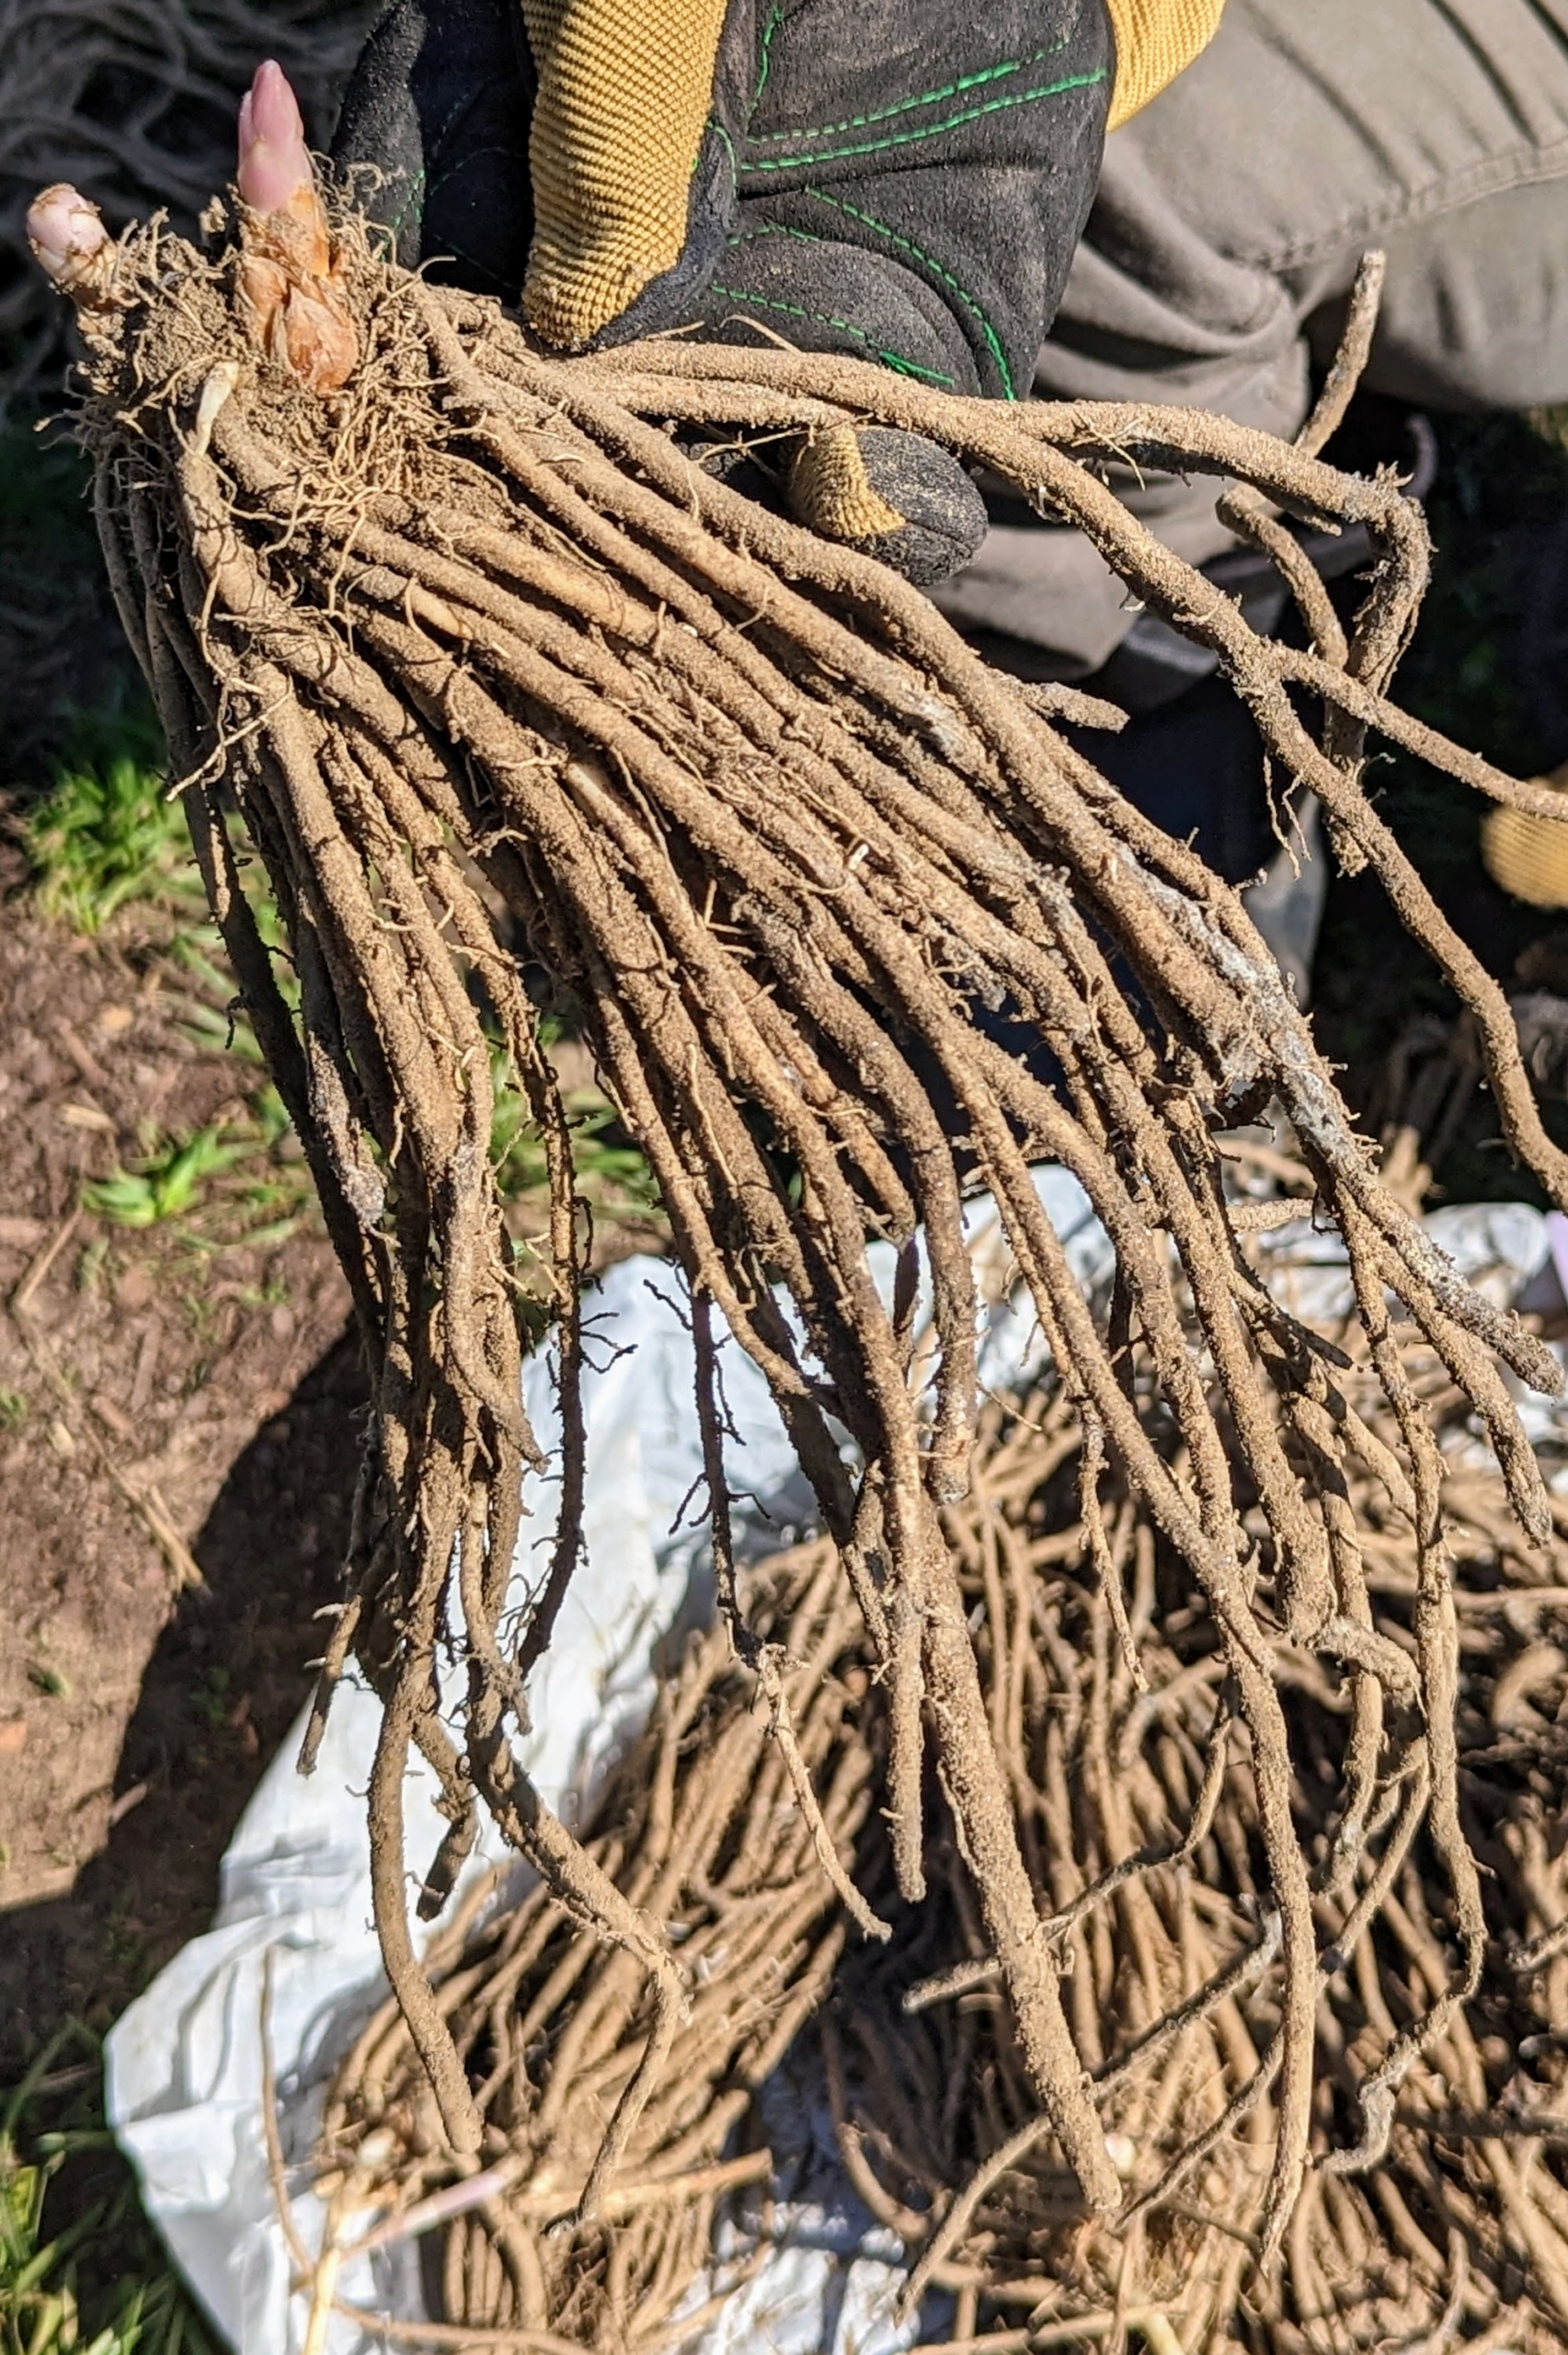
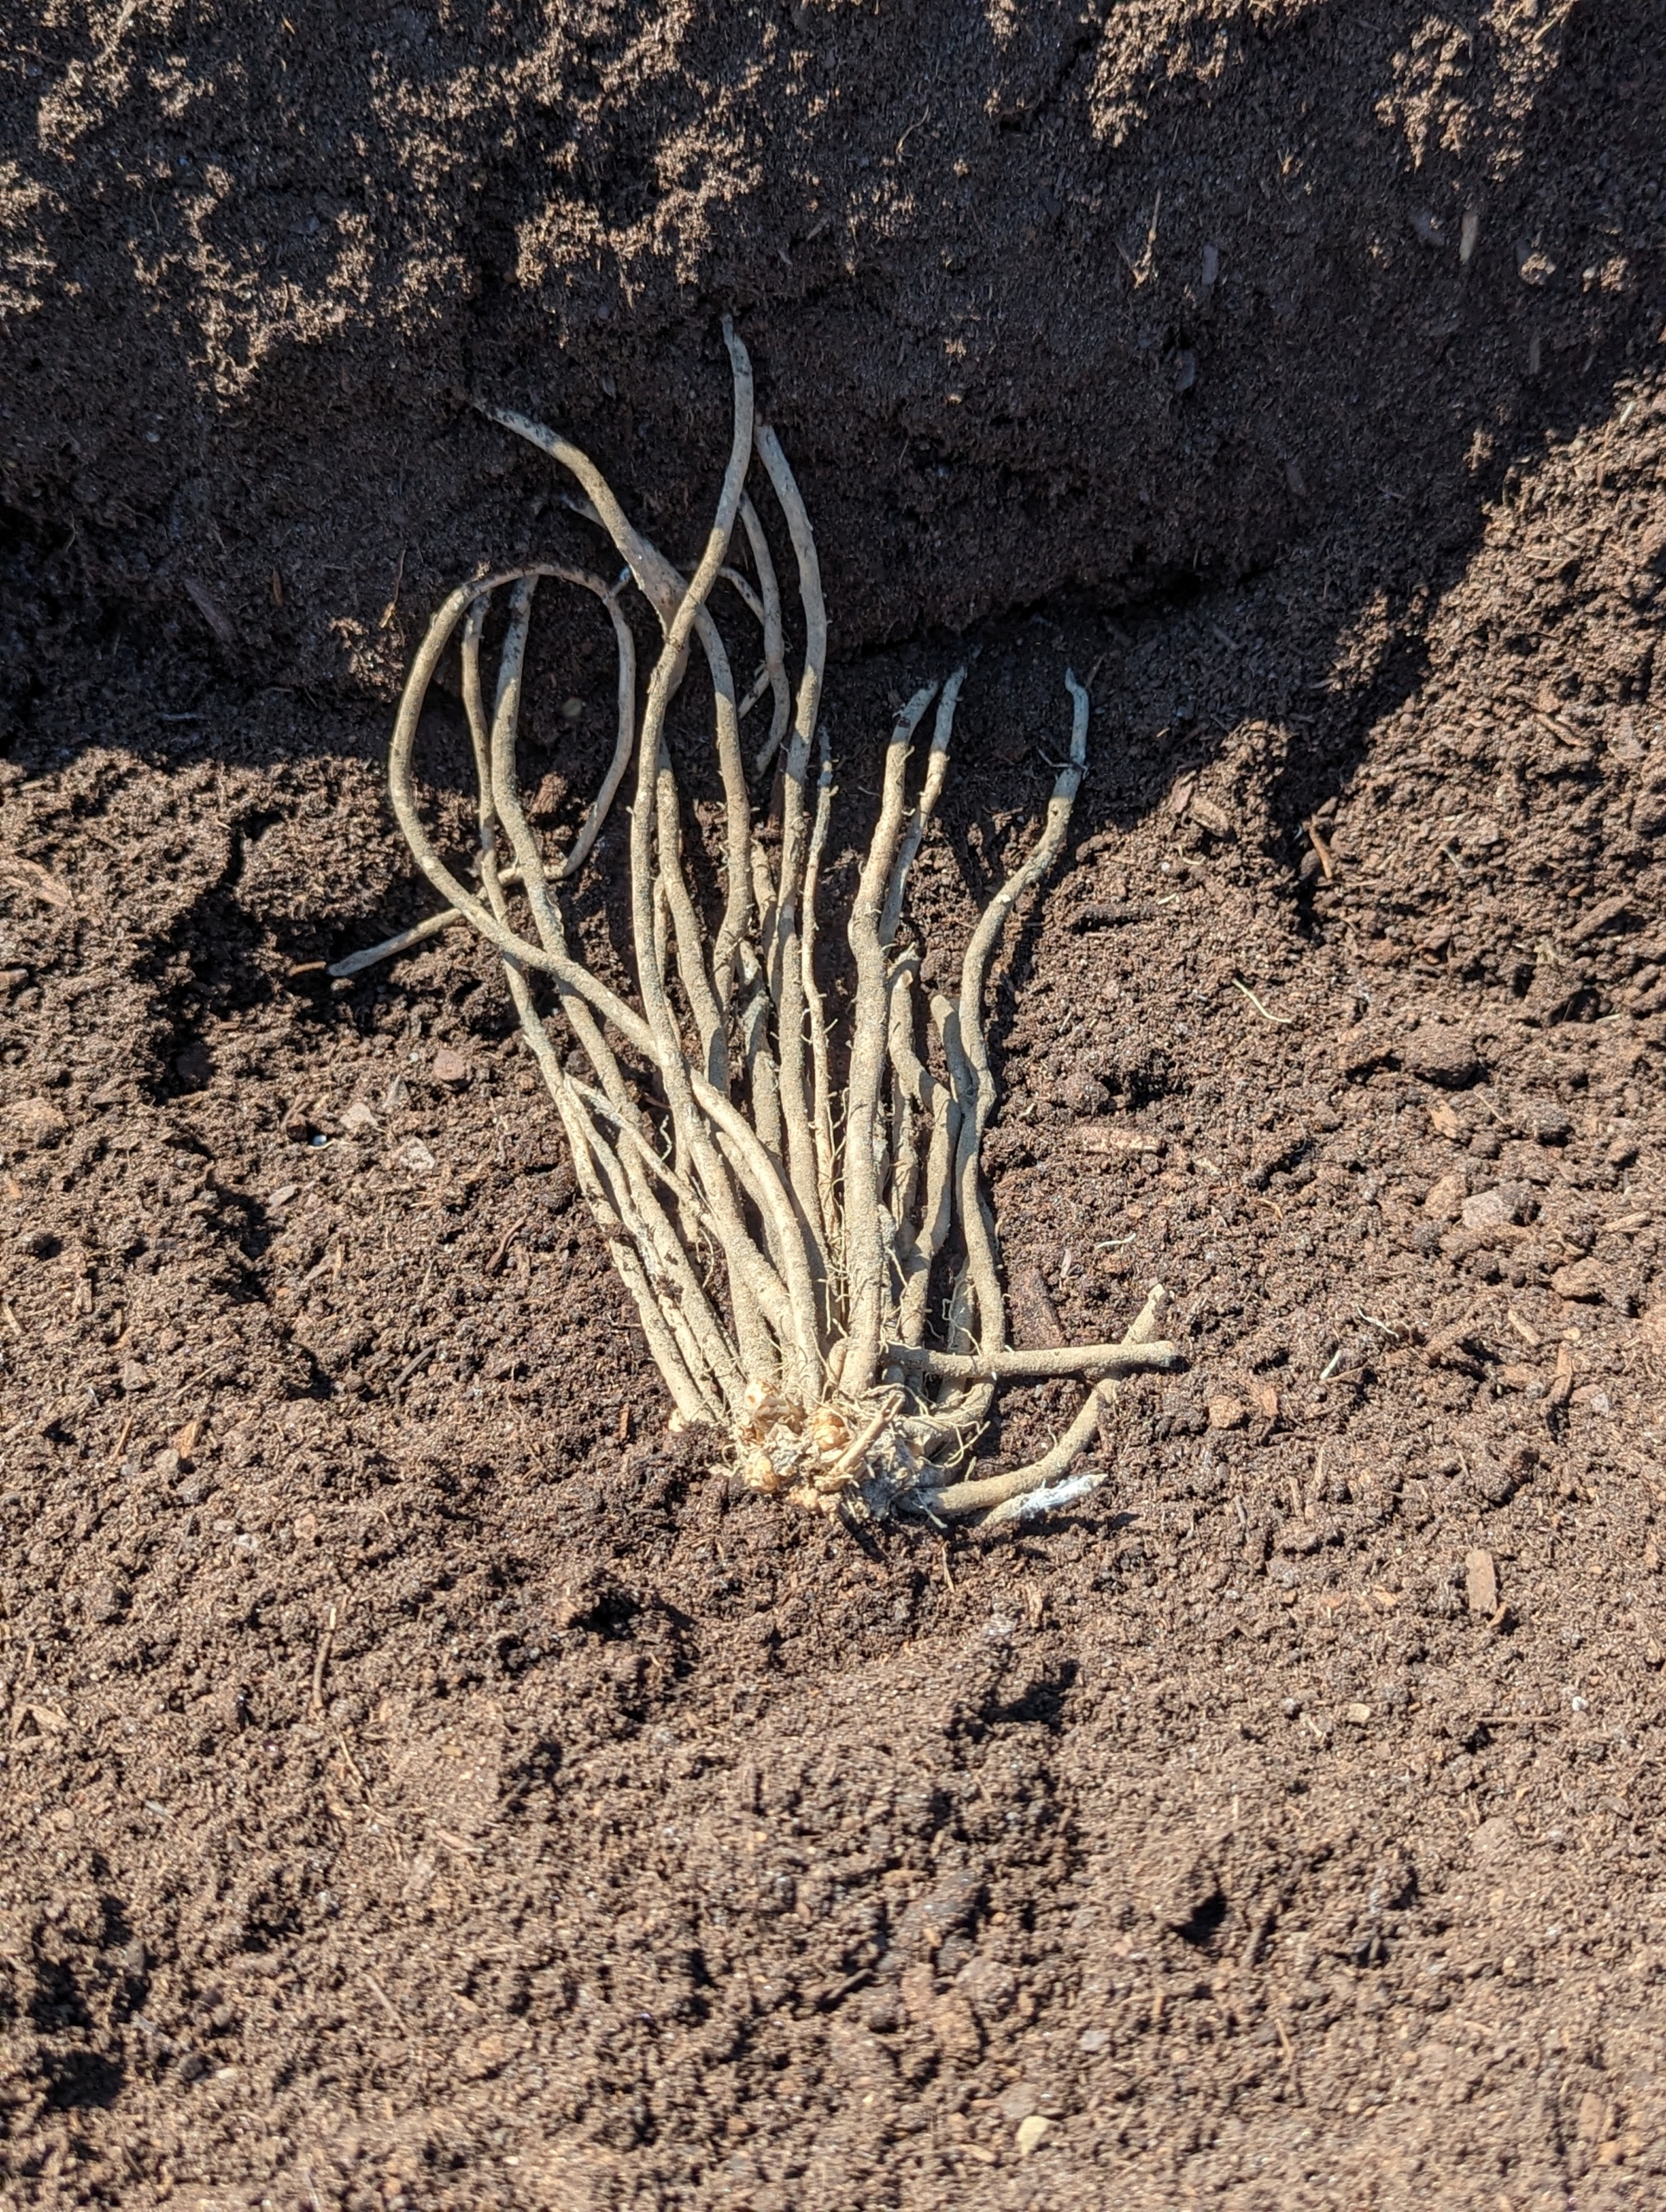
These are the long asparagus roots. Asparagus roots grow very deep because they can survive very long in the soil.
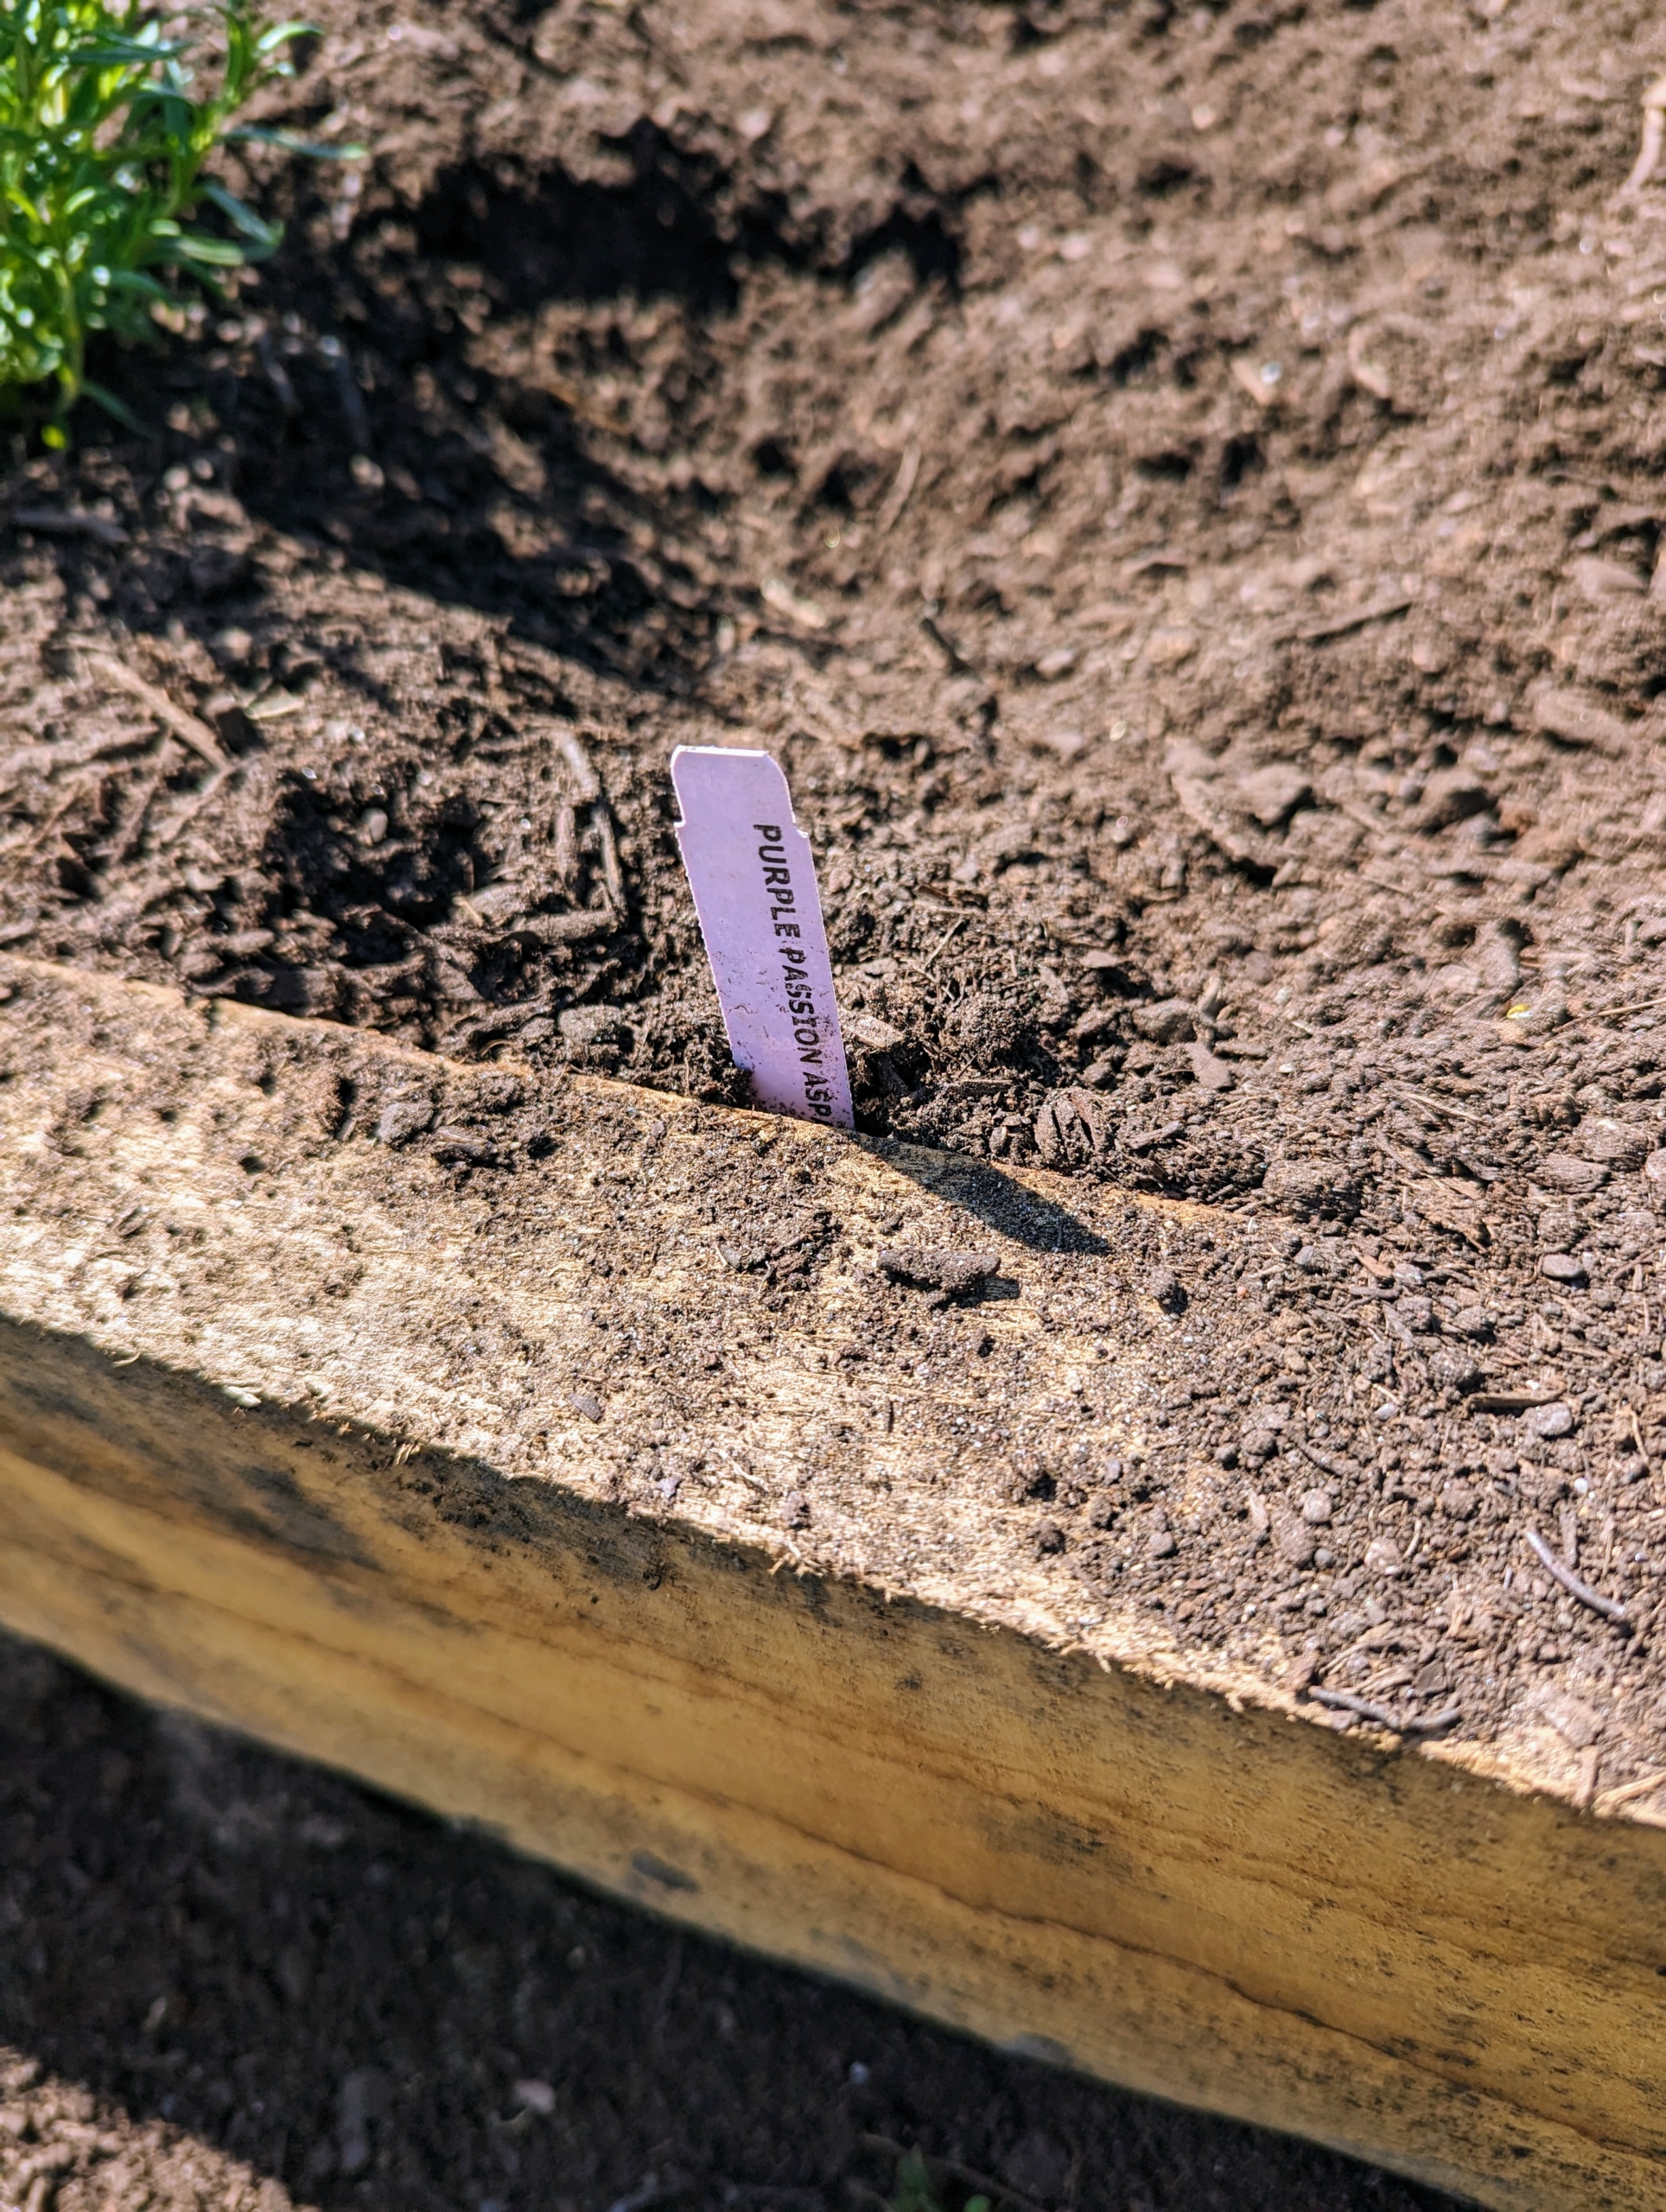
Ryan drops the plants into the trench one by one. We have two varieties to plant – ‘Purple Passion’, which produces attractive purple spears with a mild, nutty flavor and are reputedly sweeter than most other asparagus varieties. The other is ‘Millennium’ – a productive plant that produces high-quality spears that are tender, green, and delicious.
The crowns are placed about a foot apart. The root systems need lots of room to grow. The crown and root system can develop to an enormous size – about five to six feet in diameter and 10 to 15 feet deep.
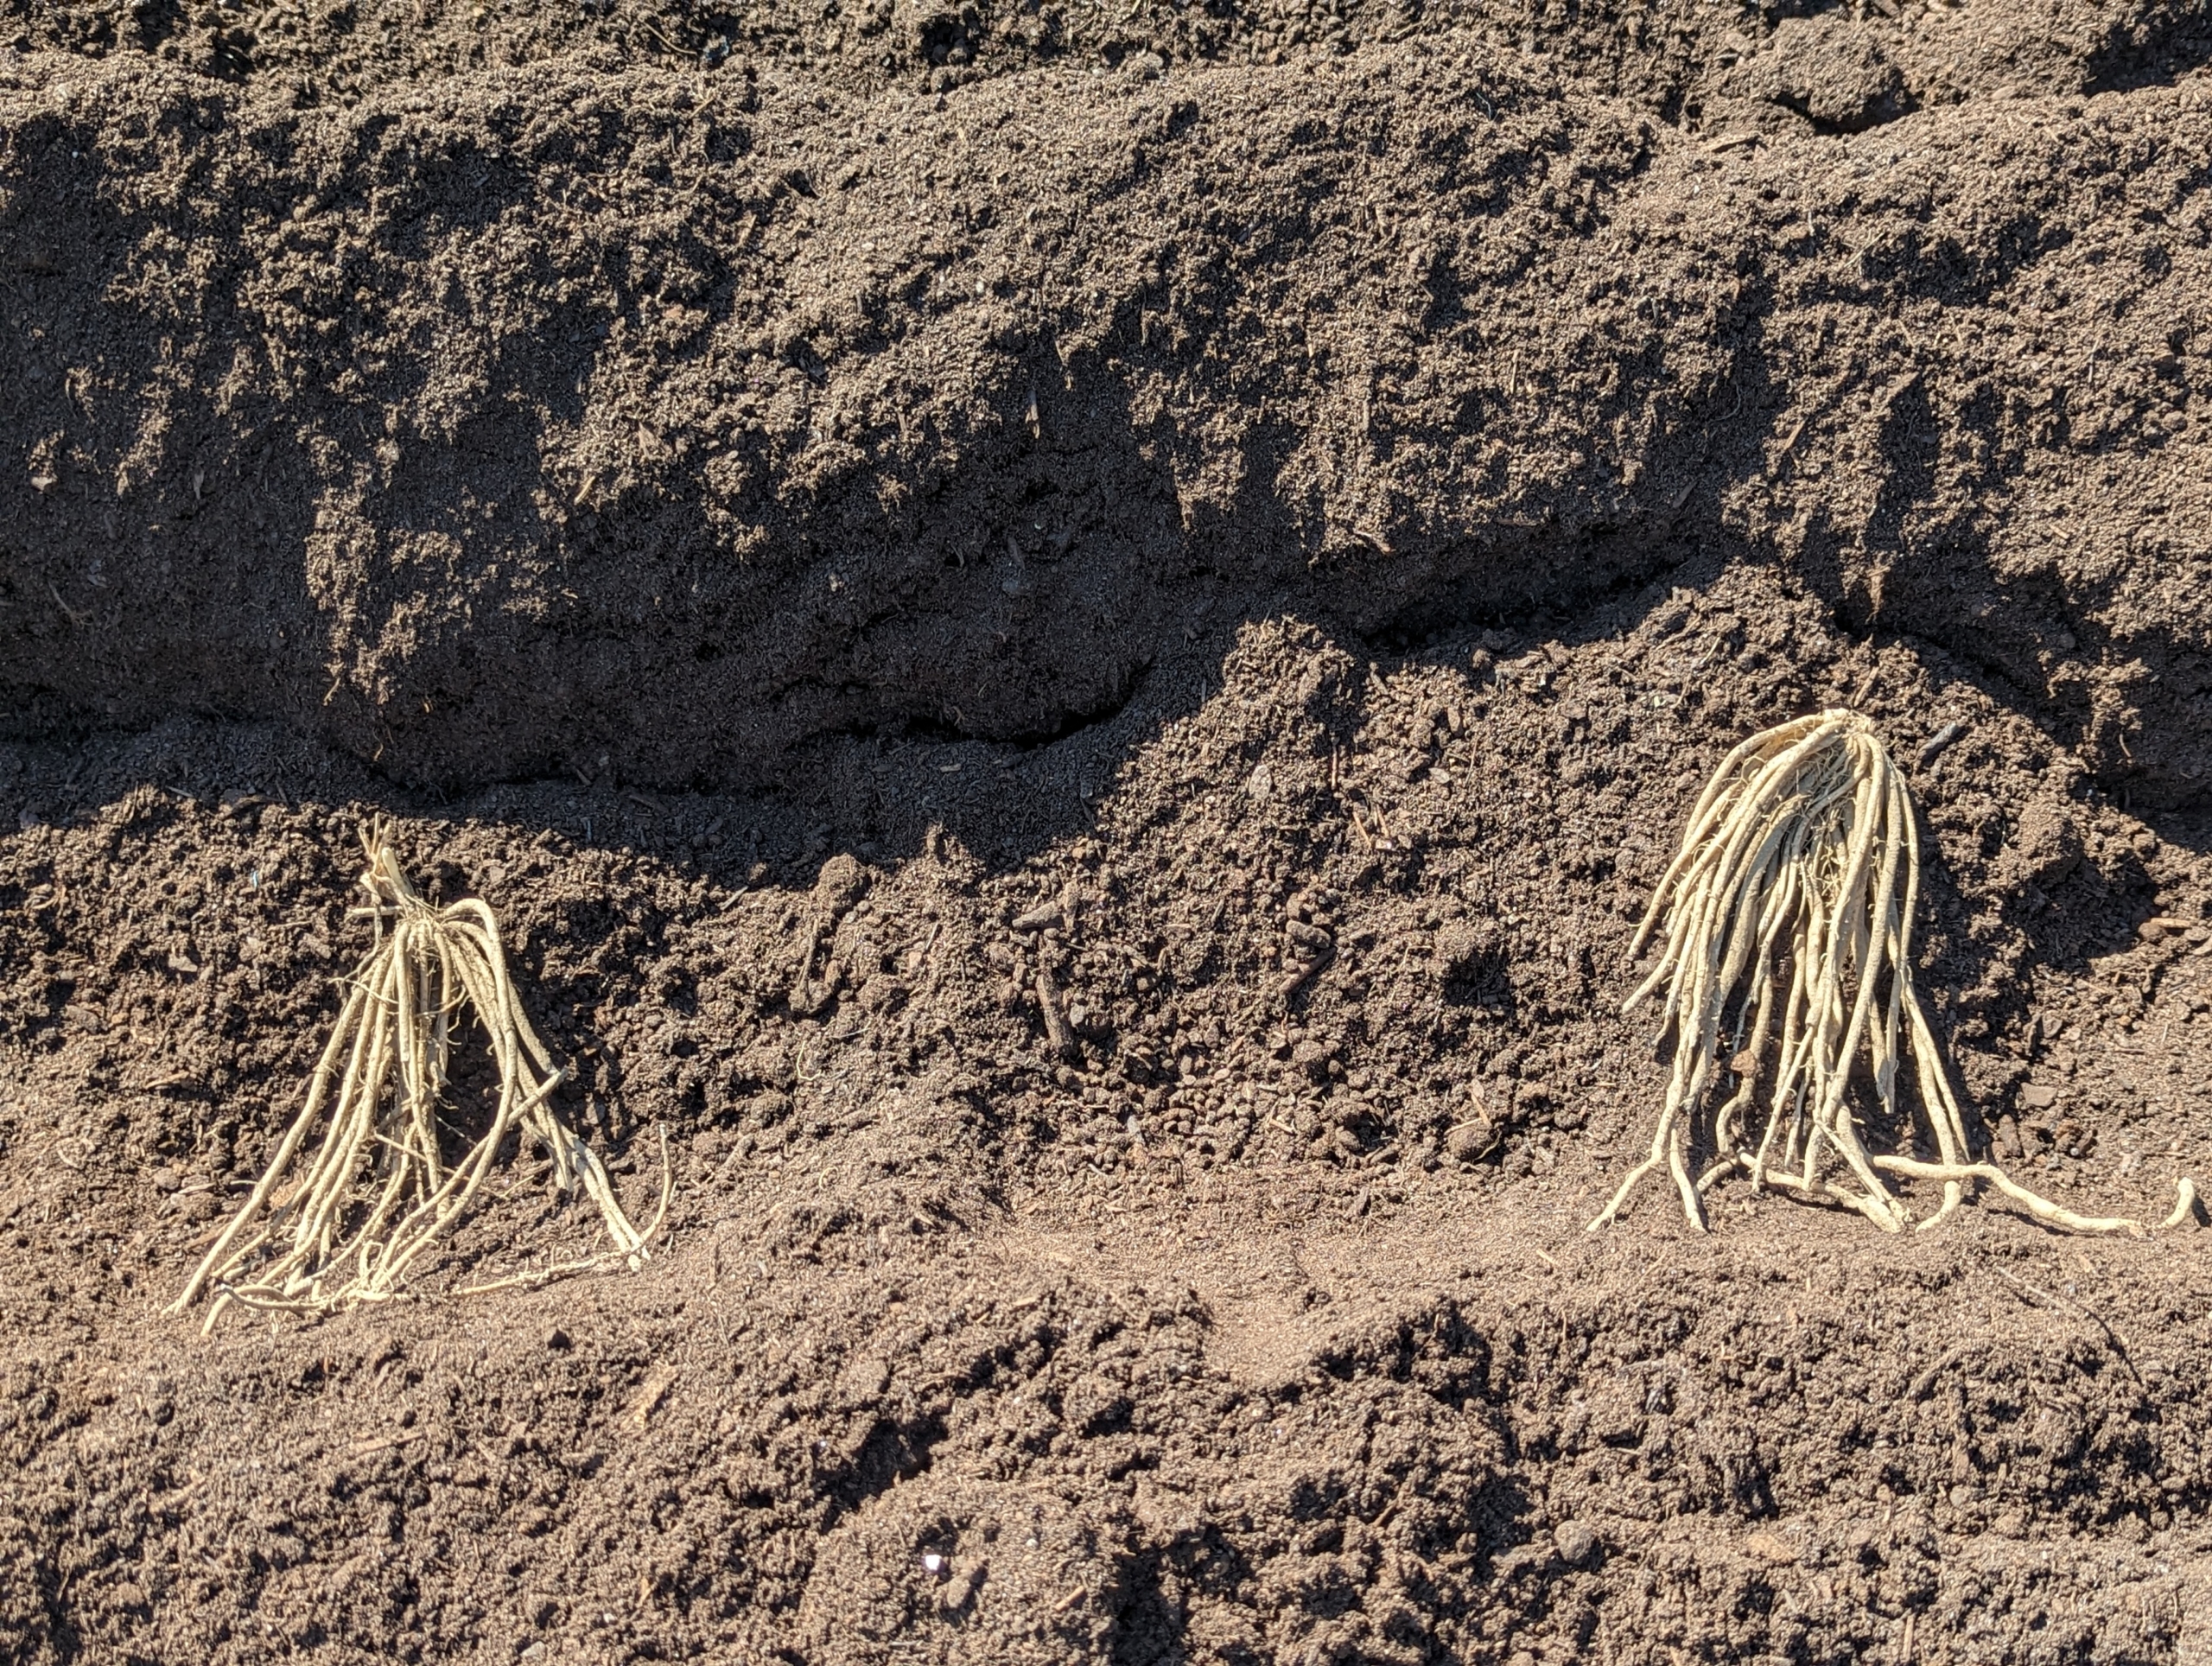
Here they are lined up in the trench.
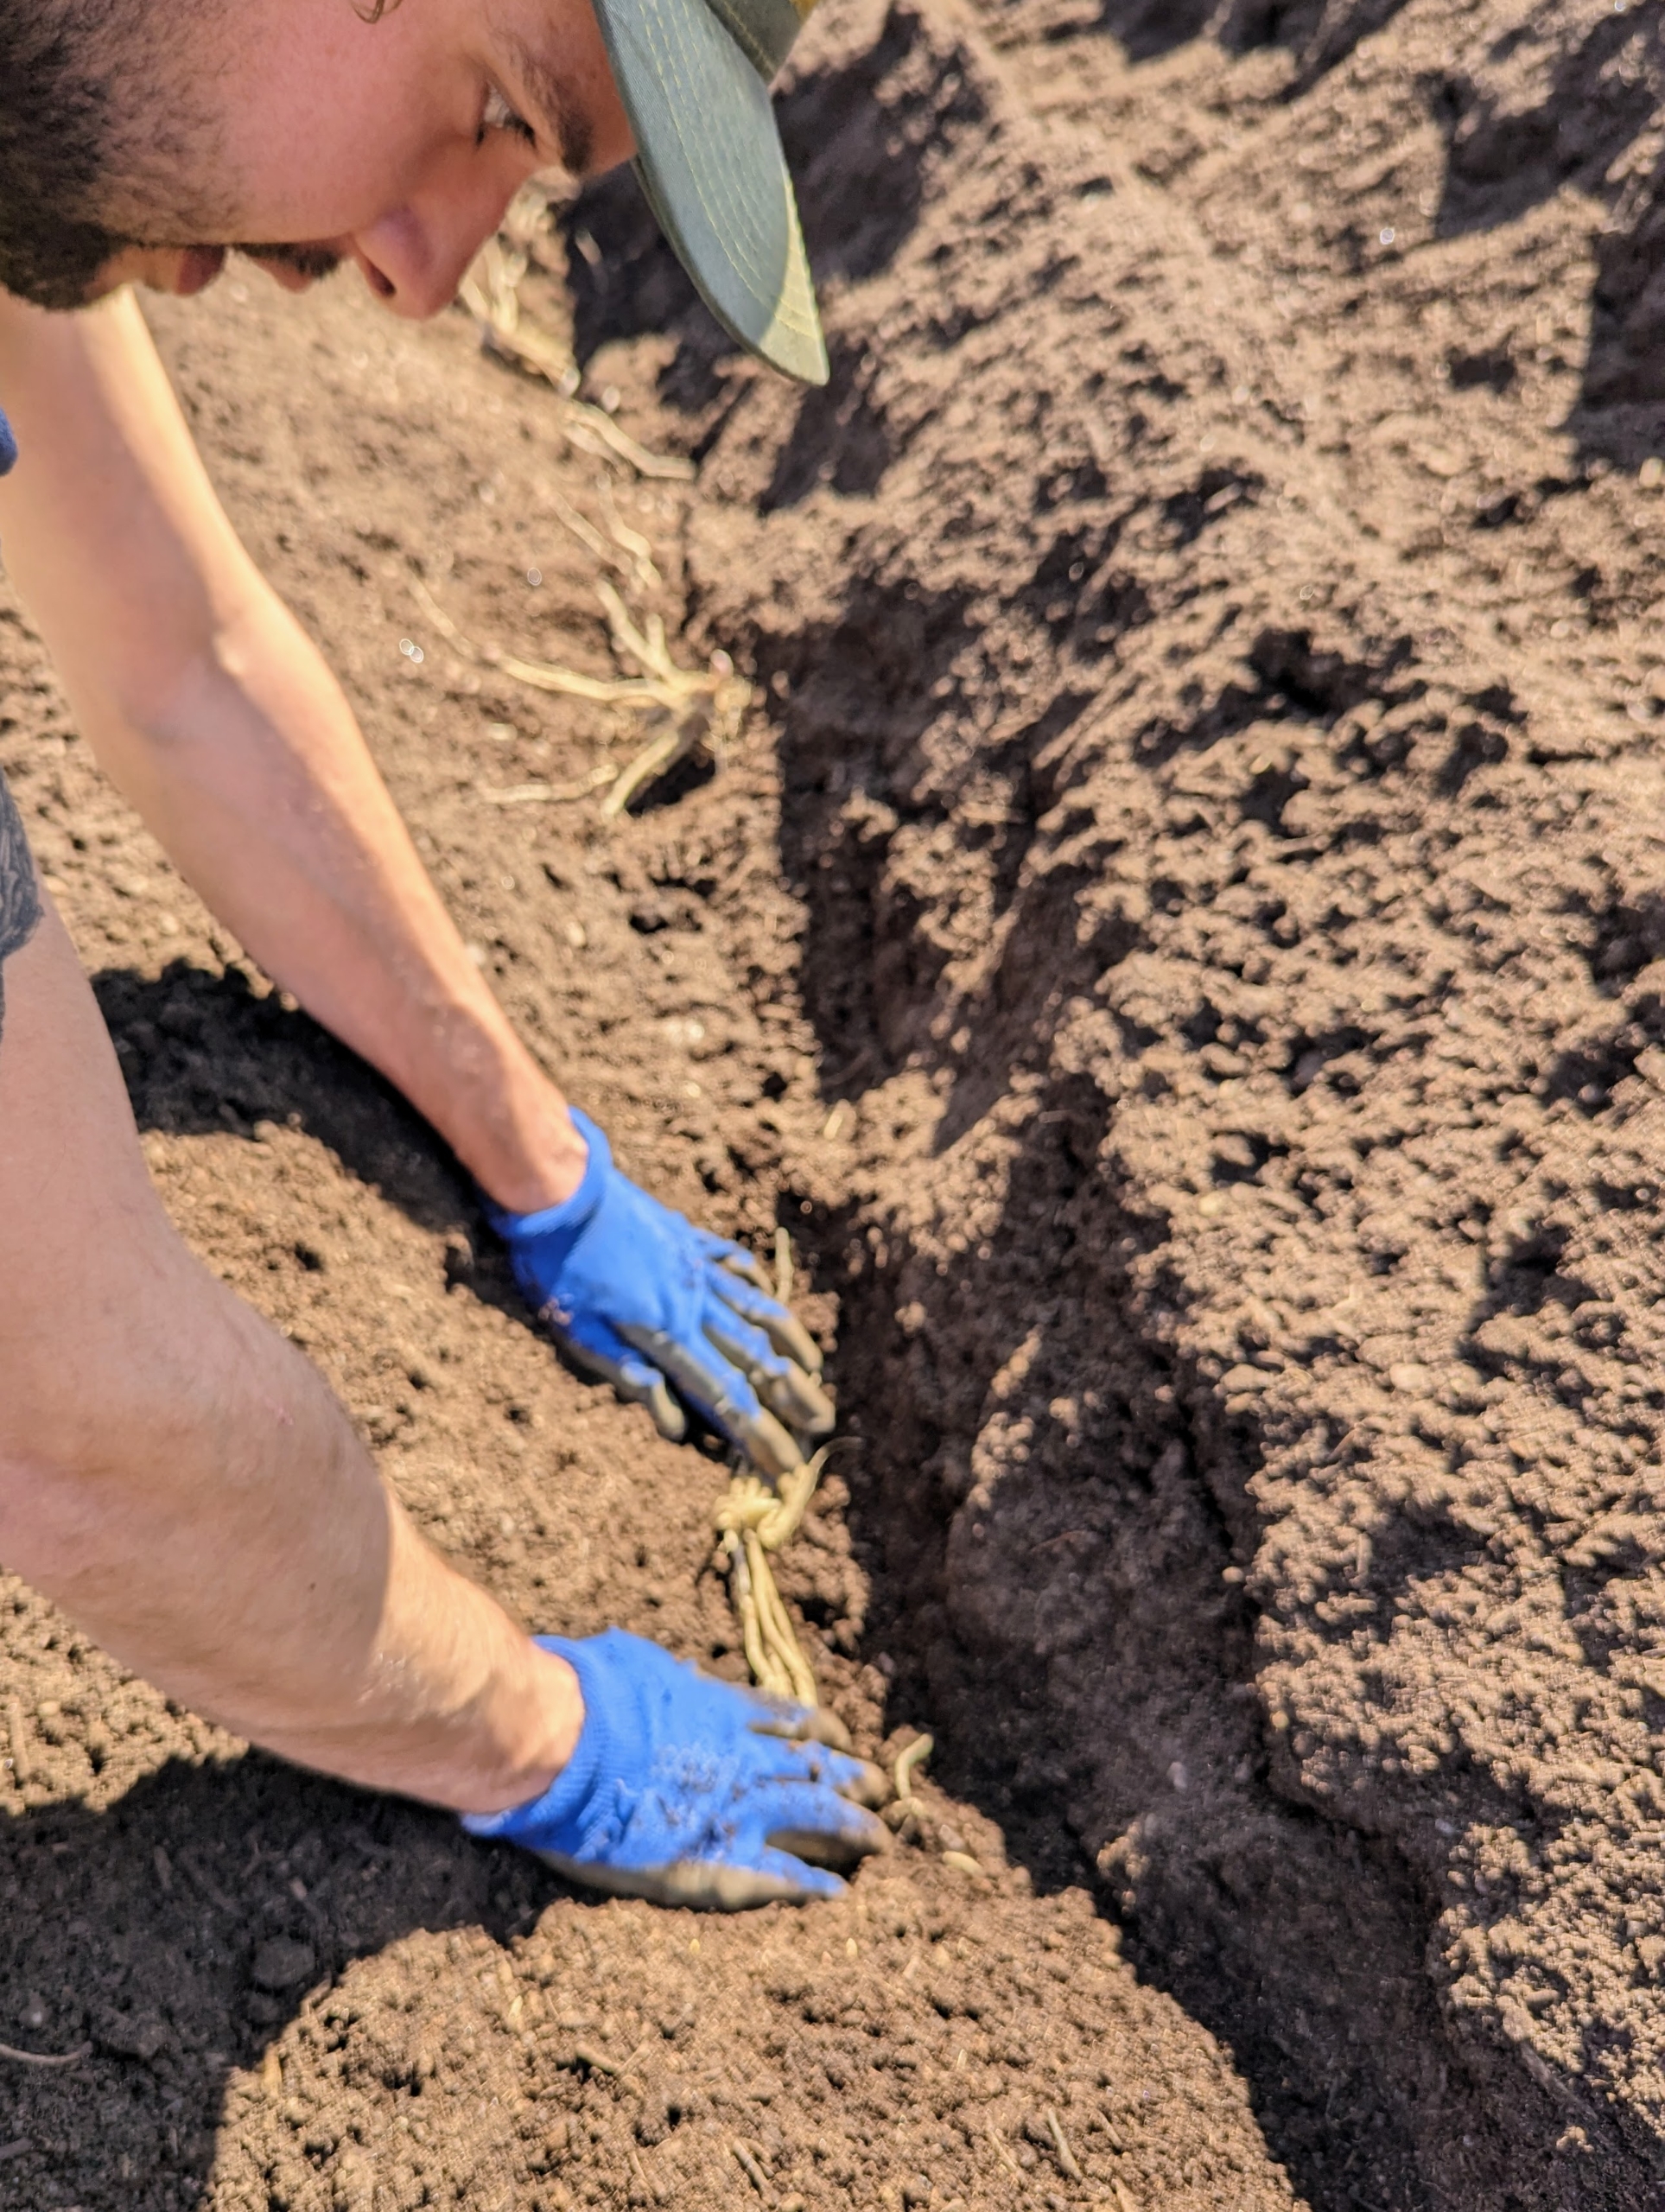
Next, Brian positions each plant. With the bud upright, he splays the roots as best he can.
Here is a closer look. Brian spreads the roots out and lightly presses them down so they stay in place.
Once all the crowns are positioned, Brian covers the row with several inches of soil. As the weeks progress and growth appears, the rows will be backfilled a bit more making sure the tips of the shoots are all but completely covered.
Each row is marked with the variety name.
Brian is careful to backfill, so the splayed asparagus roots are not disturbed.
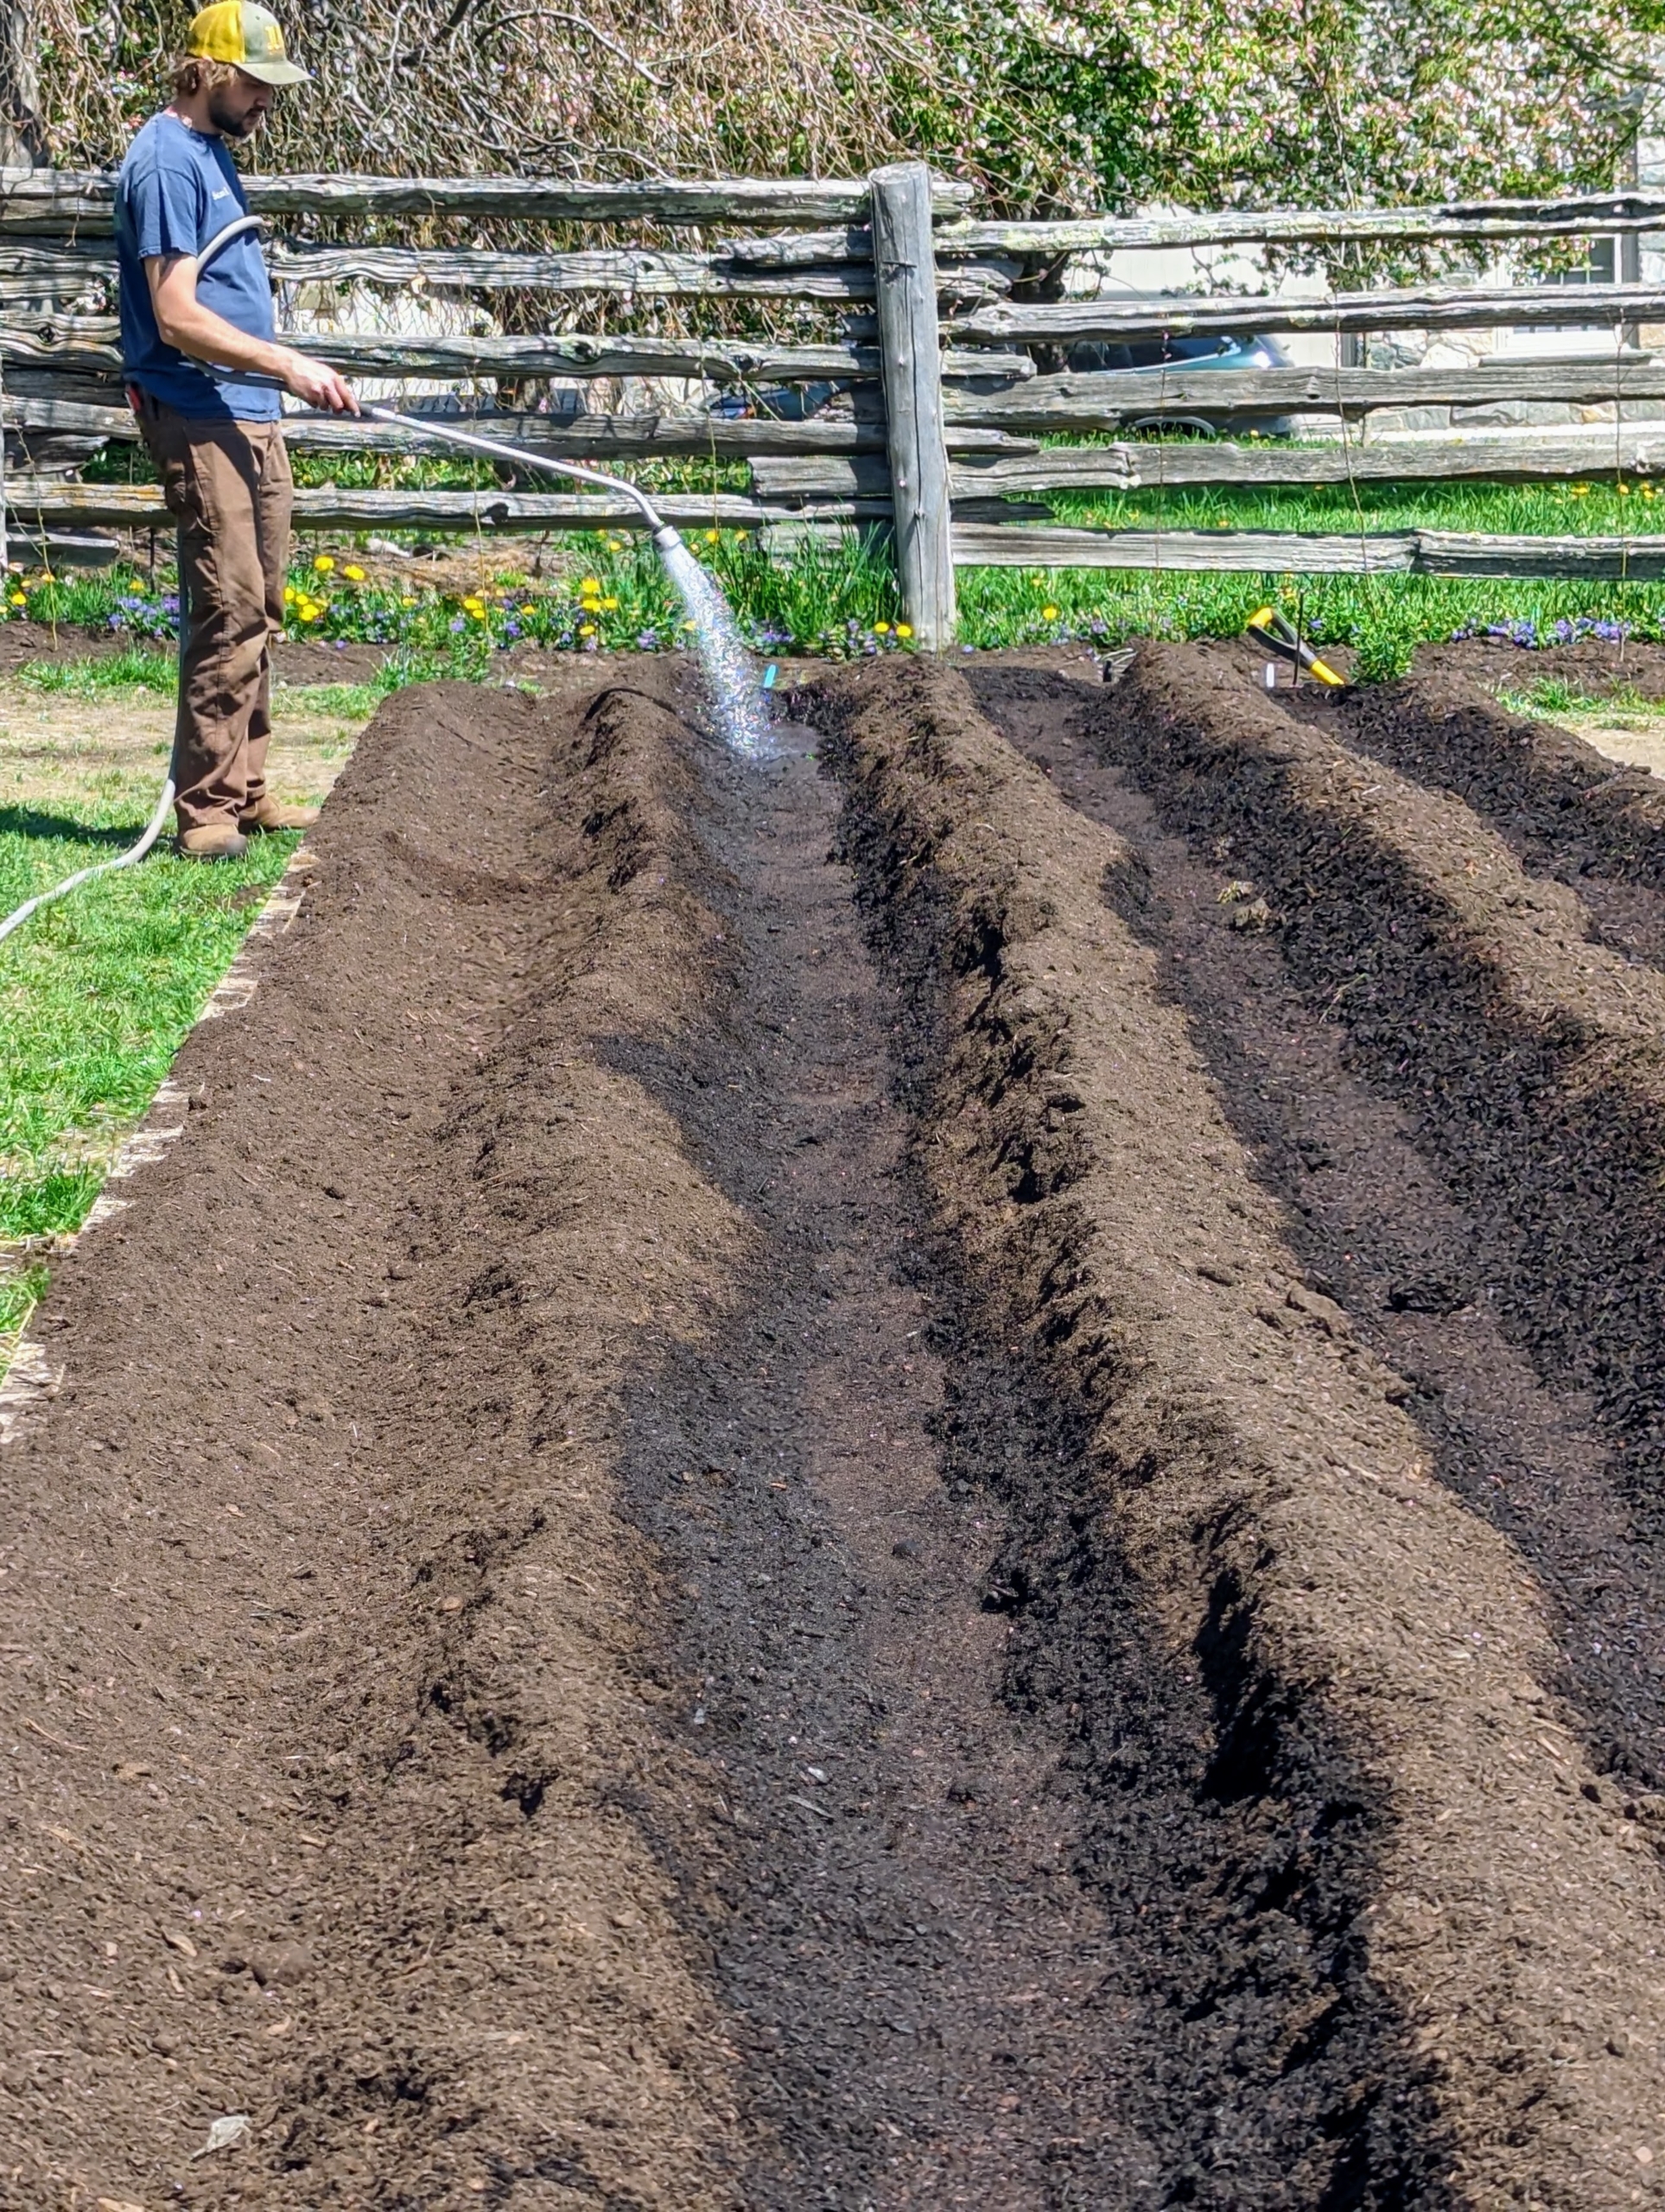
Finally, a good drink. Asparagus beds require consistent soil moisture during the first growing season. Once established, these plants will be relatively low-maintenance. I am looking forward to watching these young tender asparagus crowns develop and thrive.