The gardens are full of color and life at my Bedford, New York farm - so perfect for a spring day gathering.
If you follow me on Instagram @MarthaStewart48, you may have seen my photos. Over the weekend, I hosted a luncheon at my home for a group of 20. My friend, Chef Pierre Schaedelin from PS Tailored Events, and I, planned a delicious menu that included steamed giant artichoke with poached egg and Hollandaise sauce, golden Ossetra caviar with brioche melba toasts and crème fraîche, heirloom tomato, comté and Gruyère tart with jumbo green asparagus and honey-lemon dressing. And for dessert, we had palmiers with baked pink rhubarb and homemade sorbet along with coffee and tea. It was a delicious meal.
Here are some photos.
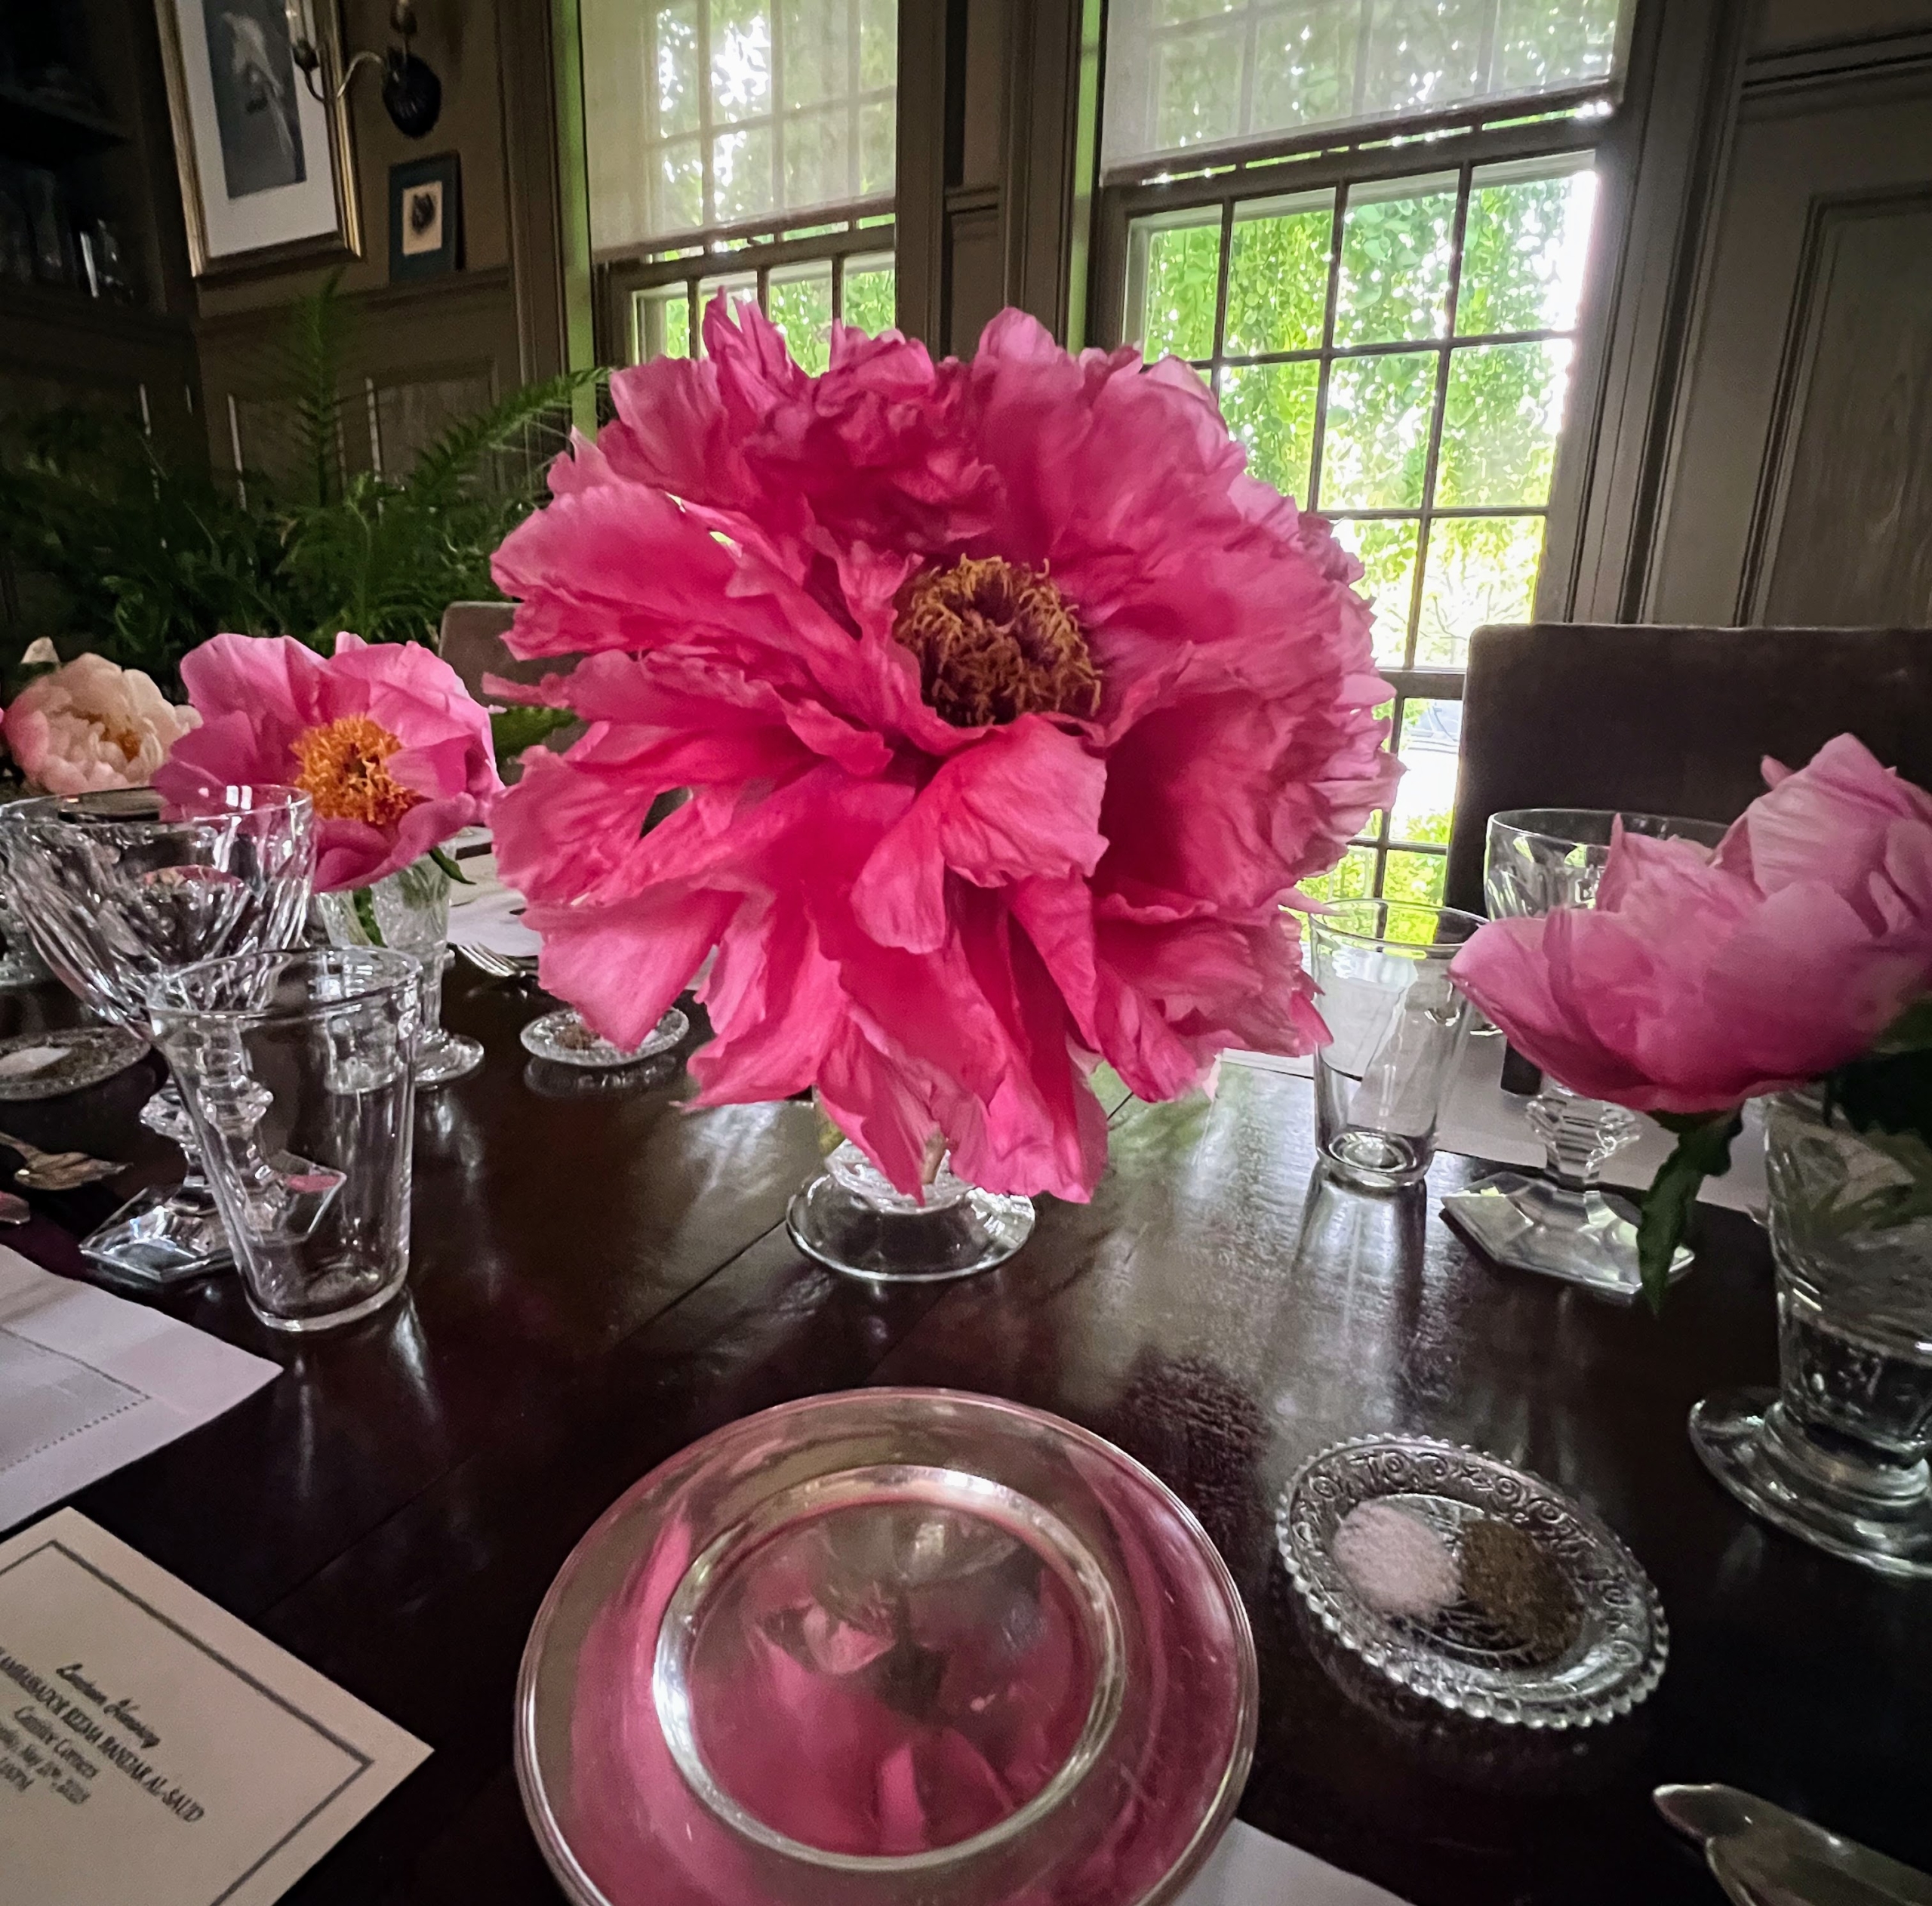
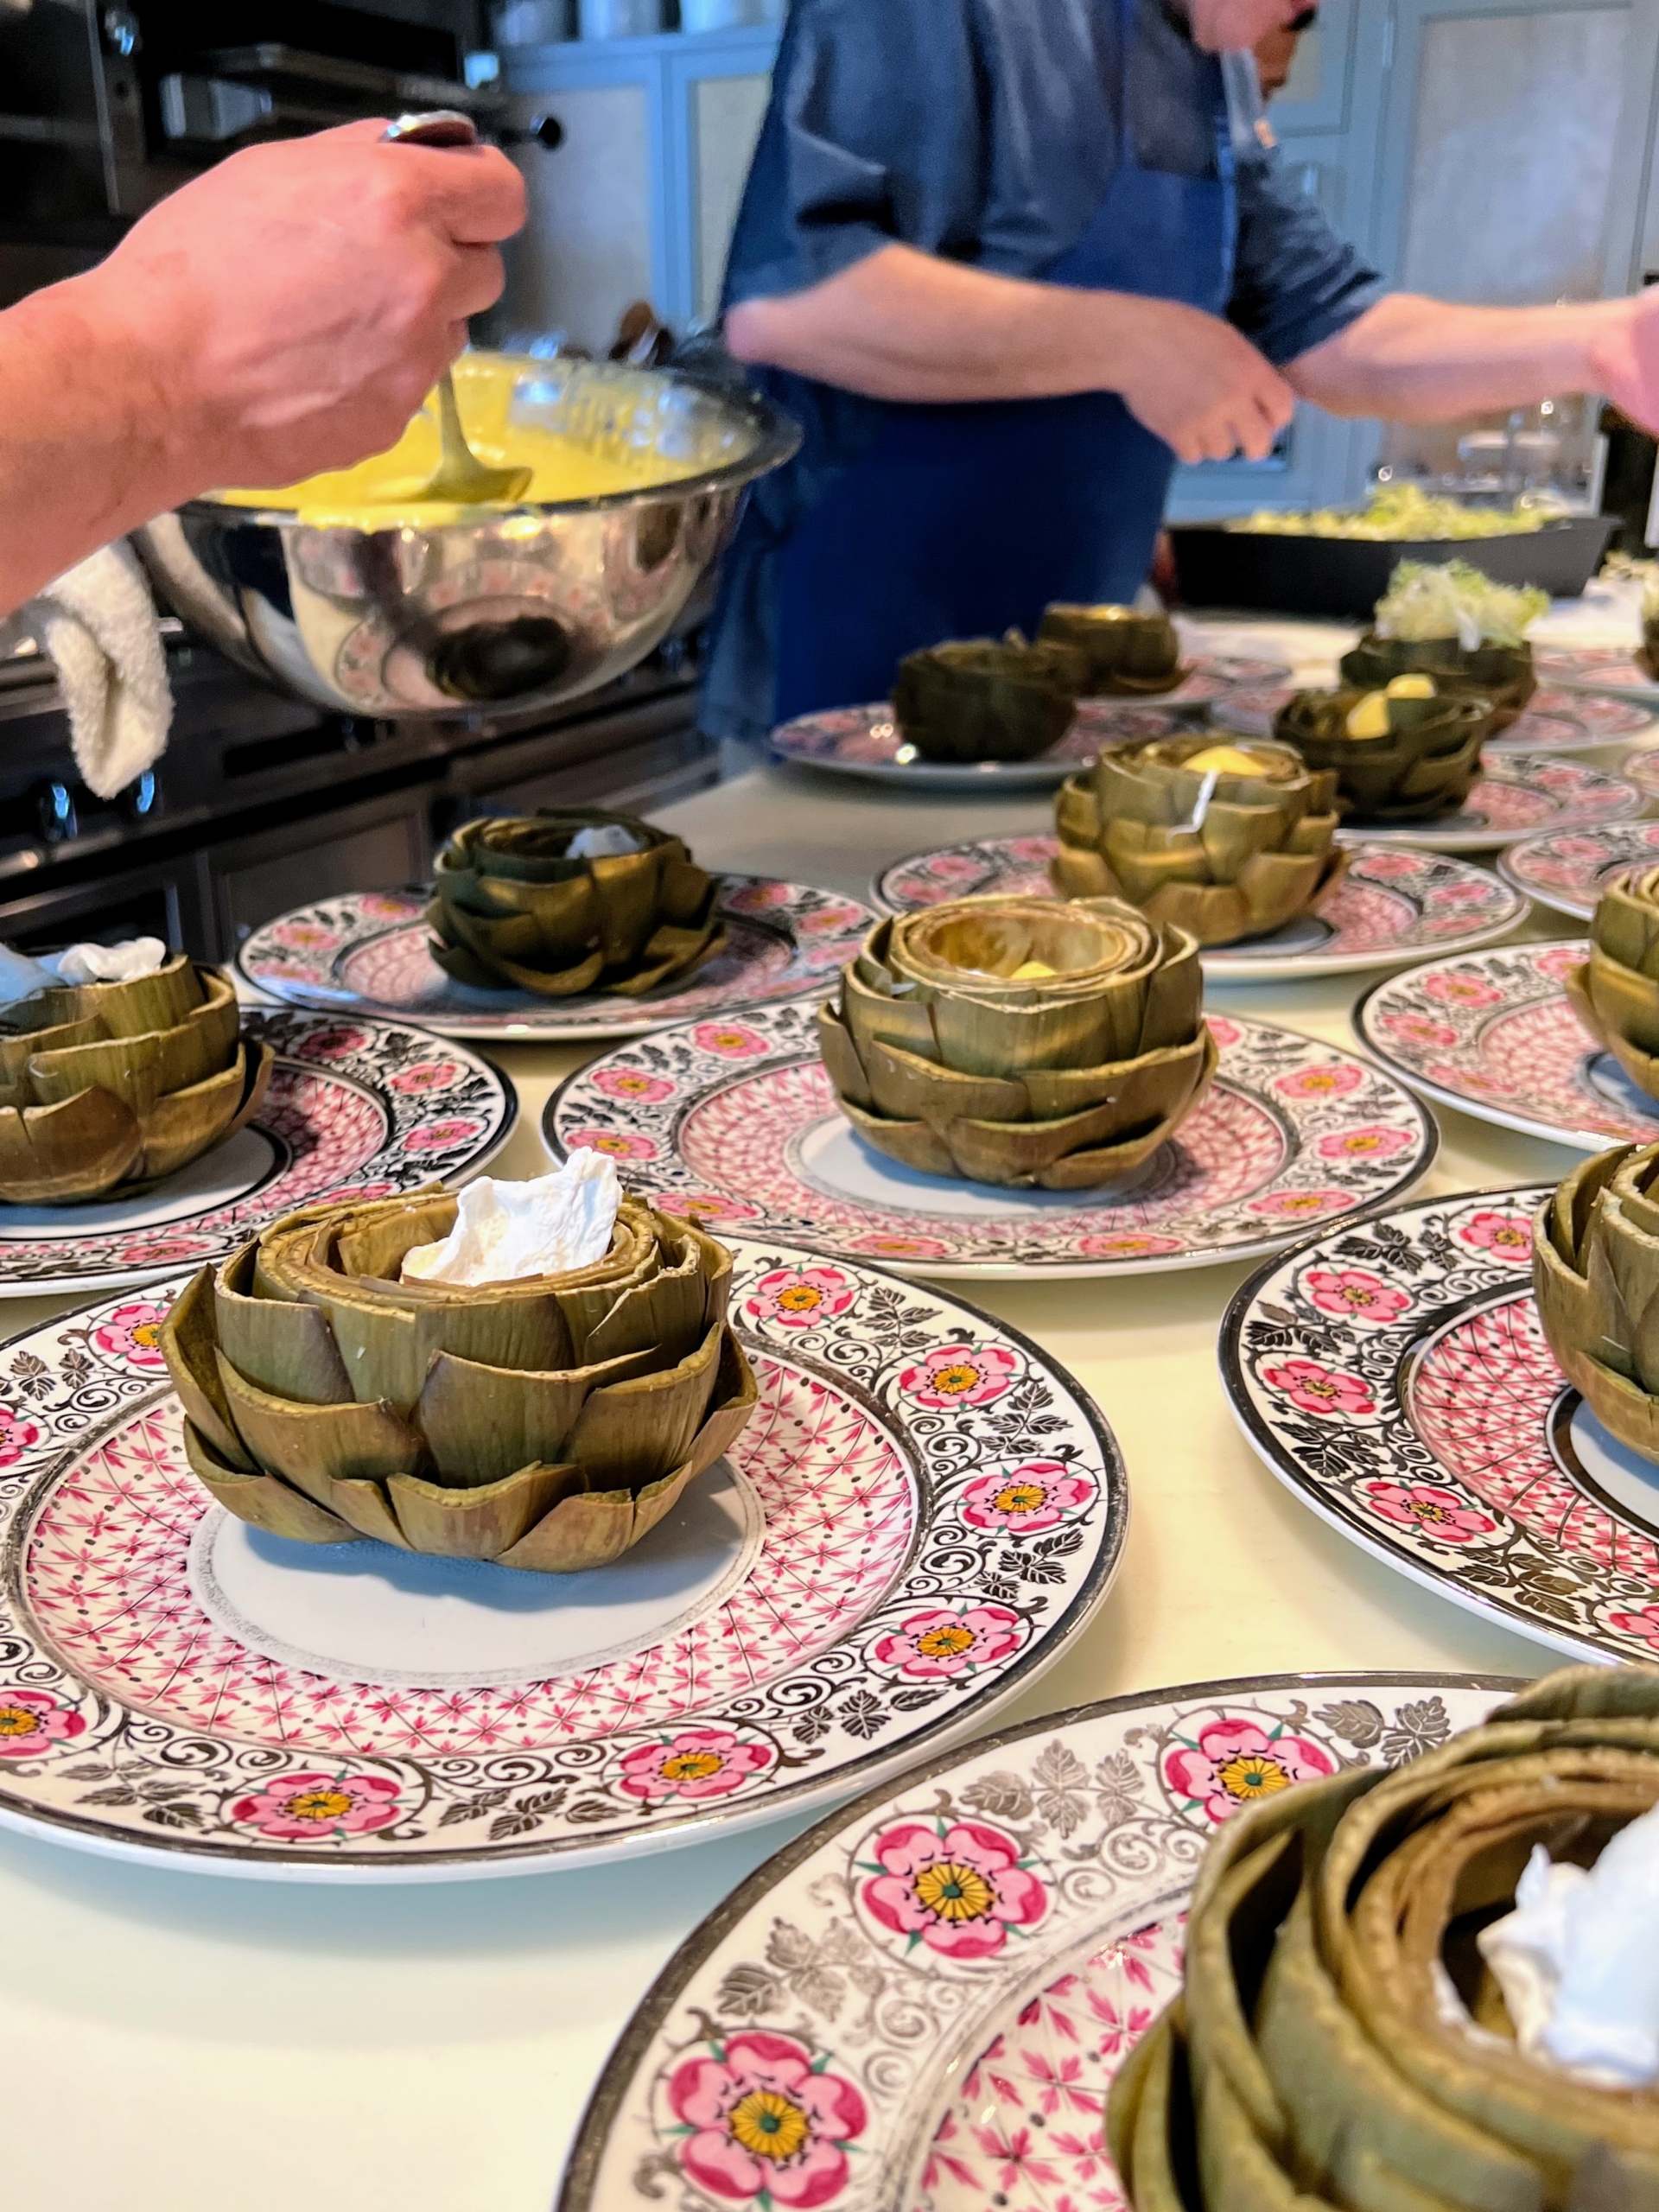
Here I am in my Brown Room the morning of my luncheon. My housekeepers and I always work on the table settings together. We try to make each one different and beautiful.
And if we can, we always try to incorporate some freshly cut flowers from my gardens. These are some of the first herbaceous peonies to bloom this season. These bold pink blooms were cut just hours before guests arrived and then placed in small glass vessels the entire length of the Brown Room dining table – it looks so cheerful and inviting.
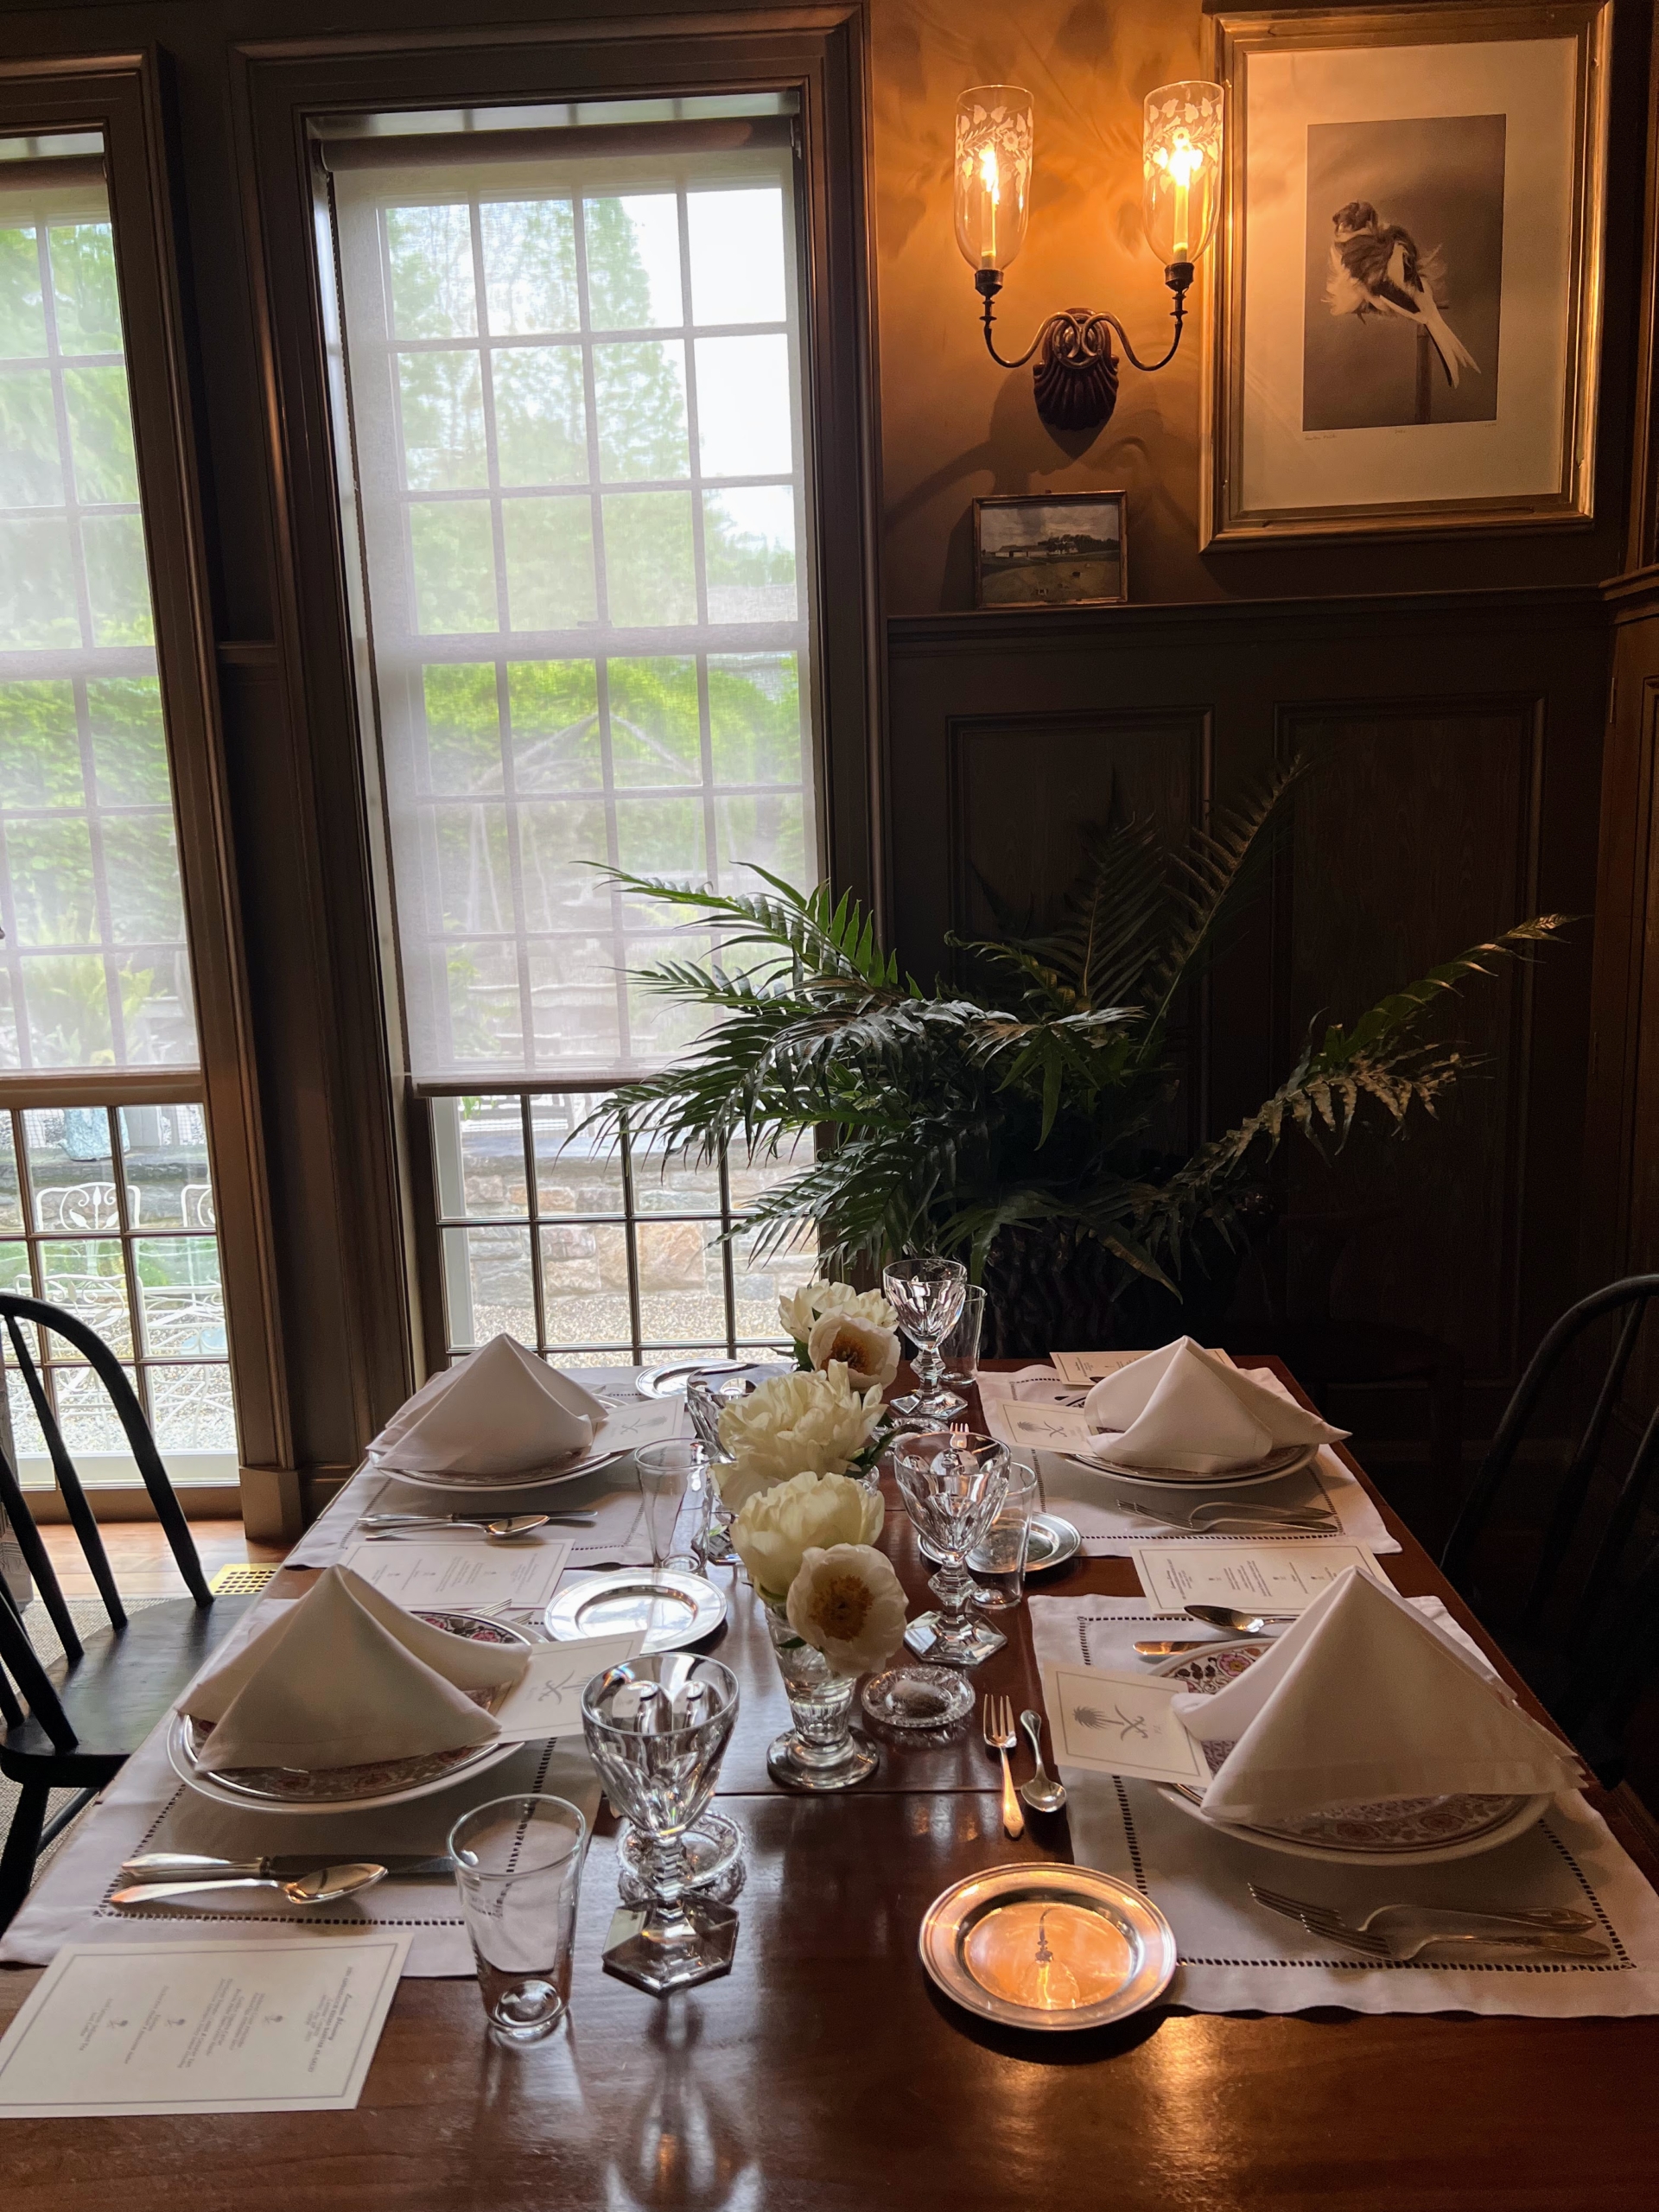
A second table was set on the opposite side of the room – also with charming cut flowers from the garden.
On this second table, we used white peonies. When using peonies for cut flowers, gather them early in the morning, and always cut the stems at an angle before placing them in water.
This arrangement on my kitchen counter is made of azaleas in various shades of orange and yellow.
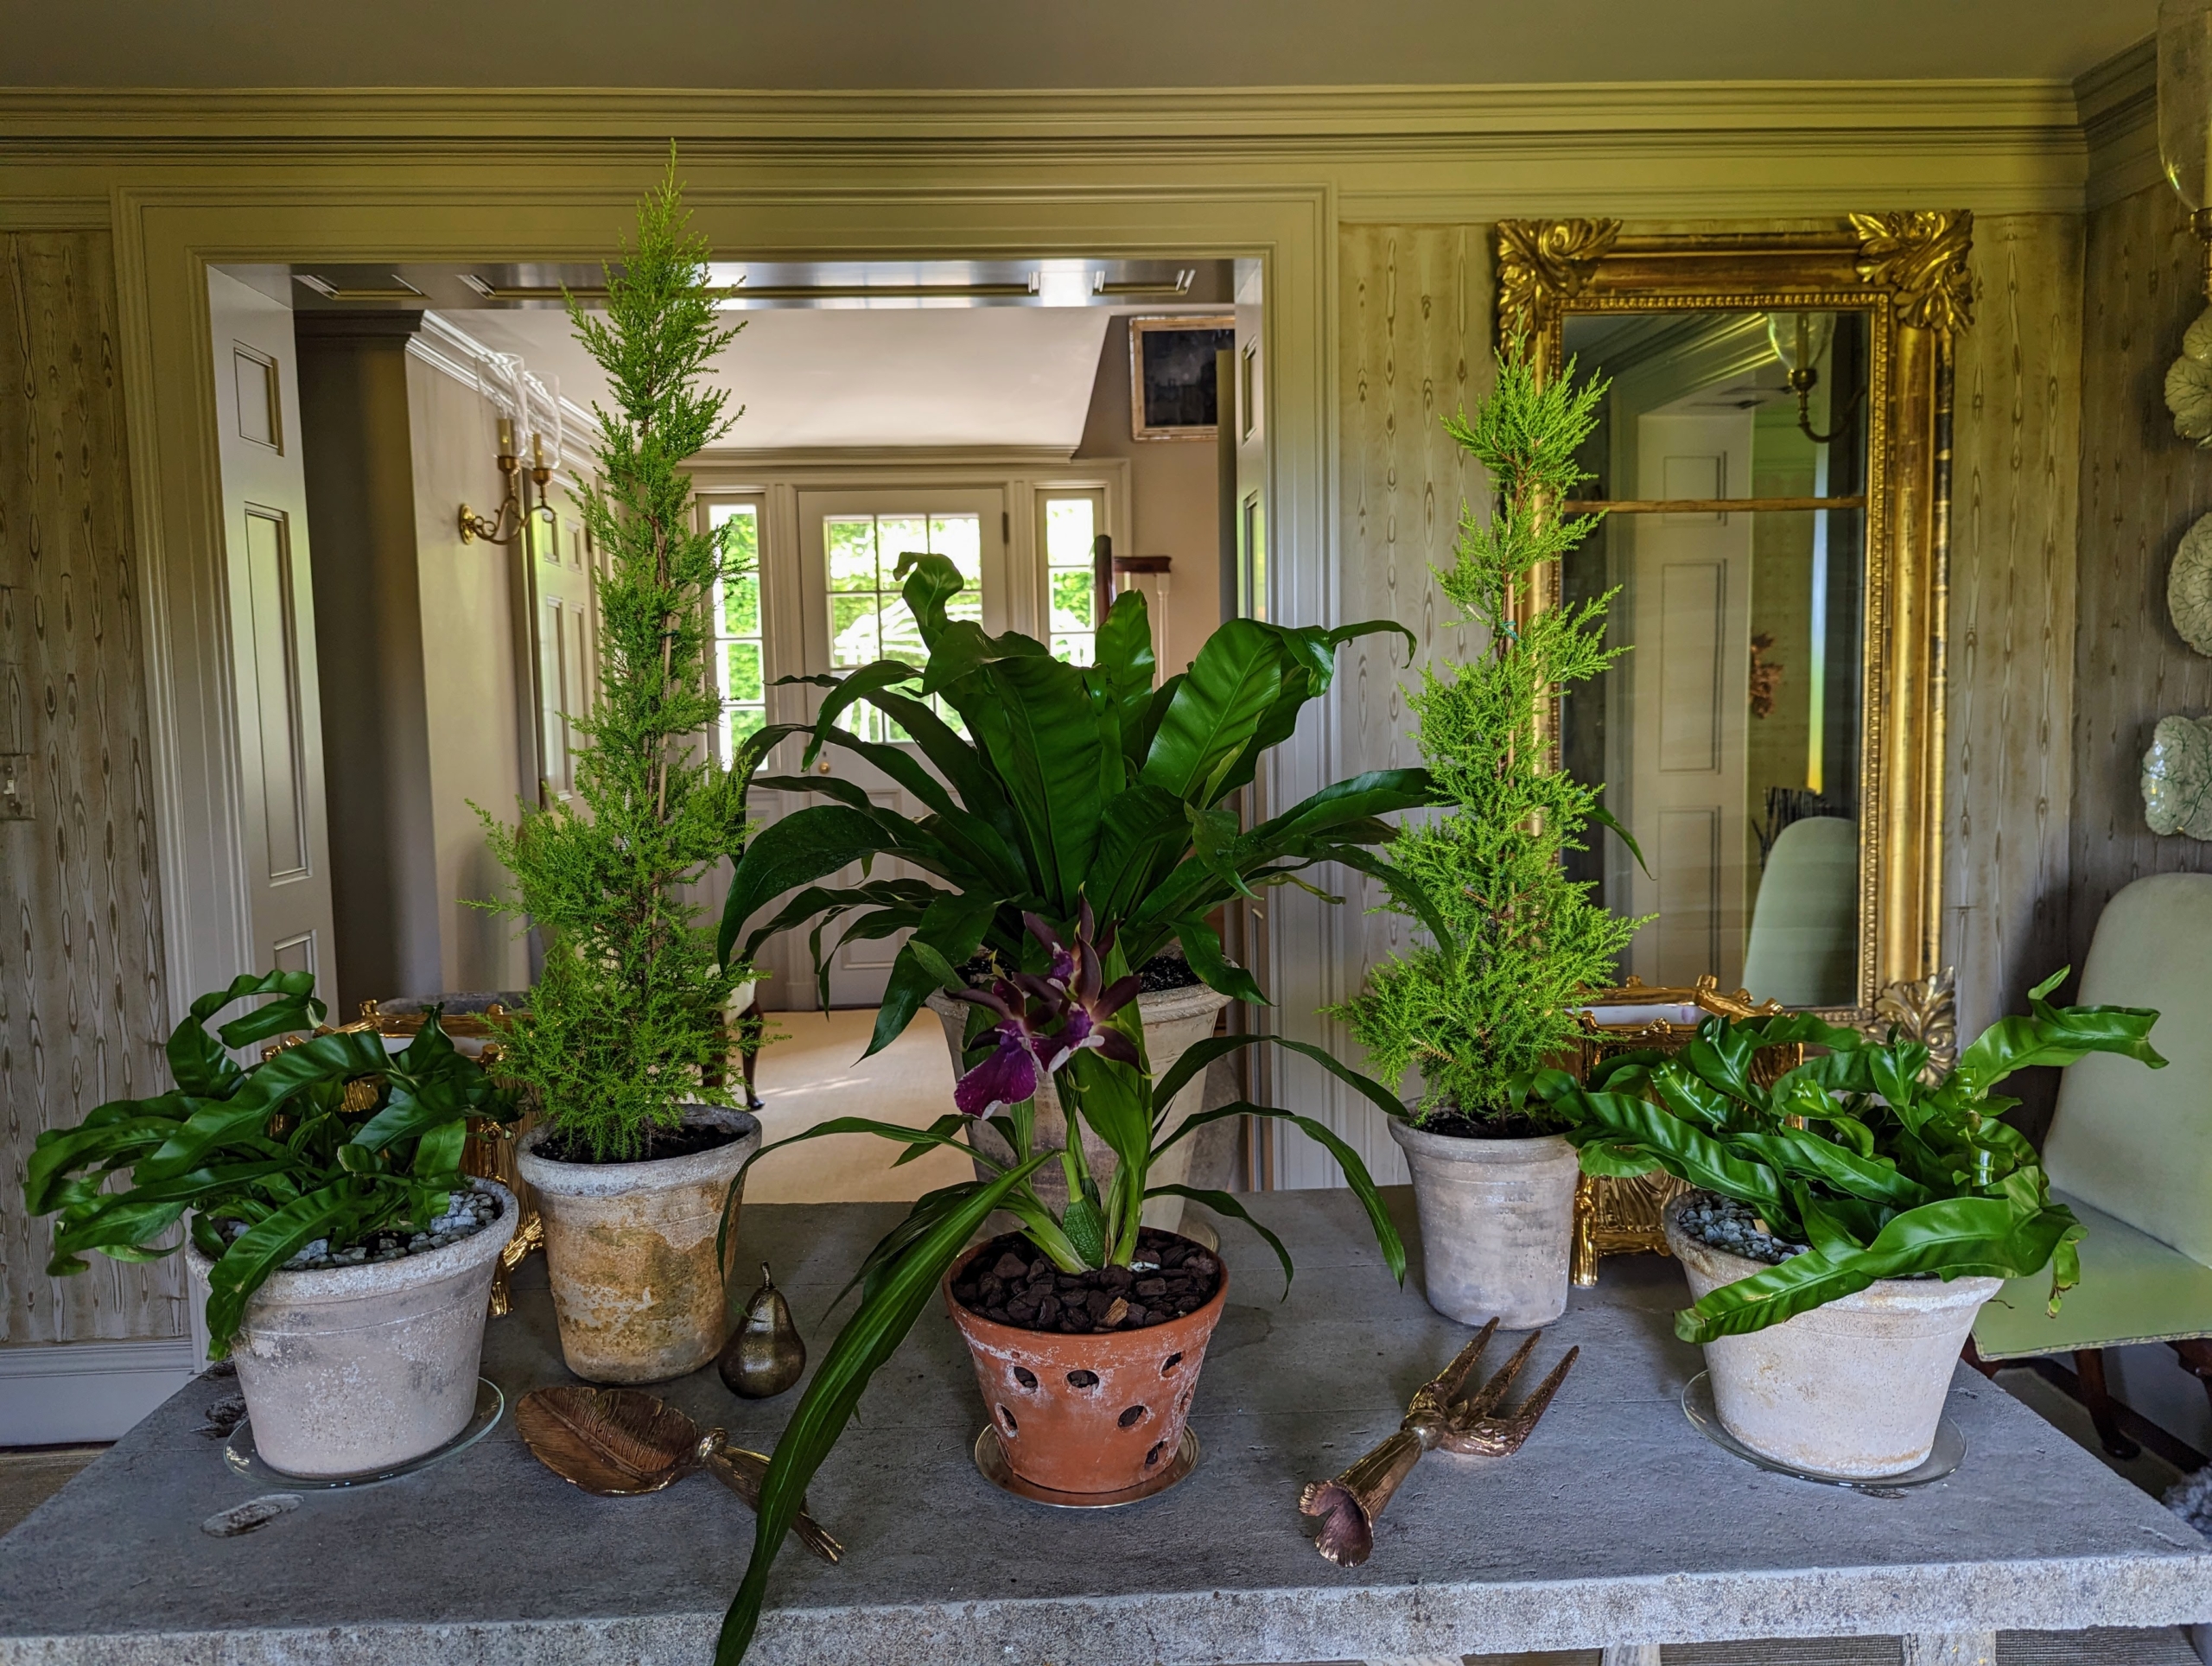
My head gardener, Ryan McCallister, also added various houseplants to decorate the rooms.
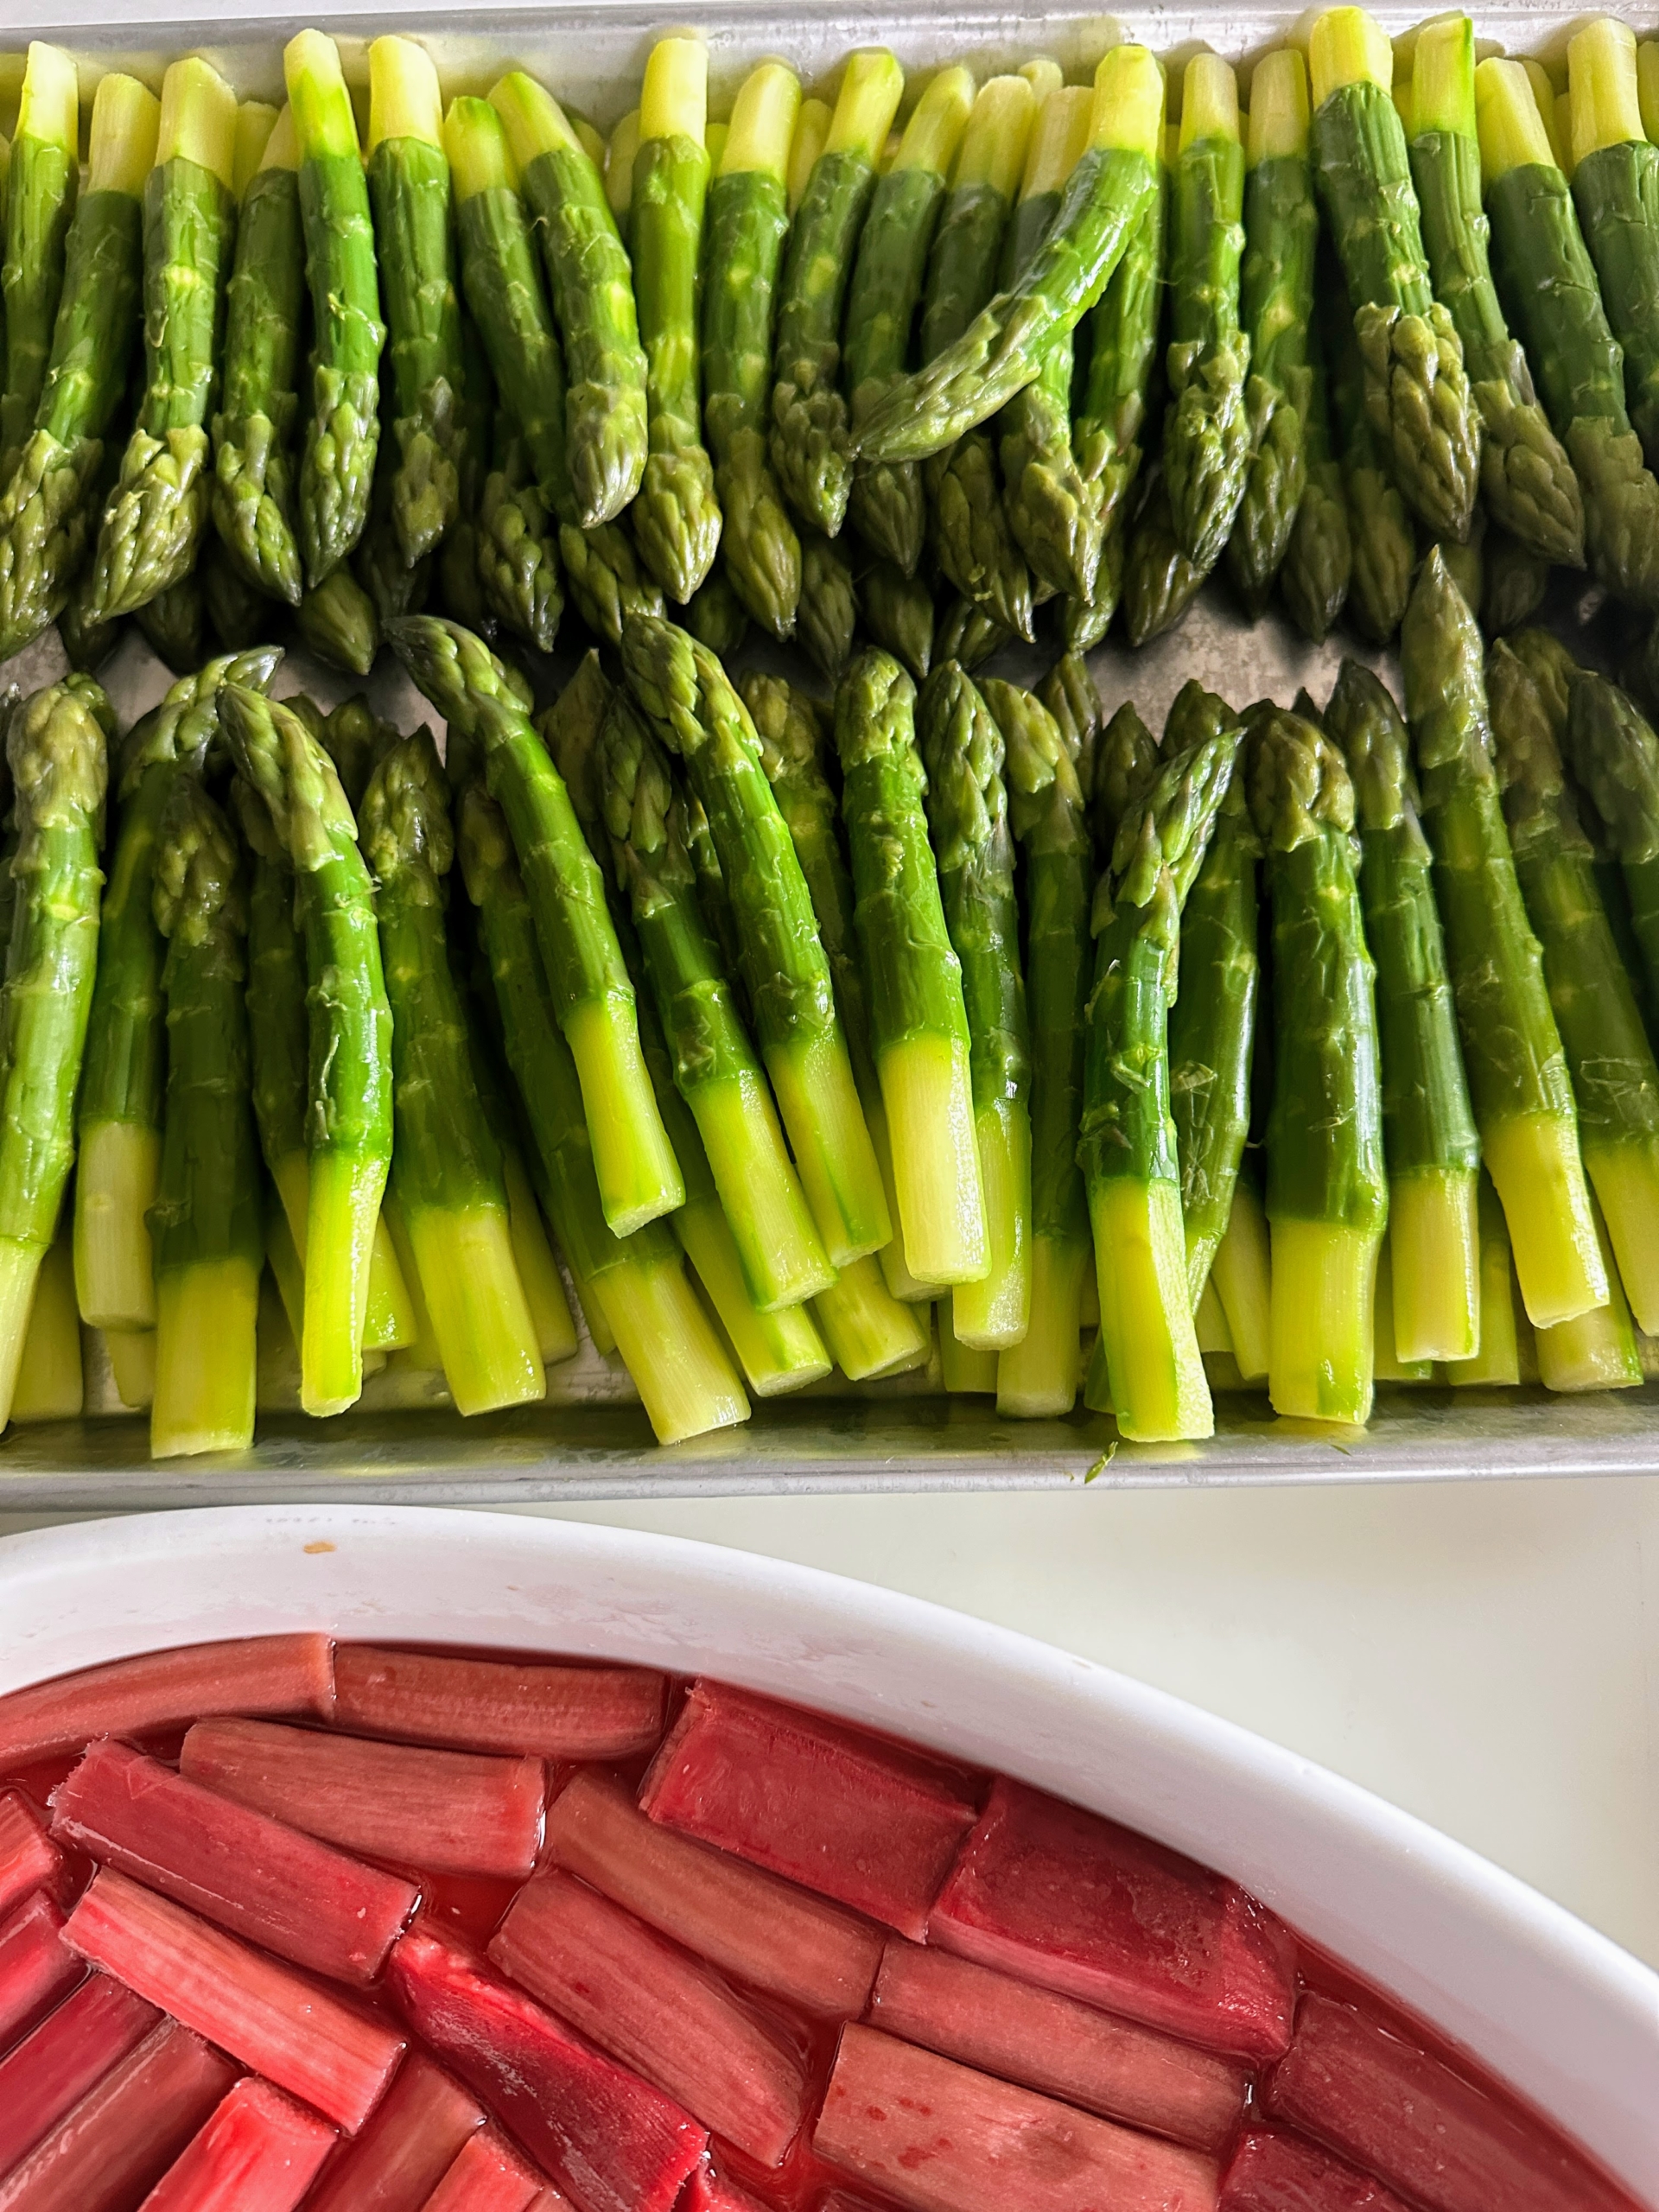
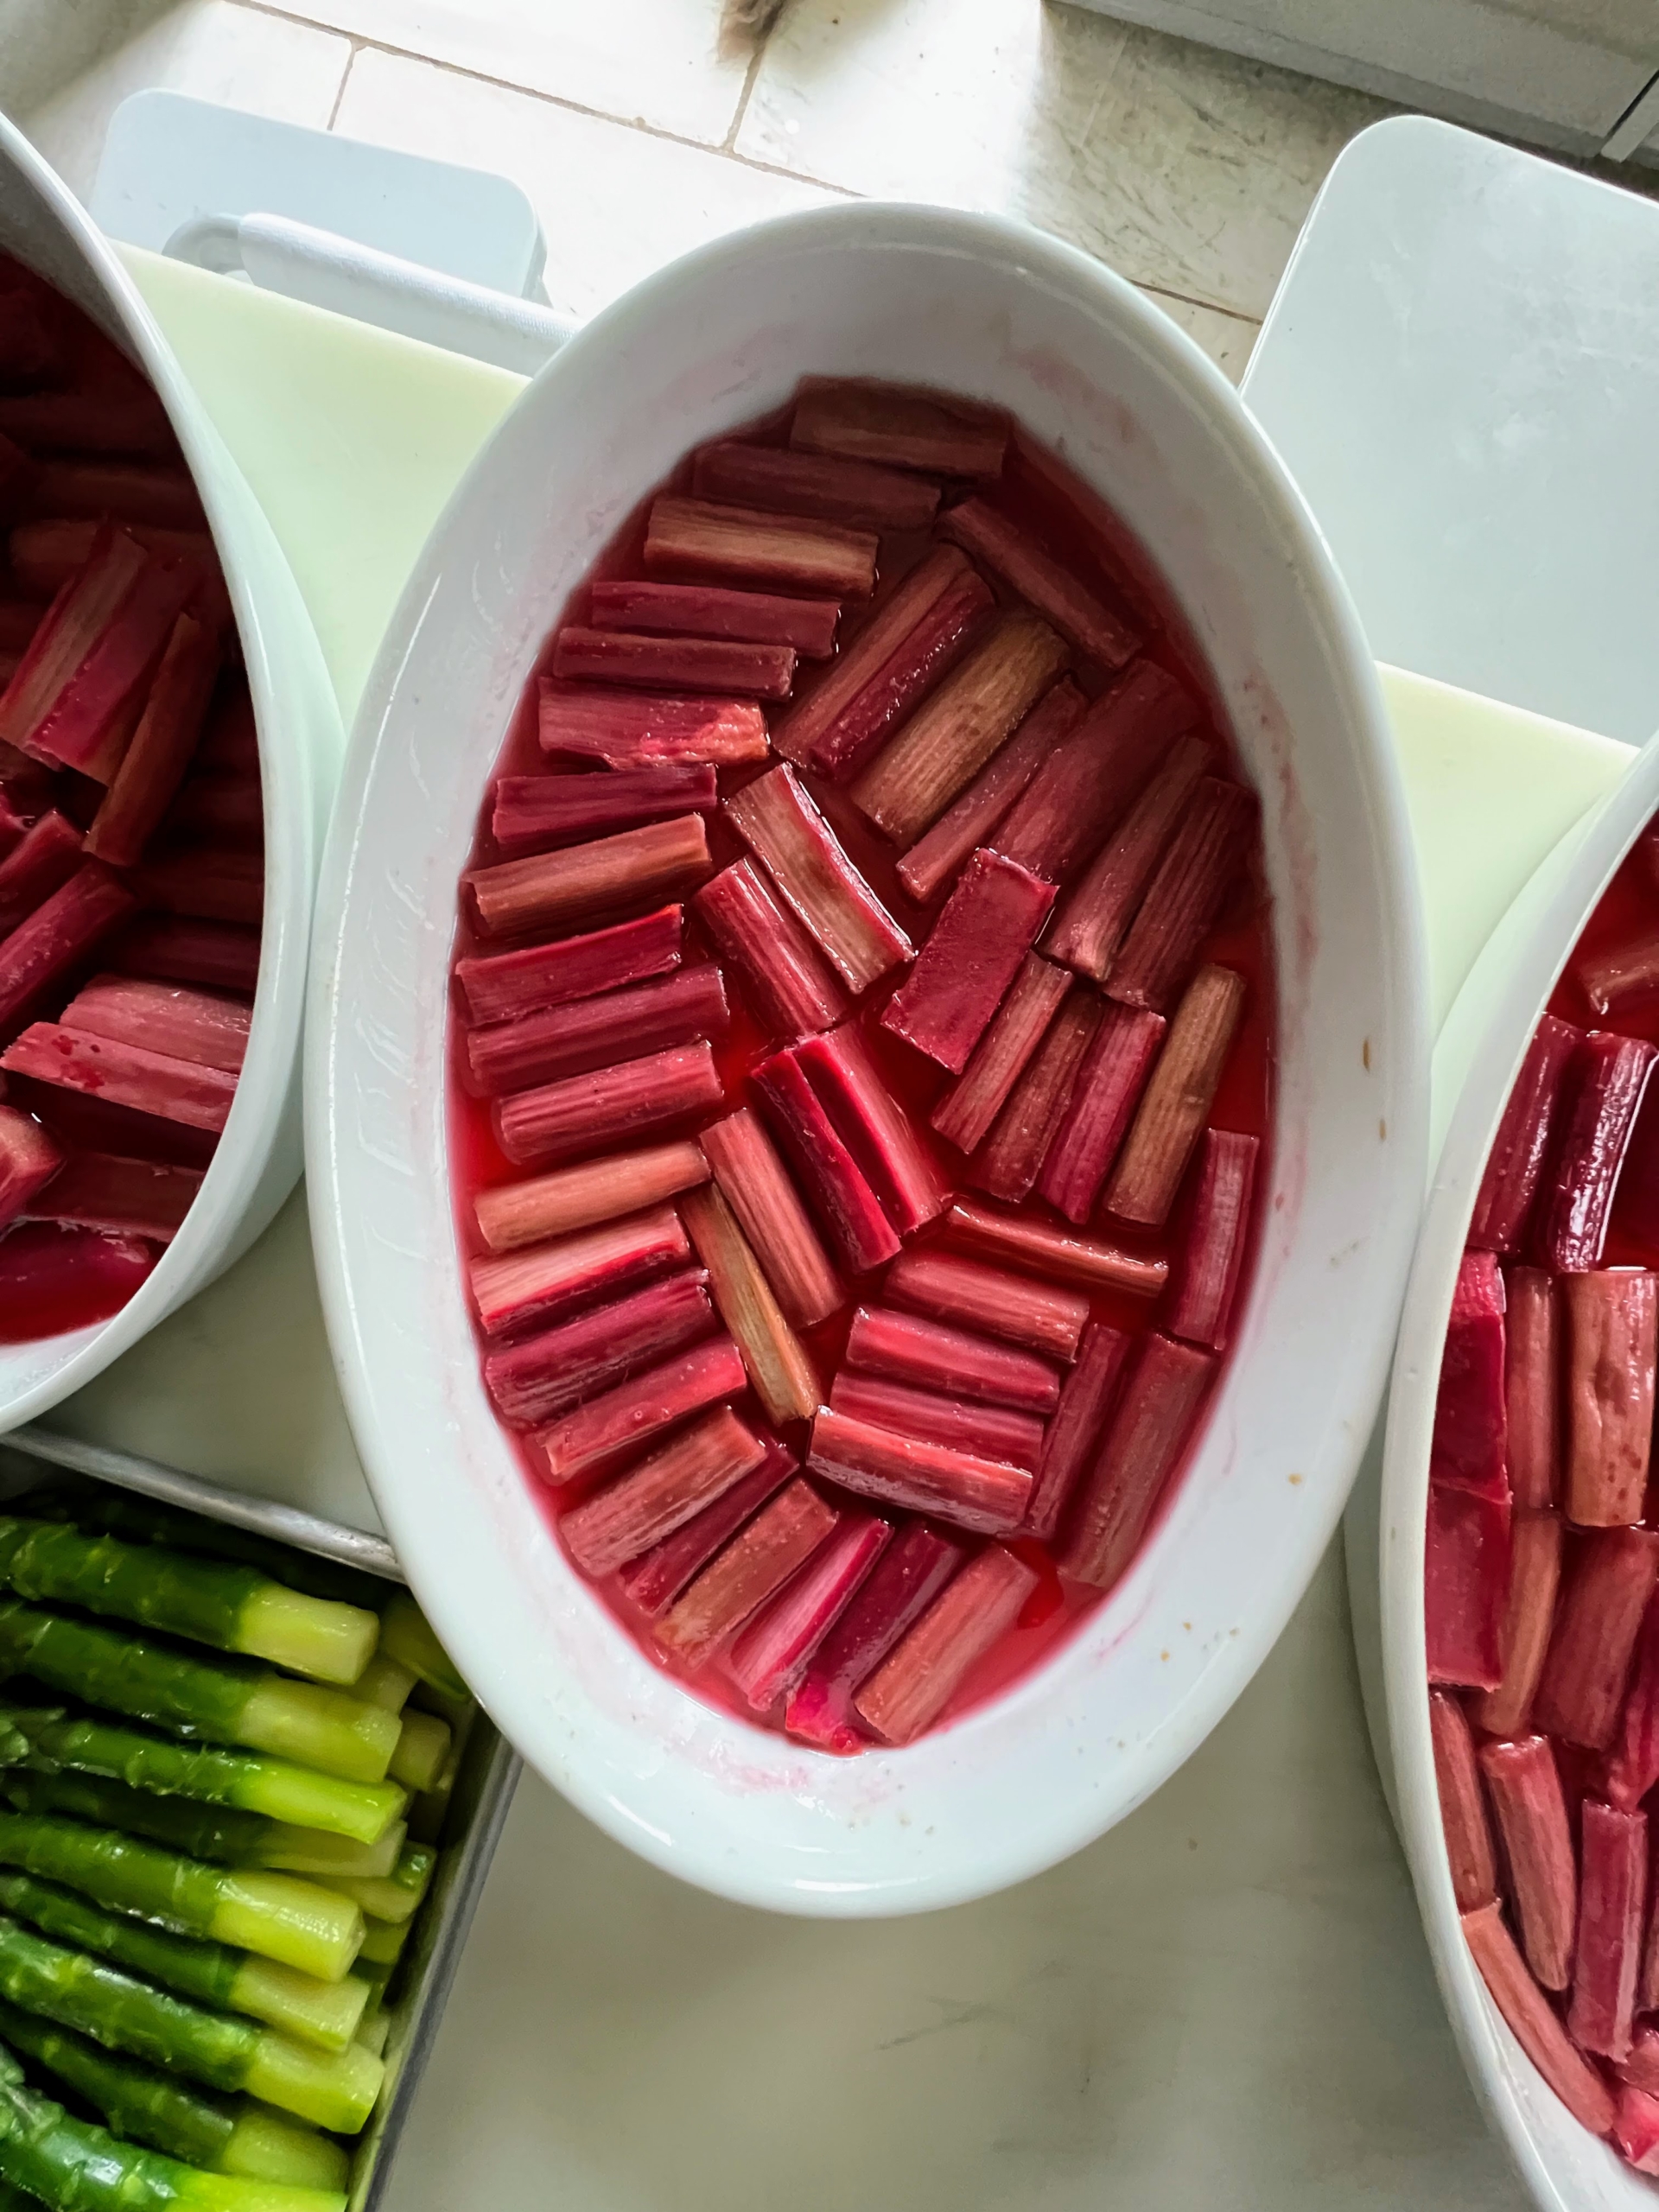
In my Winter House kitchen, Chef Pierre prepares all the asparagus from Mister Spear in Stockton, California. Look how big these stalks are. I like to trim an inch and a half off the bottoms of the asparagus stalks and then blanch or steam them.
And here is the fresh rhubarb cut into pieces and baked for the dessert.
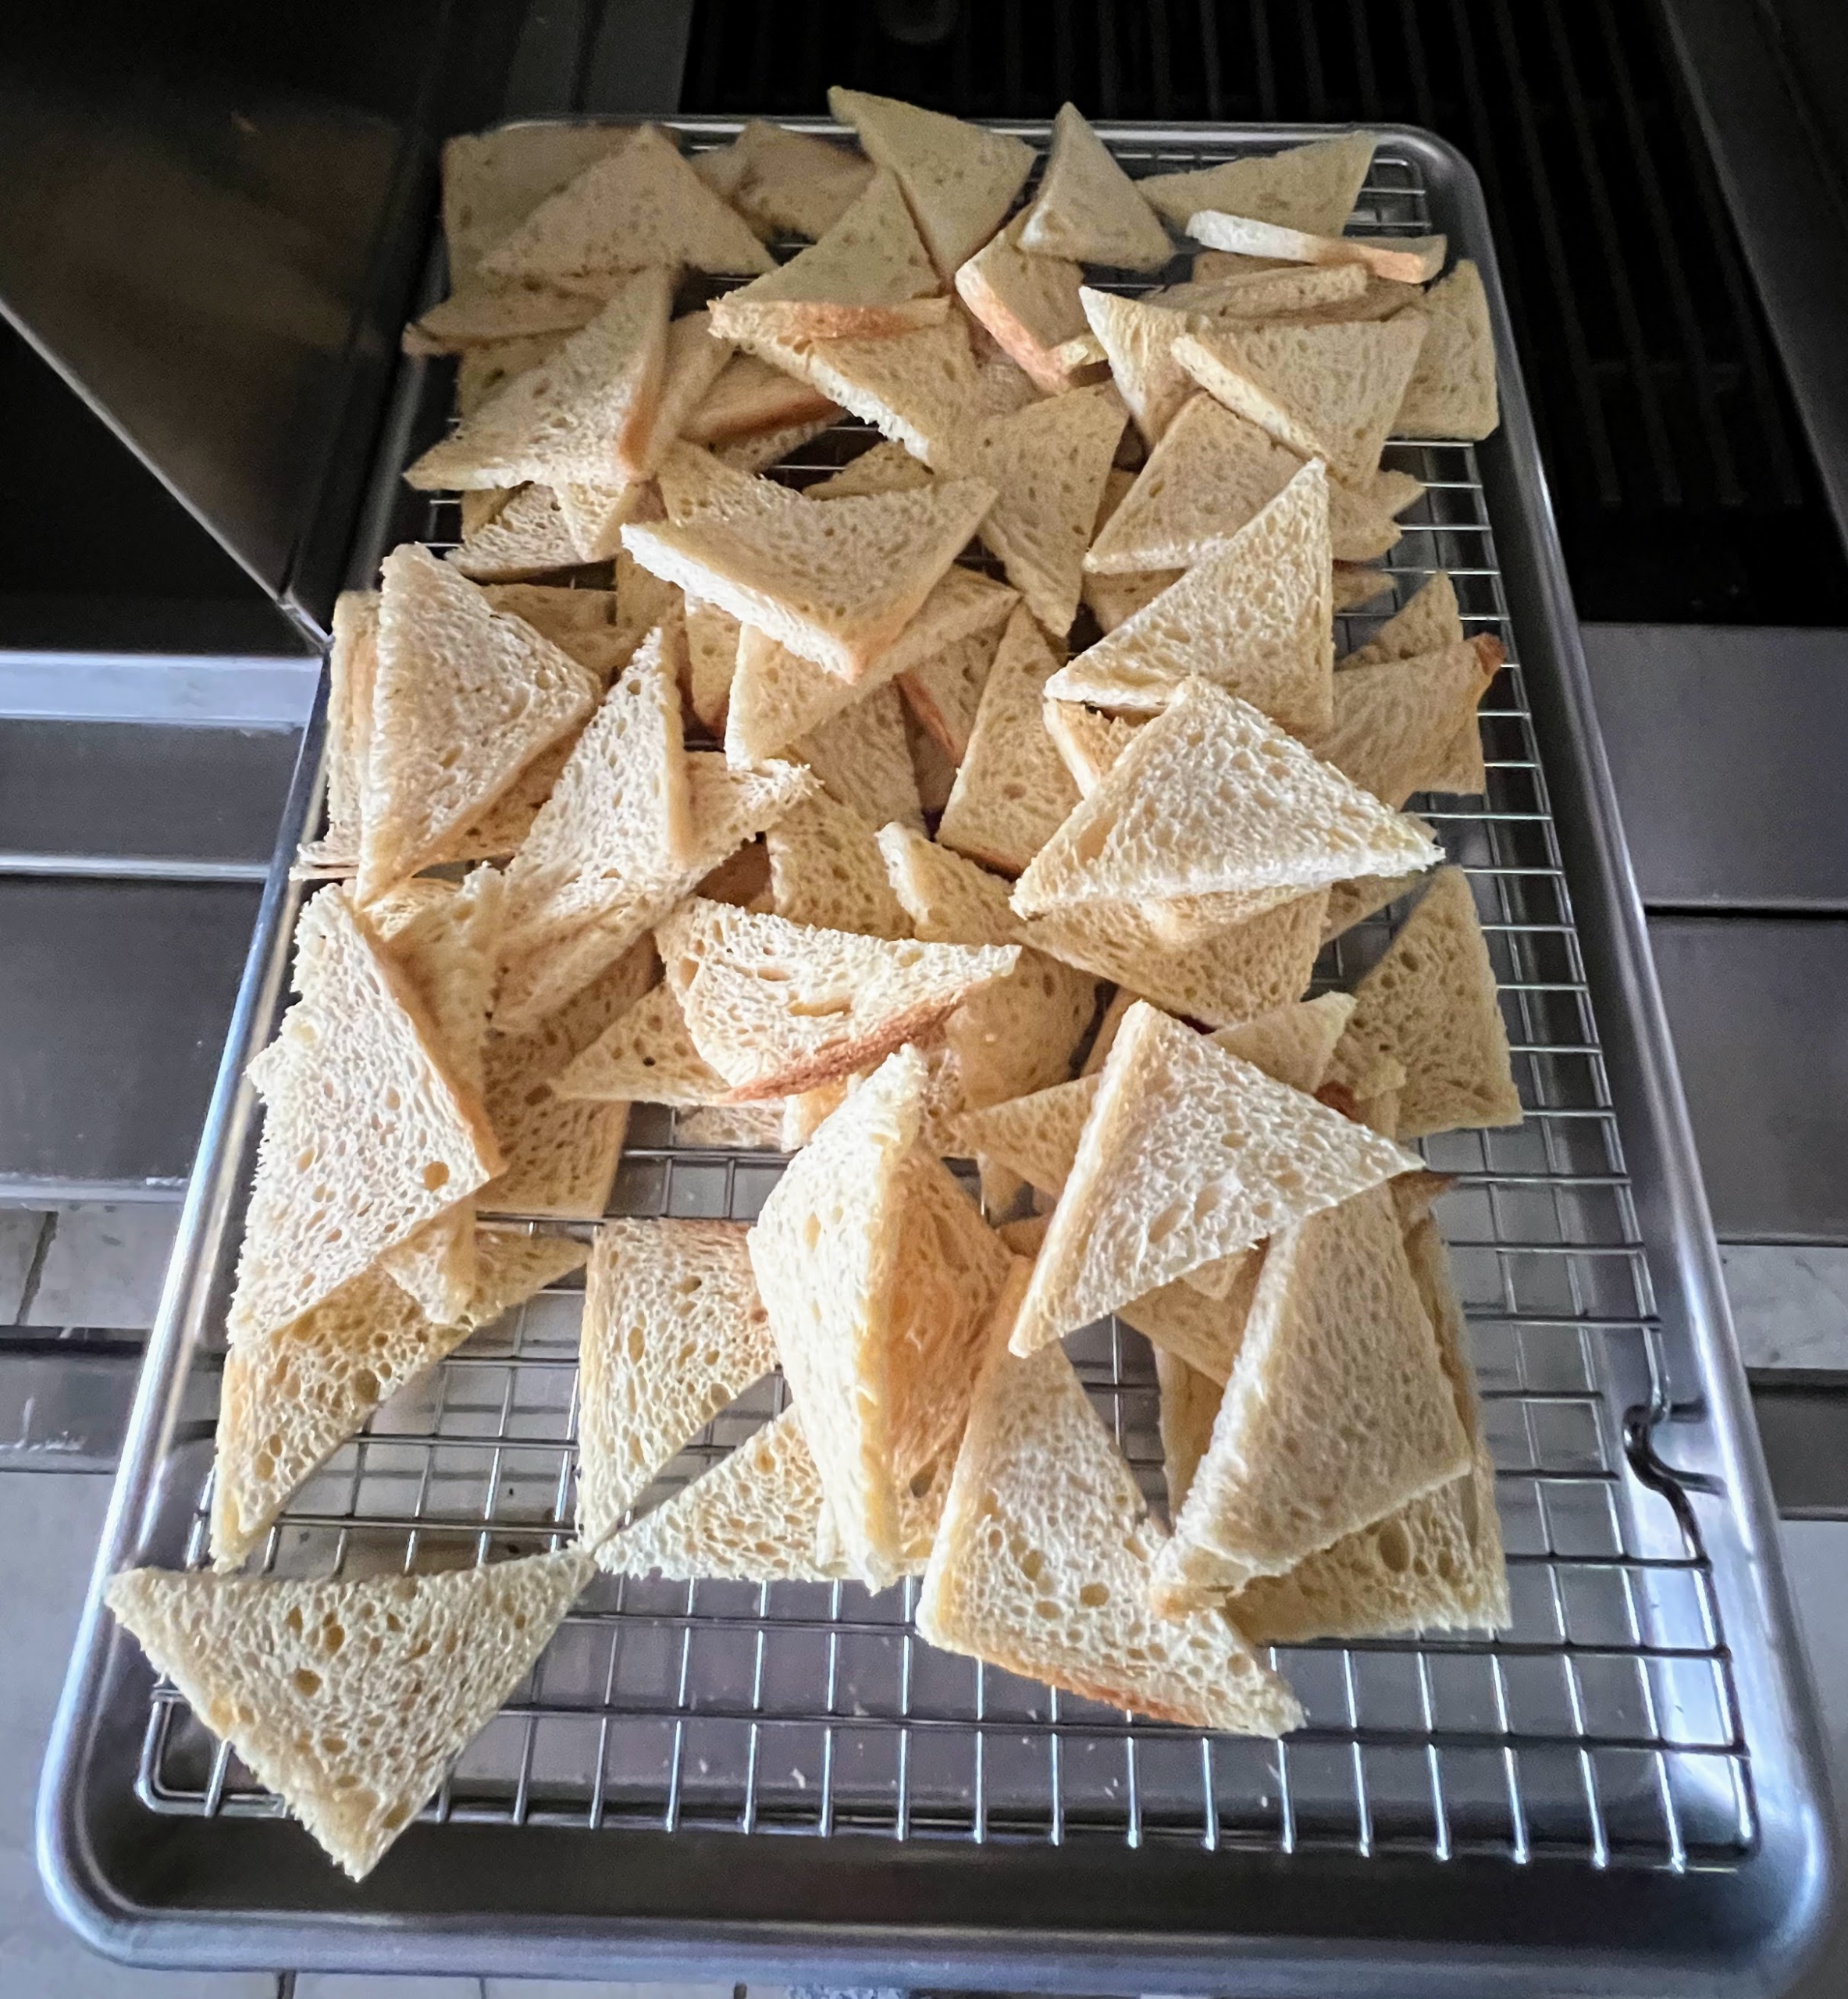
Triangular melba toasts prepared for the Ossetra caviar.
Pierre also prepared several tomato tarts – enough for all my hungry guests.
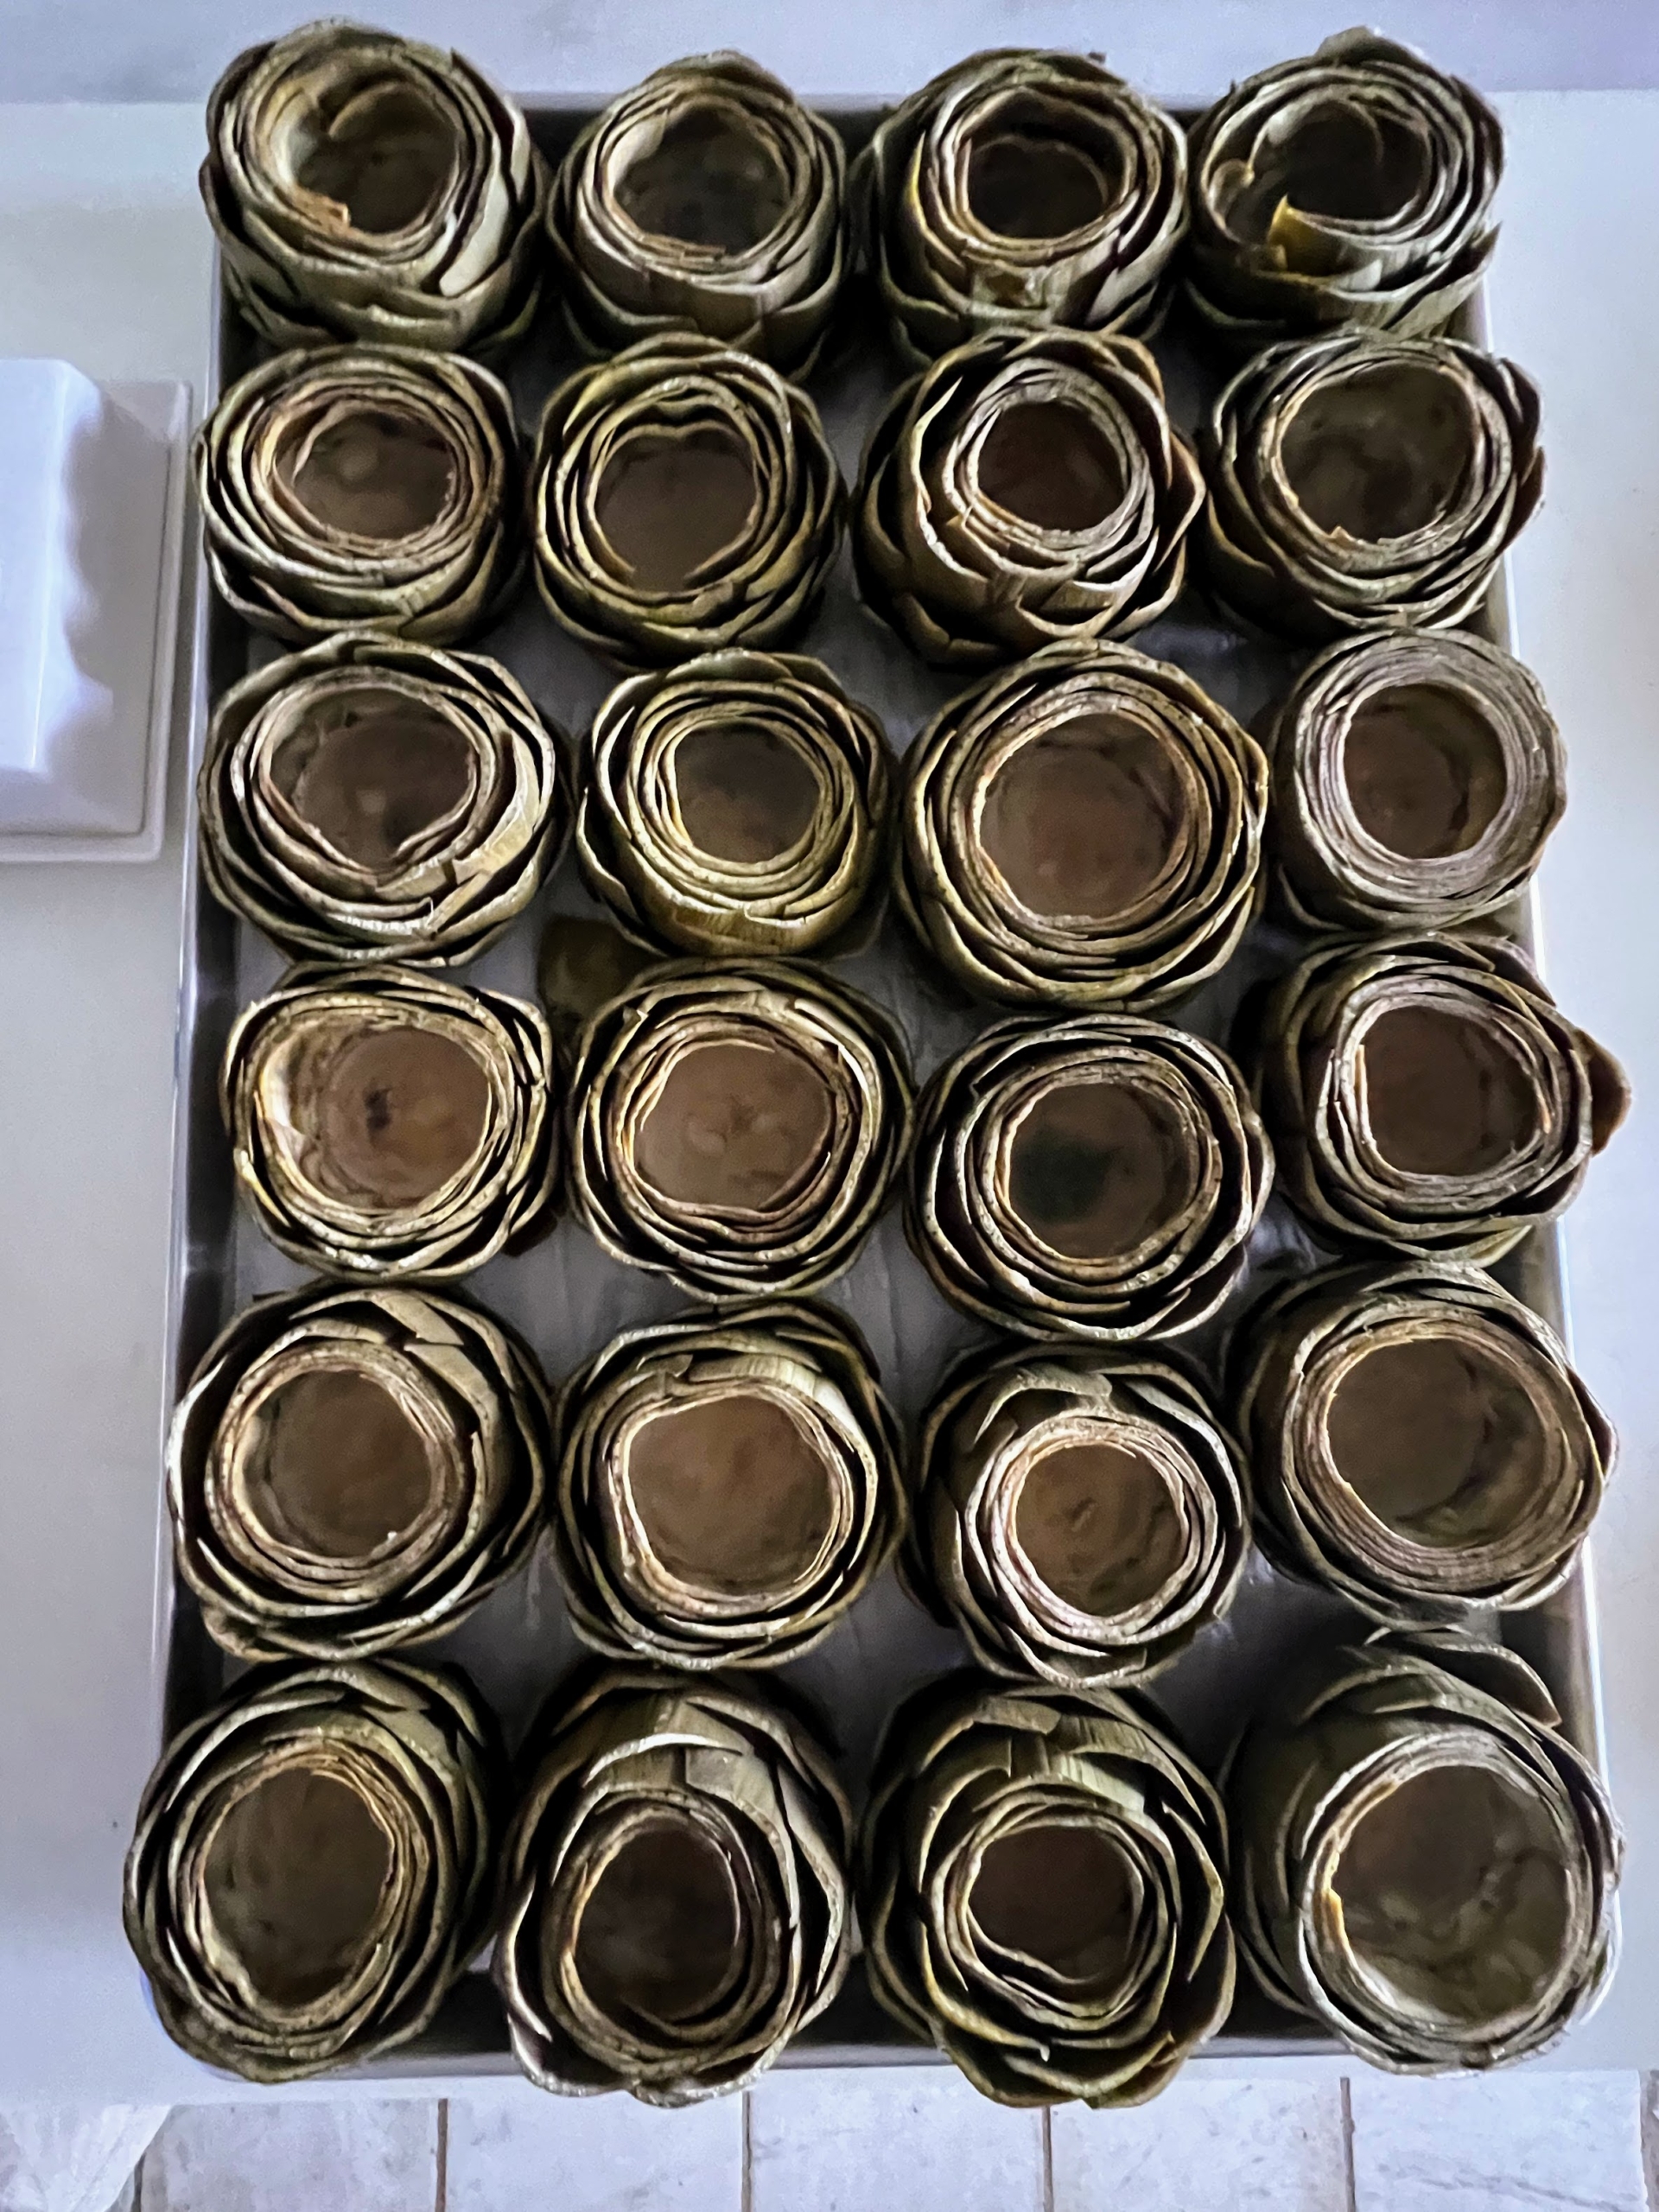
All the artichokes are ready to stuff. These are also from Mister Spear.
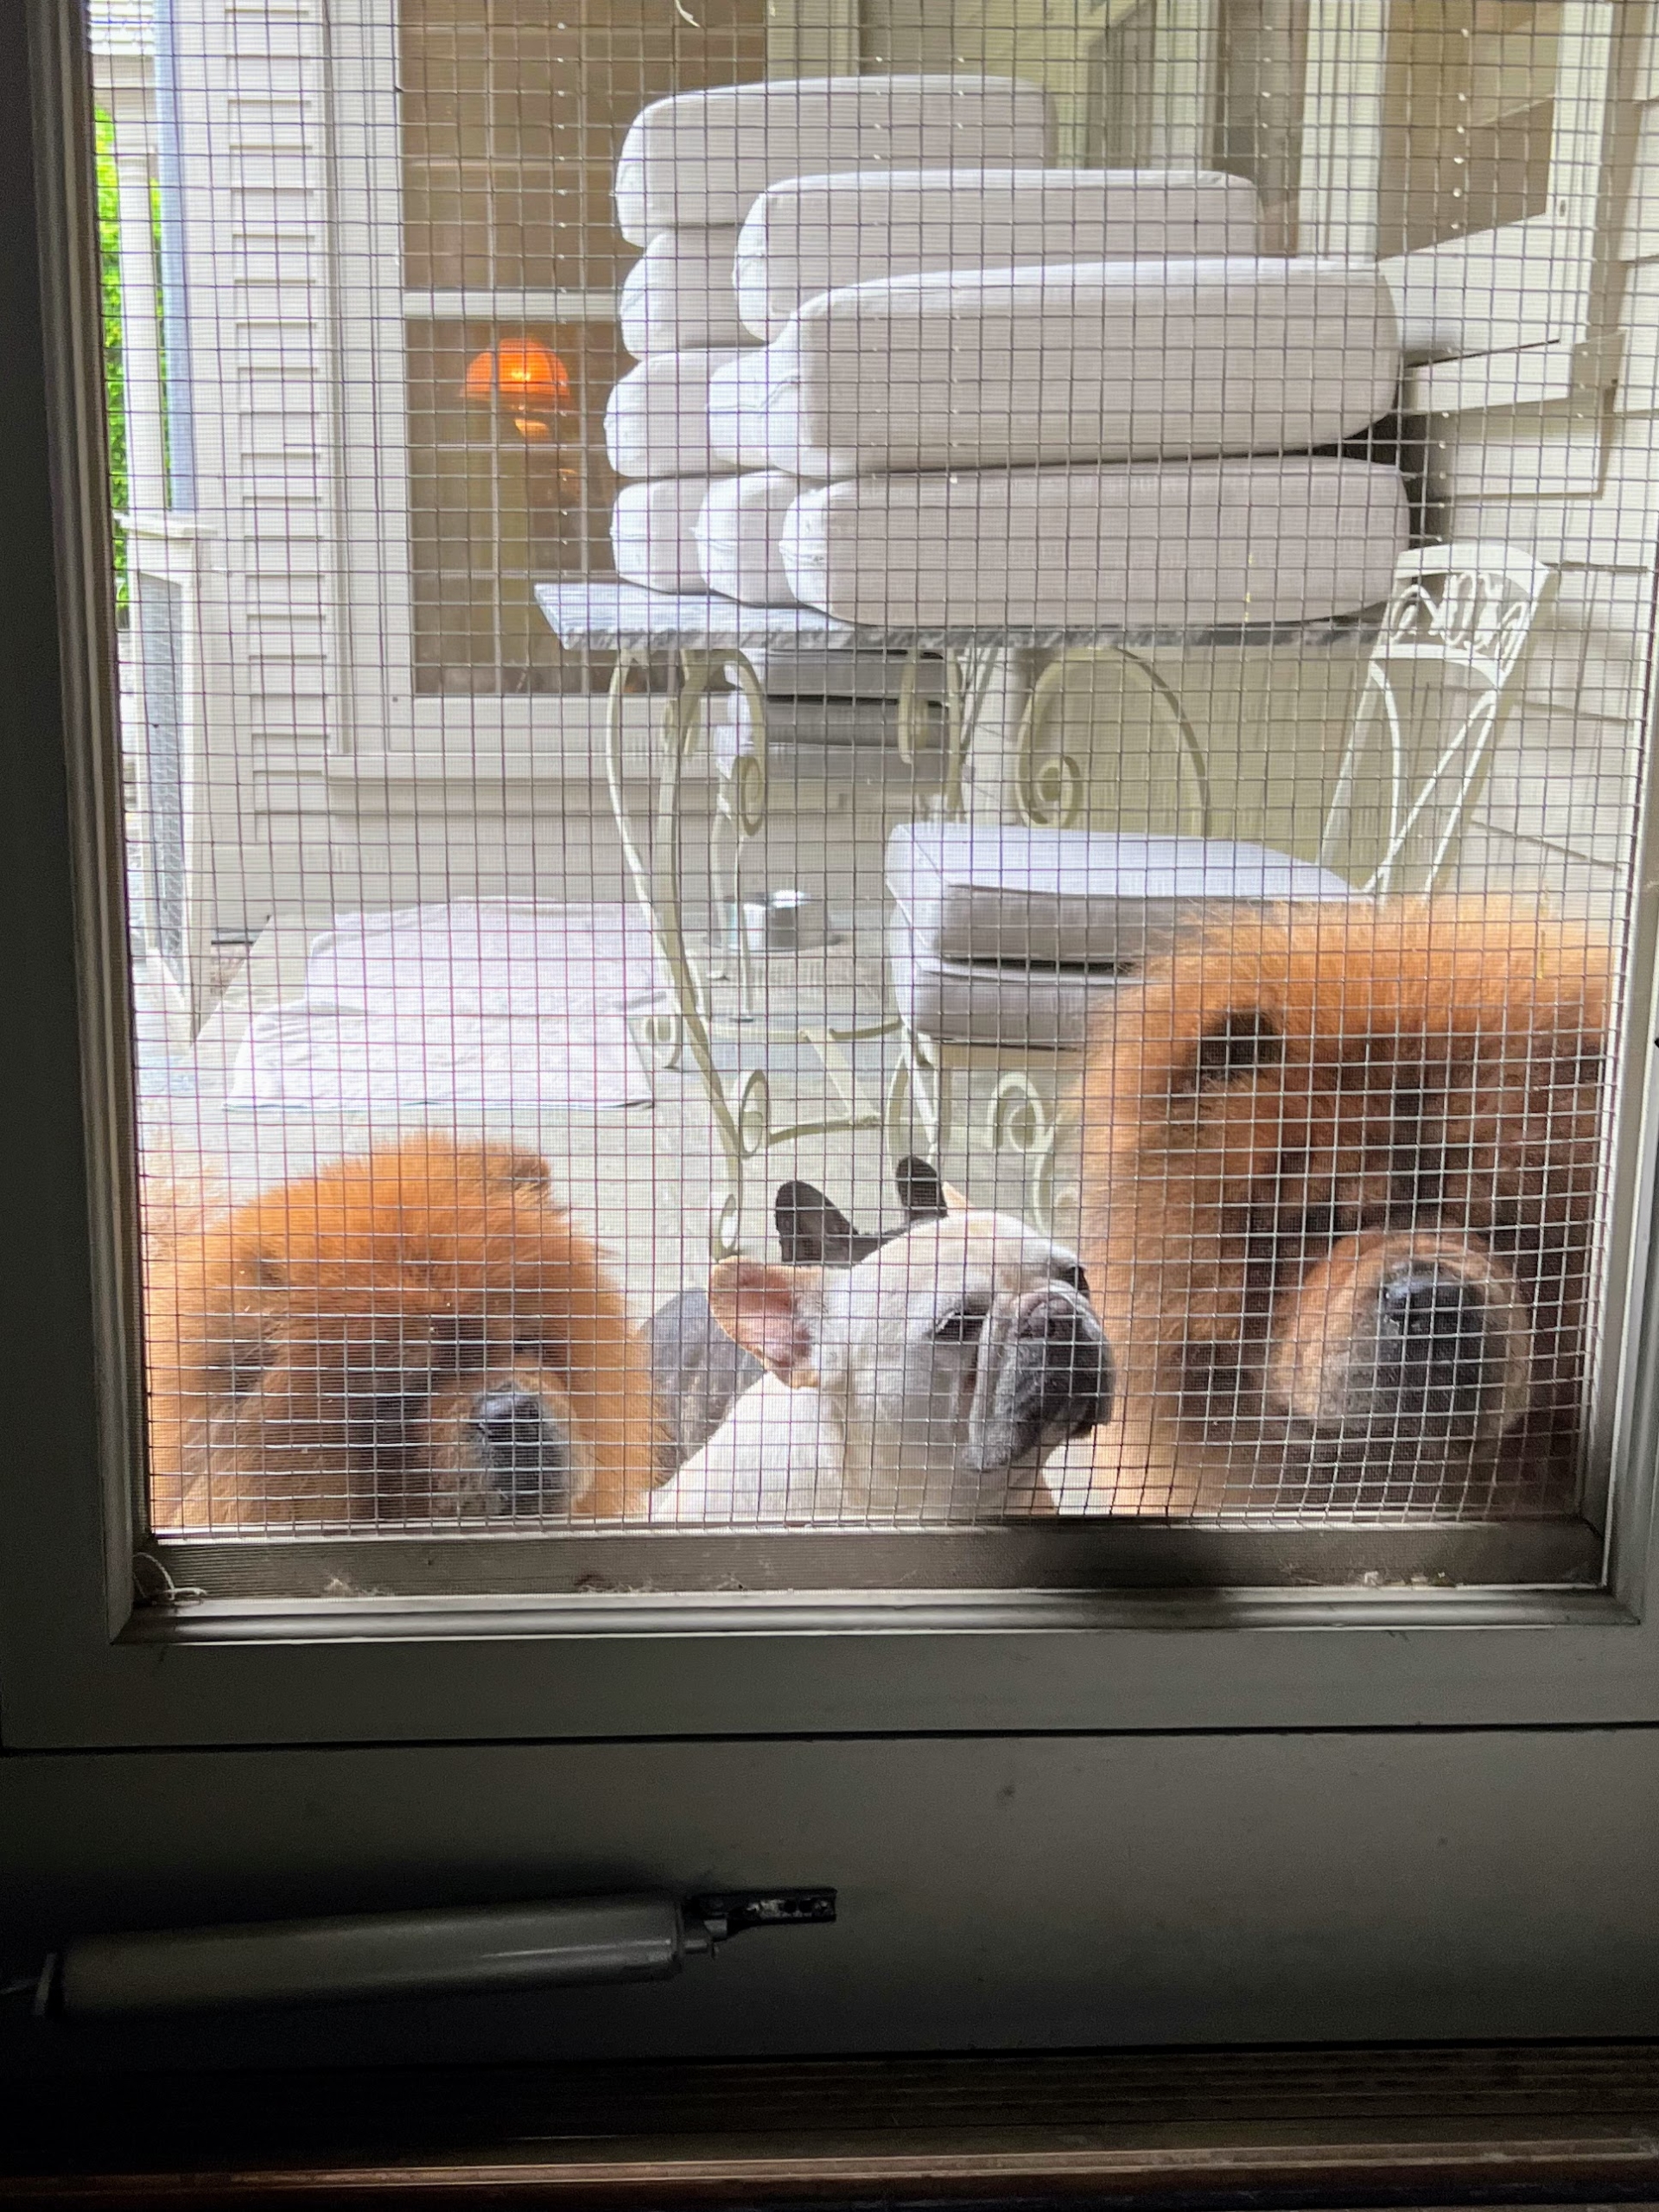
Watching all the activity from the kitchen courtyard door are my four doggies, hoping to come back in, so they could maybe get a little bit of something…
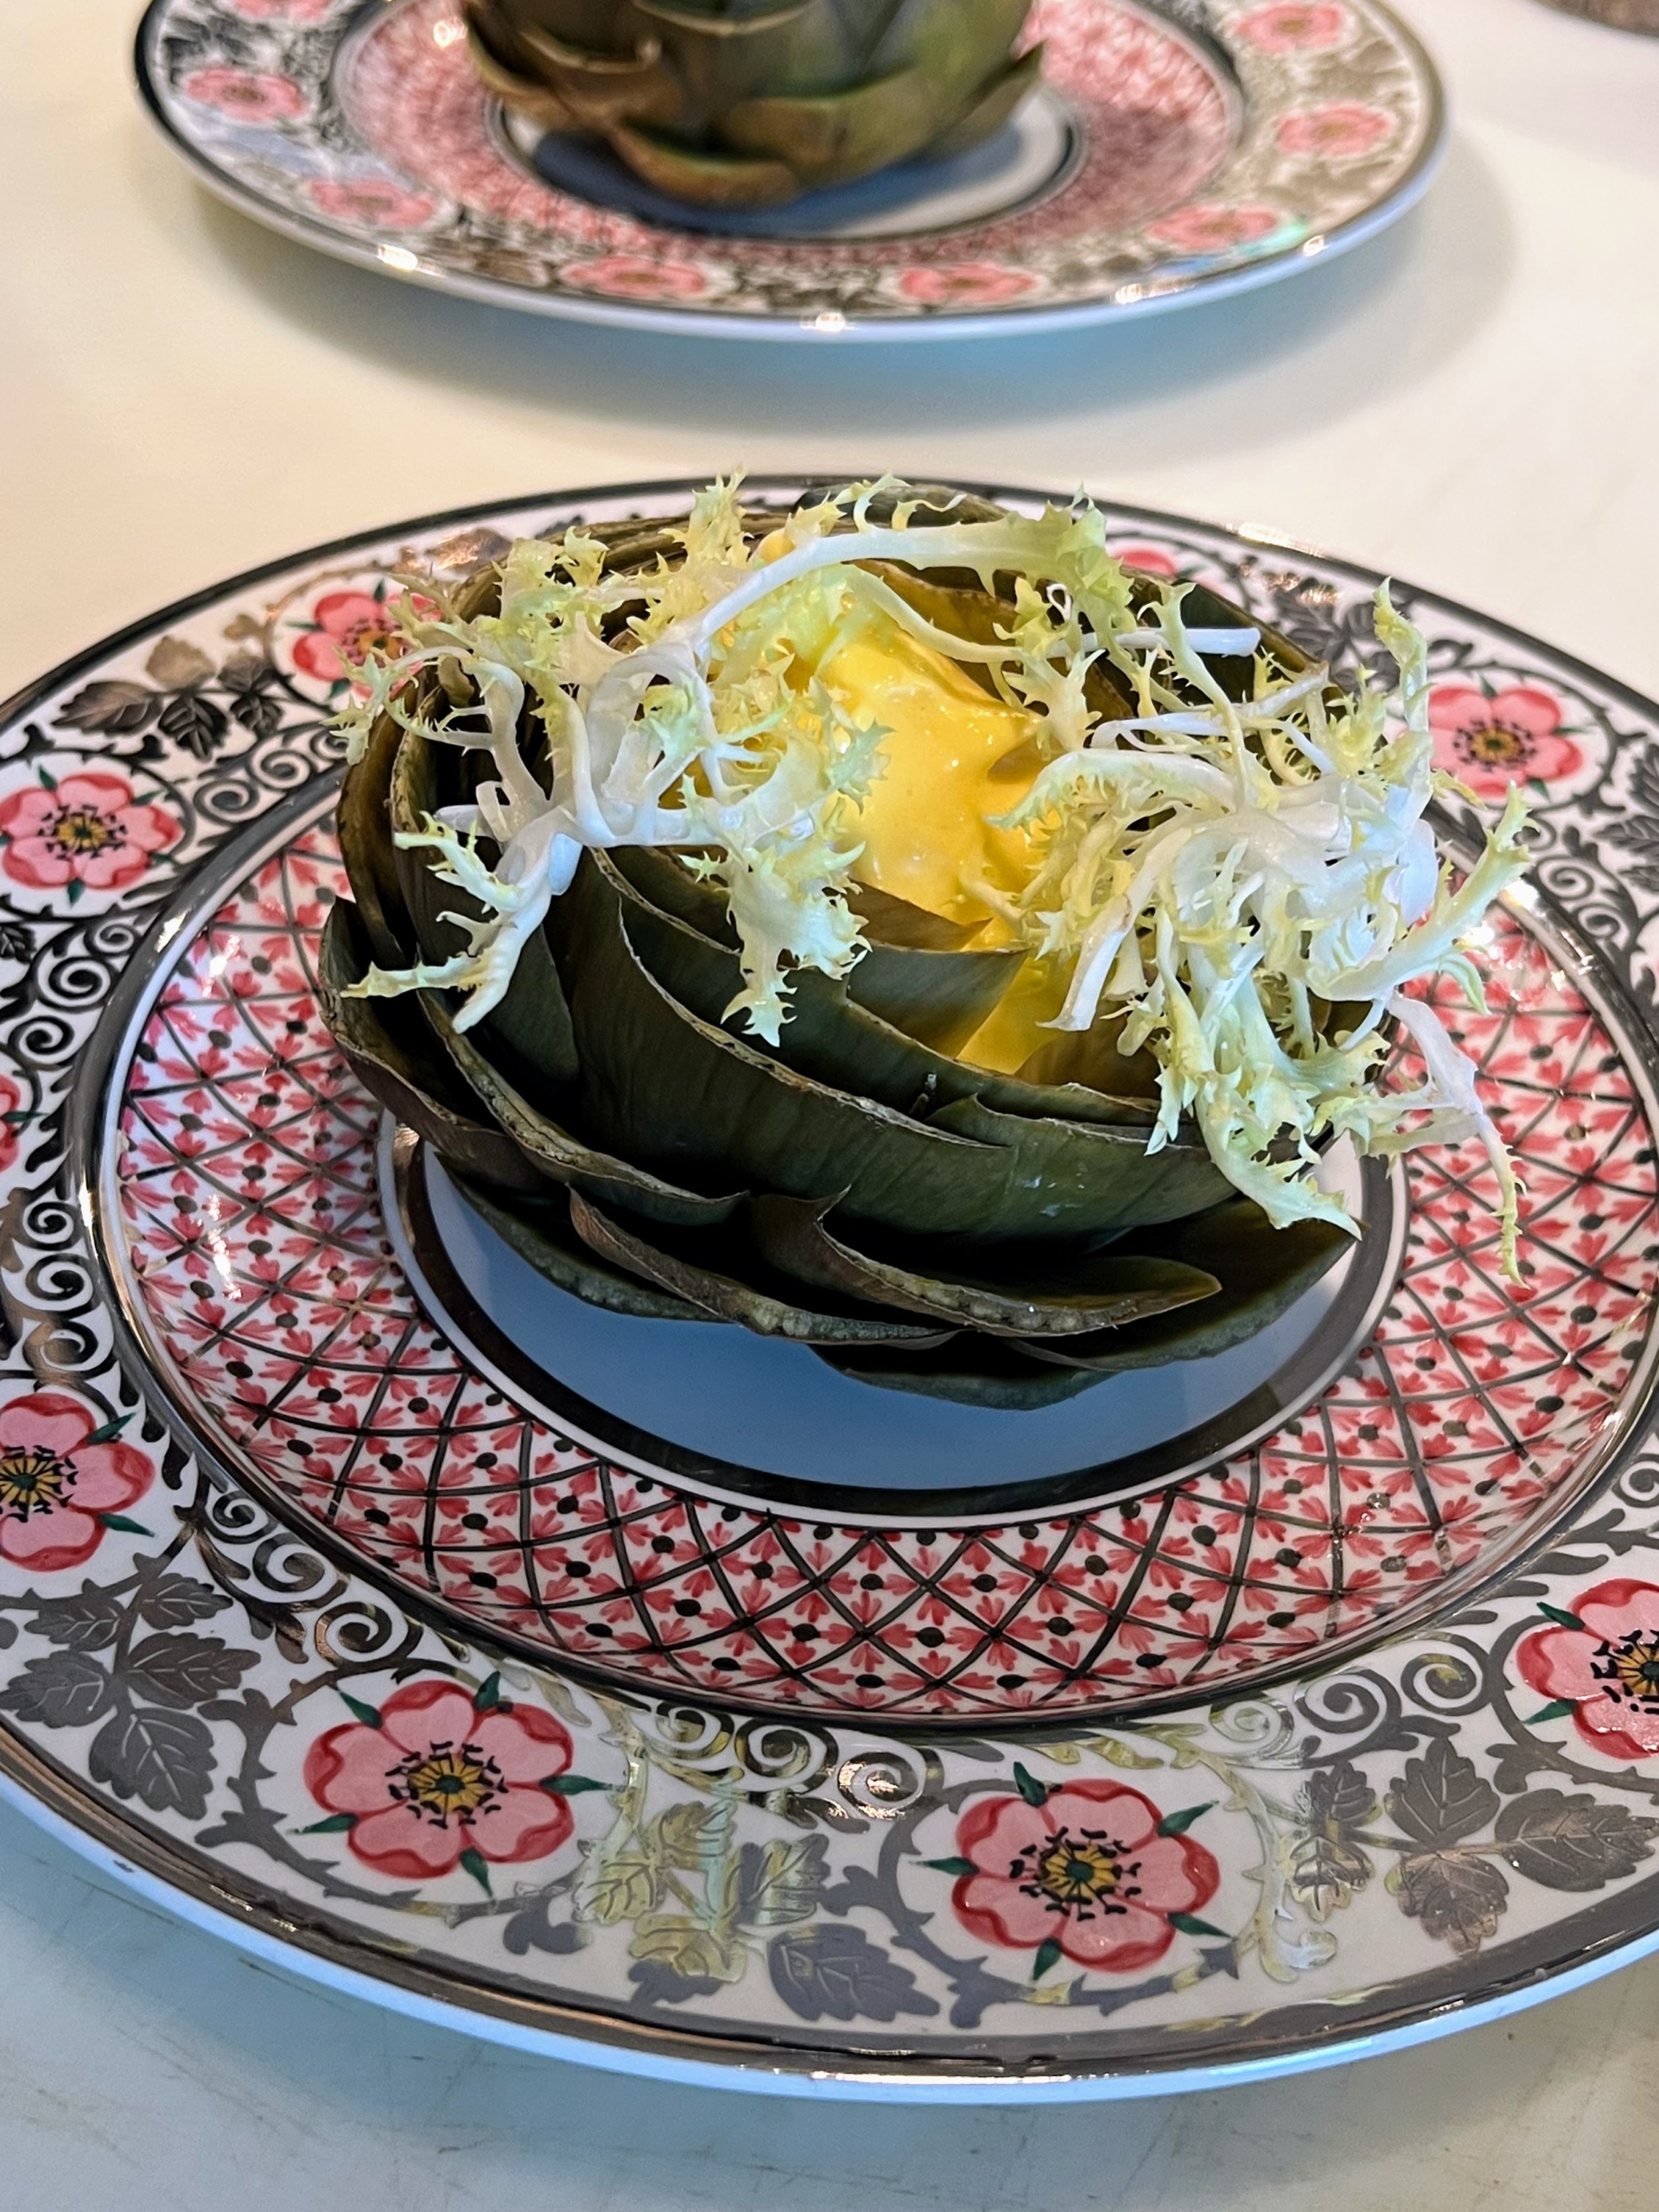
Chef Pierre and Moises fill the artichokes – each with a poached egg, a drizzle of Hollandaise sauce and topped with frisée.
Here is one ready to serve. Frisée is also known as curly endive. It’s a leafy green with frilly leaves and a subtly bitter flavor. And it is actually not a member of the lettuce family at all, but rather the chicory plant family.
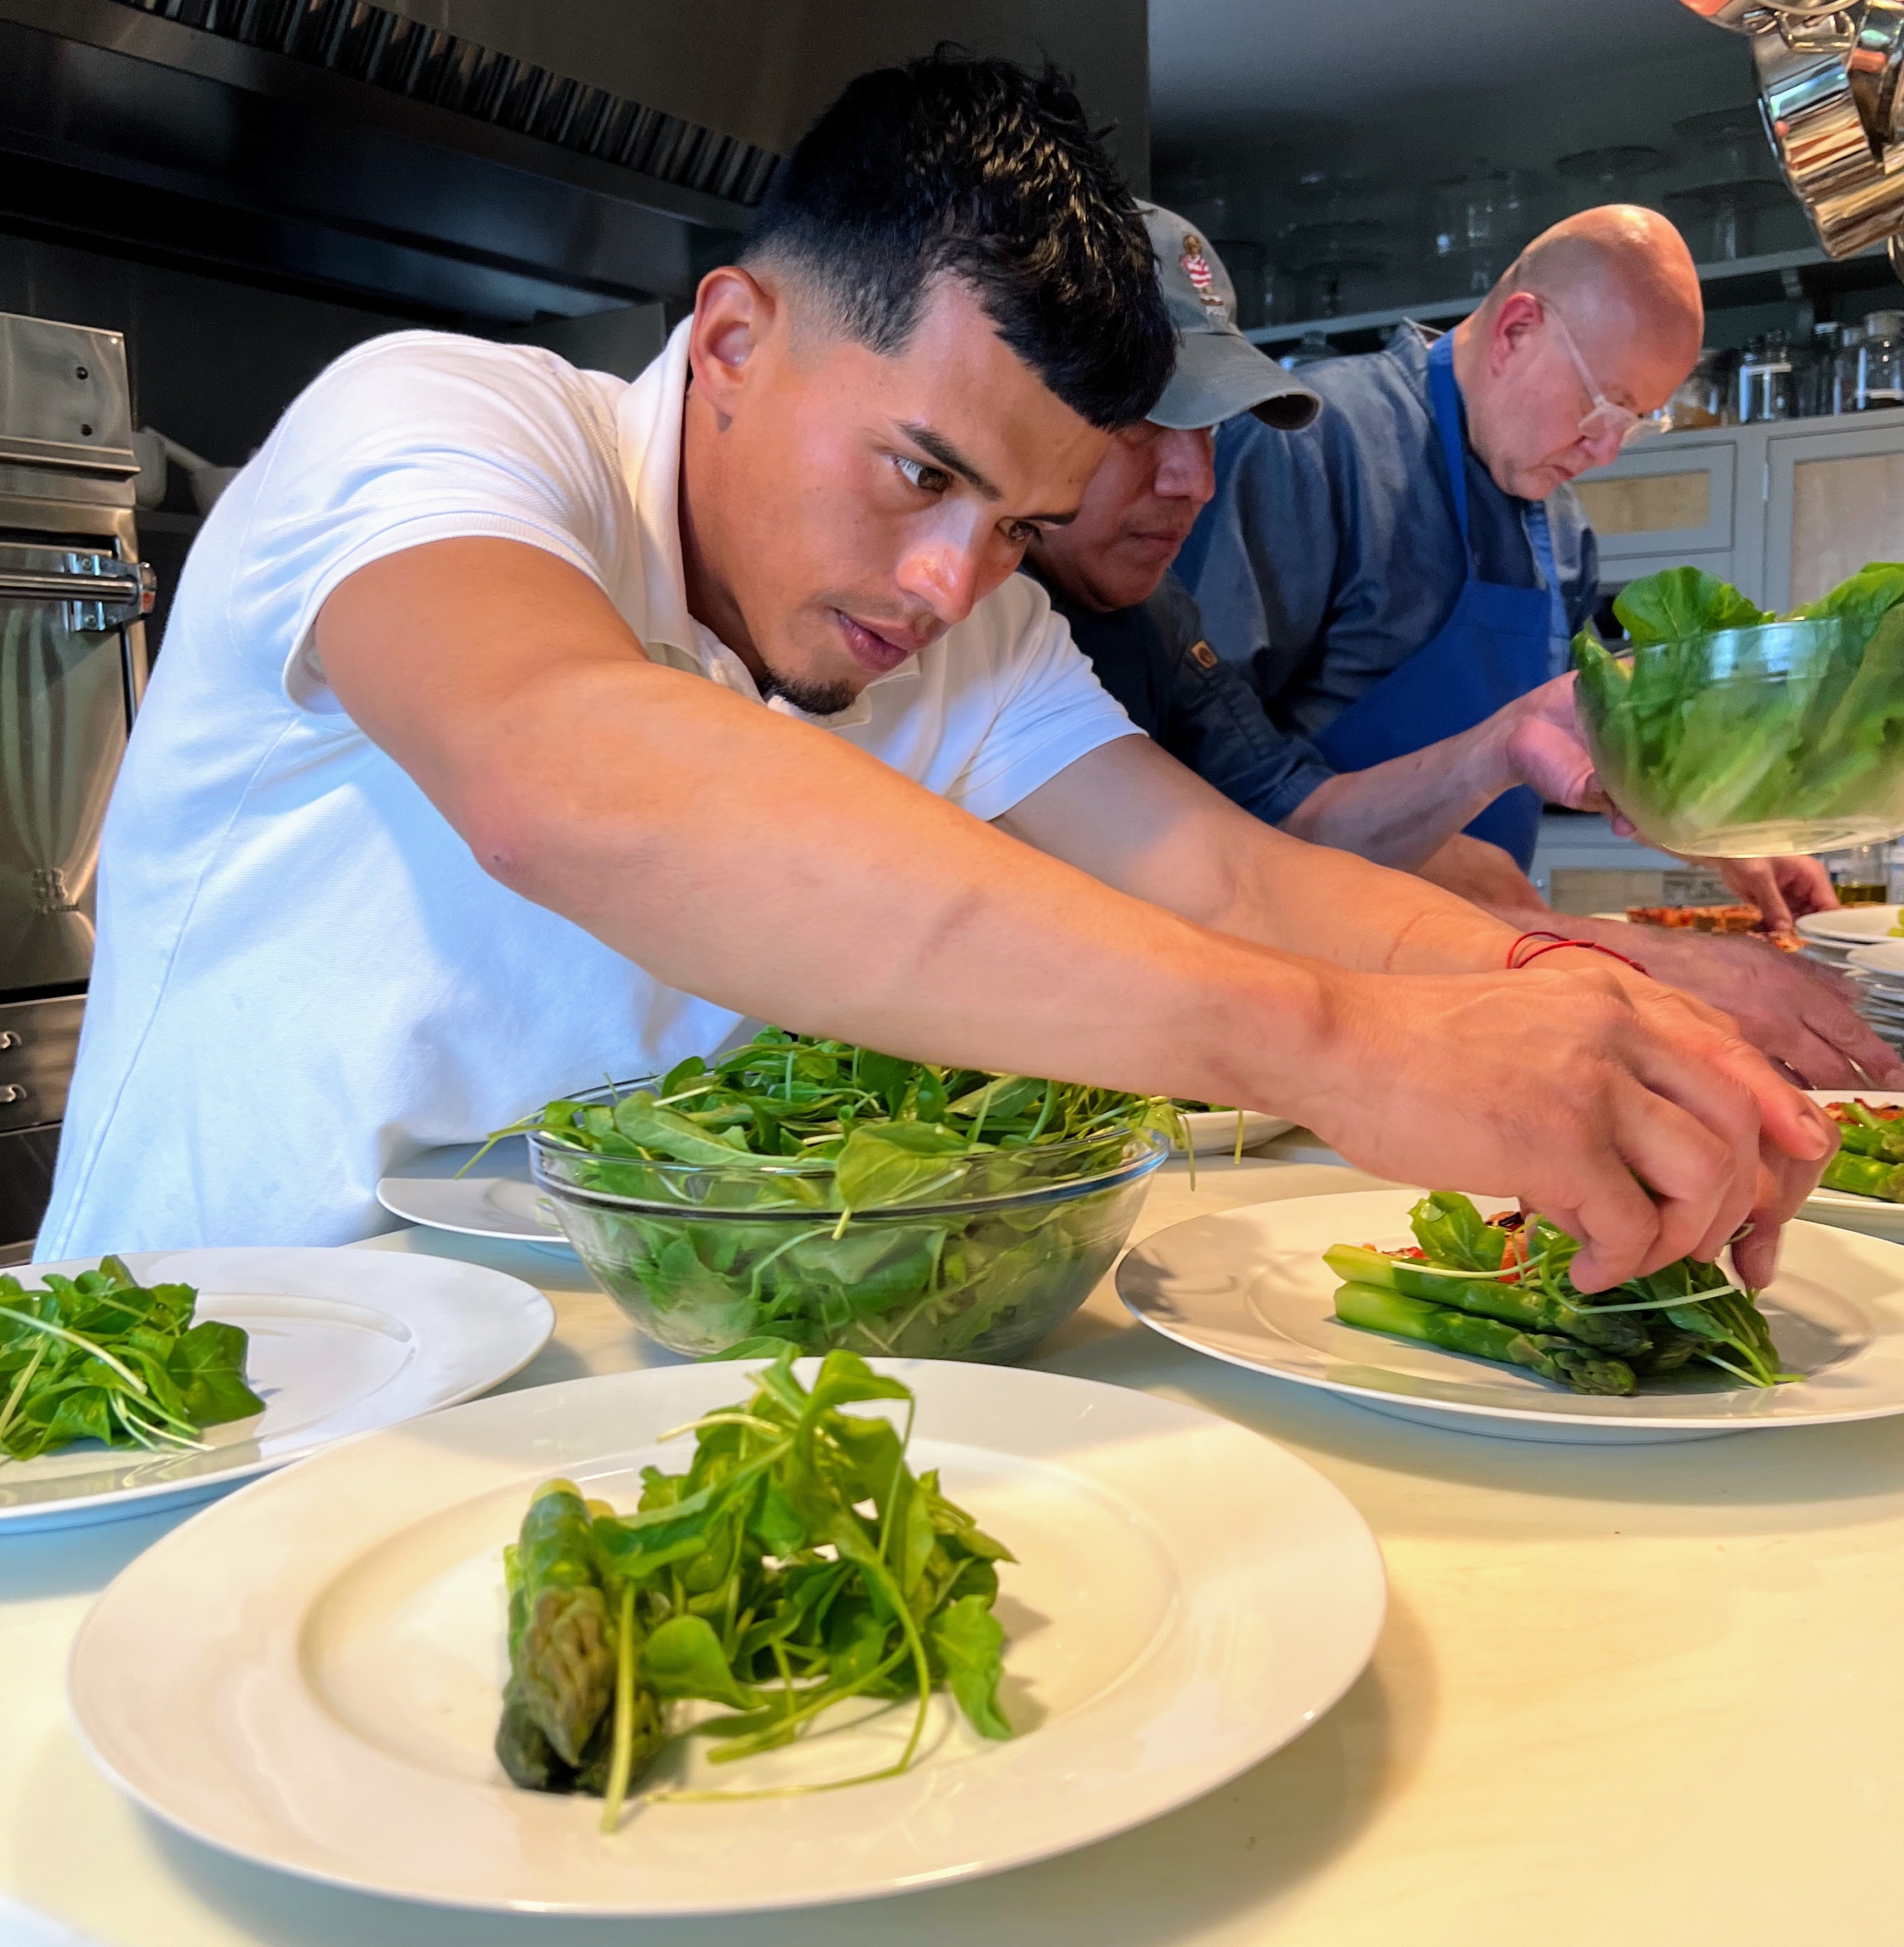
Moises works here at the farm as part of the grounds crew, but he is also a very skilled sous chef who helps me in the kitchen.
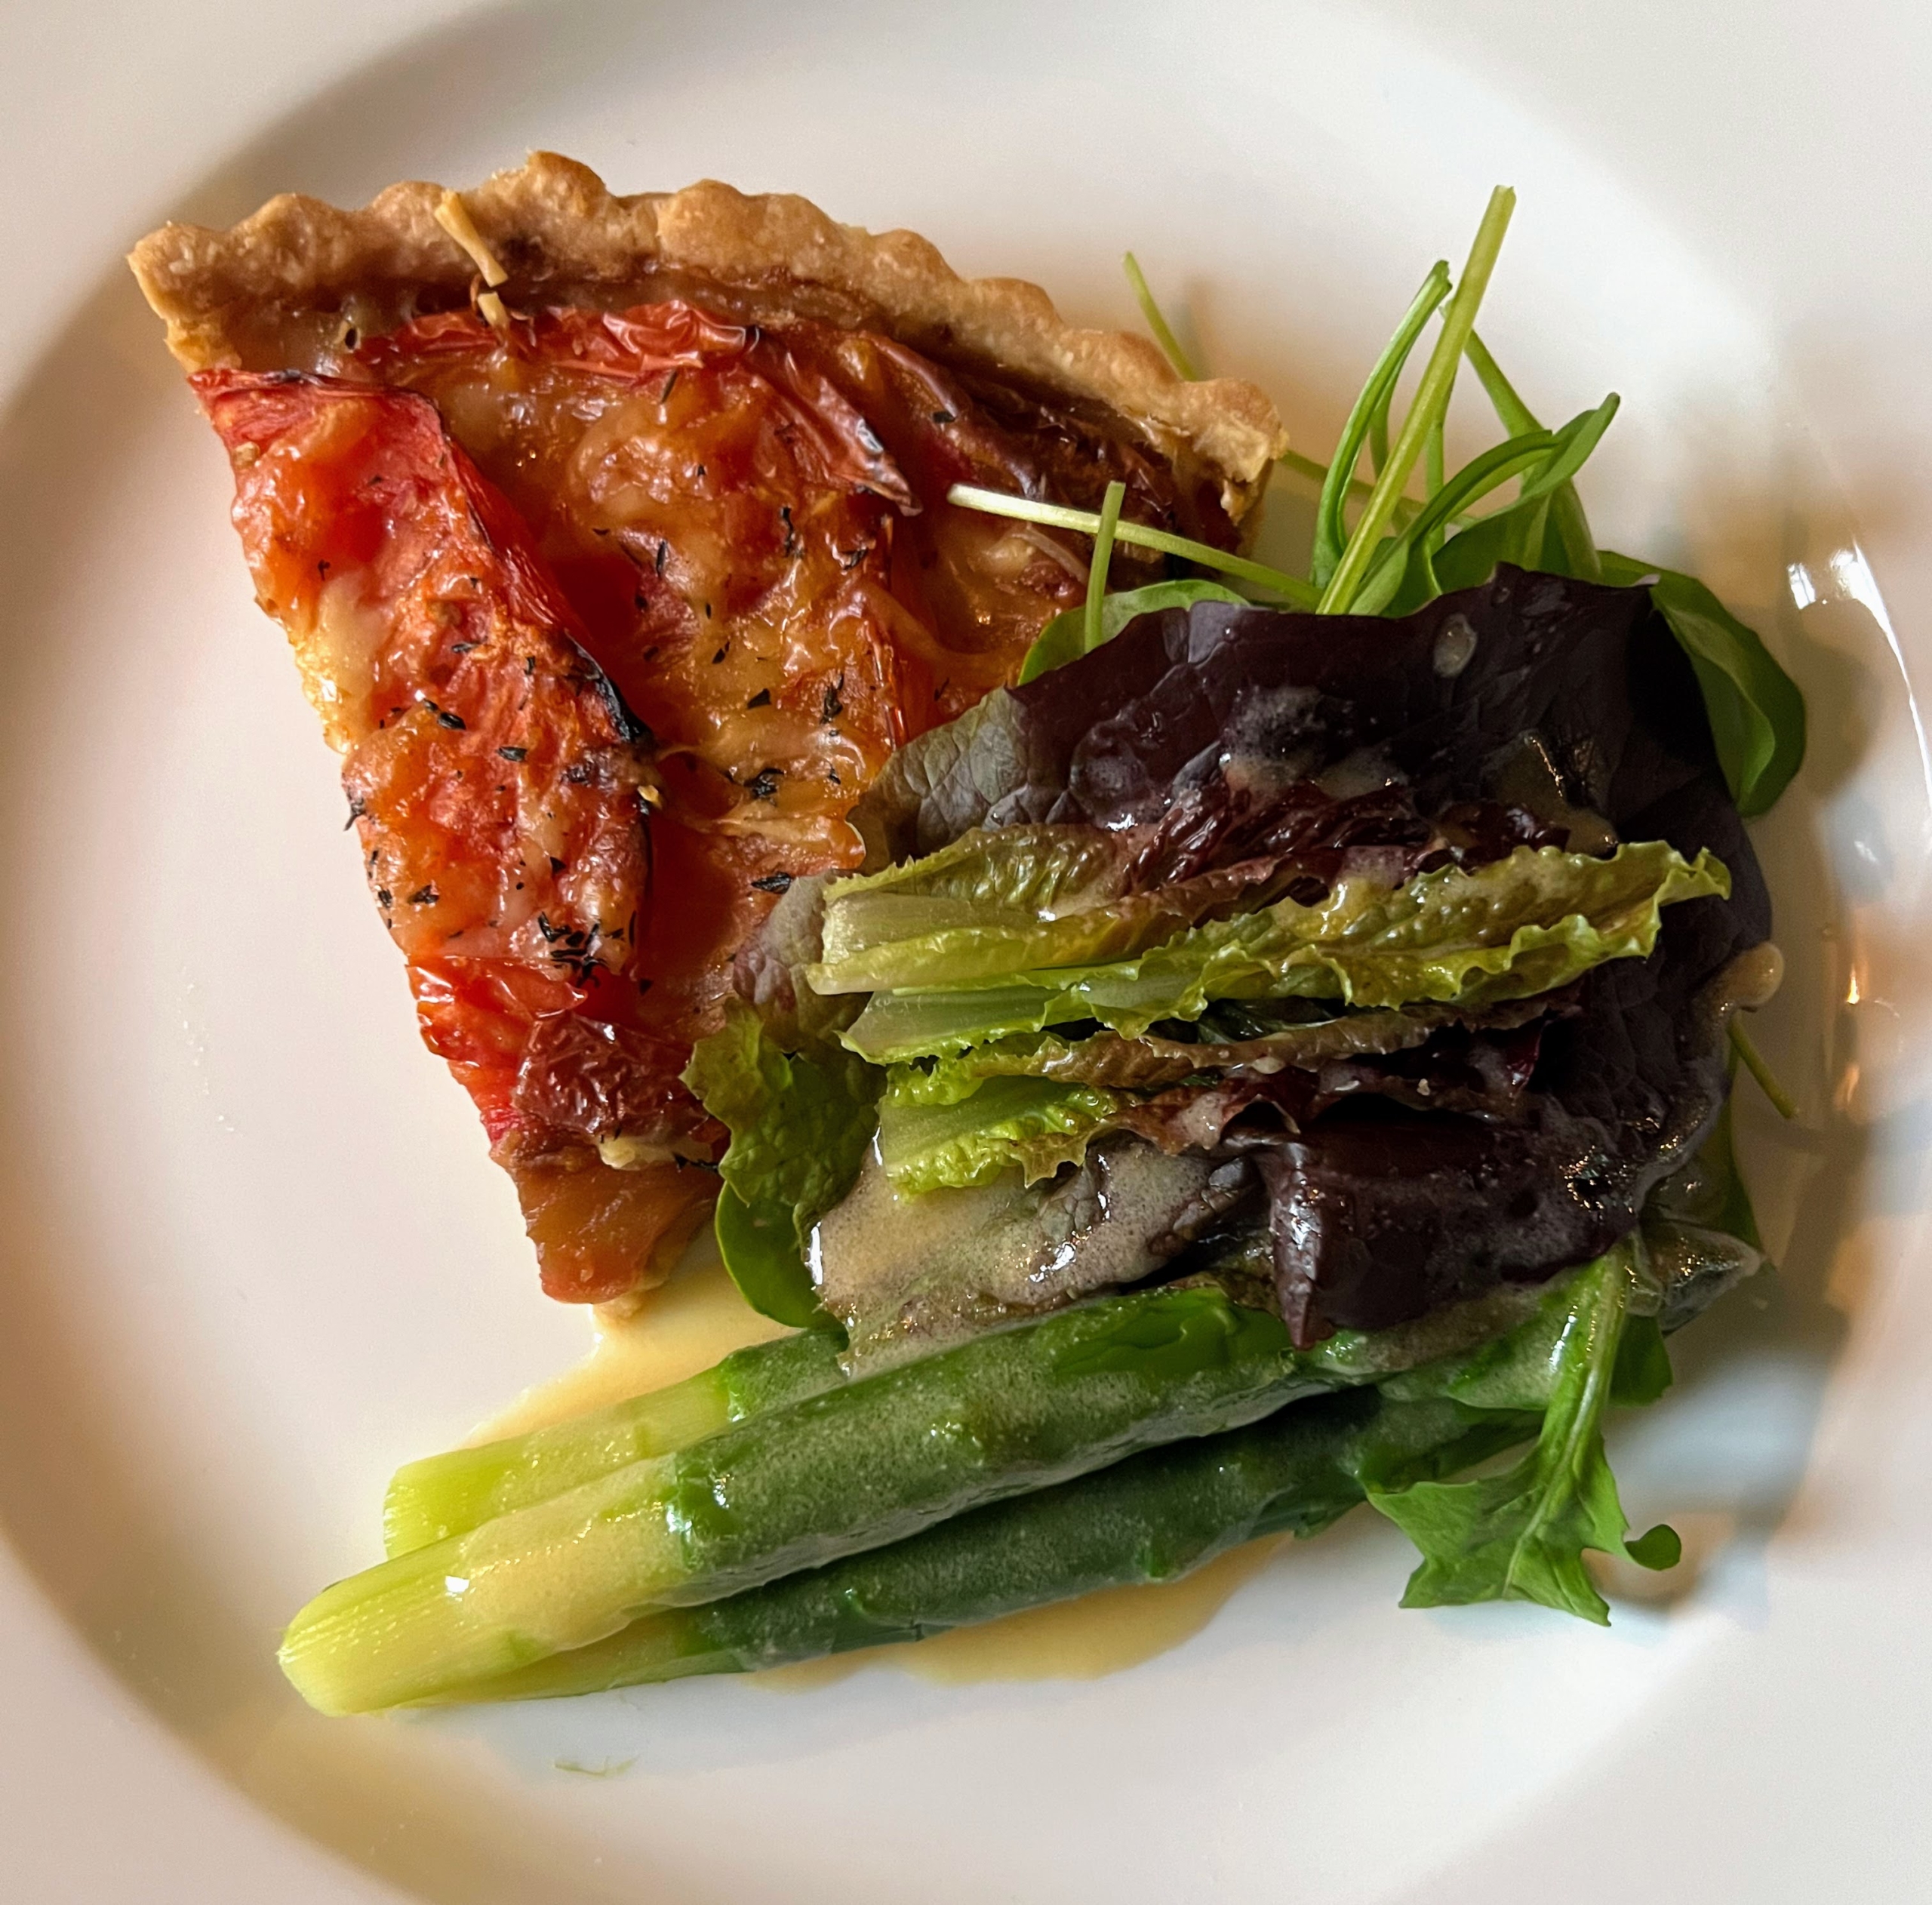
Here is a plate ready serve – a big slice of heirloom tomato, comté and Gruyère tart with jumbo green asparagus, a garden salad, and honey-lemon dressing.
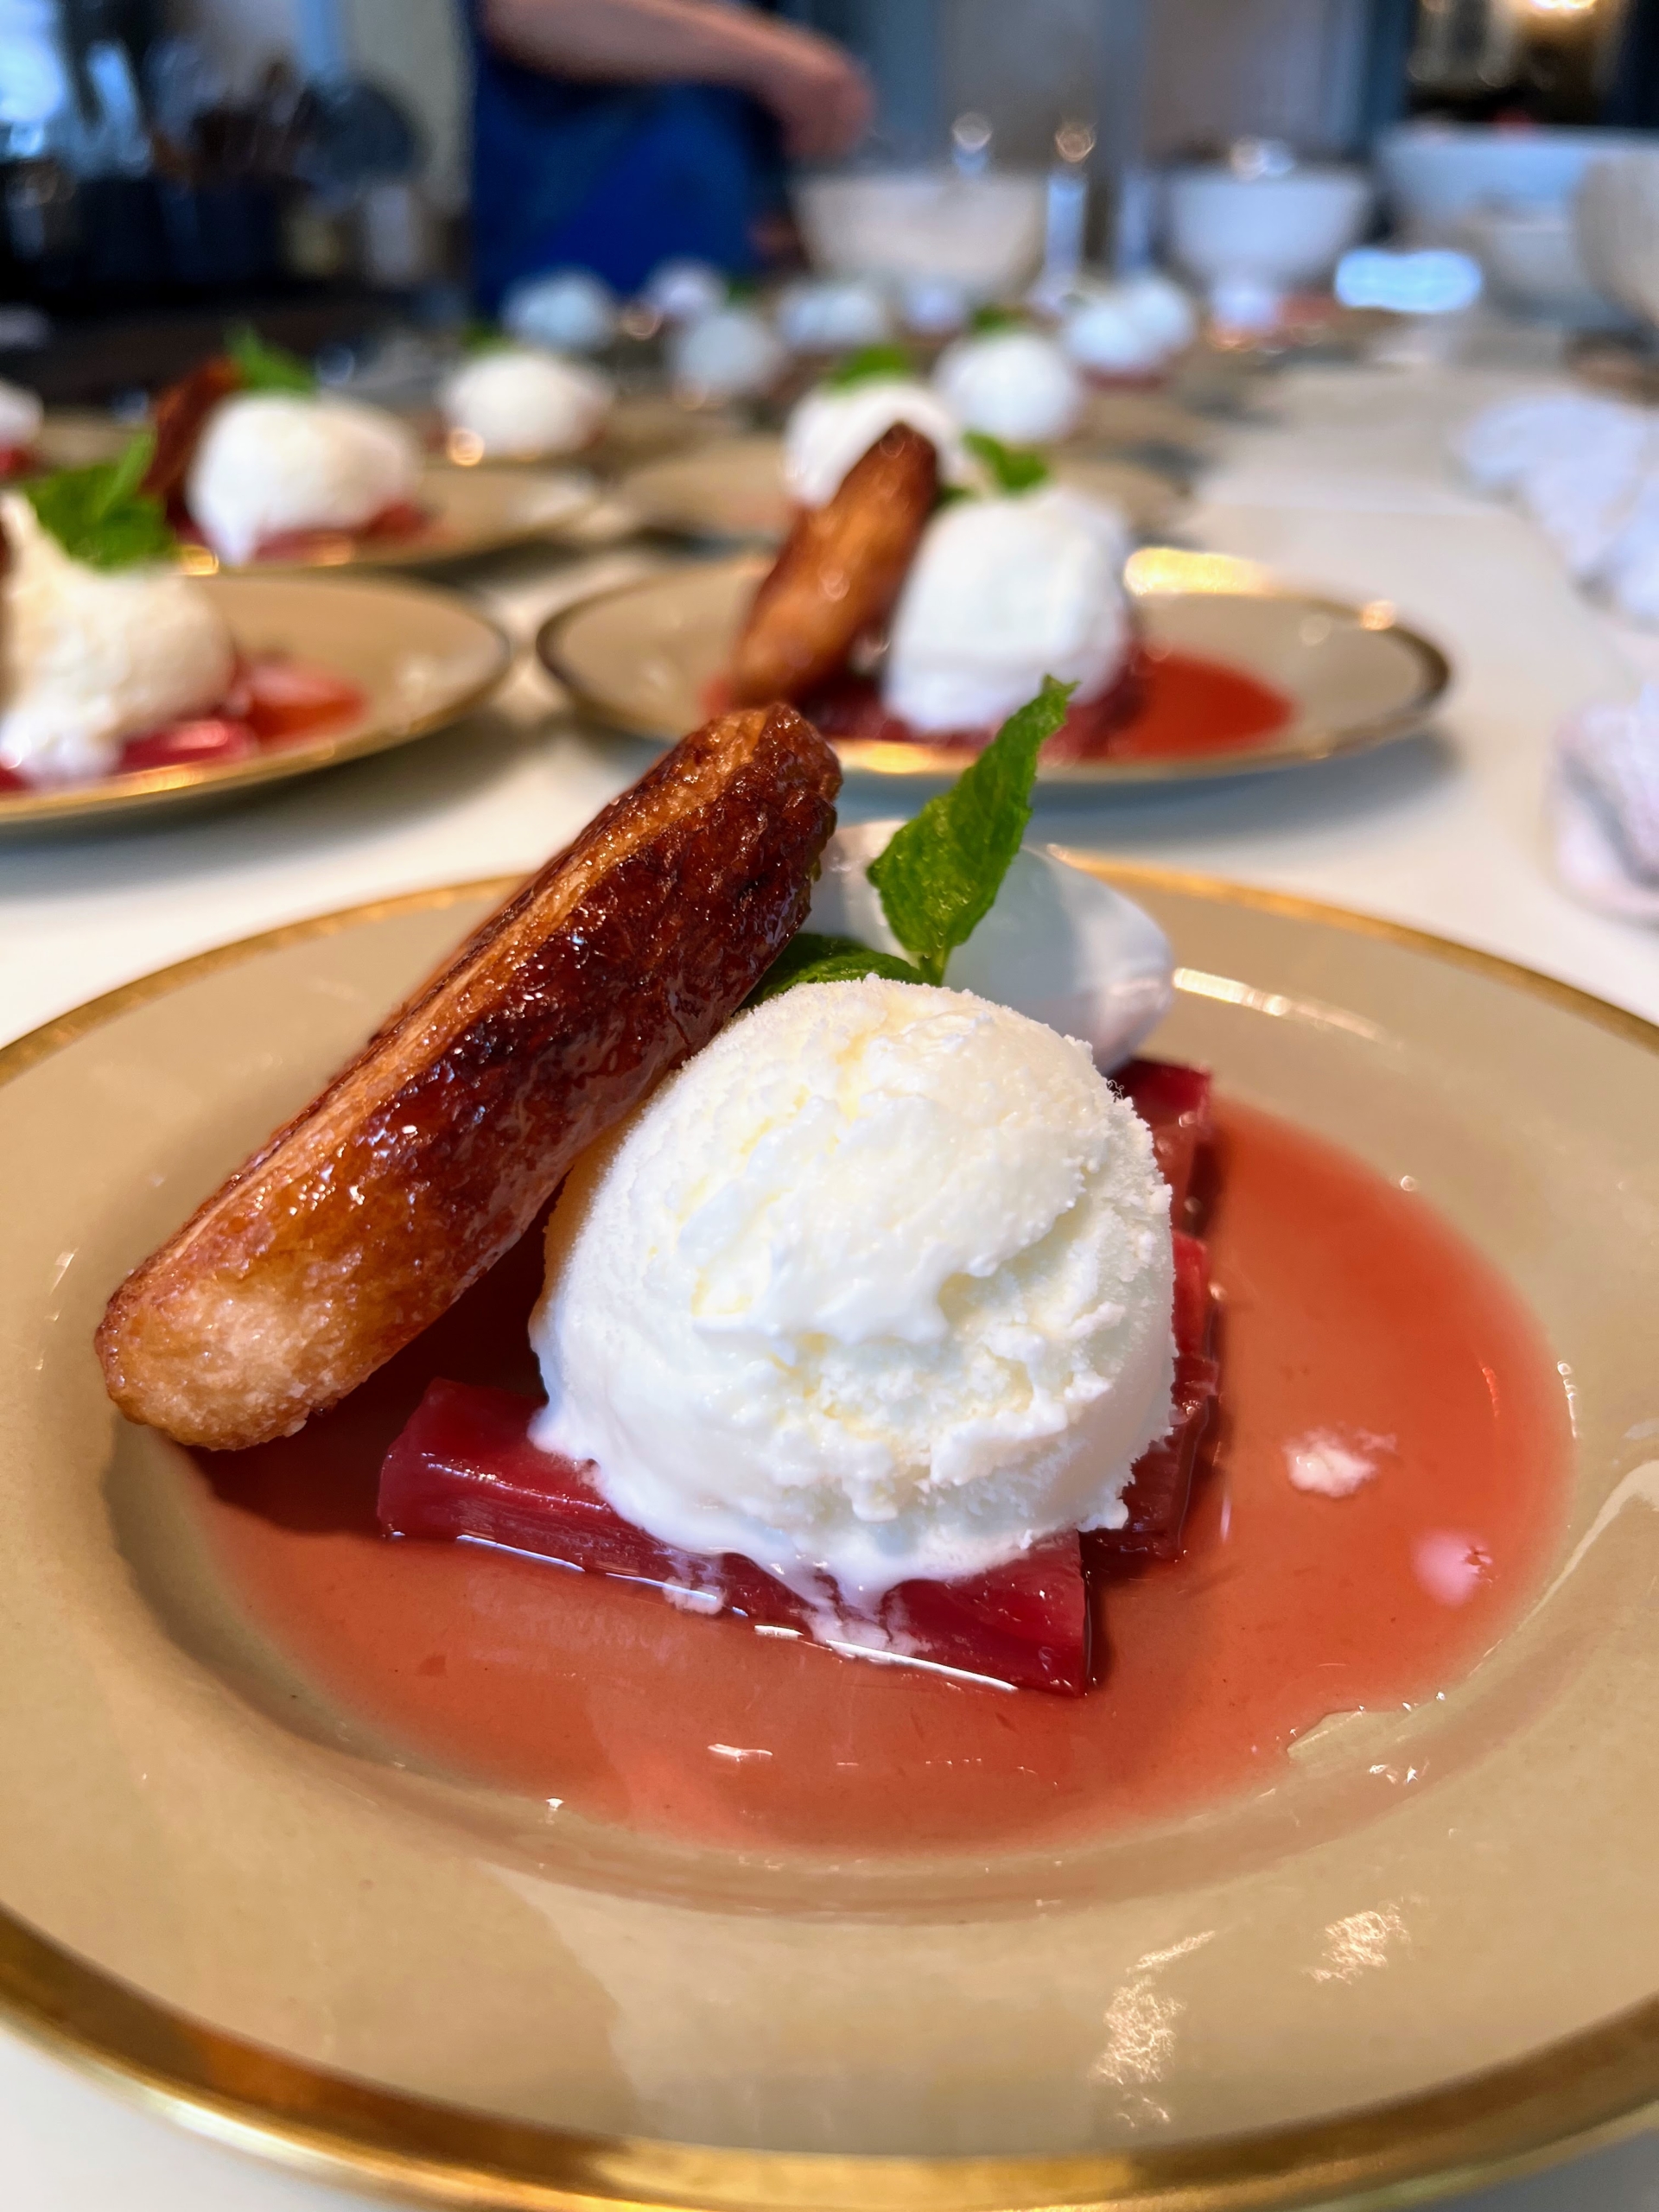
For dessert, I served palmiers. Also known as elephant ears, shoe-soles, palm trees or palm leaves, palmiers are delicious pastries that can be served for breakfast or dessert. They have a delicate, flaky texture and a sweet buttery taste.
Each palmier is served with a layer of baked rhubarb, sorbet, and a sprig of mint.
Here is my dessert. Everyone loved every bite.
Of course, to accompany dessert, we all enjoyed some coffee.
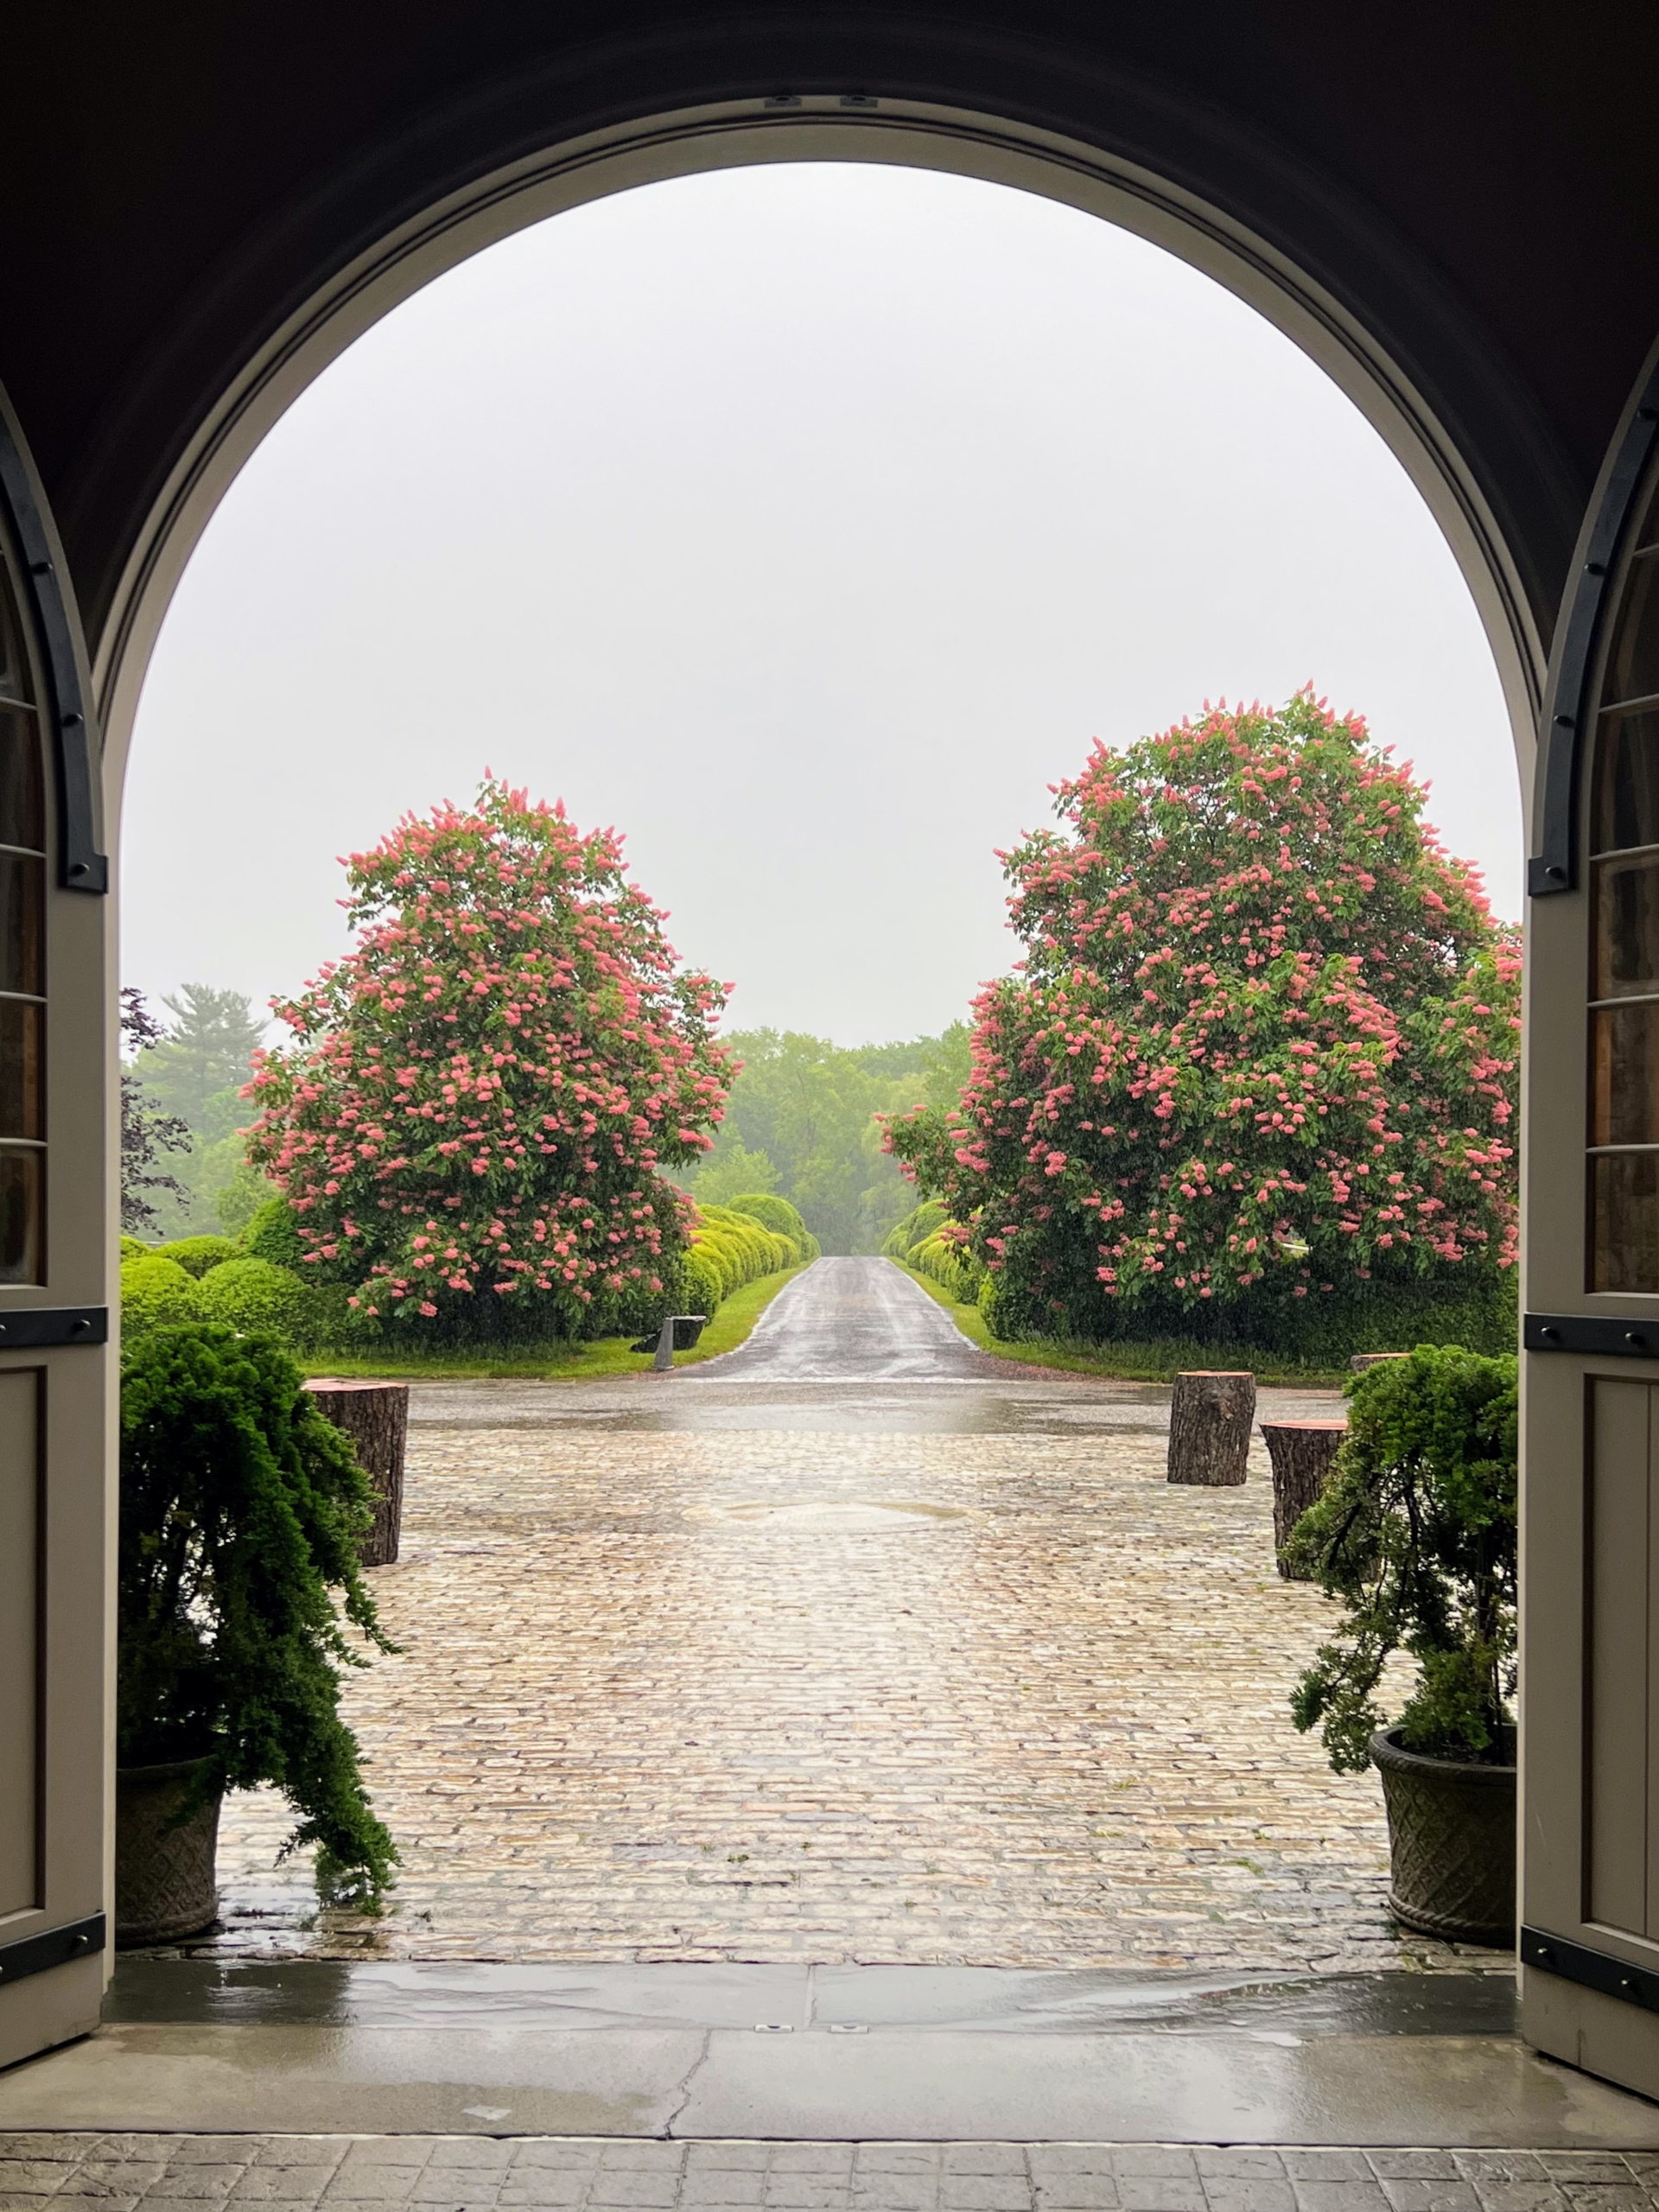
Here in the New York City area, the day was very wet – it rained hard most of the afternoon, but I led a brief tour through my stable to visit my dear horses, the greenhouses, and around the farm to see the various gardens from the inside of our Polaris off-road vehicles. Despite the weather, it was a most enjoyable day with friends – old and new.
The outdoor terraces and stone ledges around my Winter House are filled with potted plants.
This time of year, I always display a variety of warm weather specimens around my home. These tropical plants are usually kept inside my greenhouses where they can be properly maintained, but it's nice to see them outdoors in beautiful ornamental urns during spring and summer. Last week, my head gardener, Ryan McCallister, filled a collection of pots outside my carport. Some of the smaller ones were planted with calla lilies, wild ginger, alocasias, and ferns.
Here are some photos.
Before potting anything, Ryan places the plants in their designated spots and positions them in the order that looks best. He selects plants that not only fit the containers but also look good grouped together.
Each of these ornamental urns has a drainage hole. It is important to make sure any planter has at least one. Plants will only draw up as much water as they require. Drainage holes serve allow excess water to ‘drain’ out, thus helping to prevent the soil from becoming soggy and causing root rot.
Ryan places a layer of weed cloth in the bottom of this urn to protect the vessel itself. This will also make it easier to remove the plant next autumn, when it is put back in the greenhouse for the cold season.
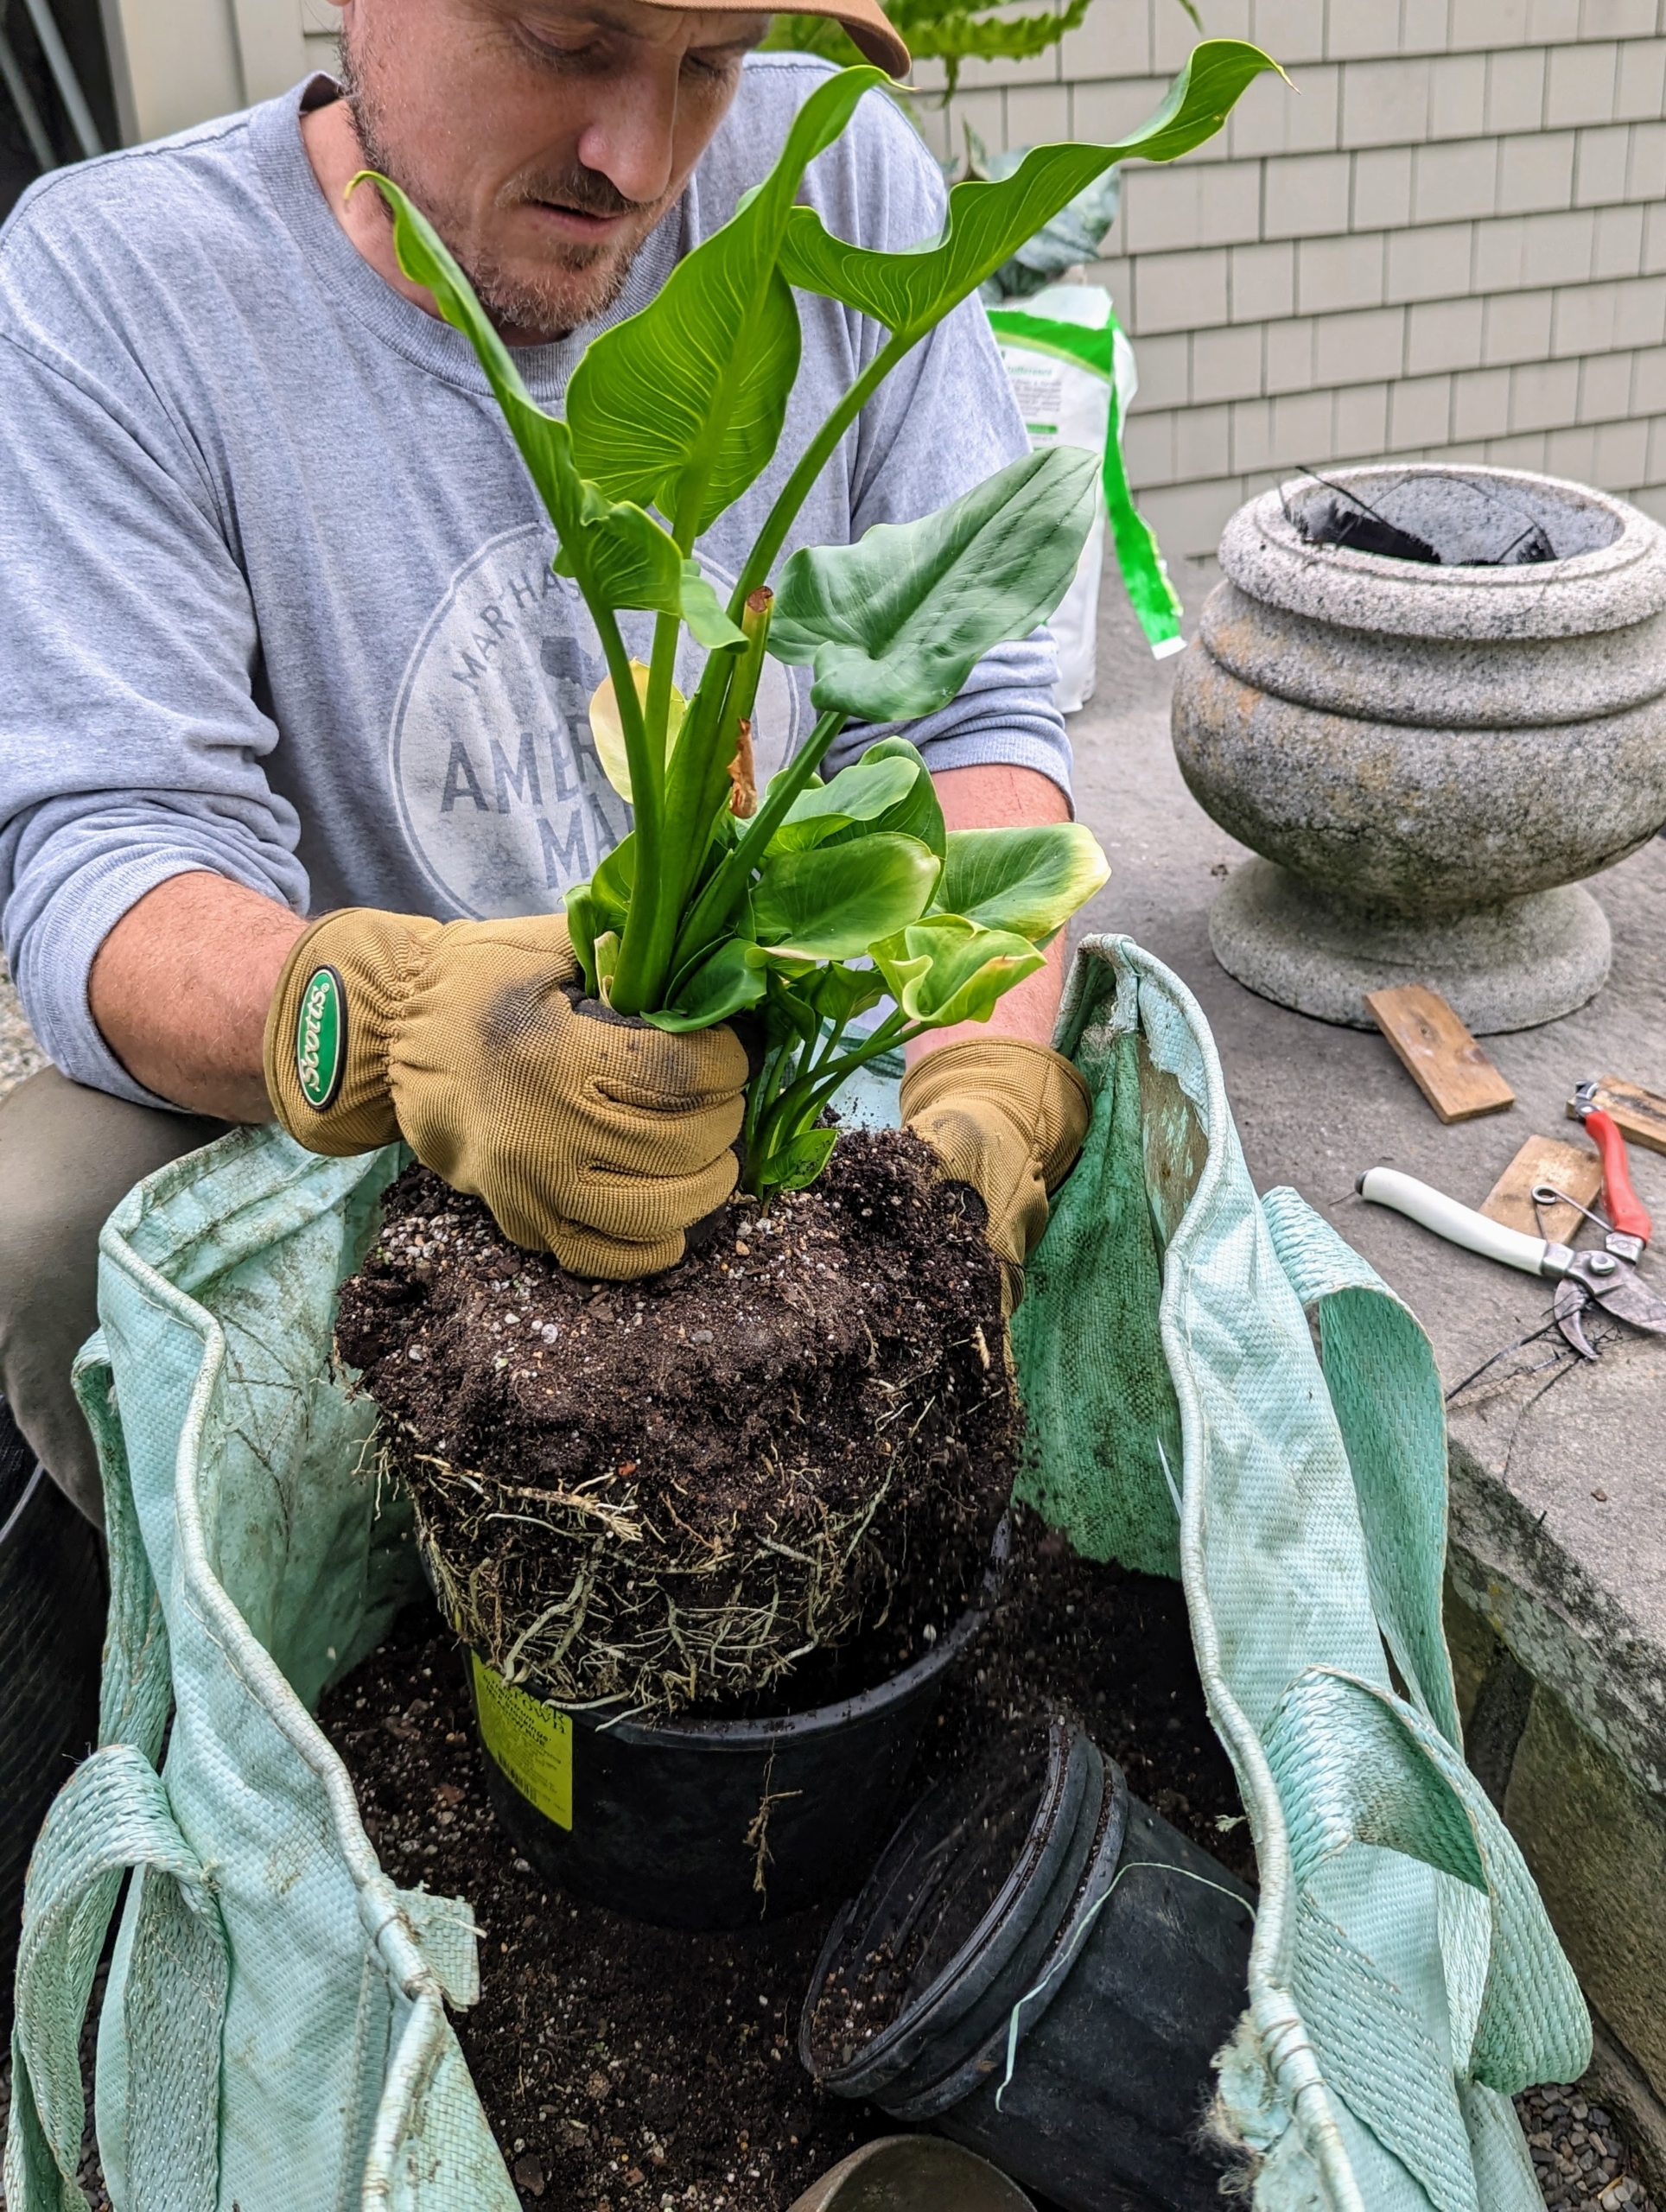
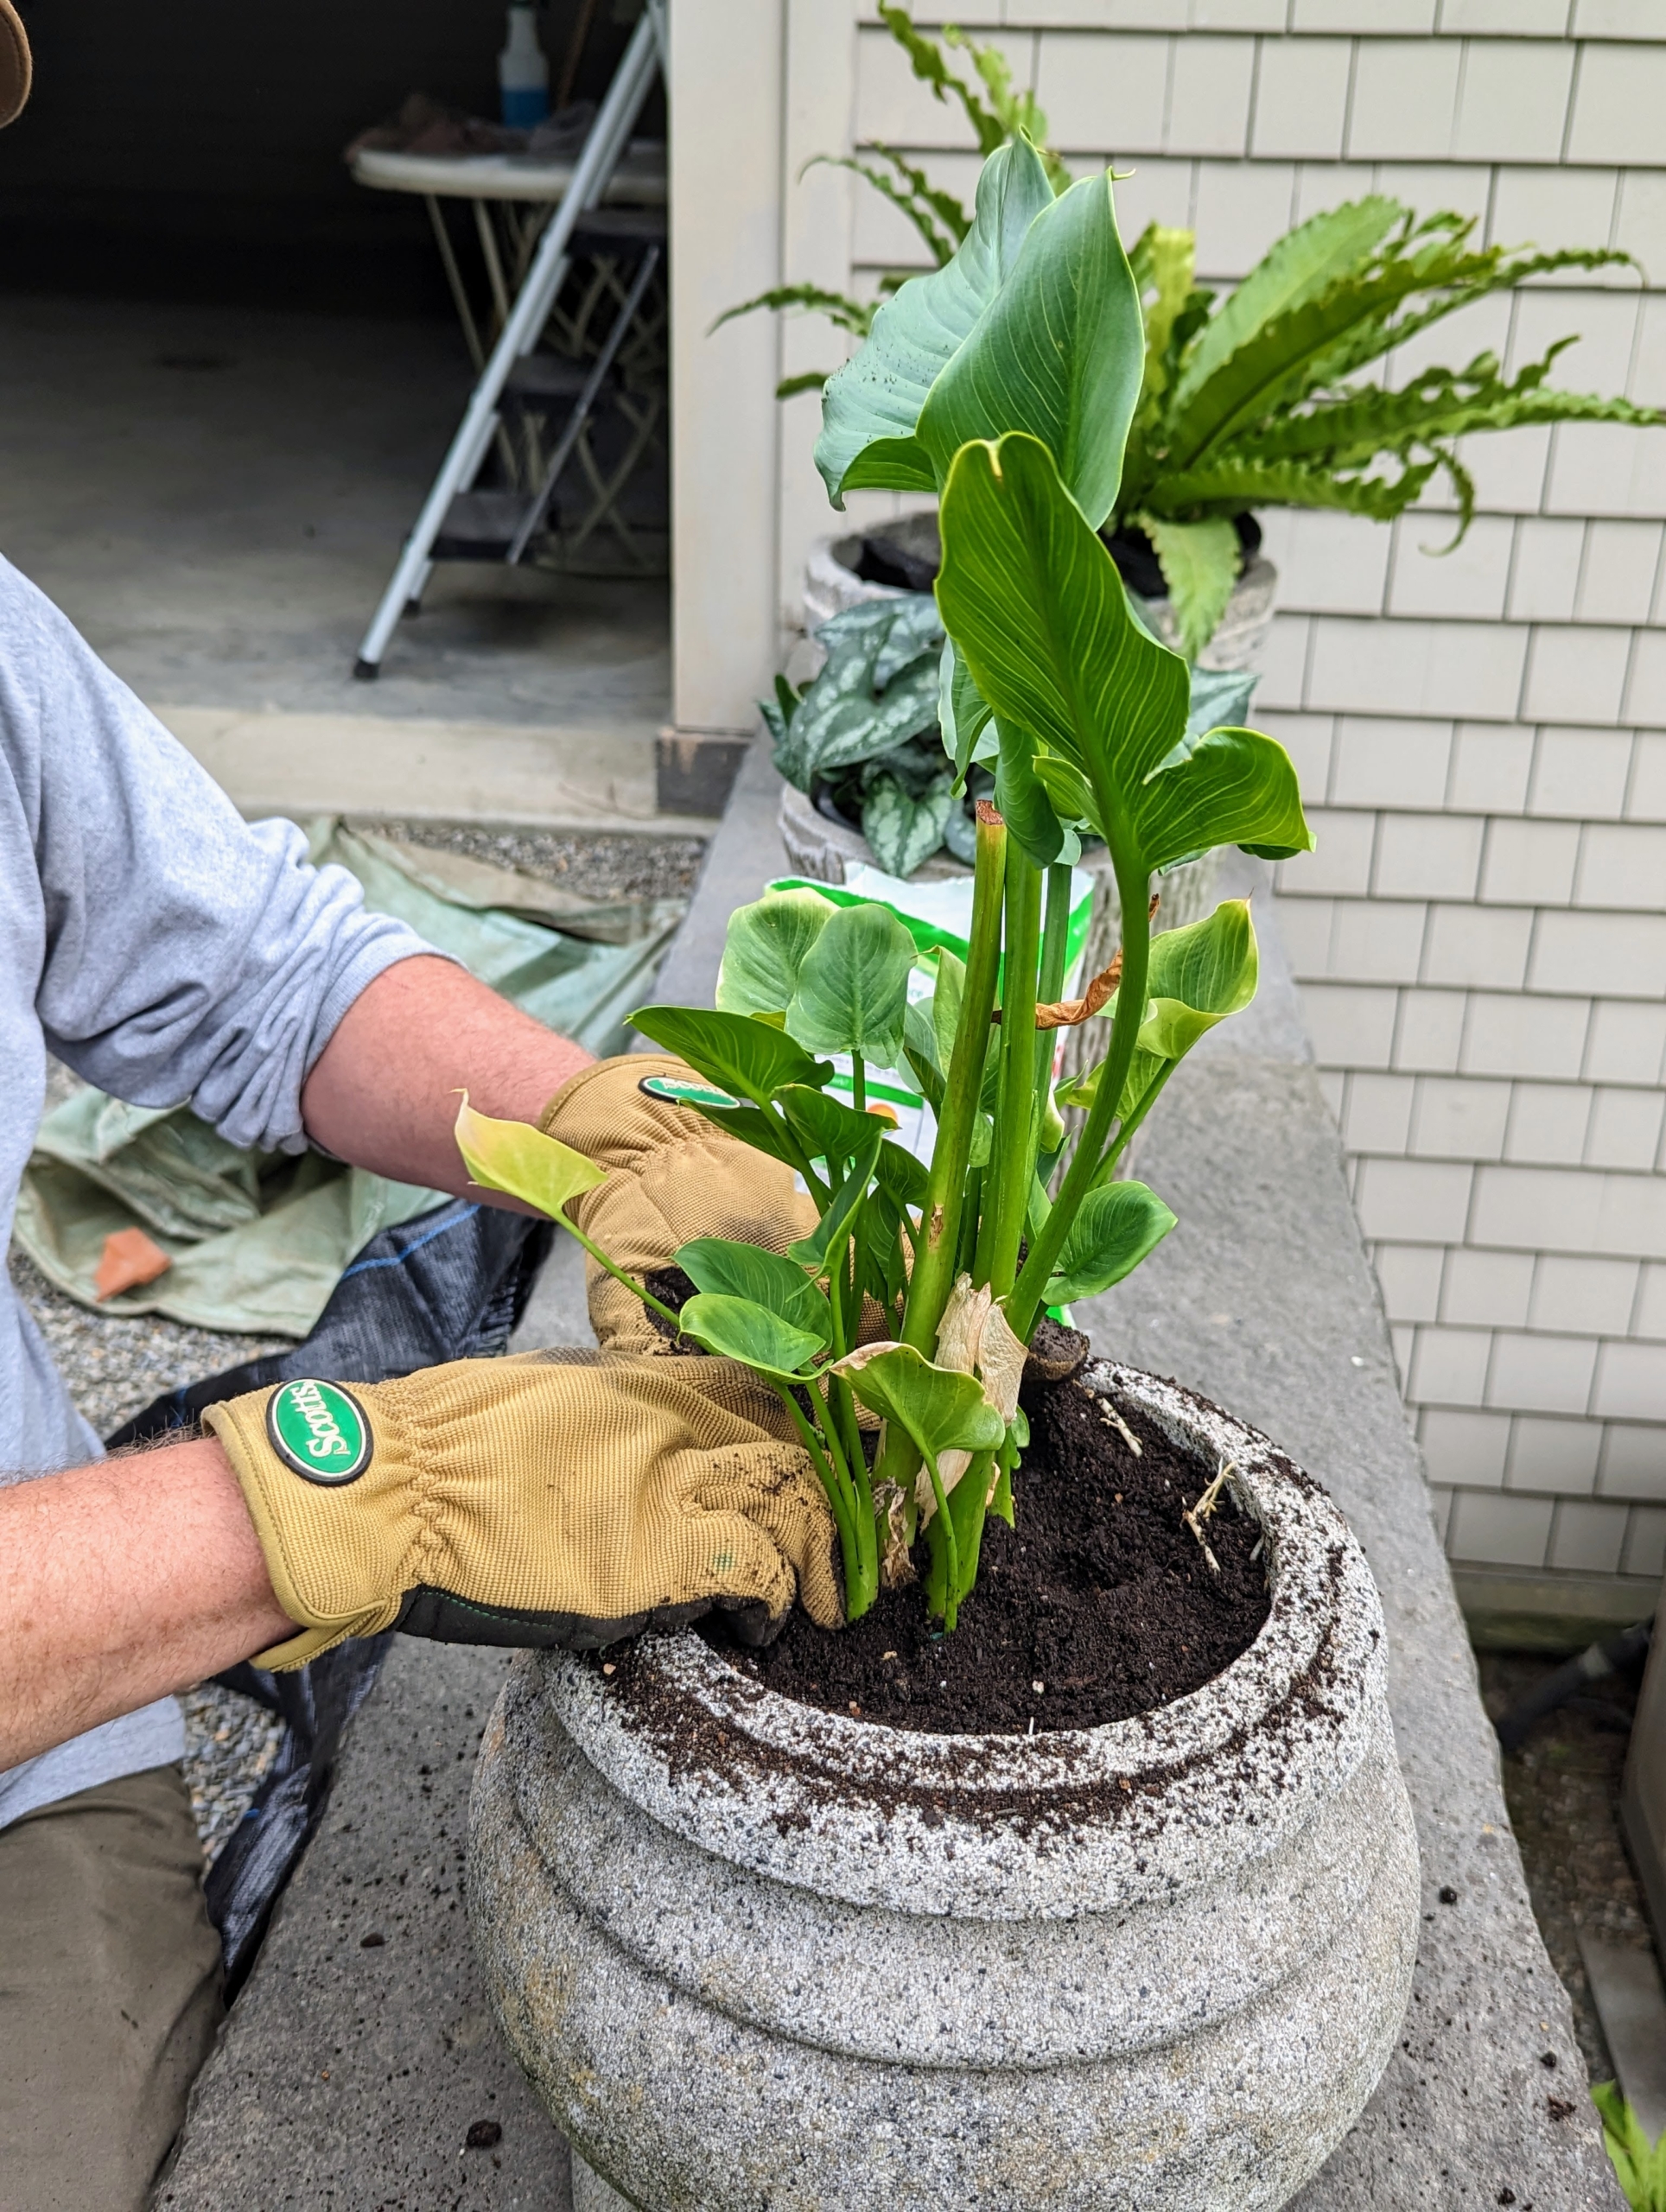
Here, Ryan pots up a calla lily, which will flower from early to late summer.
The plant is potted at the same depth it was in its plastic container. Ryan uses compost that was made right here at the farm.
Calla lilies have smooth, sword-like foliage that looks neat and attractive all season long. This plant fits just right in this container.
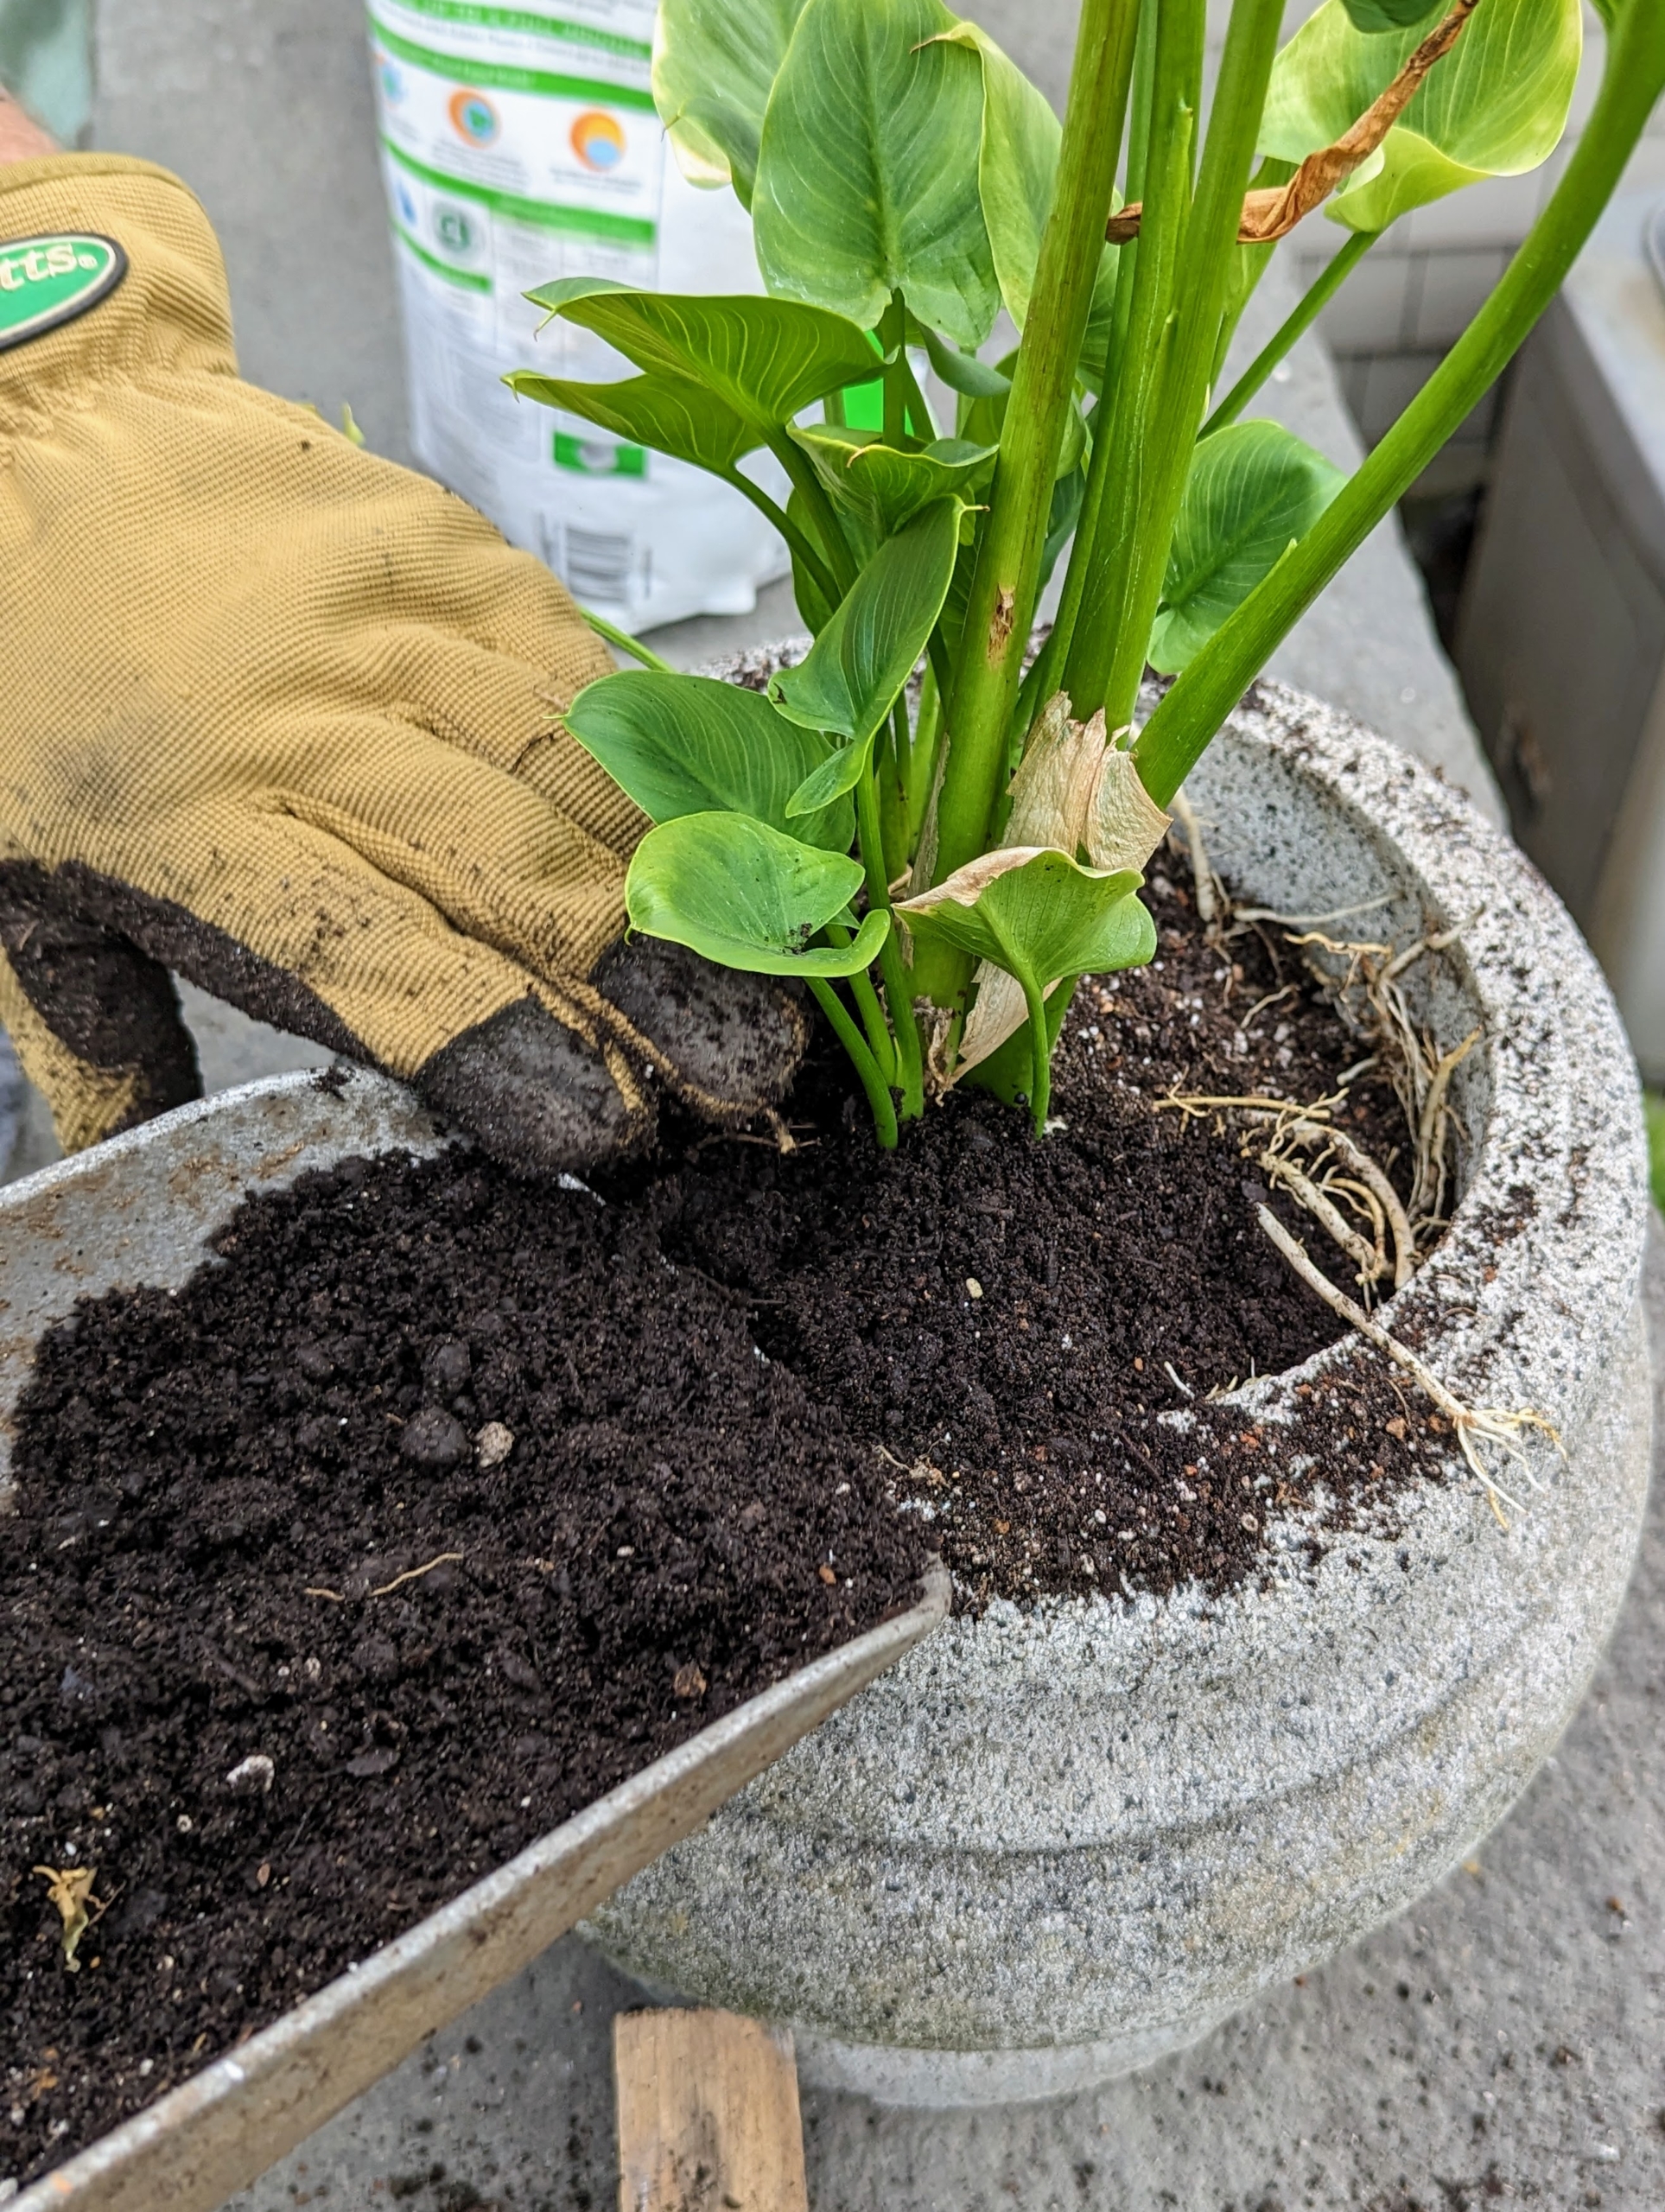
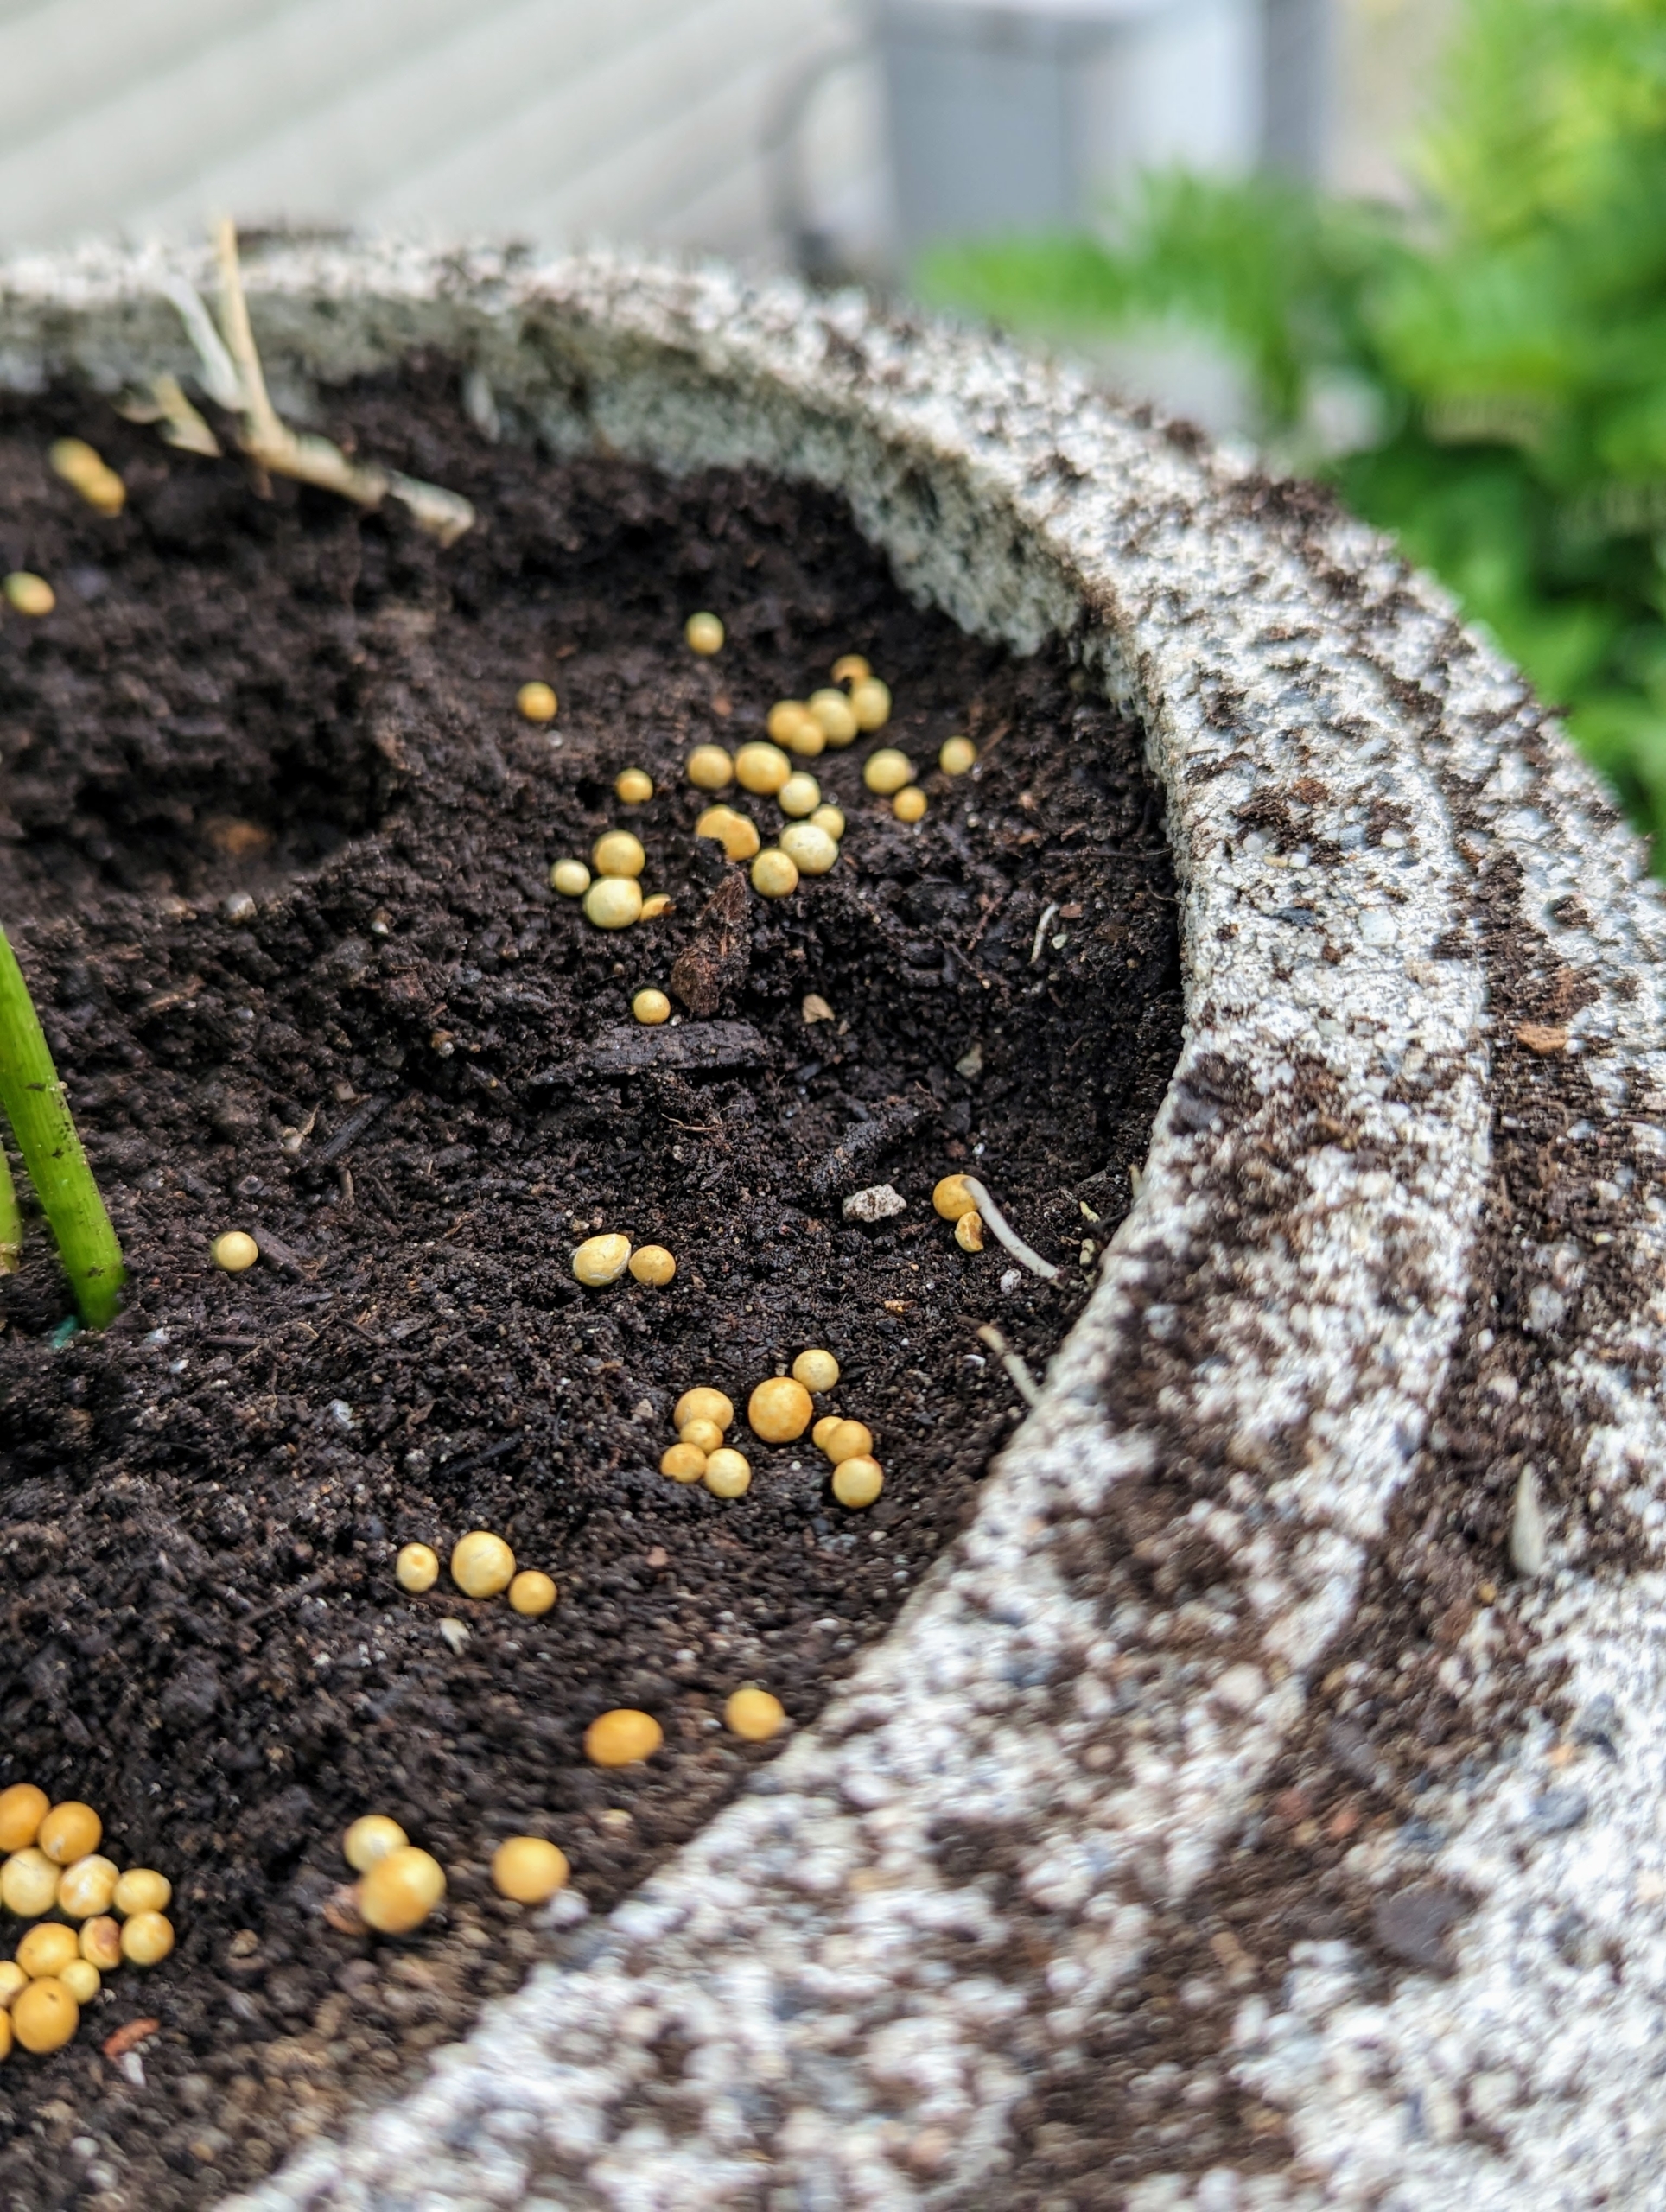
And don’t forget to feed – I always say, if you eat, so should your plants. Ryan adds a sprinkling of Osmocote – an all-in-one plant solution containing essential nutrients and a unique resin that controls nutritional release.
In this pot, Ryan drops a scoop of compost first to weigh down the weed cloth.
Then he cuts the cloth to fit – just big enough to line the vessel’s interior but not drape over the sides.
Here he pots up a bird’s nest fern to match the four others that share this ledge.
The bird’s nest fern, Asplenium nidus, is an interesting plant with long, erect, spoon-shaped, bright green fronds that rise from a central rosette.
Here’s a close look at the frond of a crocodile fern, sometimes known as an alligator fern native to Australia. The fern gets its name from the scale like appearance of its leaves.
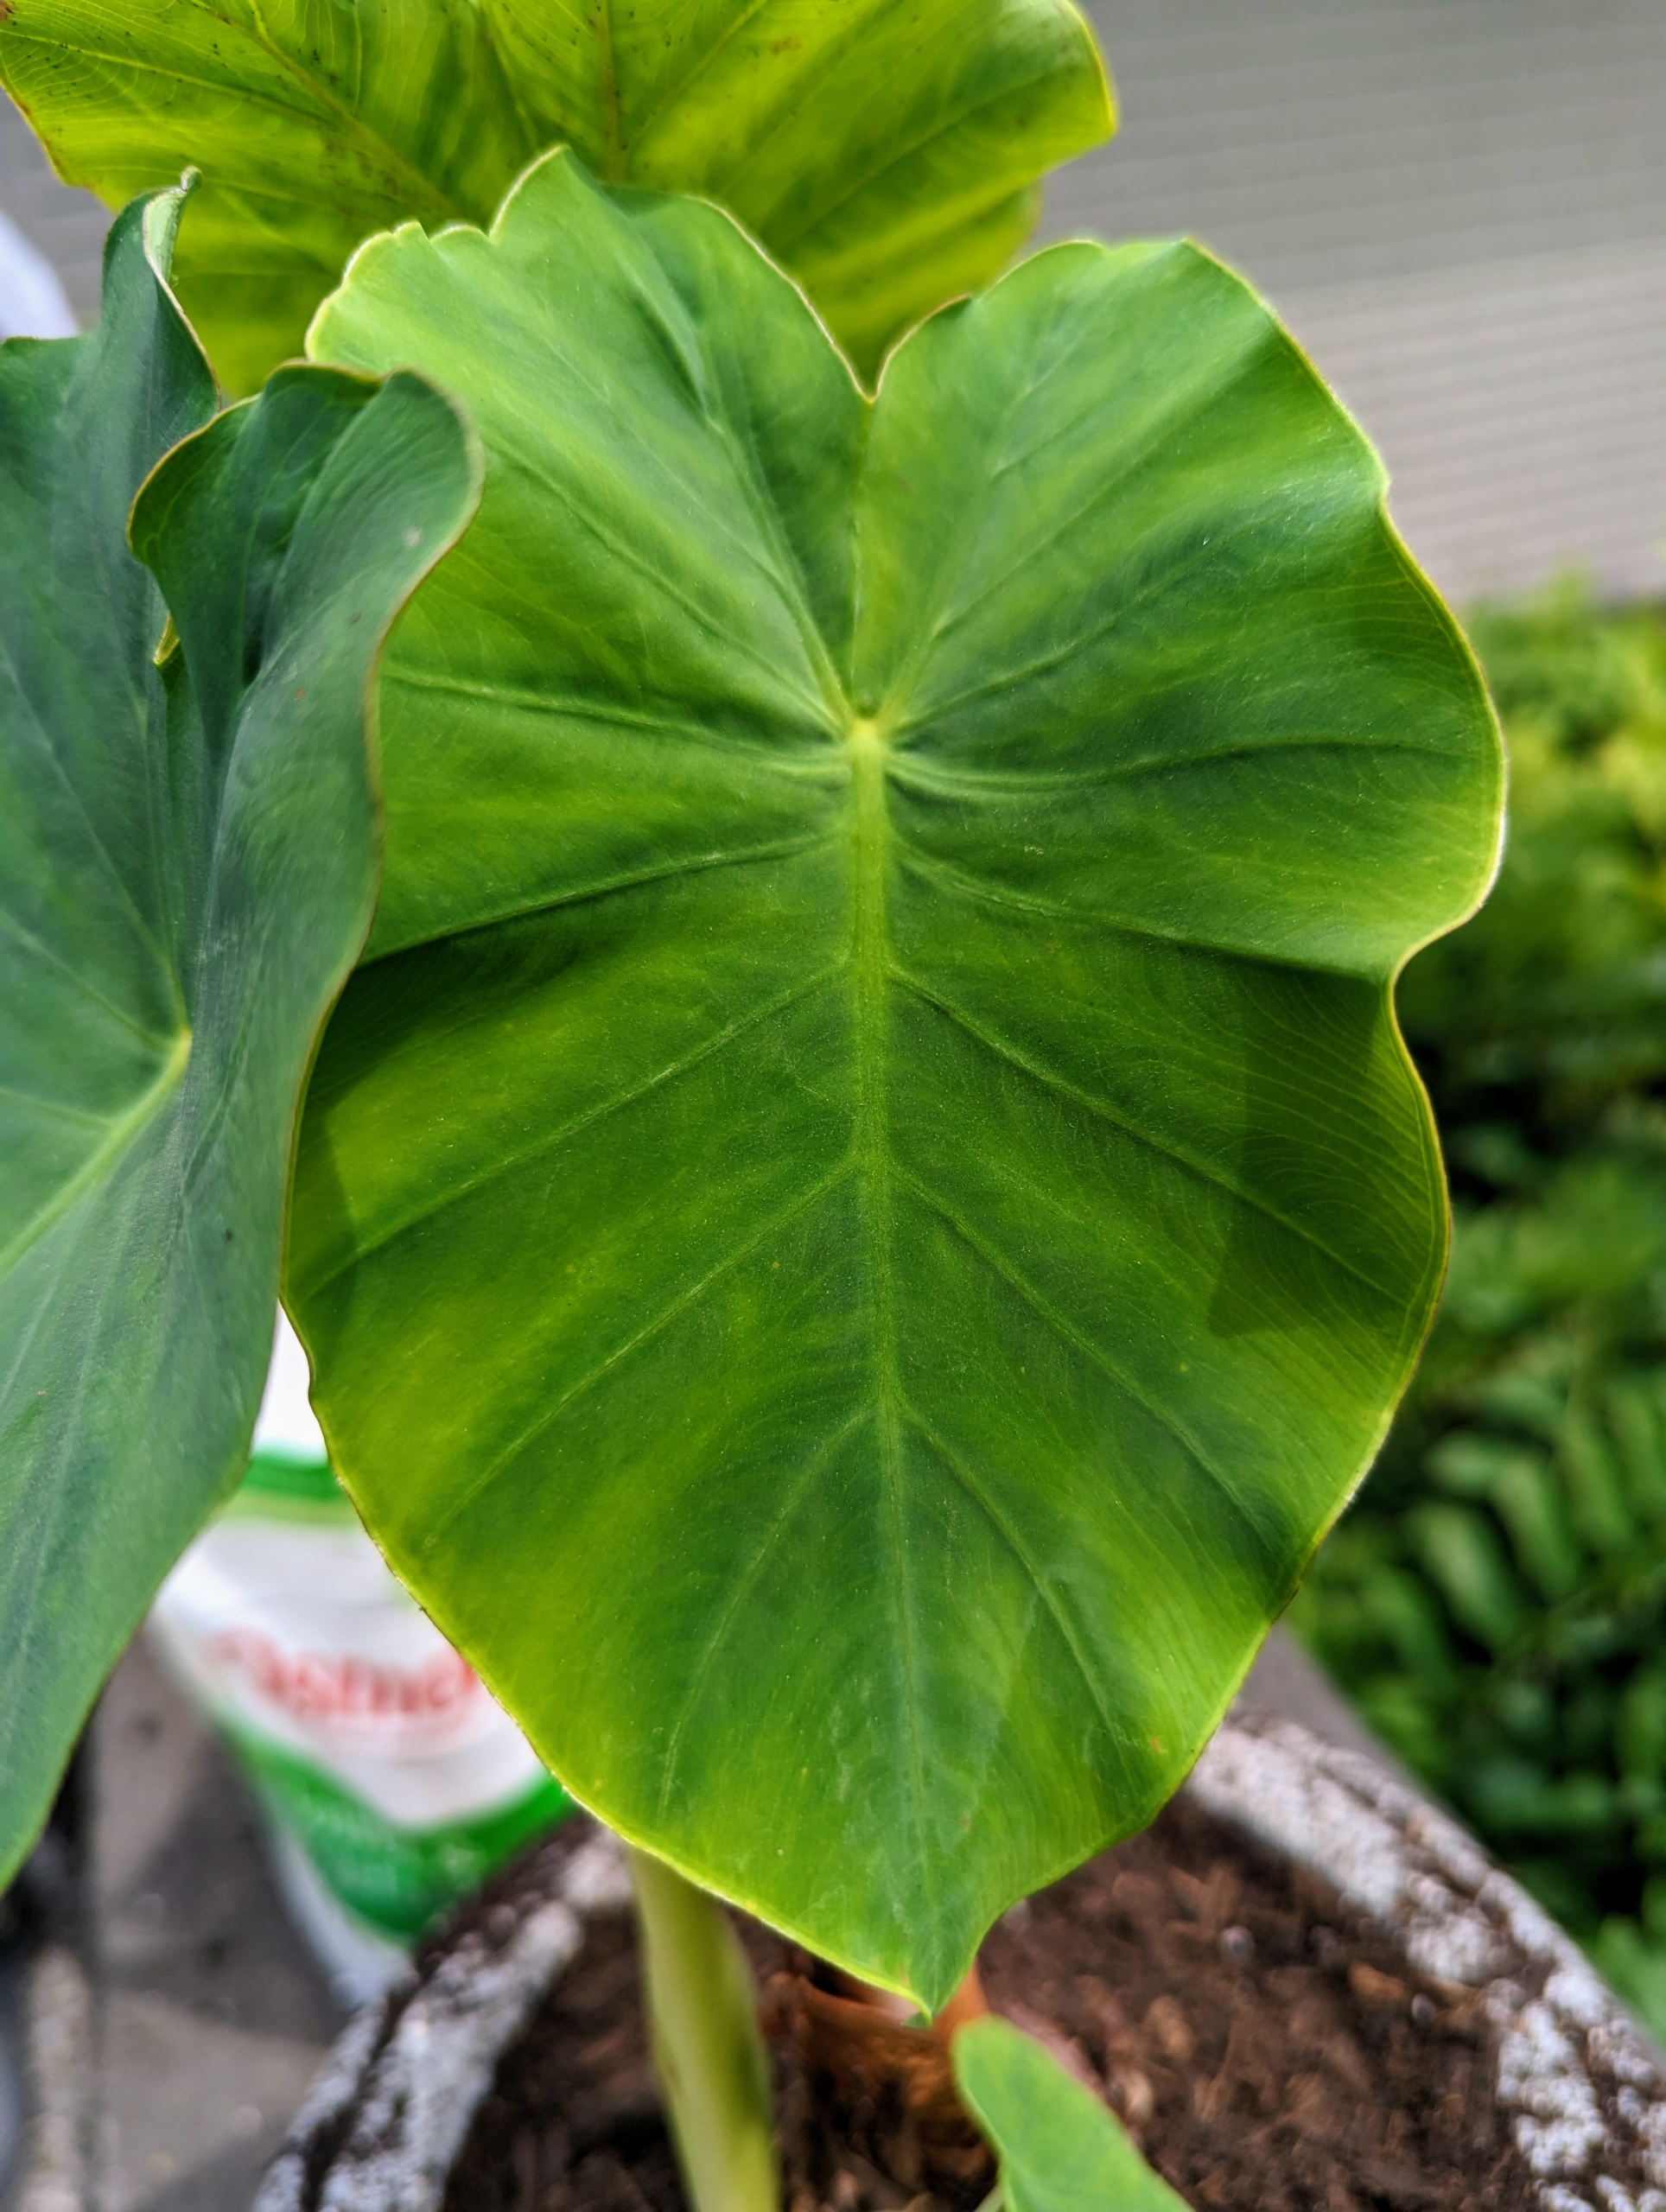
Also on this ledge, an alocasia, known for the distinctive and stunning broad arrowhead-shaped, textured leaves.
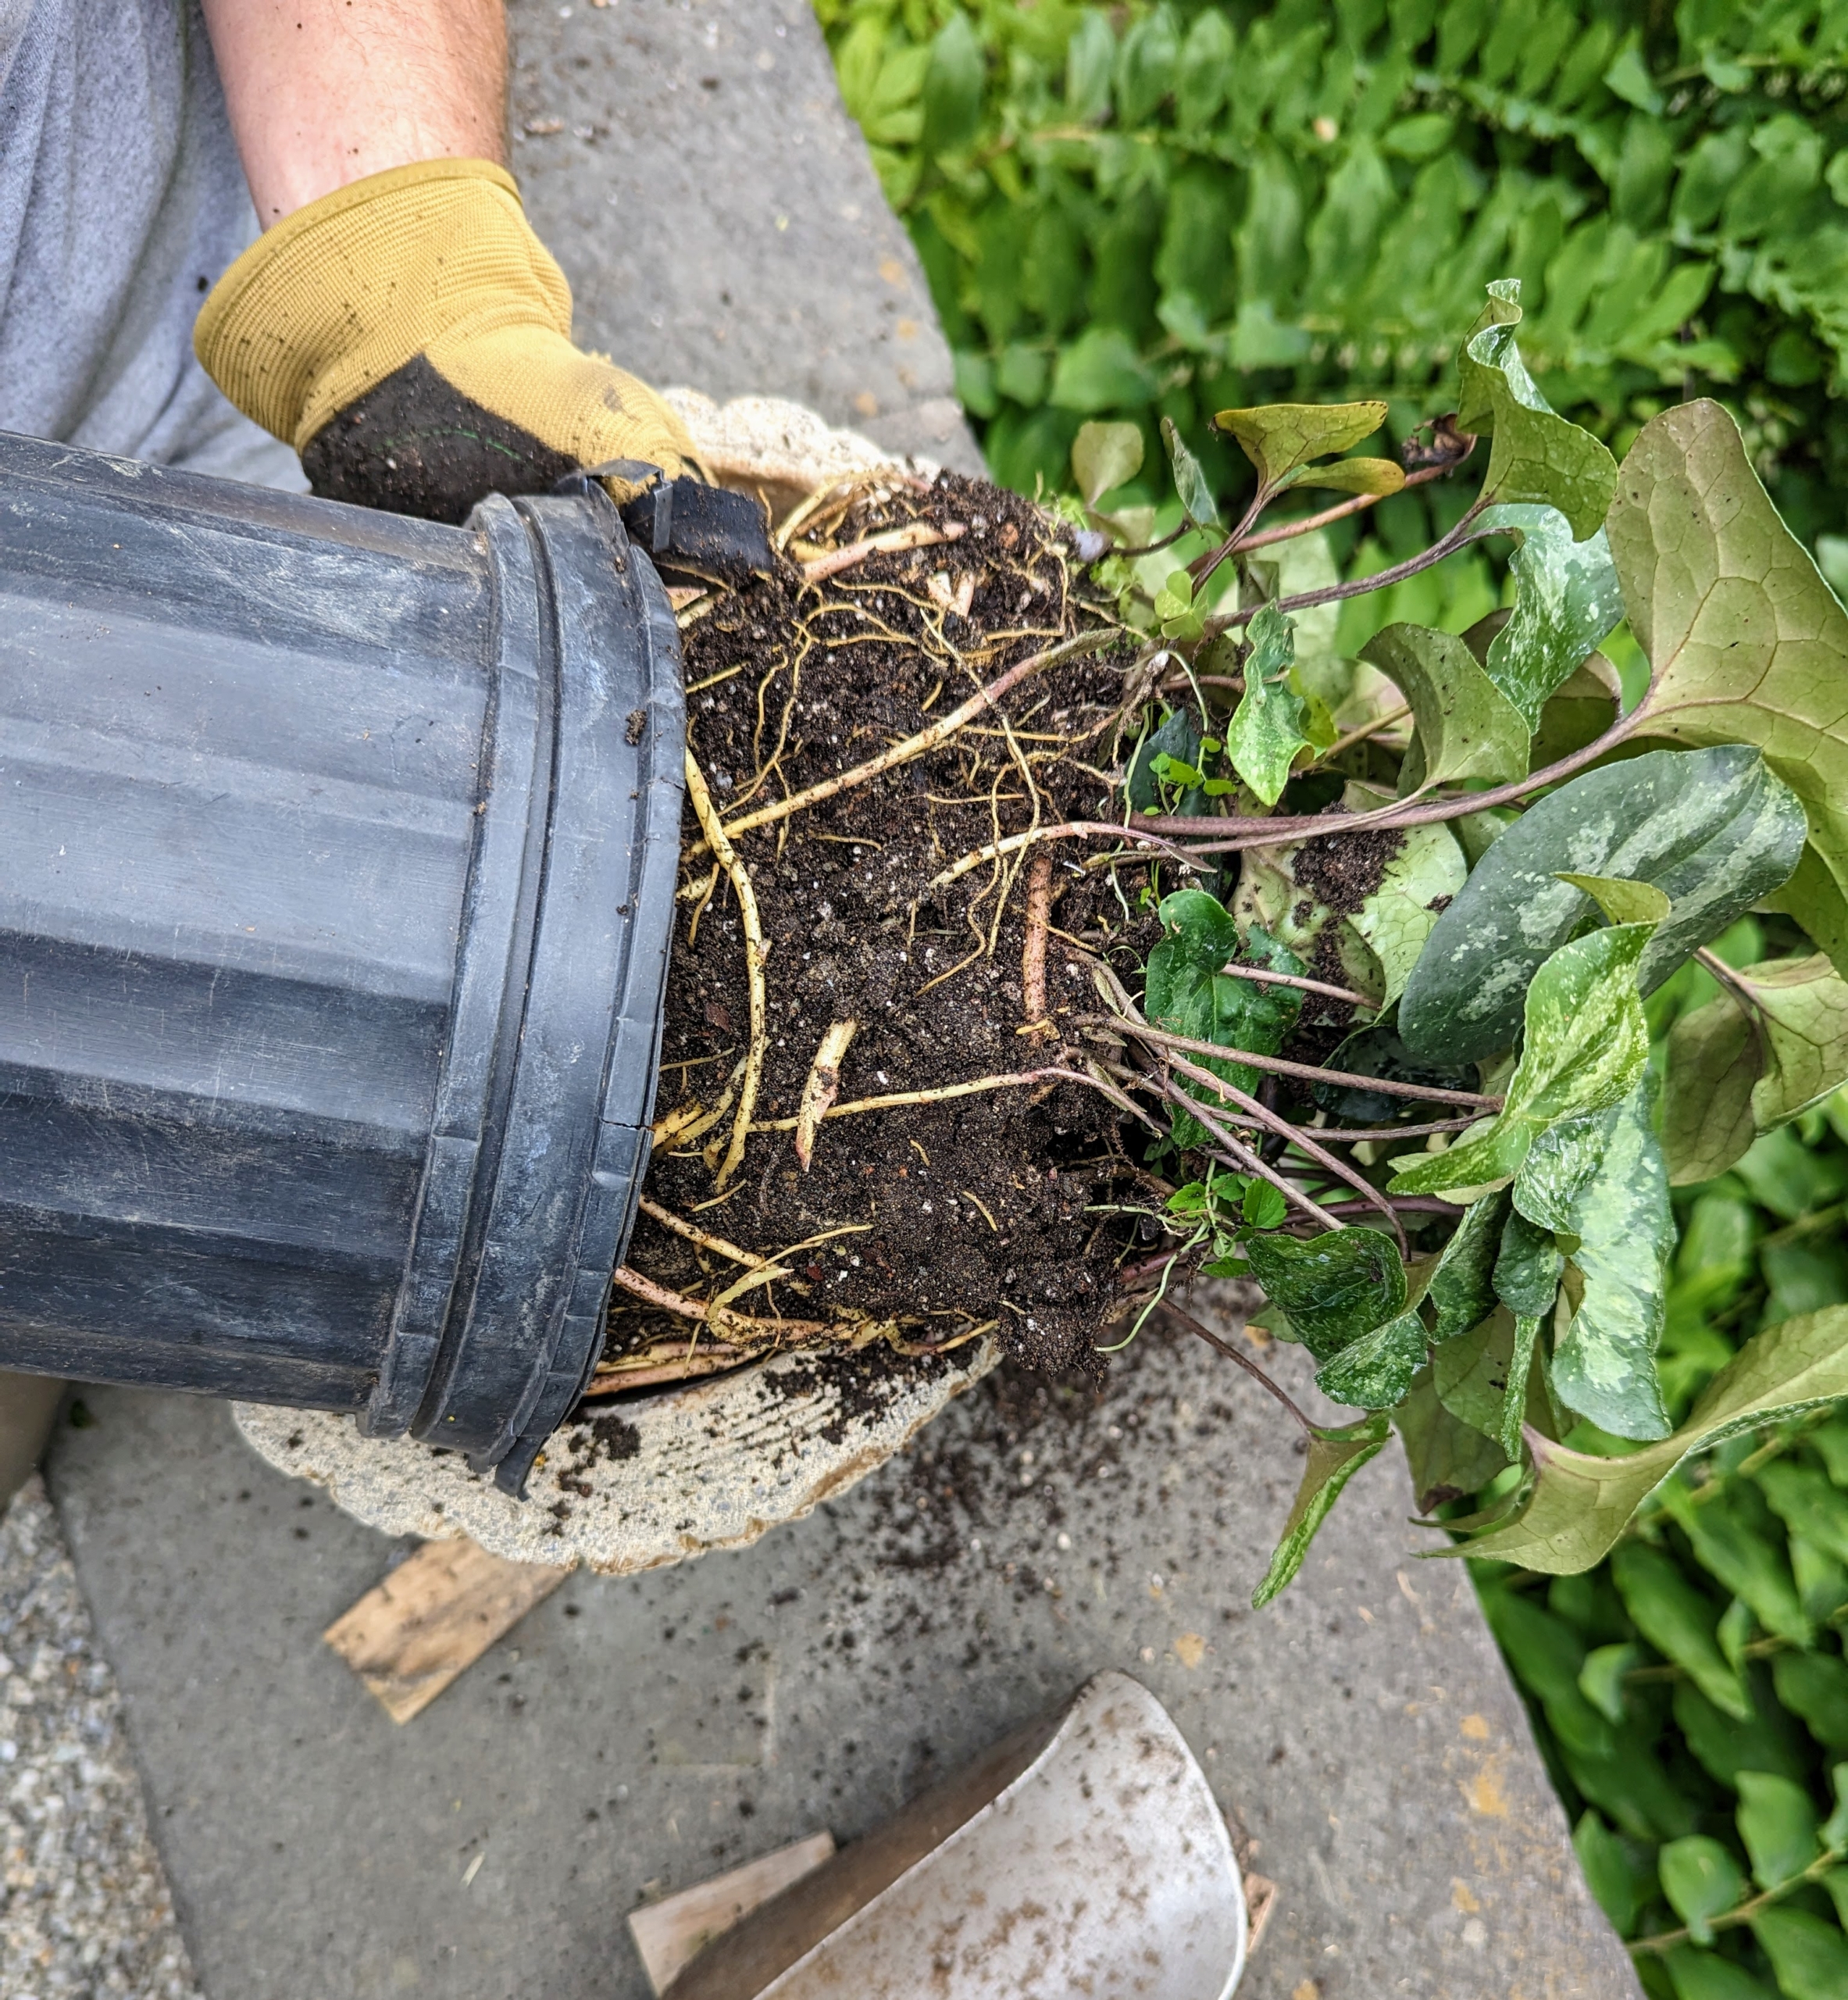
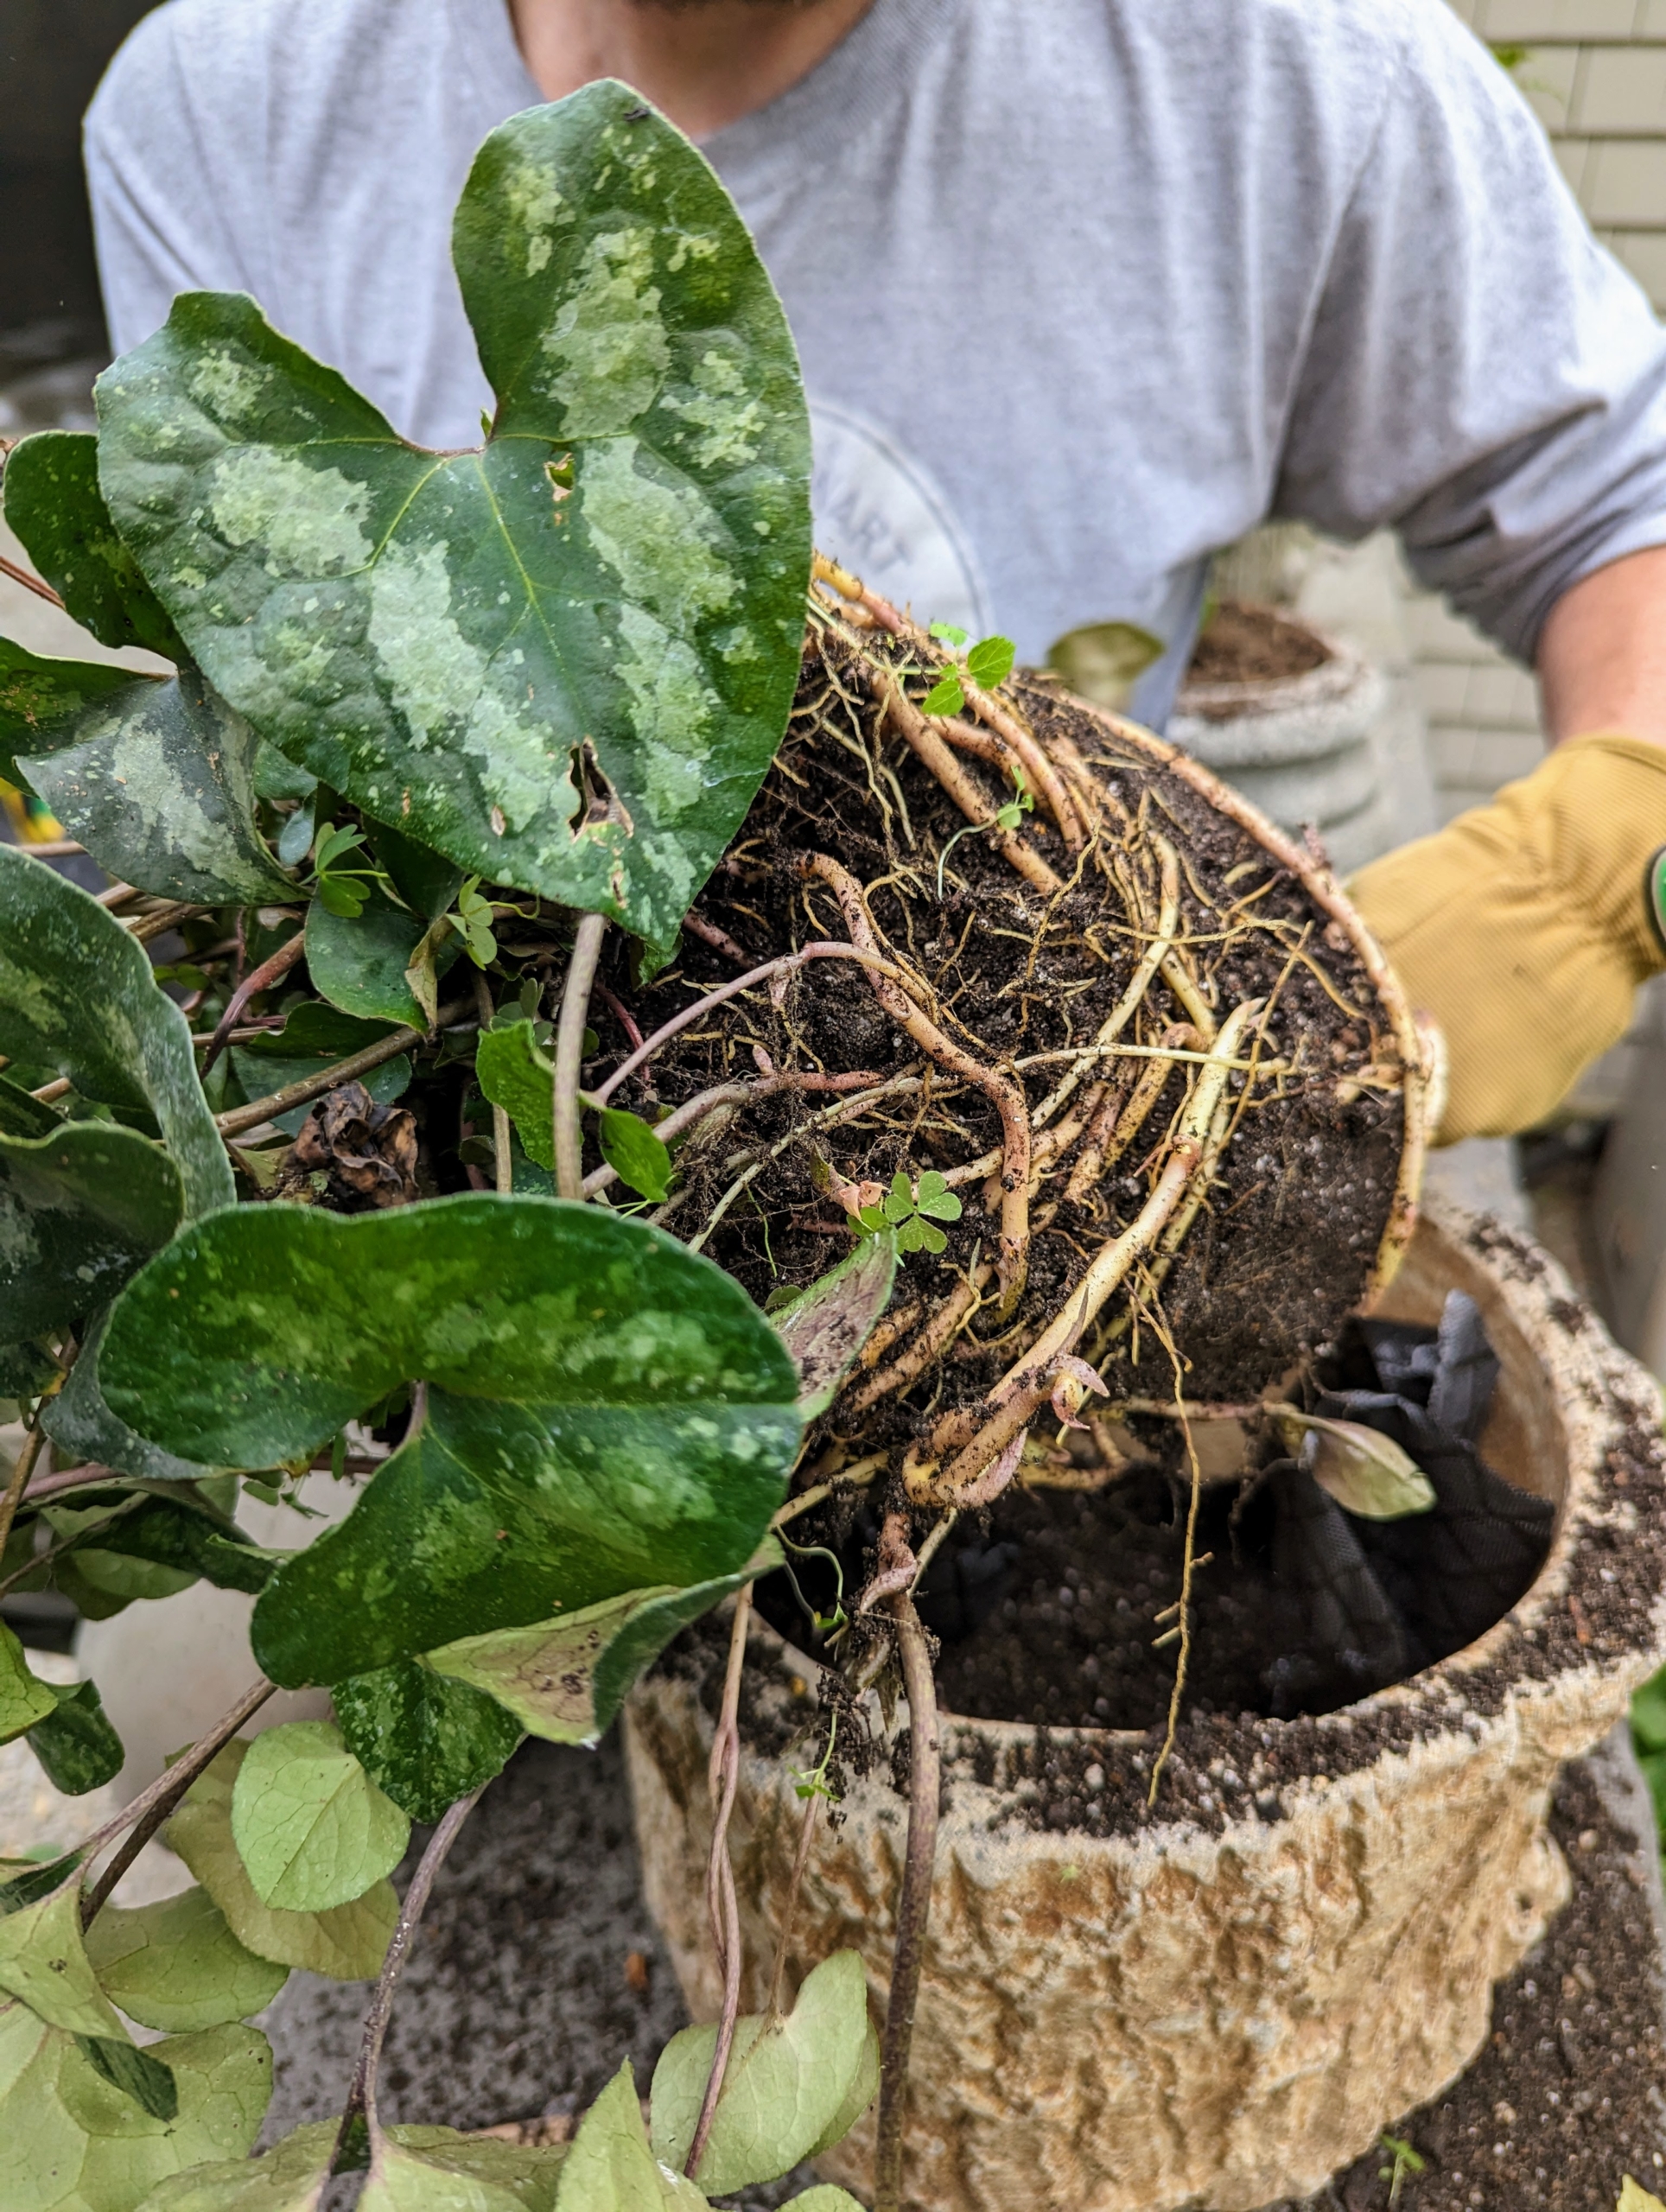
Next – wild ginger. Ryan carefully removes it from its pot. We always save these plastic pots for storing plants during the off season and for potting seedlings and bare root cuttings – nothing gets wasted here at the farm.
Before potting up the plant, Ryan makes sure to loosen the root ball. Loosening, also known as teasing or tickling, the roots before planting stimulates the roots and helps it form a good foundation.
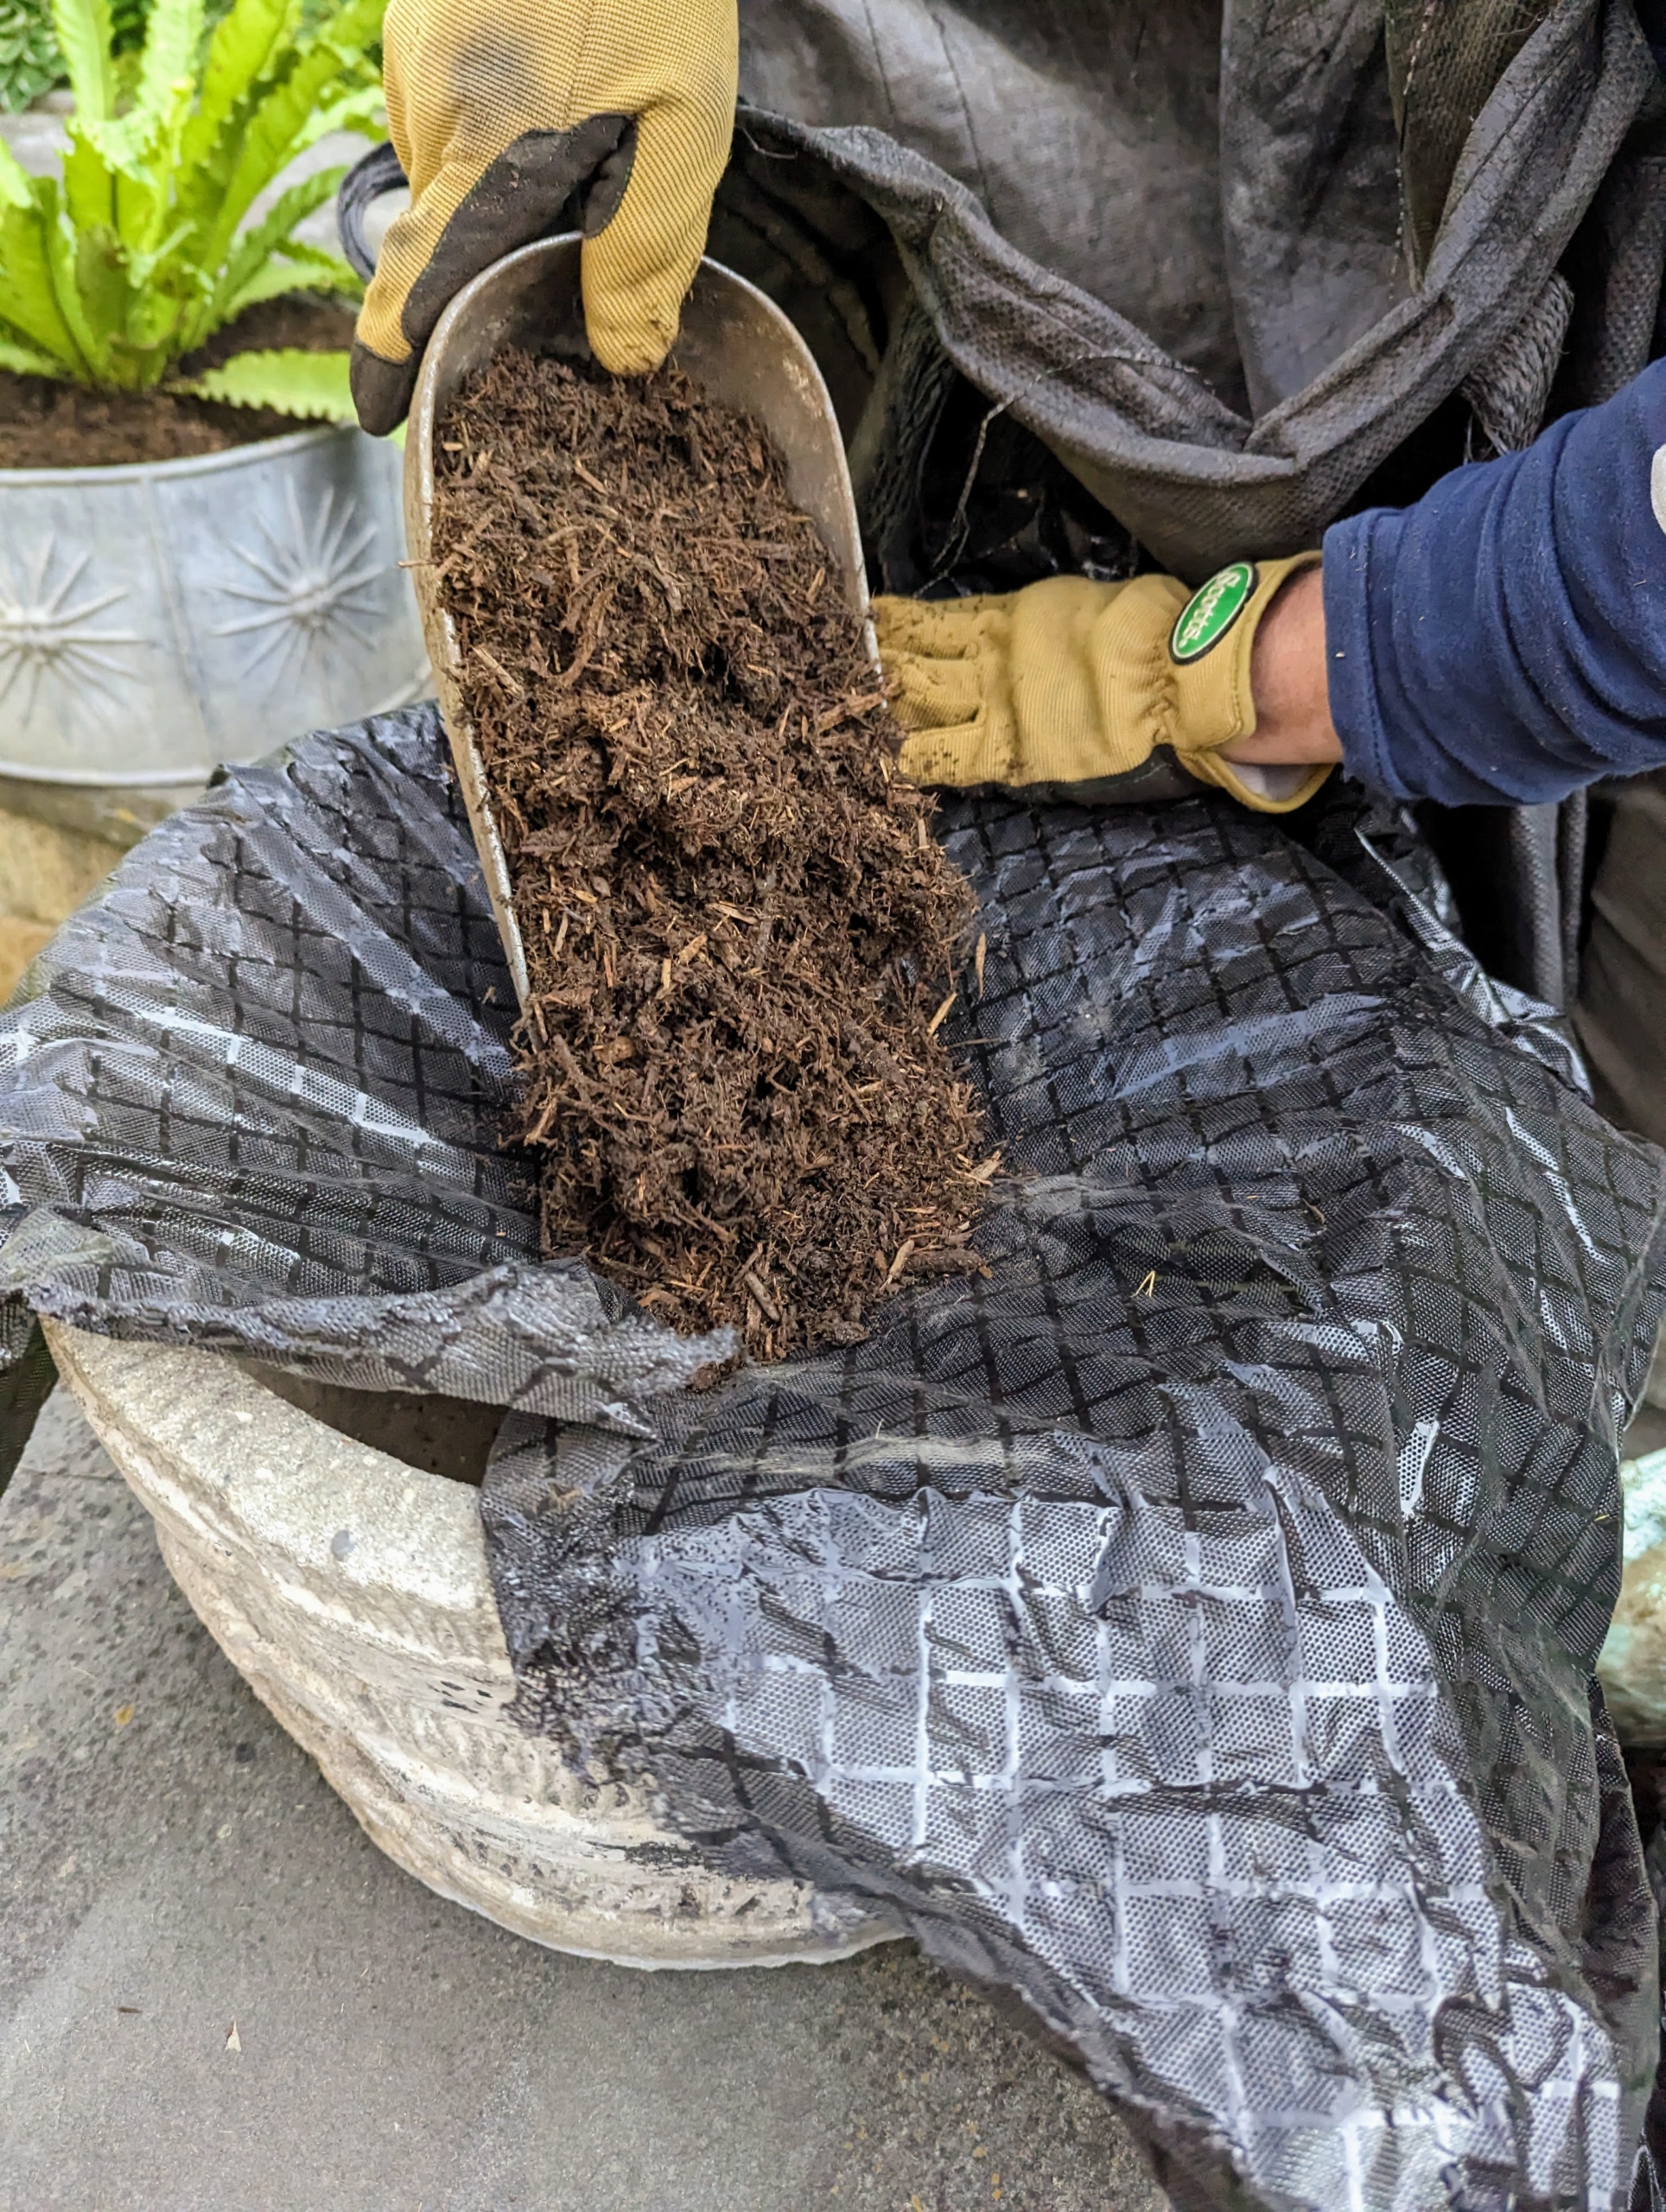
He top dresses every pot with some mulch – also made right here at my farm.
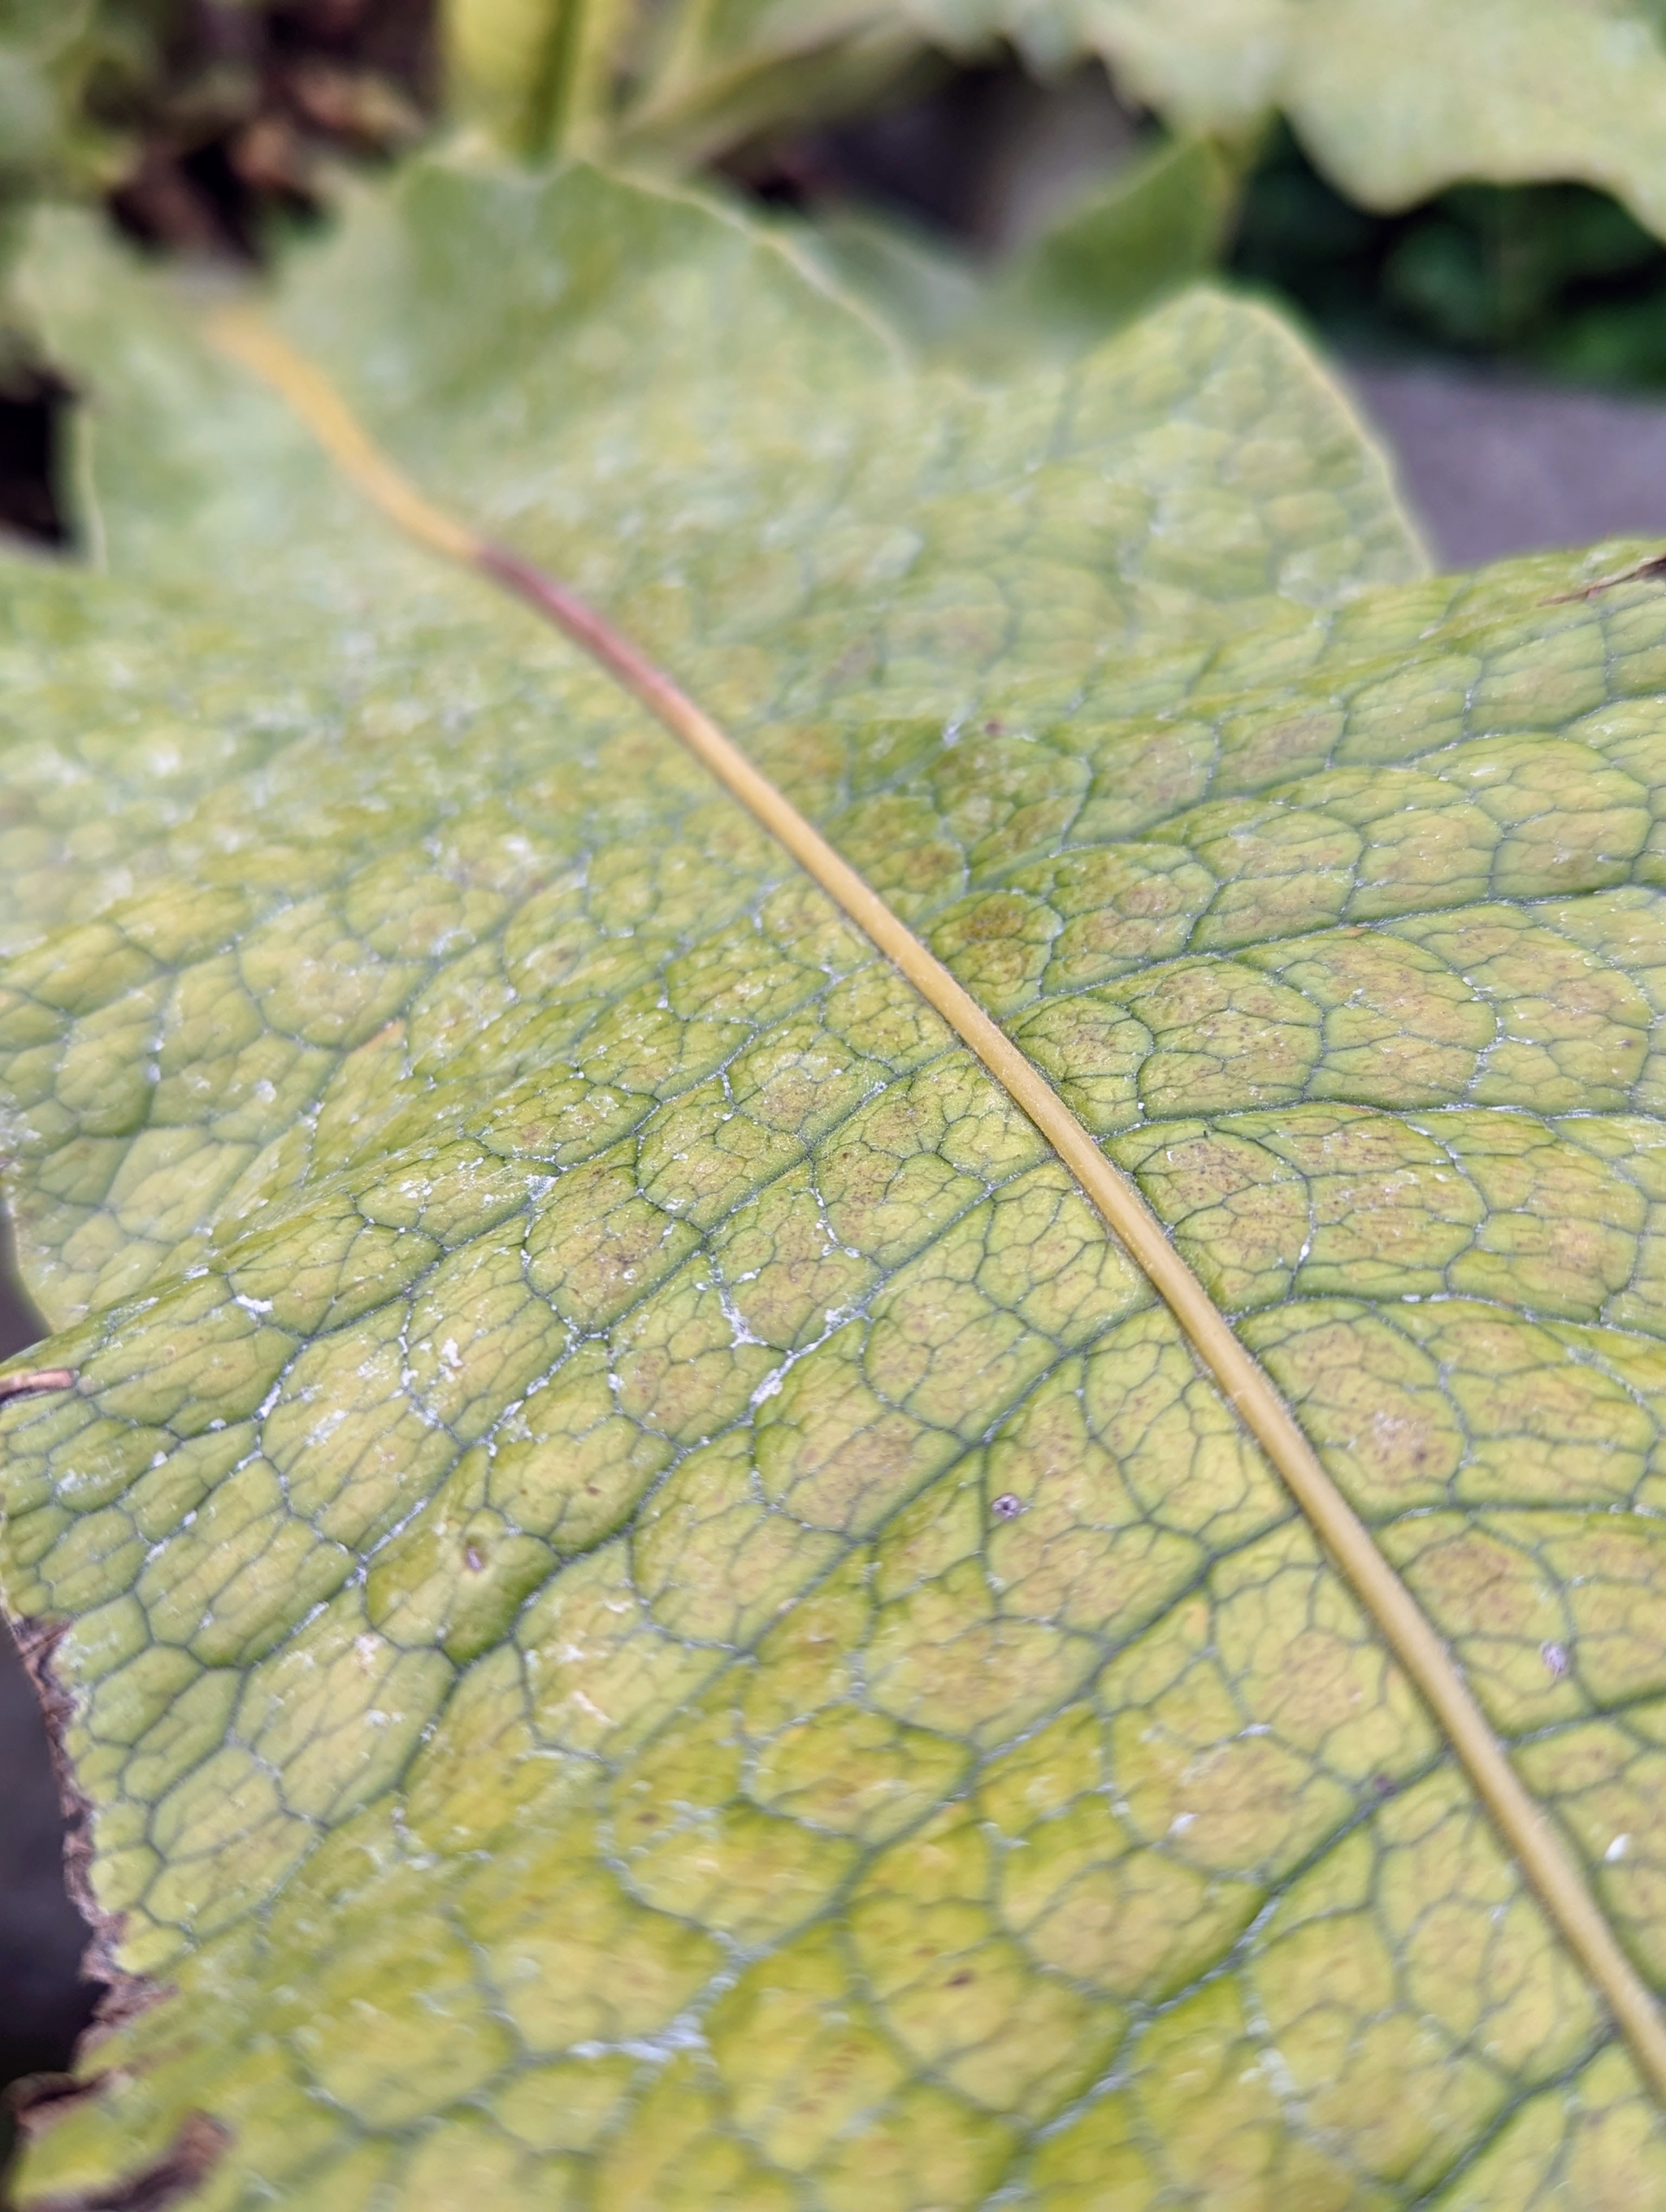
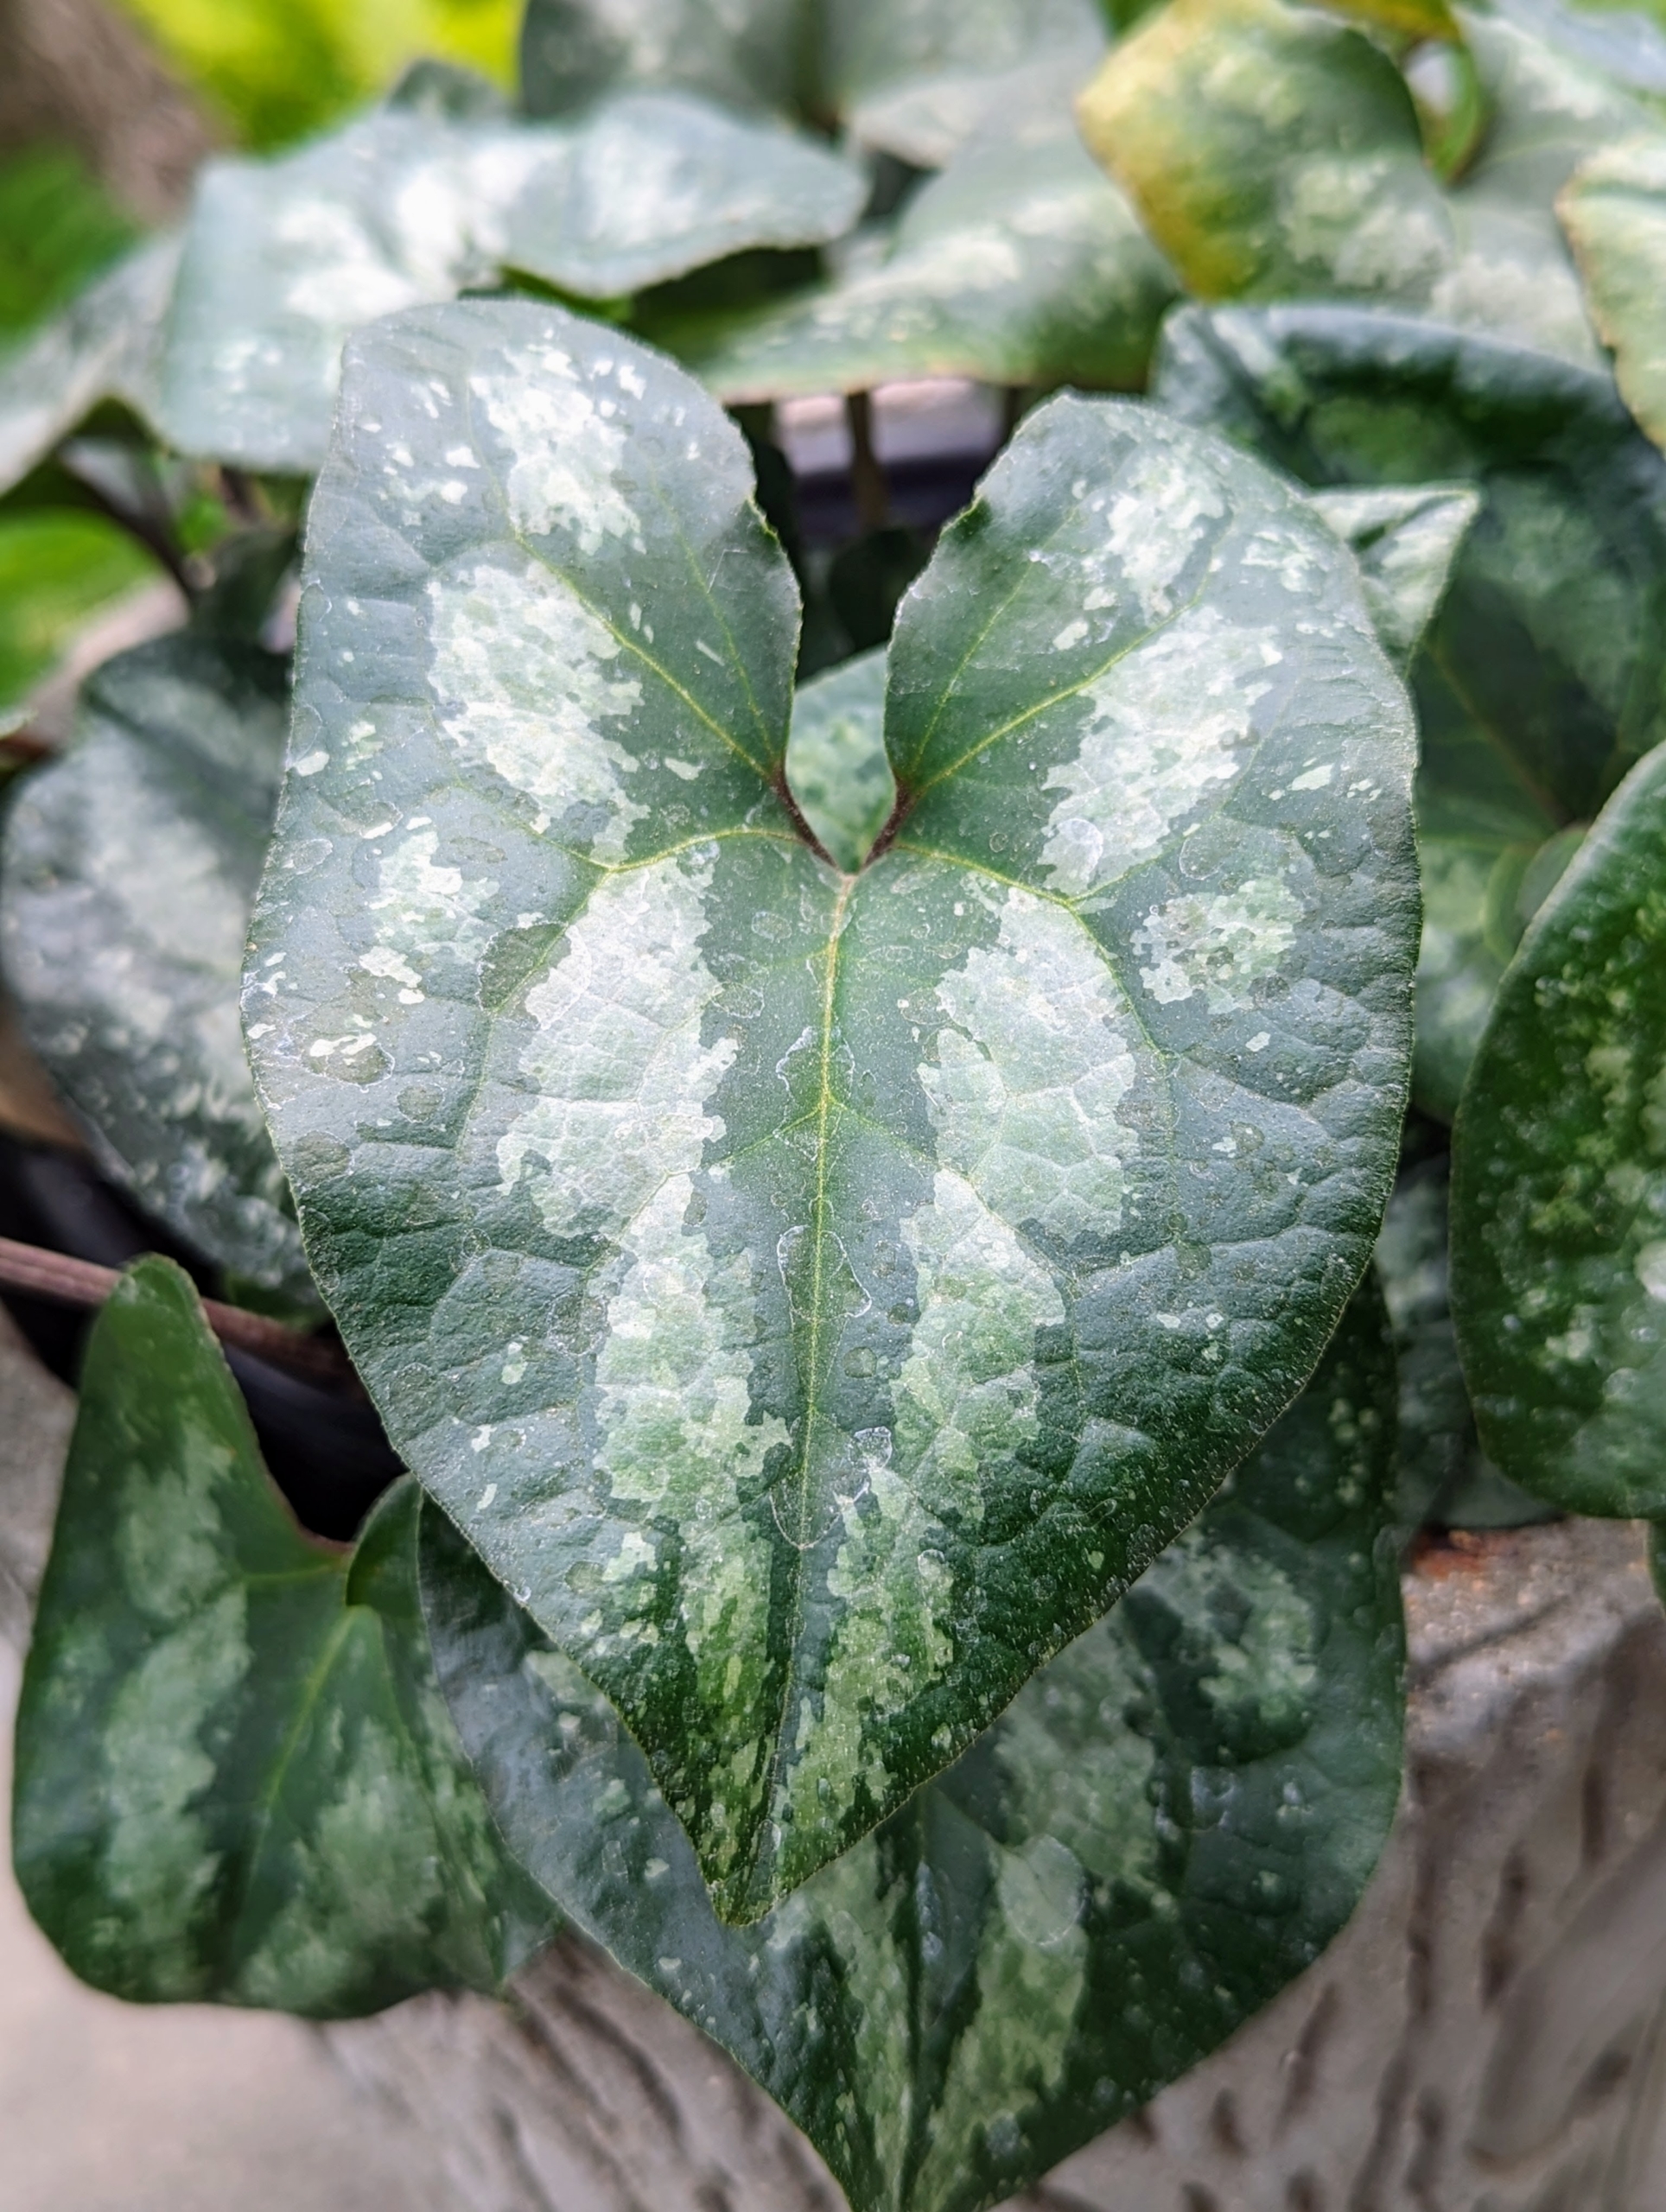
Wild ginger has large, heart-shaped, deciduous dark green leaves – some varieties with silvery white markings.
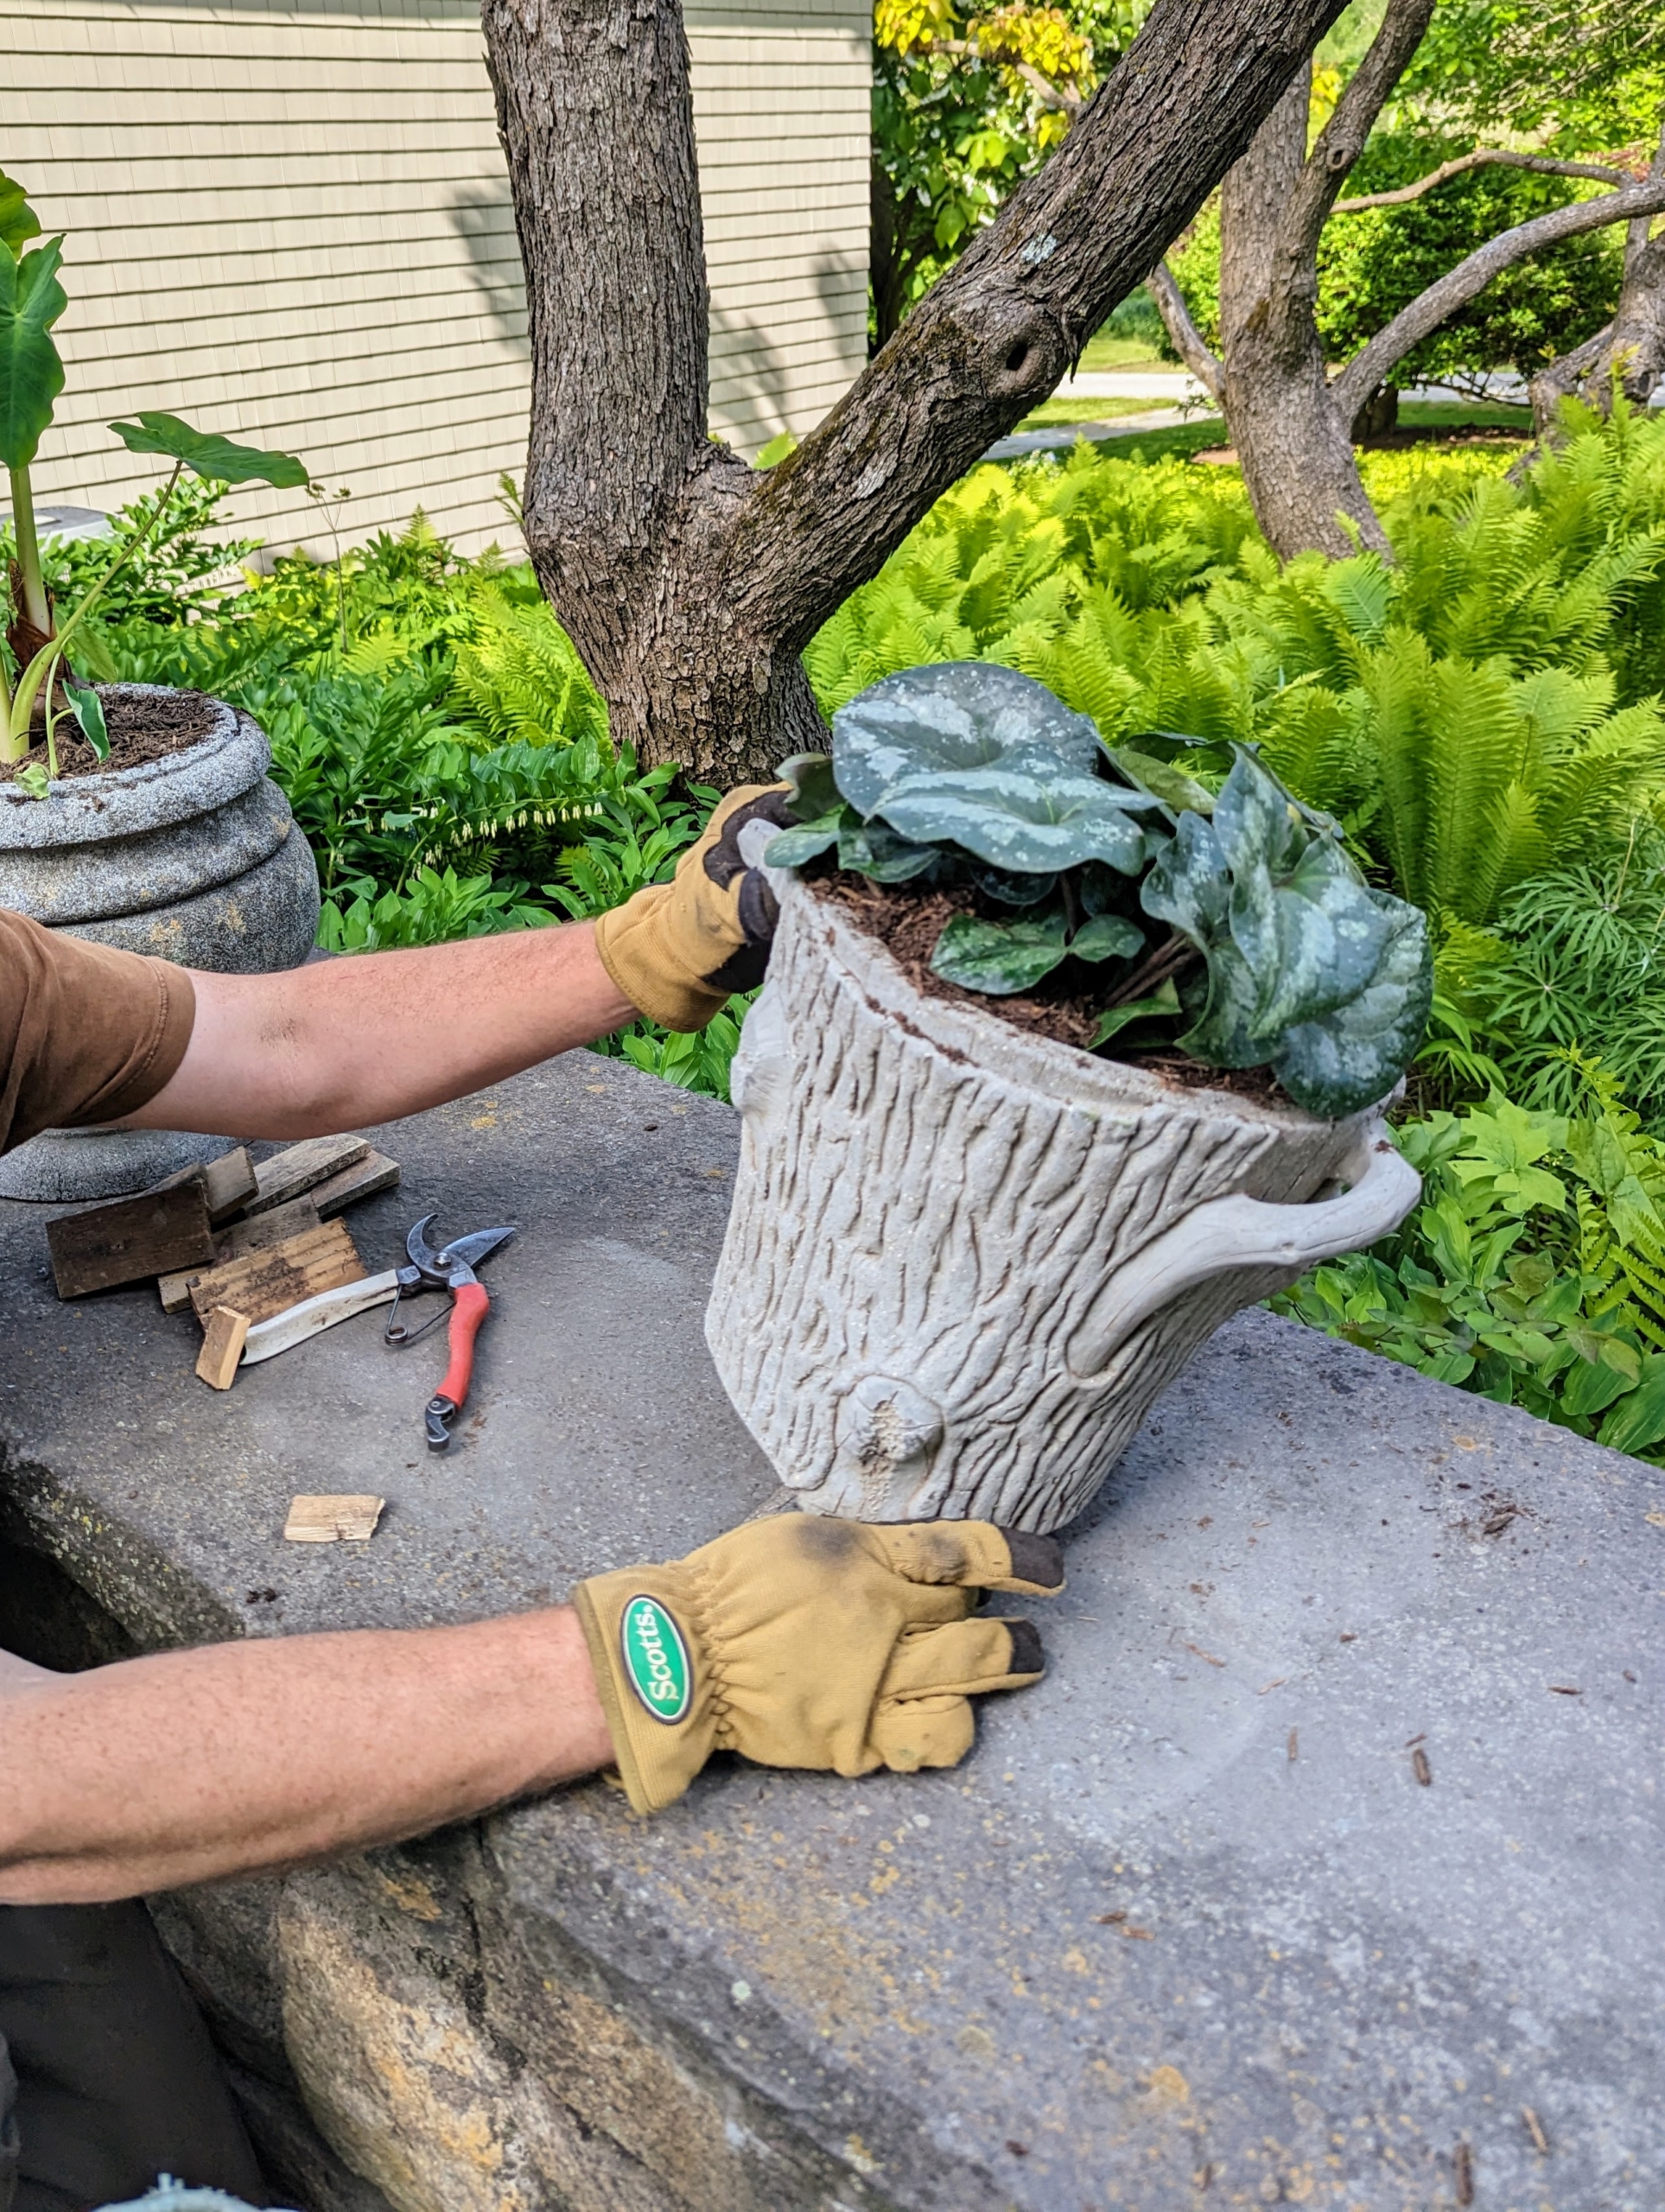
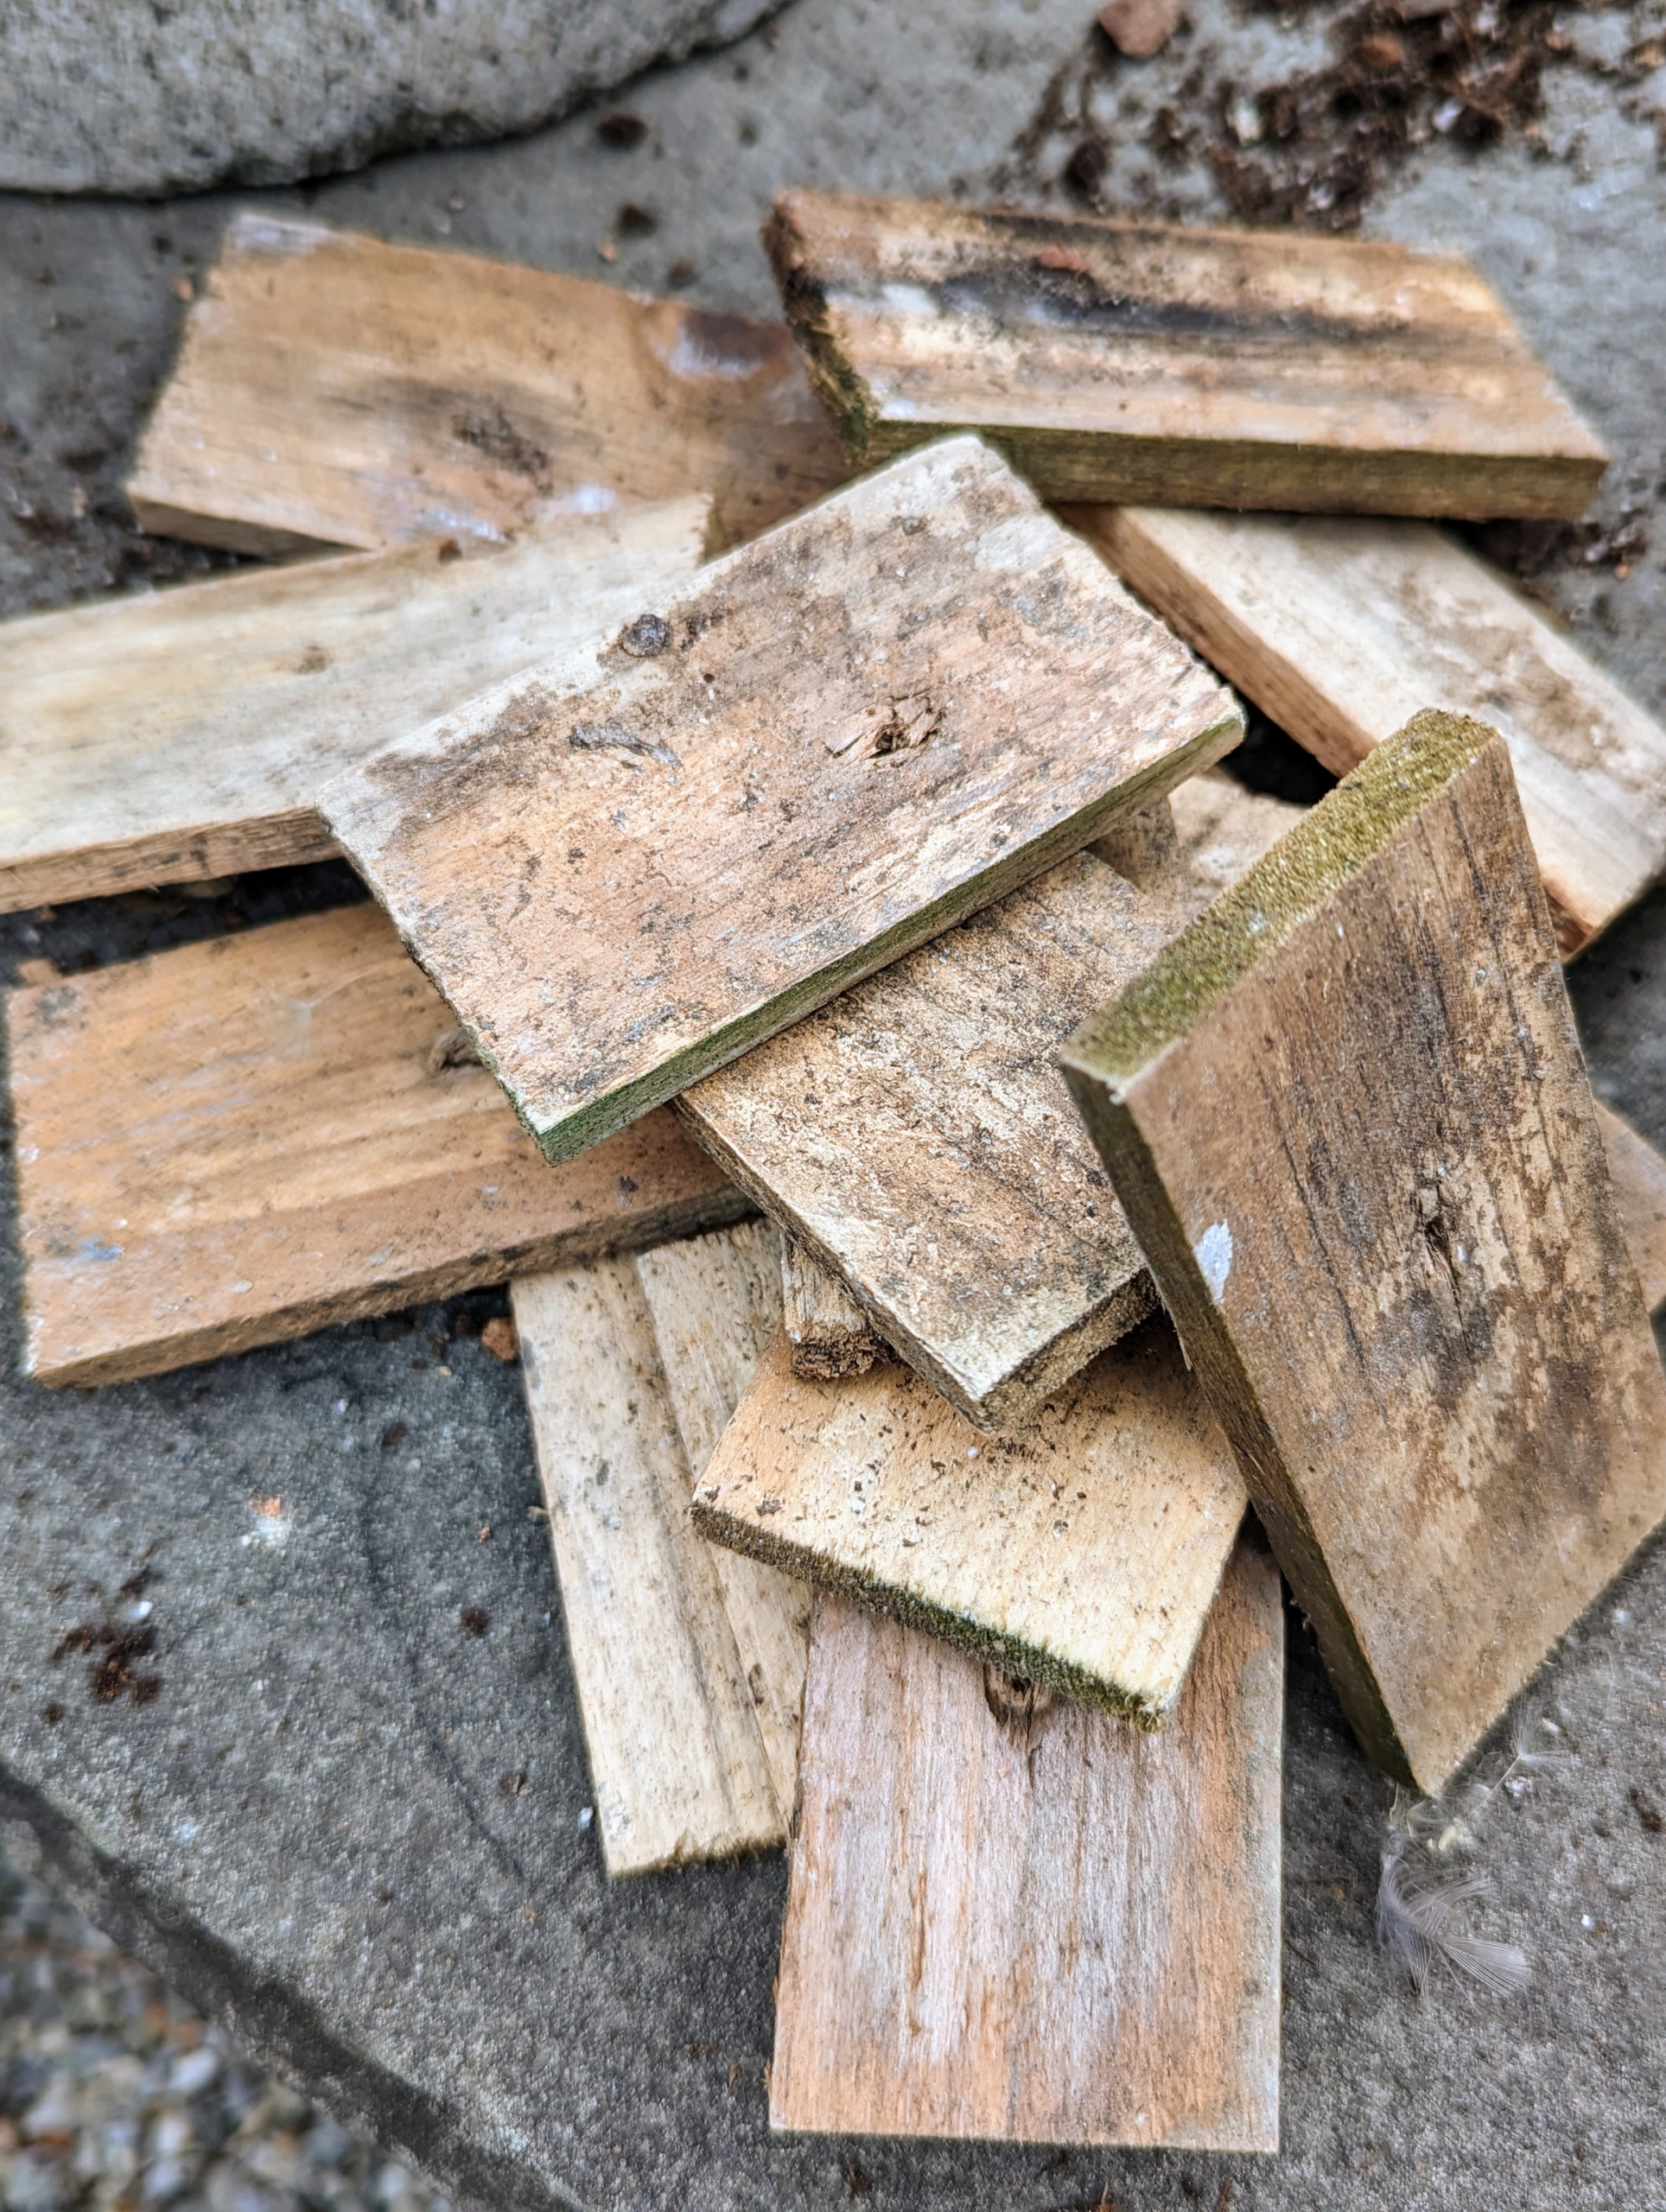
And every pot also gets lifted off the ledge with wood shims, so water can drain properly.
We make our own shims from extra pieces of wood and use them over and over again.
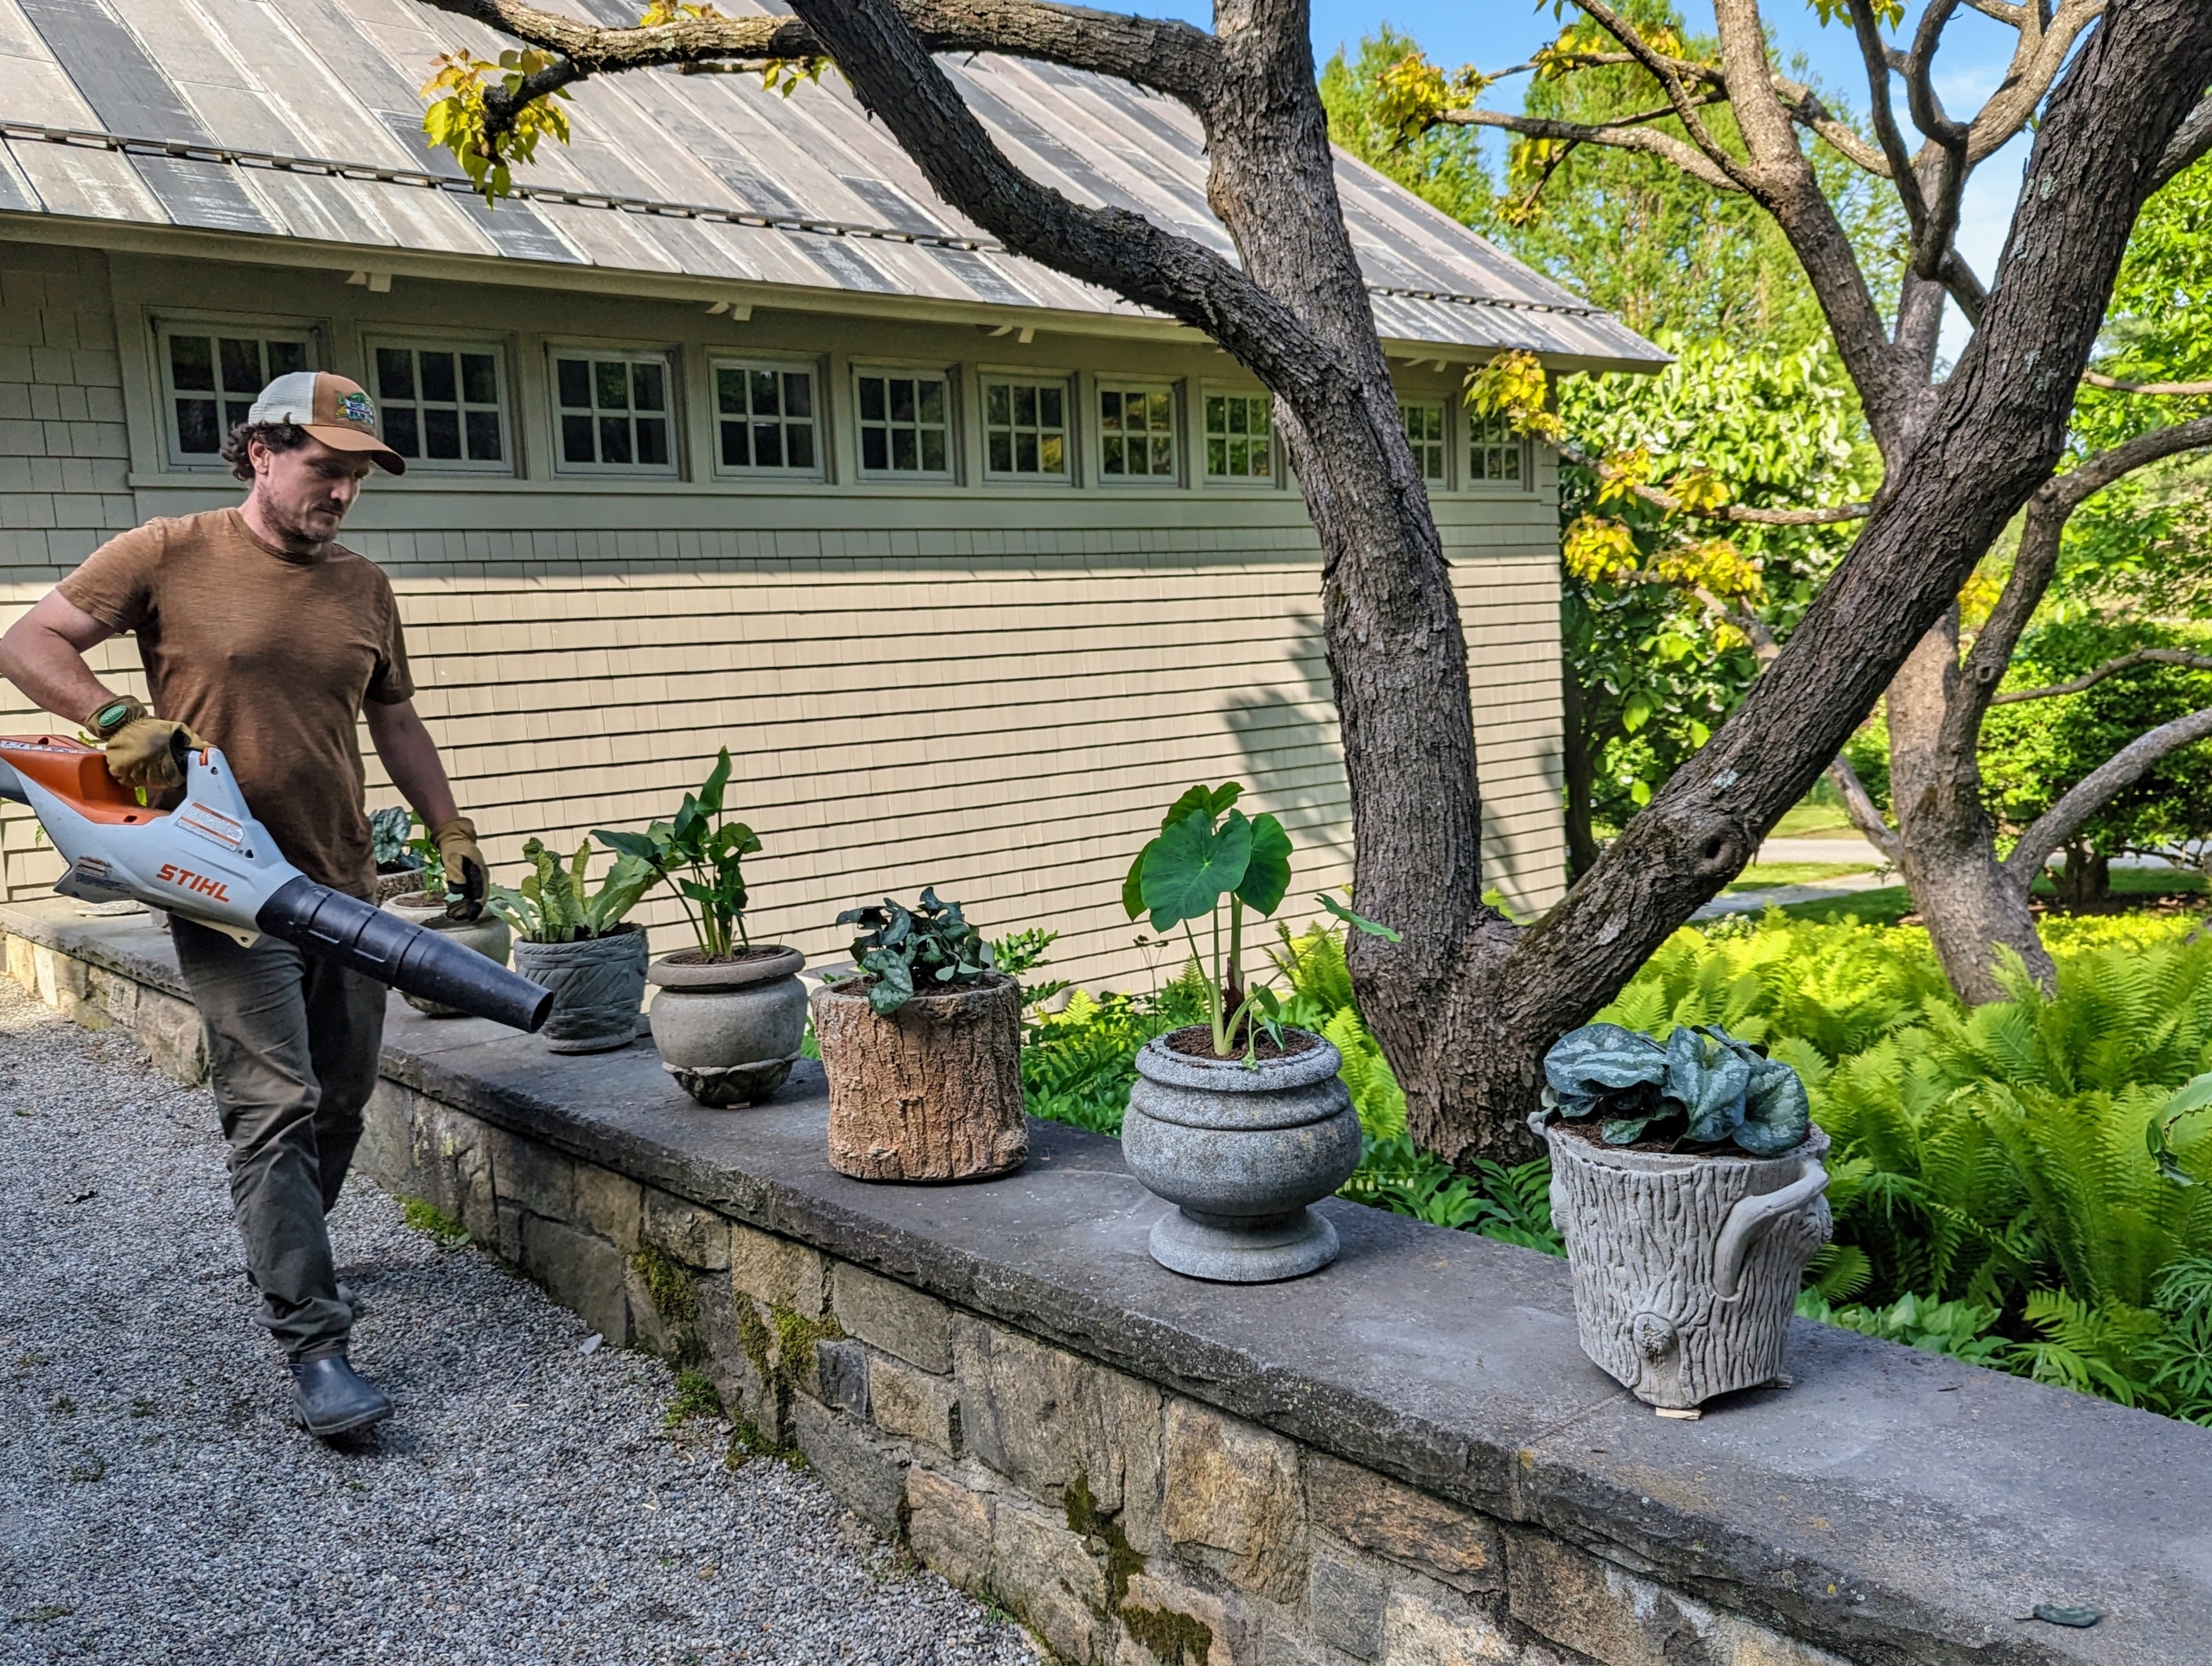
Finally, Ryan uses our battery powered handheld blower from STIHL to clean the ledge of any dirt and soil. This blower is less noisy and perfect for around my Winter House.
Using potted plants to decorate the outside of one’s home can totally transform a space. These plants will thrive in this location. What did you plant over the weekend? Share your comments with me below.
Planting continues in front of my Winter House carport - this time, with four bird's nest ferns.
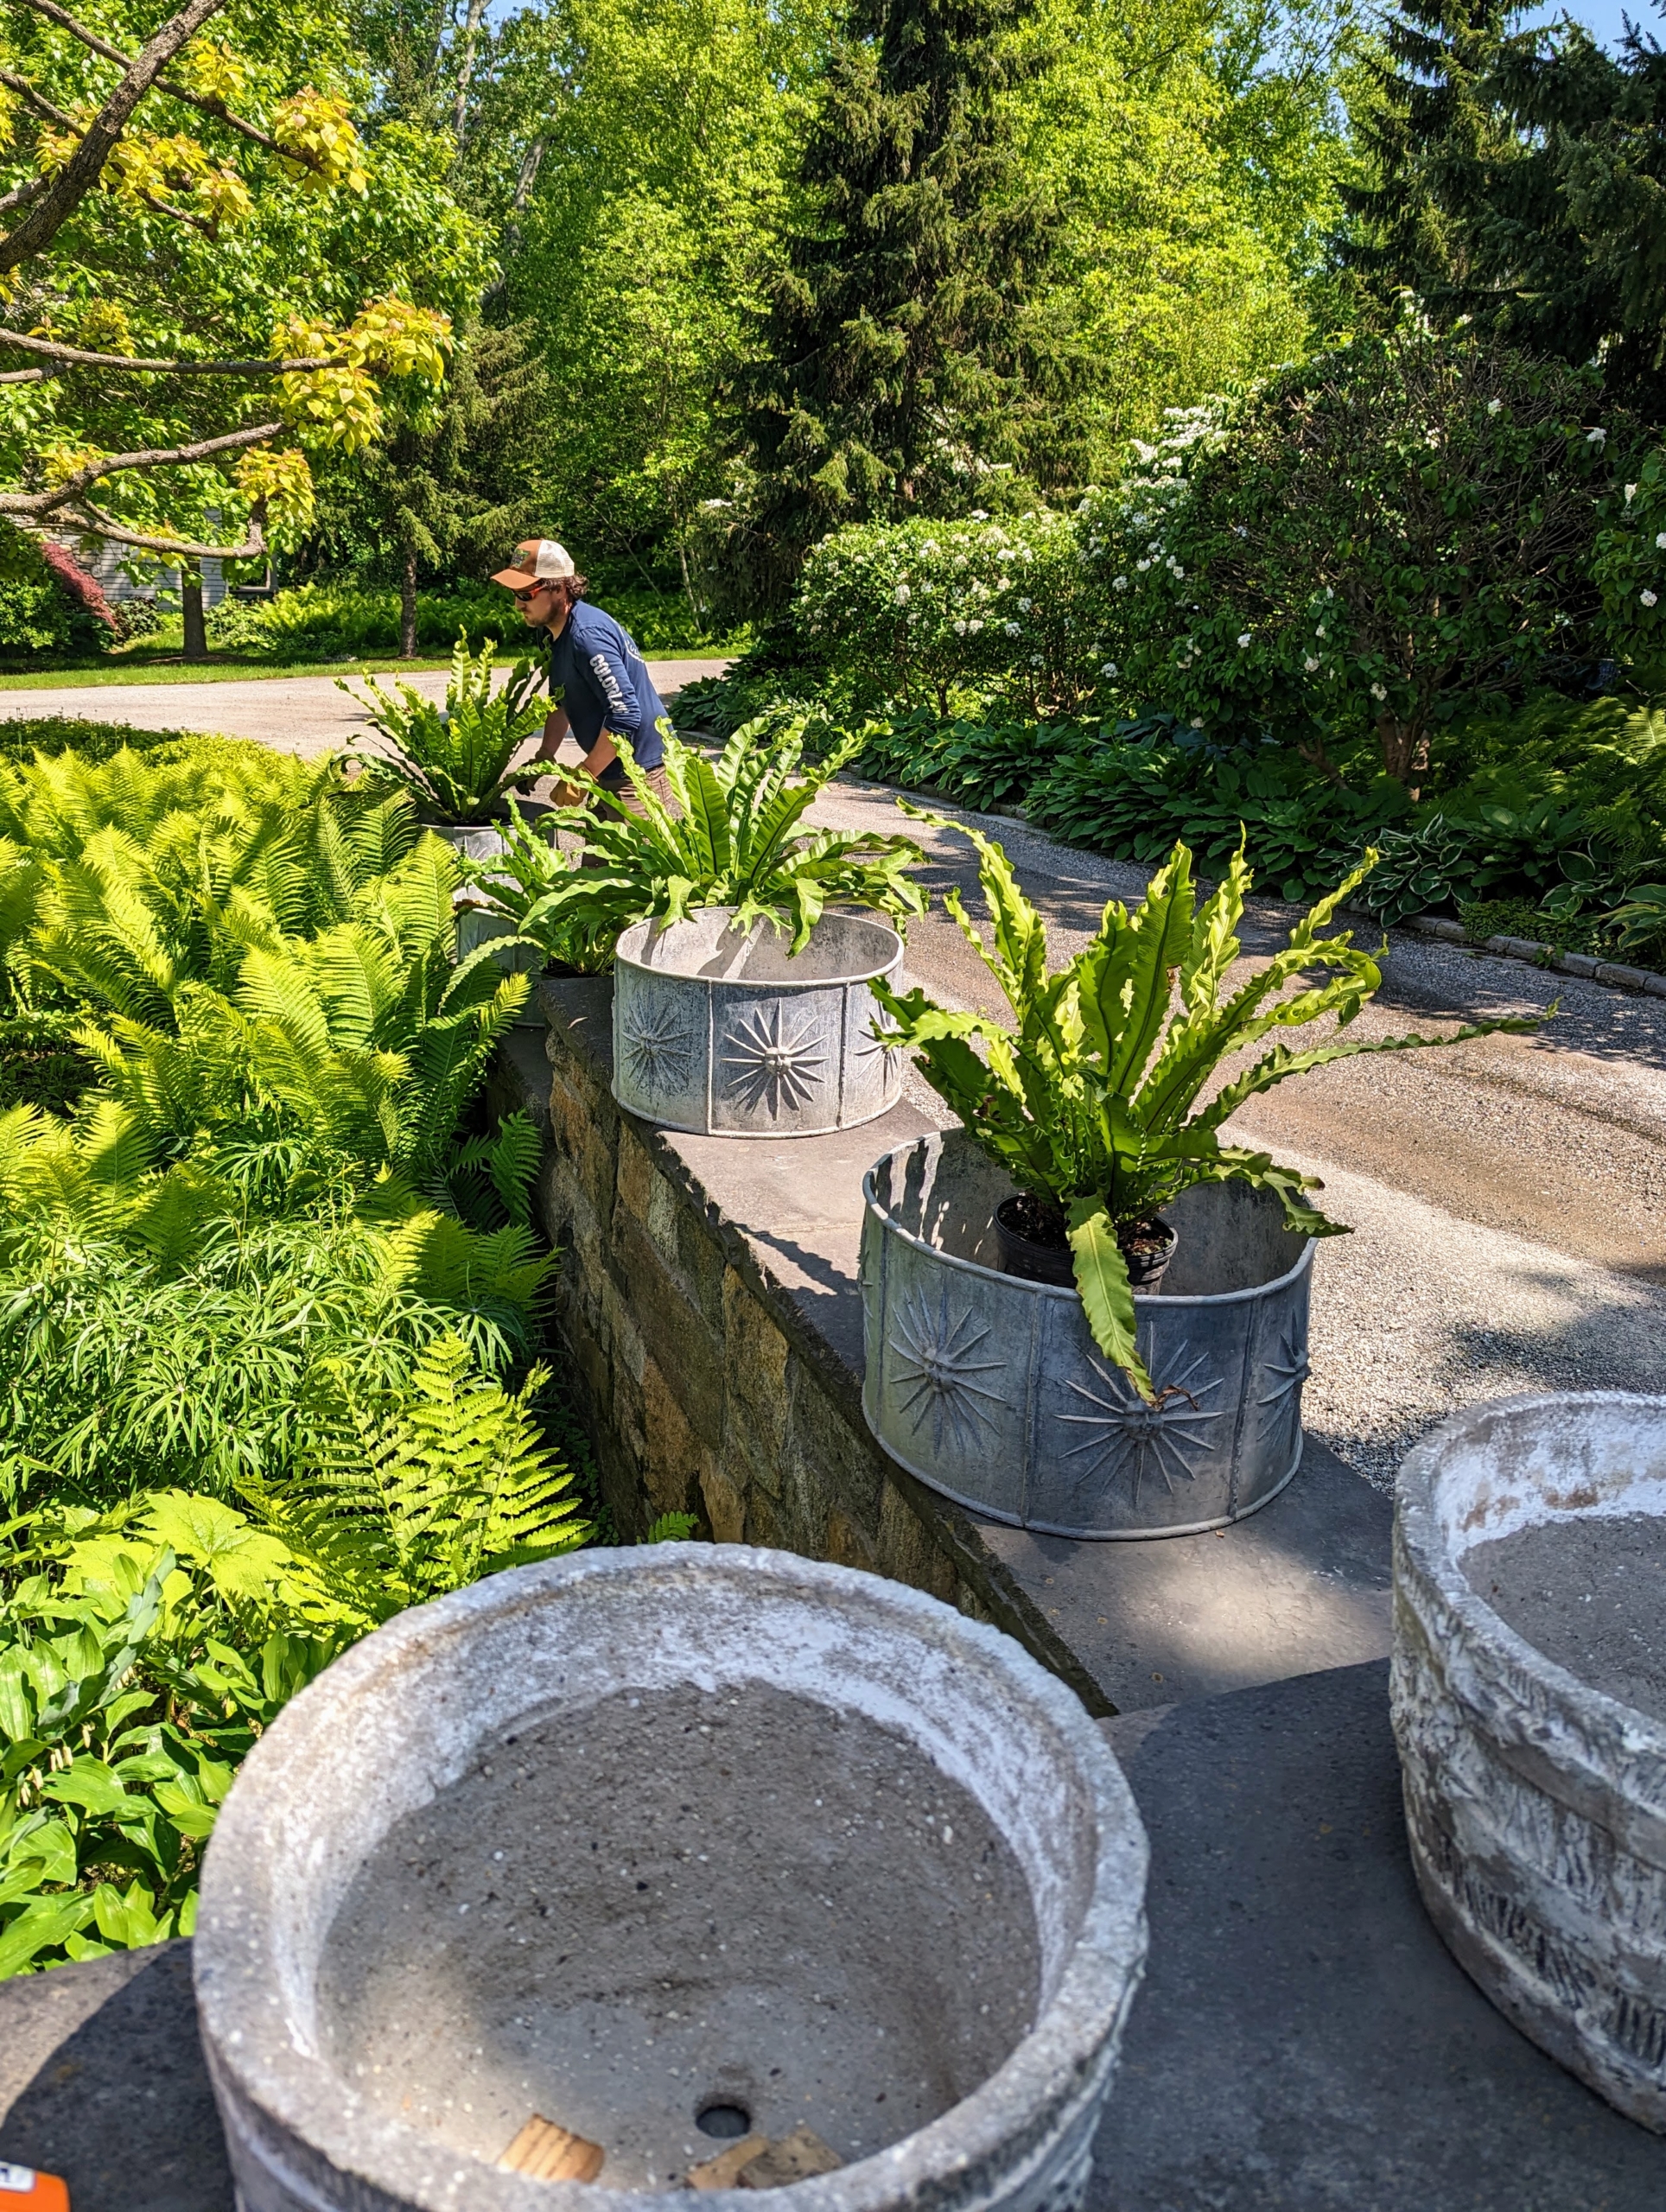
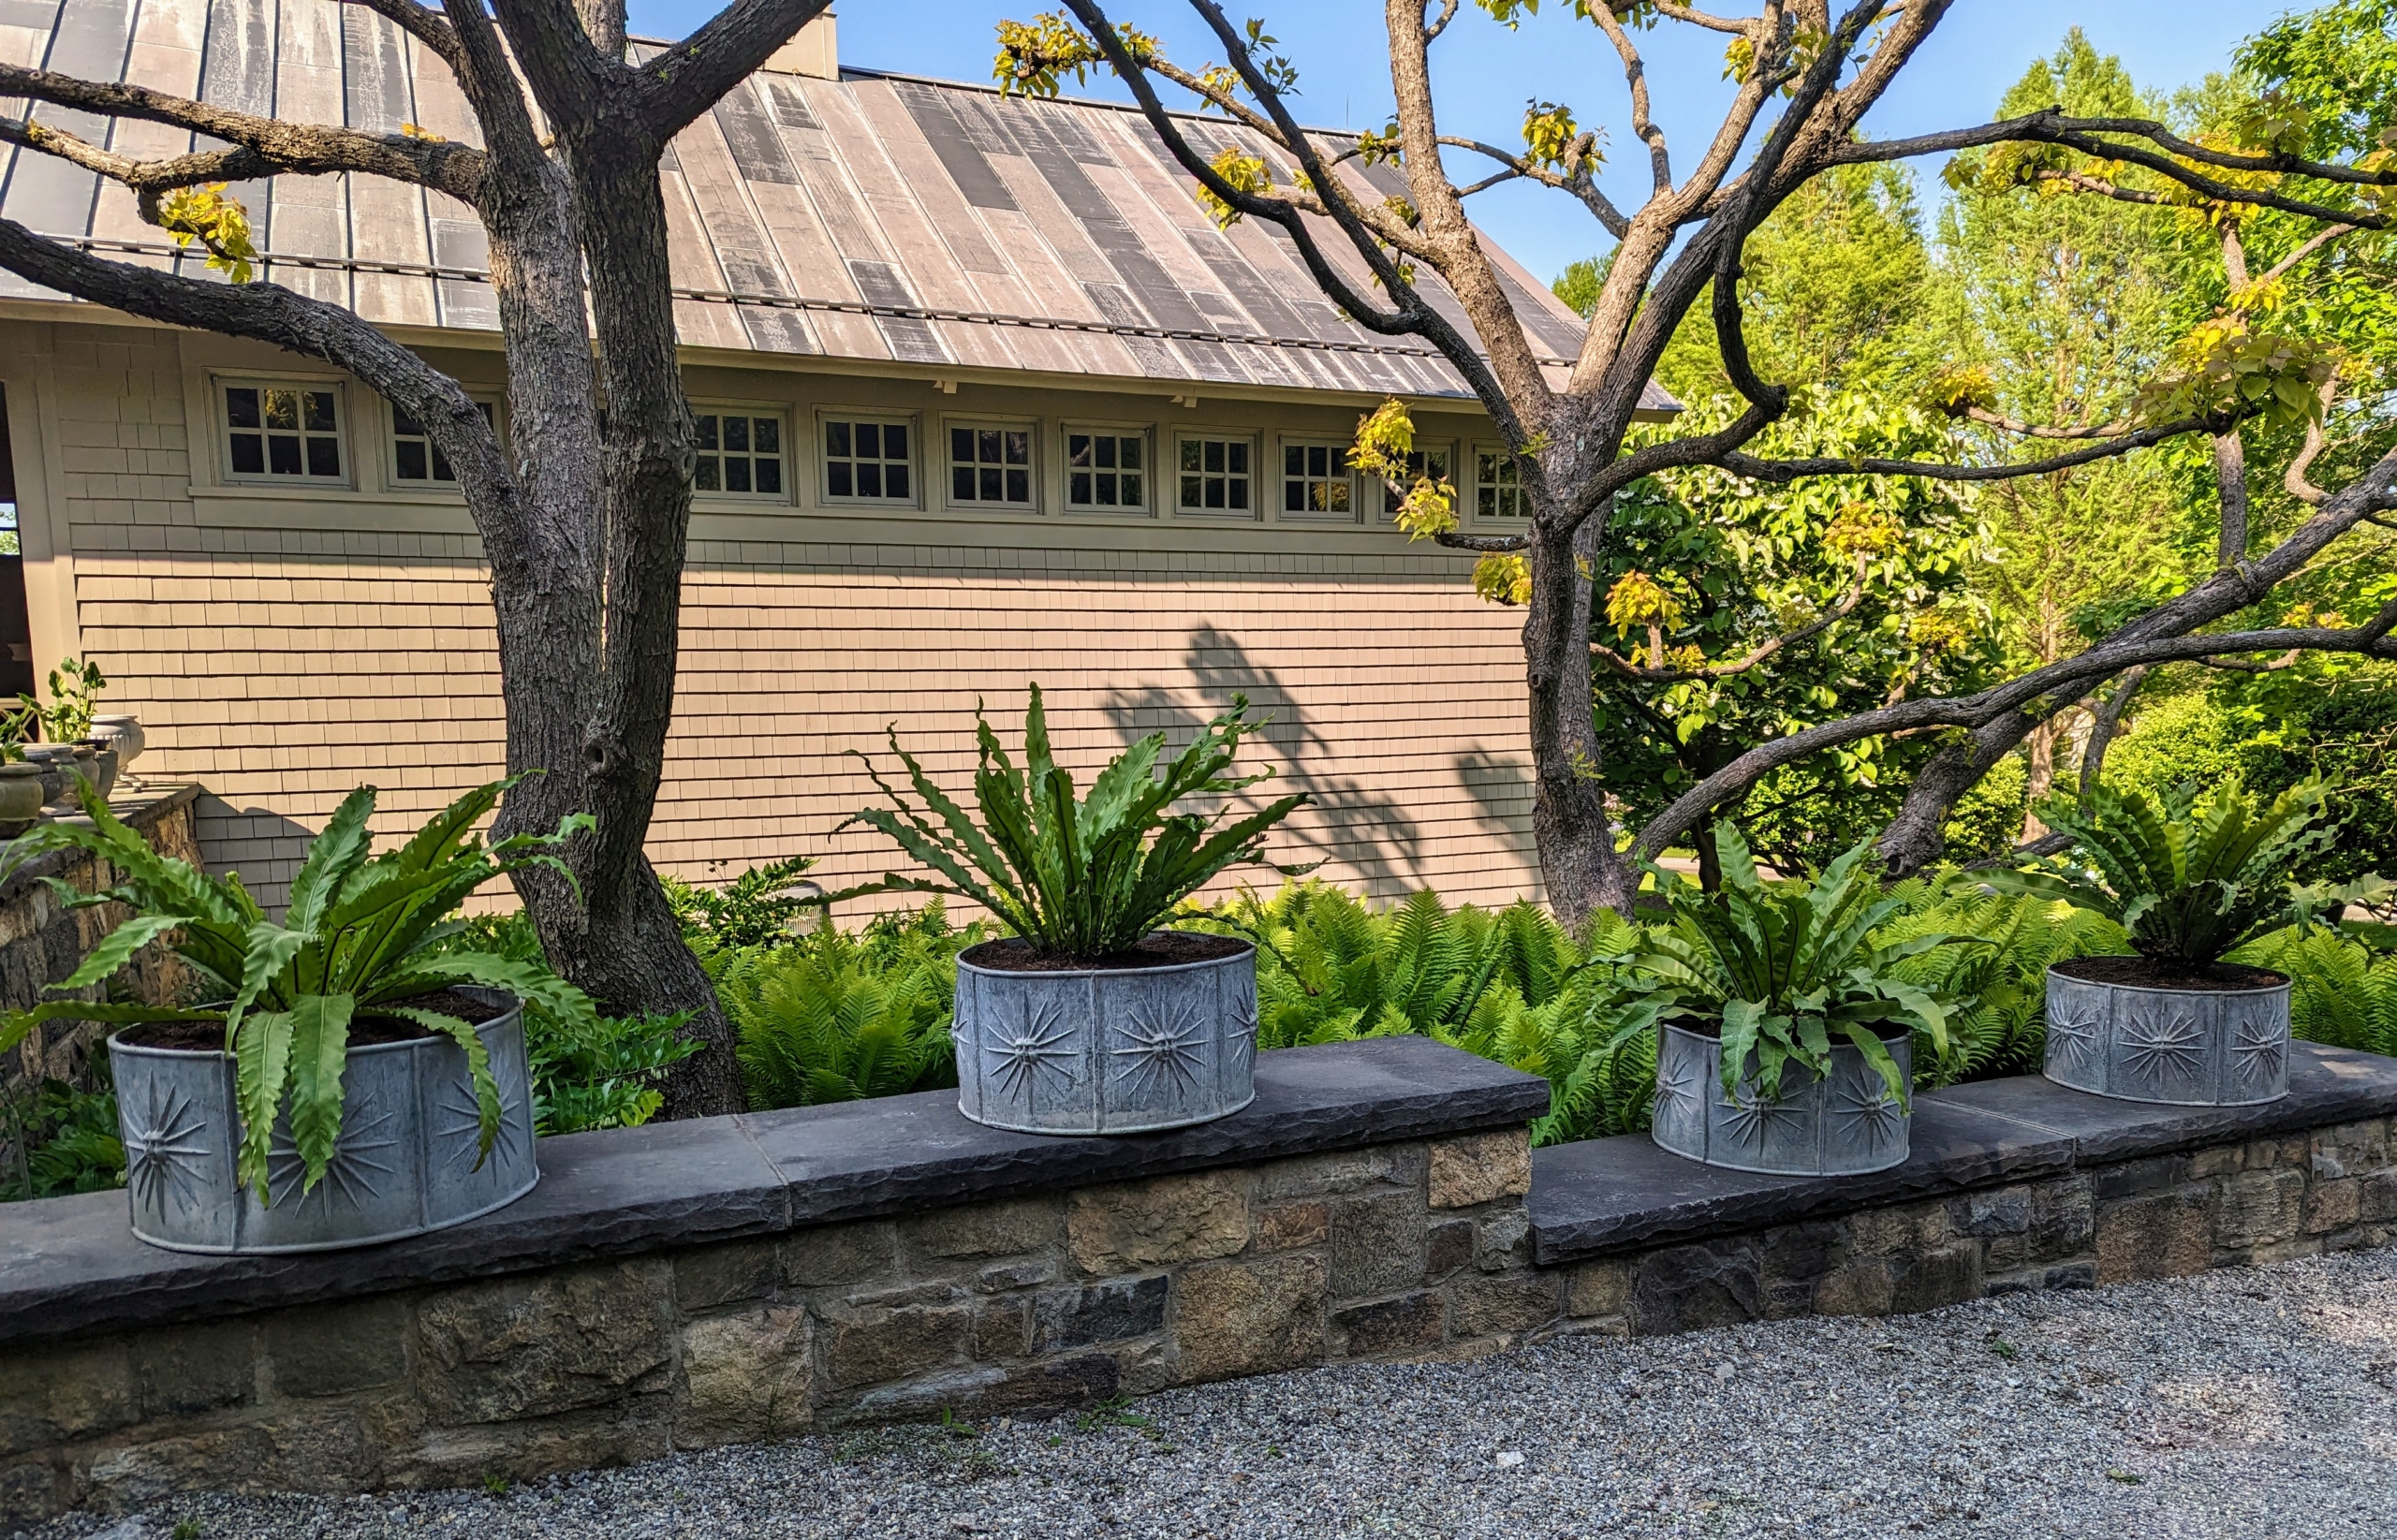
A couple of years ago, my friend and owner of Luppino Landscaping and Masonry LLC, Carmine Luppino, gifted me with four beautiful antique ornamental urns. They look so beautiful on the stone wall outside my carport. This week my head gardener, Ryan McCallister, potted them up with bird's nest ferns, Asplenium nidus - those interesting plants with long, erect, spoon-shaped, bright green fronds that rise from a central rosette. I try to vary the plantings in my outdoor containers every year - these ferns were just perfect for the vessels.
Here are some photos, enjoy.
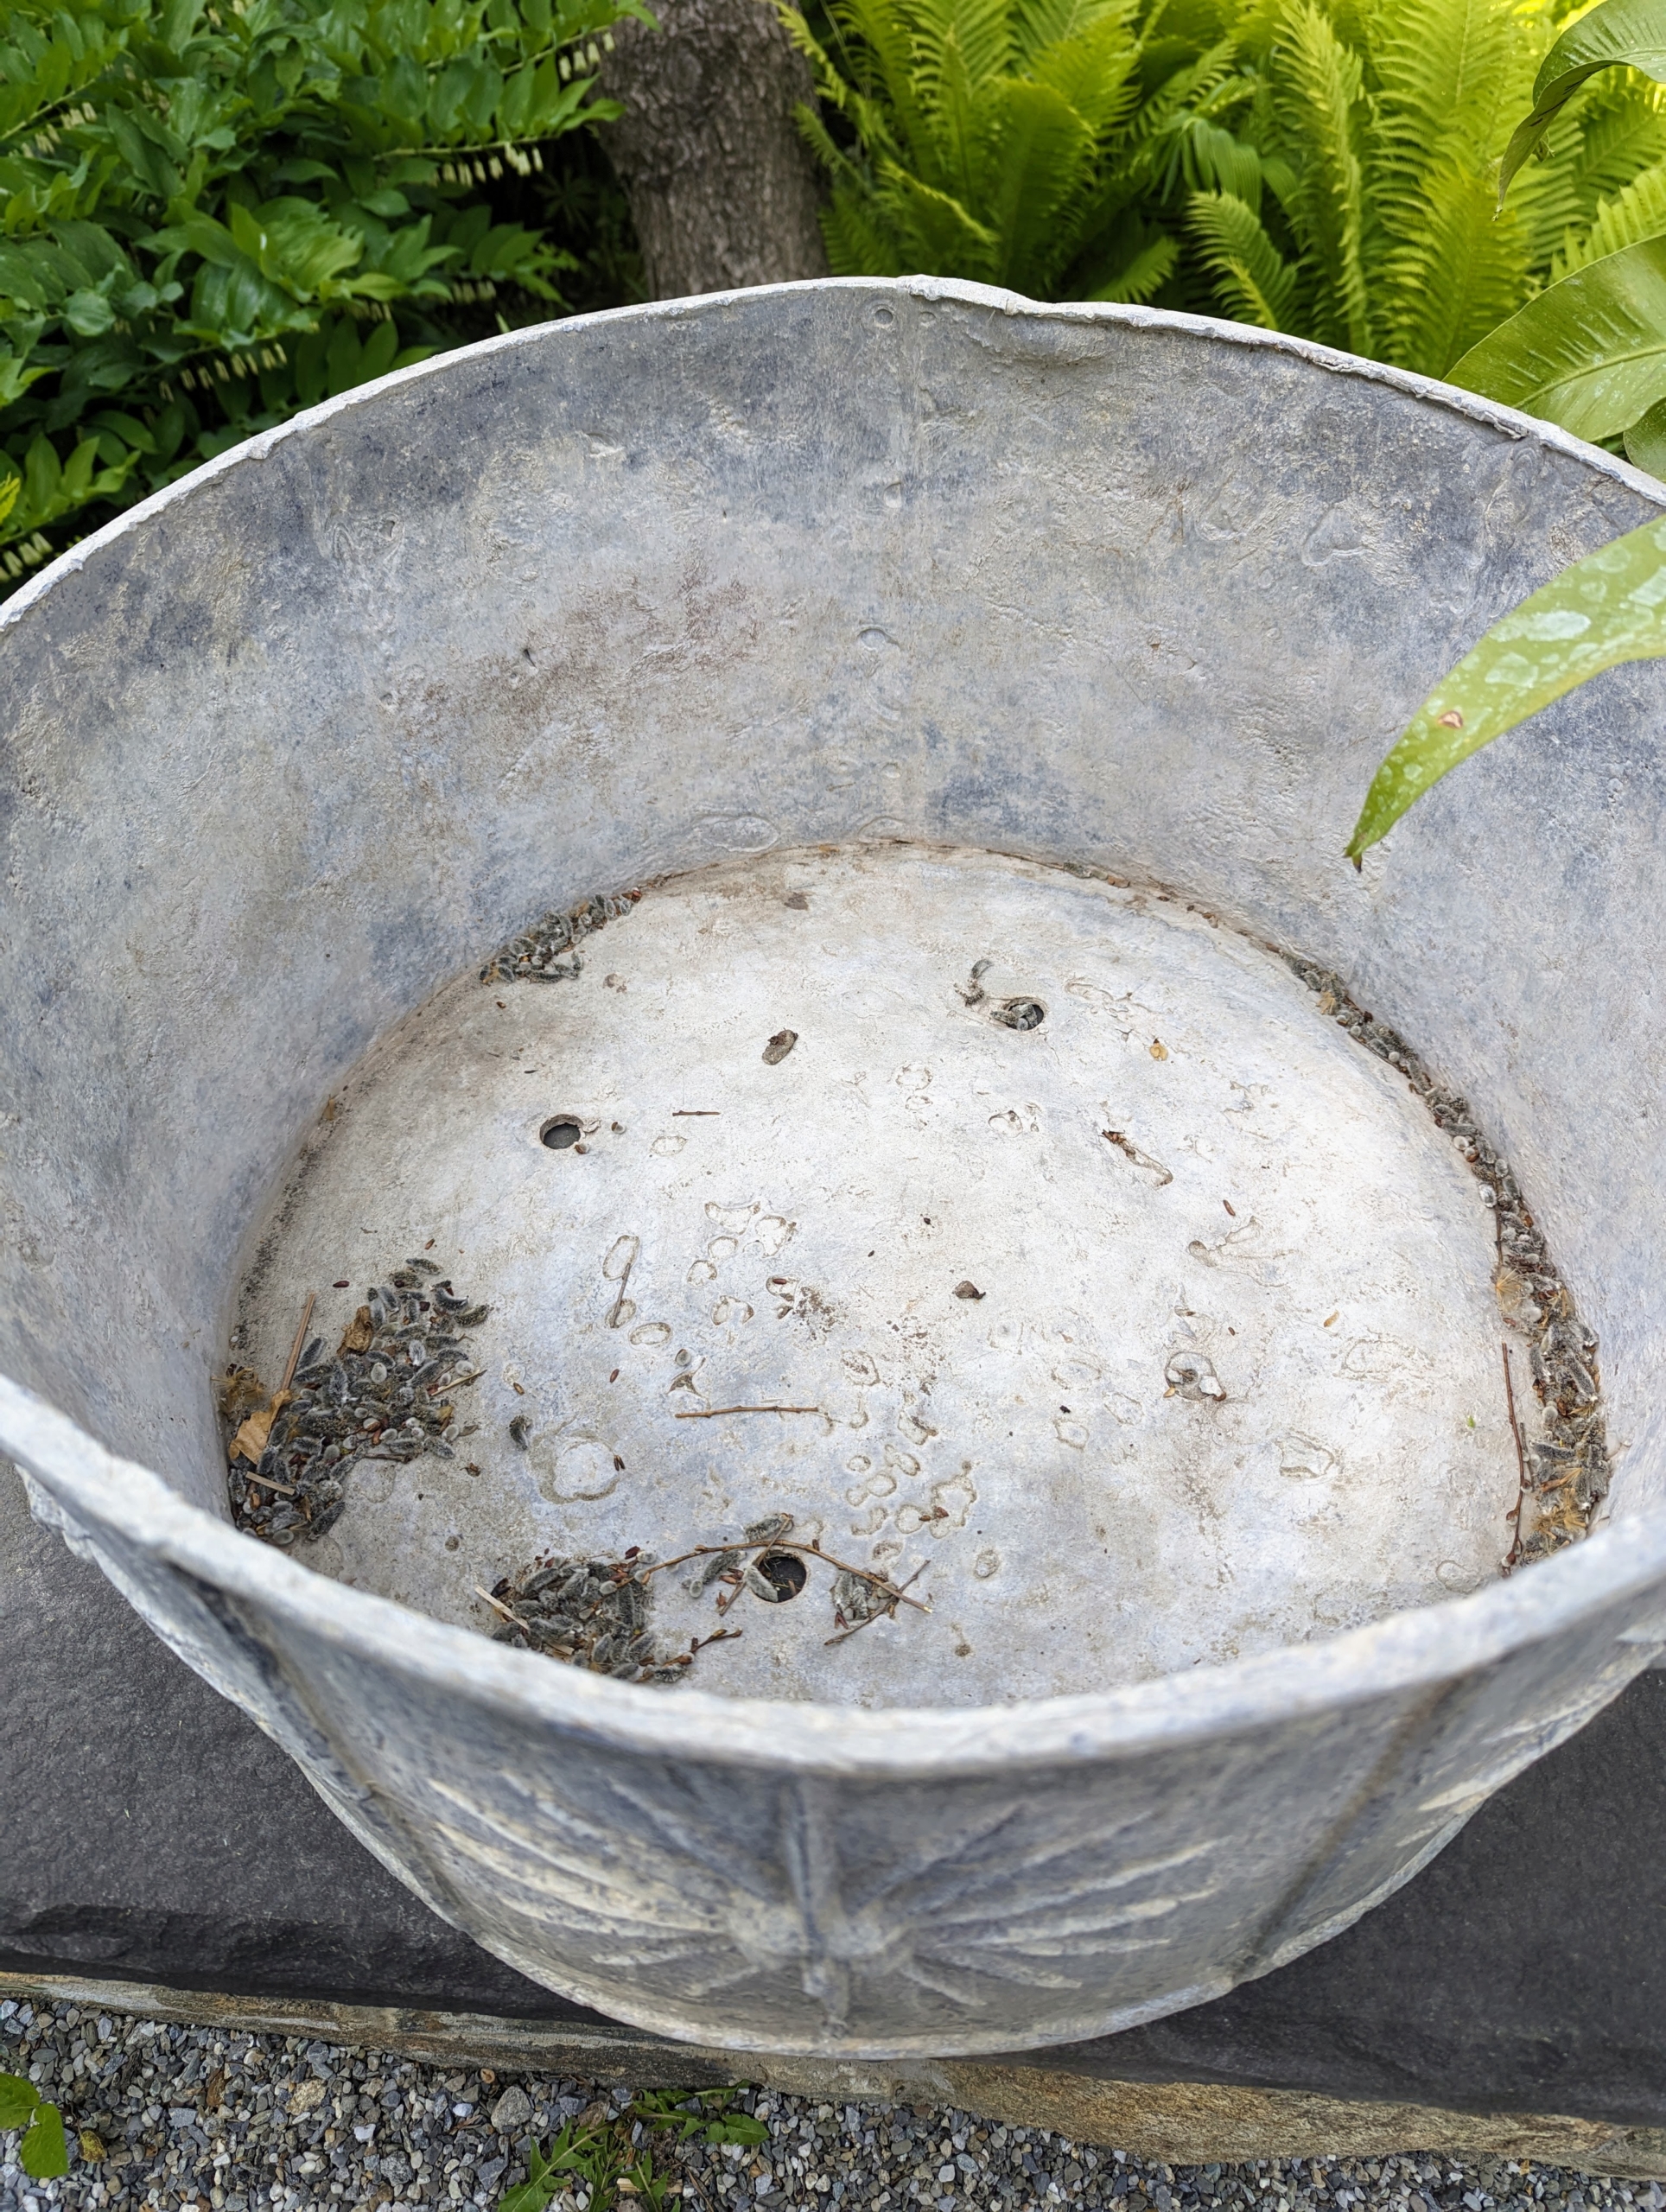
These containers look great sitting on this low stone wall leading up to my carport. Each of the four round lead antique planters is decorated with cheerful repeating sunbursts. The sunburst is actually an ancient pagan symbol. It is mostly seen as an ornamental motif, carved, painted or inlaid, with straight or jagged rays radiating from the center.
Each container is about two feet in diameter and about 18 to 20 inches high. Each vessel also has drainage holes at the bottom.
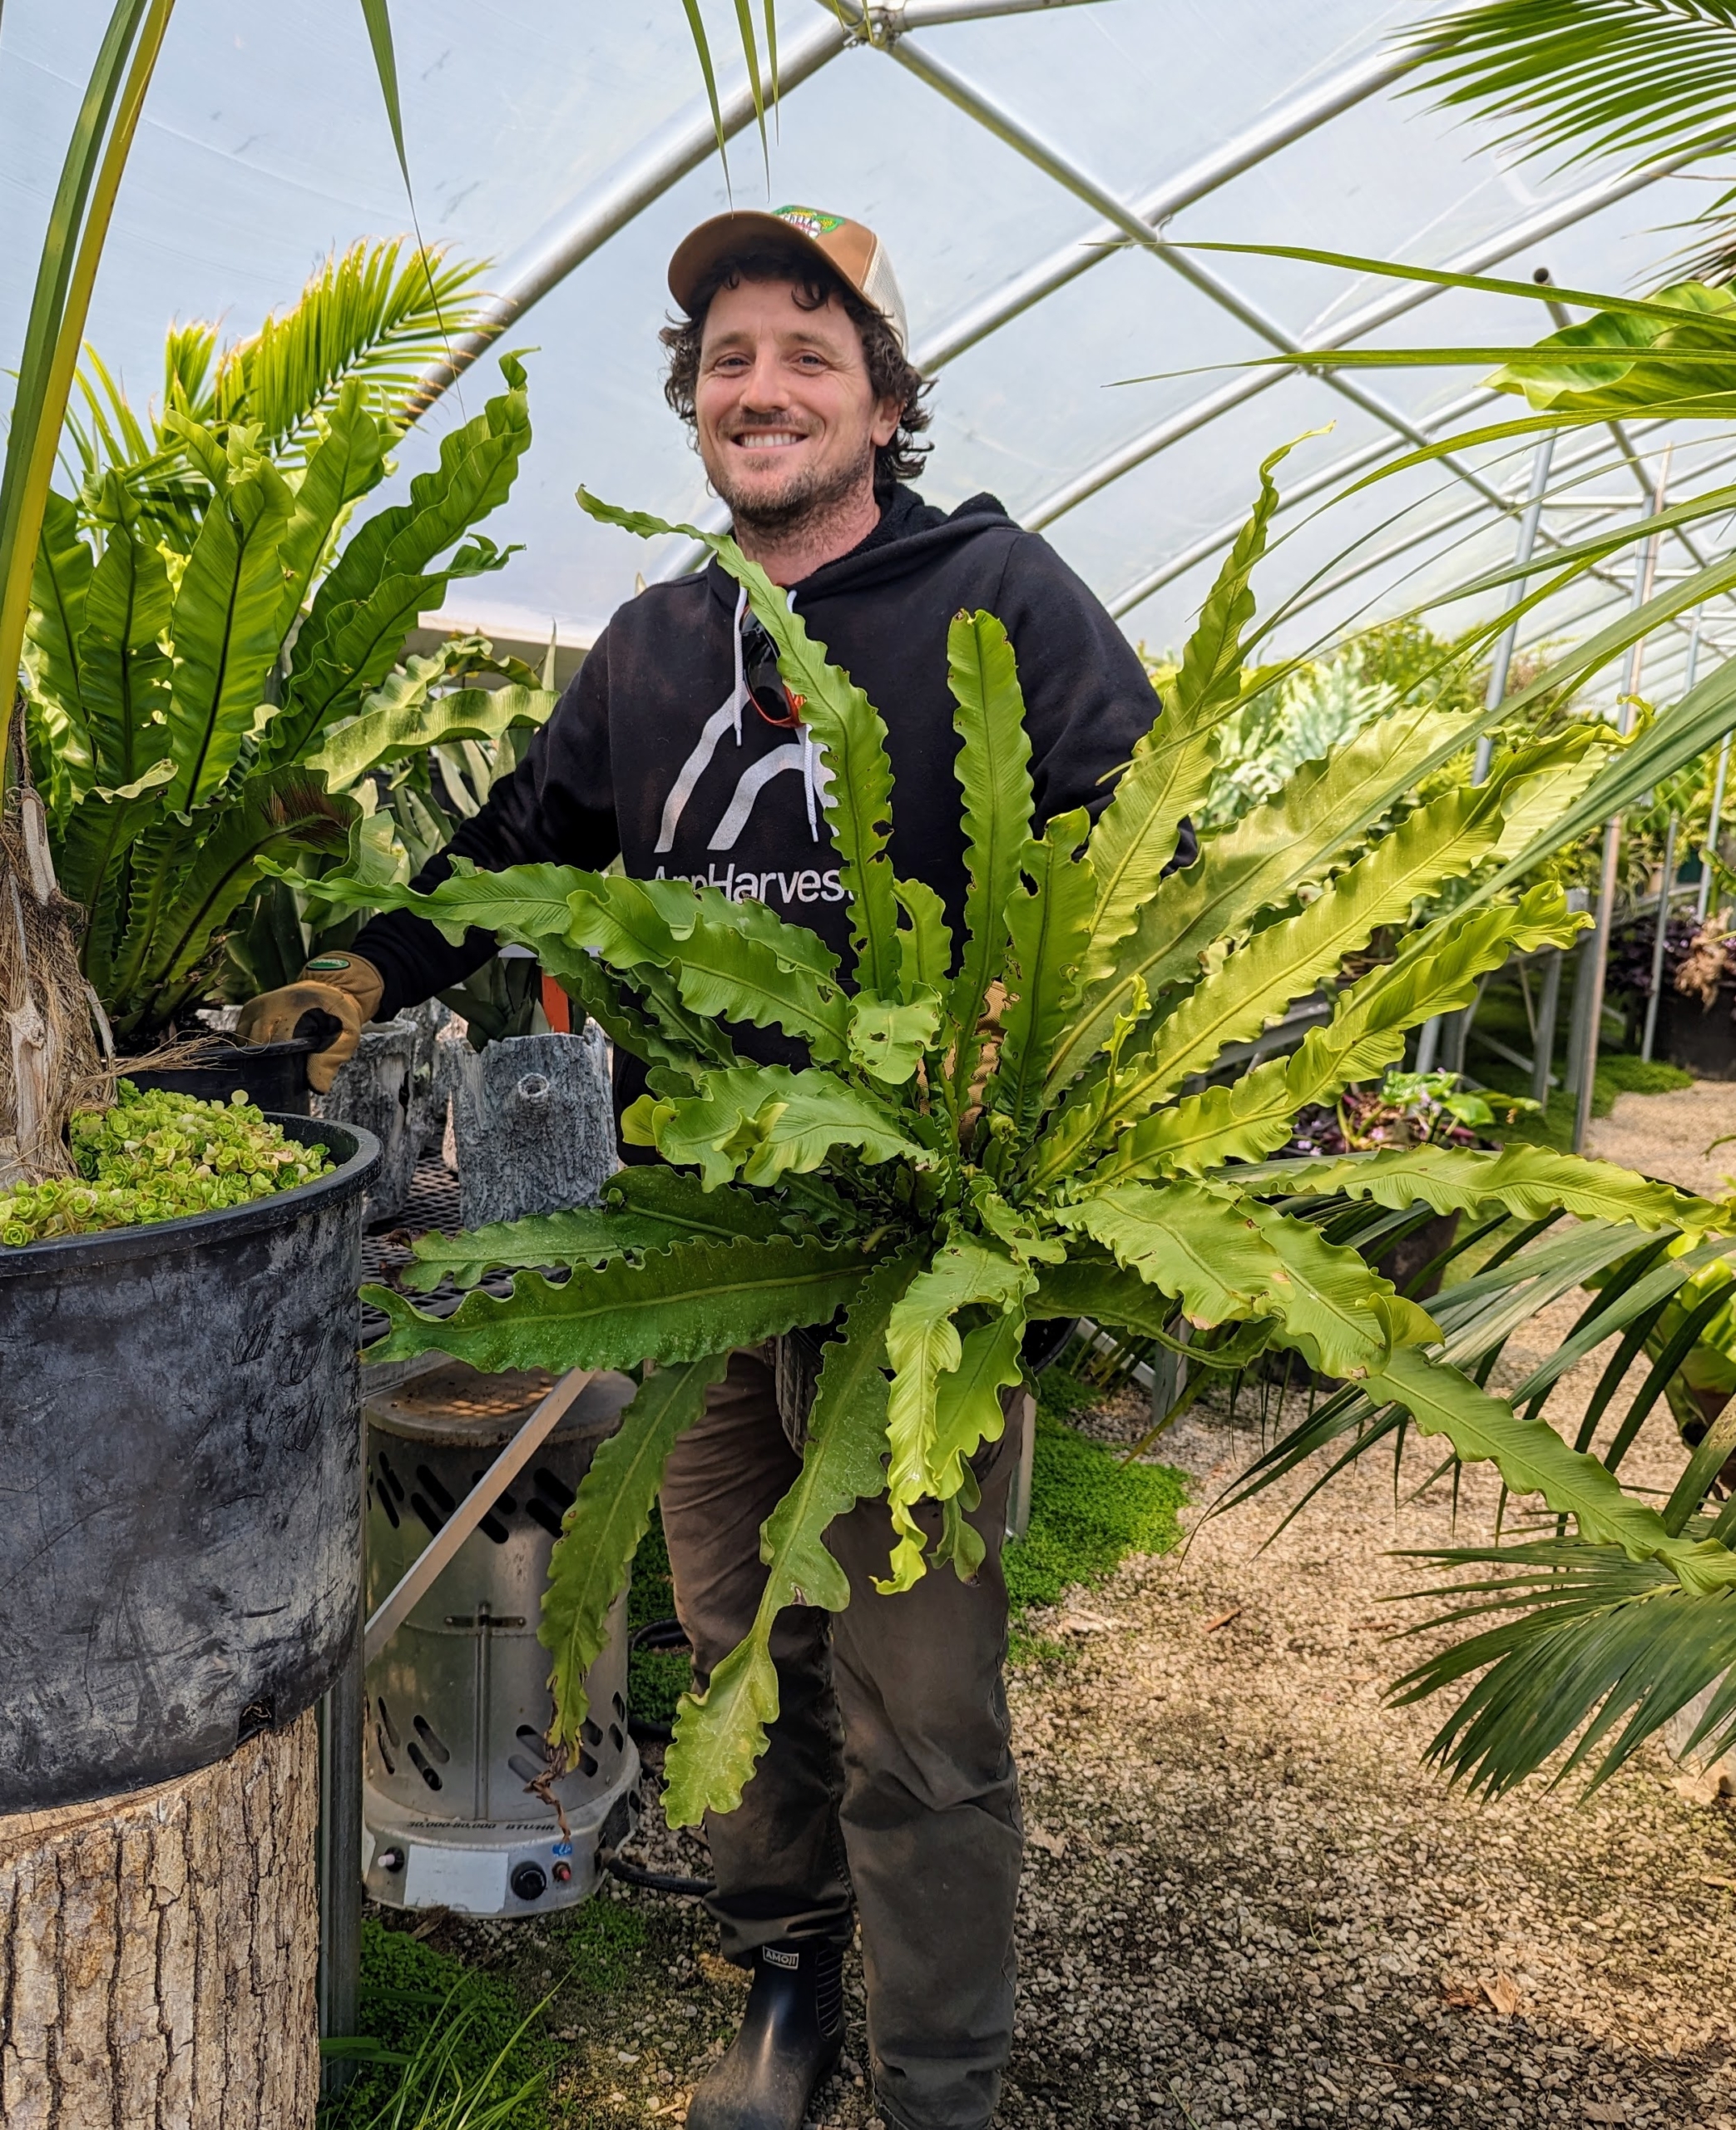
Ryan went down to one of my tropical hoop houses to select the bird’s nest ferns that would work best in the planters. They had to fit the containers and be pretty similar in size.
The bird’s nest fern is so named because the center of the plant resembles a bird’s nest. It is also occasionally called a crow’s nest fern. Here, one can see the new fronds growing from the center rosette.
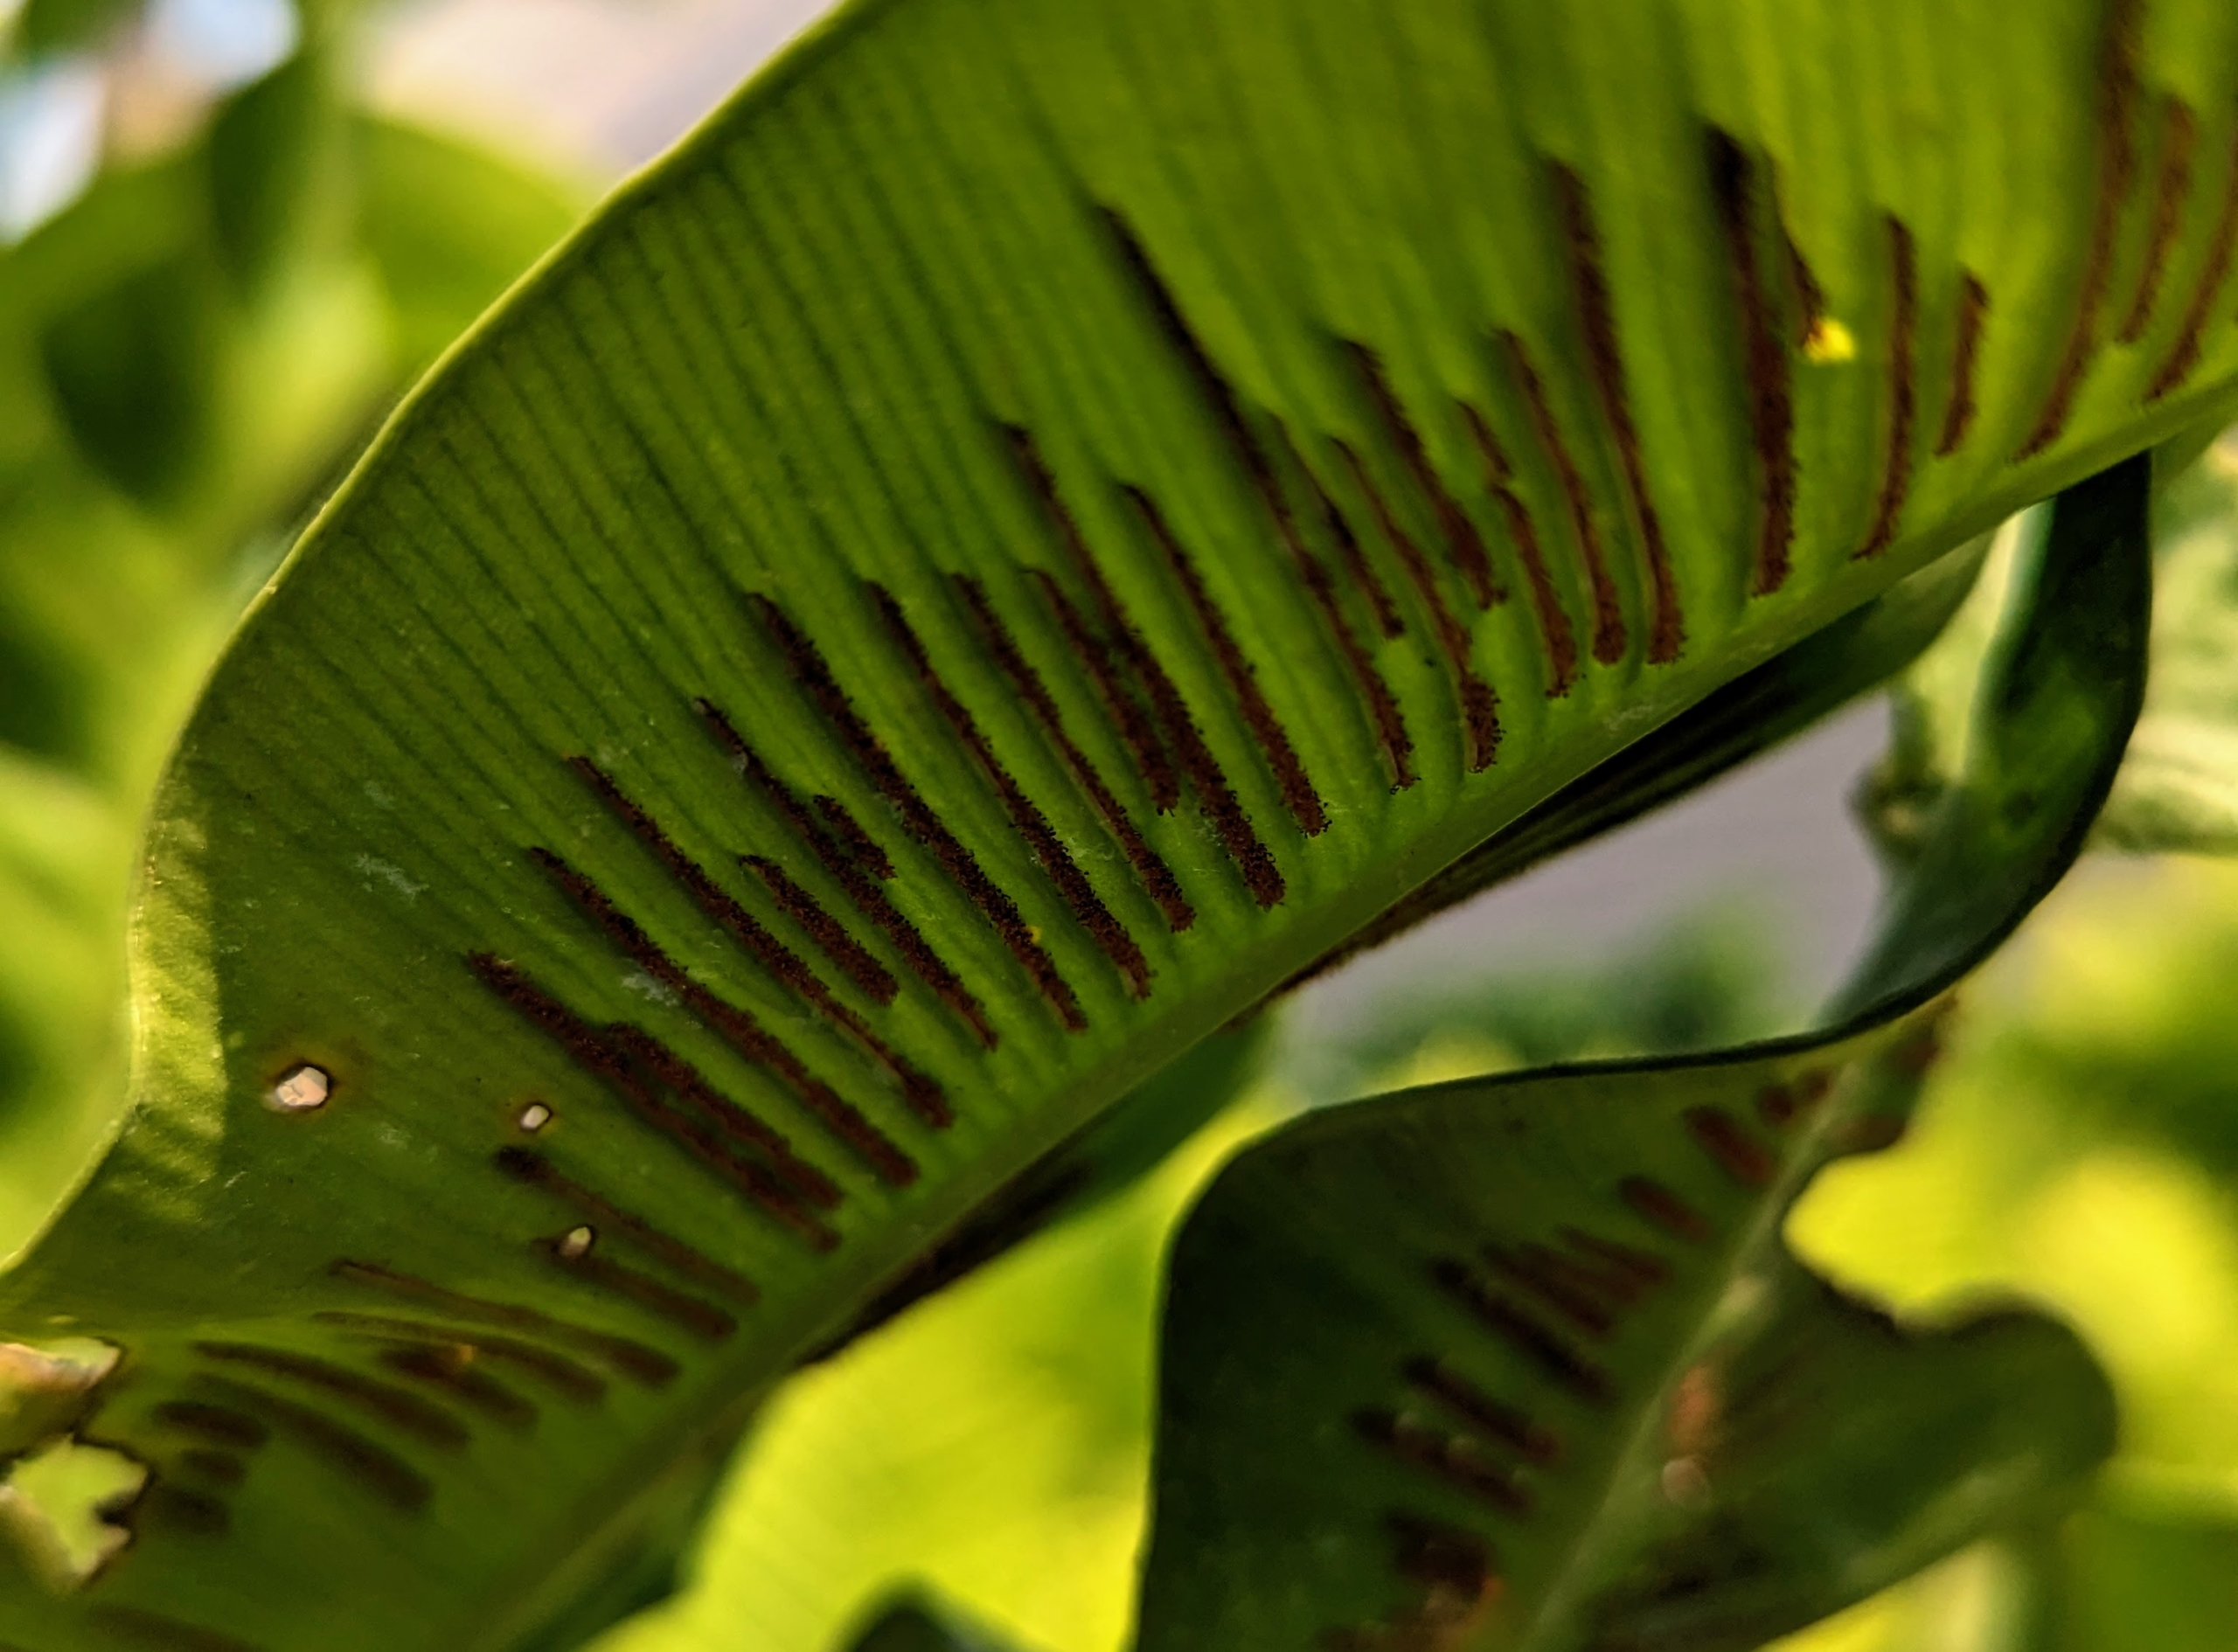
On the undersides of mature bird’s nest fern fronds are these brown lines. These are harvest spores.
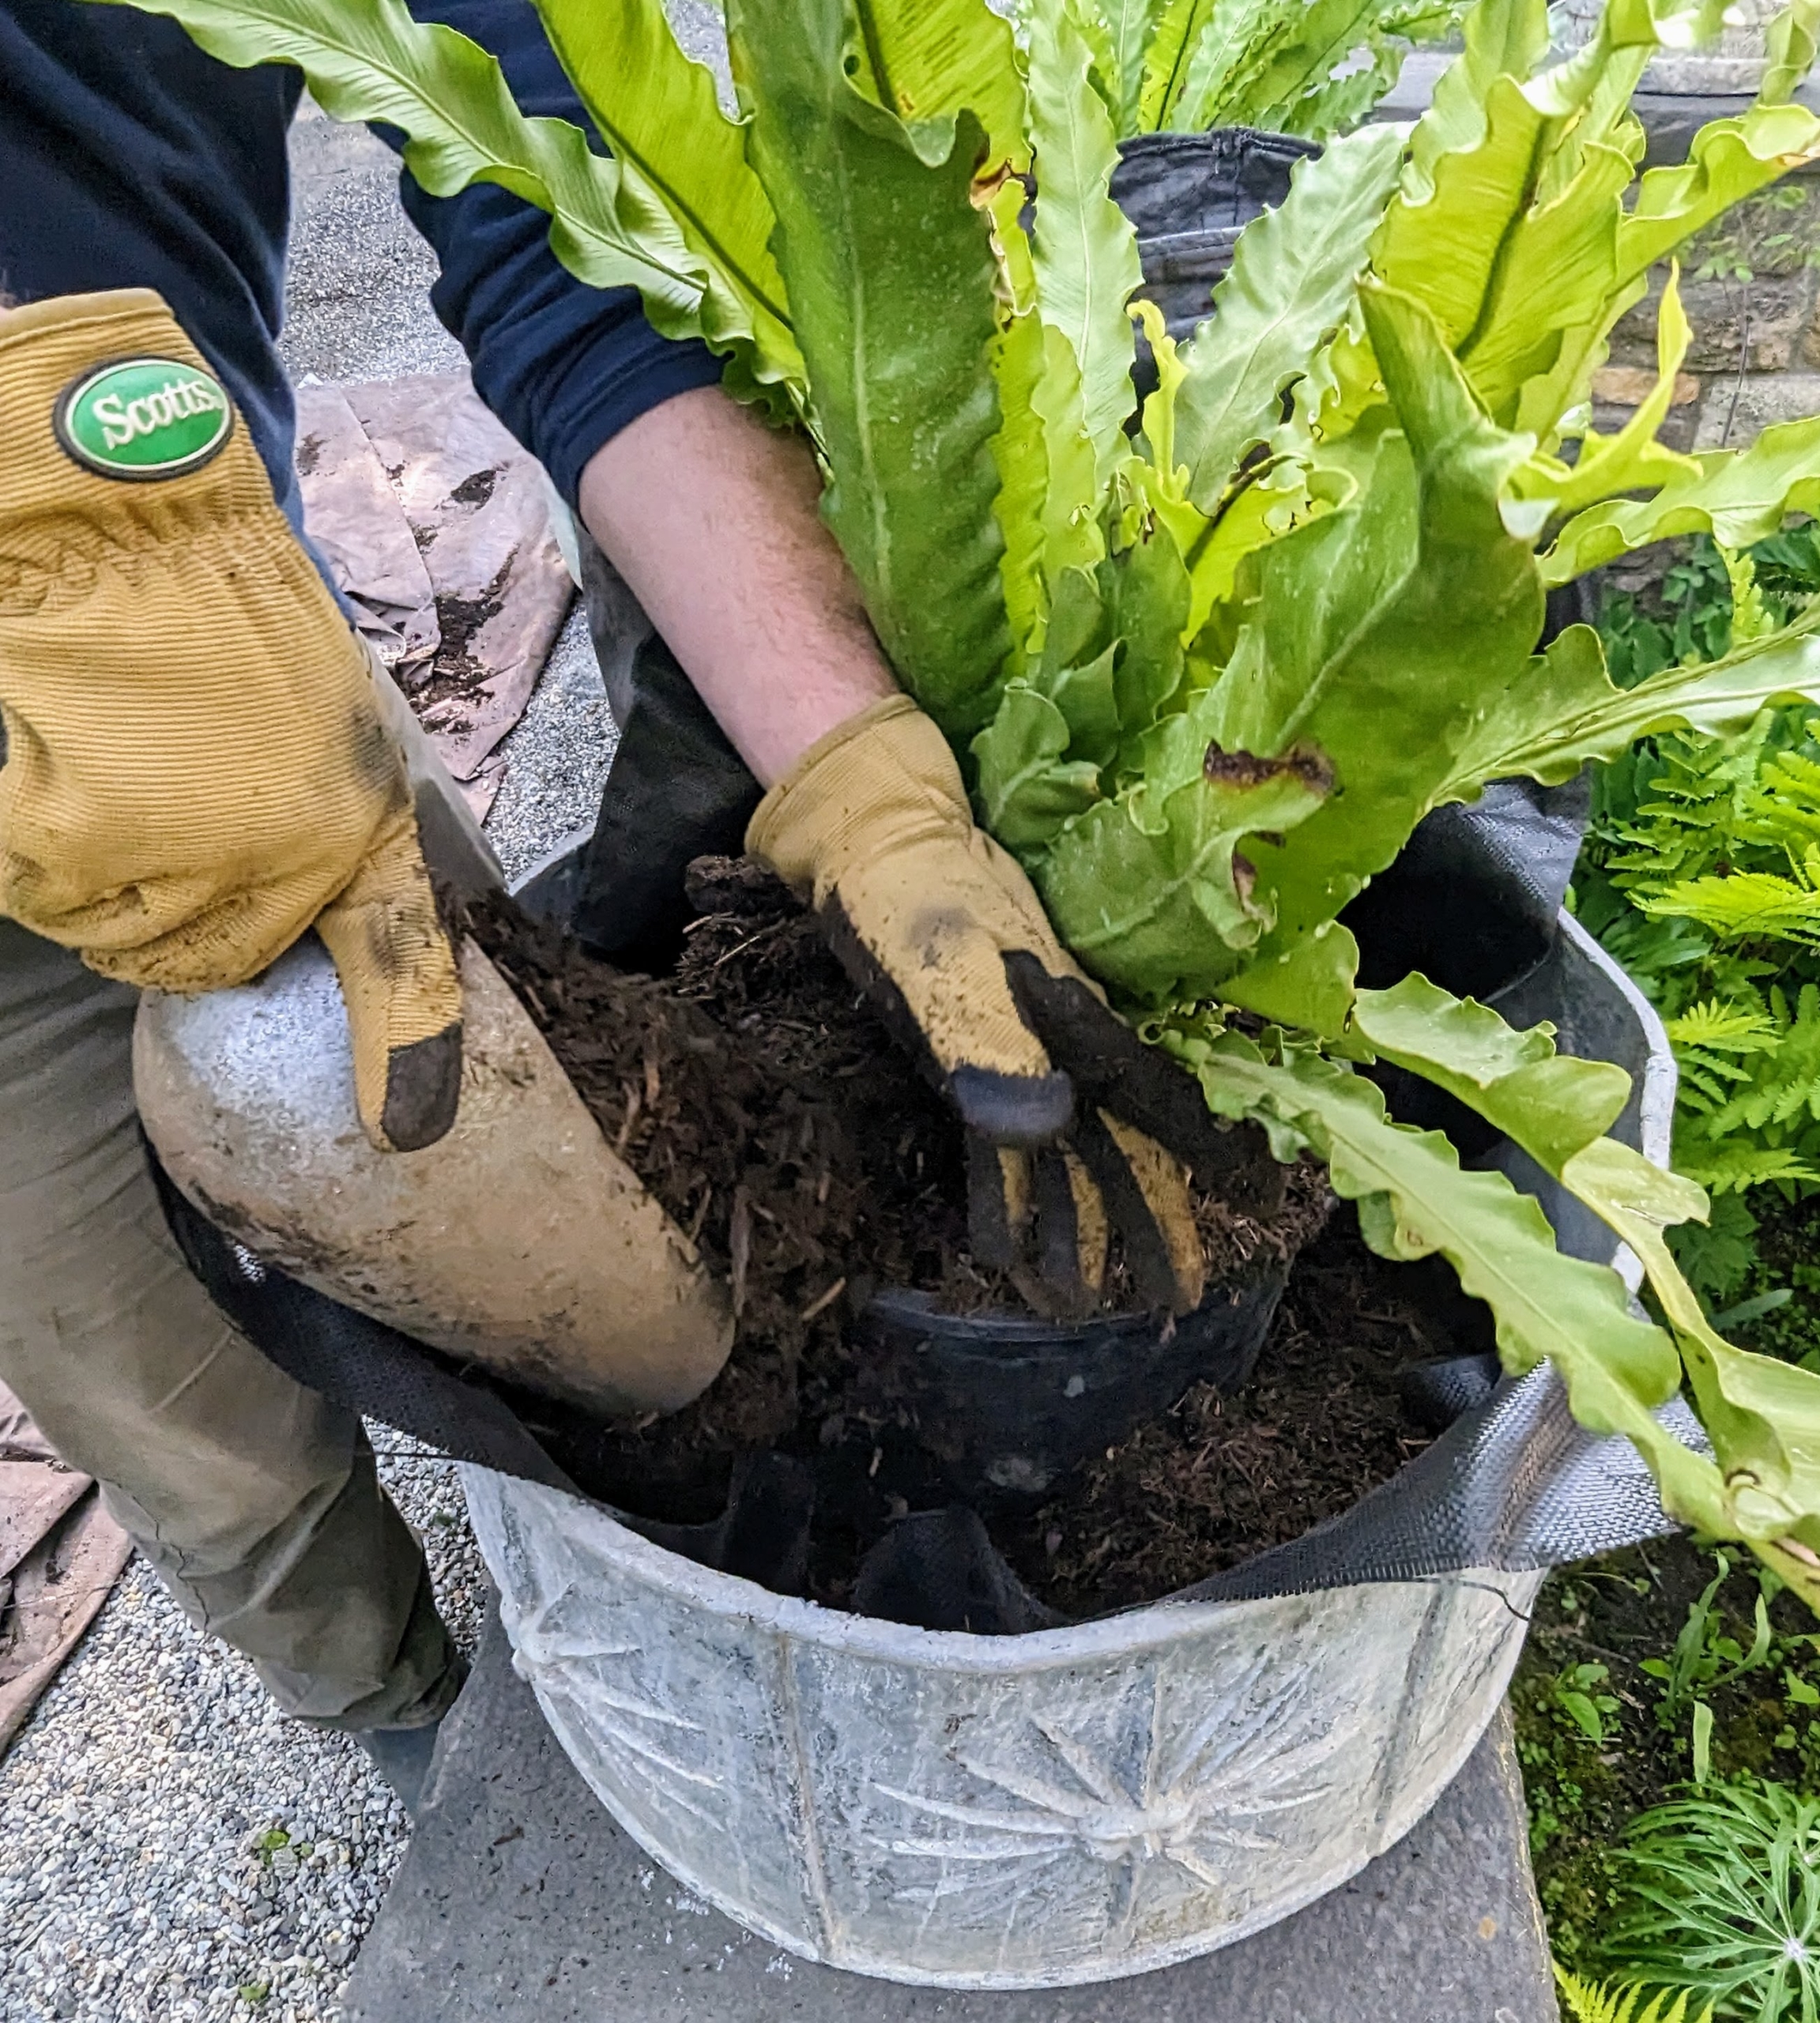
Back at the carport, Ryan places the ferns in the pots for planting. He also turns them, so the best side of each plant faces the carriage road.
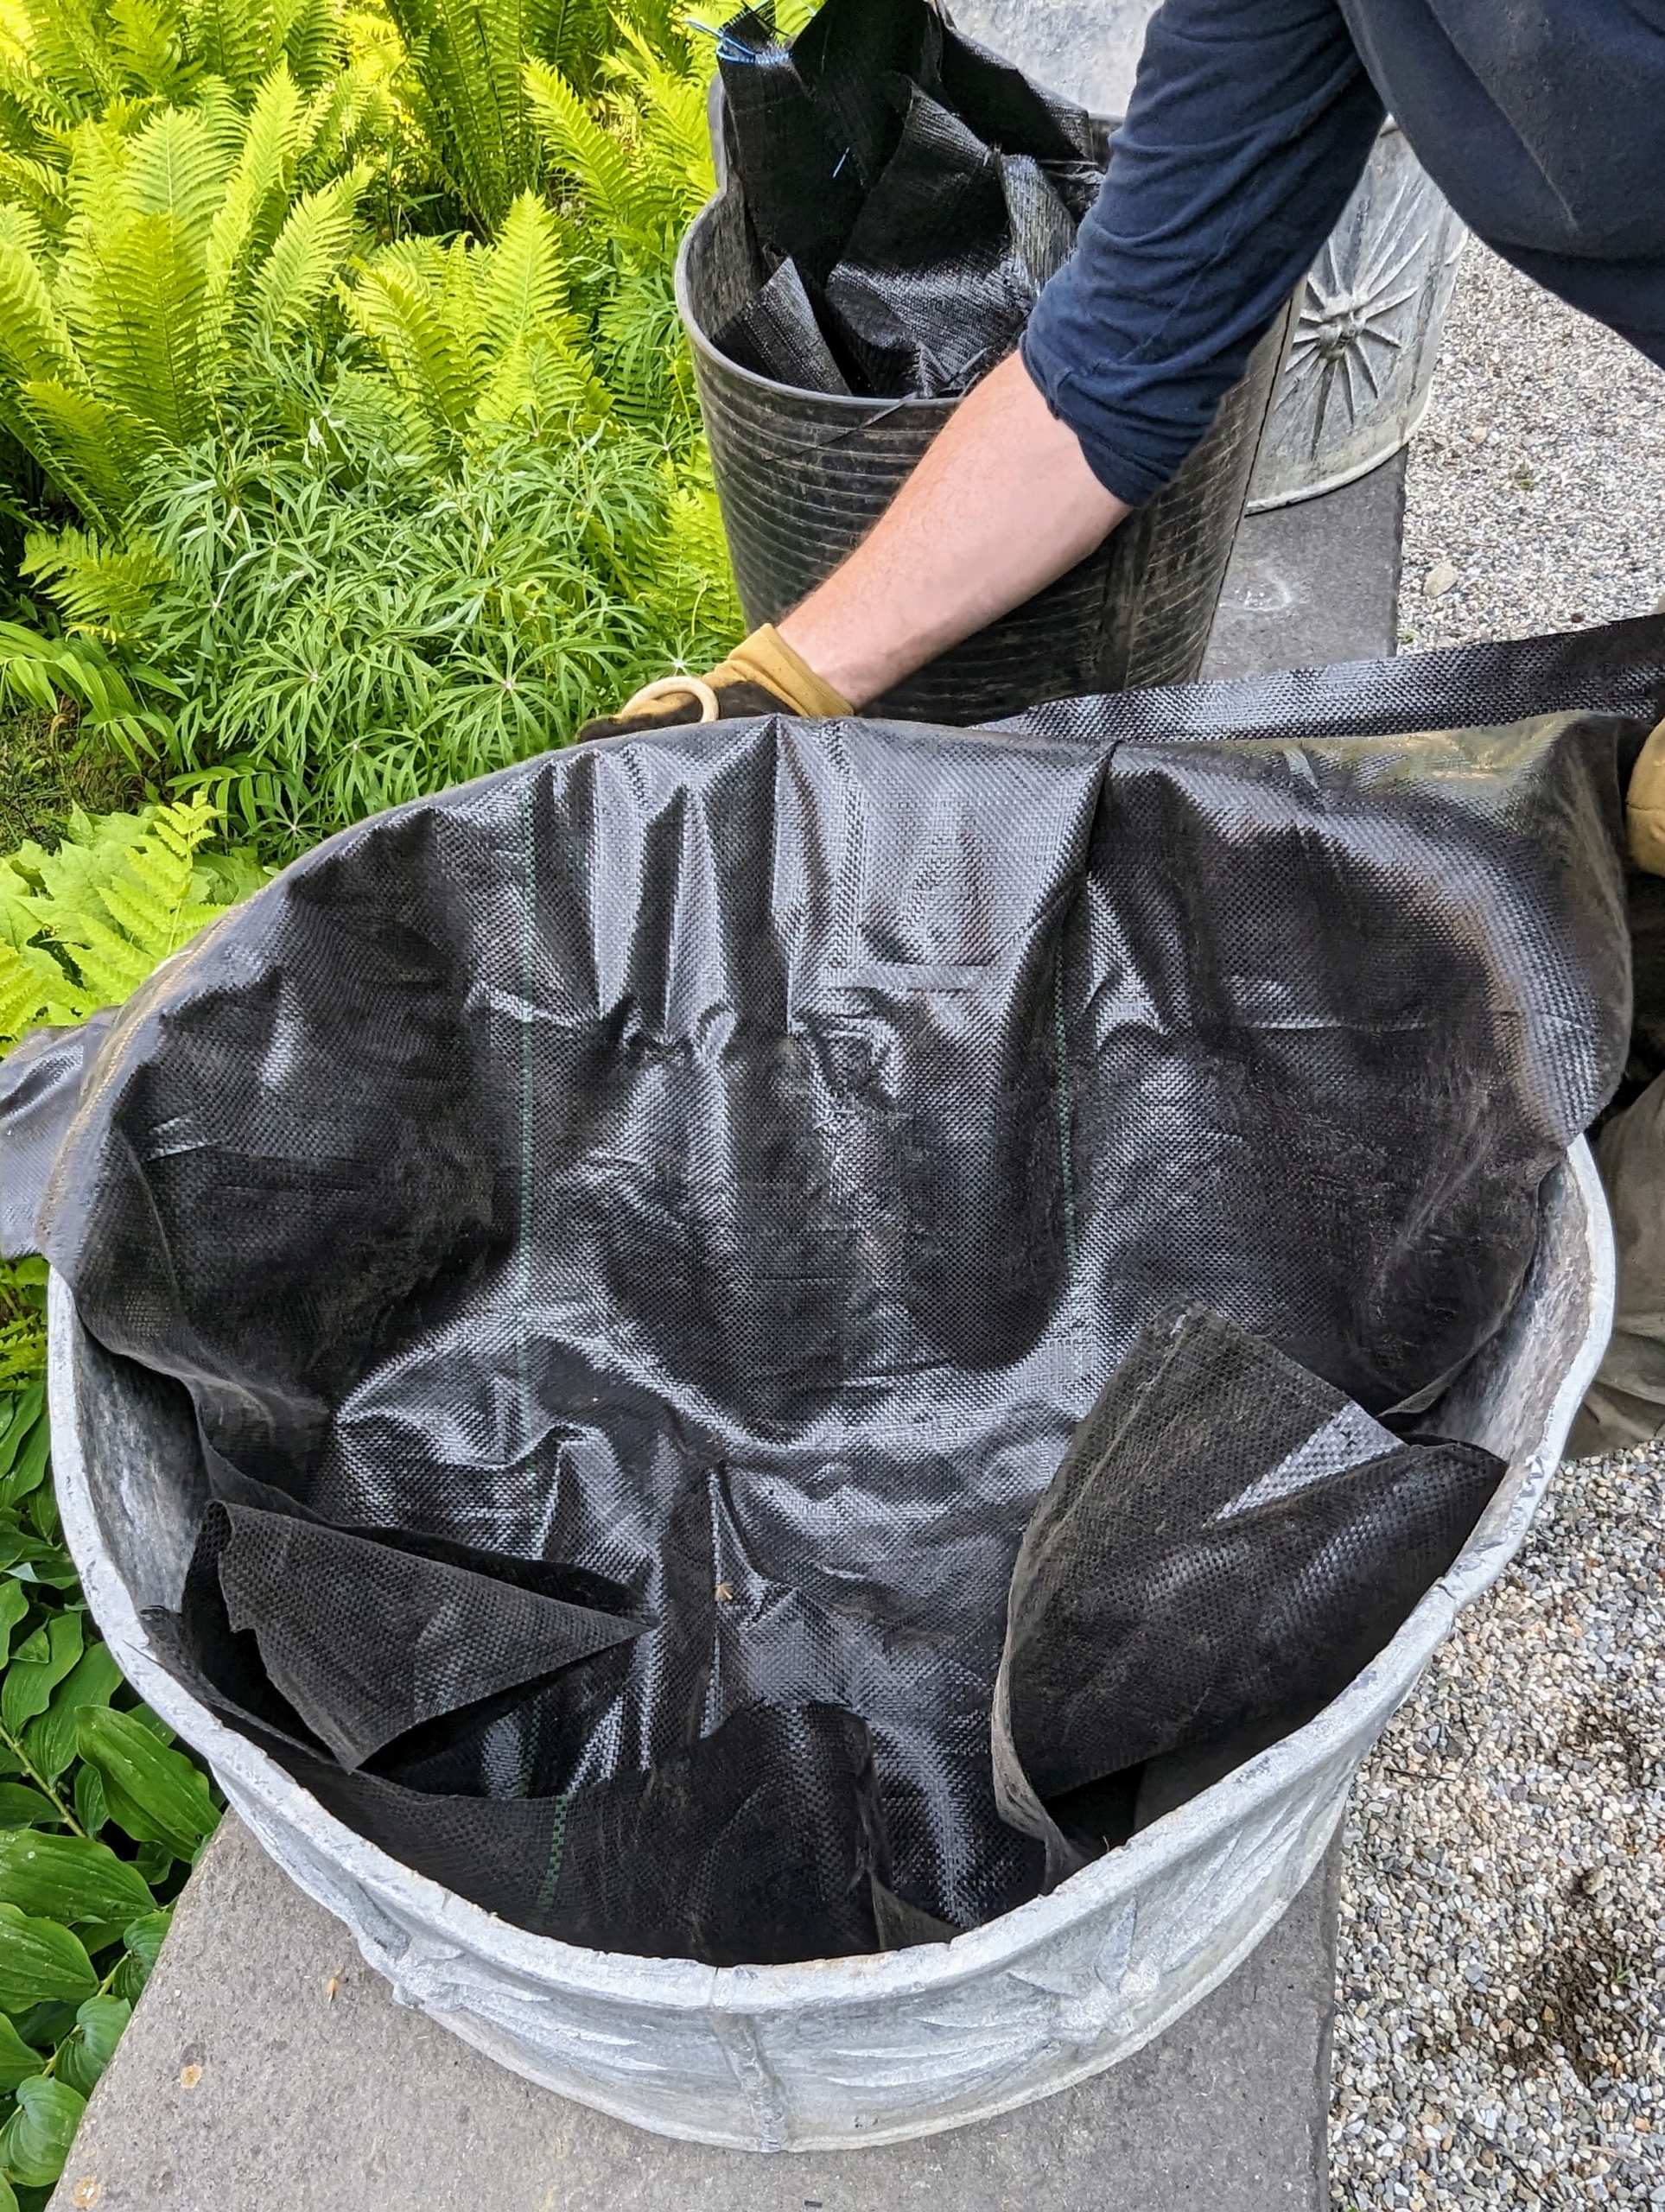
To protect the fragile pots, I like to line them with black weed cloth or black garbage bags. Ryan places a big sheet of the plastic into the pot…
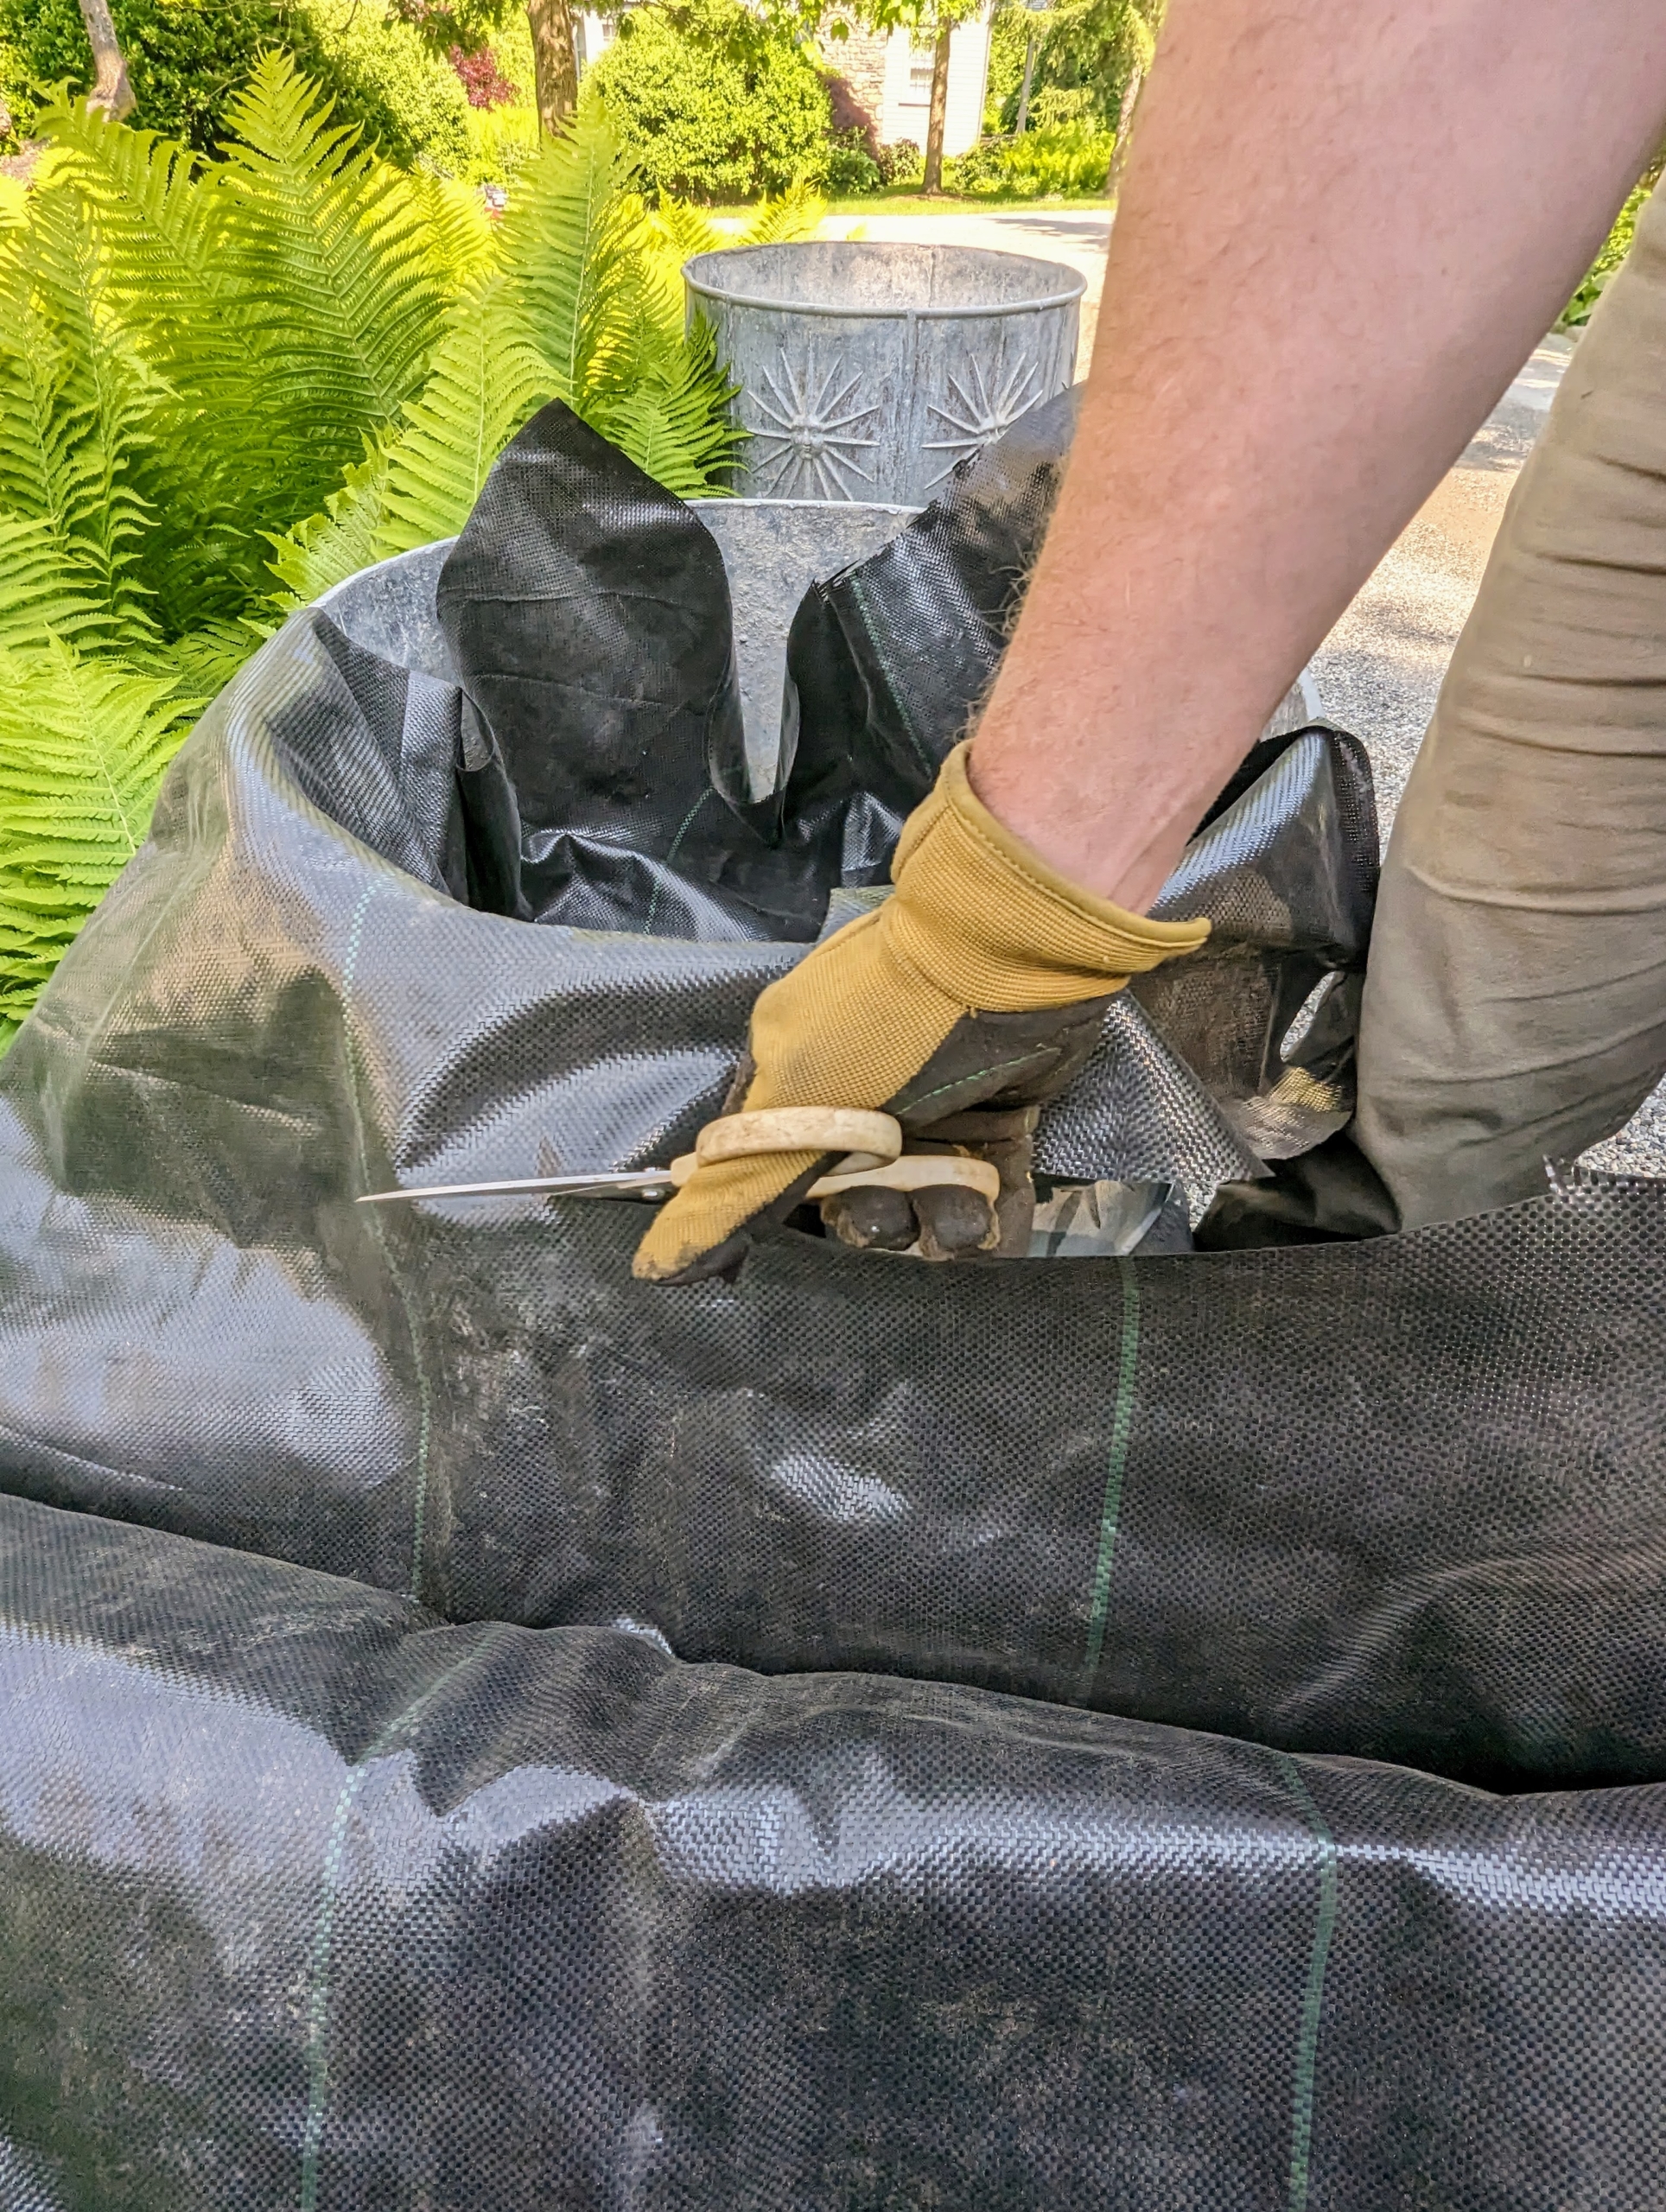
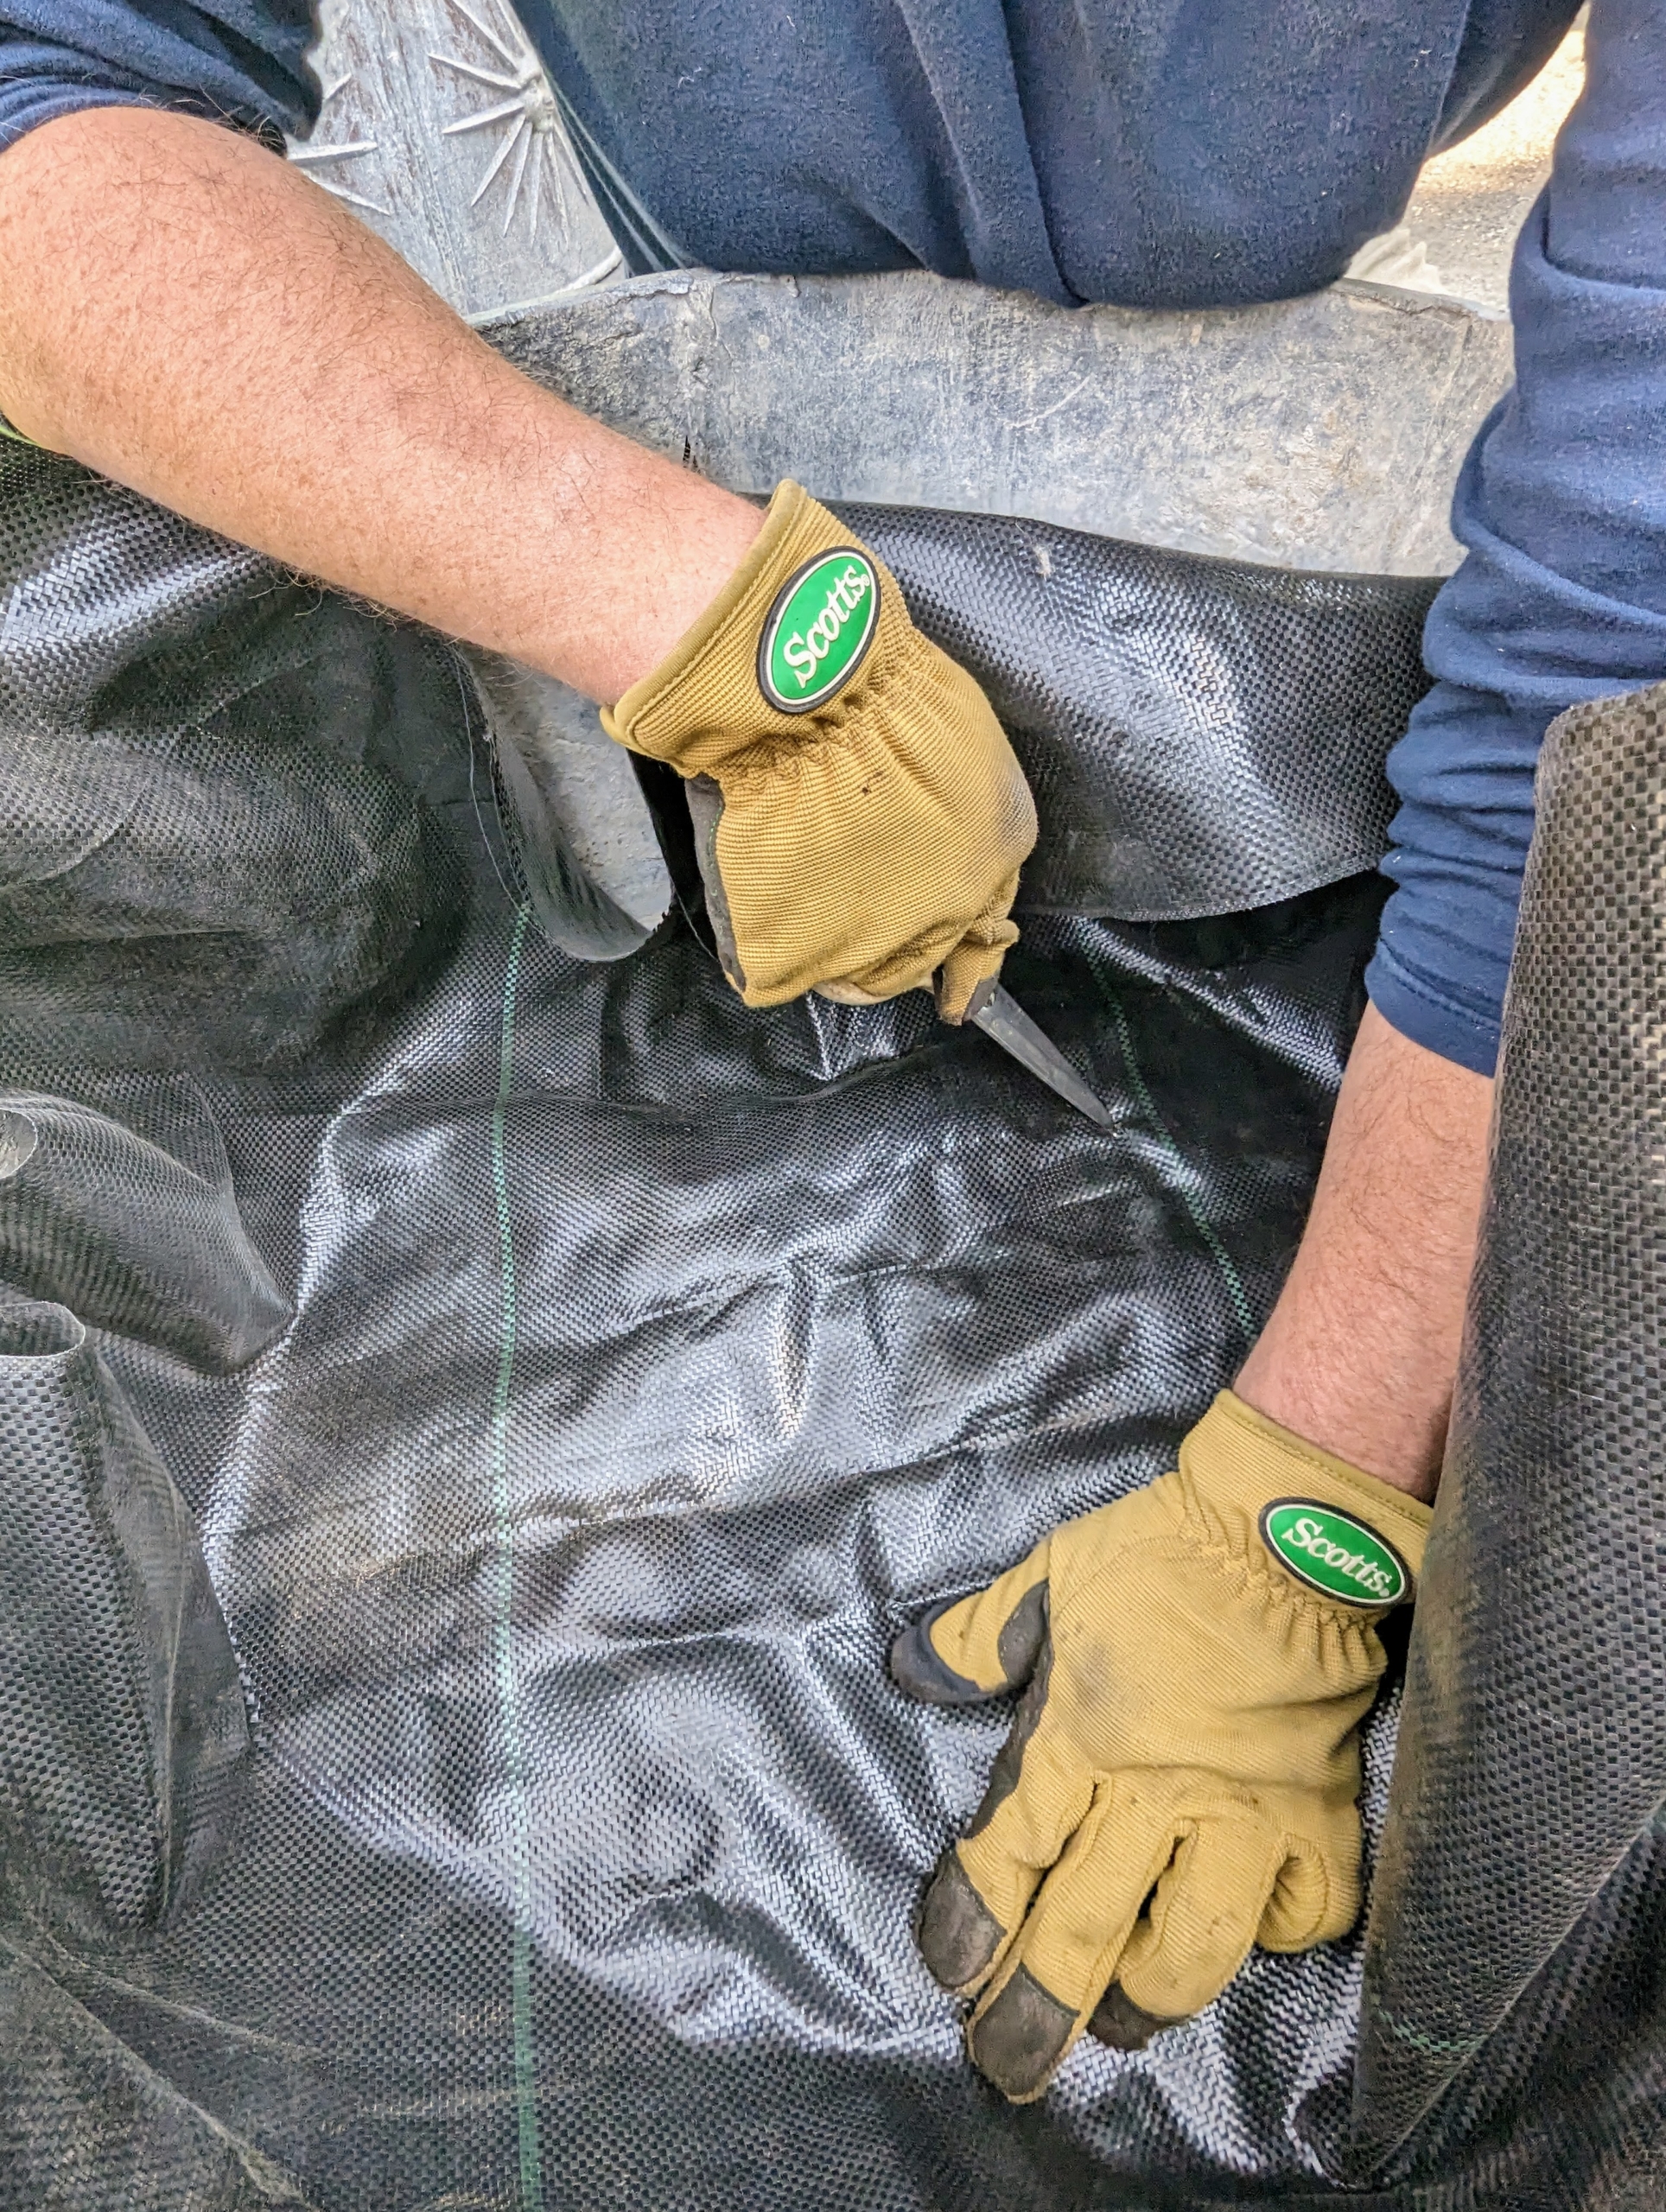
… and then cuts it to size. This plastic will later be tucked into the pot, so it is not visible.
Ryan pokes holes in the plastic over the holes in the container for good drainage.
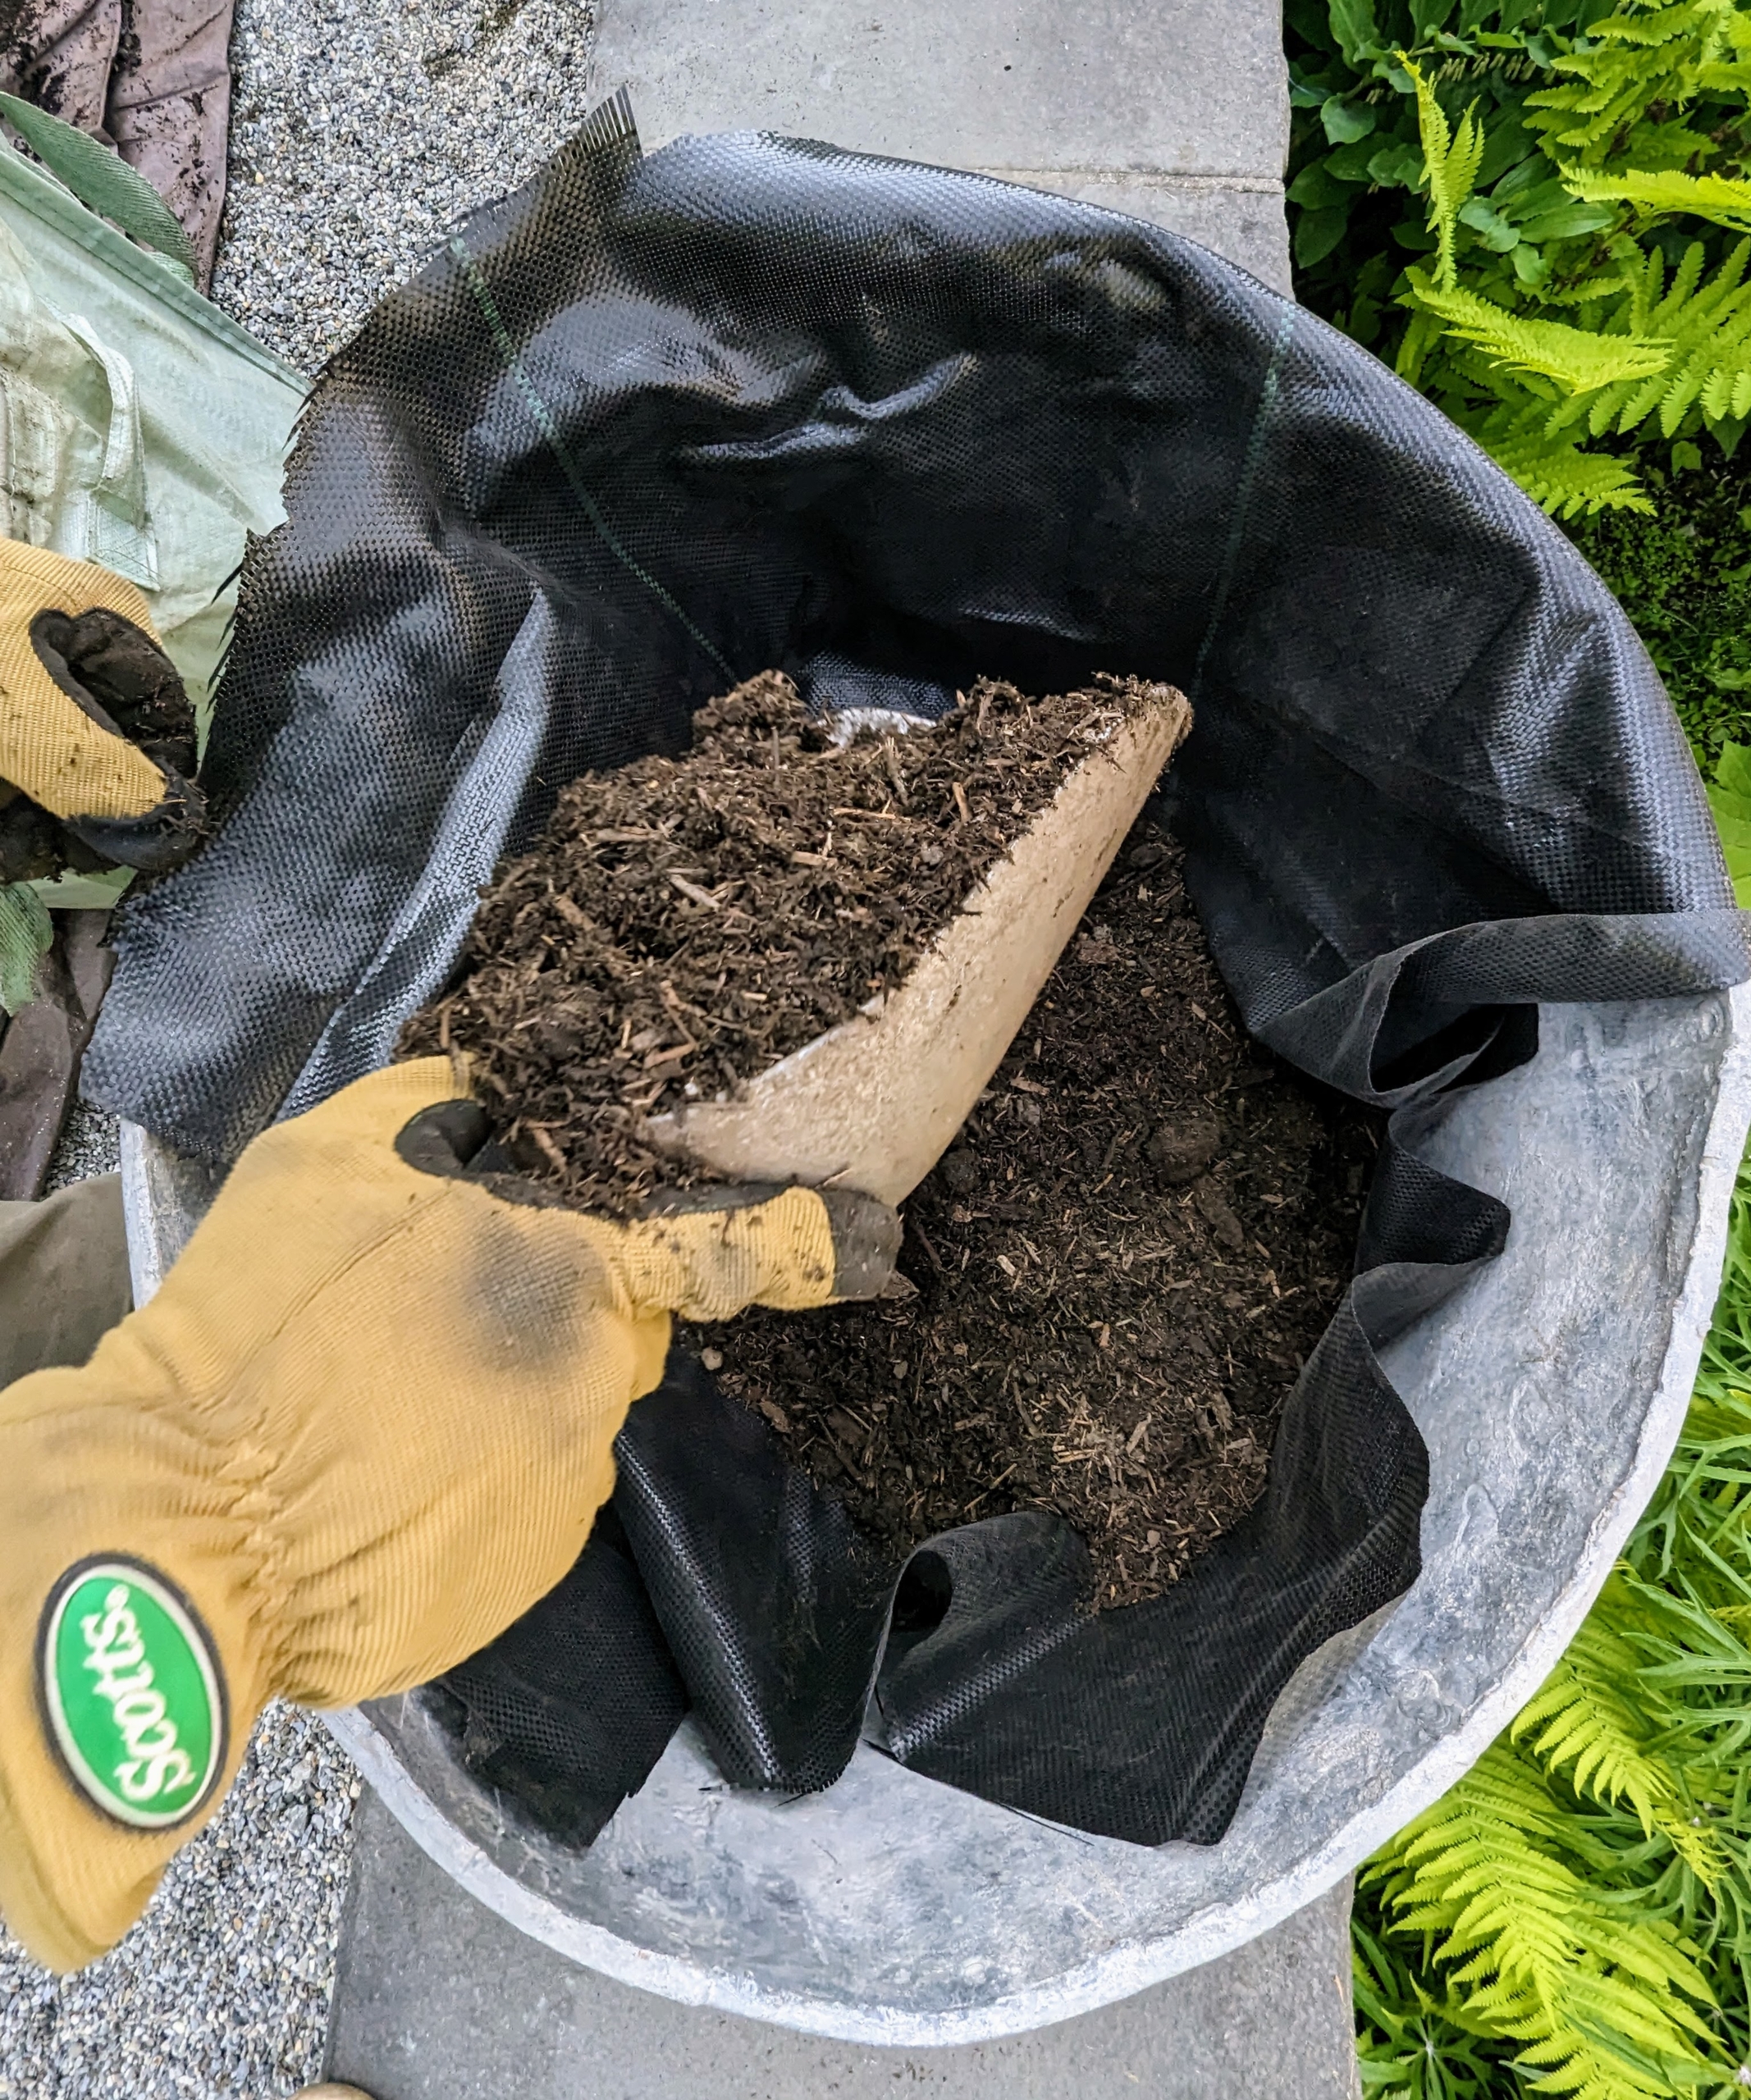
Next he fills the bottom of the planter with soil mix. We’re using nutrient-rich compost made right here at the farm.
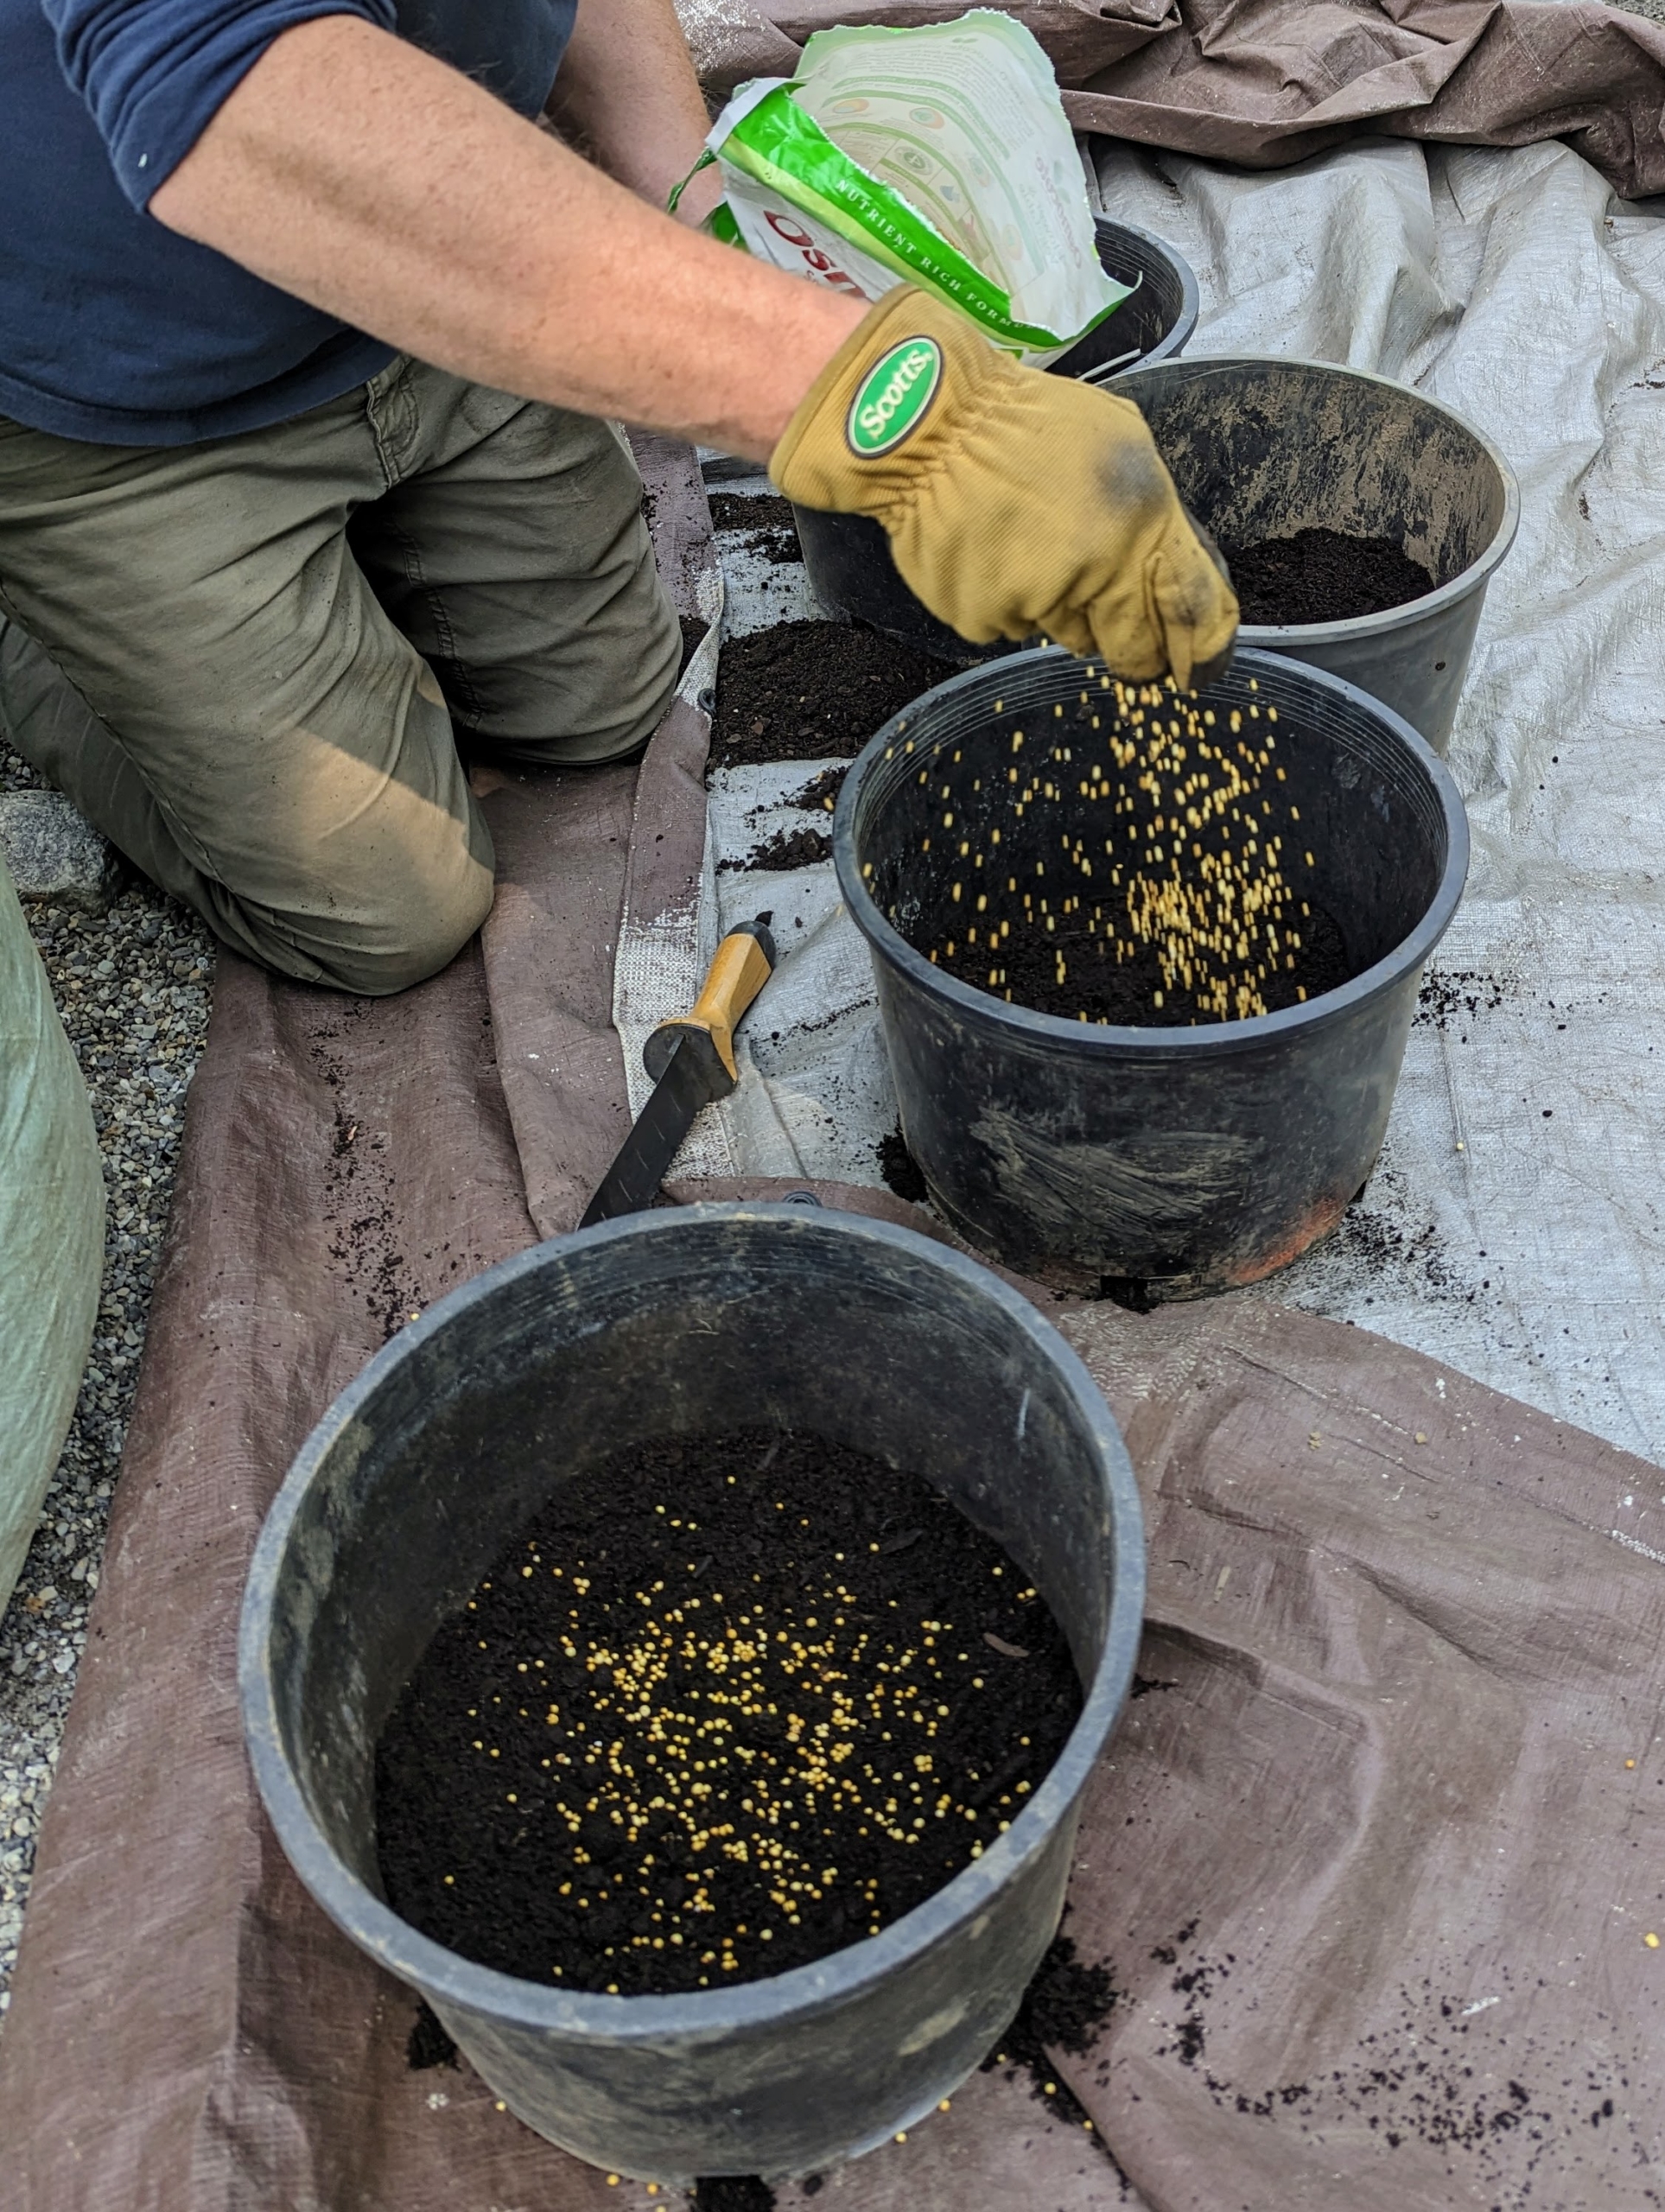
Meanwhile, these ferns are ready for slightly larger containers, so Ryan puts soil into these plastic pots. He sprinkles a generous amount of Osmocote fertilizer and mixes it well. The prills coat a core of nitrogen, phosphorus and potassium. The resin-coating is made from linseed oil and as the plant’s root system takes-up nutrition from the soil, it also takes up the needed nutrients from the Osmocote.
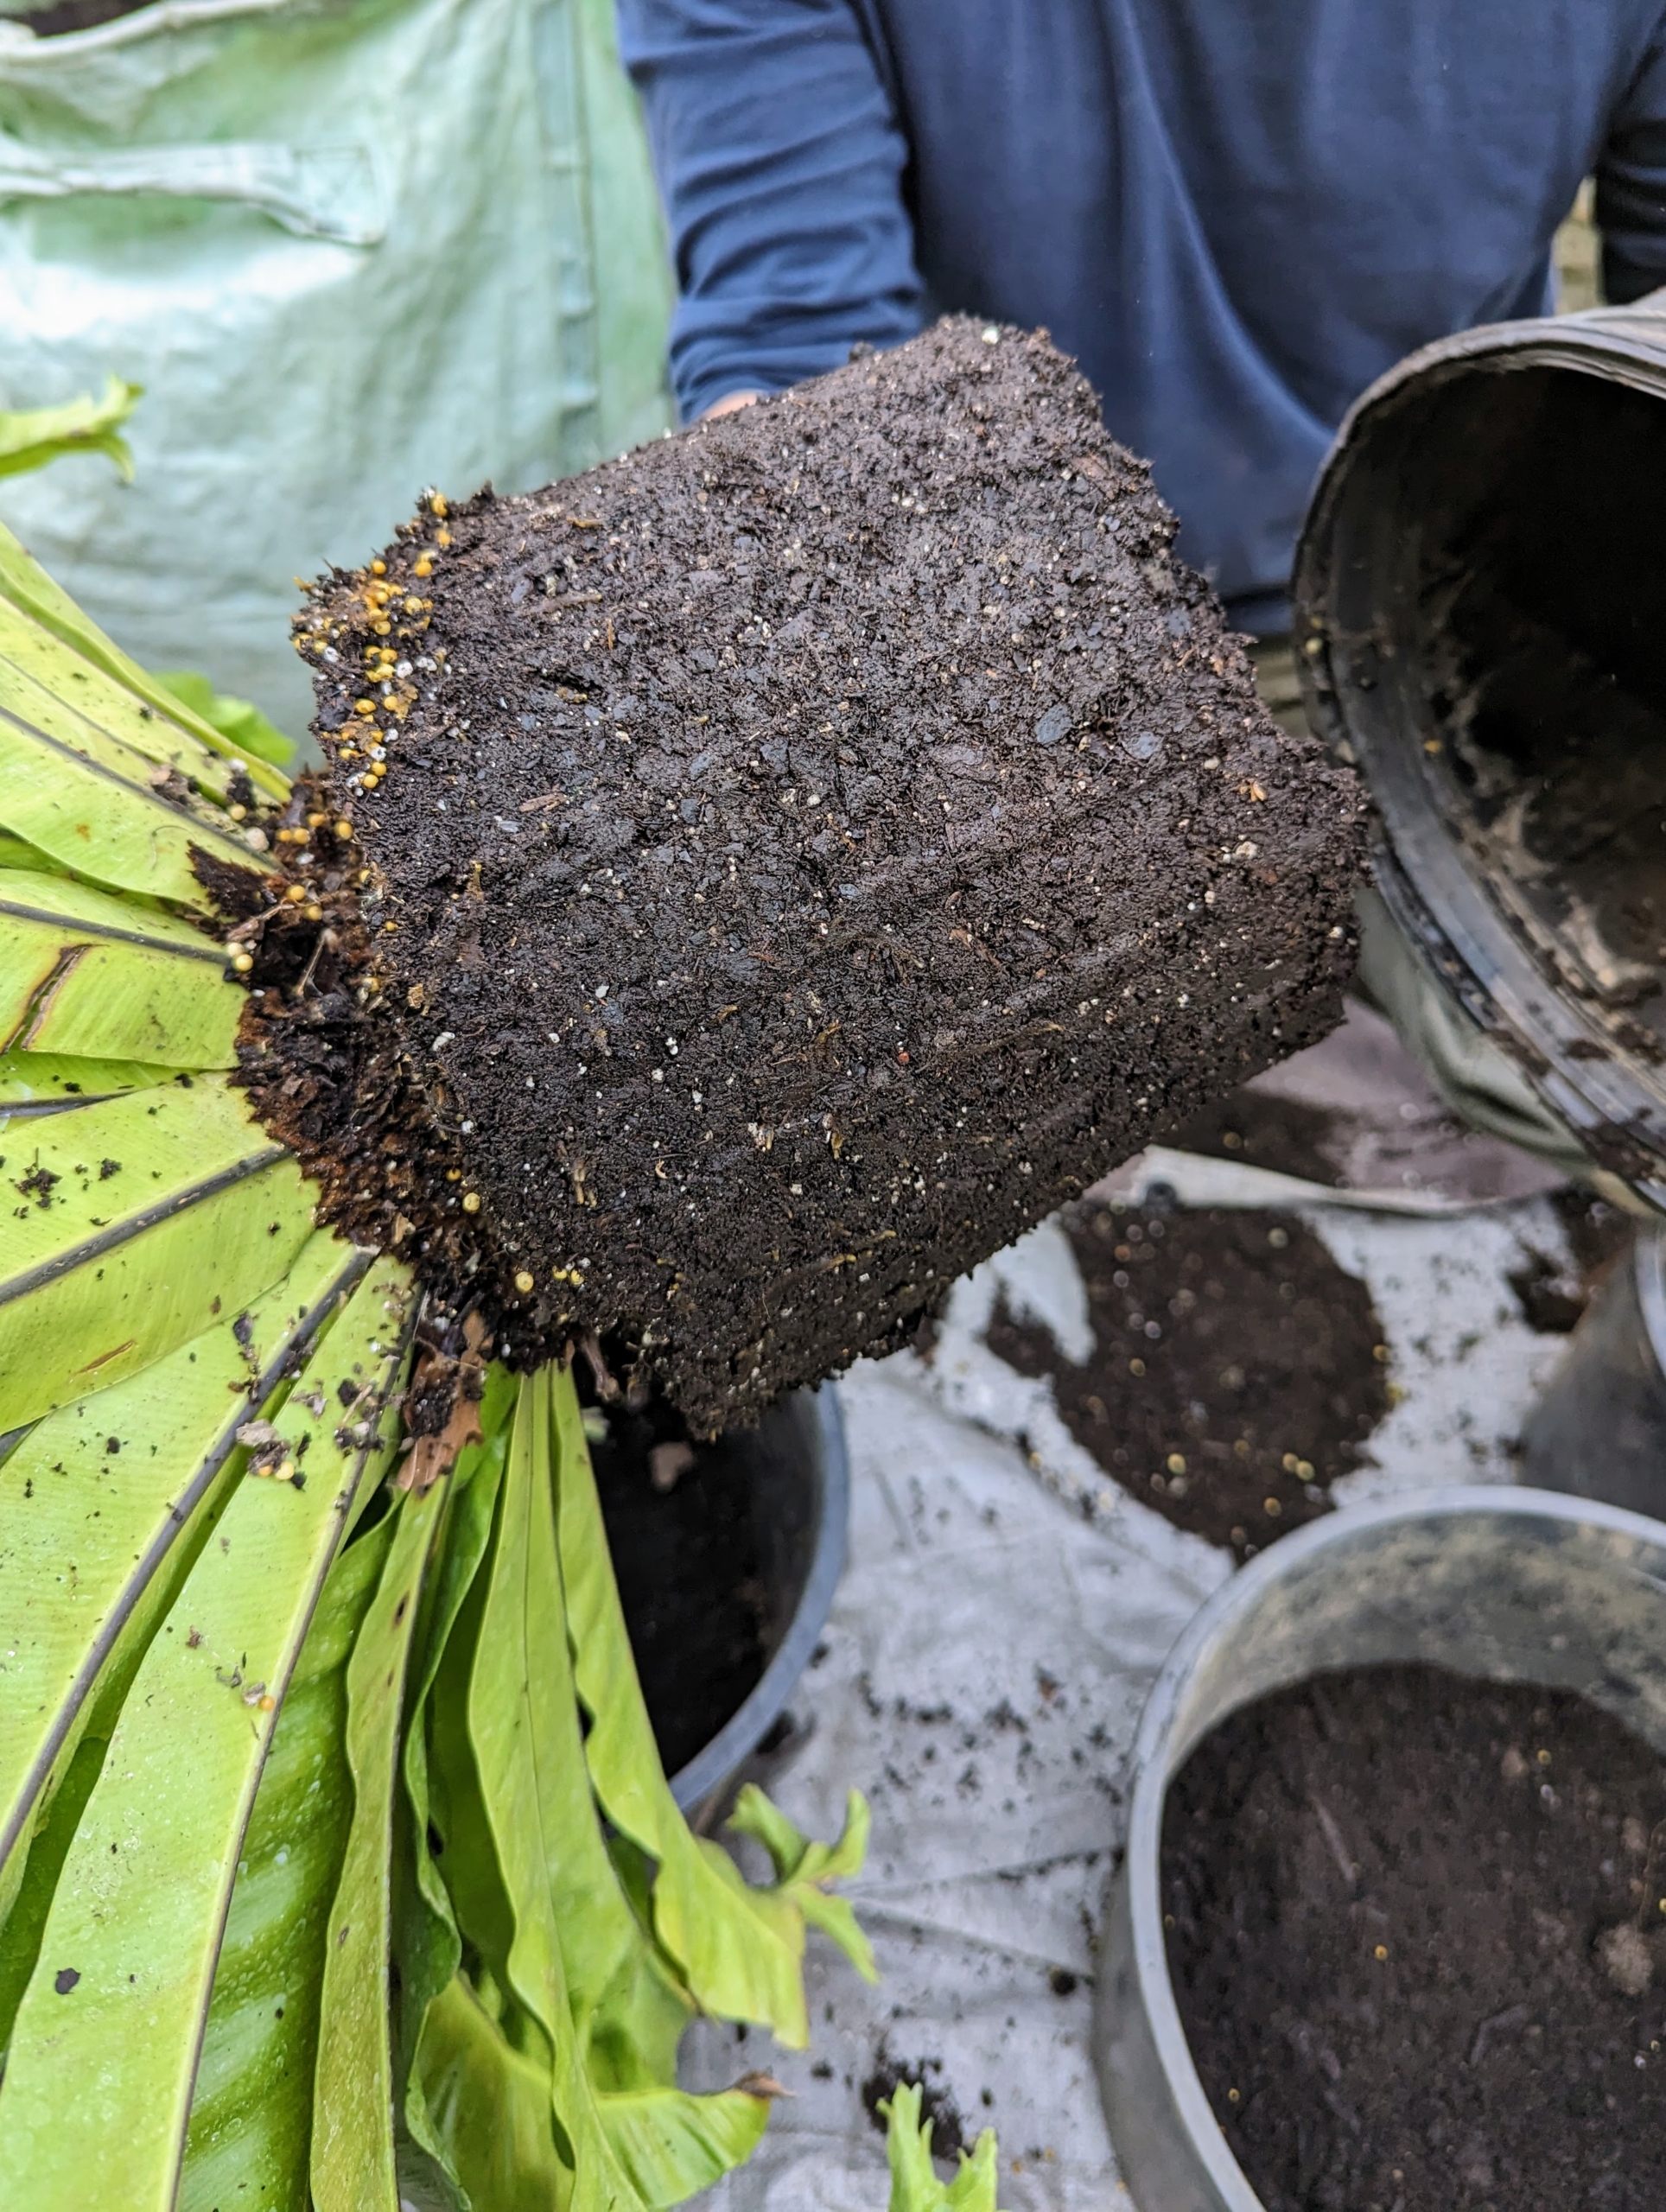
Ryan then removes the fern from its old plastic pot and gives it a quick inspection. The root ball is quite moist – it is a sign of good maintenance and watering.
Repotting is a good time to check any plant for damaged, unwanted or rotting leaves or pests that may be hiding in the soil. Ryan scarifies the root ball just a bit to encourage new growth and places it into its new container.
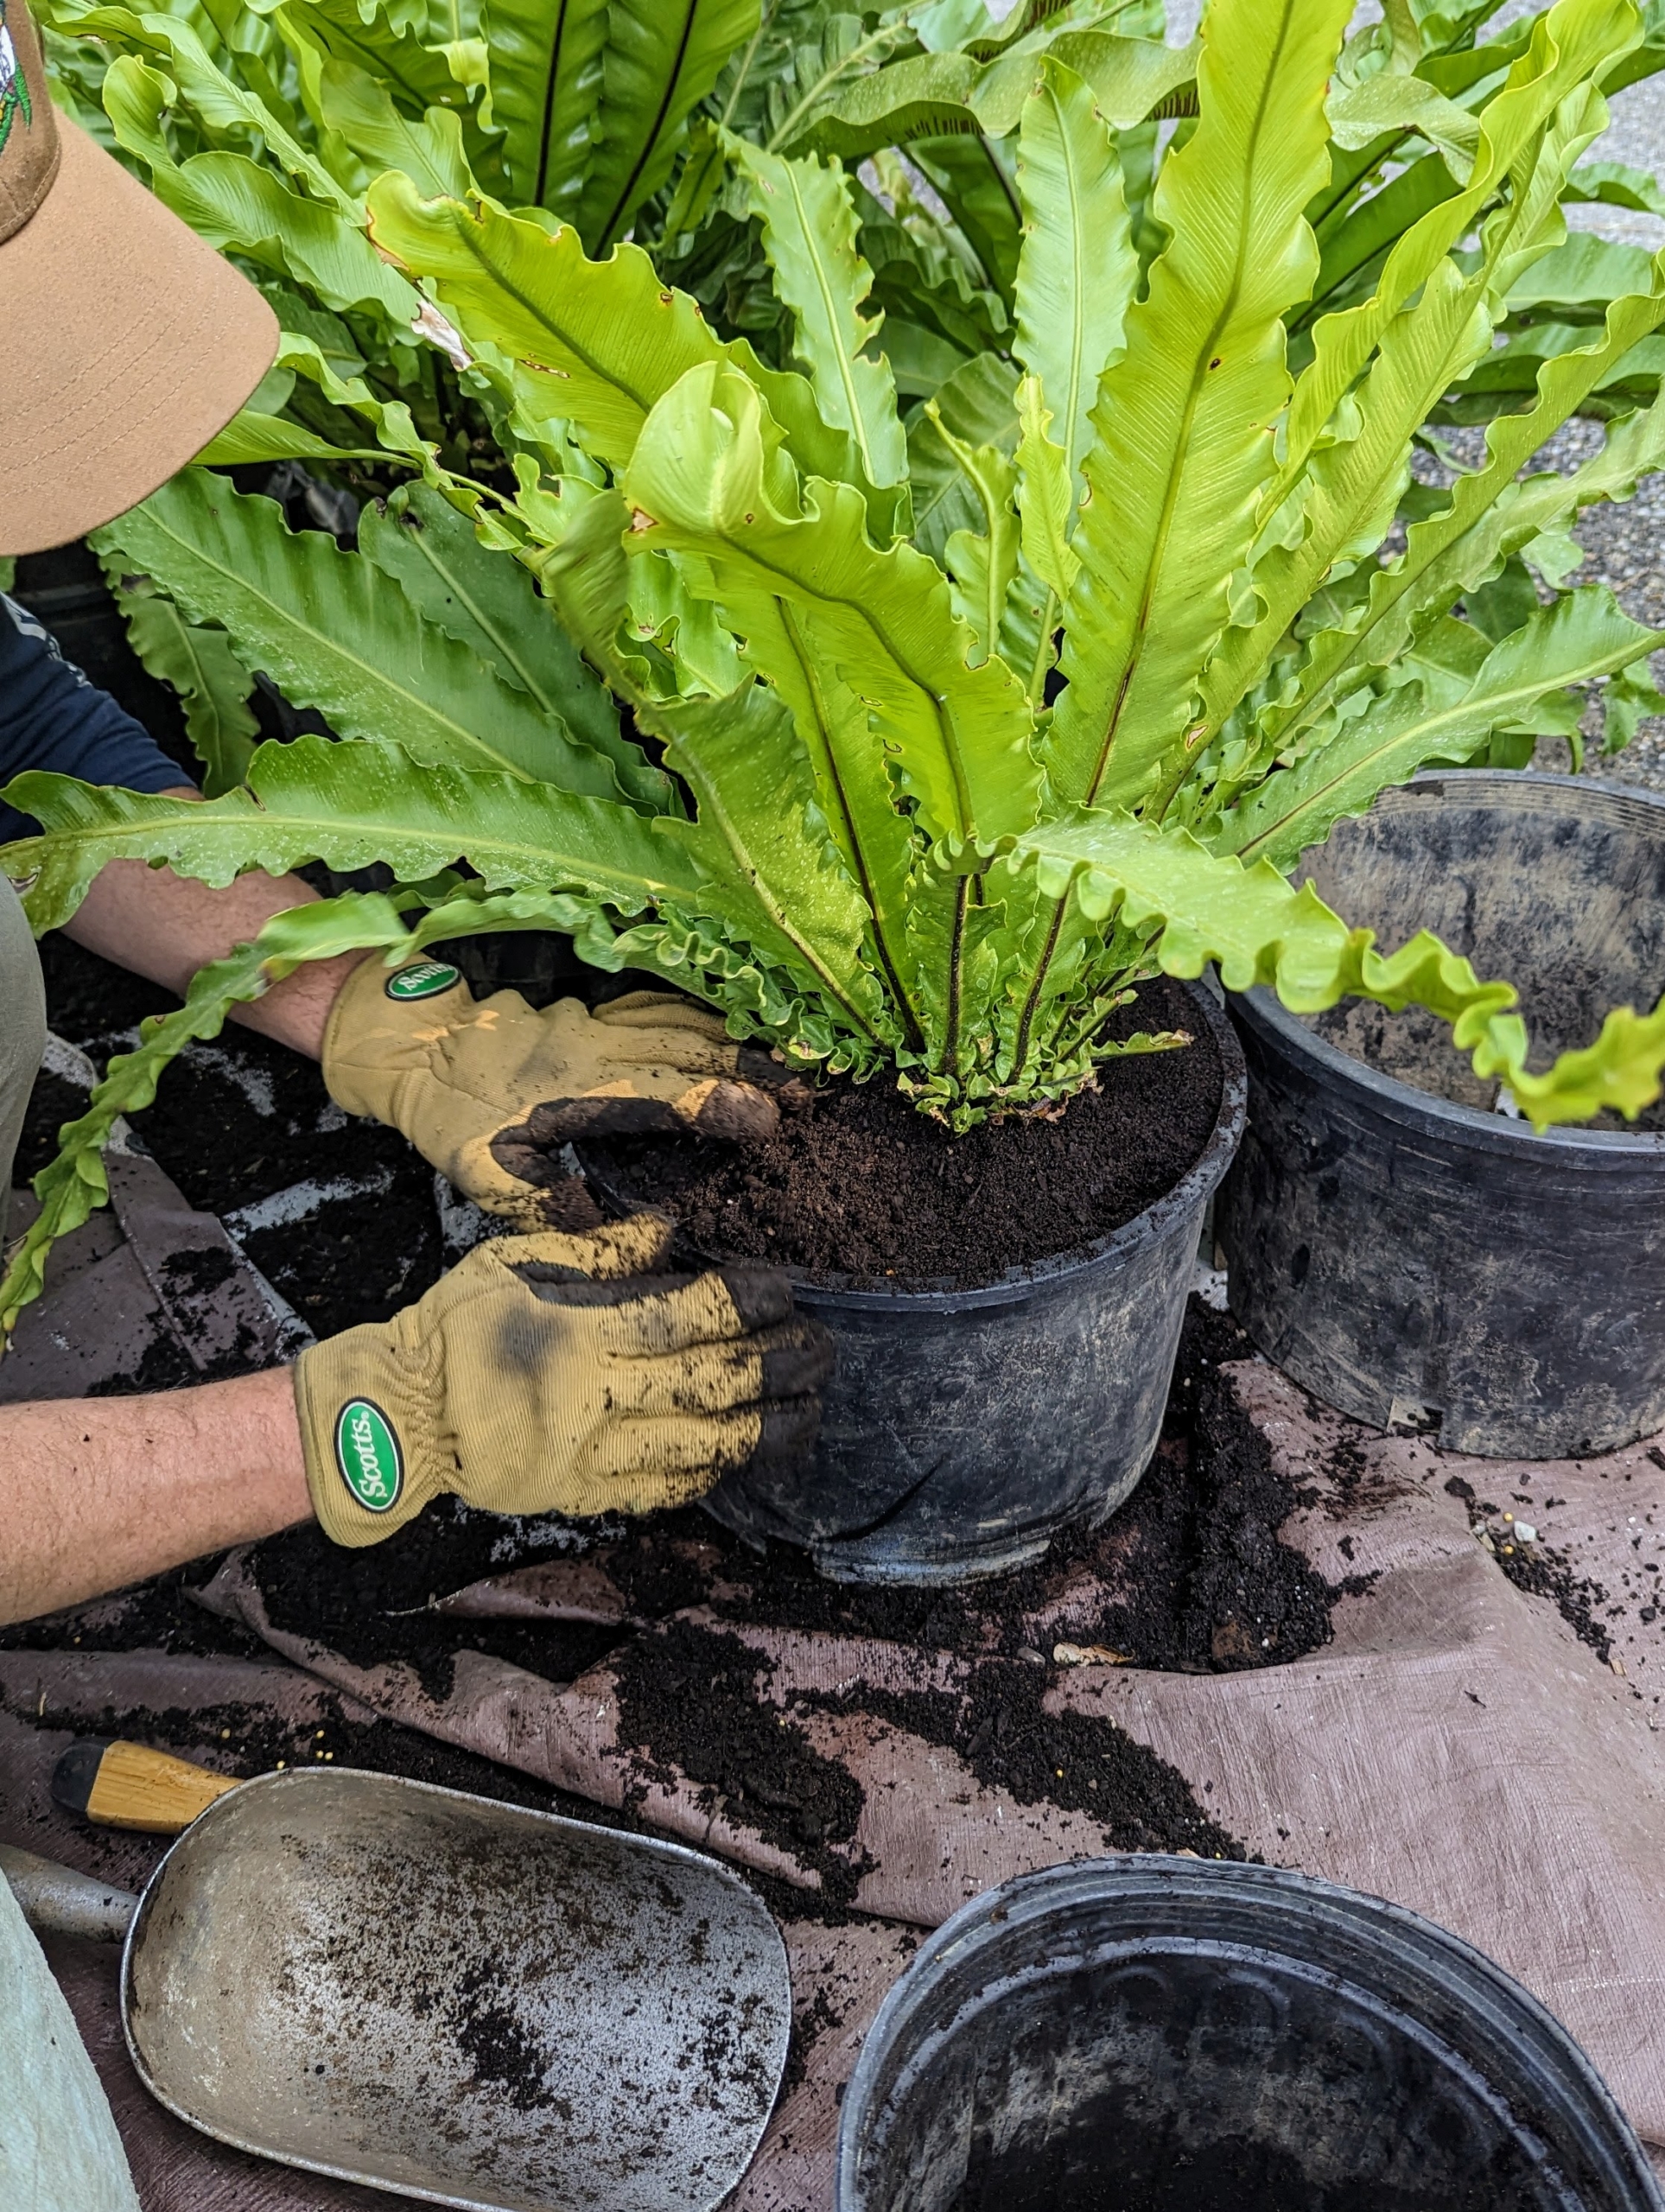
Next, Ryan backfills with more soil. Bird’s nest ferns do well with watering about once a week. To be sure, one should feel the top few inches of soil. If the top two-inches are dry then the plant needs water. Below the top few inches should remain moist, but not soggy. And it should never dry out thoroughly between waterings.
Once a plant is in its new plastic pot, Ryan places the pot into the container to ensure it is at the proper height – it should be positioned at the same height it was in its original pot. Planting the pot inside the container makes it easier come fall – the pot can just be removed with the plant intact.
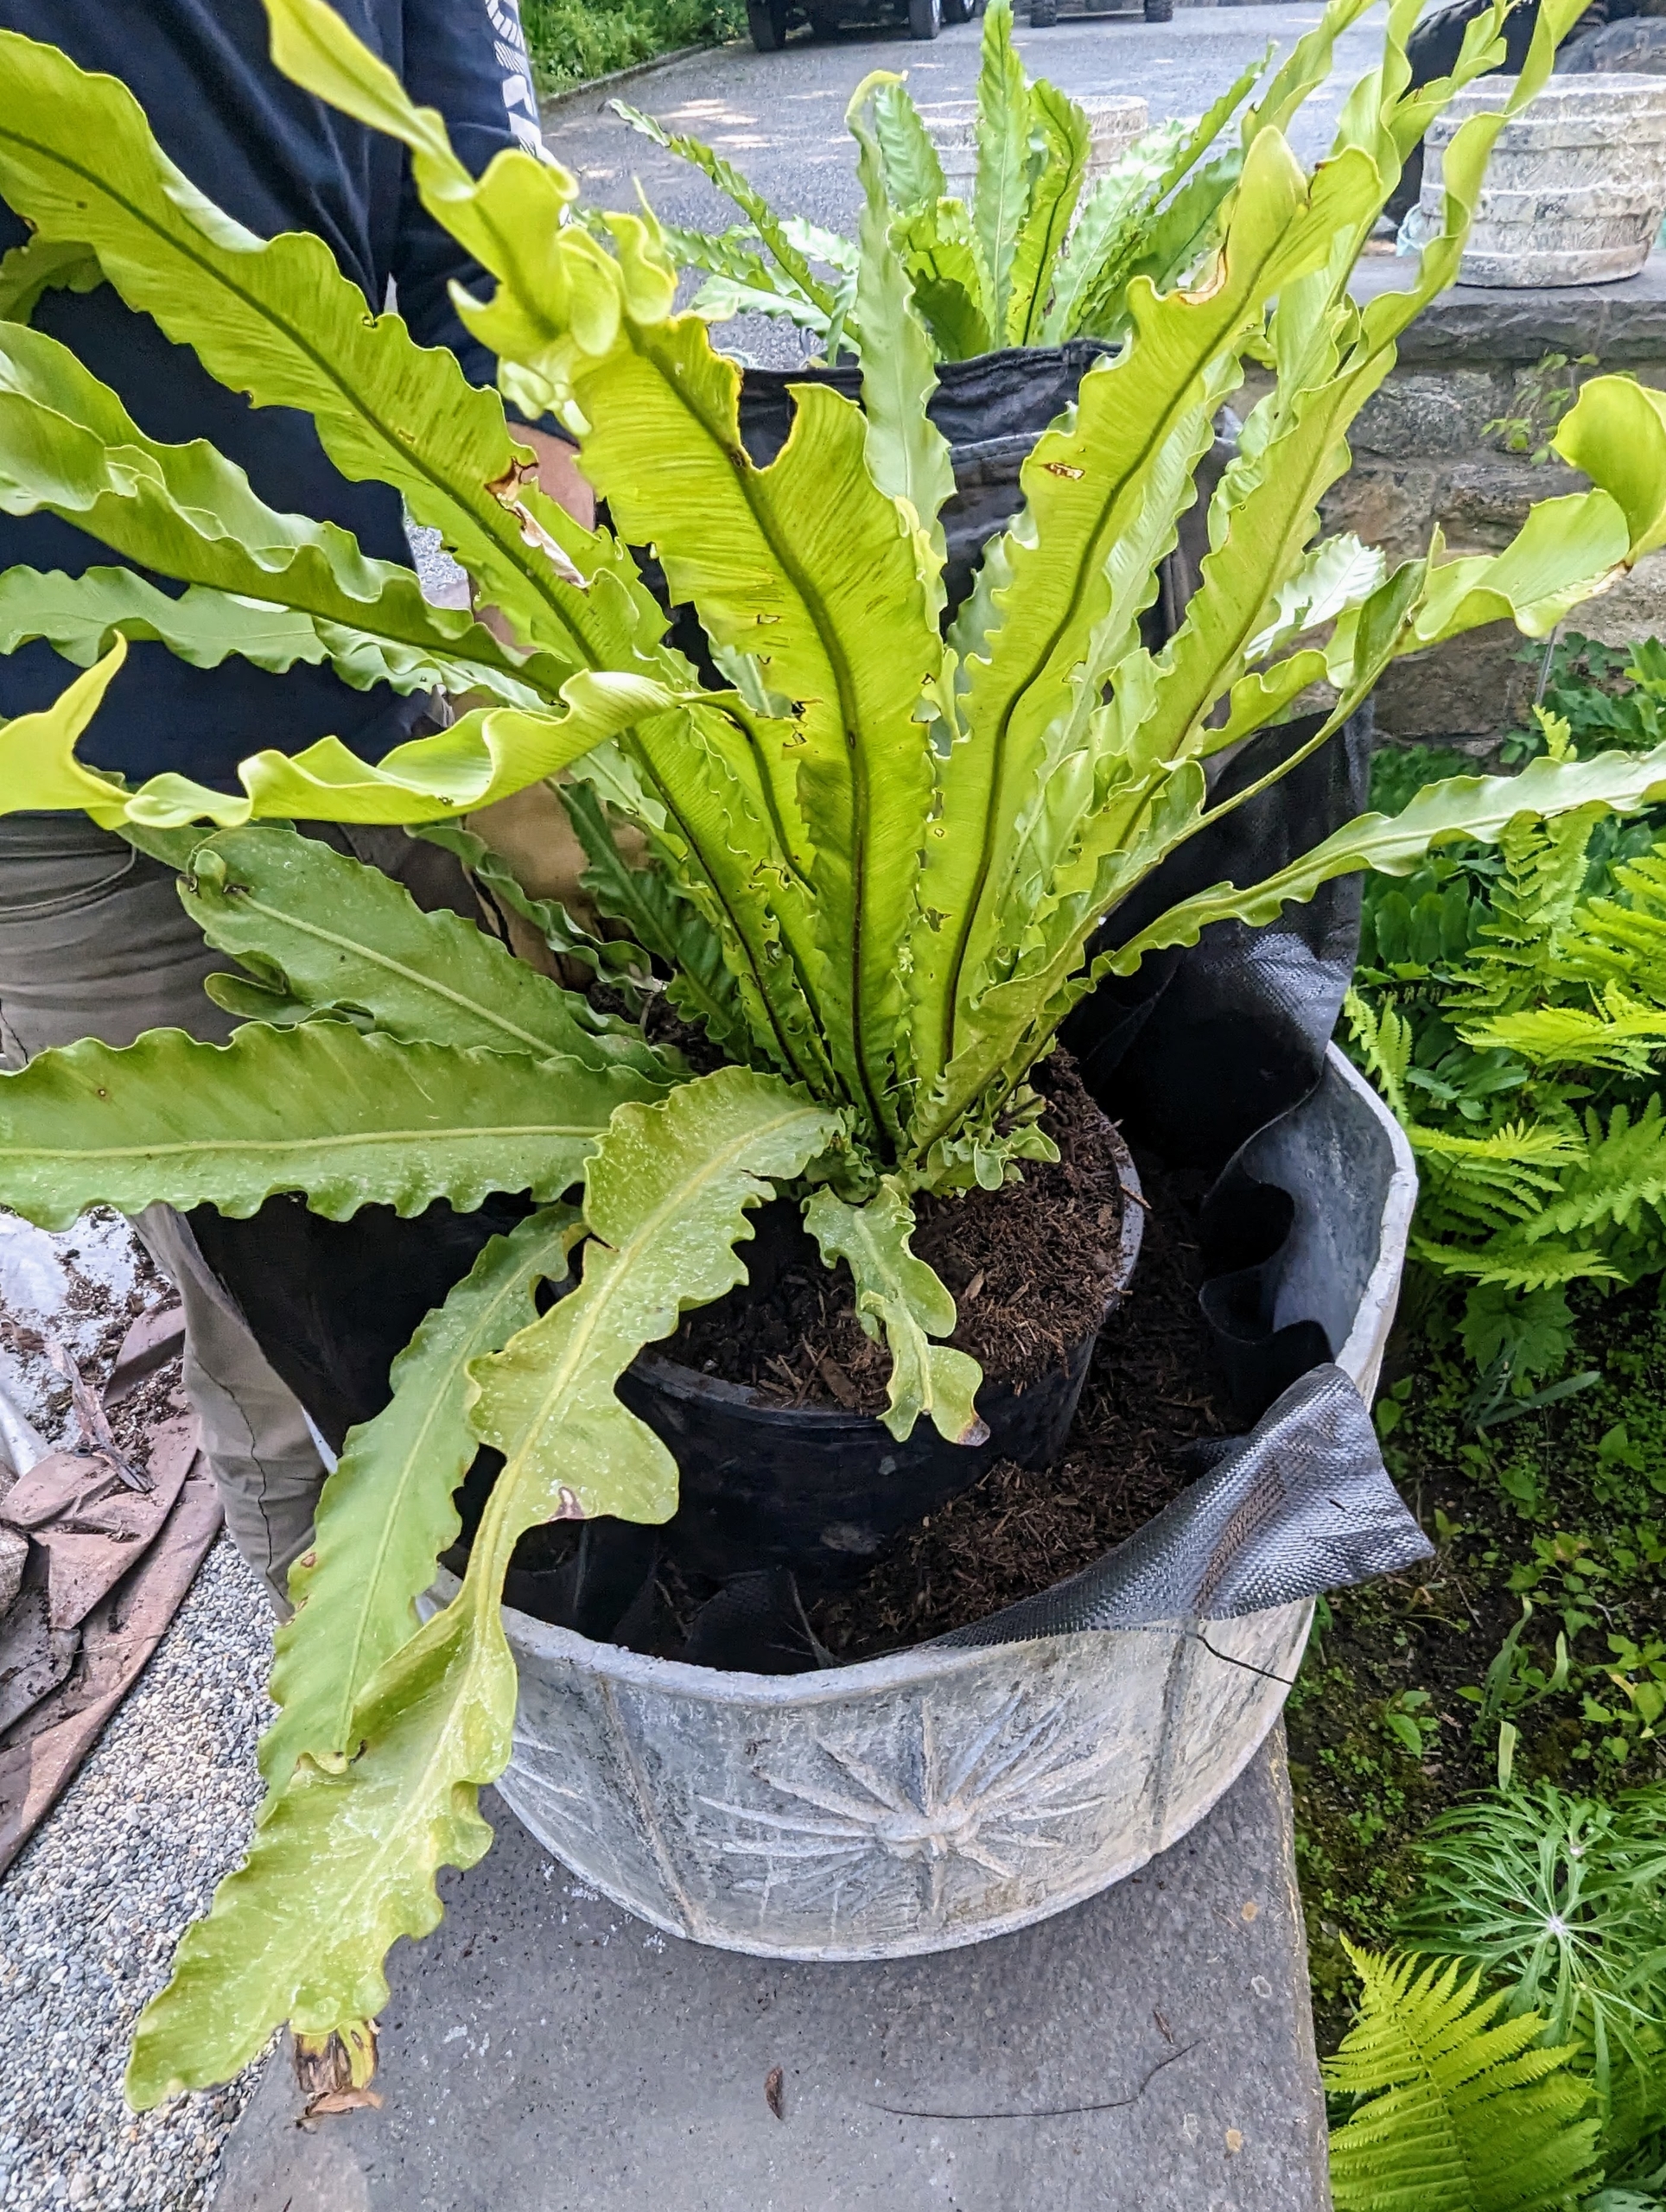
He backfills the ornamental planter up to just under the rim, so when it is watered, it does not overflow with soil falling out.
Lastly, Ryan top dresses the pot with some mulch and taps down of the soil lightly to ensure there is good contact with the plant.
Even when grown in optimal conditions bird’s nest ferns grow slowly, only about two to six inches per year. Fronds eventually reach a maximum size of about three feet long, with plant diameter maxing out at about three feet wide.
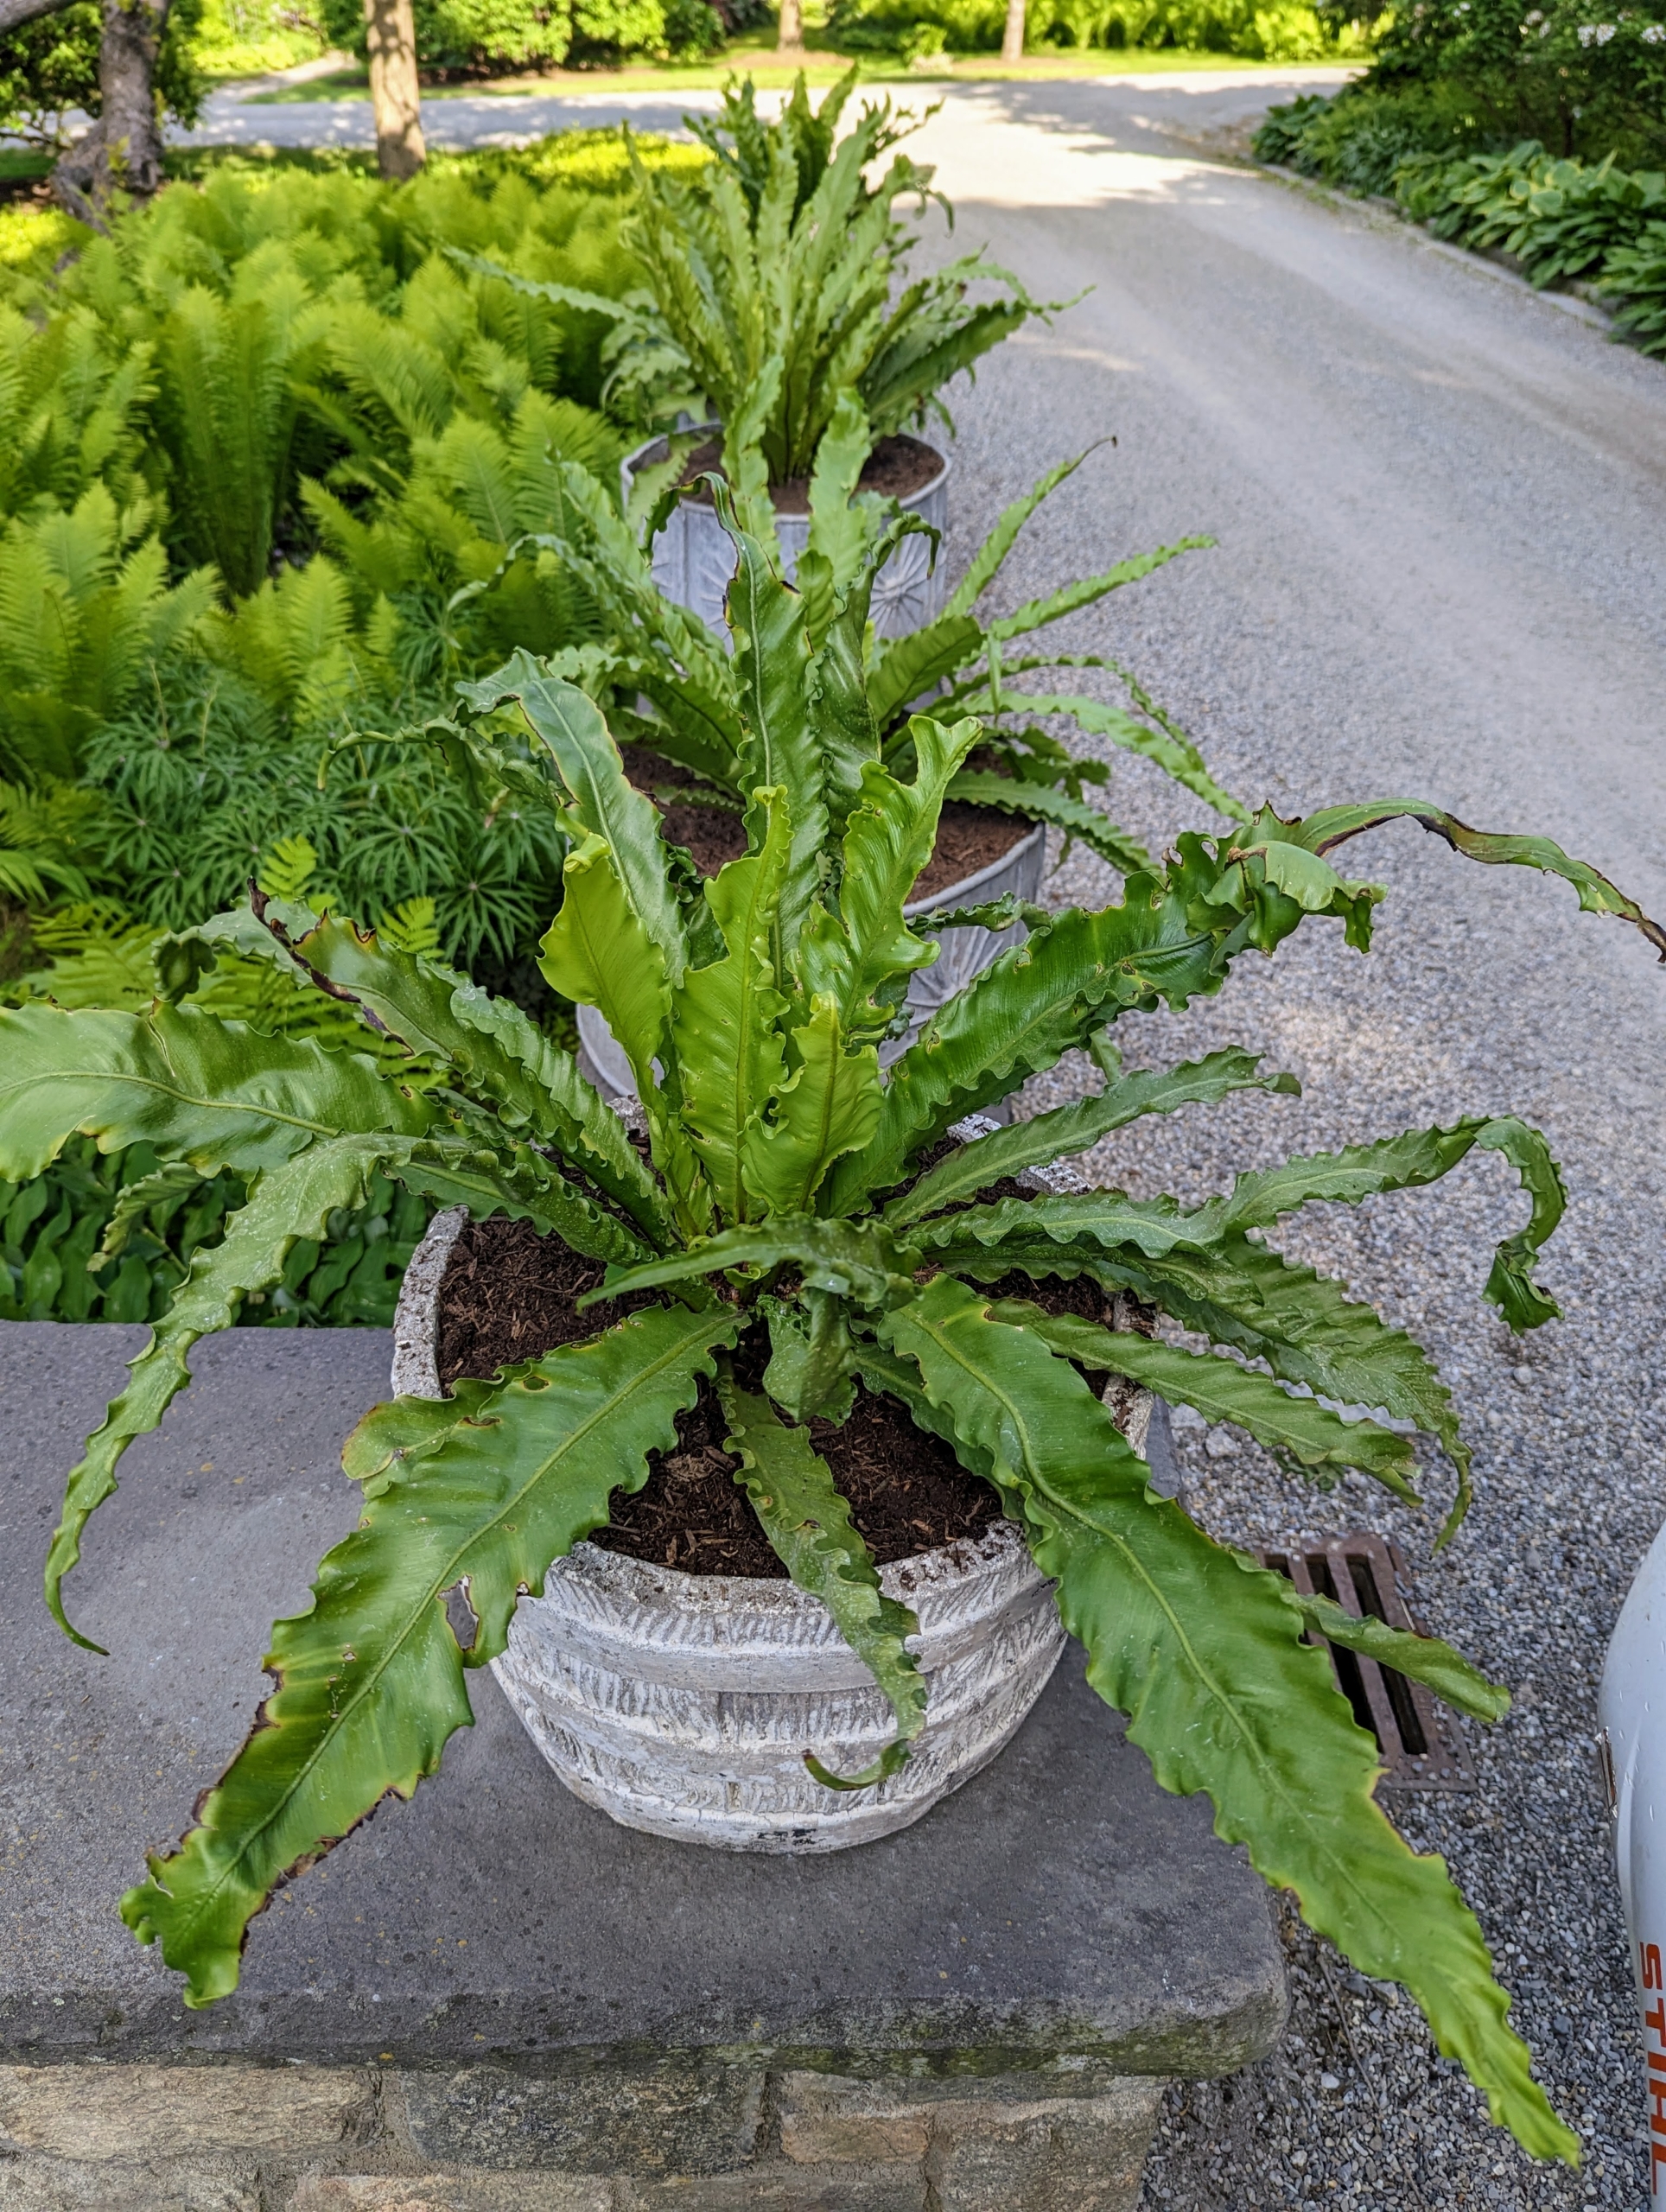
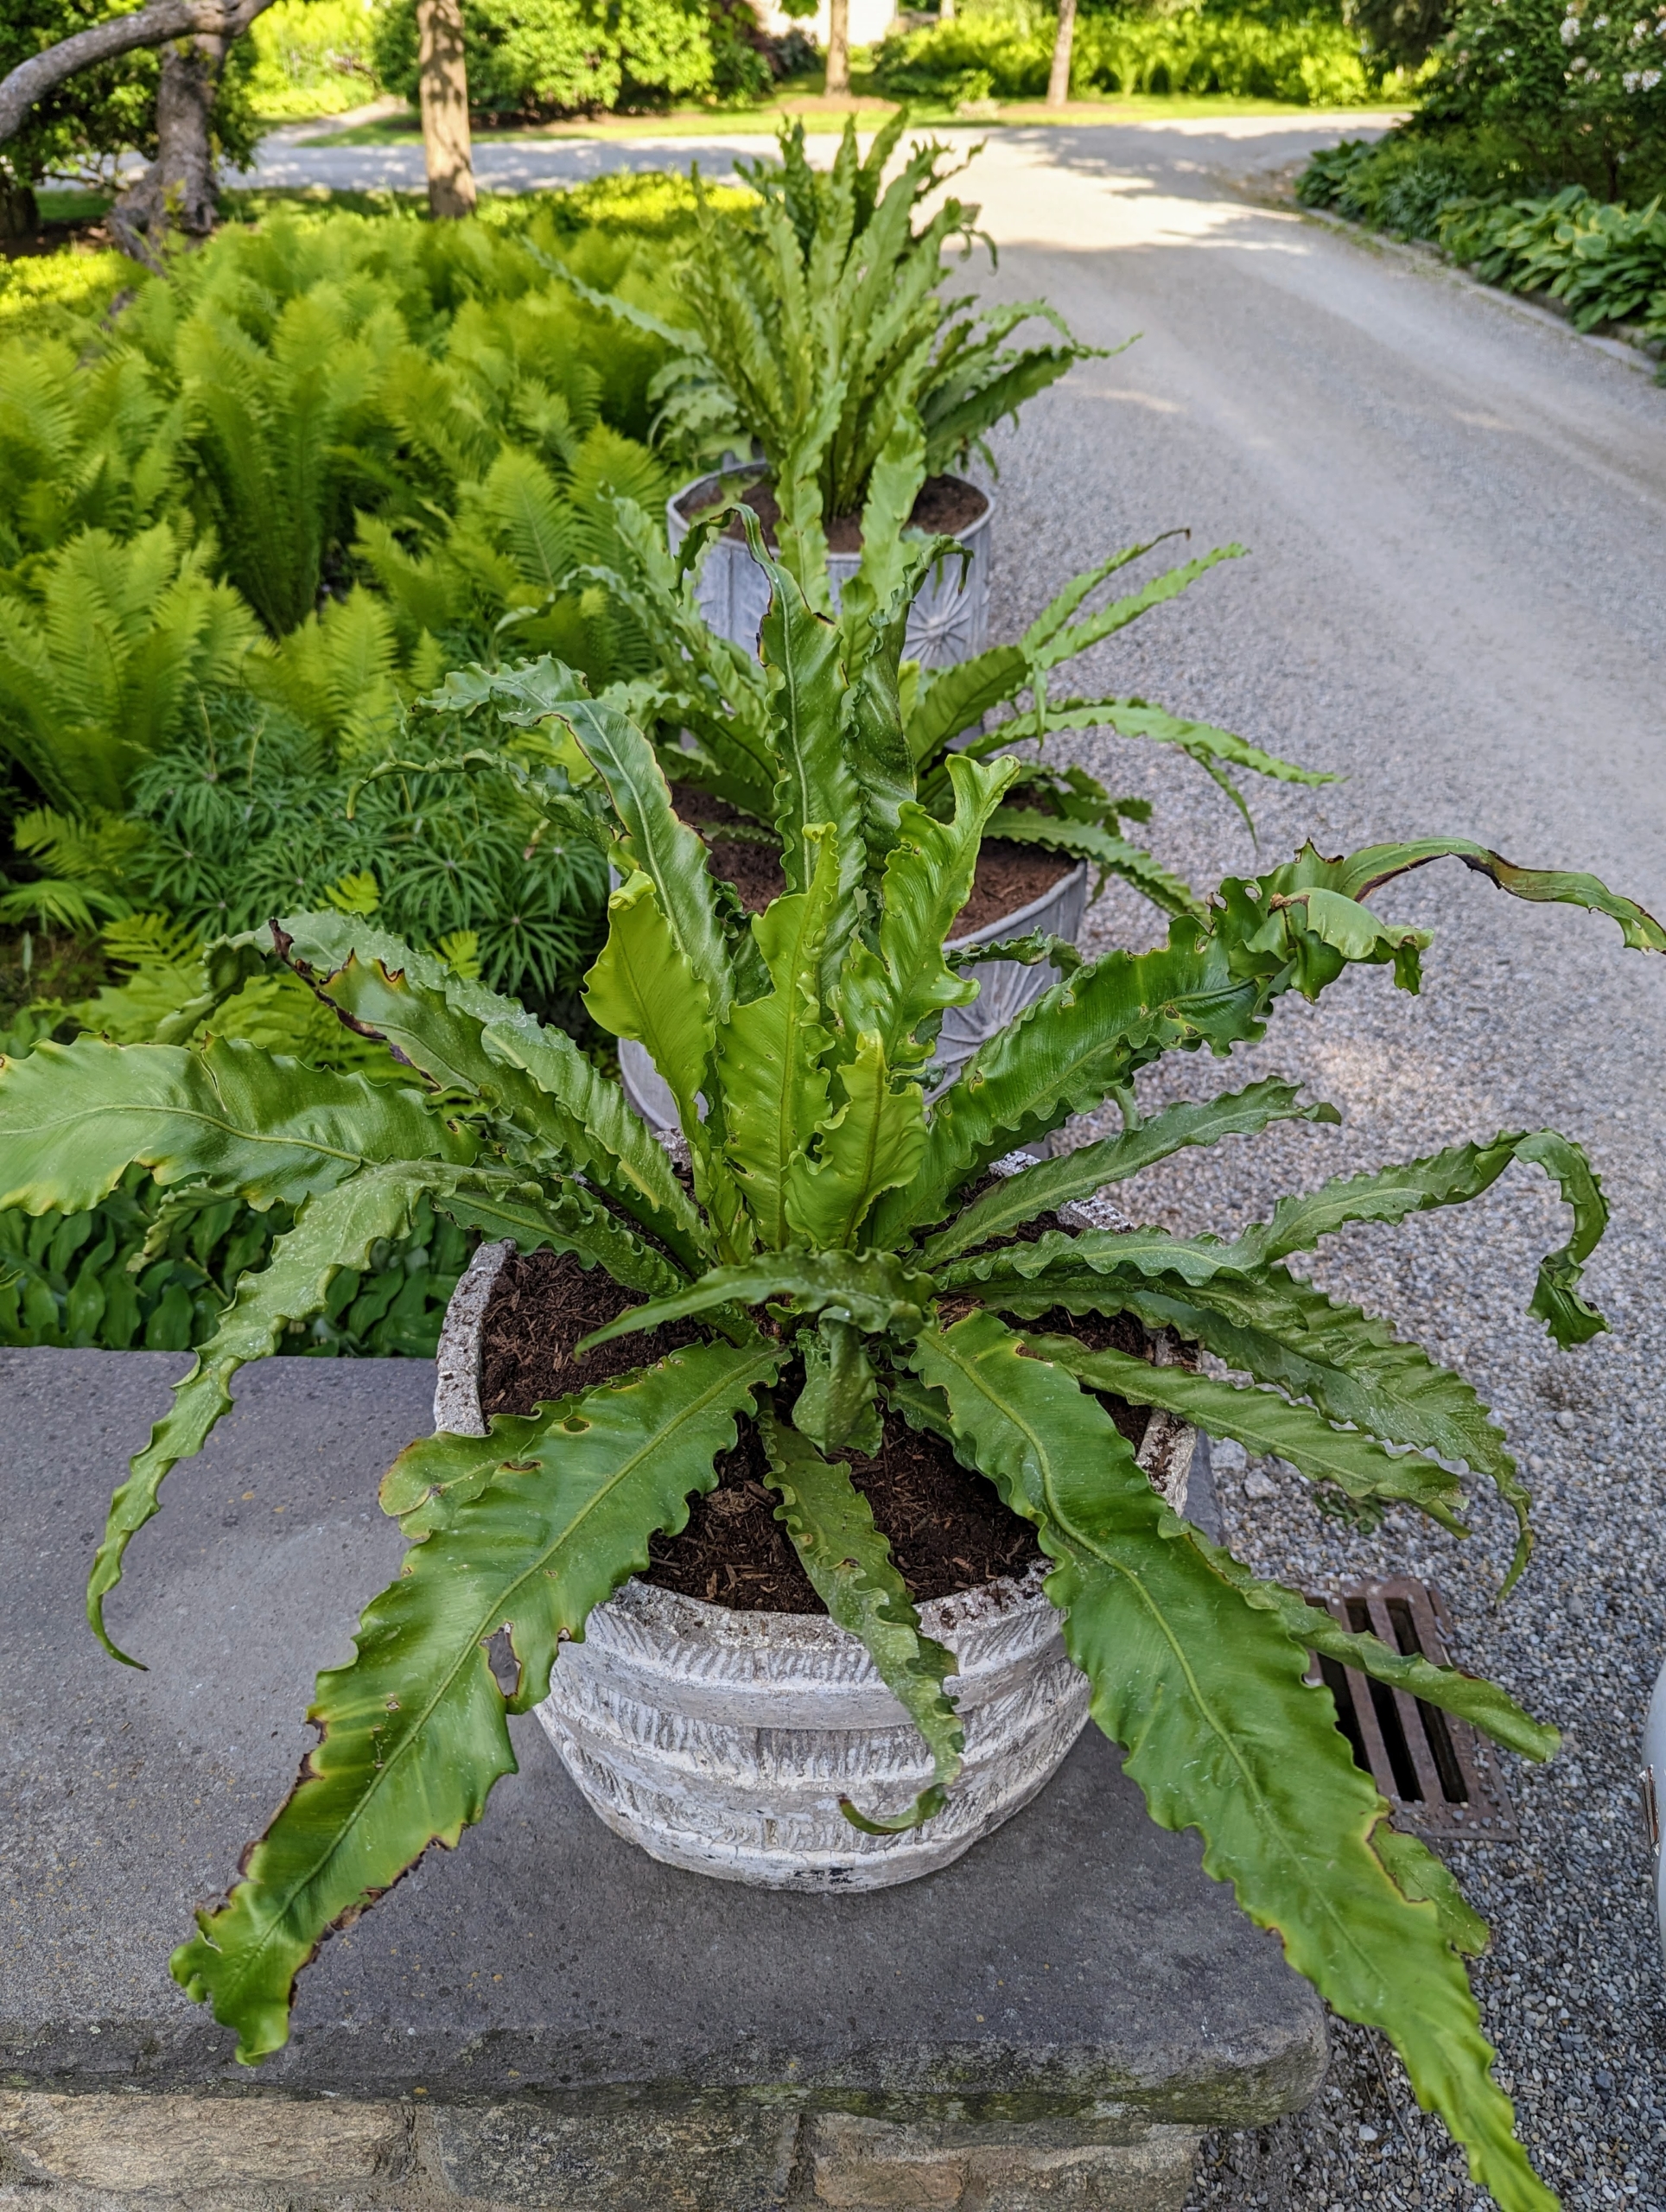
Here is a top view of the four potted bird’s nest ferns – these will receive medium to bright indirect light. These plants do not do too well in direct light as it will burn its fronds.
These ferns sit under the light shade of my catalpa trees, or cigar trees, Catalpa speciosa, named because of its long cigar-like seed pods. The ferns will do wonderfully here until they are removed from the pots and returned to their designated greenhouses for the next cold season.