Wherever you are this holiday, I hope you are able to enjoy the time with those near and dear. For the next couple of weeks, I'll be sharing a few of my favorite holiday and blog memories from years past. This blog was originally posted on Dec. 21, 2019.
I love this time of year when everyone gathers together to celebrate the holidays.
Recently, I hosted my annual holiday party at my Bedford, New York farm. More than 200-guests wandered in and out of three buildings, each with a different and festive theme. My Winter House was where my friend, Chef Pierre Schaedelin, and his talented team from PS Tailored Events, prepared and served a variety of delicious and savory dishes. Fancy sweets and eggnog were served in my Summer House, and the little Tenant House offered an array of beautiful and whimsical holiday cookies. Friends, family, and neighbors also enjoyed music from a jazz guitarist and photos with Santa! It was a cold late autumn day, but everyone had a most wonderful time!
Enjoy these photos.
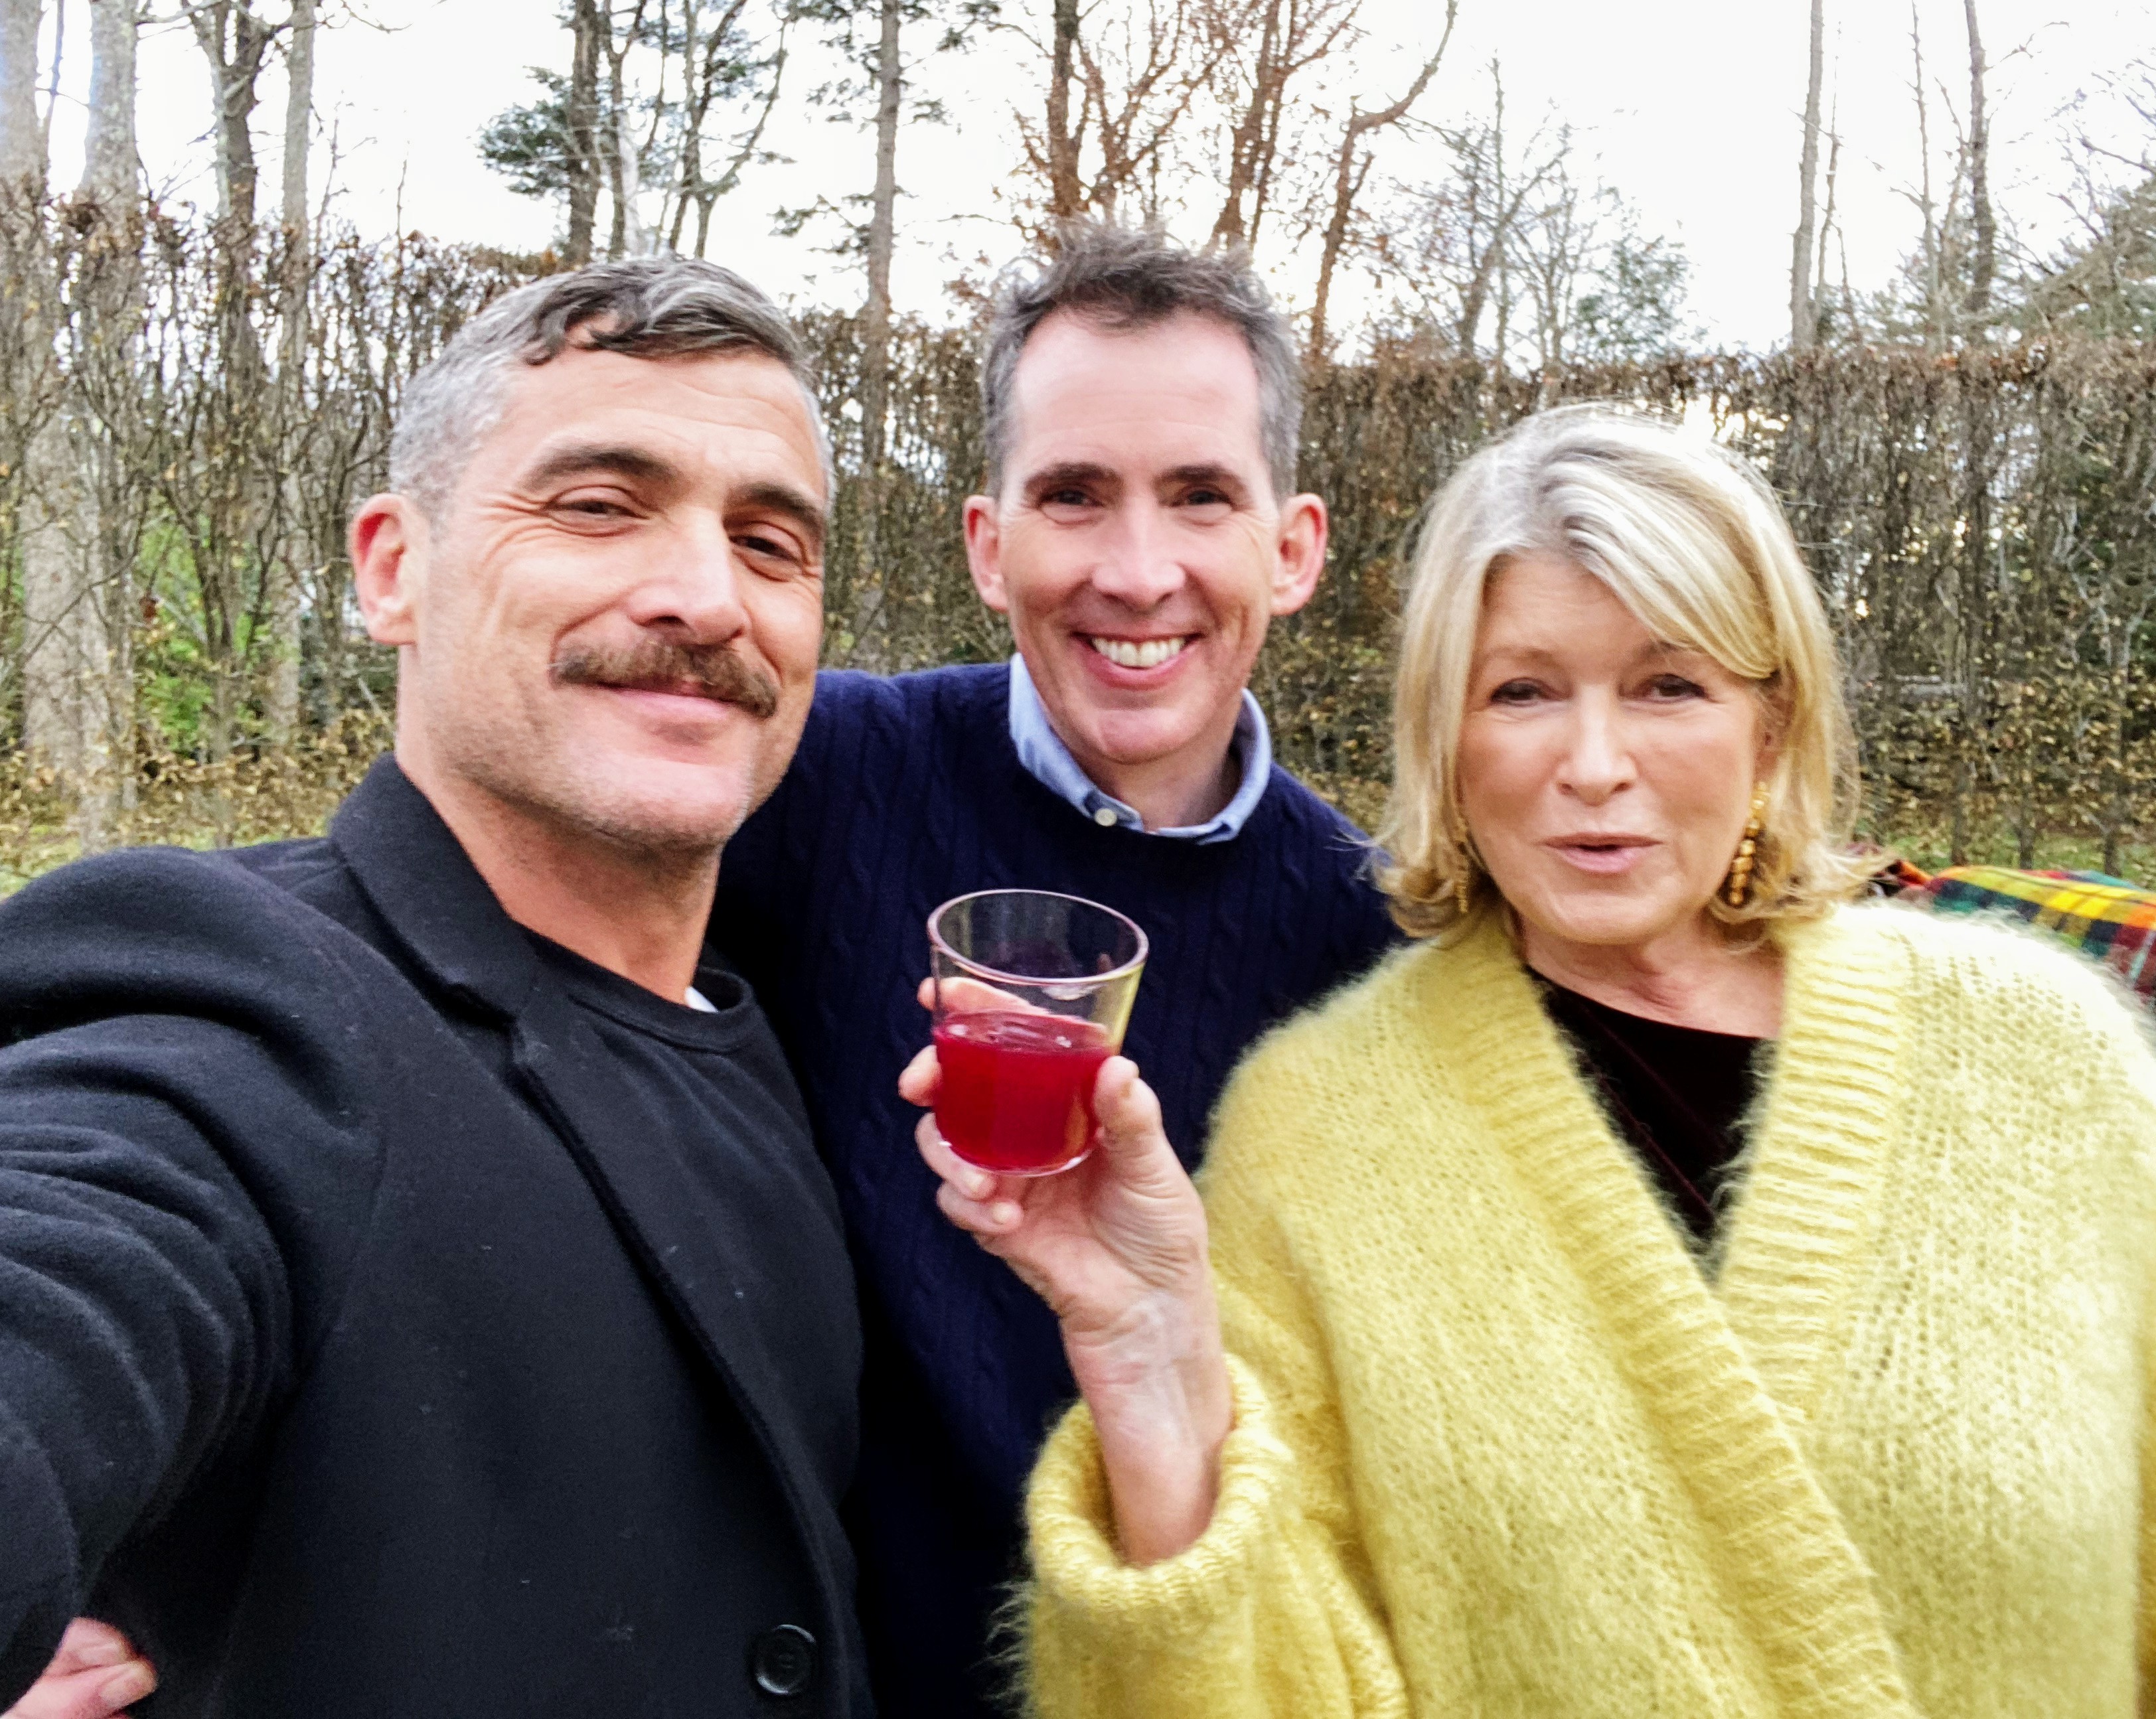
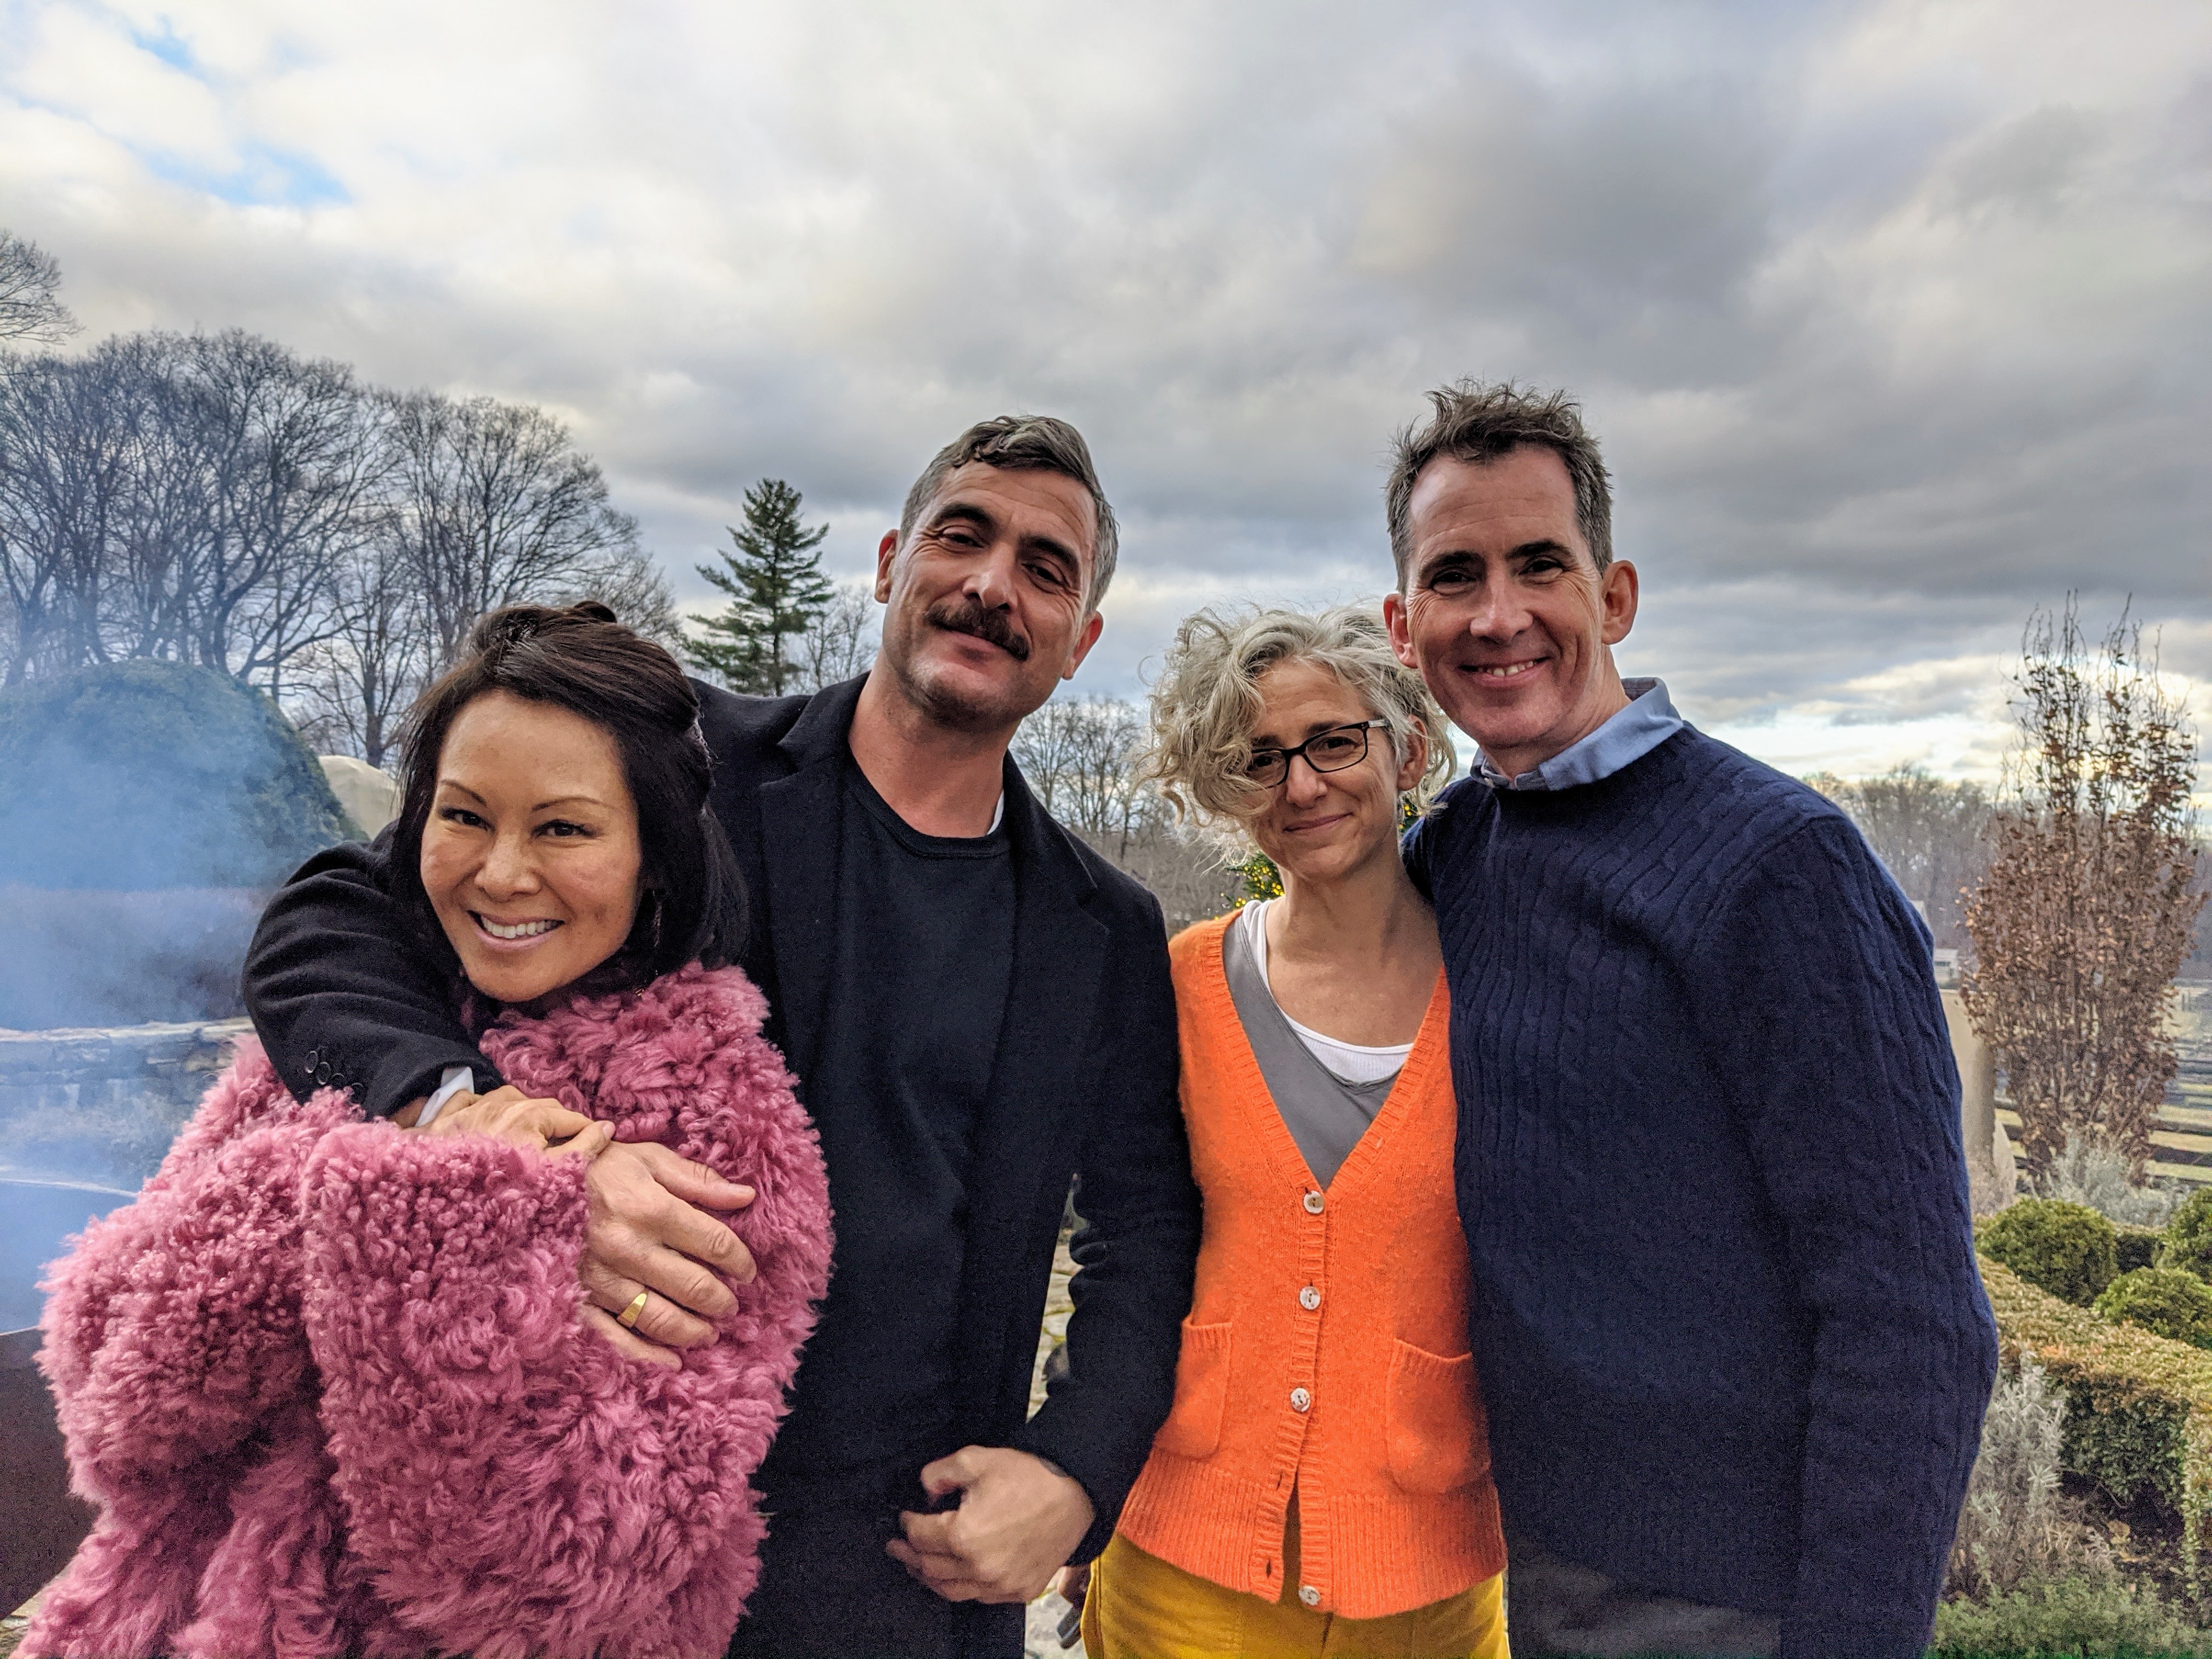
Here I am with Douglas Friedman and Kevin Sharkey on this day of merriment and good cheer. See more fun selfies of the three of us by @DouglasFriedman on my Instagram page @MarthaStewart48. And you can always find fun photos on Kevin’s Instagram page @seenbysharkey.
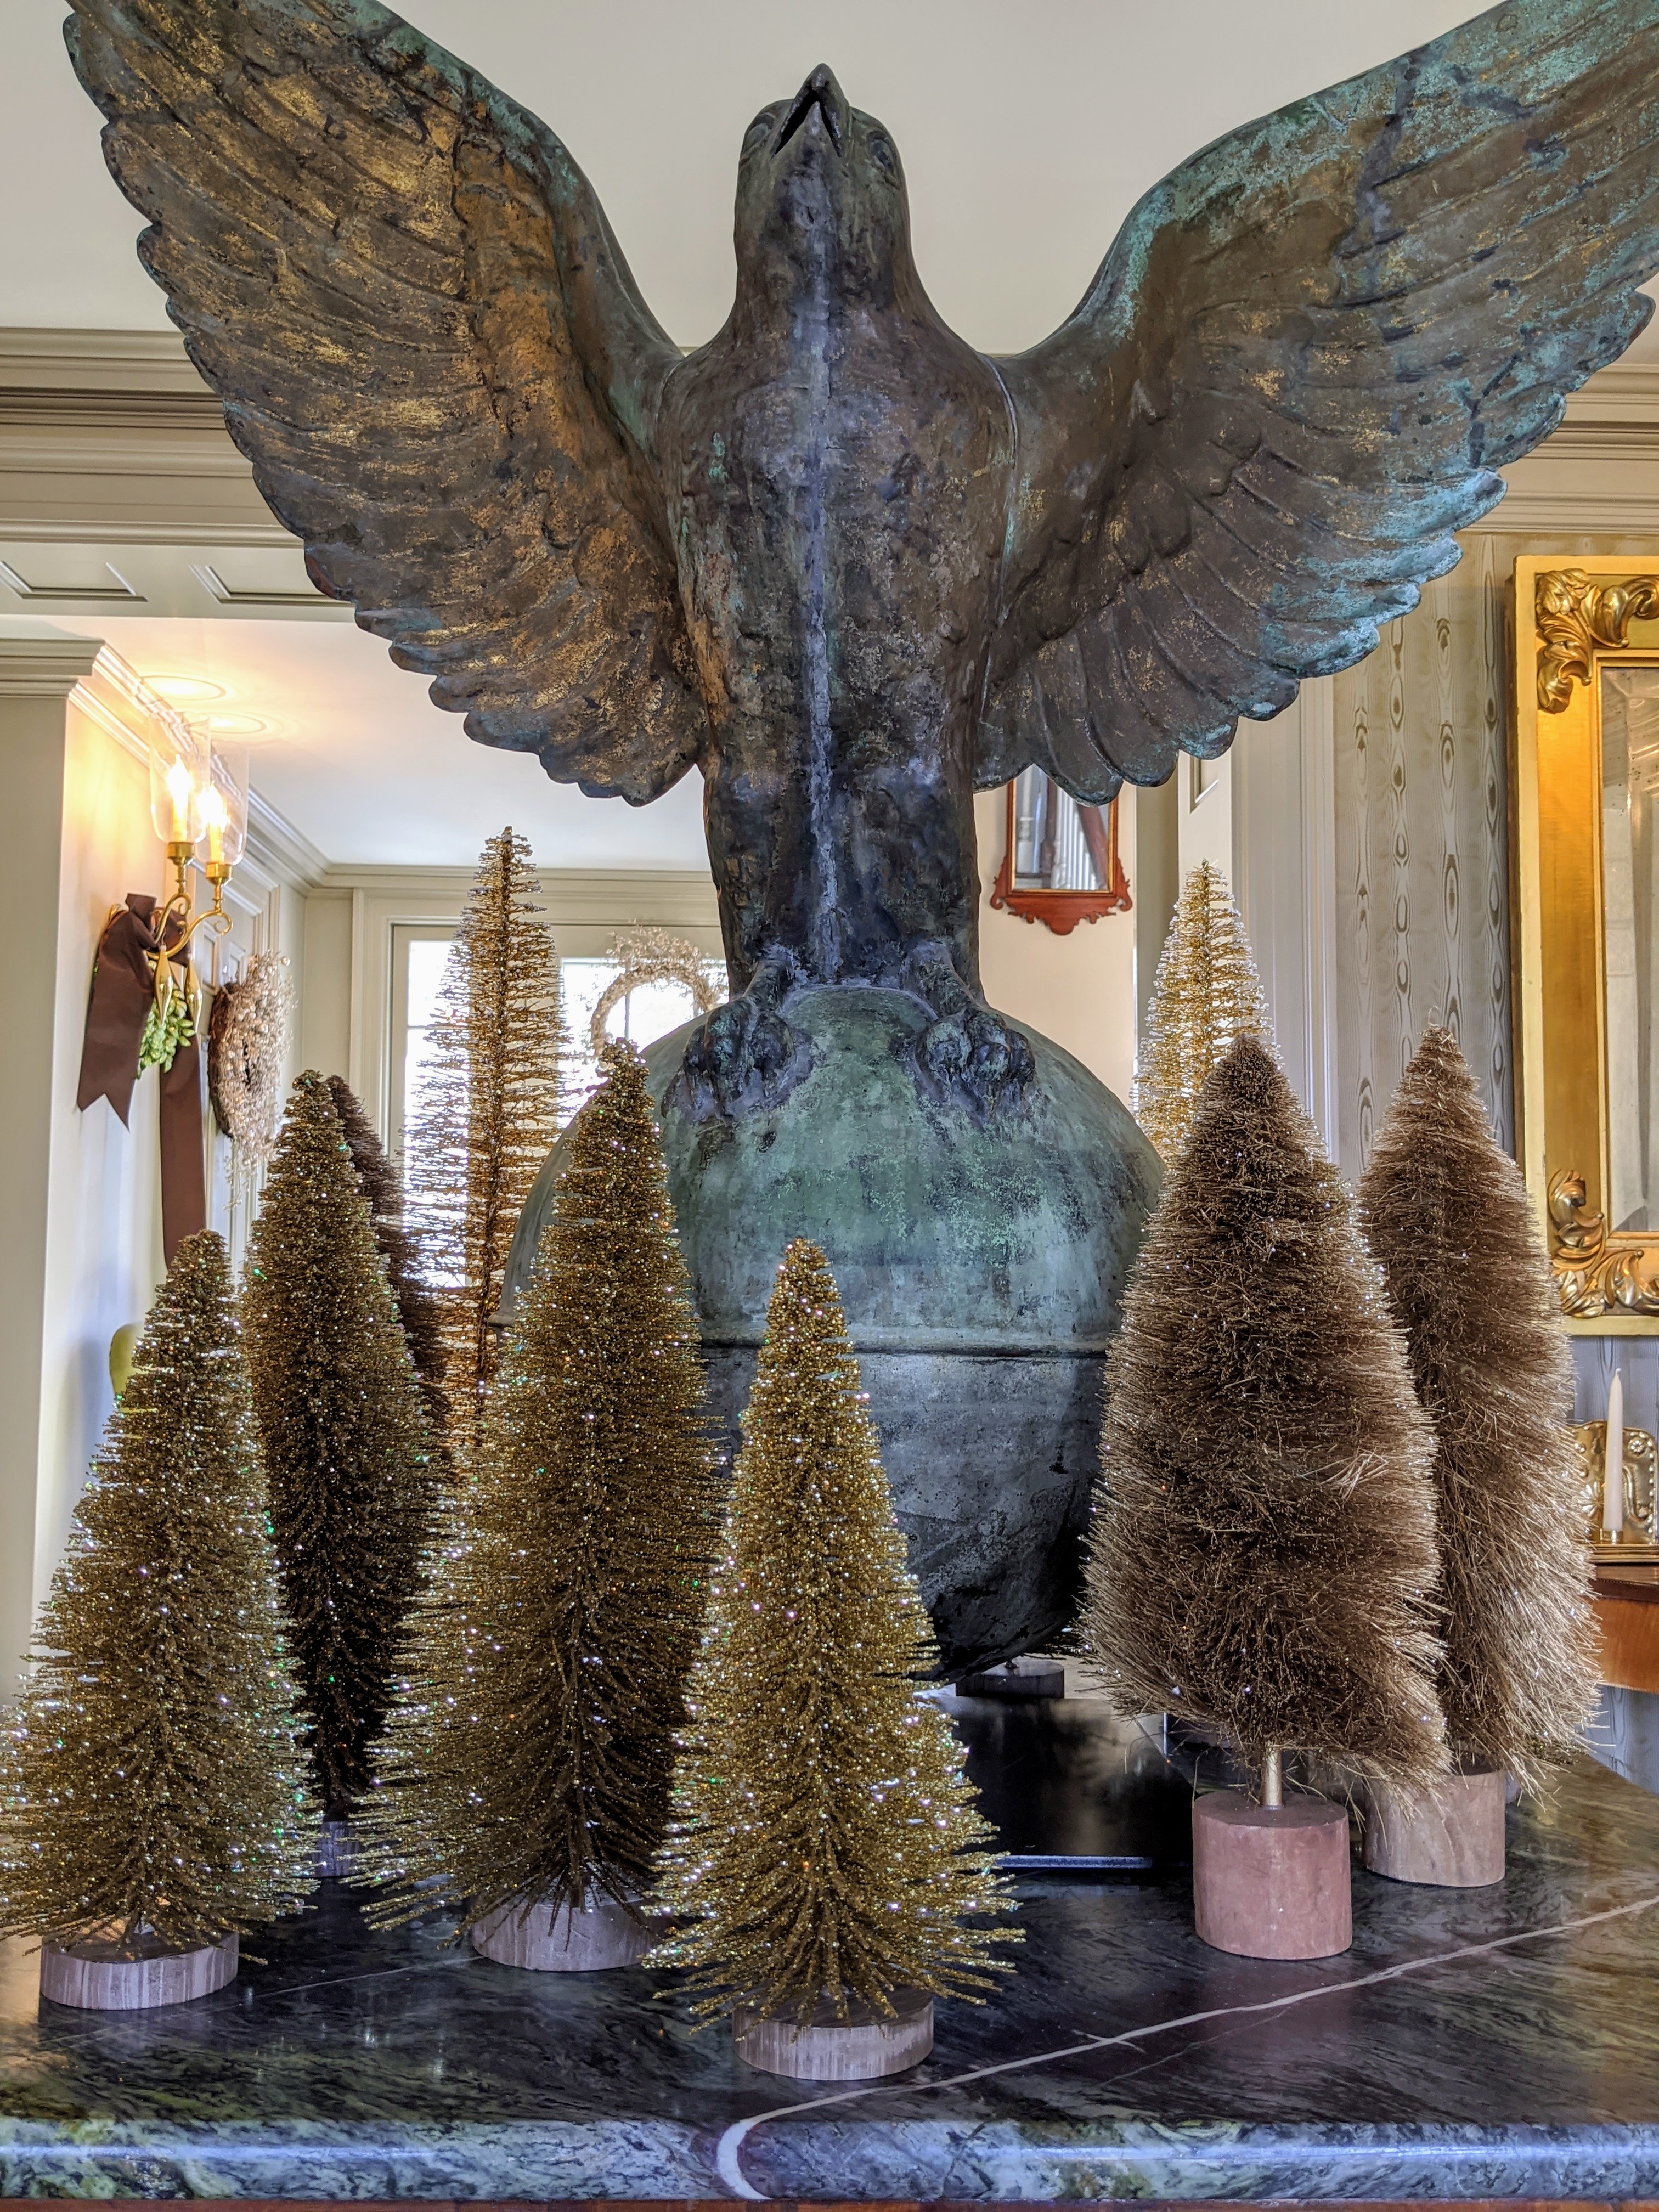
My home was filled with all kinds of trees. Here is a collection of bottle brush trees on the green marble table in my foyer – a woodland scene under my great falcon weathervane.
I love how the sun came through the window in this photo taken by @seenbysharkey.
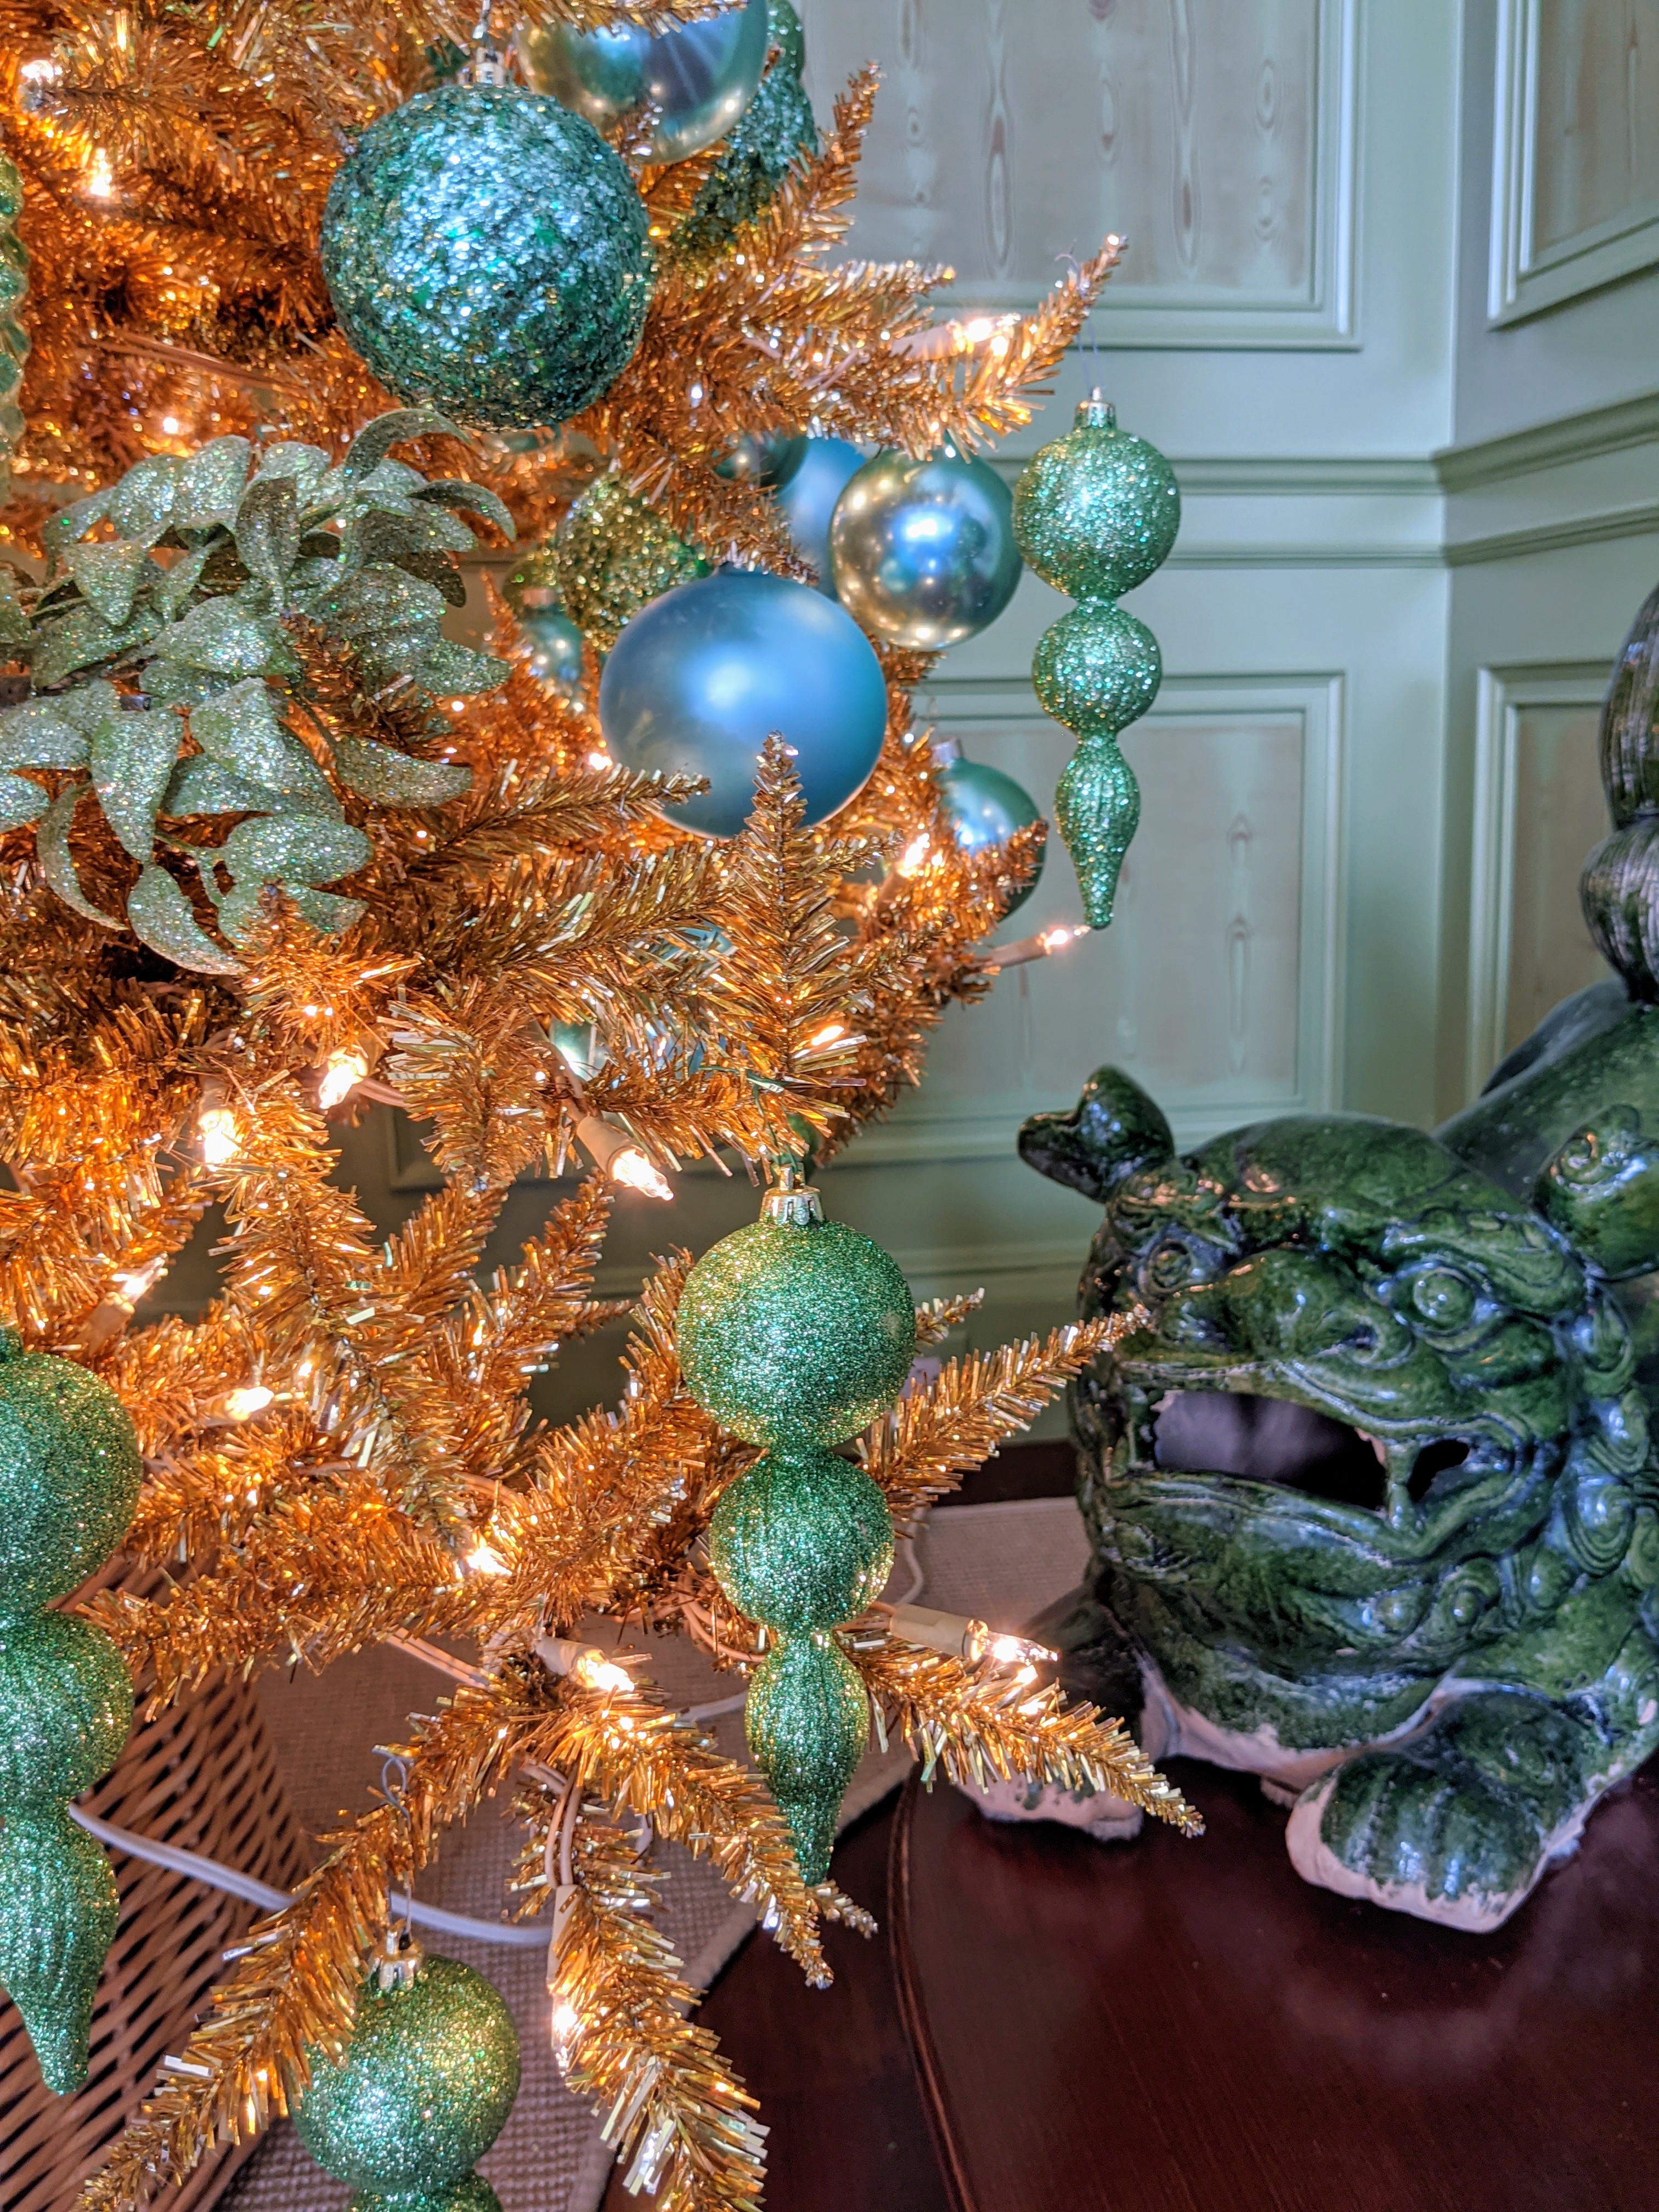
My Green Room was decorated with gold and shades of green. On the right is one of two Chinese foo dogs given to me by Kevin. They’re perfect for this parlor.
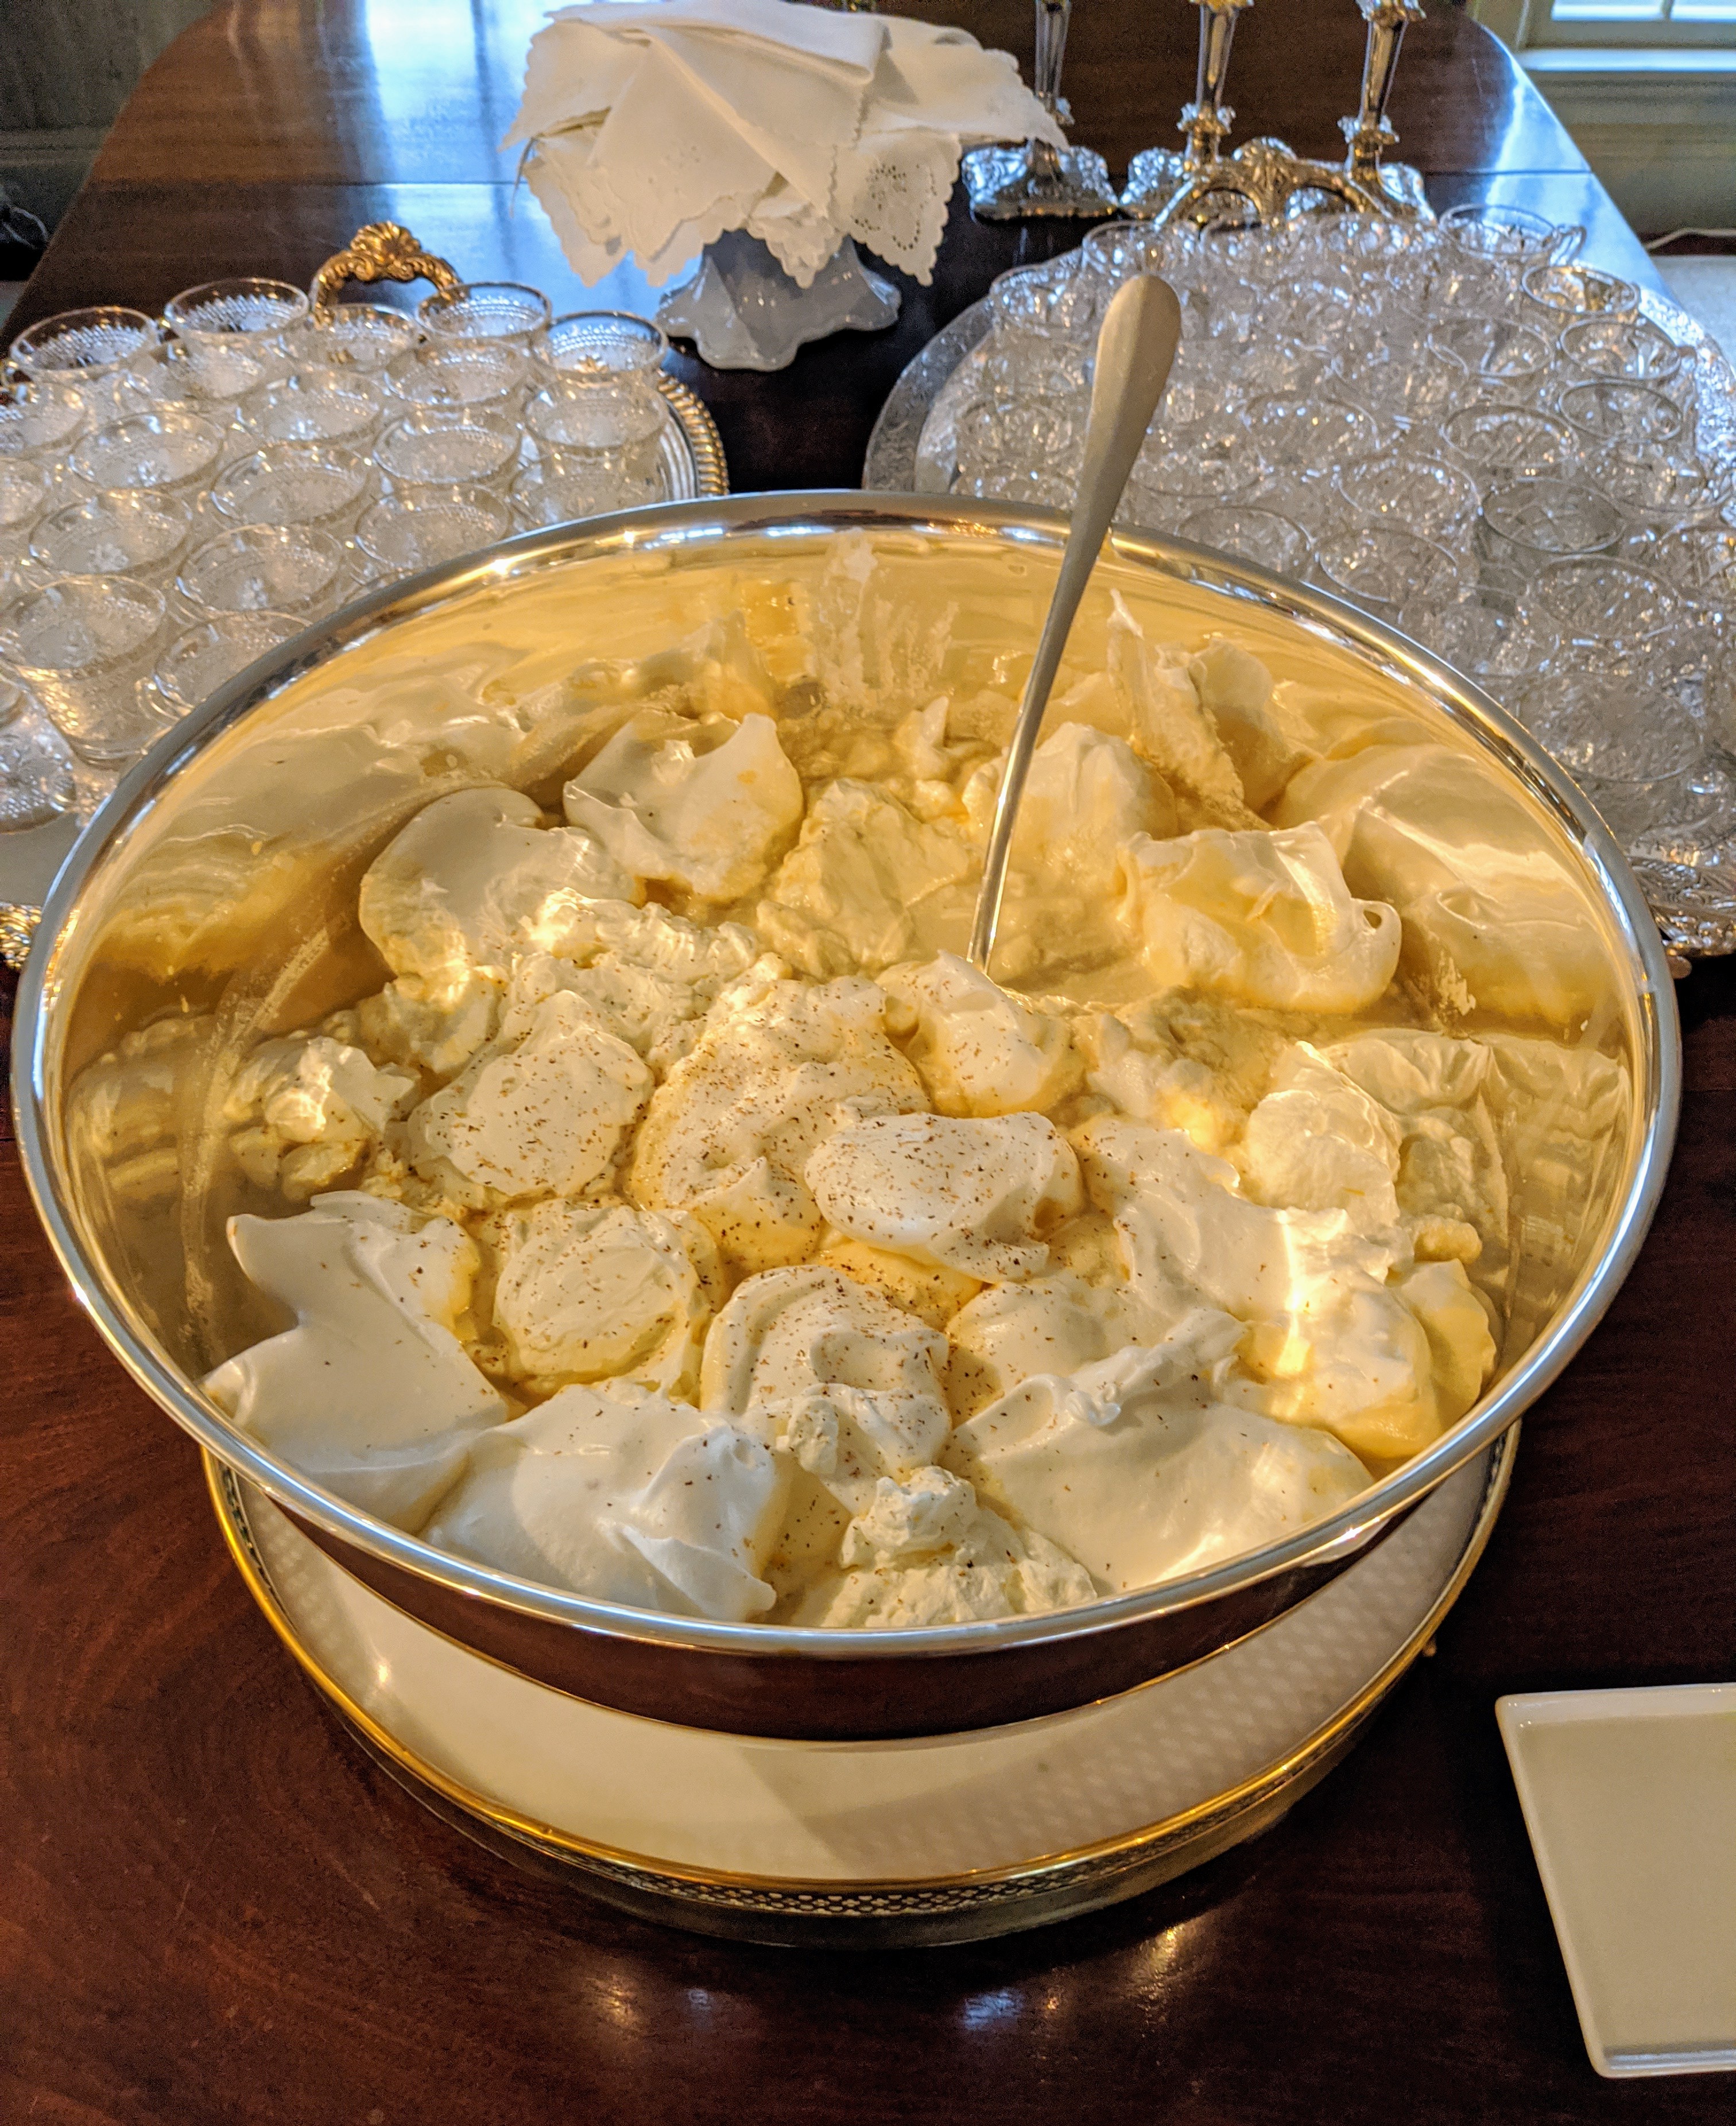
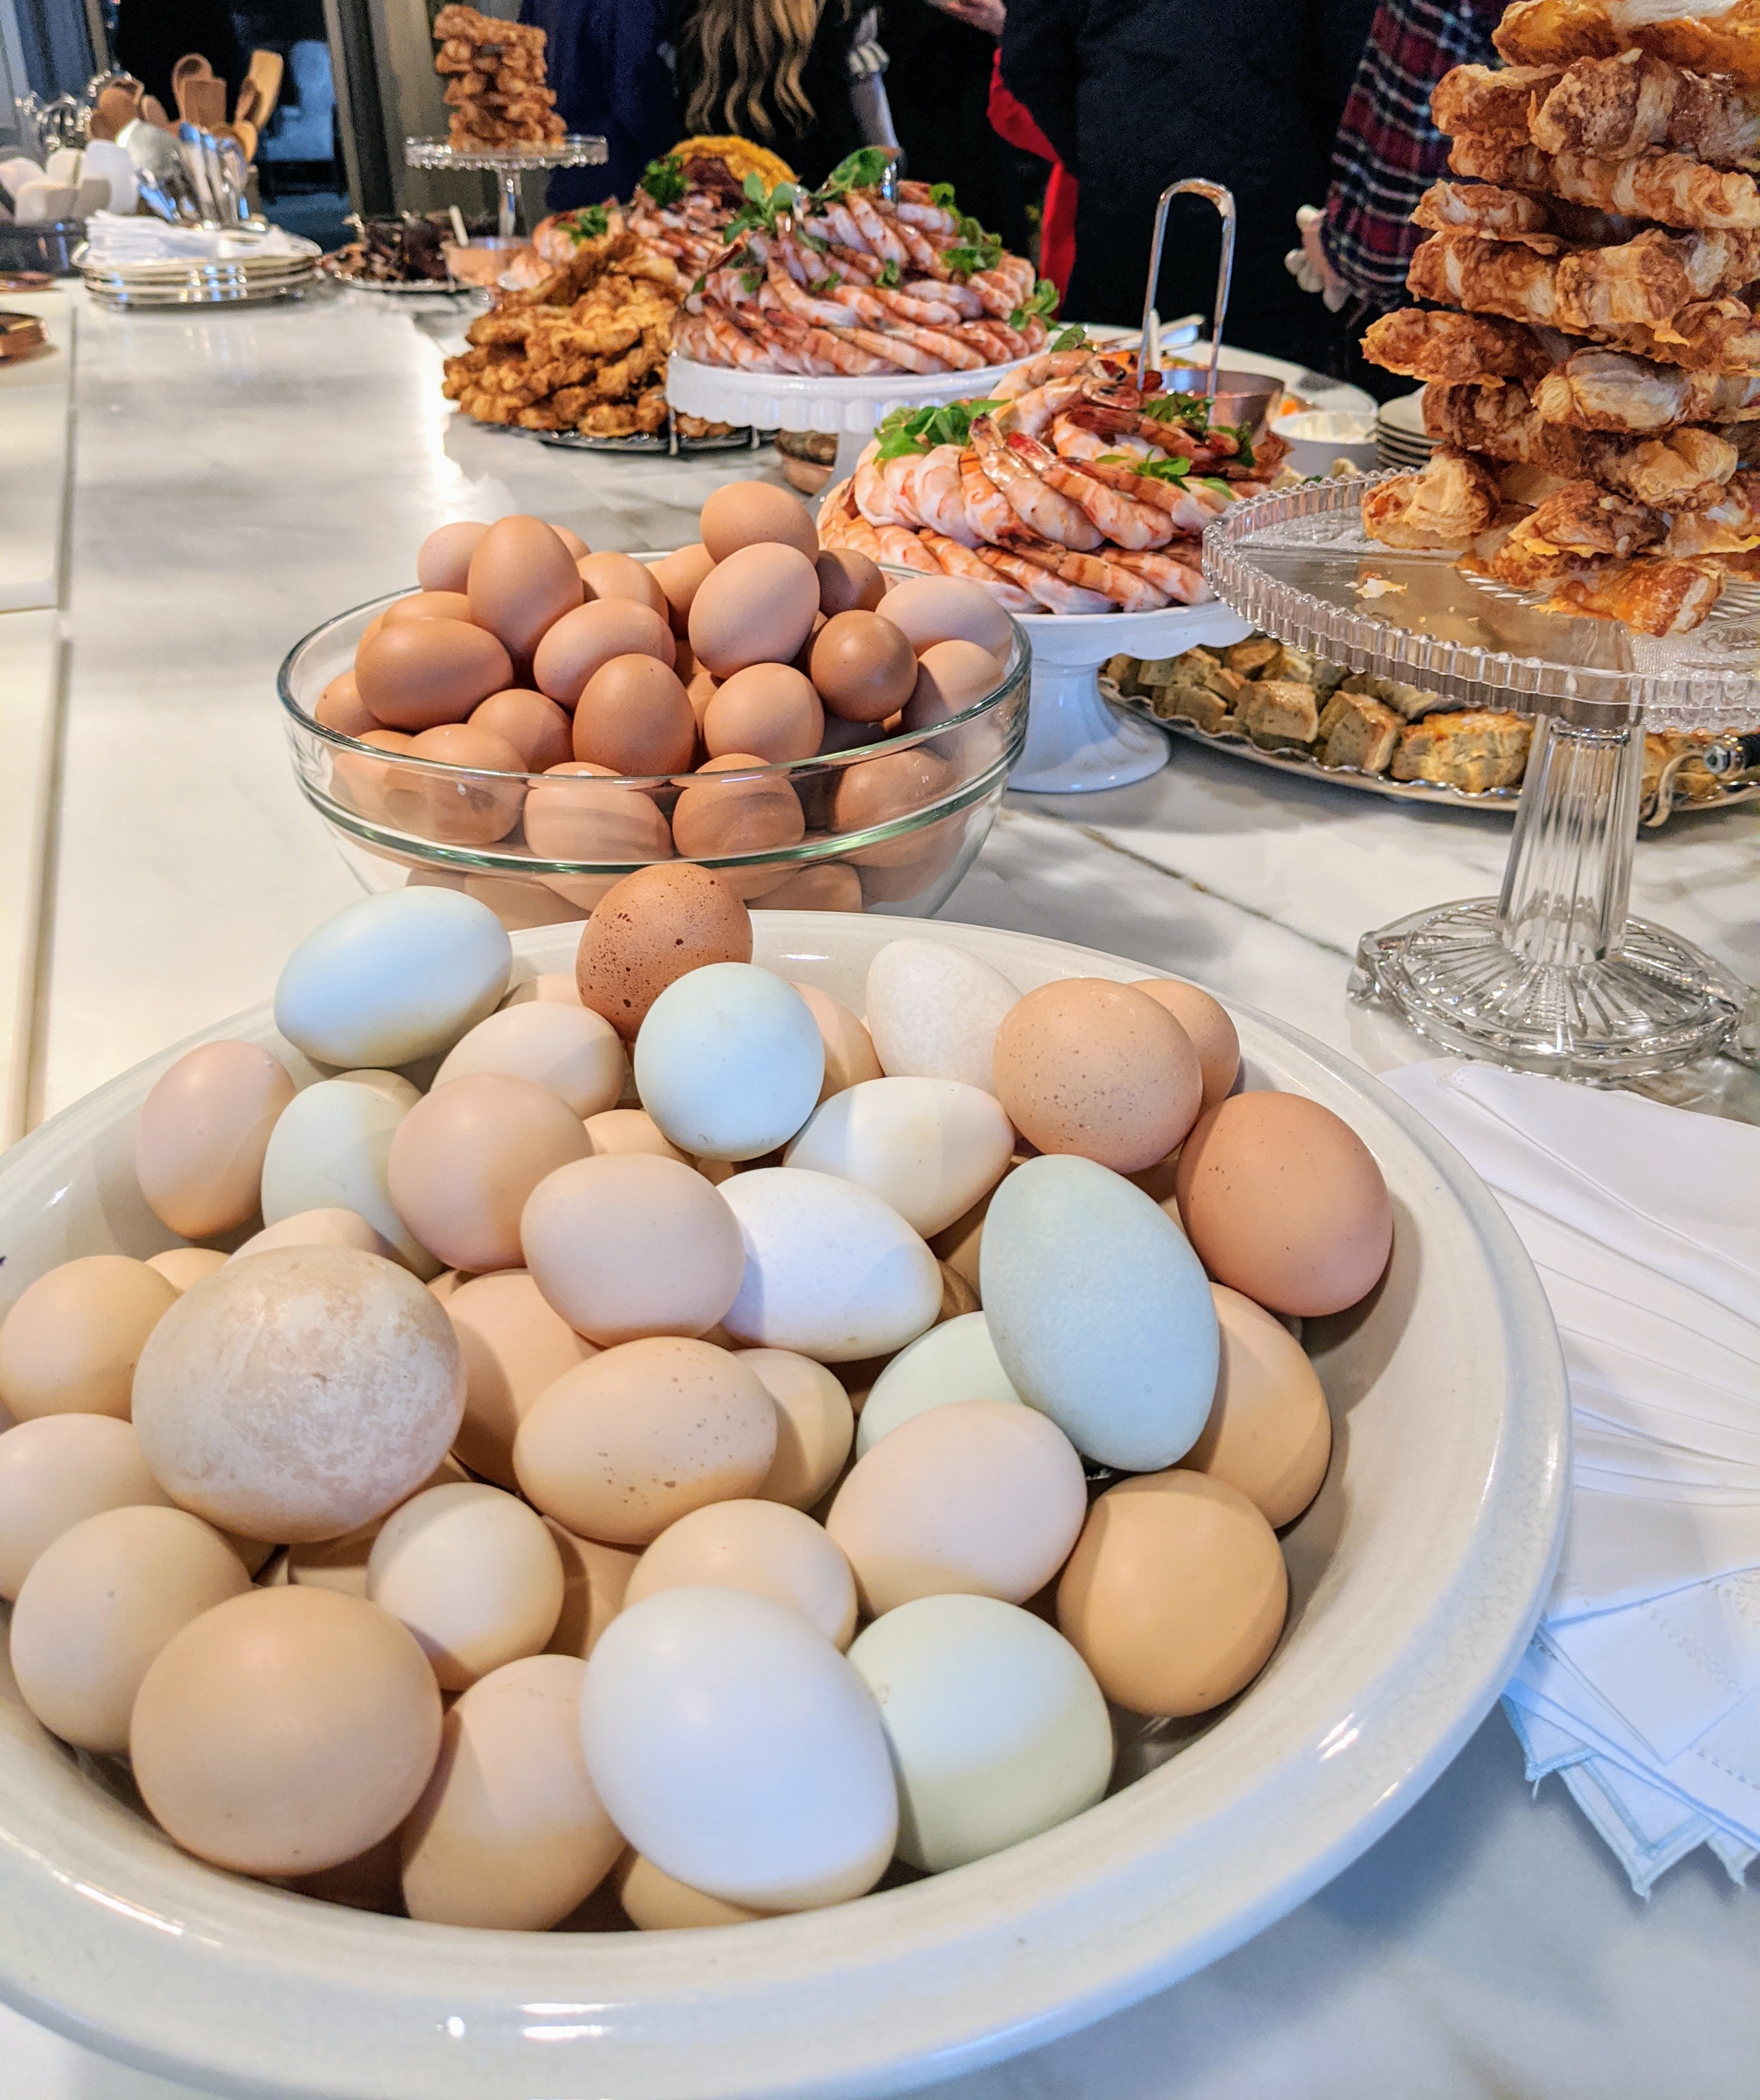
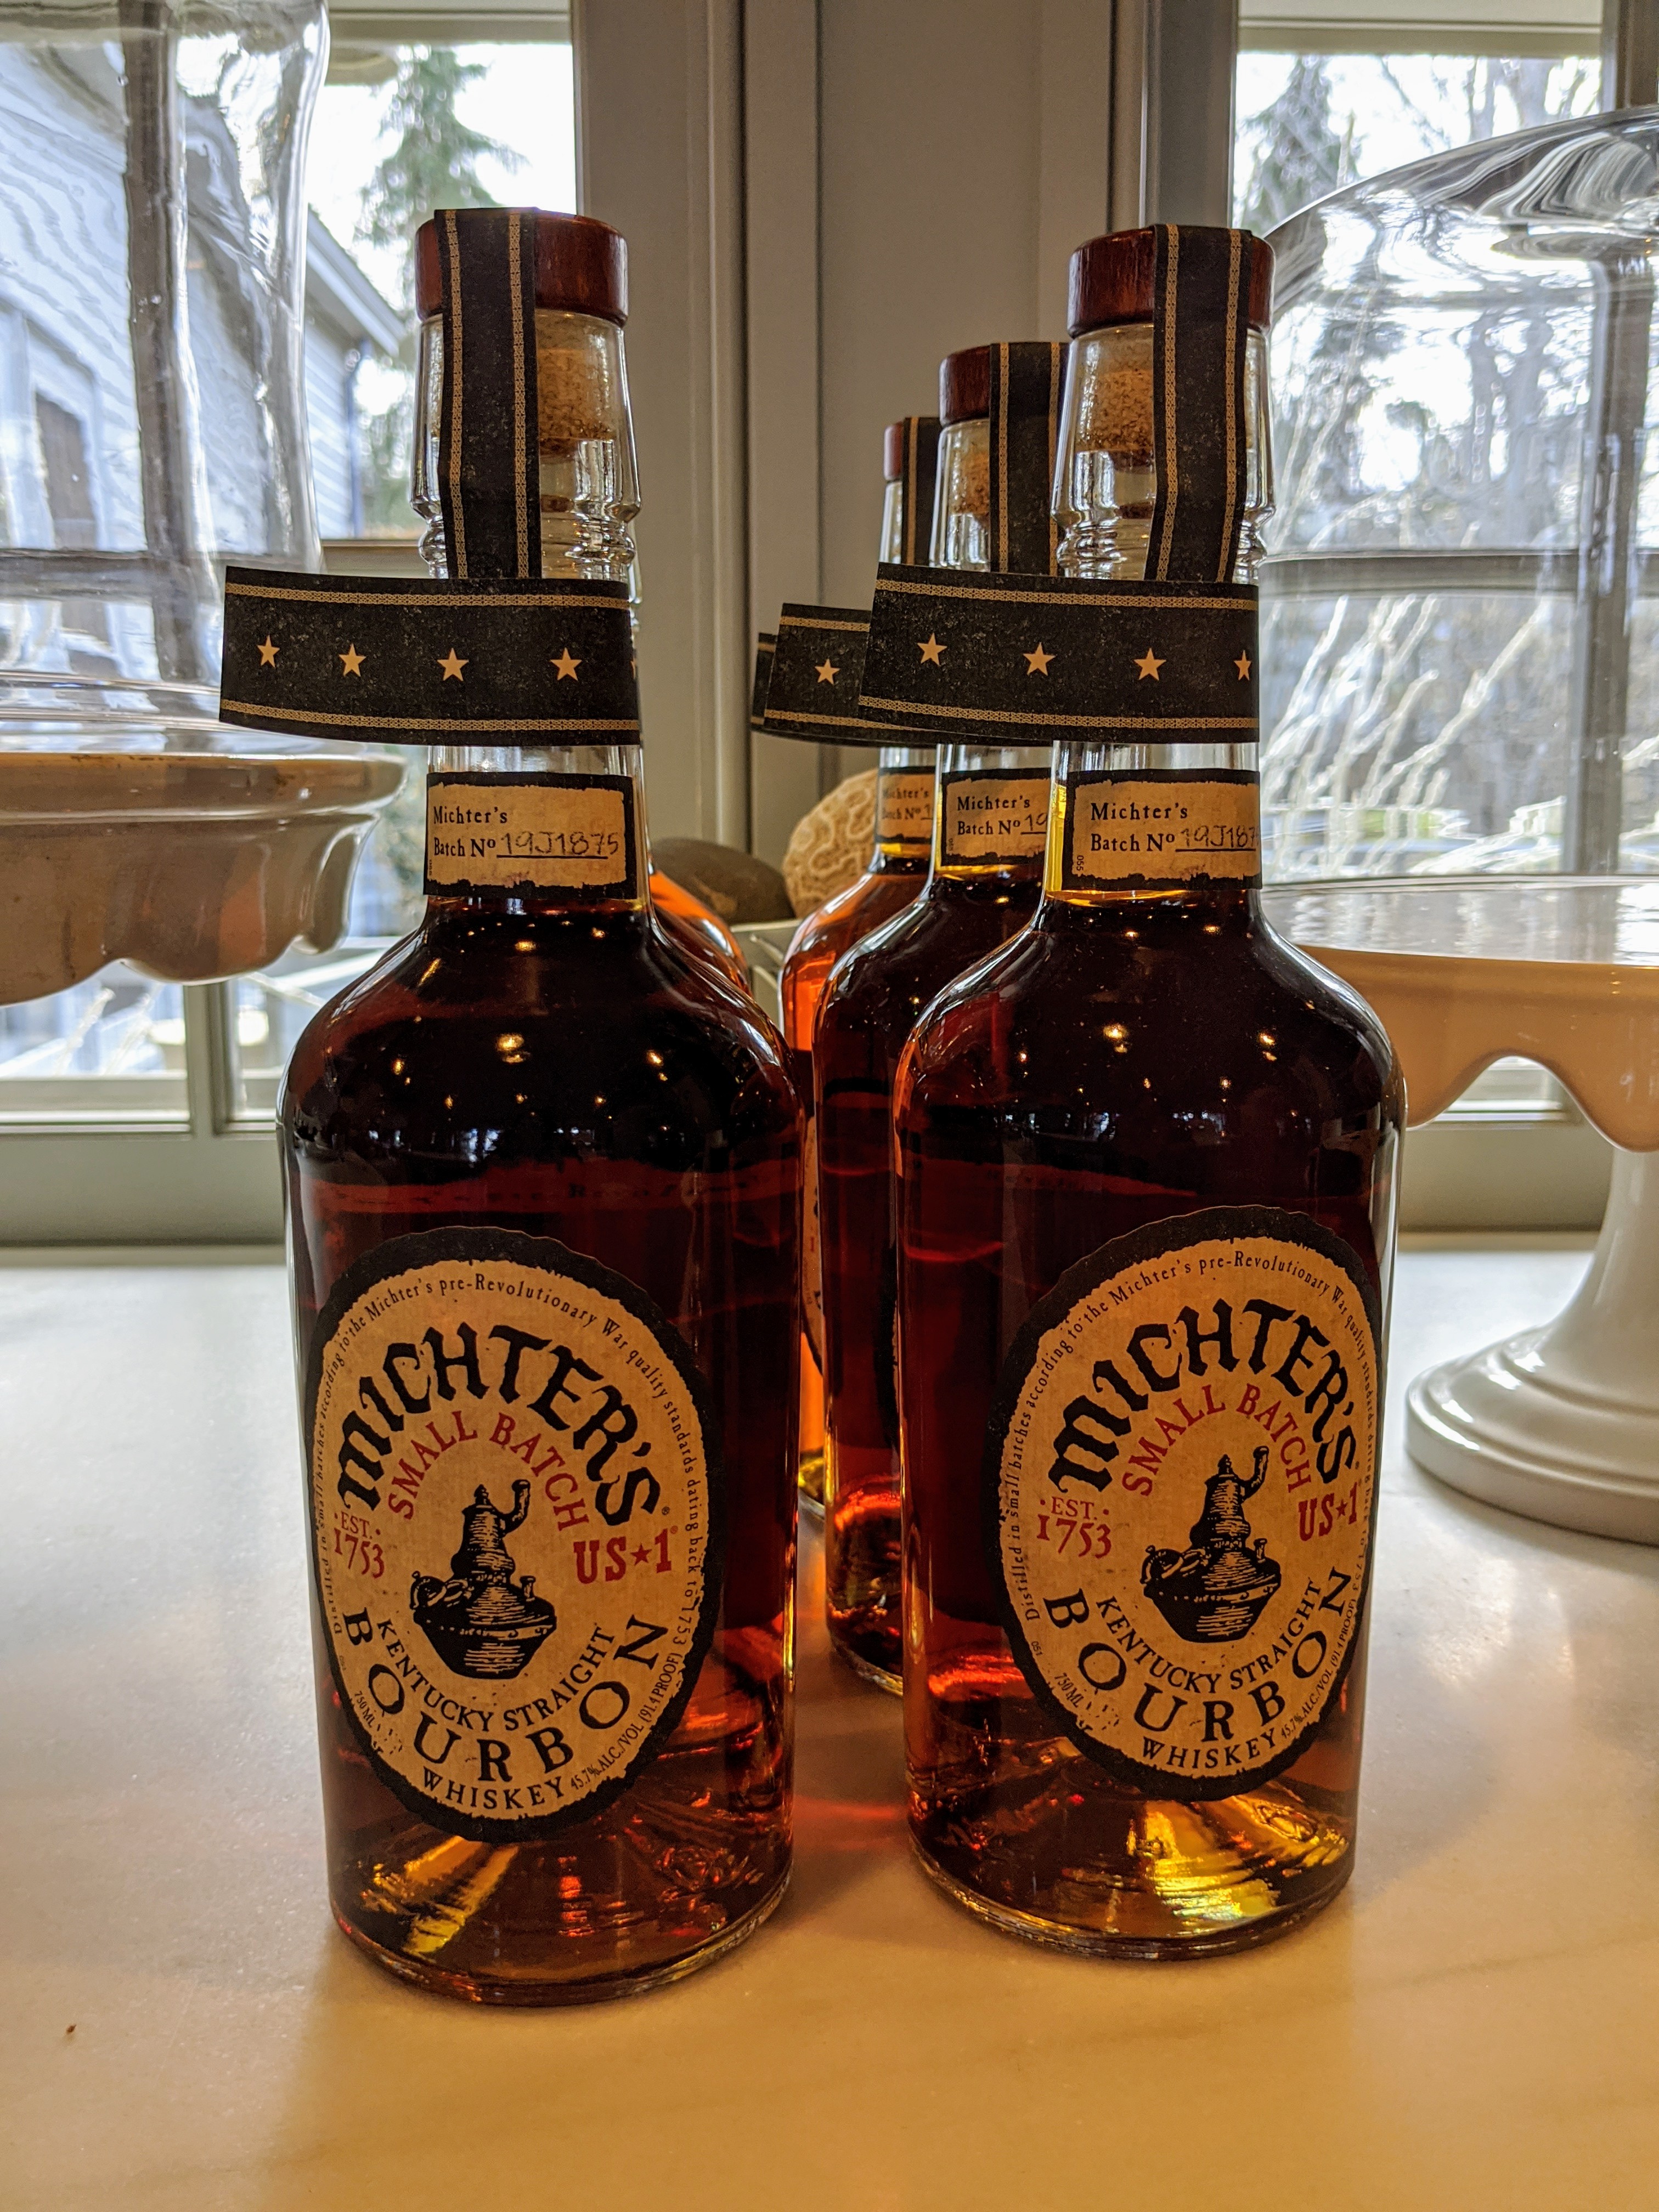
I published this recipe for my special eggnog in my first book, “Entertaining” in 1982. It’s made with plenty of bourbon, cognac, dark rum, heavy cream – and this year, 96 eggs for 200 people.
All the eggs used for my eggnog came right from my hens here at the farm. A single eggnog recipe, by the way, calls for a dozen eggs, which can serve about 26-guests. My eggnog is always so popular – it is so rich it needs no accompaniment.
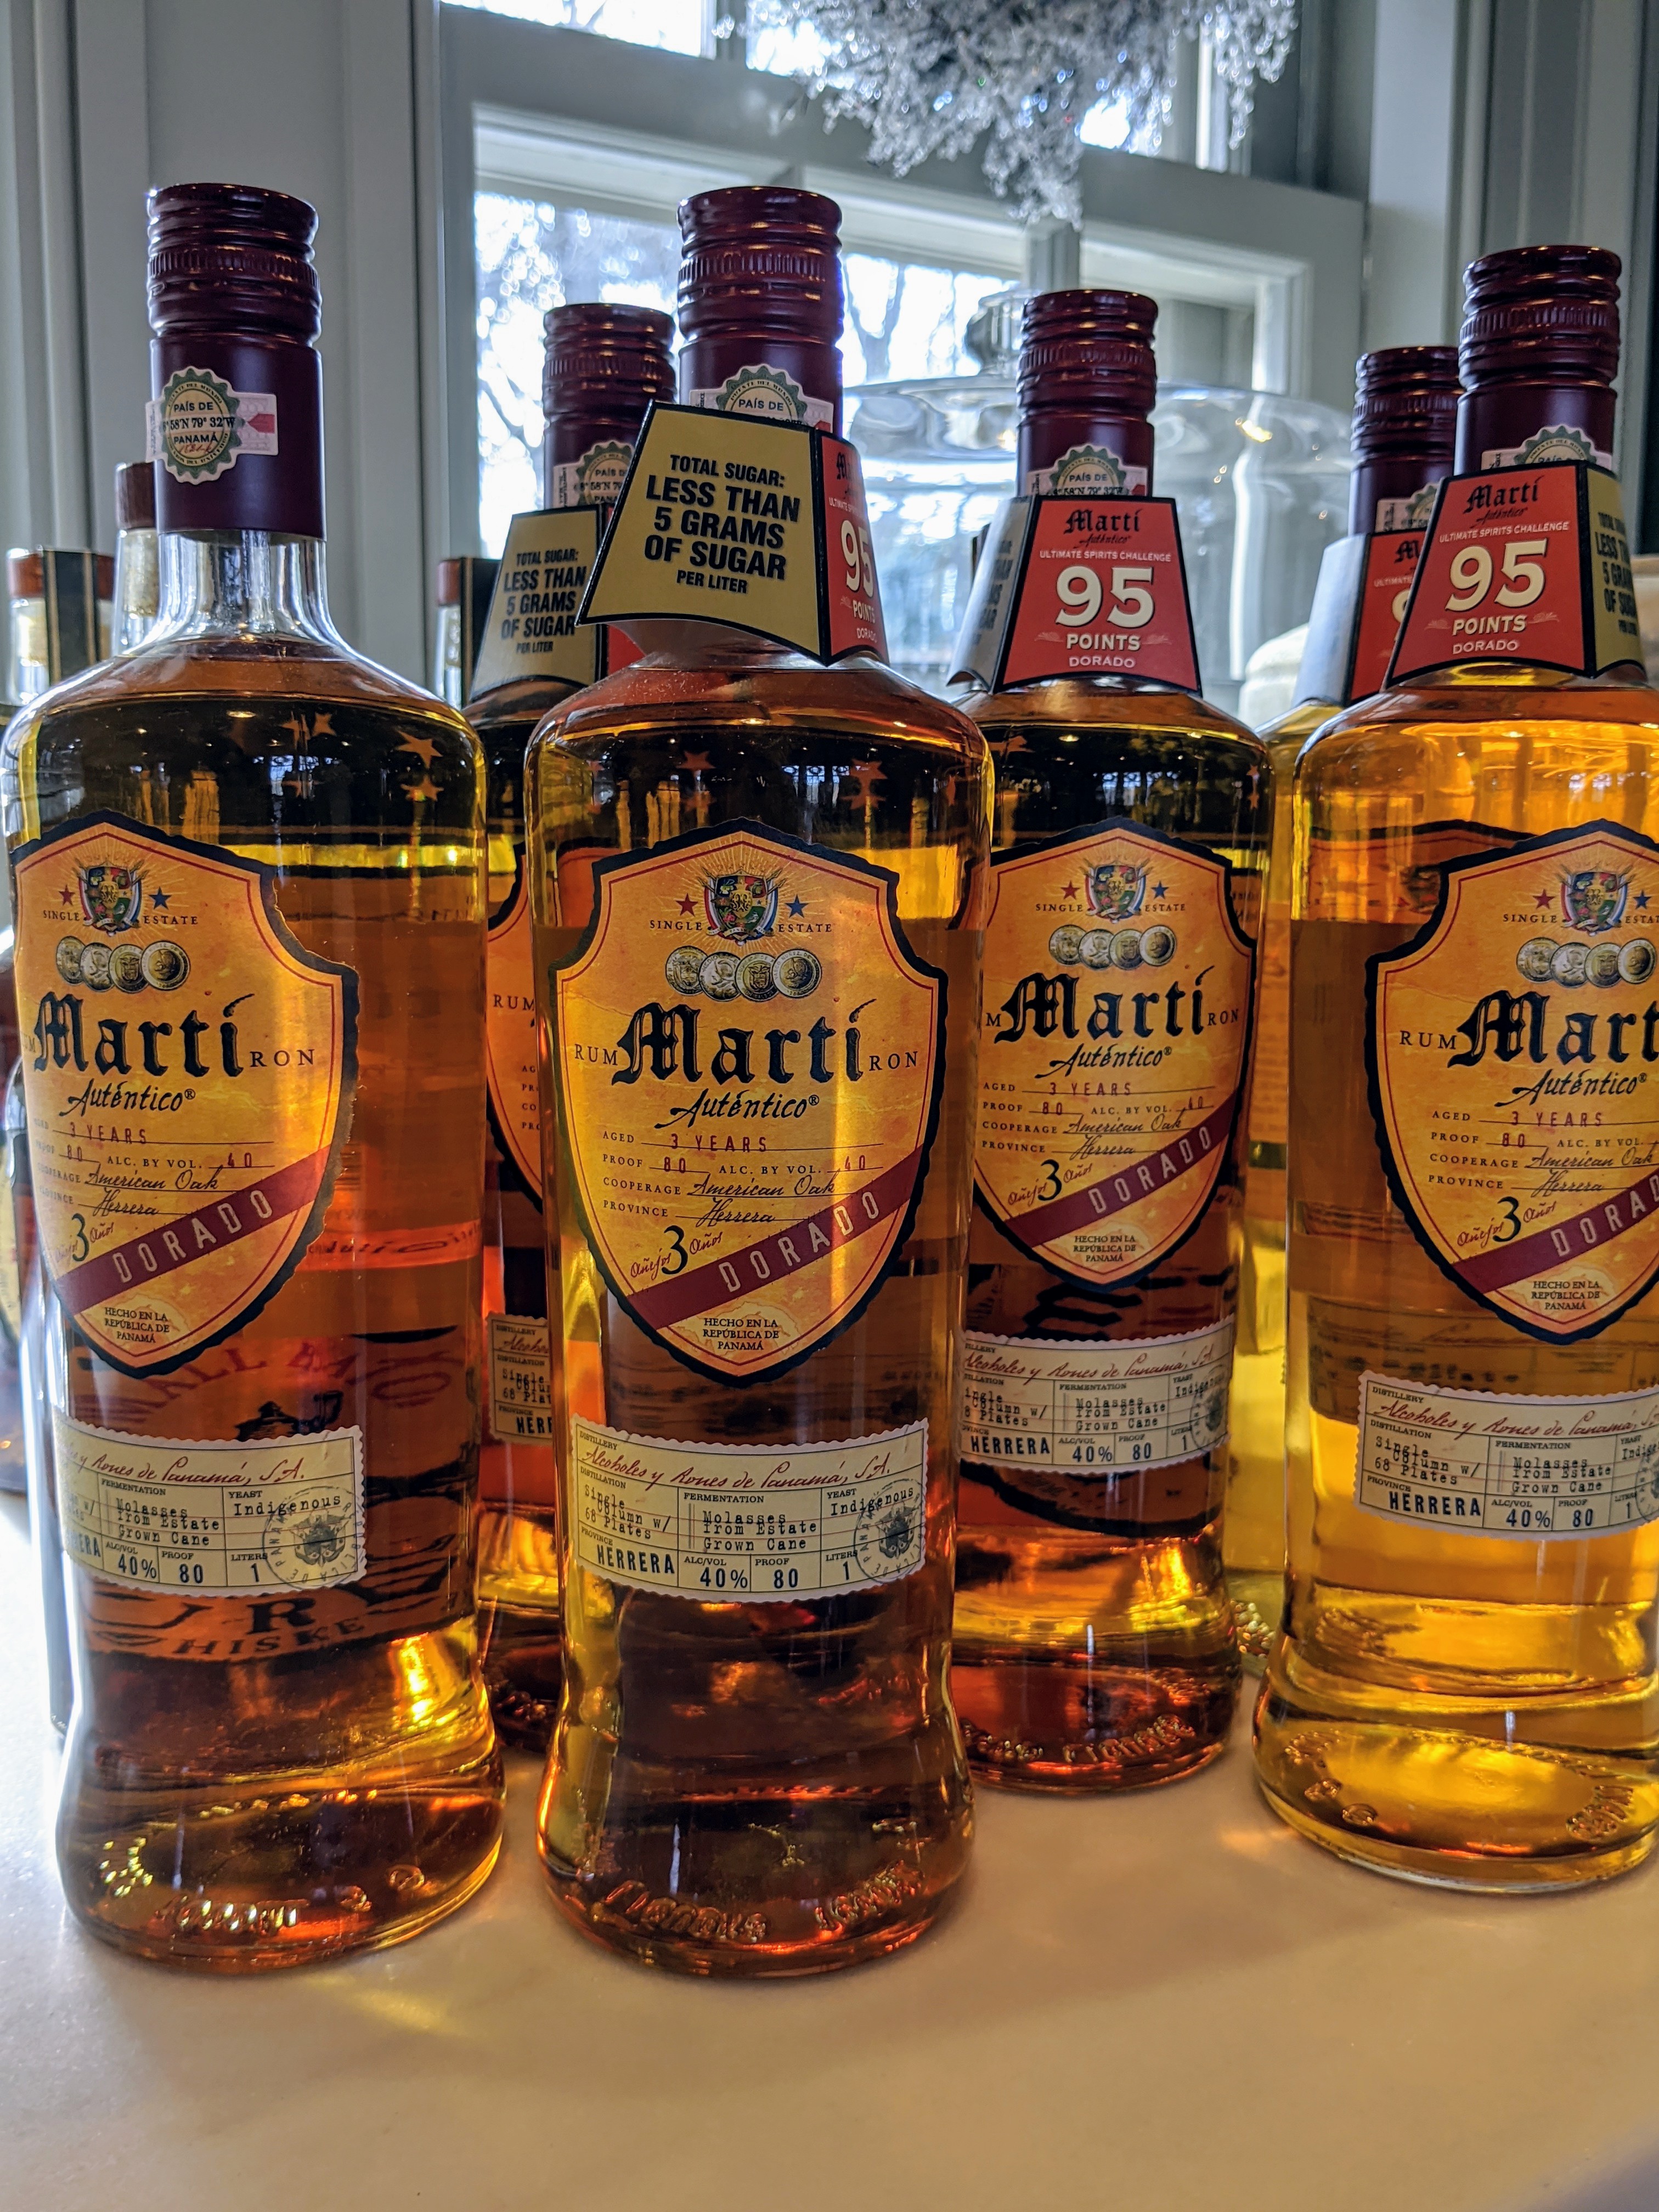
I used Marti Autentico Rum “Dorado” – a delicious quality rum with a lovely rich taste. https://www.martirum.com/
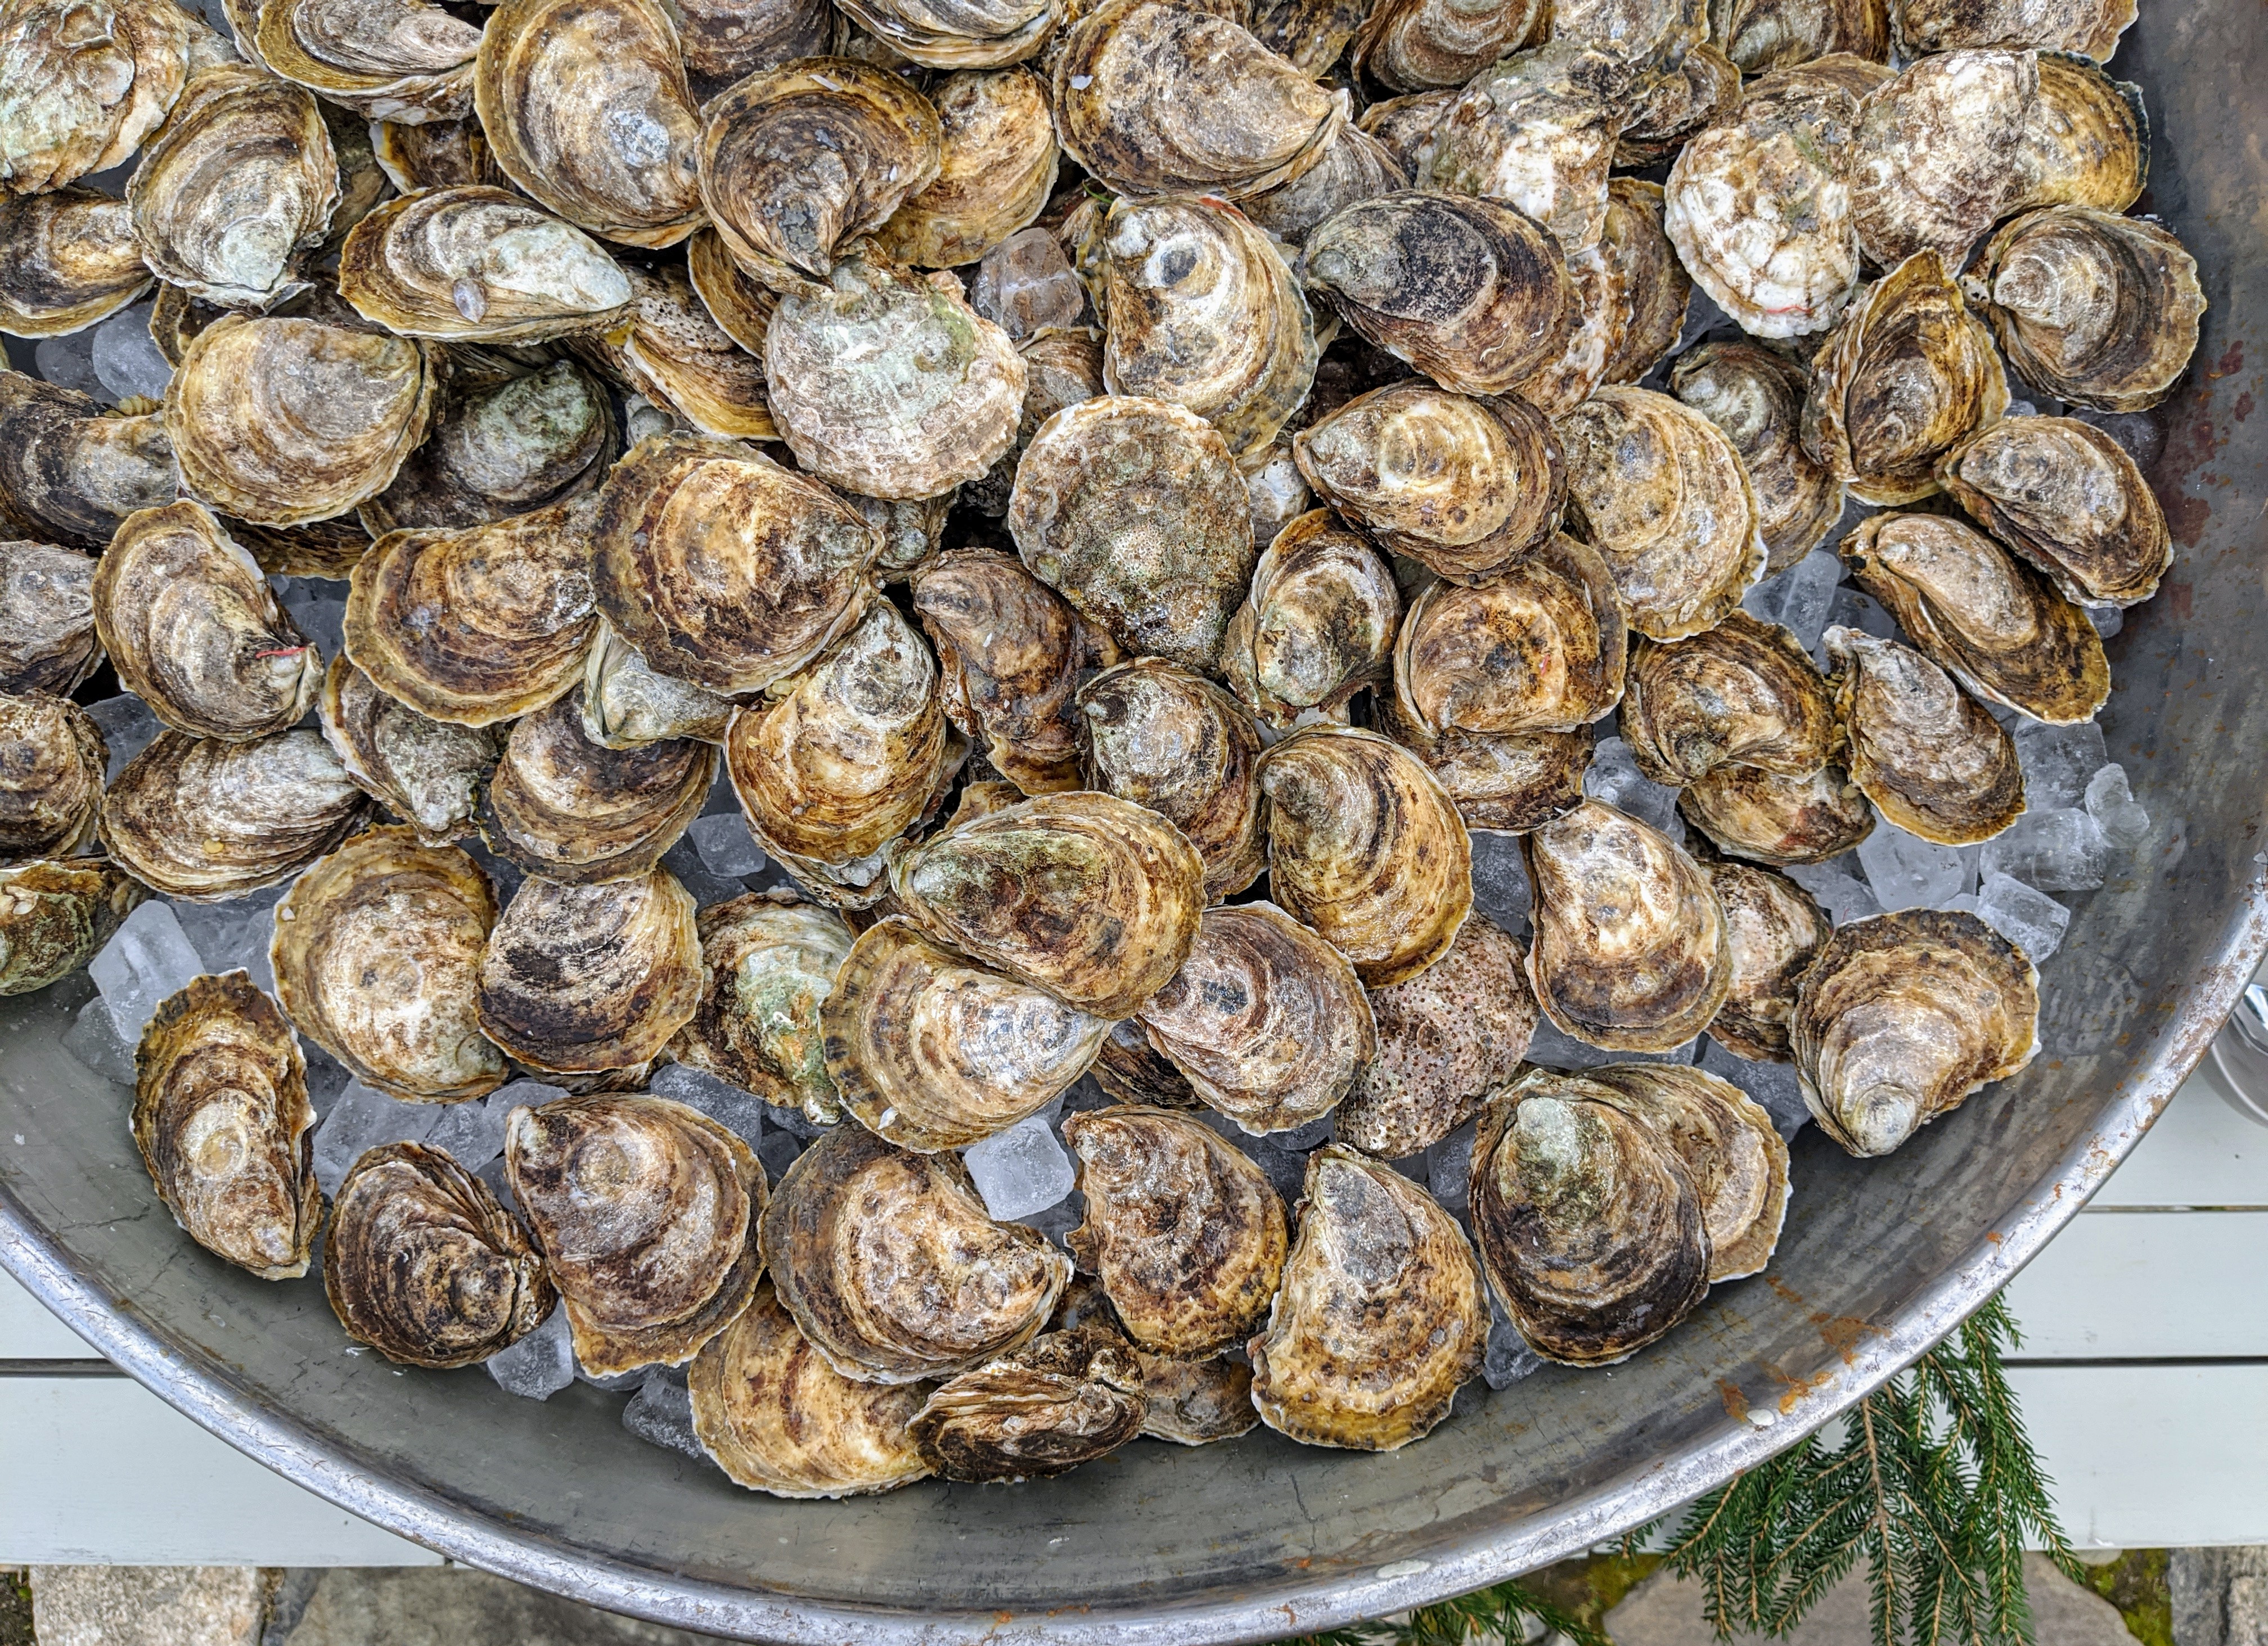
The oysters are from Norm Bloom – we ordered hundreds of delicious oysters, served on the half shell with cocktail sauce and mignonette. http://www.coppsislandoysters.com
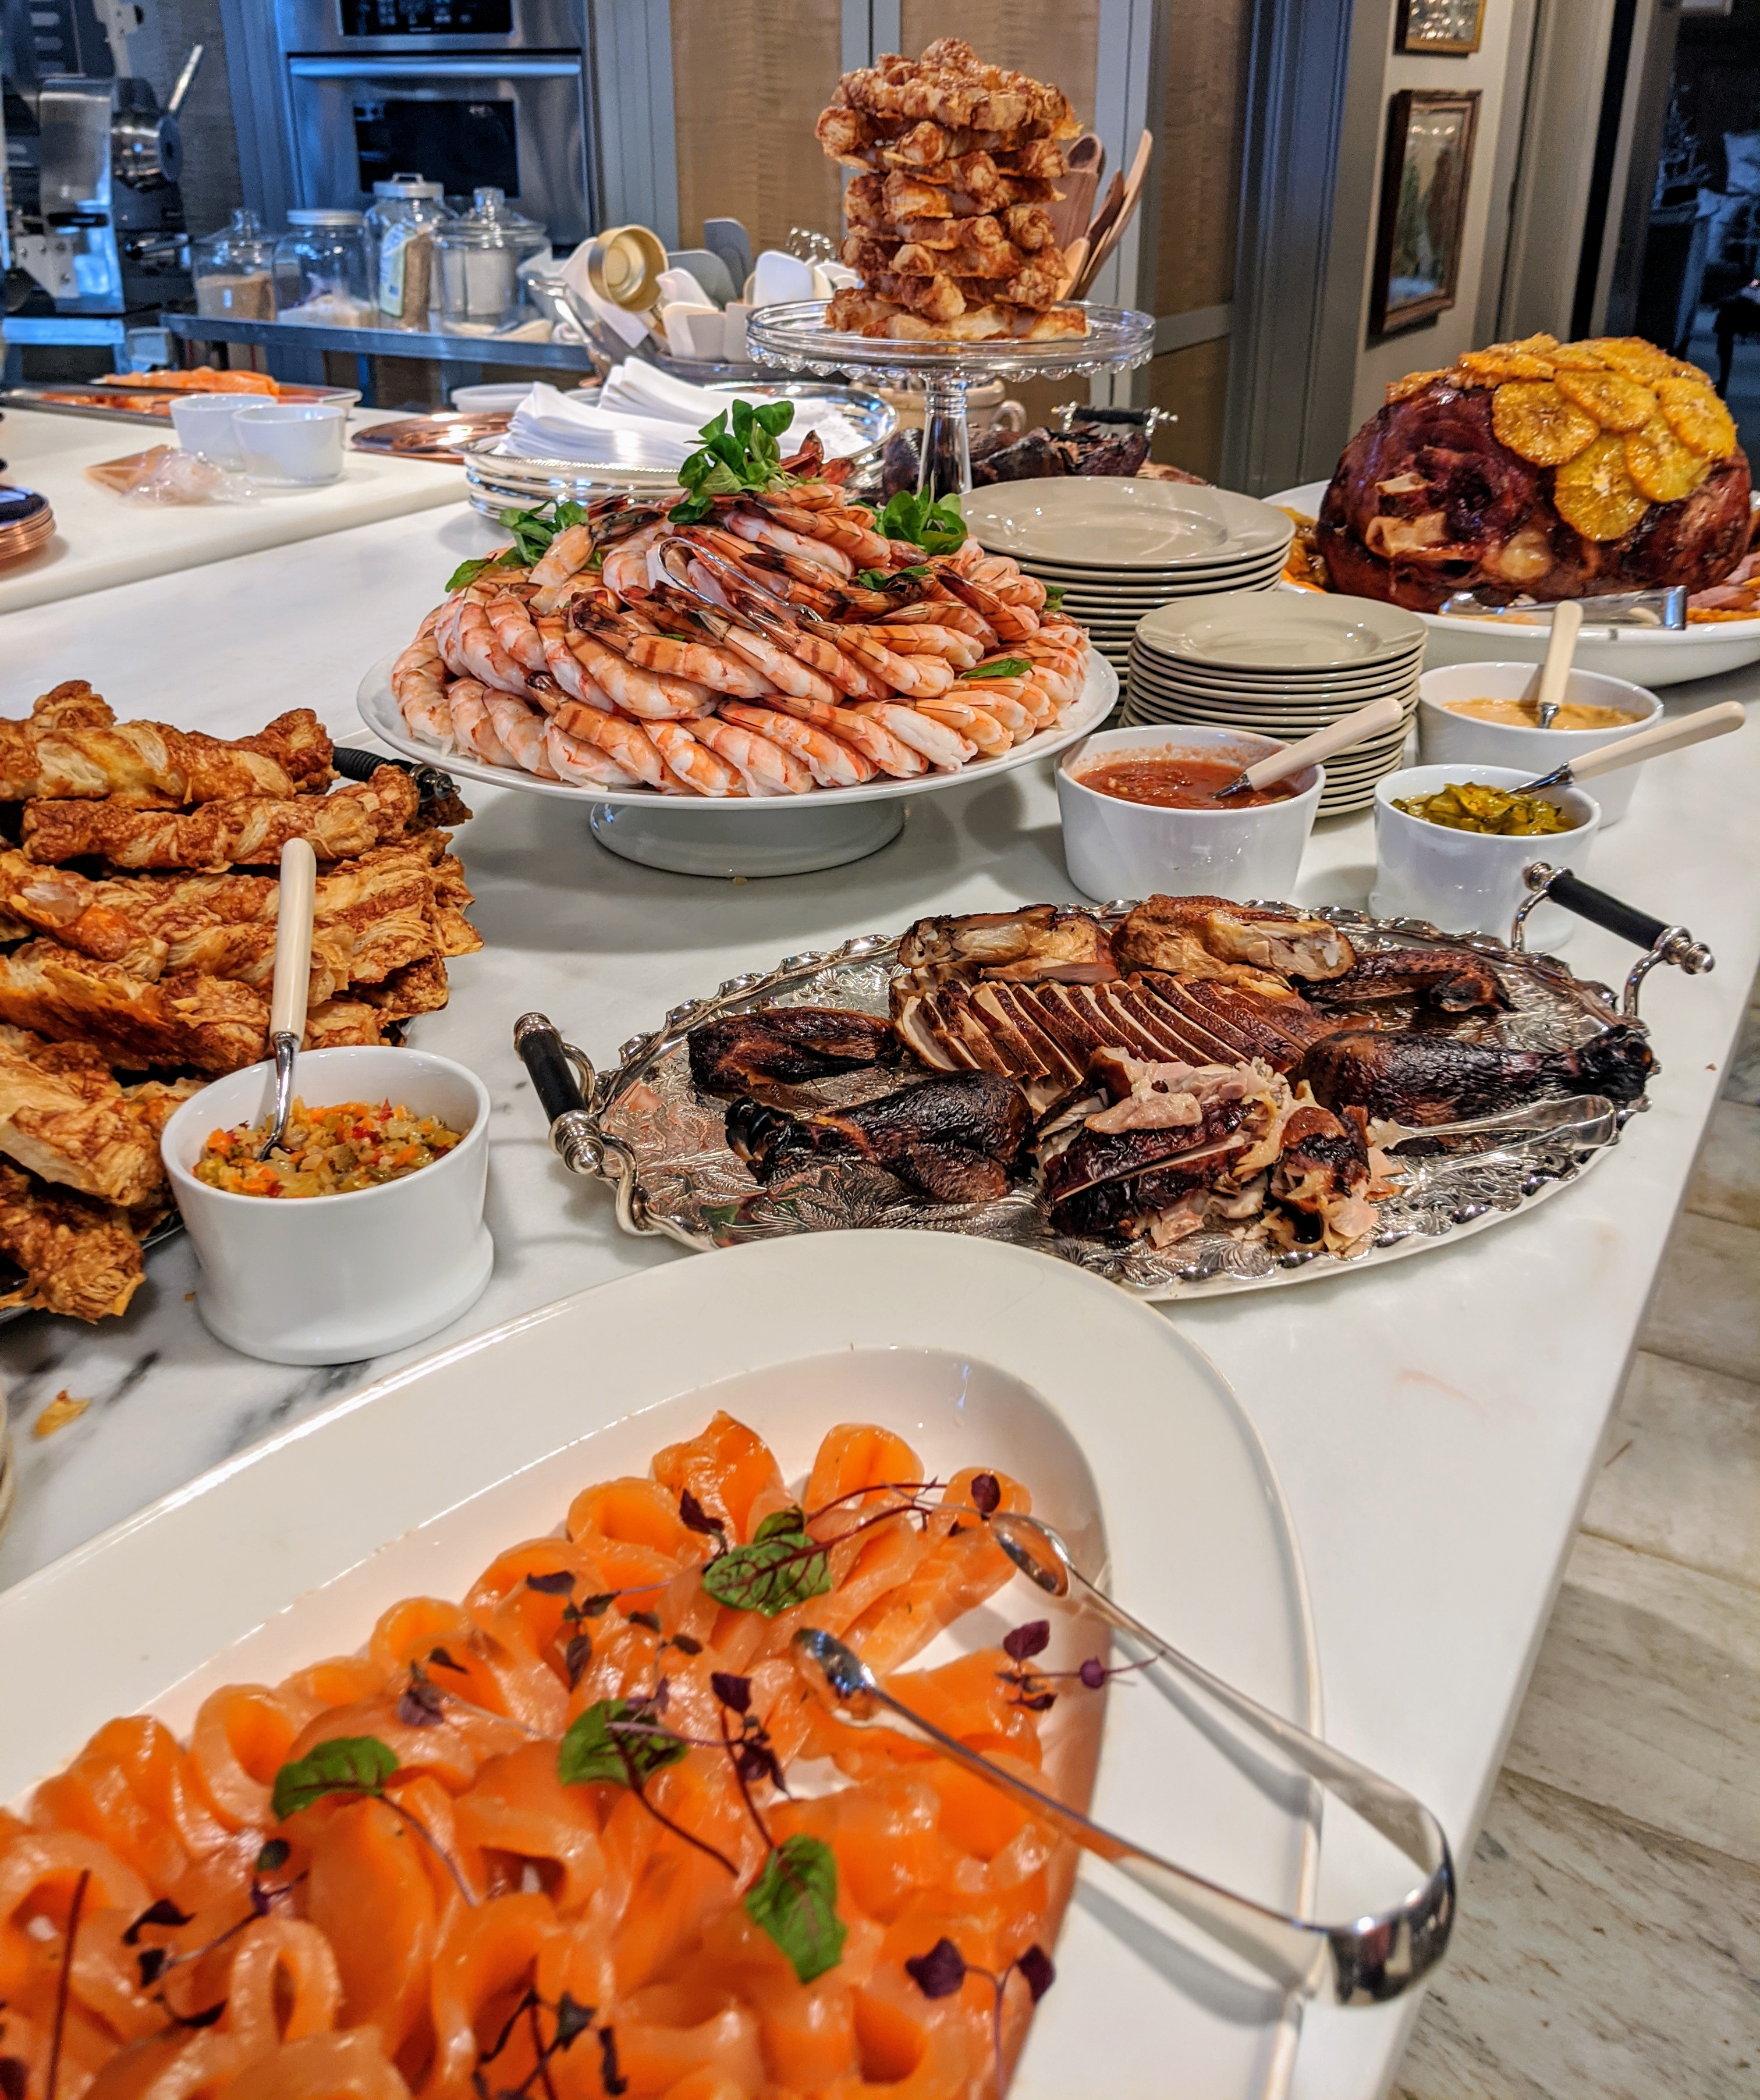
My Winter House is where Chef Pierre Schaedelin @pstailoredevents and I prepared and served all our glorious savory foods. We pushed my kitchen counters together on one side, so we could serve the food buffet-style – it’s a wonderful solution for large gatherings.
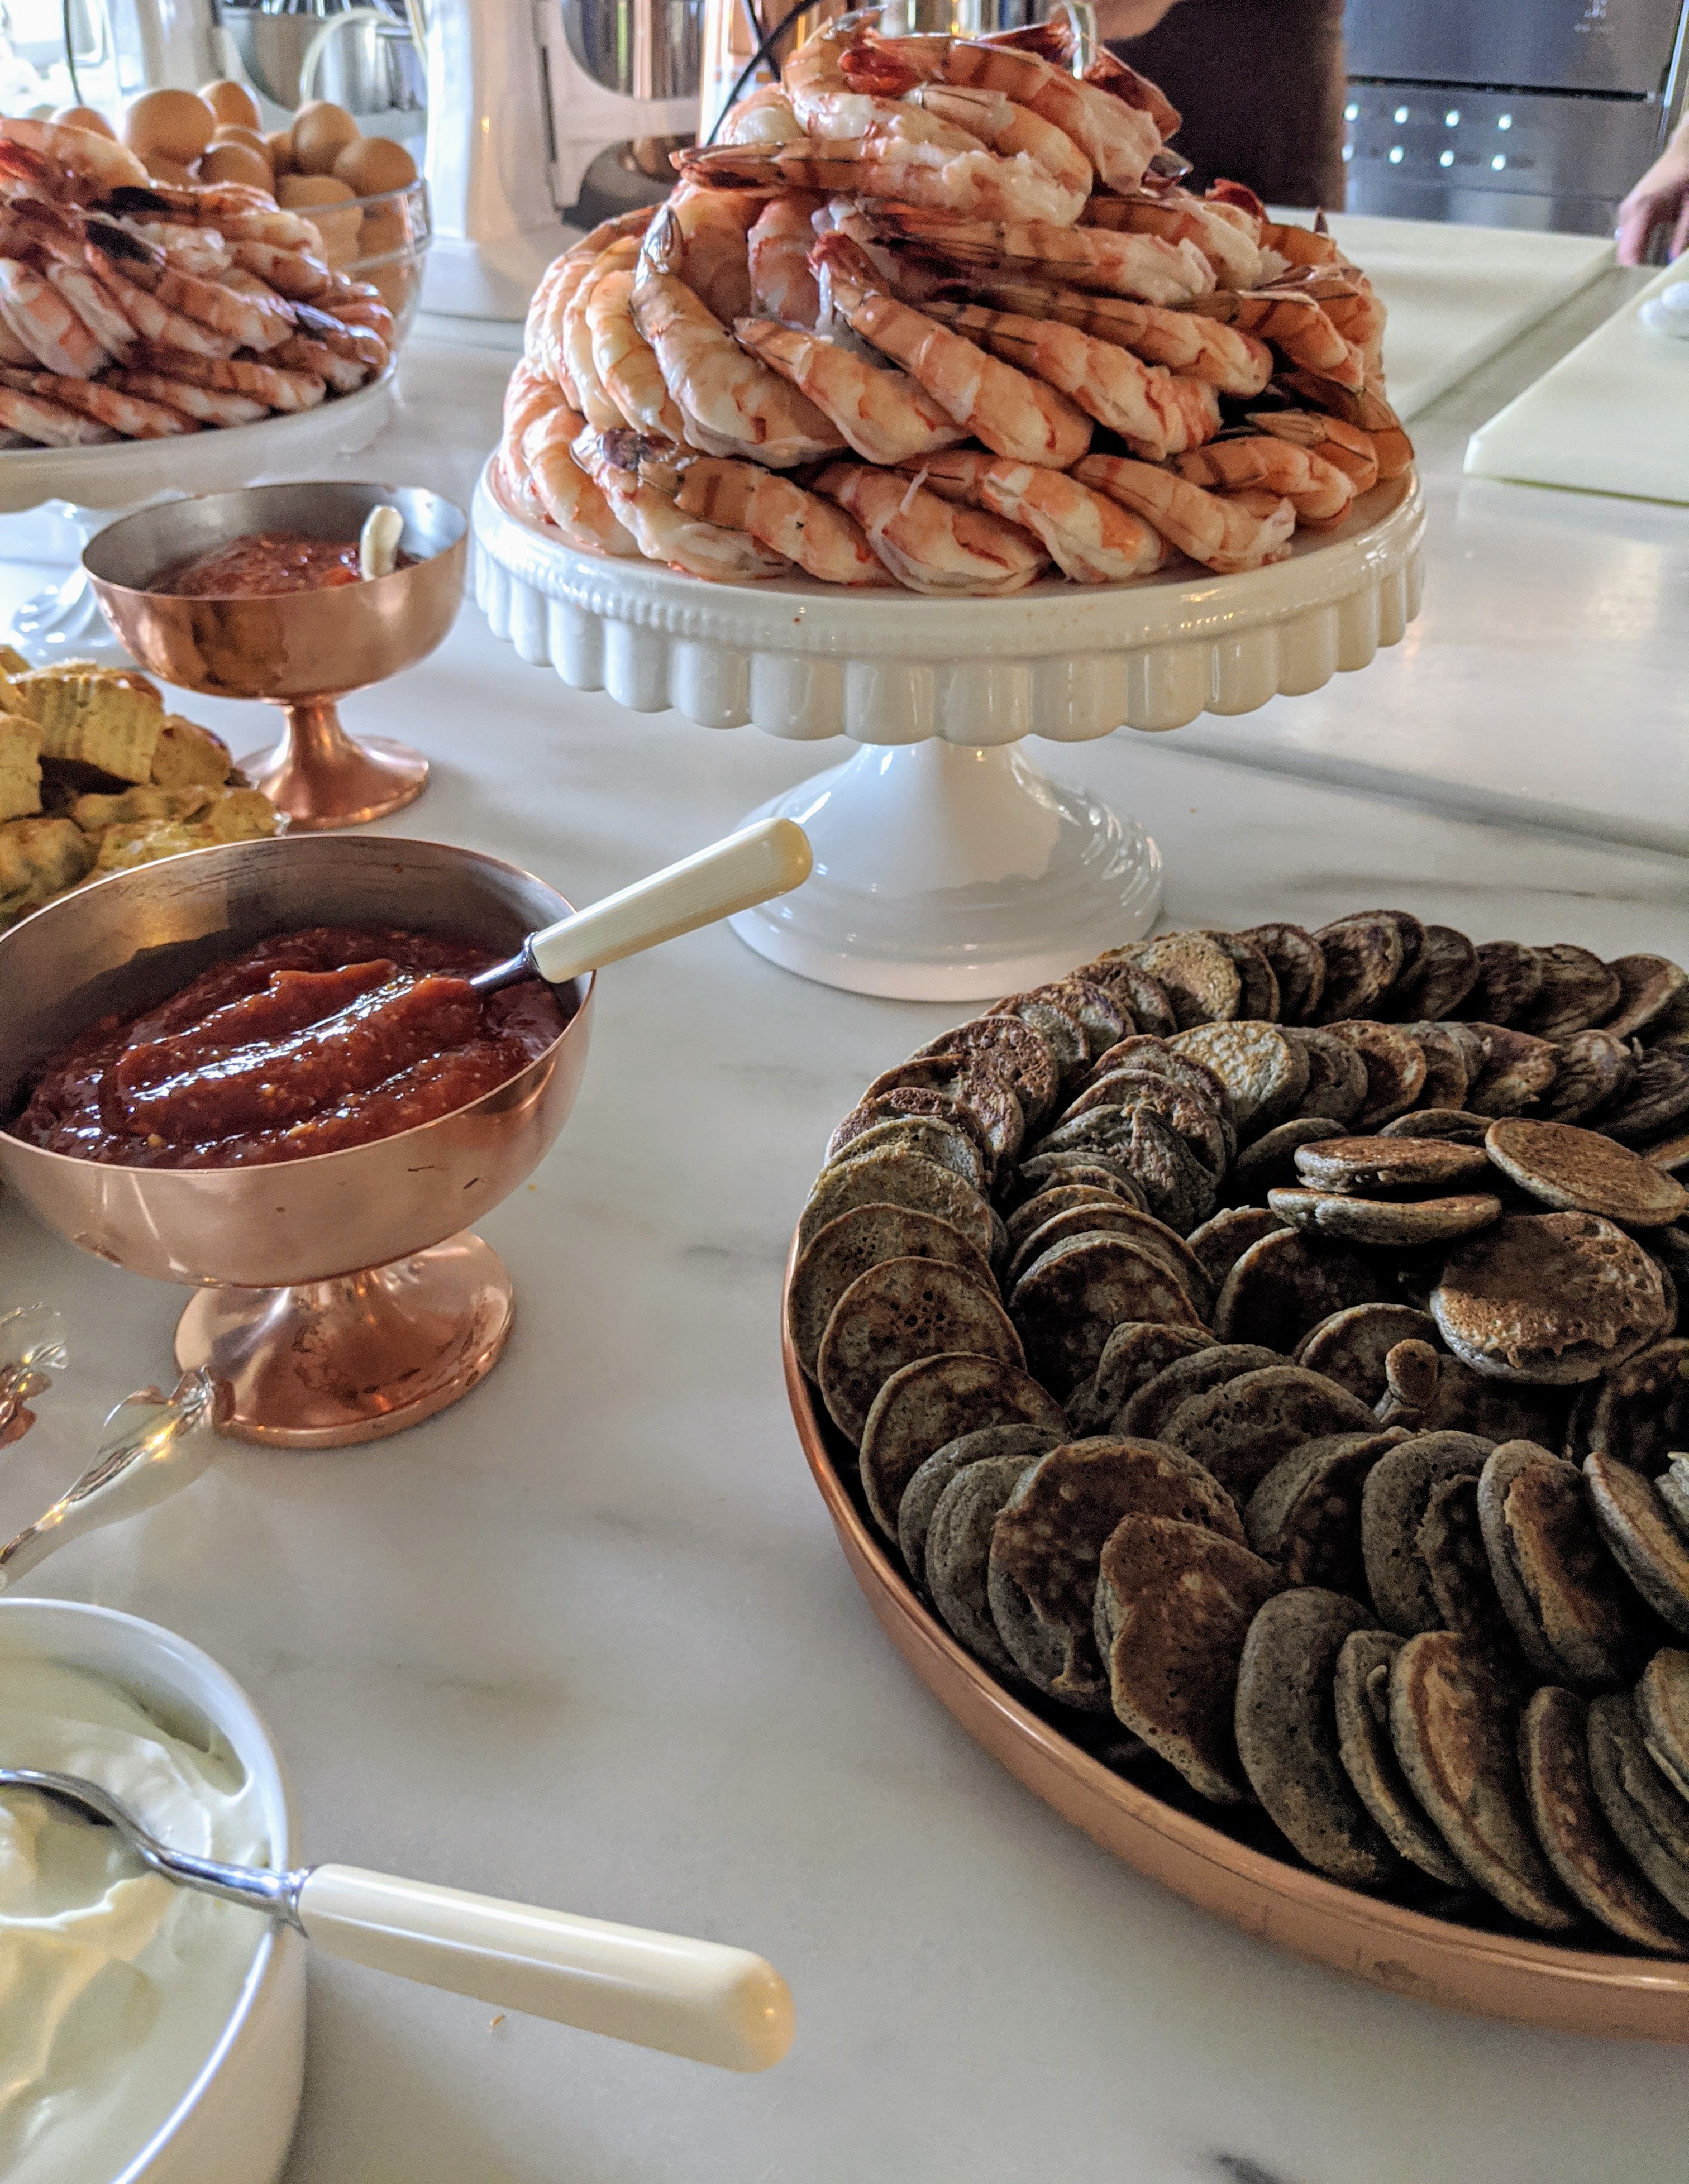
Our shrimp and salmon came from True North, @truenorthseafood. We served the shrimp on cake stands in circular layers. http://www.truenorthseafood.com
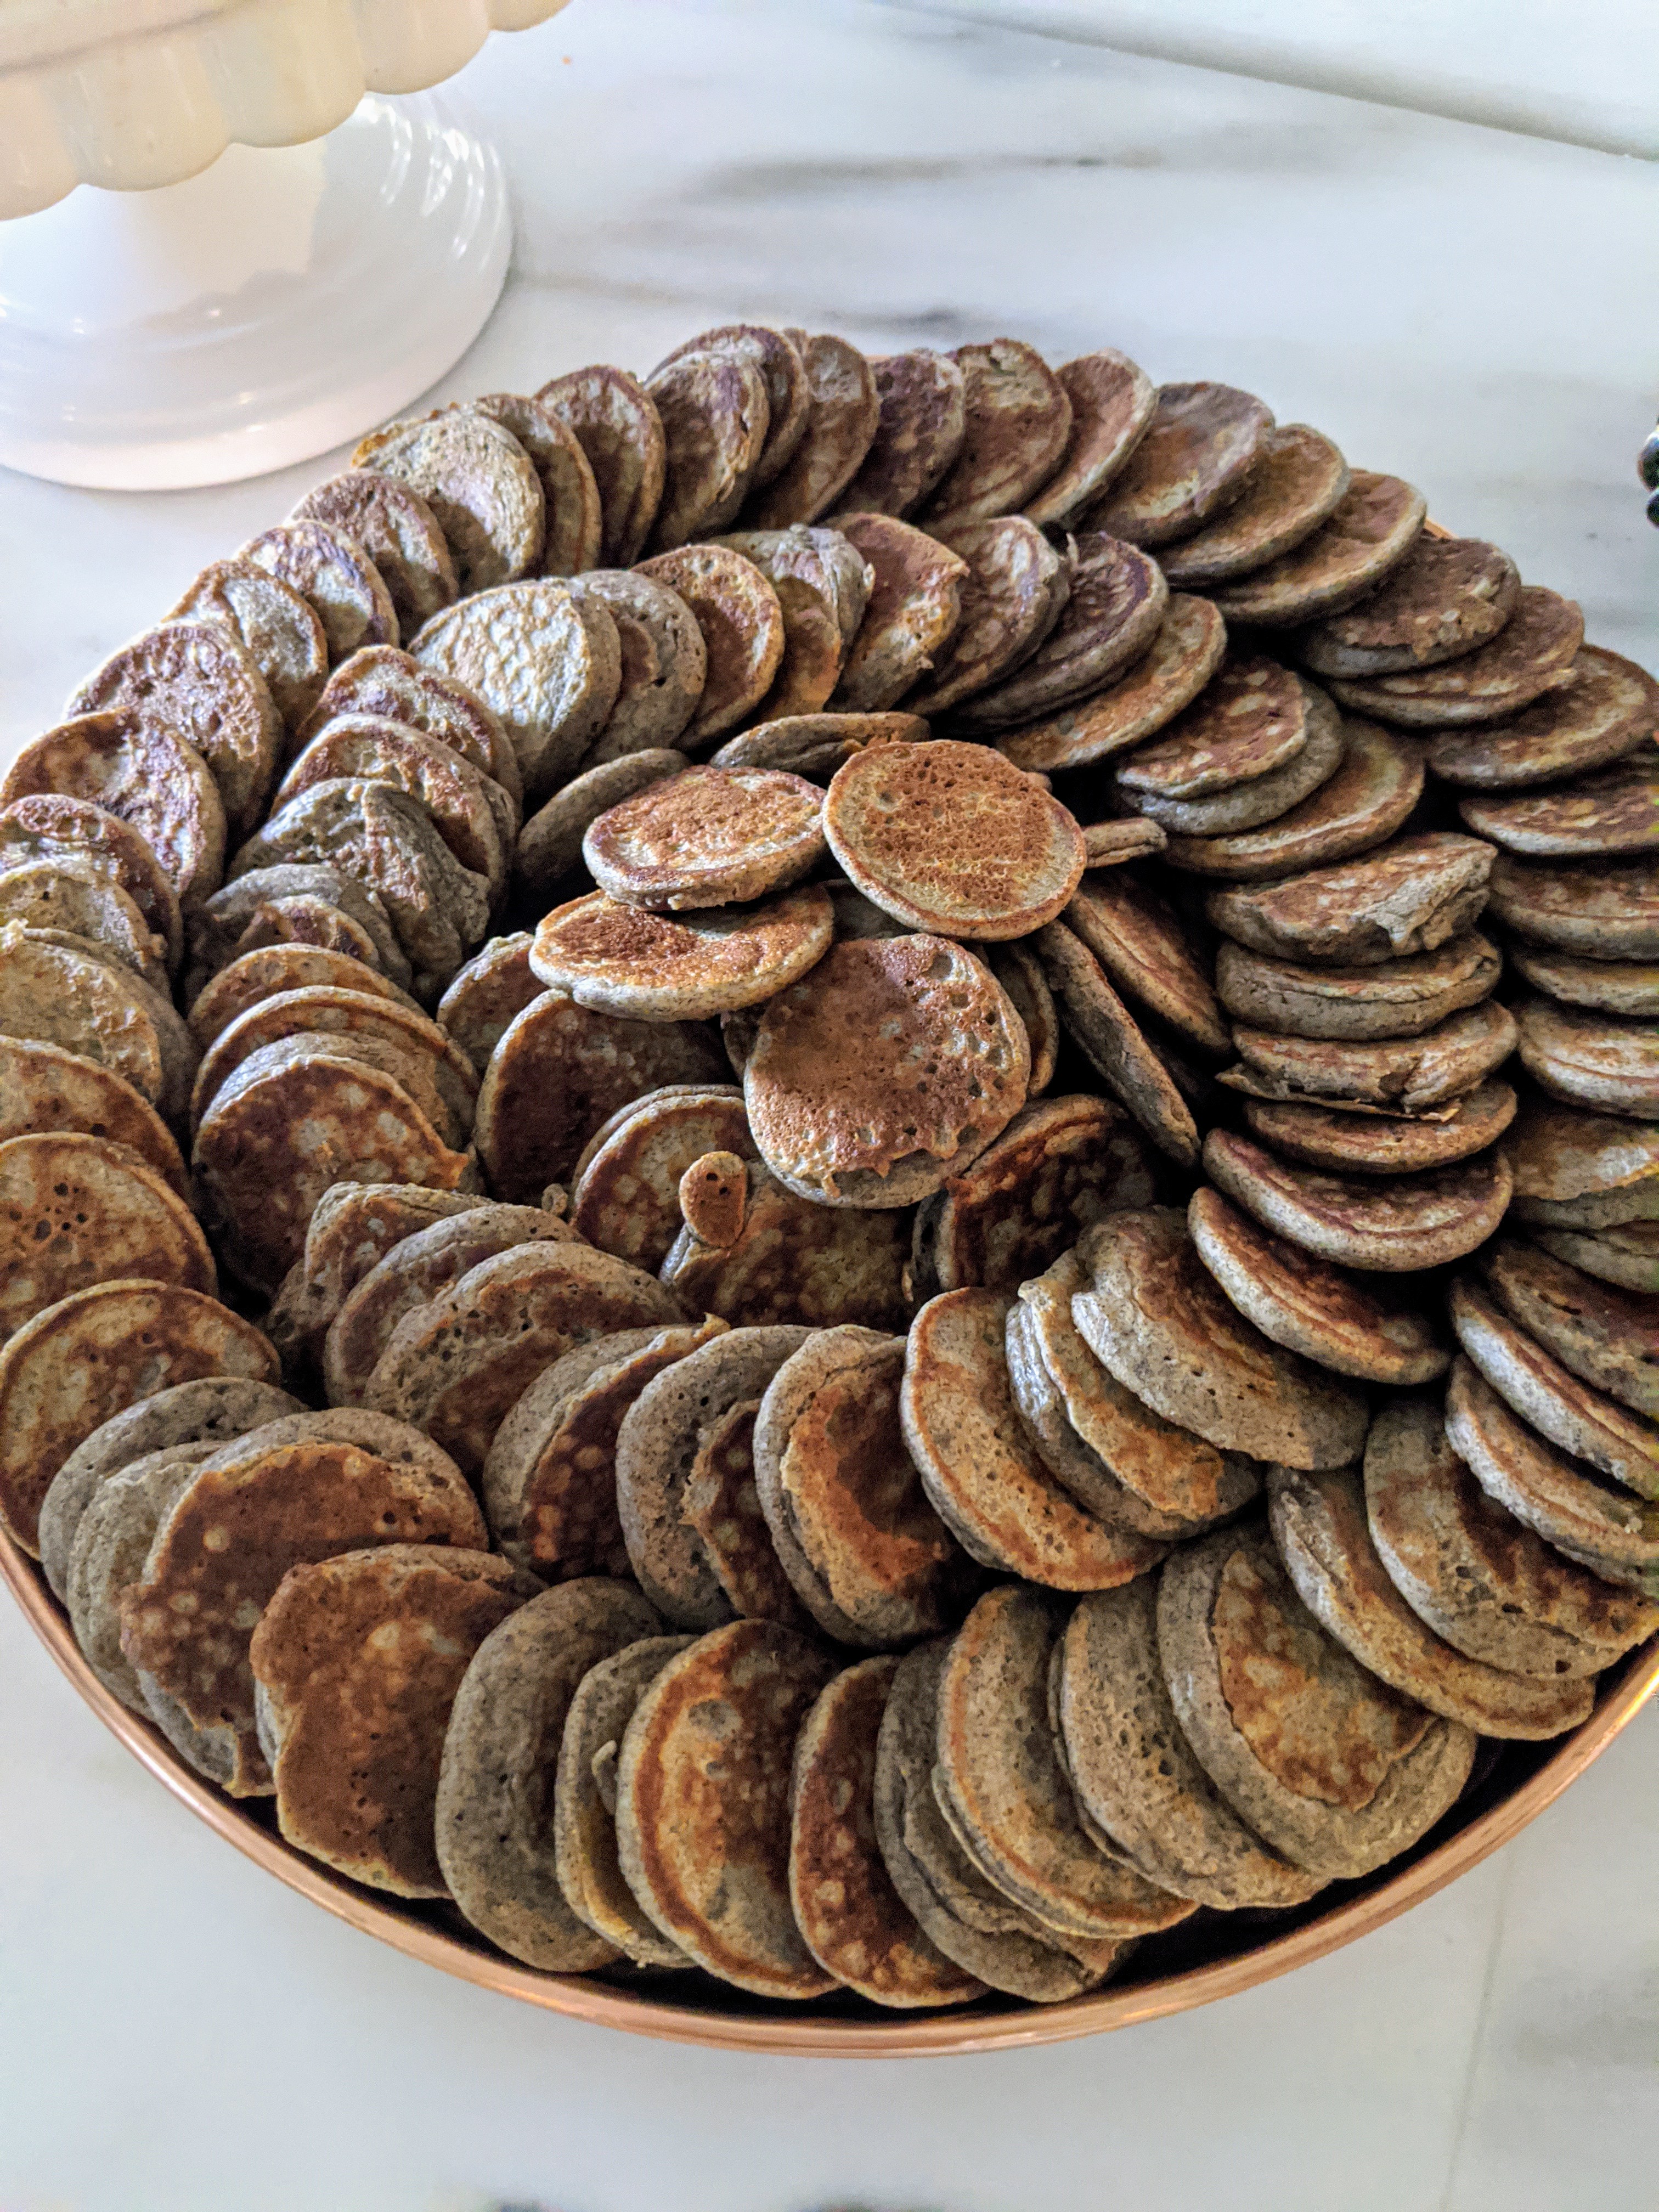
These are mini blinis – traditional Russian pancakes, which are best served with a dab of creme fraiche and a spoonful of caviar. I published the recipe in “Martha Stewart’s Hors D’oeuvres: The Creation and Presentation of Fabulous Finger Food” in 1984.
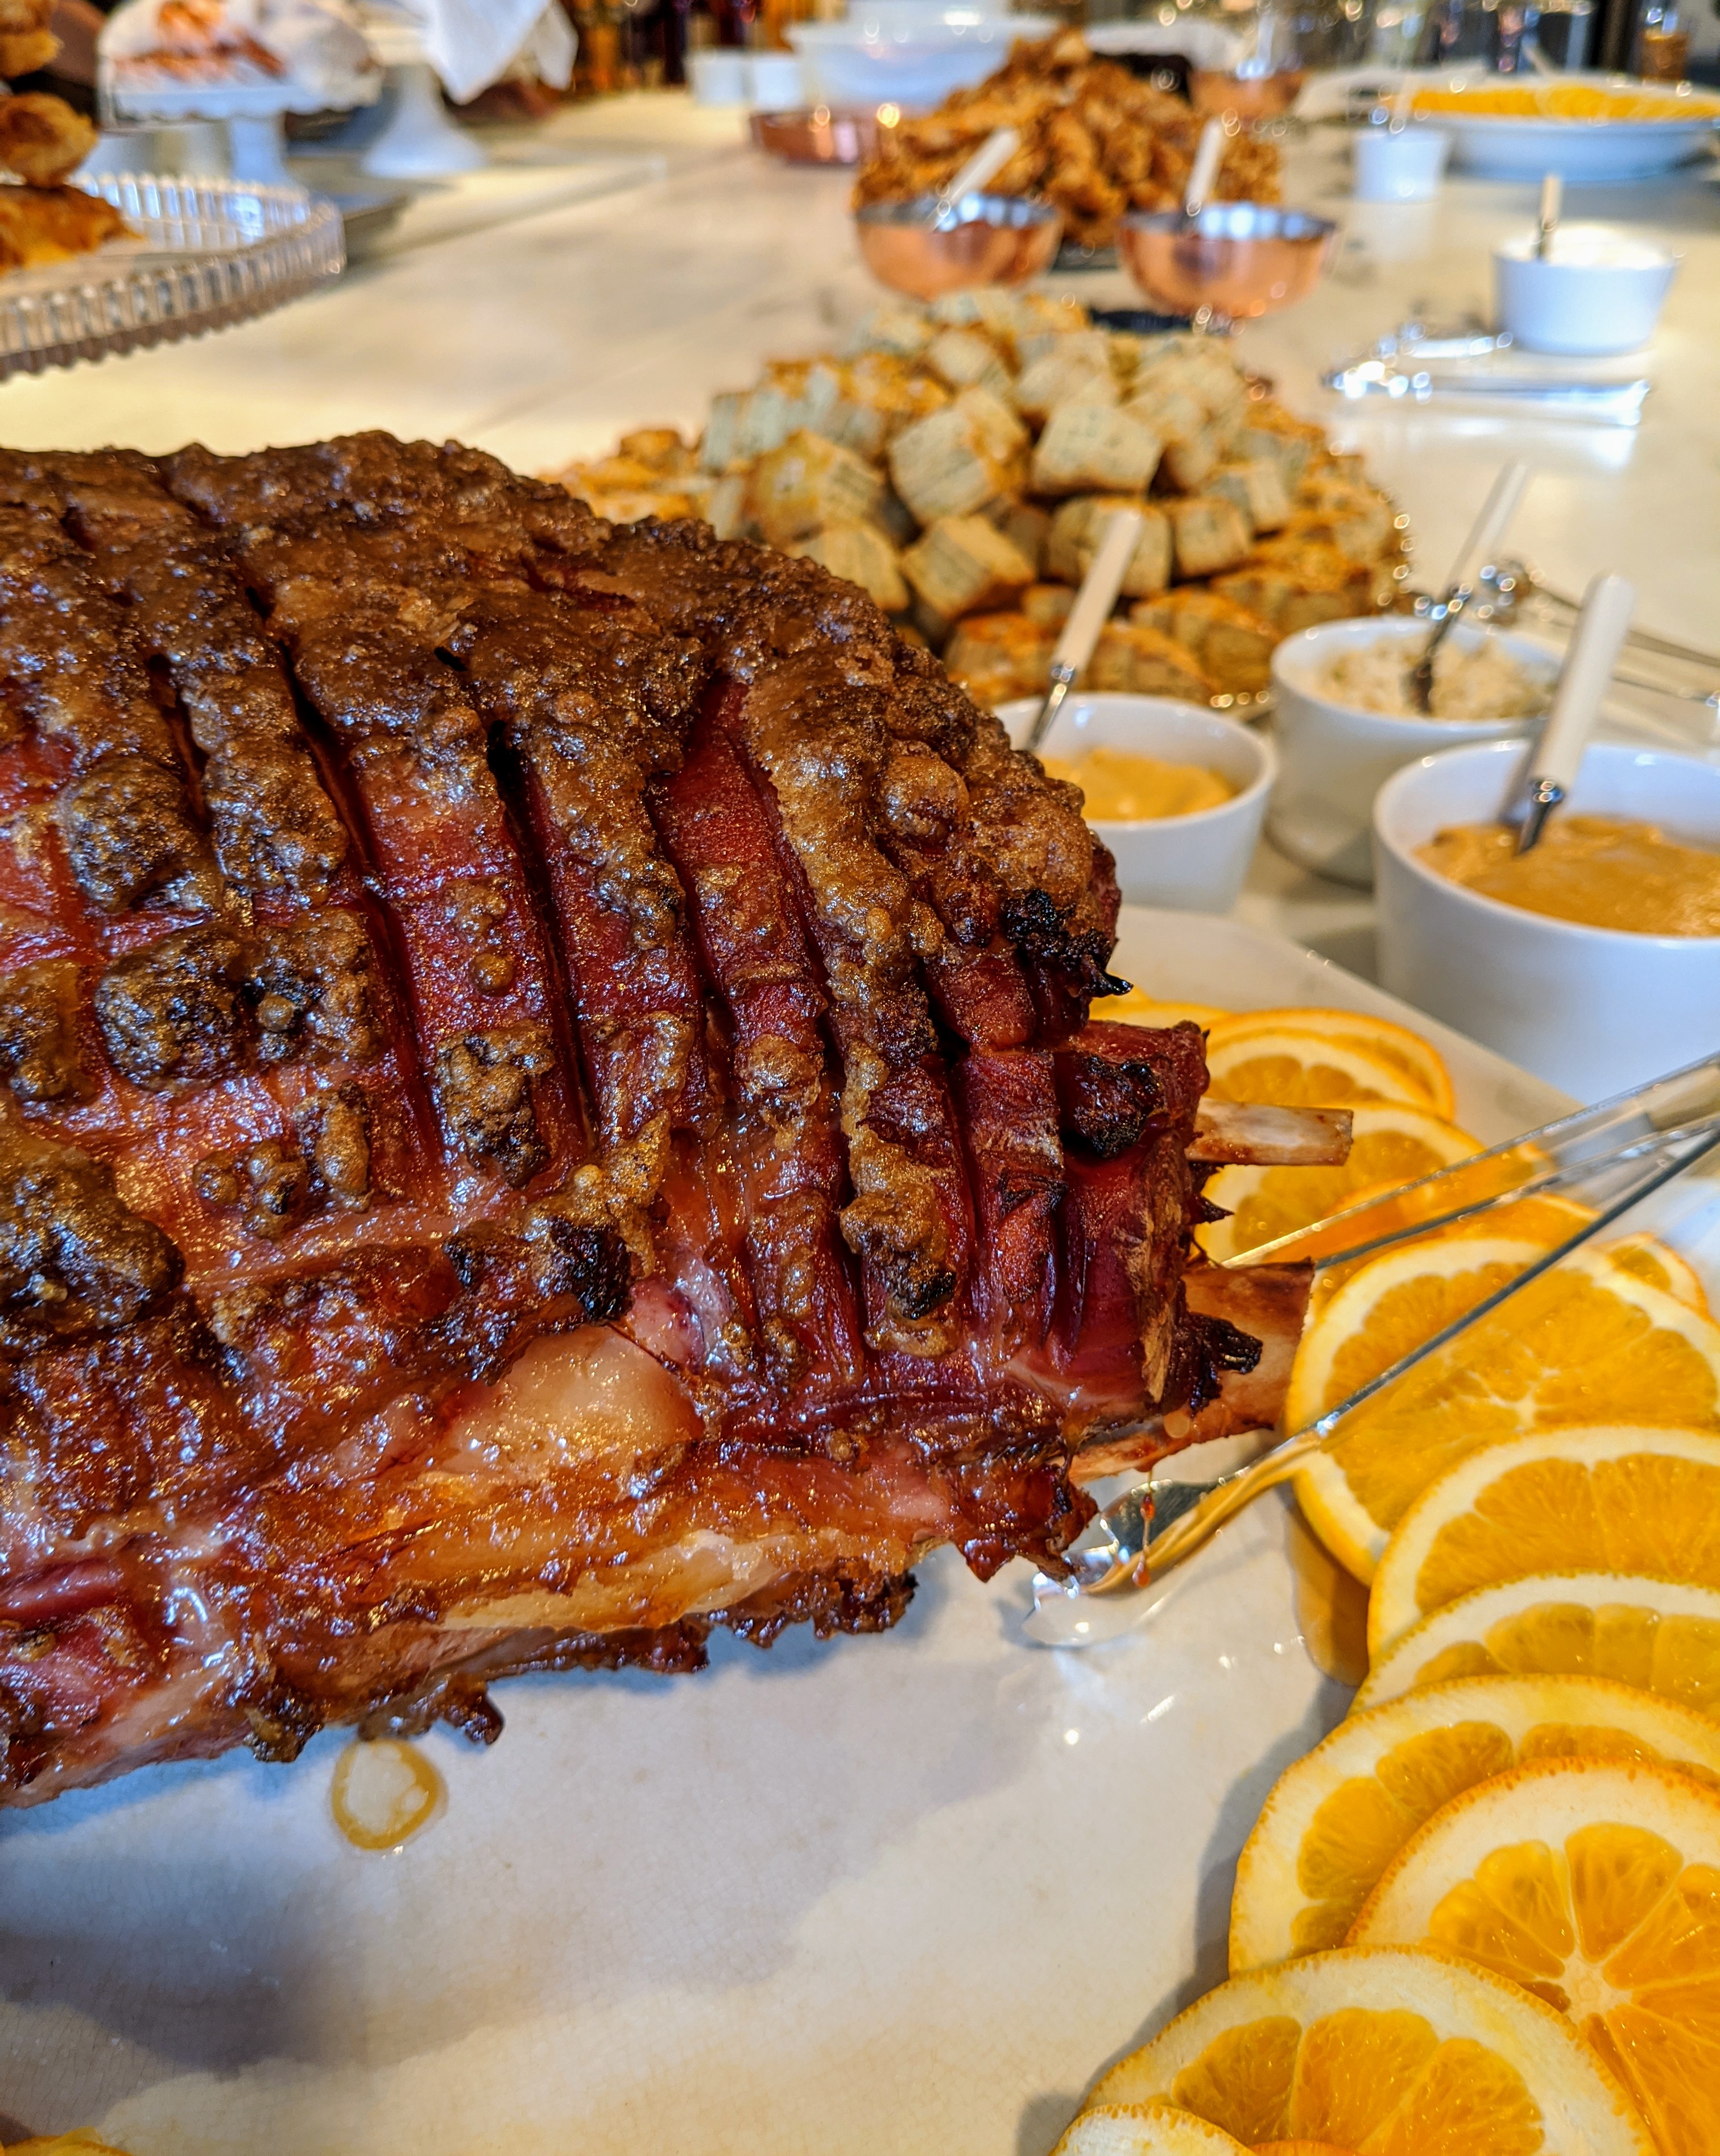
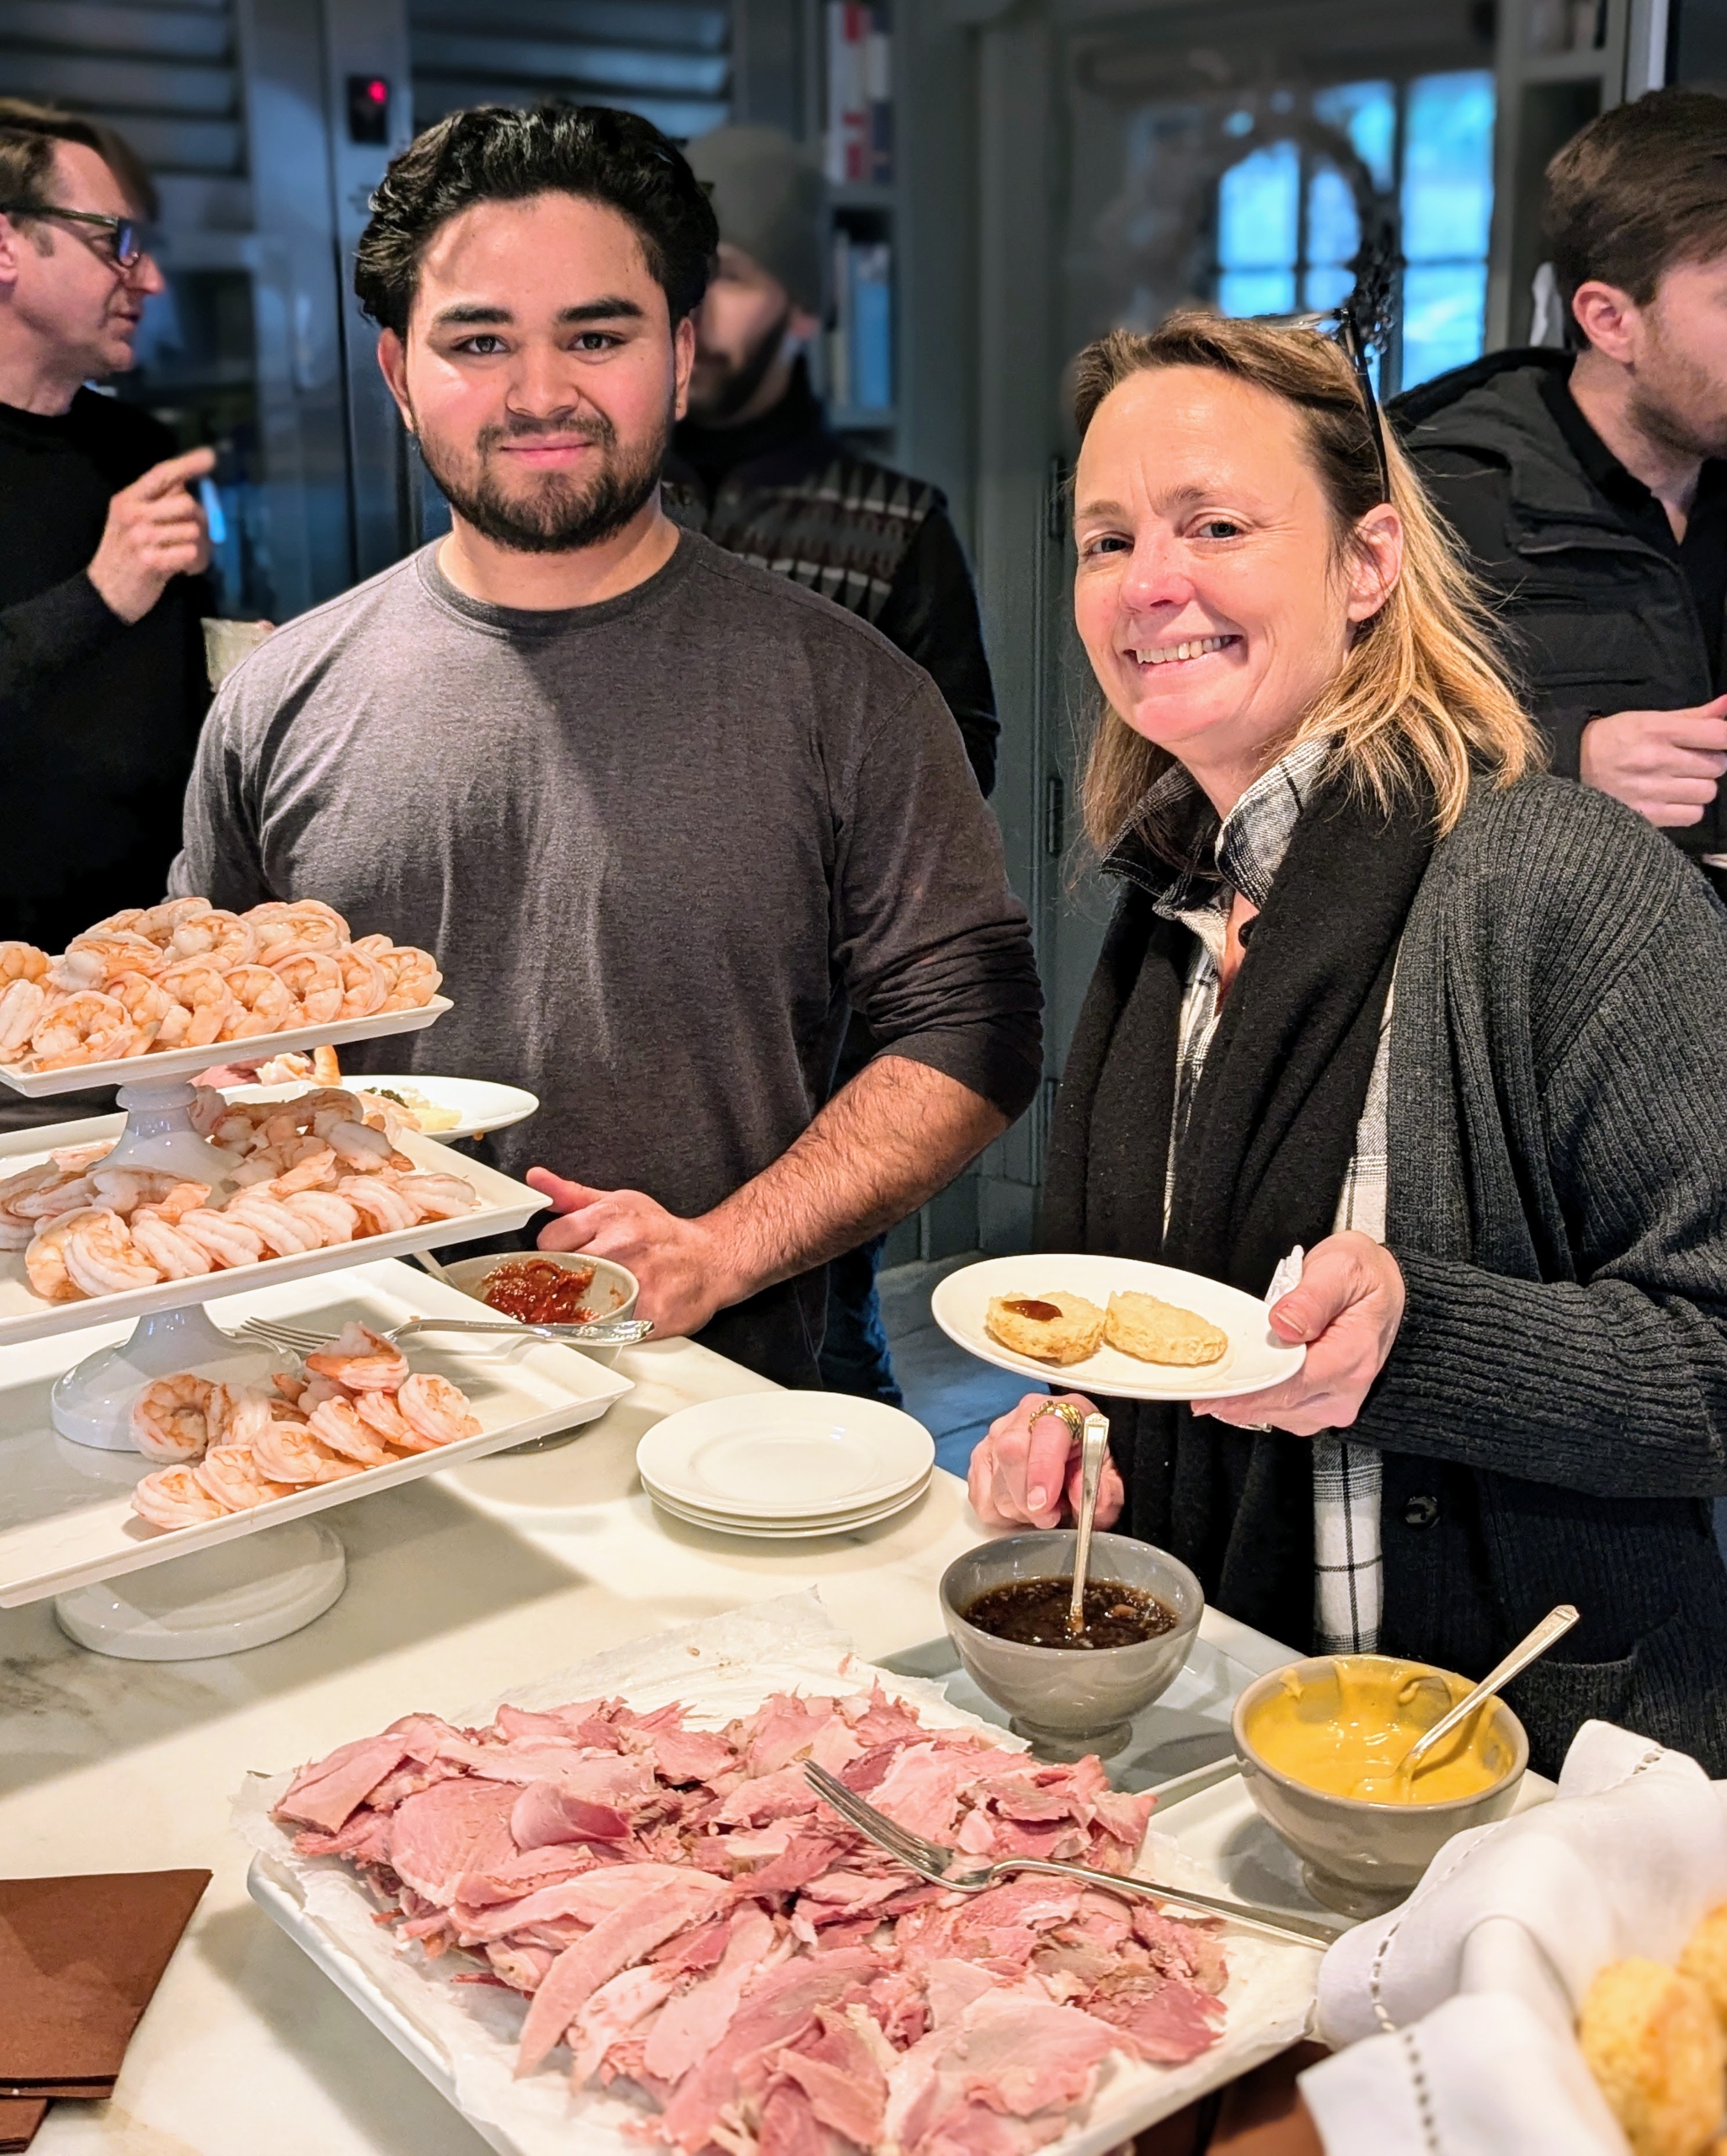
We also had two hams from my friend, Pat LaFrieda. This is a 20-pound smoked ham. http://www.lafrieda.com
The ham was served with homemade biscuits, scones, horseradish sauce I made from horseradish grown here at the farm, and homemade mustard sauces.
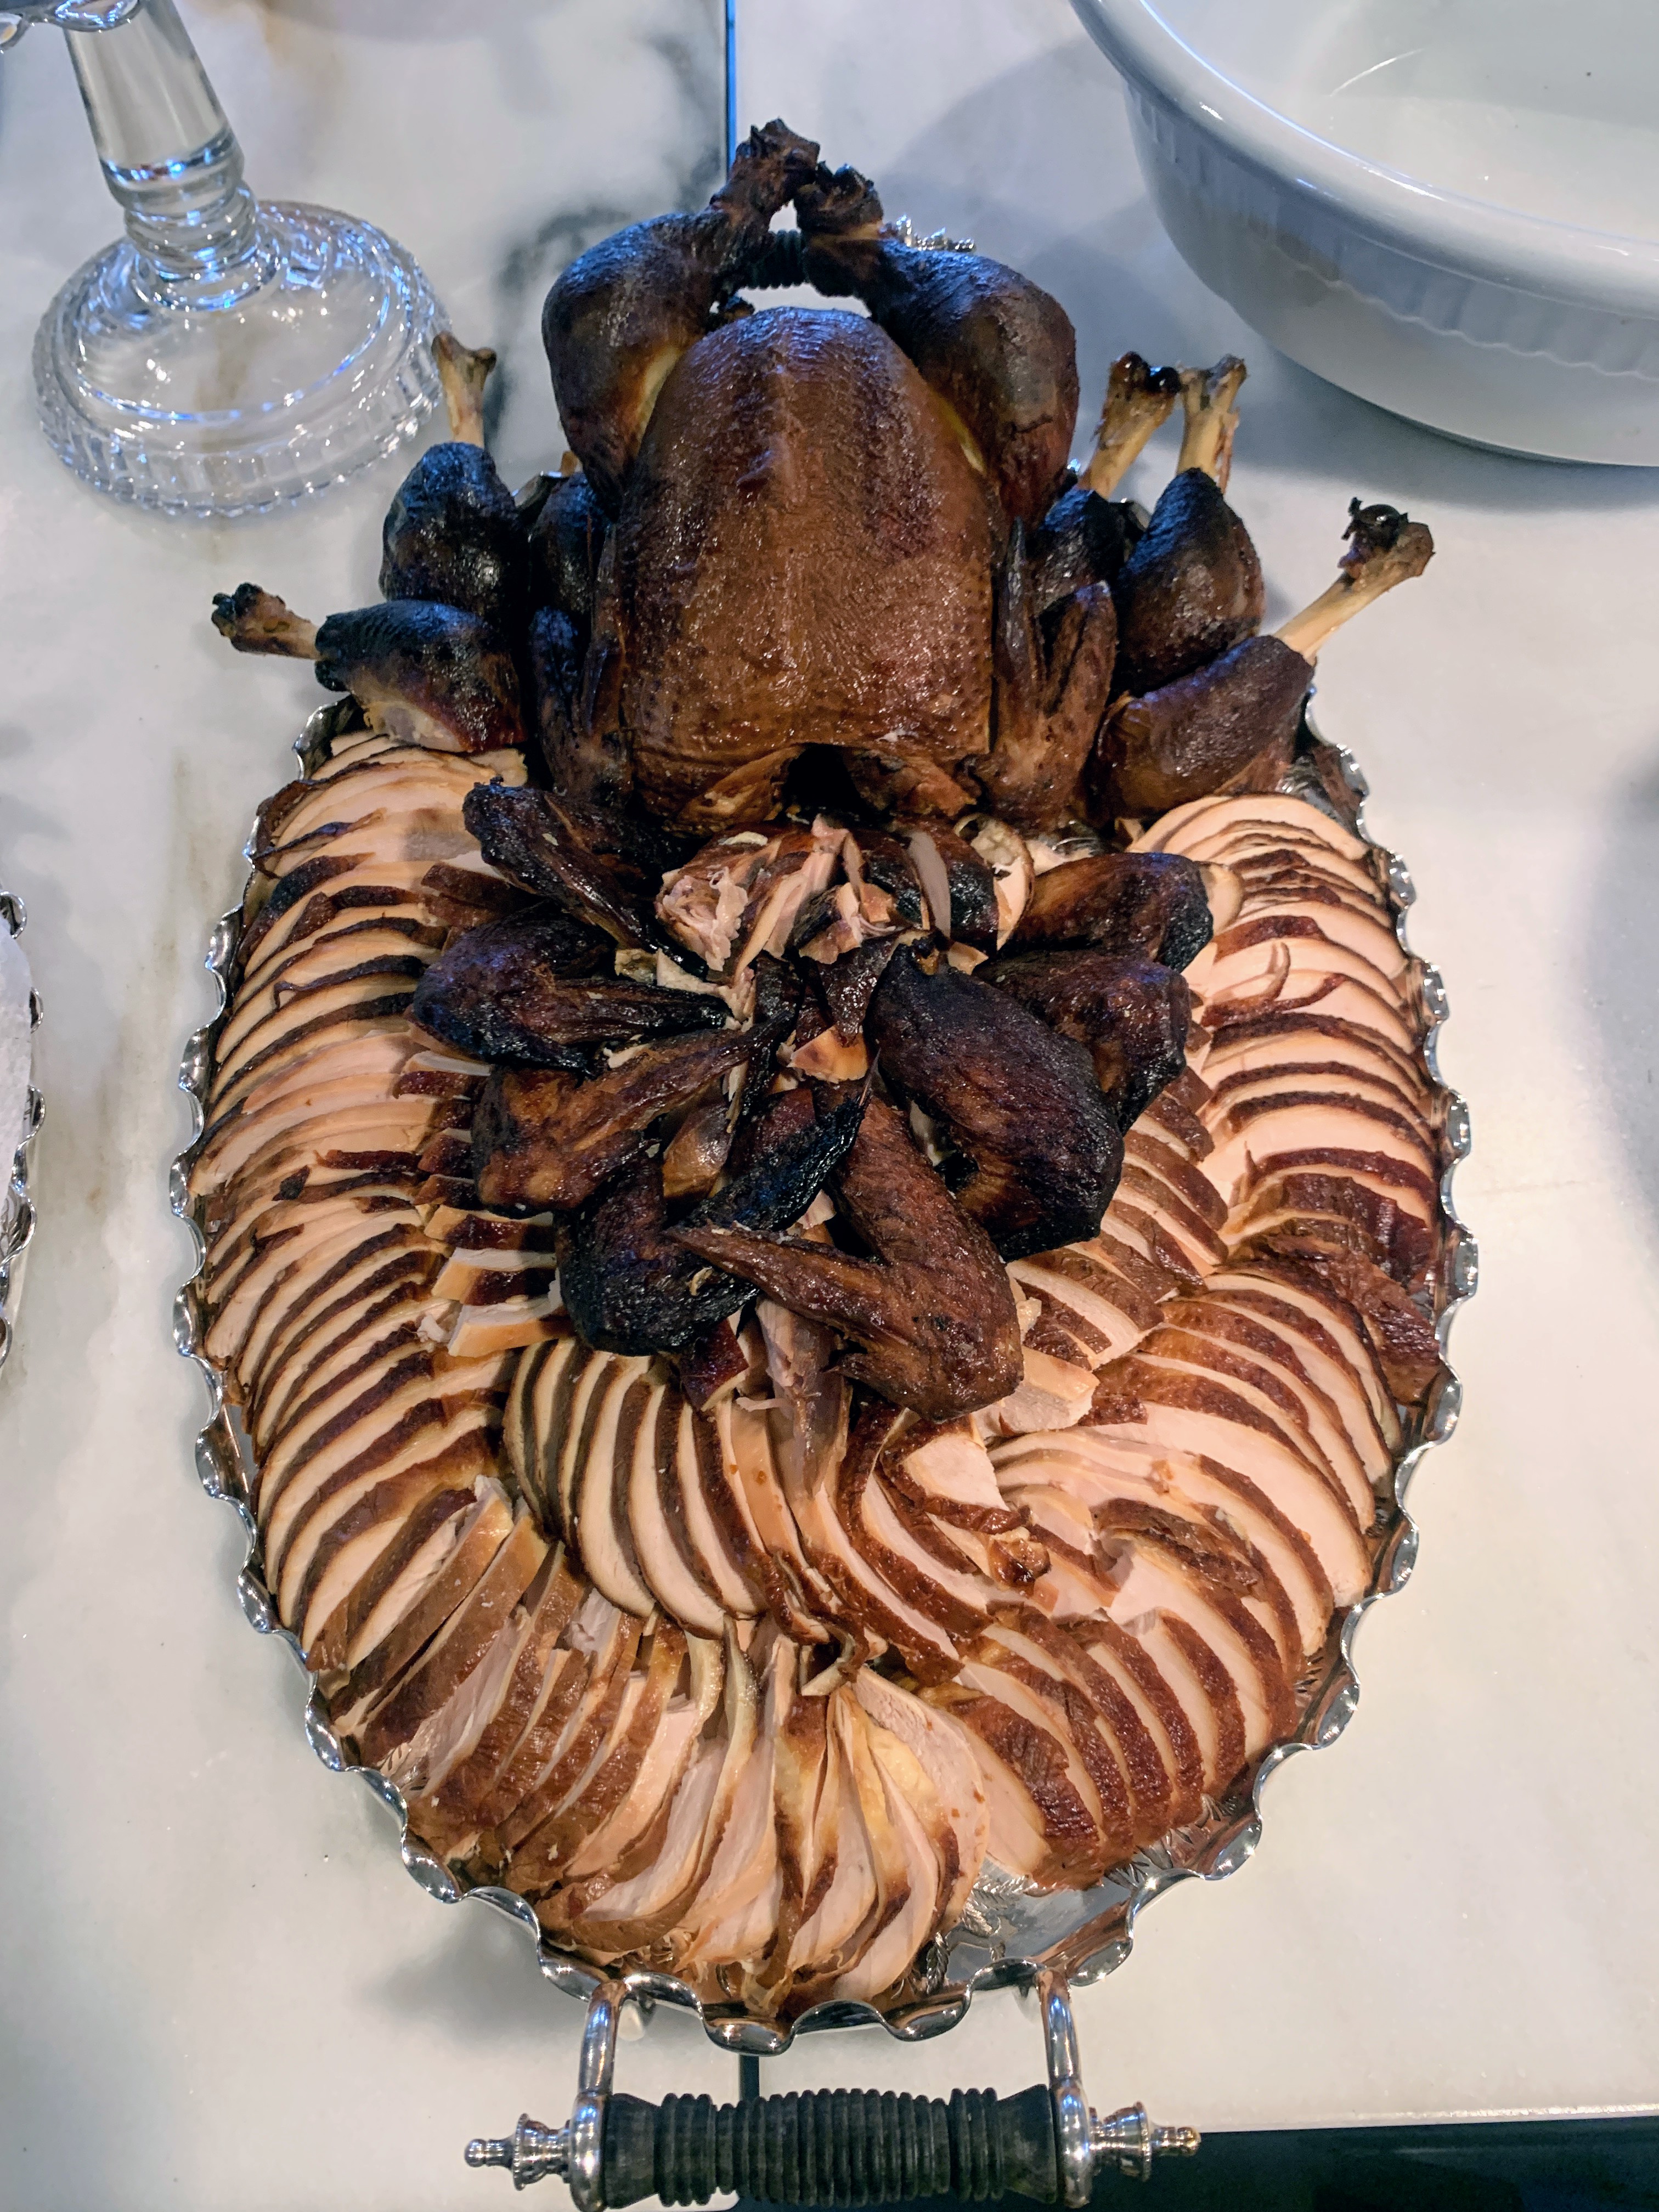
The smoked chicken was displayed so nicely on this large platter. I smoked four four-pound chickens using my delicious smoked chicken recipe from my first hors d’oeuvres book. Everyone thought it was duck and every tidbit disappeared. This photo was taken just before the guests started eating.
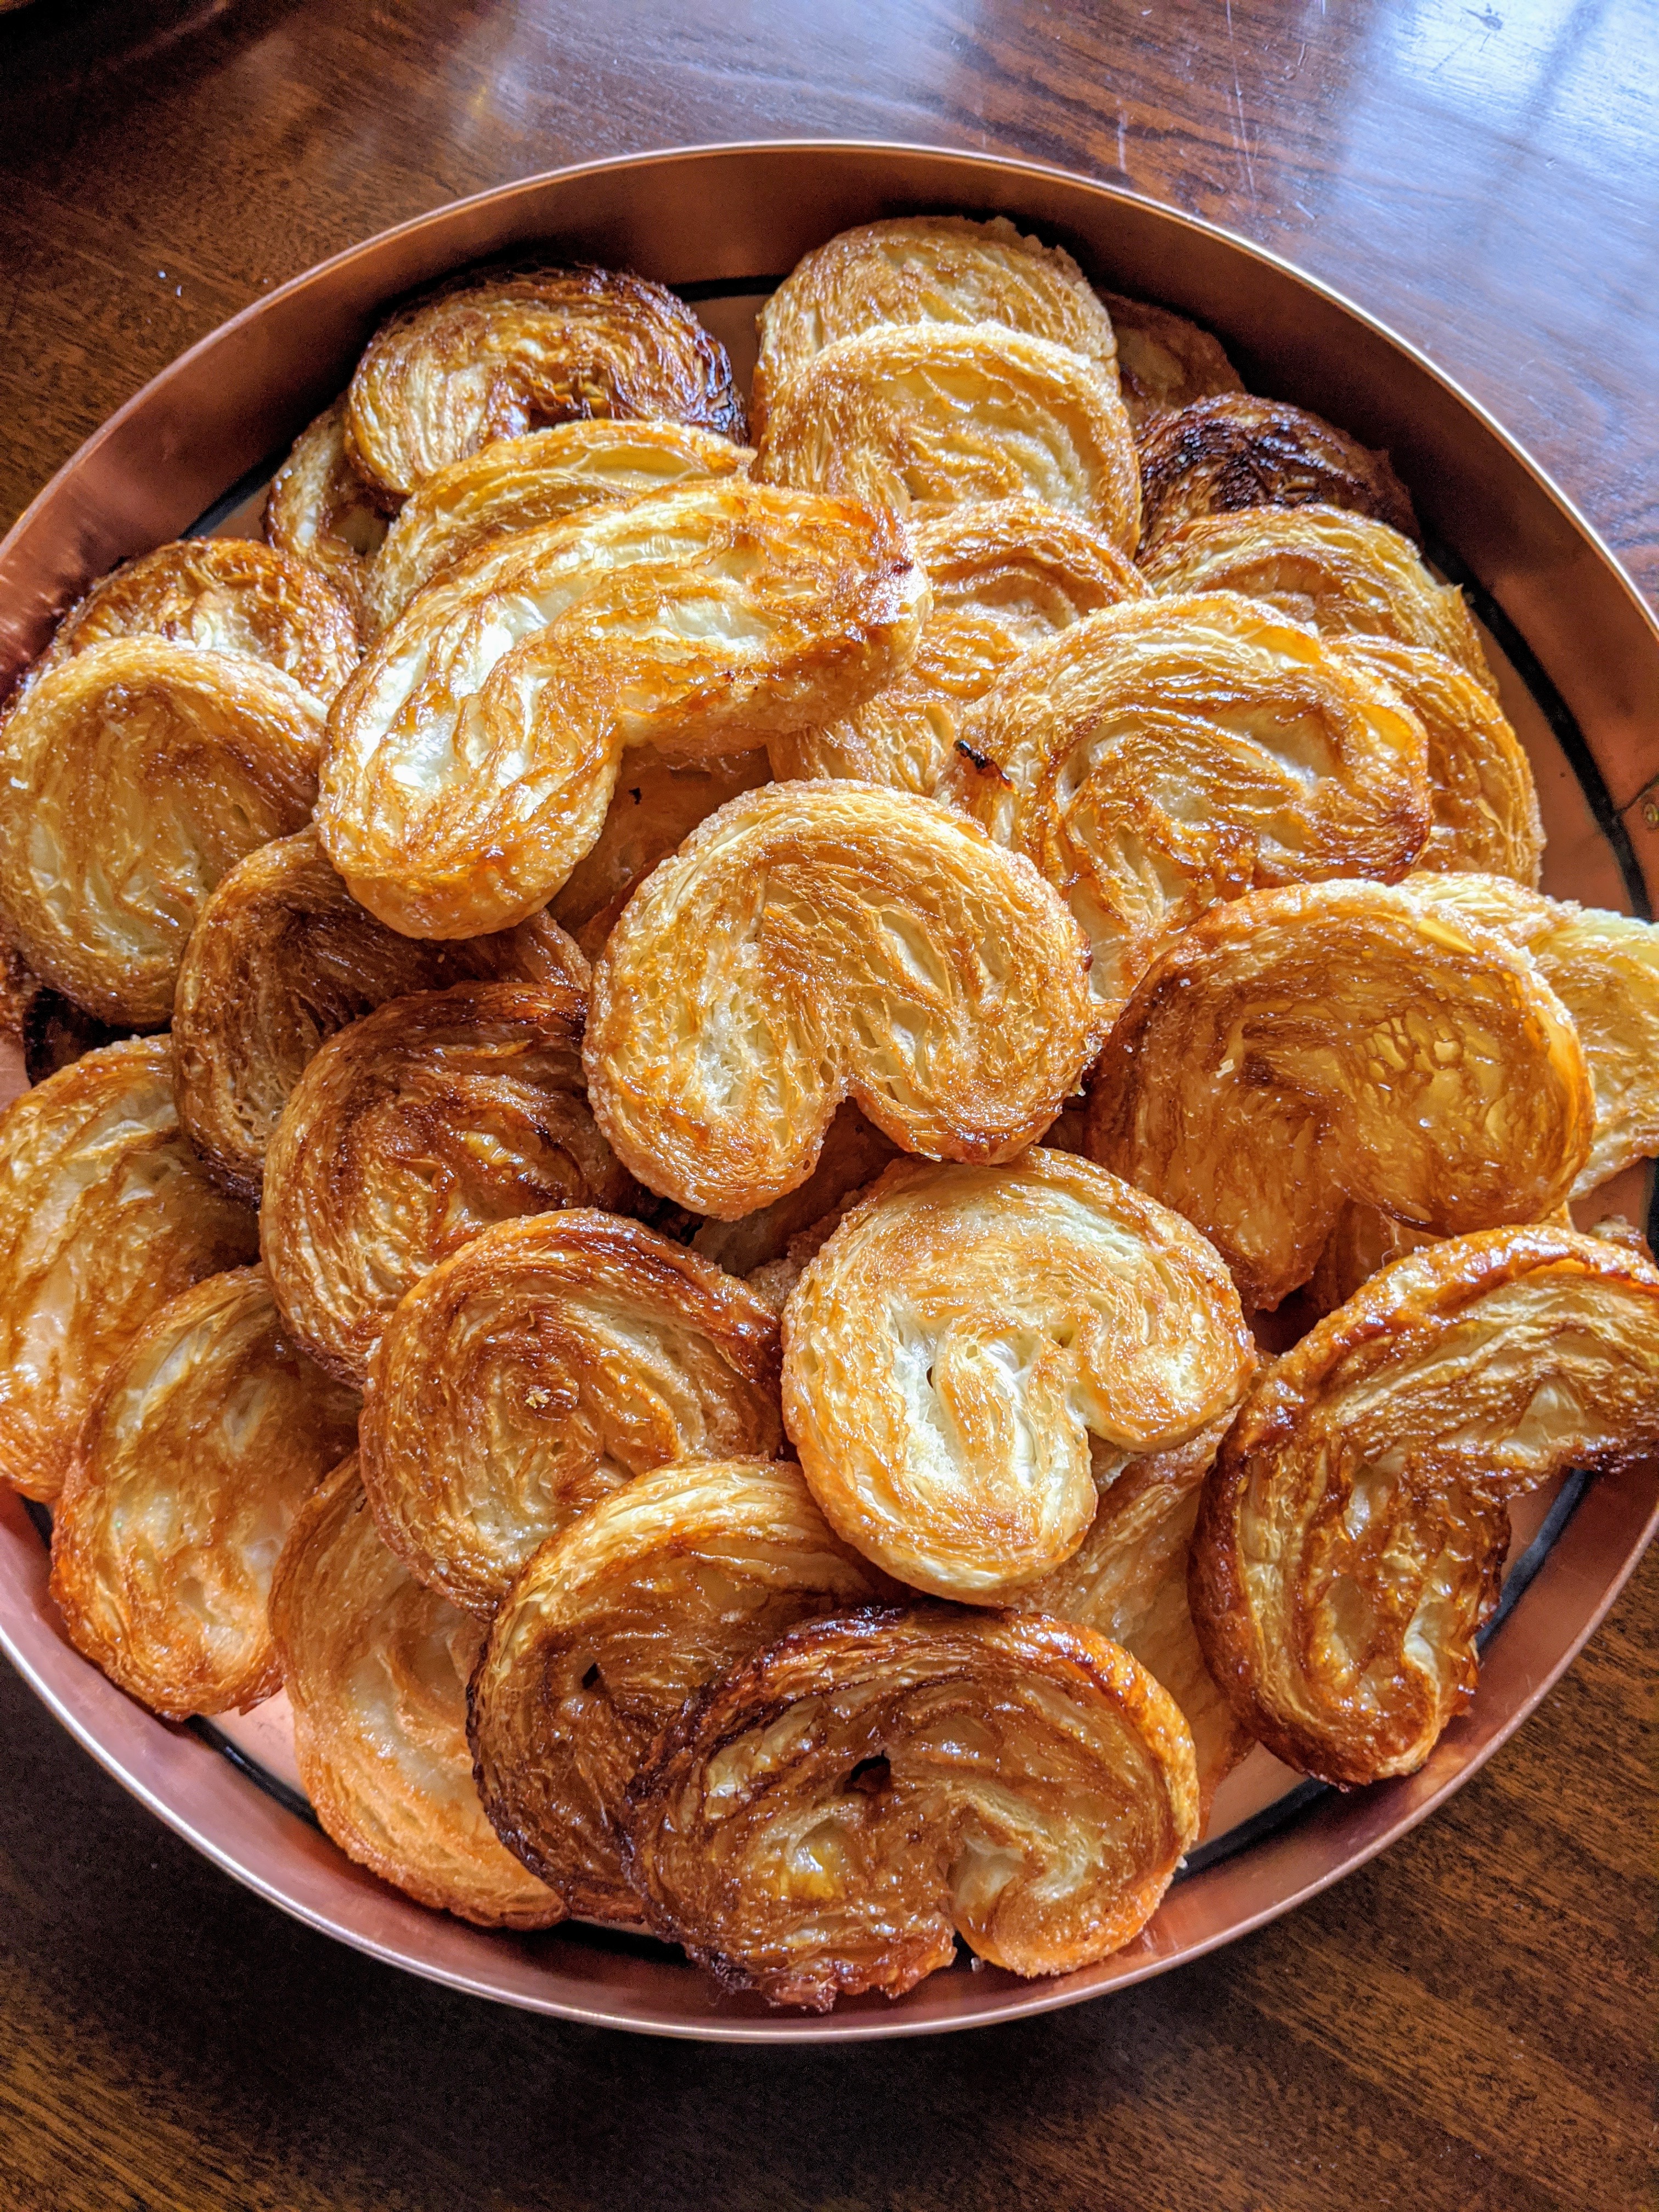
For sweets, I made these gorgeous palmiers, also known as pig’s ears, palm hearts, or elephant ears. These are French pastries made in a palm leaf shape or a butterfly shape. My guests loved these so much, they were gone before I got to even taste one myself.
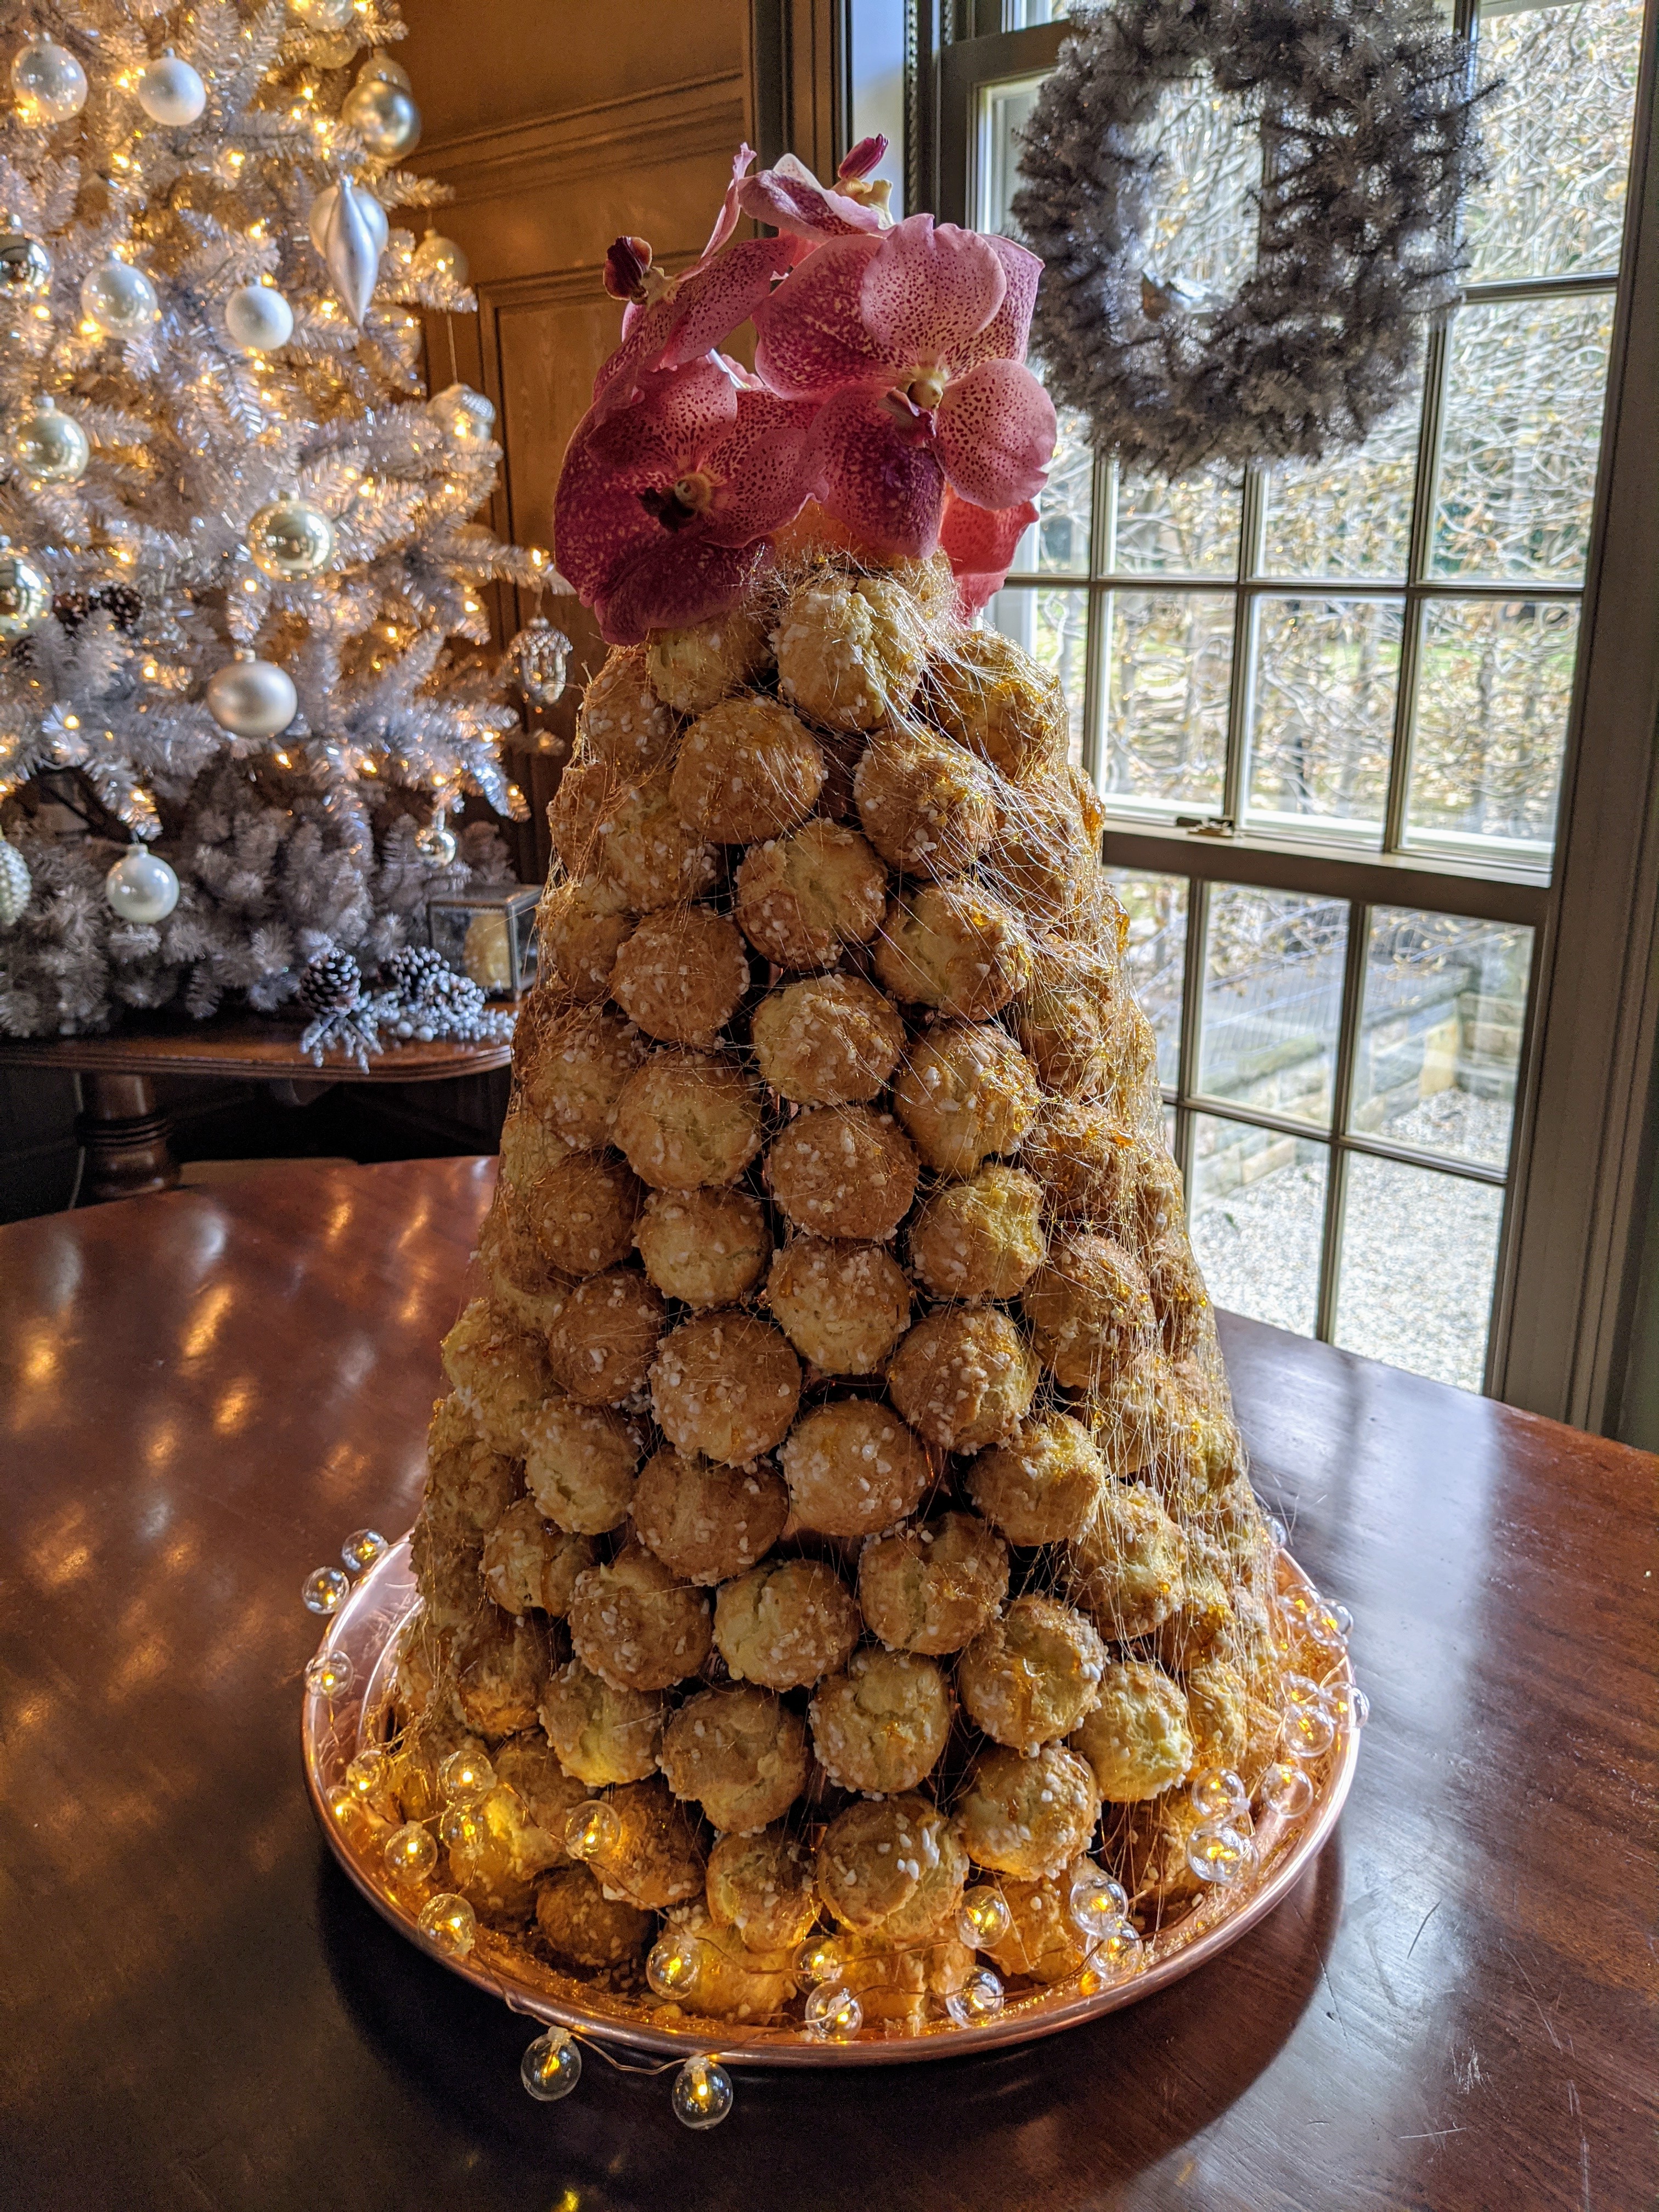
We also made a beautiful croquembouche – a French dessert consisting of choux pastry puffs filled with creme patissiere piled into a cone and bound with threads and threads of caramel. We topped ours with orchid flowers because we didn’t make enough puffs.
Also in my Brown Room – my precious Drabware manger set, which I made years ago. While Drabware tones vary from light coffee to dark olive, it took me a while to get this perfect hue – I love it. I fired and glazed all the pieces myself and then embellished it with palm trees imported from Germany.
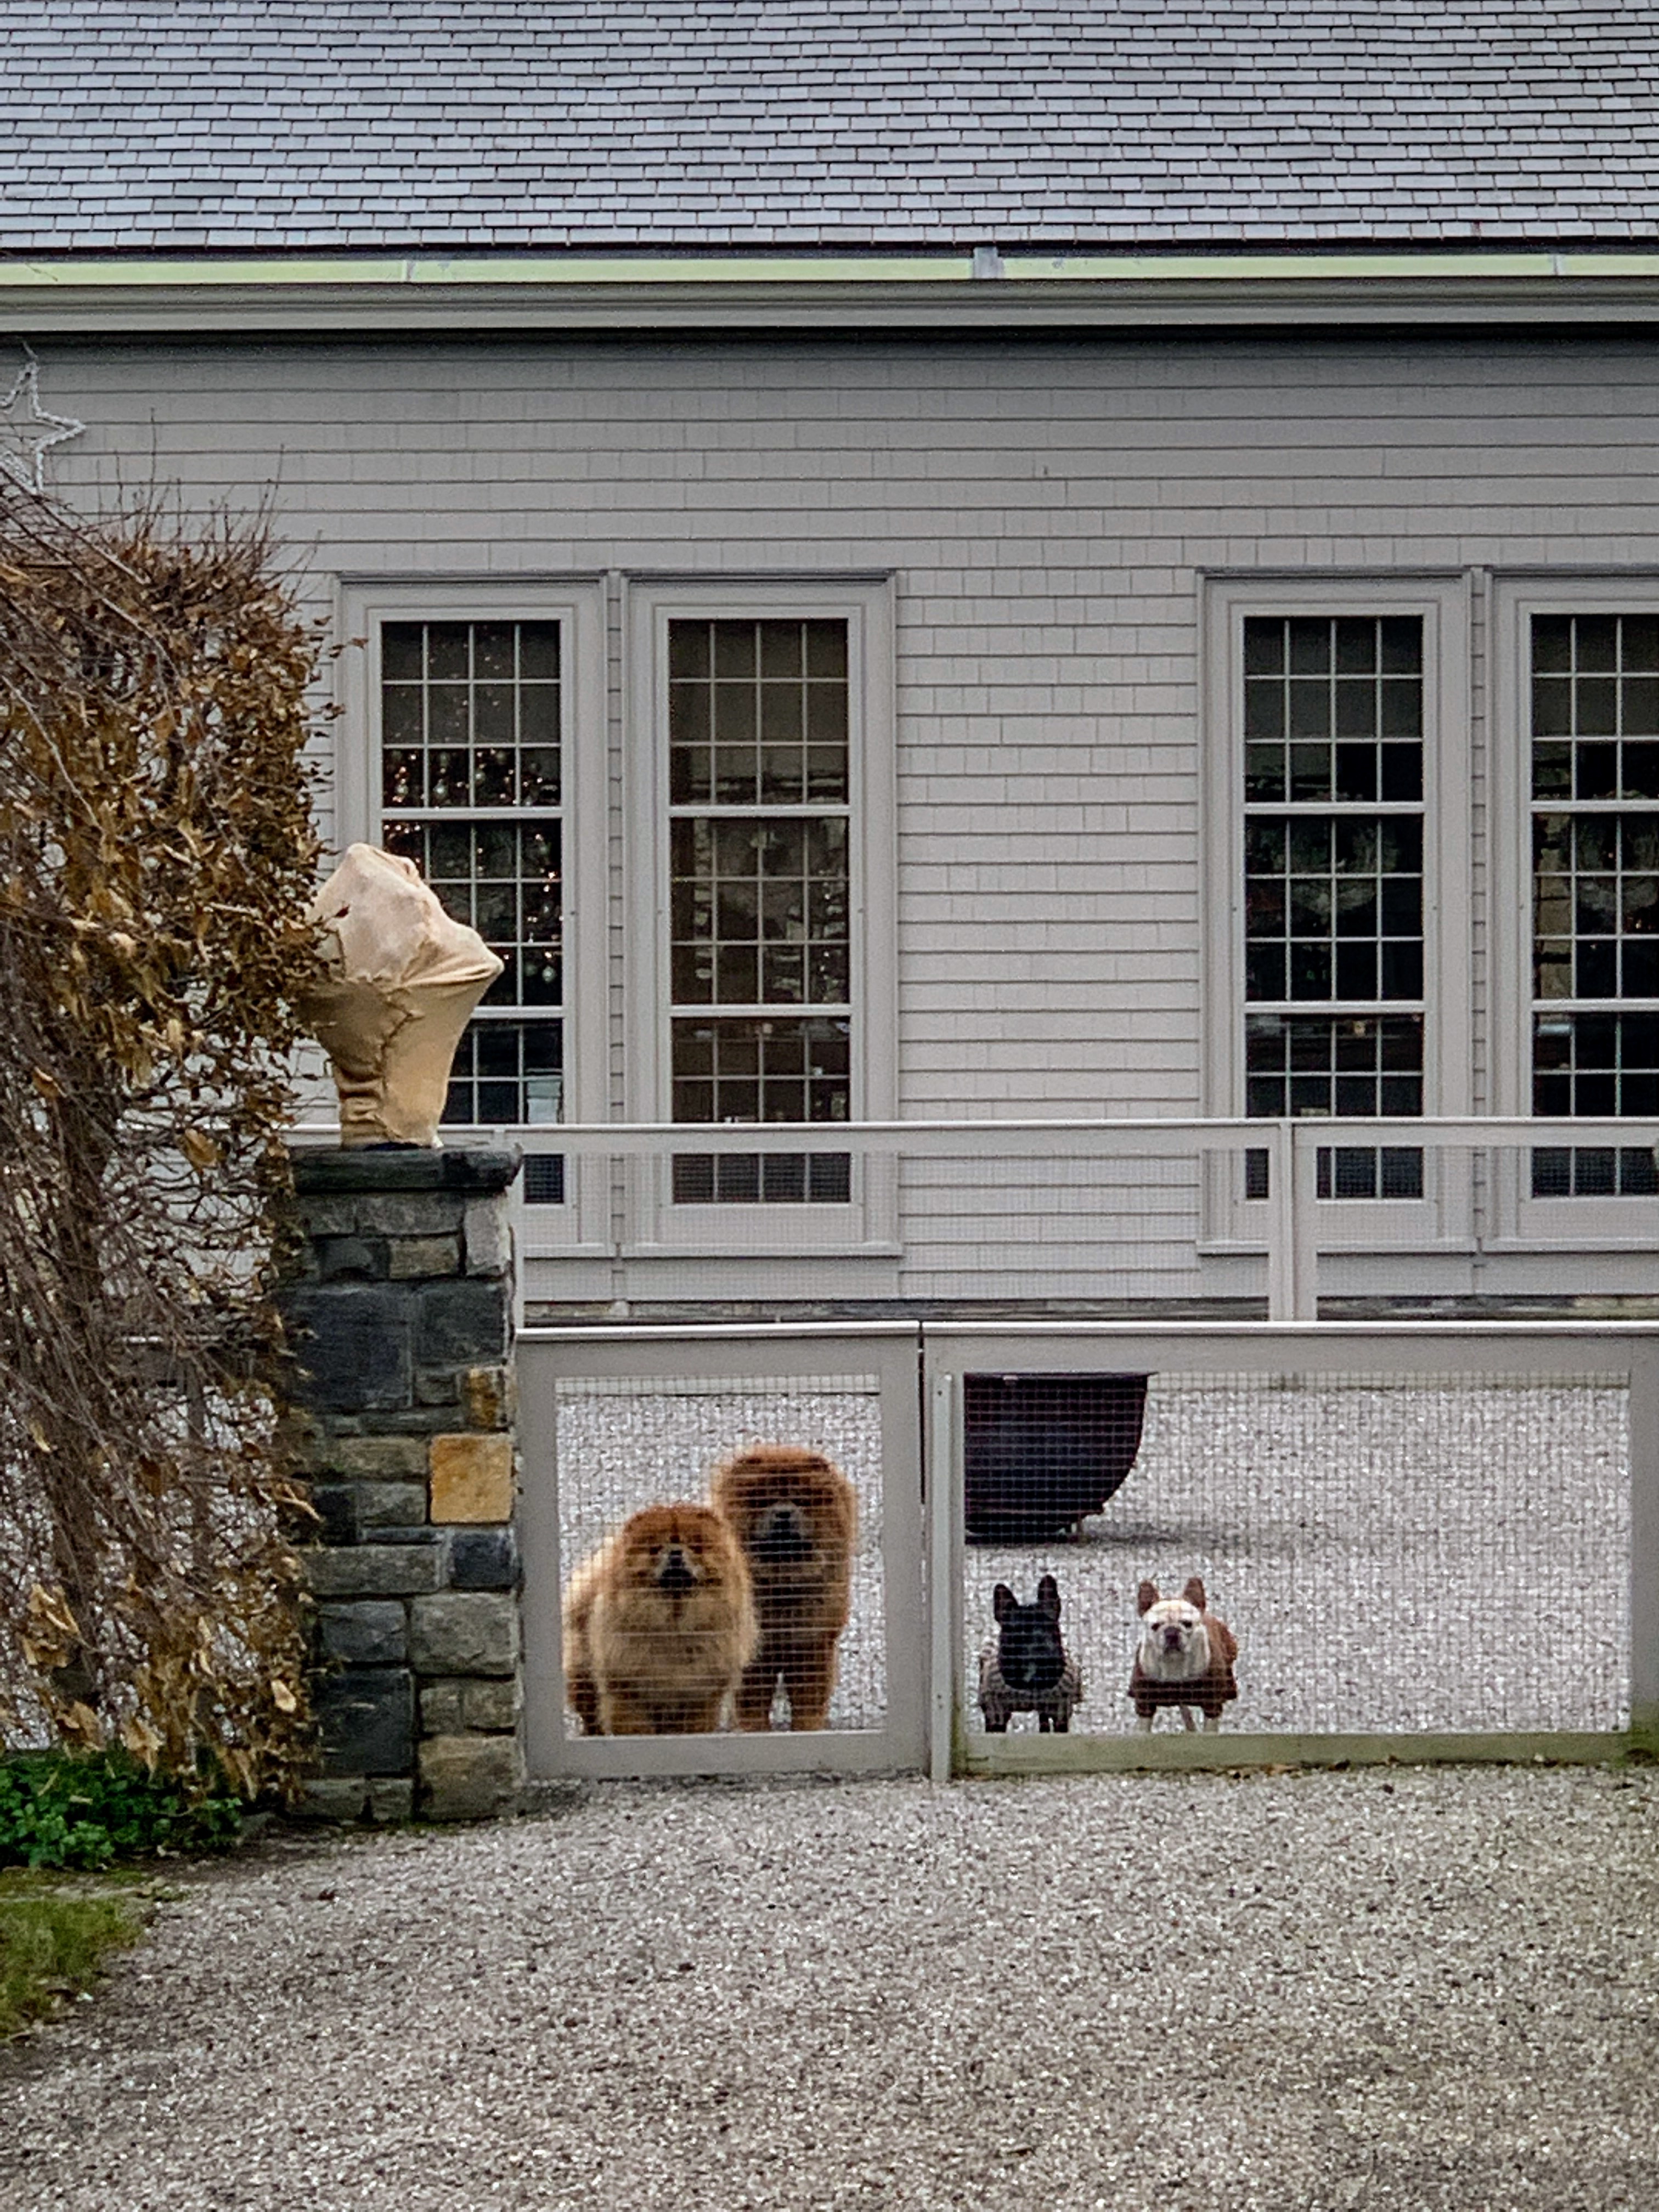
Outside, Empress Qin, Emperor Han, Bete Noire, and Creme Brulee stand guard – picture perfect.
Here is a fun snapshot of television correspondent and Editor-at-Large at Ballantine Bantam Dell, Alina Cho @thealinacho, Douglas @DouglasFriedman, Sarah Carey @sarahcarey1, and Kevin @seenbysharkey outside on my terrace parterre.
And here he is, the jolly ol’ man himself – Santa Claus. Santa, played by Fernando Ferrari, wished everyone a Merry Christmas as they walked from house to house.
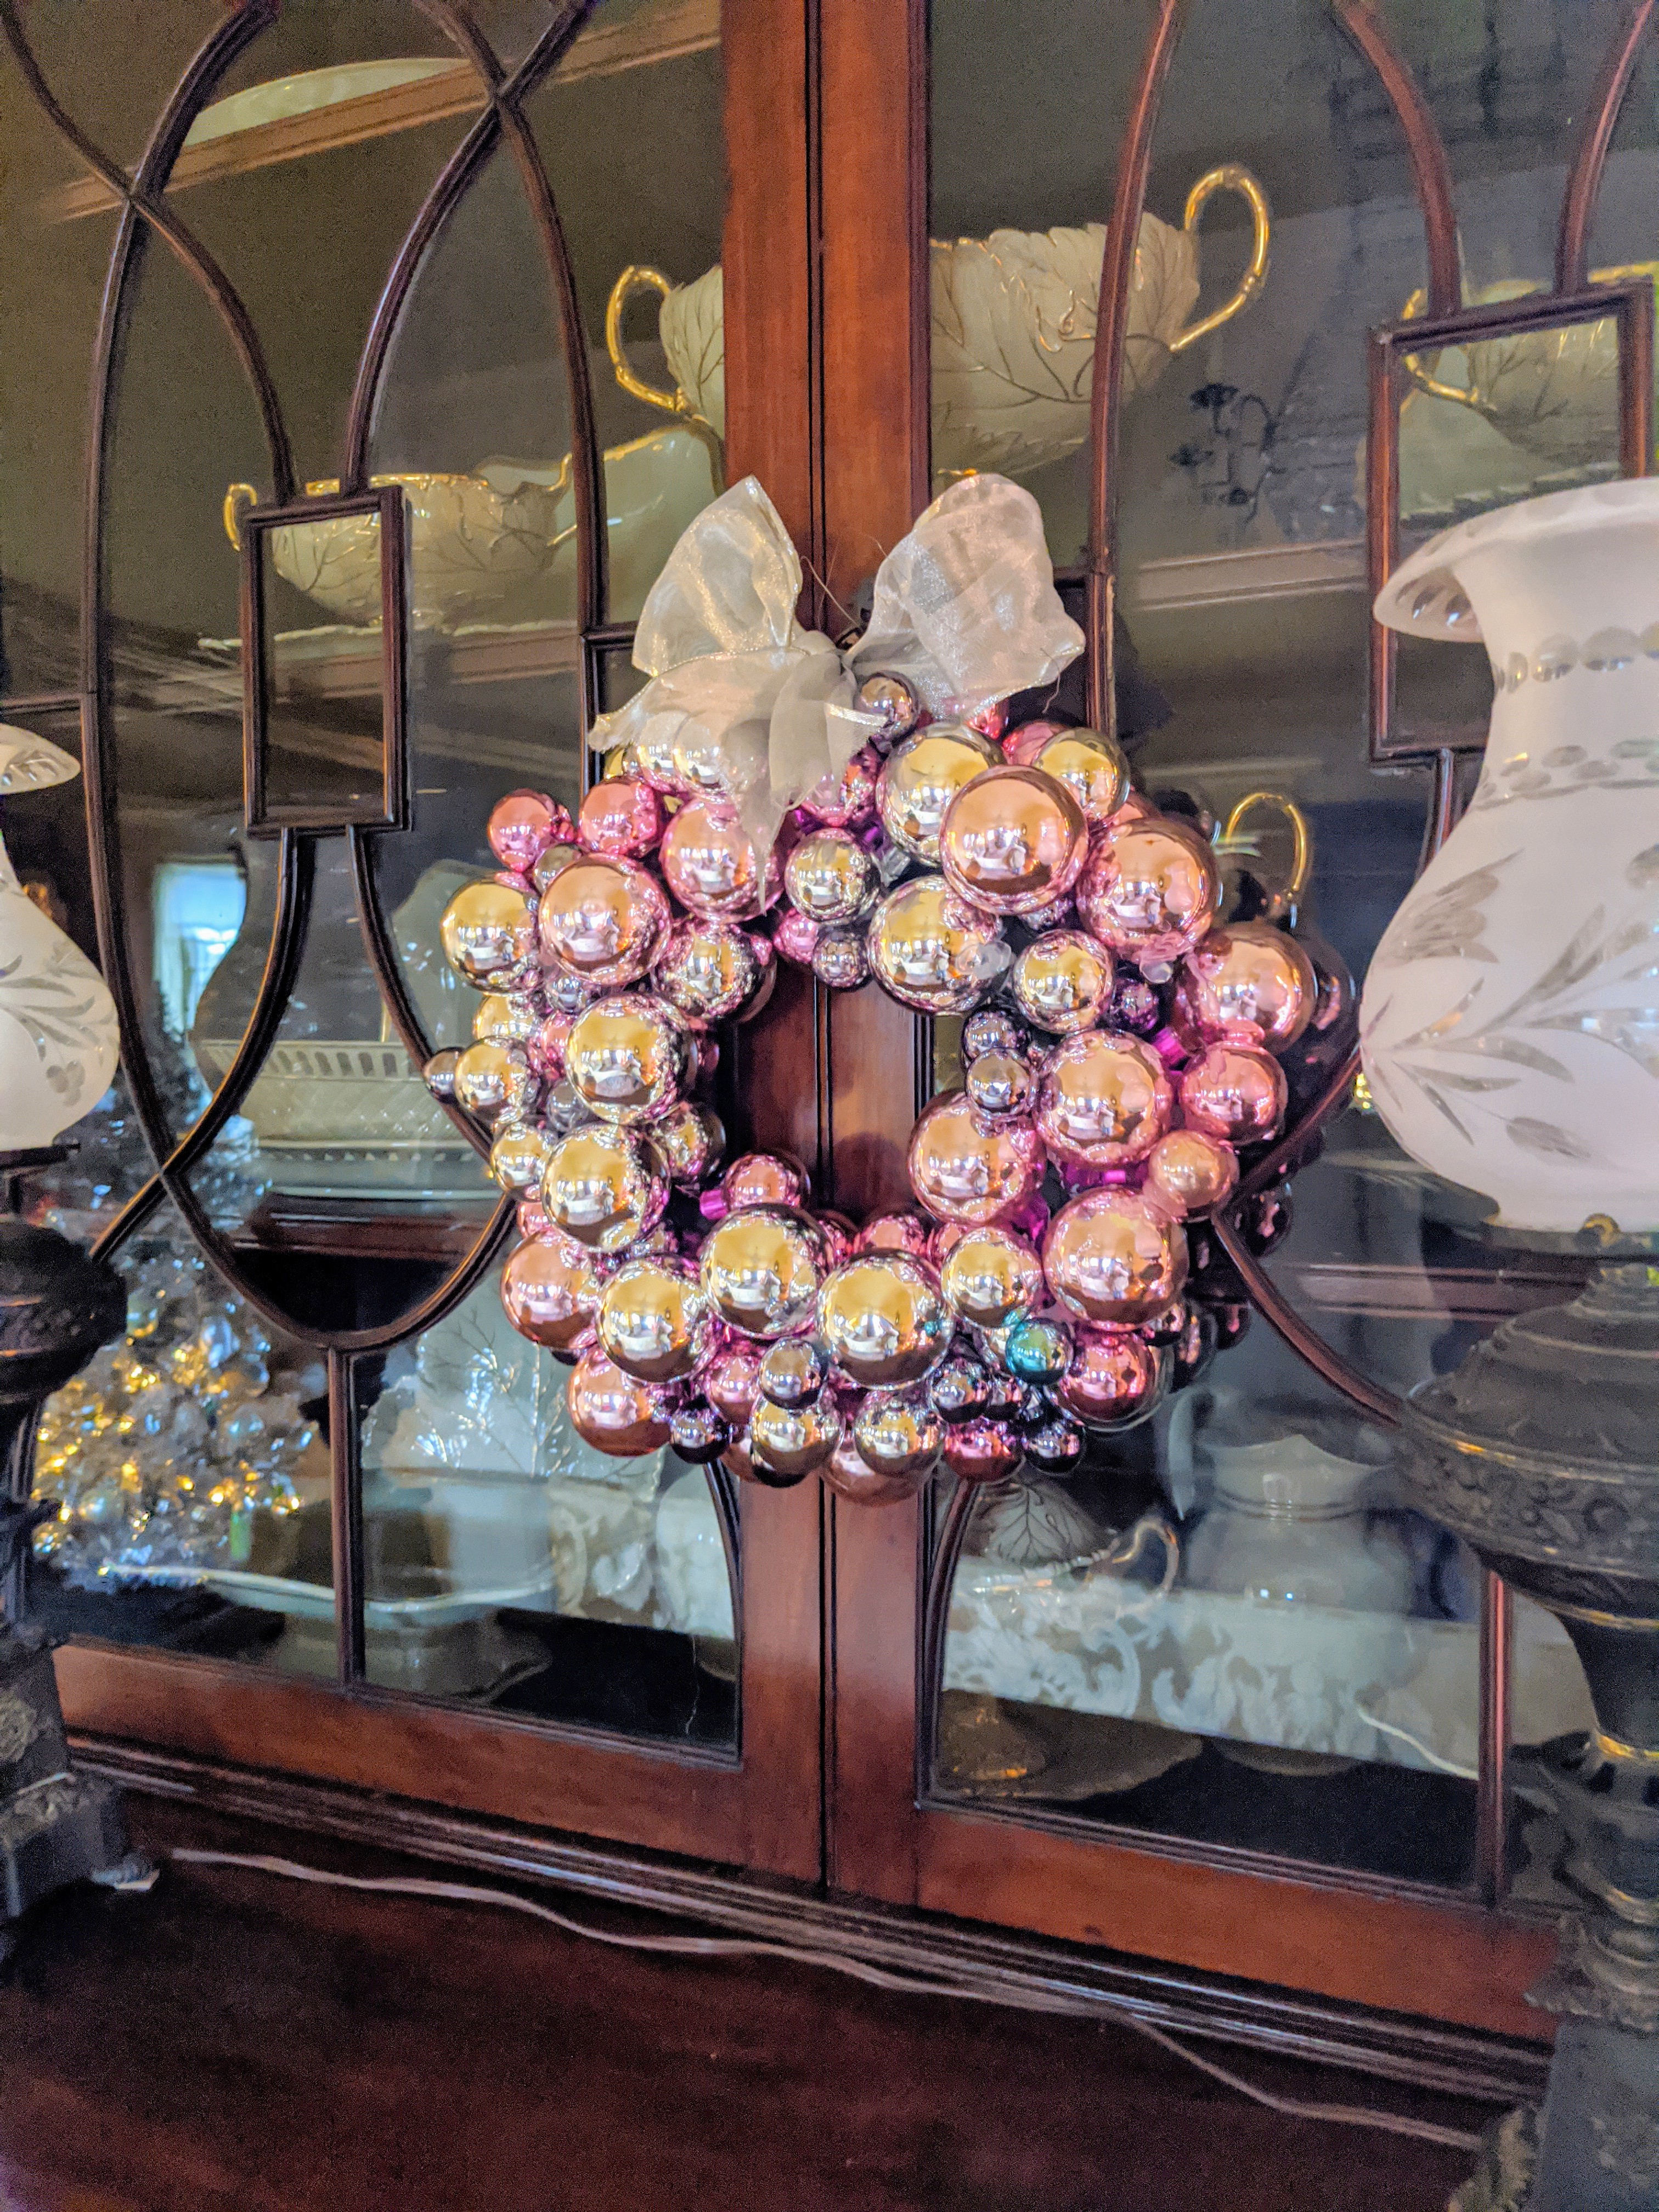
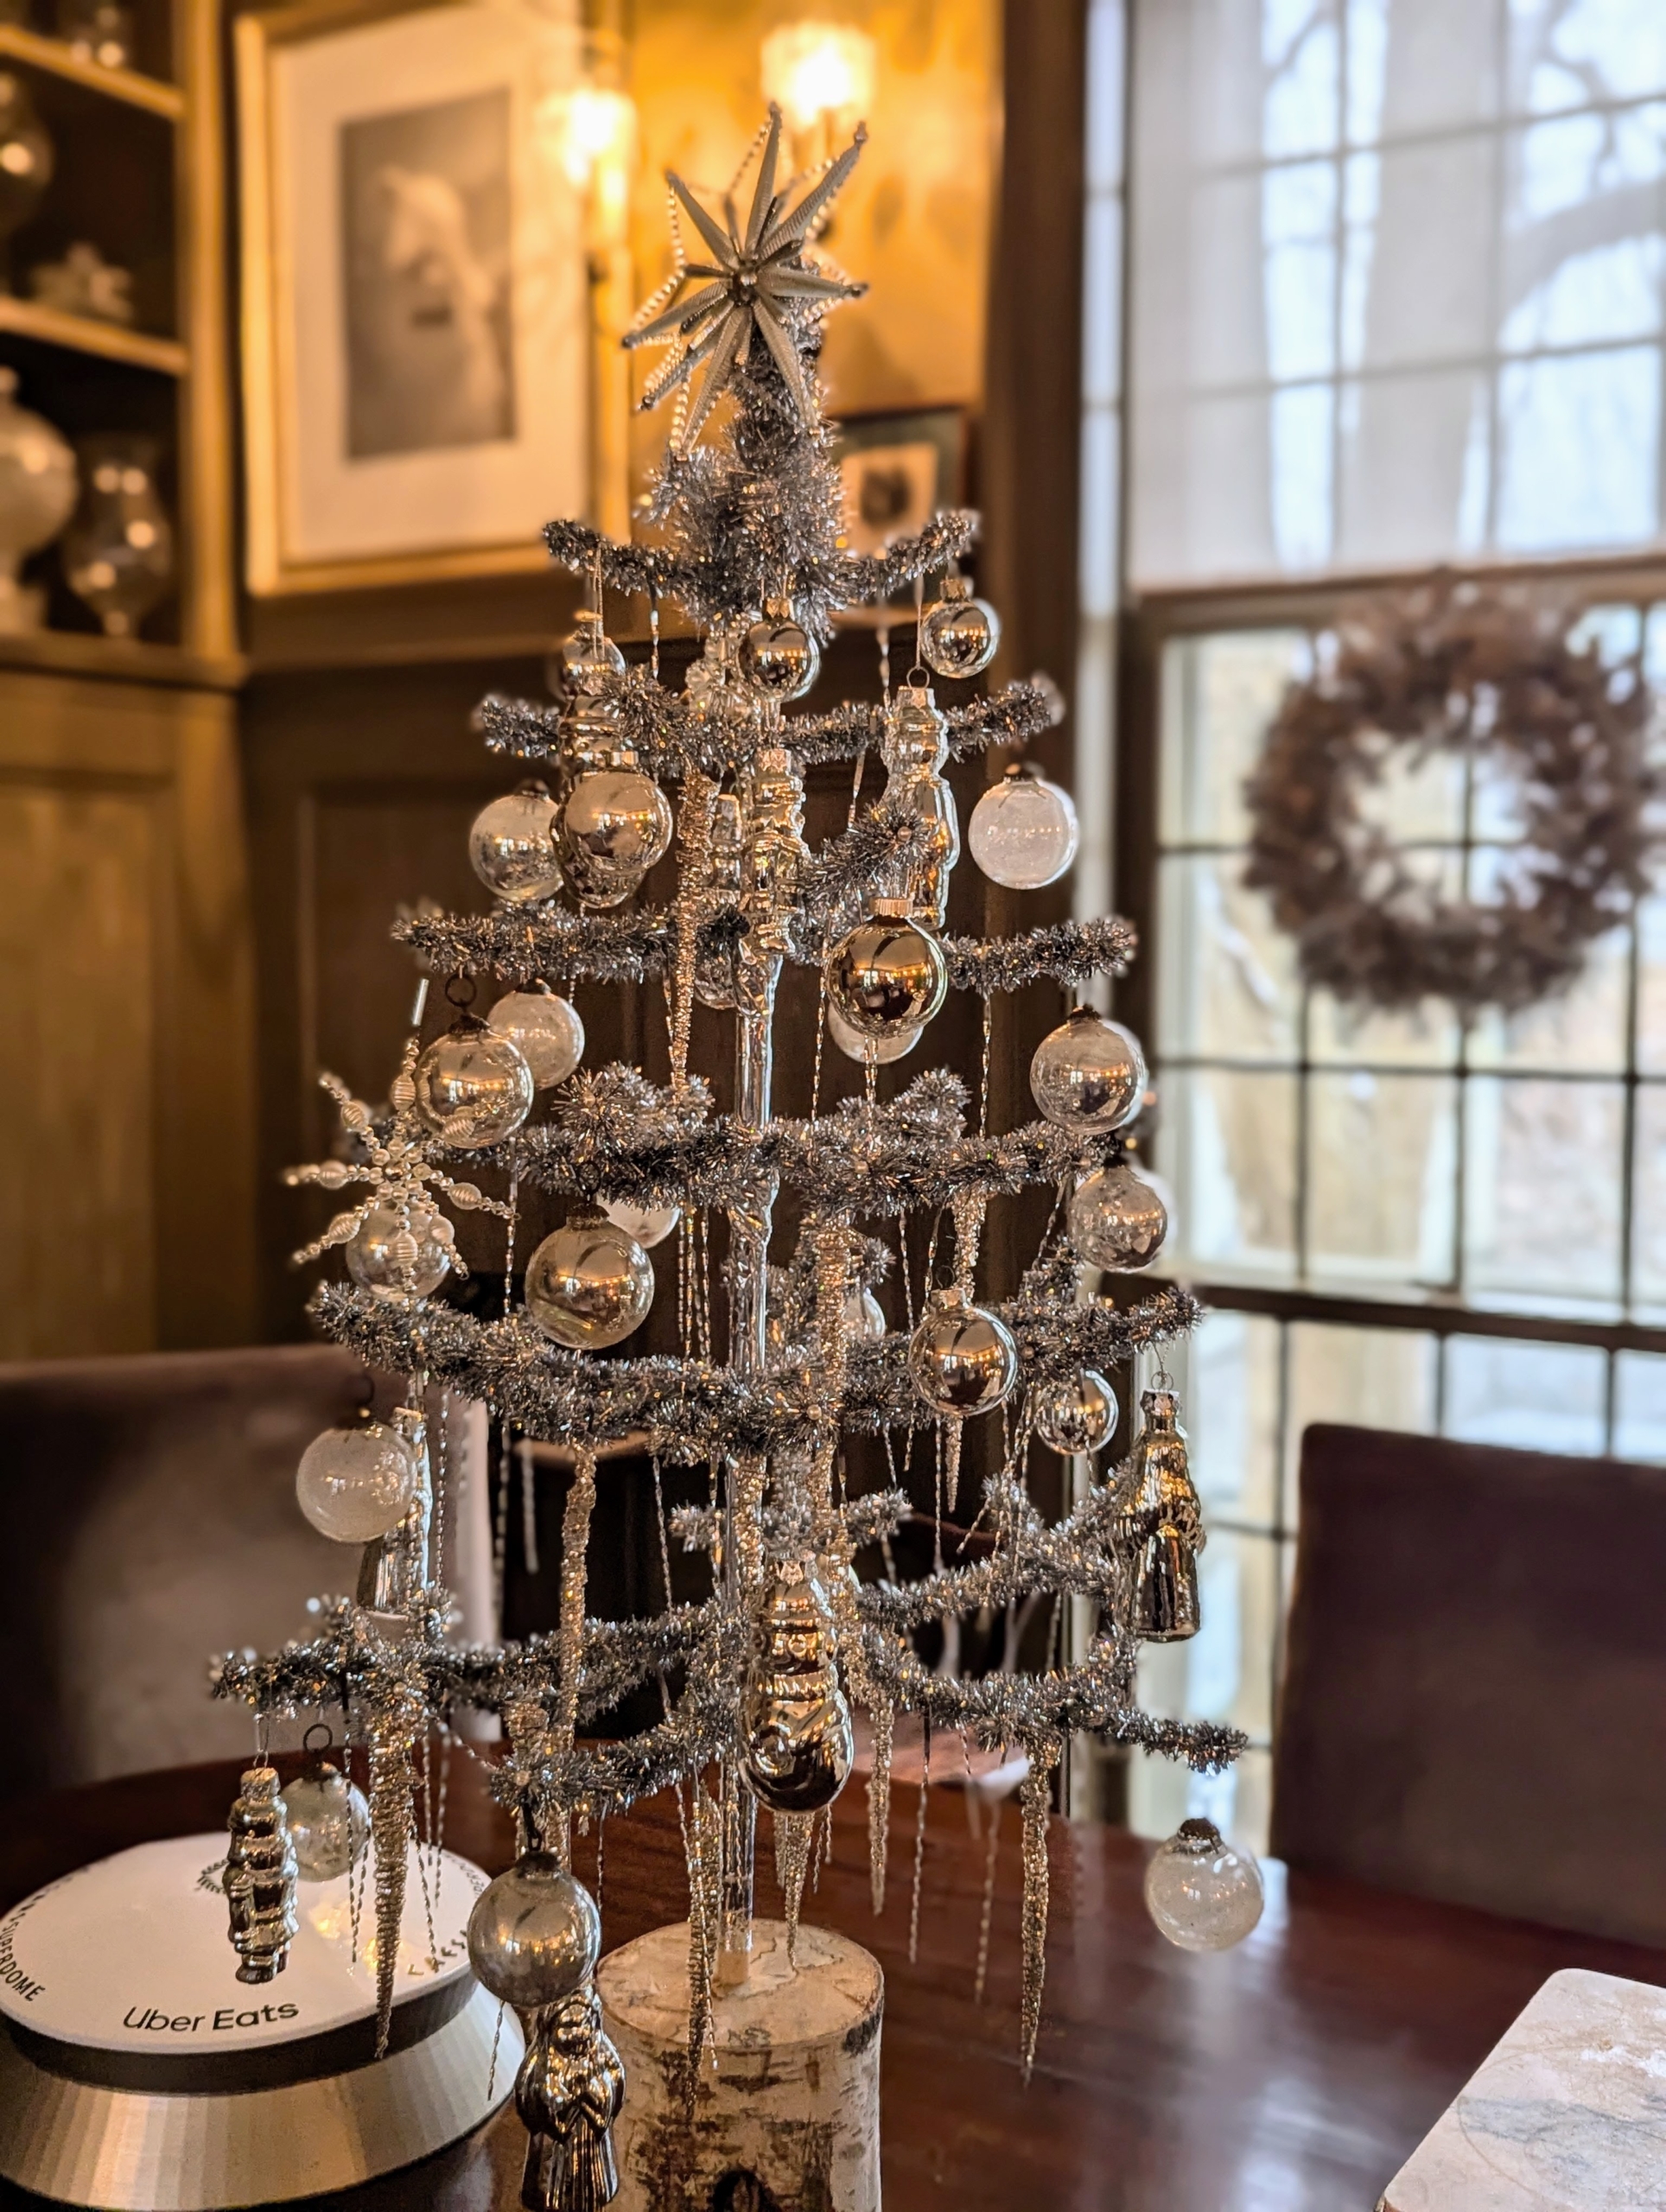
My Summer House was where guests could sit and share holiday stories and plans while eating sweets and sipping eggnog. It was decorated in lots of pink and silver.
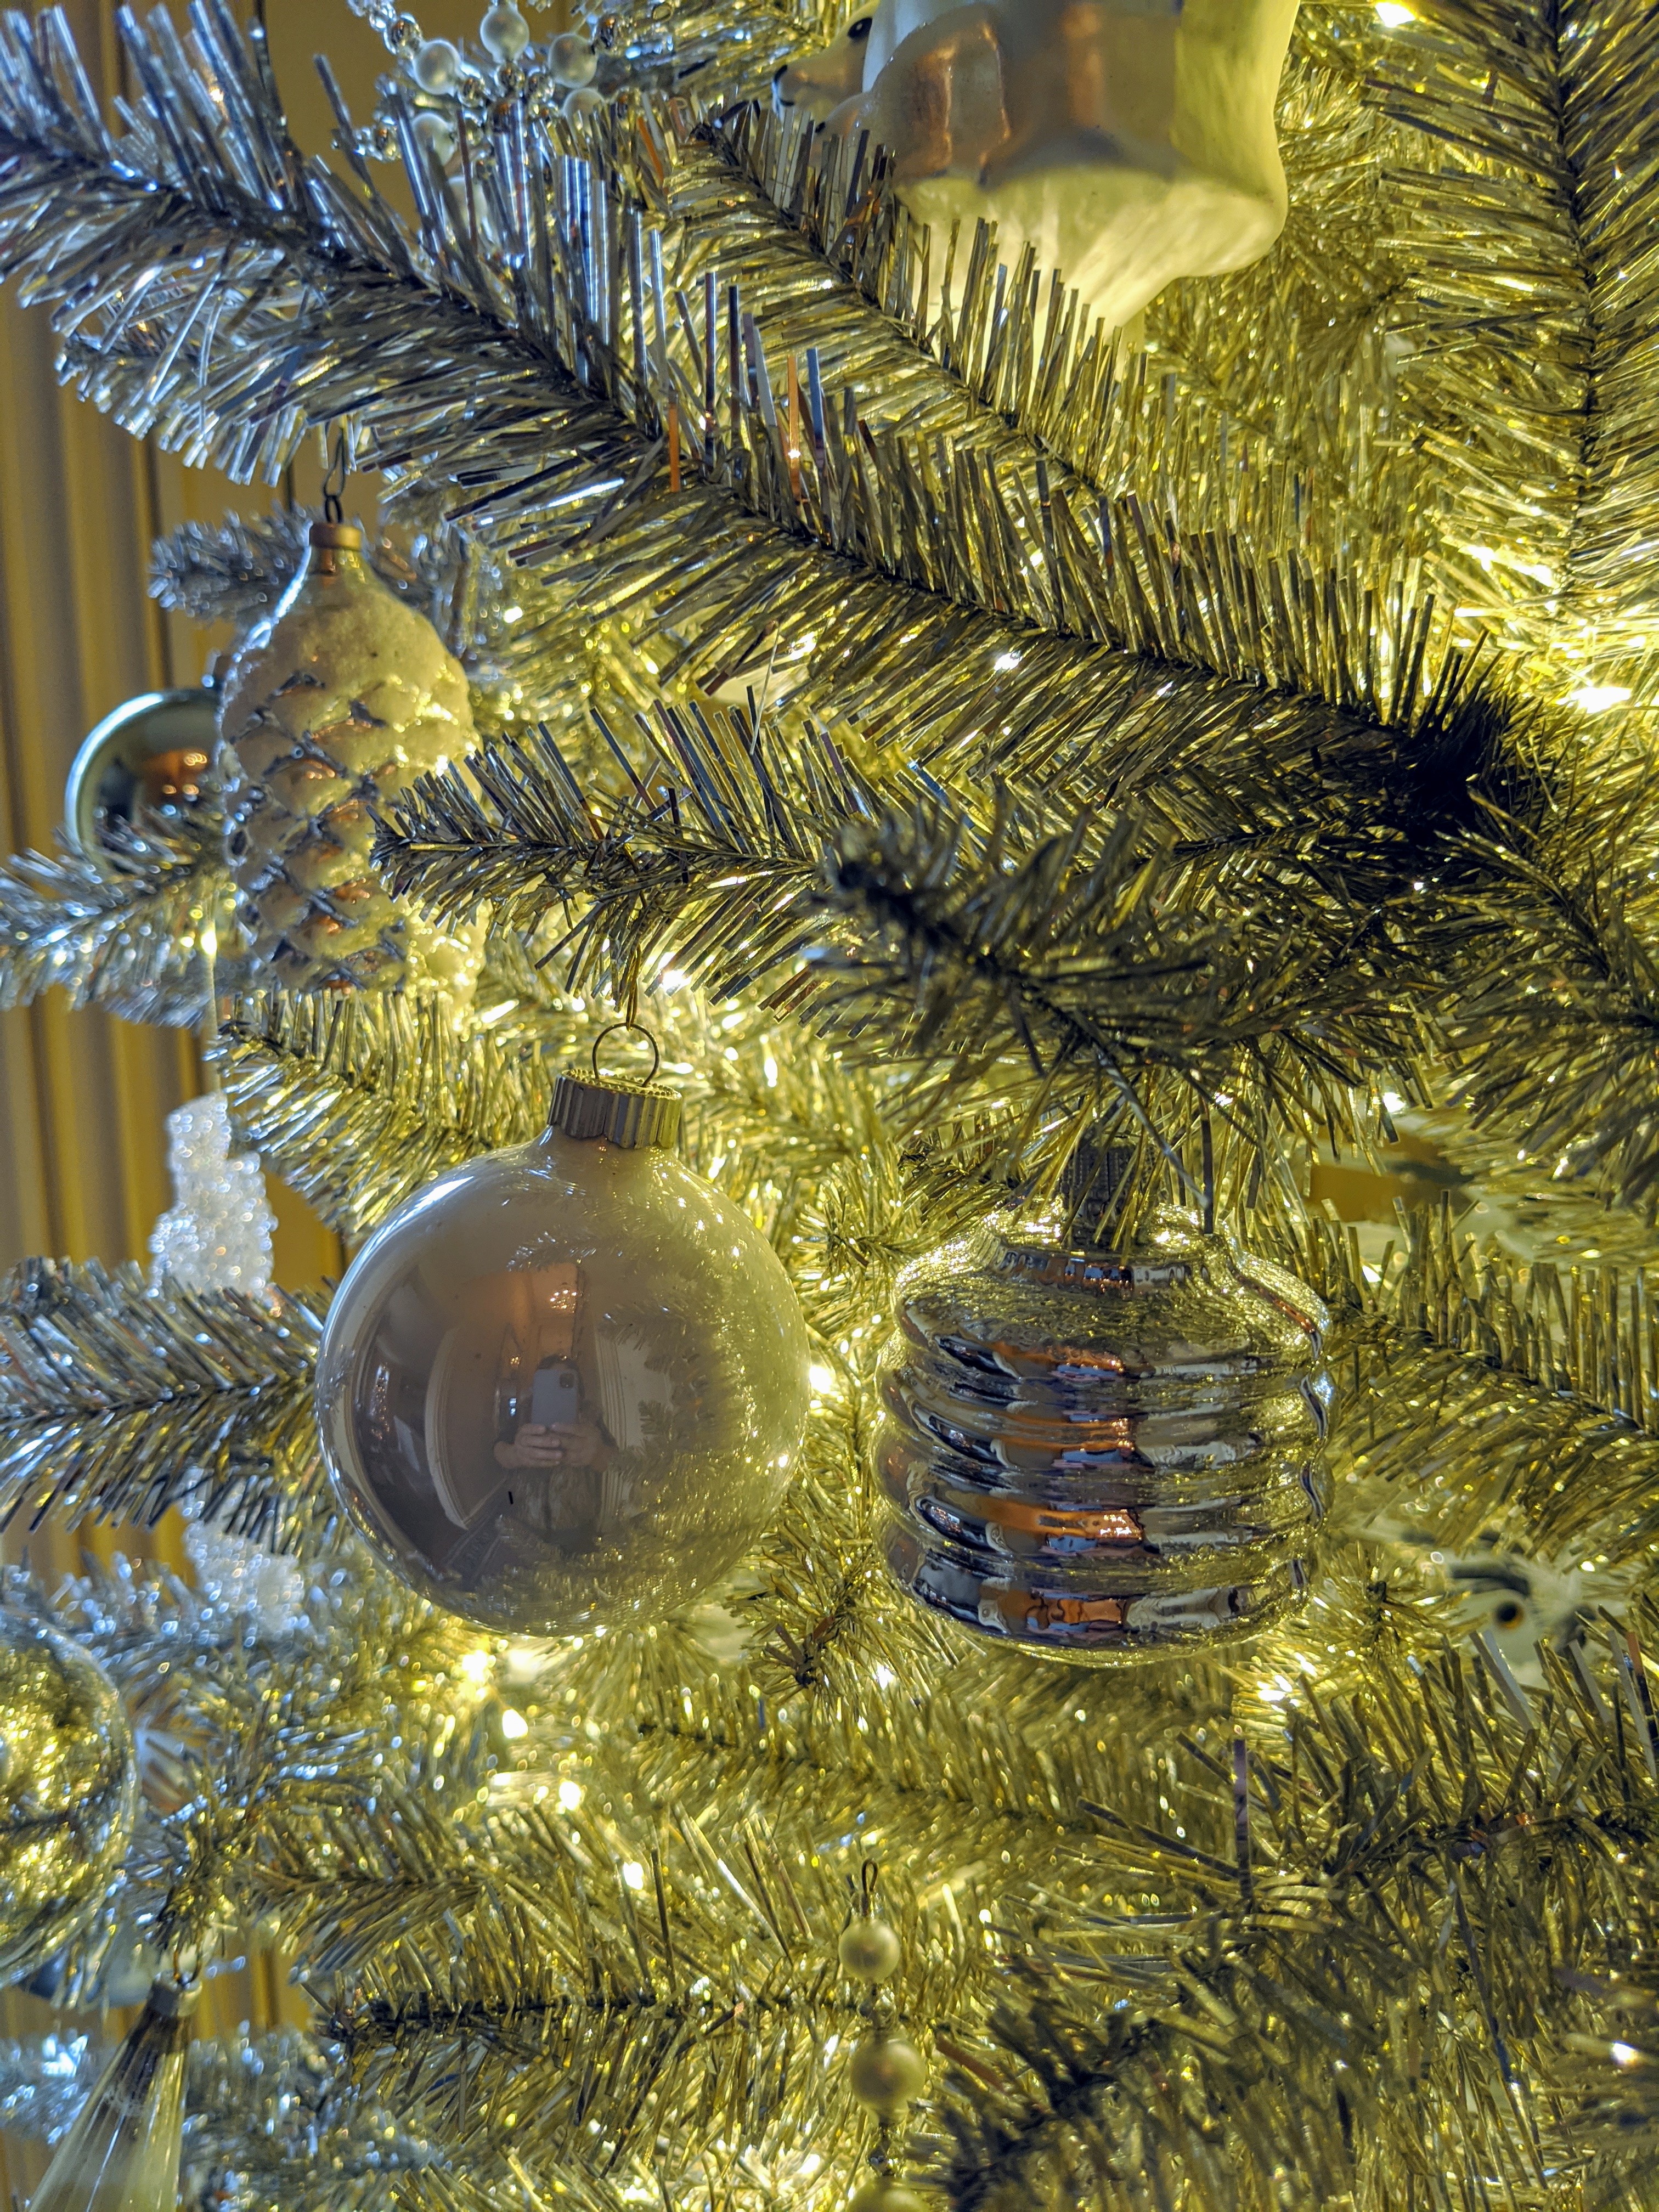
The trees were decked in silver with silver ornaments – I love how everything glistens.
Alexis’s famous Brown Sugar Chocolate Chip Cookies went so fast. Her recipe is in my book, “Entertaining.” Unlike traditional recipes, this batter produces flat and crisp cookies. They are my all-time favorite chocolate chip cookies.
Another lit nativity scene sits on a side table in my Summer House. I got this one from Brazil.
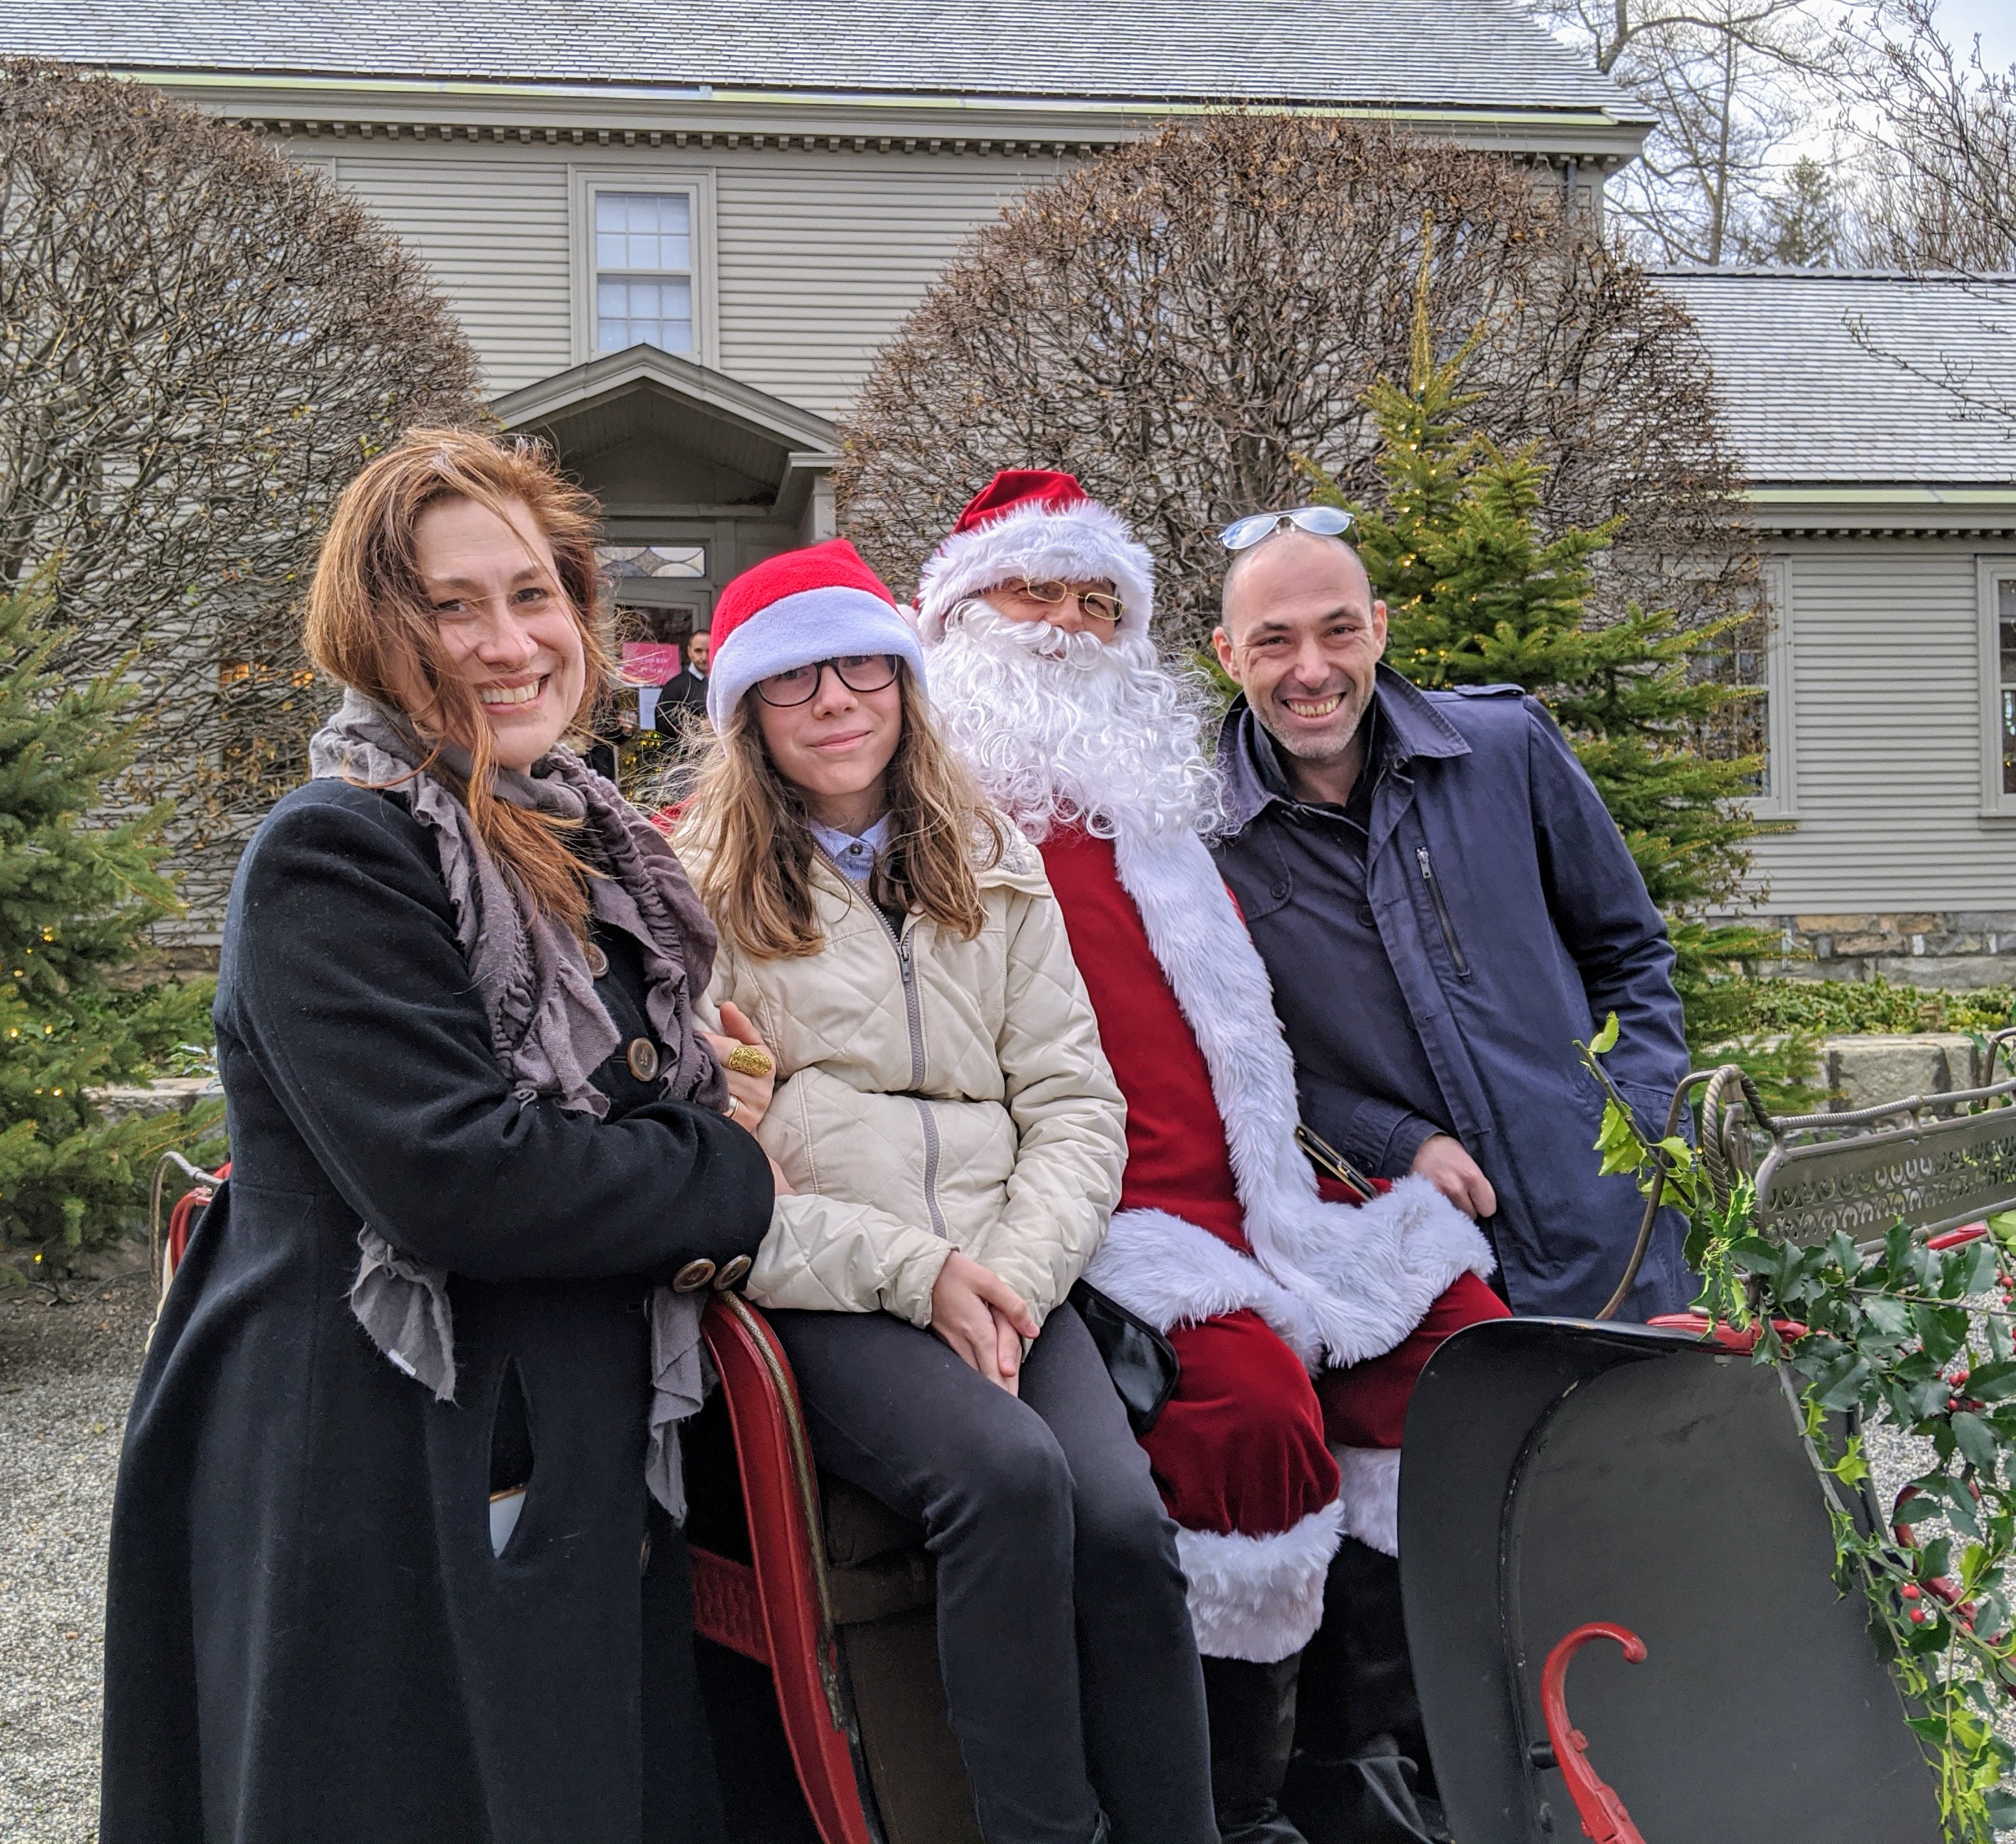
Anduin Havens, her daughter, Harper, and her husband Cedric, stopped for this photo with Santa.
And here are my neighbors, Laura Blau, and her husband, Michael Citro.
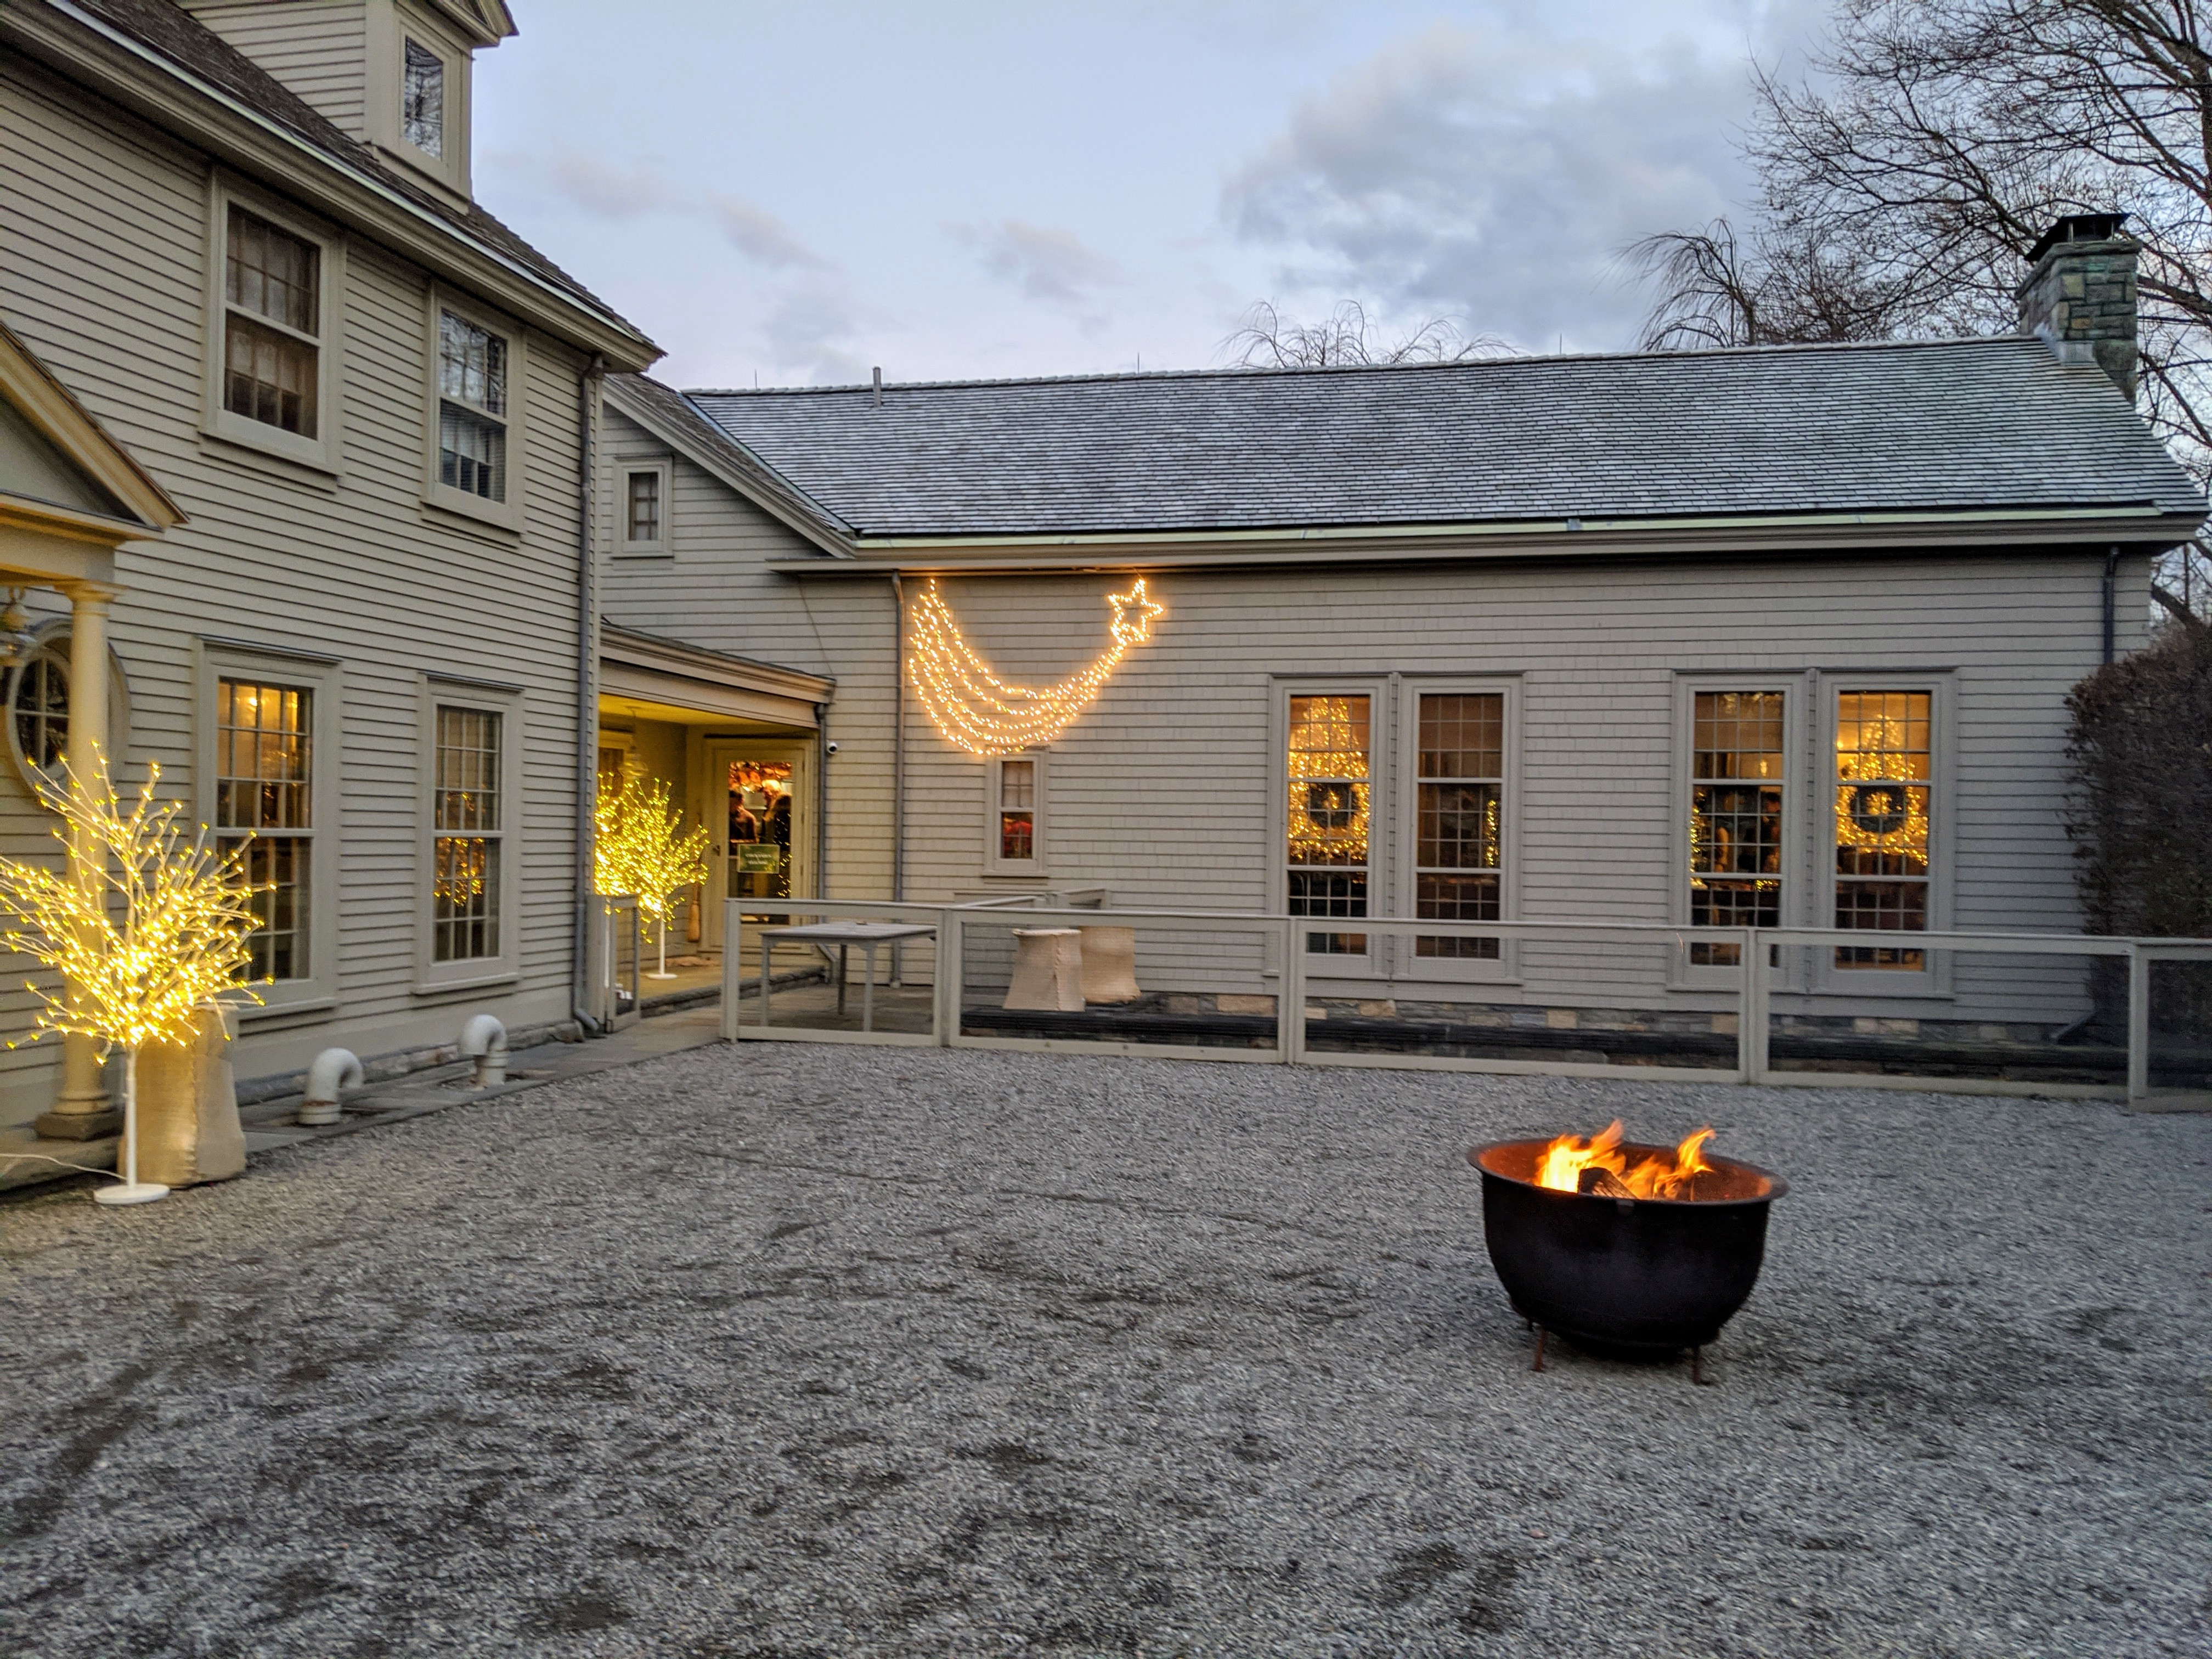
All the outdoor decorations glimmered in the early evening light. My holiday party was from 3pm to 6pm, so everyone could enjoy the farm’s festive lights.
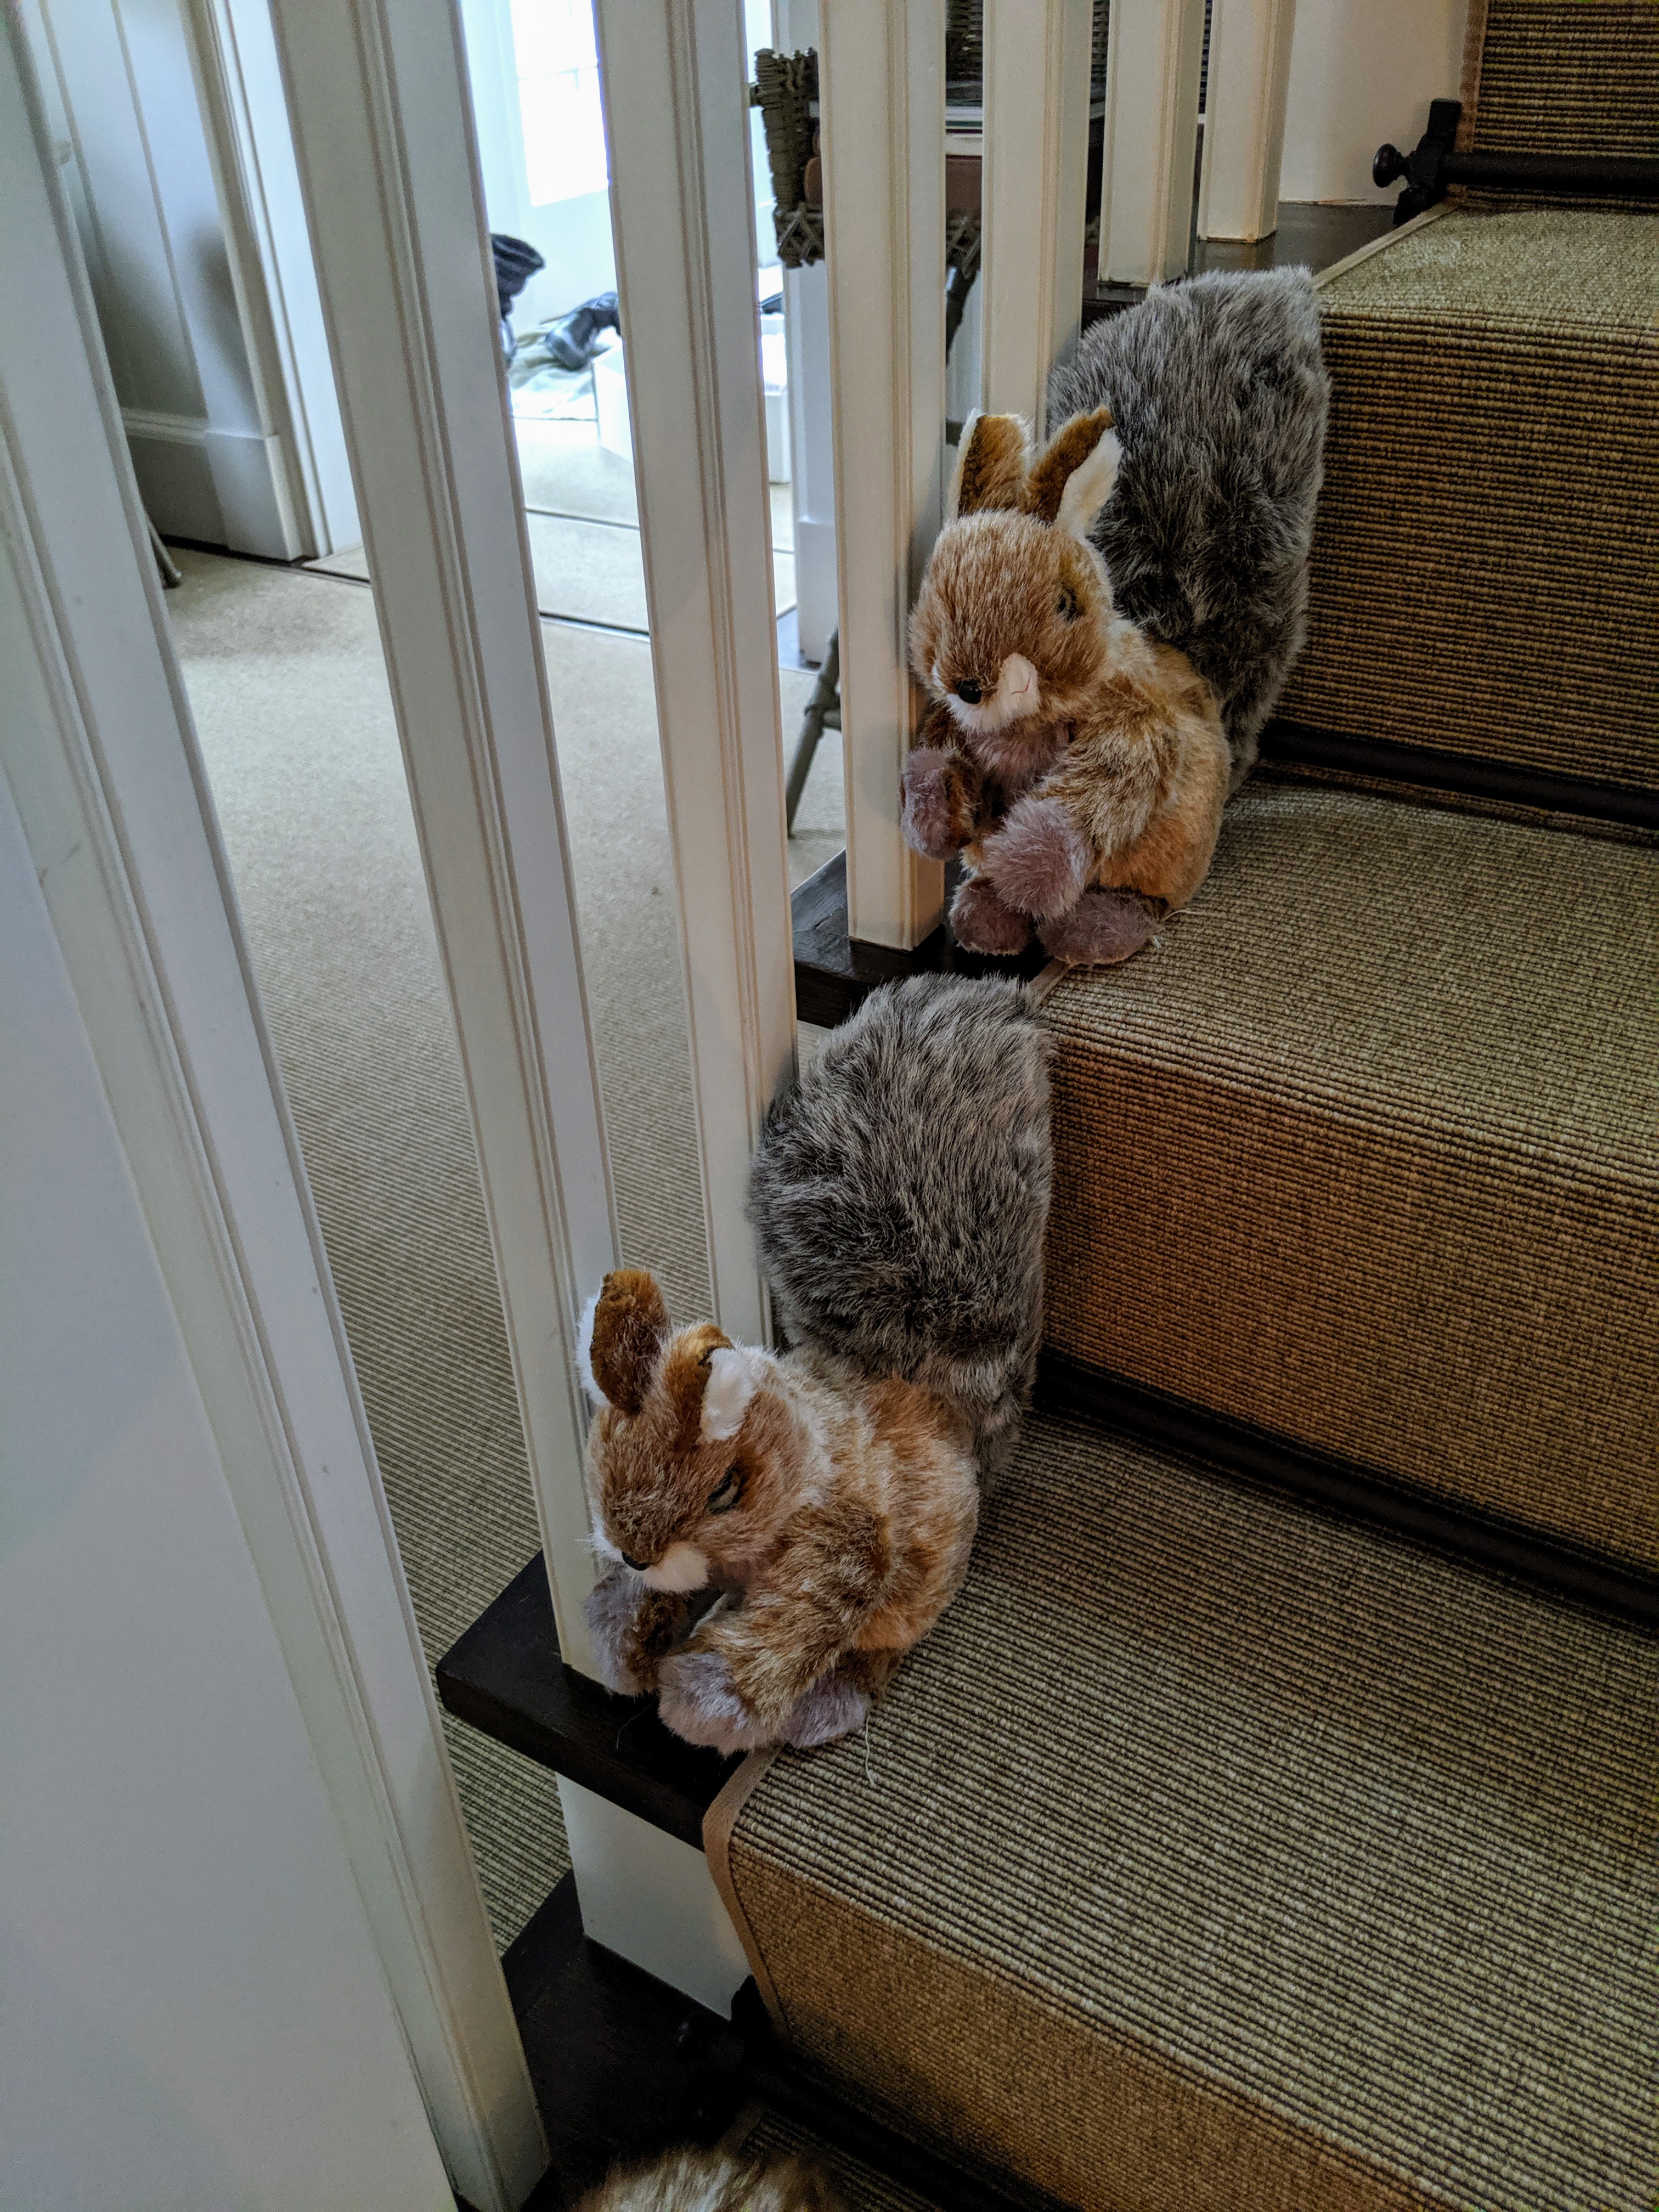
Guests were told not to miss the “Cookie House” – Alexis’s little Tenant House was filled with more sweet treats. We made about 2500-cookies in all. Molly Wenk @moll_doll23 and Jessie Damuck @jessdamuck baked cookies for four days. Many of the recipes are from my books and my web site at MarthaStewart.com. In this house, they were surrounded by whimsical woodland animals and miniature figurines – the children loved this house the best.
Because my grandchildren stay here when they visit, I love decorating the space for them with lots of stuffed toys.
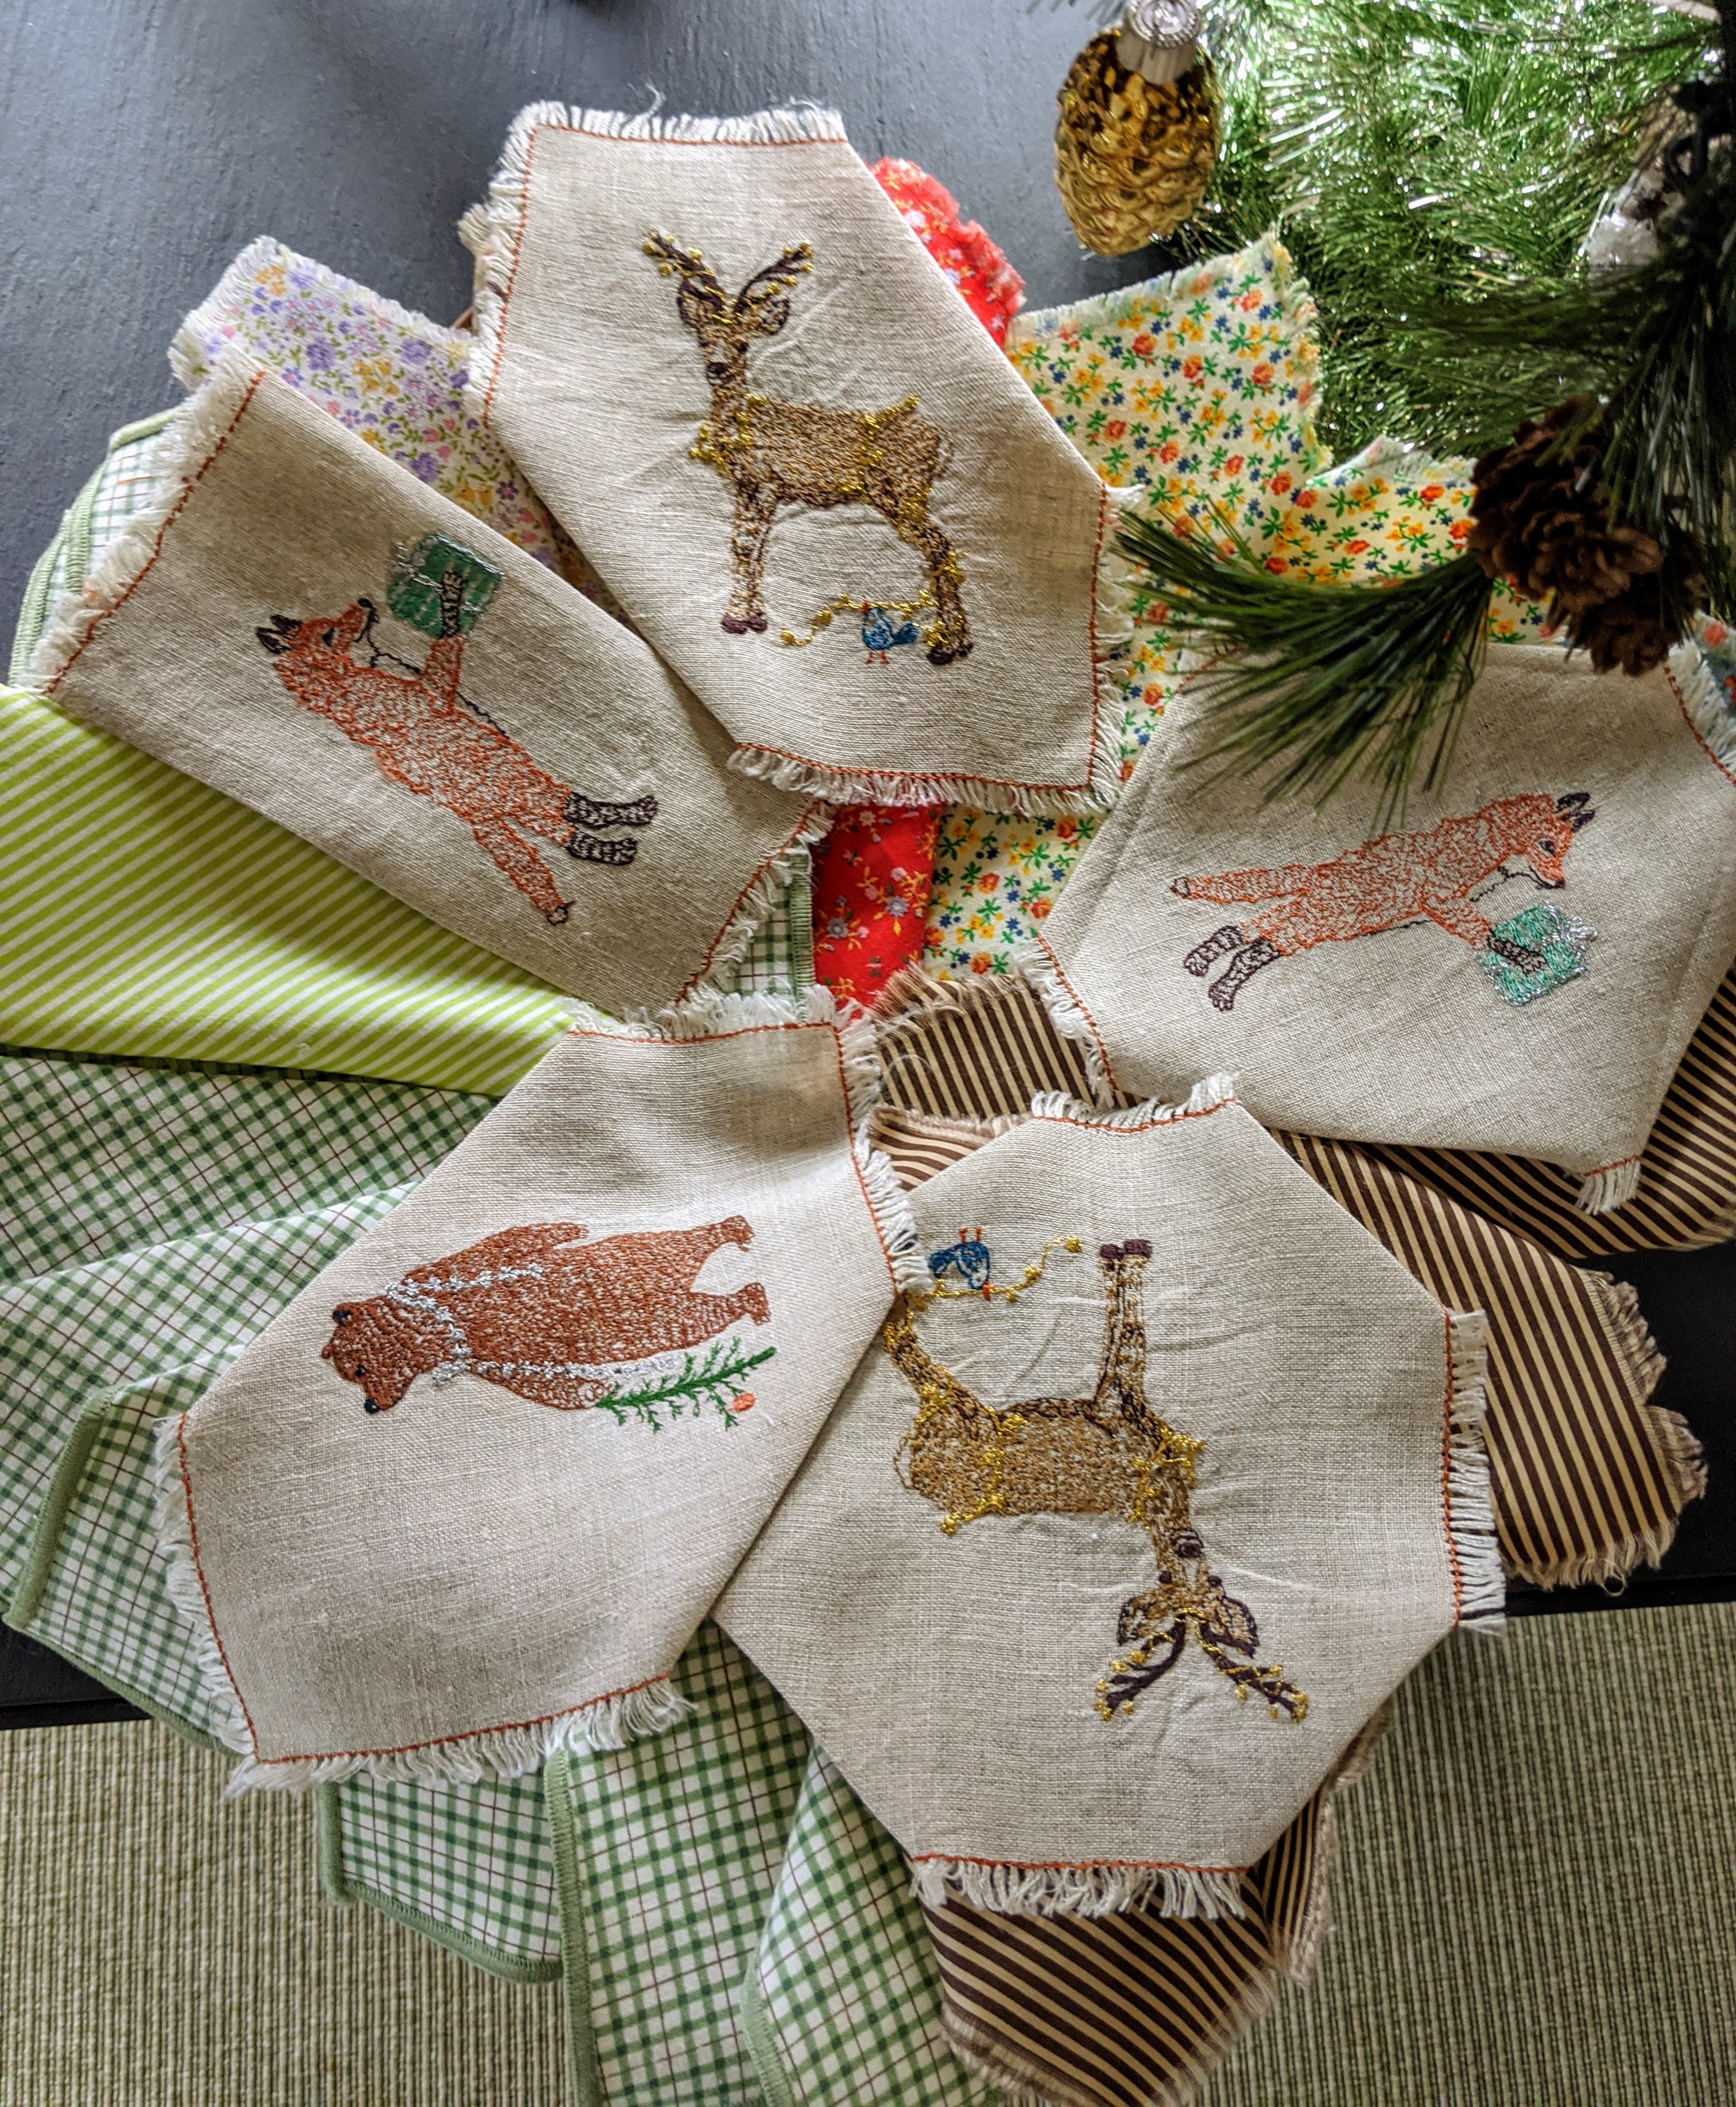
Even the napkins had a woodland theme. The delicate machine embroidered napkins are from Coral & Tusk @coralandtusk in Brooklyn, New York.
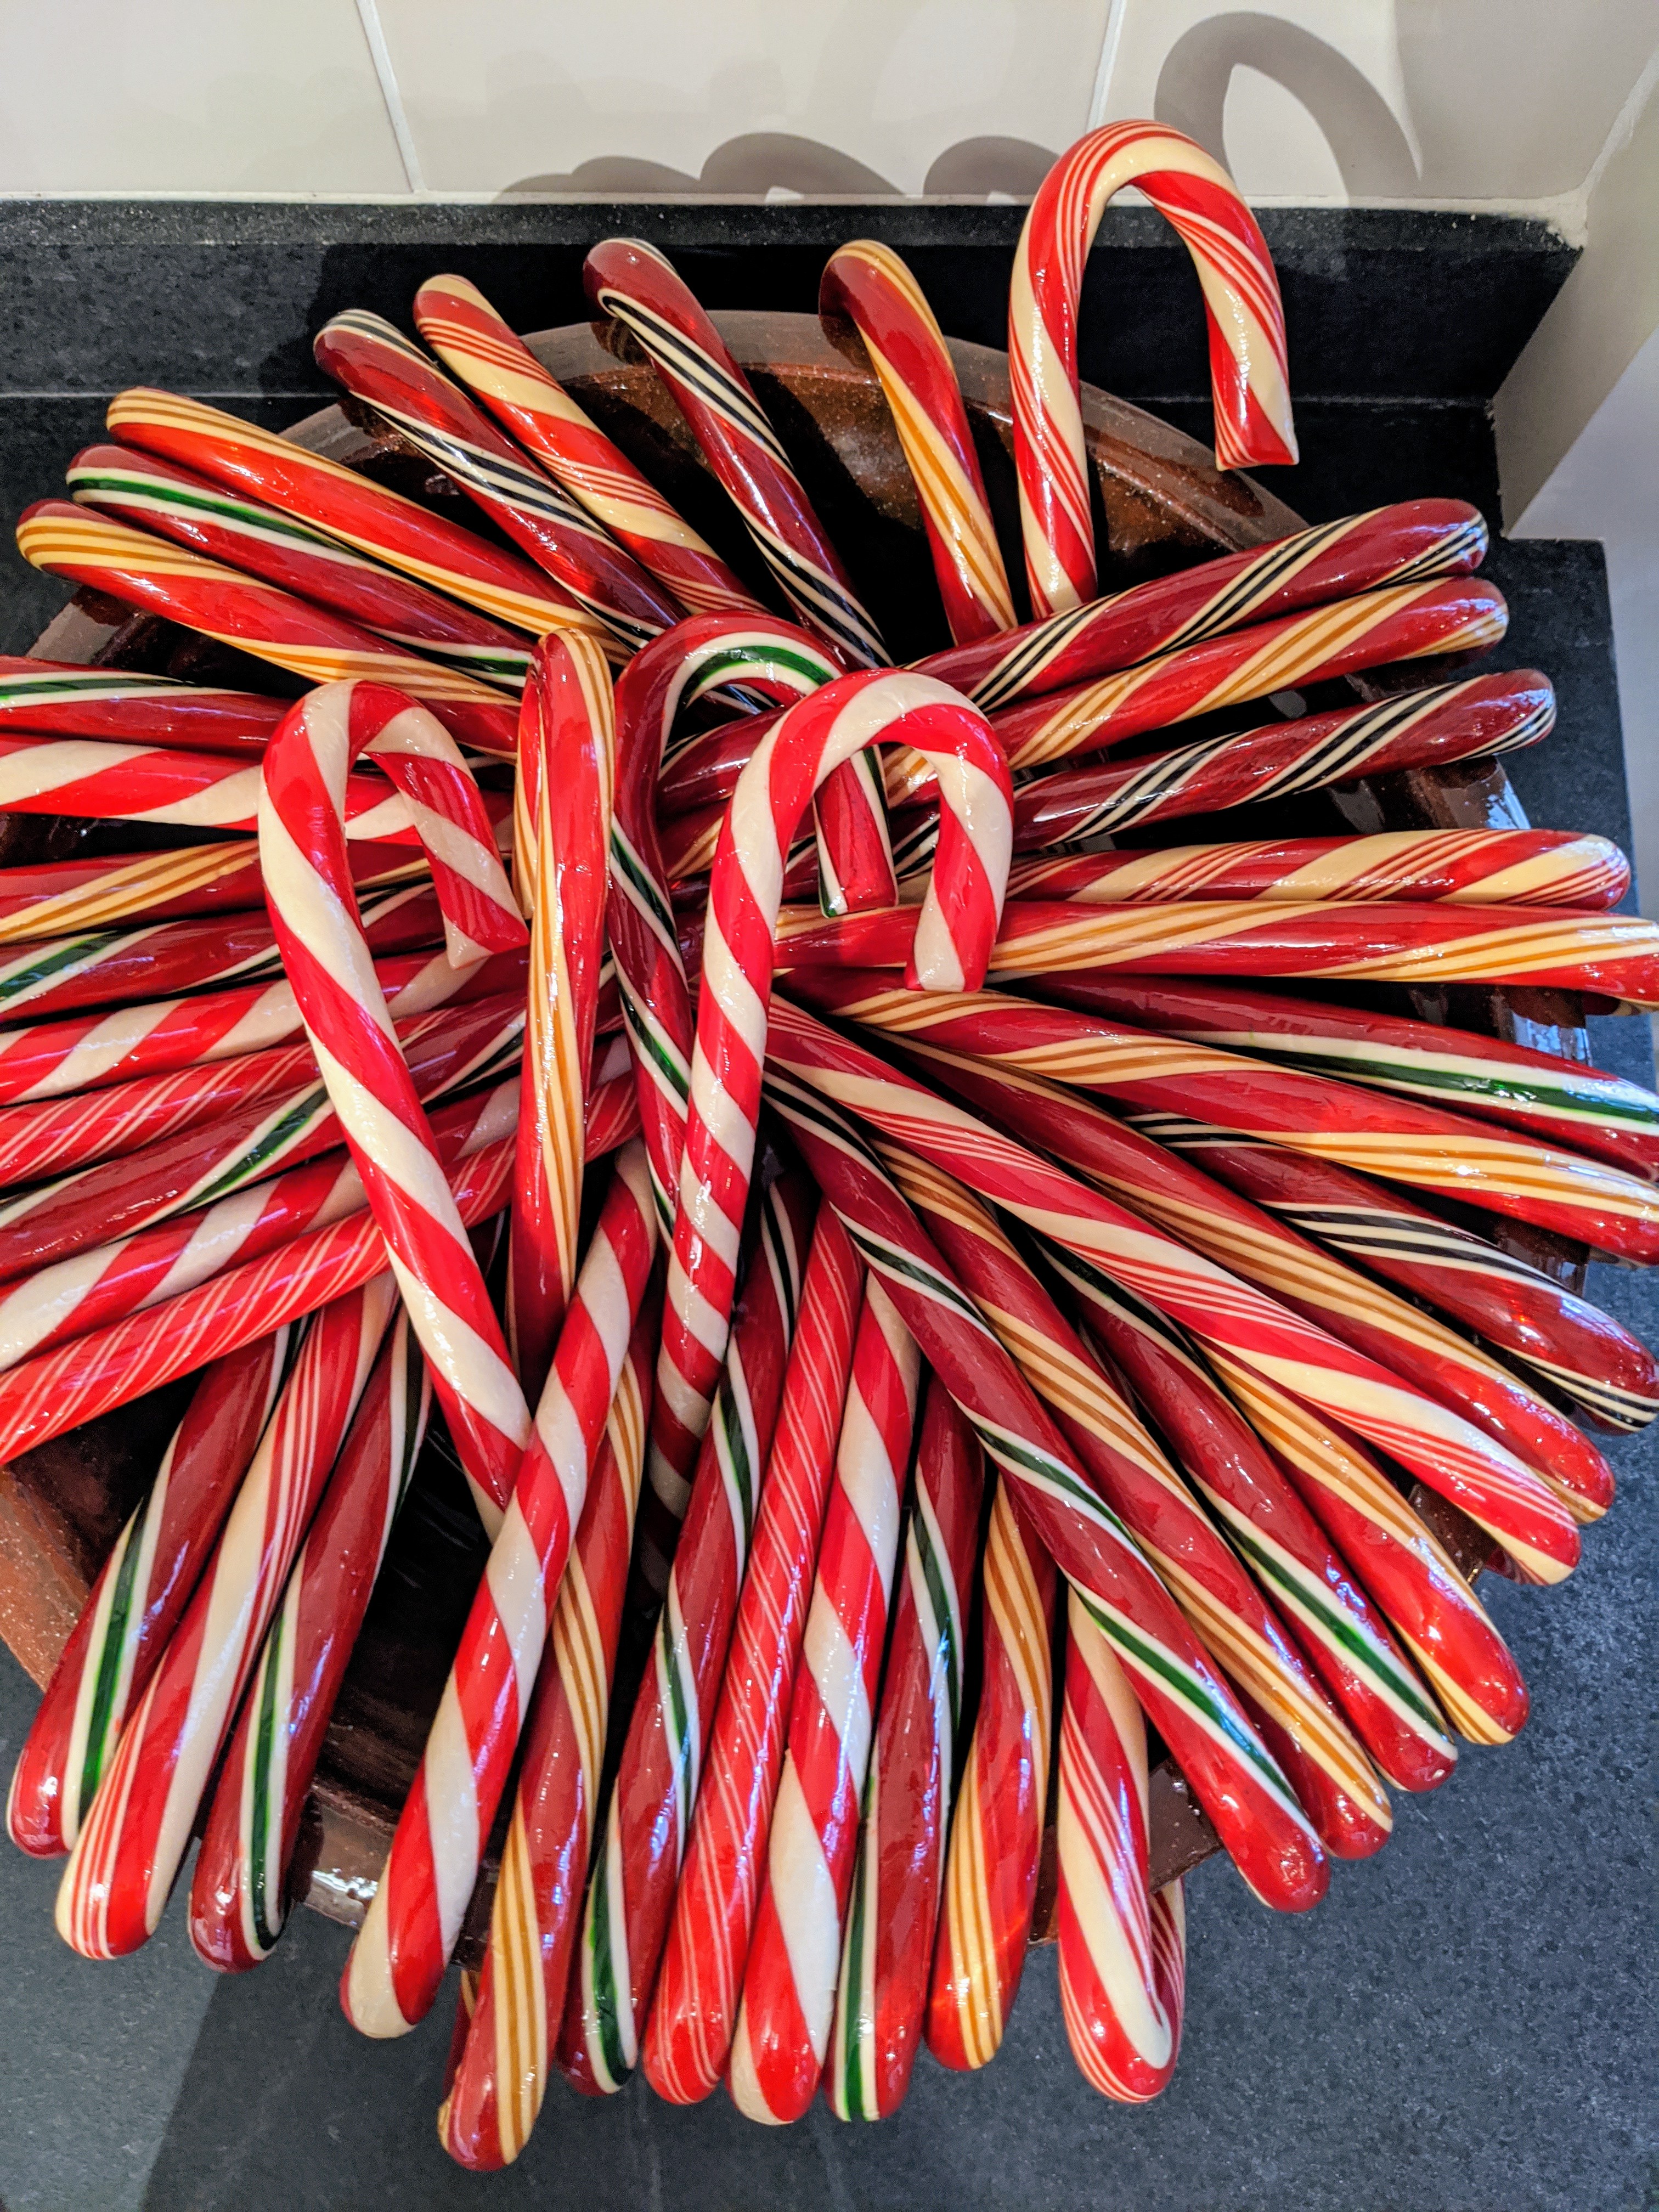
And of course, there were candy canes – all our hard candies came from Hammond’s. http://www.hammondscandies.com/
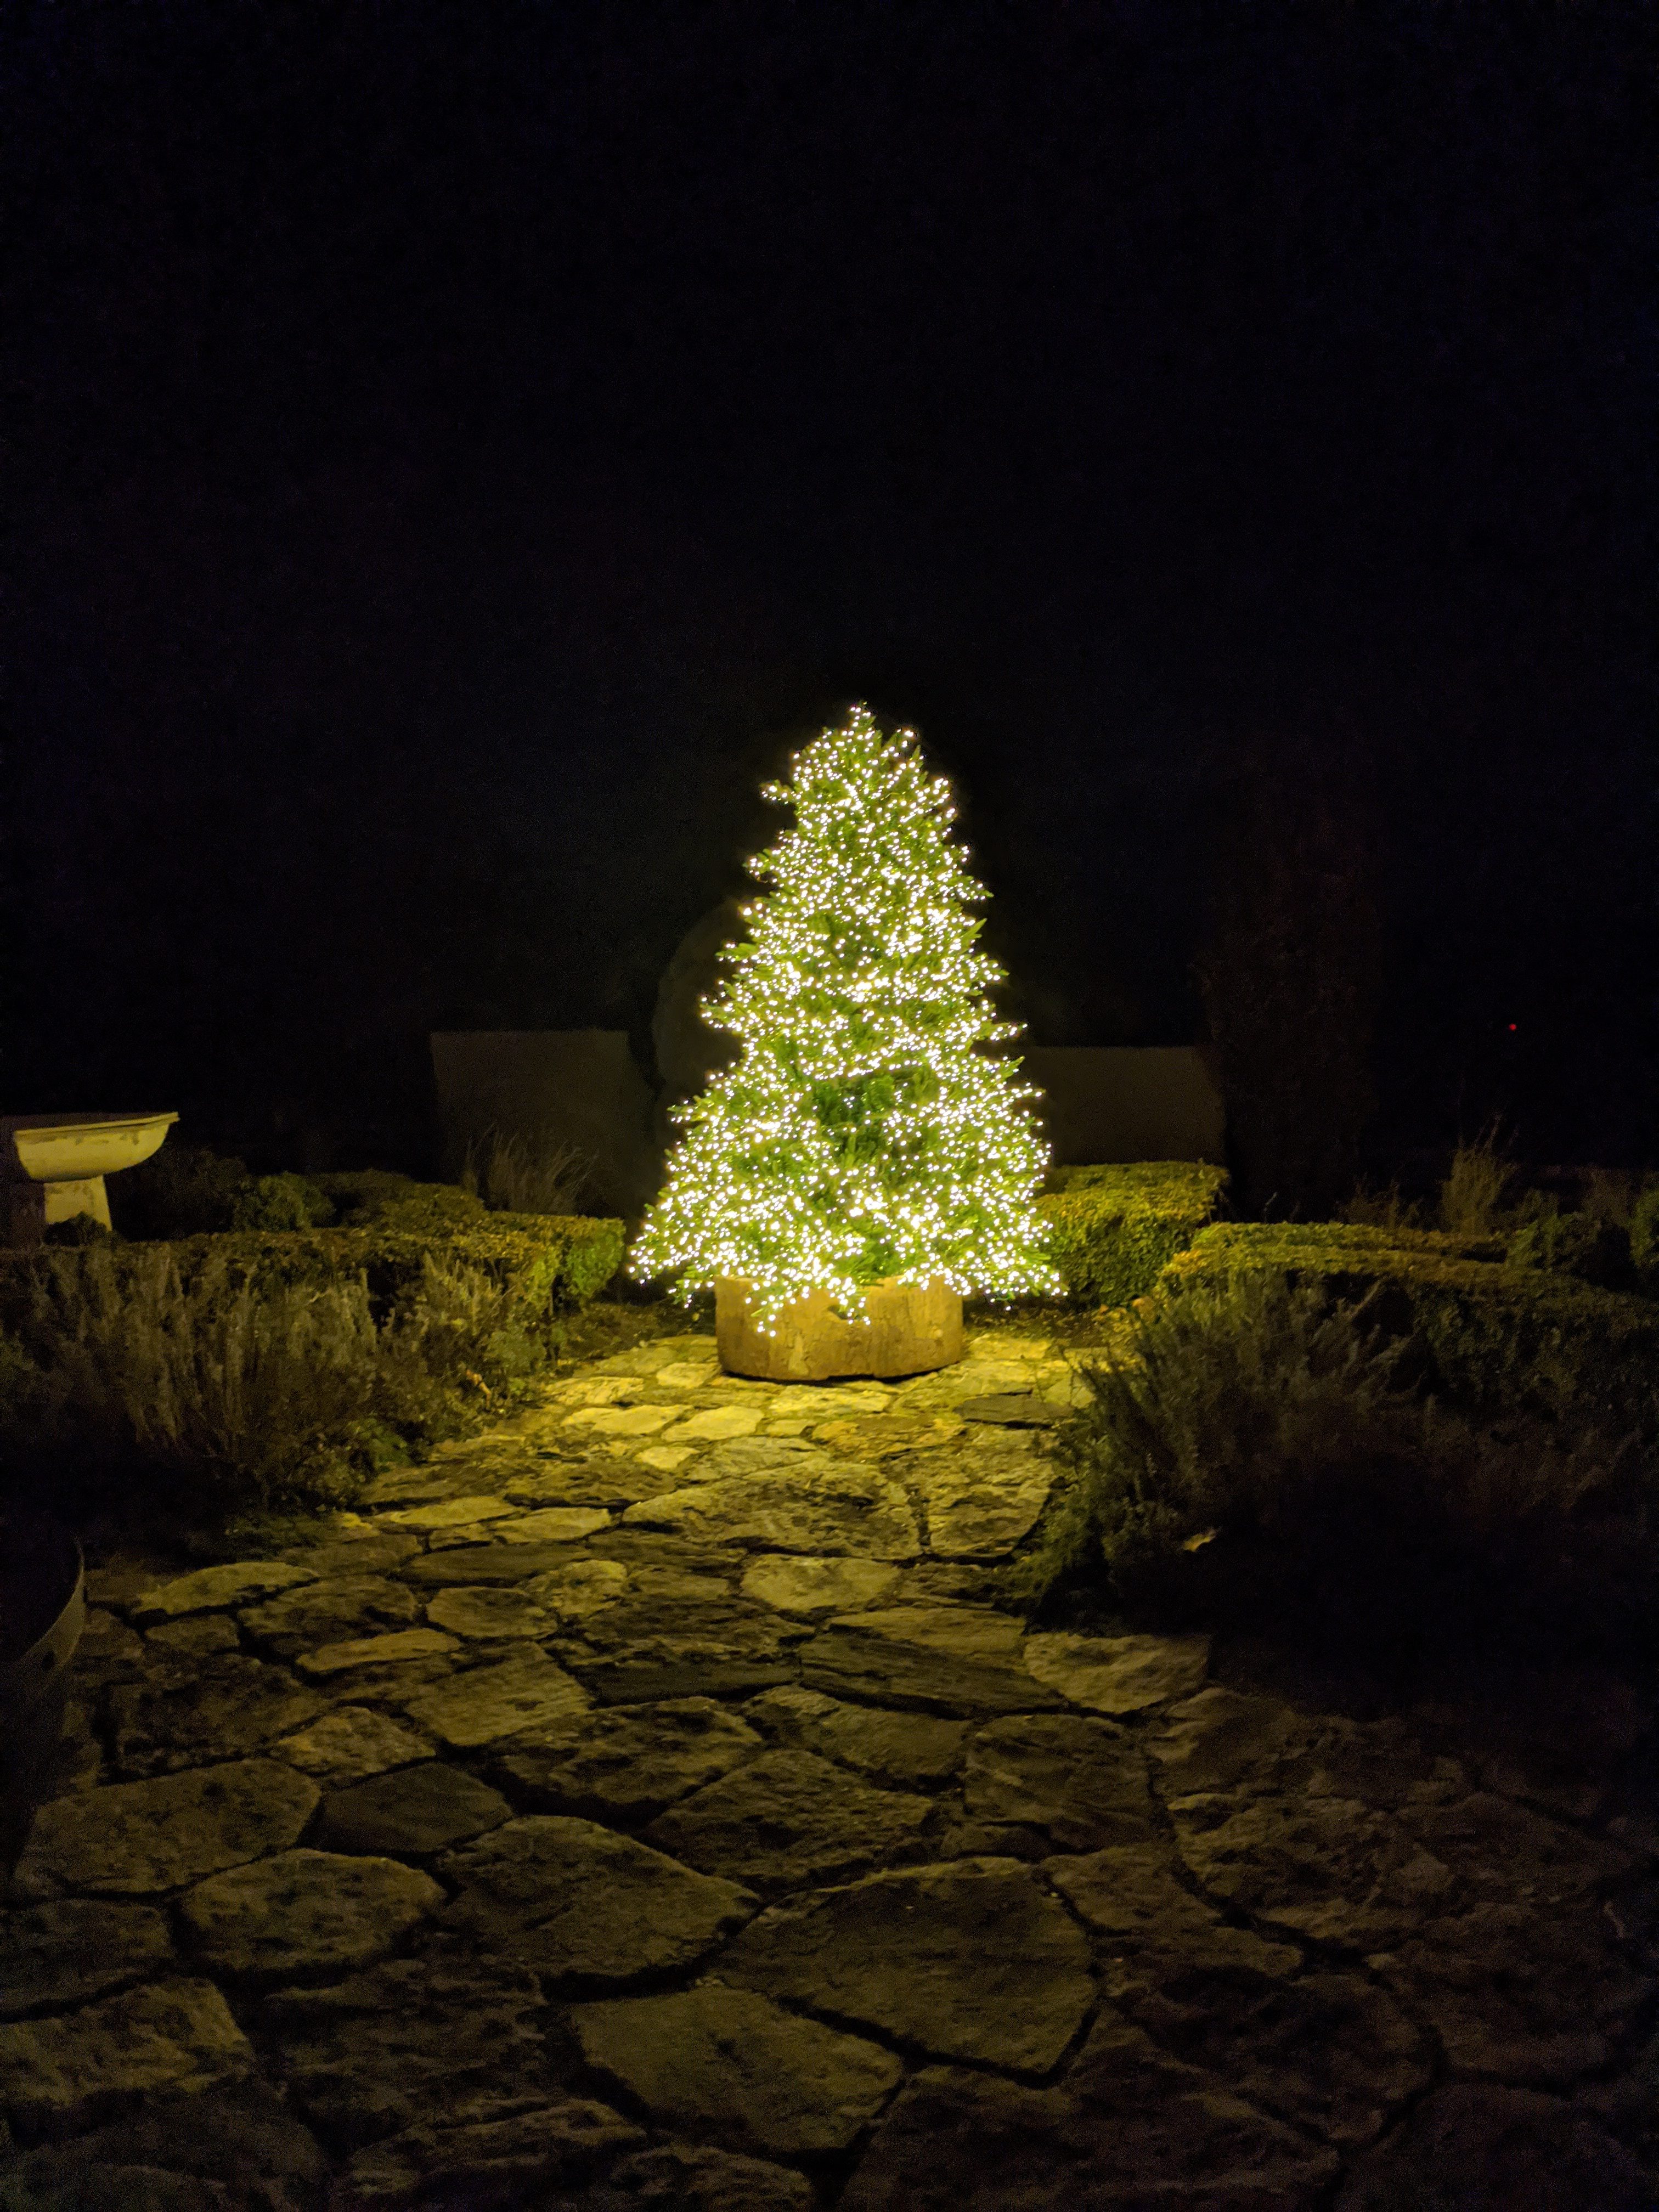
And outside, my beautiful Christmas tree with 1000 lights. Everyone had such a great time at the party. Happy holidays to all of you.
The holiday season is among my favorite times to entertain.
Yesterday, I hosted a very special gathering for the entire staff at my Bedford, New York farm. All my employees work so hard during the year - caring for the property and my many pets and gardens, and helping me prepare for all the meetings, shoots, parties, and other events that are scheduled through the year. I planned a festive holiday meal, which was served buffet style in my Winter House kitchen. It included delicious sliced ham and biscuits, shrimp cocktail, caviar and homemade brioche toast, celeriac soup made with vegetables from my garden, stollen, Panettone, lots of tasty holiday sweets, and of course, my famous egg nog. It was a busy morning of cooking and preparing, but we had a most enjoyable end of year celebration.
Here are some photos.
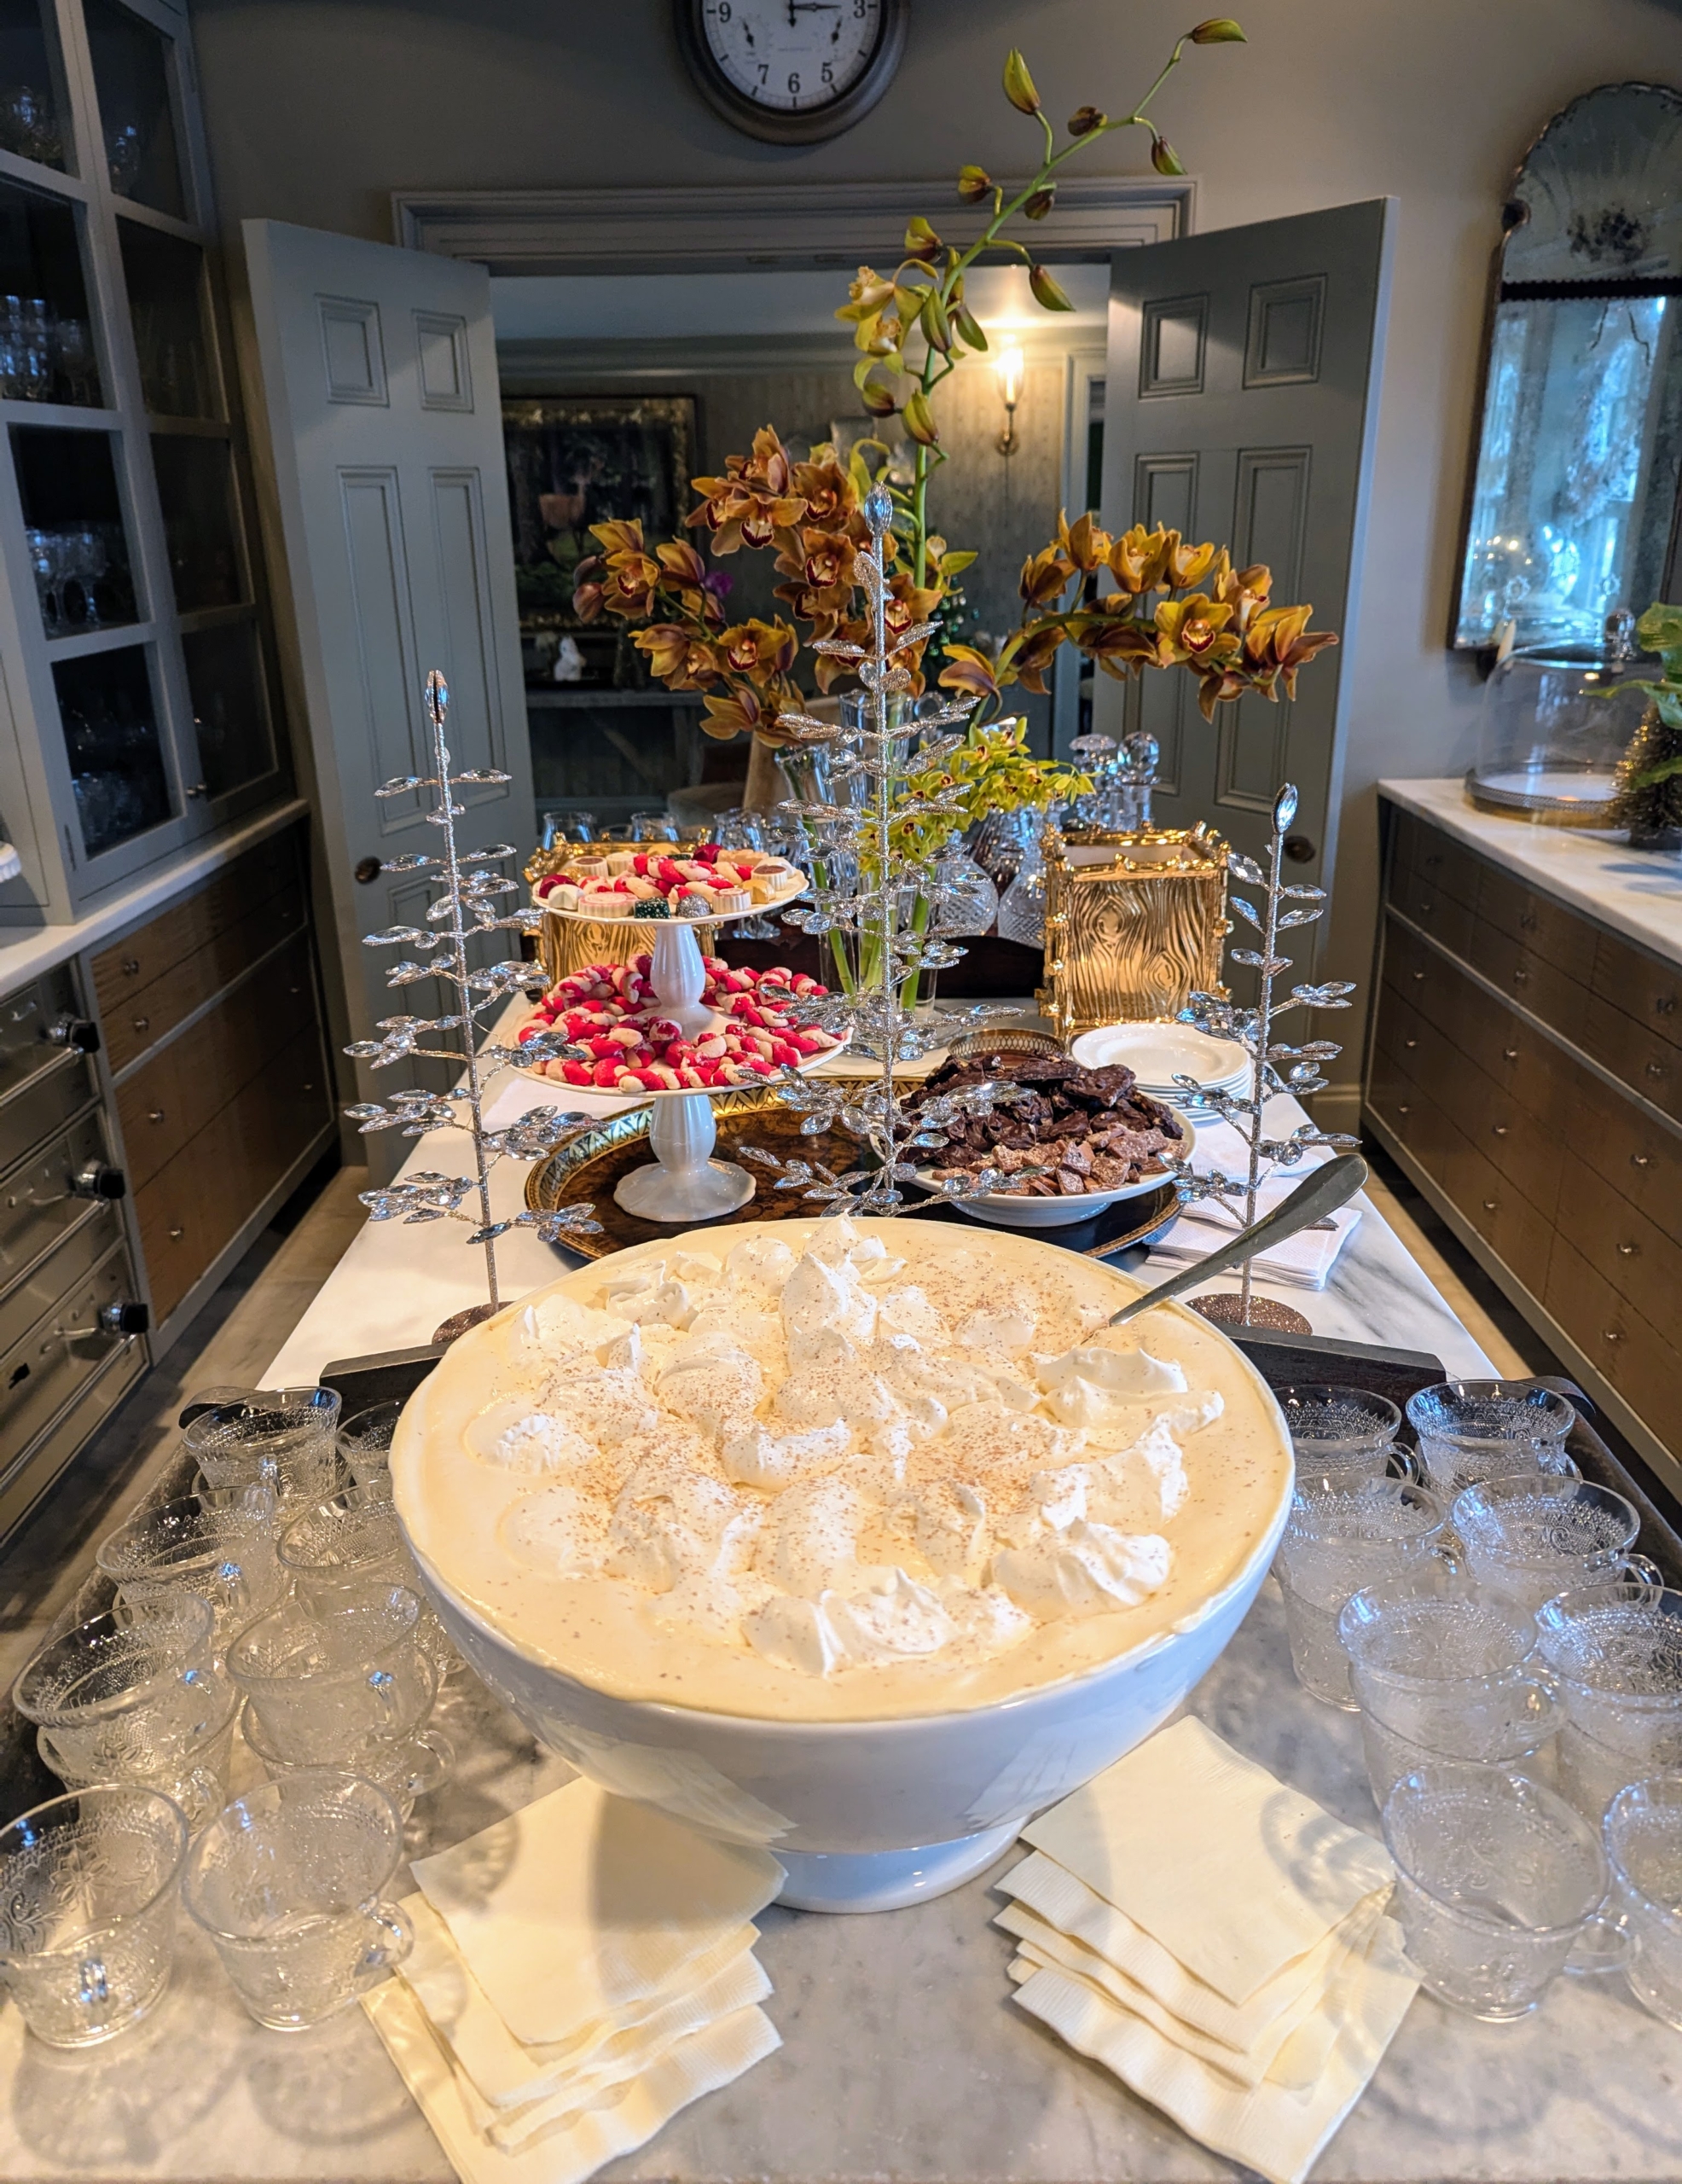
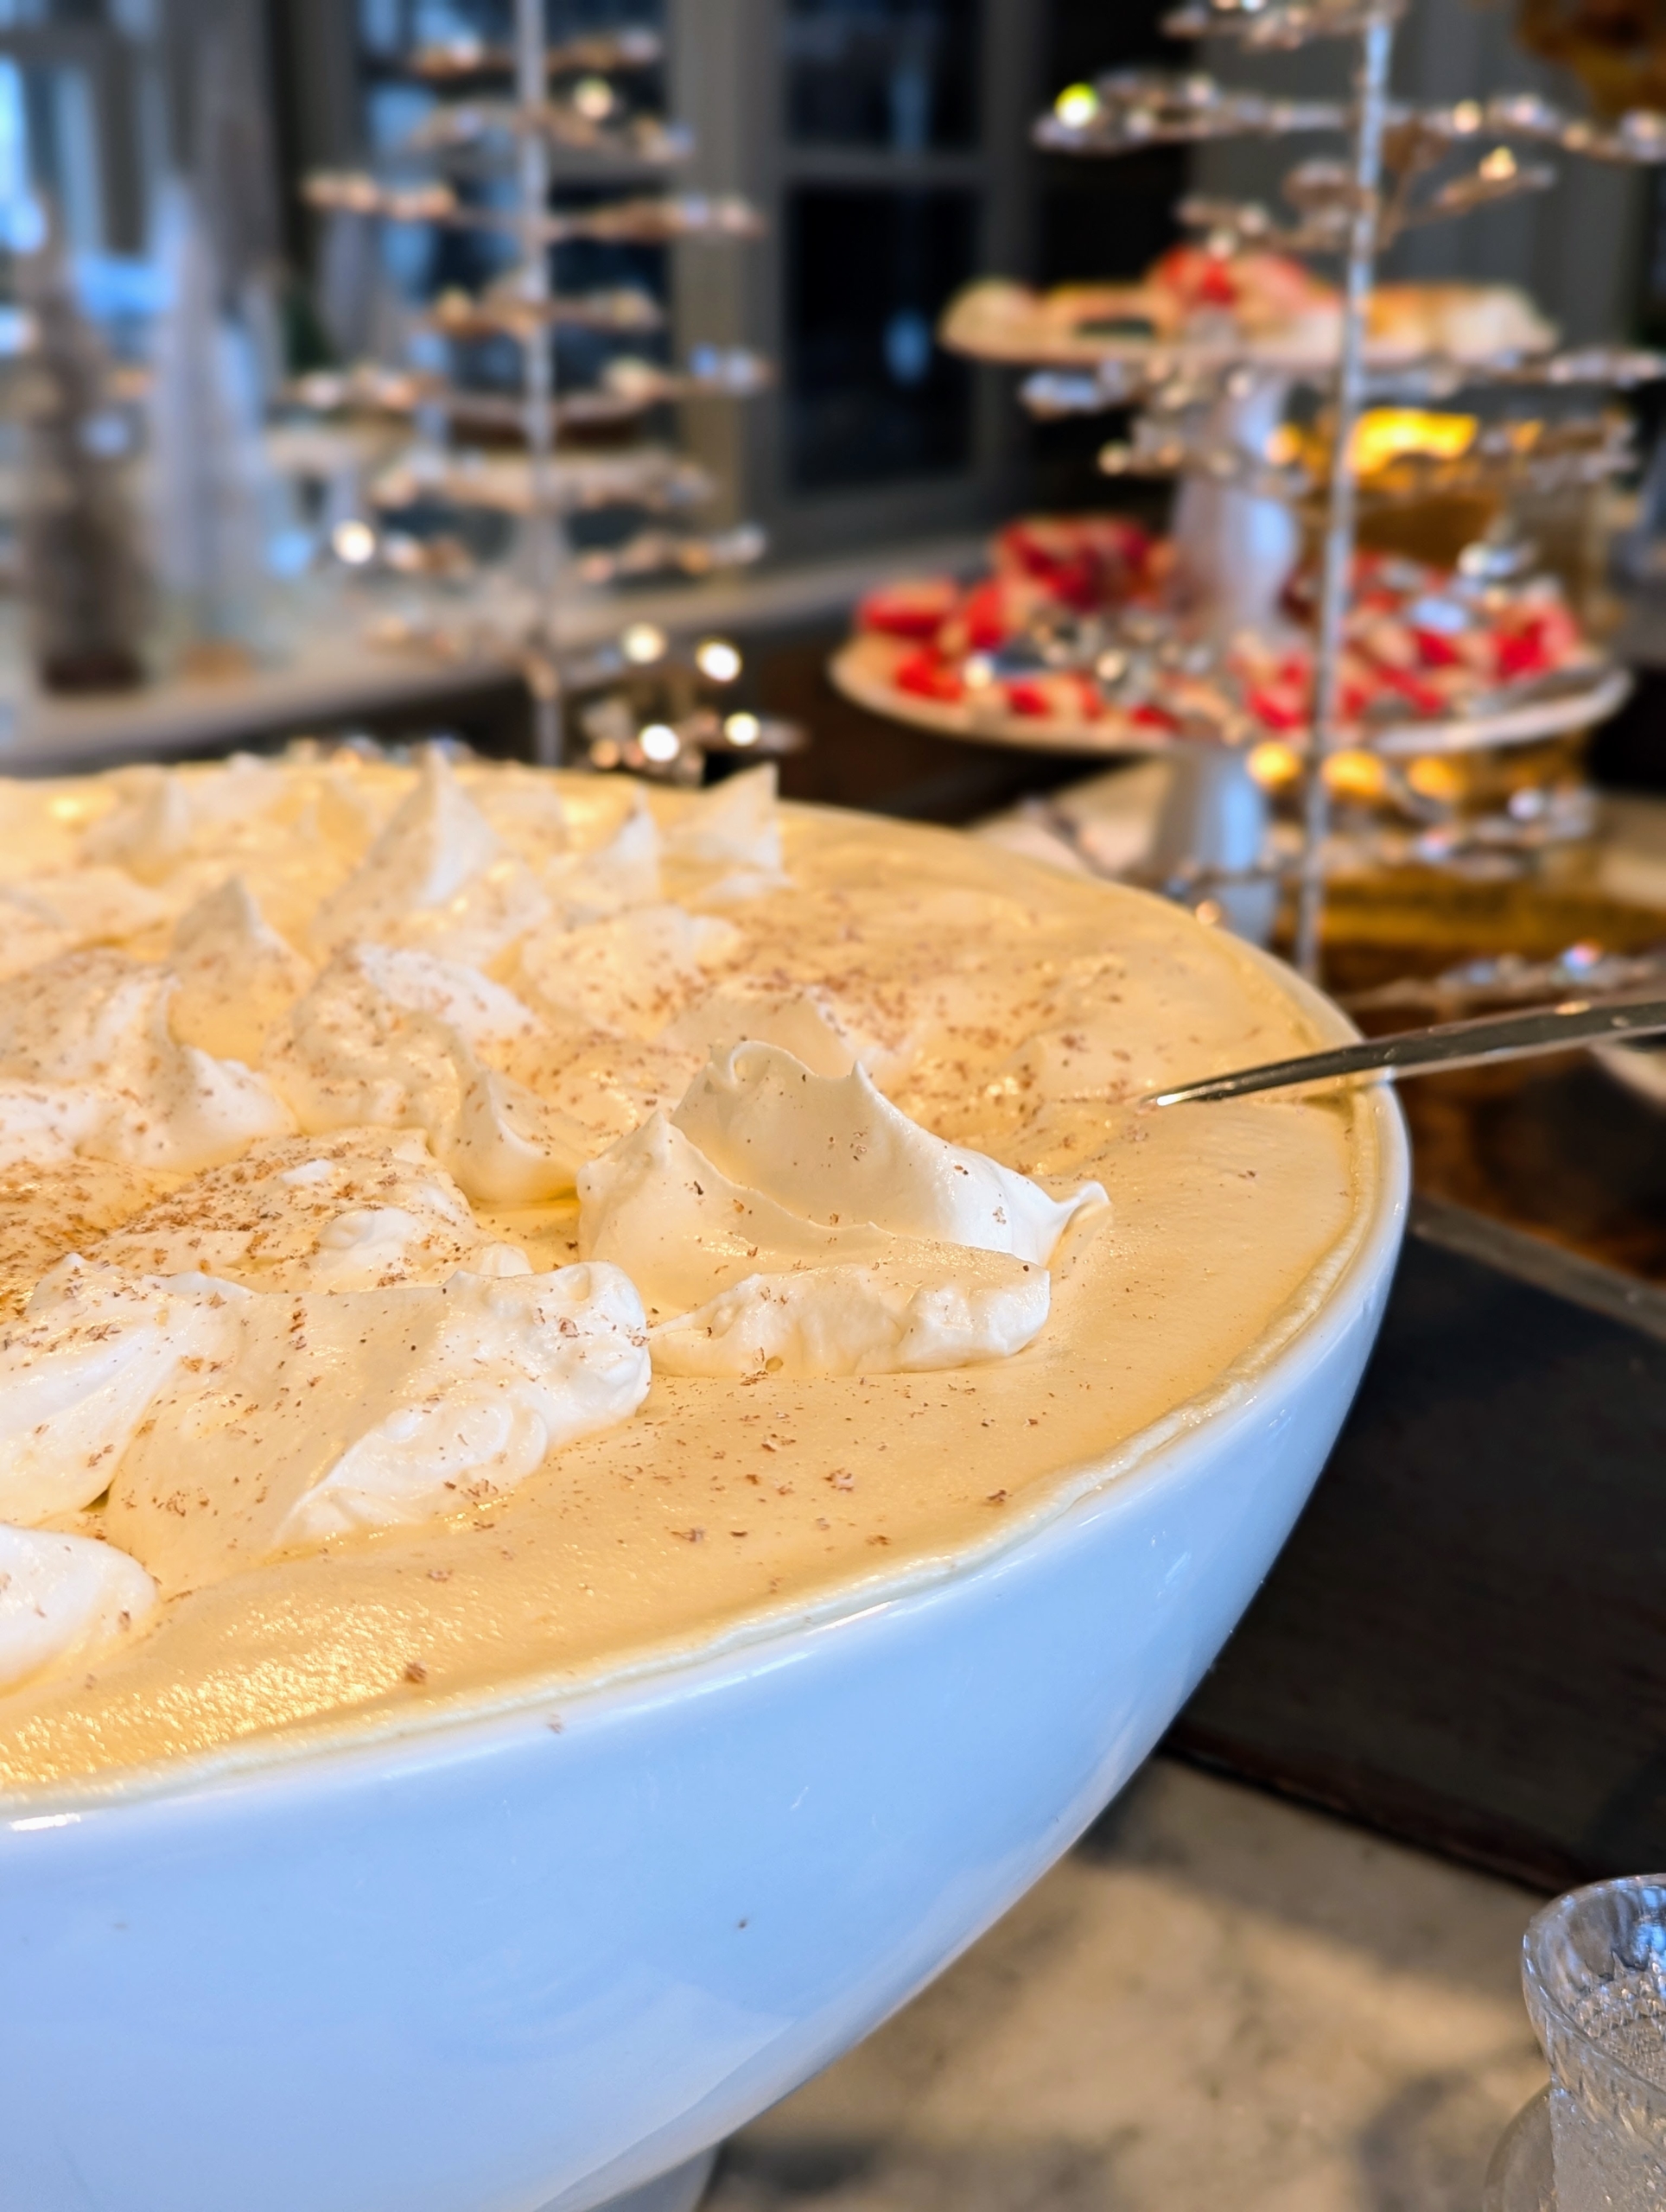
I planned the gathering for 3 o’clock in the afternoon. Everything was ready just in time. Here is my famous egg nog, freshly made and positioned right at the end of the counter in my servery for easy access. It became a very popular spot to gather.
My egg nog is requested at every holiday party I host. The original recipe is in my very first book, Entertaining, Clarkson Potter 1982. There’s lots of everything – bourbon, cognac, rum, heavy cream, and eggs from wonderful chickens.
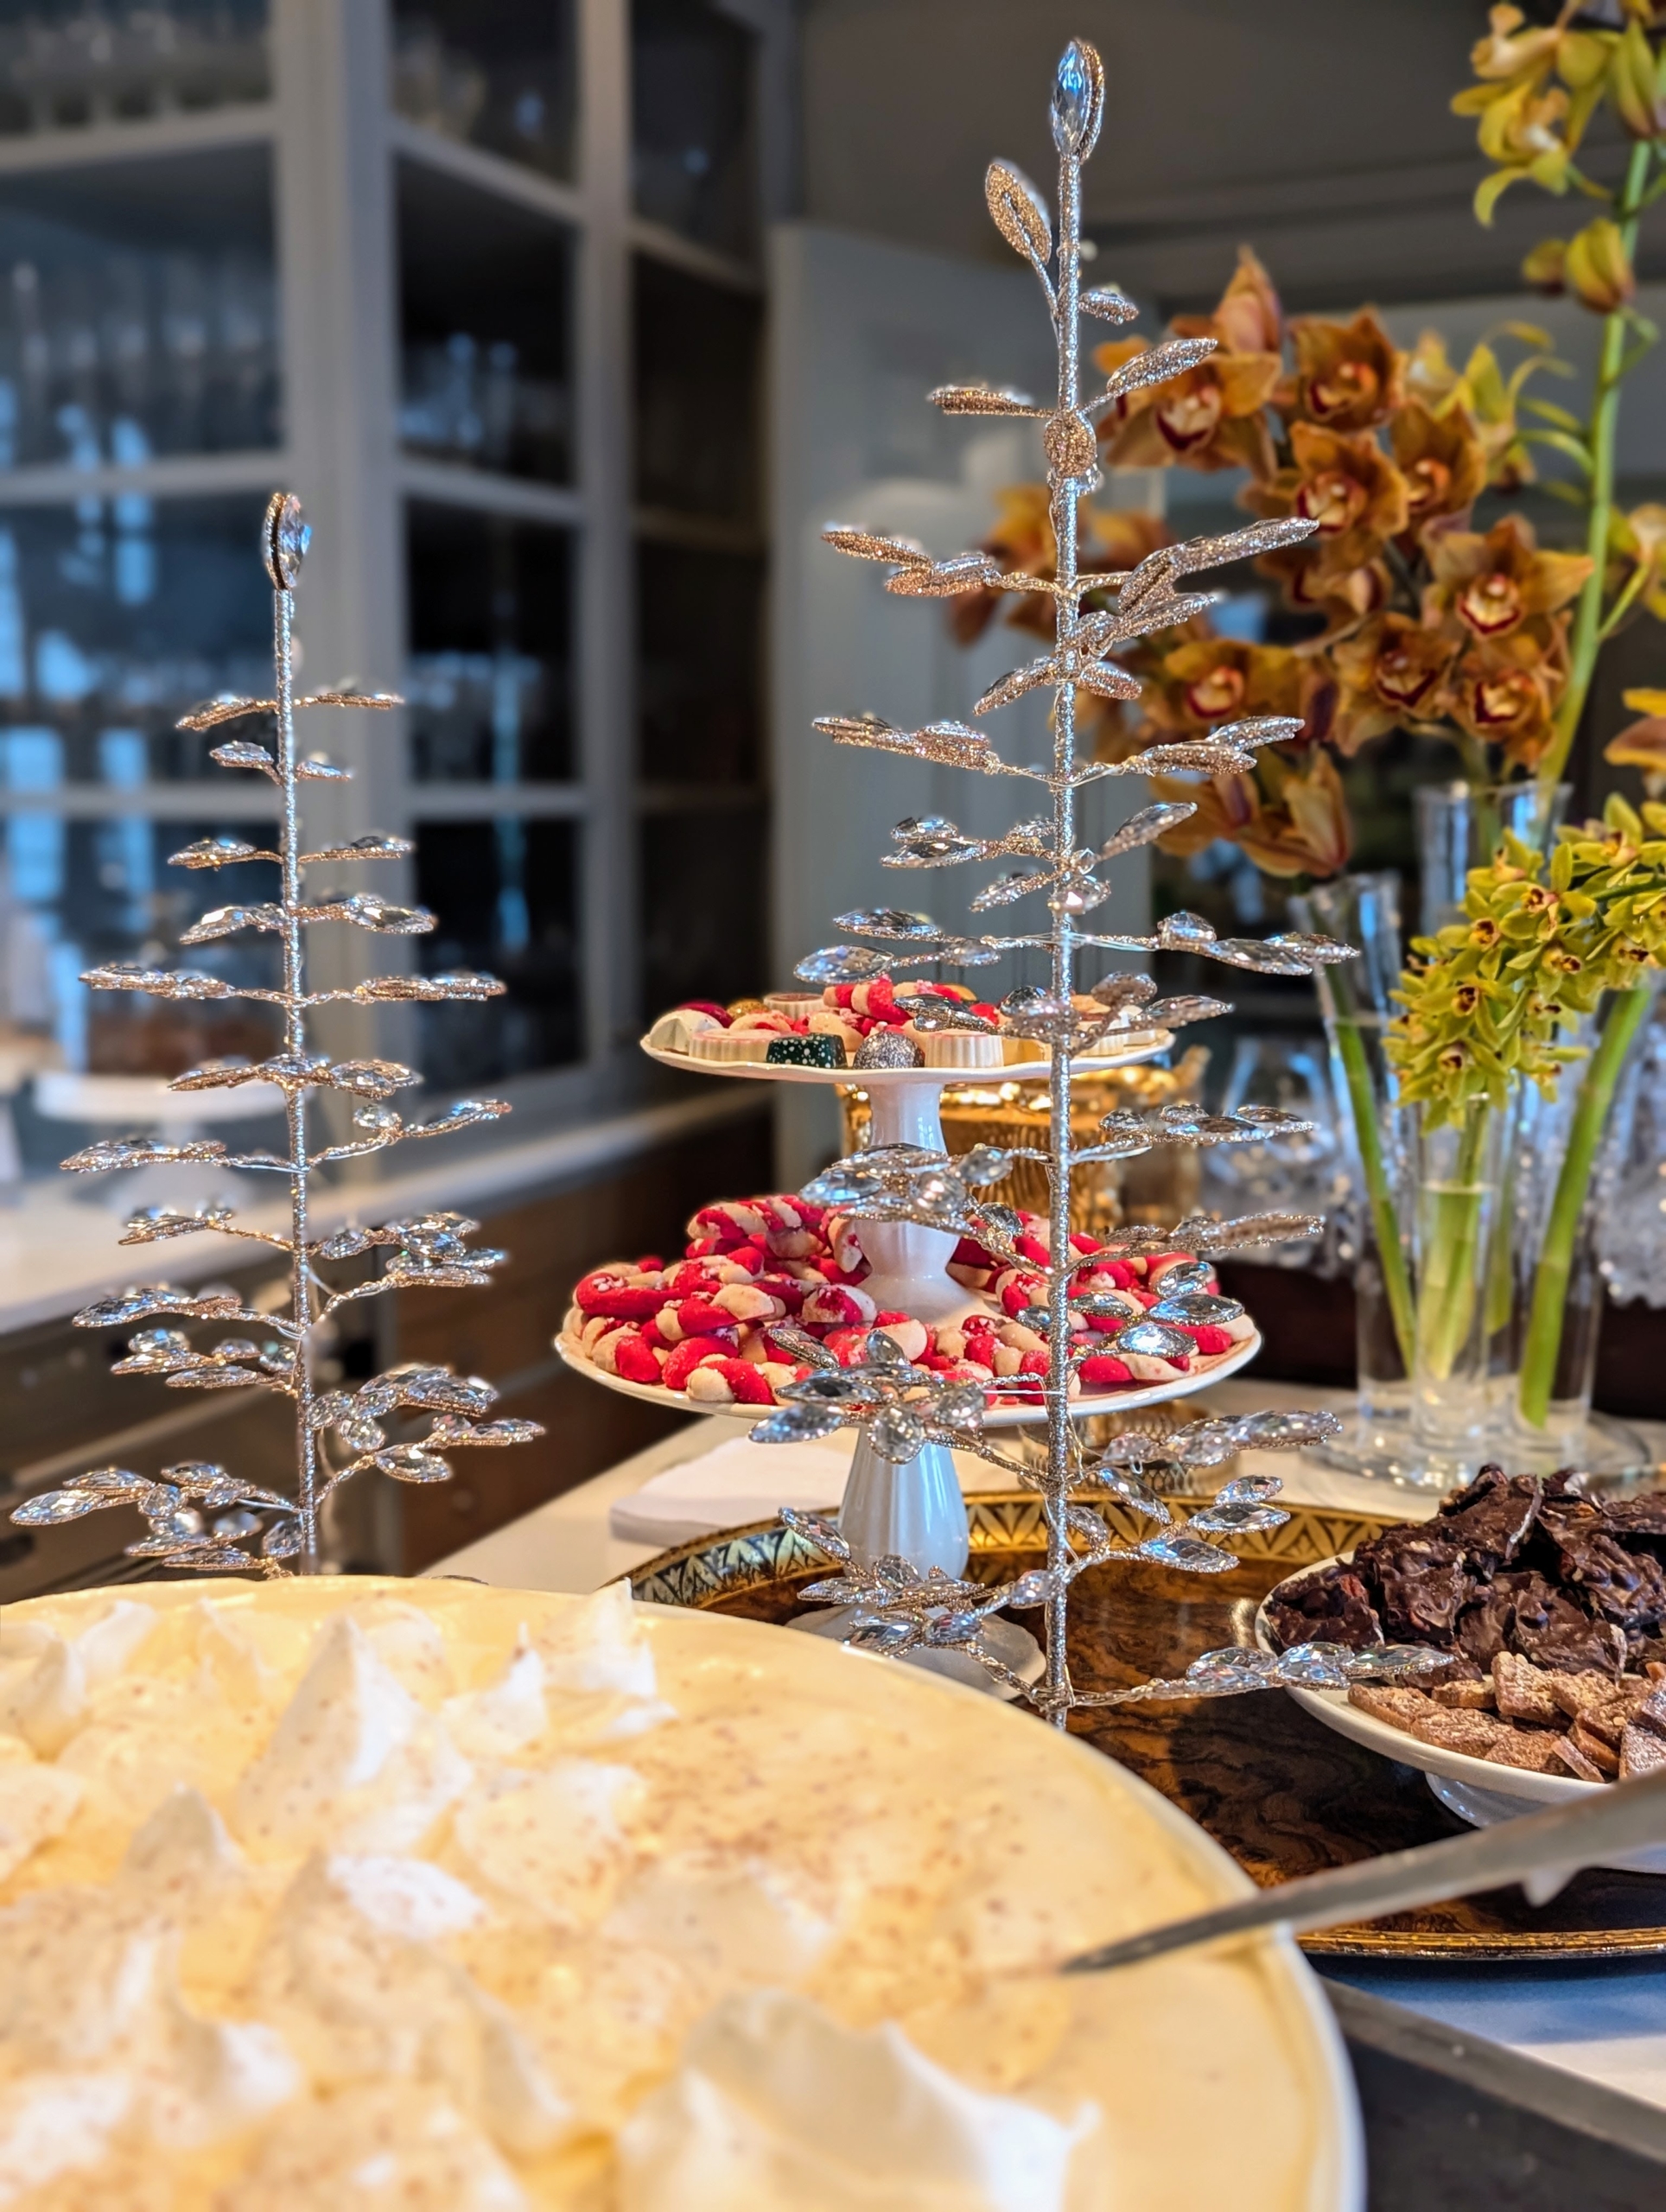
Tiered cake stands display cookies, brittle and other holiday sweets.
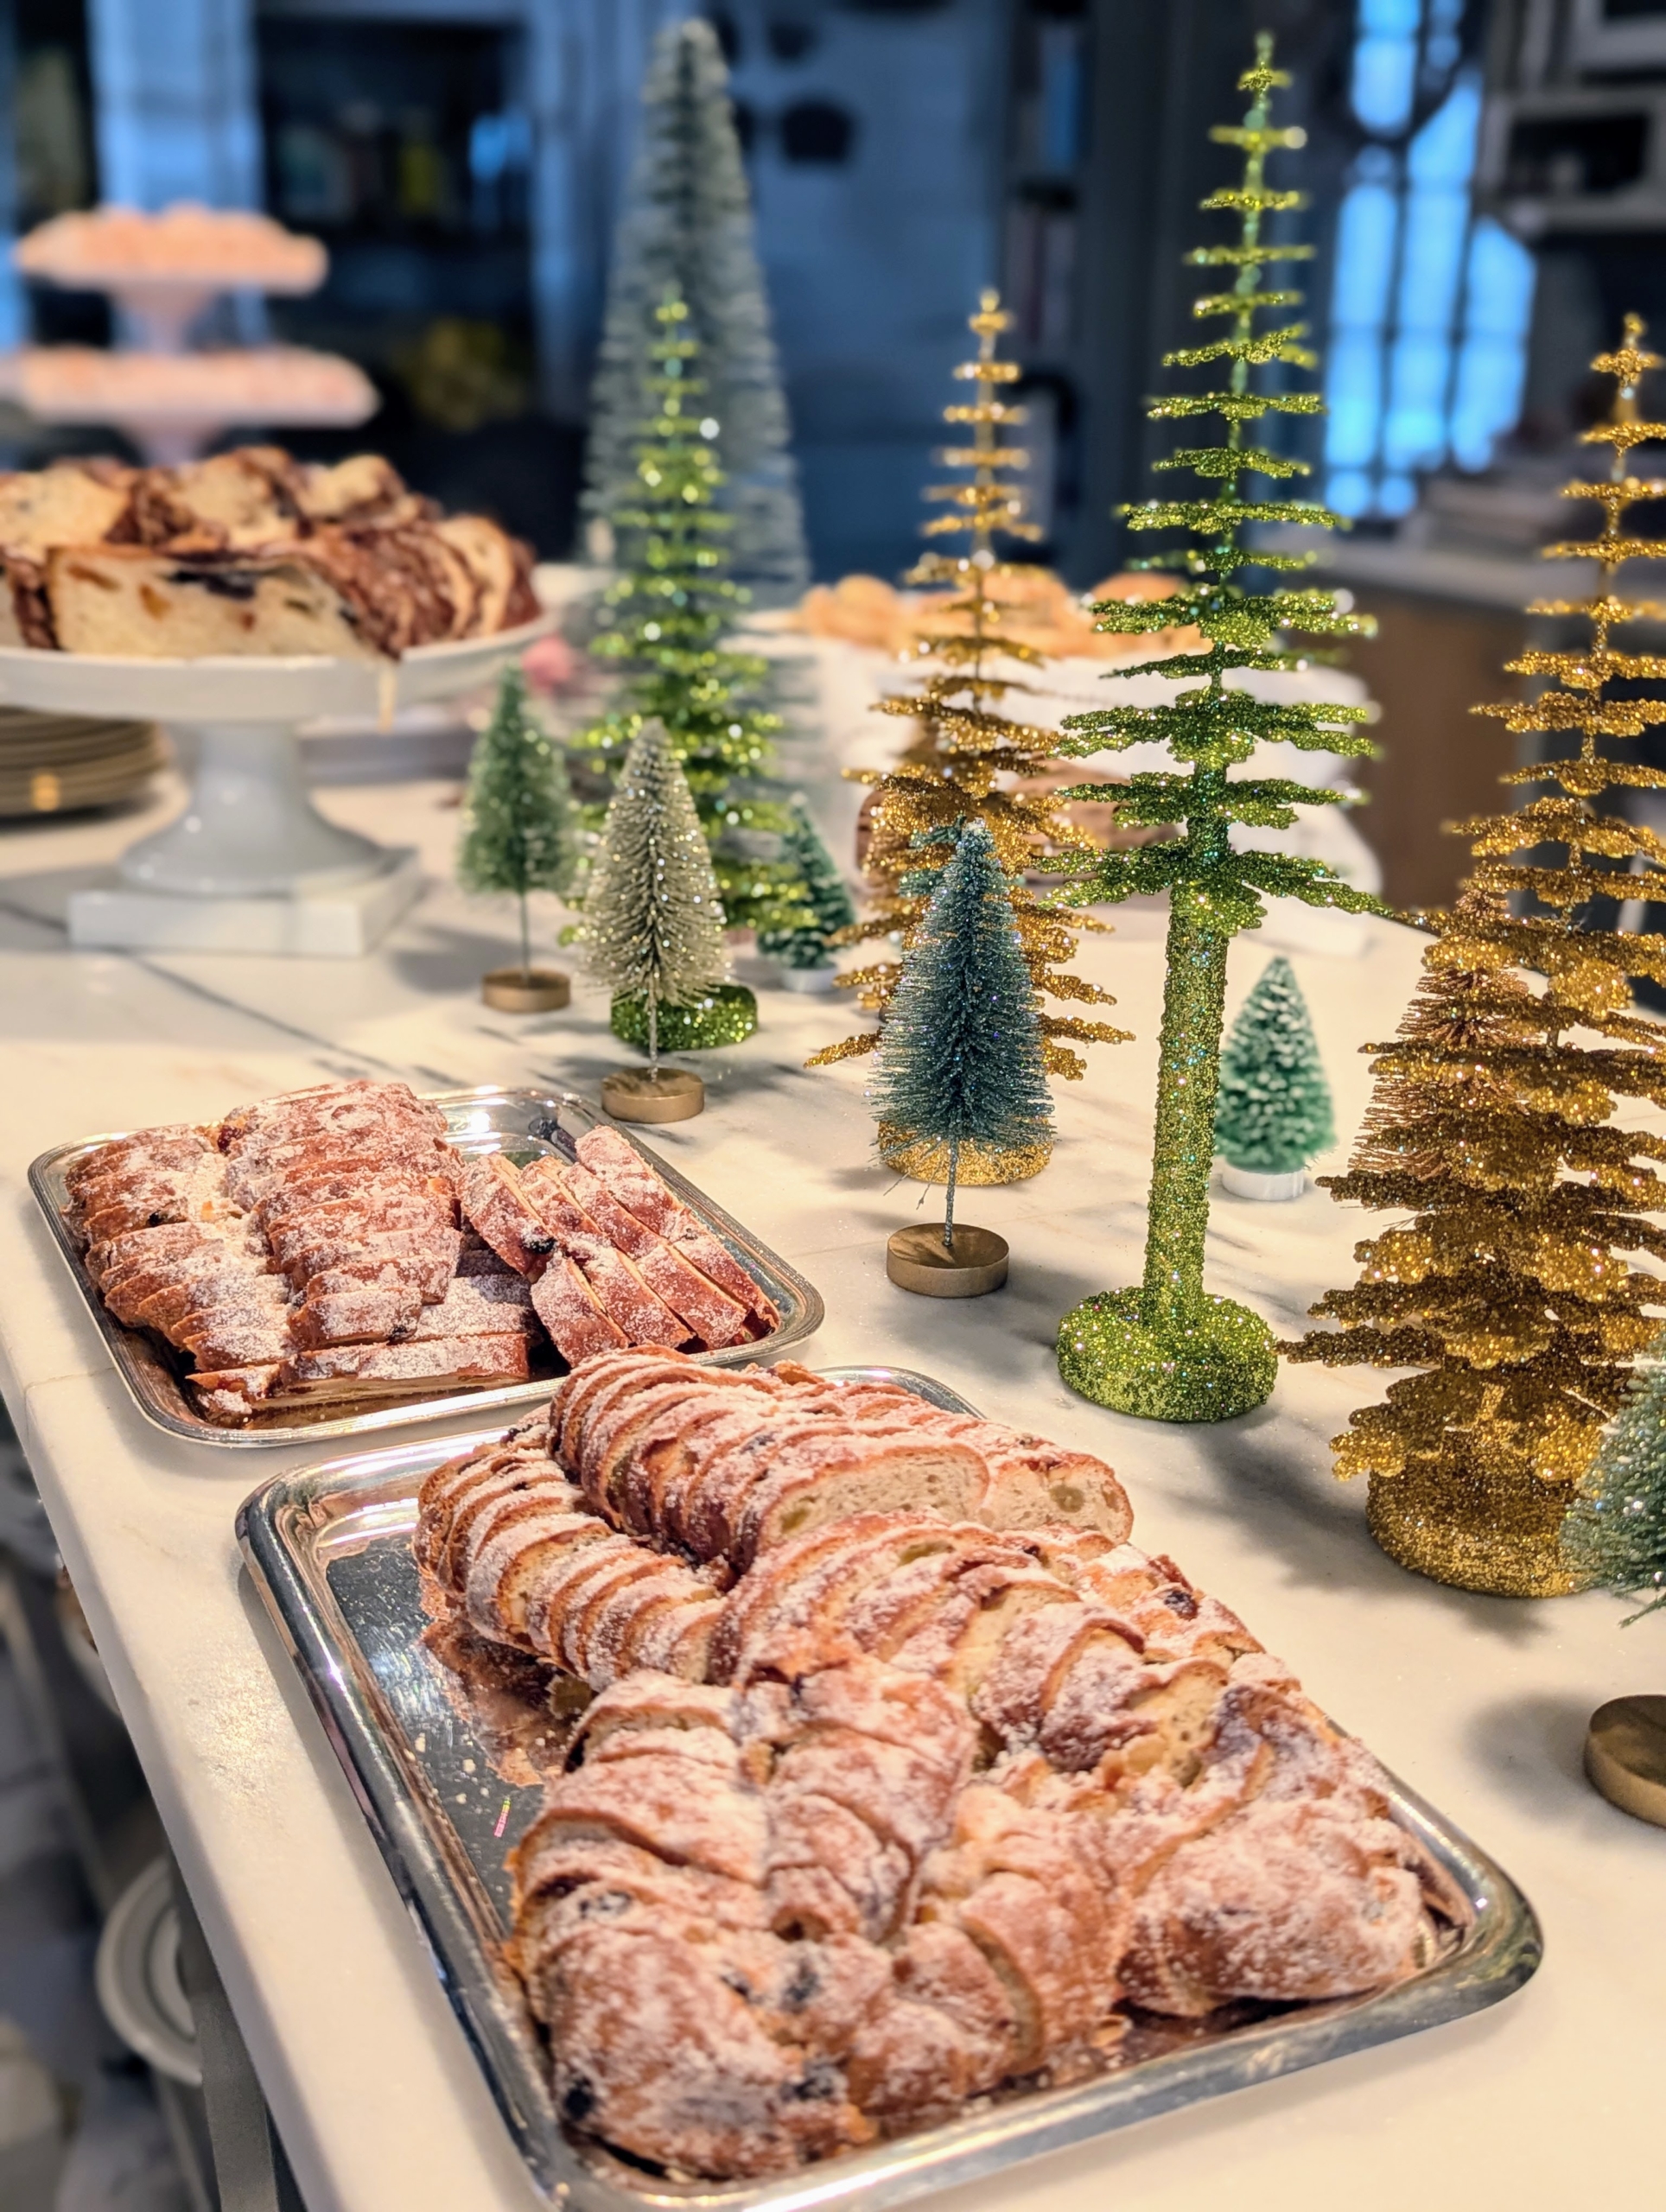
All the rooms in my Winter House are decorated for the holidays. I try to do it a little differently every time, but it always includes lots of trees – big, small, green, gold, and silver.
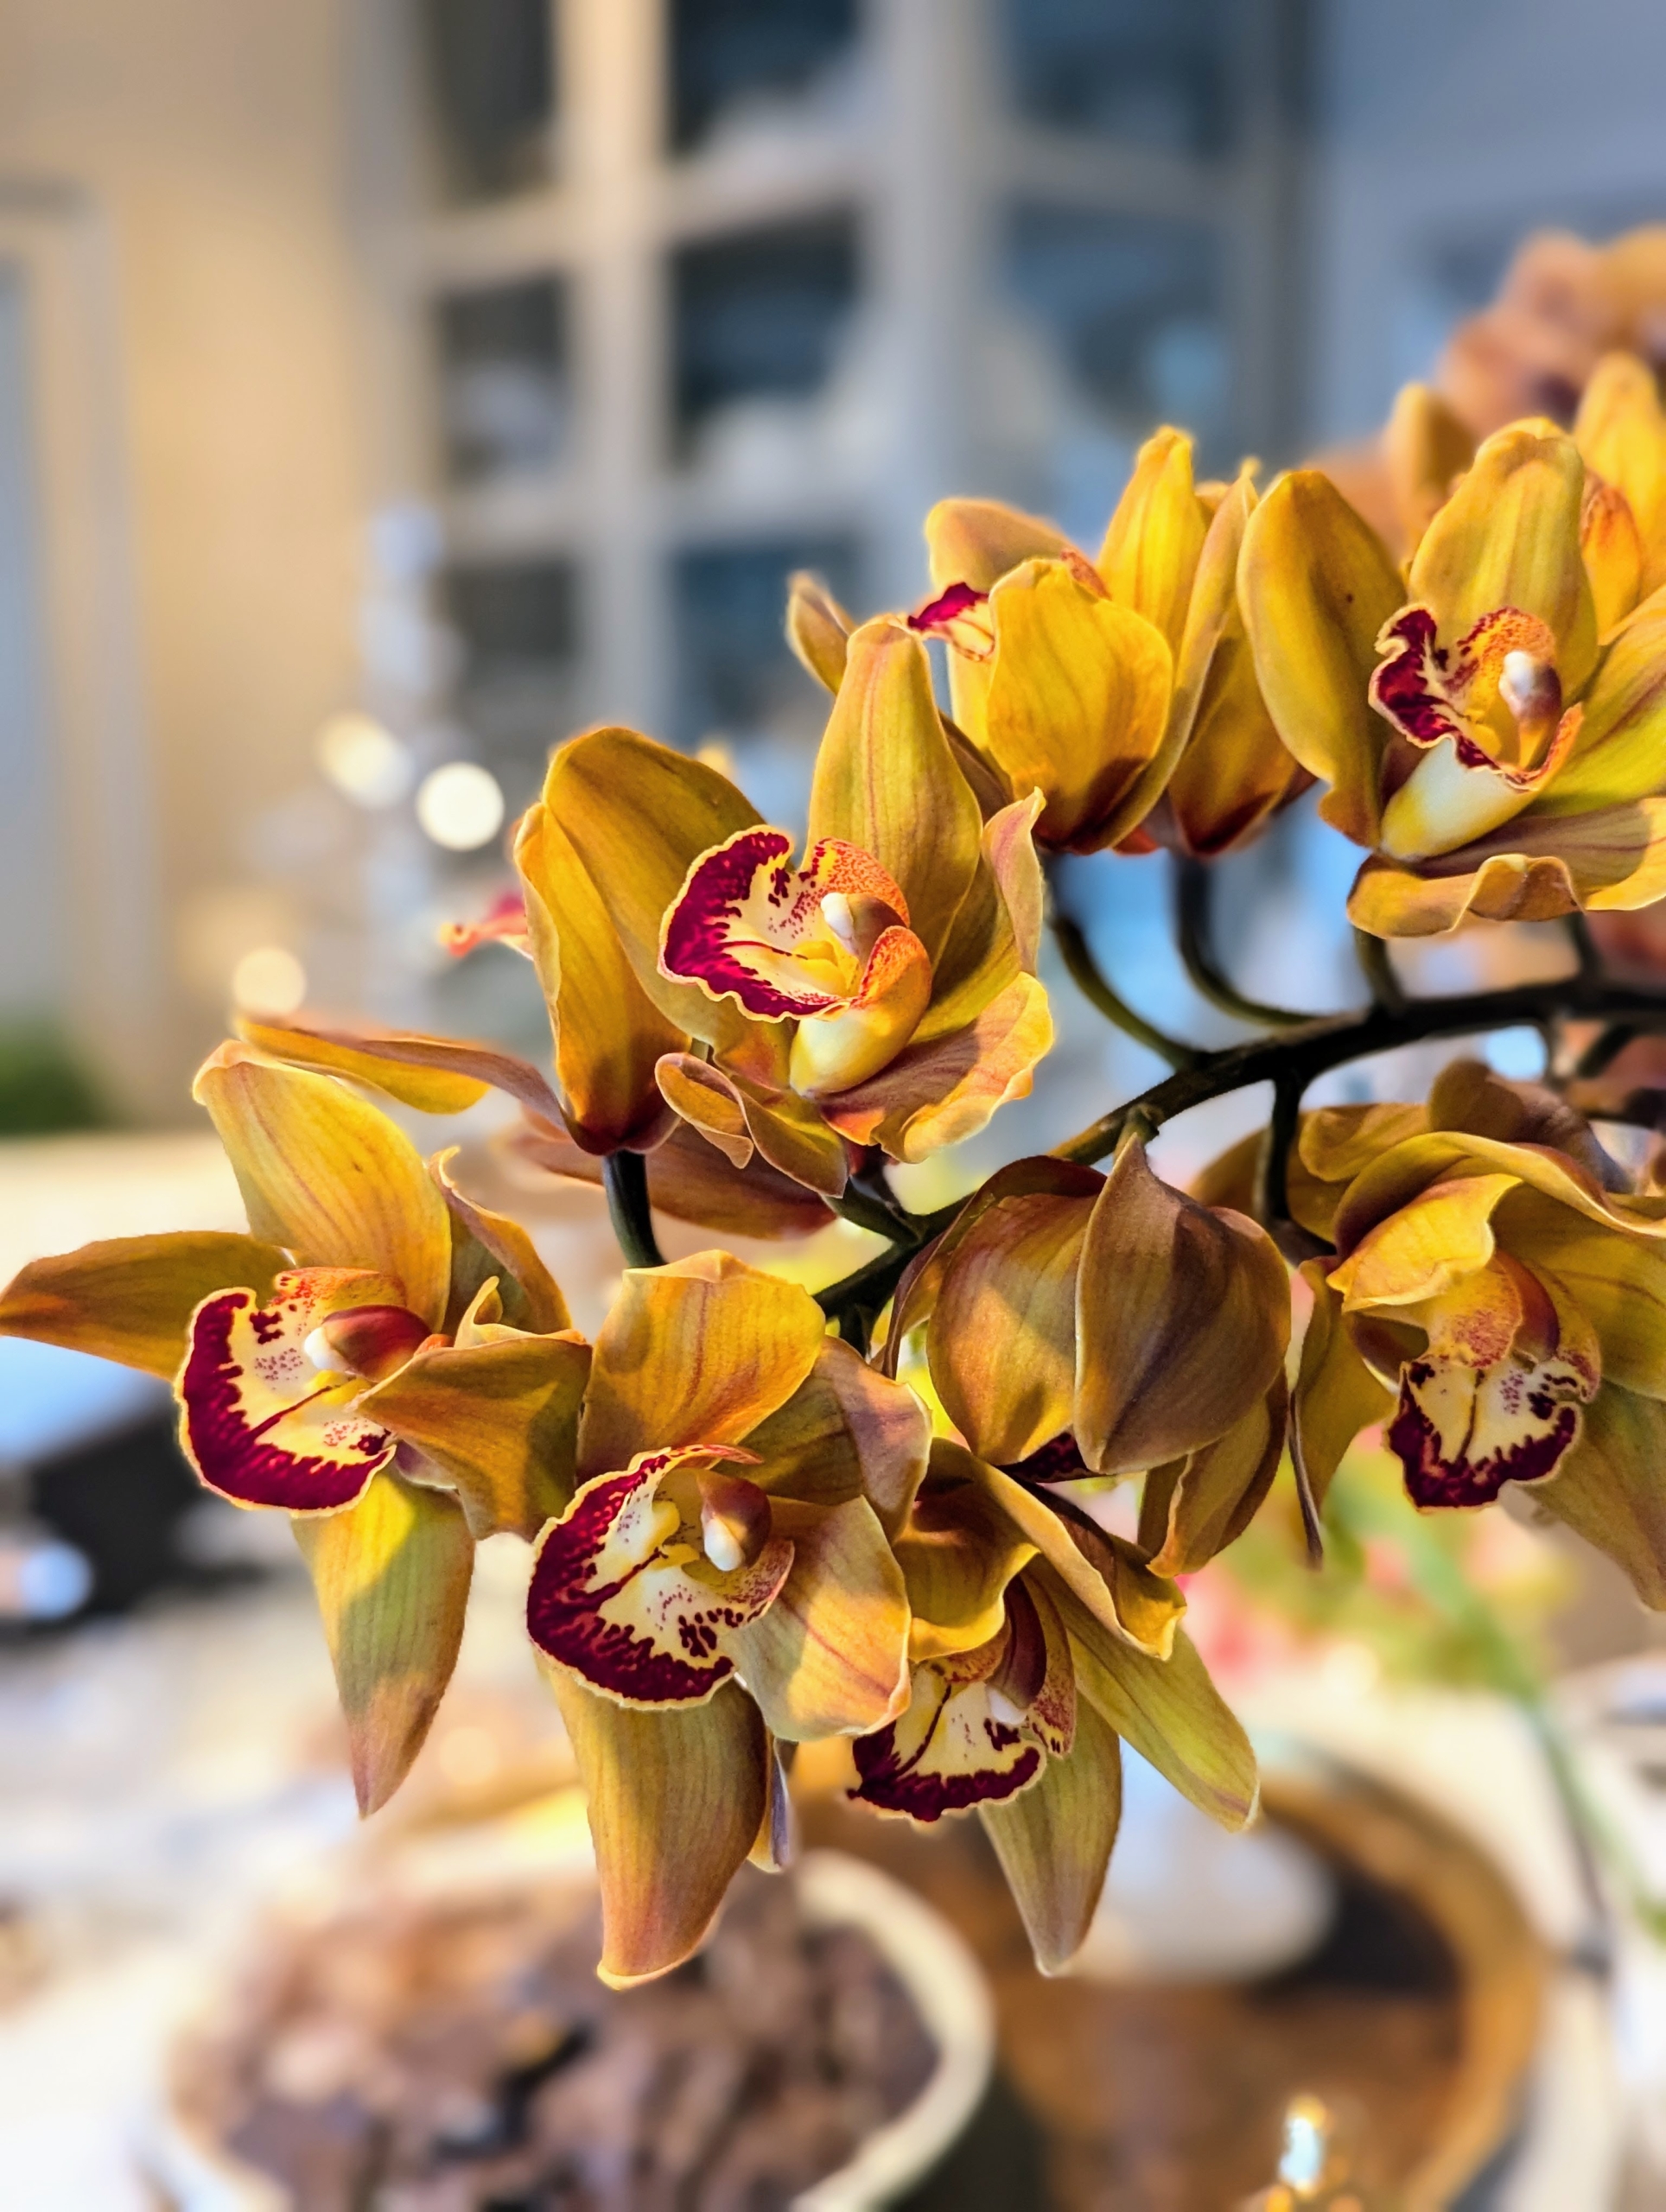
I also filled the rooms with lots of blooming orchids from my greenhouse. They’re all flowering so beautifully this year.
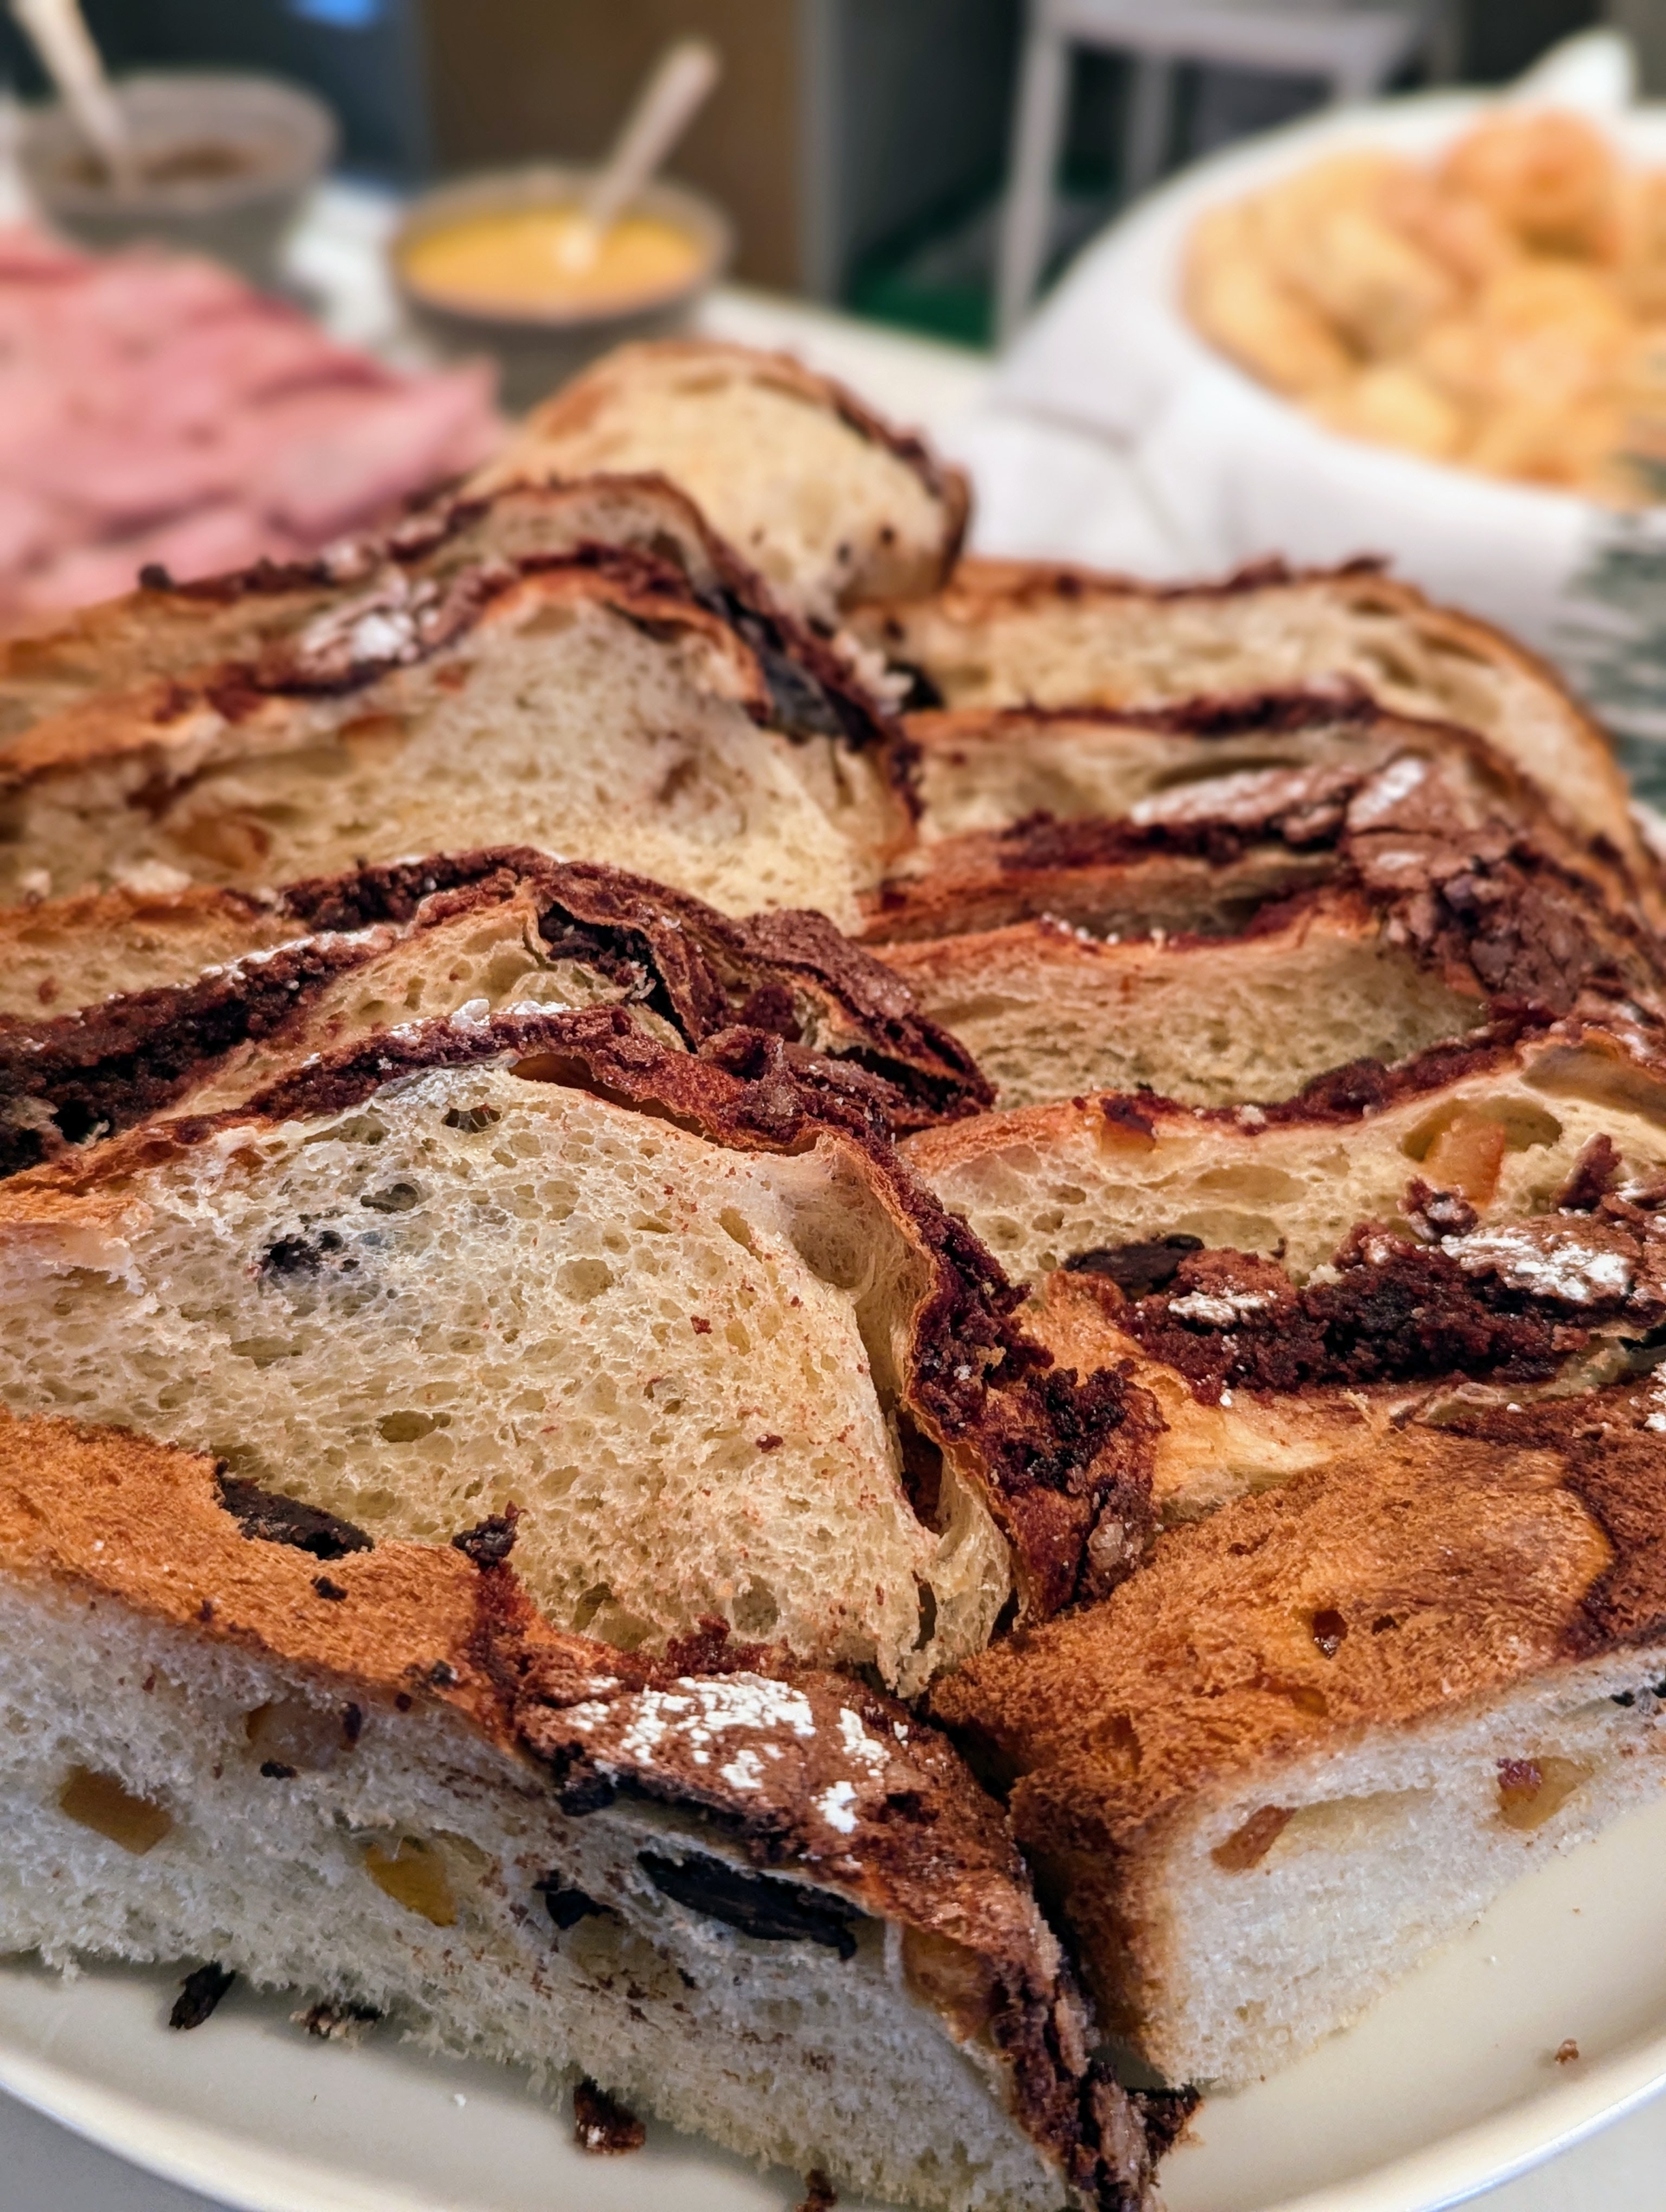
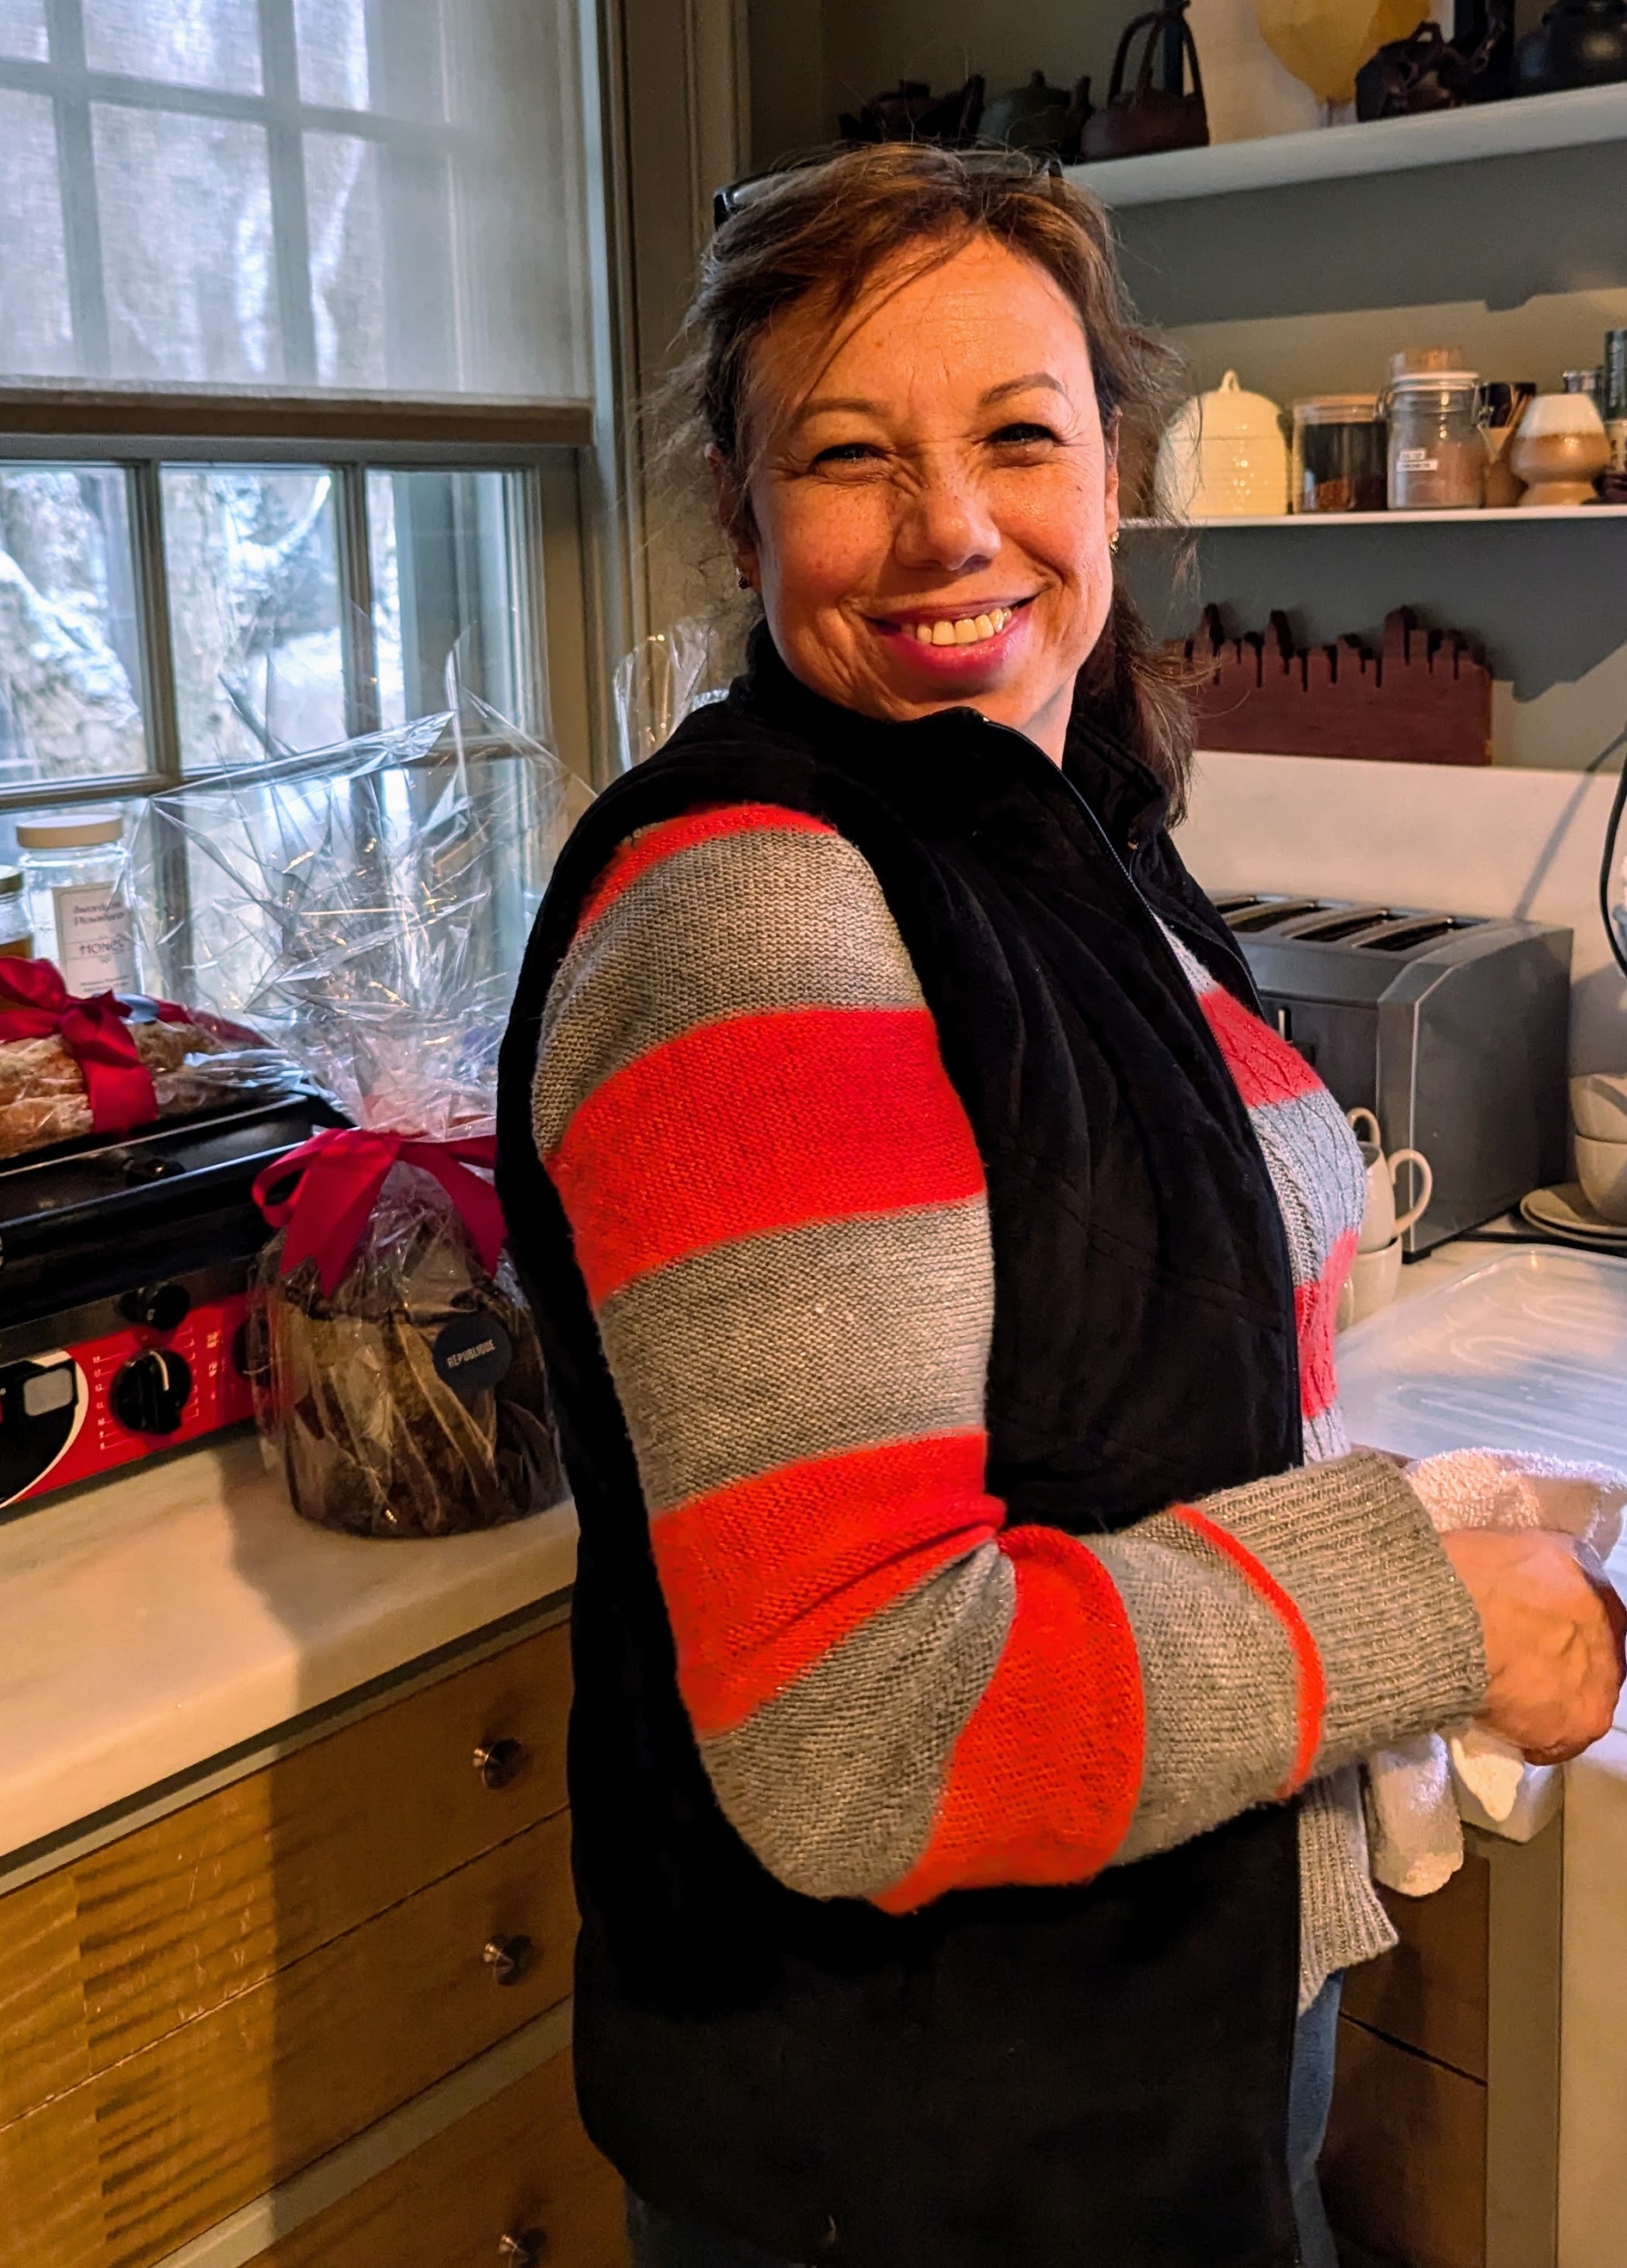
In my Winter House kitchen, I prepared a wonderful spread of food. Here are the trays of pre-sliced stollen, and Panettone.
I got the Panettone from Fatto a Mano, an artisanal Italian micro-bakery in Westport, Connecticut.
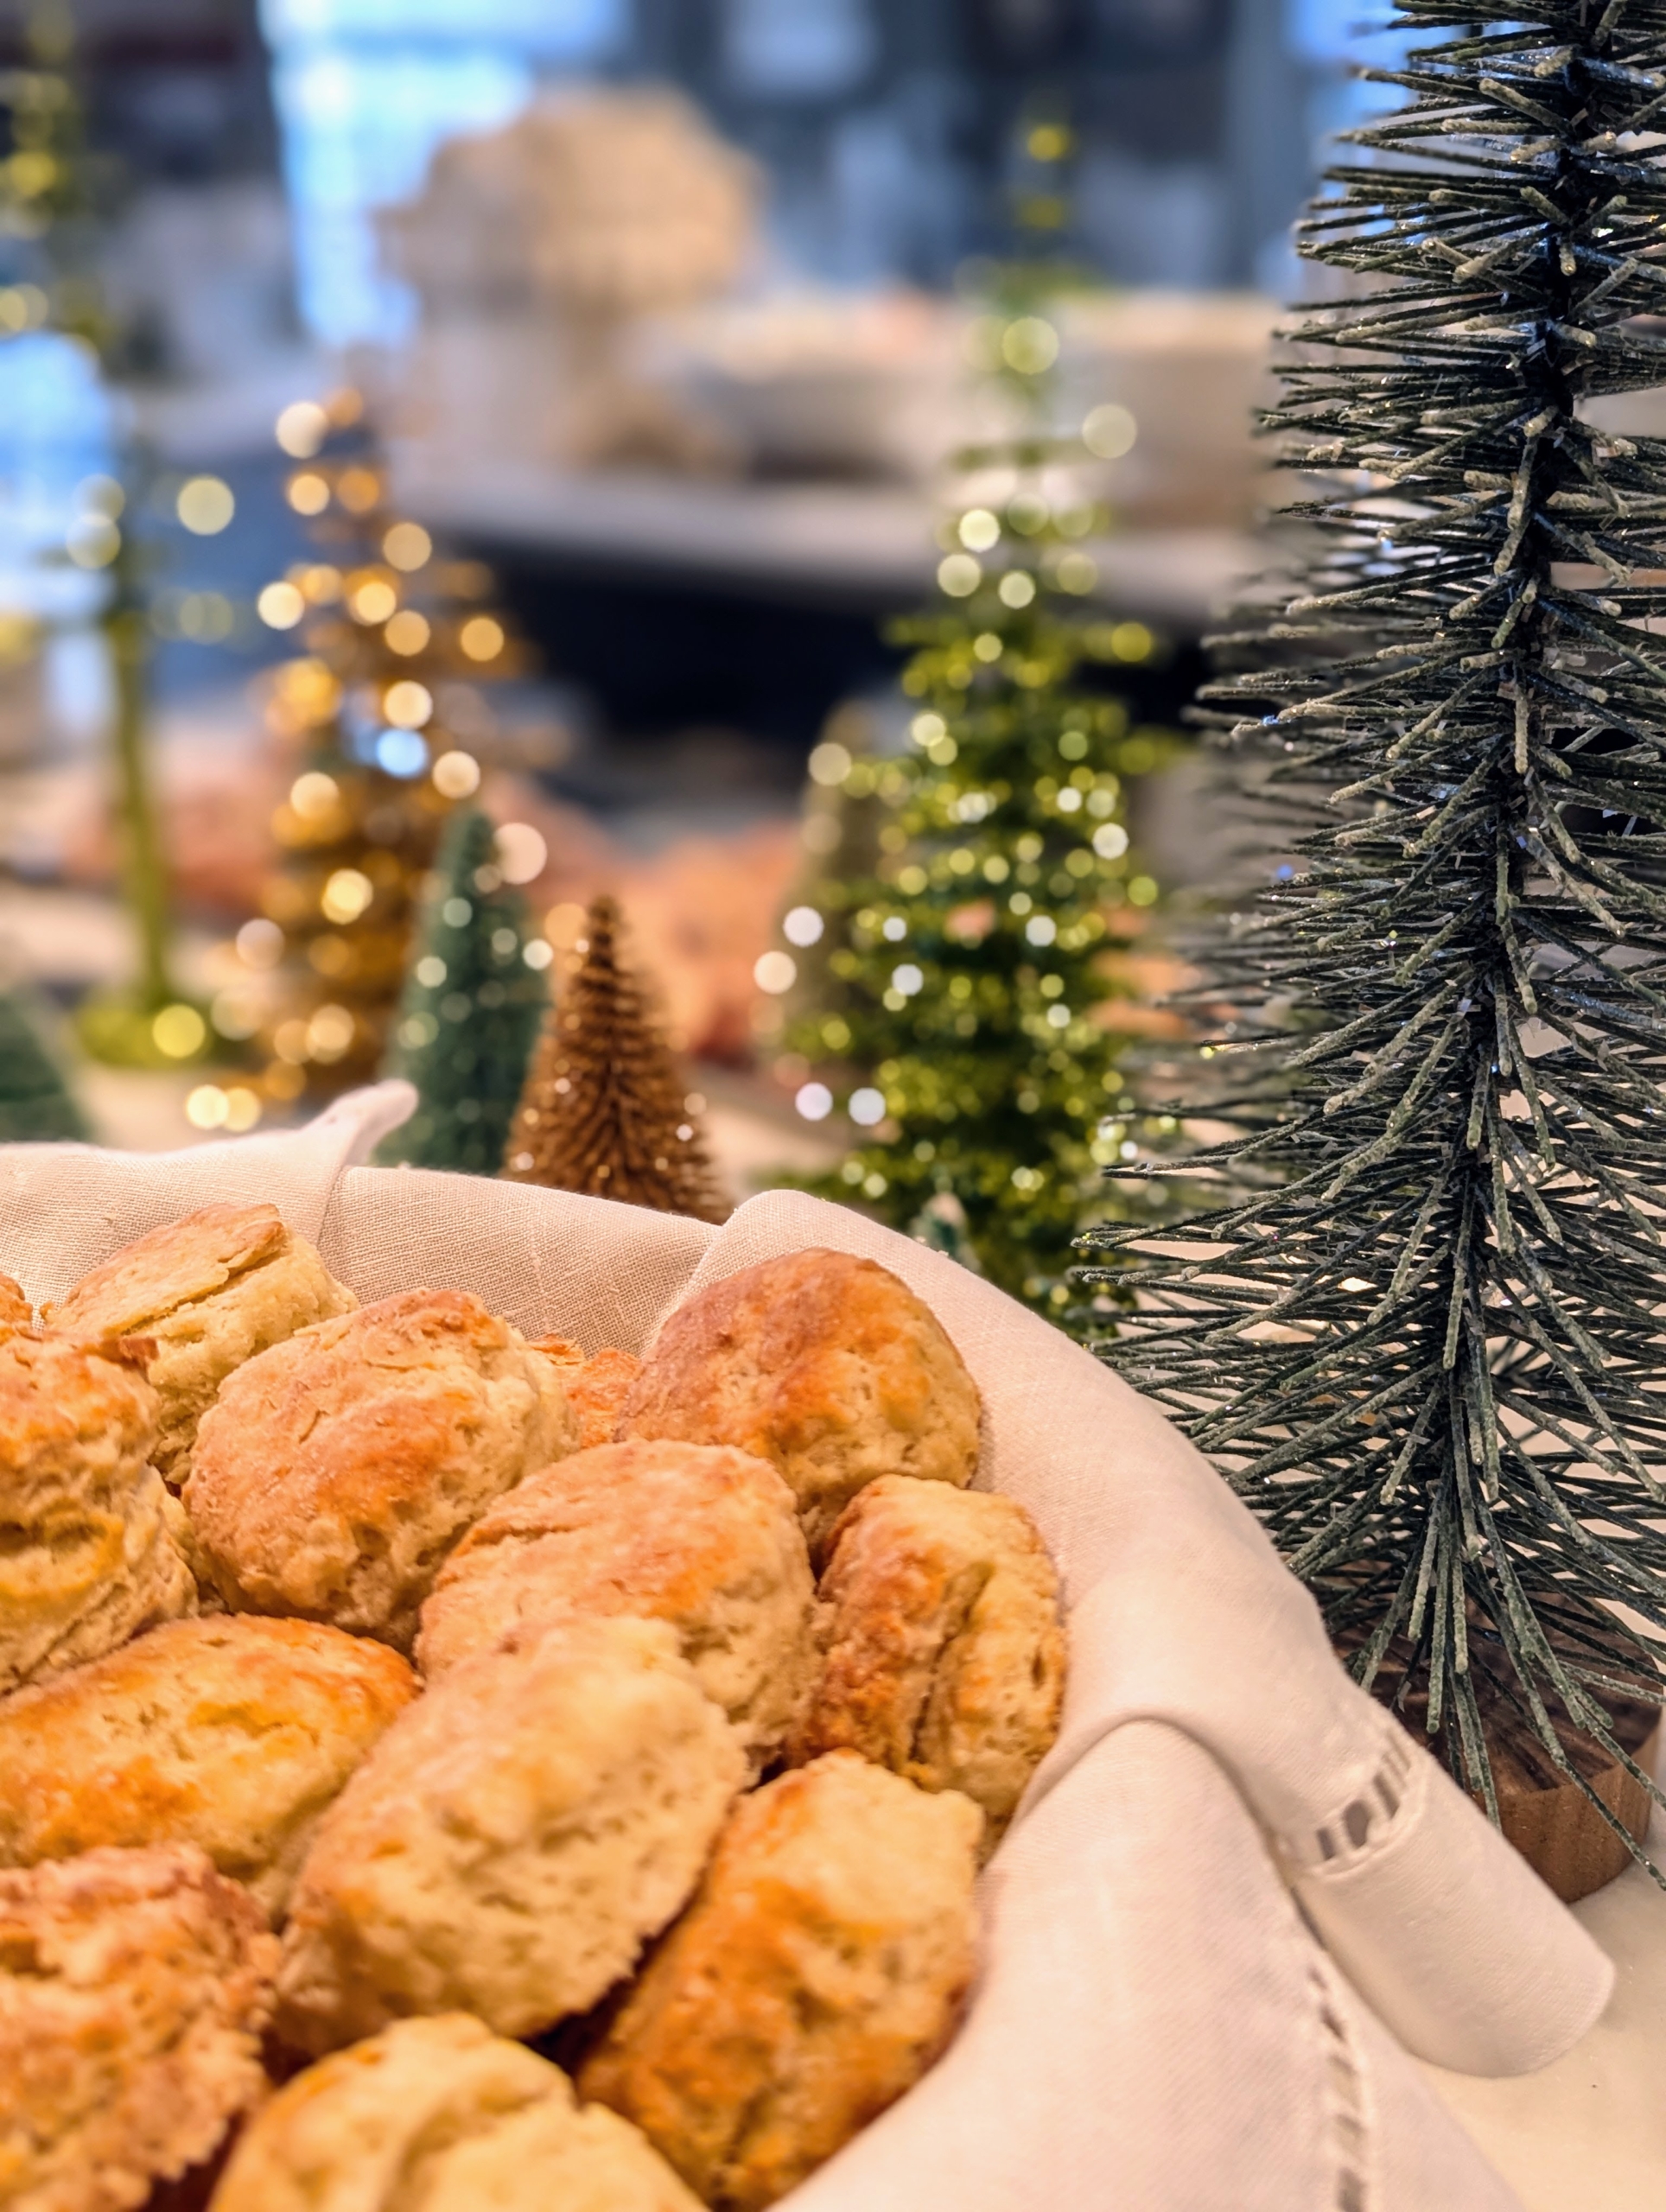
Homemade biscuits were served in another basket.
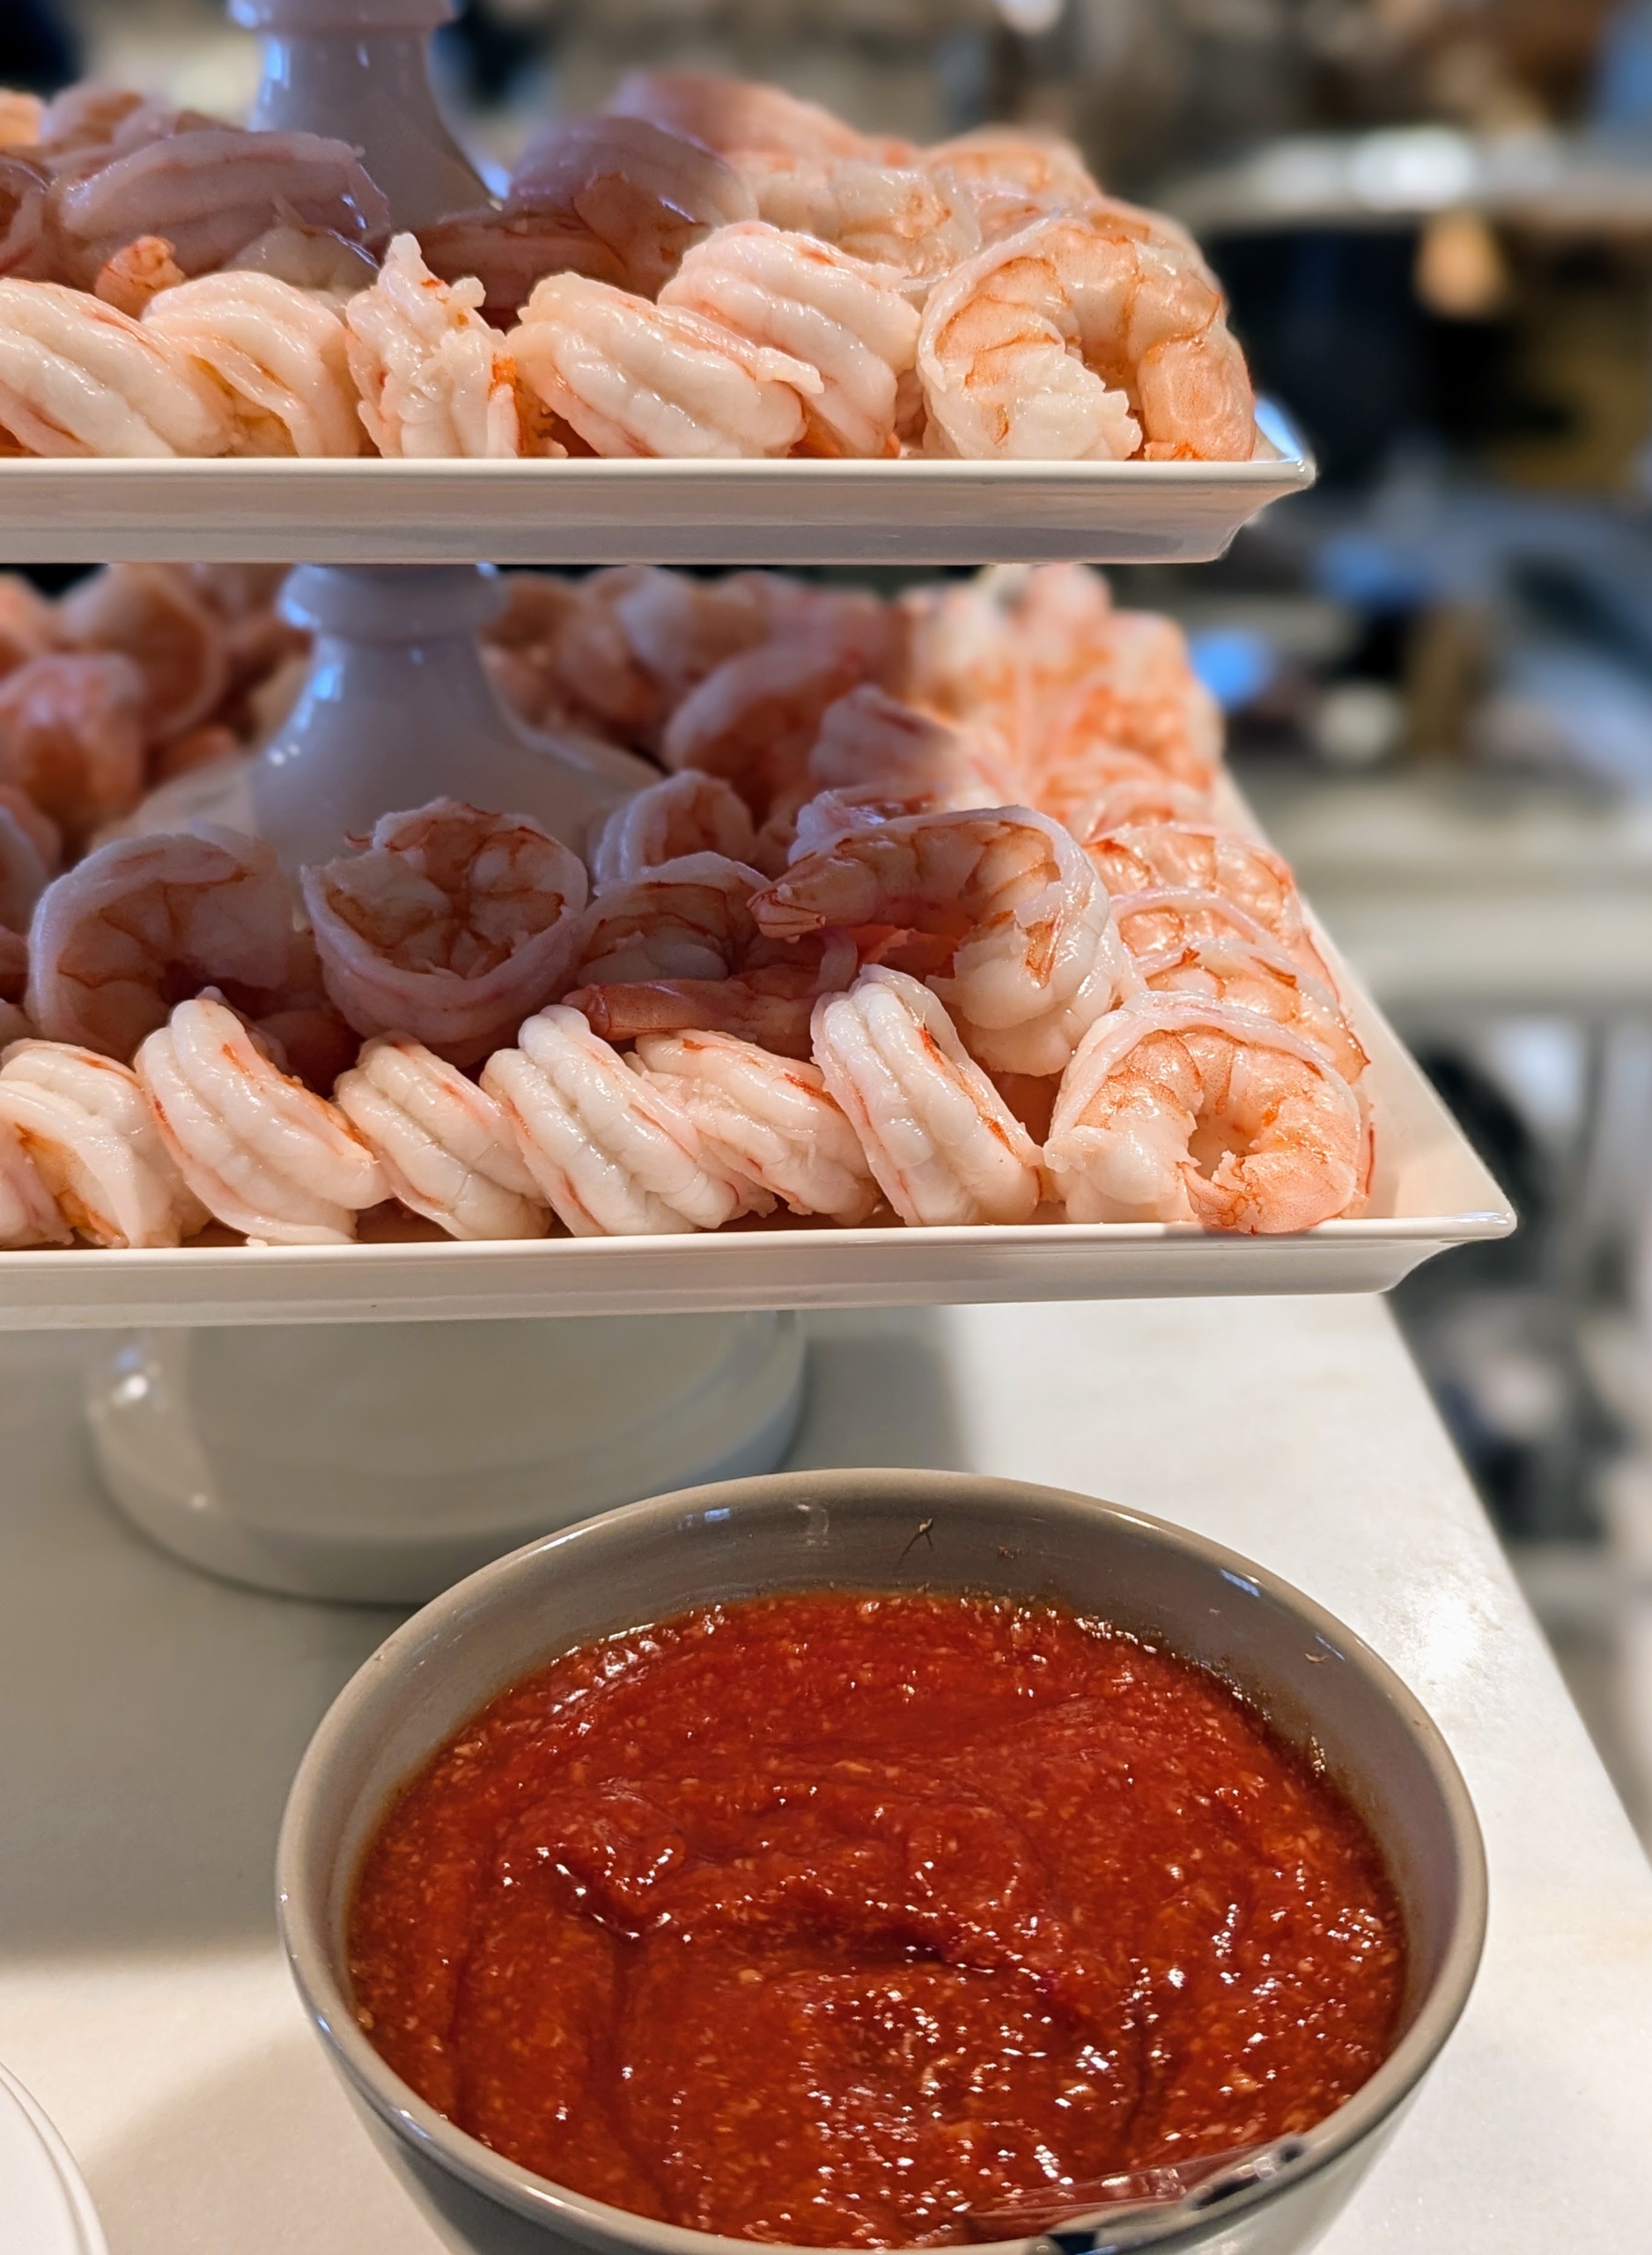
At one end of the counter I served shrimp cocktail from Mt. Kisco Seafood. It went very quickly.
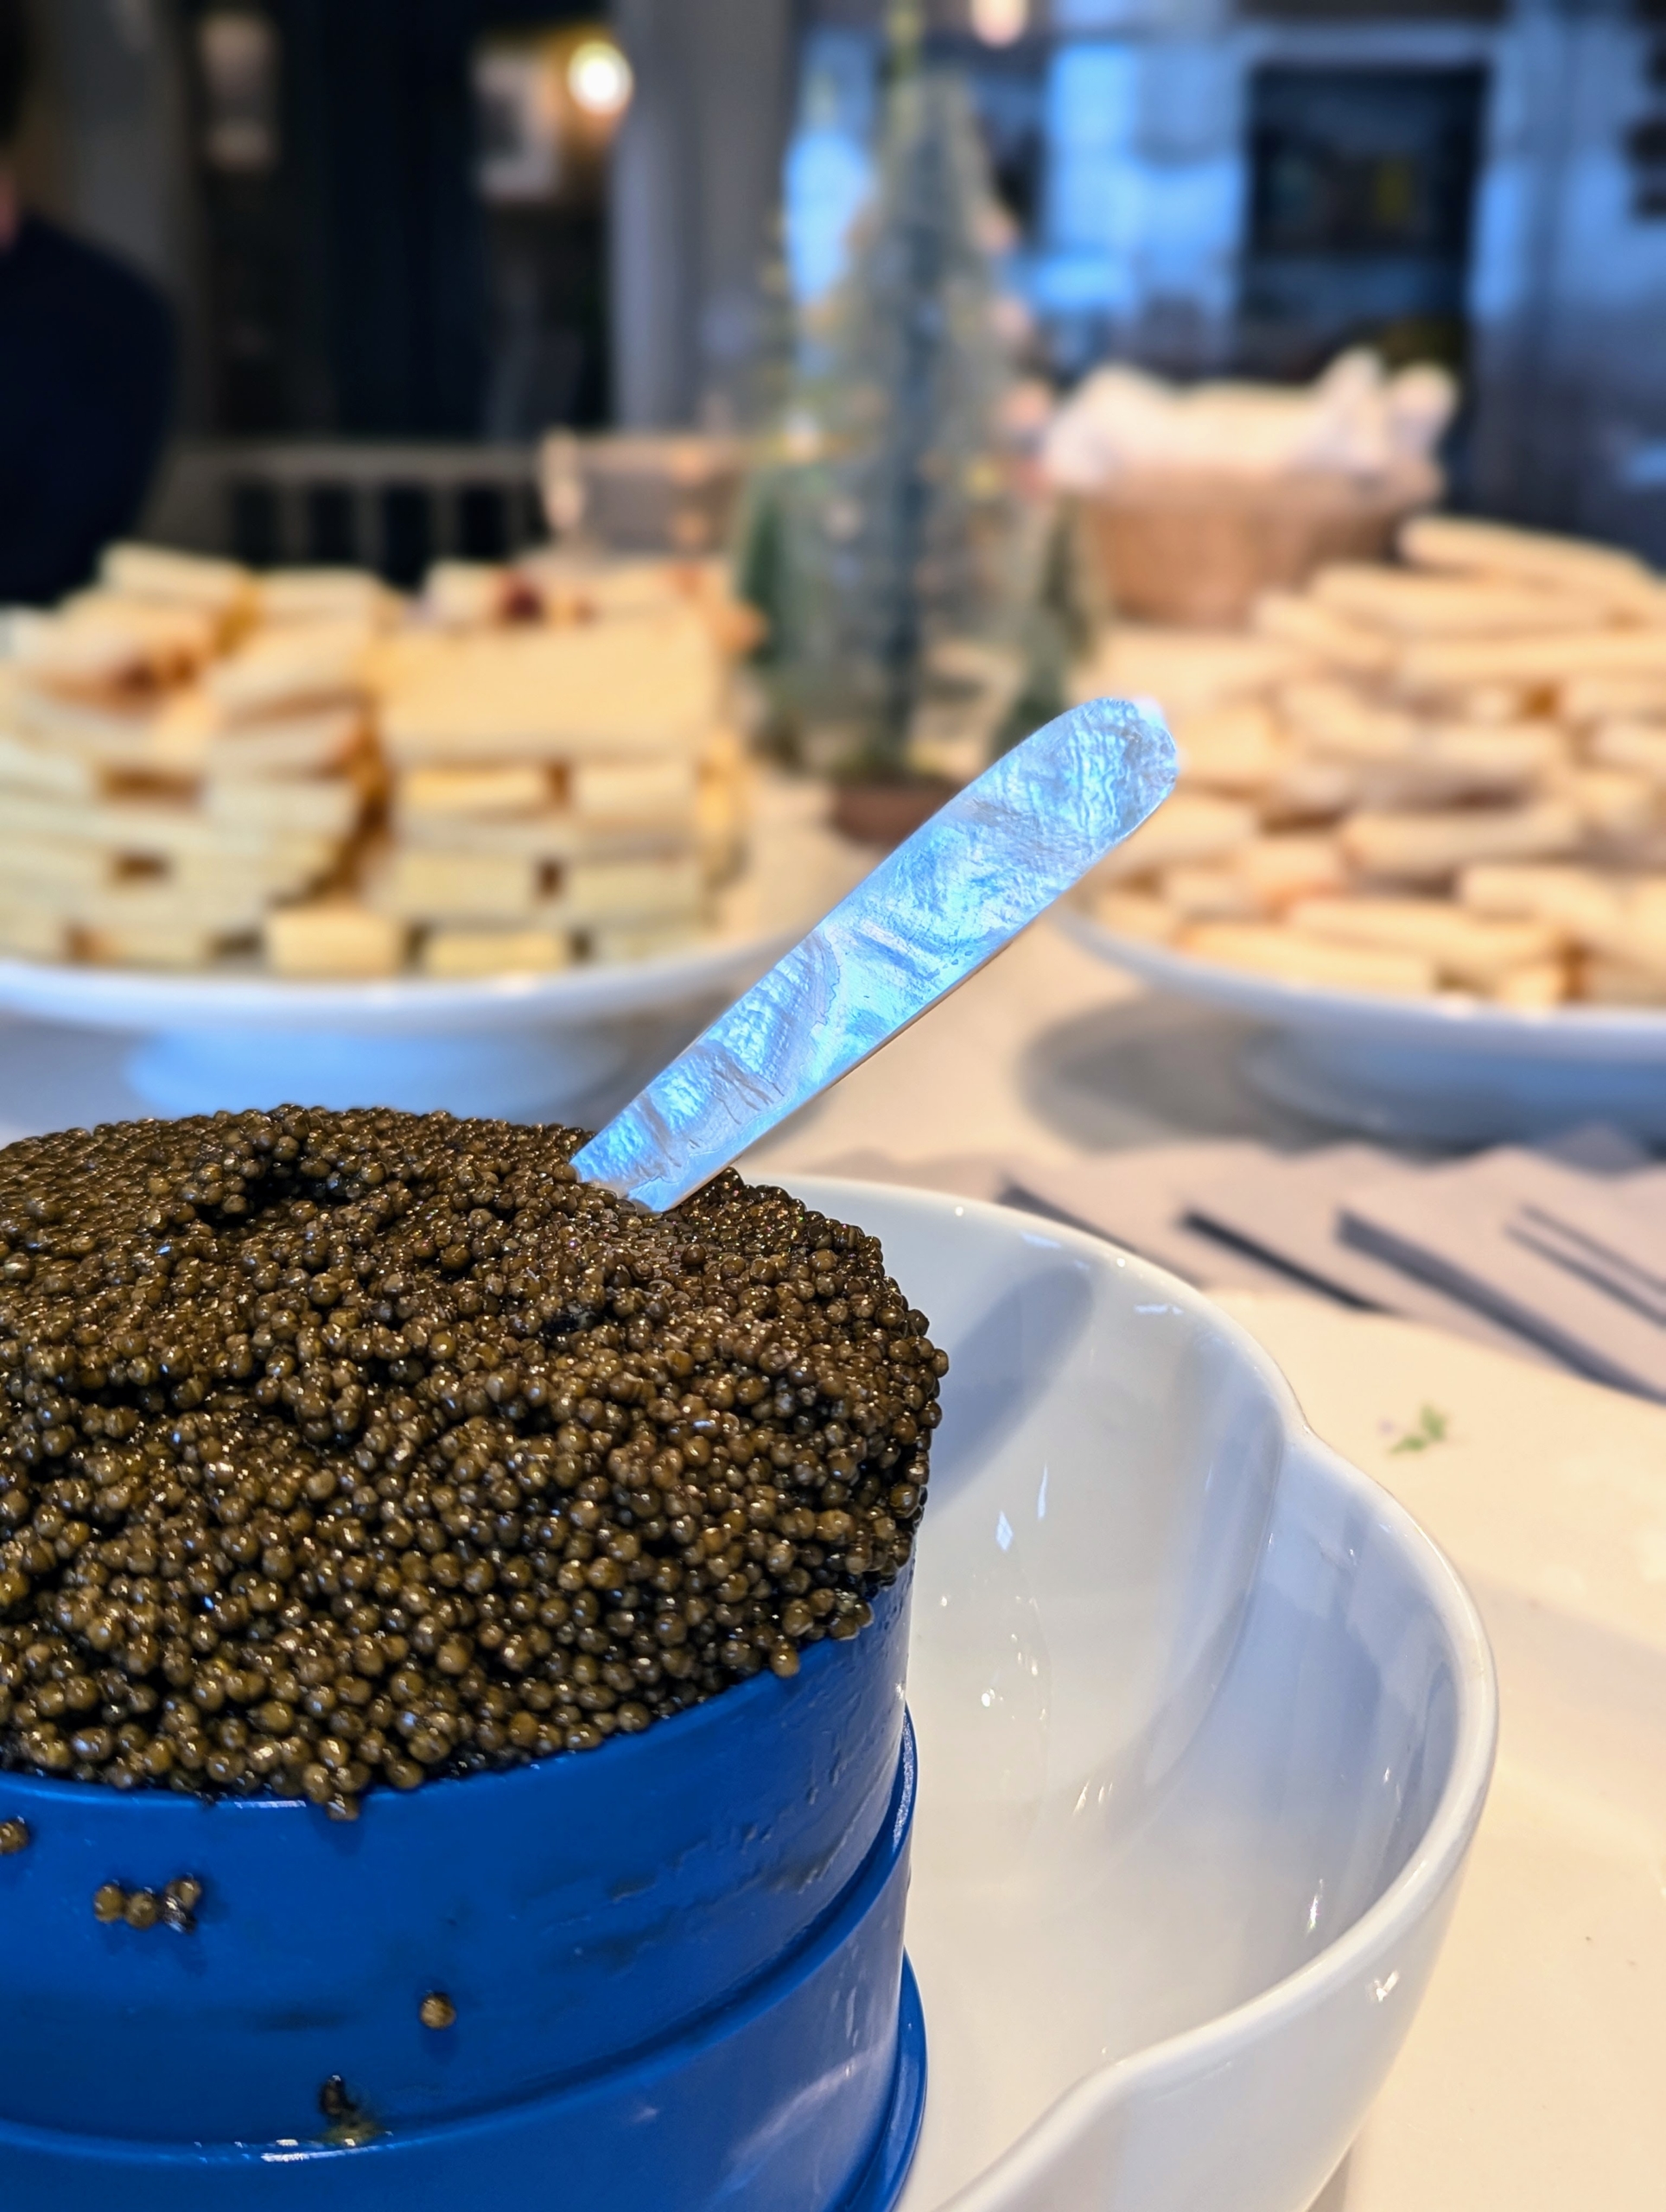
And at the other end, I served delicious Black Diamond caviar.
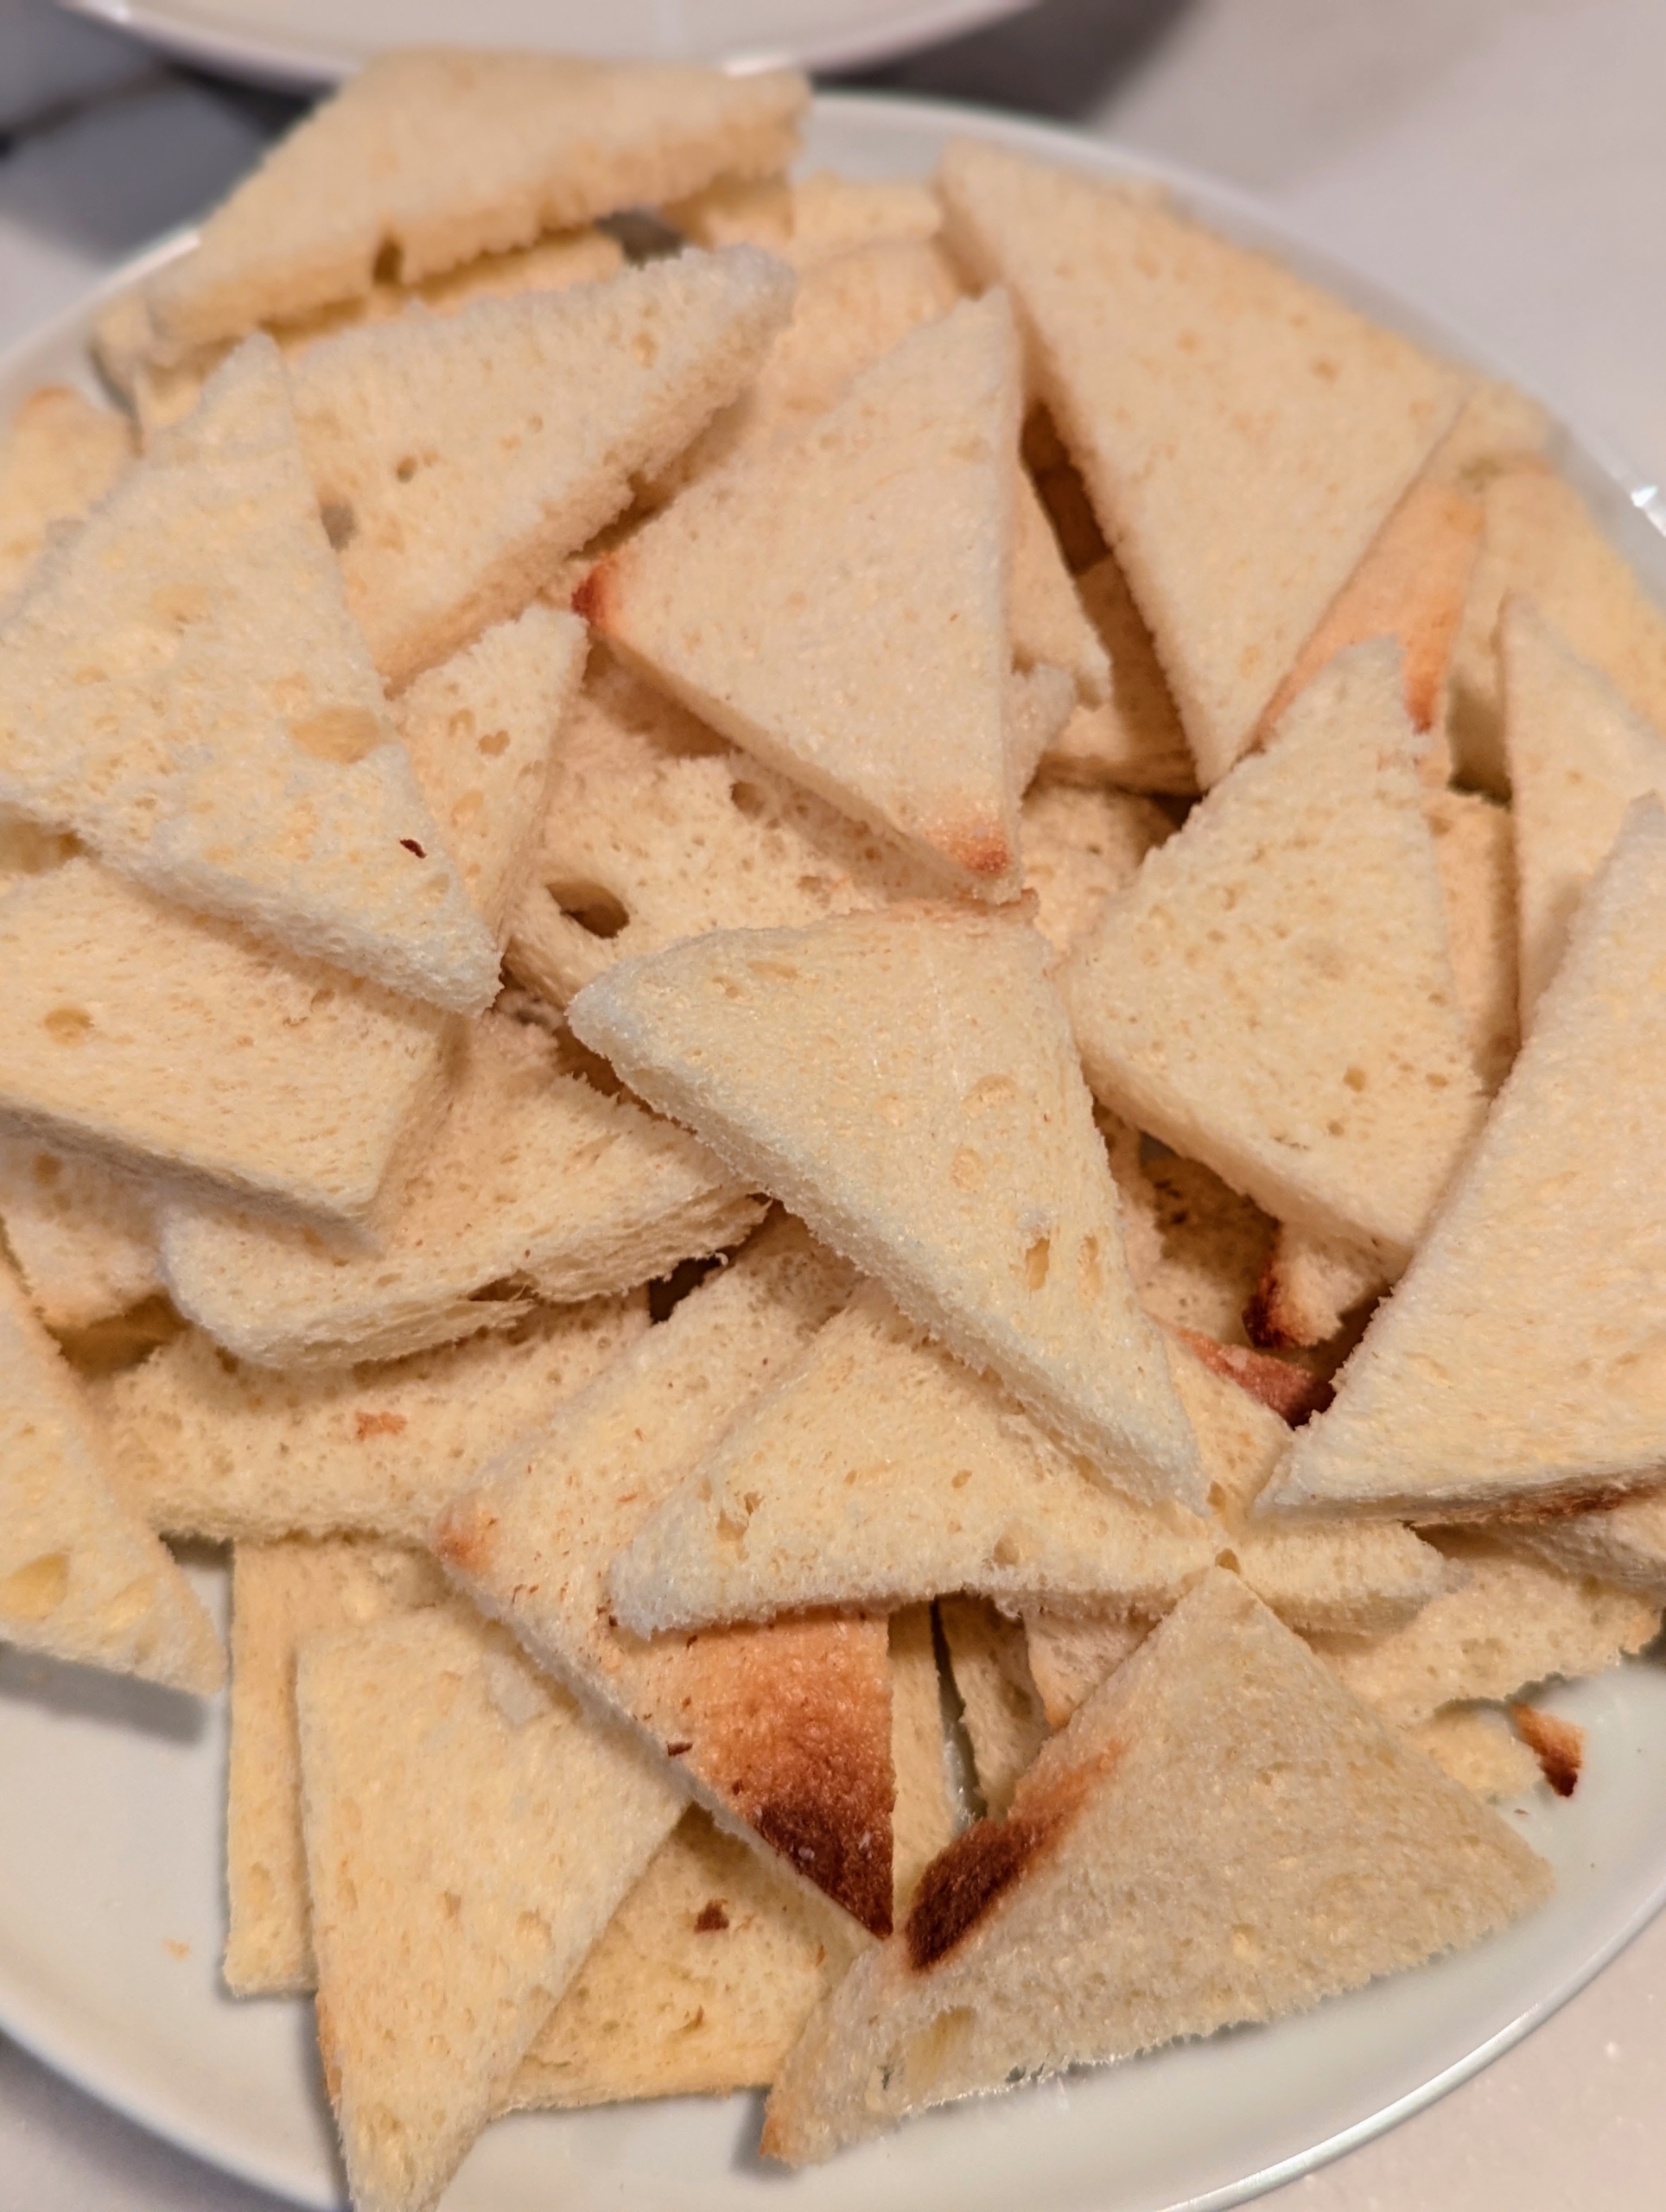
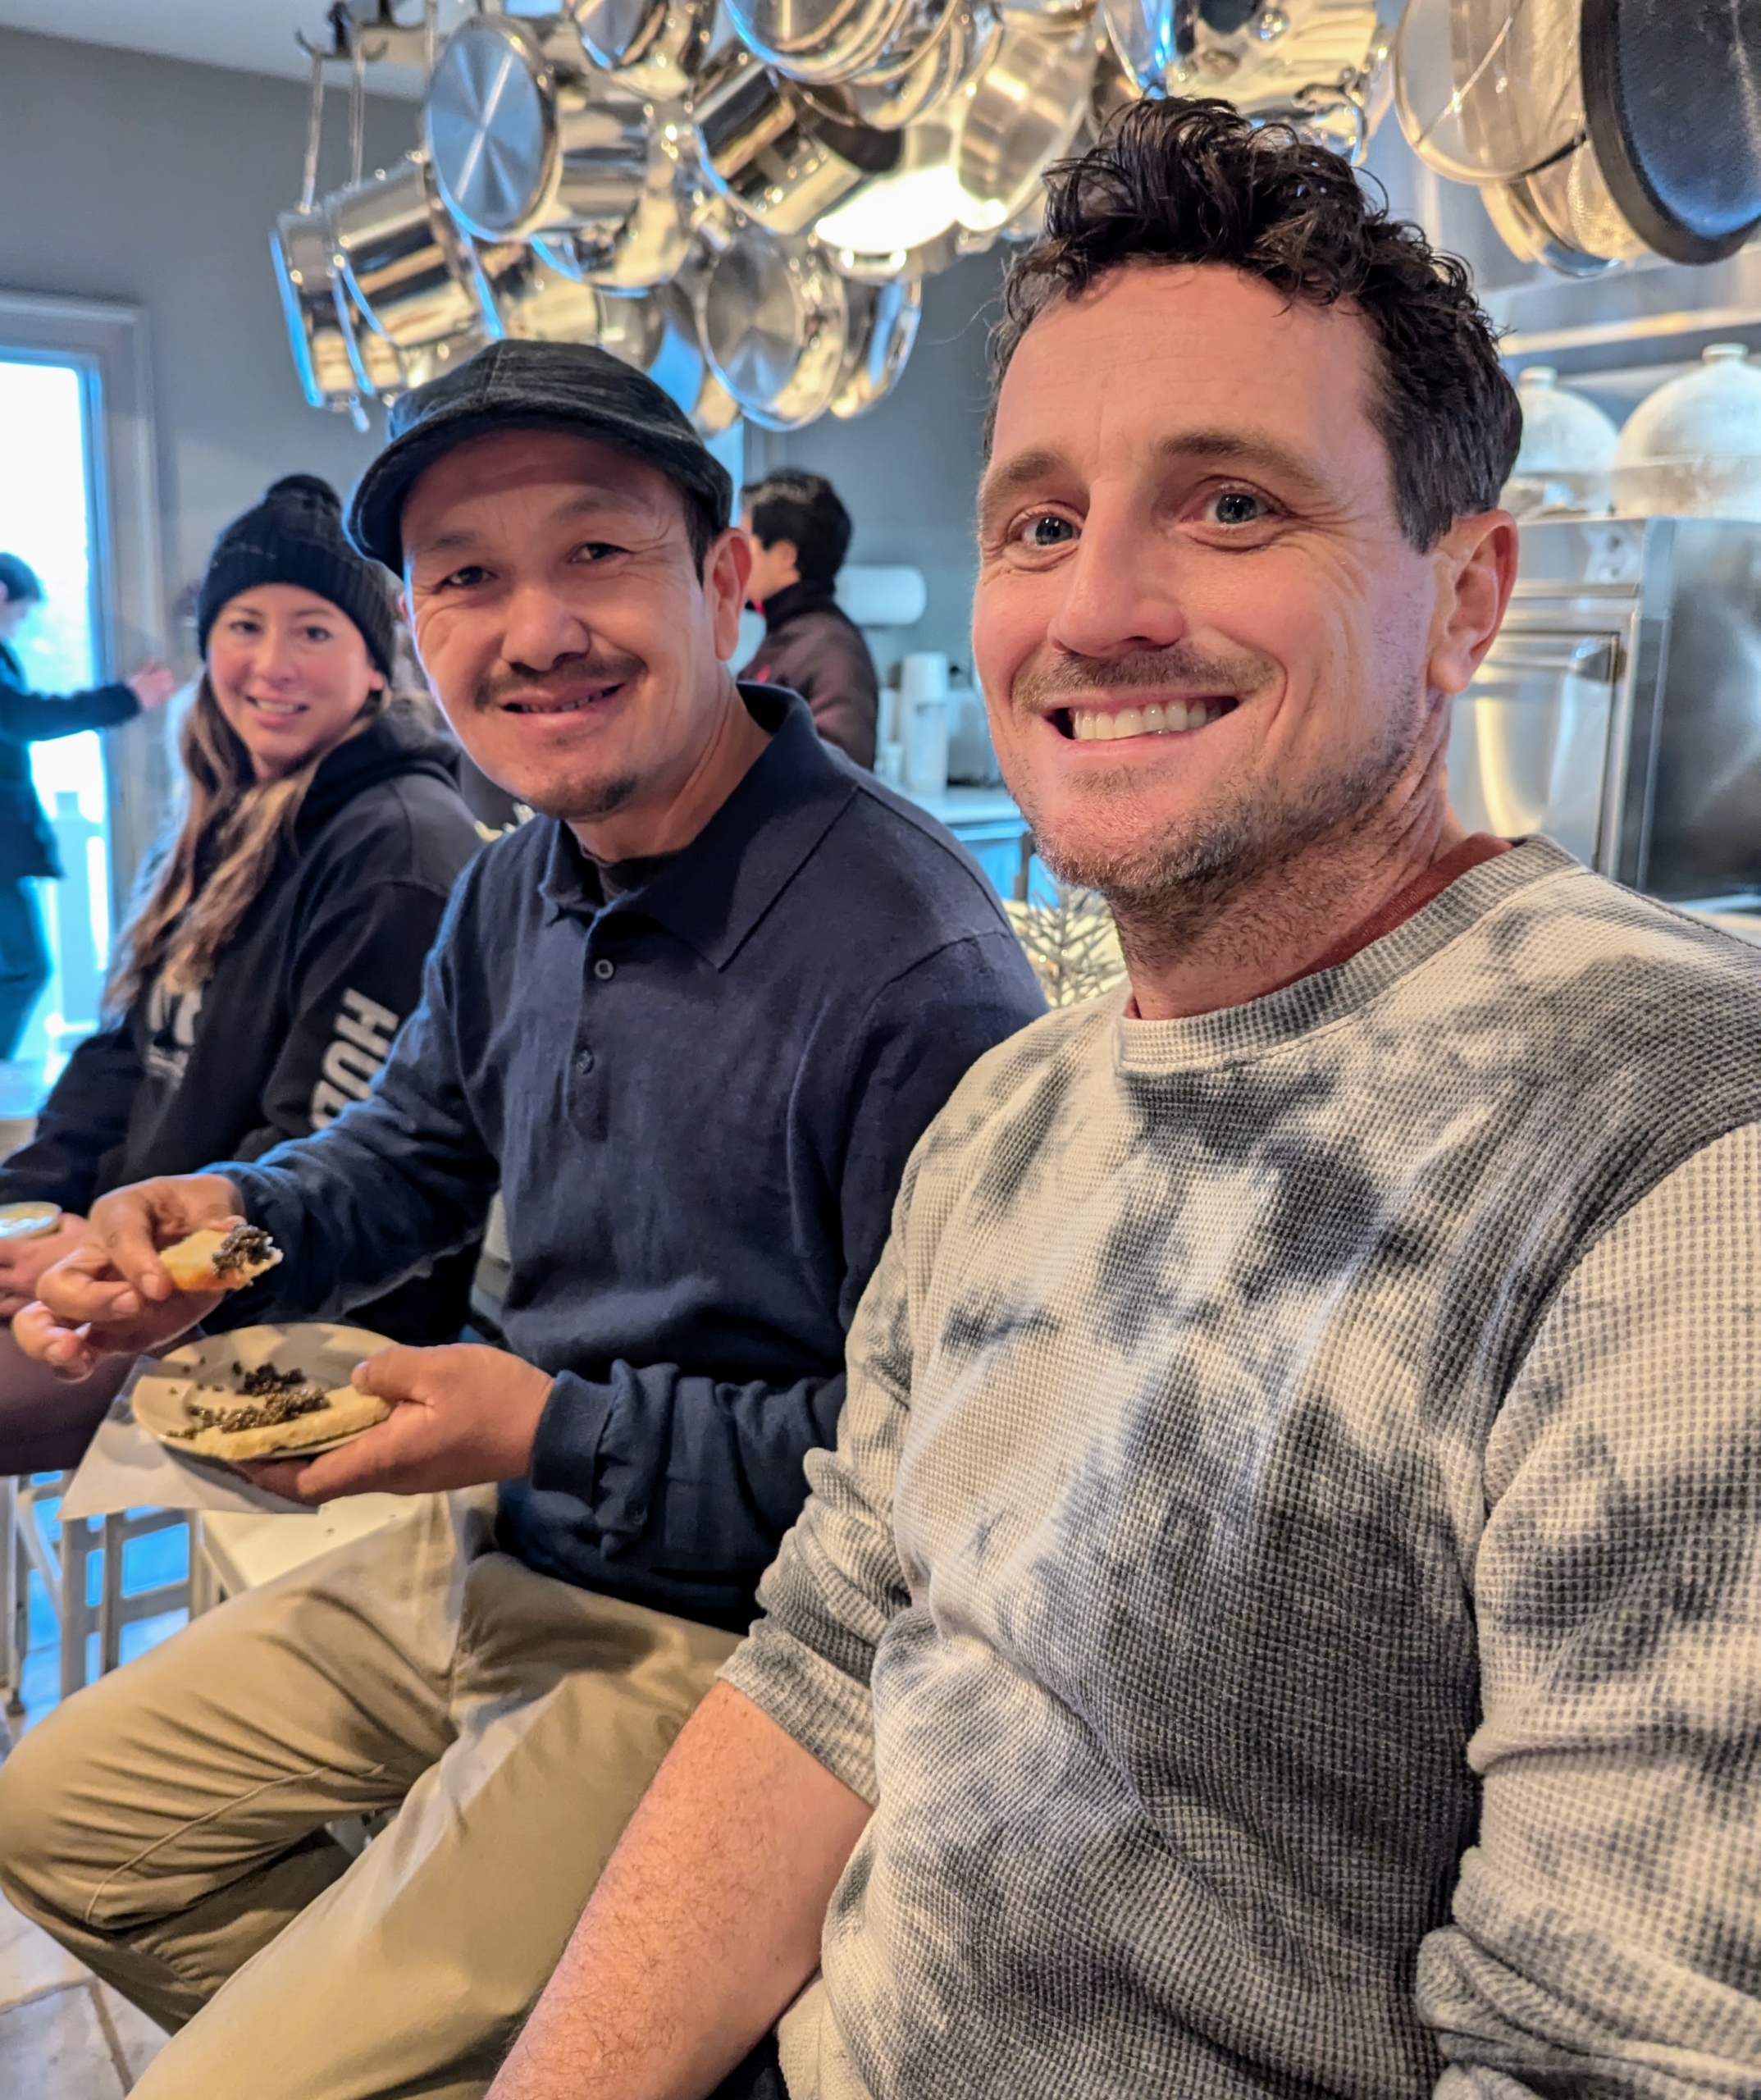
The caviar accompanied sour cream and mini brioche toasts I made earlier in the day. It was also a very well-visited station at the buffet.
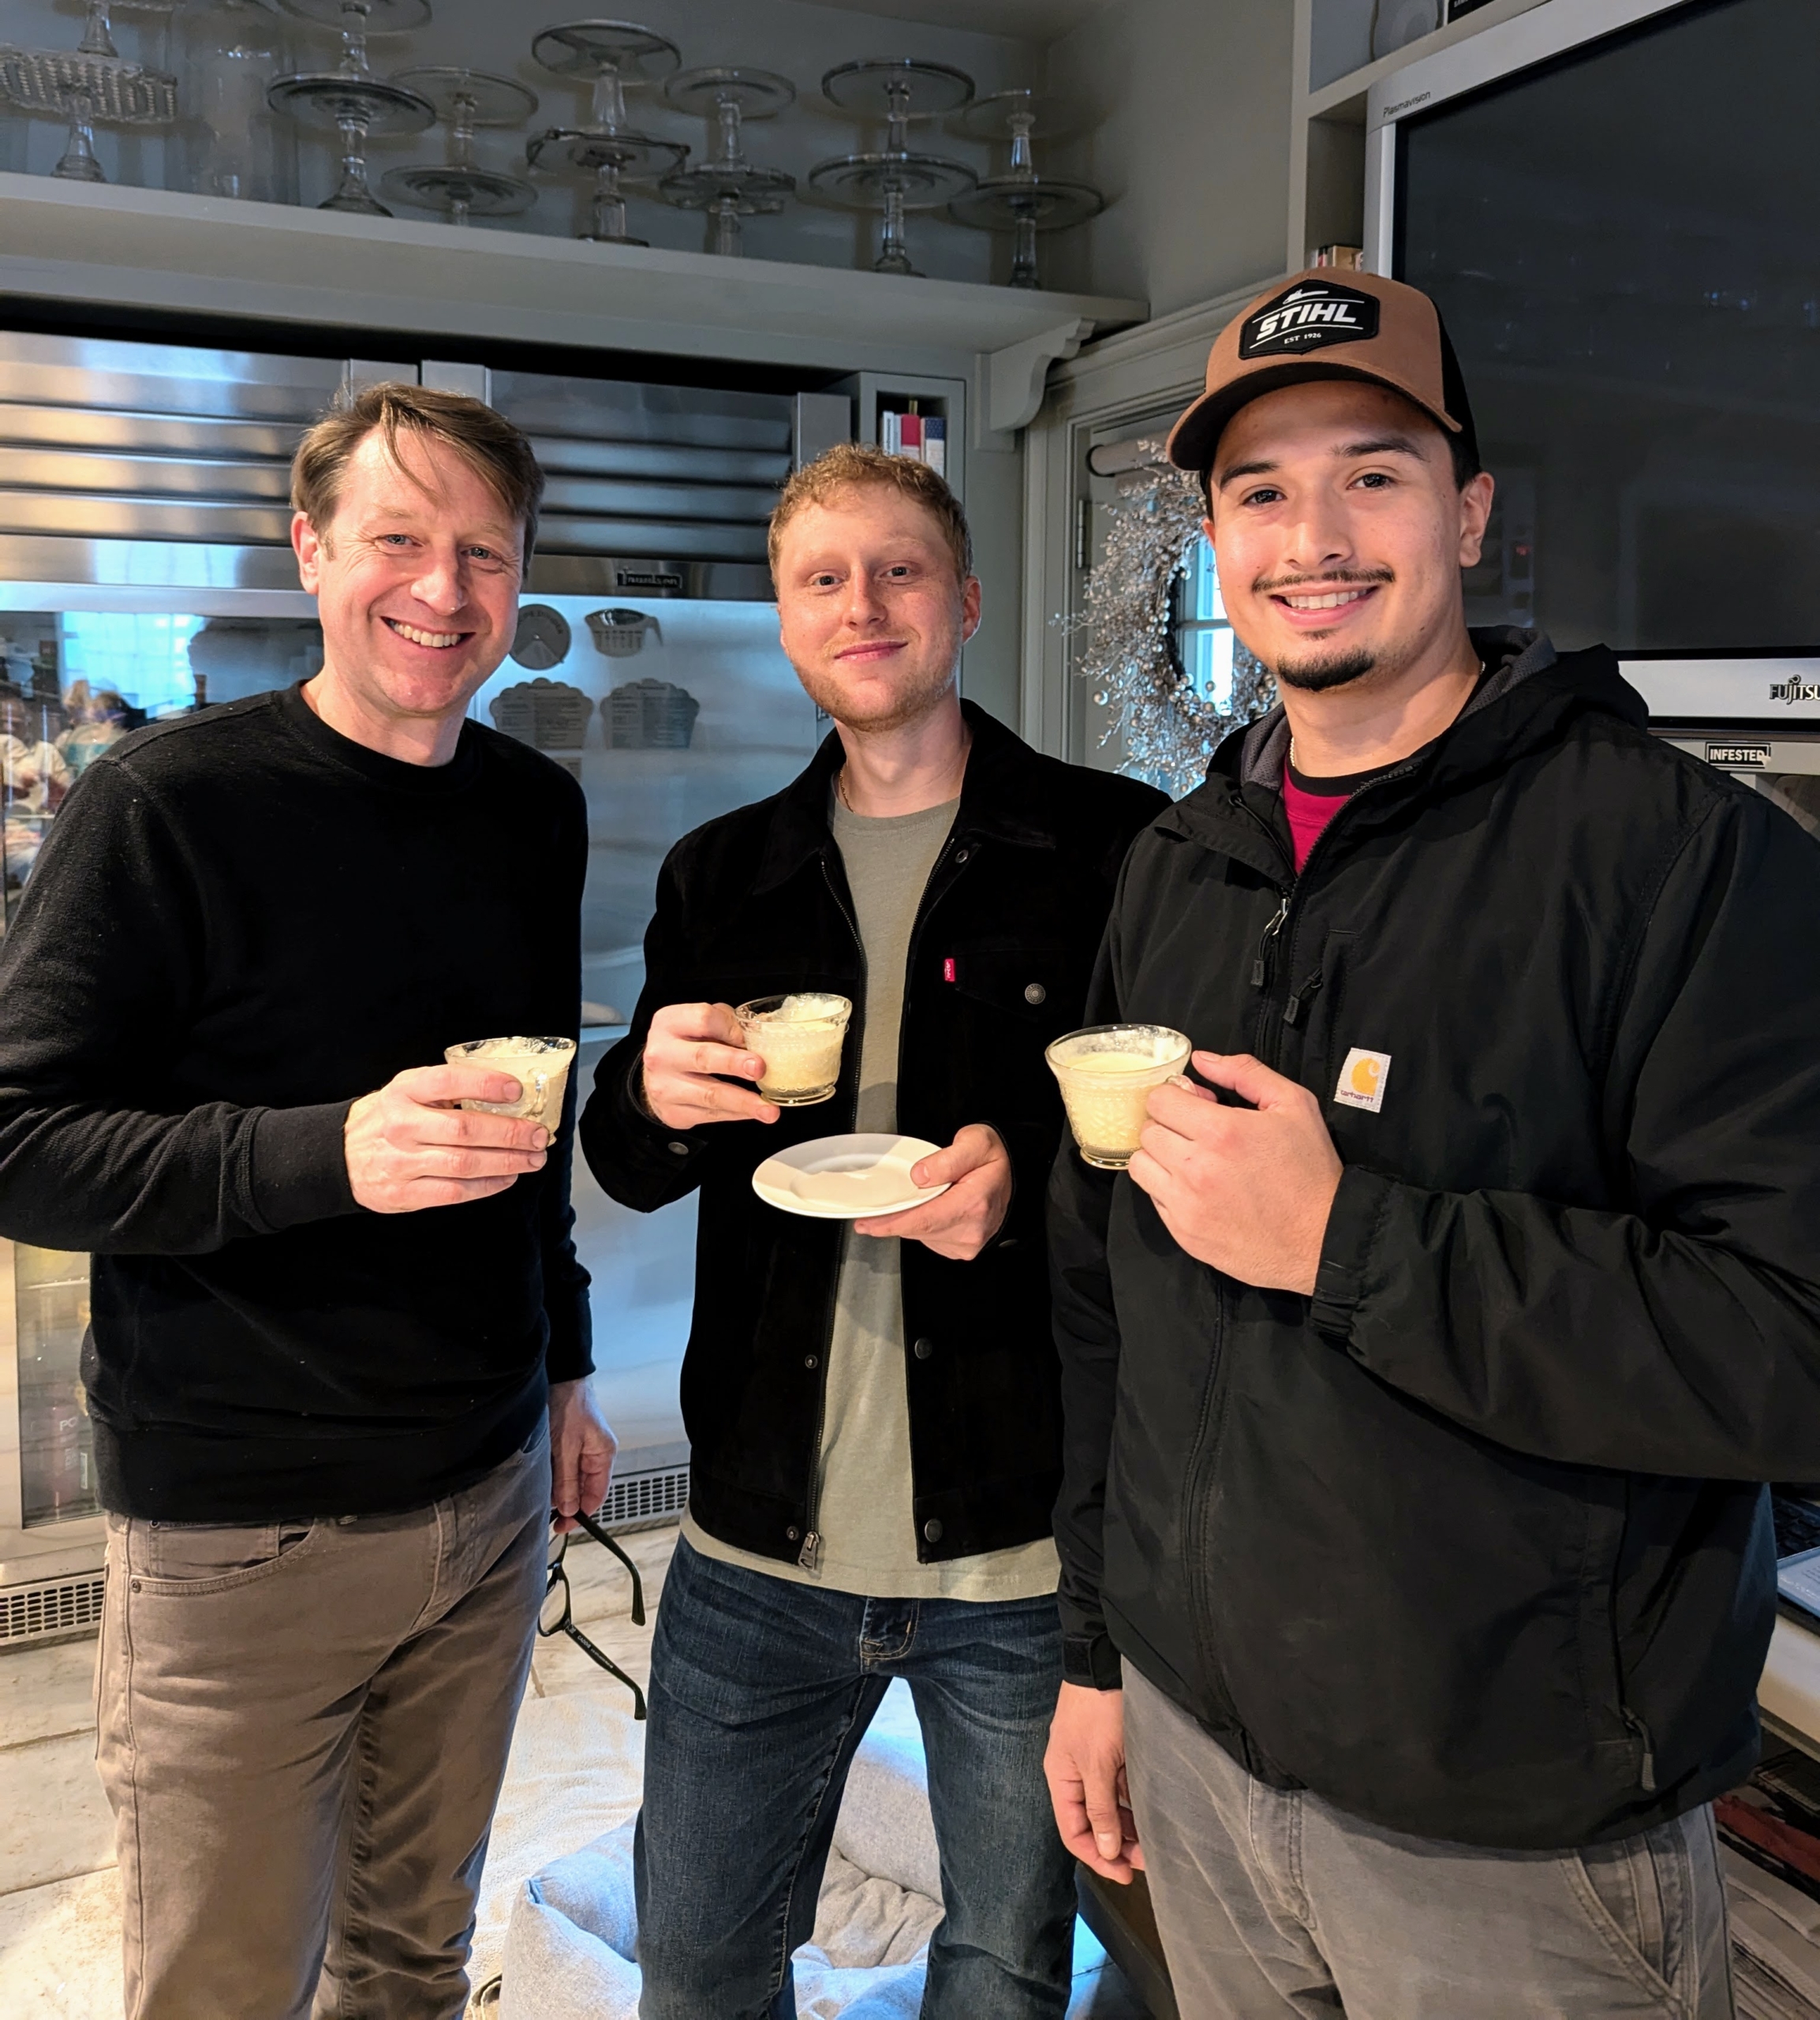
Holding their cups of egg nog are my operations manager, Matt Krack, and my gardeners, Josh Casali and Matthew Orrego.
Enjoying their first helpings are my stable manager Helen Paparo, my outdoor grounds crew foreman Chhiring Sherpa, and my head gardener, Ryan McCallister. I think everyone had seconds, and maybe even thirds of everything.
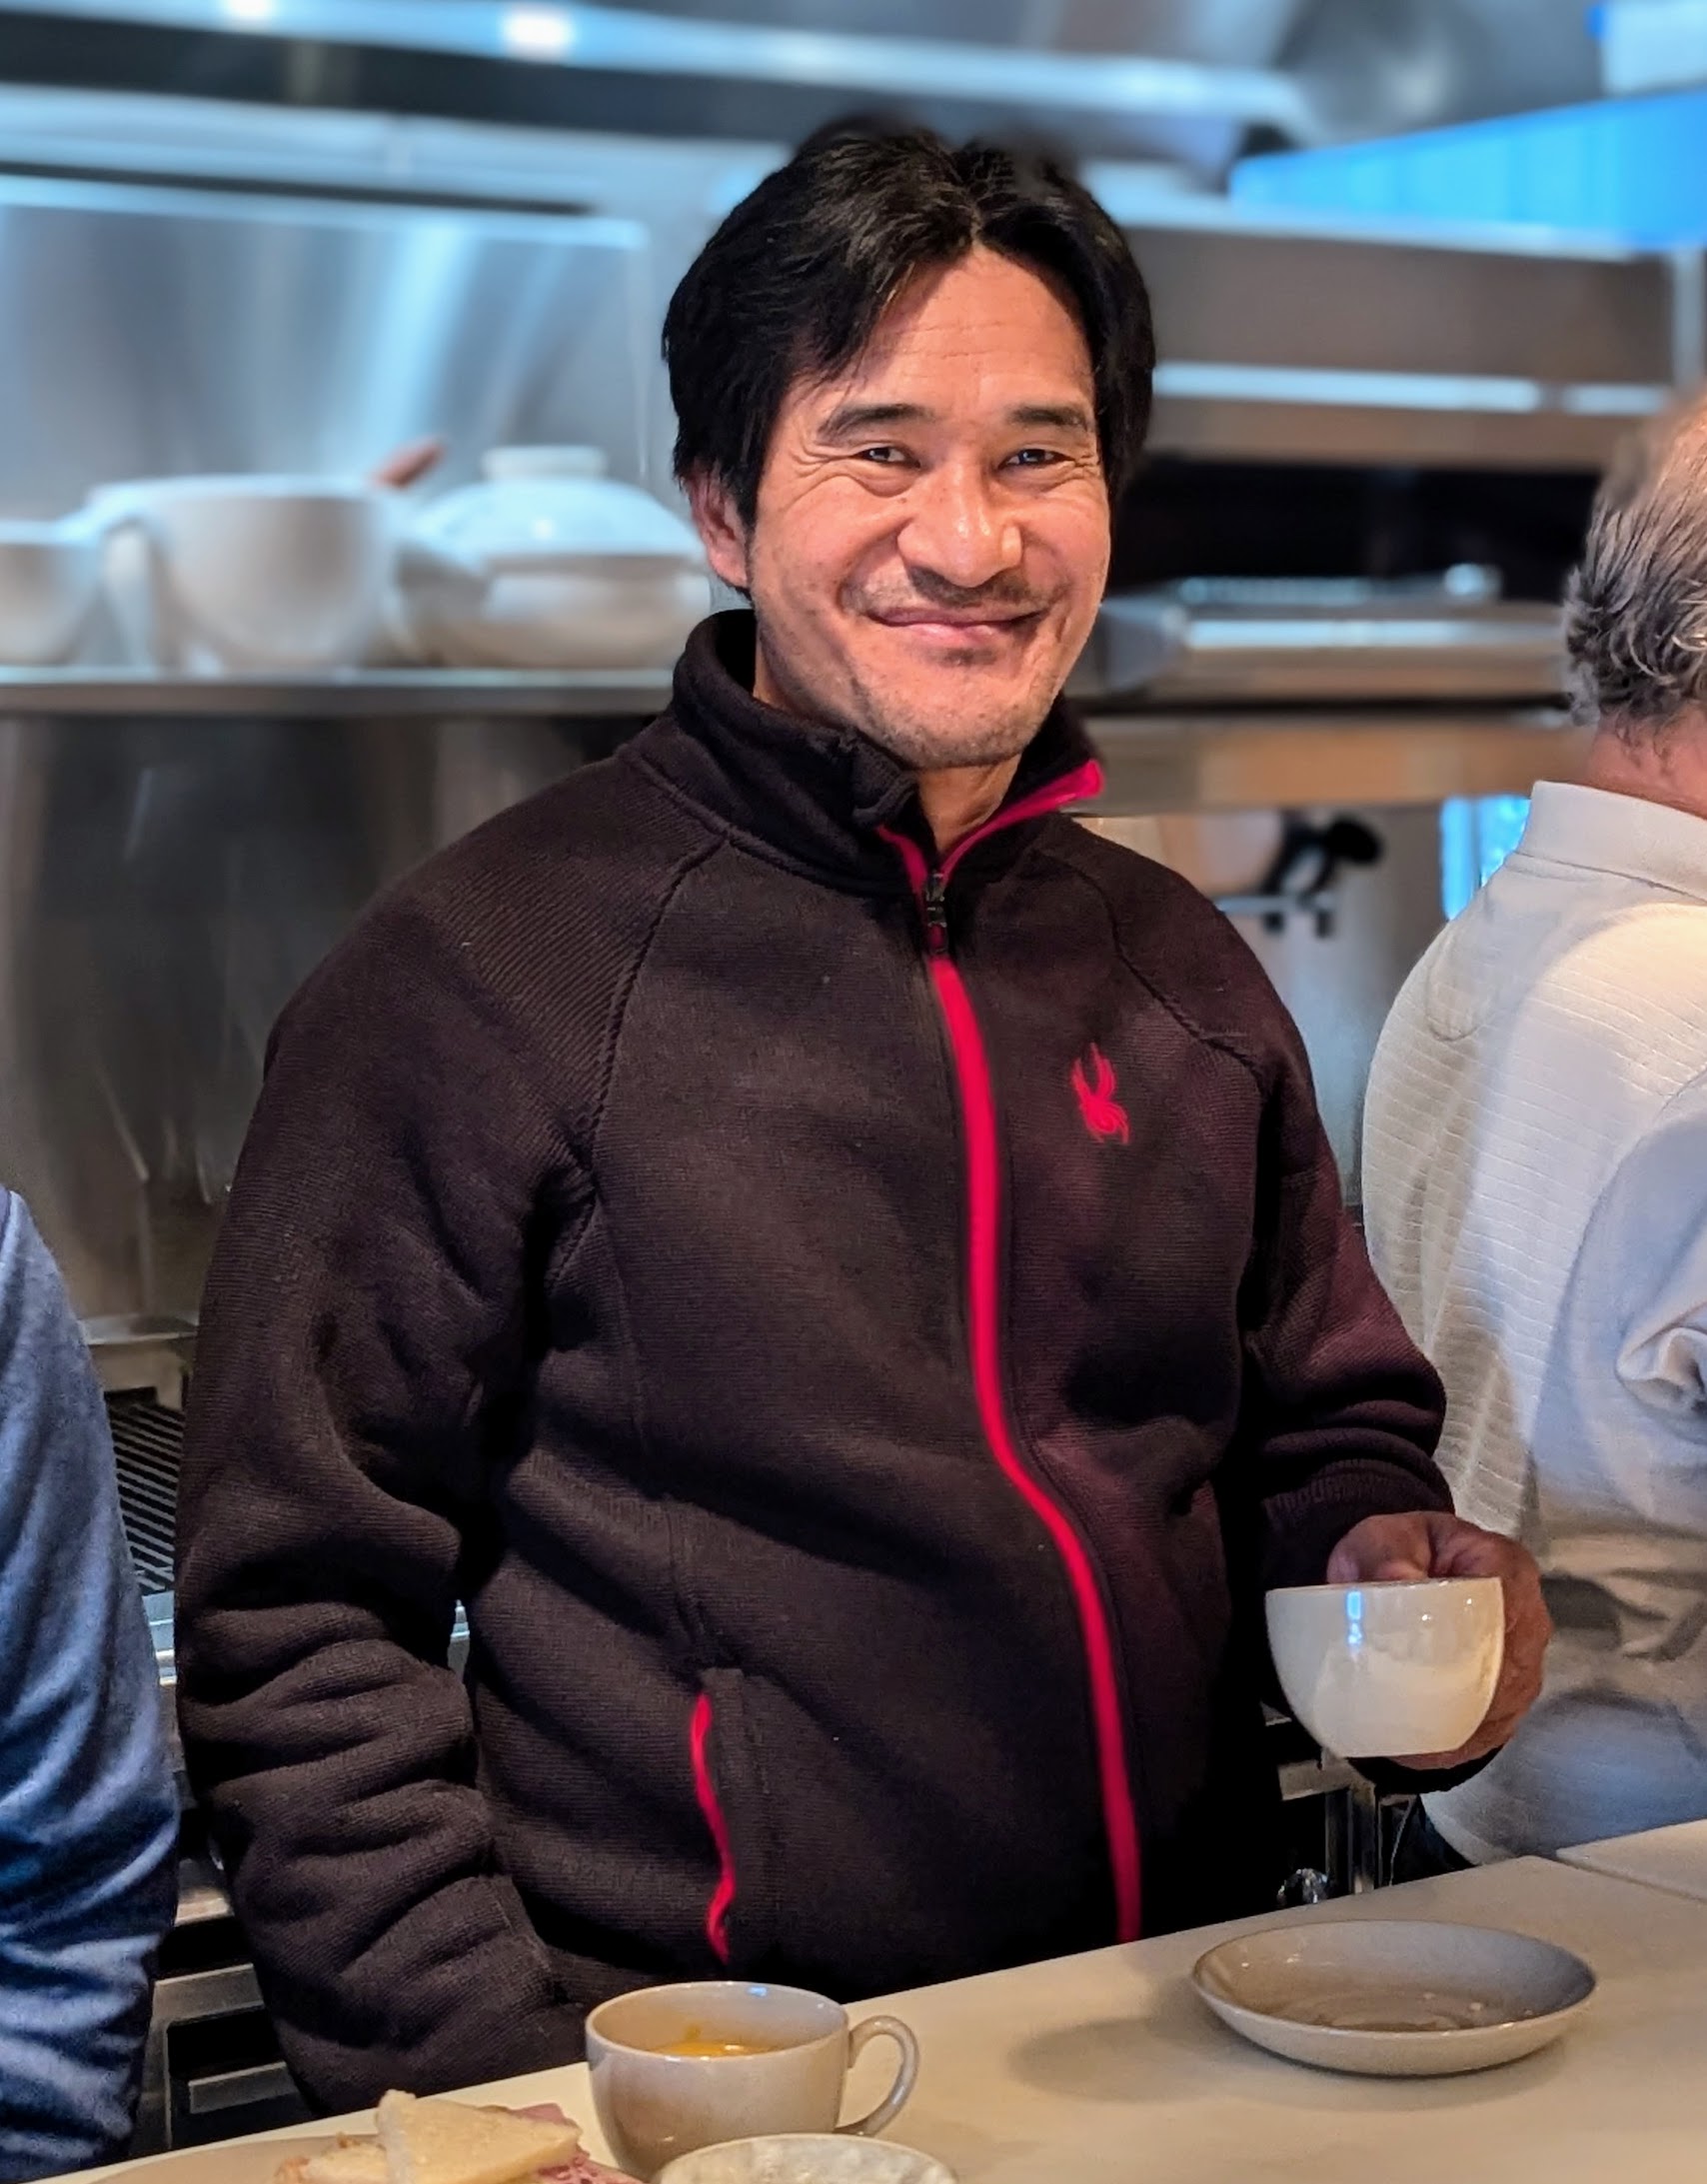
My resident tree expert, Pasang Sherpa, is enjoying a cup of celeriac soup I made from vegetables grown in my garden. Celeriac is a root vegetable variety of celery grown for its edible root instead of its stalks. It’s also known as celery root, turnip-rooted celery, or knob celery.
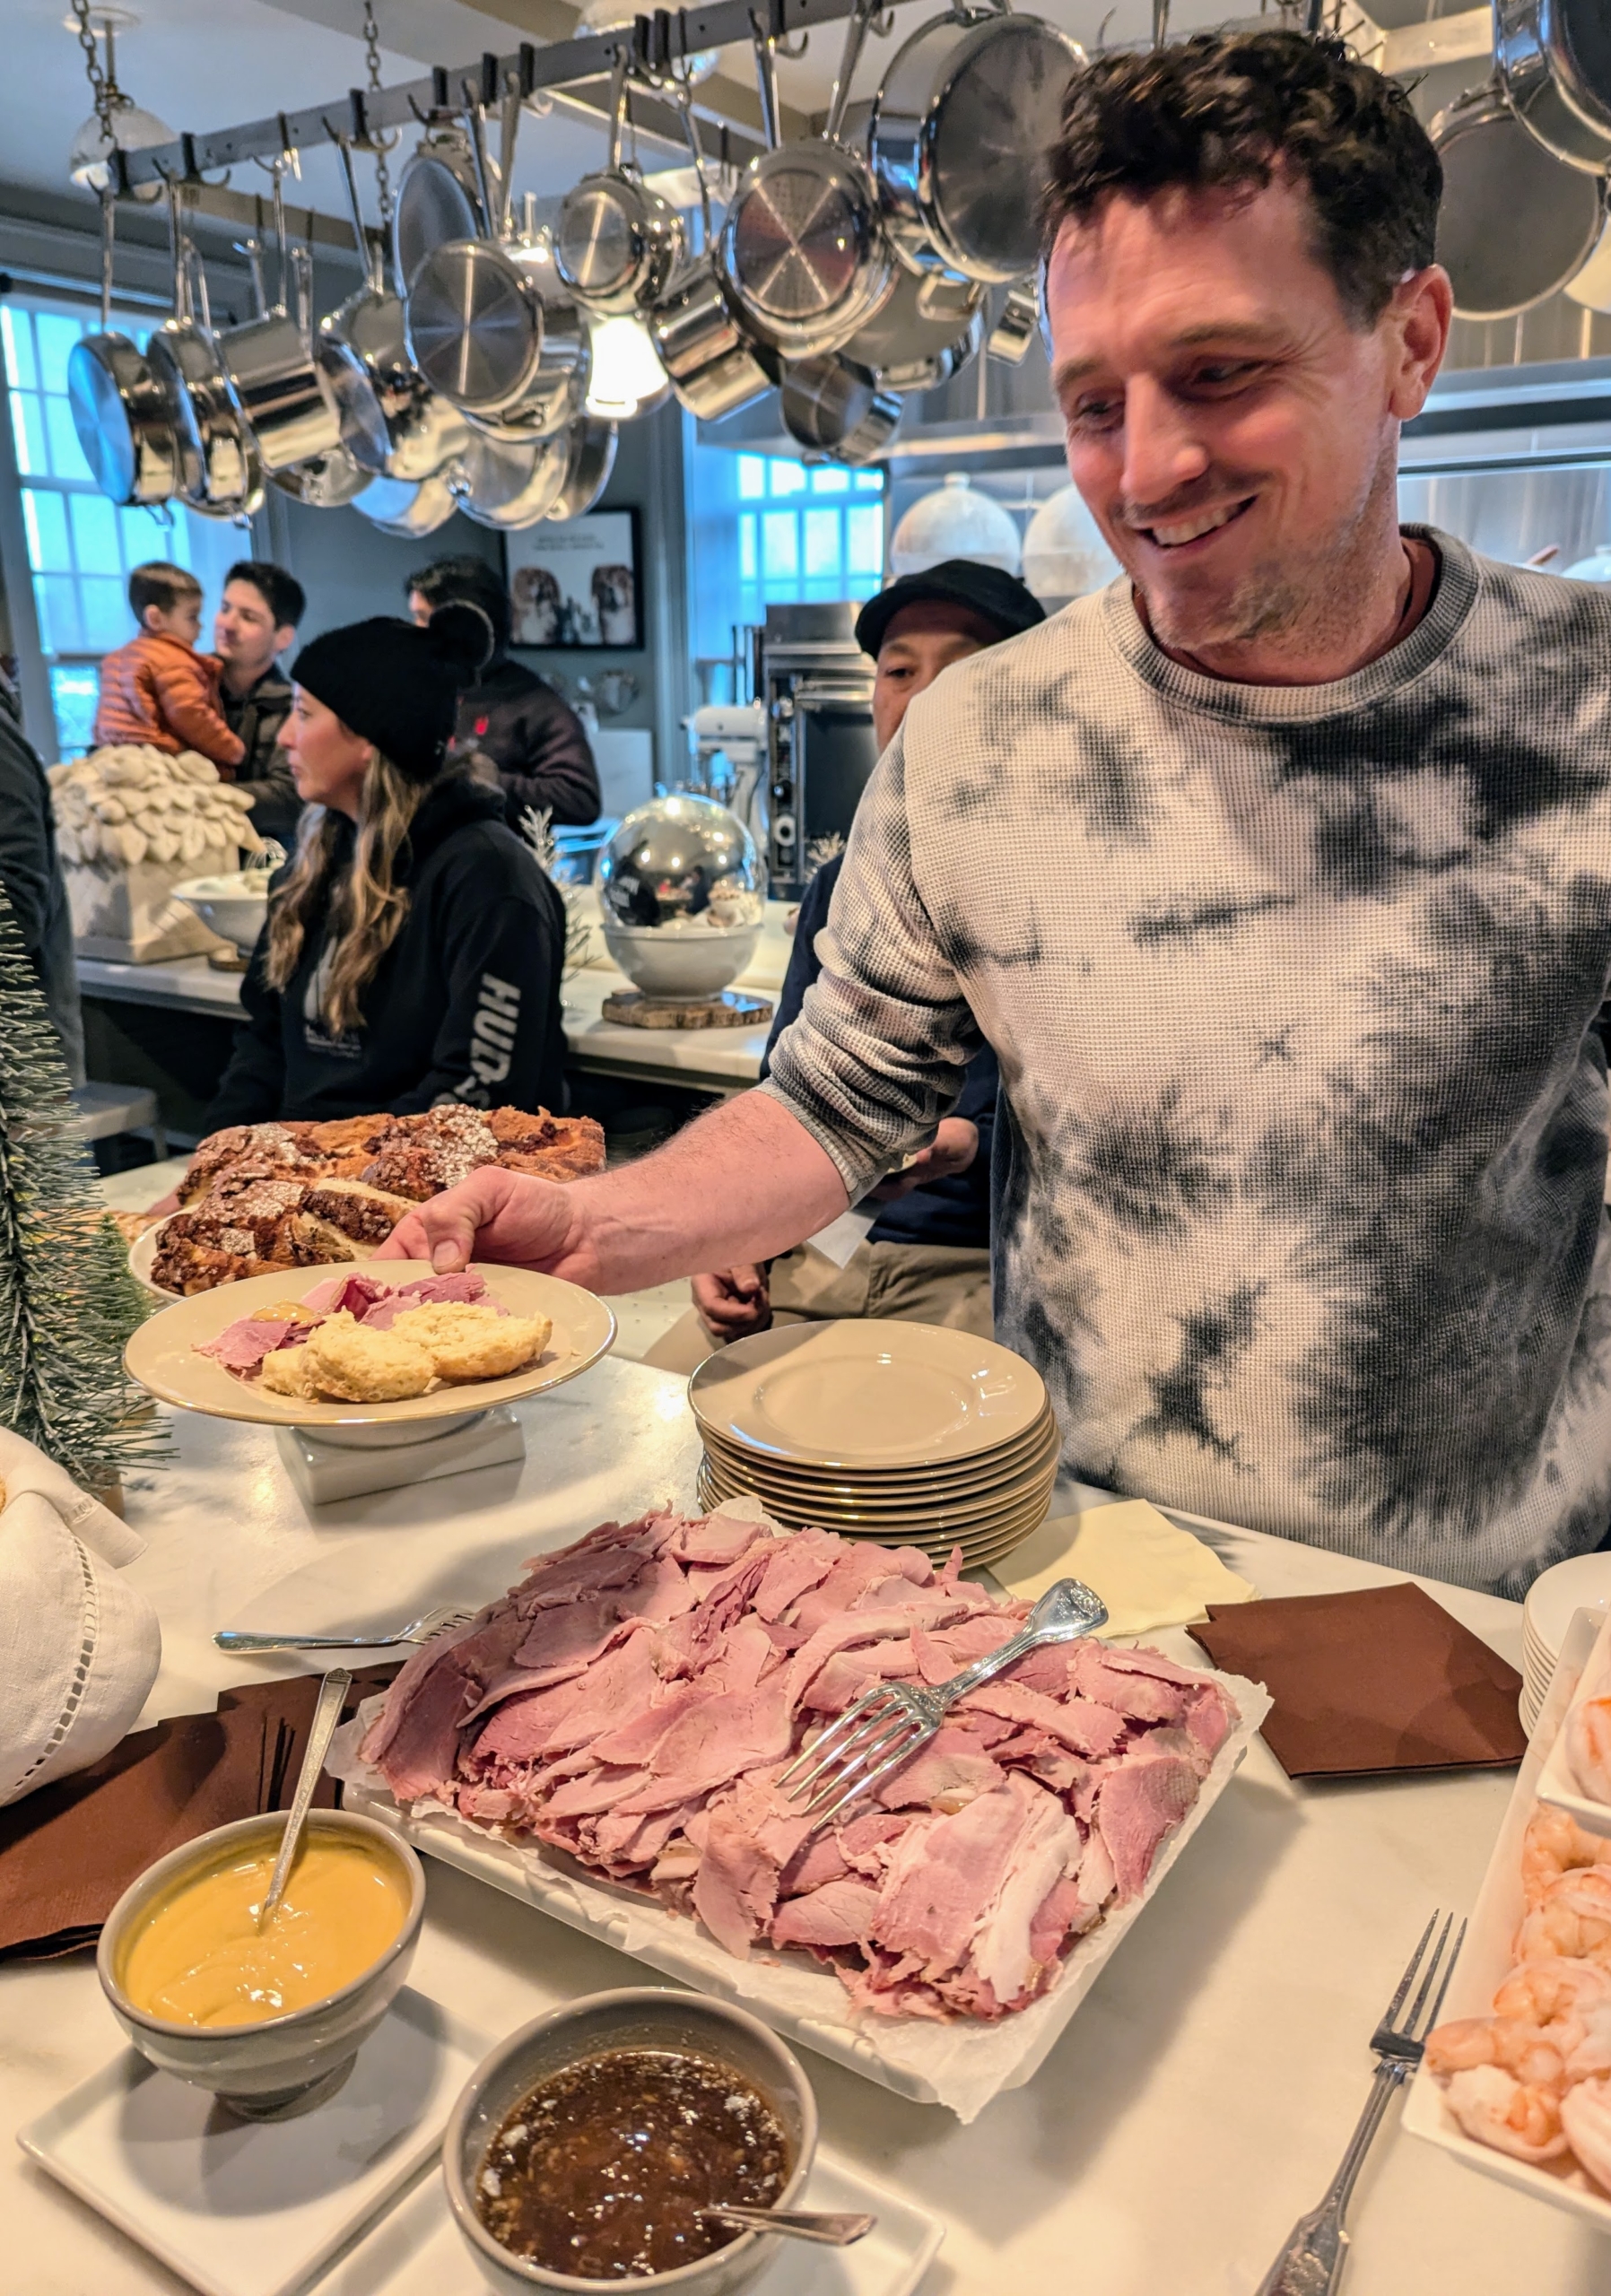
Here’s Ryan serving himself ham biscuit with ham I got from Stissing House in Pine Plains, New York.
Doug White is my property manager and JC Roberts is my business manager.
My crew member Fernando Ferrari and my driver, Andres Velastegui – they’ve both been with me for many years.
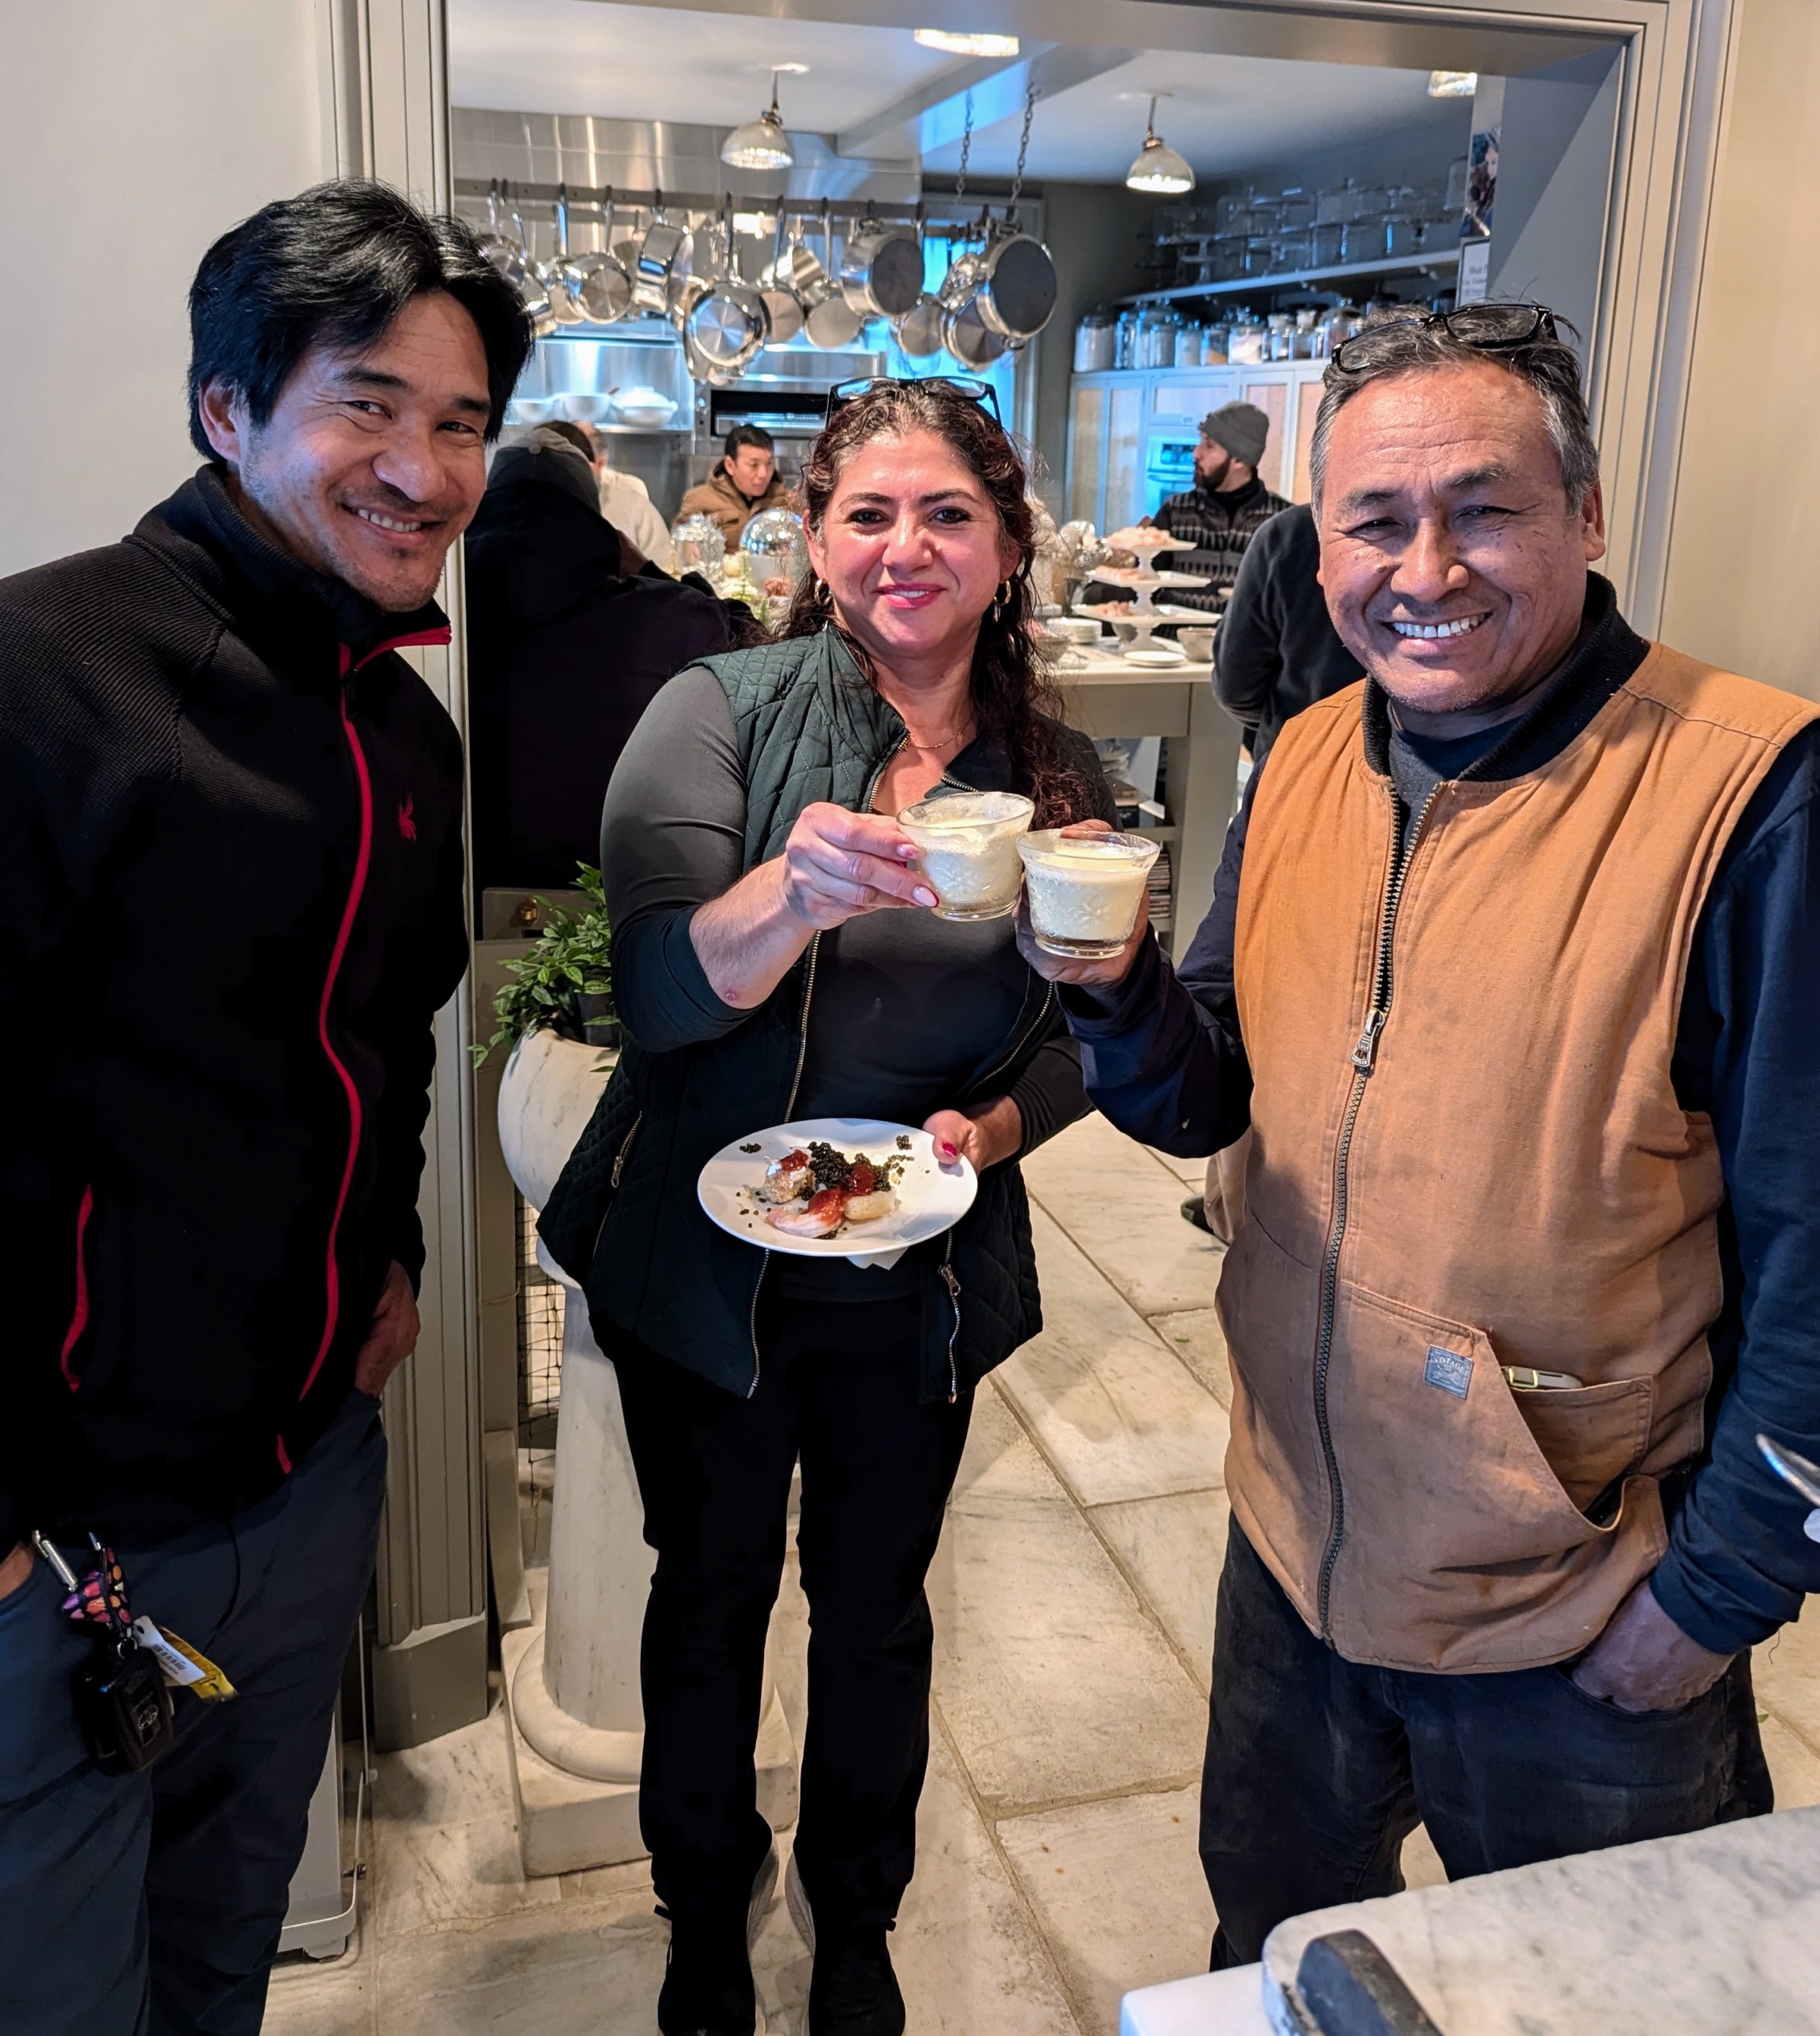
In this photo are Pasang, my housekeeper Enma Sandoval, and Pete Sherpa from my outdoor grounds crew. Cin cin to all of you!
Jonathan Massas is from my security team. He’s enjoying egg nog with Matt.
Crew member Phurba Sherpa and Cesar Felix. Cesar takes excellent care of all my chickens, turkeys, geese, peafowl, and pheasants.
Here’s Jimmy Oliveros from my farm team and my director of events and podcast producer Heather Kirkland.
Here’s my housekeeper Elvira Rojas. It was so nice to see everyone having such a good time.
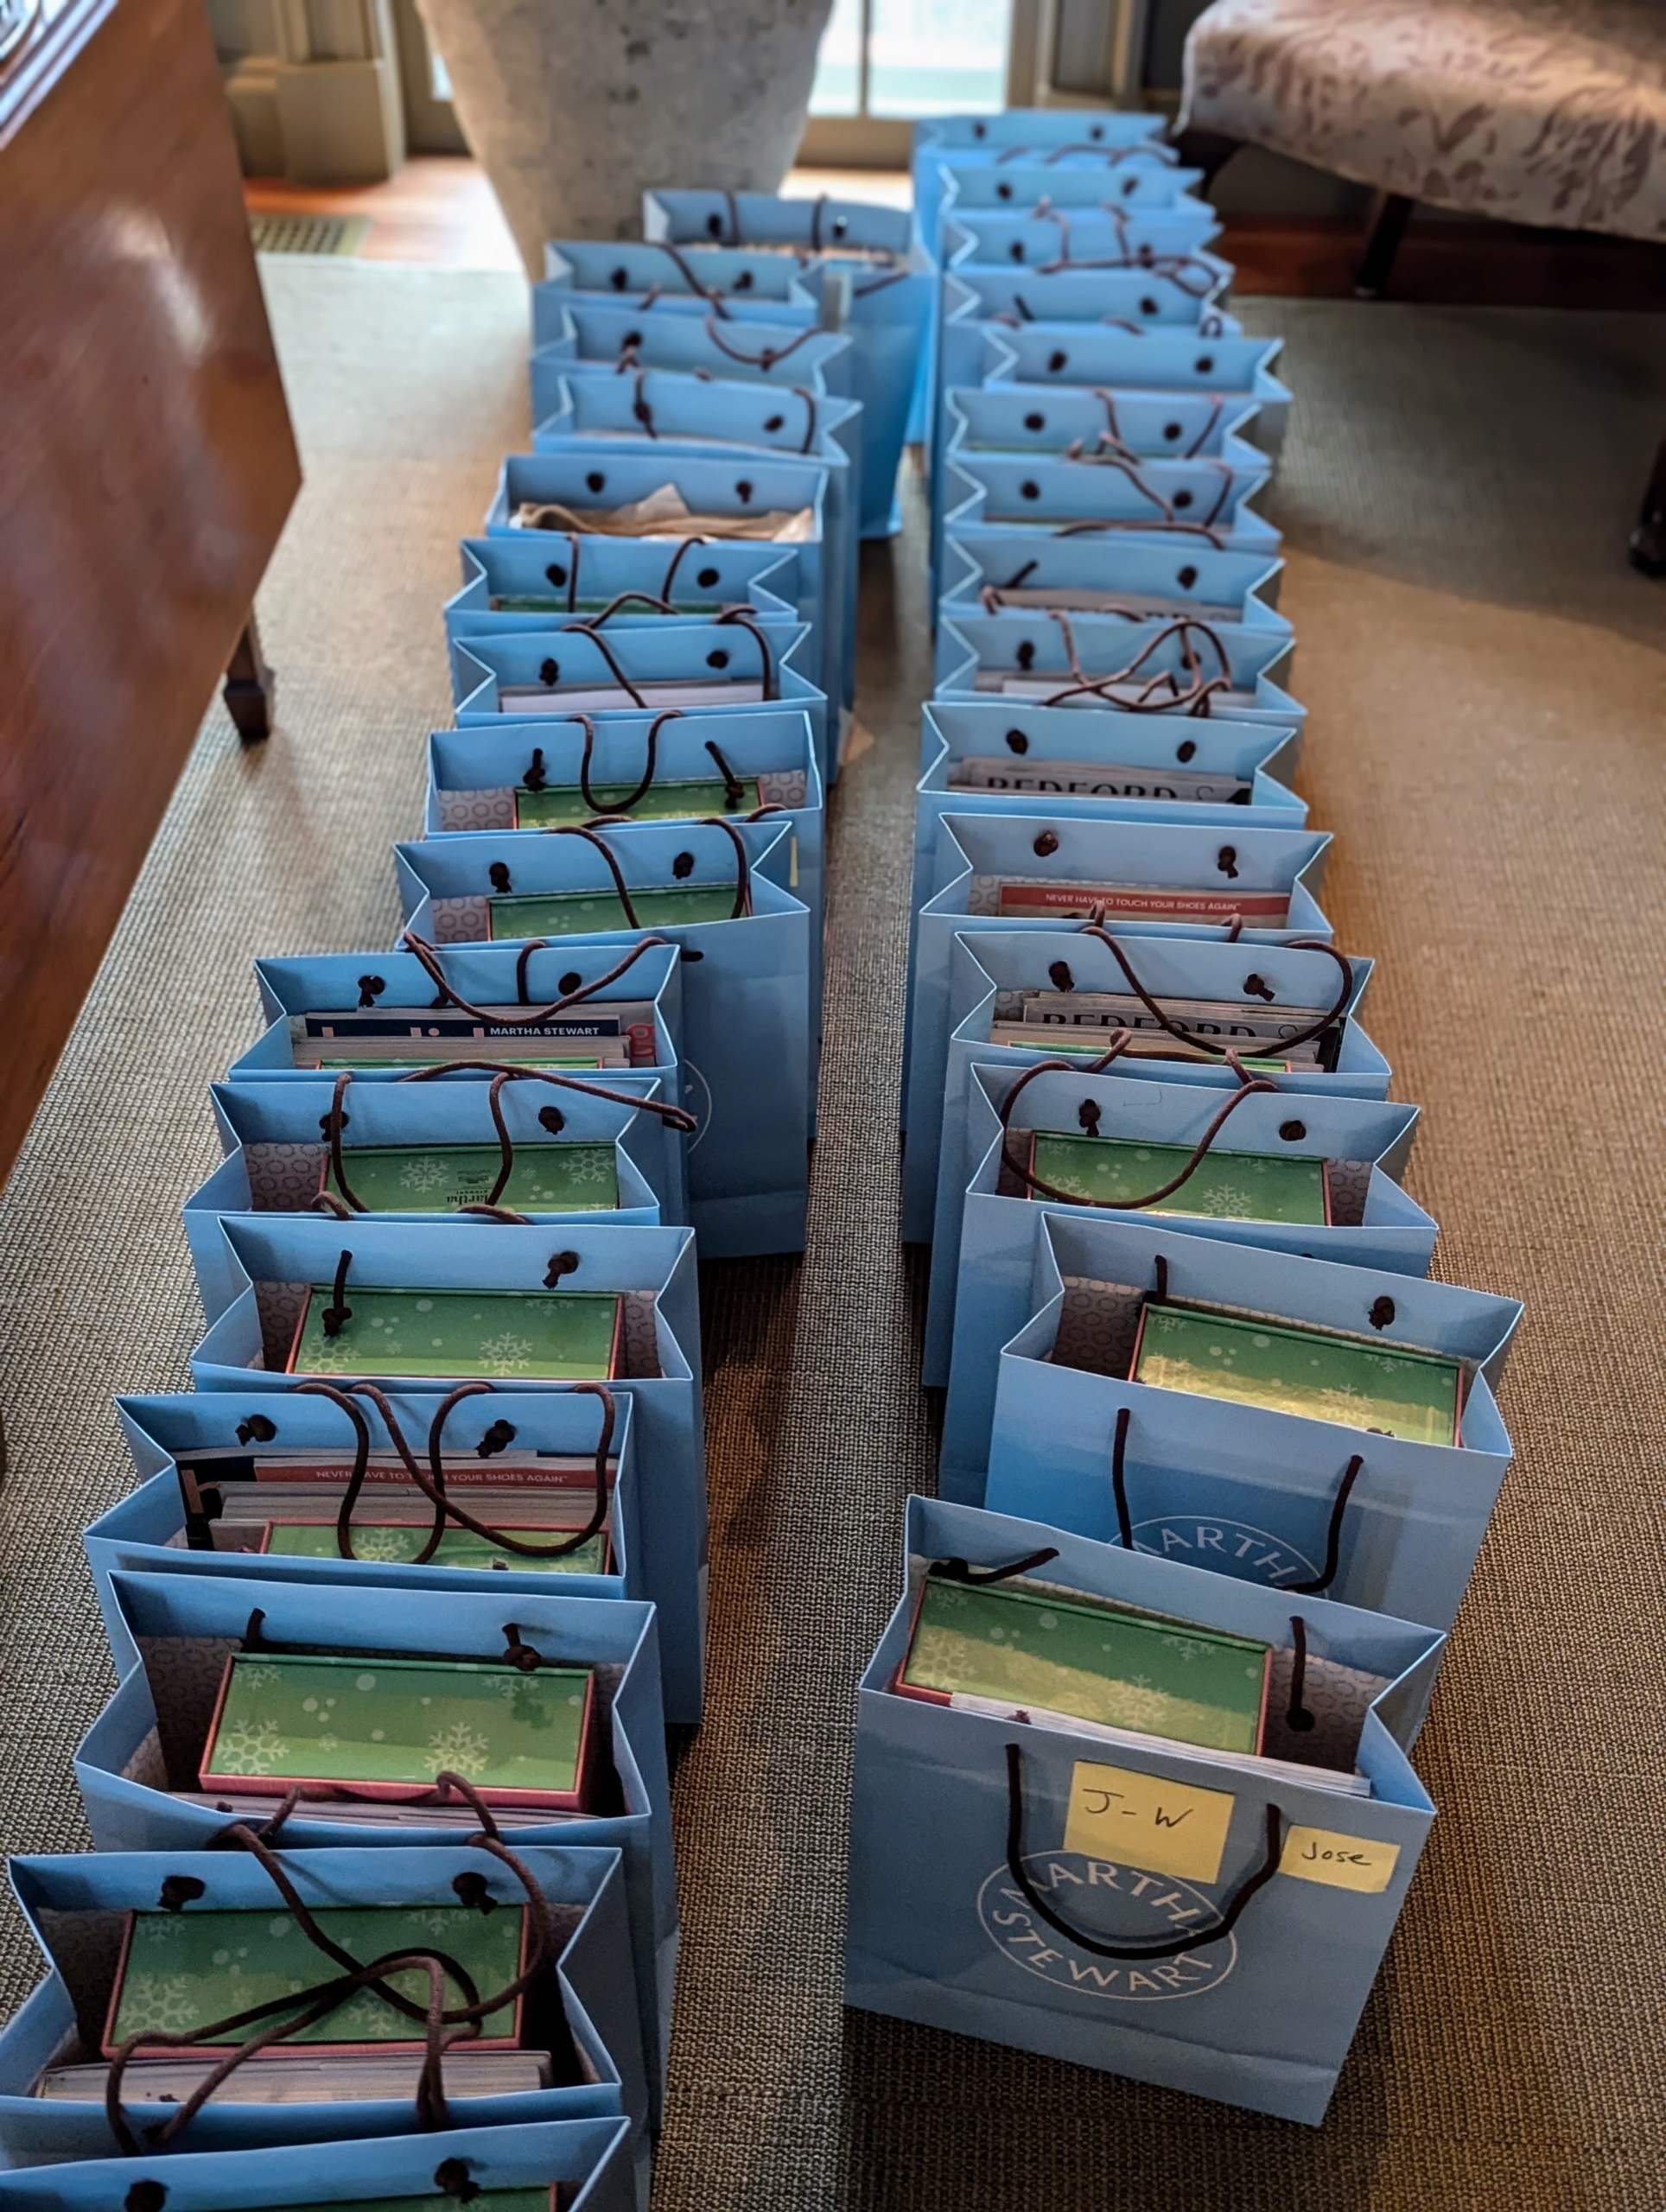
I prepared a bag for each member of my team. Everyone got a copy of my 100th book and a Martha on the Mantel doll.
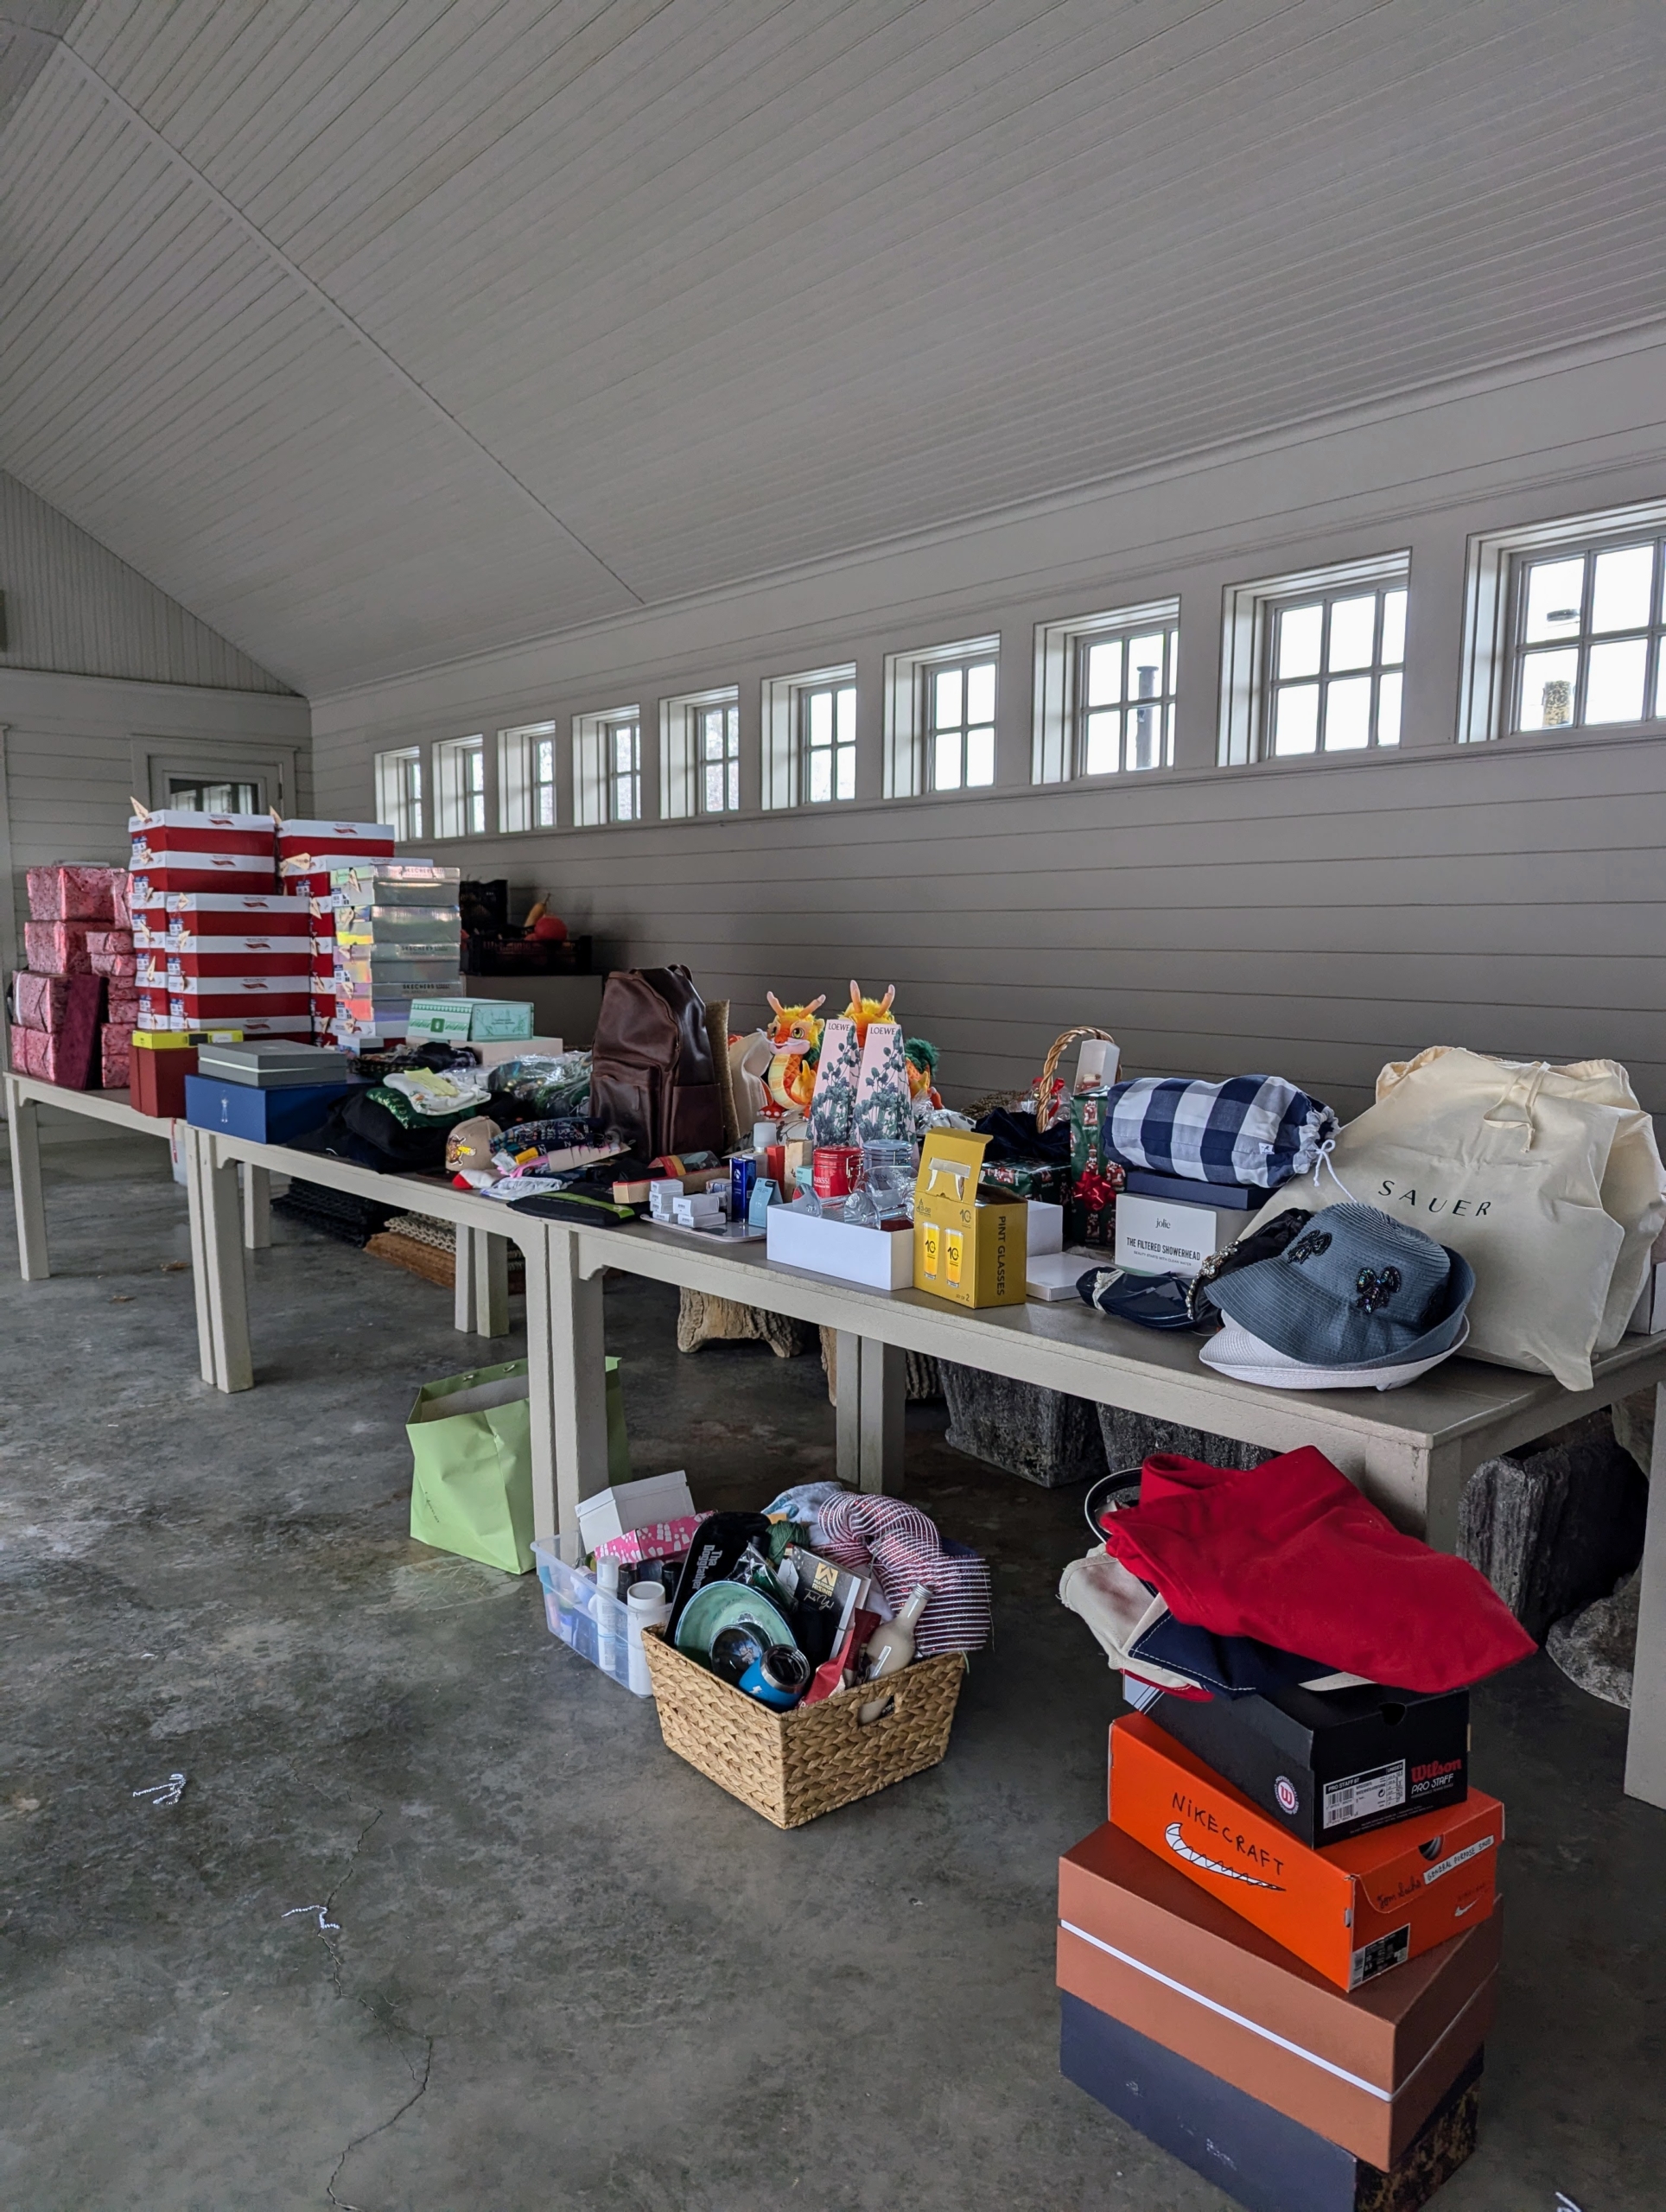
I also planned a fun “grab bag” gift-giving activity – everyone picked numbers from a bowl and then lined up to make their selections.
It was a wonderful luncheon and gathering. I, along with my entire staff, wish you all a safe and joyous holiday!
In order to keep my working farm and all its gardens, allées, and groves as beautiful as possible, I pay lots of attention to the care and maintenance of all my trees.
The London plane, Platanus × acerifolia,is a deciduous tree. It is a cross between two sycamore species: Platanus occidentalis, the American sycamore, and Platanus orientalis, the Oriental plane. In 2019, I planted an allée of London plane trees along the carriage road in my middle hayfield. Since then, they've thrived, growing two to three feet annually. This year, I decided I wanted the trees pollarded, a pruning technique that involves the removal of a tree's upper branches to promote the growth of club-headed stems and dense new foliage. London planes are well-suited for pollarding and respond well to this practice. Last week, my gardeners took on the detailed task.
Here are some photos, enjoy.
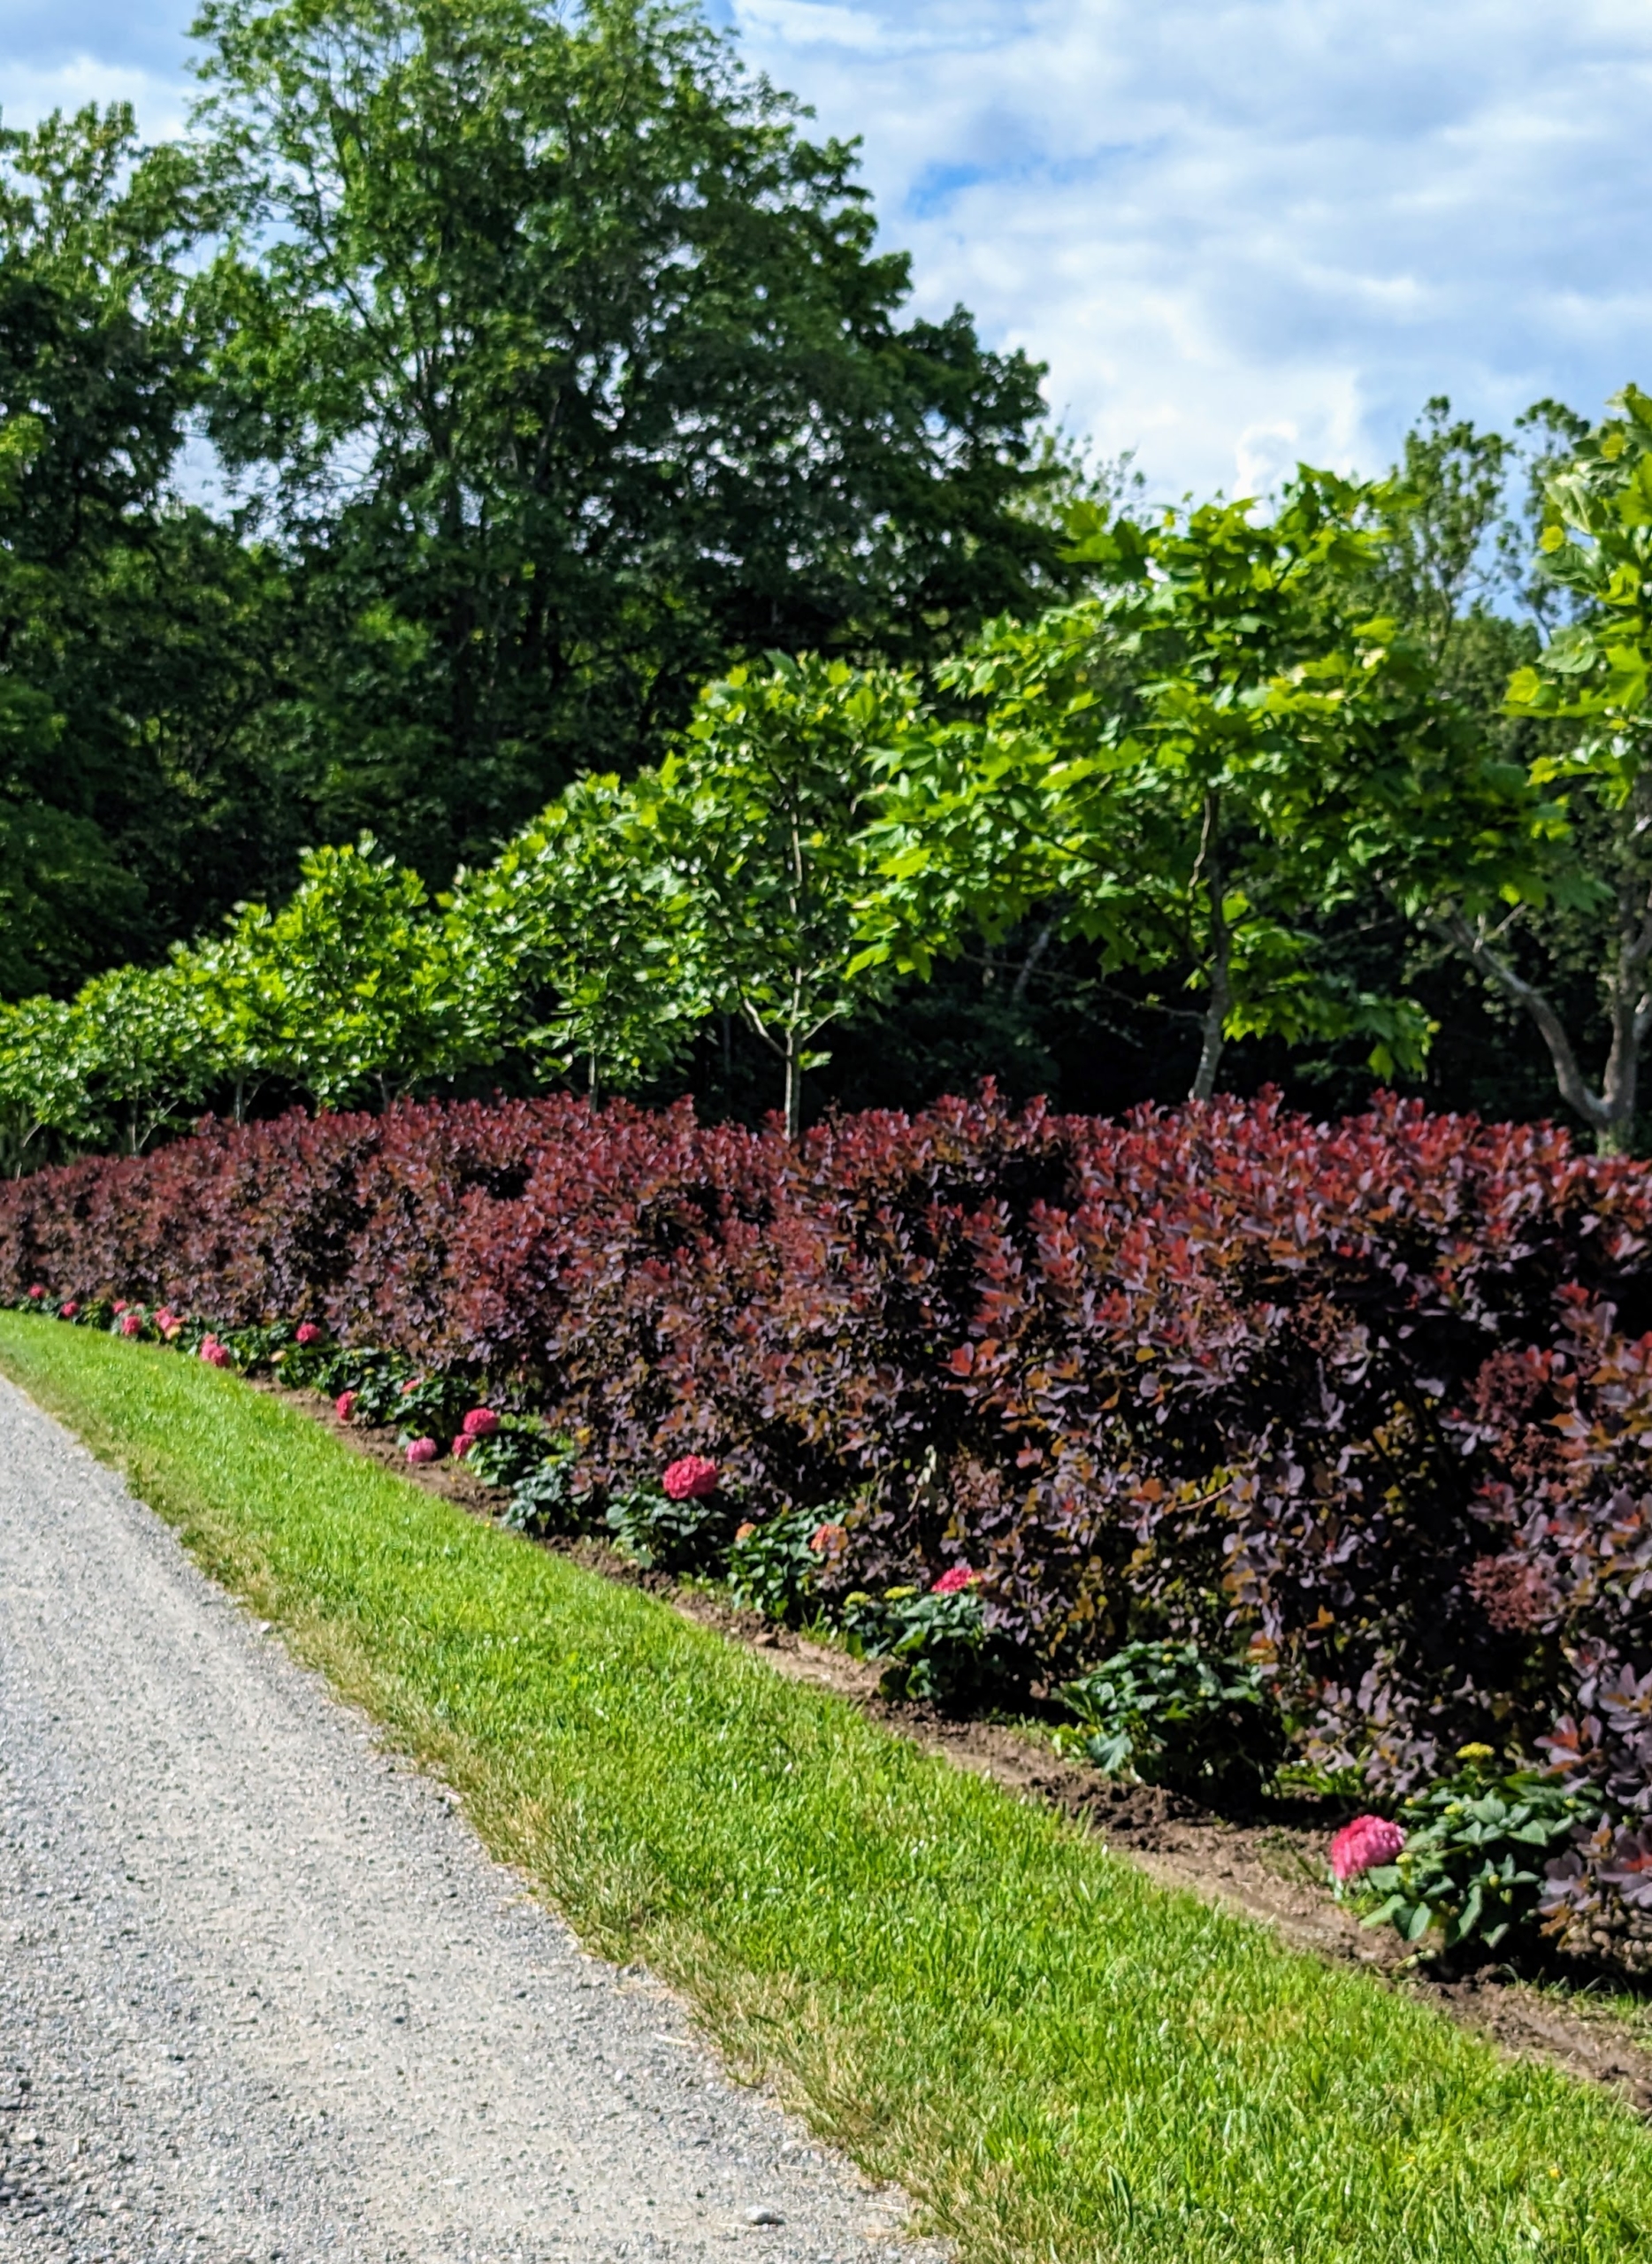
The London plane is a large tree that grows up to 65 to 130 feet when fully mature. In recent years, I’ve planted London planes in my maze, outside a paddock, and here as part of a long allée in my middle field. Here is the allée in spring.
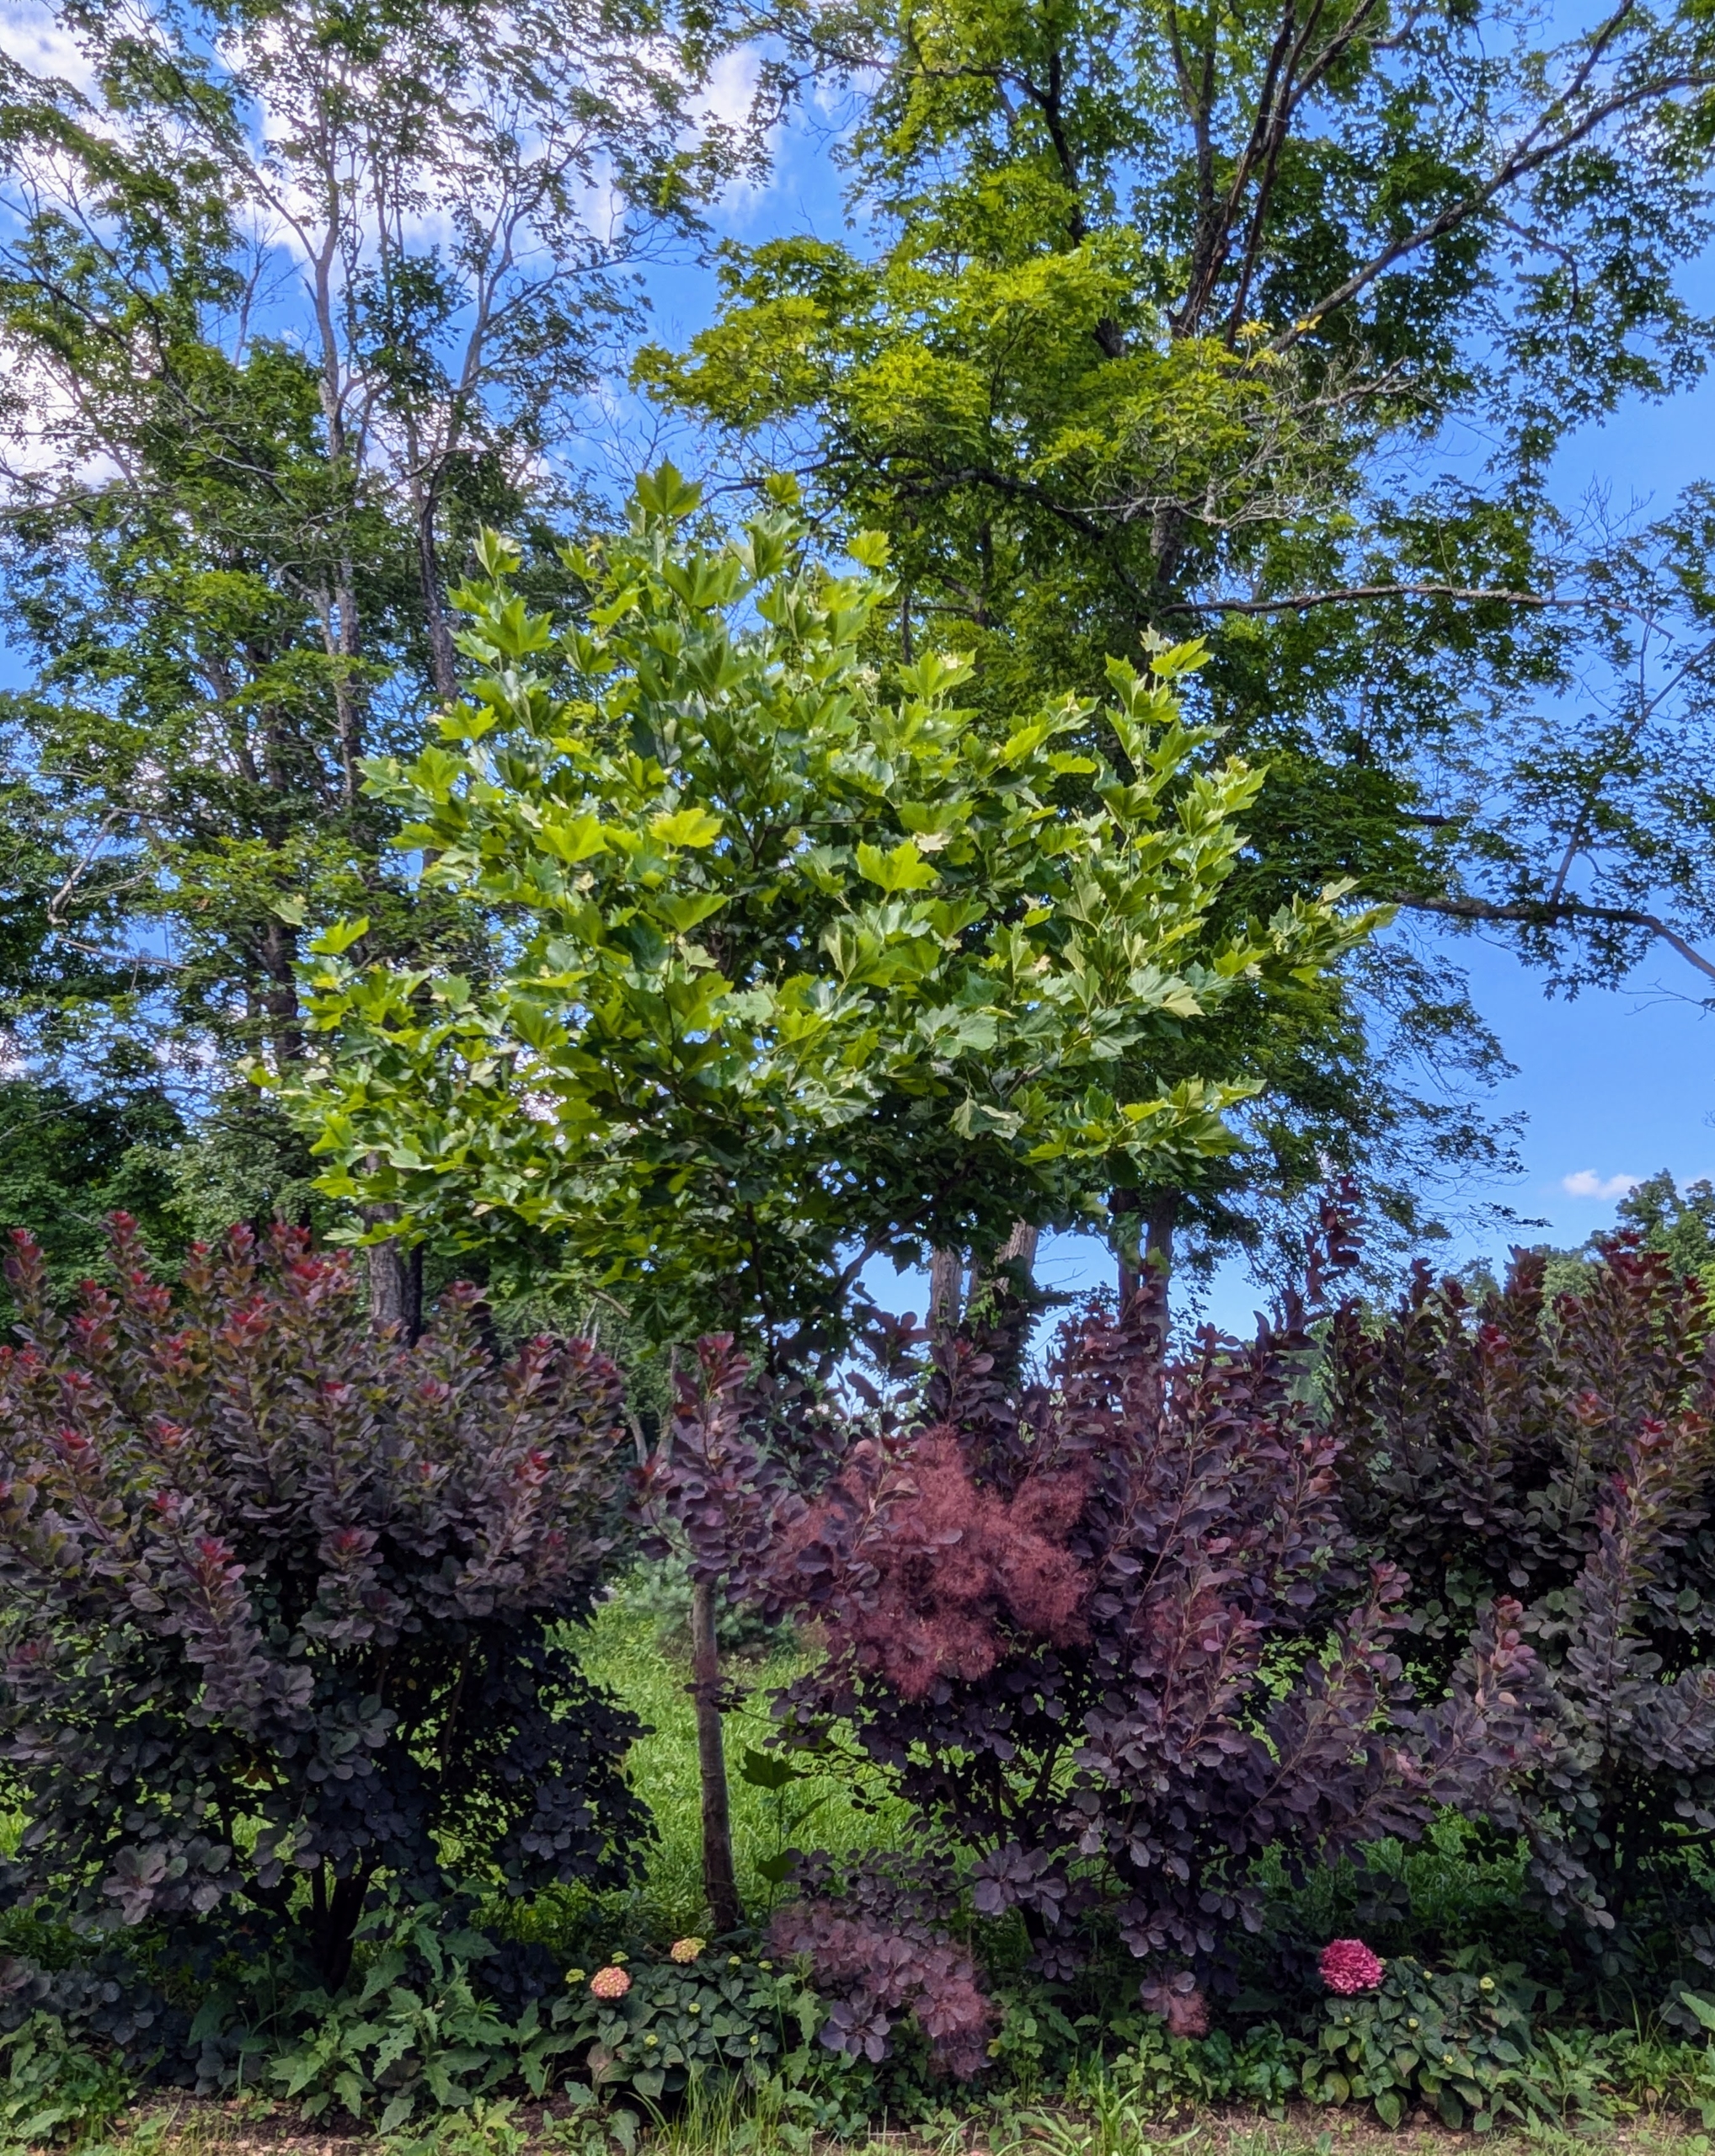
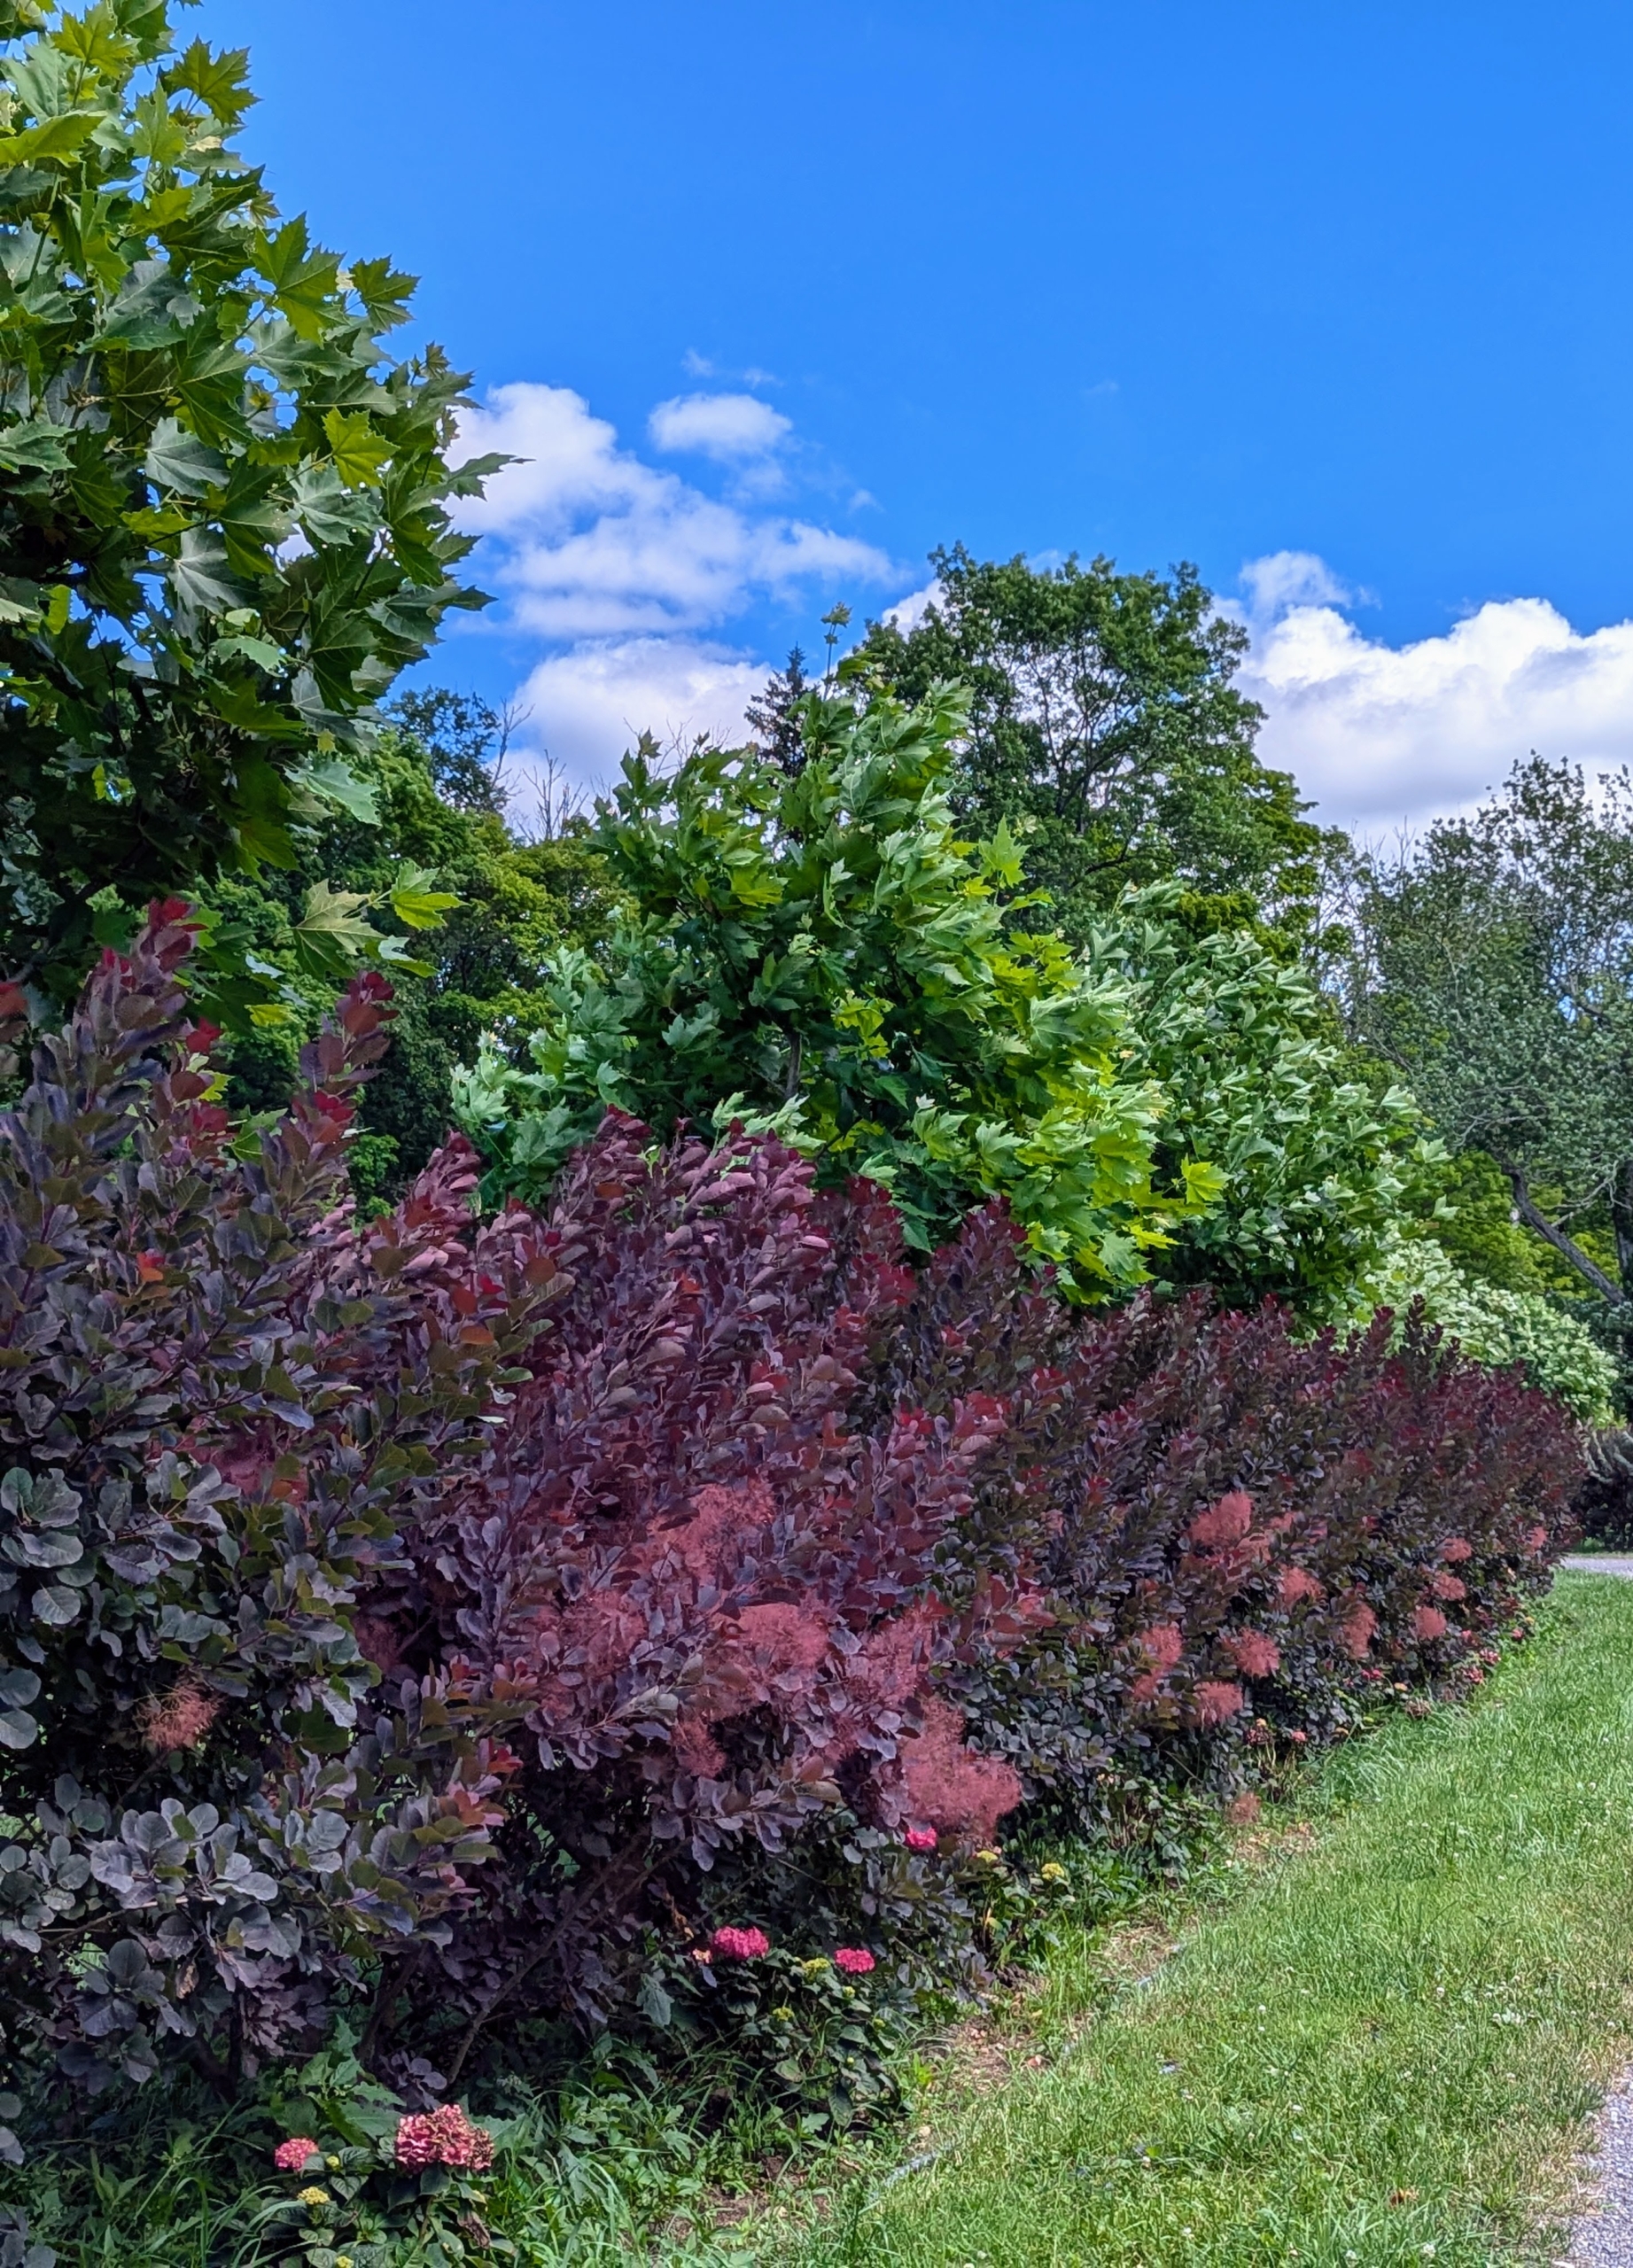
In landscaping, an allée, or an avenue, is traditionally a straight path or road with a line of like trees or large shrubs running along each side. To create this particular allée through my field, I started with a selection of 46 London plane trees. I also planted about 100 royal purple smoke bushes, Cotinus coggygria.
These London planes and the smoke bushes below them have thrived here, growing multiple feet every year. The London plane is one of the most efficient trees in removing small particulate pollutants in urban areas. In fact, it was planted extensively in Victorian times to weather the pollution of London.
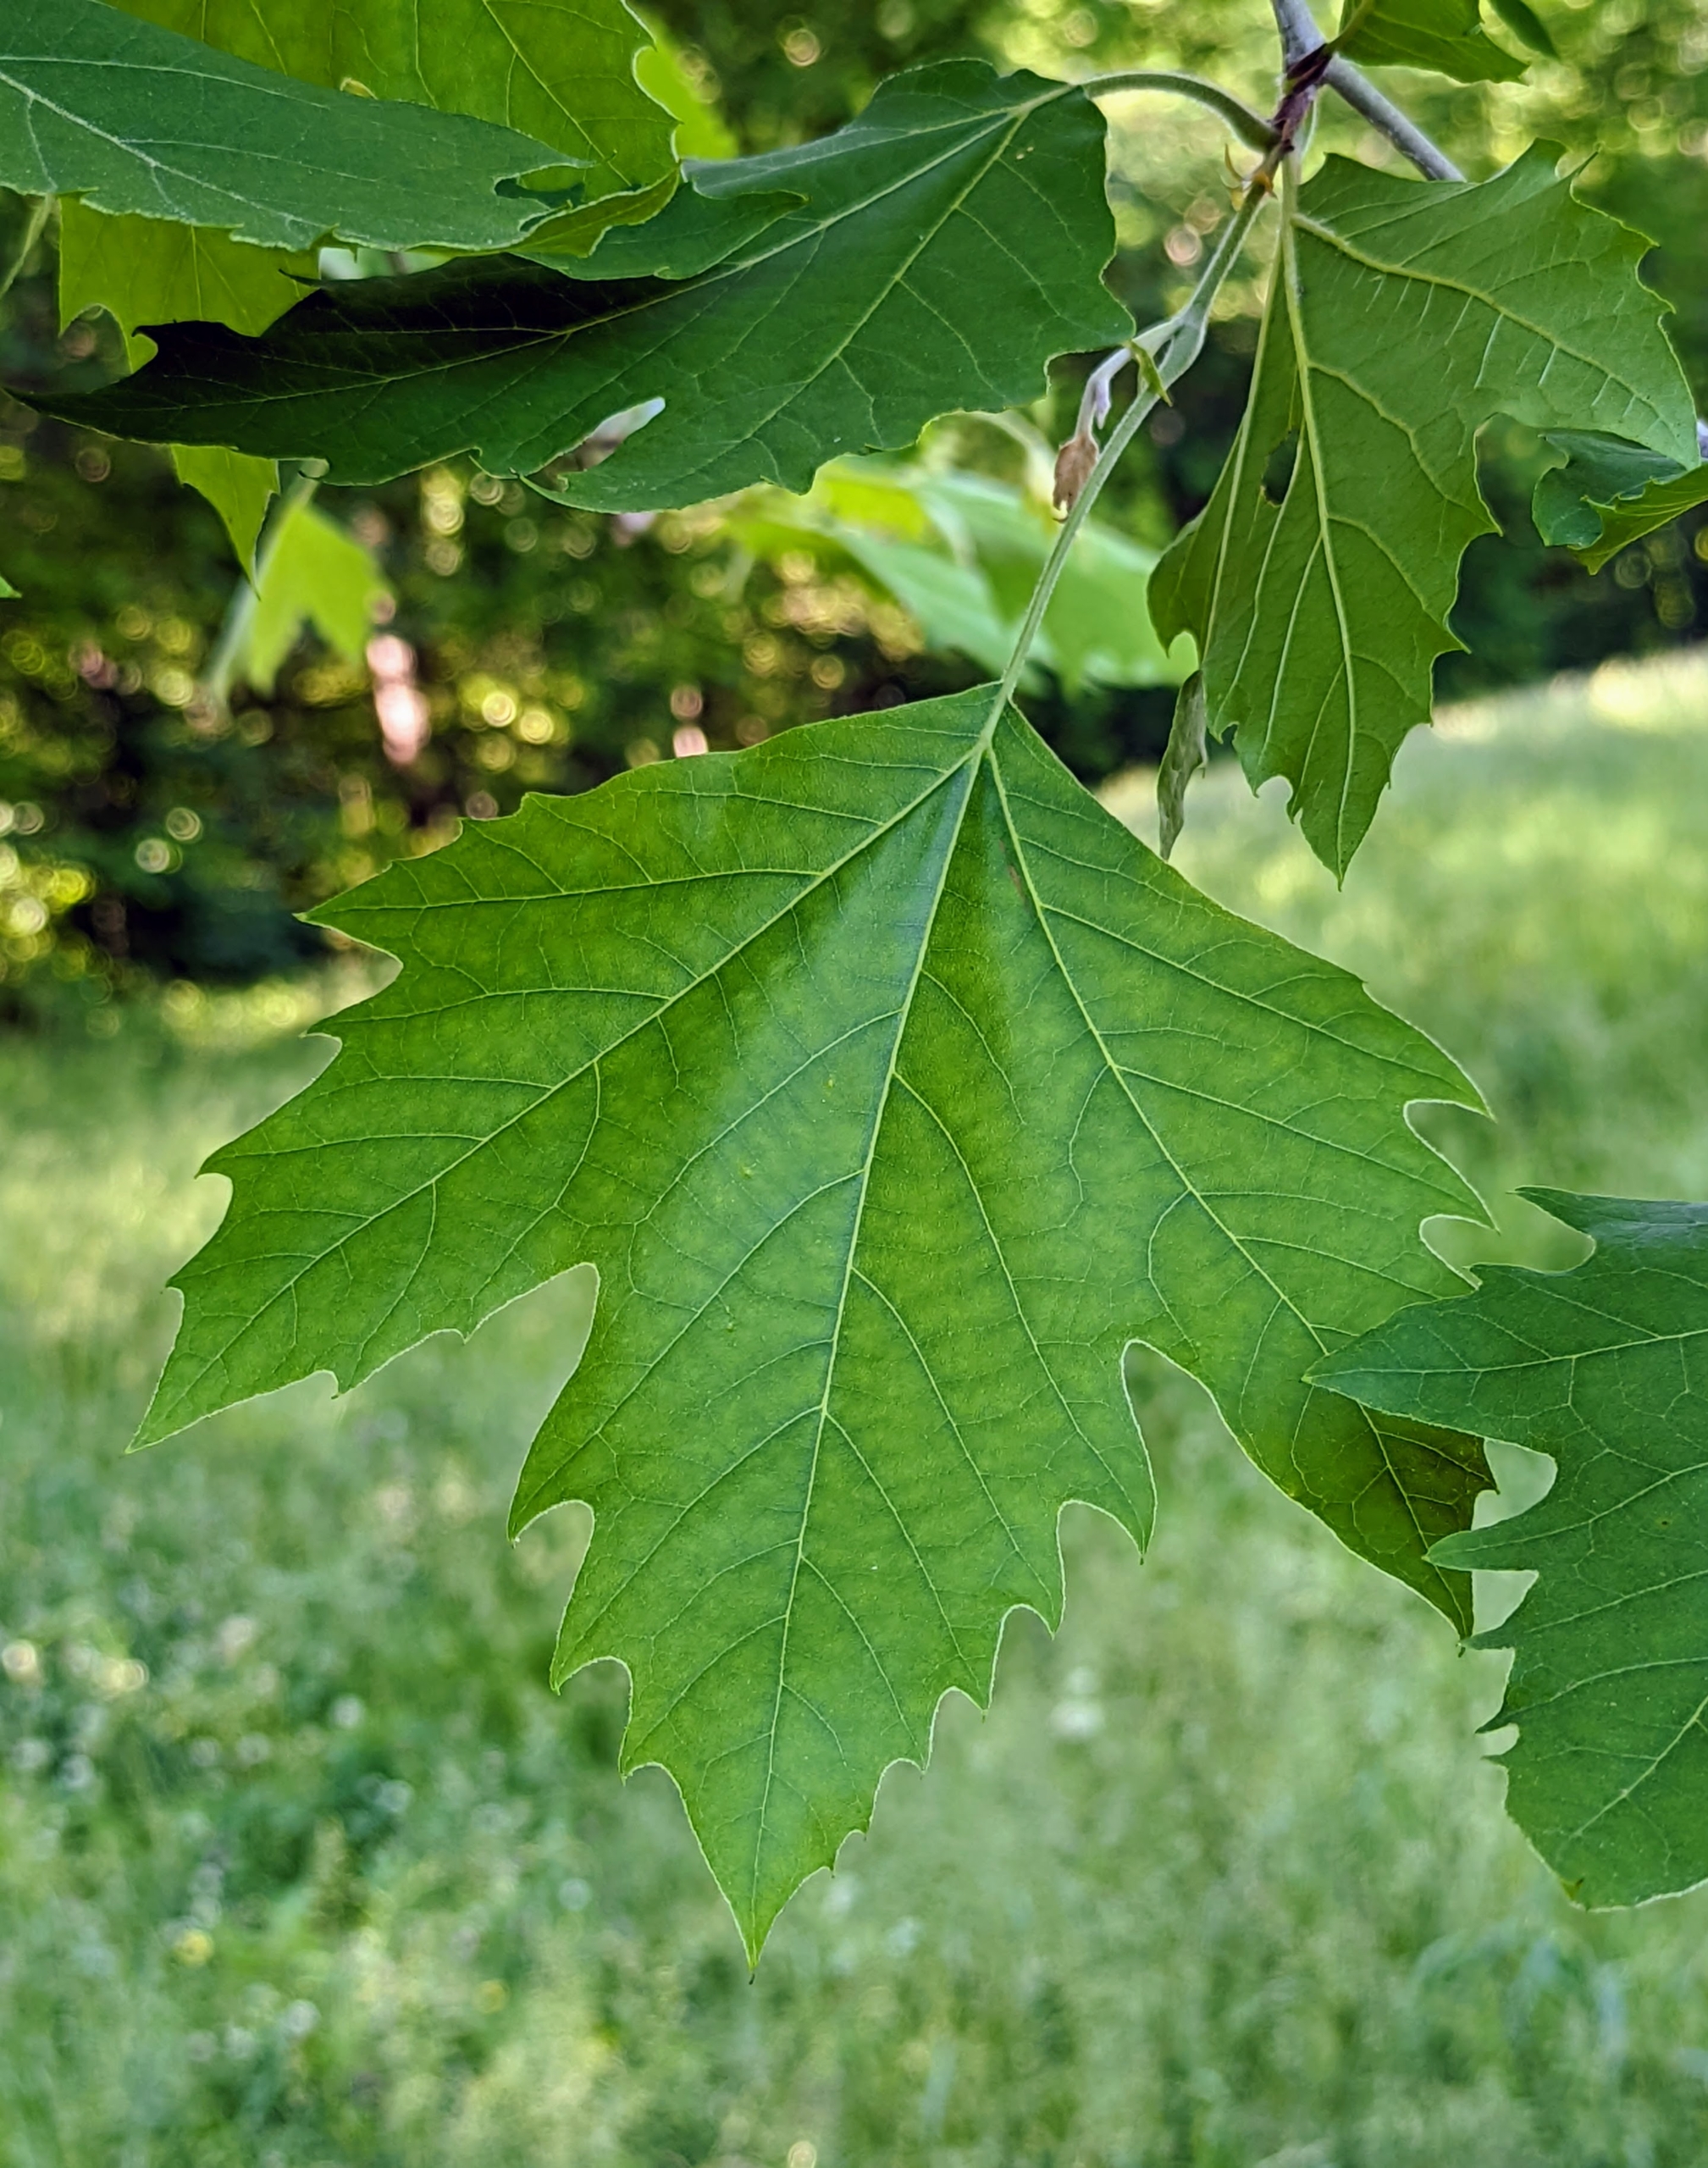
The leaves of the London plane are thick and stiff-textured, broad, palmately lobed, and maple-like.
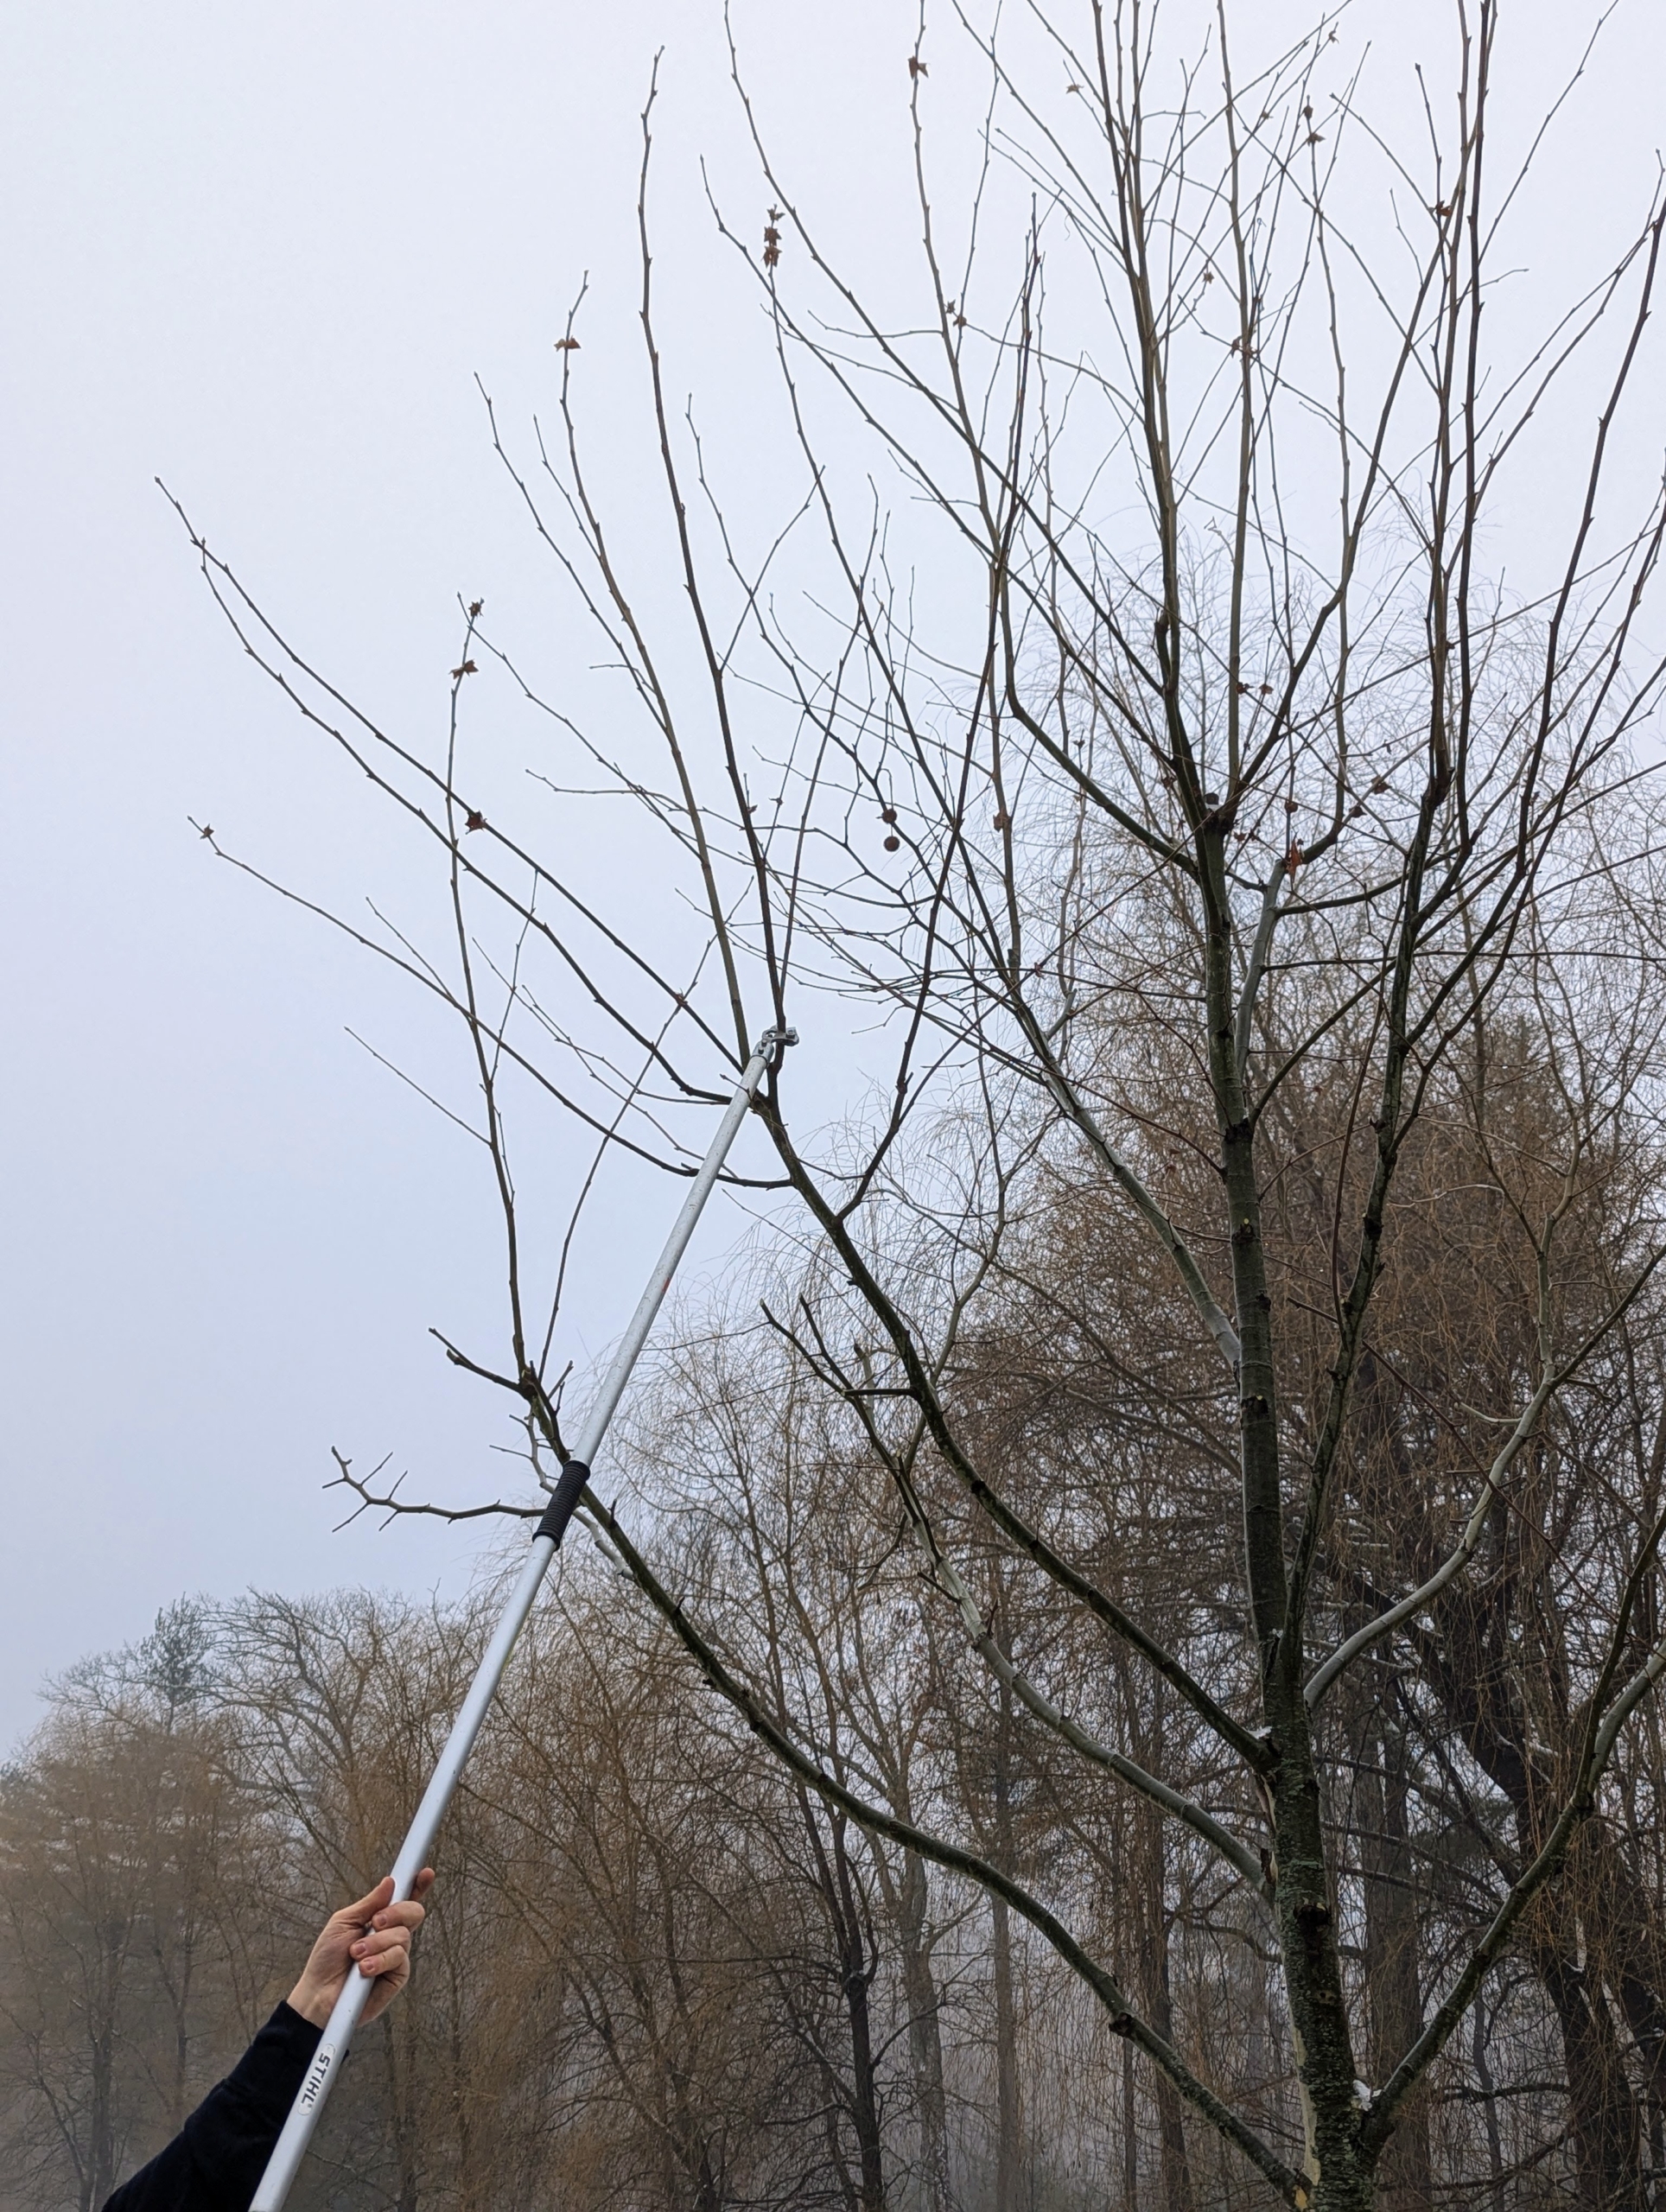
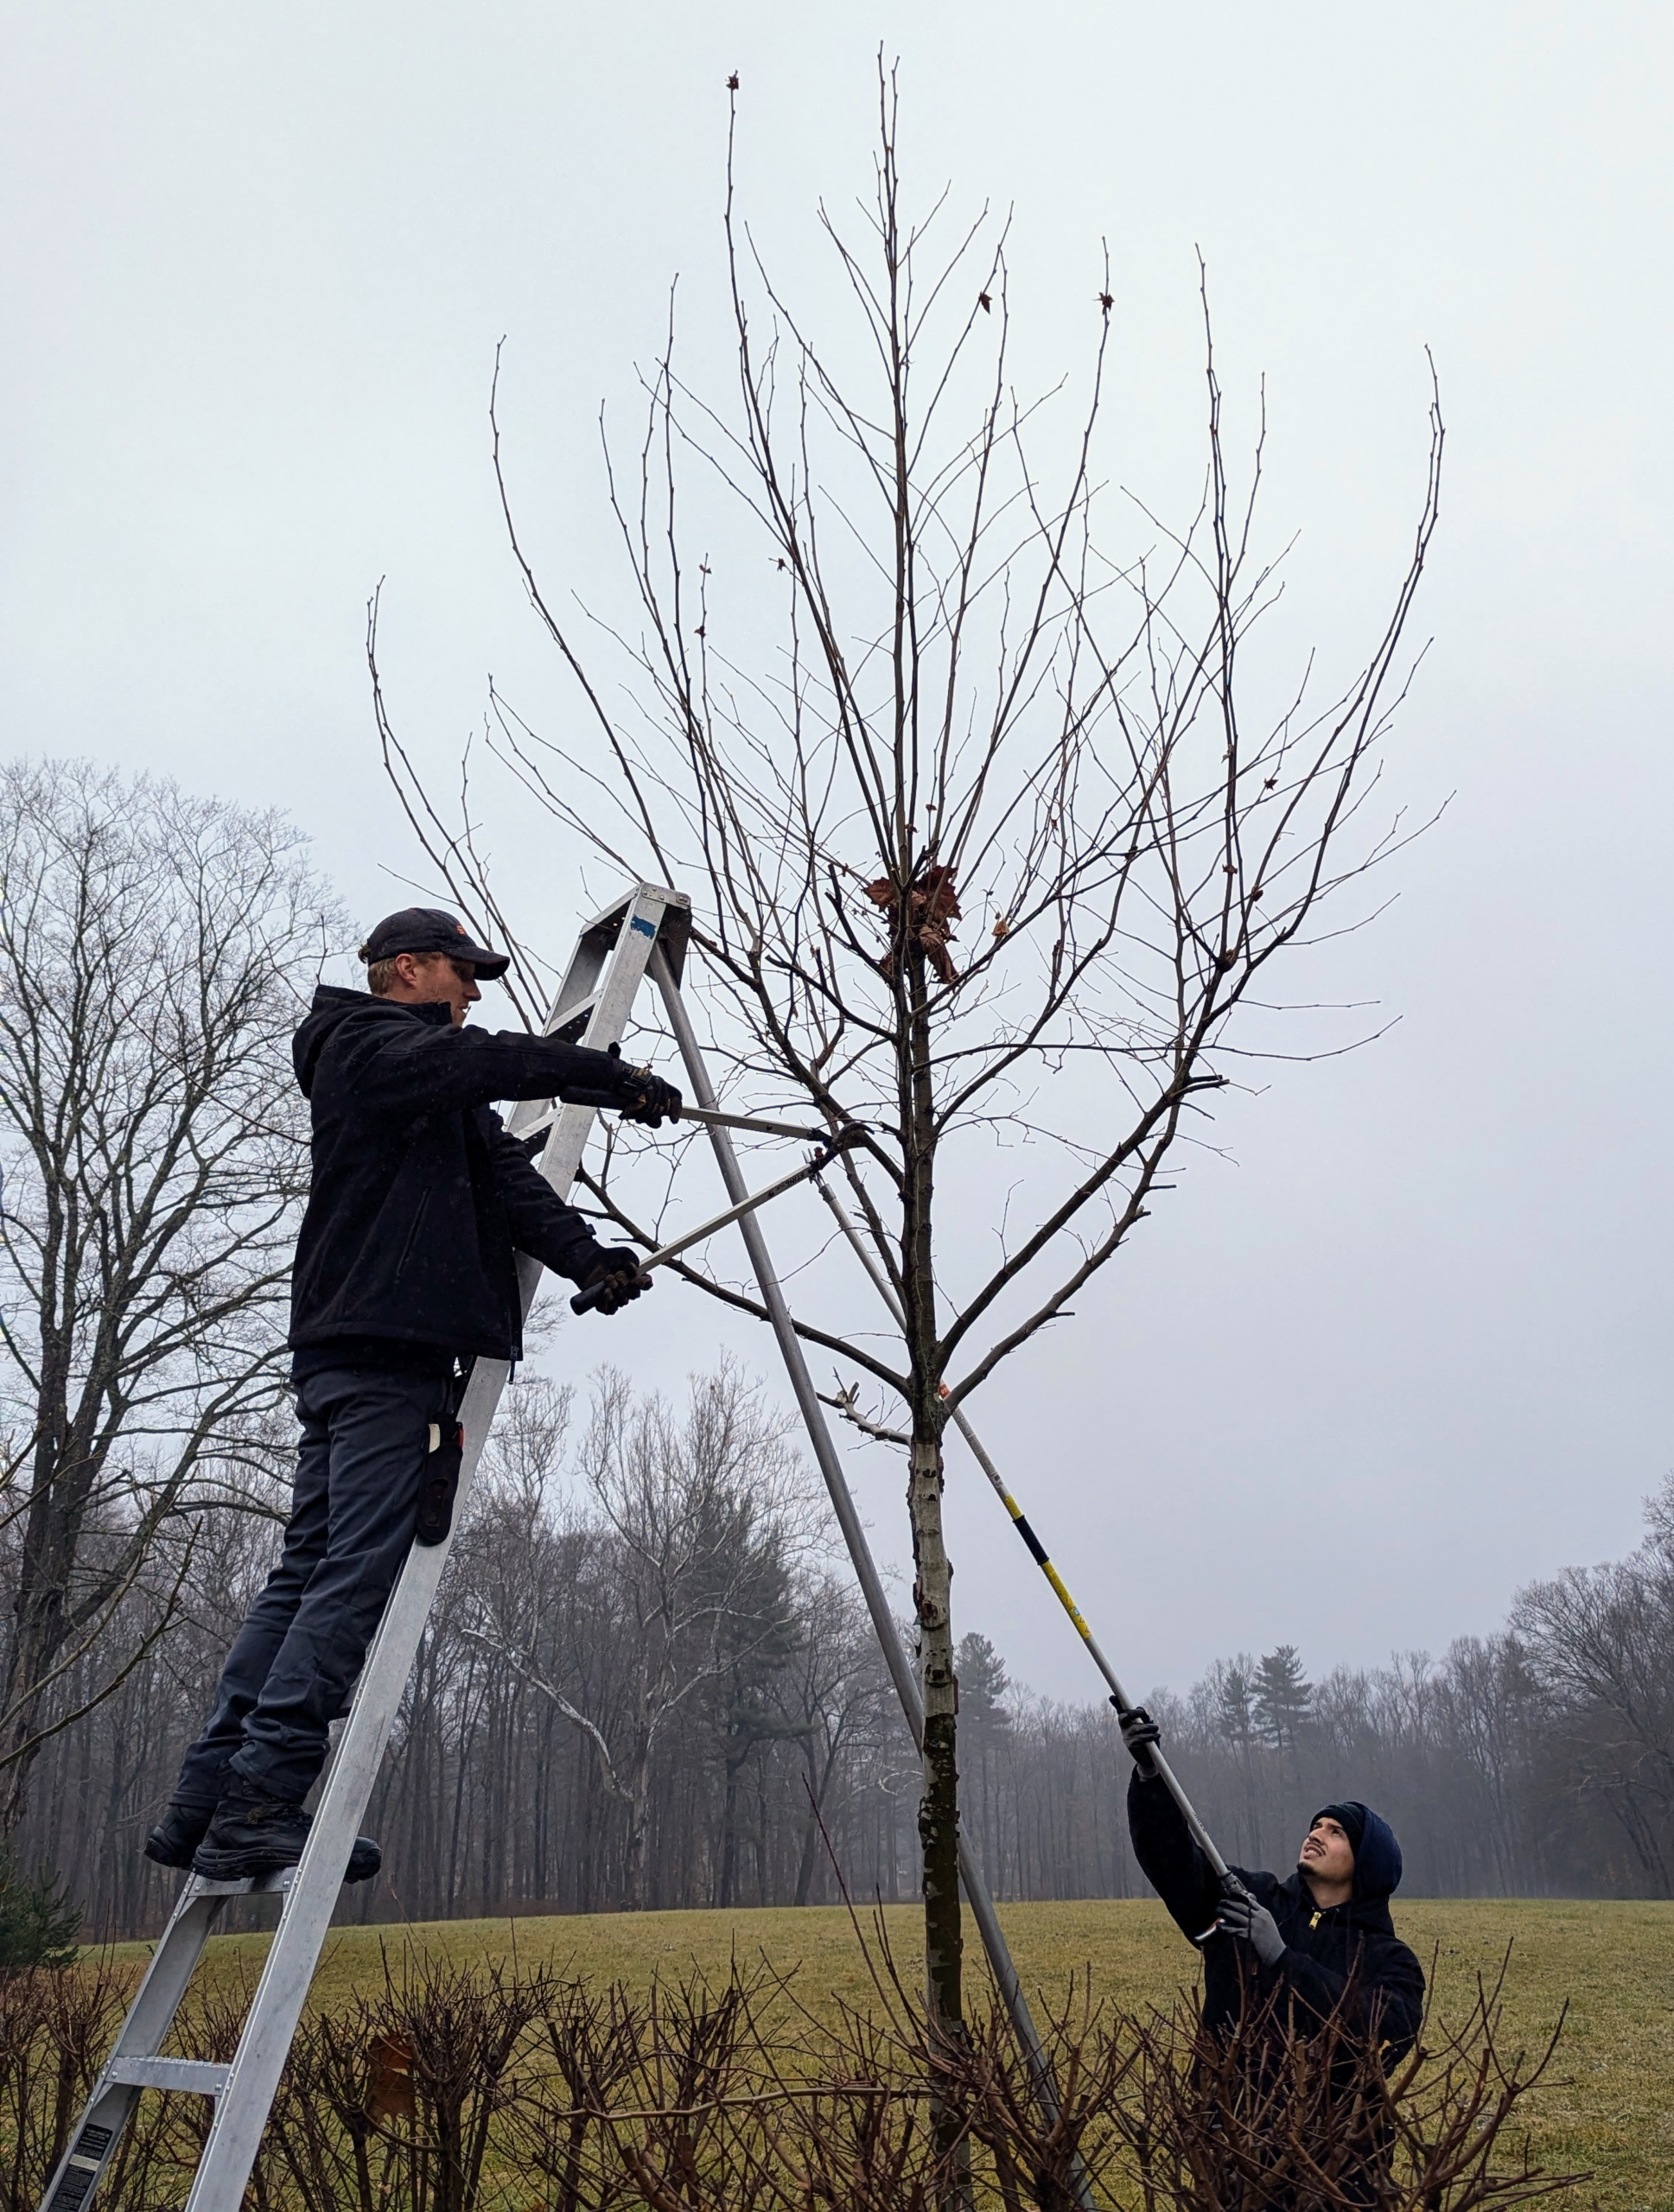
This year, after the trees had lost all their leaves, I decided to pollard them. London planes are often pruned by pollarding. A pollarded tree creates a distinctive shape that is smaller than what would naturally grow.
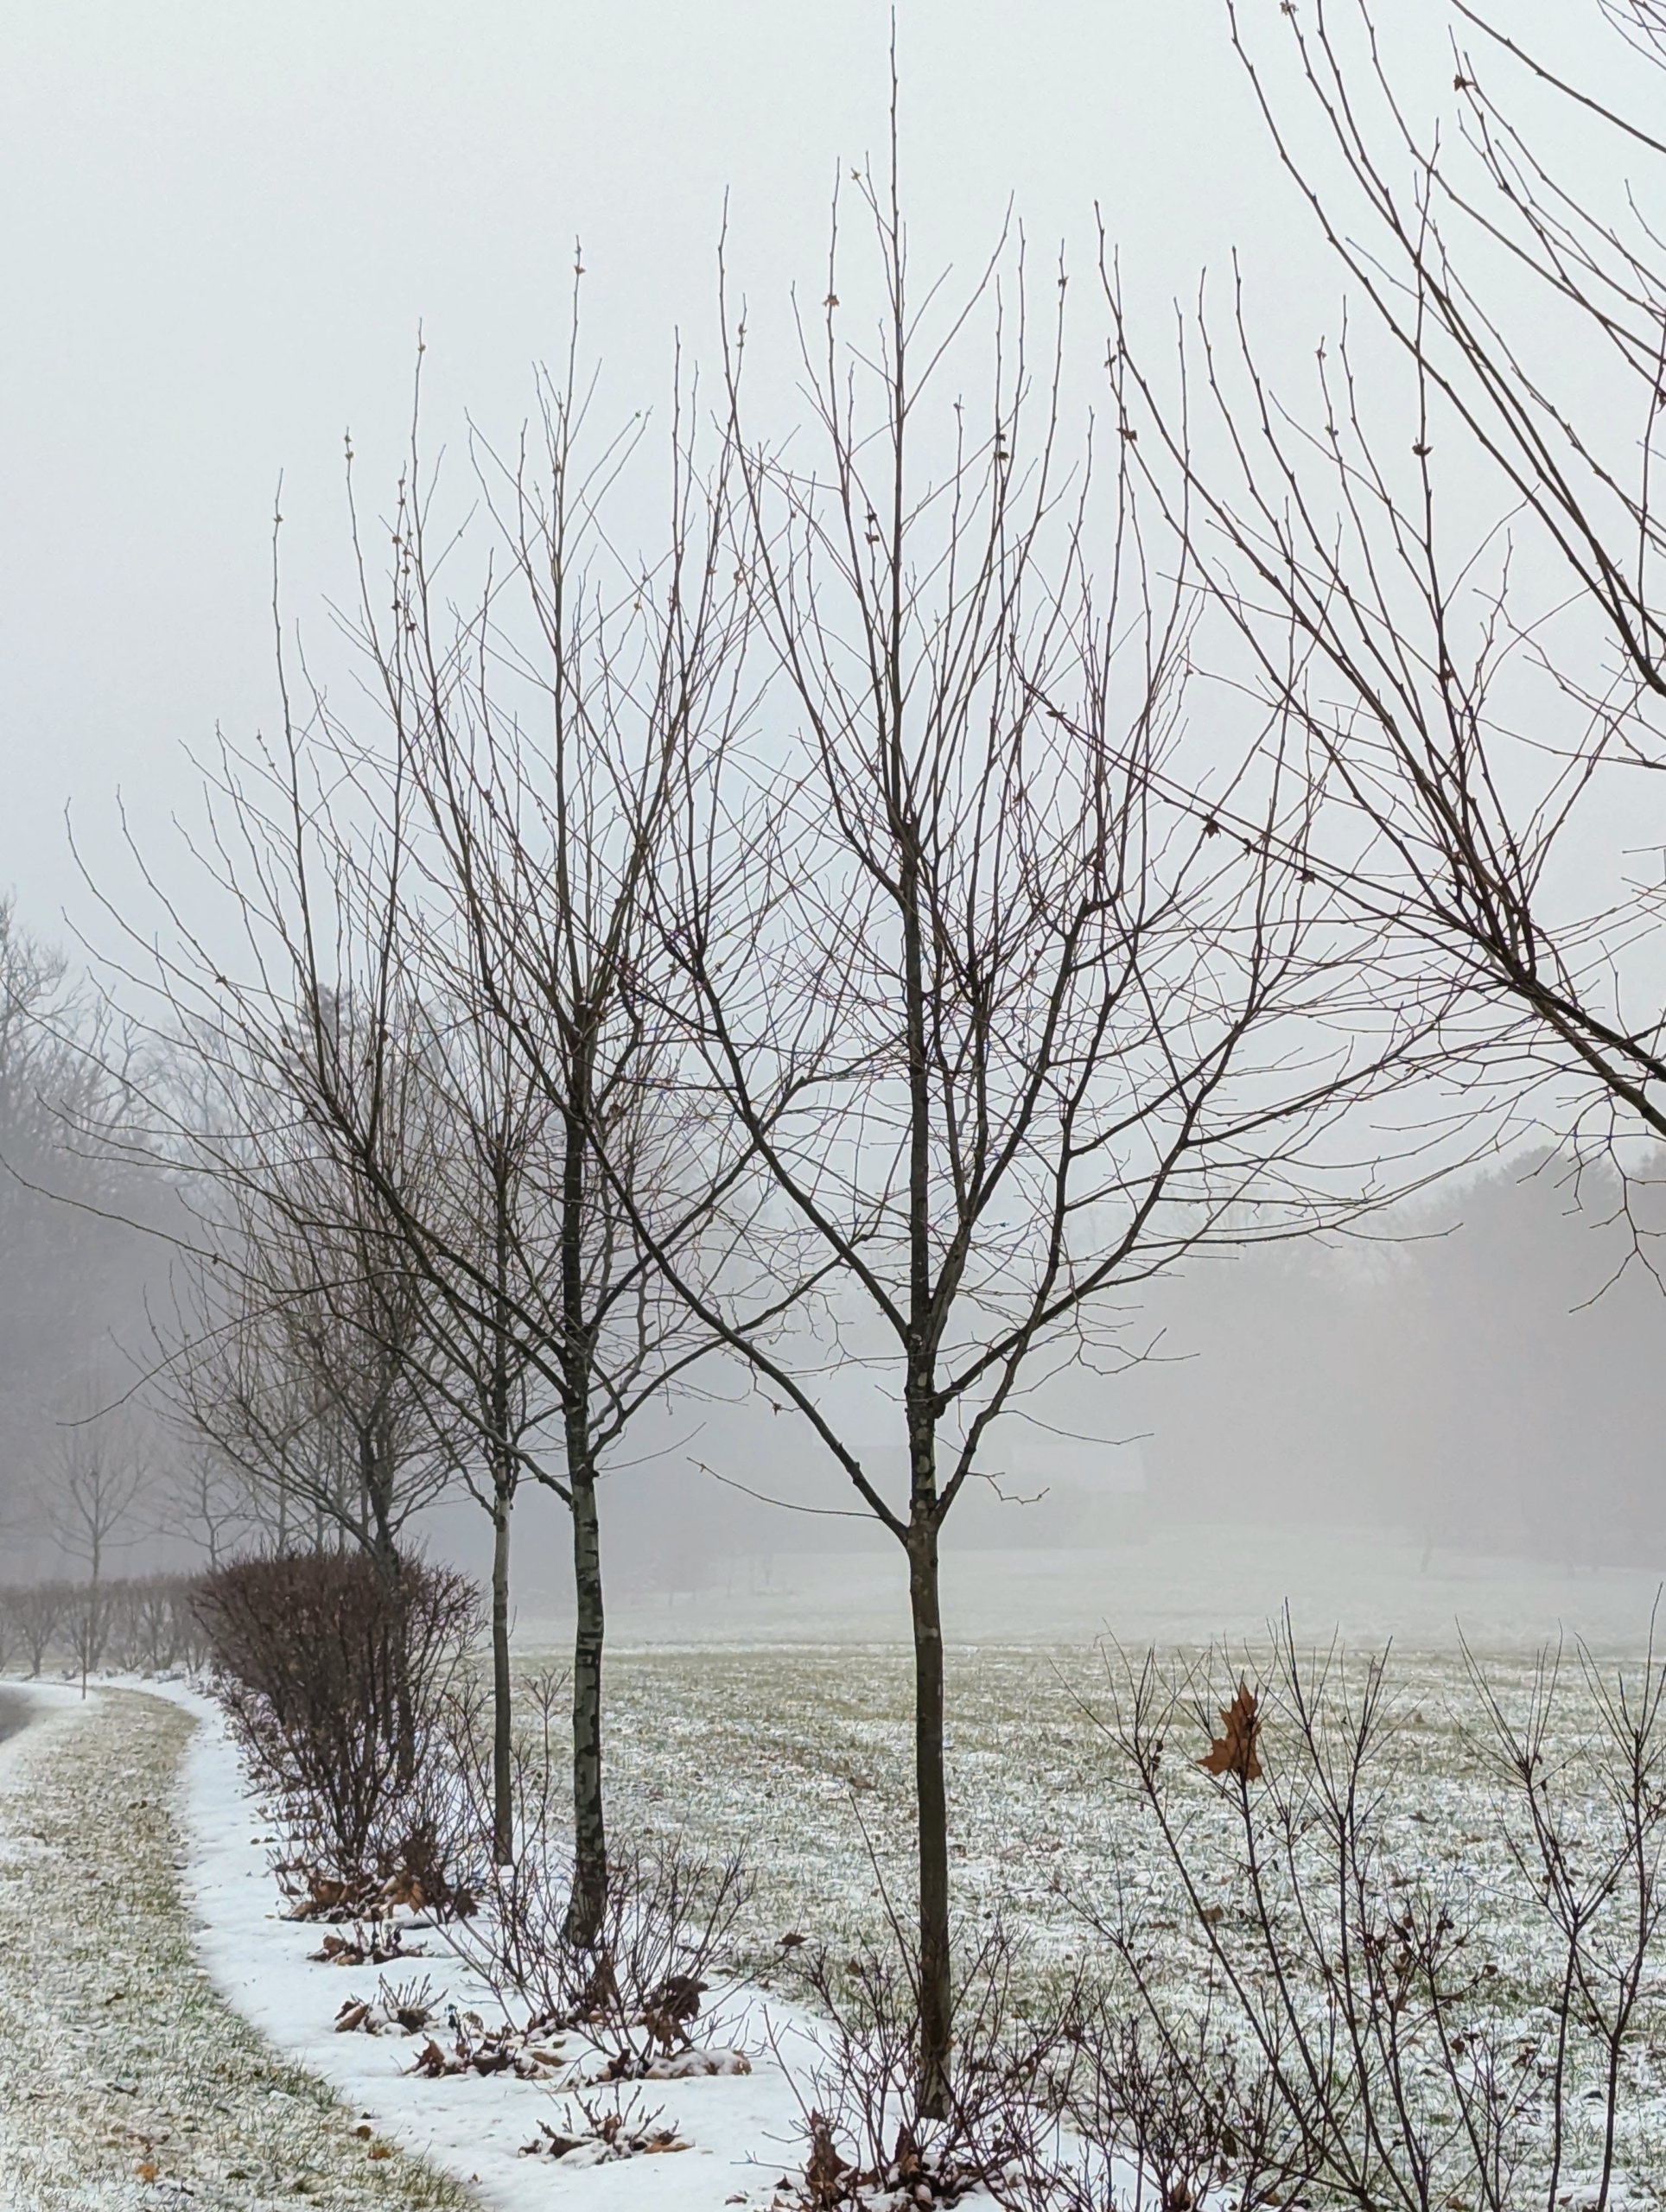
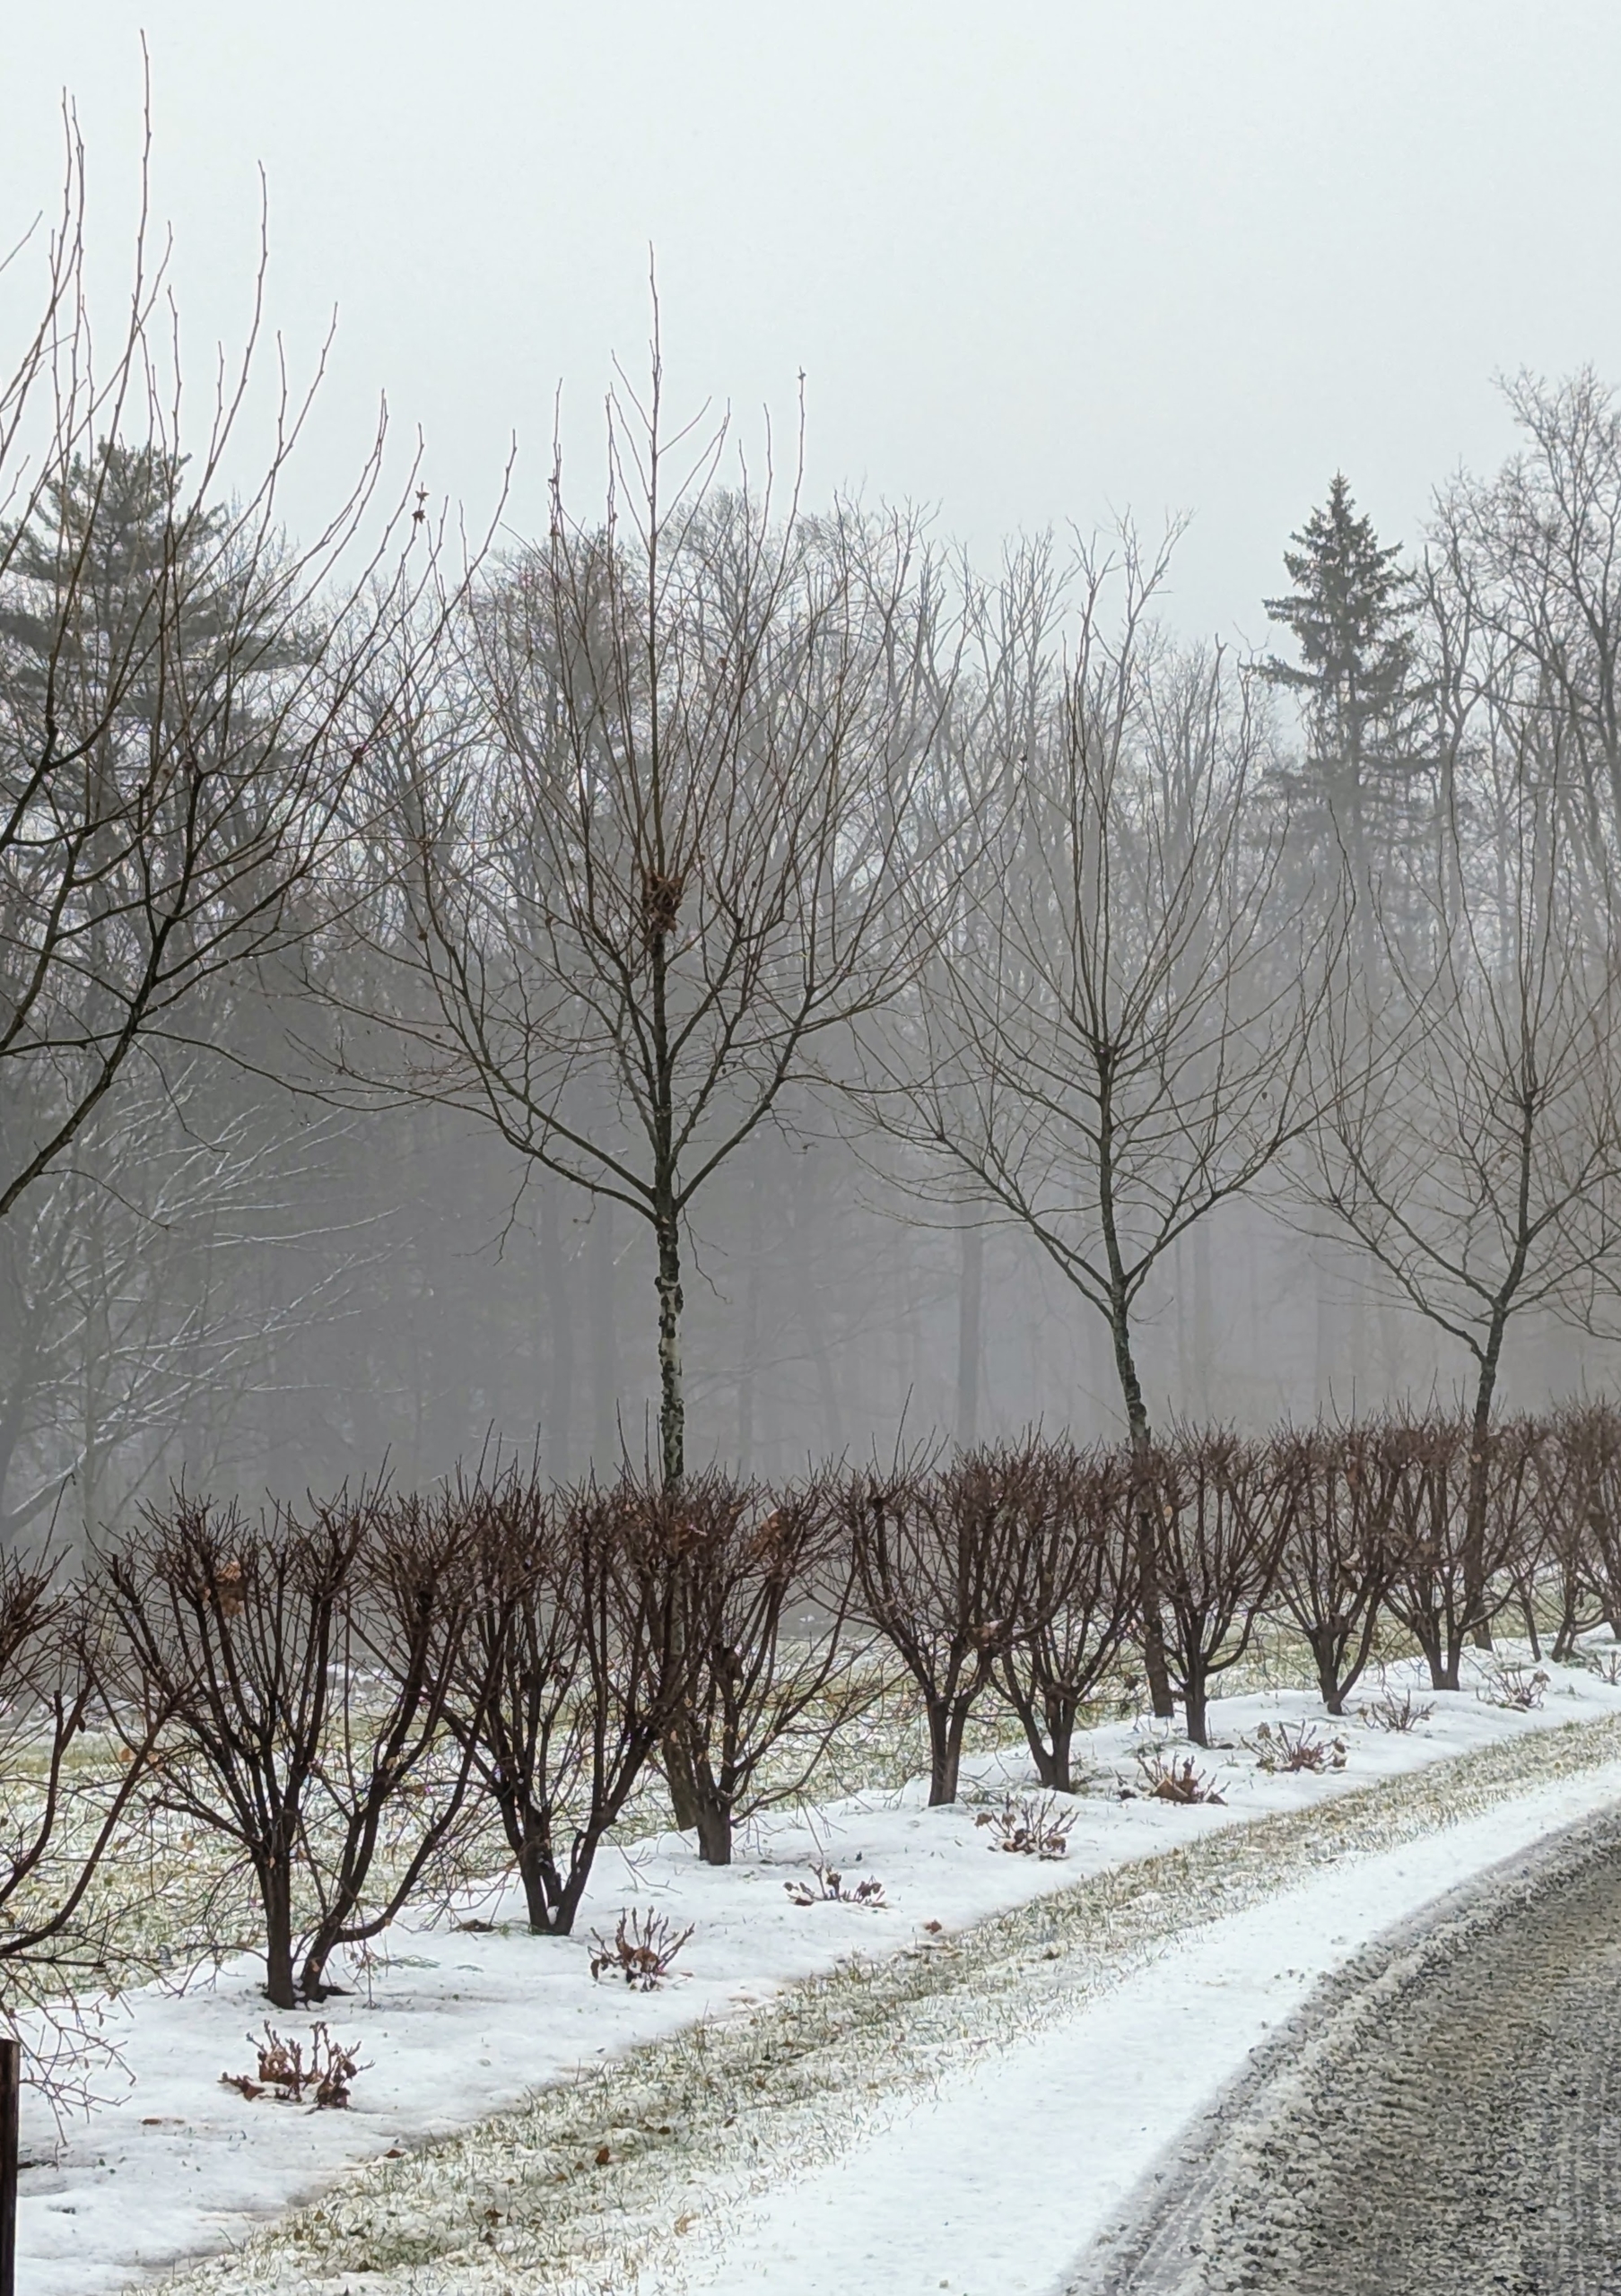
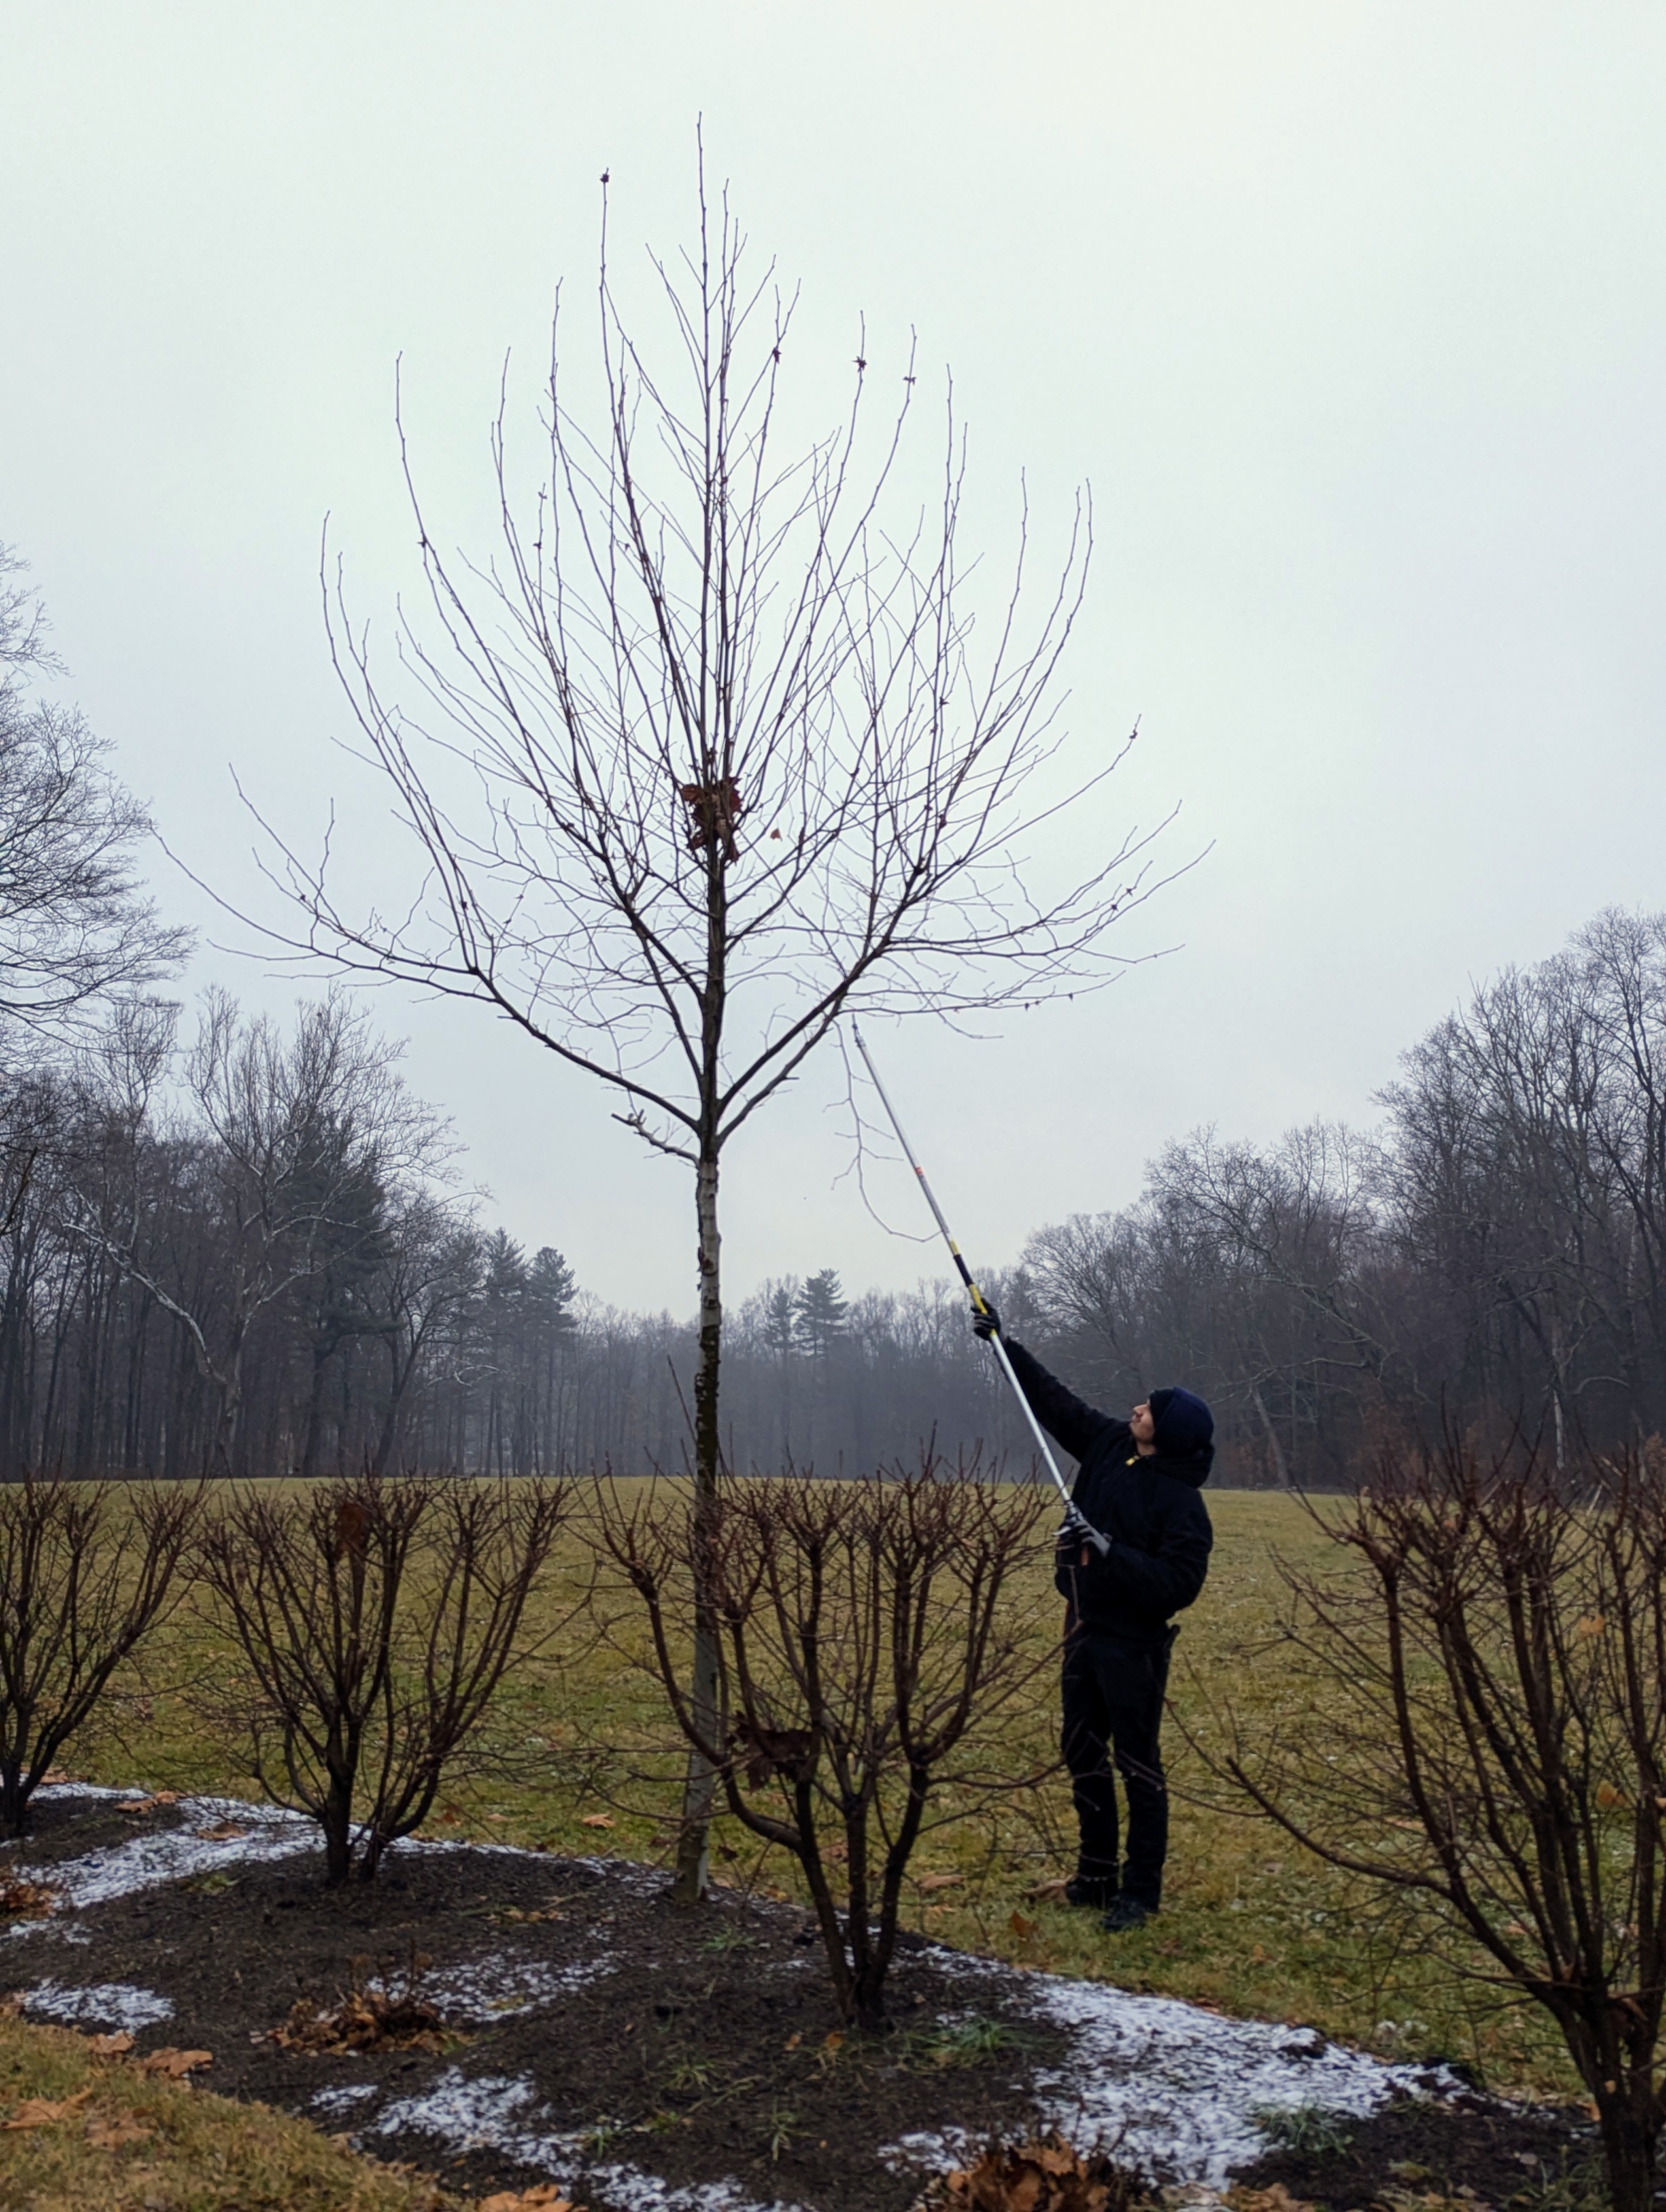
This photo was taken just before pruning began. It was a very cloudy day with snow showers, but not too windy so it was perfect for some tree work.
The best time to prune and pollard trees is when the trees are dormant, during the cold months. It’s best to complete all pruning before early spring when the buds begin to form. Dormancy pruning reduces the amount of stress placed on the tree. The reduced flow of fluids in the tree during the time helps the pruning wounds heal quicker.
Josh starts by cutting the “Ds” of pruning – dead, diseased, damaged or deranged – those branches that rub against other branches or point the wrong way.
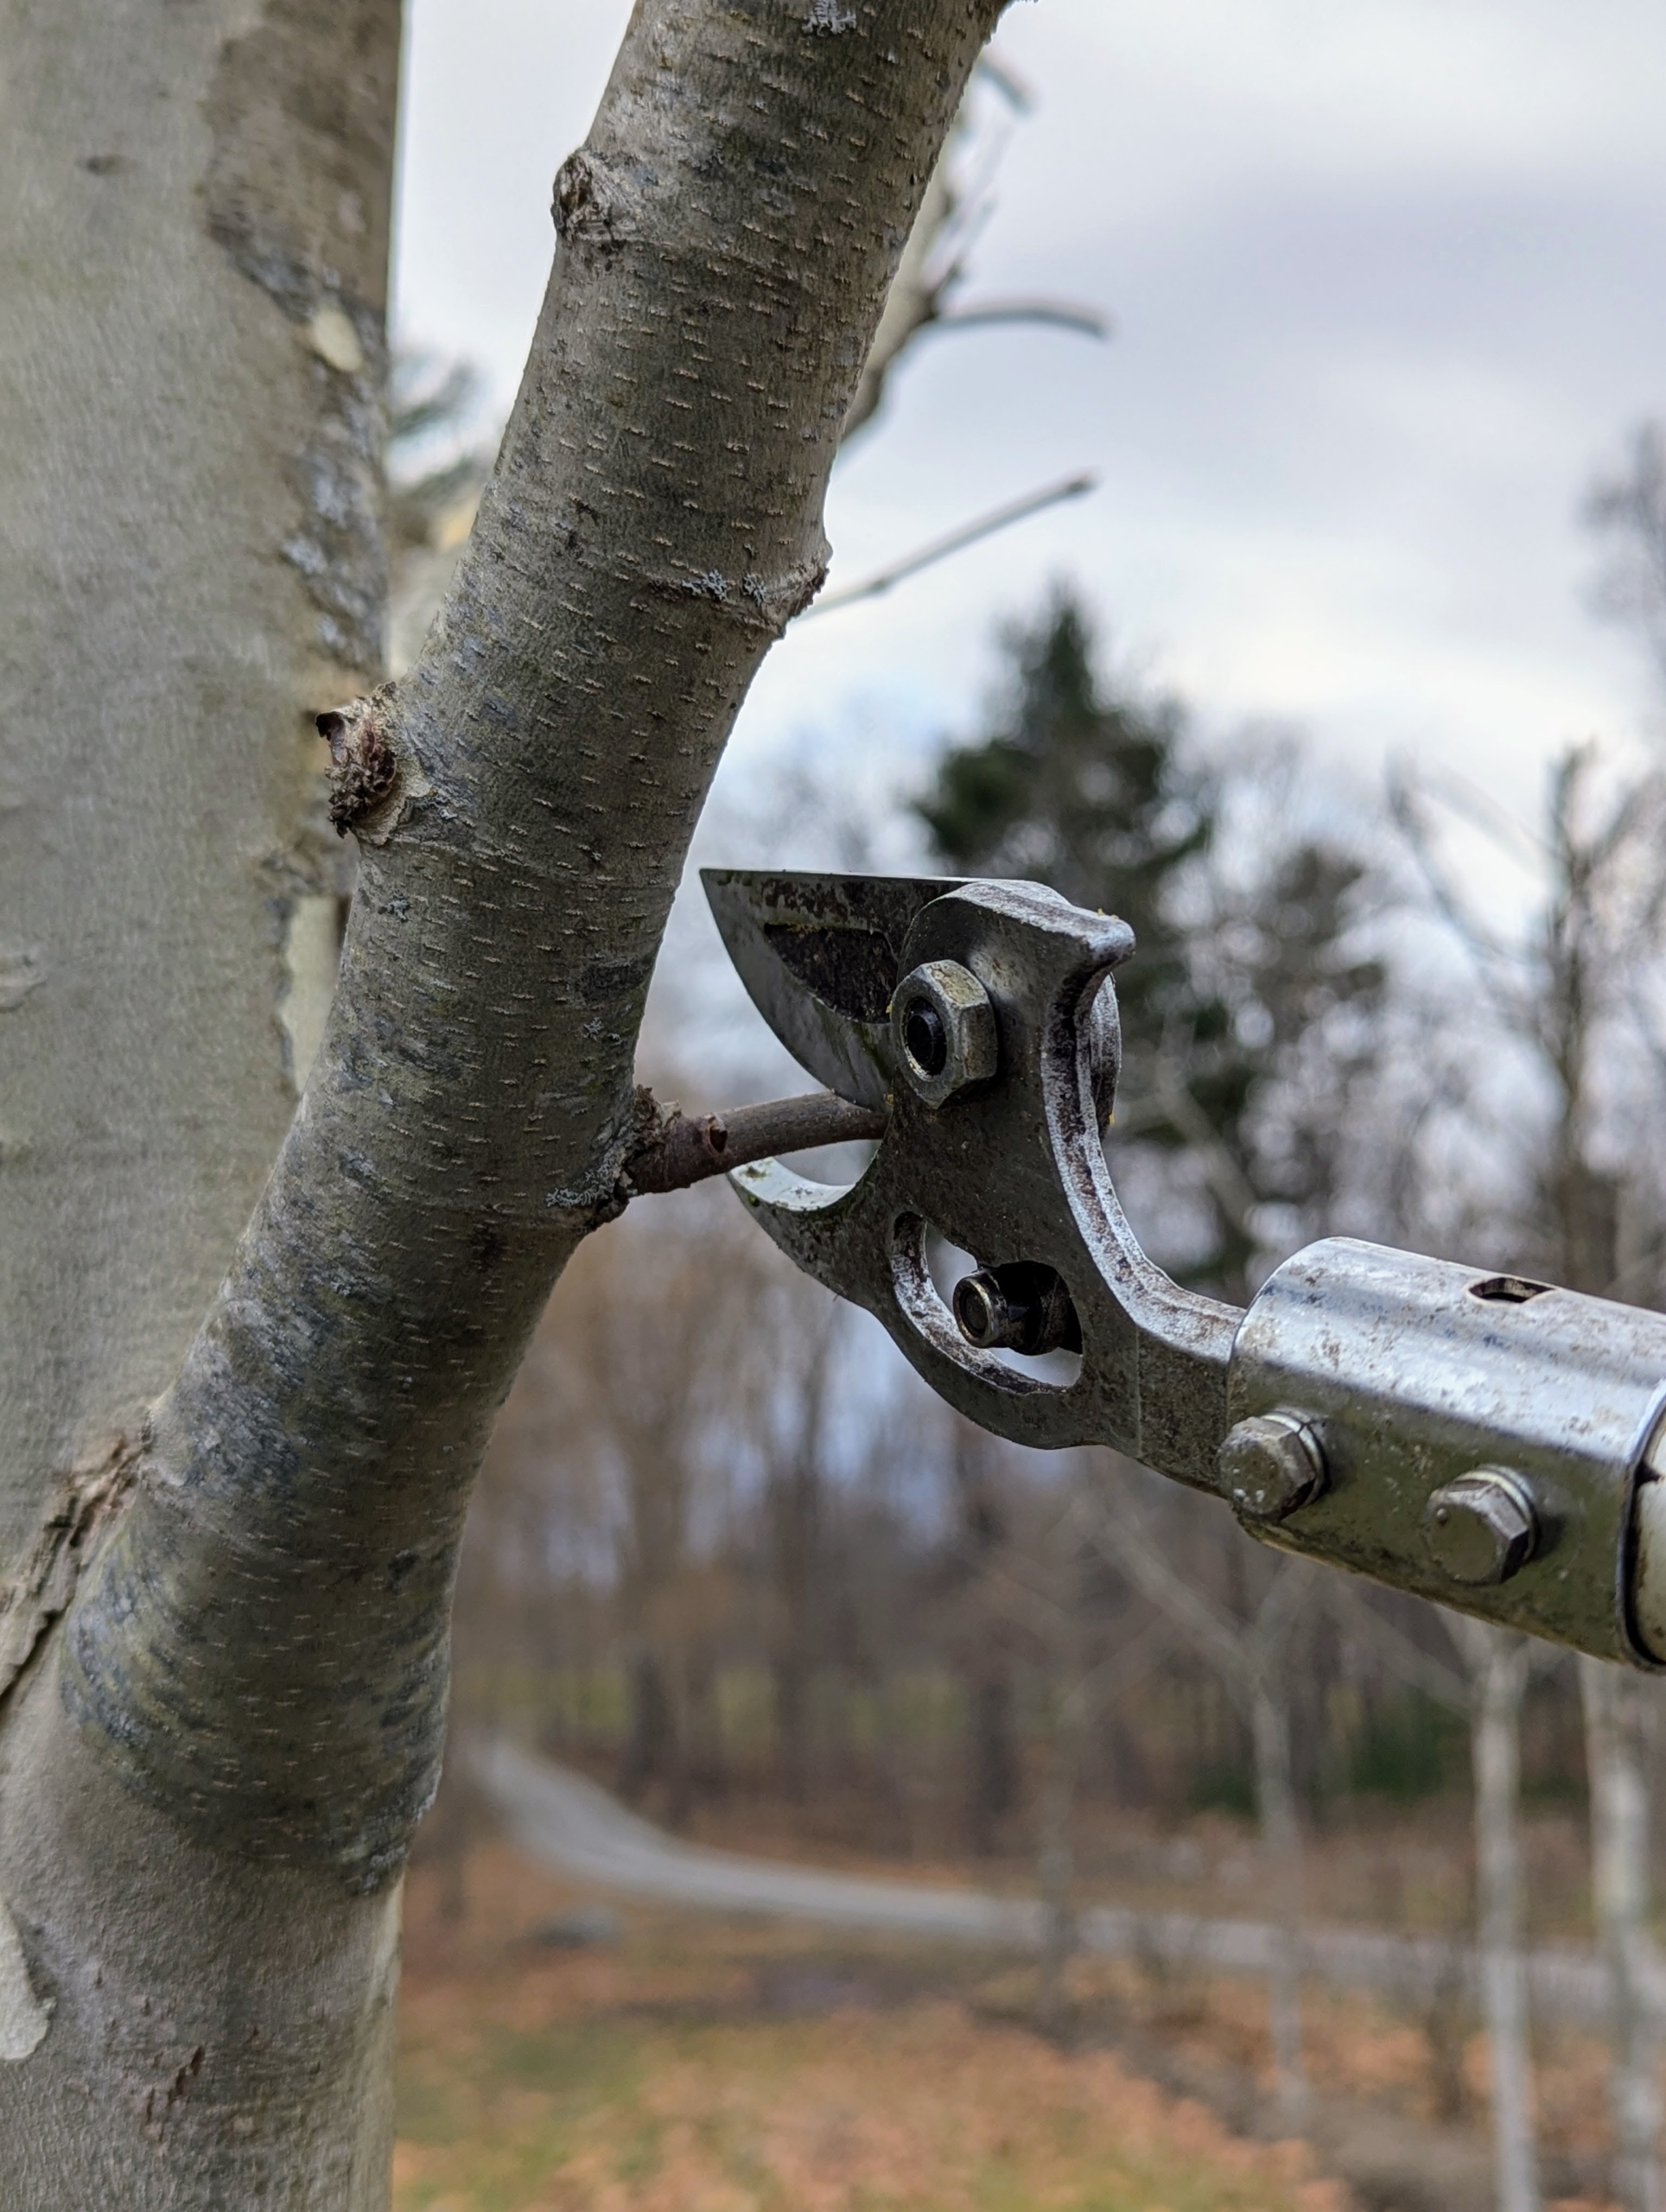
Always use sharp secateurs, loppers, or a pruning saw to make clean cuts and avoid damaging the bark. Remember, a sharp tool always cuts clean, and helps the plant to recover better. Dull cutting tools rip and shred the plant tissue.
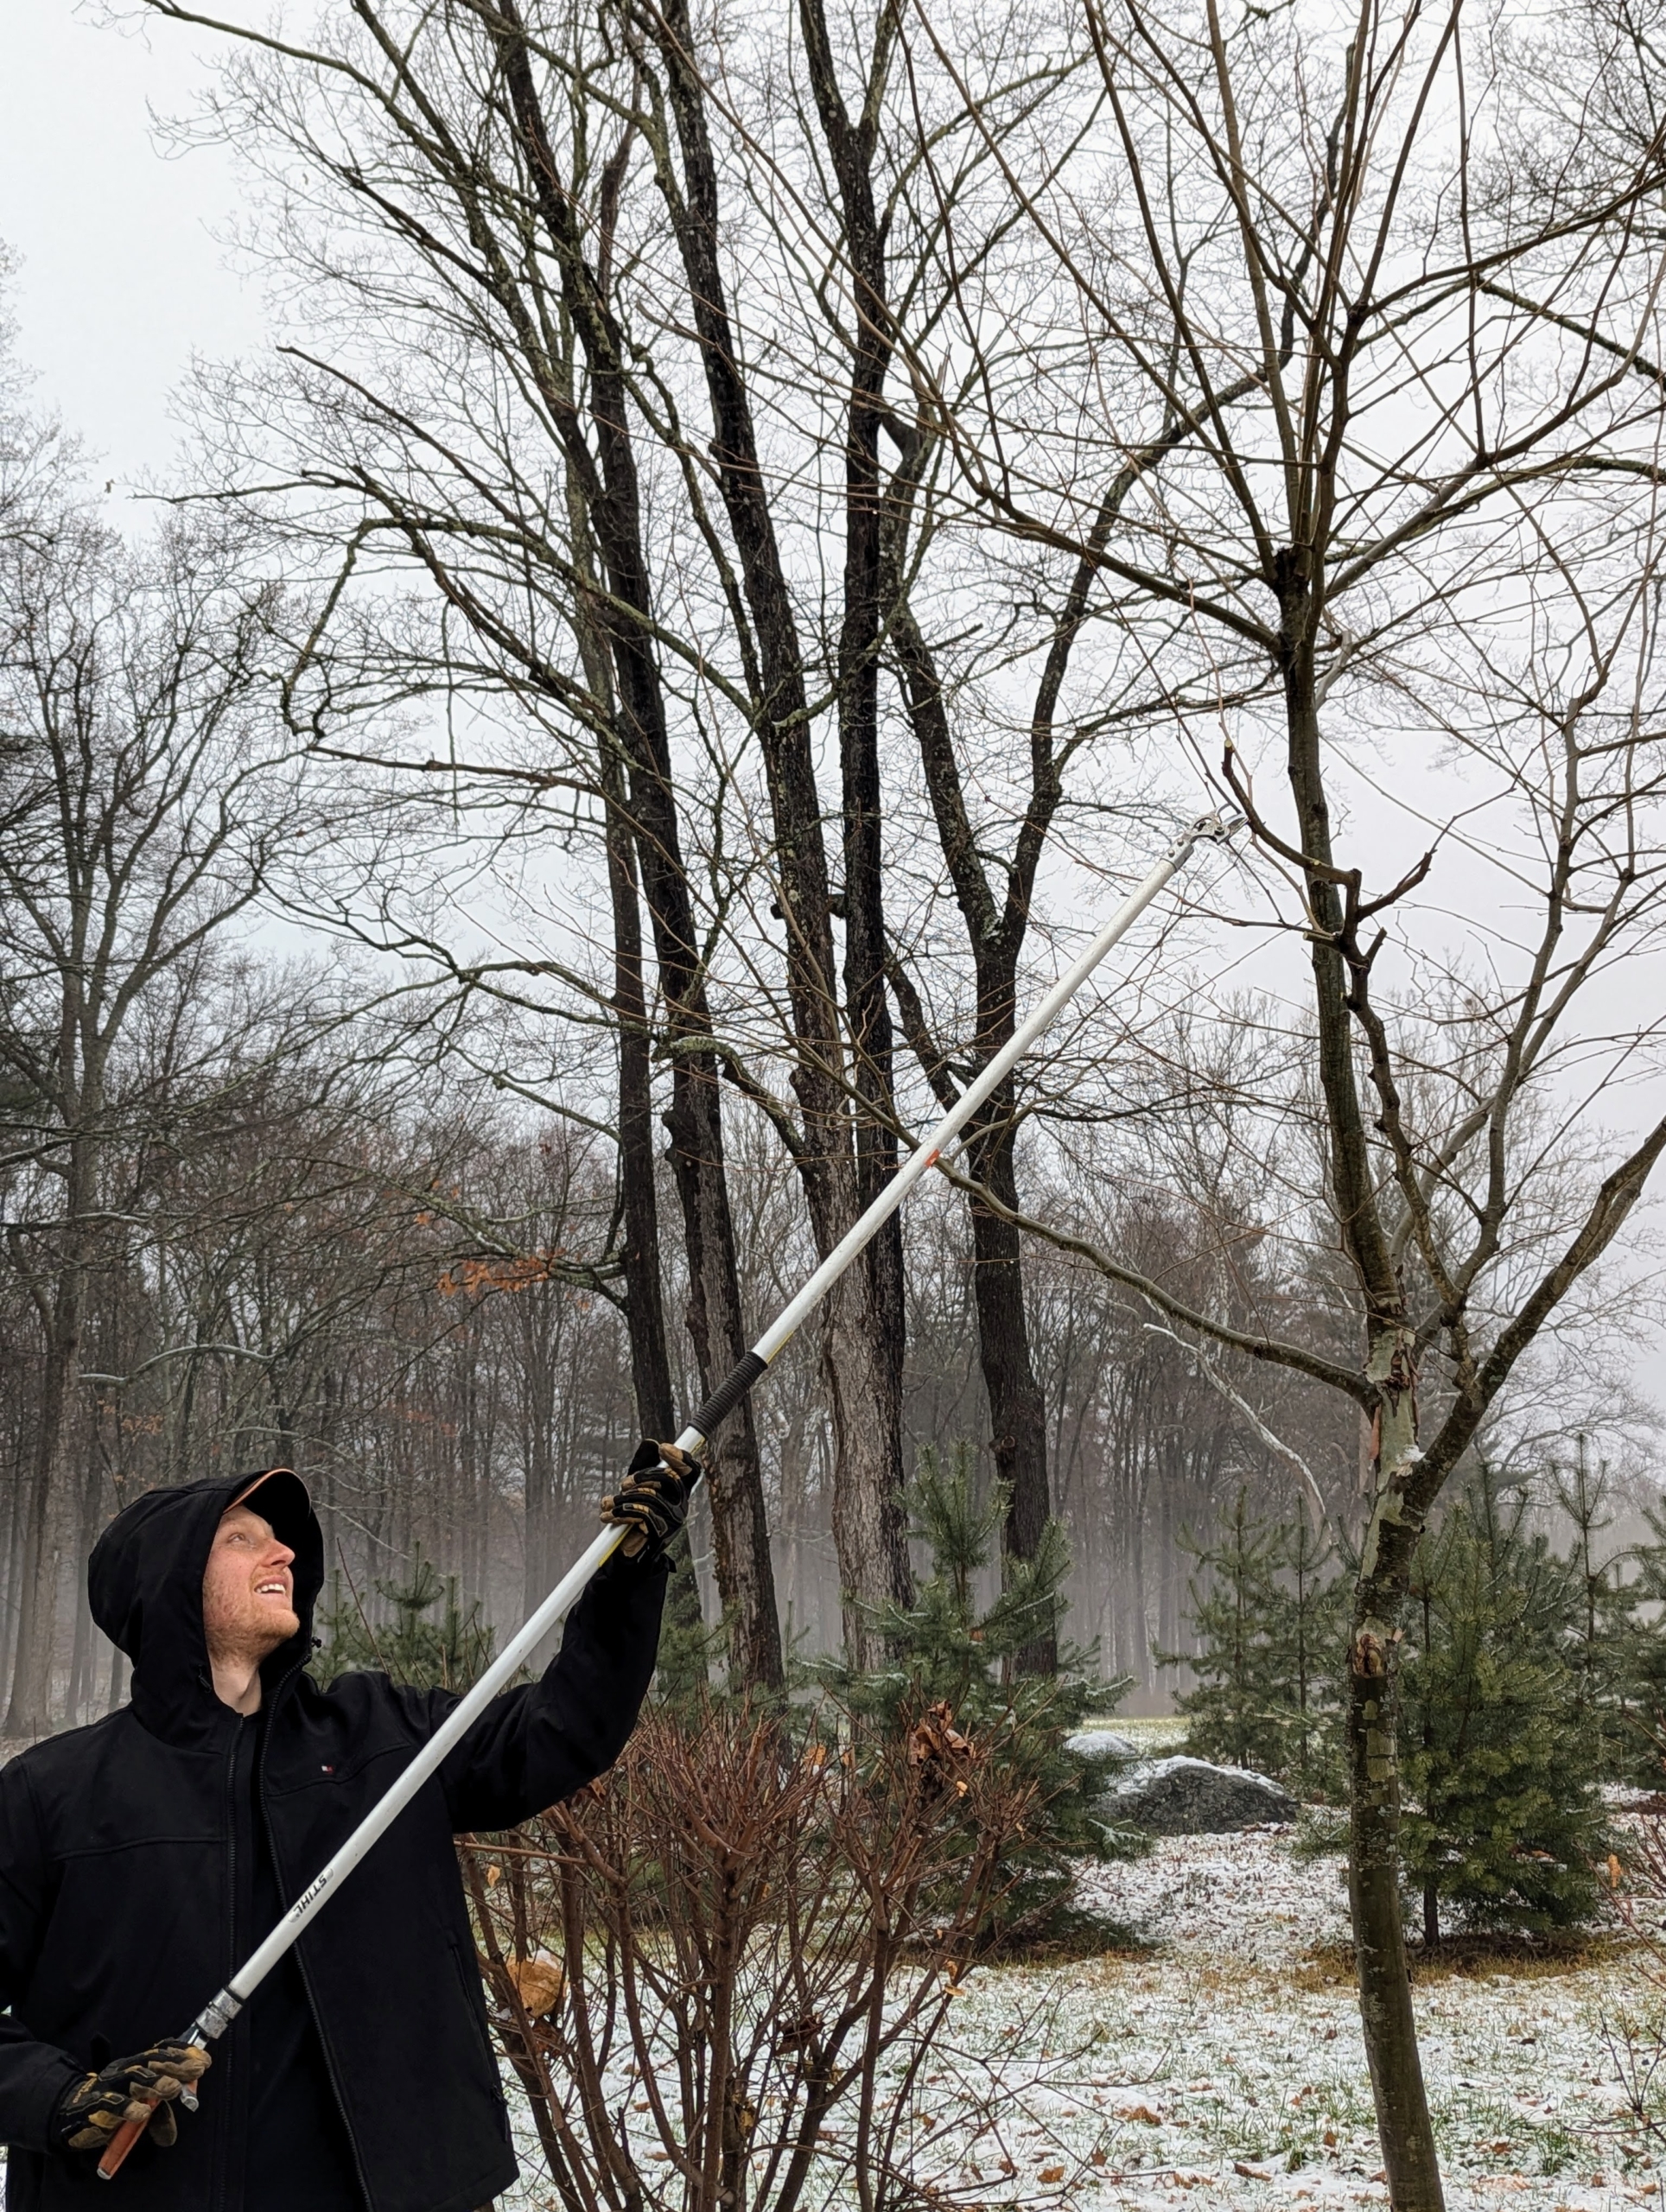
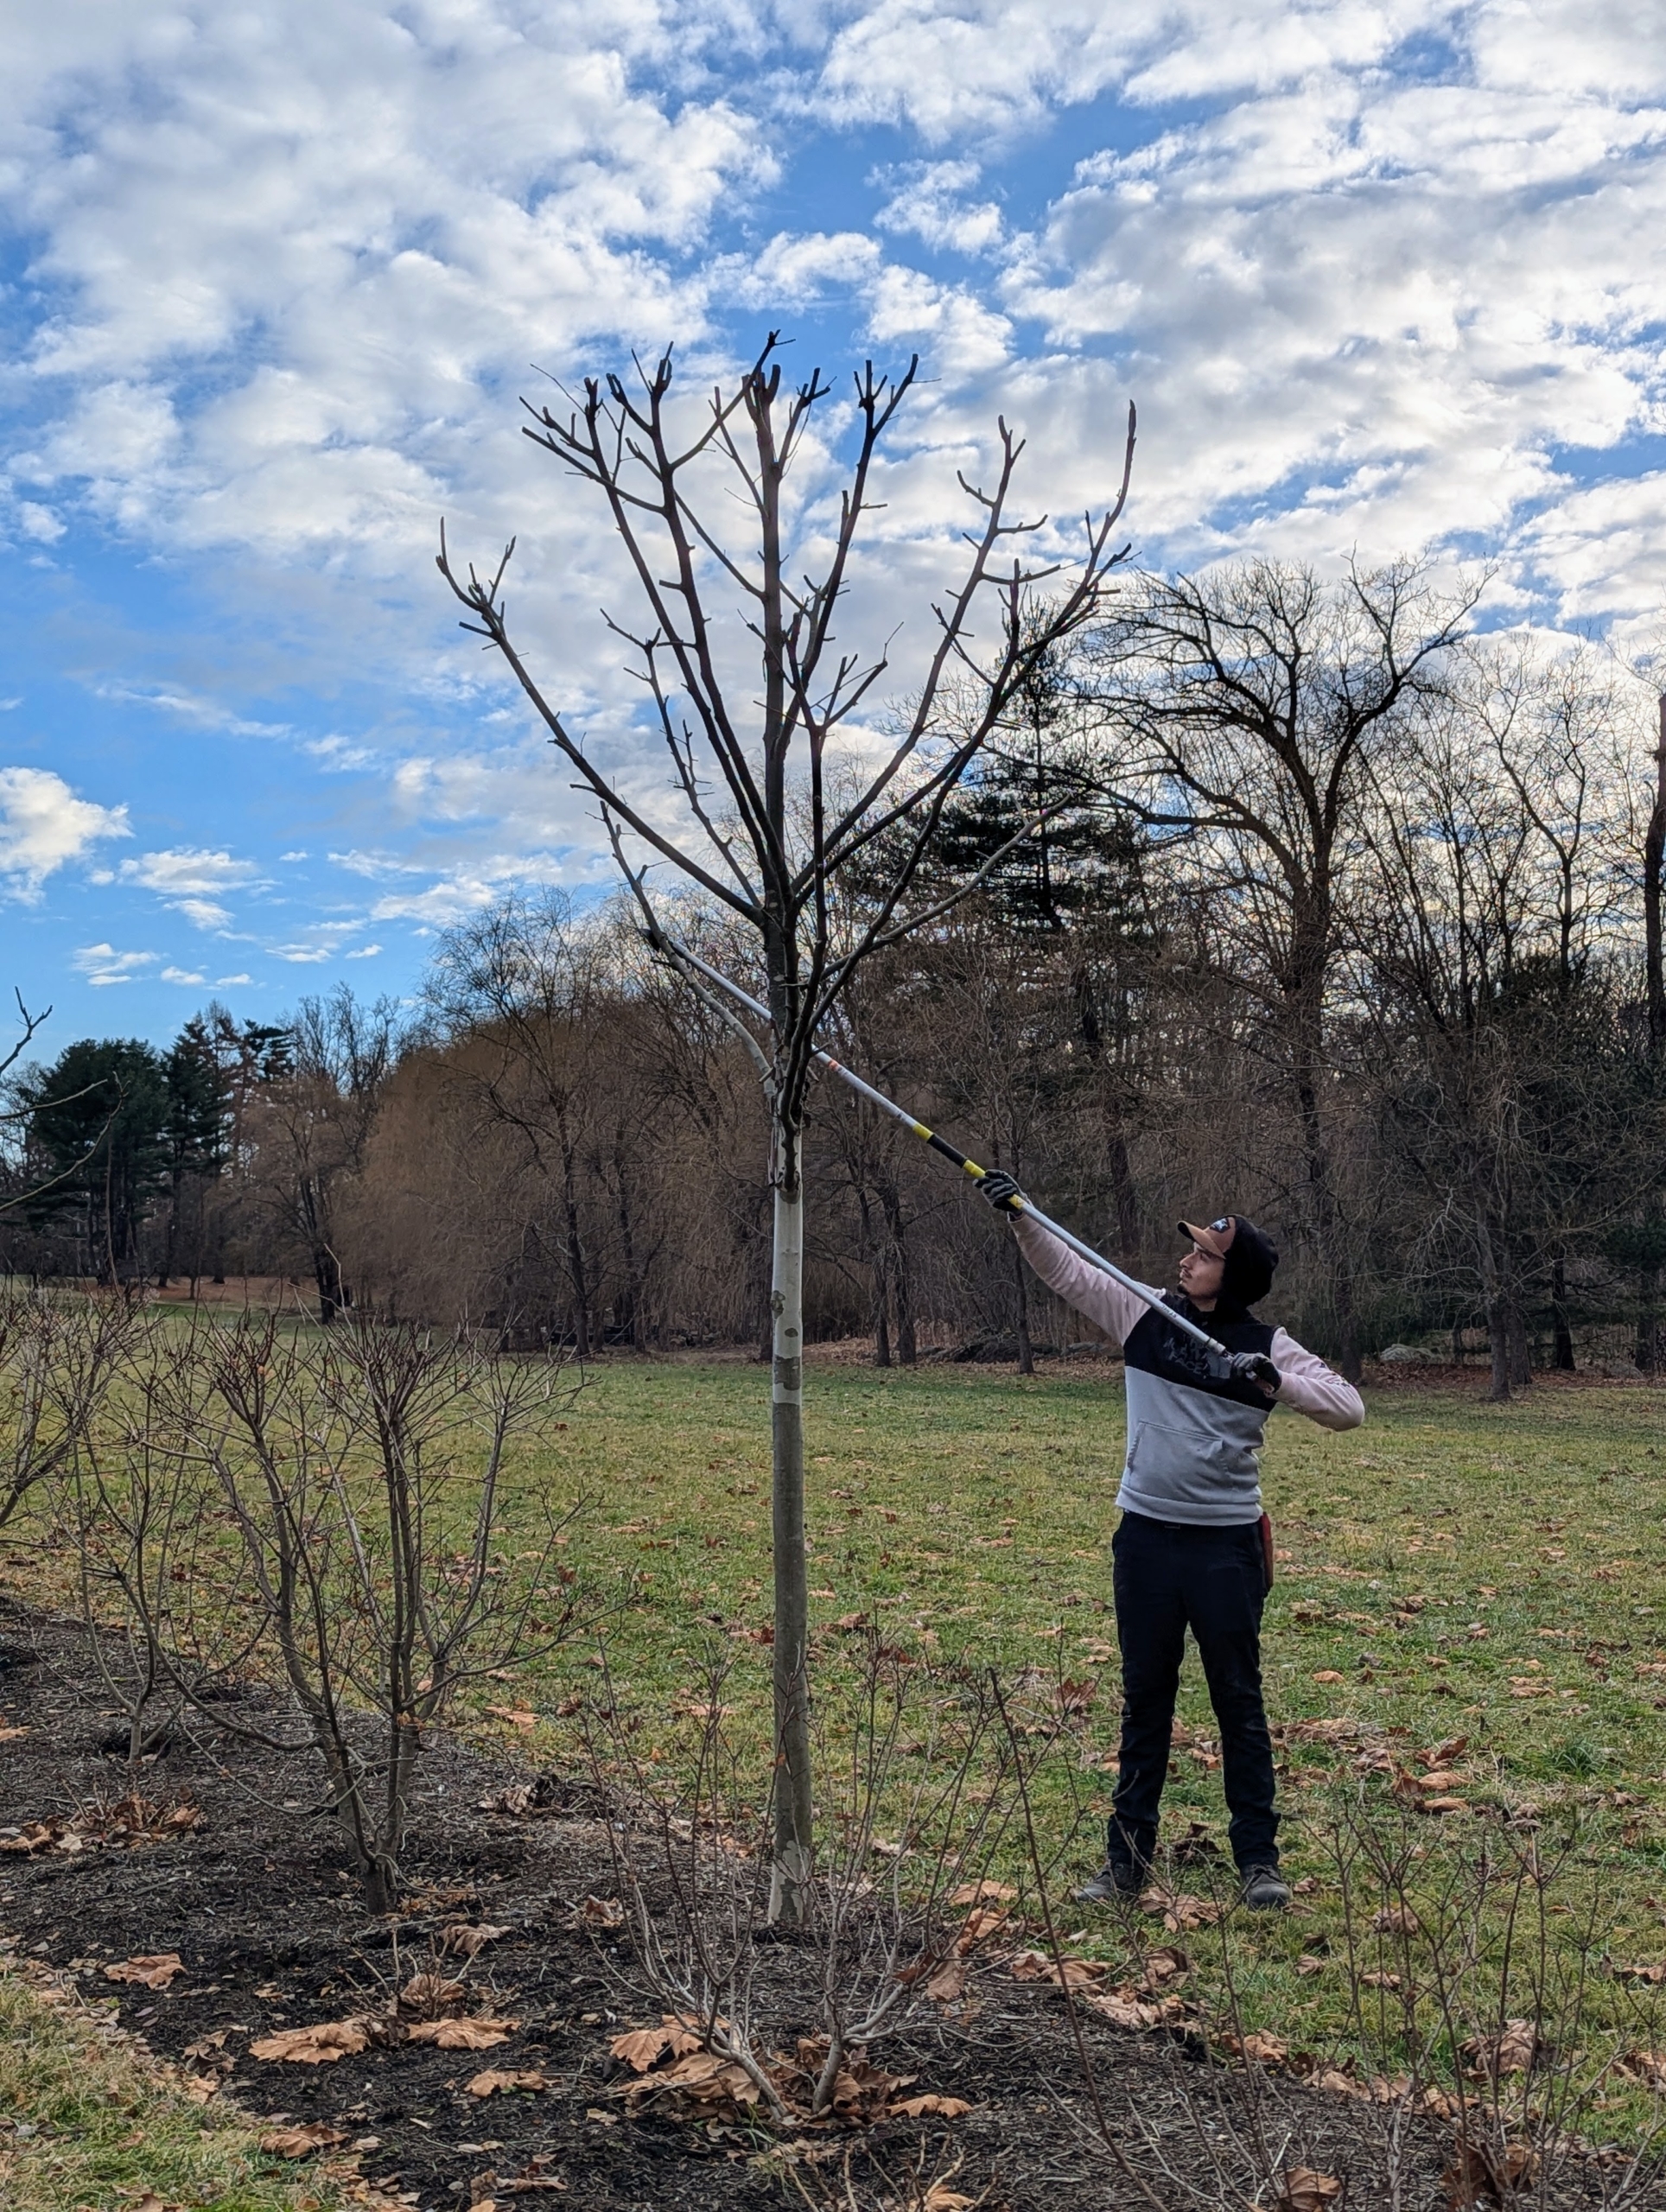
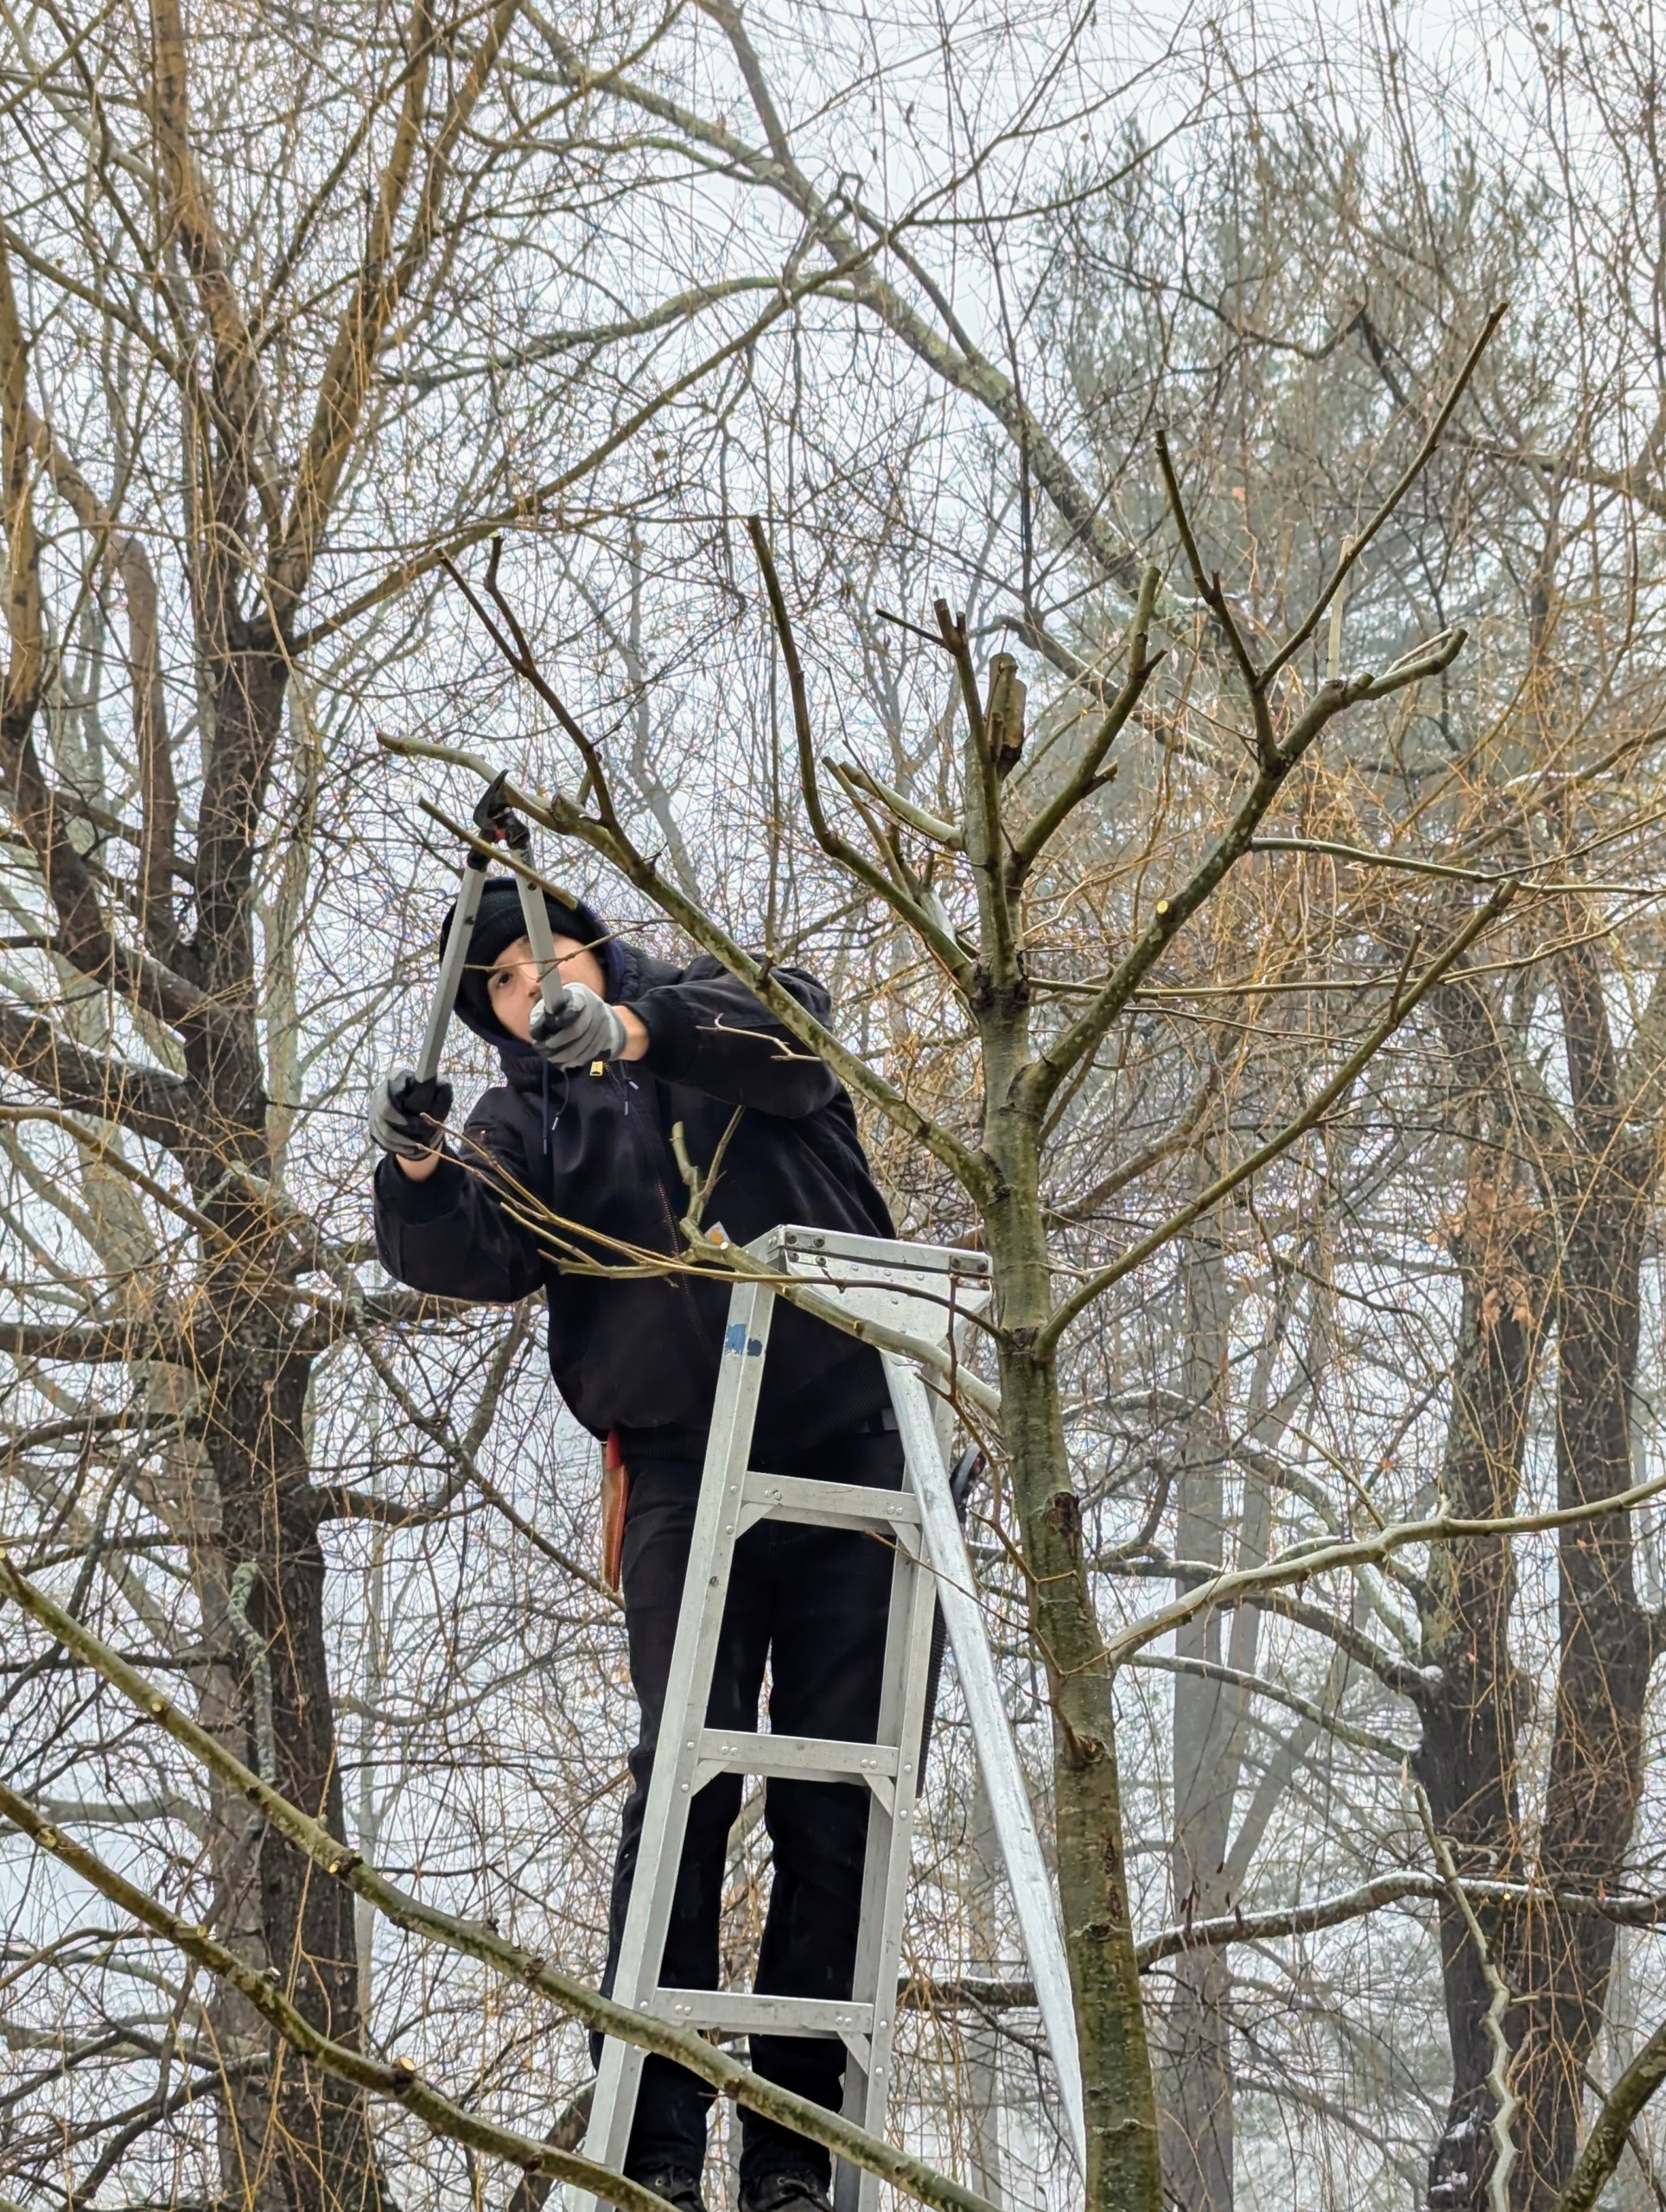
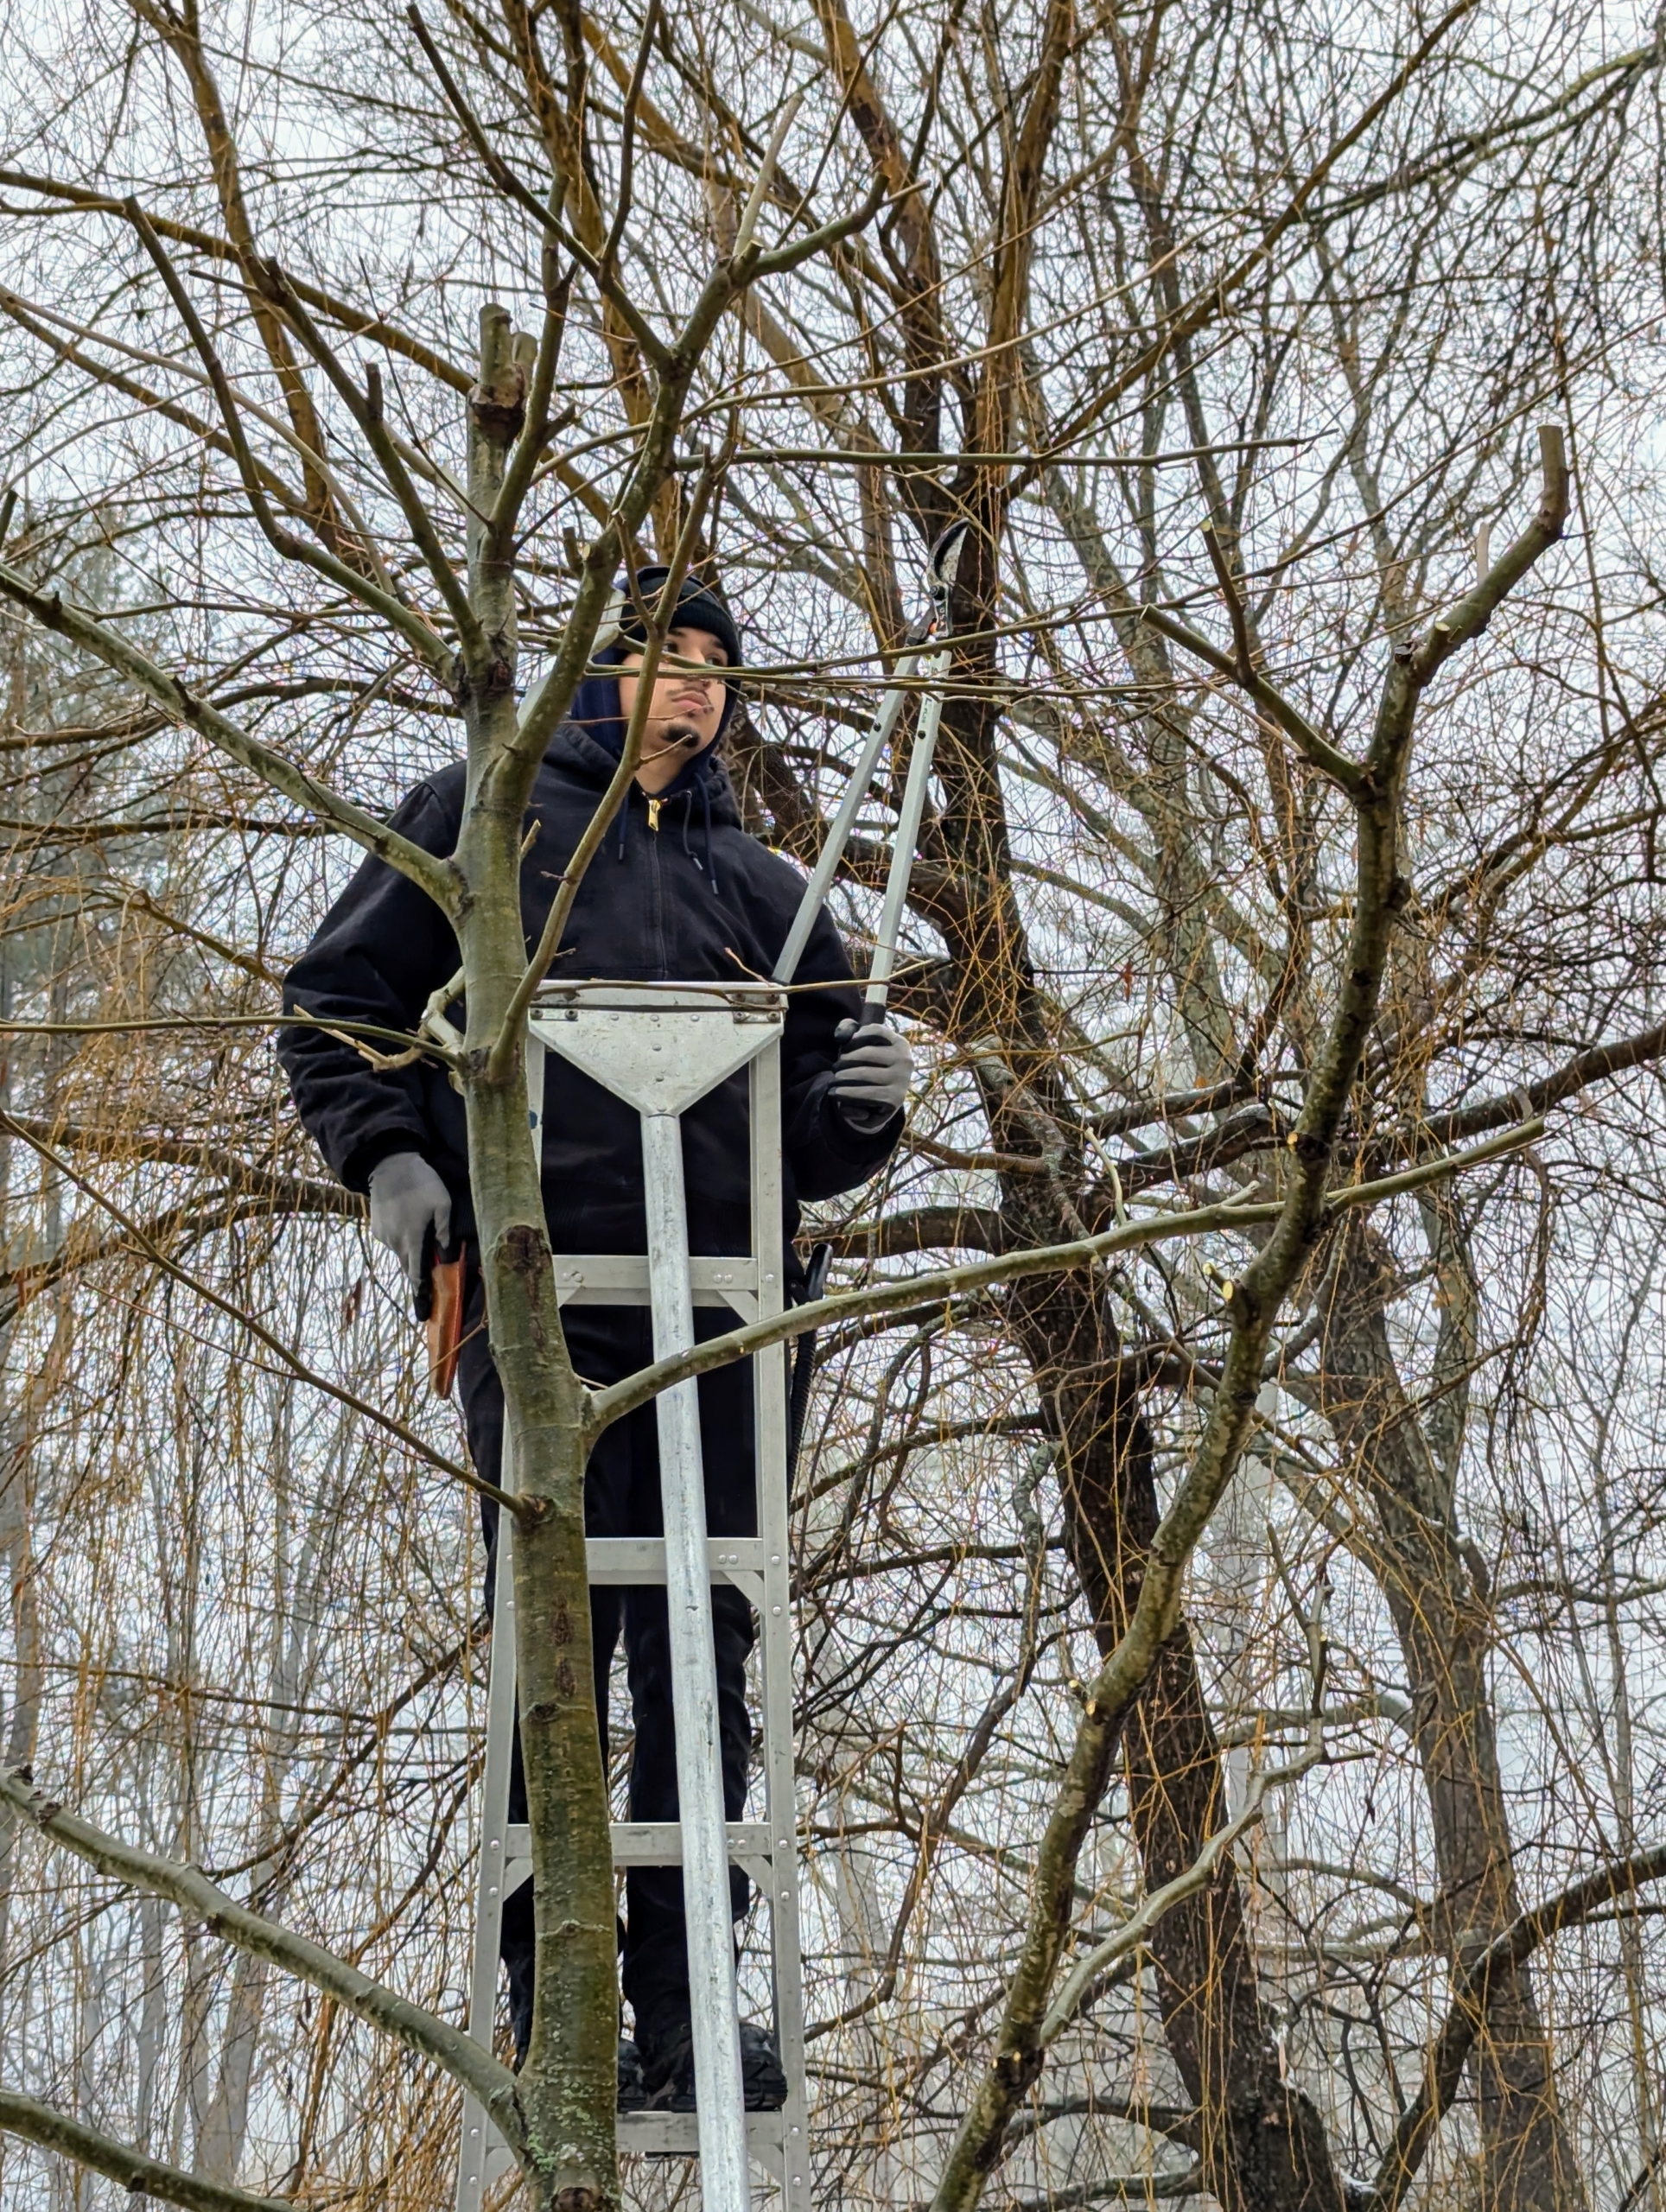
After pruning all the Ds, Matt starts pollarding, which is essentially pruning to form a “knuckle” or “bole” by removing growth back to the main stem.
All the trees in this allée are trimmed to the same height. Pollarding is started when a tree or shrub reaches a certain desired height.
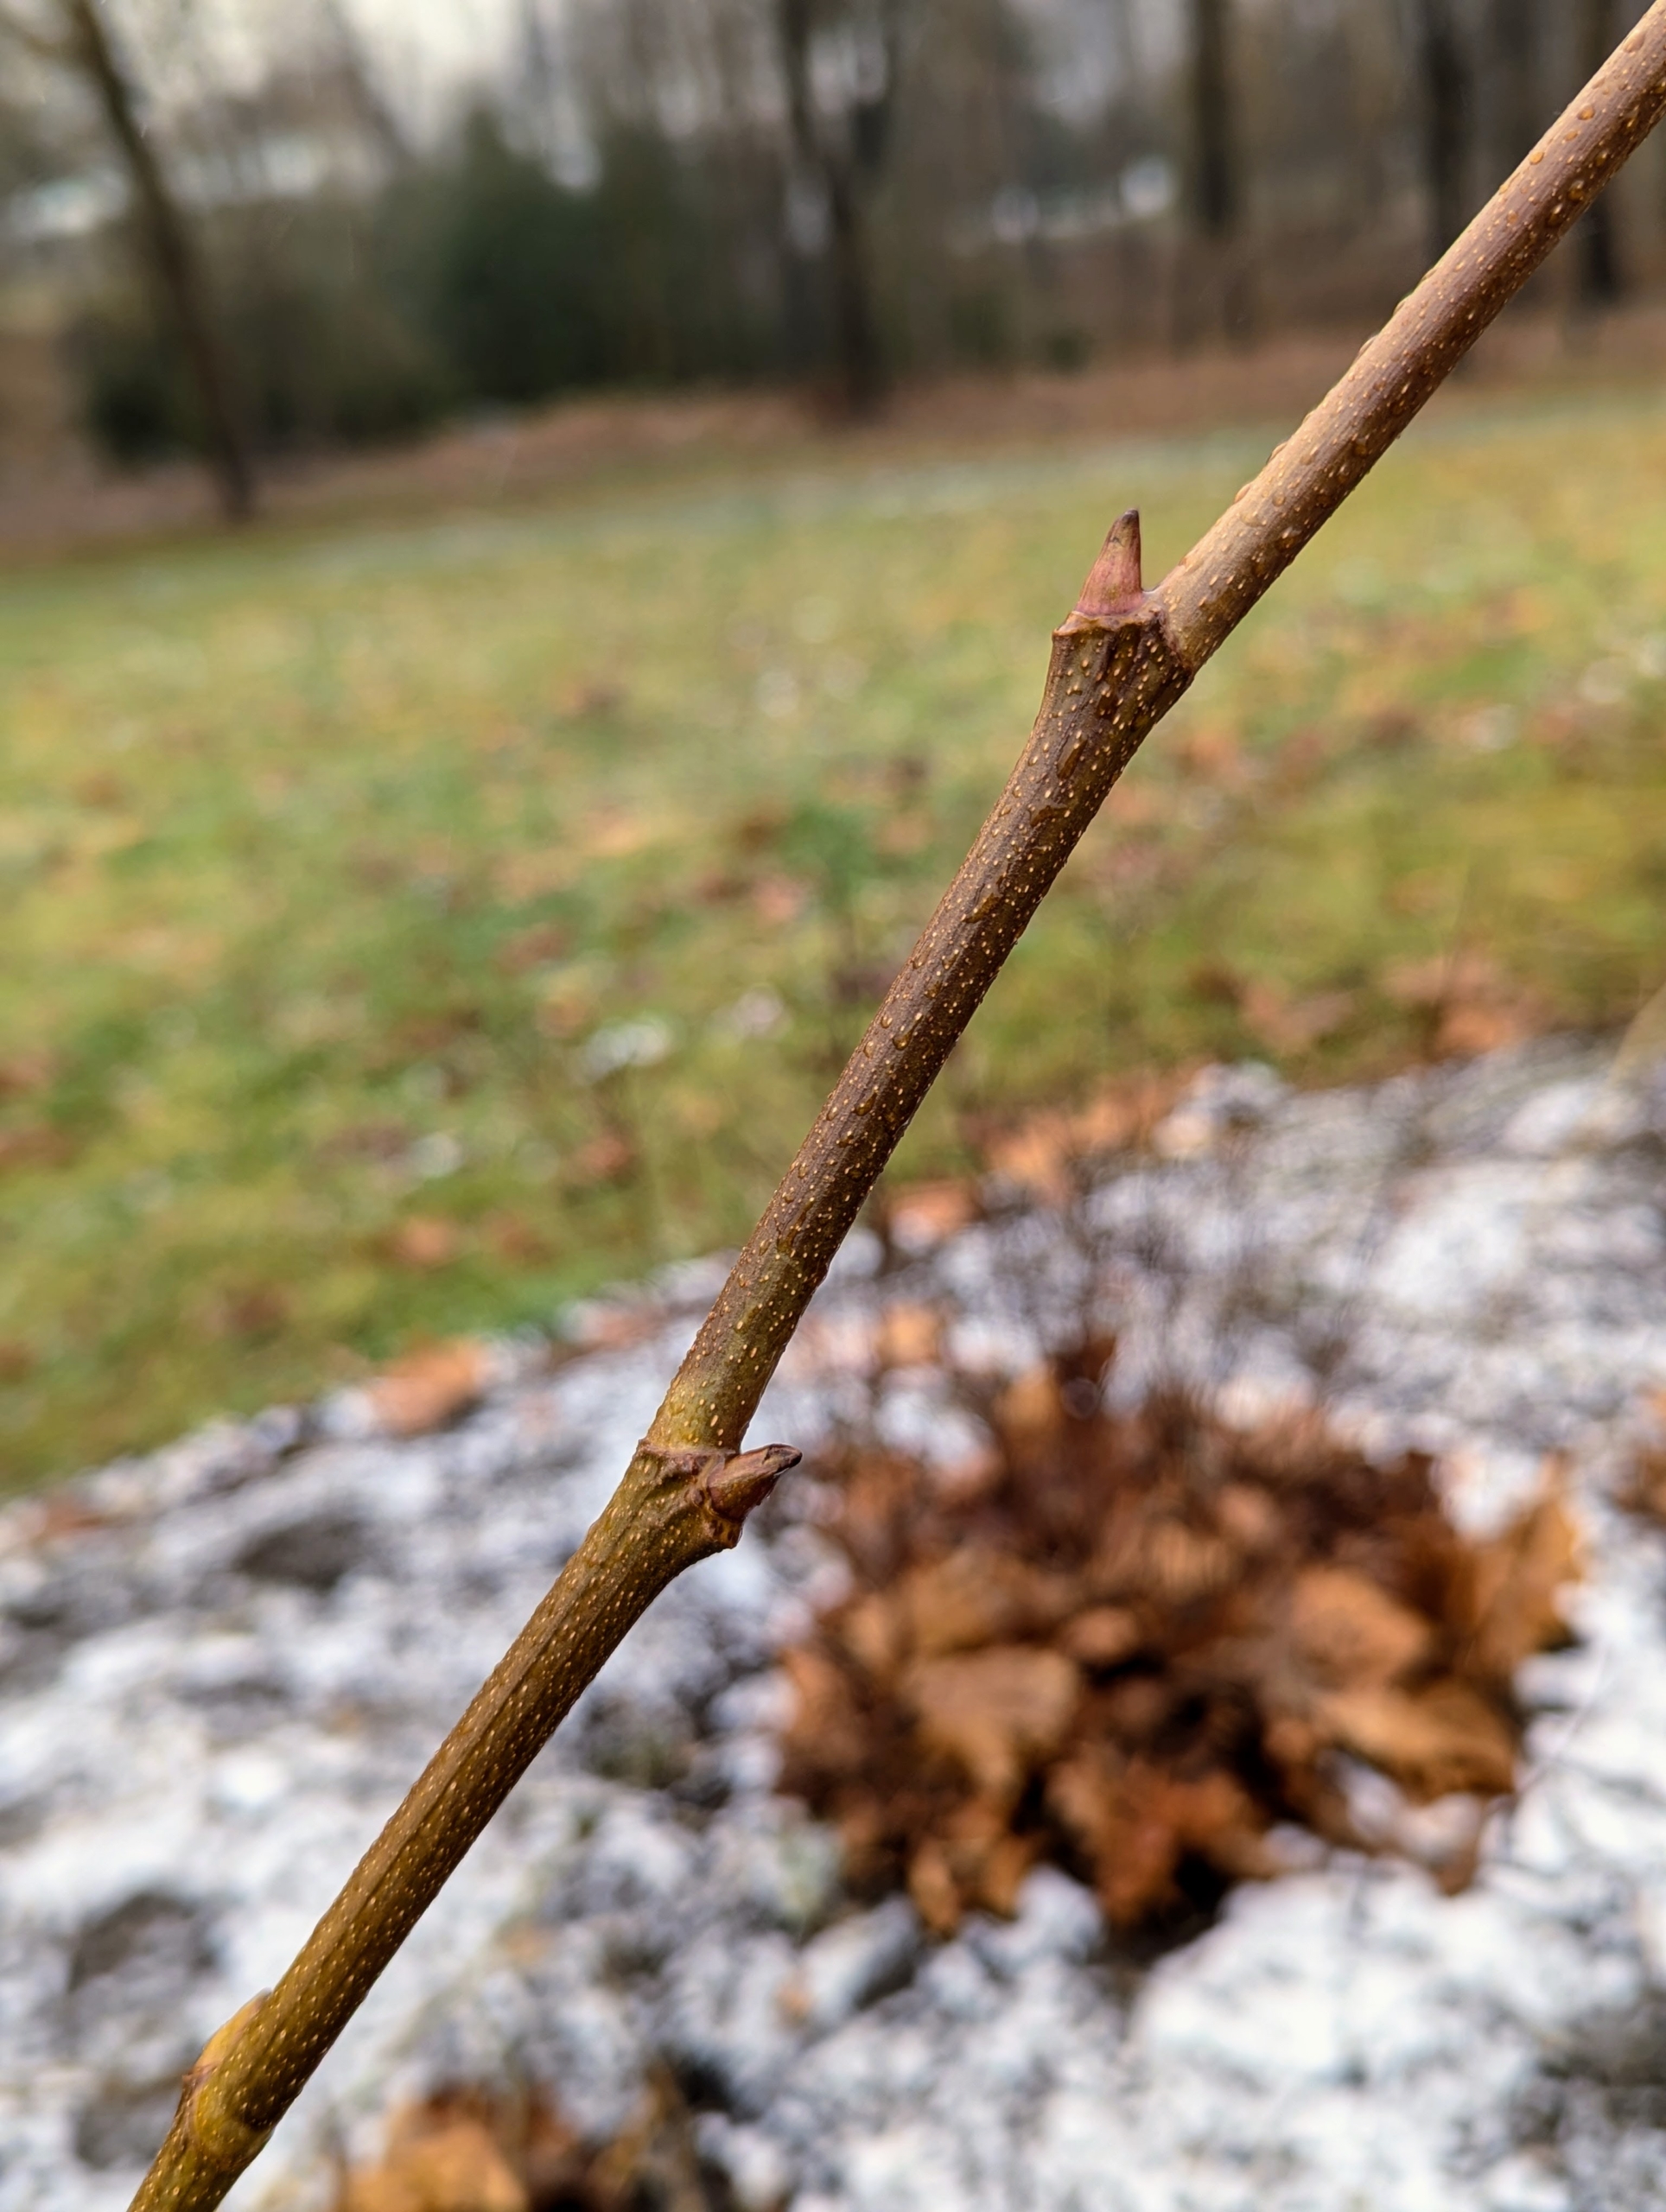
On this cut branch, one can see the nodes. A node is the point on a stem where leaves or buds grow. When pruning a branch, one should cut just above a node on the stem, not below it; cutting below a node leaves a section of stem that cannot grow new growth and is prone to rotting and disease.
Another benefit of pollarding a tree is that it creates dense shade. Cutting back the trees encourages them to send out multiple shoots.
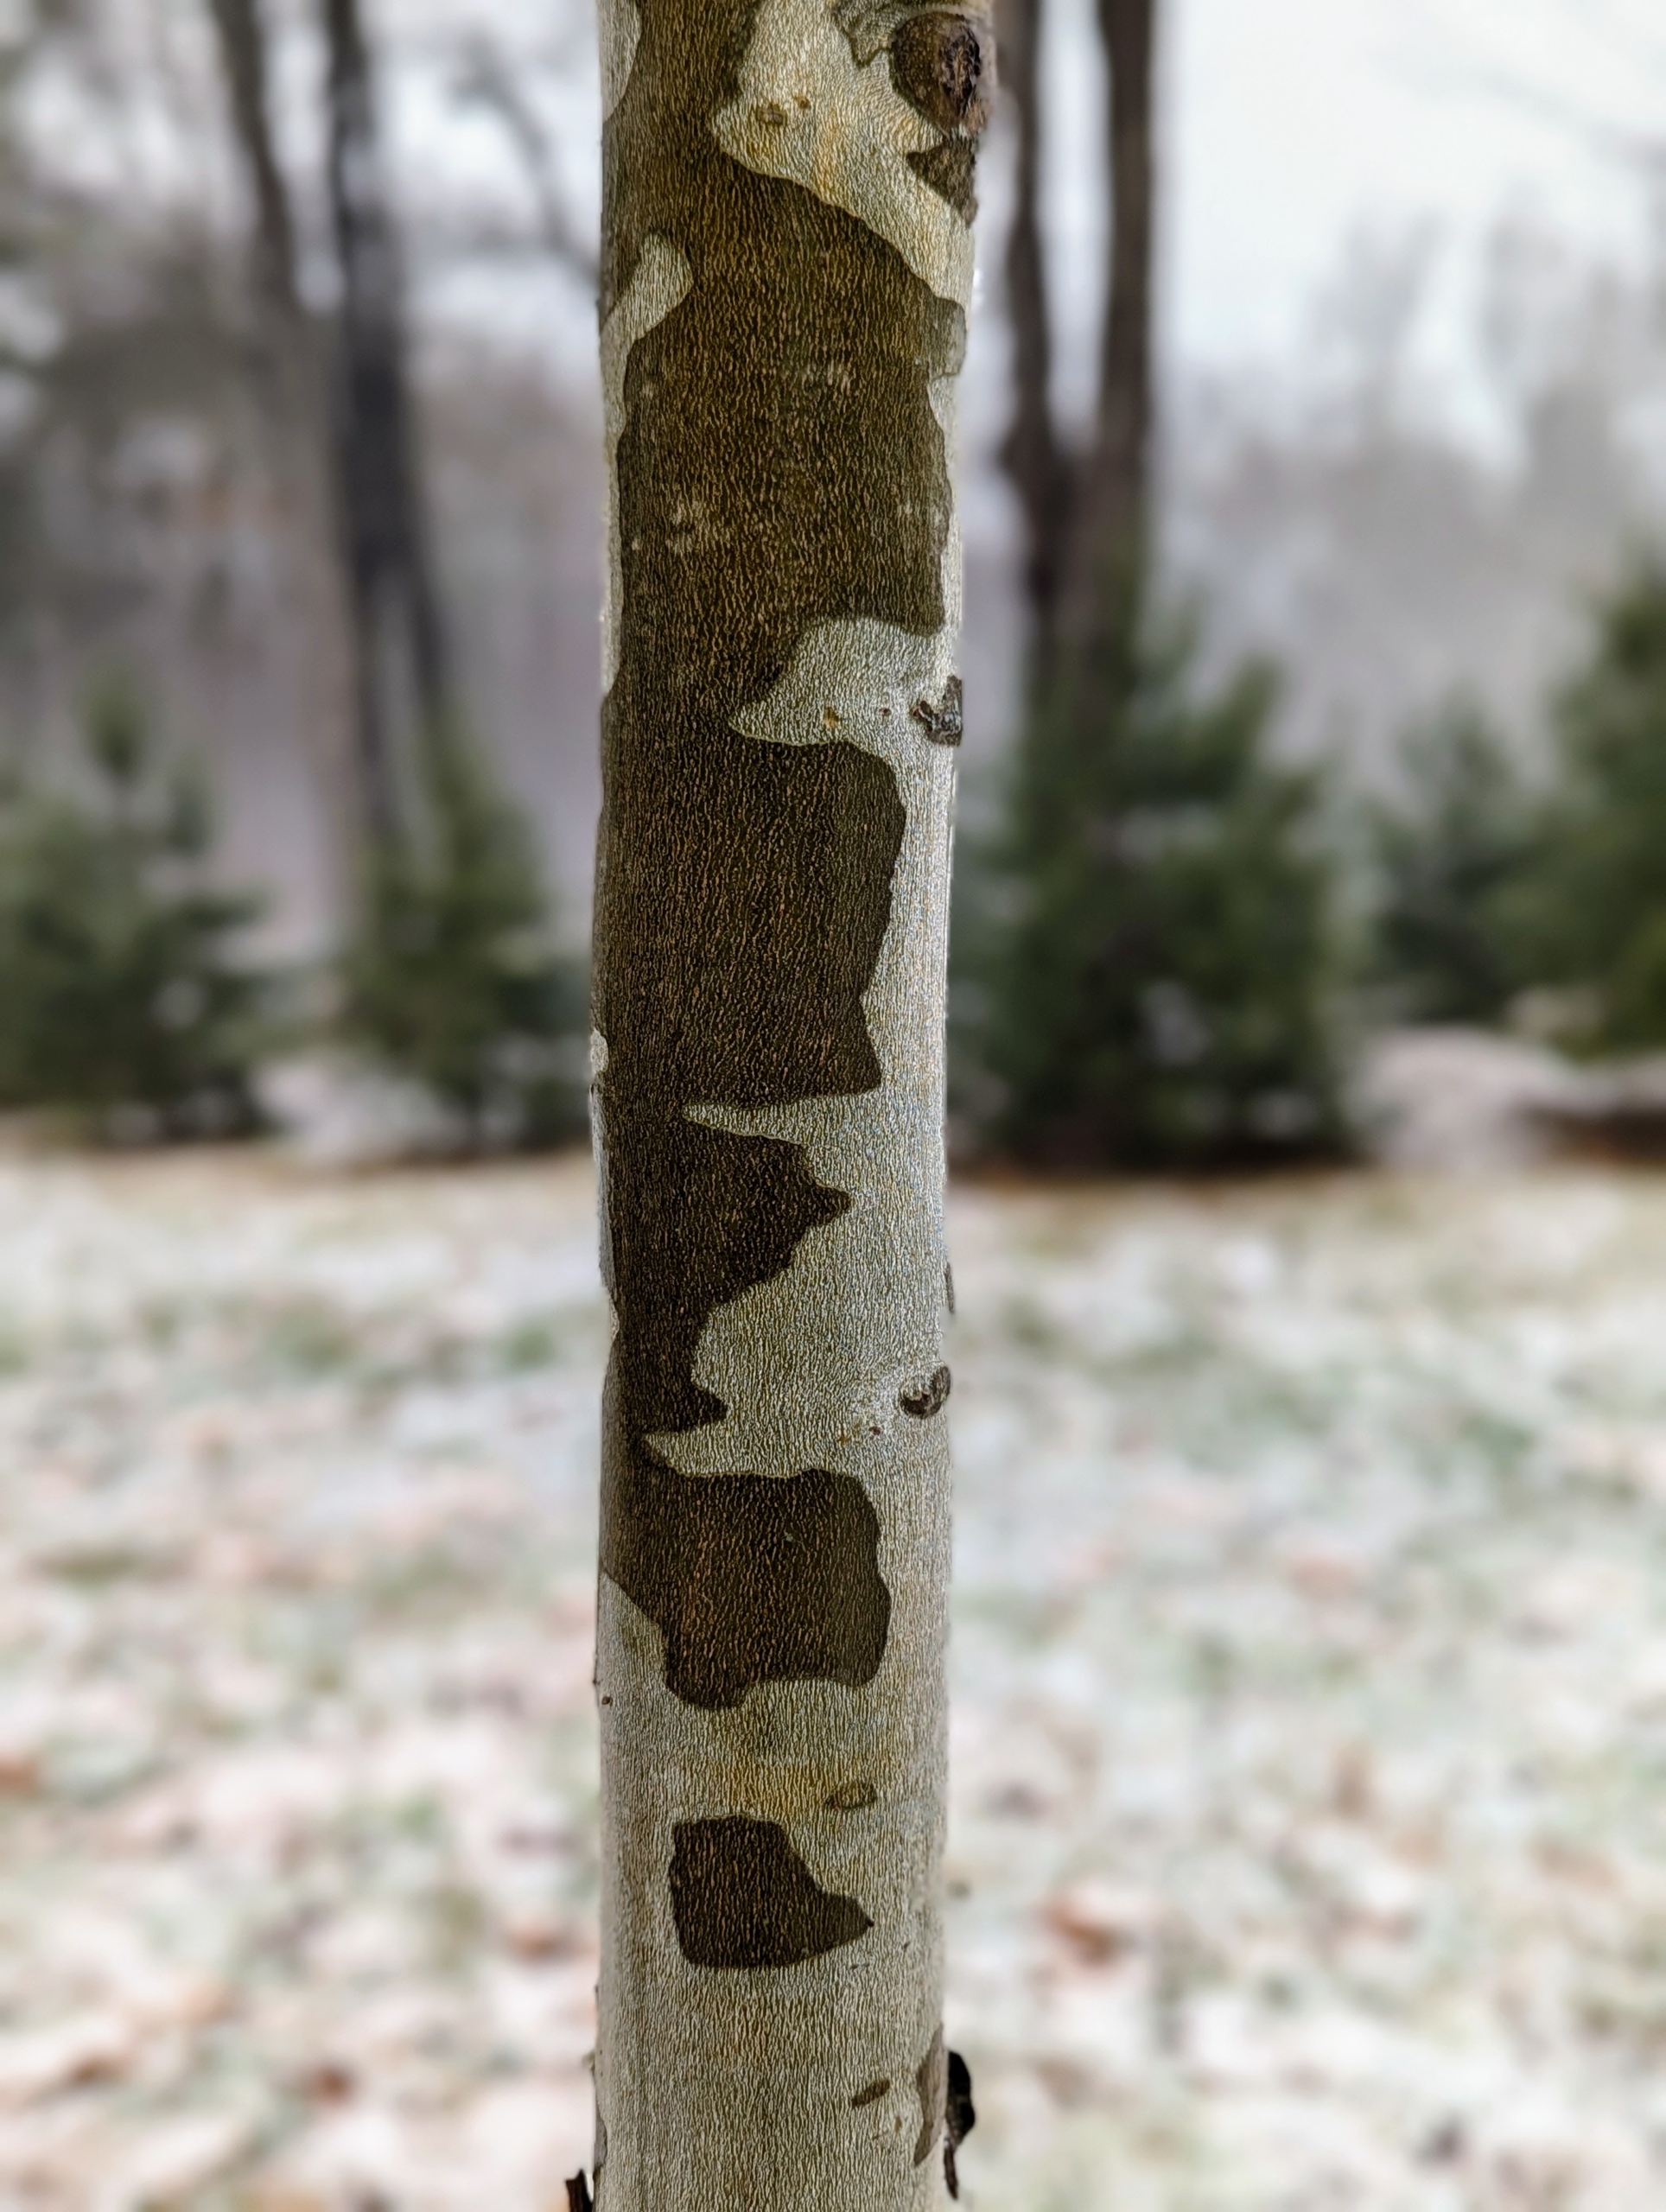
The bark of a London plane is usually pale grey-green or buff-brown and exfoliating.
Here is a section of a tree showing the peeling habit. London plane trees shed their bark in large flakes as a natural process to cleanse themselves from accumulated pollutants. It is a way to way to shed old bark for fresh, new and developing layers.
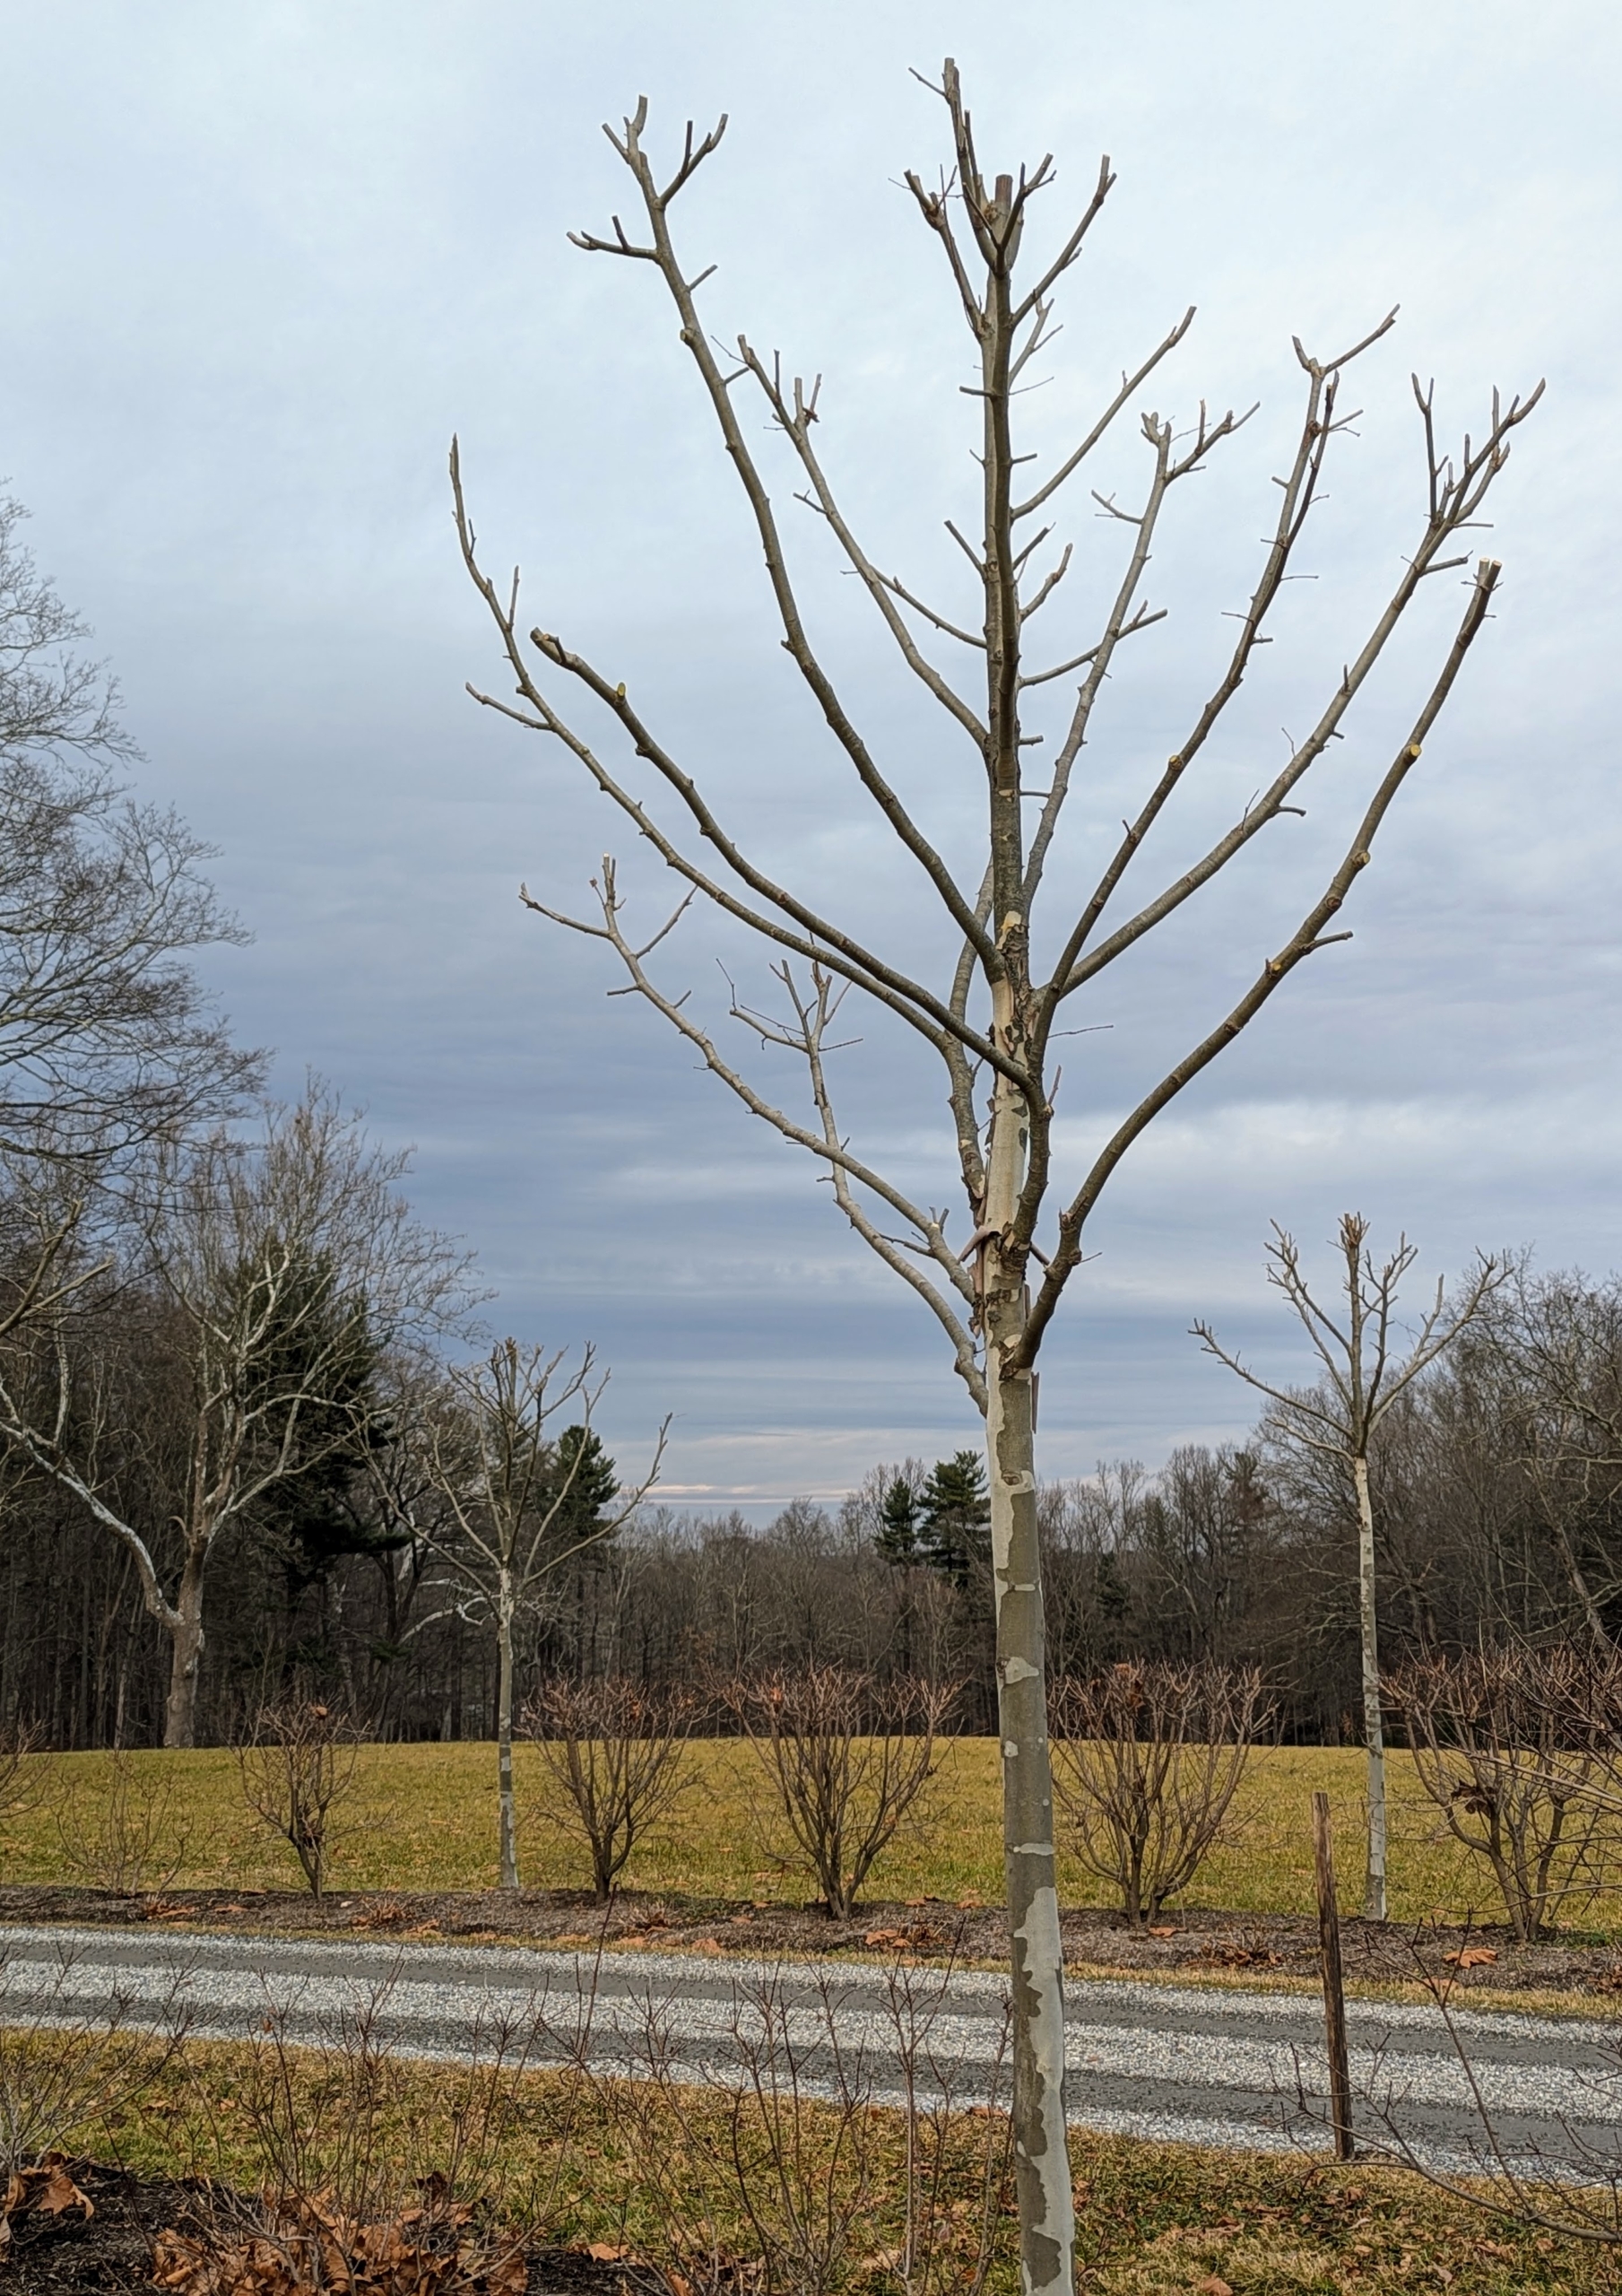
This entire process takes a few days to do properly by hand, but it is all worth the efforts to have well-manicured, healthy trees. Each year the long slender shoots that grow below the cuts will be removed, and a set of new shoots will develop creating a gnarled appearance.
Pollarding can help make trees live longer by maintaining them in a partially juvenile state and by reducing the weight and windage of the top part of the tree.
Regular and thorough pruning will give the branches more air circulation and room to grow.
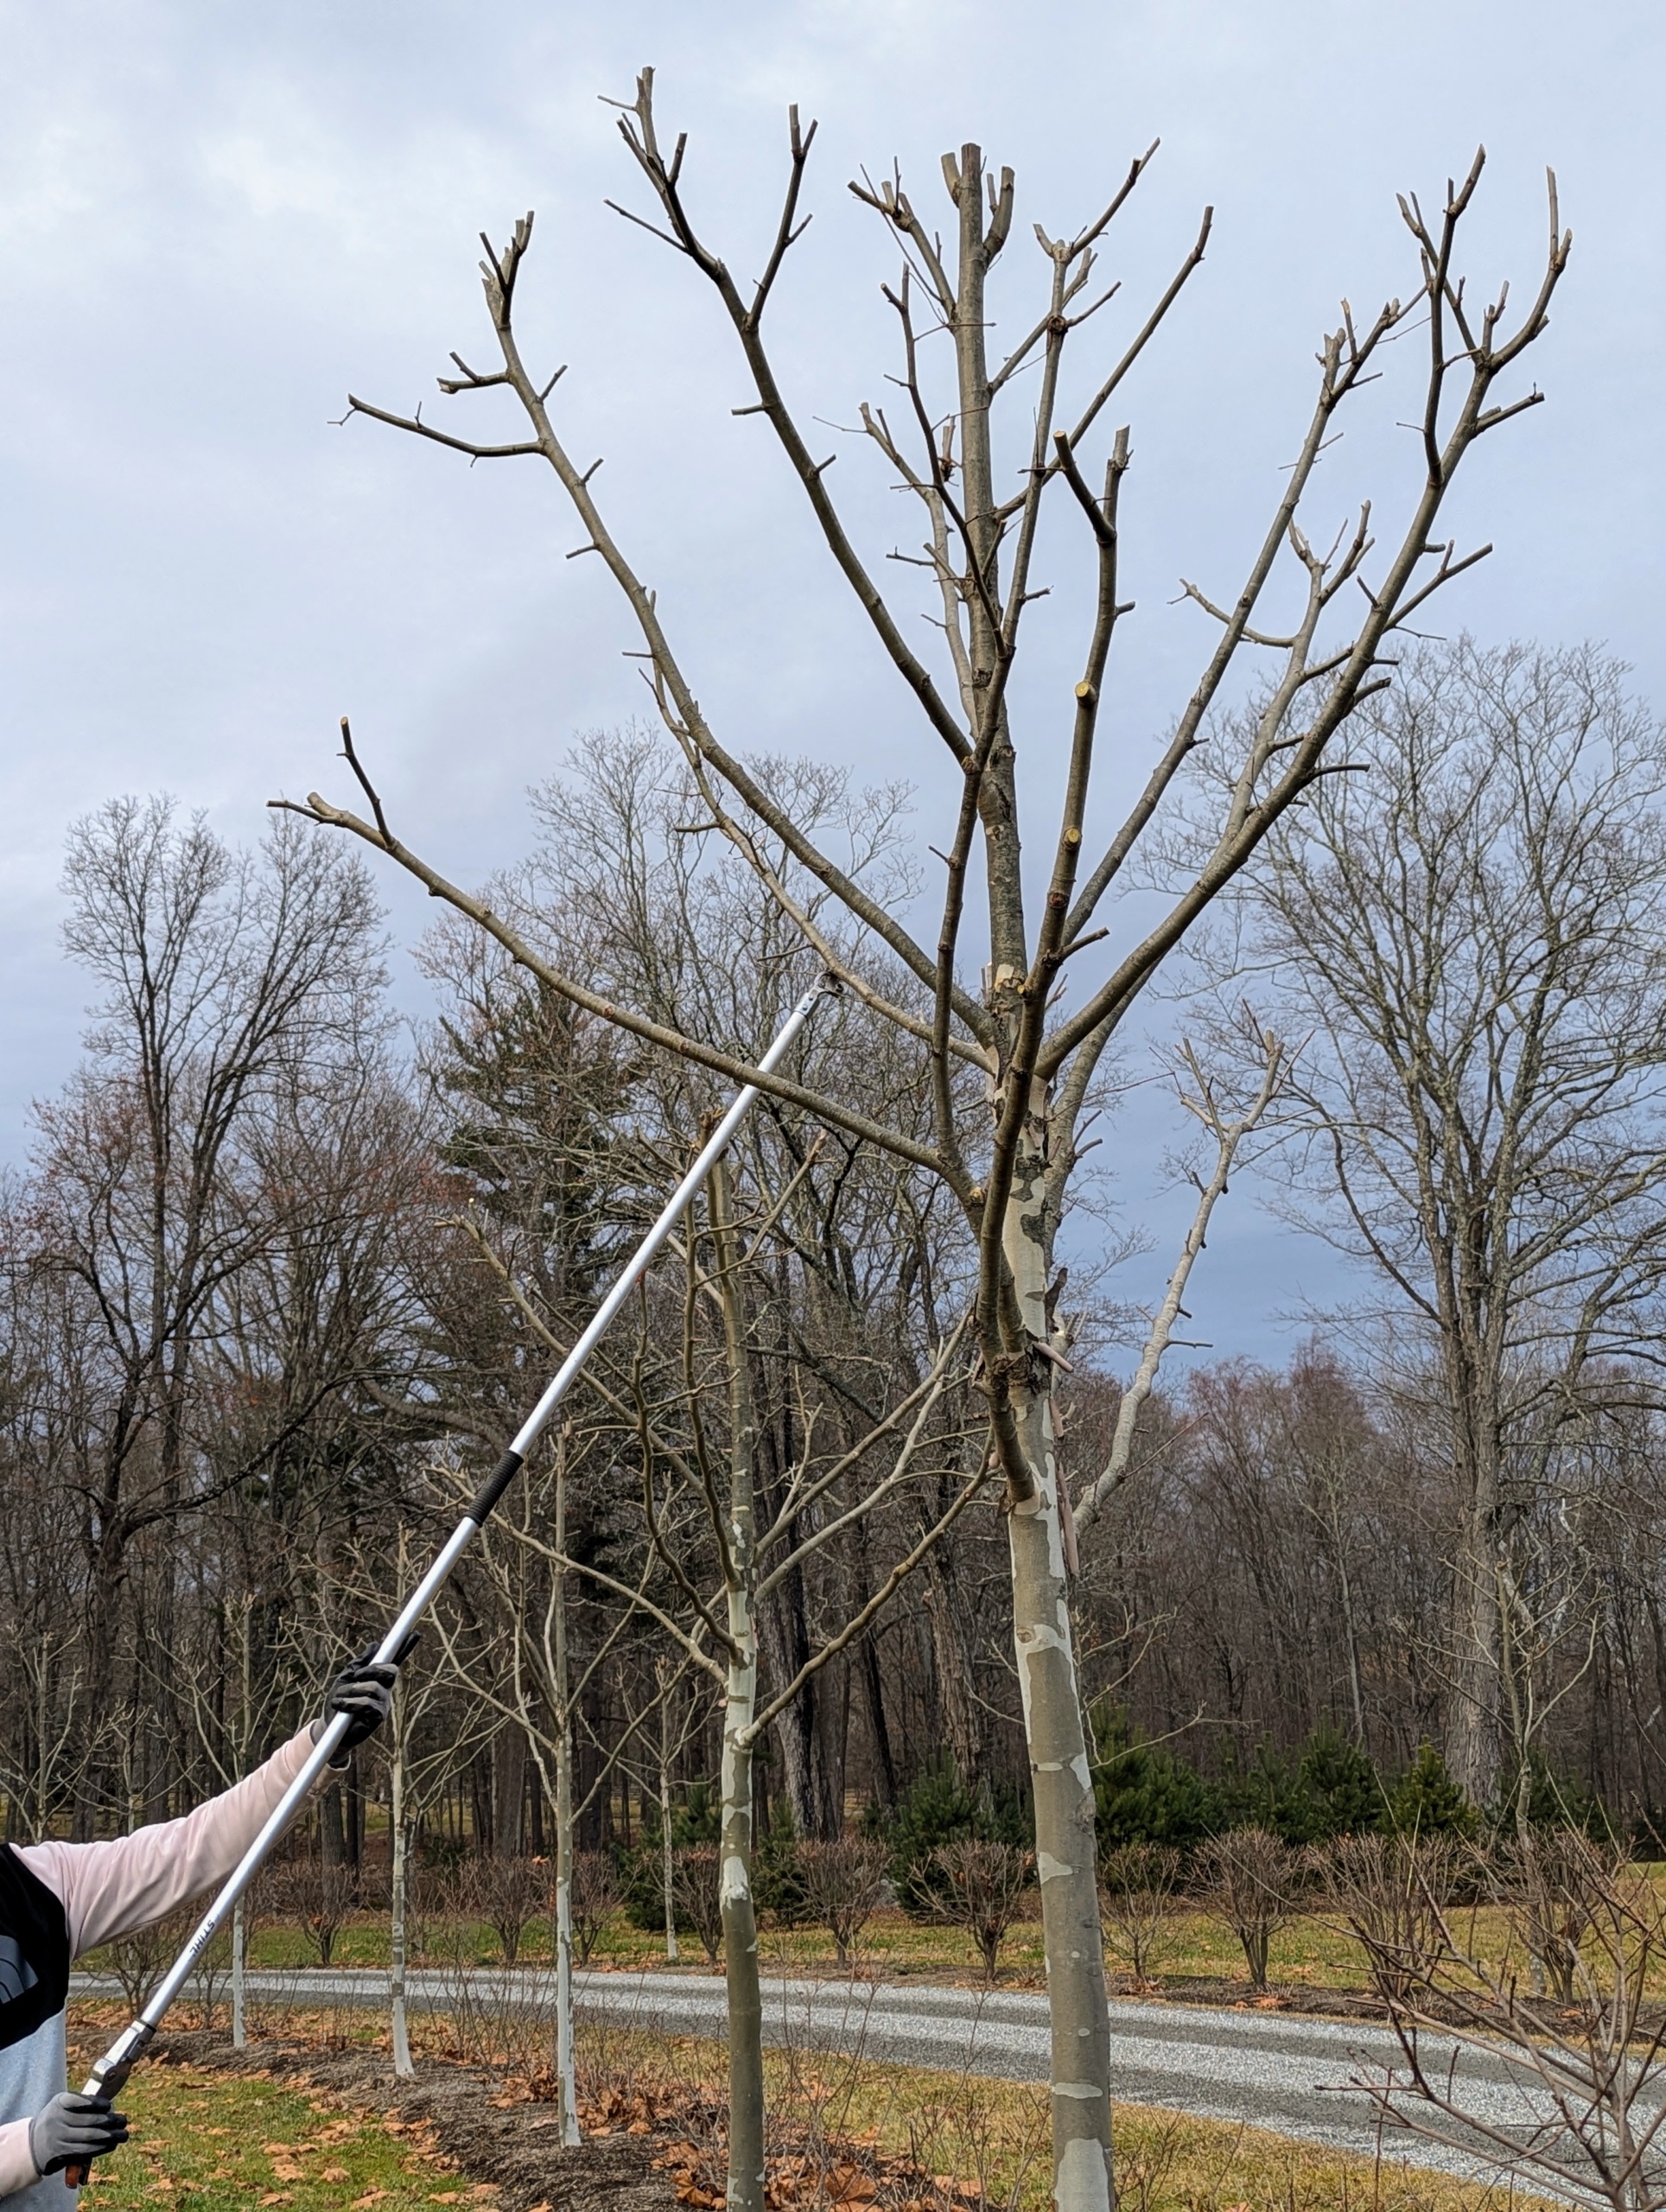
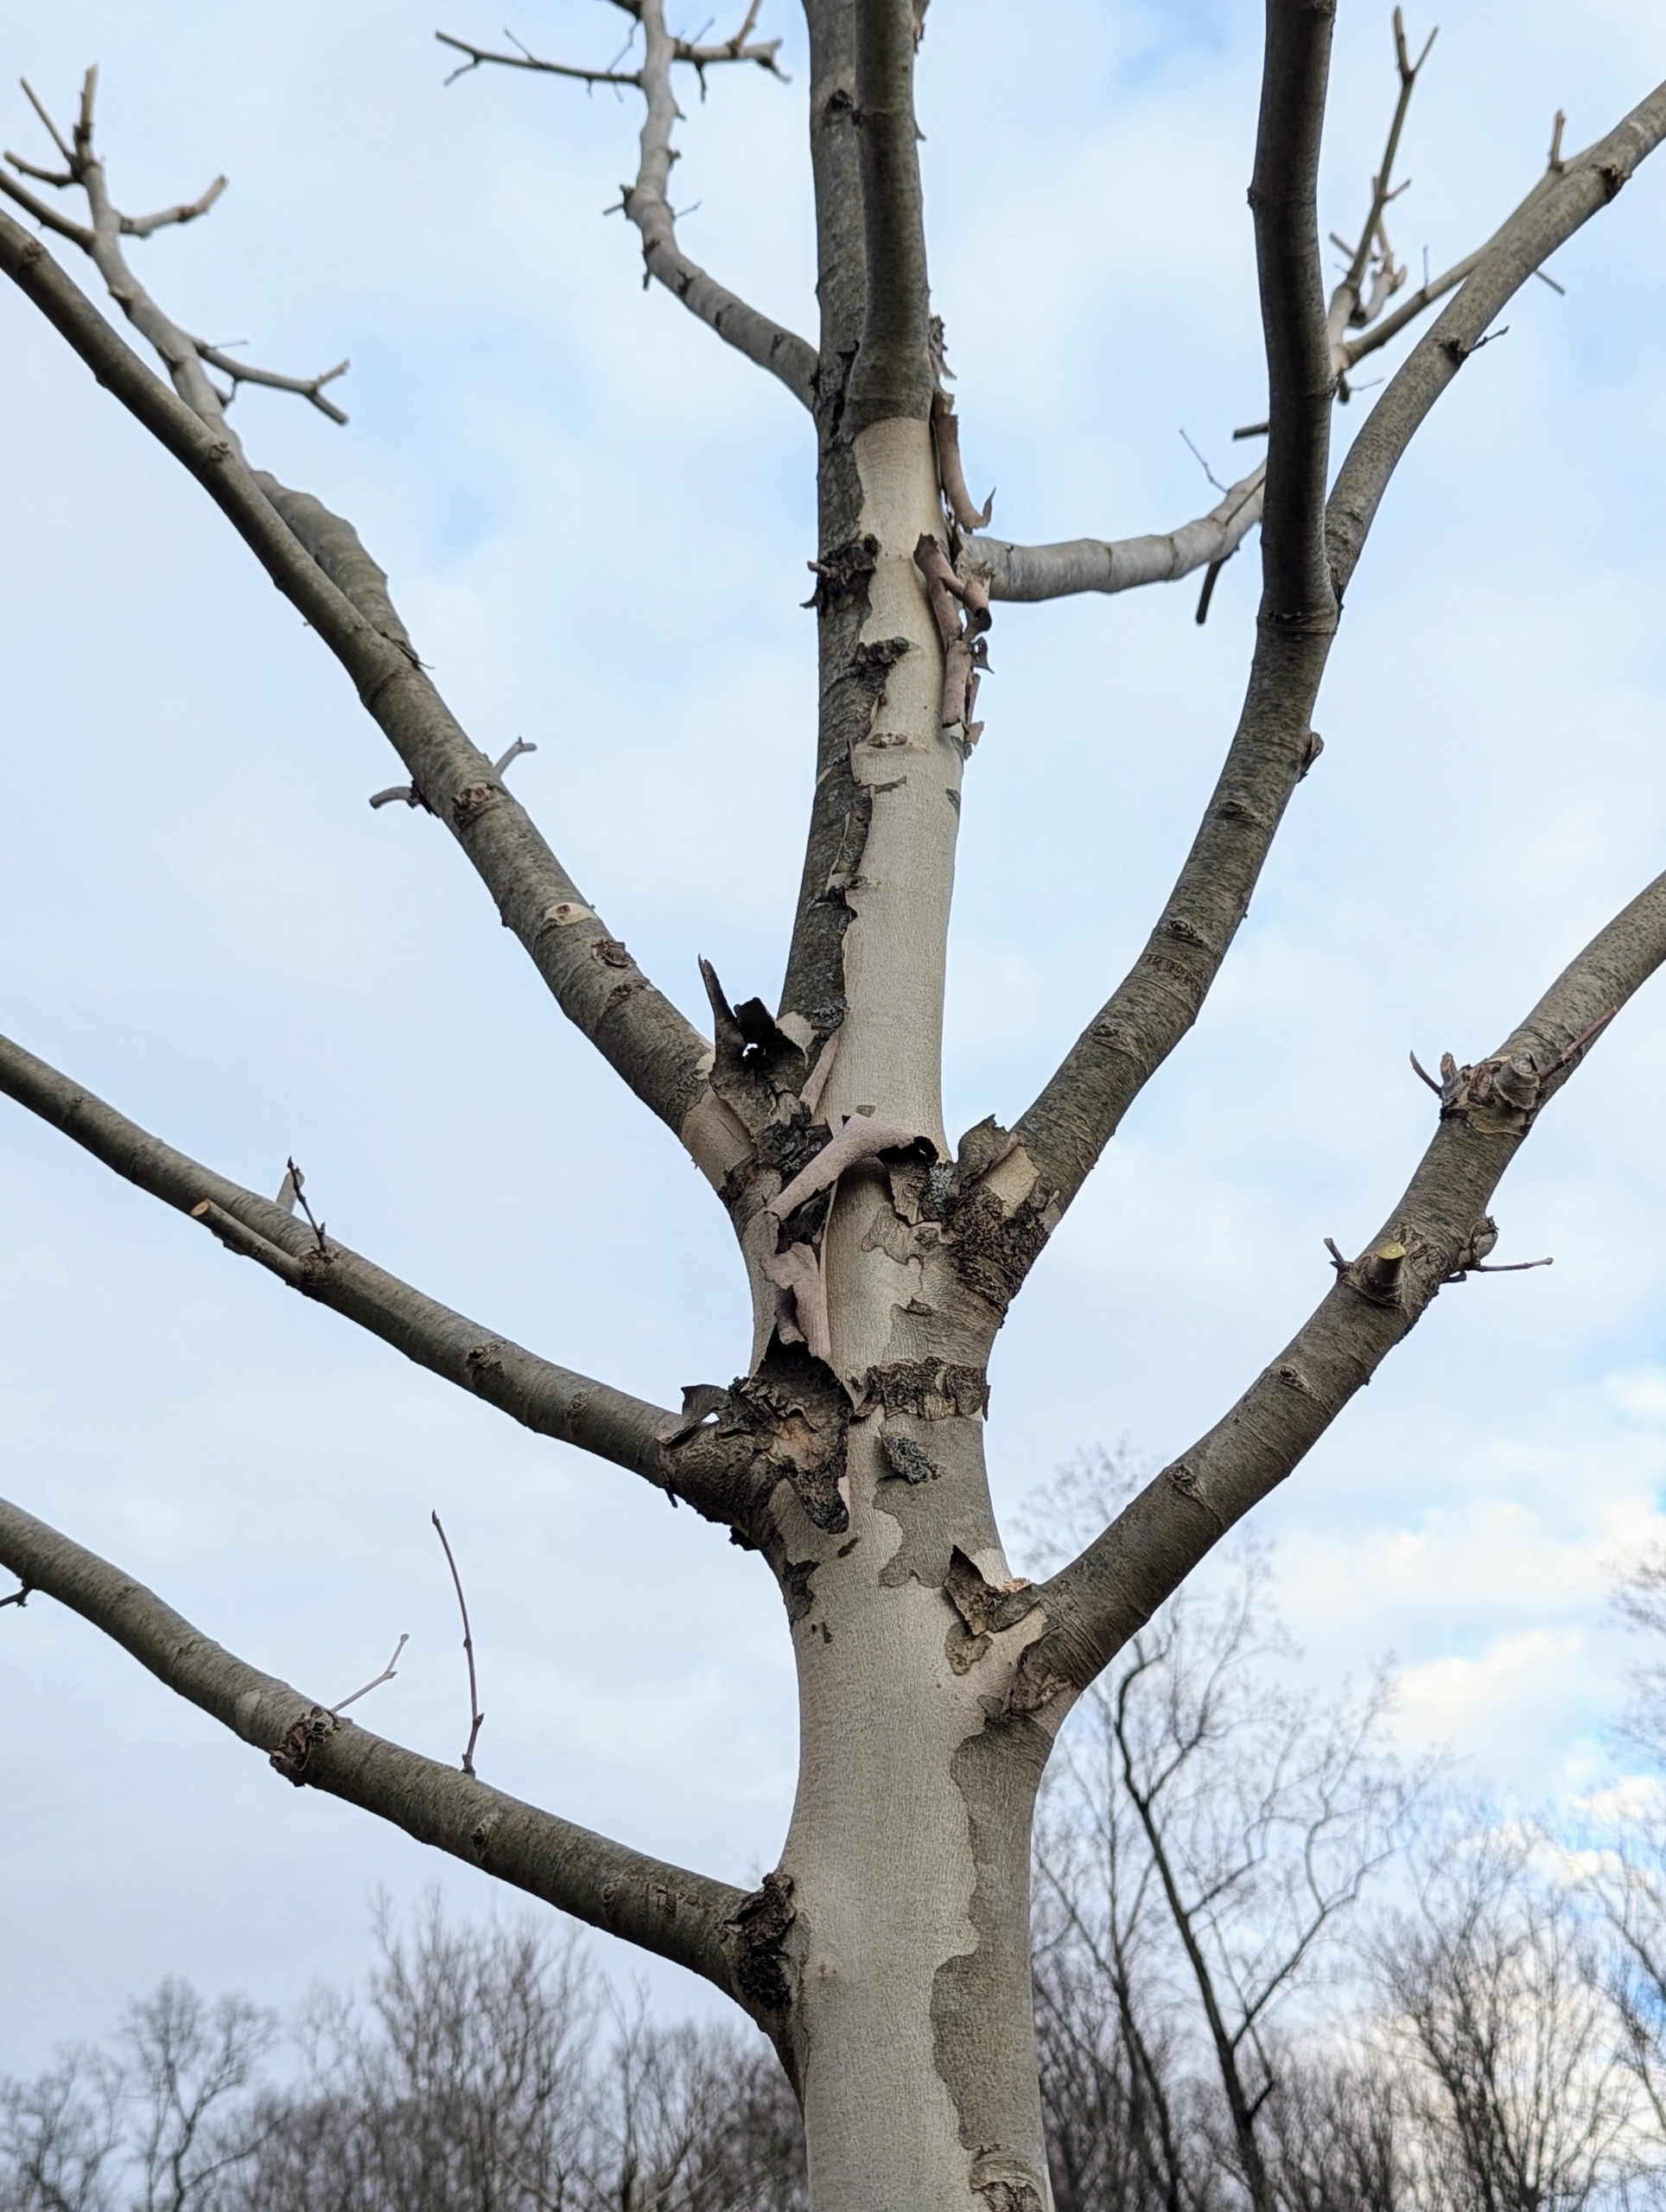
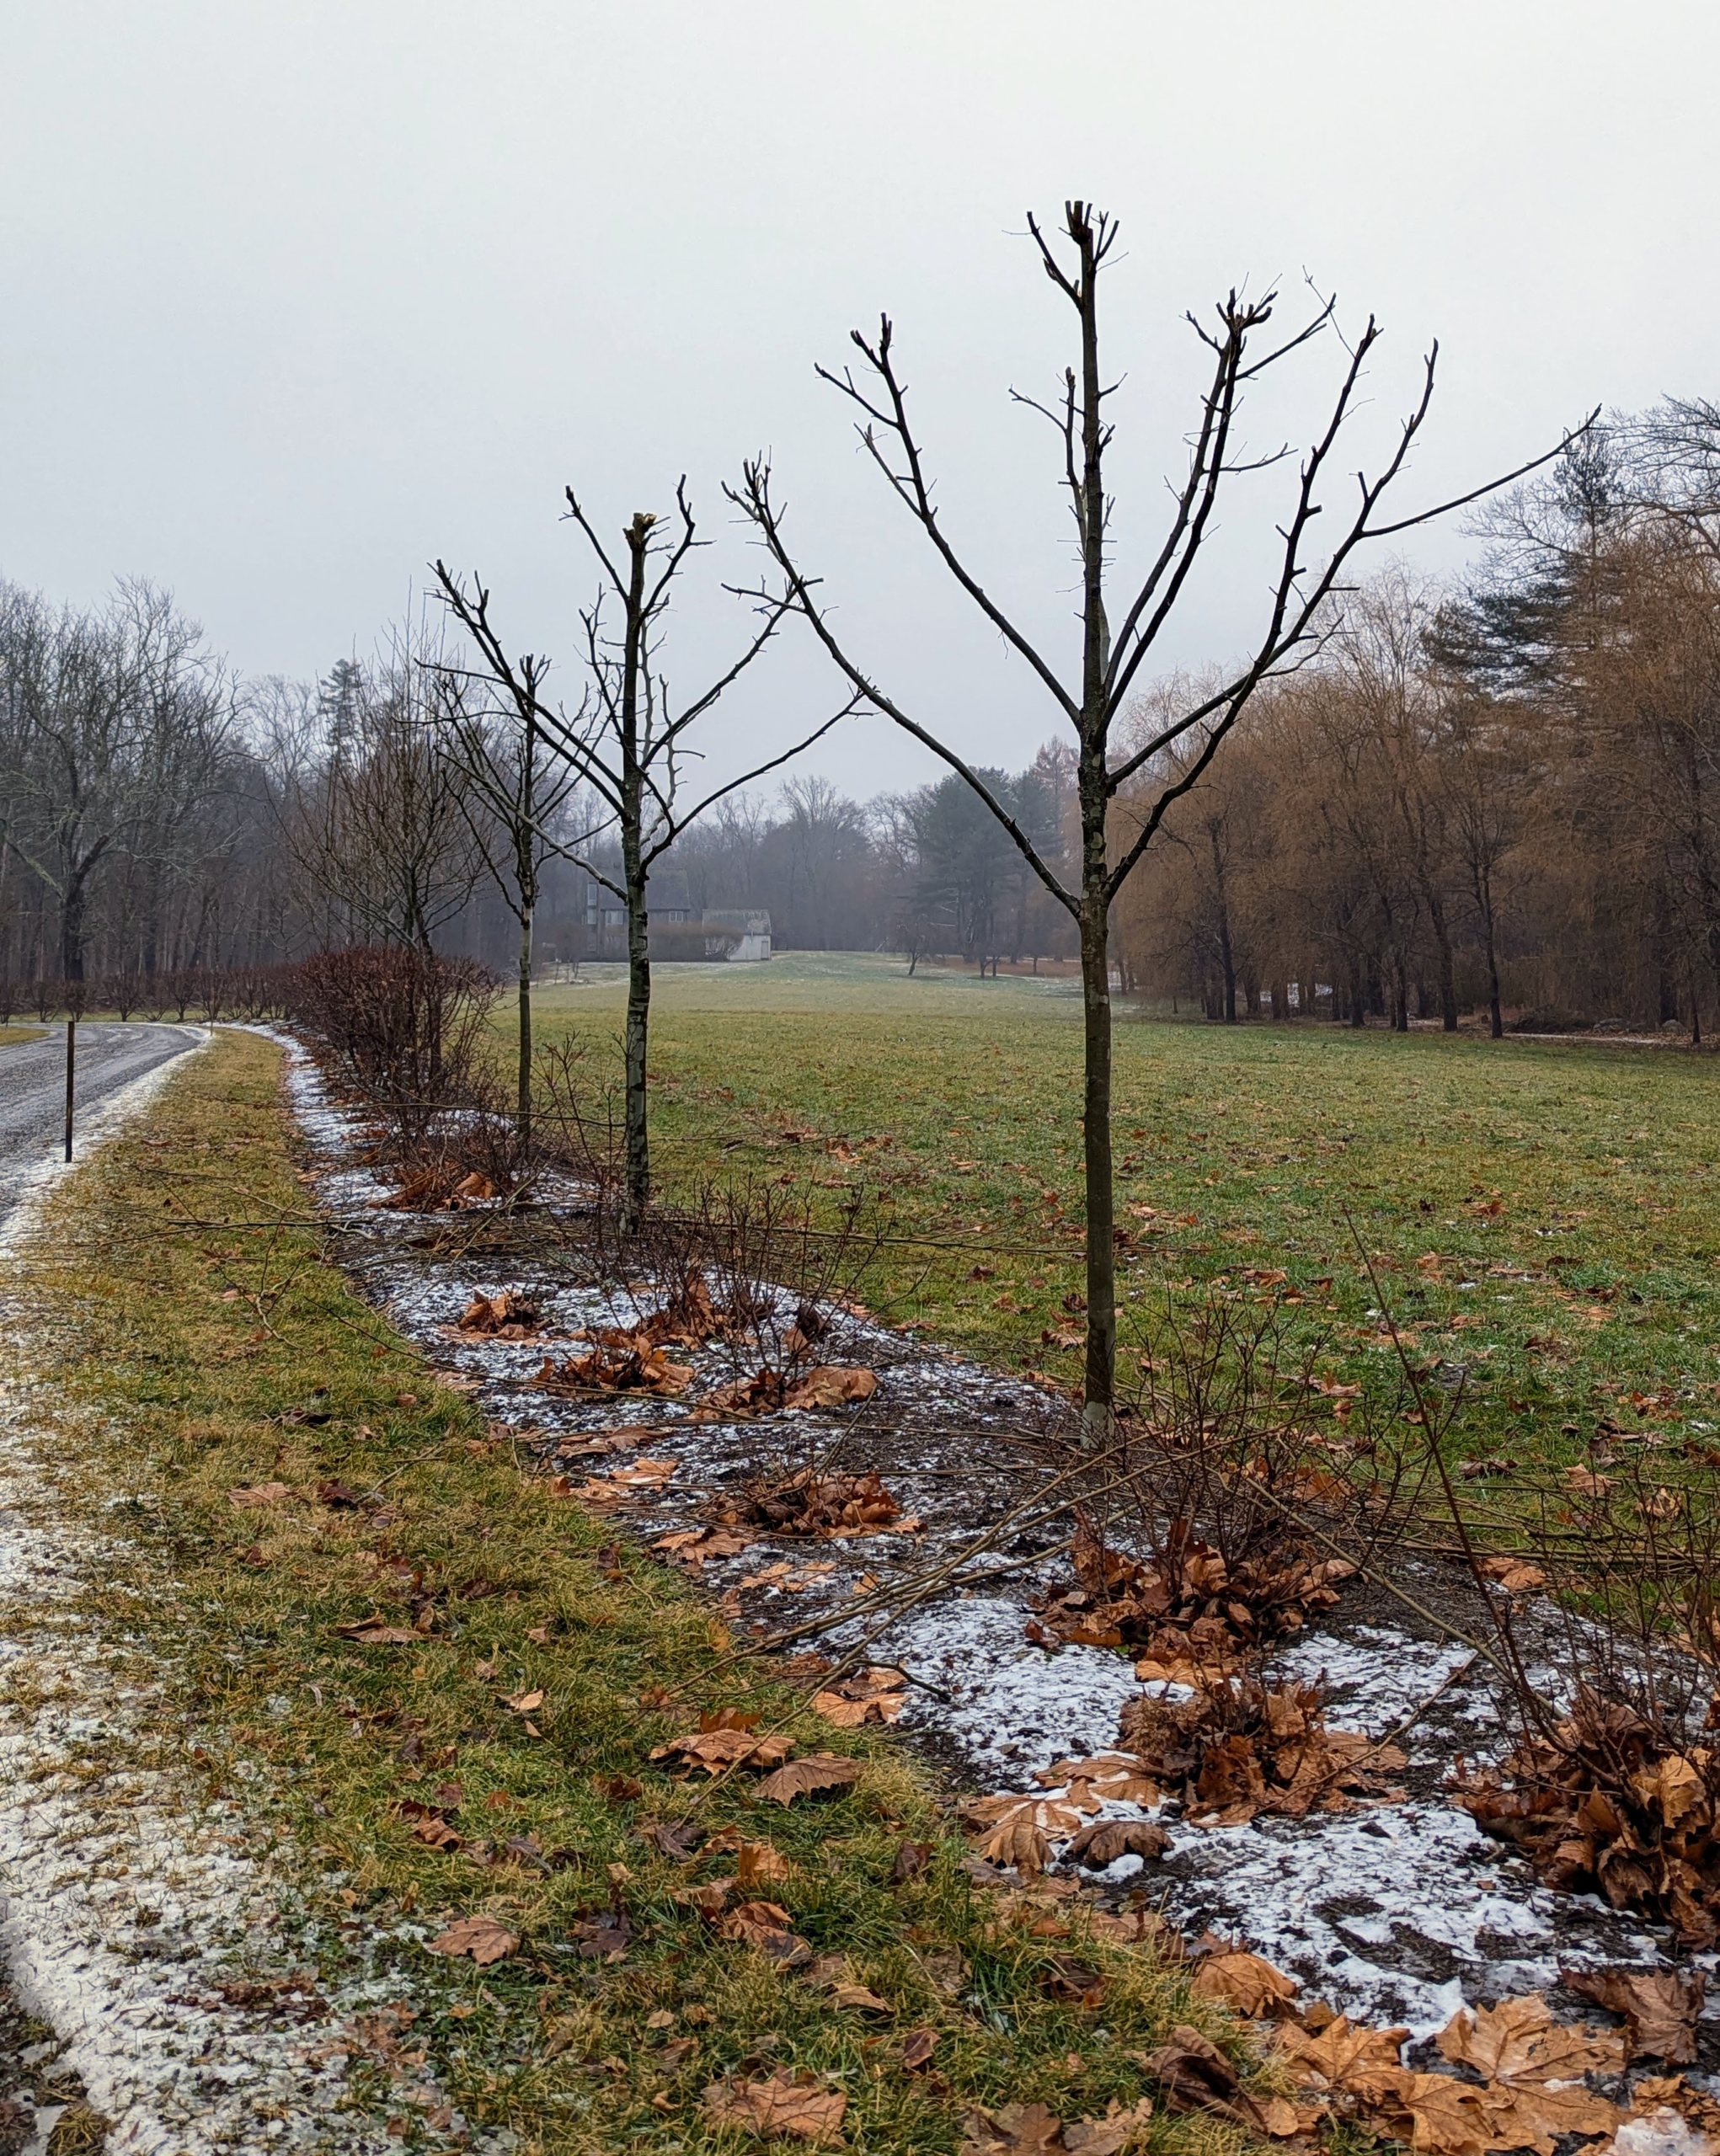
Here is one tree all done – these will look even better in about three years. More thought and planning goes into pollarding than regular topping and lopping. Pollarding is similar to coppicing but plants are cut back to a stump, rather than down to the ground.
And here is a section of the allée all finished. Some of the other types of trees that can benefit from pollarding include beech trees, black locust trees, catalpa trees, hornbeams, horsechestnuts, mulberry trees, redbuds, and willows. I am looking forward to seeing the dense heads of foliage on these trees come spring.