Aside from their beauty and intoxicating sweet scents, roses can continue to flower throughout the summer.
If you follow my blog and watch my televisions show, "Martha Gardens" exclusively on The Roku Channel, you may recall I redesigned a new rose bed behind my main greenhouse earlier this year. The 68-foot by 30-foot space now includes three types of roses - floribunda, hybrid tea, and shrub roses - all with gorgeous color, form, and fragrance. And all bordered by lush green boxwood. Now, several months later, the entire garden is thriving.
Enjoy these photos.
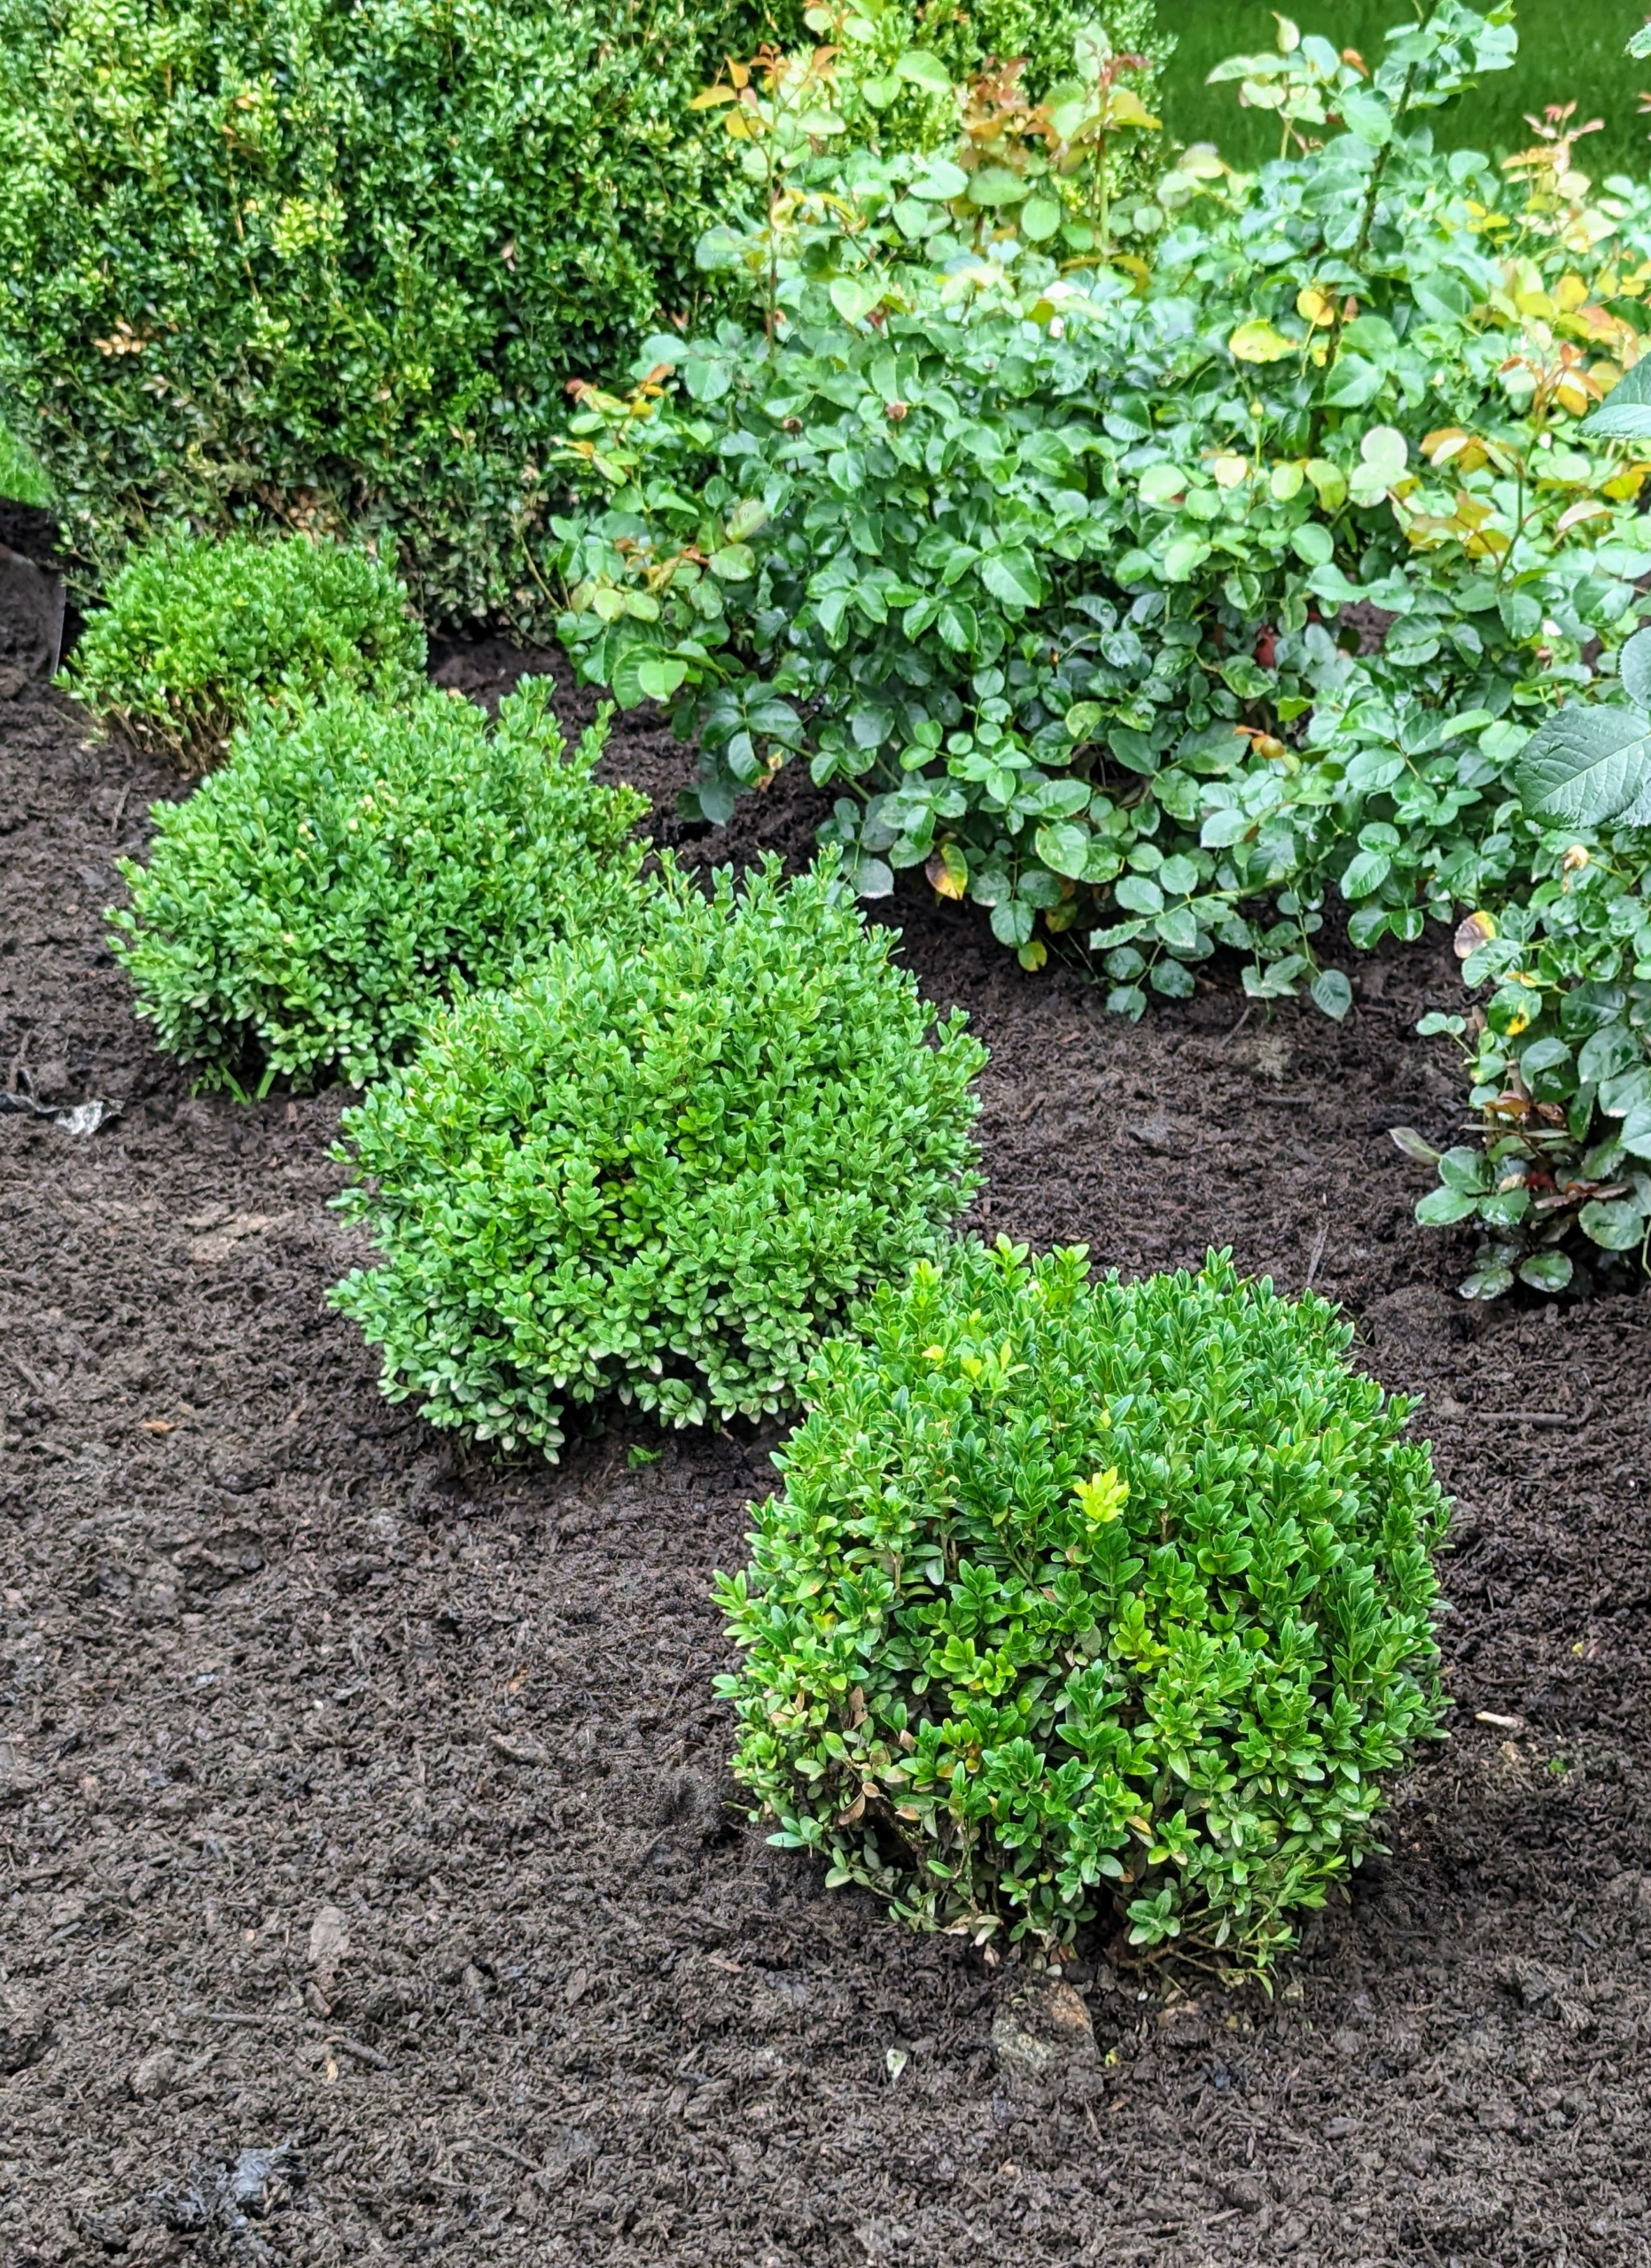
This garden was completed in spring and already all the rose bushes have grown – we planted more than 120 roses in this space.
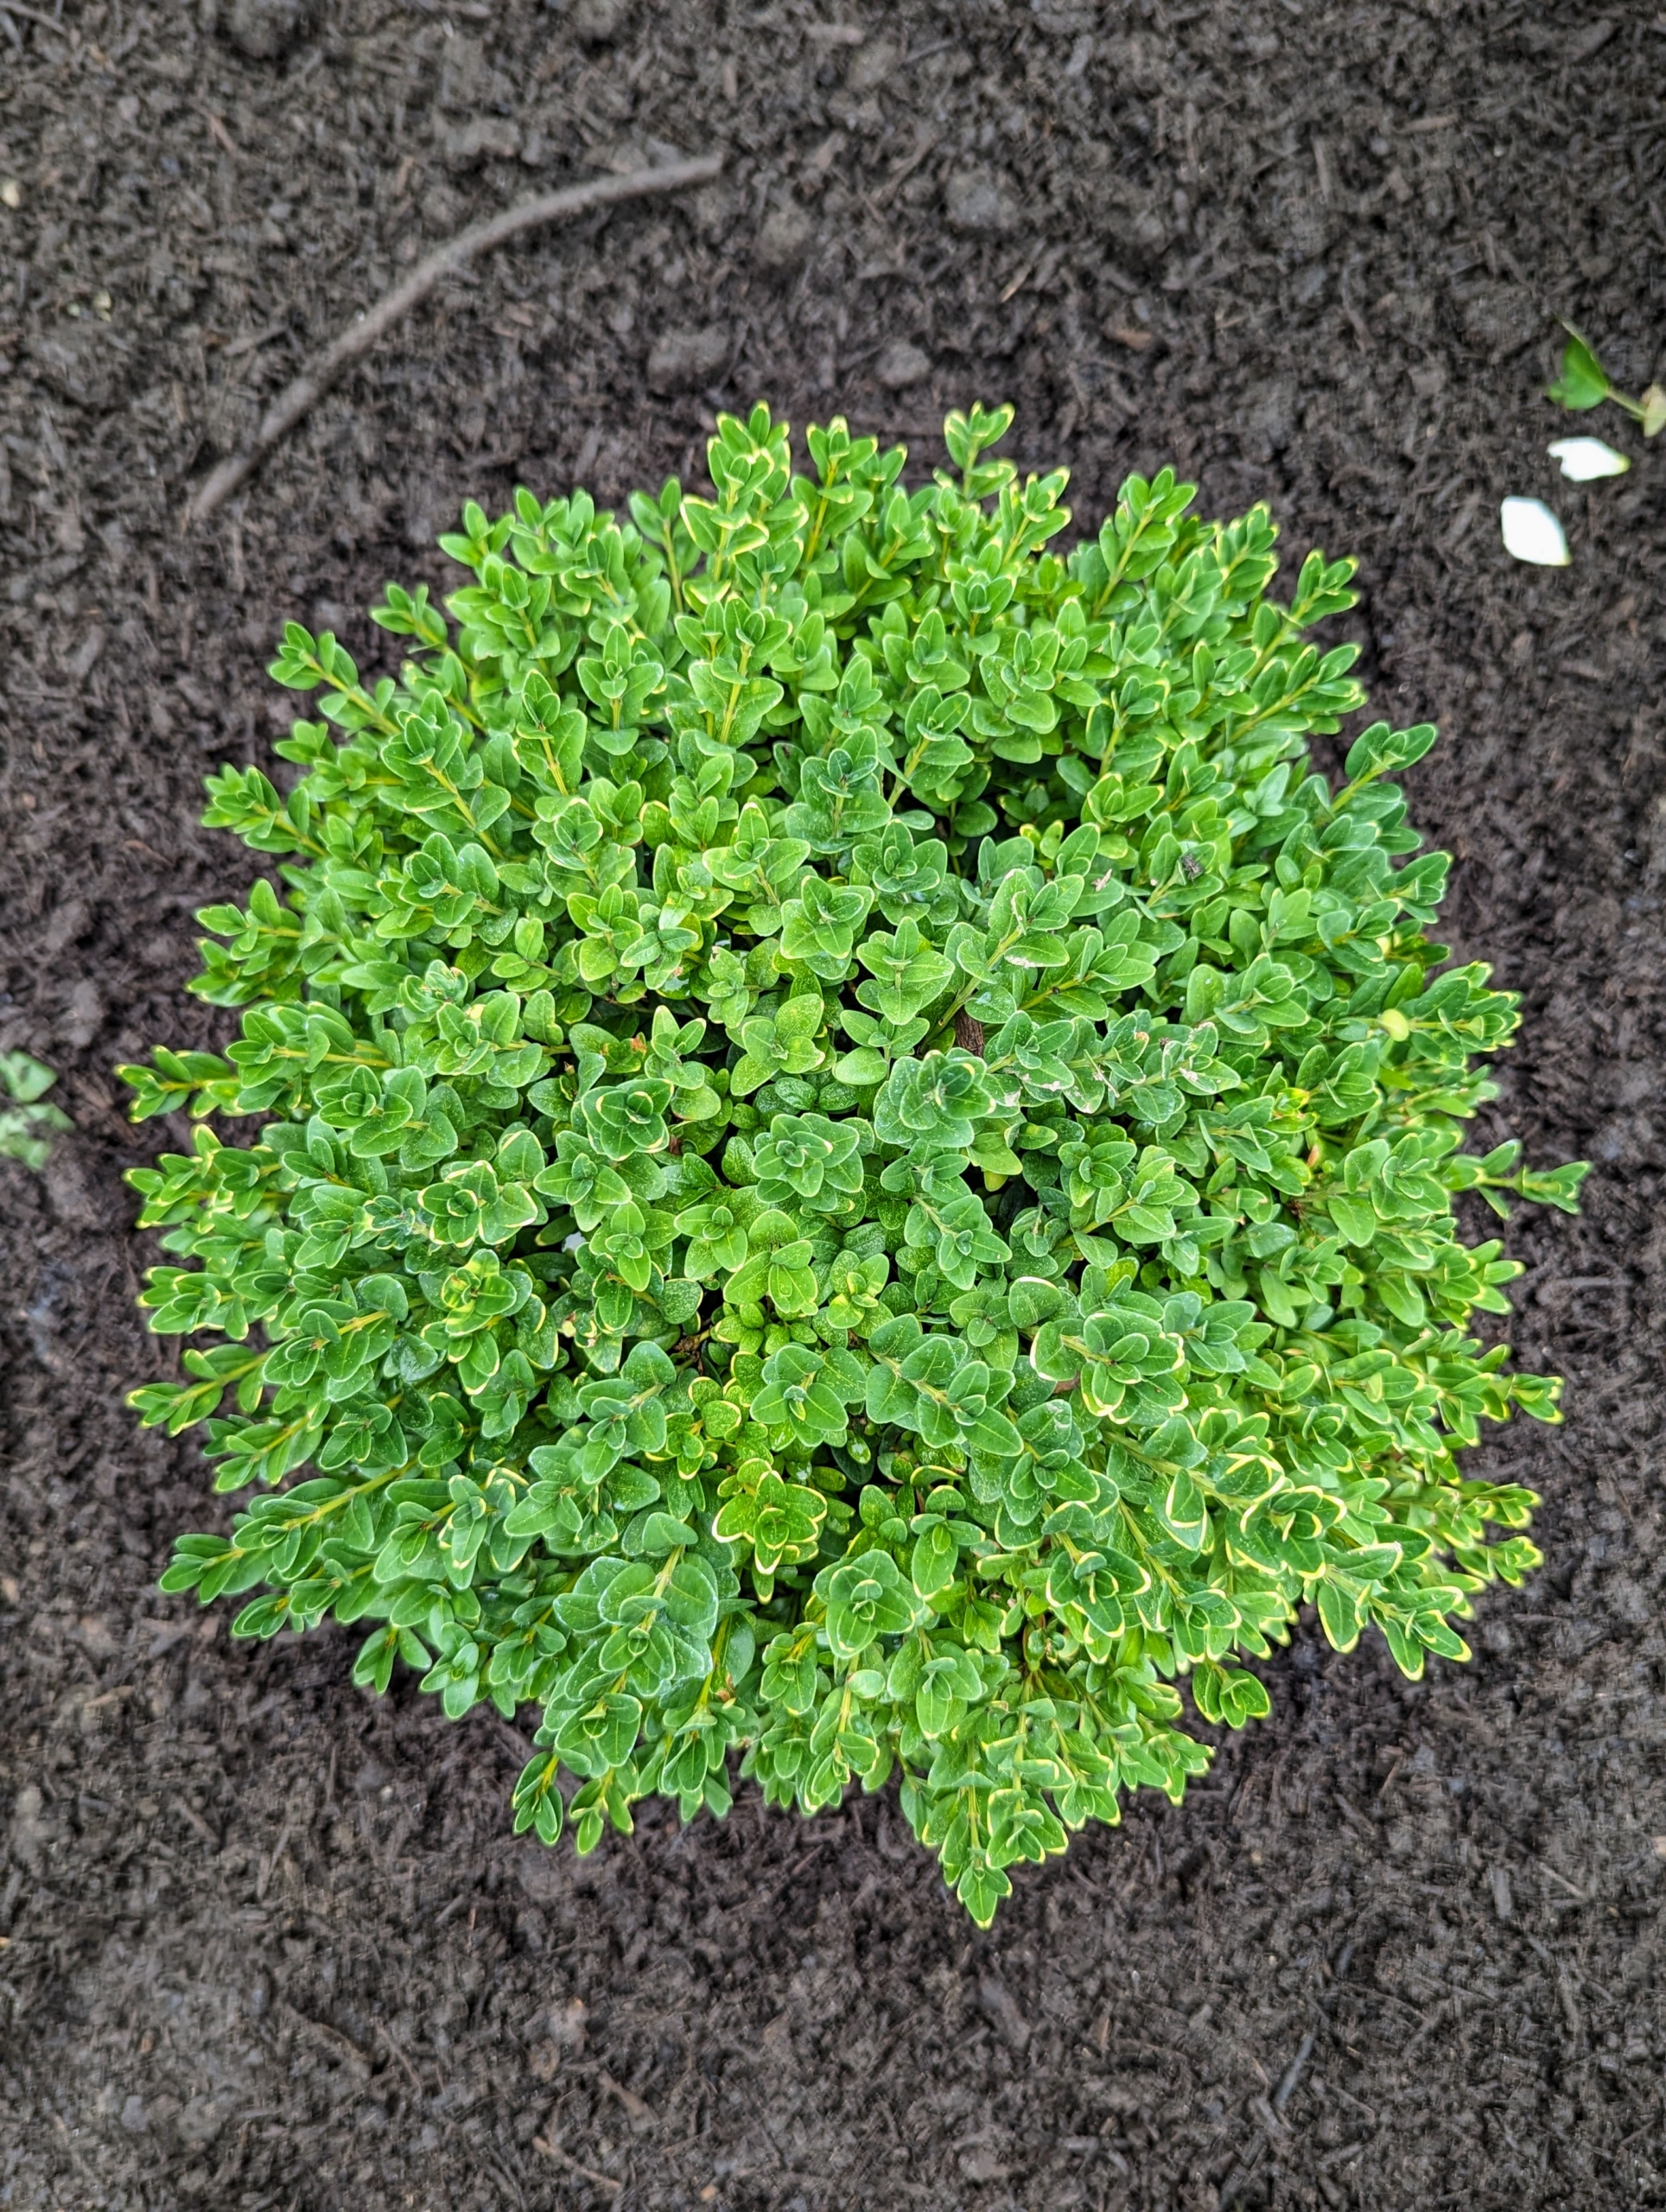
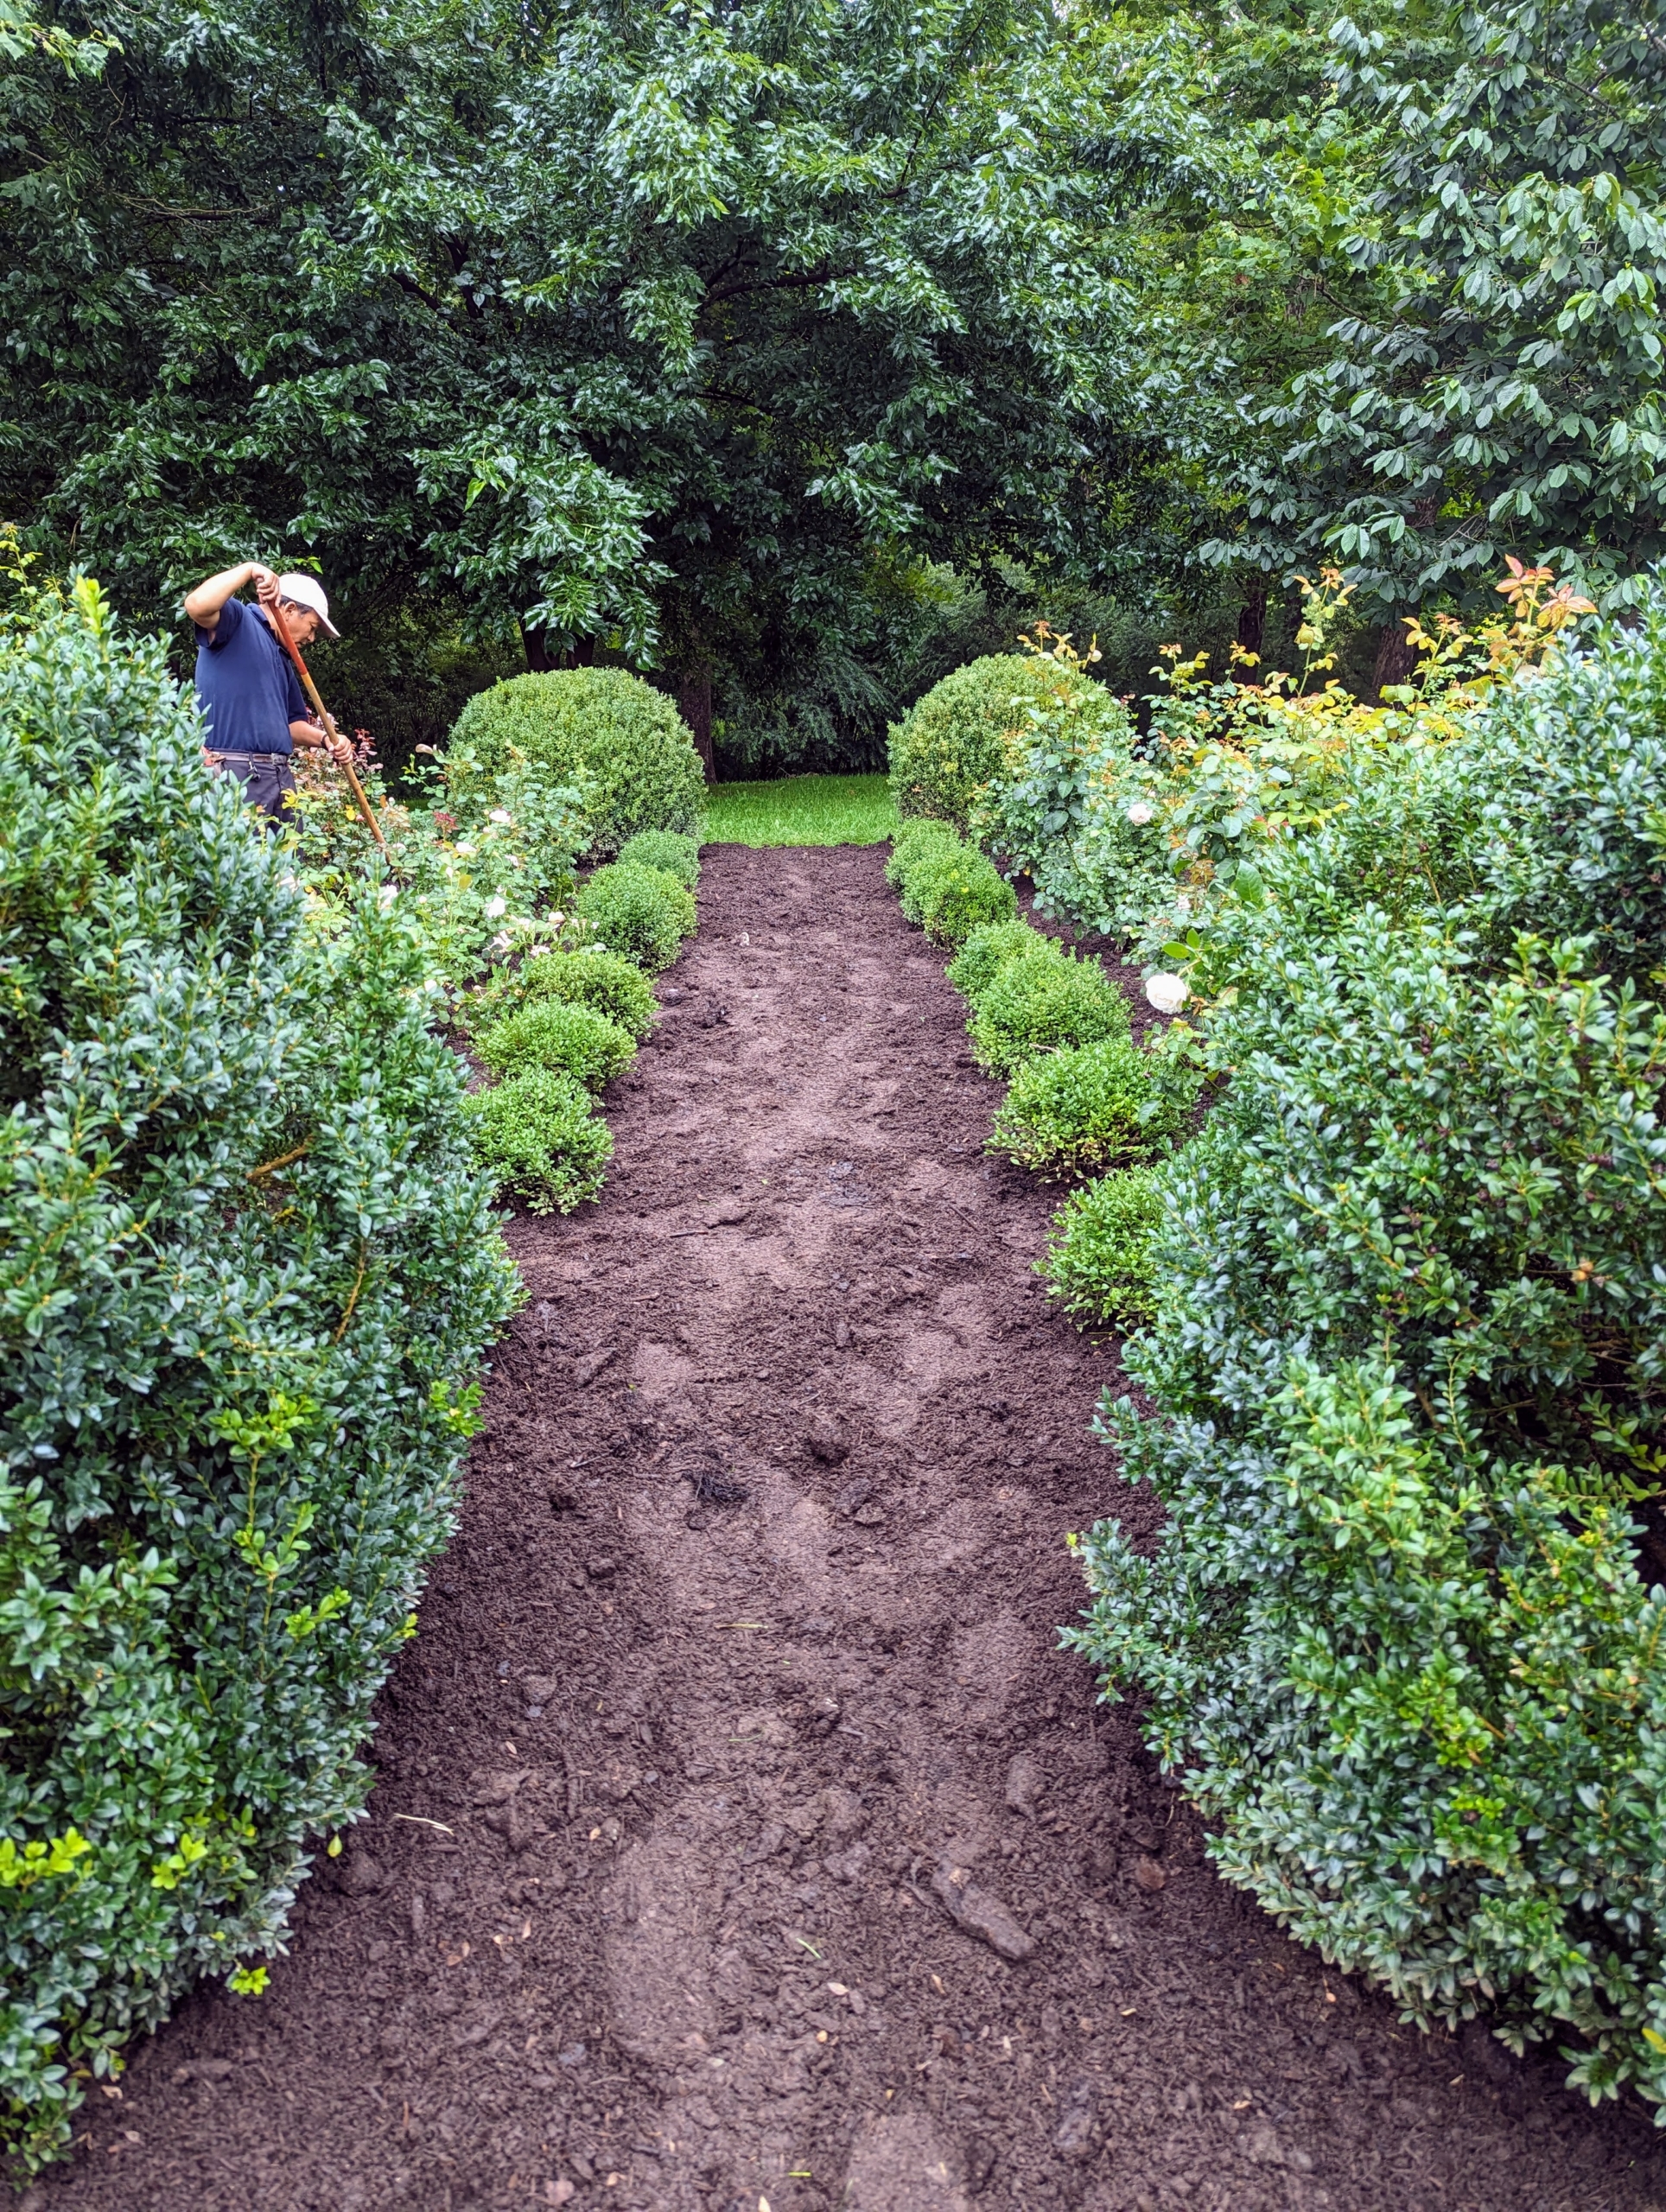
The entire garden is surrounded with boxwood. Large boxwood shrubs anchor the corners and mark the middle and main footpath of the garden. These smaller boxwood, which I’ve nurtured from bare-root cuttings fill in the rest of the perimeter.
Buxus is a genus of about 70 species in the family Buxaceae. Common names include box or boxwood. Boxwood is native to western and southern Europe, southwest, southern and eastern Asia, Africa, Madagascar, northernmost South America, Central America, Mexico, and the Caribbean.
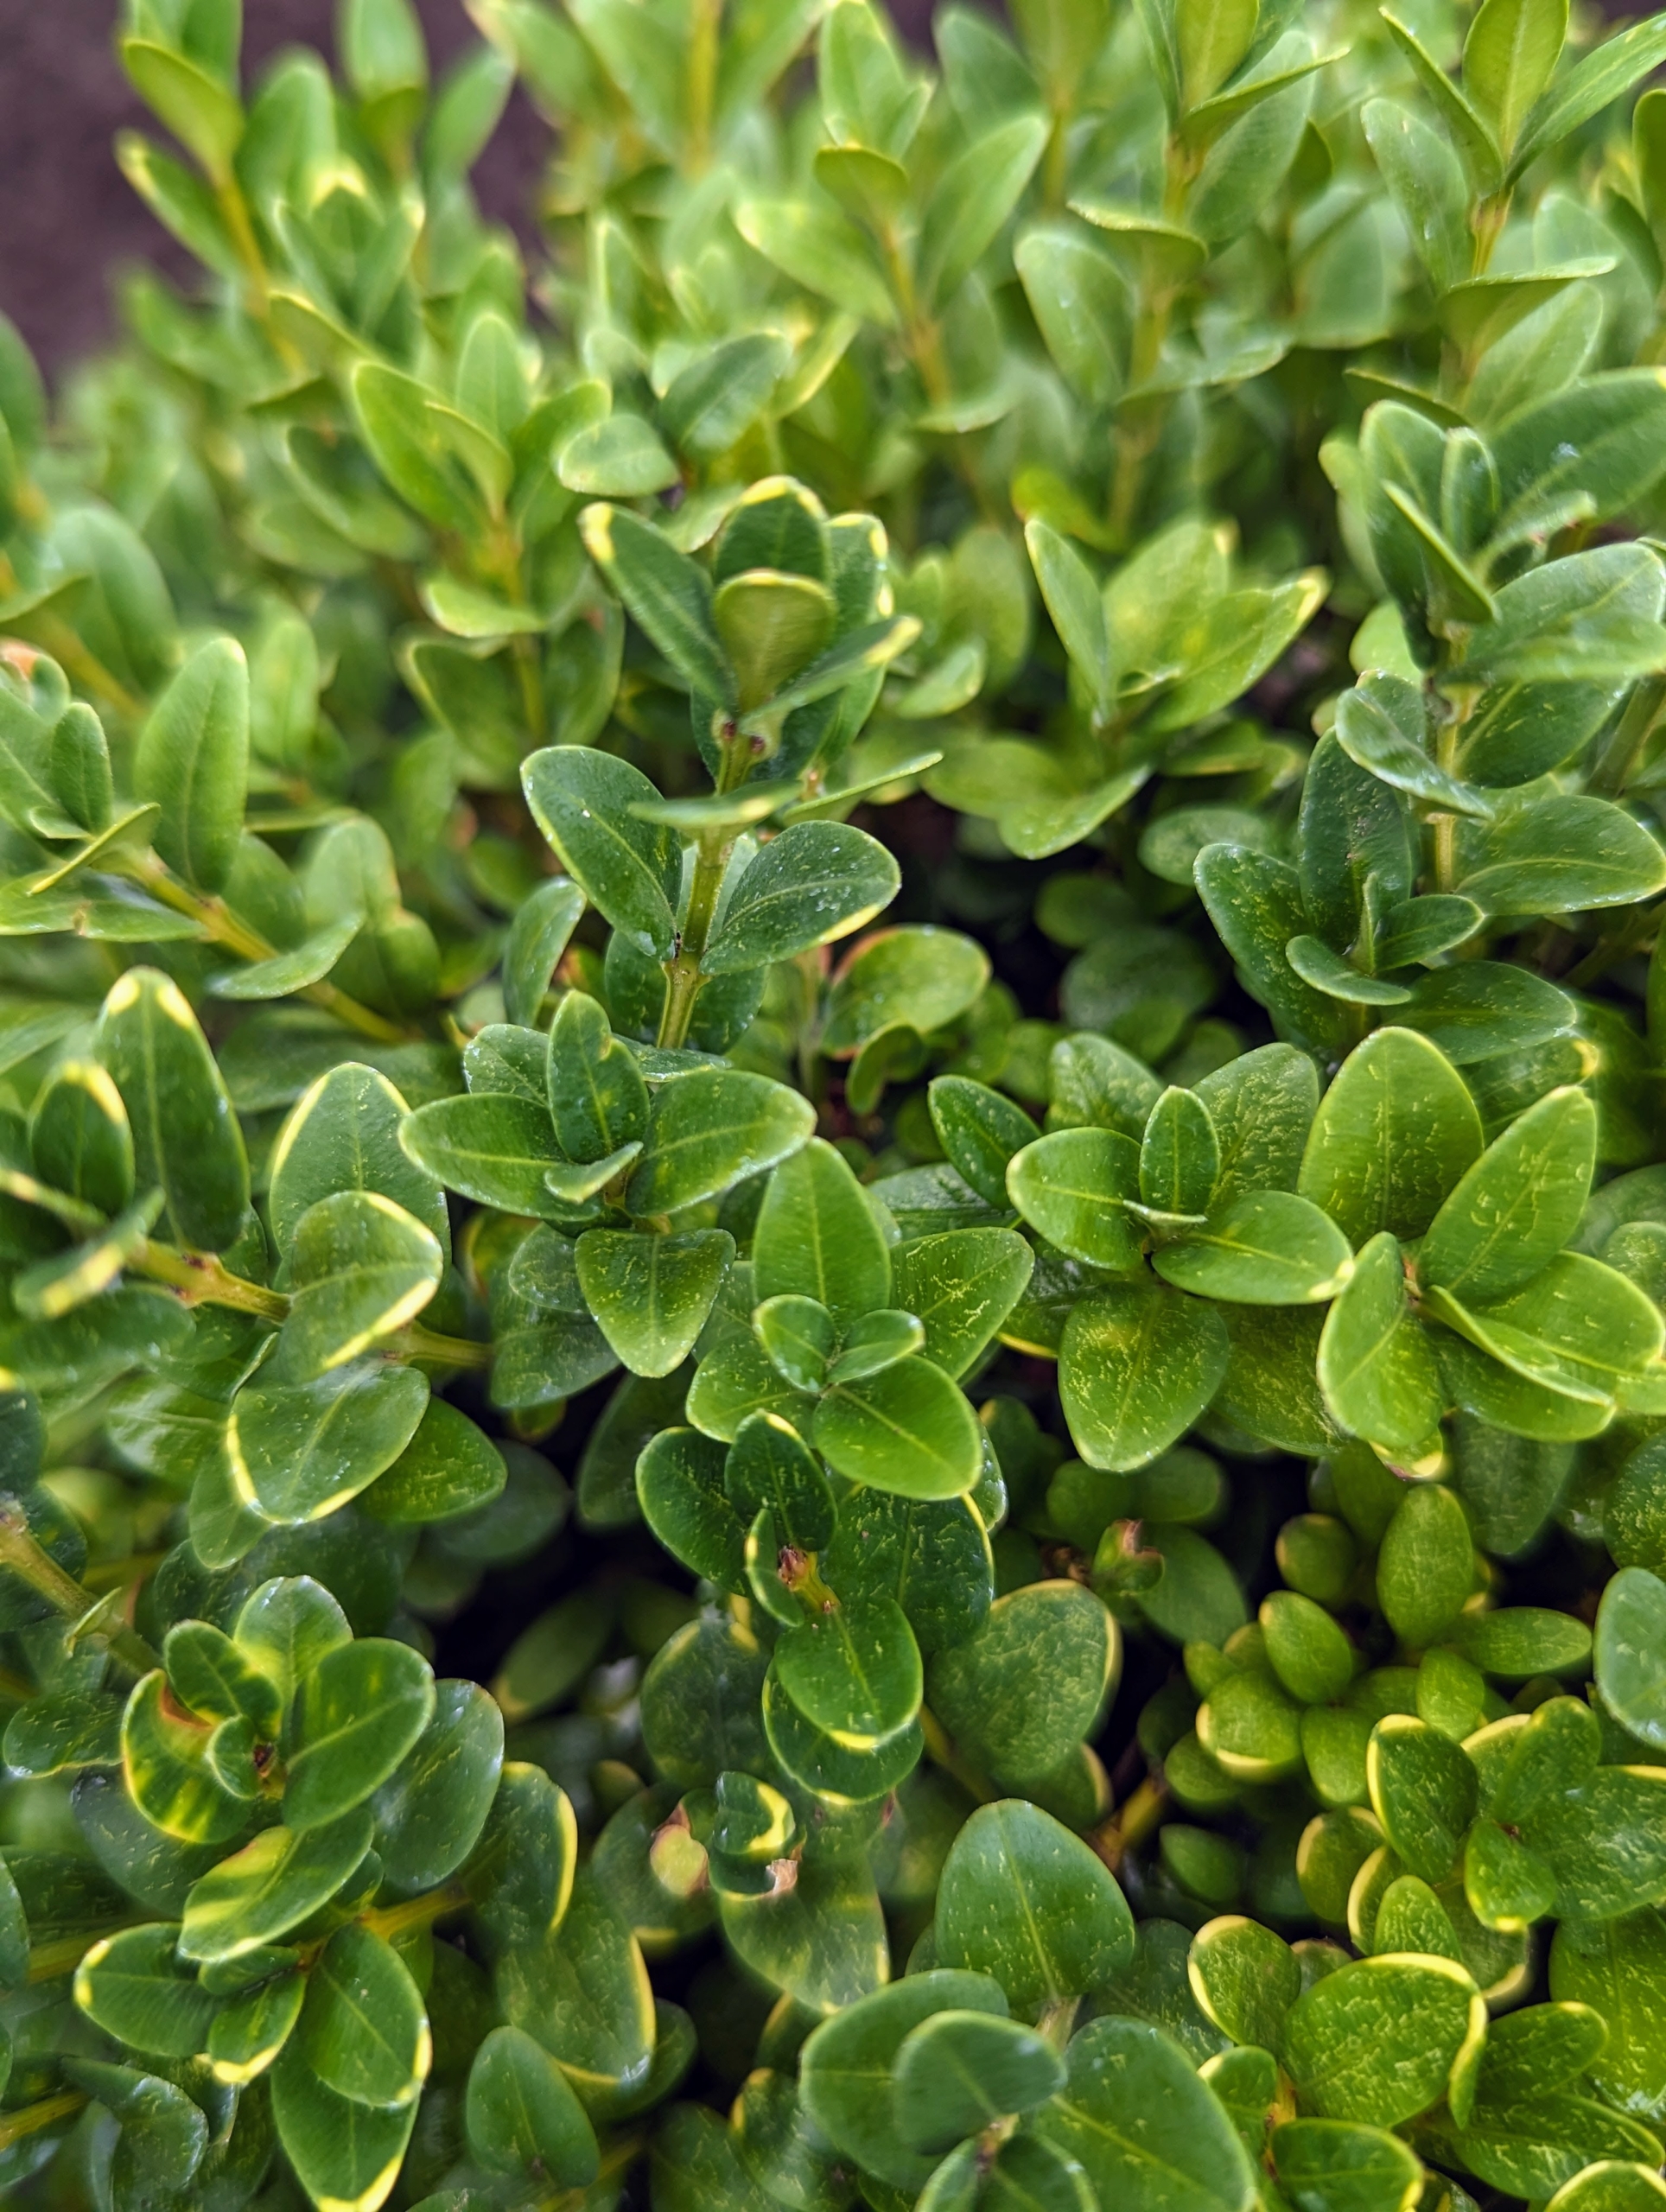
Boxwood leaves are evergreen and remain on the plant through the winter. They range from half inch to one inch long and are dark, glossy, and green on top. The back of the leaf is usually a lighter green with a distinct white mid-vein.
All of these roses came from Danielle Hahn, author of the new book “The Color of Roses,” published by Ten Speed Press.
We planted floribunda roses, hybrid tea roses, and shrub roses. This one is a soft cream. color.
Hybrid tea roses, also called large-flowered roses, usually have only one flower per stem and tend to flower in three flushes from summer to late autumn. Floribundas or cluster-flowered roses have many flowers per stem and tend to repeat-flower continuously from summer to late autumn.
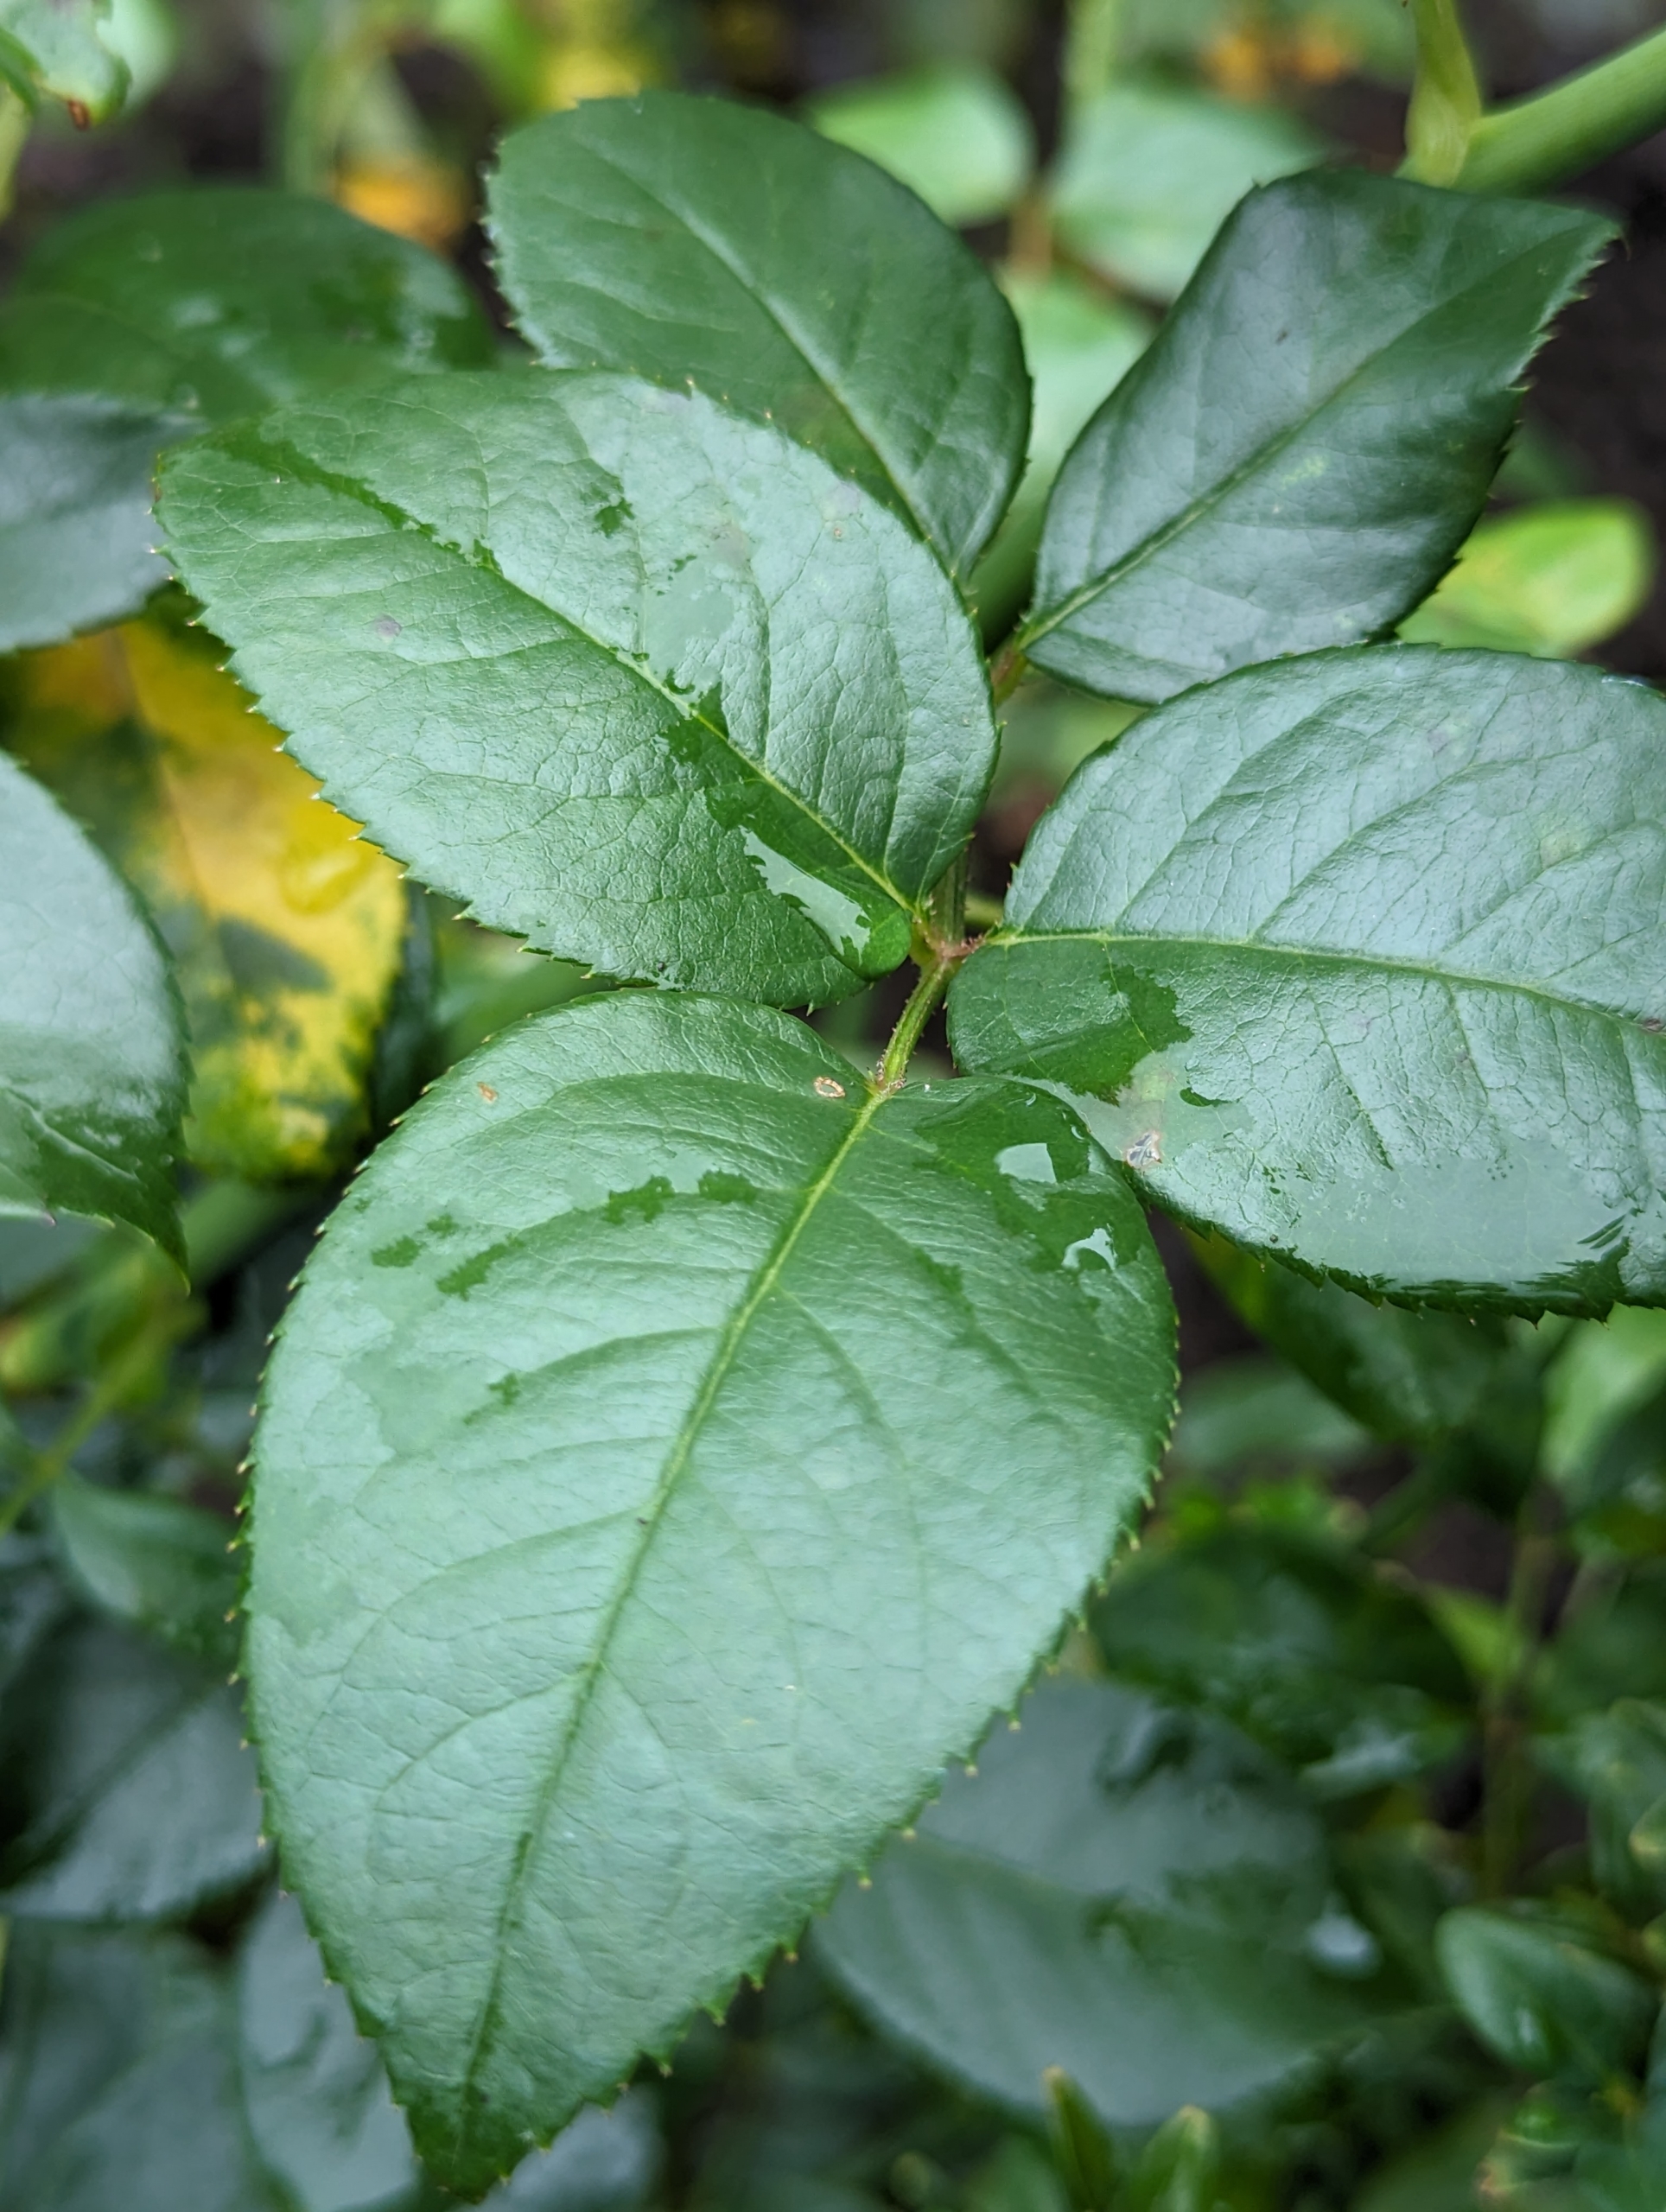
The leaves of the rose are described as “pinnate” – meaning there is a central rib and then leaflets off to each side, with one terminal leaflet. Rose leaves can have anywhere from two to 13 leaflets. And rose stems are often armed with sharp prickles – they aren’t thorns at all. Unlike a thorn, a prickle can be easily broken off the plant because it is really a feature of the outer layers rather than part of the wood, like a thorn.
This garden includes a variety of different pastel colors from pink to apricot to lavender, yellow and creamy white.
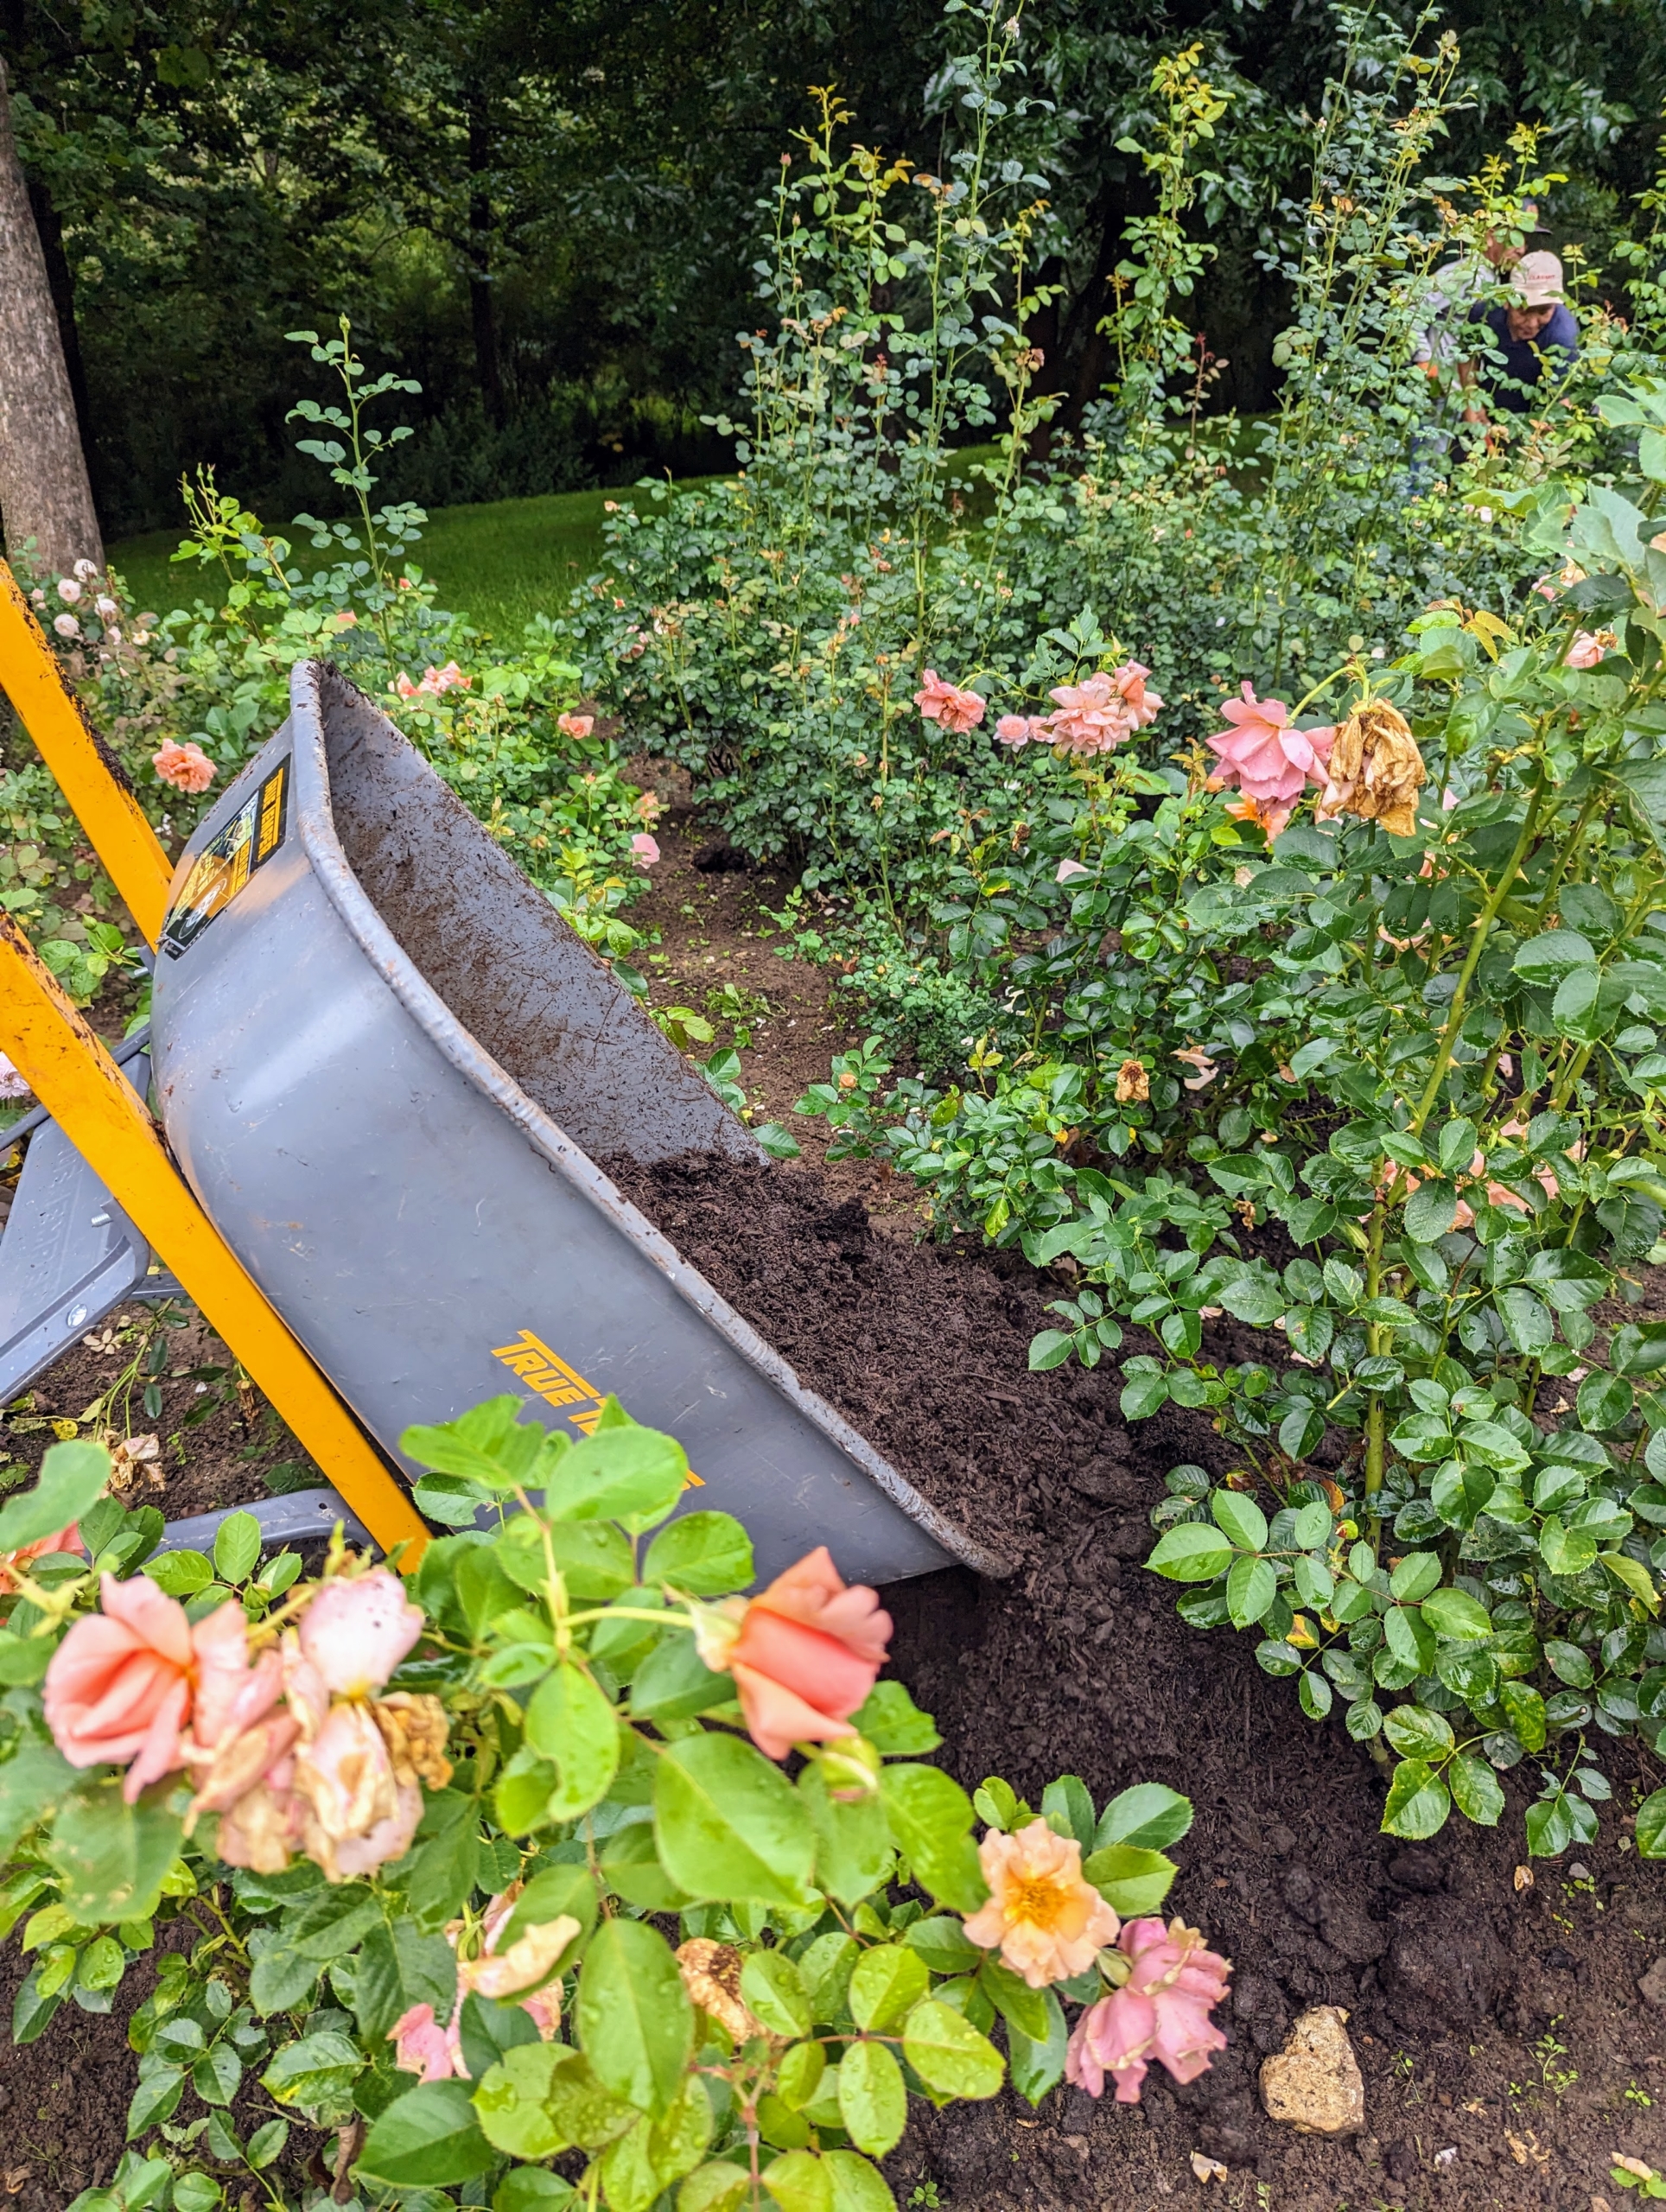
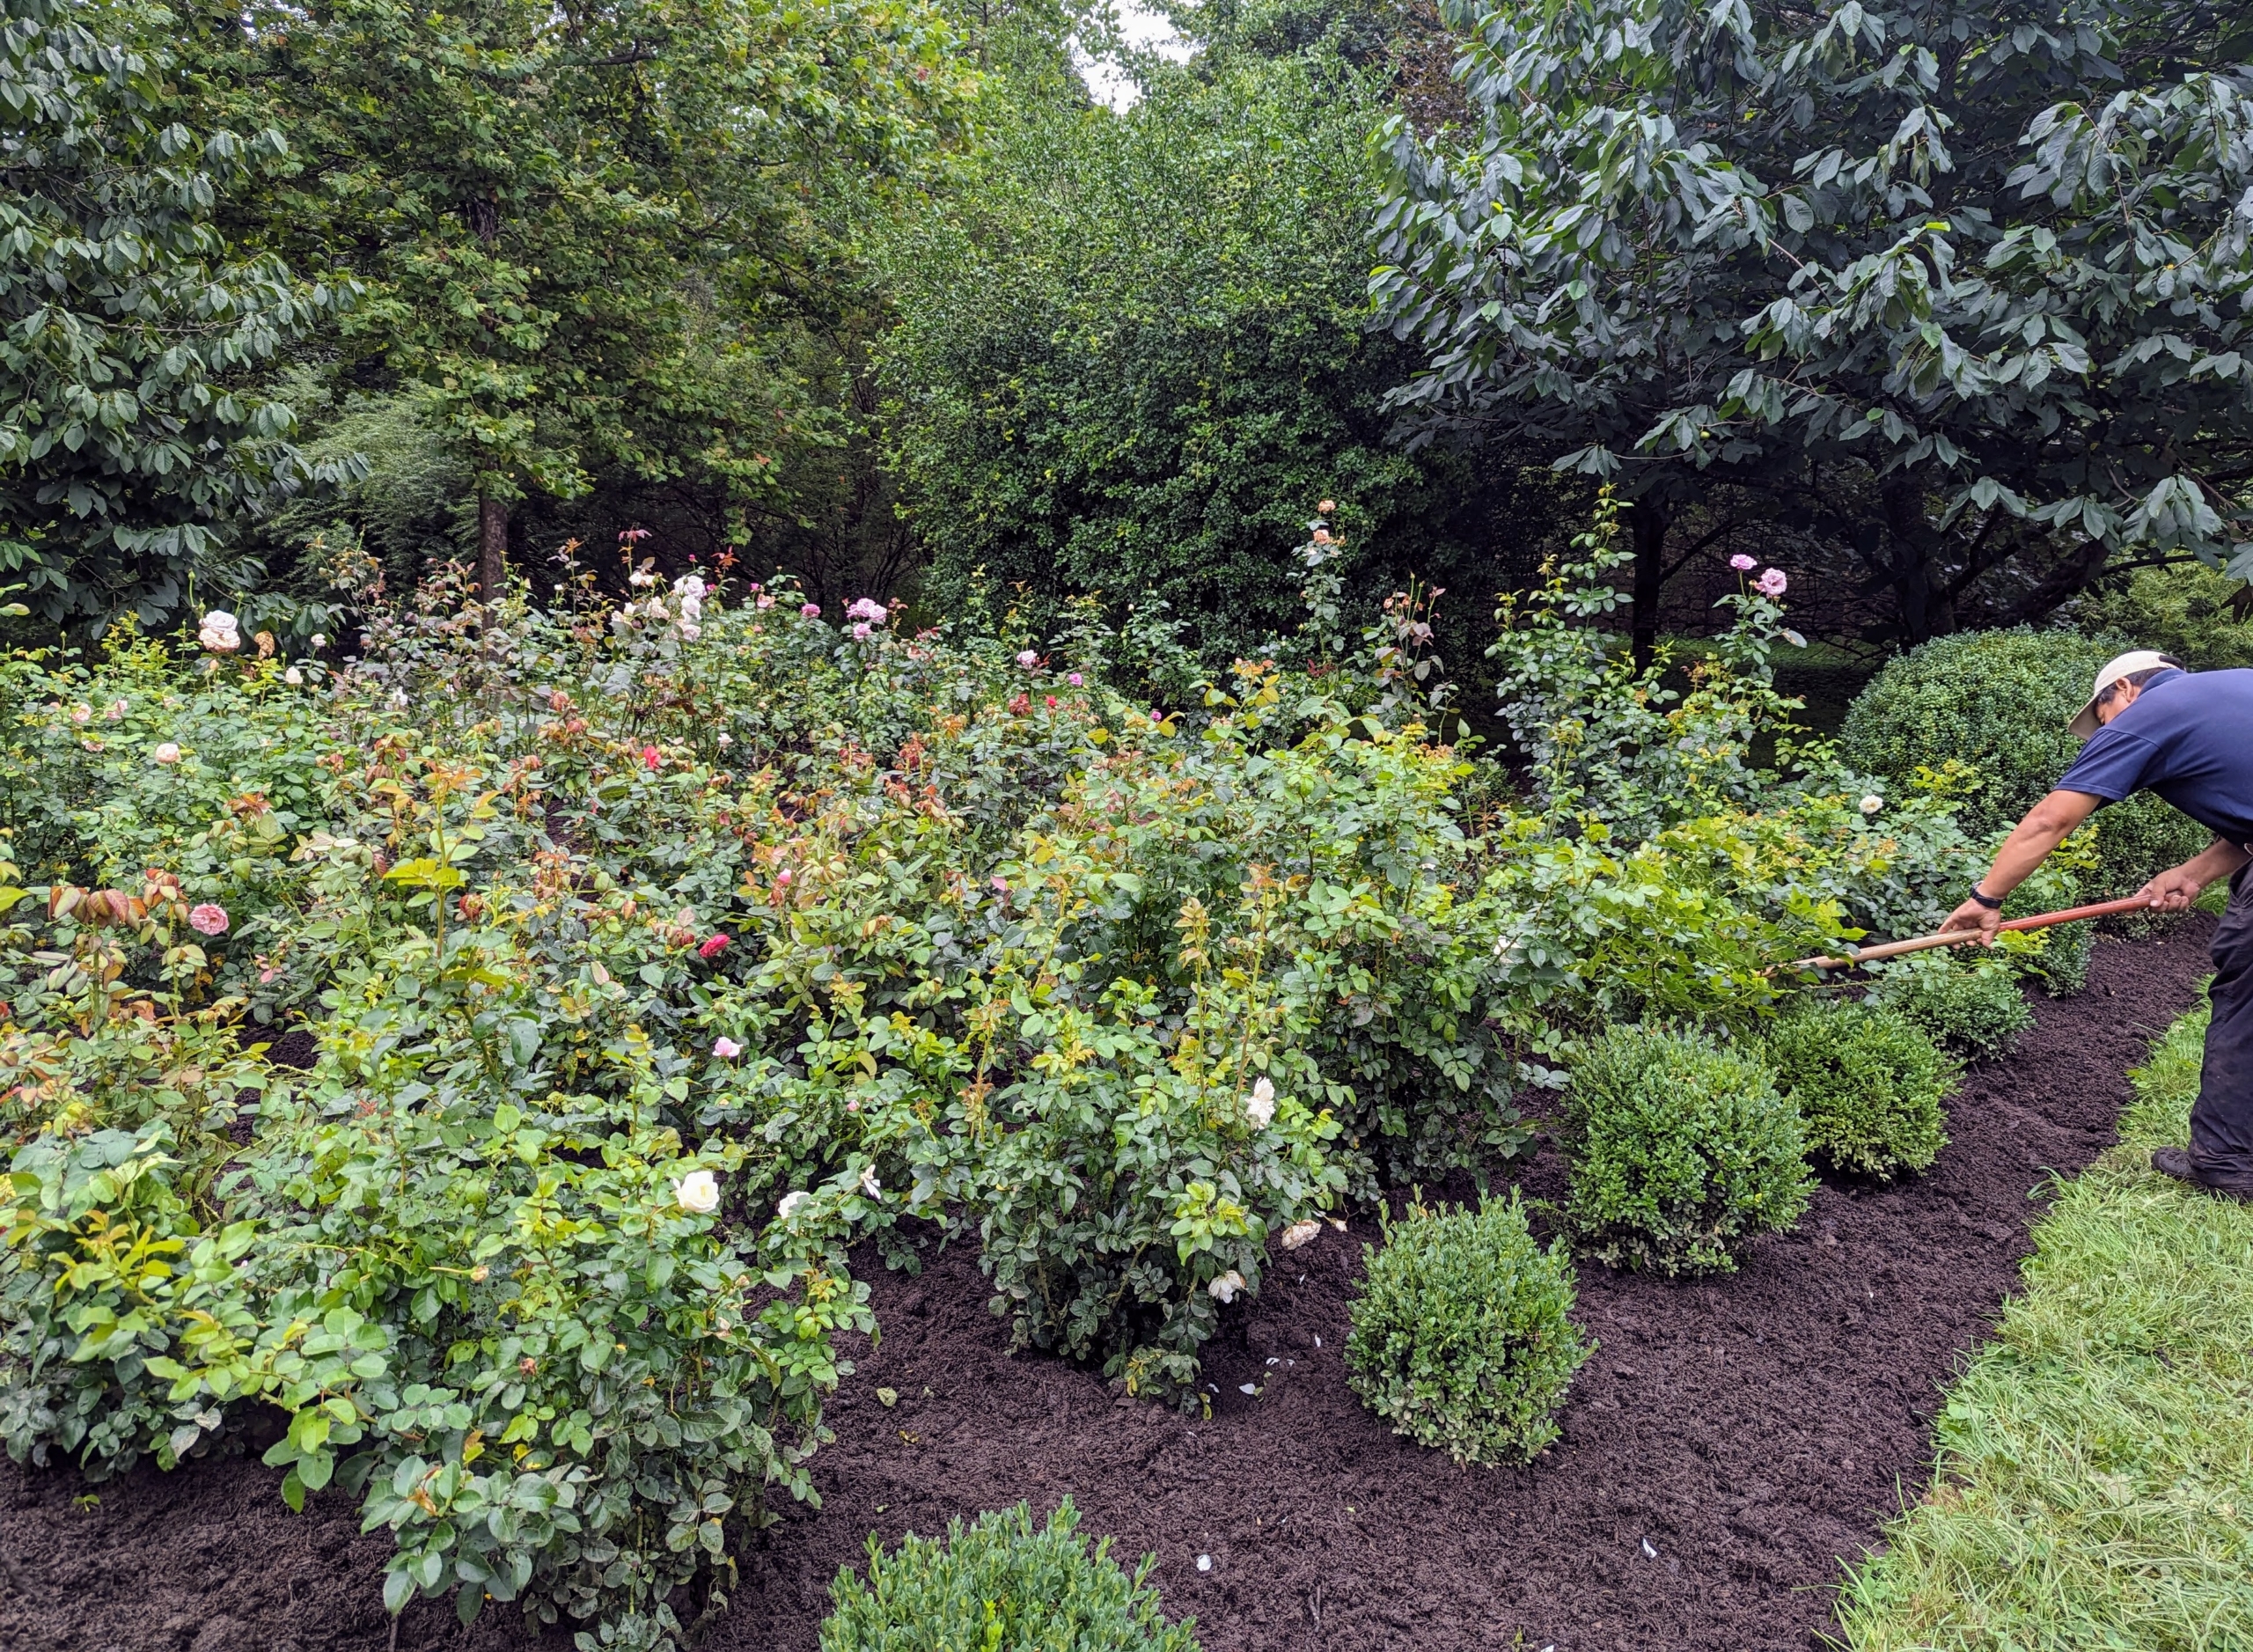
Yesterday, my outdoor grounds crew mulched the garden. Mulching benefits roses through soil amendment, water conservation, weed control, and disease and insect control.
It also makes the garden look very neat and tidy. Here is Phurba spreading the mulch around the roses and in the footpath. The mulch should only be about three inches thick.
To produce an impressive show of flowers, always use nutrient-rich compost, composted manure, and other organic and natural fertilizers, such as fish emulsion. Organic amendments also help to encourage beneficial soil microbes and a well-balanced soil pH. I am fortunate to be able to make my own rich mulch right here at the farm.
Here is a beautiful pink rose. A rose is a woody perennial flowering plant of the genus Rosa, in the family Rosaceae. There are more than a hundred species and thousands of cultivars.
When selecting a location, plant roses in a sunny spot where it can get at least six hours of sun and good drainage.
We also planted strong disease resistant varieties. Many roses are bred and selected to resist the most common rose problems.
This week, we’ve had several overnight showers, so the plants and blooms are a bit wet, but when watering roses, give them the equivalent to one-inch of rainfall per week during the growing season.
Here is a gorgeous cream rose – opening perfectly.
And here are some just beginning to unfurl. Given the right care, healthy roses can bloom al the way until early fall.
And when cutting roses for an arrangement, try to do so in the early morning when they’re fully hydrated.
This rose garden is flourishing. I am so pleased with how it is doing. For more great gardening tips on planting and caring for roses, be sure to watch “Martha Gardens” on Roku.
Now that the kids are heading back to school and weekday schedules are busy with activities, it's time to plan those quick, nutritious, and easy-to-prepare dinners. If you haven't already, sign up for Martha Stewart & Marley Spoon. Our meal-kit delivery service is full of delicious, wholesome dishes that can be on the table in 40-minutes or less.
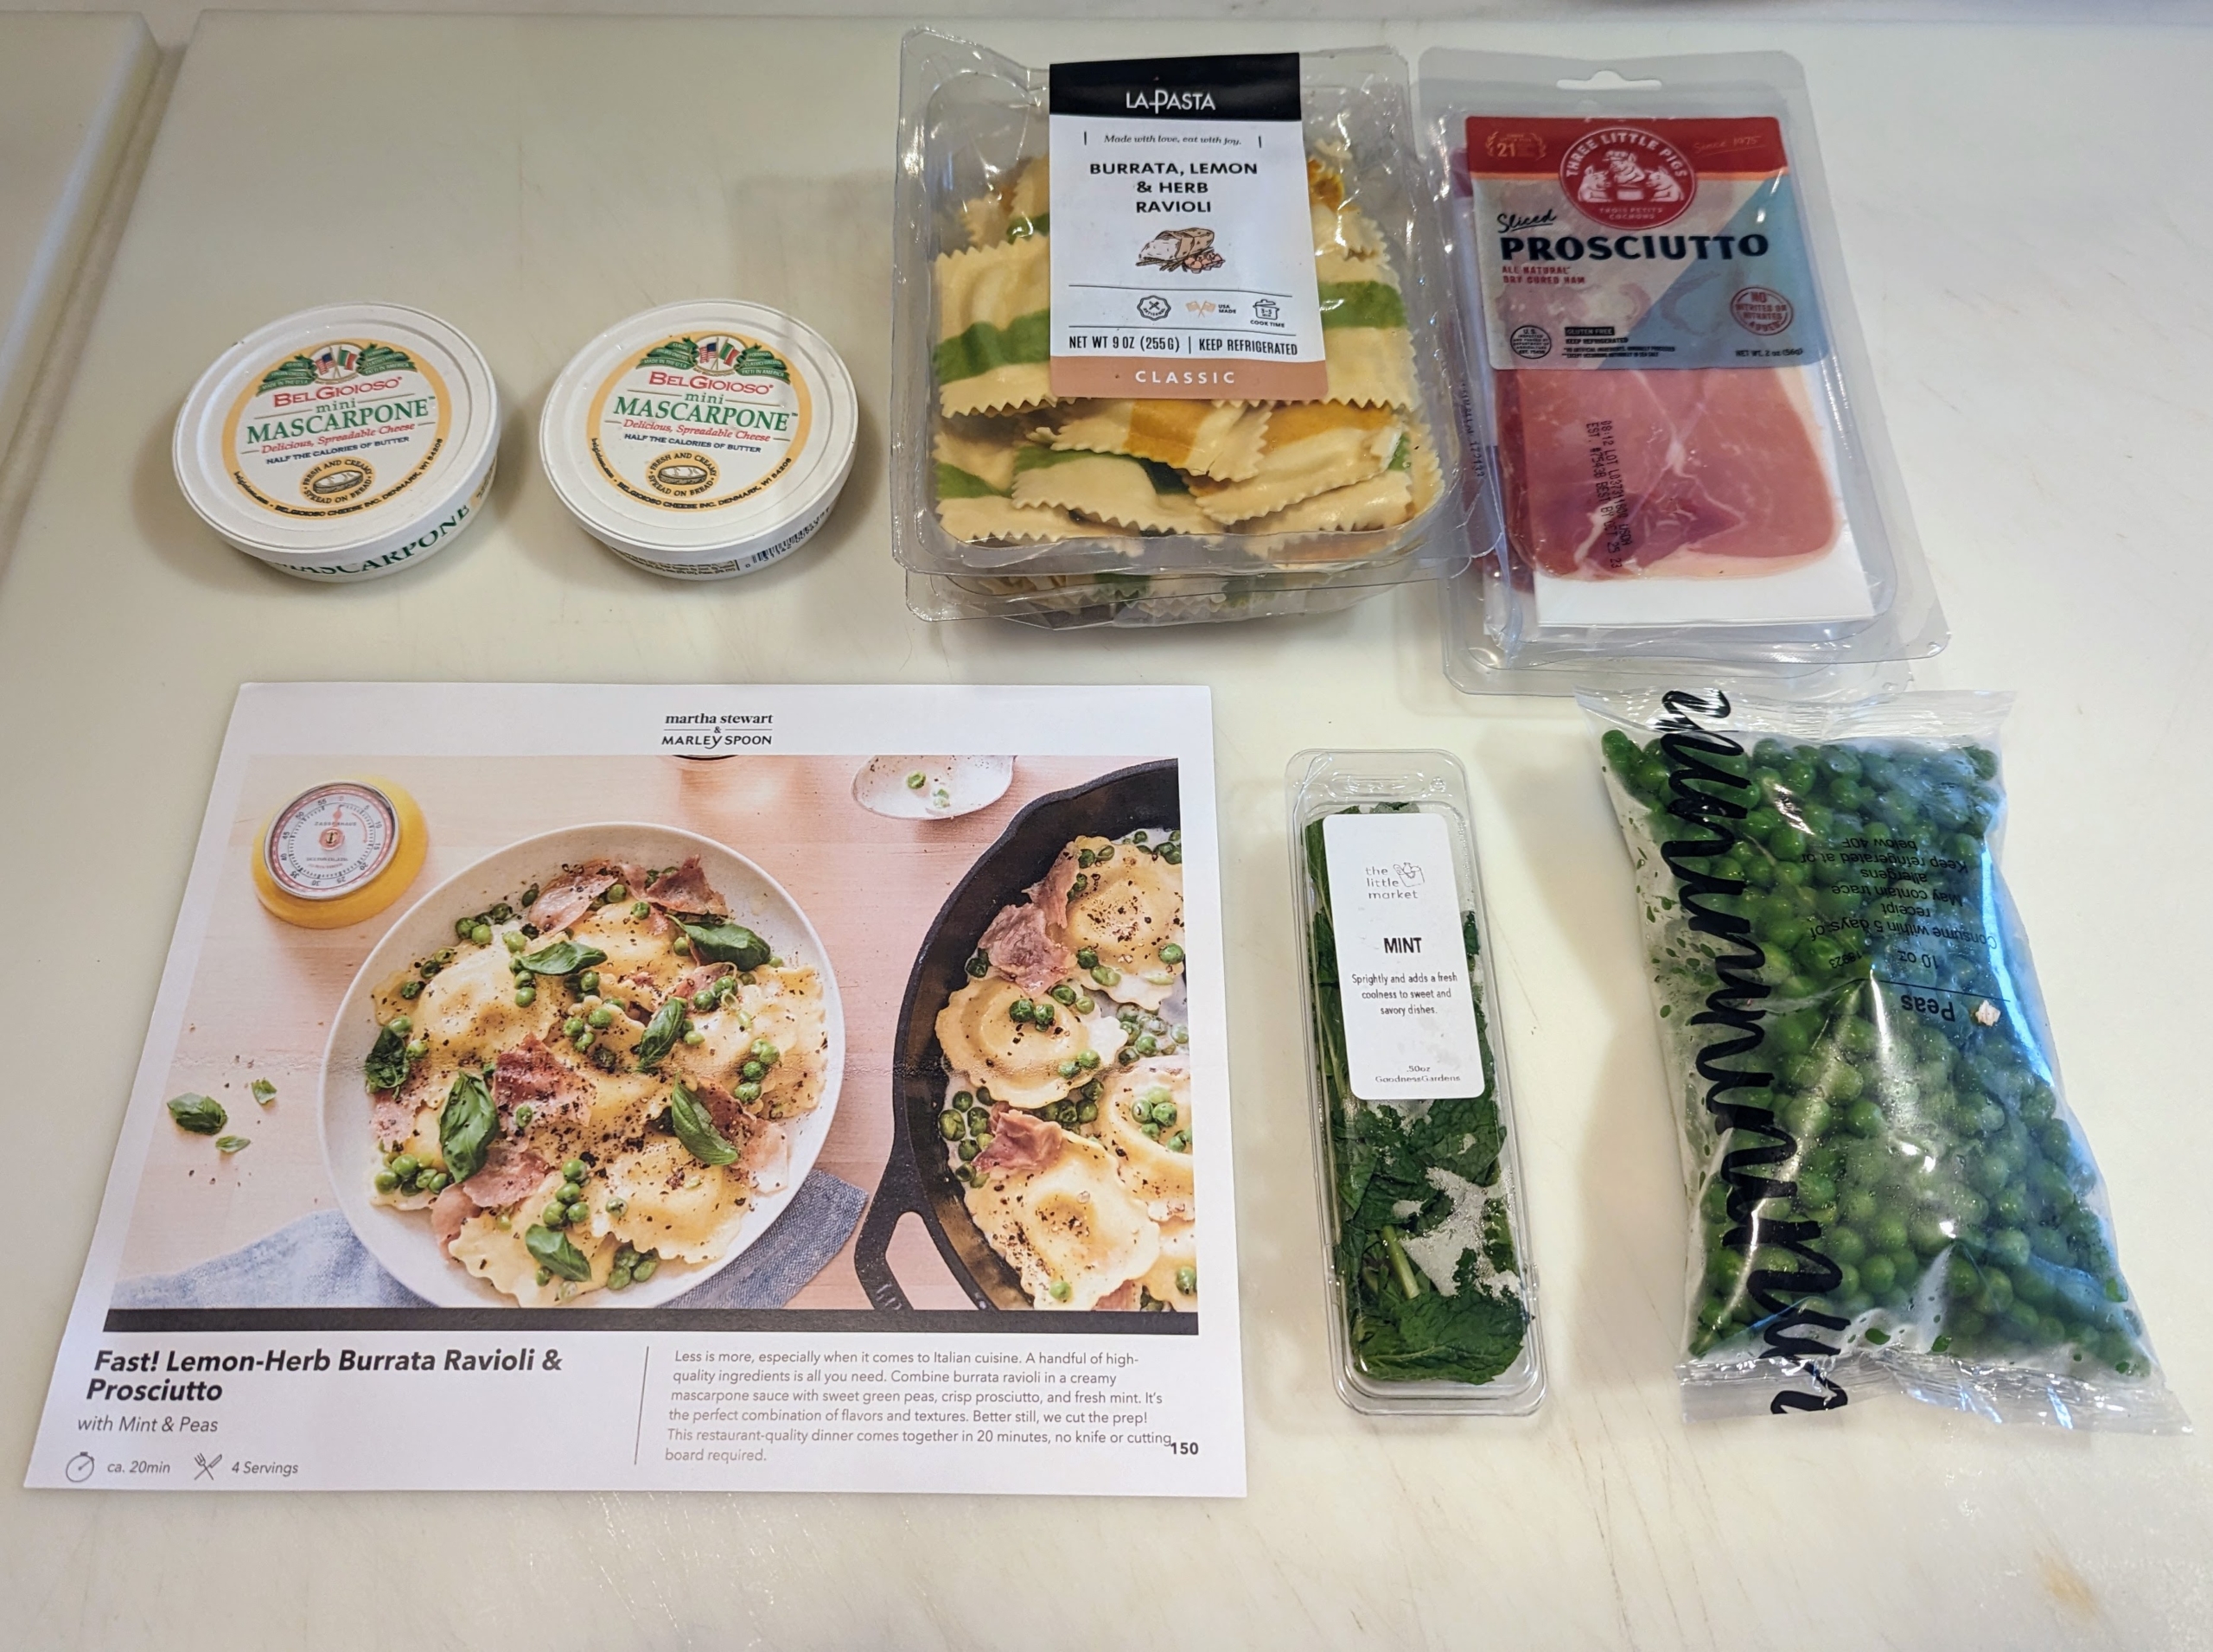
Every week, I order several Martha Stewart & Marley Spoon meal kits to enjoy at my farm. Yesterday, my housekeeper, Elvira Rojas, cooked one of the kits I selected from the week's menu - Fast! Lemon-Herb Burrata Ravioli & Prosciutto with Mint & Peas. It's just one of our easy, satisfying, and flavorful meals. The entire dish was cooked in 20-minutes. And as always, all the main ingredients are pre-measured, pre-packaged, and included with the delivery. Our service features so many inspiring recipes and cooking ideas, and you can choose the recipes that best fit your family's lifestyle. Just go to the web site right now to subscribe and see our flash deals!
Here are some photos.
Whenever we cook our Martha Stewart & Marley Spoon meal kits, we remove all the ingredients included and place them on the counter. These ingredients are pre-portioned and come in easy to open packaging. All one needs to provide is the olive oil, salt, and pepper if needed. One of the great things about our meal kits is that we include a large recipe card with the photo of the finished dish on the front with the estimated cooking time listed…
… And images on the back showing each of the main preparation steps. Plus, we include the ingredients list, the tools or supplies necessary, and a rundown of the nutrition values. These recipe cards are great to save for future use.
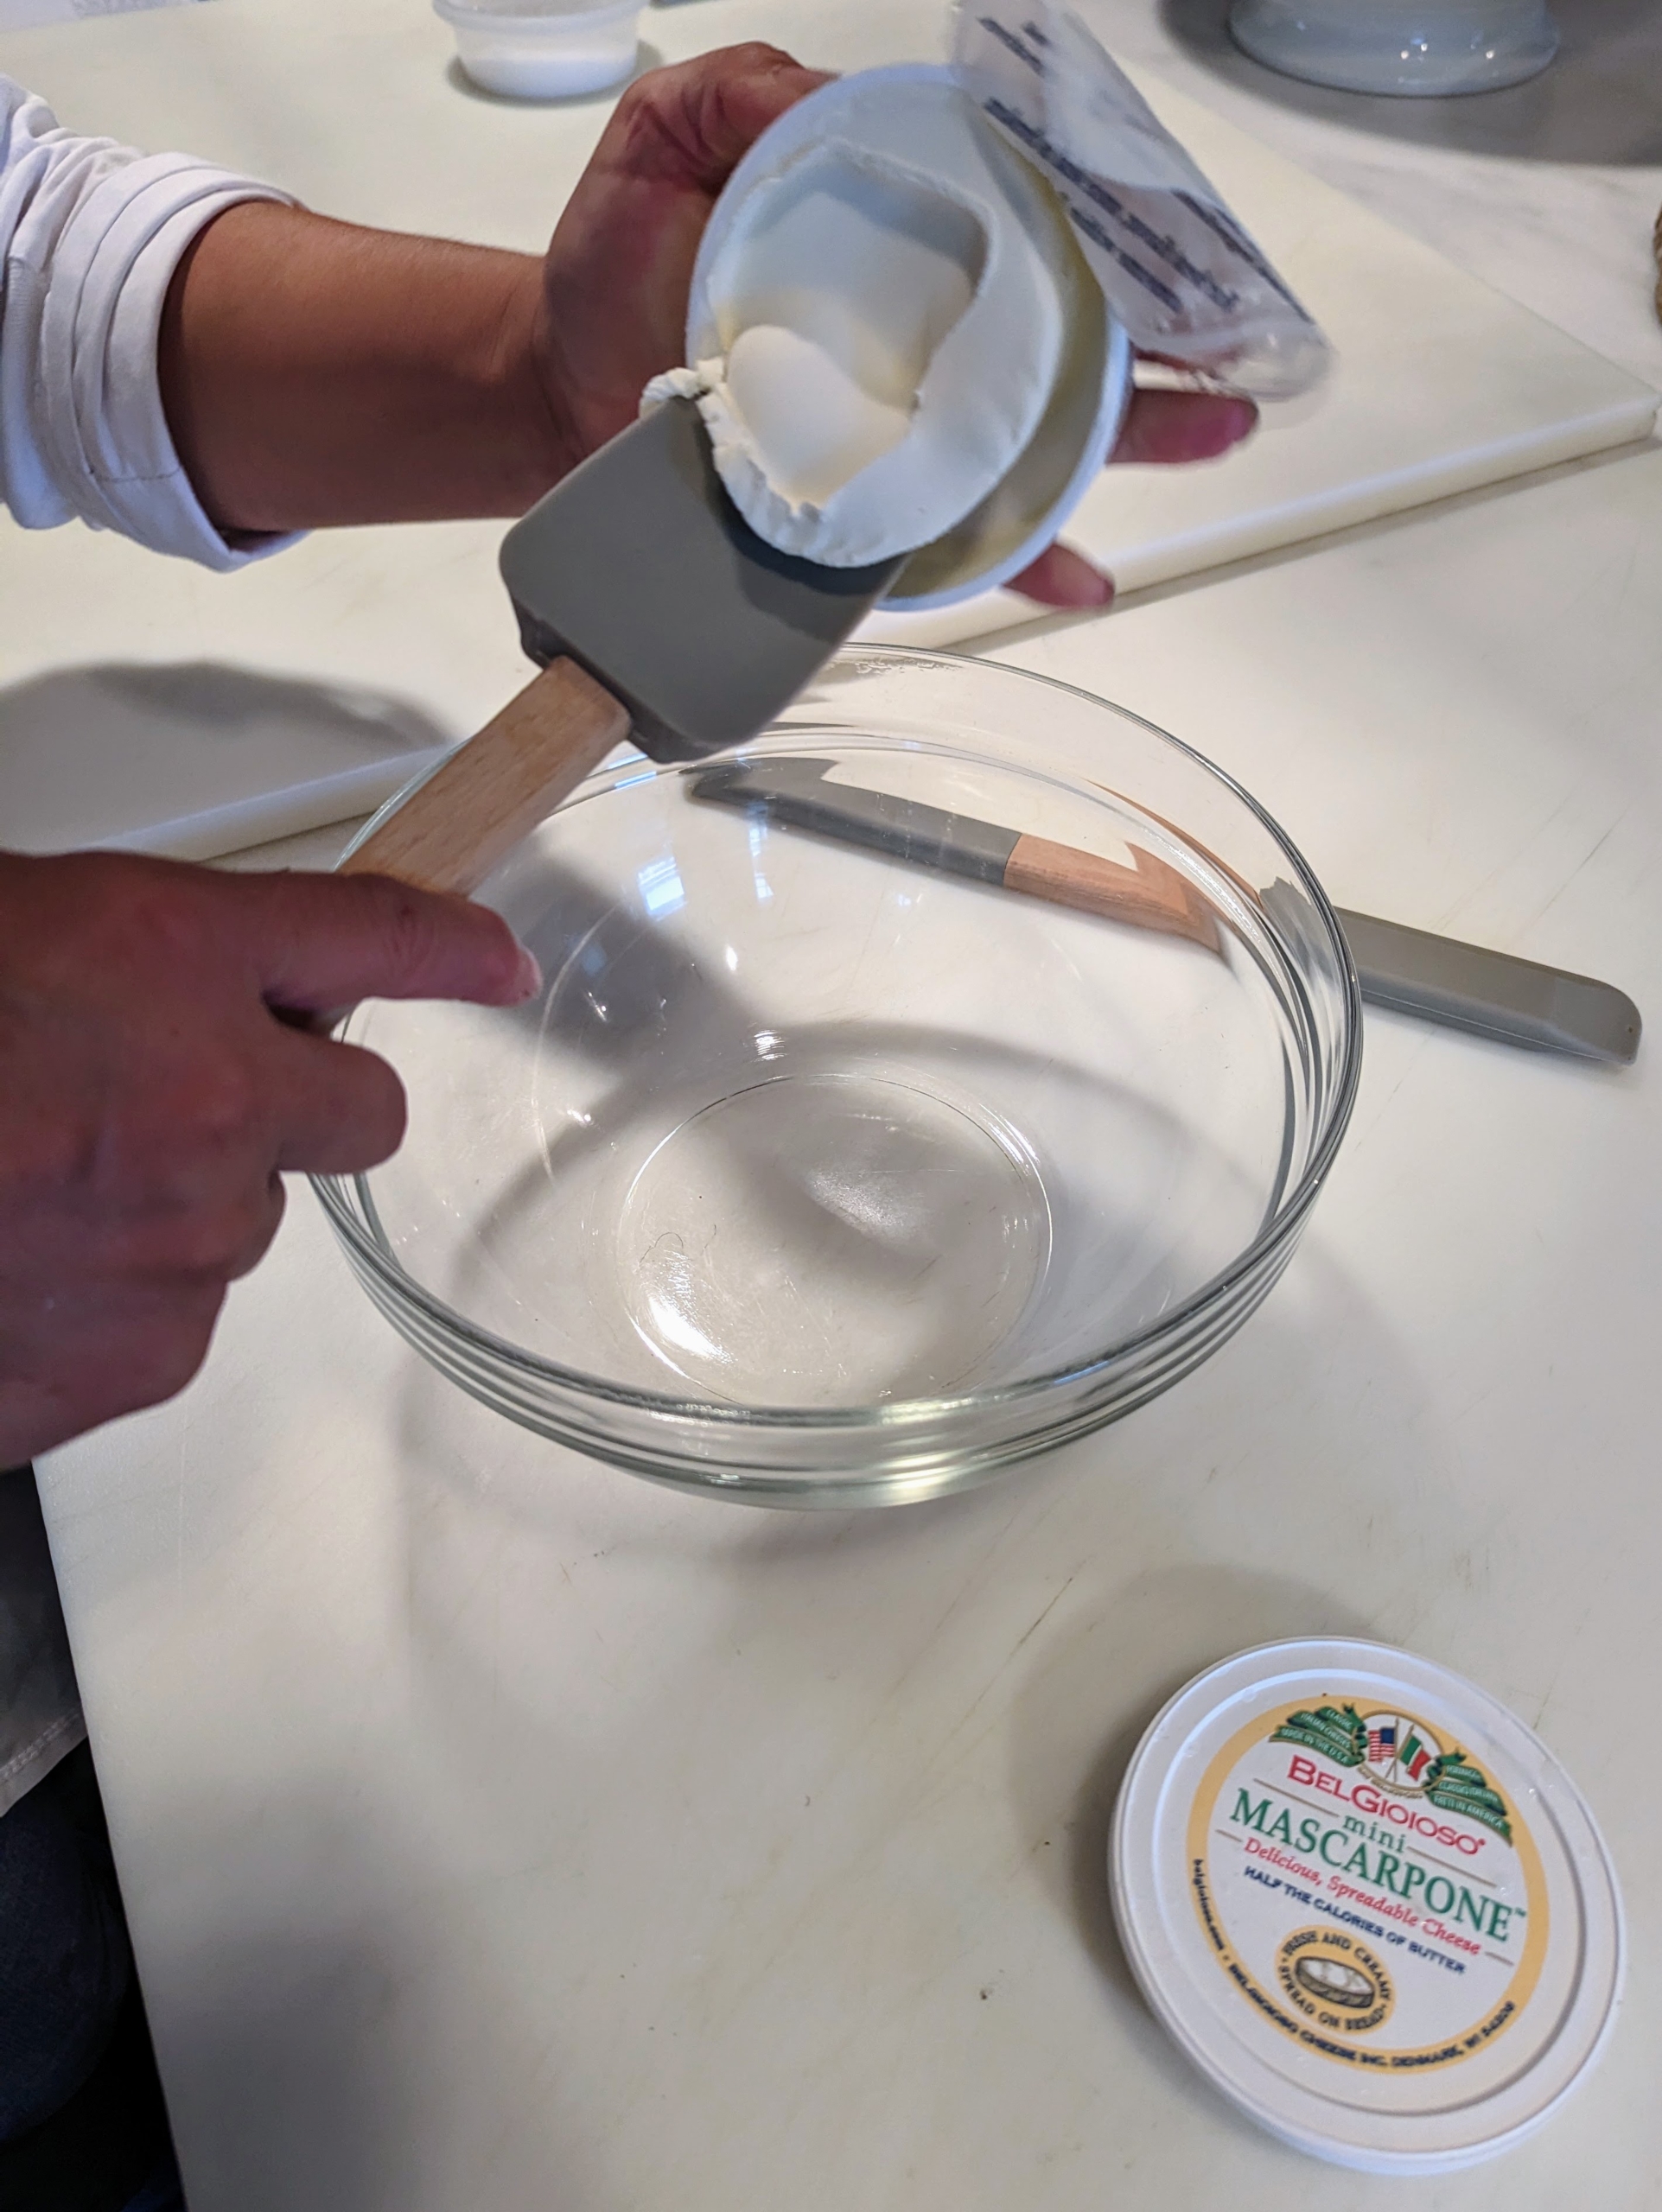
The first step is to empty the two tubs of mascarpone into a medium bowl and combine with 1/3-cup water. Mascarpone is made similarly to American cream cheese, but it uses a base of whole cream rather than milk. Like cream cheese, it is a fresh cheese that is not aged before it is eaten.
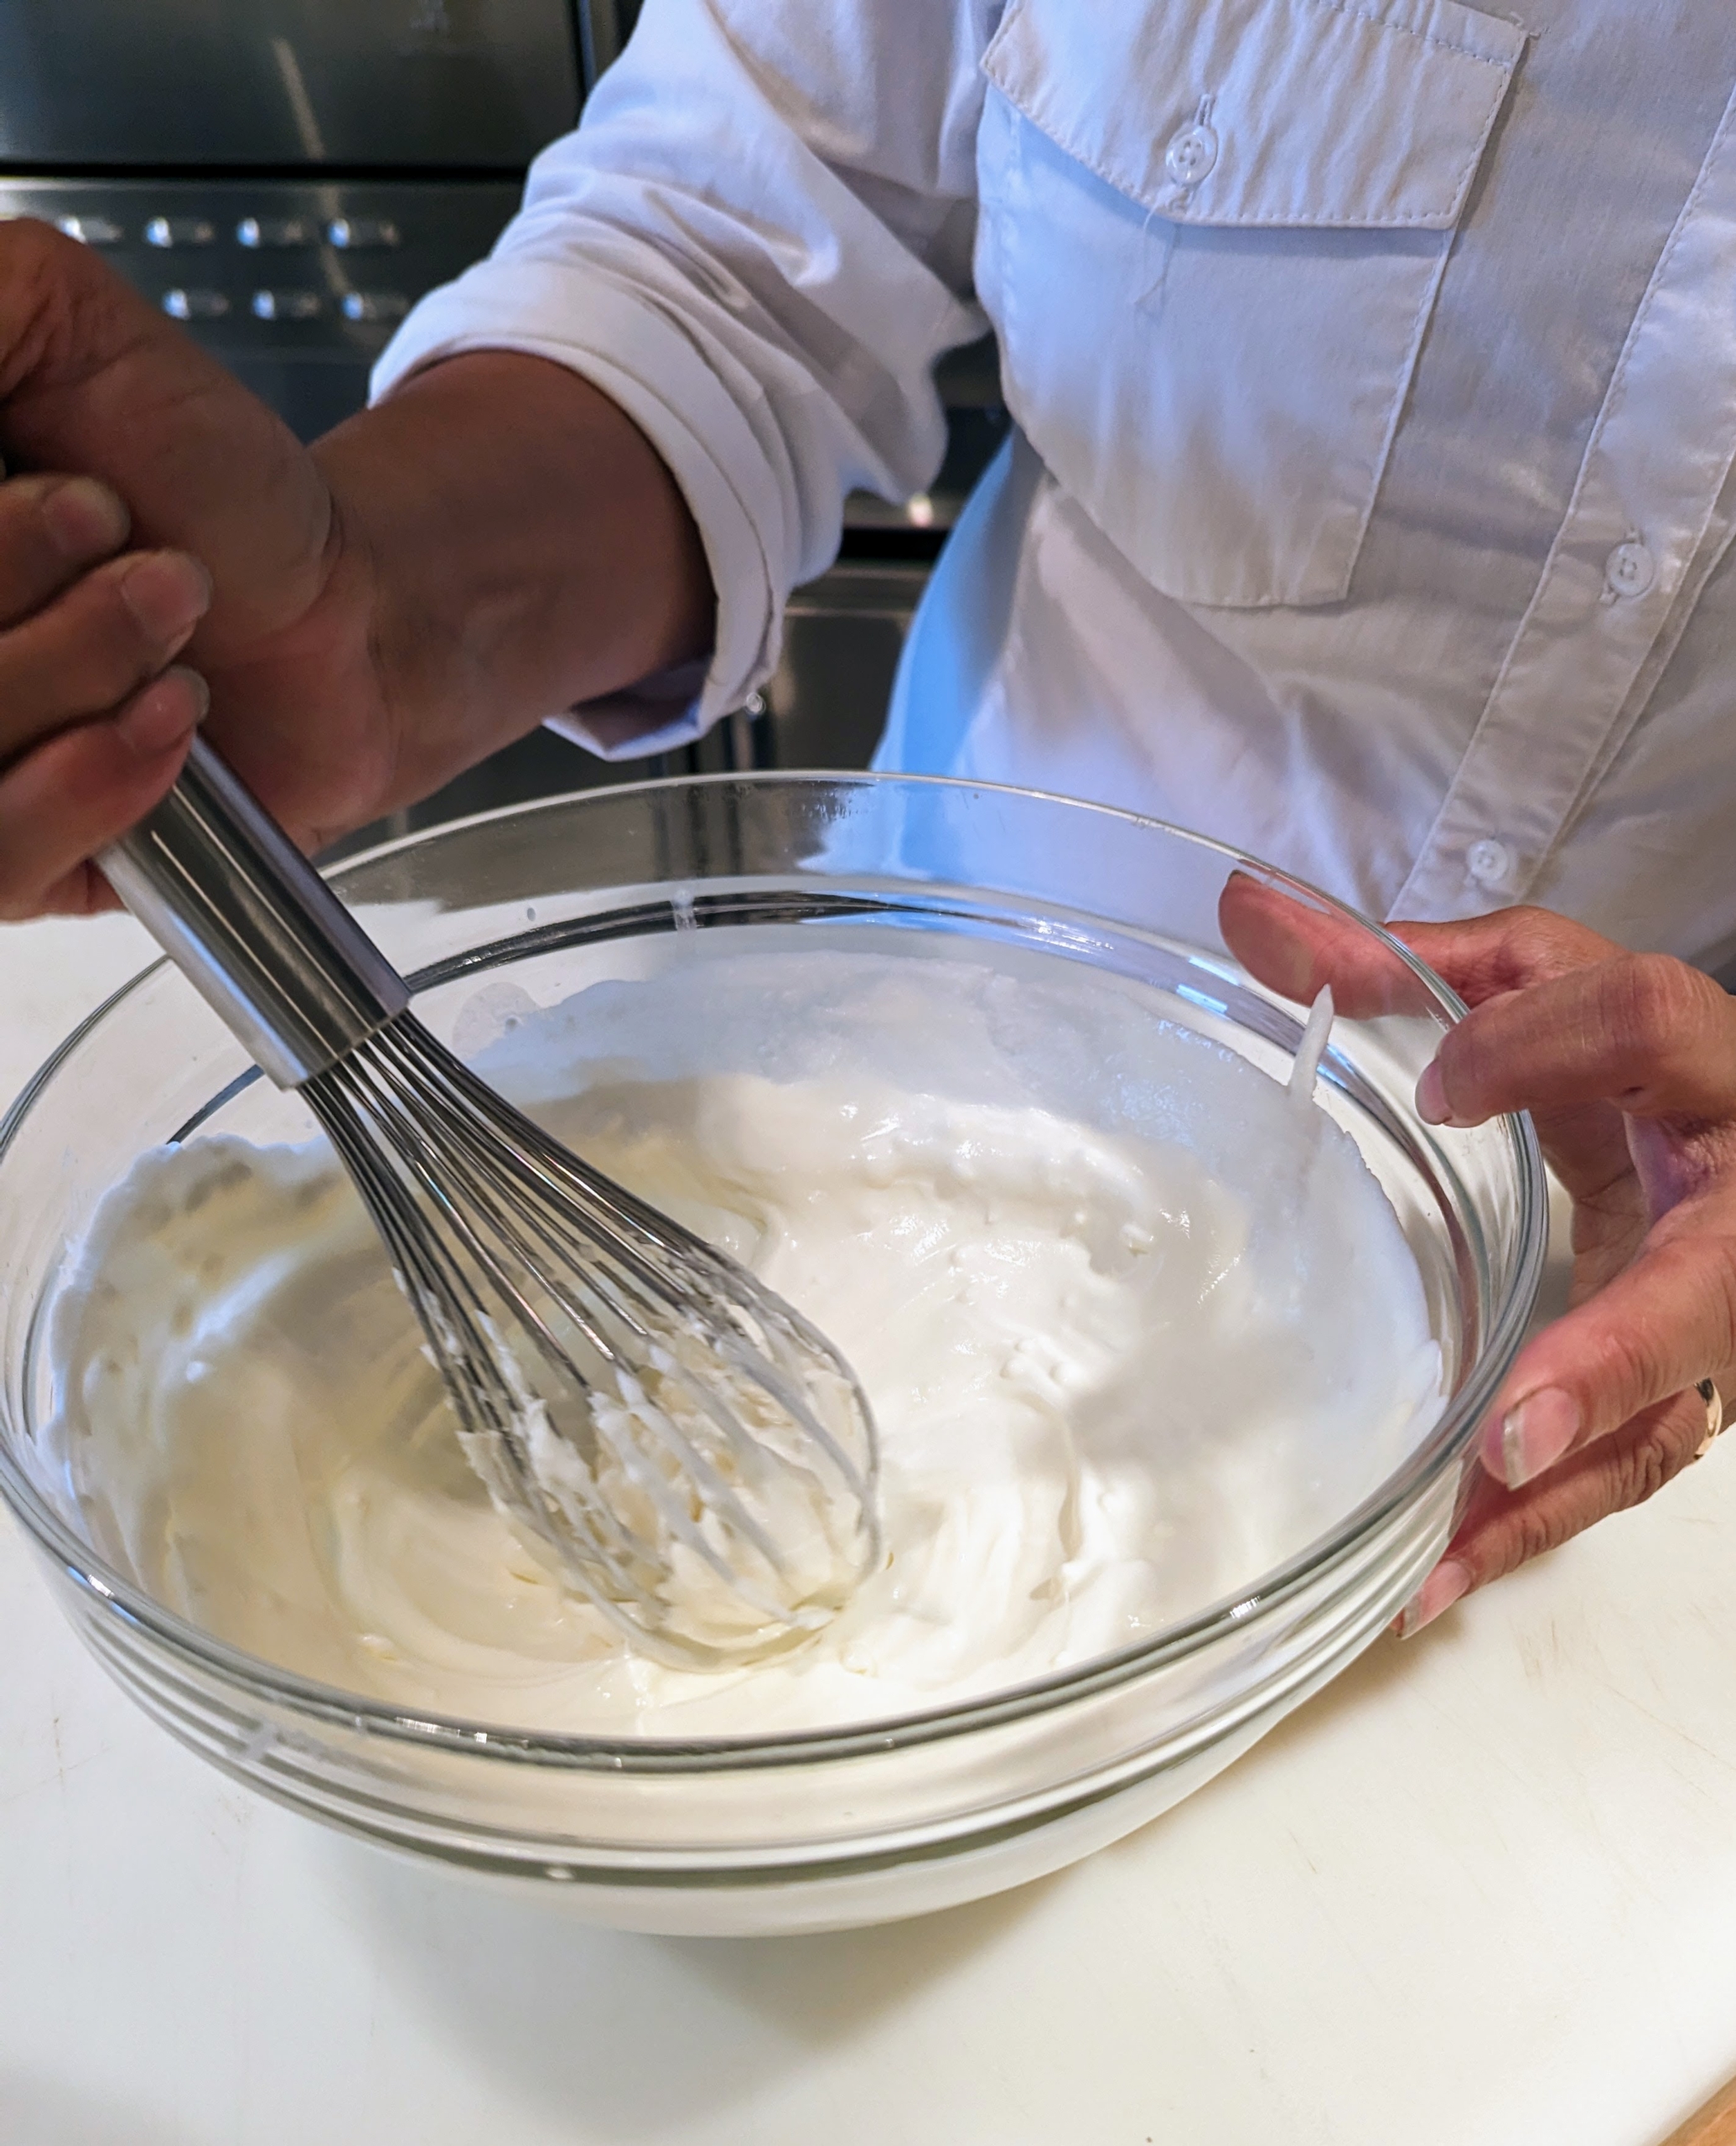
Then, using a whisk Elvira mixes it all until smooth and adds pepper to season.
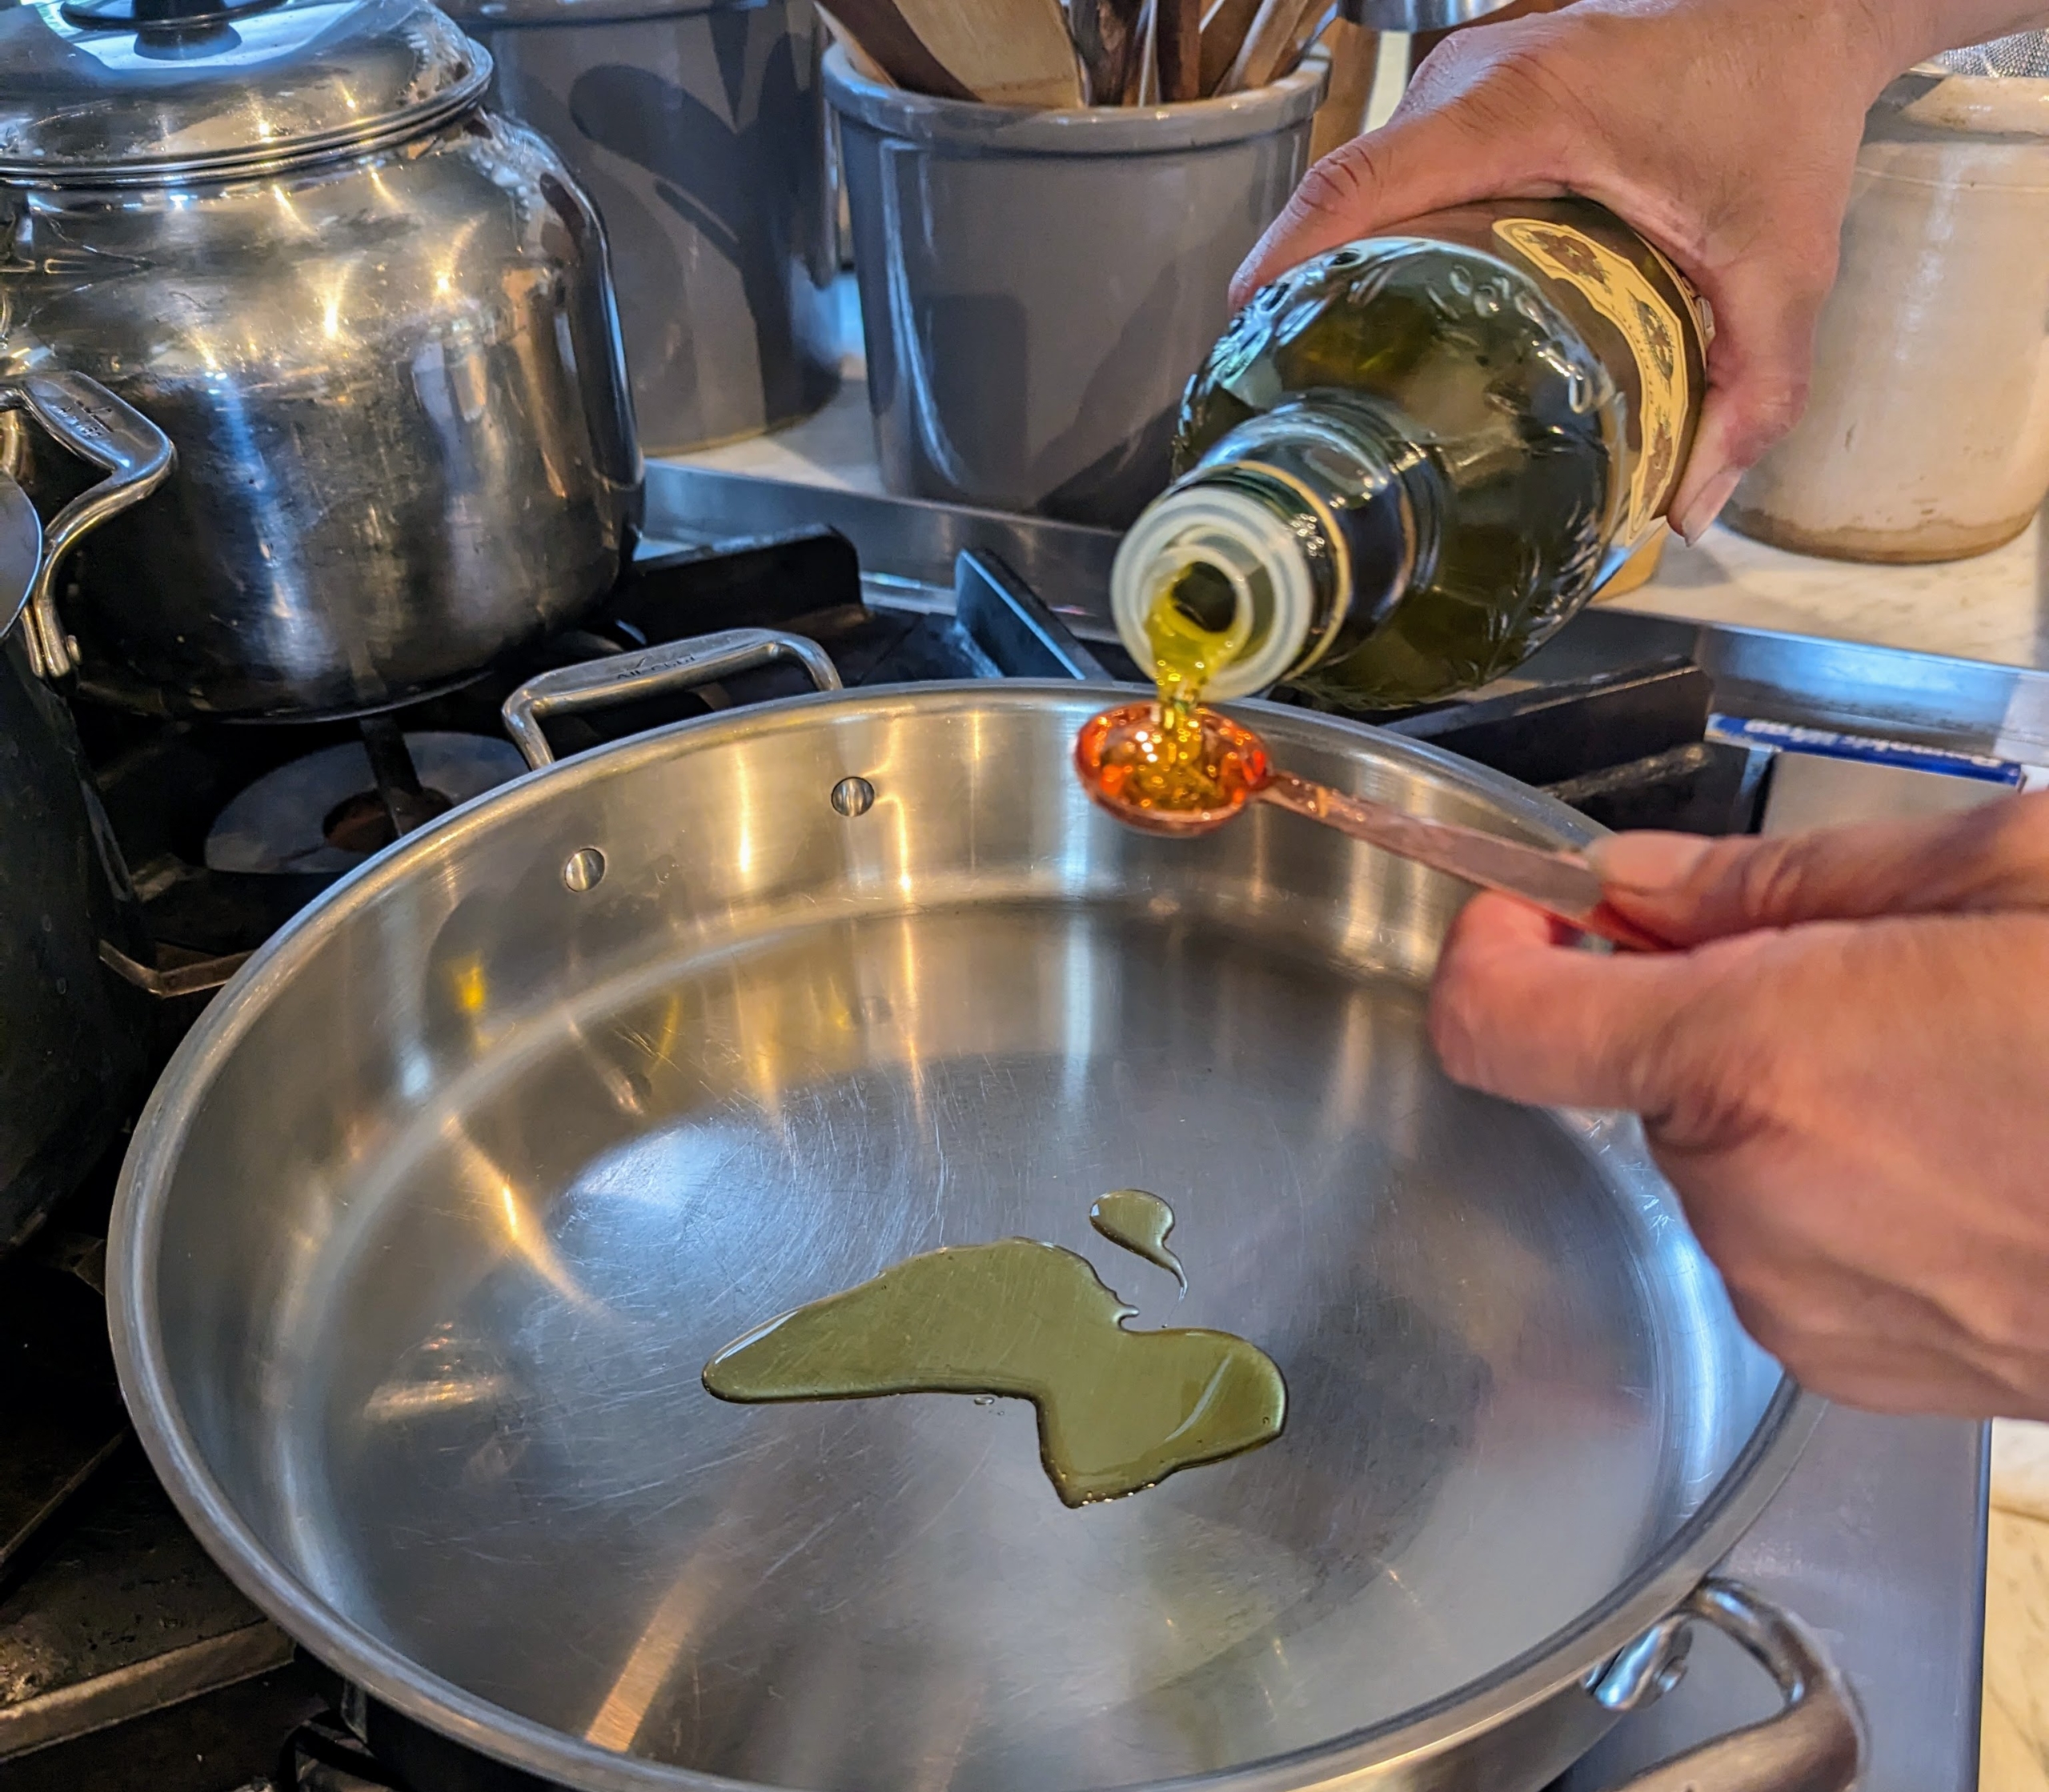
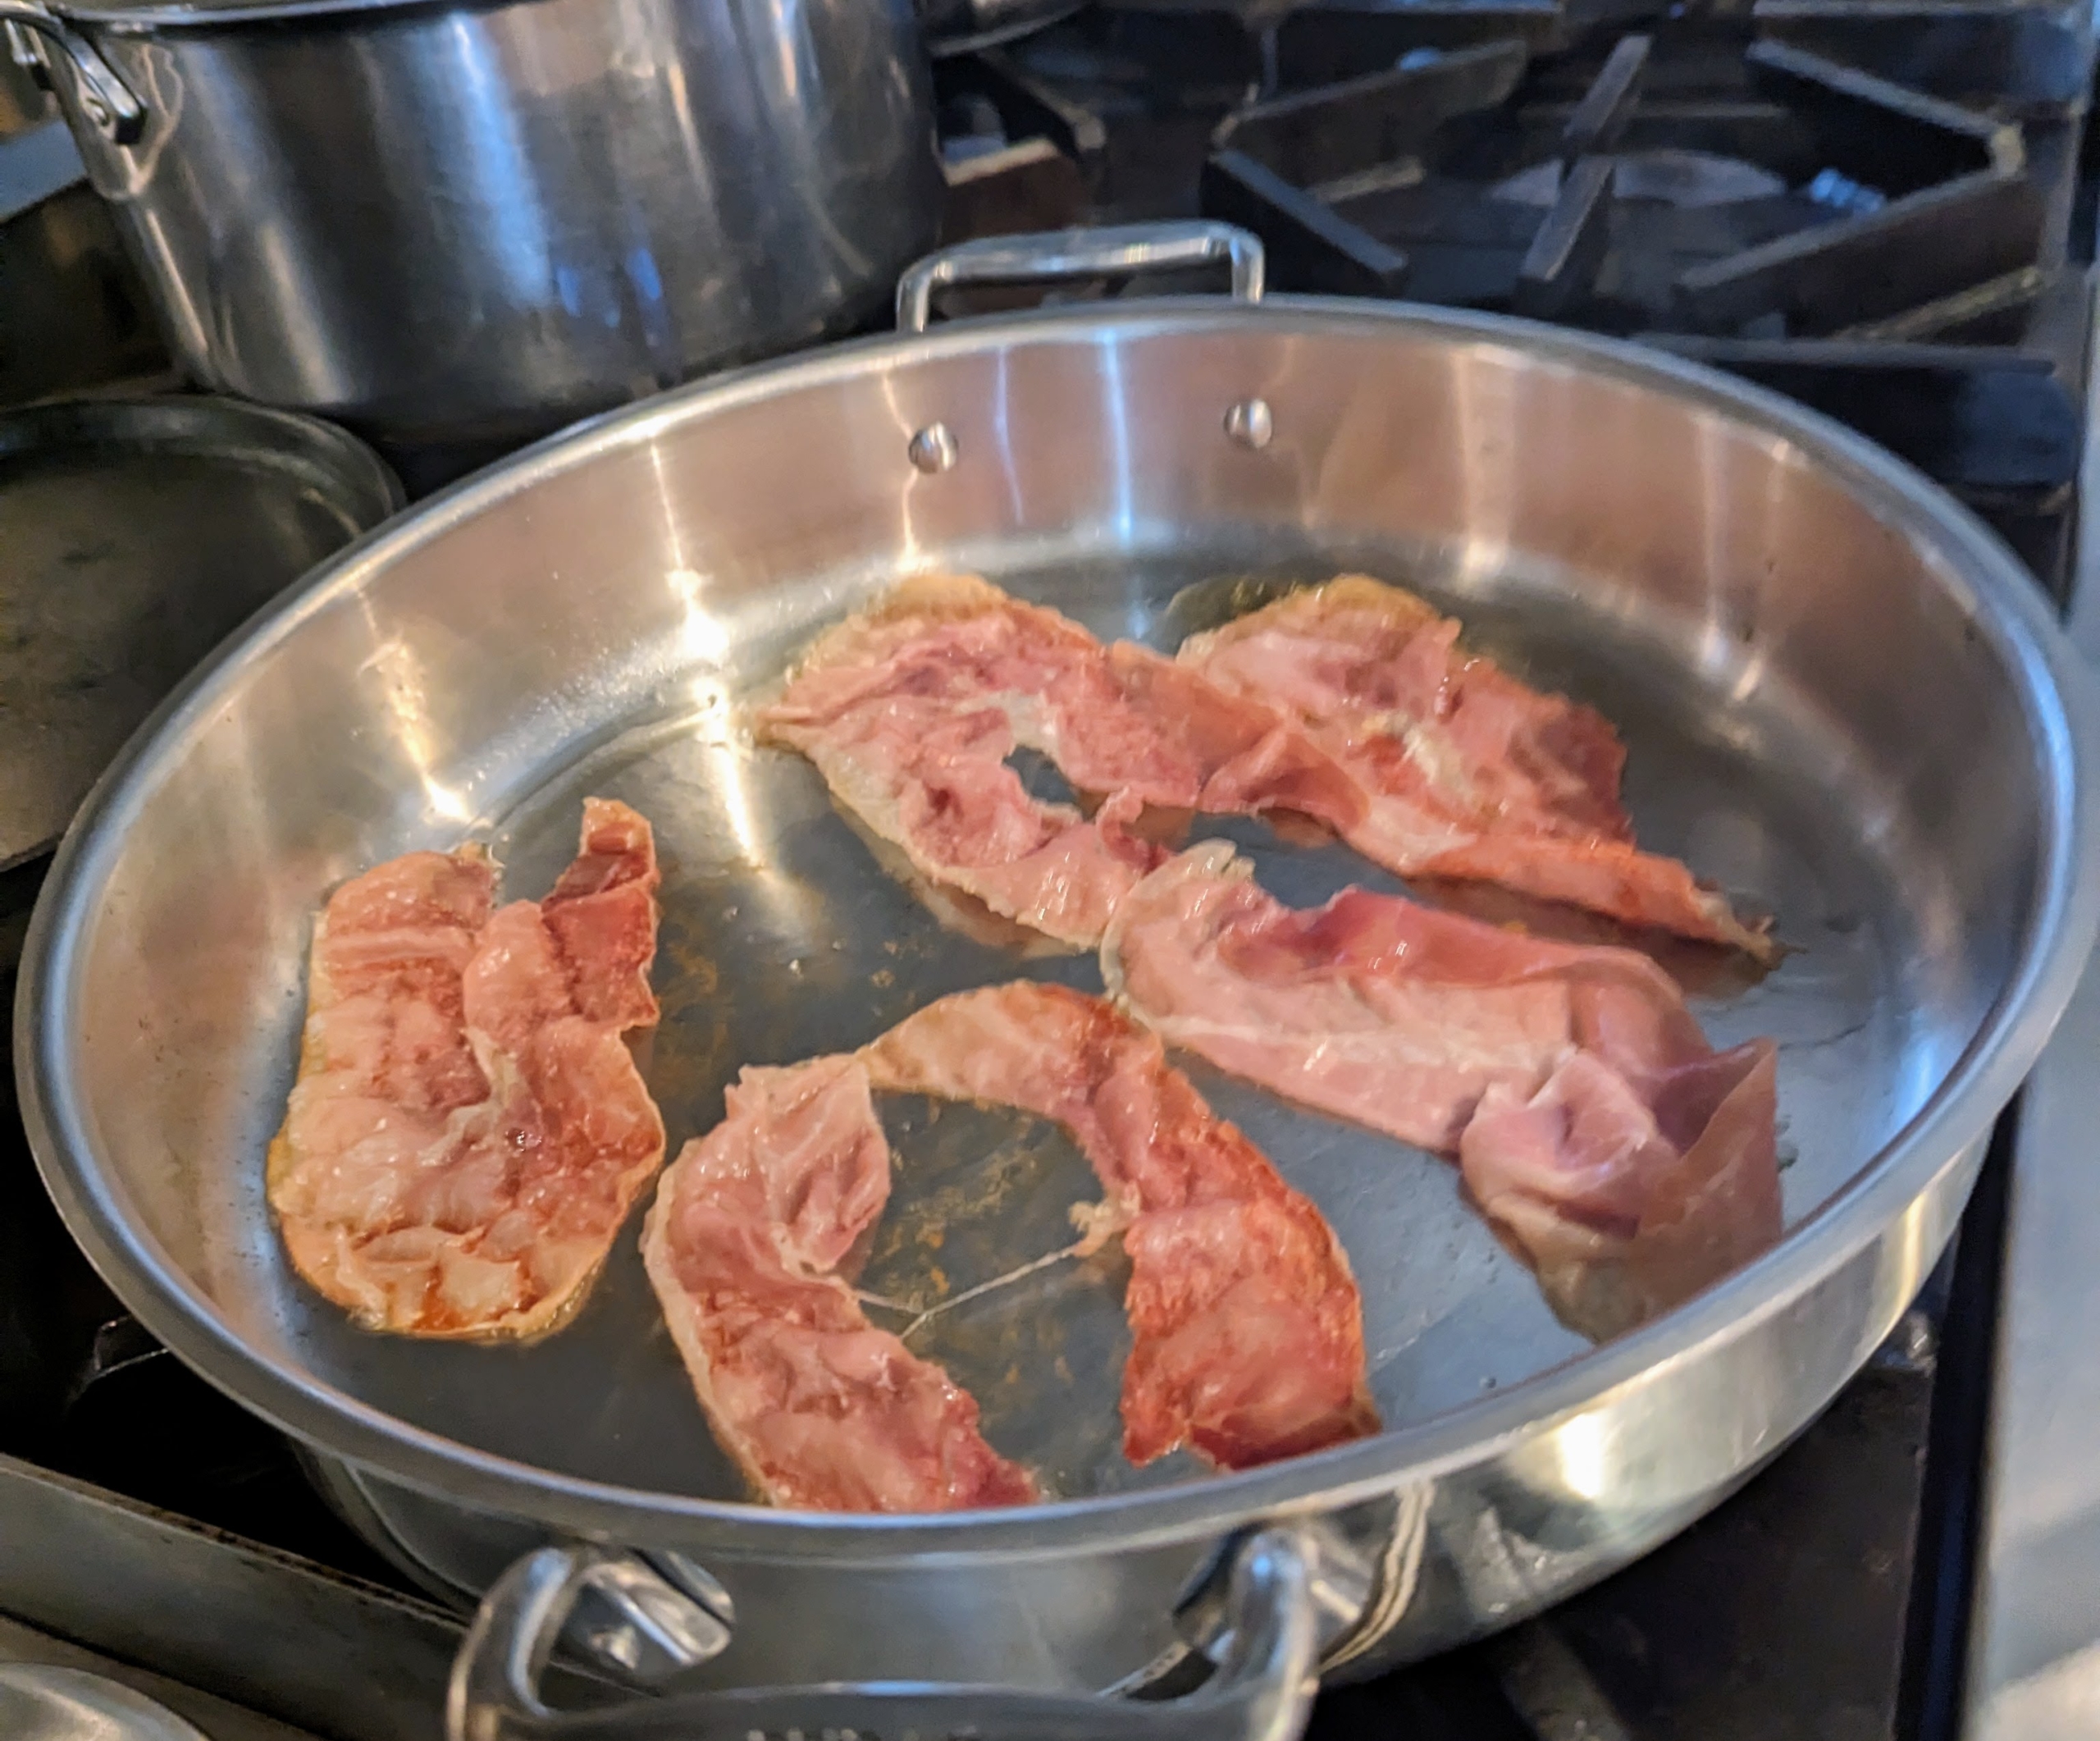
Next, Elvira heats two teaspoons of extra virgin olive oil in a large skillet over medium-high heat.
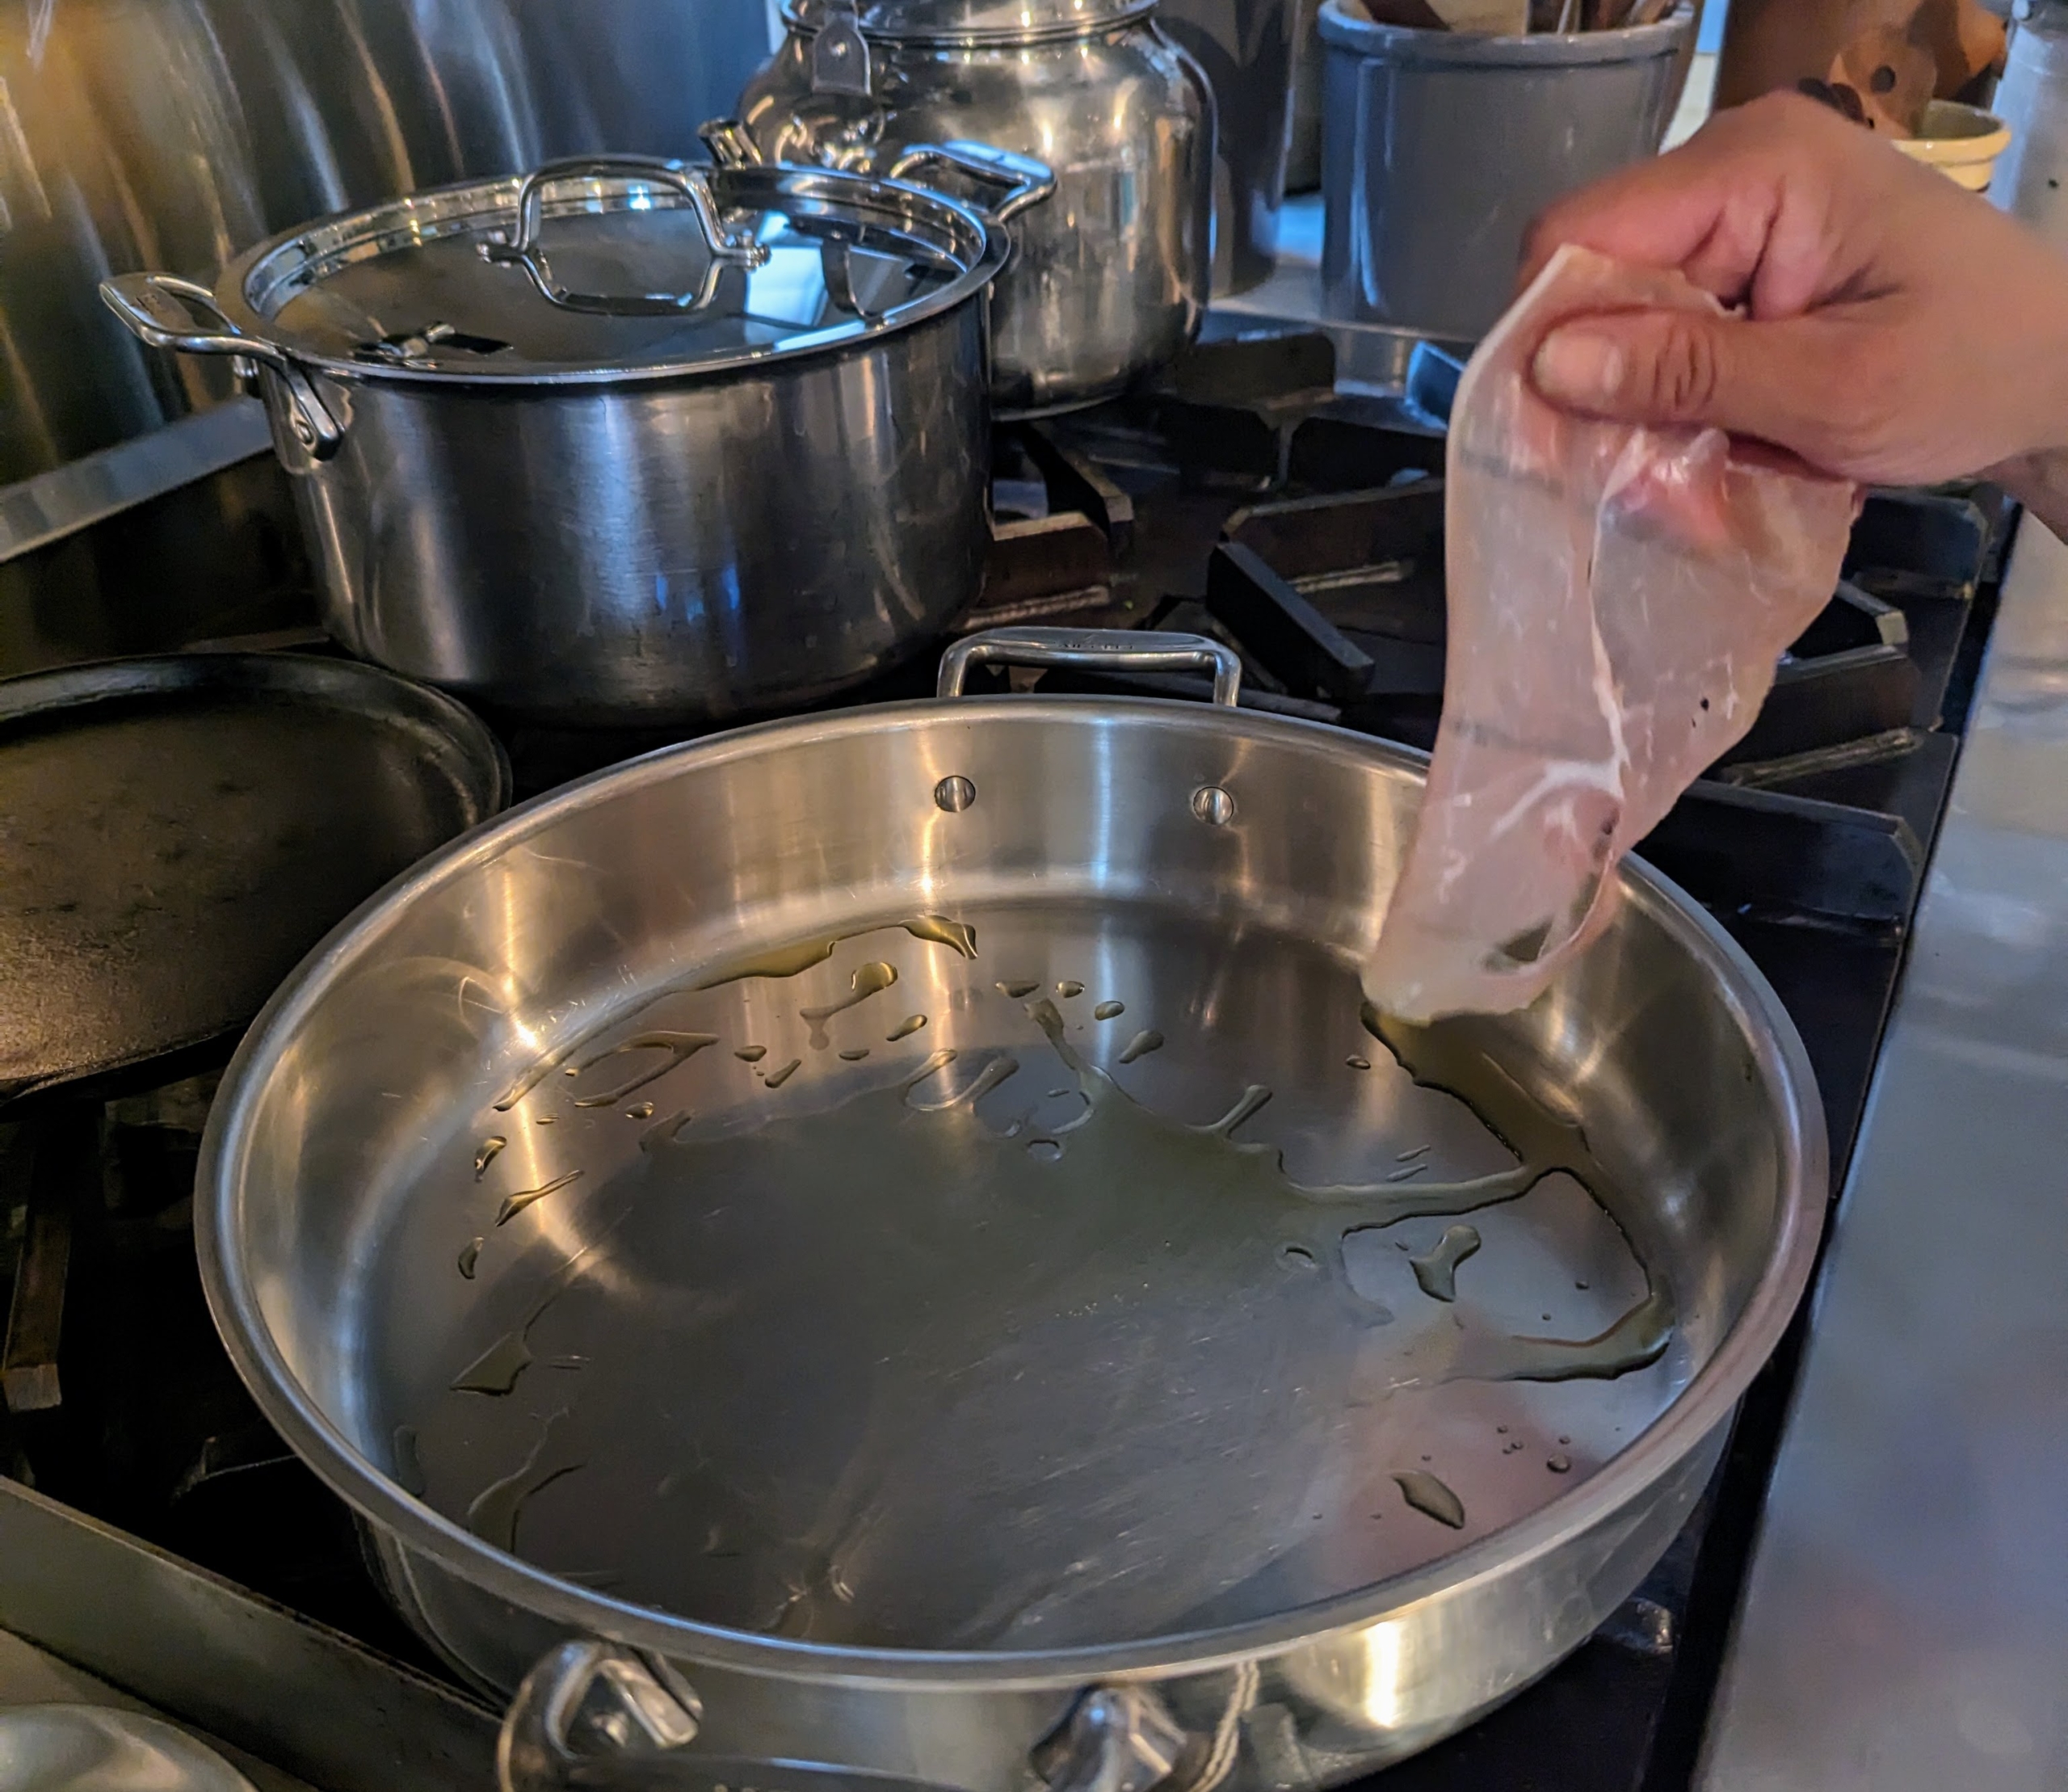
Once heated Elvira adds the prosciutto piece by piece in an even layer. The word prosciutto, which translates to “ham” in Italian, is made only from the hind legs of pigs and is aged during a dry-curing process. There are typically two types of prosciutto: prosciutto cotto, which is cooked, and prosciutto crudo, which is uncooked, yet cured.
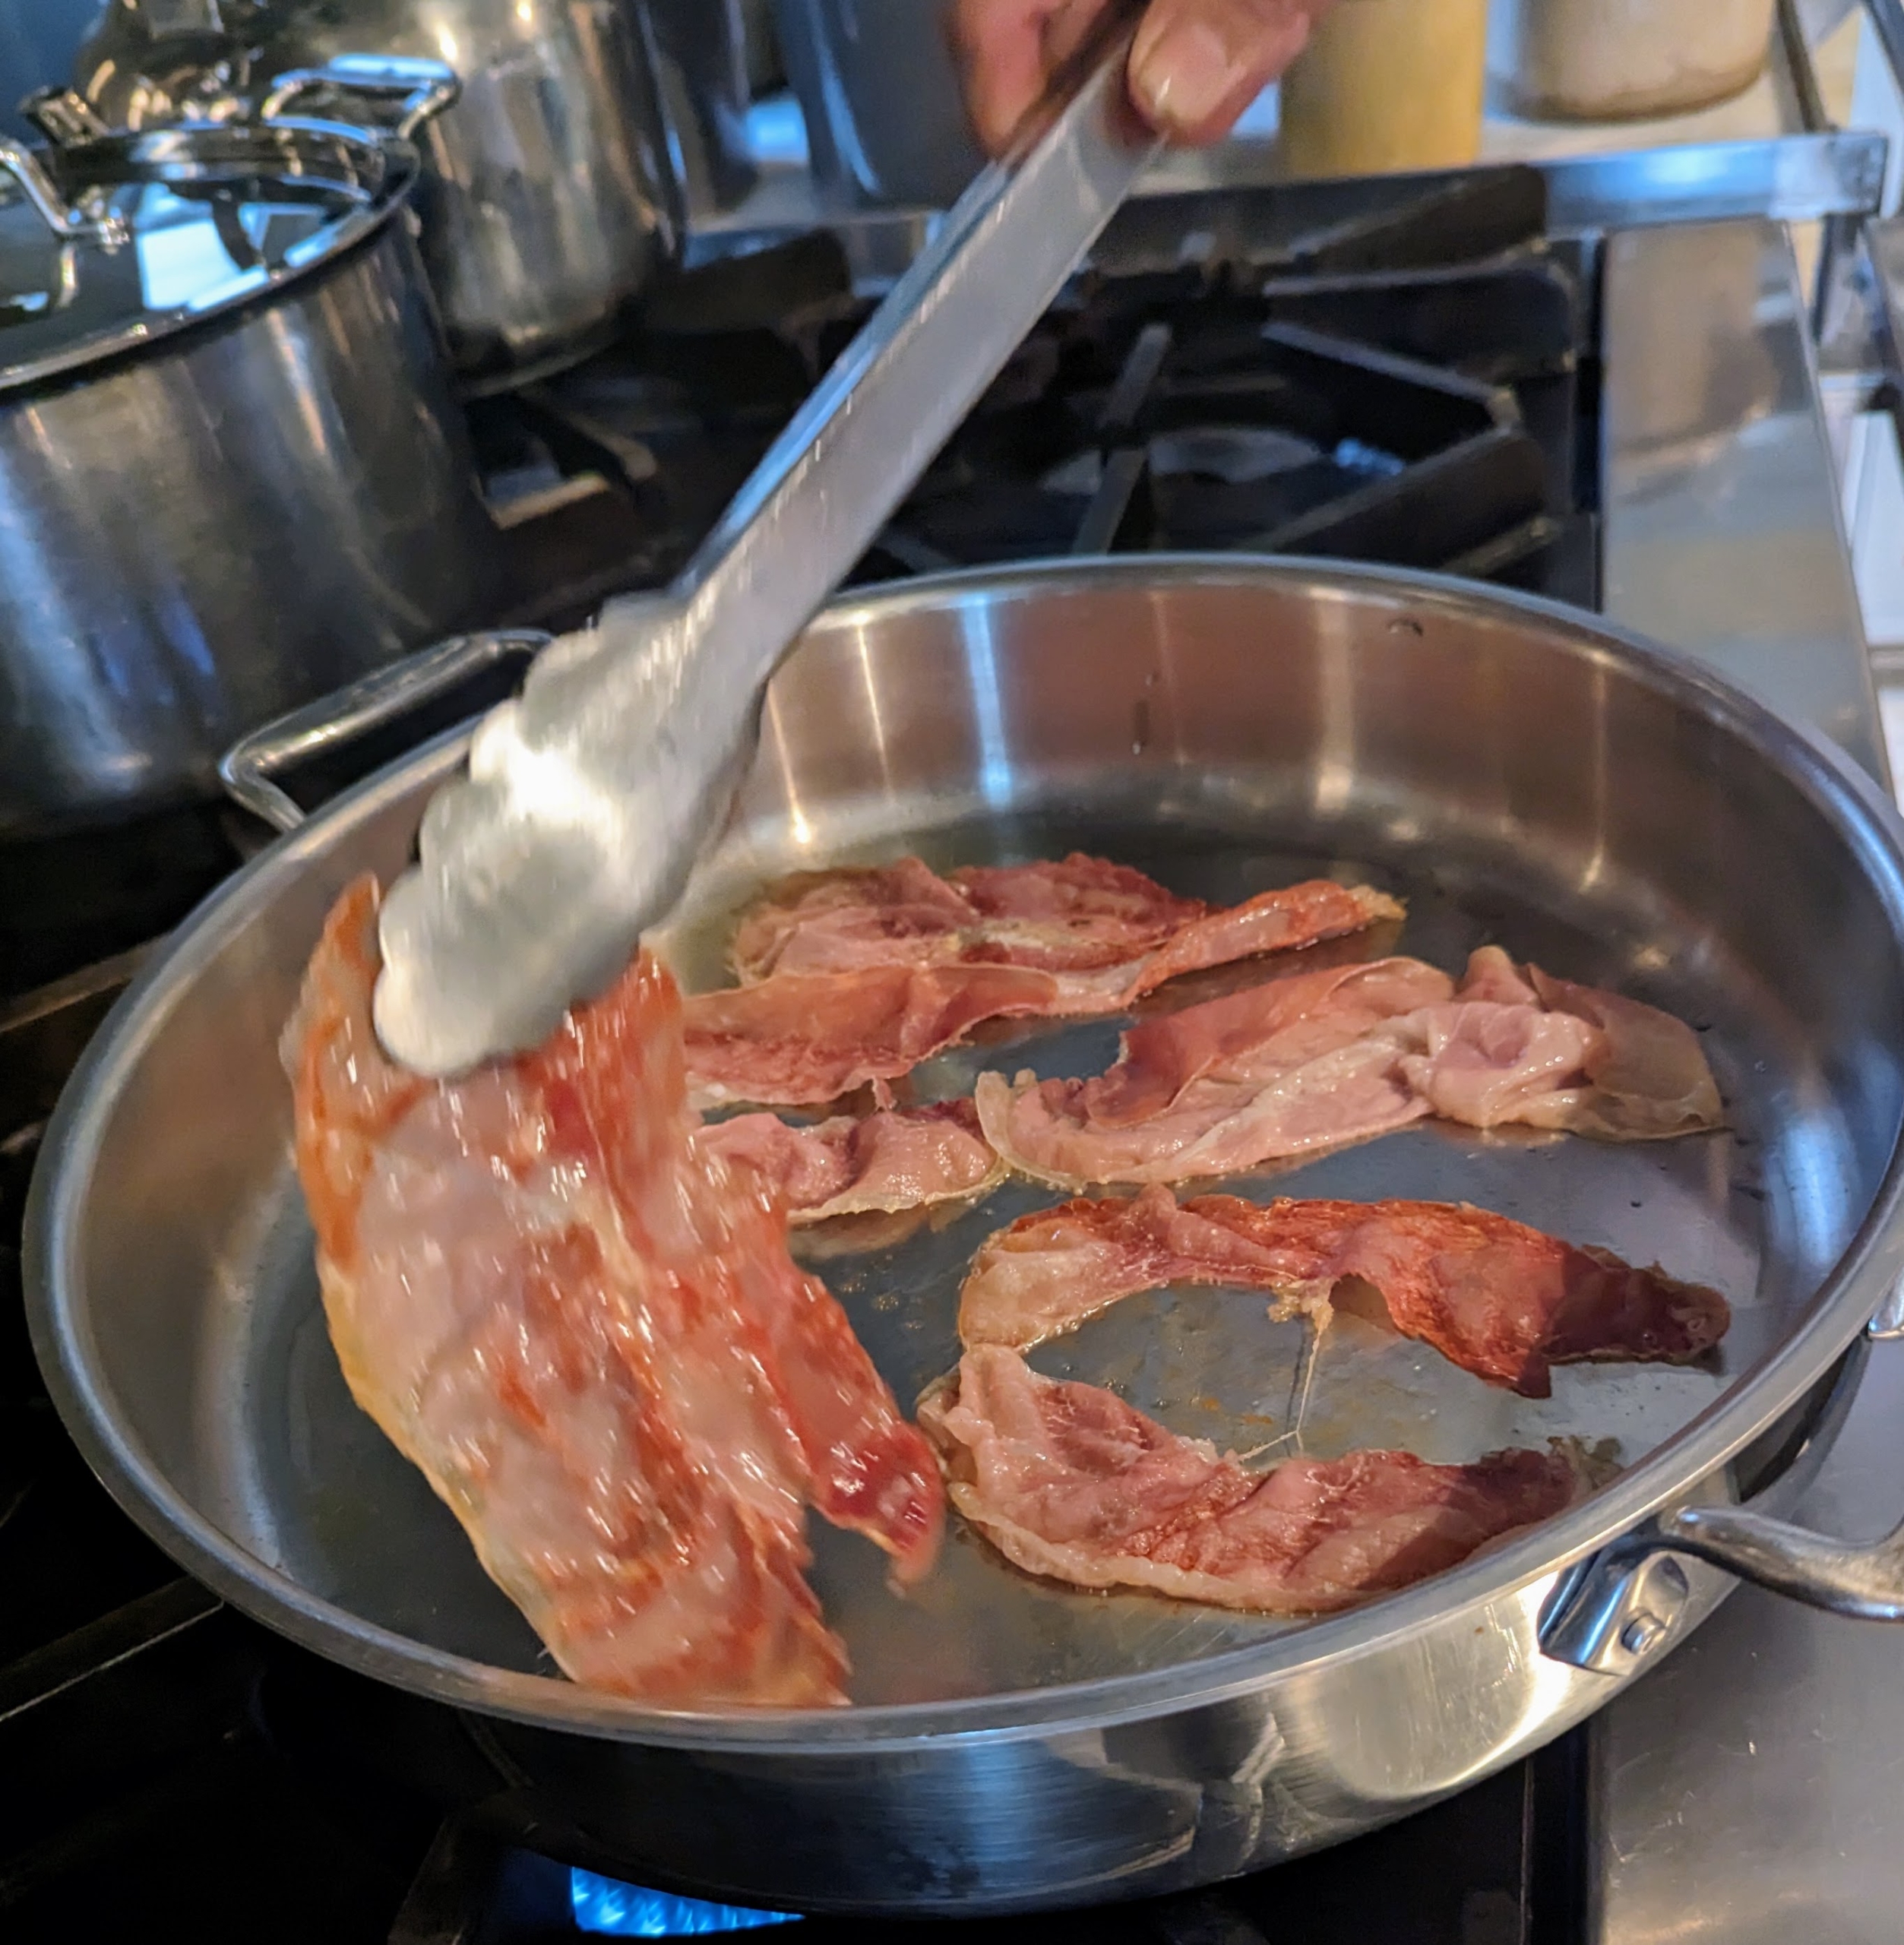
The prosciutto pieces are cooked until fragrant and browned in spots. Prosciutto is a flavorful, delicately sweet and salty product. It typically has a salmon pink to brownish-red color. Because prosciutto is already salty, our recipe does not call for any extra salt.
It only takes about two to three minutes to cook. Elvira also flips each piece halfway.
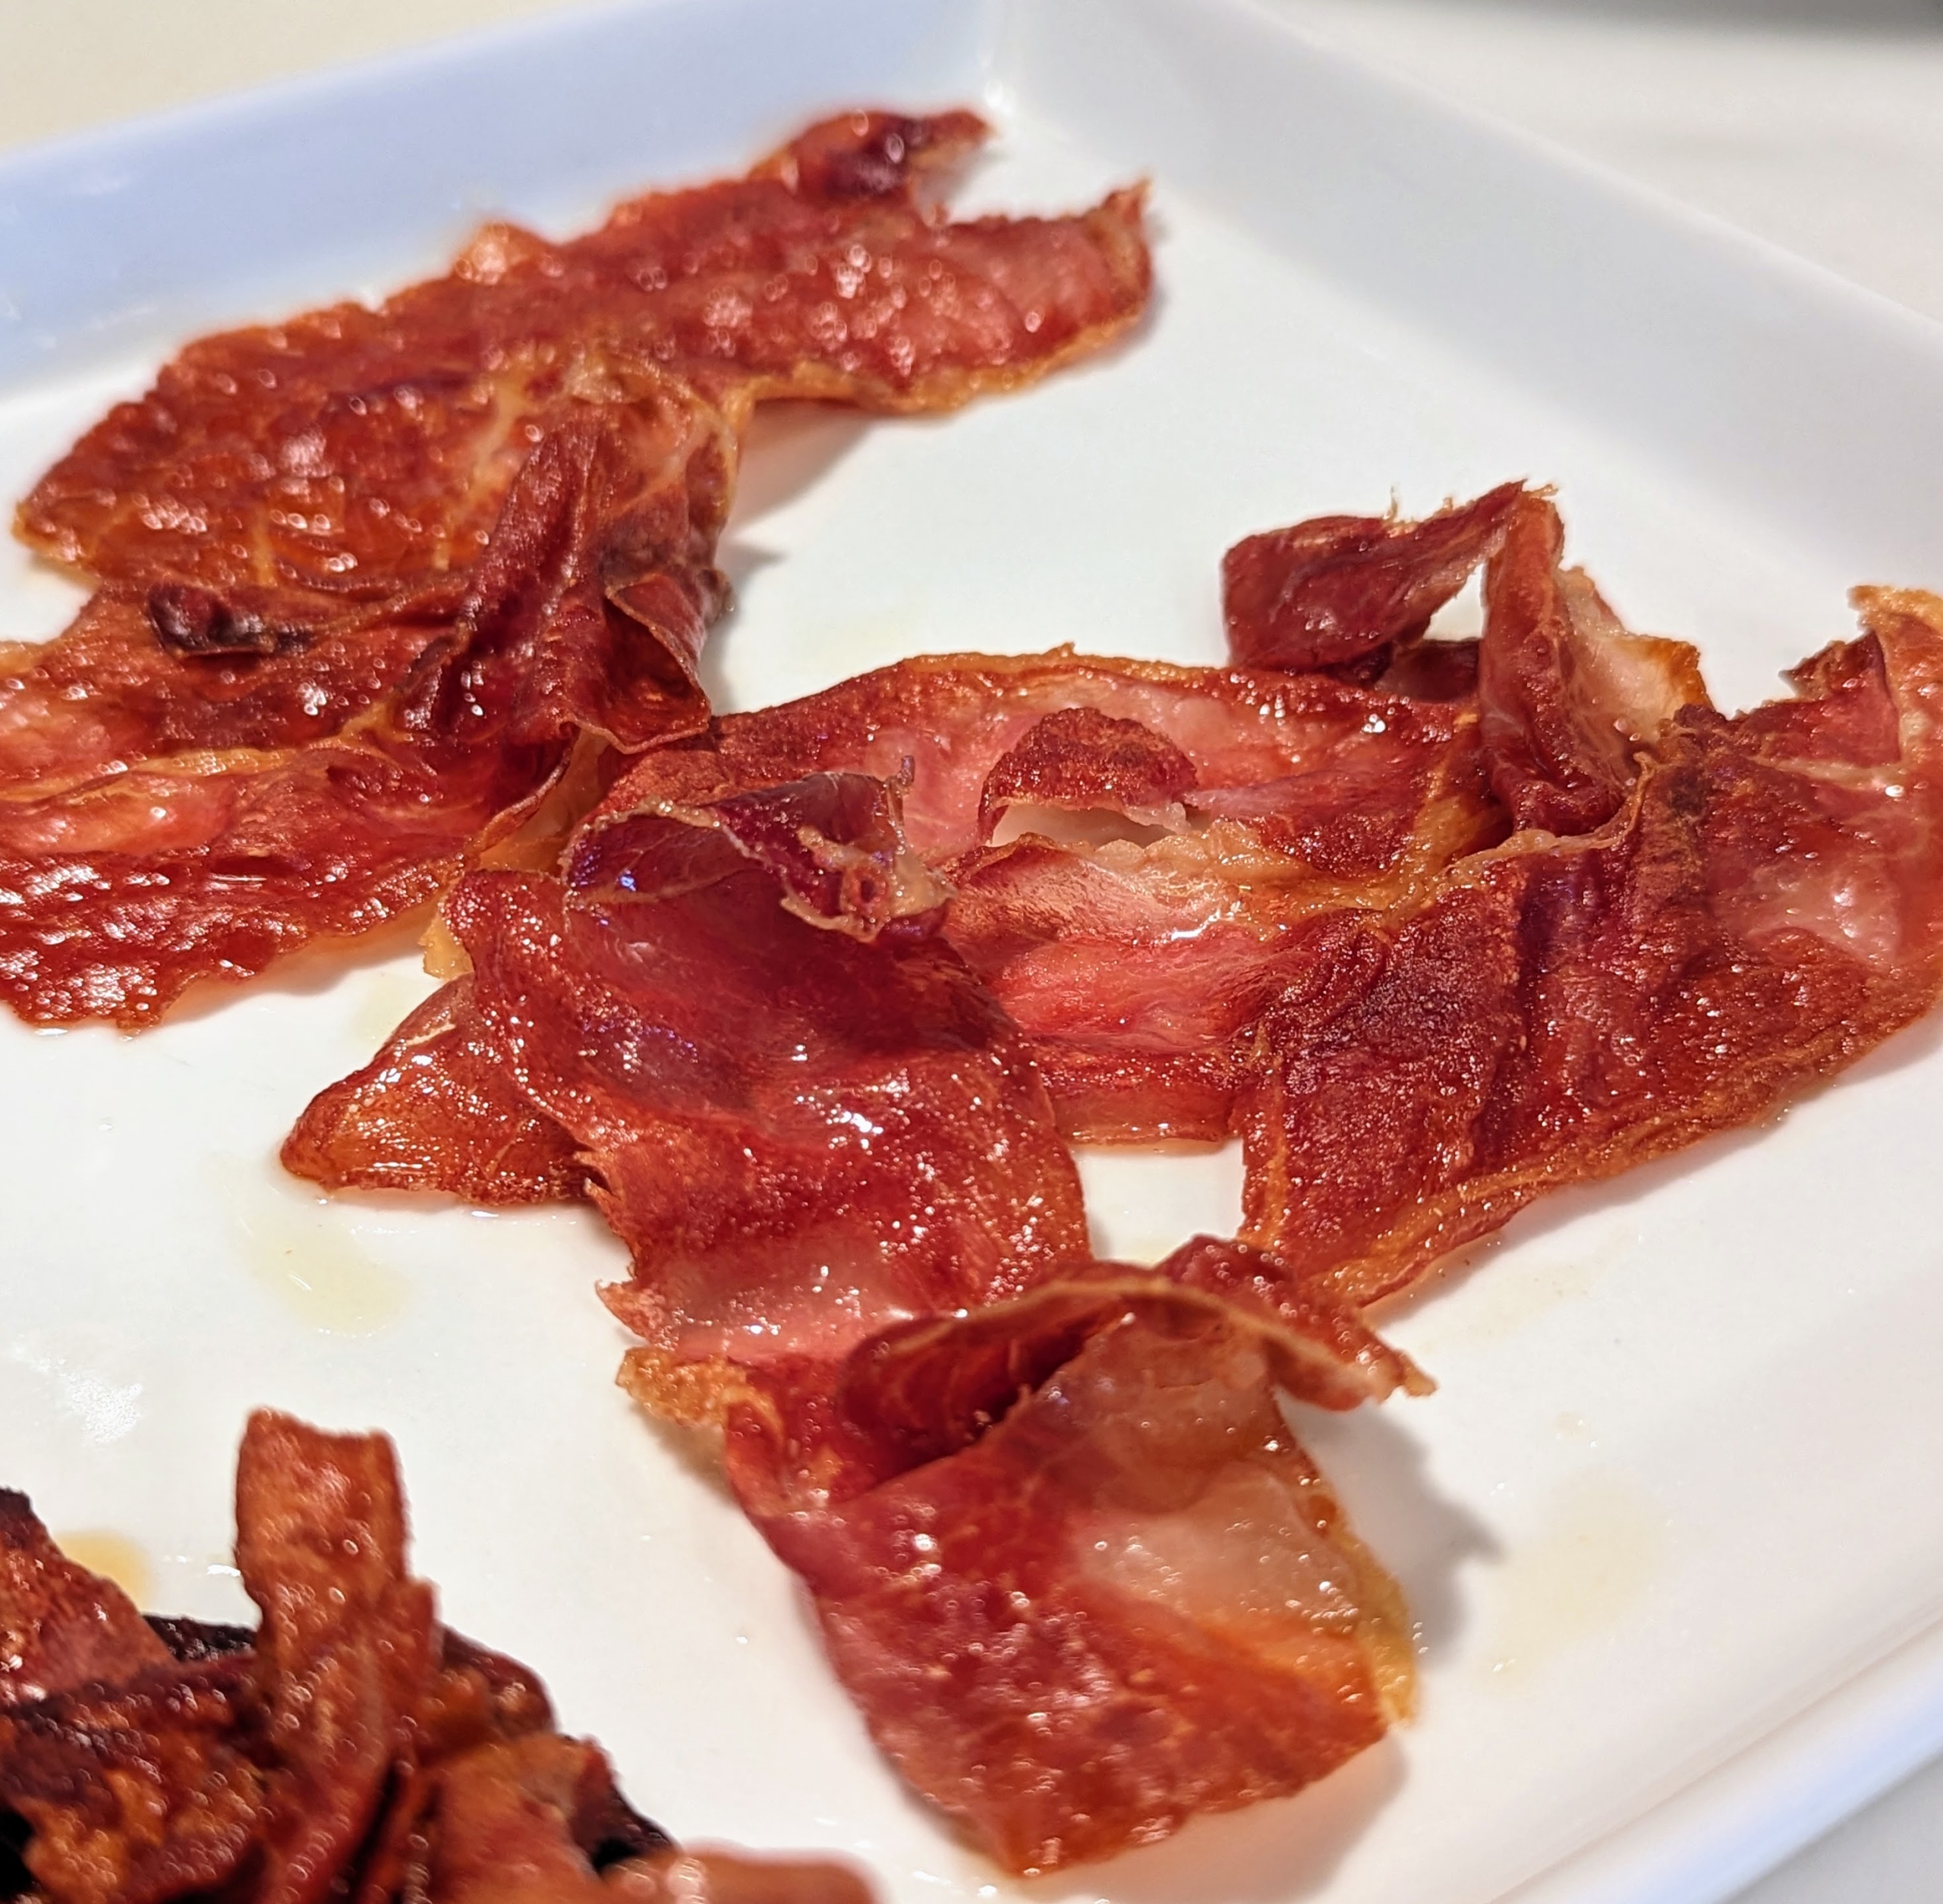
After the prosciutto is cooked, it is placed on a plate and put to the side.
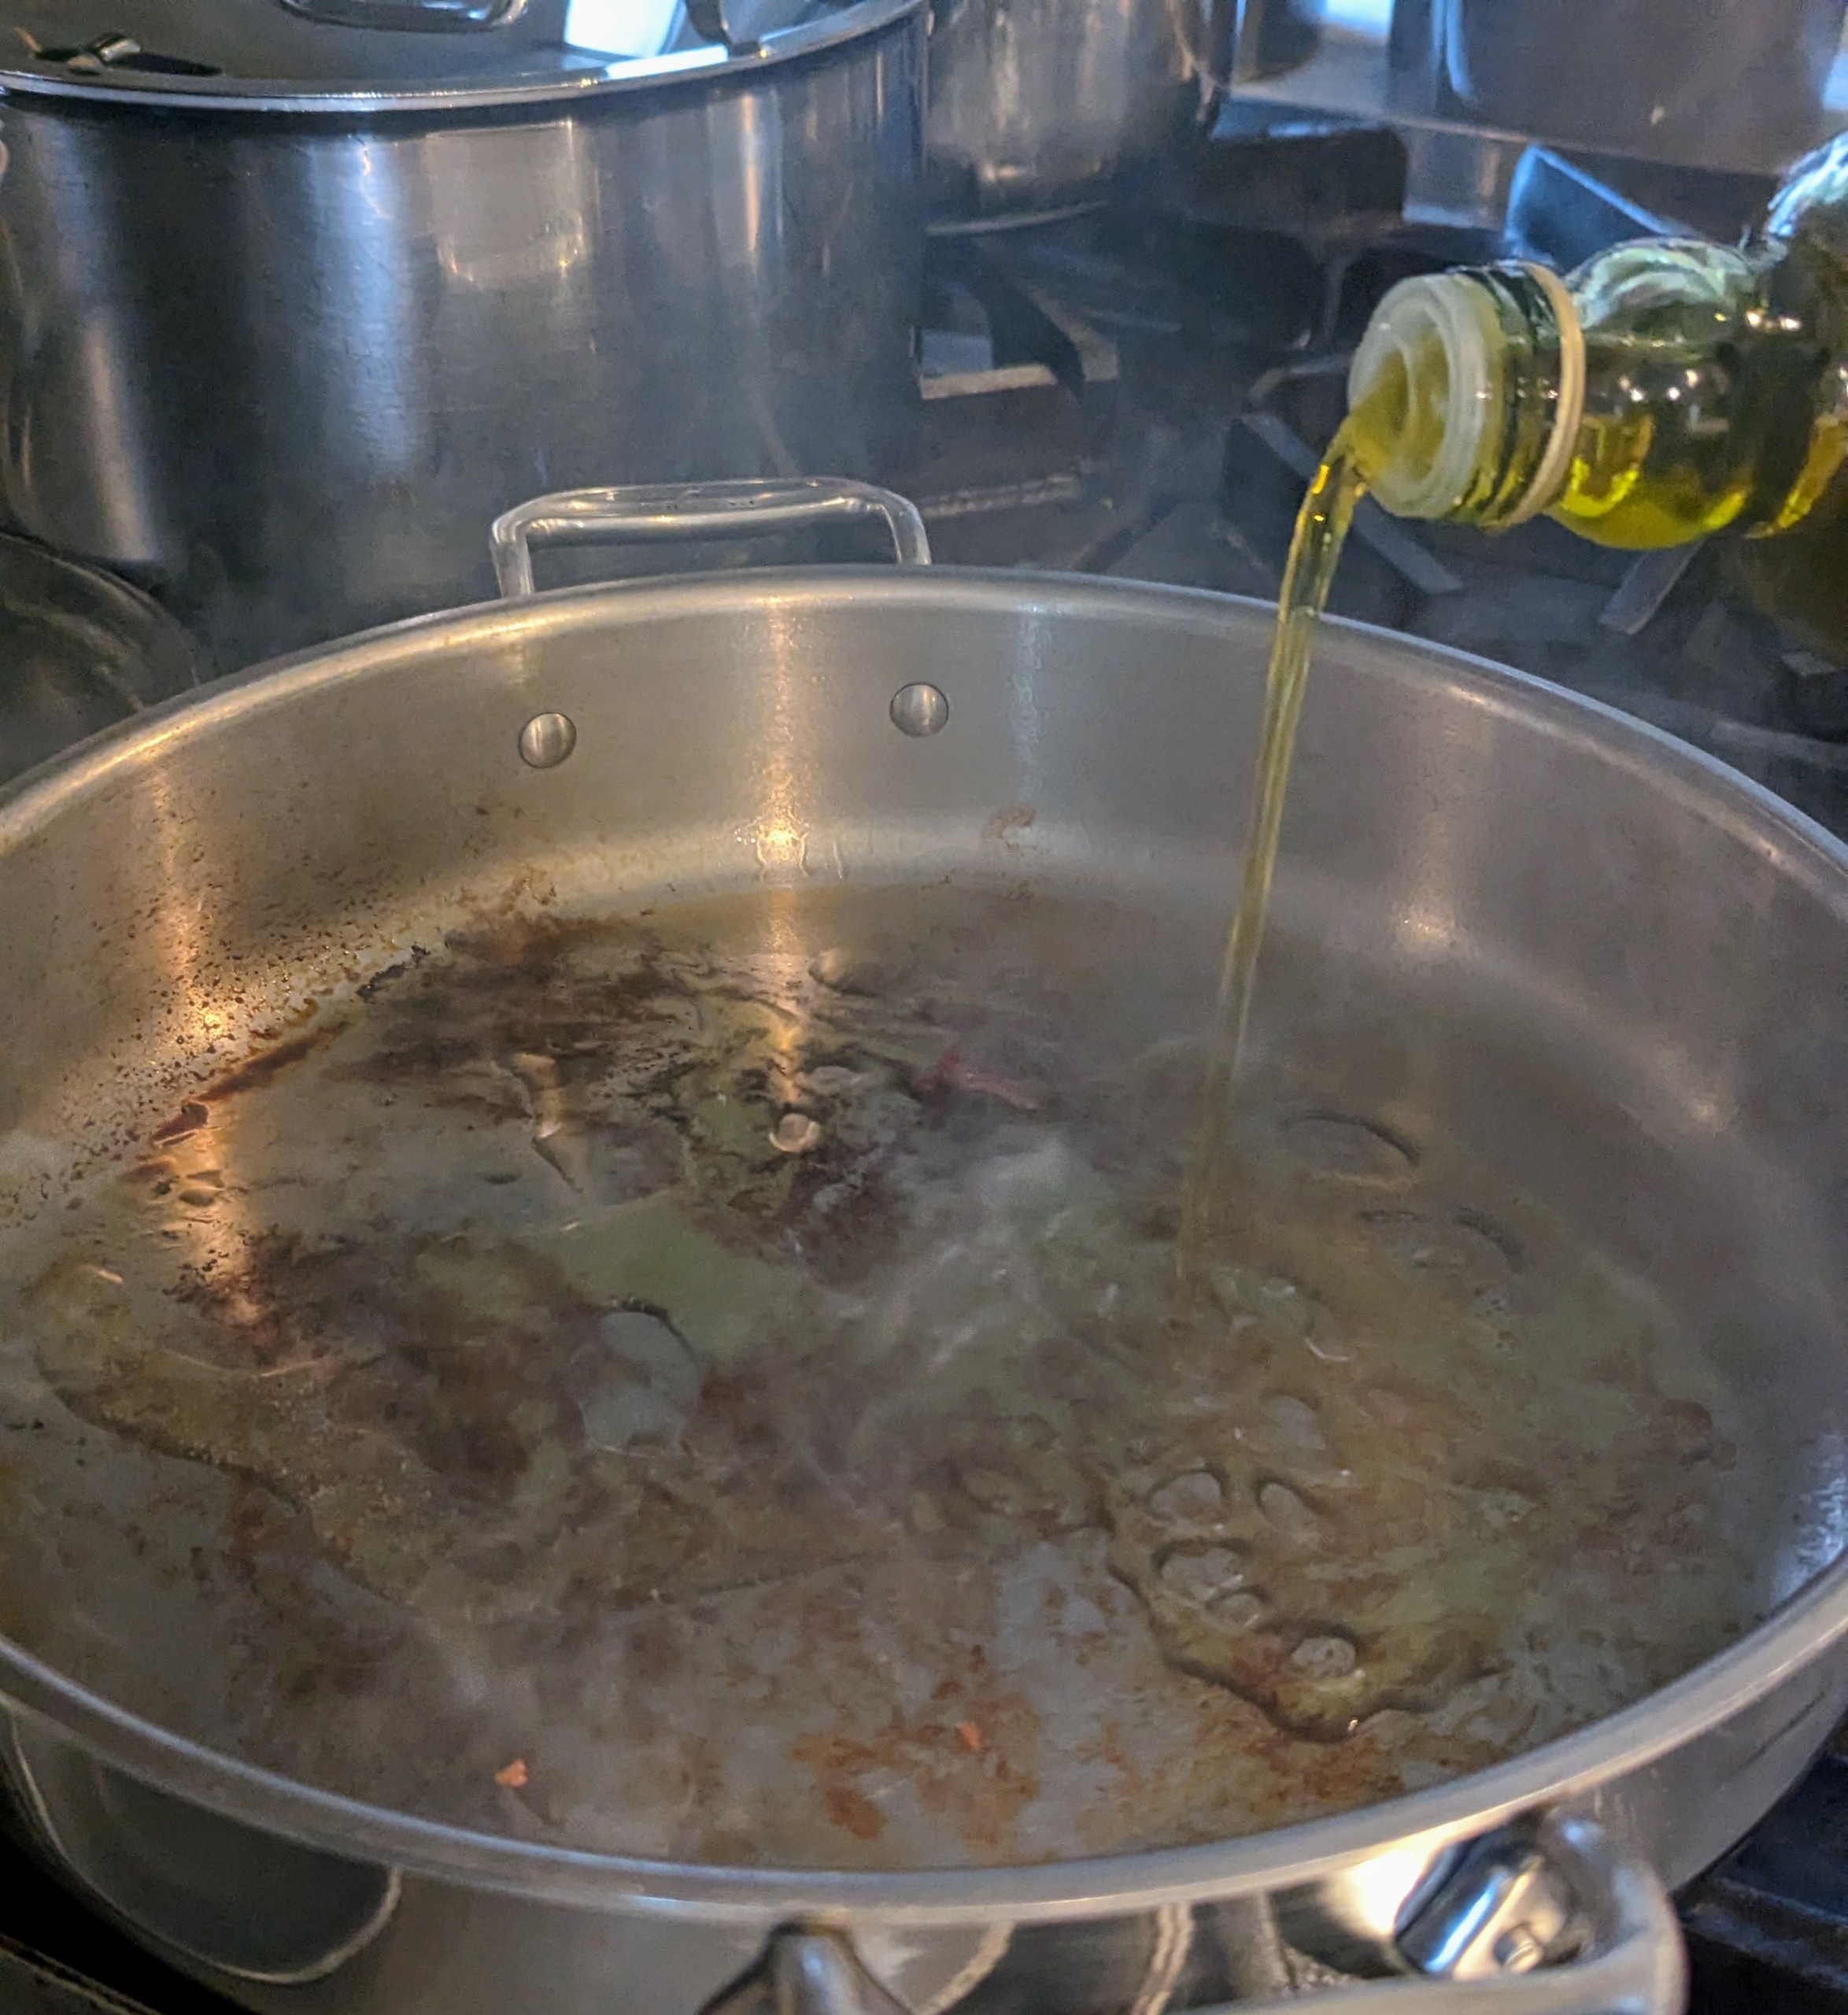
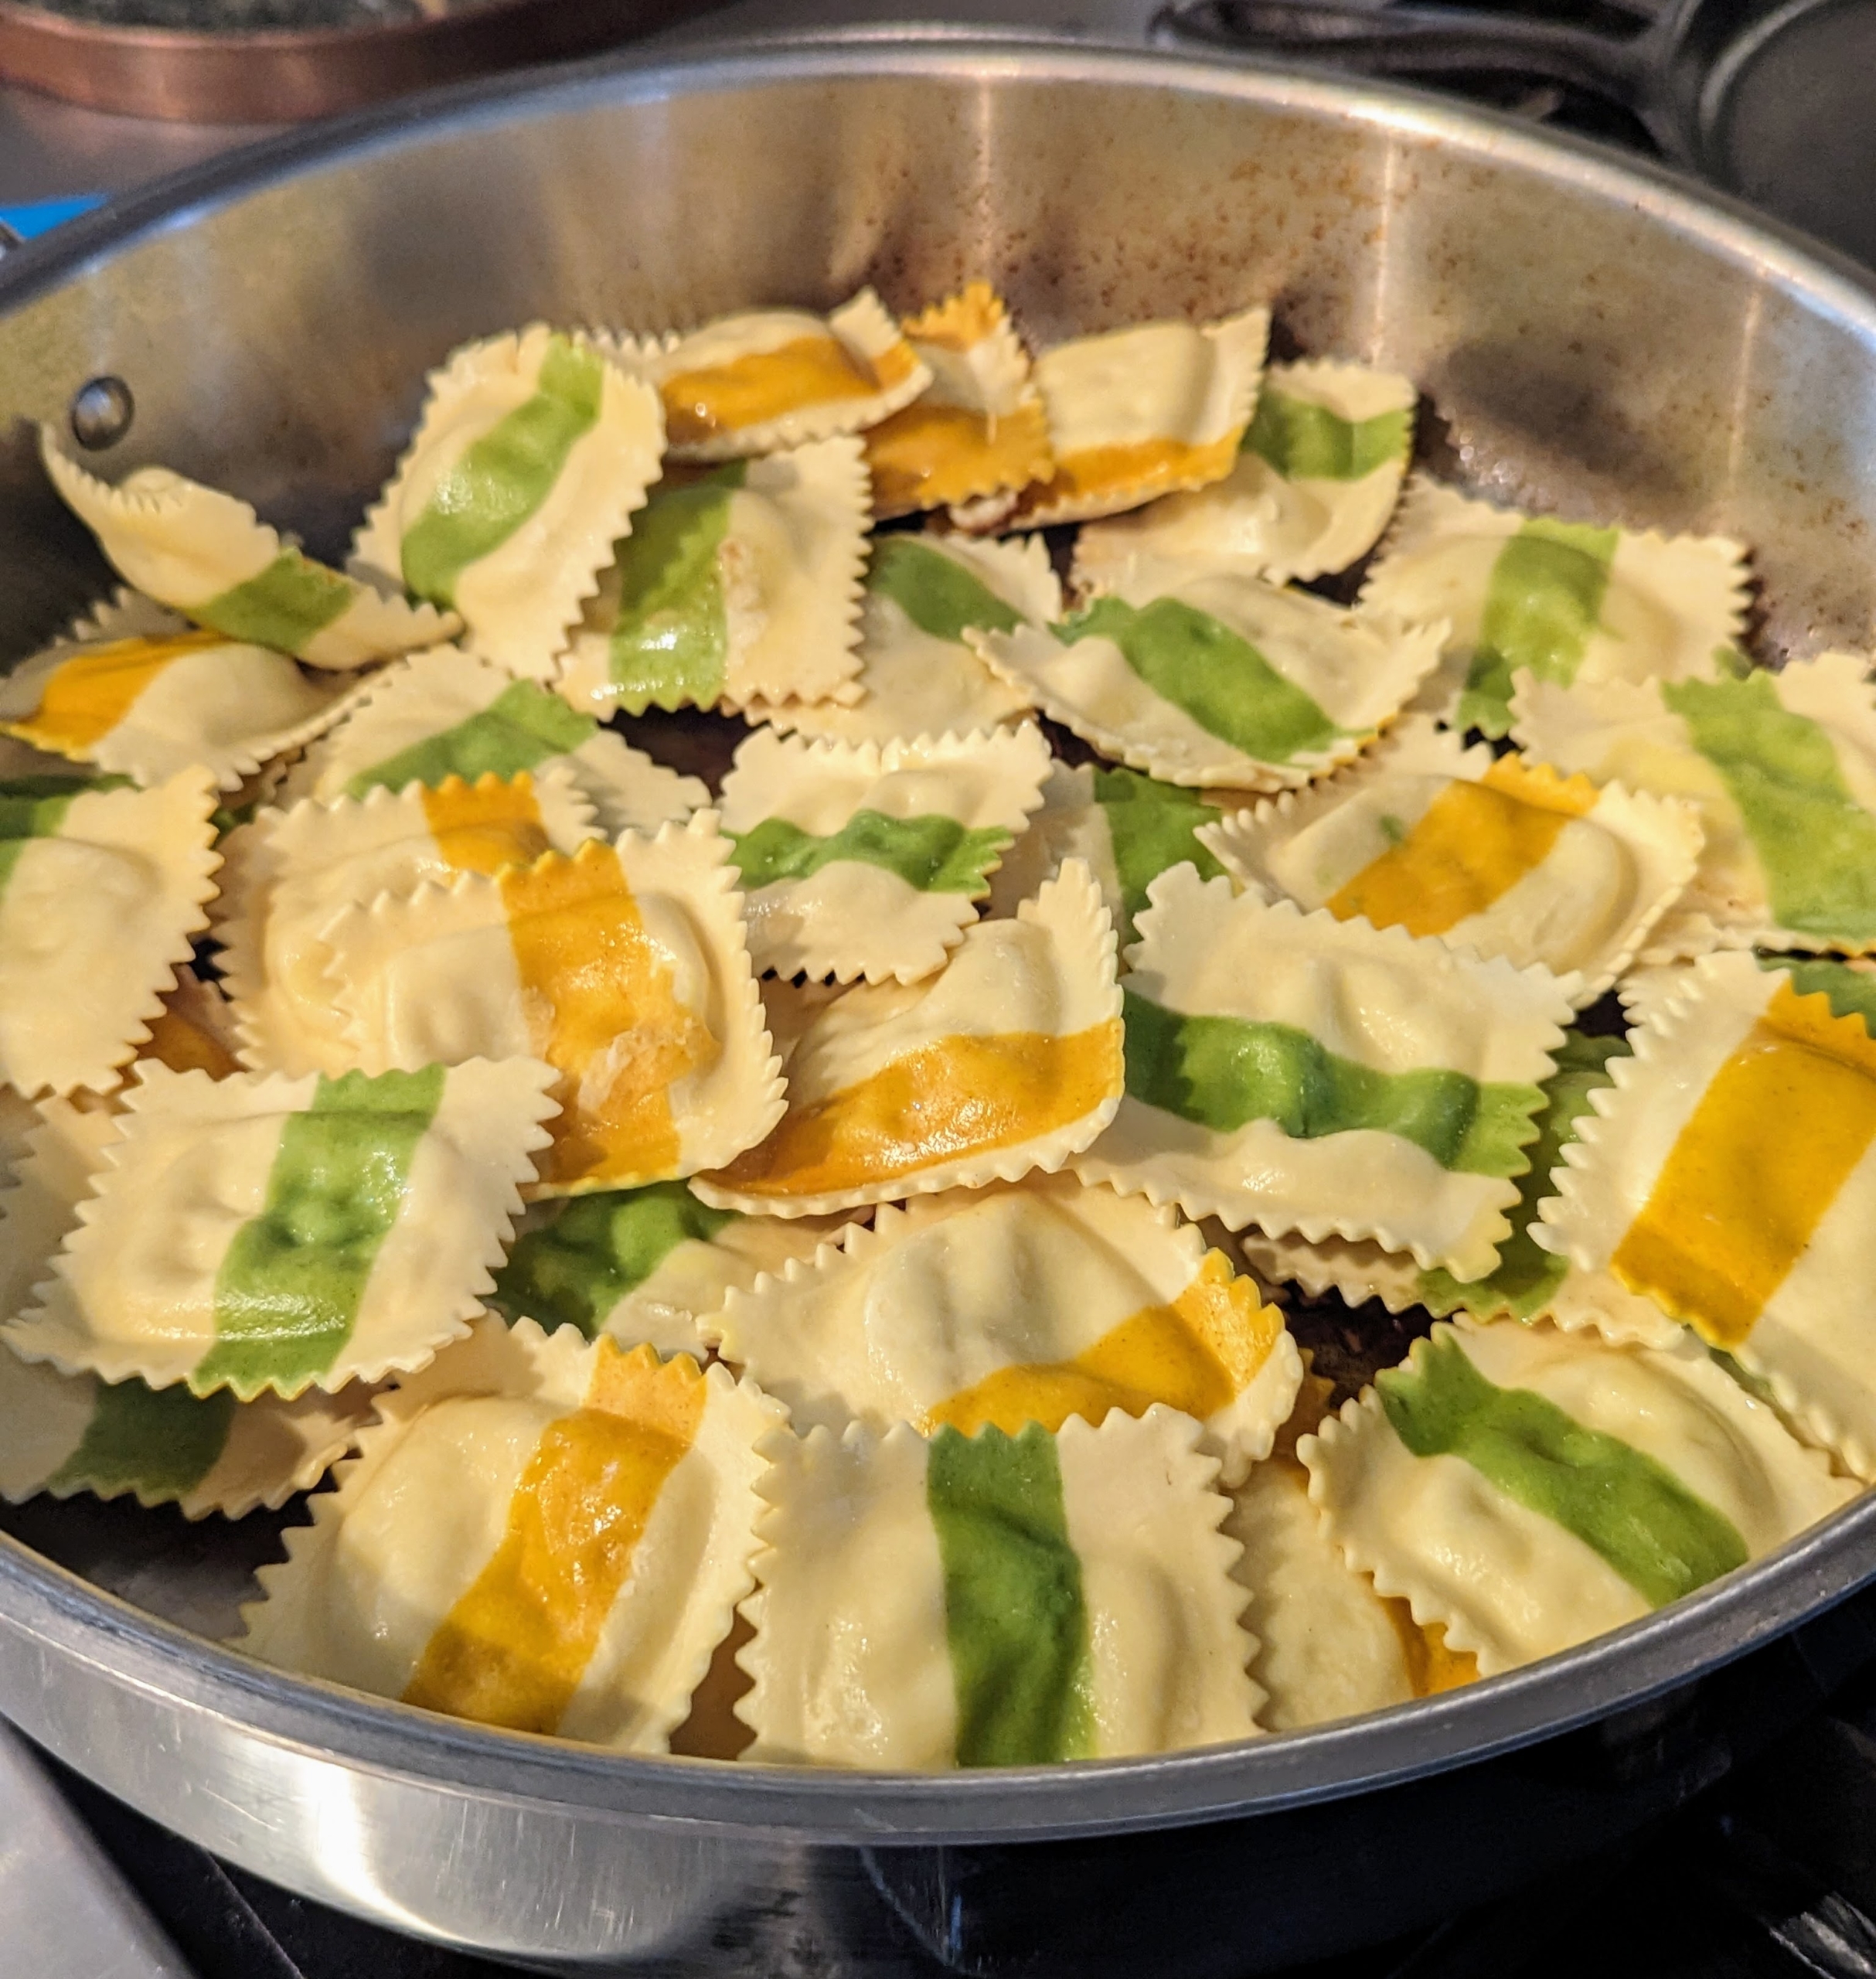
In the same skillet, Elvira heats one-and-a-half tablespoons of olive oil over medium-high.
She adds the ravioli and cooks without stirring for about two minutes until the ravioli is golden brown on the bottom. Each ravioli is filled with burrata, lemon, and herbs. Burrata is a semisoft white Italian cheese made from mozzarella and cream. While mozzarella is more solid, burrata is a casing of mozzarella filled with soft, creamy curd.
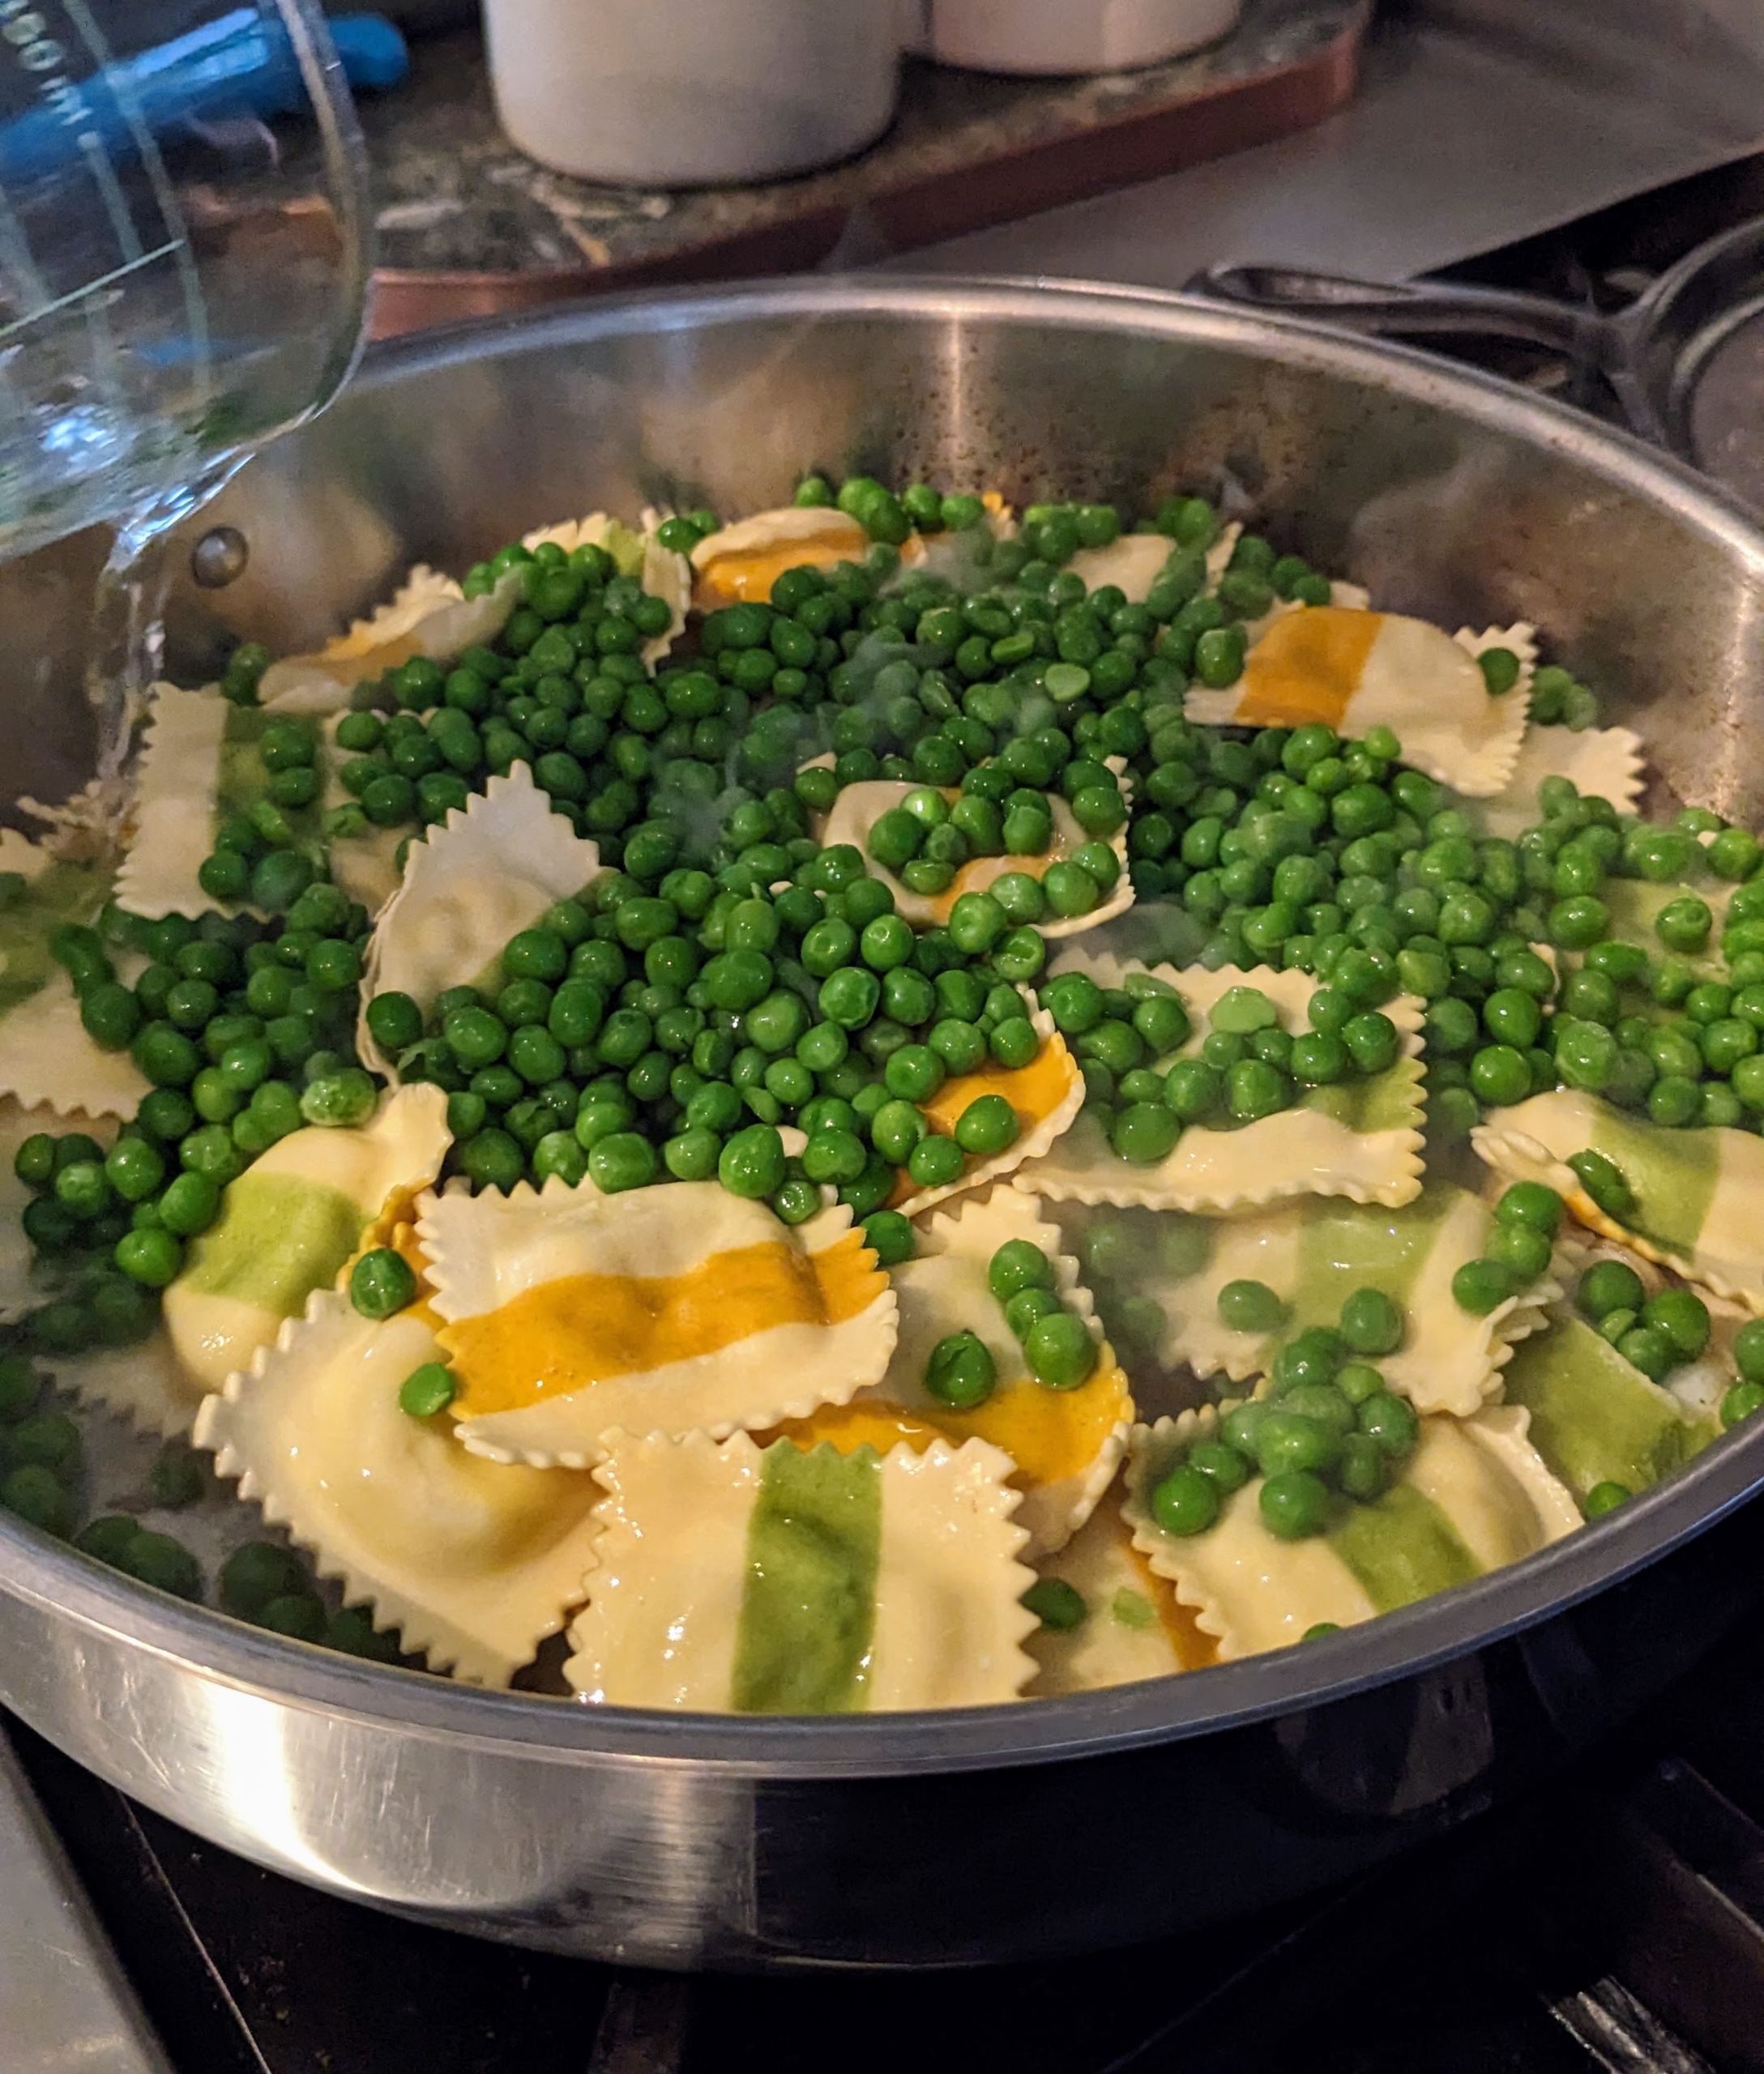
The peas are added on top along with 1/3-cup water. Peas are so nutritious. They are a good source of vitamins C and E, zinc, and other antioxidants that strengthen the immune system.
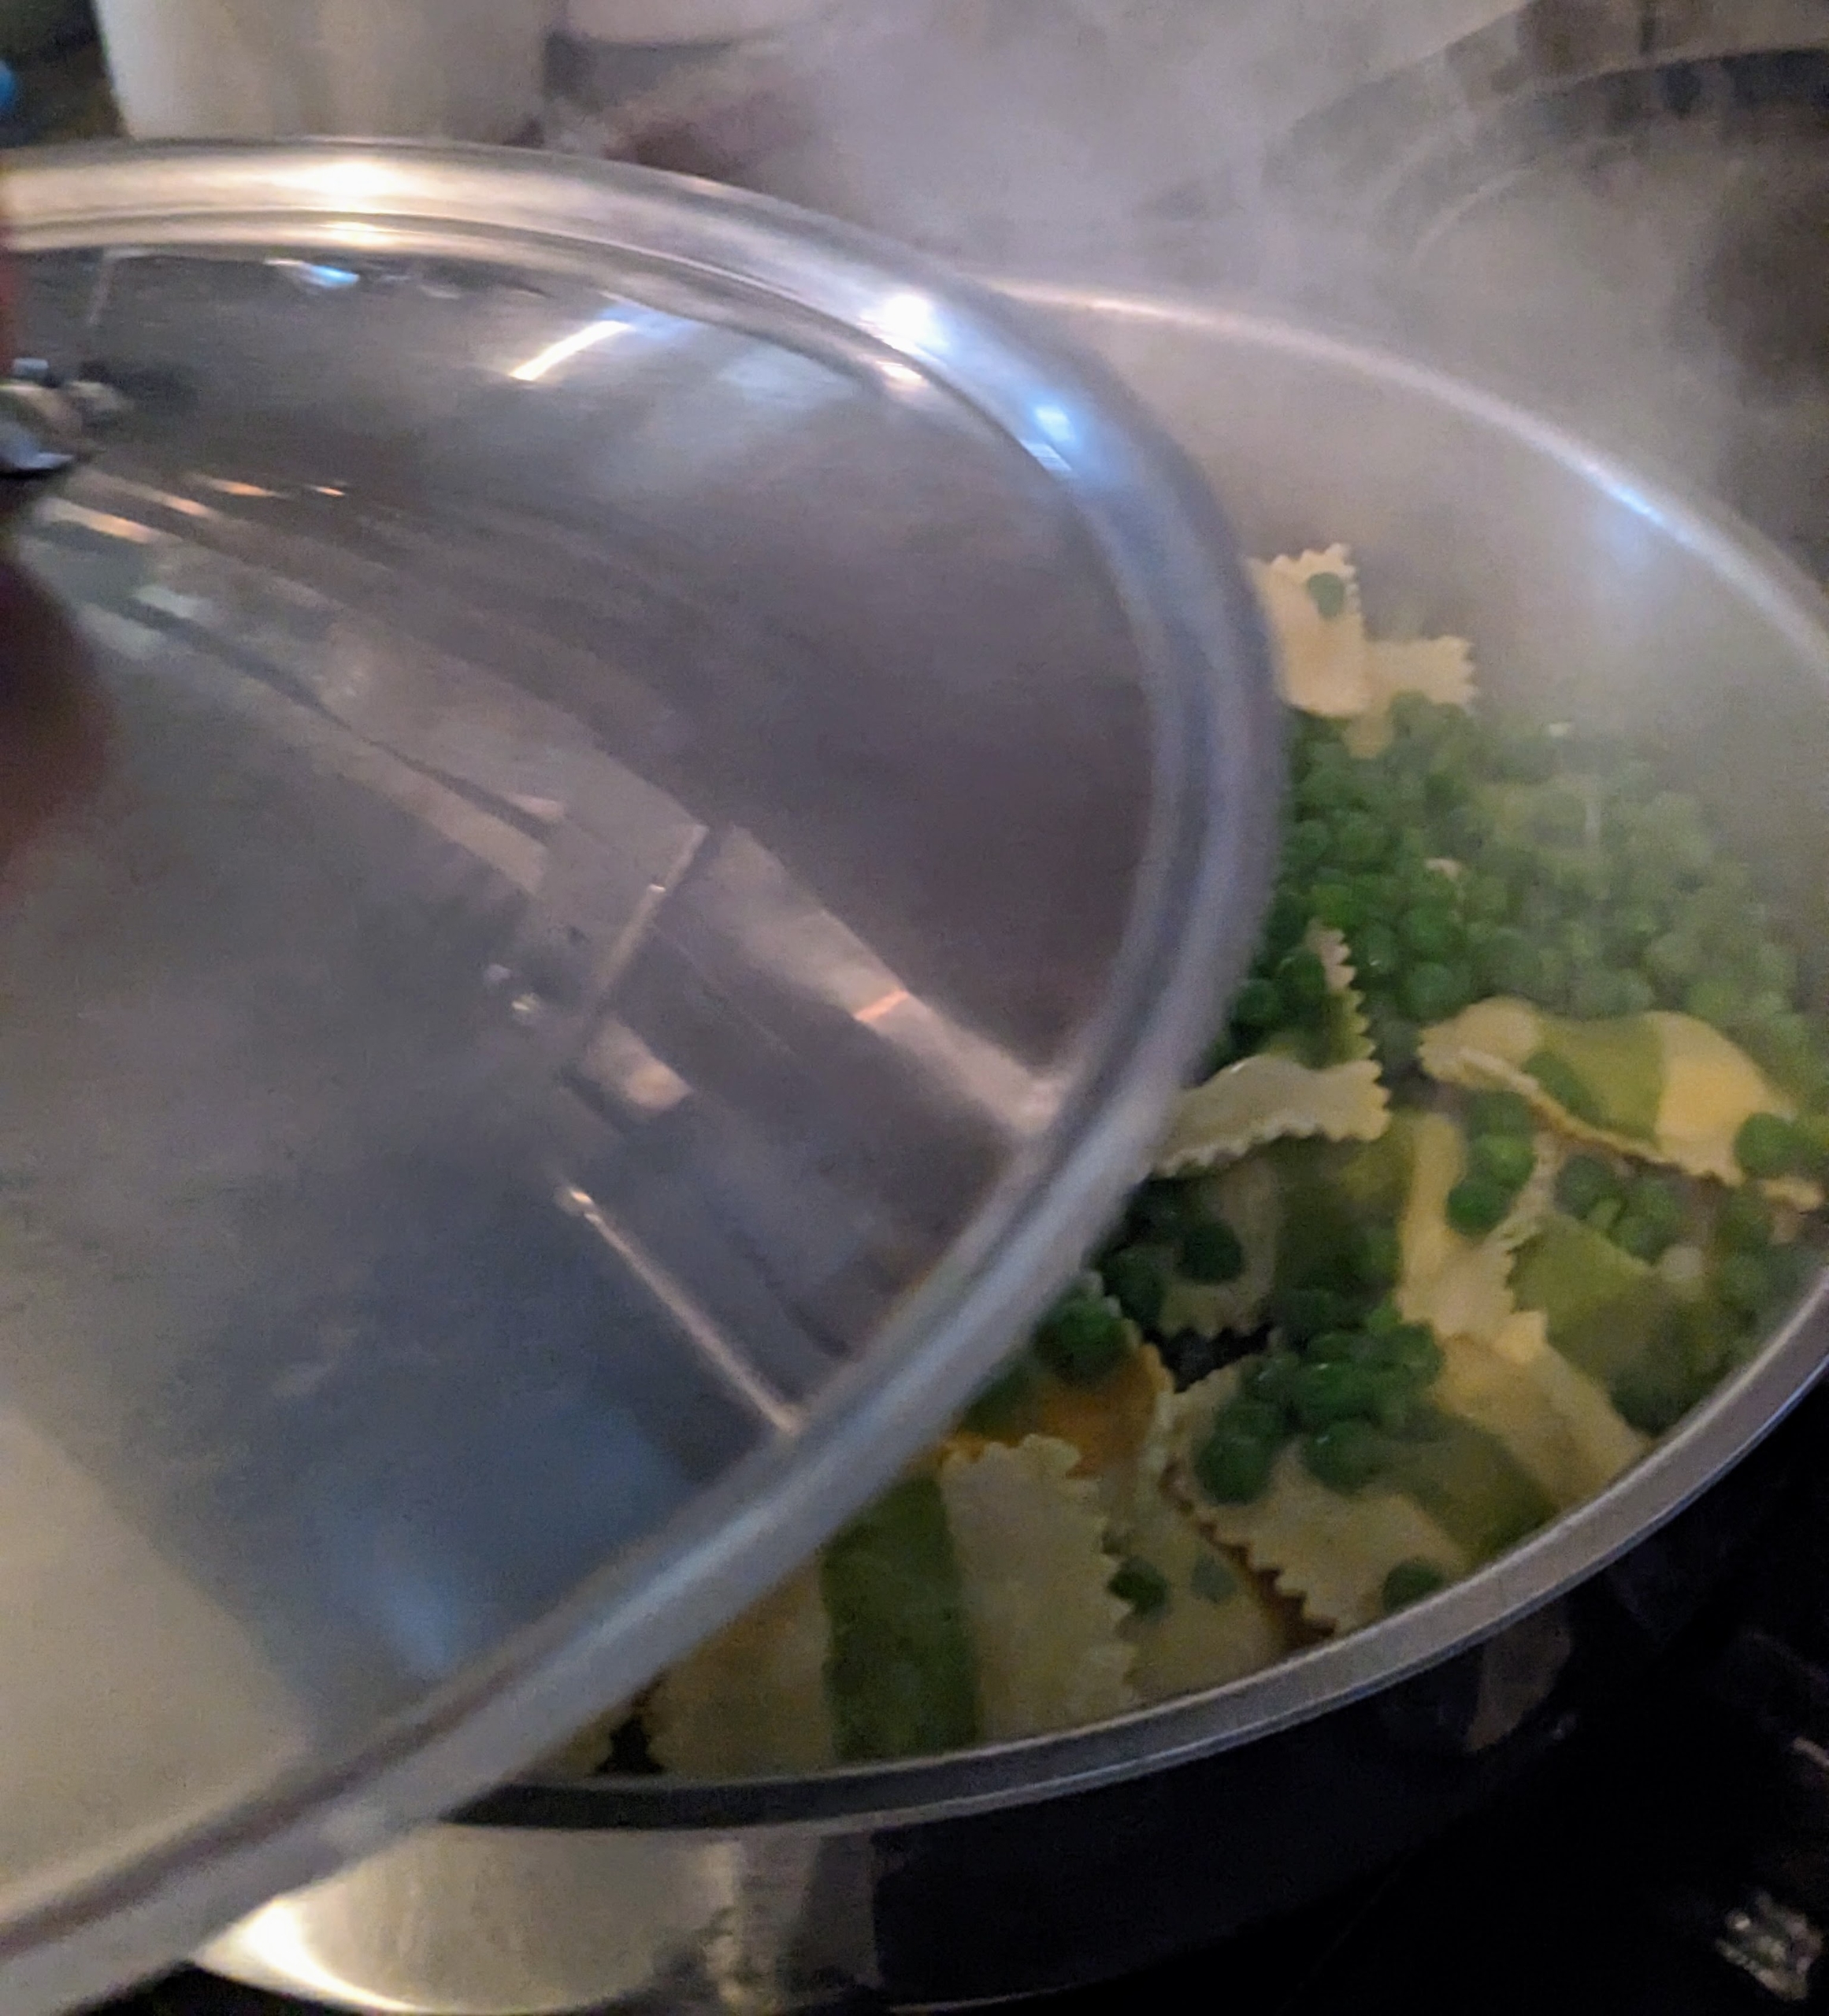
Elvira quickly covers the skillet and cooks until the ravioli is tender and the peas are warmed. This only takes about five minutes.
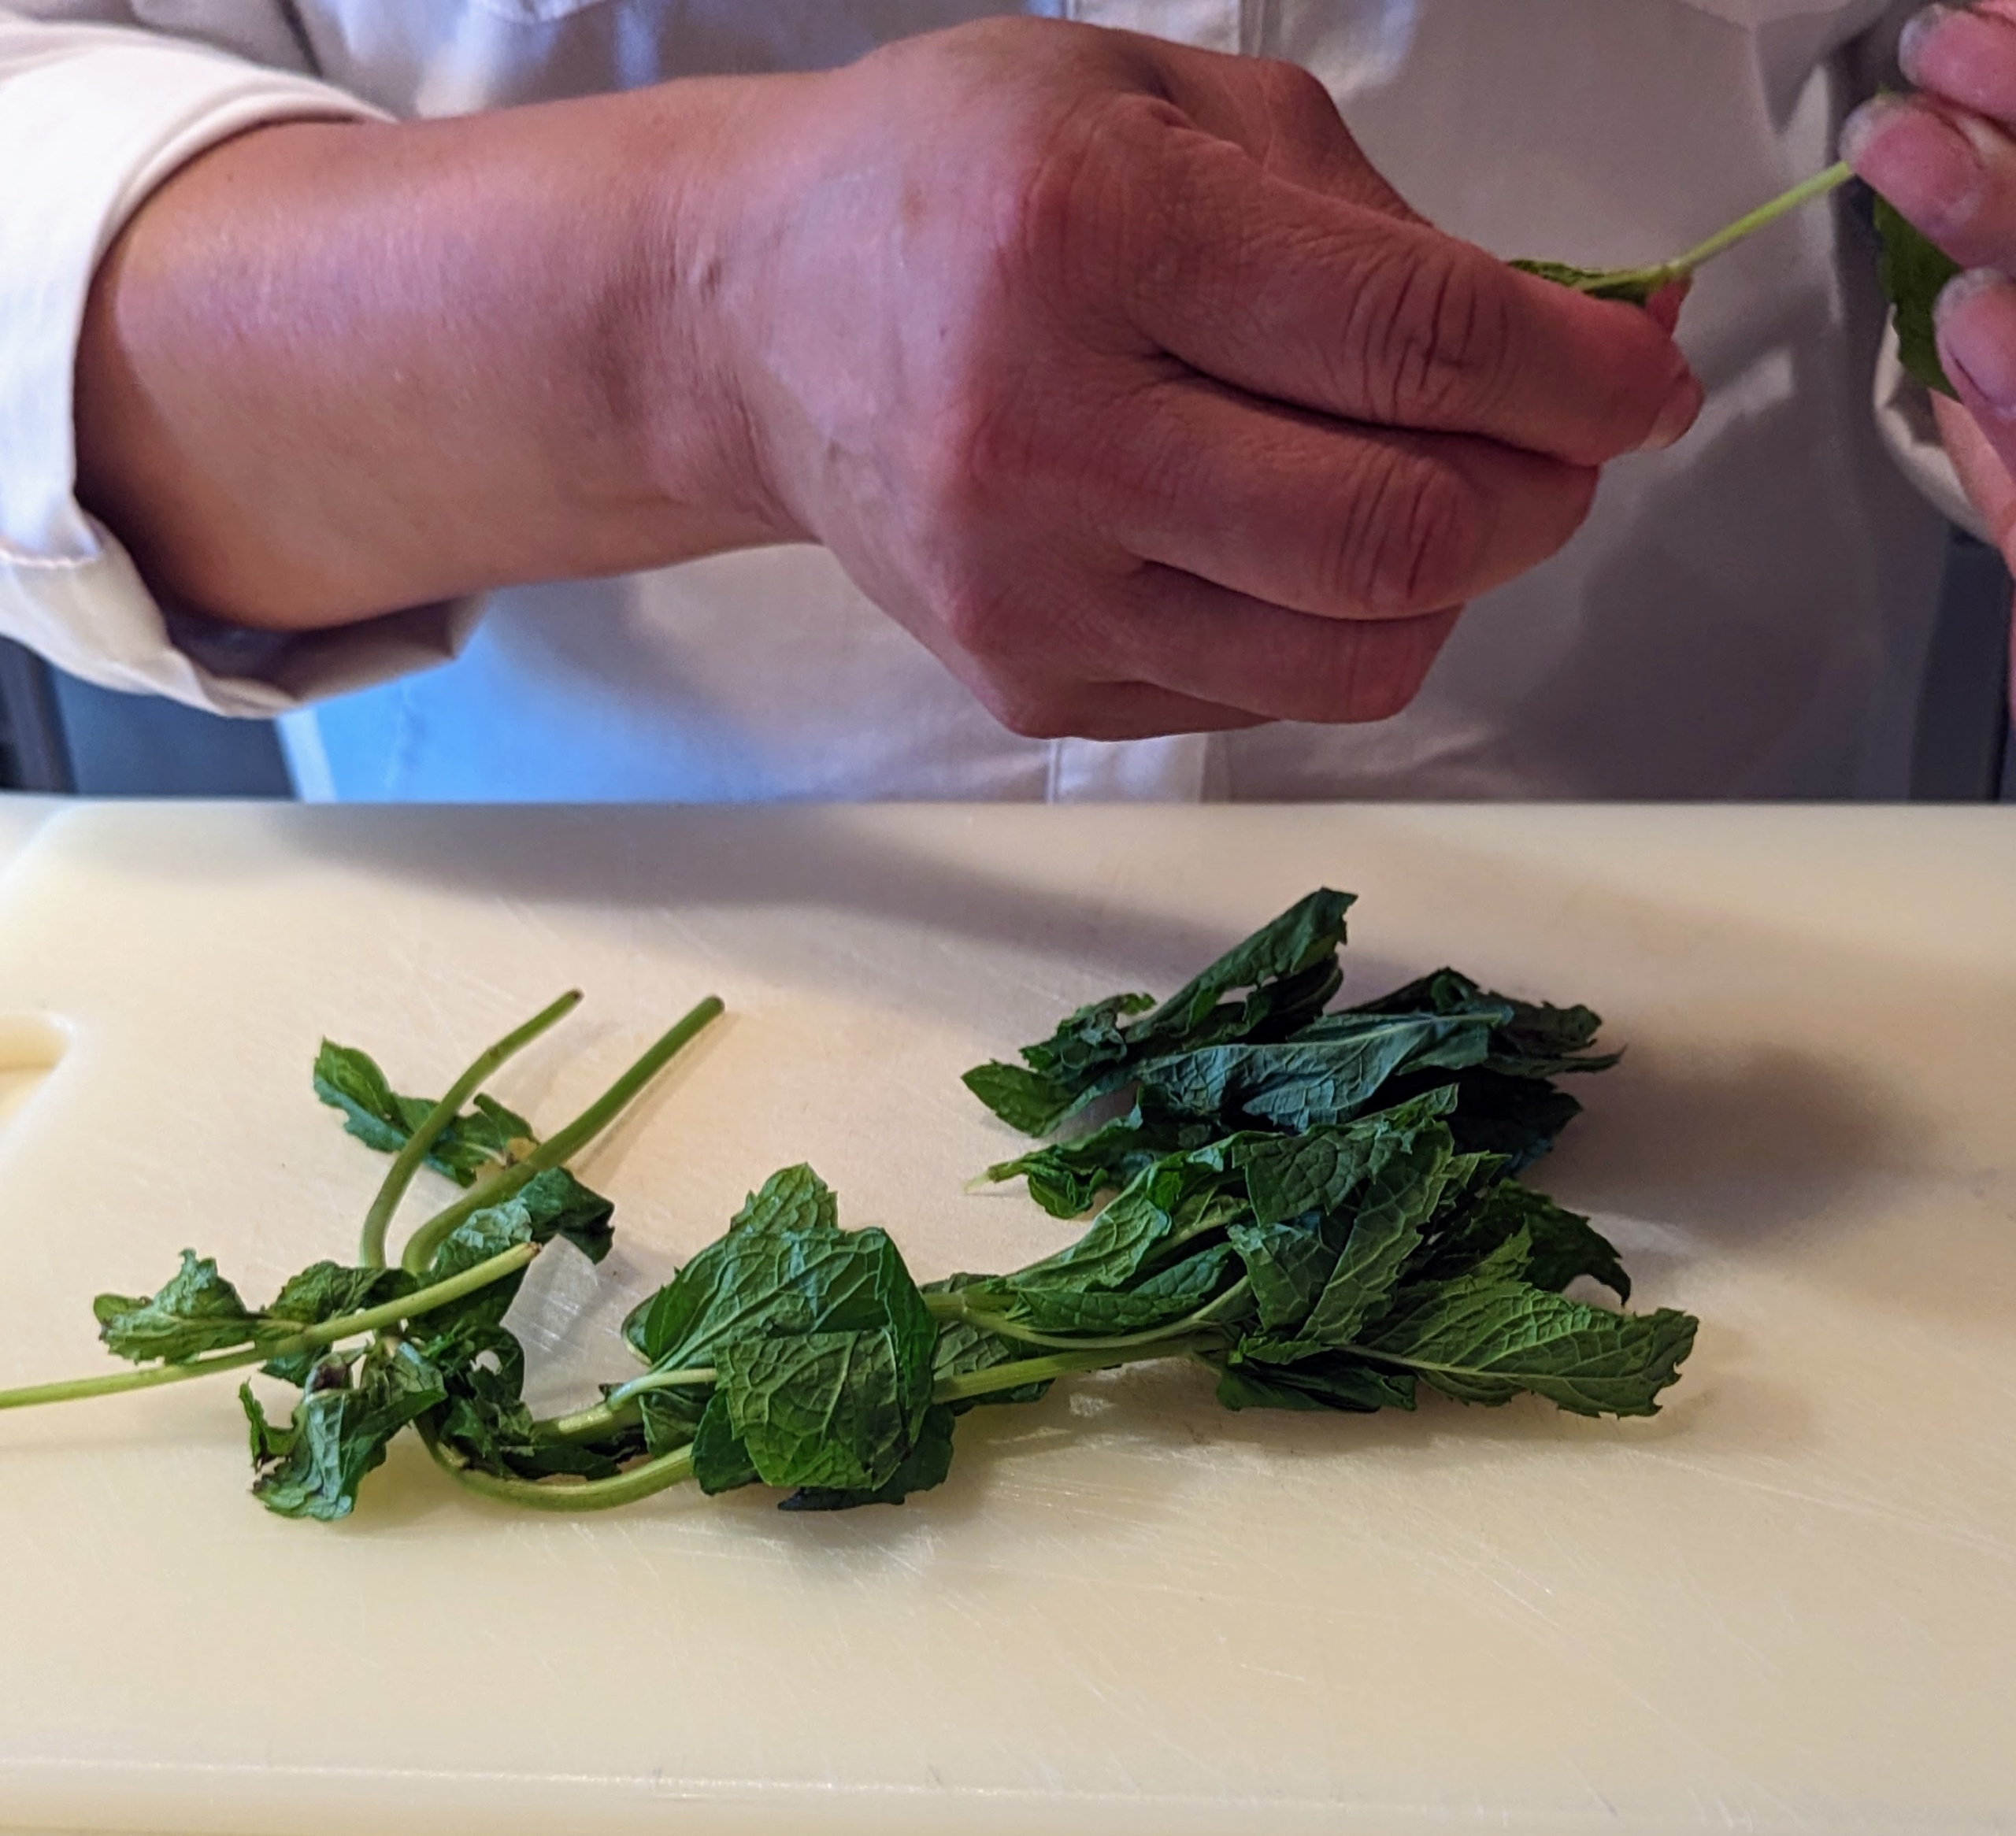
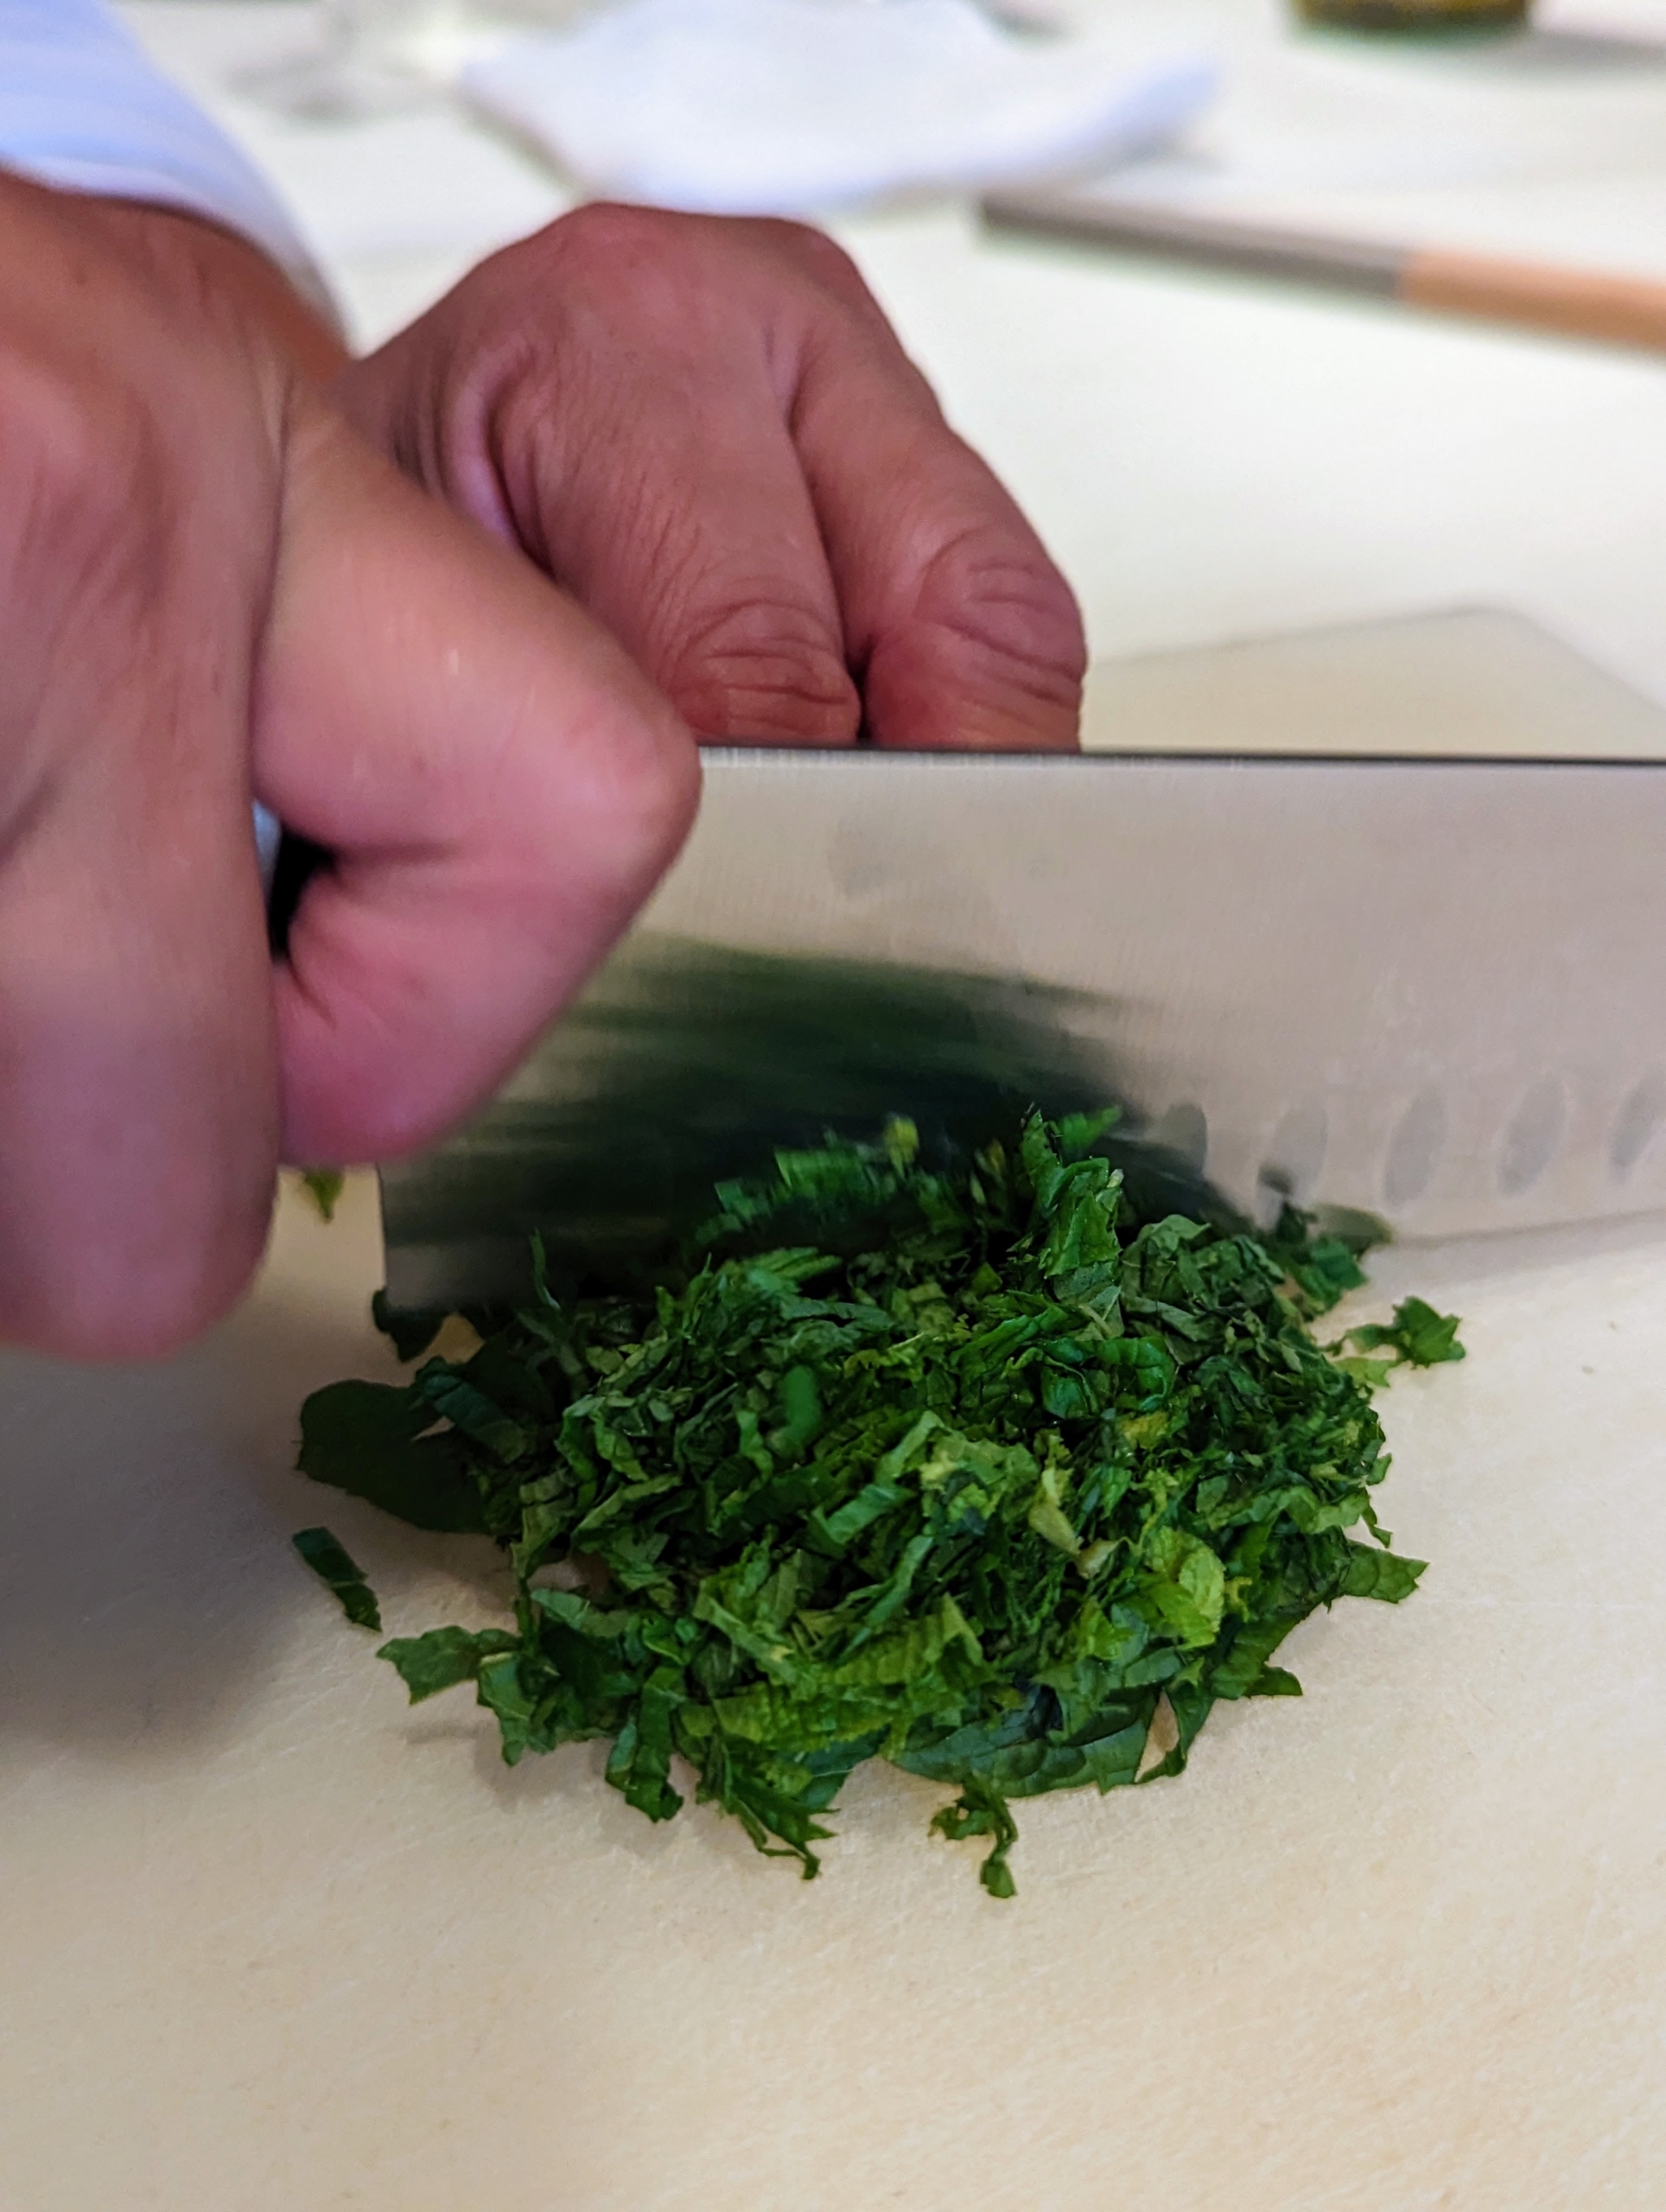
Elvira picks the mint leaves off the stems…
… and chops them up into small pieces. One can also tear them into bite-sized pieces.
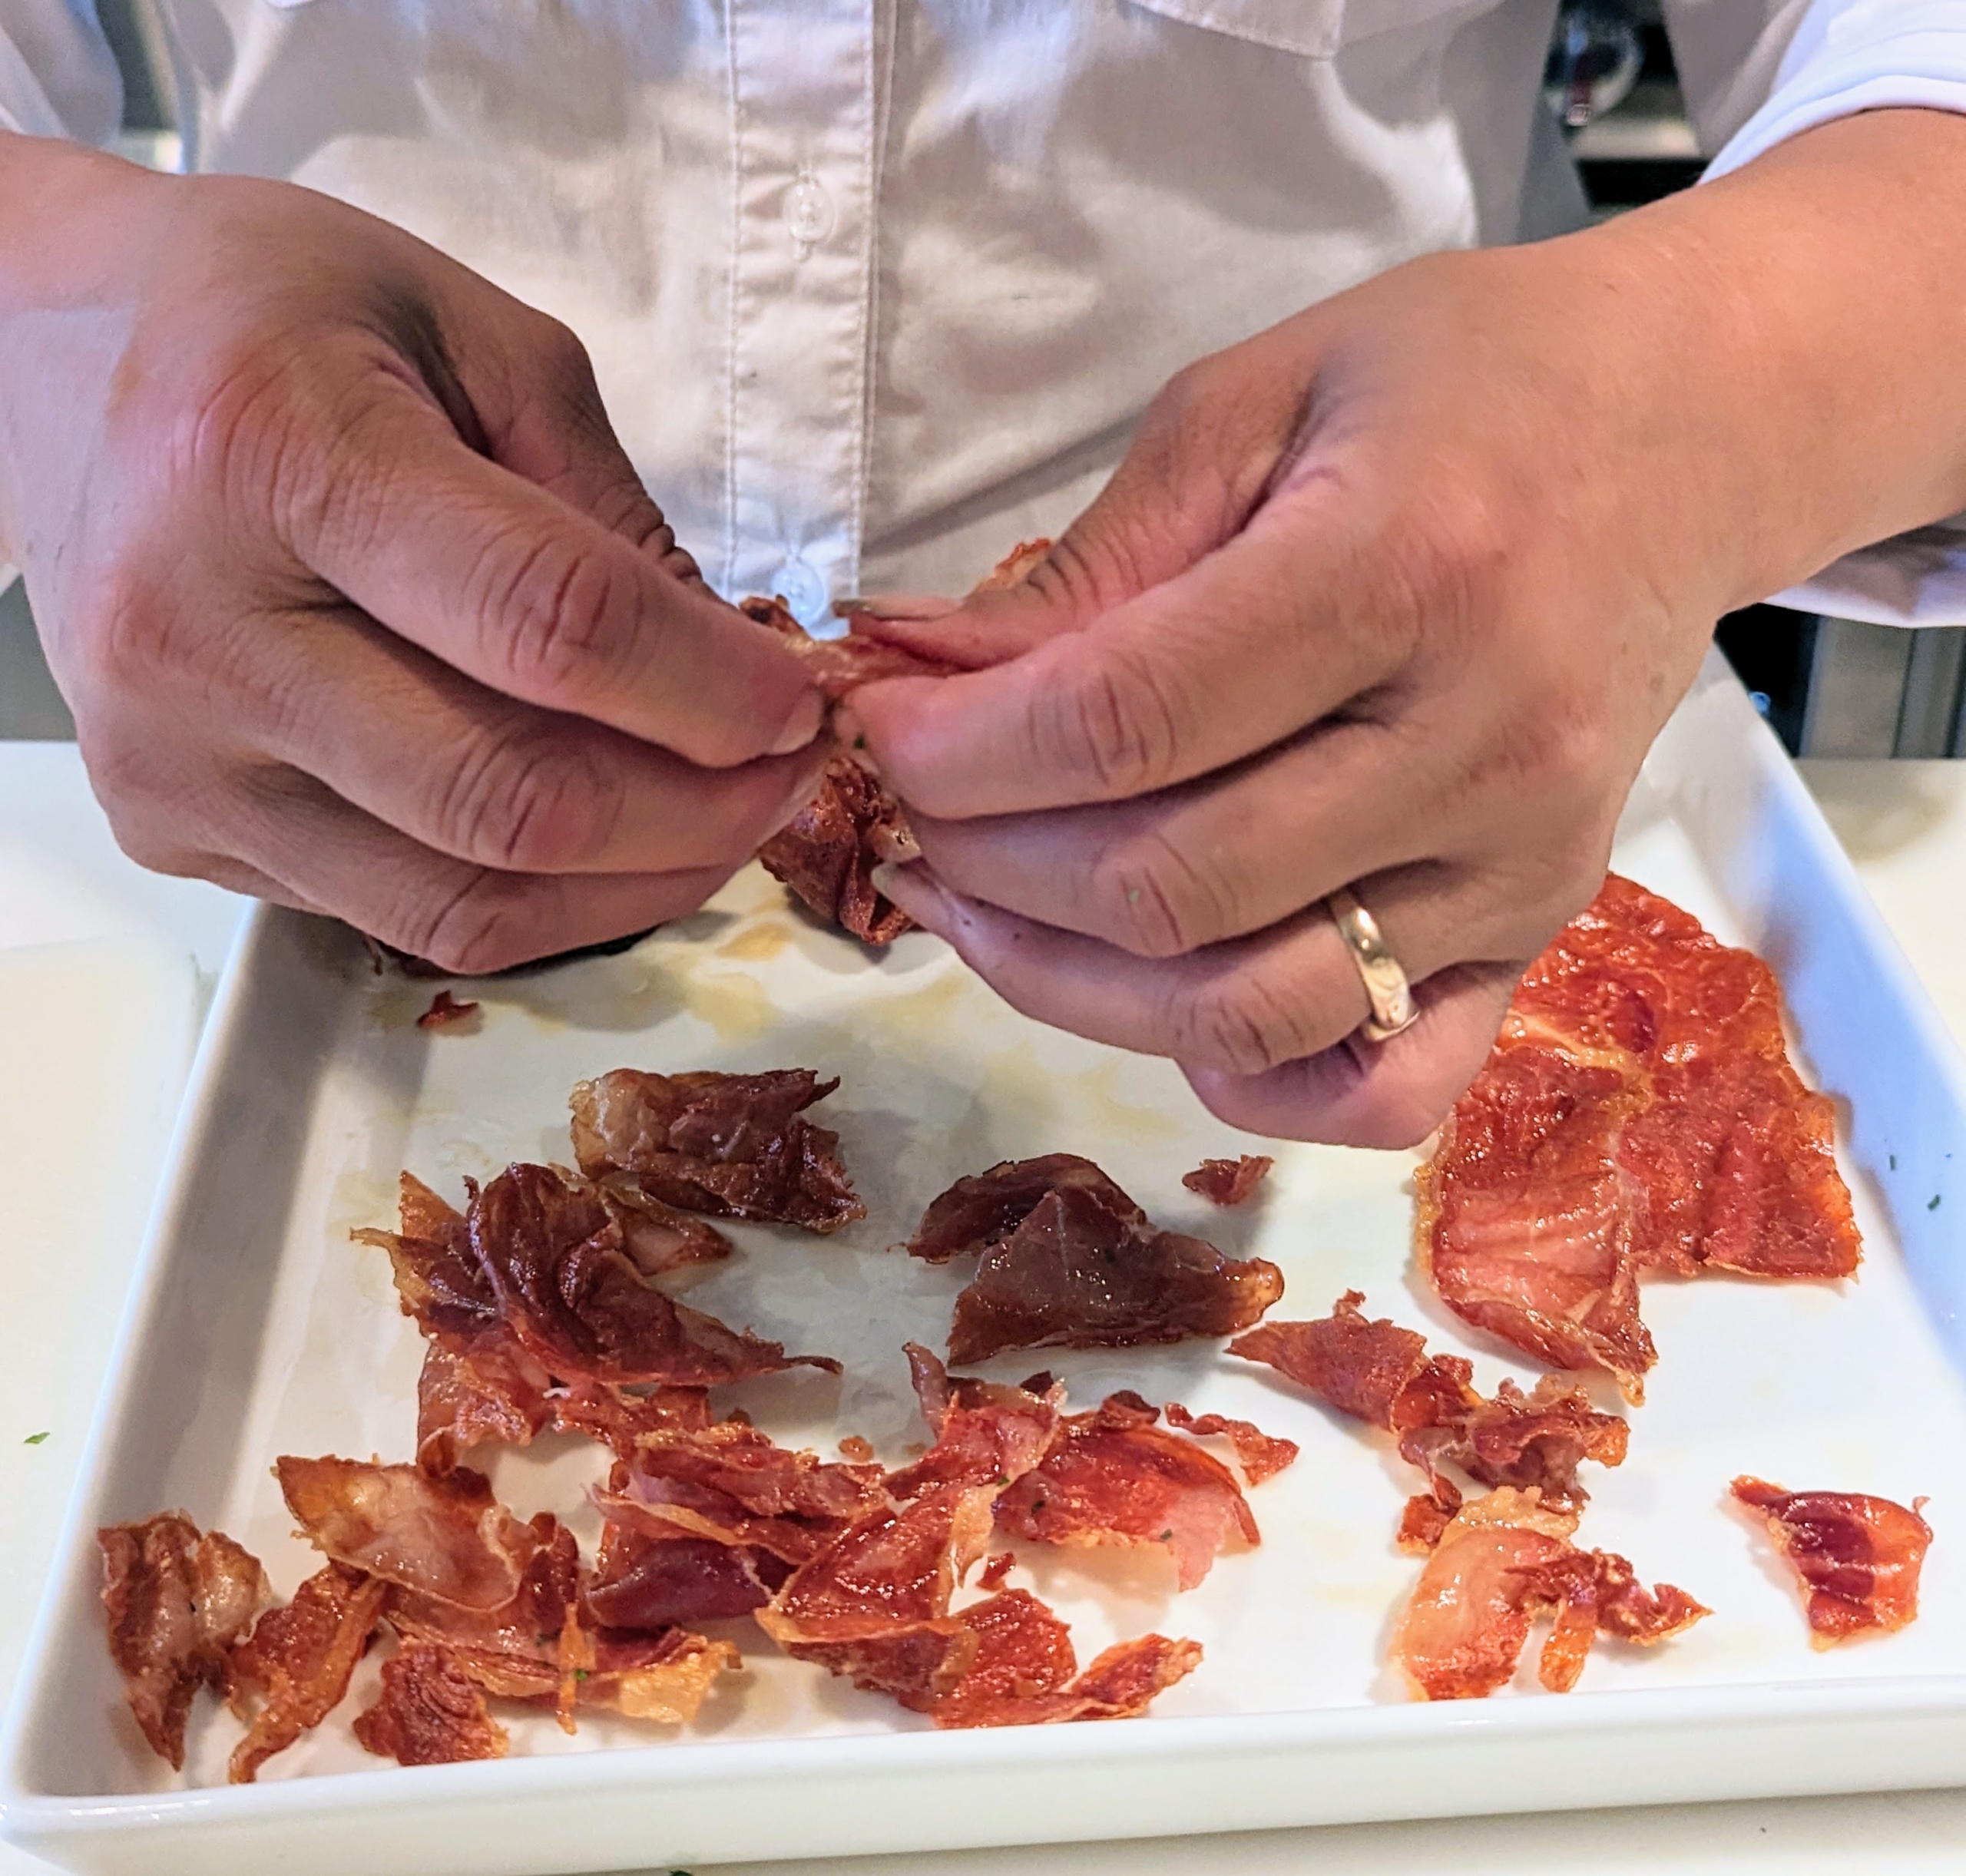
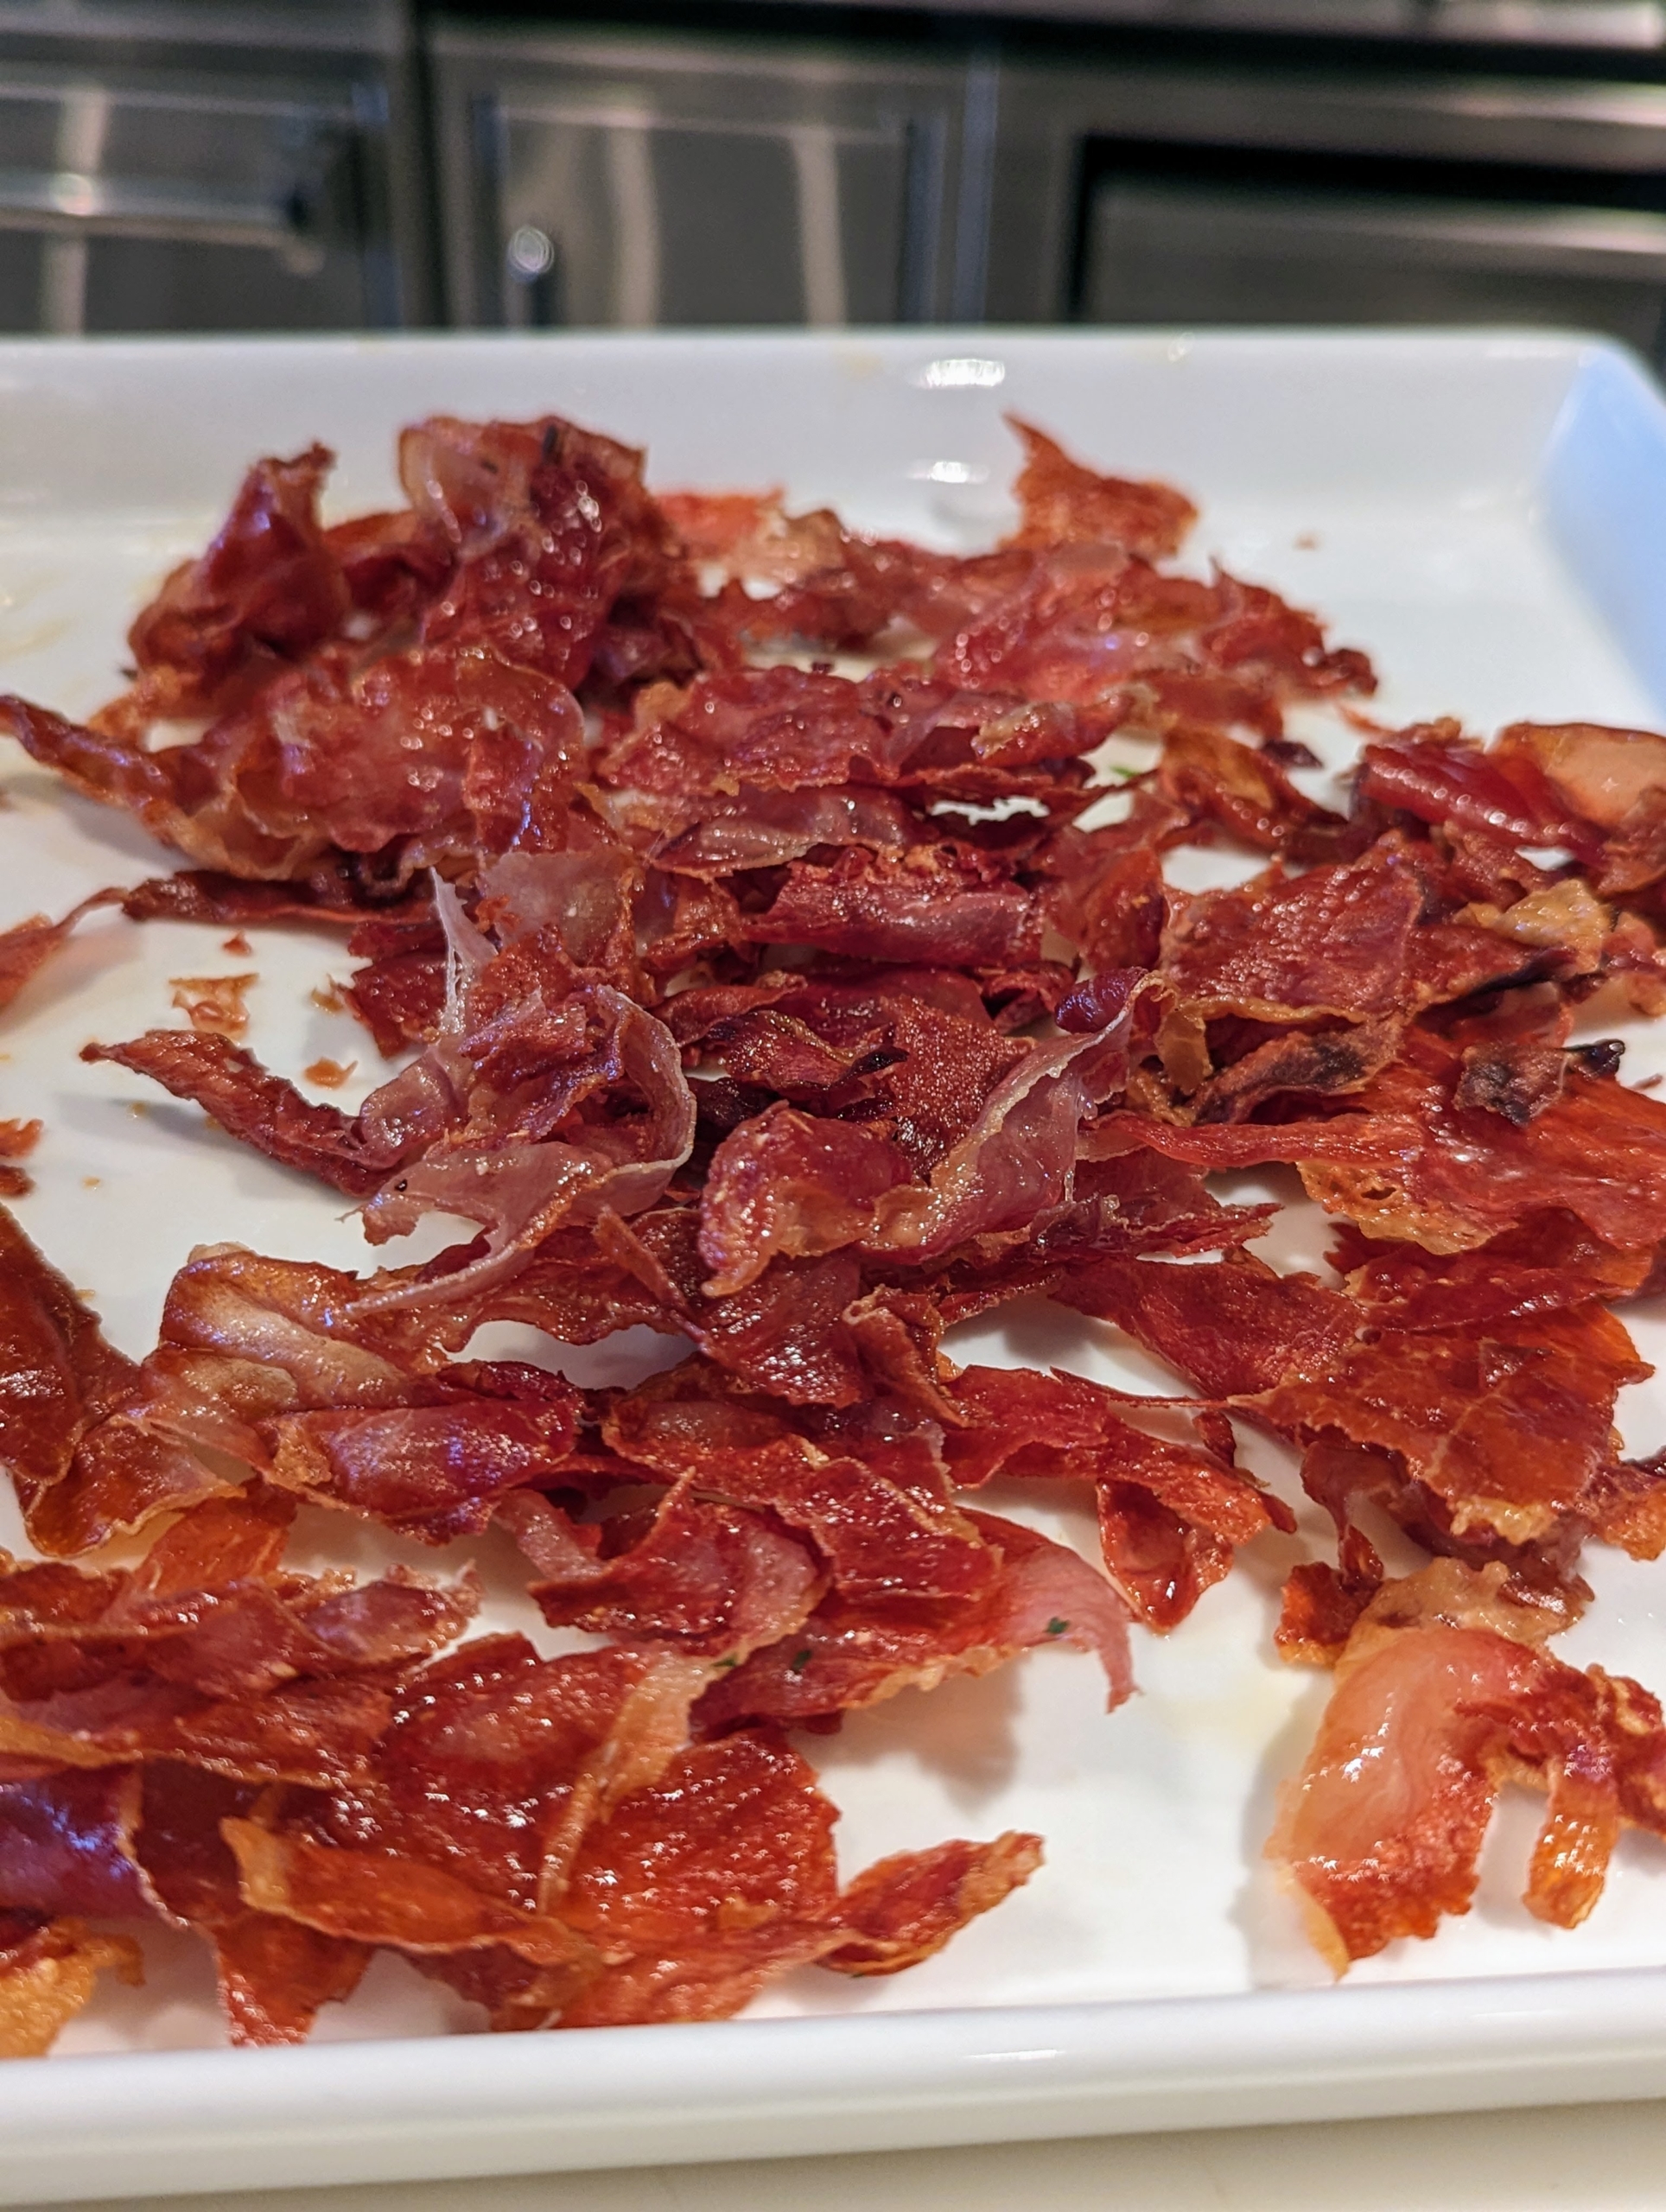
Elvira also tears the prosciutto into small pieces.
The prosciutto is plentiful and crispy. As a meat, prosciutto contains a good source of protein and various vitamins and minerals such as iron and thiamine. Additionally, prosciutto’s main fatty acid is oleic acid which is actually a “heart friendly” fat.
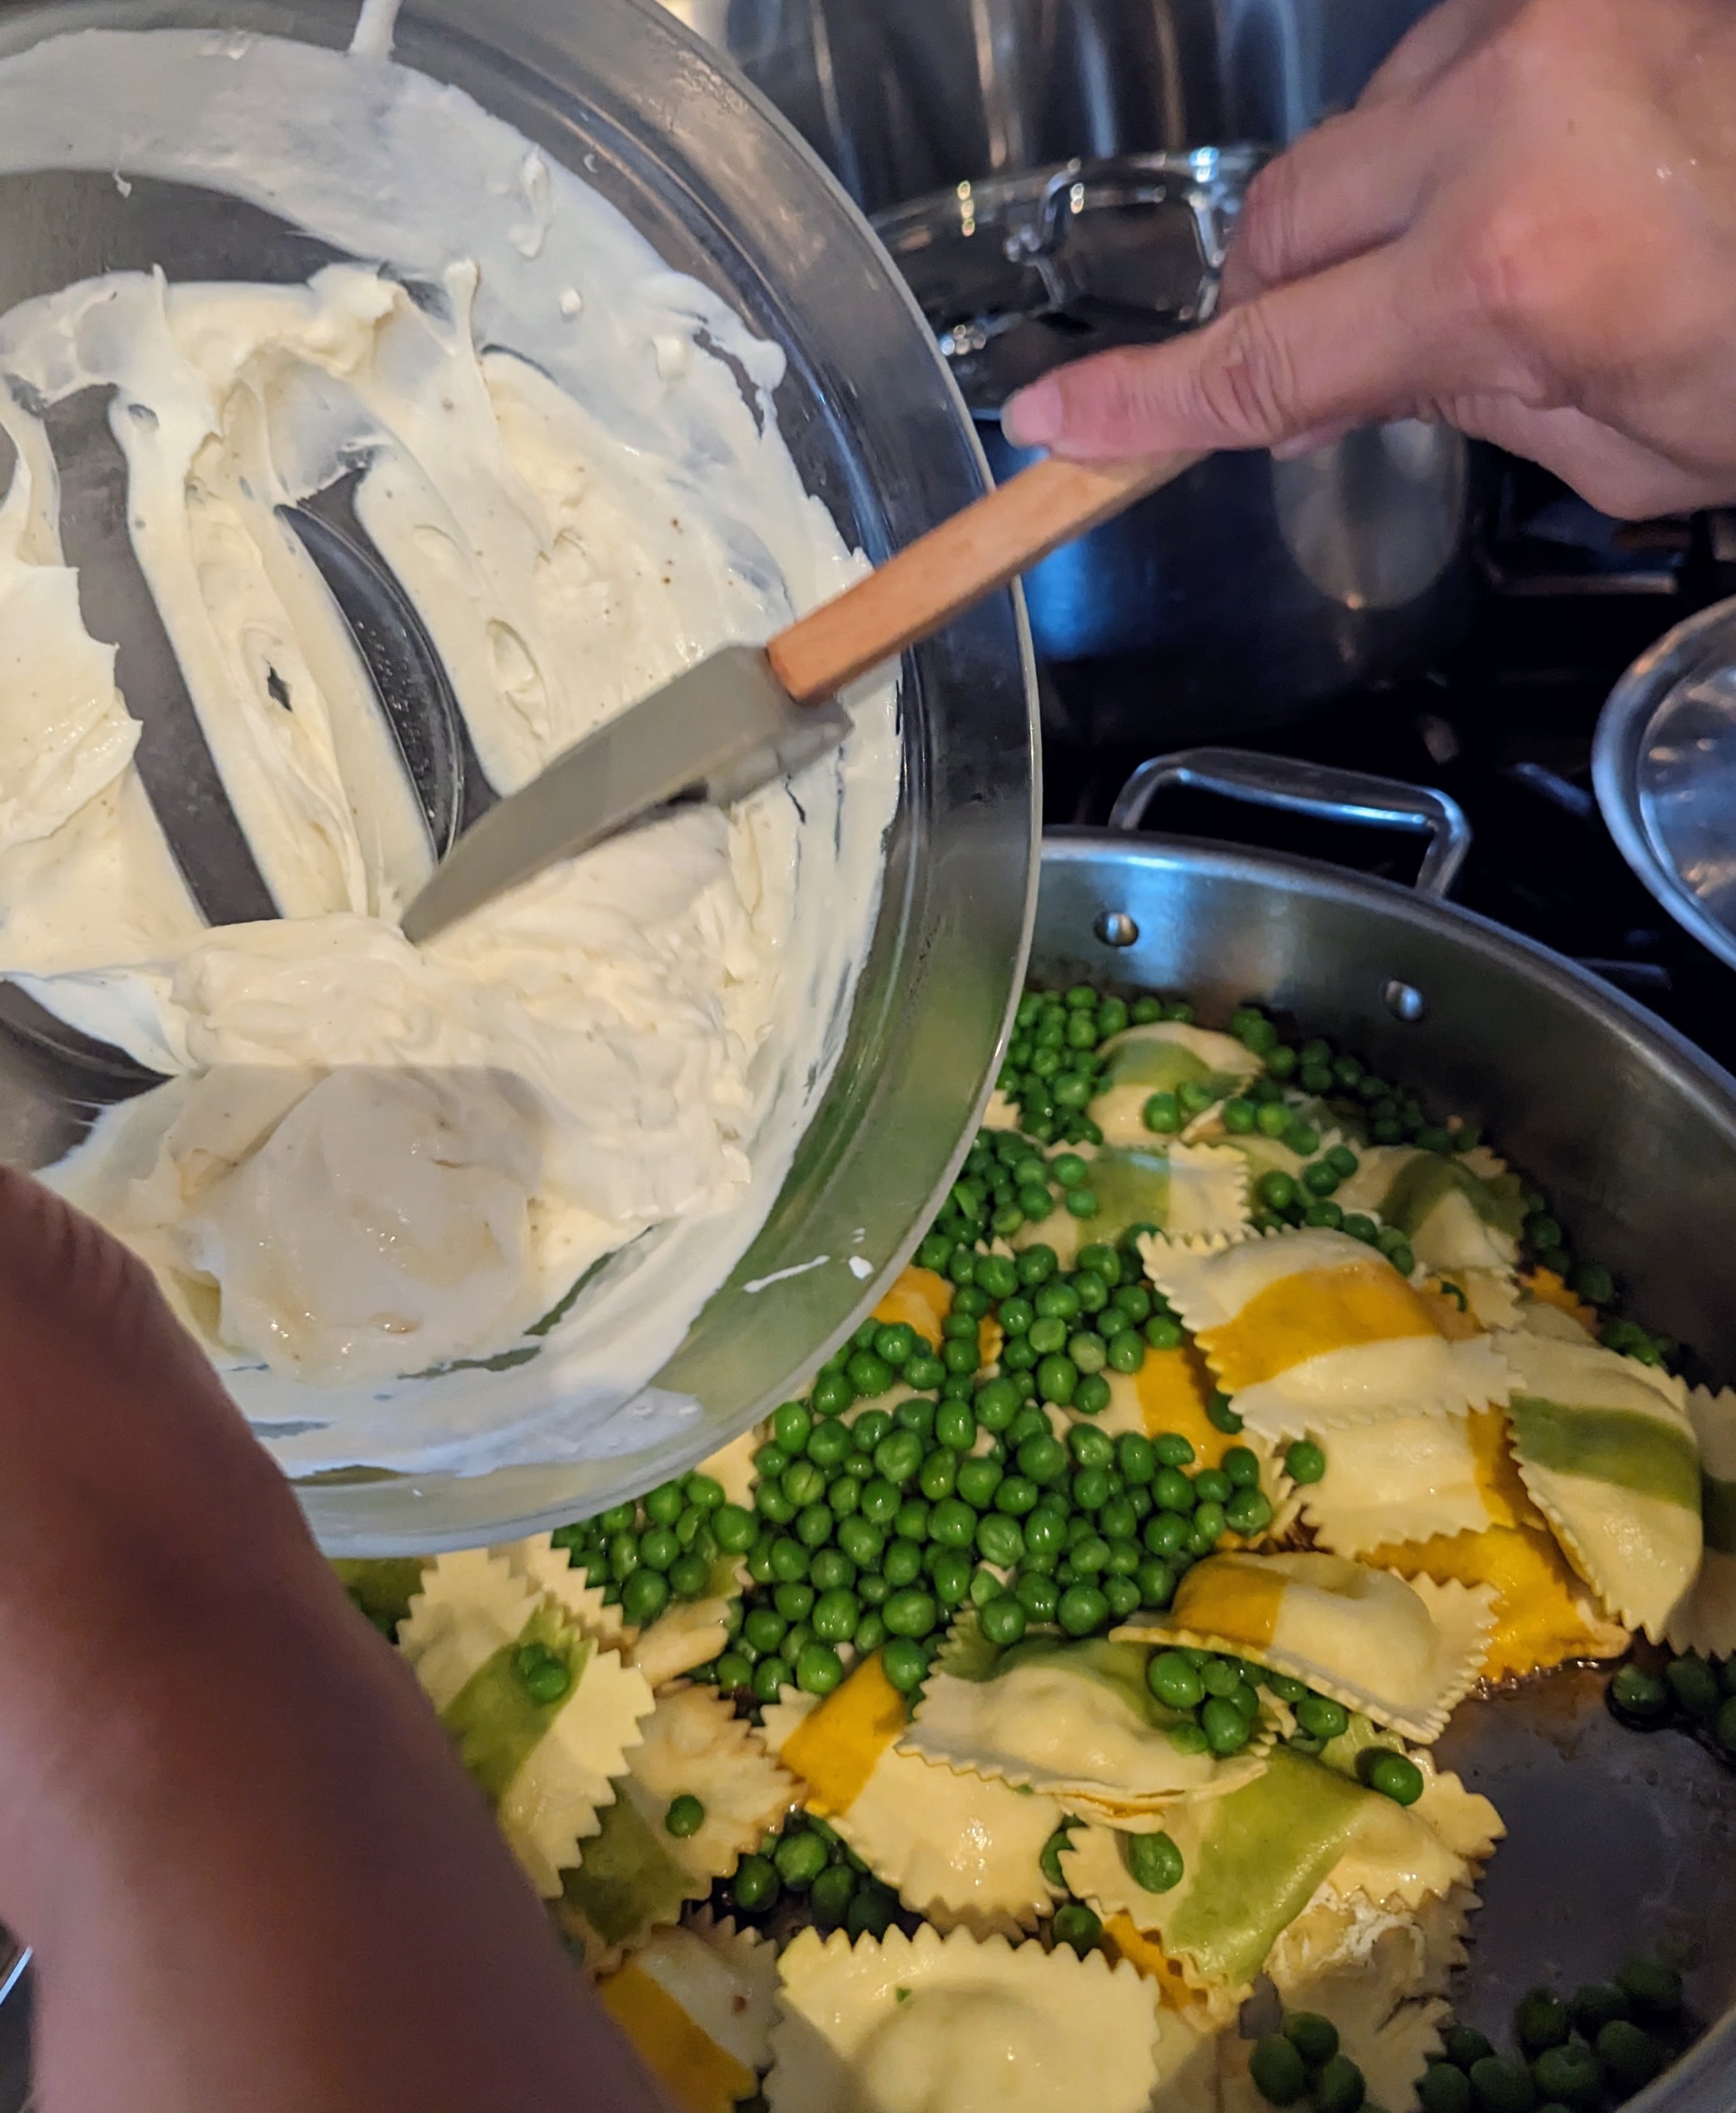
Next, Elvira adds the mascarpone to the skillet.
She also adds half of the prosciutto and half of the mint and then stirs until all the ravioli is coated with sauce. This doesn’t take long – just about 30-seconds.
The ravioli is plated and topped with some of the remaining prosciutto and mint and it’s ready to enjoy. Our ravioli looks perfect – just like the photo. And it’s so delicious. Sign up for Martha Stewart & Marley Spoon today and enjoy these dishes with us.
It's very important to keep up with the maintenance at my Bedford, New York farm - especially the four miles of carriage road that meander around my homes, my gardens, my pastures, and through the expansive woodland.
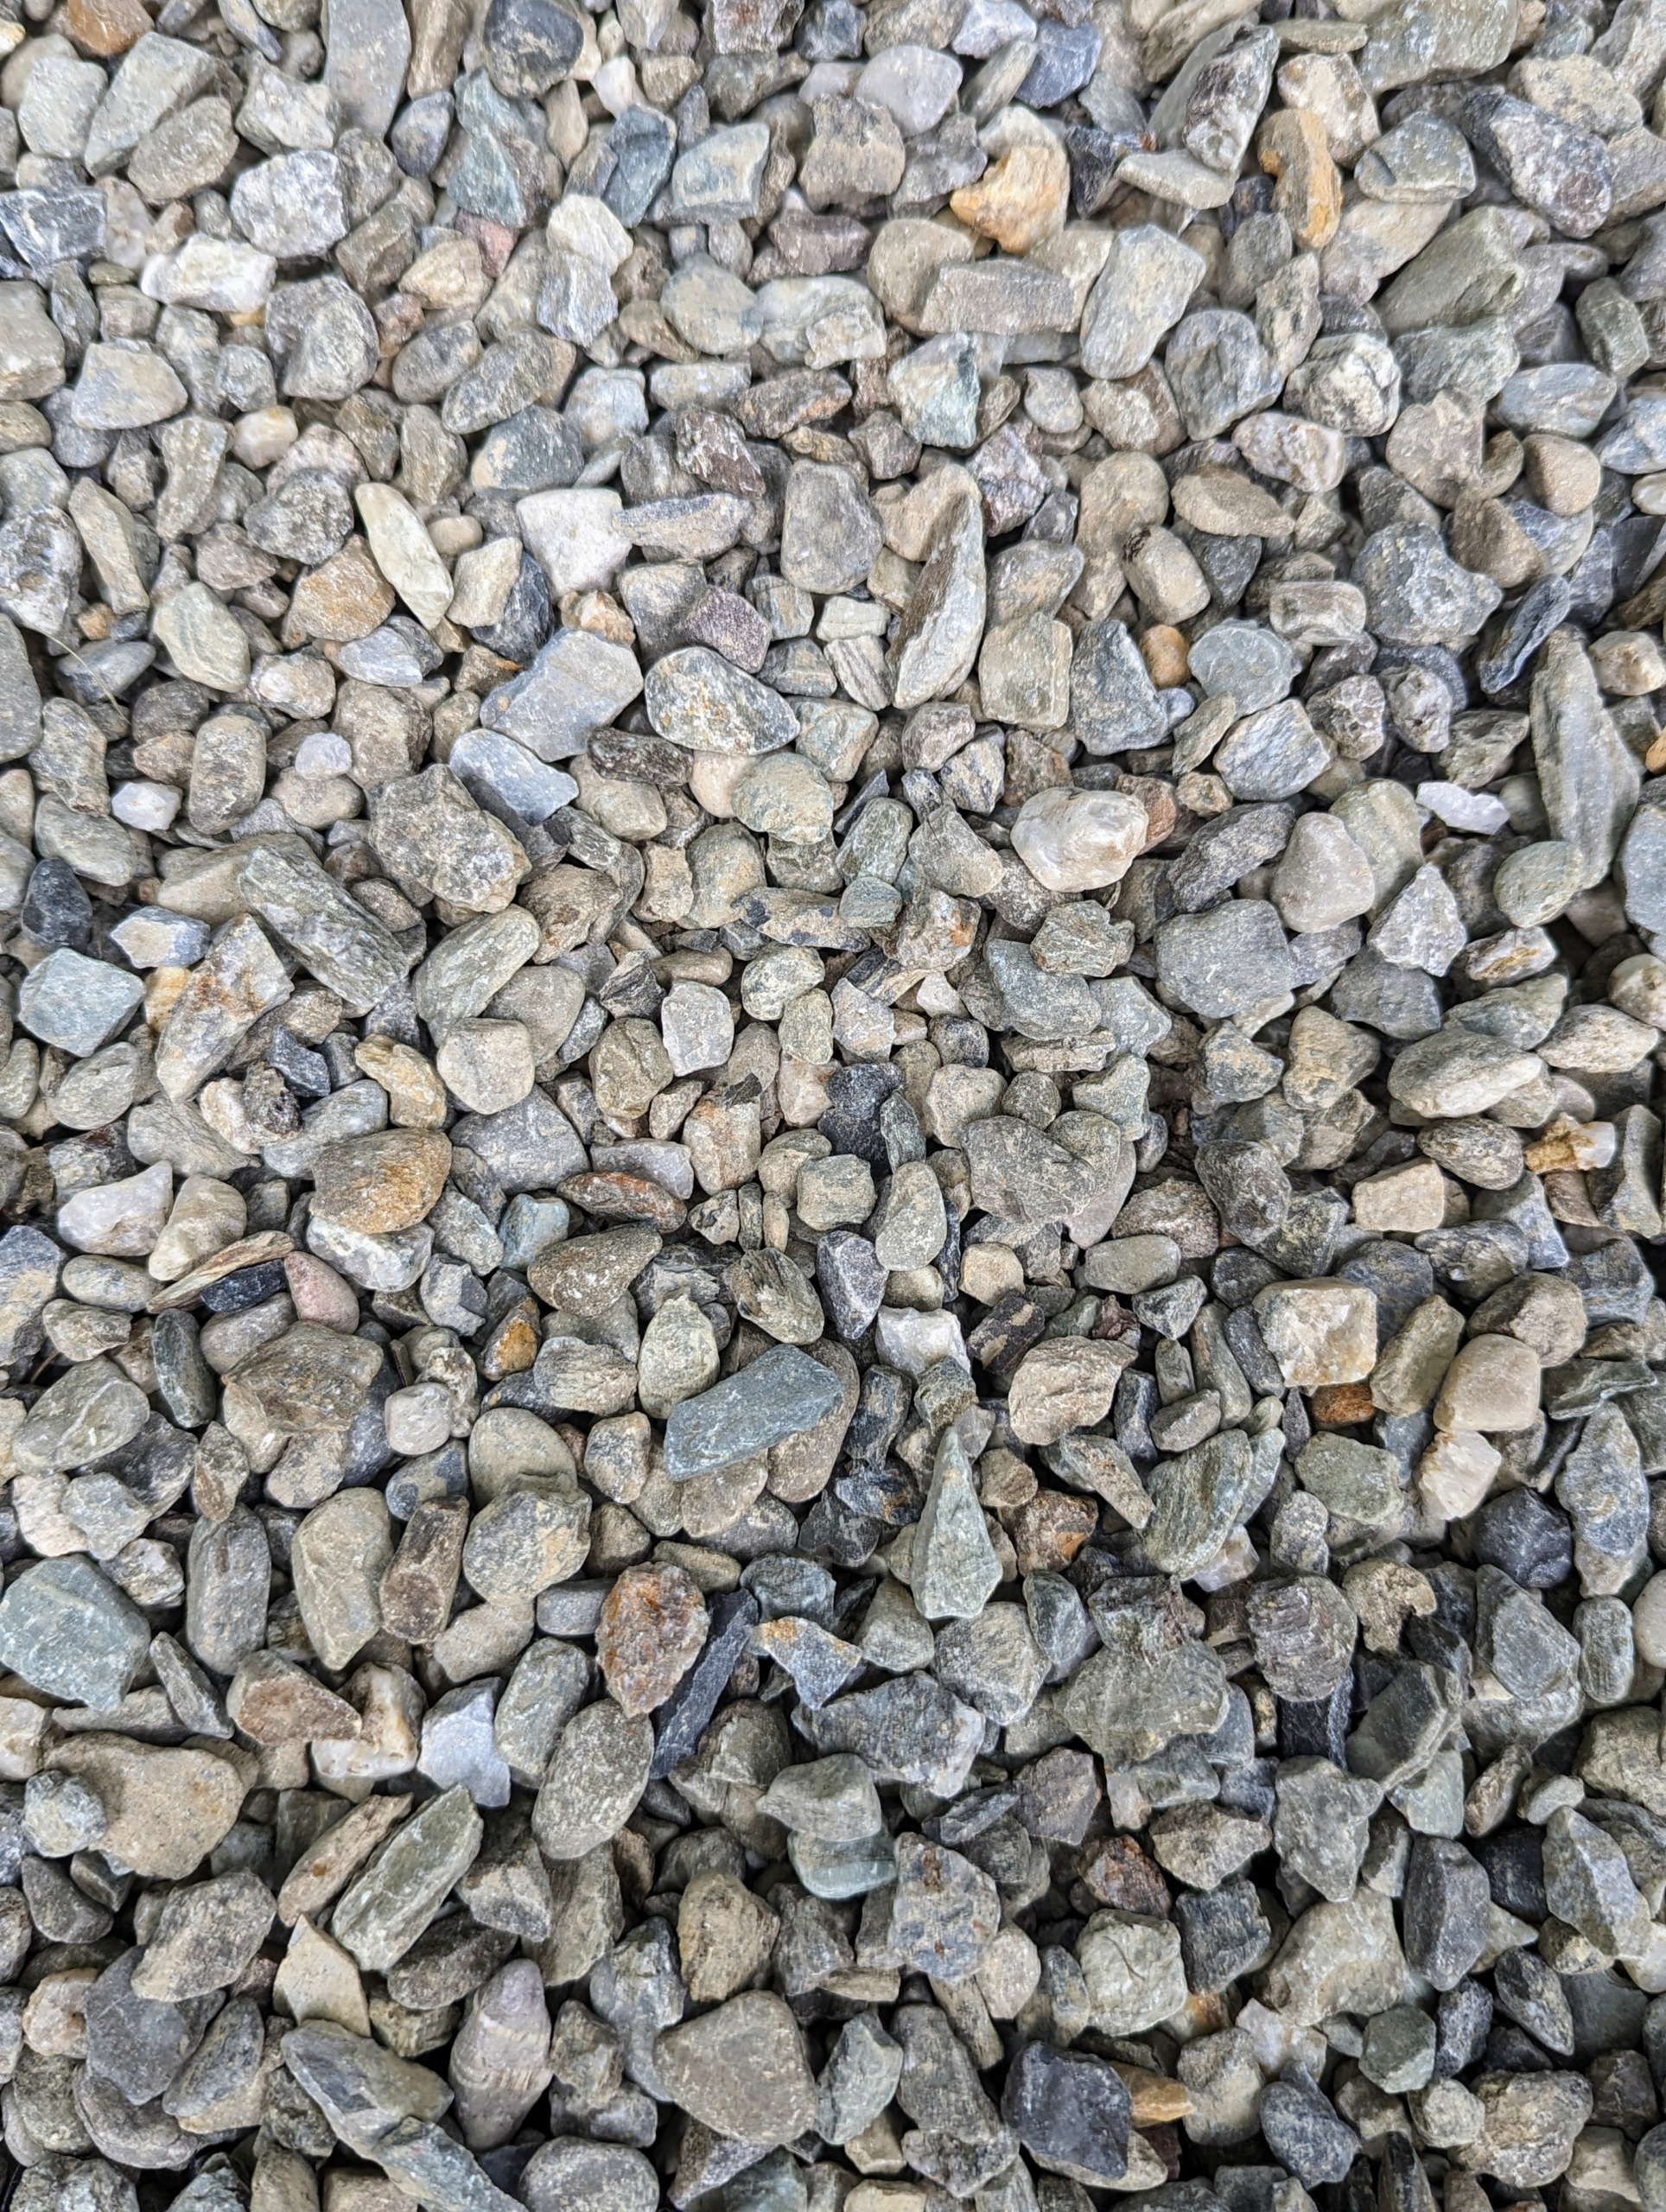
Every year, my outdoor grounds crew edges all the roads to make sure they are neat and tidy. This summer it was also necessary to re-cover the roads with a fresh layer of gravel. Once the 3/8-inch native washed stone was dropped, it had to be spread evenly, so the gravel was level and properly graded on the surface. Over the last several weeks, Pete Sherpa and Fernando Ferrari took on the tedious task.
Here are some photos, enjoy.
My farm sits on 153-acres of land that includes four miles of gravel-covered carriage road. Gravel roads are attractive and accumulate less pollutants over time, but it is important to keep them well-maintained.
This photo shows the carriage road leading into my Japanese Maple Tree Woodland. All the carriage roads were designed with my horses in mind. Whenever I can, I enjoy riding my horses around the farm, visiting all the other animals and viewing the gardens.
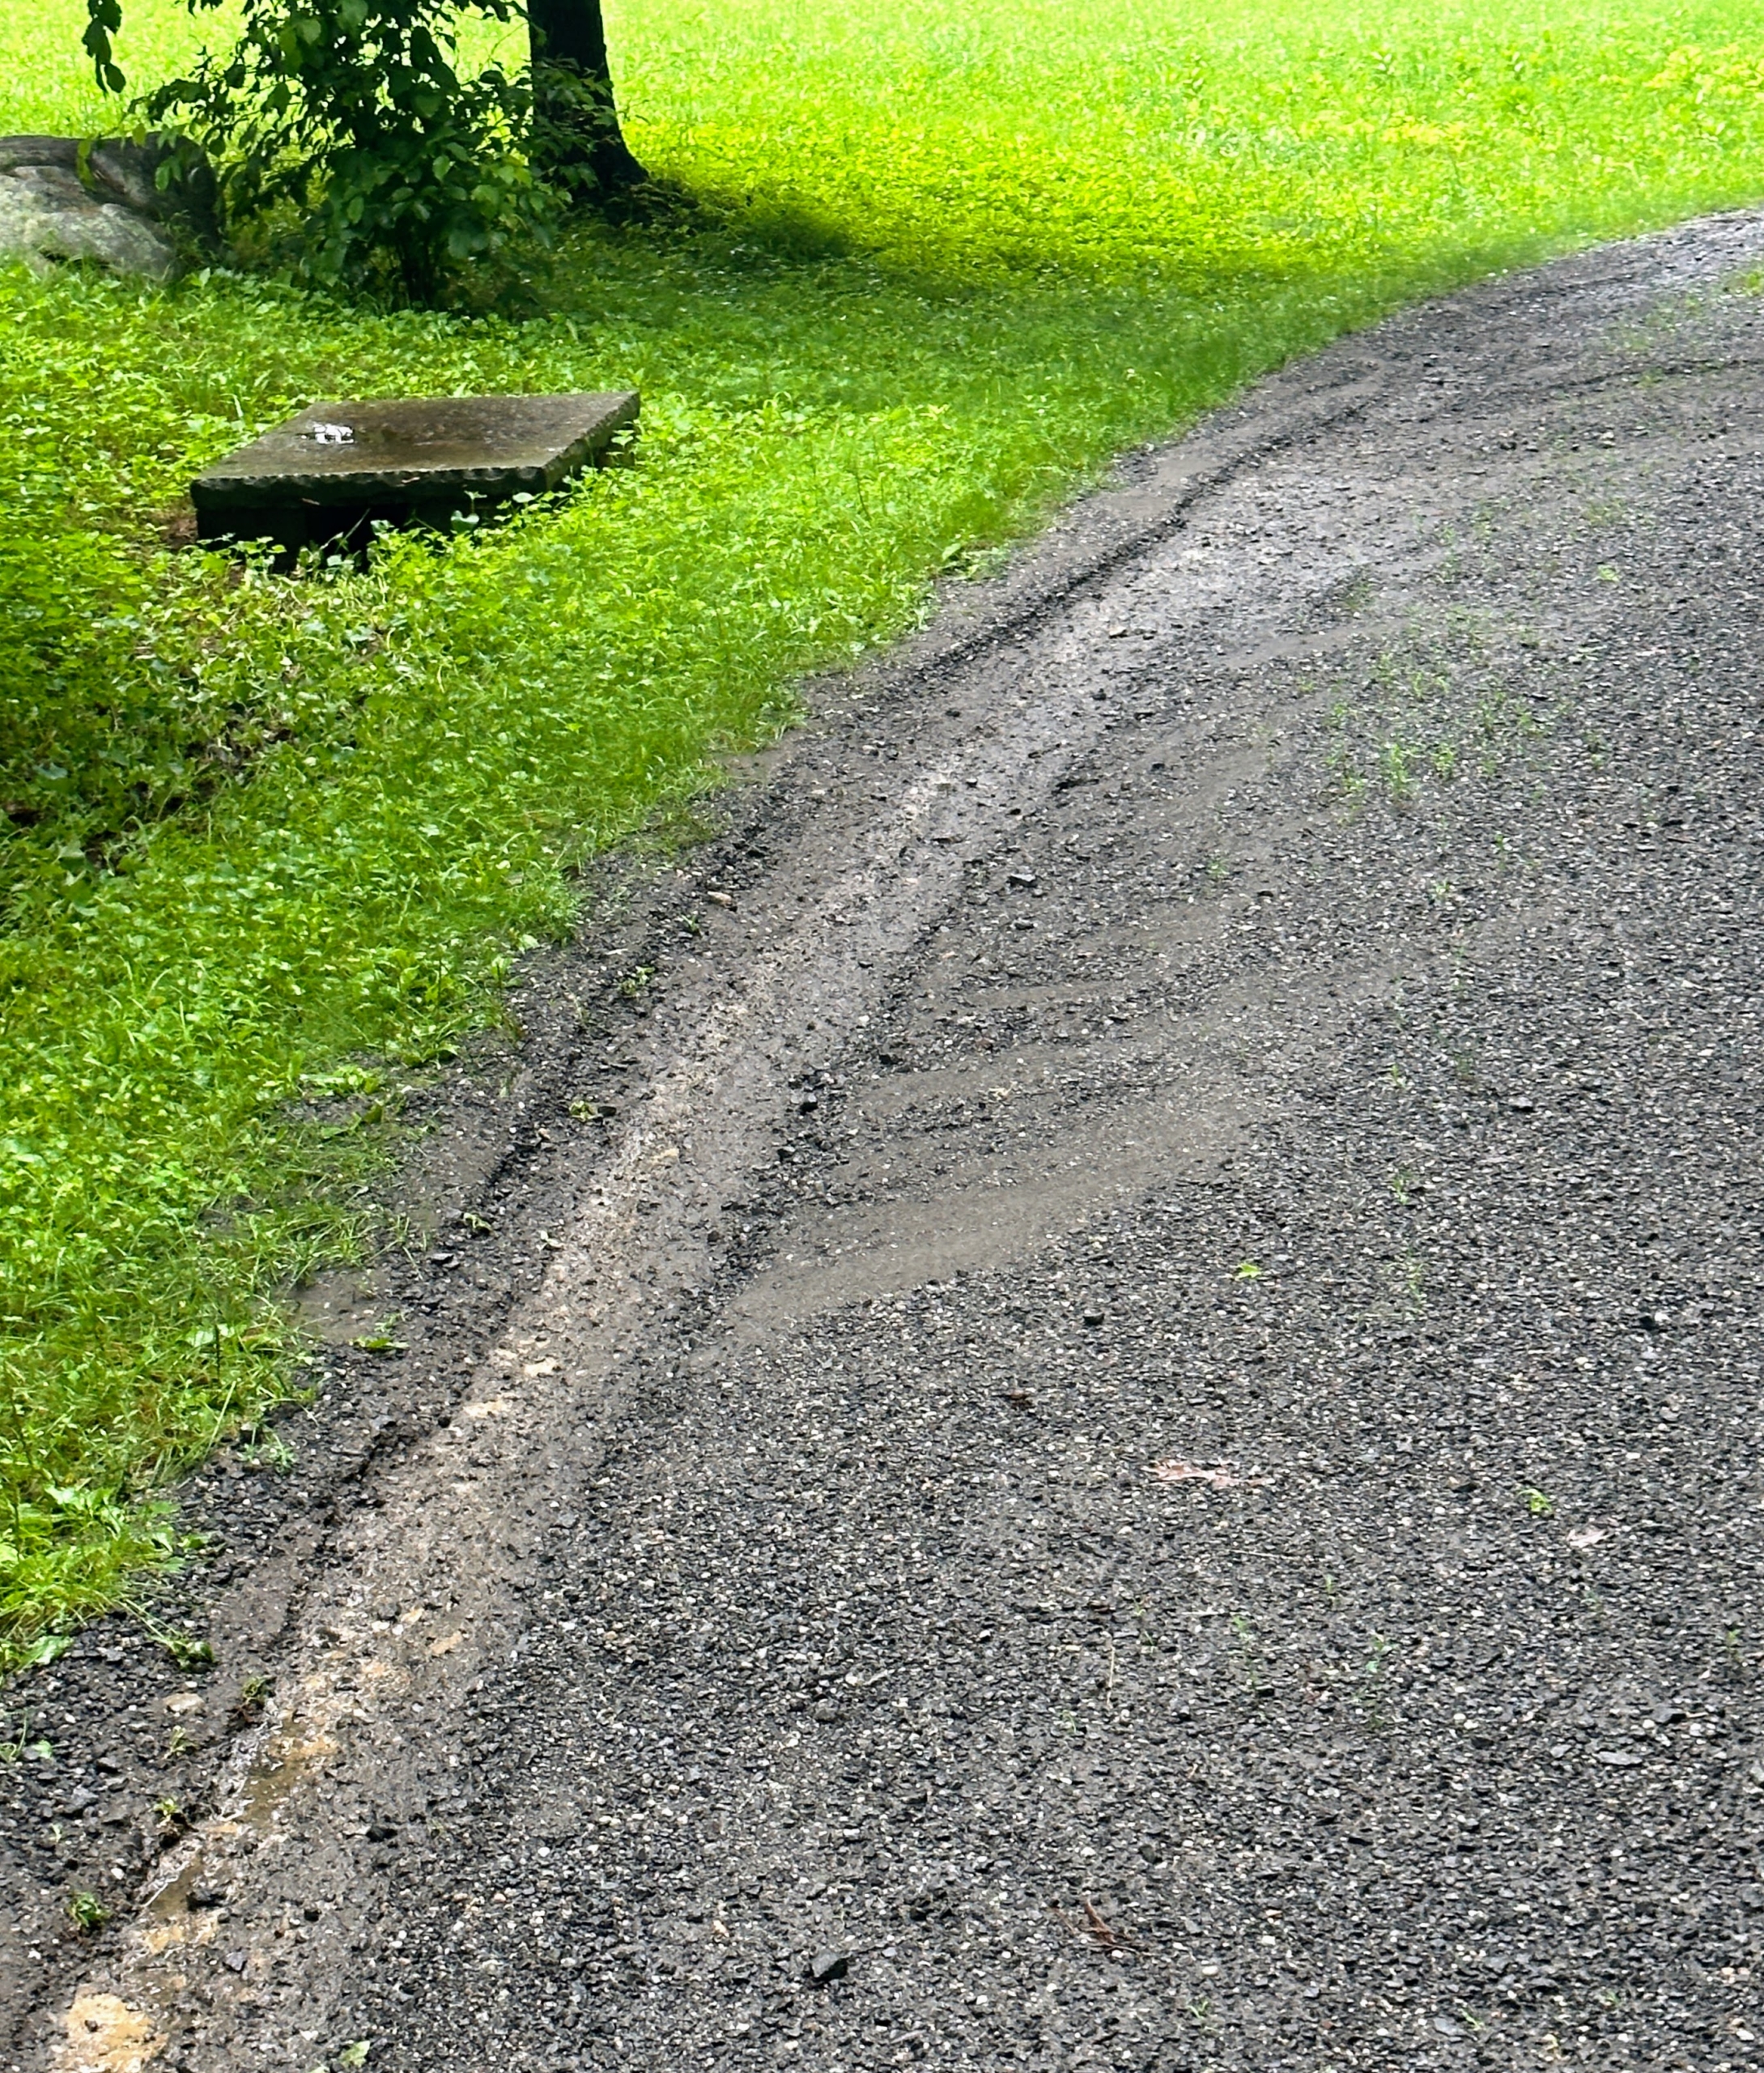
Over time, the gravel shifts, storms cause holes in areas where rain water tends to pond, and heavy use creates ruts.
High traffic areas such as this carriage road alongside my winding pergola often need attention and are edged and raked a couple times a year.
Strong storms cause run-off that also washes the road gravel away like this area along the carriage road through the azalea border.
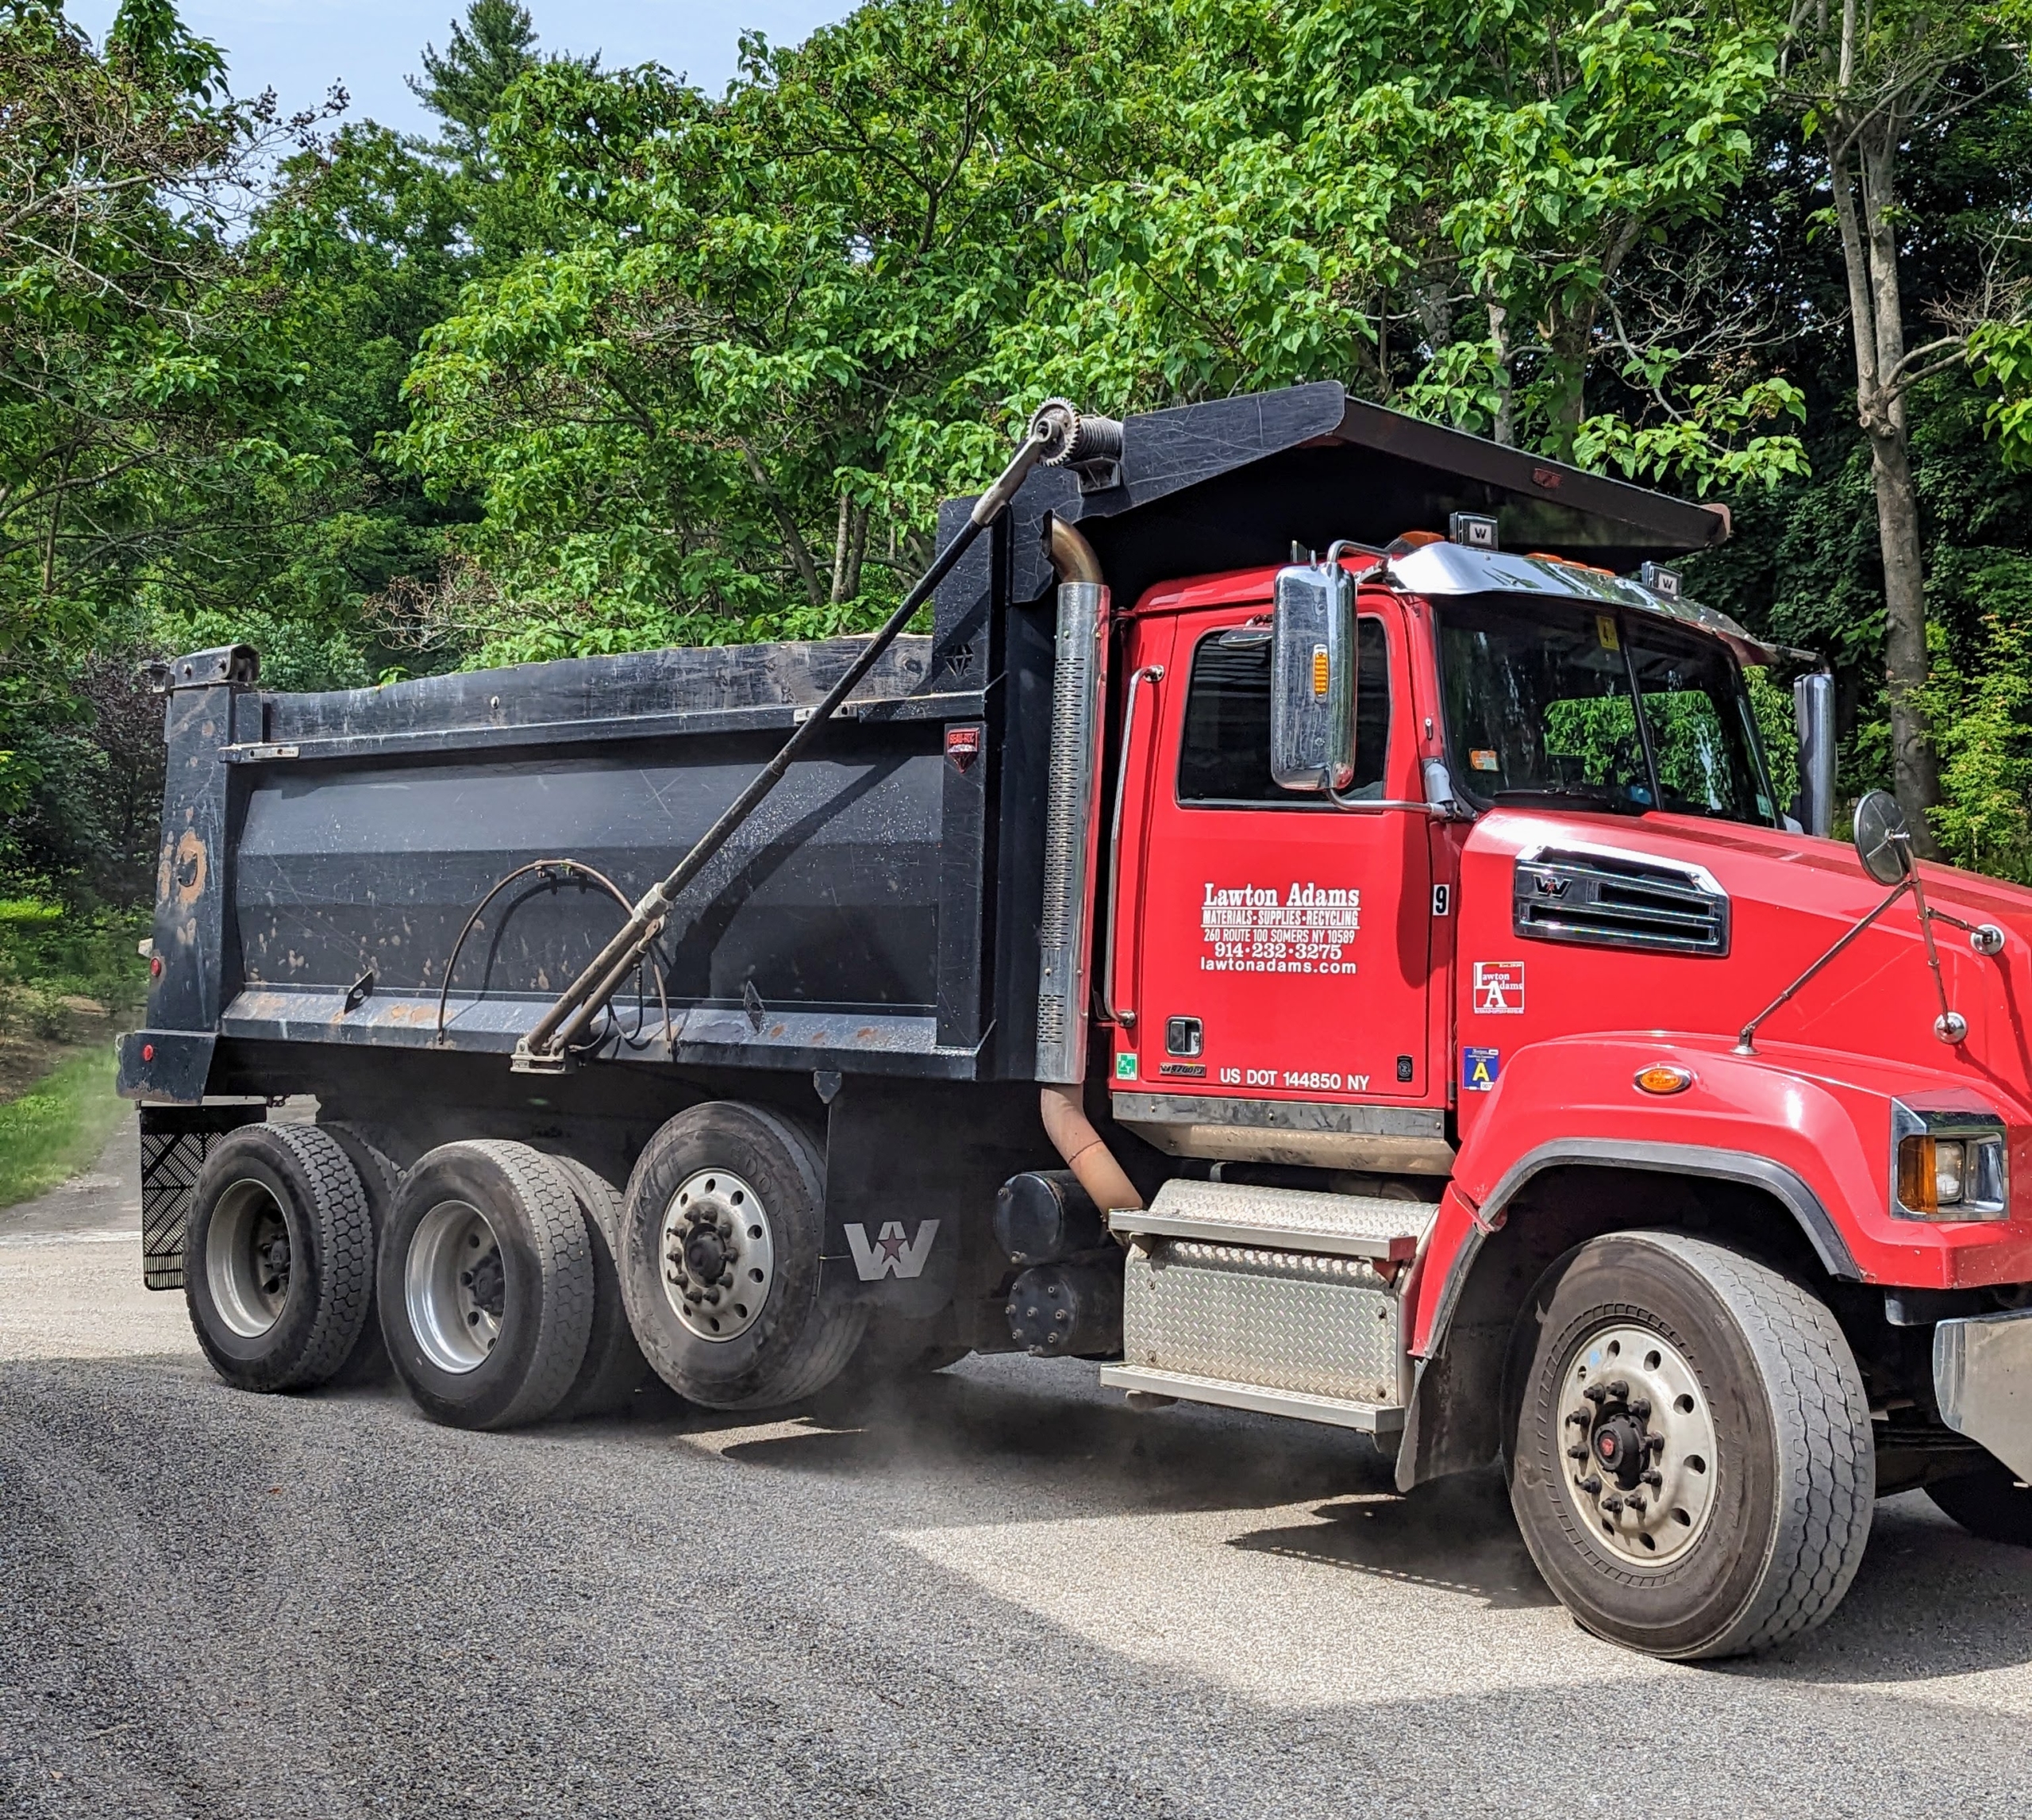
Earlier this summer, we called in our friends from Lawton Adams Materials, Supplies & Recycling – a company in Somers, New York that offers a large variety of construction and landscaping materials including sand, gravel, topsoil, mulch, wall stone, and more.
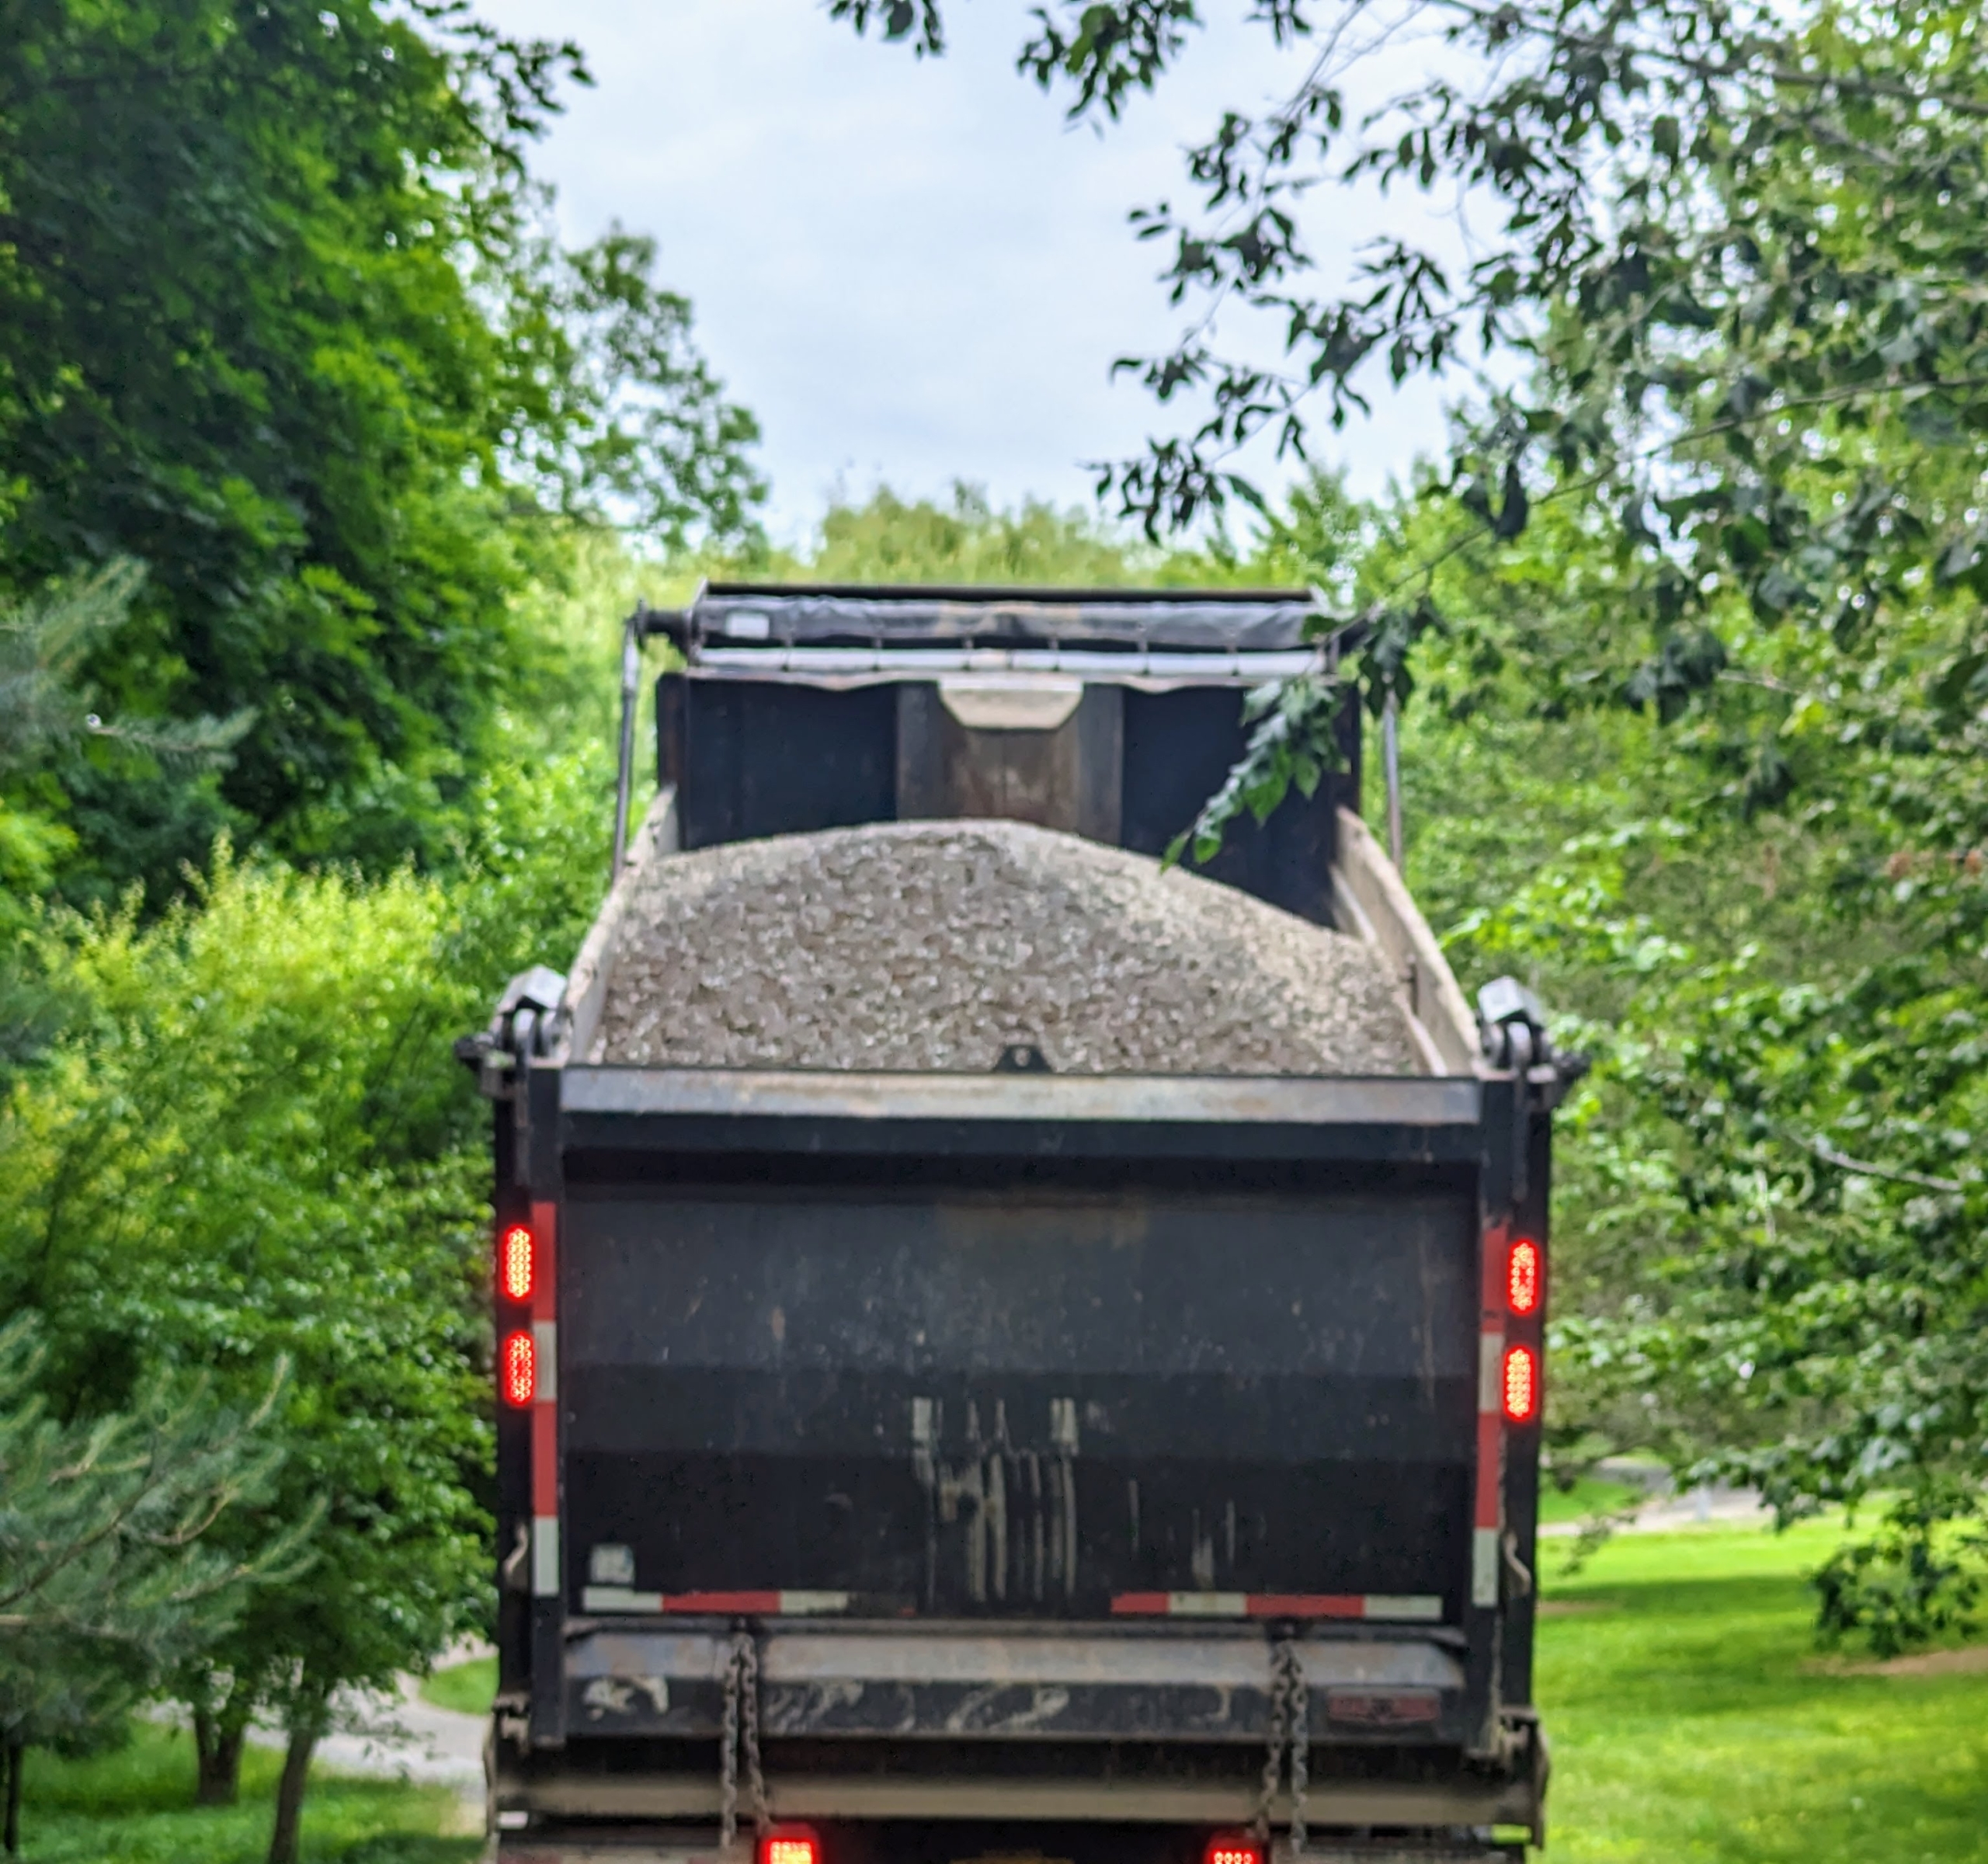
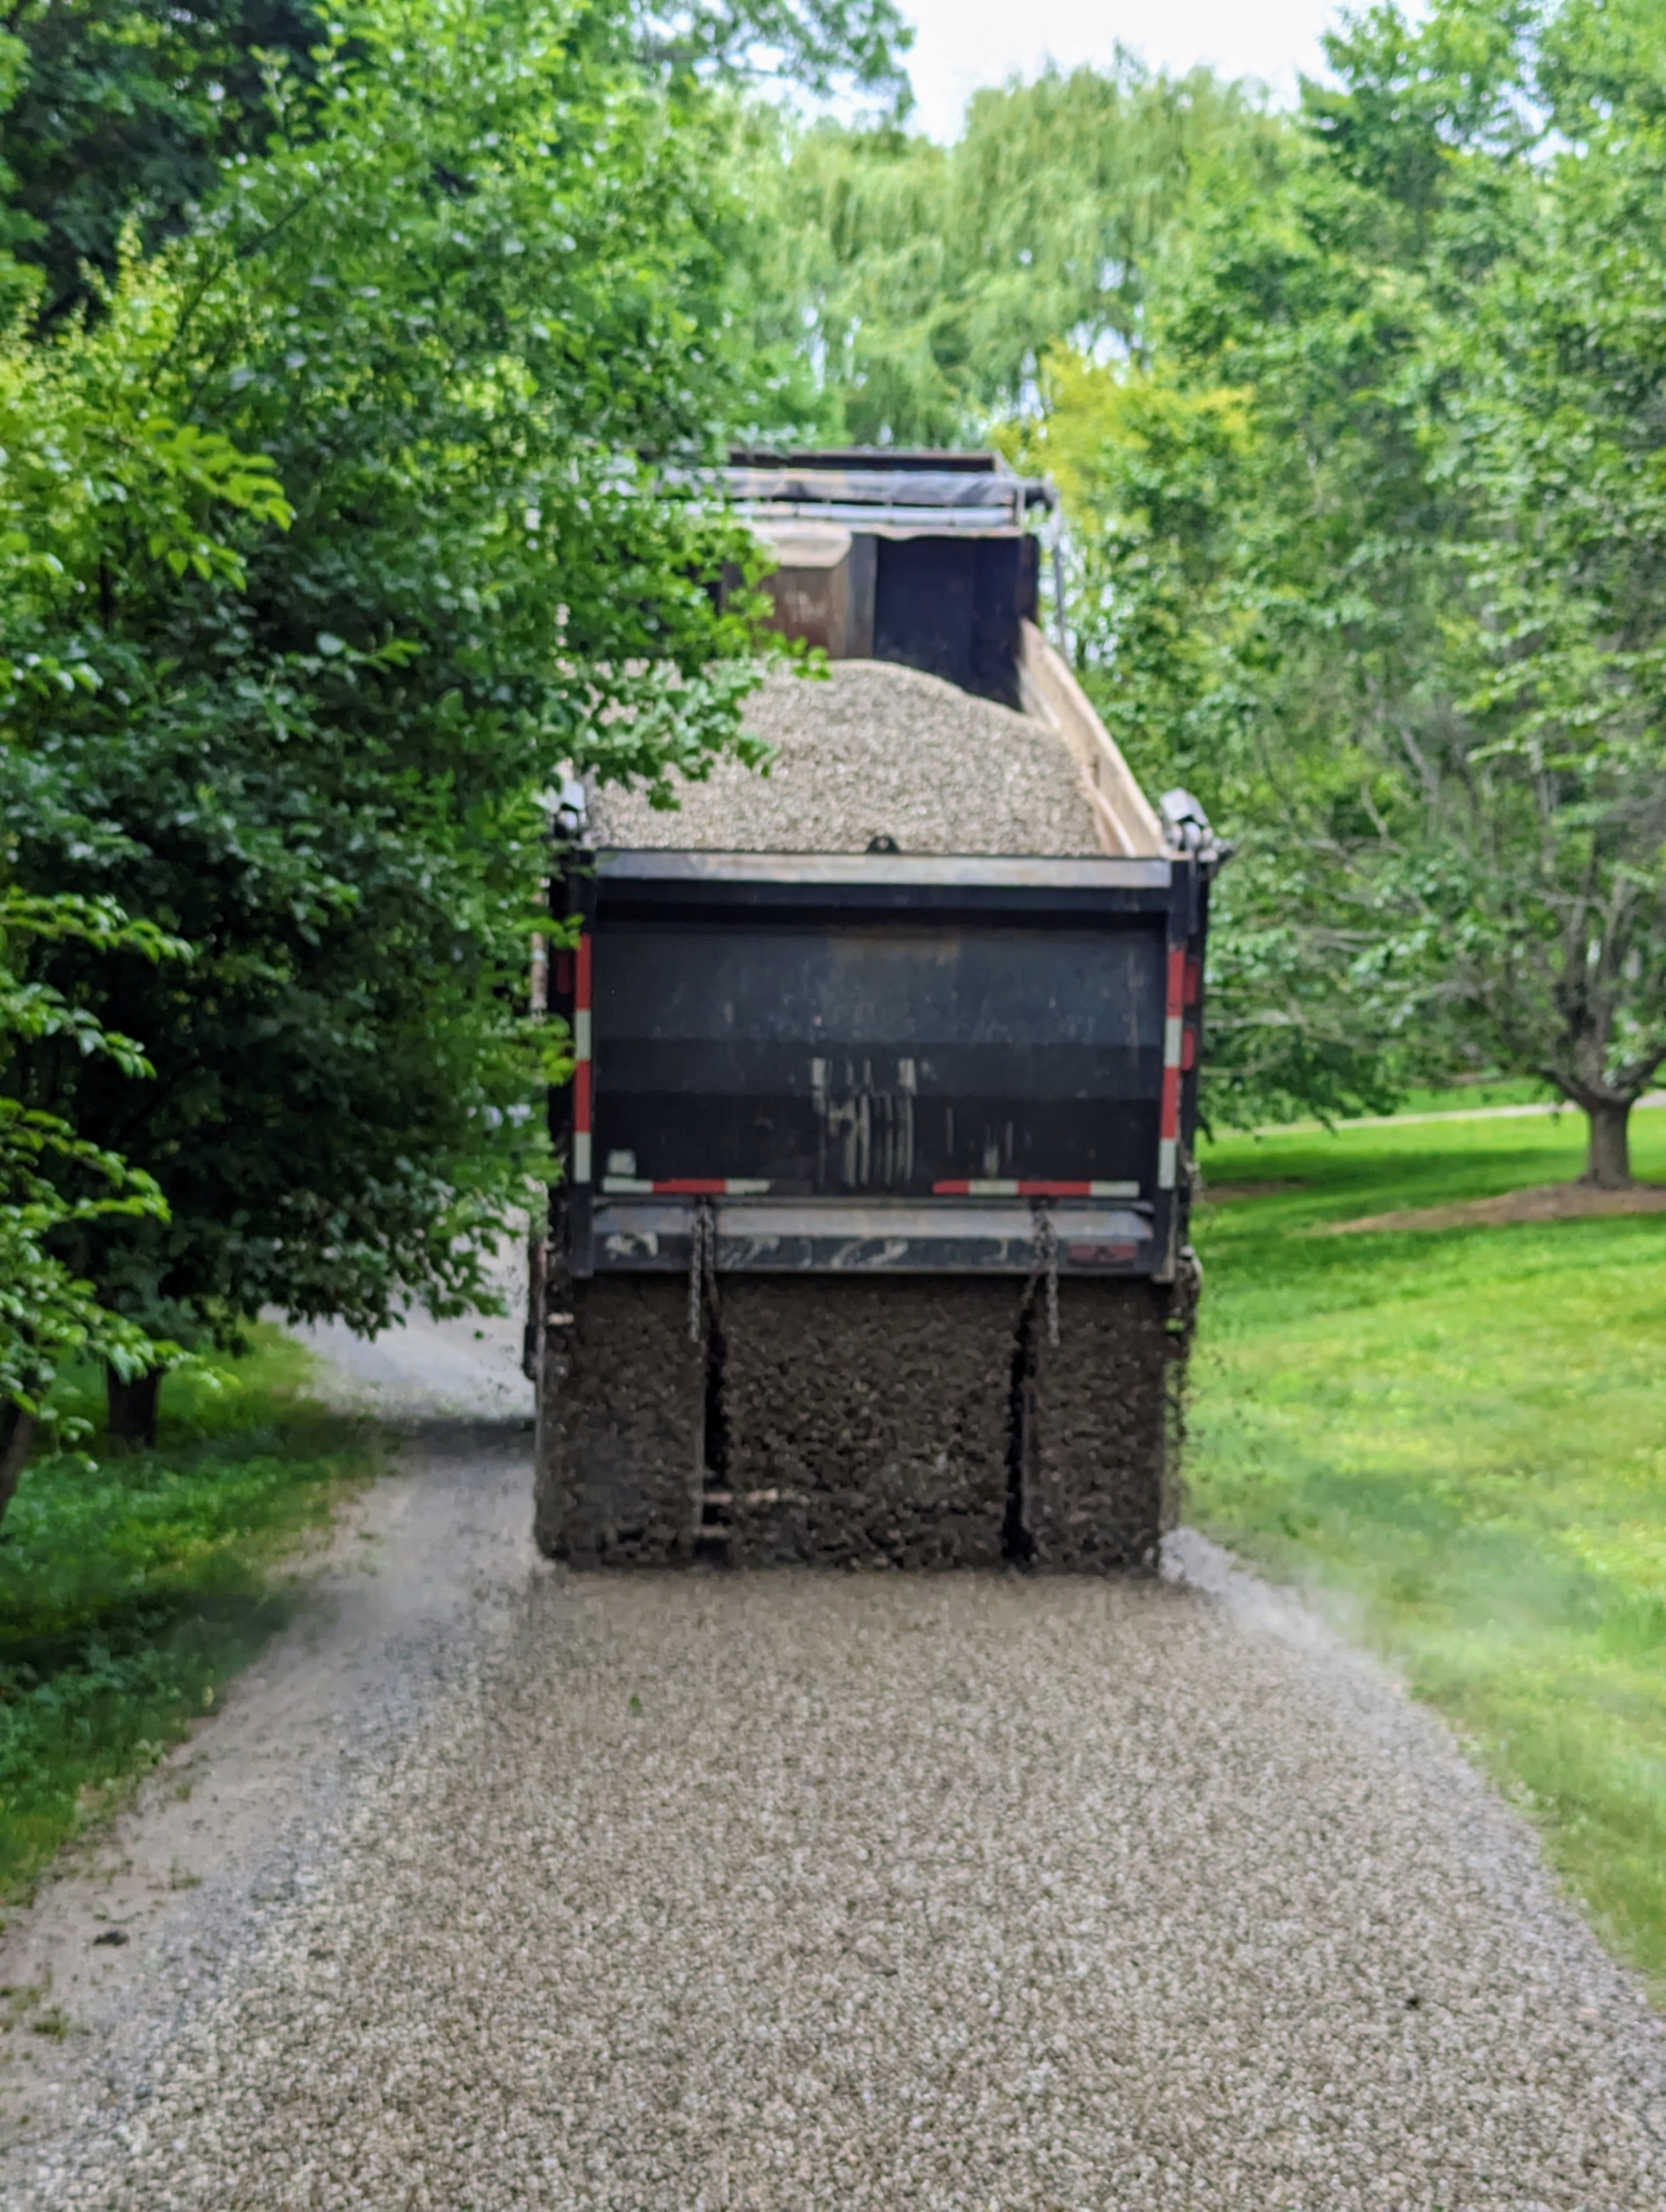
Large 10-wheel dump trucks can carry anywhere from 13 to 25 tons of gravel per load. Here is a truck filled with the 3/8-inch native stone gravel I selected. It would take many truck loads to cover the entire four miles of carriage road here at the farm.
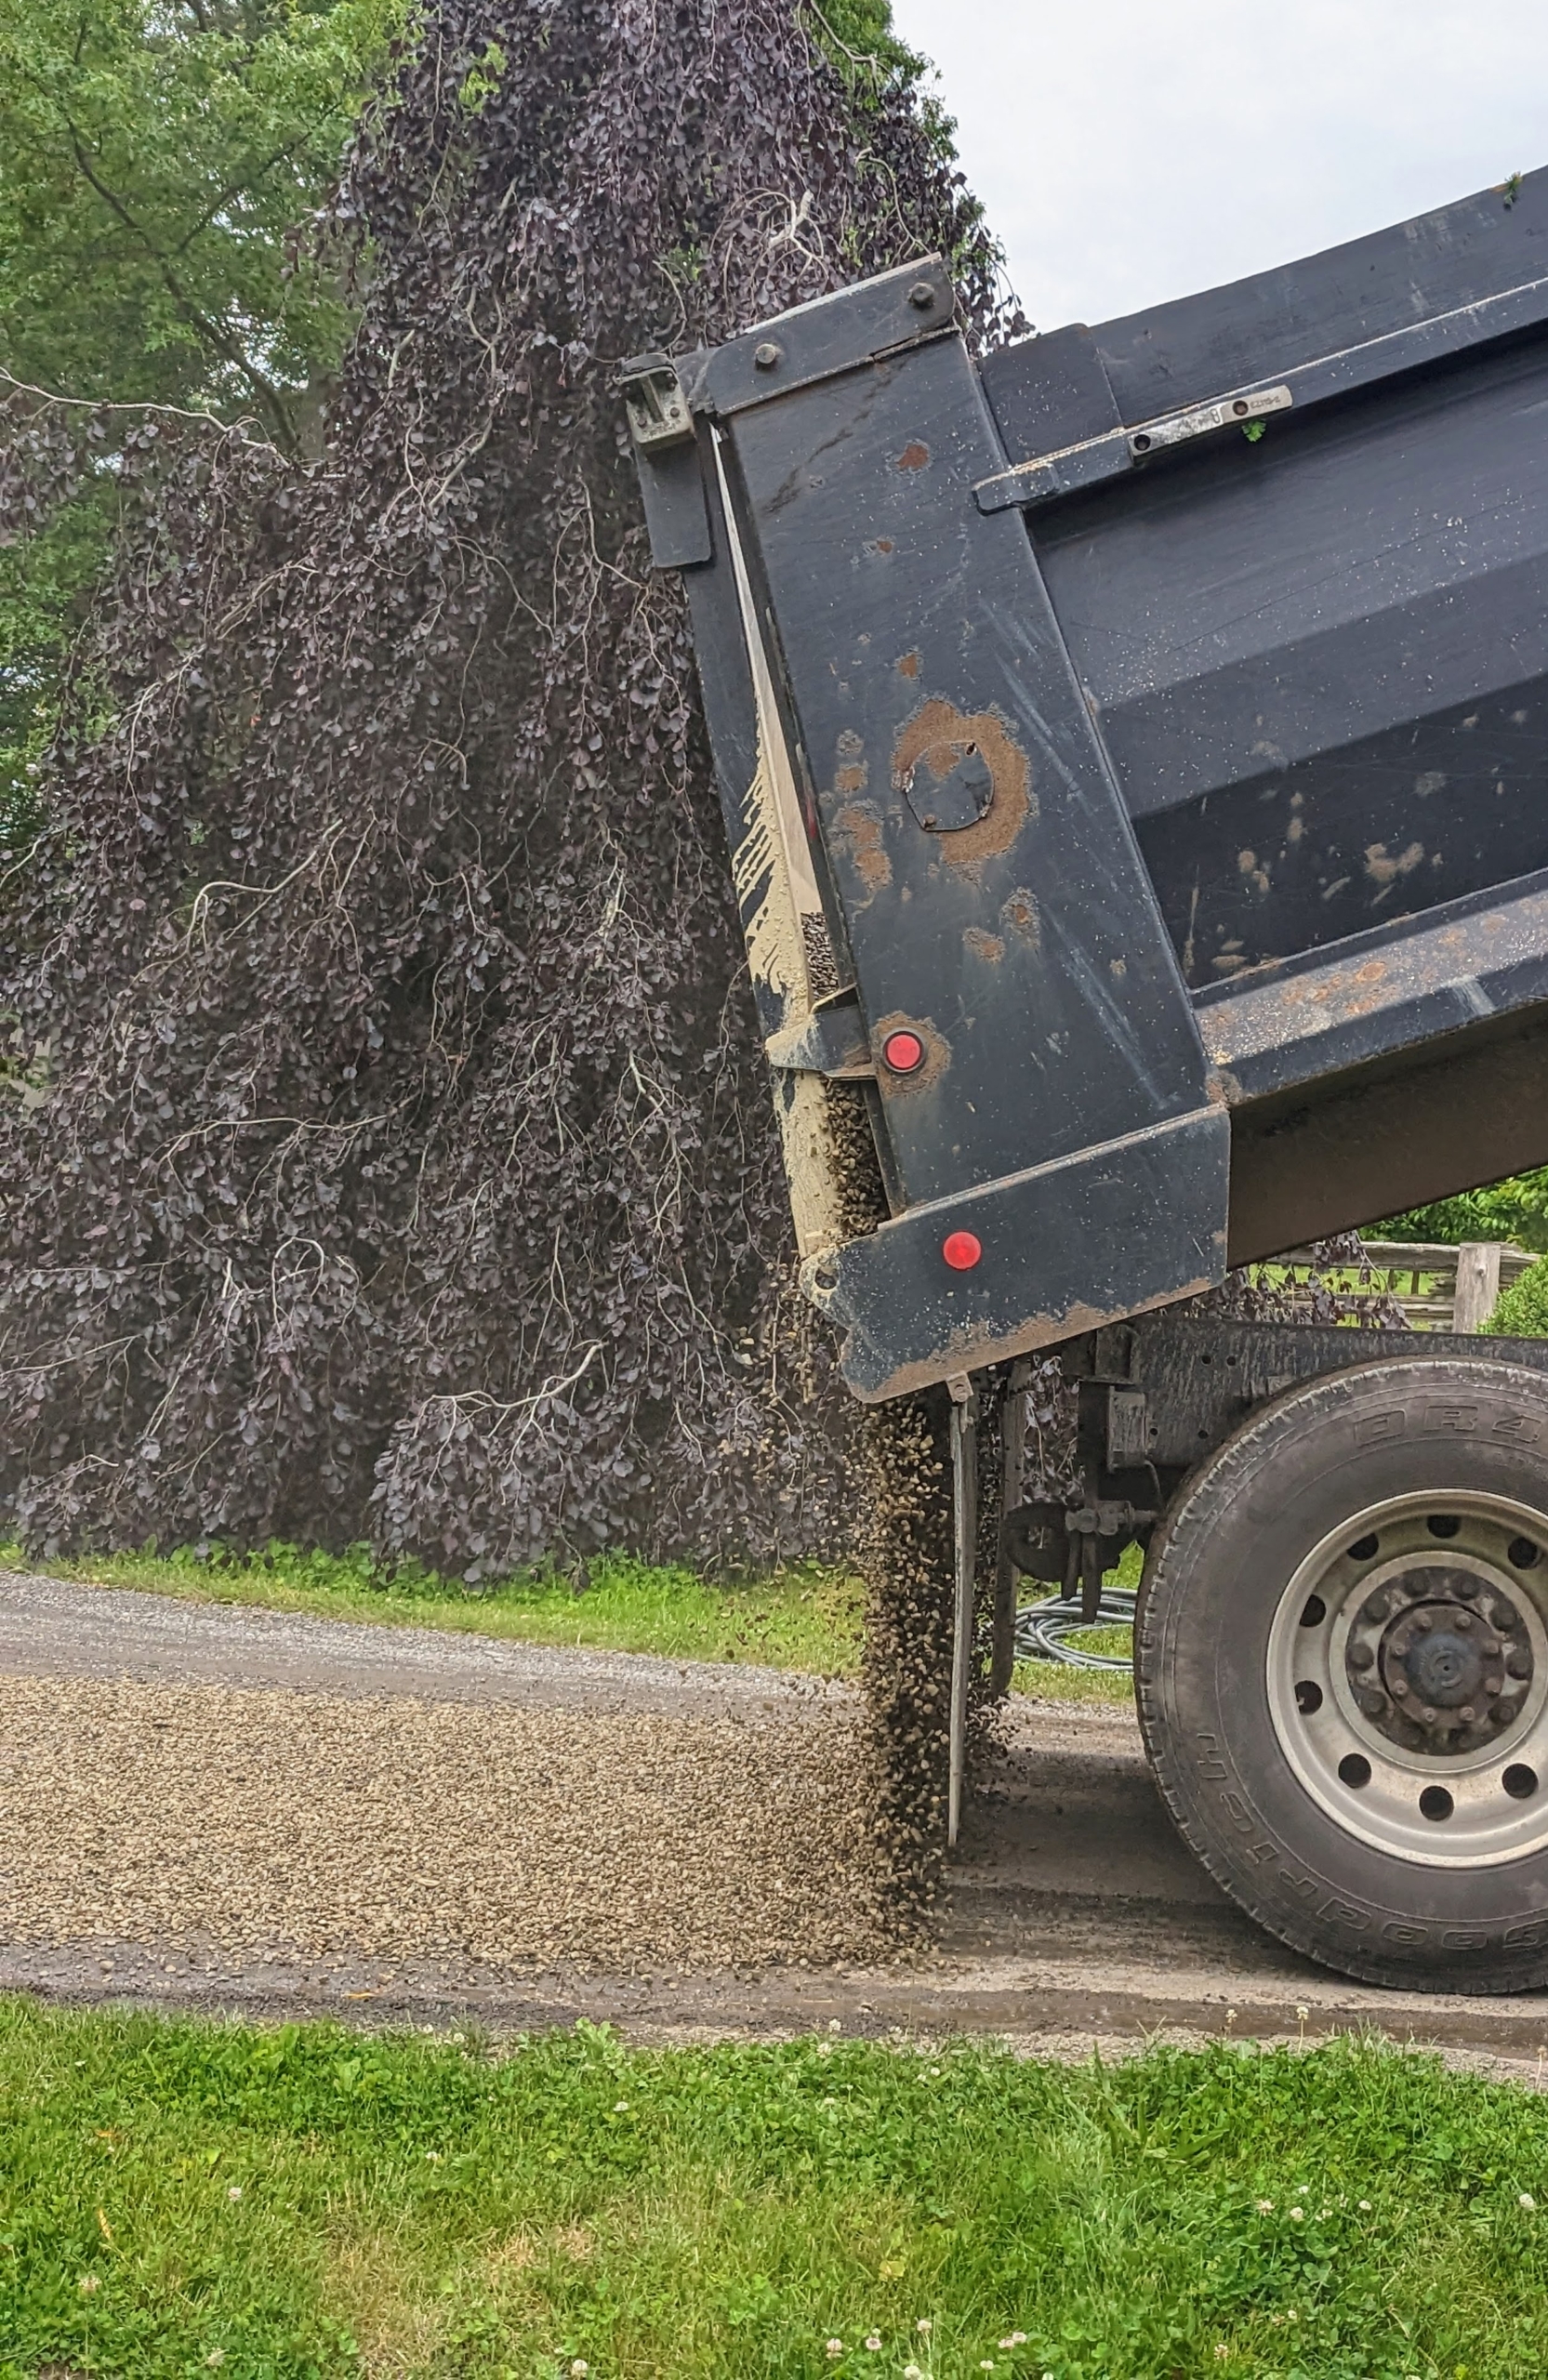
As the truck moves along the carriage road, the gravel is released from the bottom of tailgate.
The gravel is dropped slowly and evenly.
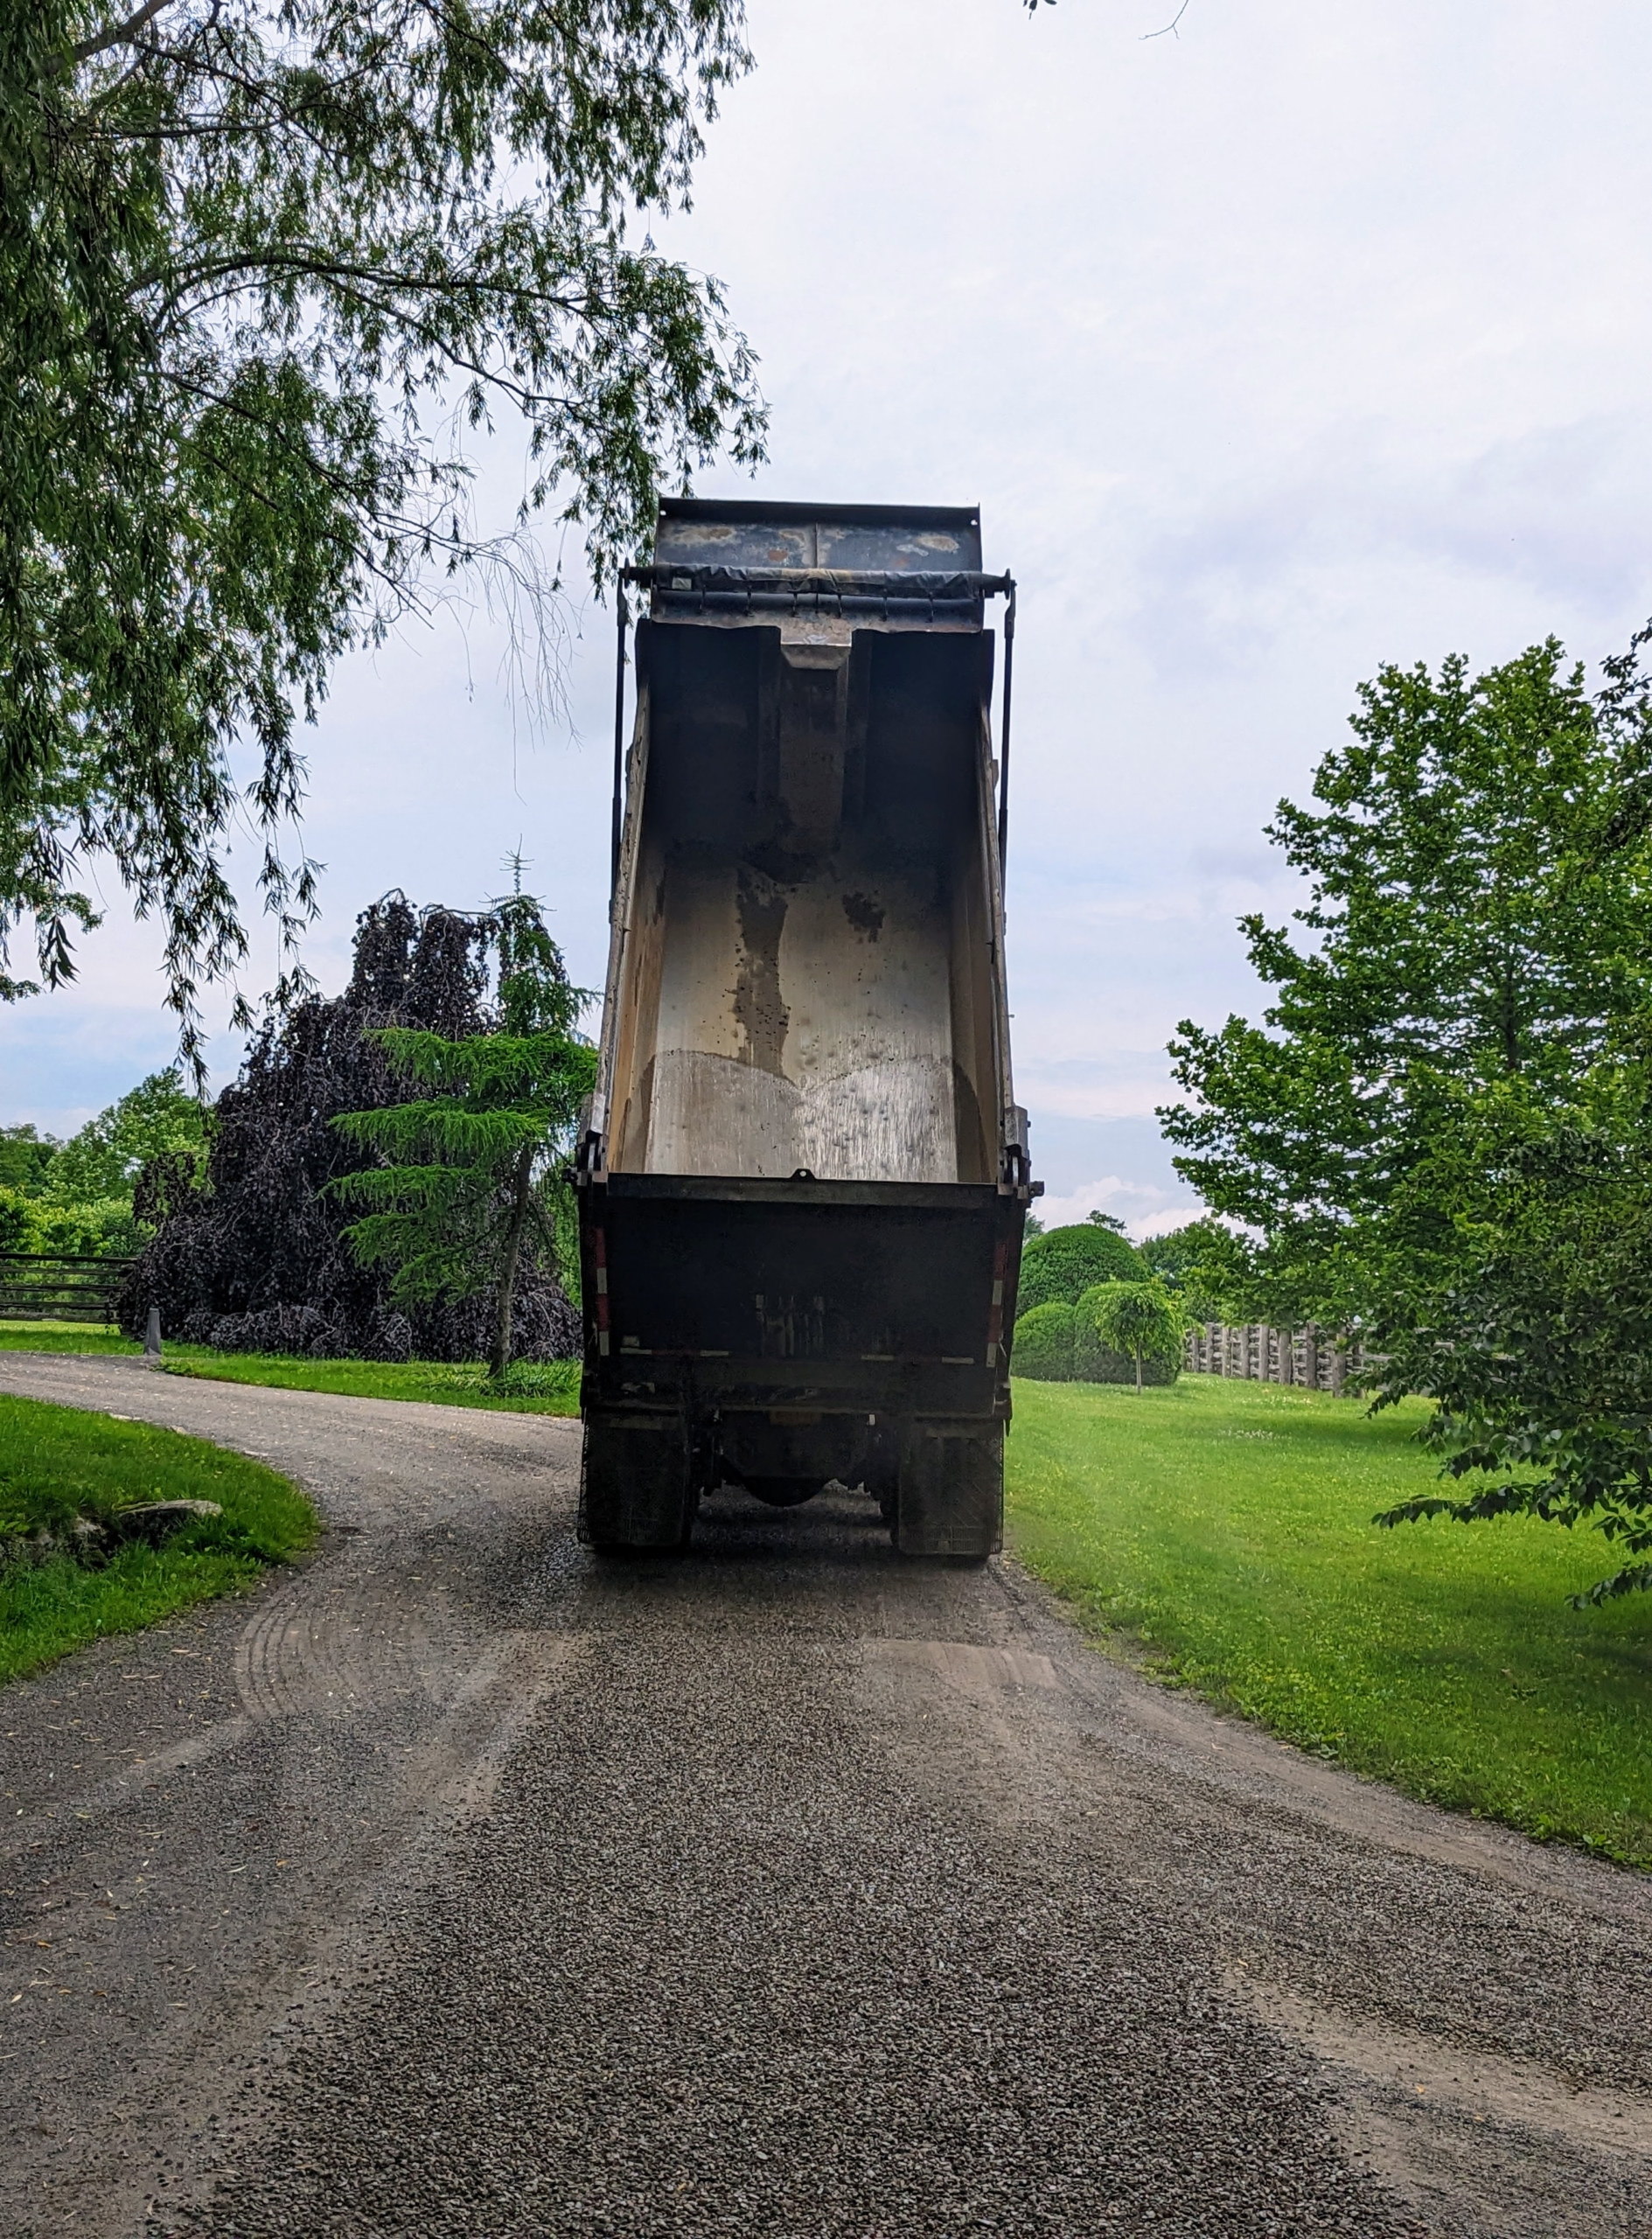
Here is the back all empty and ready to go back to the facility for another load.
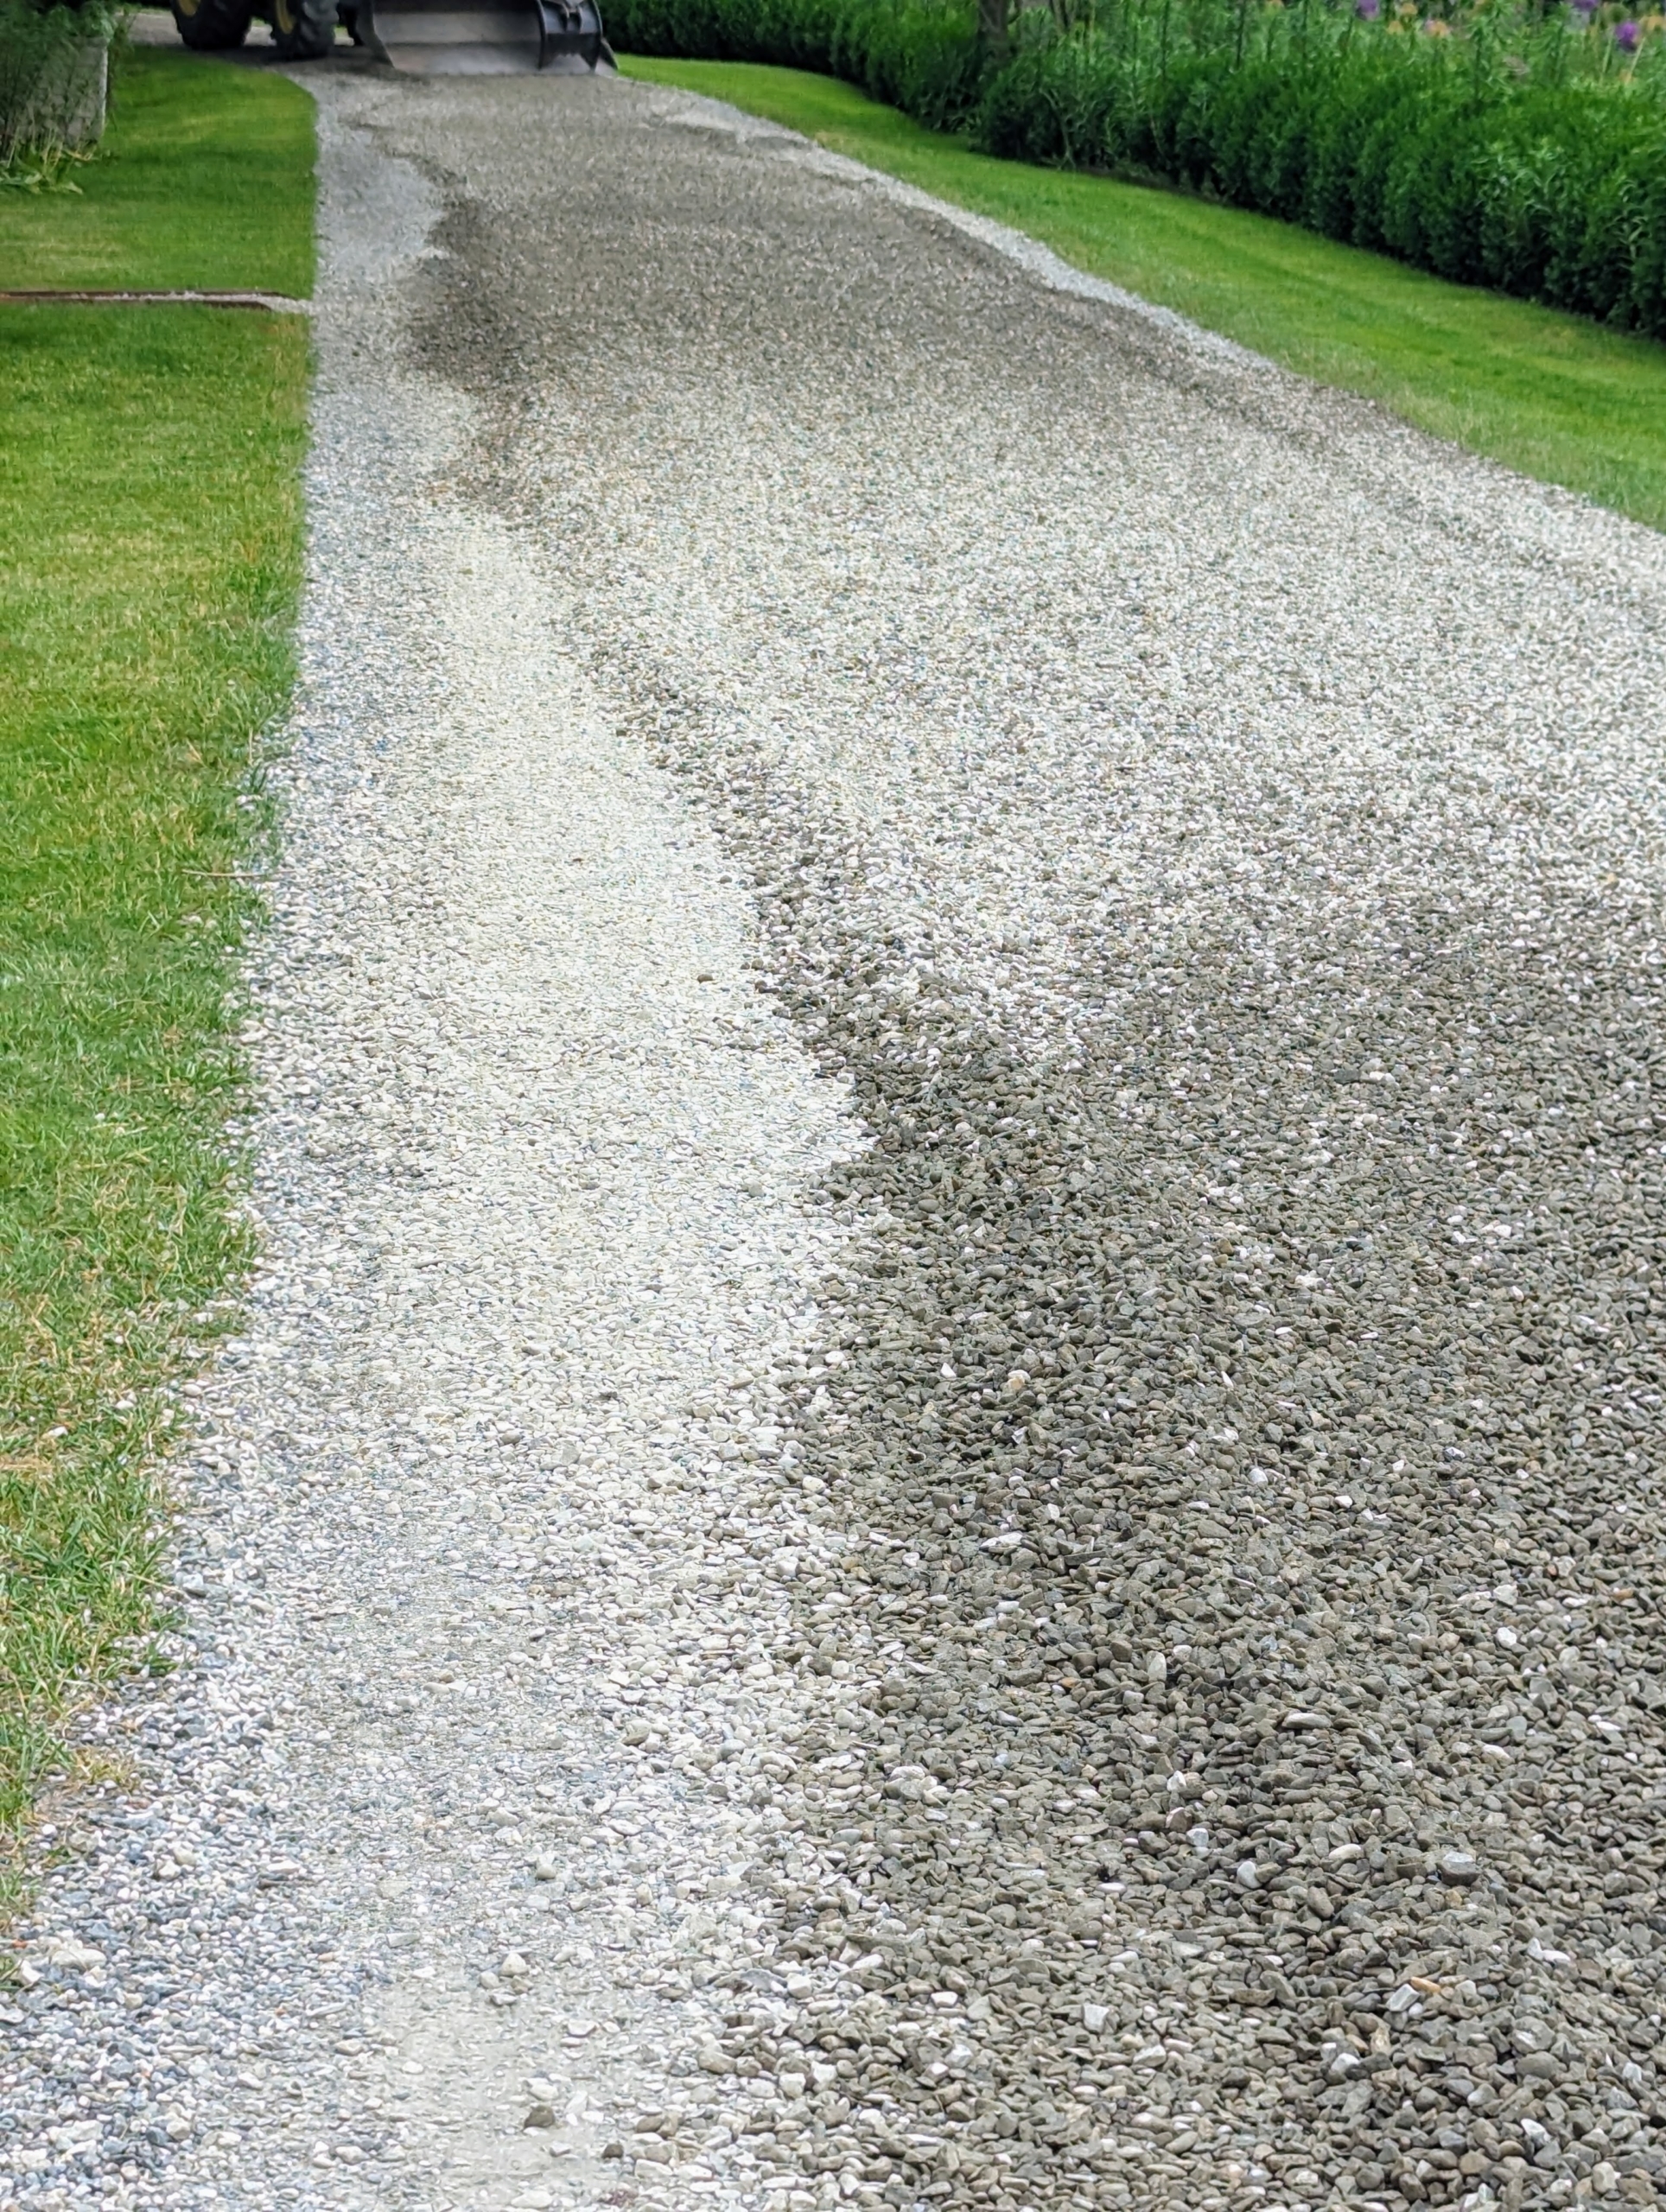
And here is what it looks like once it is dropped. The gravel is in the center of the road and now needs to be raked to fill the width of the 12-foot wide surfaces.
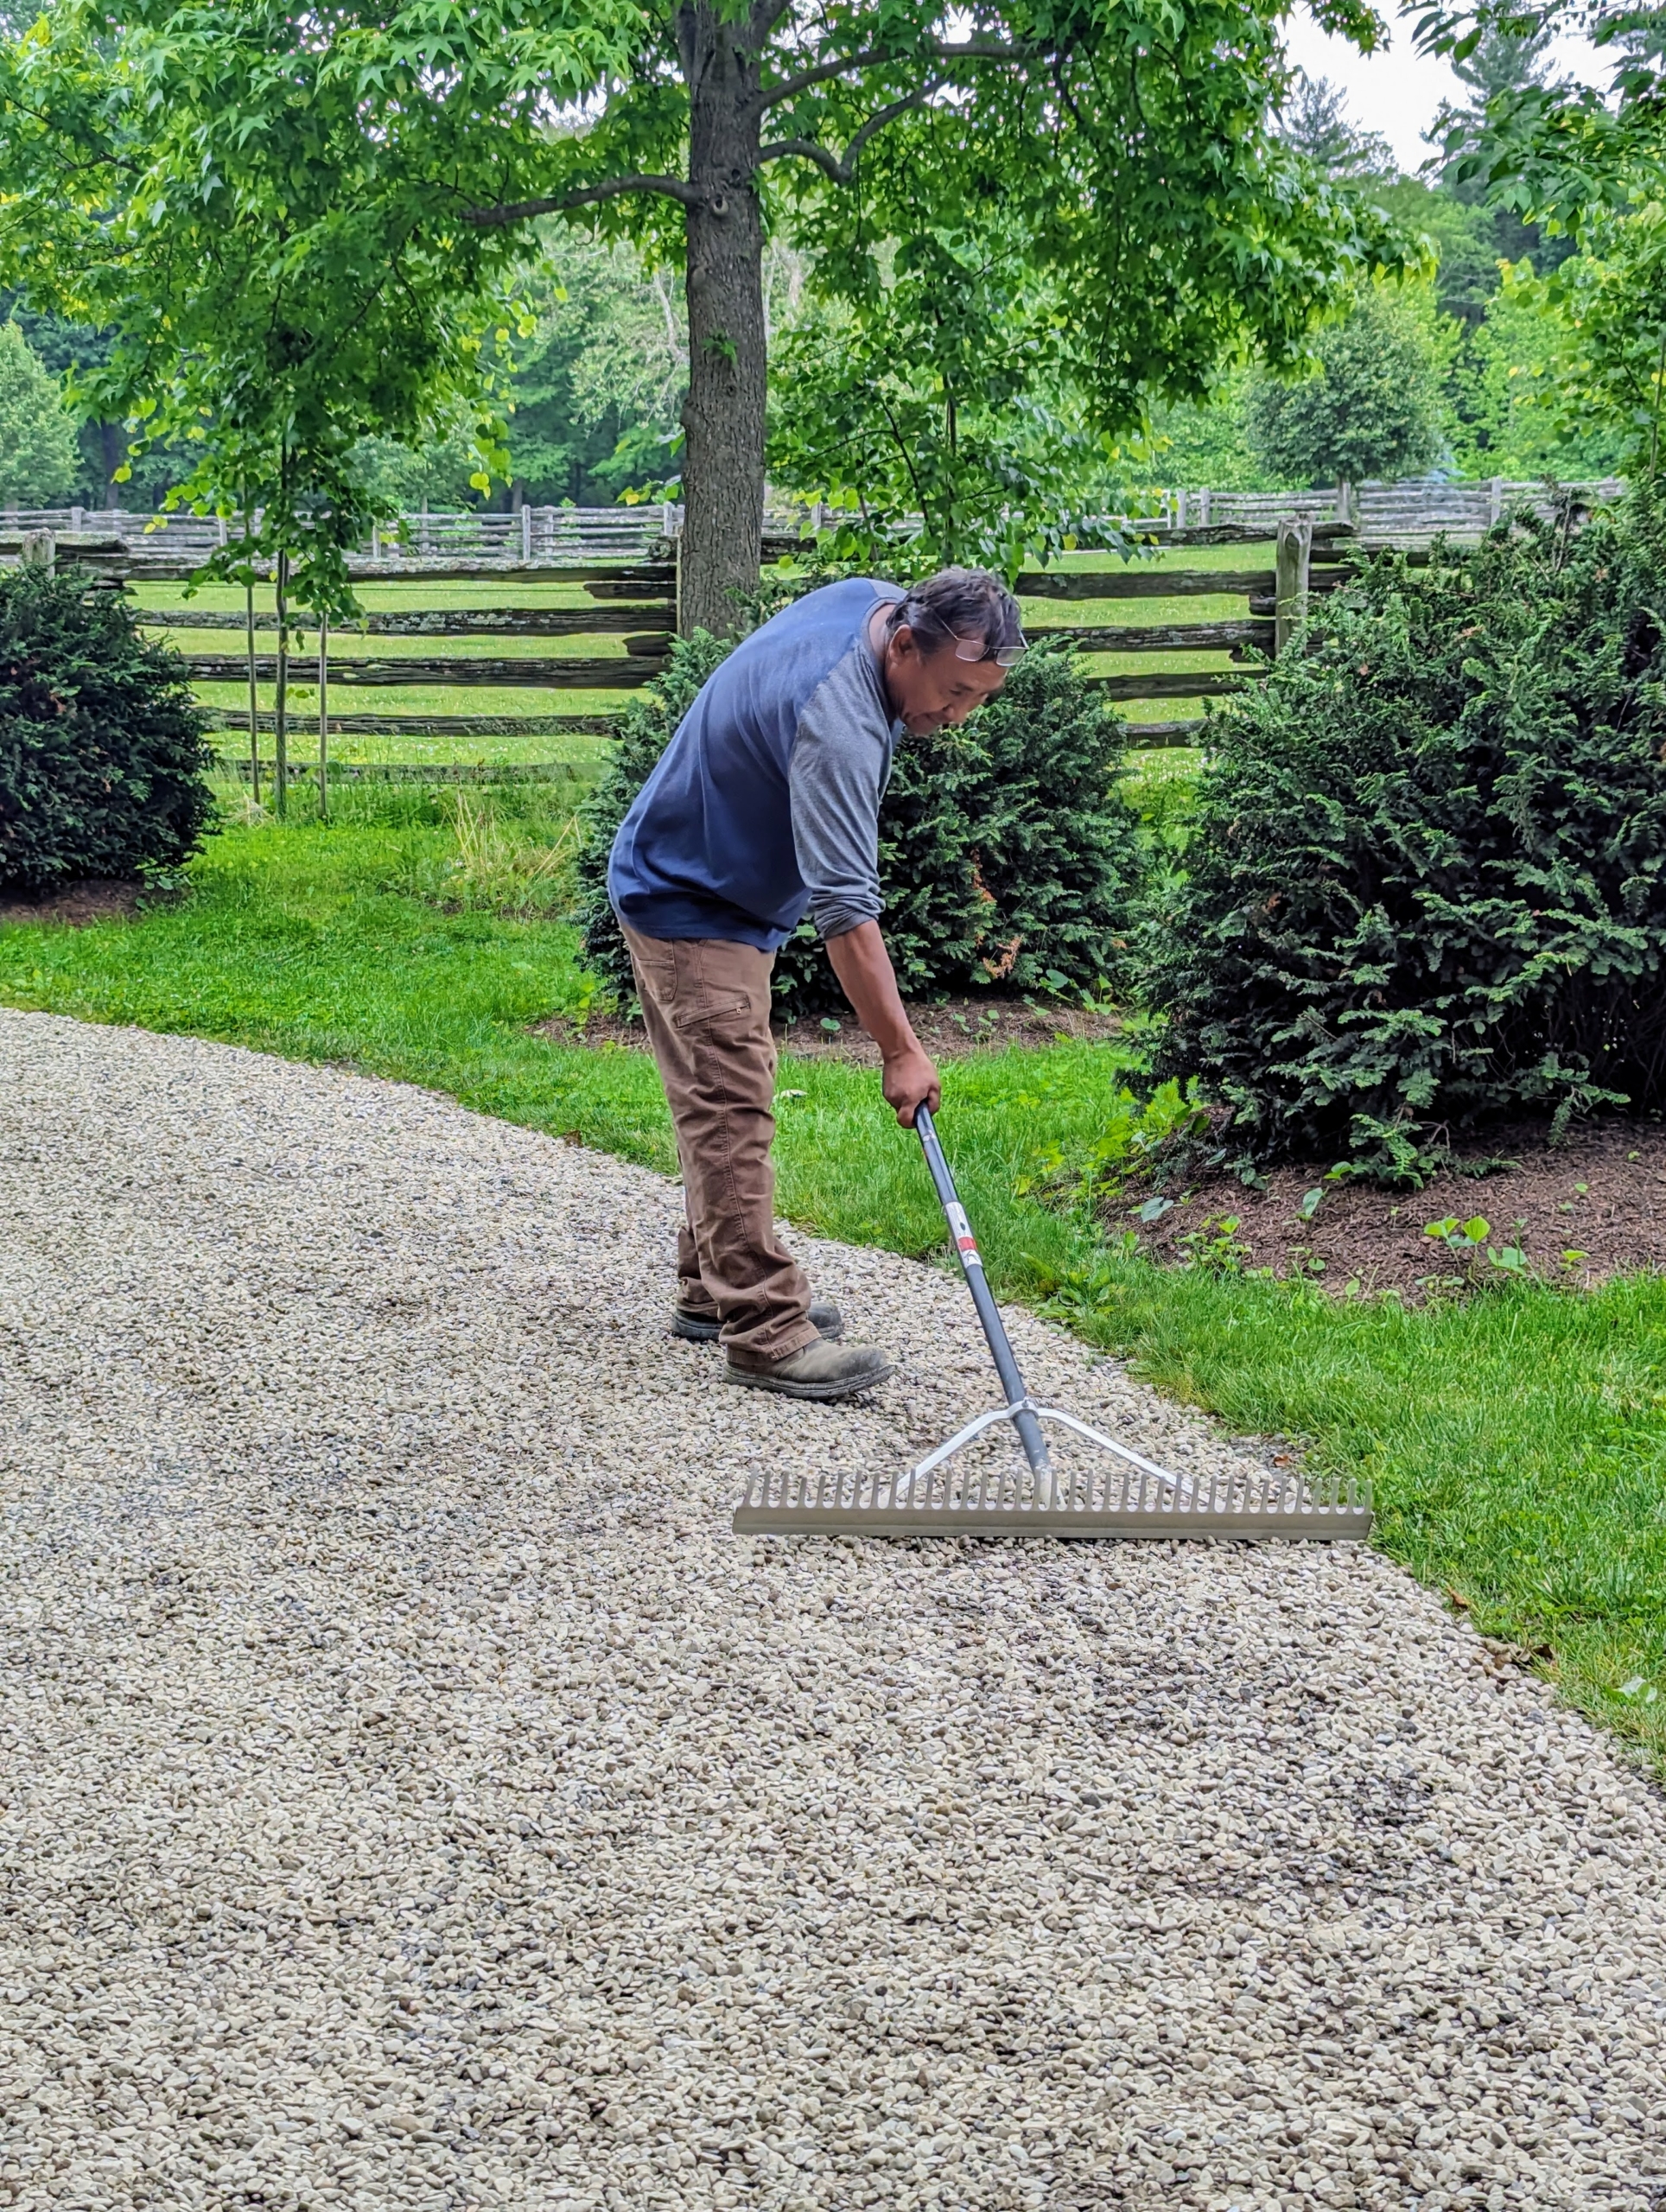
Pete uses a landscape rake to spread and level the gravel to the edge of the road. This area is also high traffic. It leads from the allée of lindens to my chicken coops.
Fernando is in another area also leveling and spreading the gravel dropped by the dump truck.
This stone is not only pretty, but water drains more quickly through small stones and gravel, so it is good to use around the farm.
Around the stable, Pete also uses the tractor bucket to level and spread the gravel over a larger area.
And then Fernando manually rakes it closer to the stable buildings. We do a lot of our projects by hand – it takes longer, but the jobs are done more carefully and very nicely. Fernando also uses a landscape rake. This razor-back aluminum landscape rake has a wide head and teeth to level gravel quickly and smoothly.
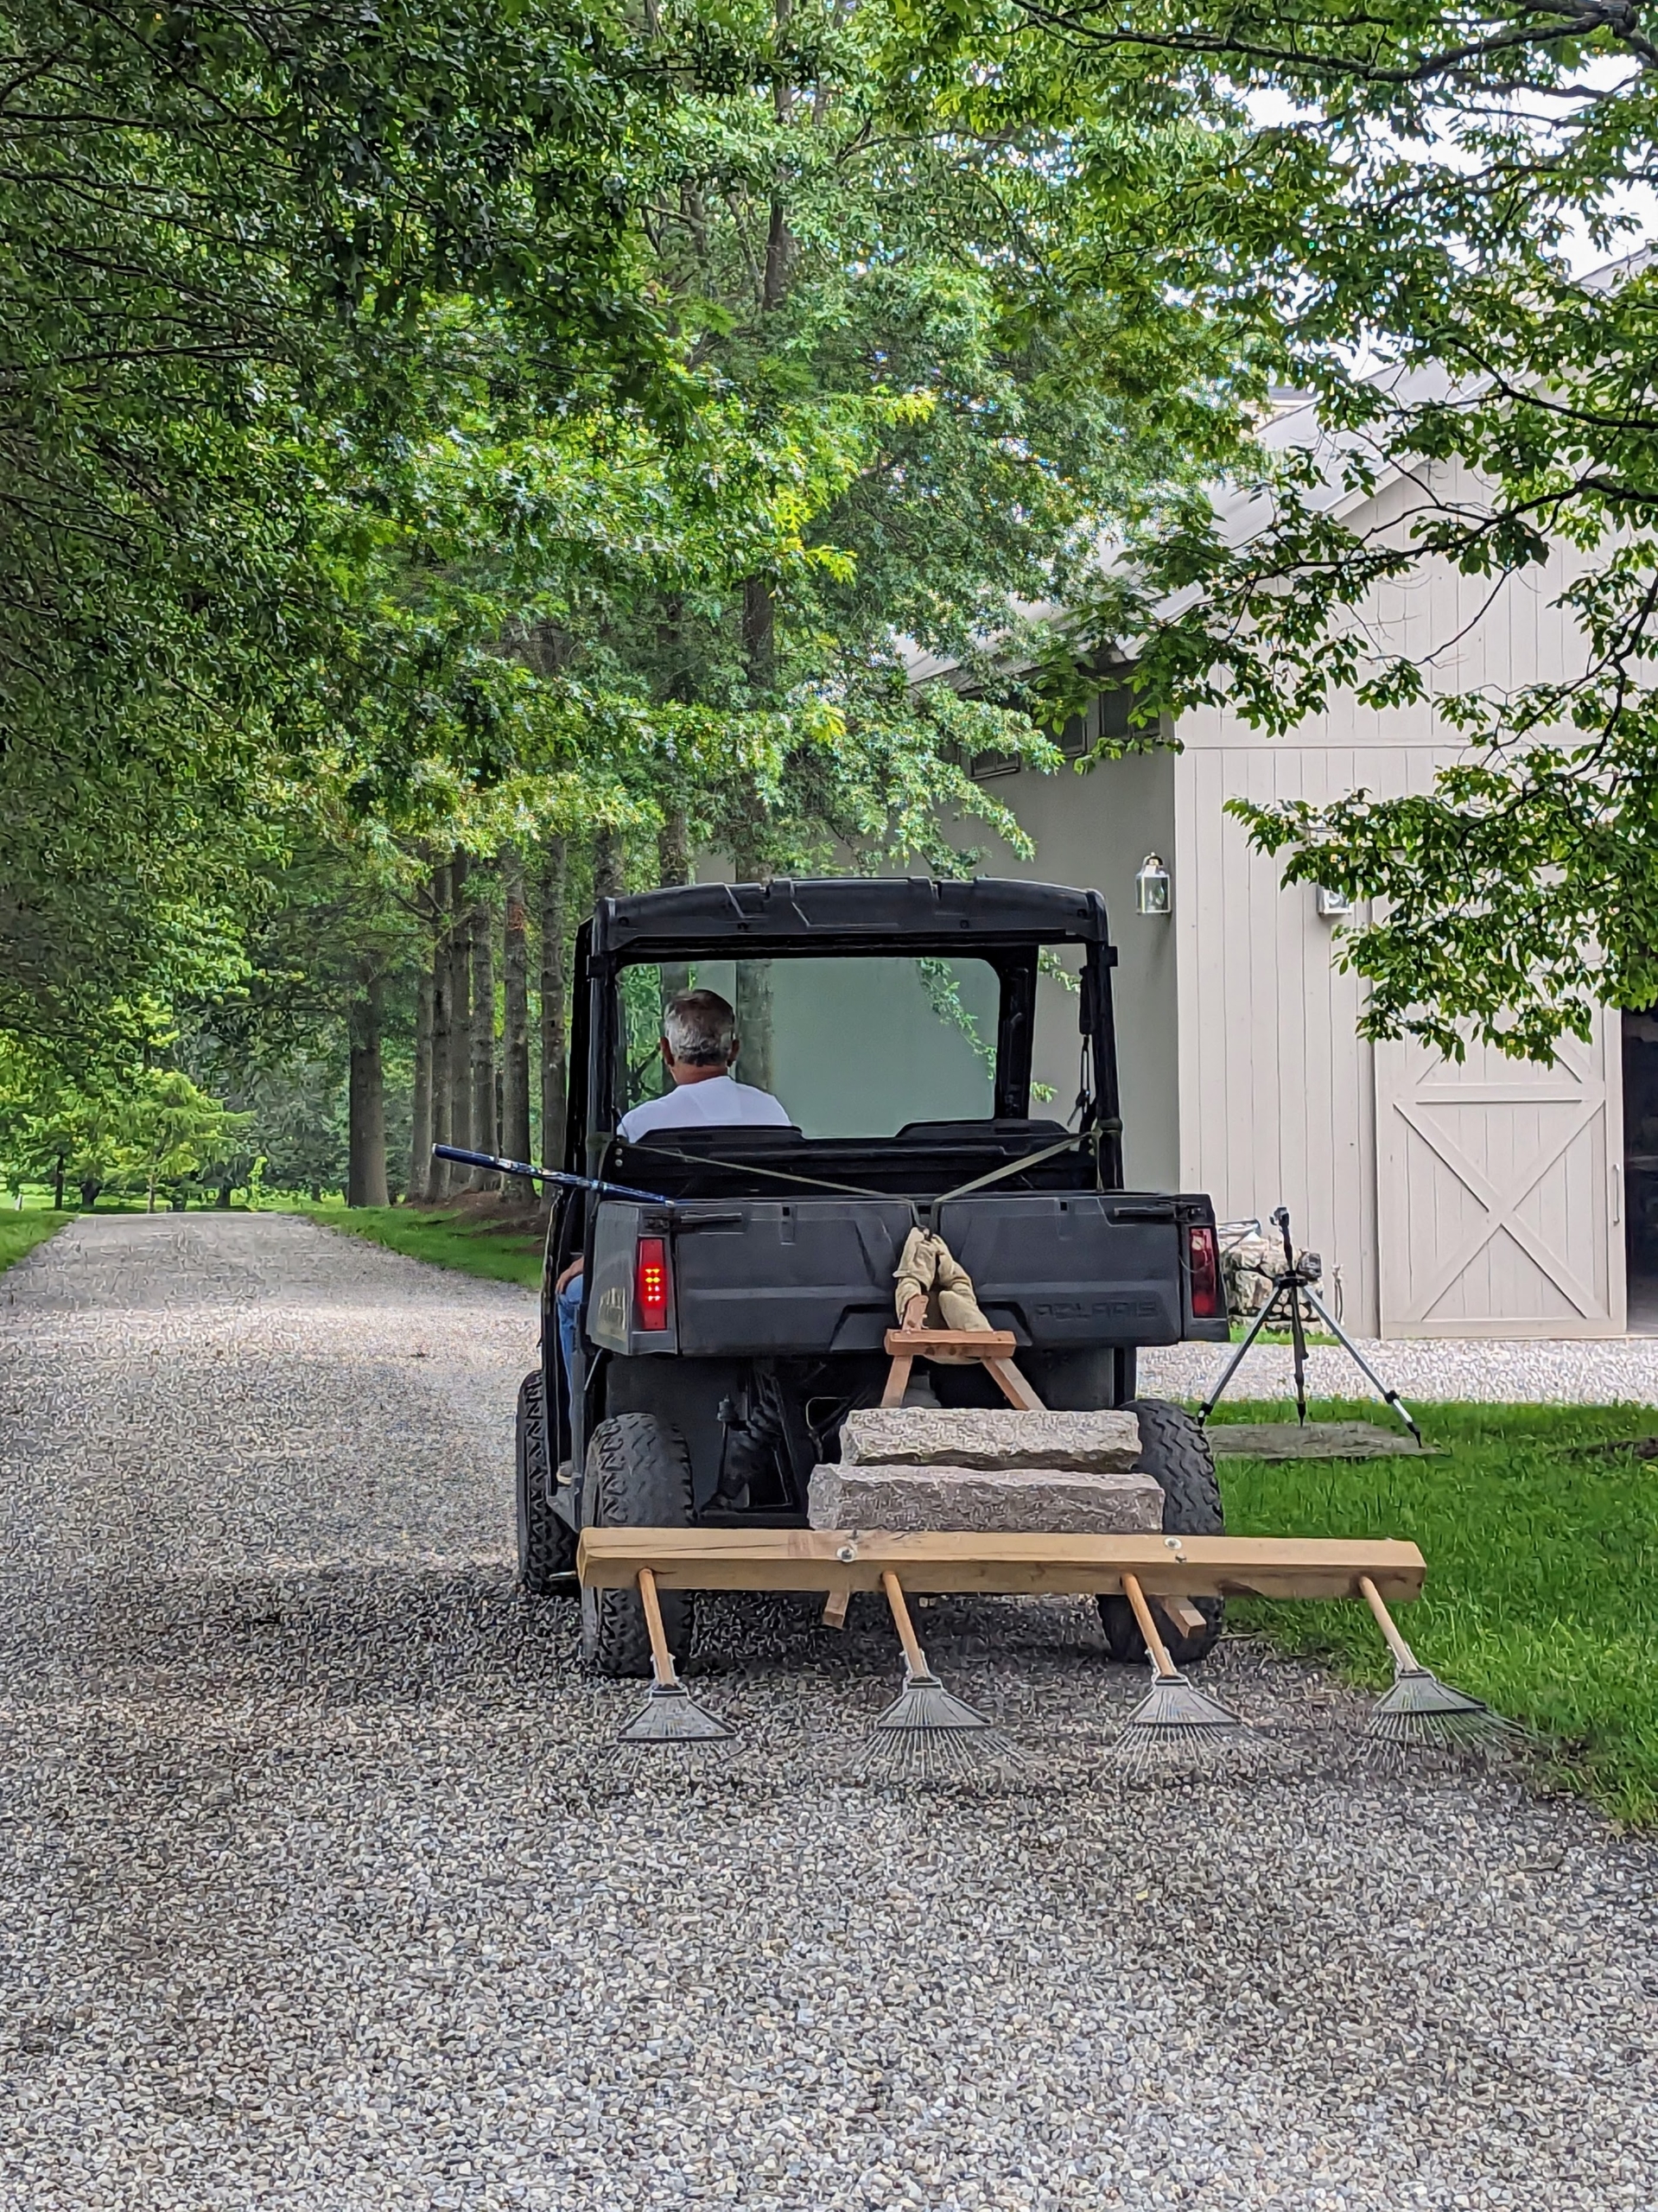
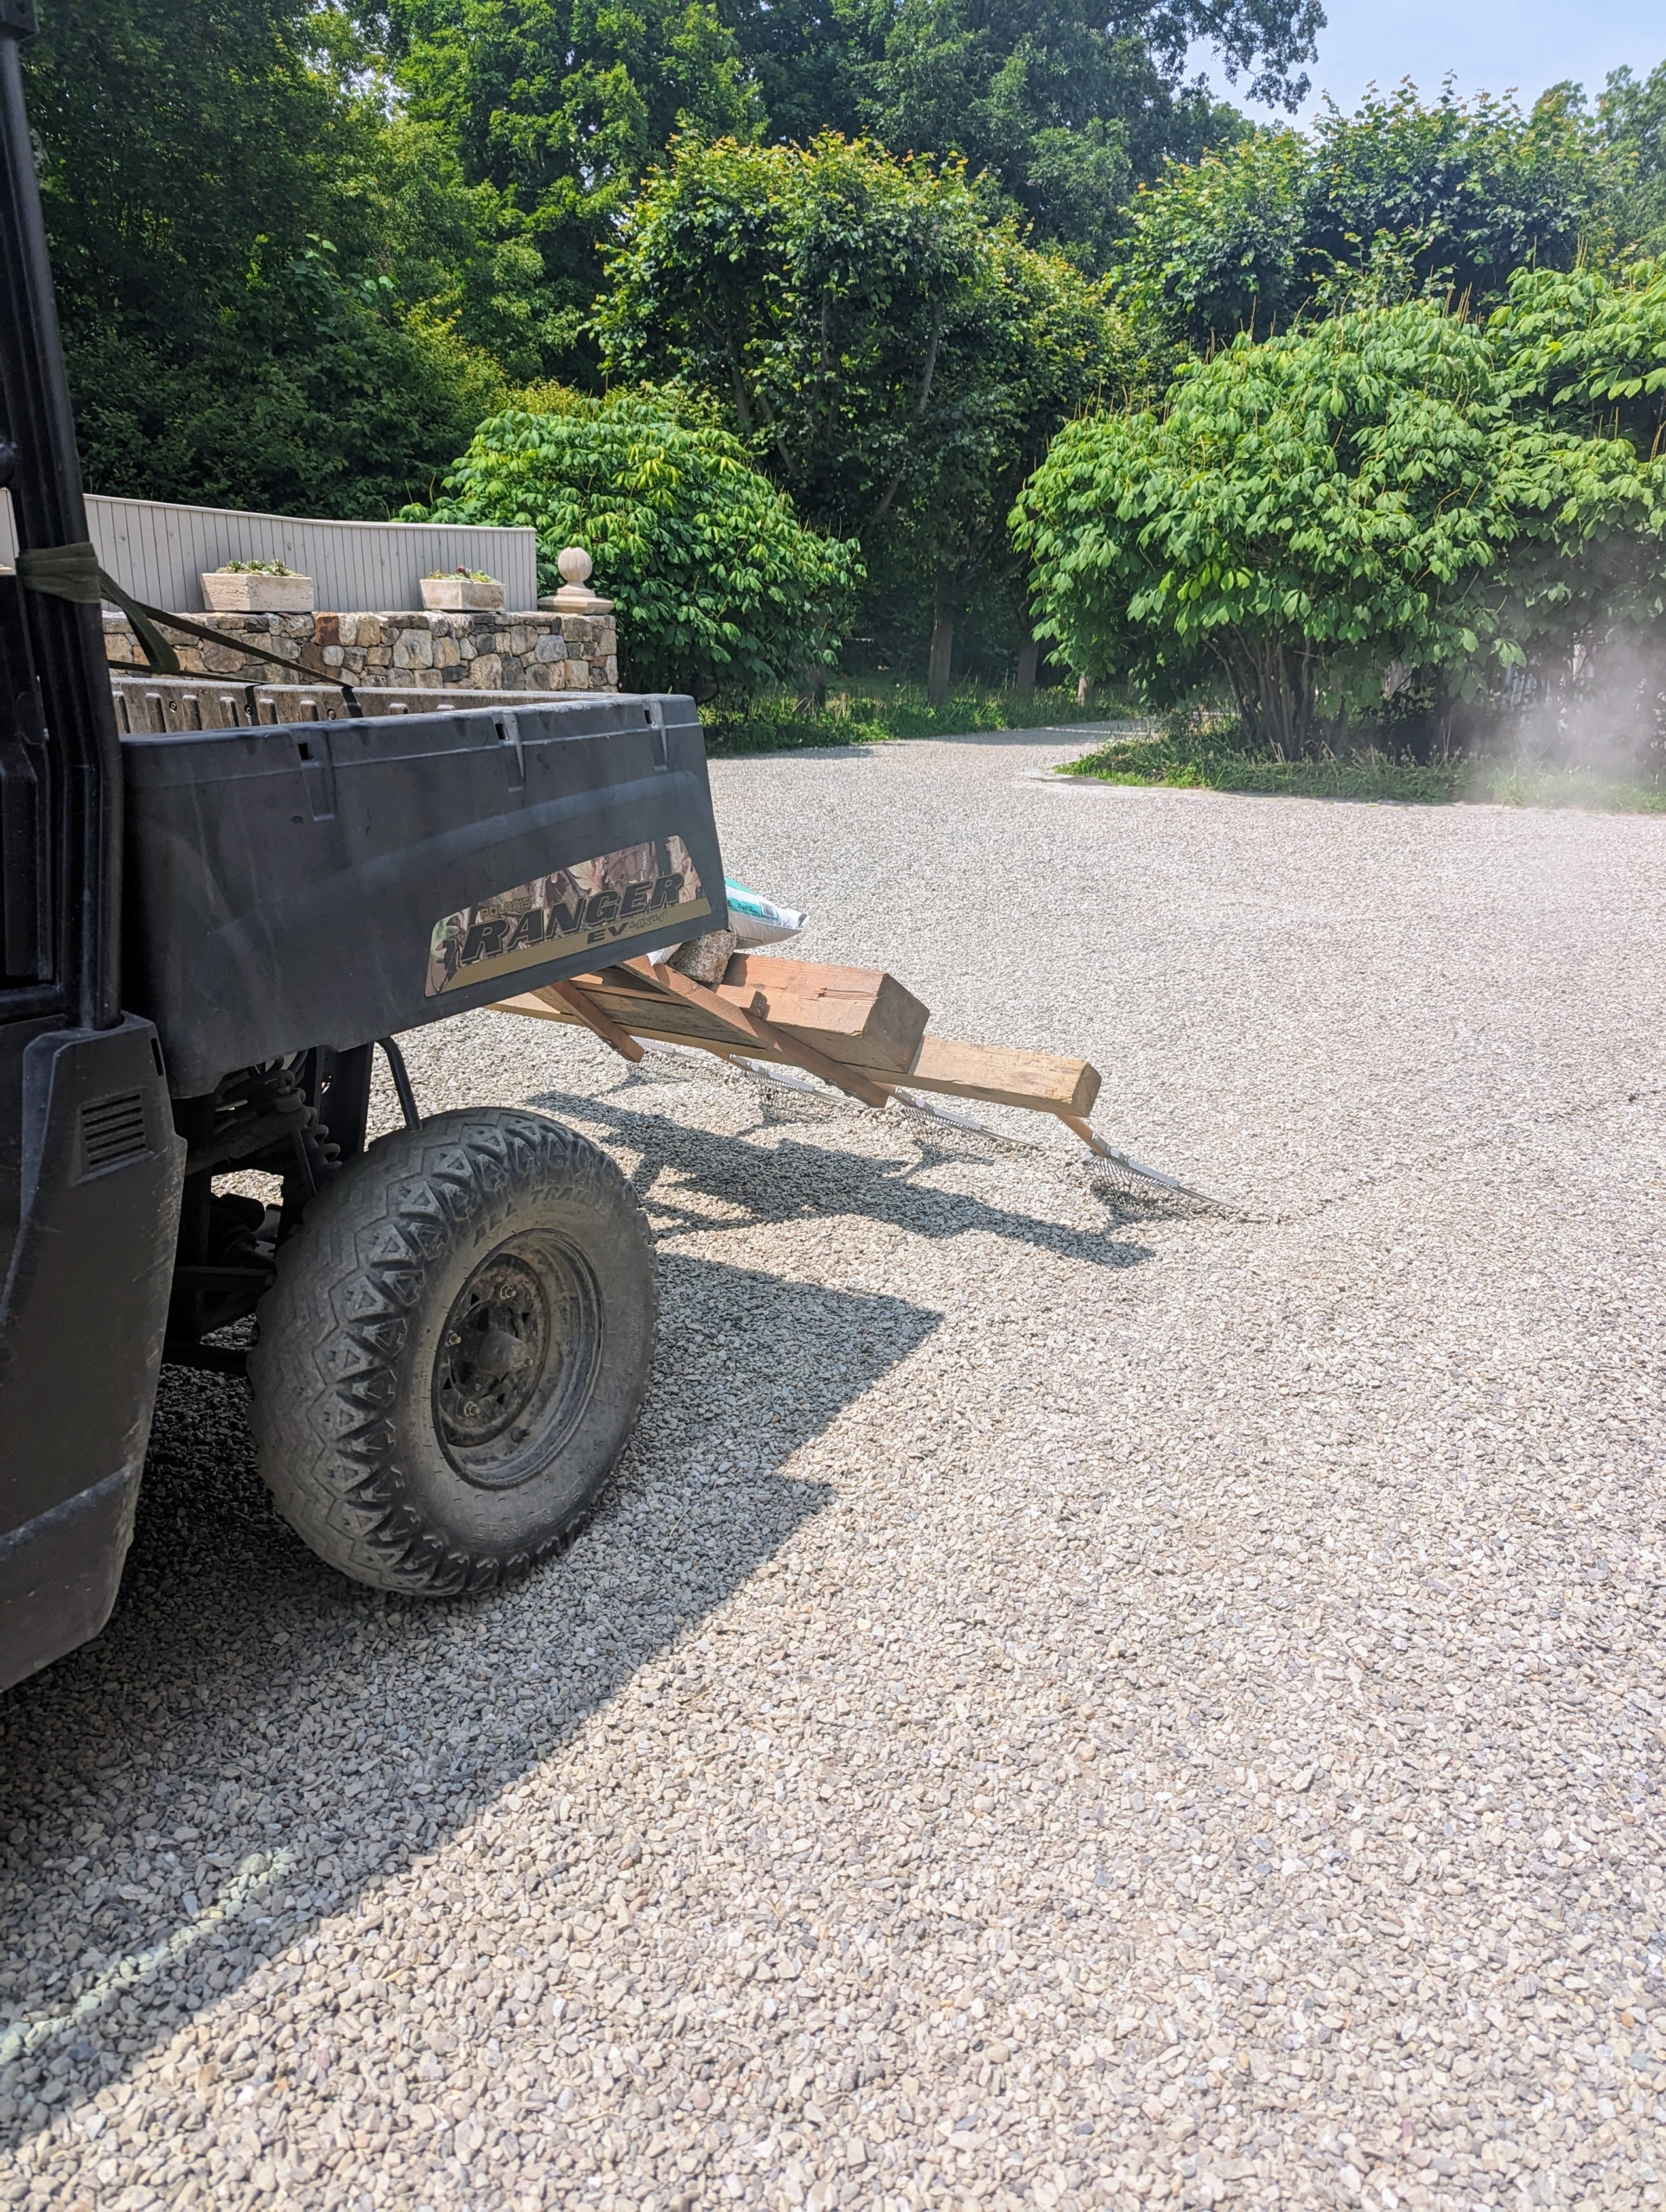
Fernando also takes on the task of “raking the roads.” This attachment is made from four soft garden rakes secured to a wooden frame. Here is Fernando in our Polaris Ranger pulling the rake.
We created this special device to rake the gravel, so it is even. This is done every couple of weeks to keep the roads looking neat and tidy.
This is our Kubota M4-071 tractor. It’s designed to use auxiliary equipment such as the L1154 front loader that helps us transport so many things around the farm – potted plants, mulch, wood, etc.
On the back is our Land Pride PR1690 Power Rake. This piece of equipment has a 90-inch rake to work on large properties. We are using it to rake and grade the carriage roads, but it is also capable of windrowing soil, rocks, and debris in a field.
Here is a closer look at the roller of the power rake. When it is lowered onto the road surface and tilted to the proper angle, this attachment moves the gravel and road dust to the center, creating the proper crown for the surface. There should be about a three-percent slope from the shoulder to the center of the road. On less used roads, the power rake freshens up the existing gravel as it turns and brings any compacted gravel to the surface.
When maintaining a road it is important to ensure it has a crowned driving surface and a shoulder area that slopes directly away from the edge for water drainage.
Here is the finished area behind my stable with the allée of lindens in the distance – it looks great.
And here is the carriage road near my Winter House with the stately grove of bald cypress trees ahead. I love how the roads look after they are done.