Finishing My Pergola Restoration Project
After weeks of hard work, it's so great to finally see a project come to fruition - especially when it involves the restoration of my pergola.
Soon after moving to my farm, I built a winding 300-foot pergola along one side of a carriage road leading to my home. It was made using wooden beams supported by antique granite posts. After more than 20-years, it was time to replace the timeworn wood with new cedar beams and rafters. I designed the tail pattern and carpentry master Dmitri Logvinski of Logvinski Construction LLC went to work. Dmitri measured, cut, and meticulously checked every angle to ensure the pieces were installed to perfection. He also corrected any posts that had shifted, even slightly, over the years. It was an arduous task, but it is now complete and looks wonderful.
Here are some photos, enjoy.
-

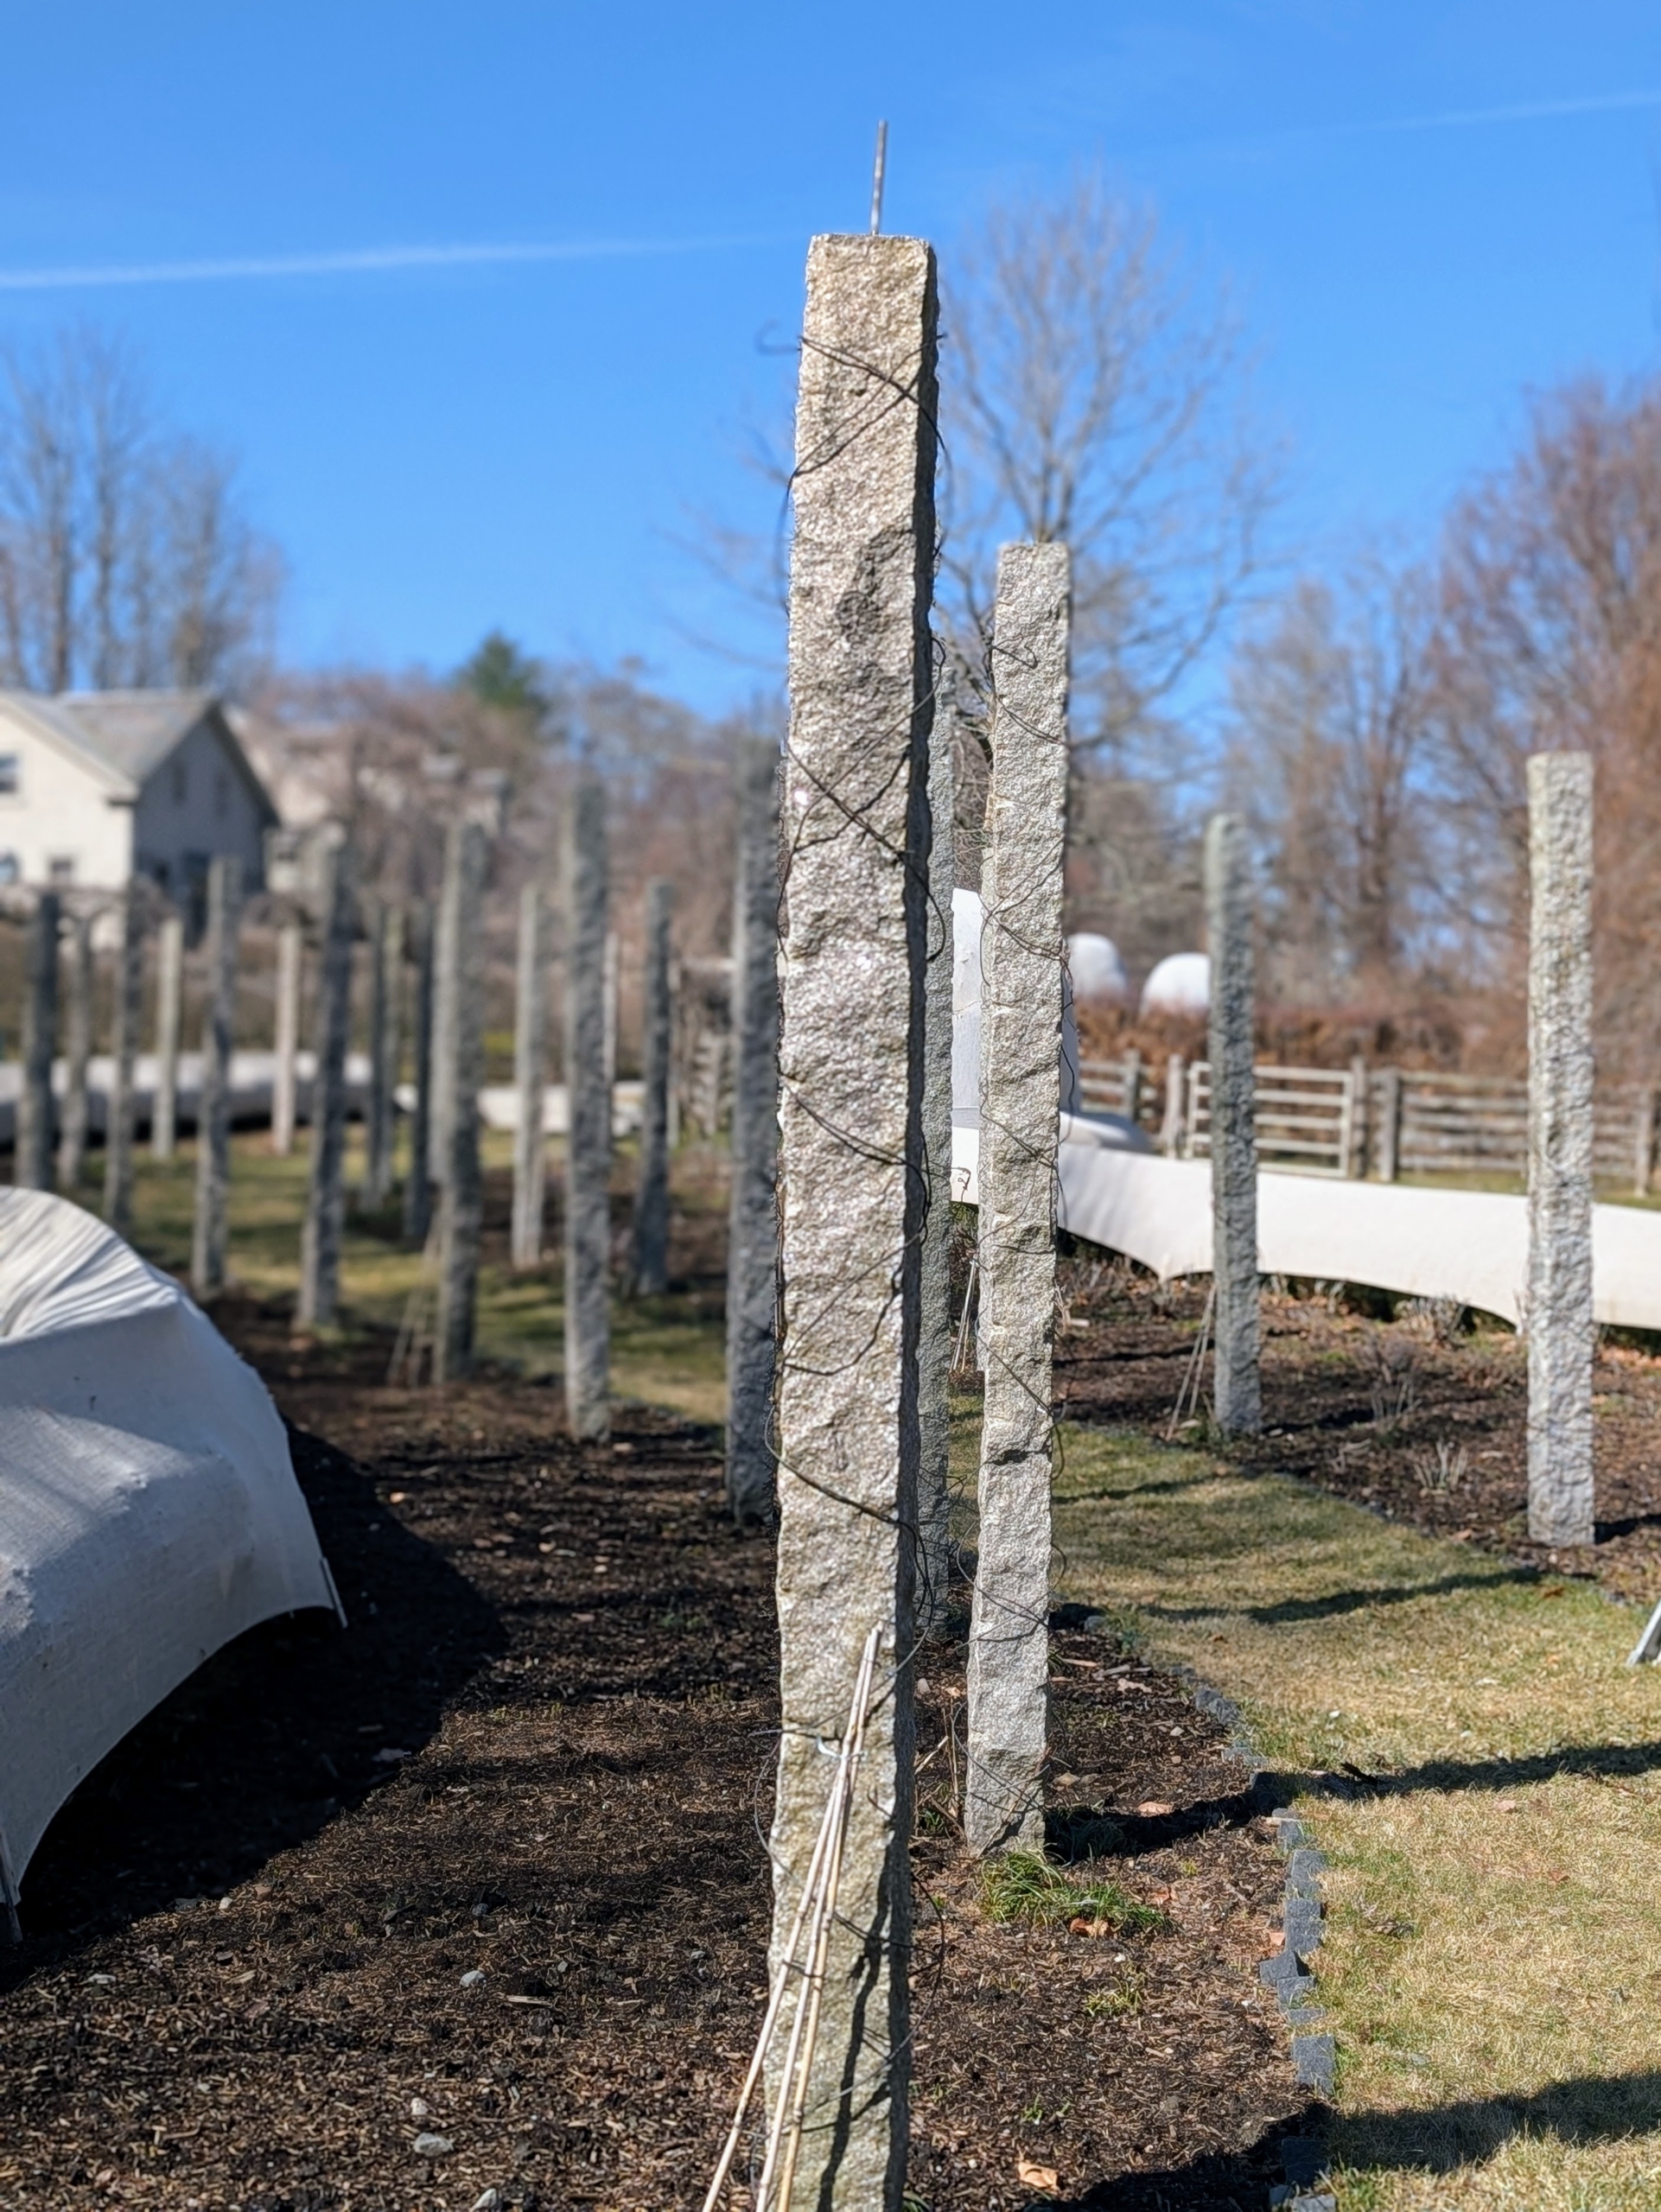
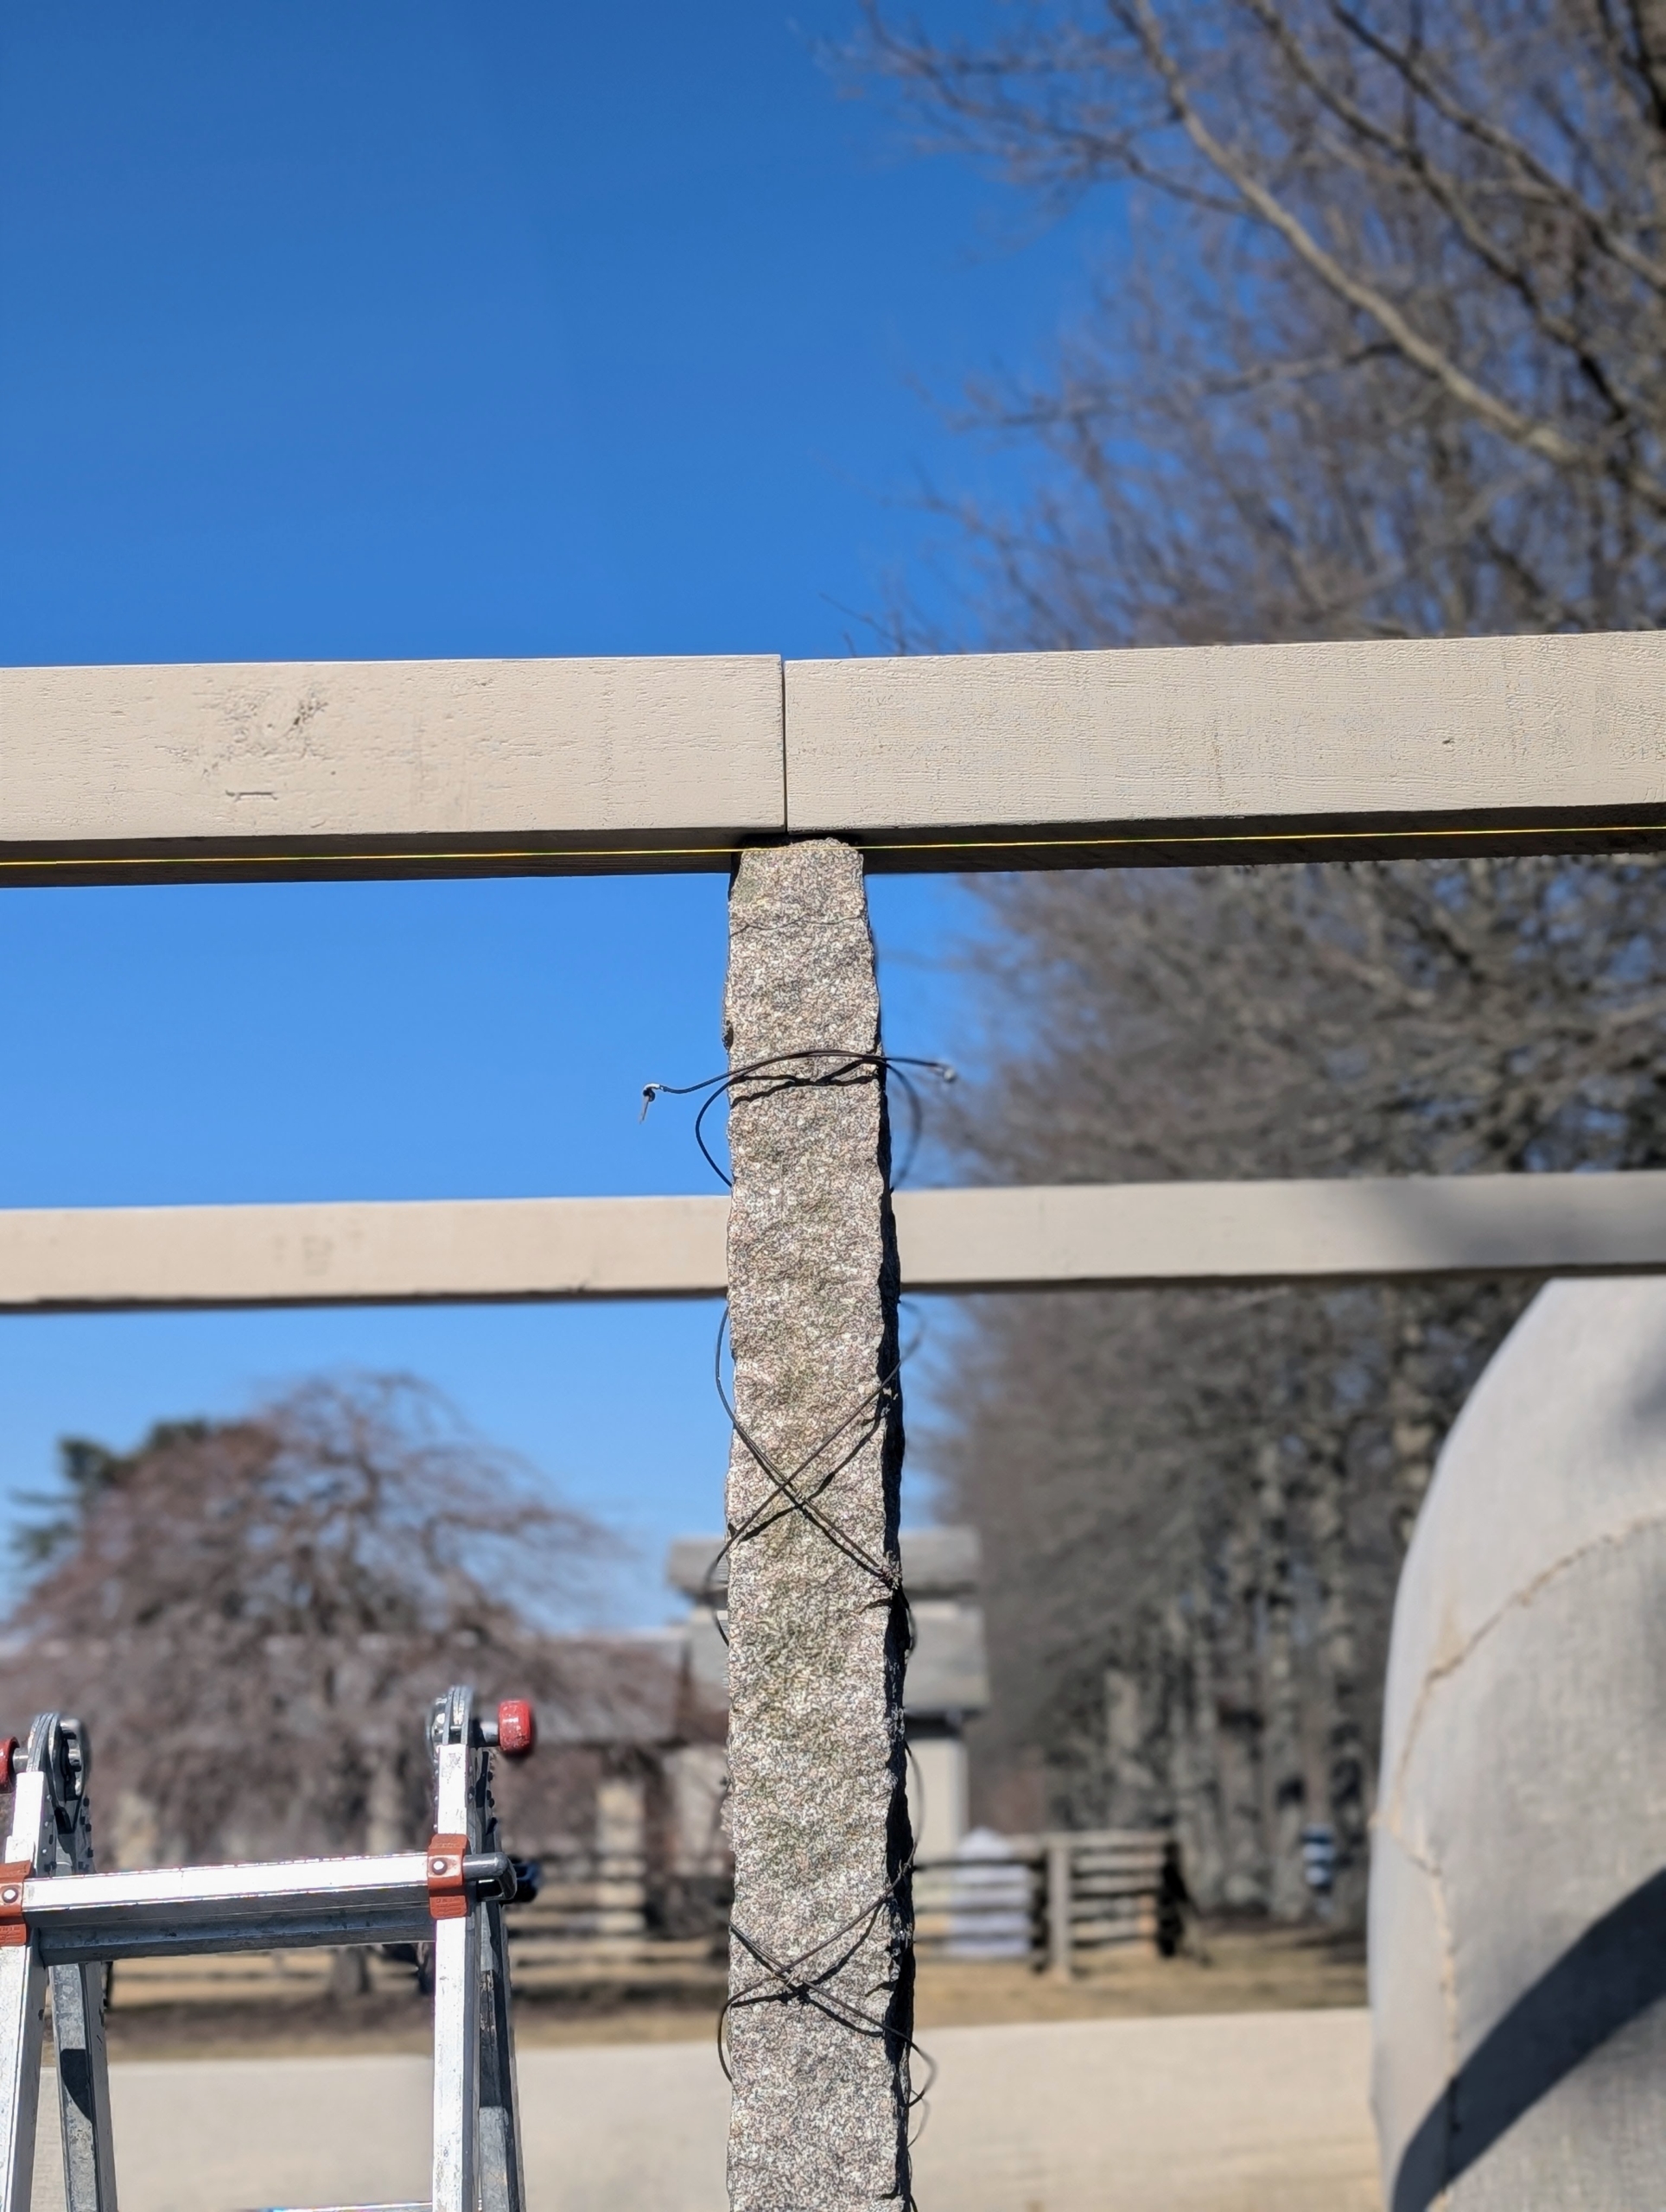
- Earlier this month, all the wooden lintel, or horizontal, support beams and rafters were removed from the pergola, leaving just these antique granite posts.
-
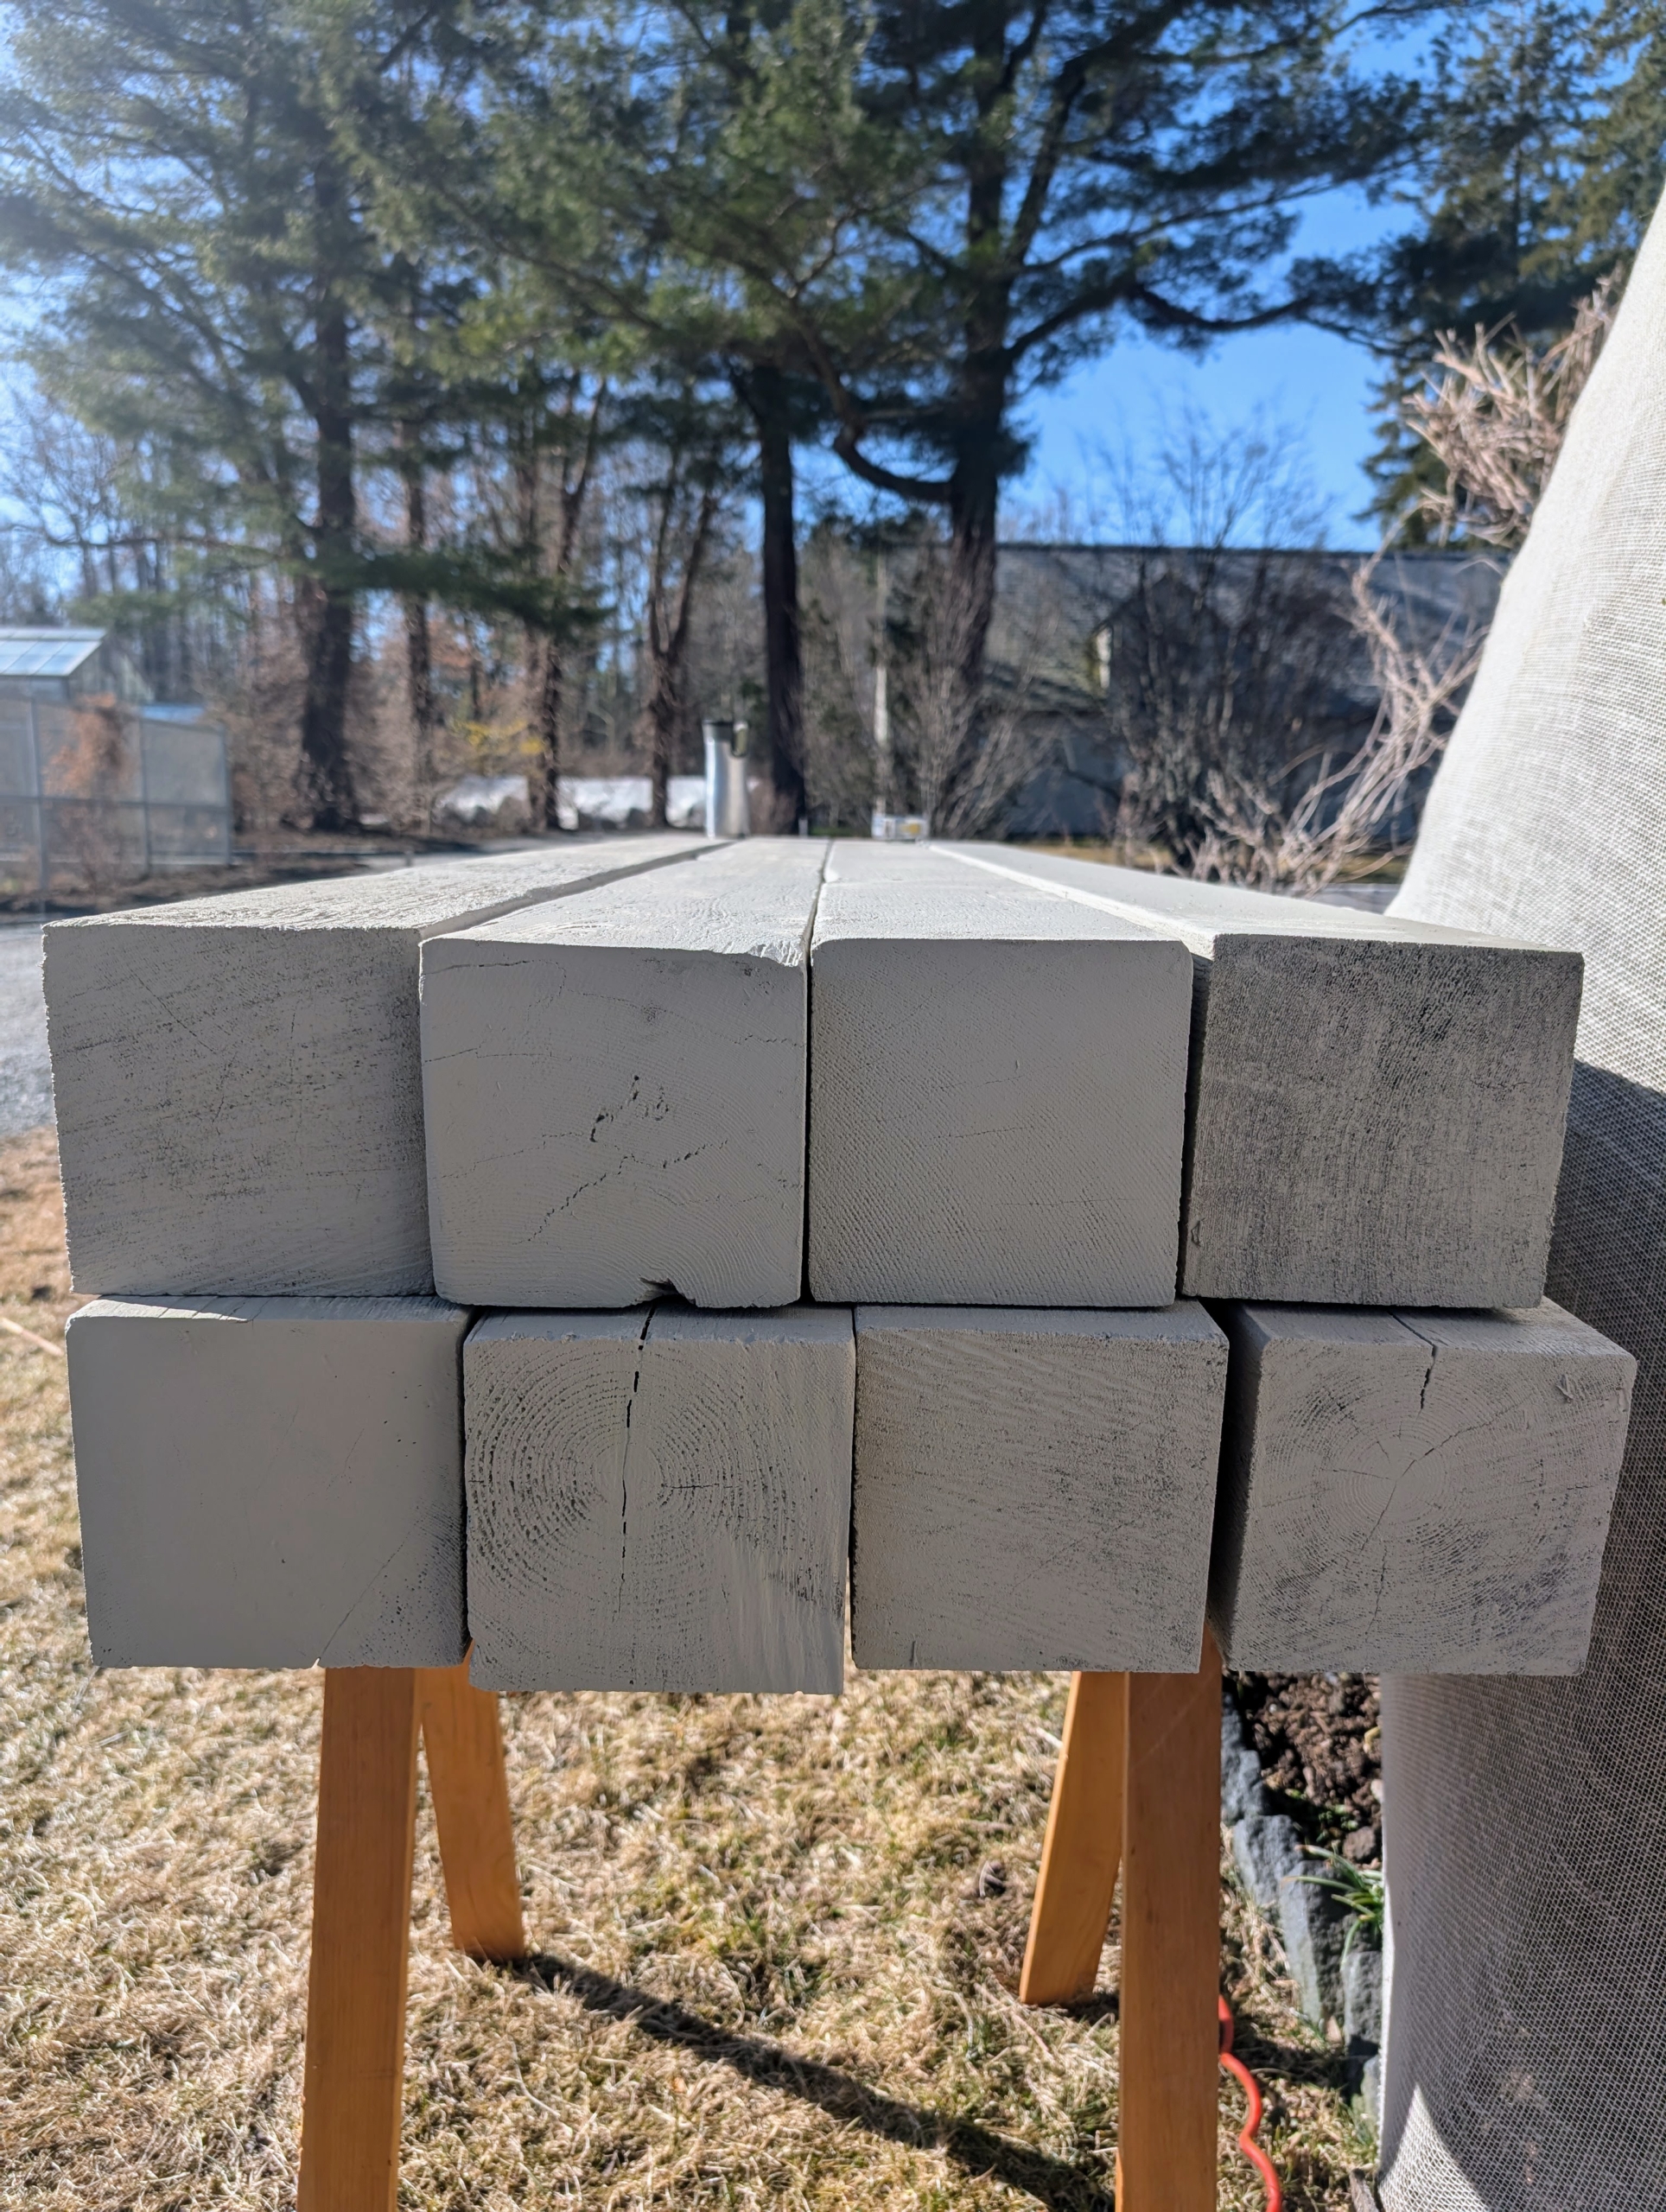
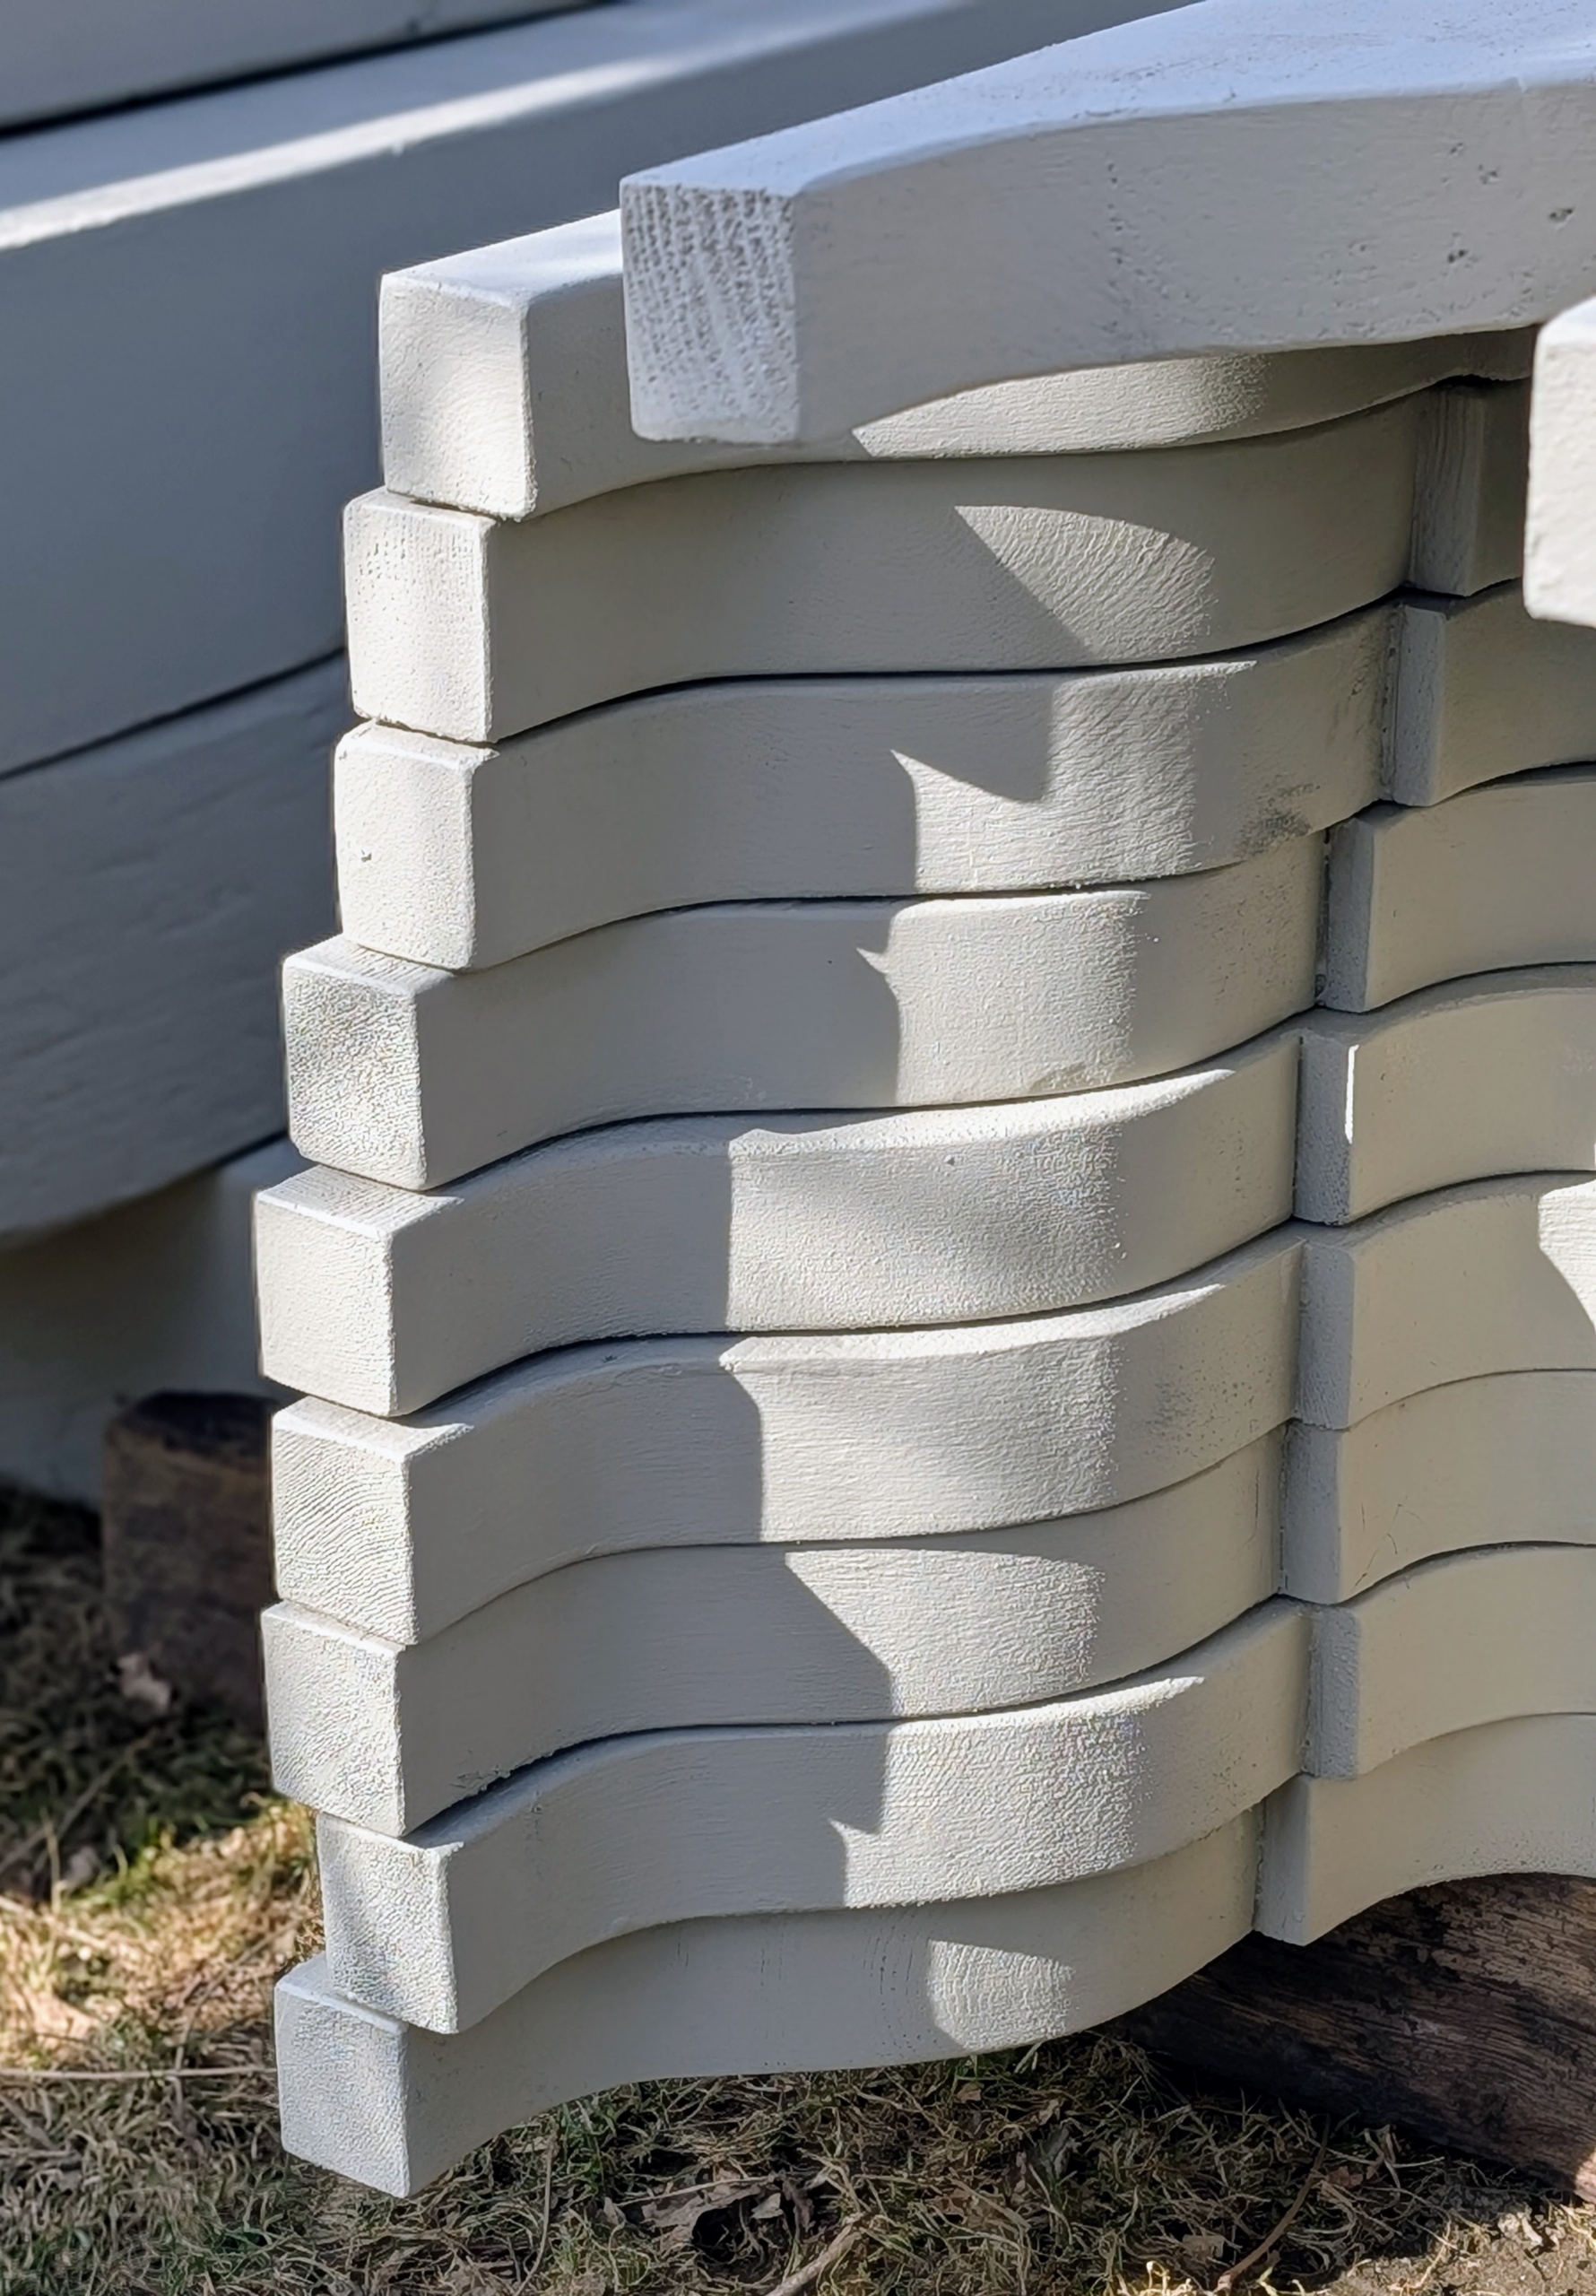
- If you follow this blog regularly, the beams and rafters were already made and painted my signature “Bedford Gray.” They were all transported to the pergola, so work could begin.
-
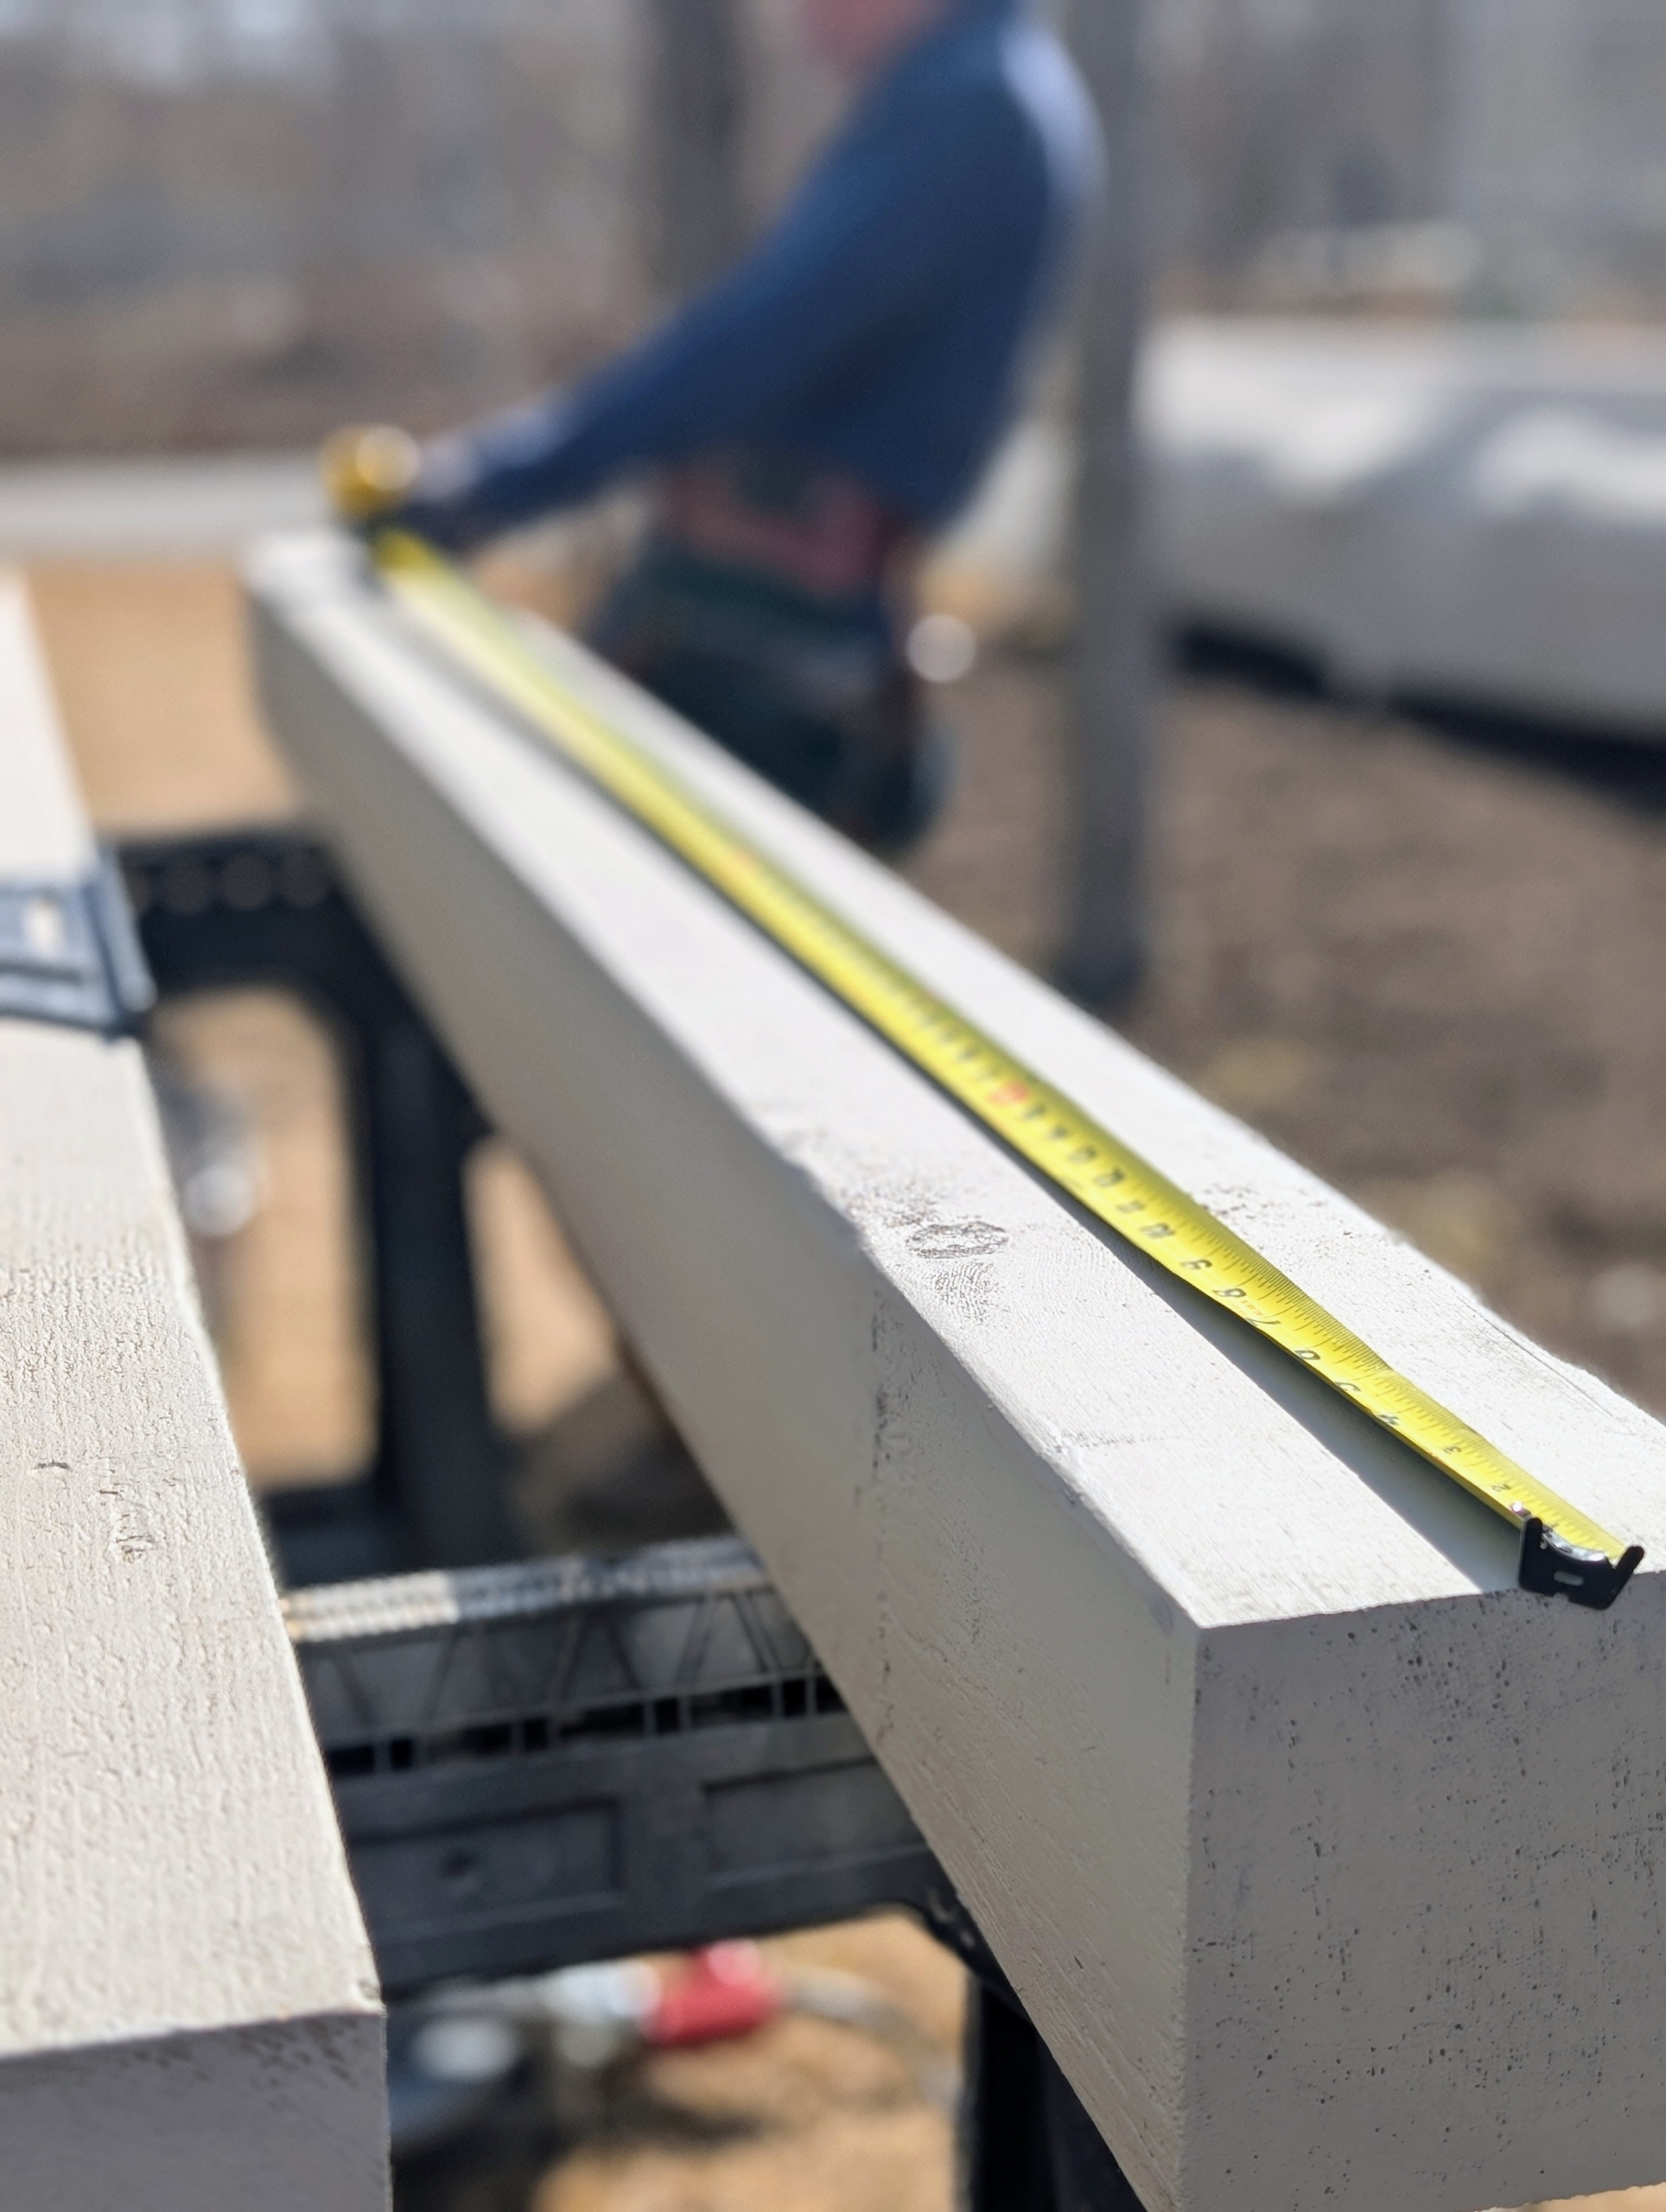
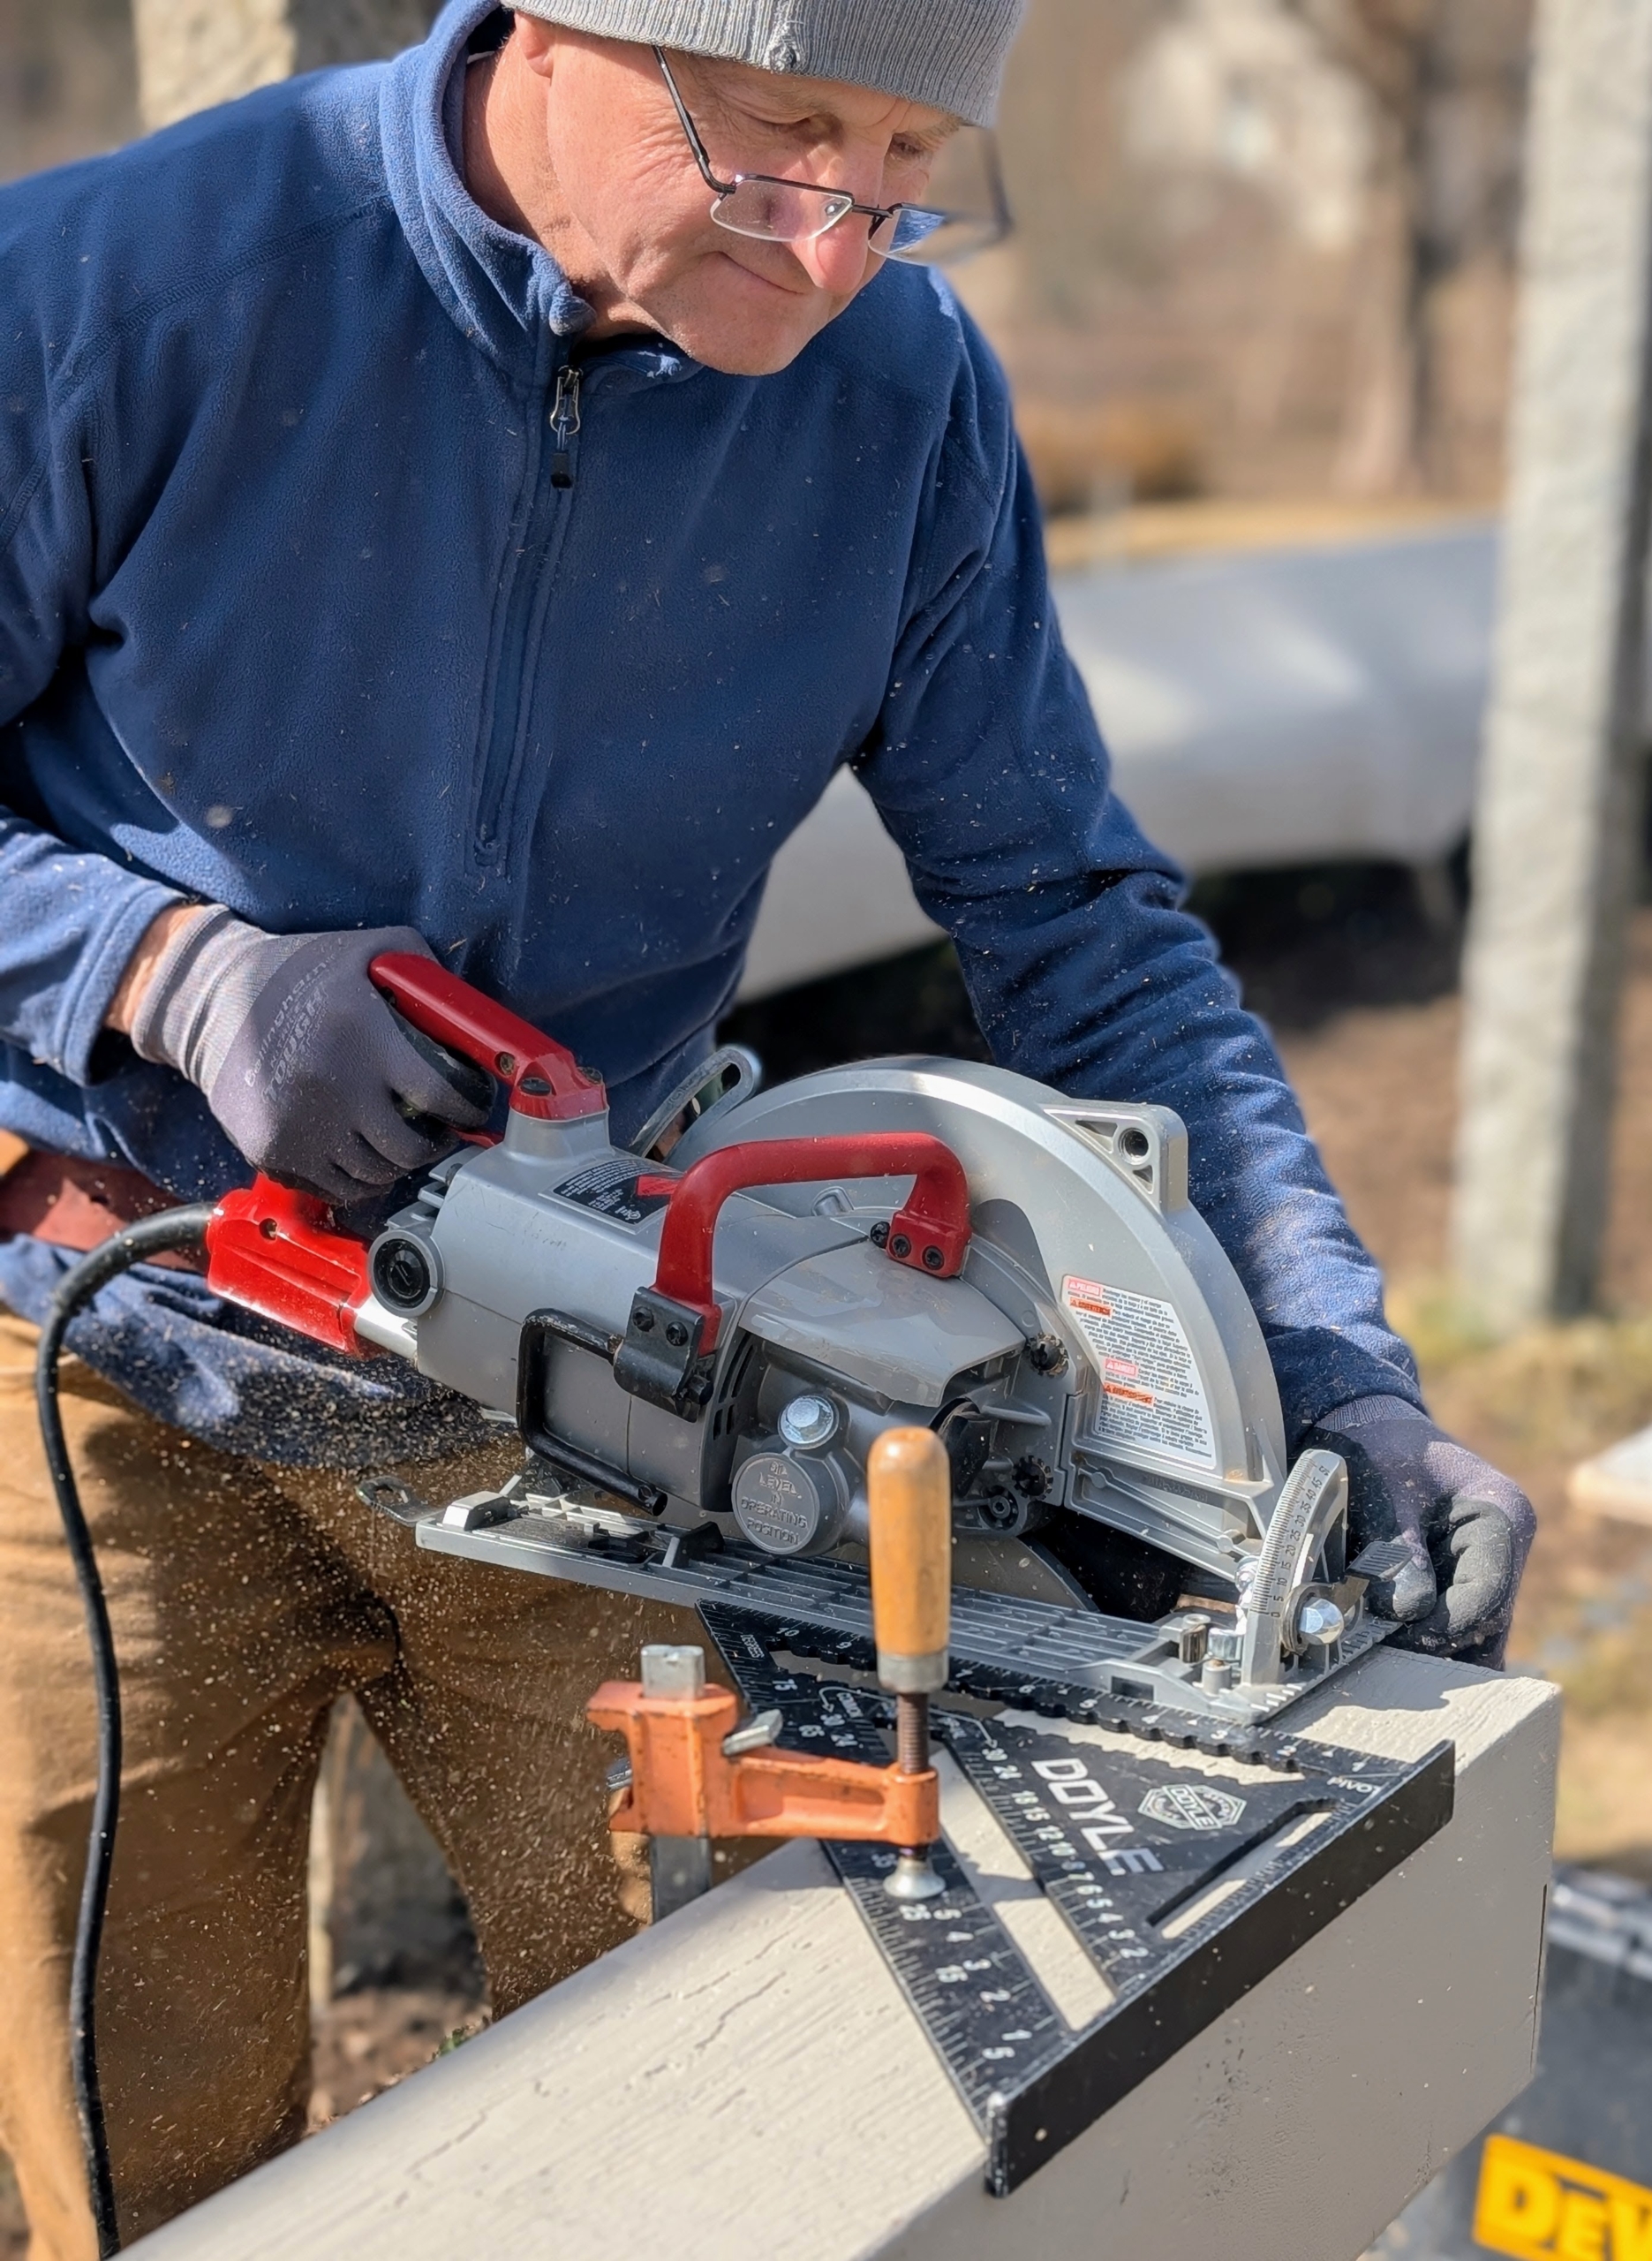
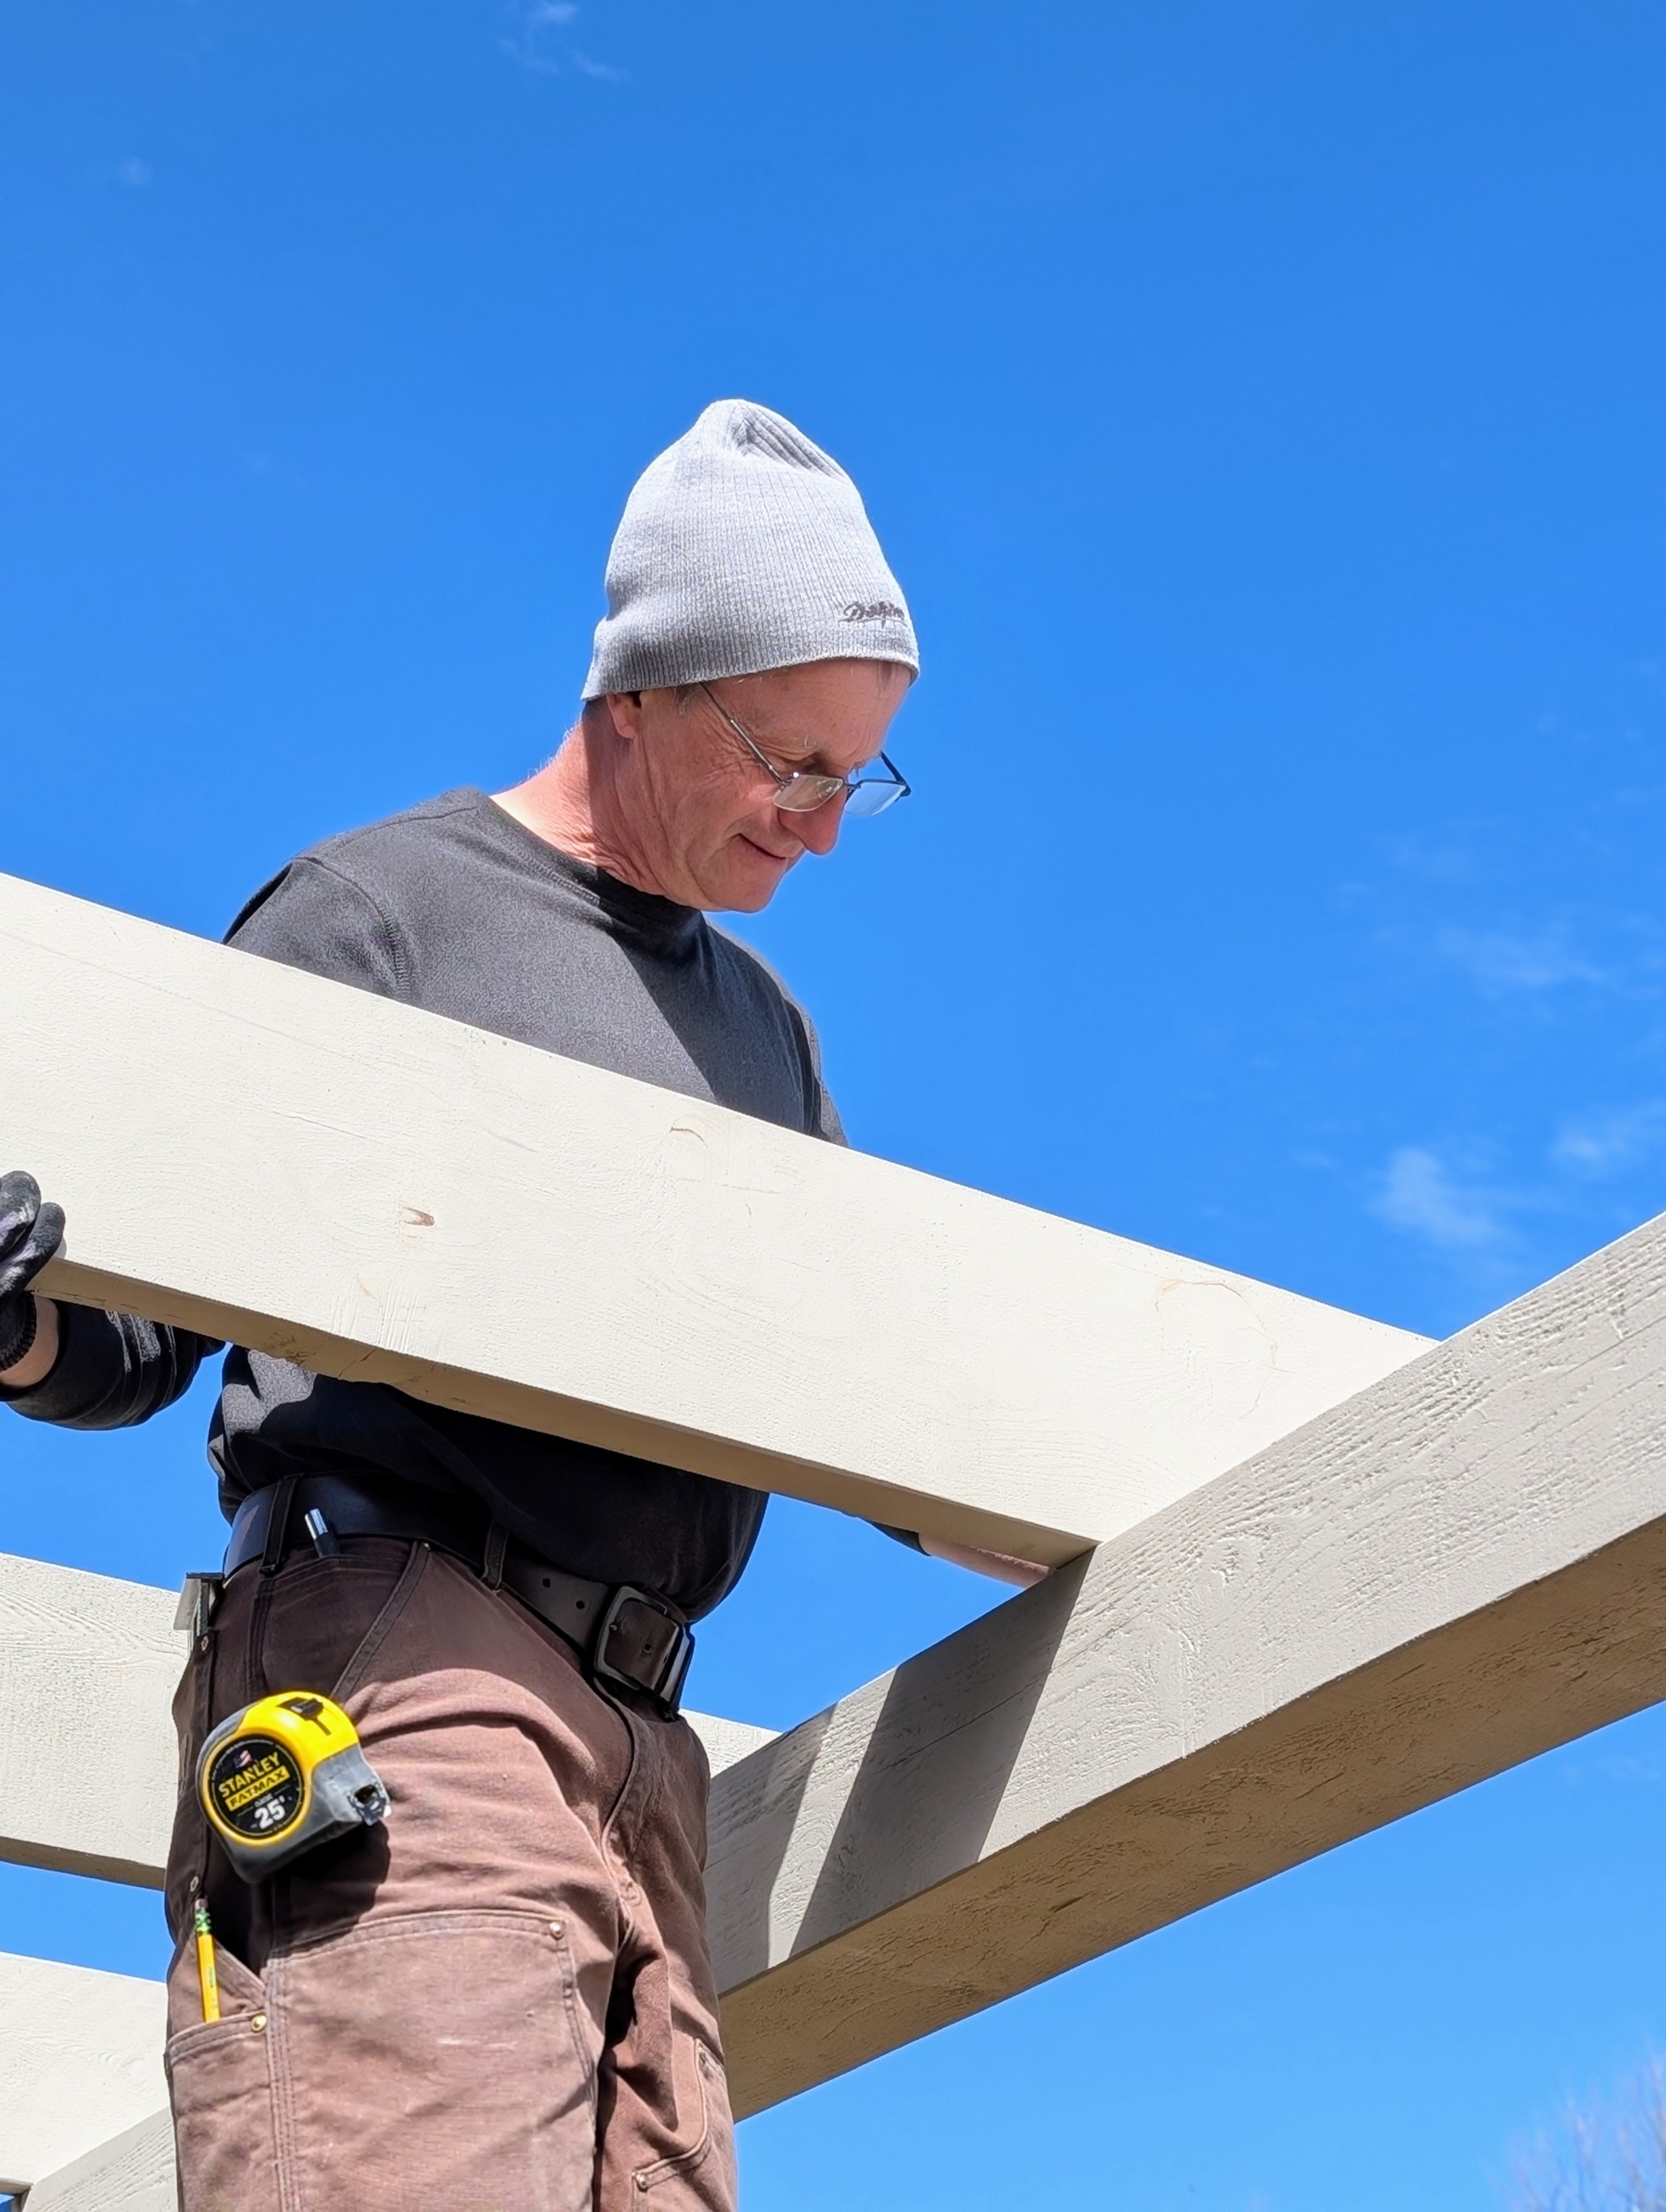
- Each beam is selected carefully and measured. It must reach from the center of one post to the center of the next.
-
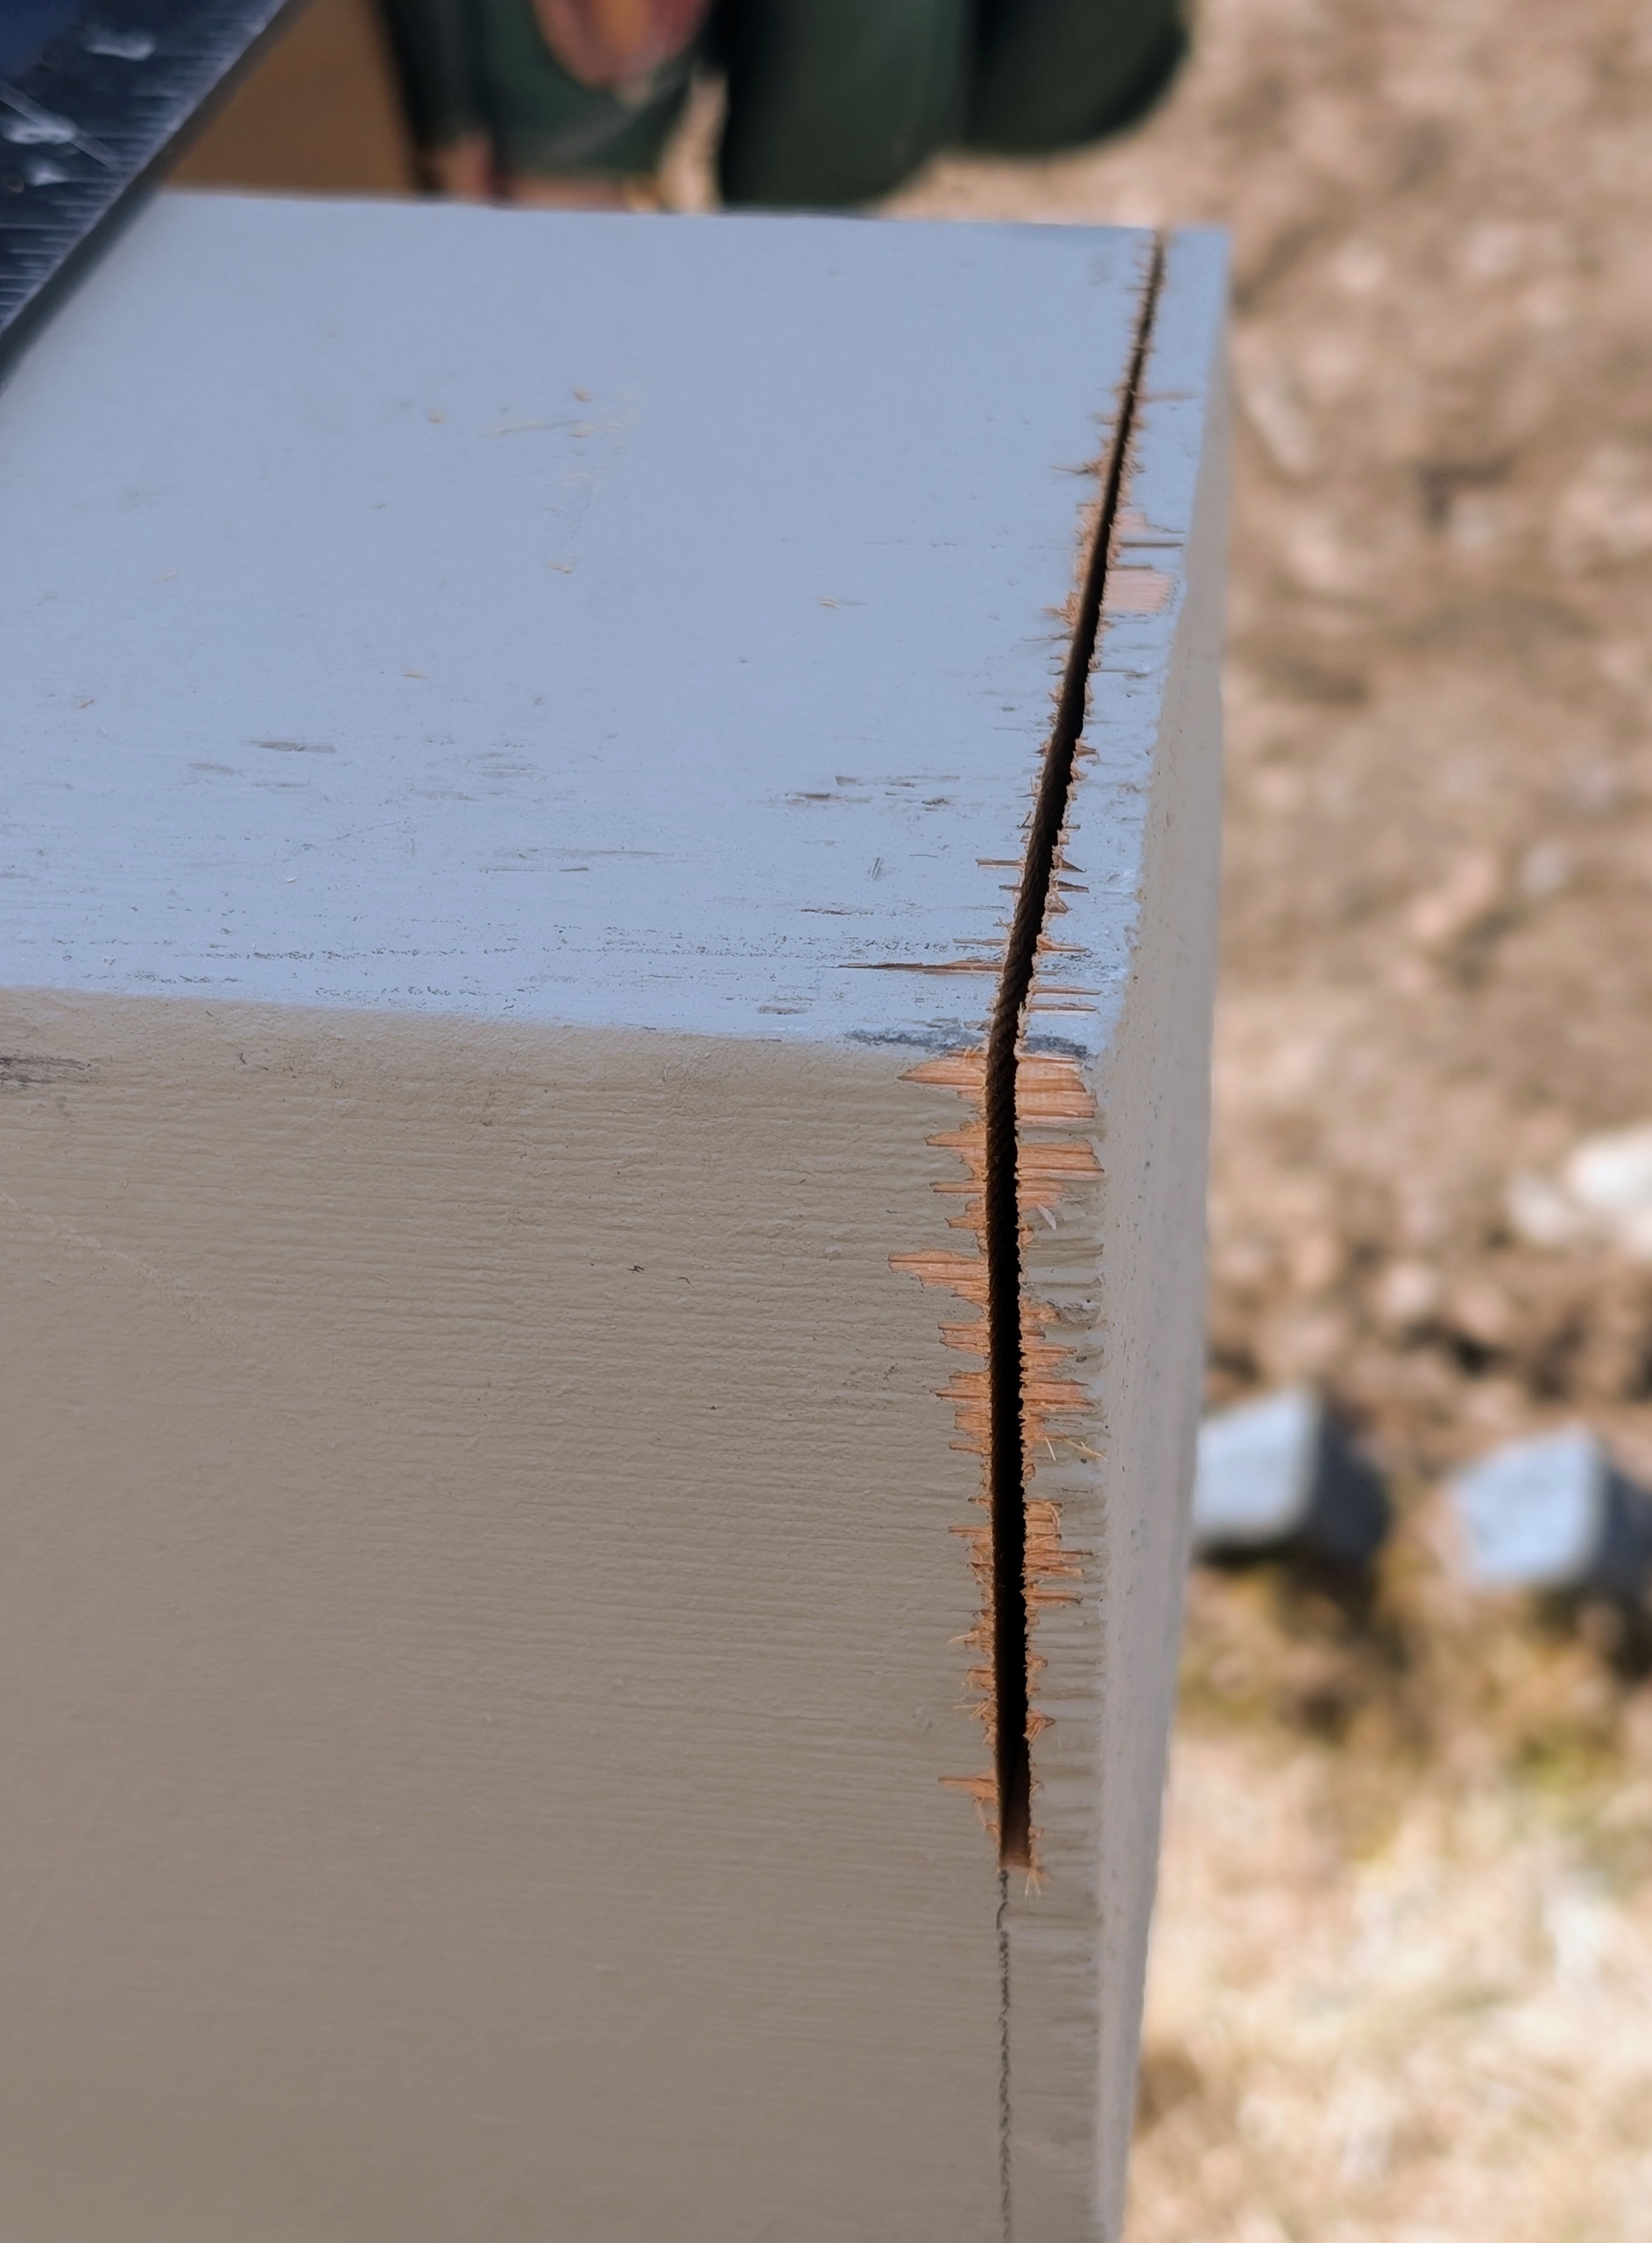
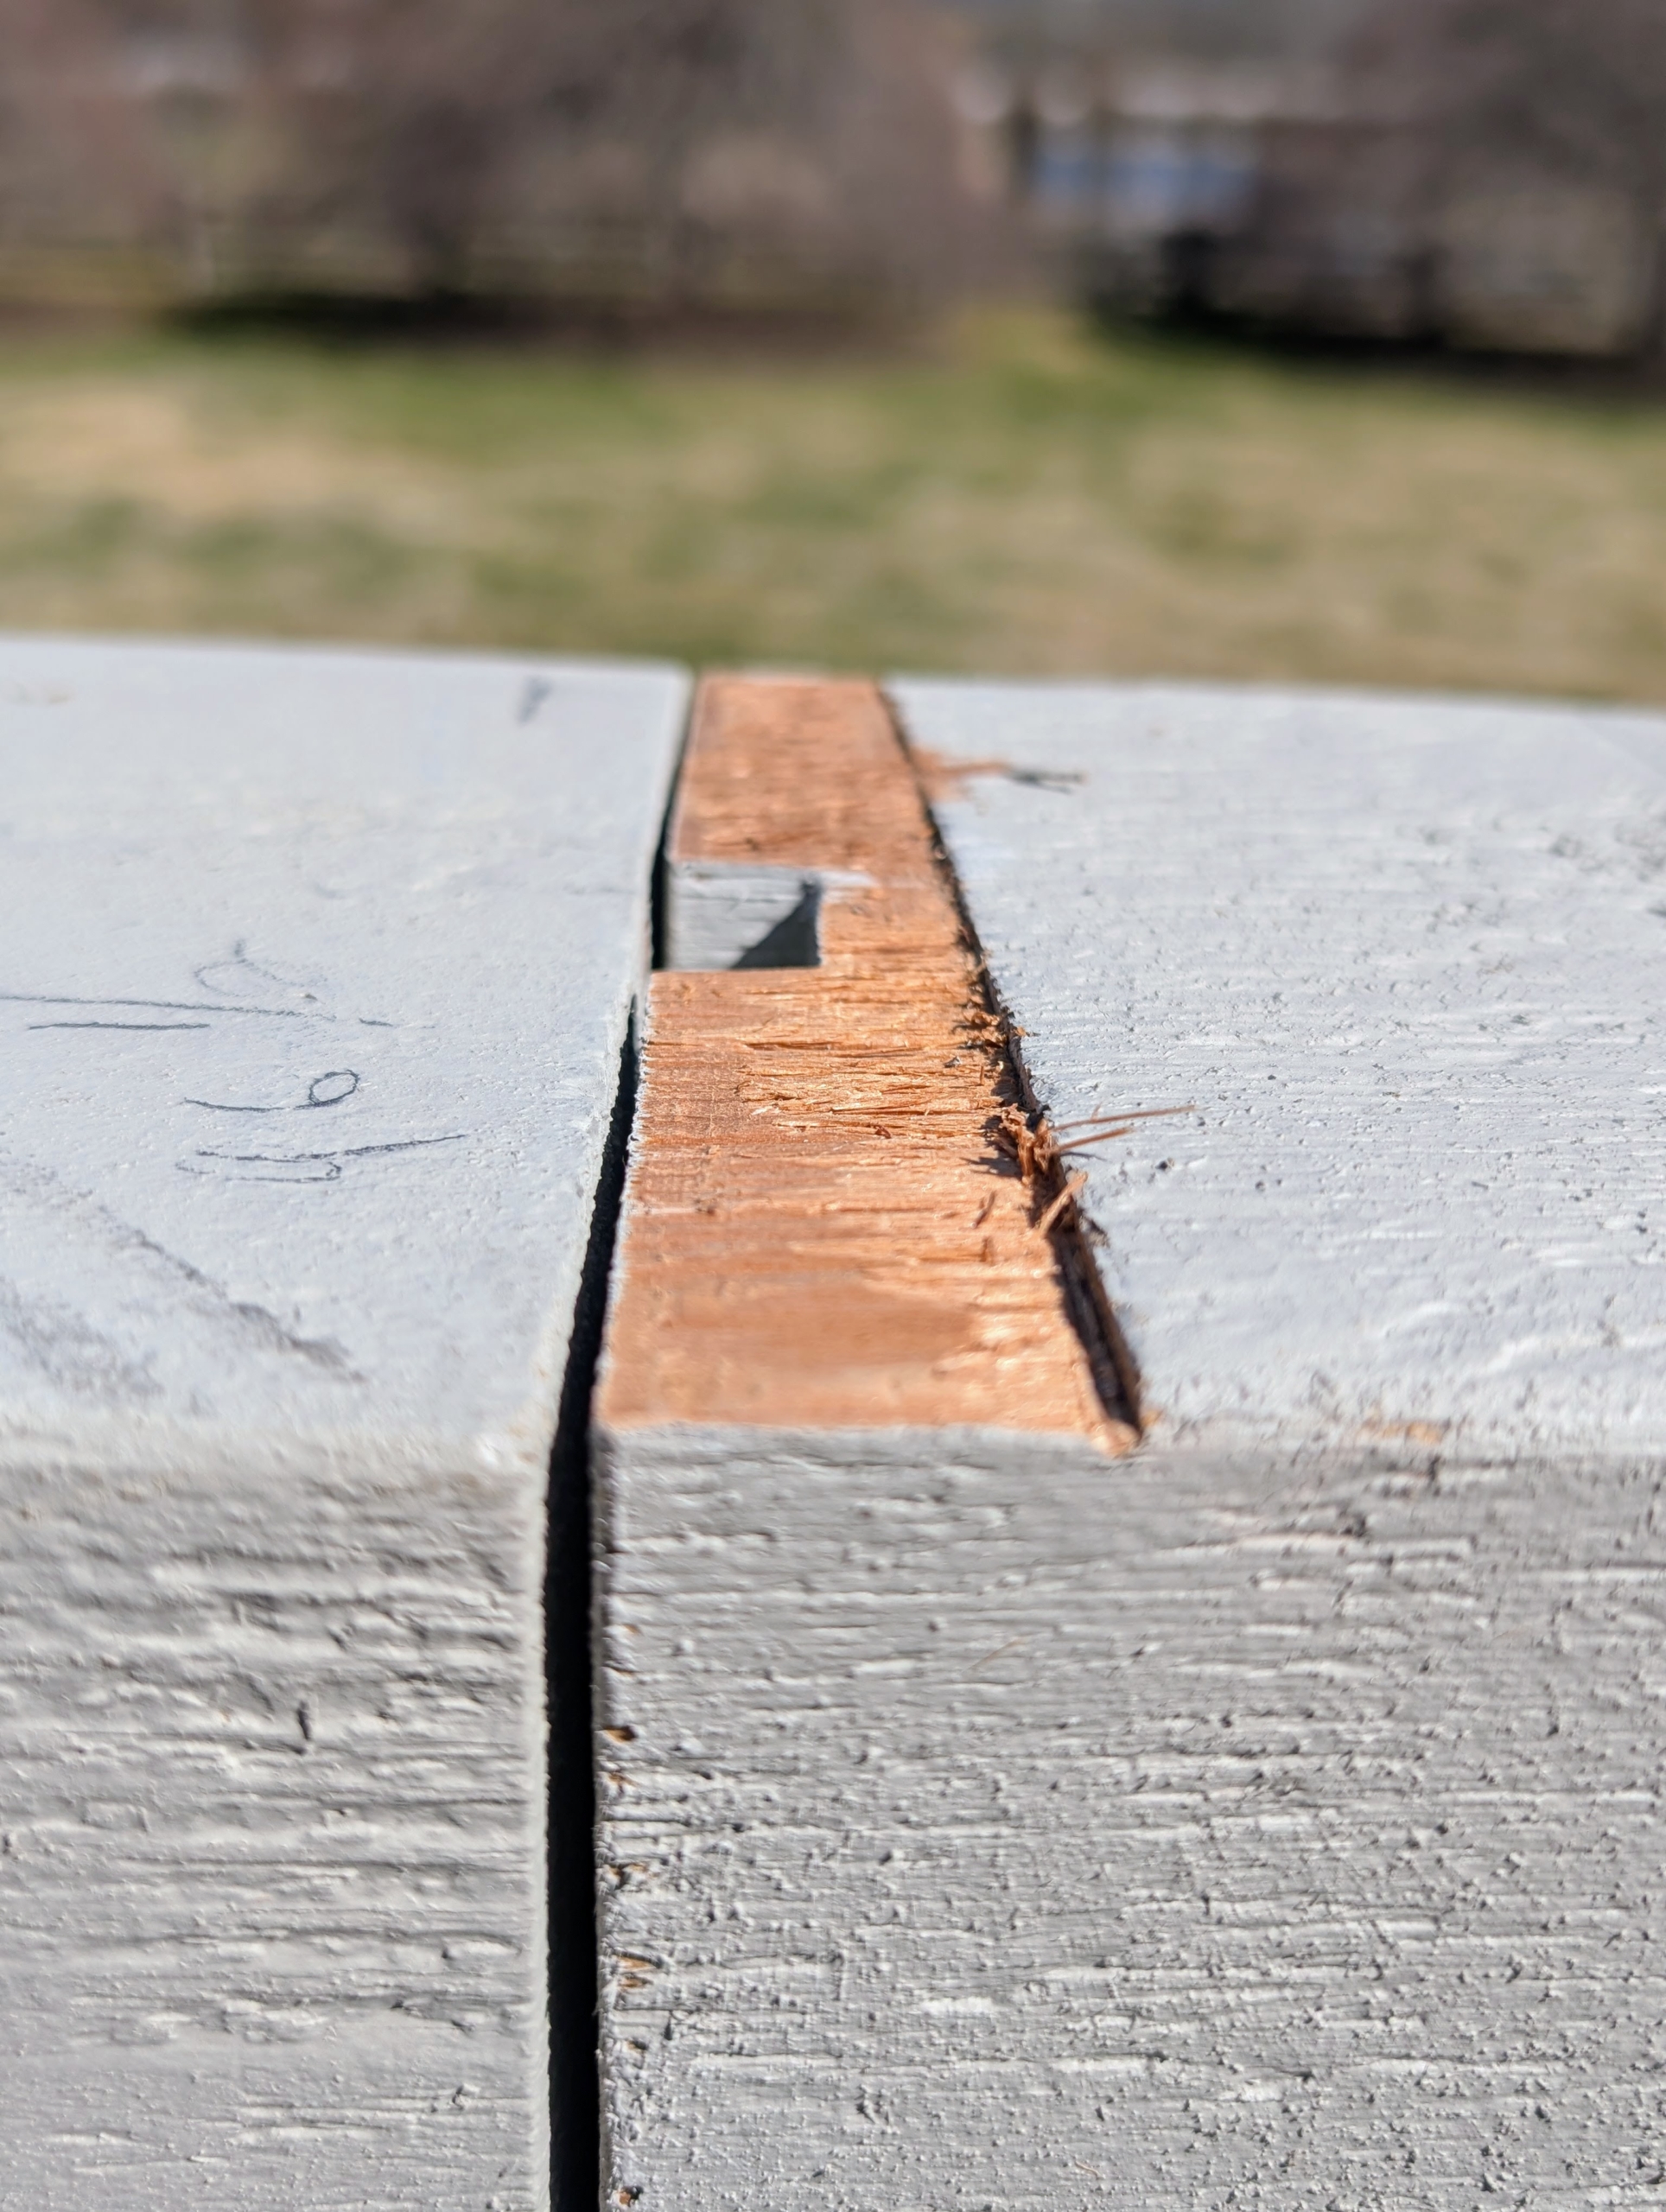
- Because the distance between the posts is different along the entire space, Dmitri makes a slight adjustment to make sure the beams fit perfectly.
-
- This image shows the cut – it is very small, but makes a big difference.
-
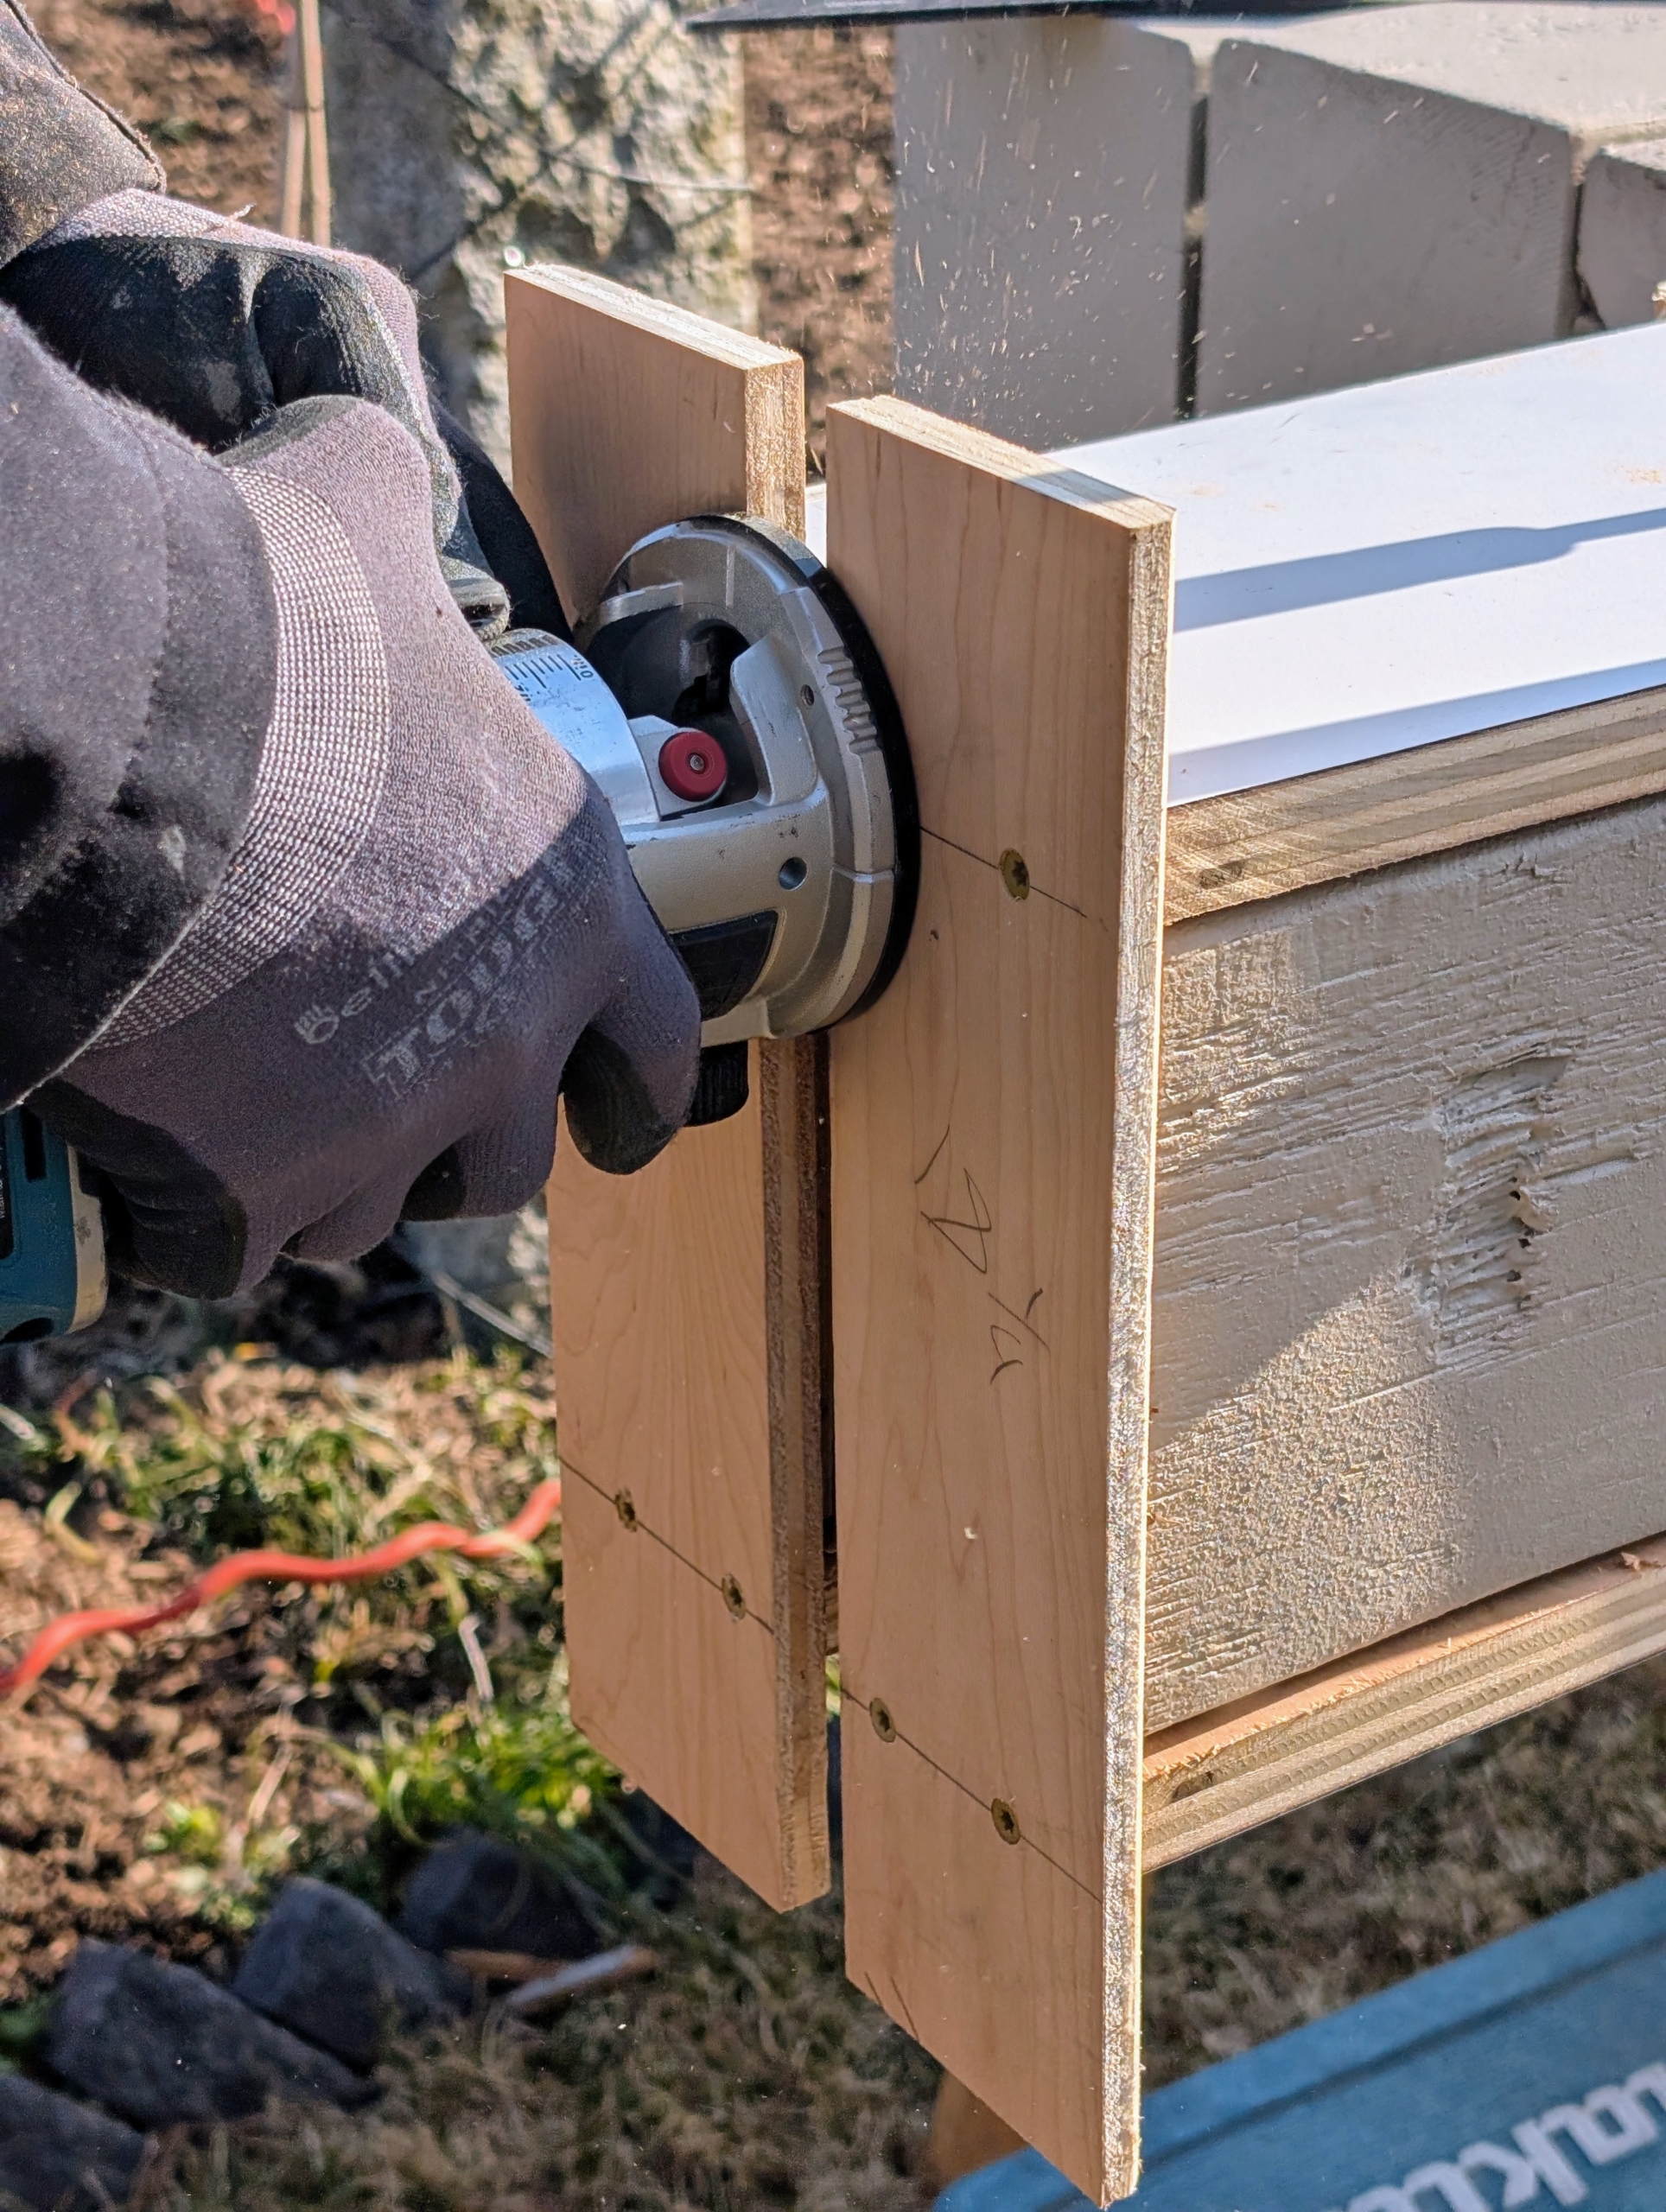
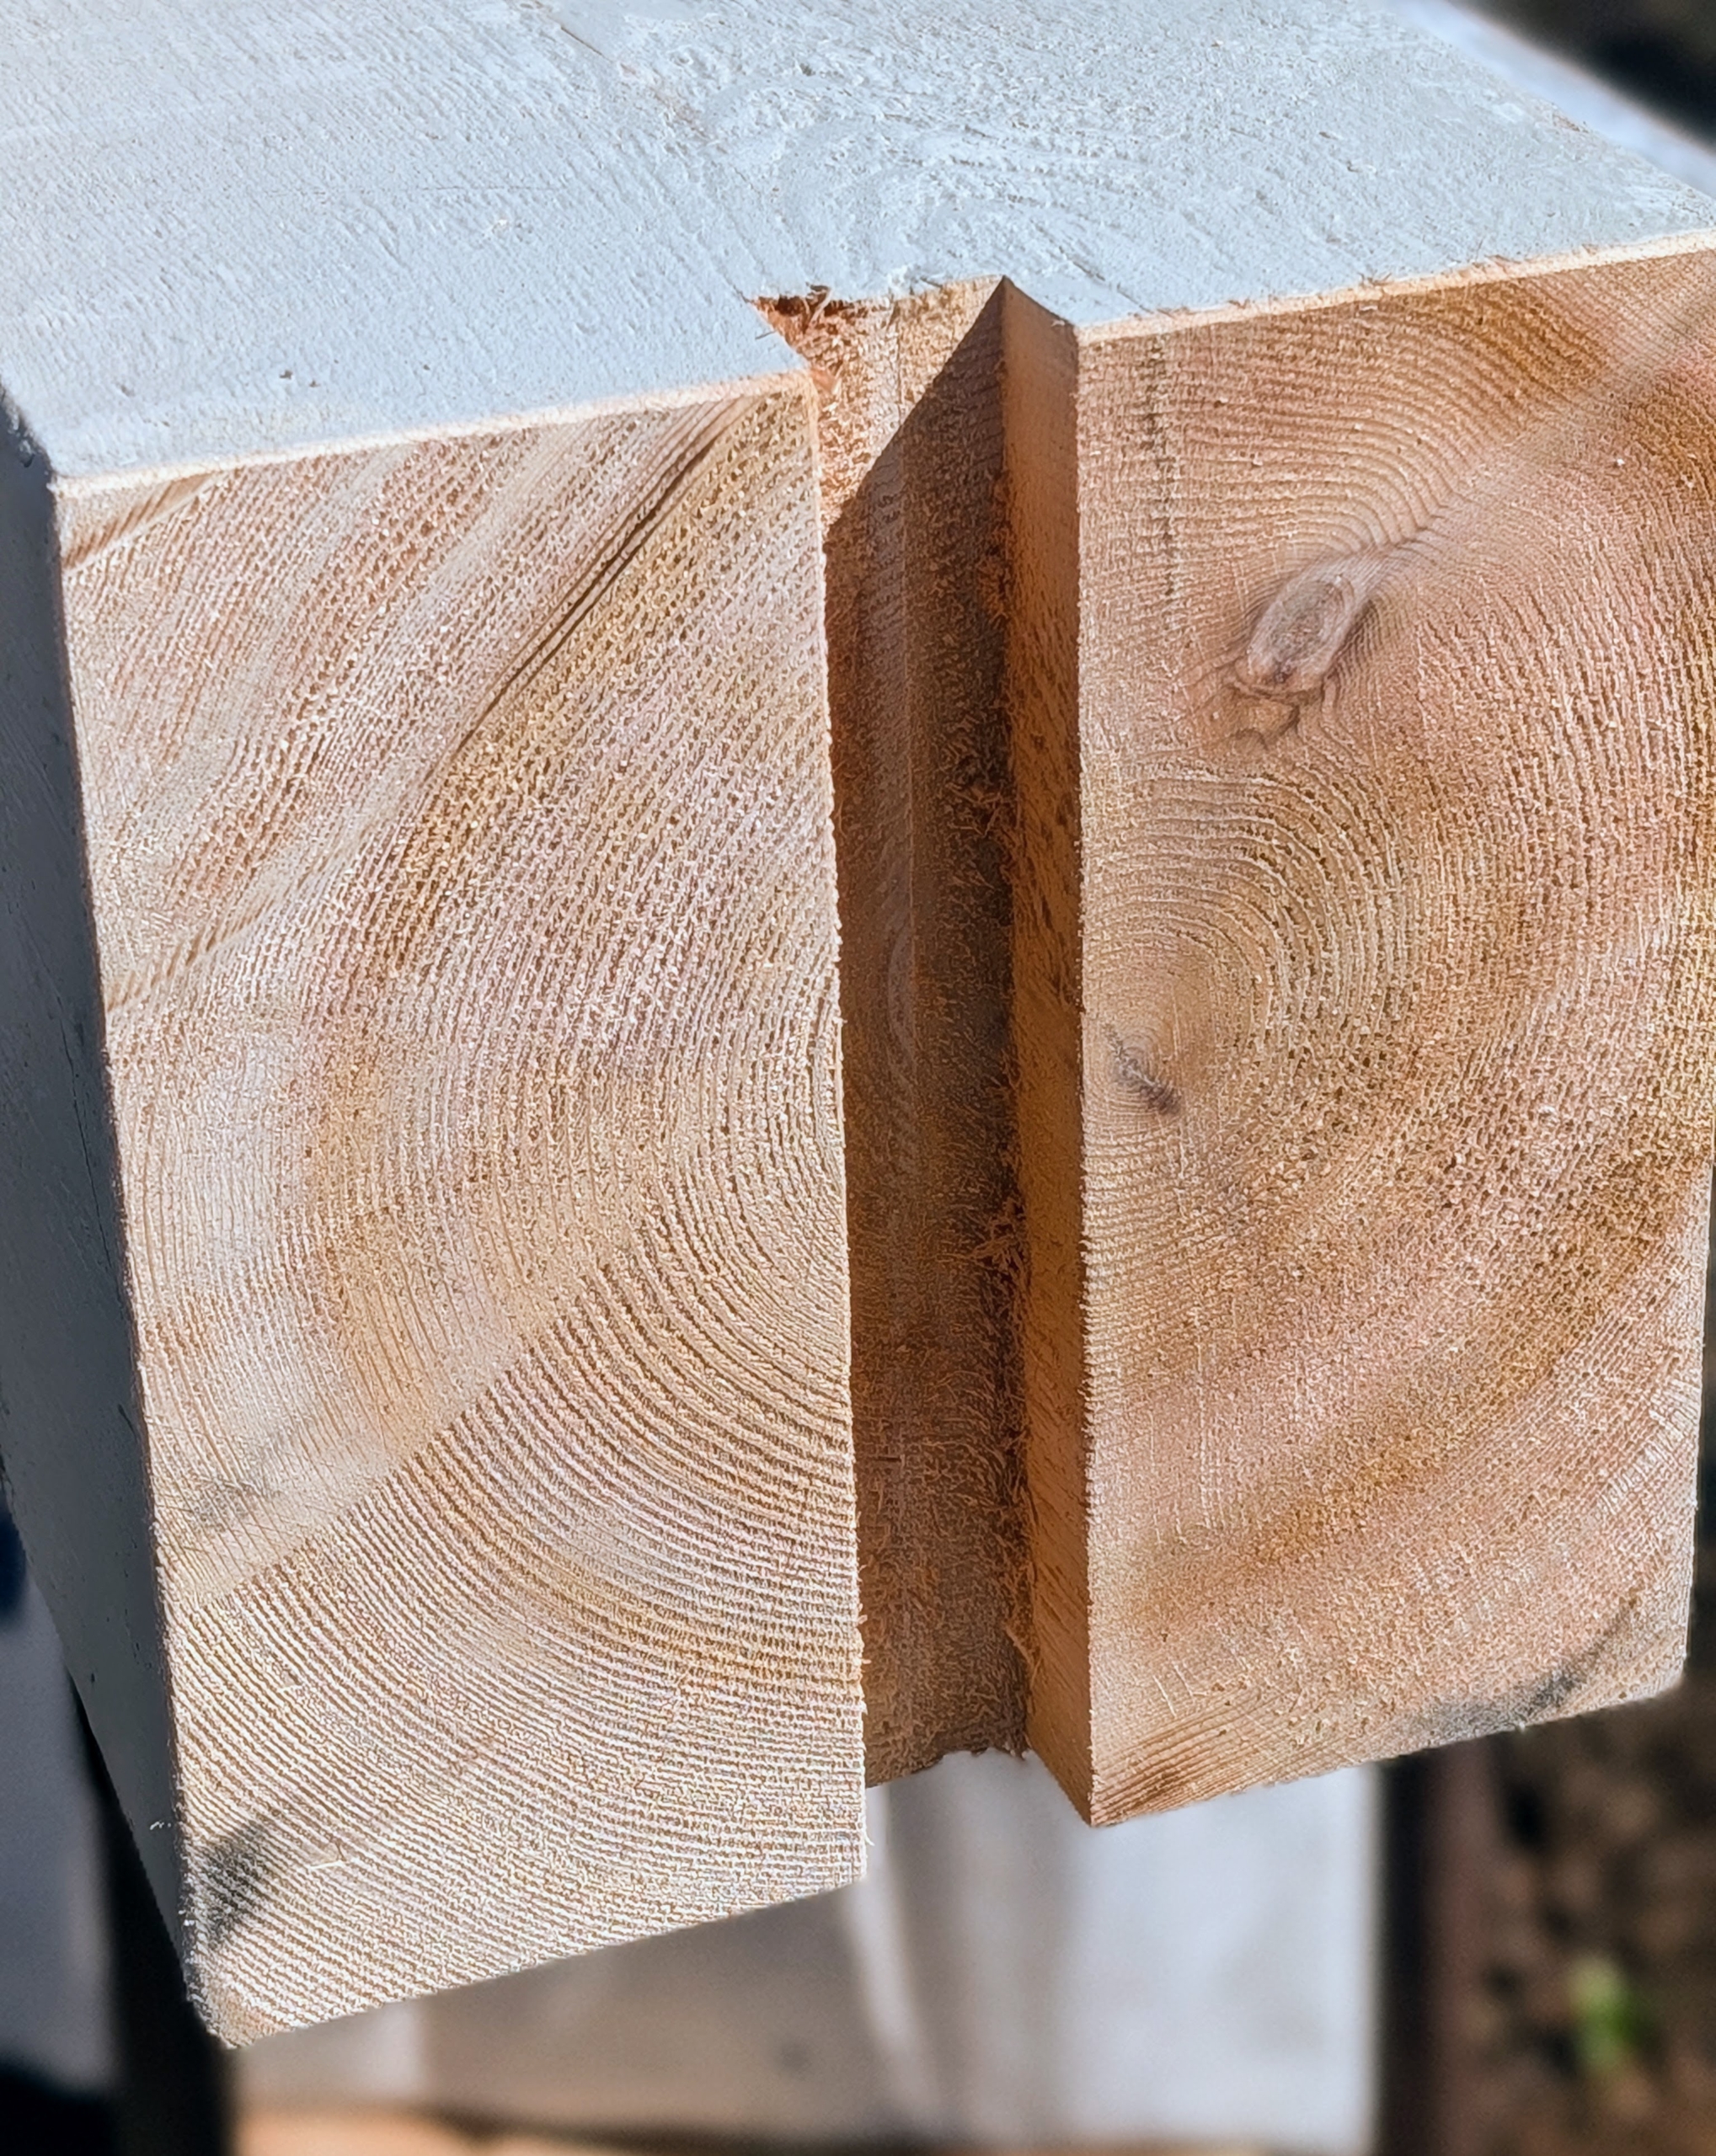
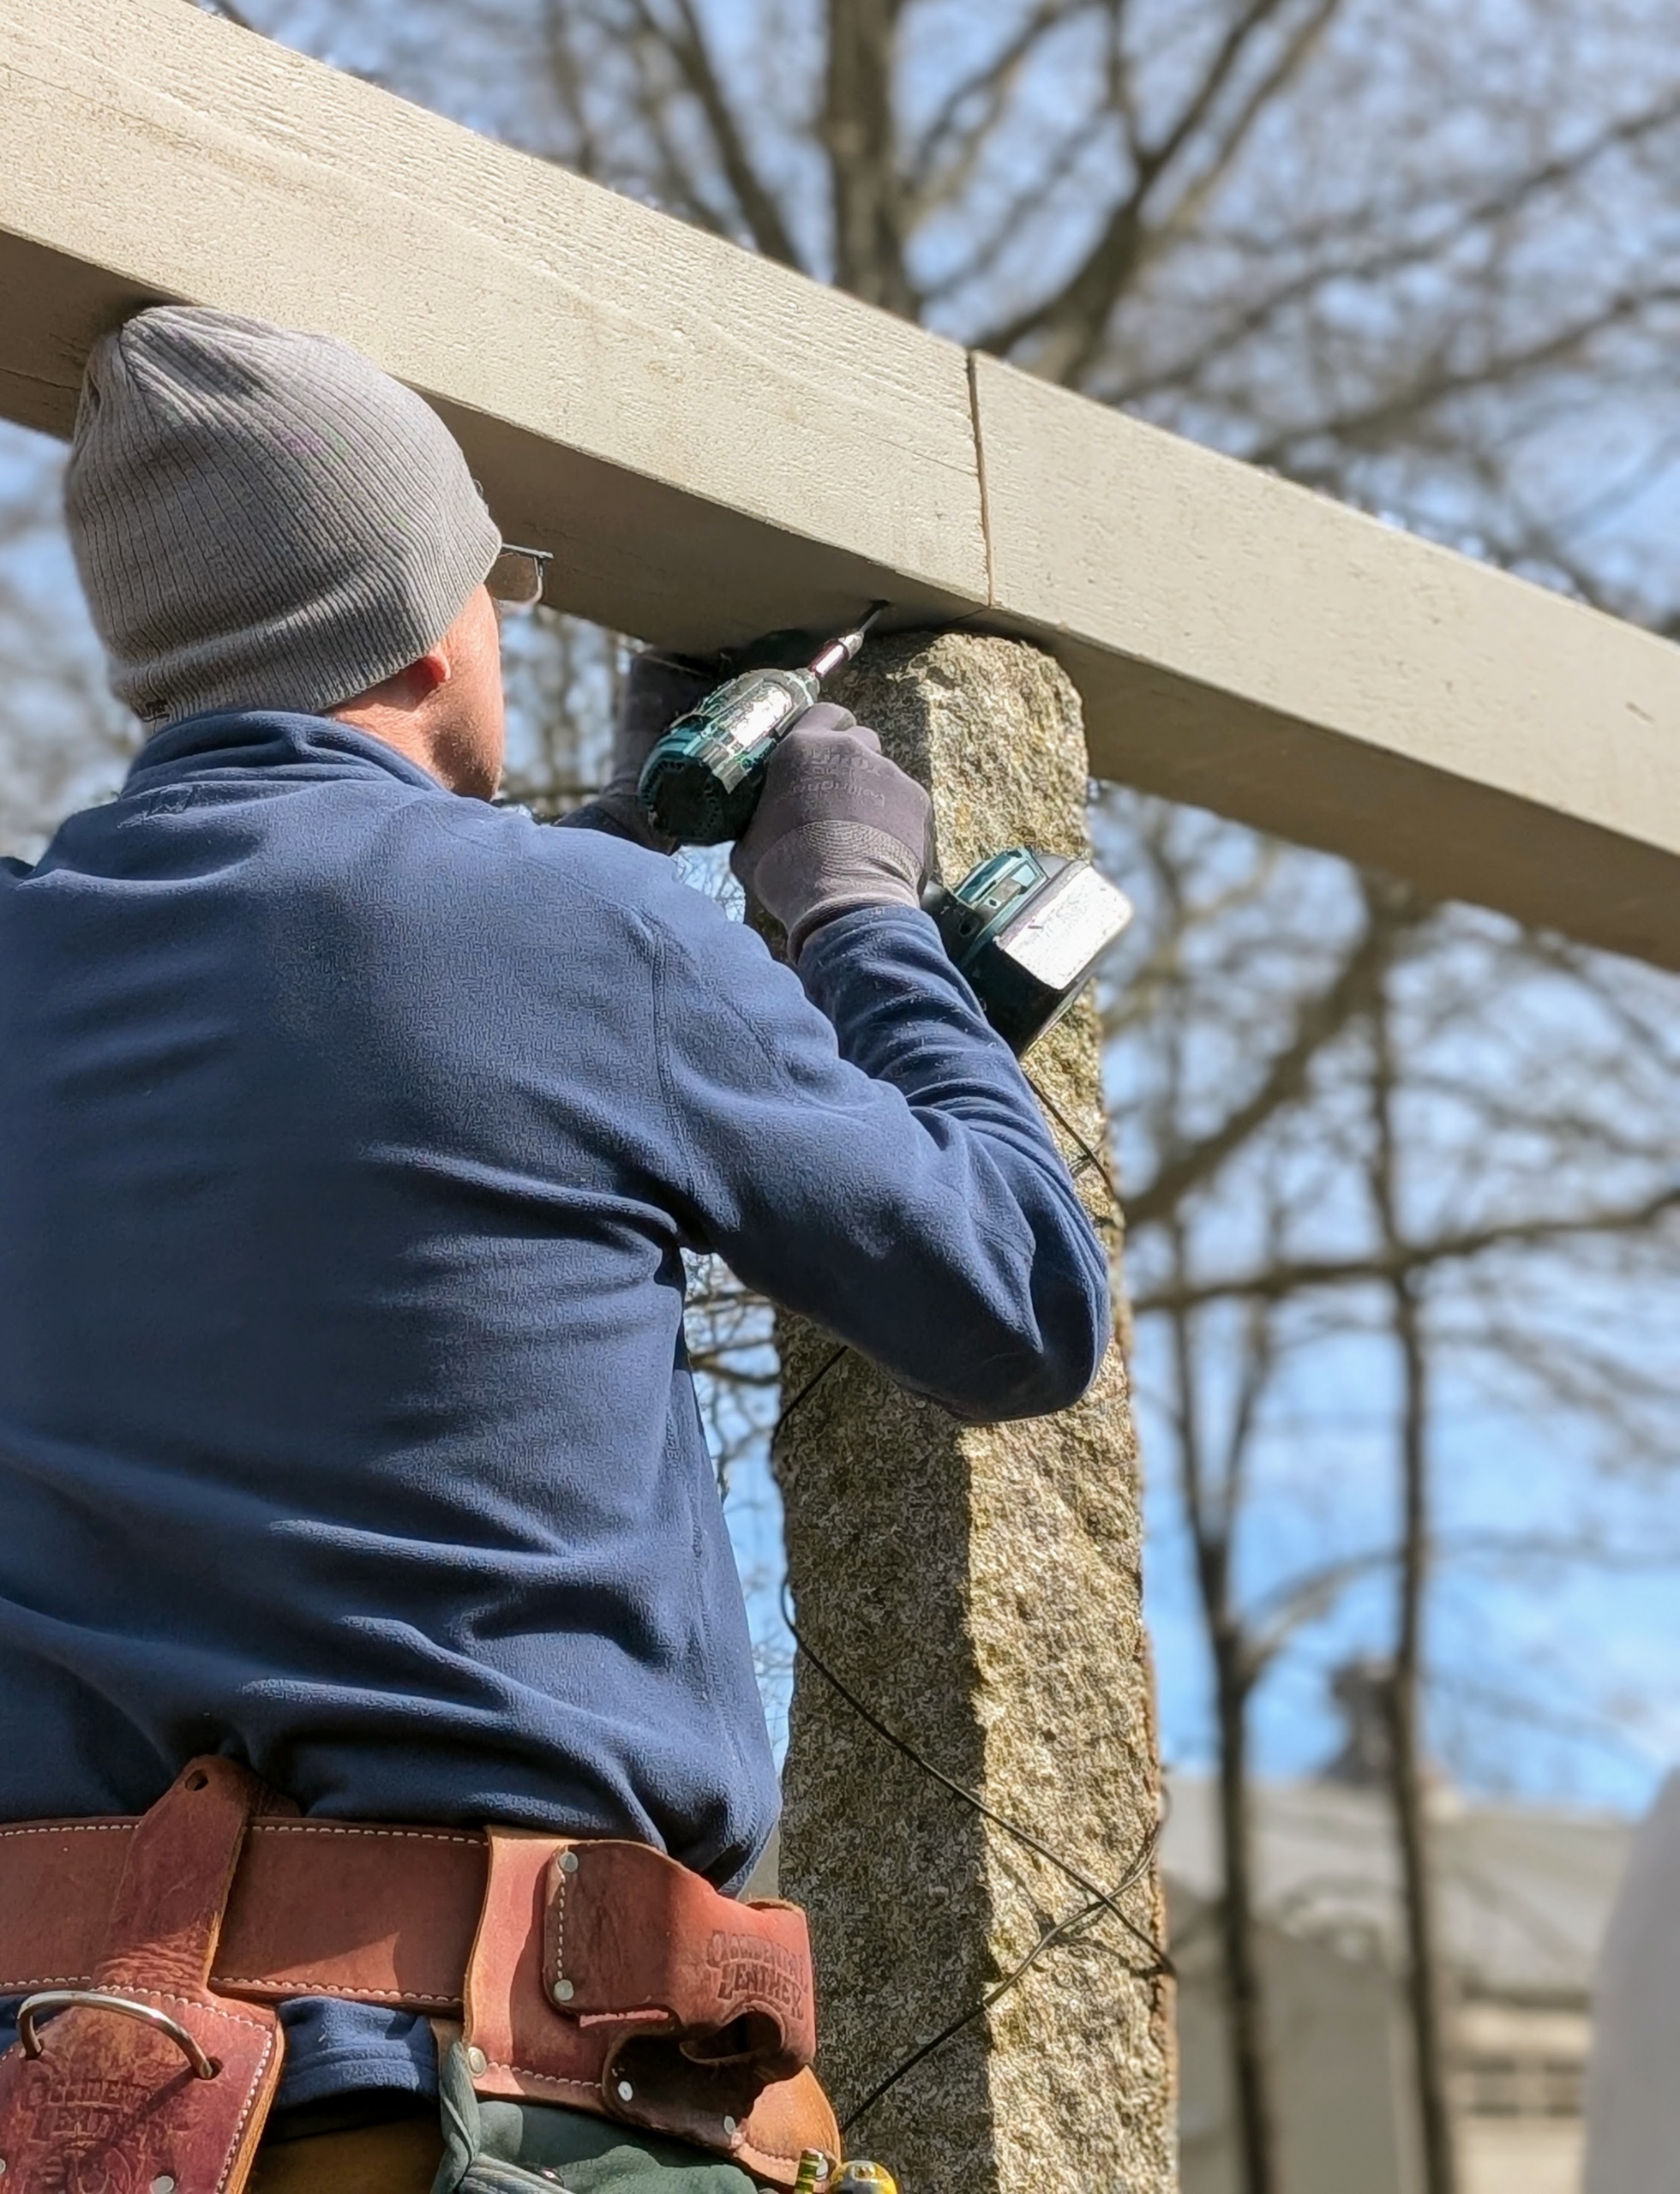
- Next, Dmitri uses a homemade template to cut out a center notch using a router. A router is a handheld power tool designed to hollow out areas in wood or other hard materials.
-
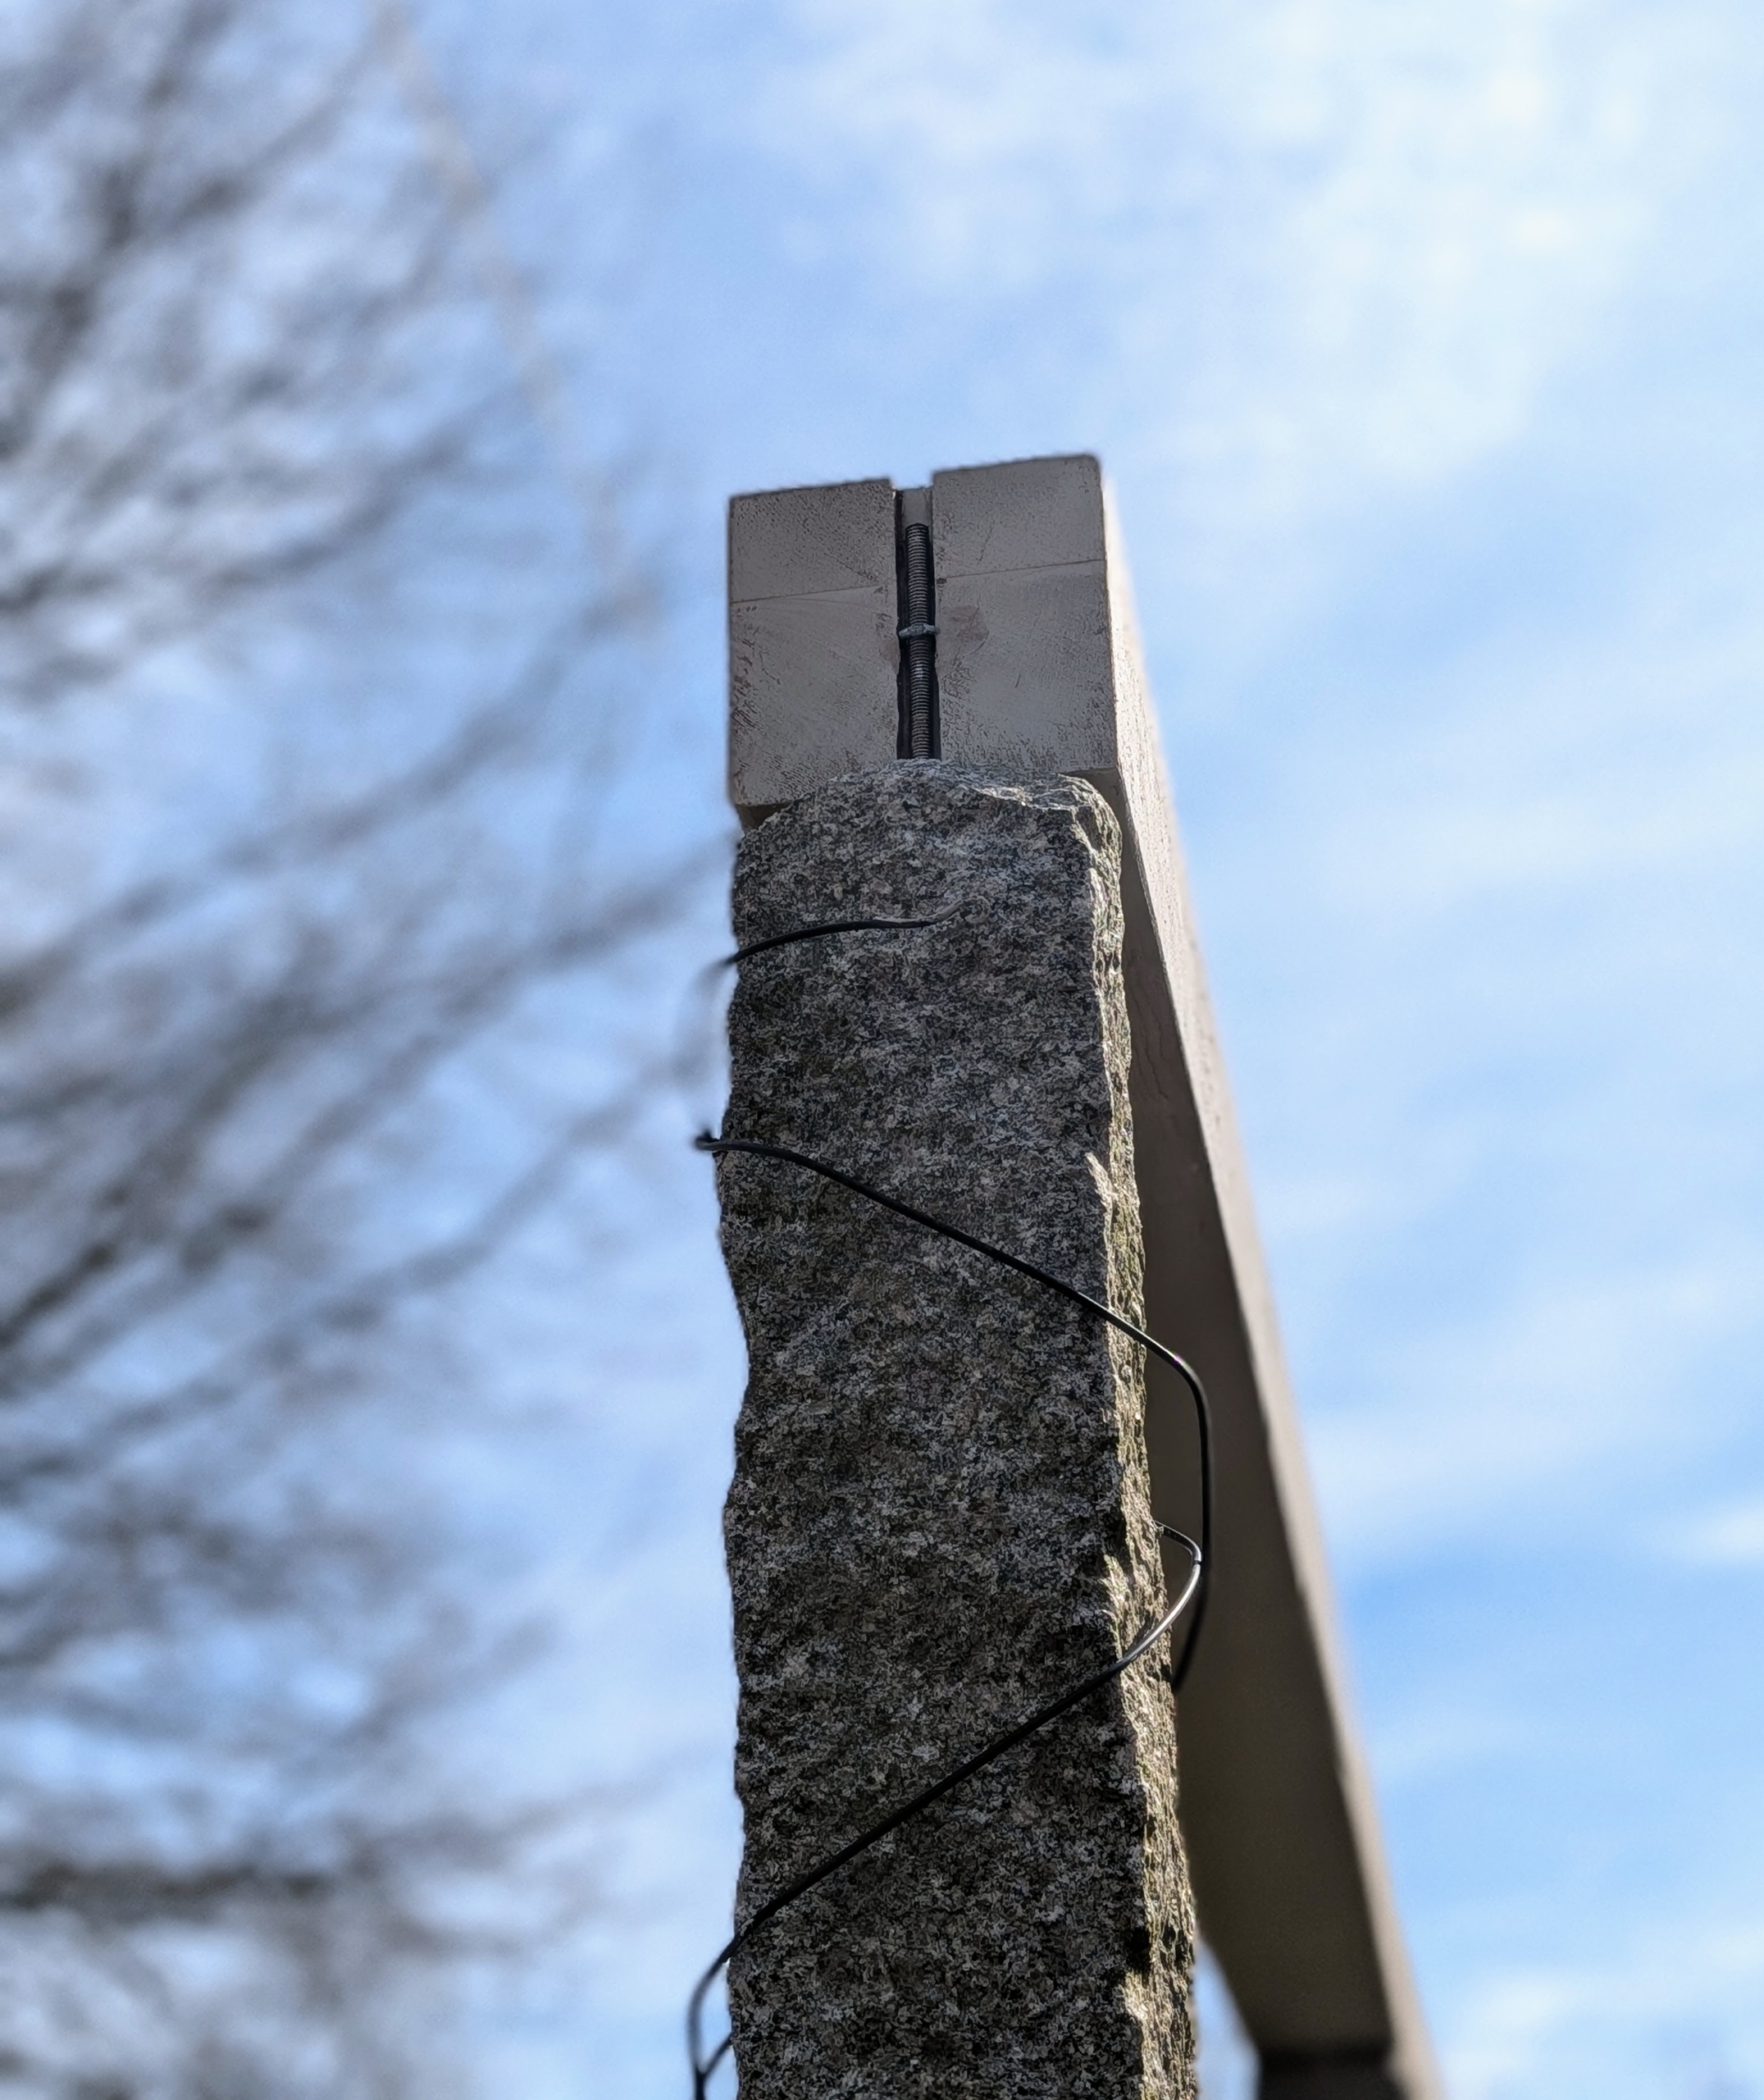
- This notched groove will help to secure the long screws at the top of each post.
-
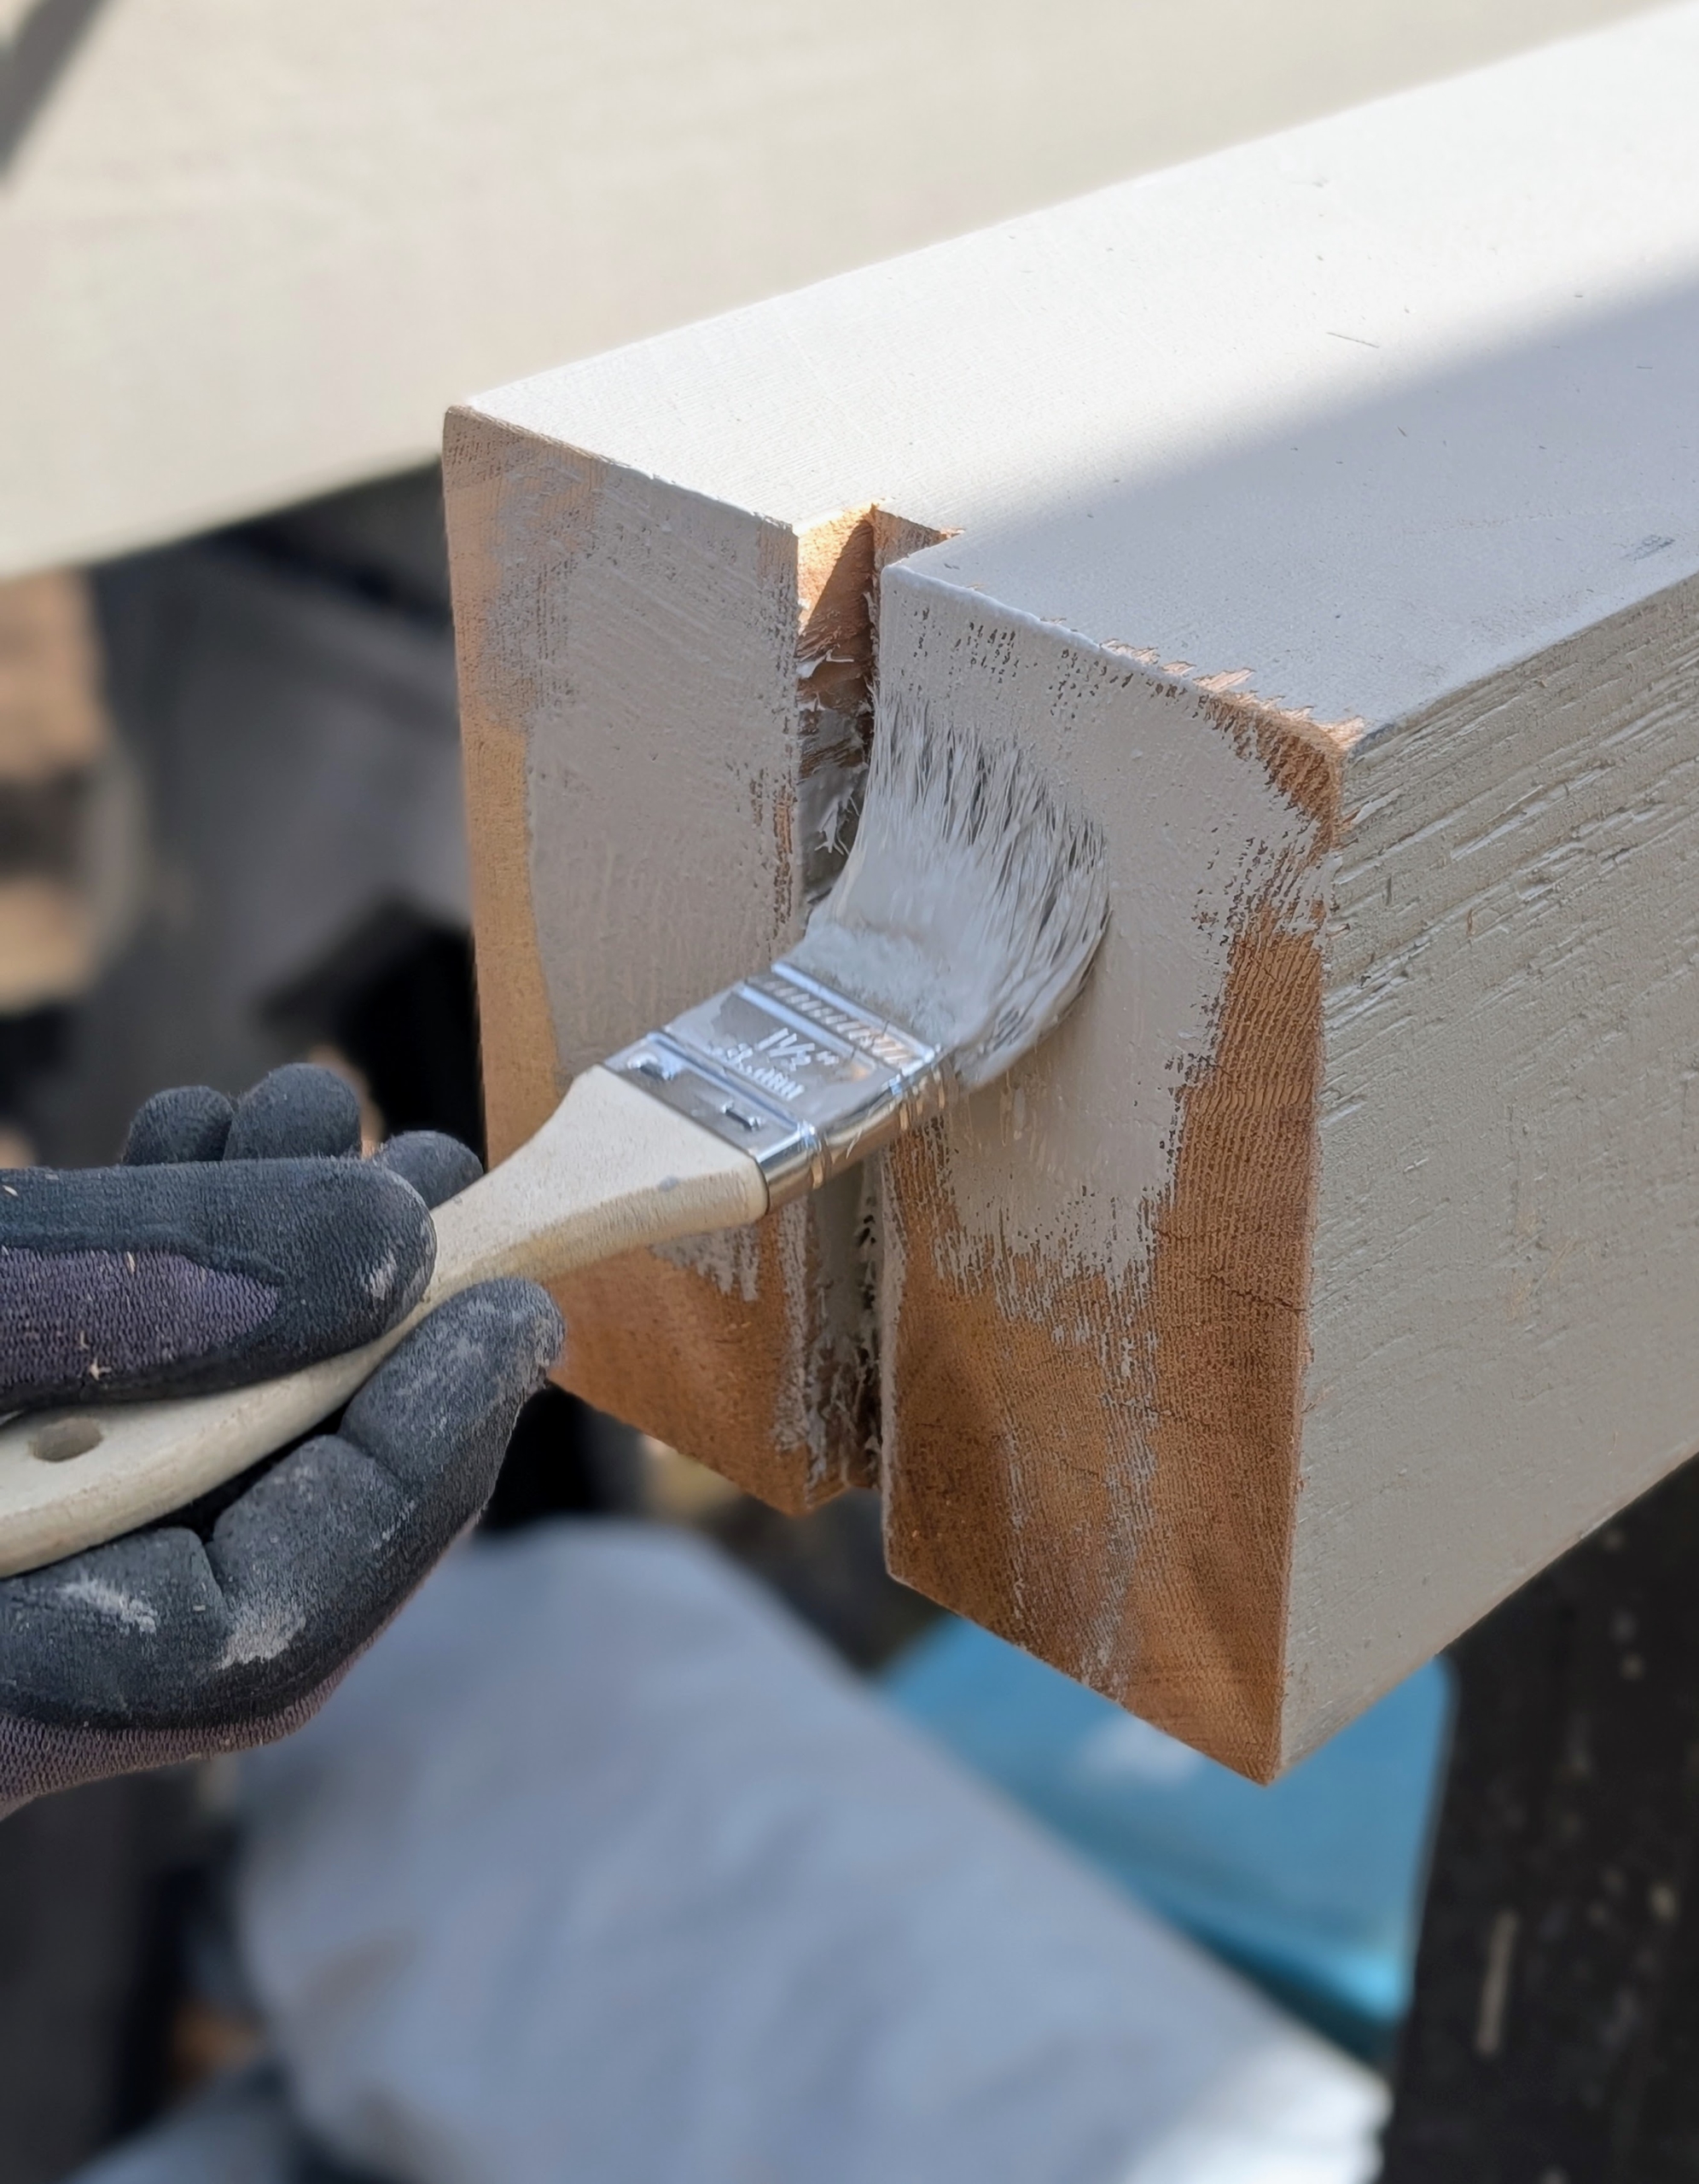
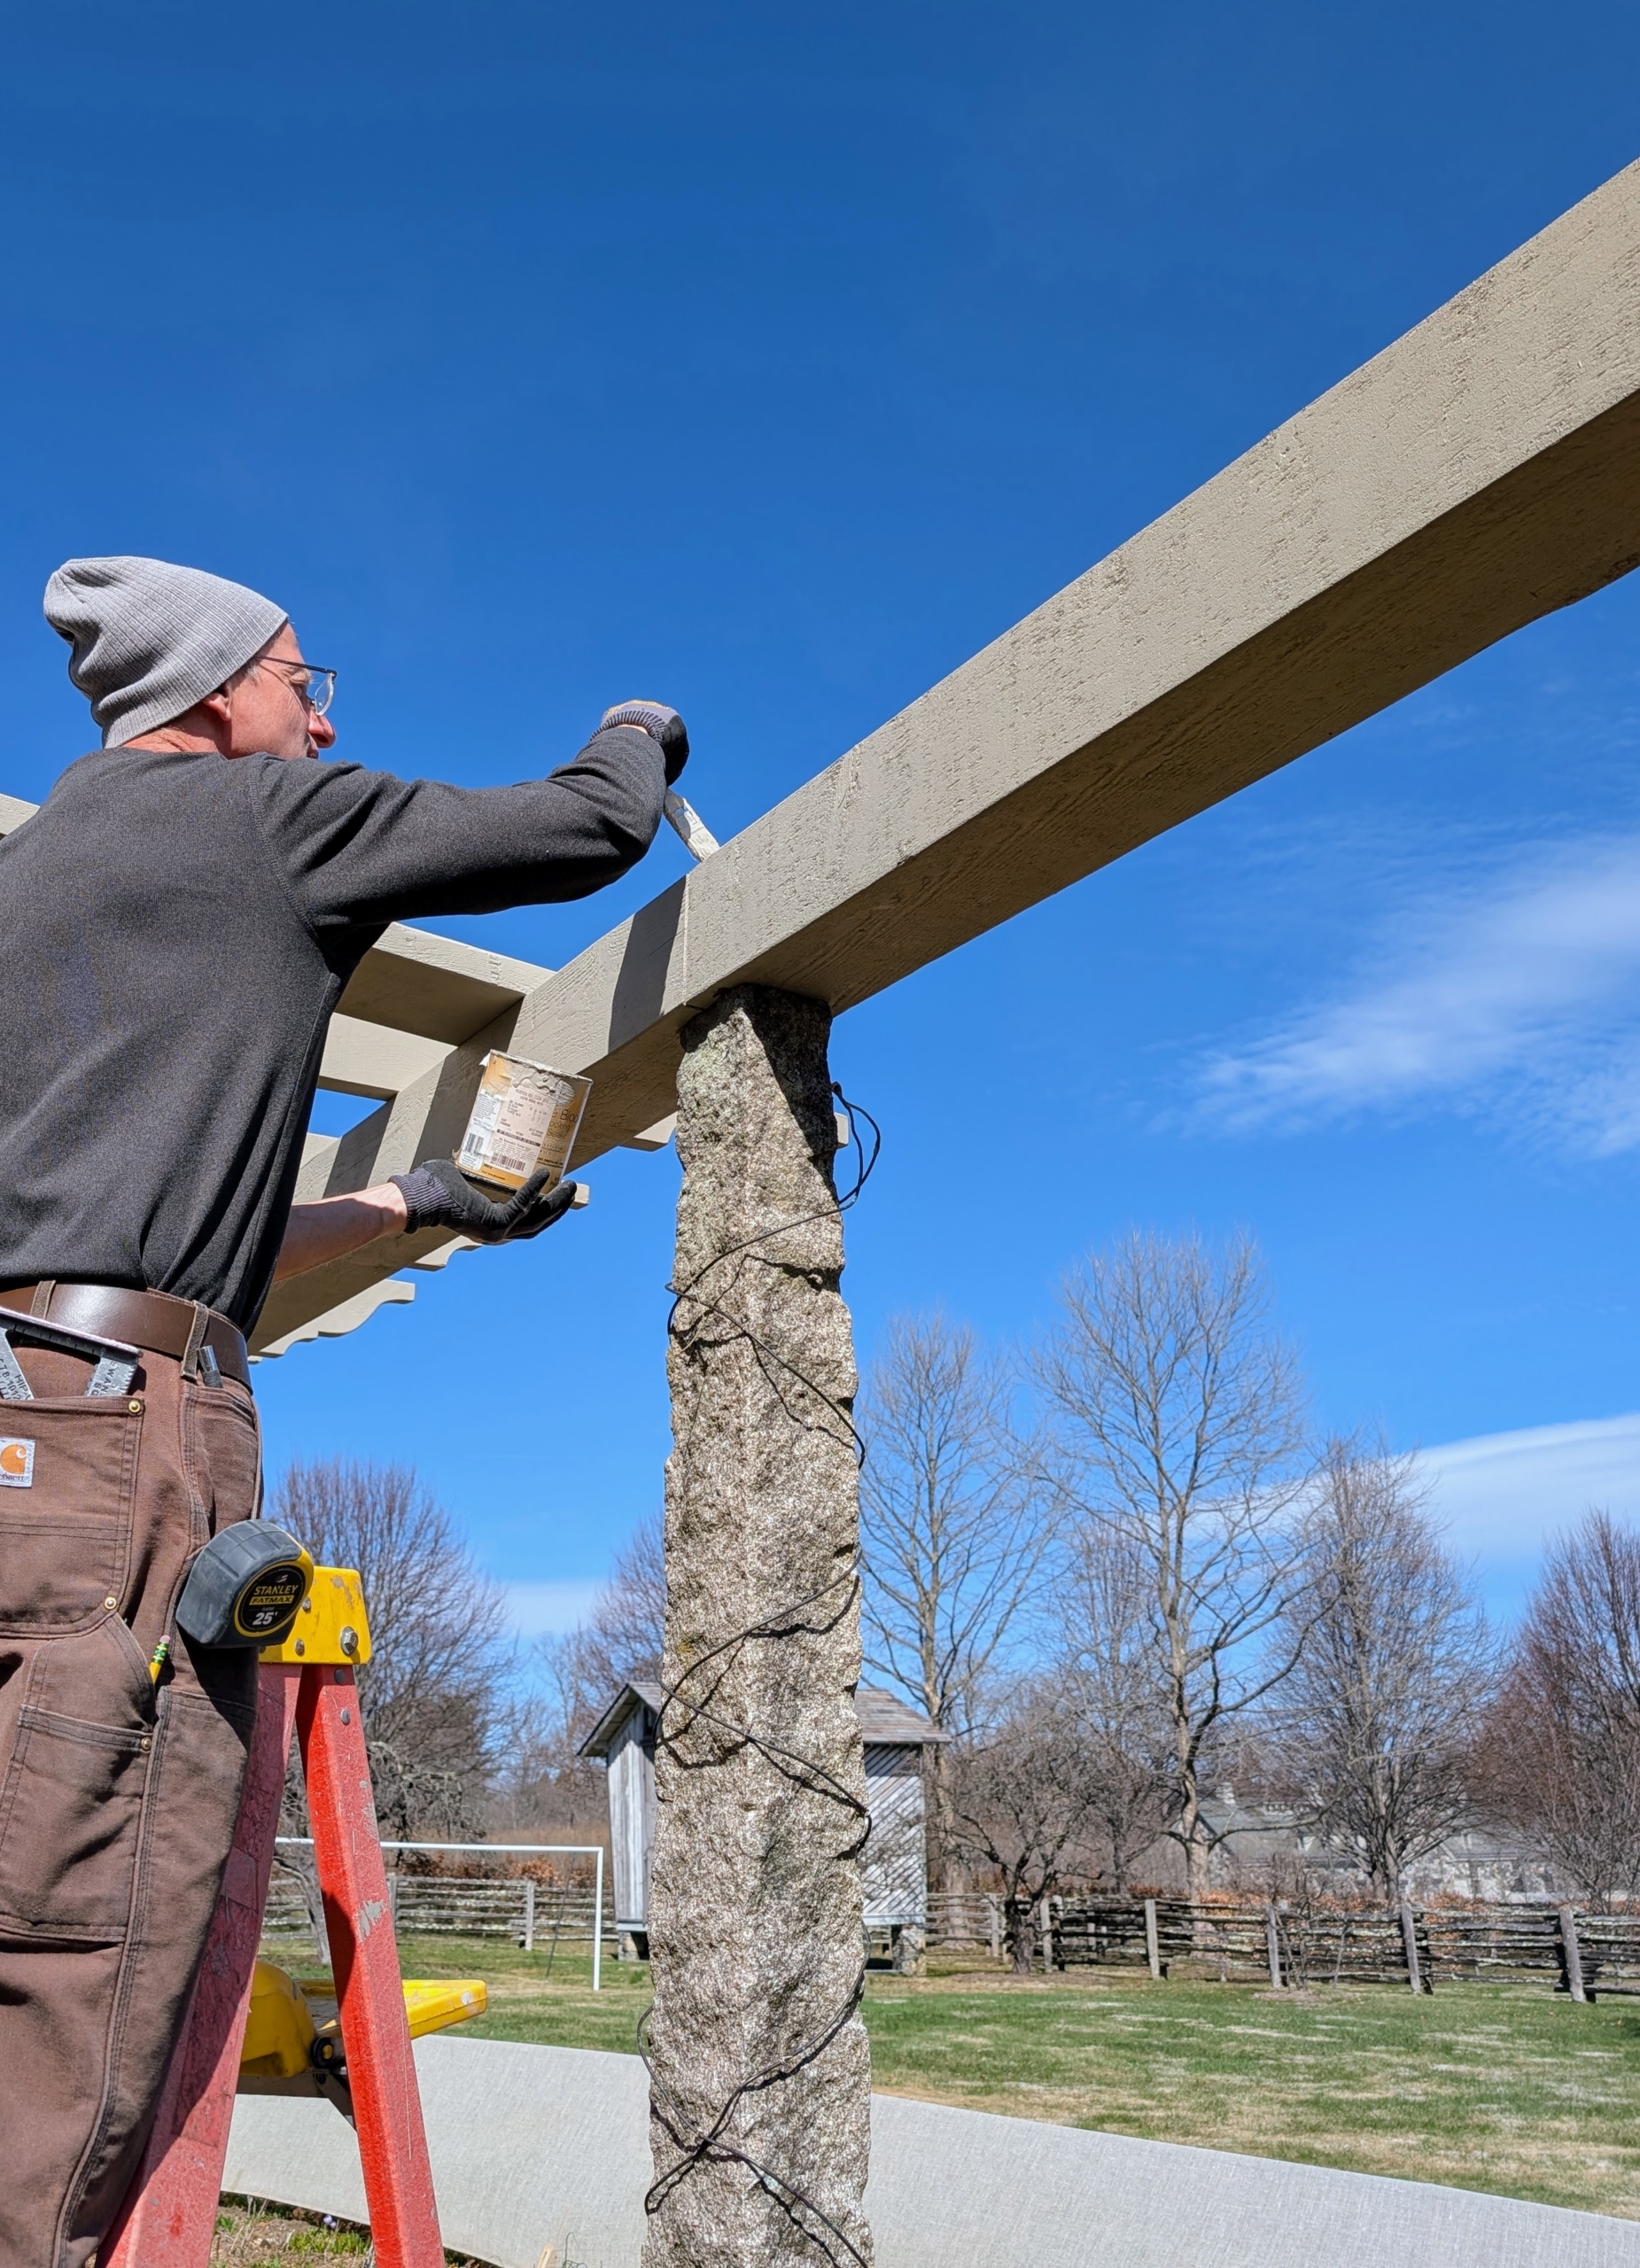
- Dmitri paints the end of the wood where he cut. It will not be seen, but the wood will be protected more from the elements in years to come.
-
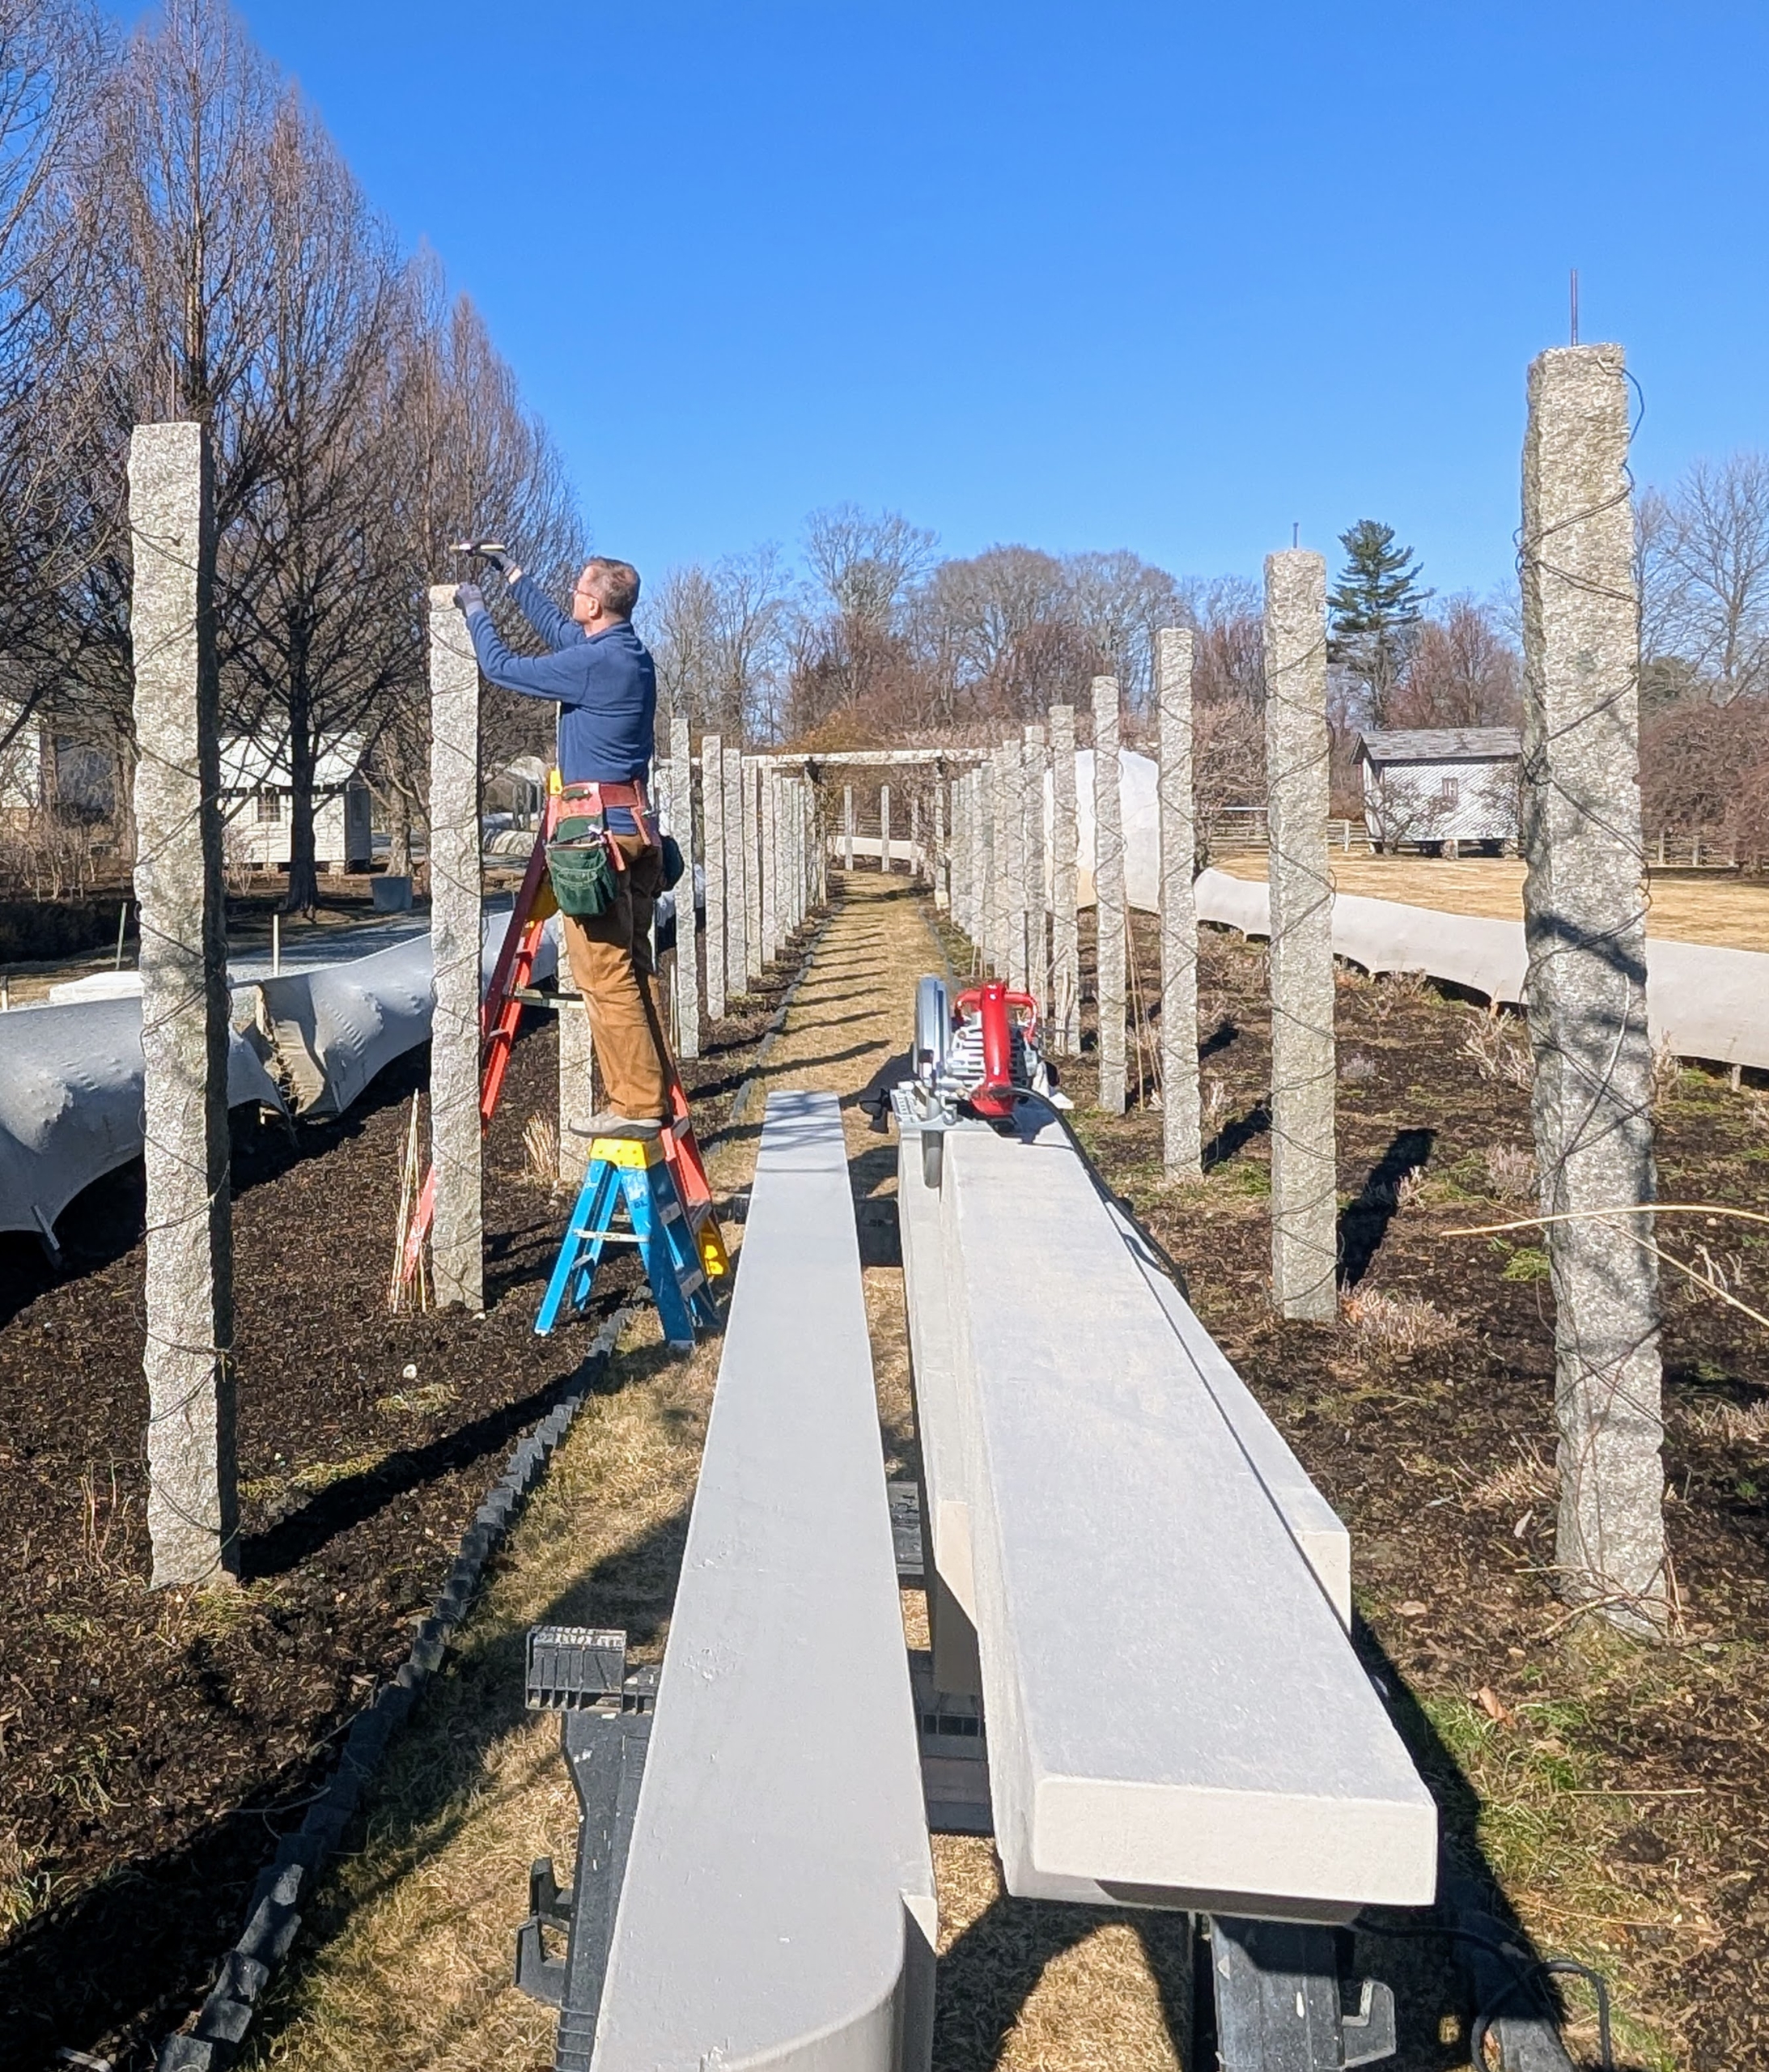
- Dmitri checks the post. Many of them have moved over the years. Each one is measured and re-straightened and leveled.
-
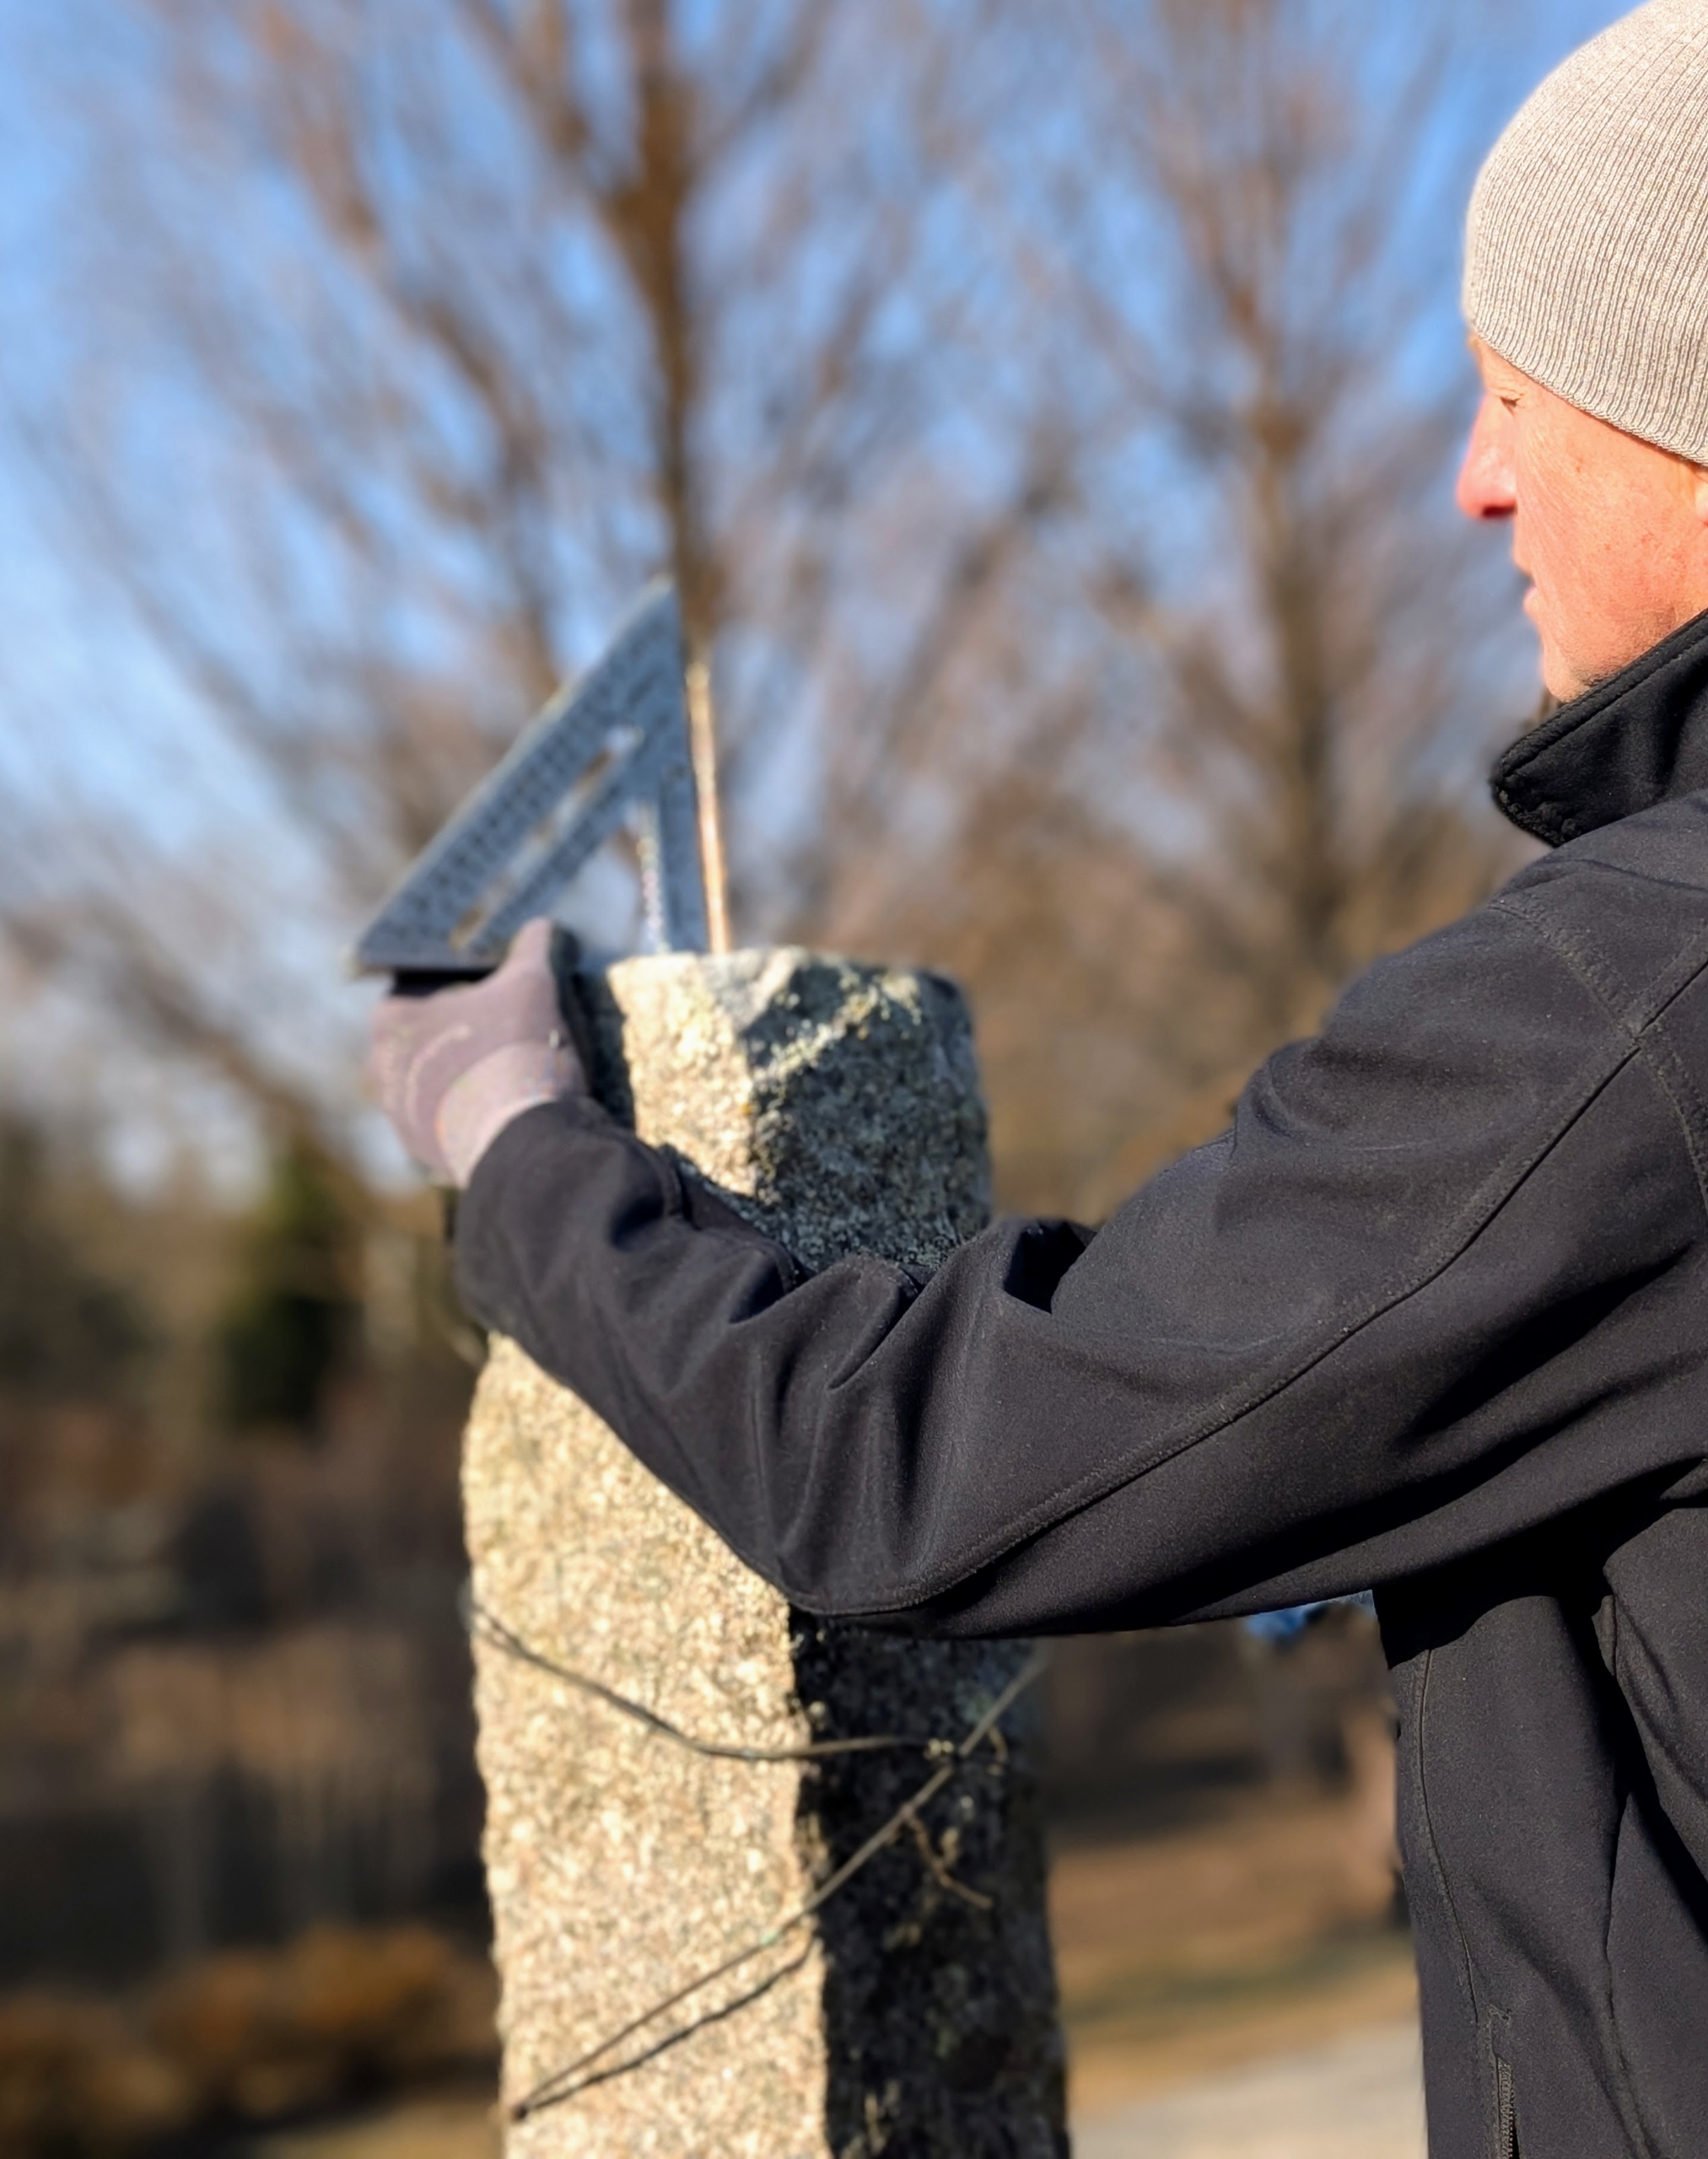
- Here is Dmitri checking how straight it is – even the smallest tilt could alter the way the beams and rafters are positioned.
-
- This post needs a bit of a push to get it level.

-
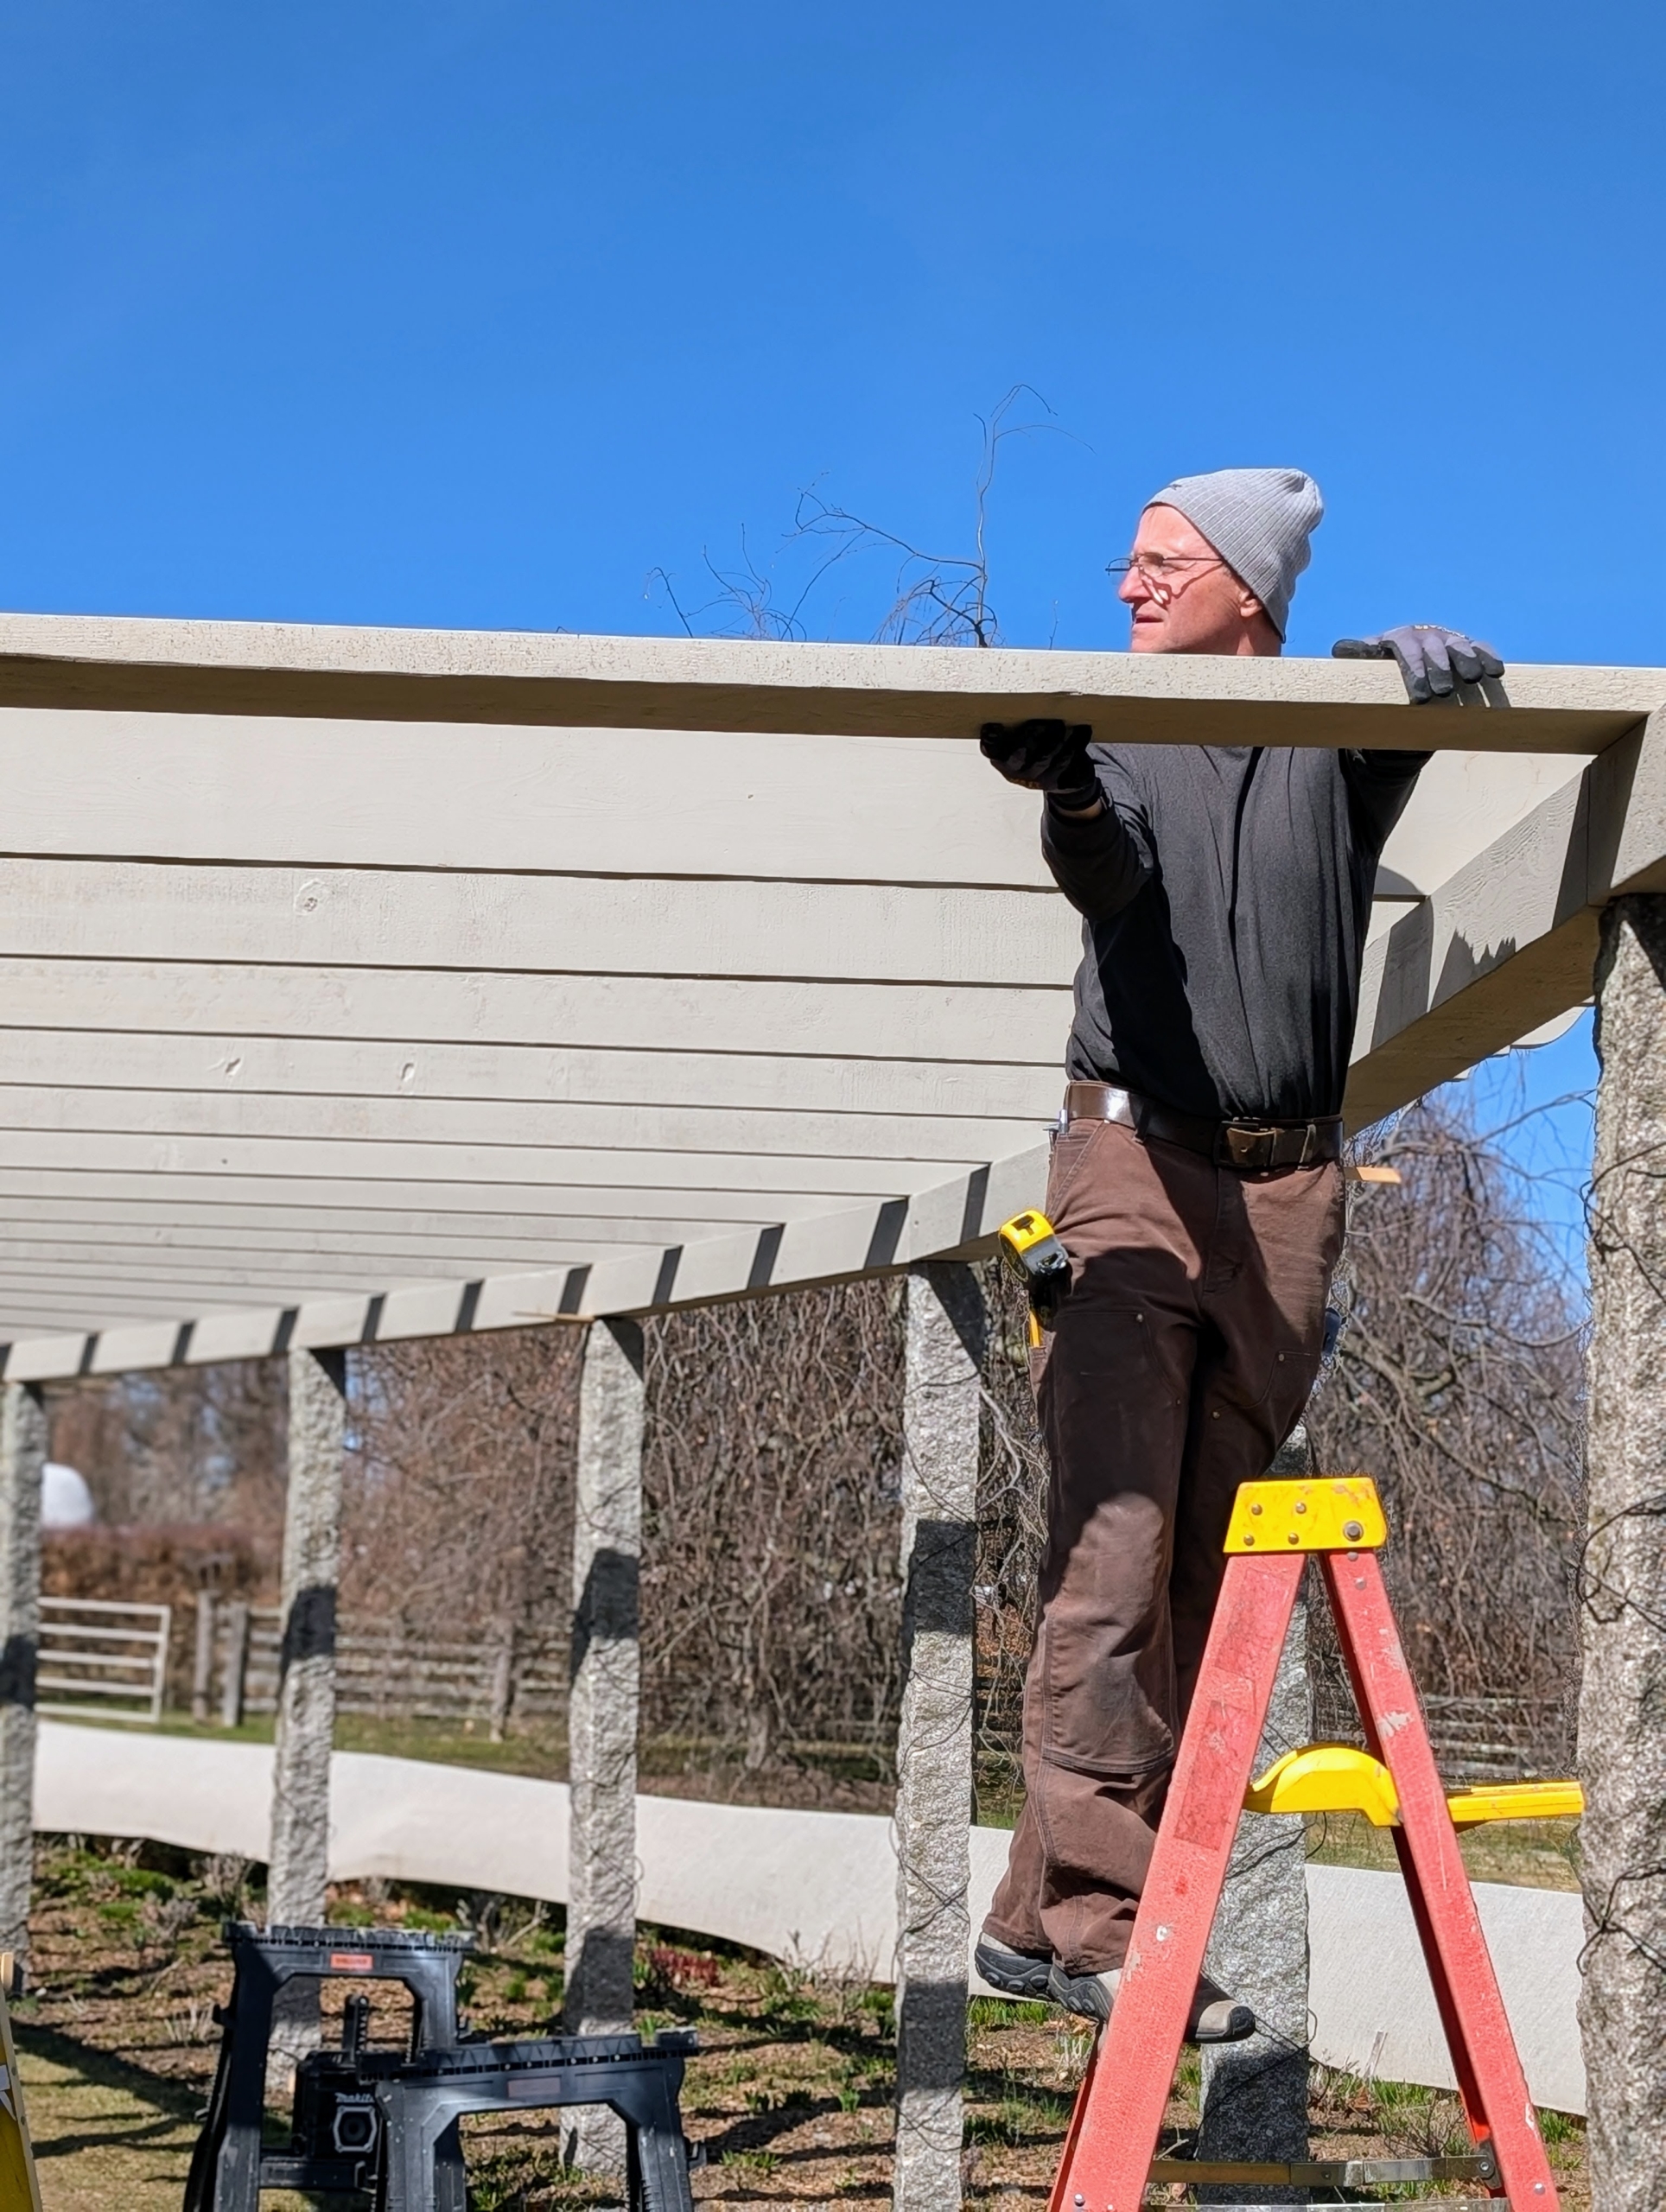
- The beam is then hand lifted and positioned on the post. These cedar support beams are very strong and sturdy, weather-proof and fine-grained, making it popular to use for outdoor building projects. The long screw in the notch will help keep the beam from moving.
-
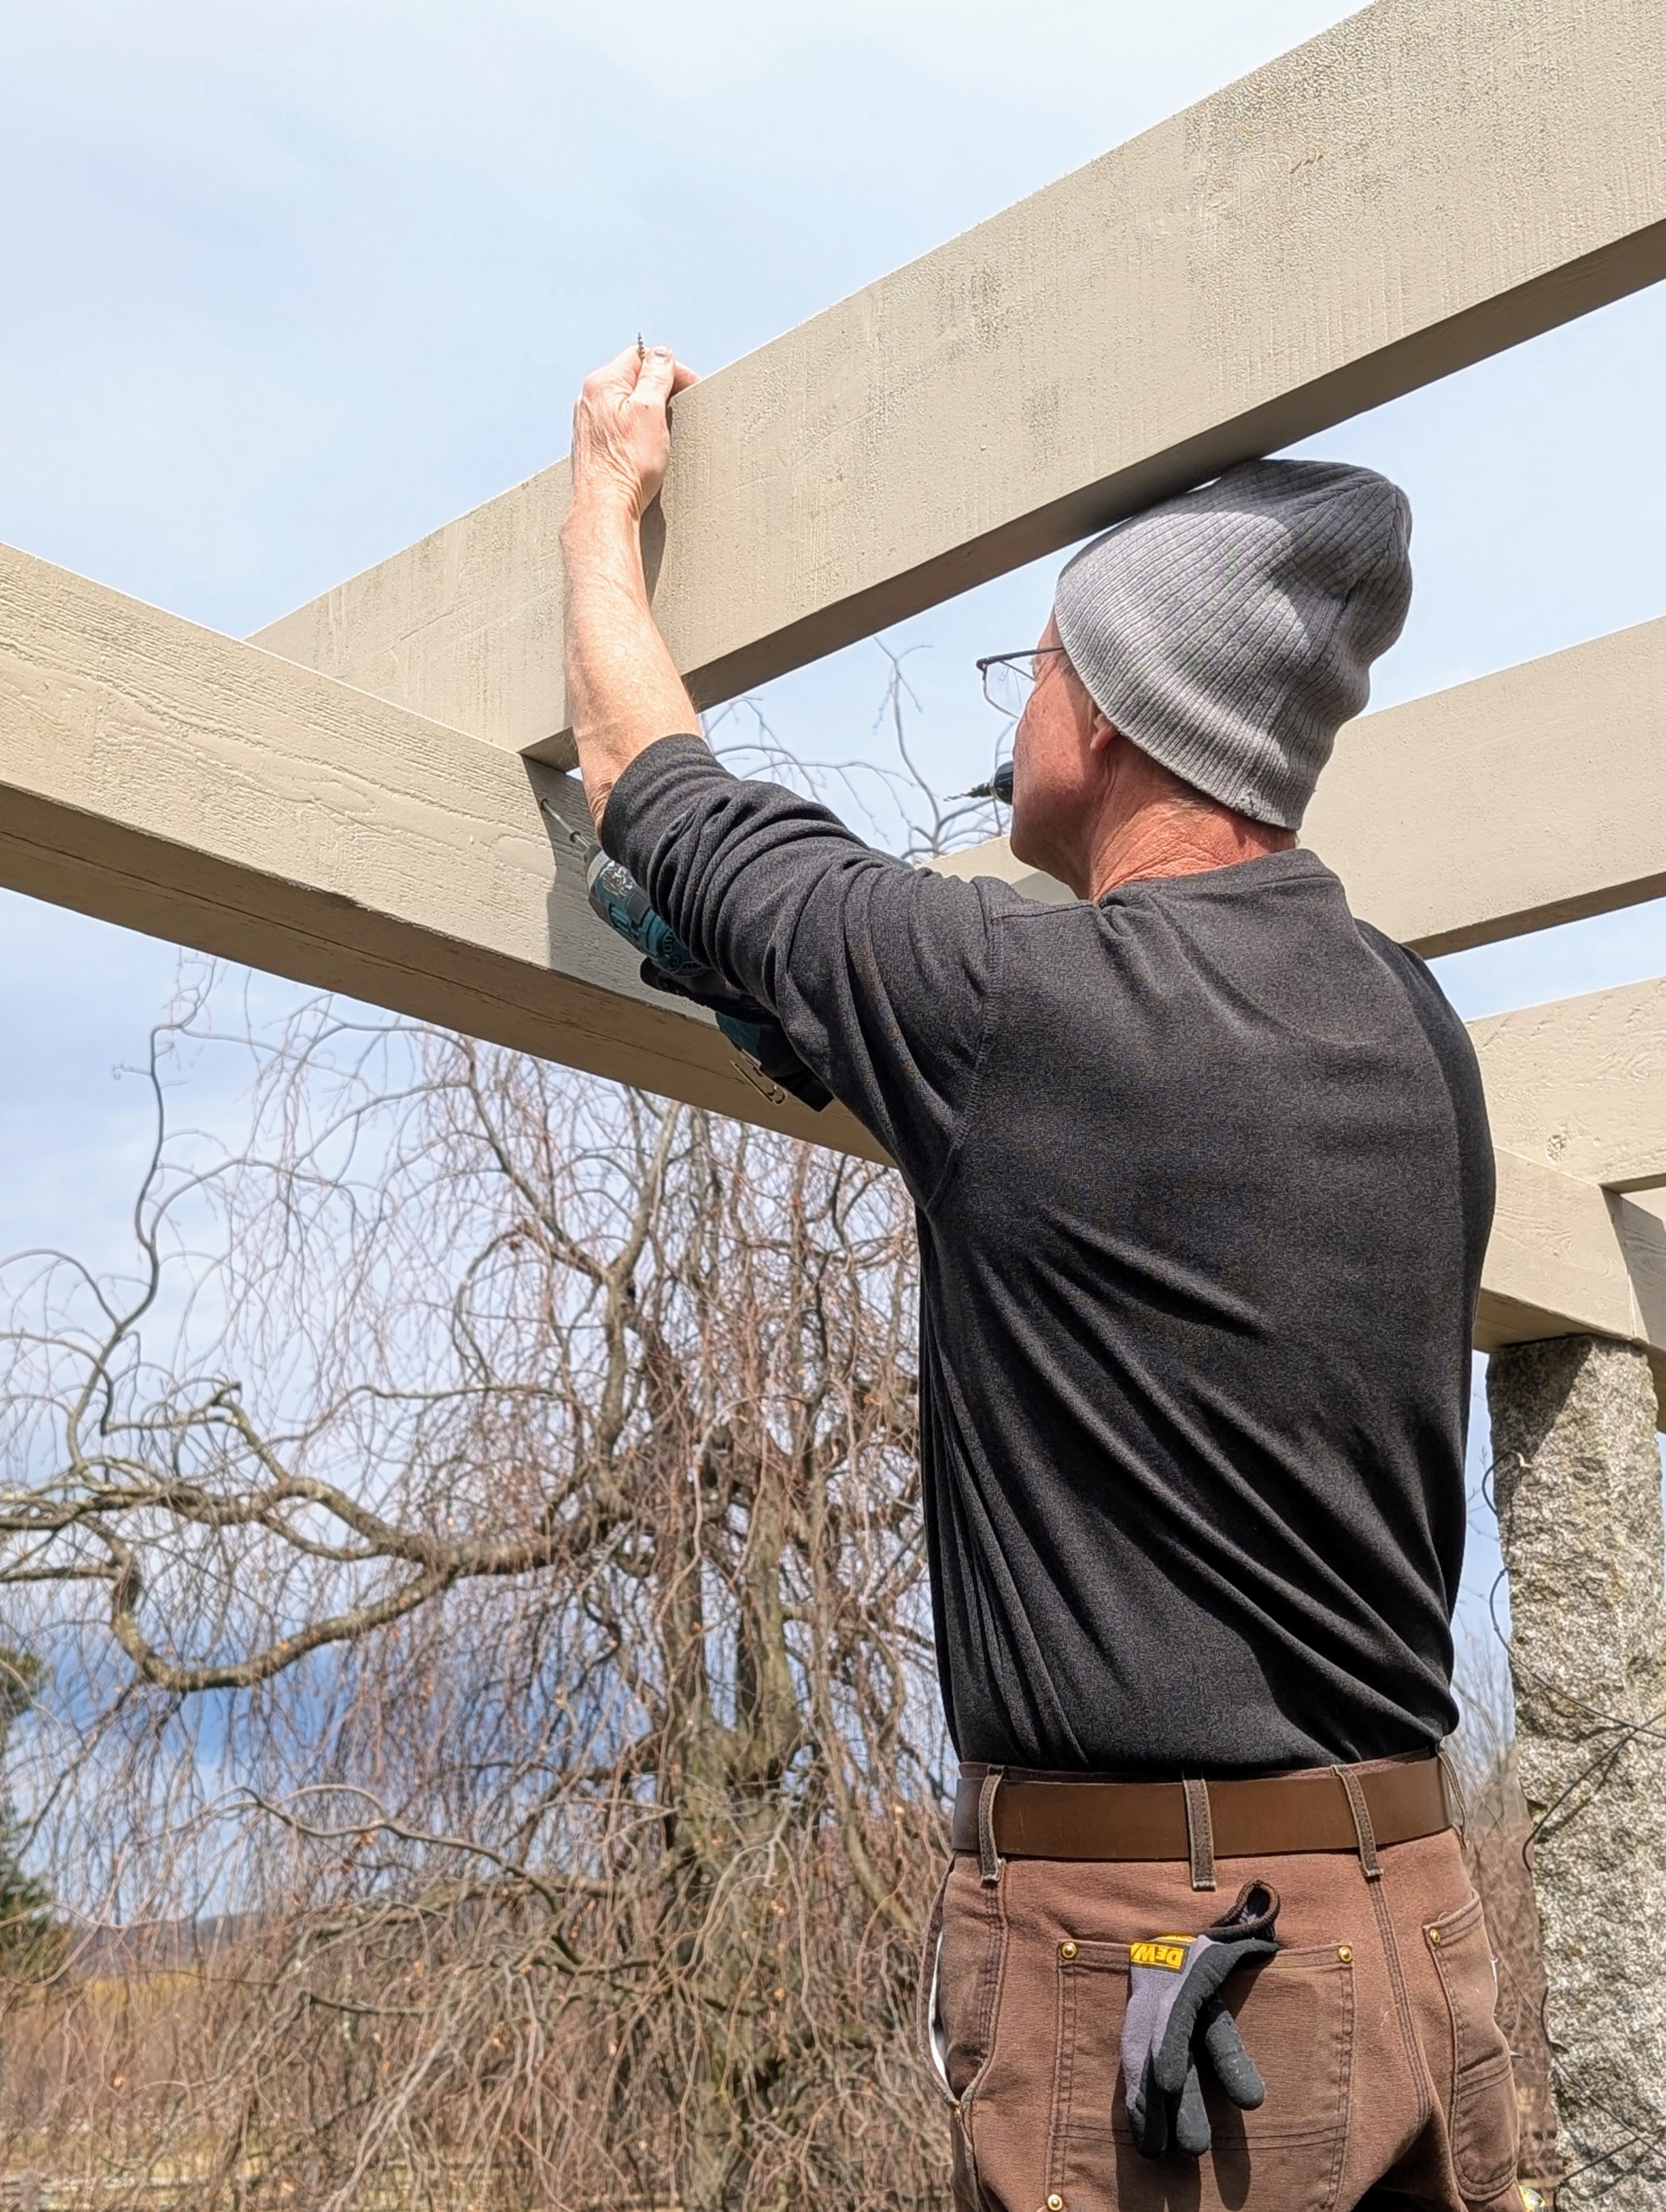
- Dmitri screws the beams together from the bottom which helps to prevent water damage to the hole and the surrounding wood.
-
- Here are two beams secured on a post.
-
- Sometimes, because the granite posts are not level on top, slight cuts are made to make the wooden pieces completely level. Dmitri shaves a bit off…
-
- … and again, paints over it with primer and stain.
-
- Next are the horizontal rafters. I conceived and designed the rafter tail pattern.
-
- Dmitri lifts one rafter up and selects the smoother side to face toward the carriage road, so guests see the best view.
-
- Because the pergola is curved, each rafter is installed at a slightly different angle. Dmitri is a very talented and skilled craftsman. He checks and rechecks every measurement multiple times to ensure the angles are correct.
-
- Here he is moving this rafter just an inch over. Dmitri says he enjoys working with angles. In fact, his mother was an engineer and taught him a lot about geometry at an early age. It became his favorite subject, and the prtractor his favorite tool.
-
- Every rafter is level and perfectly aligned.

-
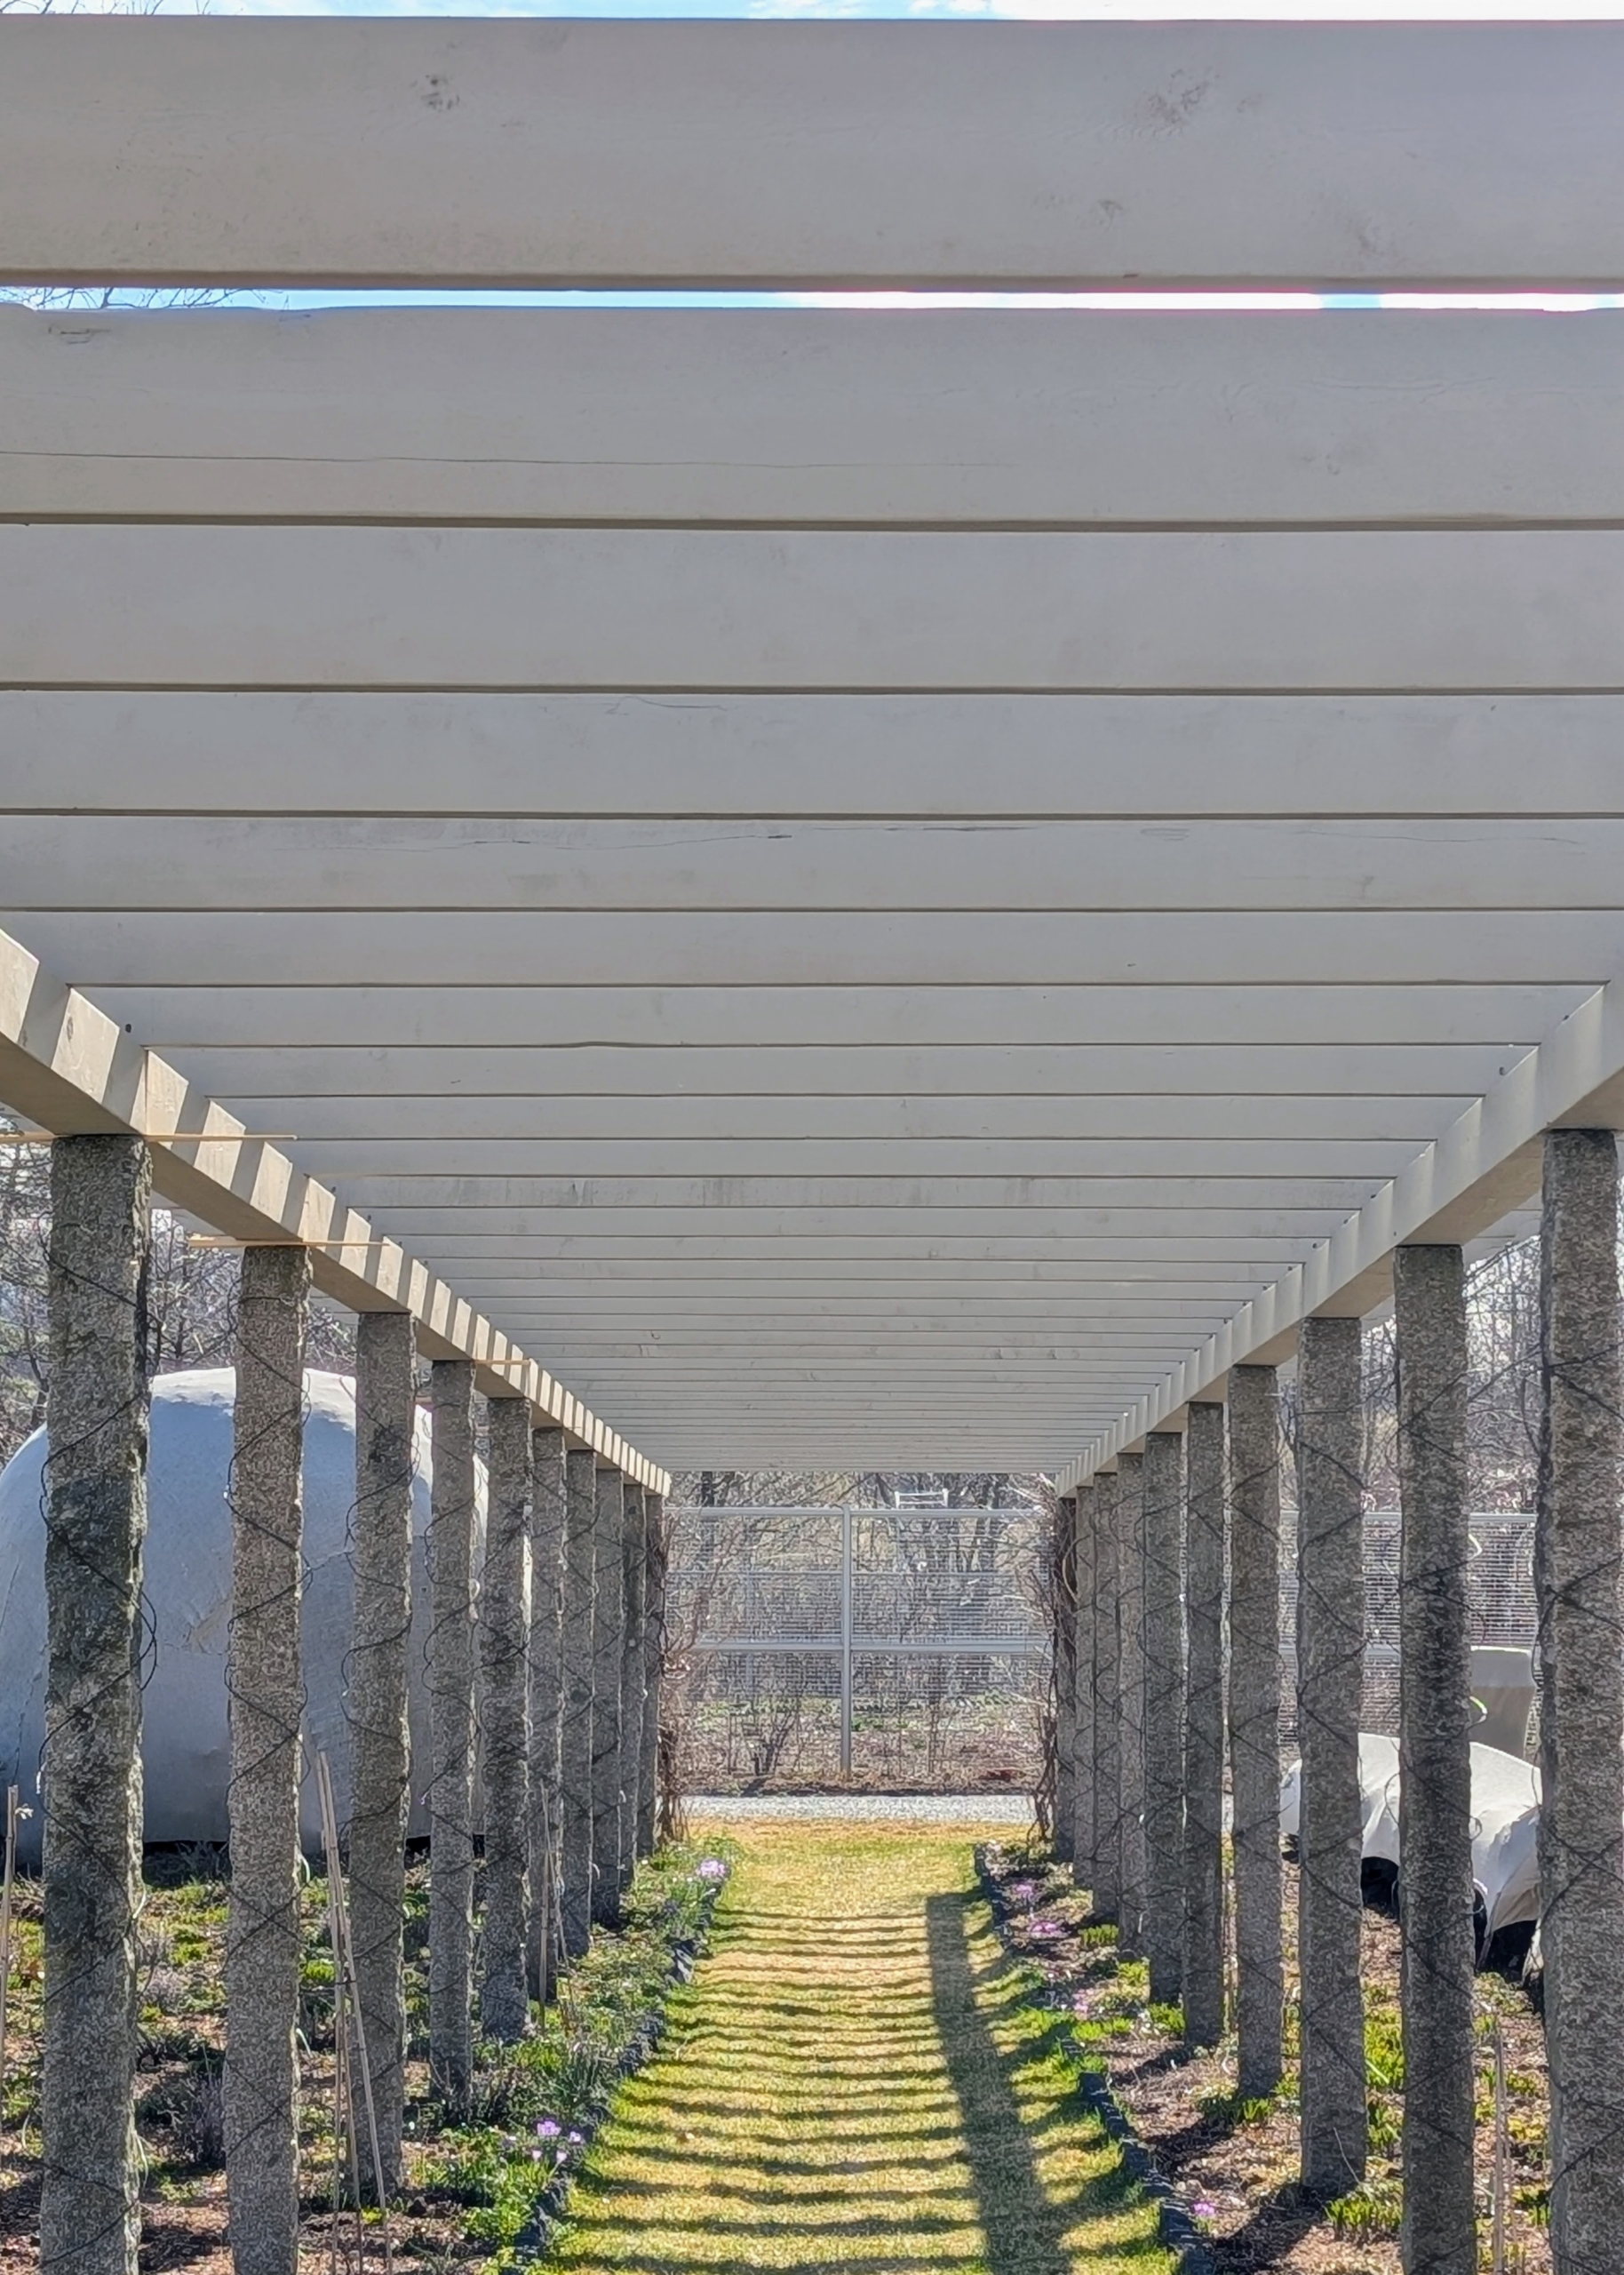
- Here is a view from under the pergola rafters. My previous pergola was built with horizontal supports and then notched perpendicular rafters. This design is much better and will last longer.
-
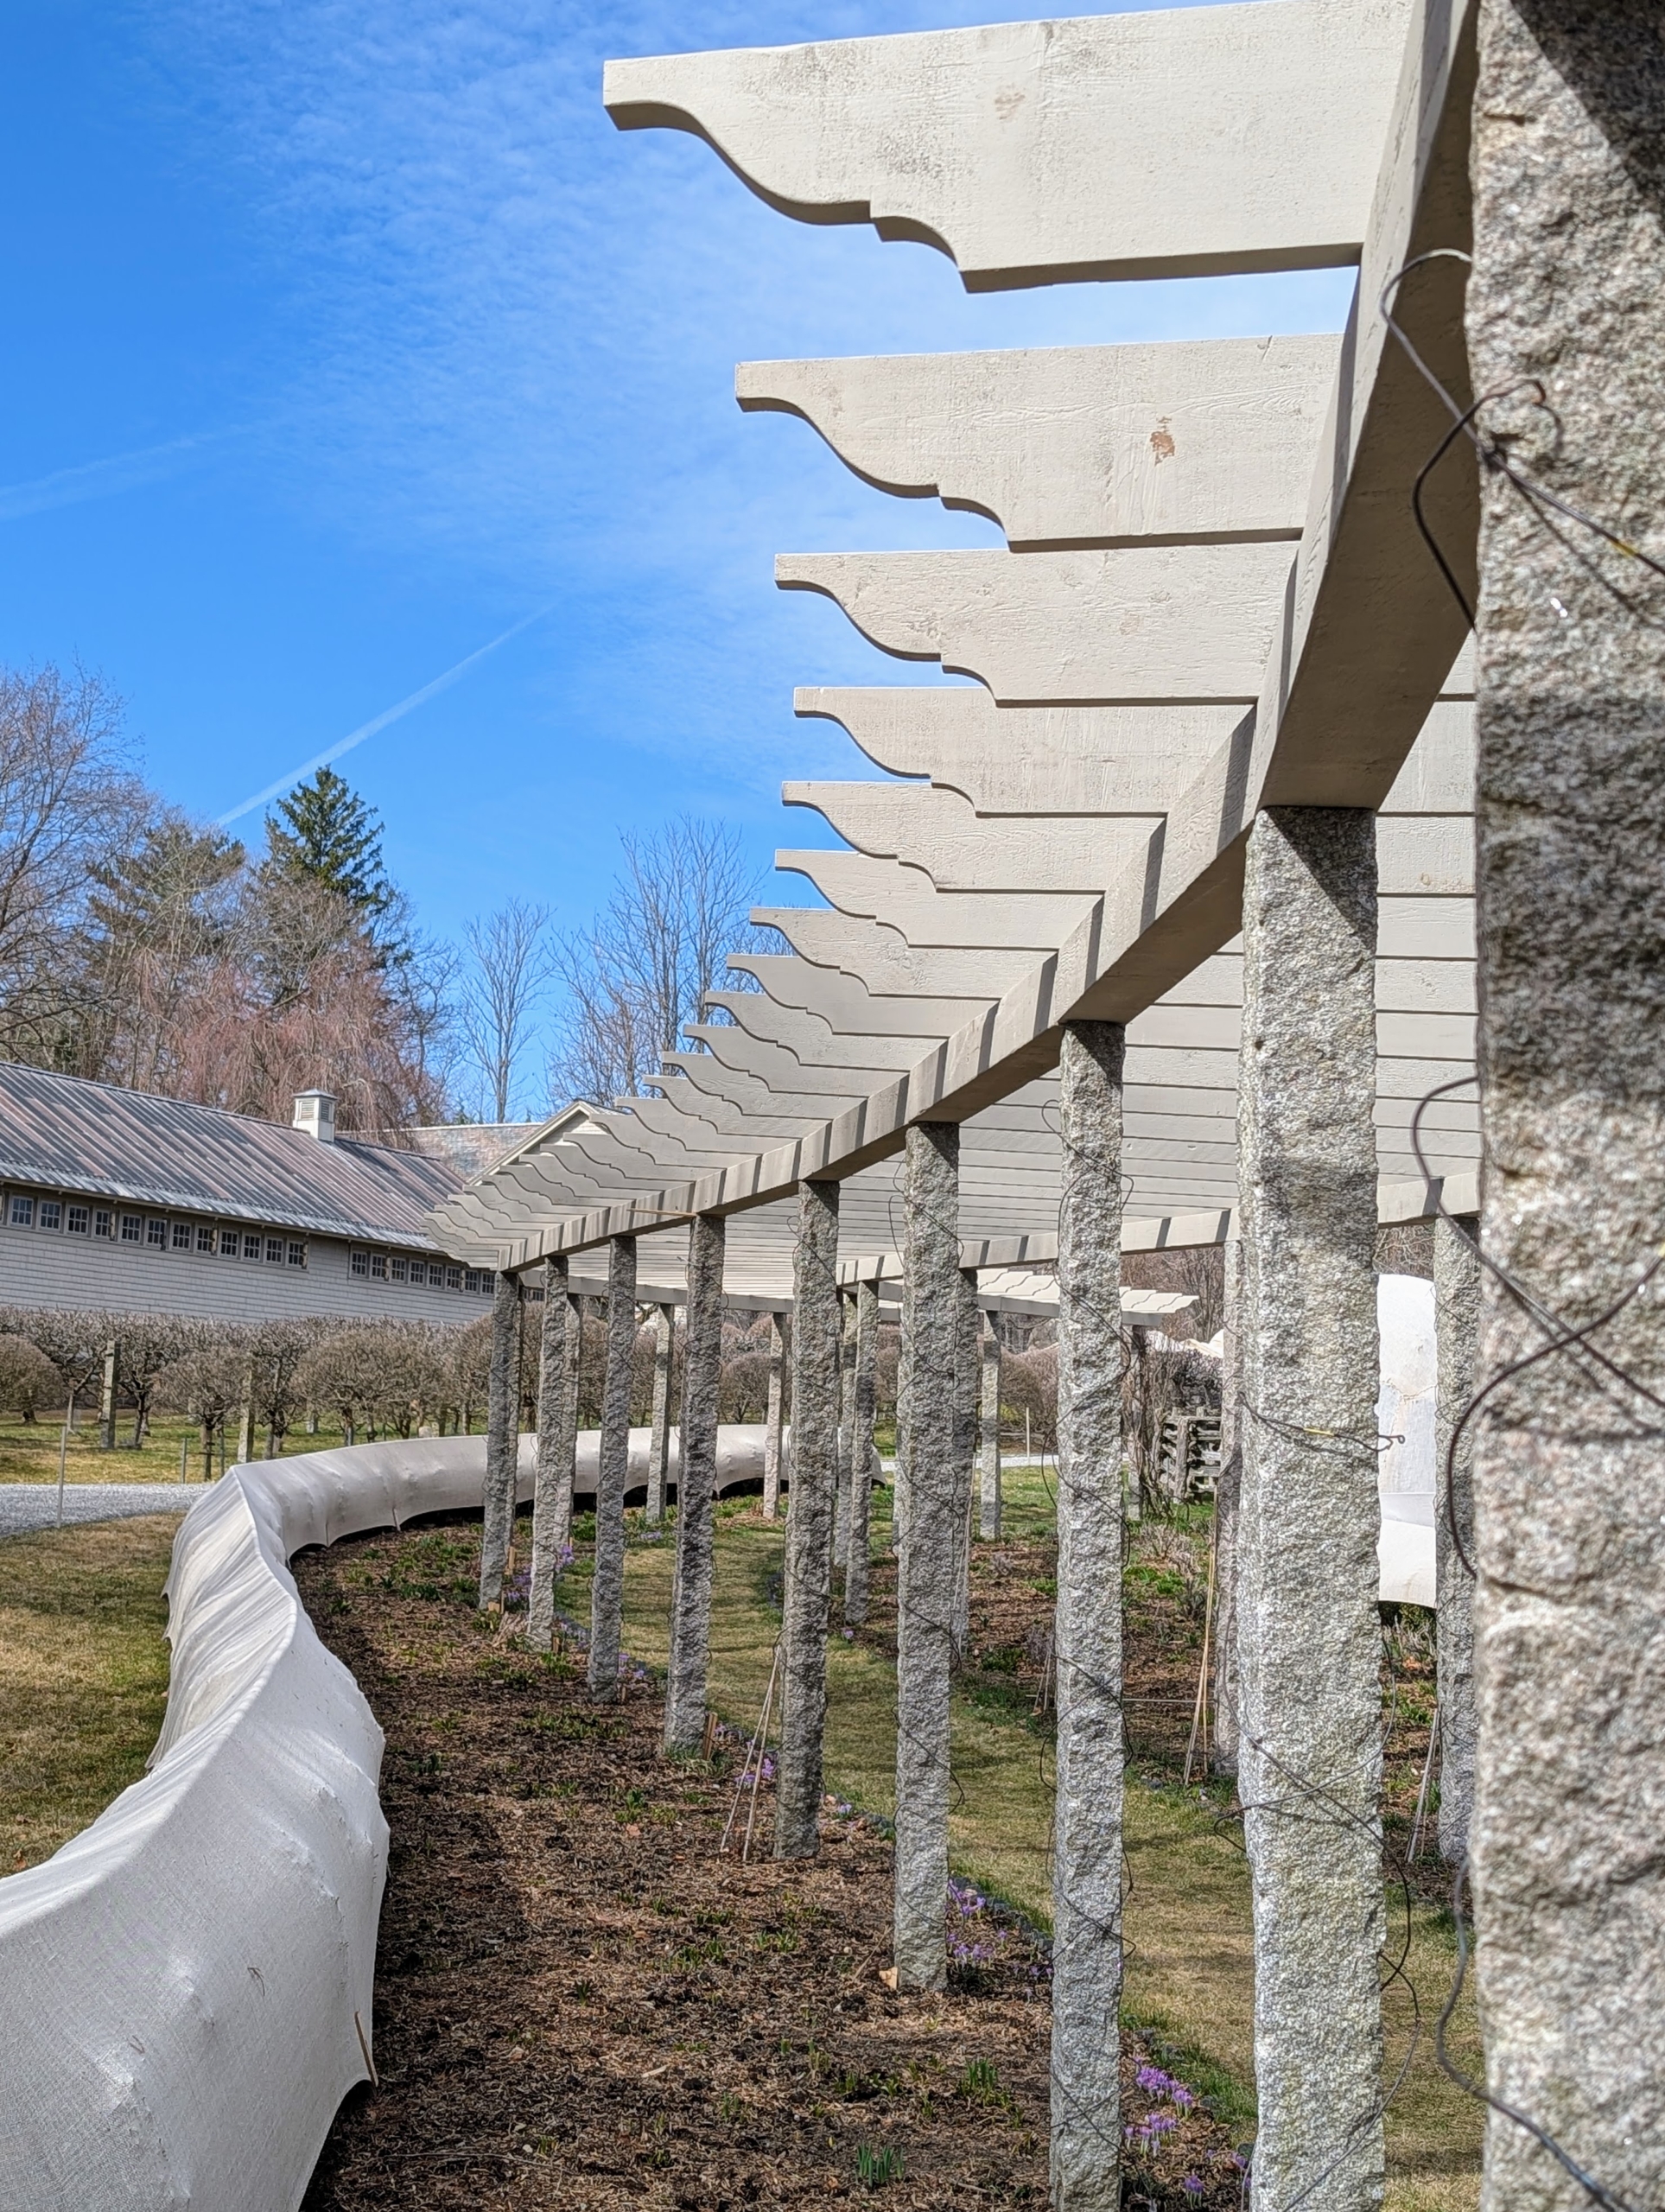
- This shows one of the more curved sections. It looks so beautiful and artistic.
-
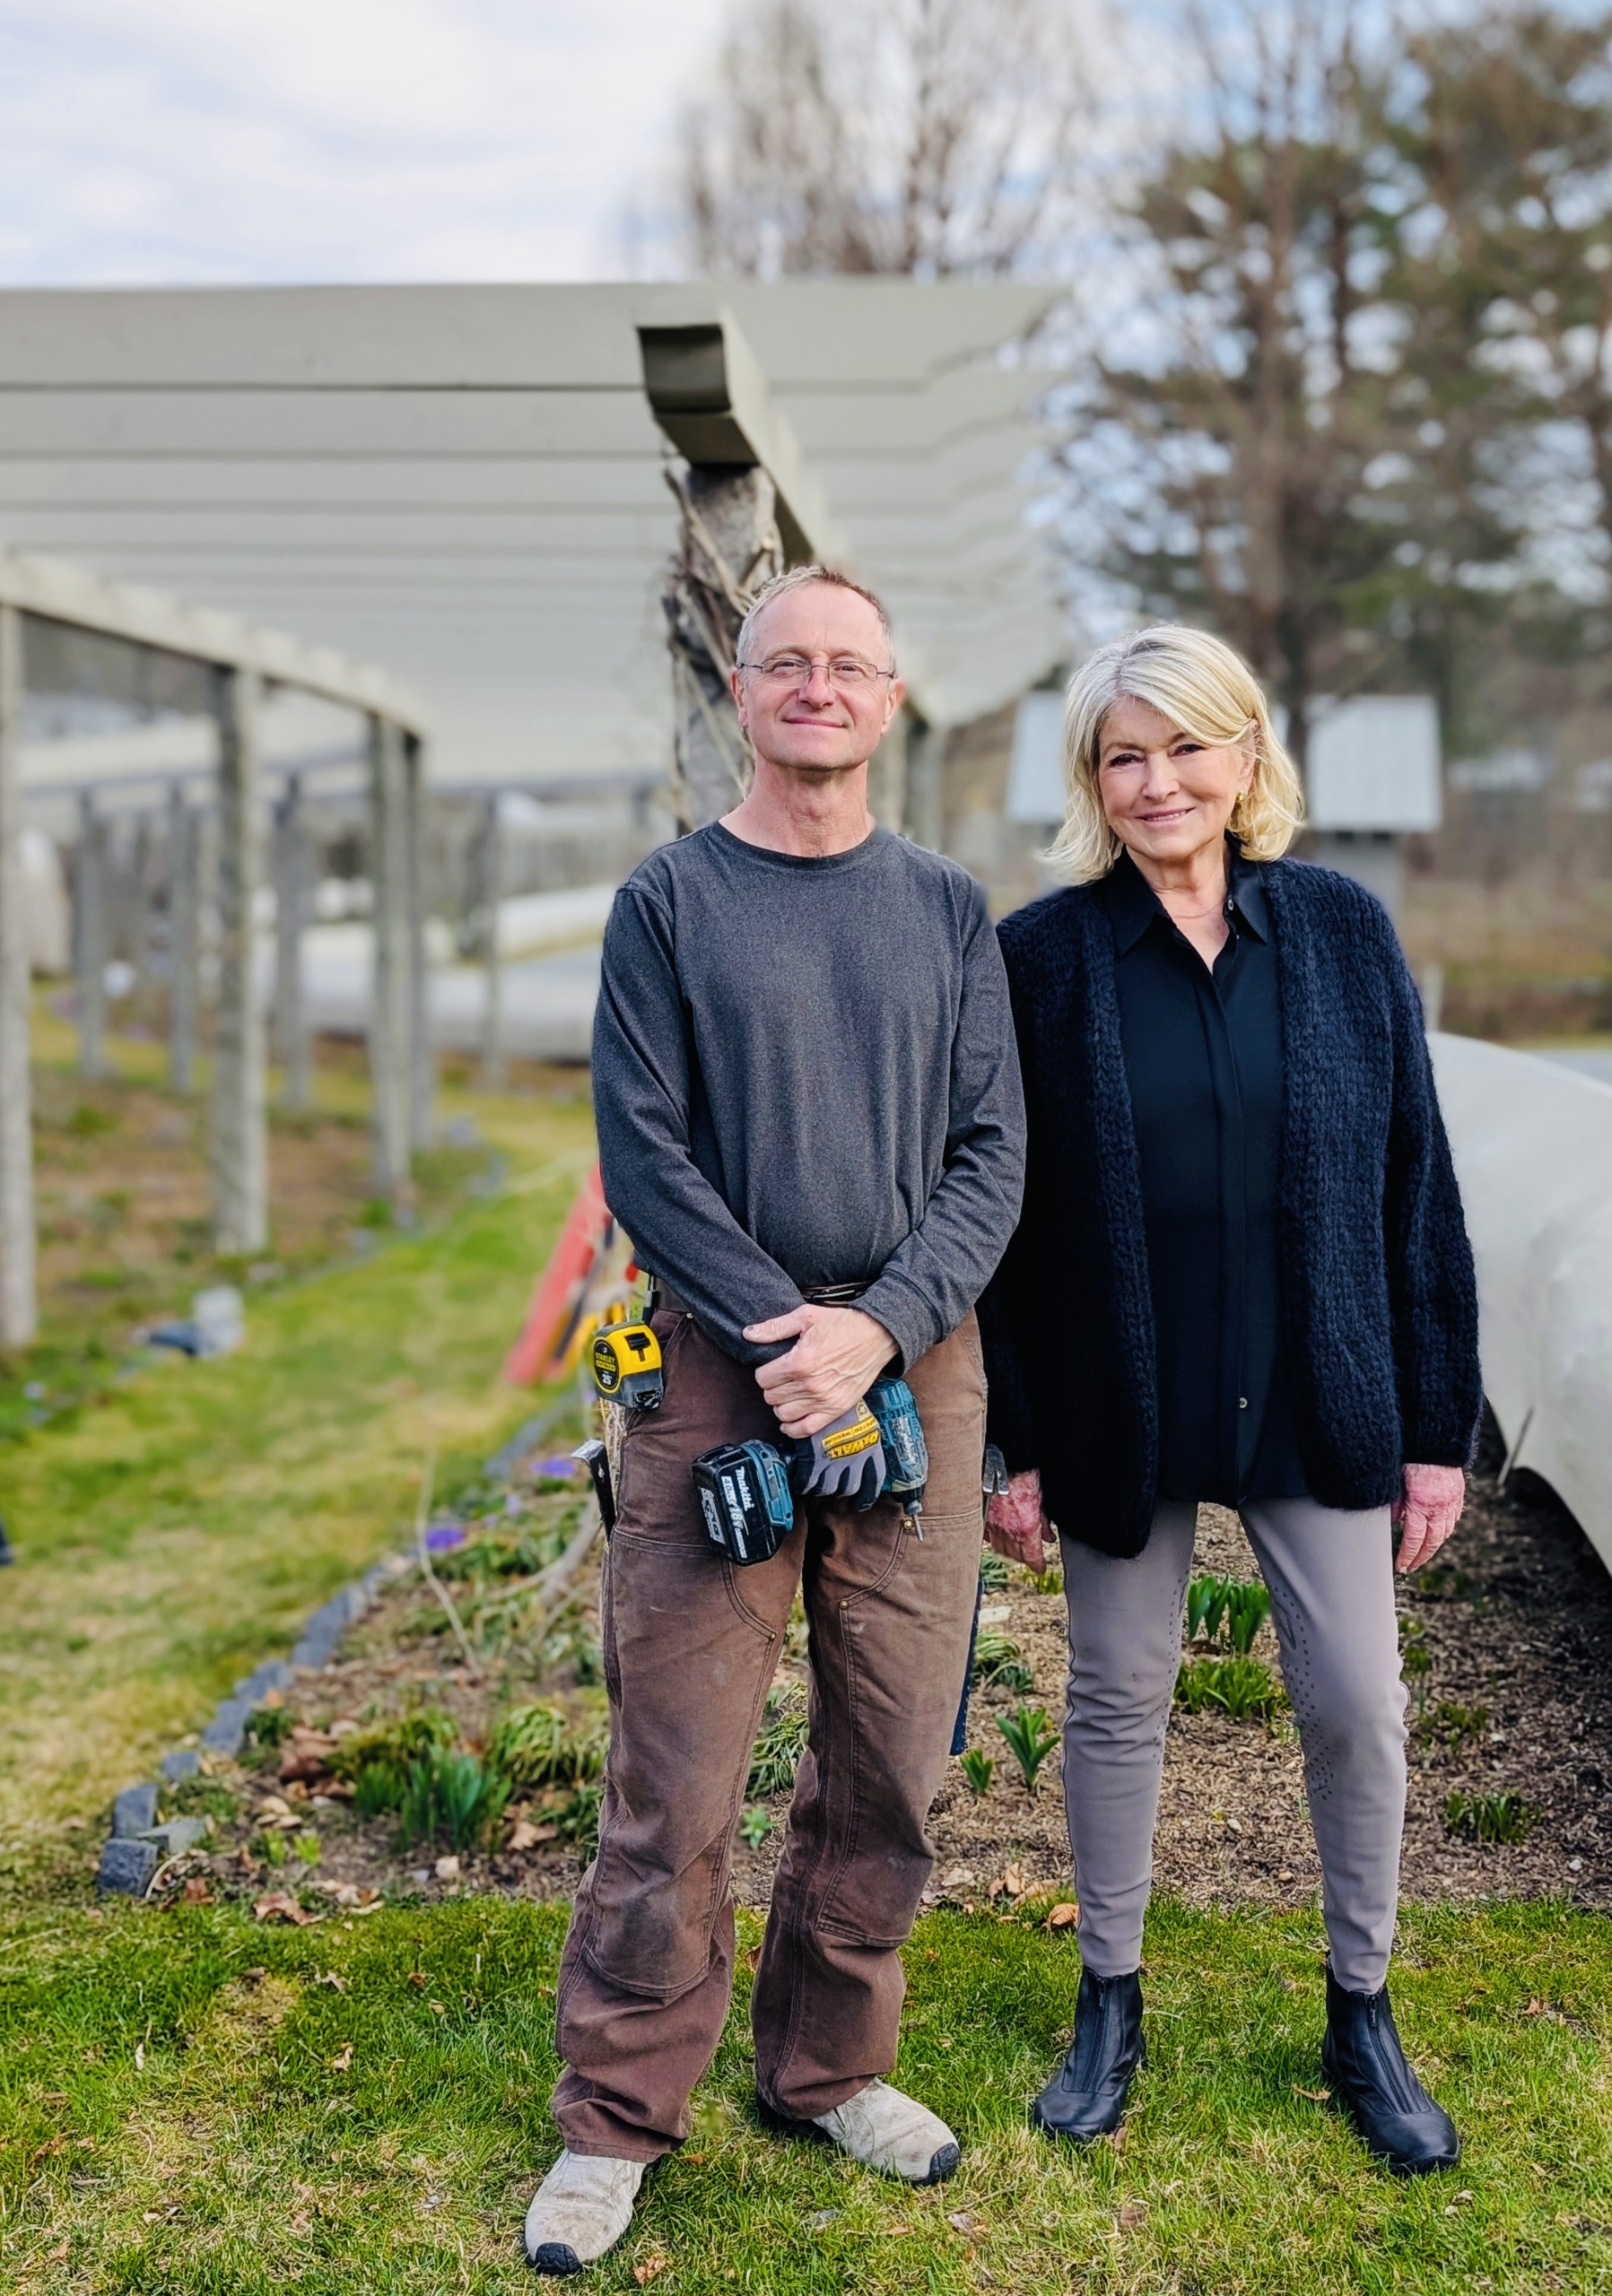
- And here I am with Dmitri. I’m so pleased with how it looks and can’t wait to take more photos when the gardens are in full bloom. Thanks Dmitri!!!