Forcing More Spring-Blooming Bulbs
Any spring bulb can be tricked into early bloom - some are just easier than others.
This year, I decided to force as many spring blooming bulbs as I could. Forcing is essentially the process of simulating the conditions of winter and spring in order to fool the bulbs, speed up their development, and have them bloom before their time. While we're going through a week of snow and freezing rain here at the farm, my head gardener is inside forcing muscari, scilla, blue squill, and crocus - all from Colorblends Flowerbulbs - a third generation wholesale flower merchant in nearby Bridgeport, Connecticut.
Enjoy these photos.
-

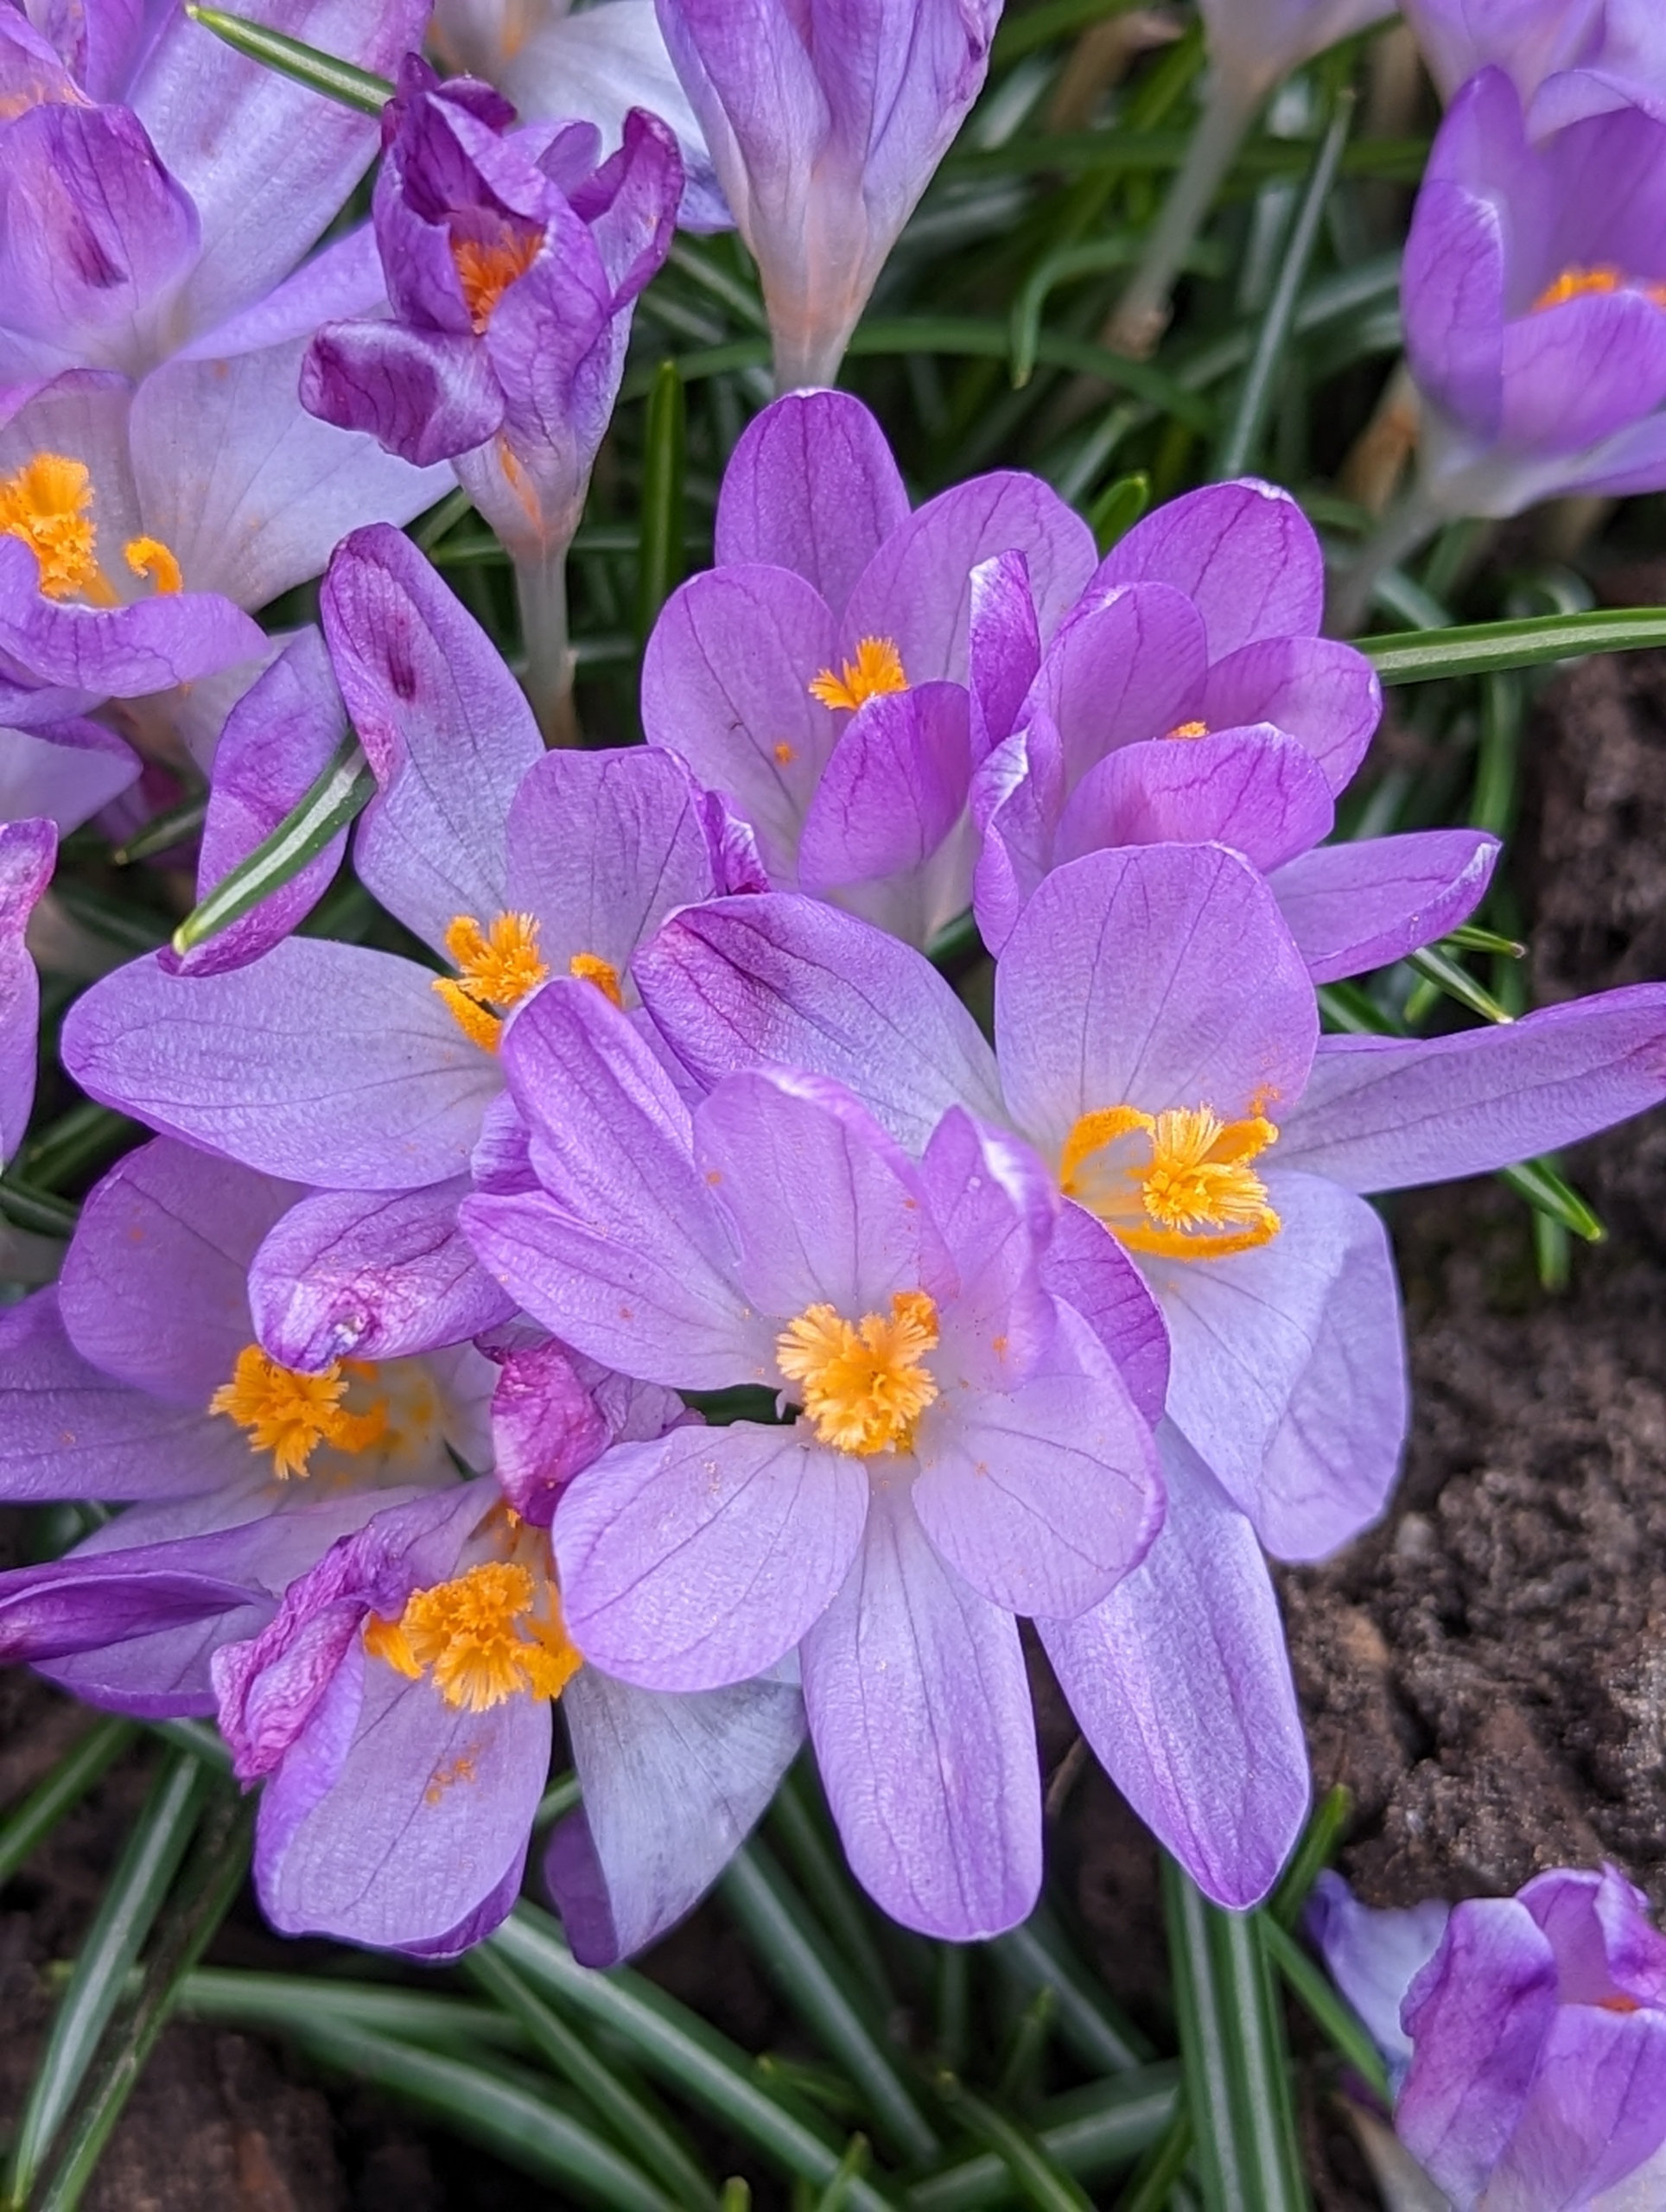
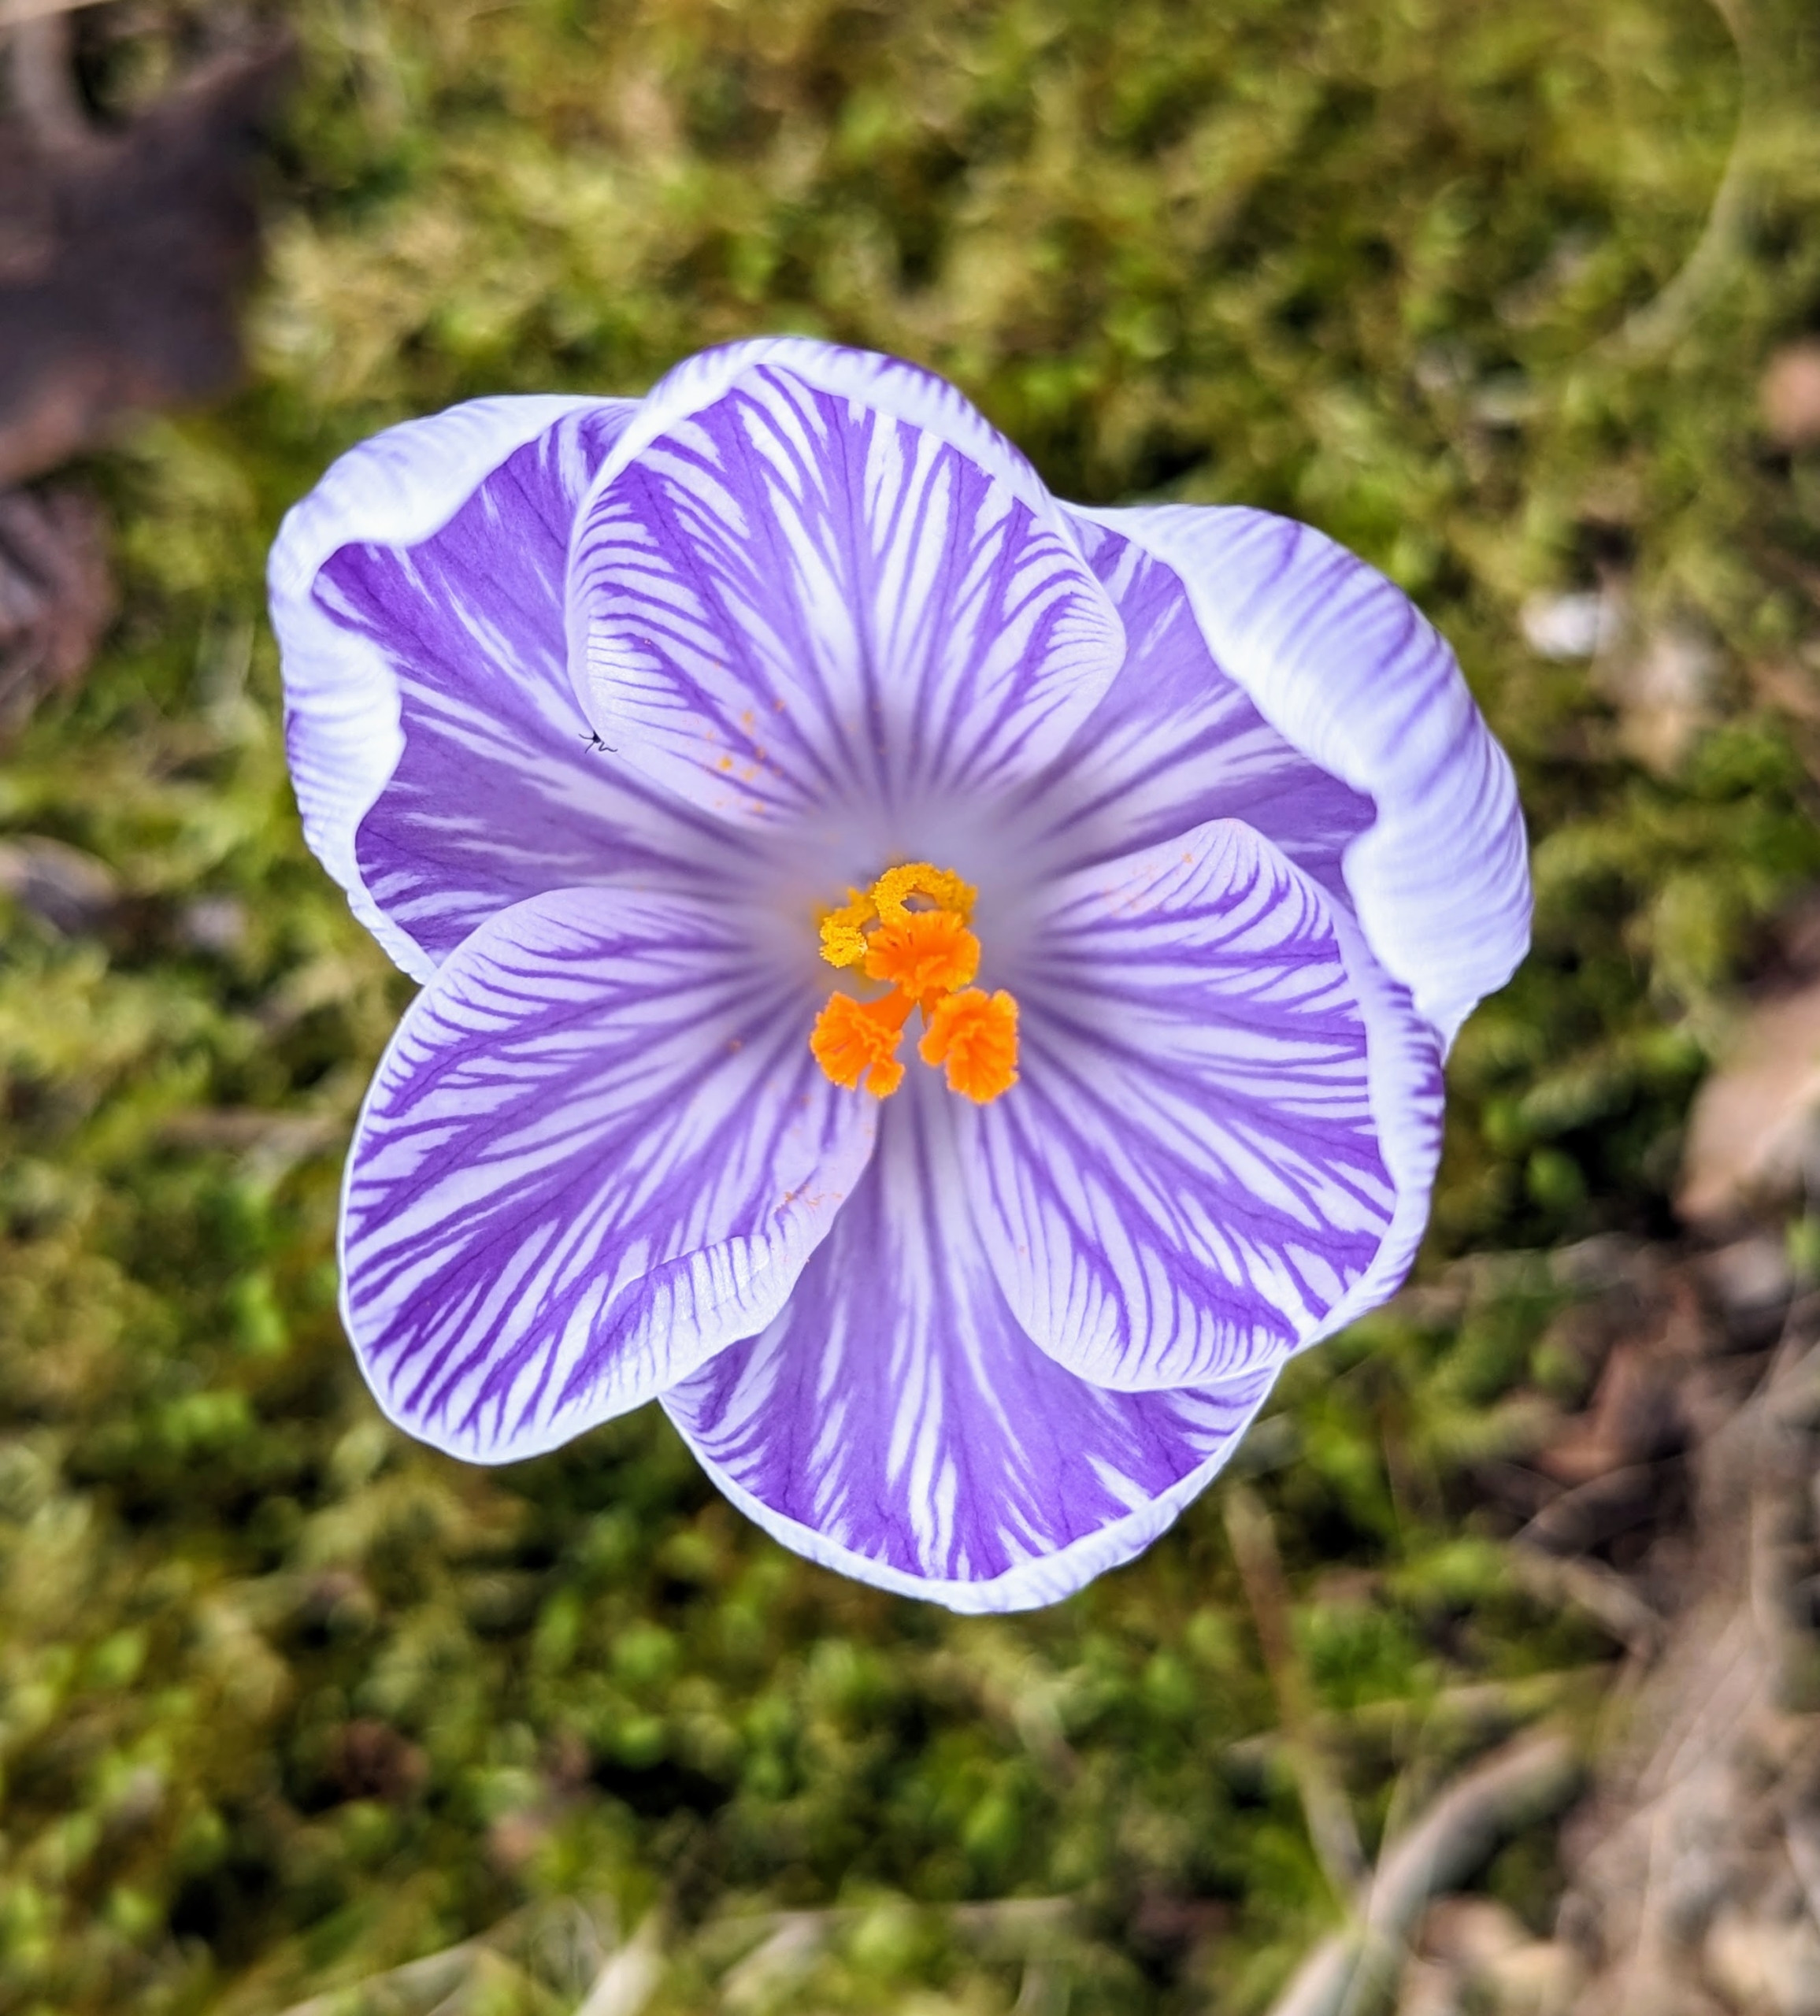
- There’s always excitement when the first bulbs of spring emerge. Here at my farm, I plant thousands of spring-blooming bulbs every year. These are some of last year’s crocus.
-
- There are many types of crocus. Crocus is among the first flowers to appear in spring, usually in shades of purple, yellow, and white. There are about 90 different species of crocus that originate from Southern Europe, Central Asia, China, the Middle East, and Africa.
-
- Croci can be found in alpine meadows, rocky mountainsides, scrublands, and woodlands.

-
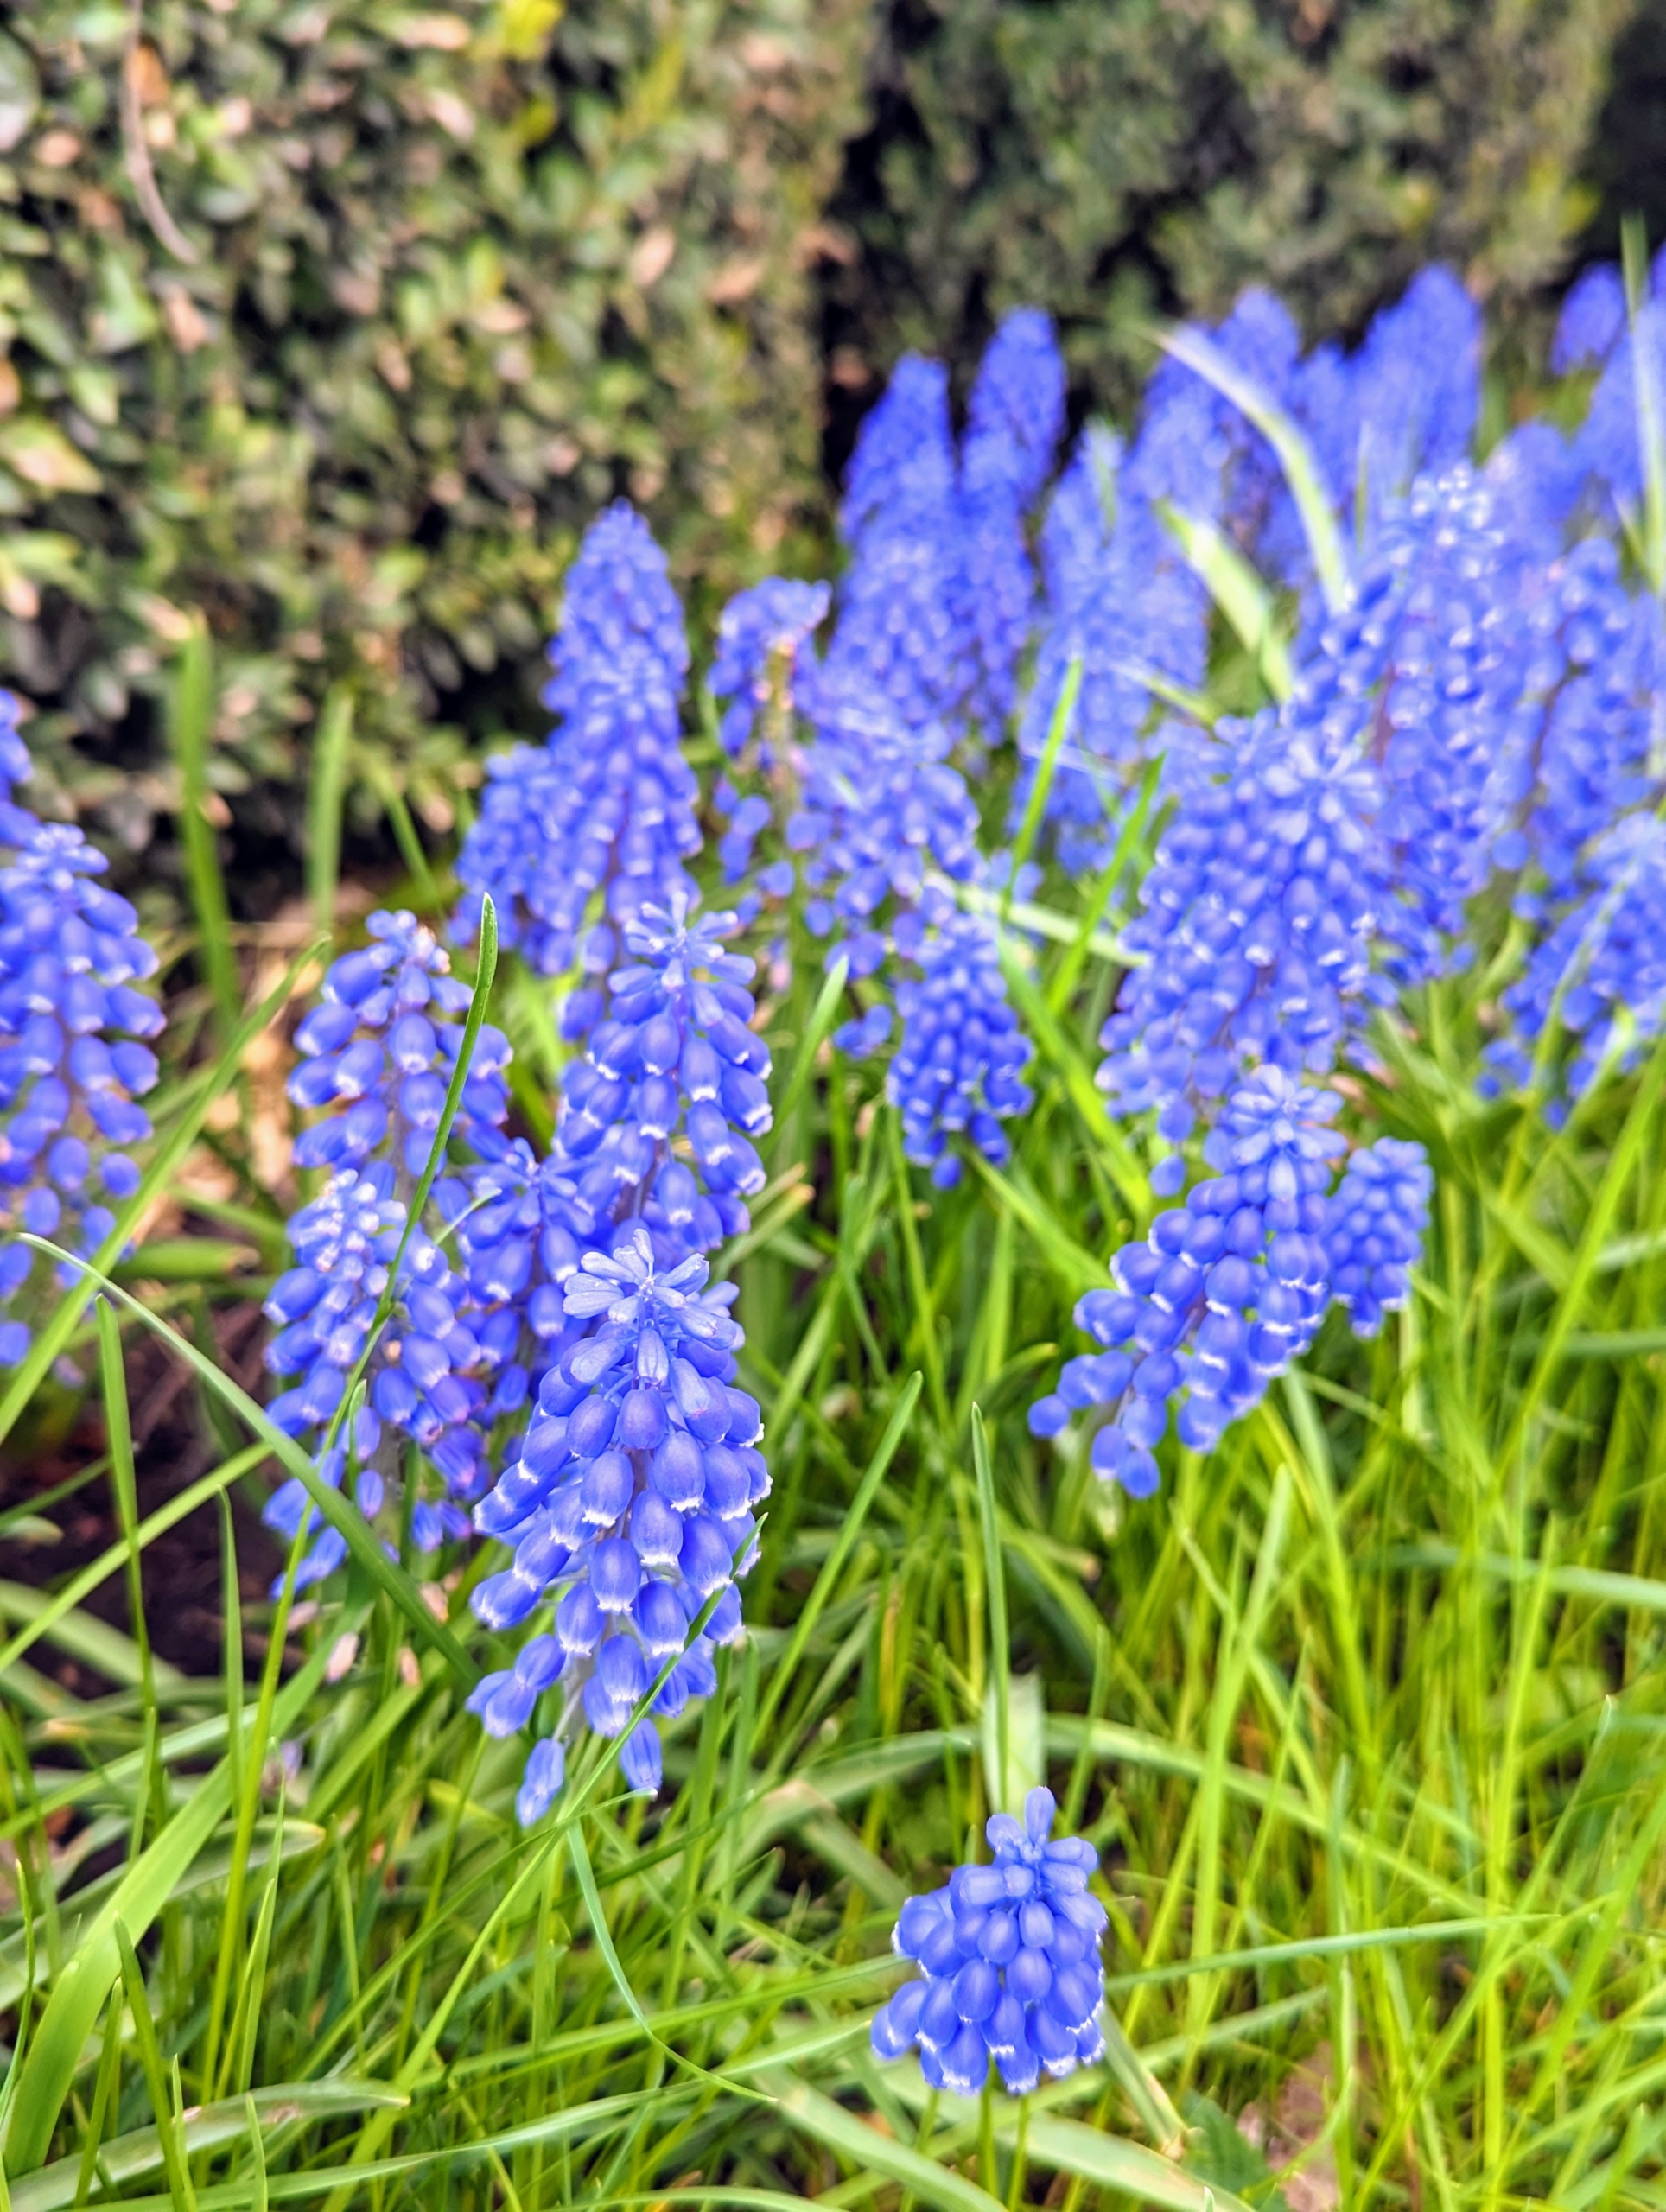
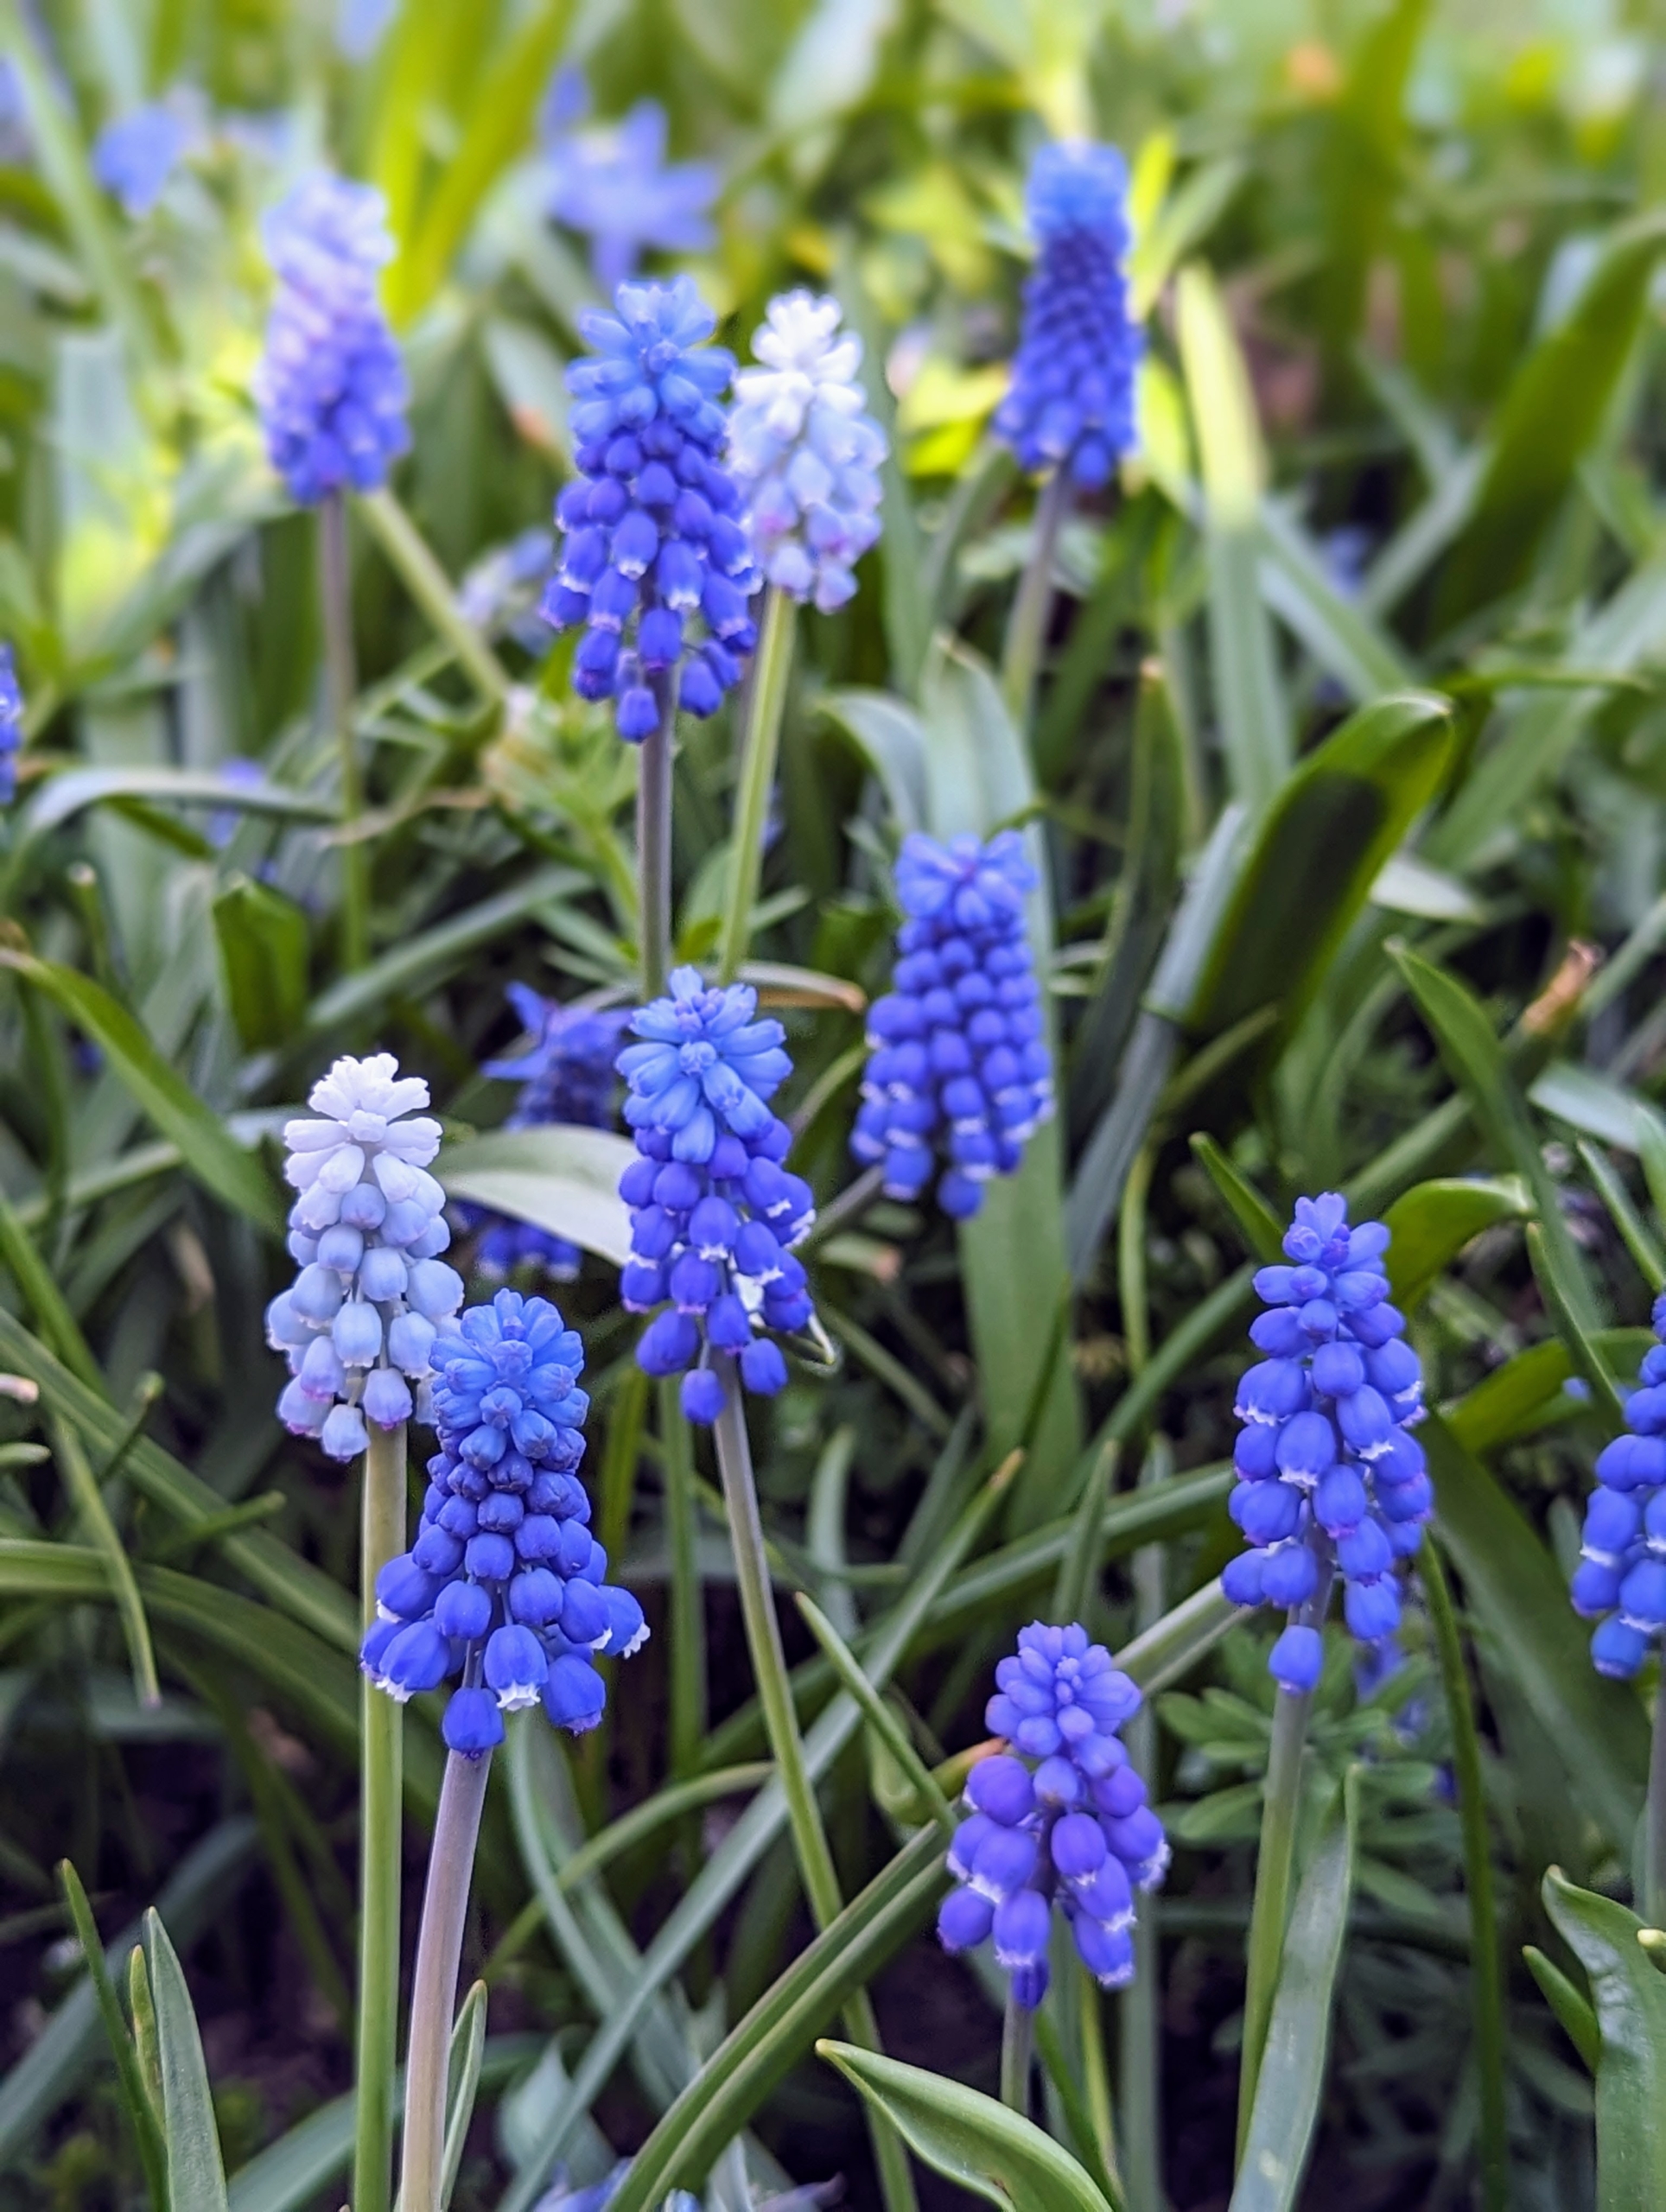
- Muscari is a genus of perennial bulbous plants native to Eurasia that produce spikes of dense, most commonly blue, urn-shaped flowers that look like bunches of grapes in spring.
-
- Muscari bloom in mid-spring. Deer and rodents rarely bother them, and the bulbs multiply readily, returning to bloom again year after year.
-
- But blooms can be enjoyed sooner through a process of forcing. Bulbs can be tricked into developing sooner given the right conditions.
-
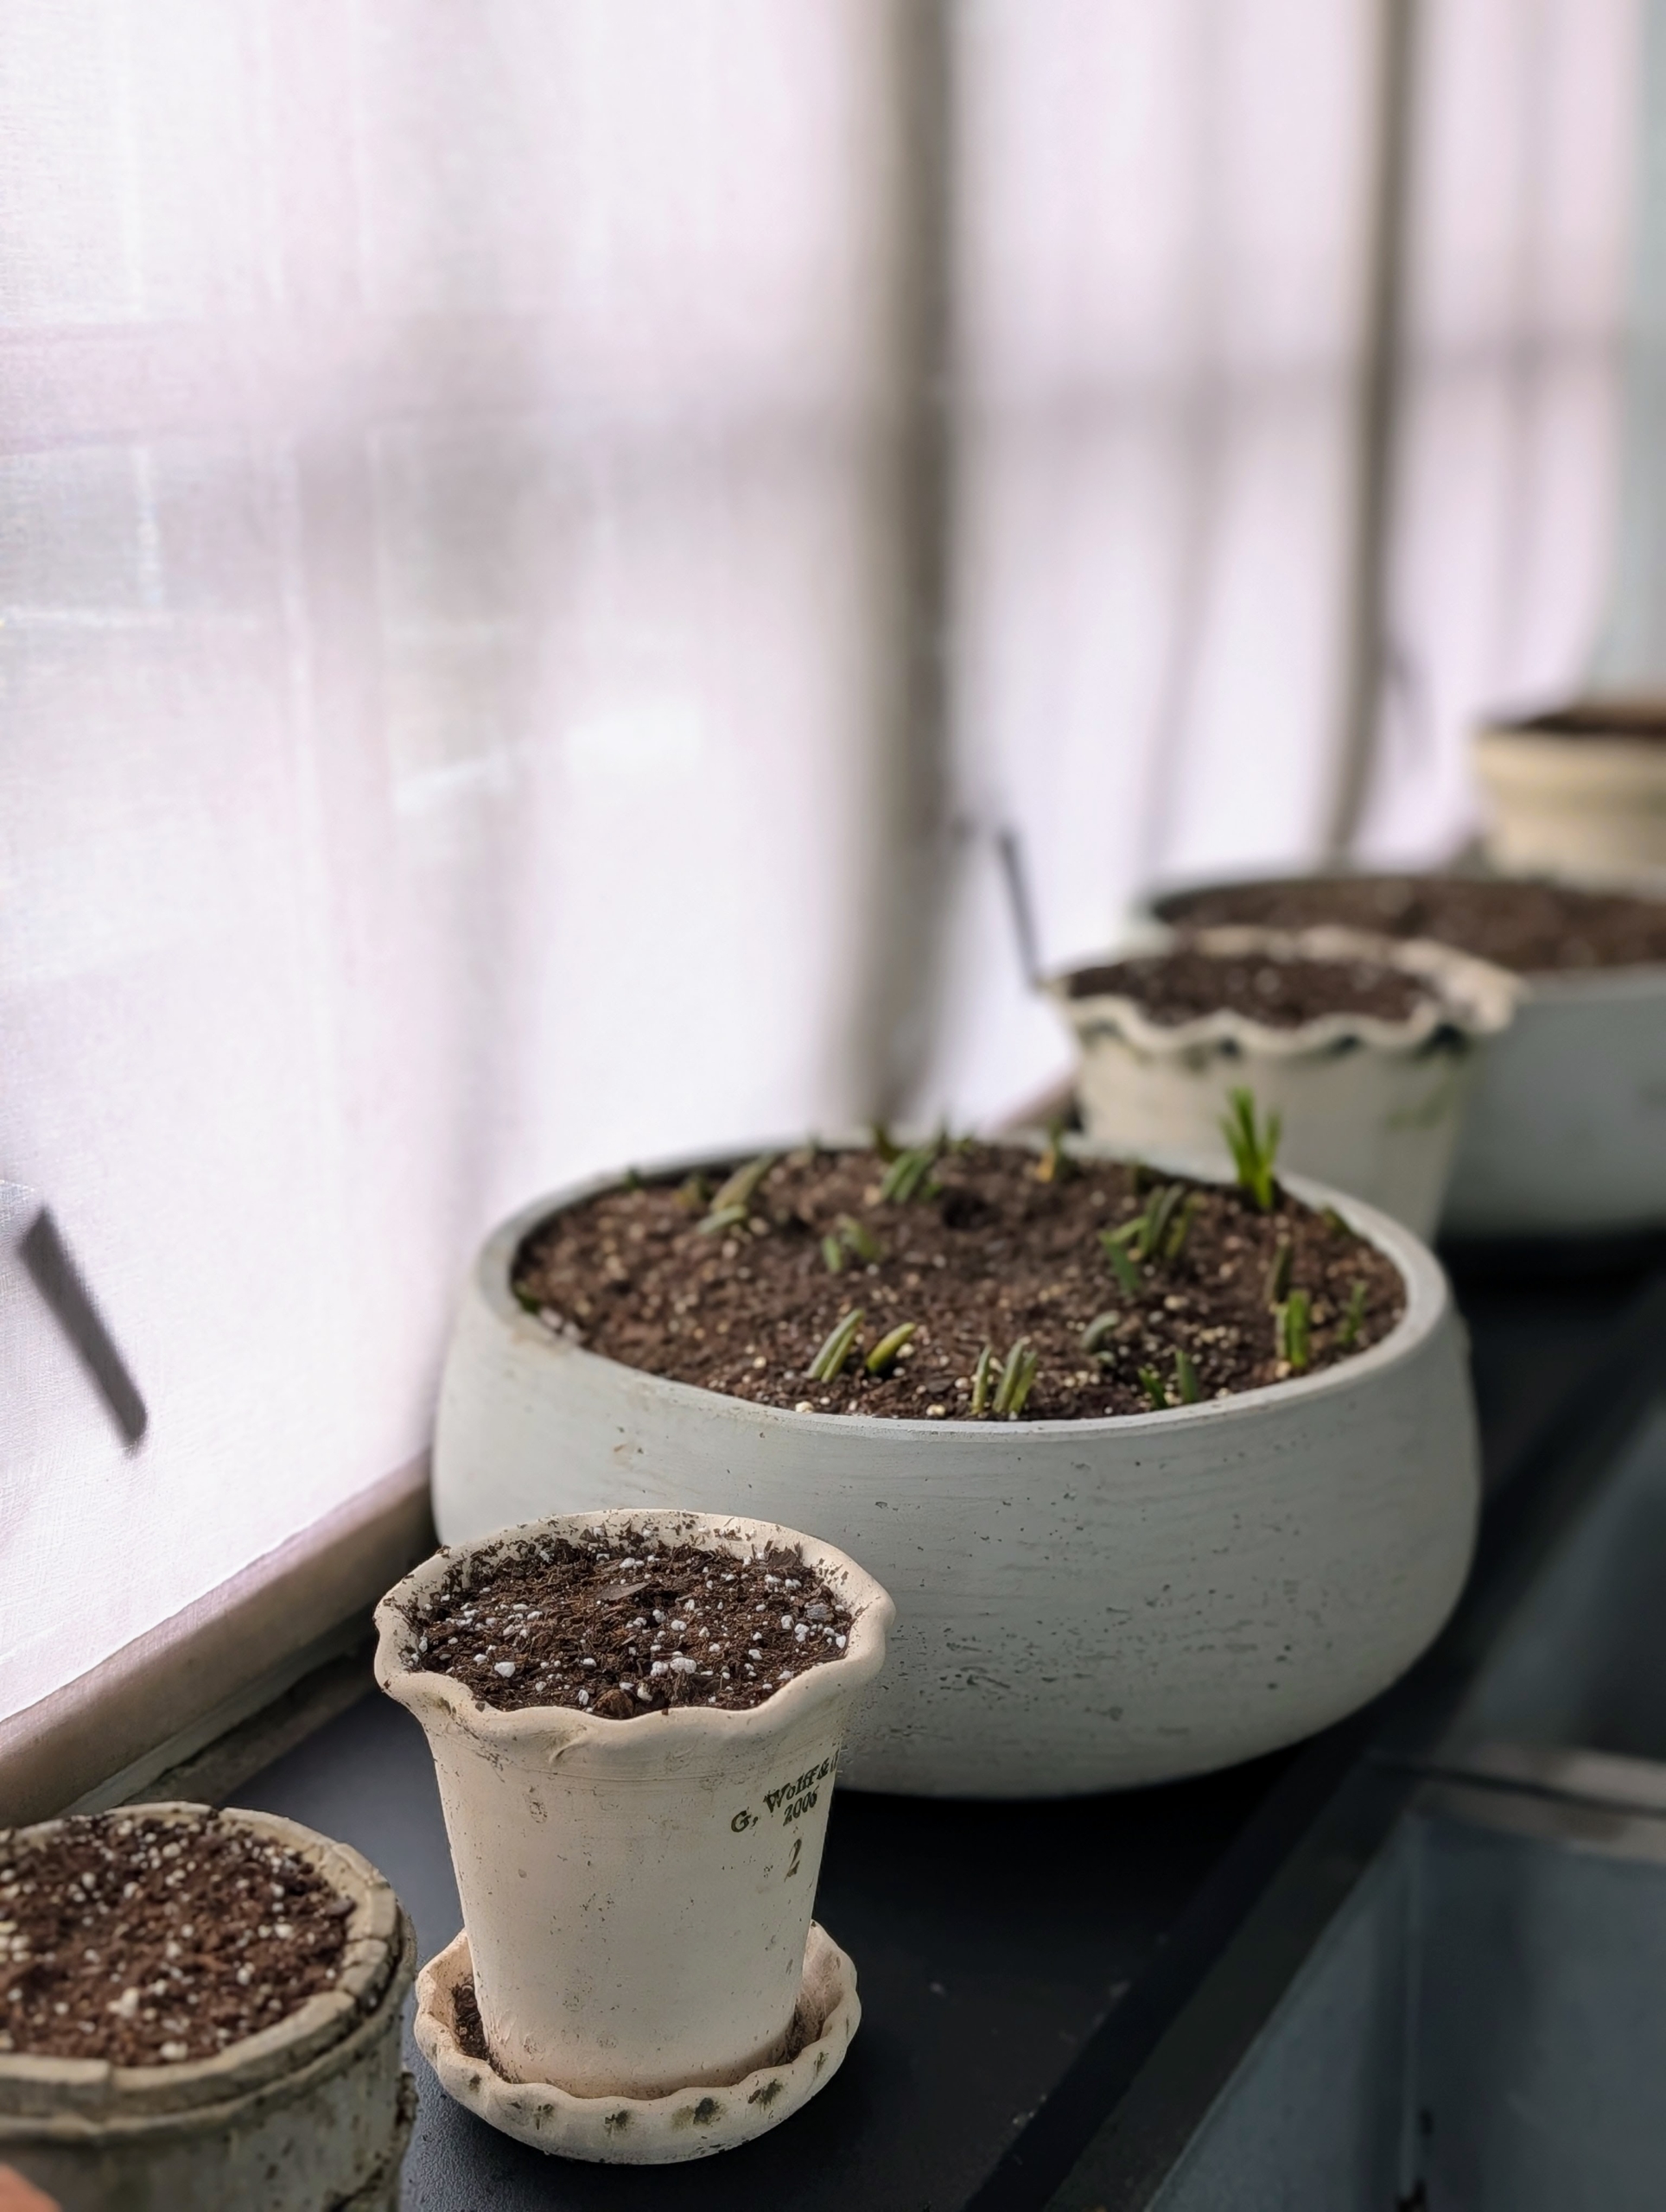
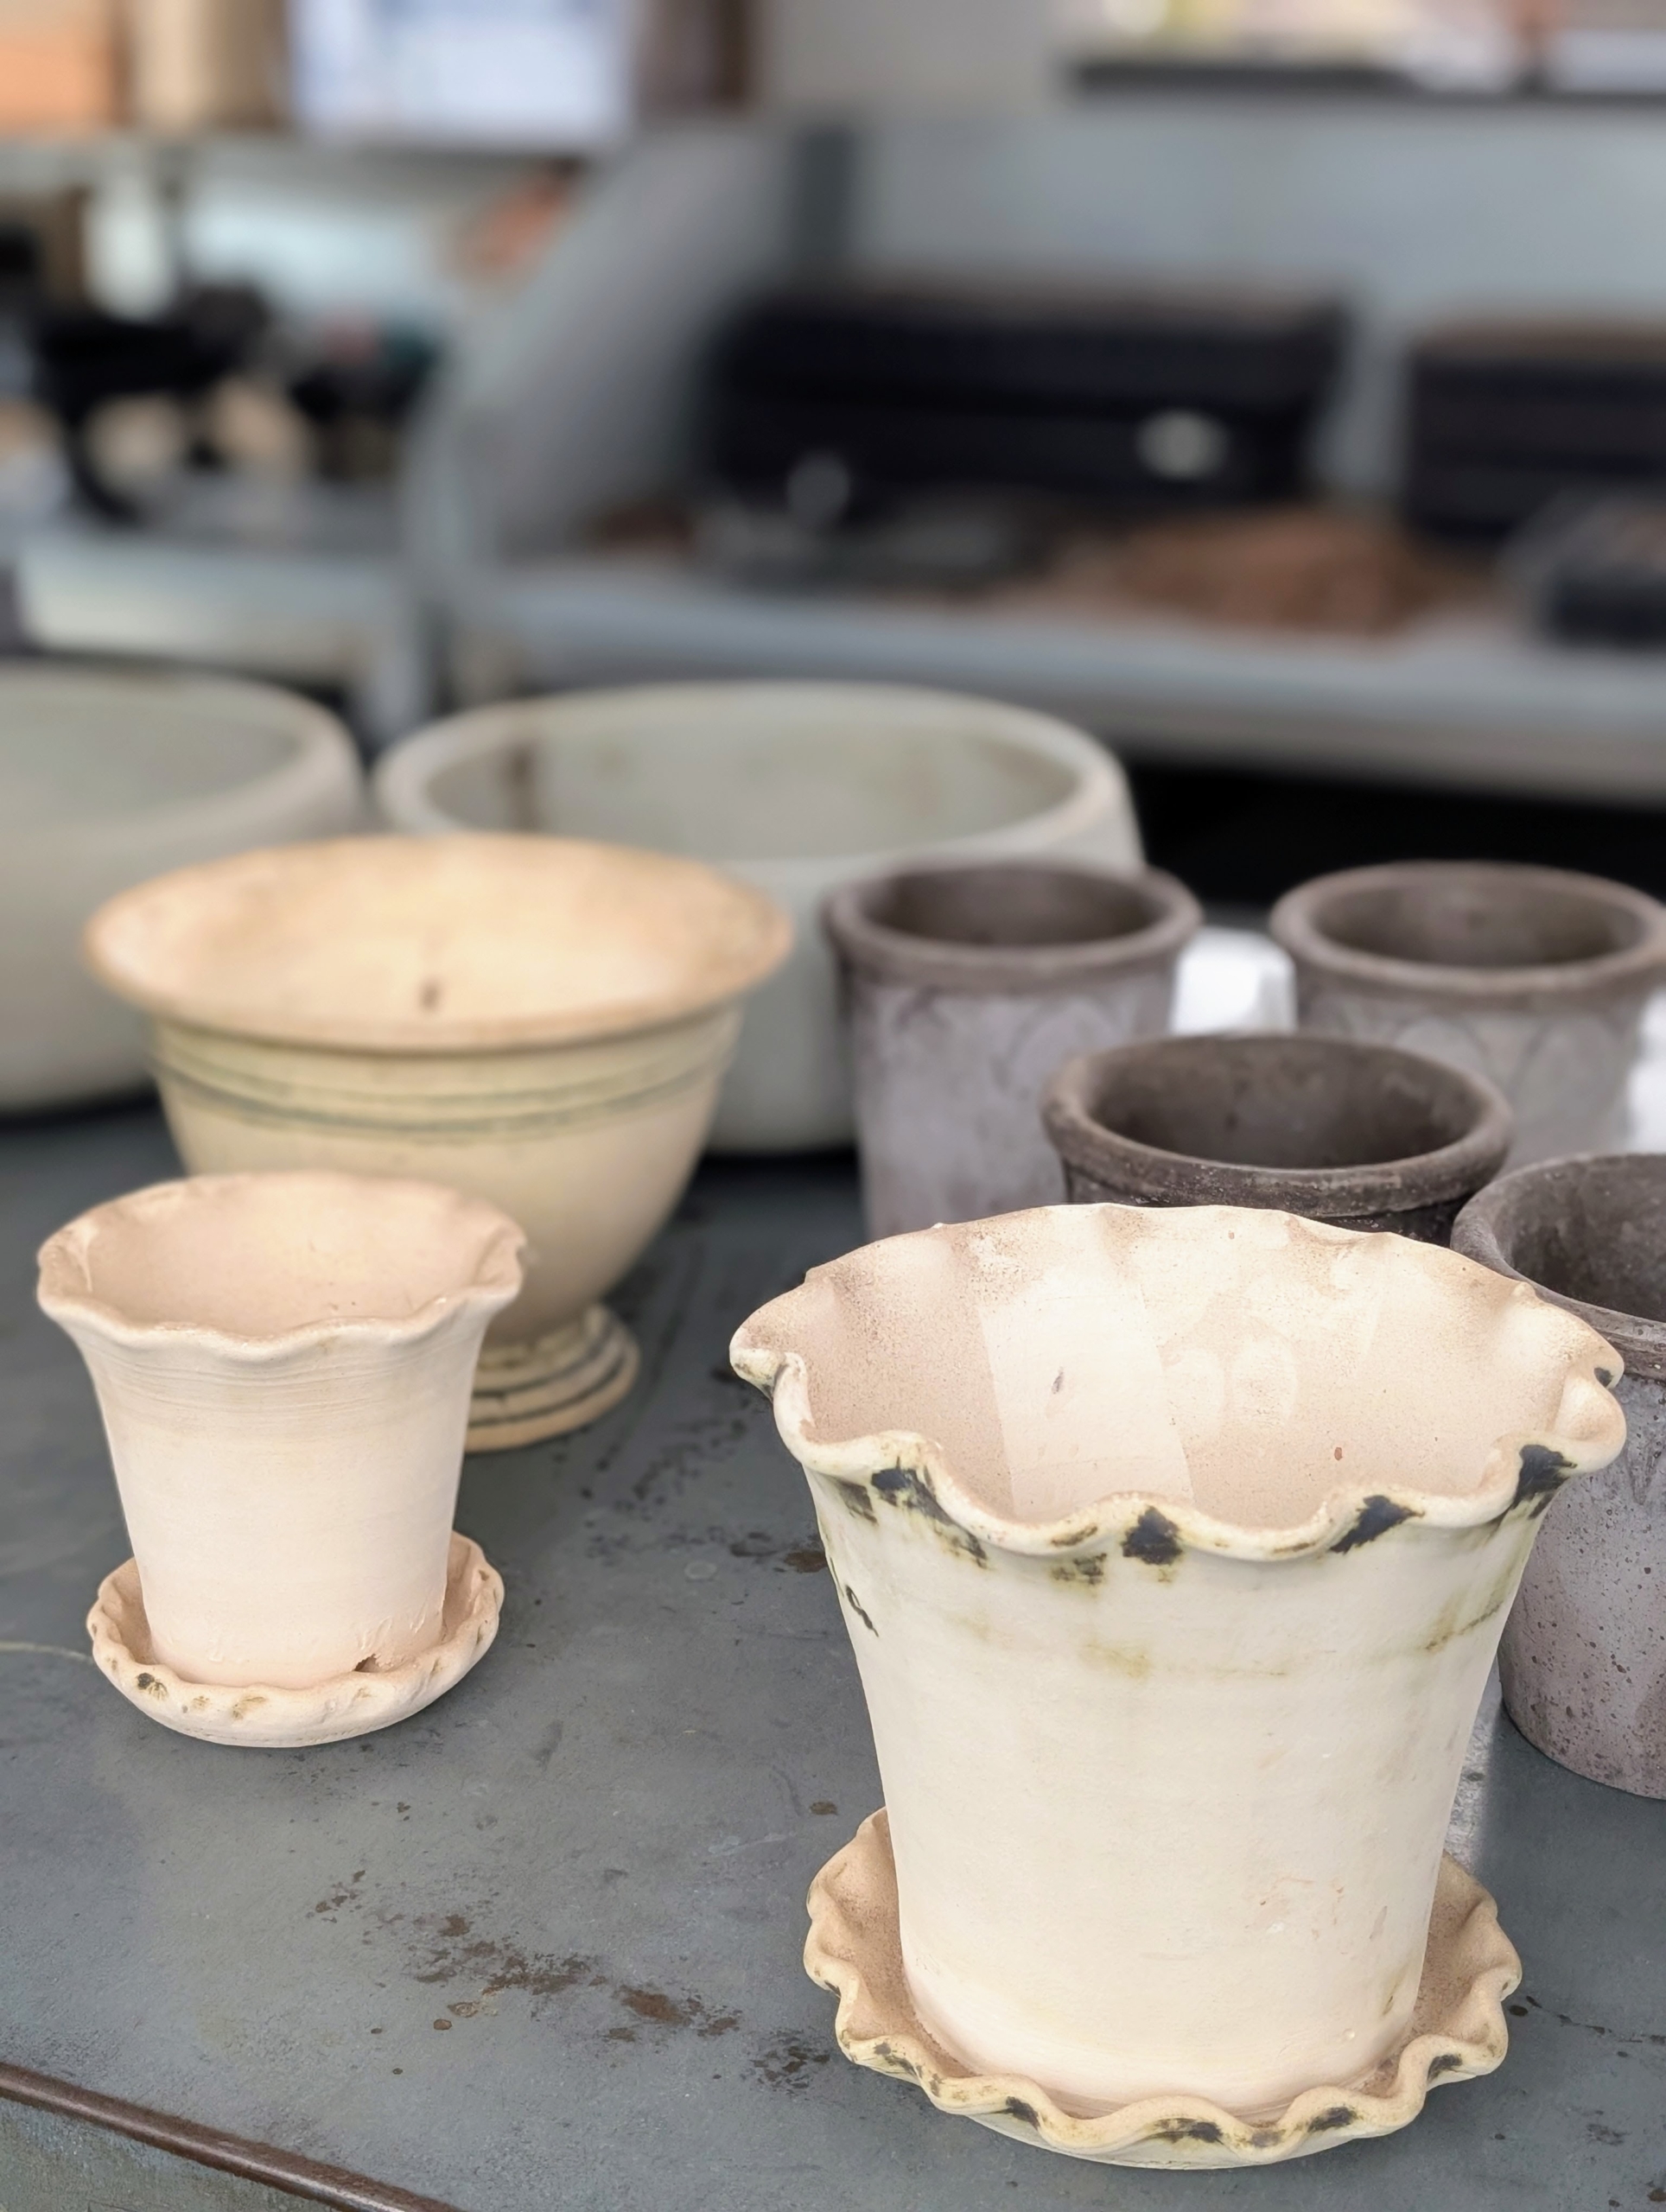
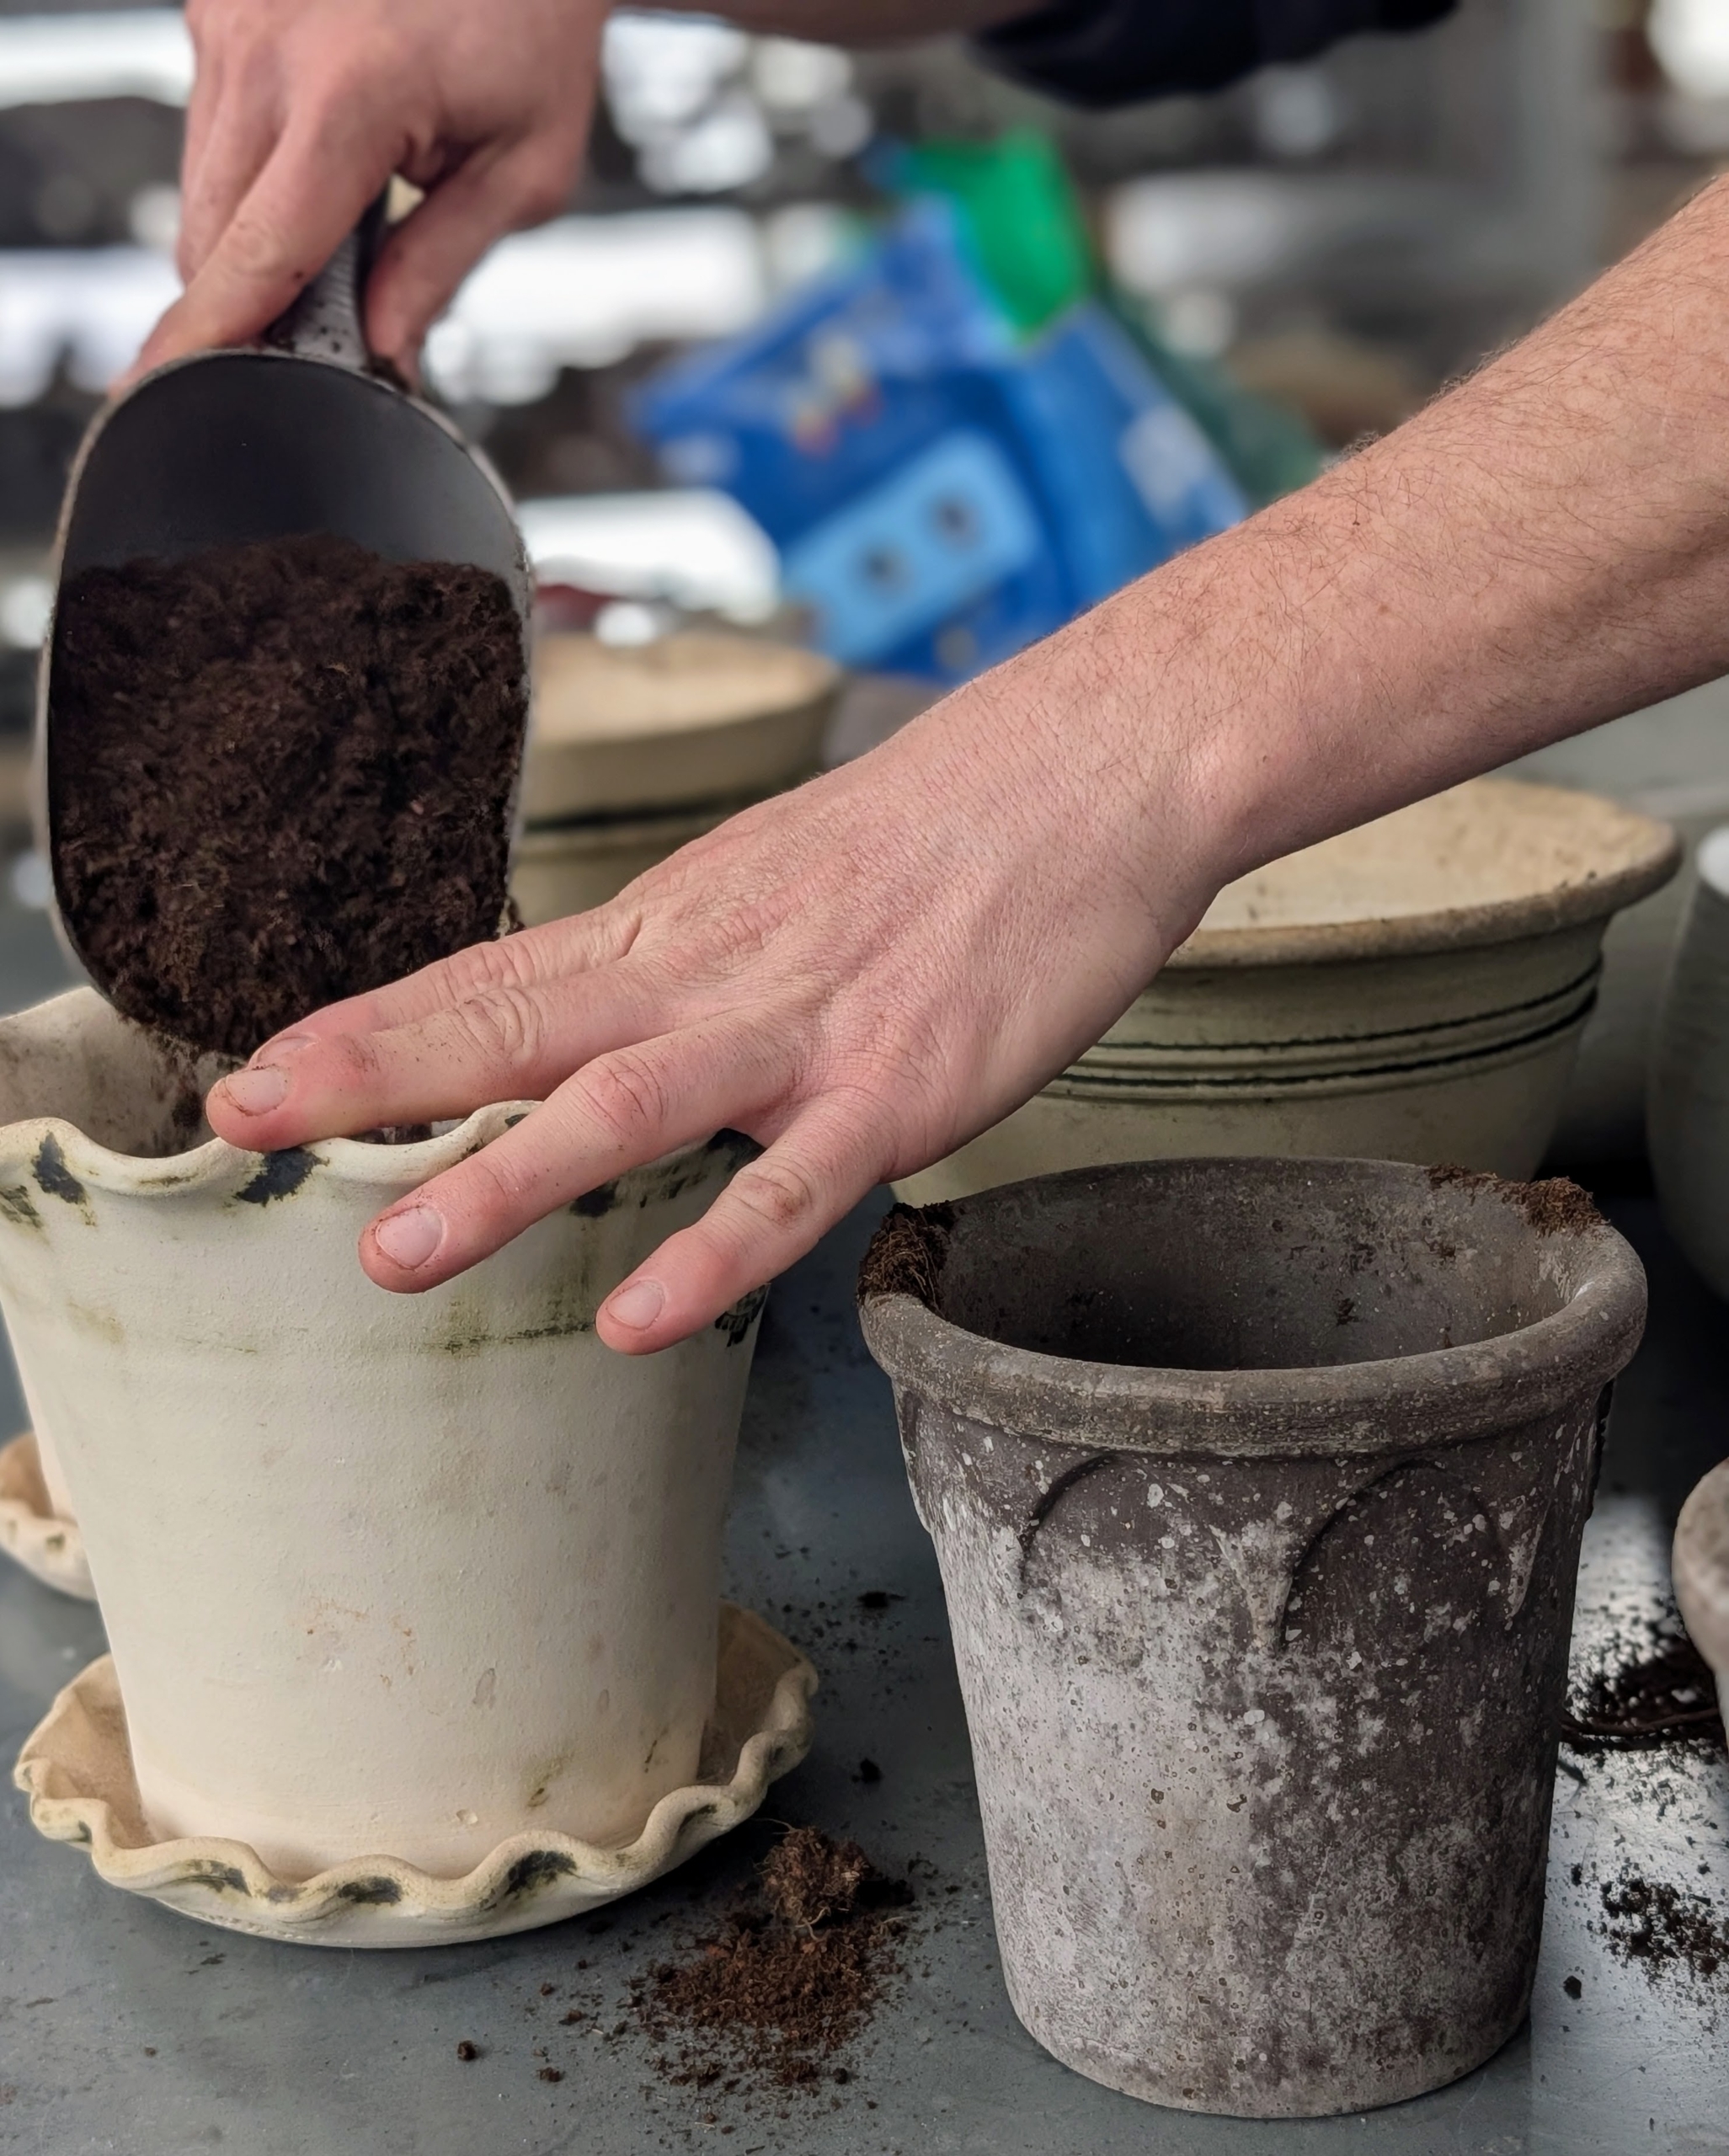
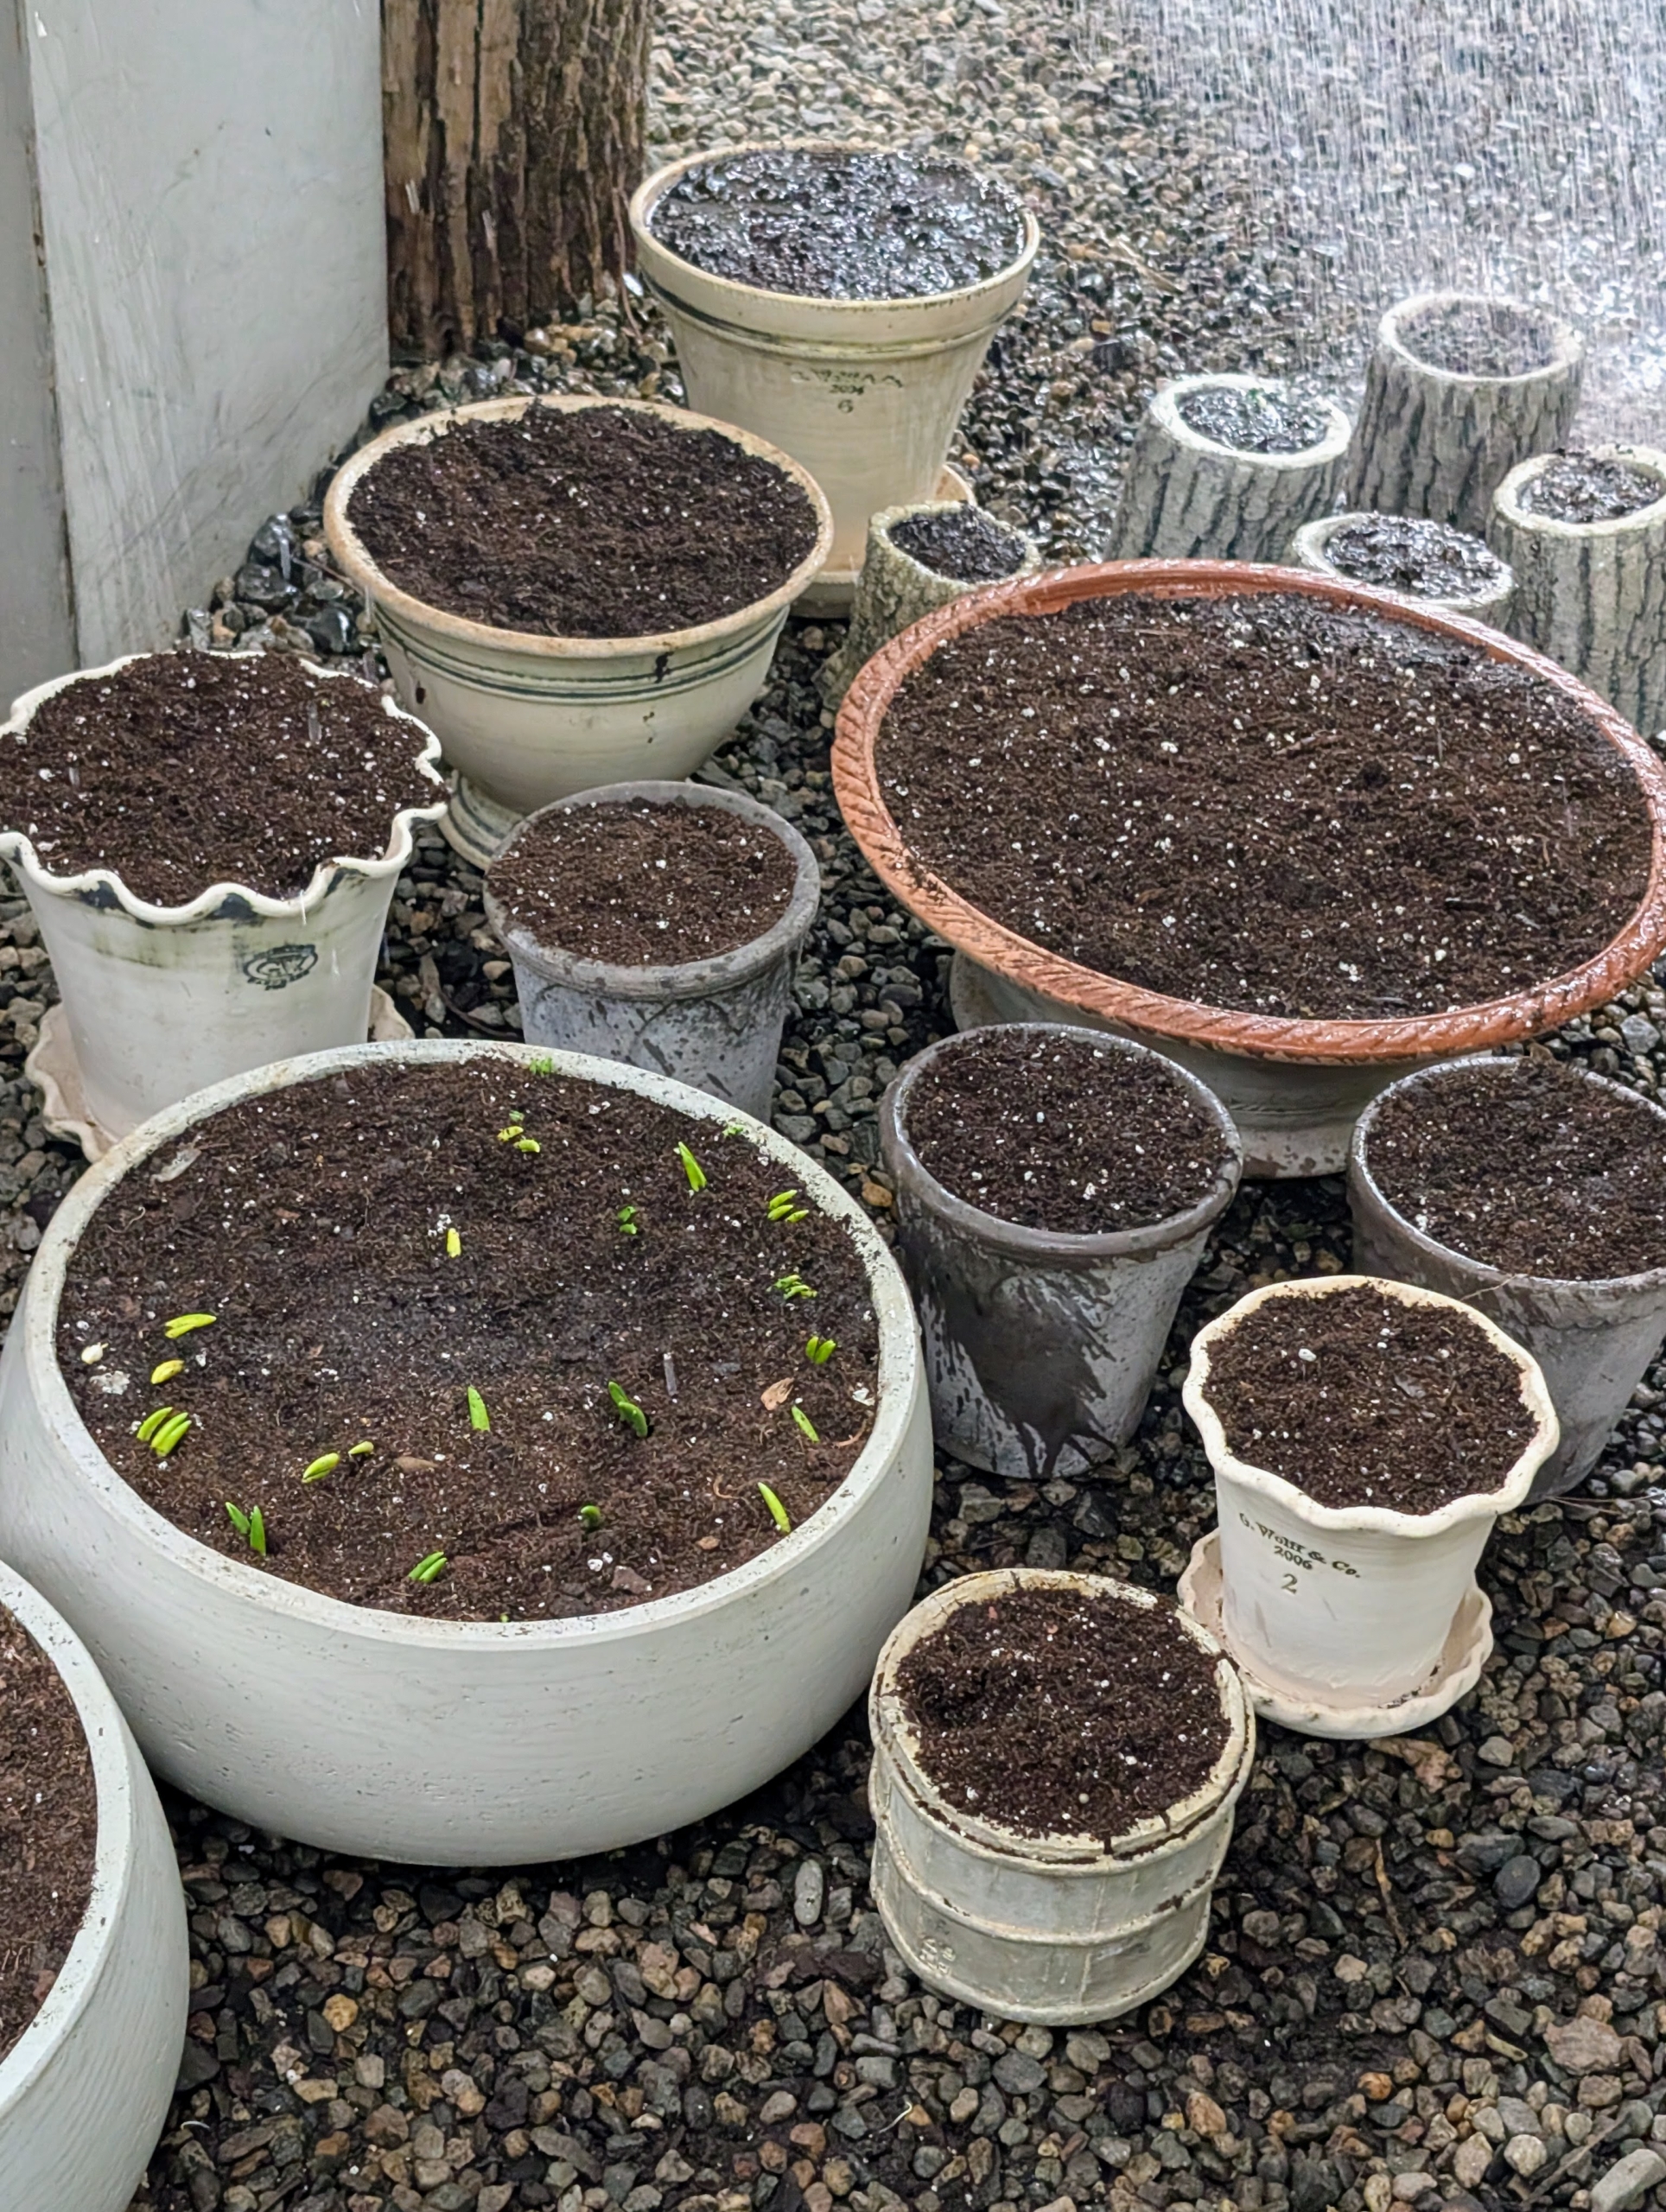
- Clay pots with good drainage are the best for forcing spring blooming bulbs. Make sure there is at least two inches between the bulbs and the bottom of the pot for proper root development.
-
- I always place a shard over the hole of the pot to help with drainage and to prevent soil from falling through.

-
- Ryan also adds a light layer of gravel to the bottom of the pots for better drainage.
-
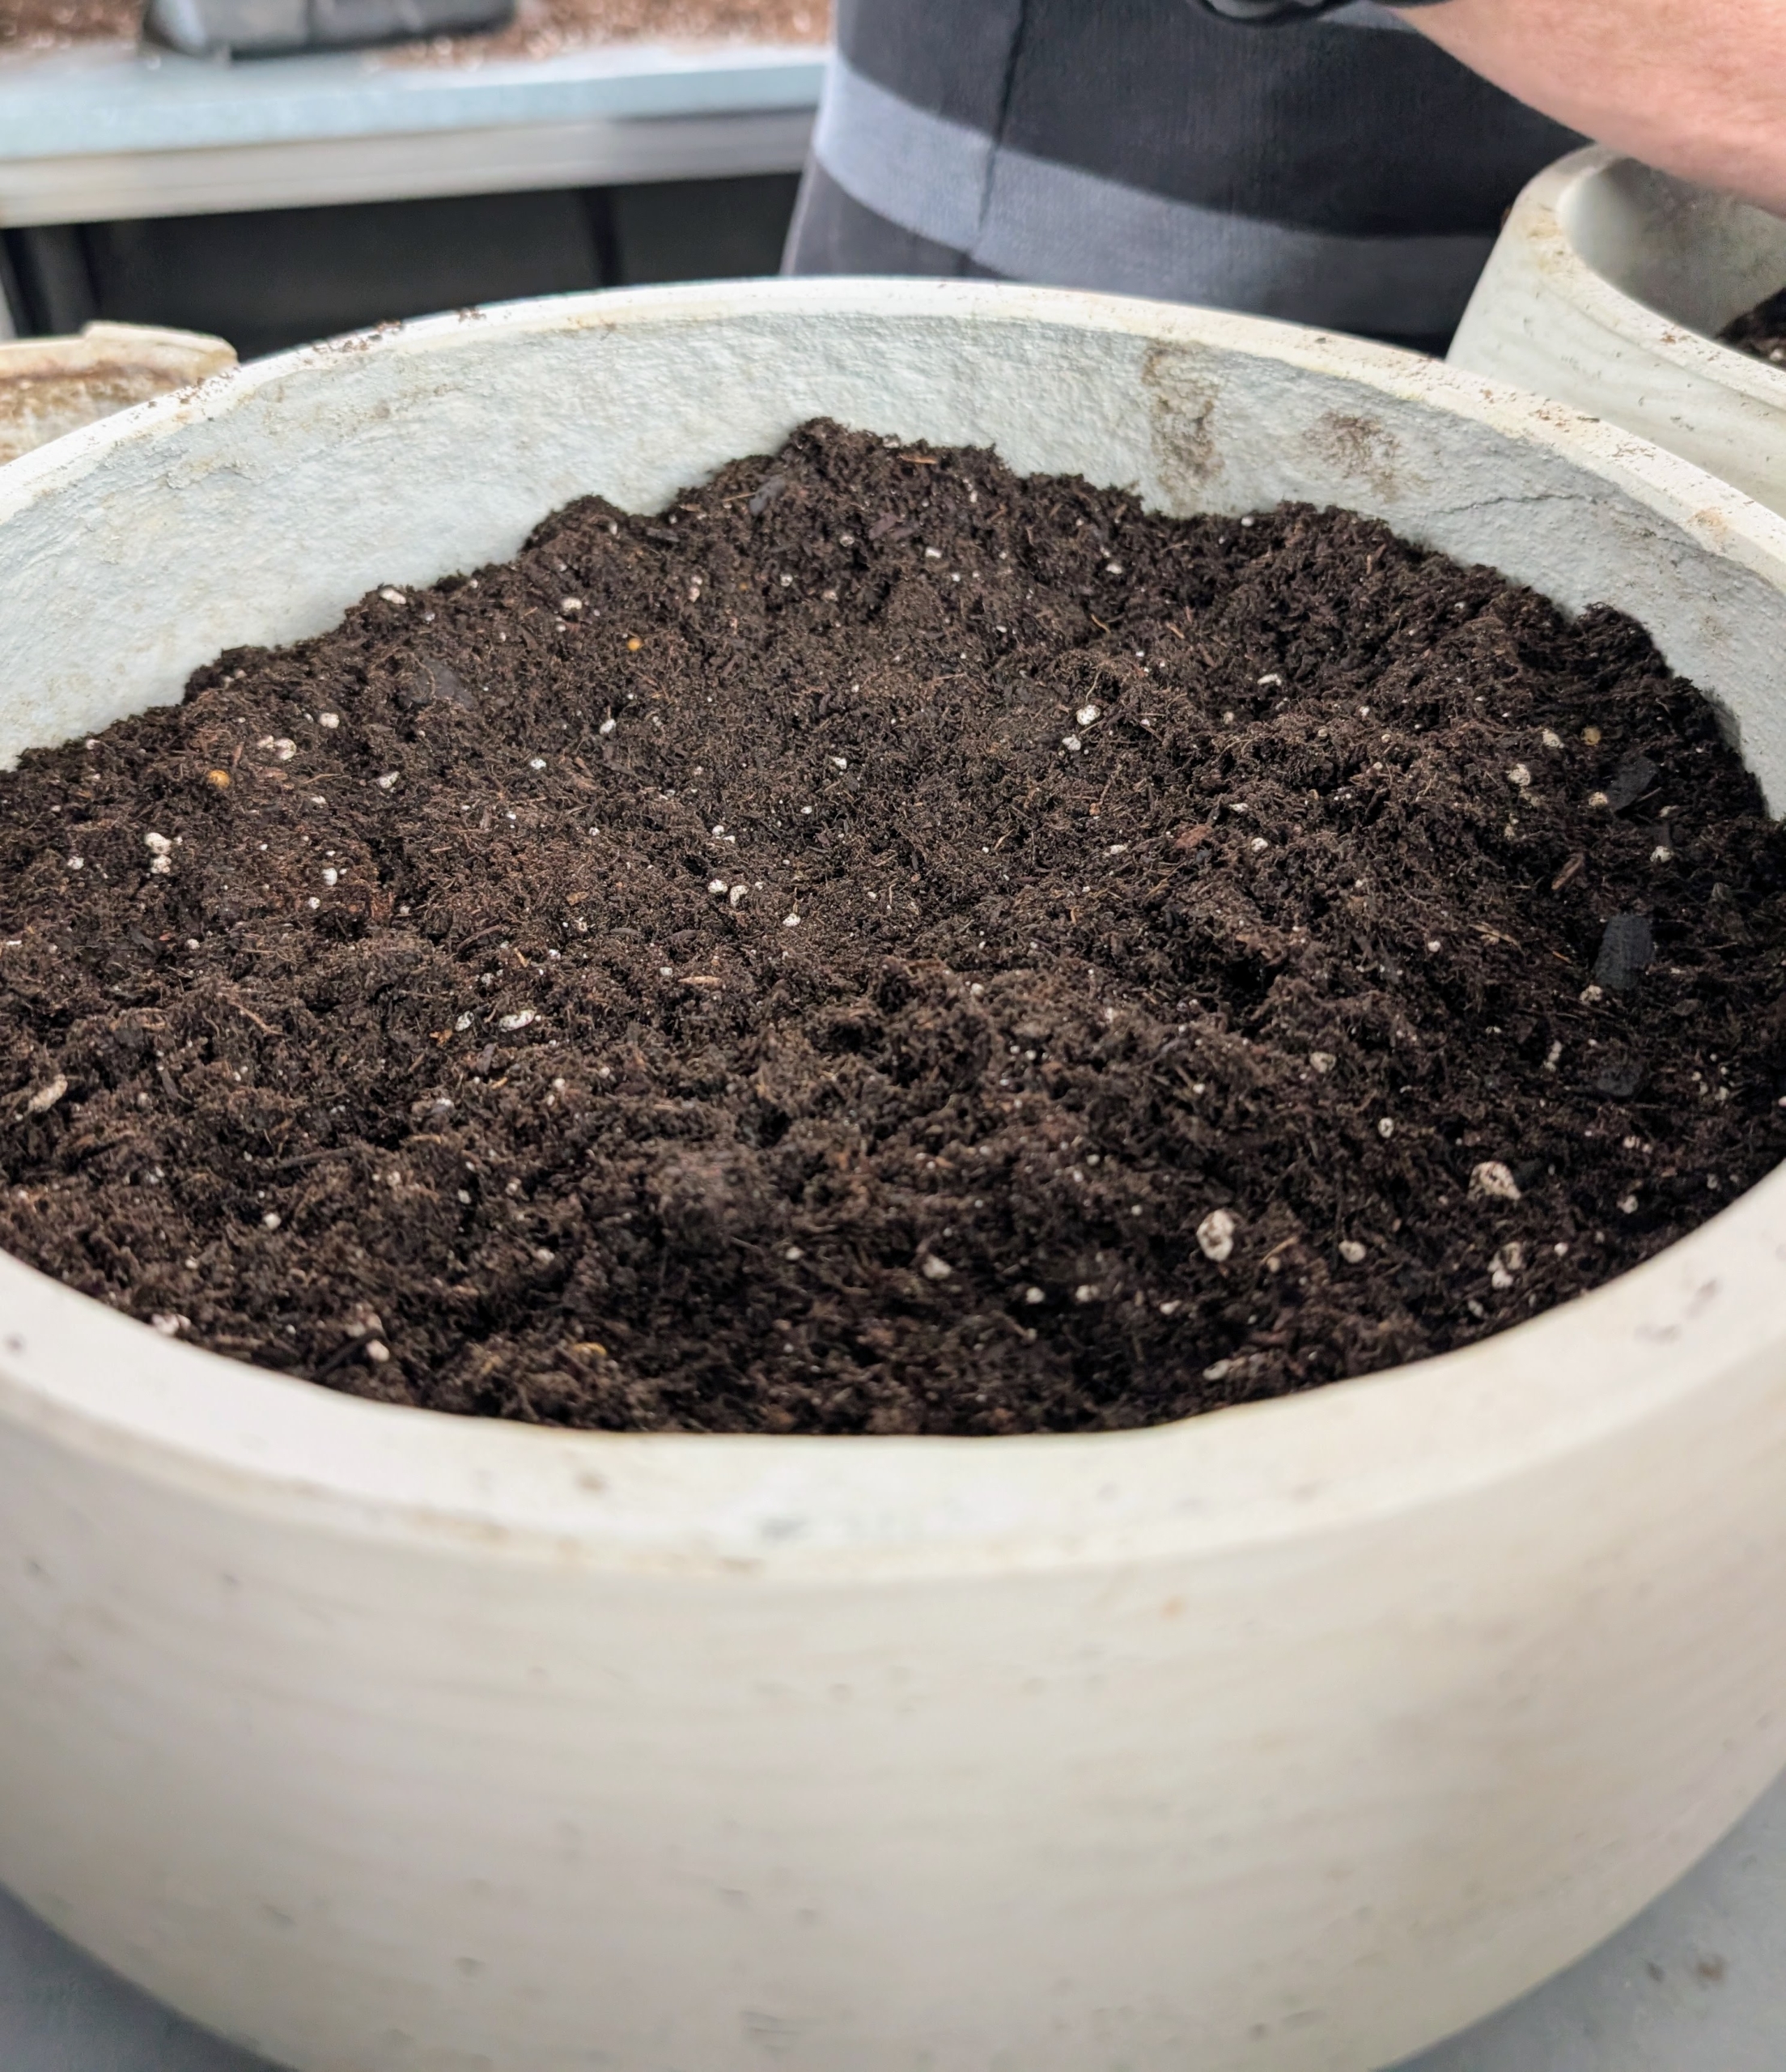
- Then, Ryan fills all the pots with a good, well-draining potting mix.
-
- I like to use Miracle-Gro Potting Mix with moisture control.

-
- Fill the pot three-quarters of the way. Depending on the size of the bulbs, one can fill a bit less.
-
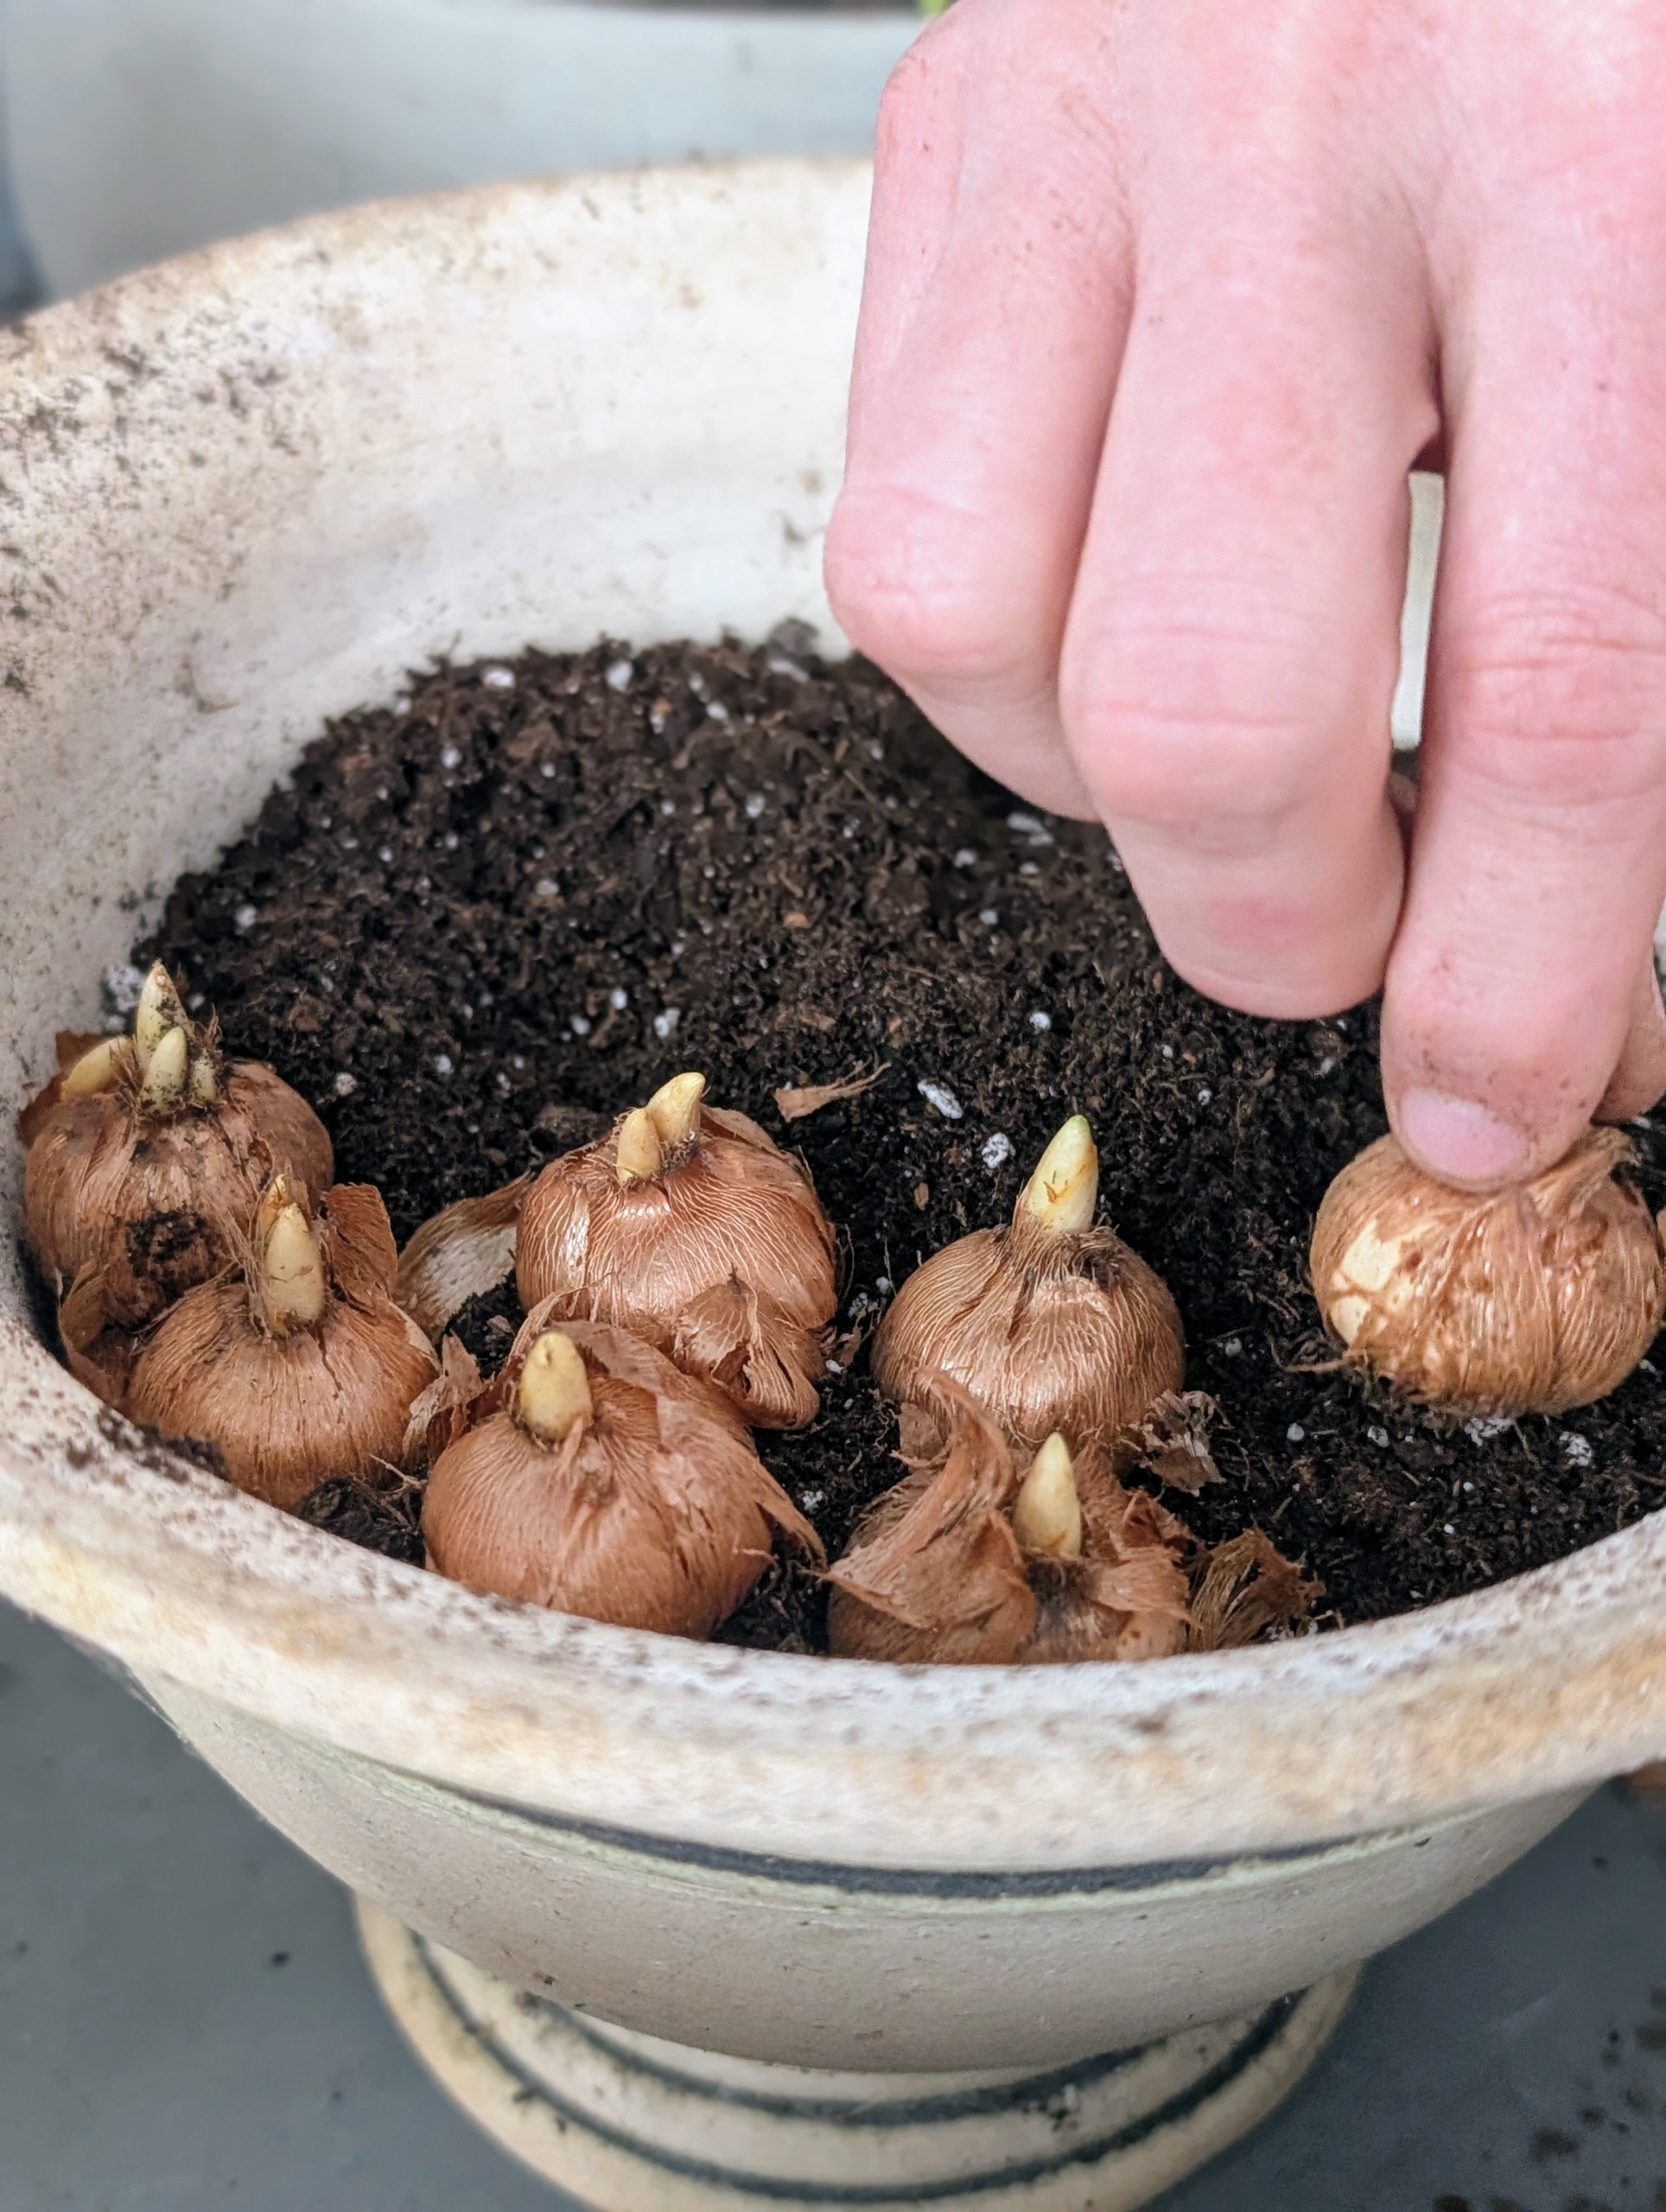
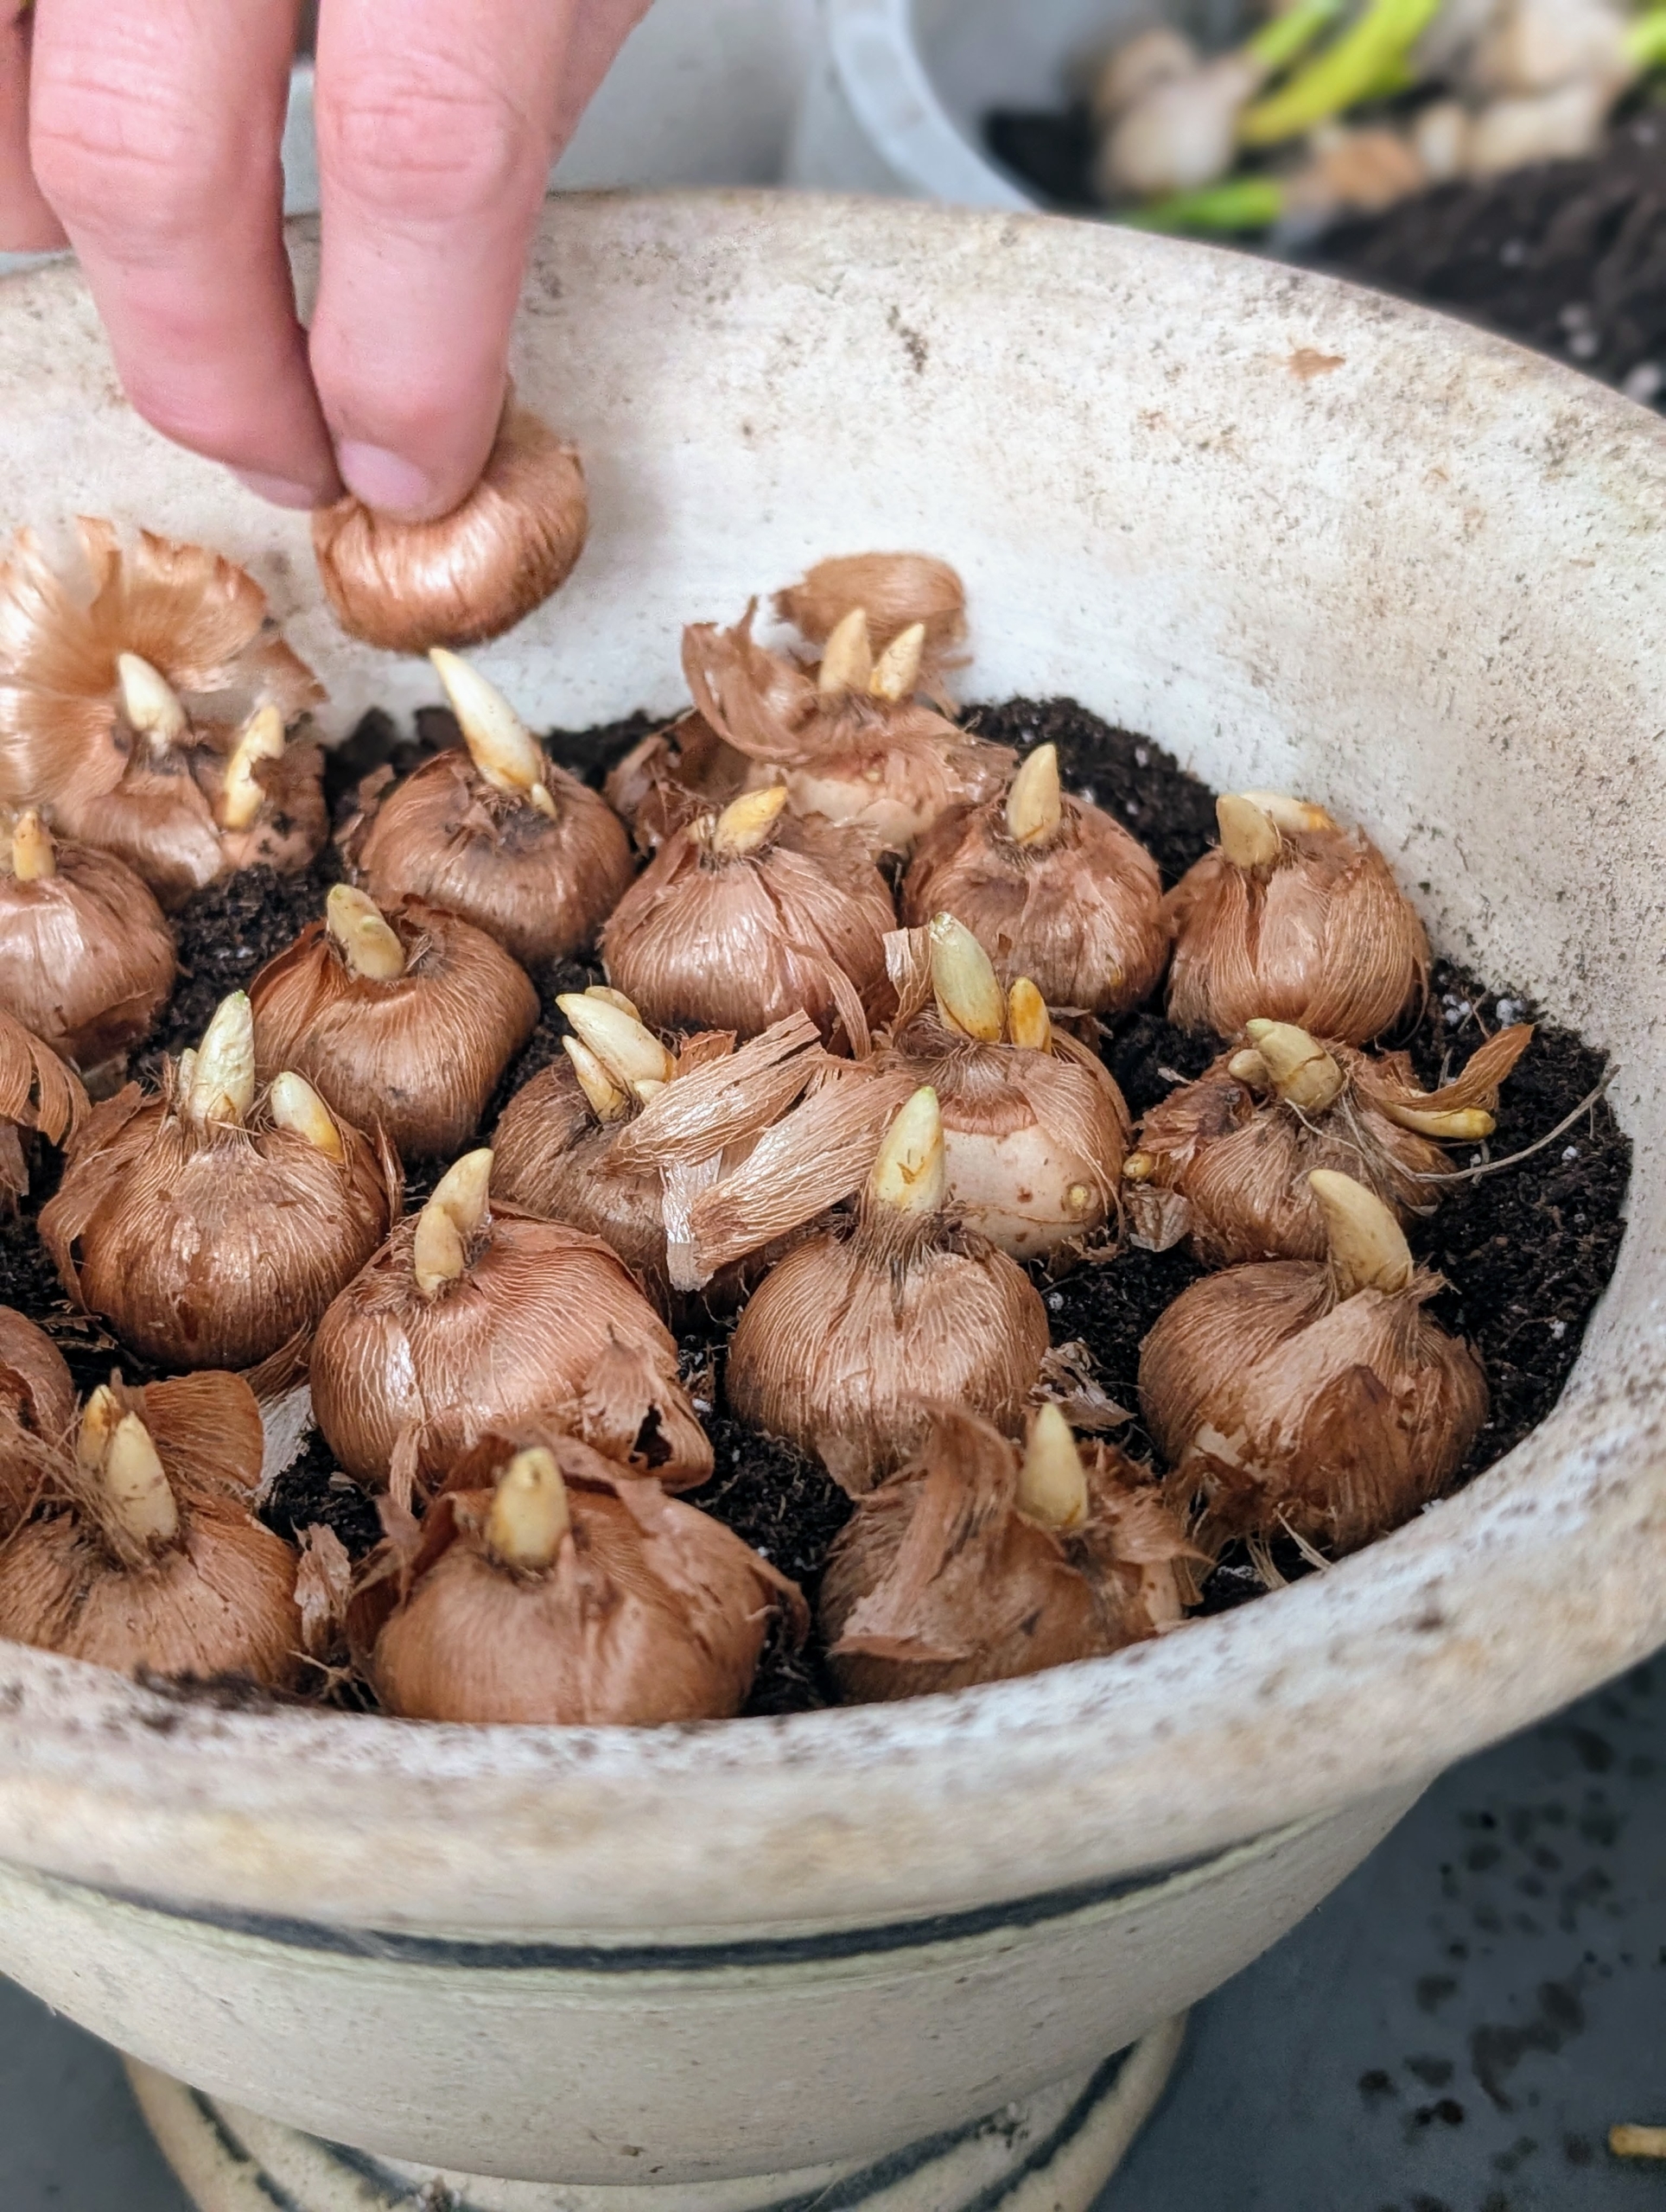
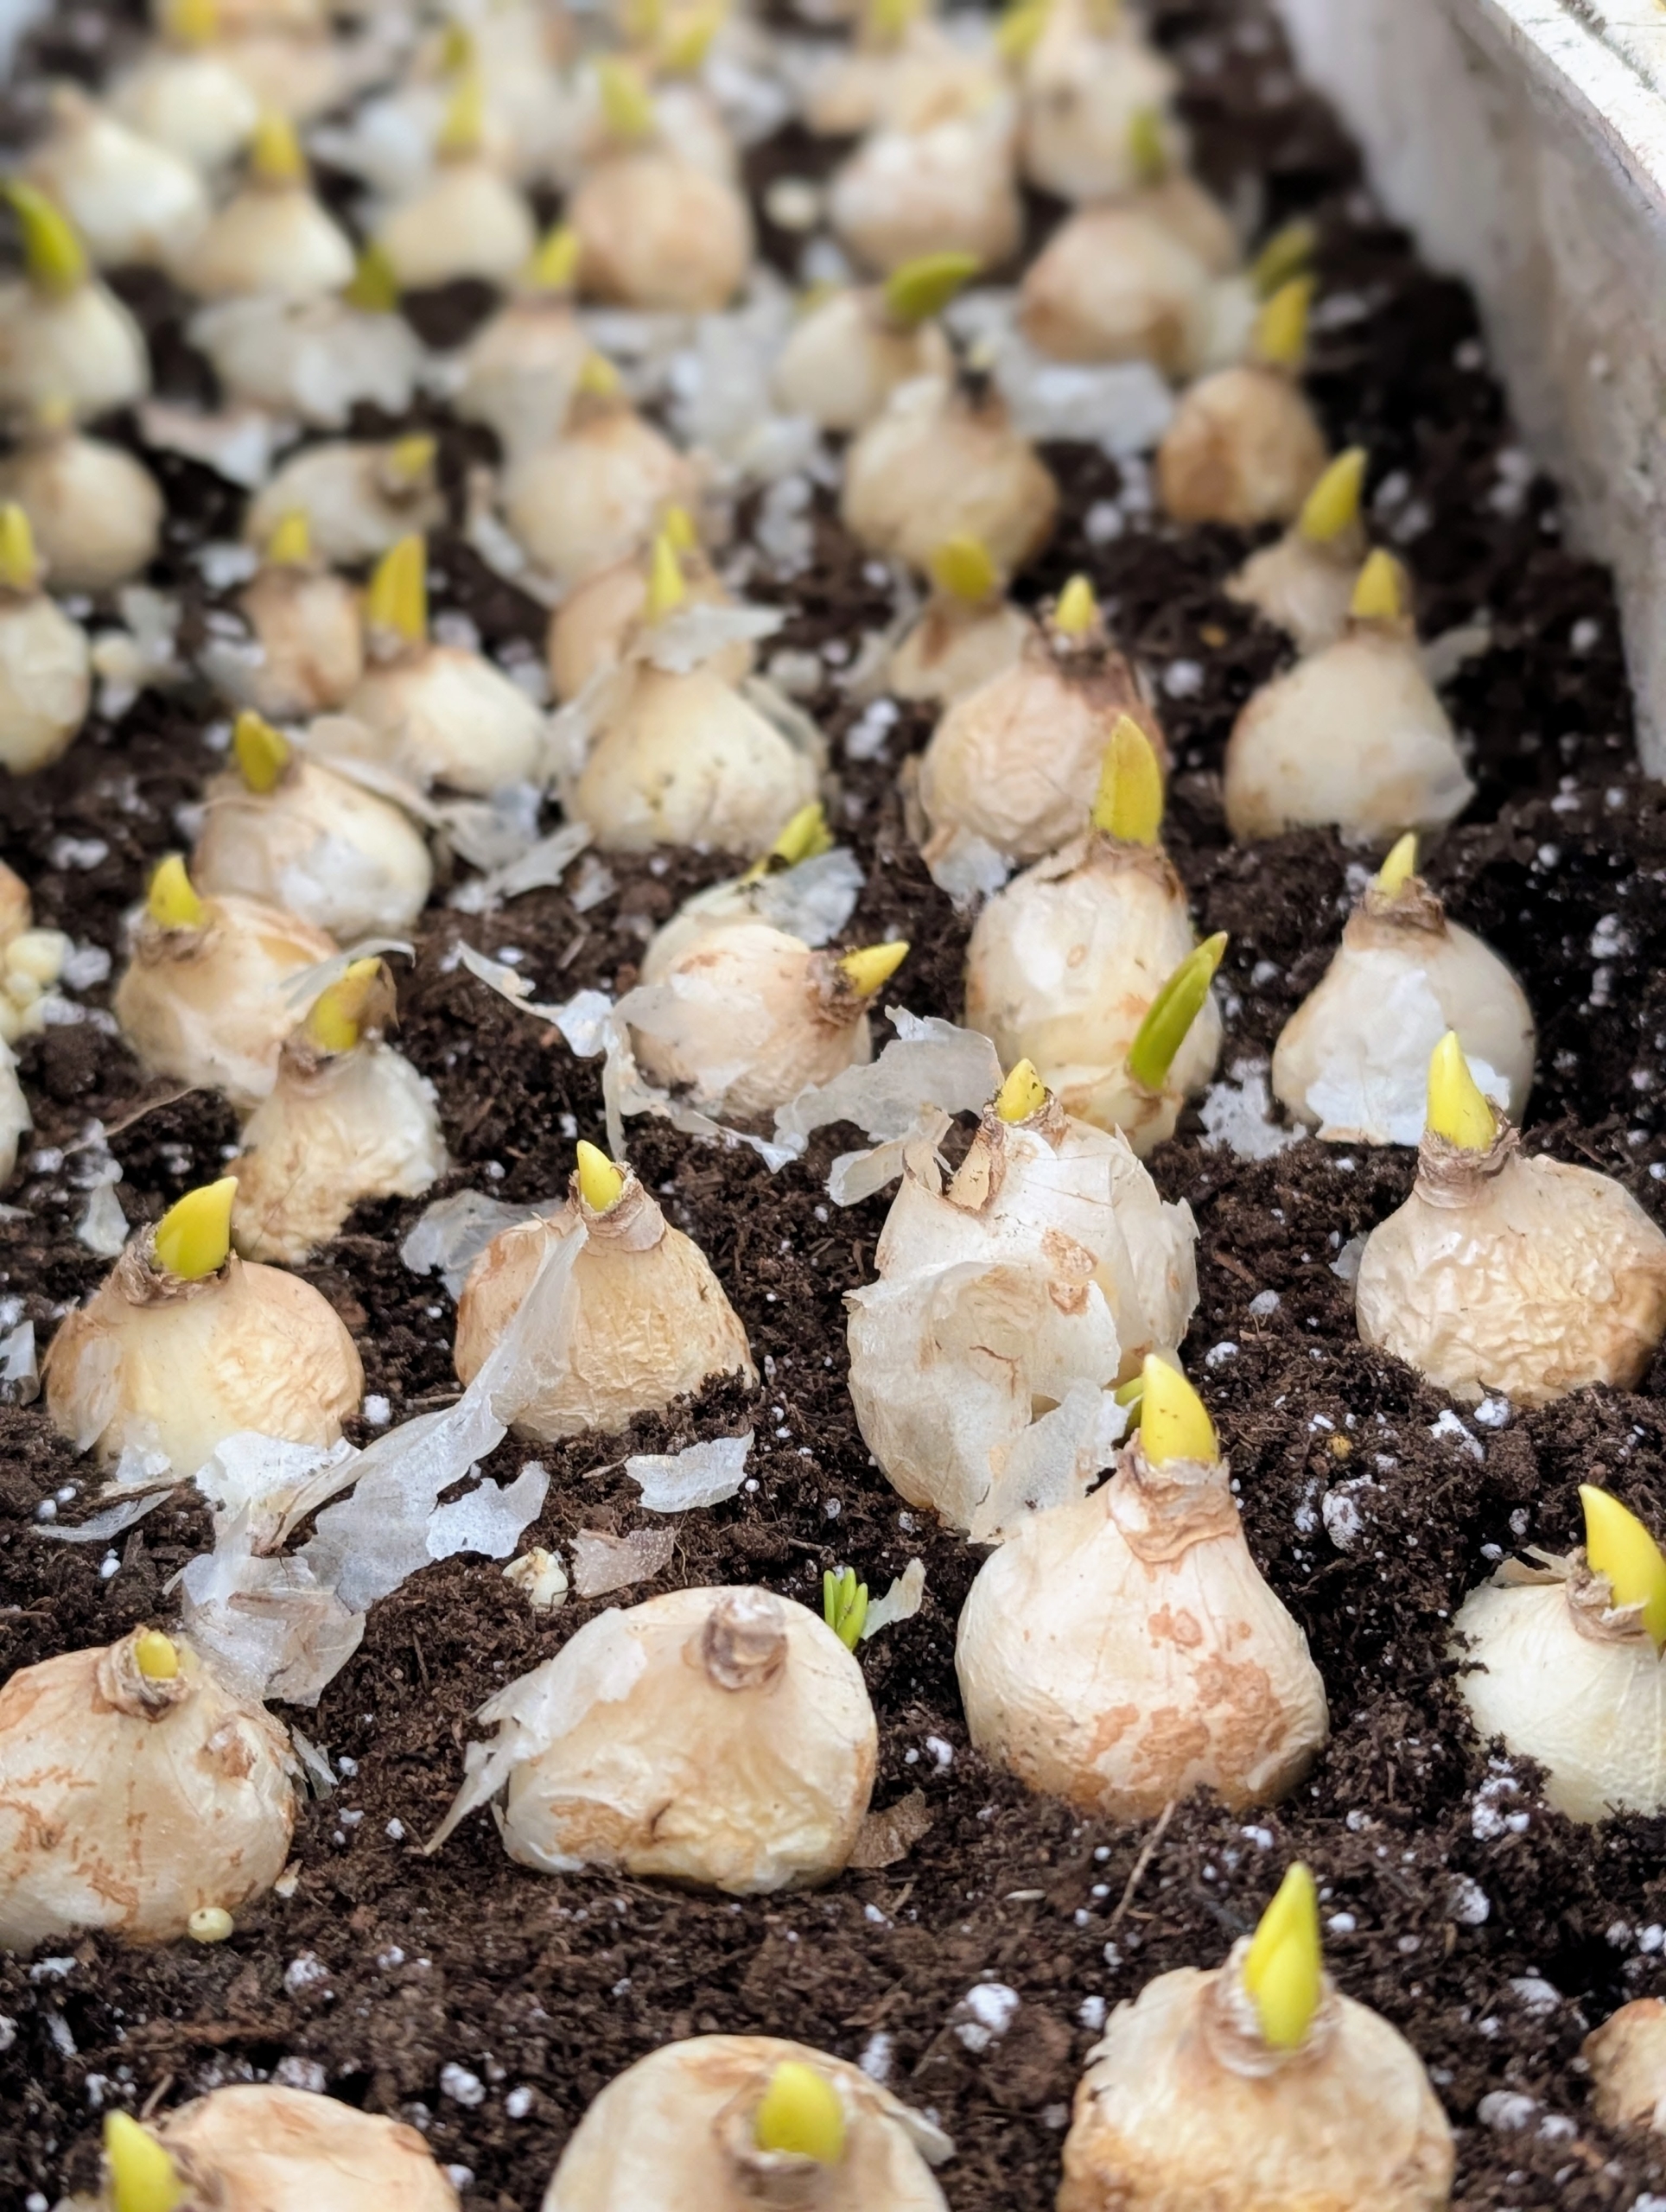
- The bulbs should be placed deep enough so they can be fully covered. Ryan gently pushes each bulb down into the soil, so it is well-anchored. And remember, pointed end faced up and root end facing down.
-
- Use enough bulbs to fill the container. They can be crowded together or spaced out.
-
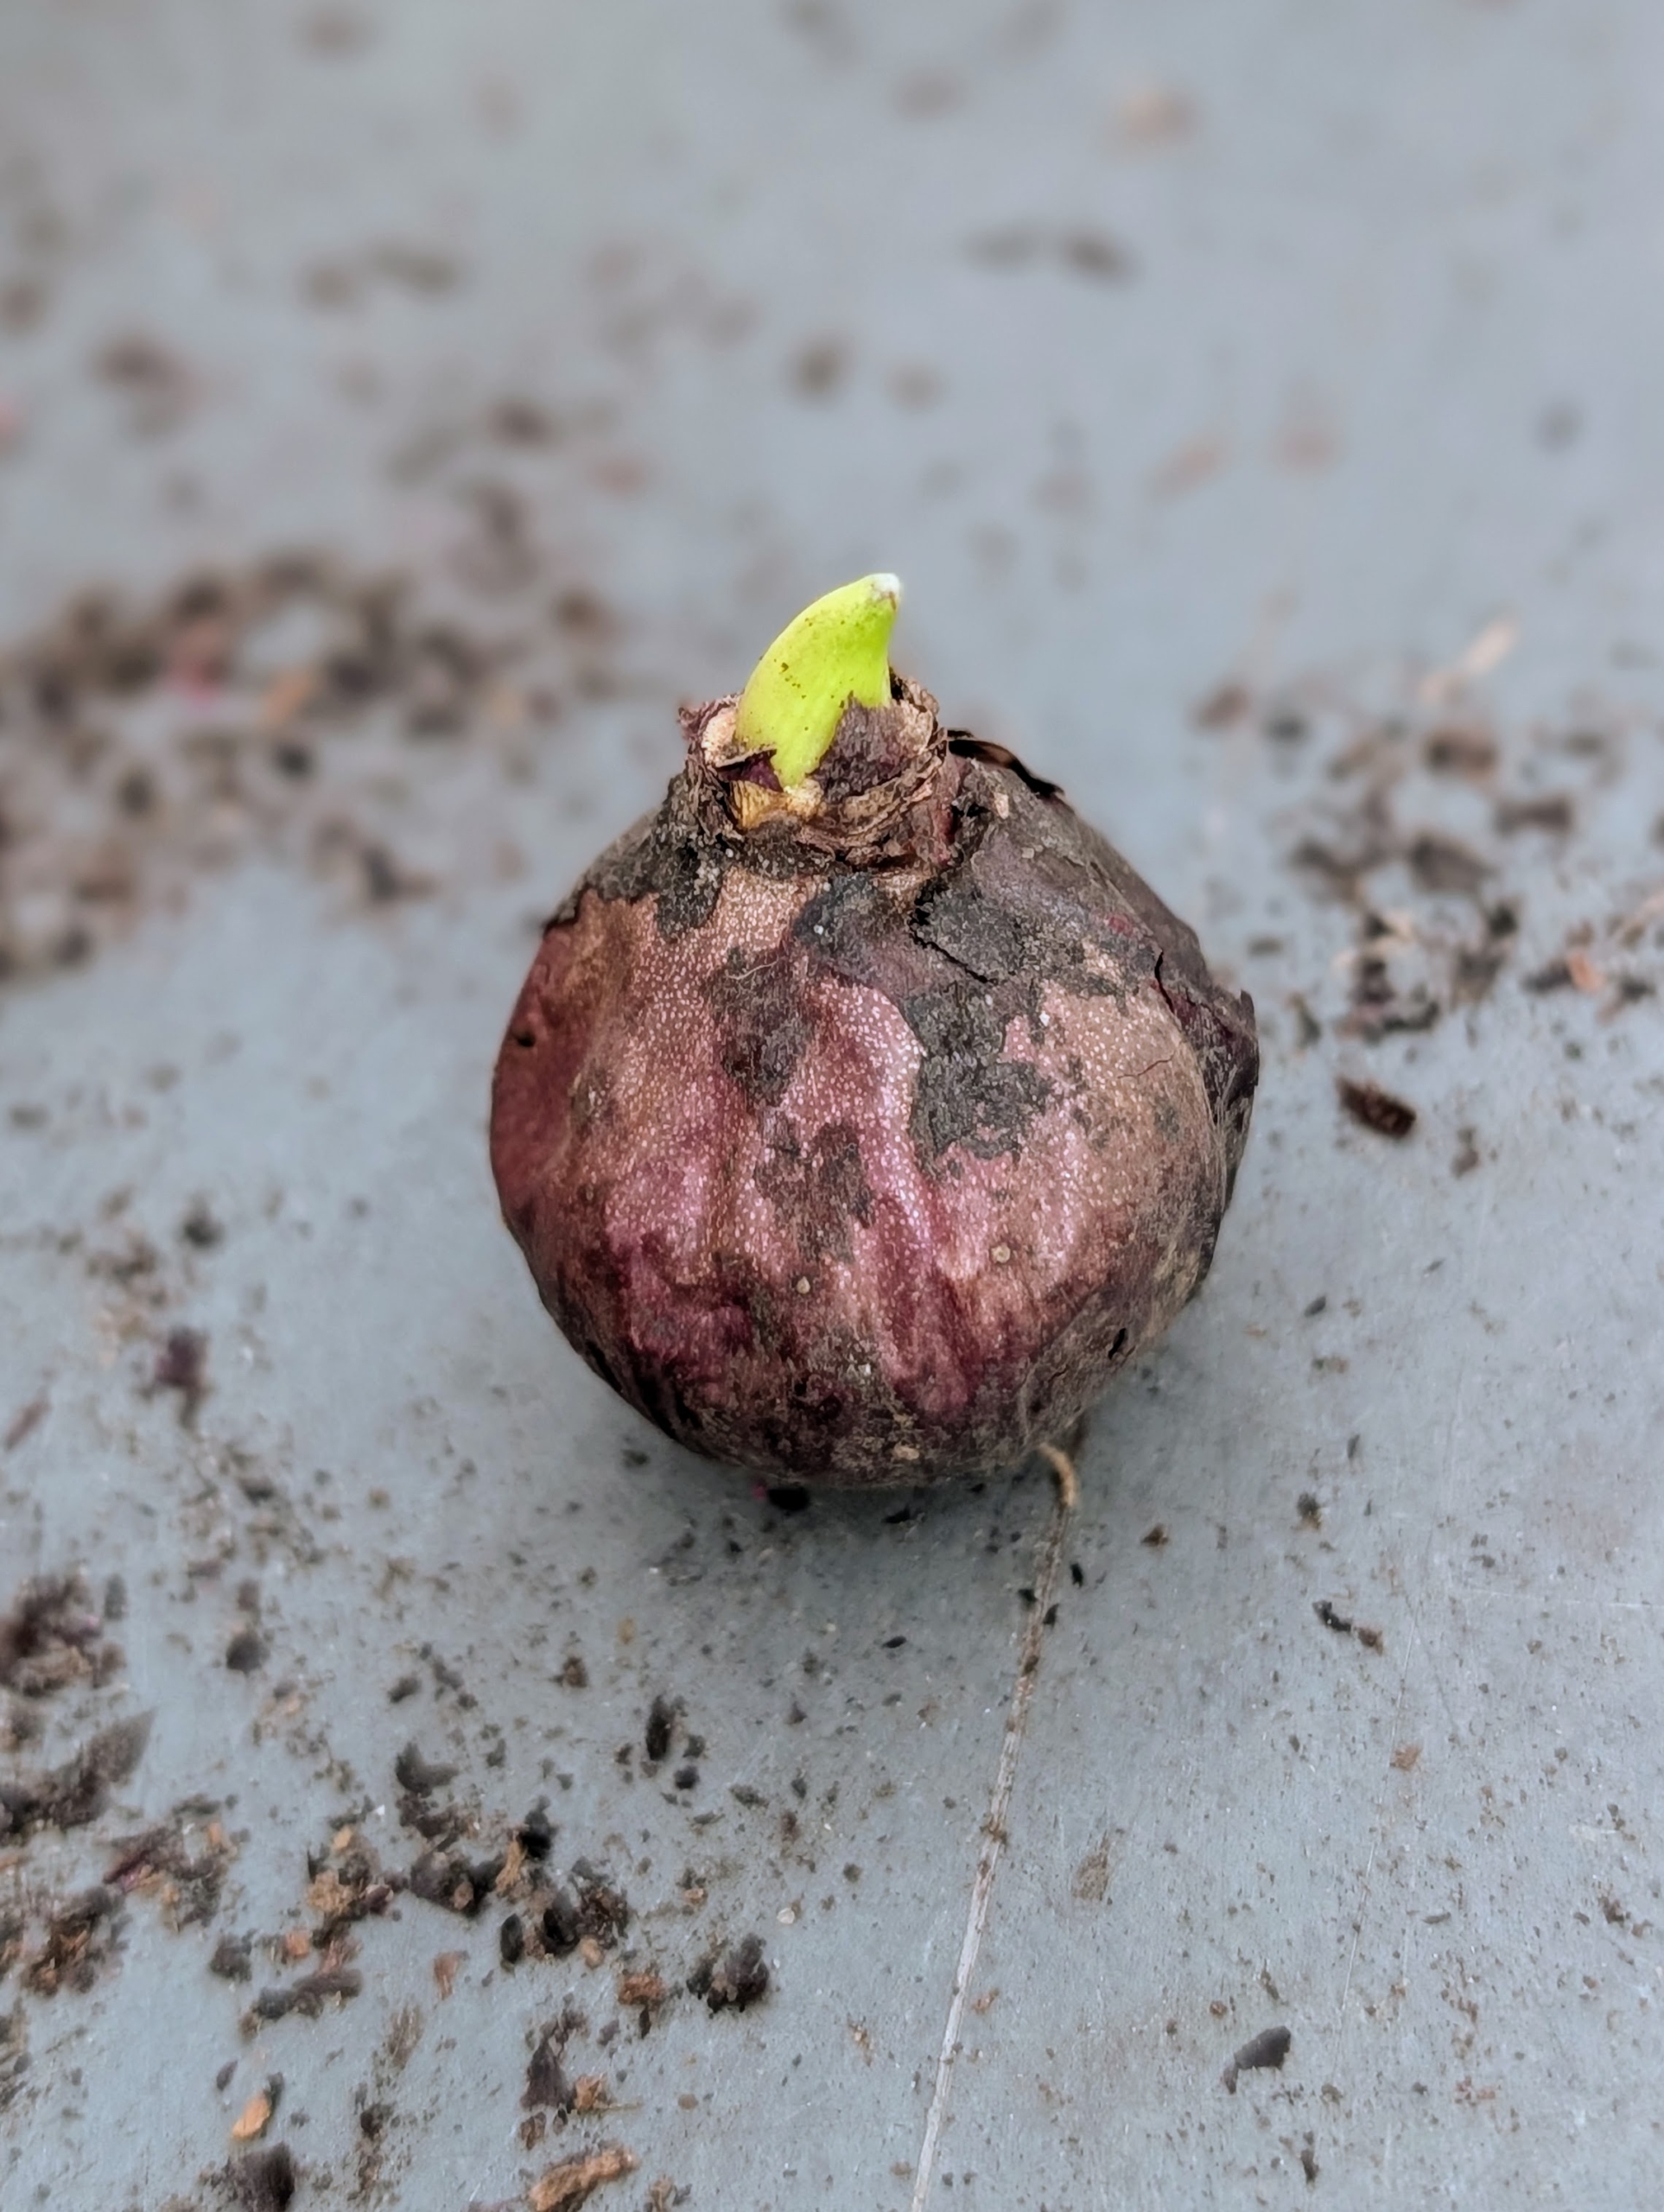
- For these muscari bulbs, Ryan uses a long rectangular shaped planter. When planting bulbs, be sure any bulbs used are heavy and free from mold, mildew, discoloration, or a peeling outer shell.
-
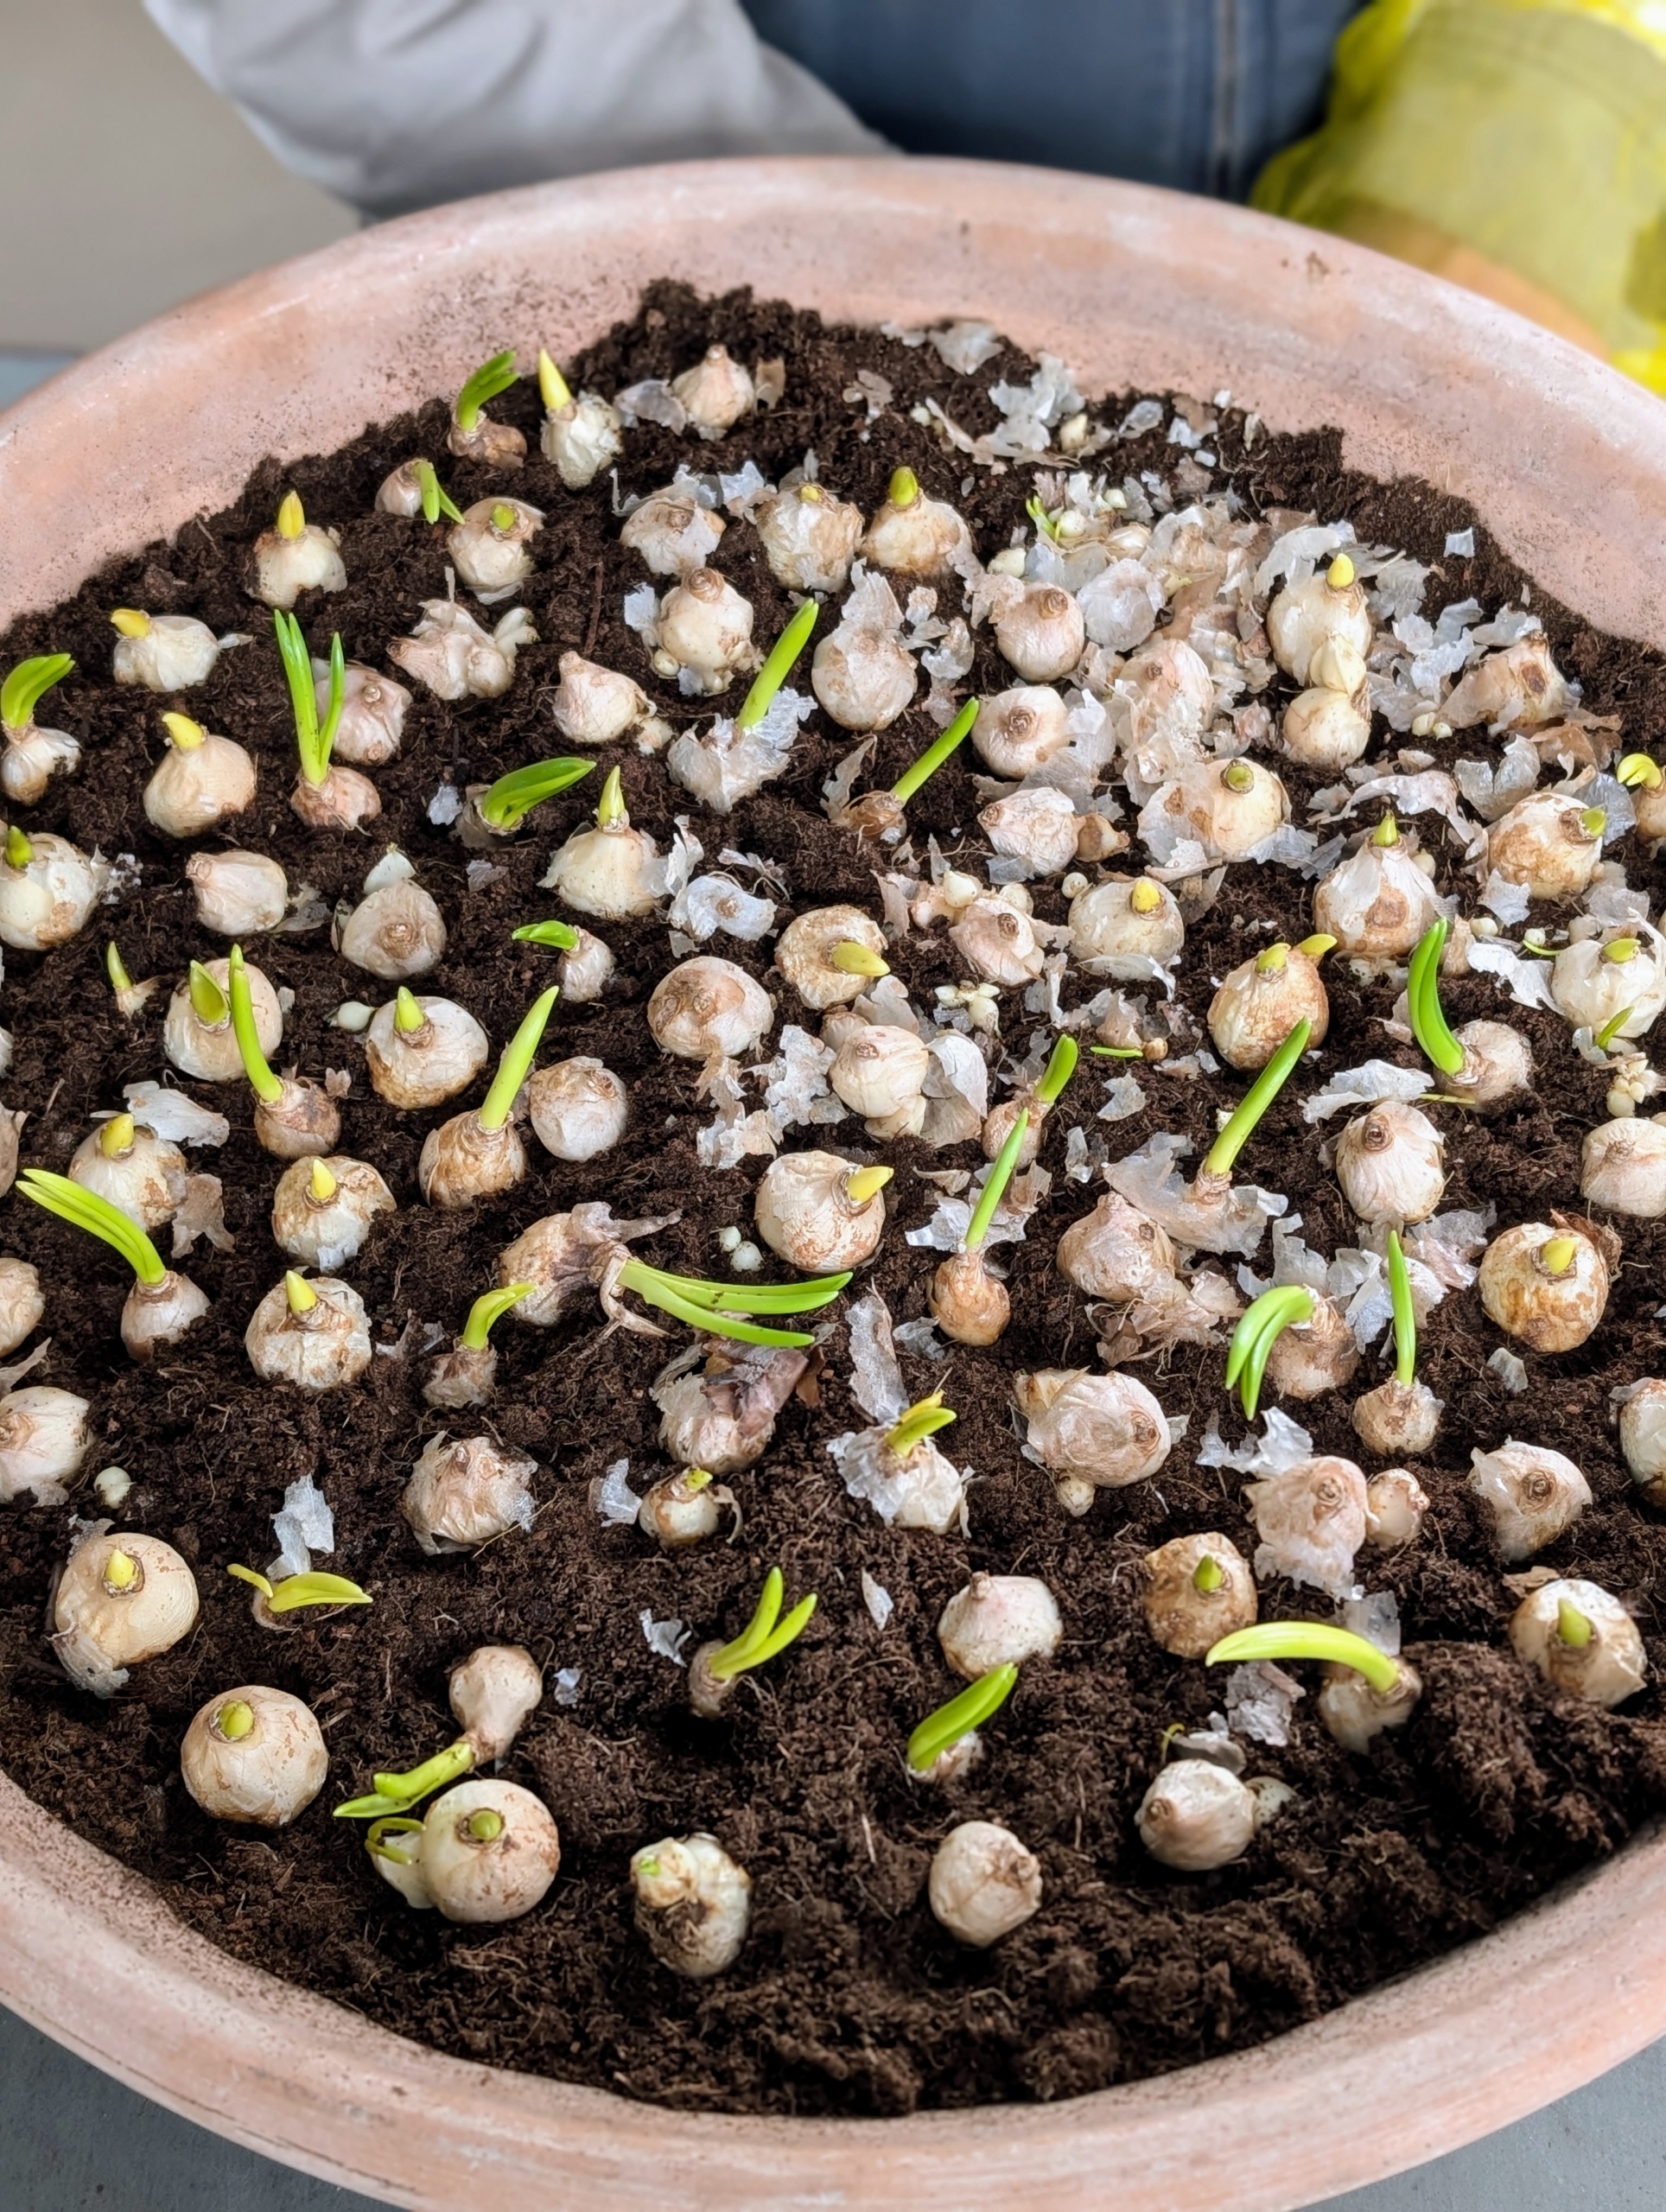
- And for these, Ryan put 150 muscari bulbs in a giant round planter. The display will be colorful and dense.
-
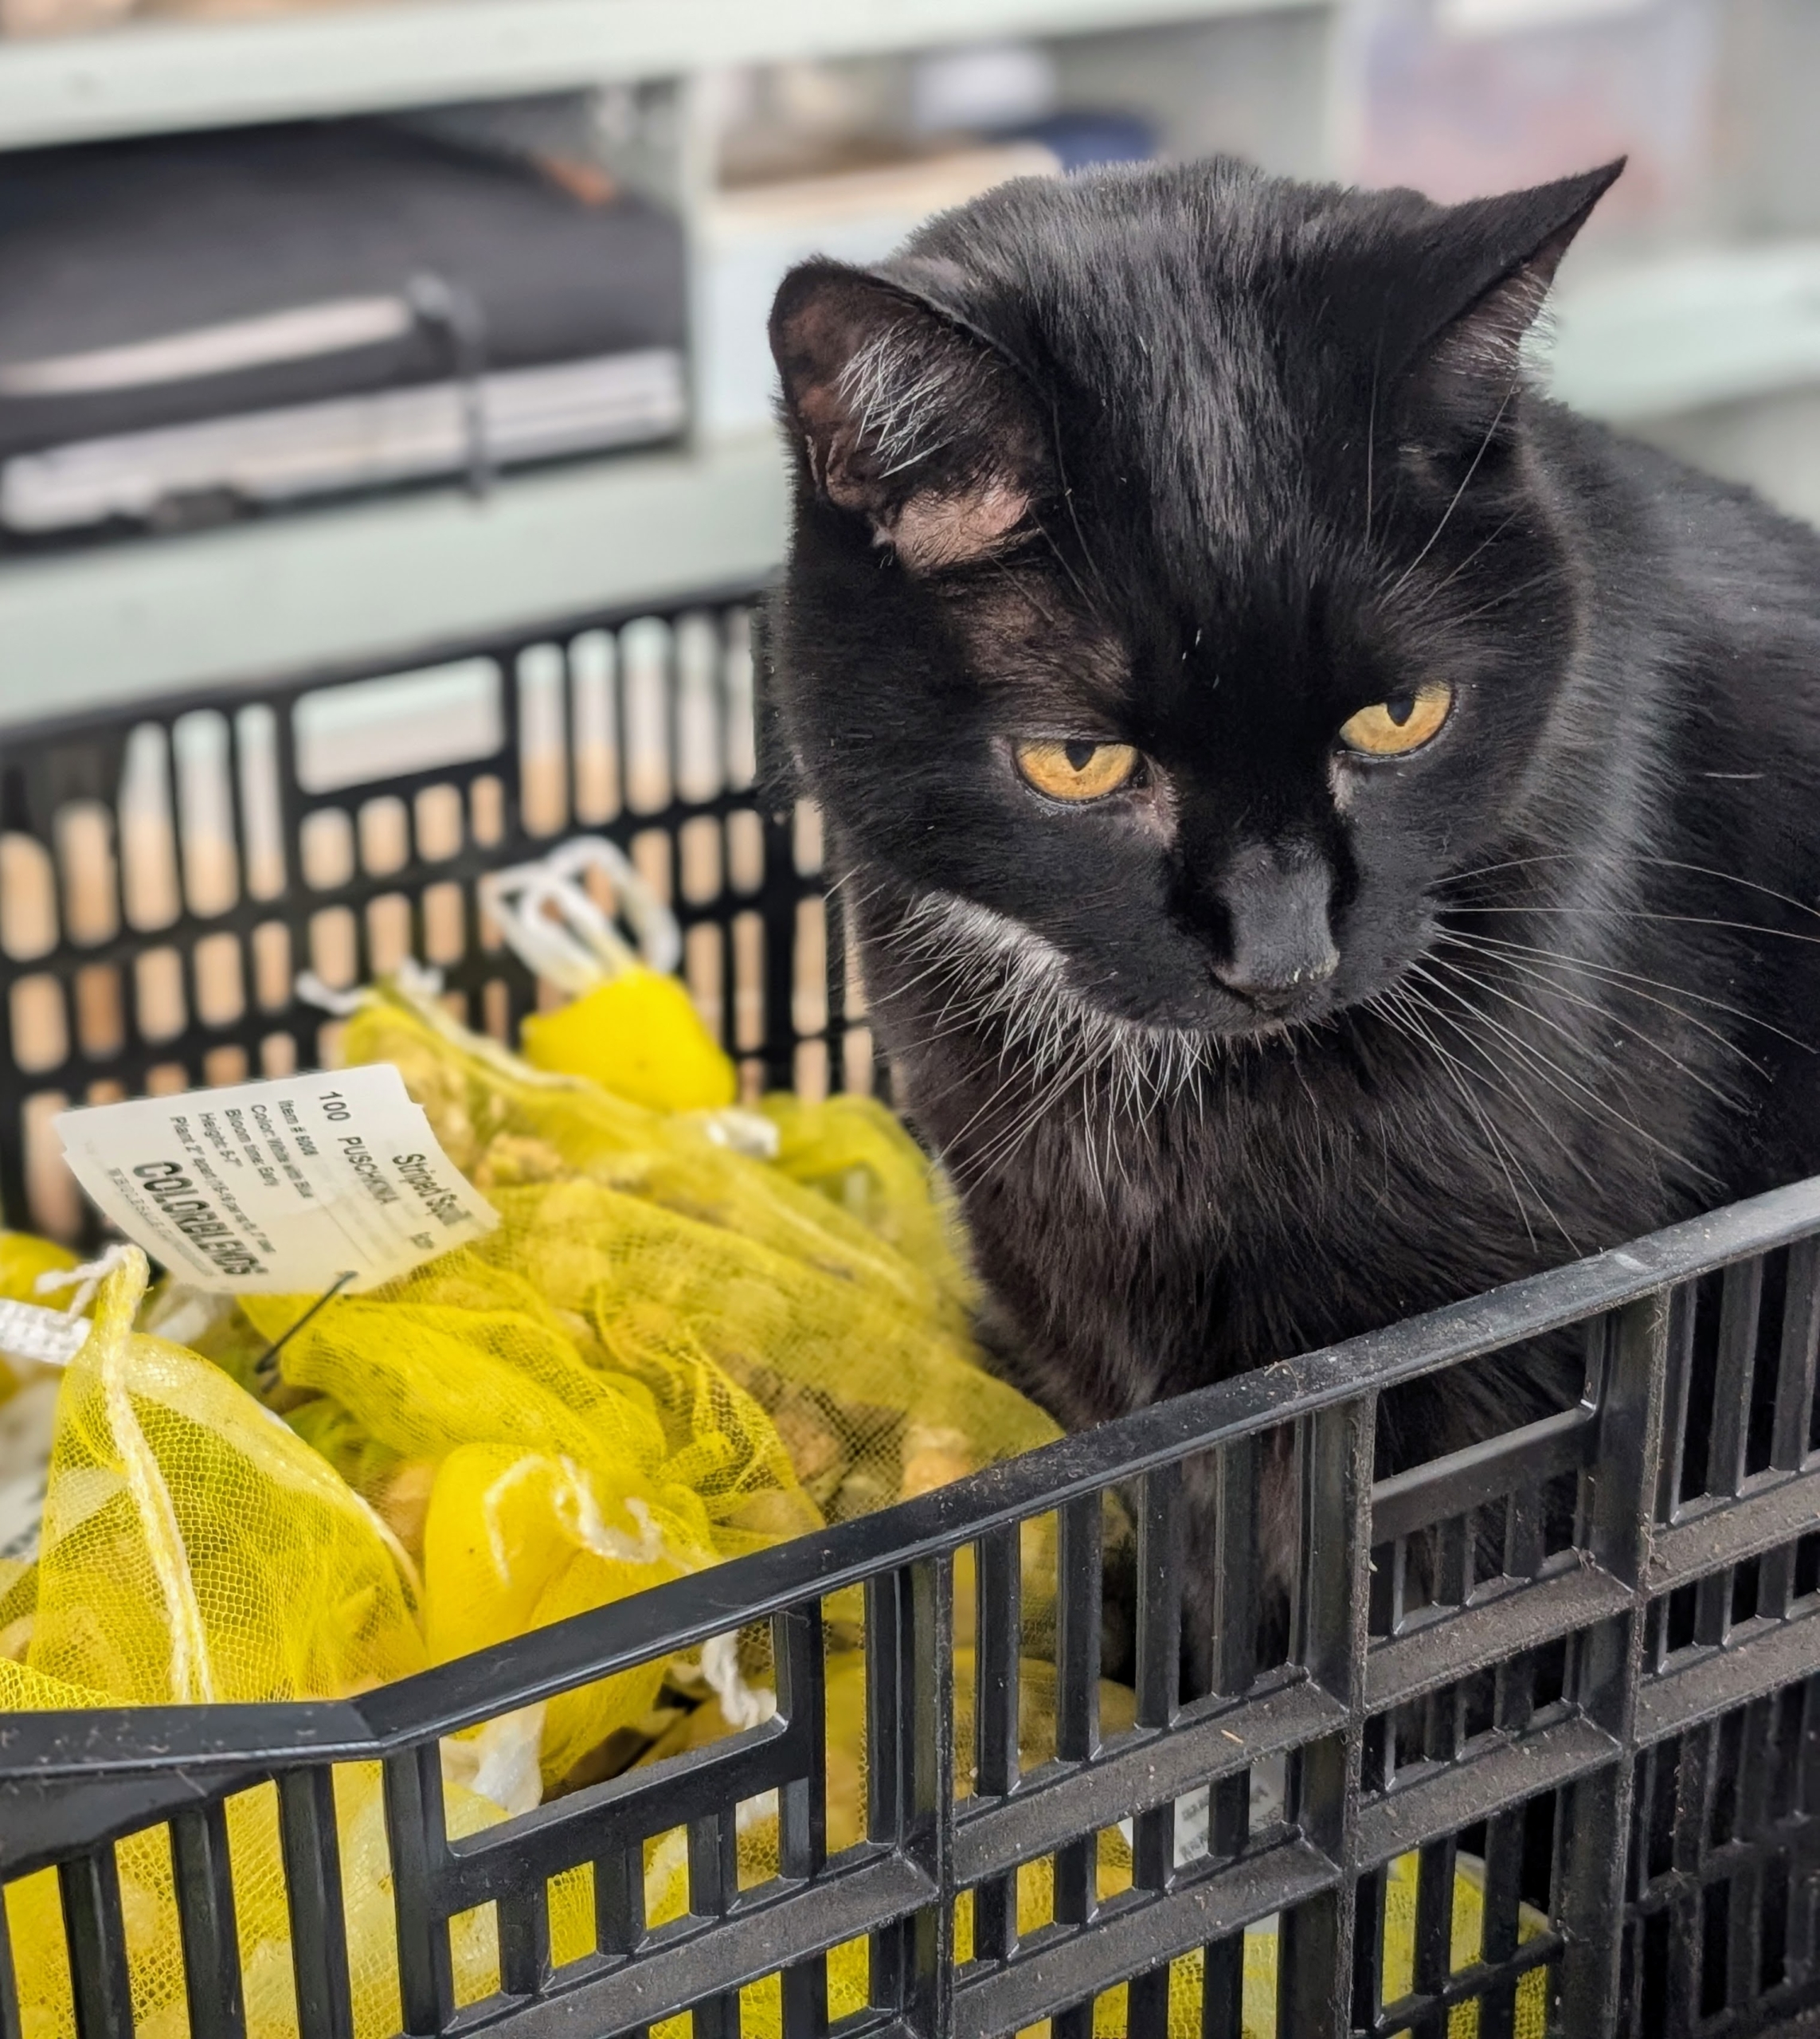
- Here is my greenhouse cat, Blackie, watching from nearby.
-
- Ryan fills the pots with more potting soil mix to cover the bulbs.

-
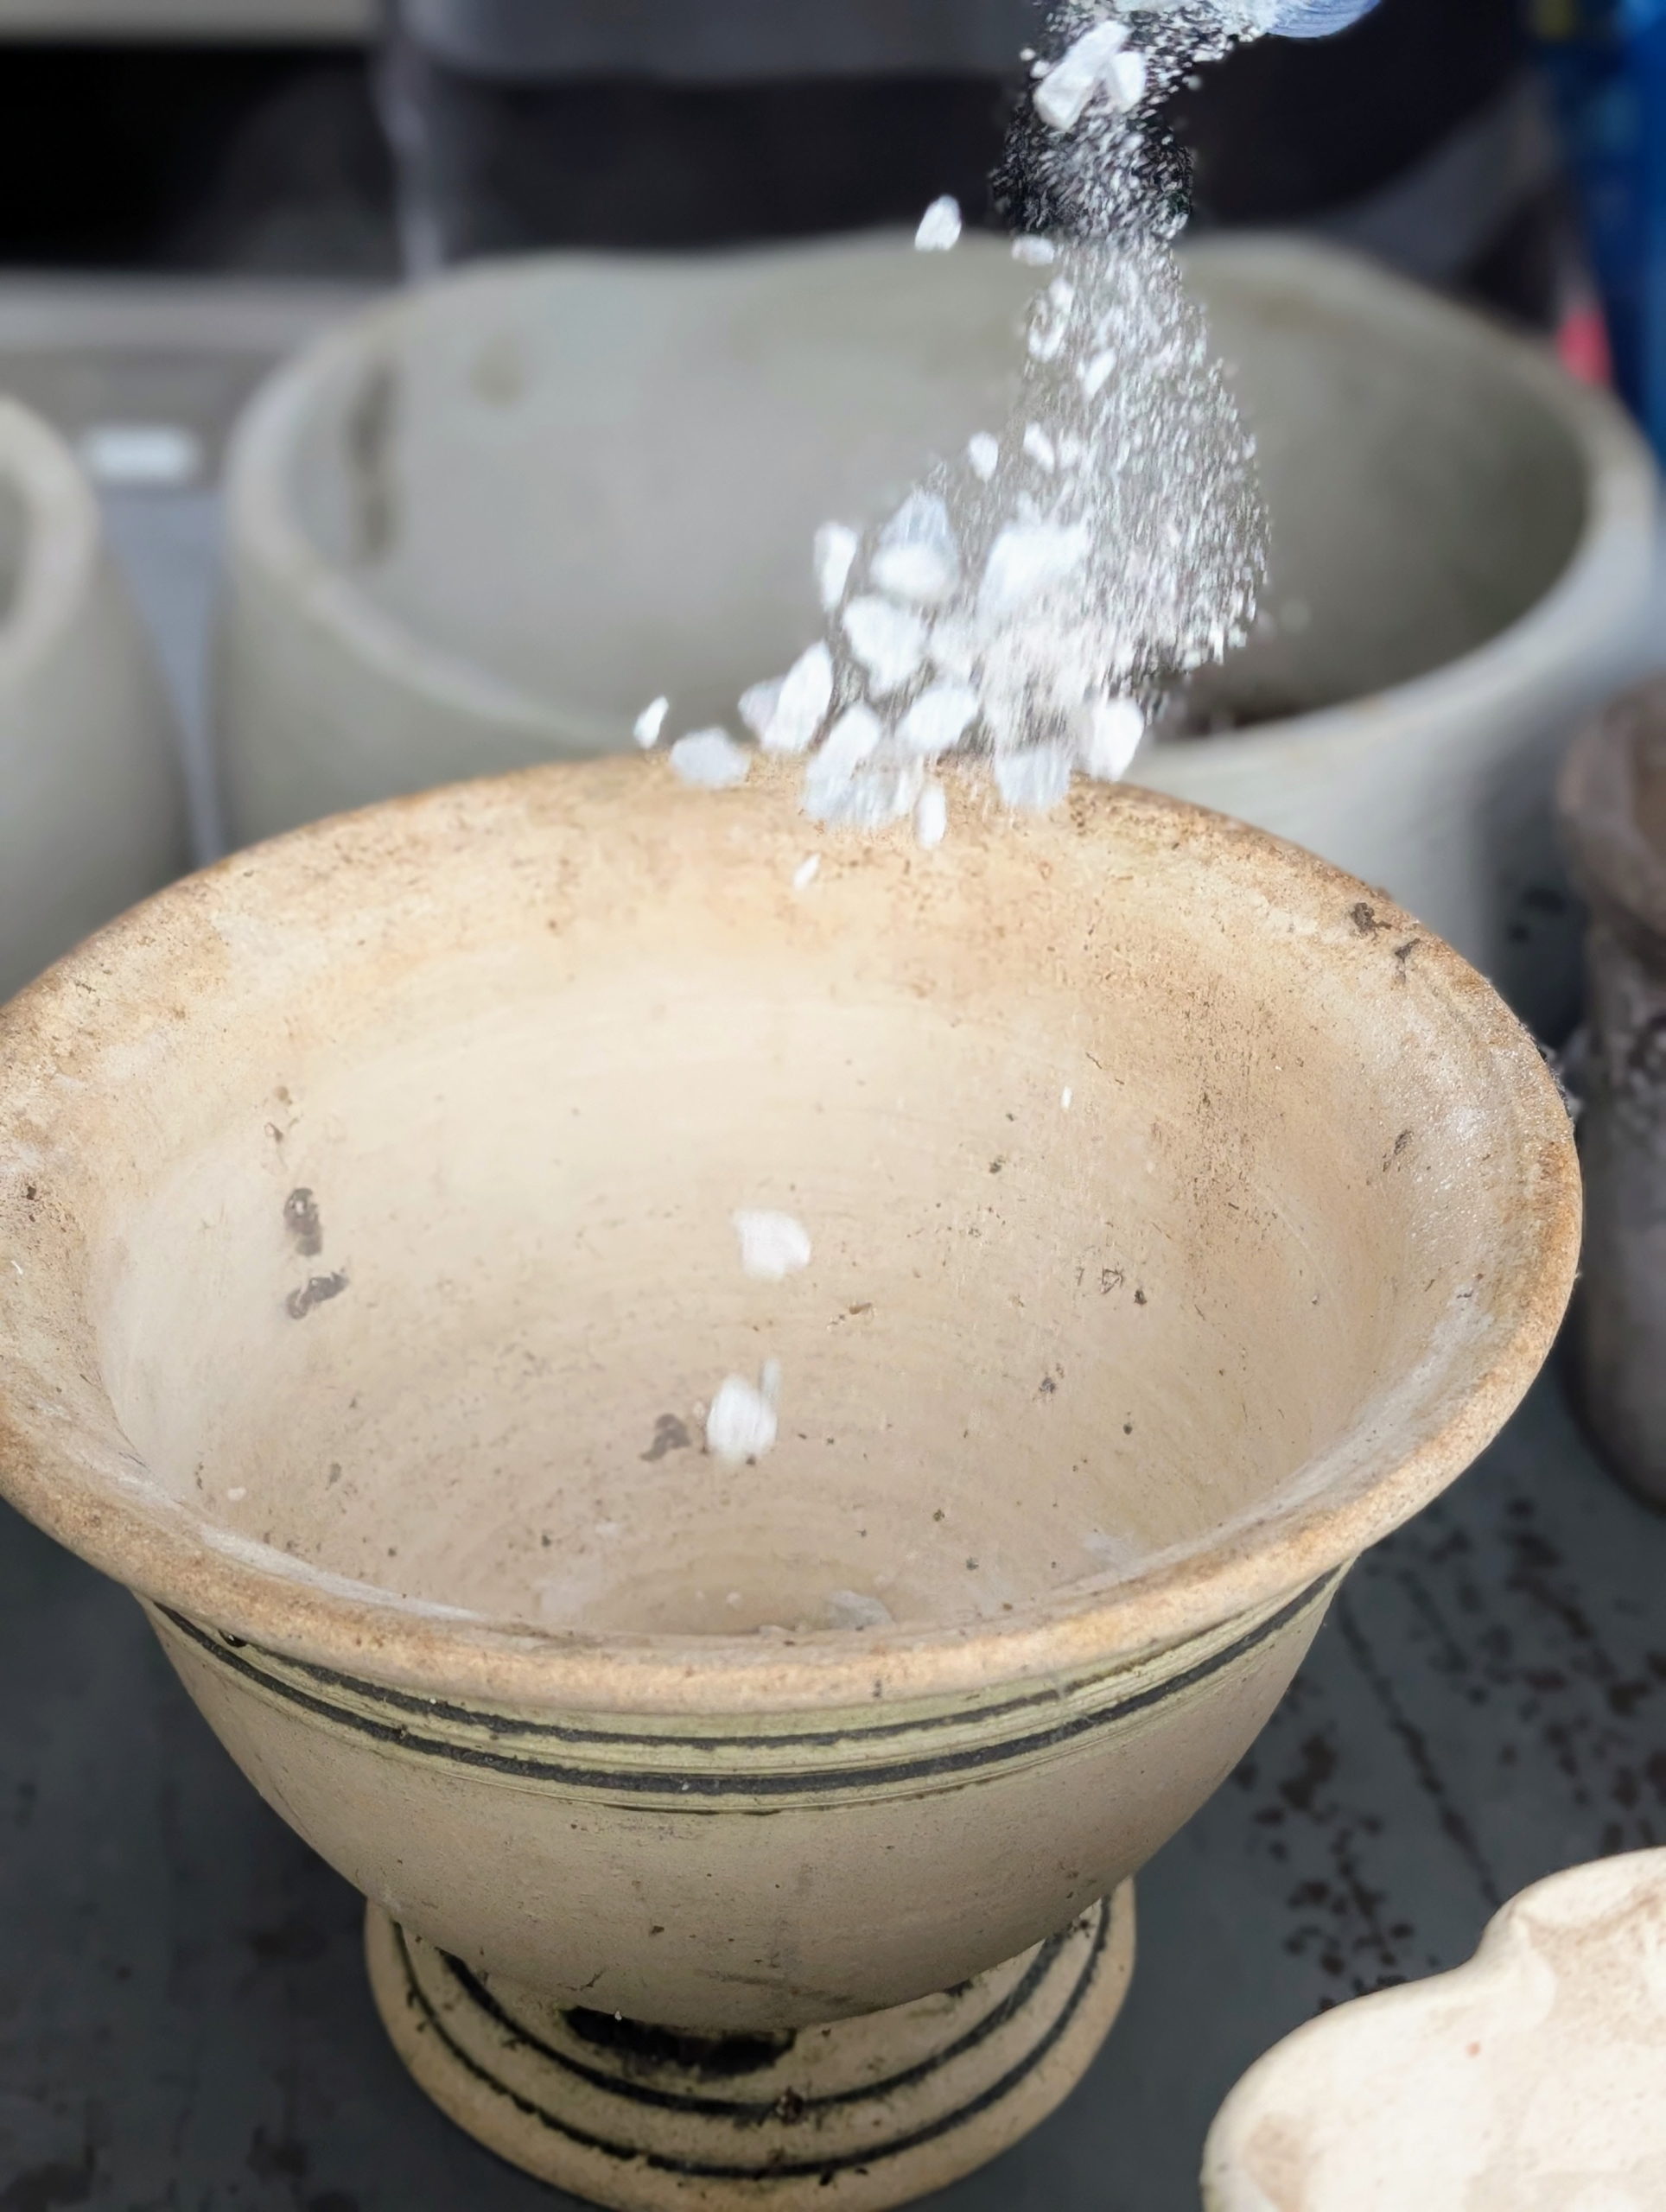
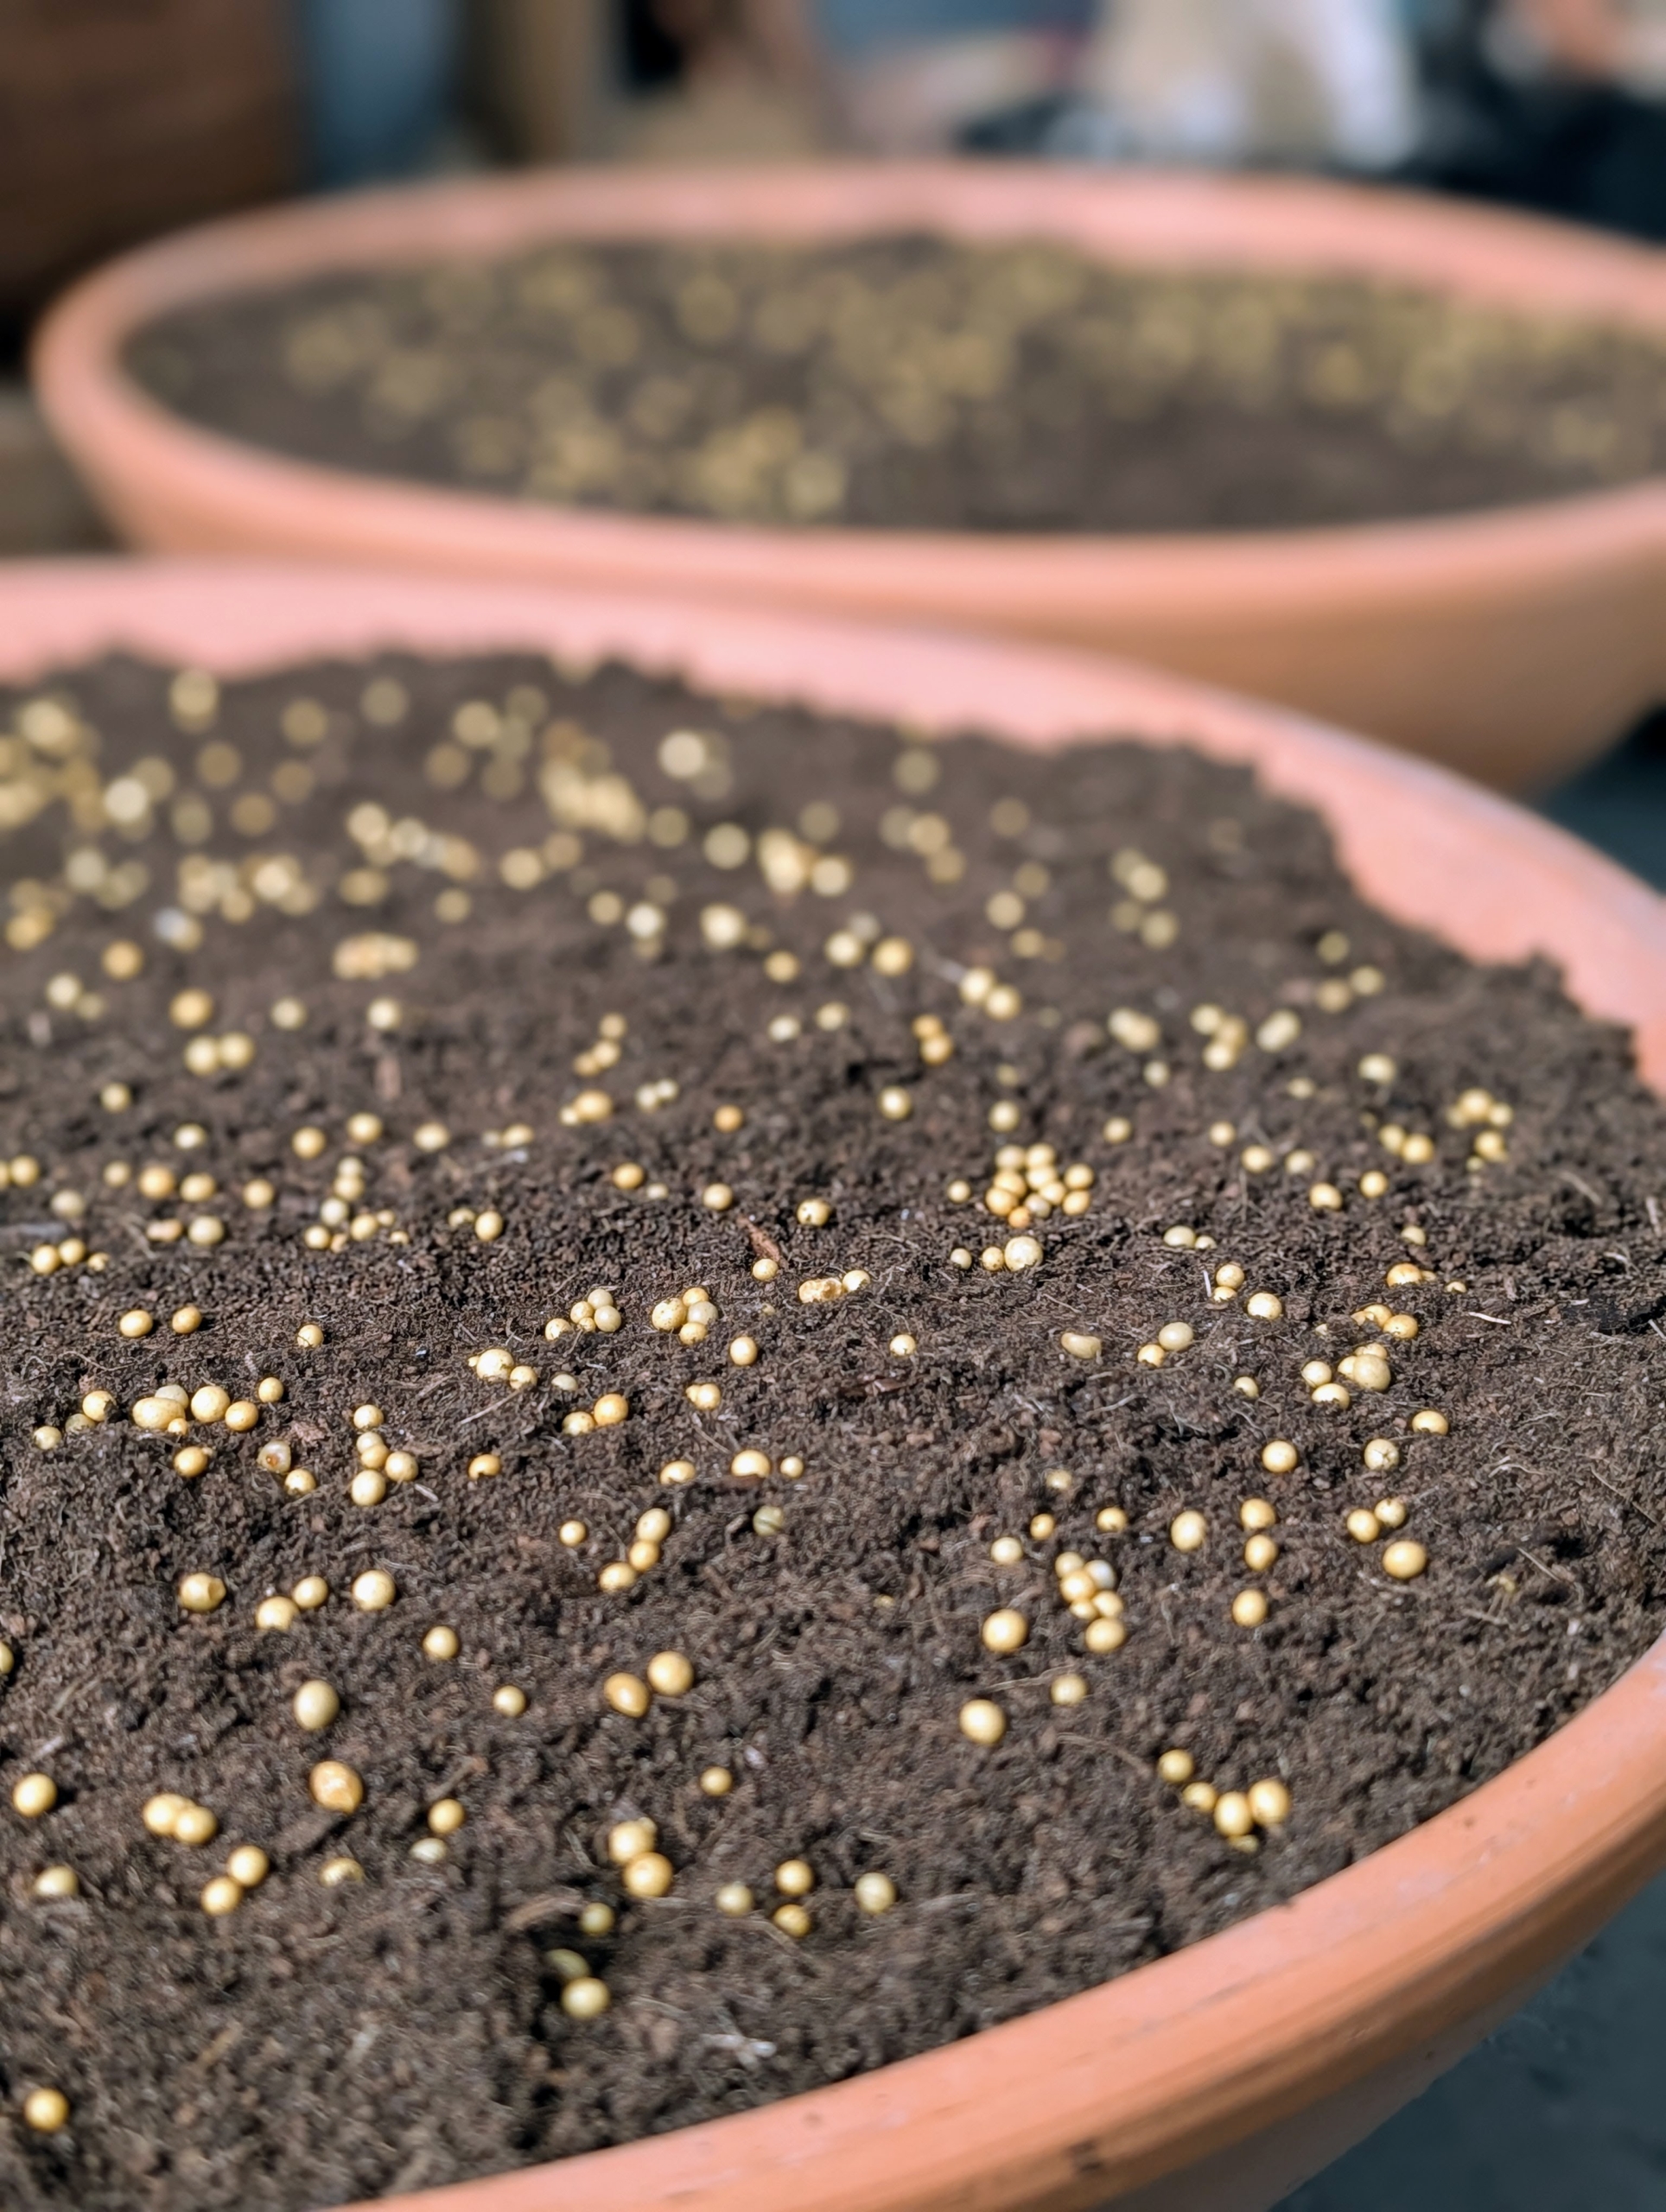
- Ryan also adds Osmocote fertilizer, which can be sprinkled on top or mixed into the soil. The slow-release prills filled with nutrients feed the plants for up to six months. Remember, if you eat, so should your plants.
-
- All the planted pots are brought out to the greenhouse for a good drink.
-
- And then placed on a windowsill or on shelves in my hoop house where they will get light, humidity, and water to help them grow. I’ll have pots of gorgeous blooms in several weeks.