Reinforcing My Raised Vegetable Garden Beds
Here at my farm, my gardeners and outdoor grounds crew are working hard in the vegetable garden - planting some of the season's first crops, removing old roots and other debris, and reinforcing the raised garden beds.
I built my half-acre vegetable garden in the spring of 2023. I designed it to have about 50 raised garden beds of varying sizes and created a very precise map showing exactly how big each bed would be. It's now two years old, and I'm so pleased with how well it has done. I've grown so many wonderful and delicious vegetables for my family. To keep it looking and performing its best, it's important to maintain the space and the beds. Recently, I noticed the white oak wooden frames starting to show some wear, but instead of replacing entire boxes, I reinforced them, making them much stronger and more appealing.
Here are photos, enjoy.
-

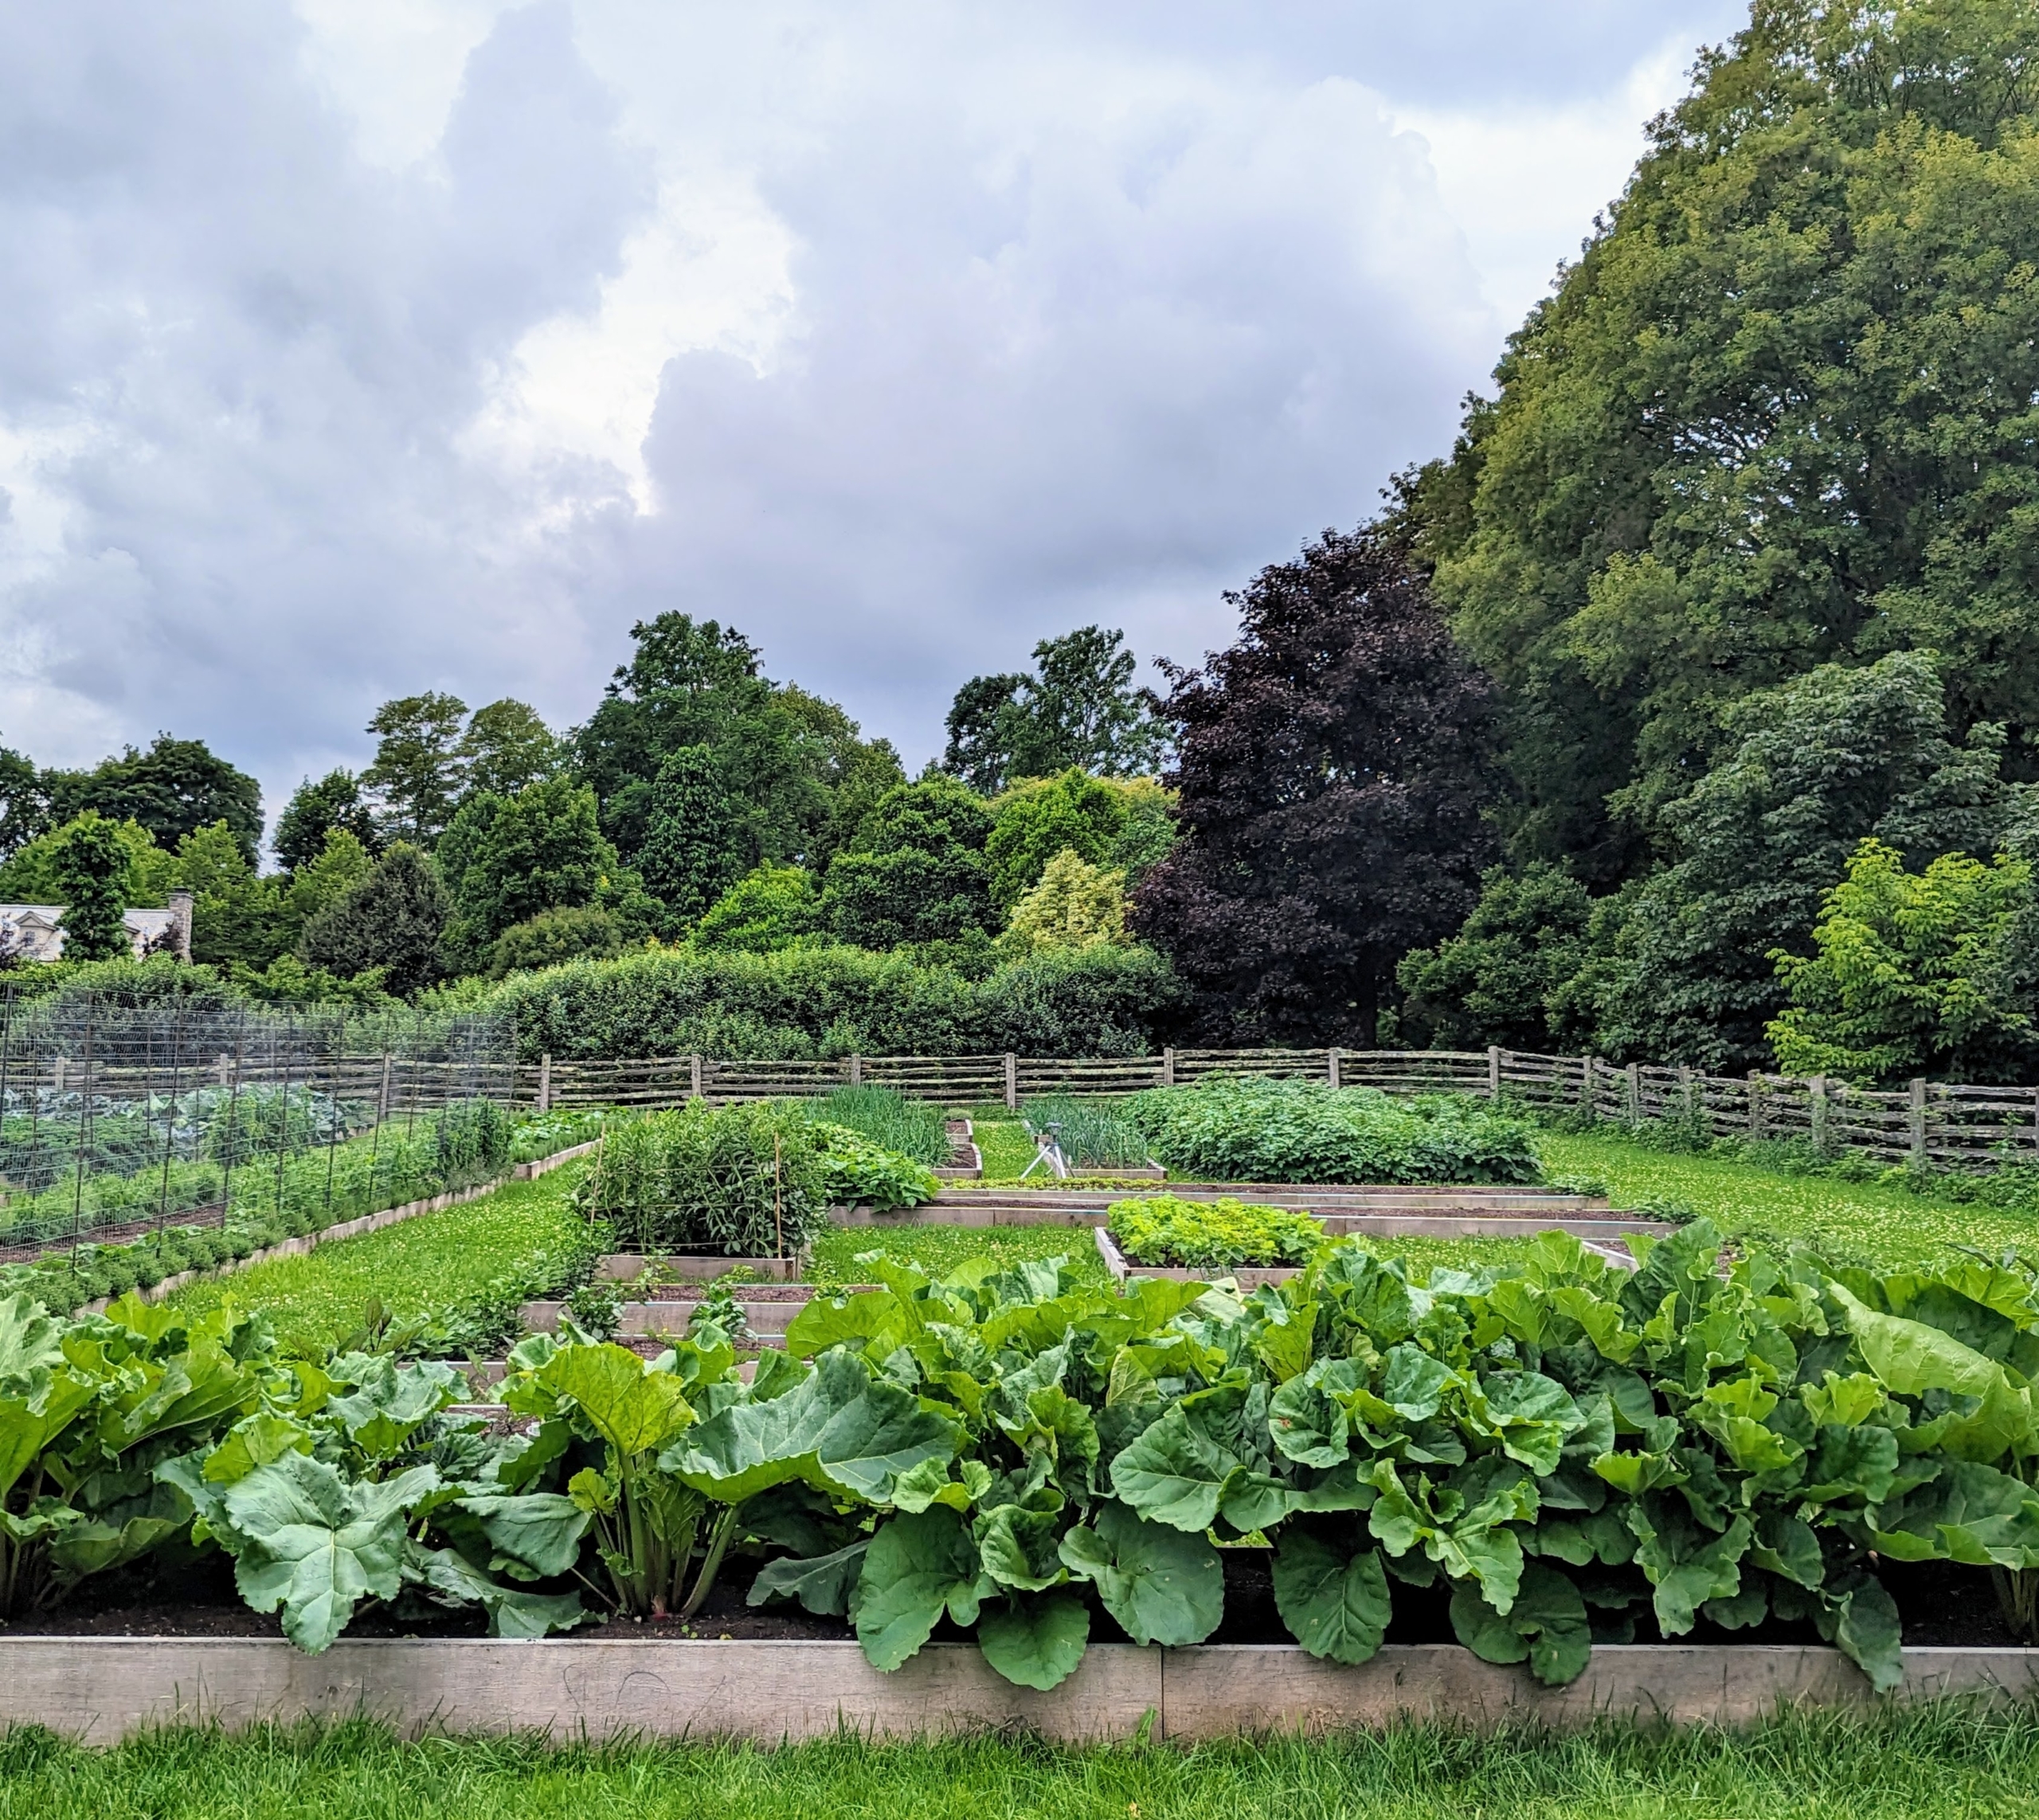
- I can’t wait until my vegetable garden is once again filled with delicious produce. It’s always such a joy to walk the few steps from my Winter House and pick fresh, organic vegetables.
-
- I work with my head gardener, Ryan McCallister, to plan what crop will be planted in what box. We rotate the crops every year and plant in succession, so there is always something wonderful to harvest.
-
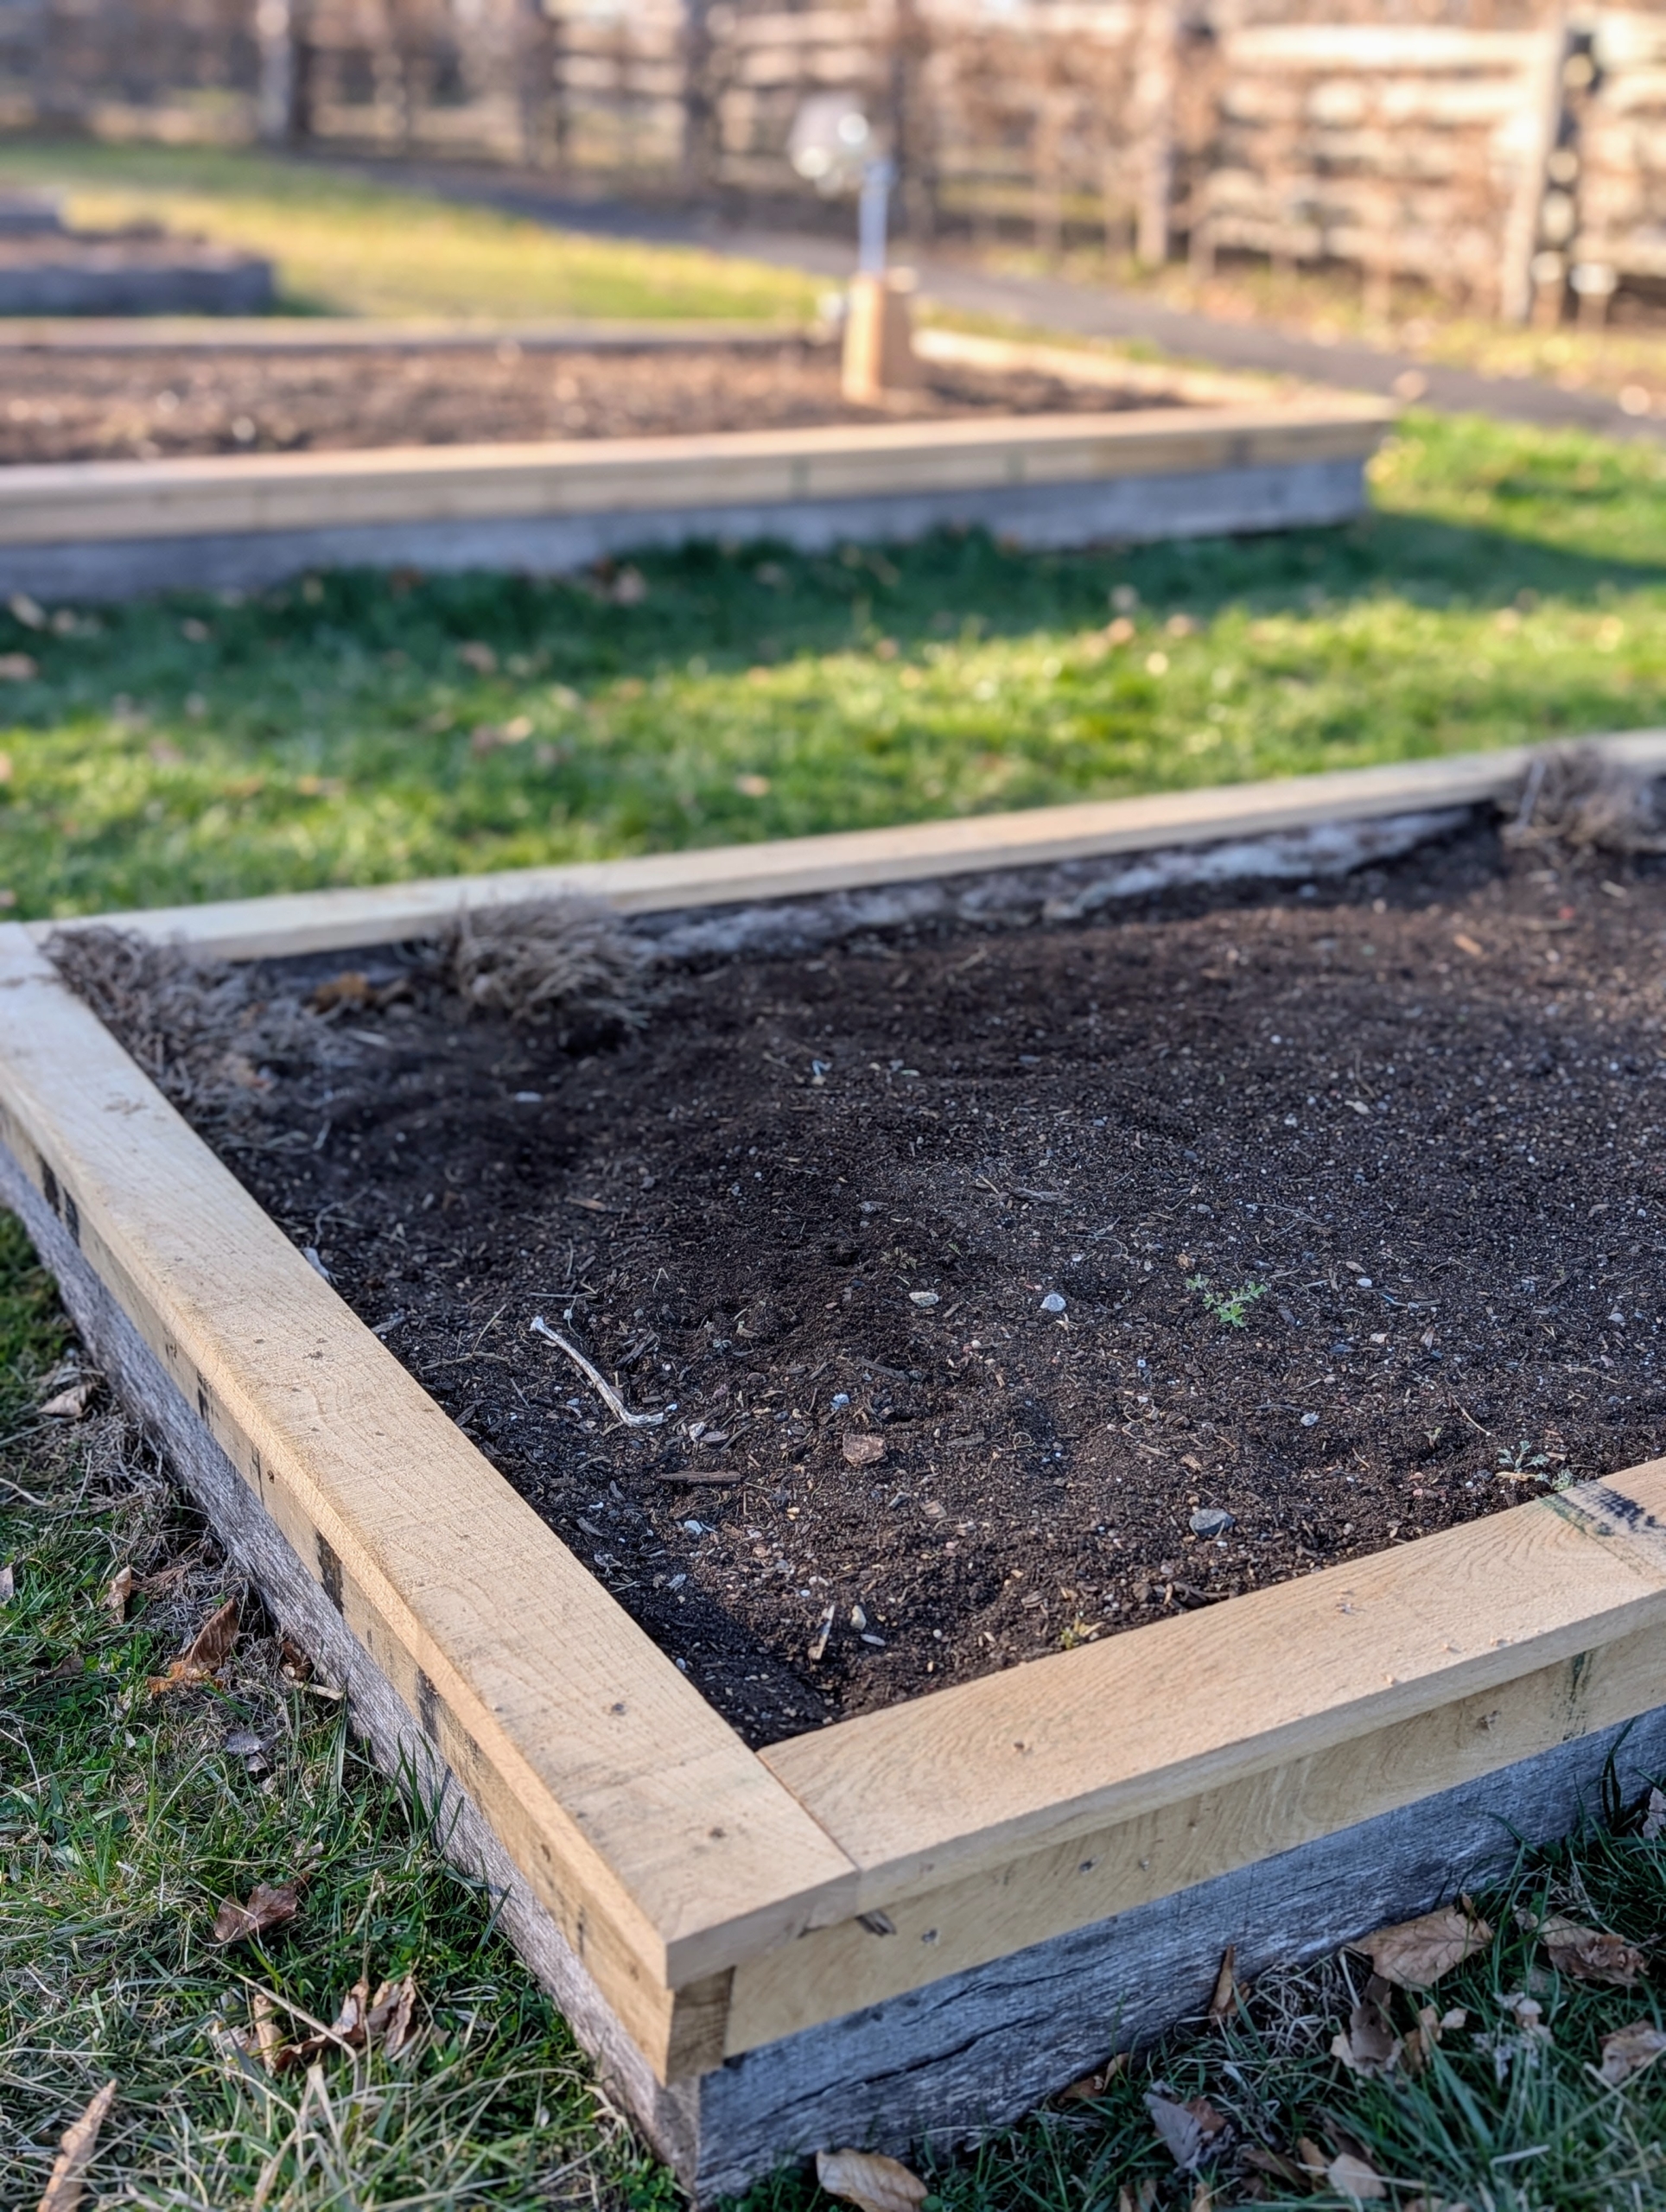
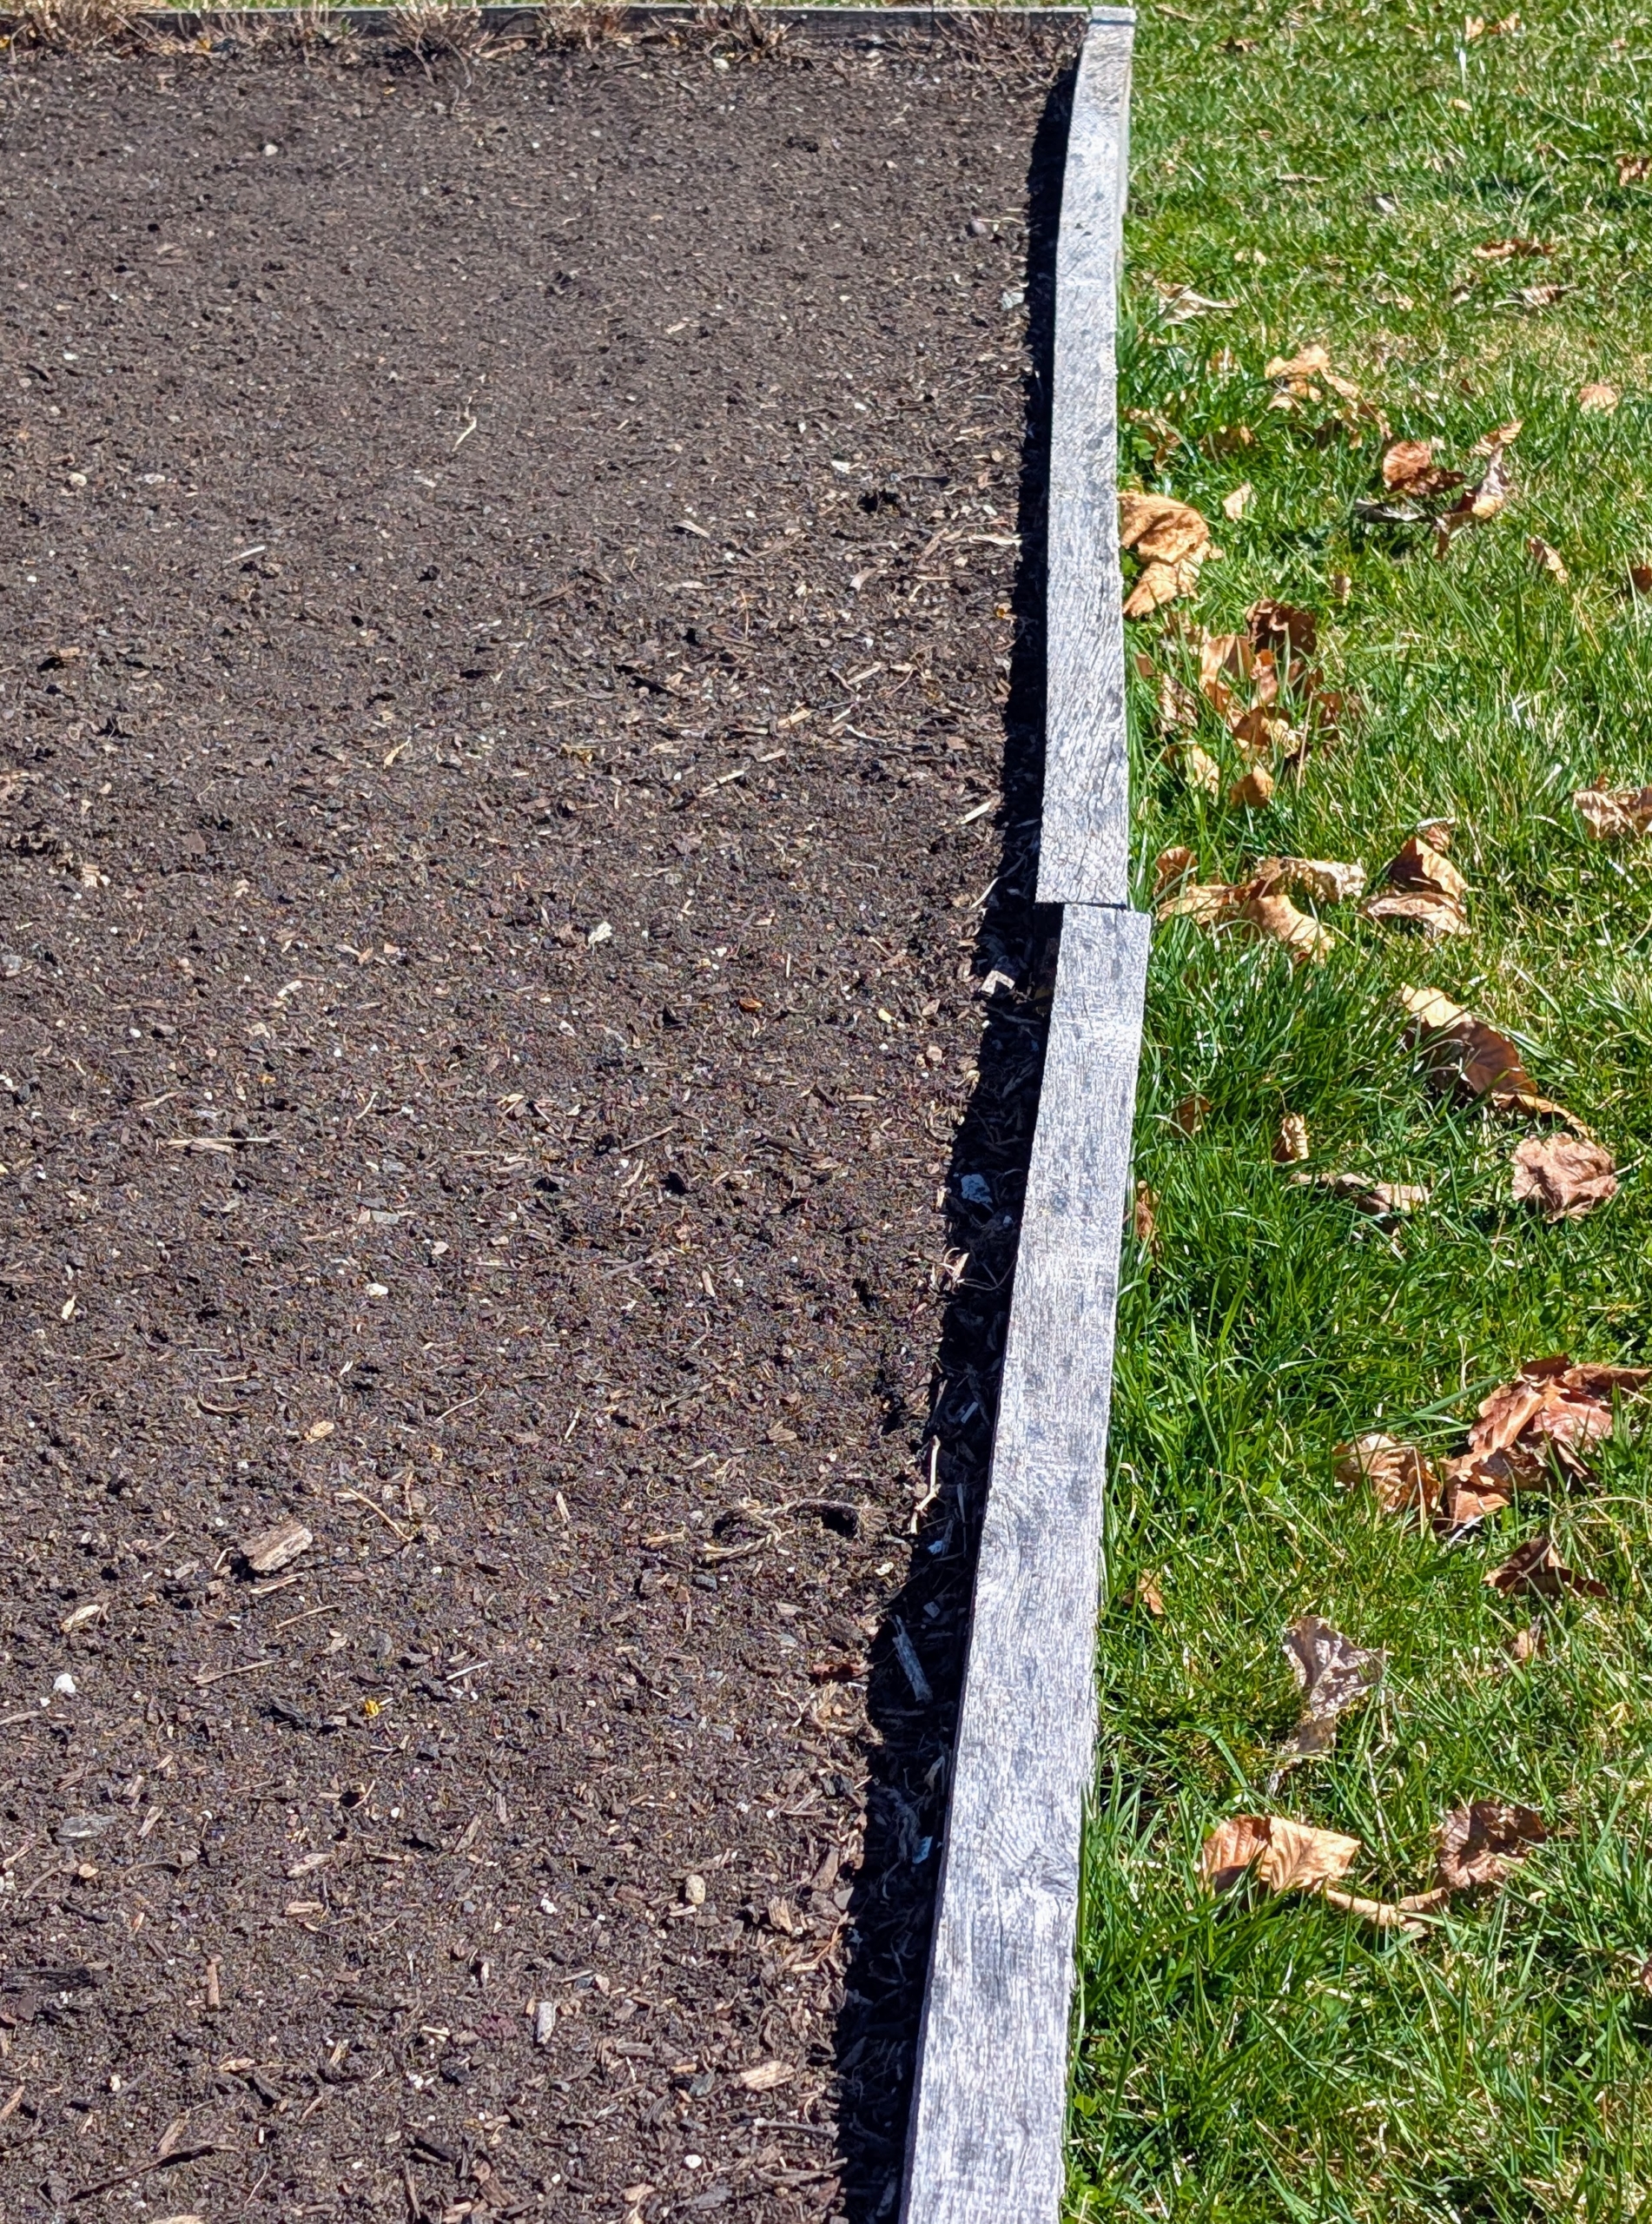
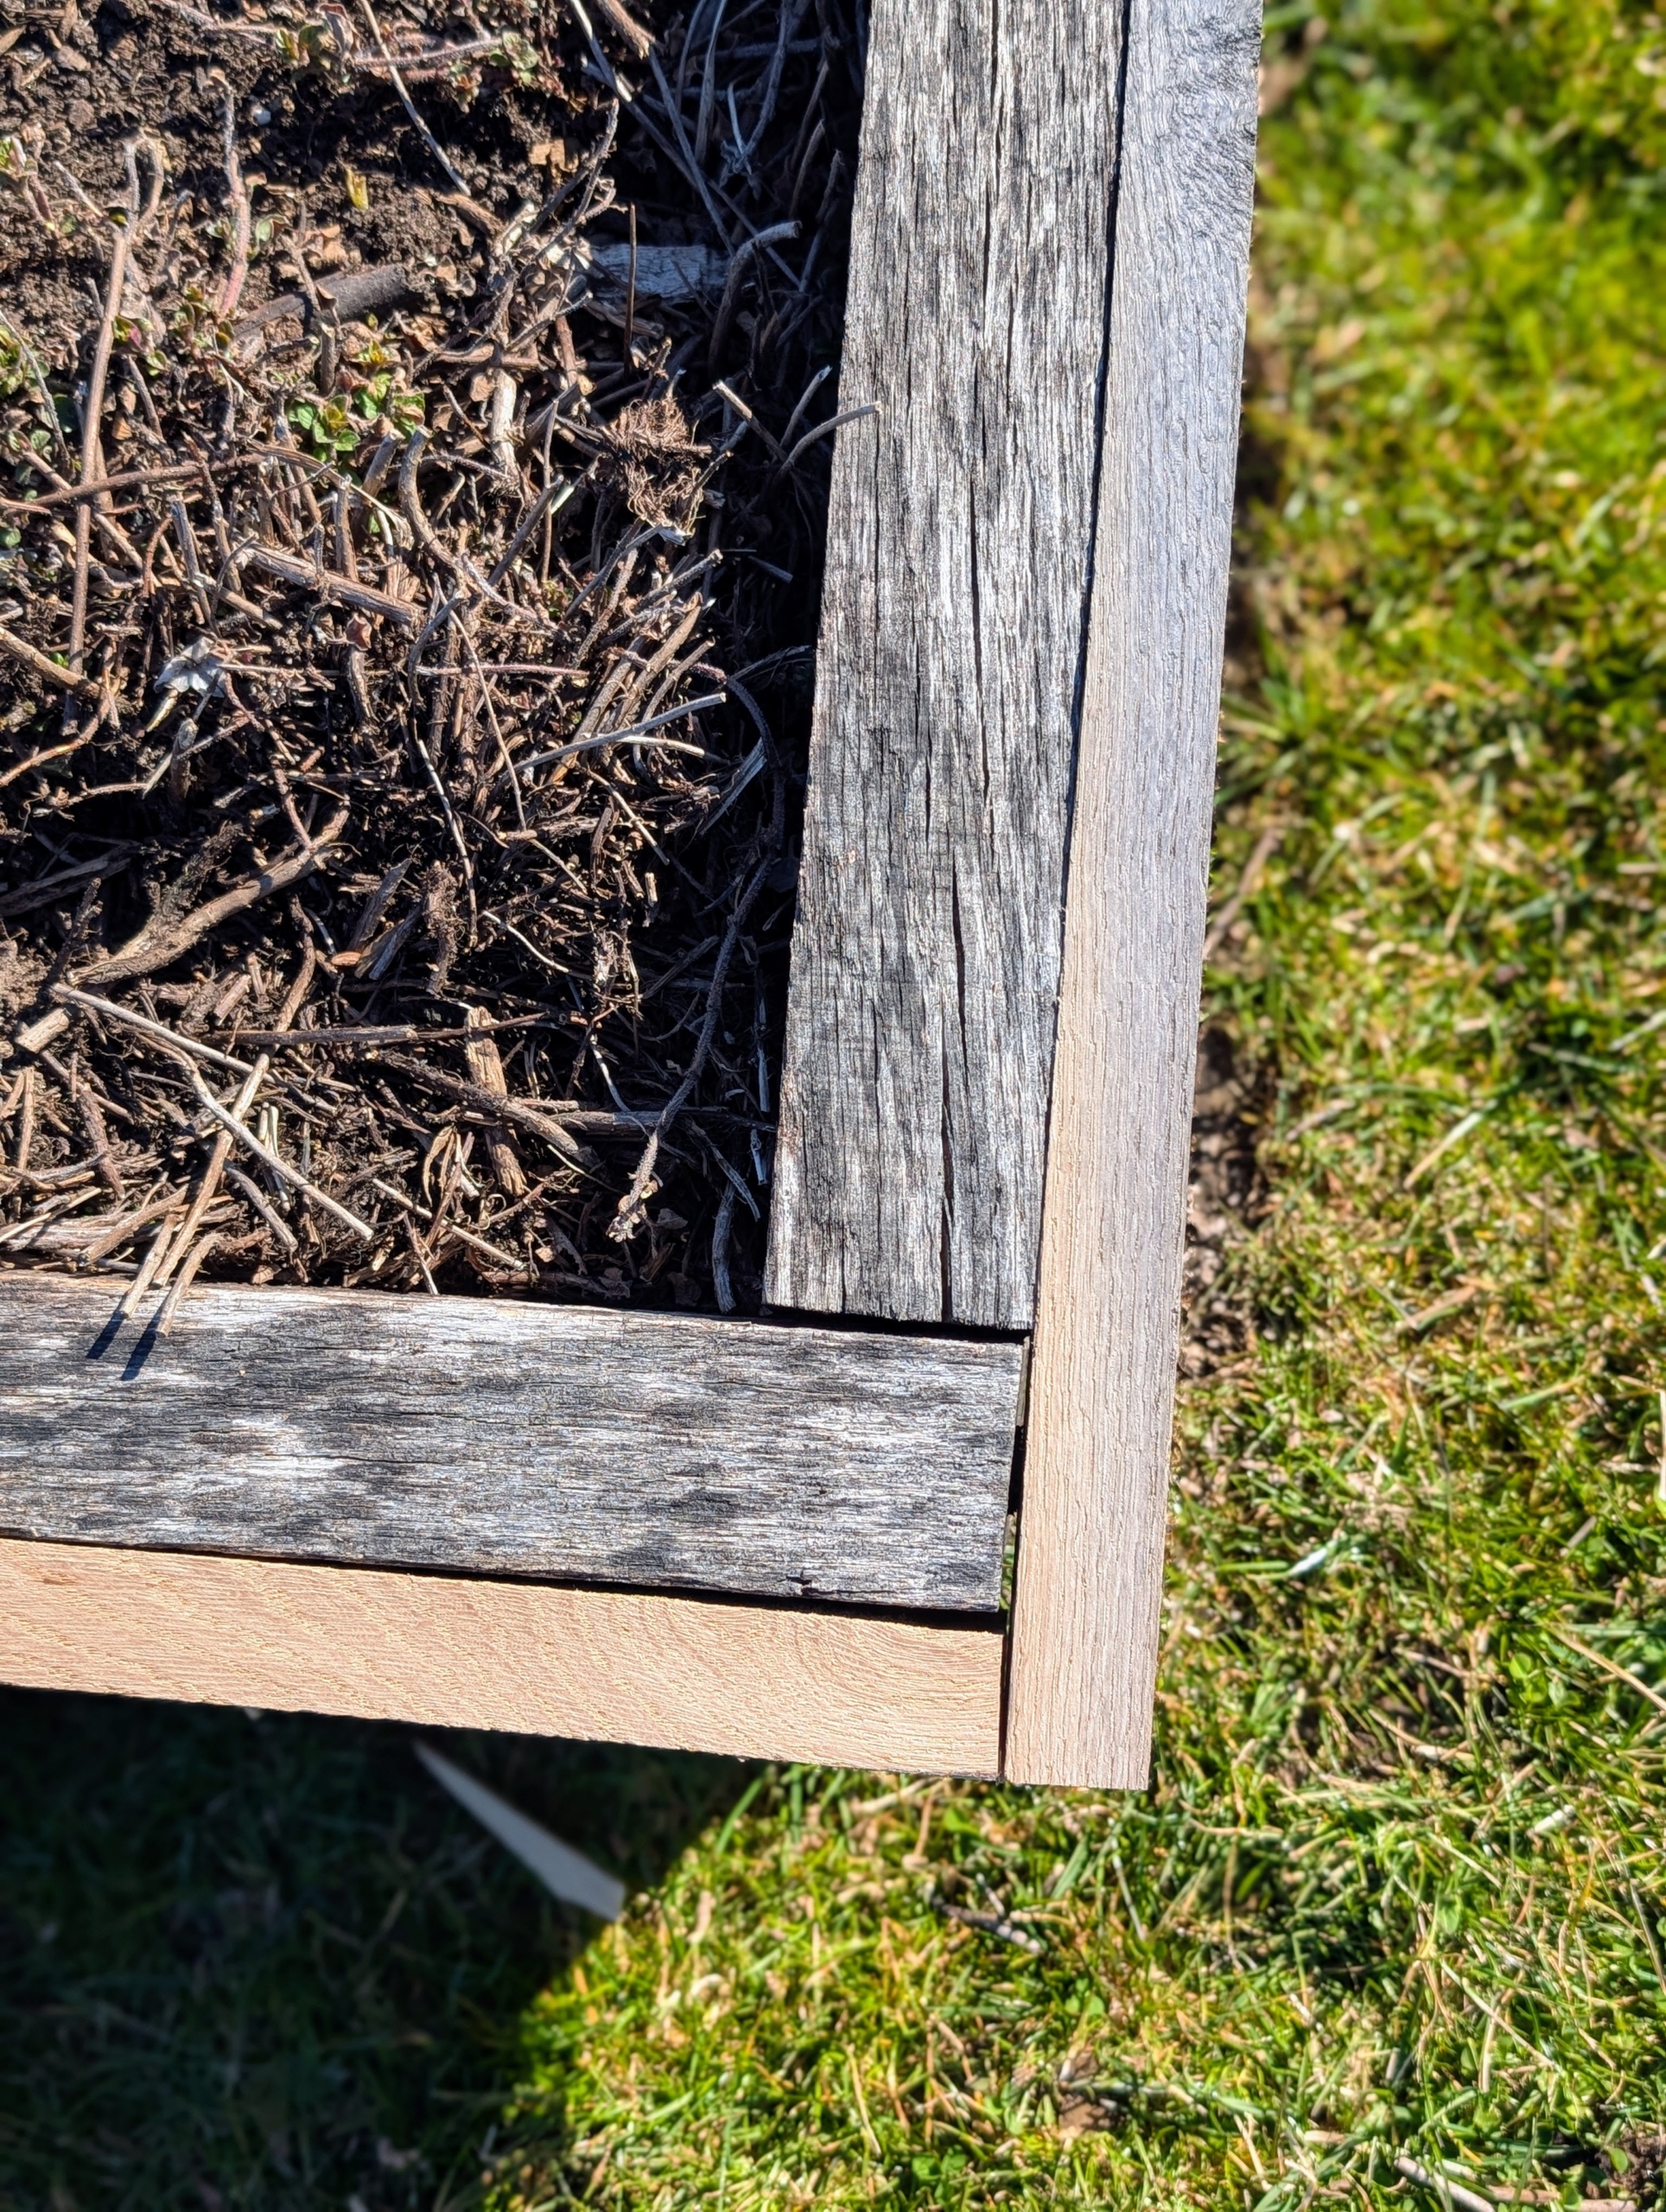
- All the garden beds are made with strong white oak, but over the seasons with so much soil amending, watering, and regular weathering, some of the raised bed frames began to wear. This side of a bed is warping.
-
- And on this bed, some of the wooden boards are weakened and becoming misaligned. Replacing all of the beds would have been time consuming and costly, but it was important to repair the beds for the new growing season, so a plan was devised to reinforce the existing frames.
-
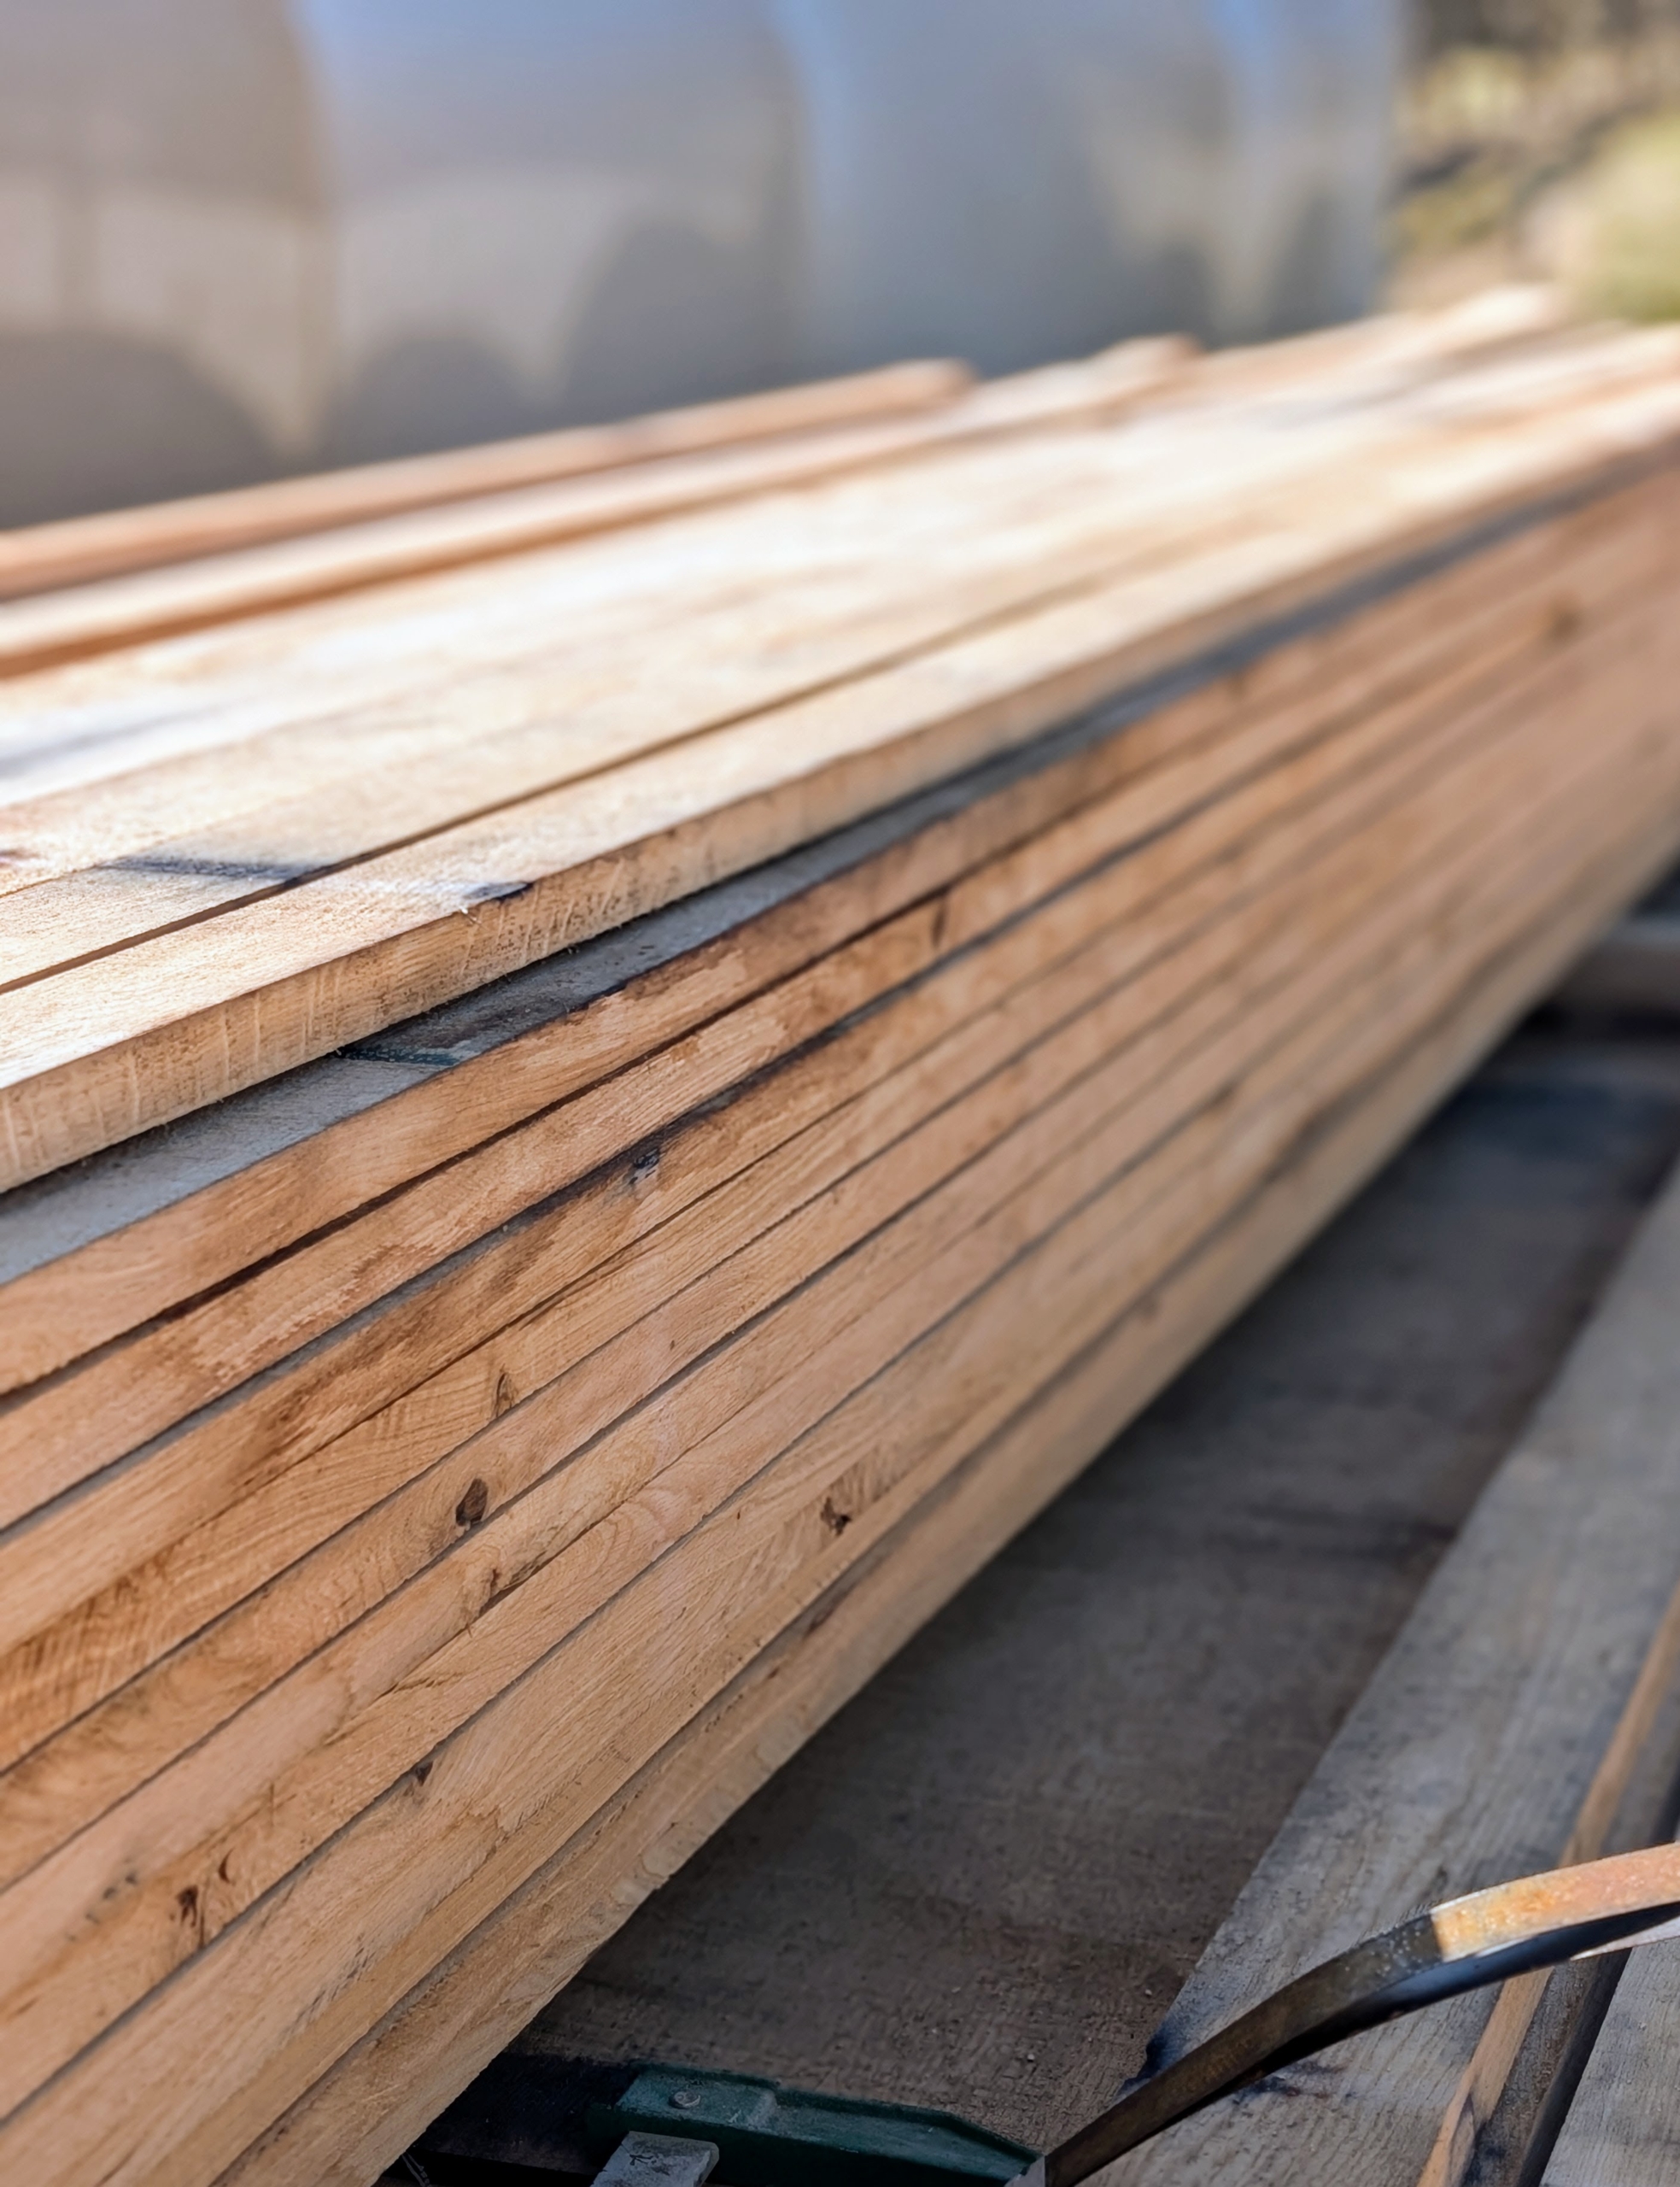
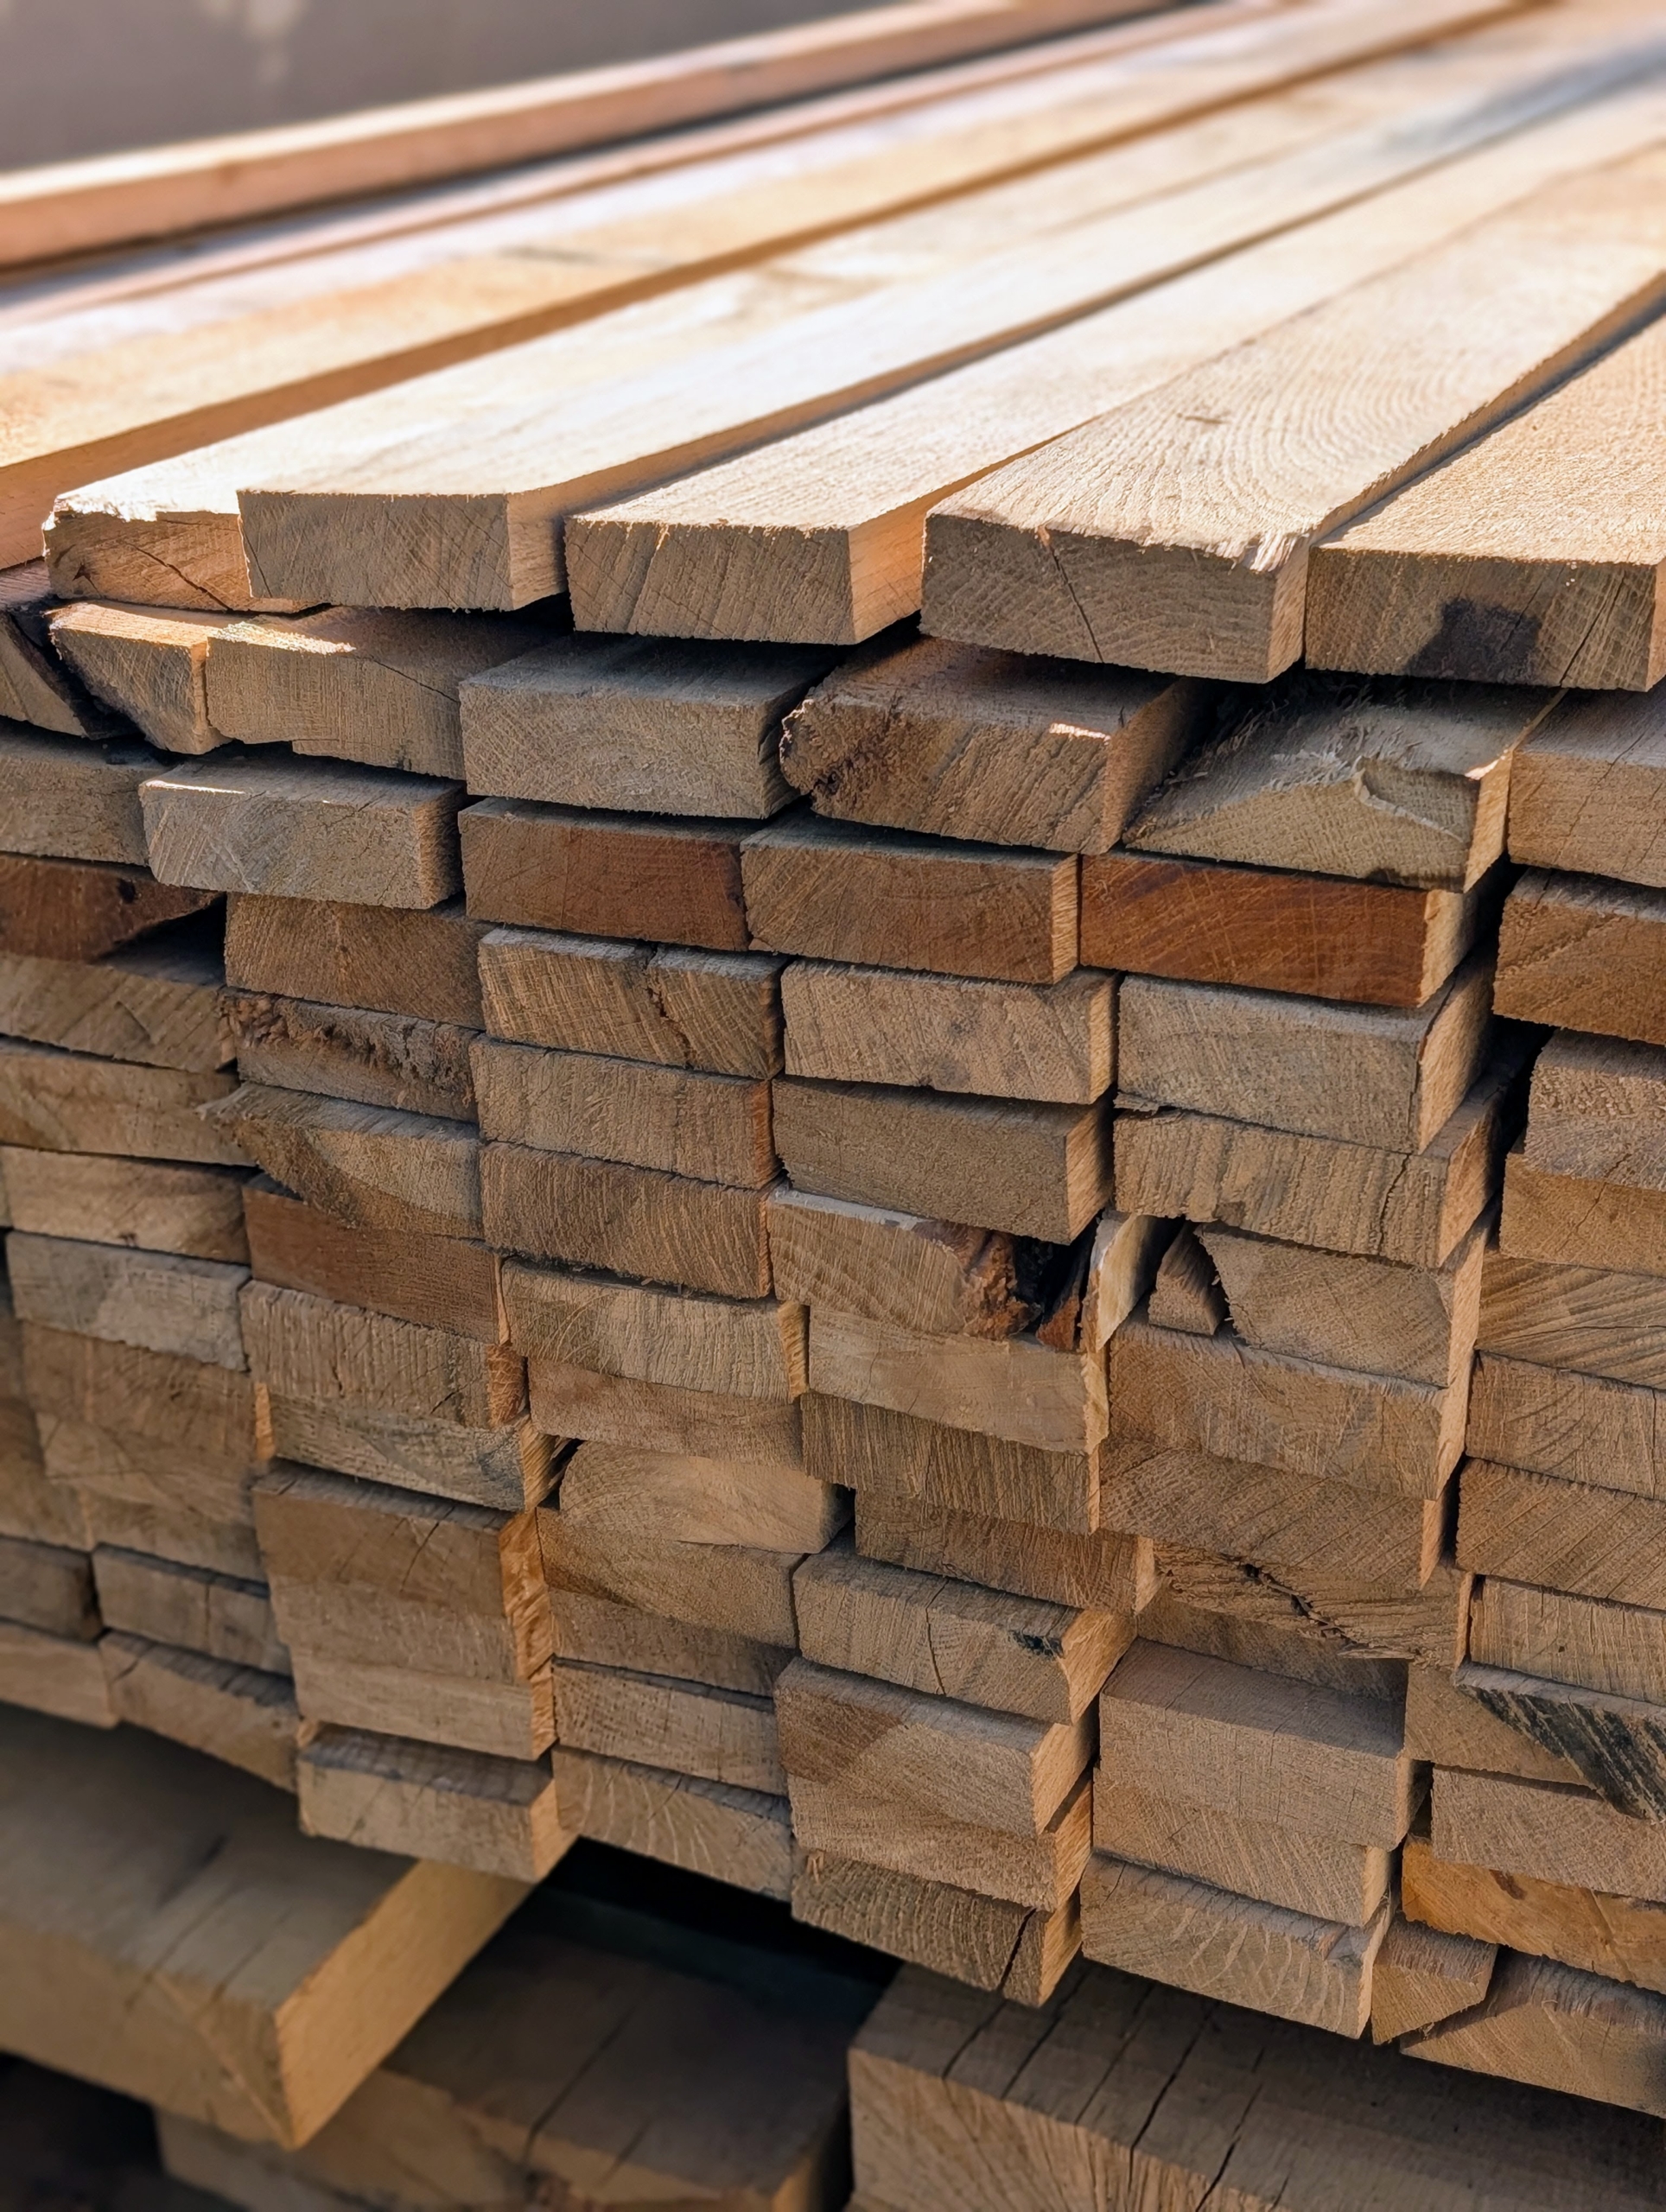
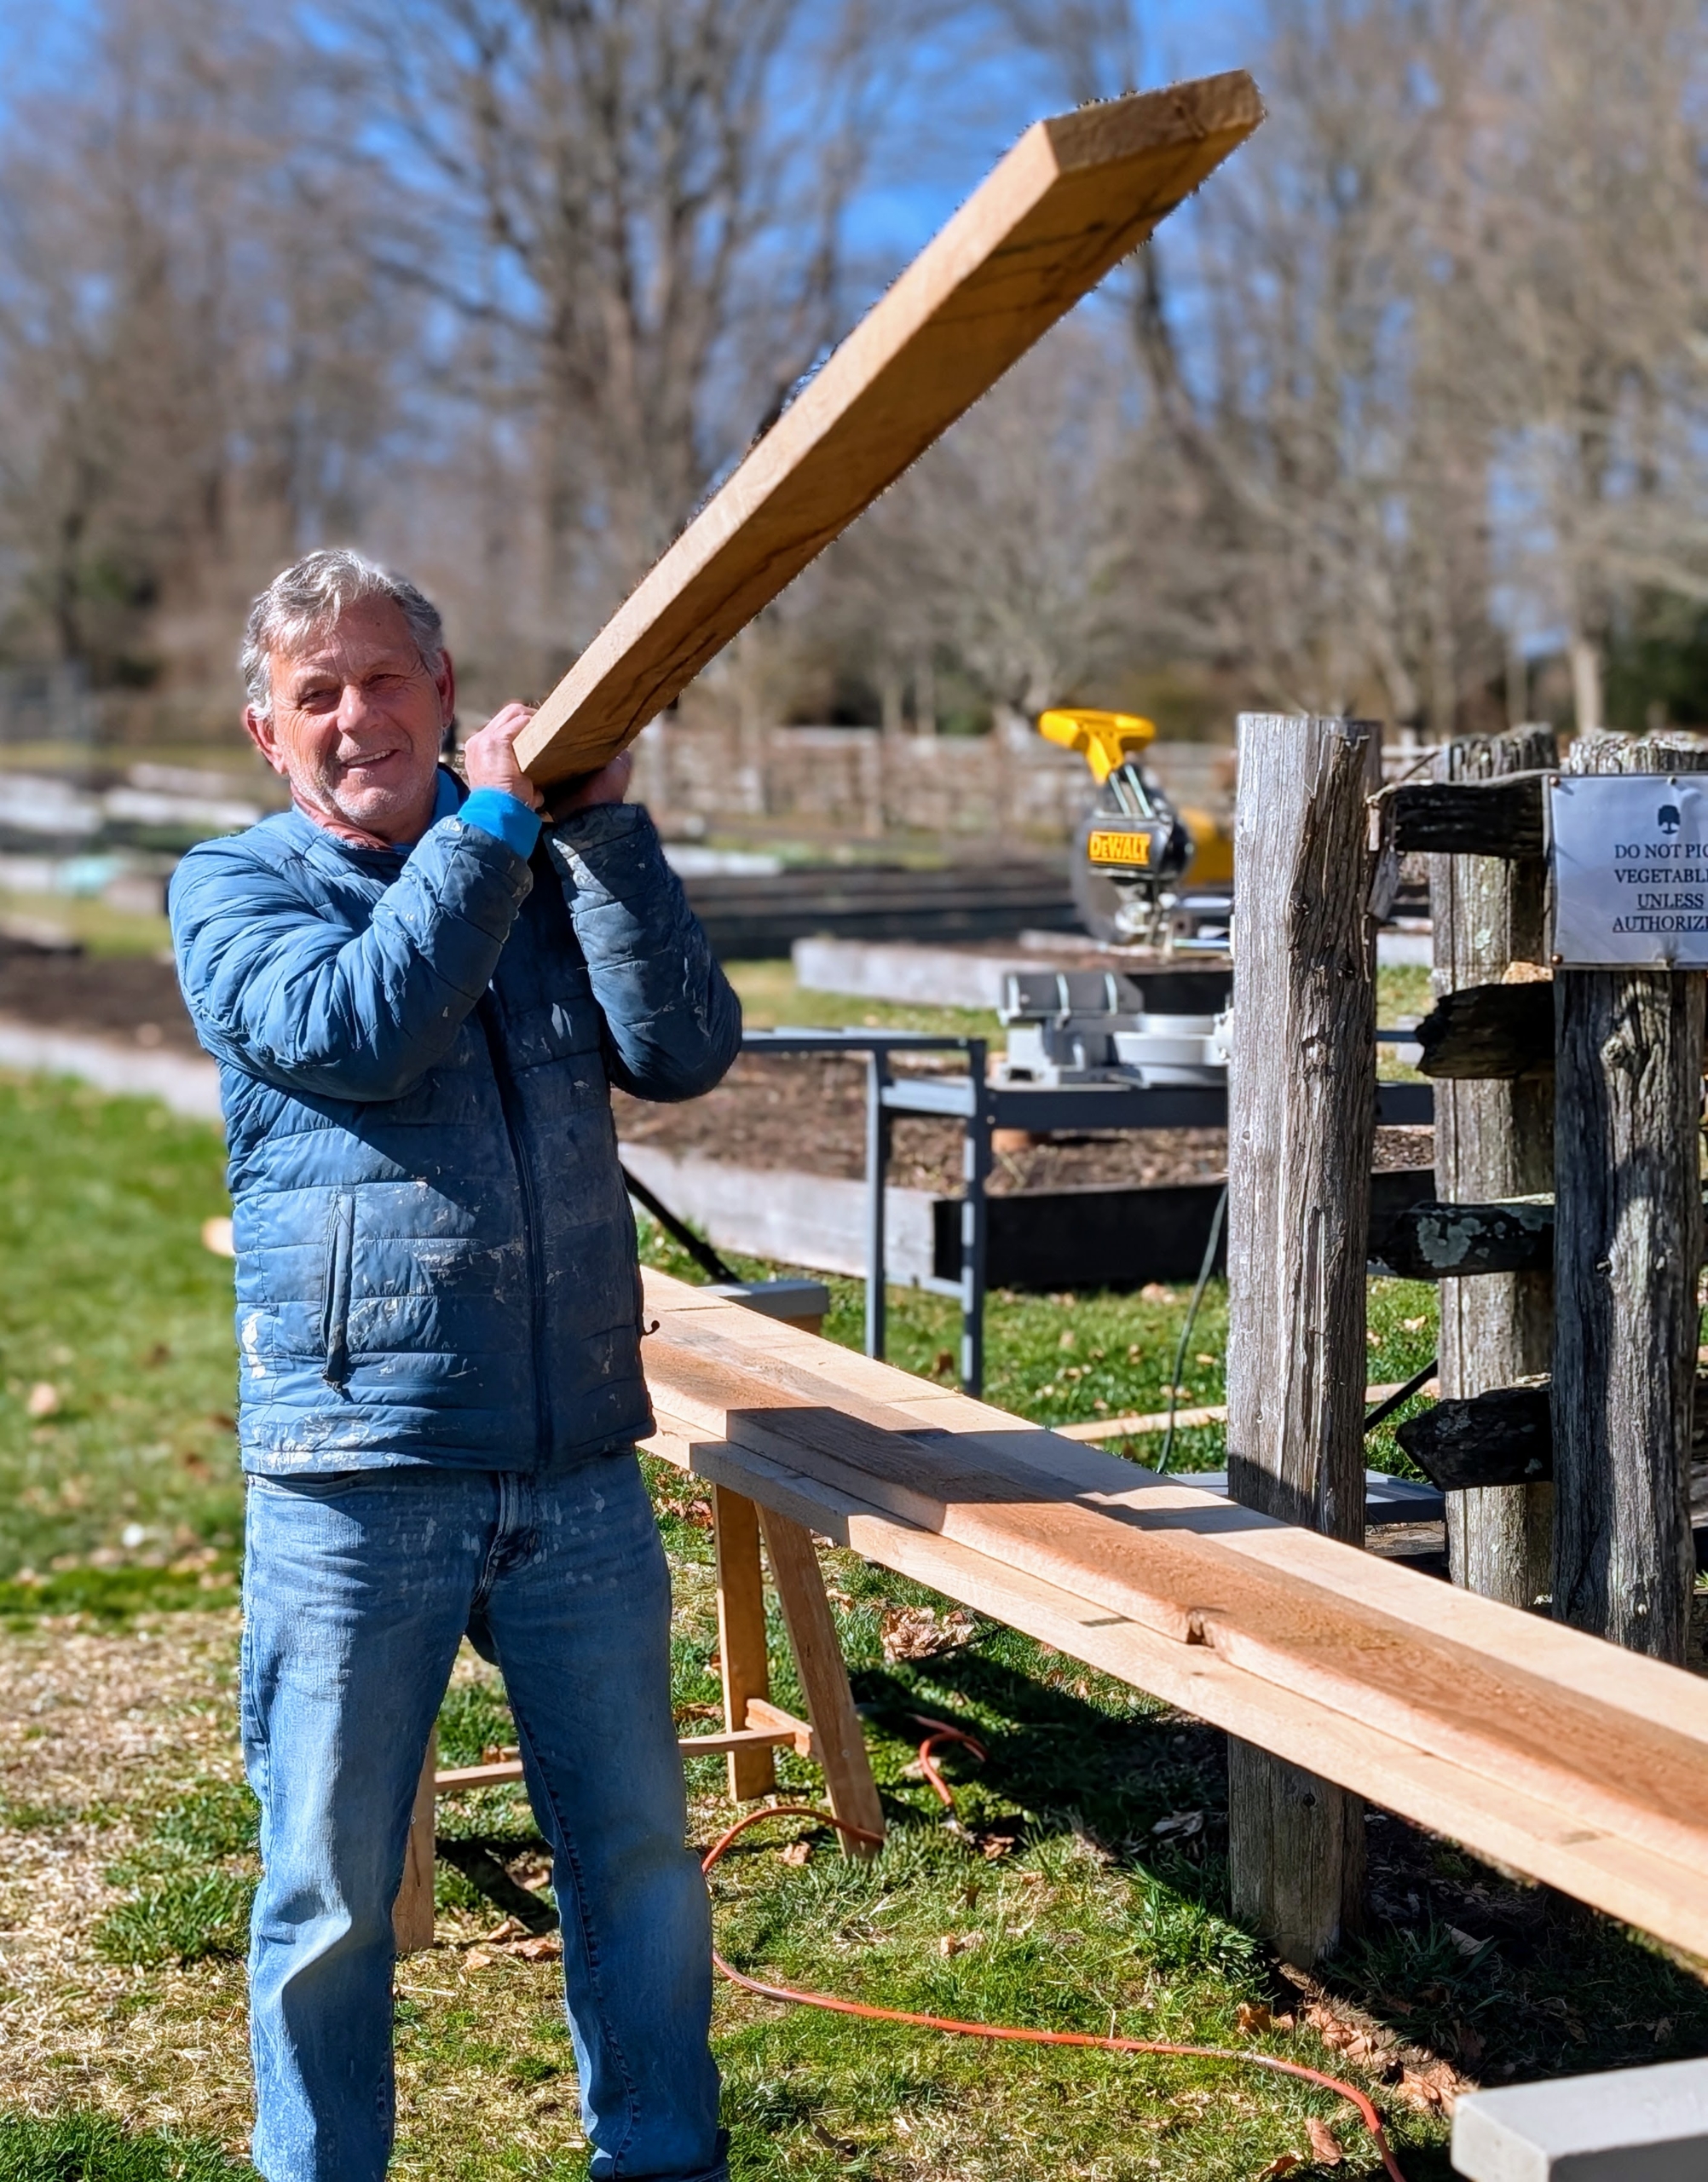
- I ordered some wood from Mauricio Guevara, owner of New England Lumber Inc., in Mount Kisco, New York and Westport, Connecticut.
-
- This is also naturally straight-grained white oak.
-
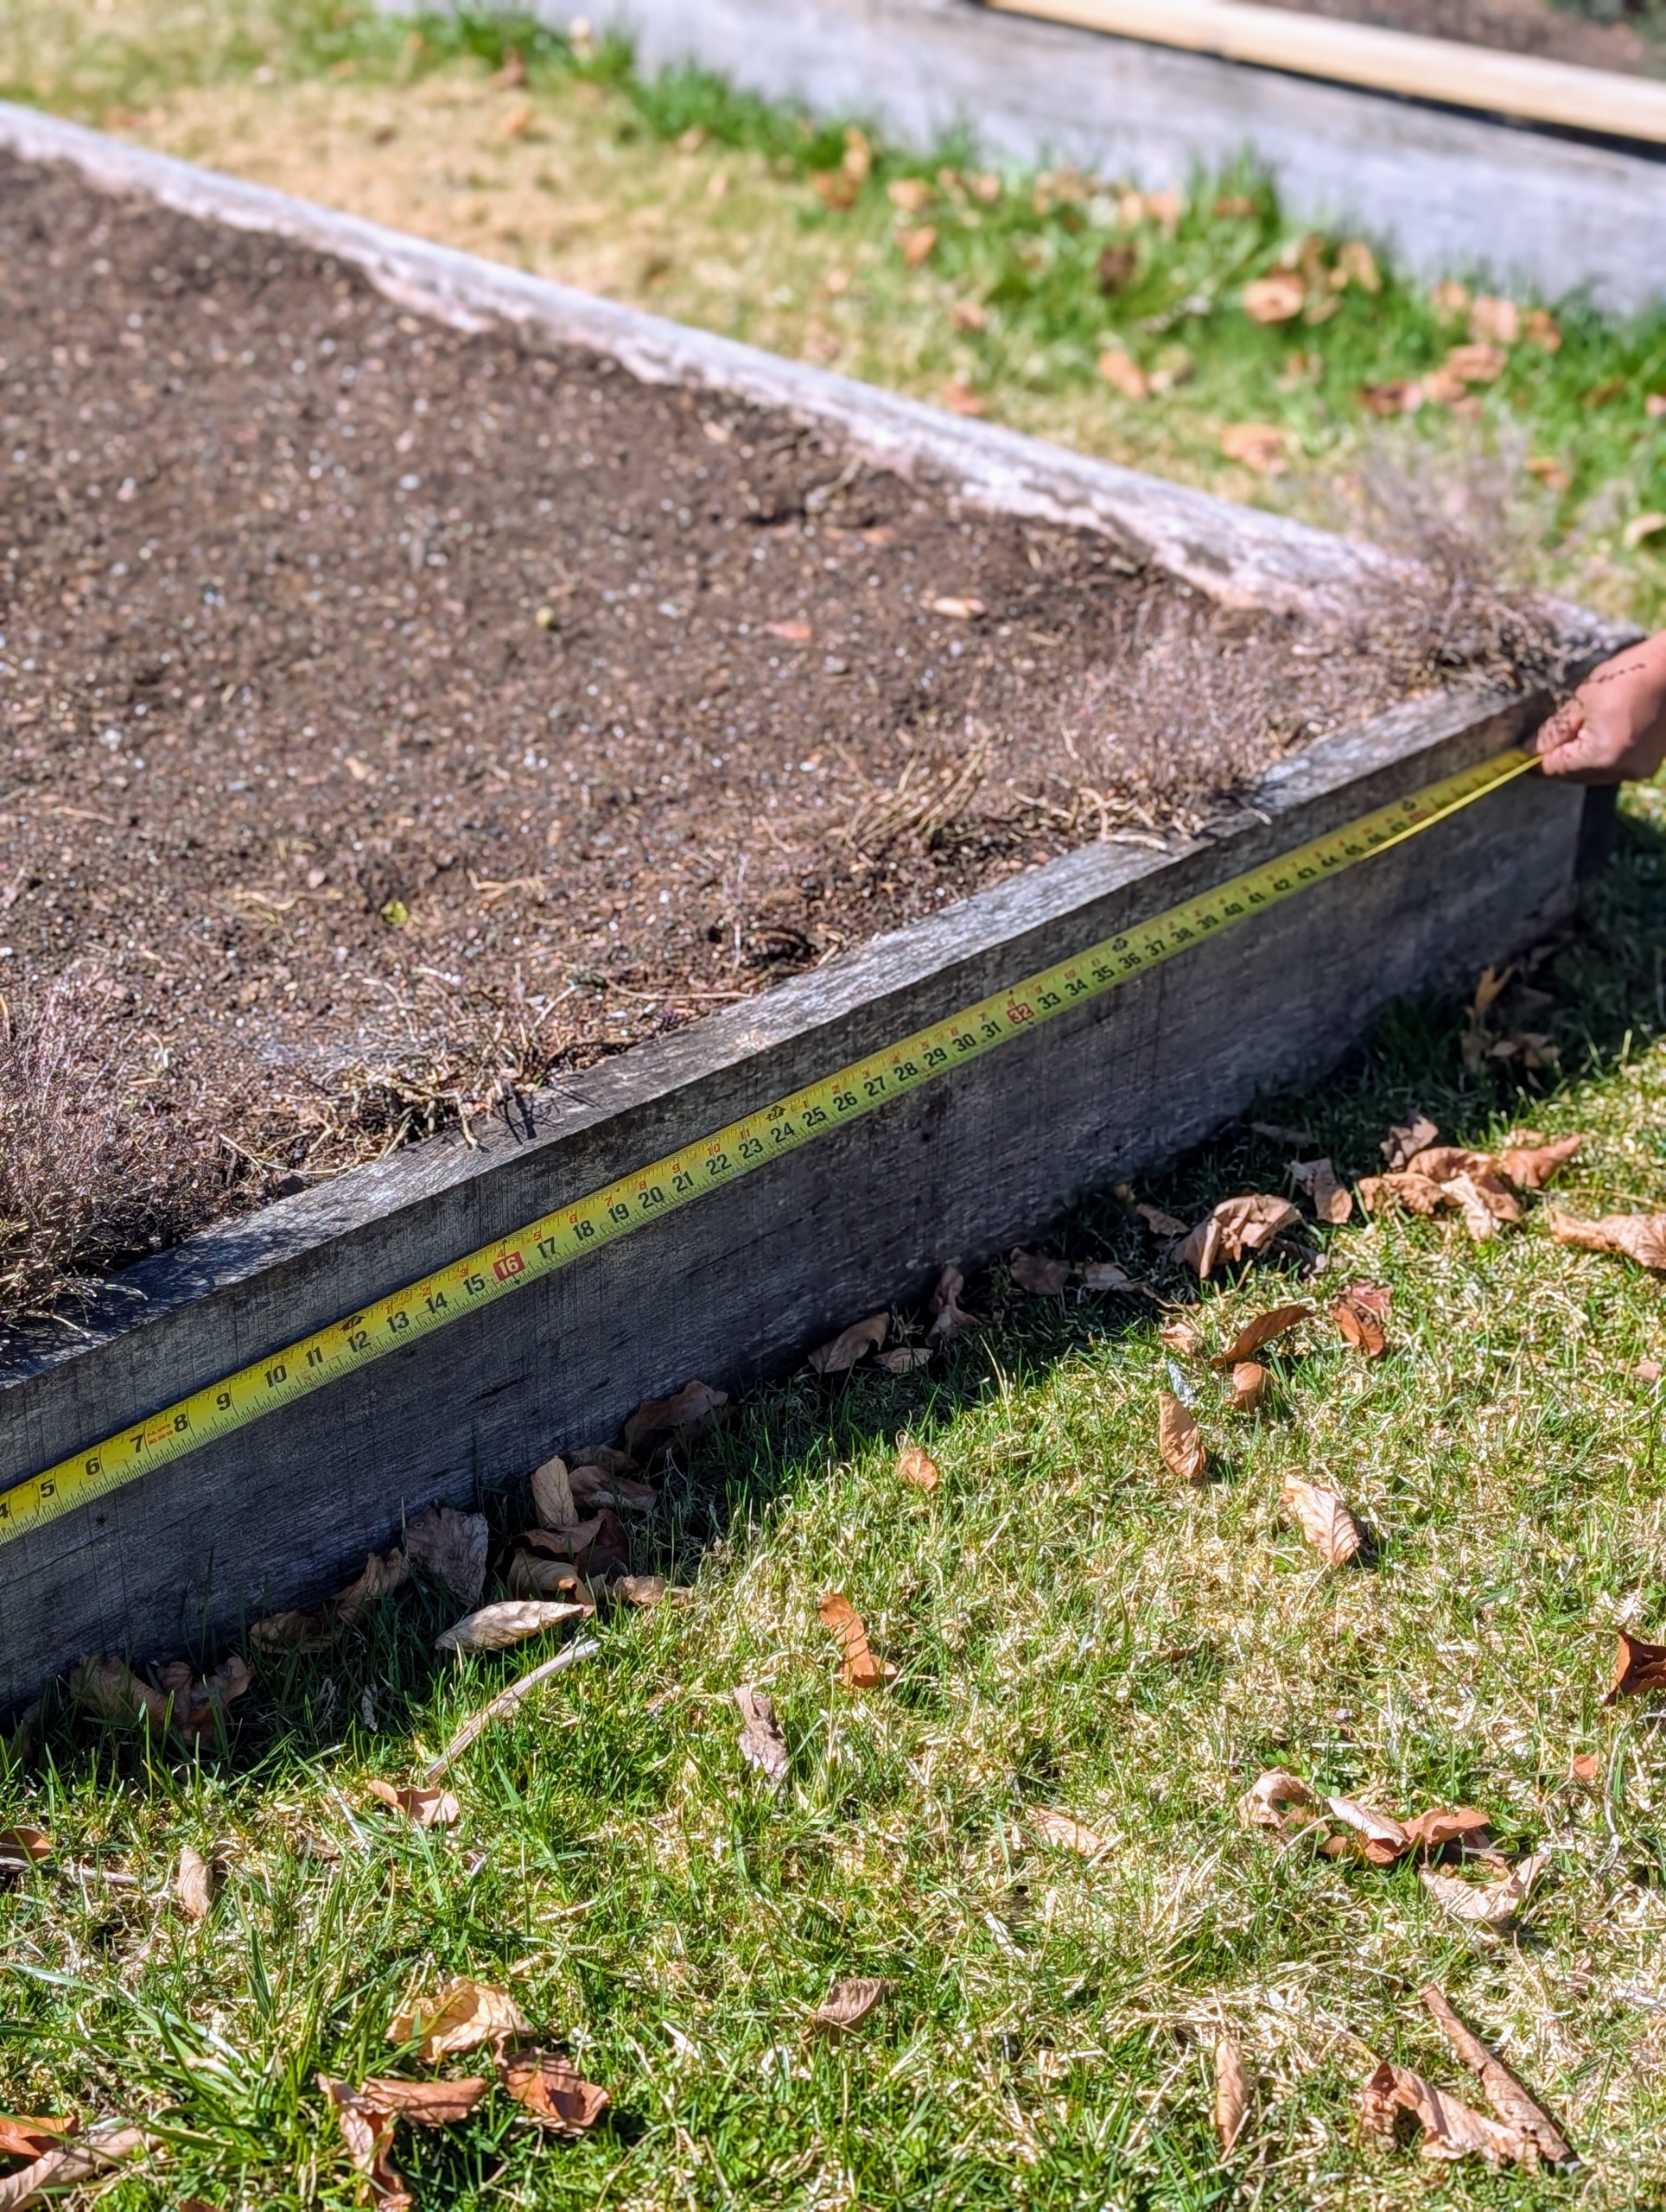
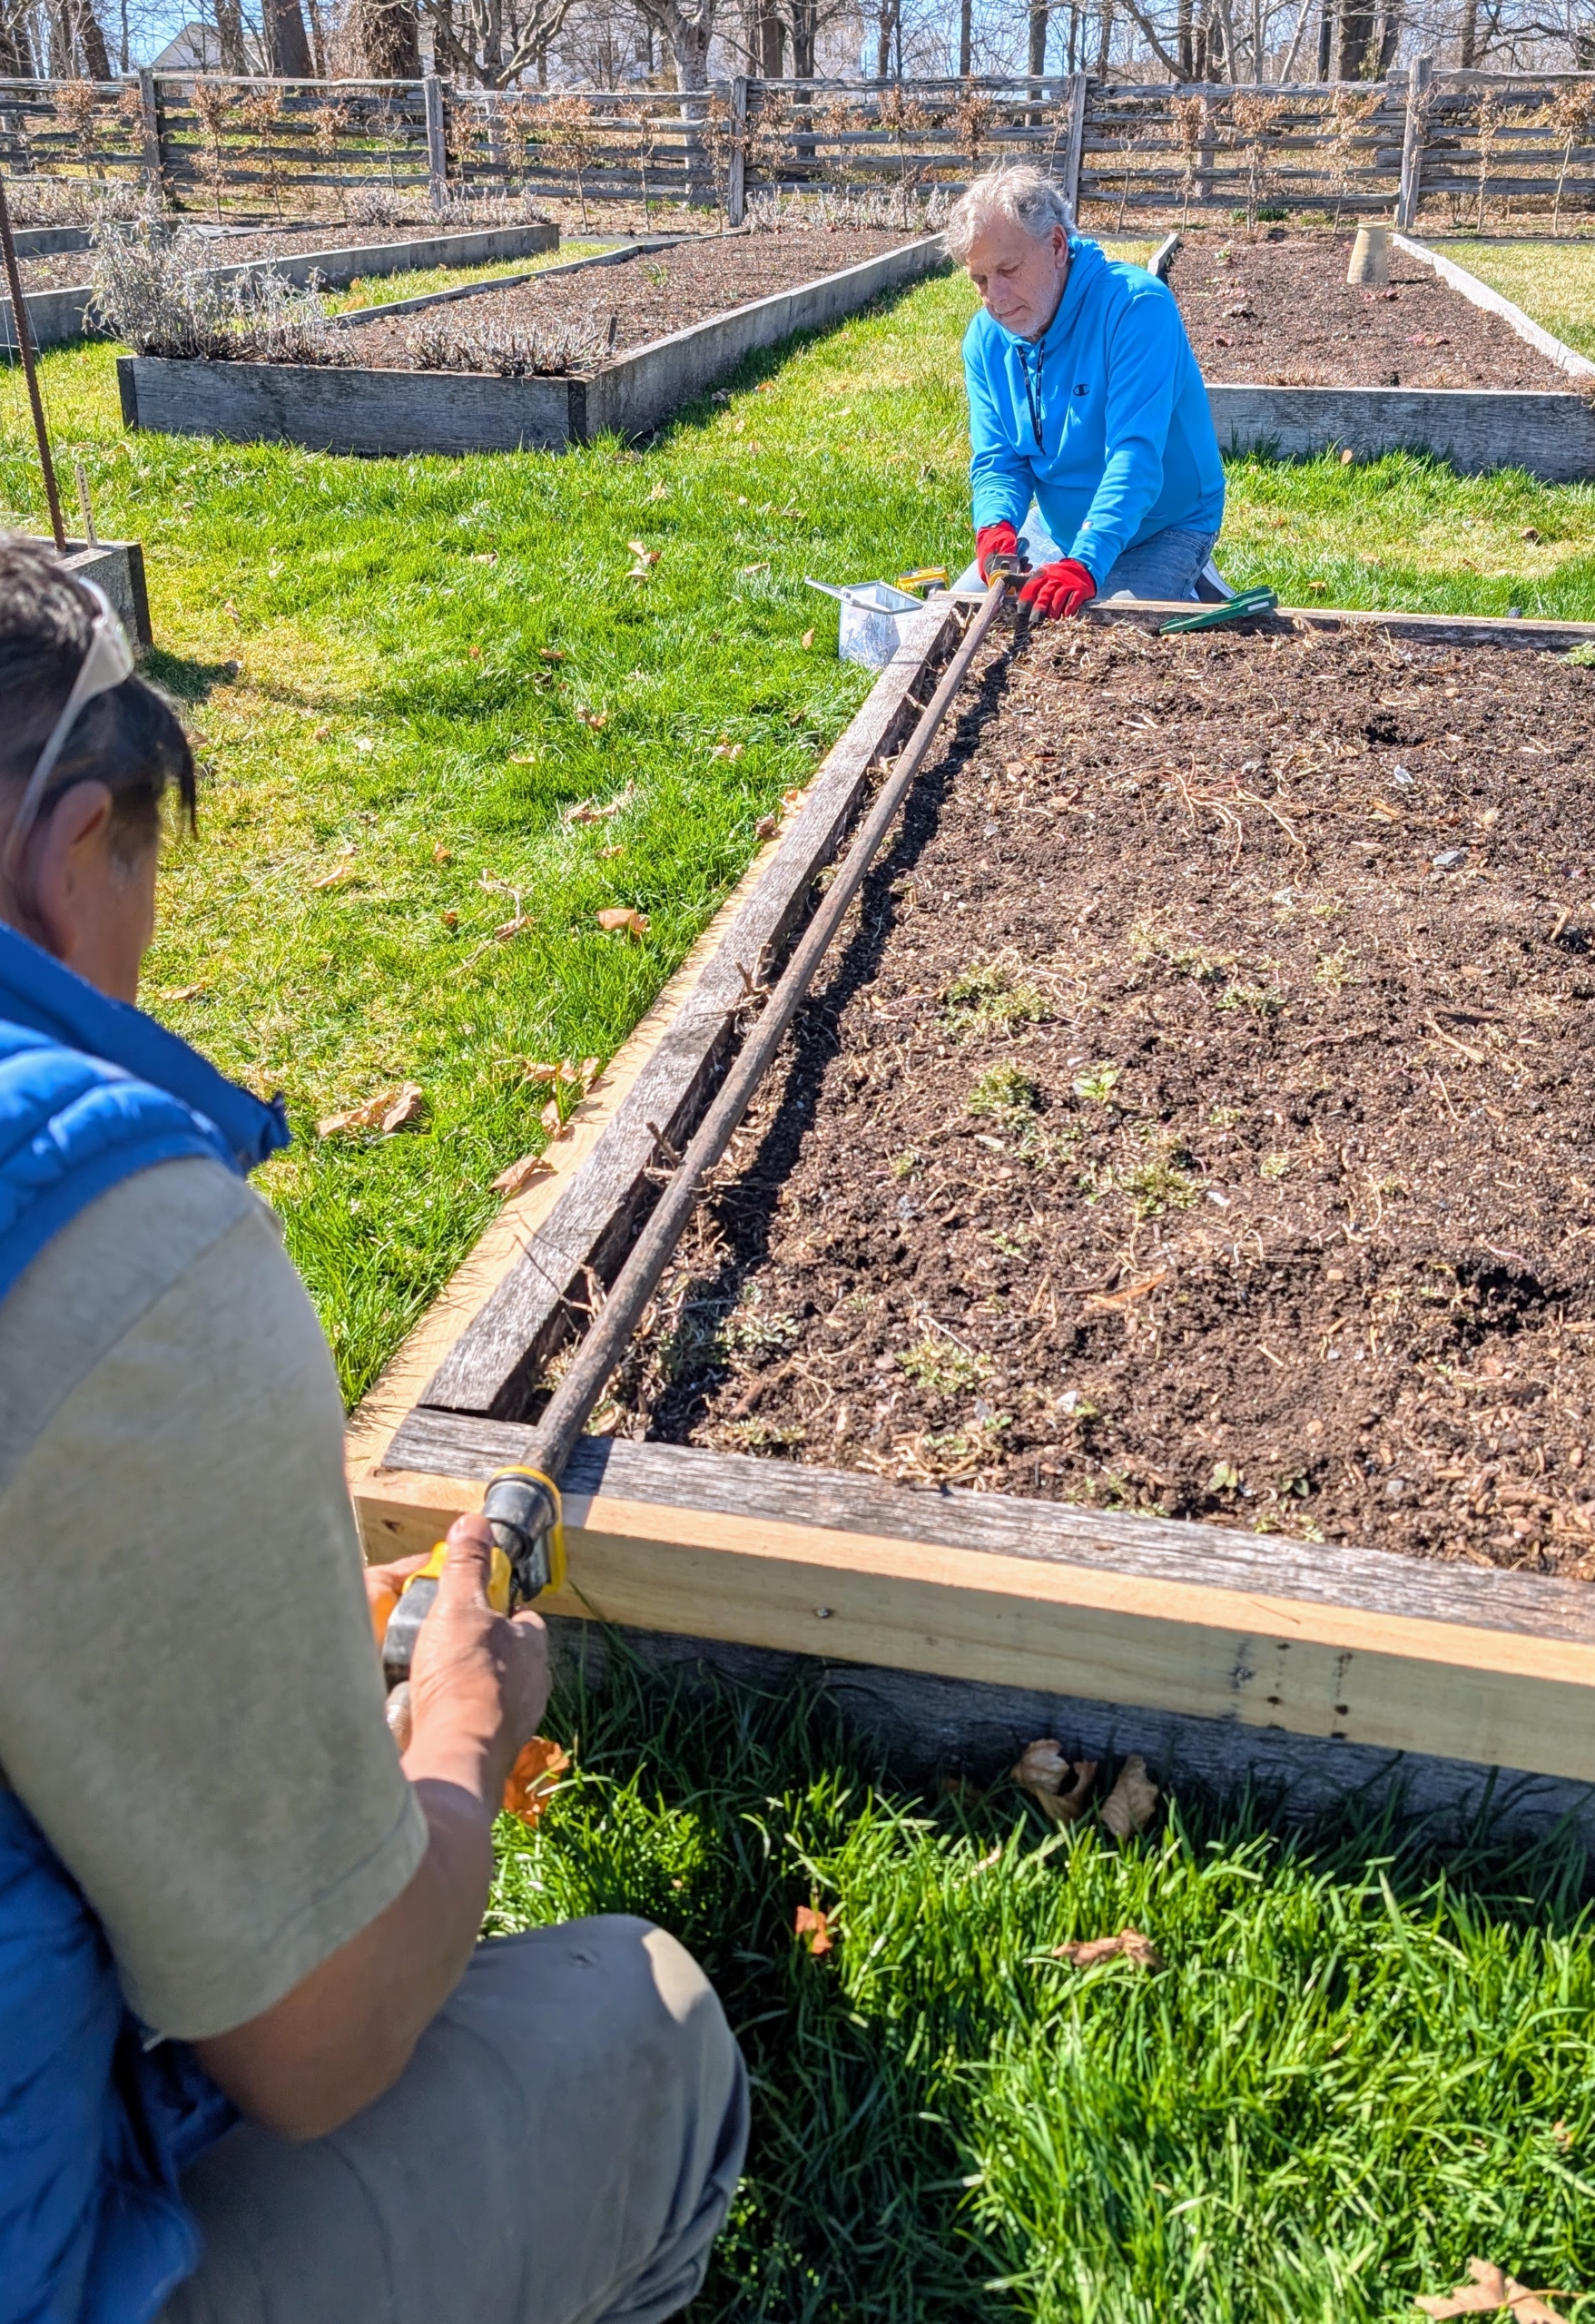
- Pete measures each bed precisely. Remember the old adage, “measure twice, cut once.”
-
- Fernando helps to deliver the wood to the saw right on site. I always encourage my crew to bring all the right tools for the right job.
-
- Here’s Pete cutting the boards carefully and accurately.

-
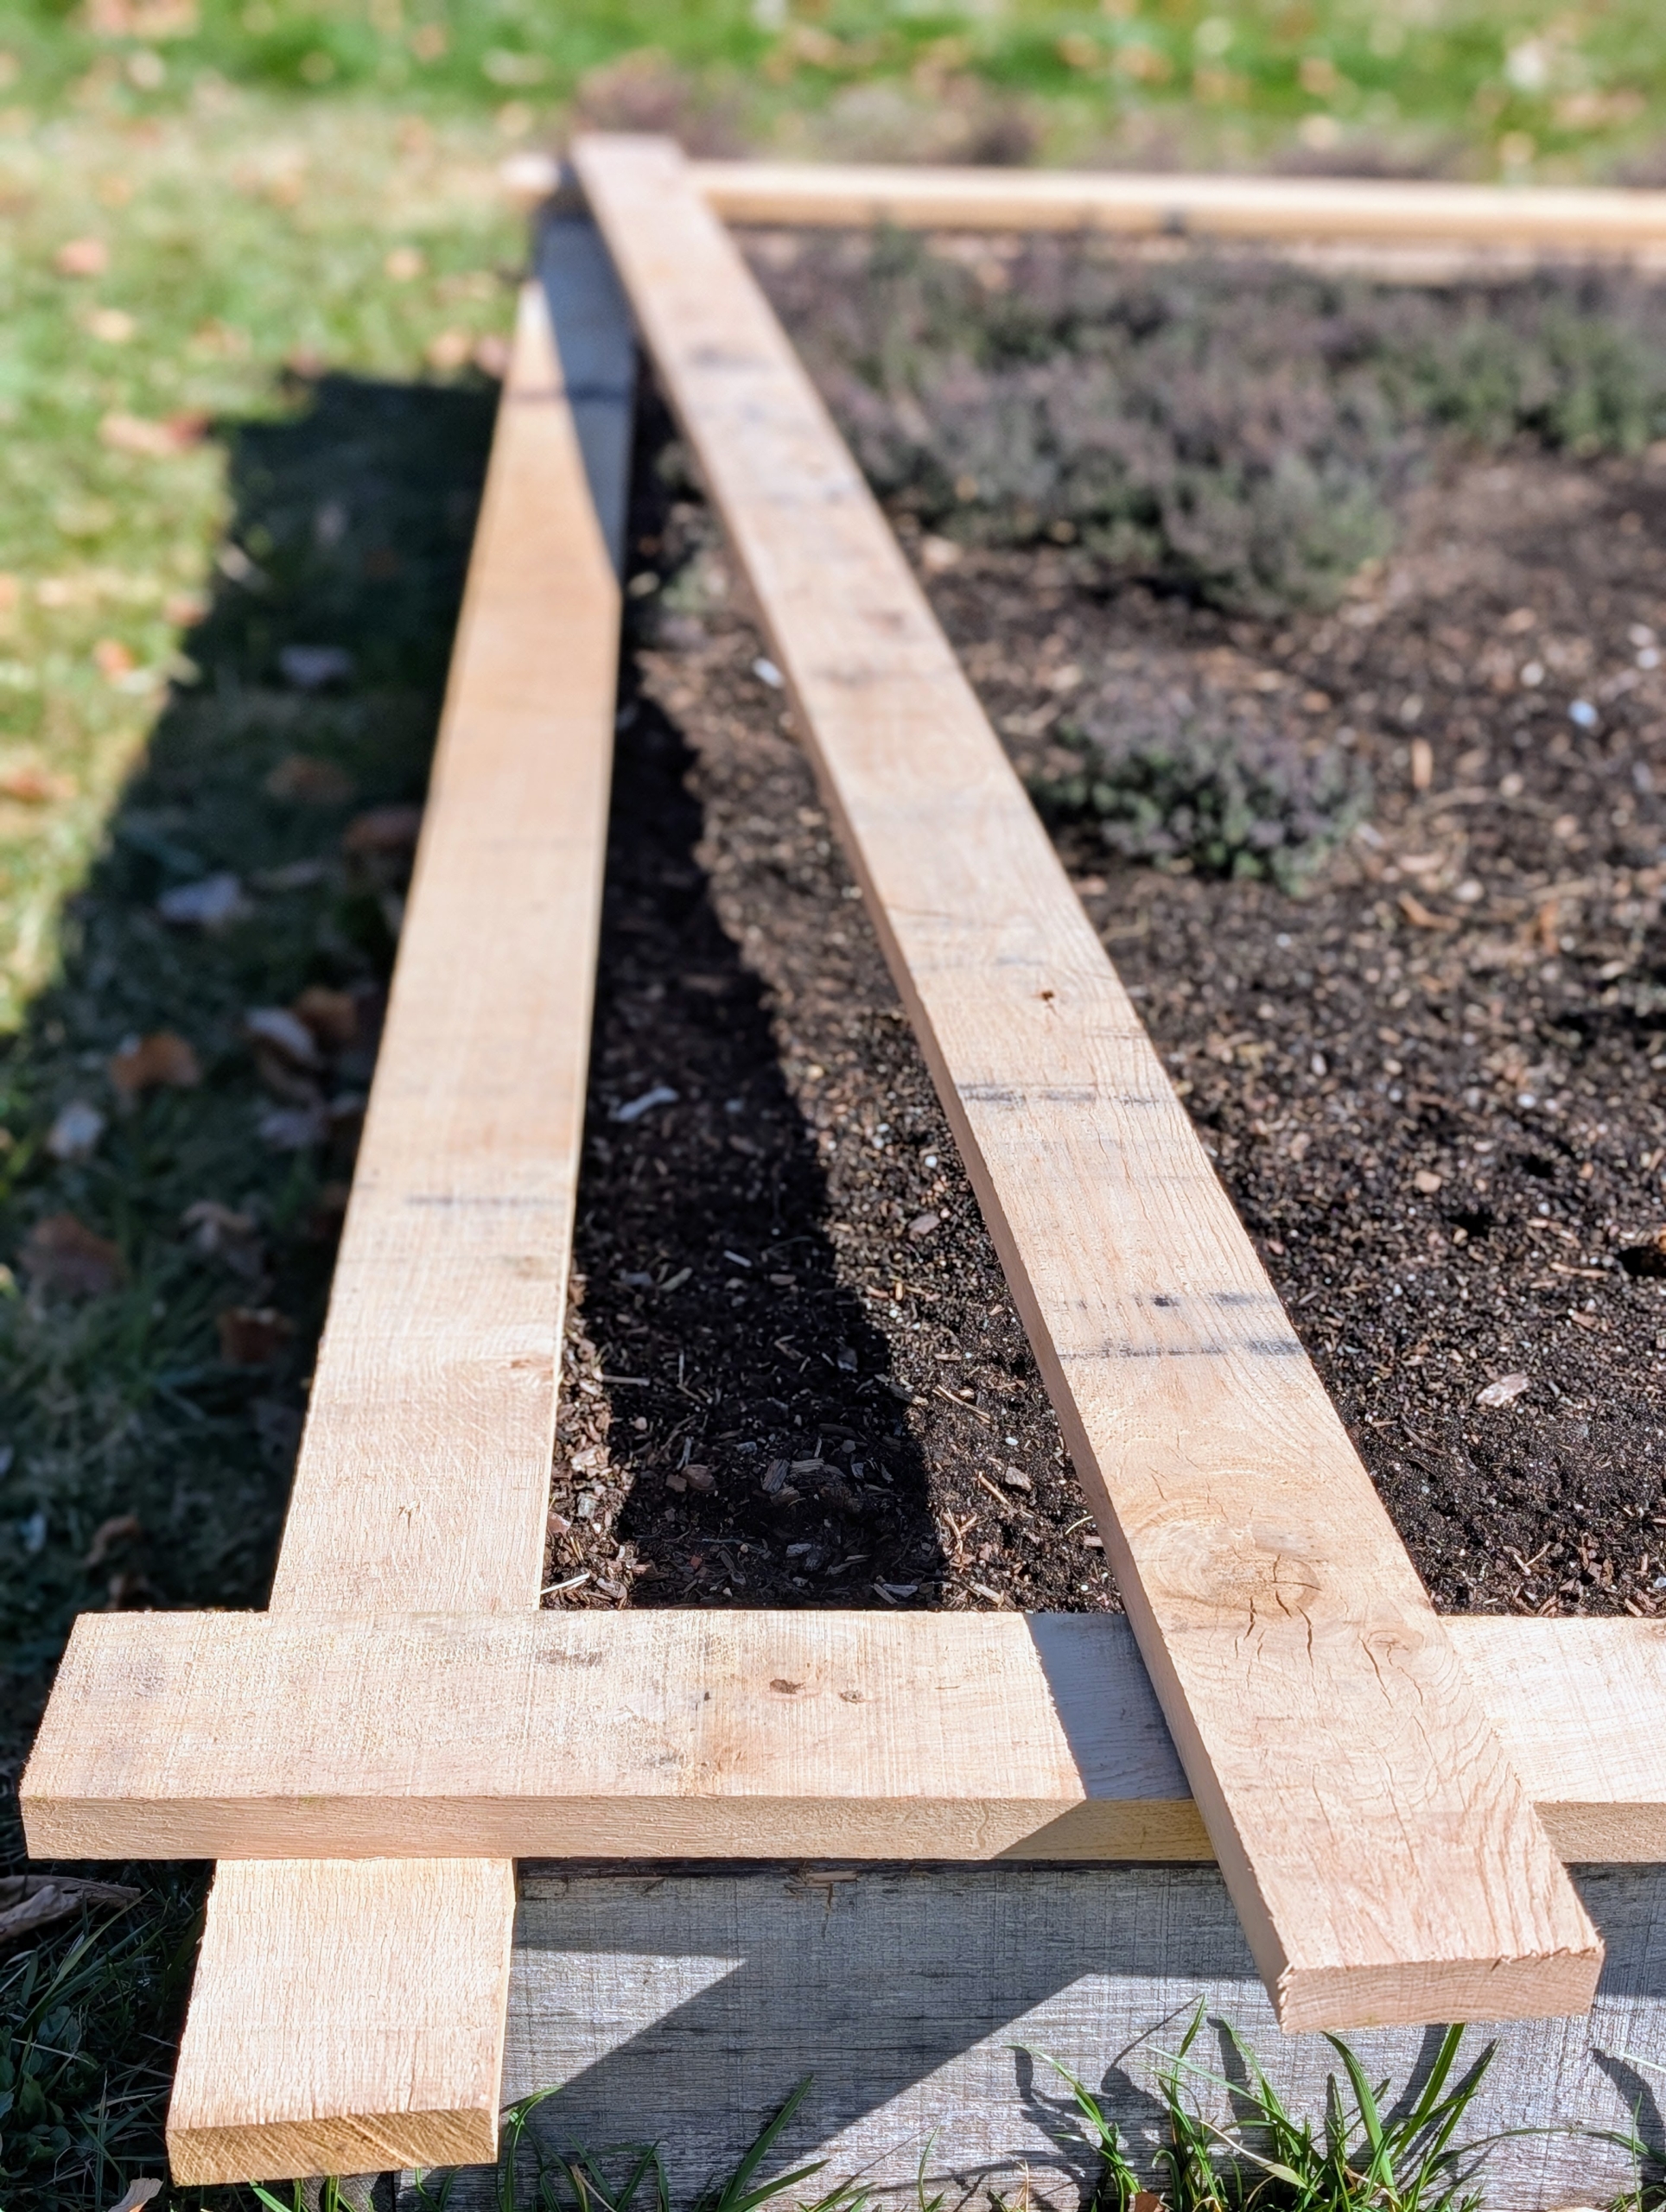
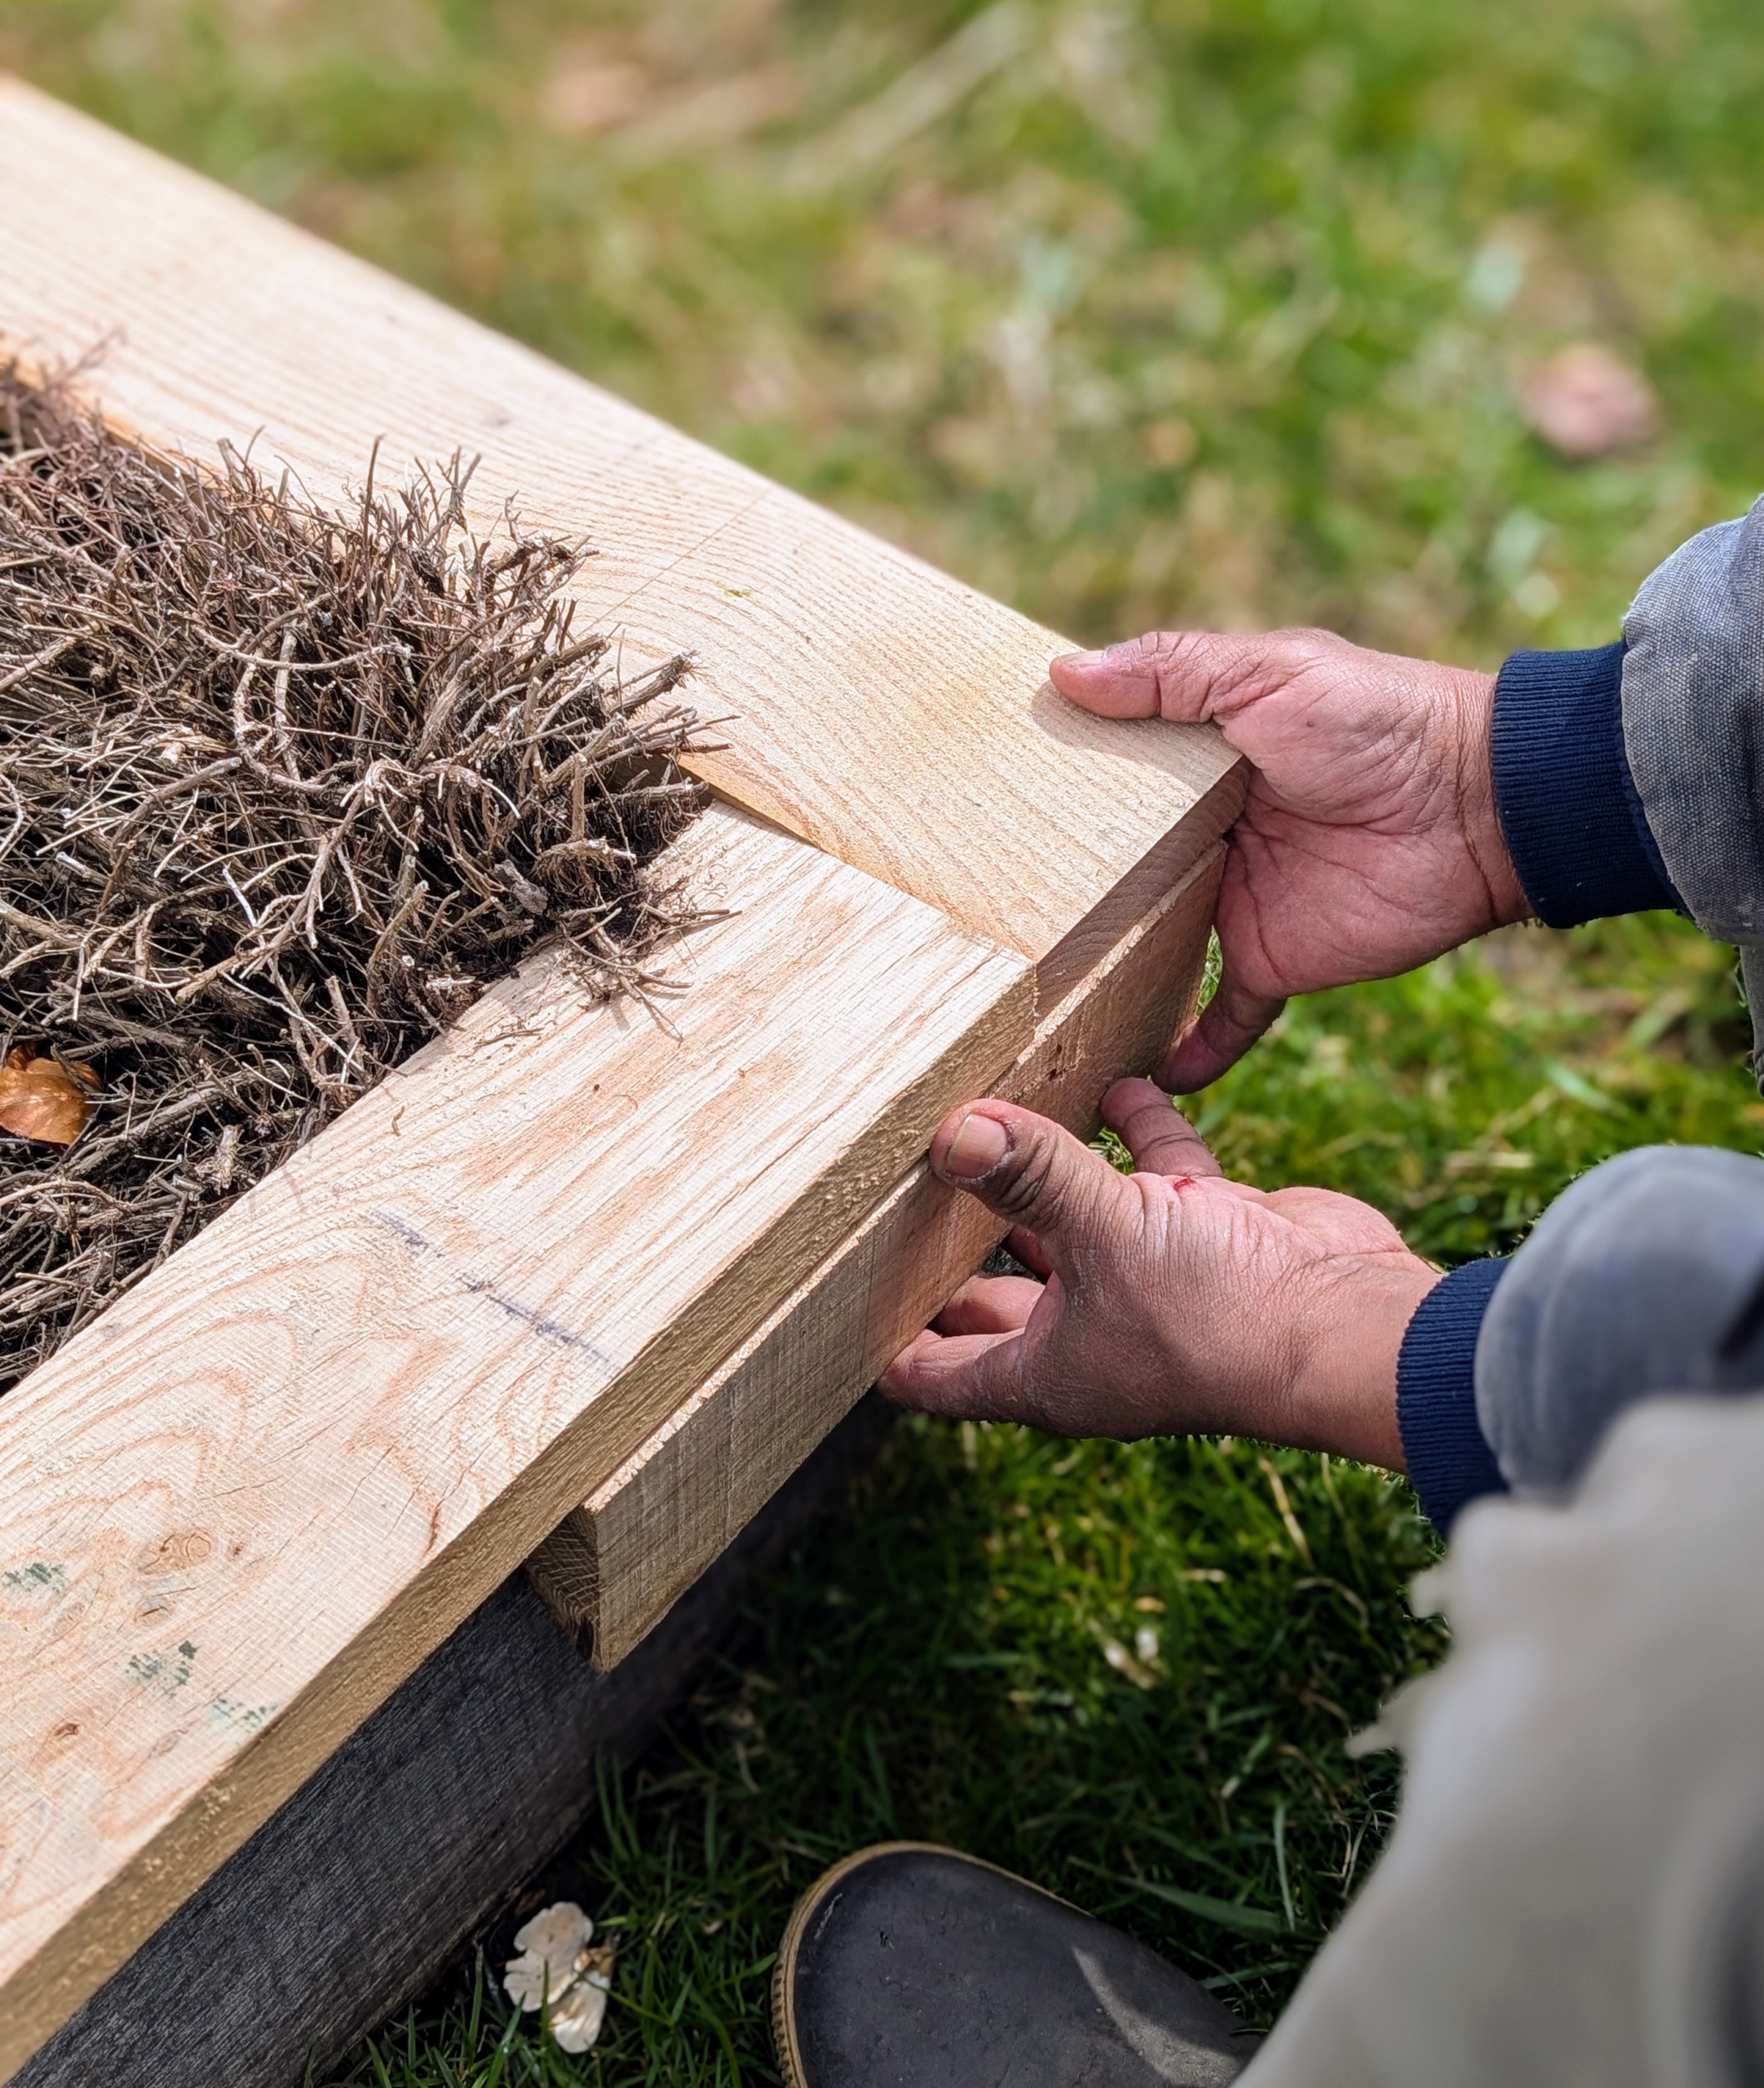
- Each board is placed by the bed to ensure the sizes are perfect. Eight pieces are needed for each bed.
-
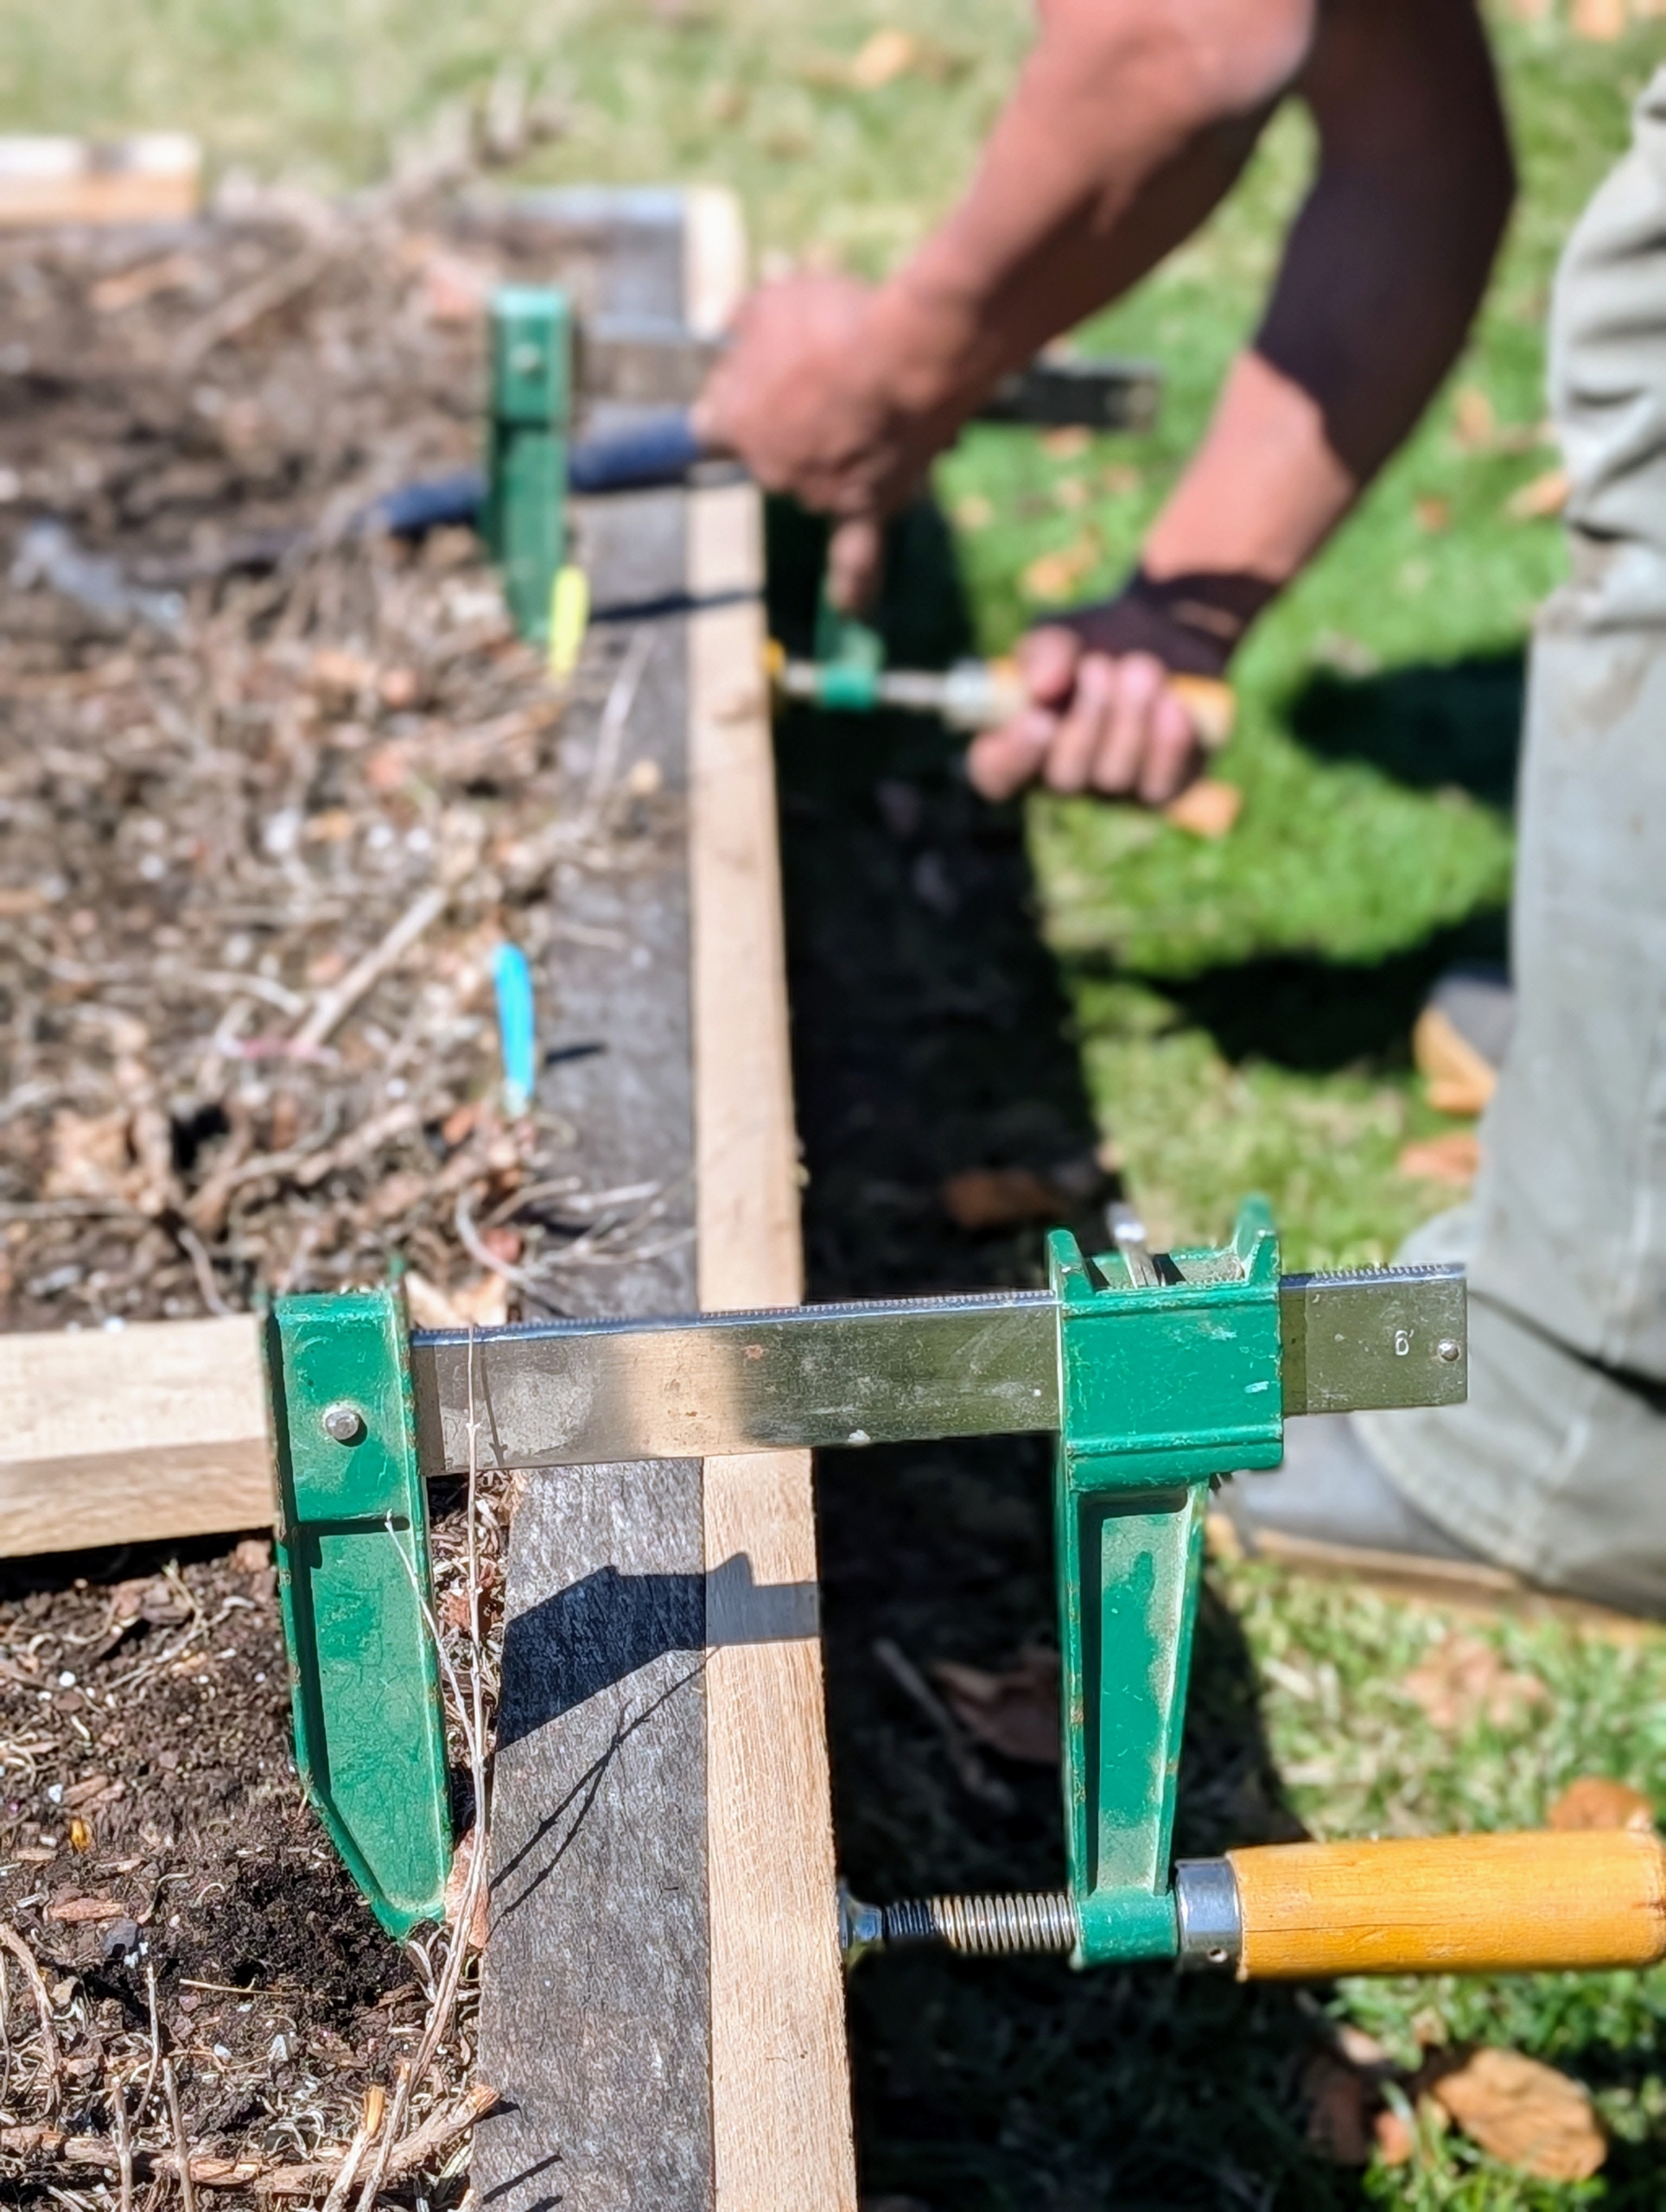
- Pete and Fernando clamp the new wooden board pieces to the existing frame.
-
- Here, they also clamp one side to the other to help align them properly if needed.
-
- Pete uses a hammer to level the top new piece with the existing piece.
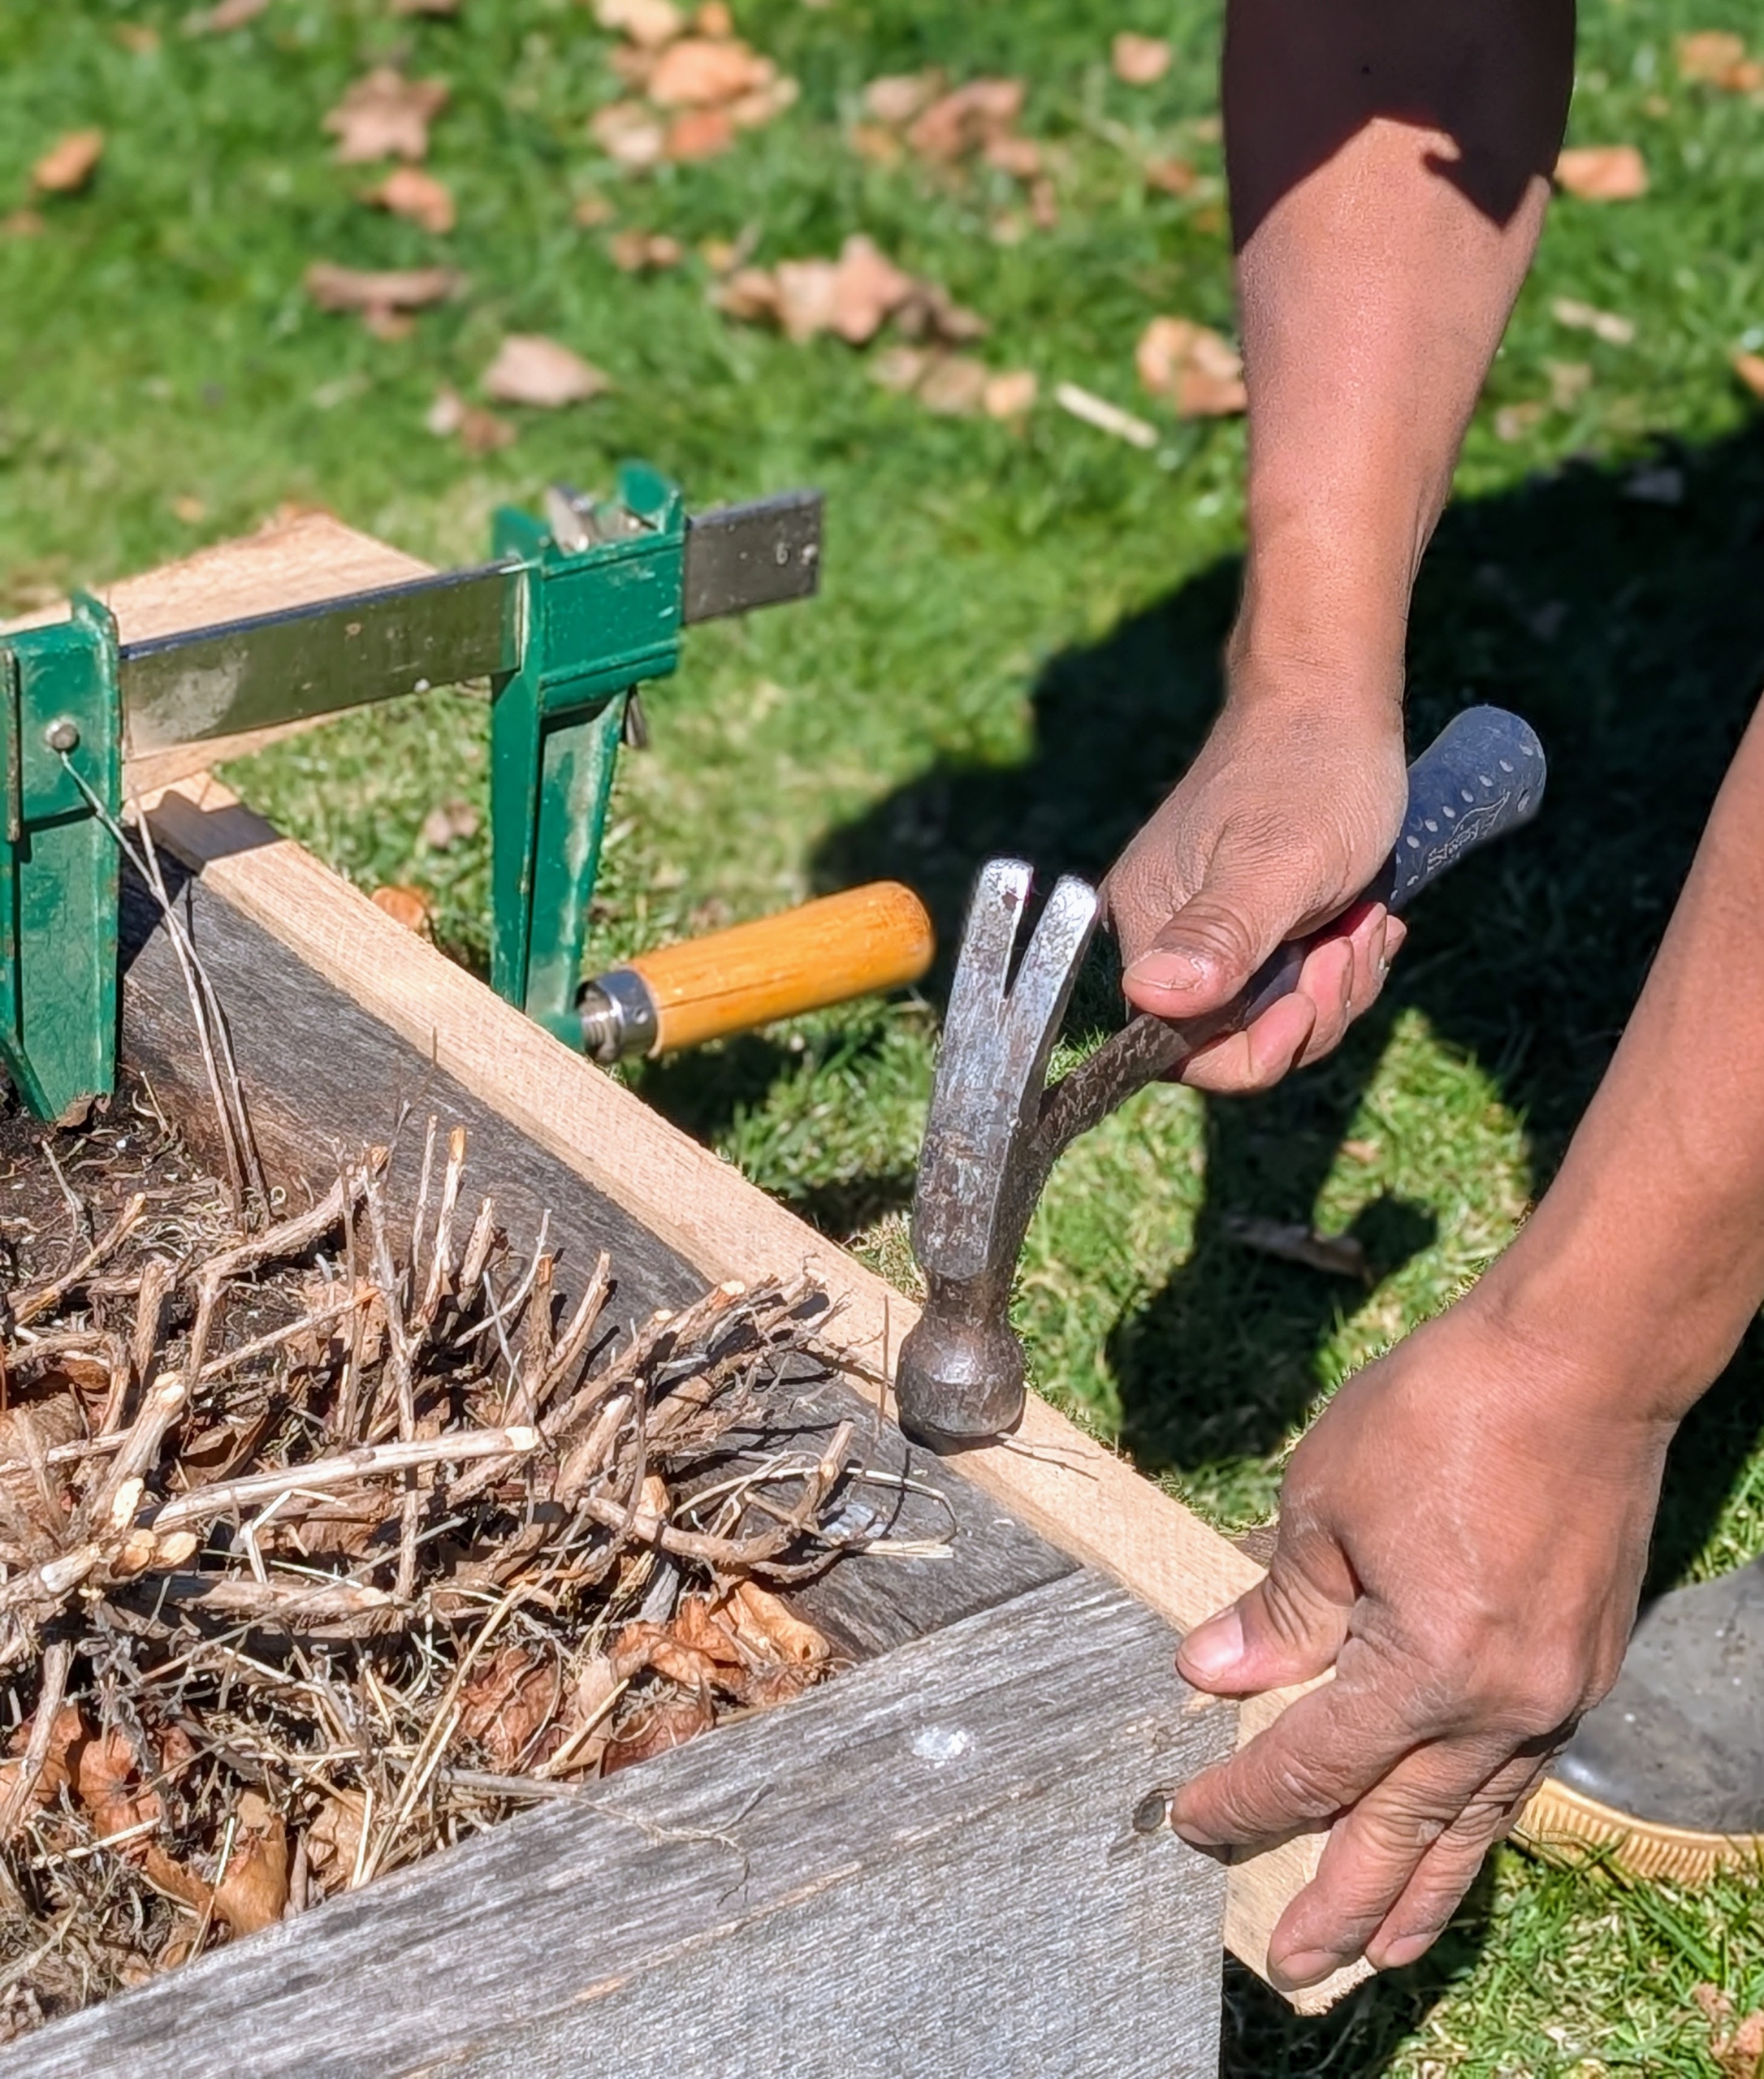
-
- A spare piece of wood helps Pete check and straighten the bottom.
-
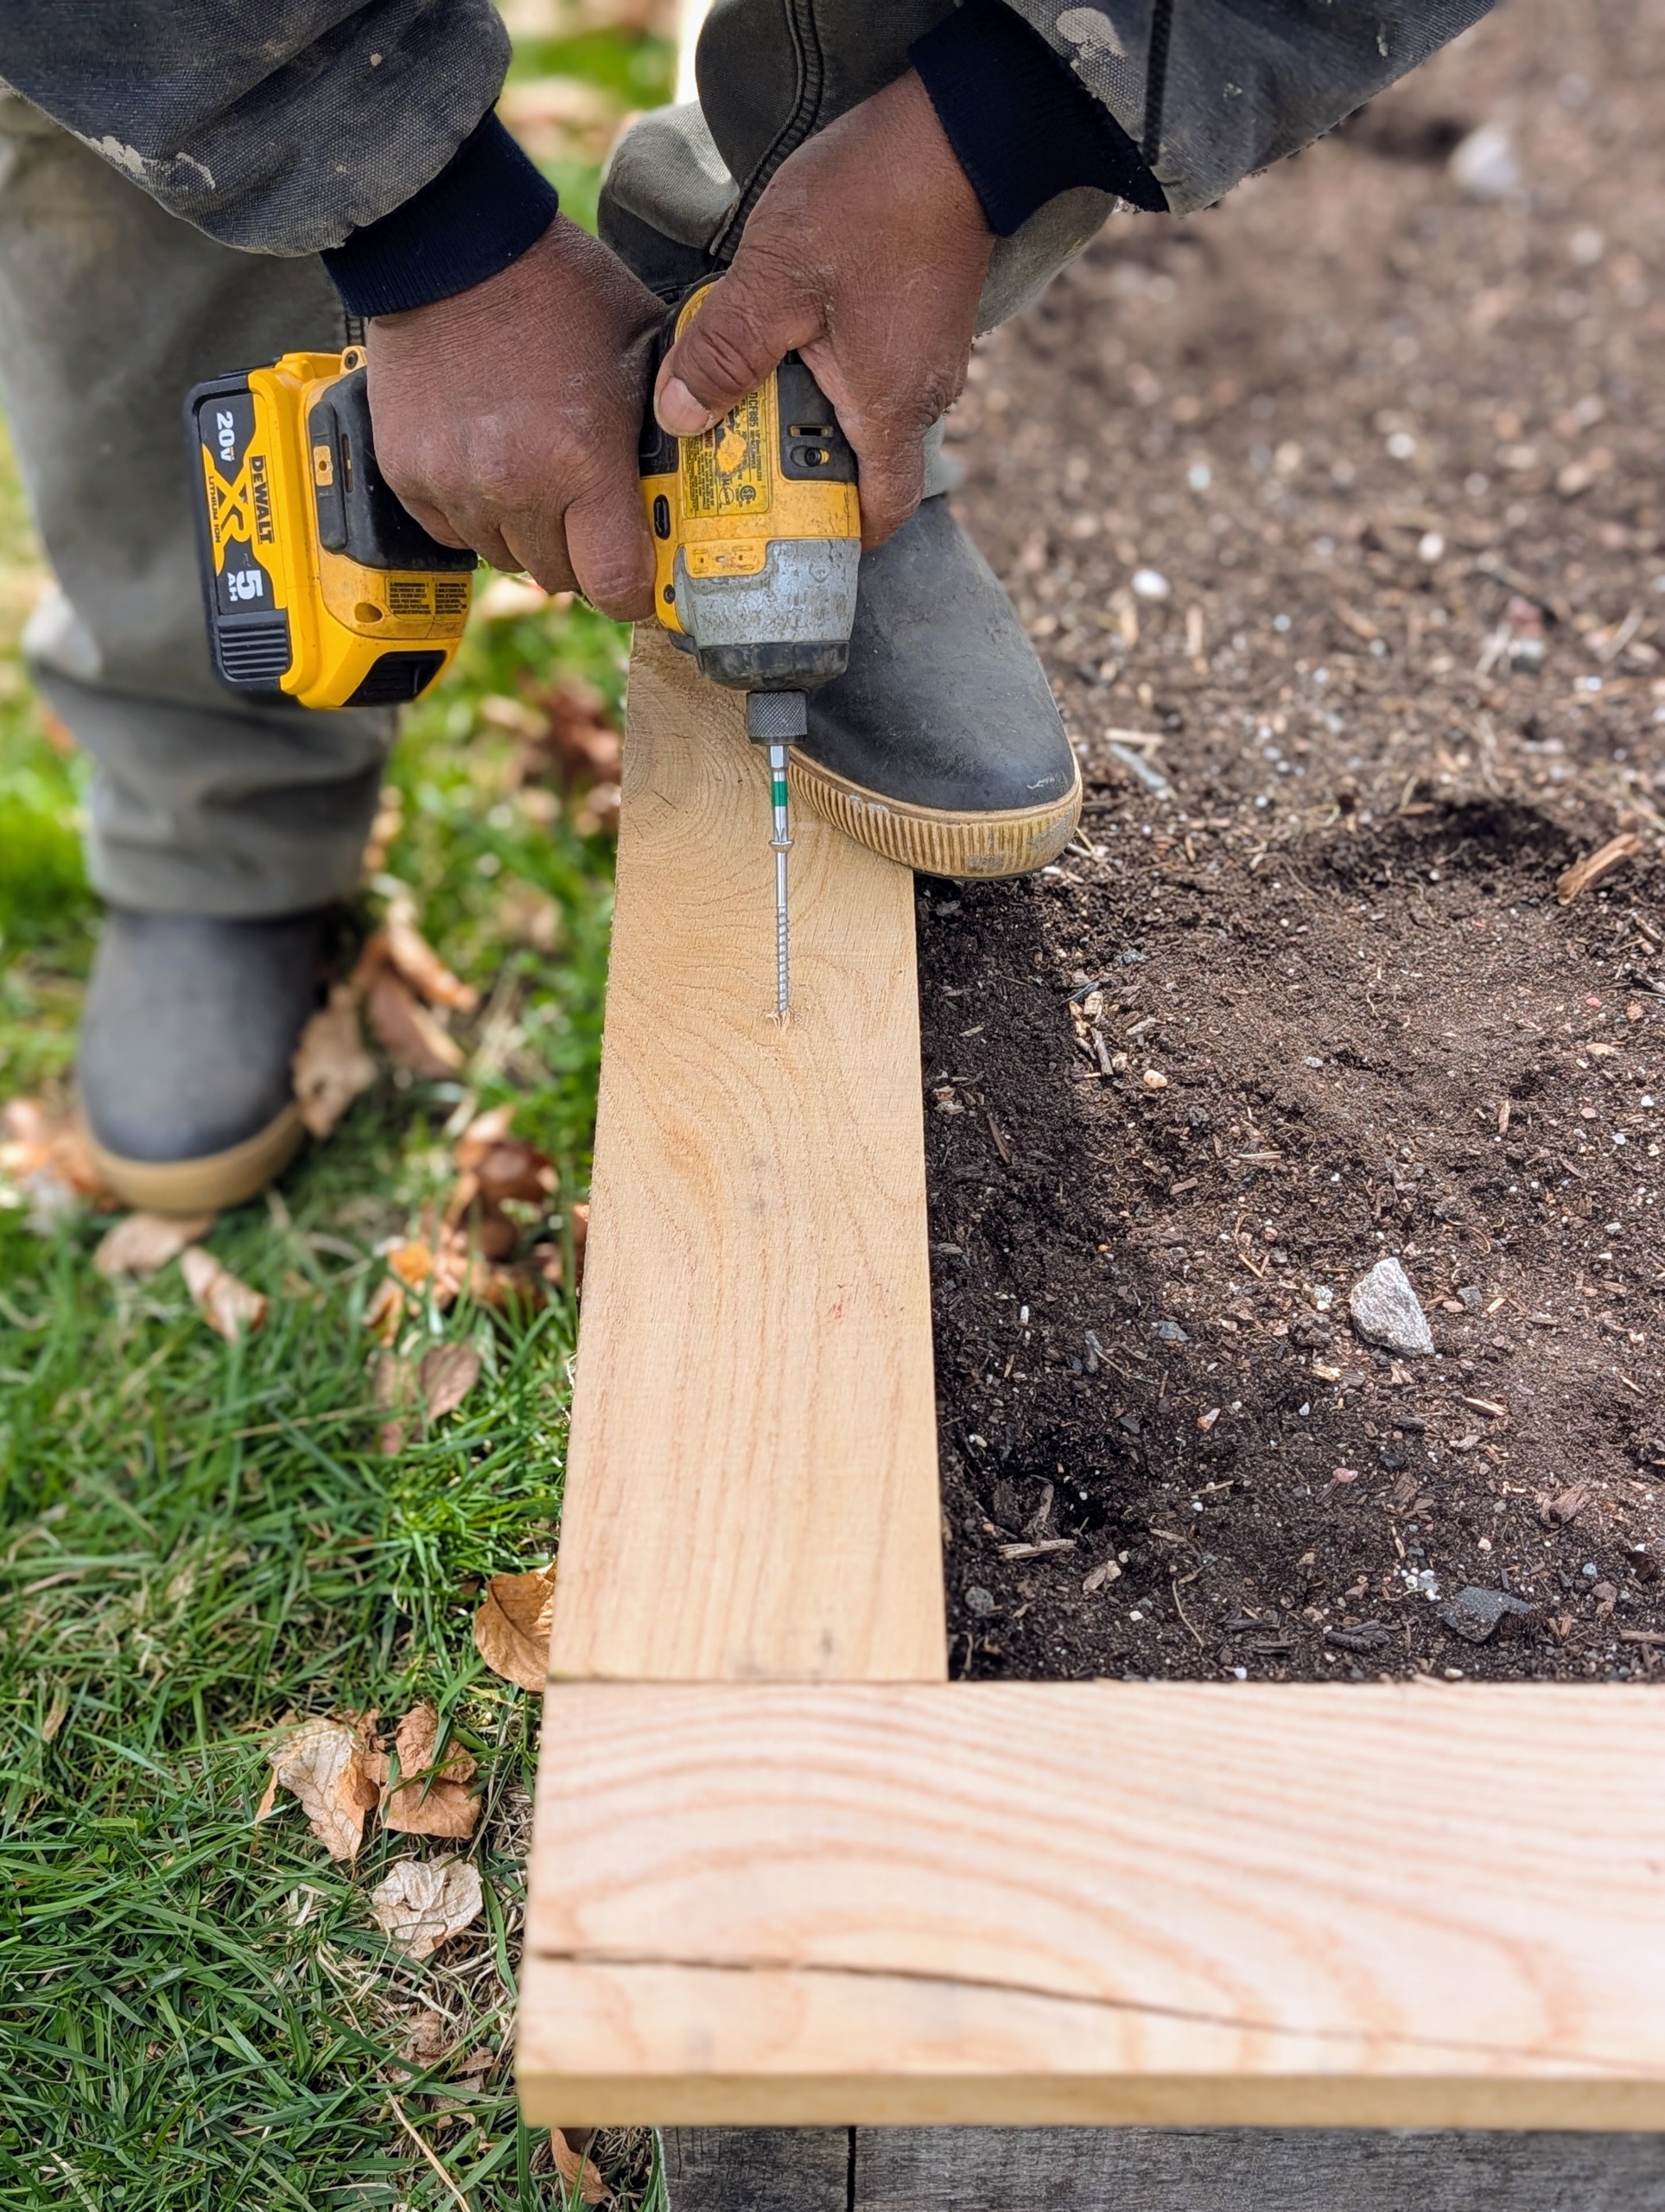
- Then Pete makes a pilot hole for the screw. Pilot holes help prevent splitting and allow for easier and less forceful screwing.
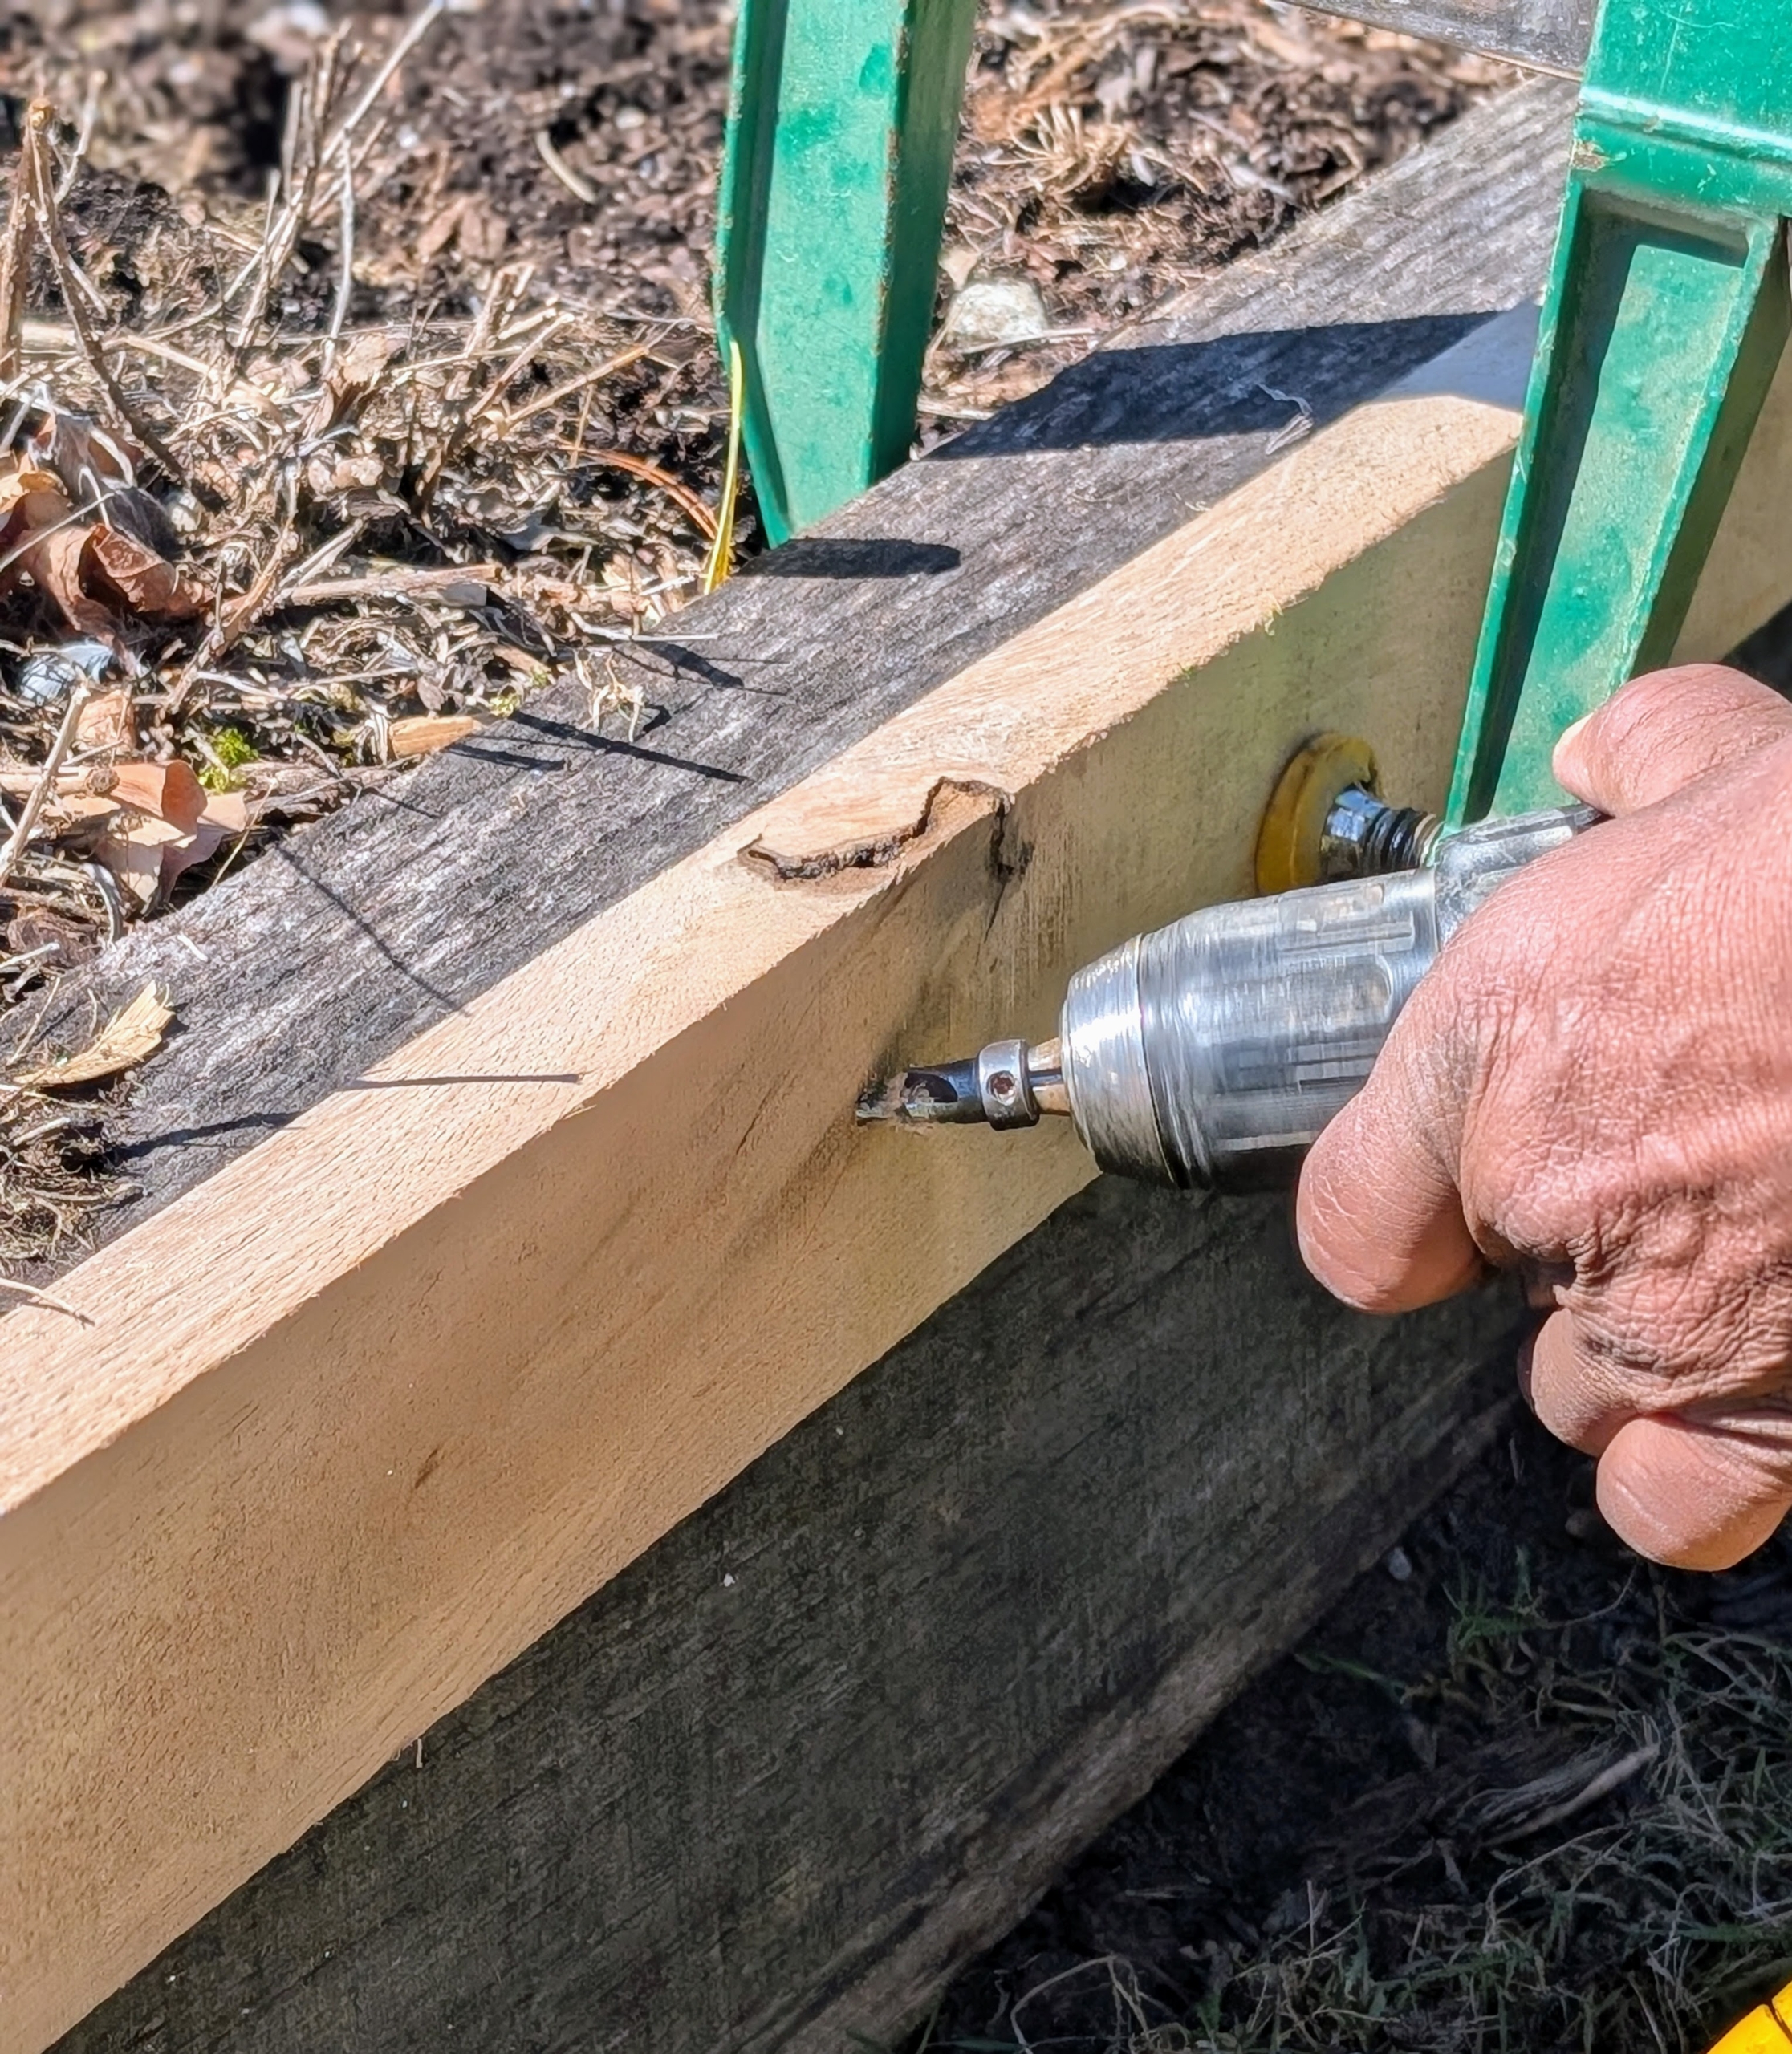
-
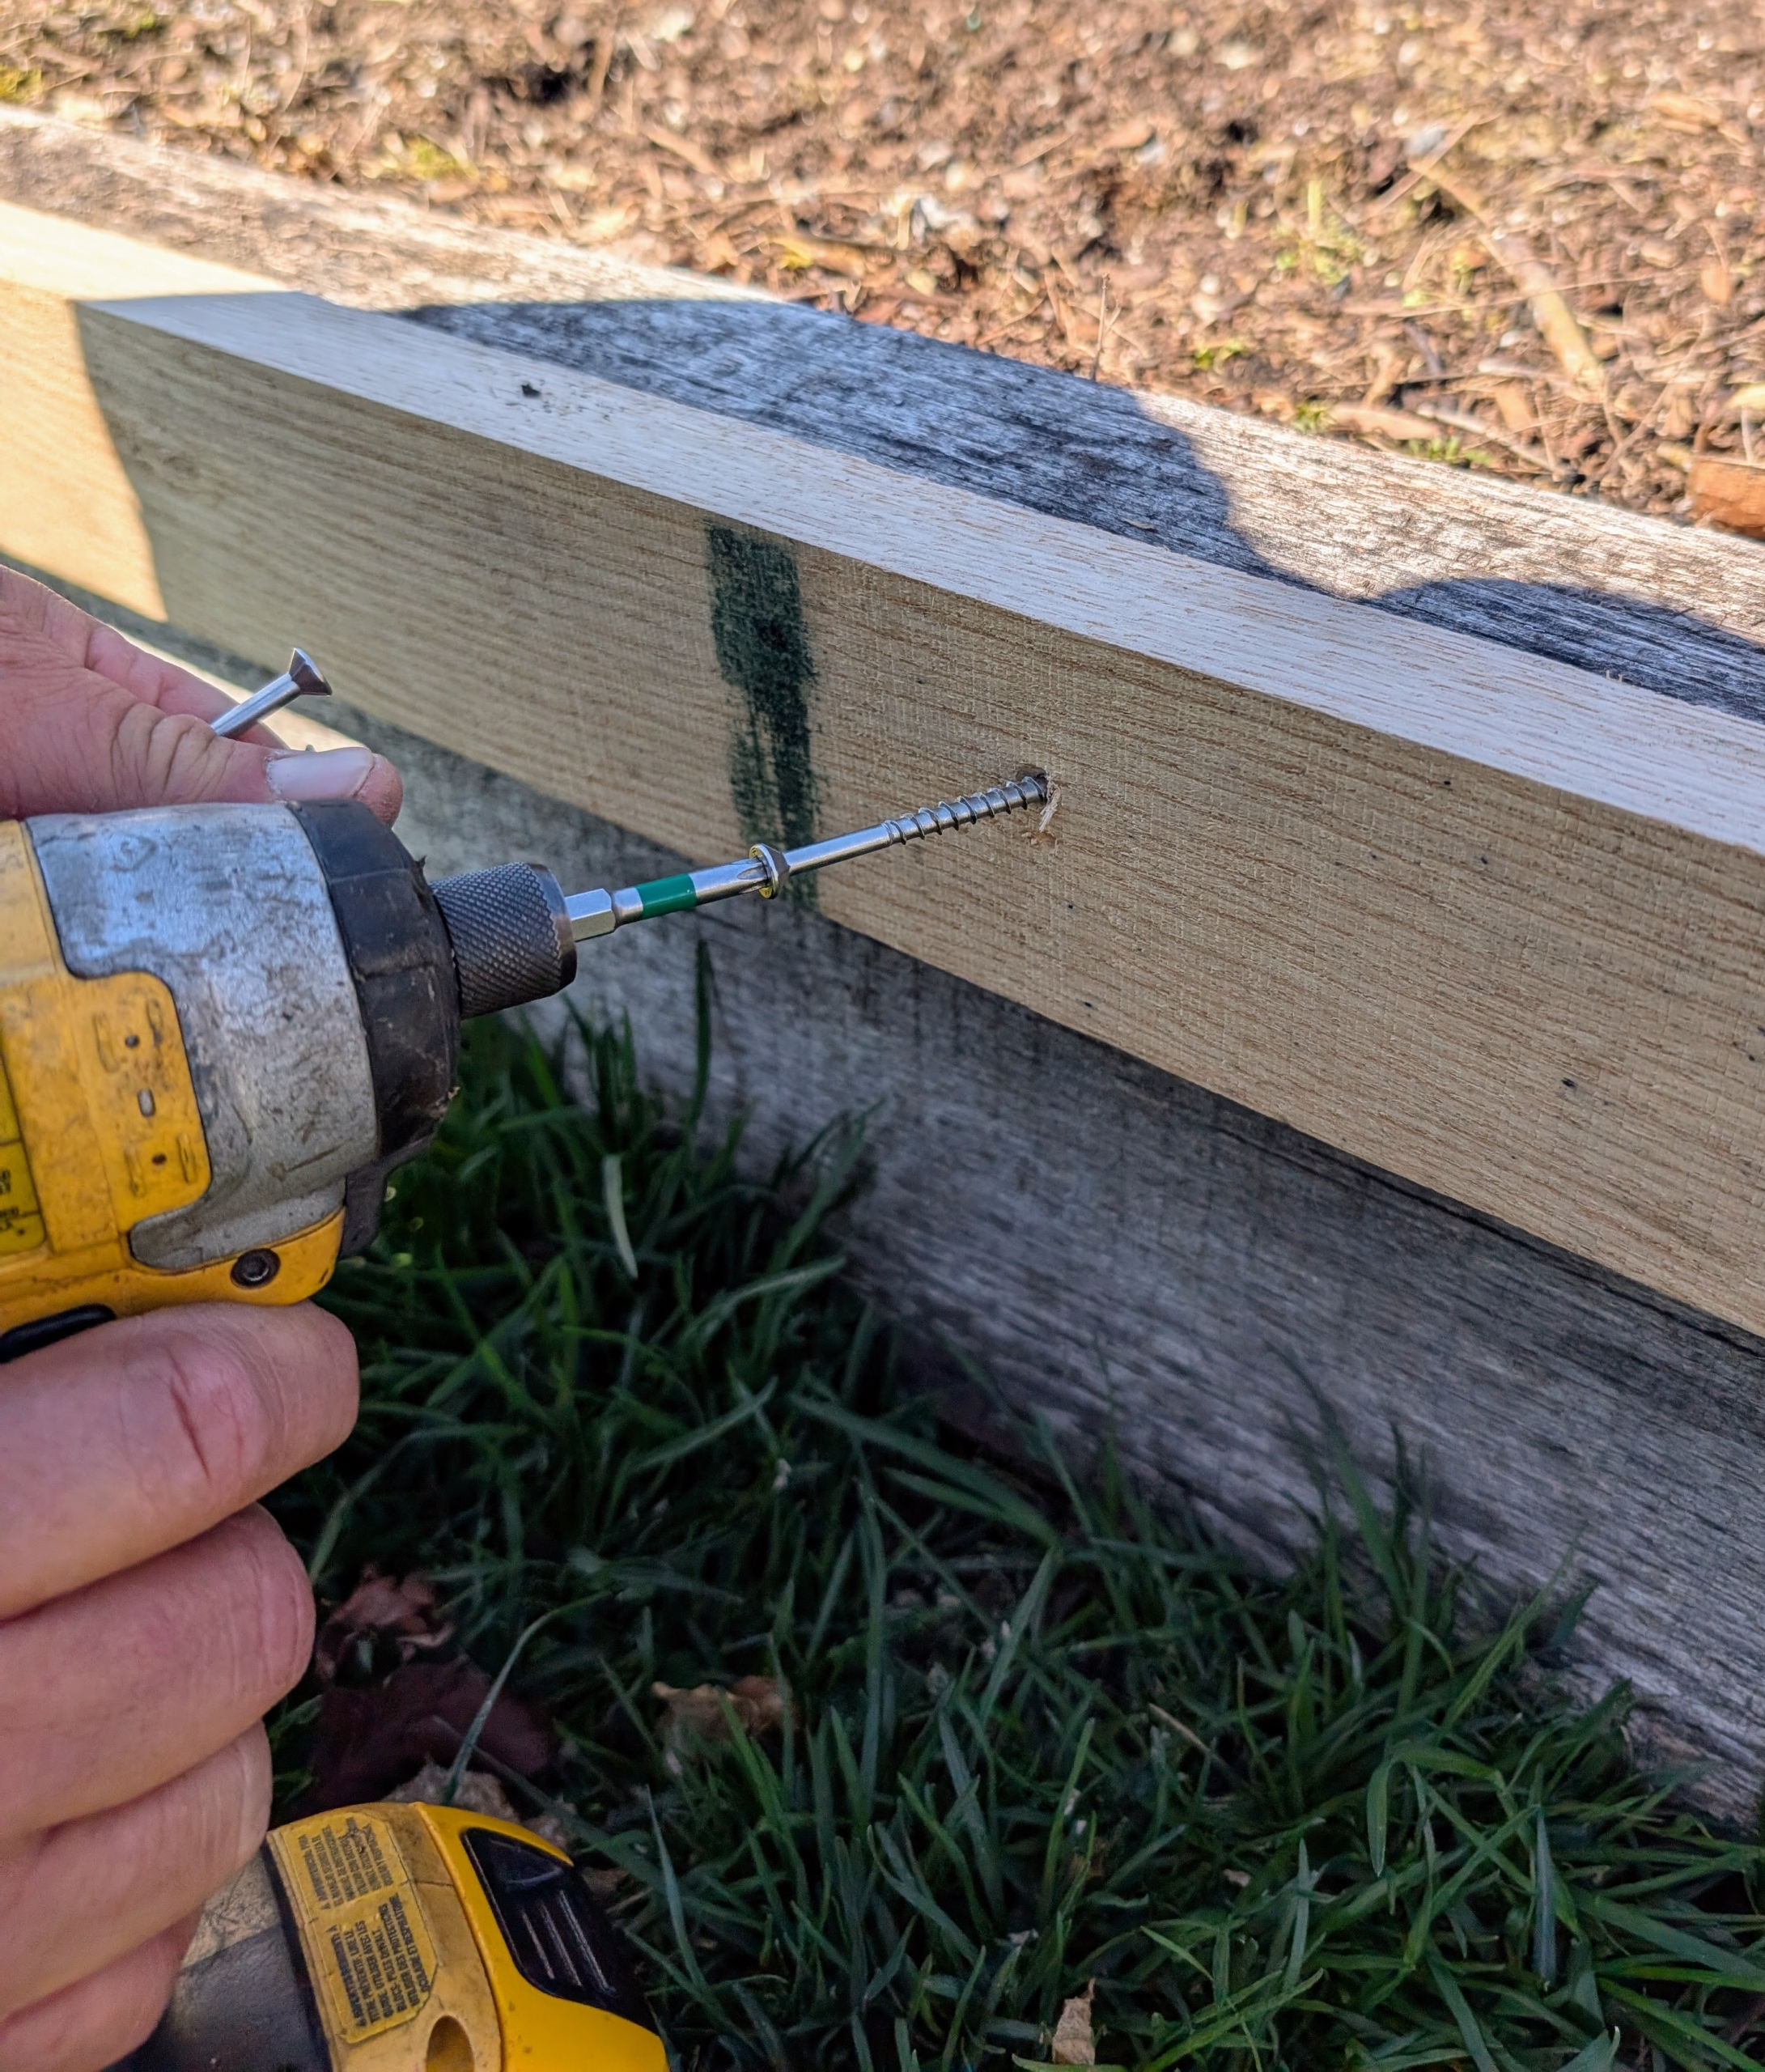
- Fernando follows with three-inch screws in the same pilot holes.
-
- From above, the frame is bolstered on all sides.
-
- Next, Pete screws boards along the top to add strength and durability to perpendicular boards.
-
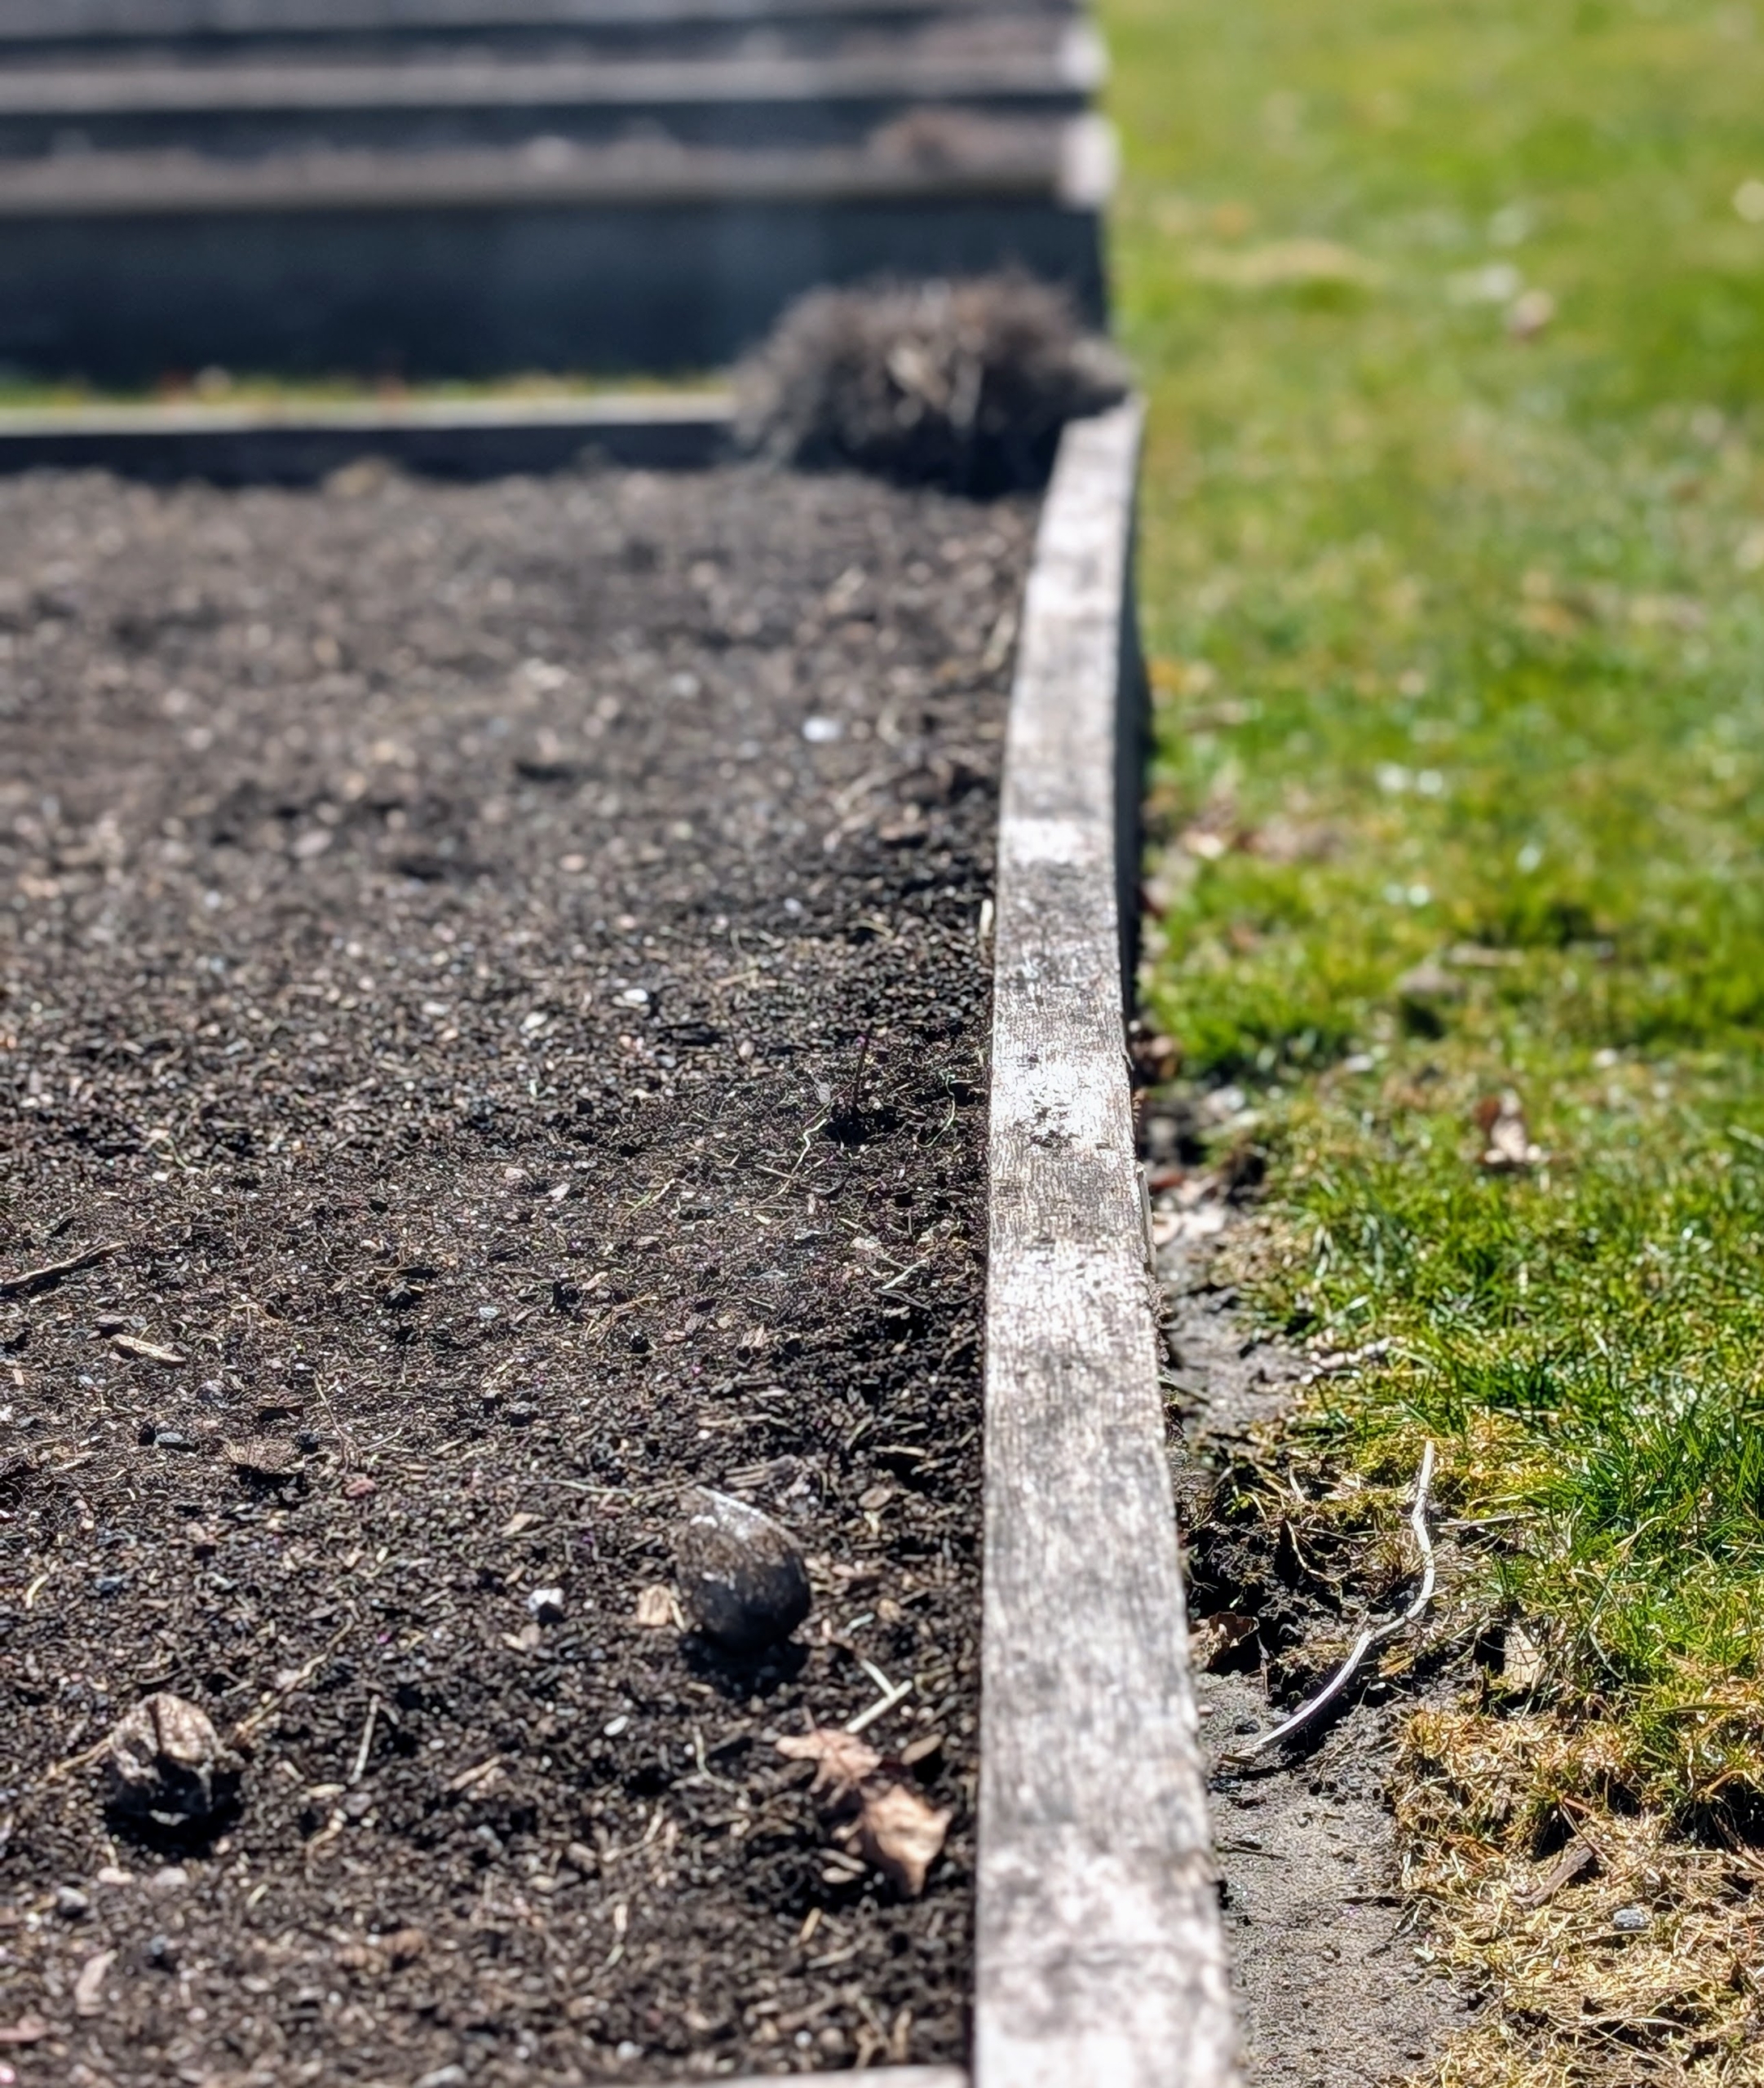
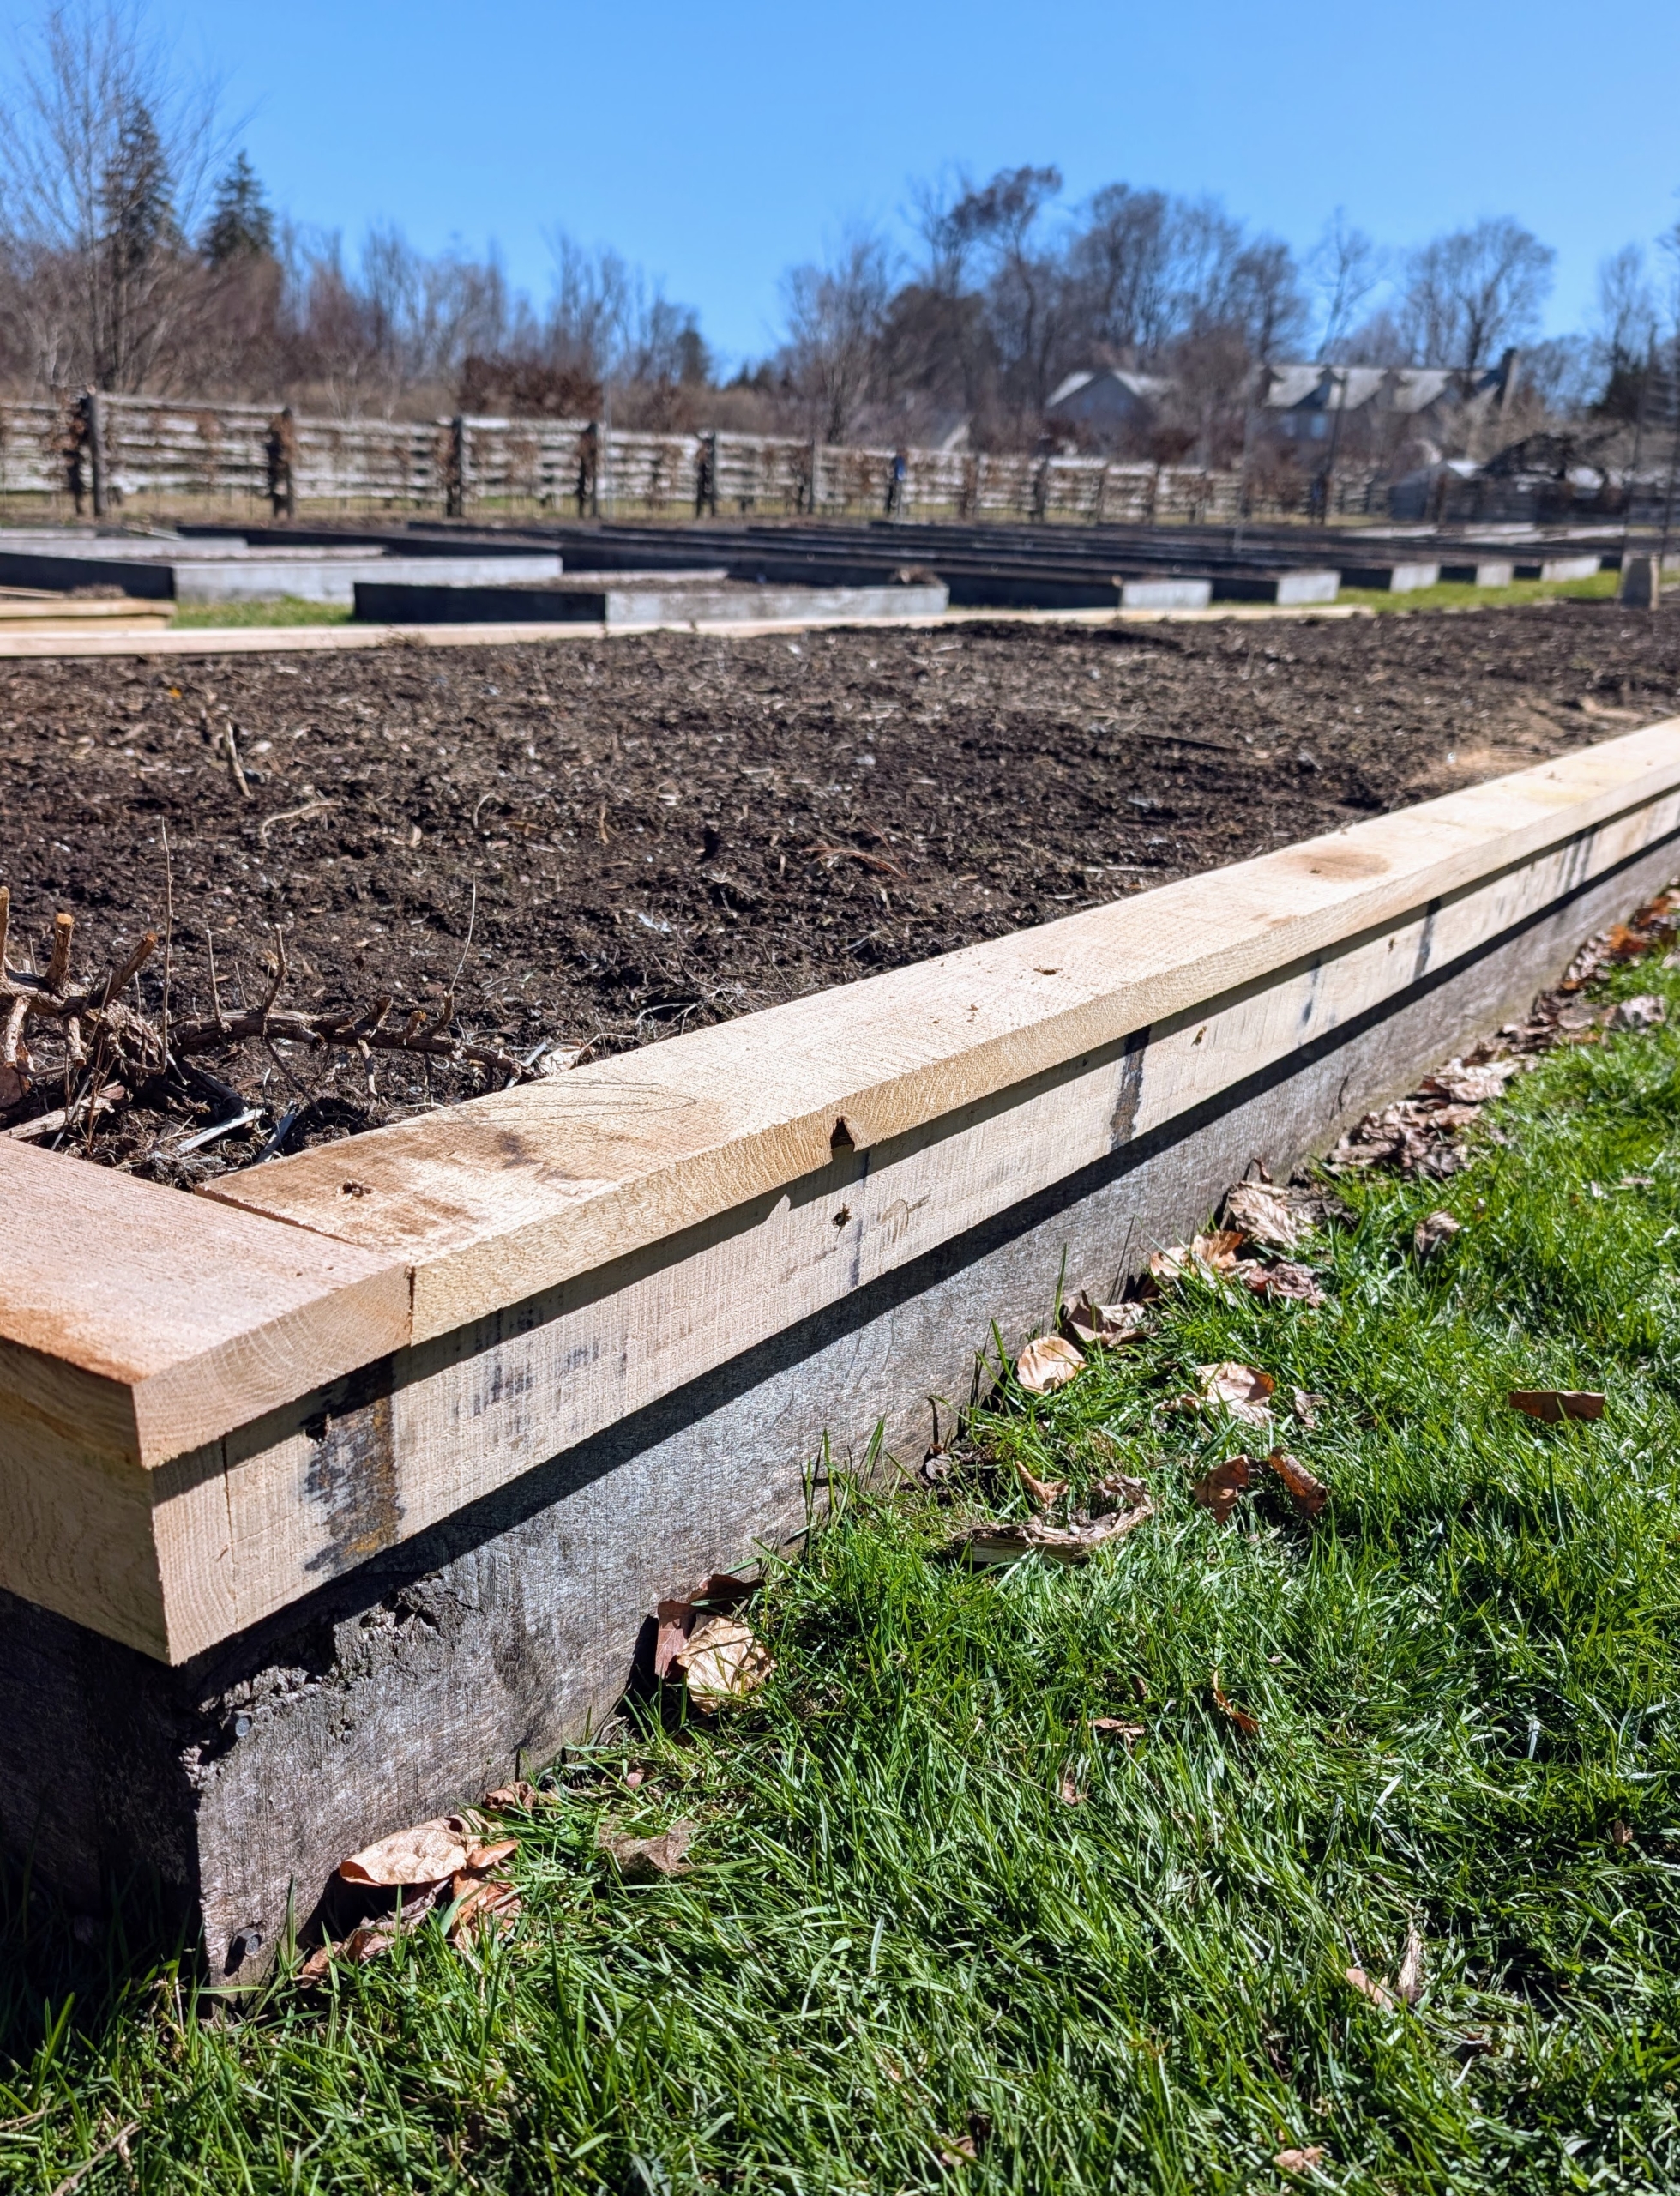
- And here is what it looks like once the supporting pieces are all secured.
-
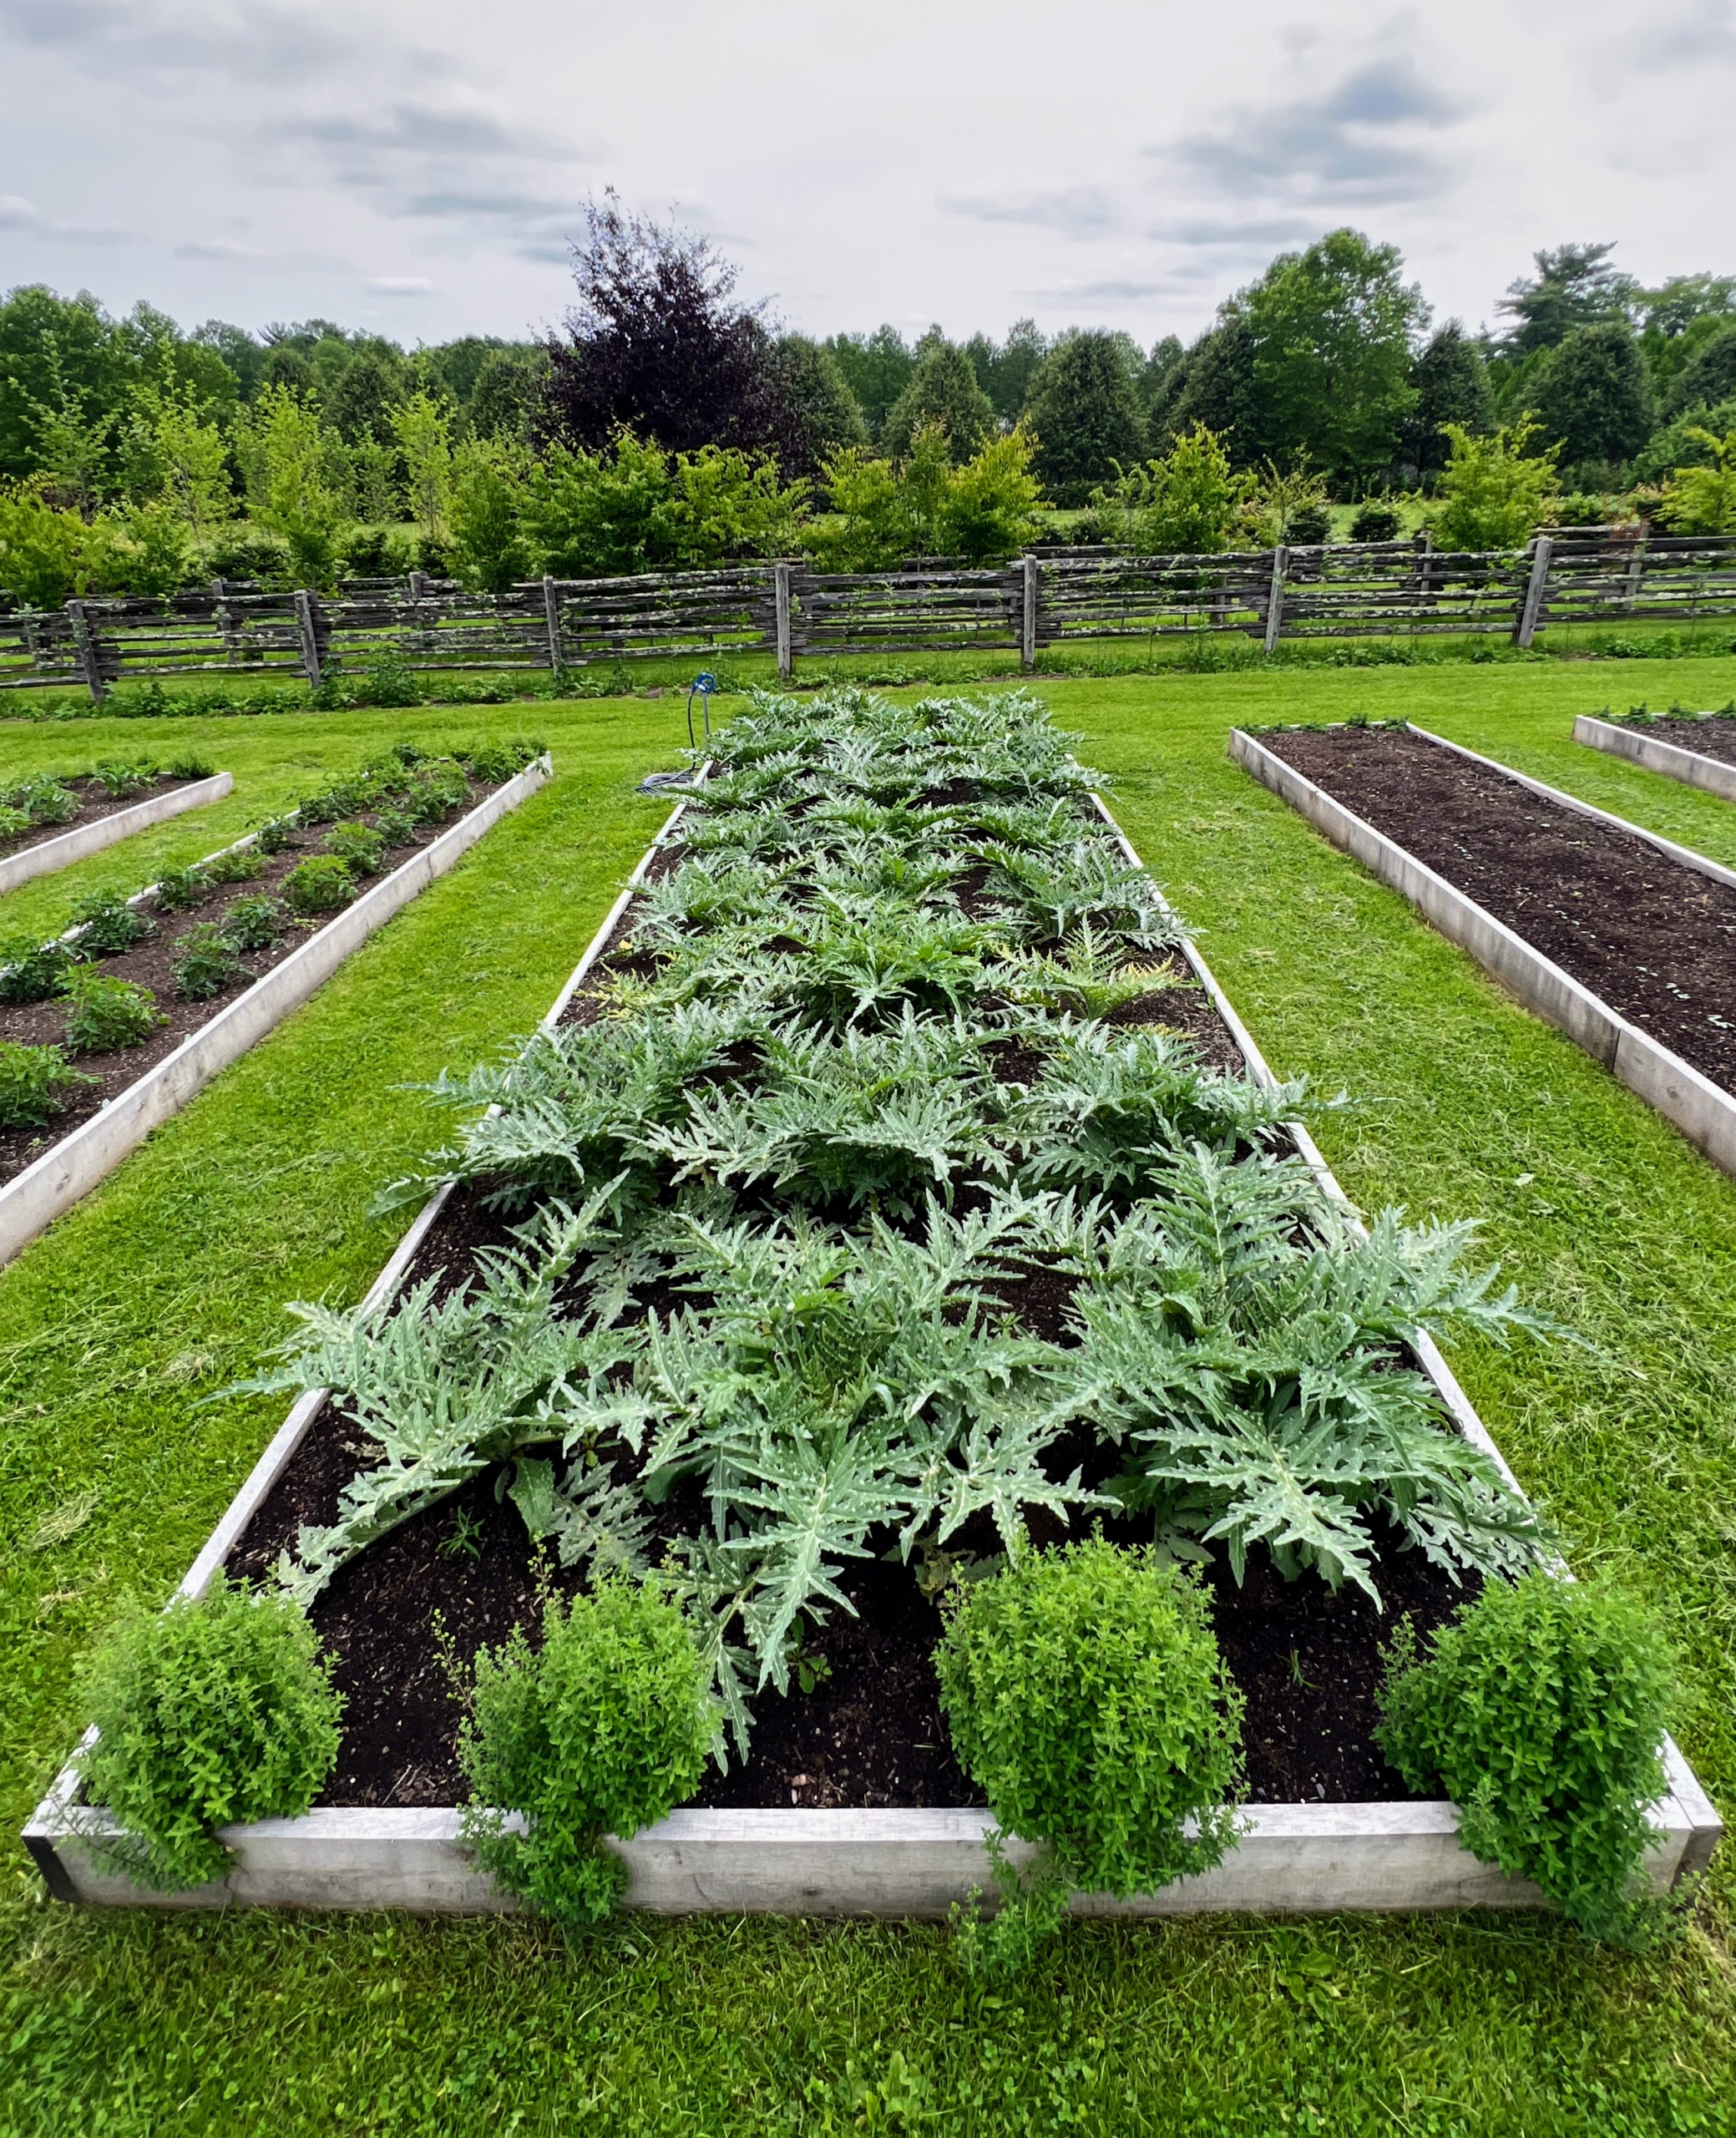
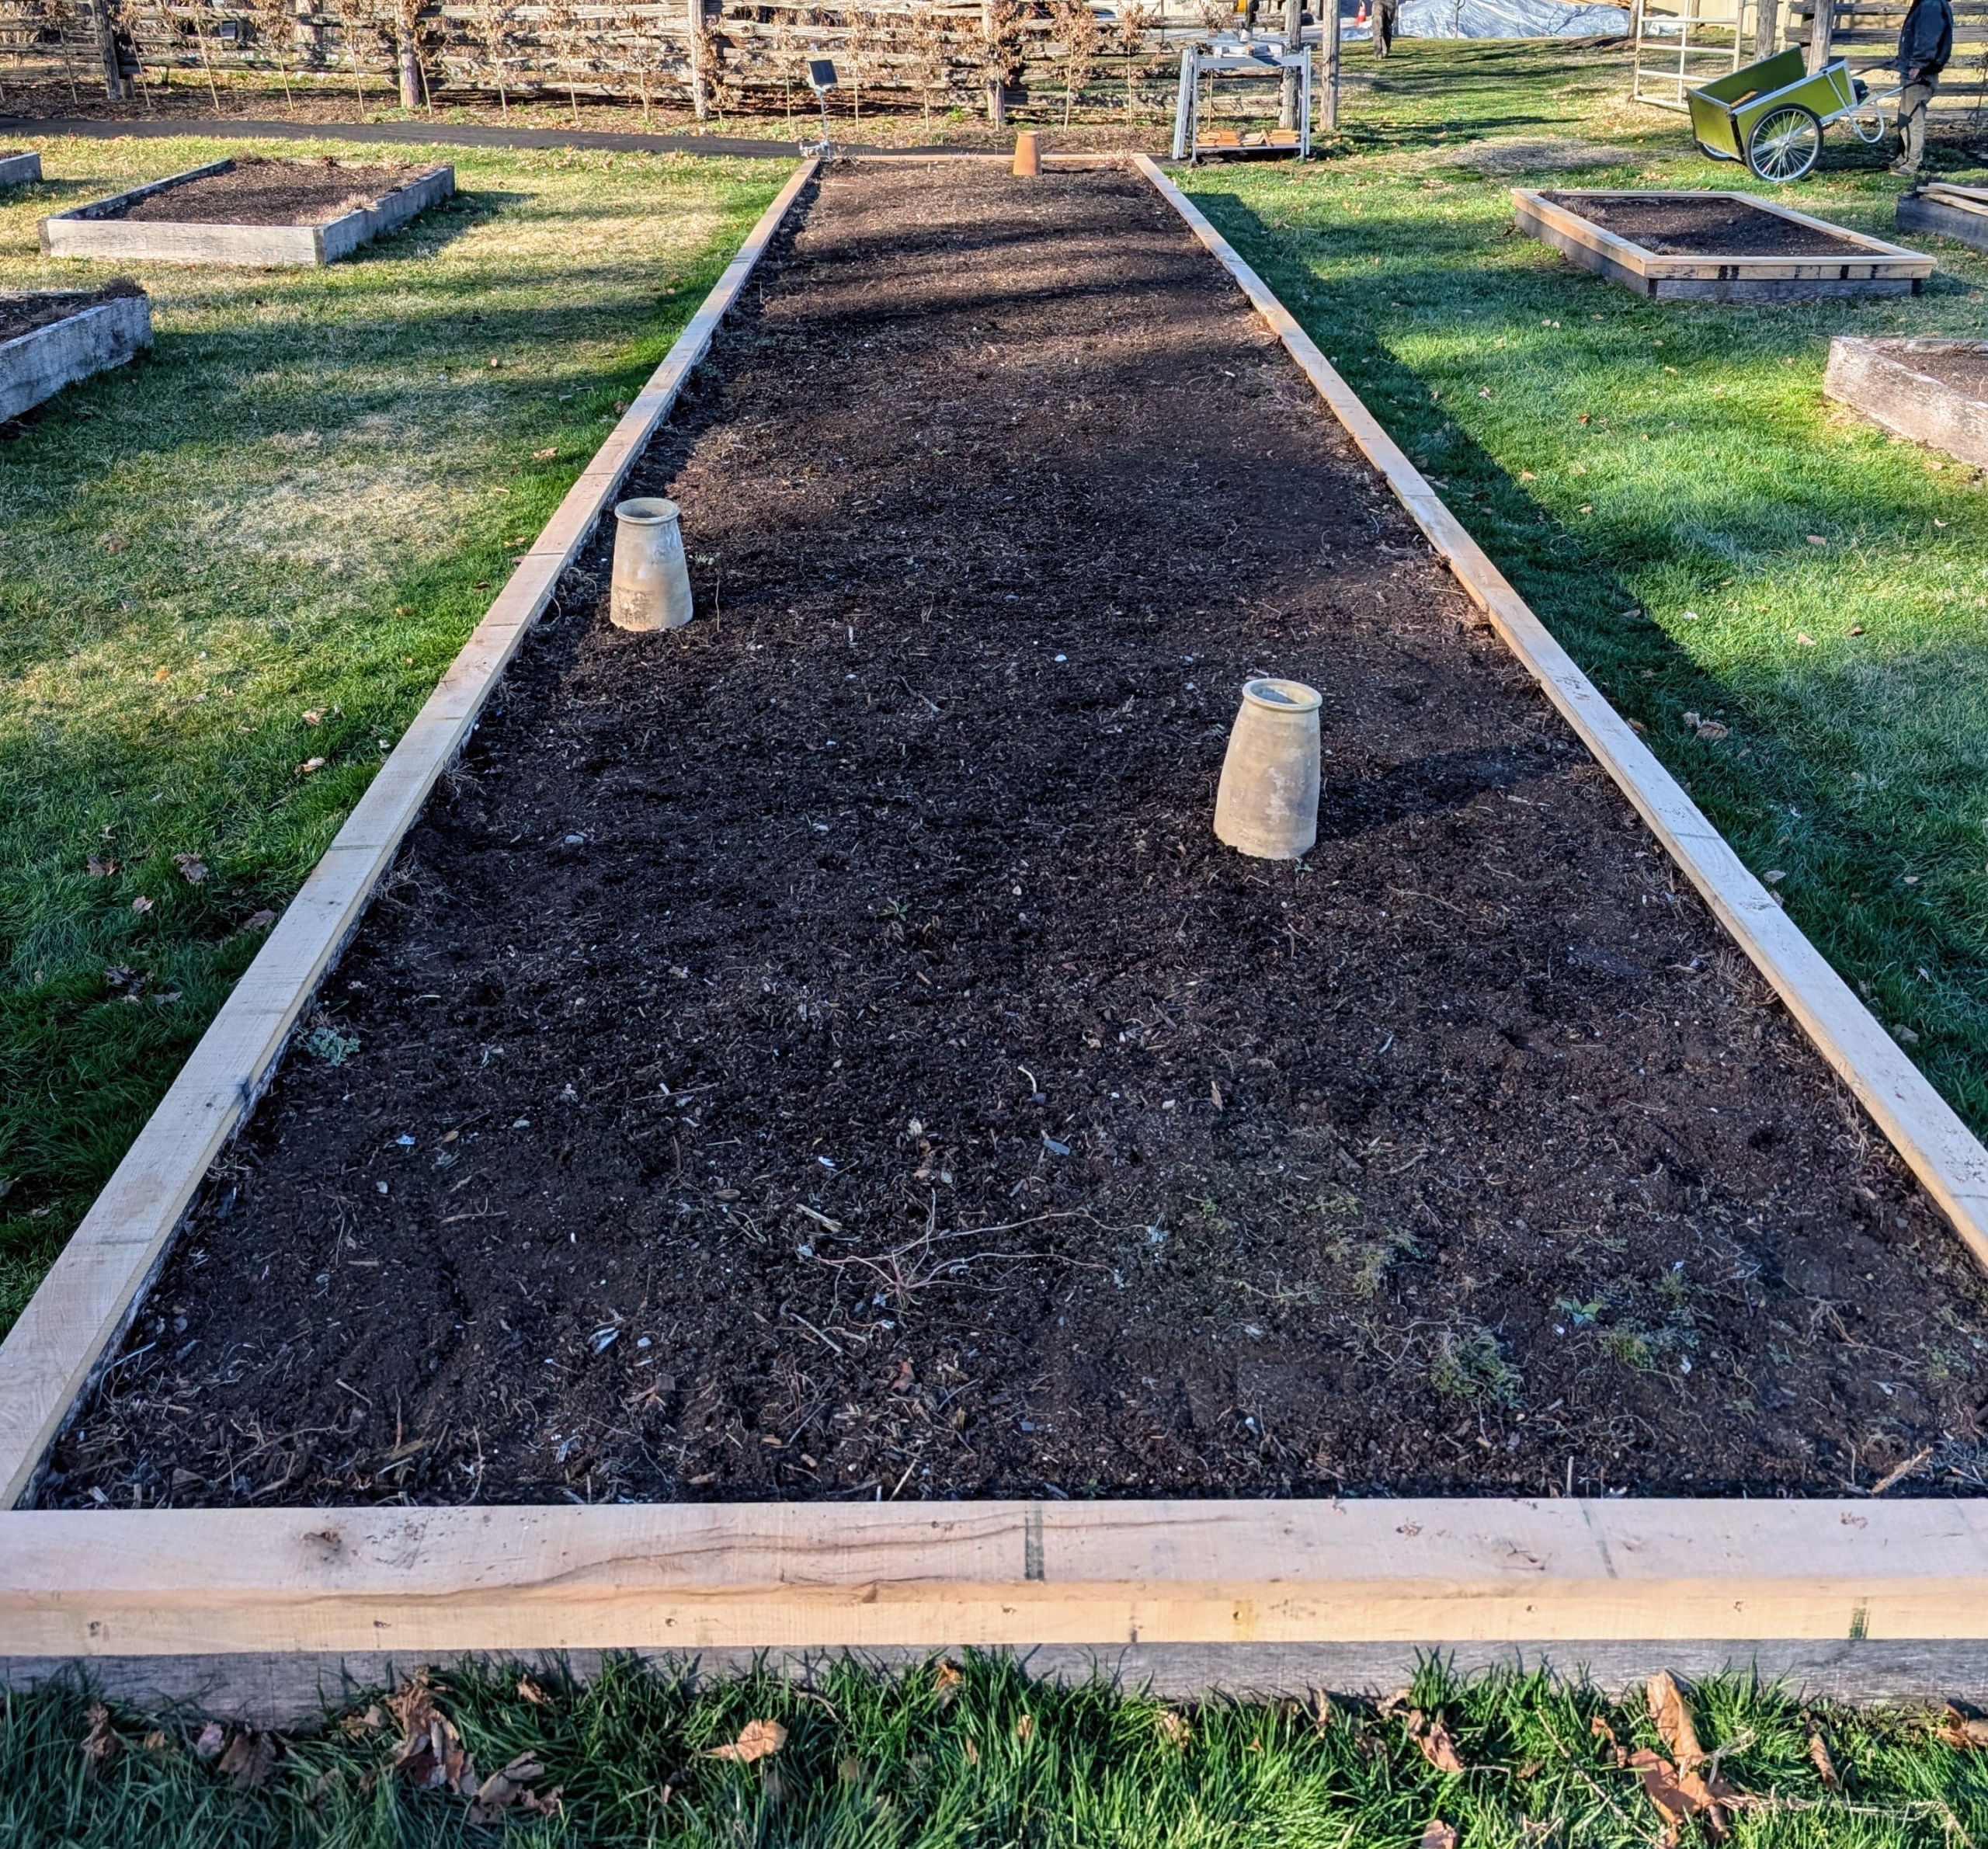
- This is my long asparagus bed. The newly reinforced sides are now much stronger and perfectly straight. The special caps are used to block sunlight from the growing spears to make white asparagus.
-
- These beds are looking so much better already and the job will be done in time for transplanting. I hope this inspires you to repair and reinforce your raised garden beds if needed. Enjoy the gardening weekend!