Planting a Border Around My Pinetum
Spring officially starts tomorrow and I already have a busy list of projects planned for my farm.
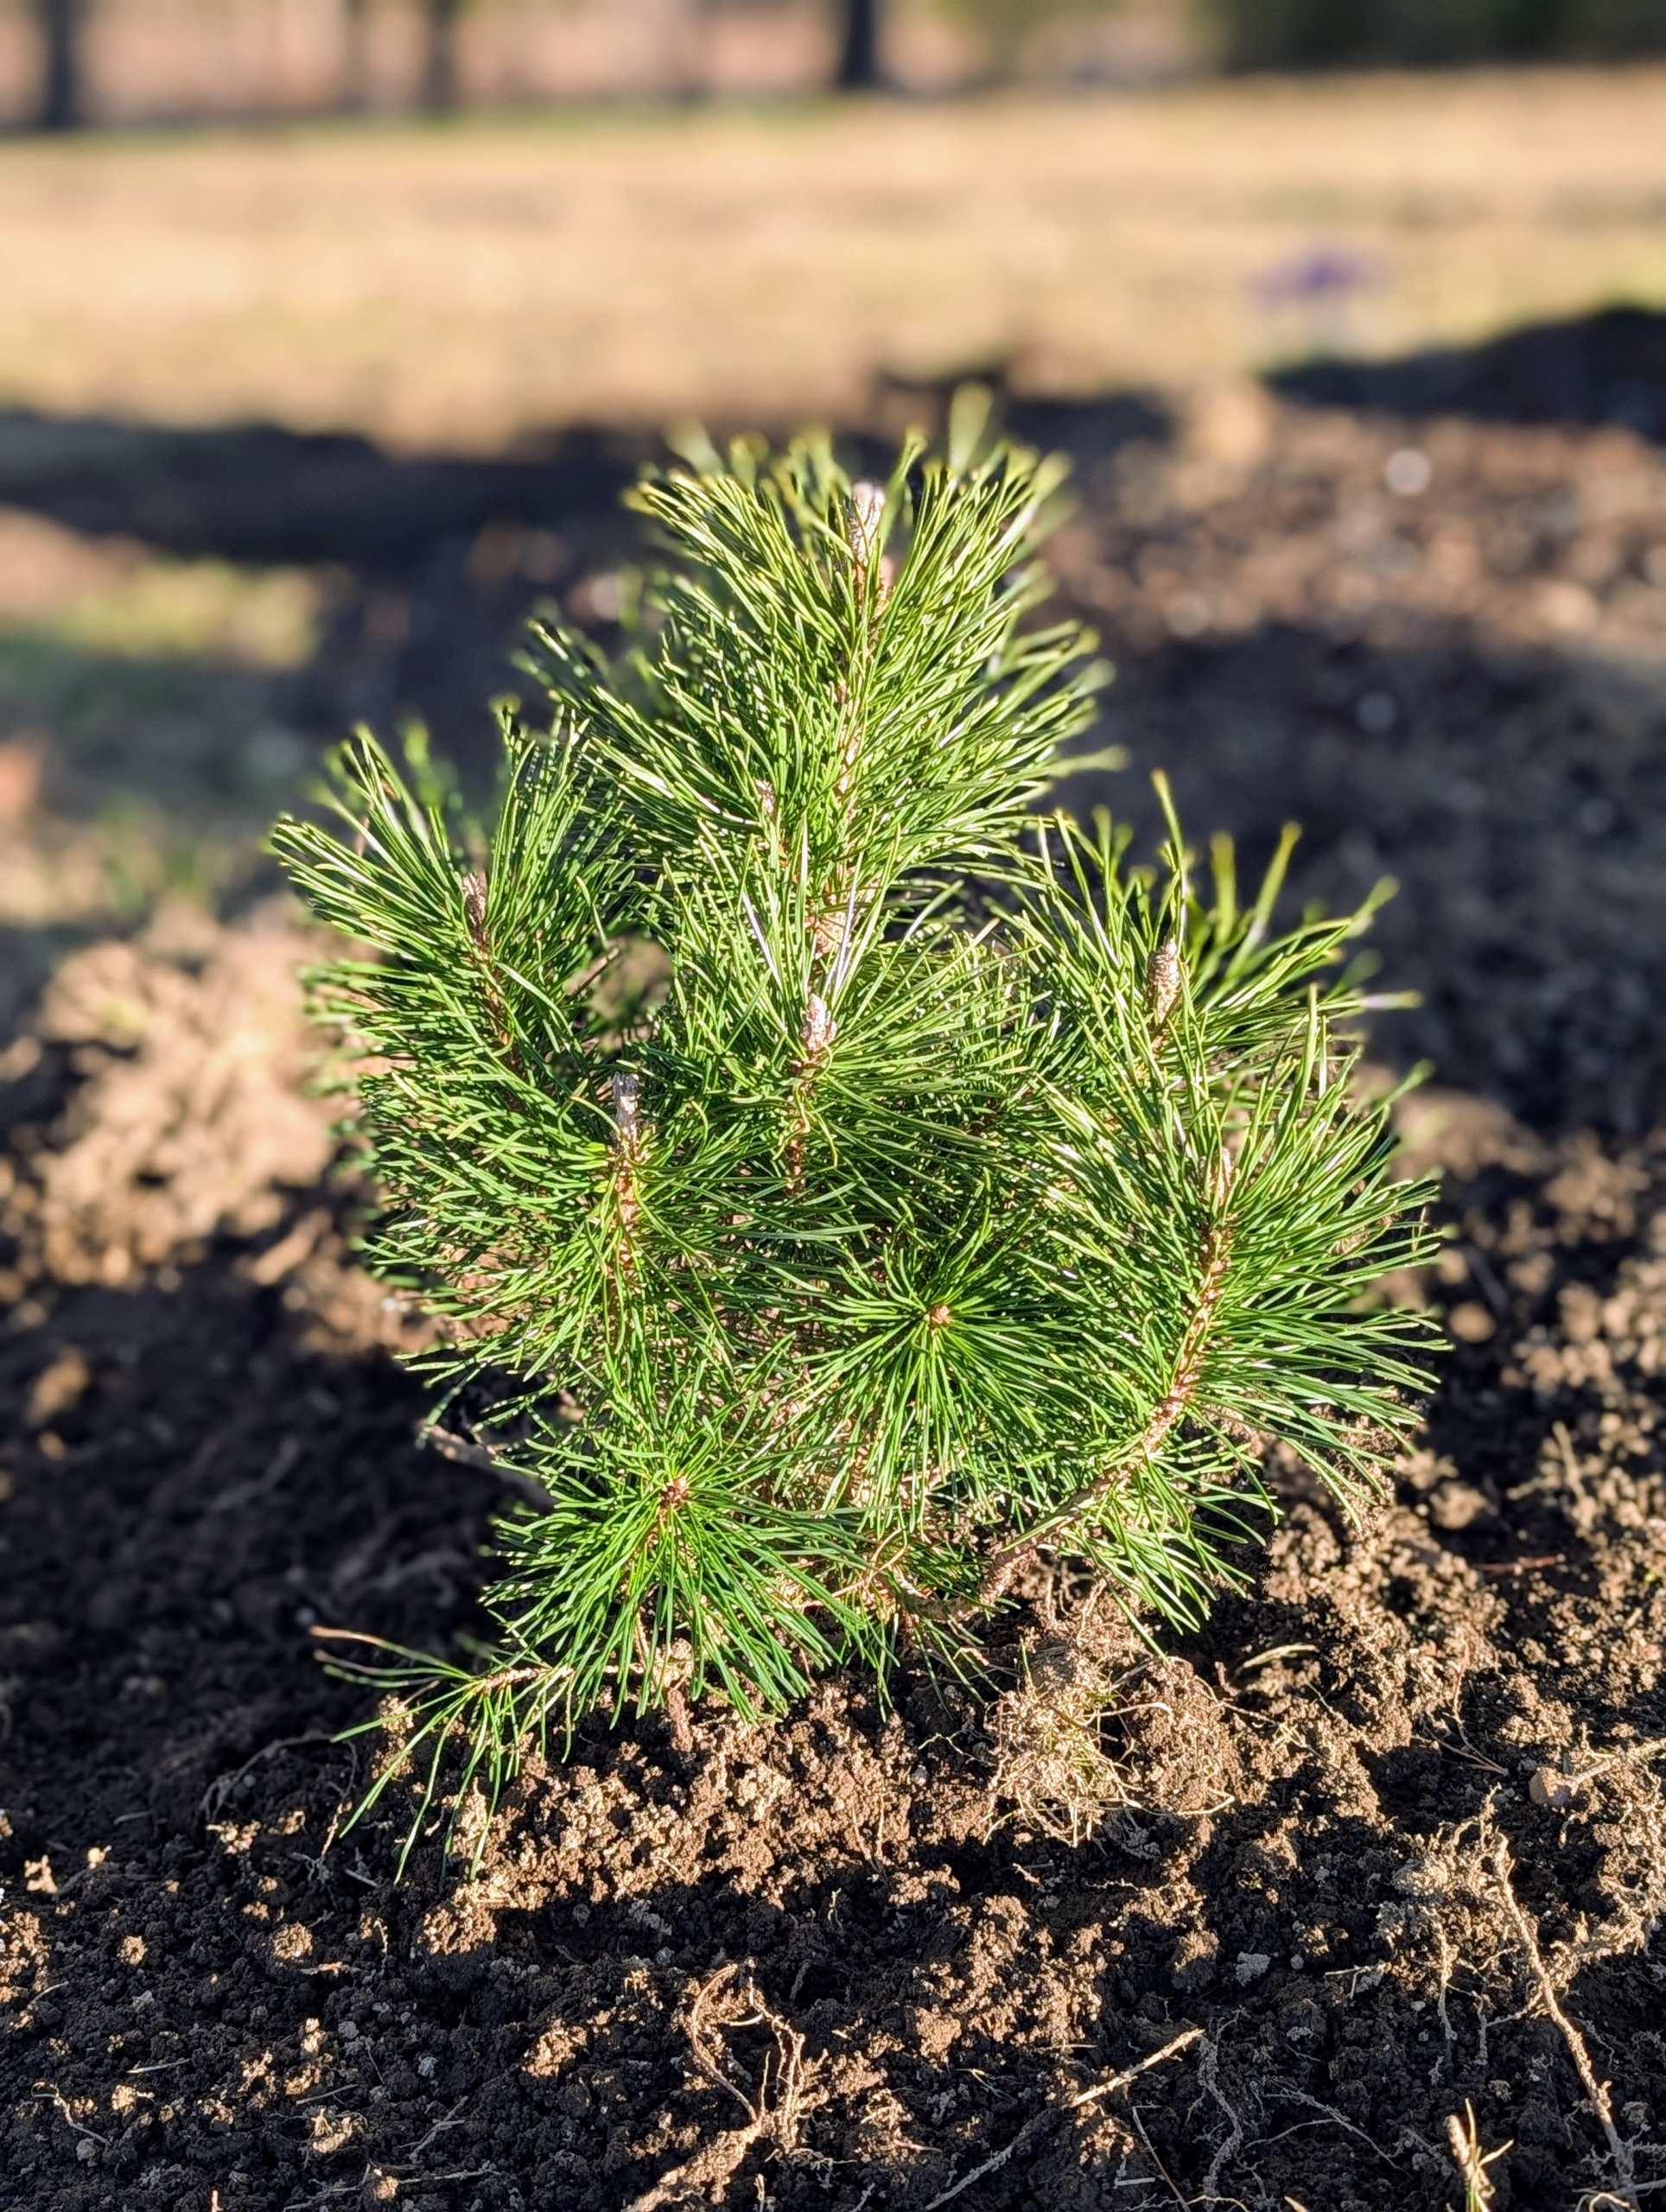
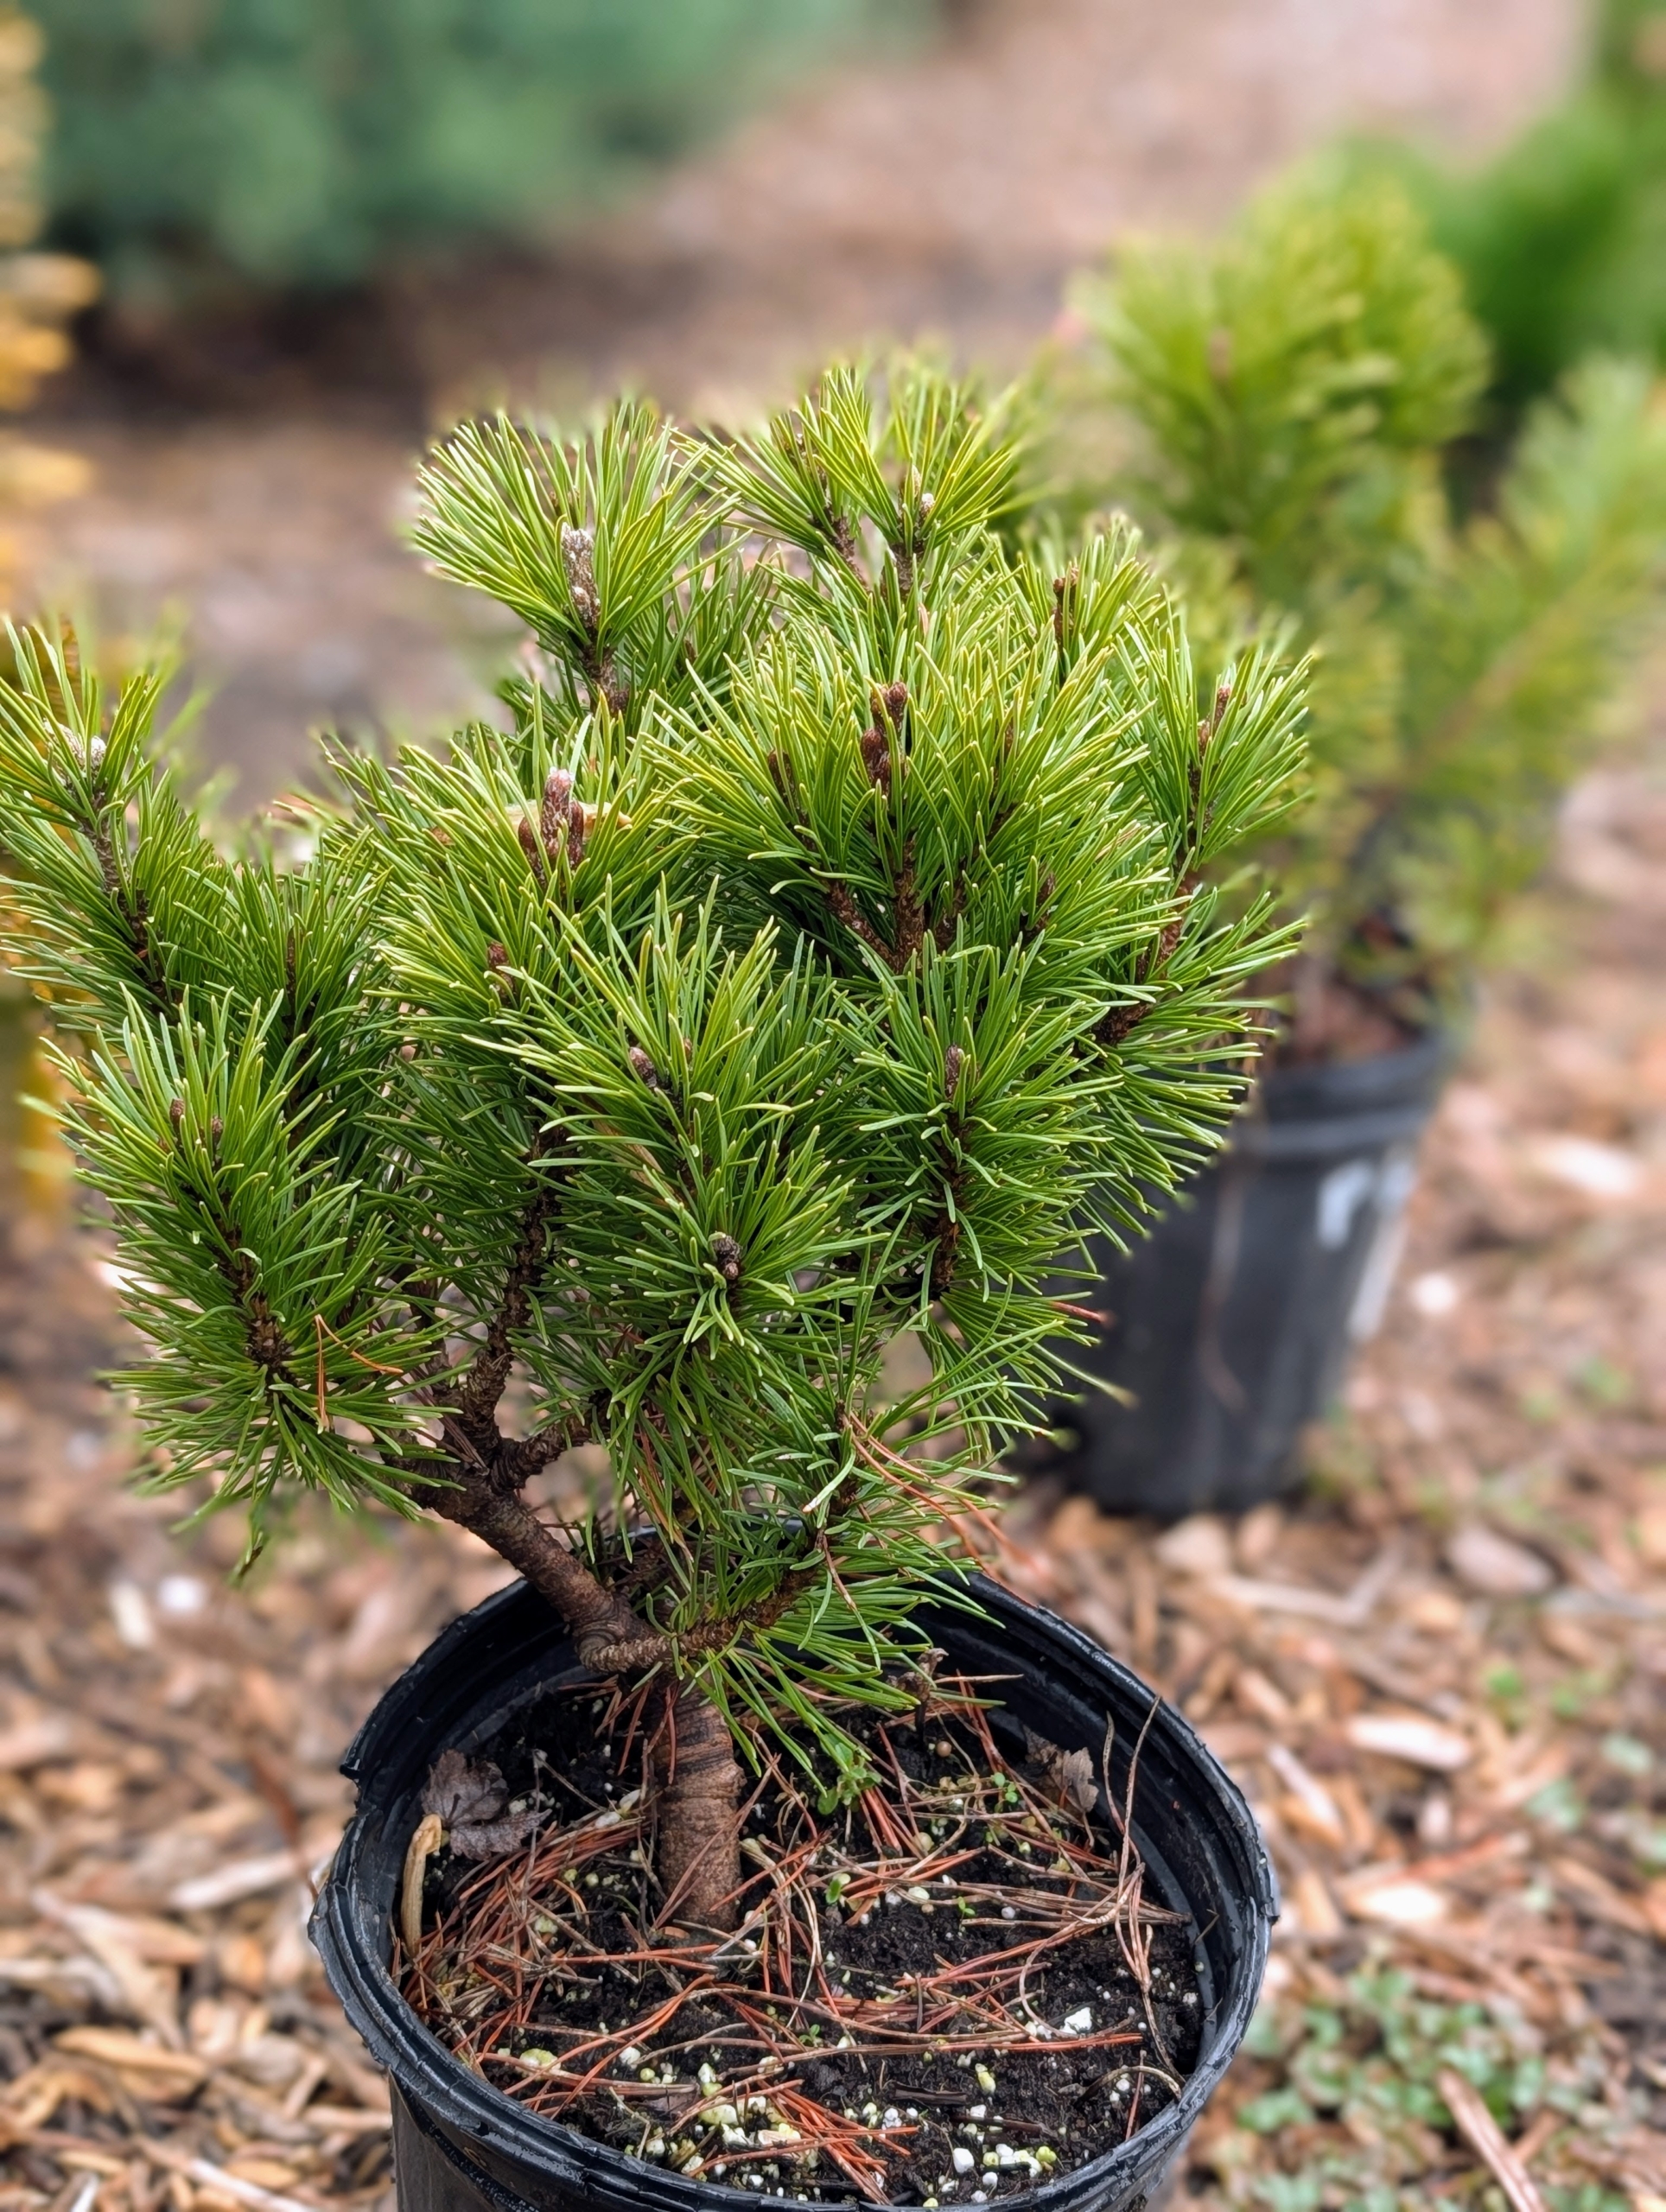
I'm always looking for ways to improve my gardens. I love planting interesting perennials that add texture, growth and beauty throughout the year. I also enjoy arranging large groups of certain plantings to create borders and appealing displays. Yesterday, my outdoor grounds crew planted Mugo pines along the edge of my pinetum. Mugo pines are conifers with dark green needles on dense branches. They're slow growing and mature to a size of five feet tall by 10-feet wide. I am also expanding the garden for more evergreens. Spring planting is underway!
Enjoy these photos.
-

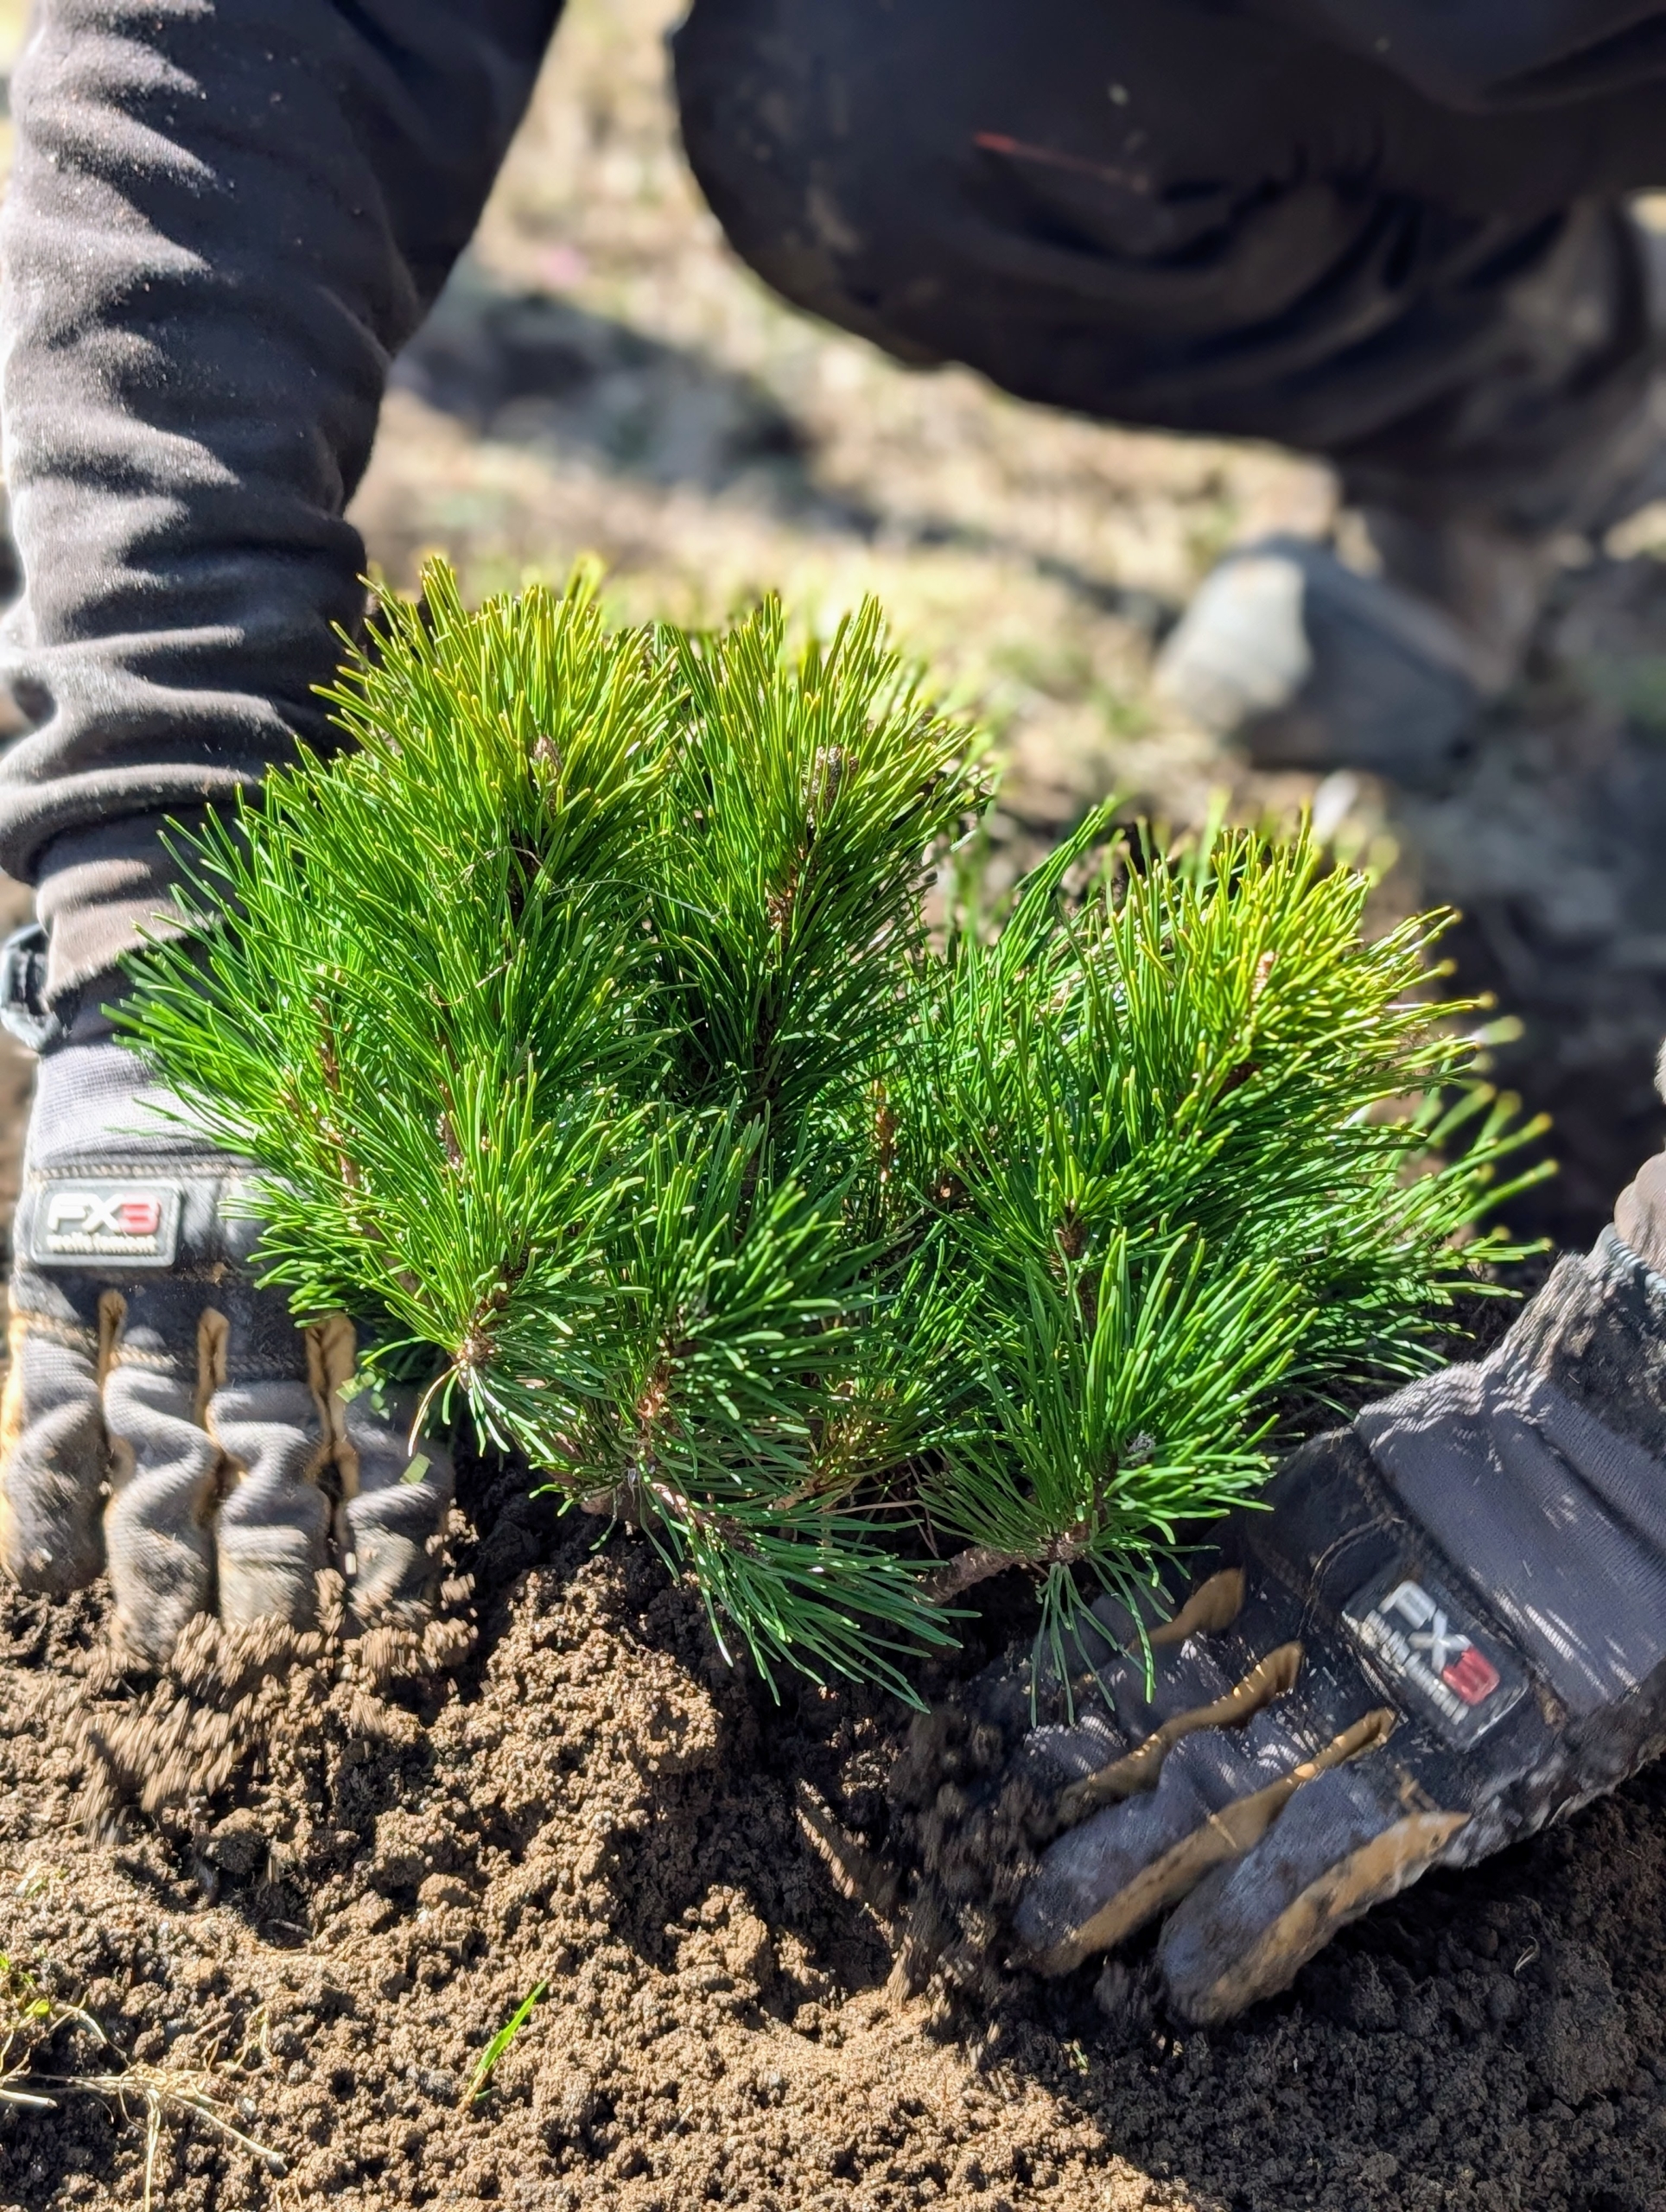
- Mugo pines are popular and interesting evergreens. They add texture, color, and pleasing shape to the garden. I nurtured these specimens from bare root cuttings and they’ve done so well these last couple of years. It’s time to plant them in their permanent spots.
-
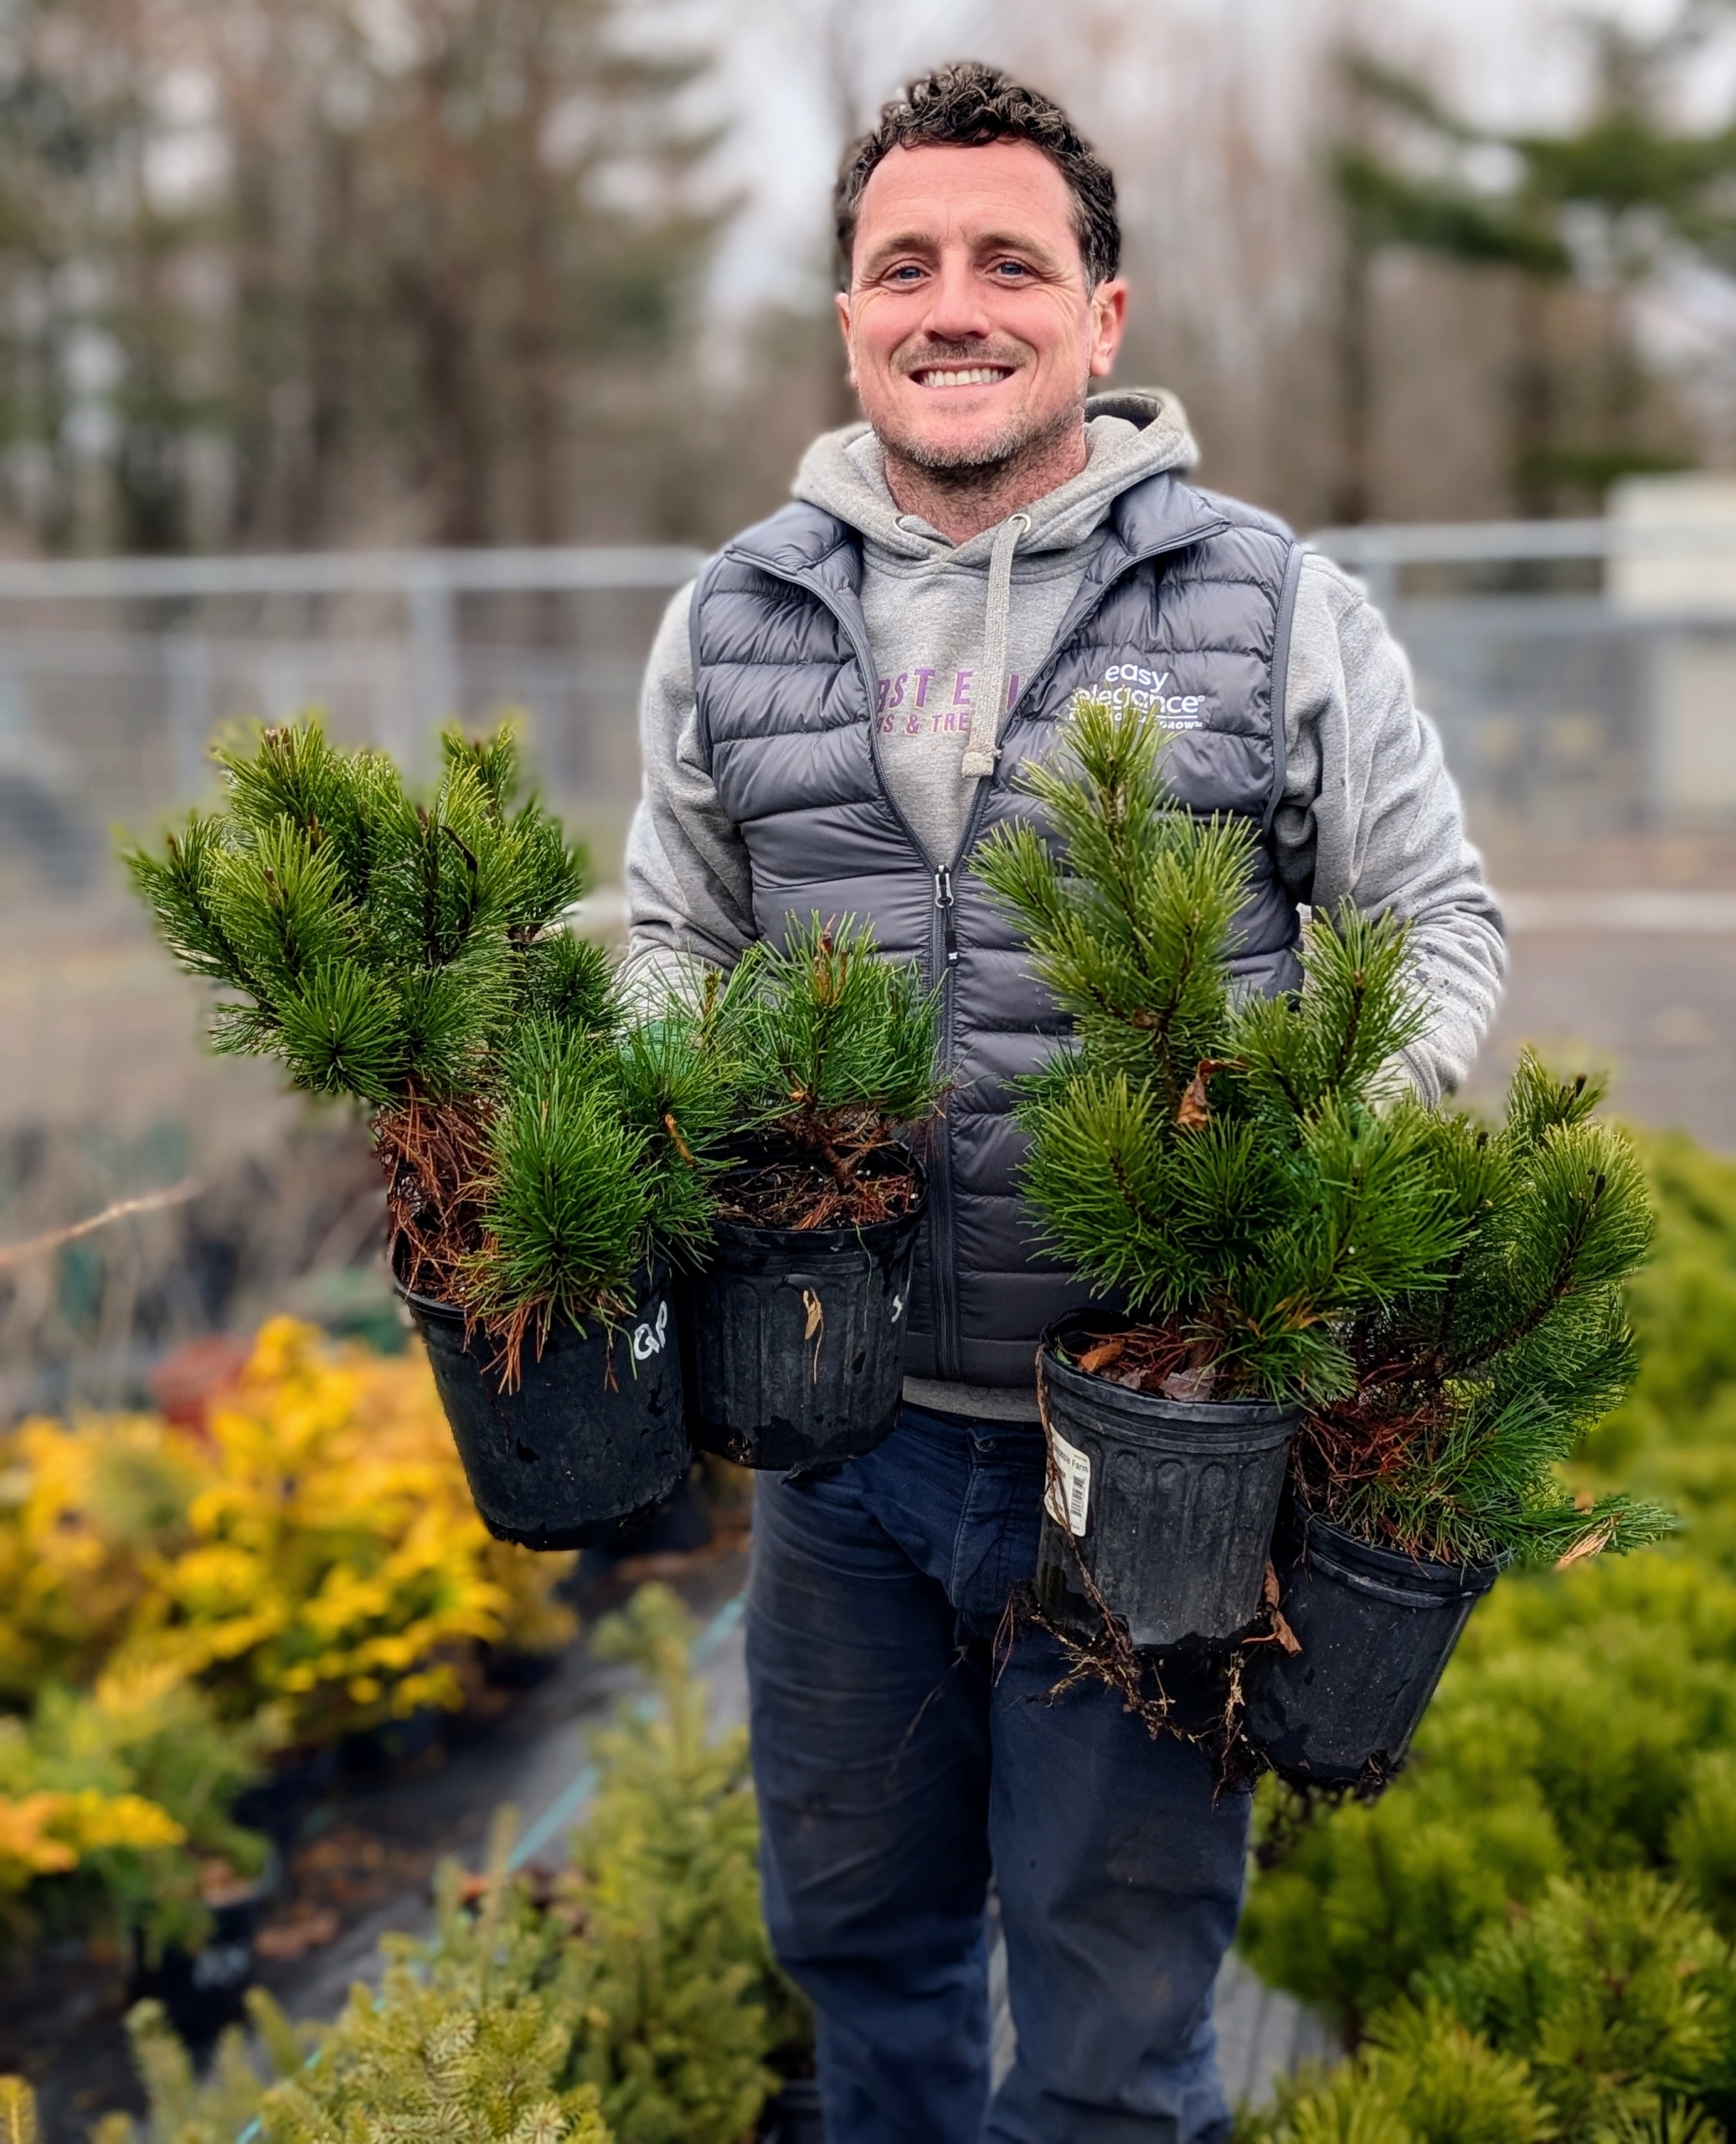
- Here’s my head gardener, Ryan McCallister, moving a selection of Mugo pines to my pinetum for a border.
-
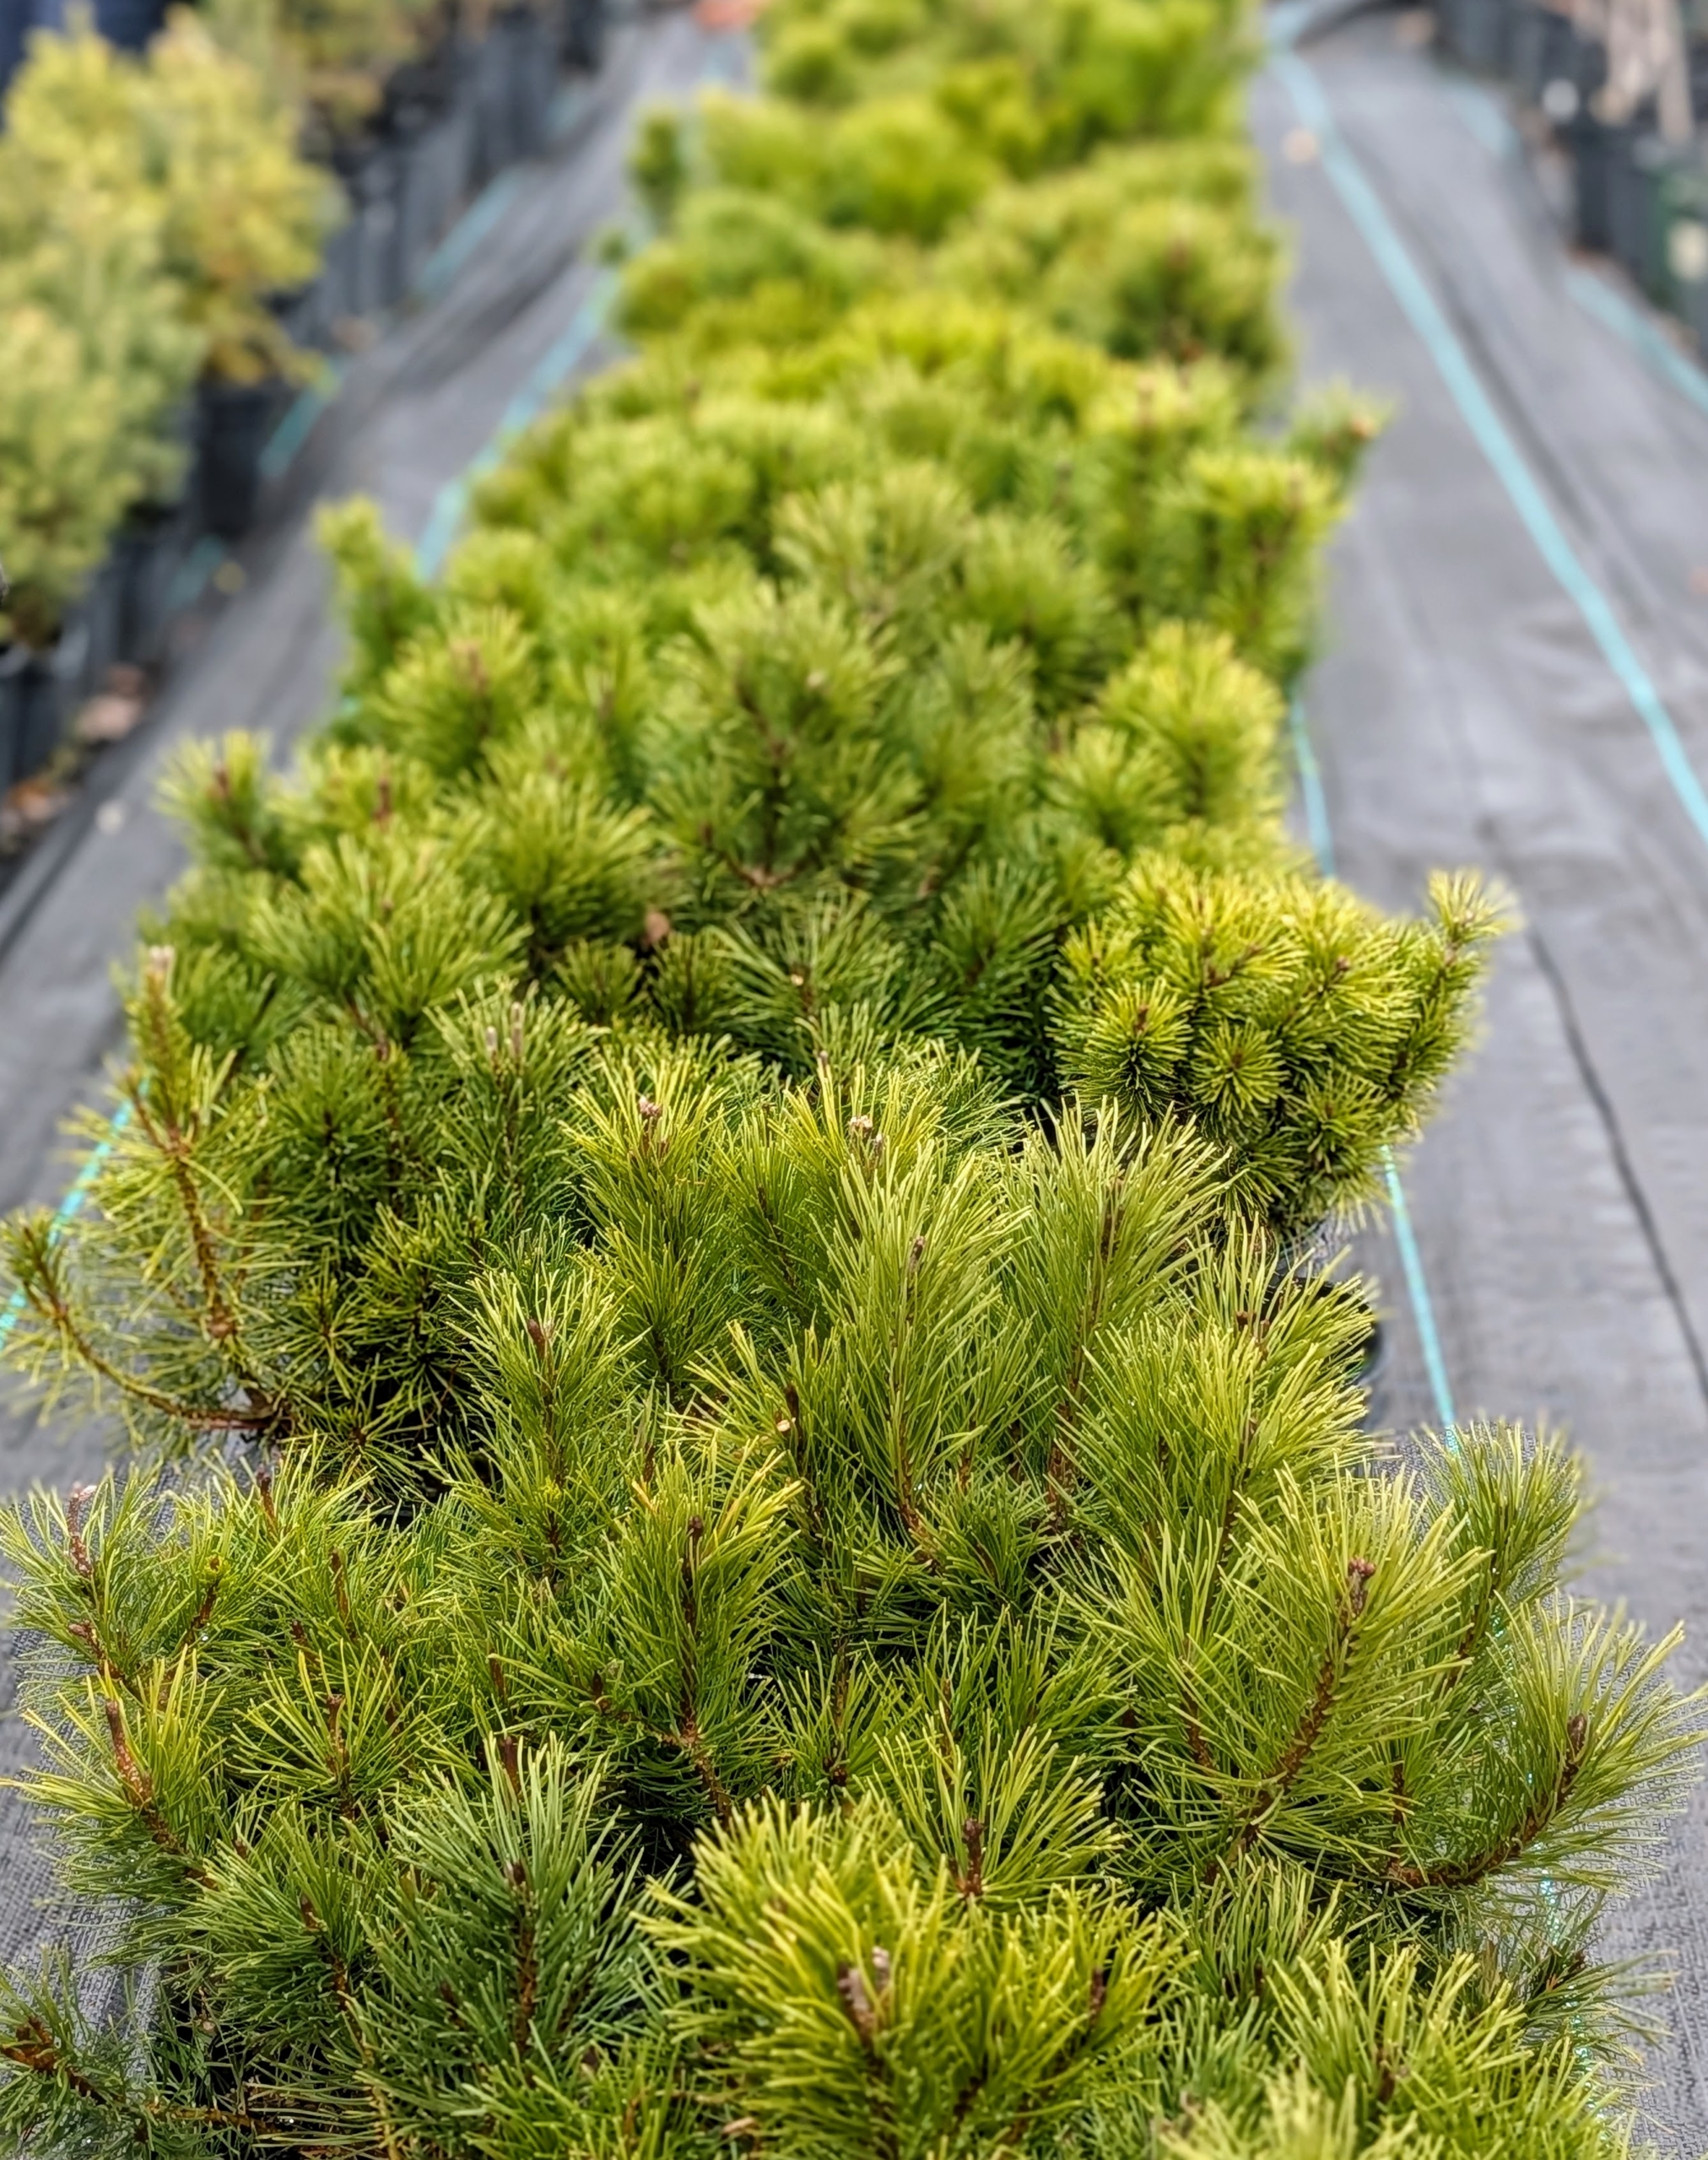
- Mugo pines, Pinus mugo, are dense shrubs native to mountainous areas in central and southern Europe. The will make a nice border for this garden.

-
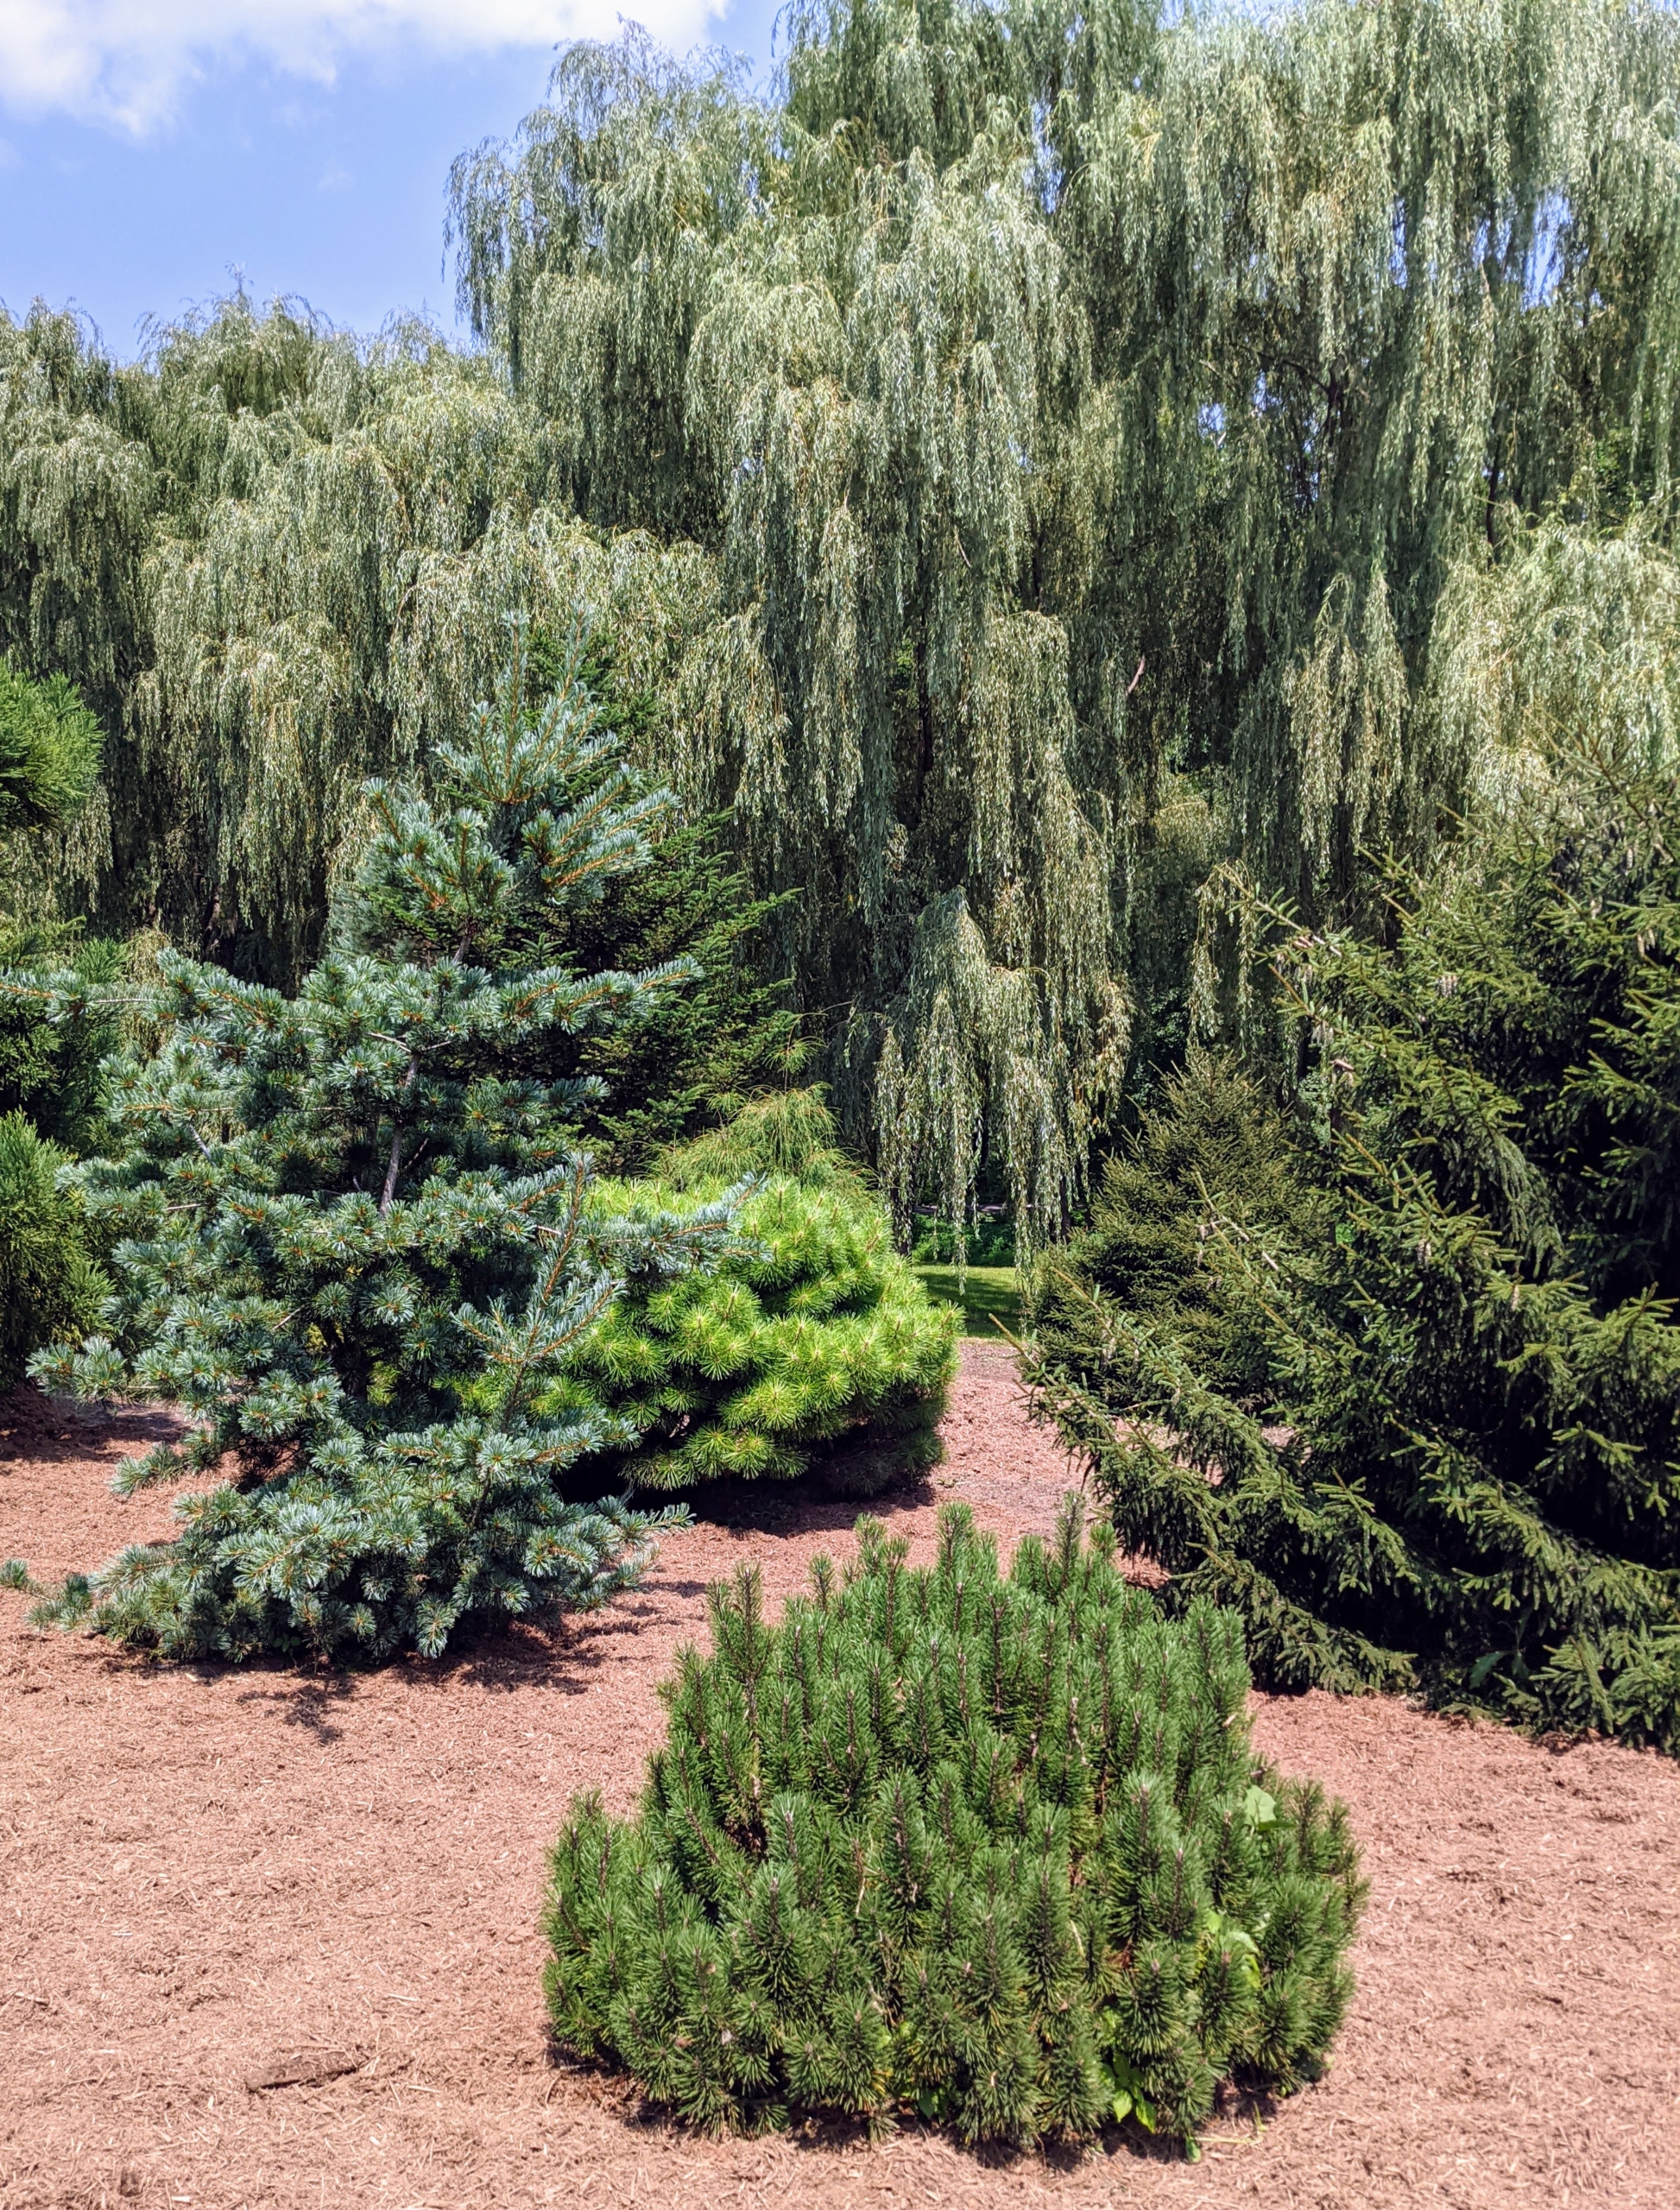
- This is my pinetum in summer. It is filled with many different shapes and sizes of evergreens. Over time, this area will fill out more and more.
-
- All the potted pines are unloaded and placed to the side while the area is prepared for planting.
-
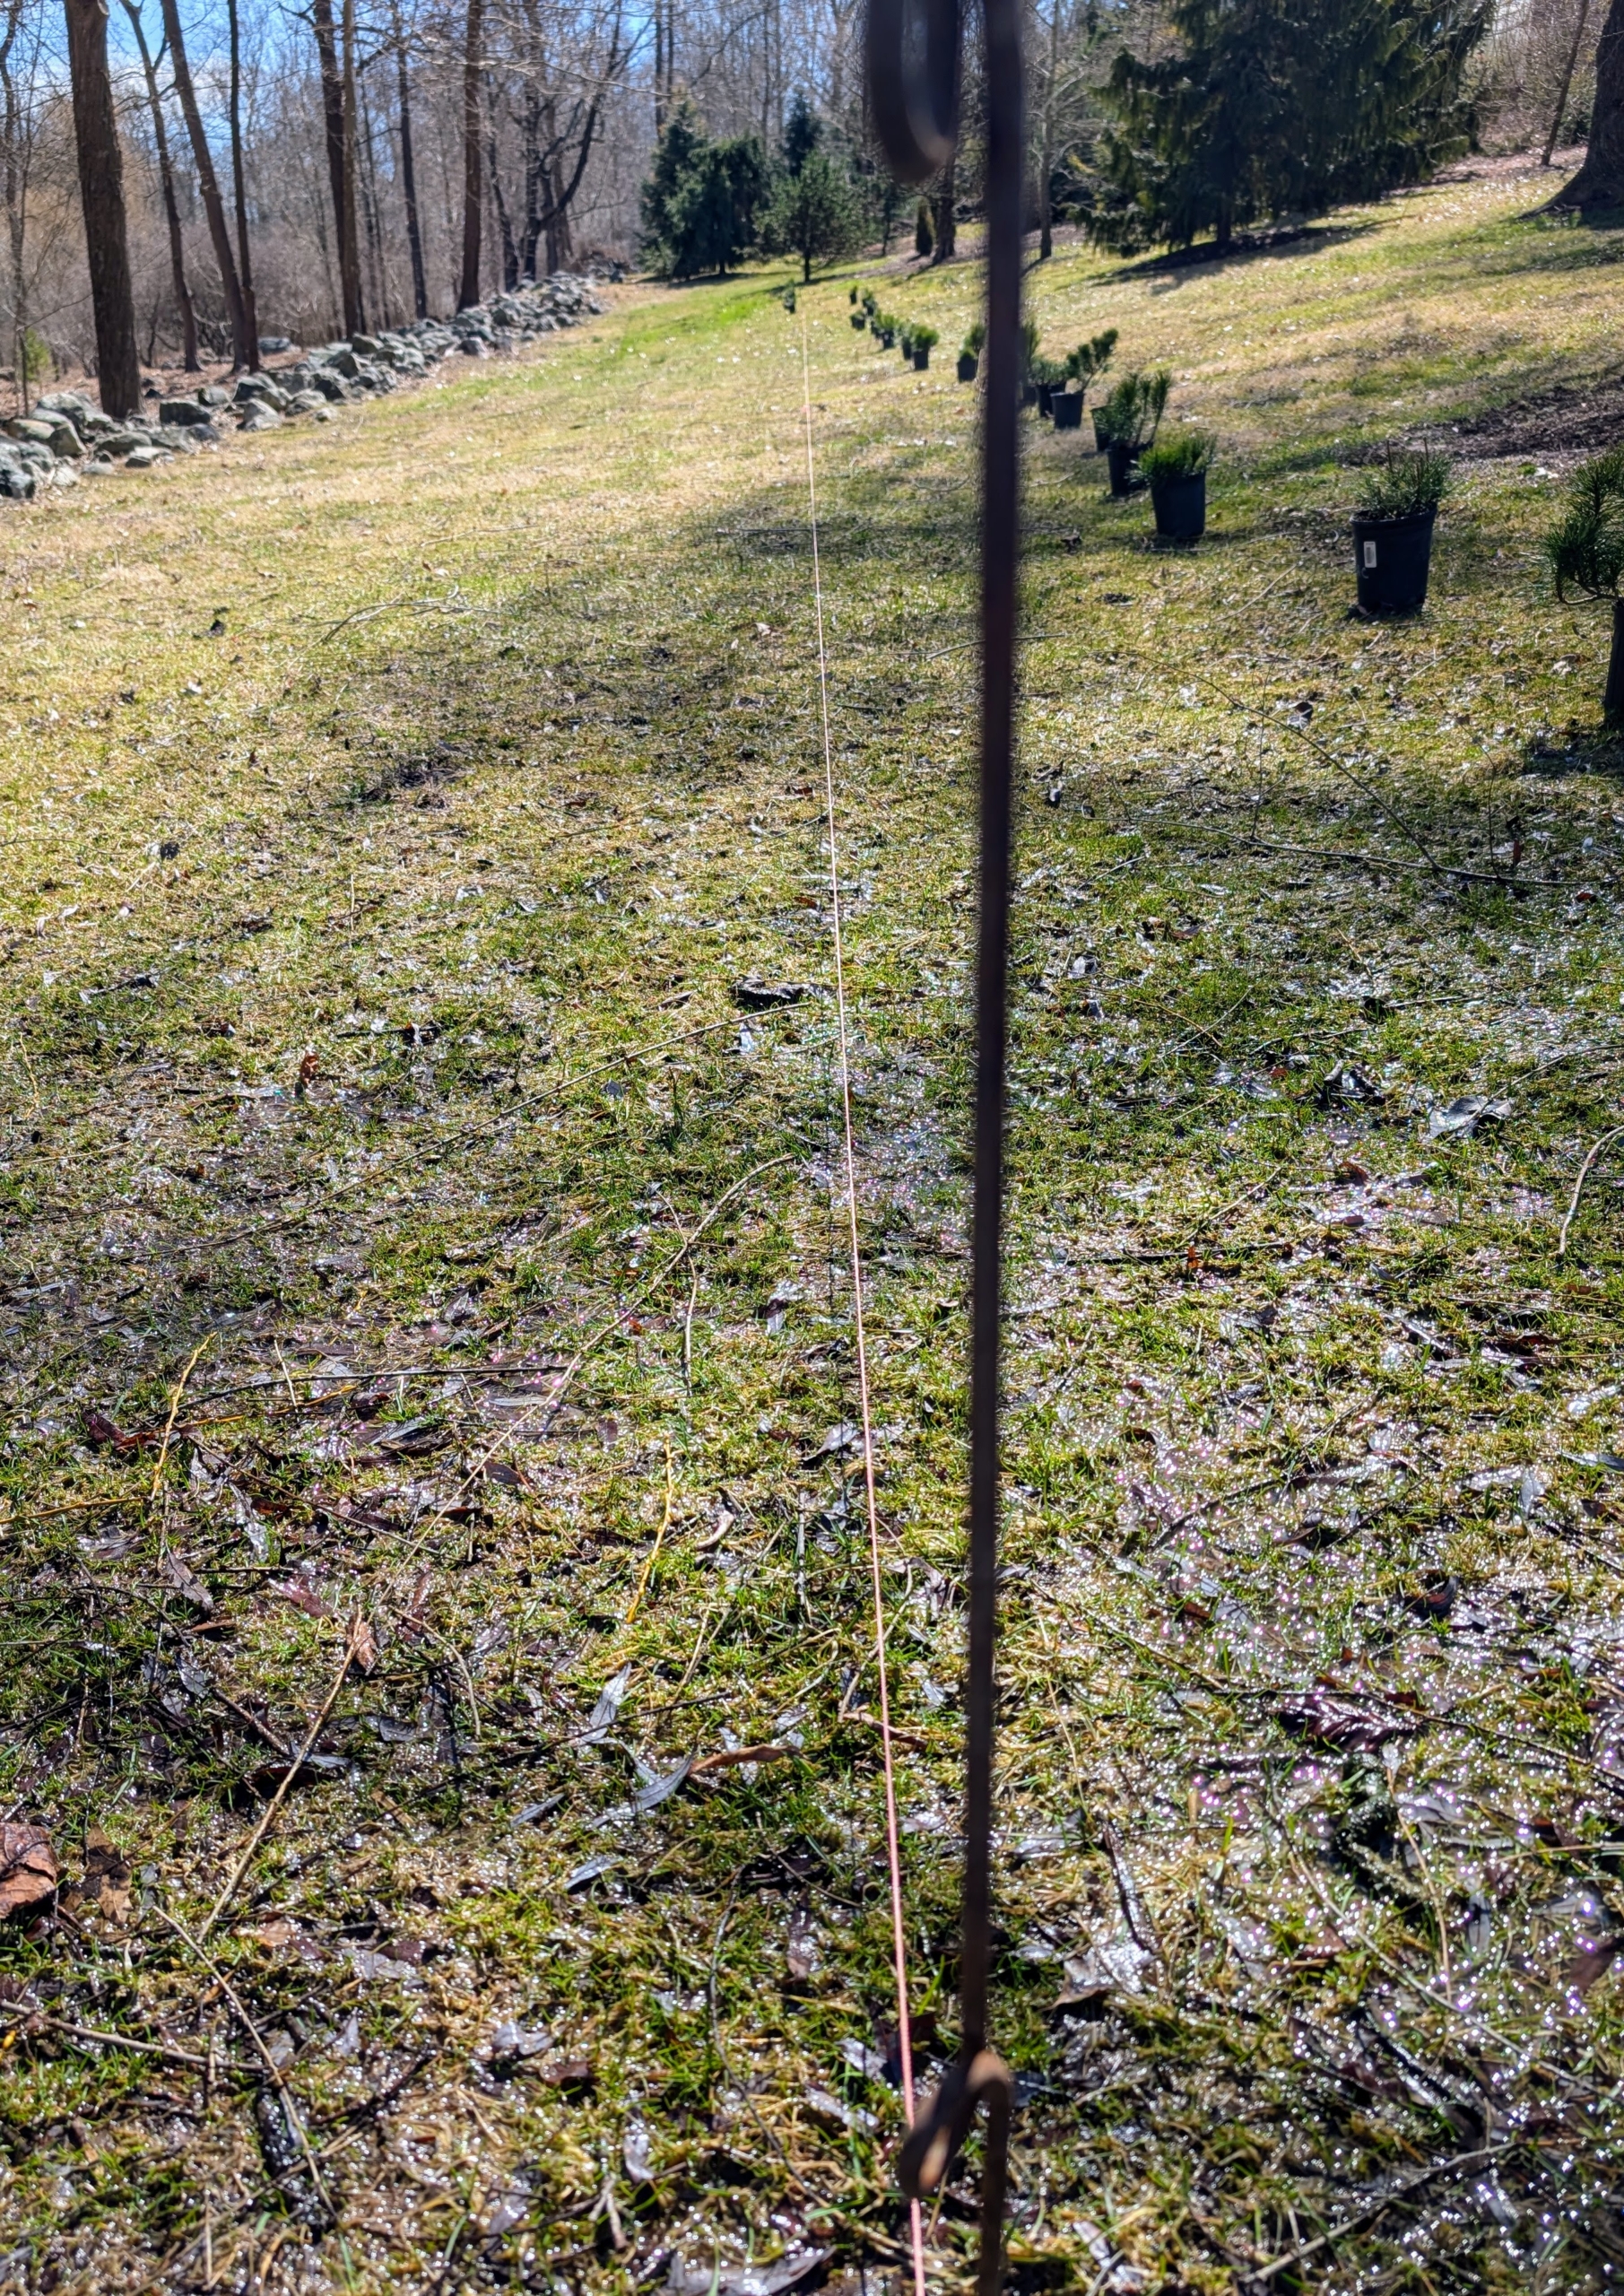
- Gardener’s twine and stakes are used to mark the new edge of this bed. The twine also serves as a guide for the motorized sod cutter.
-
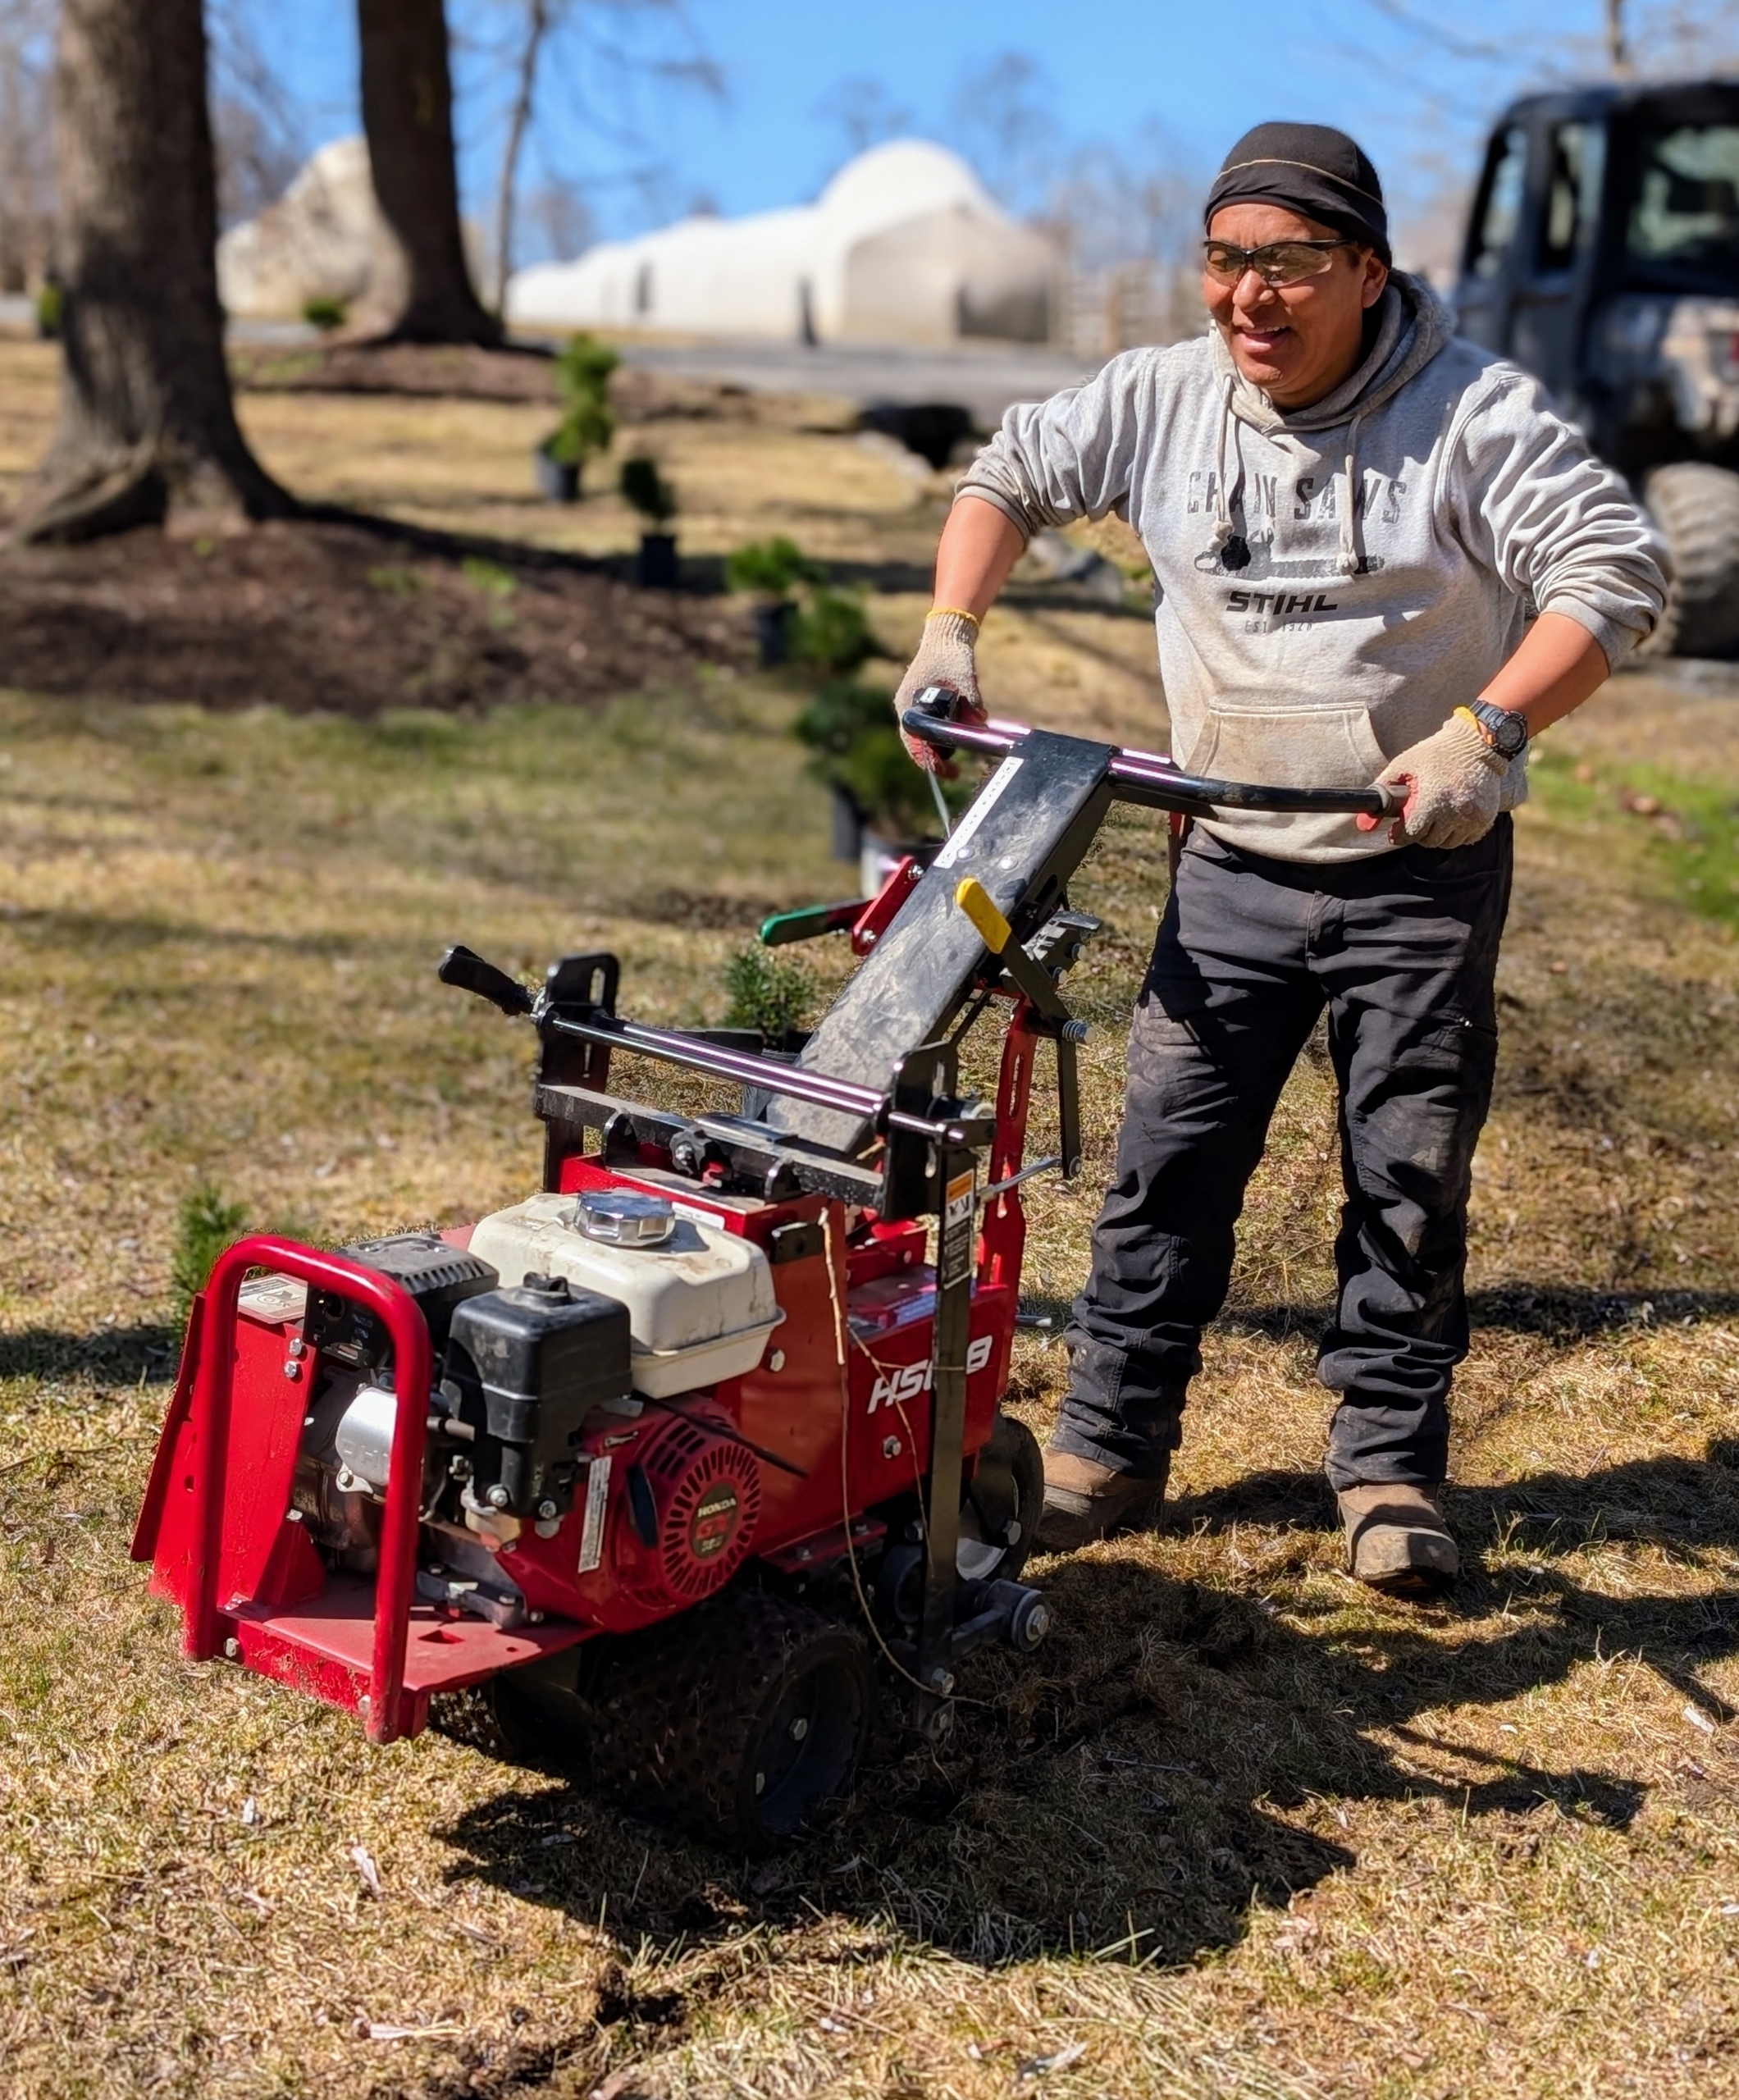
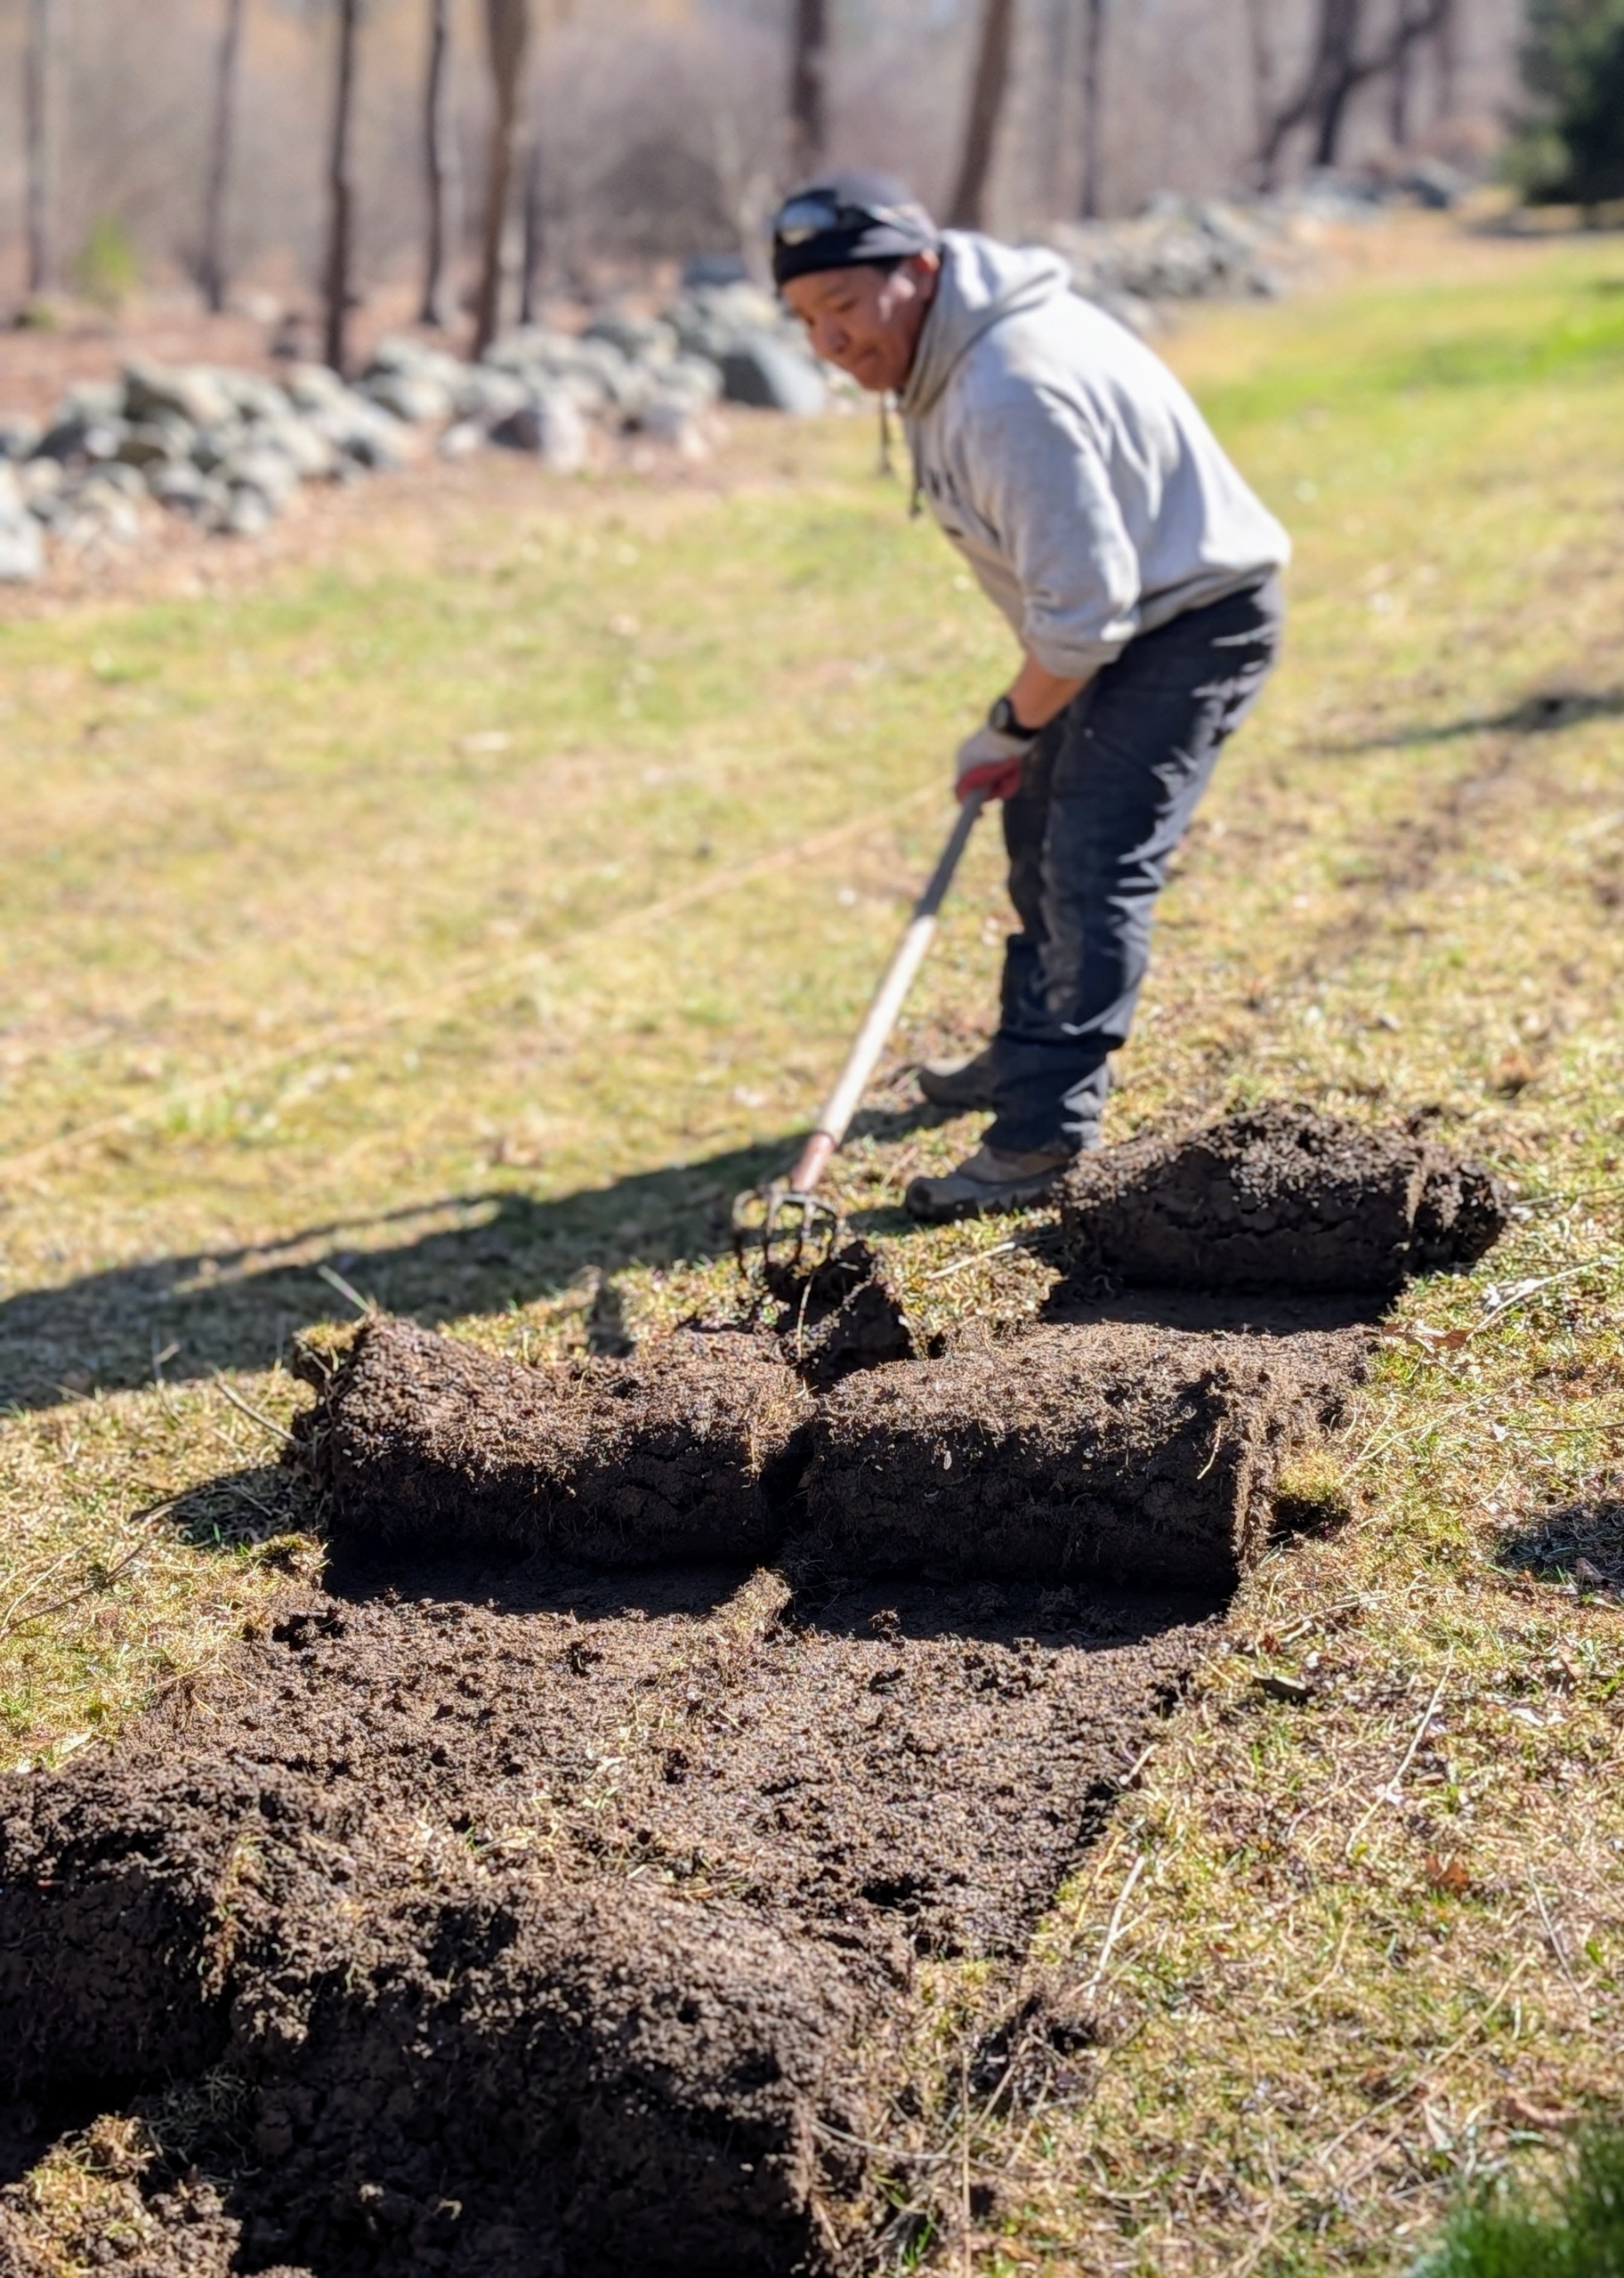
- Here’s Phurba cutting the sod around the space. There are different types of sod cutters, but they all essentially cut grass at the roots so entire sections of sod can be removed to expose the bare ground underneath it.
-
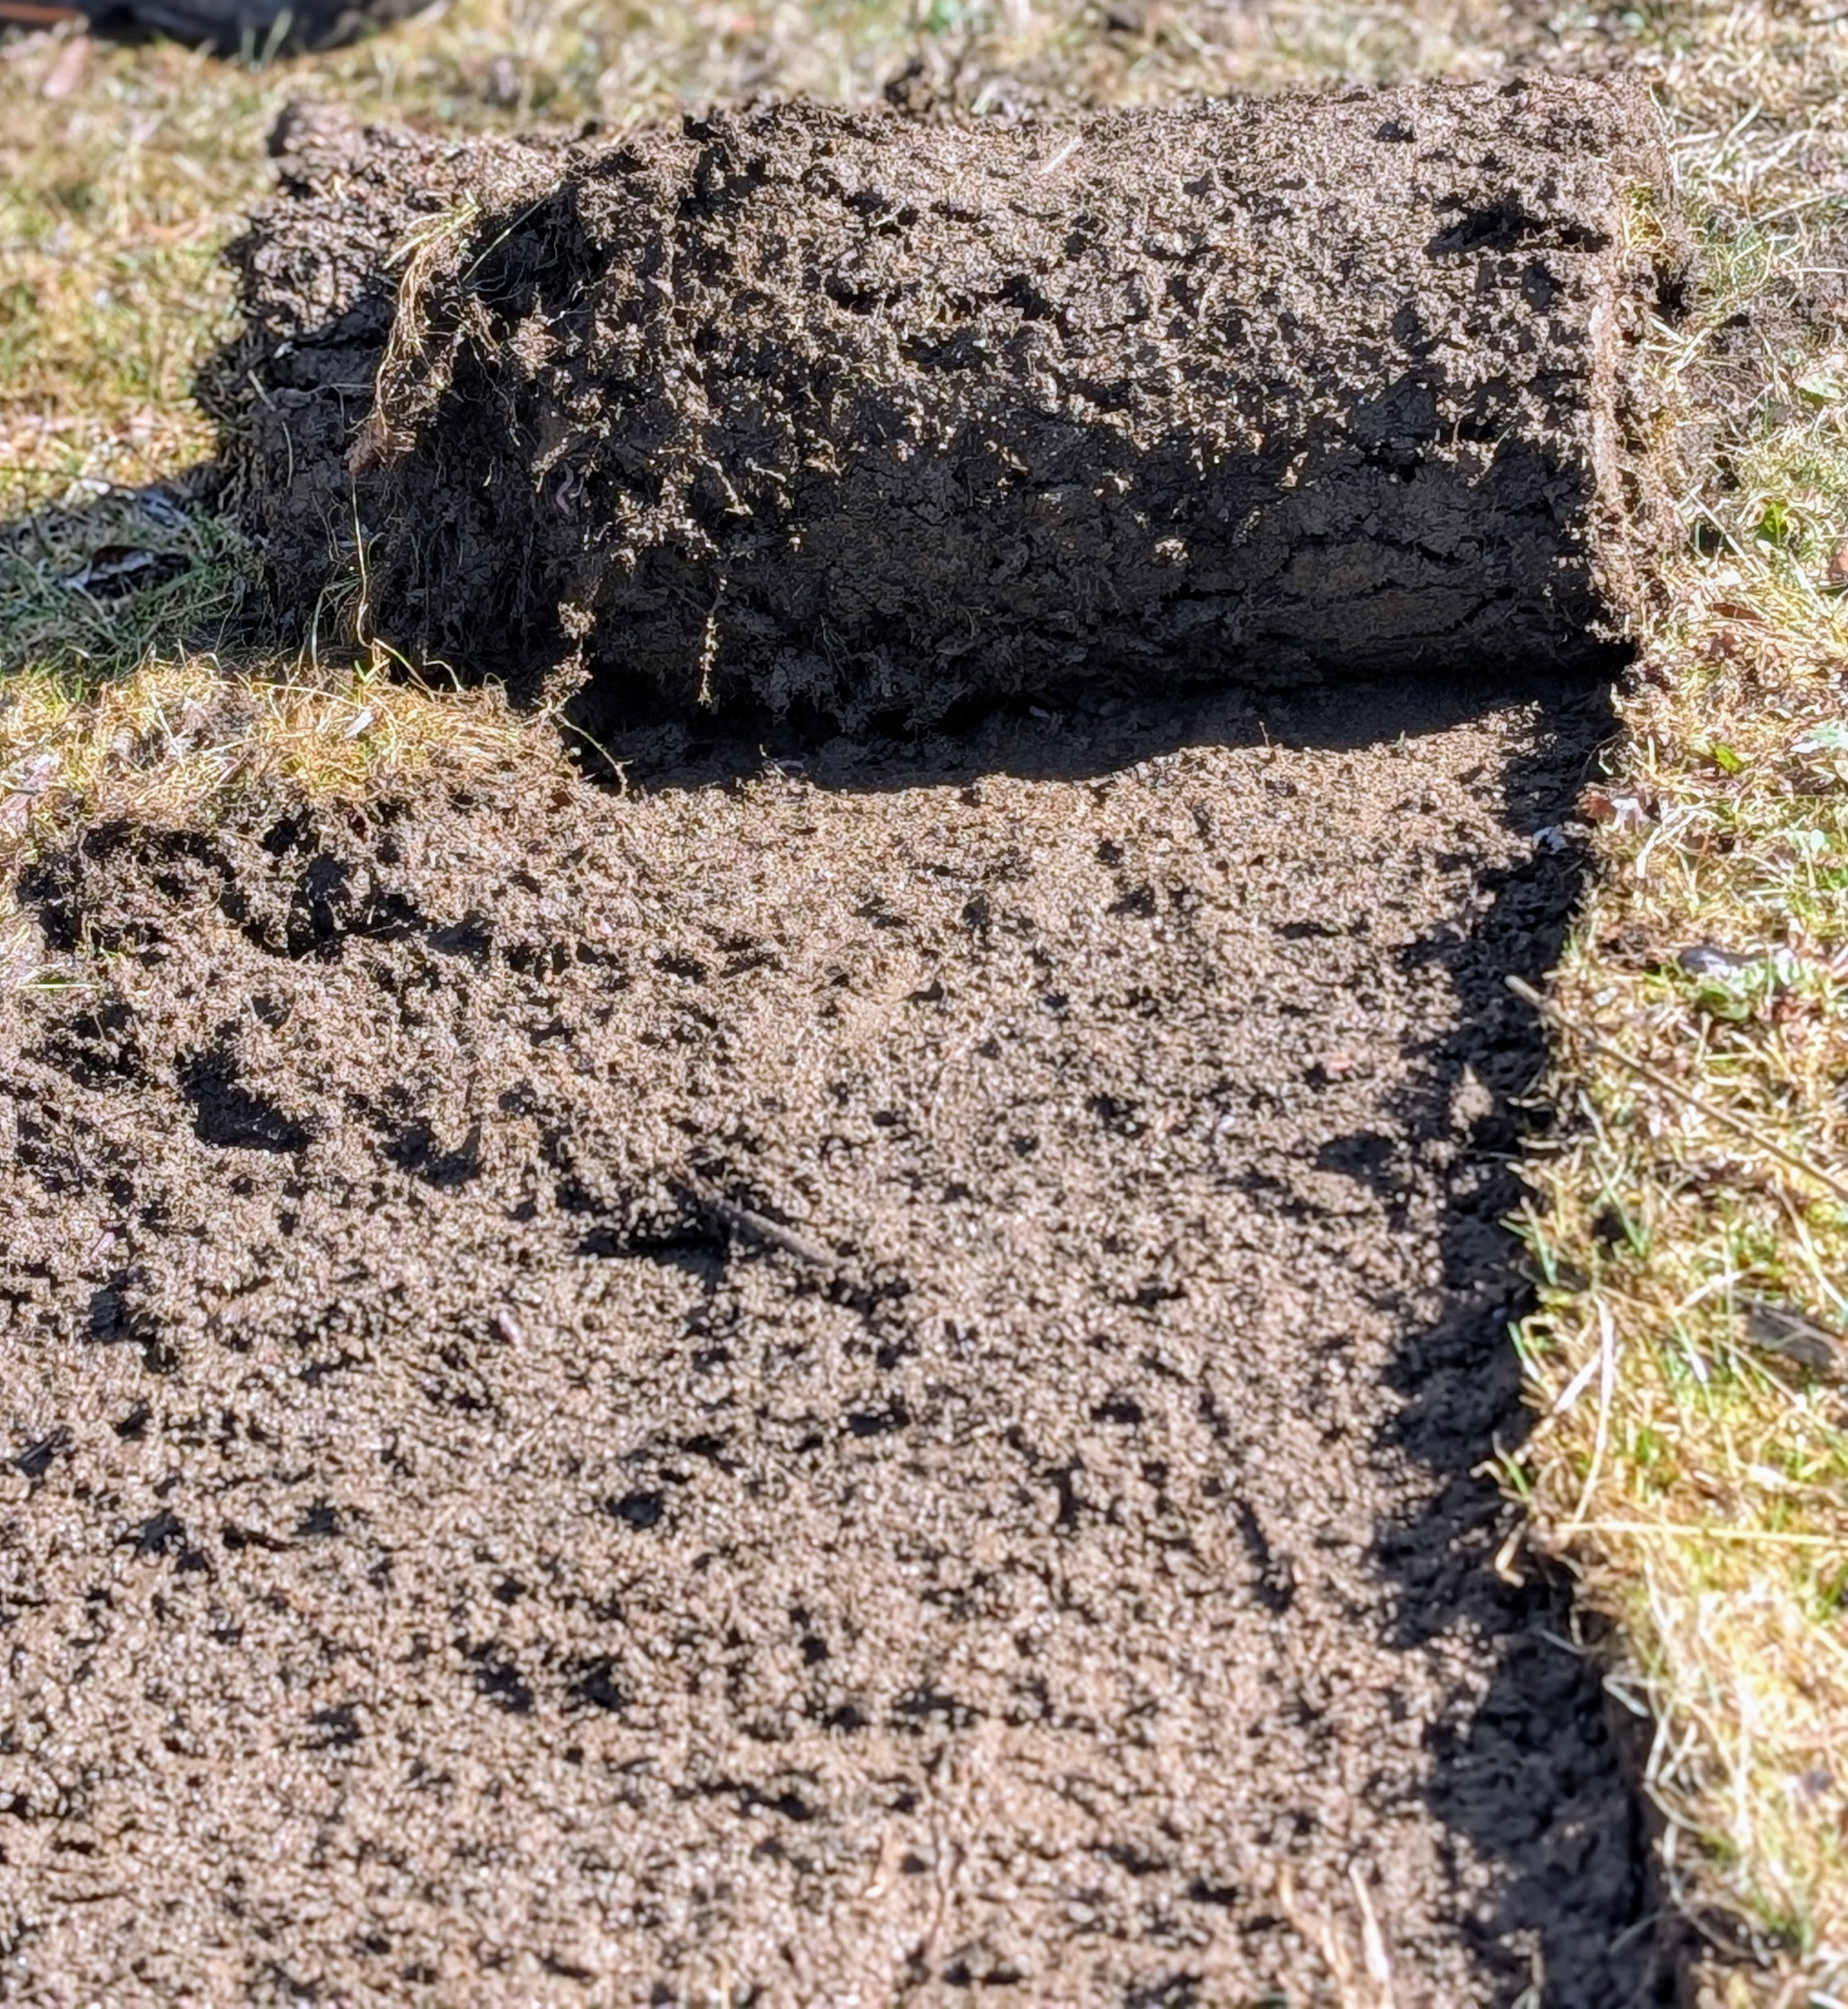
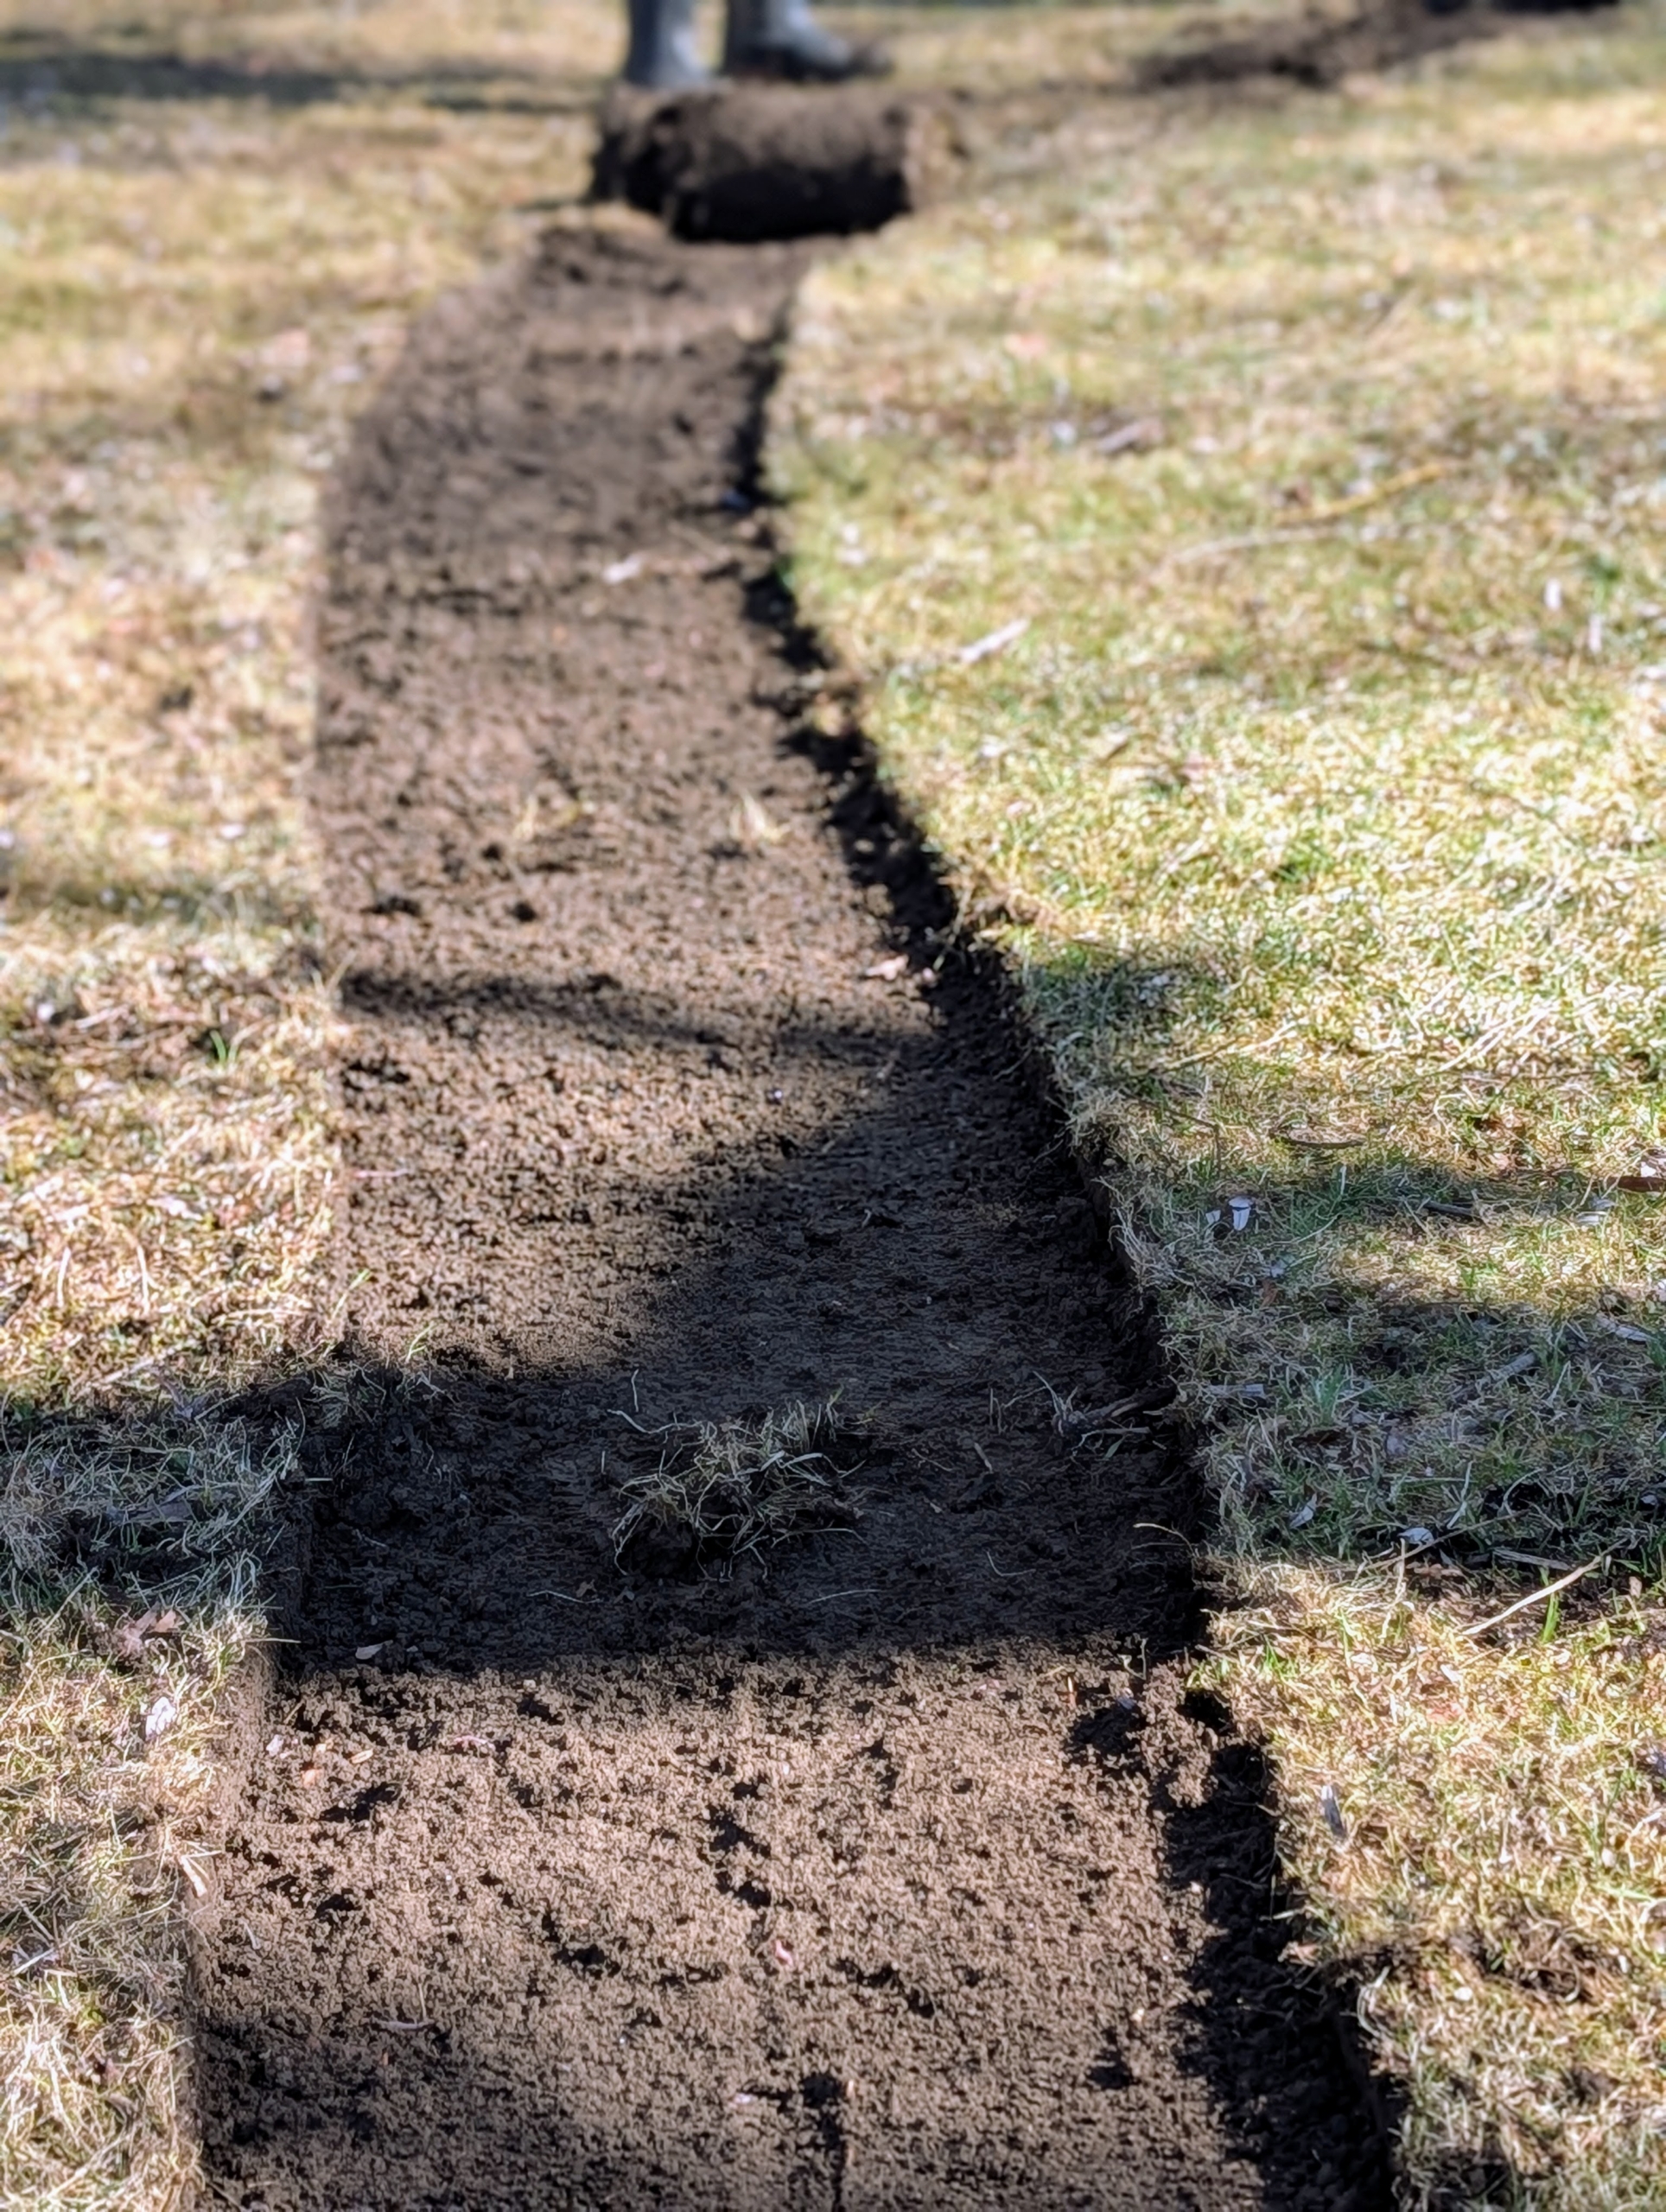
- Once the sod is cut, it is rolled up in strips. Doing this right away makes it easier to see where the sod has already been cut.
-
- Here is a section of the bed after the sod is removed.
-
- Phurba works in another area to roll up the sod. I never like to waste anything around the farm. The usable sod will be put in other areas needing grass.
-
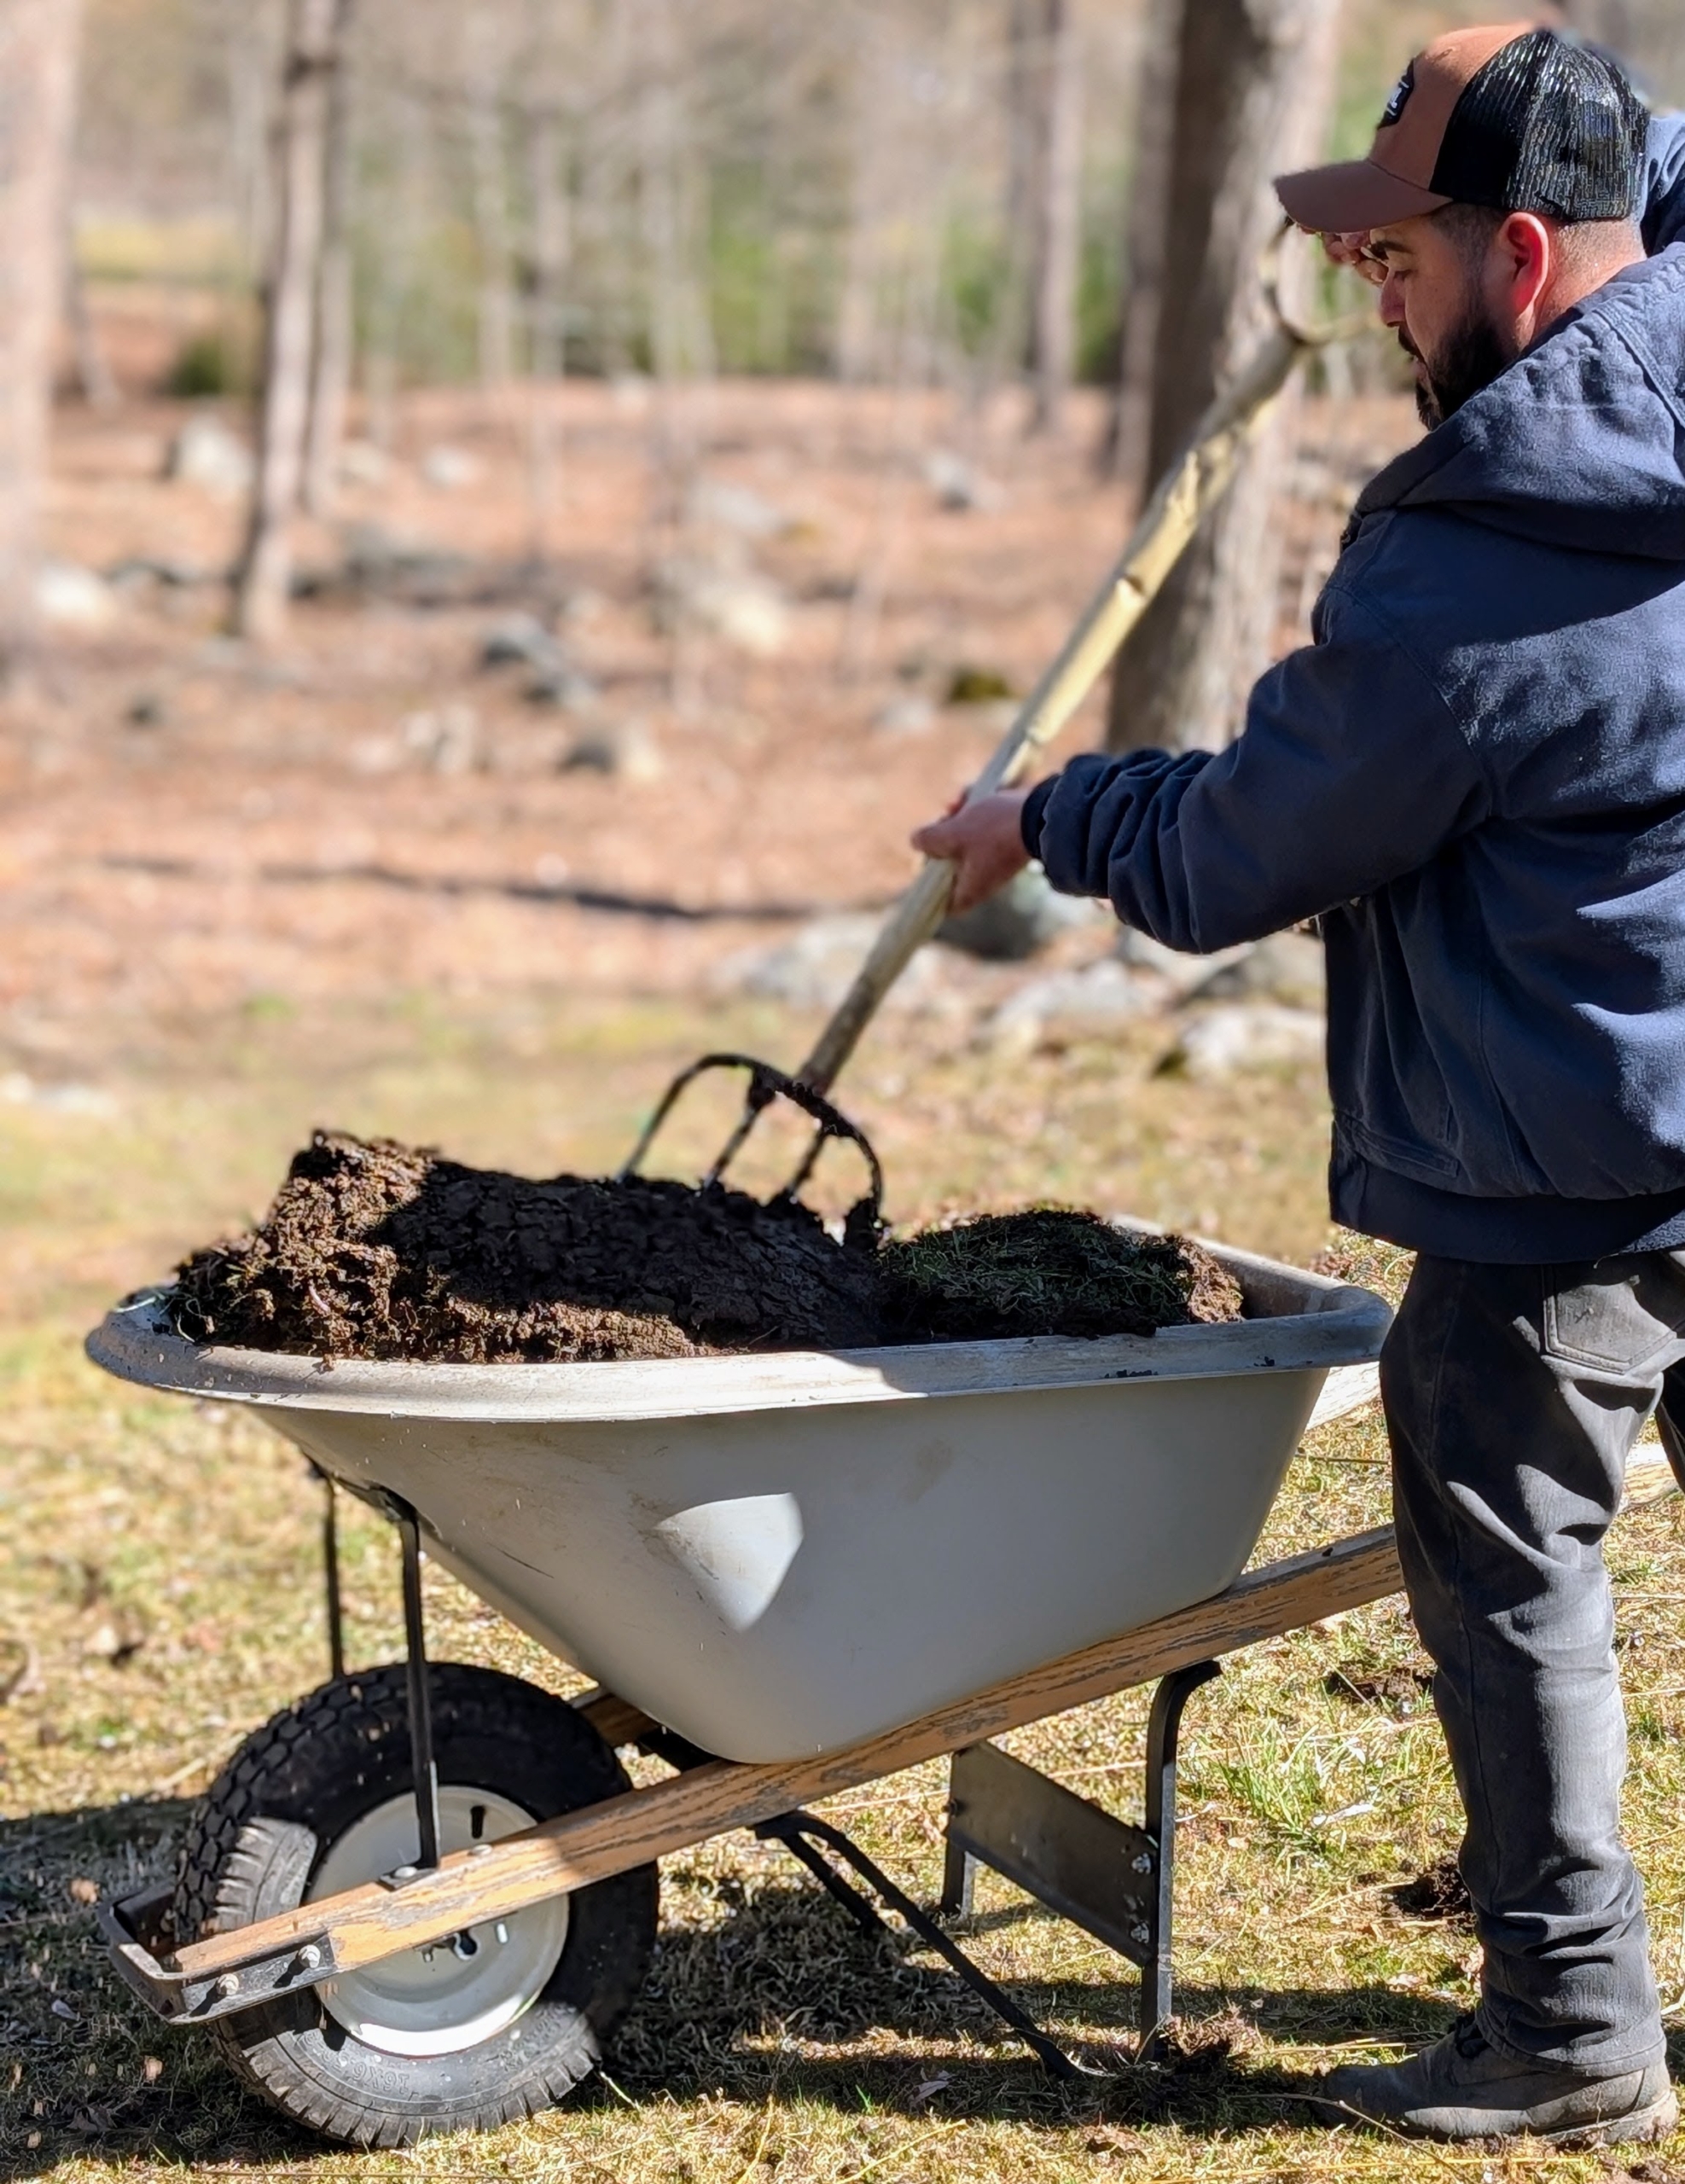
- Adan picks up the heavy rolls to fill the wheelbarrow.
-
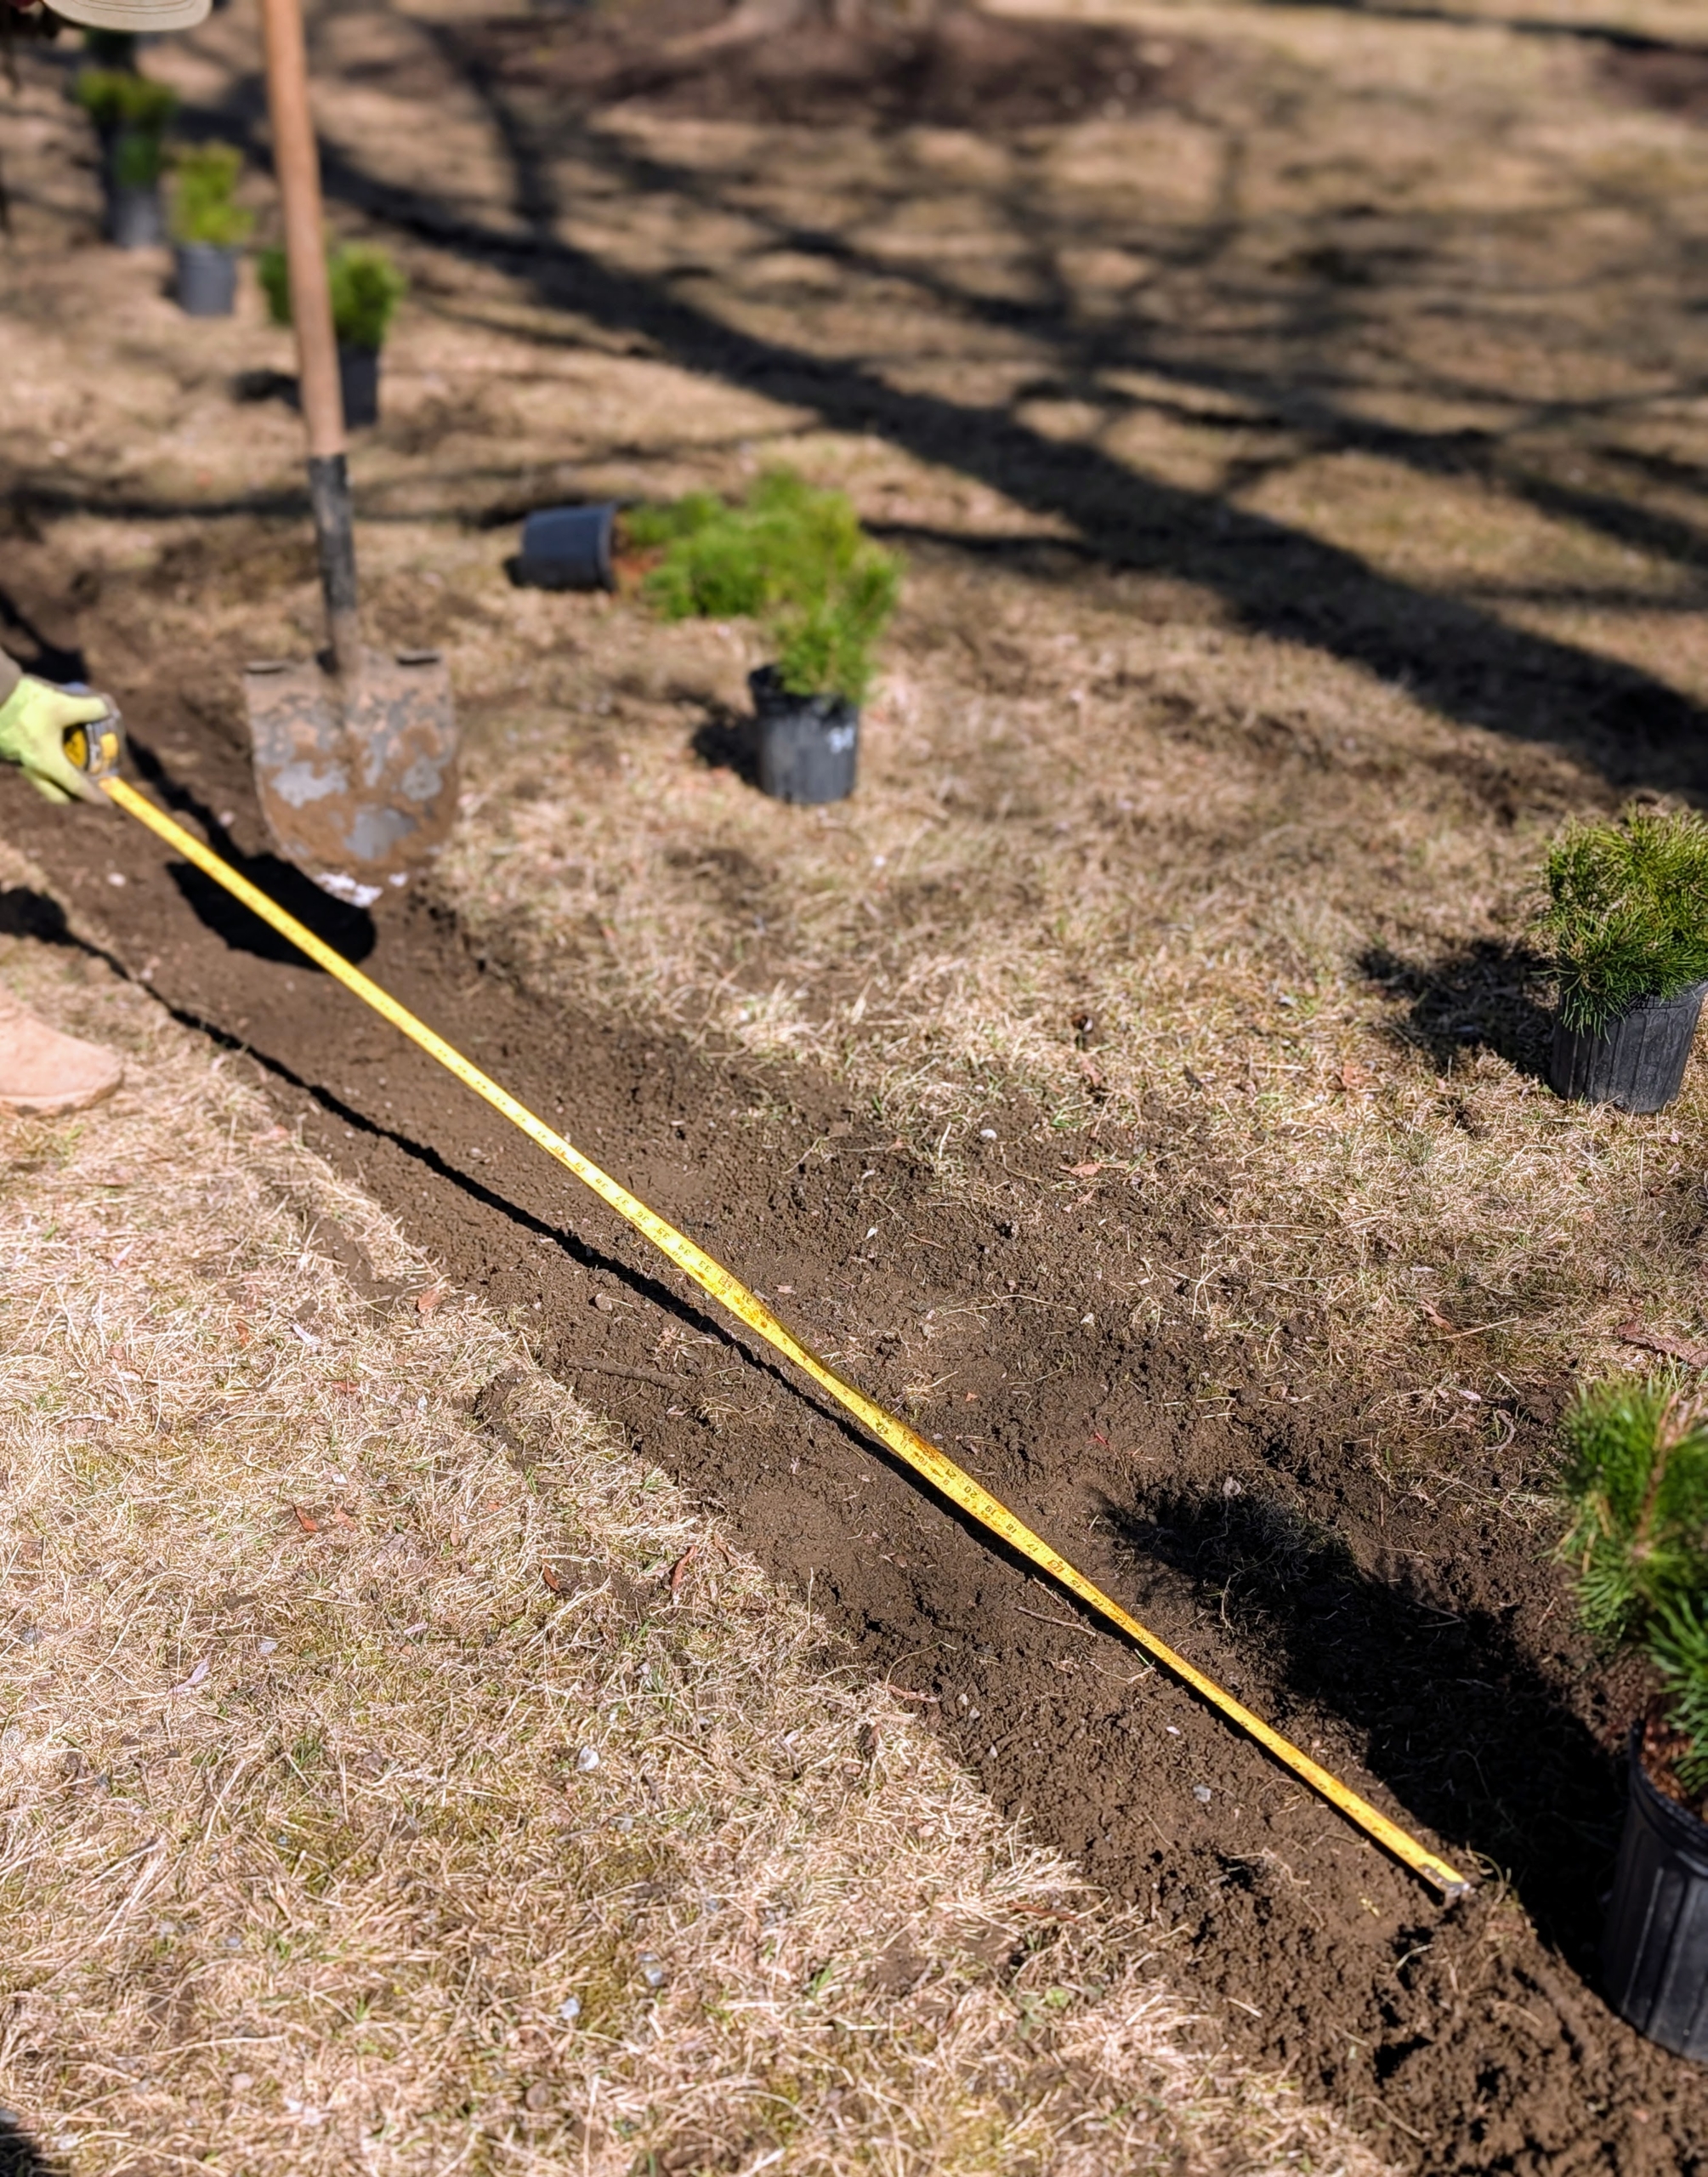
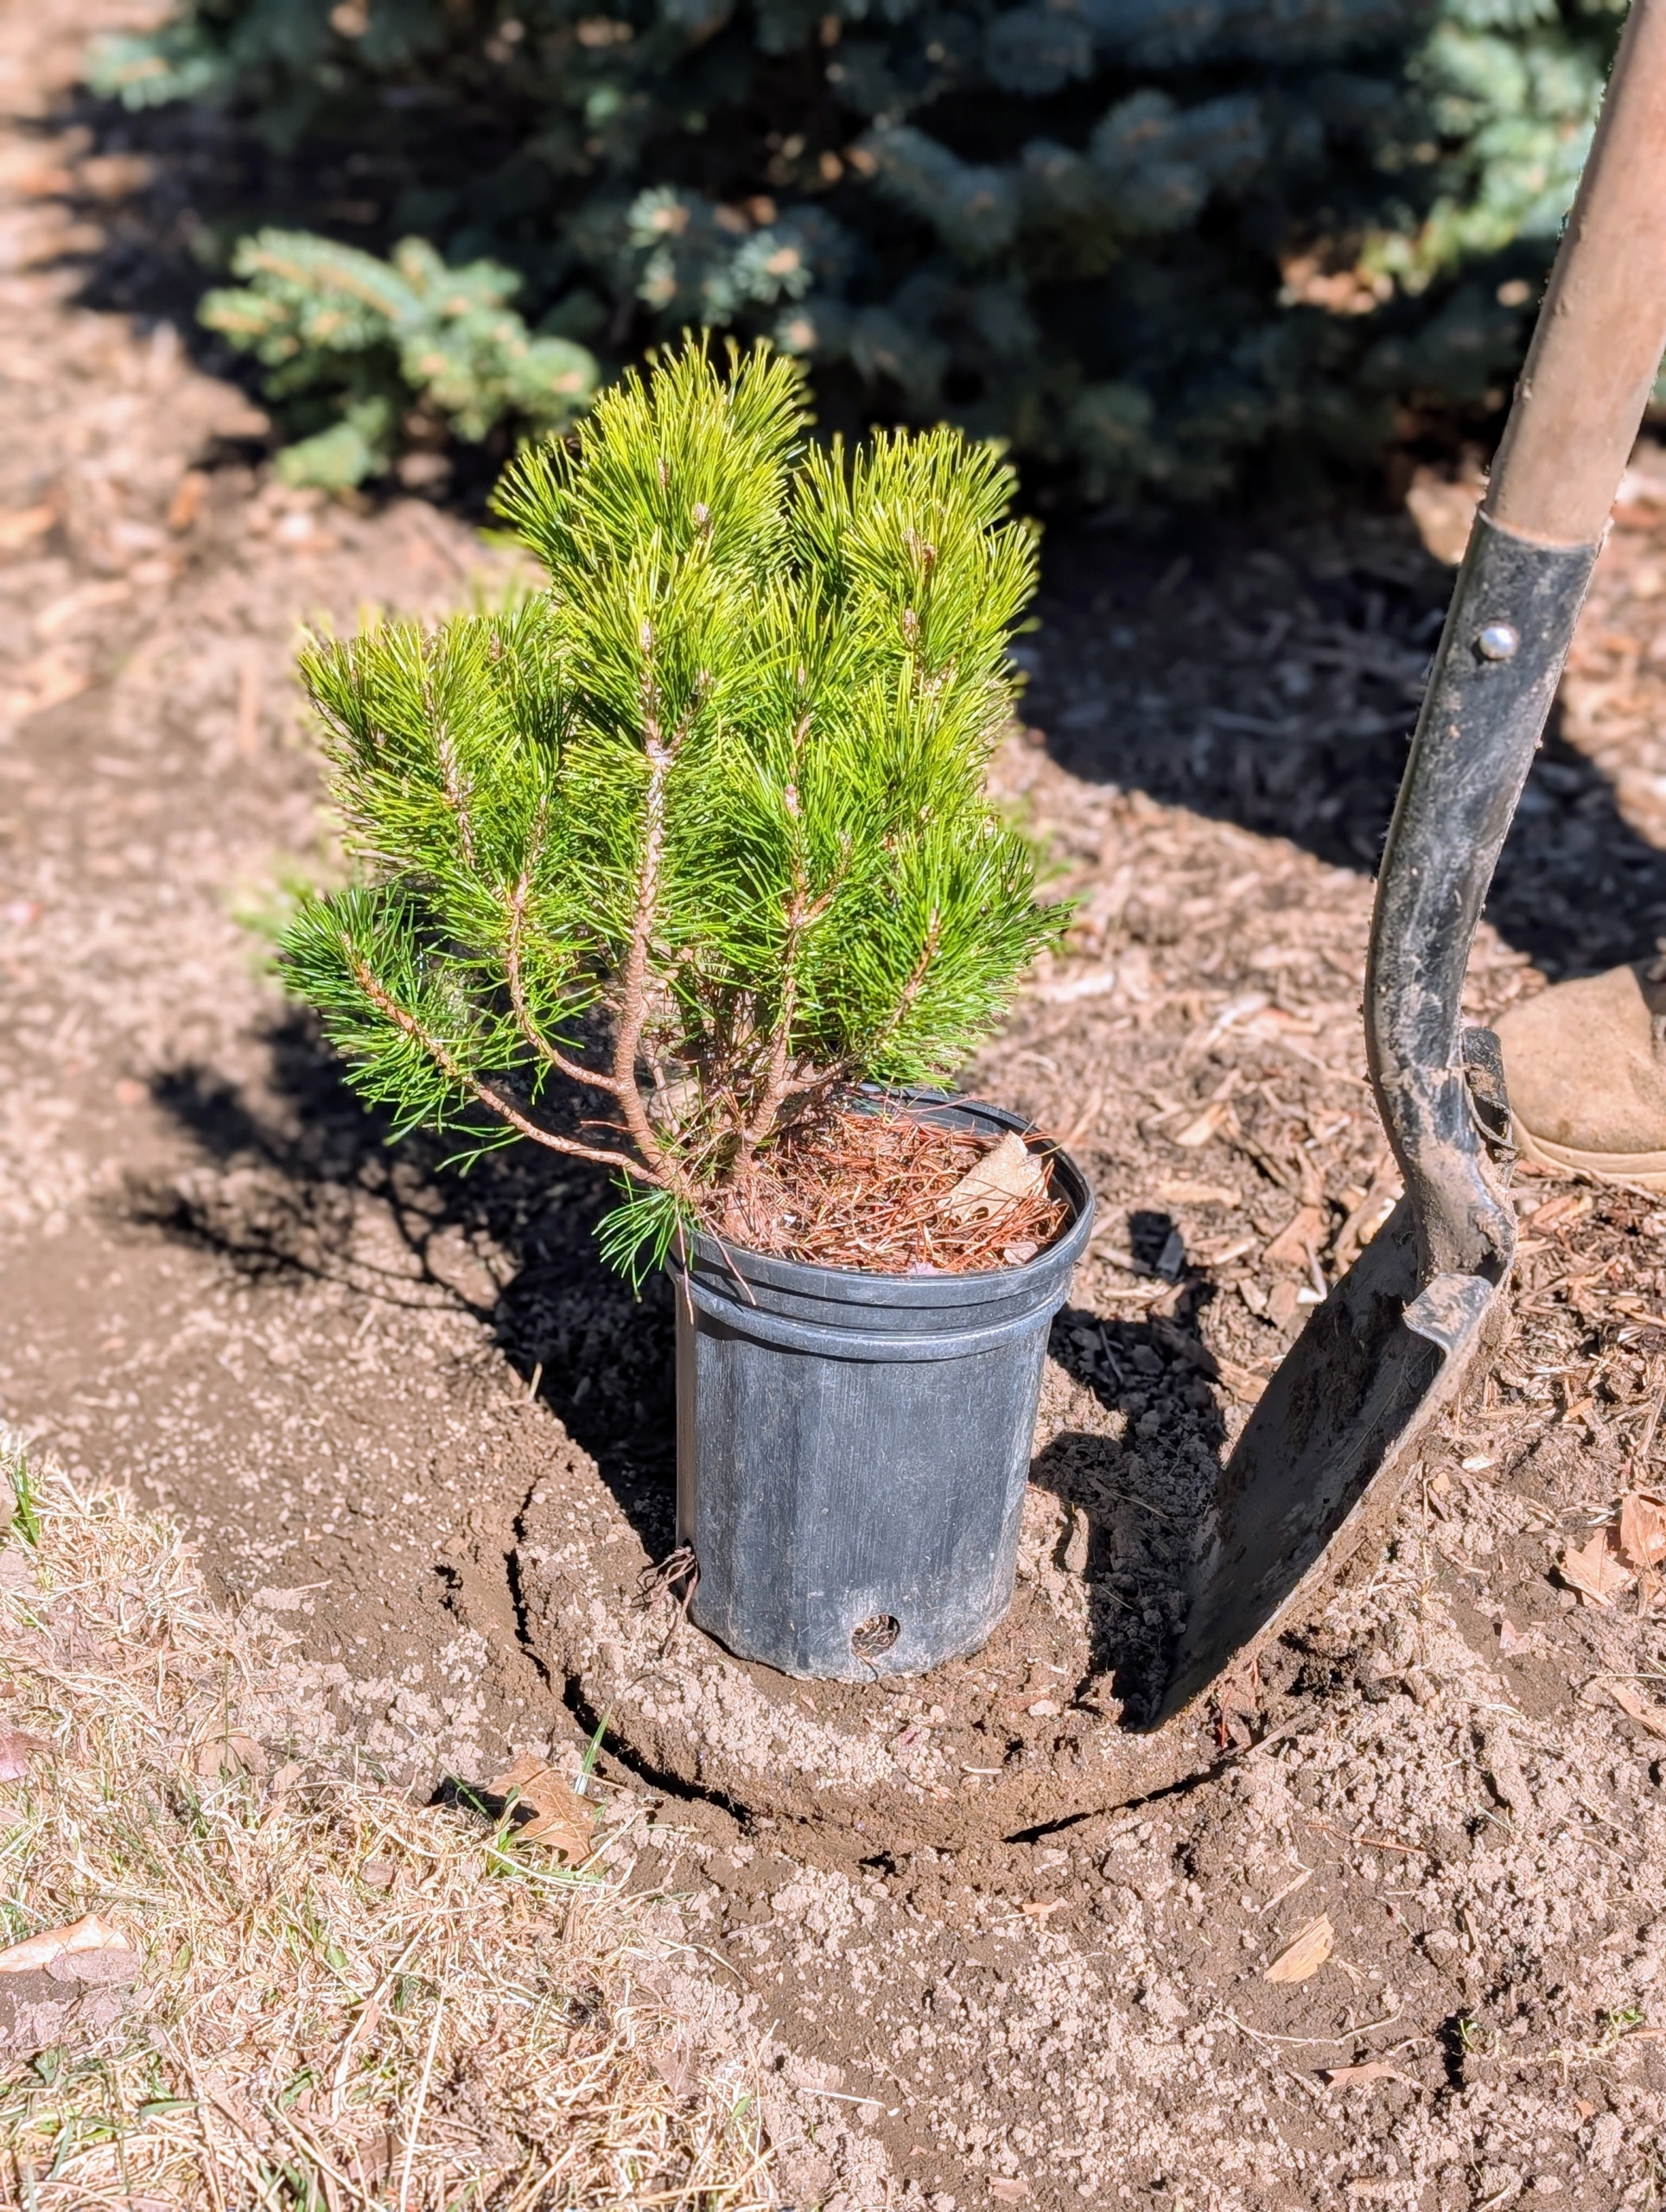
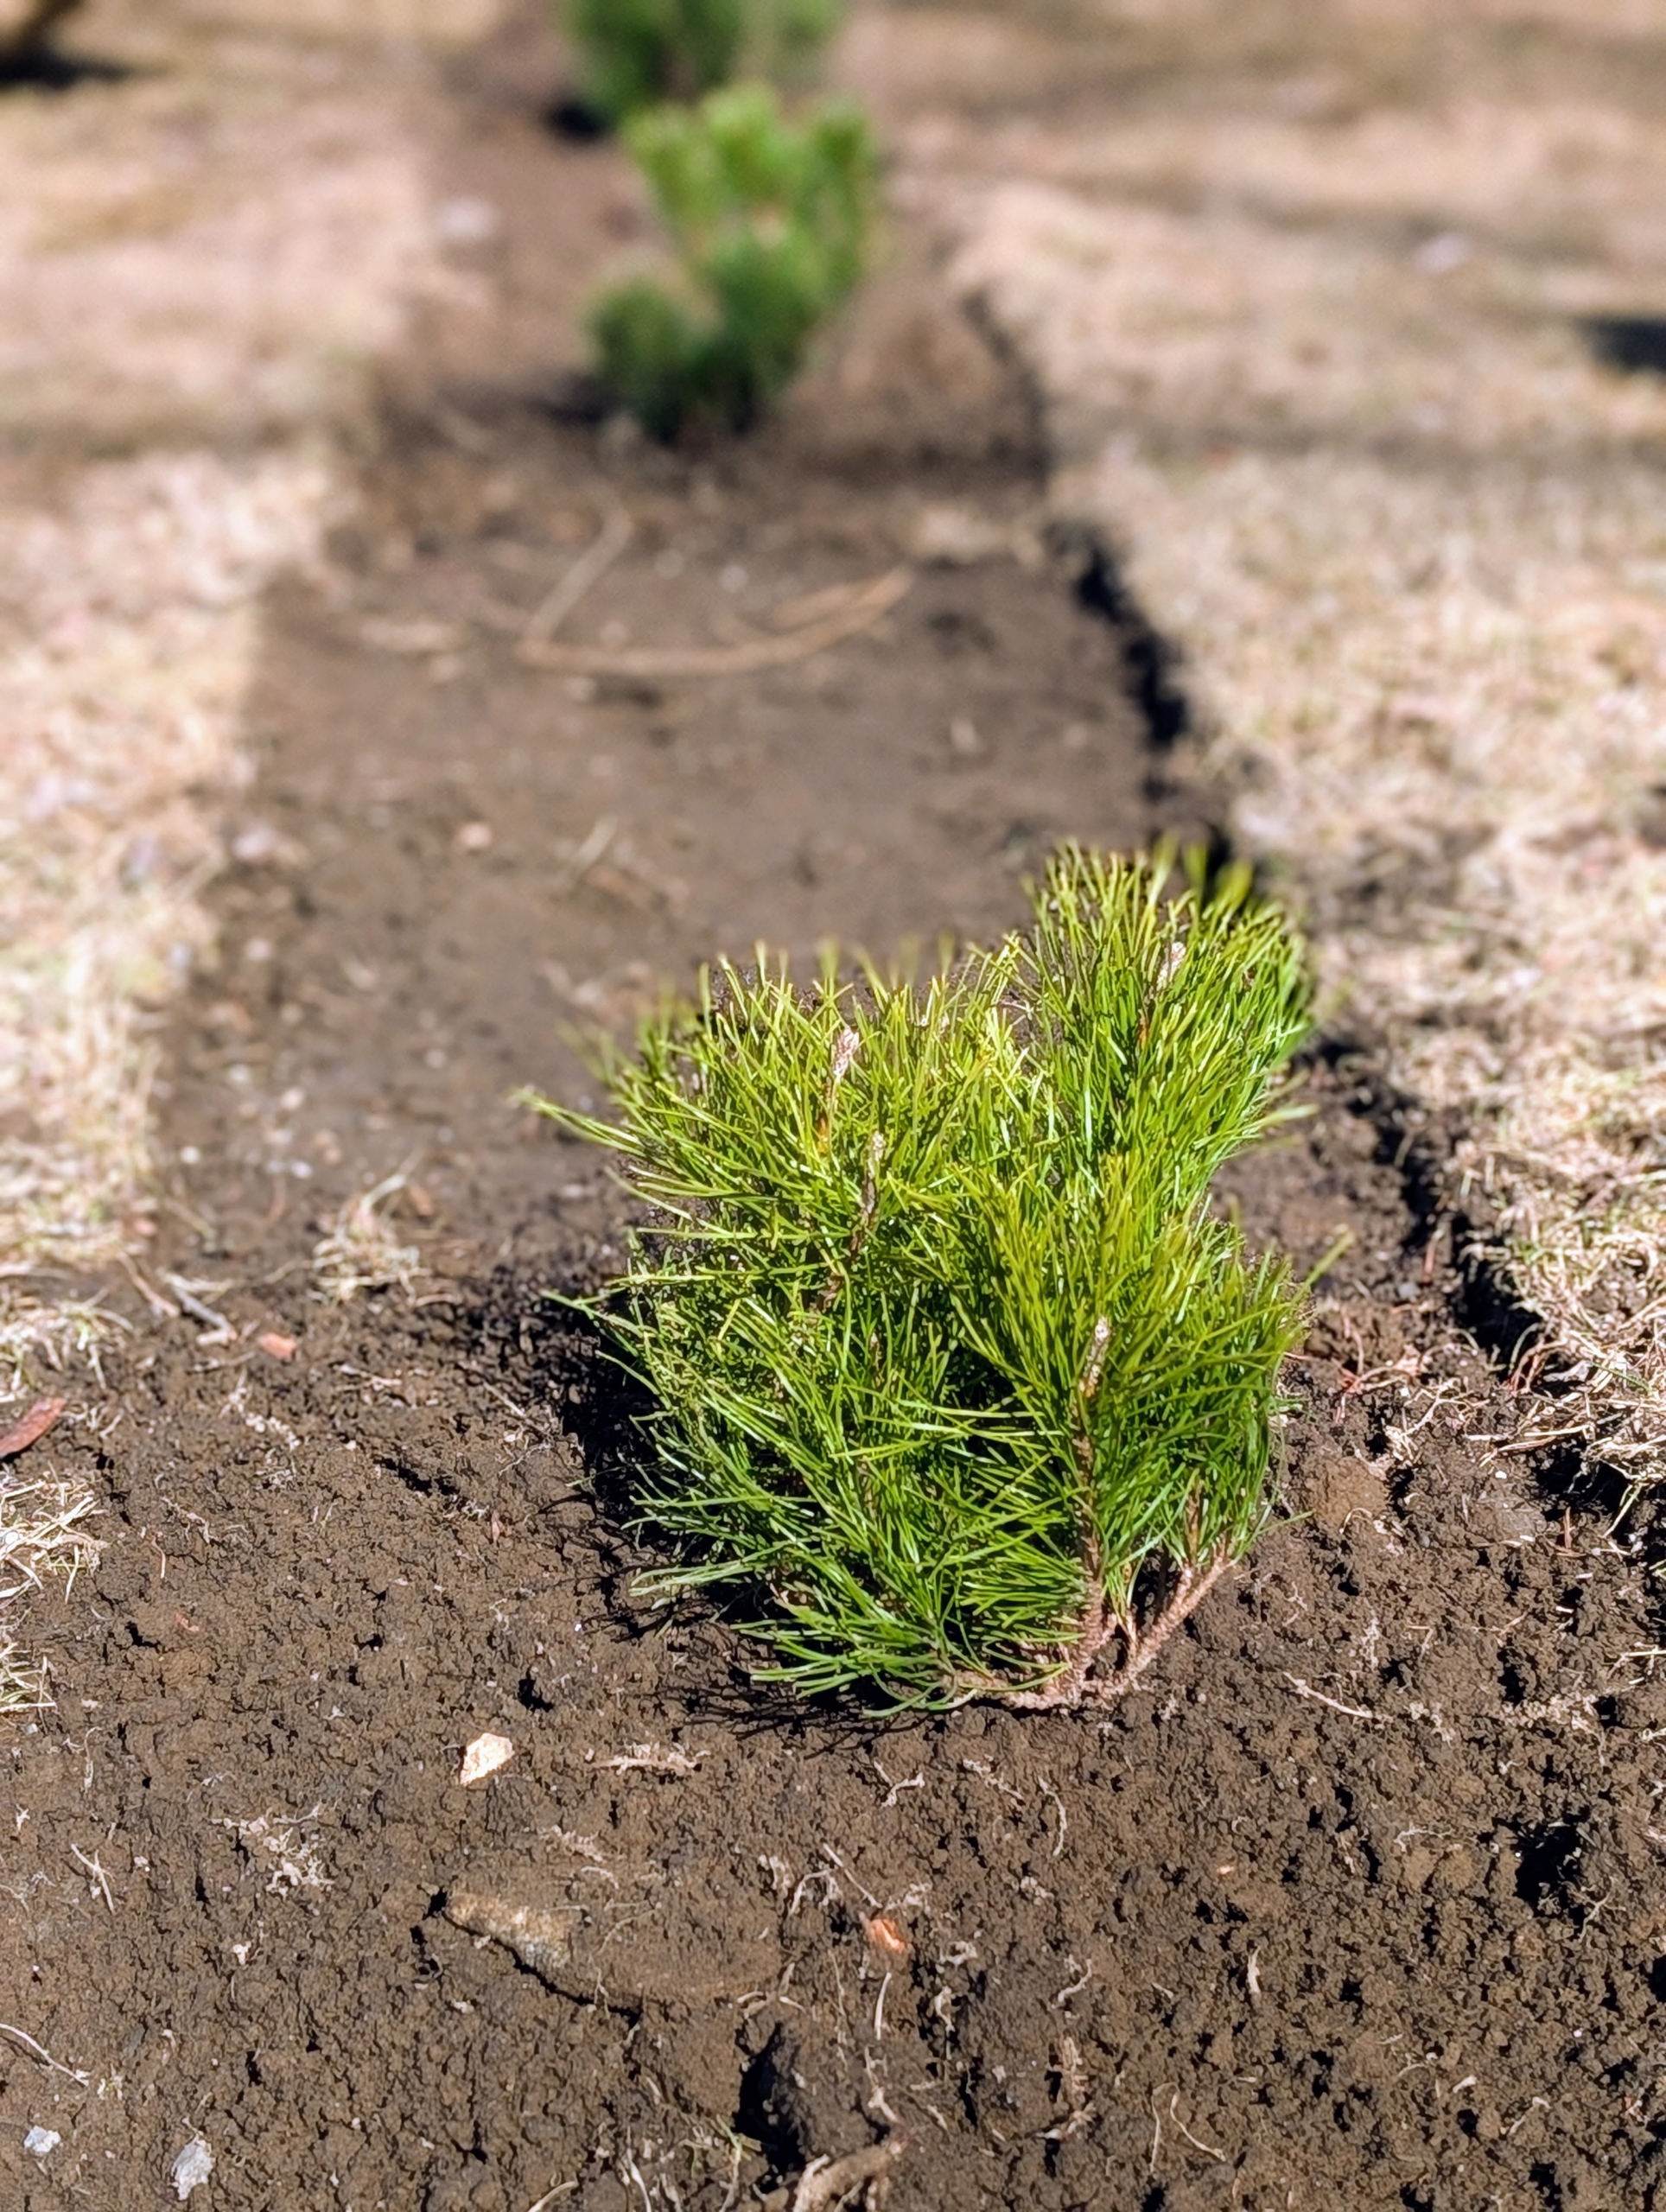
- The space between each Mugo pine is measured for accuracy. One can also eyeball the distance – four to five feet depending on established plants nearby. They all need adequate room to grow.
-
- Holes are dug twice as wide as the root balls, but no deeper. Once in the hole, the top of the root ball should be a half-inch higher than the soil surface.
-
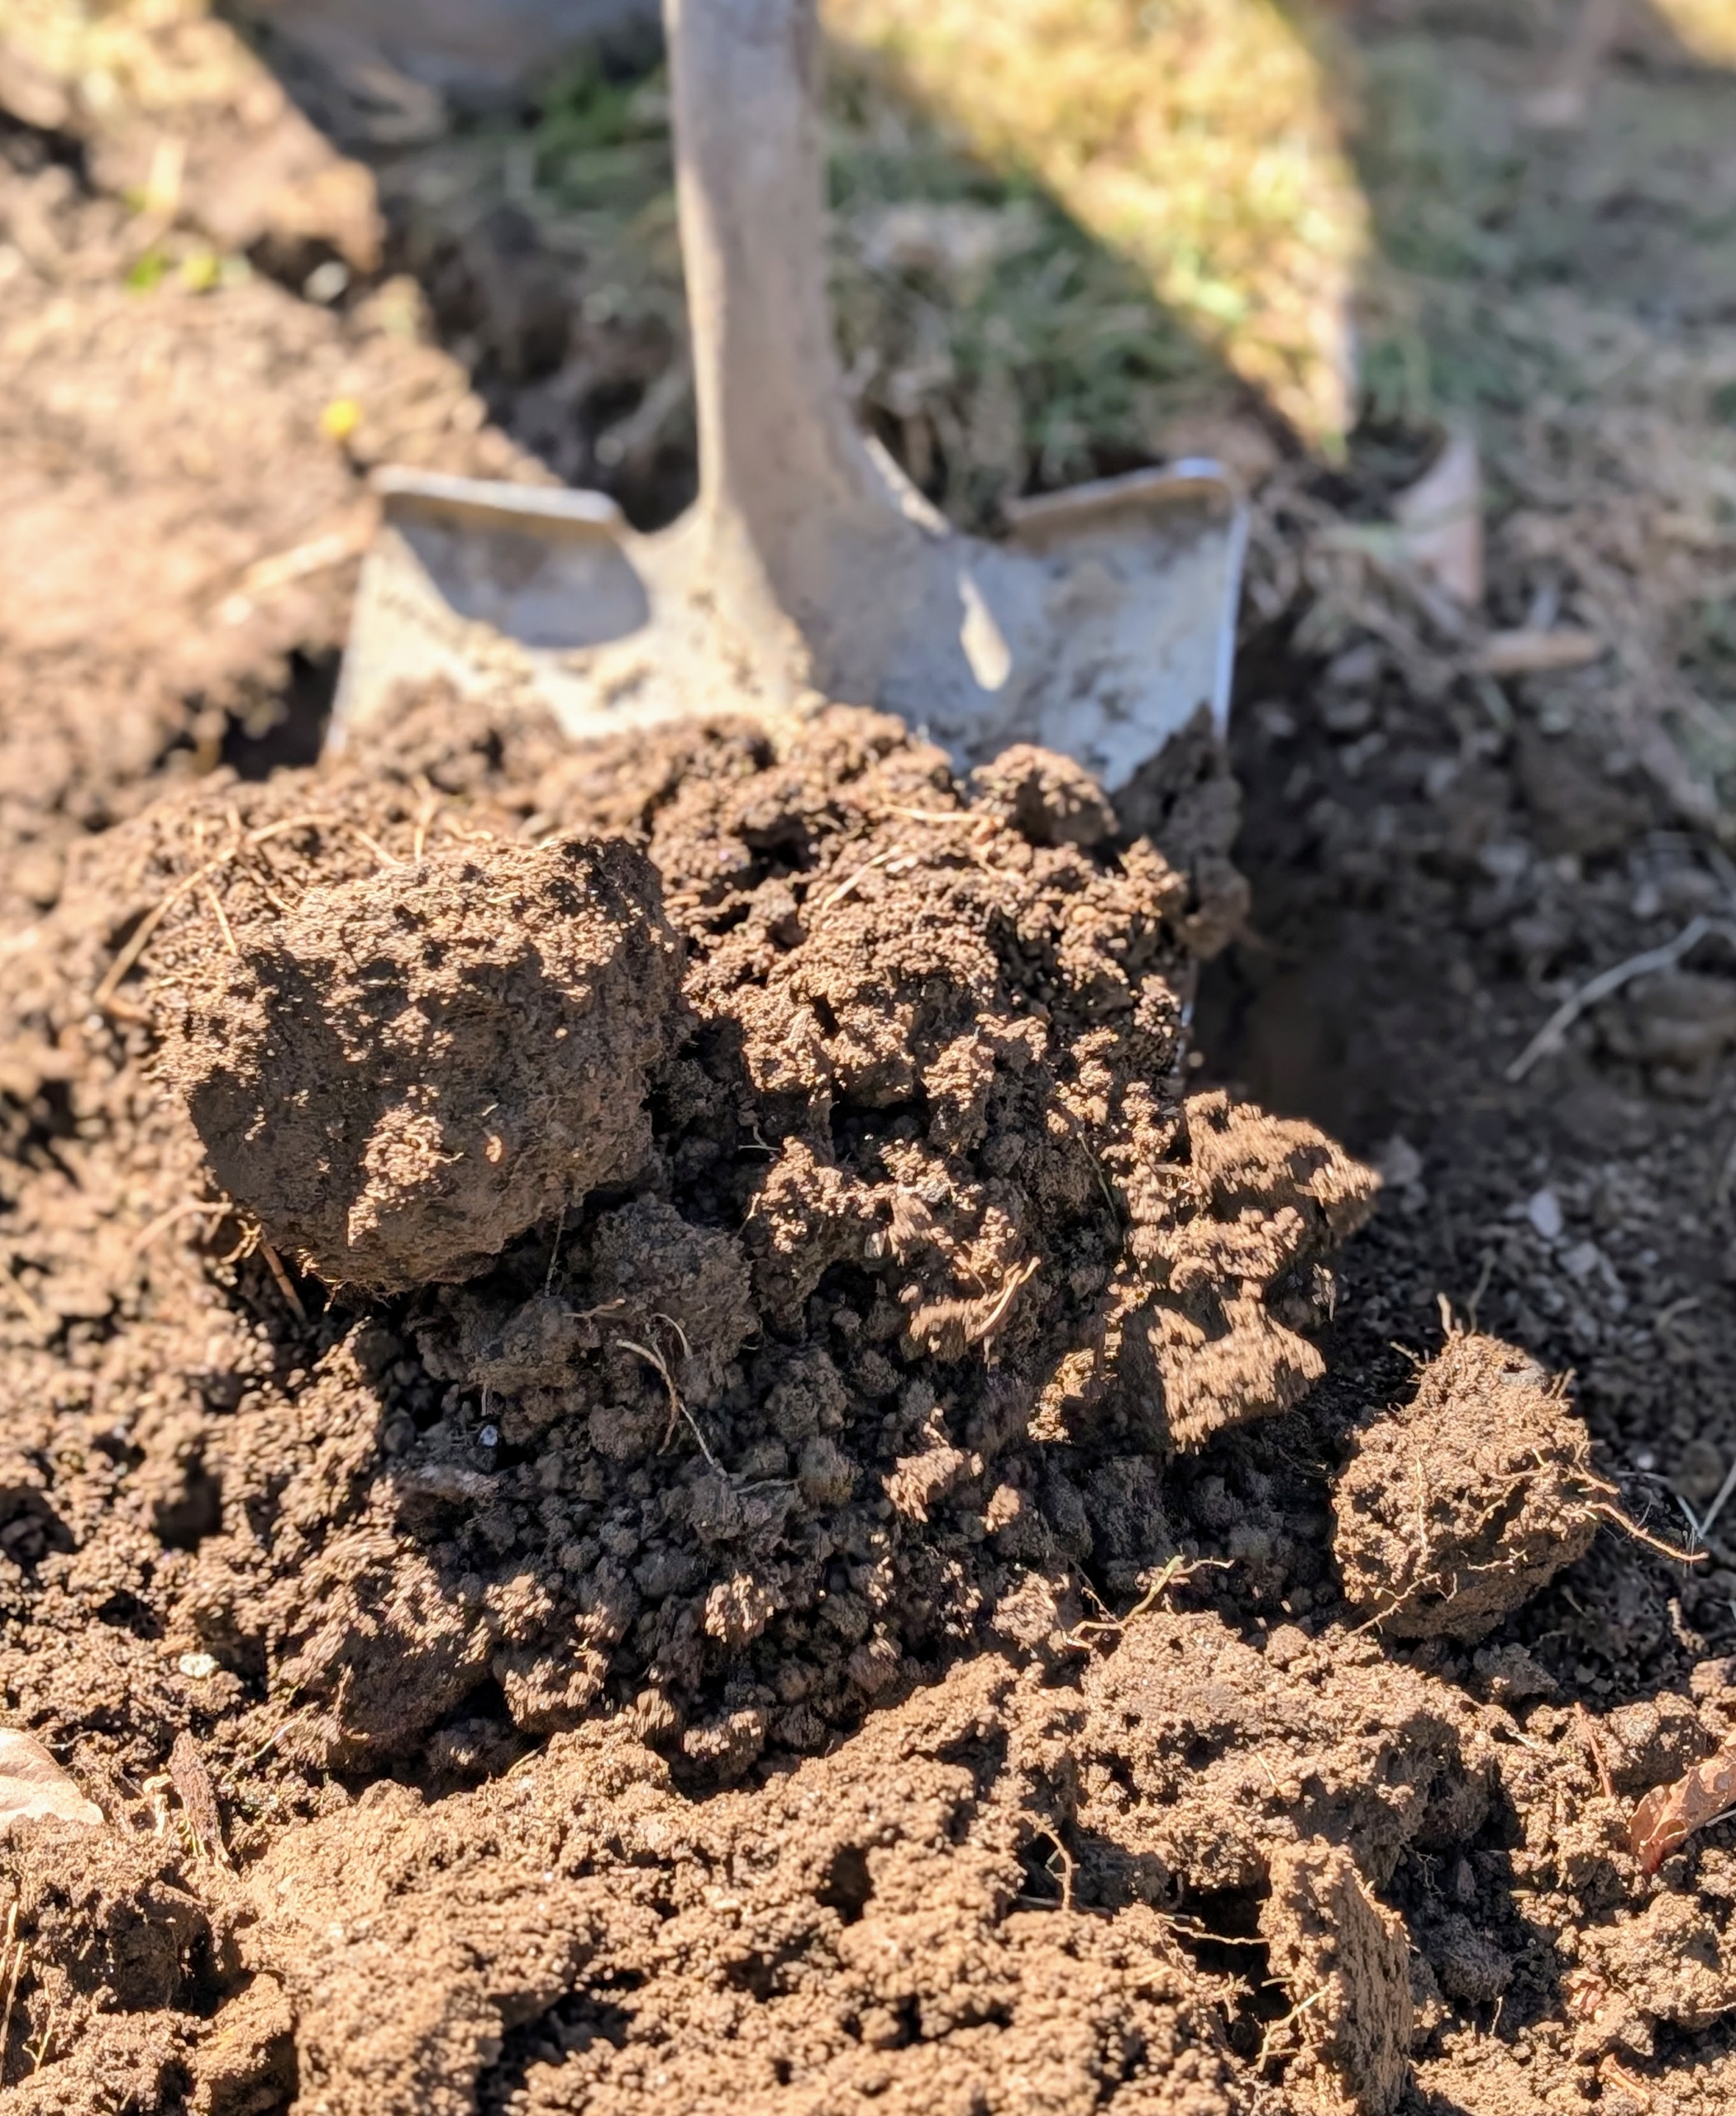
- We’ve had a lot of rain lately, so the soil is quite moist and soft.
-
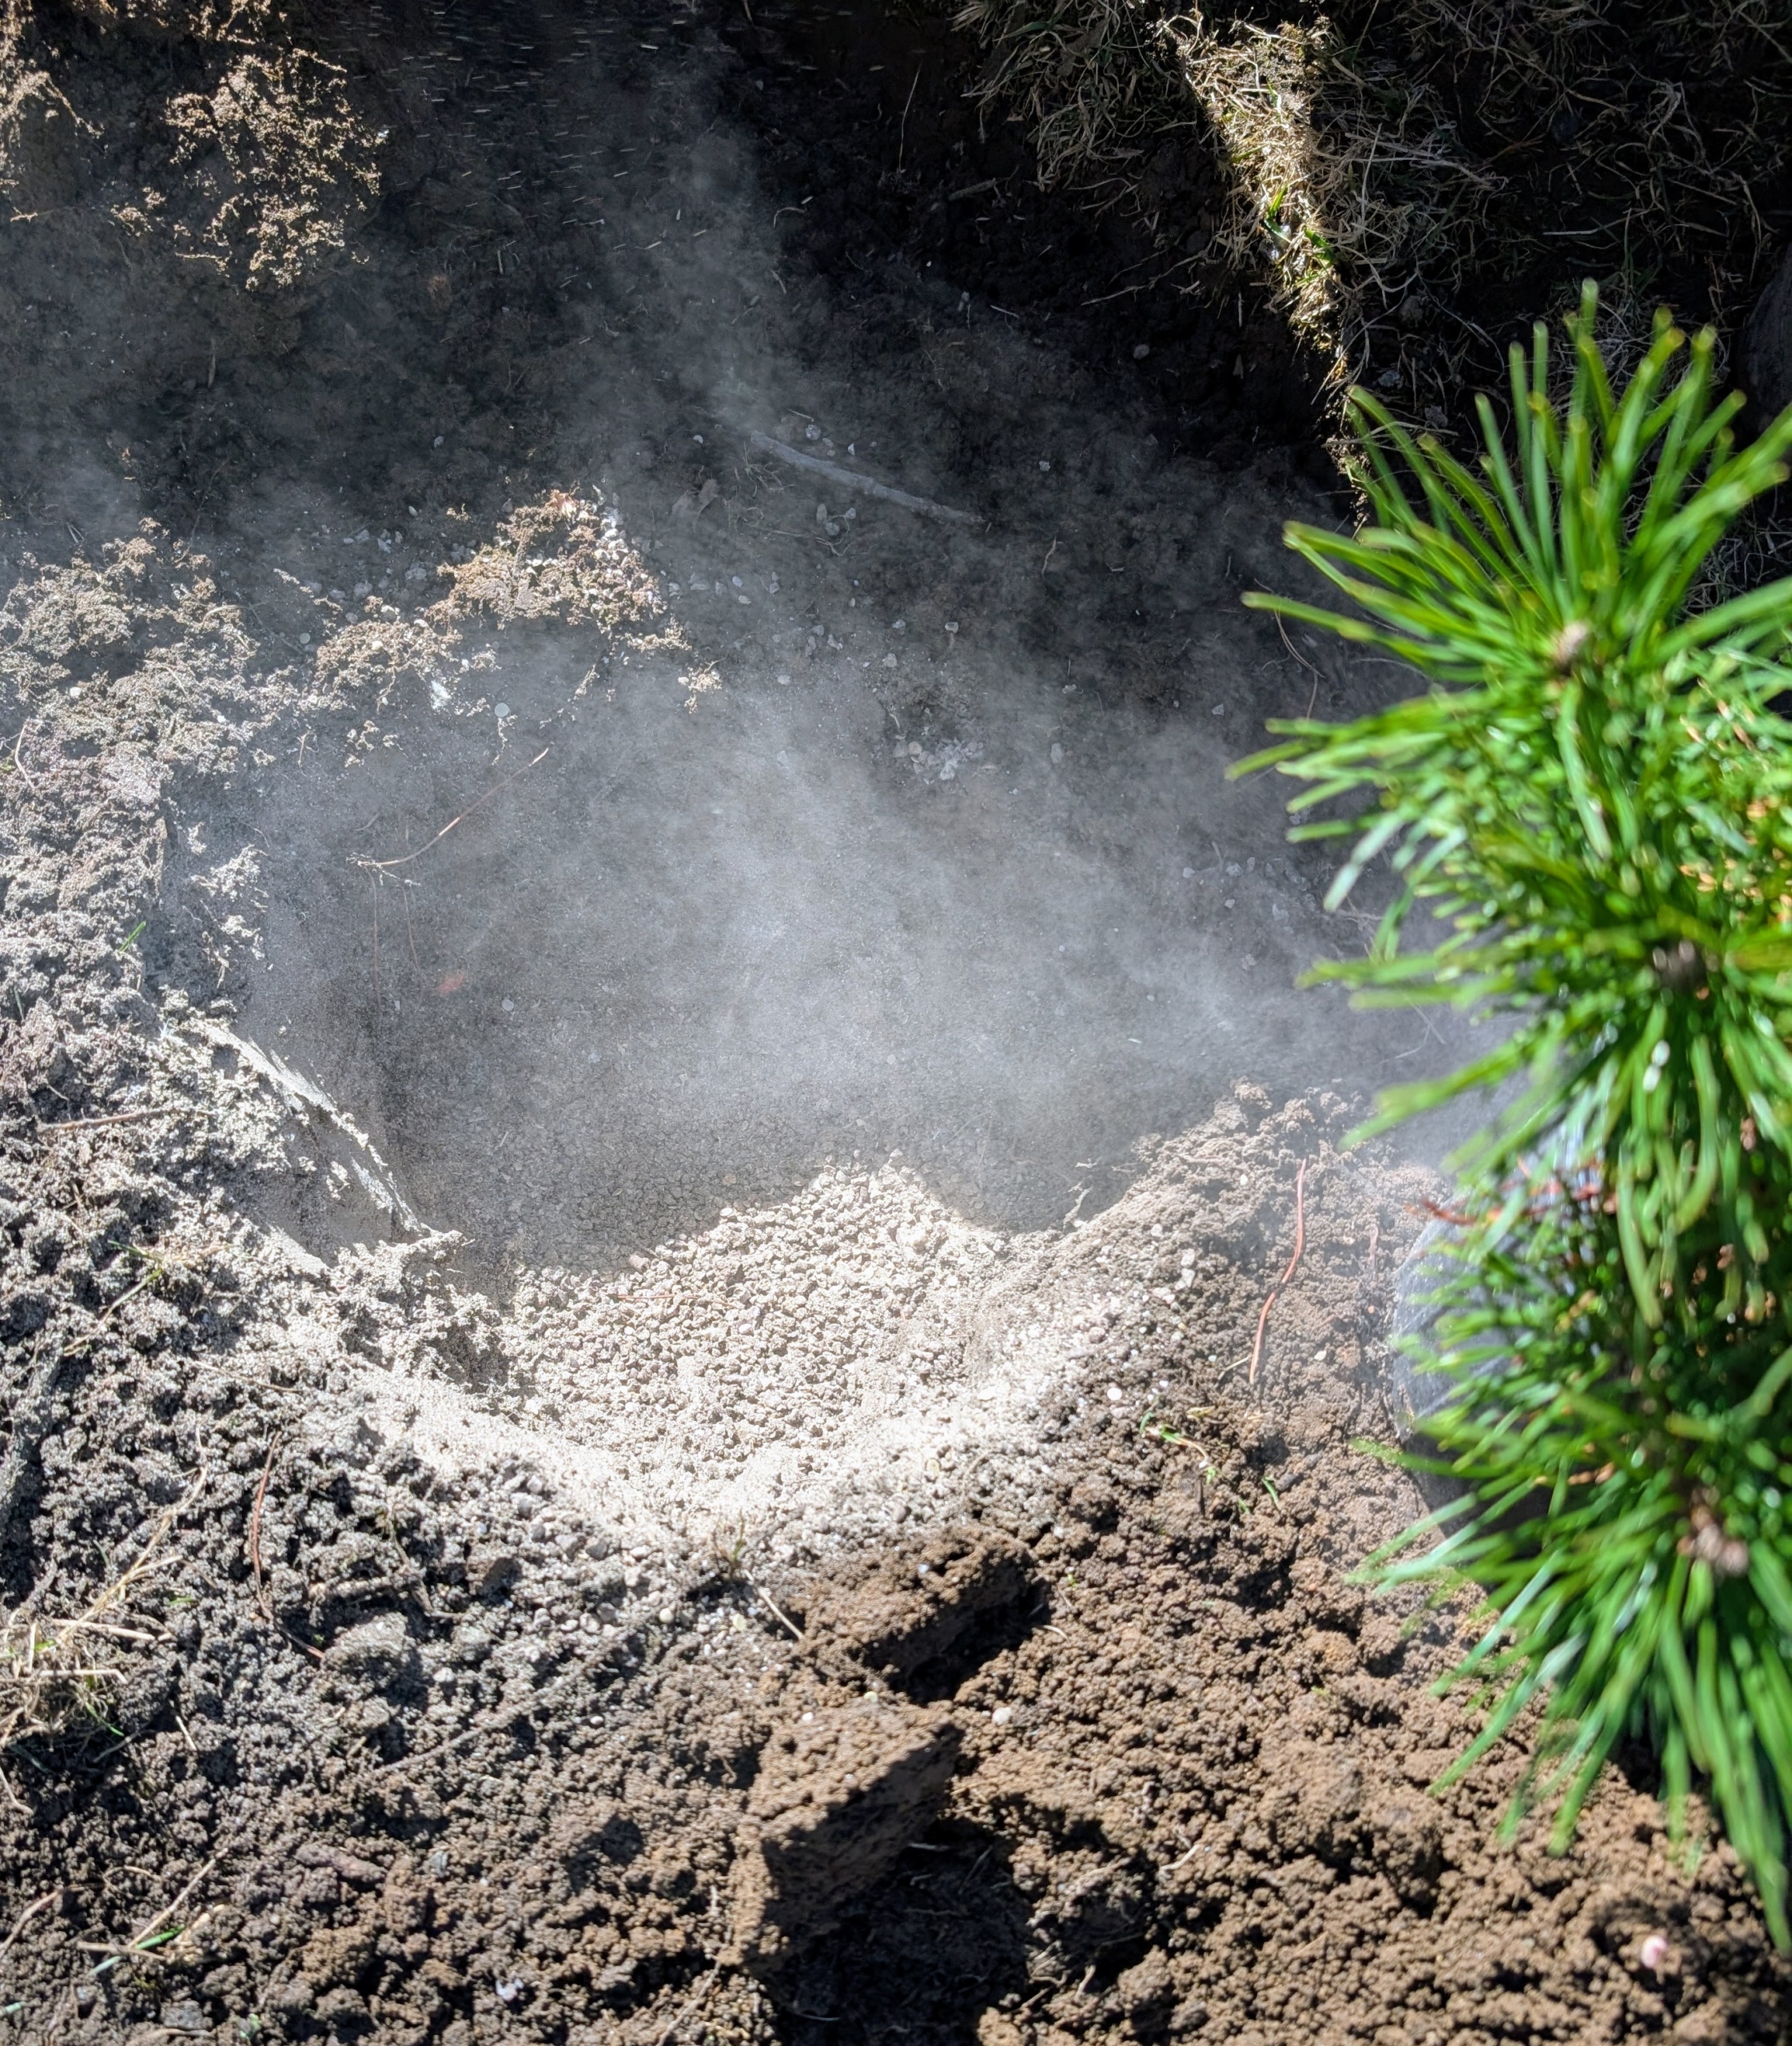
- I always say, “if you eat, so should your plants.” Use fertilizer specifically formulated to help transplant survival and increase water and nutrient absorption. Pasang drops a generous handful of fertilizer into the hole and mixes the granules with the existing soil
-
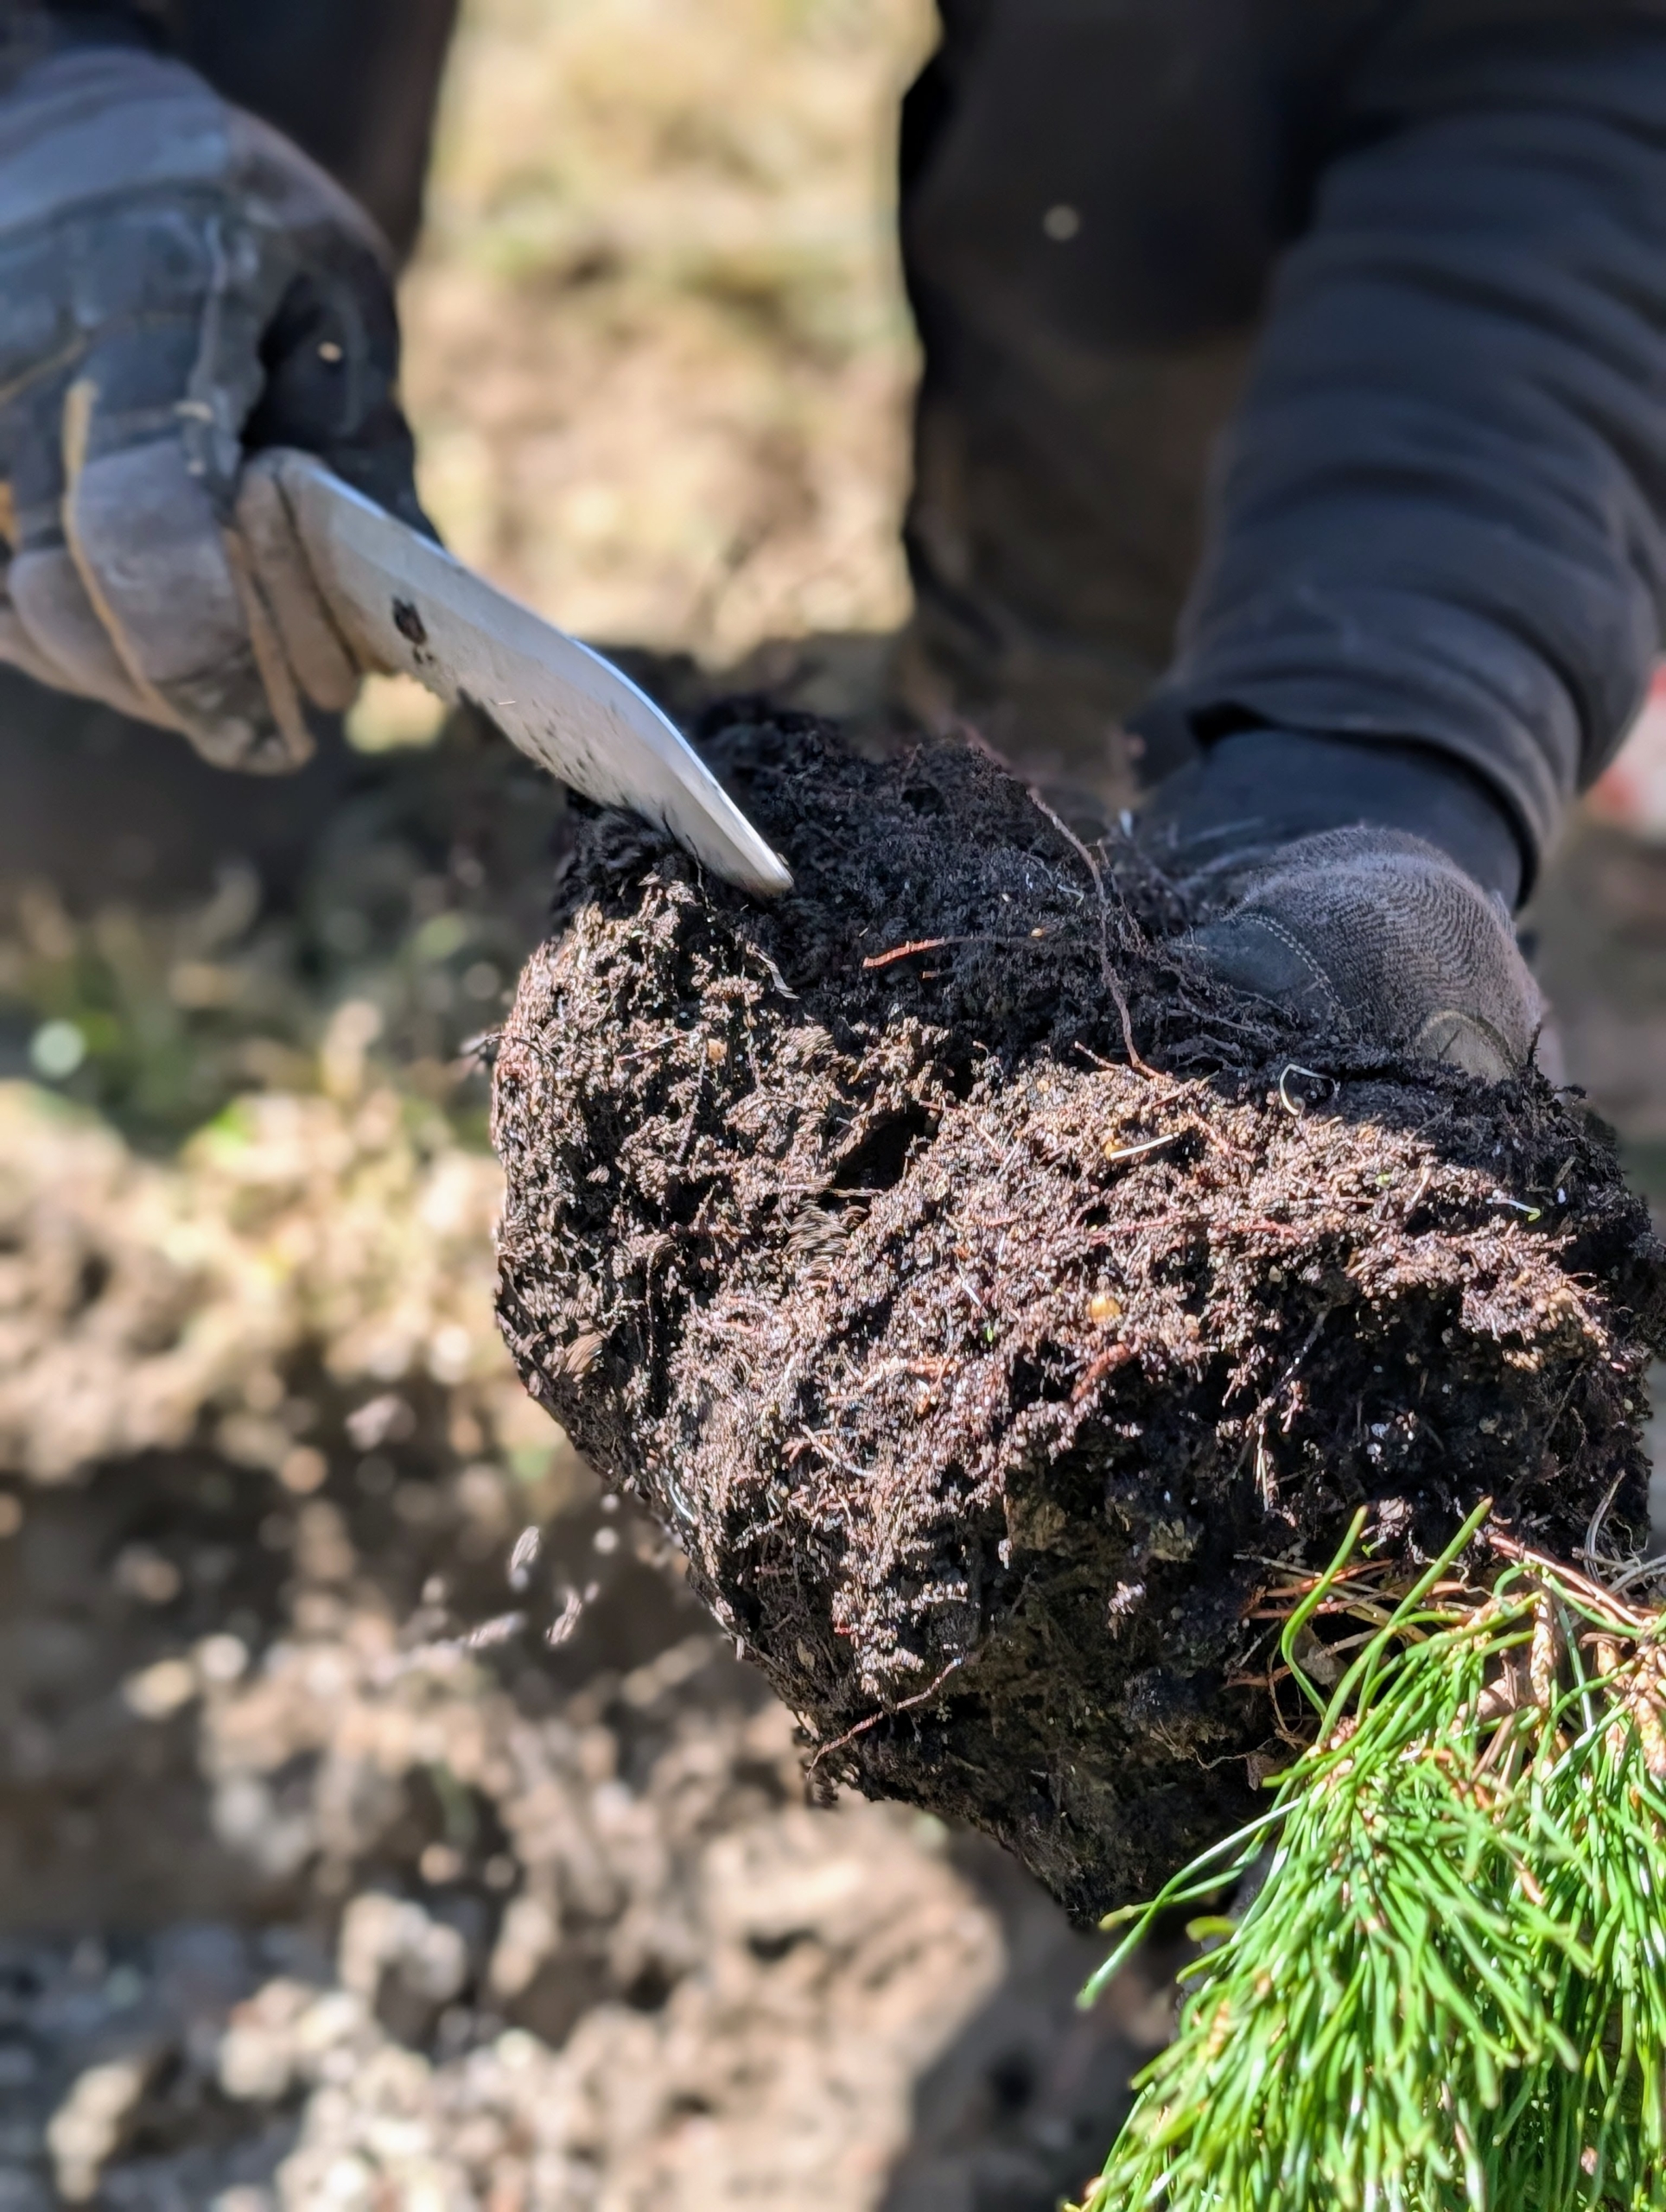
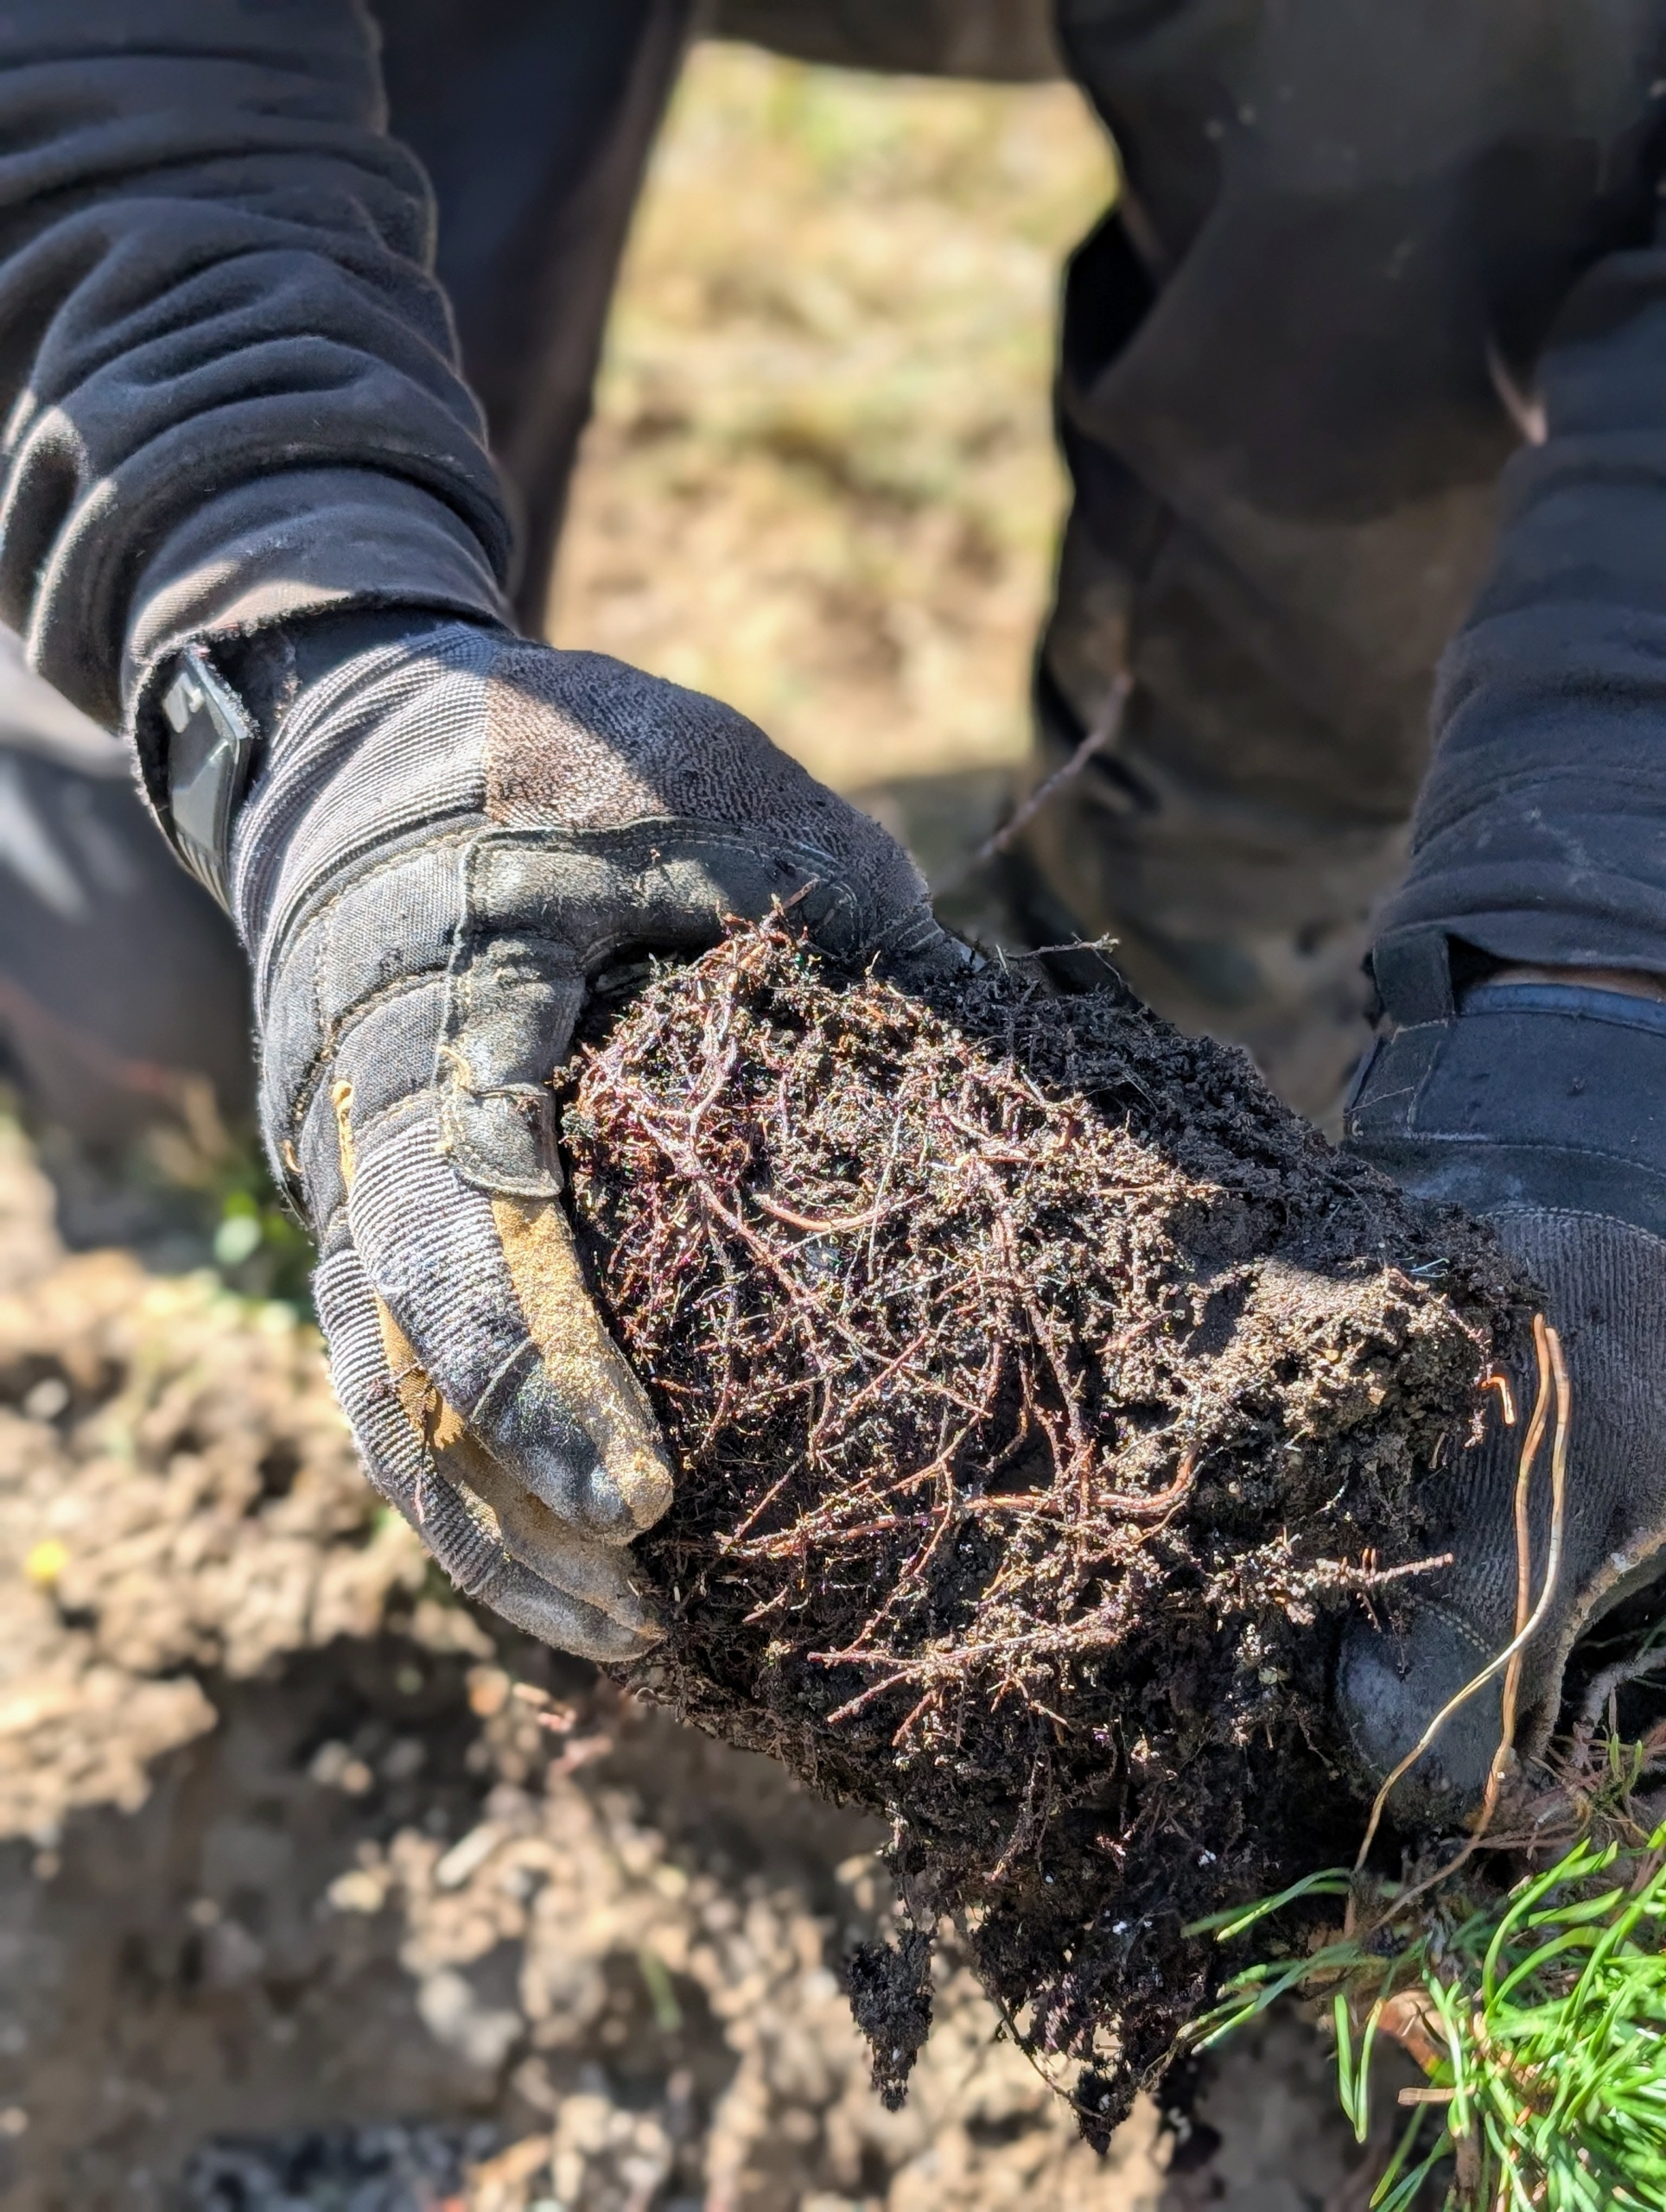
- Then using a hori hori knife he scarifies the roots of the specimen. Scarifying stimulates root growth. Essentially one cuts up small portions of the root ball to loosen the roots and create beneficial injuries. This helps the plant become established more quickly in its new environment.
-
- Pasang also uses his hands to tease the bottom roots.
-
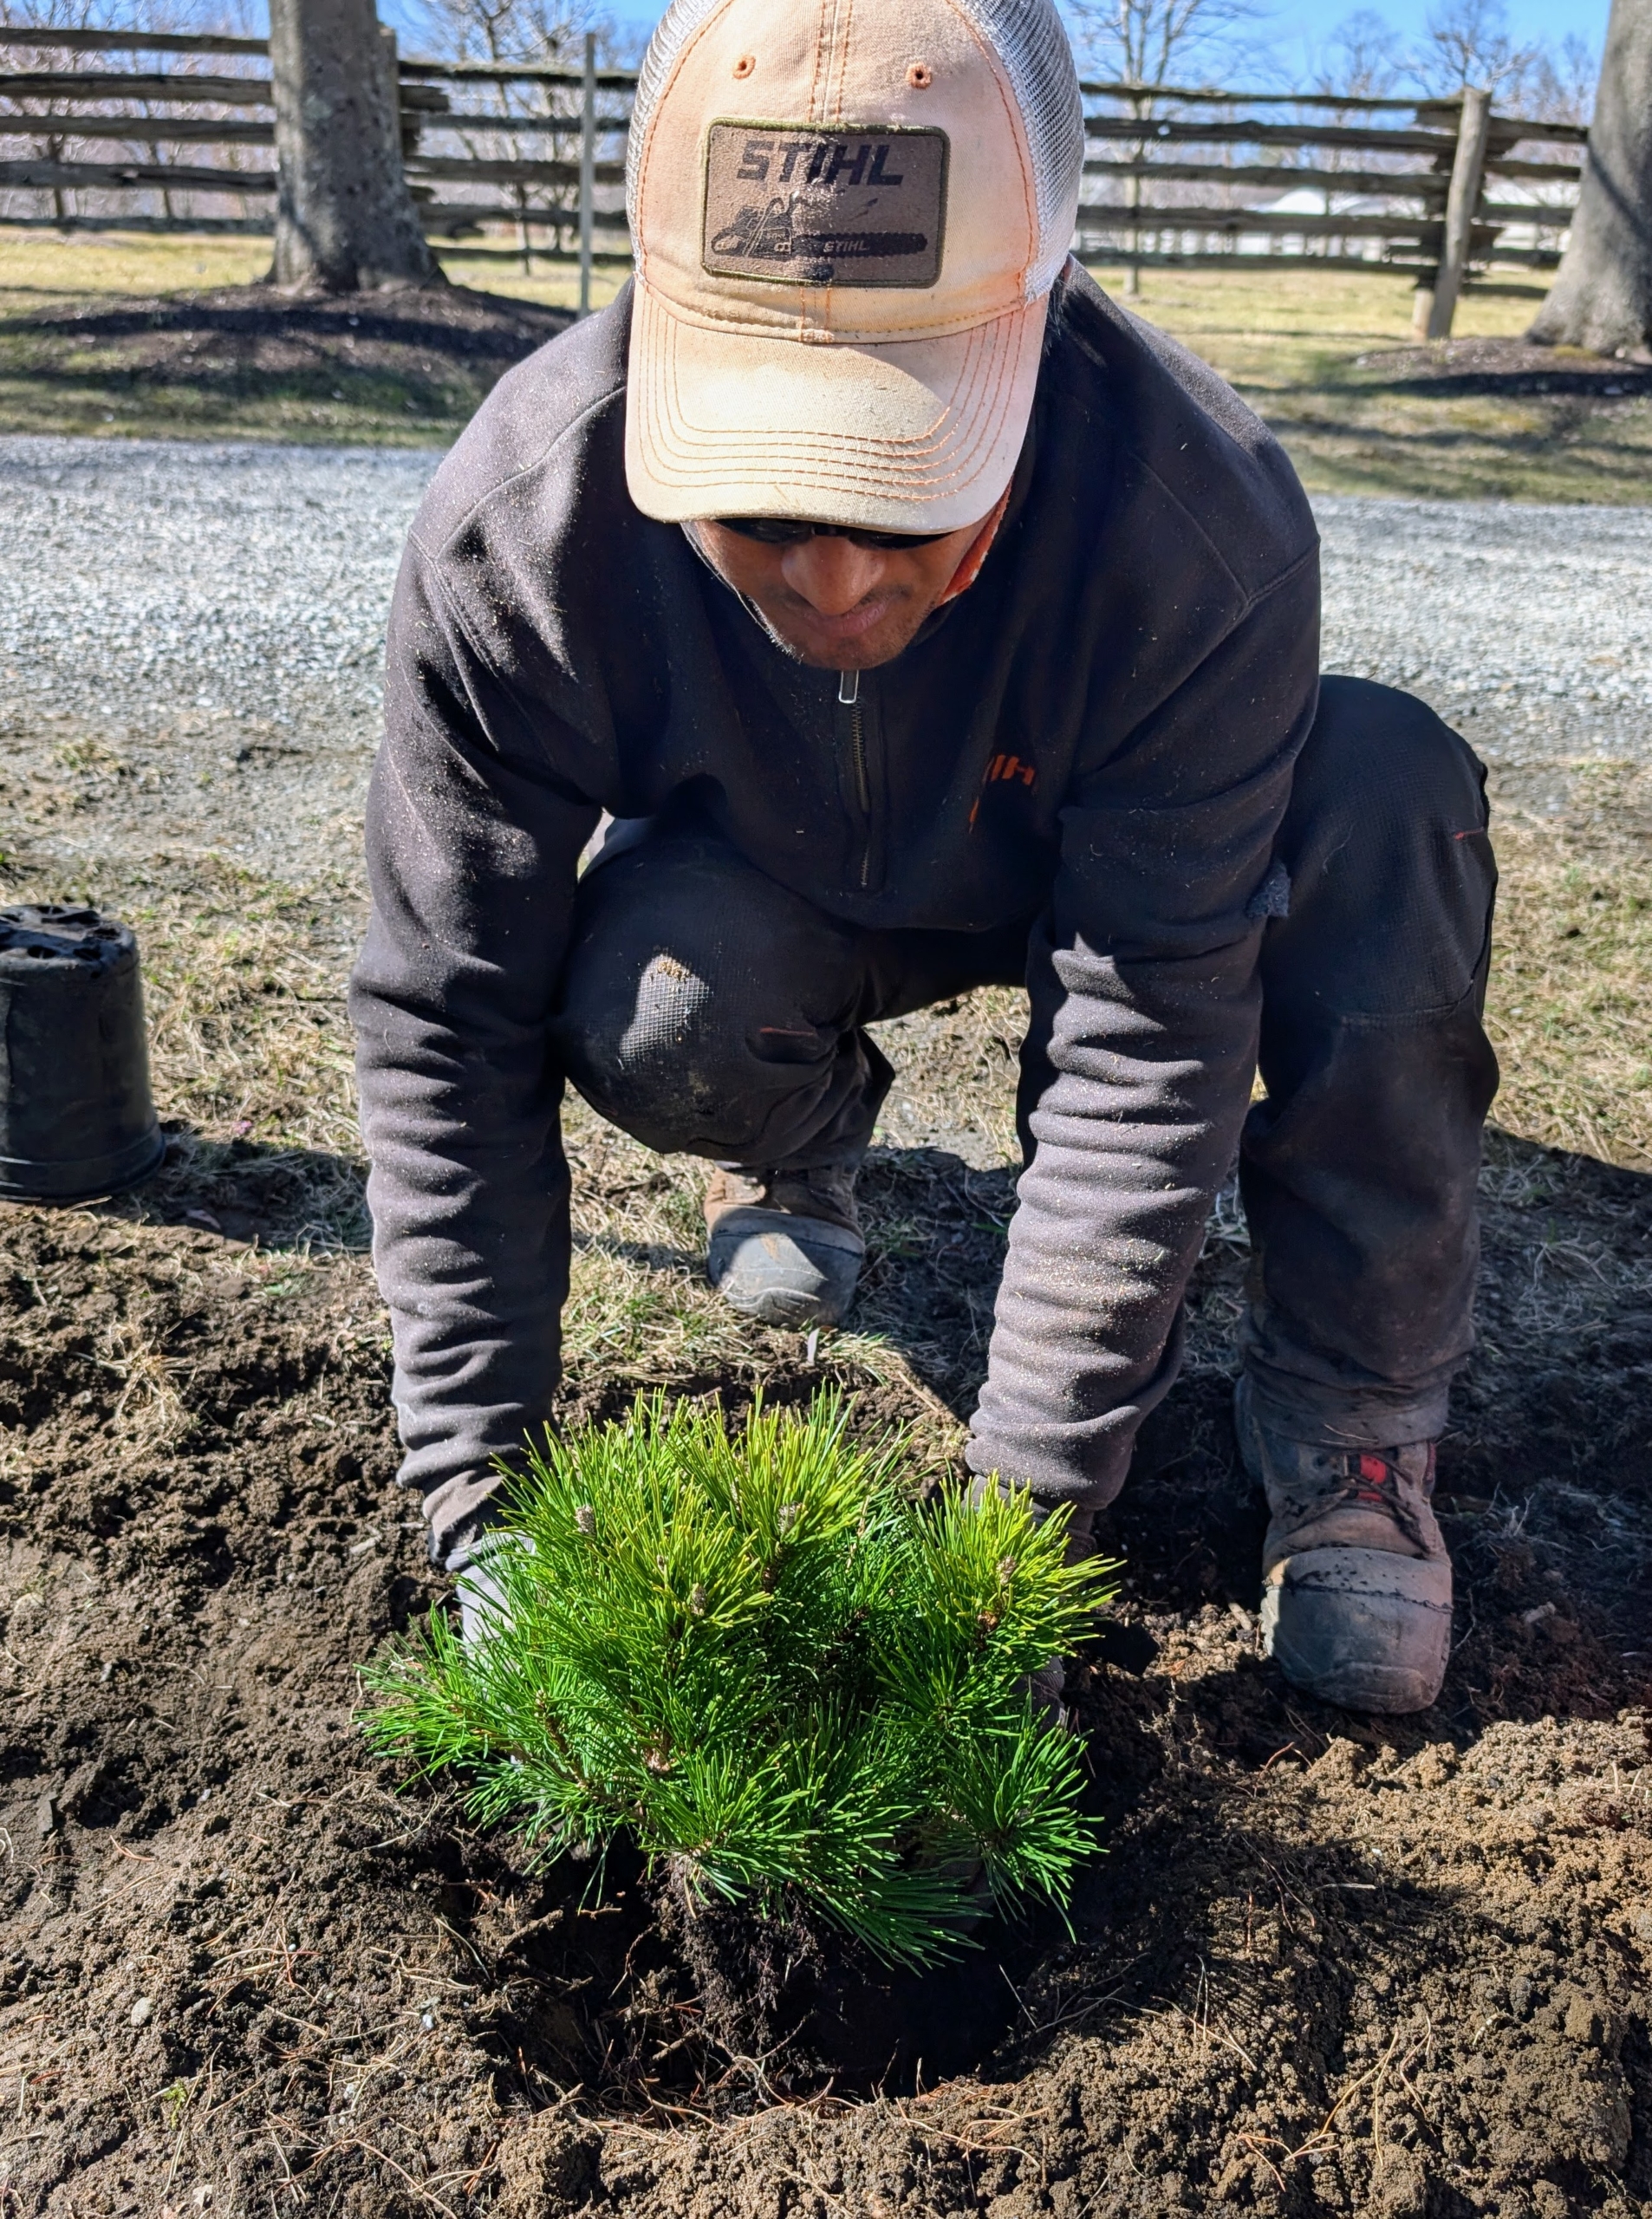
- The plant is placed into the hole at the proper height – the nicest side faces out to the carriage road.
-
- Always be careful to plant at the right depth. Planting too deep can kill any shrub or tree.
-
- Finally, it’s backfilled. After putting a new shrub or tree into the ground, be sure to keep it slightly moist for its first year as it takes root.
-
- Mugo pines are low-maintenance and highly resilient to various weather conditions. I’ll share more photos of this pinetum project in another blog.