Starting Celery from Seed
Among the main ingredients in my daily green juice is celery - and the flavor from homegrown celery is a treat not to be missed.
I grow celery all year long - in my outdoor garden and in my vegetable greenhouse. I also grow cutting celery or leaf celery, as well as celeriac, the warty-looking globe vegetable with gnarly roots that grows just beneath the surface of the soil. All of these are grown from seed and started early indoors.
Here are some photos, enjoy.
-

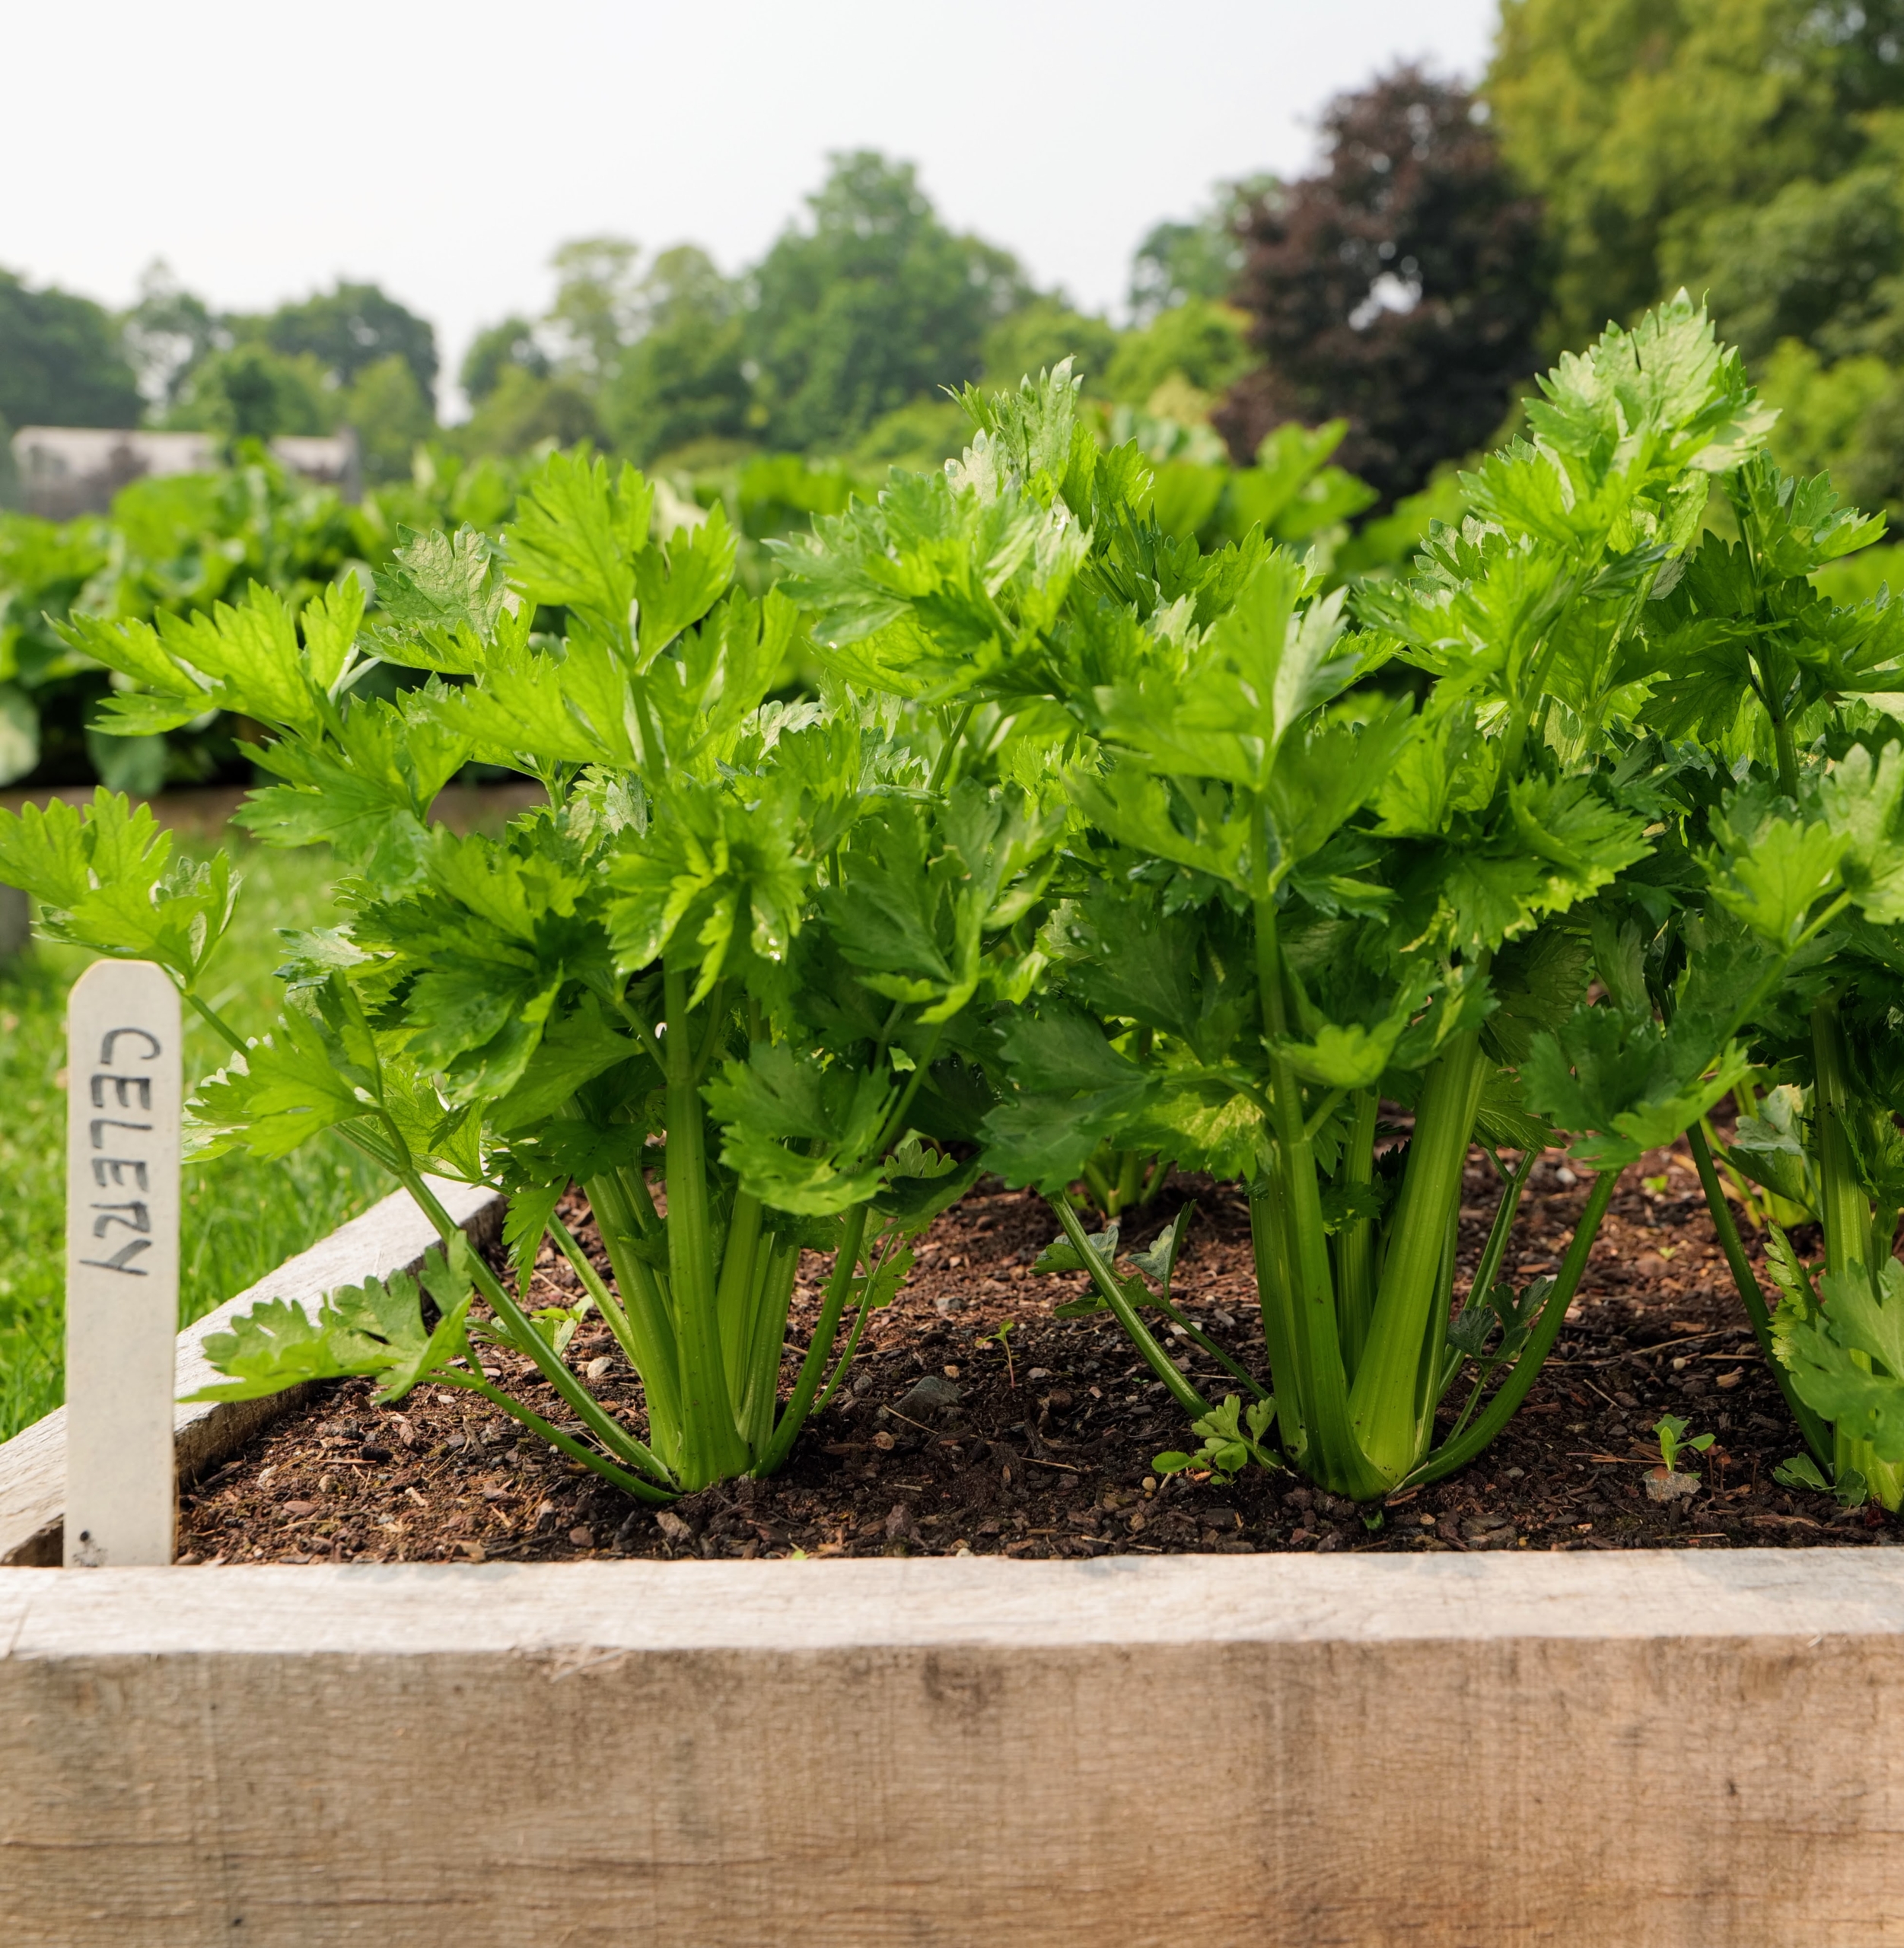
- My garden always includes a bed of organic celery. Celery is nutrient-rich with vitamins A, C, and K, and when homegrown – more flavorful than store-bought varieties.
-
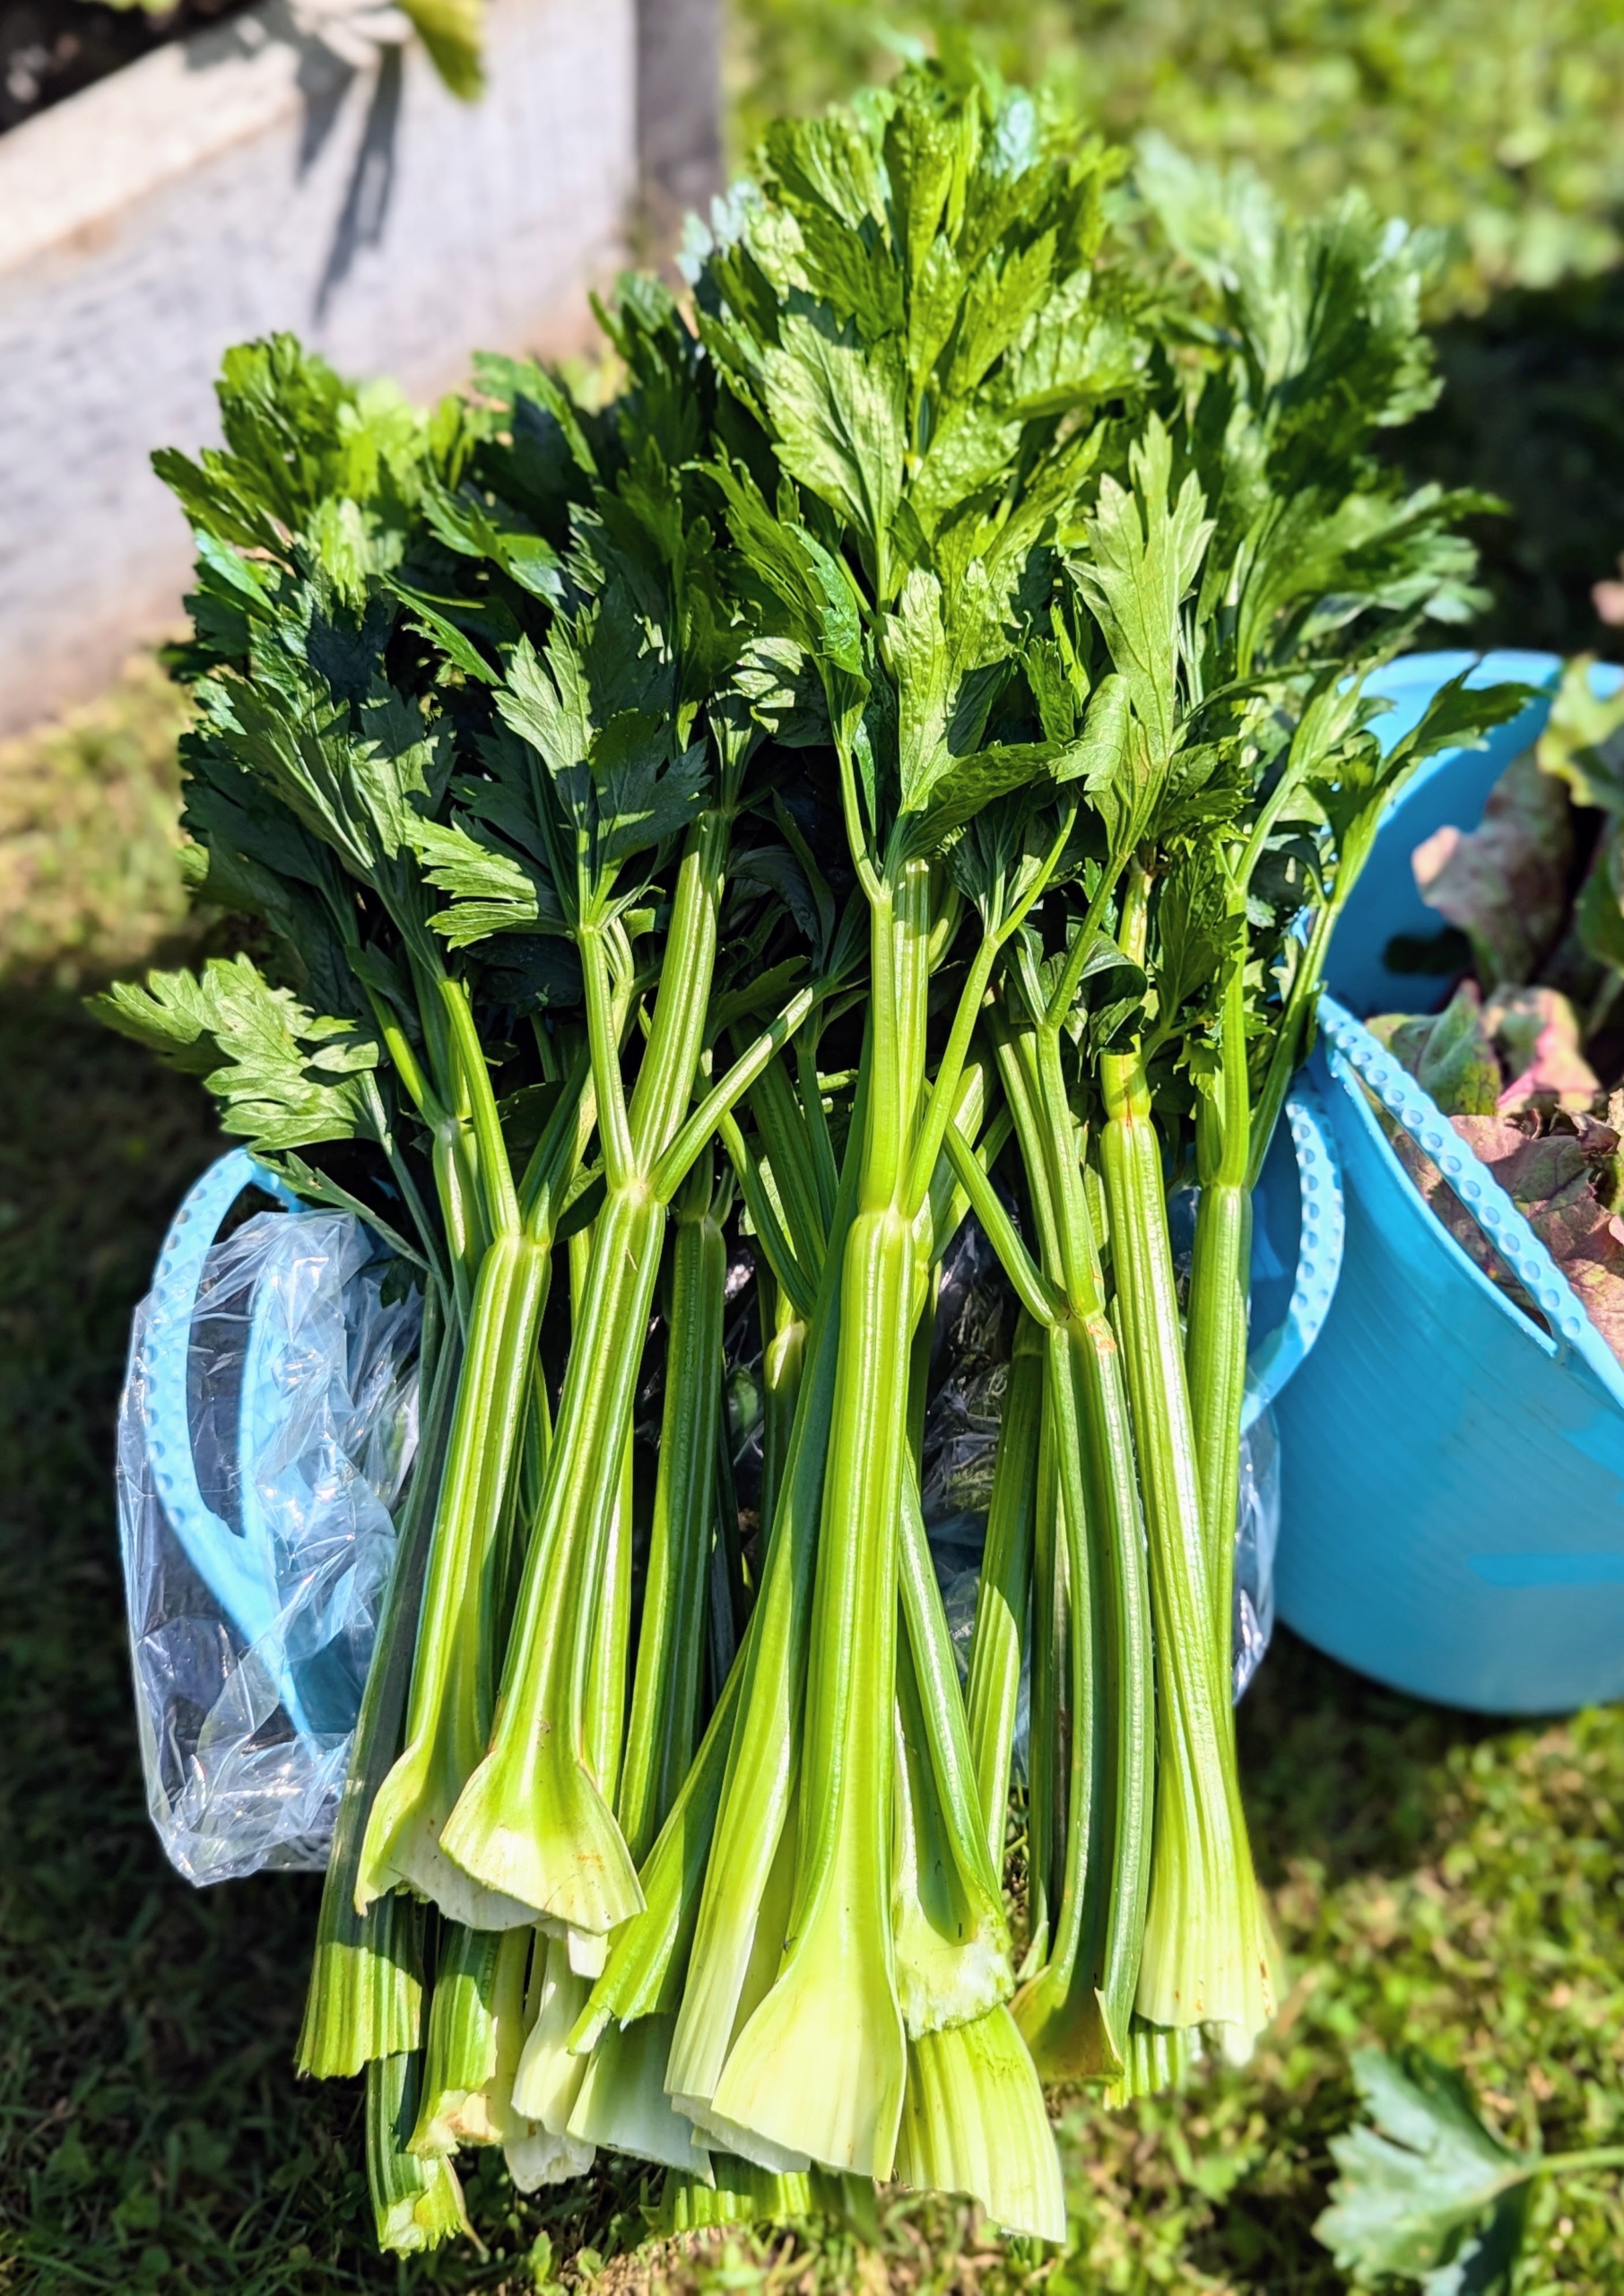
- Here are some delicious stalks freshly picked from my garden last summer – so lush and green.
-
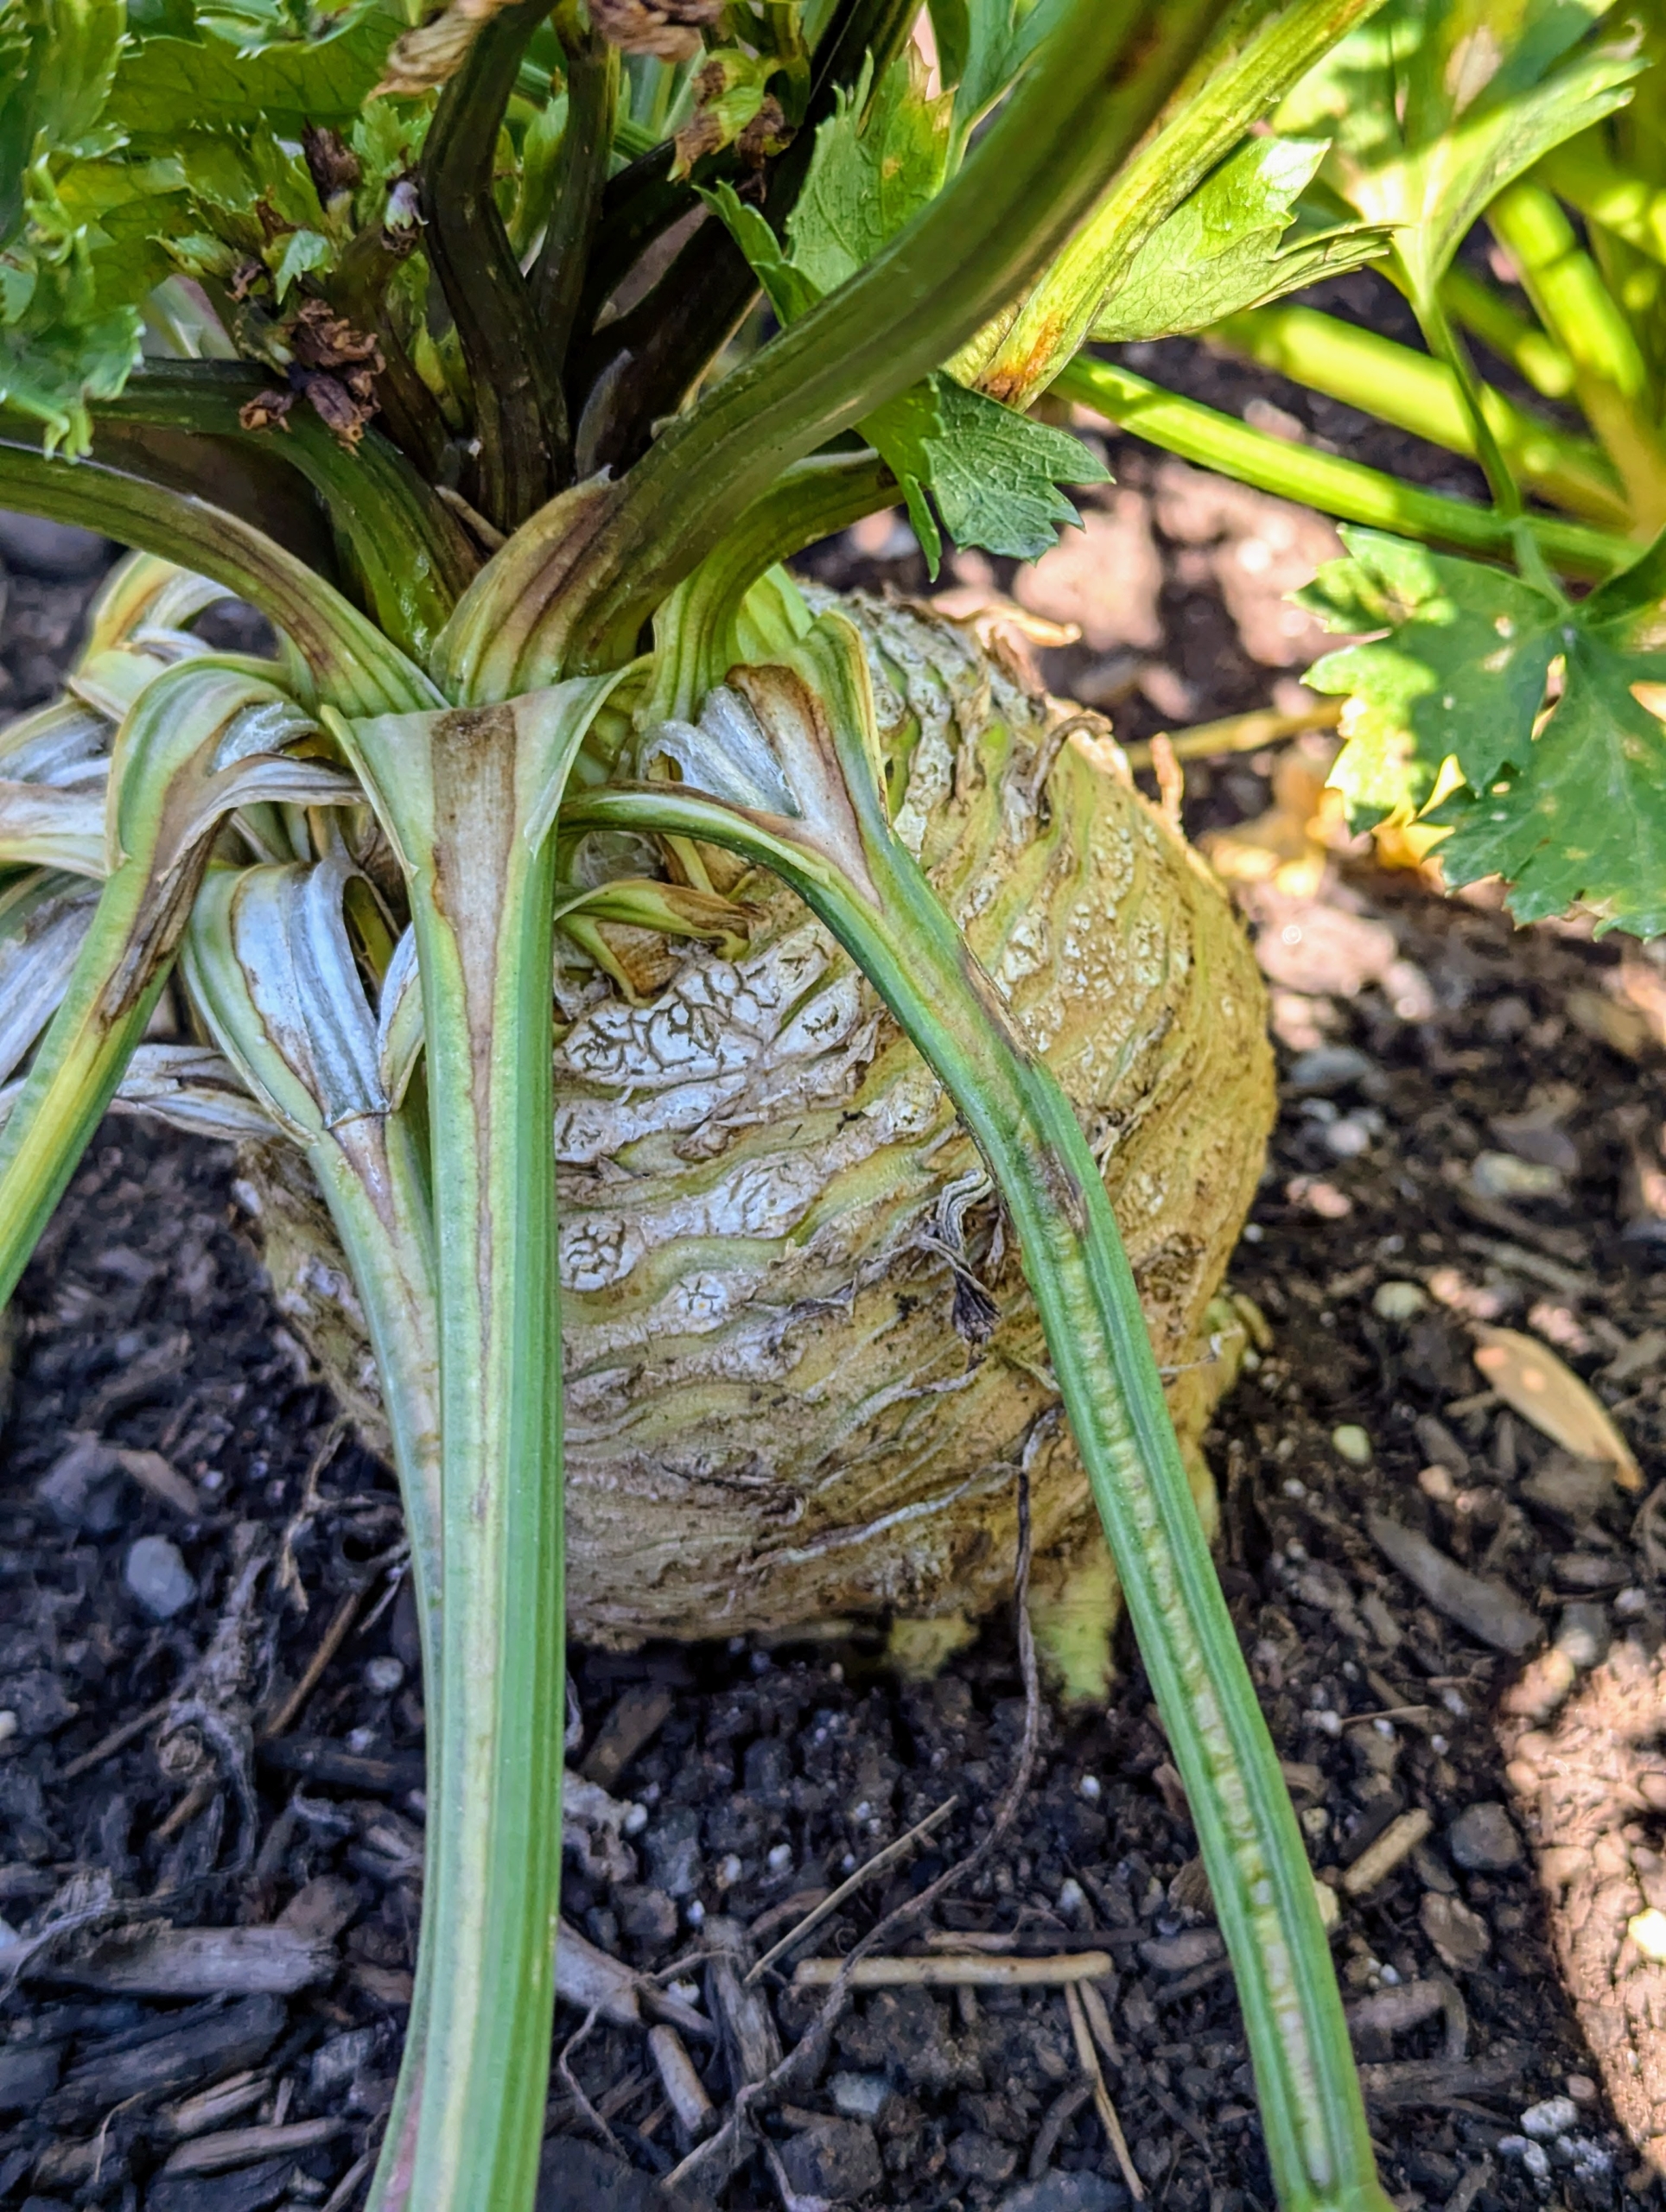
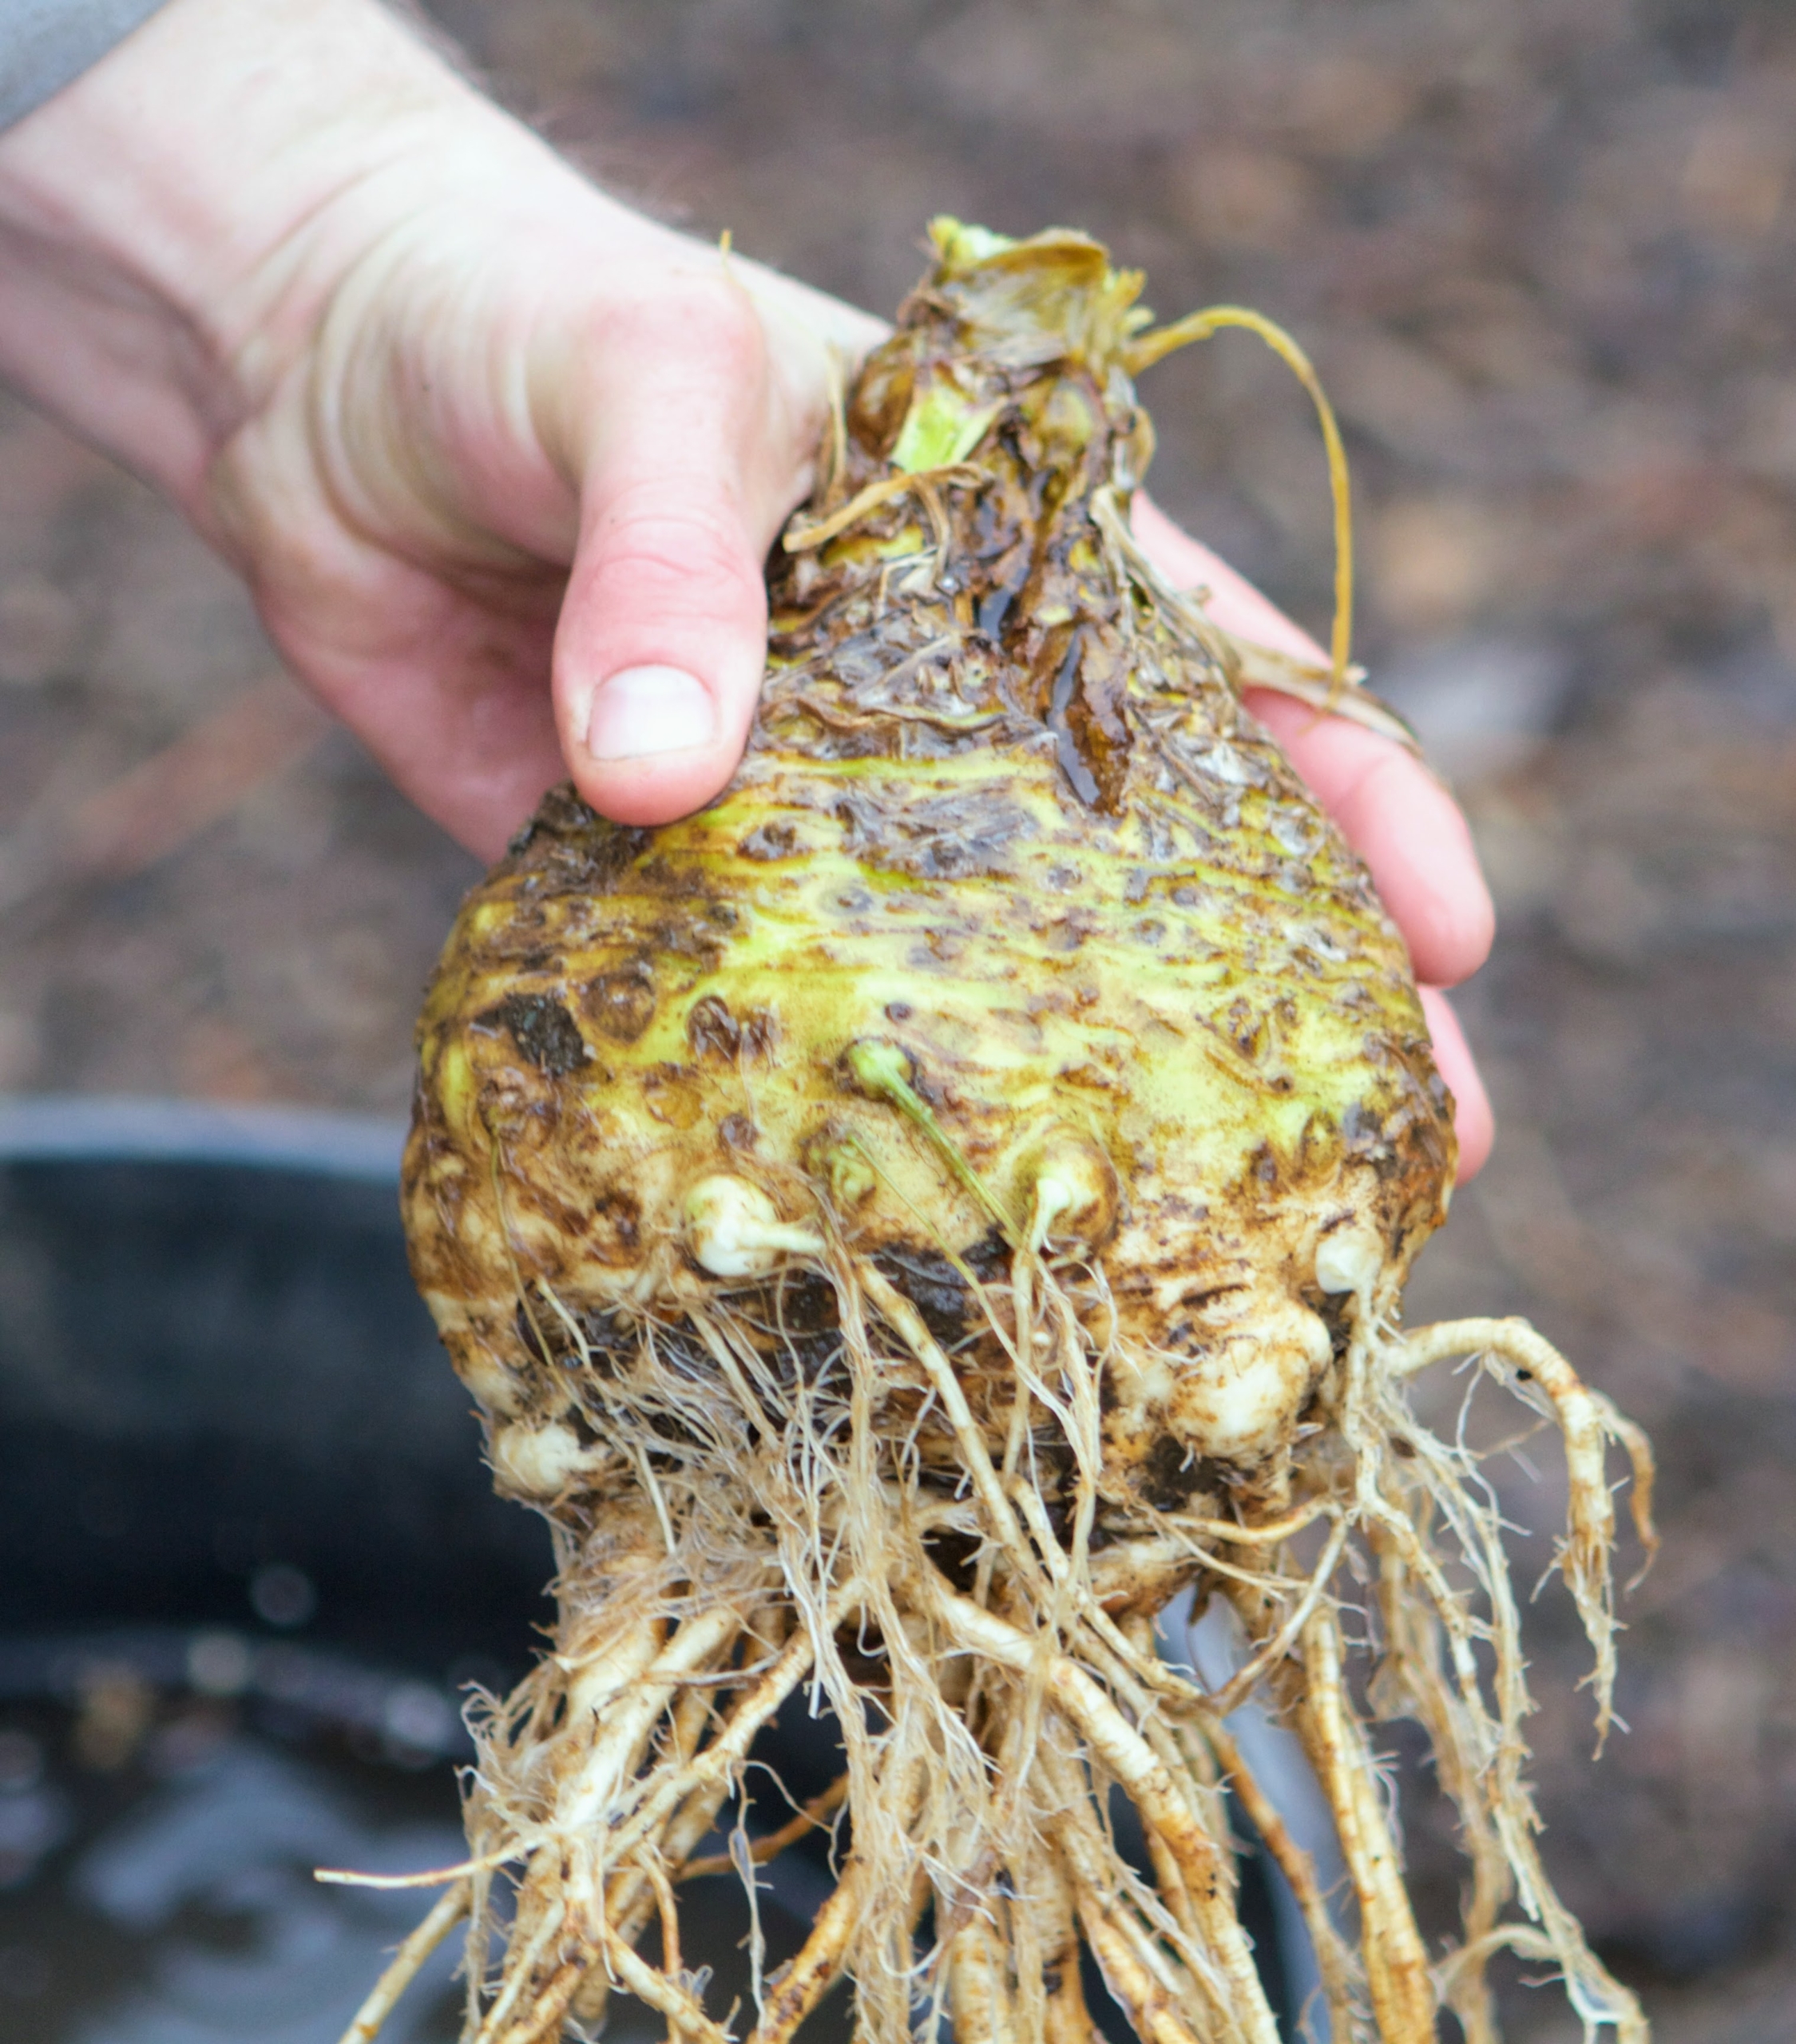
- This is celeriac. Celeriac is also known as turnip-rooted celery or knob celery or celery root. It isn’t the most beautiful vegetable, but its distinct celery-parsley flavor is amazingly delicious, and hard to ignore.
-
- Celeriac is a long-season vegetable that takes more than 100 days to mature from seed. I love to use it for soups. It’s also high in vitamins A, C, and K.
-
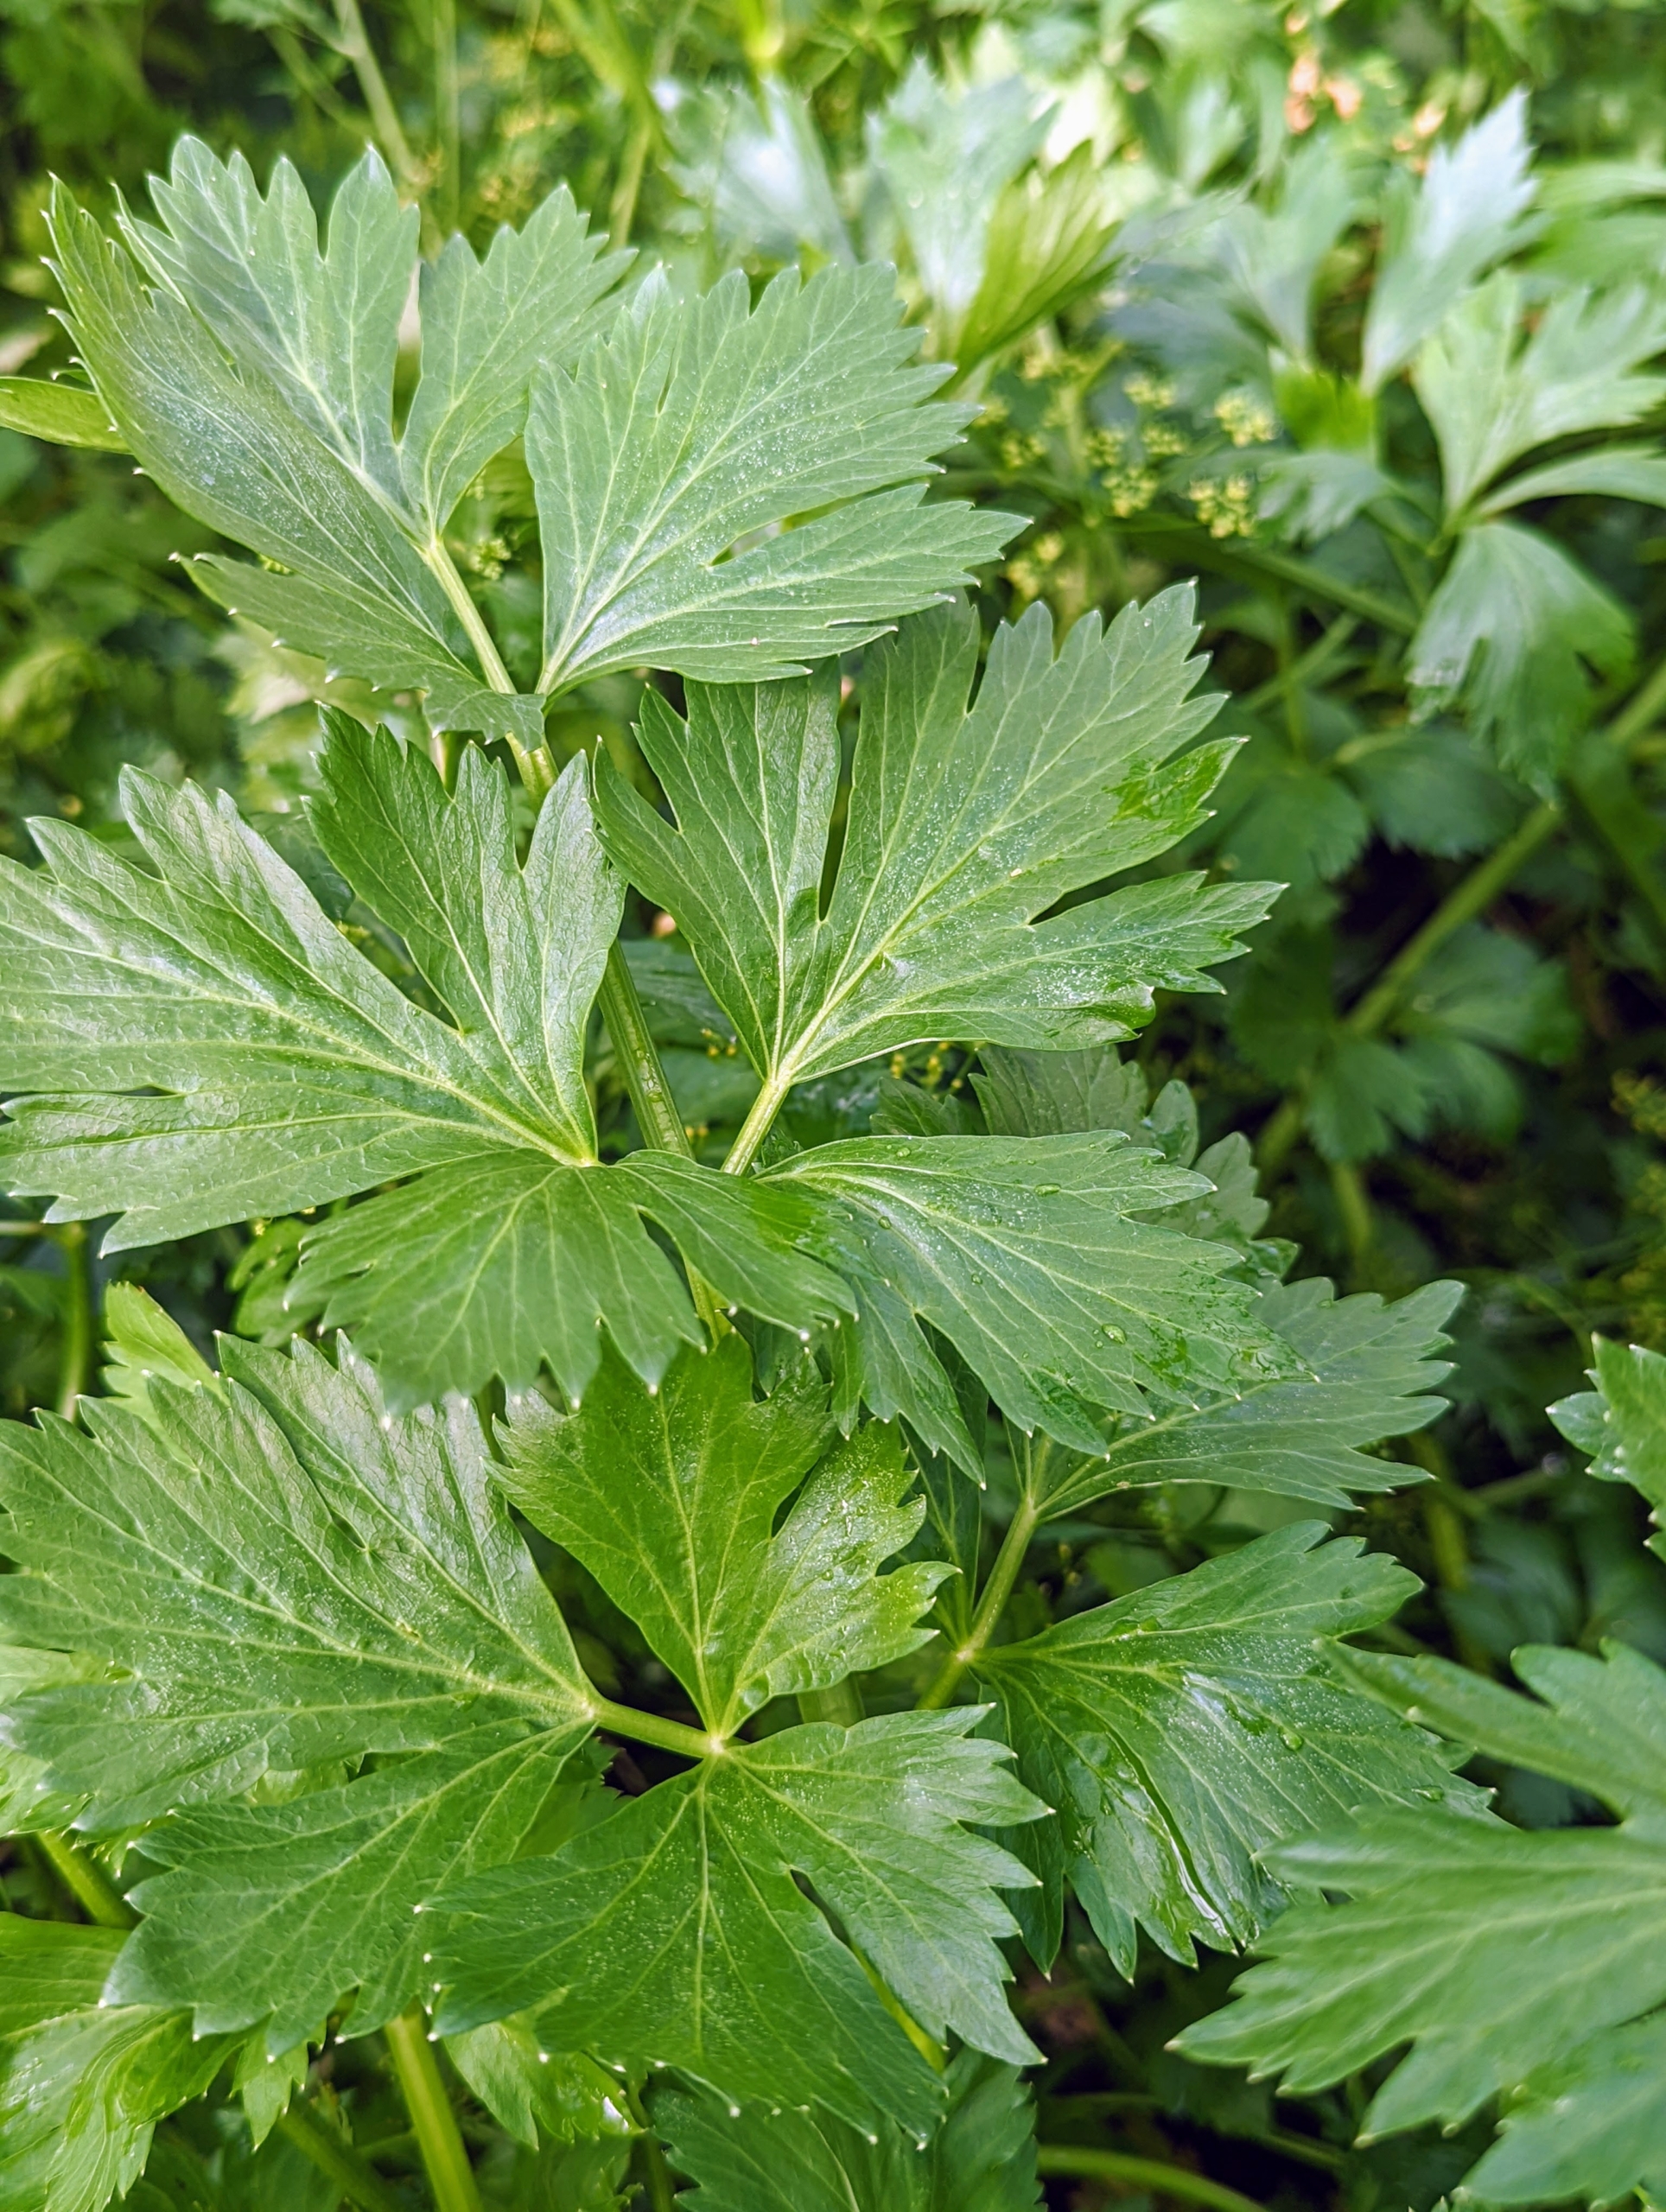
- I also grow cutting celery, which is also good in my green juice. This herb is often mistaken for flat-leafed parsley, but the flavor gives itself away. It tastes more pungent than store-bought and can be used as a celery substitute.
-
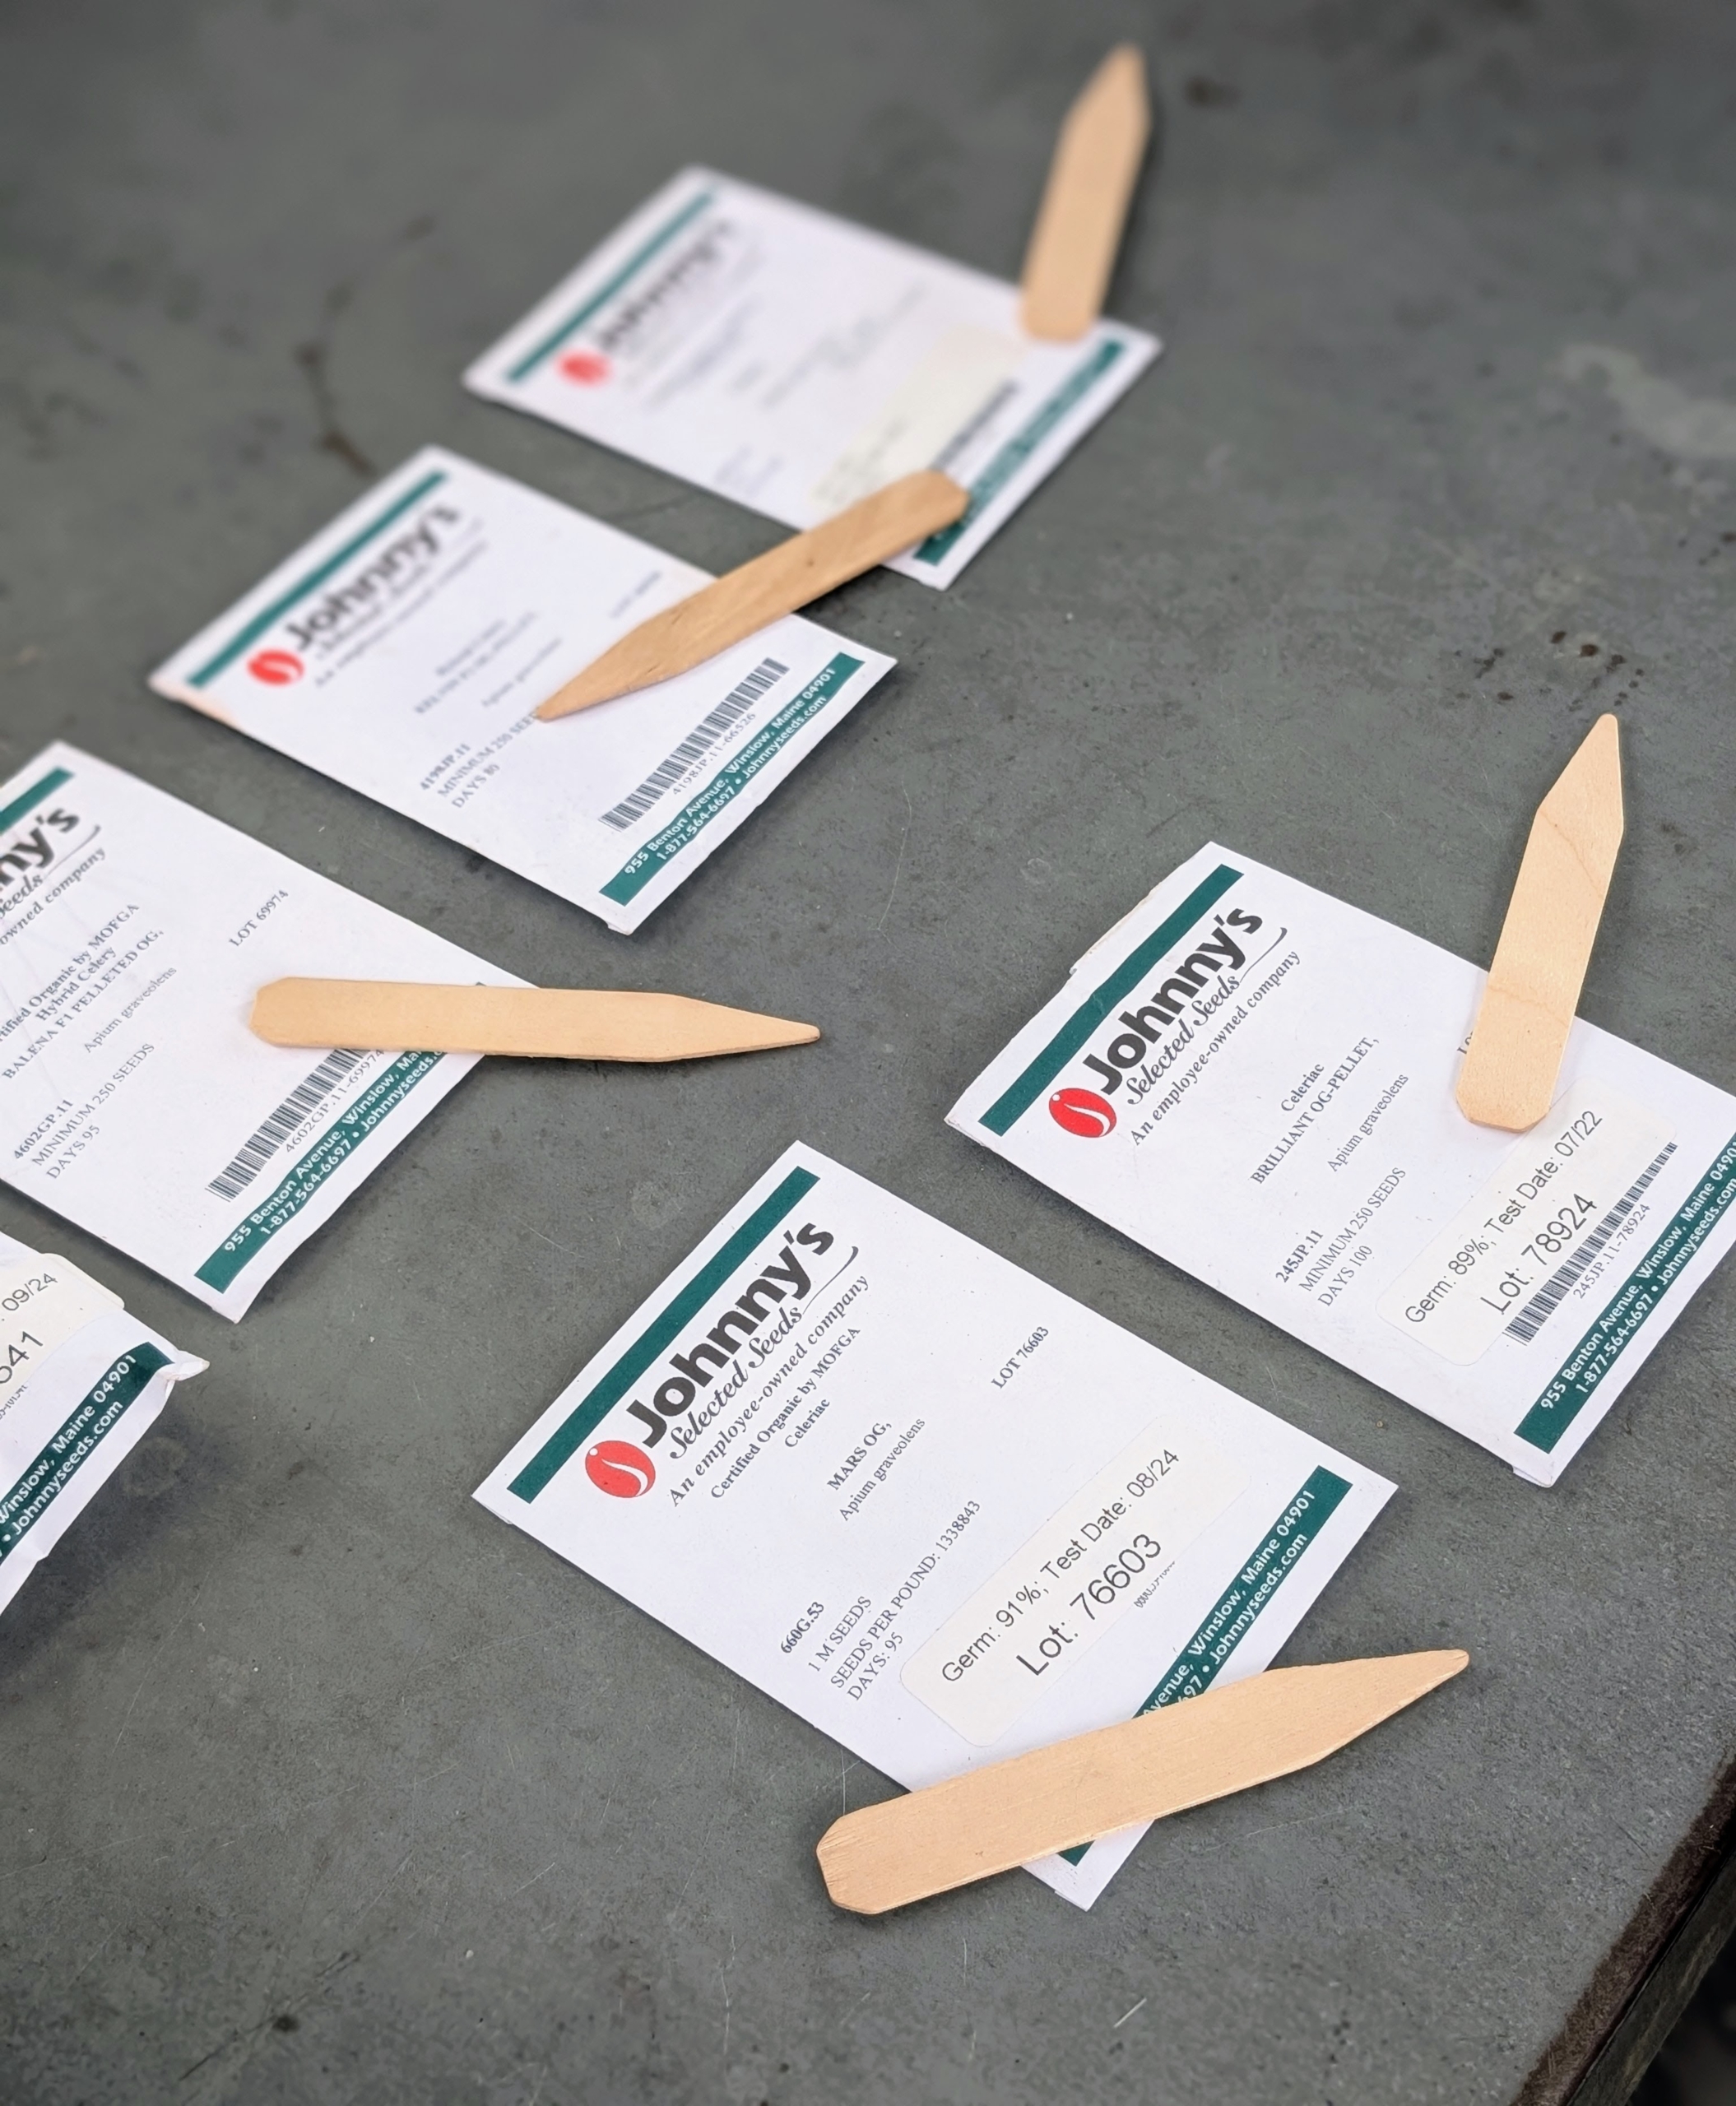
- My celery and celeriac are both started in my greenhouse. Many of this year’s seeds, seed trays, and other supplies are from Johnny’s Selected Seeds in central Maine – a company I’ve been using for quite some time.
-
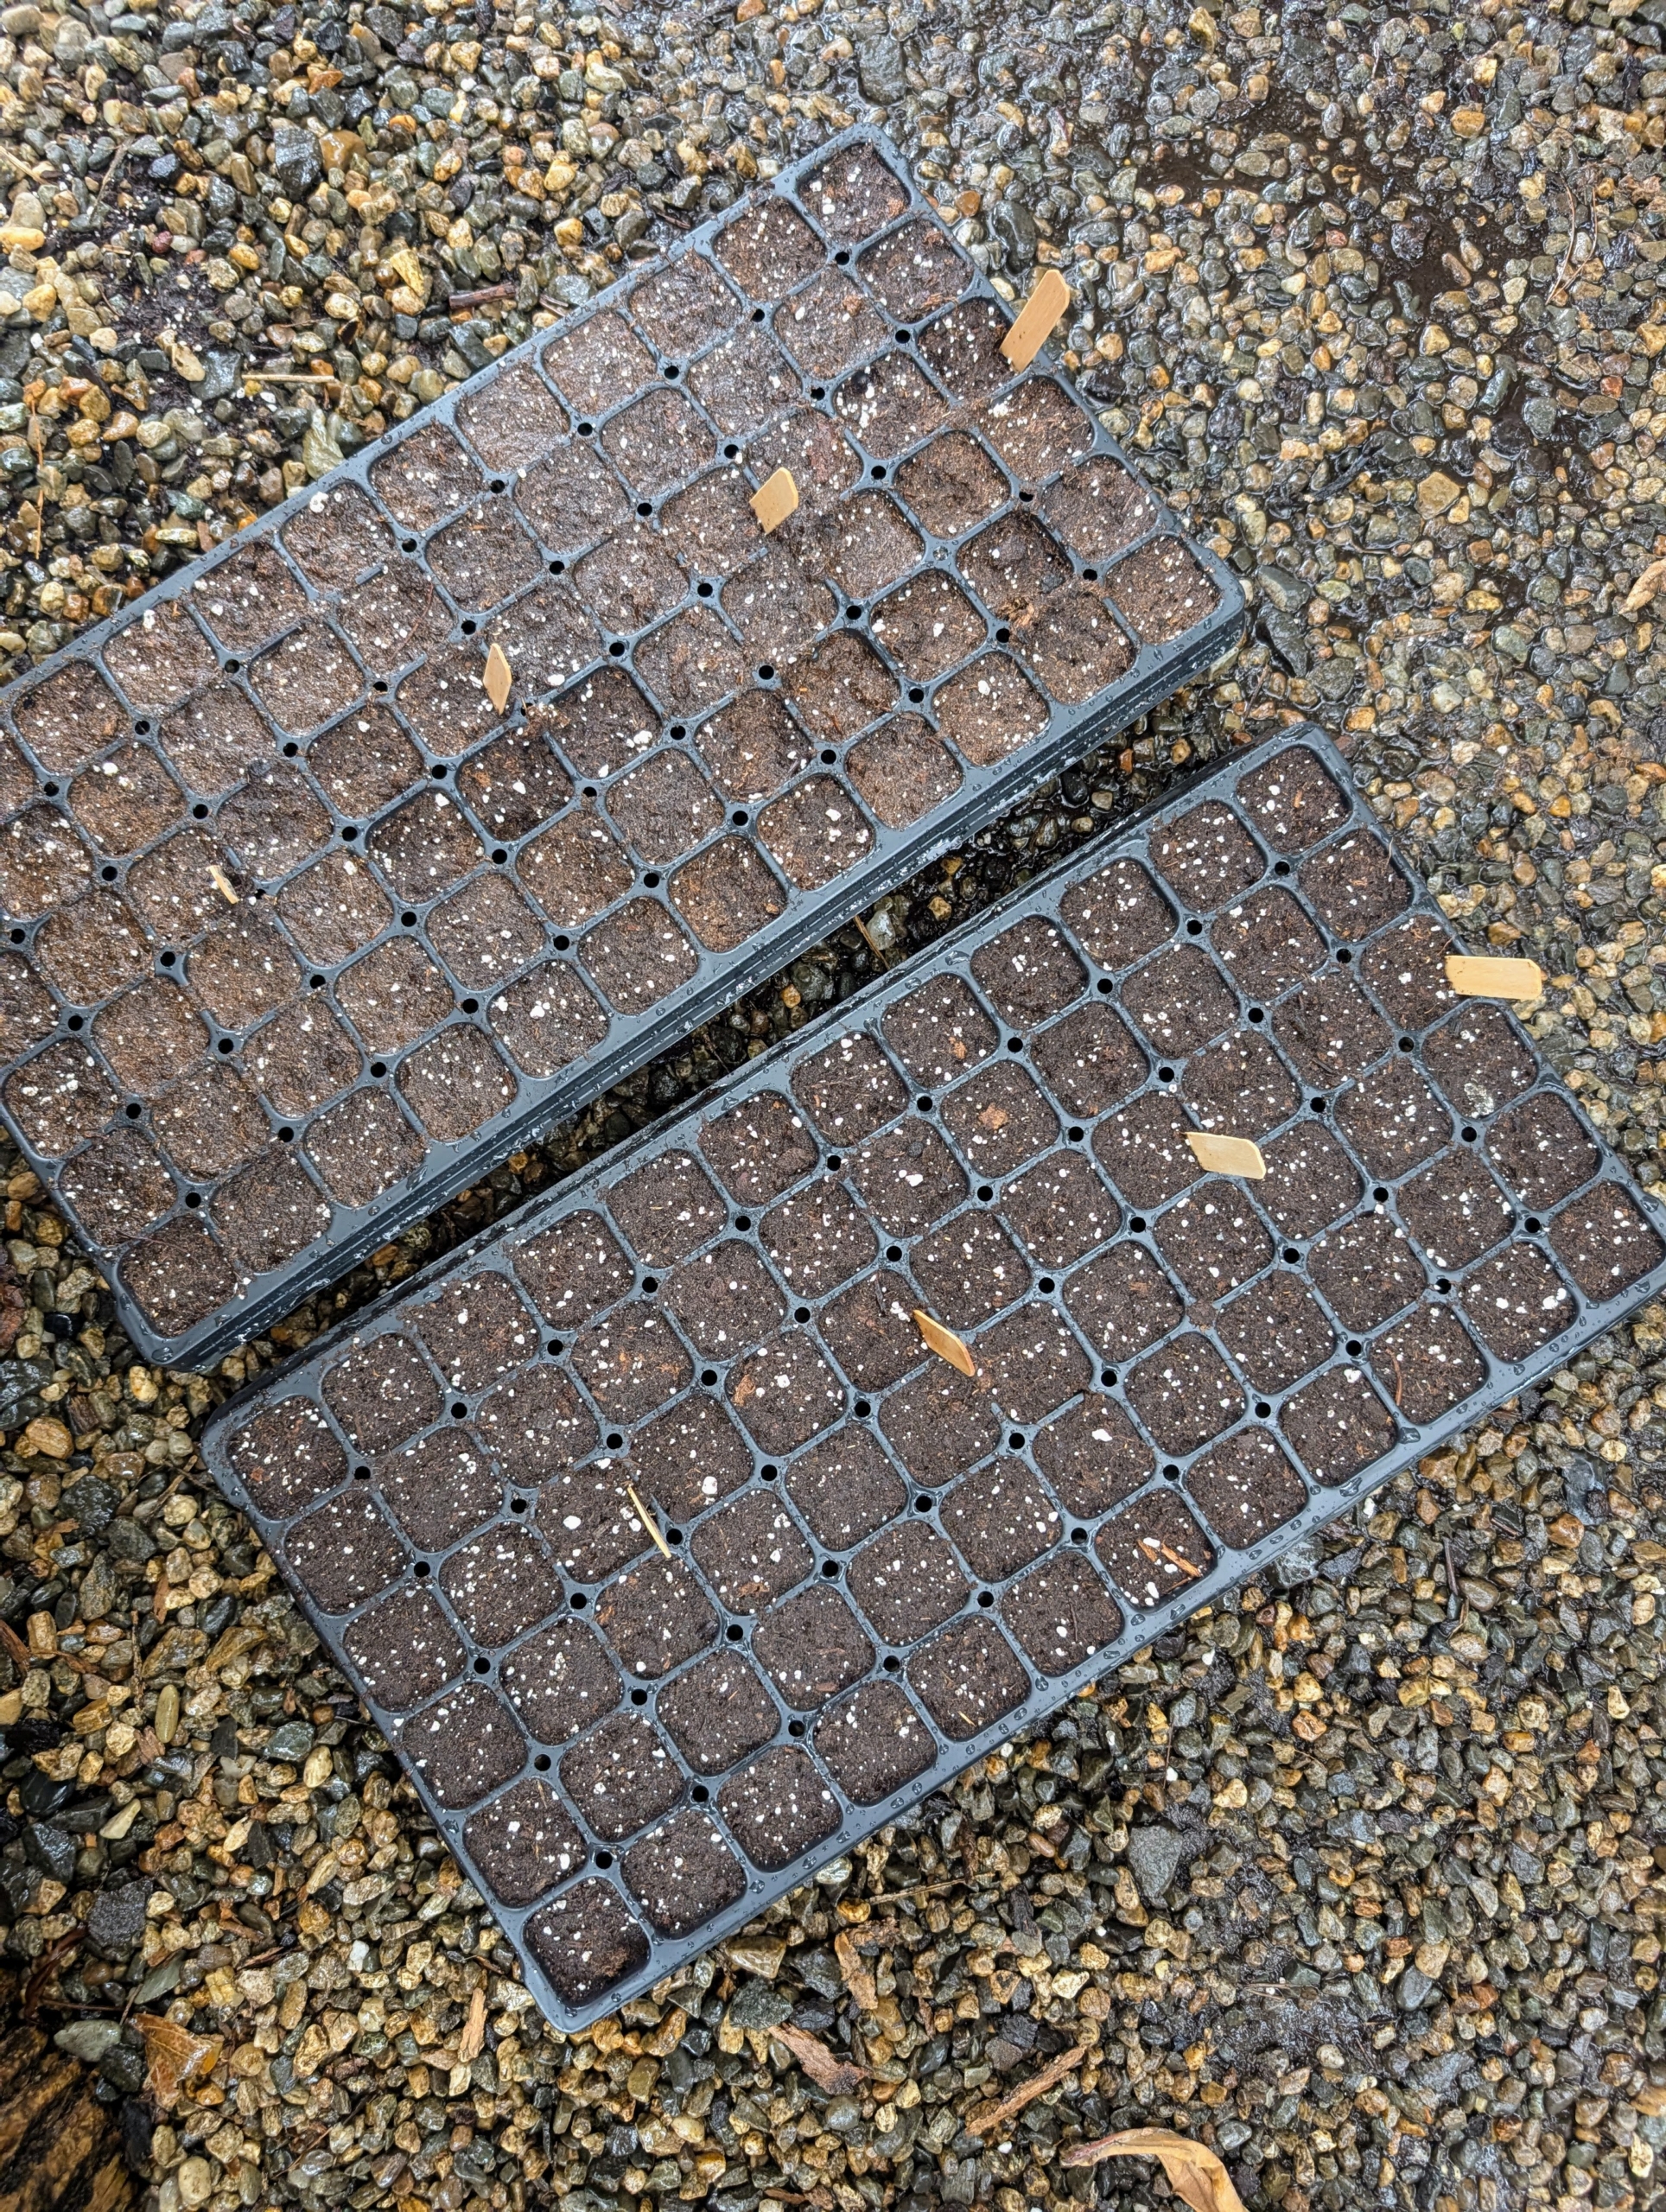
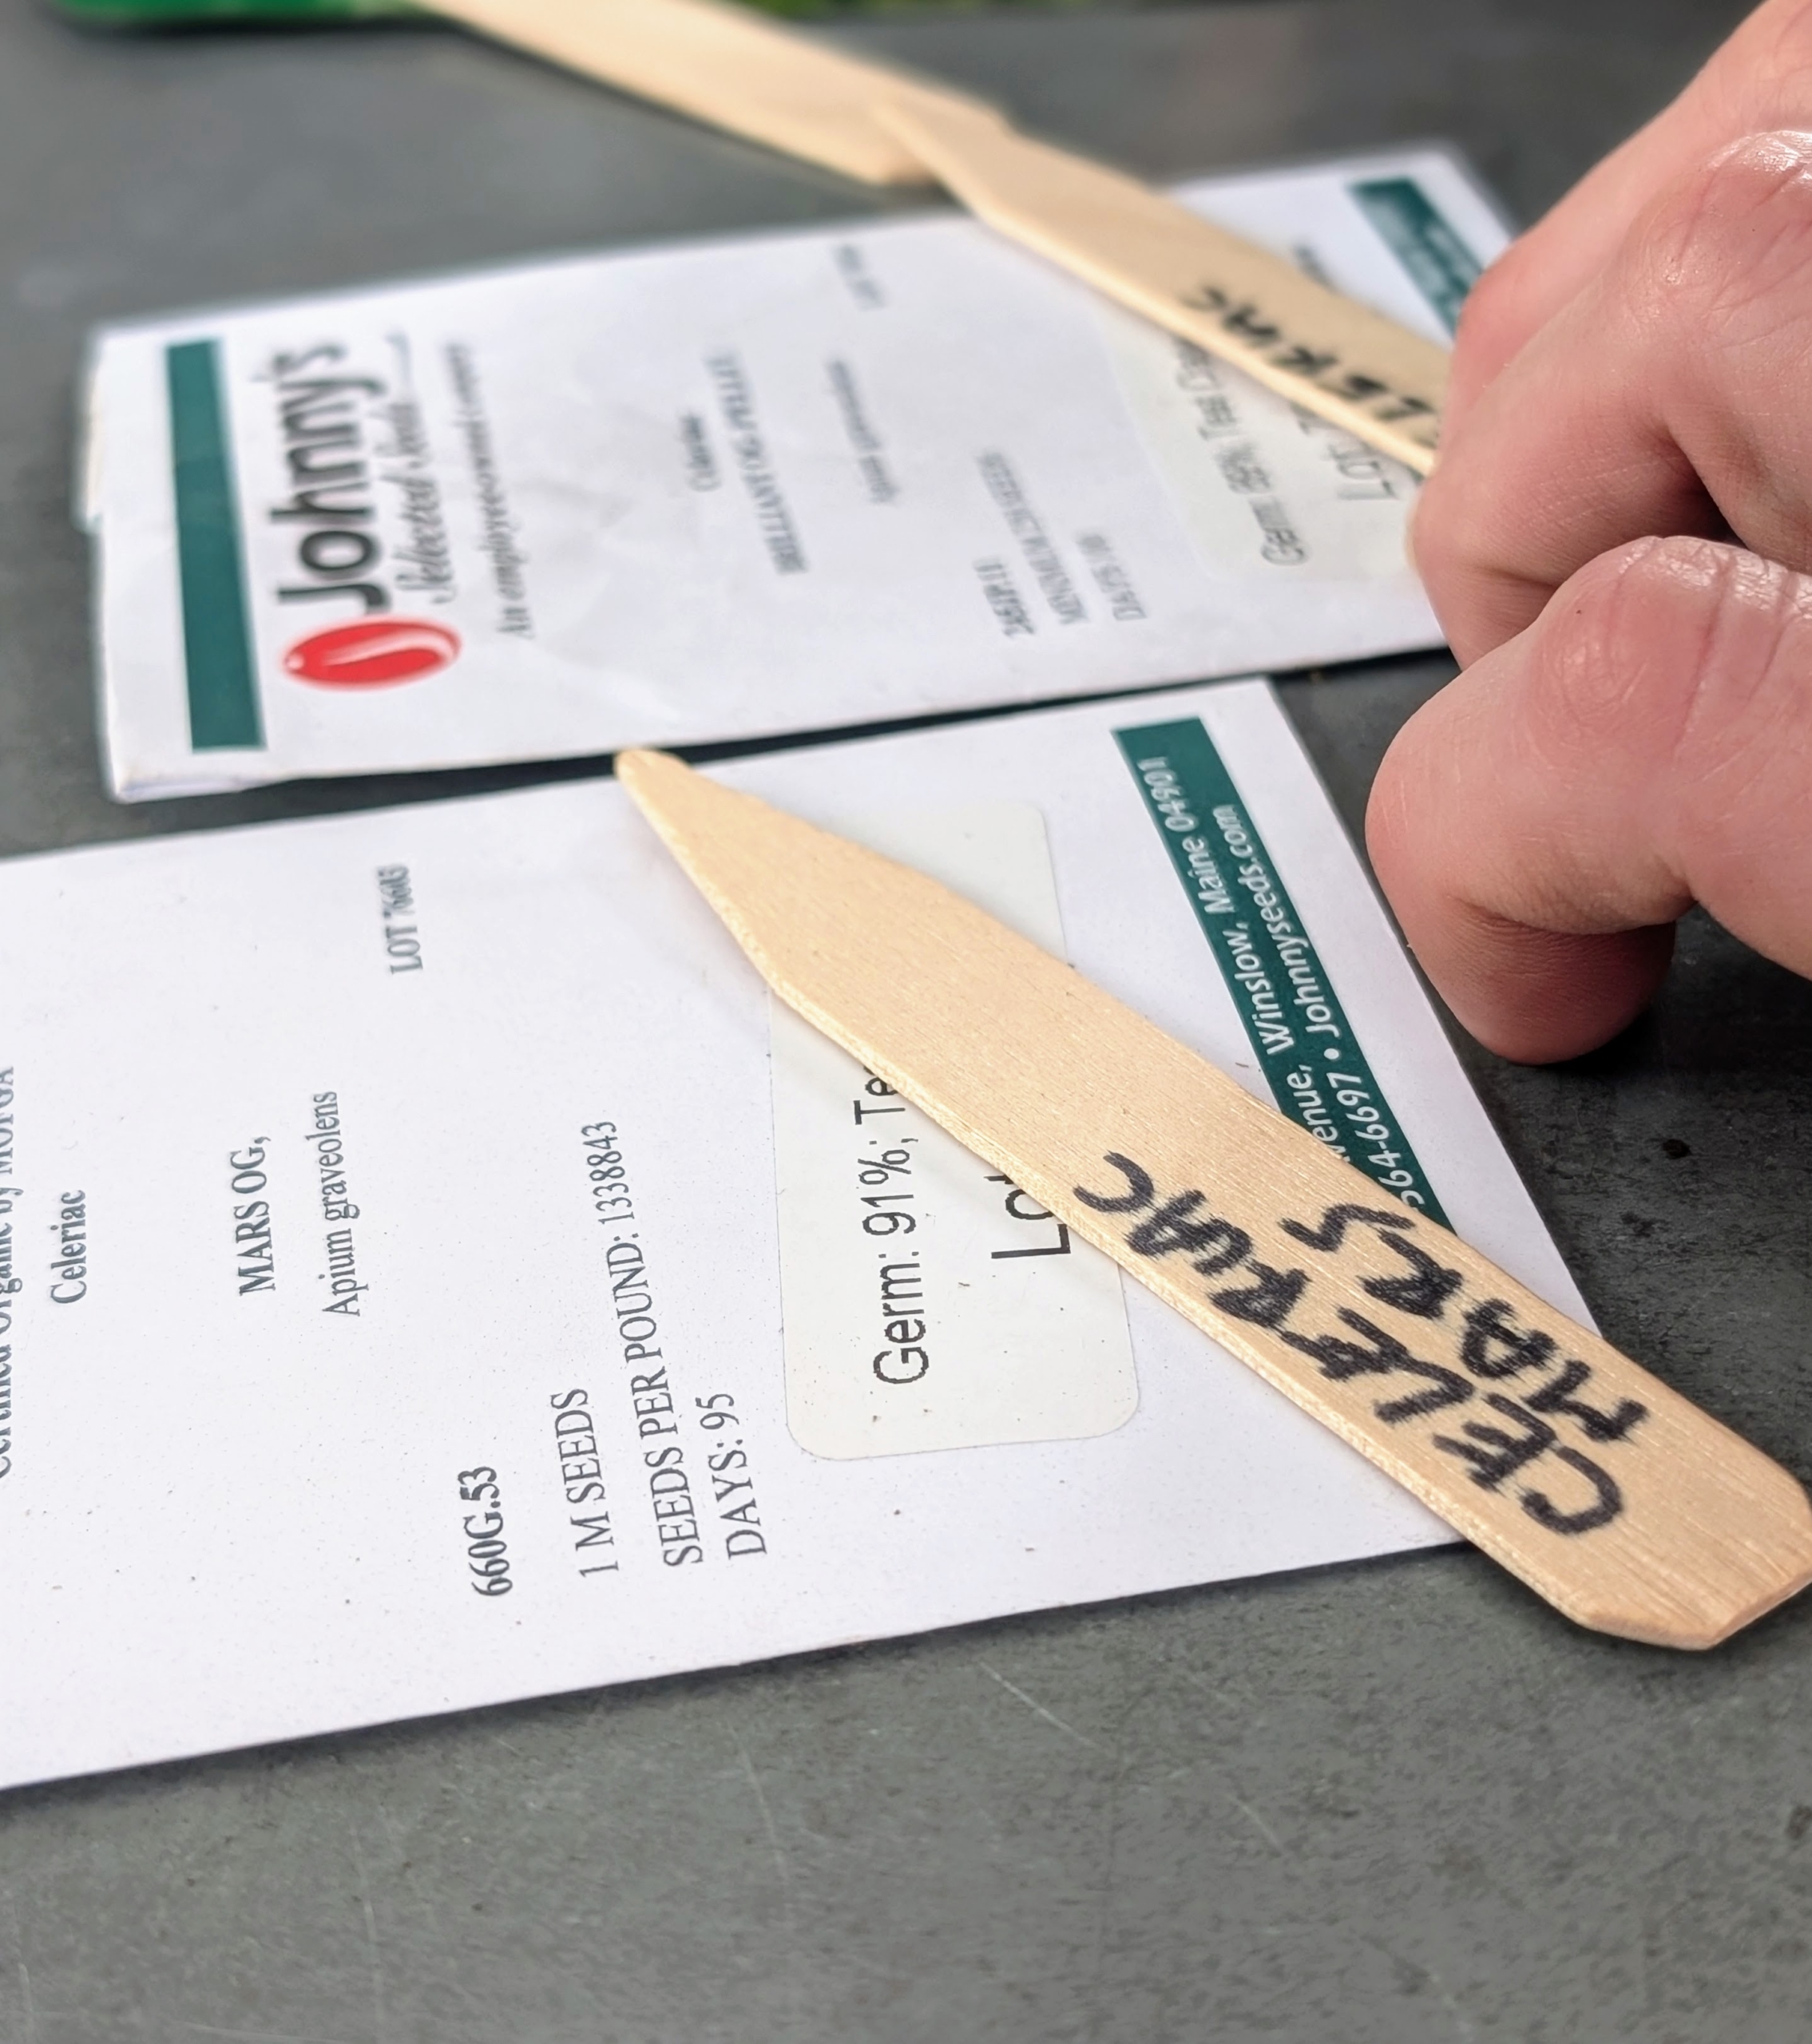
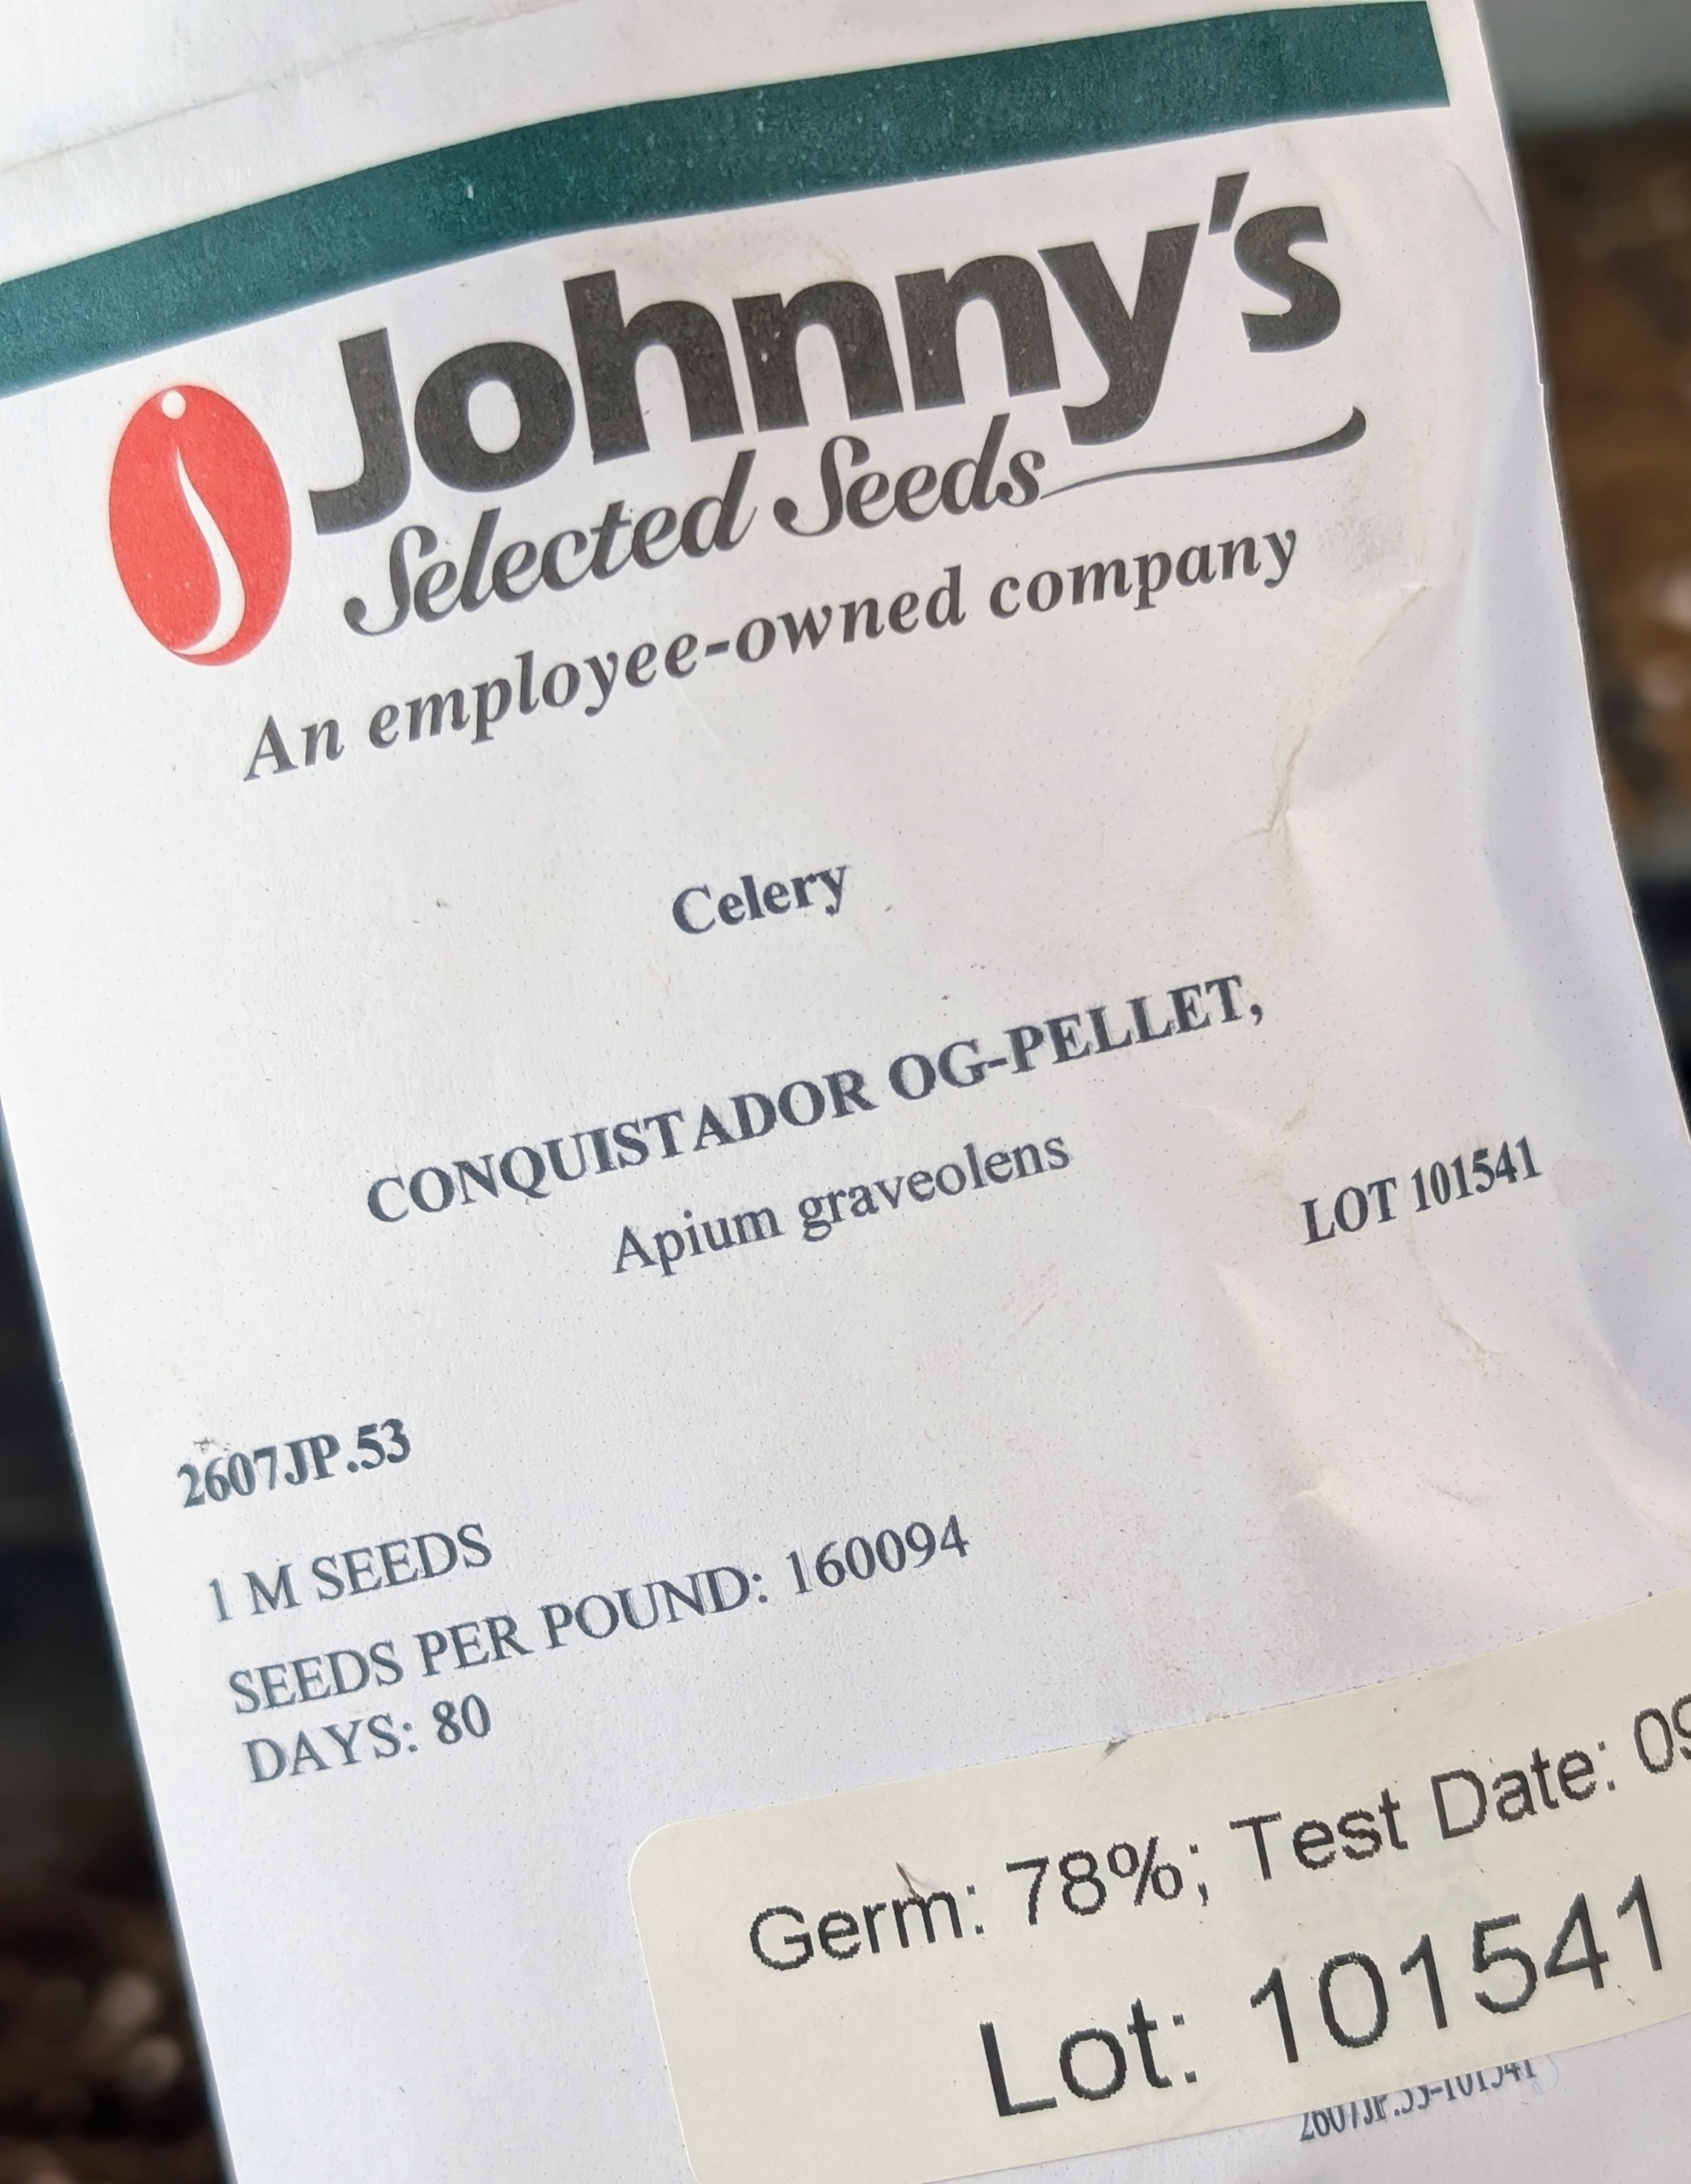
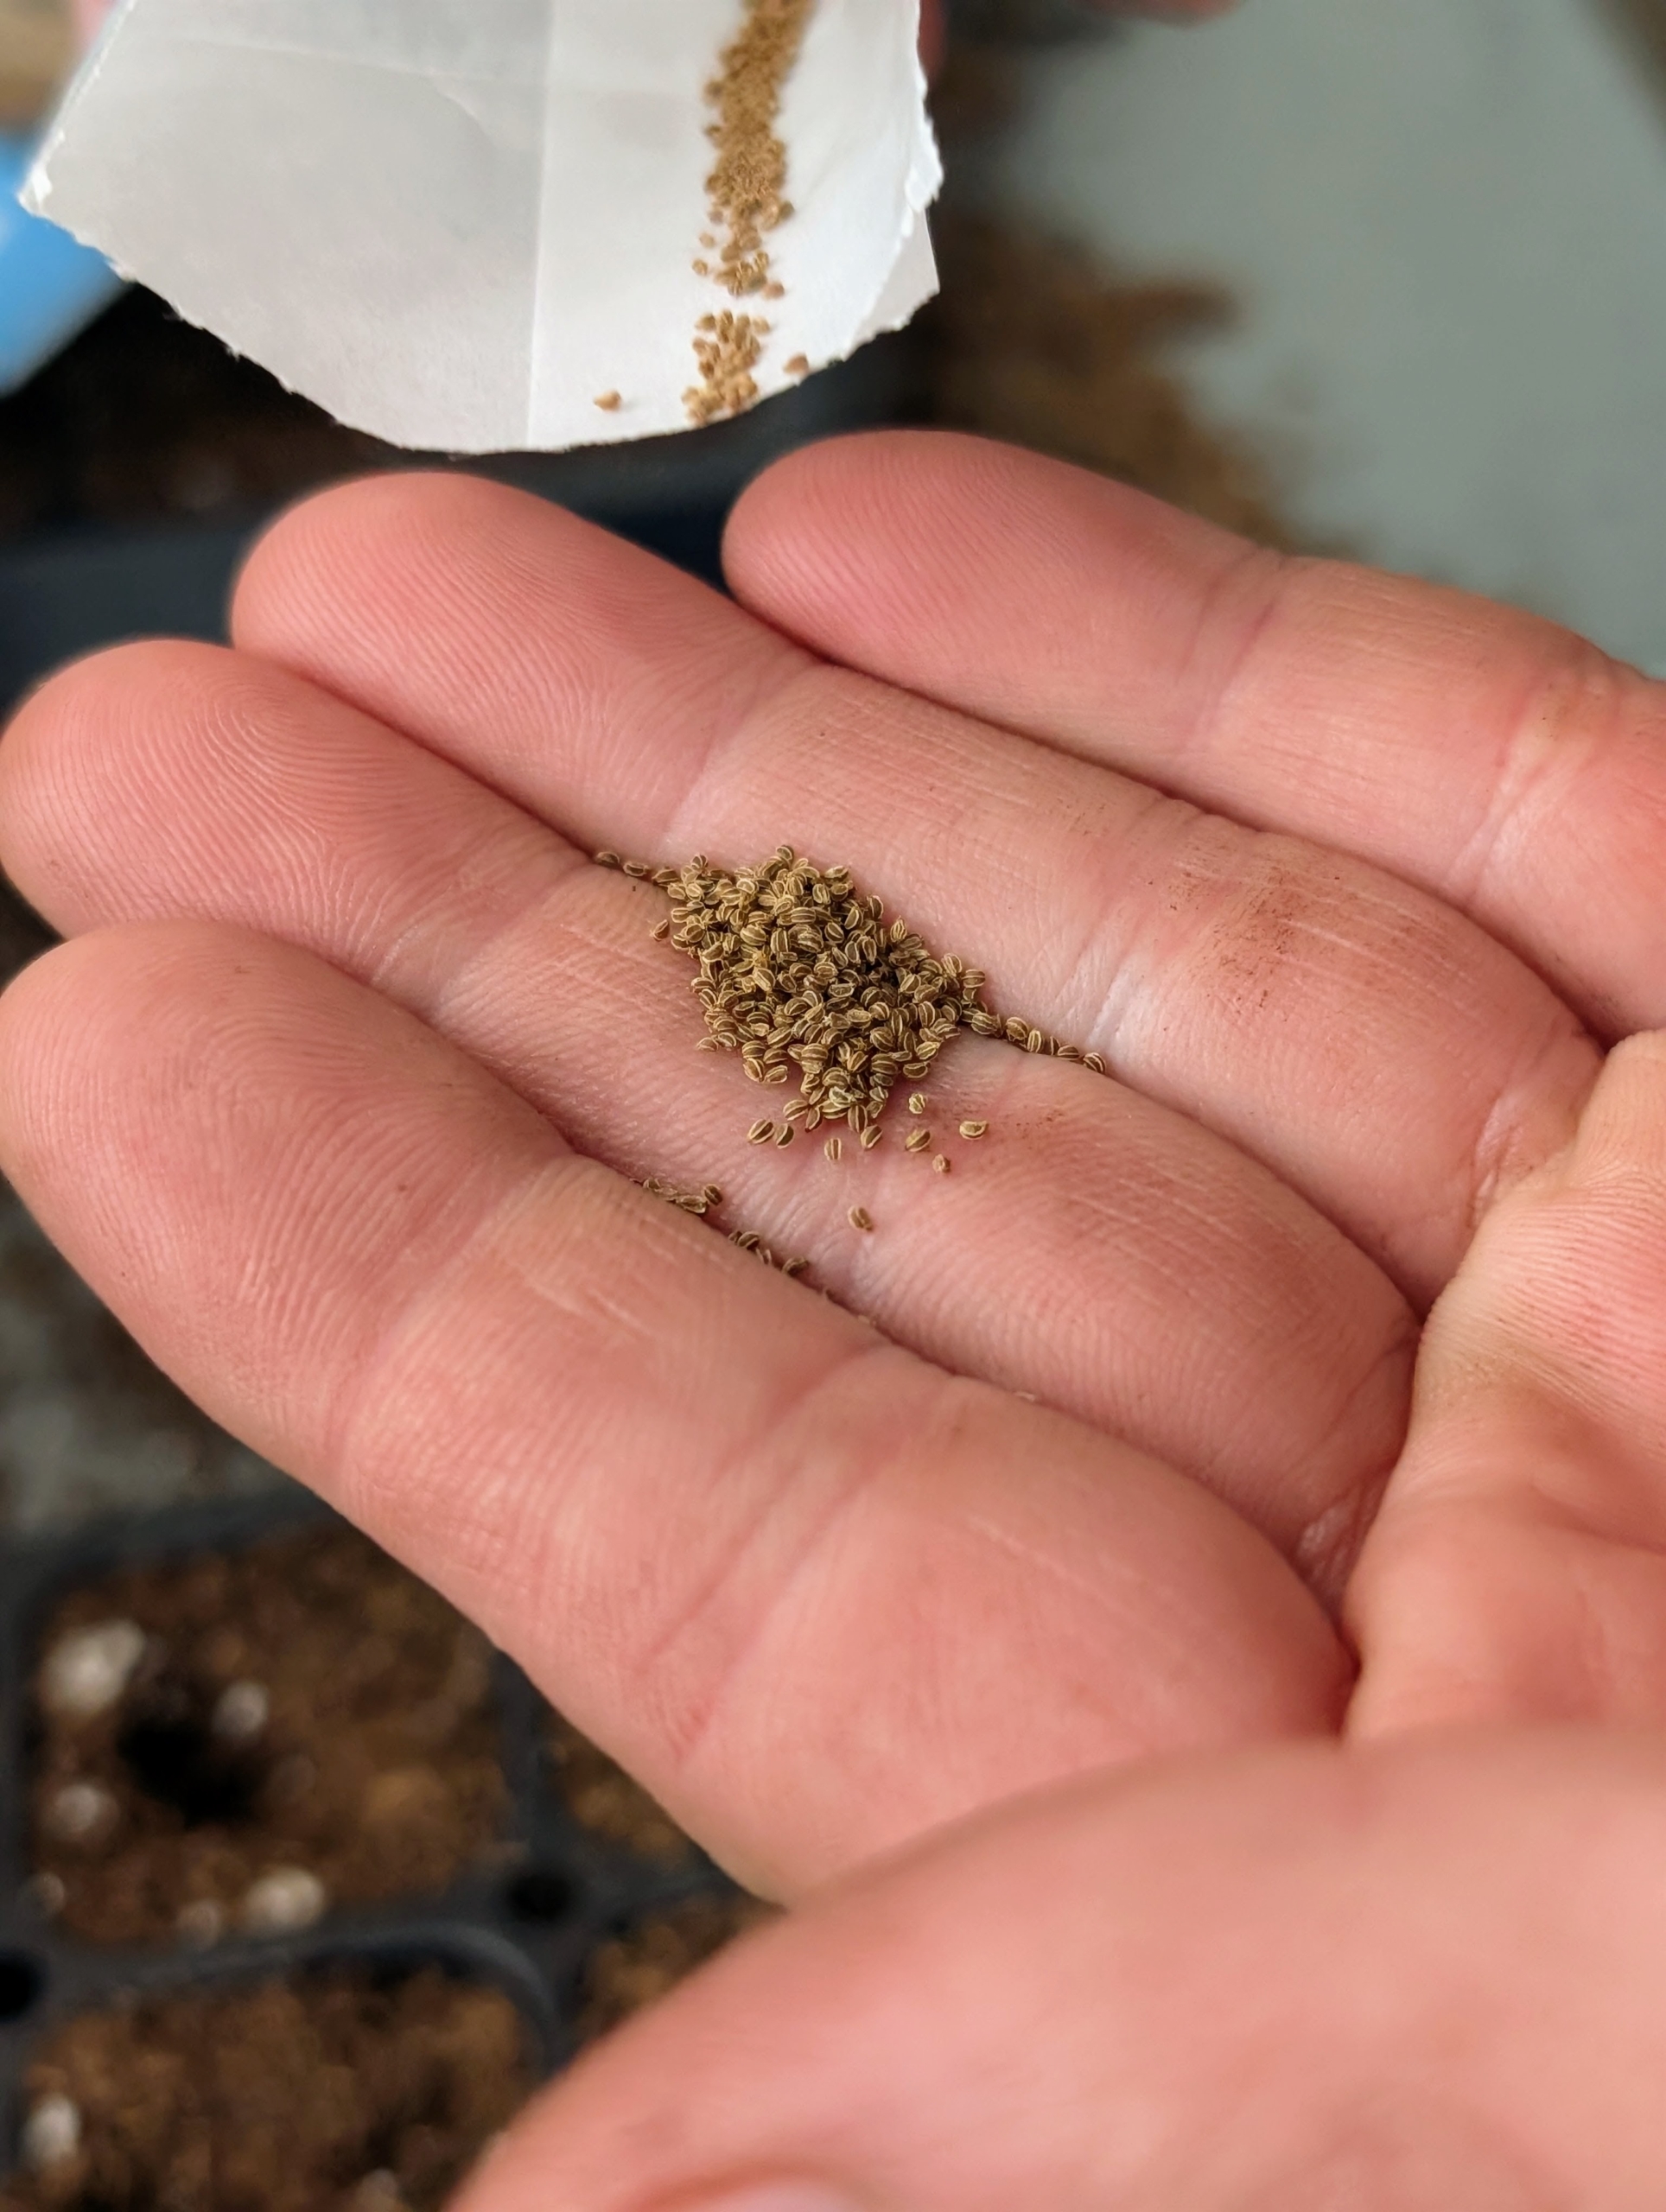
- Starting after the holidays, I along with my head gardener, Ryan McCallister, sow thousands of seeds. The process is easy and quick, so we’re able to get a lot done in preparation for the growing season. Here is a packet of seeds with its corresponding marker.
-
- The seed pack itself contains valuable information such as plant type and variety, seed type, number of seeds in packet, germination rate, and days to maturity. Always refer to it when starting vegetables and flowers from seed.
-
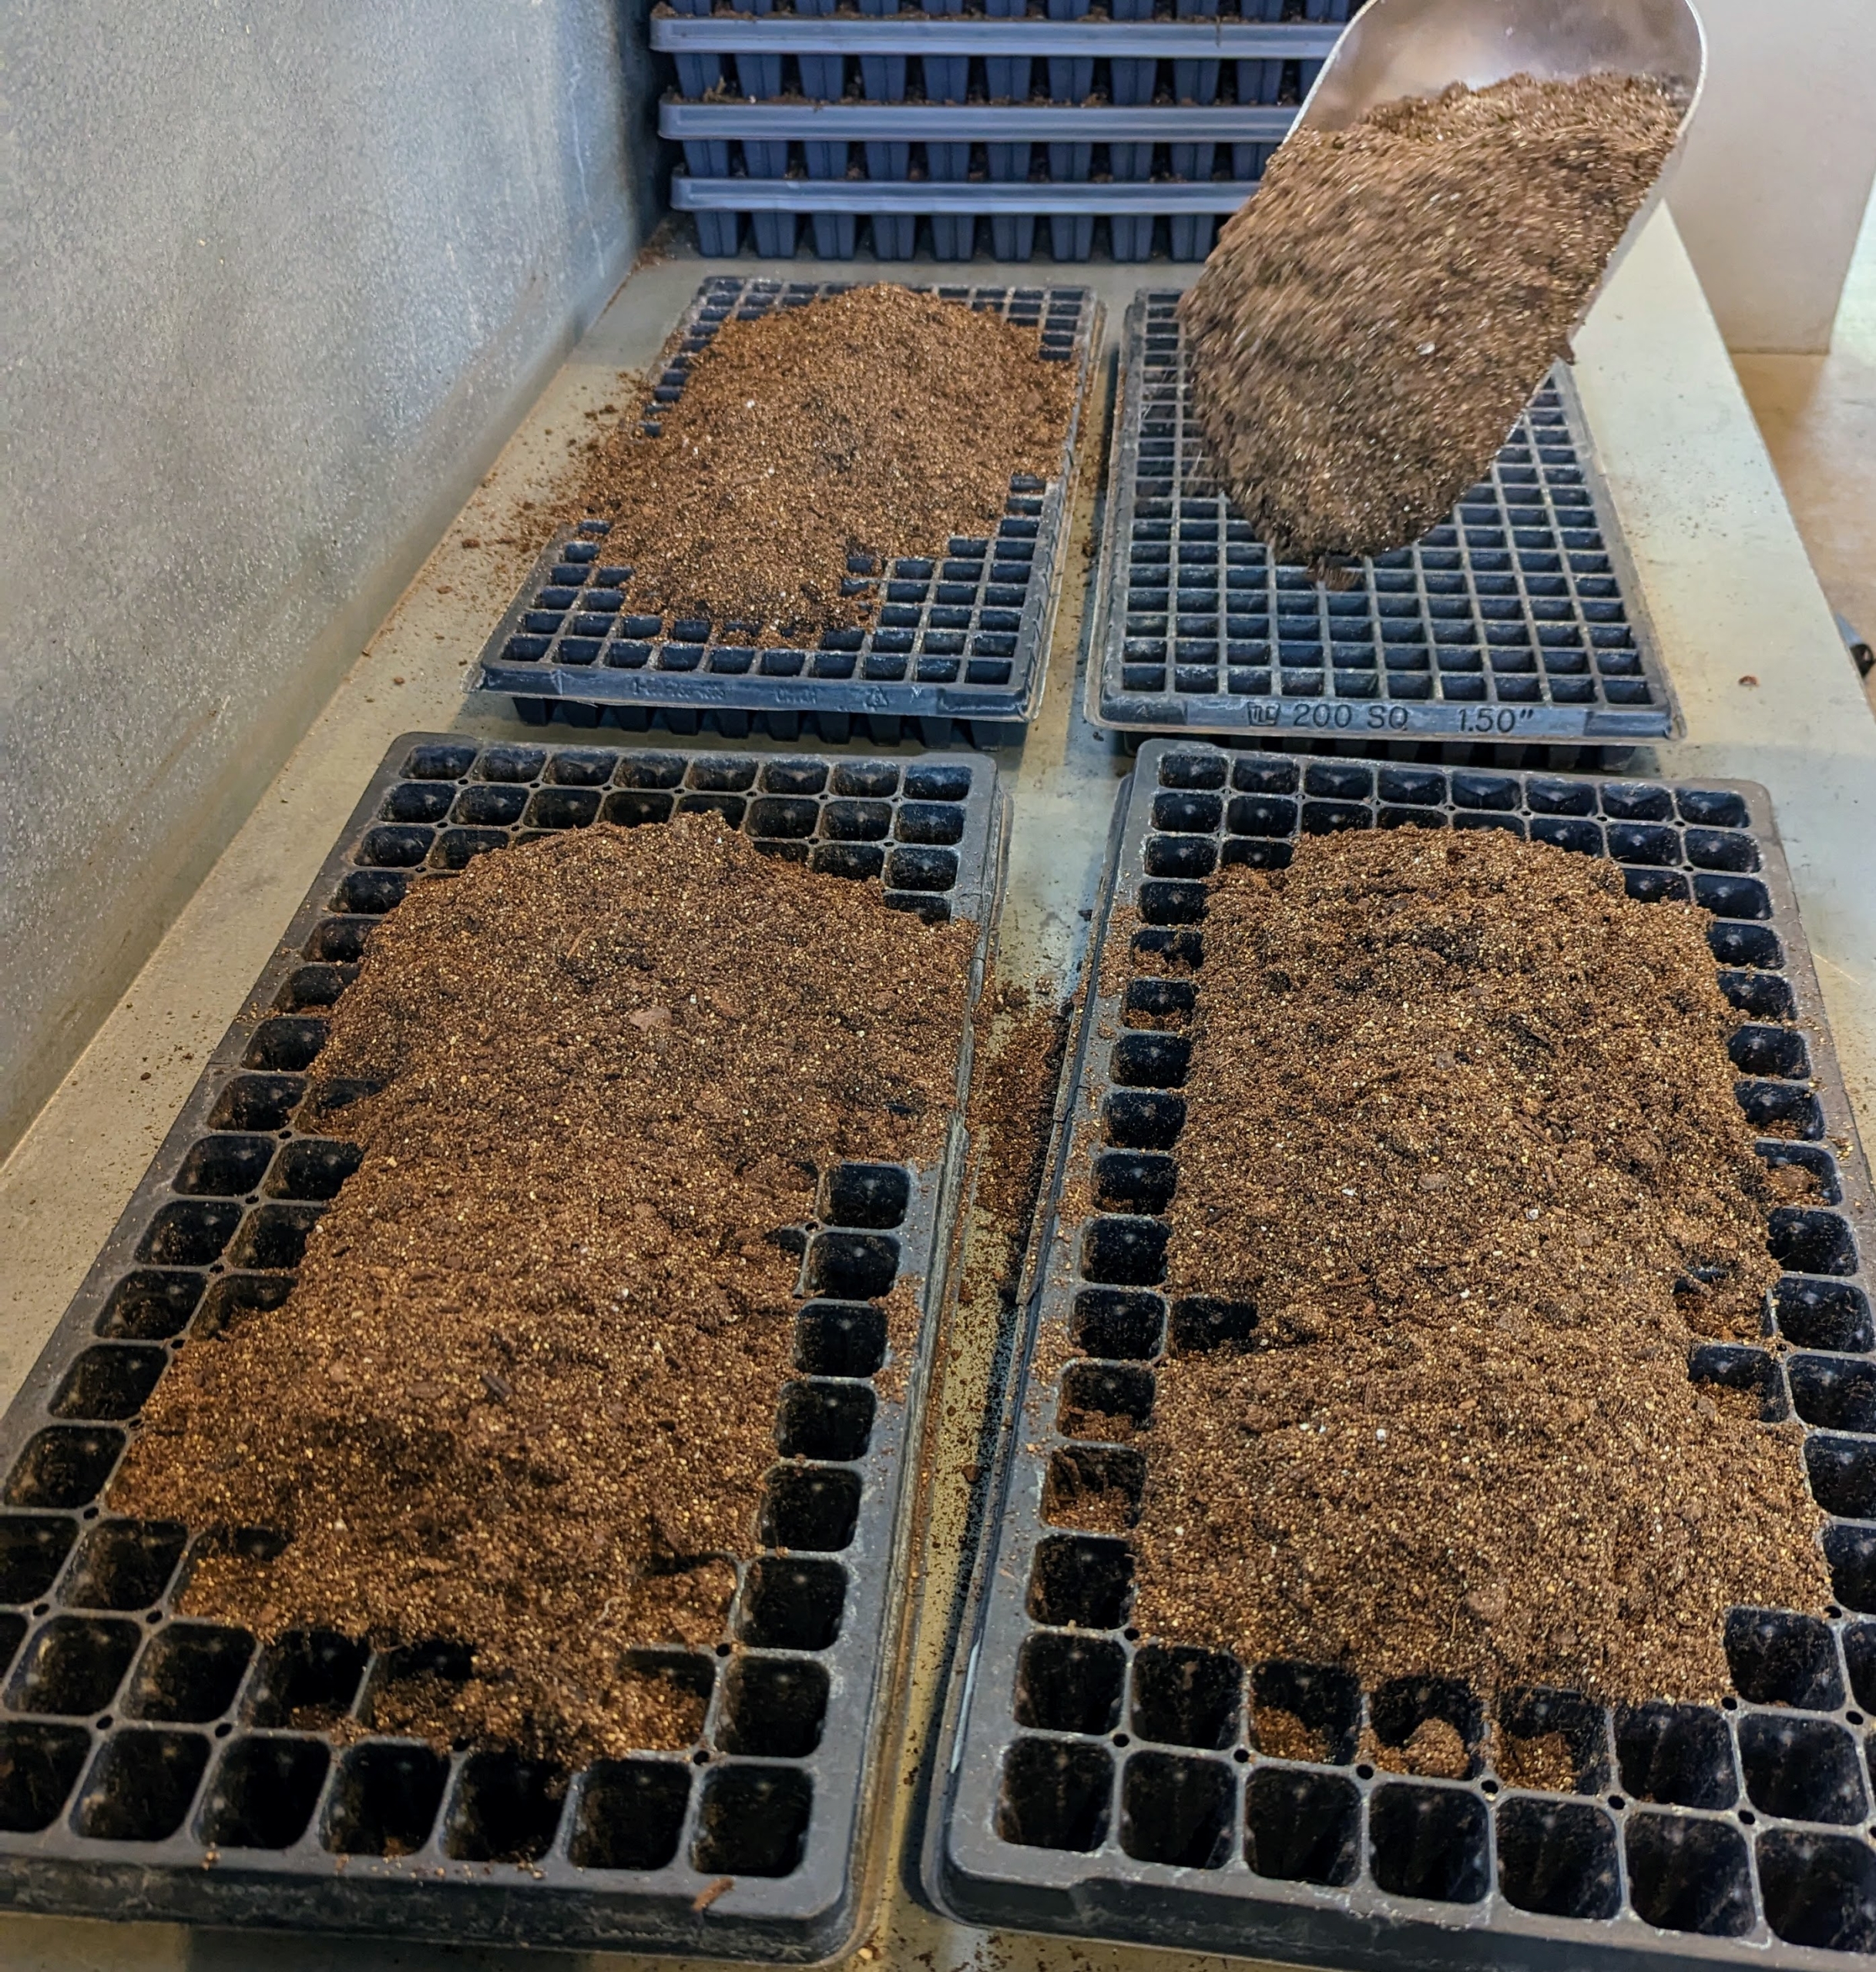
- Select the right kind of tray based on the size of the seeds. The containers should be at least two-inches deep and have adequate drainage holes.

-
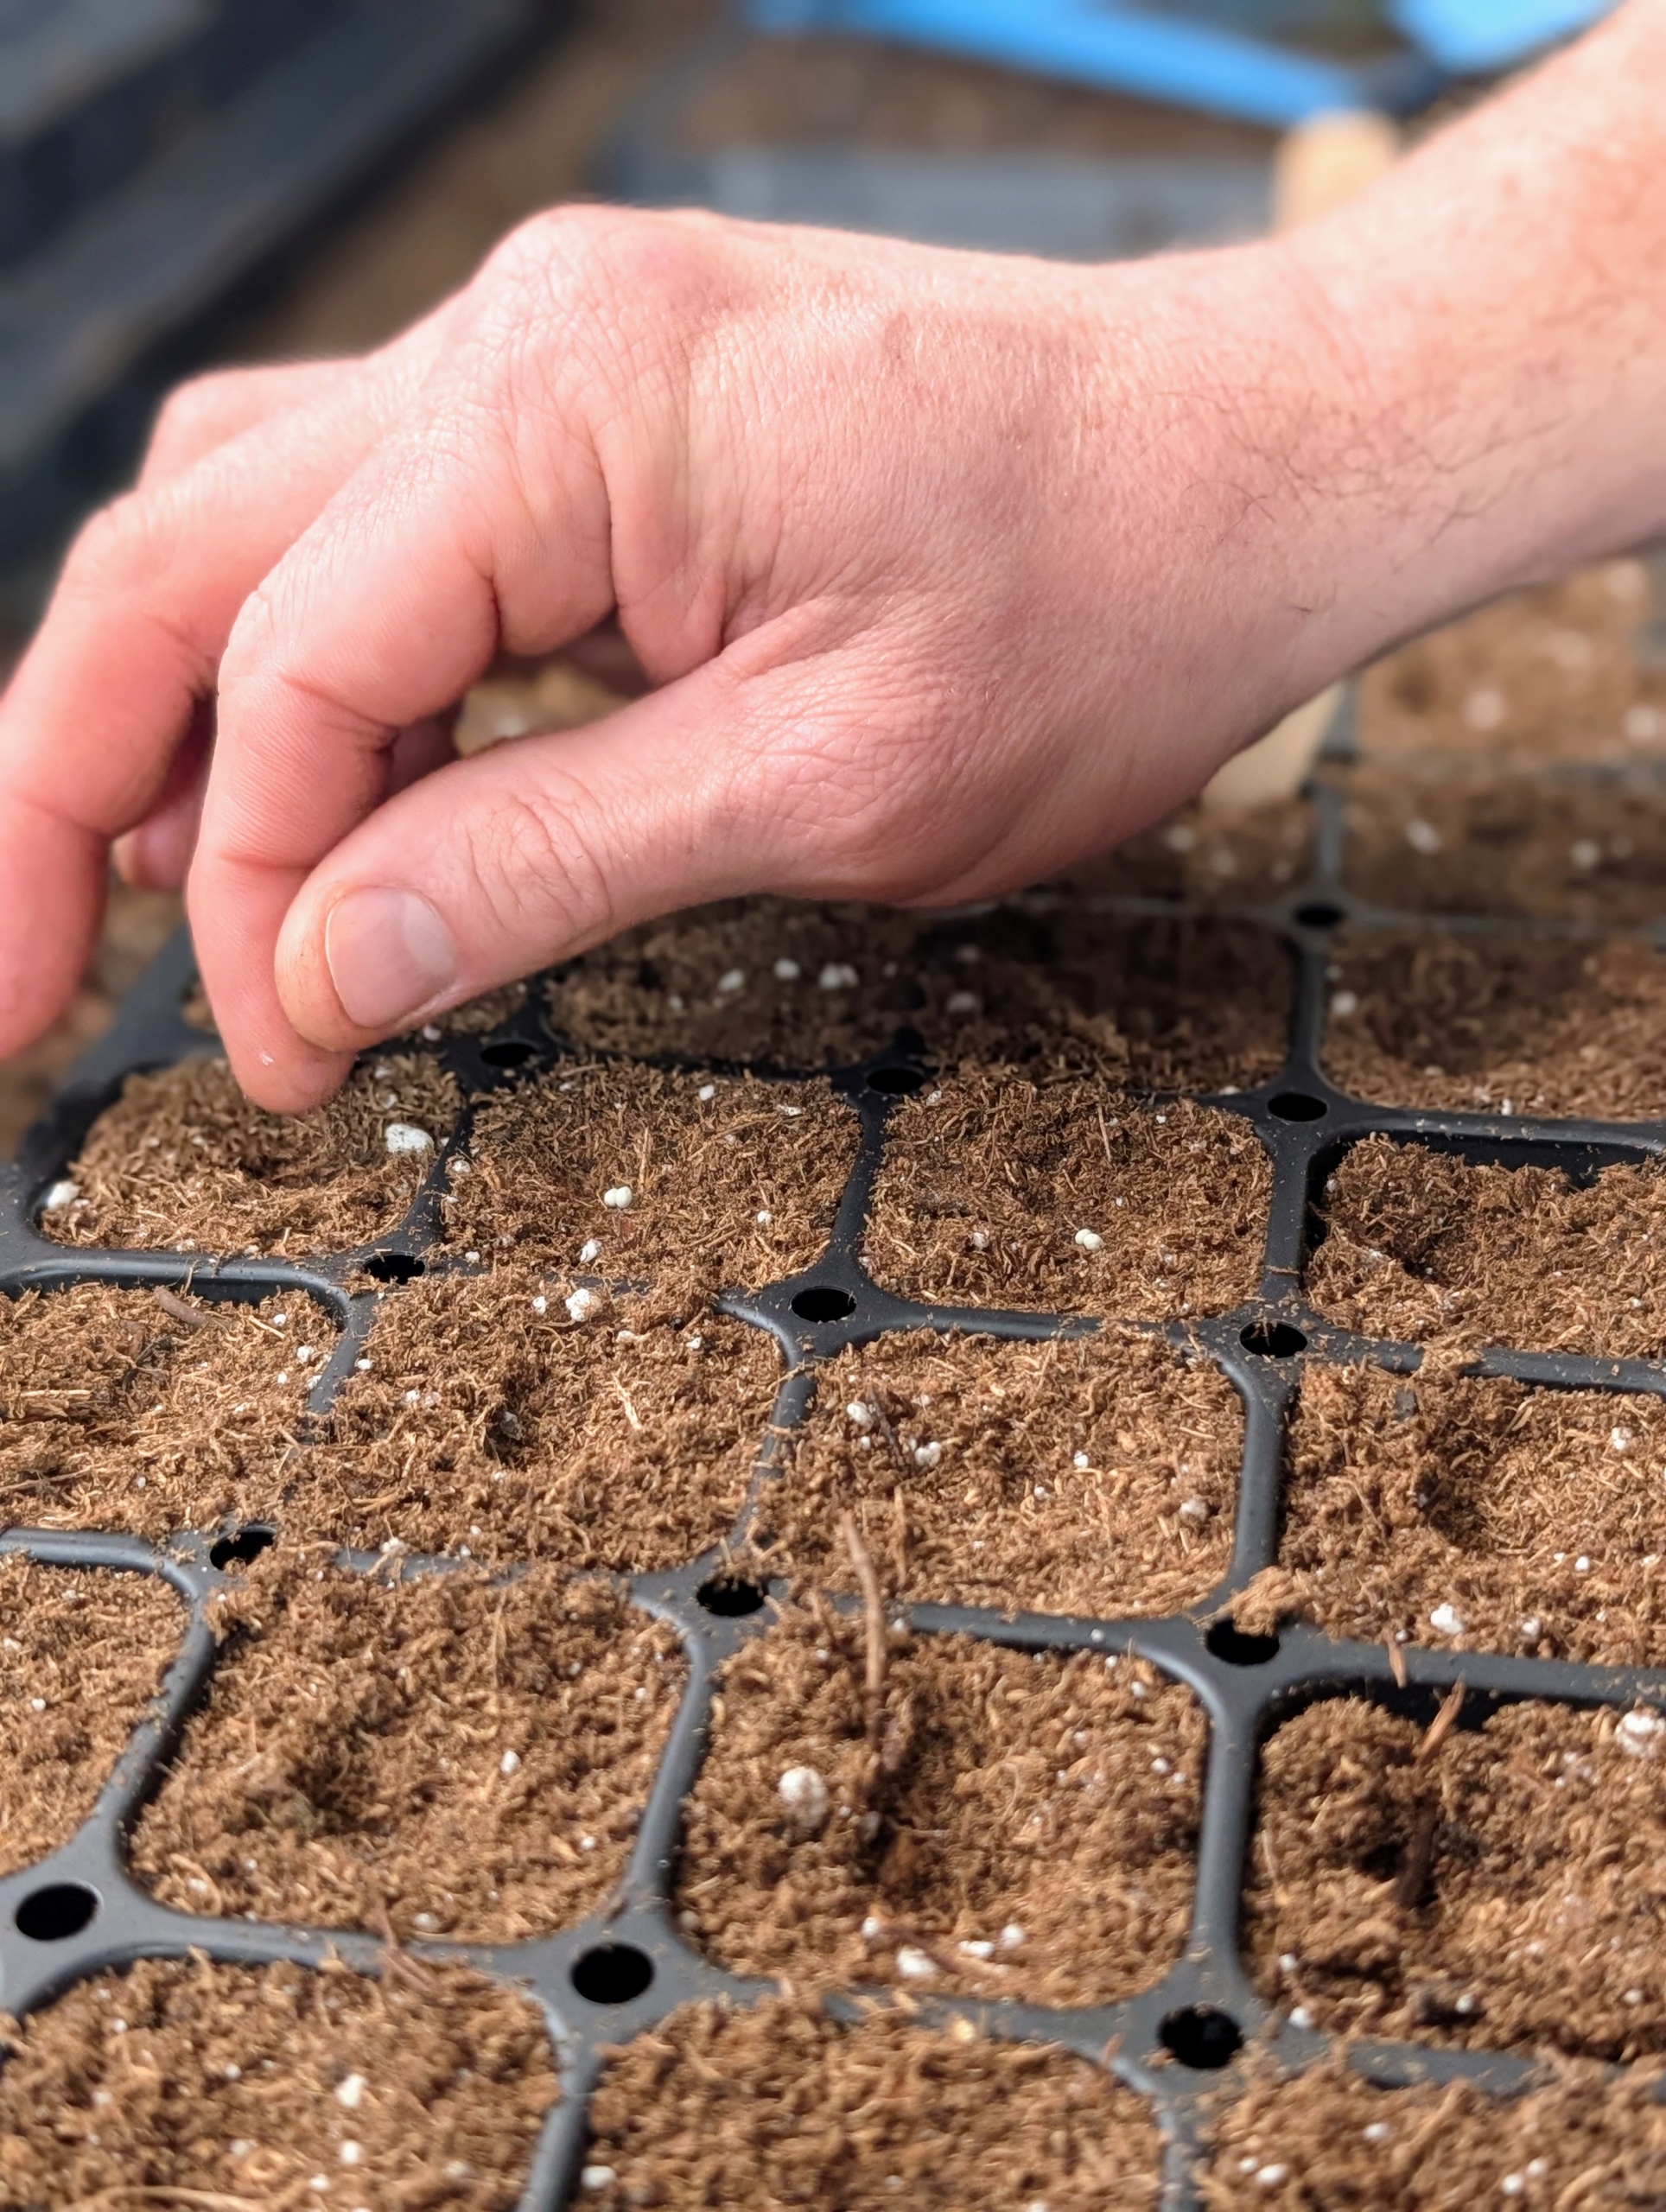
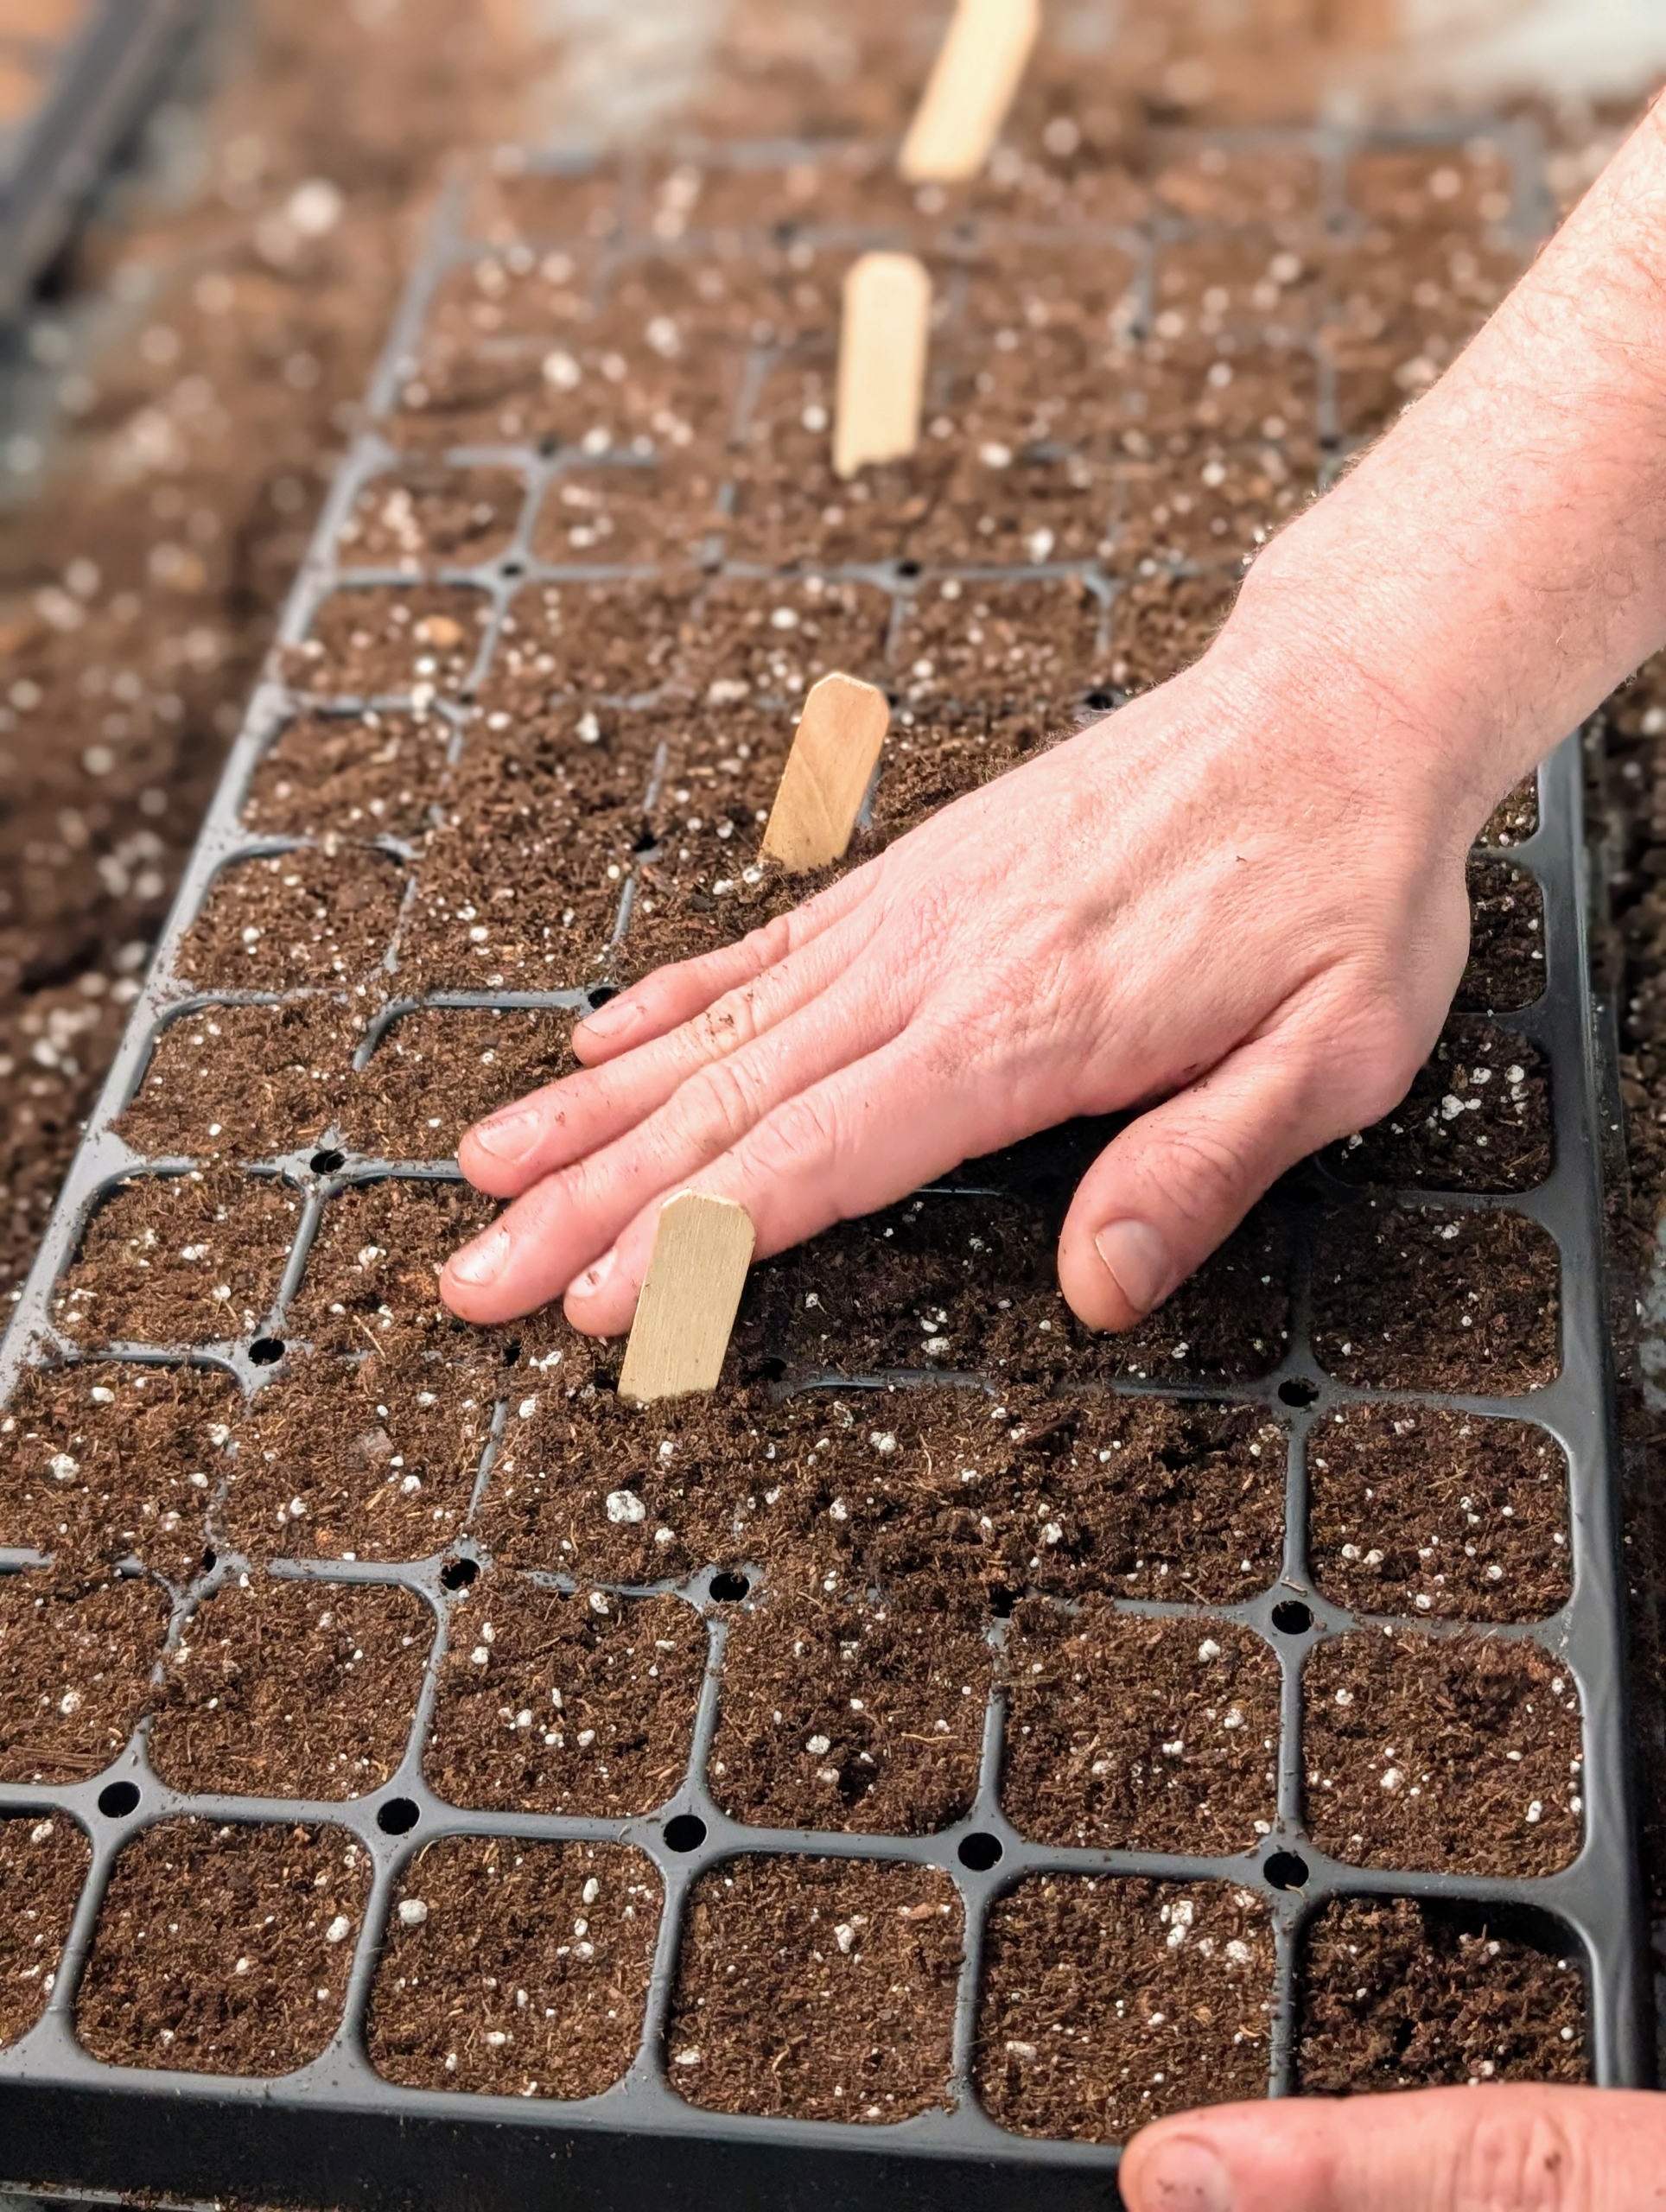
- Ryan spreads the soil mix across the seed trays completely and evenly, filling all the cells of each tray.
-
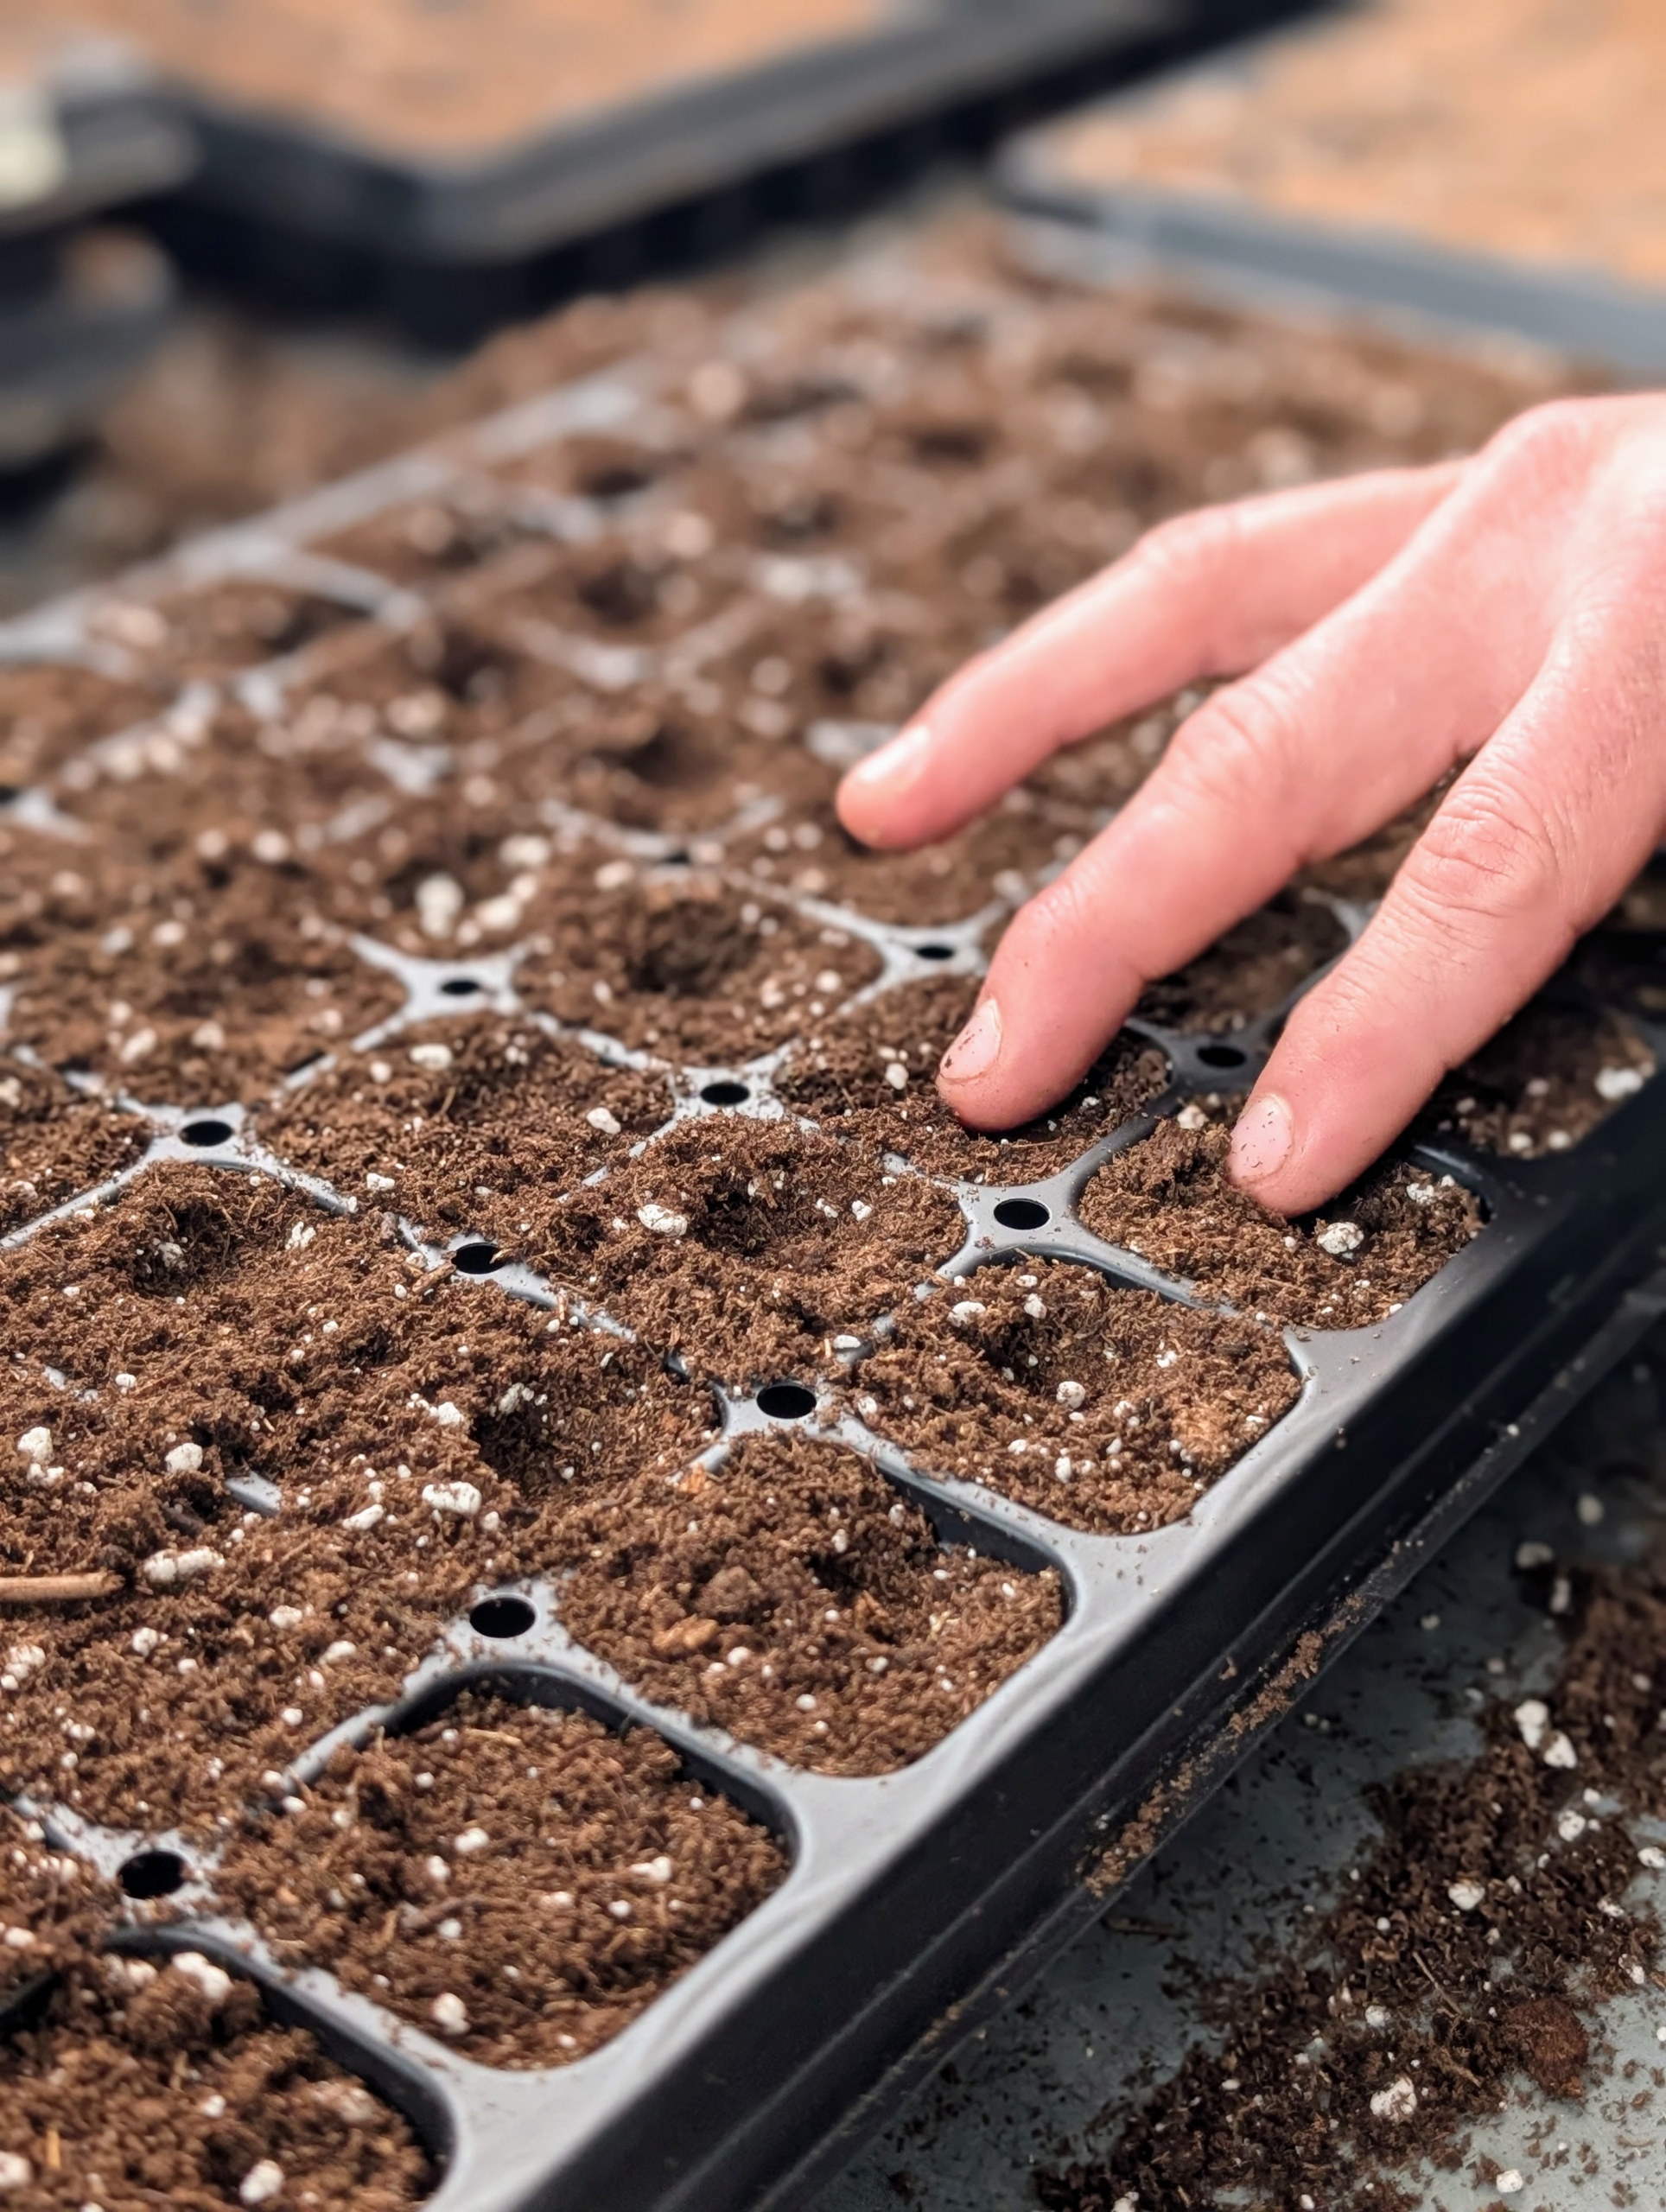
- Using his fingers, Ryan makes a hole in each cell, and then drops seeds into each one.
-
- Ryan does this for two trays, each containing 72 cell compartments.
-
- Seeds are small, so be very careful when pouring them out of the packet.
-
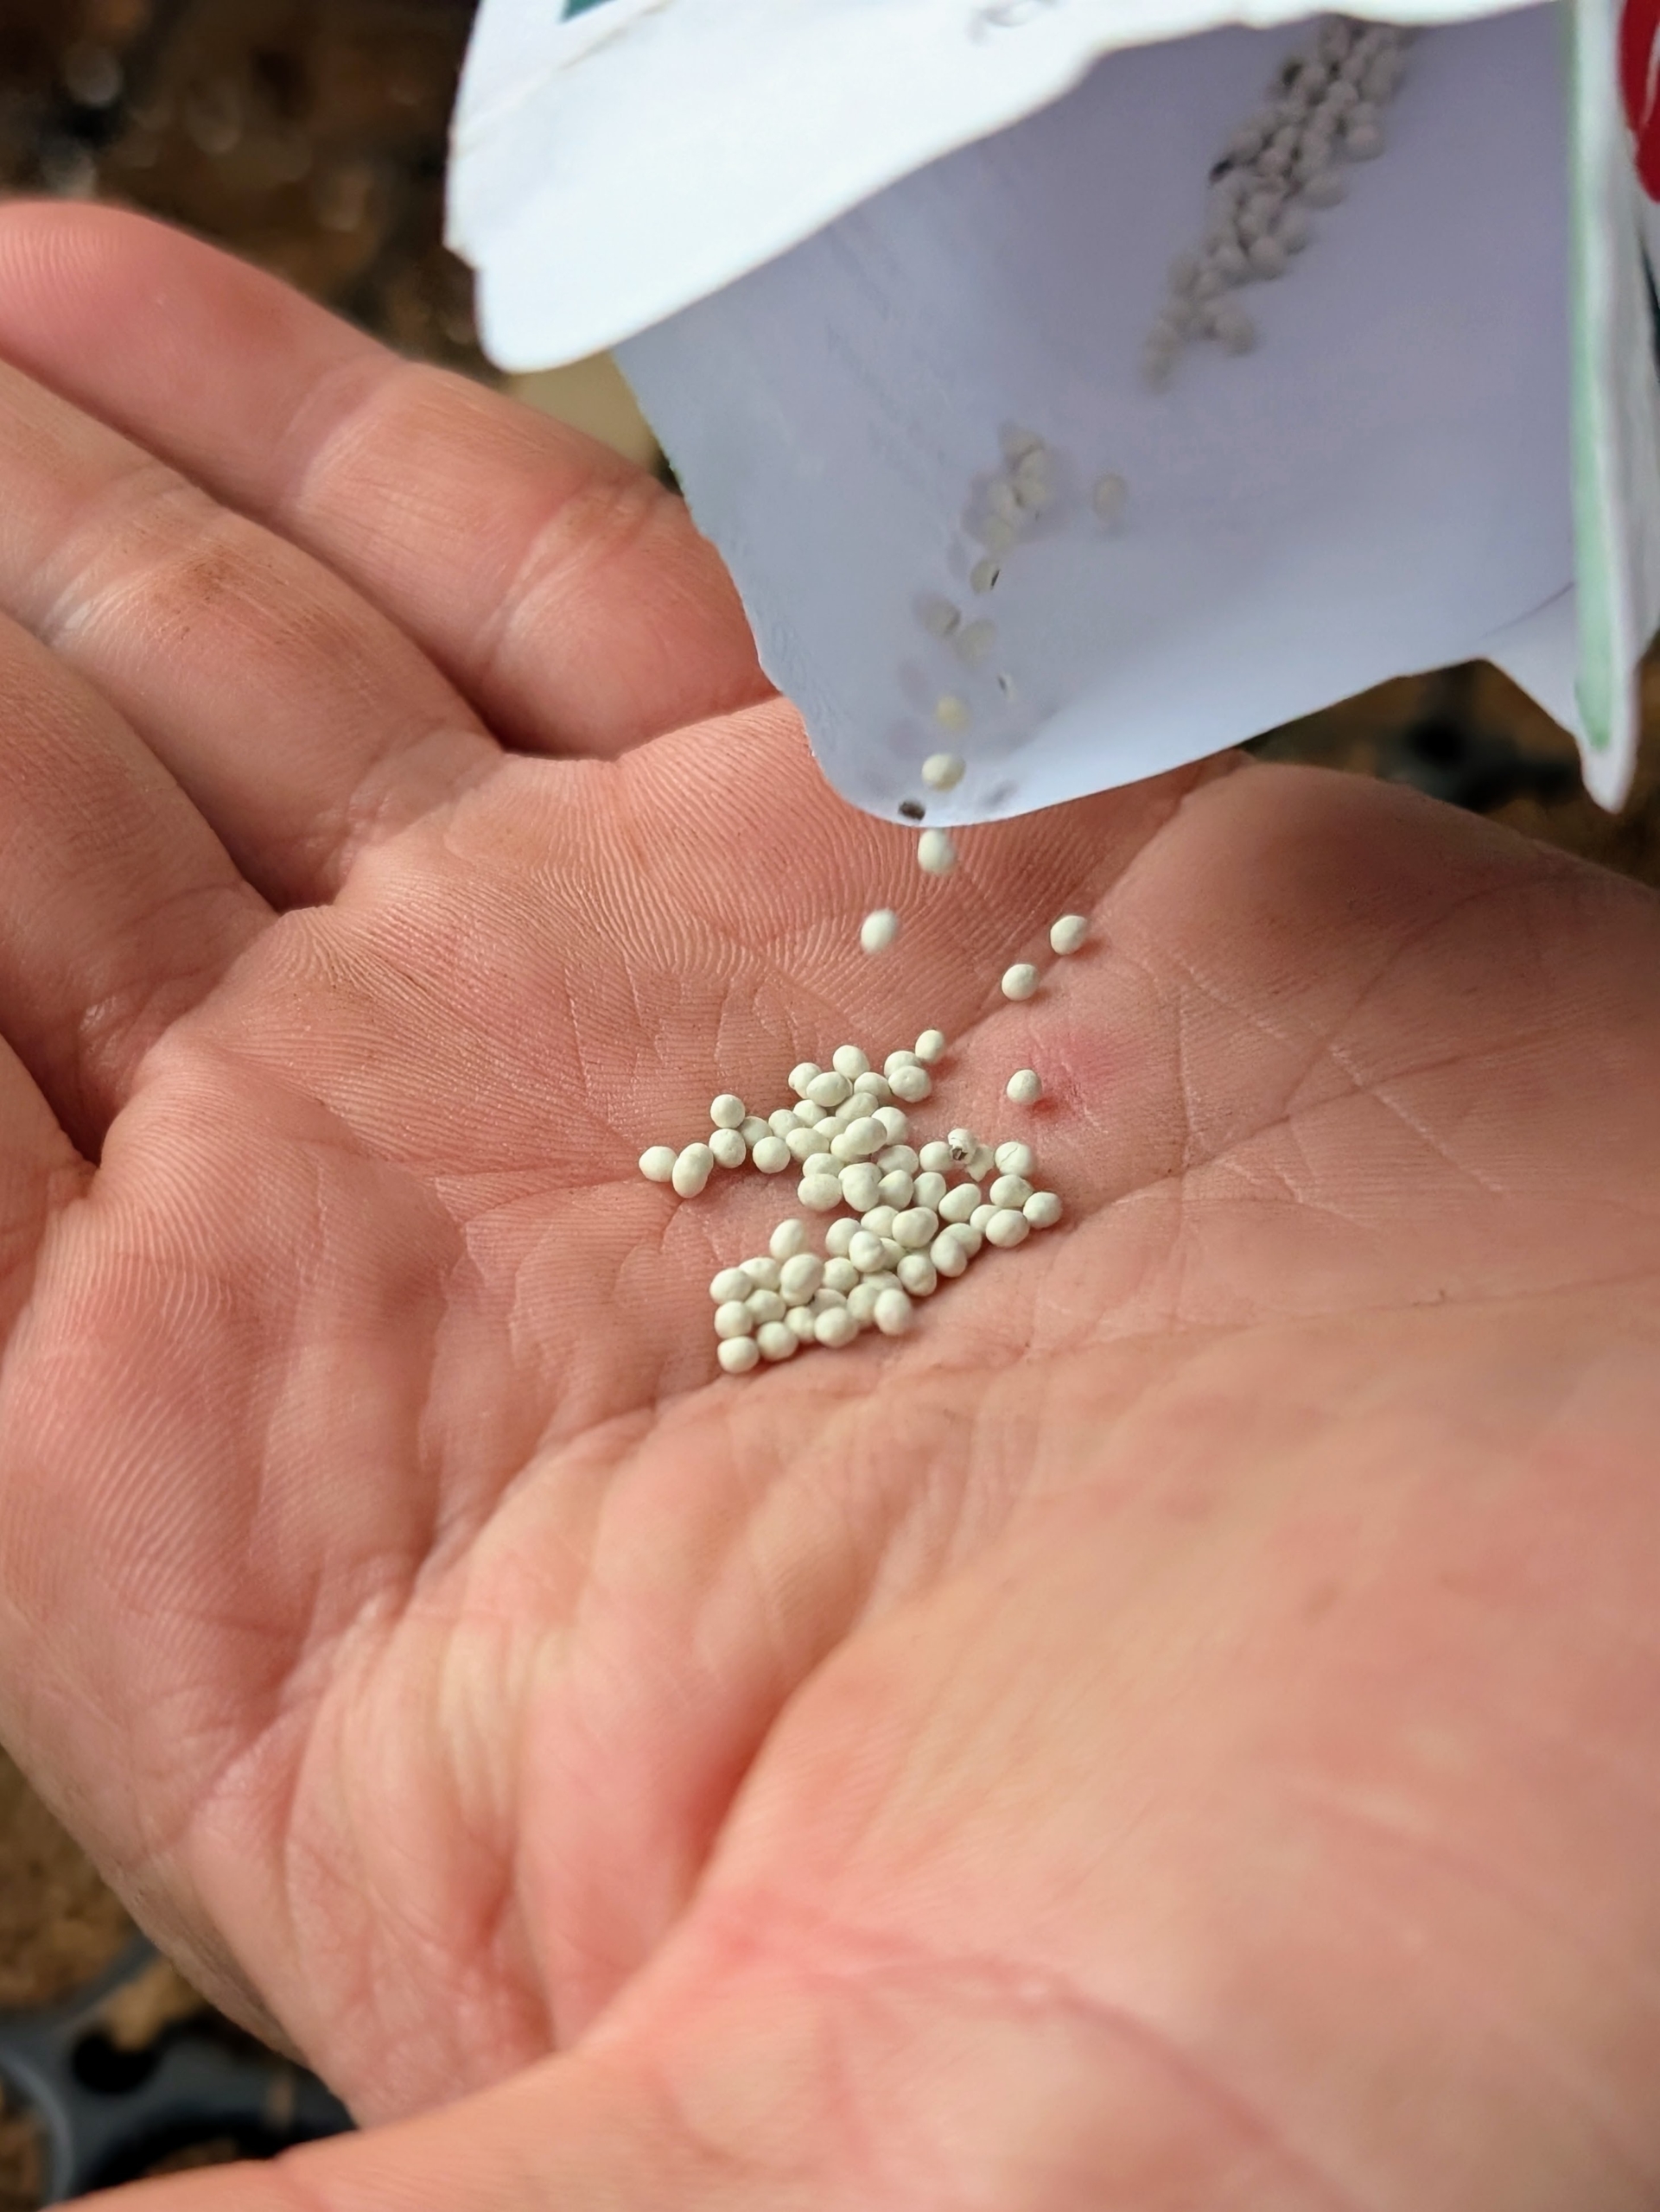
- These seeds are pelleted. Each seed is coated with a layer of clay to increase its size and make them easier to handle.
-
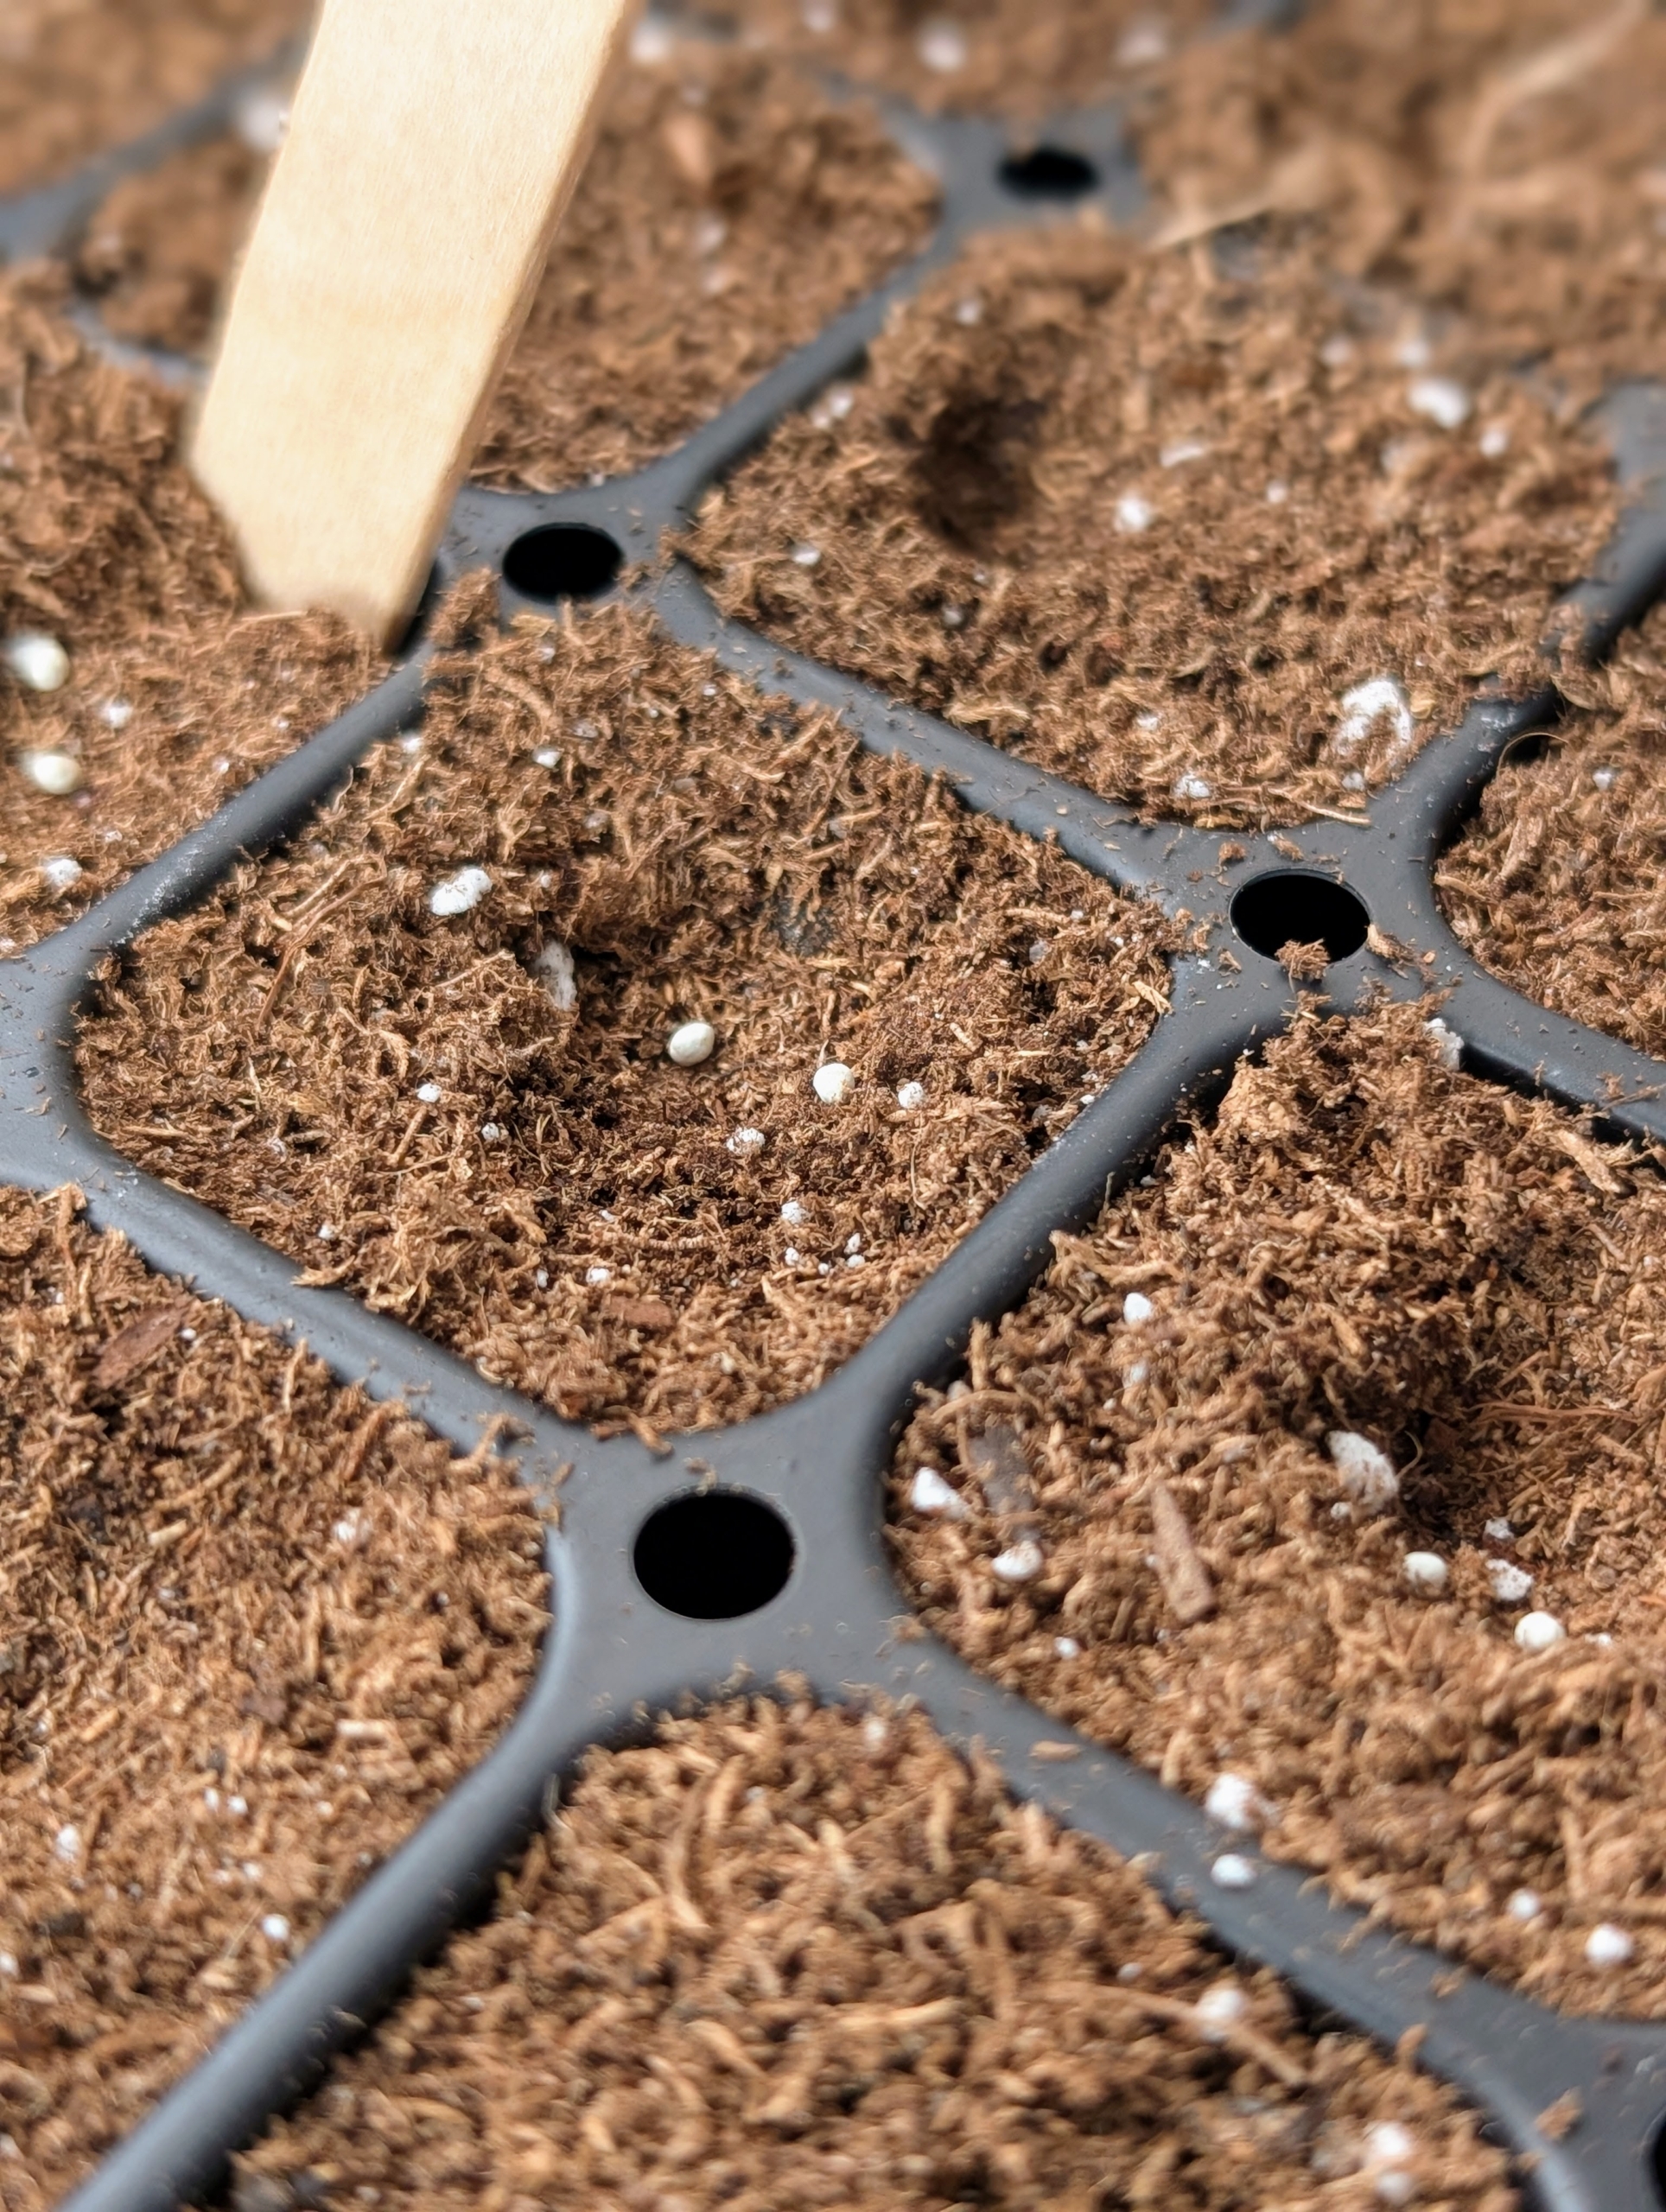
- Ryan drops one to three seeds into each cell. It’s always a good idea to keep a record of when seeds are sown, when they germinate, and when they are transplanted. These observations will help organize a schedule for the following year.
-
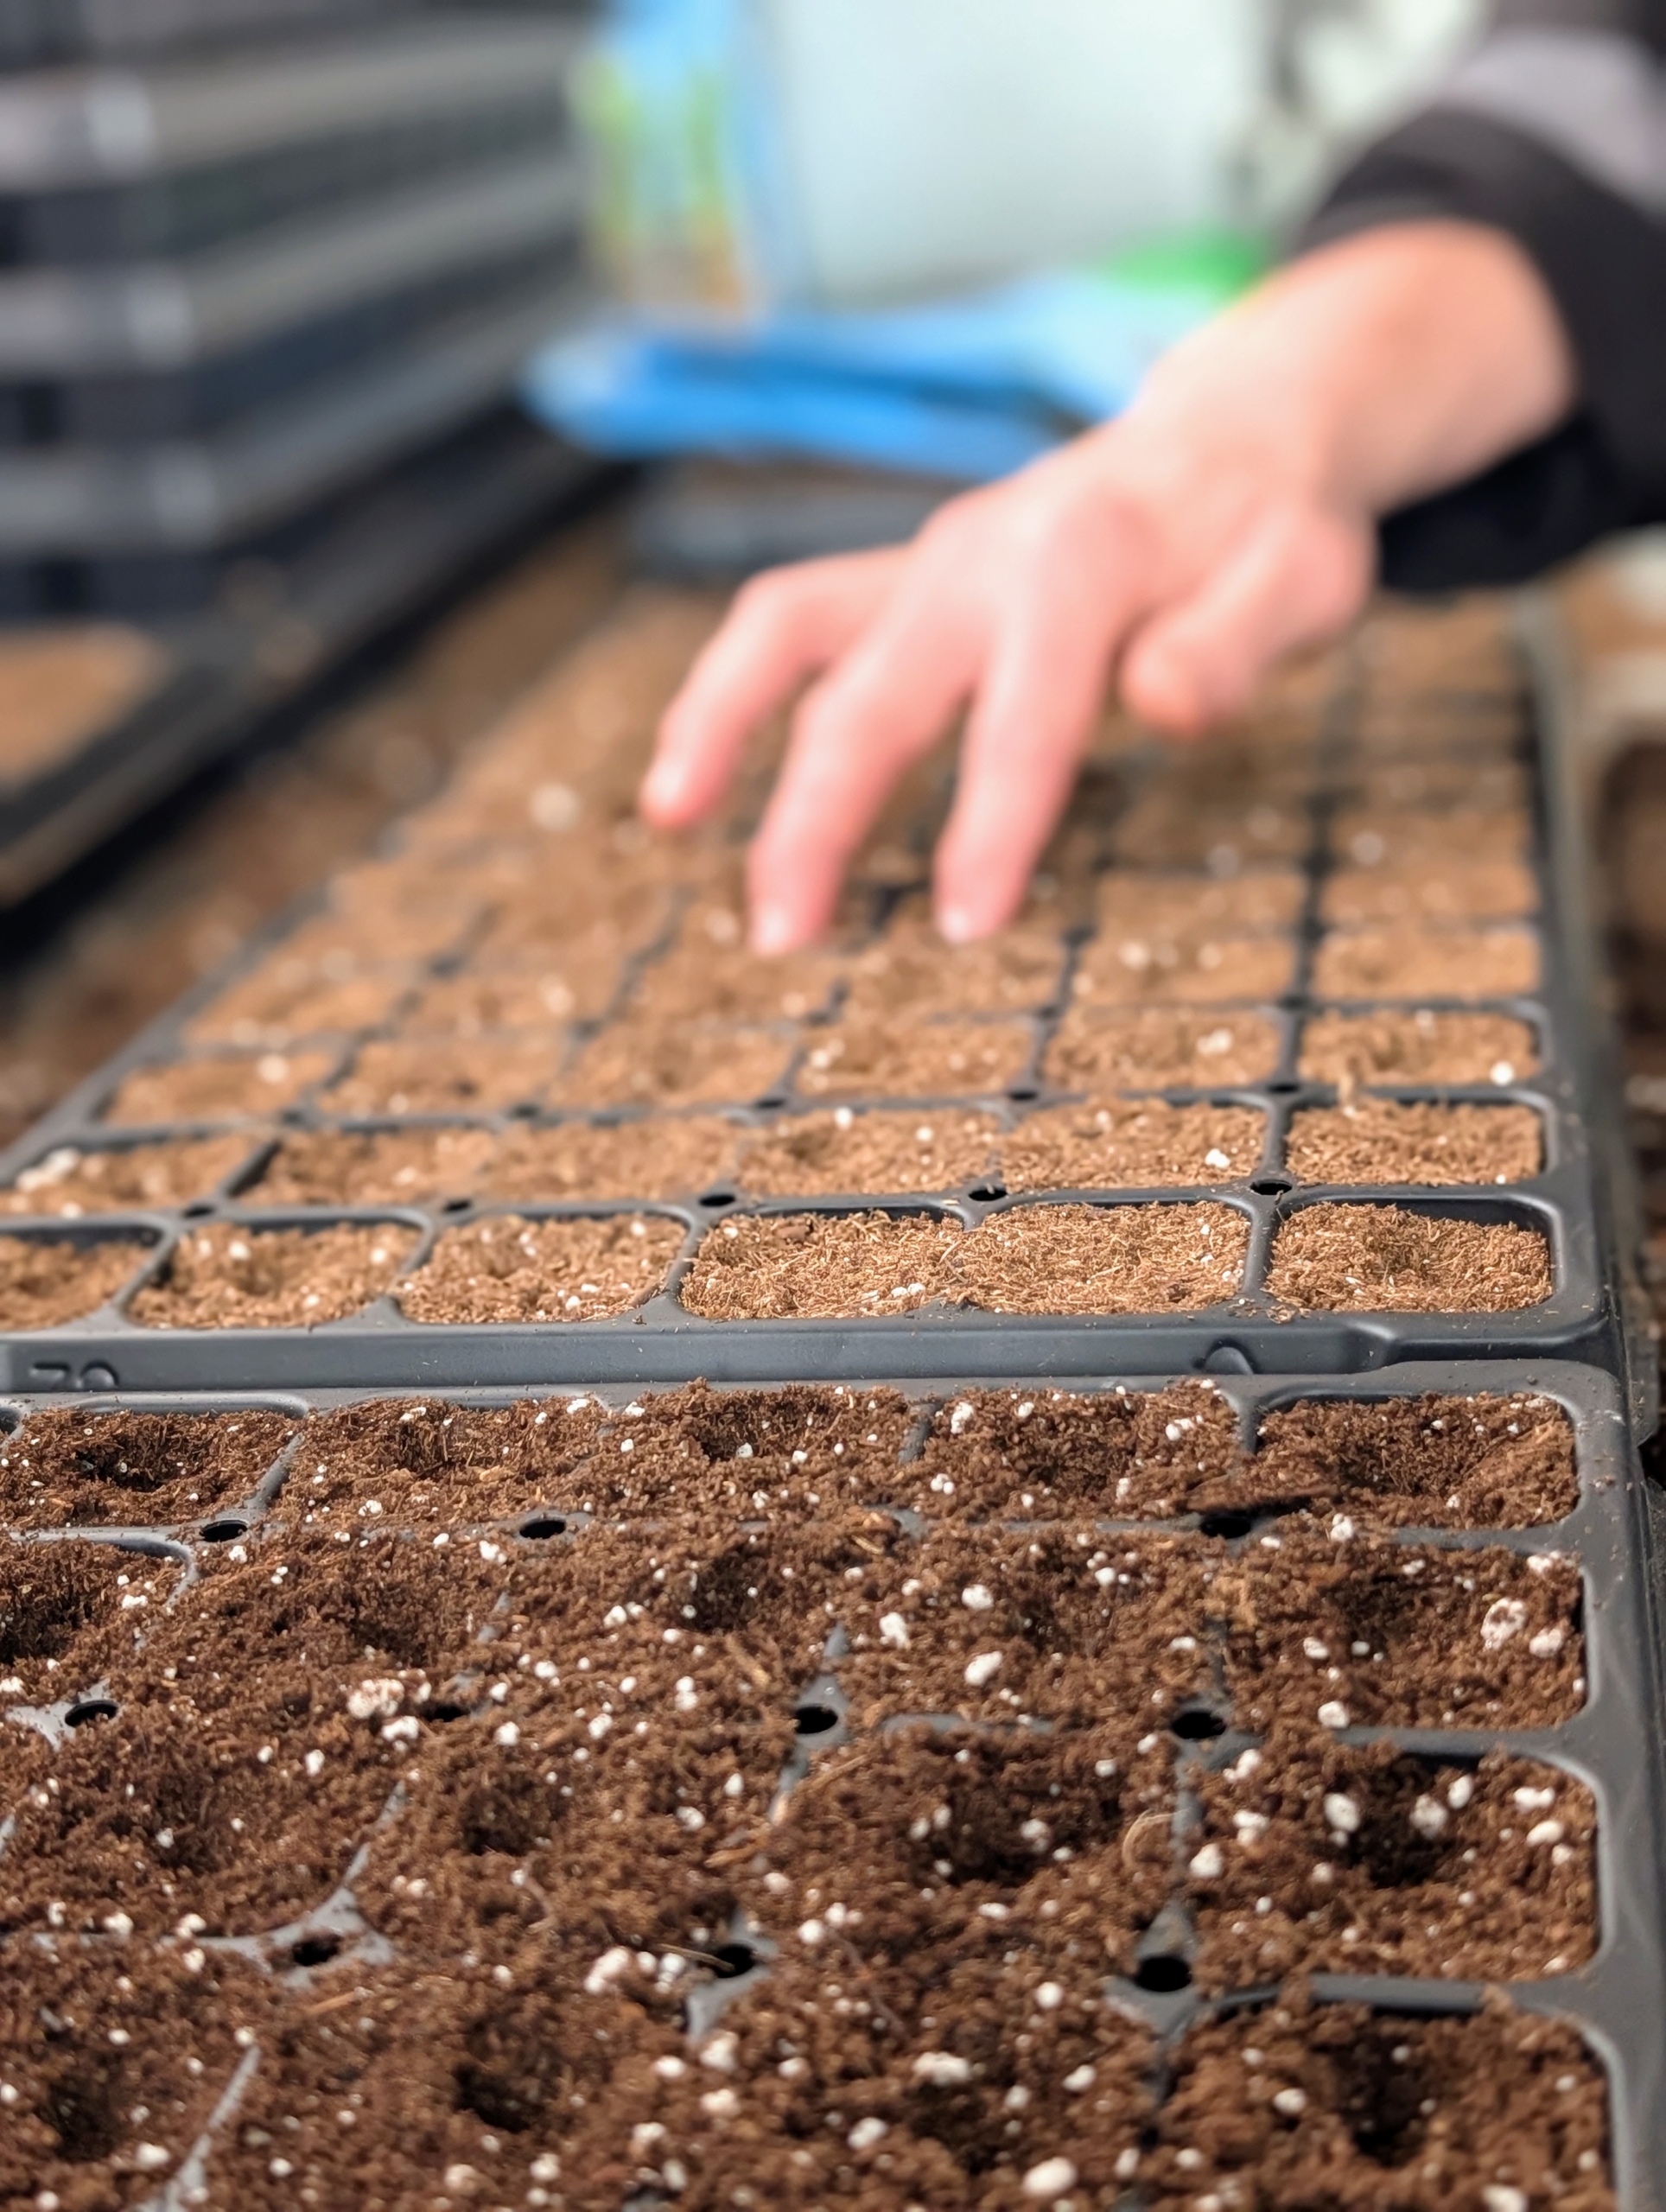
- Look closely to see the seeds in the cell. These seeds will be selectively thinned in a few weeks. The process eliminates the weaker sprout and prevents overcrowding, so seedlings don’t have any competition for soil nutrients or room to mature.
-
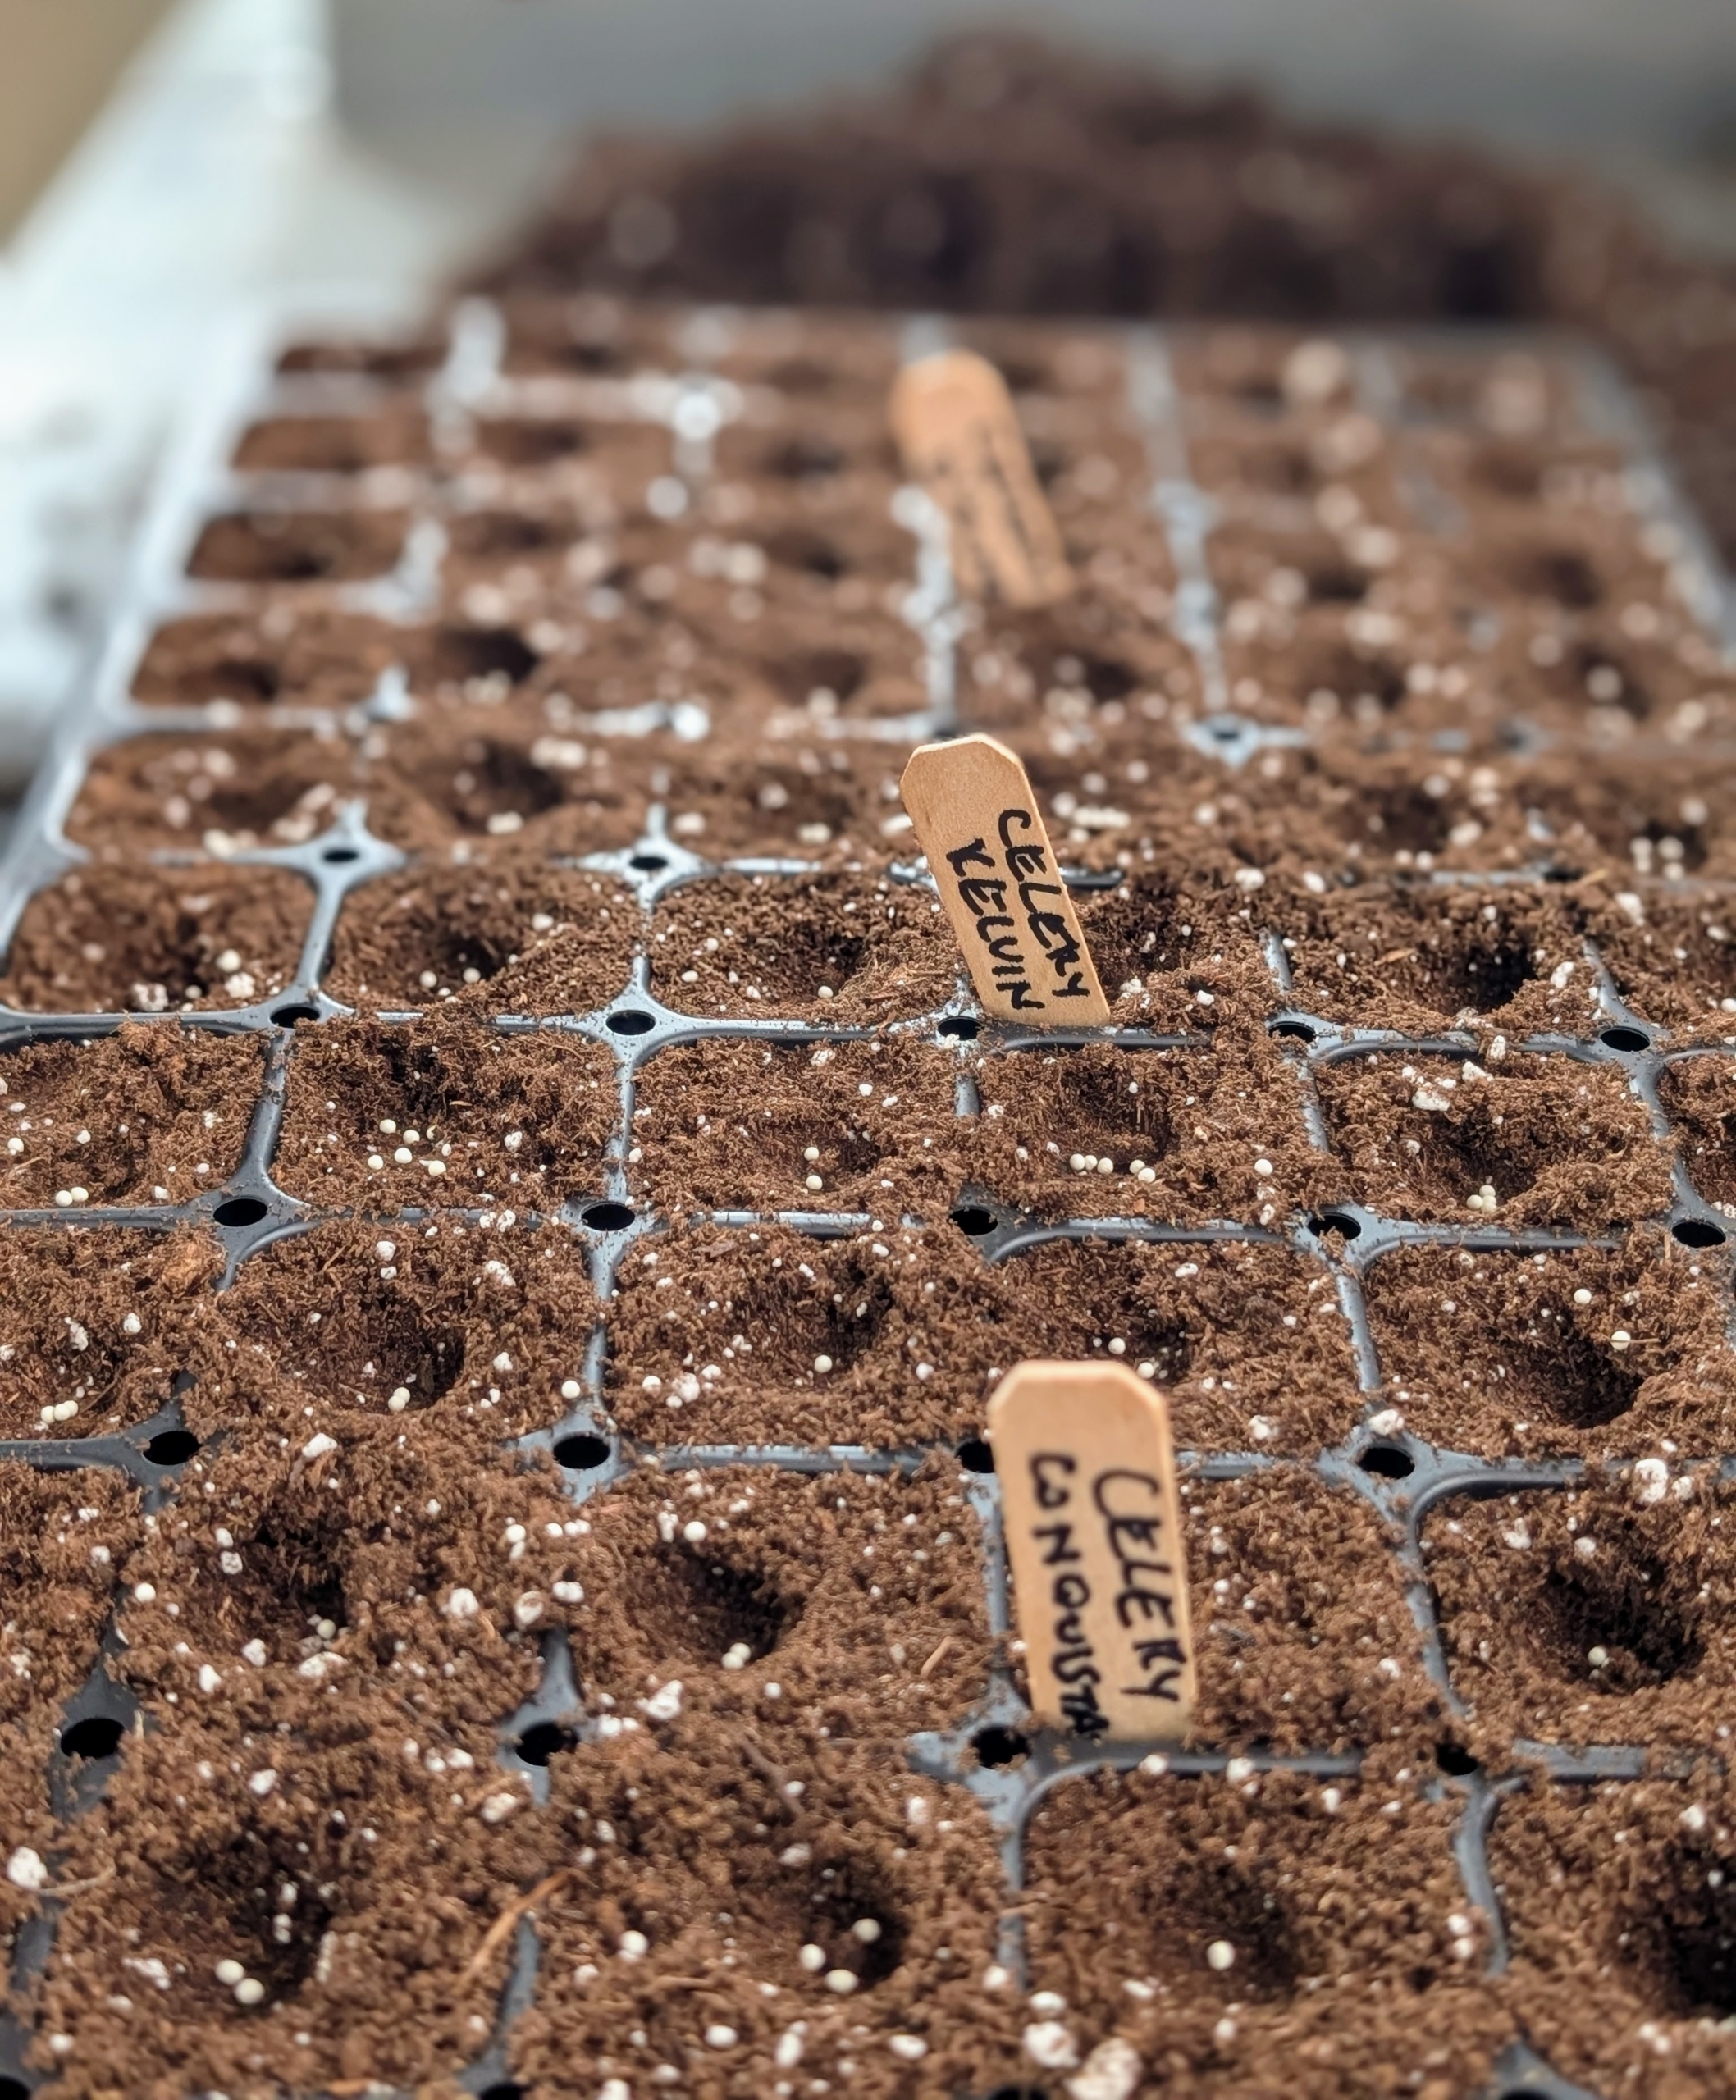
- The markers clearly identify the varieties in the tray.
-
- Ryan covers the seeds with more Miracle Grow Seed Starting Potting Mix.

-
- And then levels the soil mix gently with his hands.
-
- After the trays are fully seeded, Ryan gives them a good watering and places them into the Urban Cultivator until they germinate. If you haven’t yet started your vegetables from seed, start some now – the growing season will be here before you know it.