Maintaining Seedlings
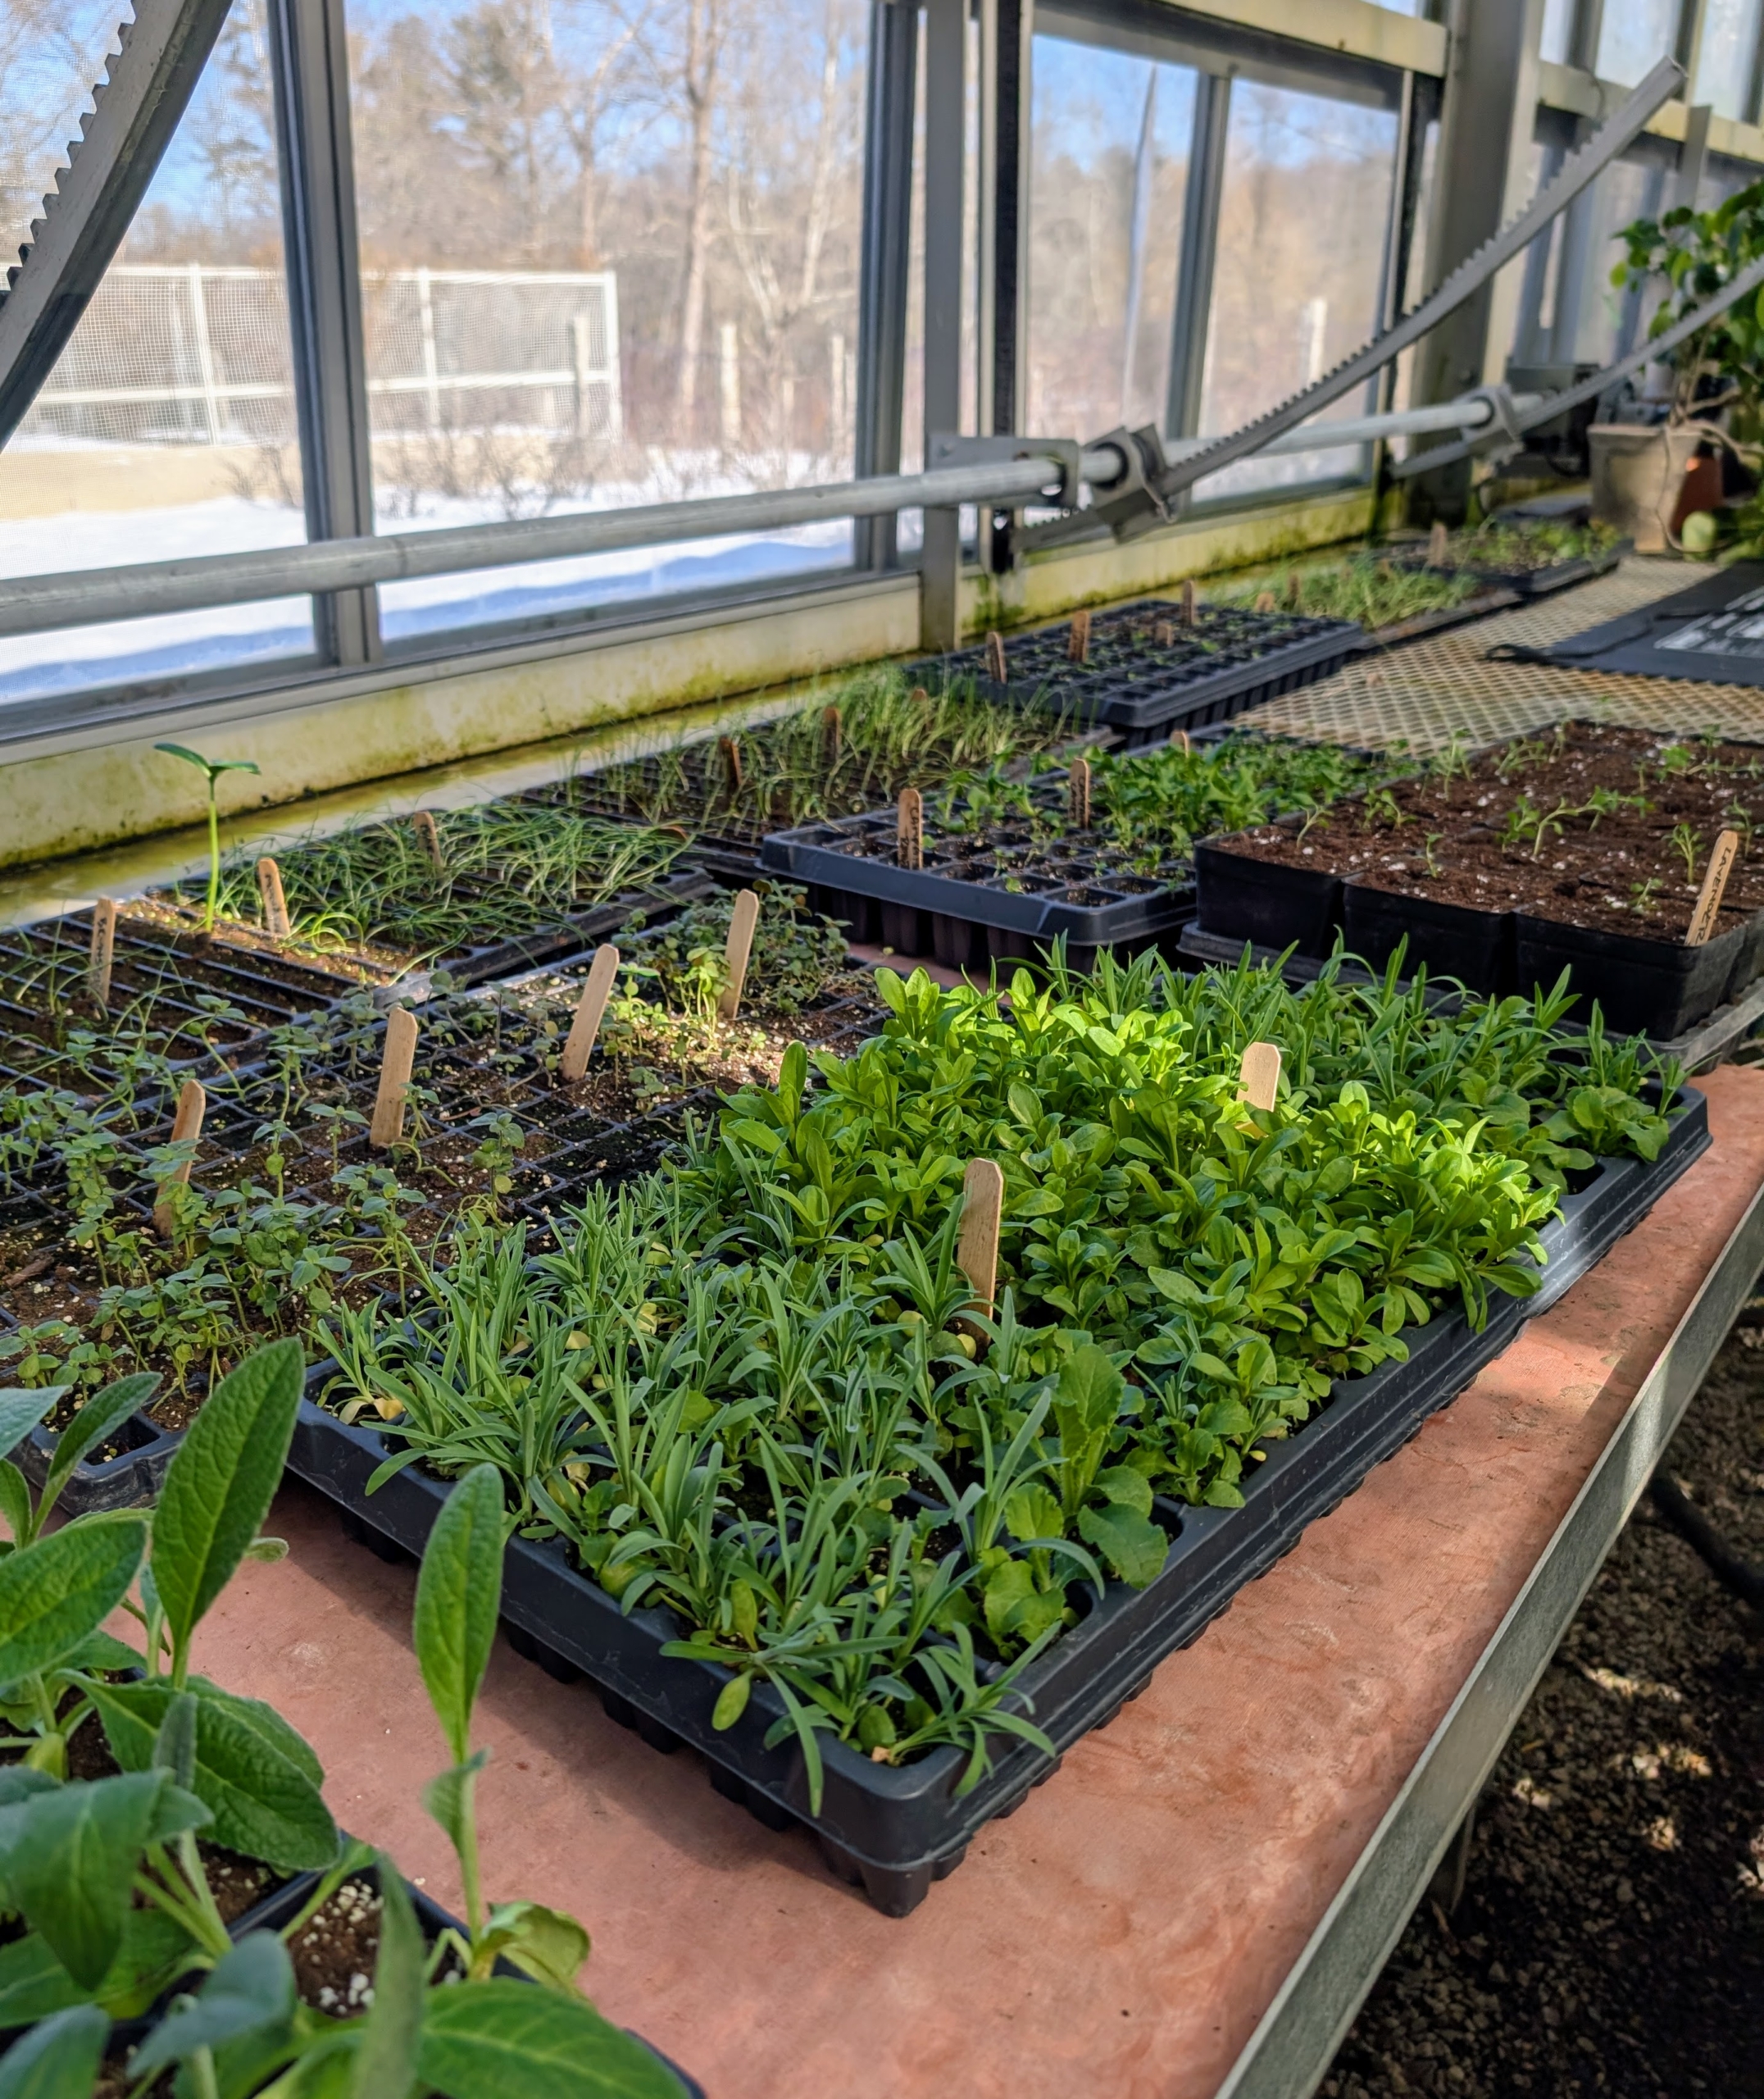
Inside my greenhouse, the seeds I started for the next gardening season are growing fast.
Once seedlings start to develop, it’s important to keep up with maintenance care - thin out seedlings that are weak, prick out those that are growing too big for their seed starting trays, and transplant them into larger pots and flats.
Here are some photos and tips, enjoy.
-

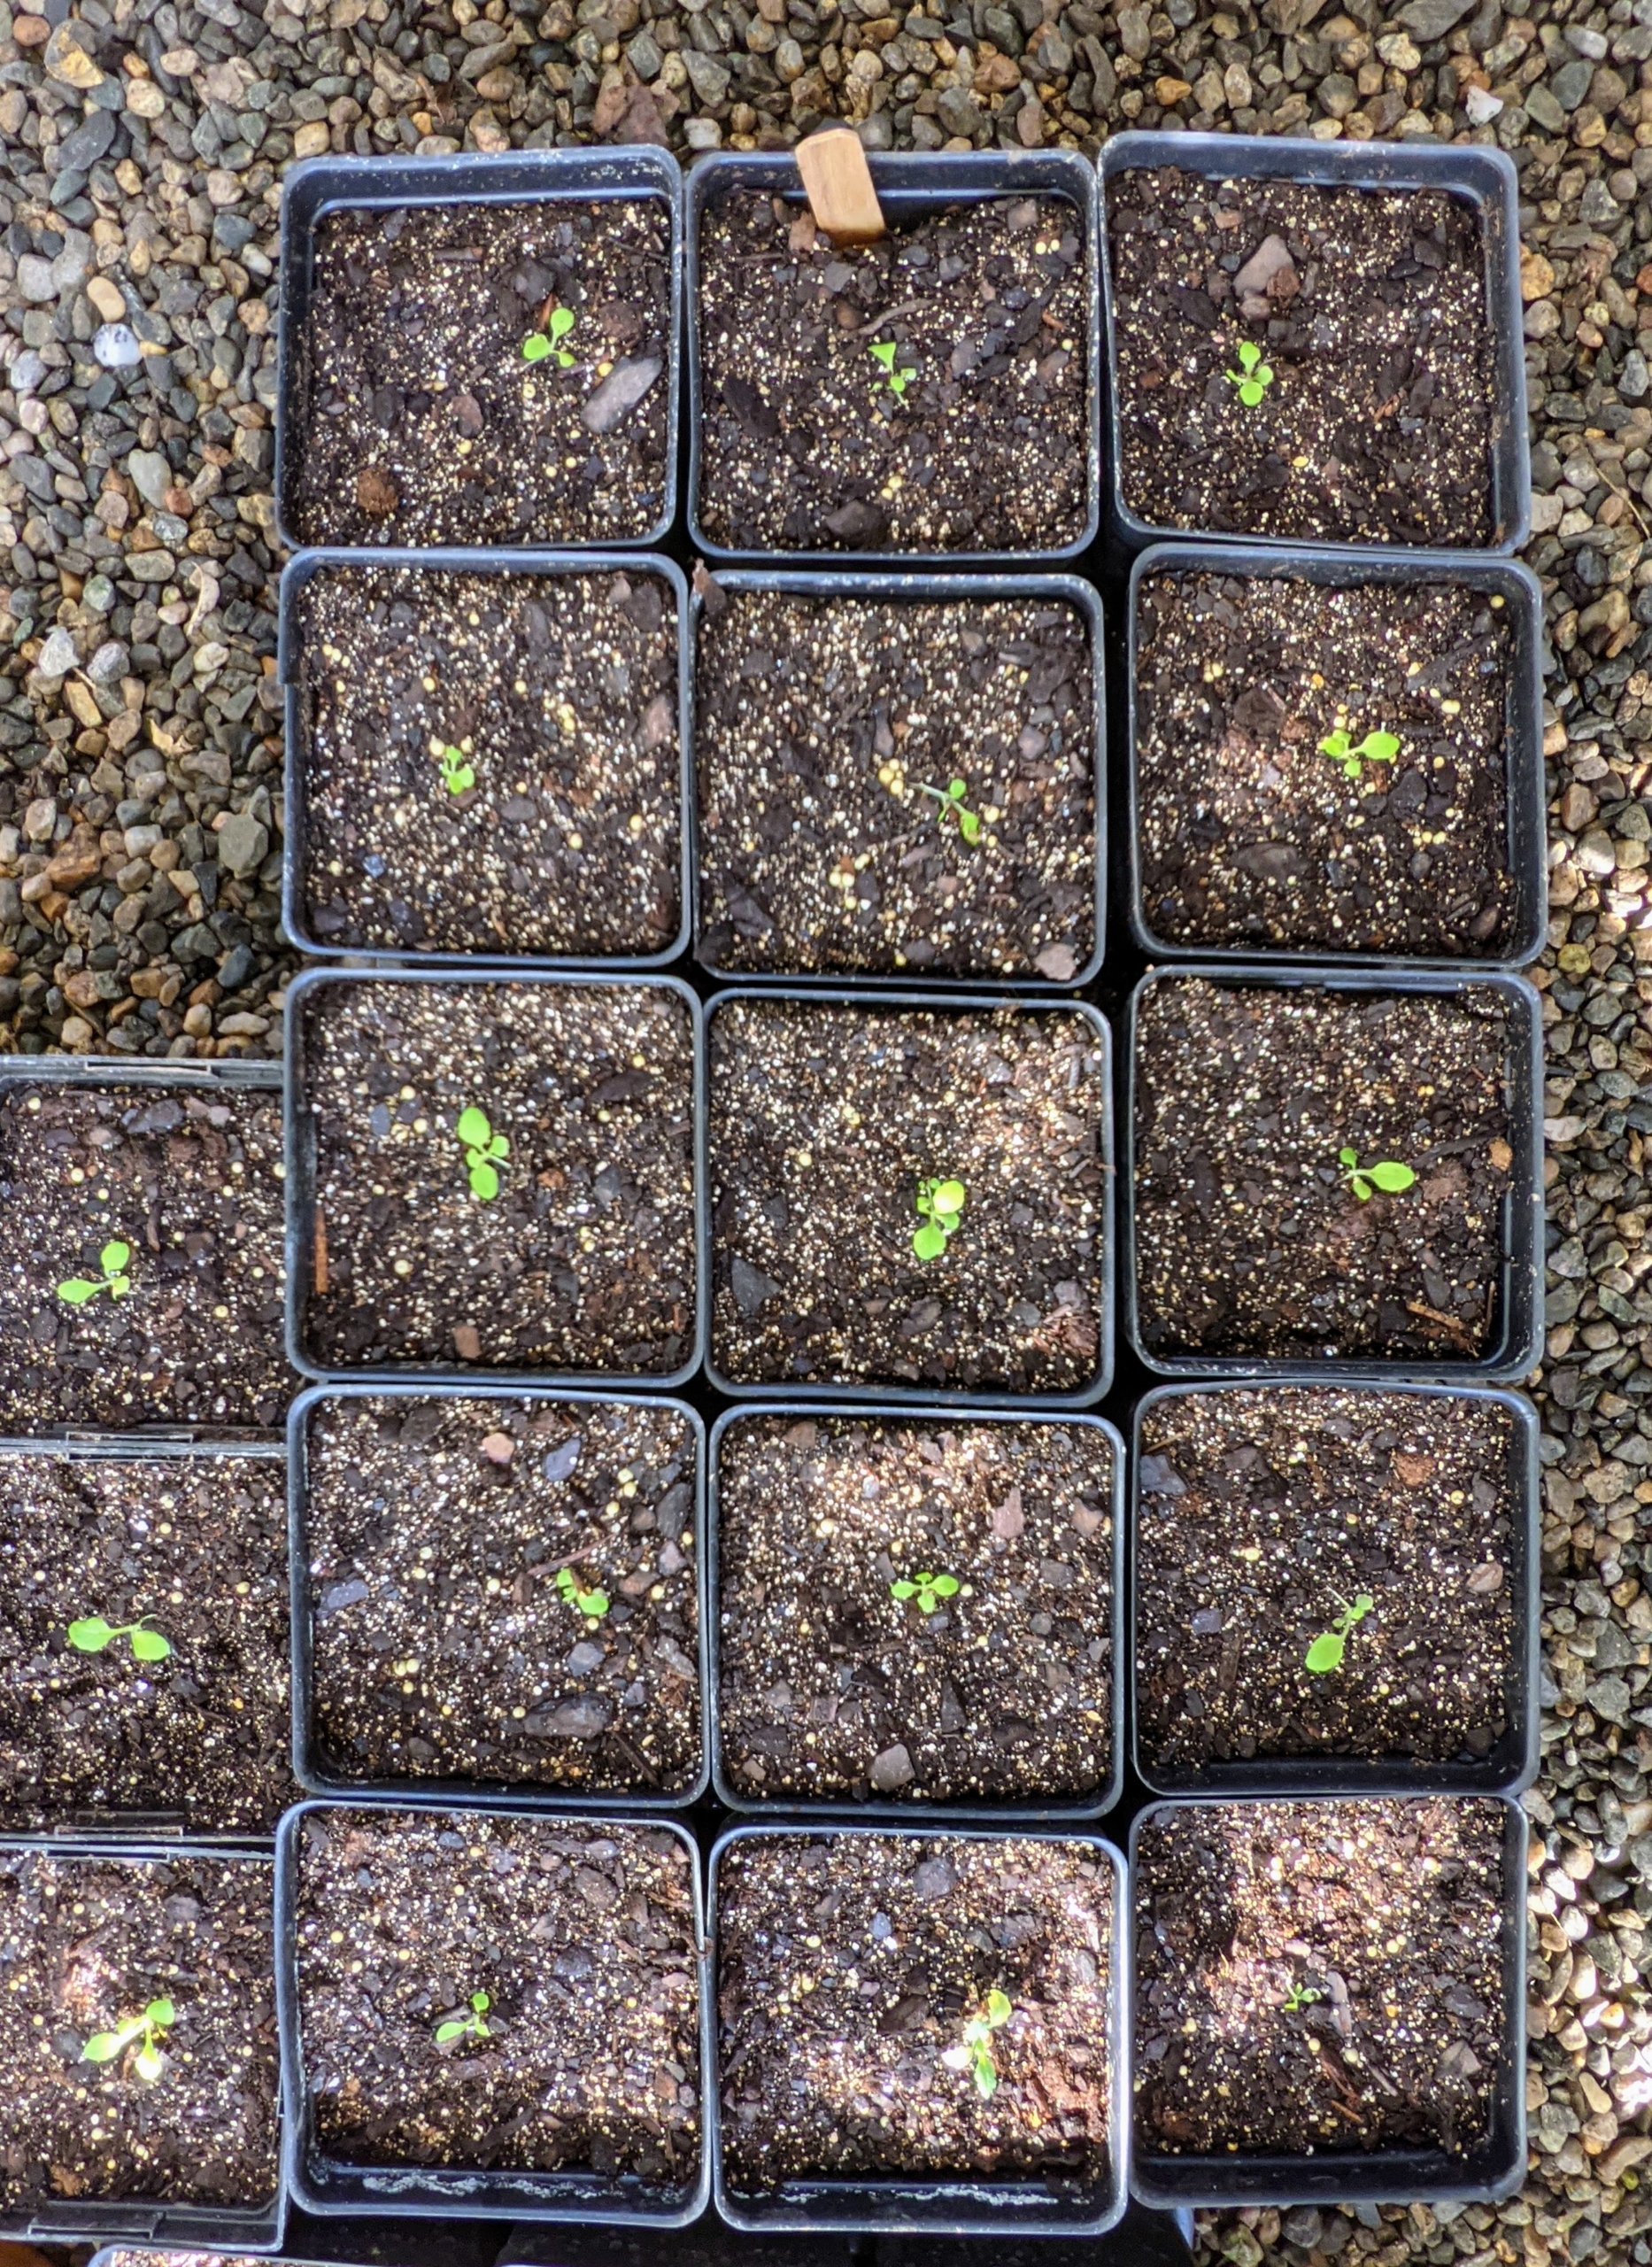
- These seedlings in my greenhouse are in different stages of growth. They were planted from seed over the last few weeks. As they germinate and begin to mature, it’s important to check their development, so they continue to thrive.
-
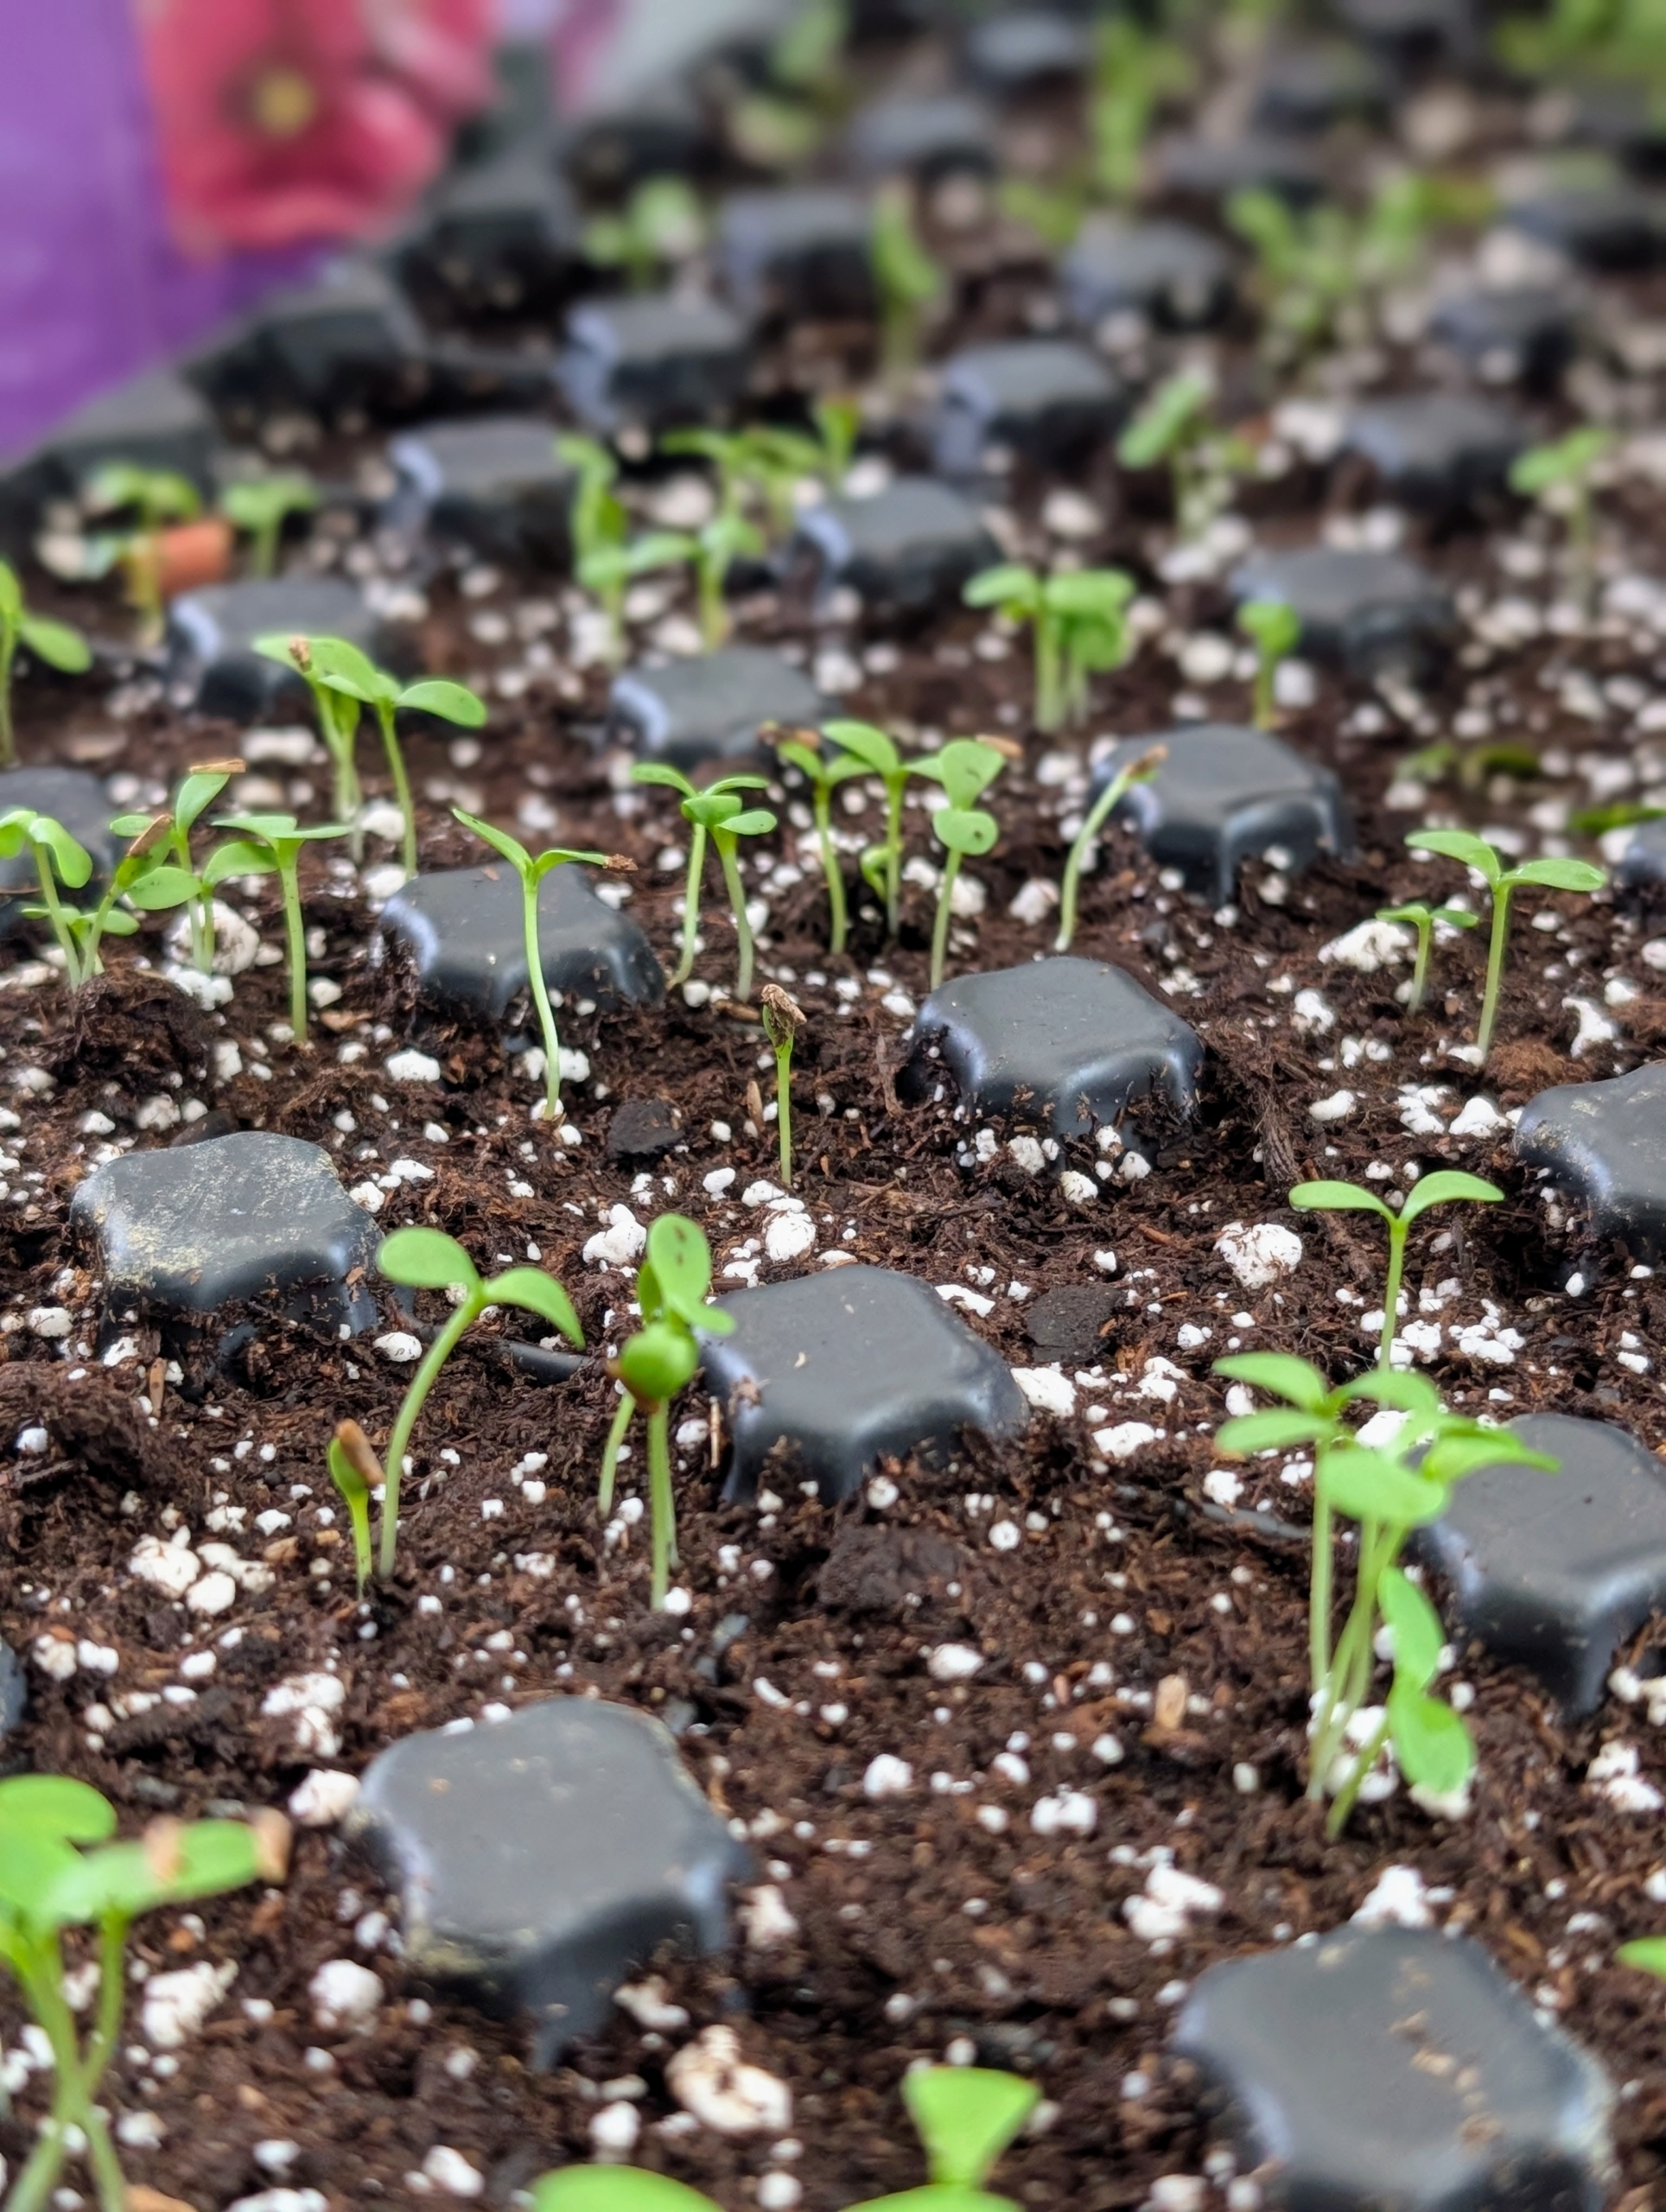
- Regardless of how perfect seeds may appear, germination is never guaranteed, so multiple seeds are always planted in each seed starting tray cell. This provides a better chance at least one in each cell will take root.
-
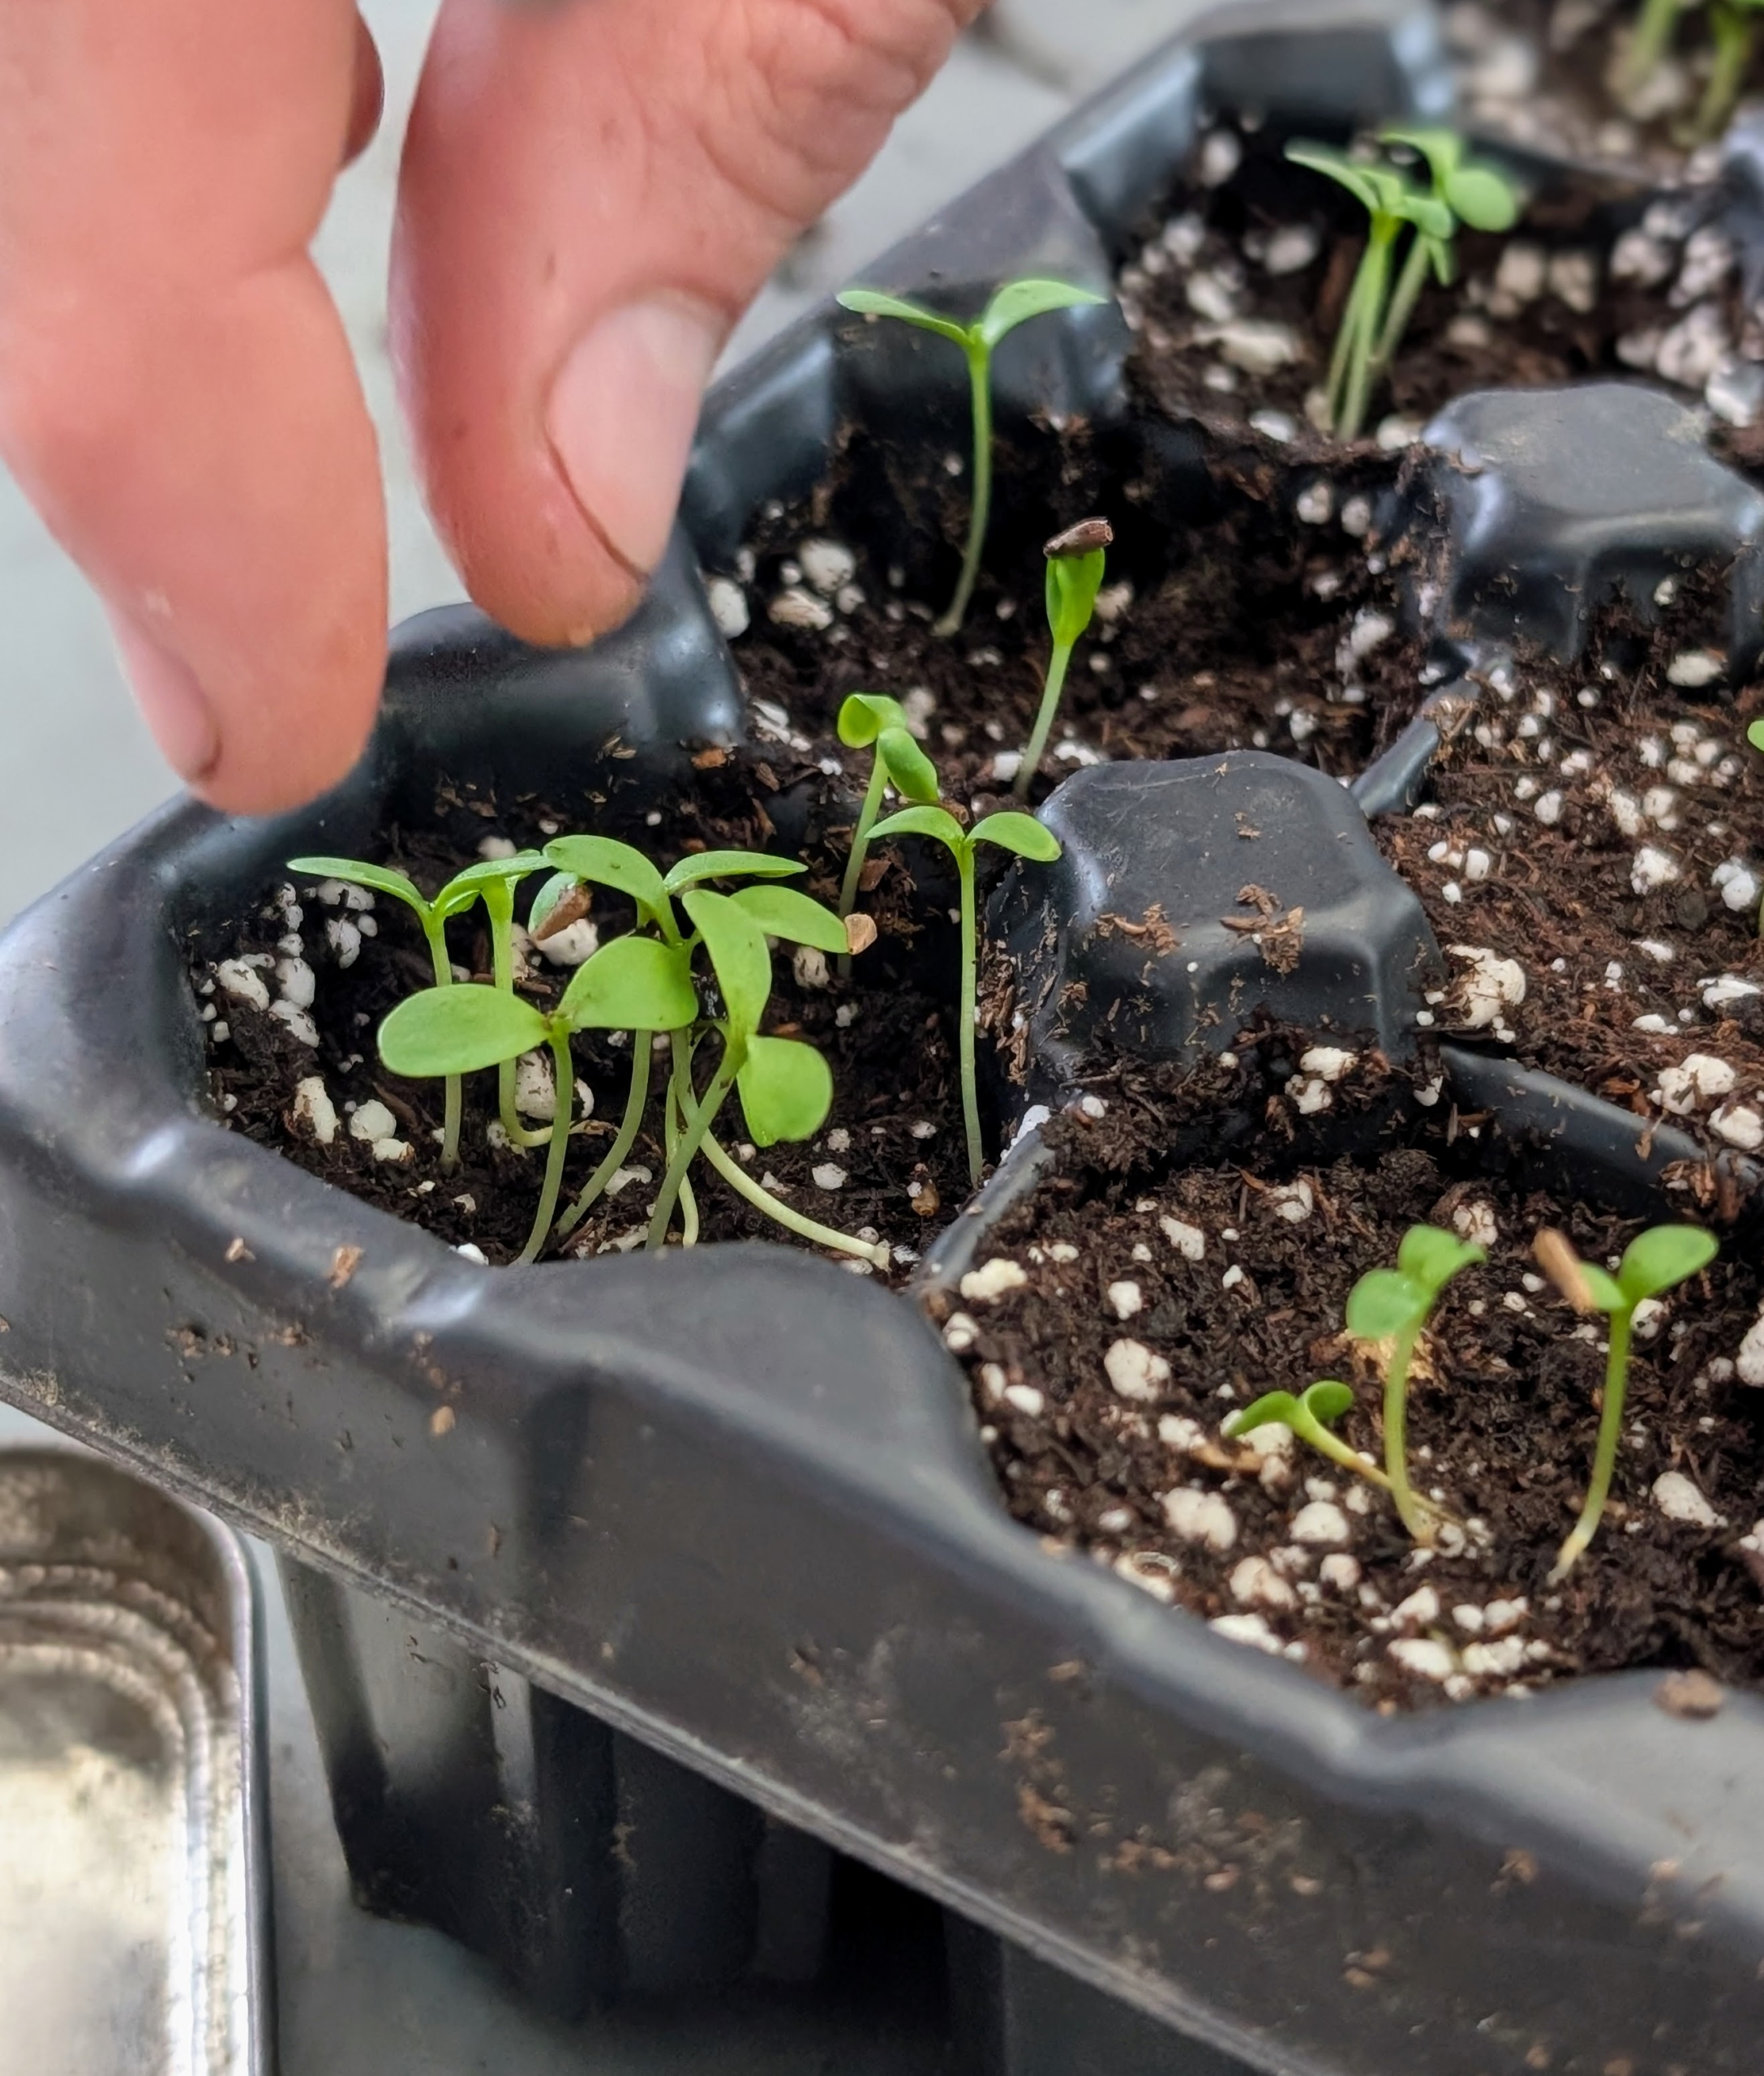
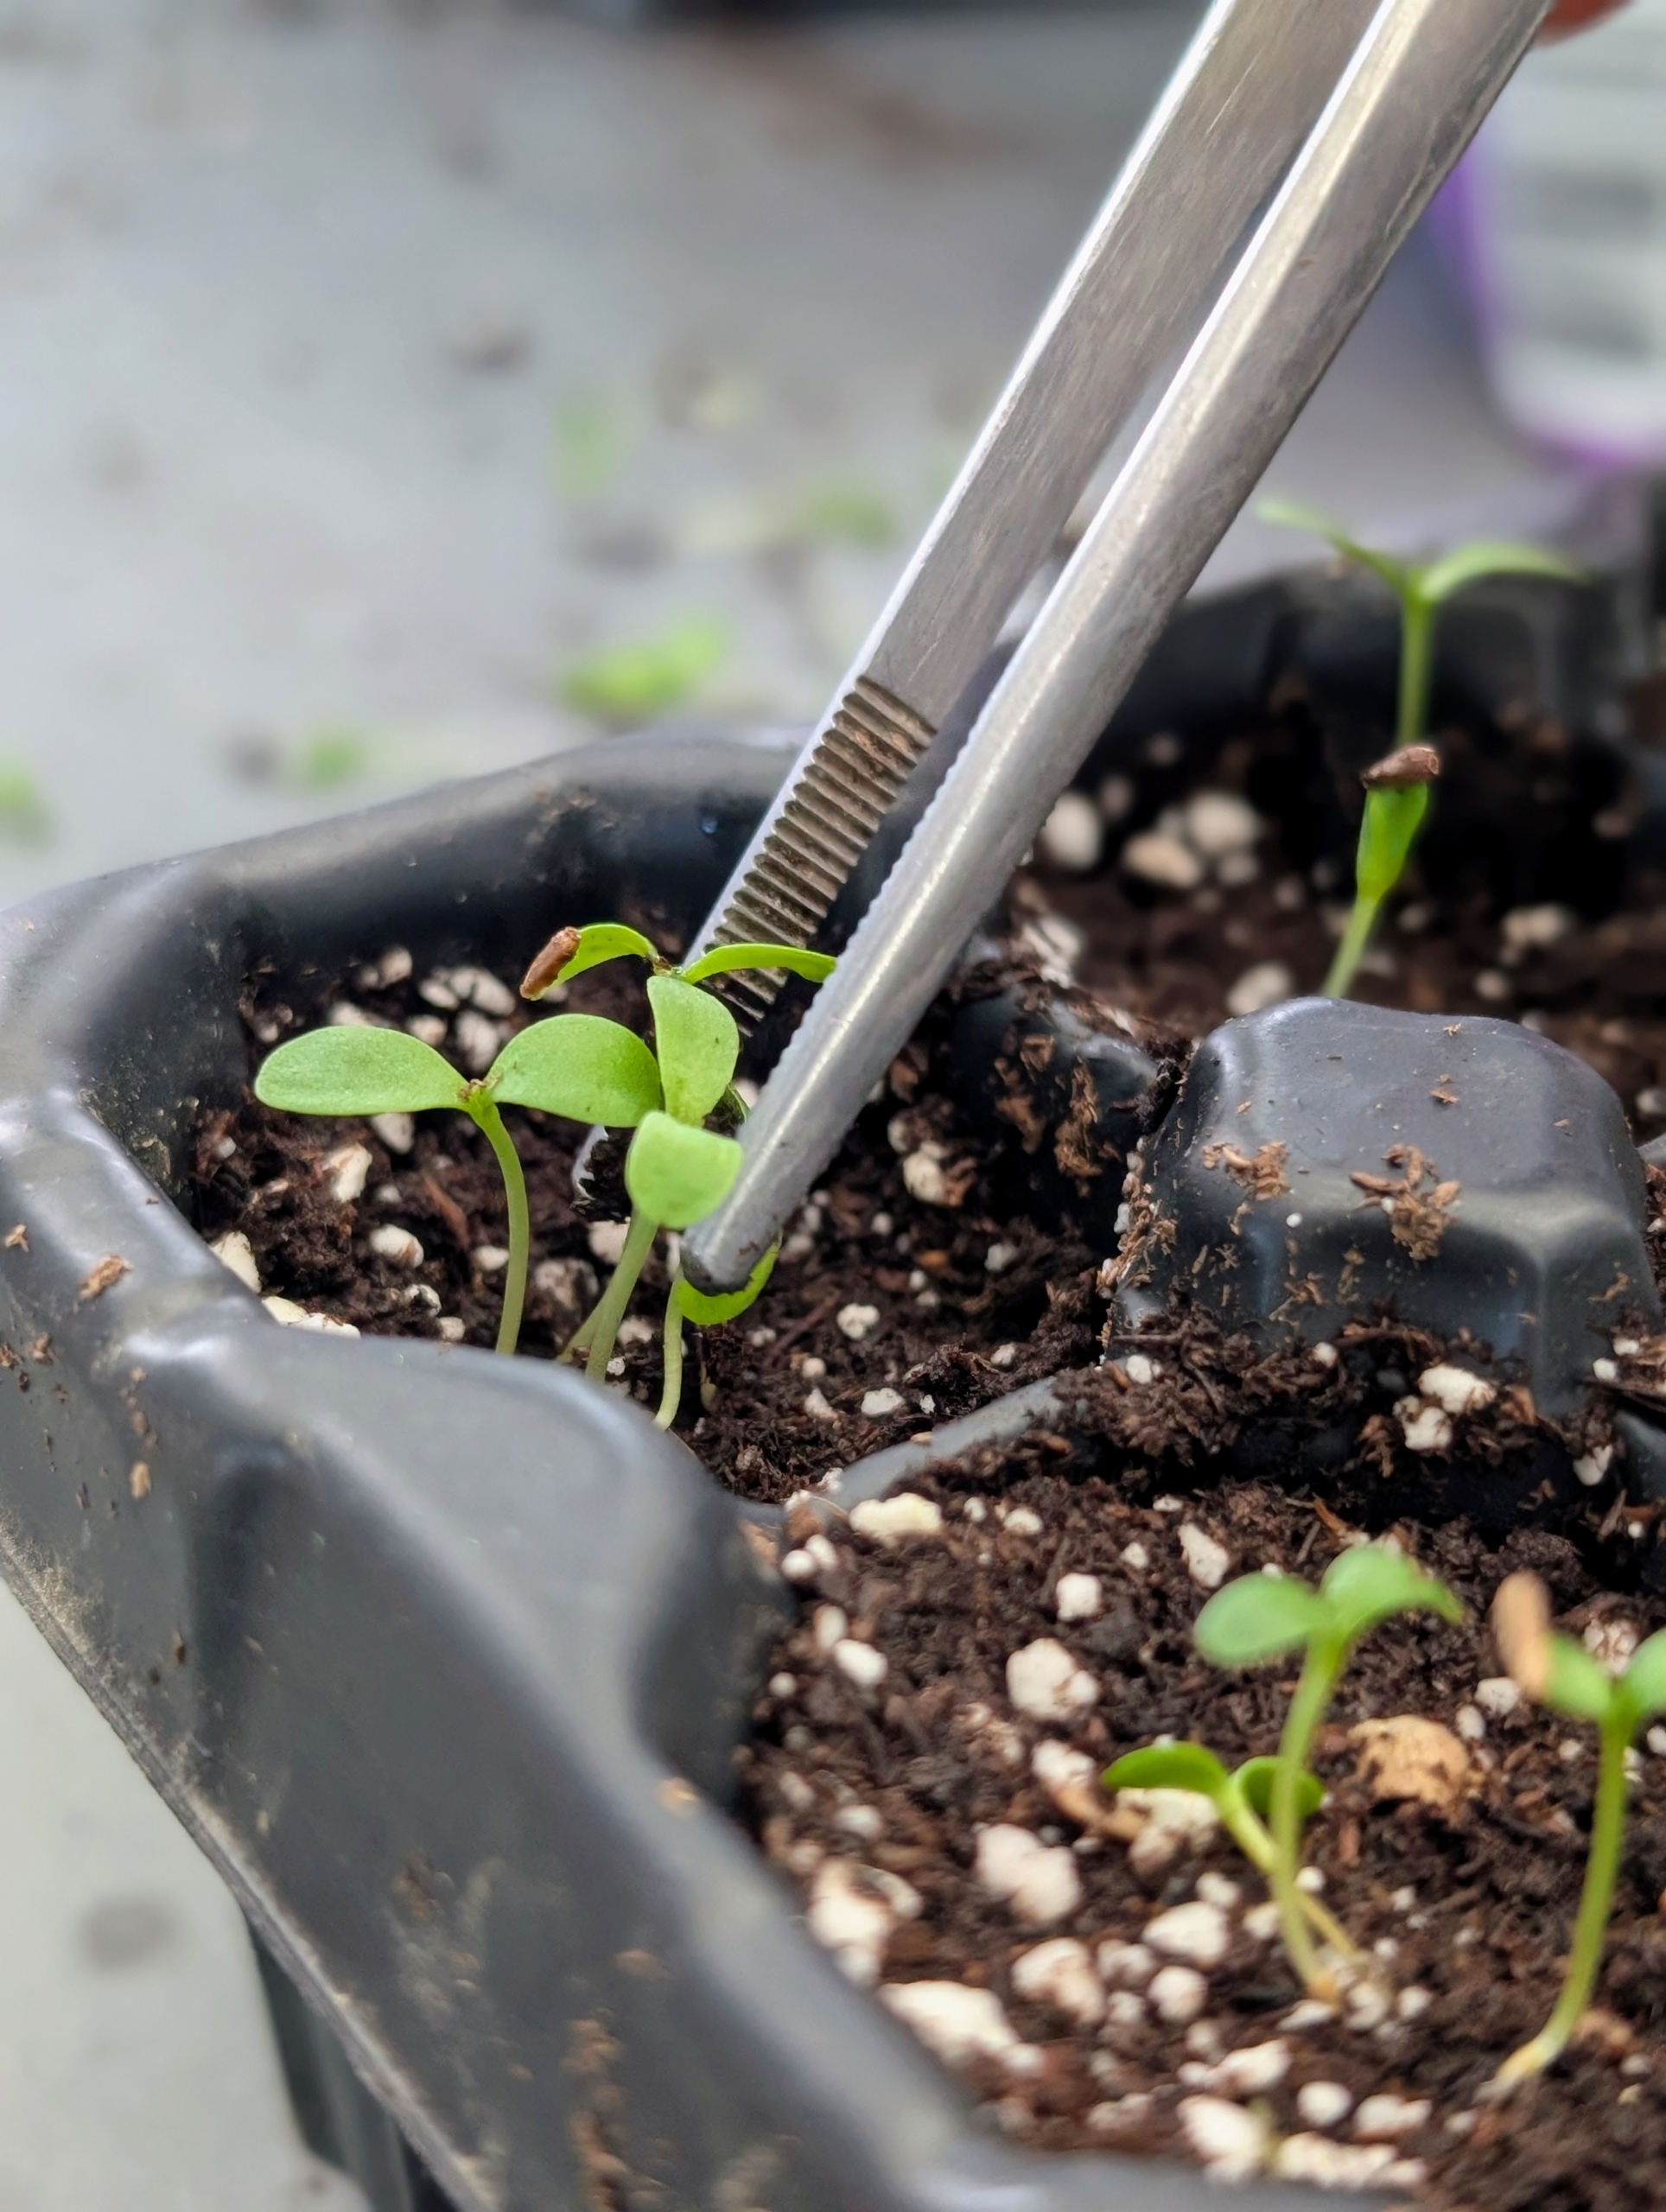
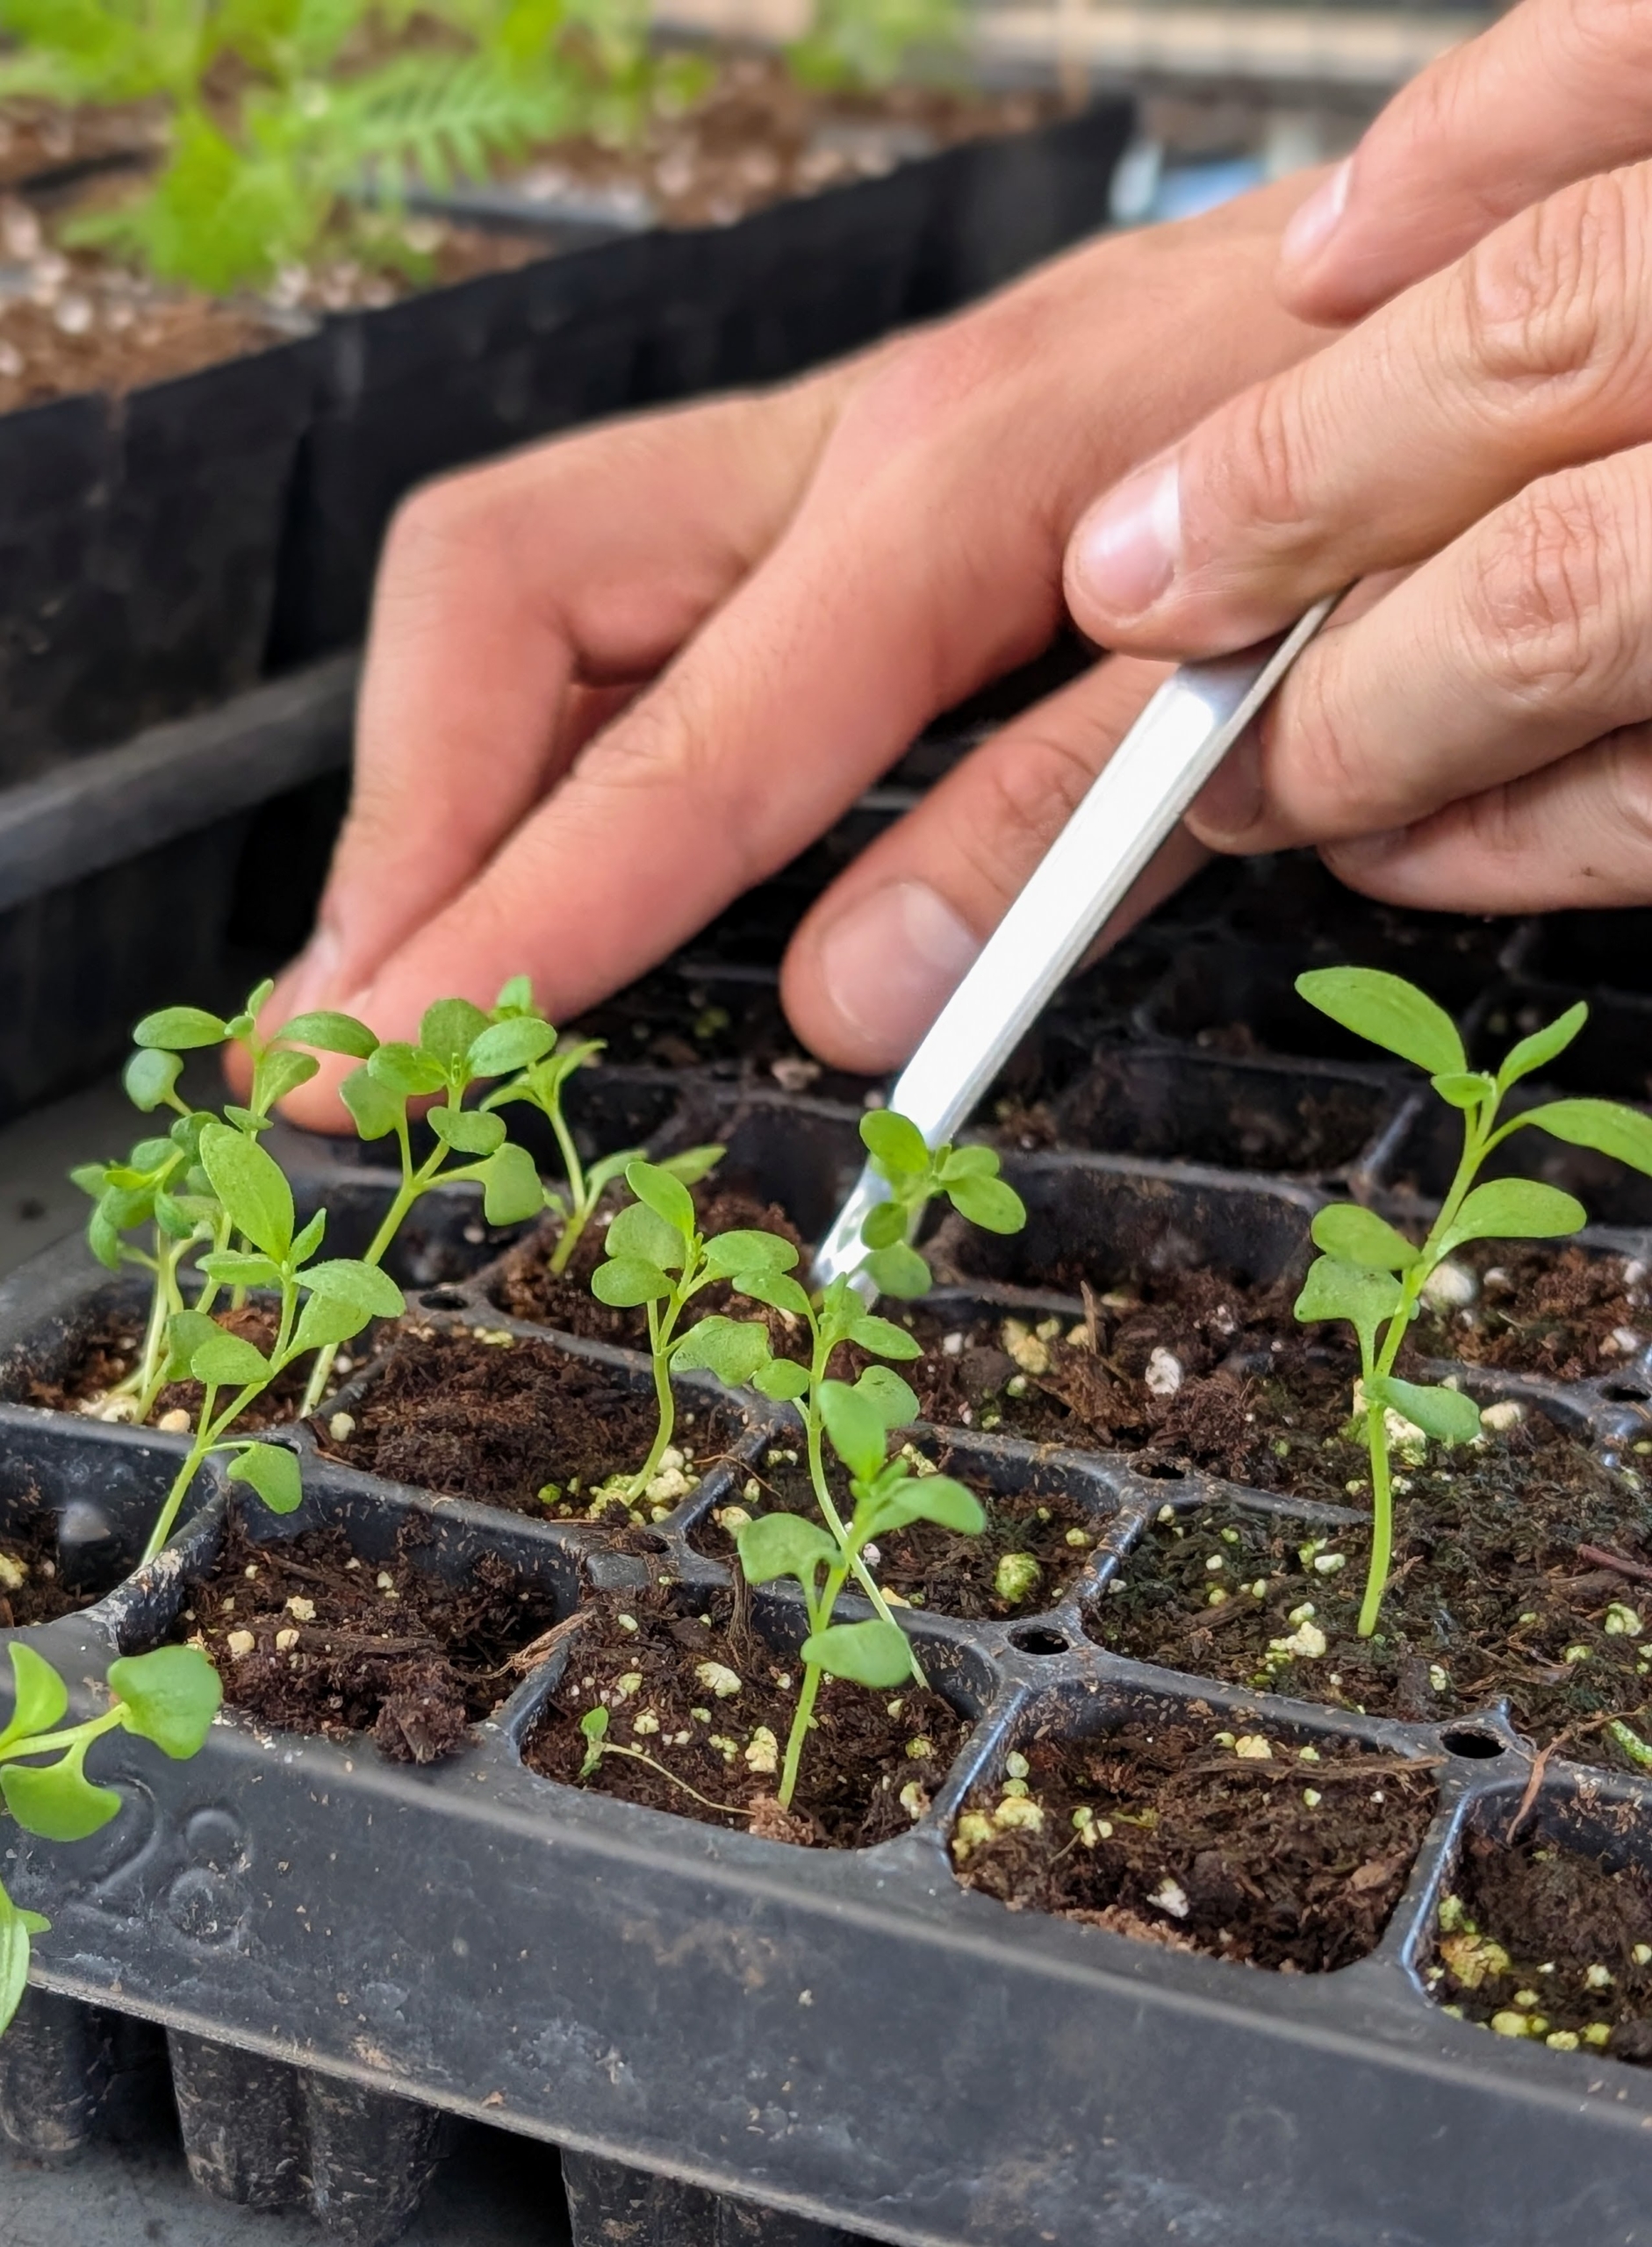
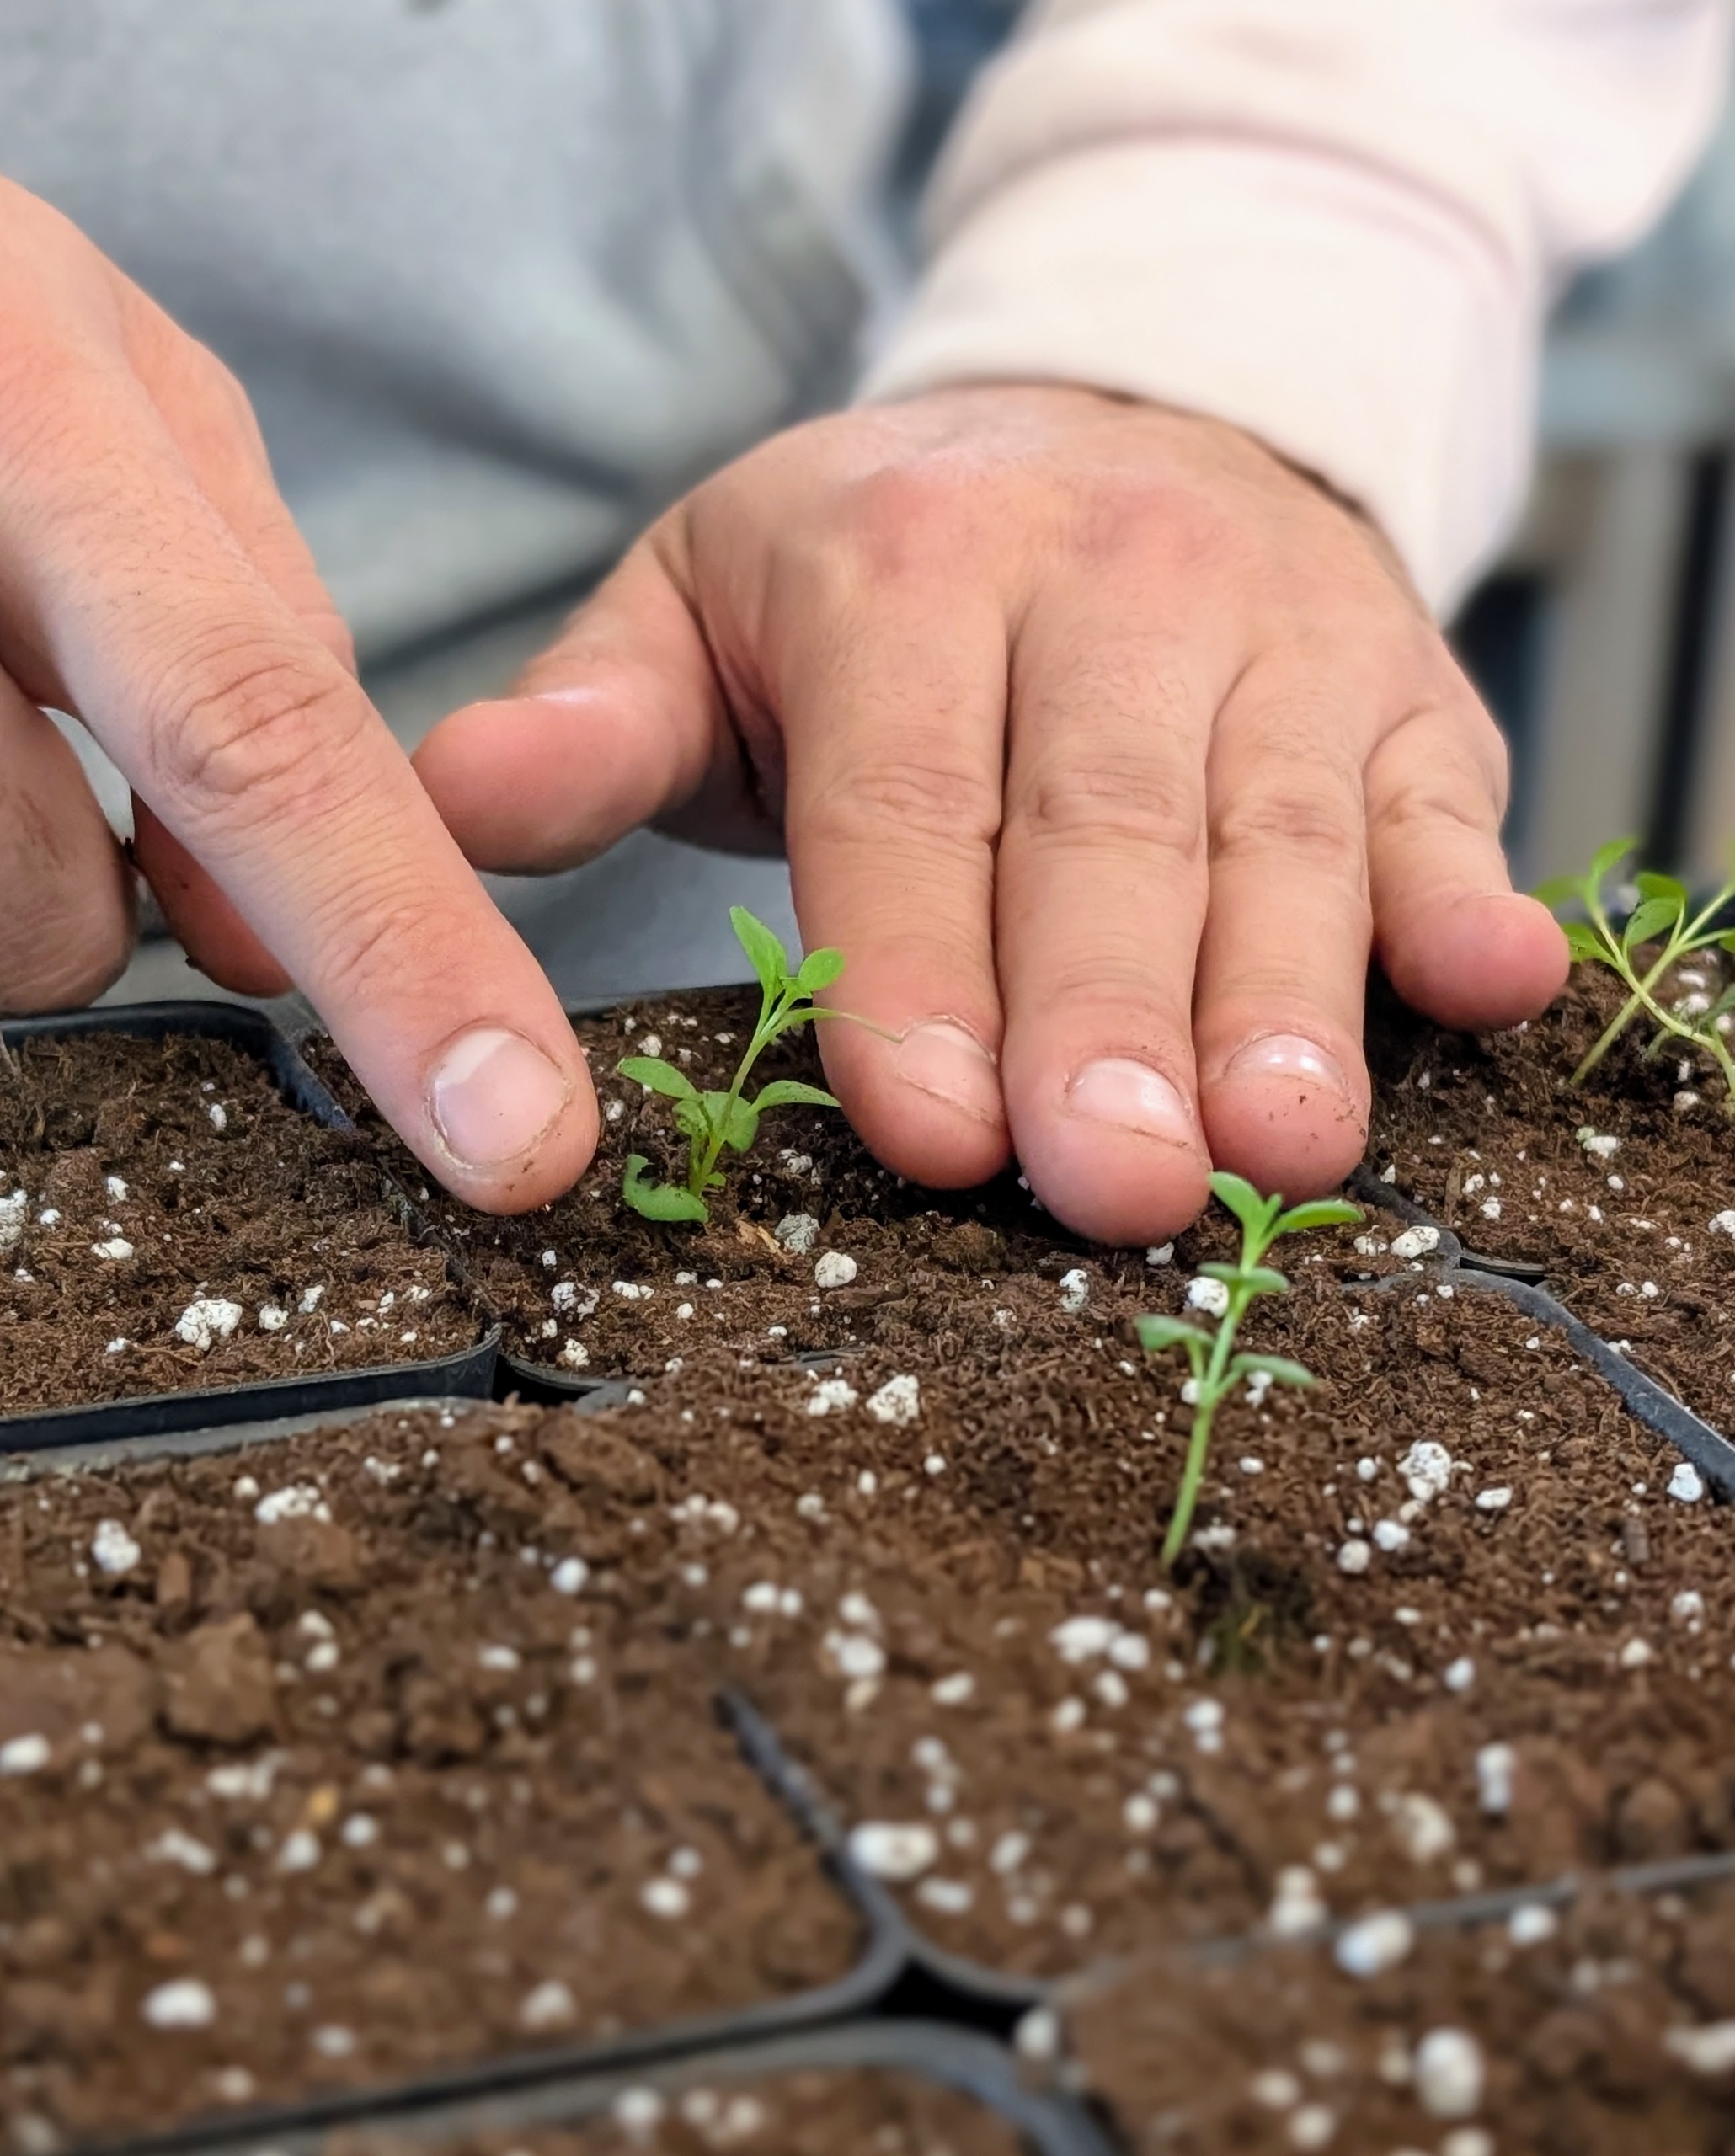
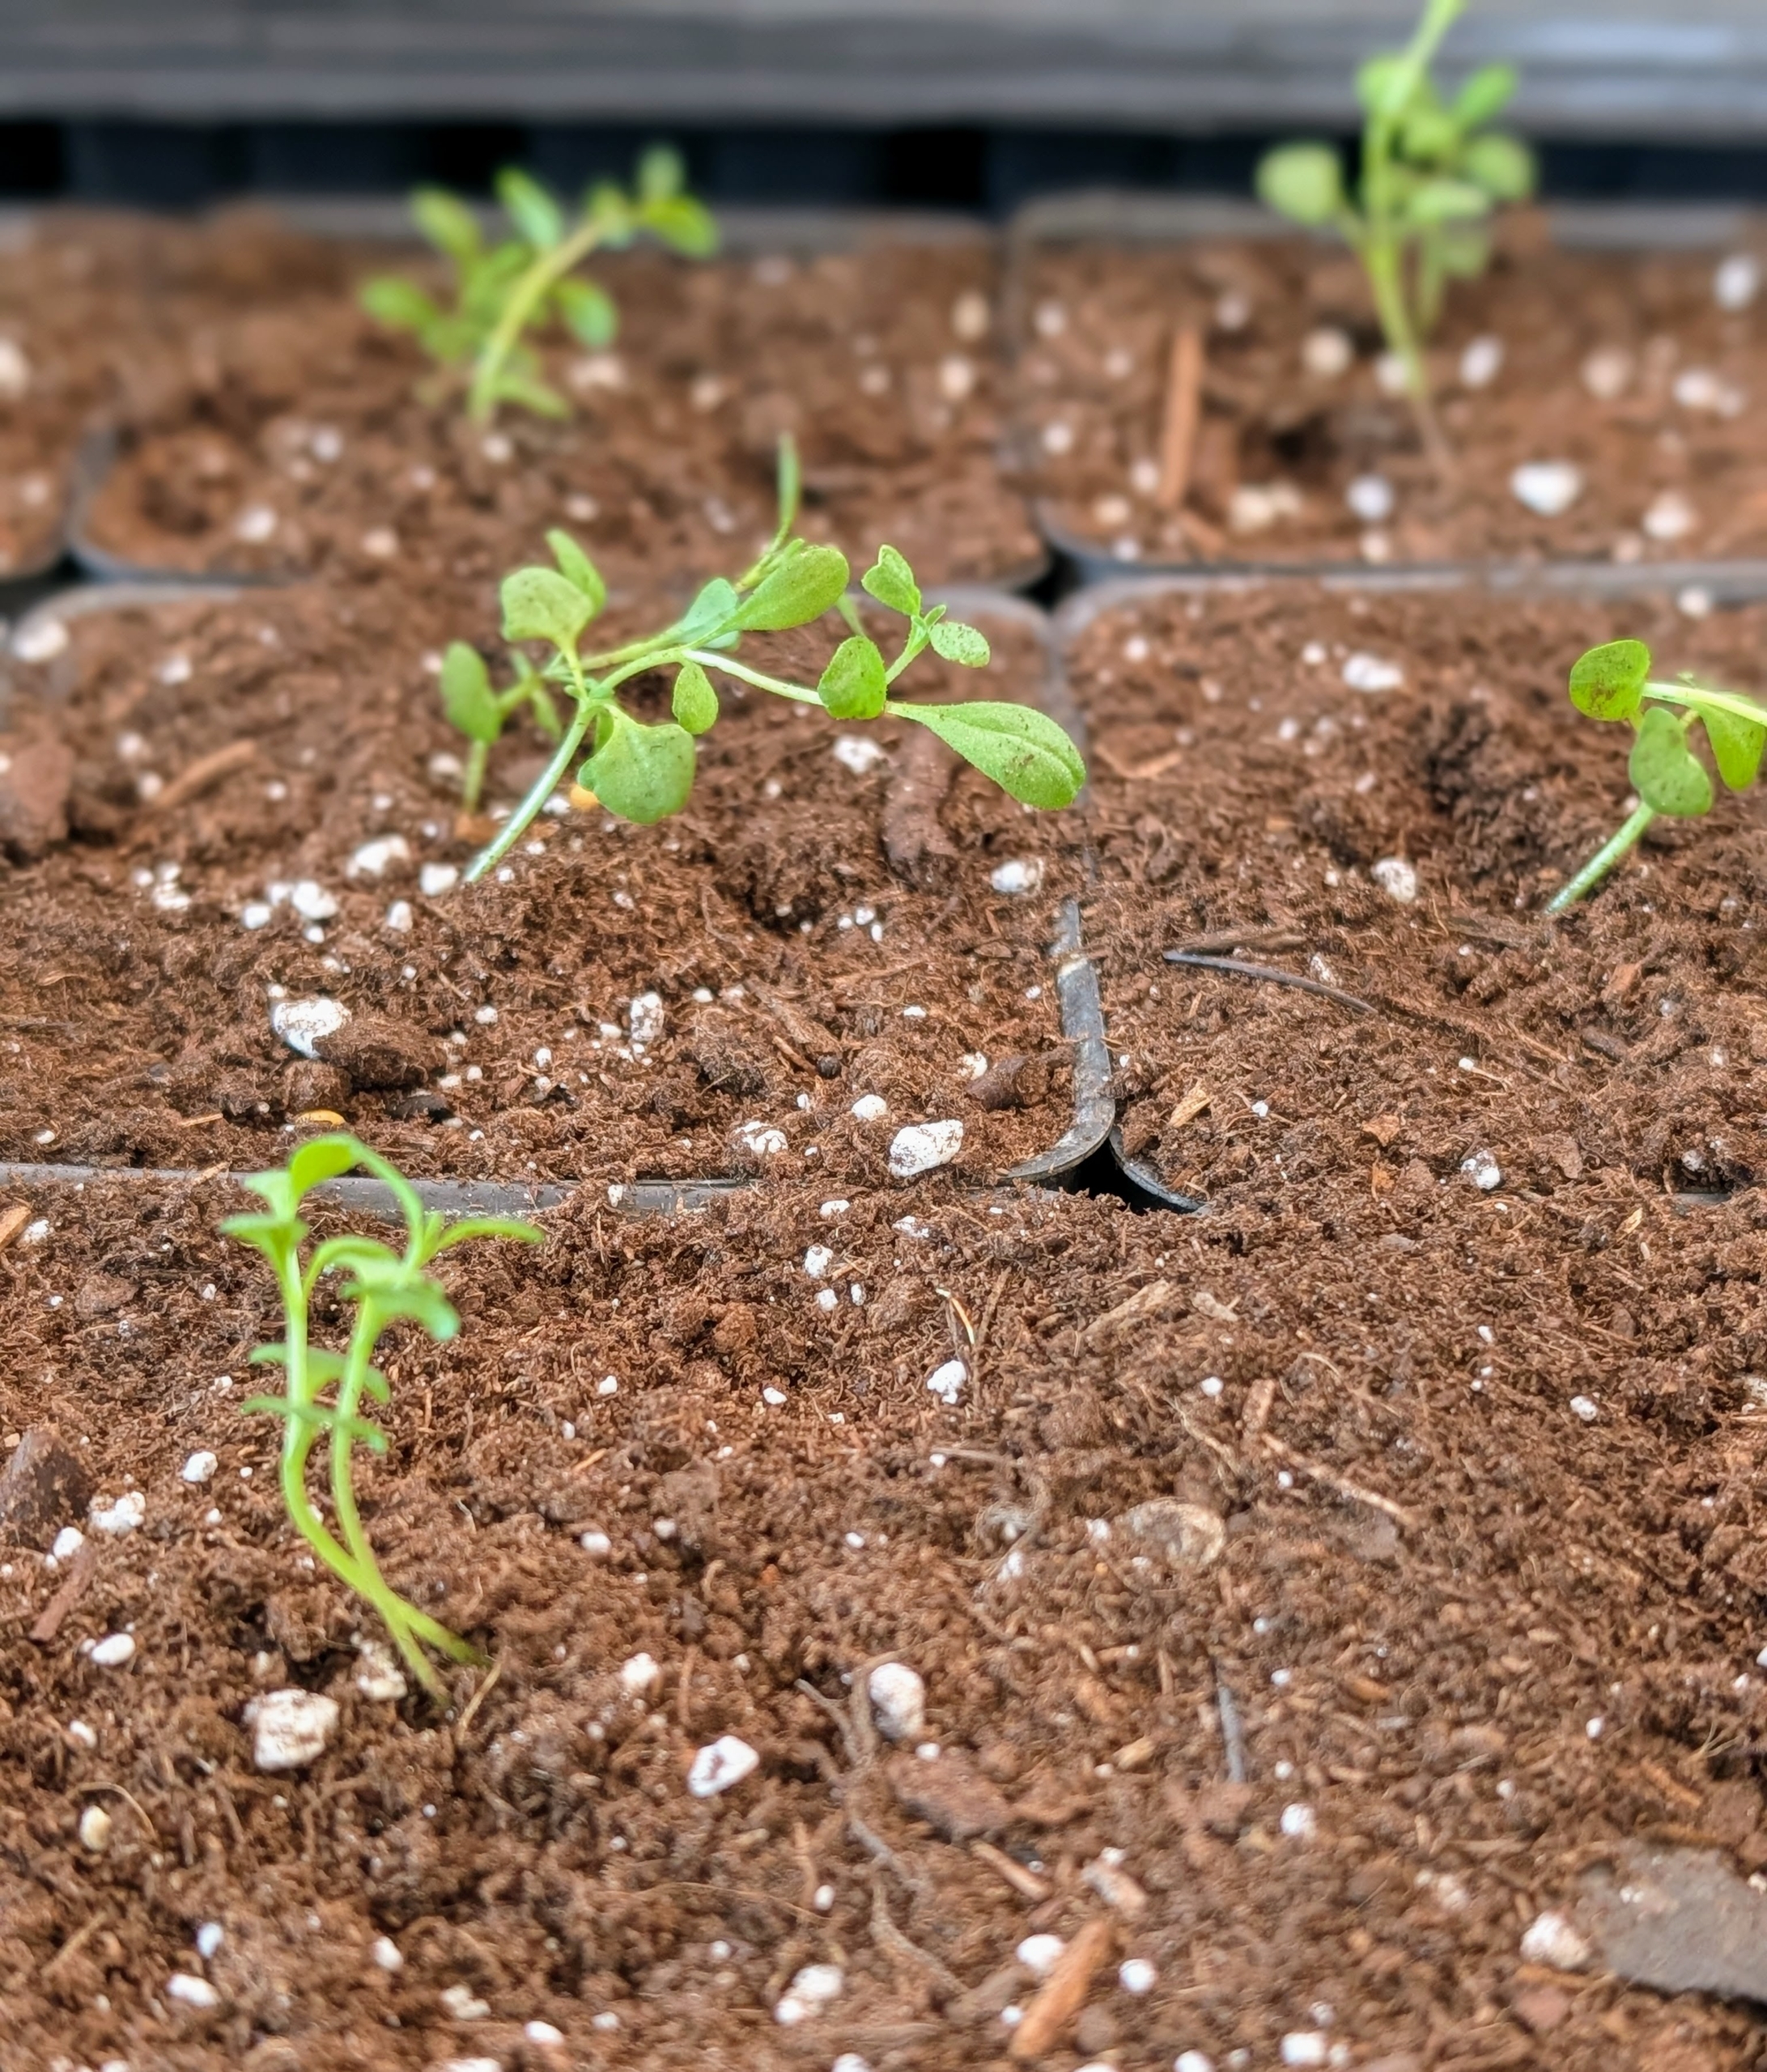
- When the seedlings are a couple inches tall and have reached their “true leaf” stage, which is when each seedling has sprouted a second set of leaves, it’s time for a process called selective thinning. Selective thinning prevents overcrowding, so seedlings don’t have competition for soil nutrients or room to grow.
-
- When thinning, Ryan carefully inspects the seedlings and determines the strongest ones. He looks for fleshy leaves, upright stems, and center positioning in the space. The smaller, weaker, more spindly looking seedlings are removed, leaving only the stronger ones to mature. Ryan starts with some asters. Using large tweezers, he removes those seedlings less likely to thrive.
-
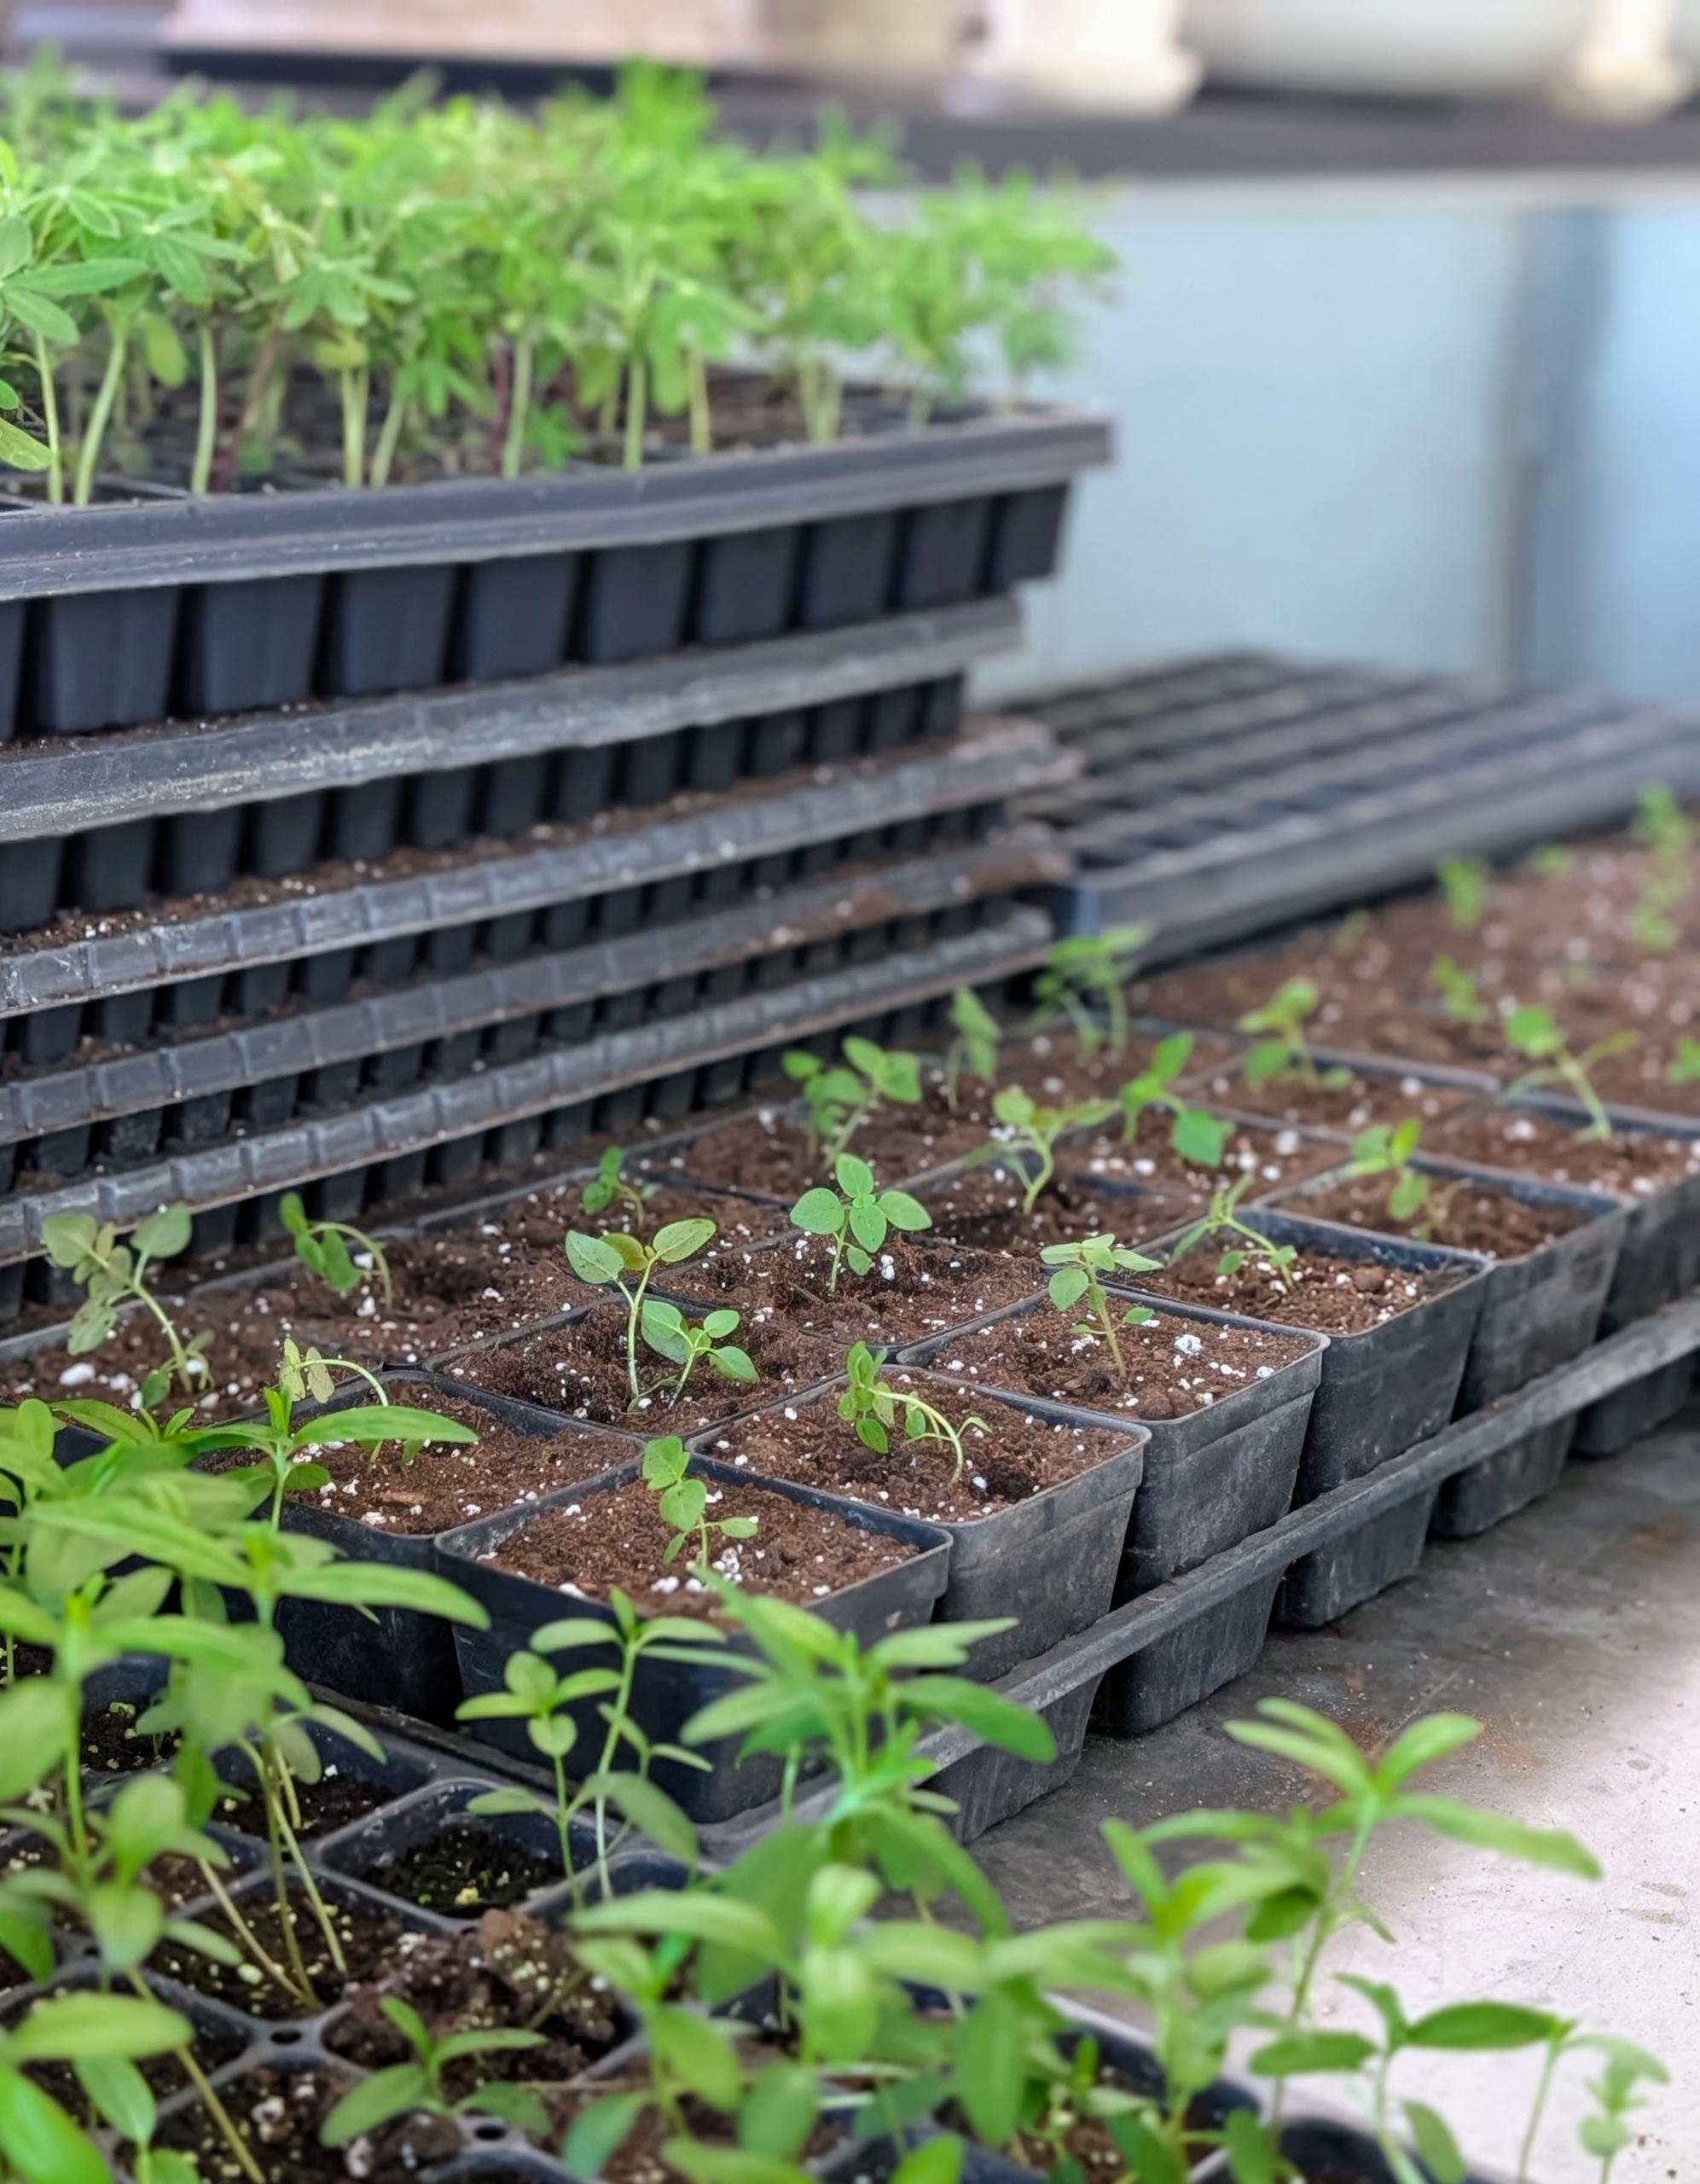
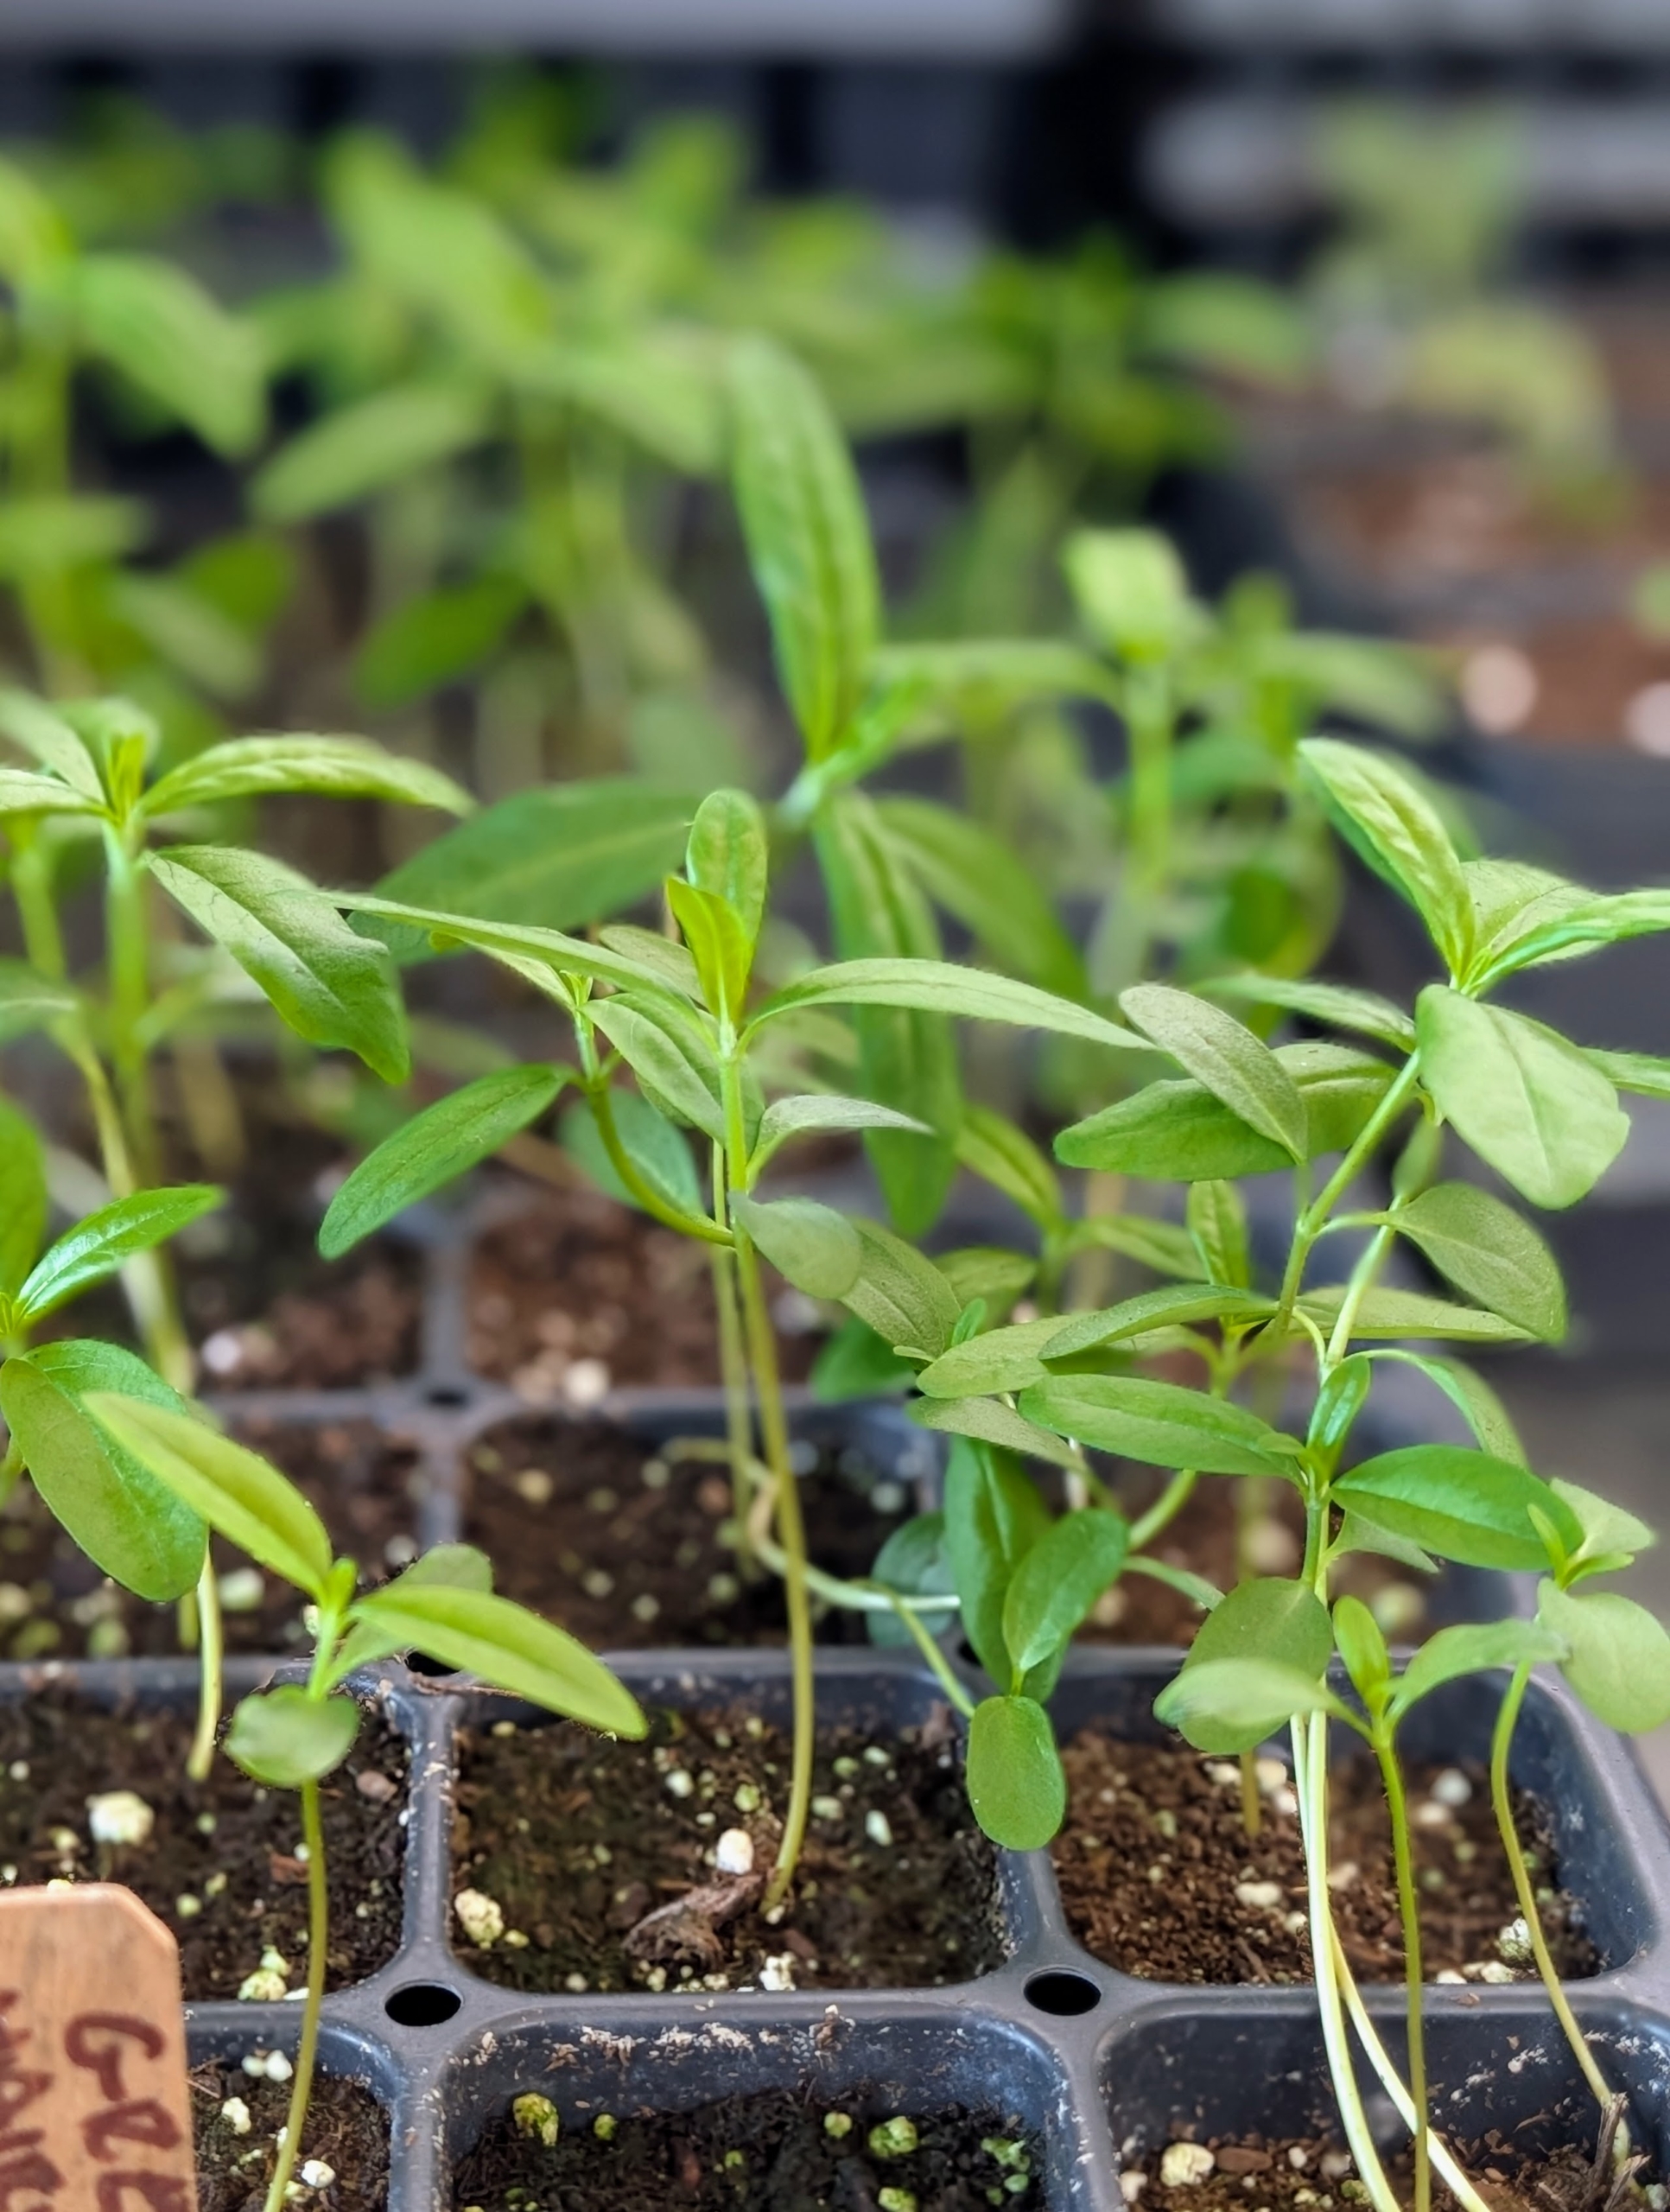
- Once selective thinning is complete, there should only be one or two seedlings in each cell of the seed starting tray or container. They will continue to grow until moved to larger trays or pots.
-
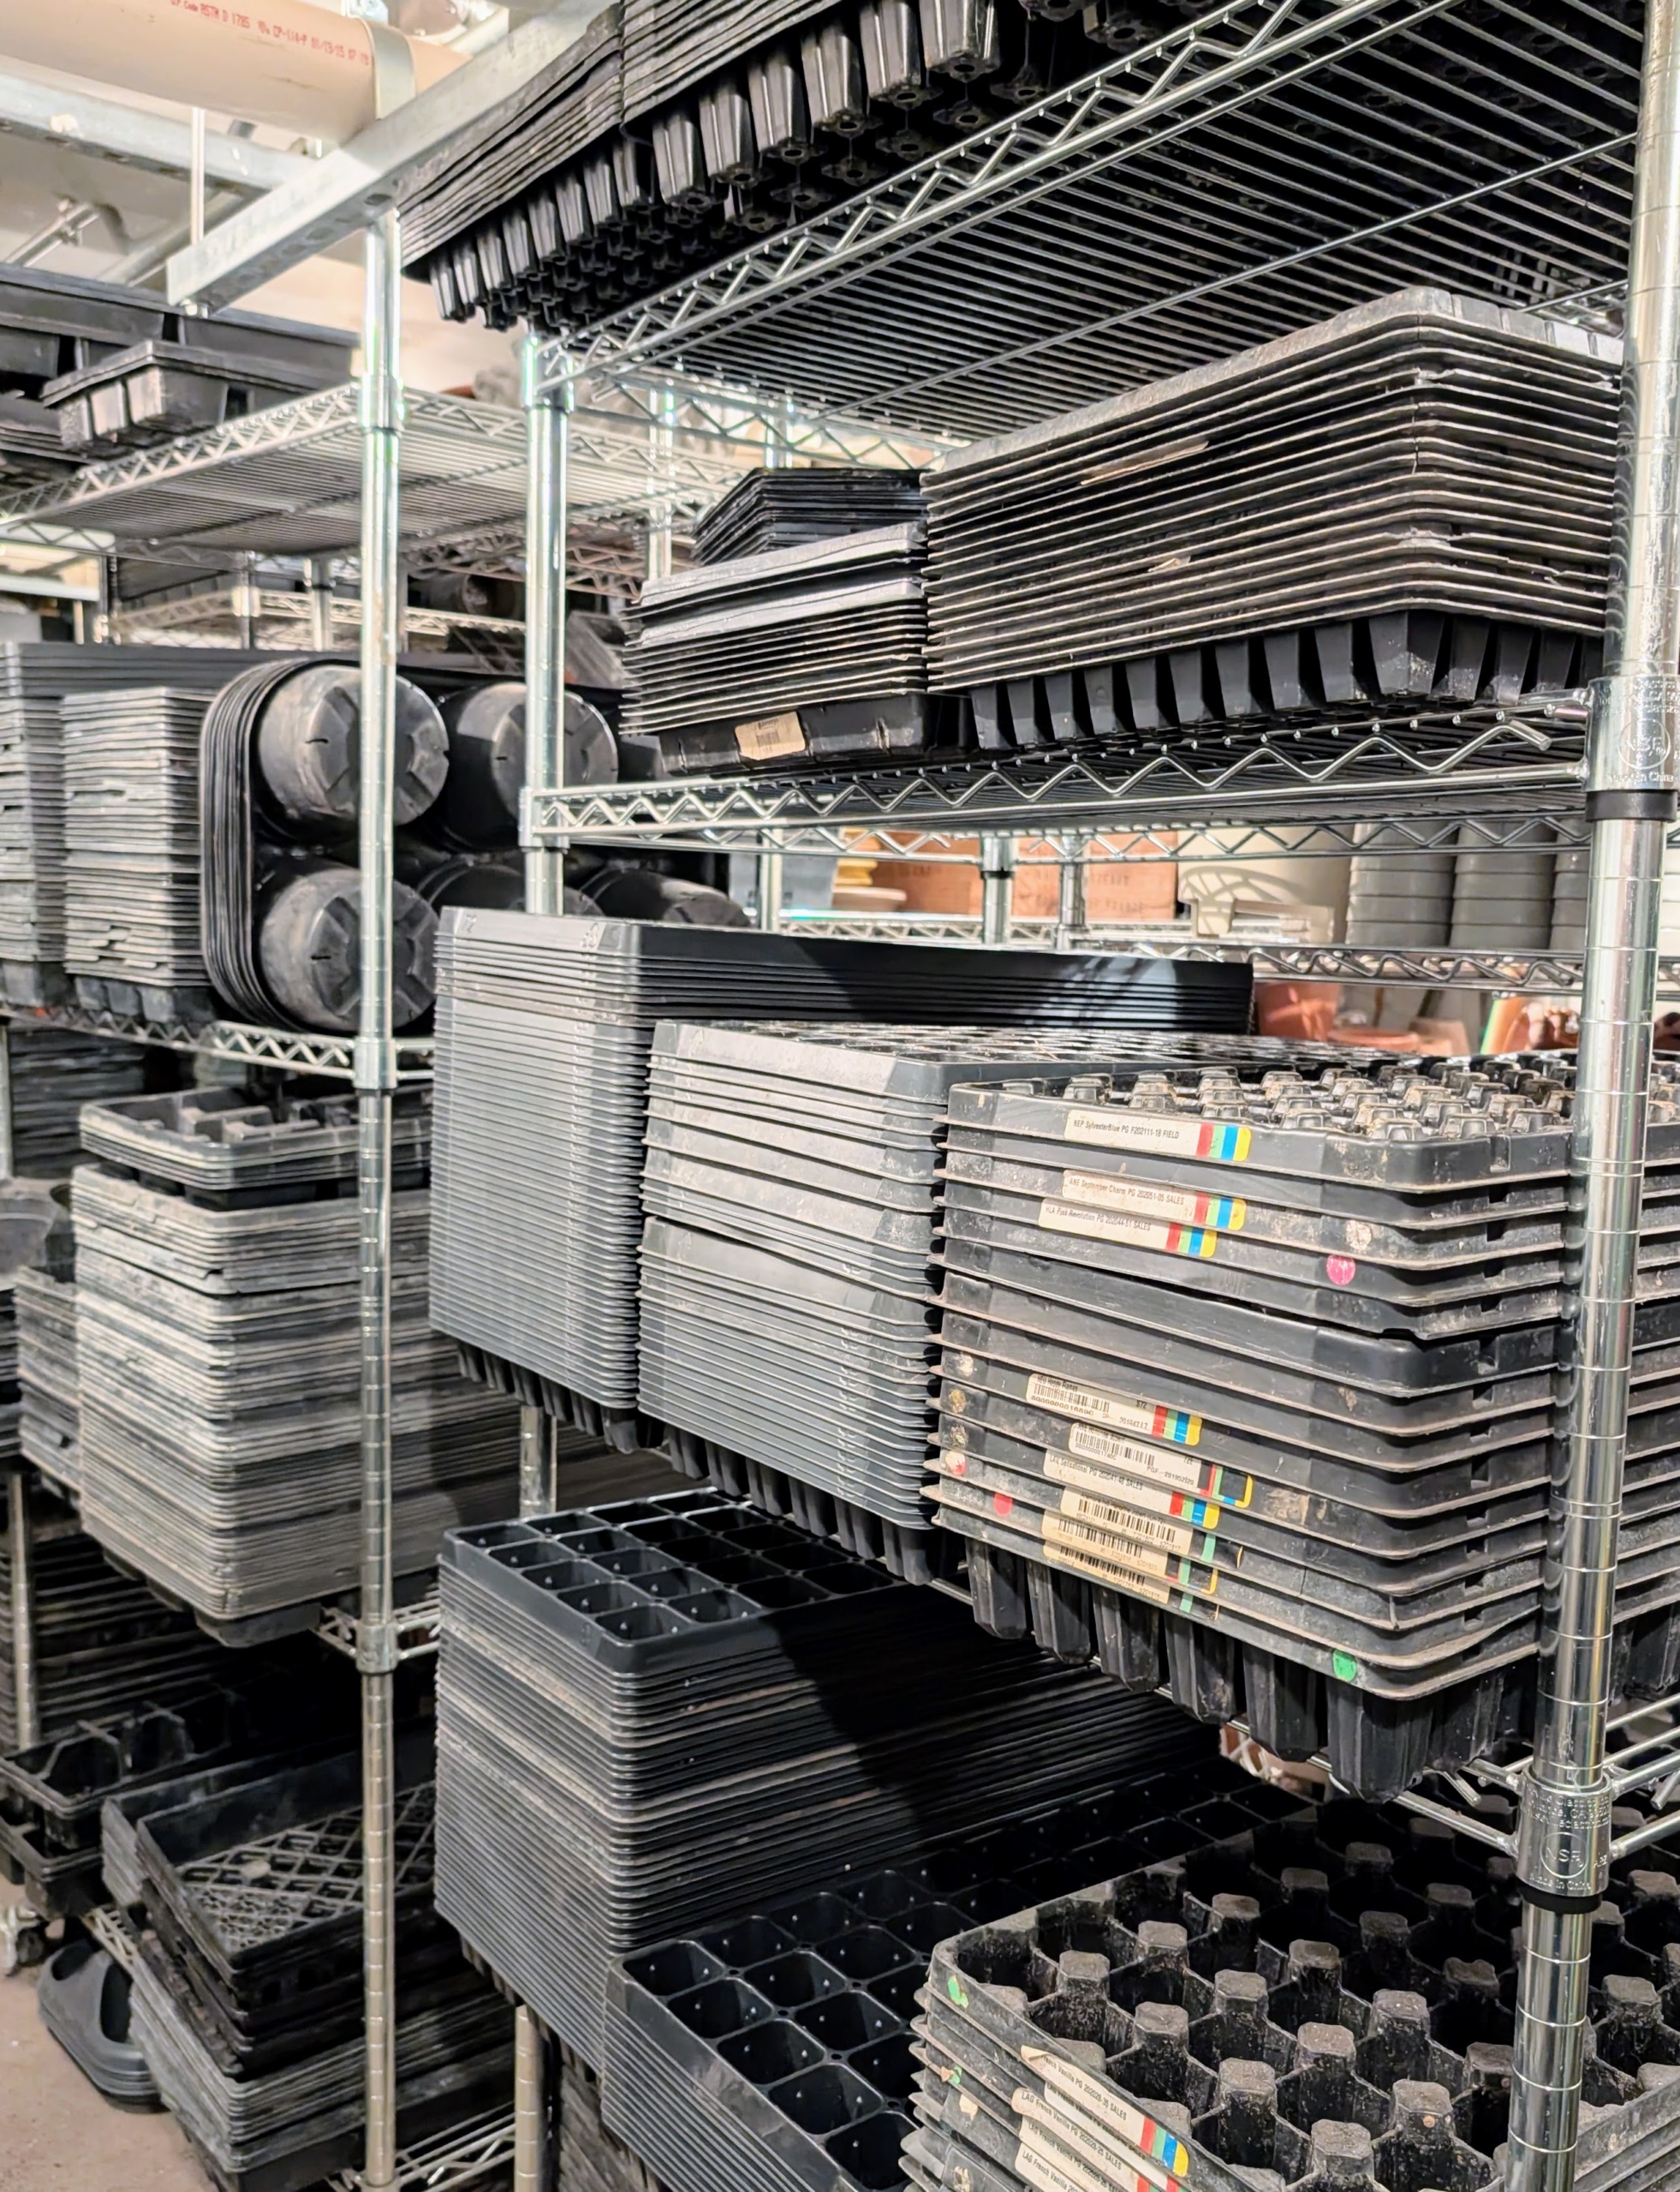
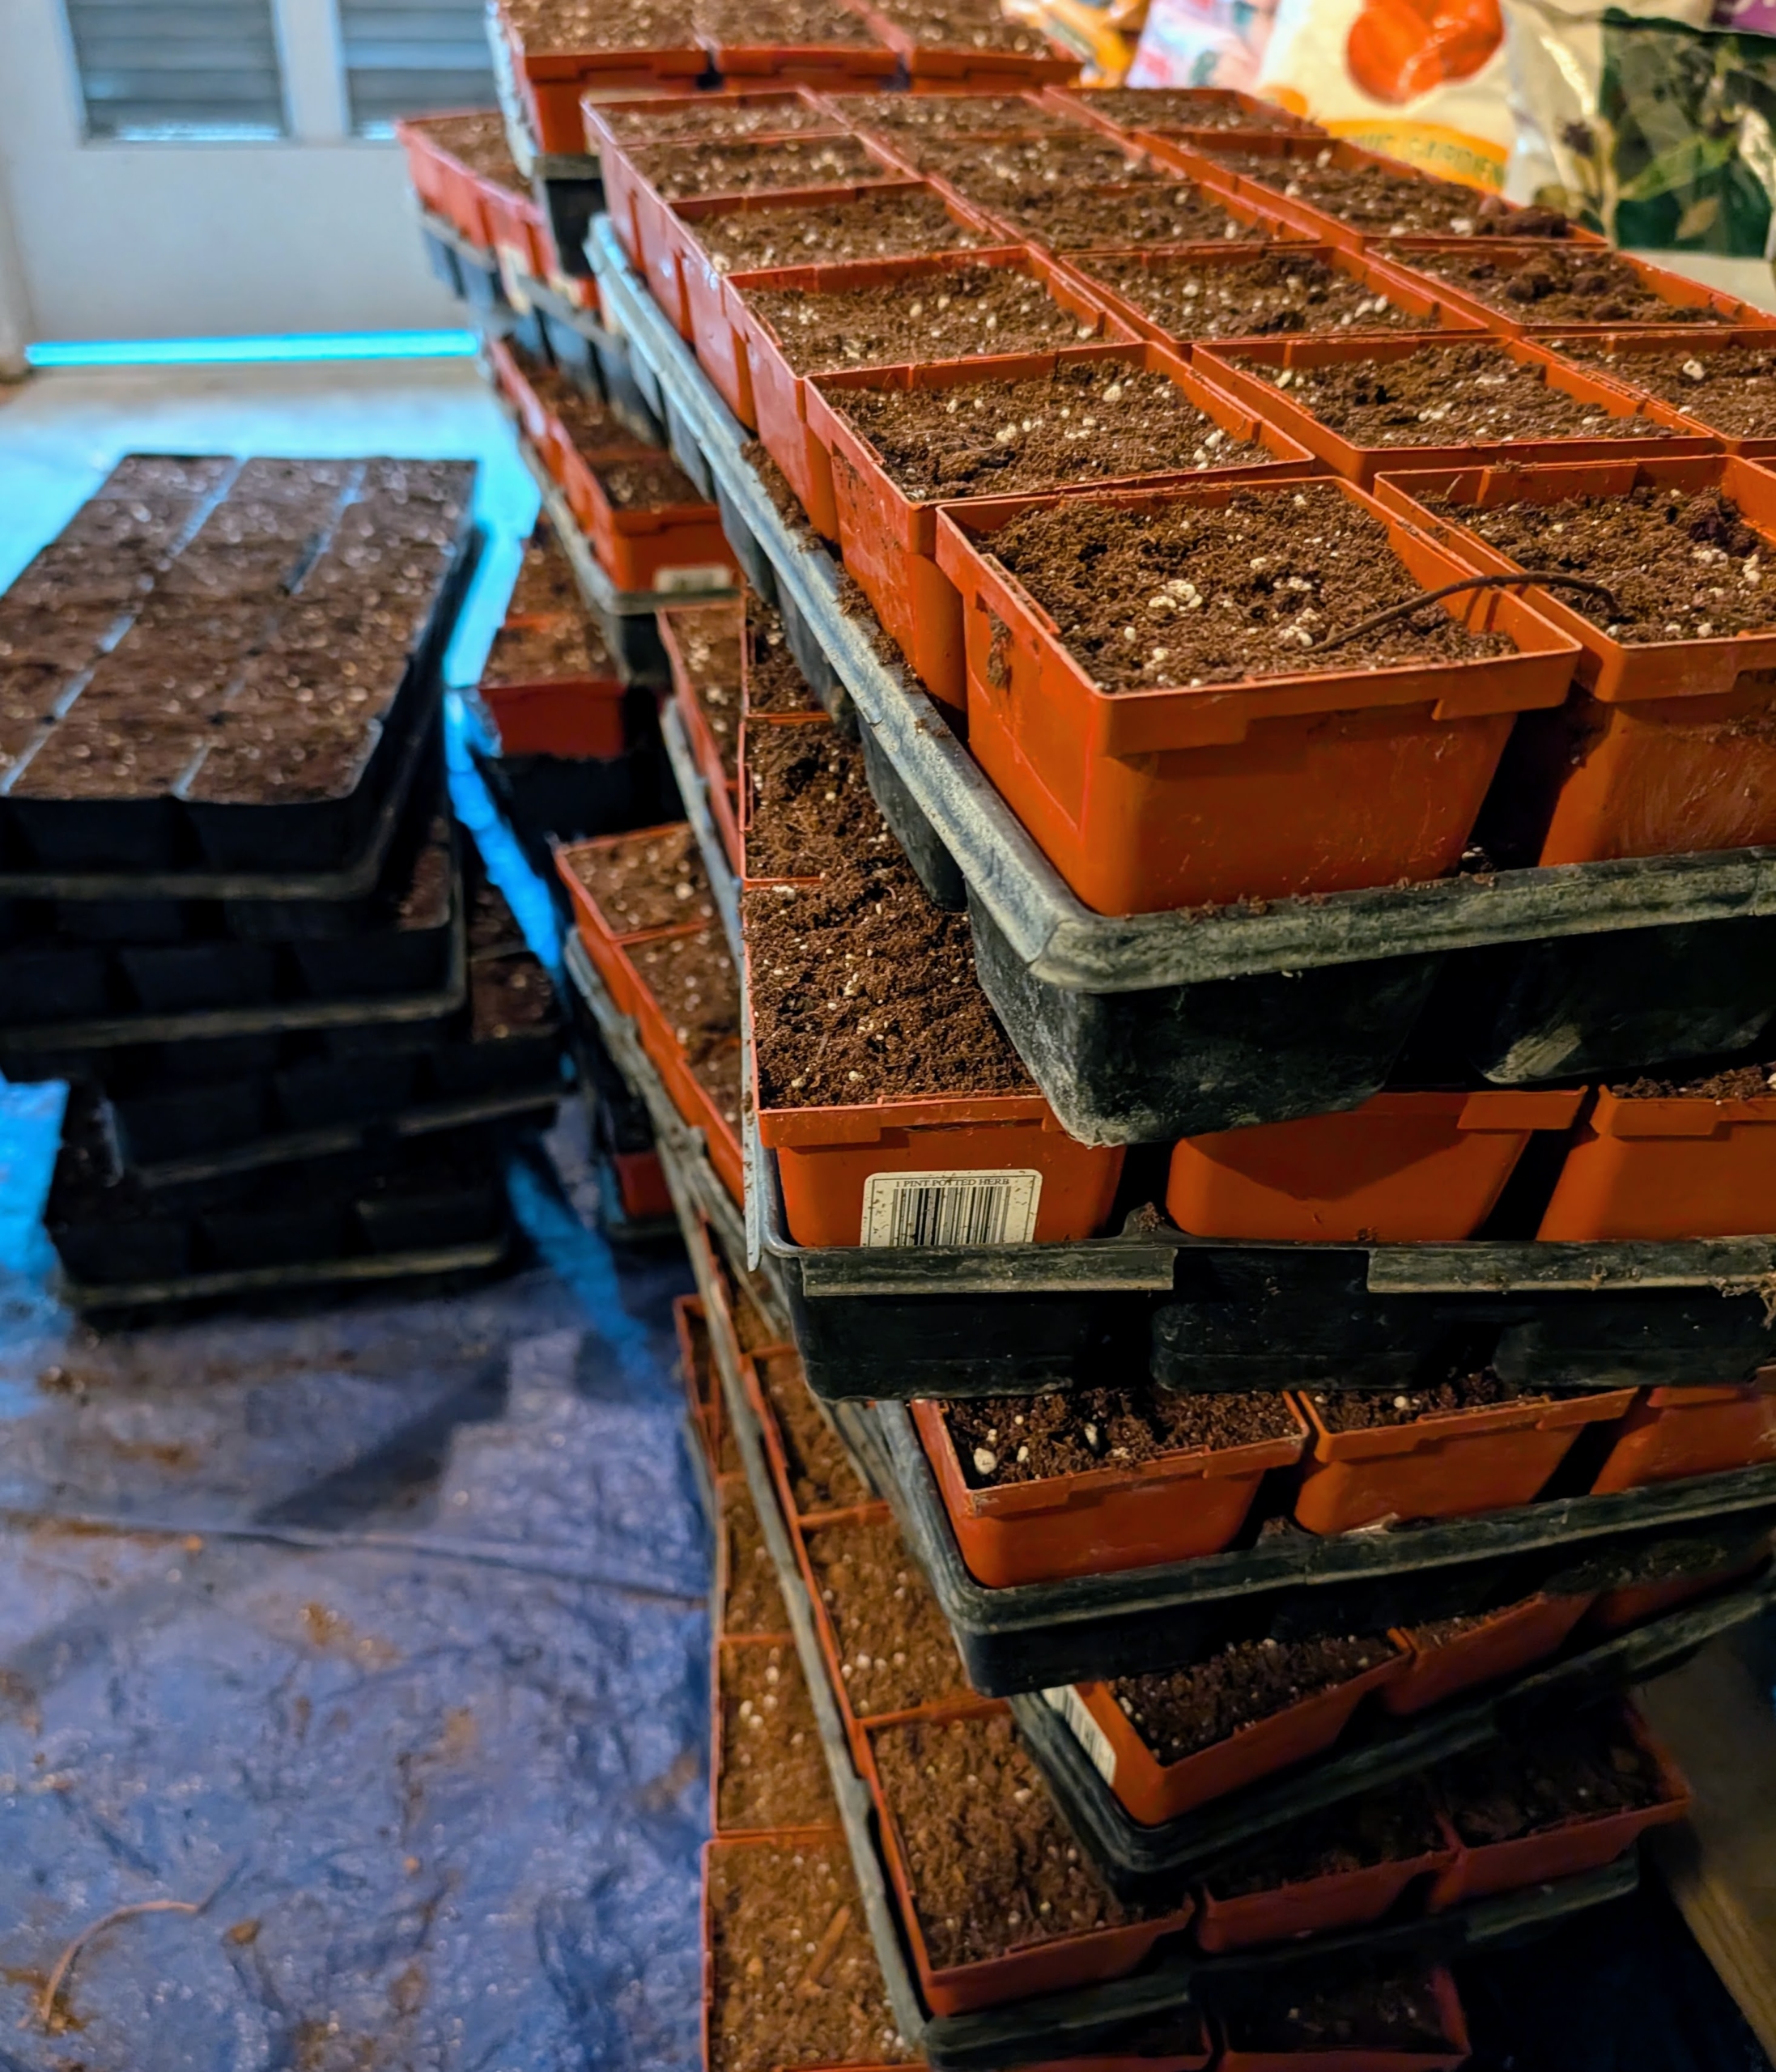
- Seed starting trays come in a variety of sizes and can be reused from year to year. I have trays and pots stored nicely where they can be accessed easily for transplanting.
-
- These flats have individual pots that can accommodate growing seedlings. Experiment with pots to see which ones work best for what plants. And always choose containers or trays that have proper drainage holes at the bottom.
-
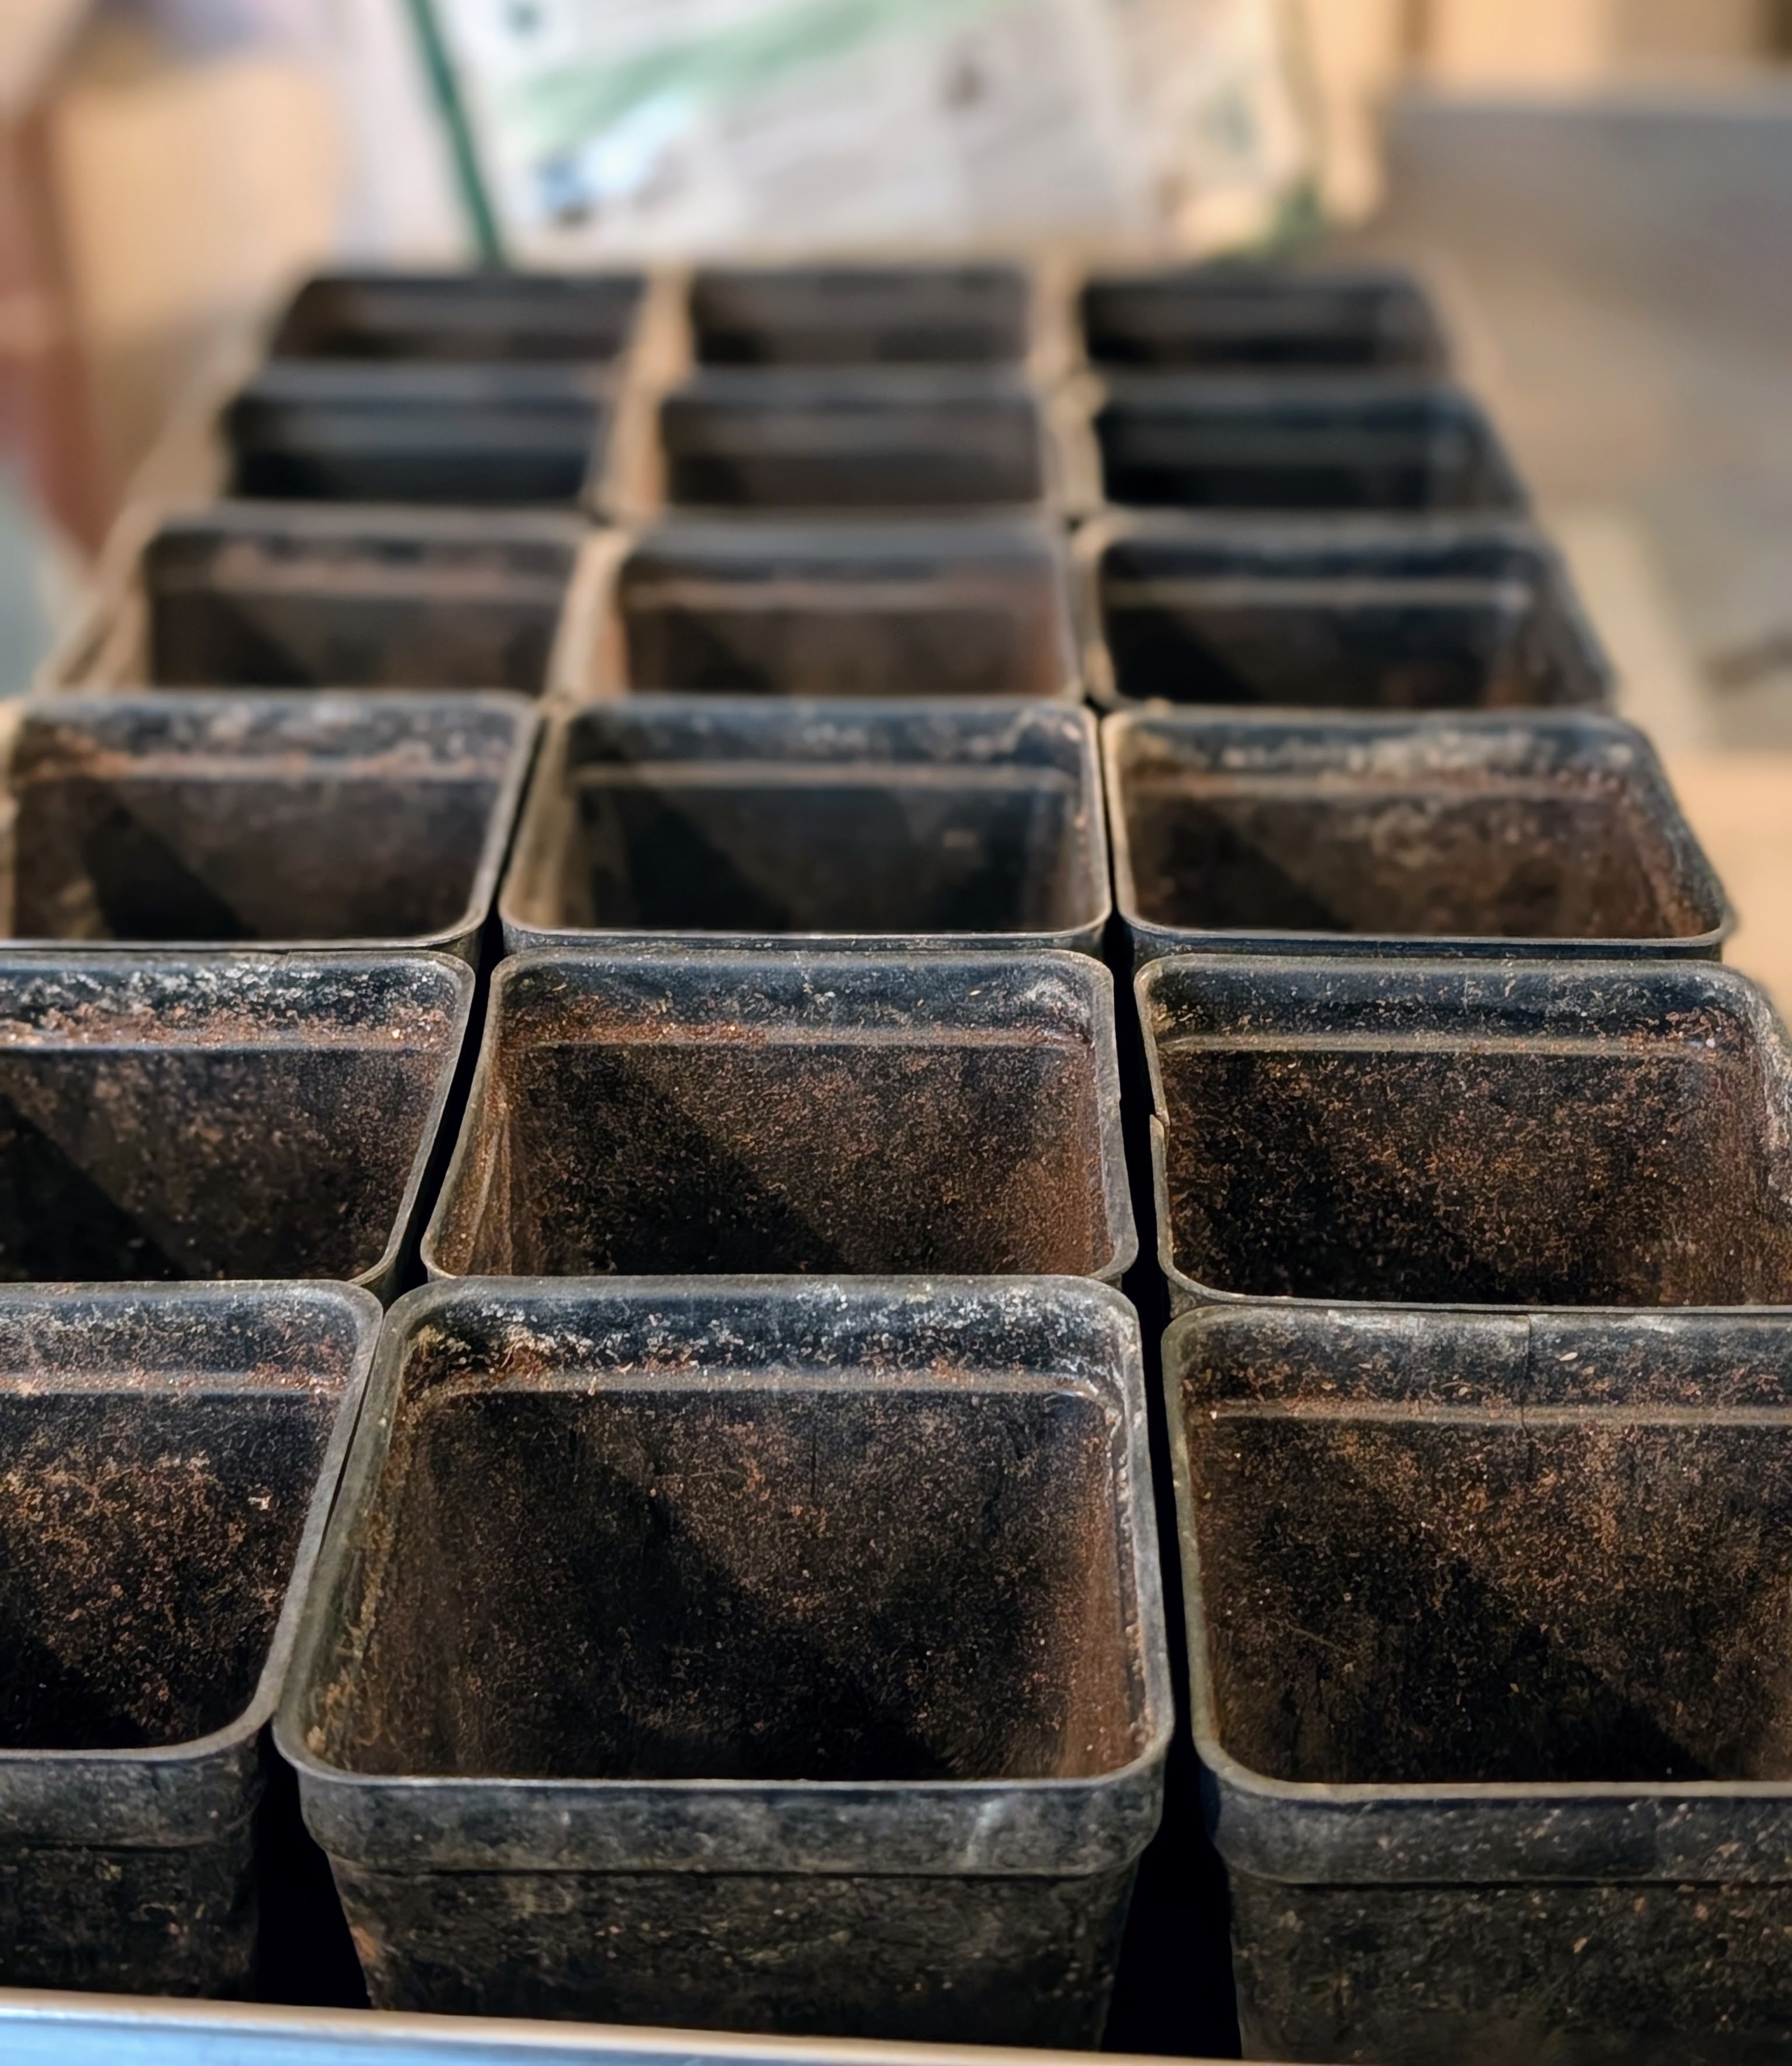
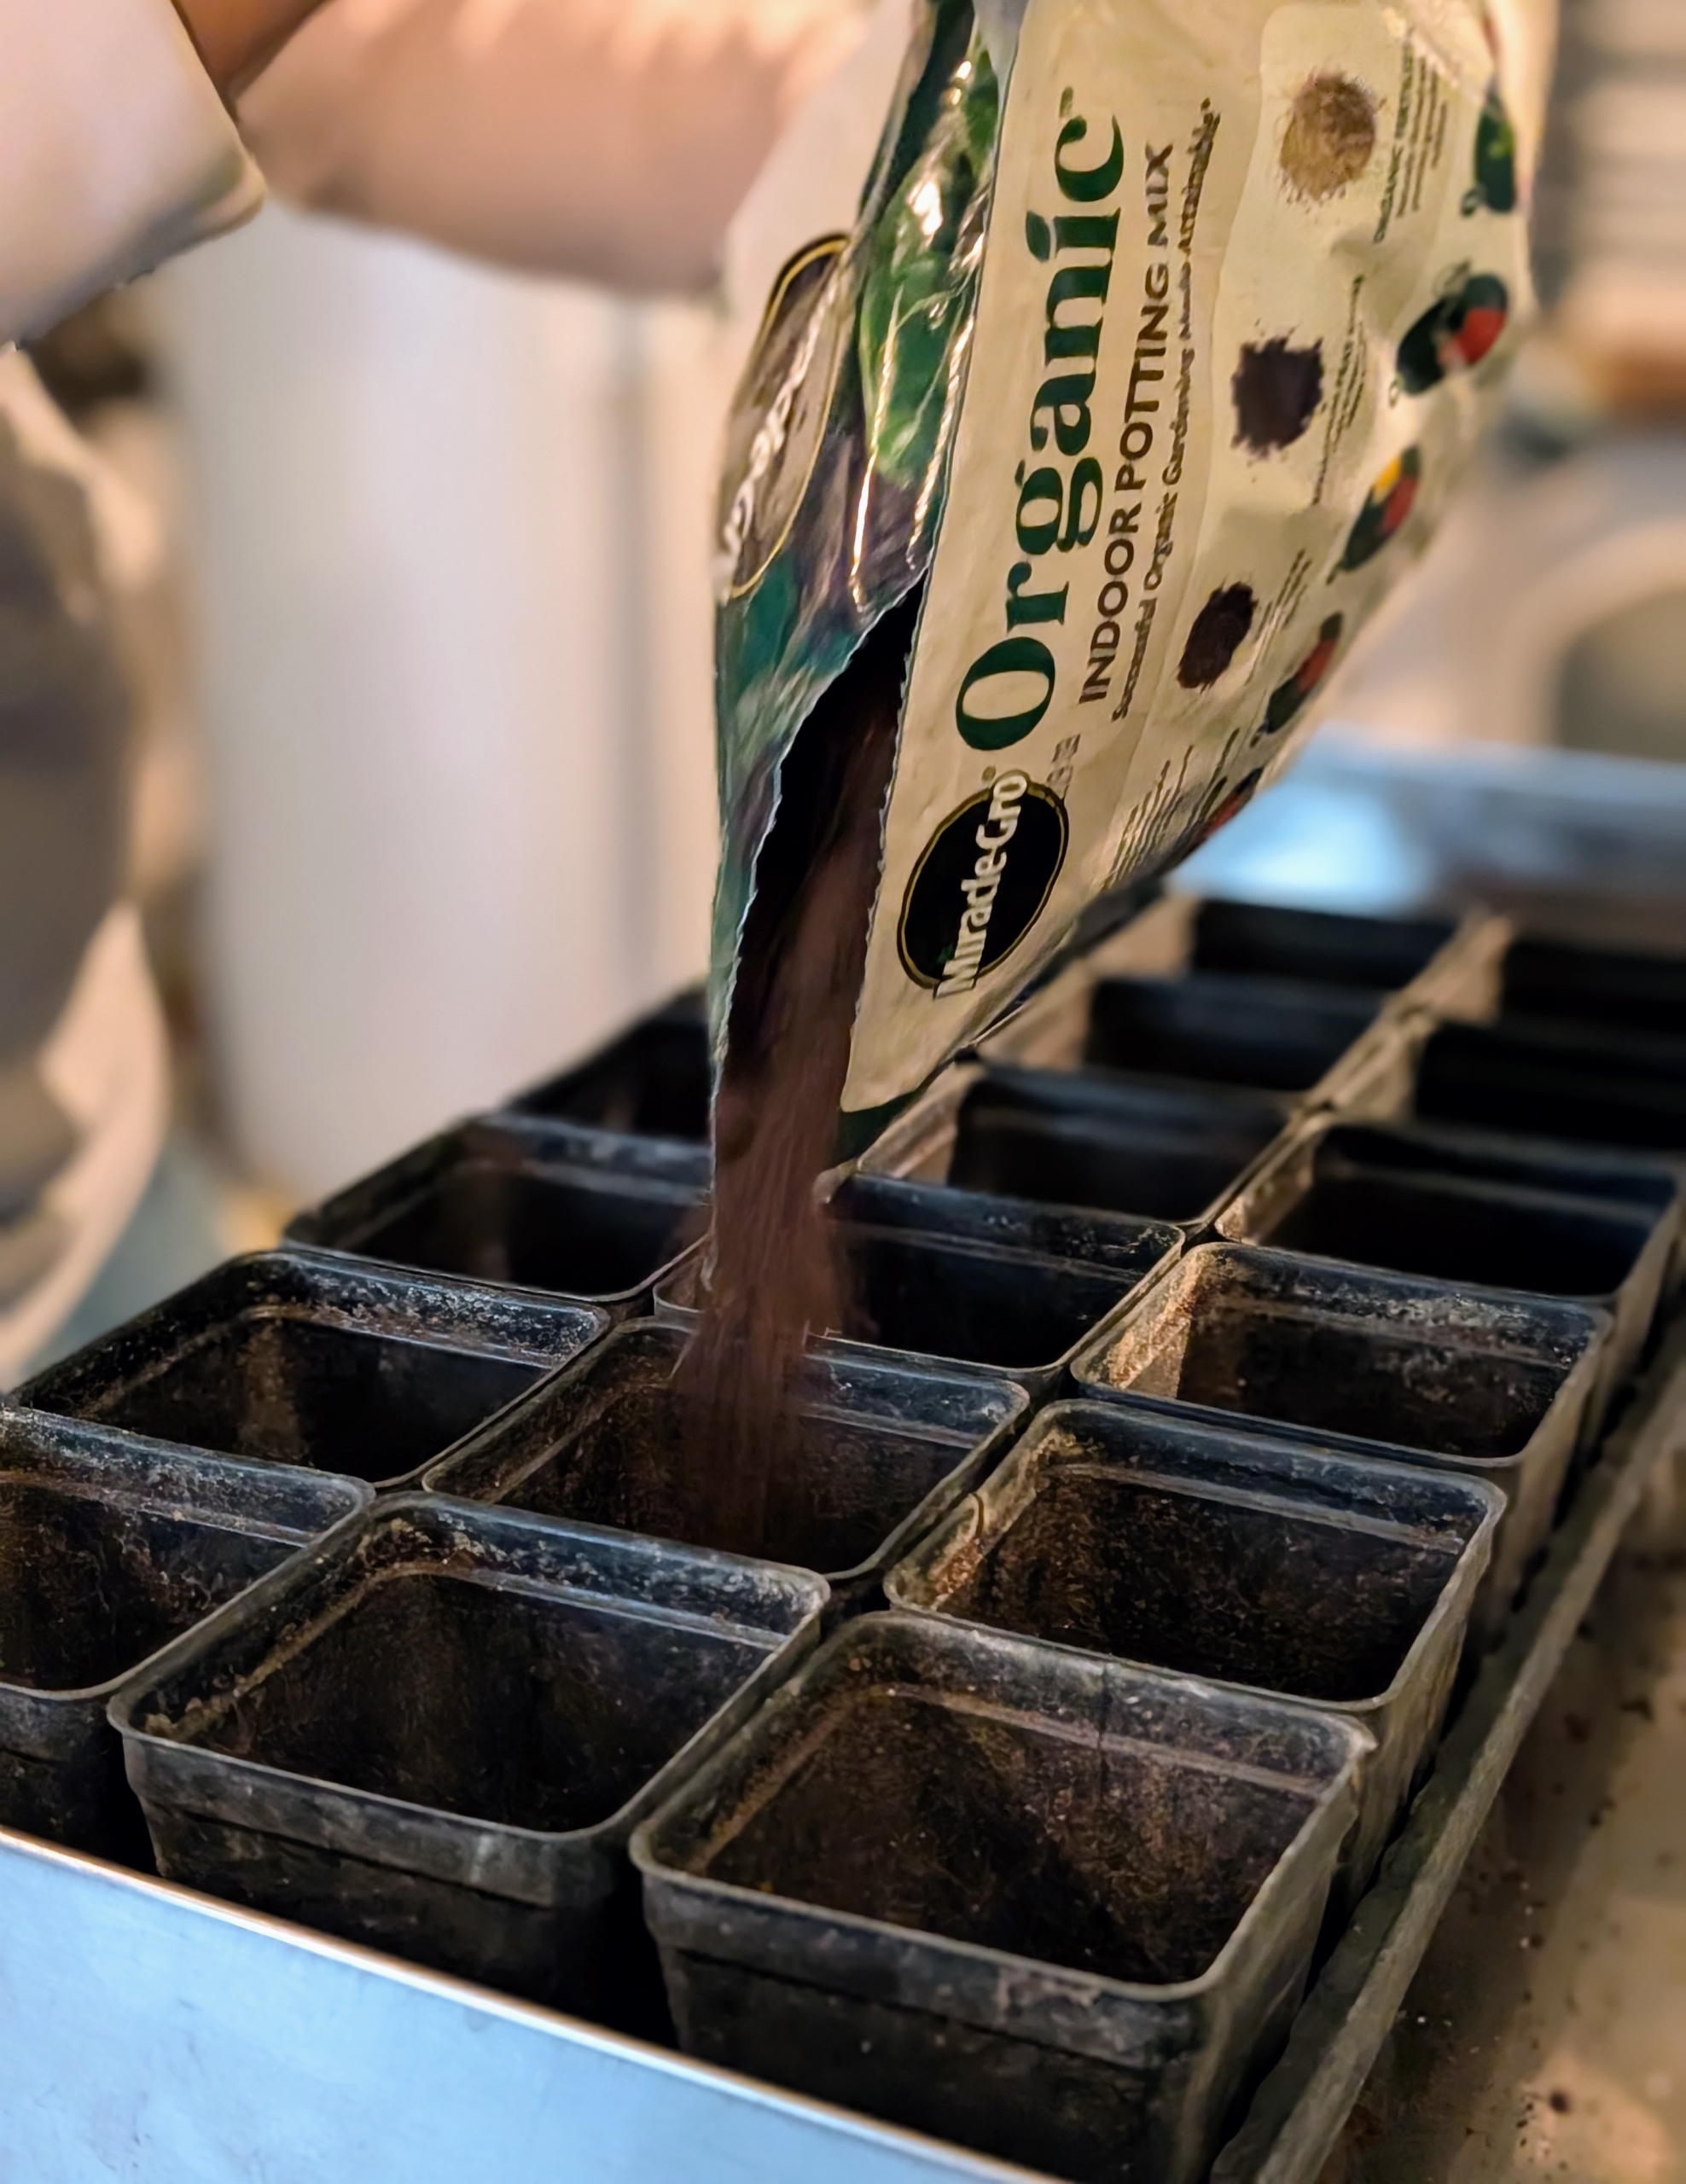
- The pots are filled with an appropriate potting mix. I like to use Miracle-Gro Potting Mix with moisture control. A good quality organic mix designed for seedlings will be fast draining, and light. It will usually contain sphagnum moss and perlite or vermiculite. These mixes are formulated to encourage strong, healthy growth in new plants.
-
- The soil mix is leveled and put aside for transplanting.

-
- Working in a production line process and filling a lot of trays first is an efficient way to work – there are many seeds to transplant here in my greenhouse.
-
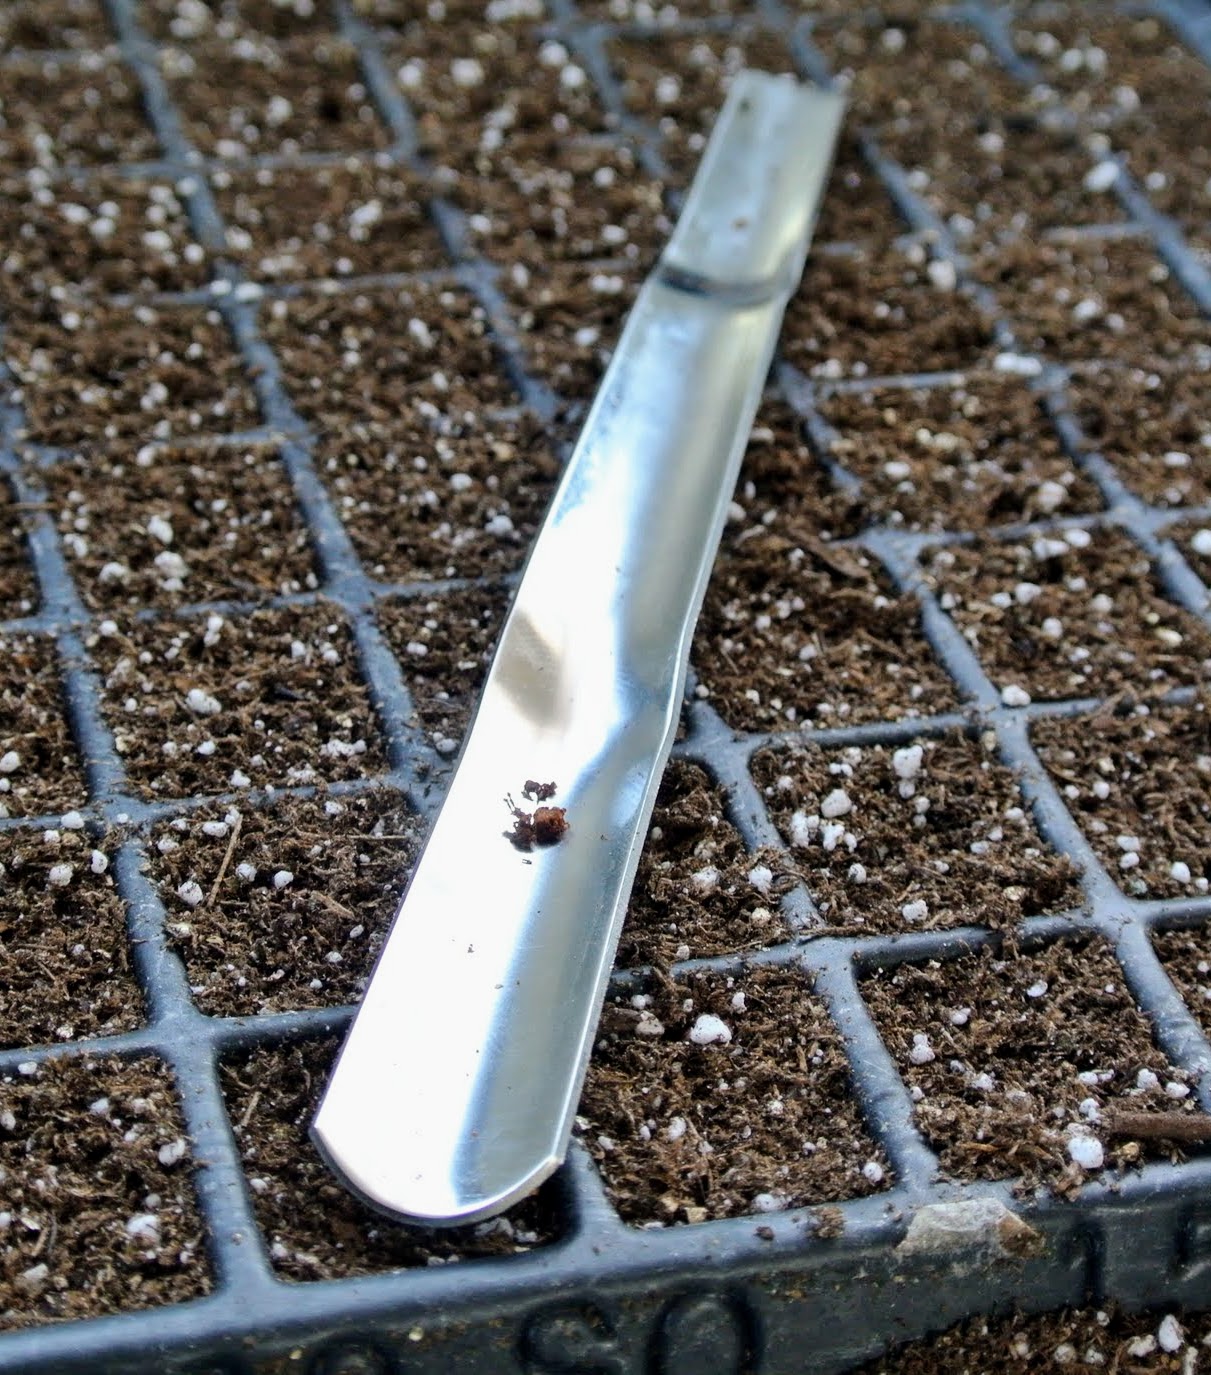
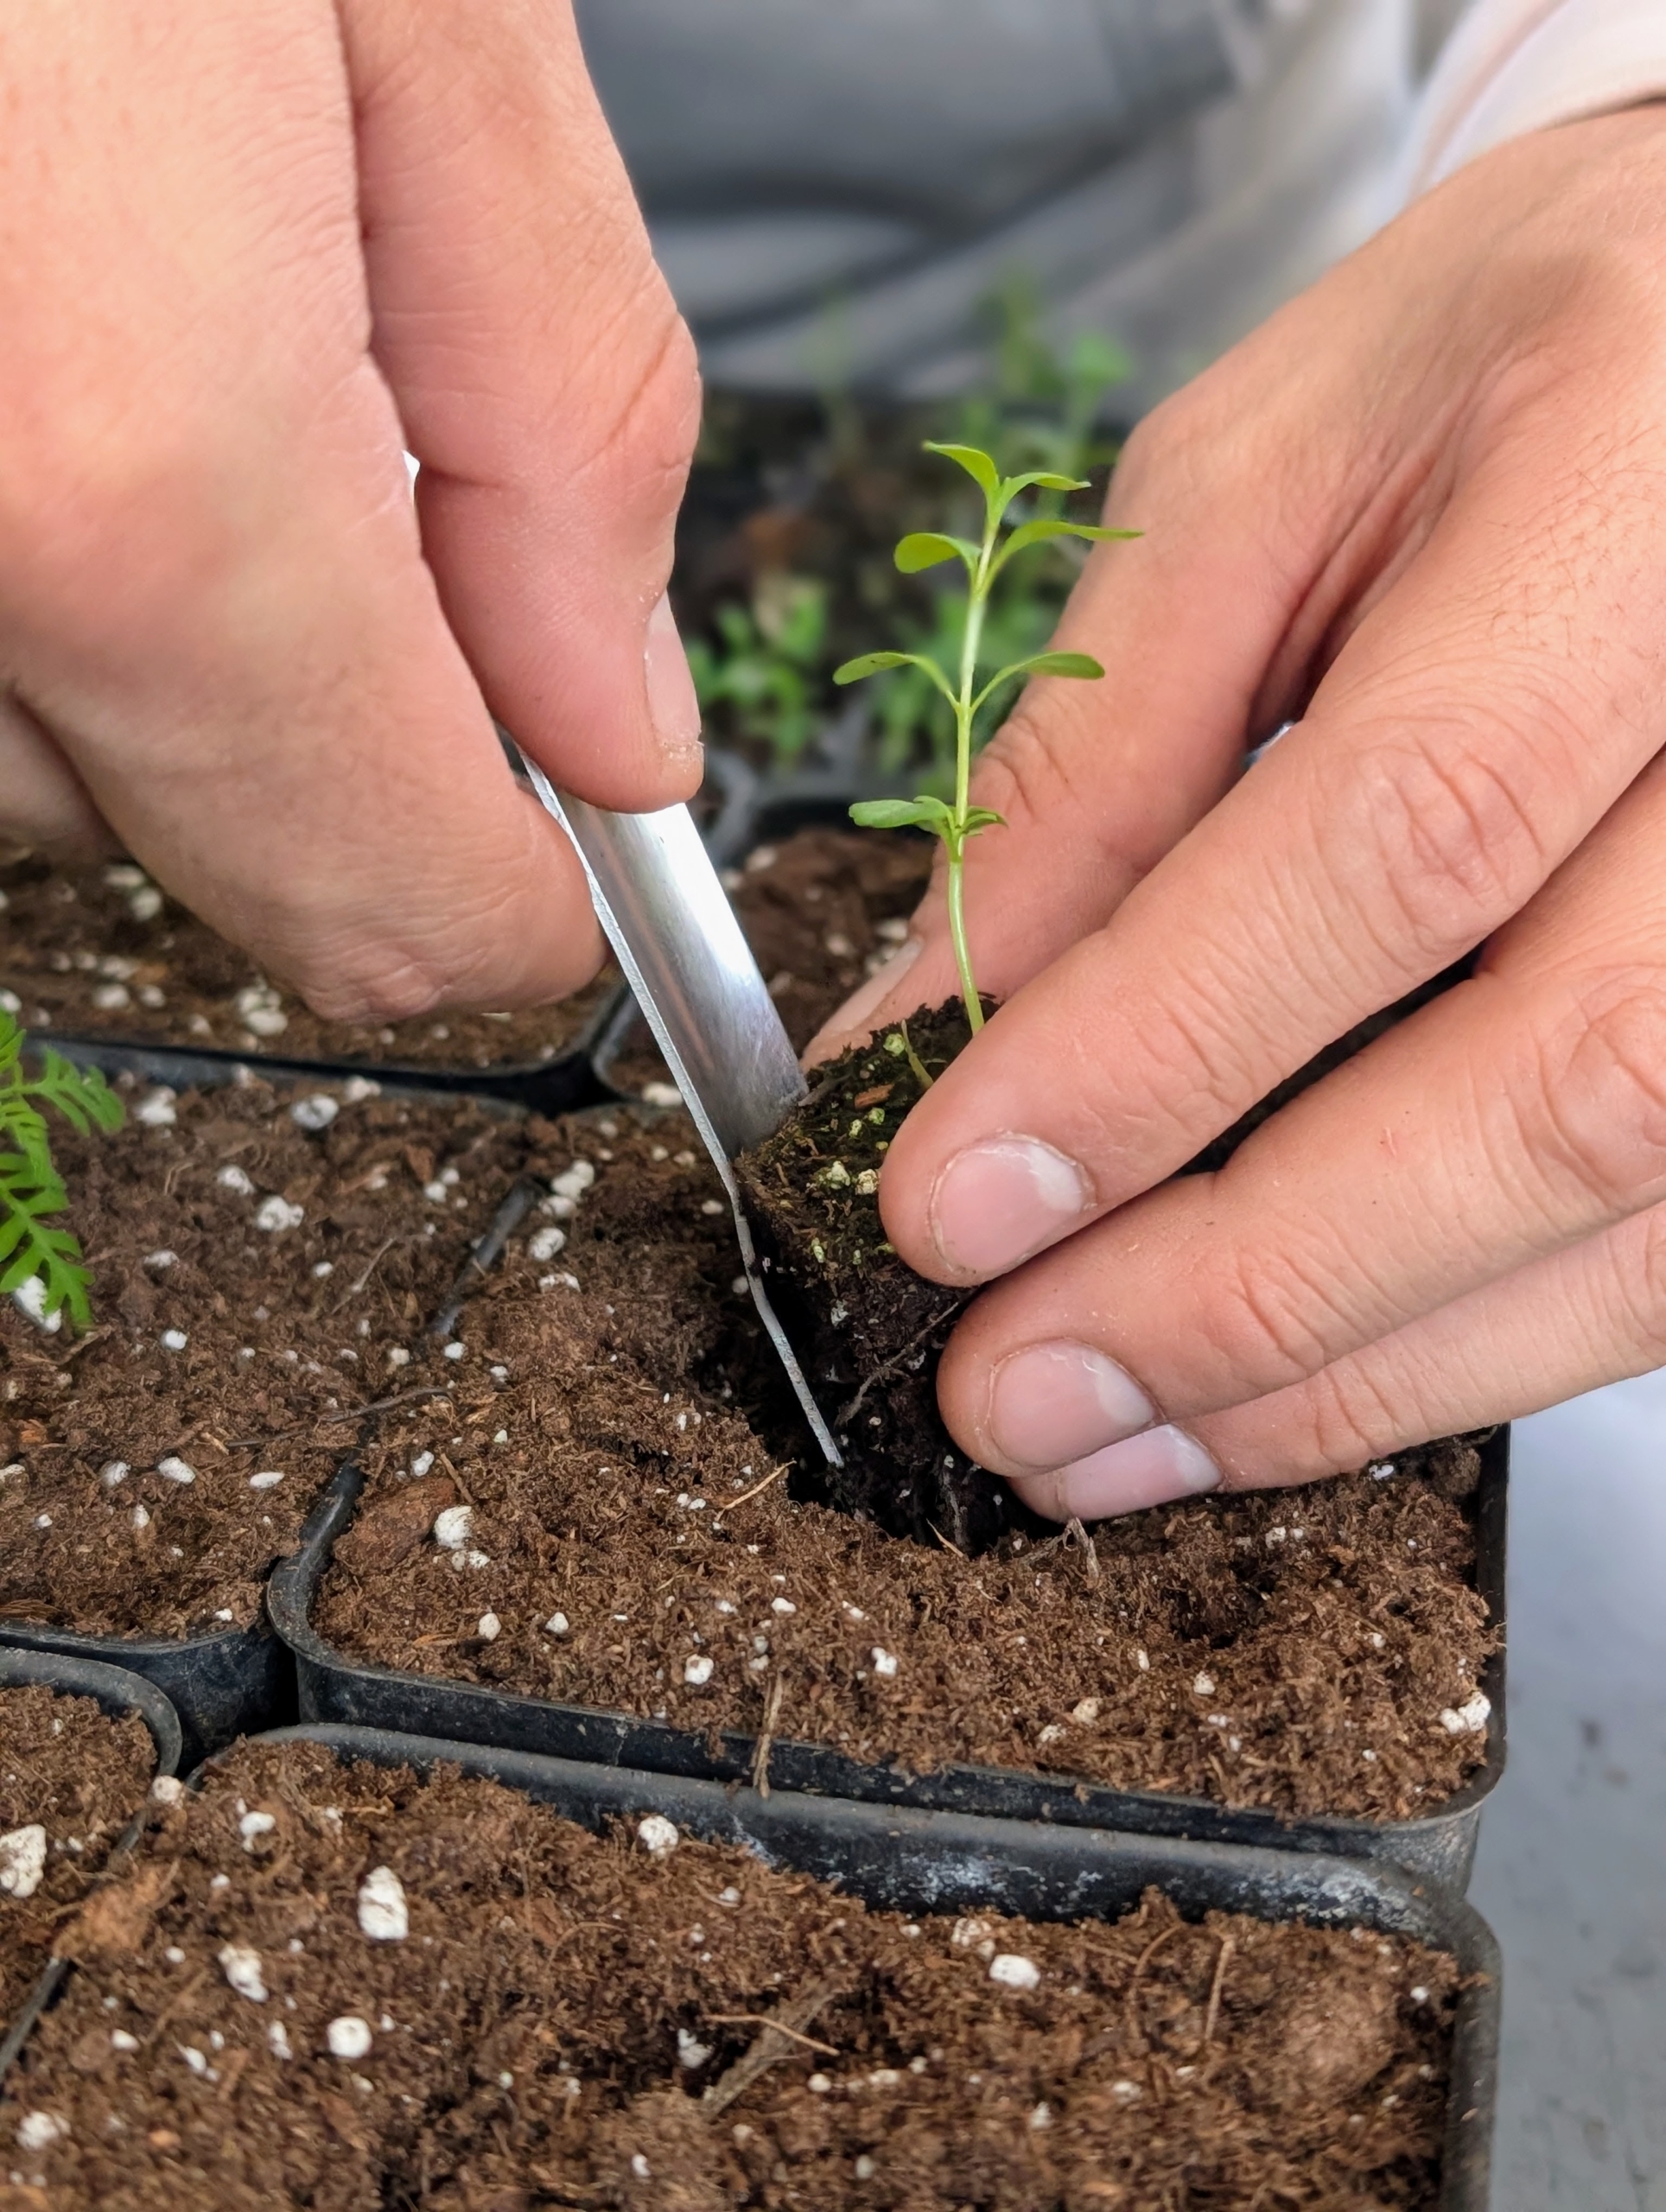
- This is a great multipurpose tool for seed starting – it’s from Johnny’s Selected Seeds. It’s called a widger. It has a convex stainless steel blade that delicately separates seedlings.
-
- When it is time to move a seedling, carefully loosen the soil around the seedling with the widger. The widger also helps to avoid damage to the plant’s leaves, or roots.
-
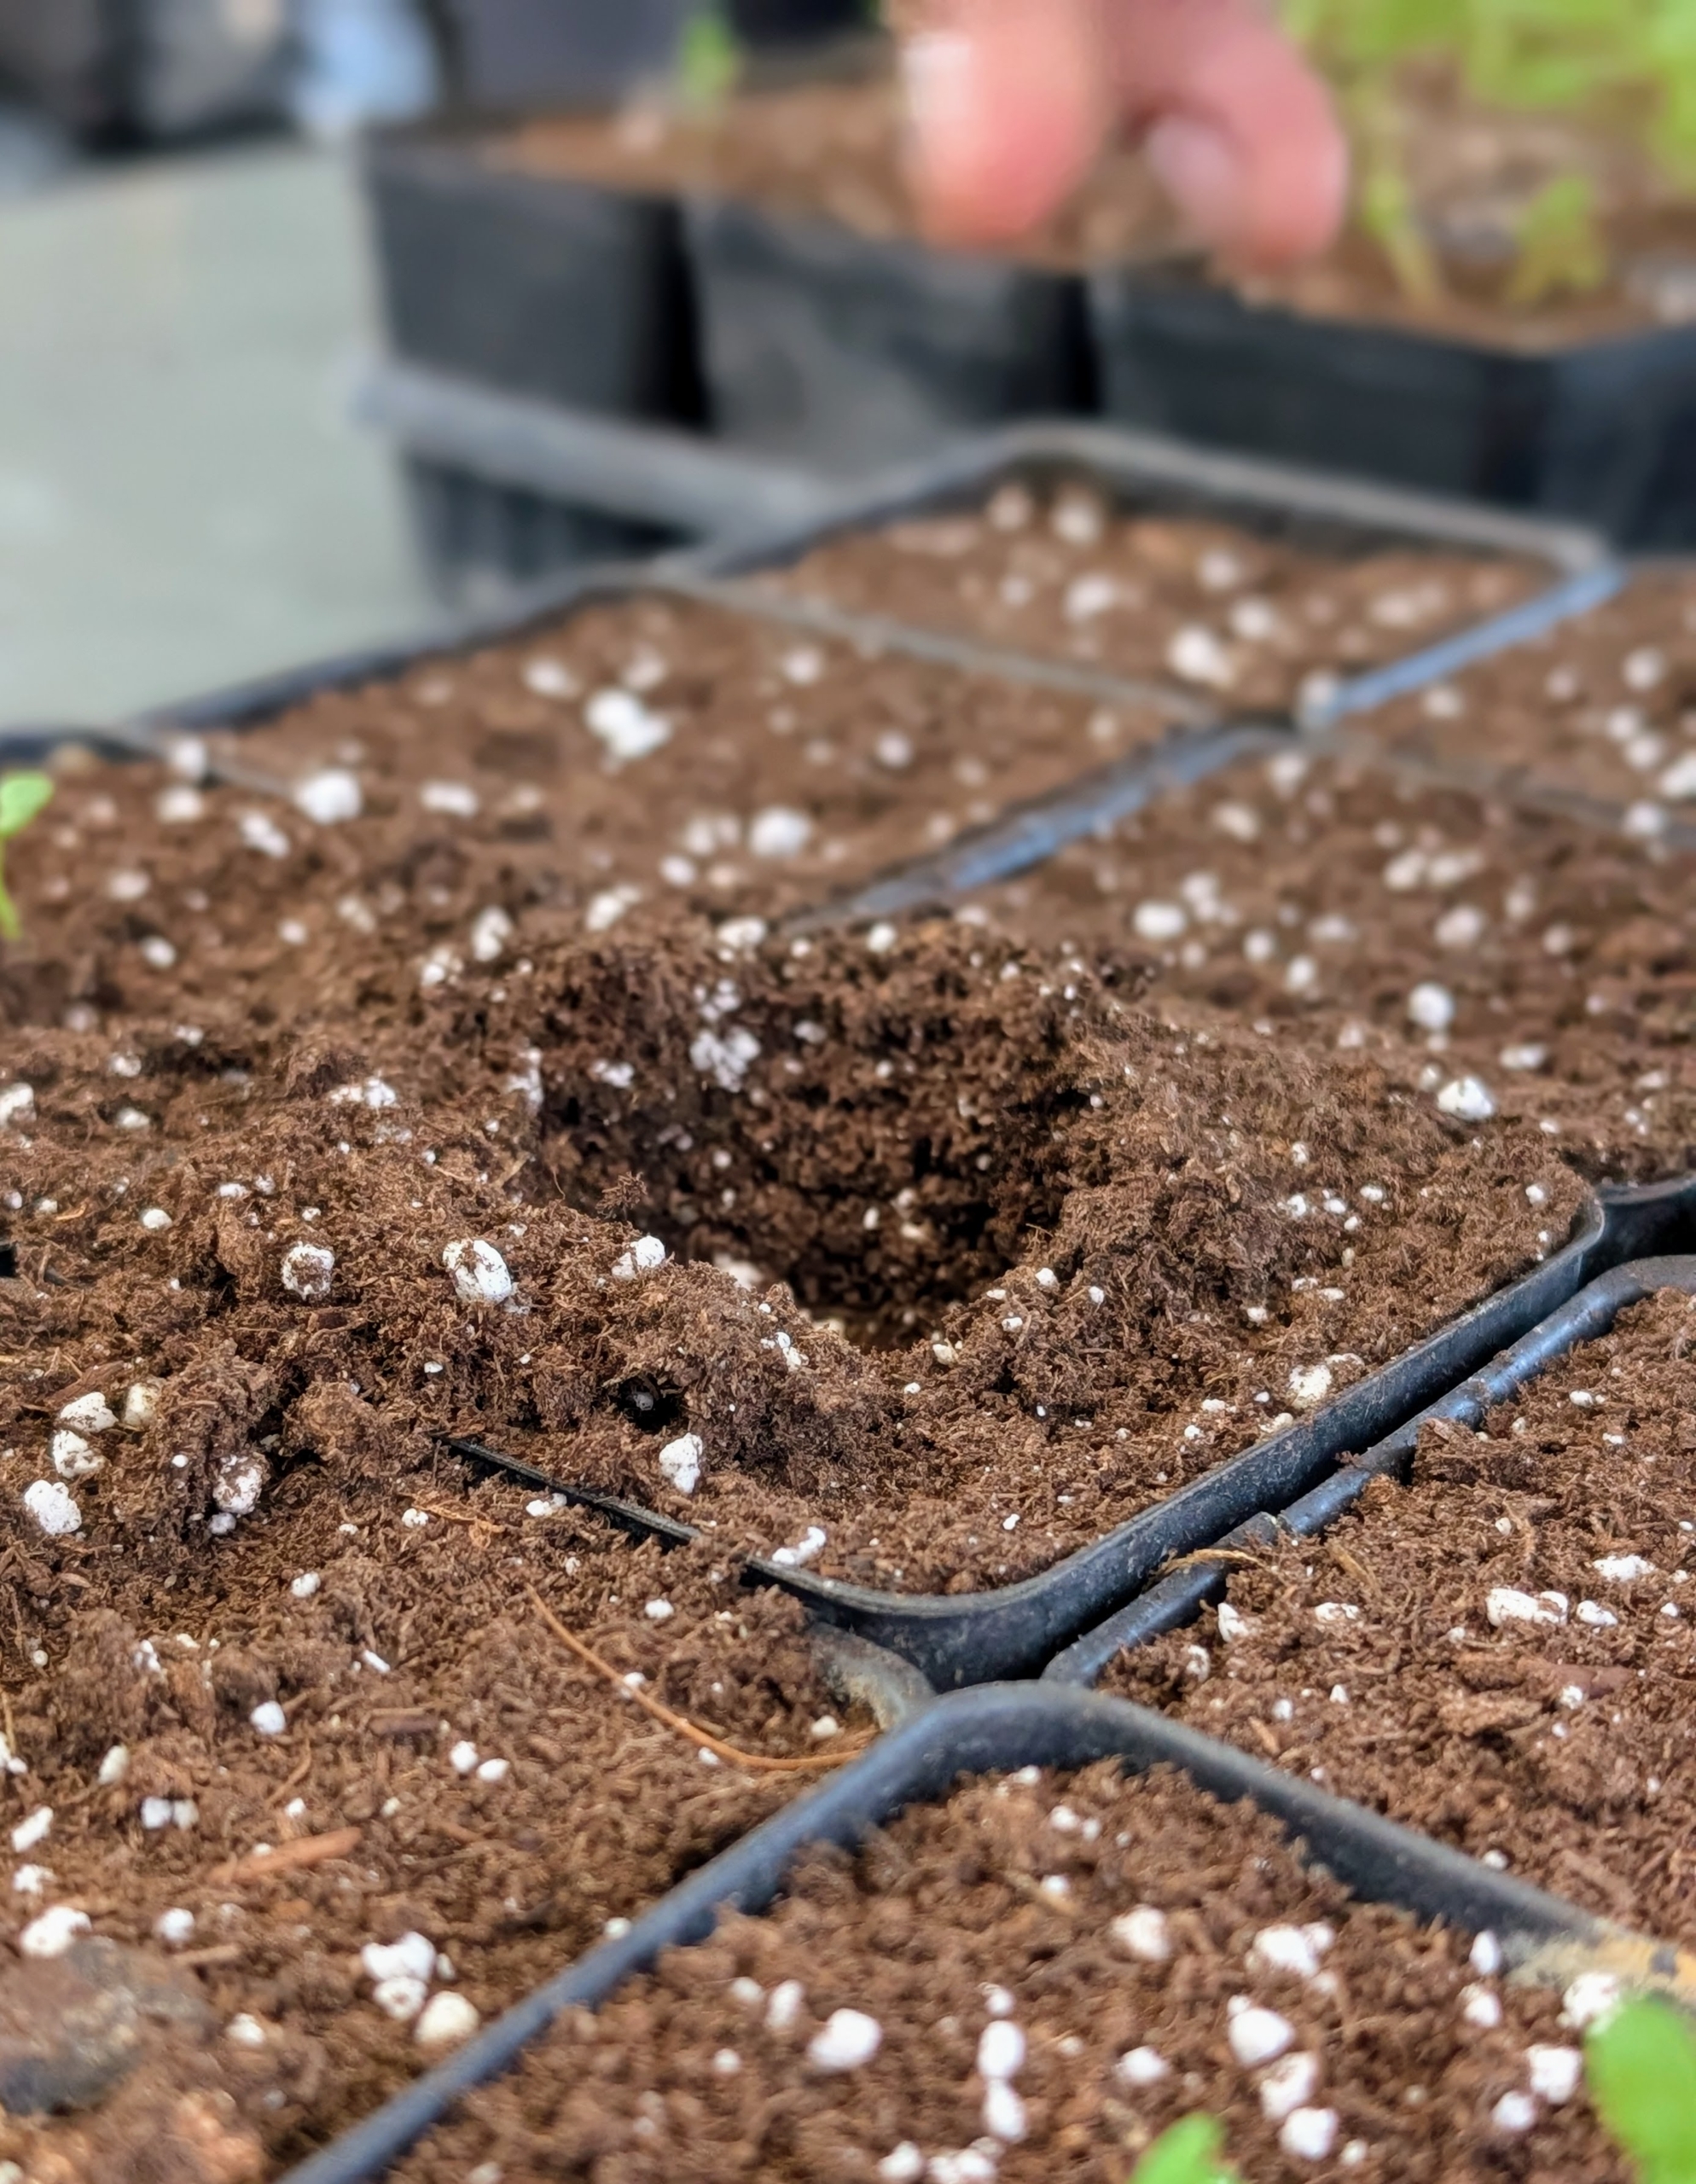
- Using fingers or the end of a thick marker pen, make a hole in the center of each larger, pot or tray cell. The soil mix is very soft.
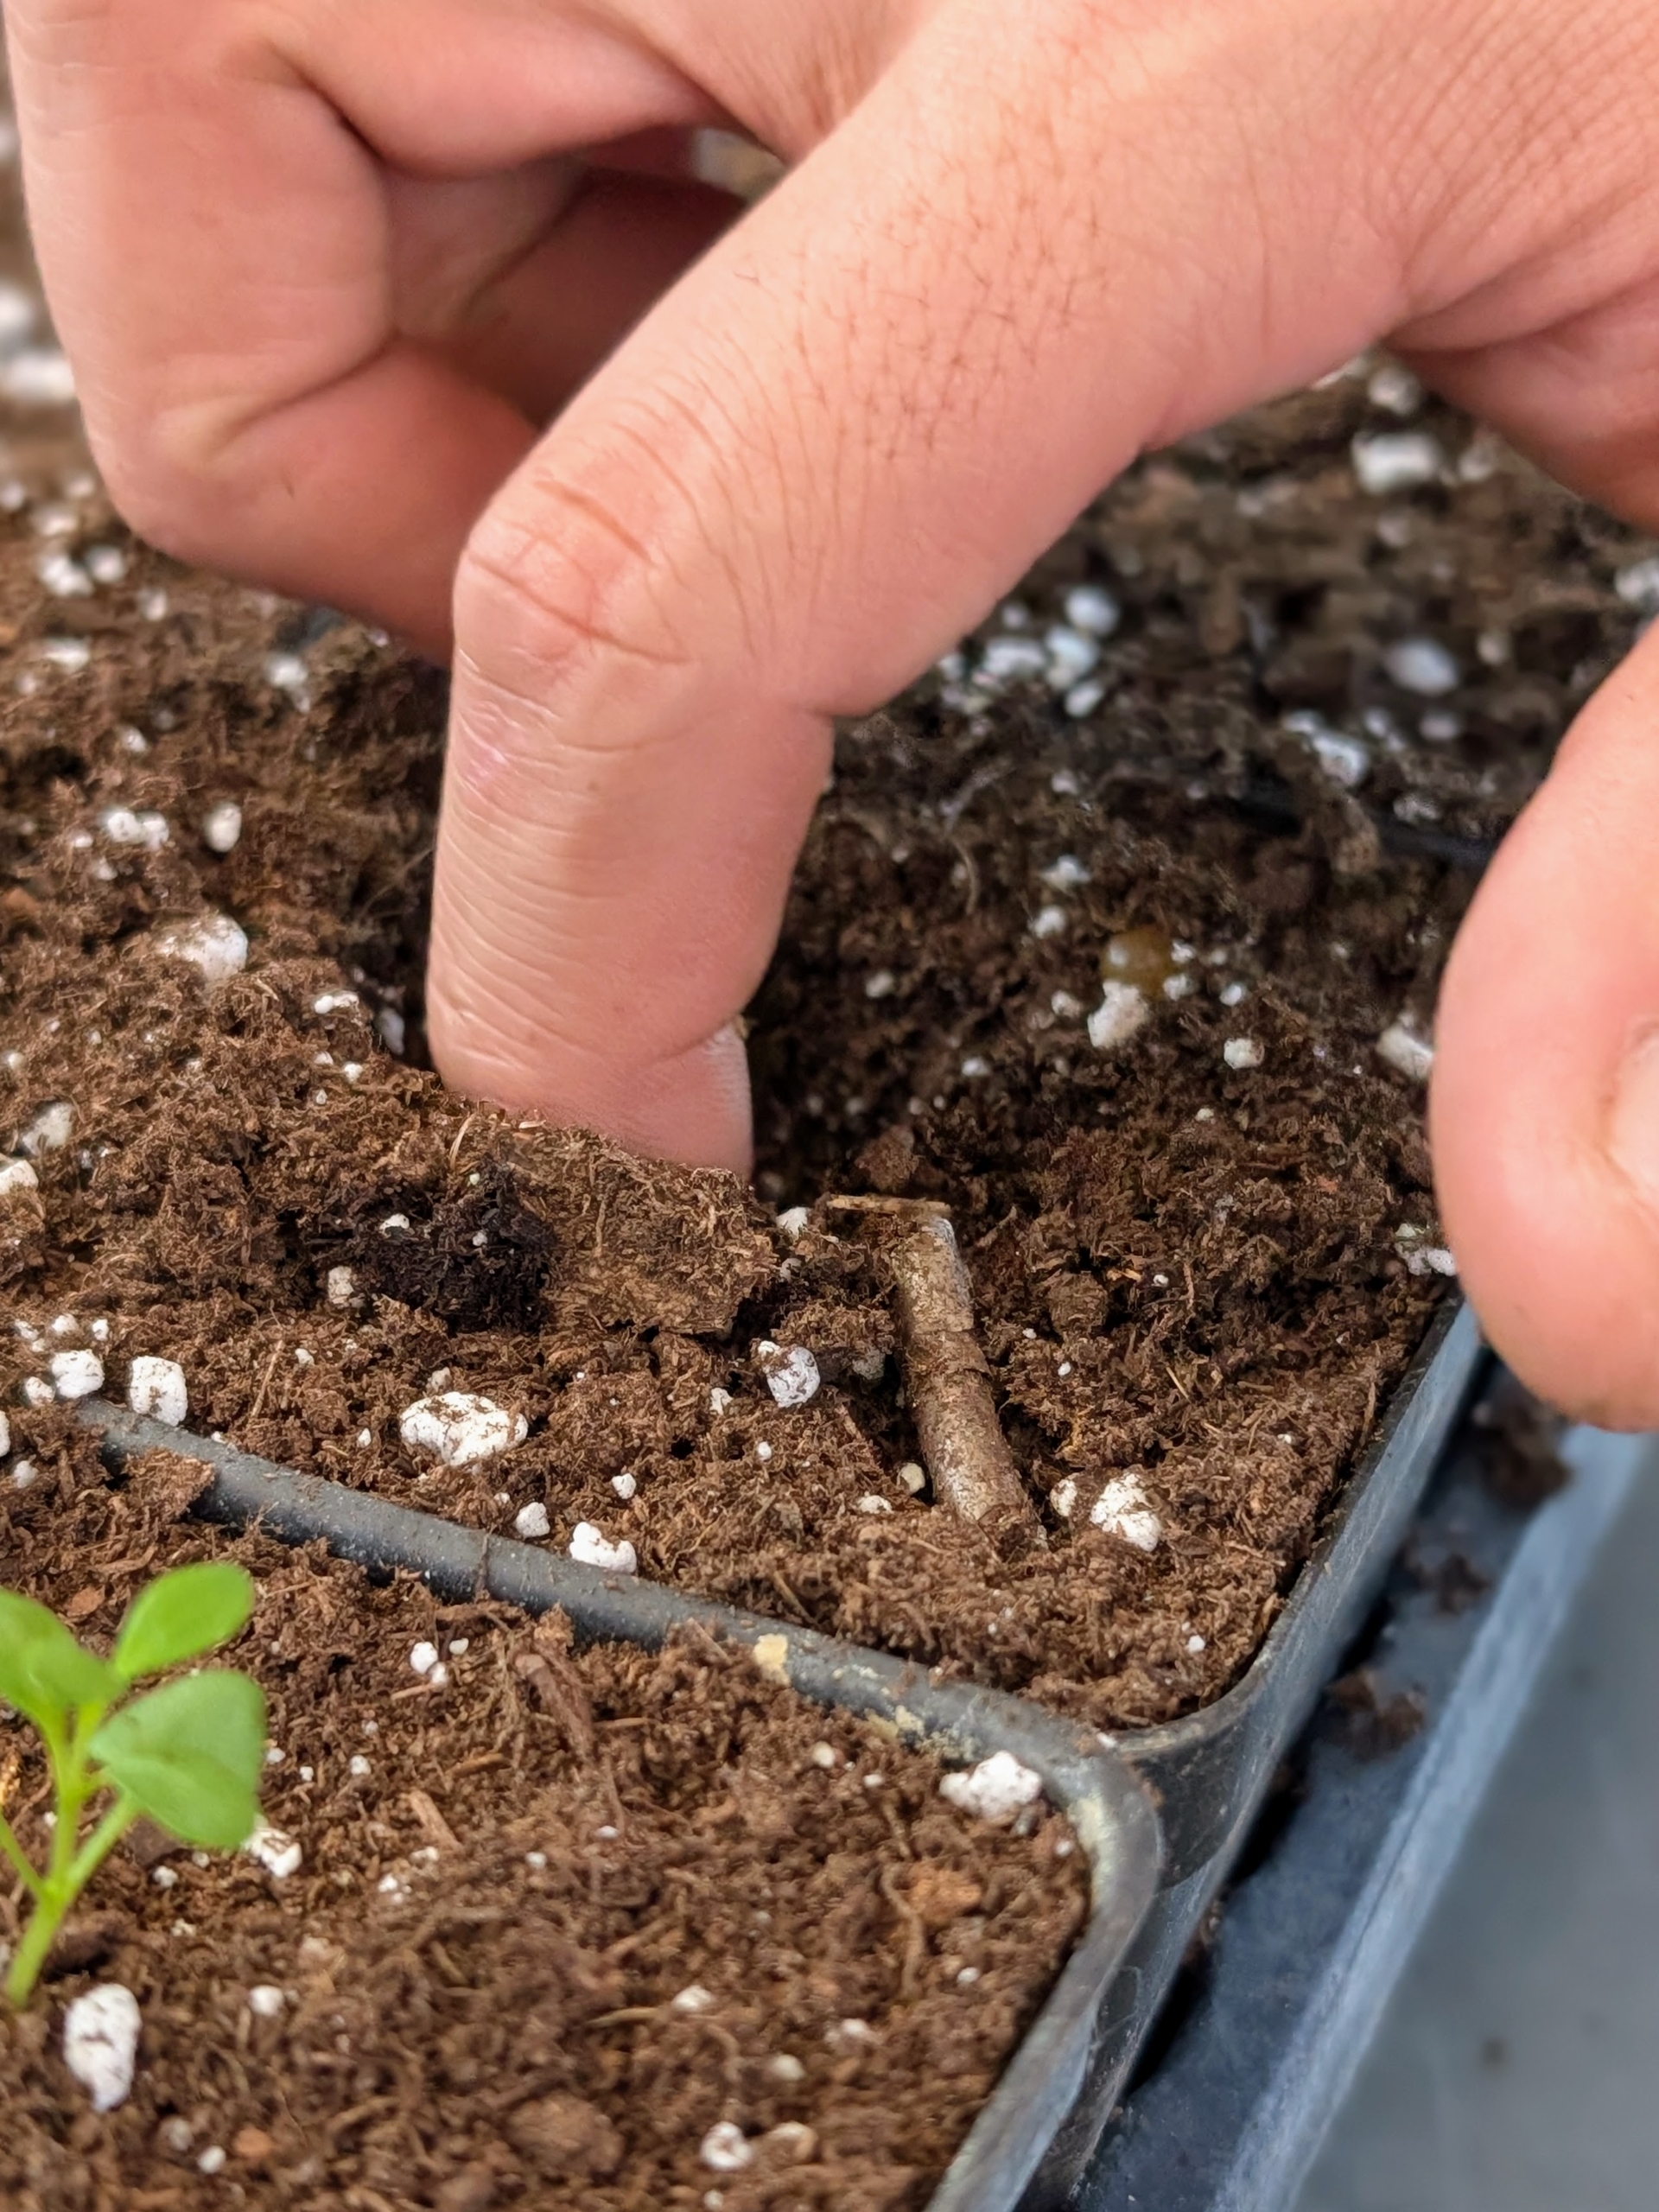
-
- The hole just needs to be big enough for the seedling root ball.
-
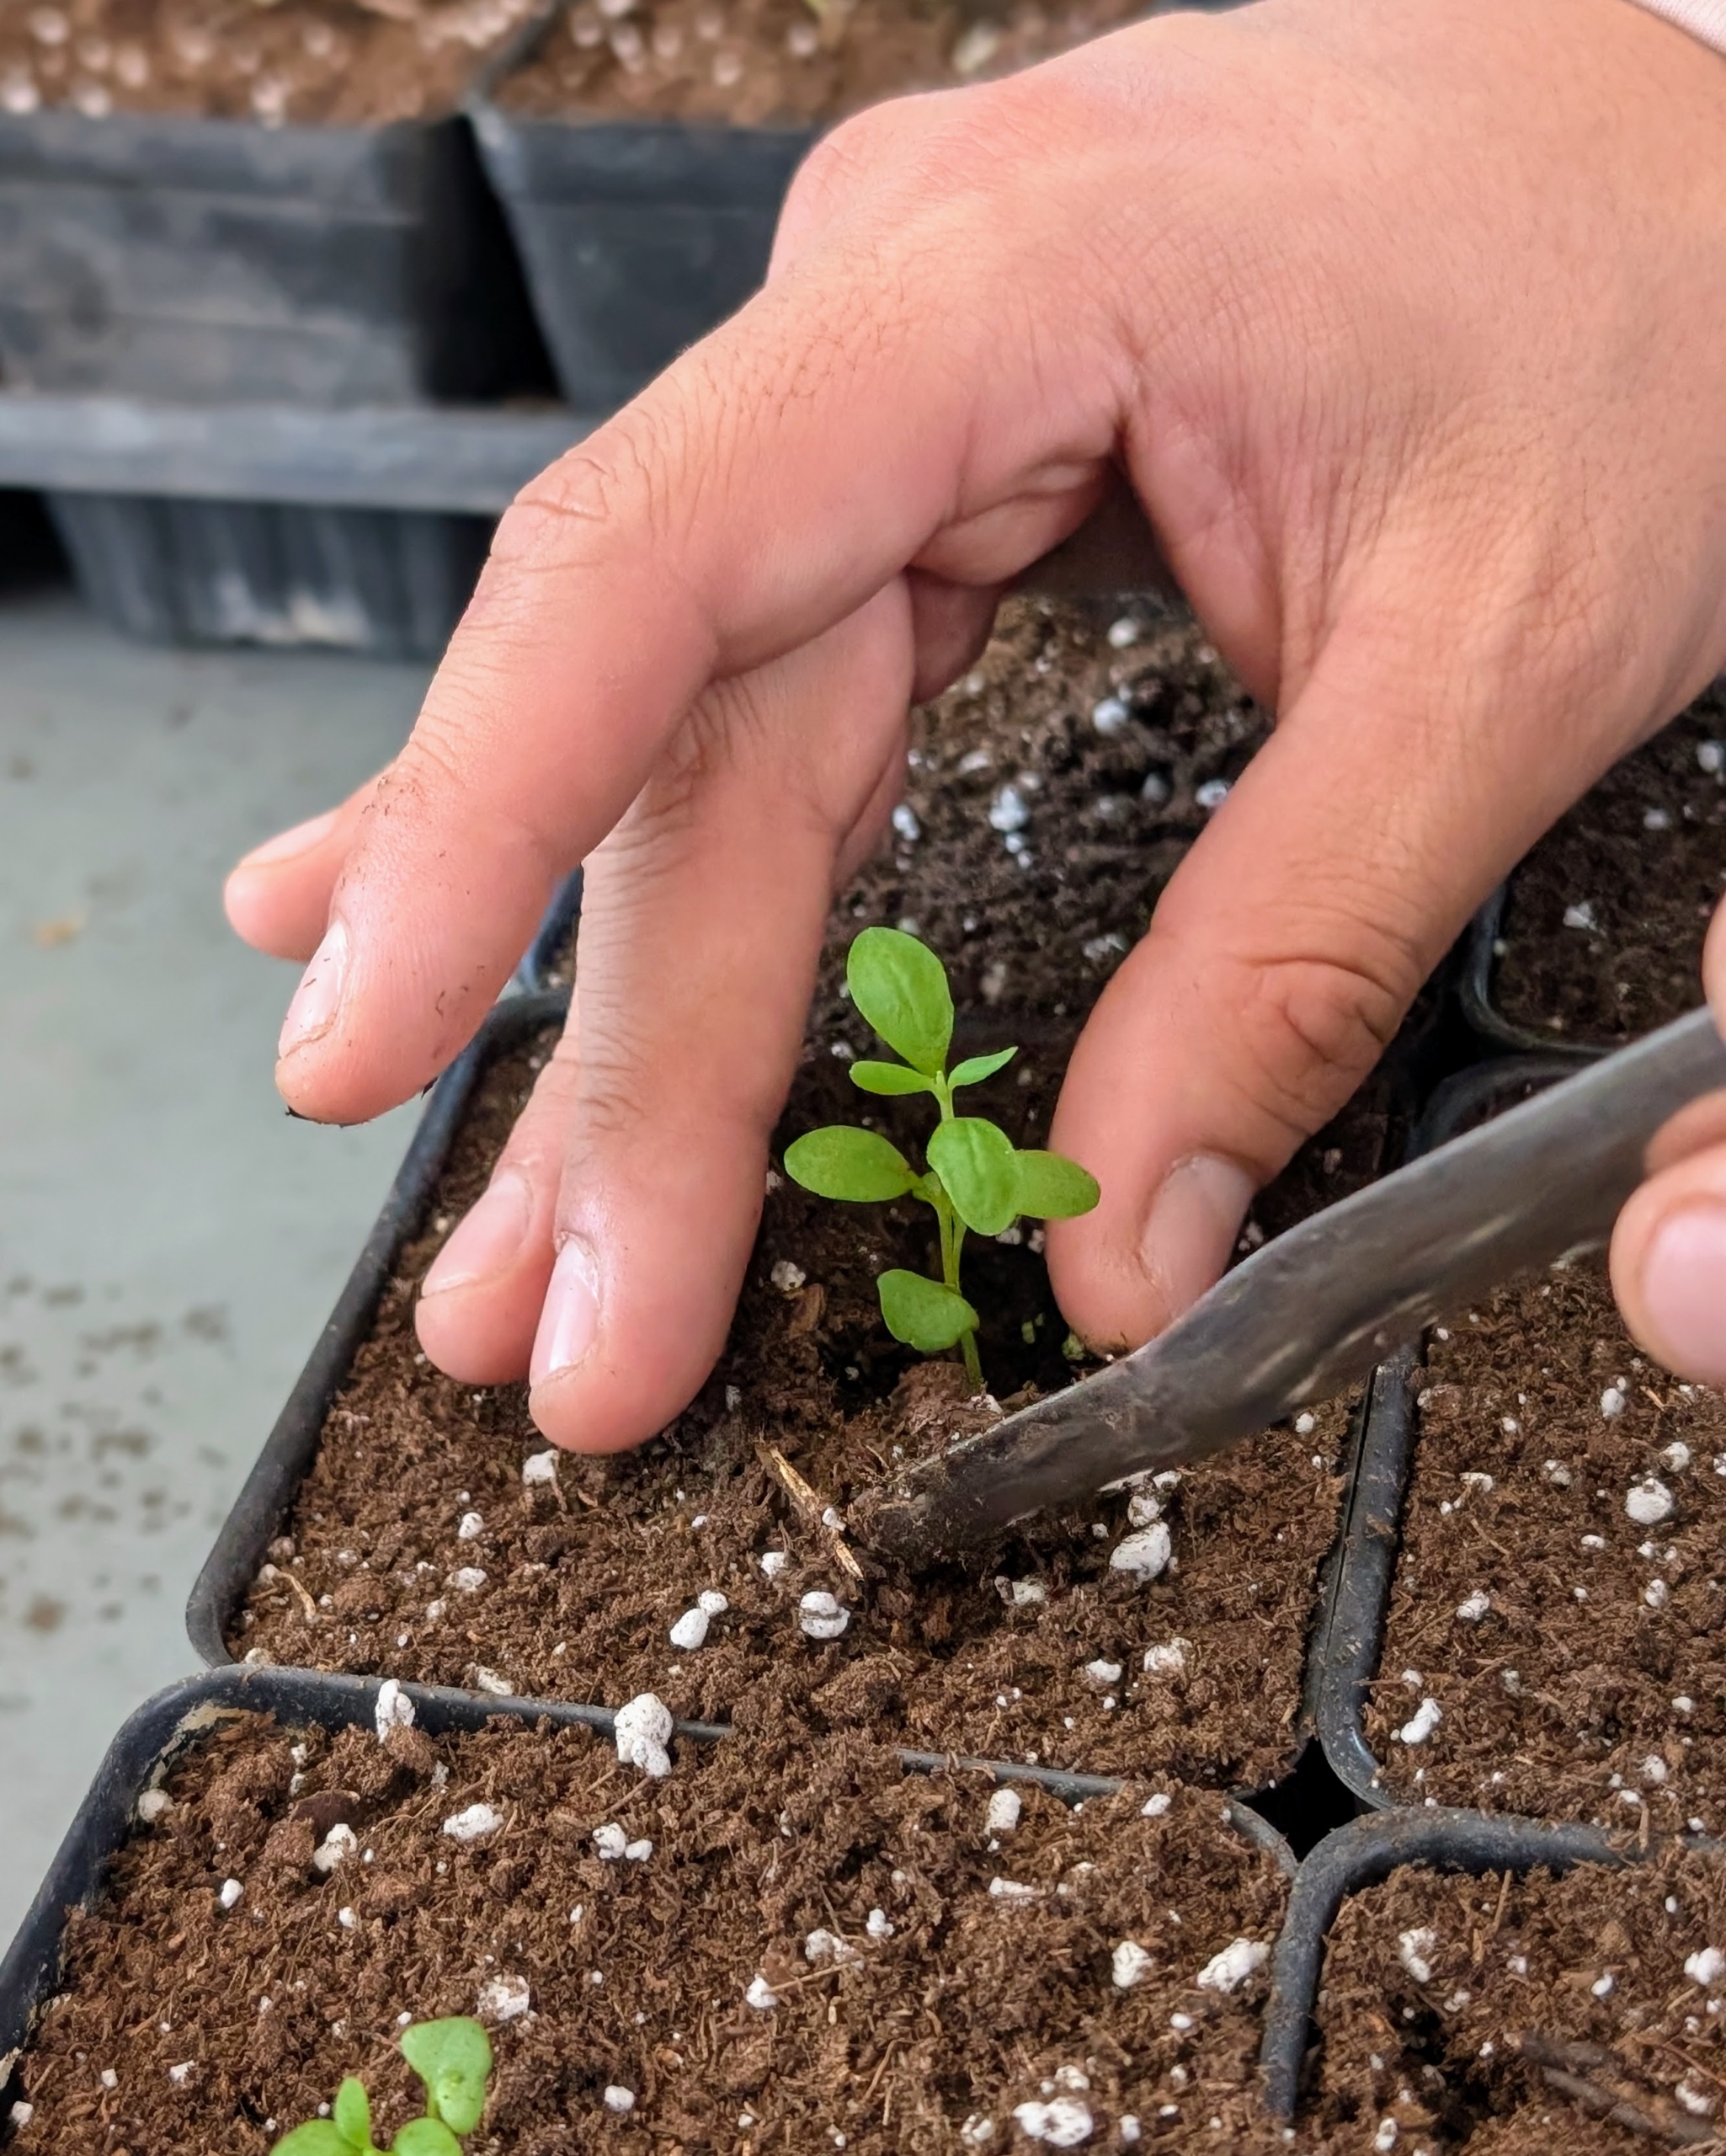
- My gardening helper, Matt, replants the seedling into its new pot.
-
- The seedling is planted as deep as it was in its previous tray cell.
-
- And then the surrounding soil is tamped down lightly to ensure good contact and to remove any air pockets. Avoid handling the seedling by its tender stems, which can bruise easily.
-
- The purpose of transplanting is to provide enough room – overcrowding can stress the sprouts.
-
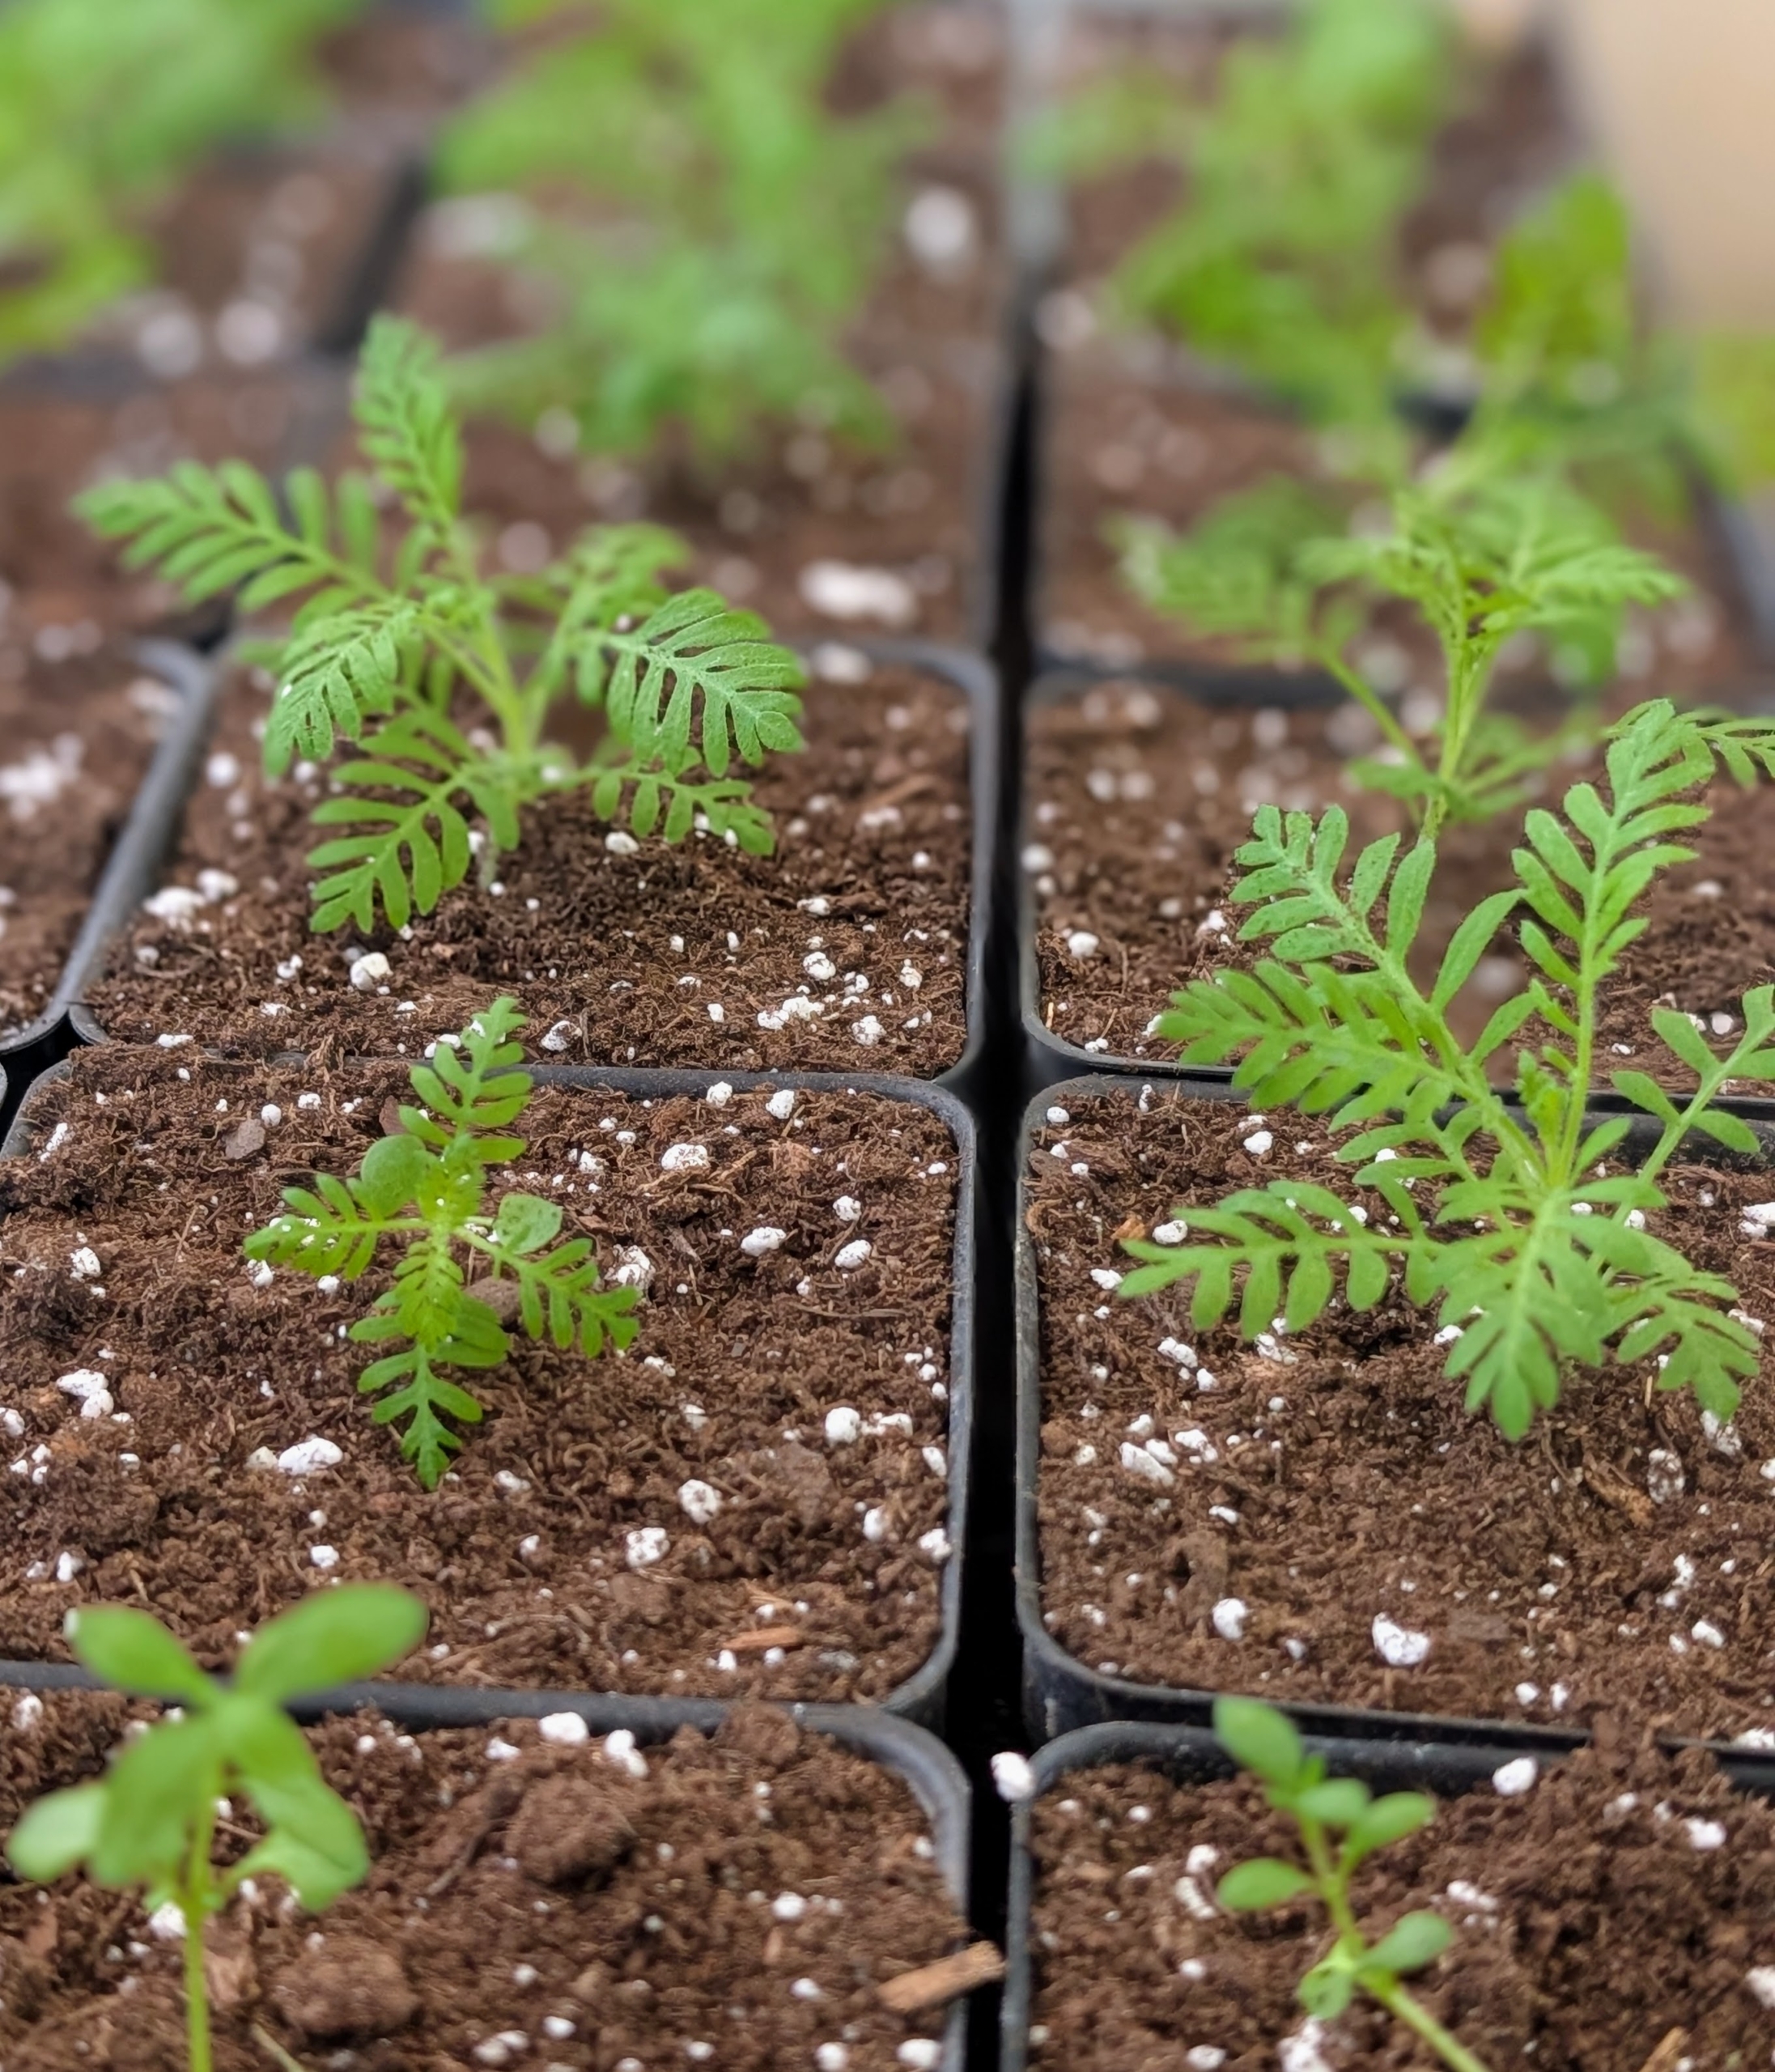
- These seedlings now have more space for root development and look more organized.
-
- Once seedlings are transferred and fed, they’re given a good drink of water and returned to the greenhouse to continue growing. The trays are placed on a heat mat specifically designed for seedlings. It warms the area and helps to improve root growth.
-
- There’s always a lot of work to do in my greenhouse. It’s so nice to be able to grow vegetables and flowers from seed during these winter months. It won’t be long before they are all ready to be moved outdoors and planted in the gardens.