Installing Fountains at the Farm
I’m always thinking of interesting and exquisite ways to update my gardens.
Recently, I decided to change the appearance of the lower terrace parterre outside my Winter House Kitchen. I wanted to install two hand-casted antique fountains I purchased many year ago. I knew they would look perfect in this area and would provide a lovely setting for bathing birds. We asked the team from Aqua Scapes East right here in Katonah, New York to install the fountains using a low-maintenance kit that pumps the water through an underground reservoir. It was a very interesting process.
Here are some photos - enjoy.
-

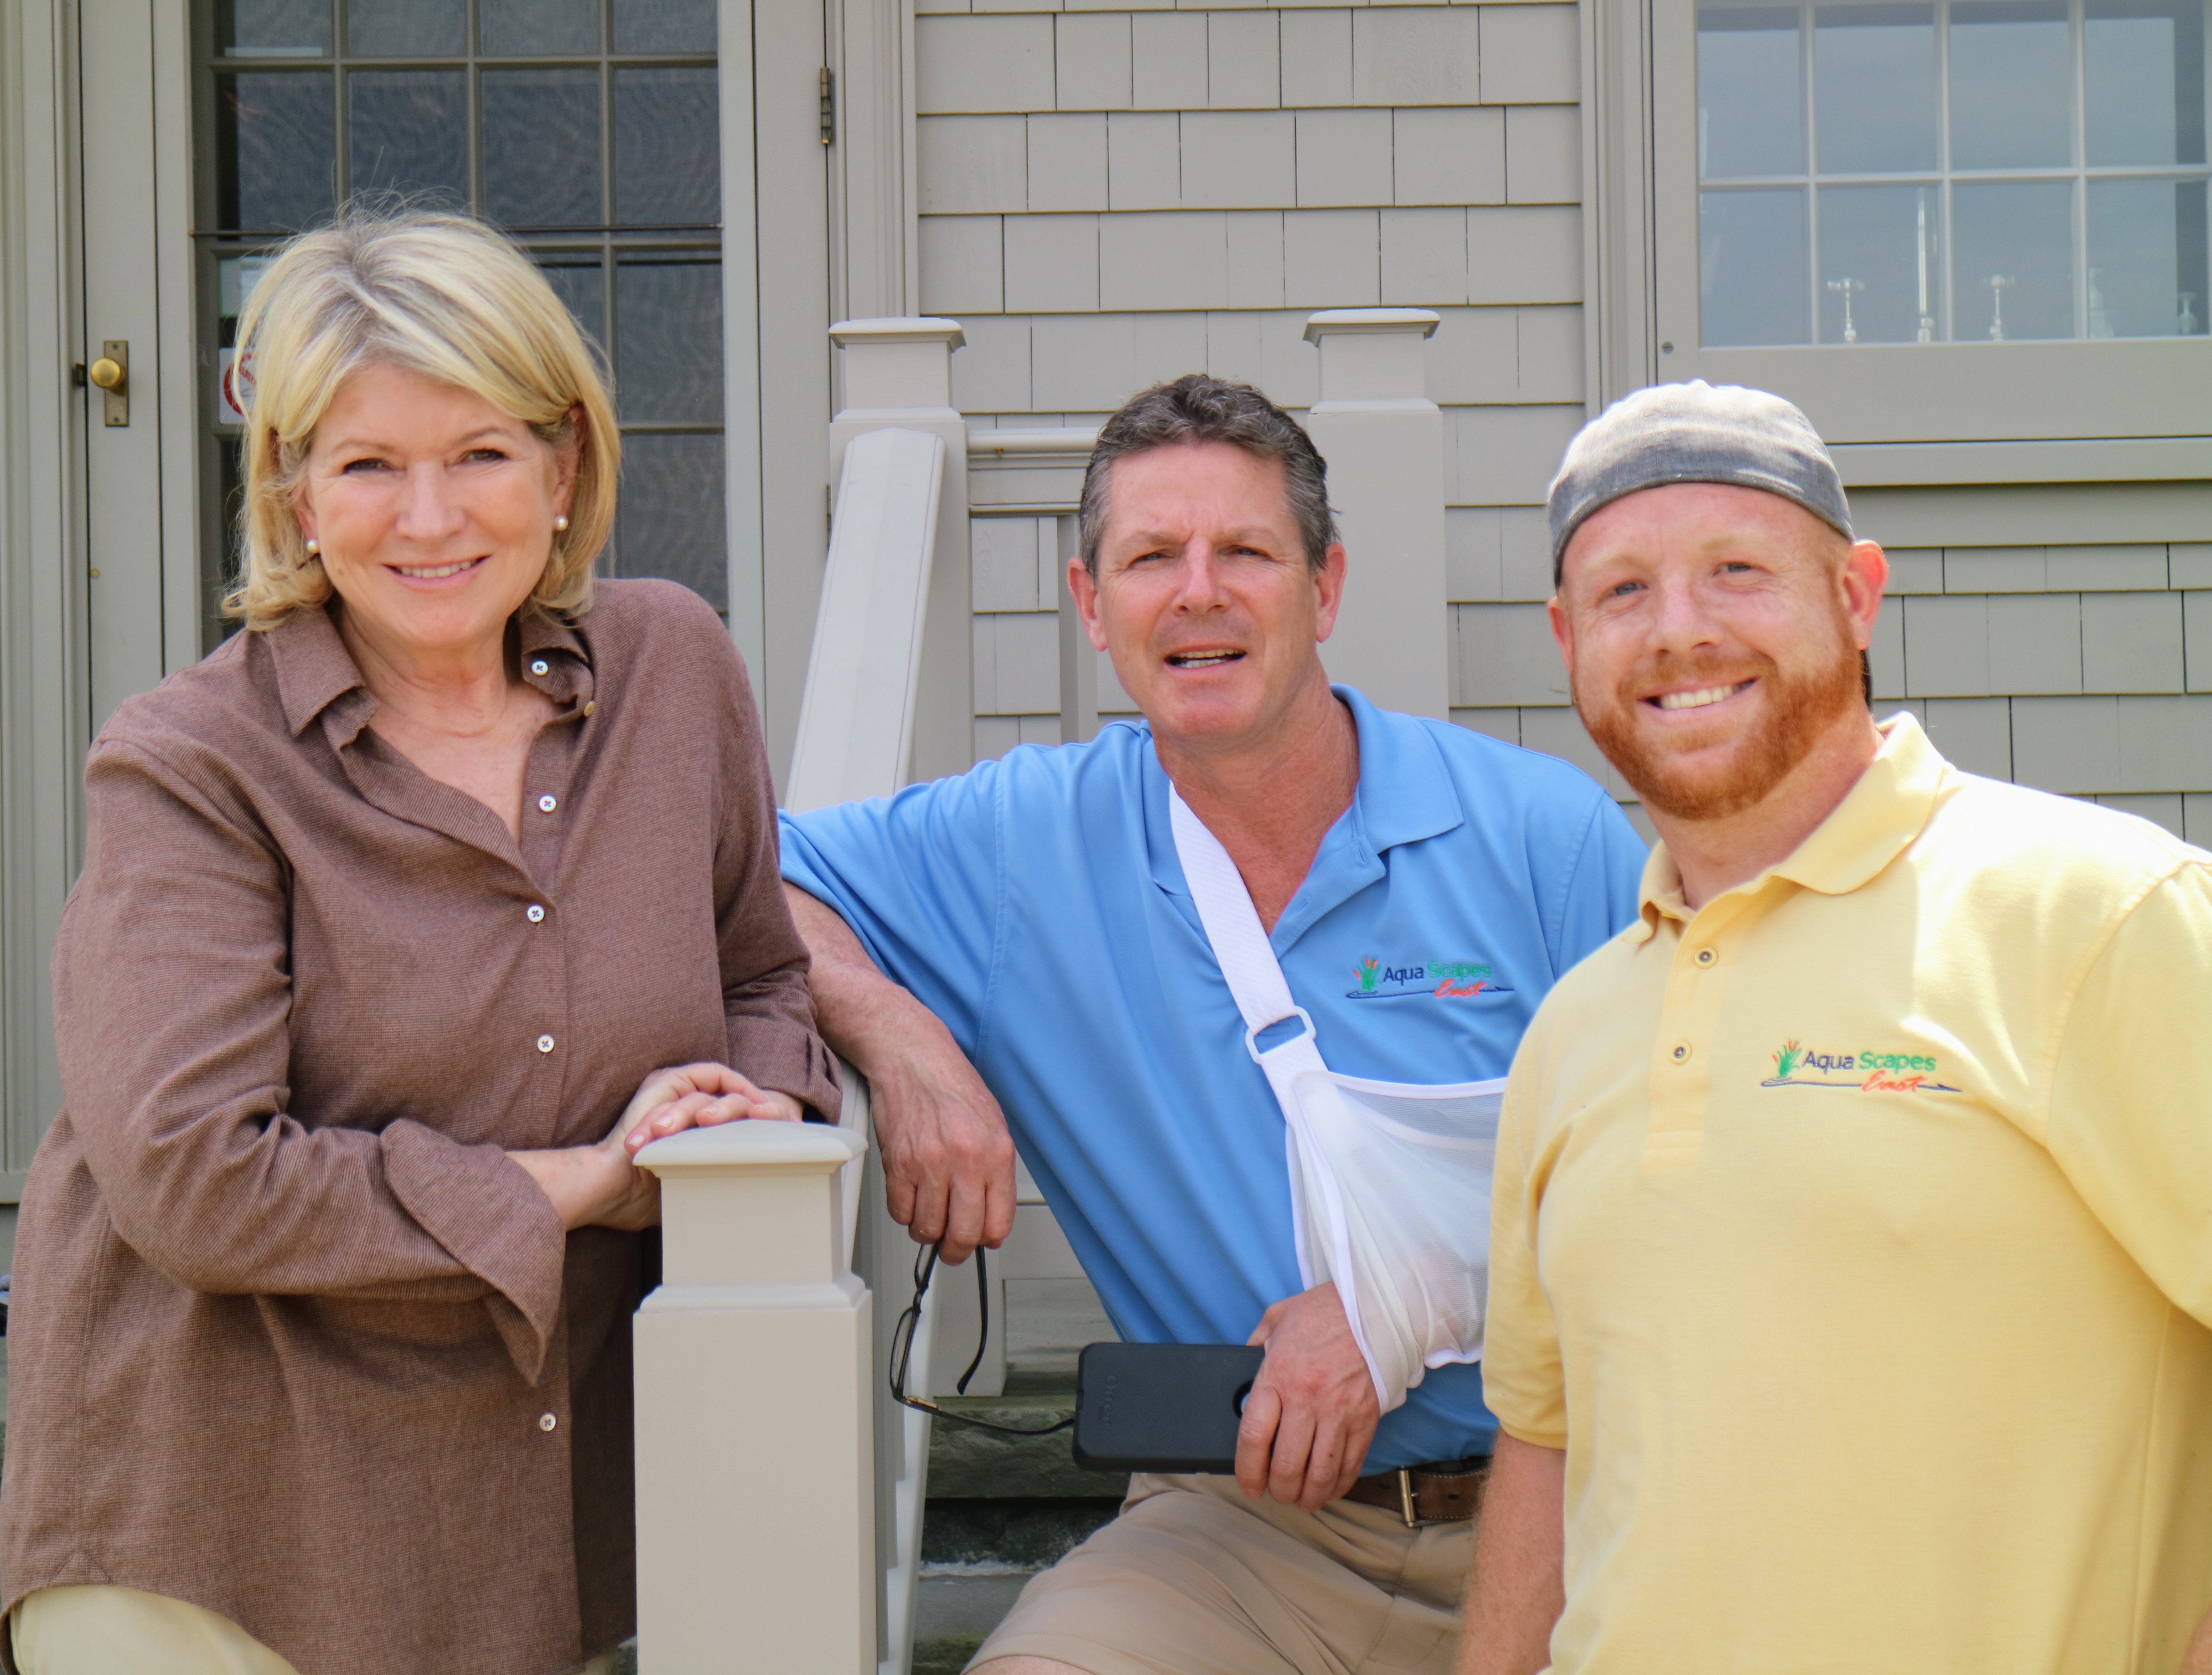
- Here I am on my terrace with owner and chief designer for Aqua Scapes East, Tom Dieck, and Dylan Arlotta, who led the fountain building and installation team. http://landscape4life.com/services/water-features
-
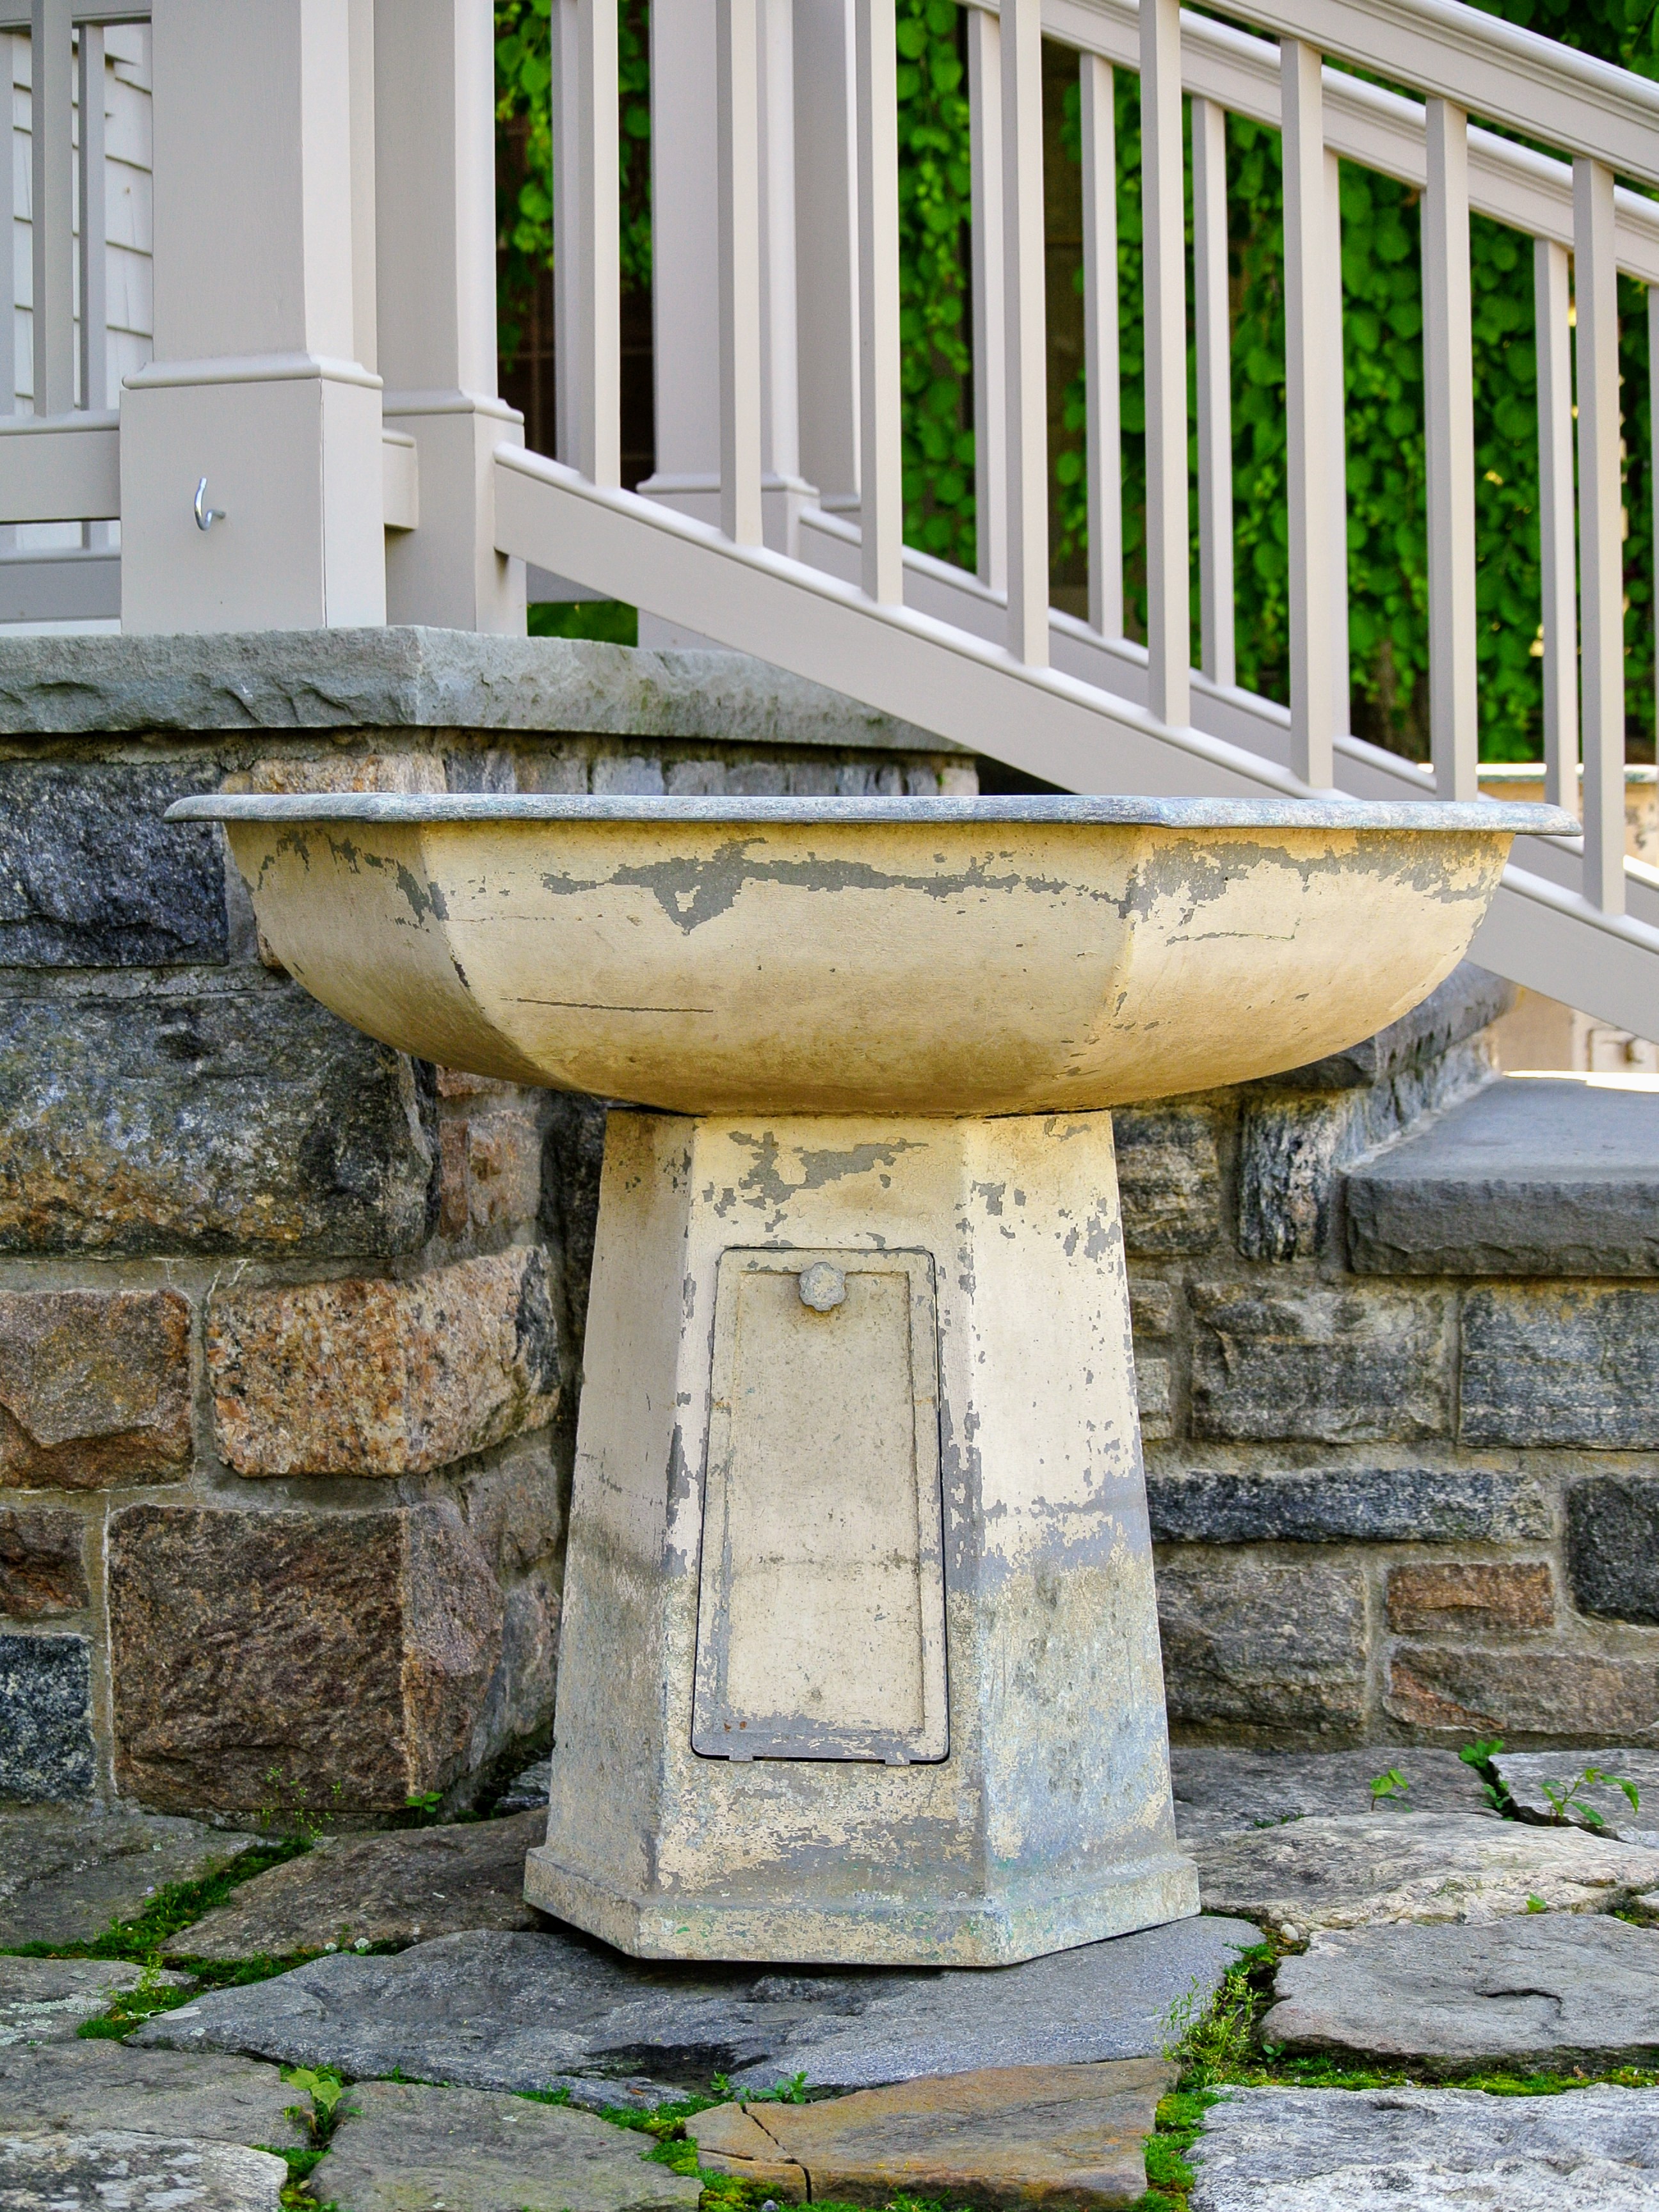
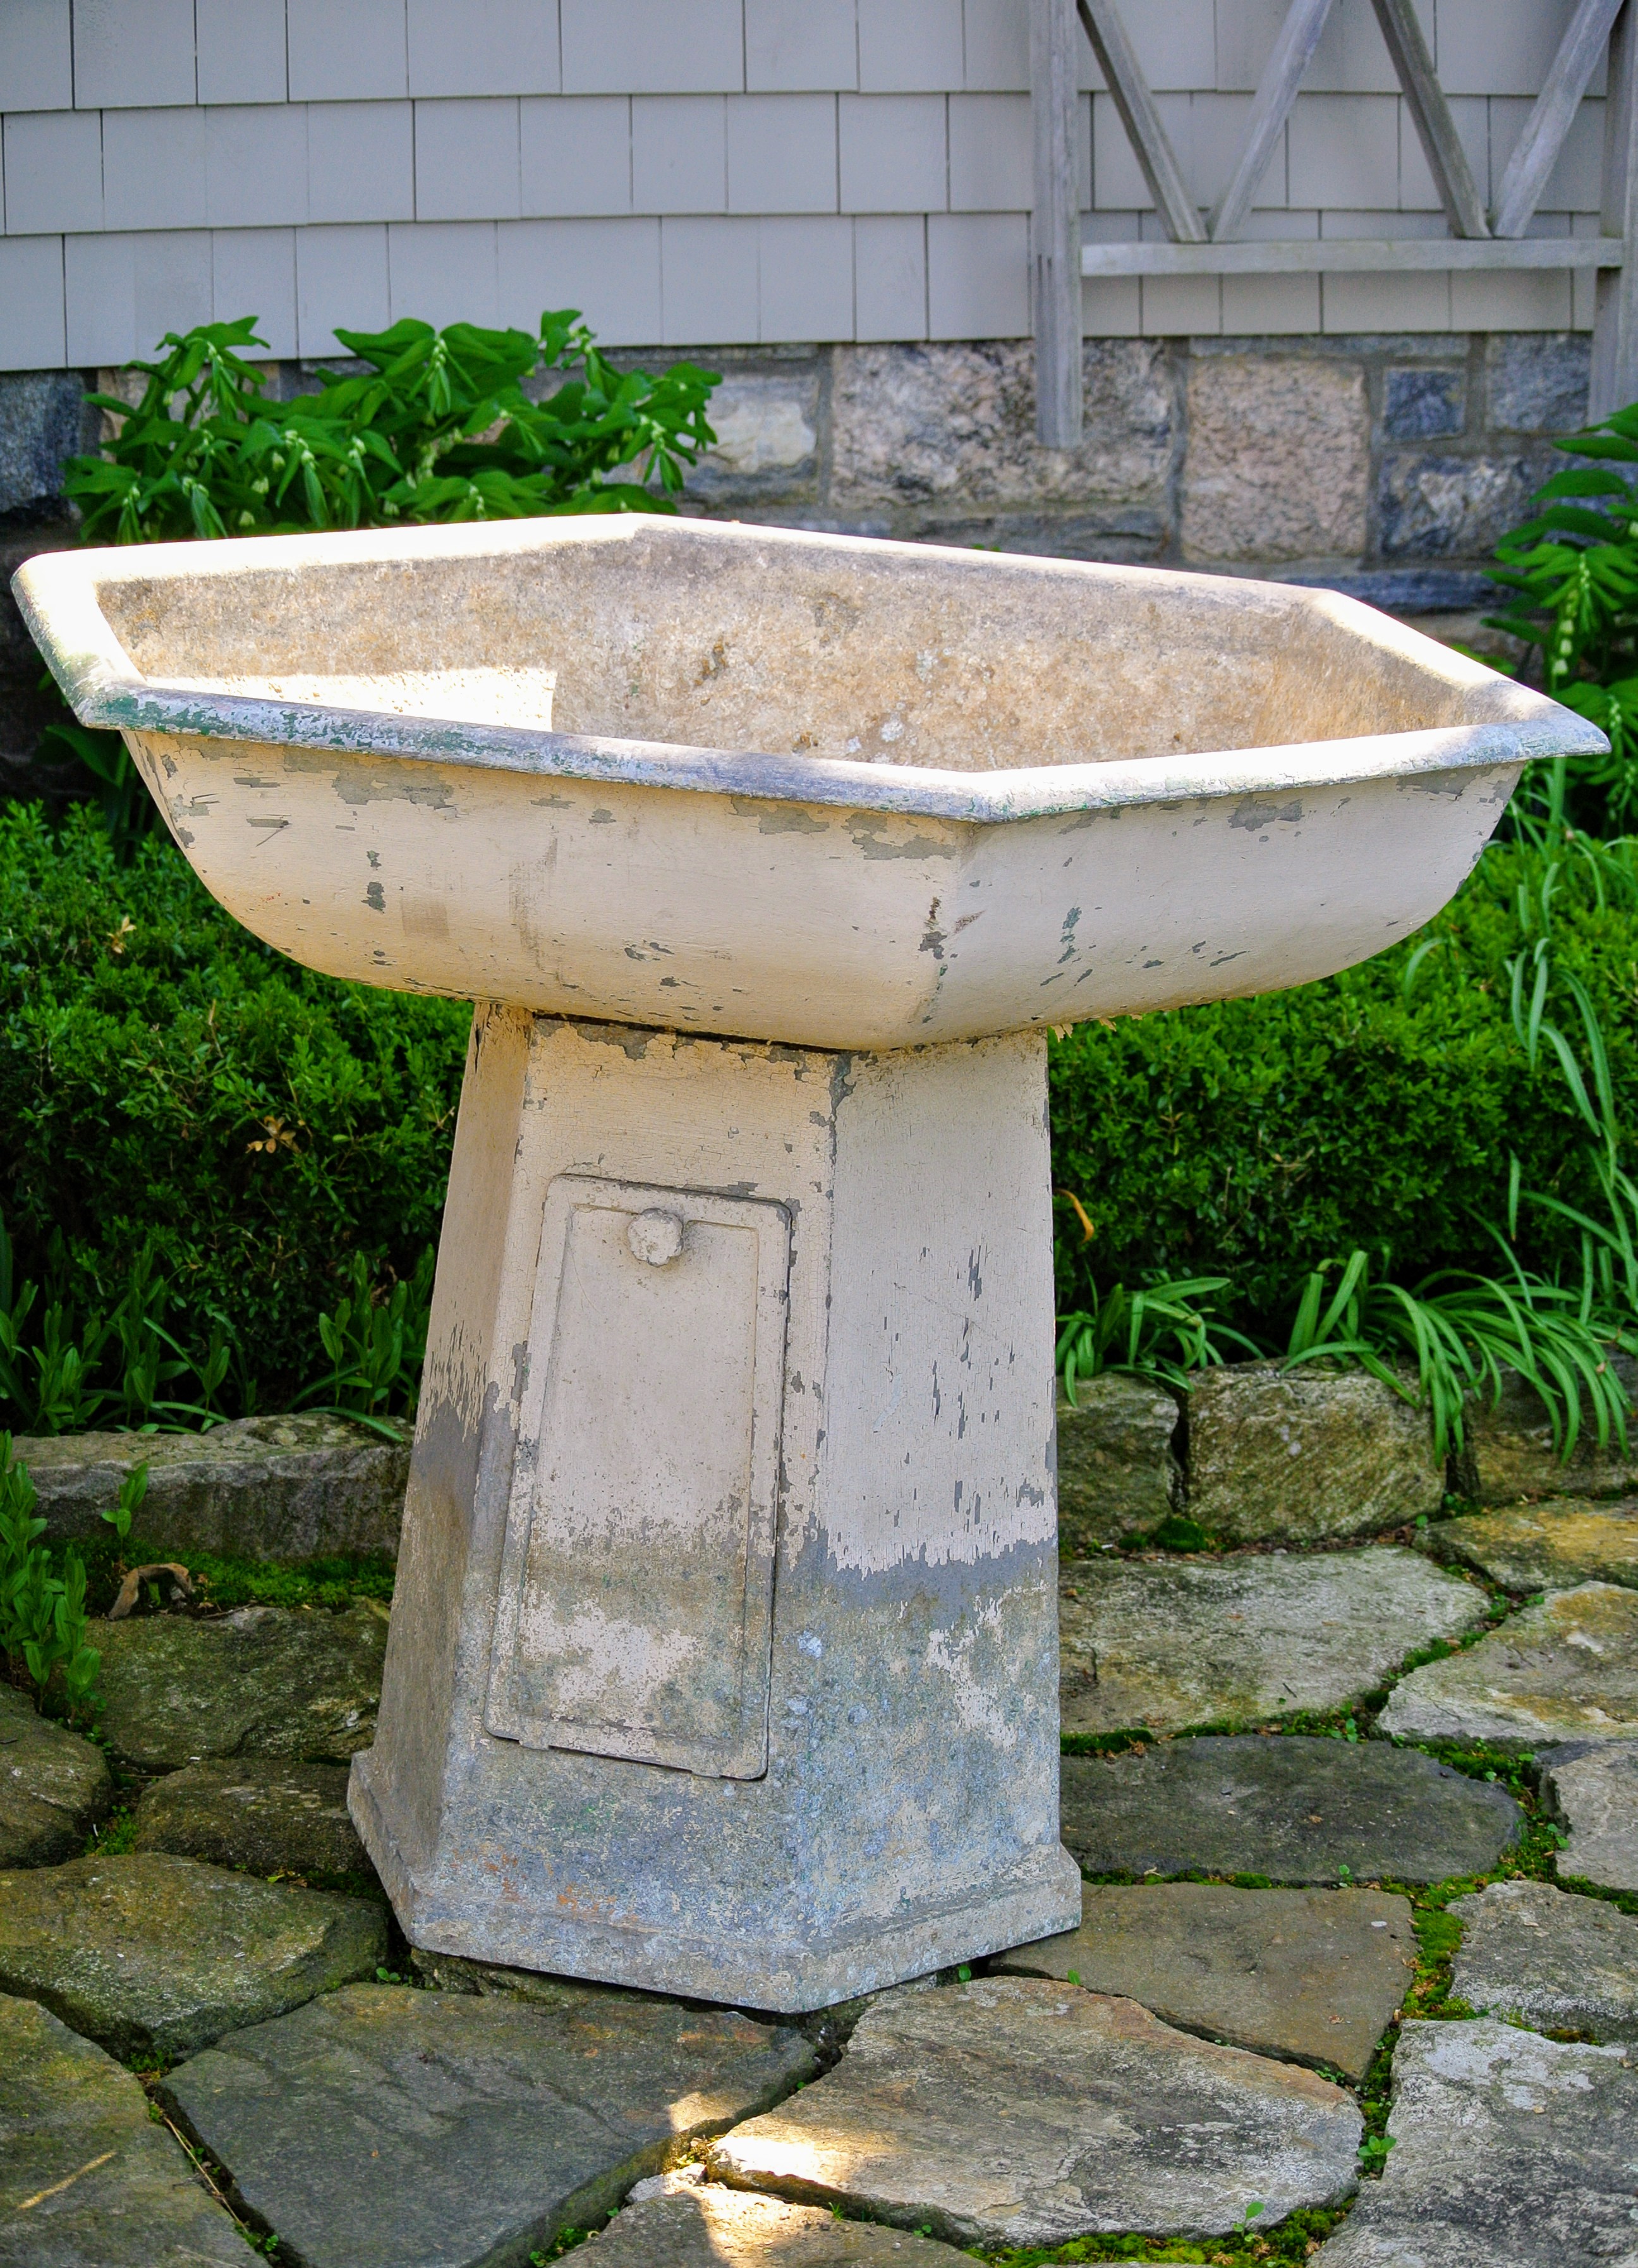
- Here is one of the two fountains I purchased about 20-years ago. Unfortunately, I don’t recall where I got them, so if you recognize them, please let me know.
-
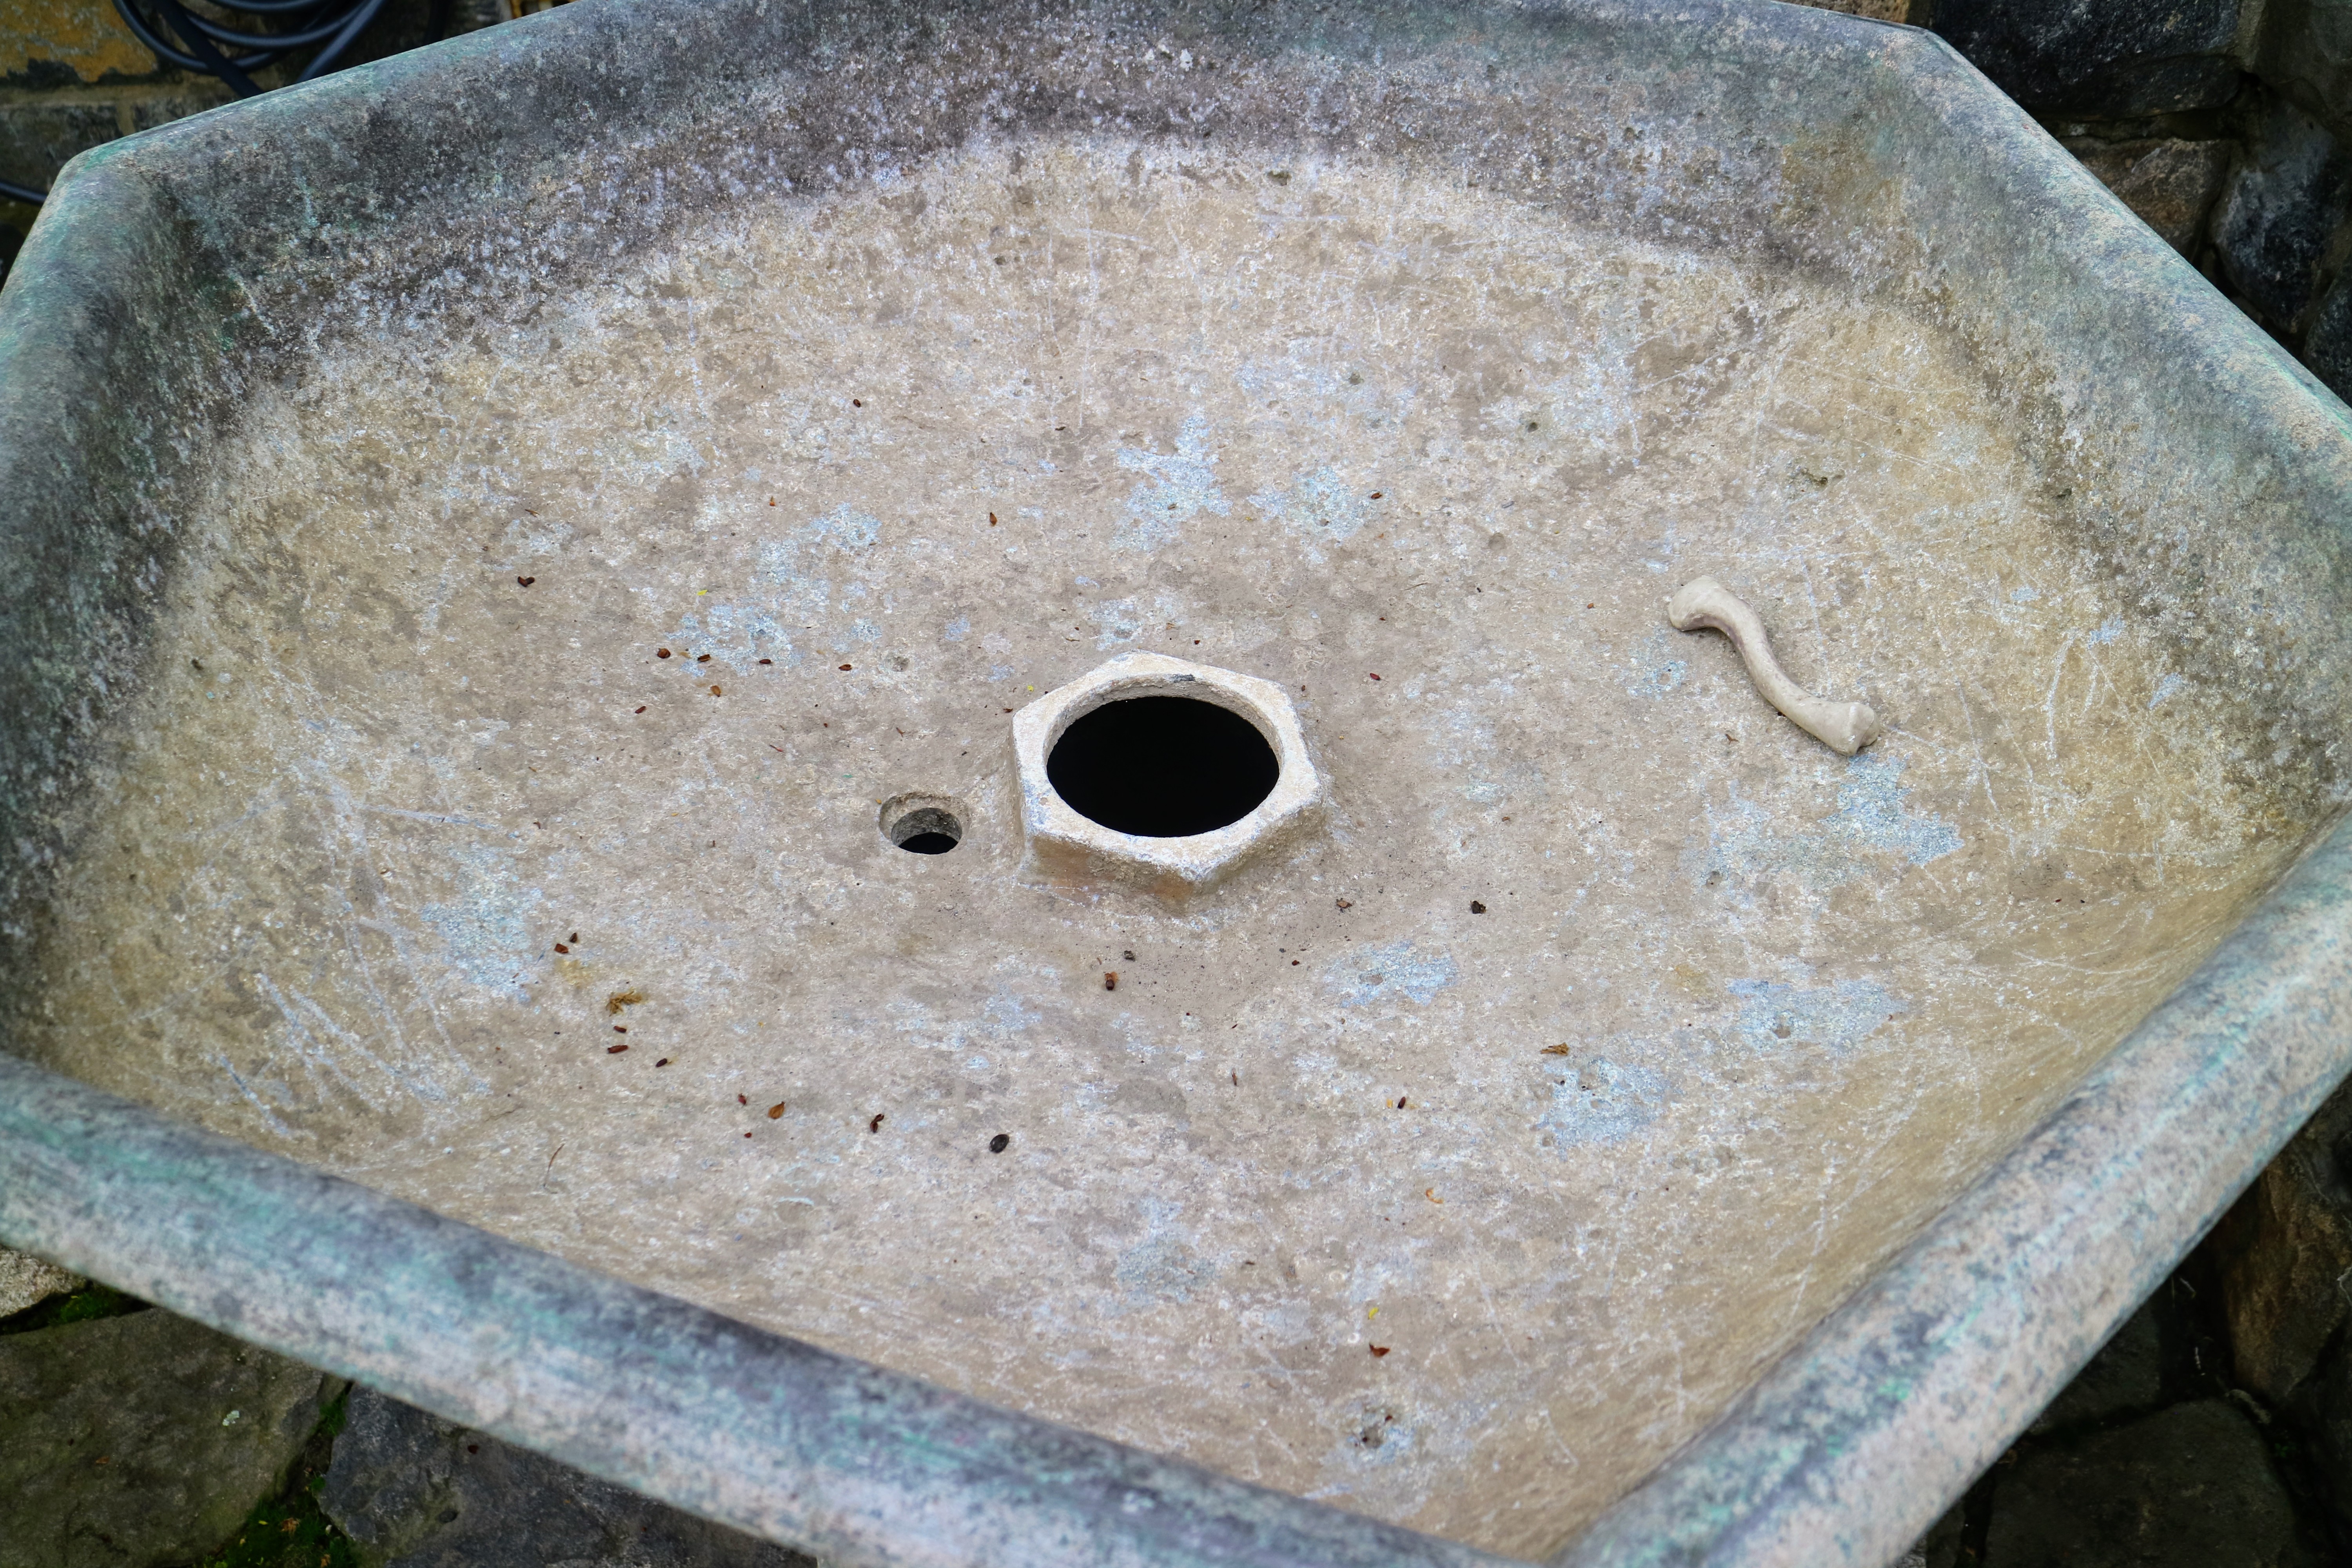
- These 19th century fountains are made of hand-casted metal. This is the inside of the fountain basin.
-
- Here is the other fountain piece – I love the hexagonal shape.
-
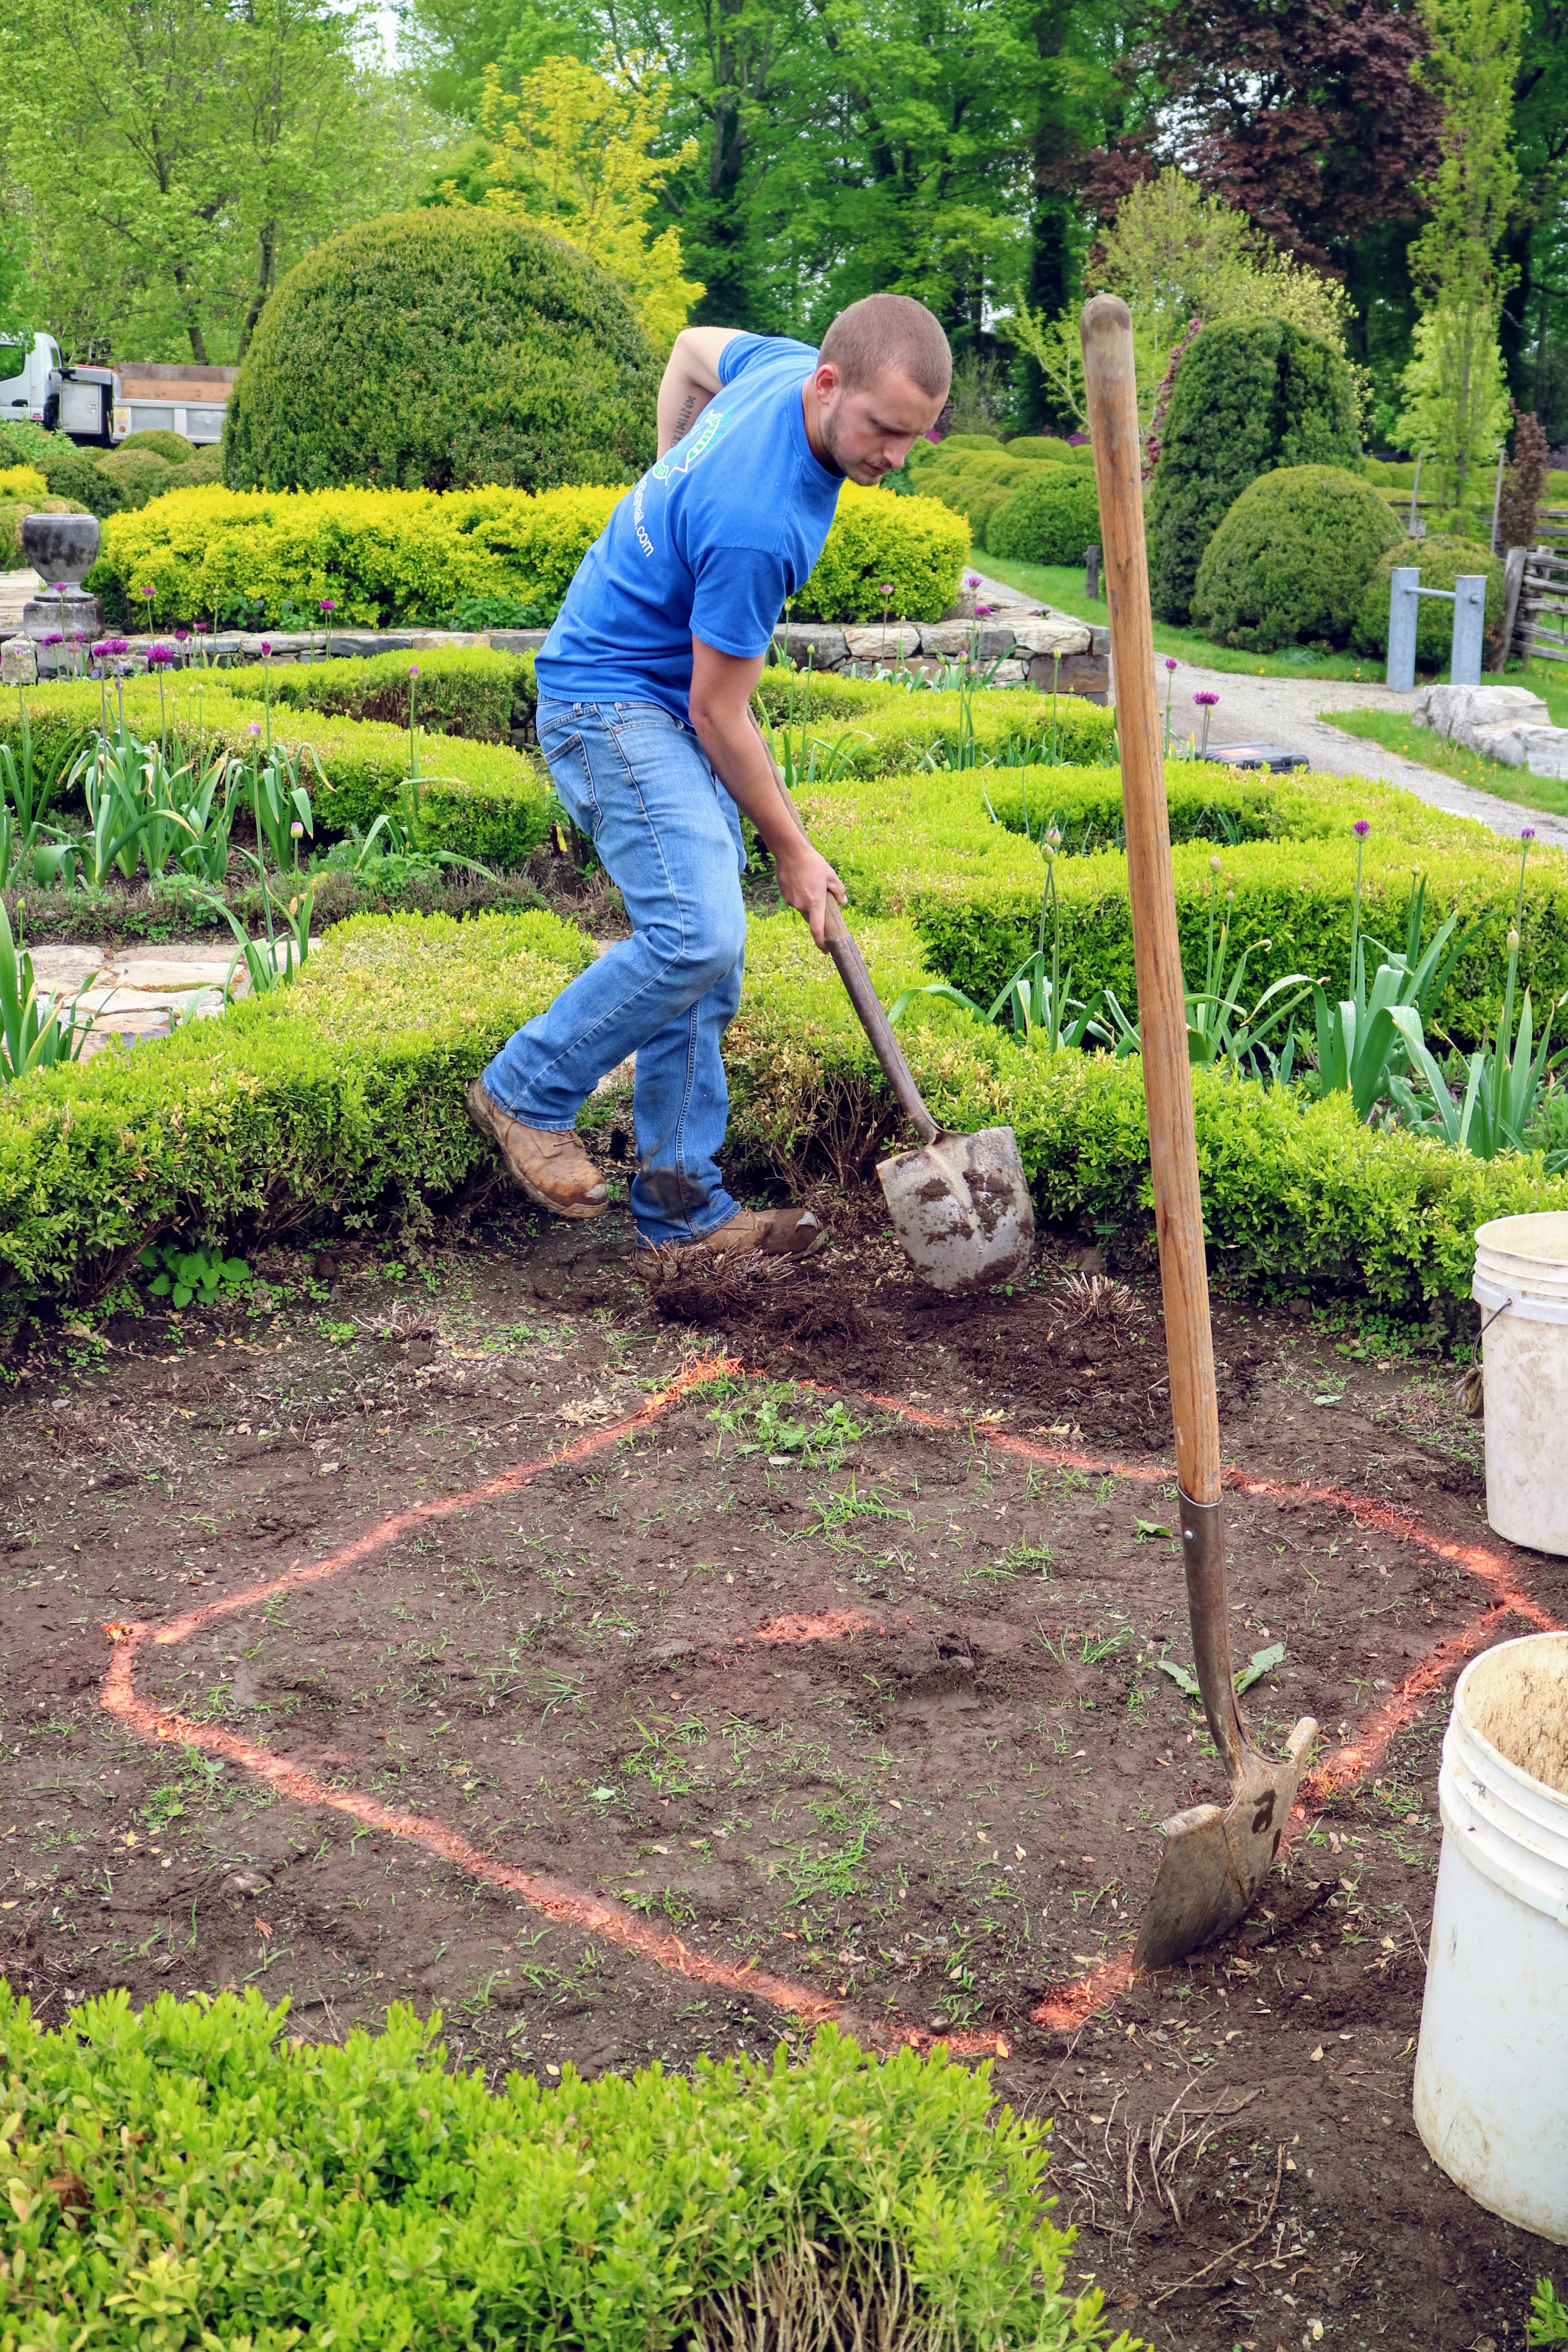
- The first step was to clear the space in the garden bed. My outdoor grounds crew removed the boxwood that was originally centered here and surrounded by the boxwood hedge.

-
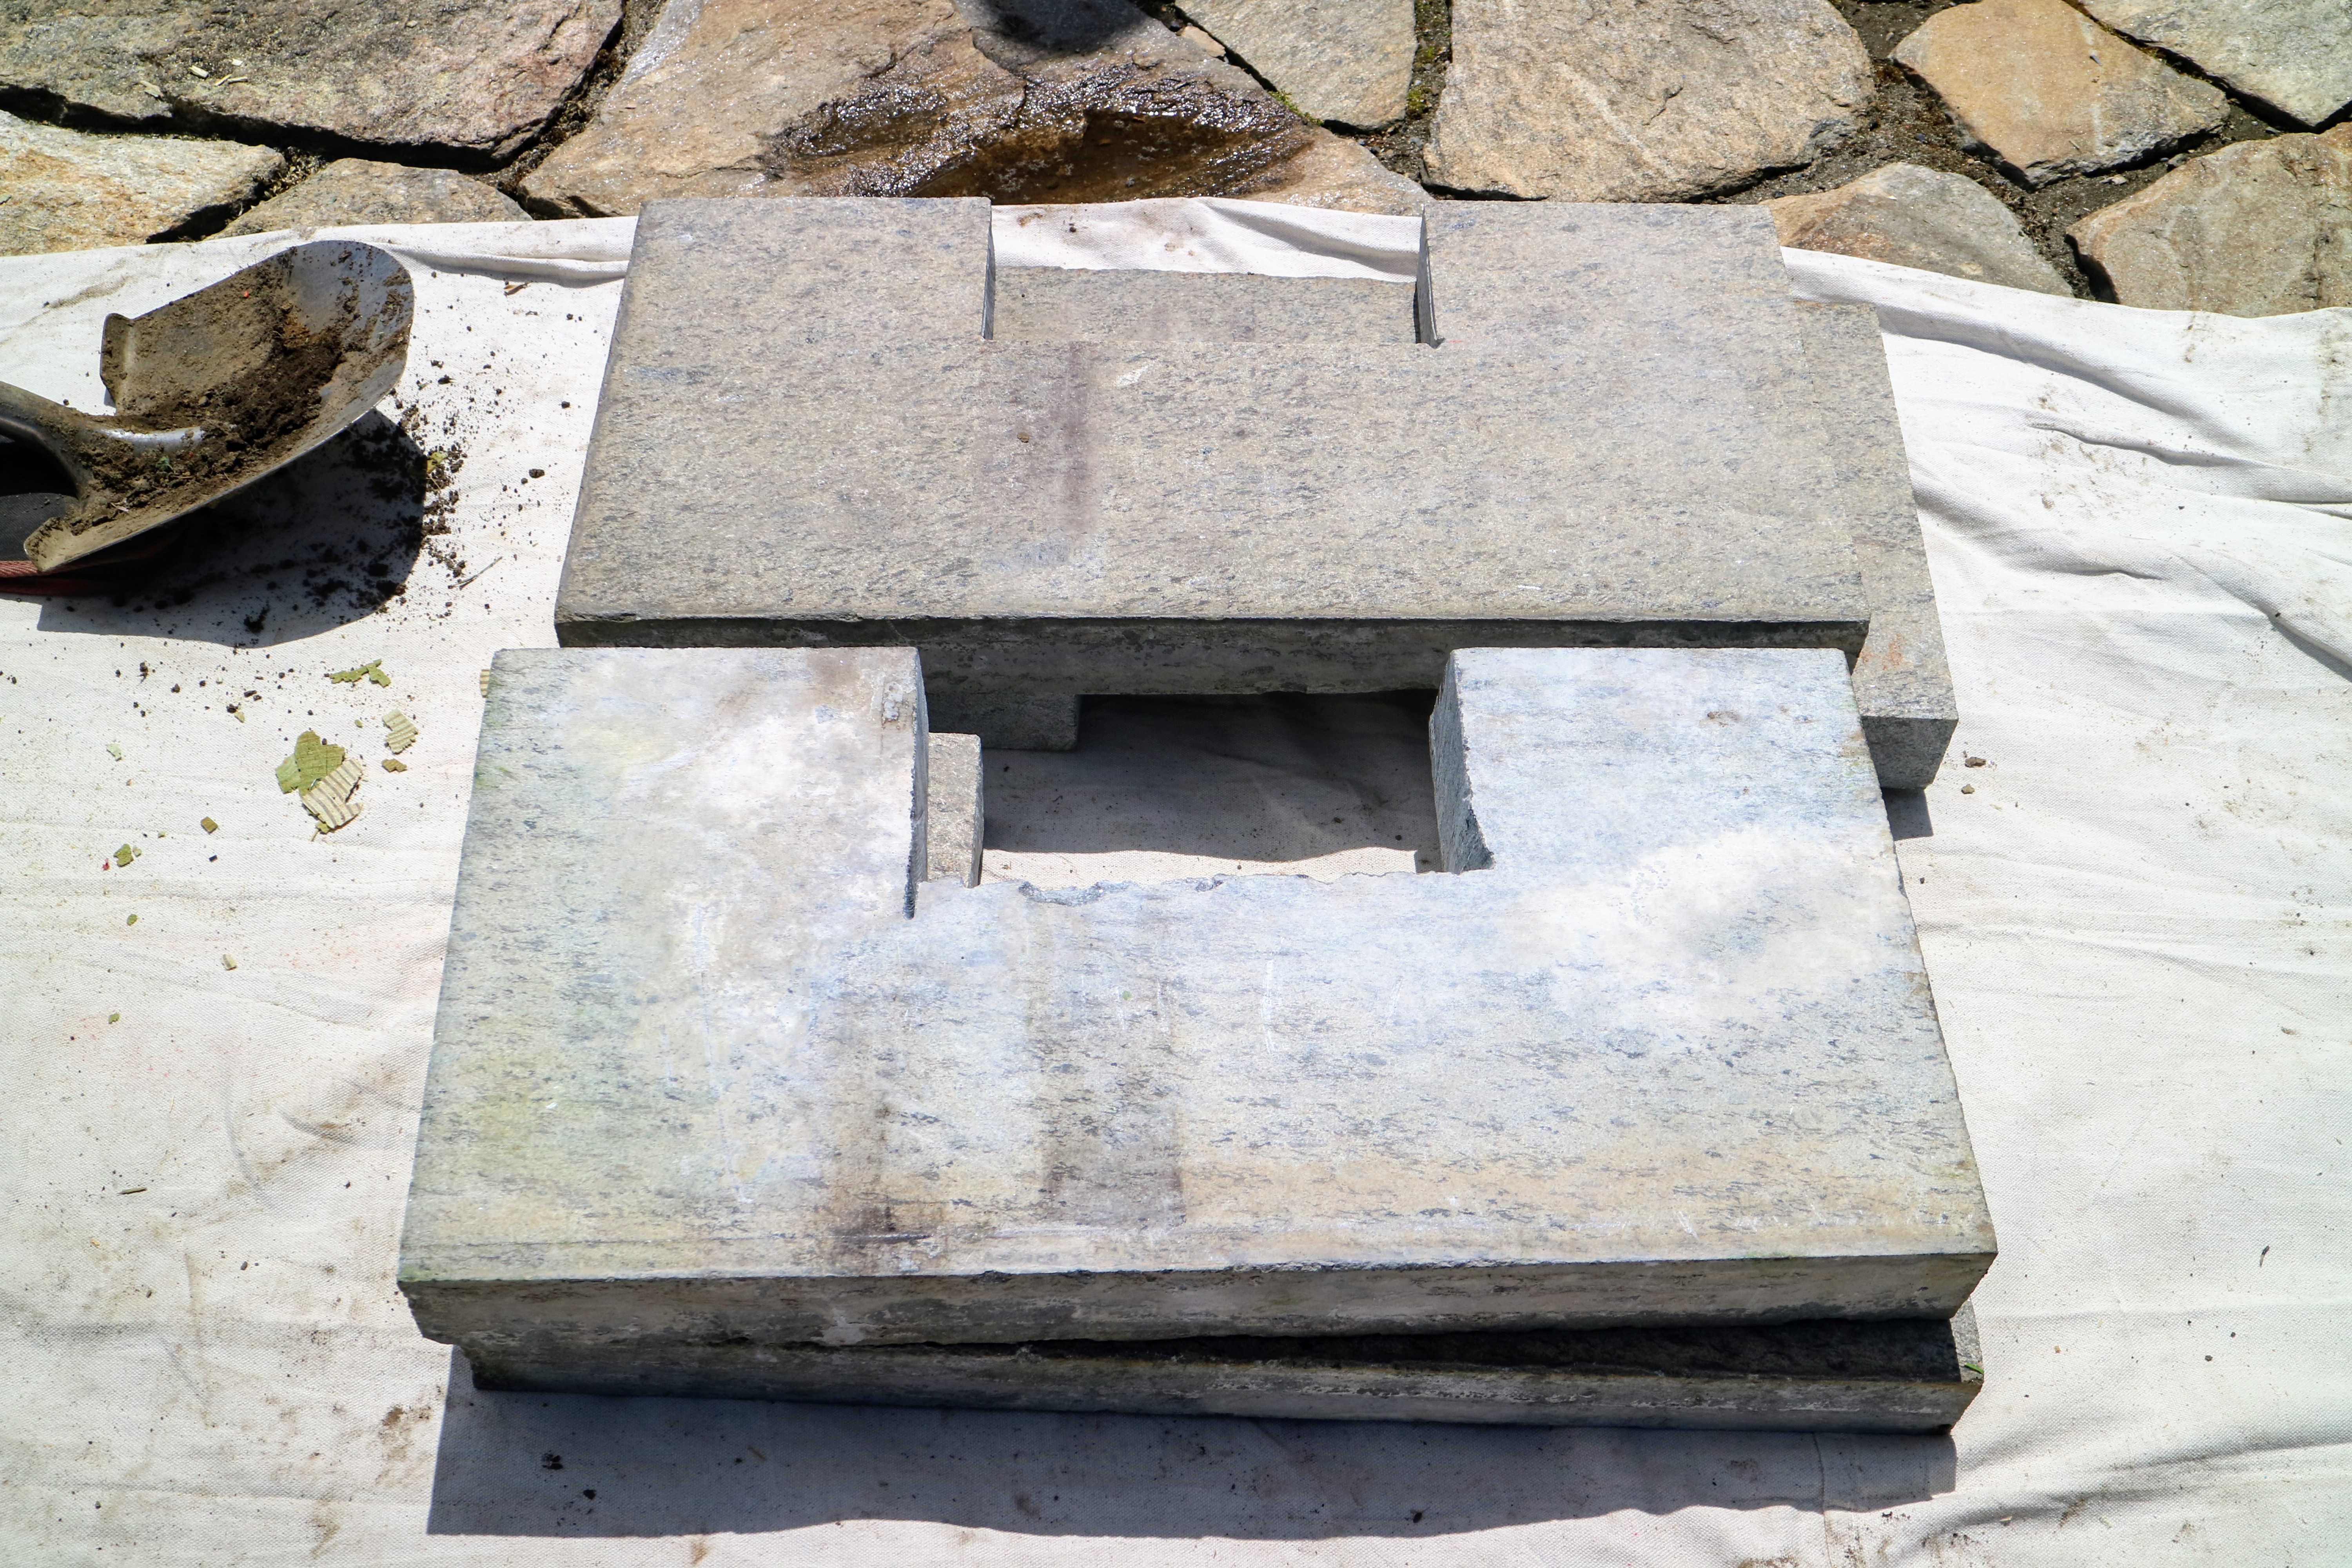
- Meanwhile, the experts from Luppino Landscaping and Masonry cut two large pieces of stone that will be used as a platform under each fountain. http://luppinolm.com/

-
- Here is what the pieces look like after cutting.
-
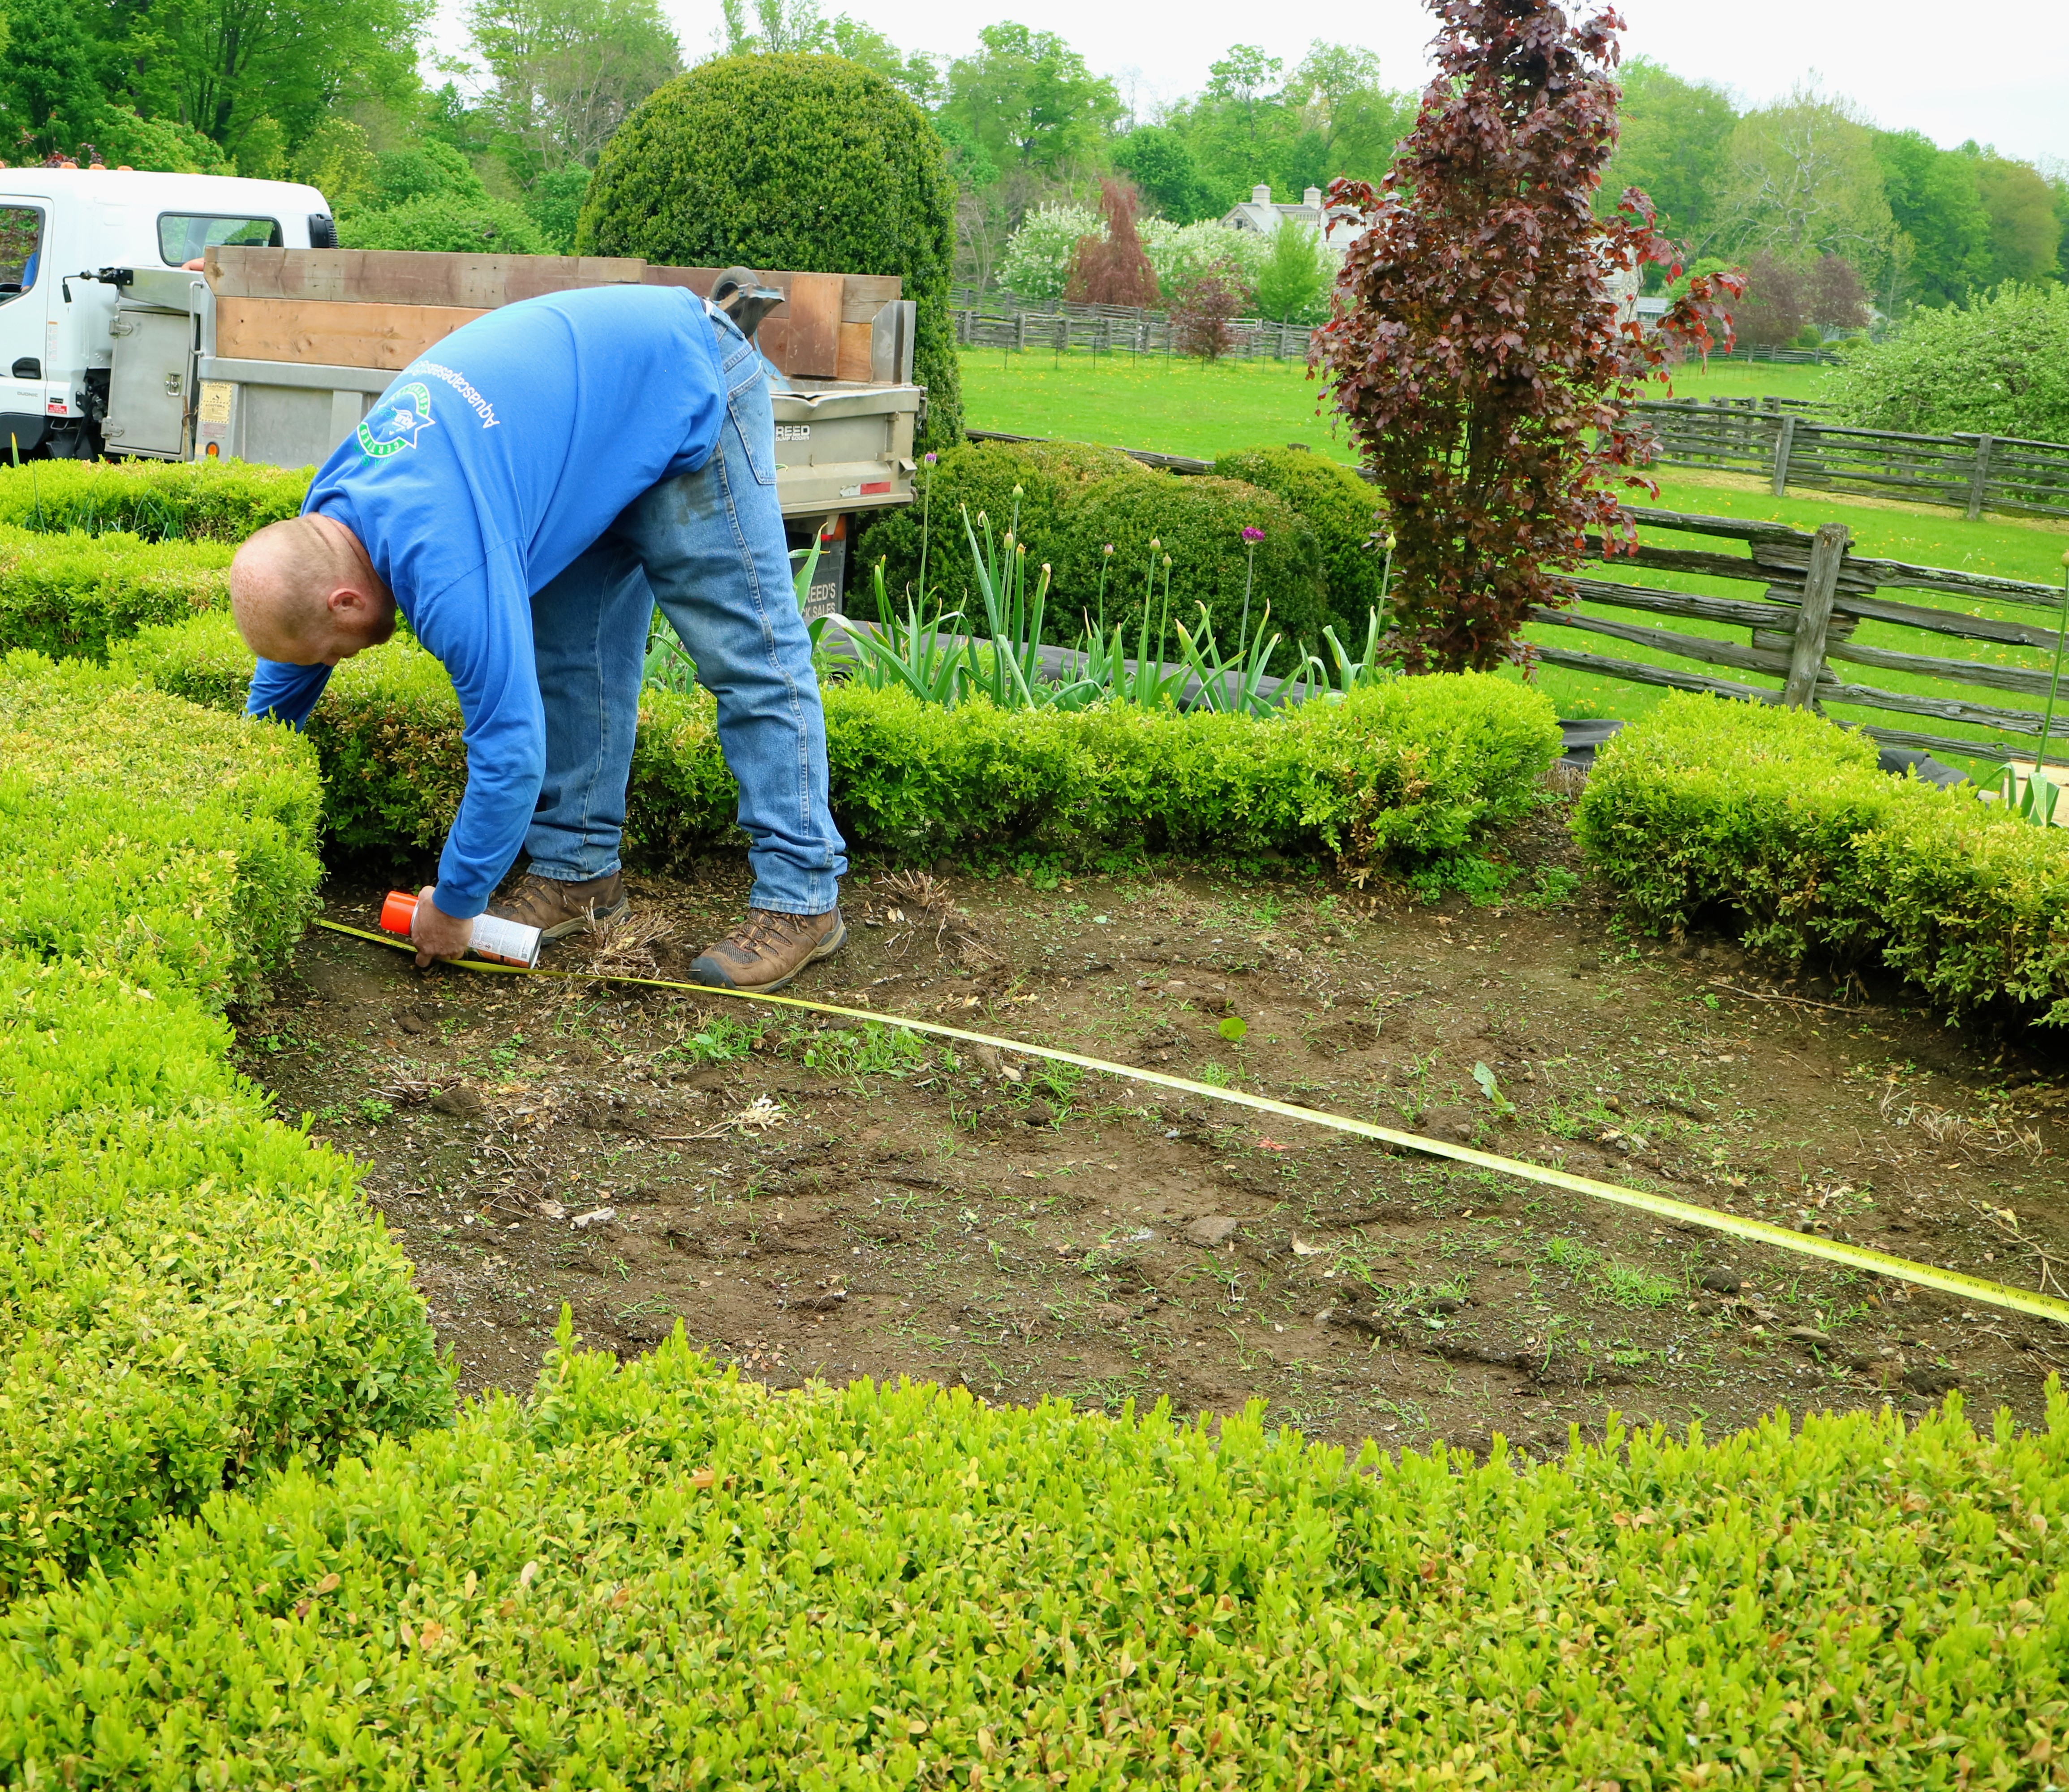
- Dylan steps into the area where the fountains will be installed and measures the space very carefully.
-
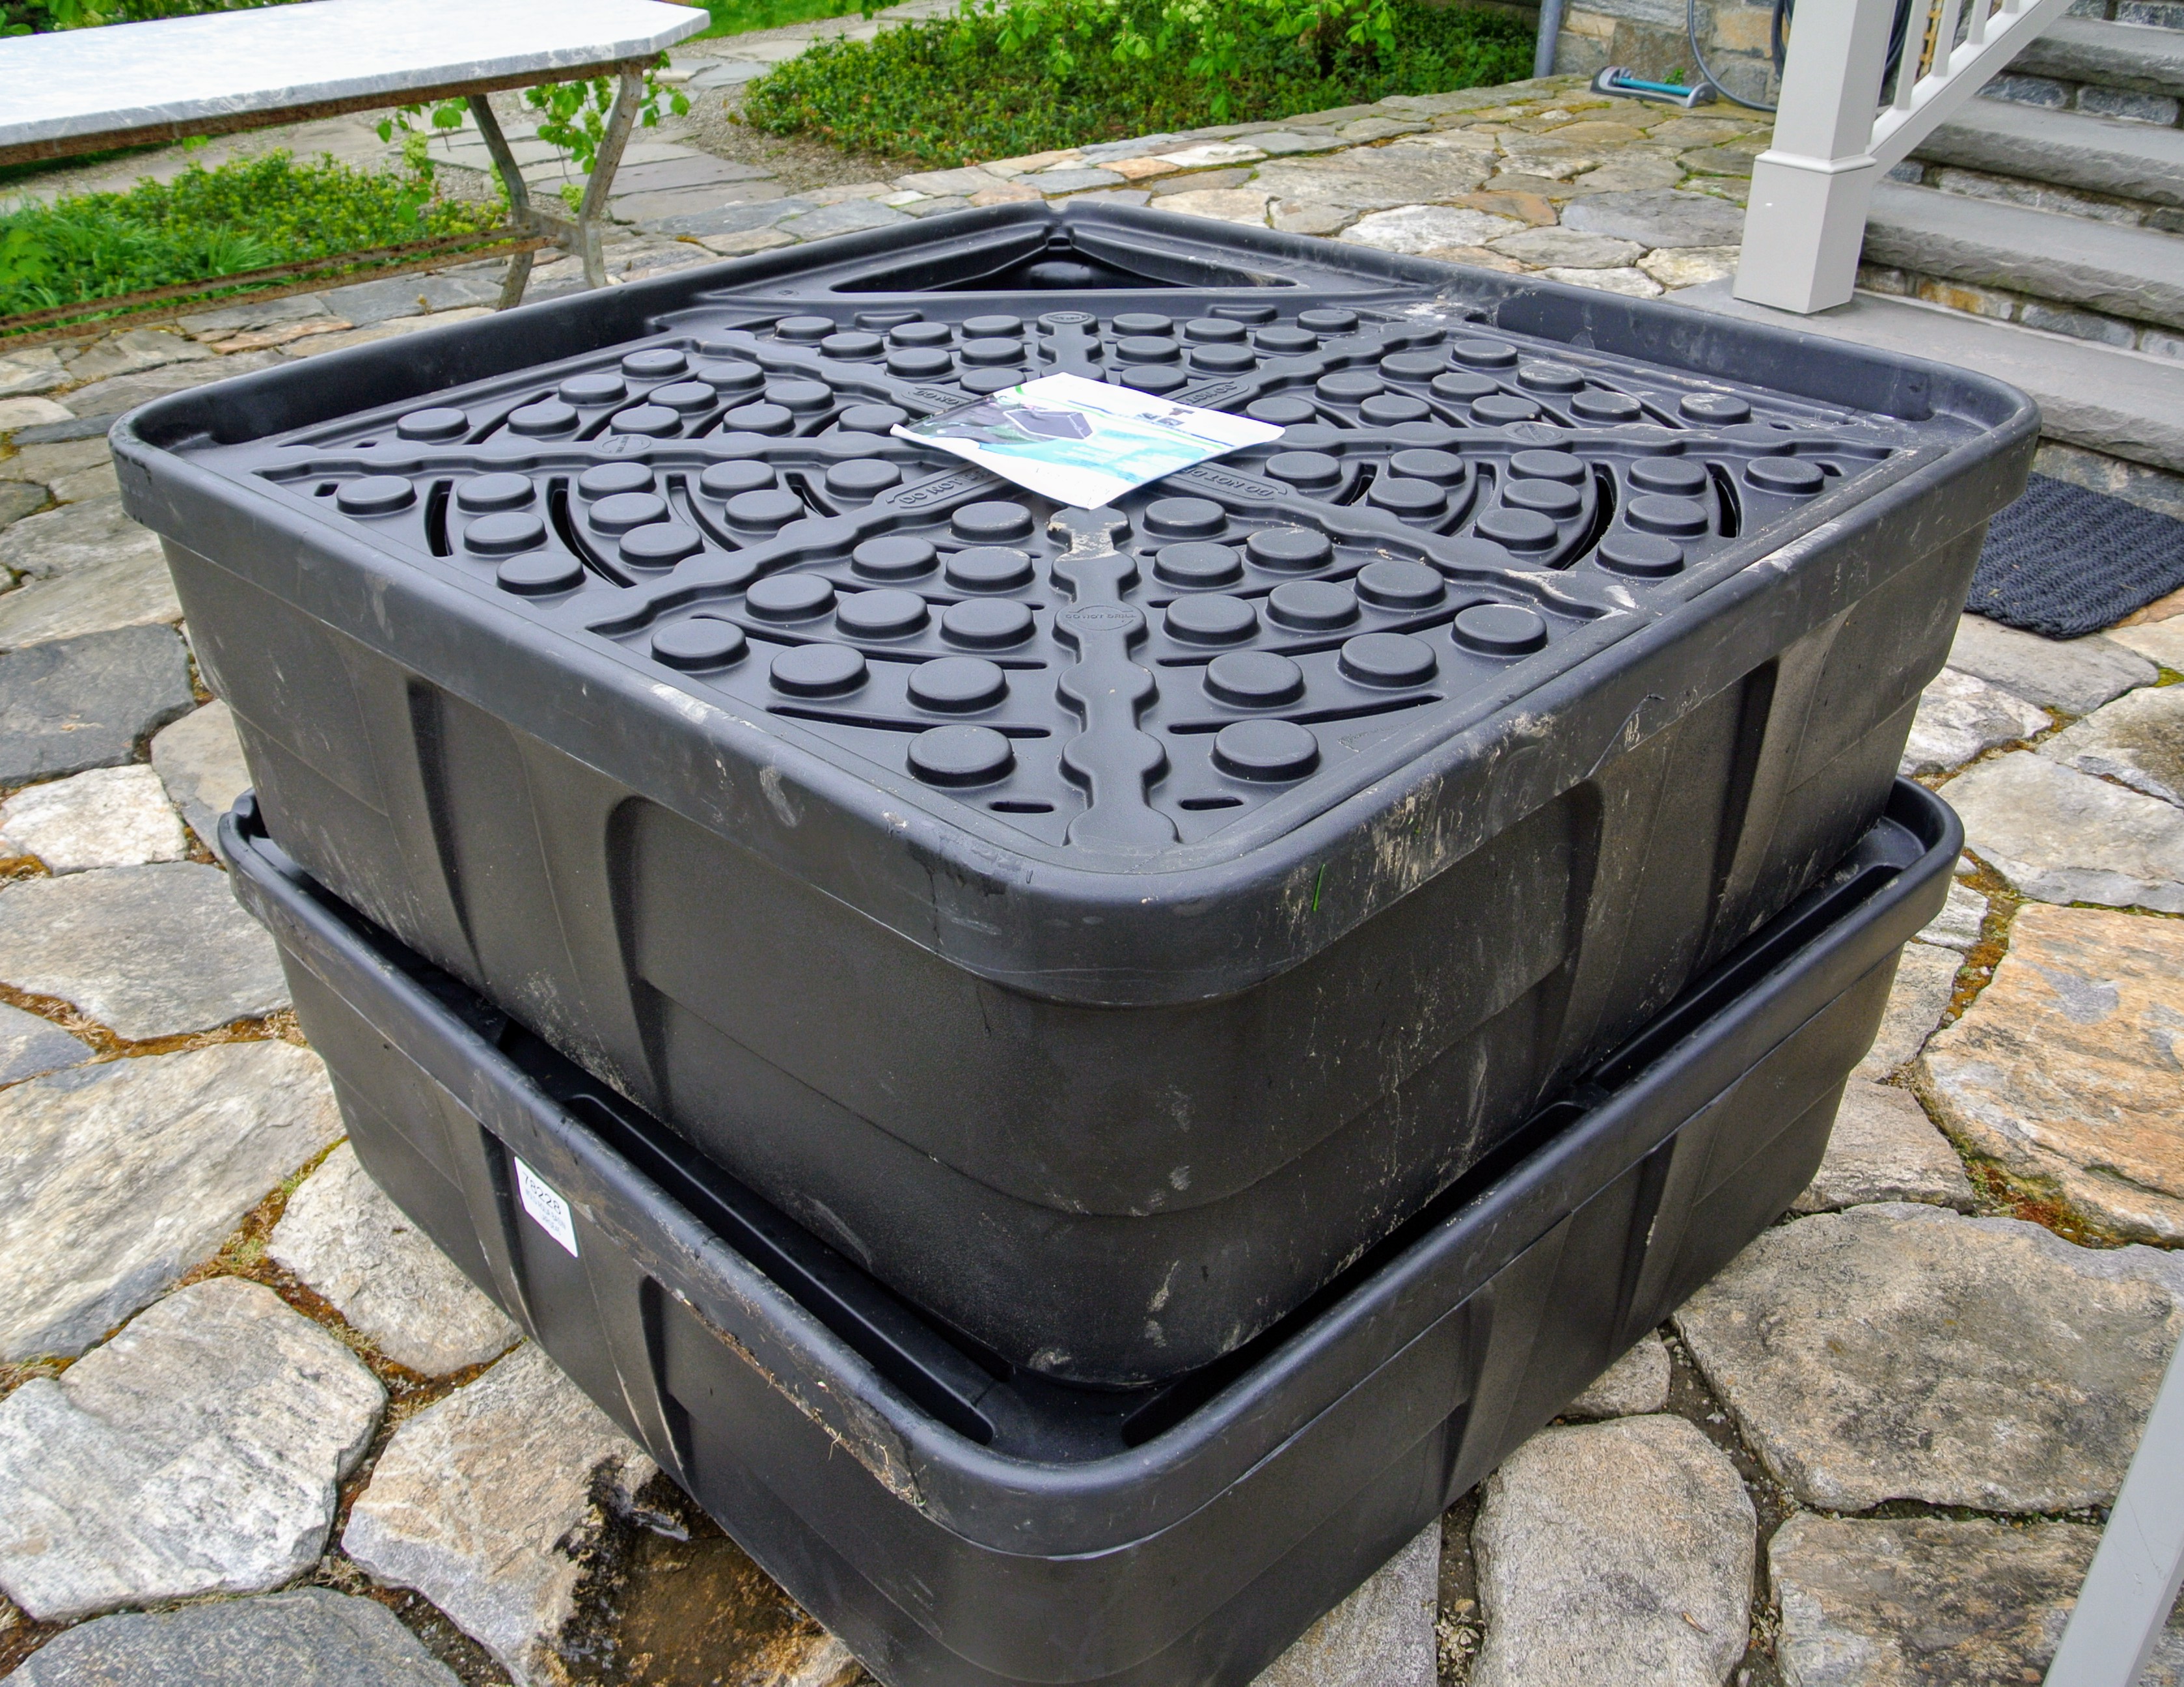
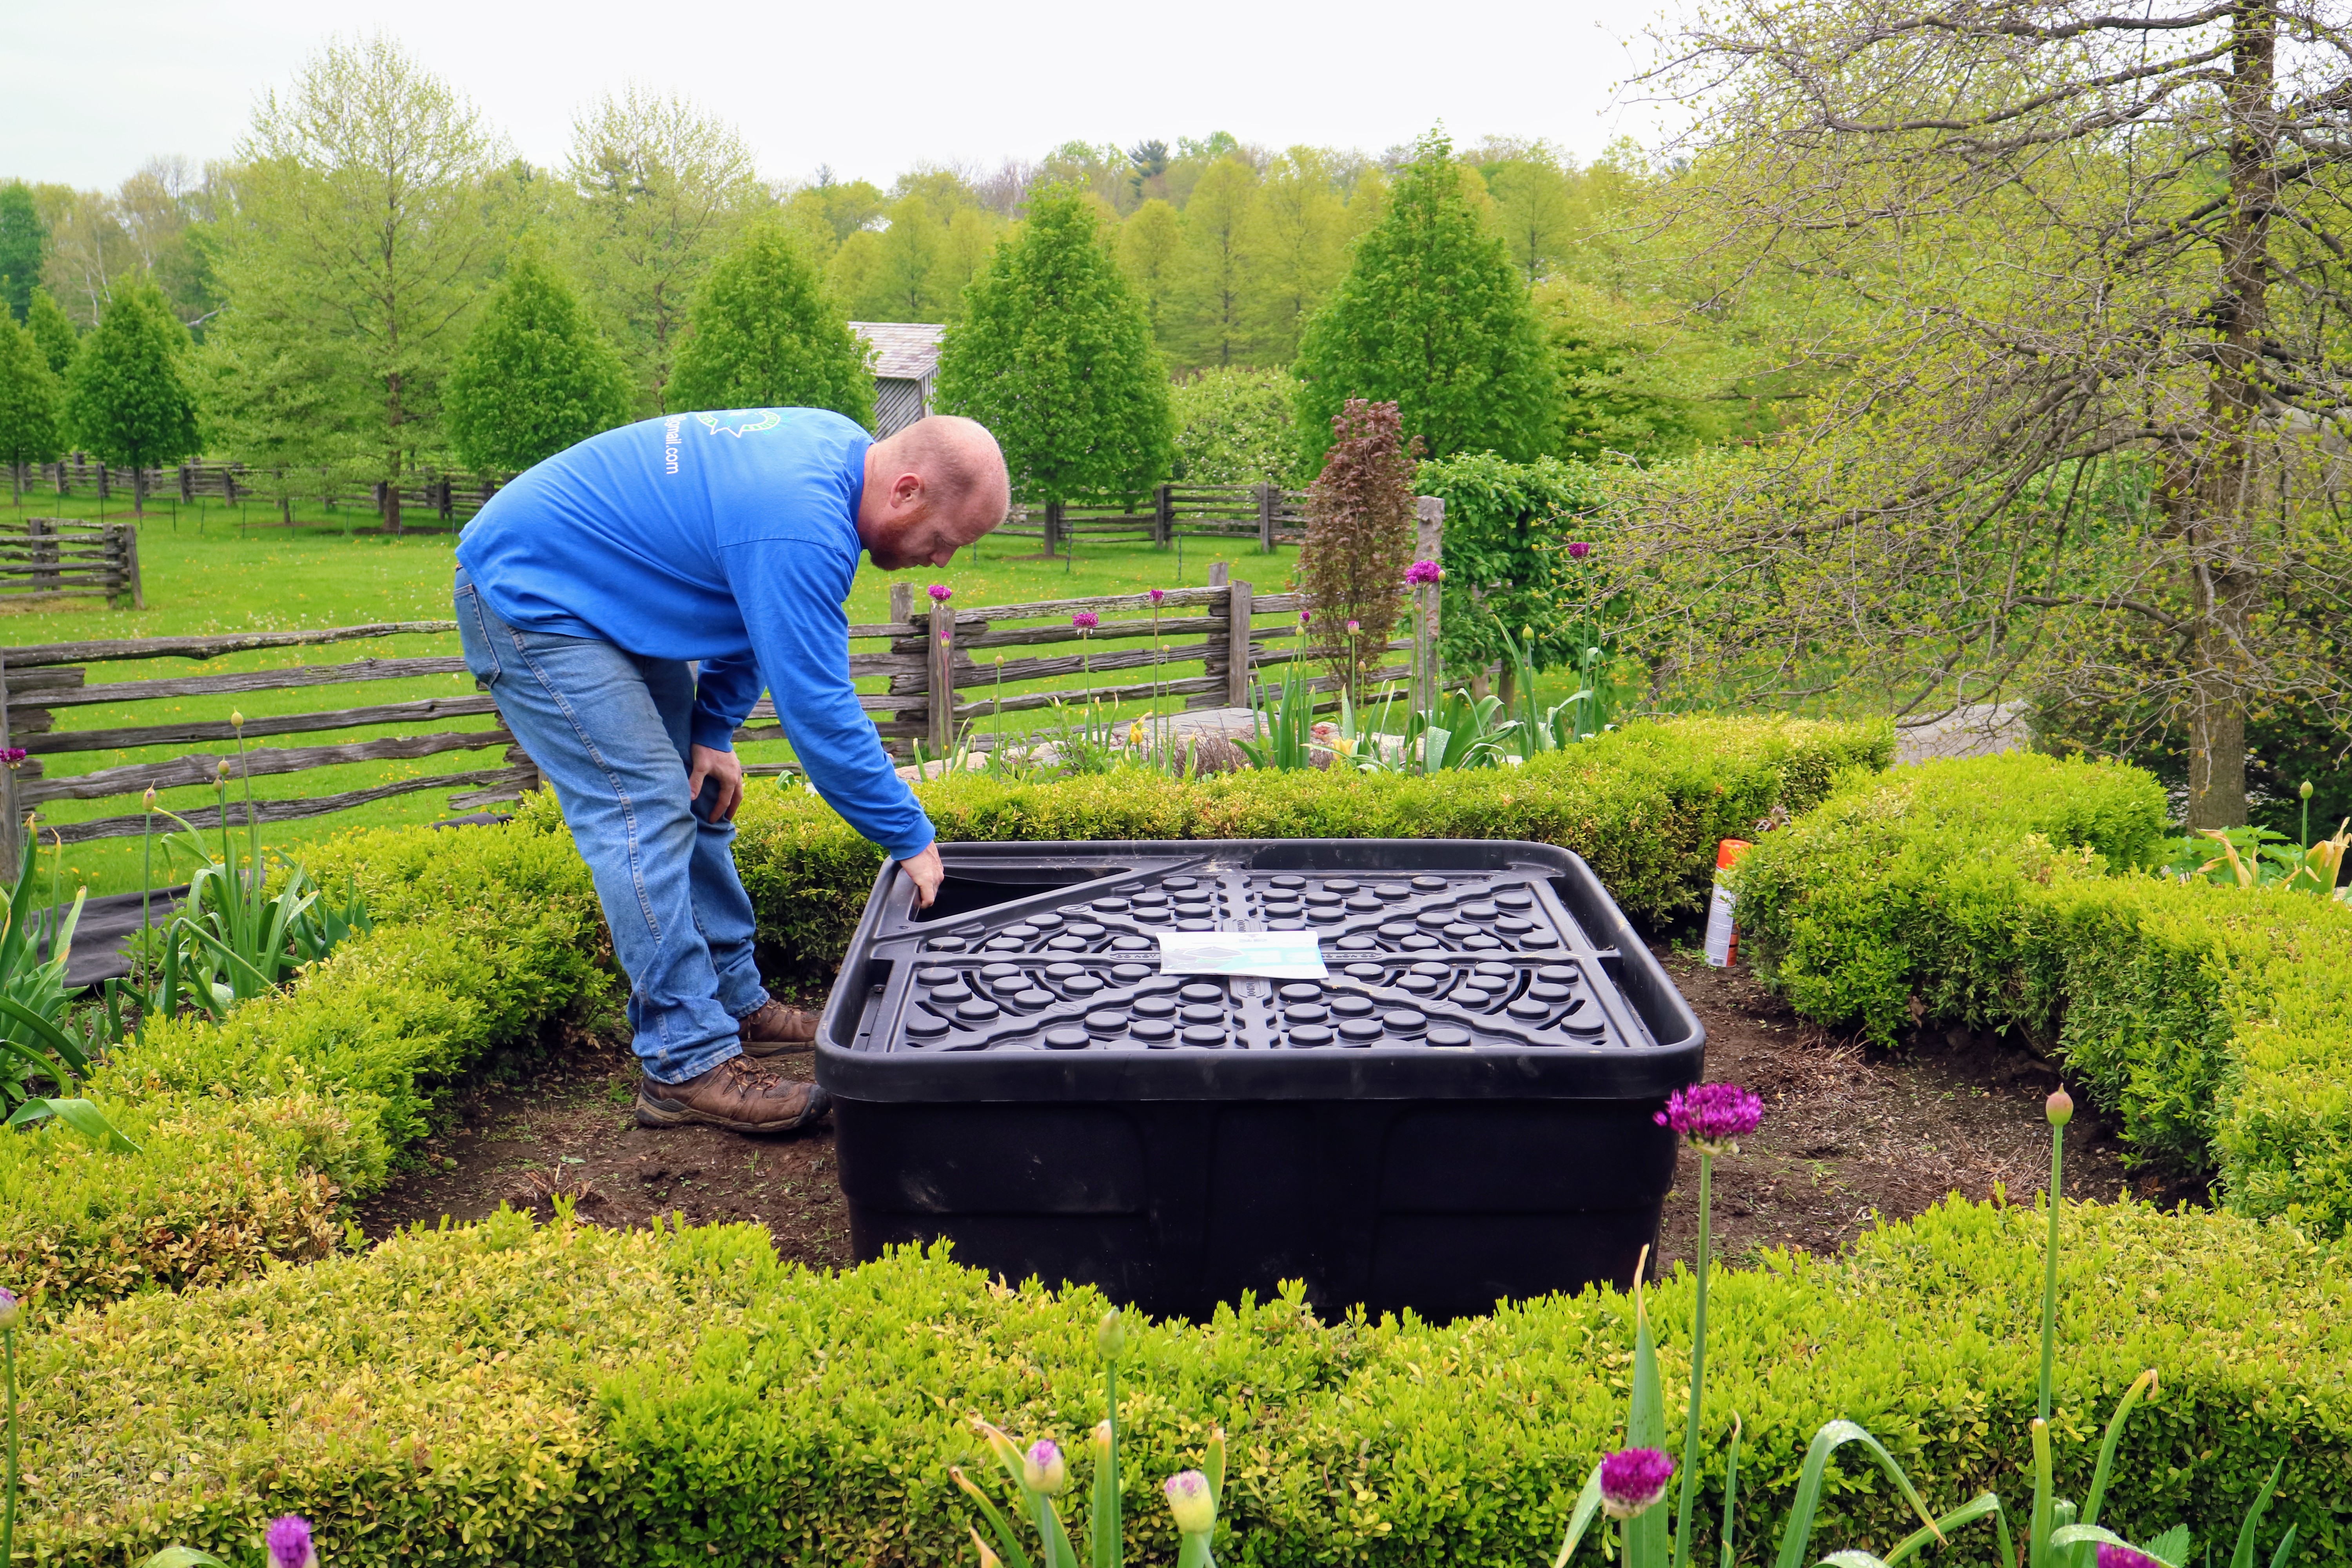
- These are the two large reservoirs that will hold the water for the fountains. Each unit features easy to access pump chambers for convenient installation and maintenance.
-
- Dylan places one of the reservoirs into the space to see exactly where it will be installed.
-
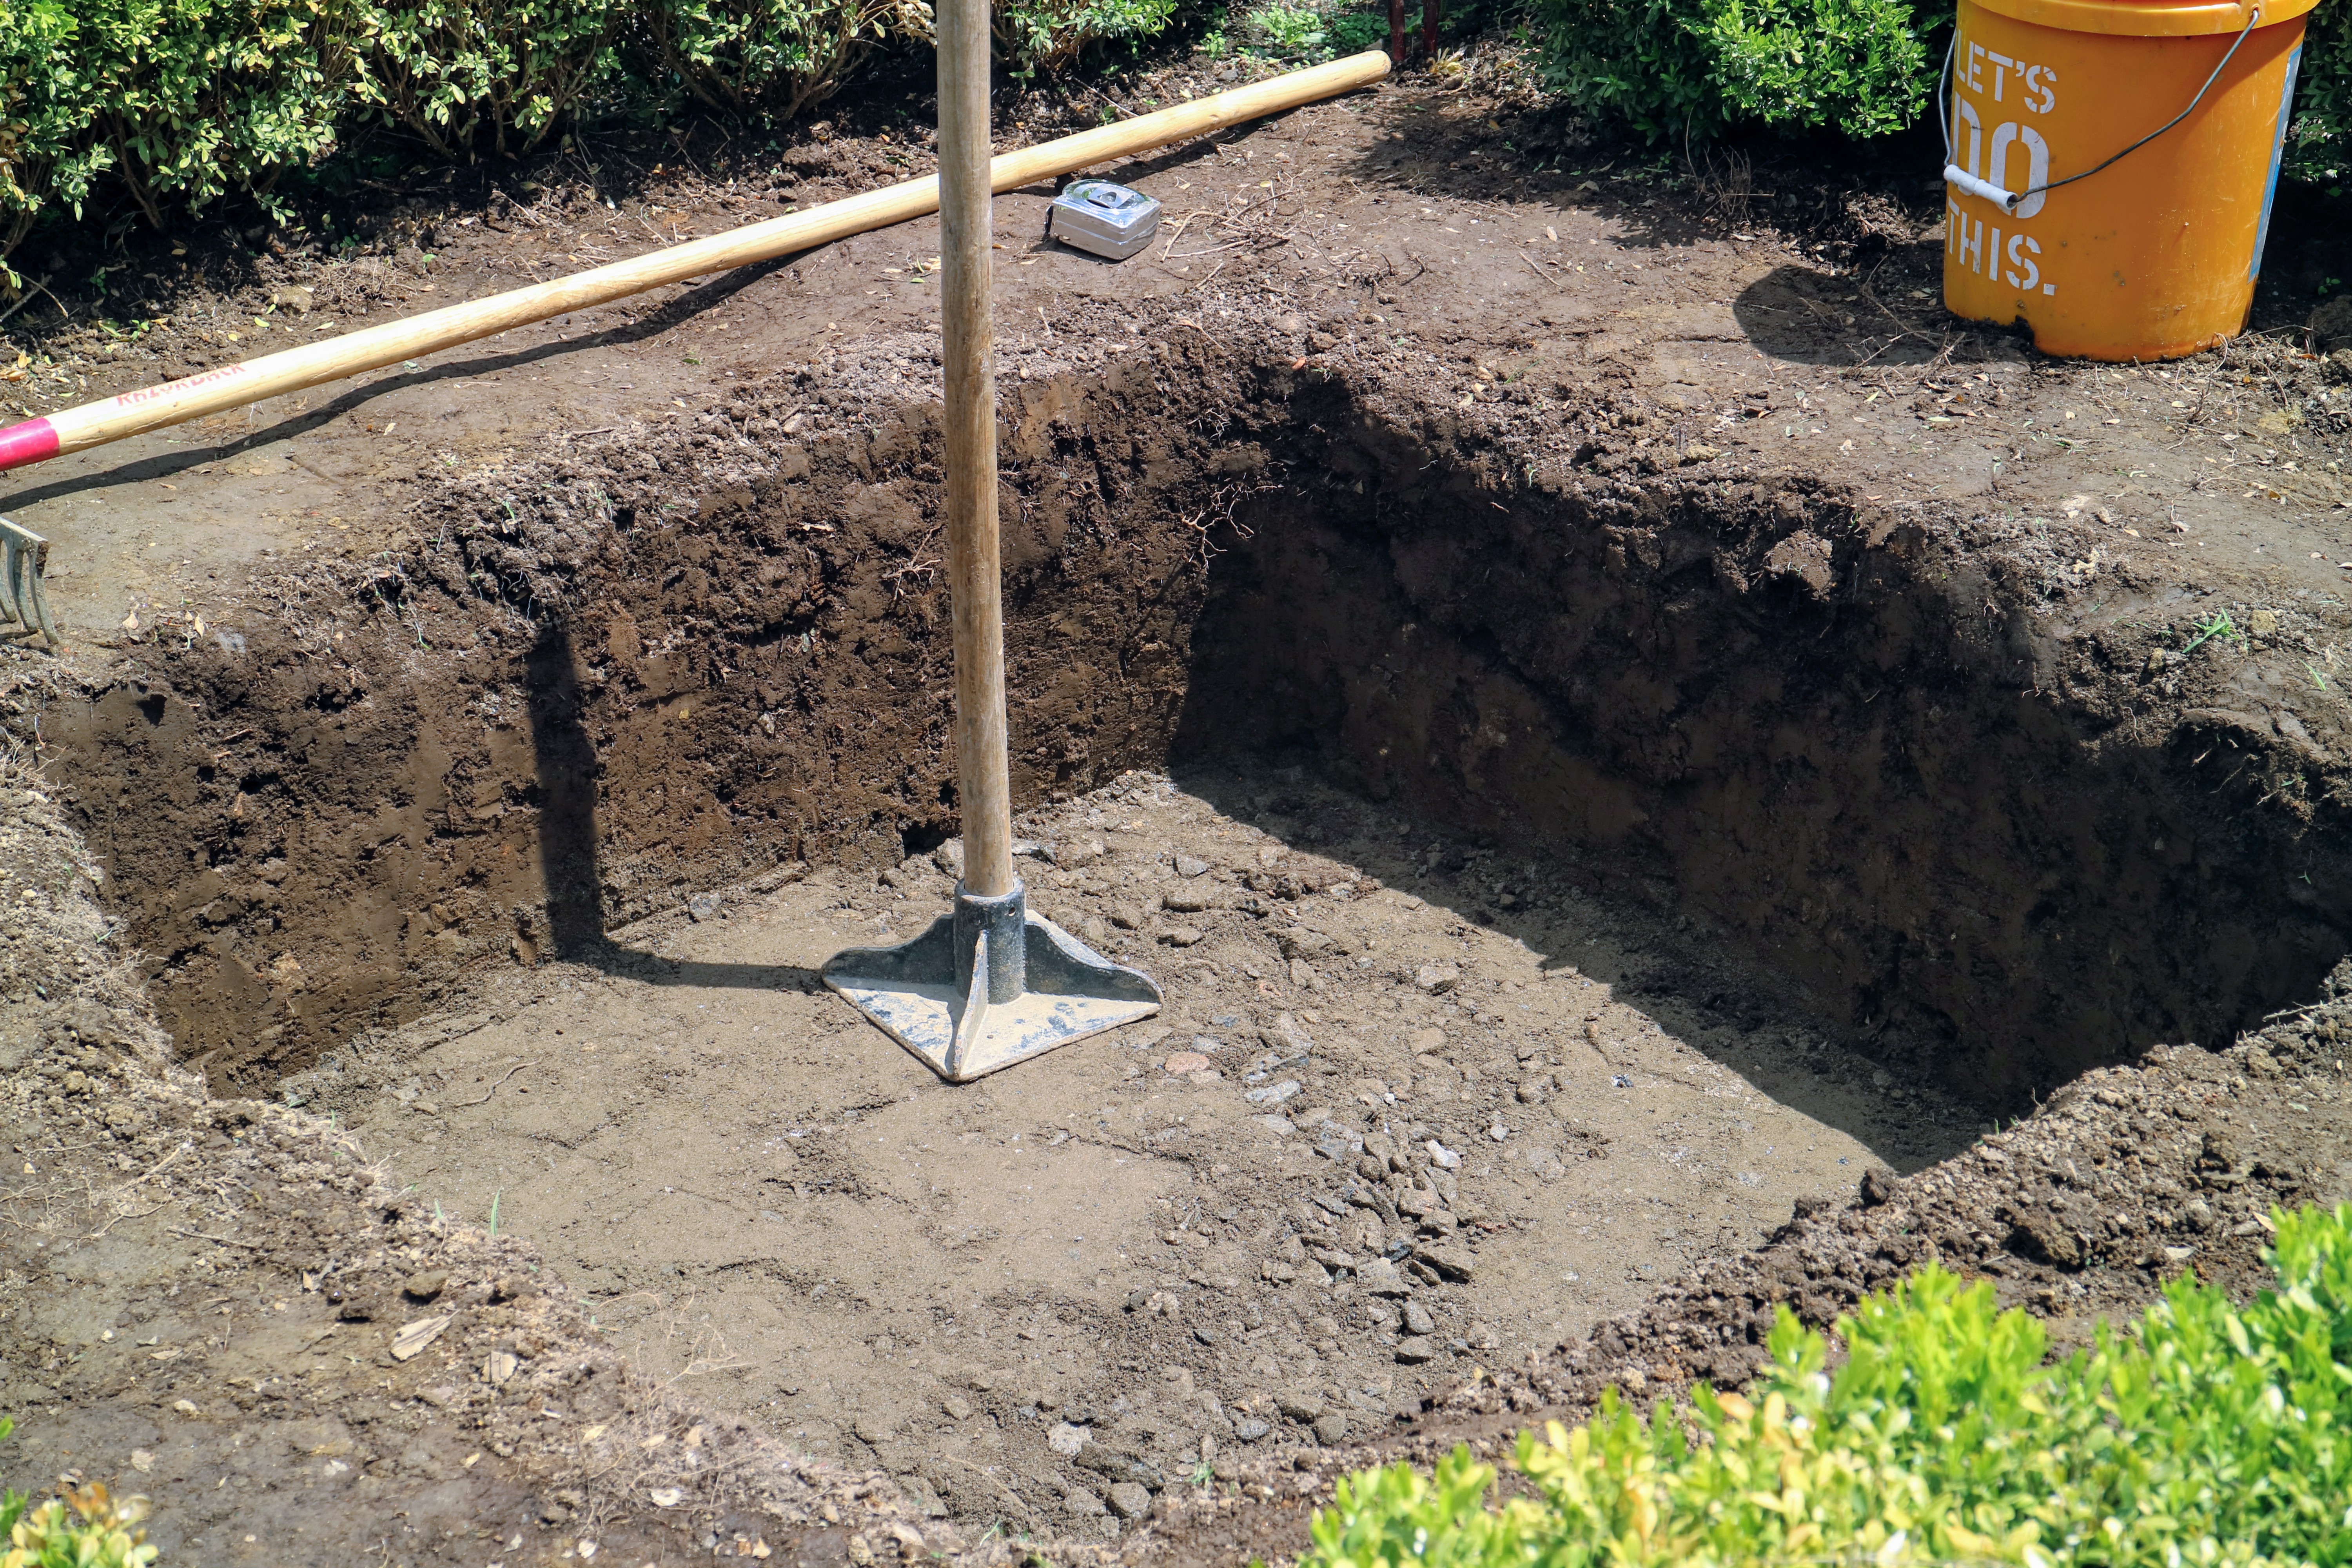
- The outline of the reservoir box is spray painted onto the soil, so the team knows where to dig.
-
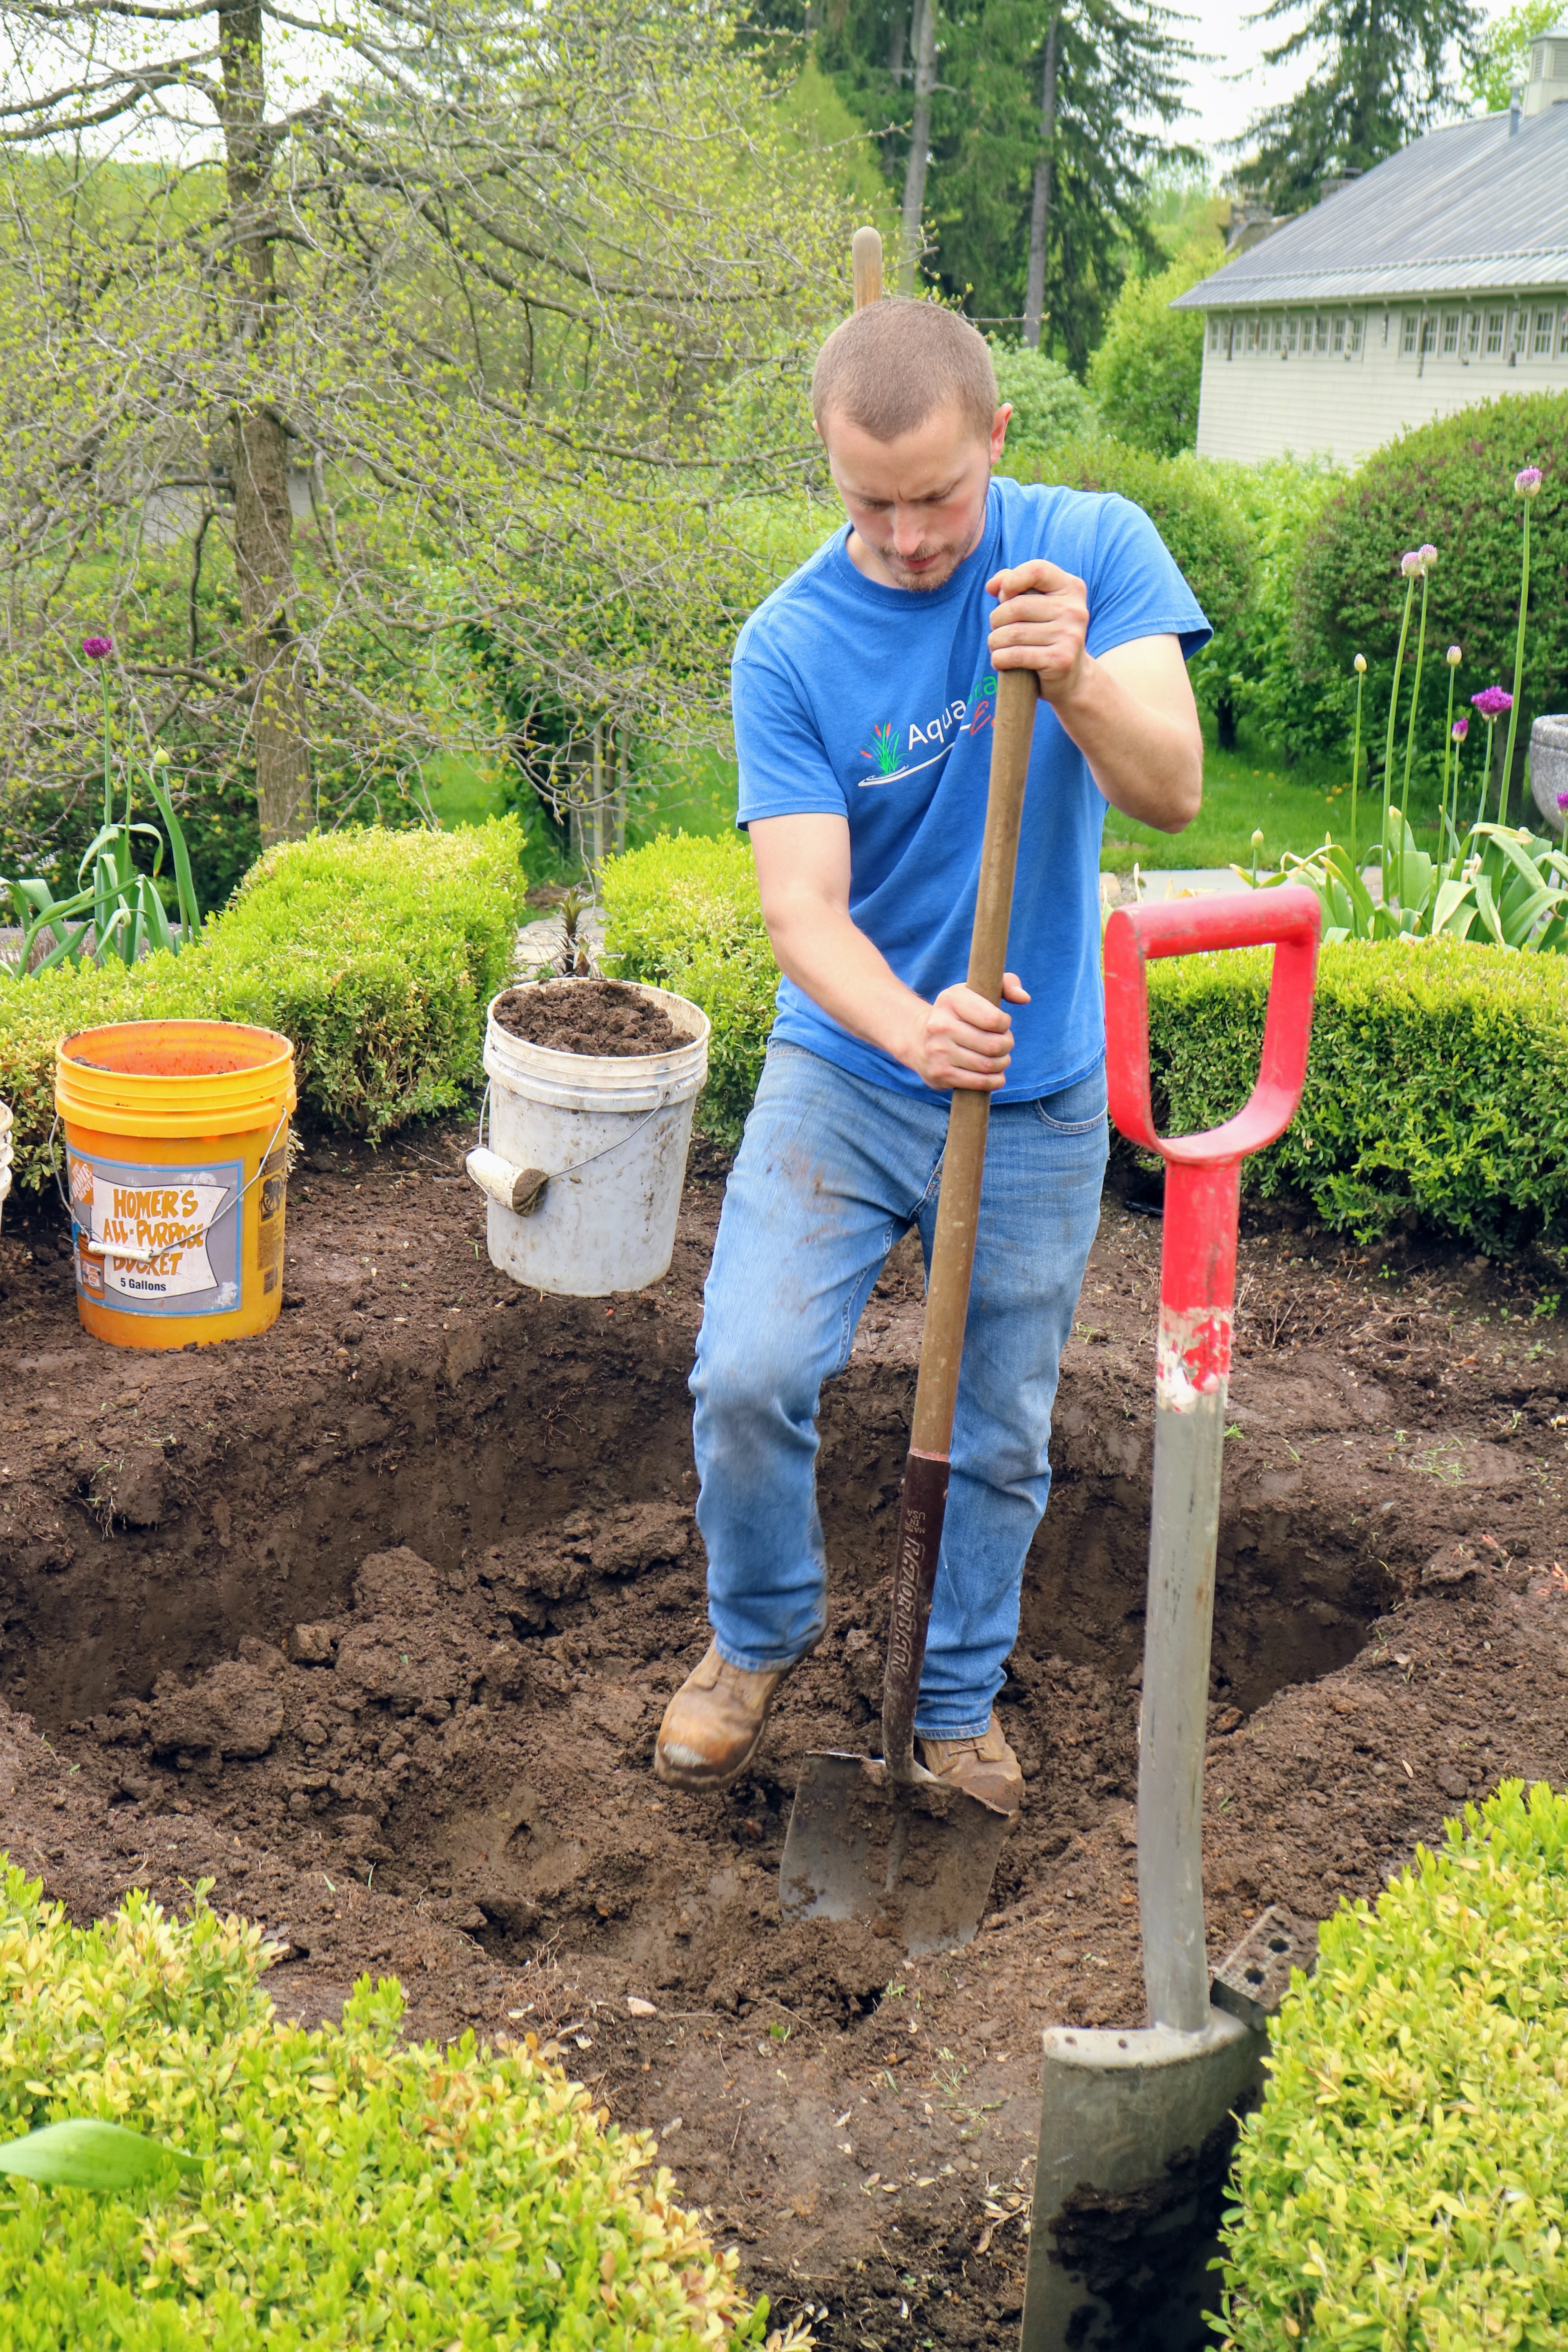
- This is the most time-consuming phase of the process. The hole must be level and perfect, so the reservoir and the fountain above it sit properly.
-
- The box is placed in the hole for the first time to see how it fits.
-
- The team adjusts the hole and using a steel tamper, packs the soil firmly, so it is level. The hole is about 23-inches deep.
-
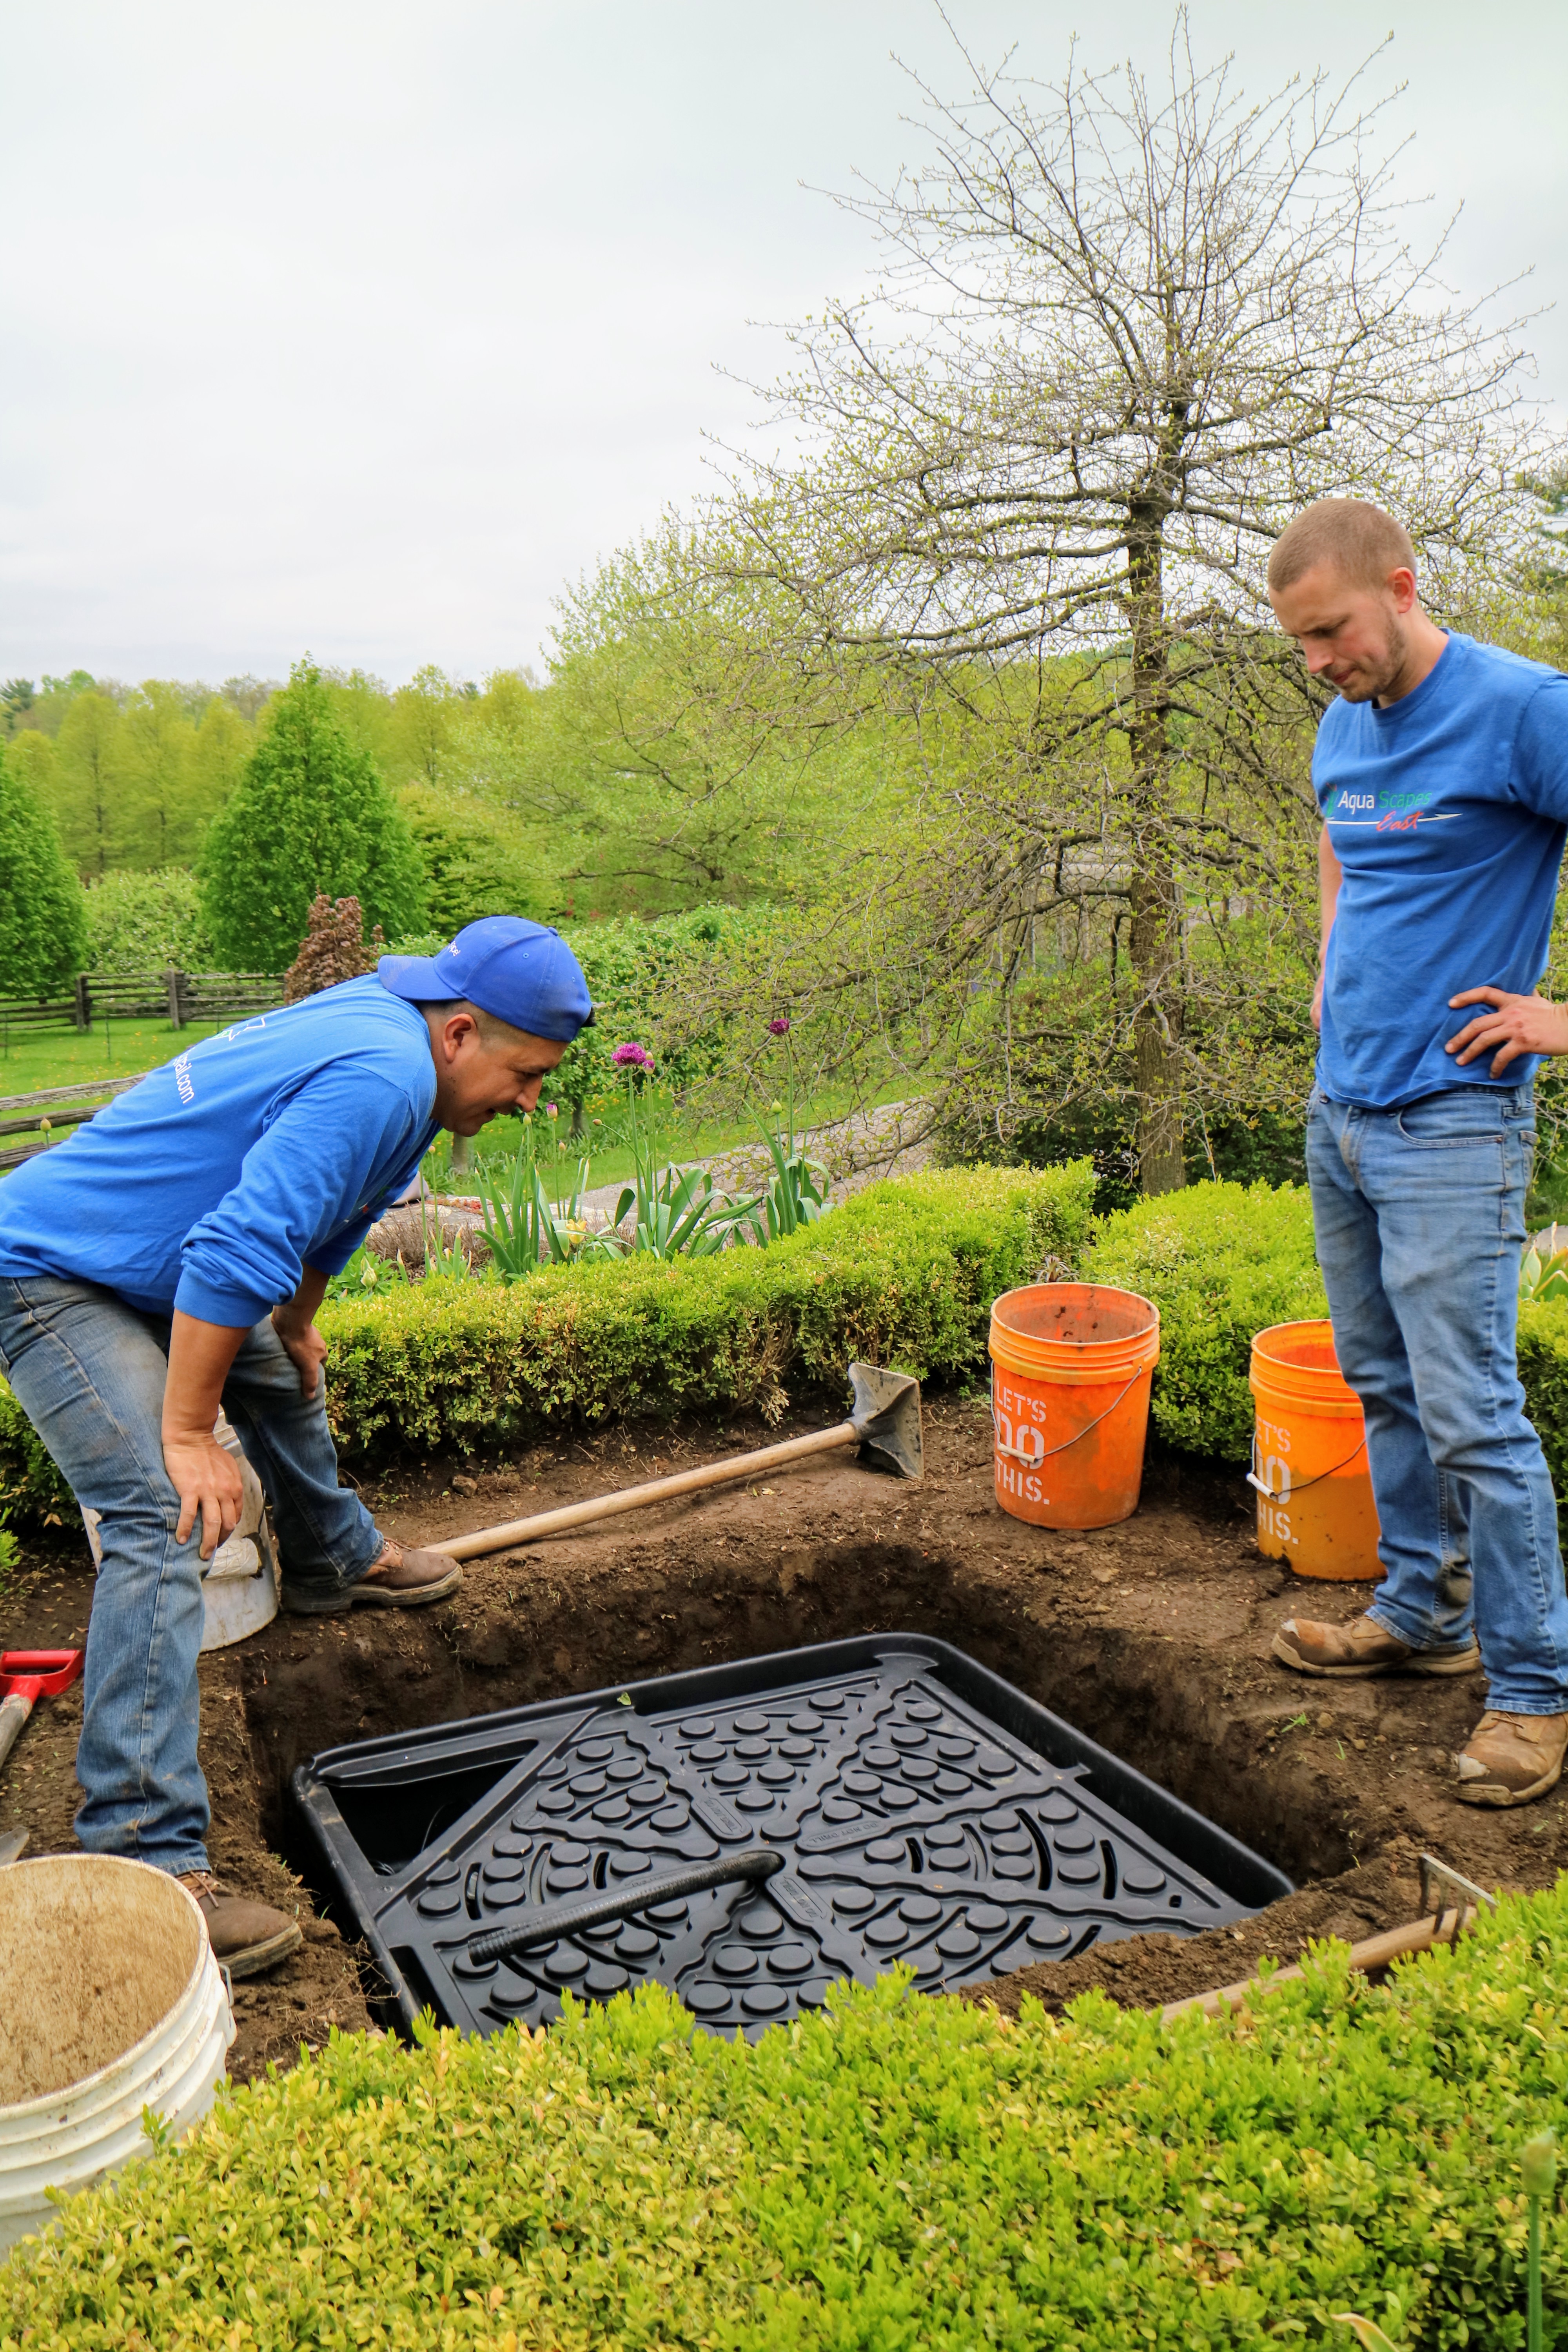
- The reservoir is placed back into the hole a second time and Dylan checks the level from all sides – first from the right.

-
- And then from the left
-
- And finally on the diagonal
-
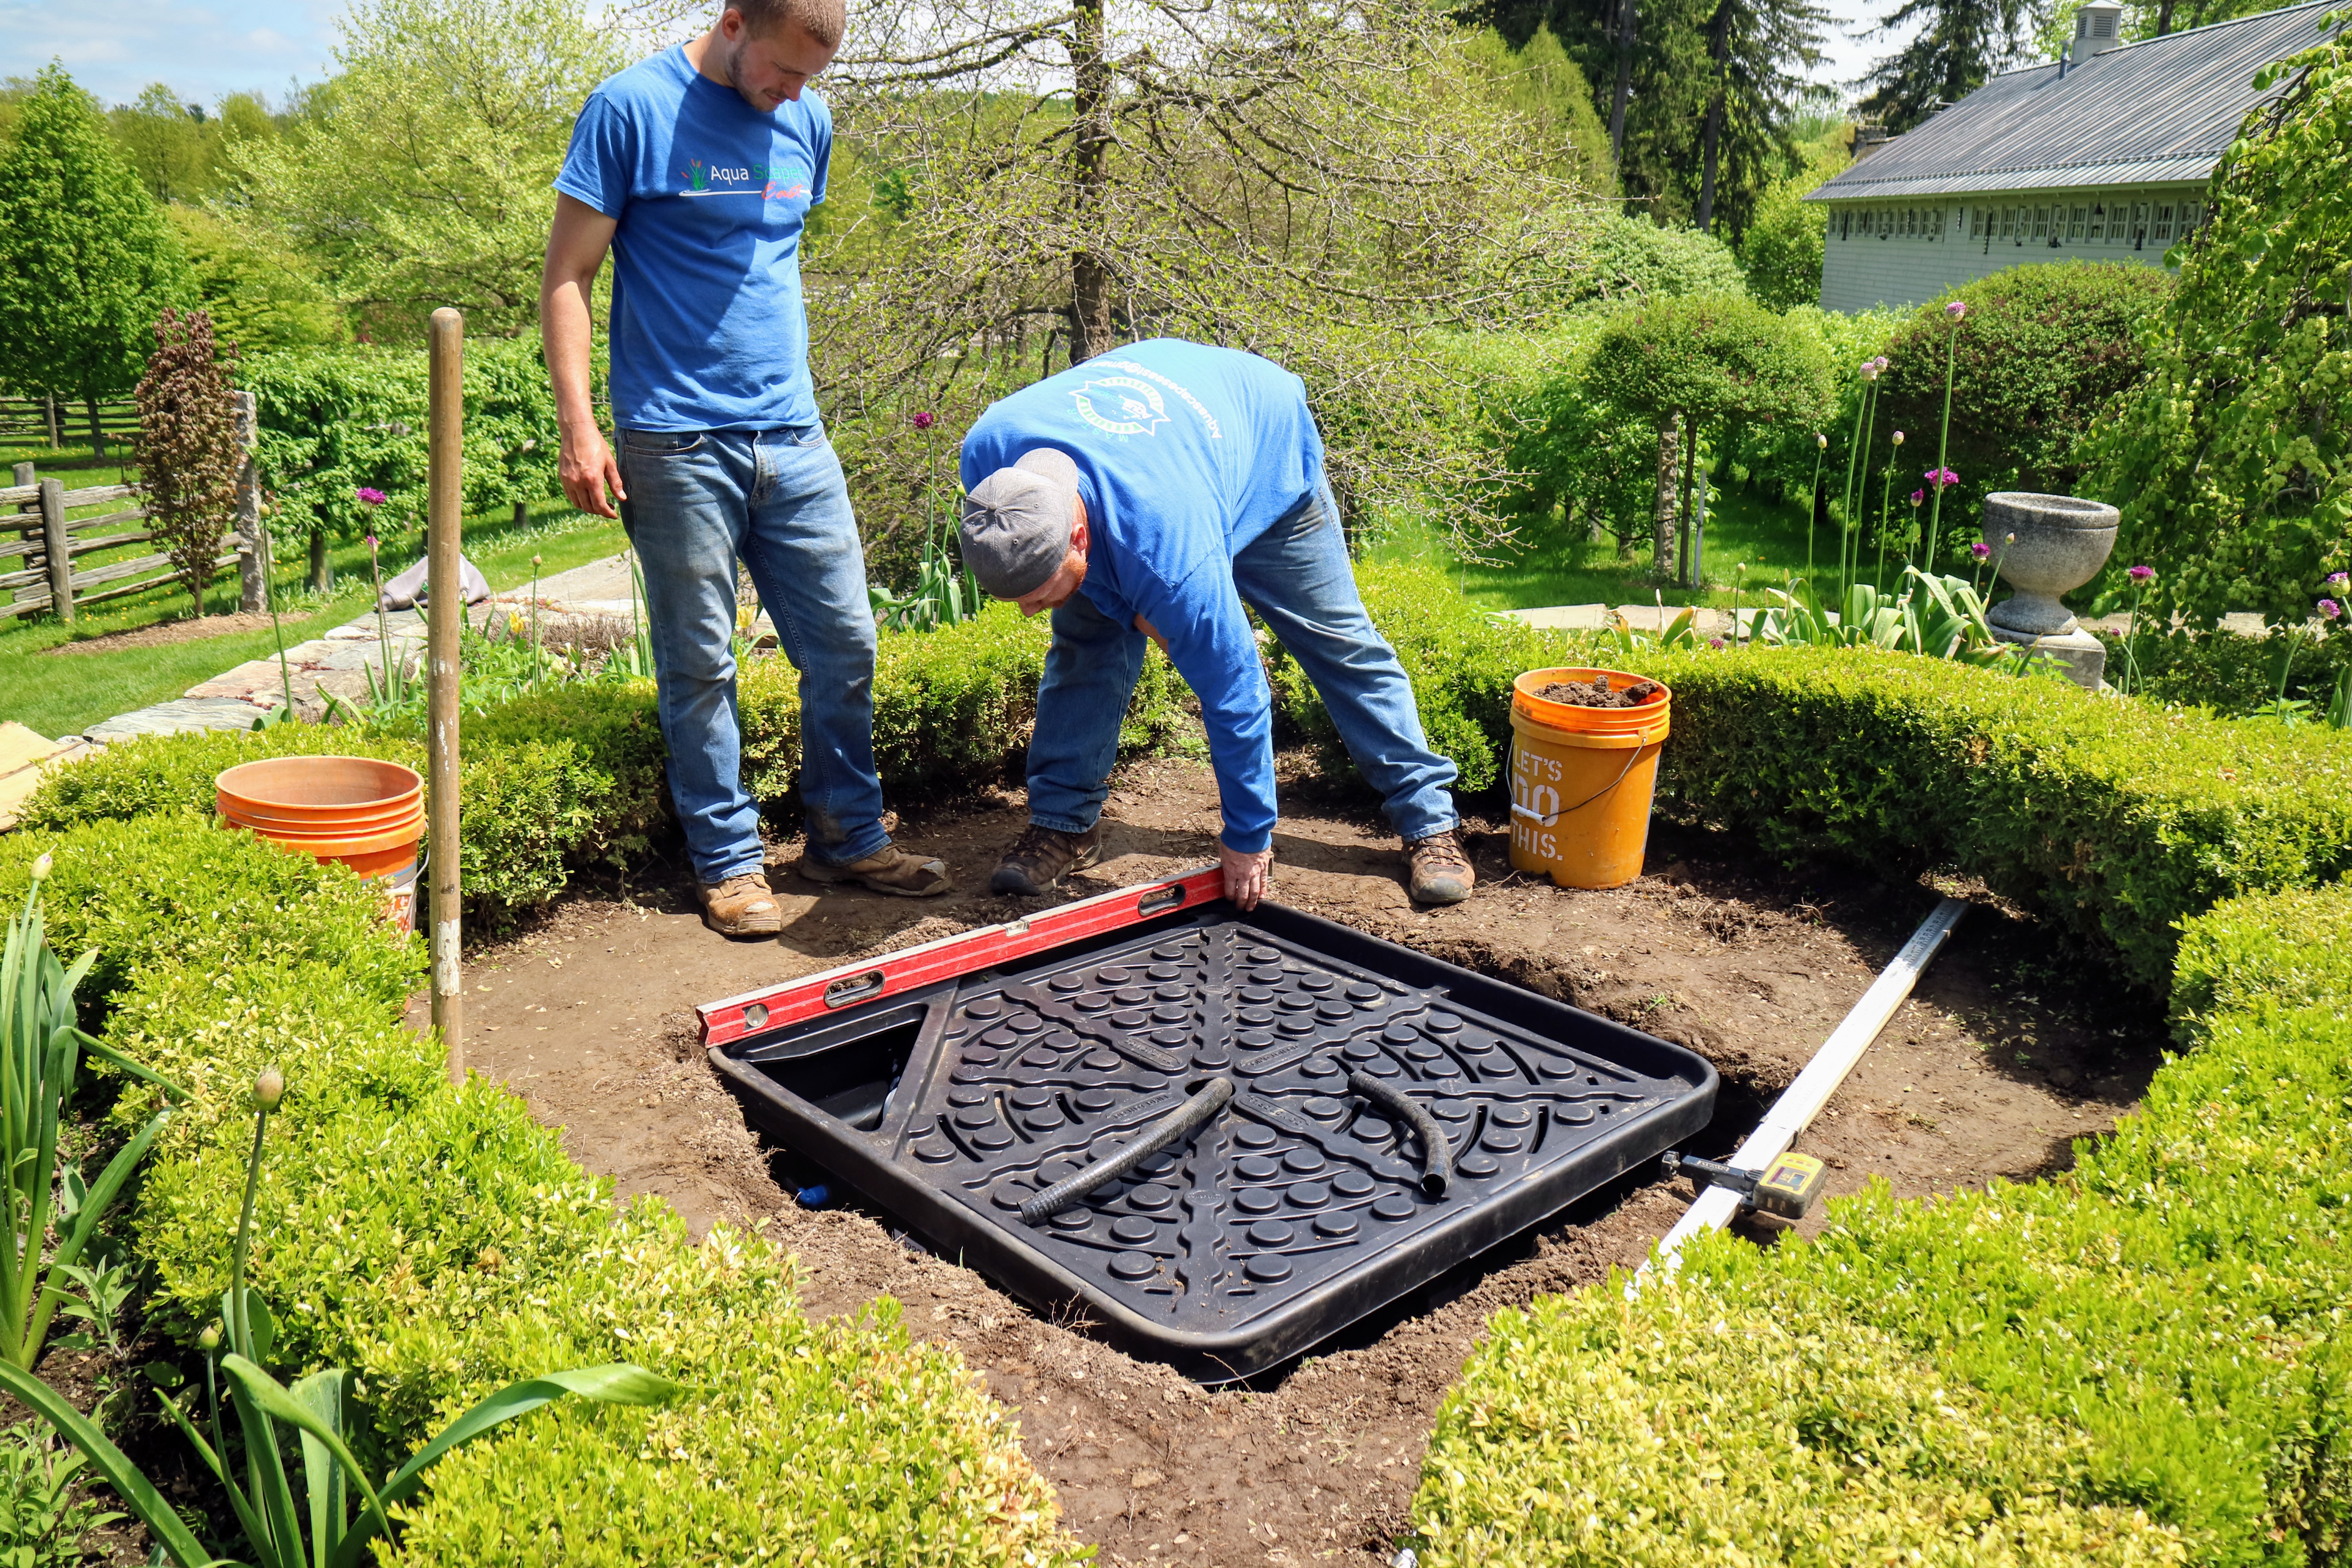
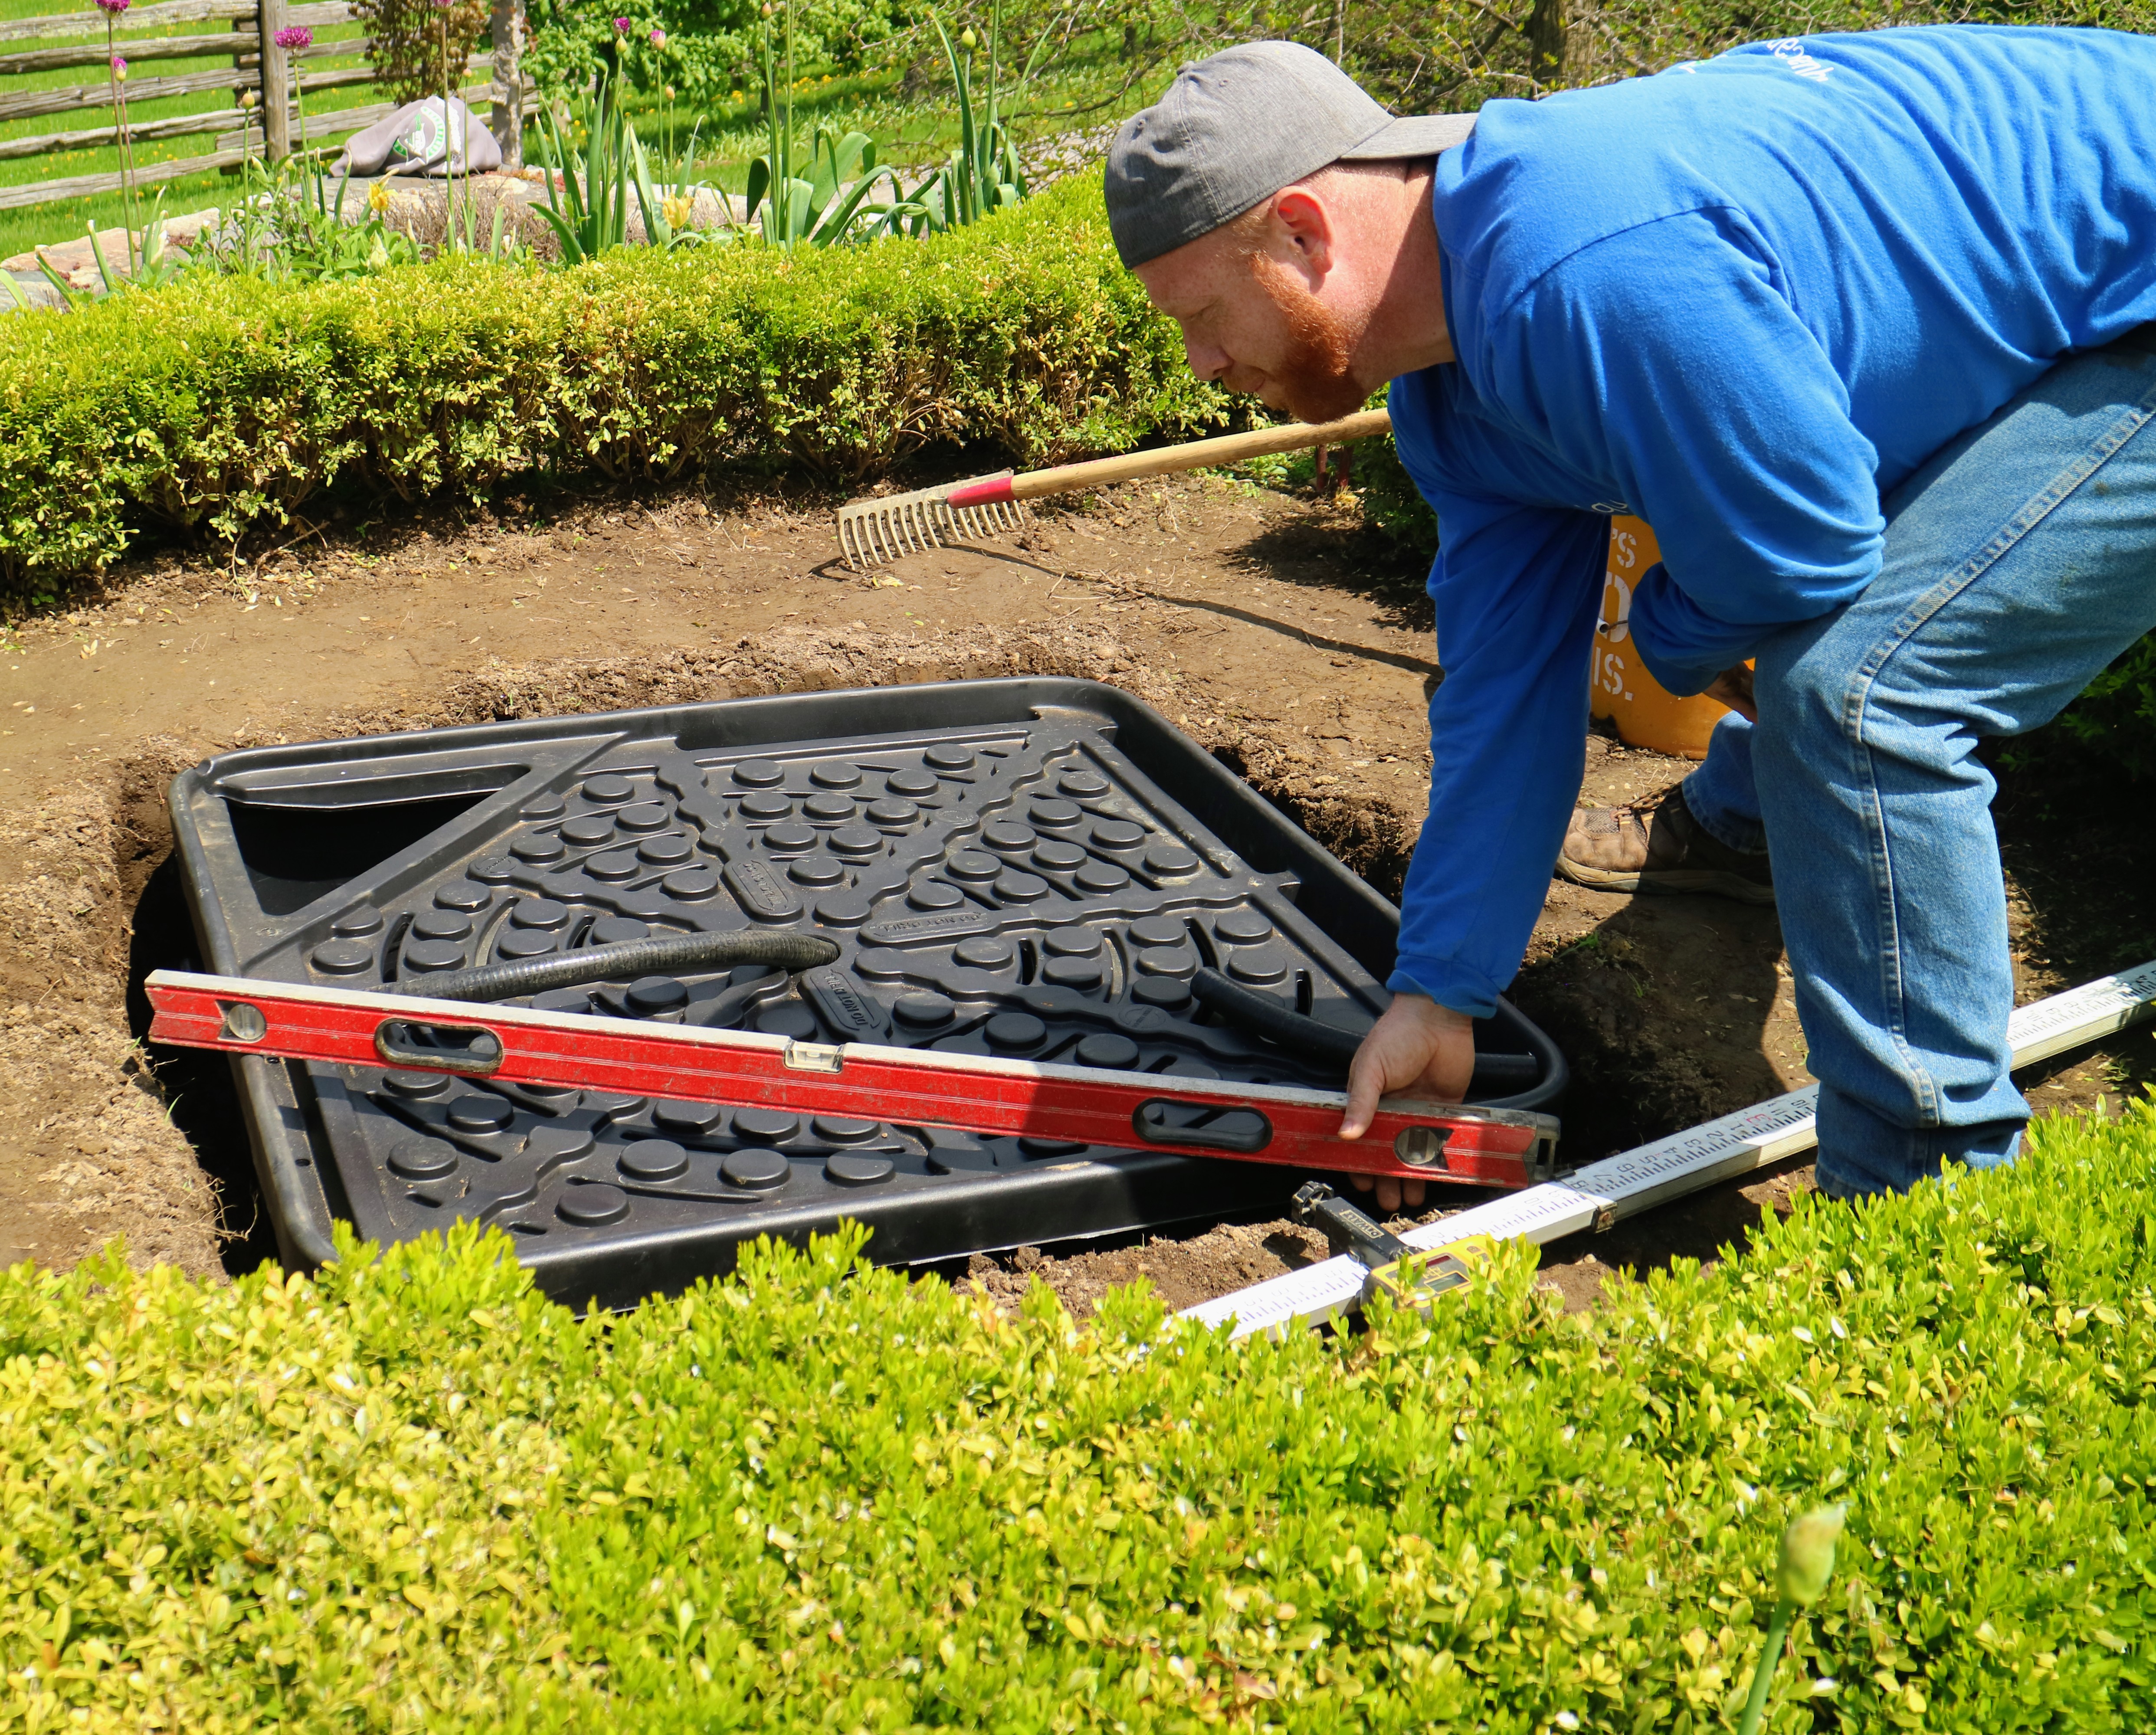
- The square reservoir is now positioned perfectly in the space.

-
- Next, the stone is placed above the reservoir and a protective cloth. Dylan measures it to ensure it is centered.
-
- Aqua Scapes East installed a pump in each of the fountains. The fountain will work by pumping water from the large, in-ground reservoir up and through the piece and then back into the reservoir.

-
- Dylan shows where the water will circulate in the basin of the fountain.
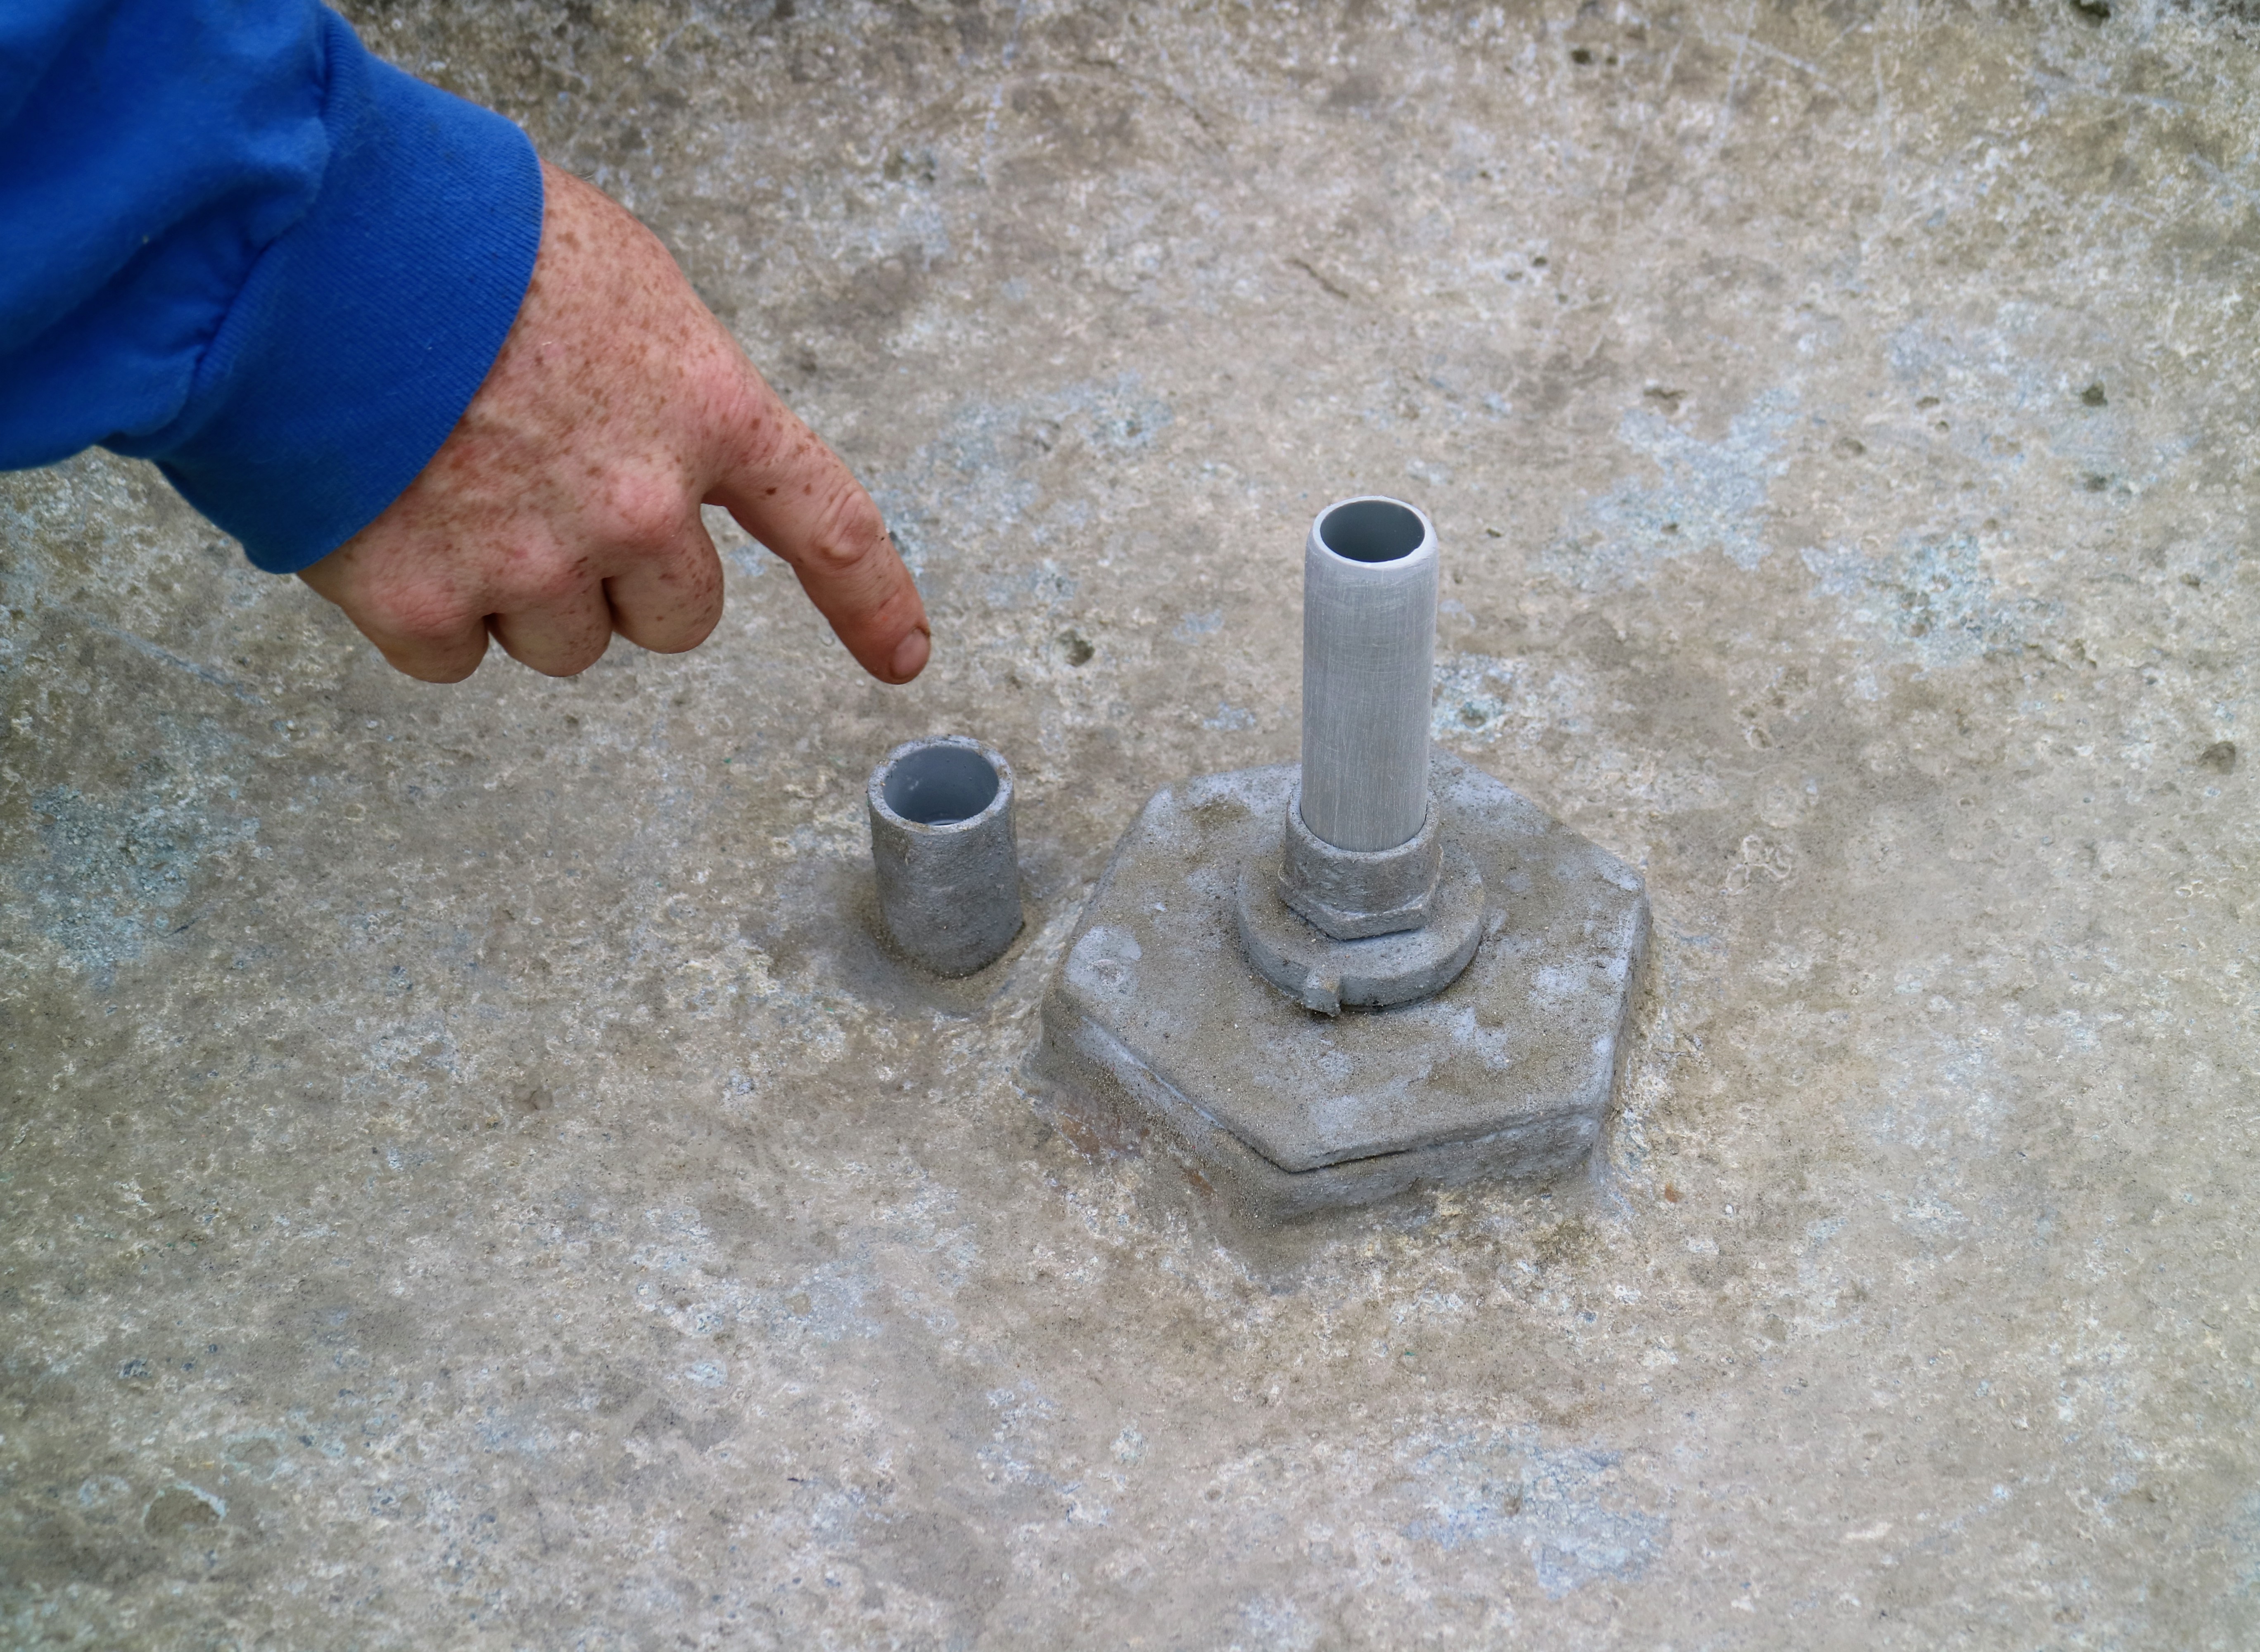
-
- This Aqua Scape conversion kit water pump has a durable prefilter cage design that prevents clogging and reduces pump maintenance. www.aquascapeinc.com/

-
- The pump sits in the reservoir and will be completely hidden from view.

-
- Here, the actual fountain is put into place and Dylan checks that it is level.

-
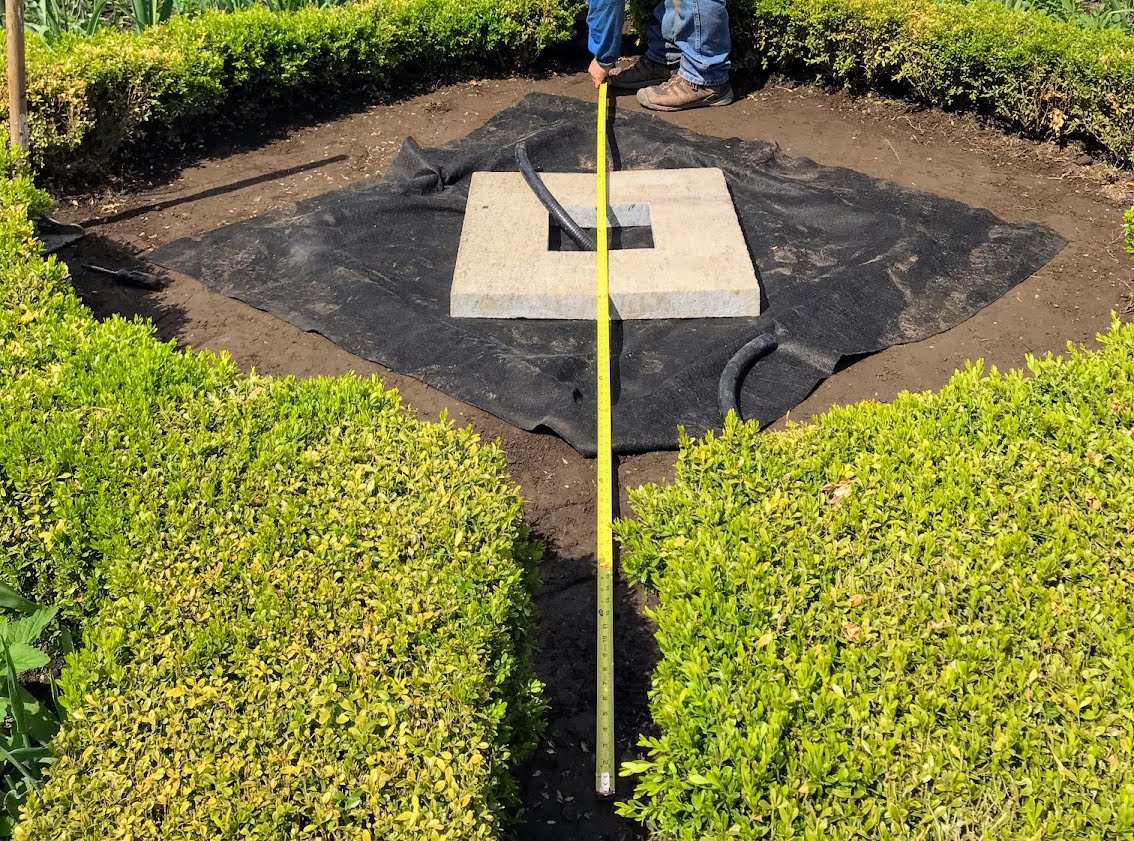
- He also measures the base to make sure it, too, is perfectly centered.

-
- And then the water is turned on.
-
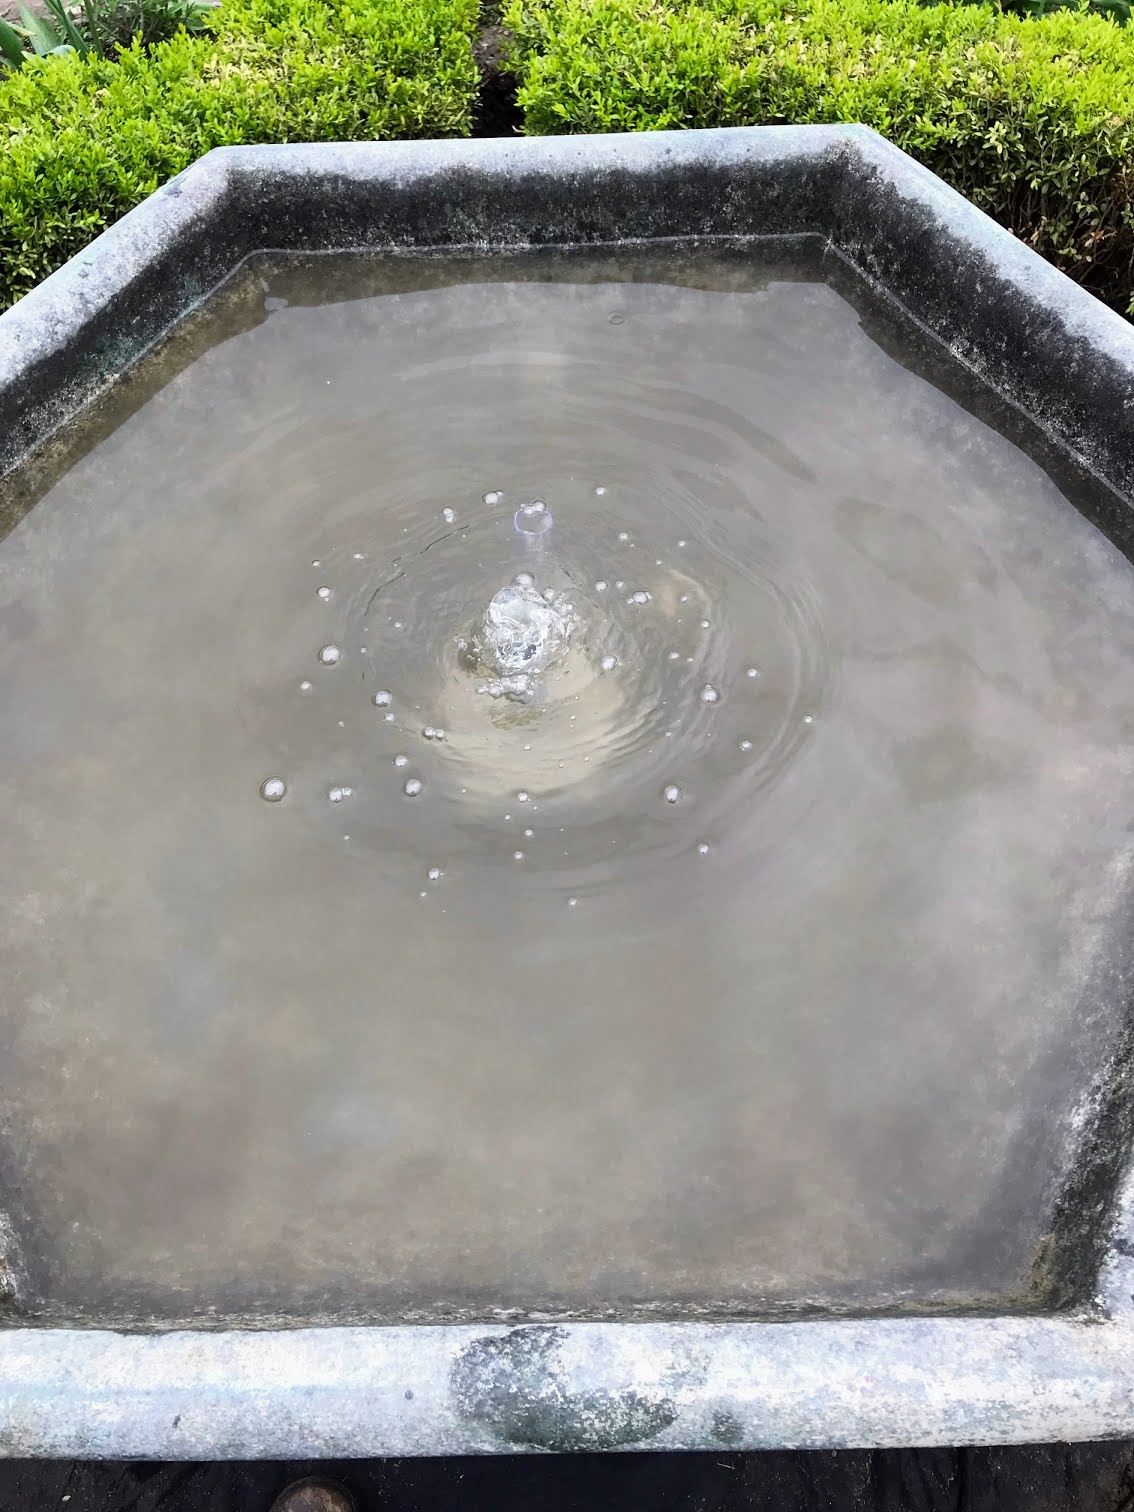
- I wanted the smallest dome of water possible – I wanted to be sure it was an attractive spot for visiting birds.
-
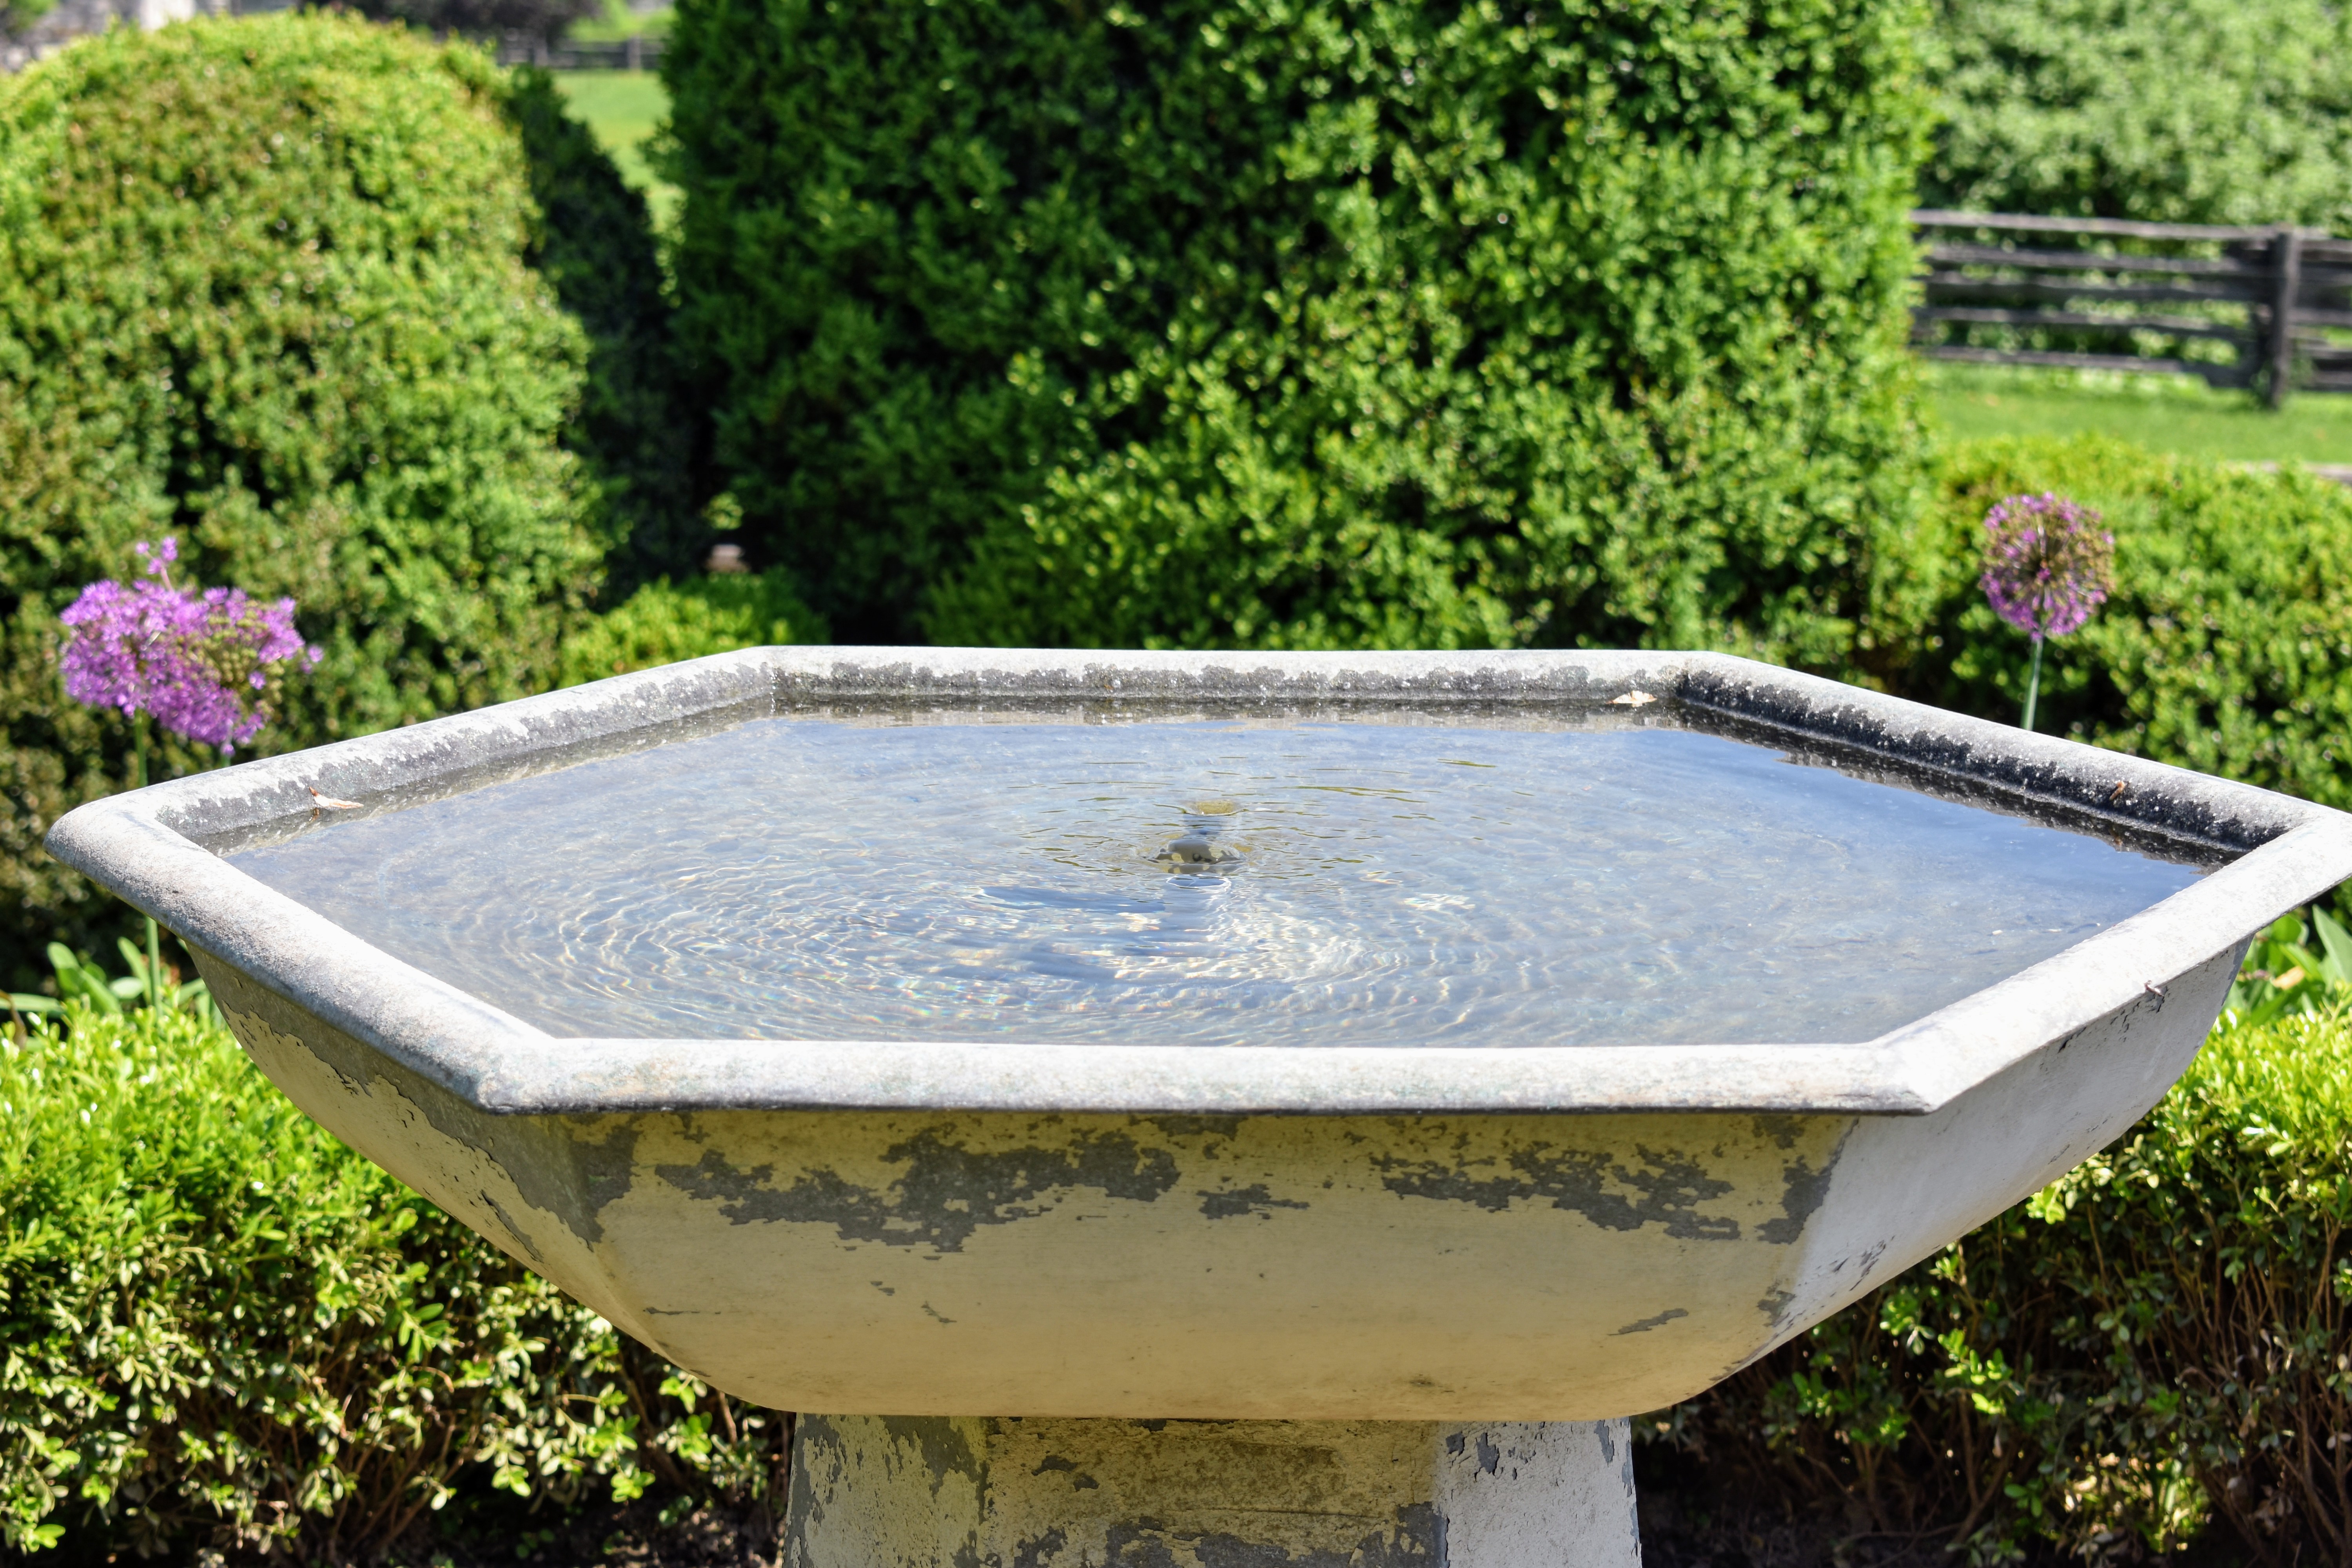
- It already looks as if it has been here for many years. Eventually, the fountain will be underplanted with many pretty flowers.
-
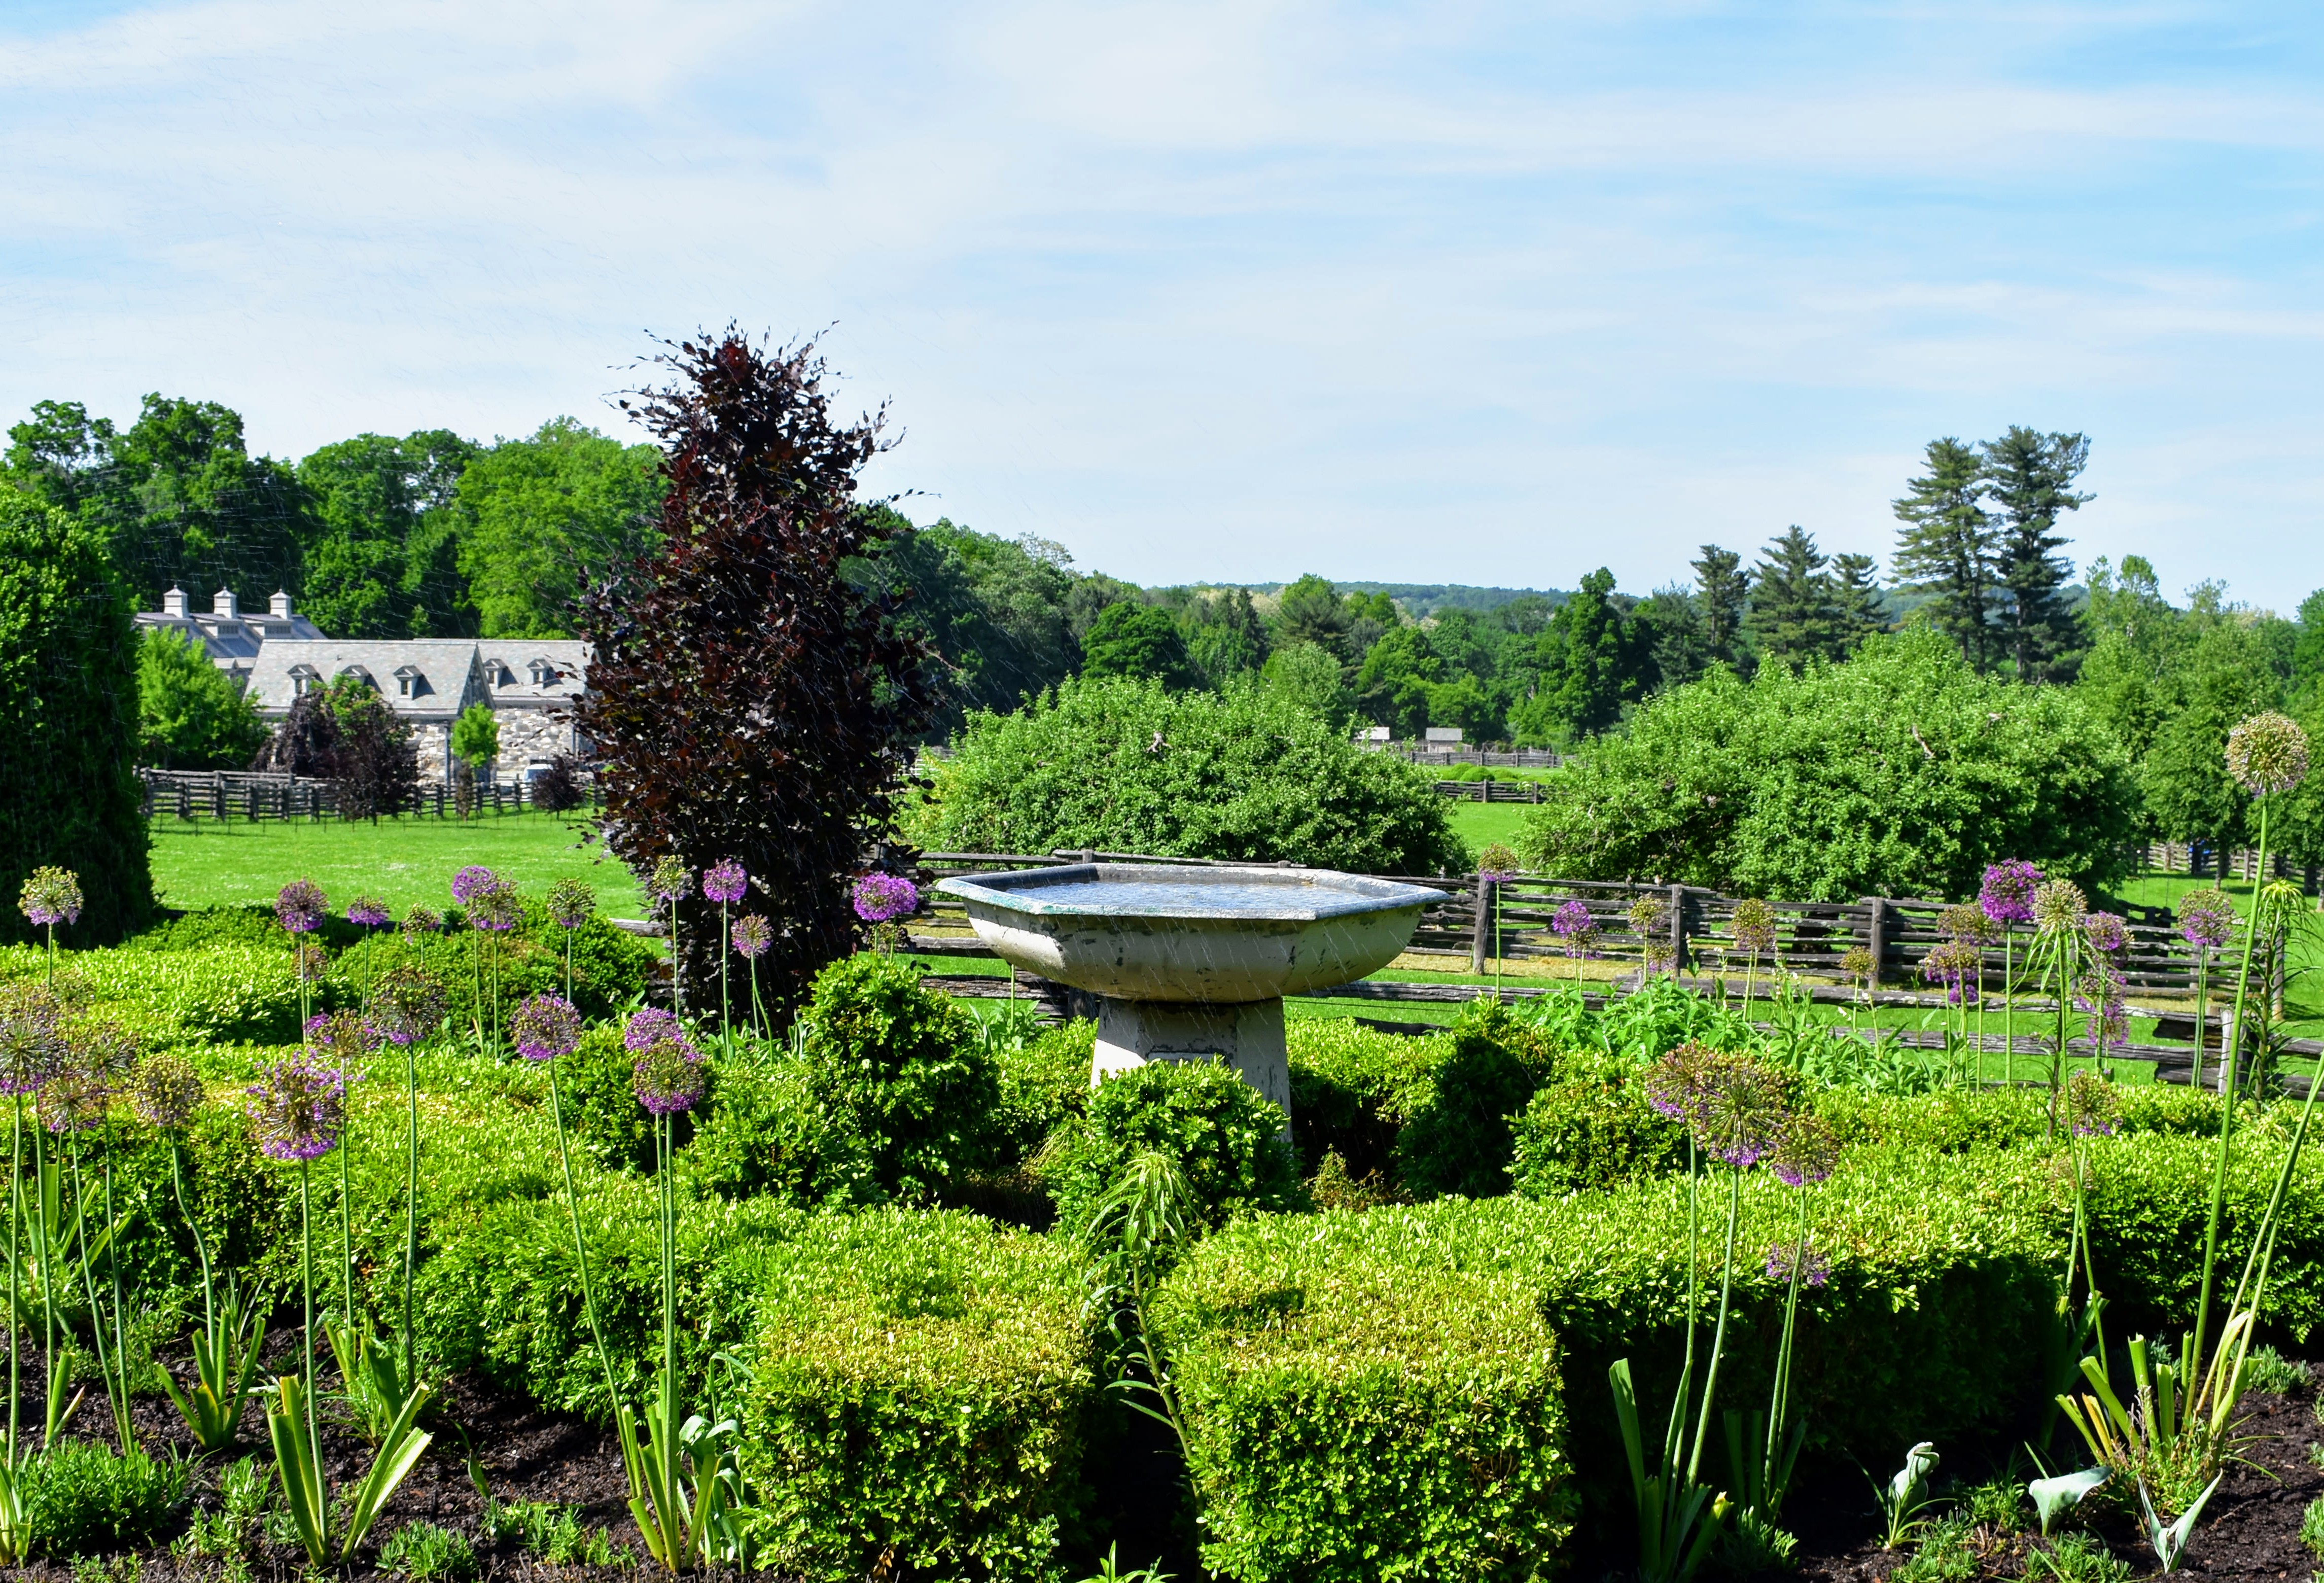
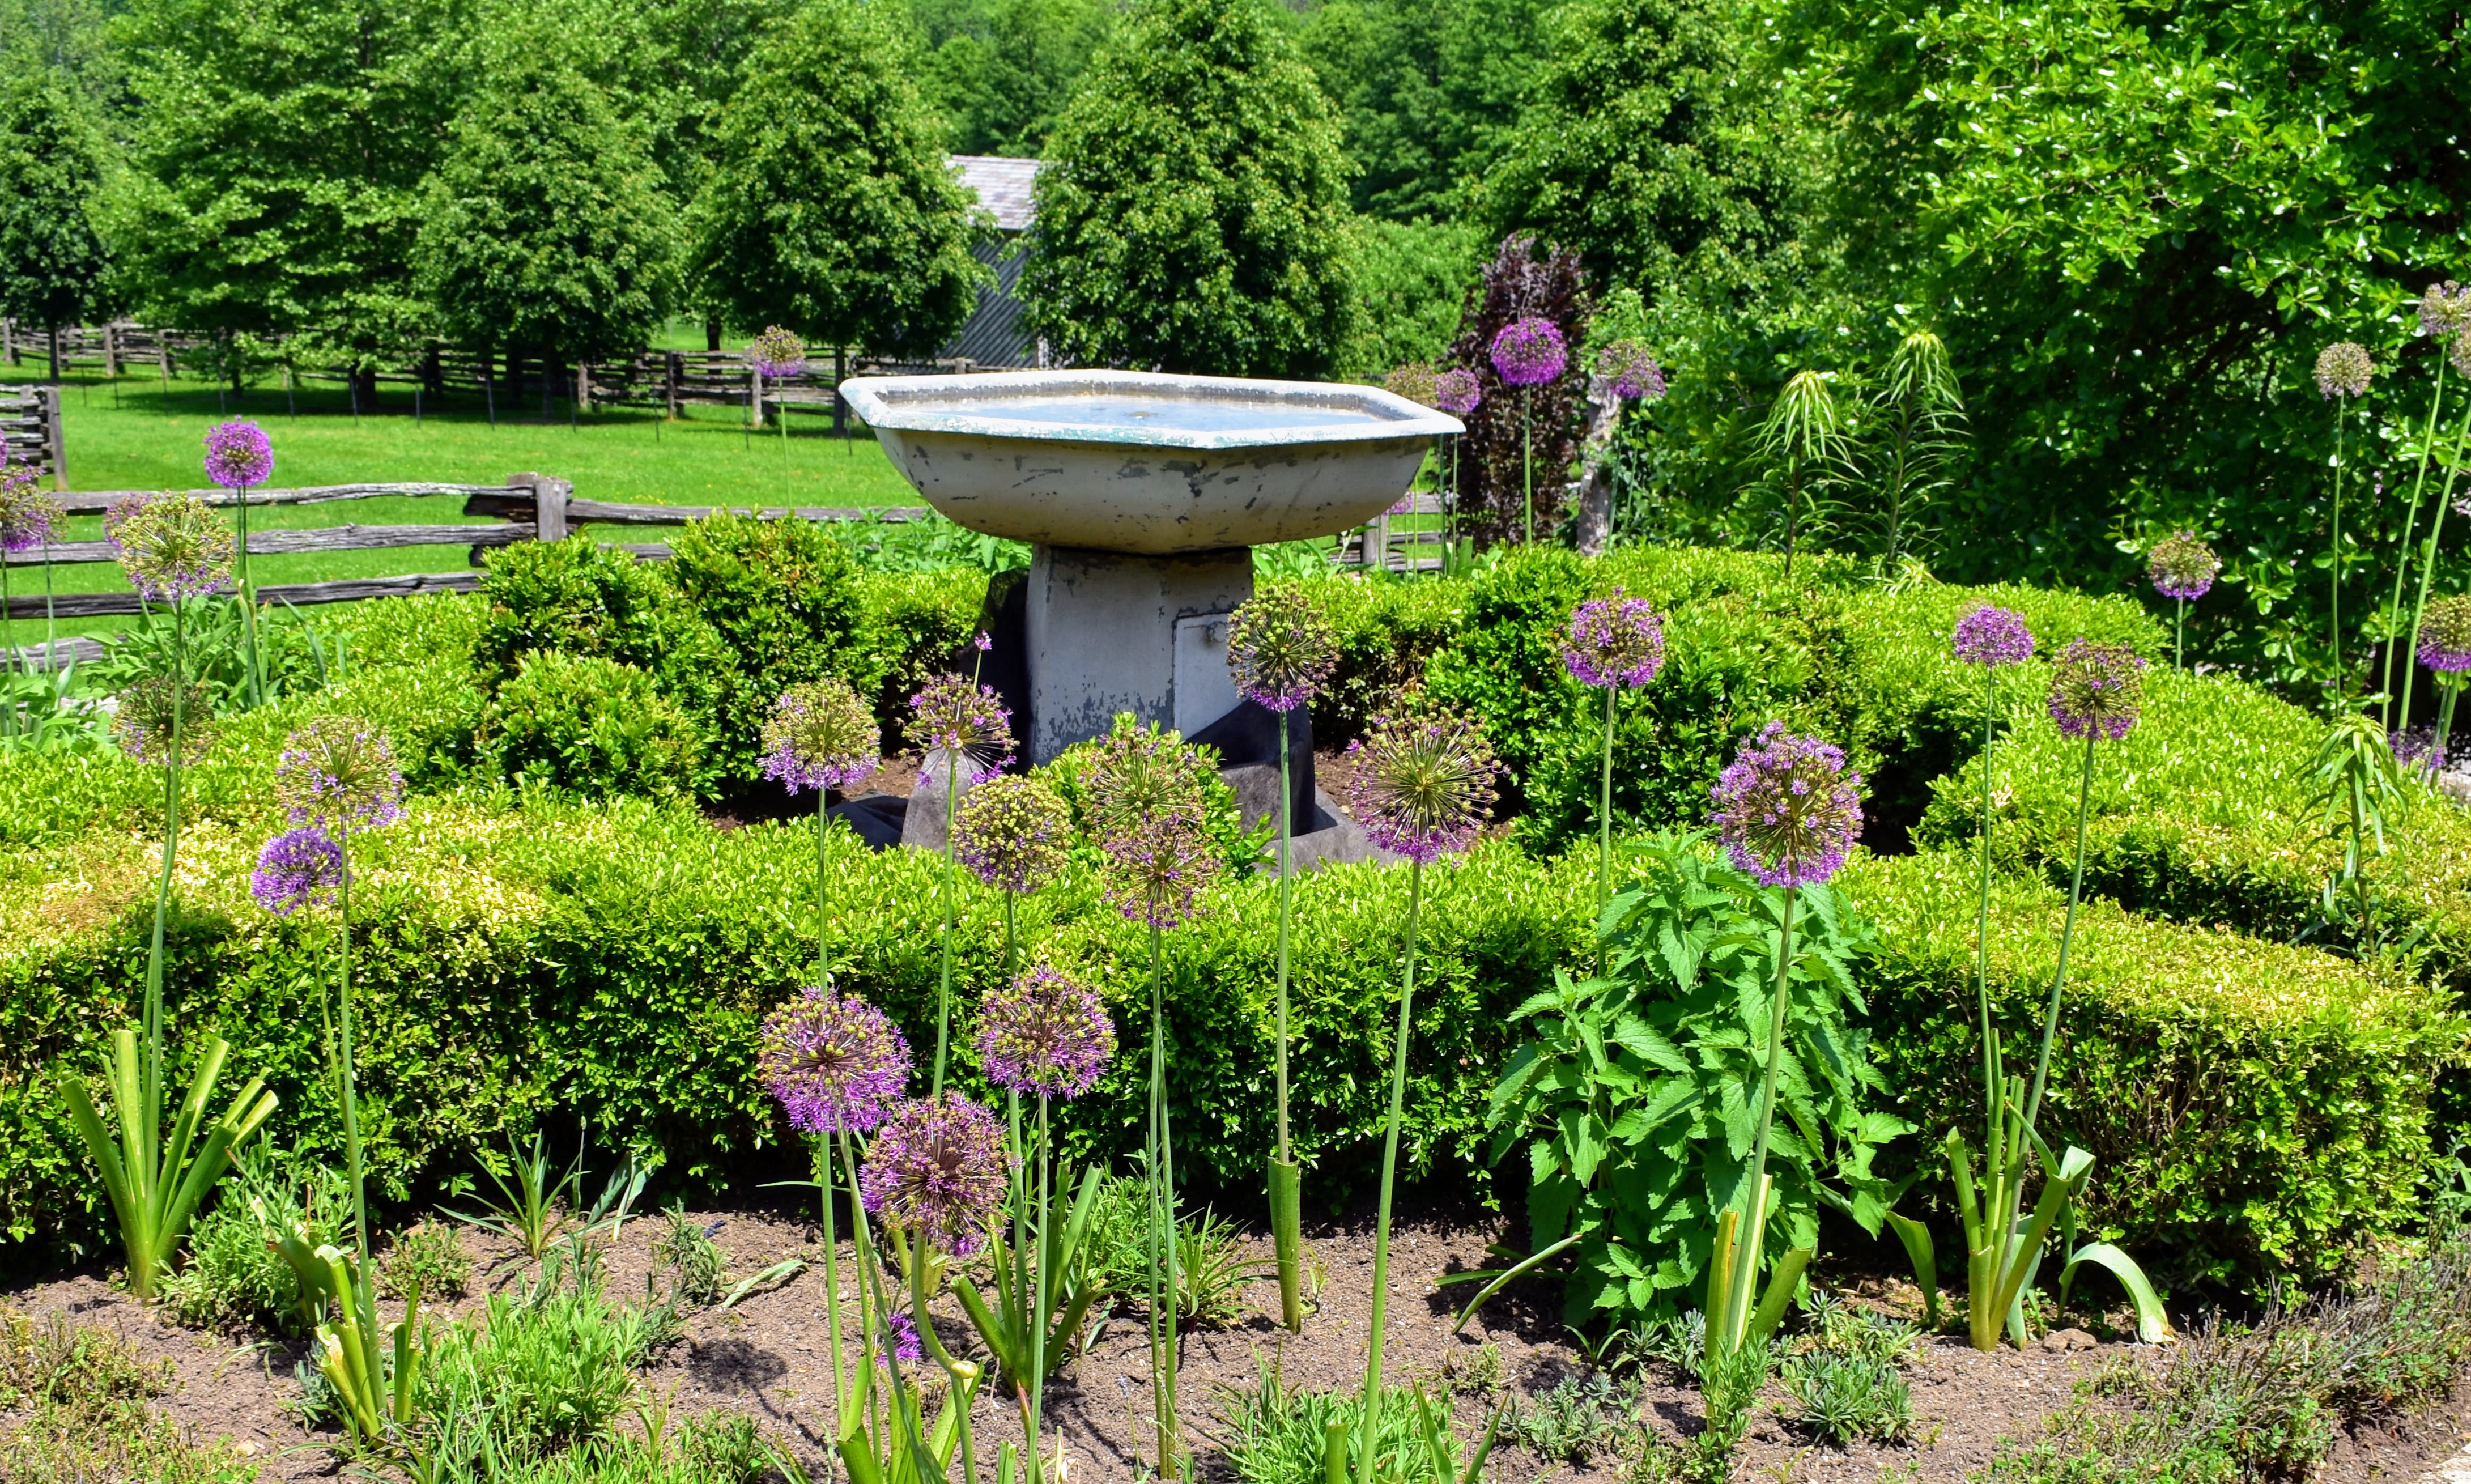
- I love this view looking over the peaceful fountains and out onto the pretty spring landscape. What water features do you have in your garden? Share your comments with me below.