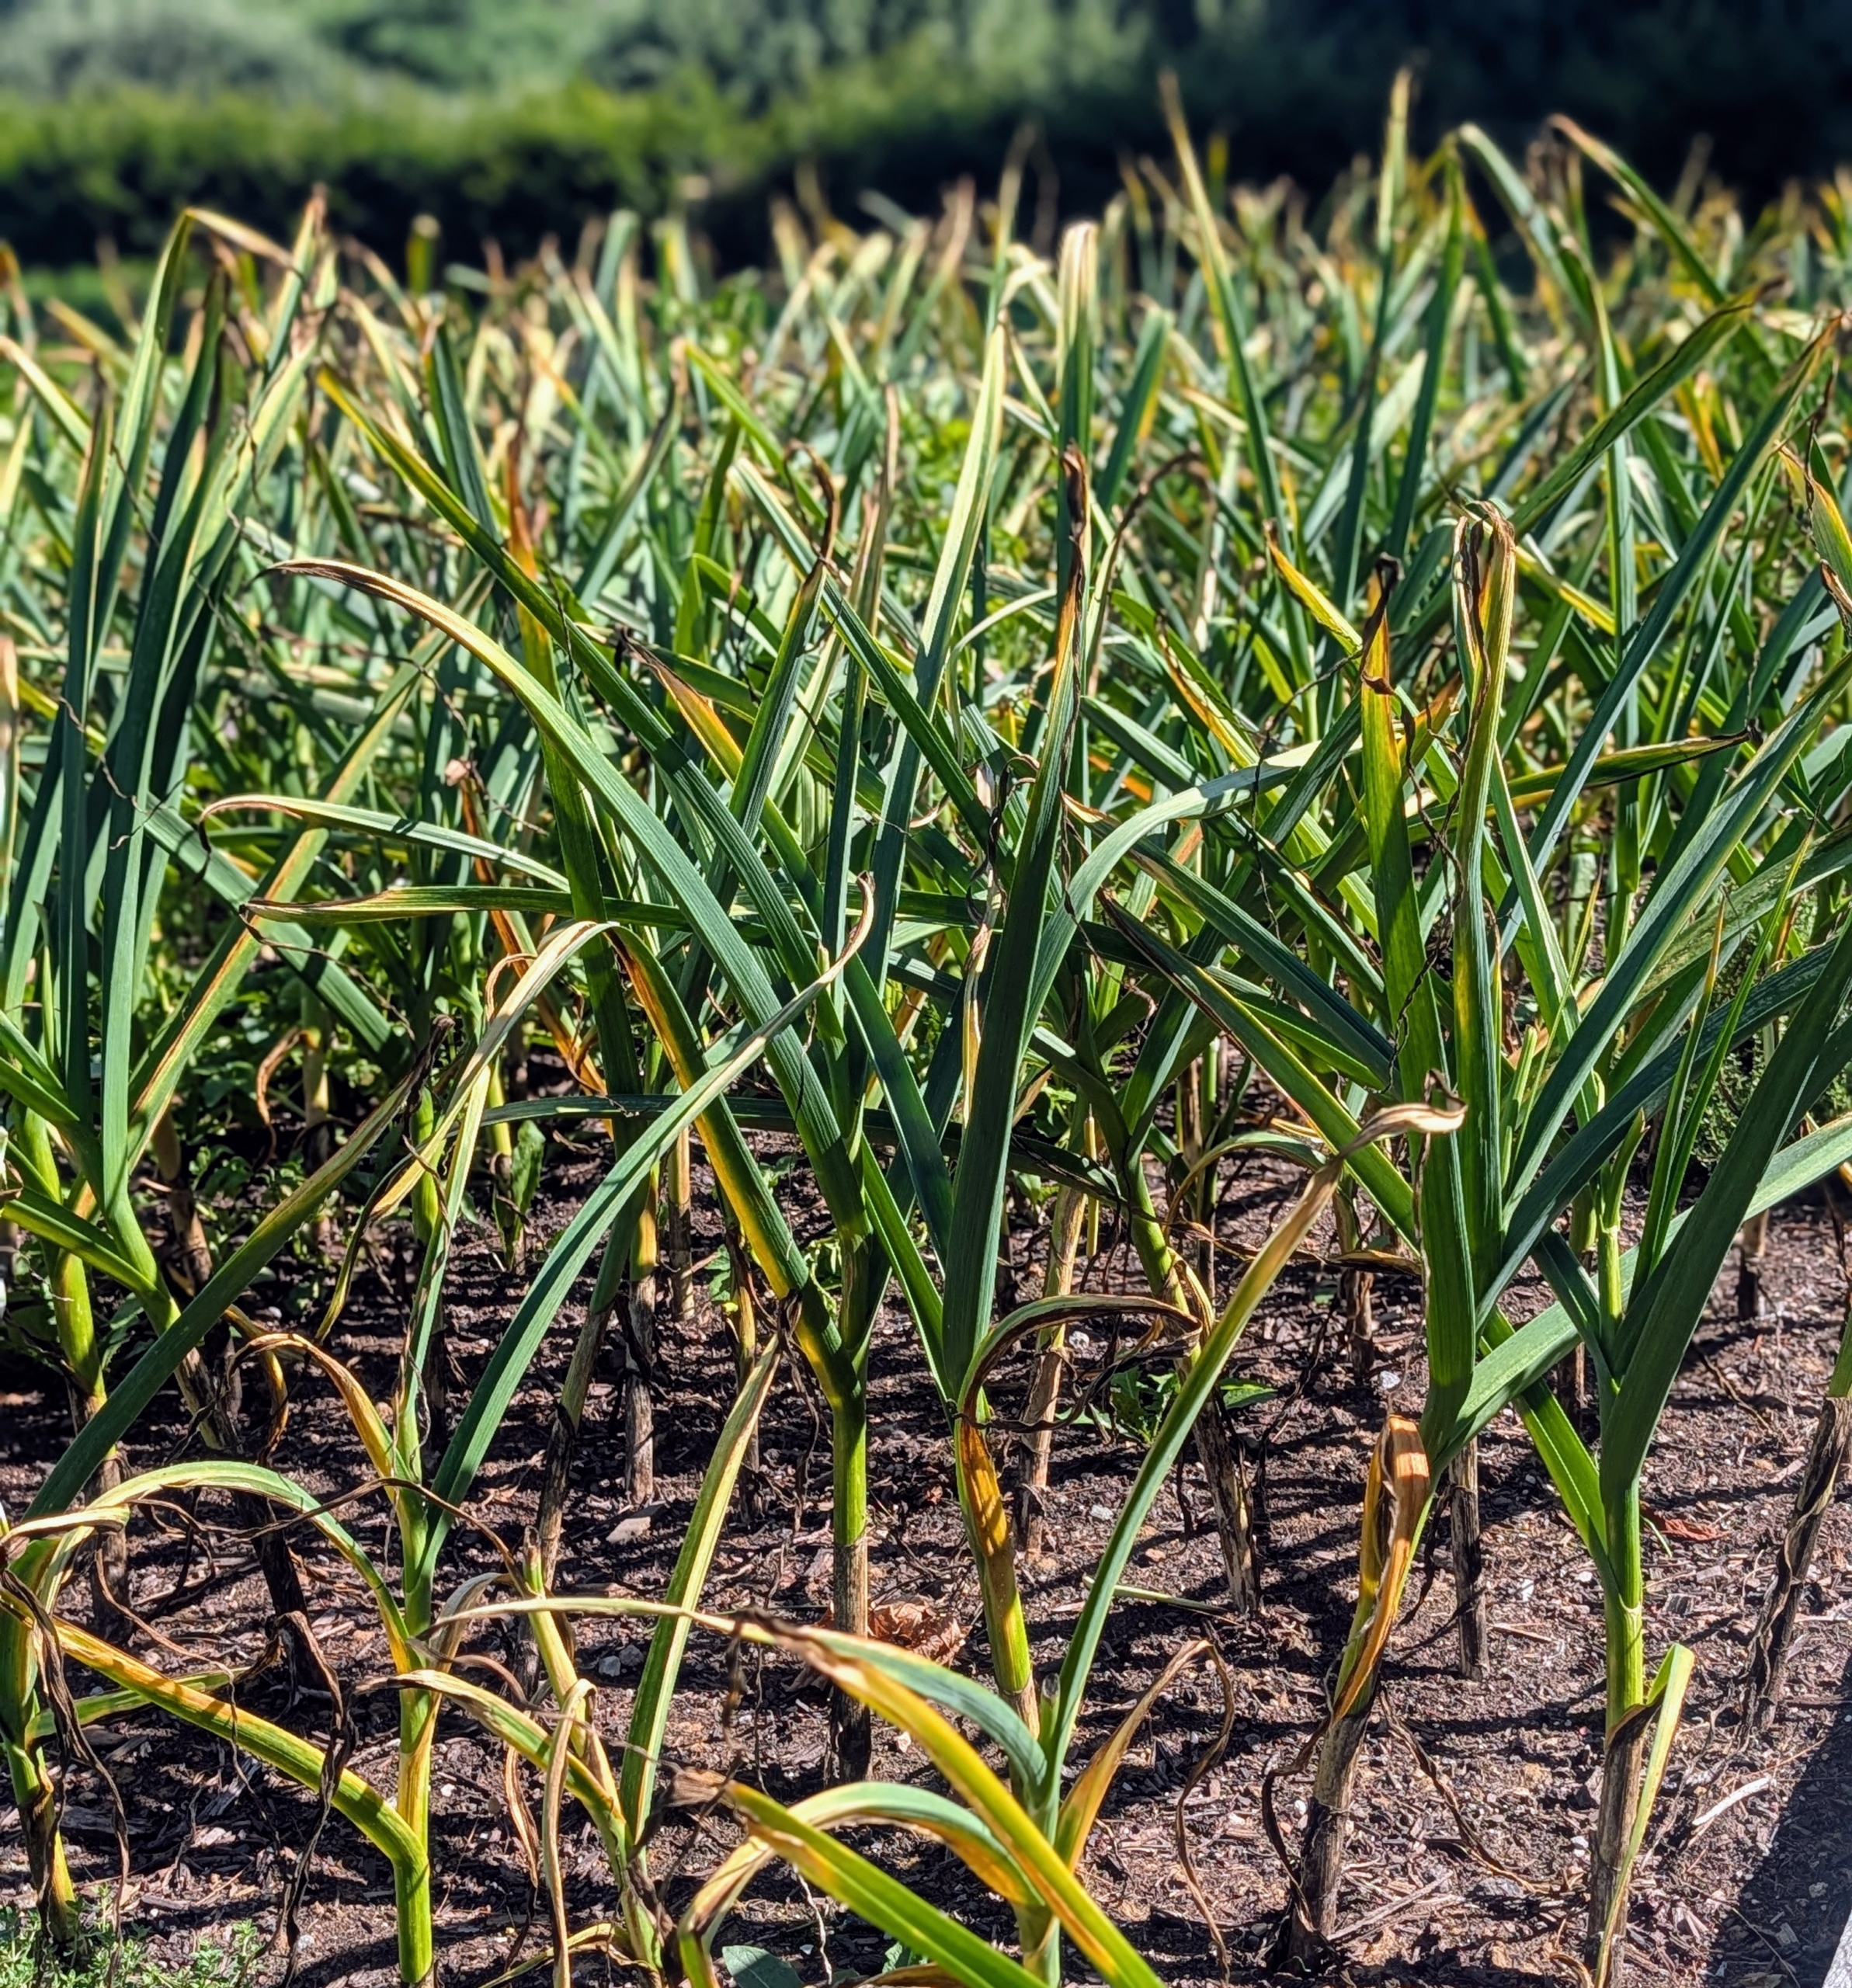
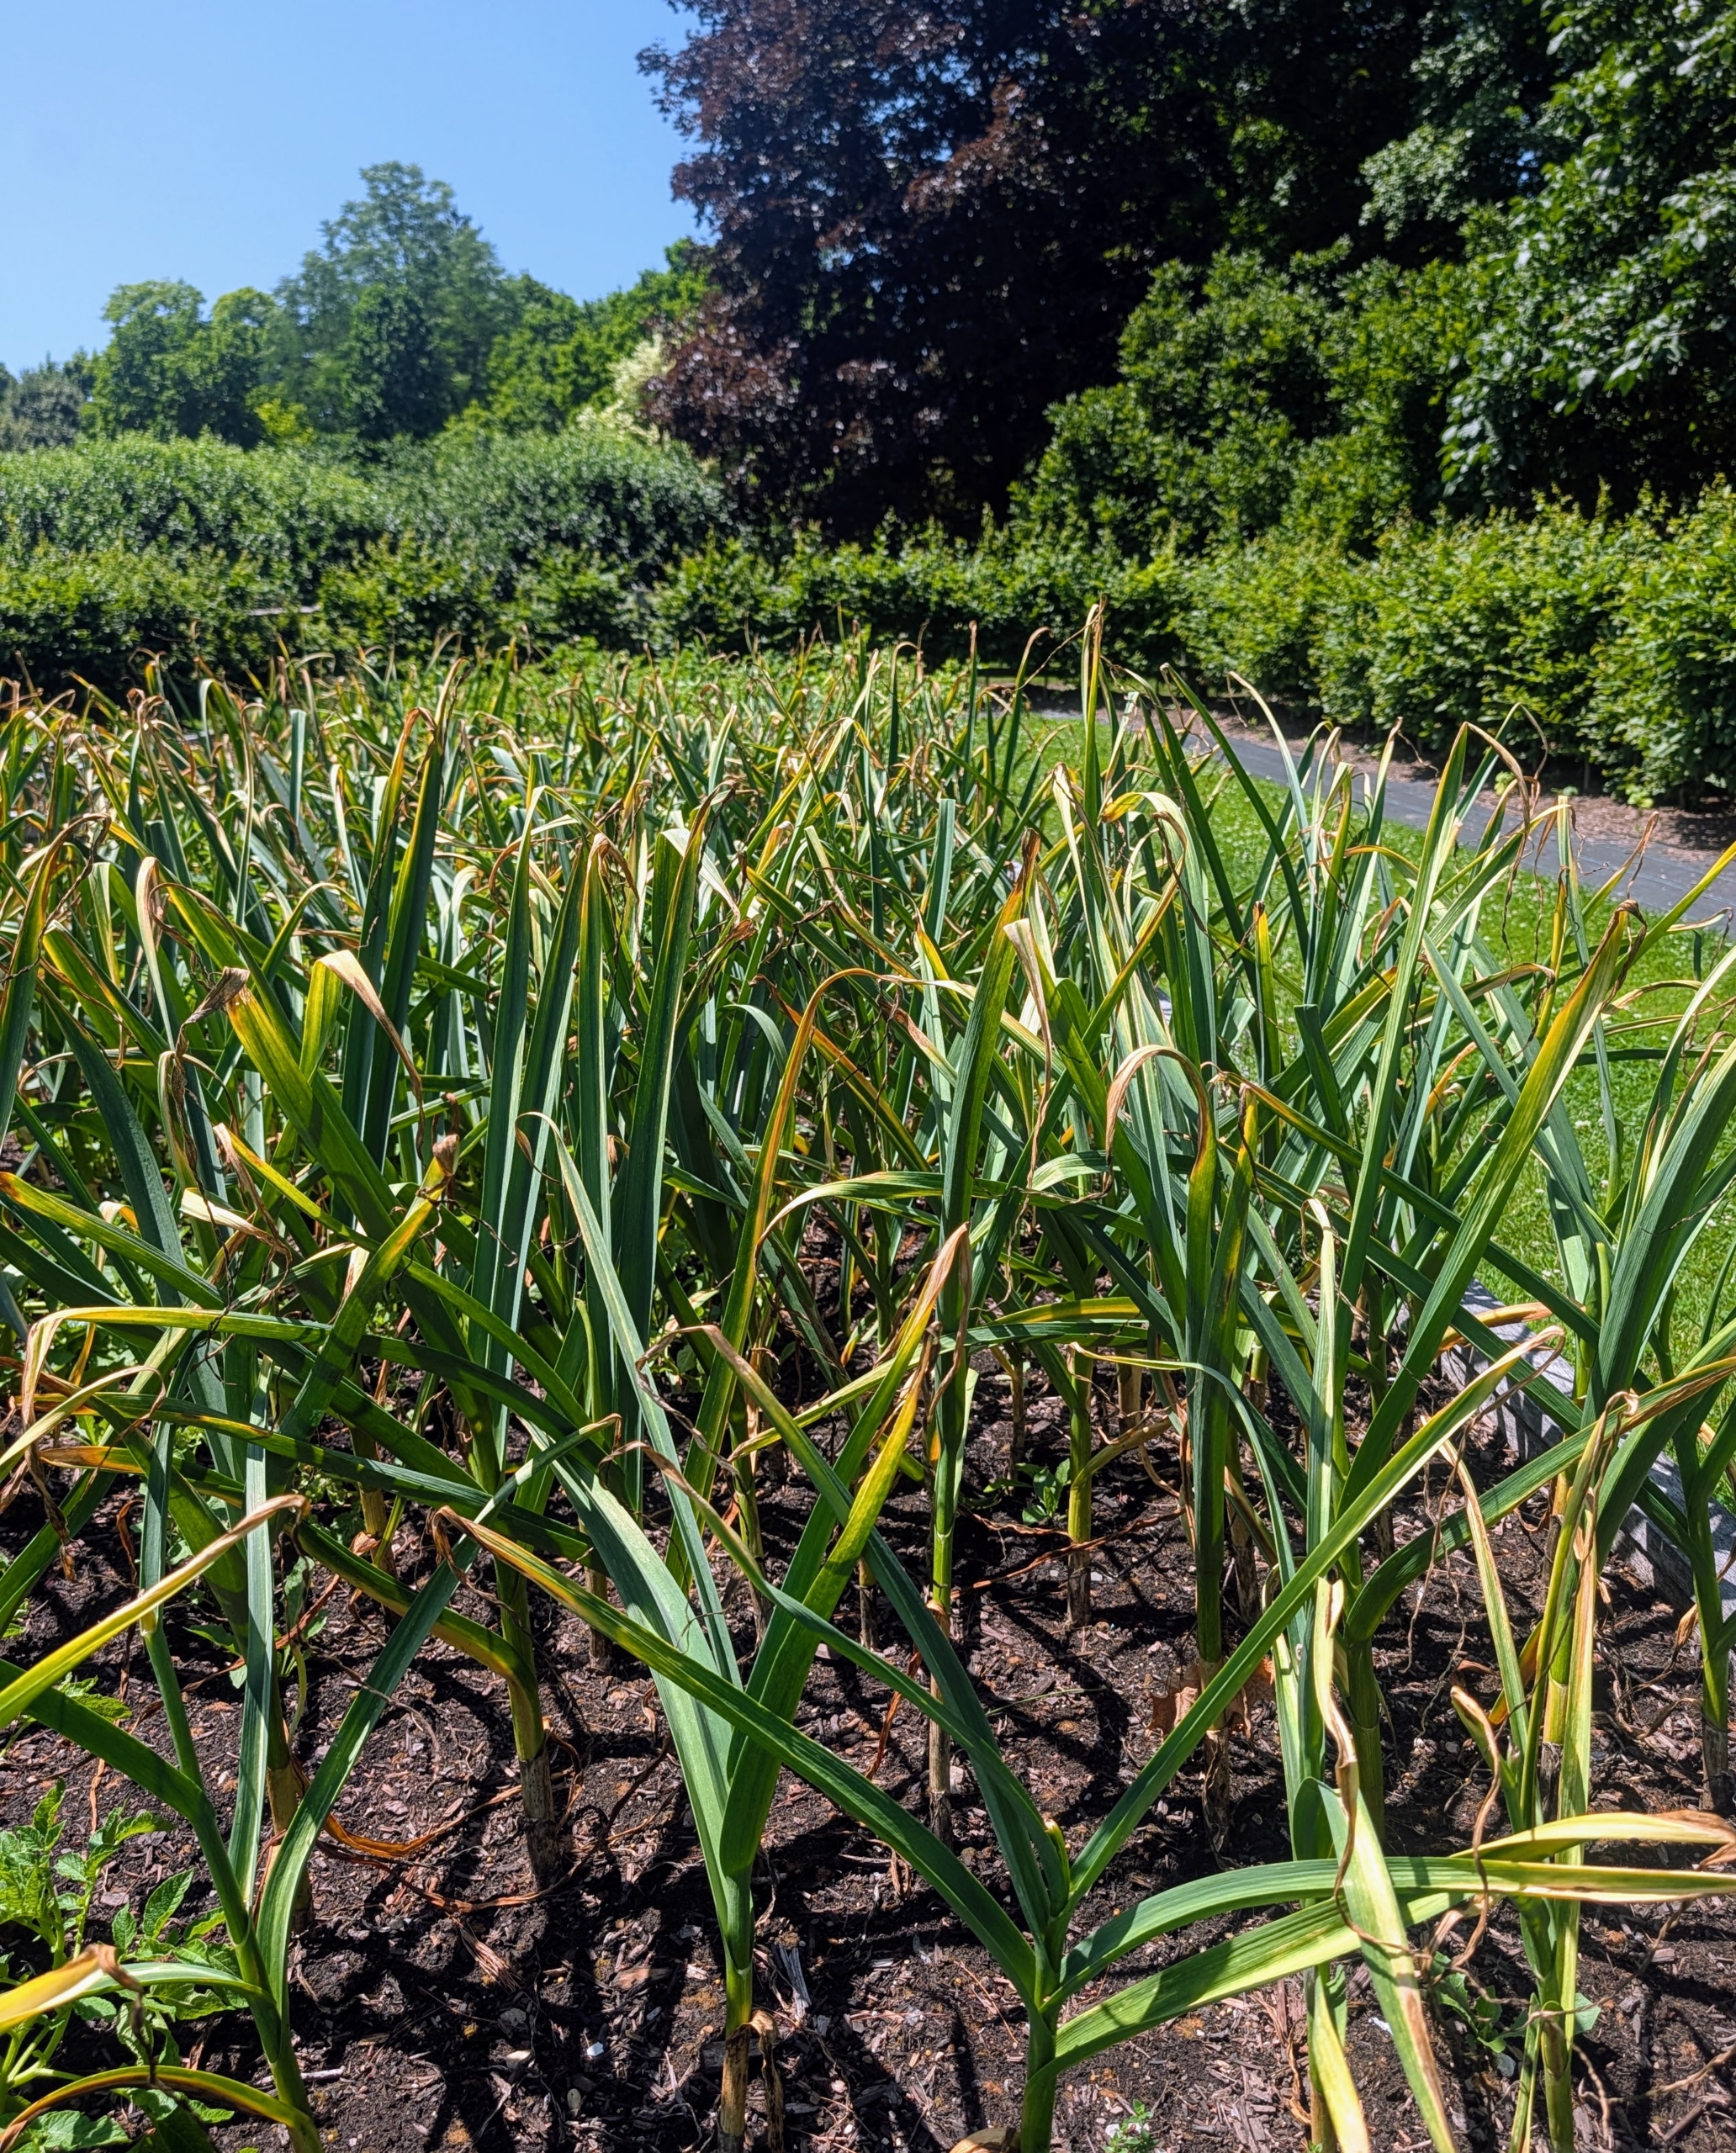
Here on my farm, July is garlic picking time. The bulbs are ready to dig when the lower leaves begin to dry and turn brown, while the upper leaves remain green and the soil is dry.
Knowing exactly when to harvest garlic is key. Pick it too early, and the cloves will be small and underdeveloped. Wait too long, and the bulbs begin to split apart, leaving them more susceptible to decay. Yesterday, my gardeners harvested the entire crop - the softnecks, which produce long-lasting bulbs with many cloves around a soft center stem, and the hardnecks, which are noted for their stiff central stalk, fewer cloves, relatively short shelf life, and intriguingly complex flavors. And all from our friends at Keene Garlic, a family-owned farm in Wisconsin.
Here are some photos.
My gardeners waited for a dry day to harvest – this allows the soil to dry out, helps to prevent rot, and makes it much easier to pull the stalks and bulbs from the ground. The main harvest time is usually July through mid-August.
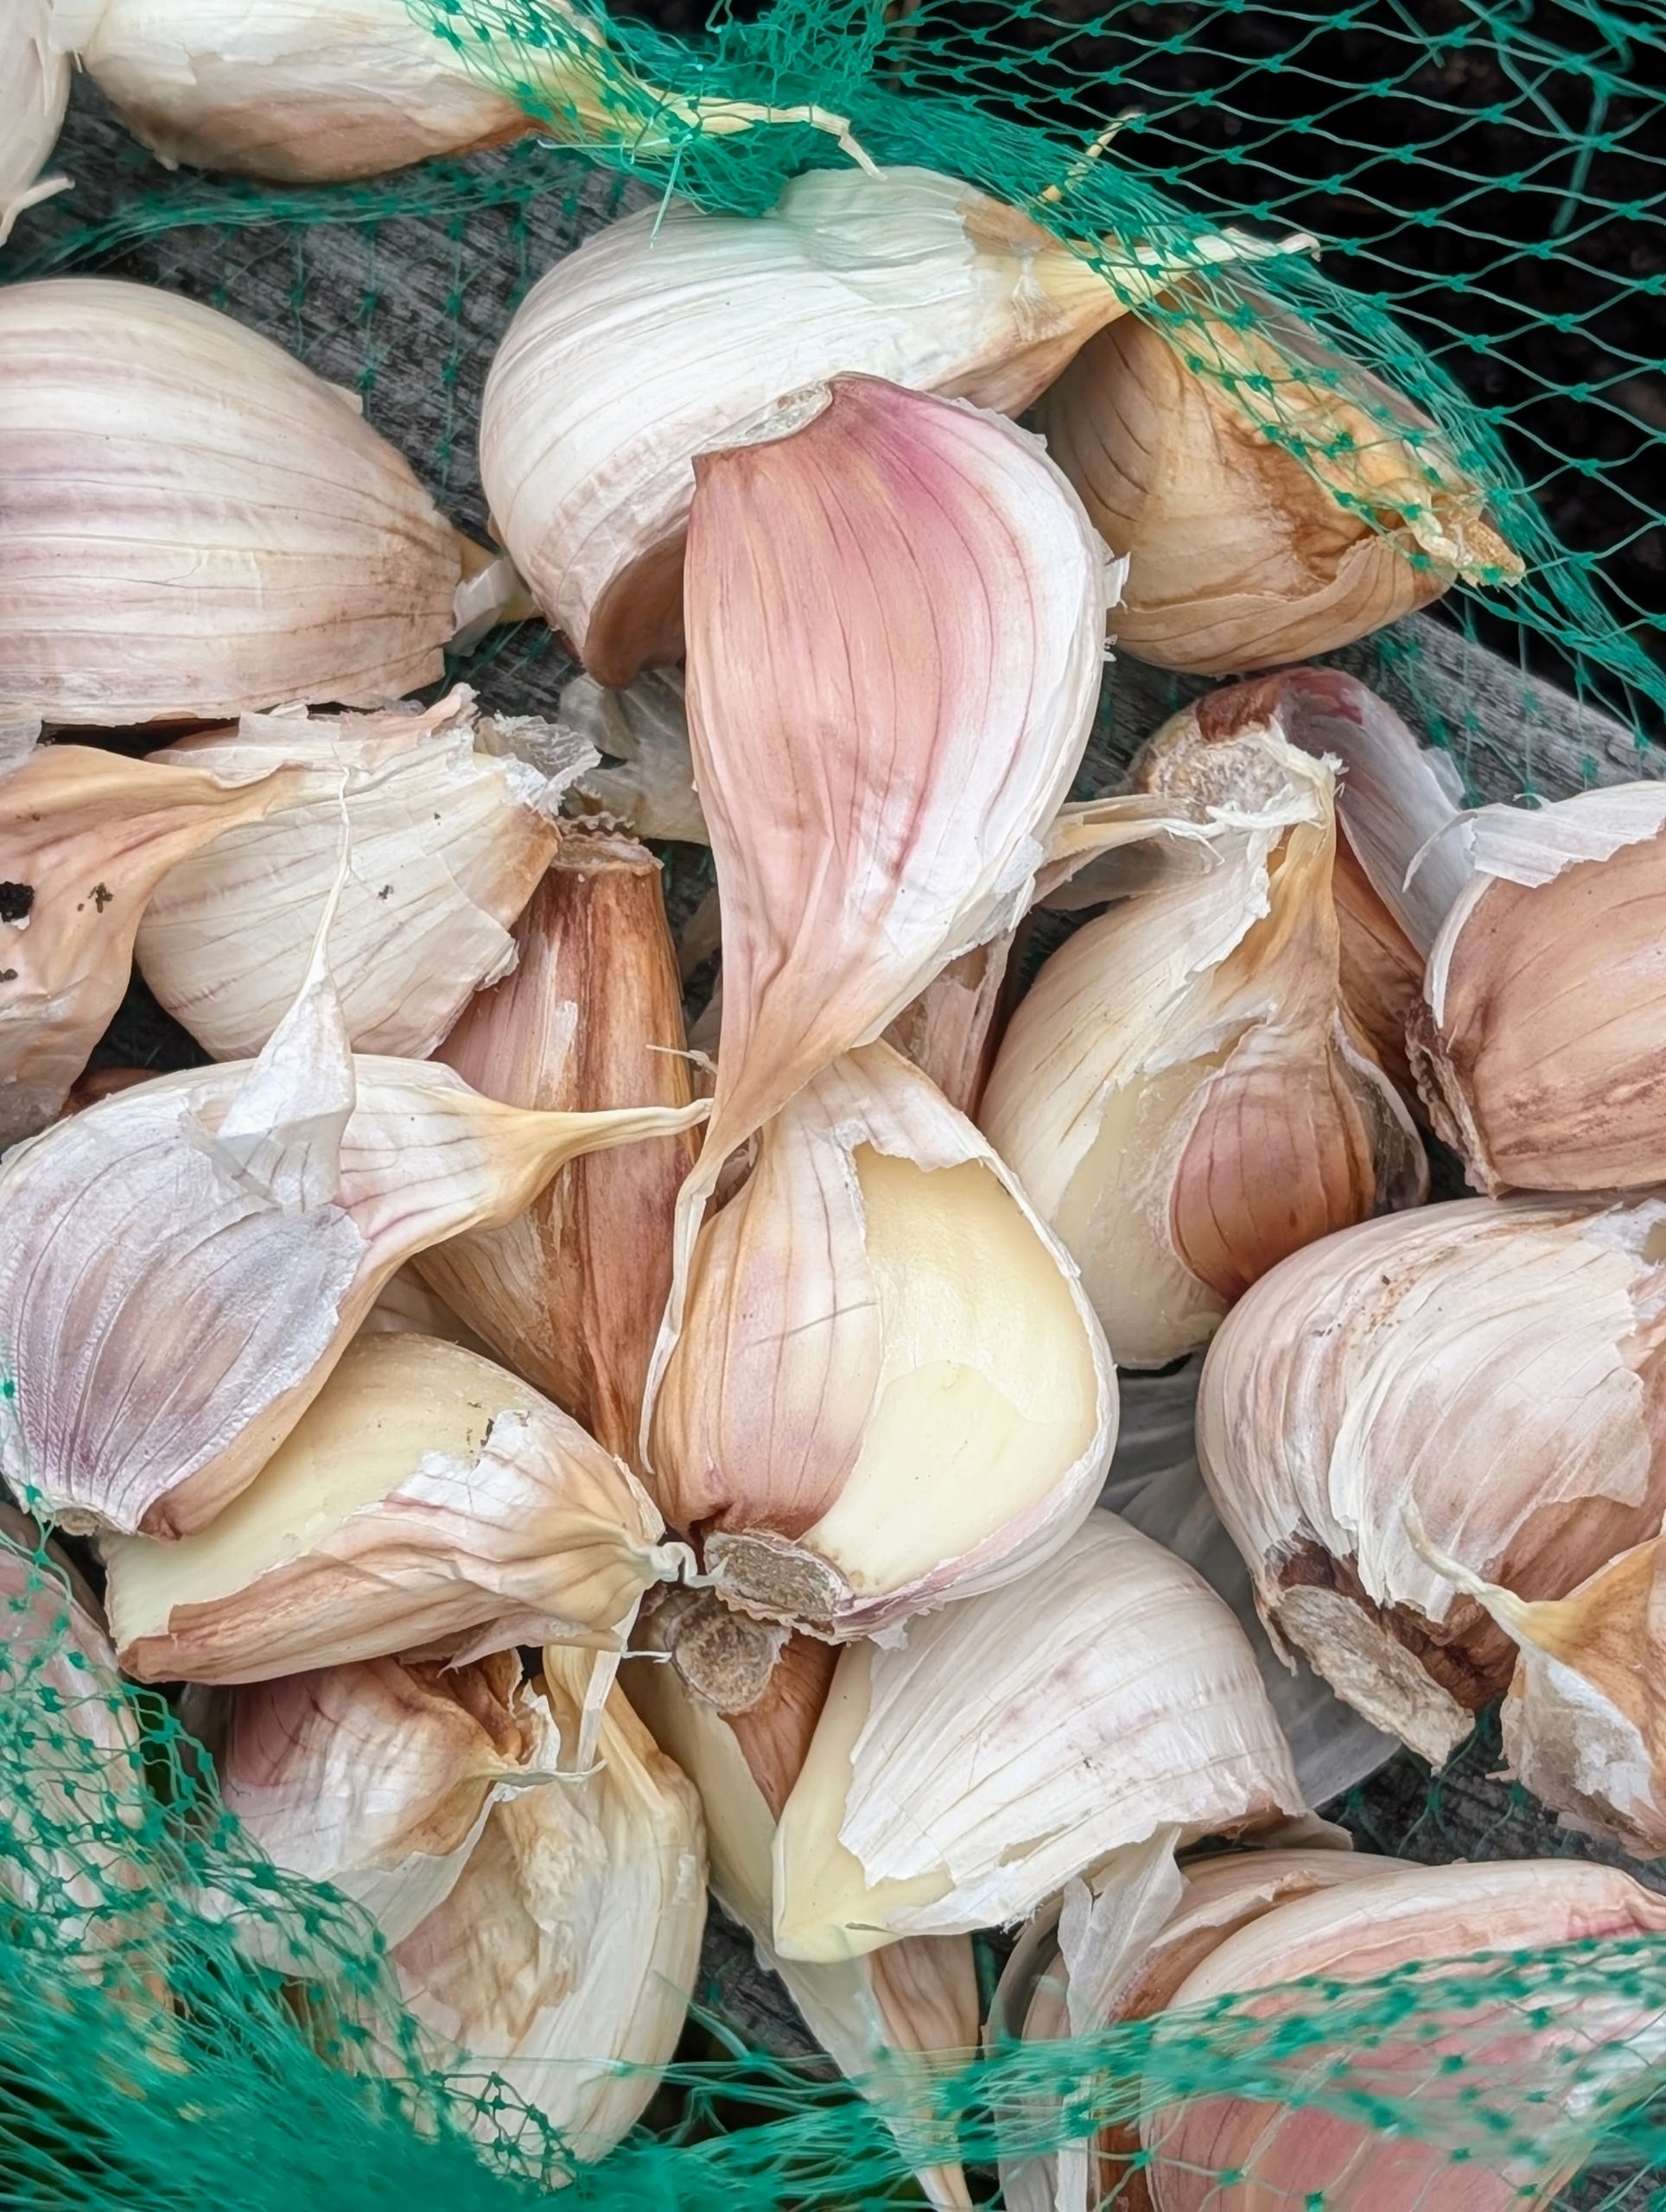
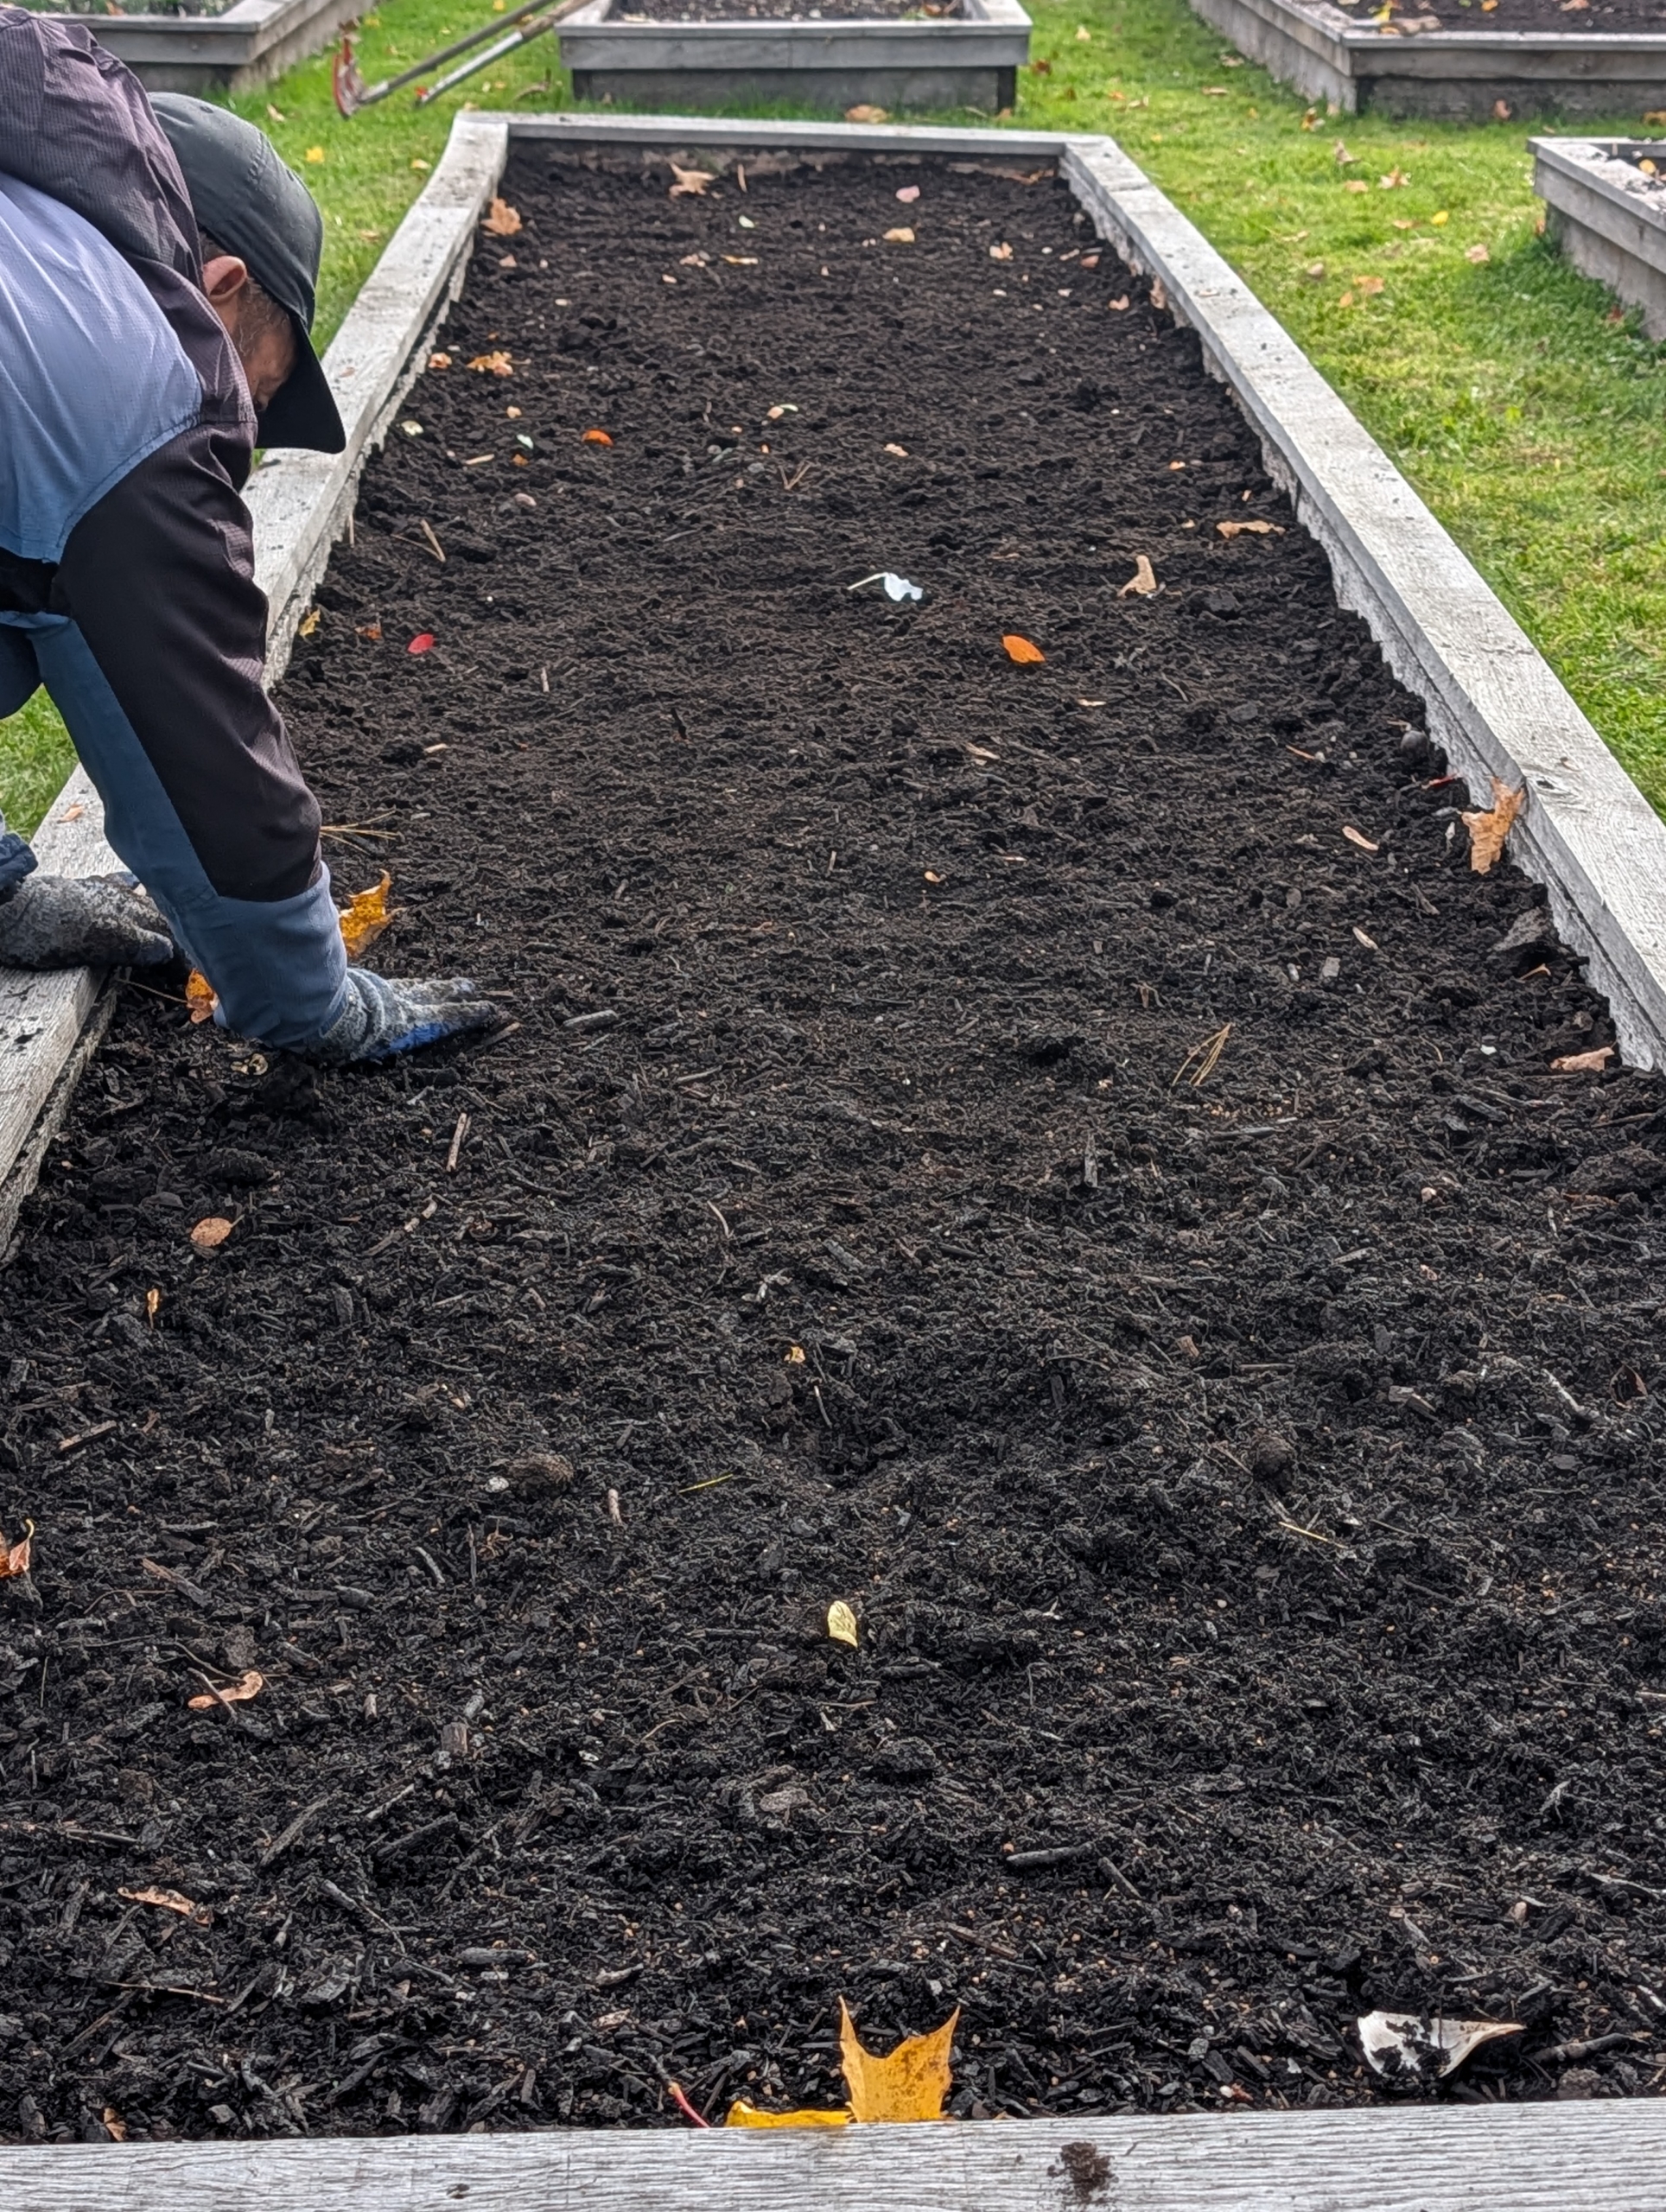
Garlic is planted in the fall. I’ve been planting Keene Garlic for quite some time and am always pleased with their growth and taste. The next several photos were taken last October.
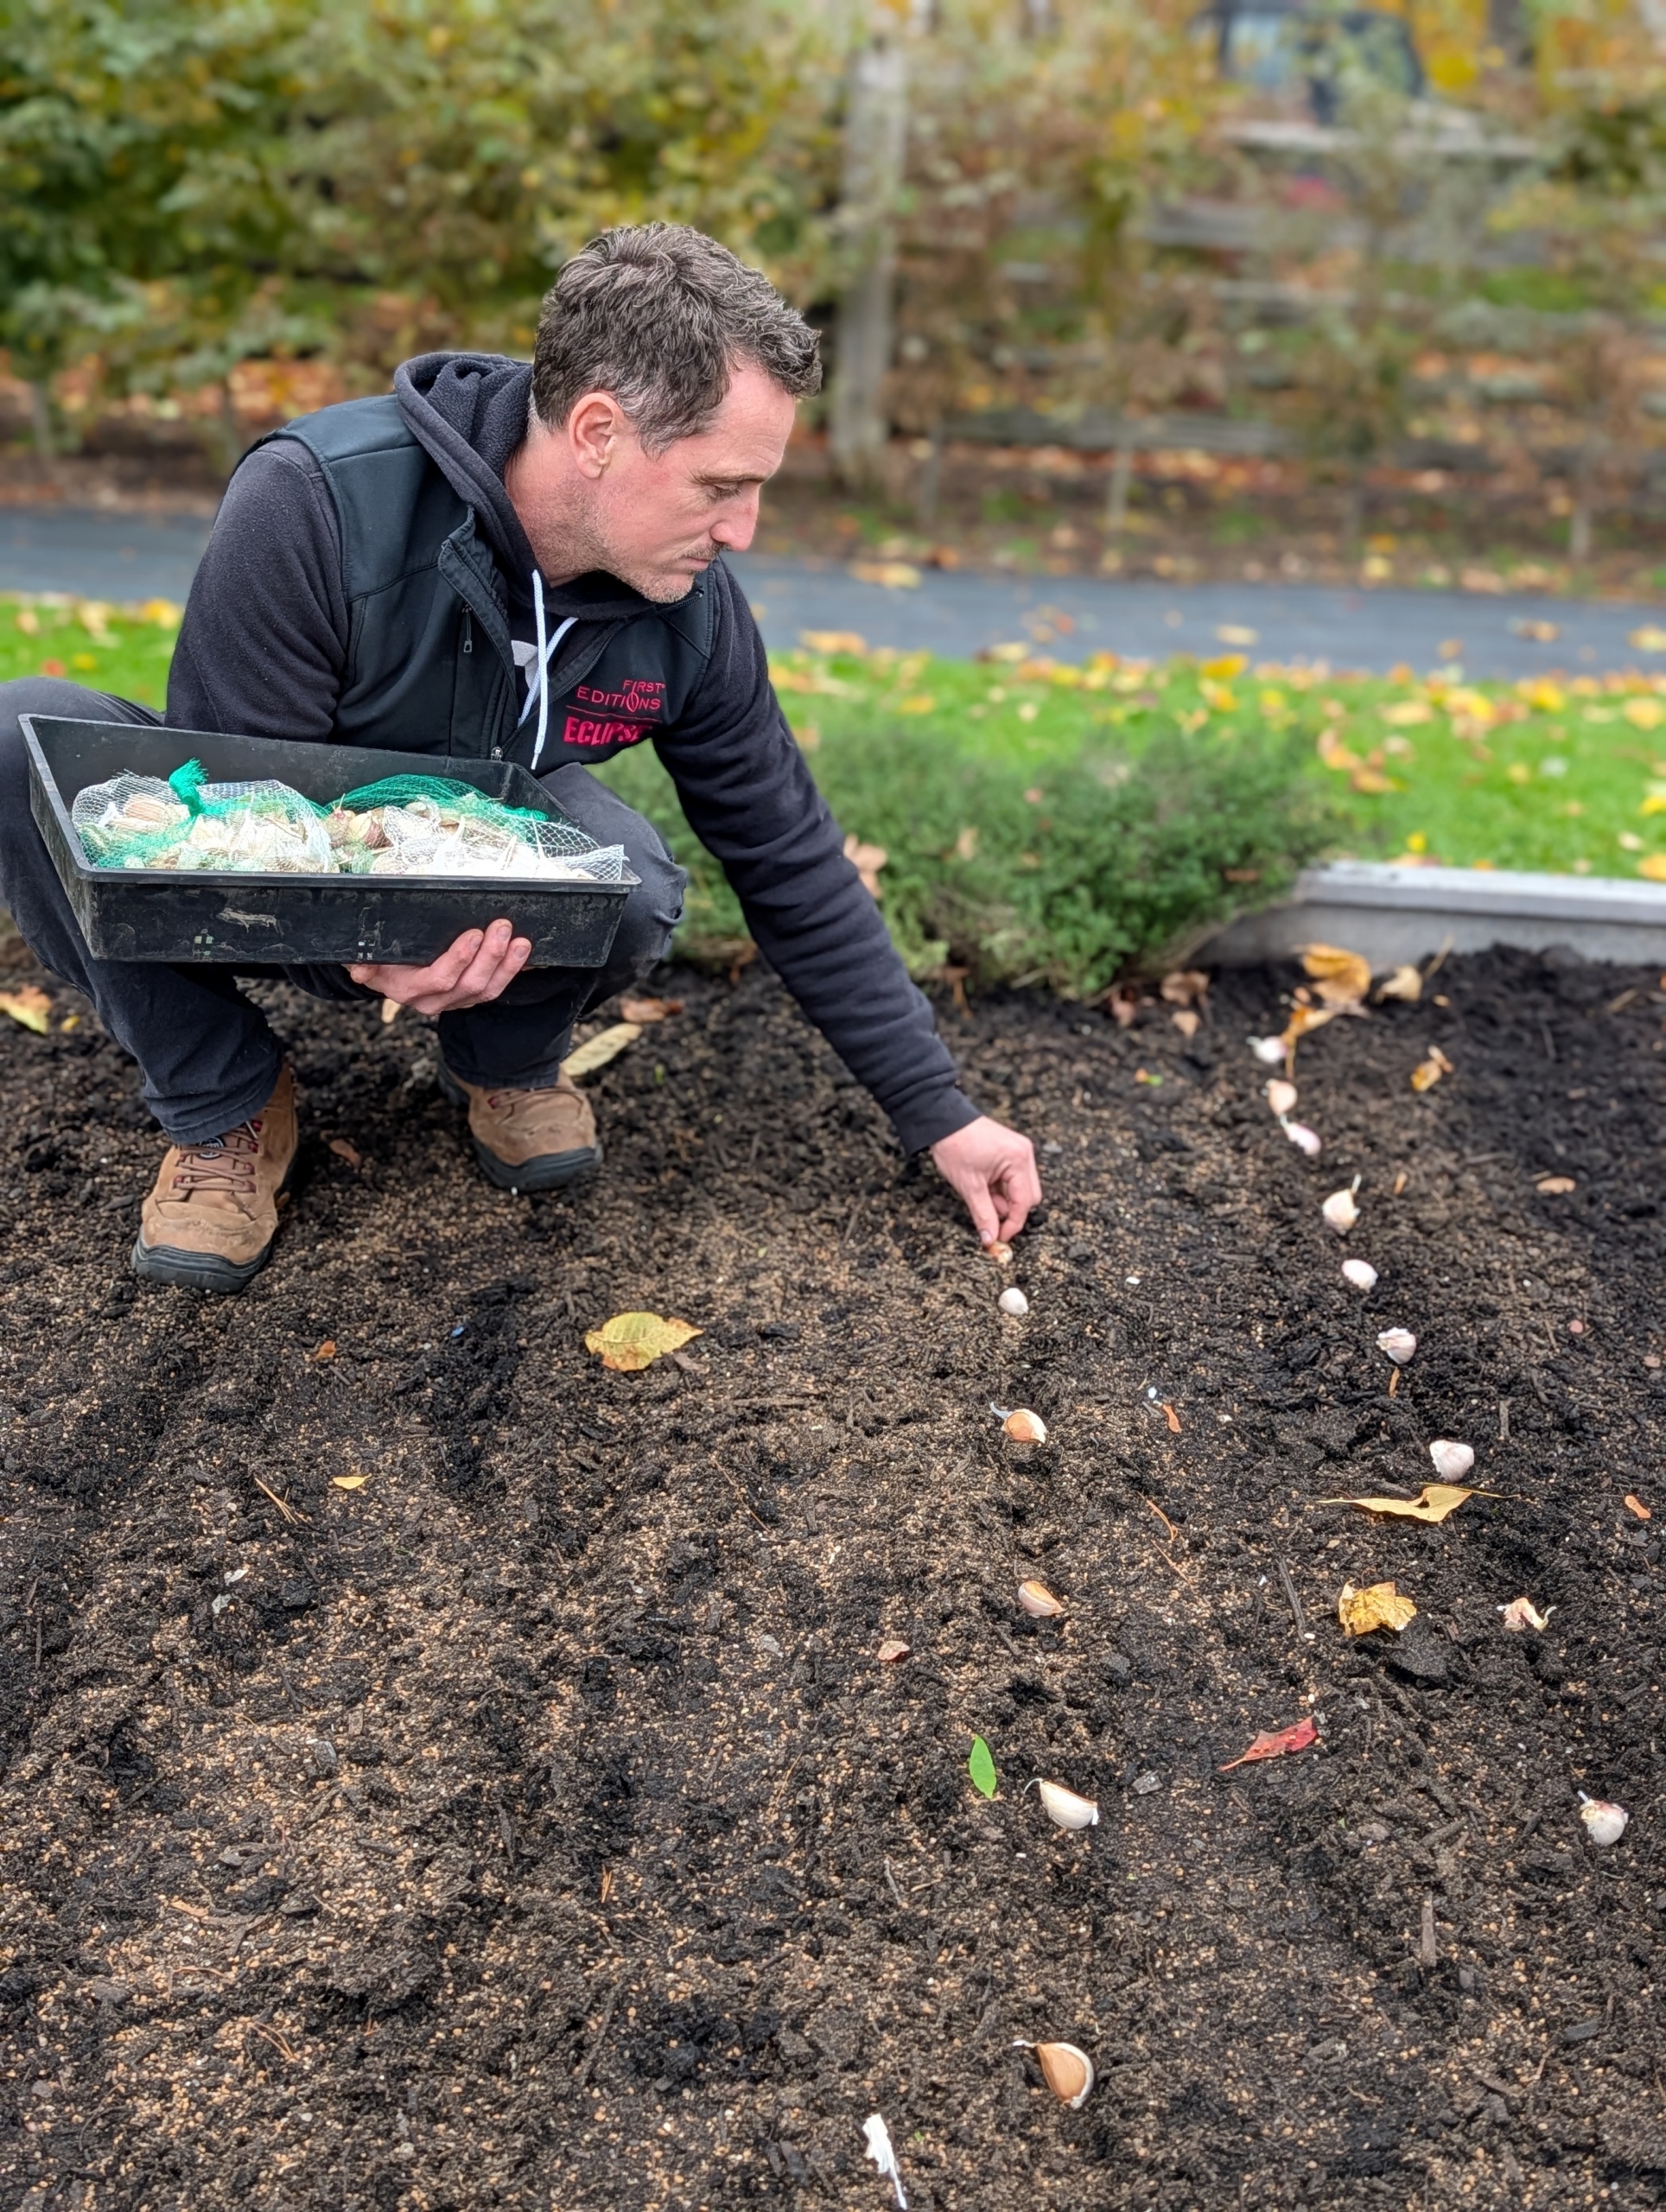
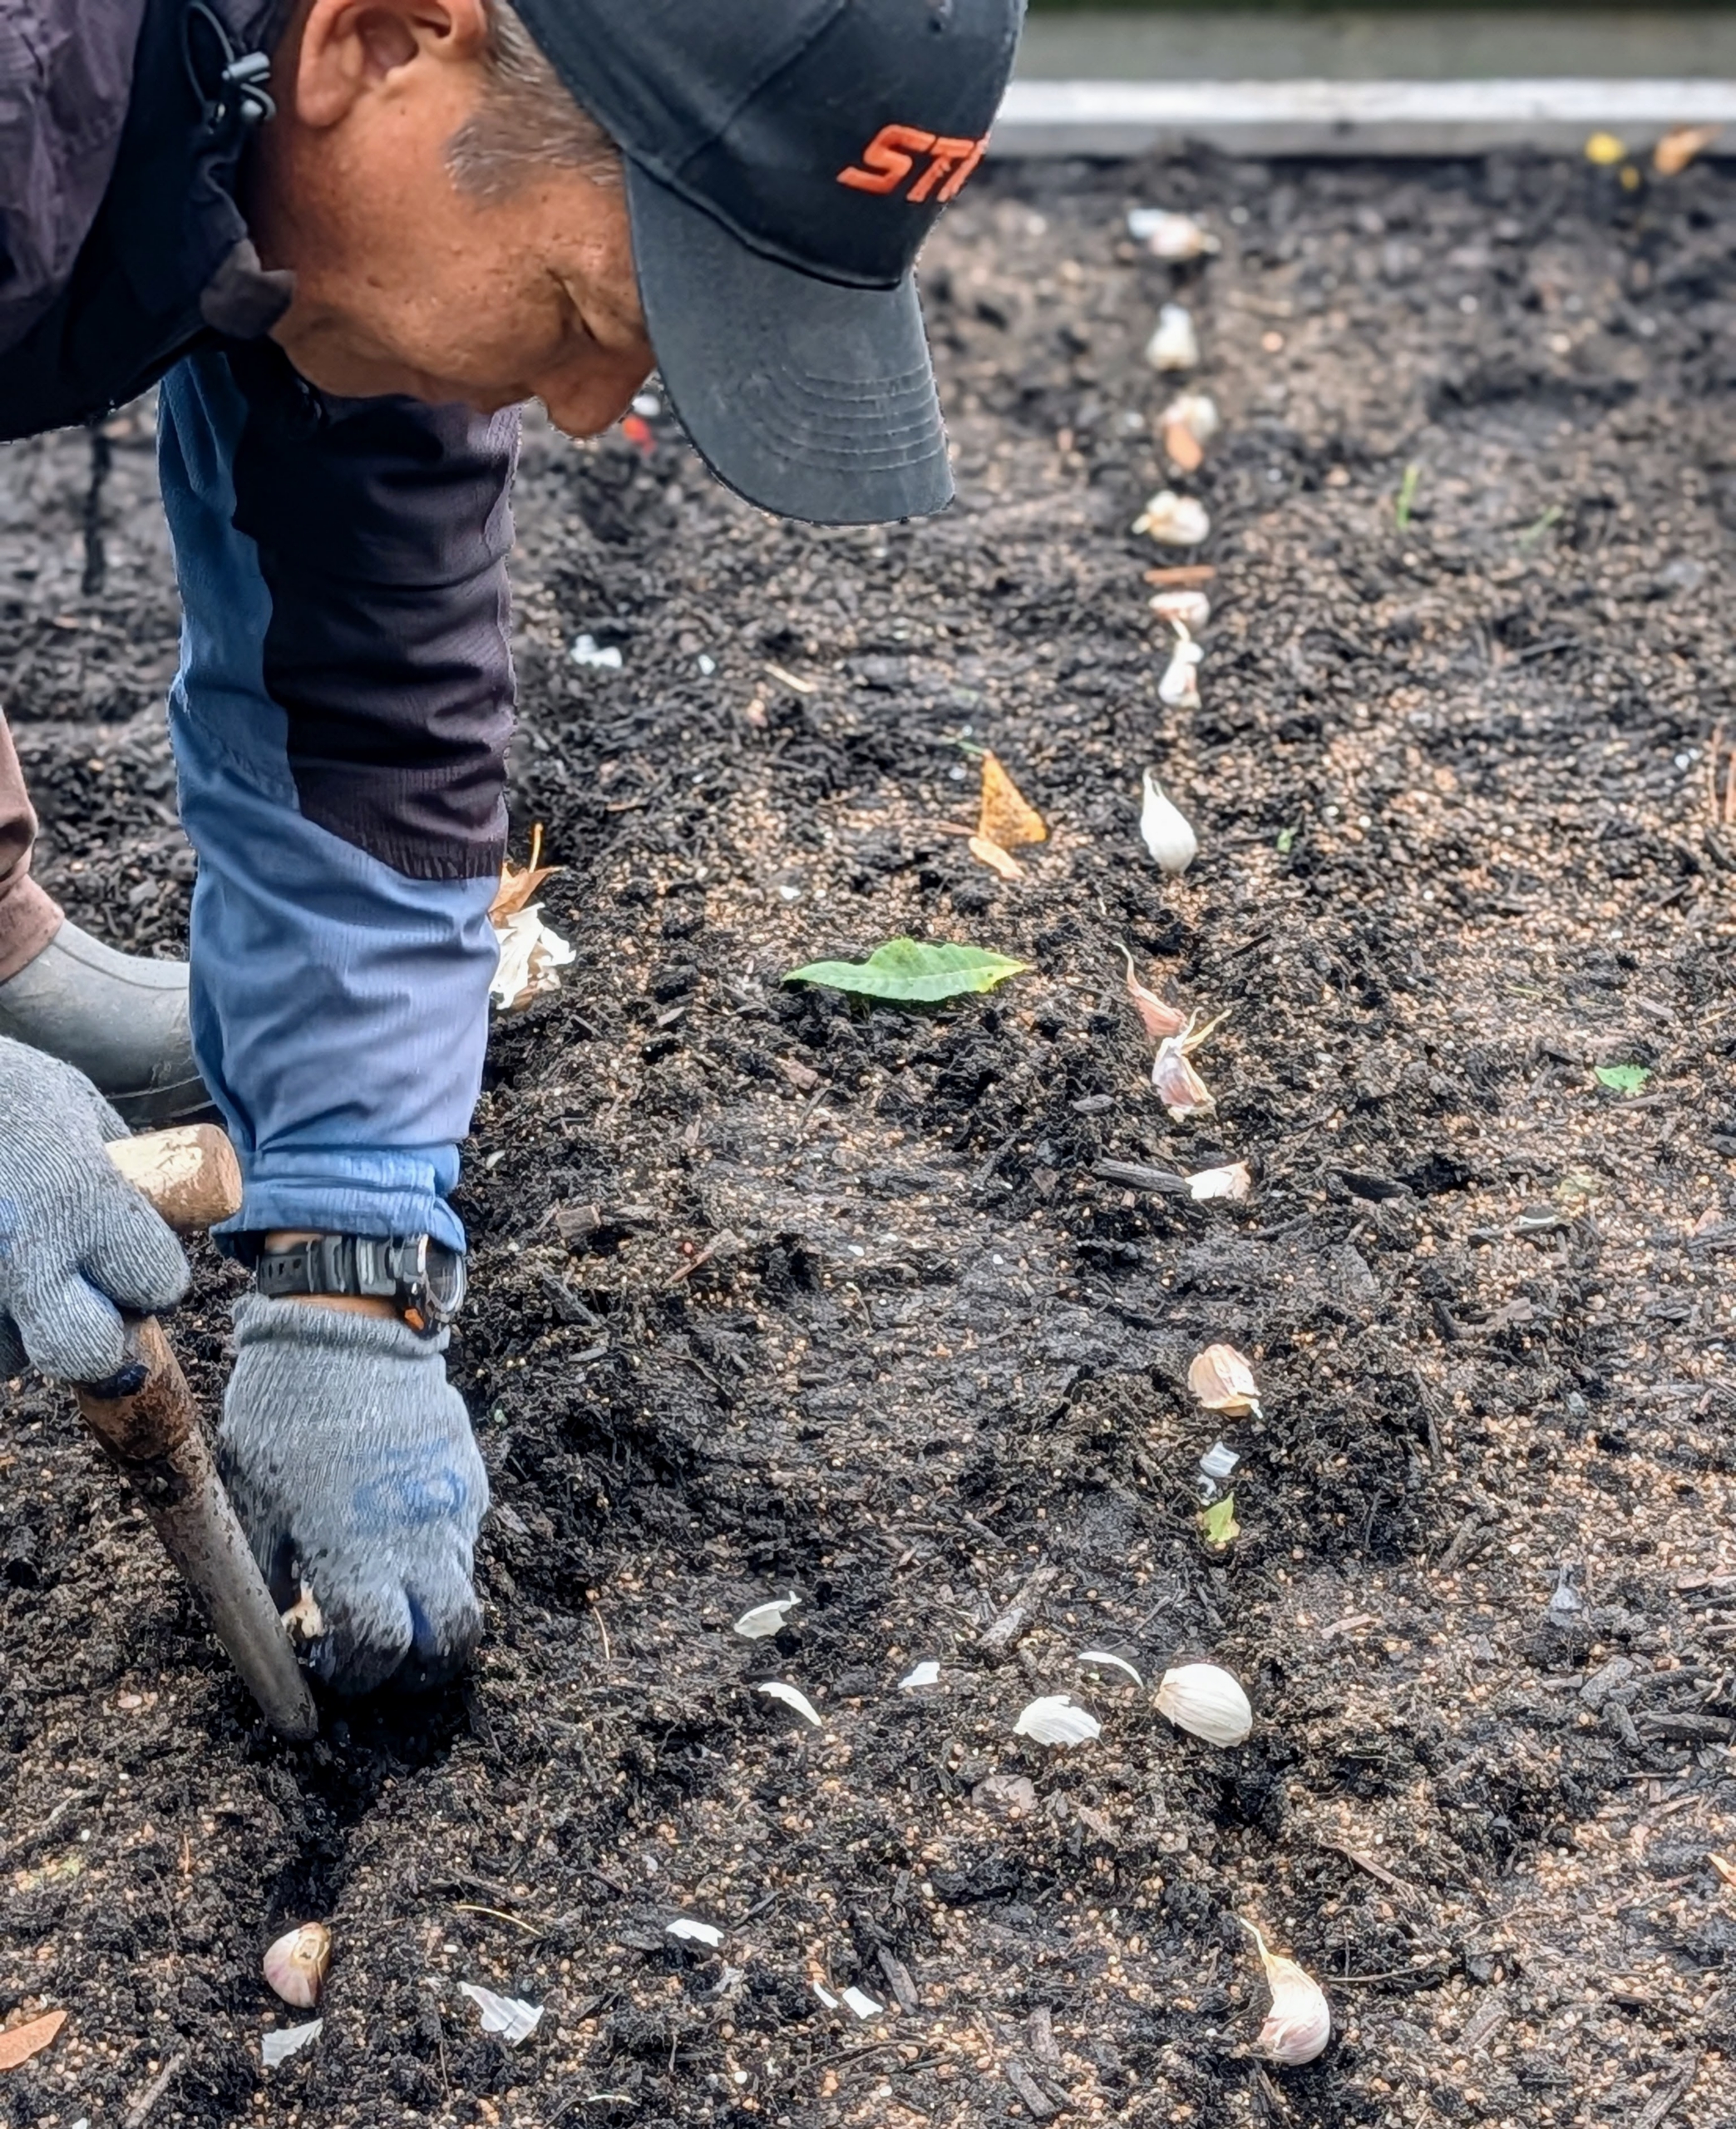
The majority of garlic in the US is planted before the ground freezes. When planting multiple rows of garlic, the rows are at least one-foot apart.
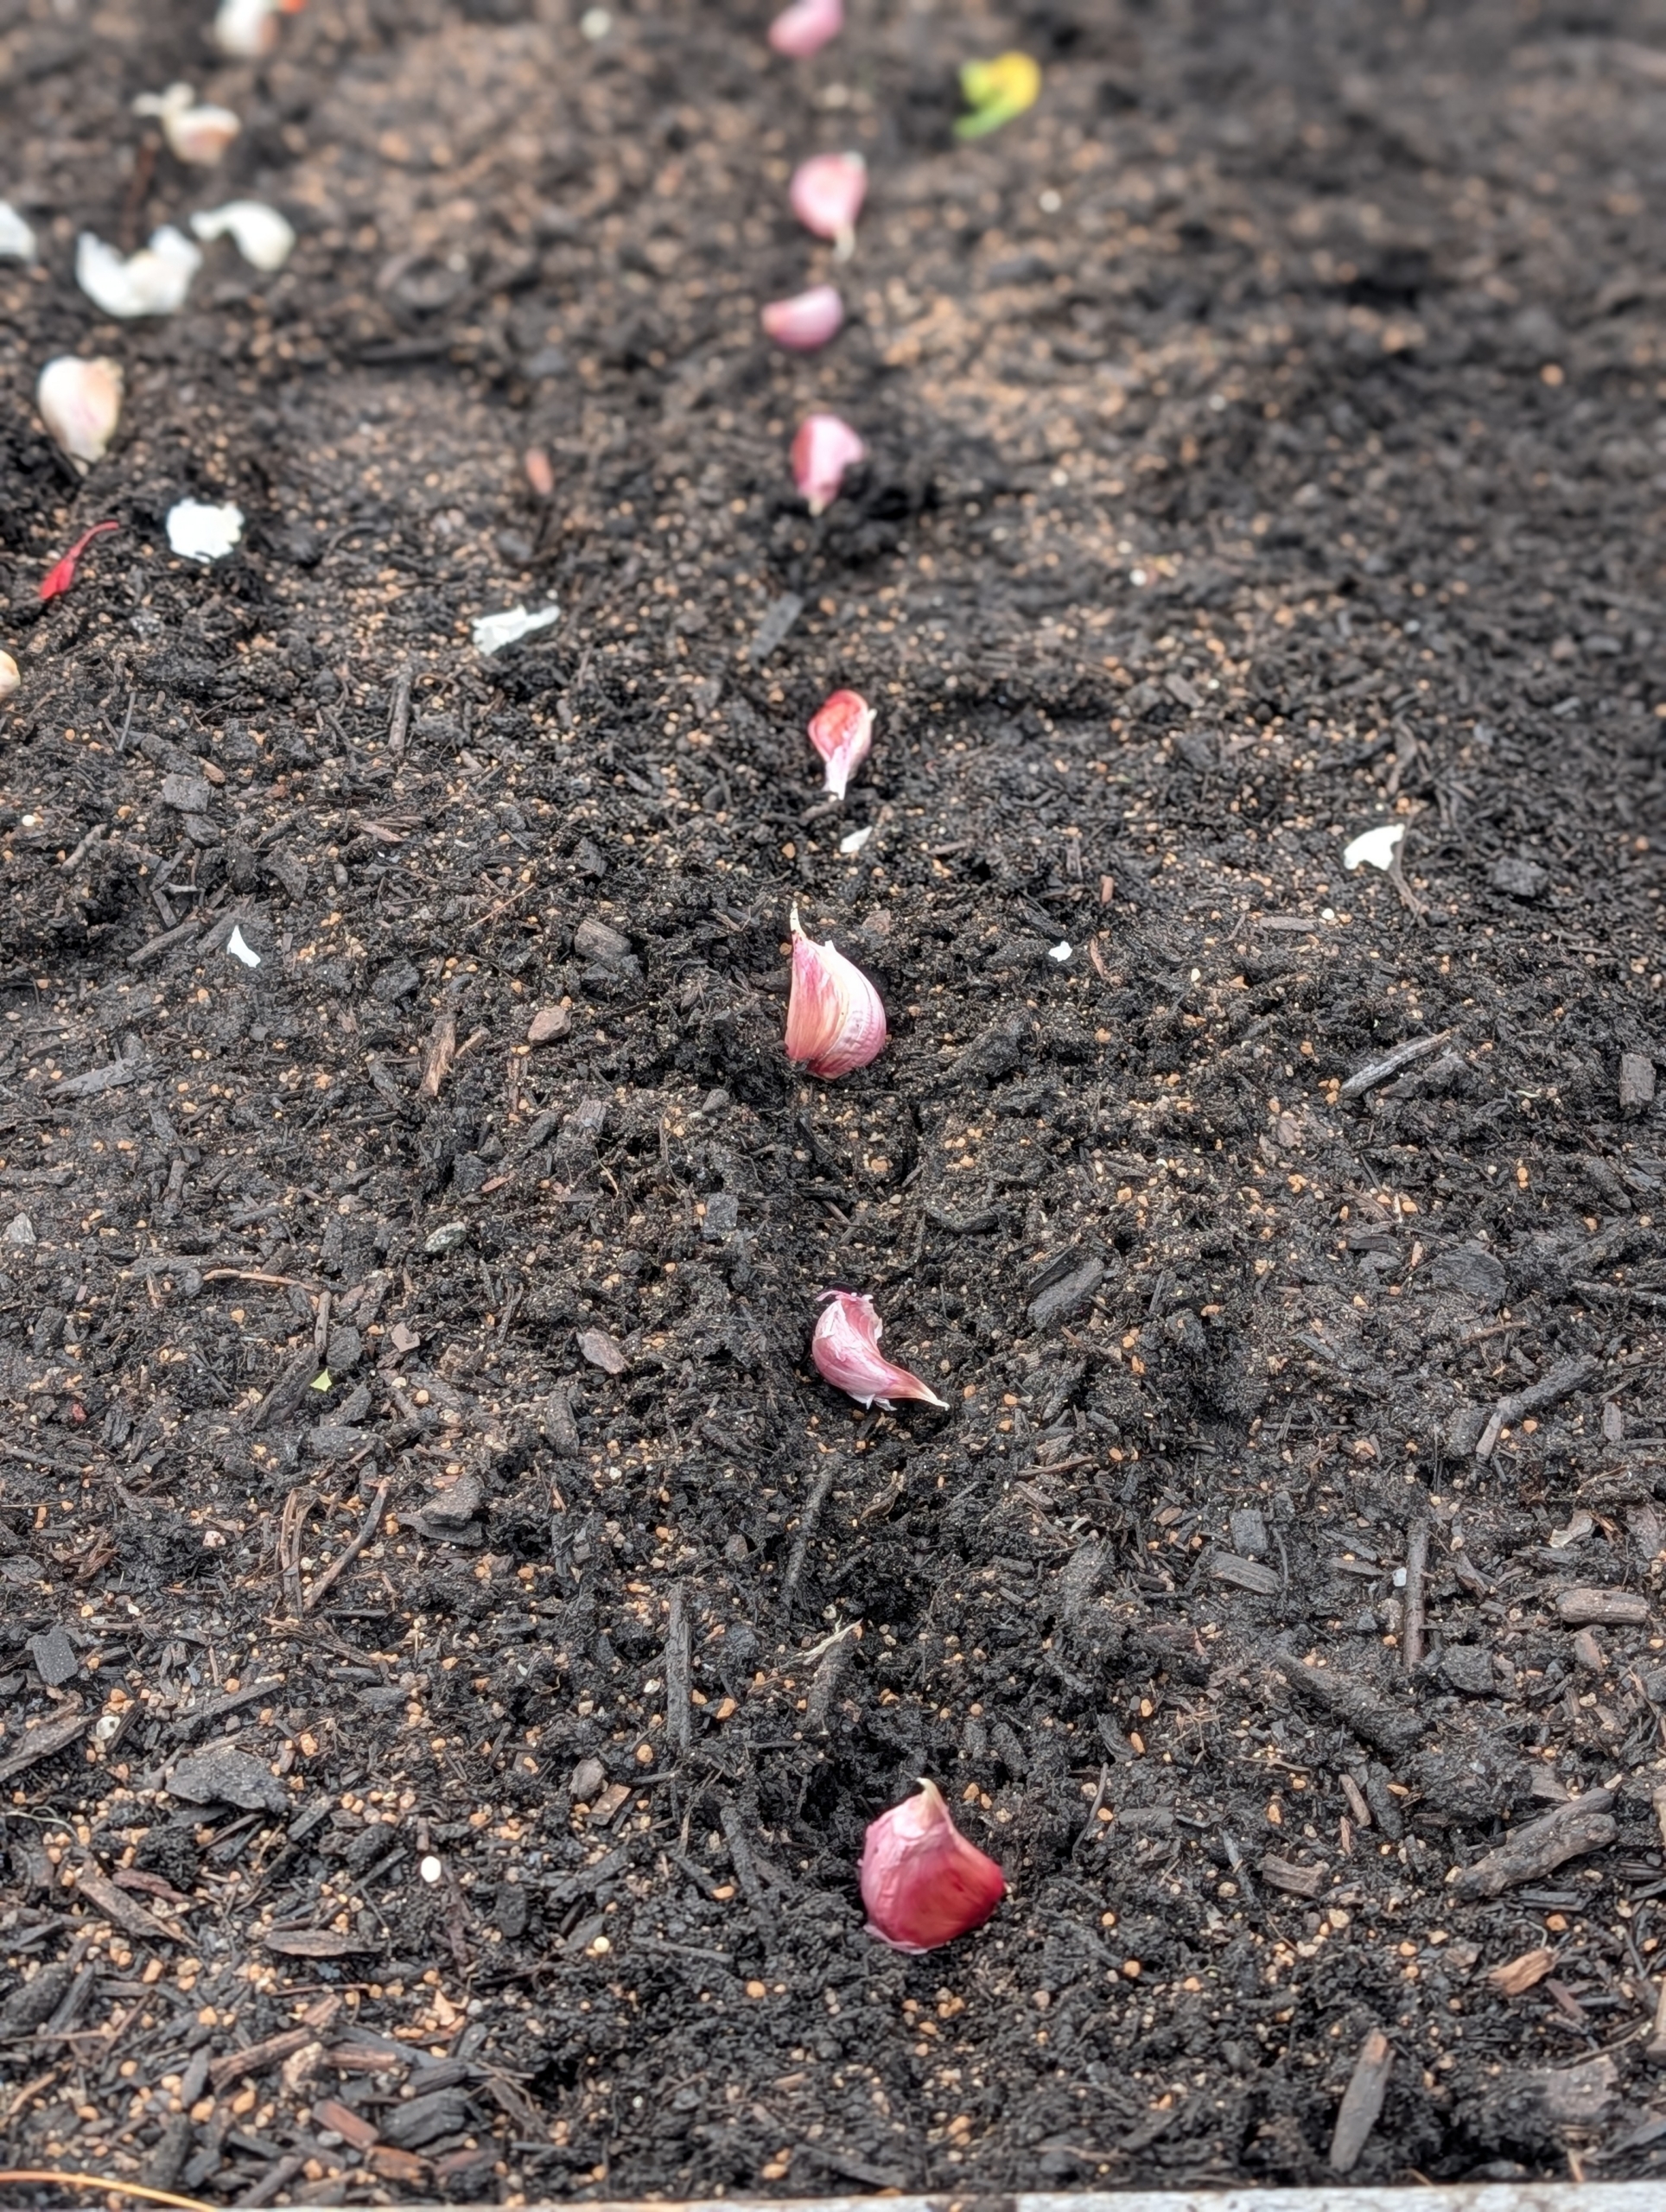
It is also important to give each clove enough room to grow and develop. These are at least two to three inches from each other.
And then the garlic is pushed several inches into the ground using a bulb planting dibber.
The holes and garlic bulbs are covered and the garlic is left to grow. Garlic loves a rich fertile loam soil or a silty loam soil. It also grows best in an area that drains well – the cloves can rot if they sit in water or mud.
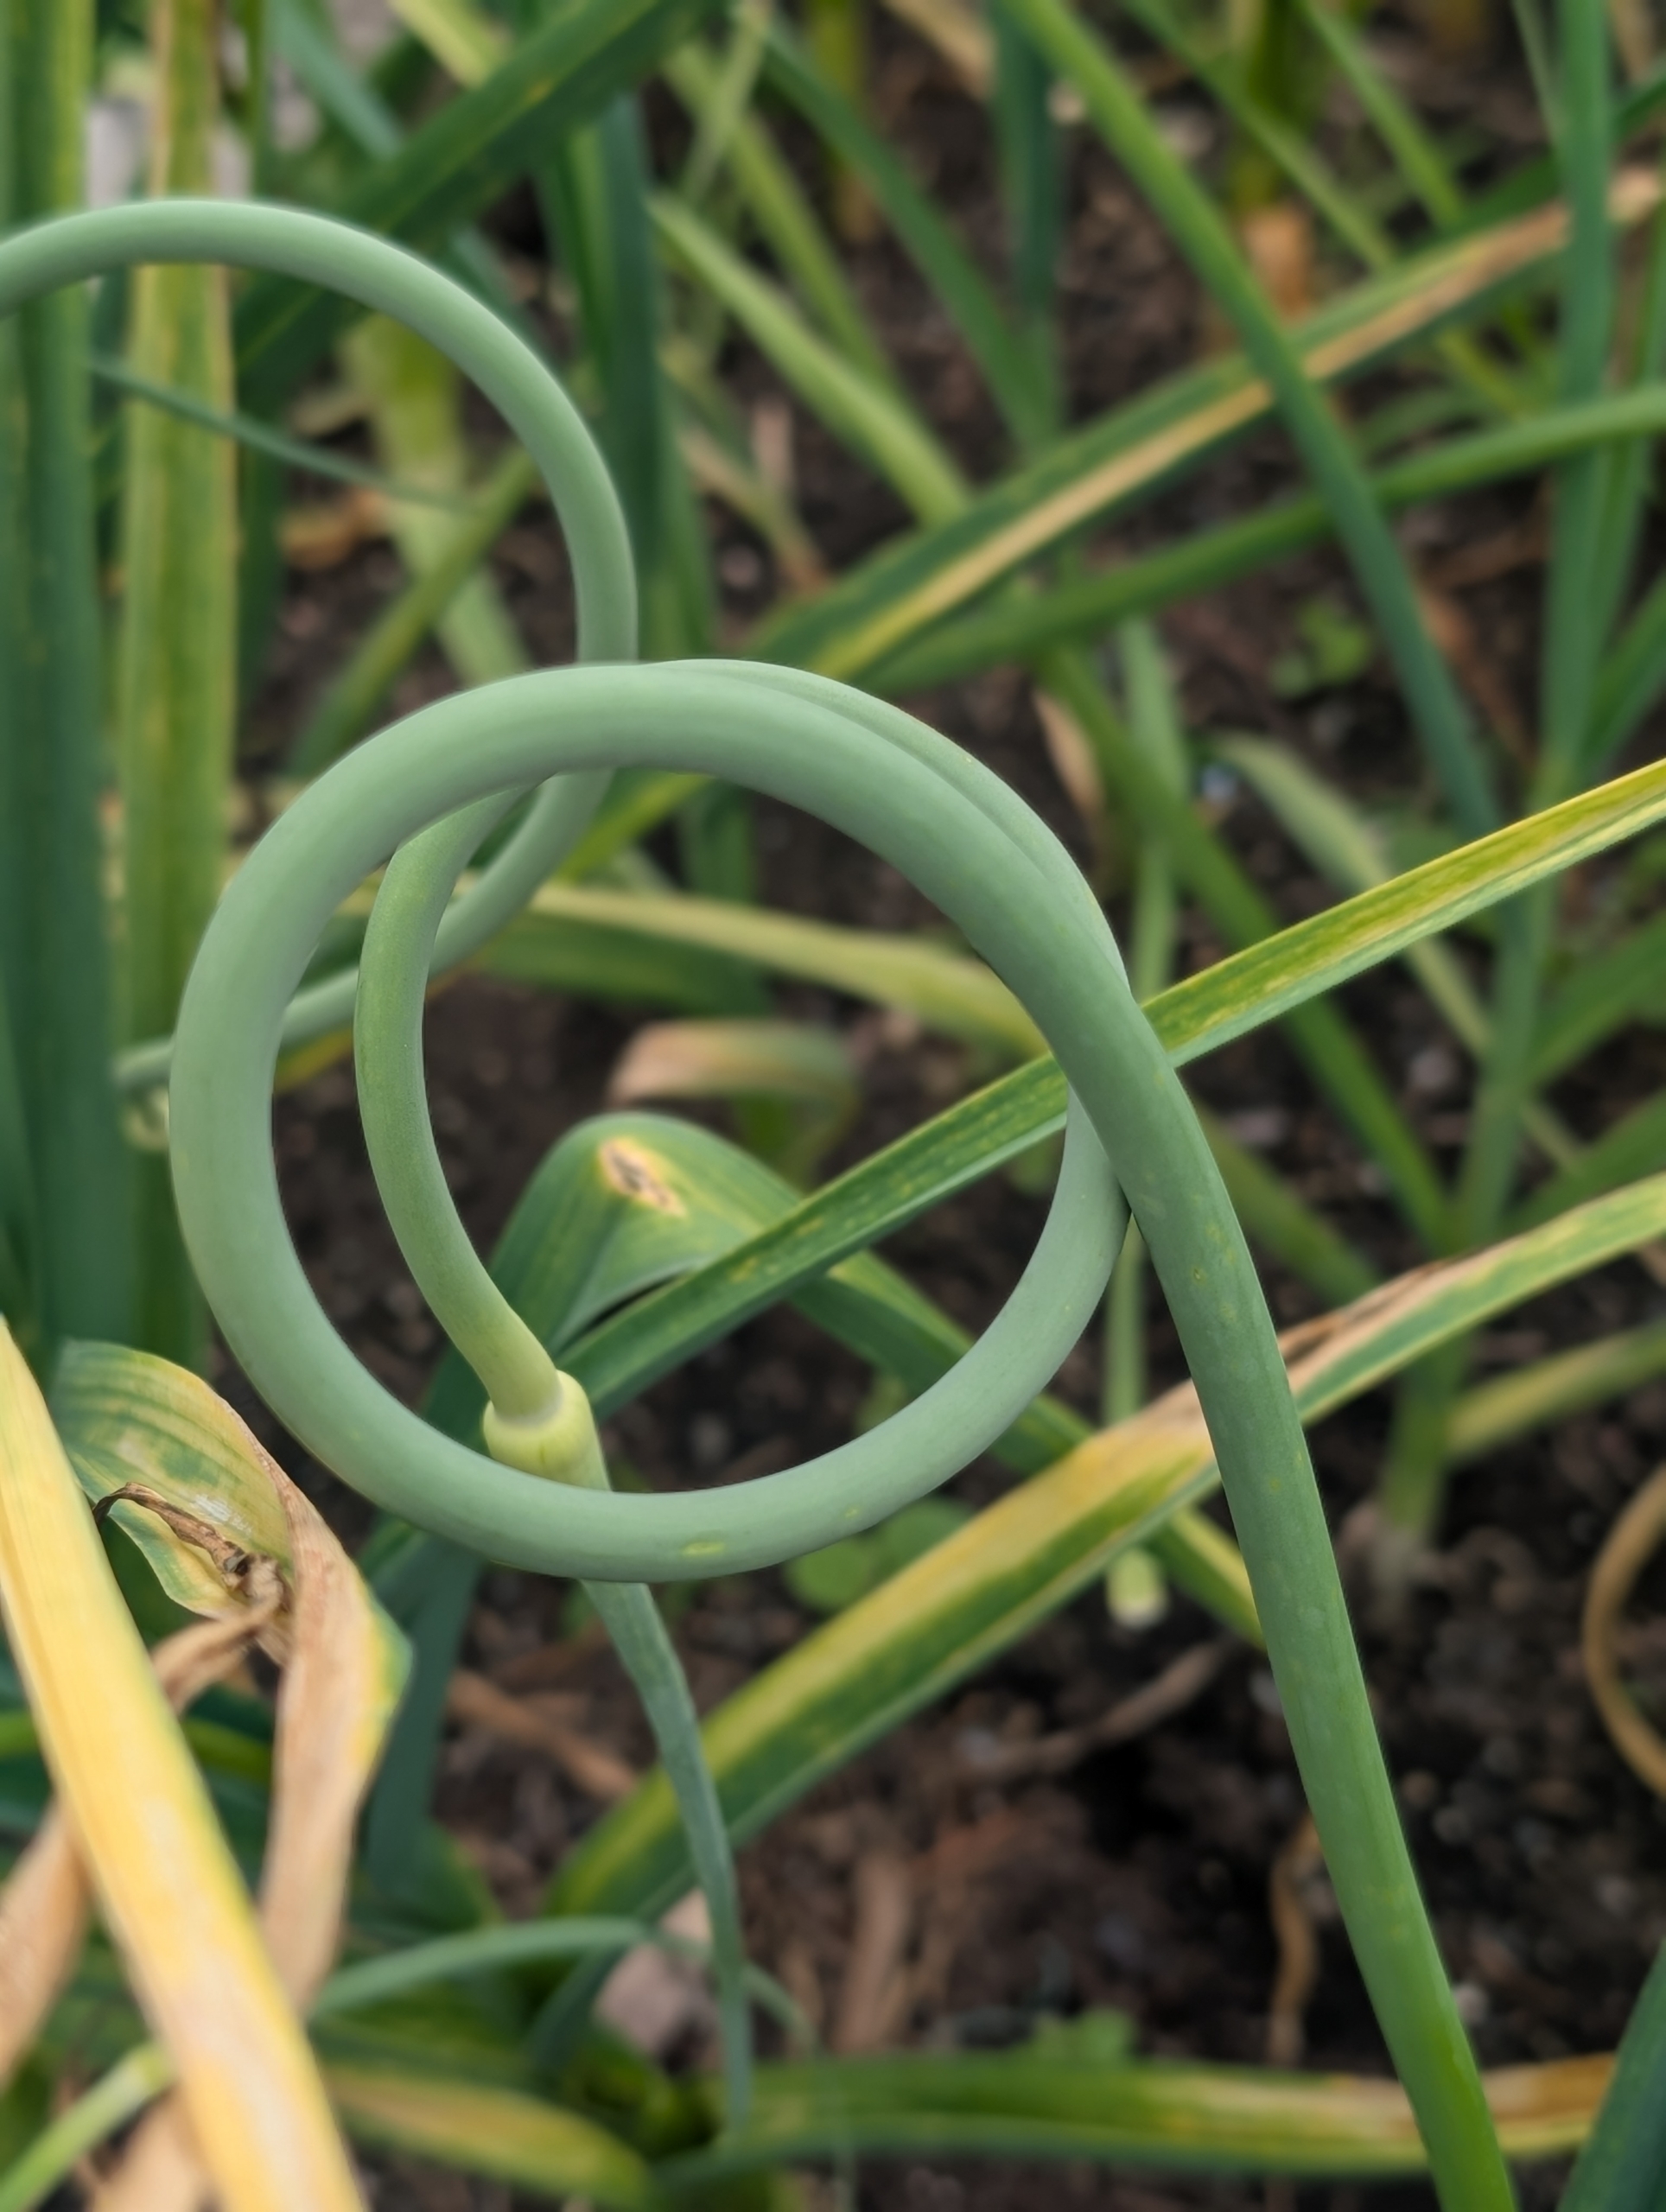
By mid-June, the scapes appear. Garlic scapes are the flower buds of the garlic plants. They’re ready about a month before the actual garlic bulbs. Scapes are delicious and can be used just like garlic. Scapes can be cut when the center stalks are completely formed and the ends are curled.
And like clock work, a few weeks later the garlic leaves begin to brown.
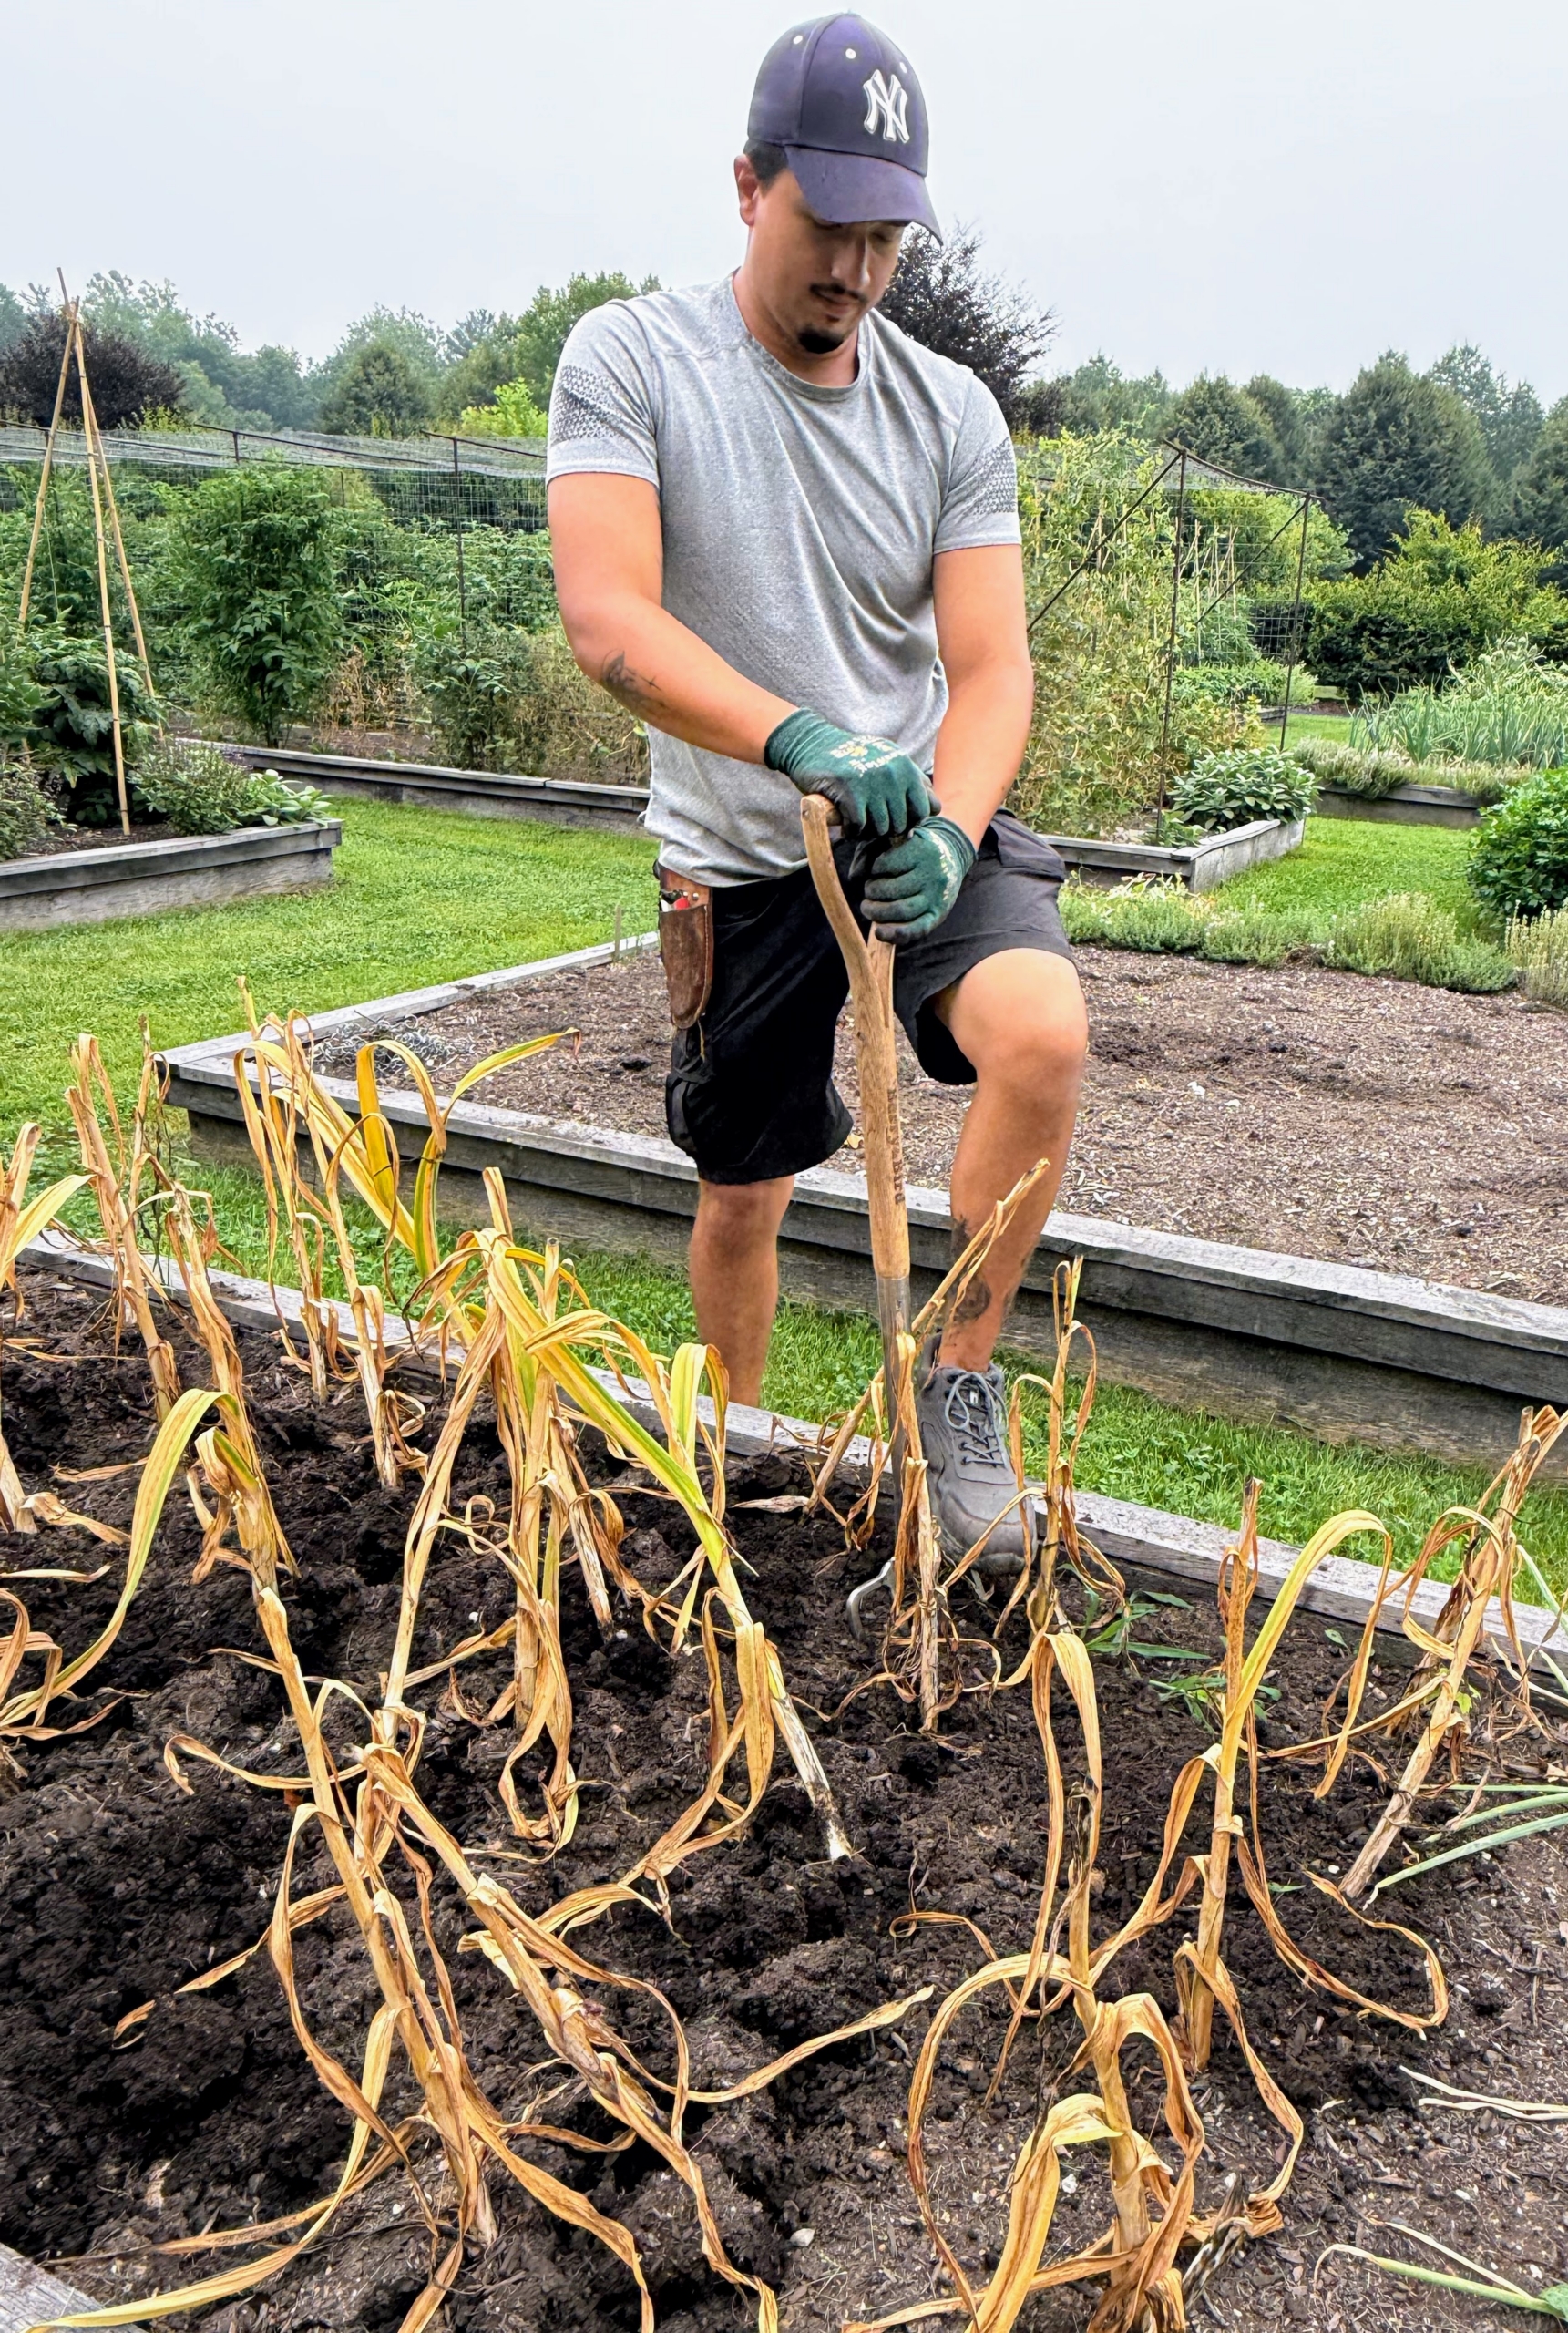
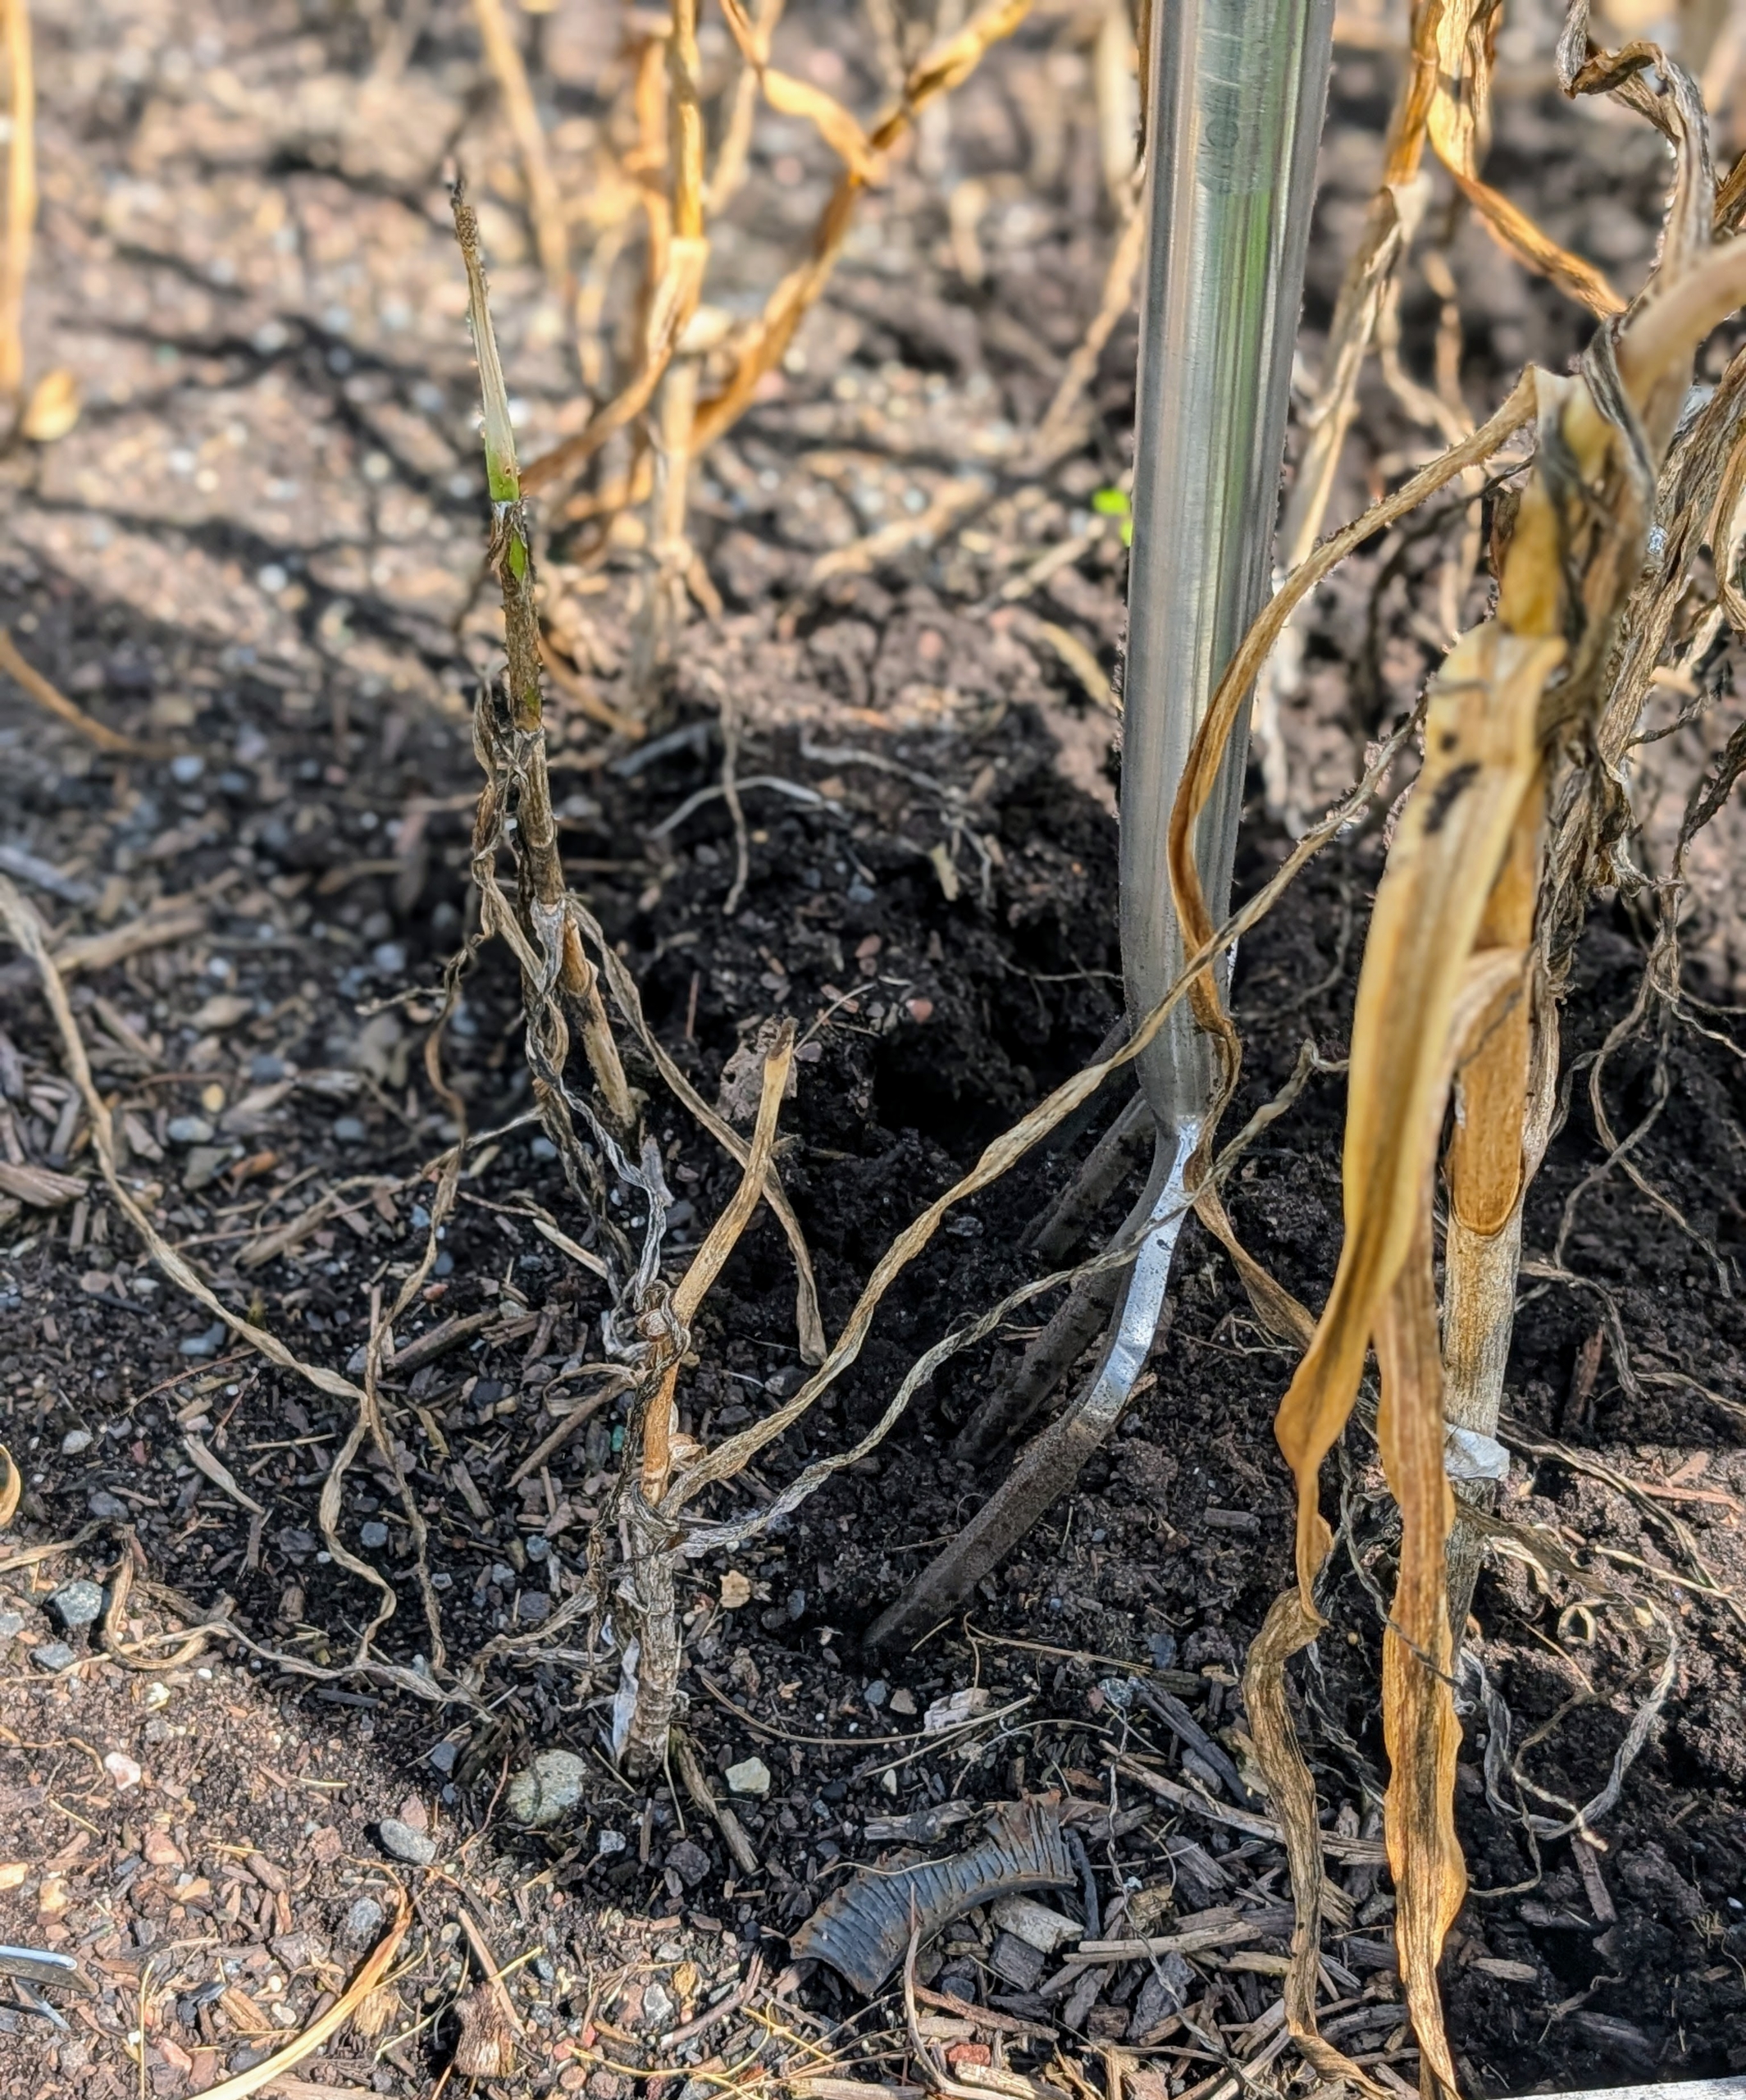
Yesterday was a good, dry day to harvest garlic. Matthew uses a pitch fork to gently loosen the soil in between the garlic stems.
Matthew is careful where he places the fork so as not to pierce any of the garlic heads.
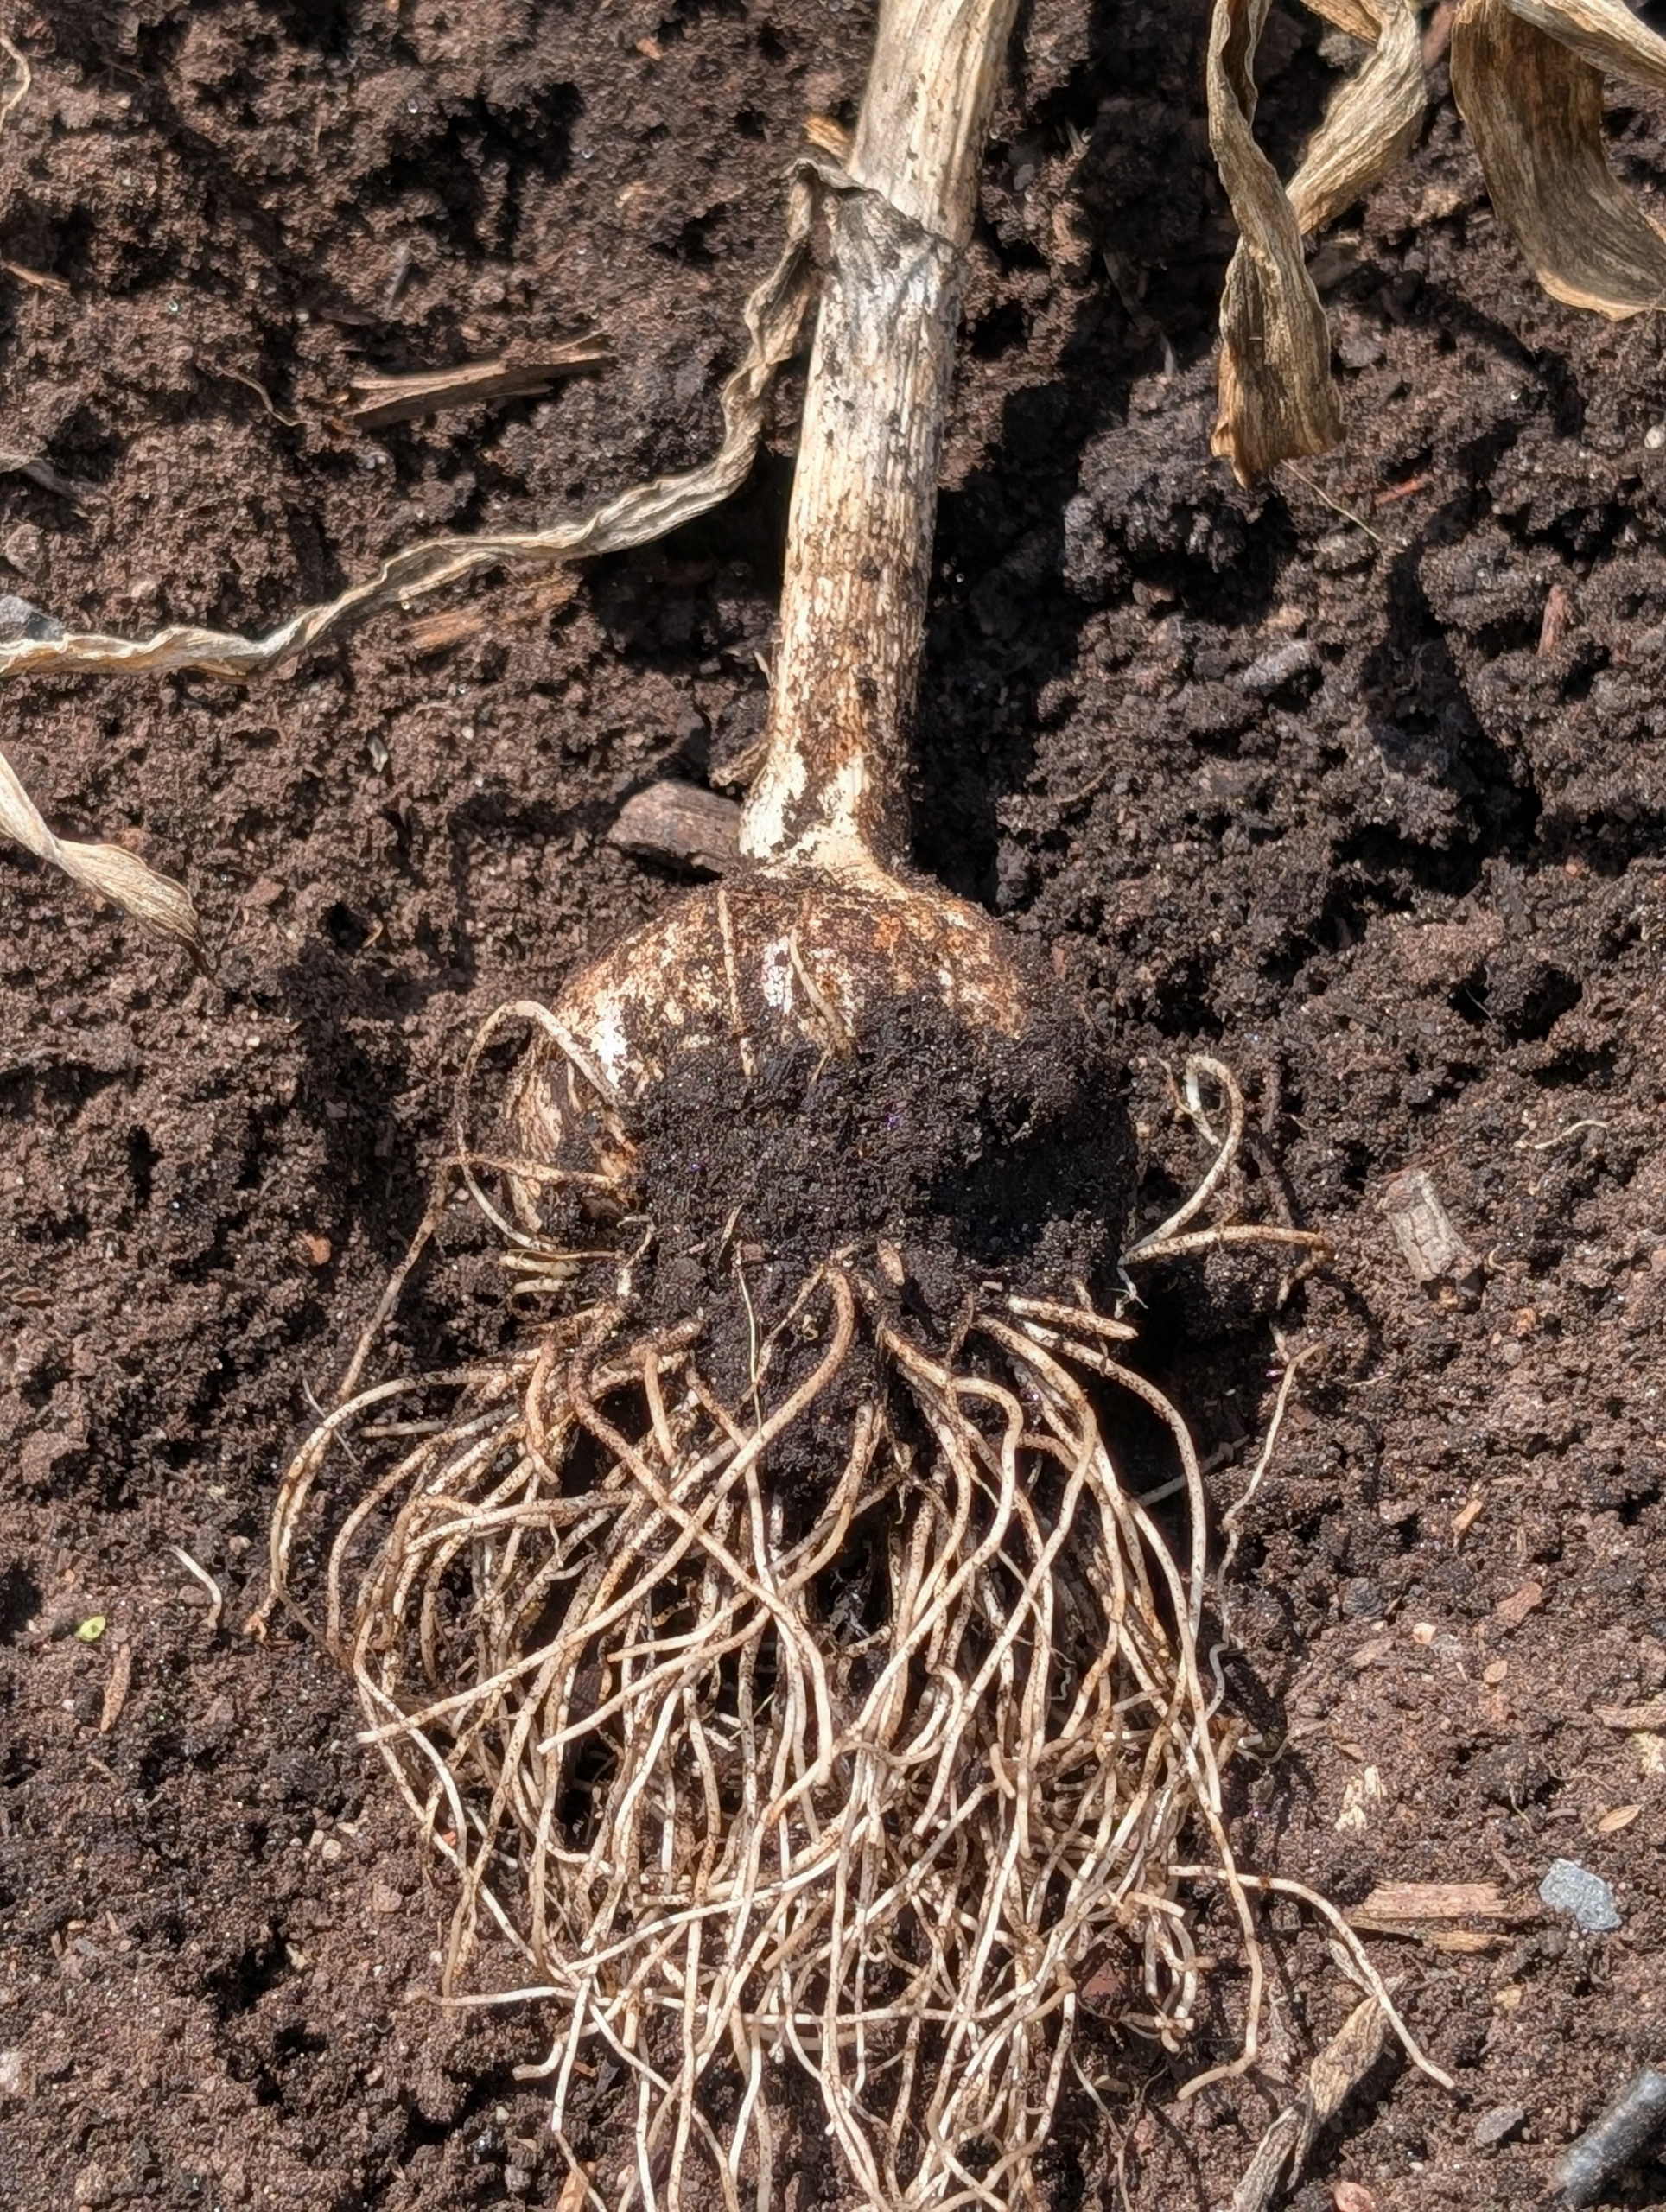
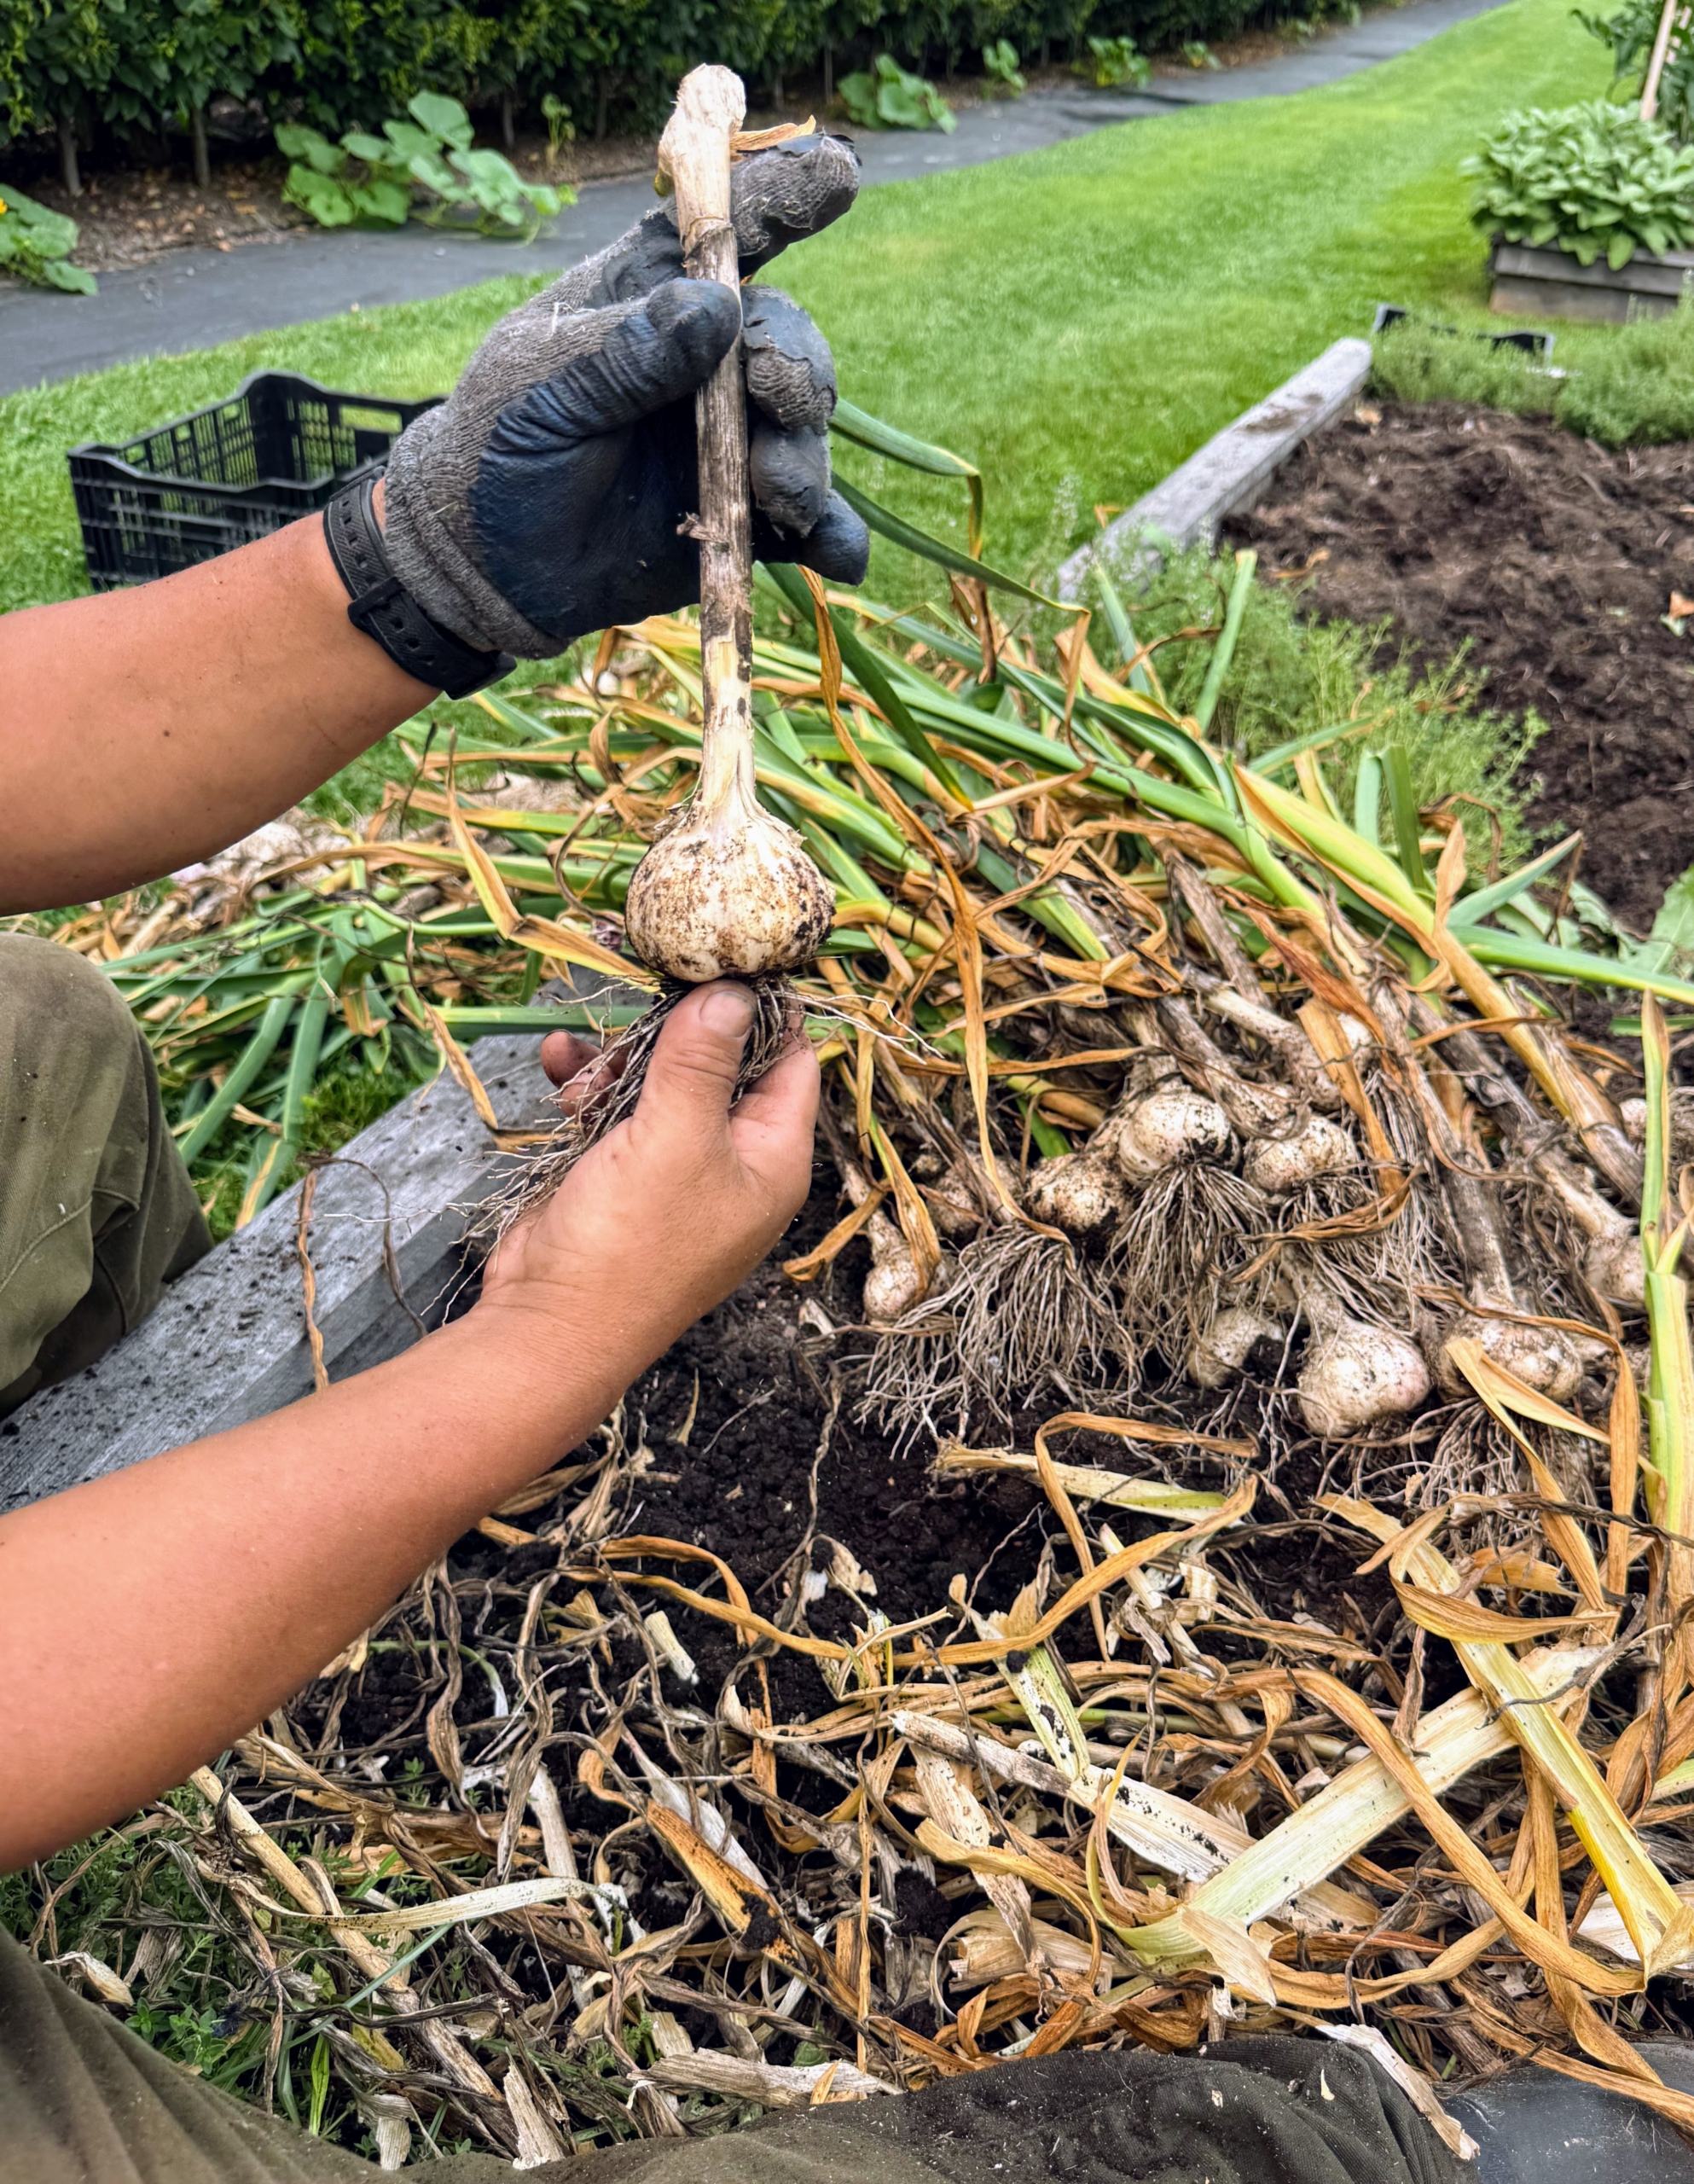
Each garlic is pulled out from the base of the leaves so that the head comes out completely.
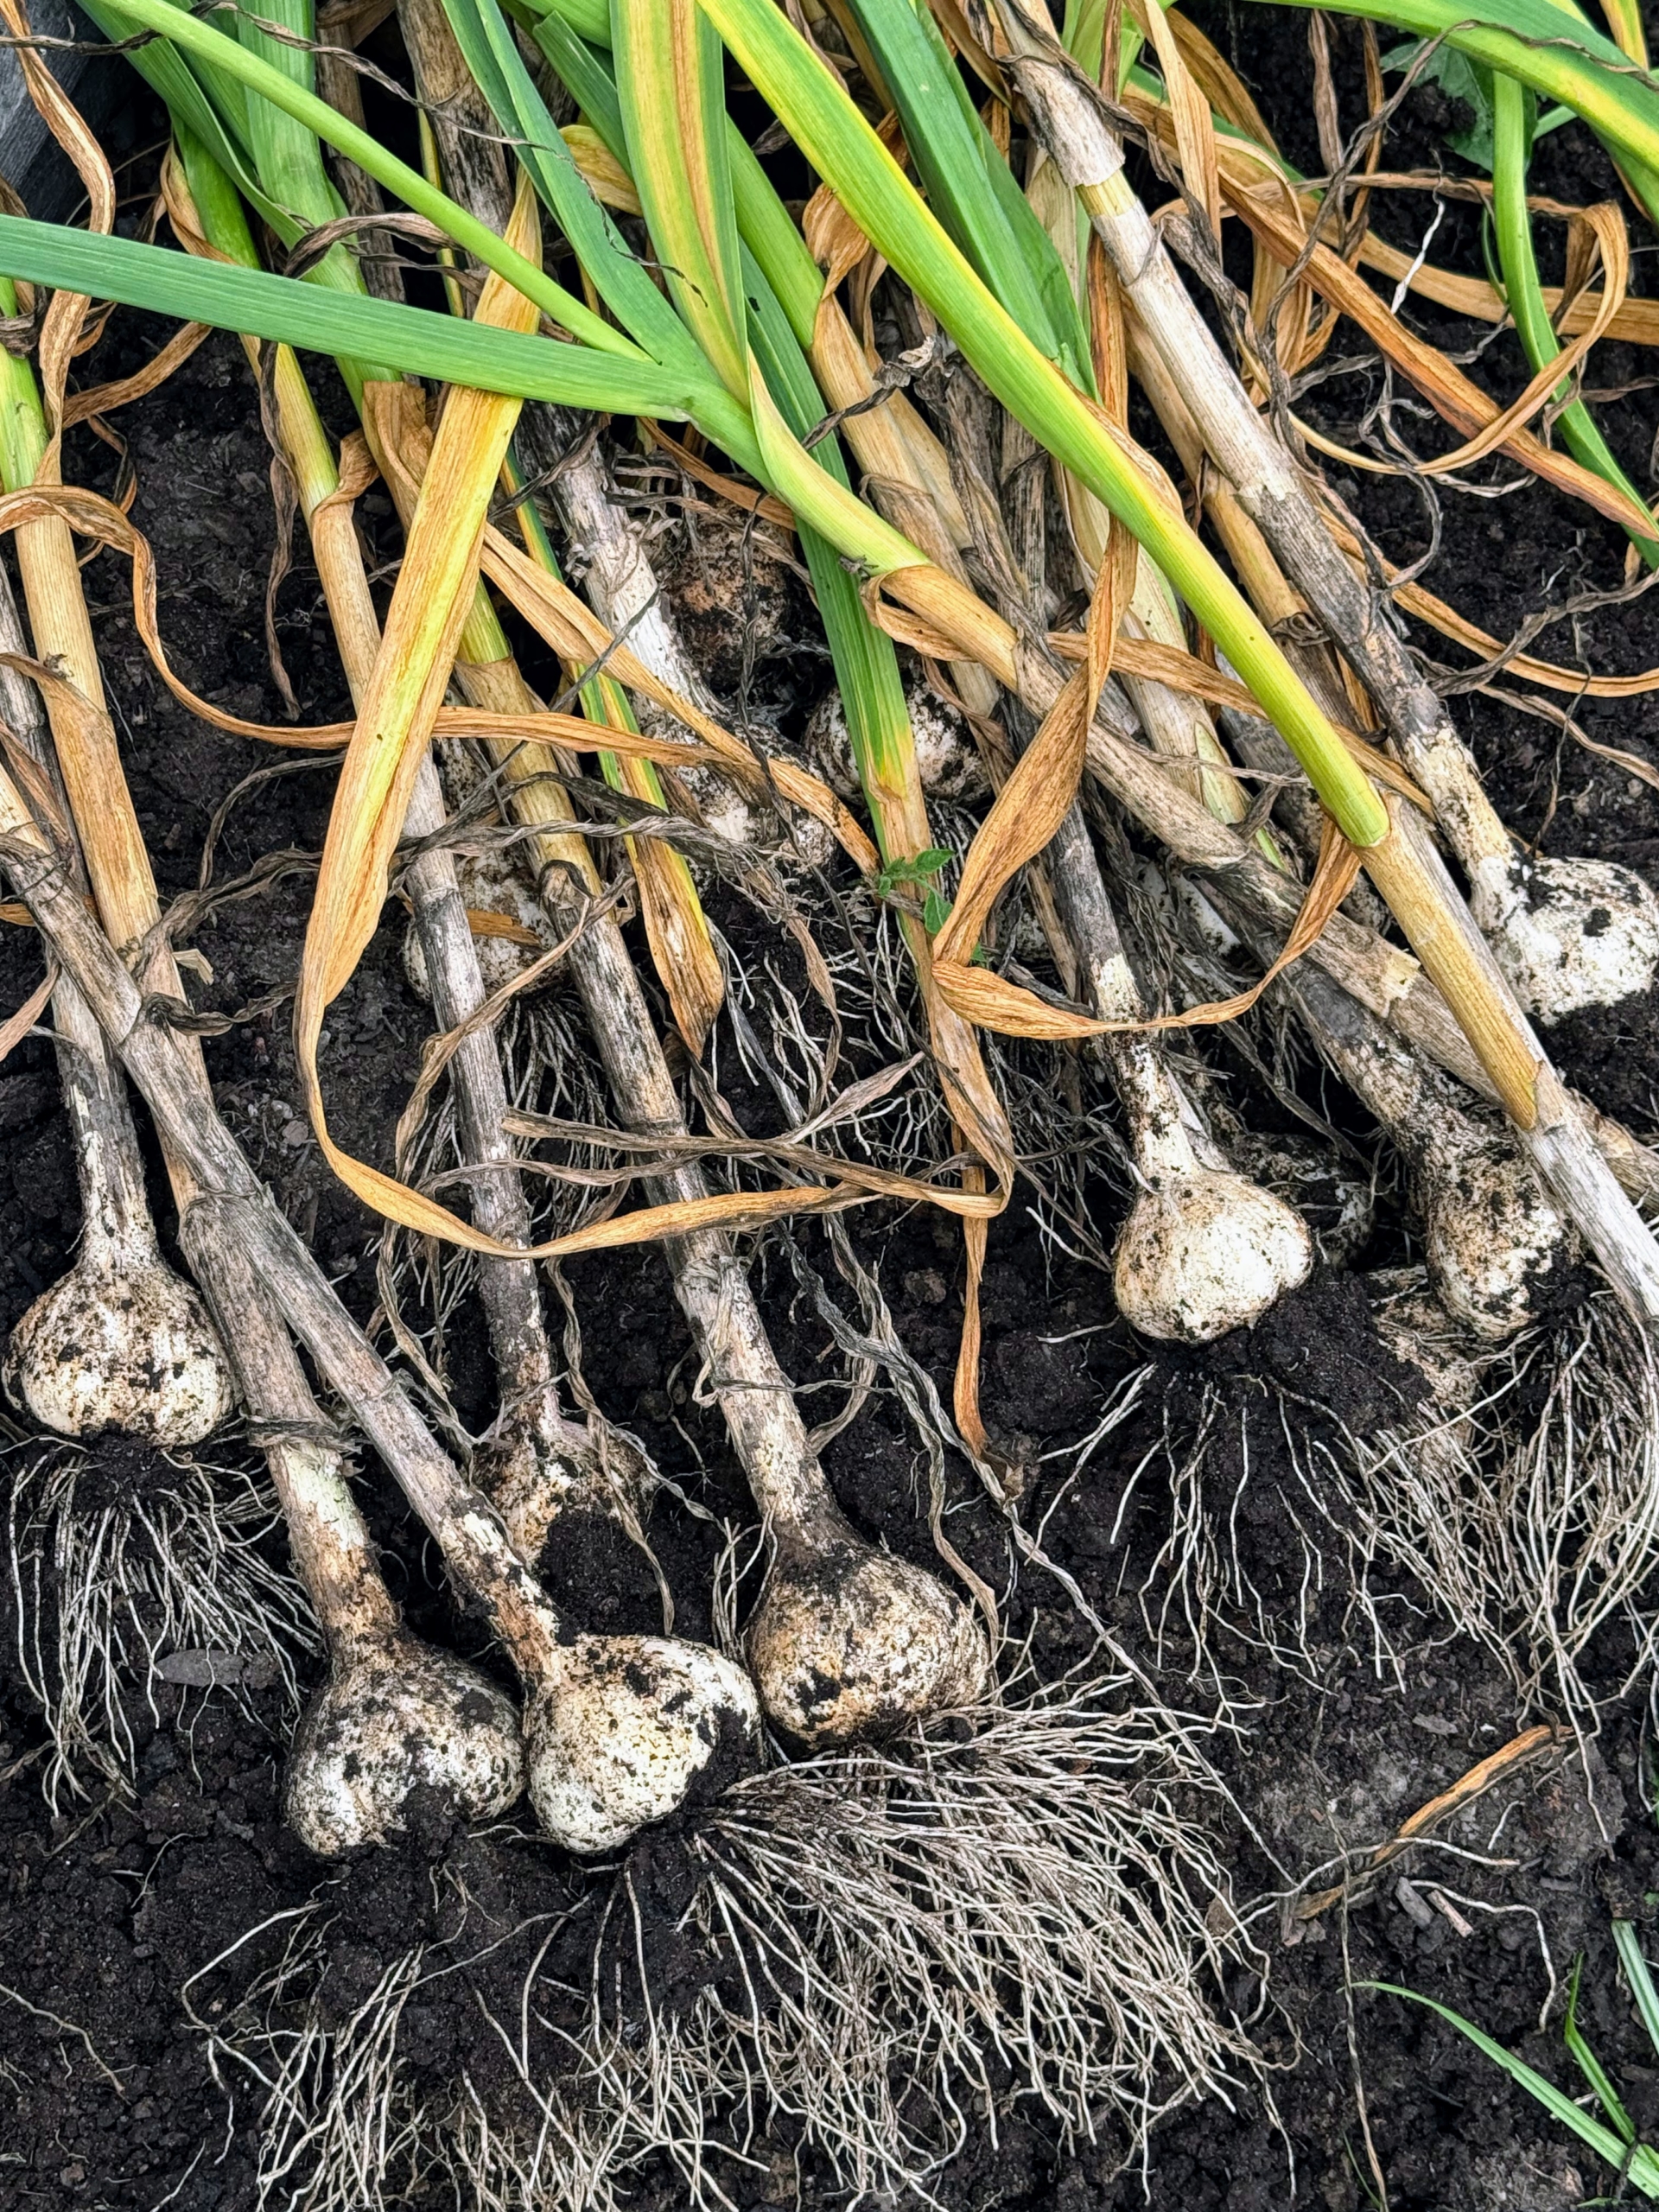
As Matthew continues to loosen the soil, Ryan picks the garlic – it’s a very systematic process. It doesn’t take long before many heads are removed from the soil.
The whole garlic is called a ‘head’, a ‘bulb’, or a ‘knob.‘ Each small, individual segment of a garlic head is a clove. Garlic is both delicious and nutritious. It is known to lower cholesterol, decrease the risk of coronary artery disease, and is an excellent source of minerals and vitamins, such as vitamins B6 and C.
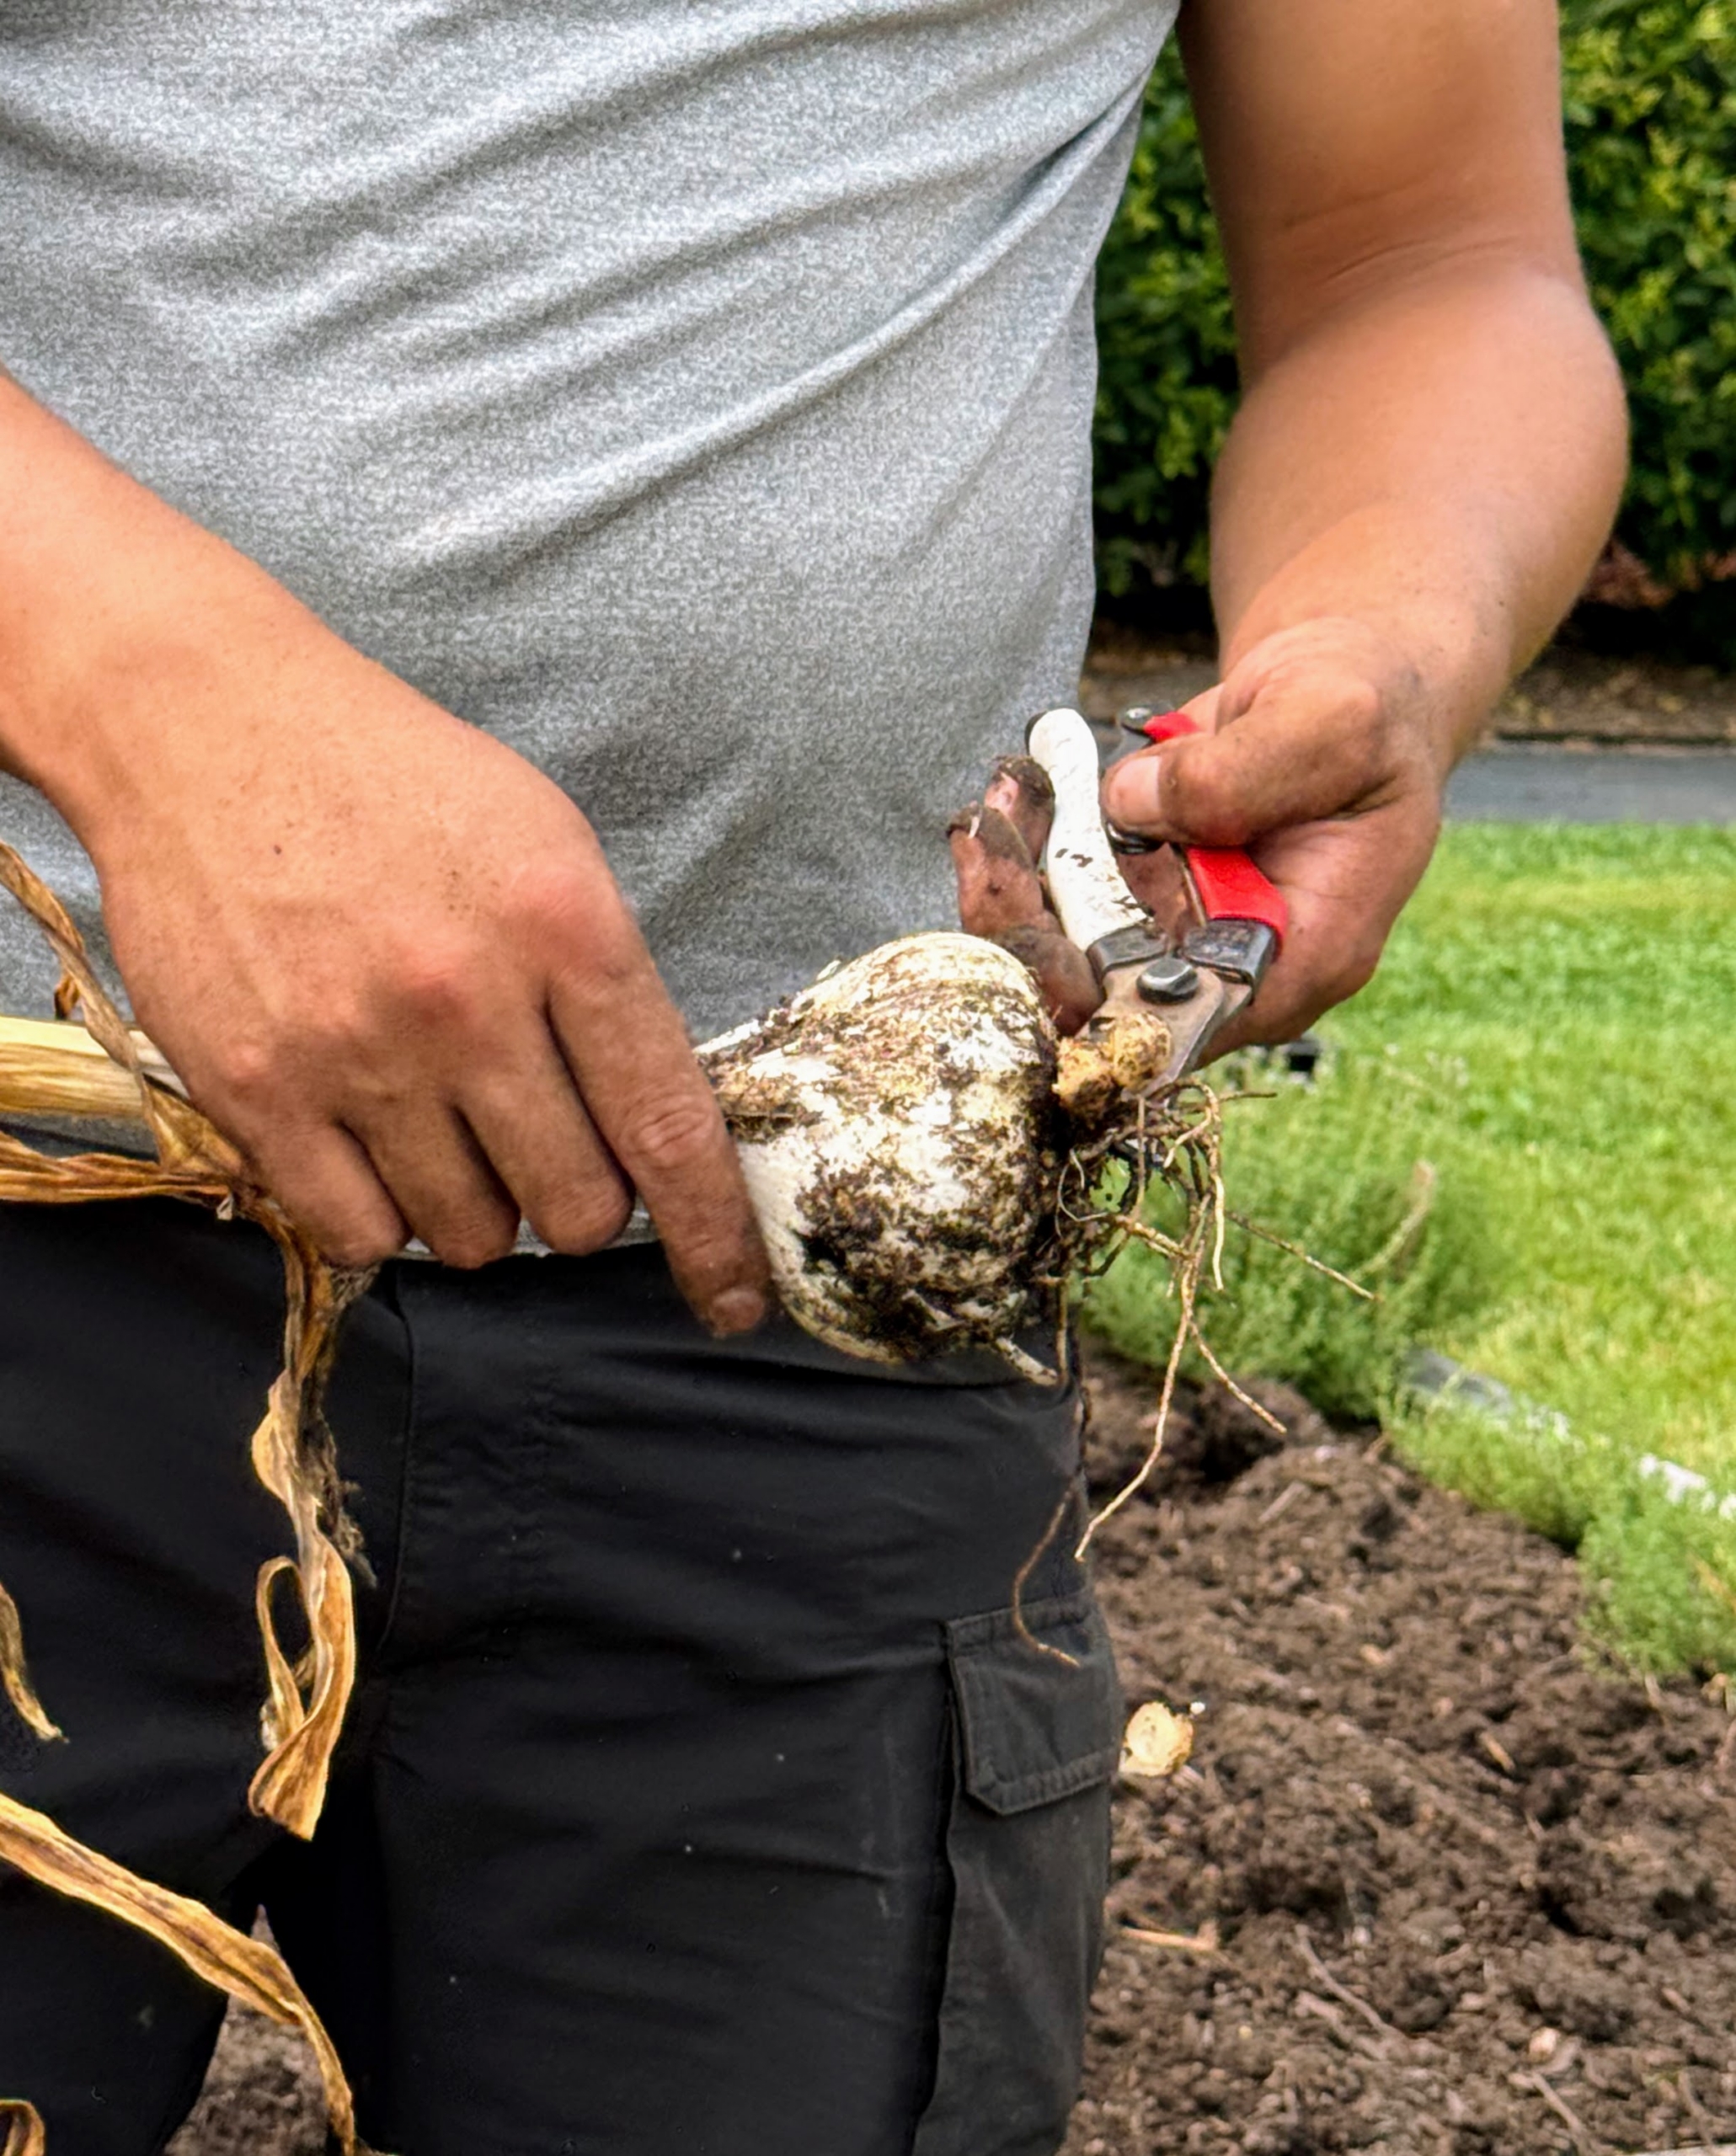
The next step is to prepare the garlic for curing. Matthew cuts off the bottom roots.
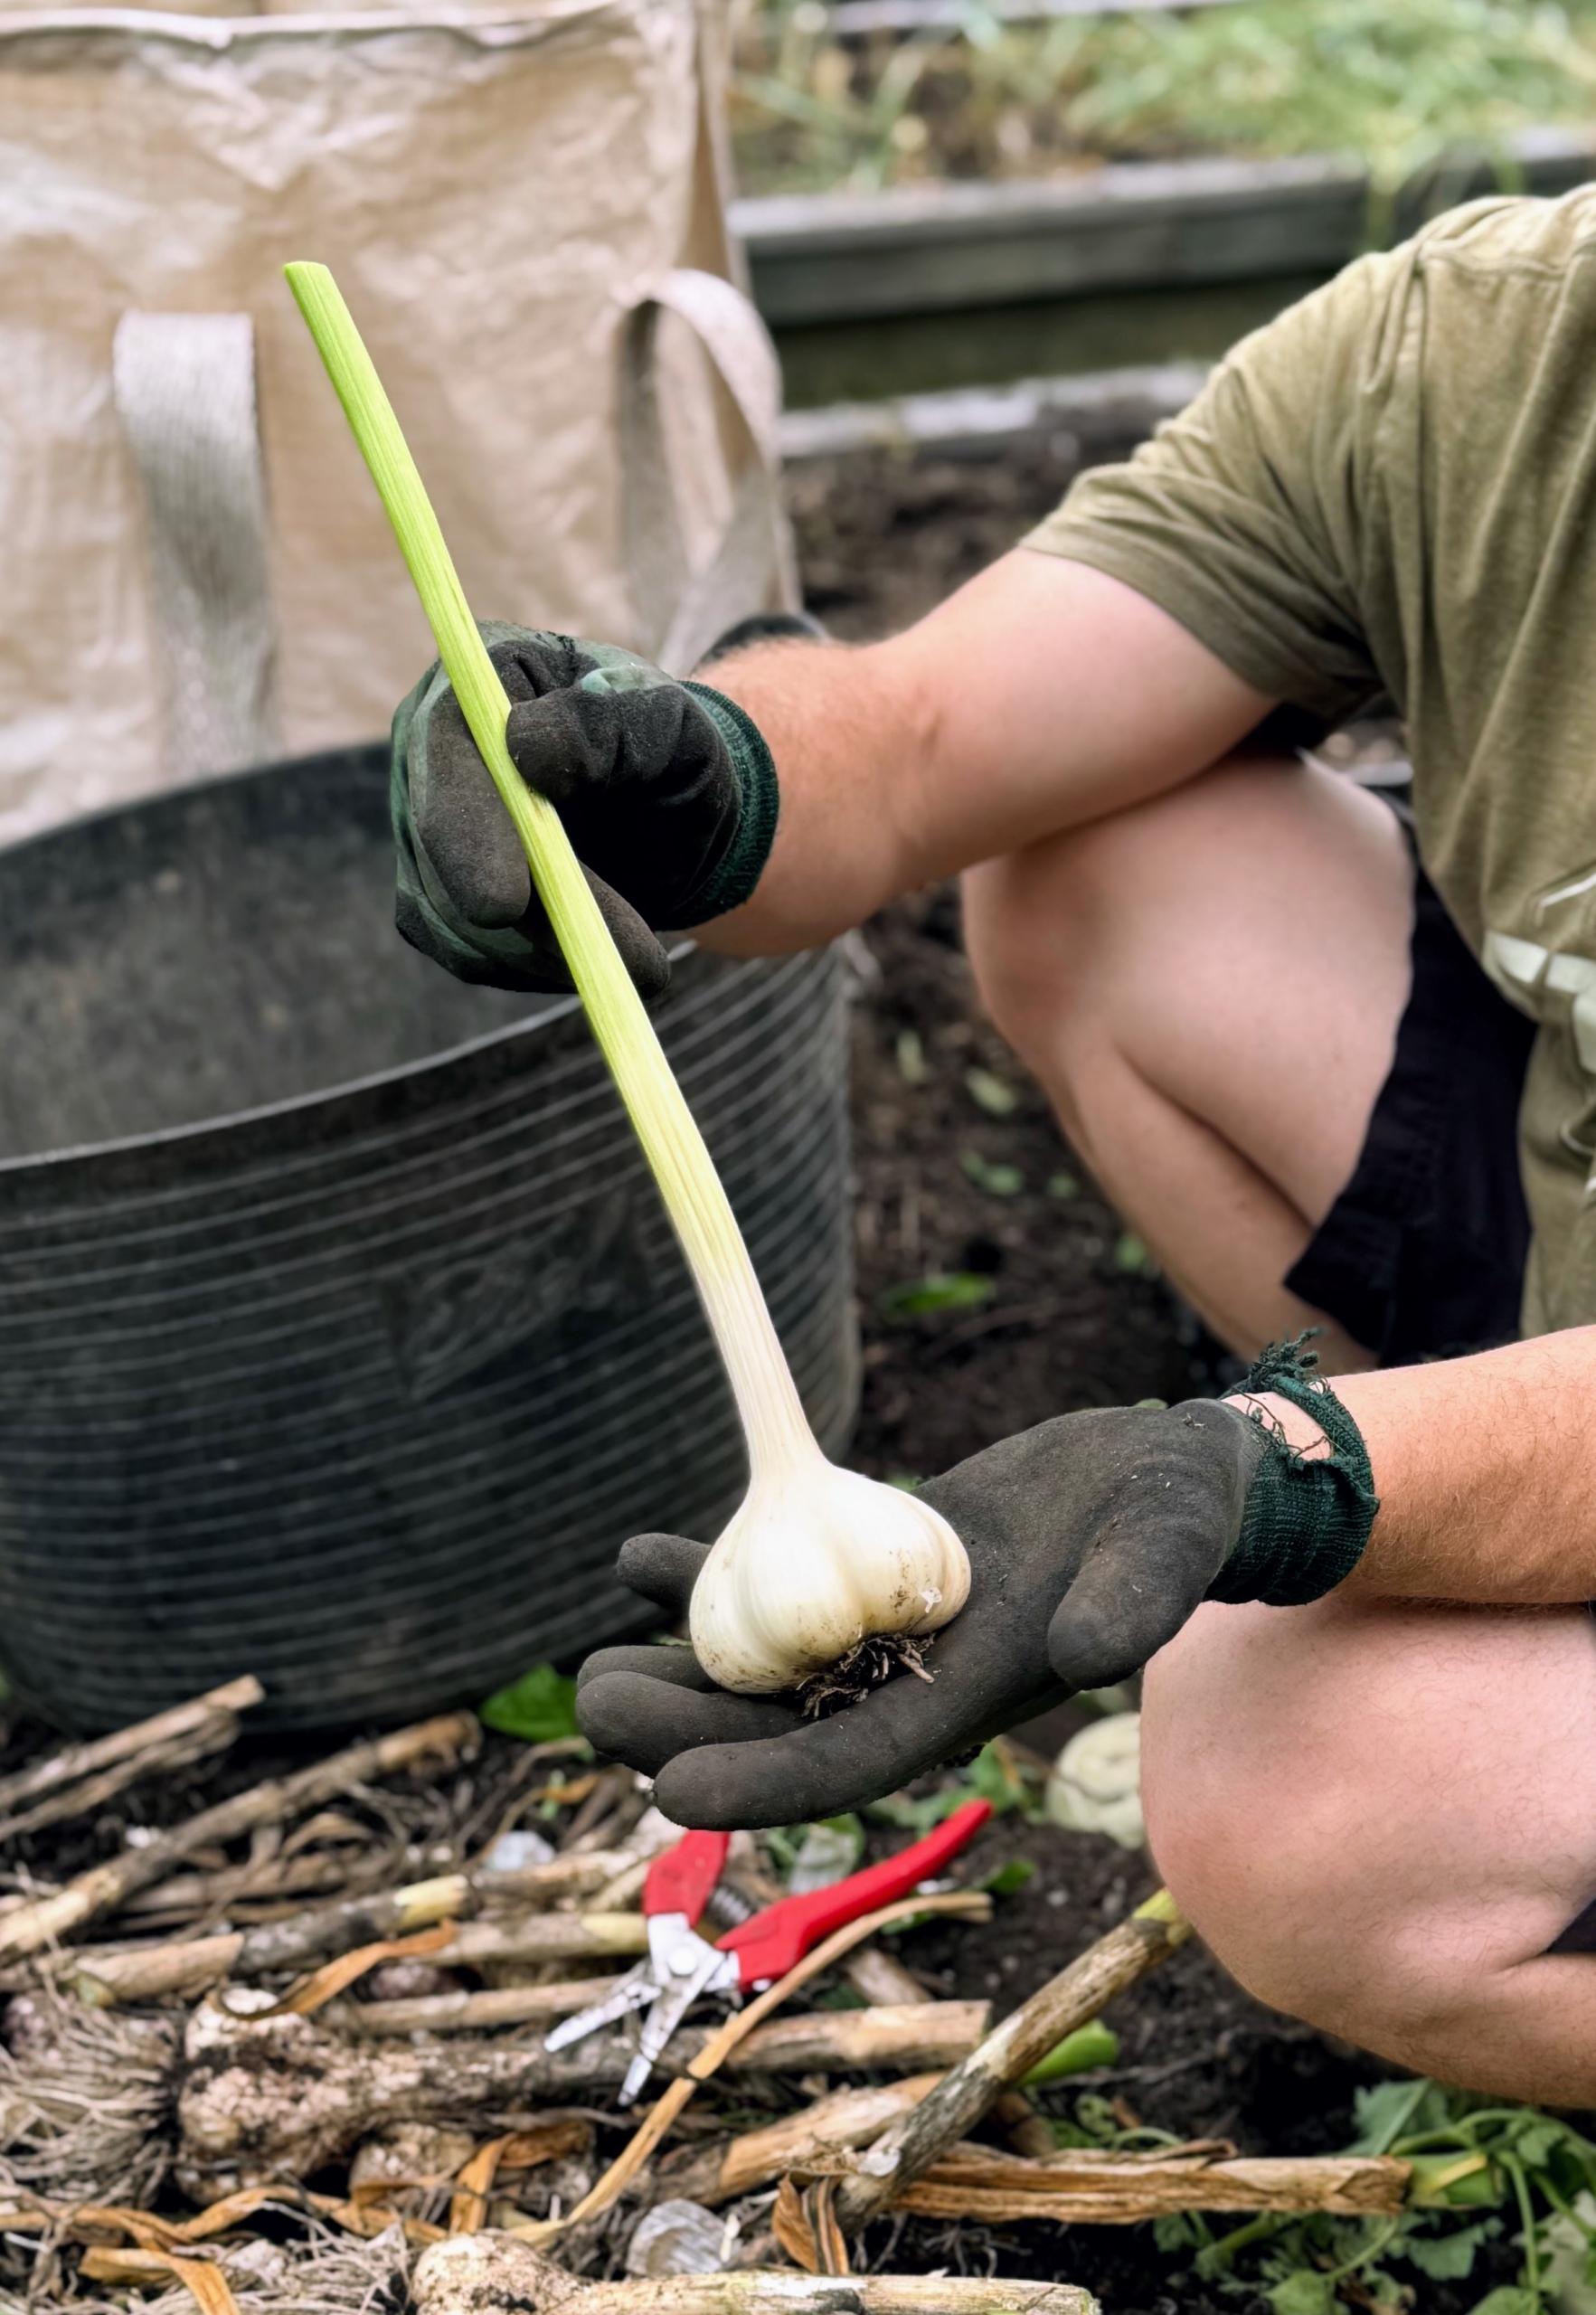
The top of each stalk is also trimmed and the first layer of skin removed. Trimming the stalks makes it easier to store and keeps them neat and uniform.
Here is a very clean garlic head ready cure.
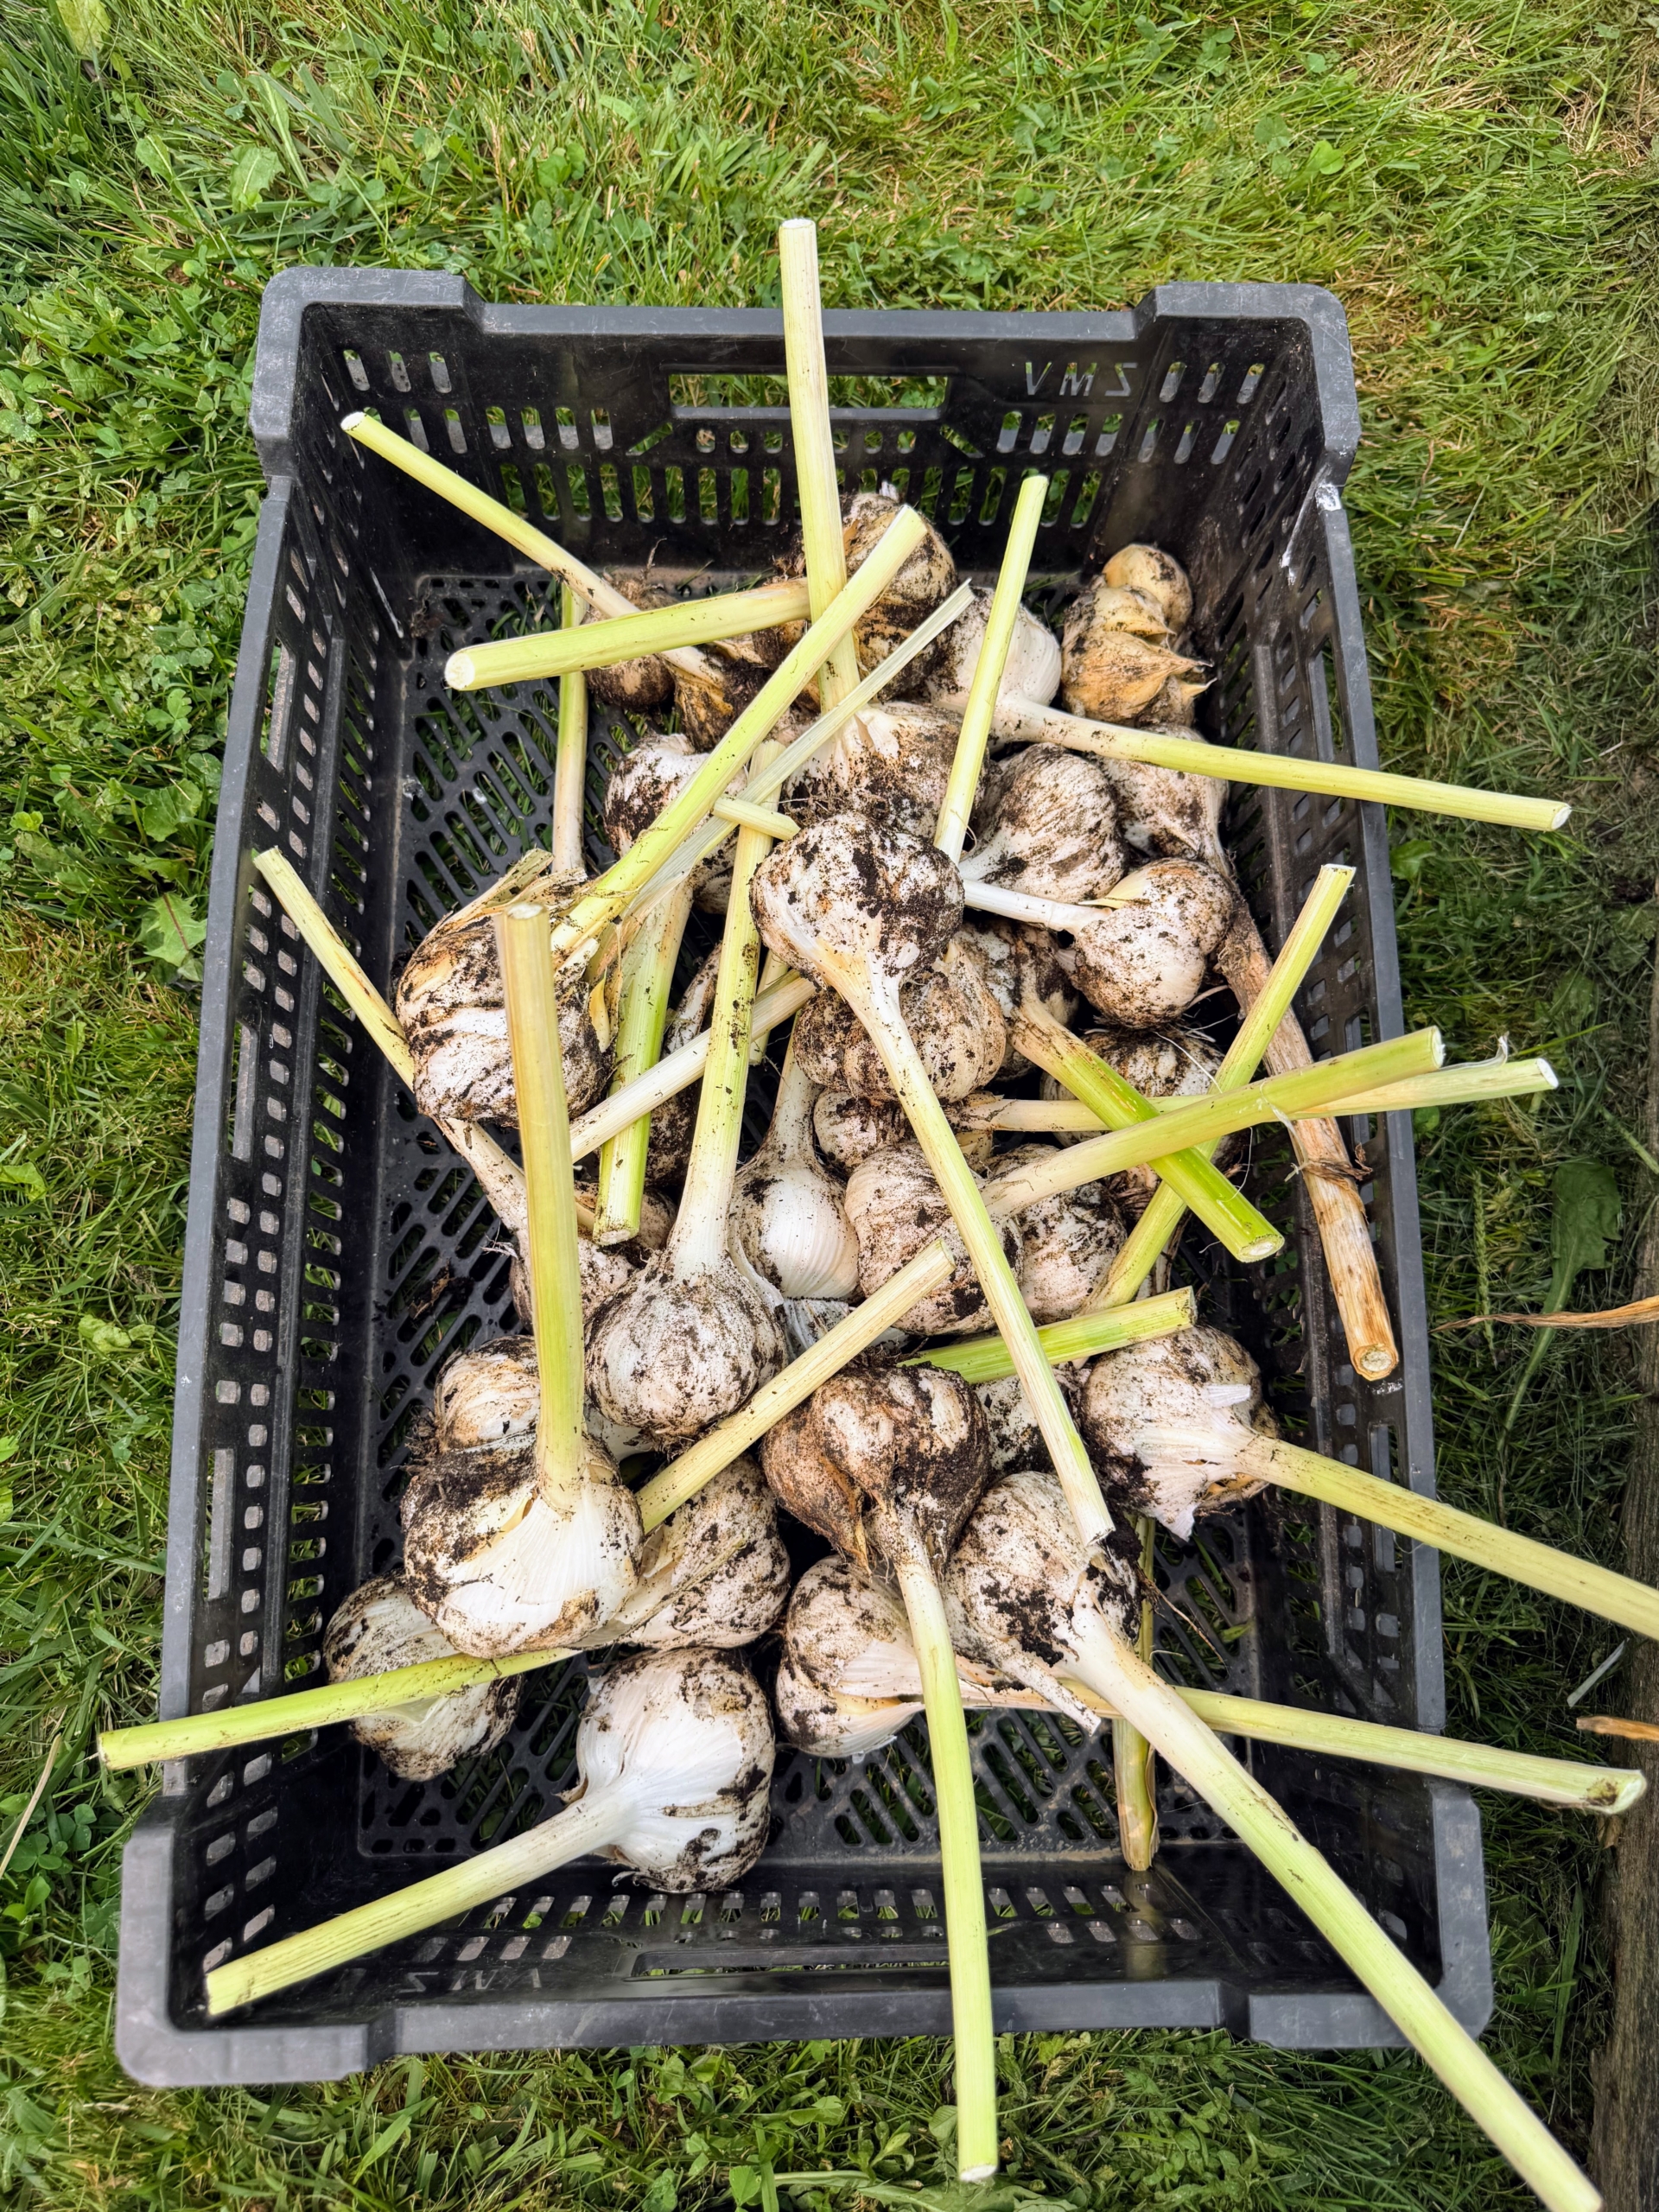
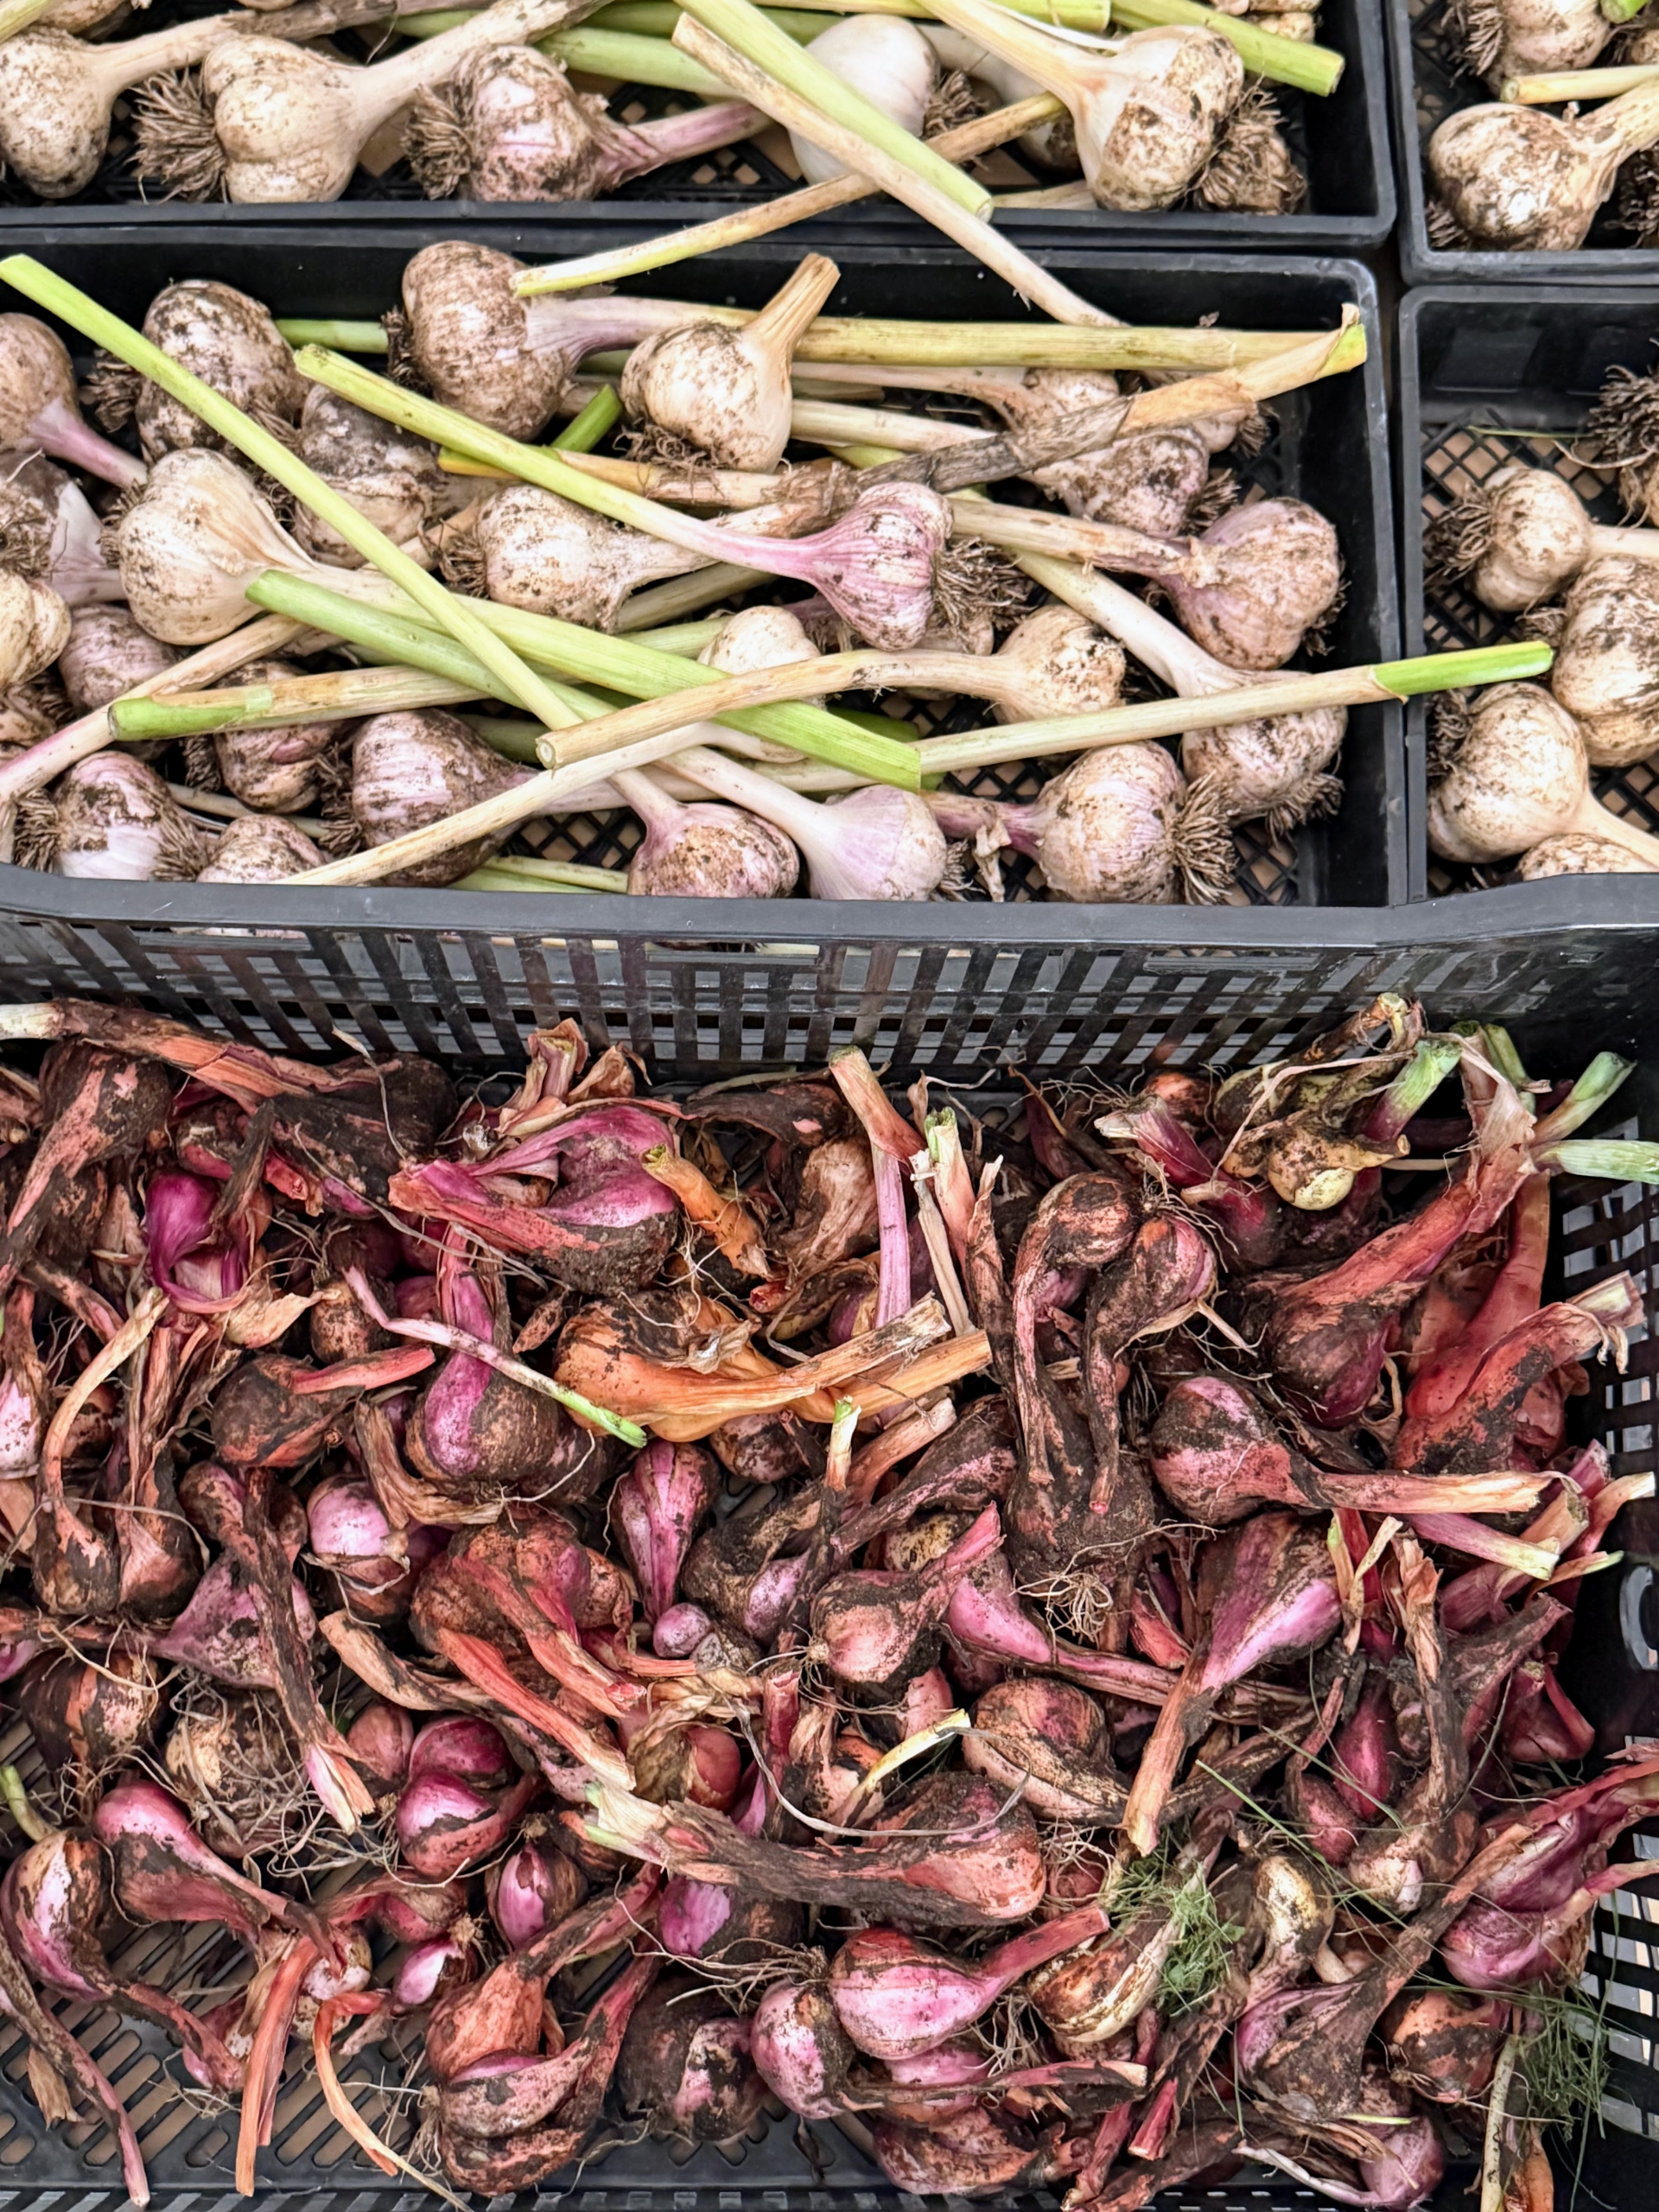
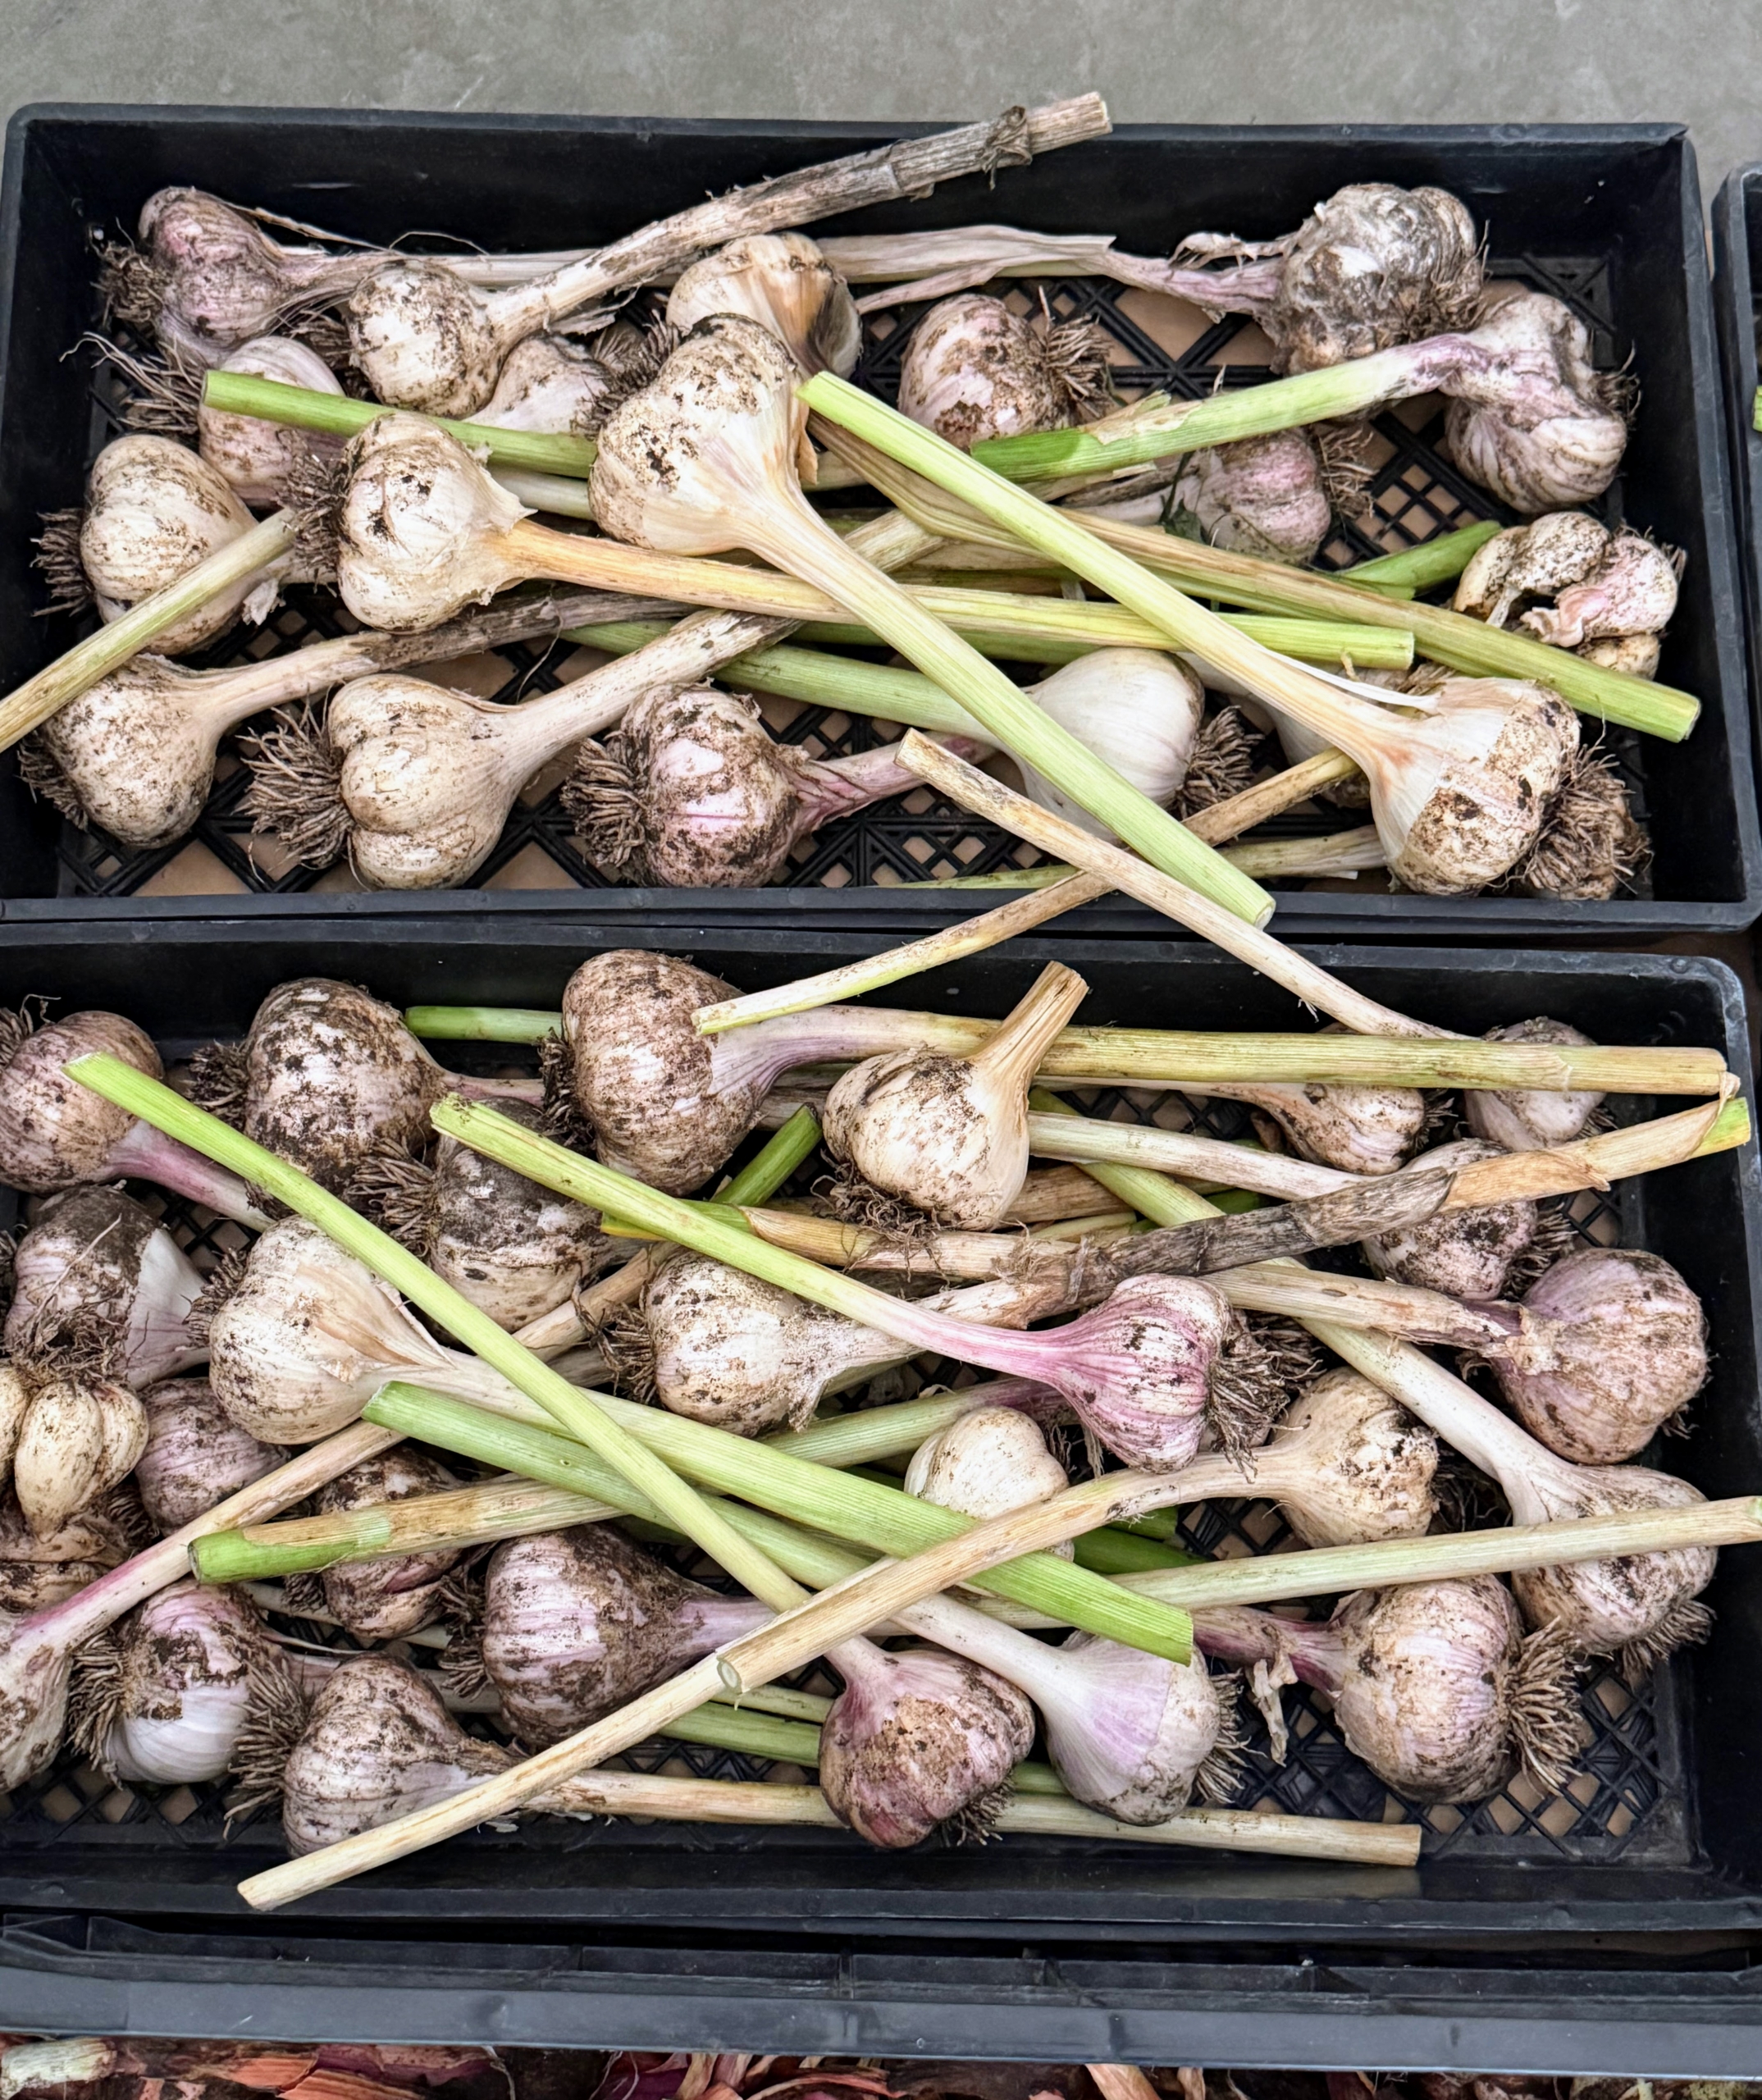
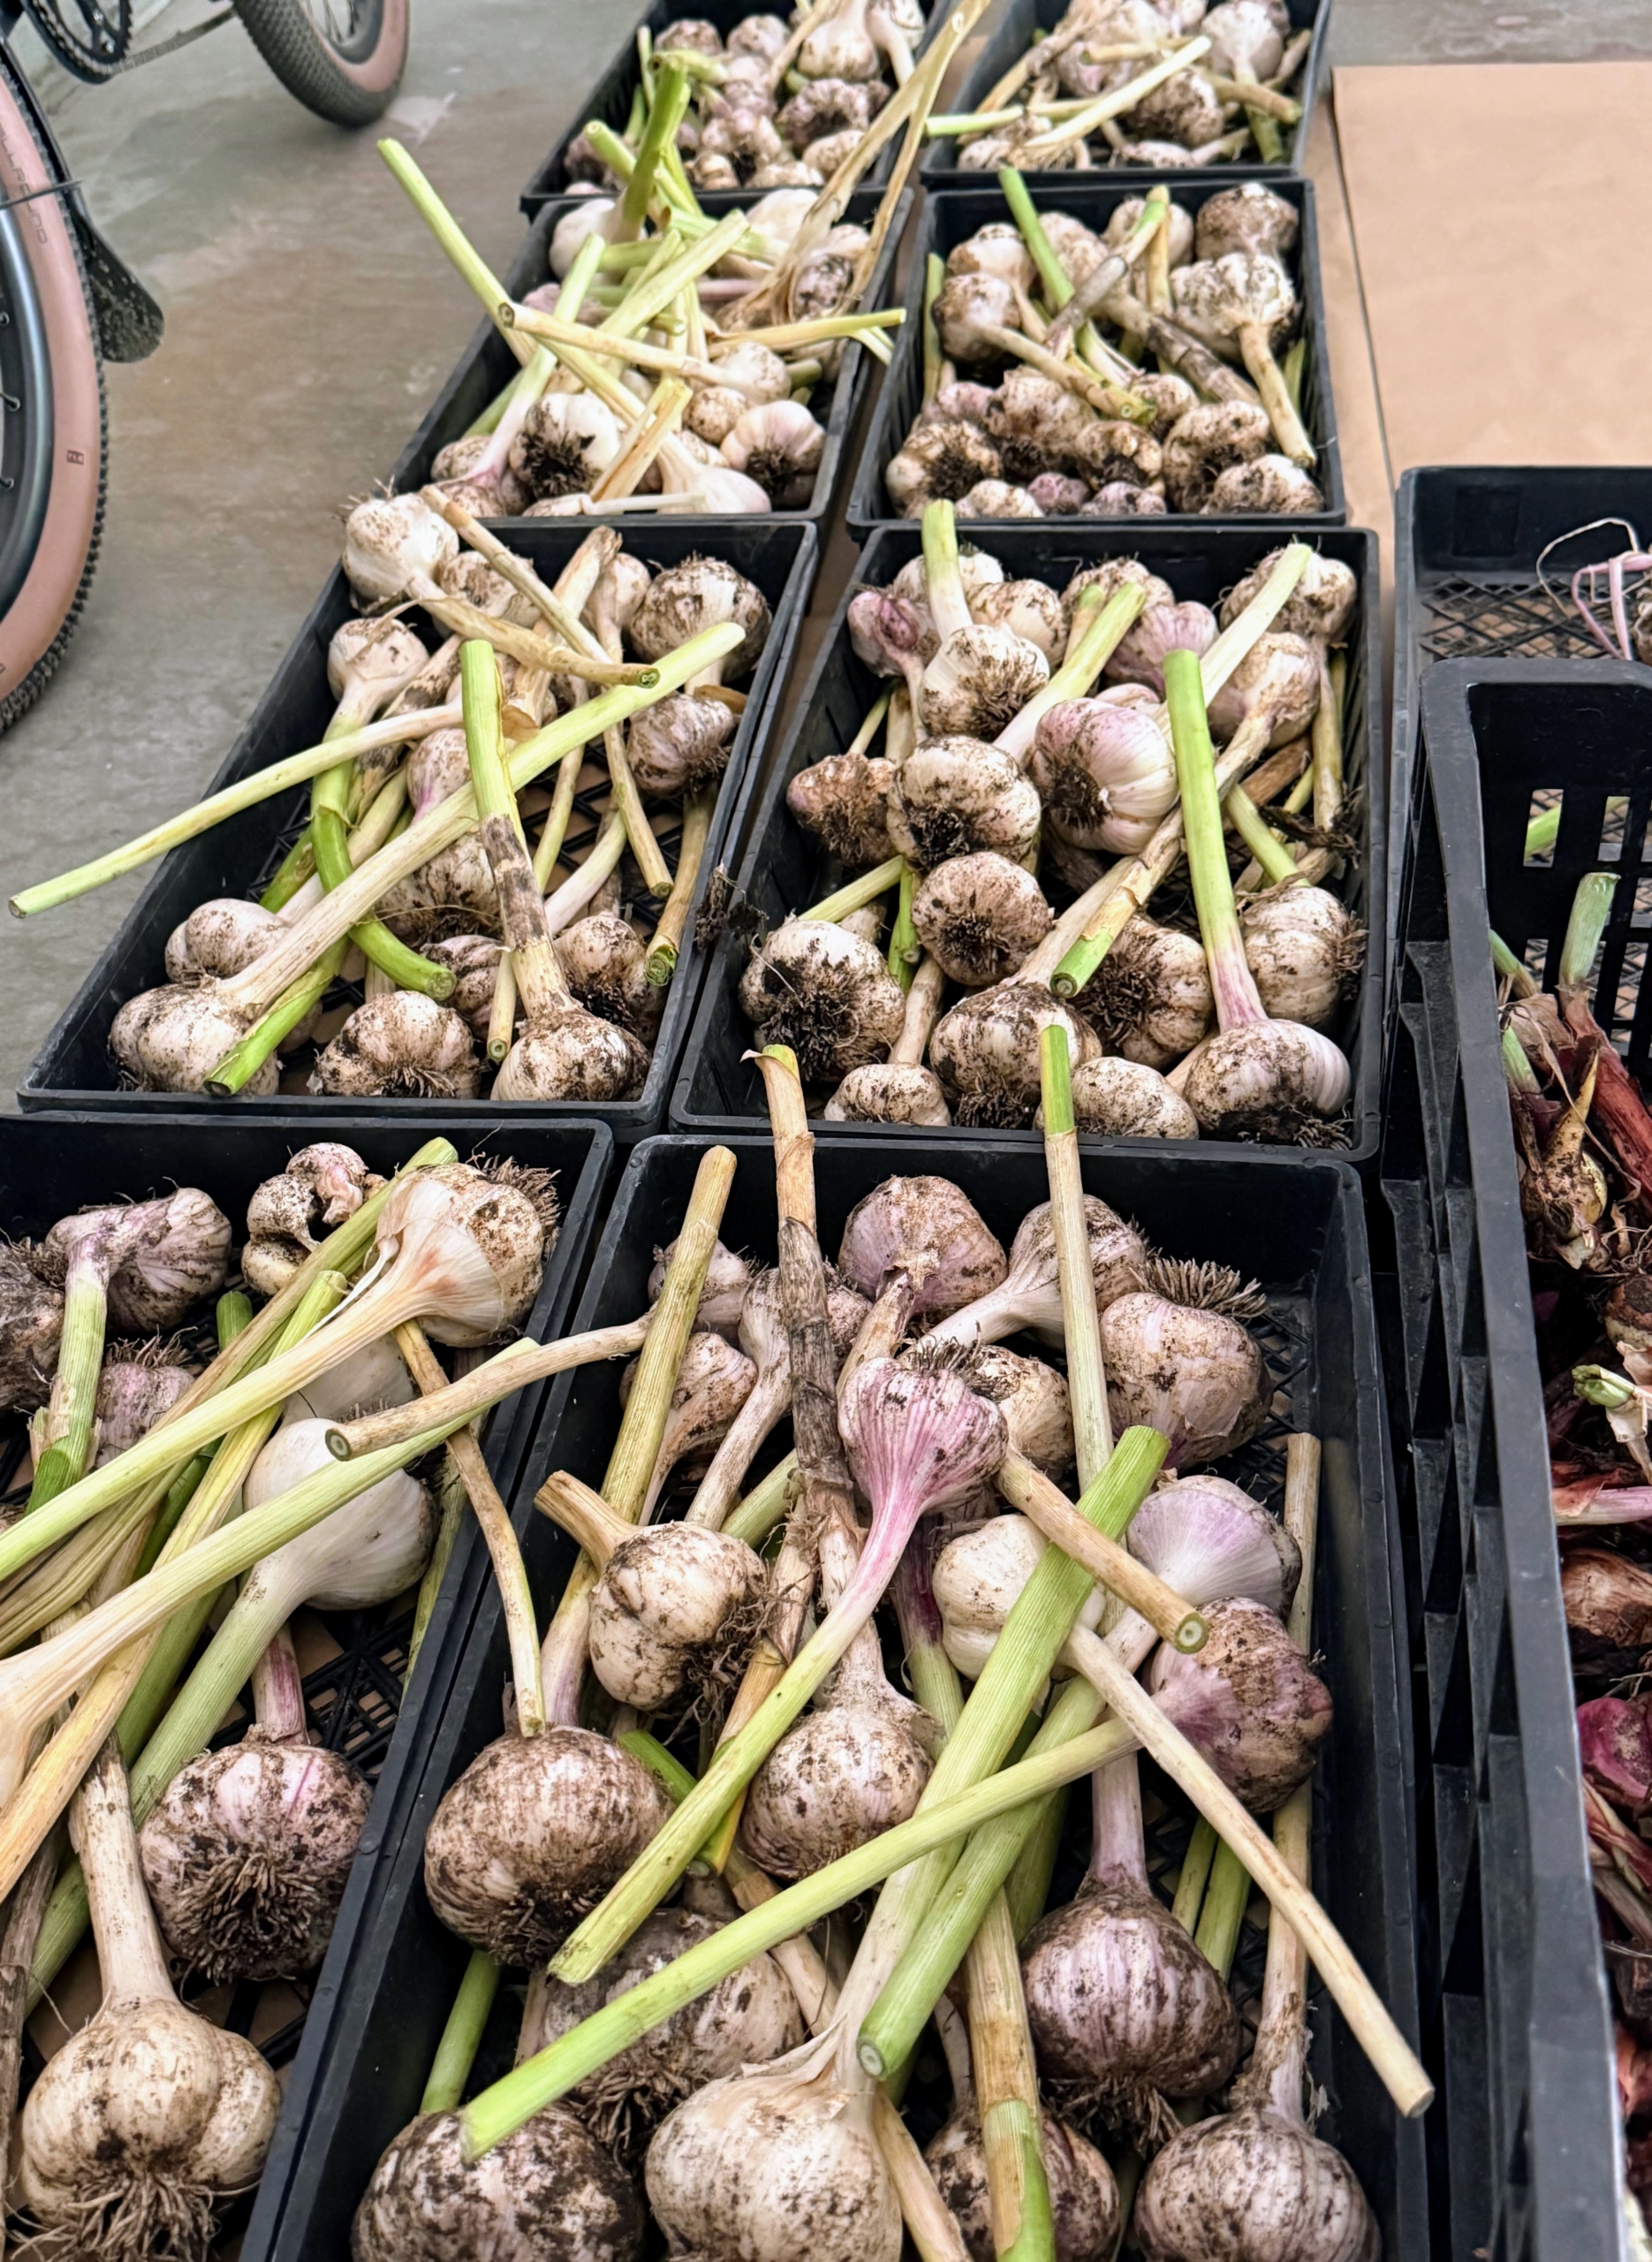
After cleaning and trimming, the garlic is put into crates.
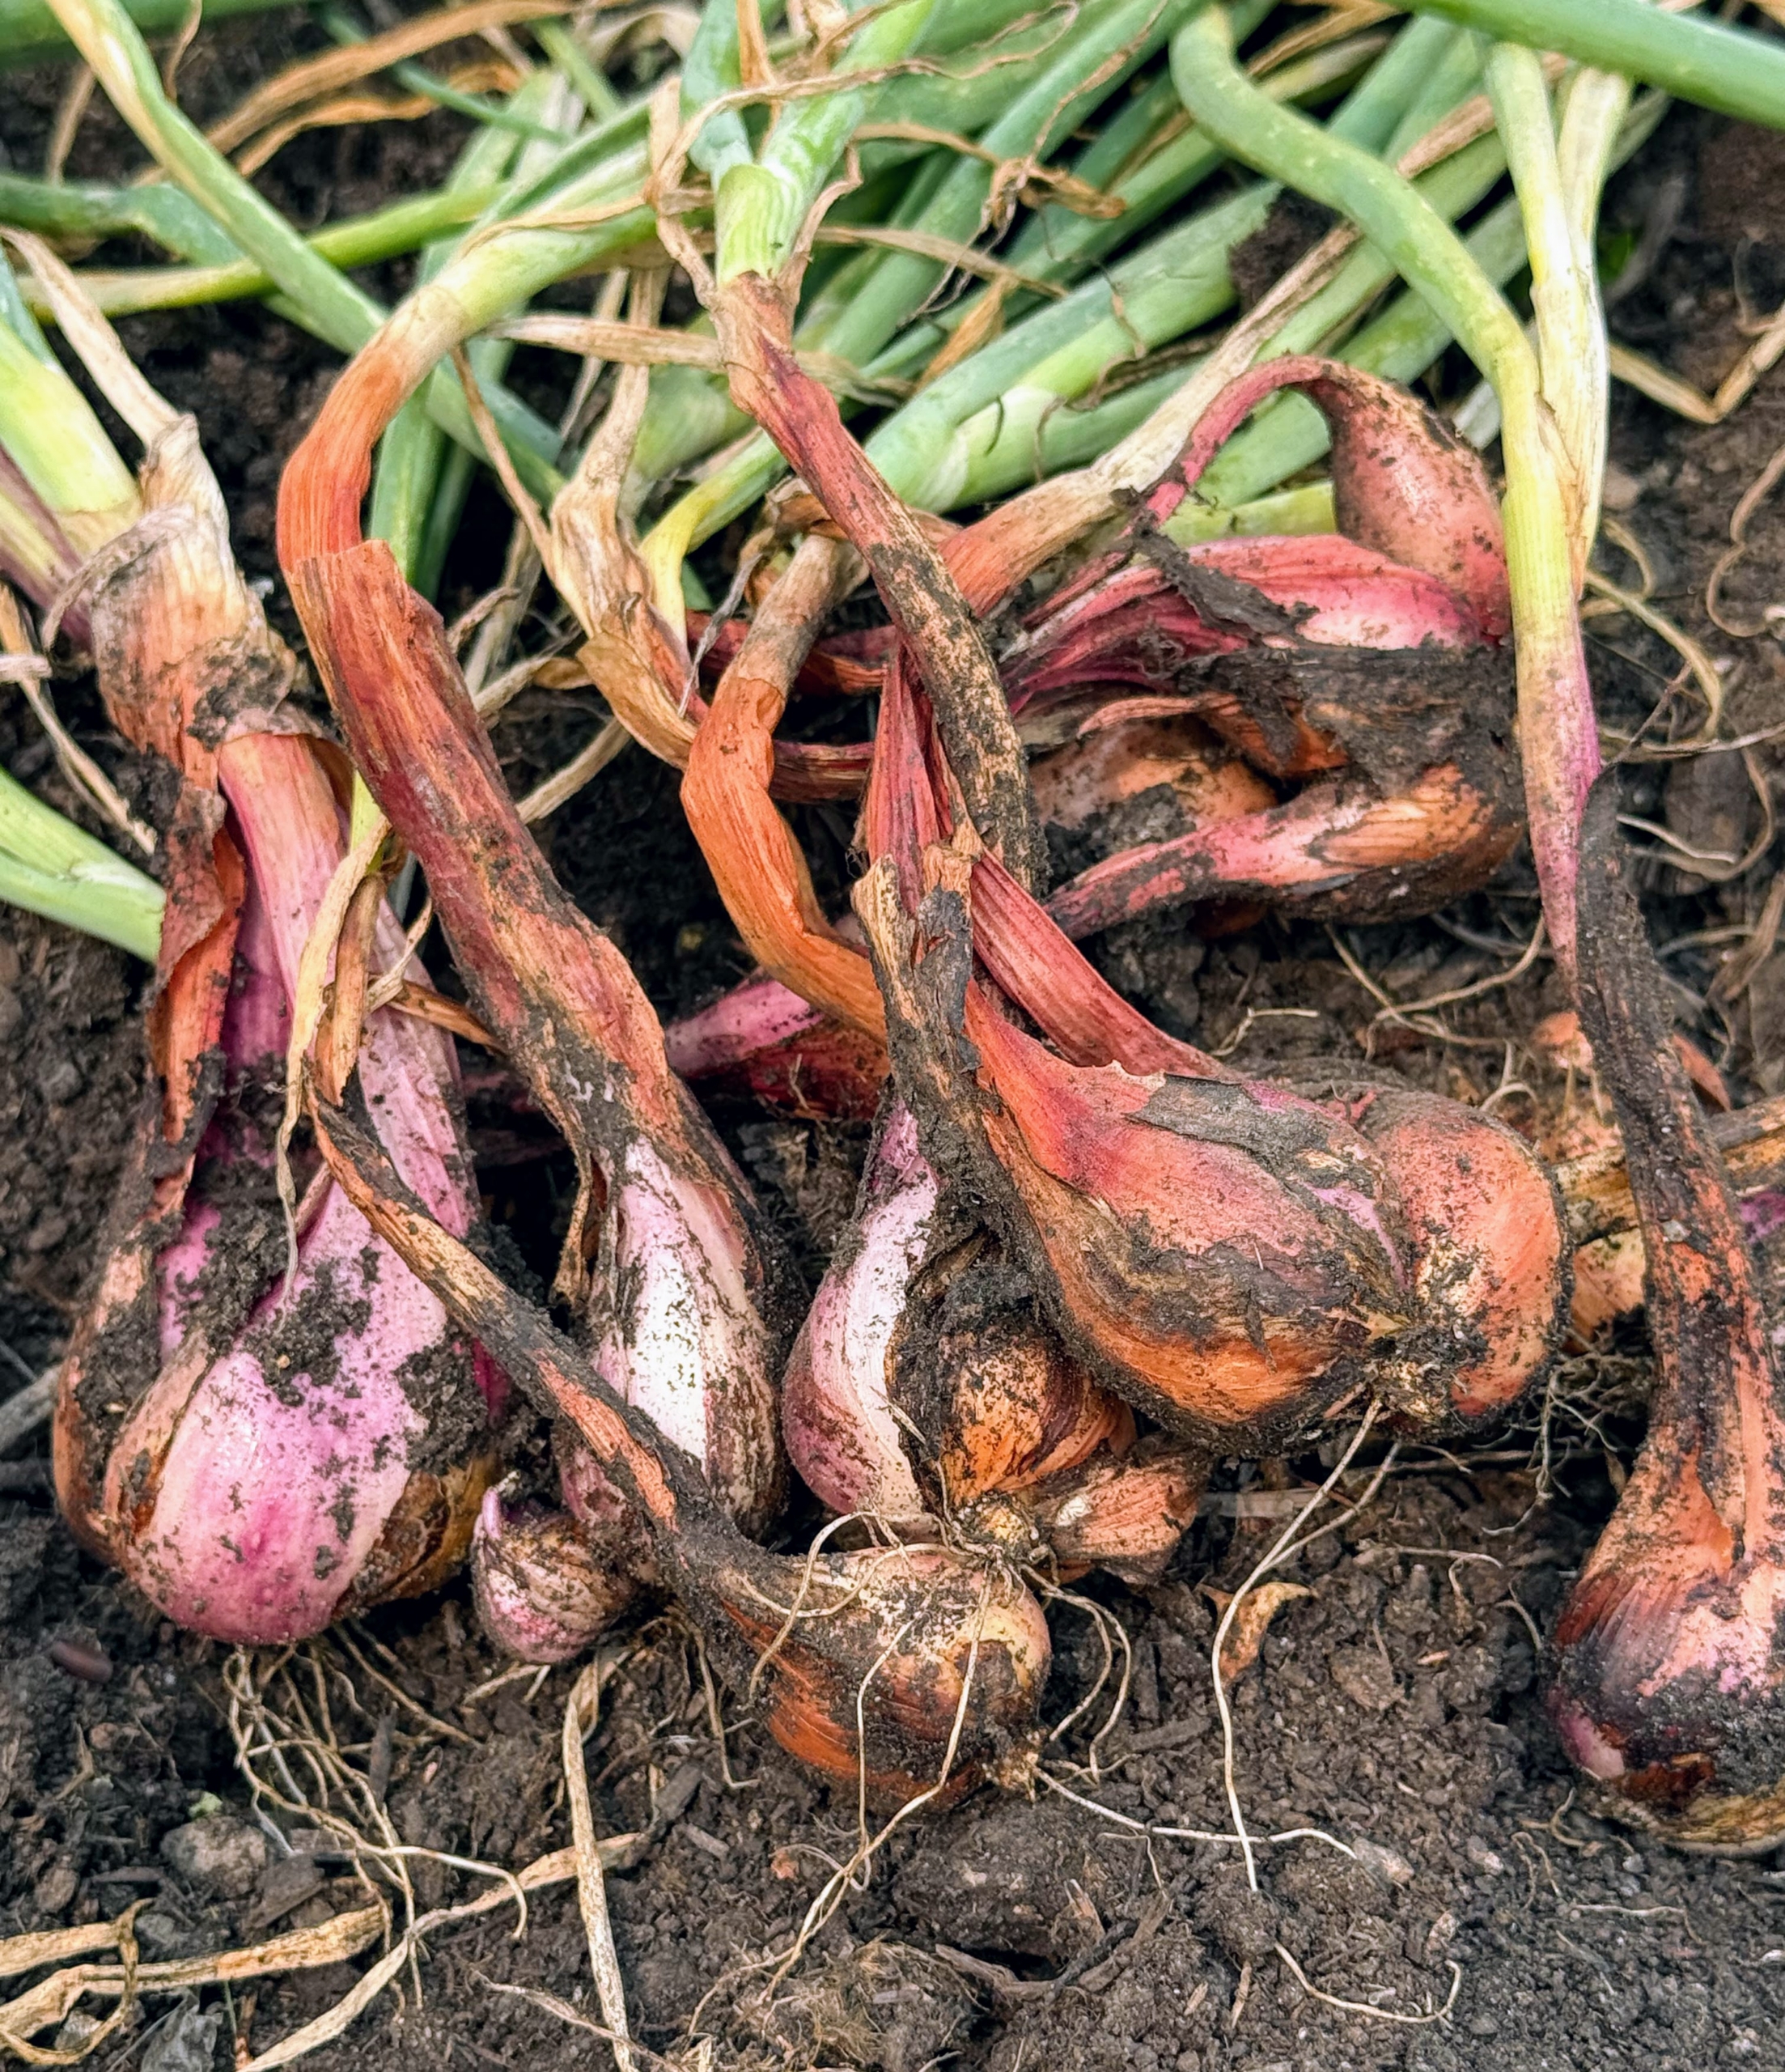
Here are some harvested shallots. A shallot is a small, onion-like bulb from the allium family, known for its mild, sweet, and slightly pungent flavor.
By day’s end, crates are filled with garlic and shallots.
This is not ready to eat just yet. It must still dry. Curing is a process of letting the garlic dry in preparation for long-term storage. There’s no need to wash garlic – the point is to completely dry them out. Well-cured, well-wrapped garlic bulbs will keep six to eight months or longer.
The best storage temperature for garlic is between 60 and 70 degrees Fahrenheit, with low humidity at about 60-percent – and never store garlic in the refrigerator. I will soon have lots of delicious garlic to use and share.
The gardens at my farm are always evolving. I’m constantly searching for beautiful and unusual plants to enrich the ever-changing beds.
The area surrounding my pool is planted with a dramatic collection of burgundy and near-black foliage, creating depth, contrast, and year-round interest. Along the inside of the pool fence is a growing hedge of purple columnar beech trees, Fagus sylvatica ‘Dawyck Purple,’ prized for their elegant form and rich, deep-purple foliage. To continue the dark foliage palette, I’ve underplanted sections of the hedge with different varieties of Ajuga, including ‘Black Scallop’ and ‘Chocolate Chip,' and most recently Ajuga 'Bronze Beauty.'
Here are some photos.
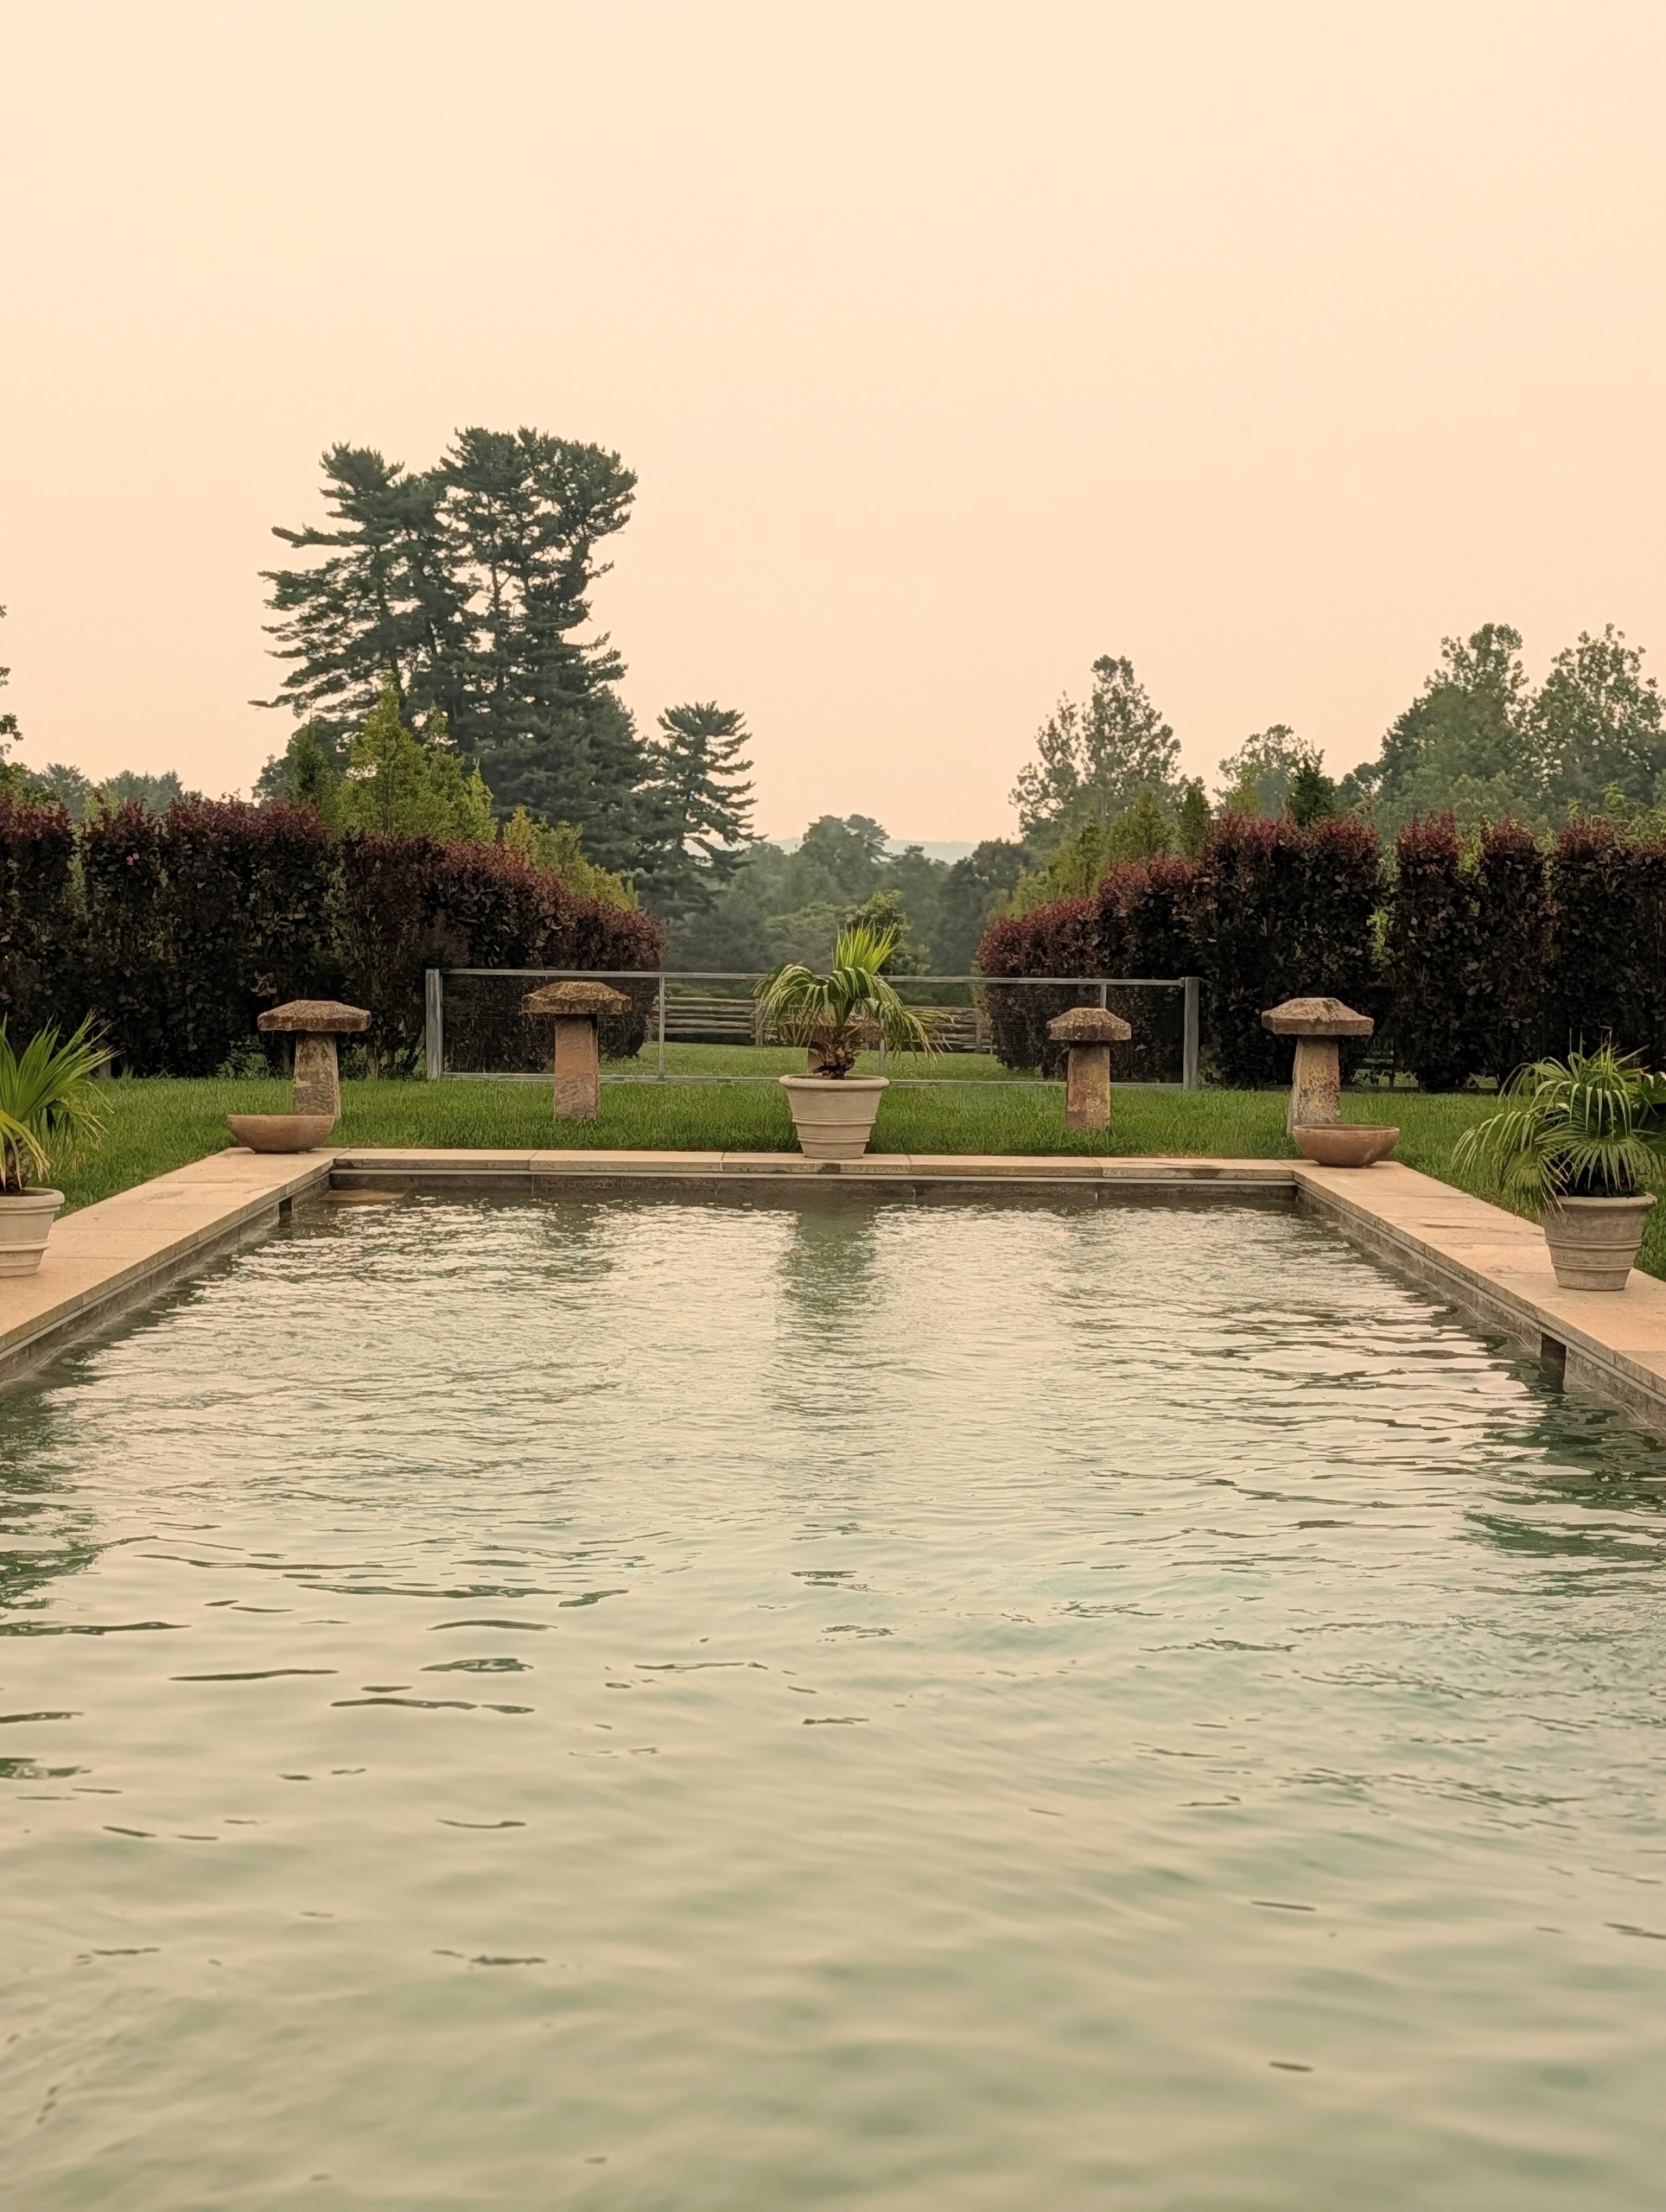
The skies over large parts of the Midwest and Northeast are very hazy because of the drifting Canadian wildfire smoke. The skies above my pool look orange in color. Hopefully the air quality will clear soon.
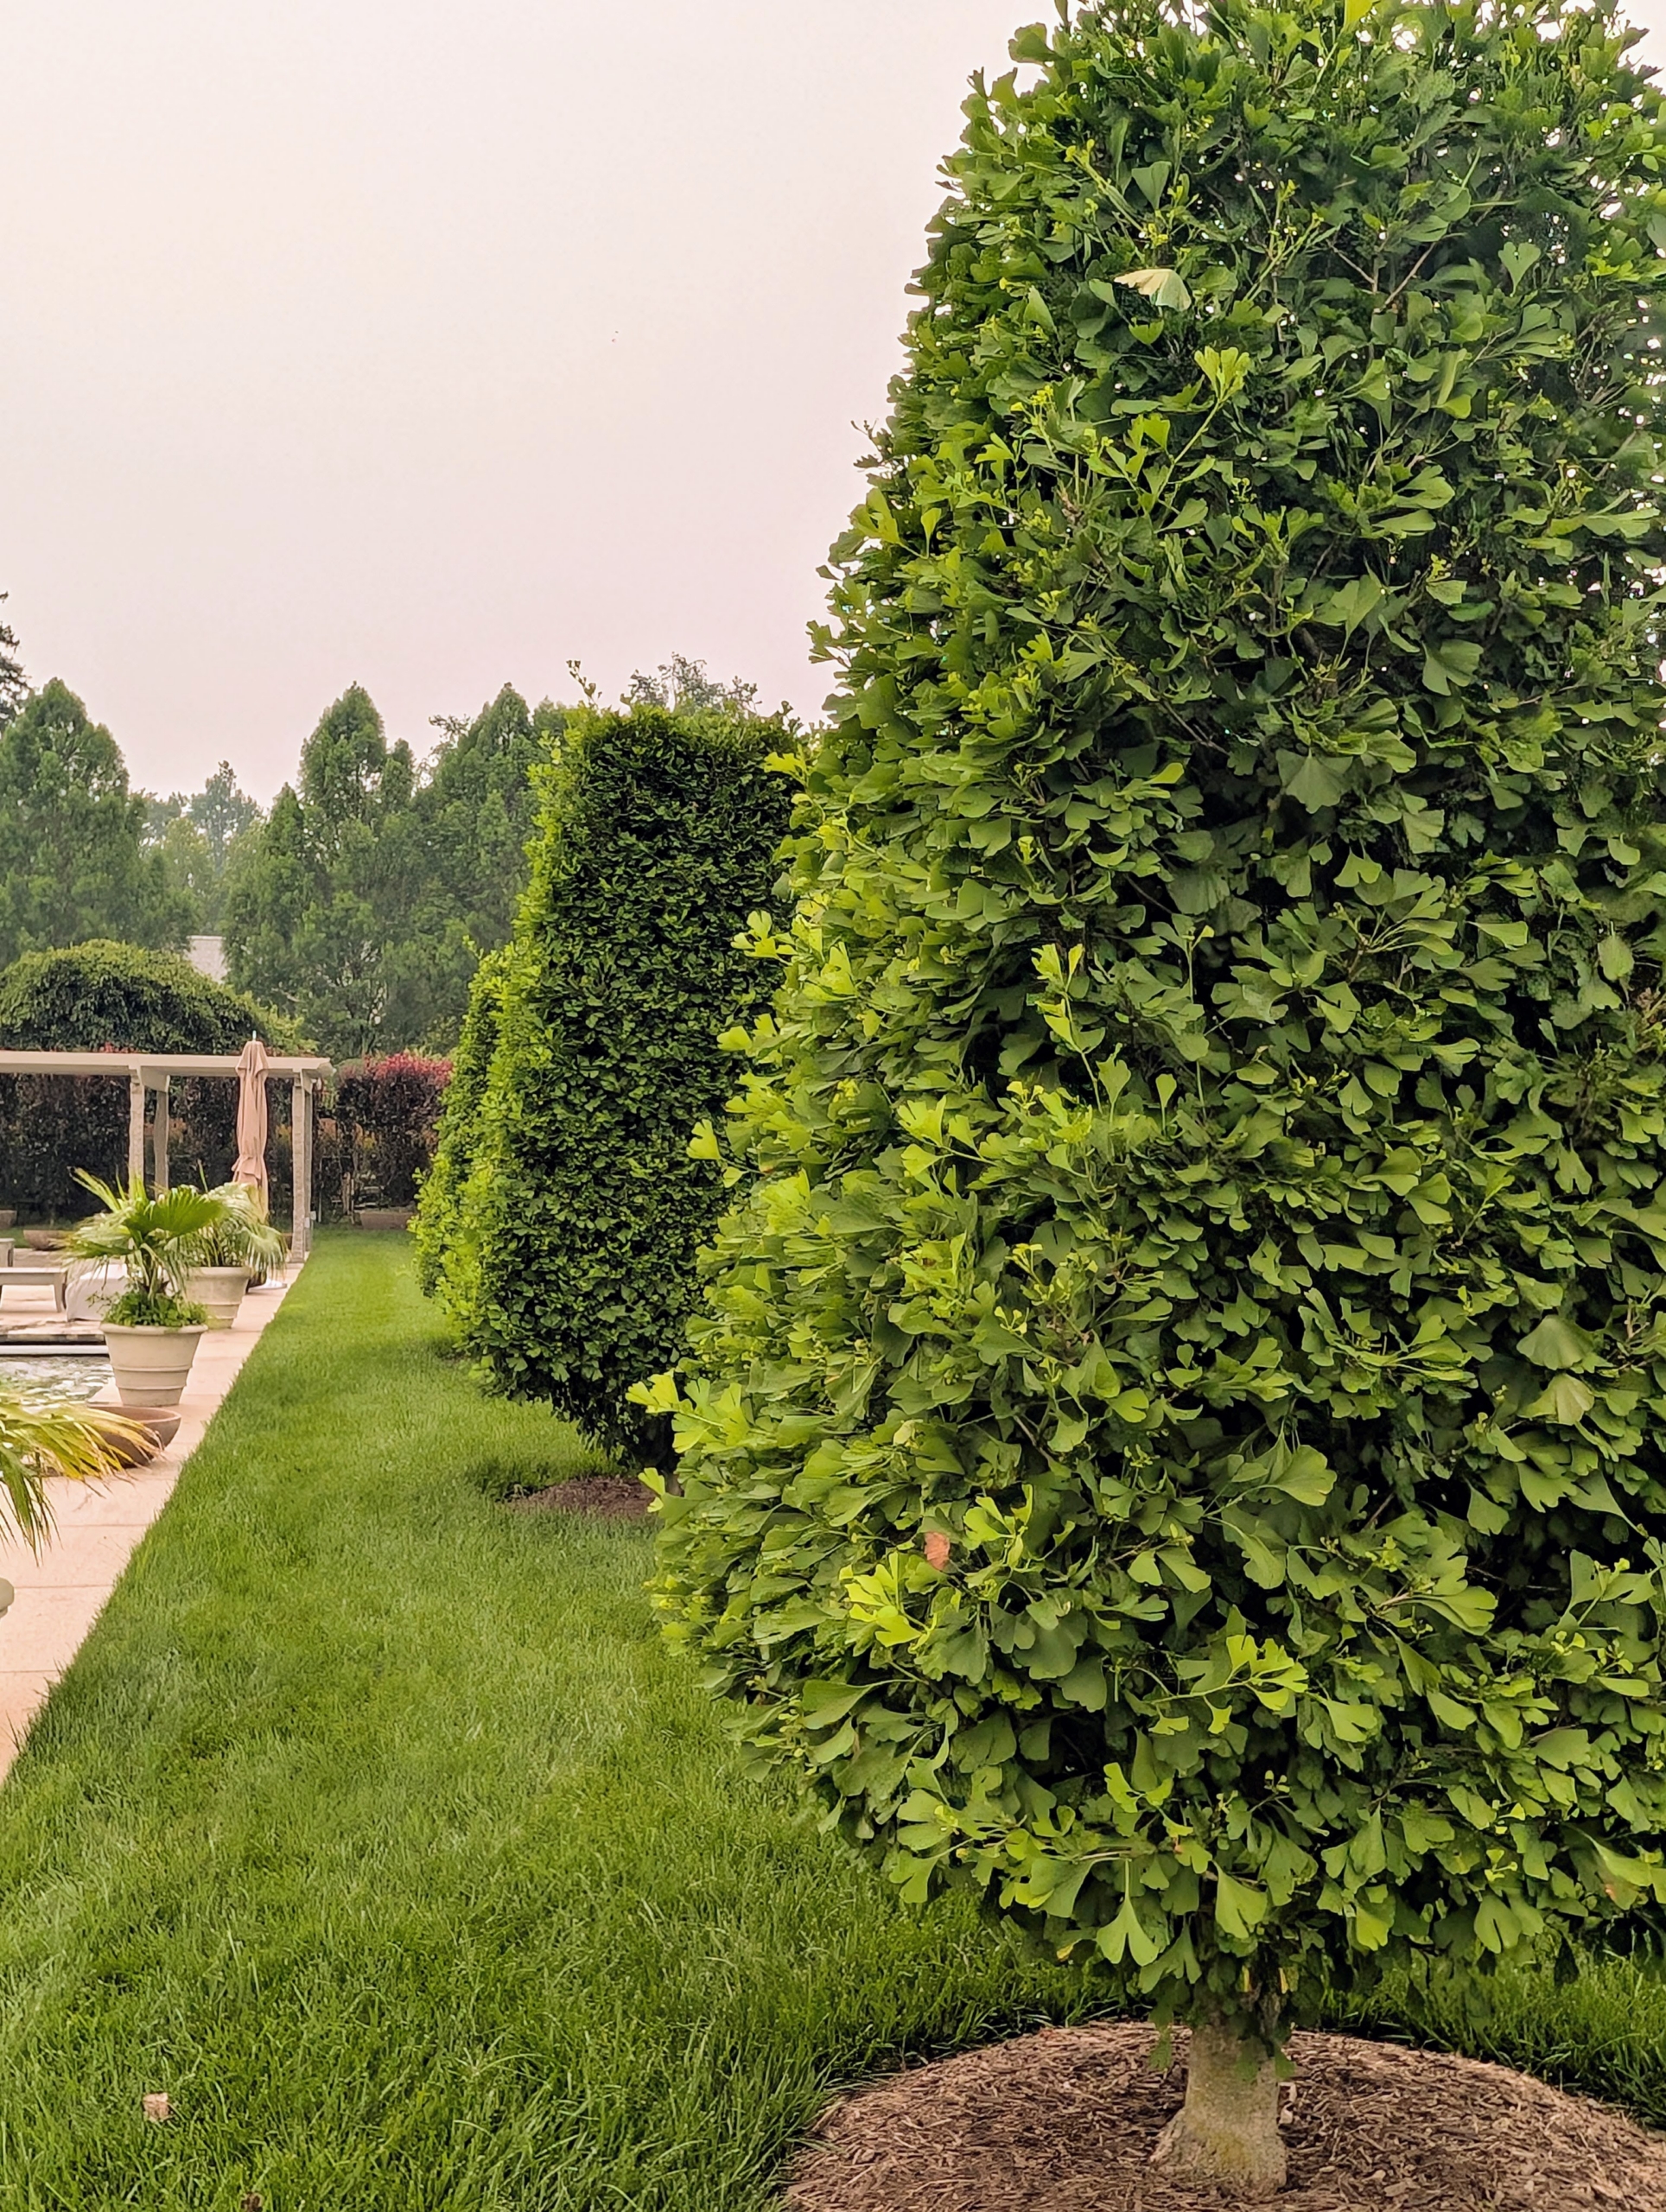
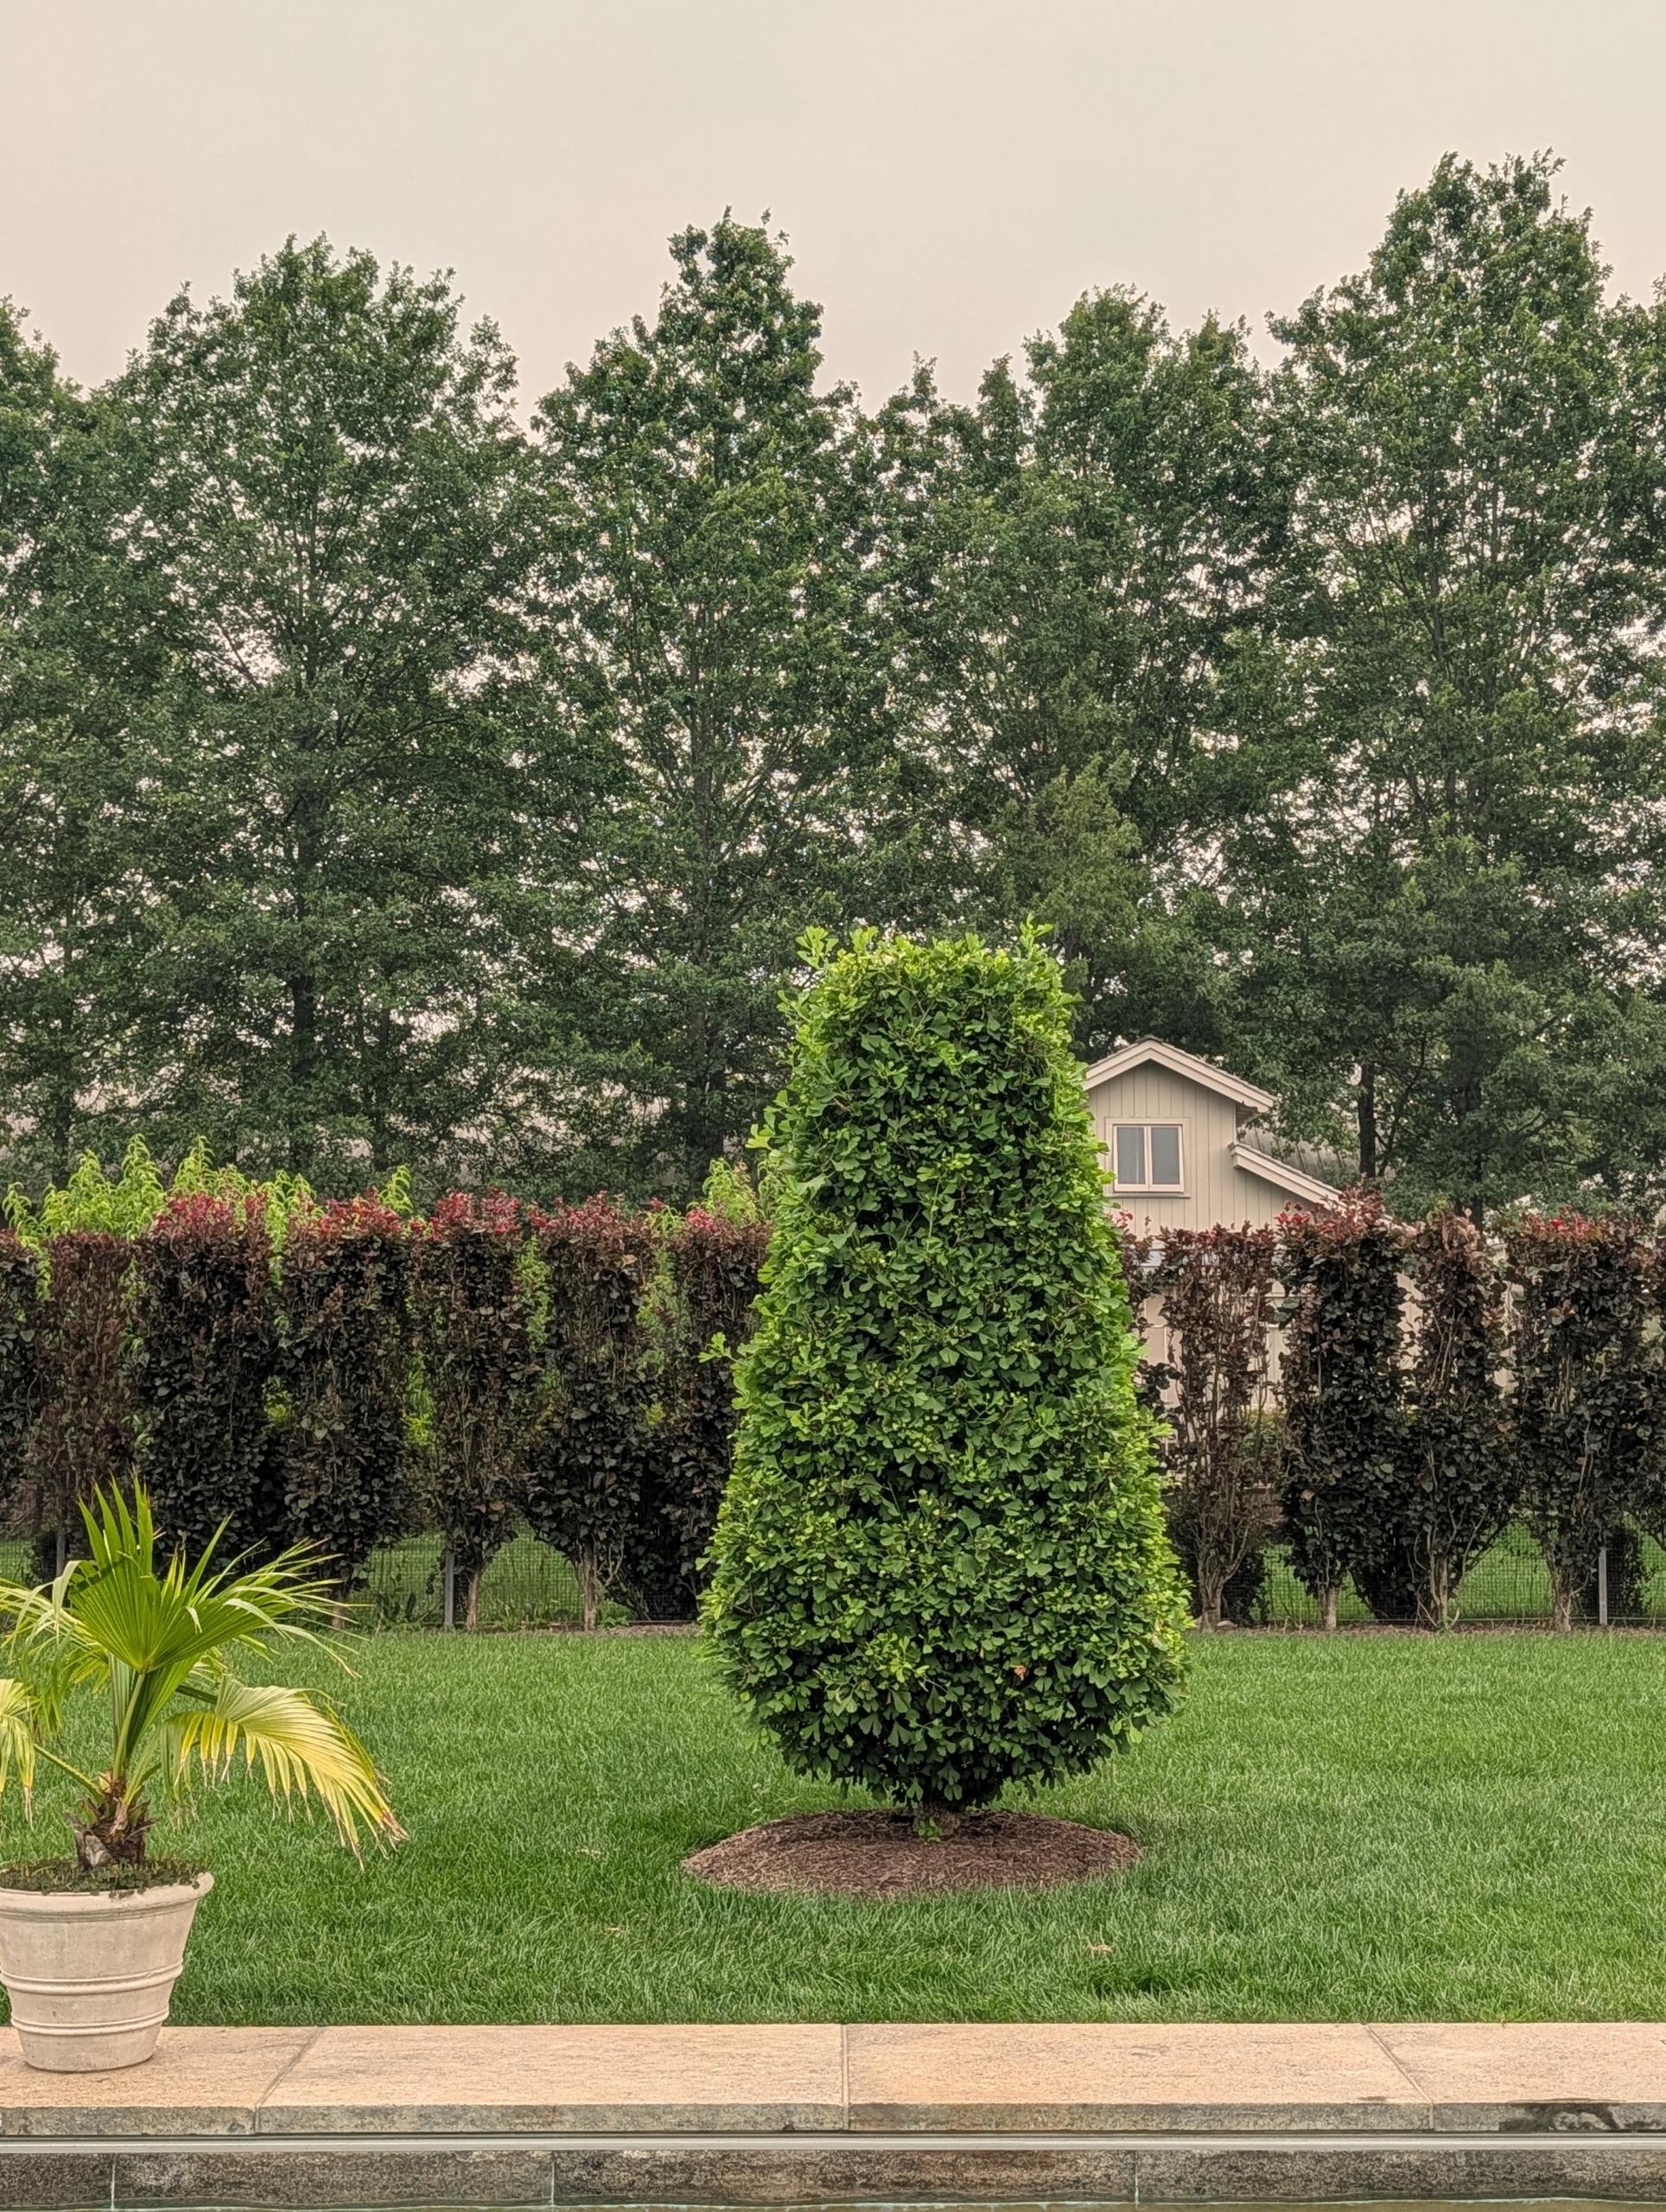
A couple of years ago, I planted six Ginkgo biloba Goldspire™ Obelisk trees. They’re growing so nicely around my pool.
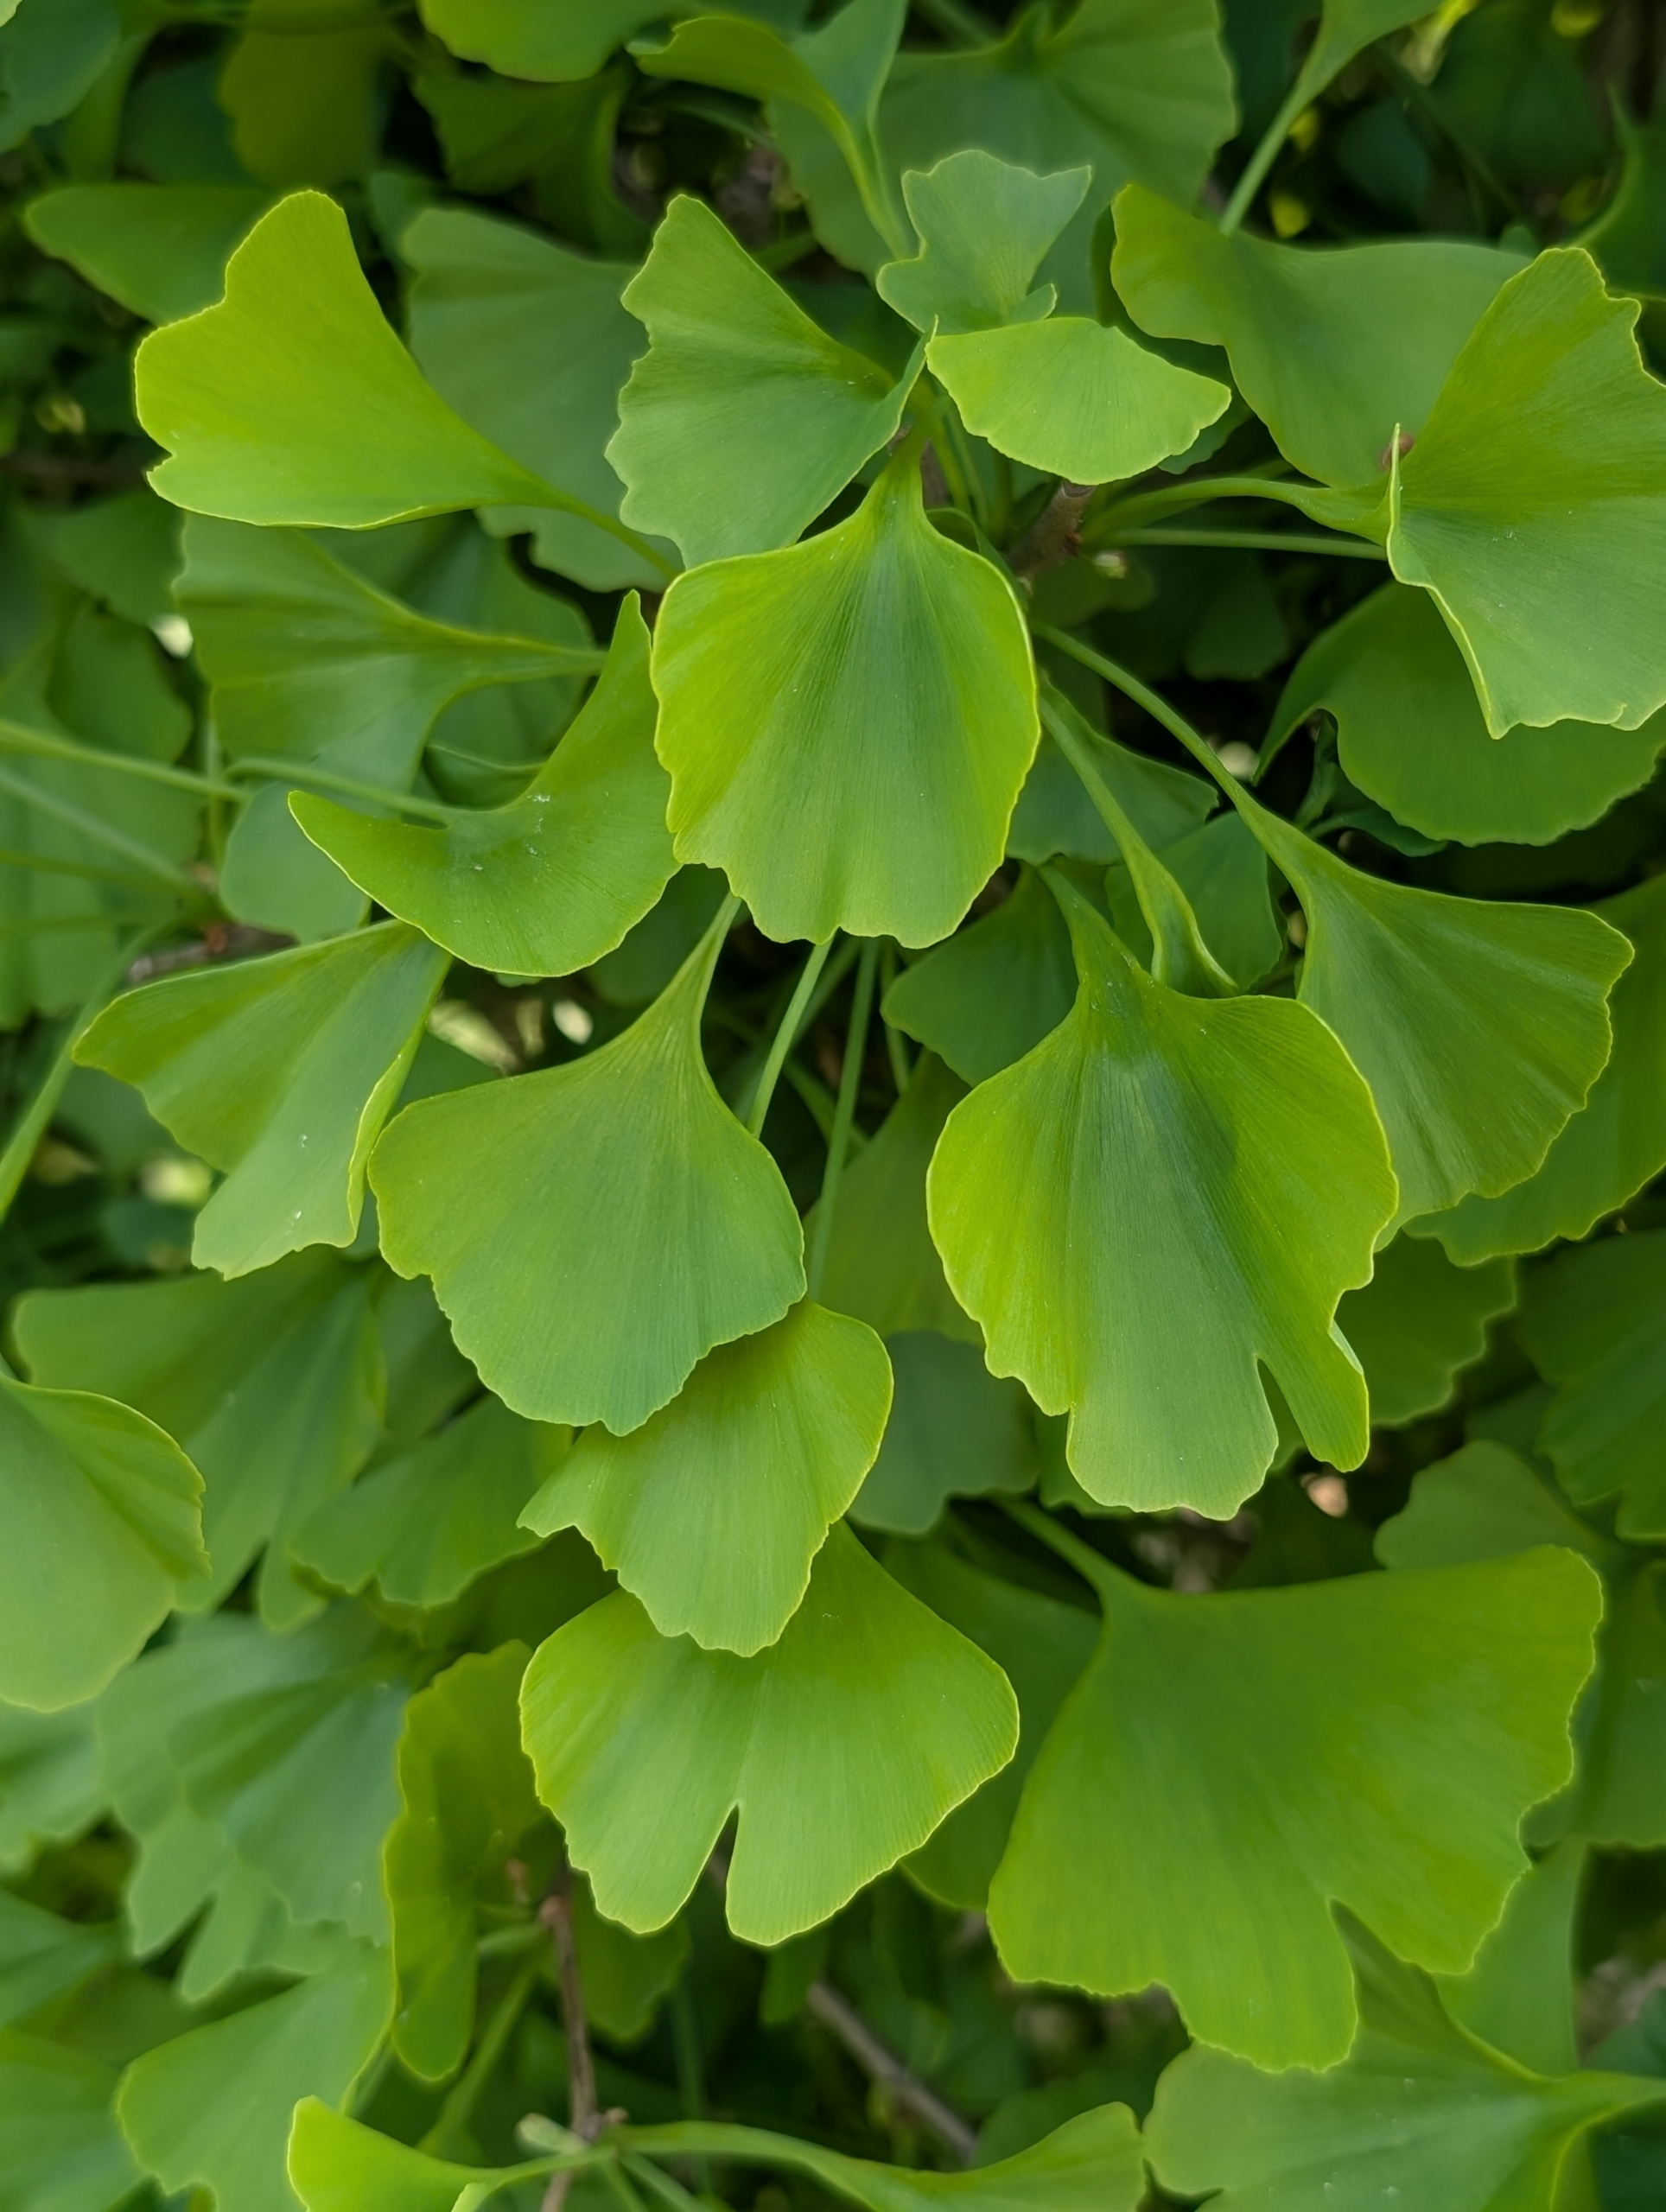
New foliage on the Ginkgo Goldspire™ emerges a rich shade of green, fan-shaped, and slightly curled. It keeps its color through summer, then turns buttery shades of yellow and gold in autumn before dropping.
The trees are interesting in shape, narrow and upright tower trees, which look so excellent on both sides of my pool. Behind, one can see the hedge of columnar beech trees, which contrast so well with the bold green ginkgo trees.
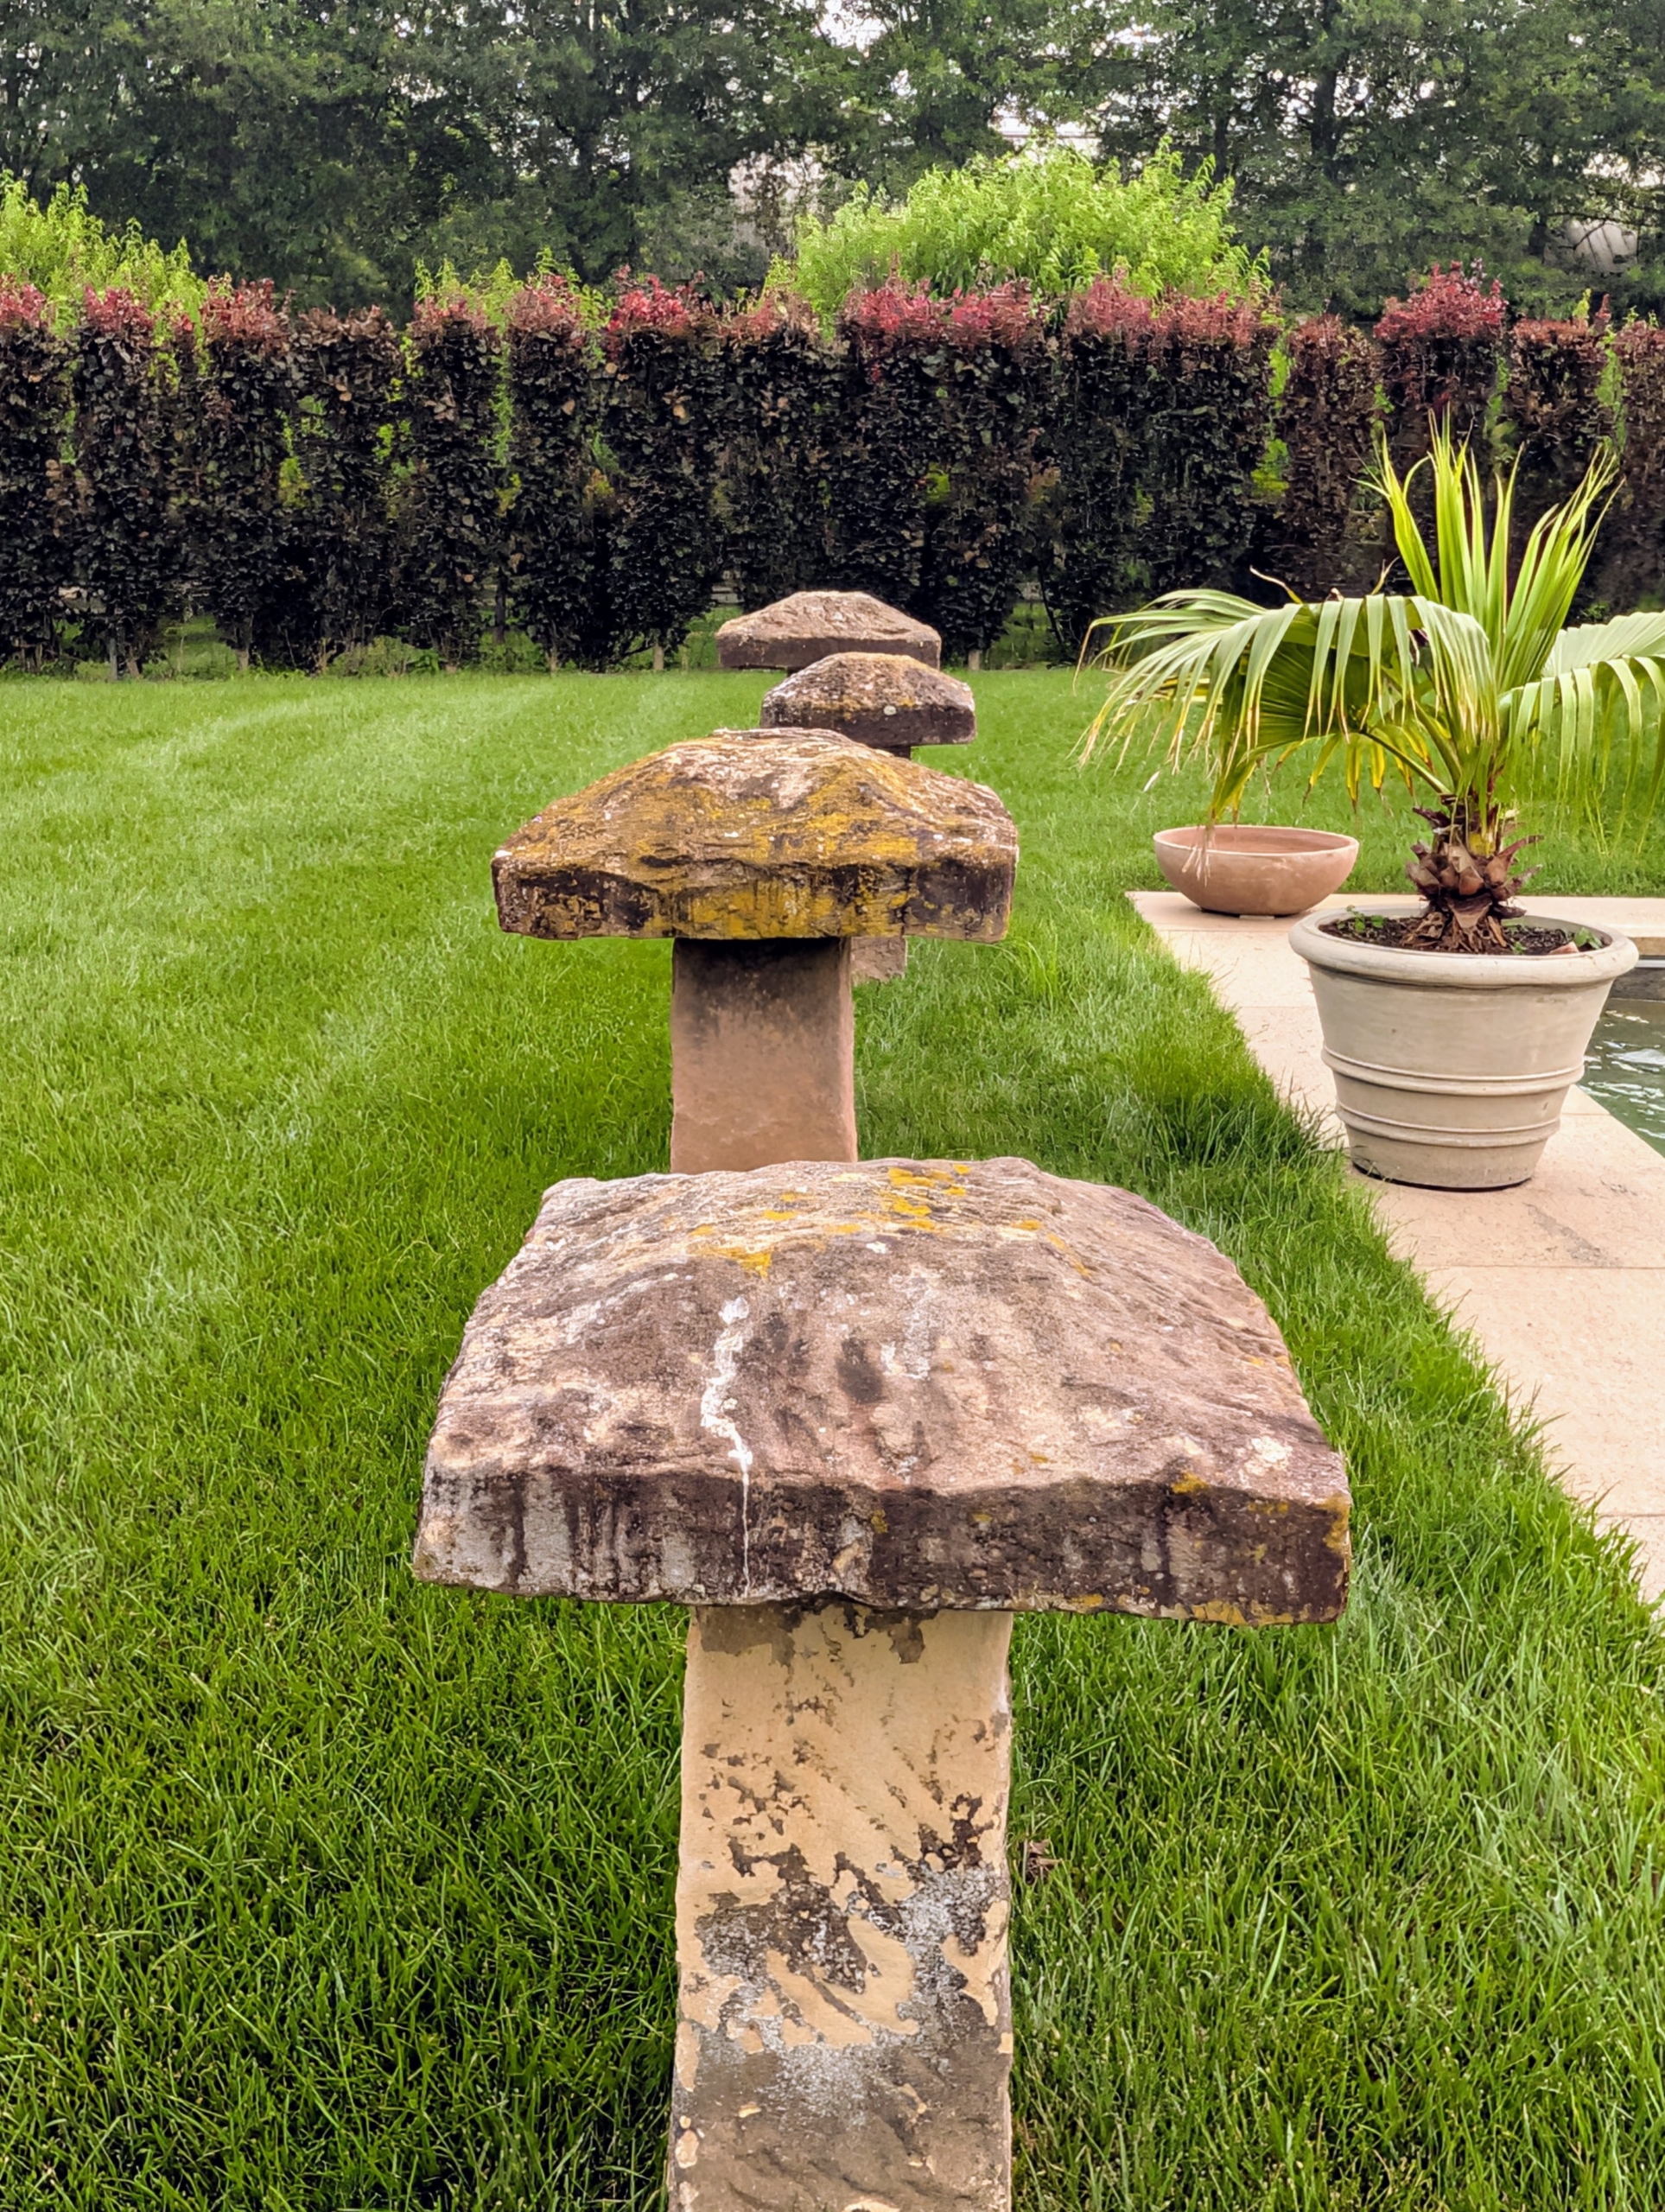
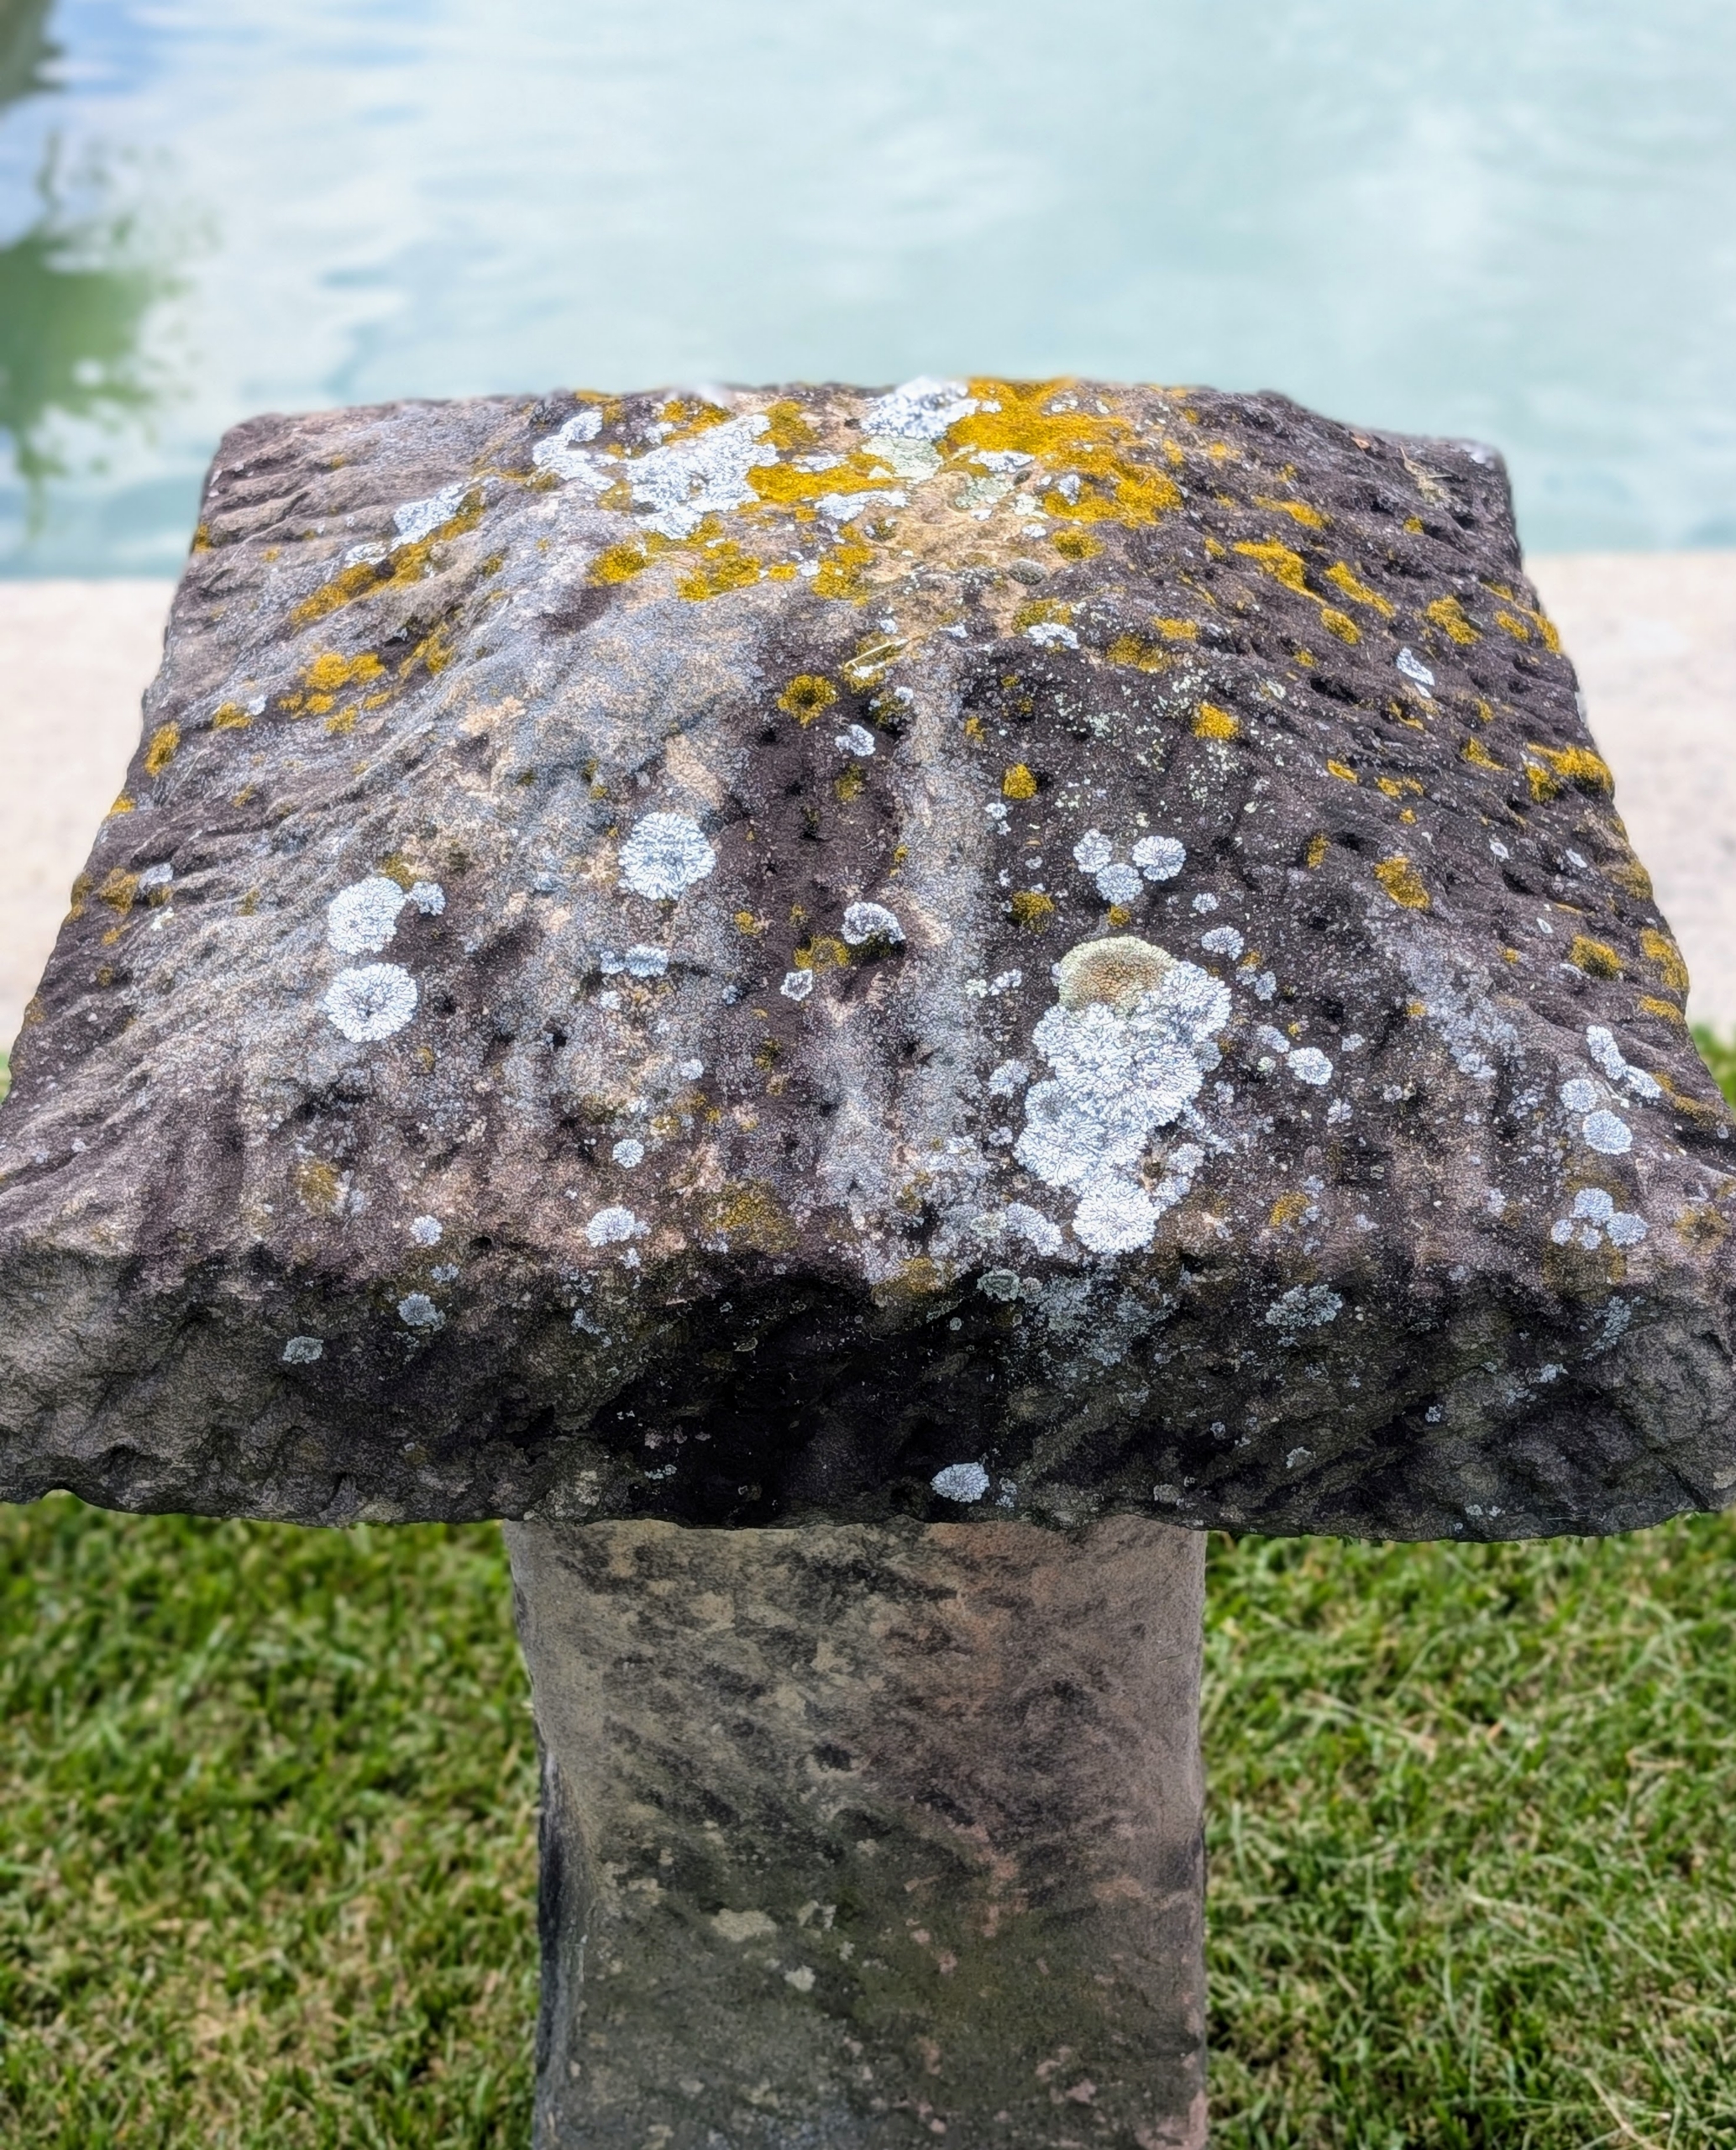
At the north end of the pool, I have these five antique staddle stones. I bought the staddle stones in 2017 from the annual NYBG Garden Furniture & Antiques Fair. Staddle stones were originally used in the 17th and 18th centuries as support bases for granaries, hayricks, and game larders.
They typically looked like giant stone mushrooms, but mine are square – a more rare and unique version.
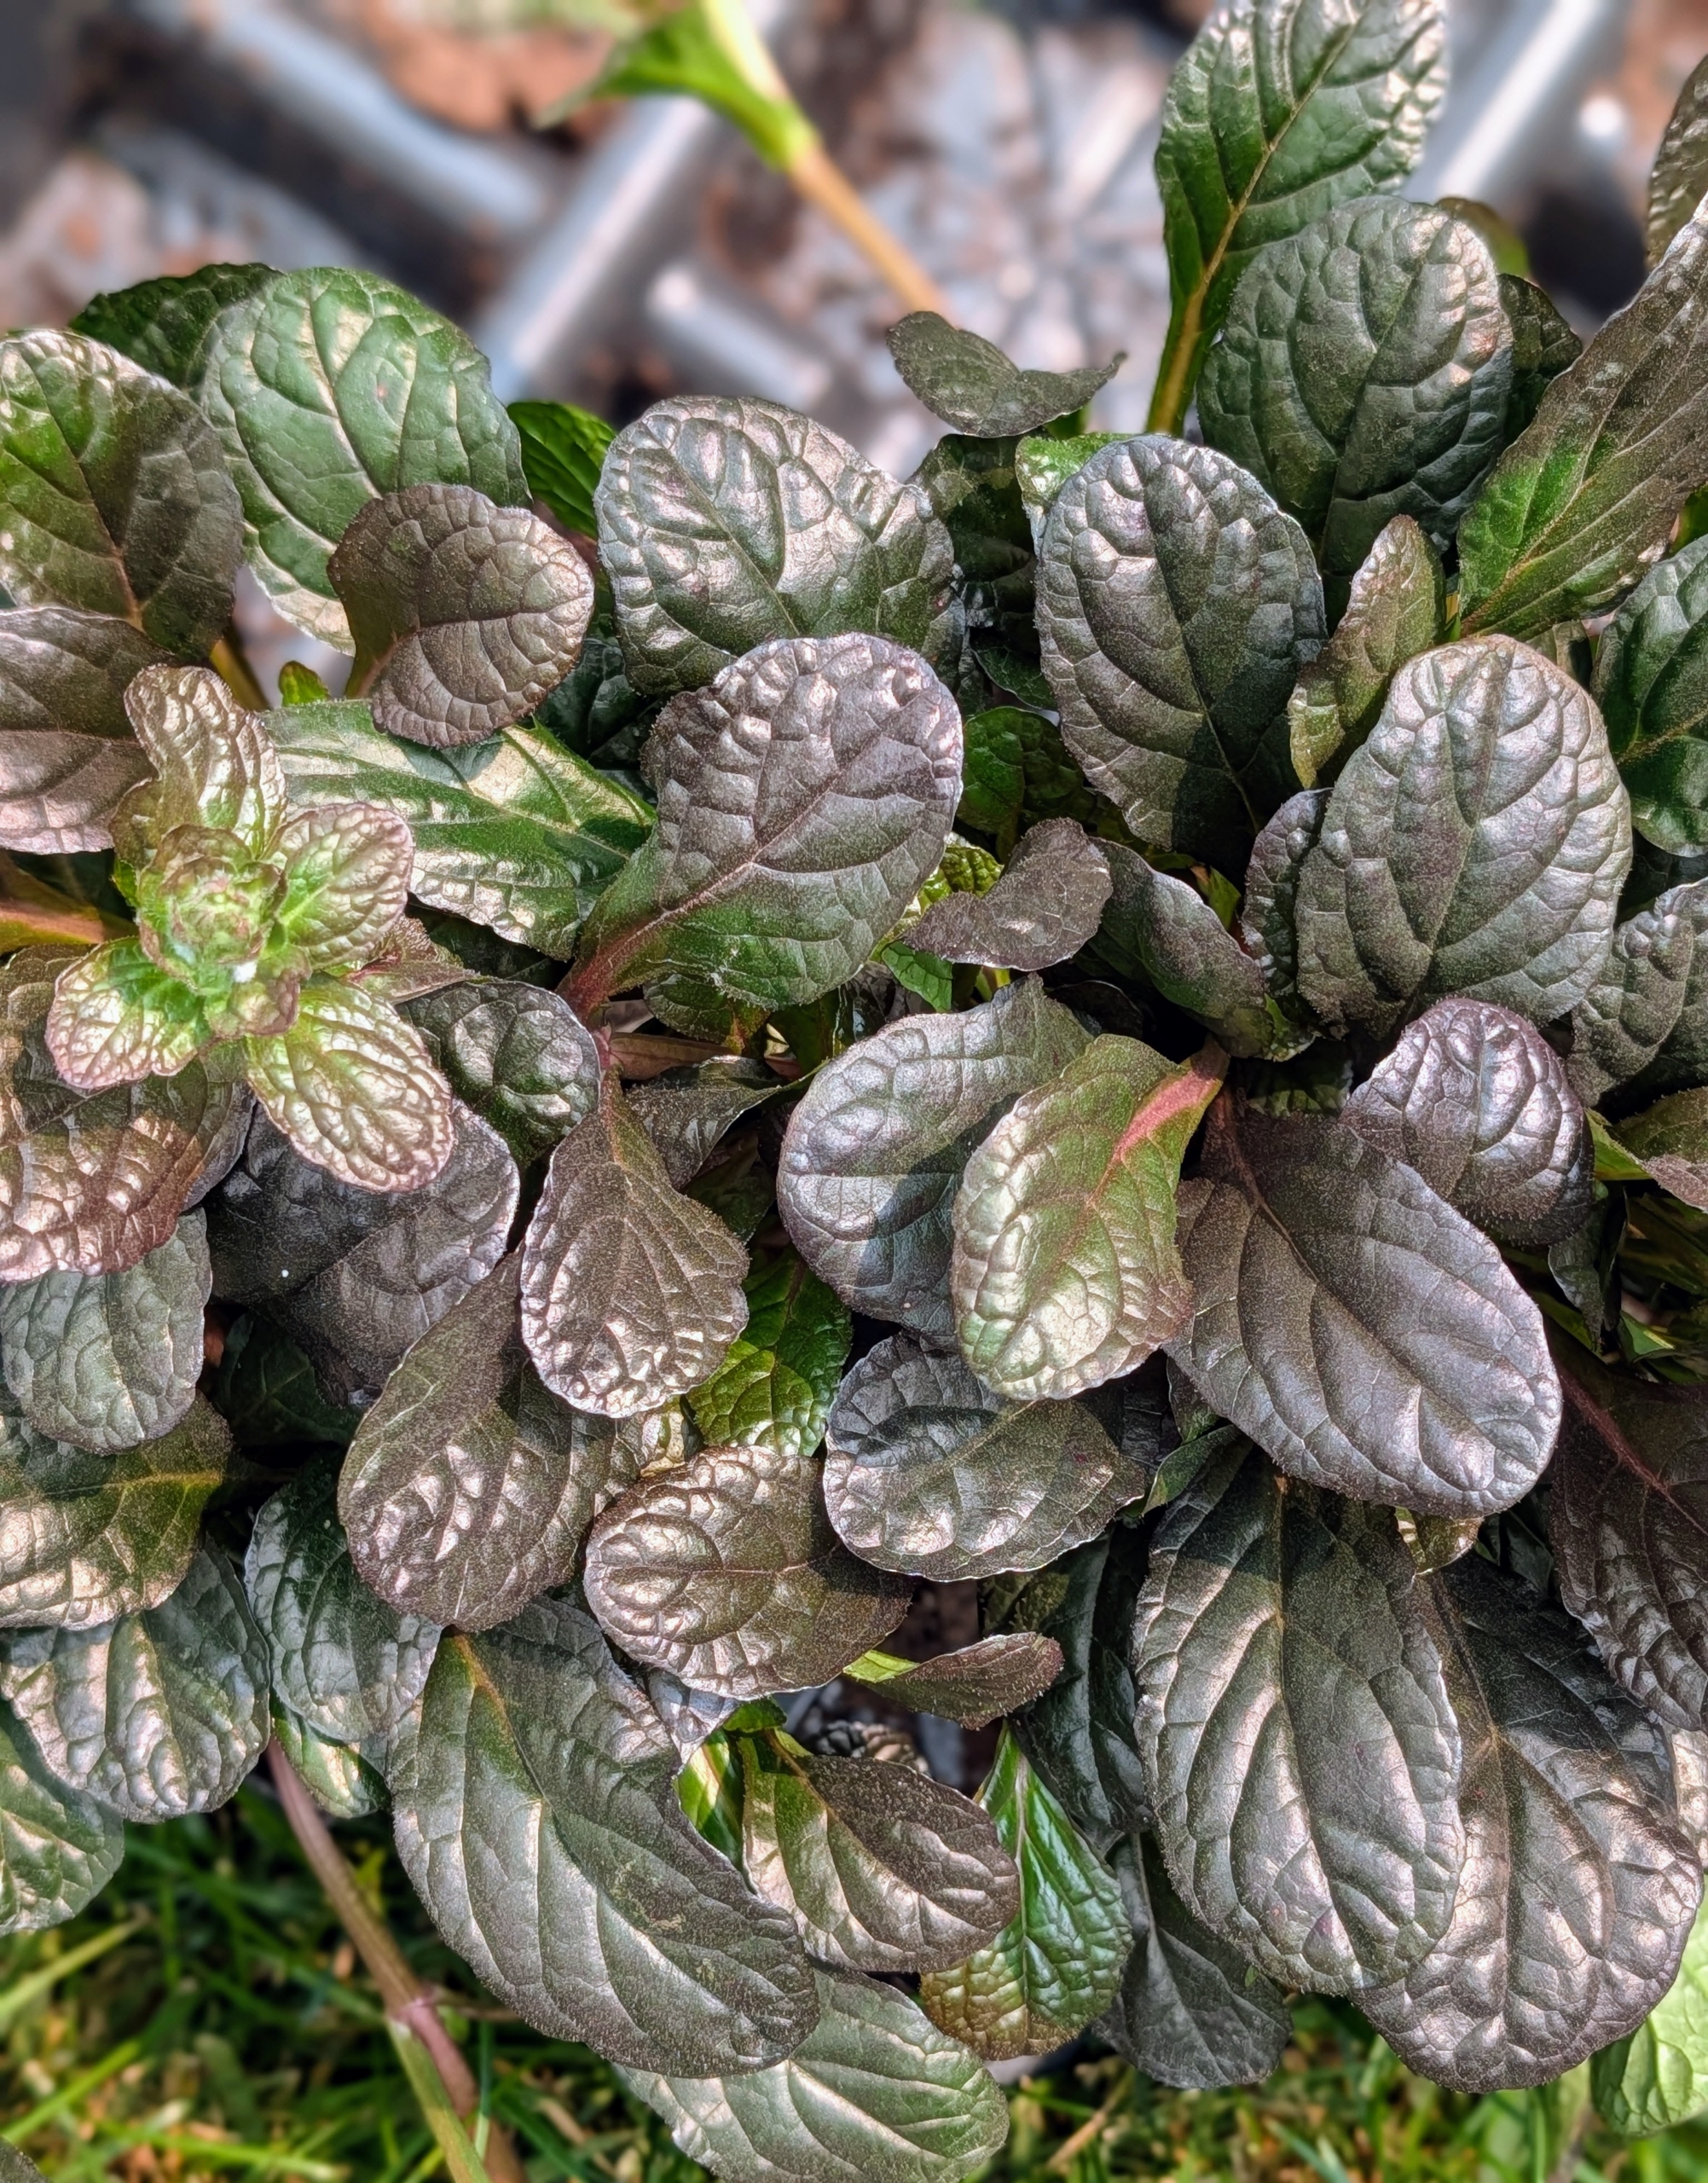
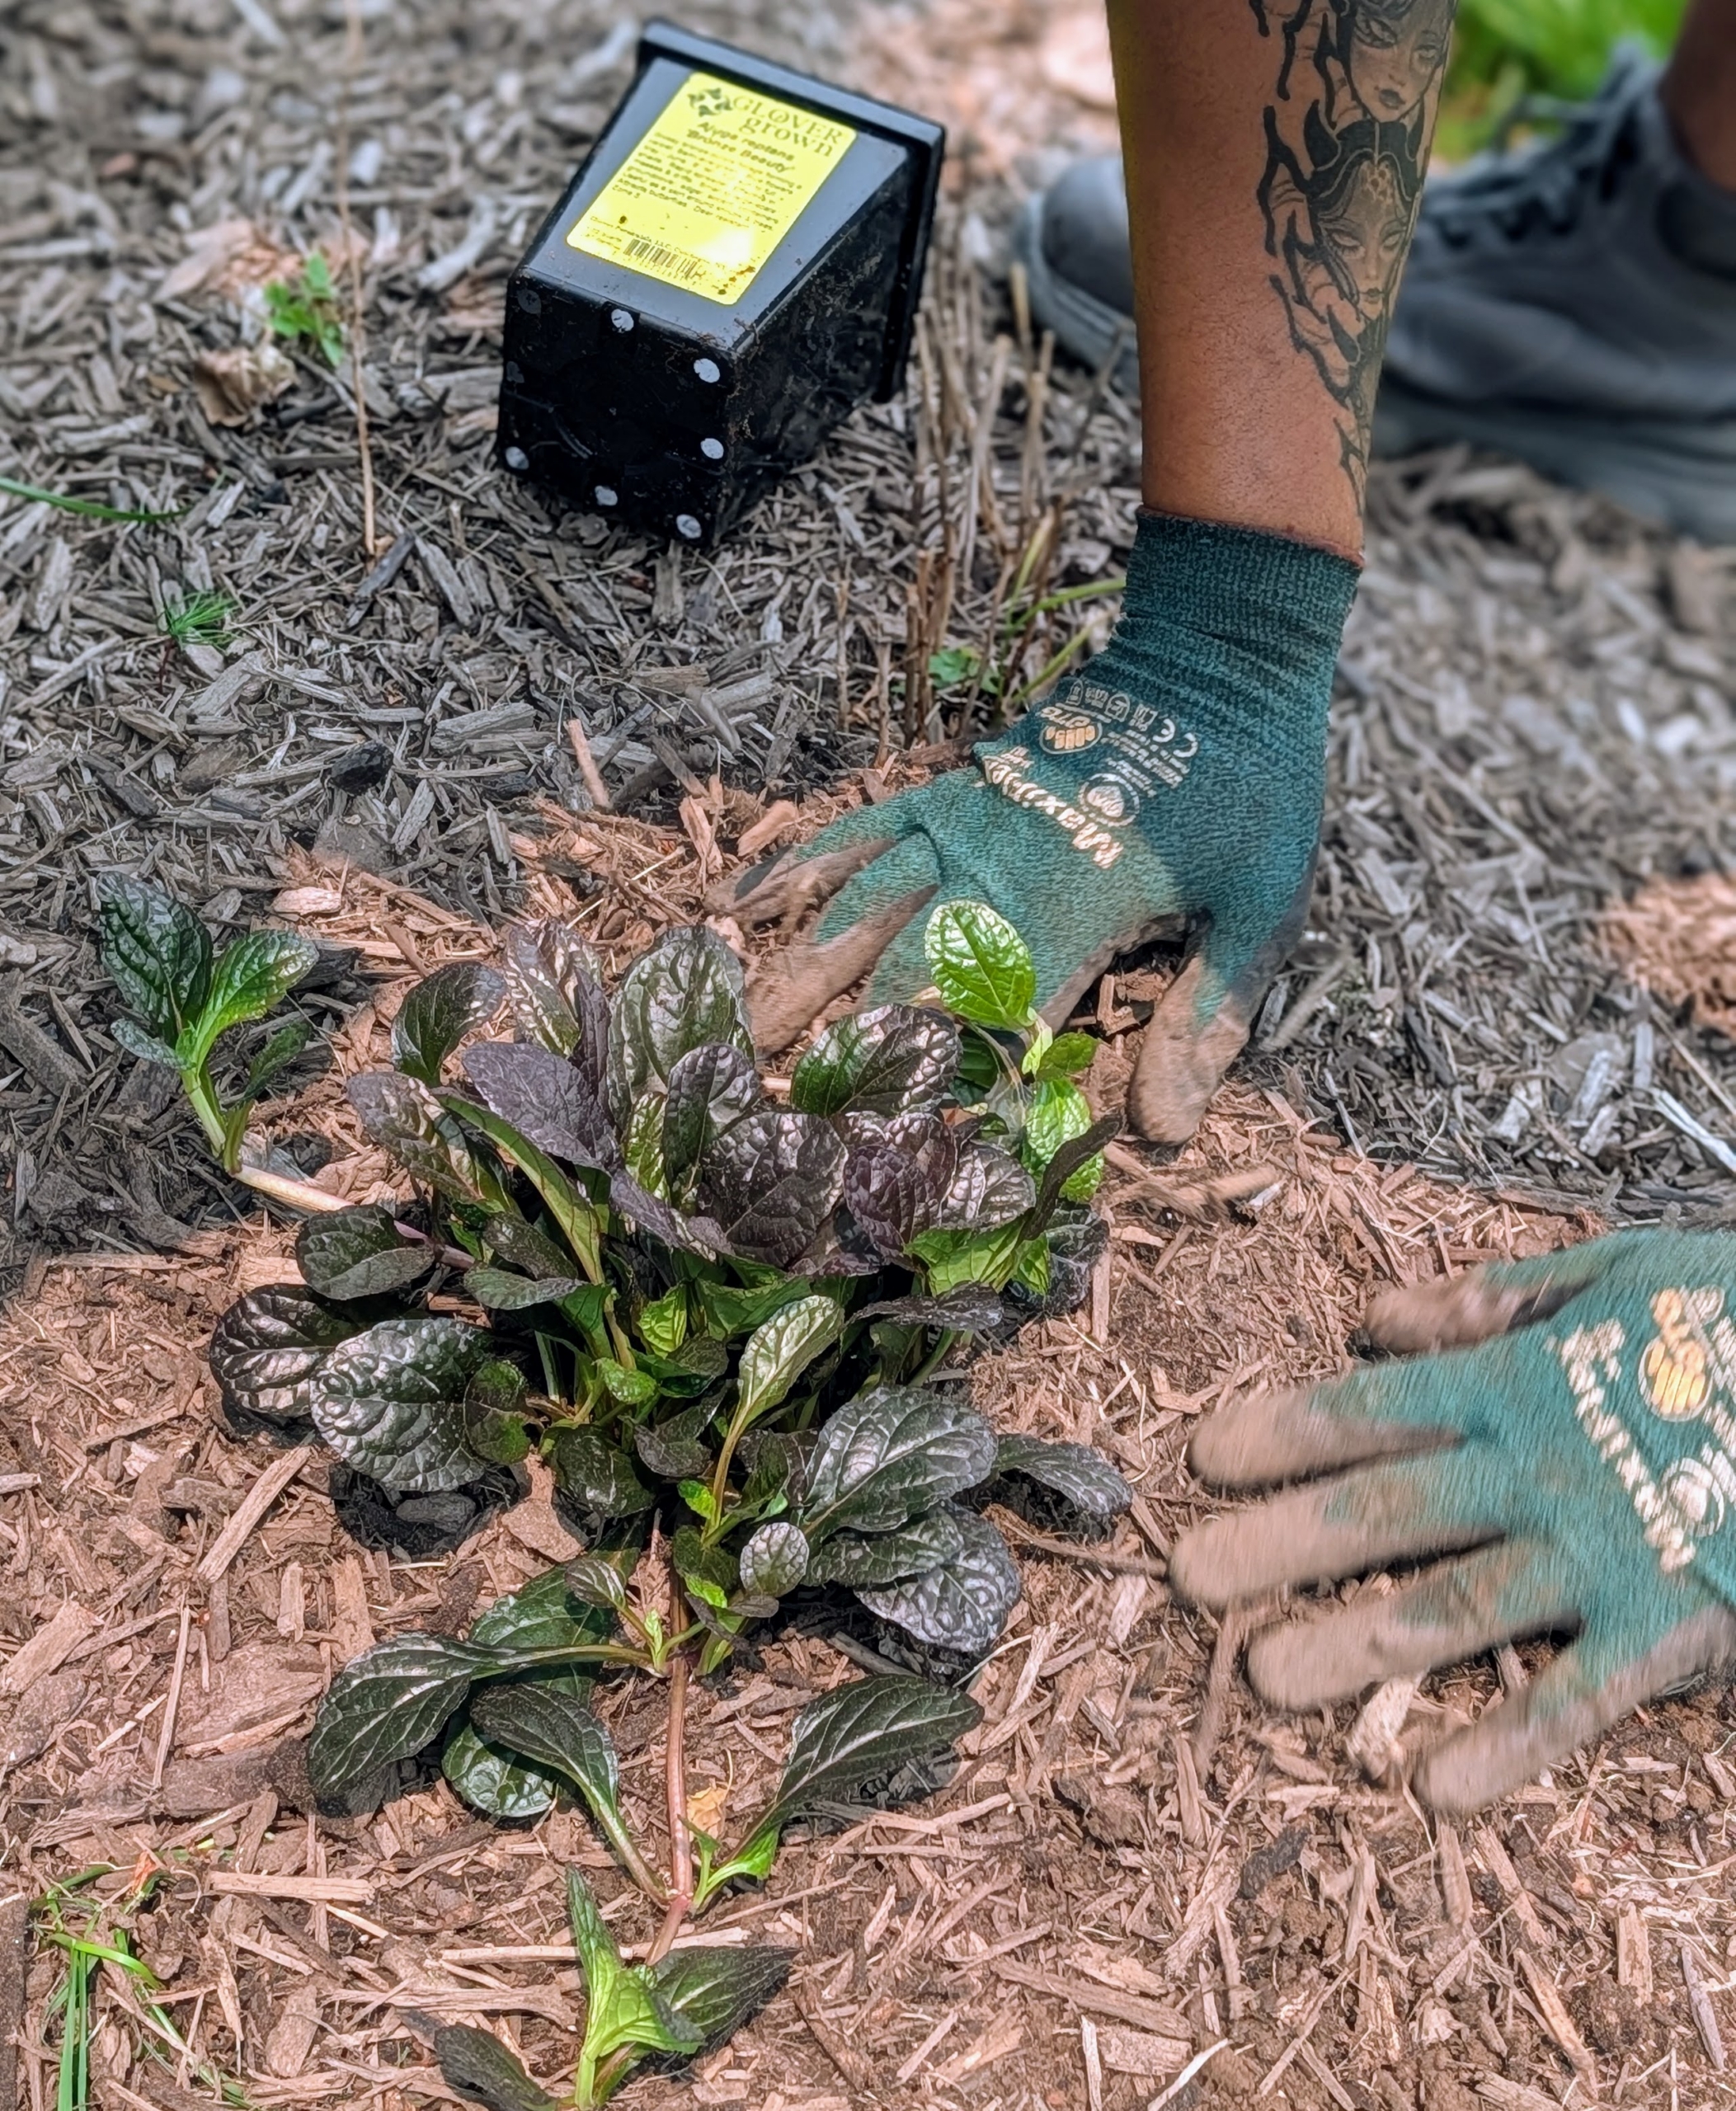
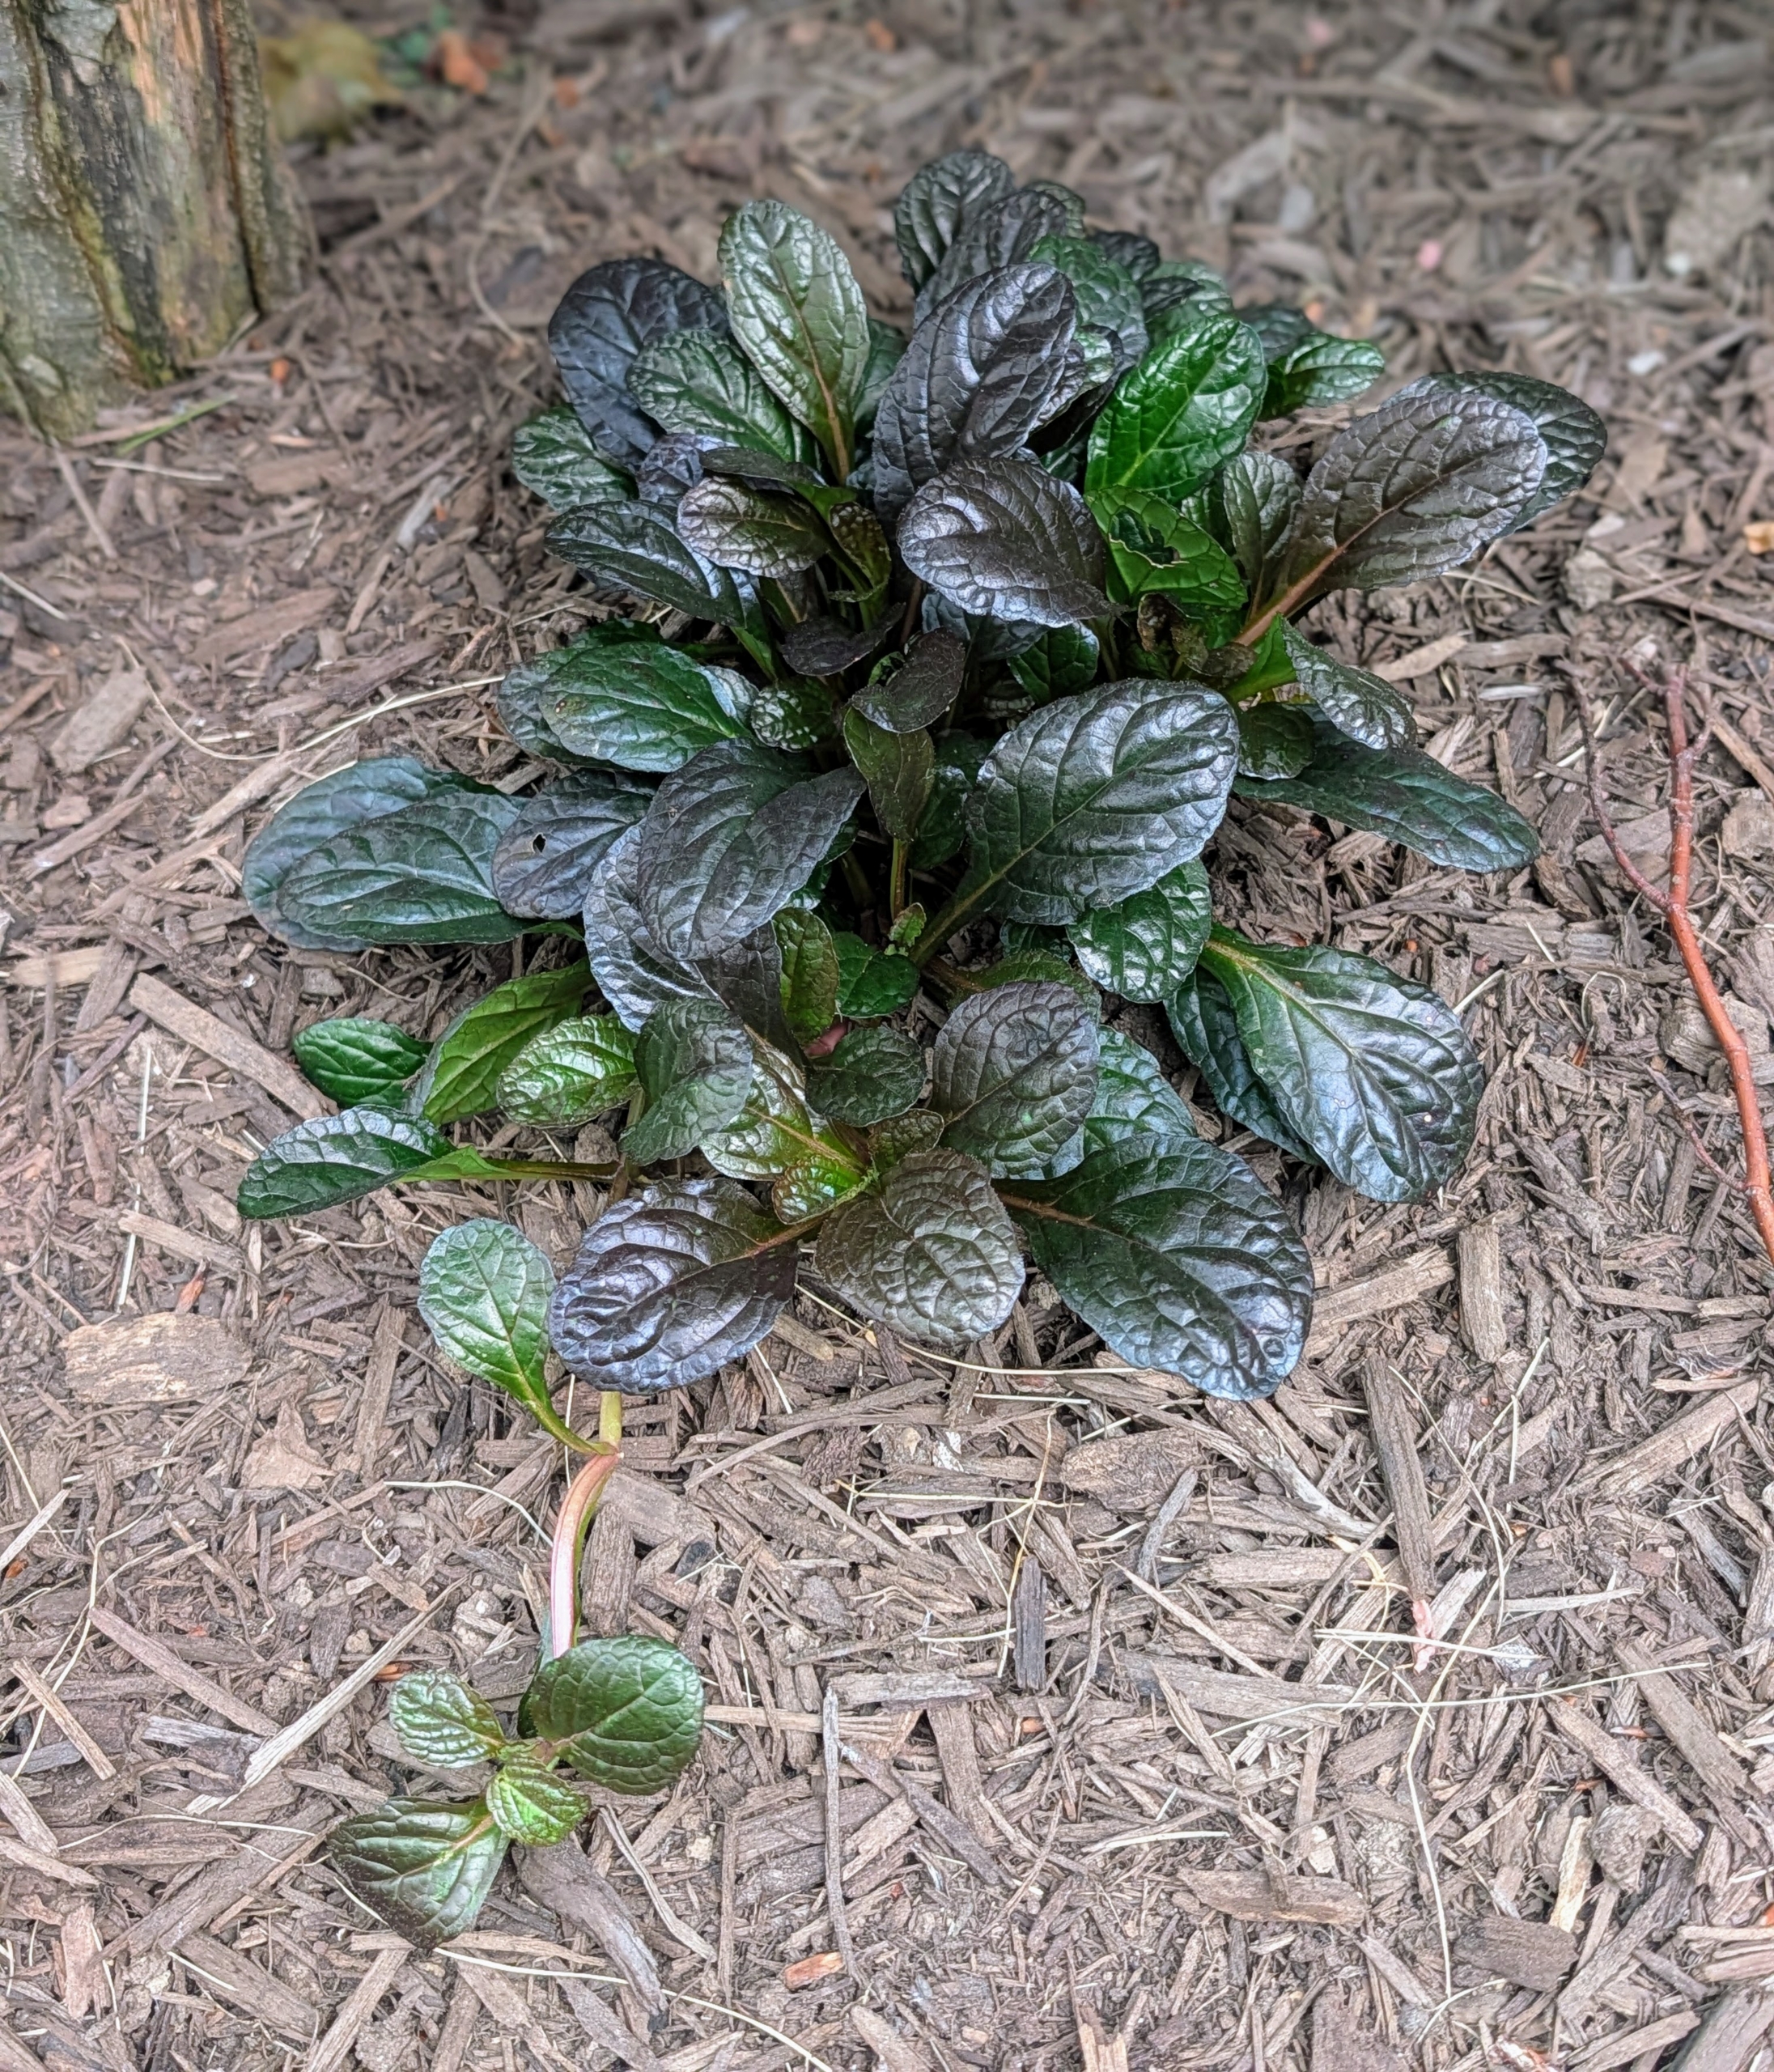
Ajuga reptans ‘Bronze Beauty’ has glossy, bronze-purple foliage. It’s a semi-evergreen, fast-growing ground cover that grows to six inches tall.
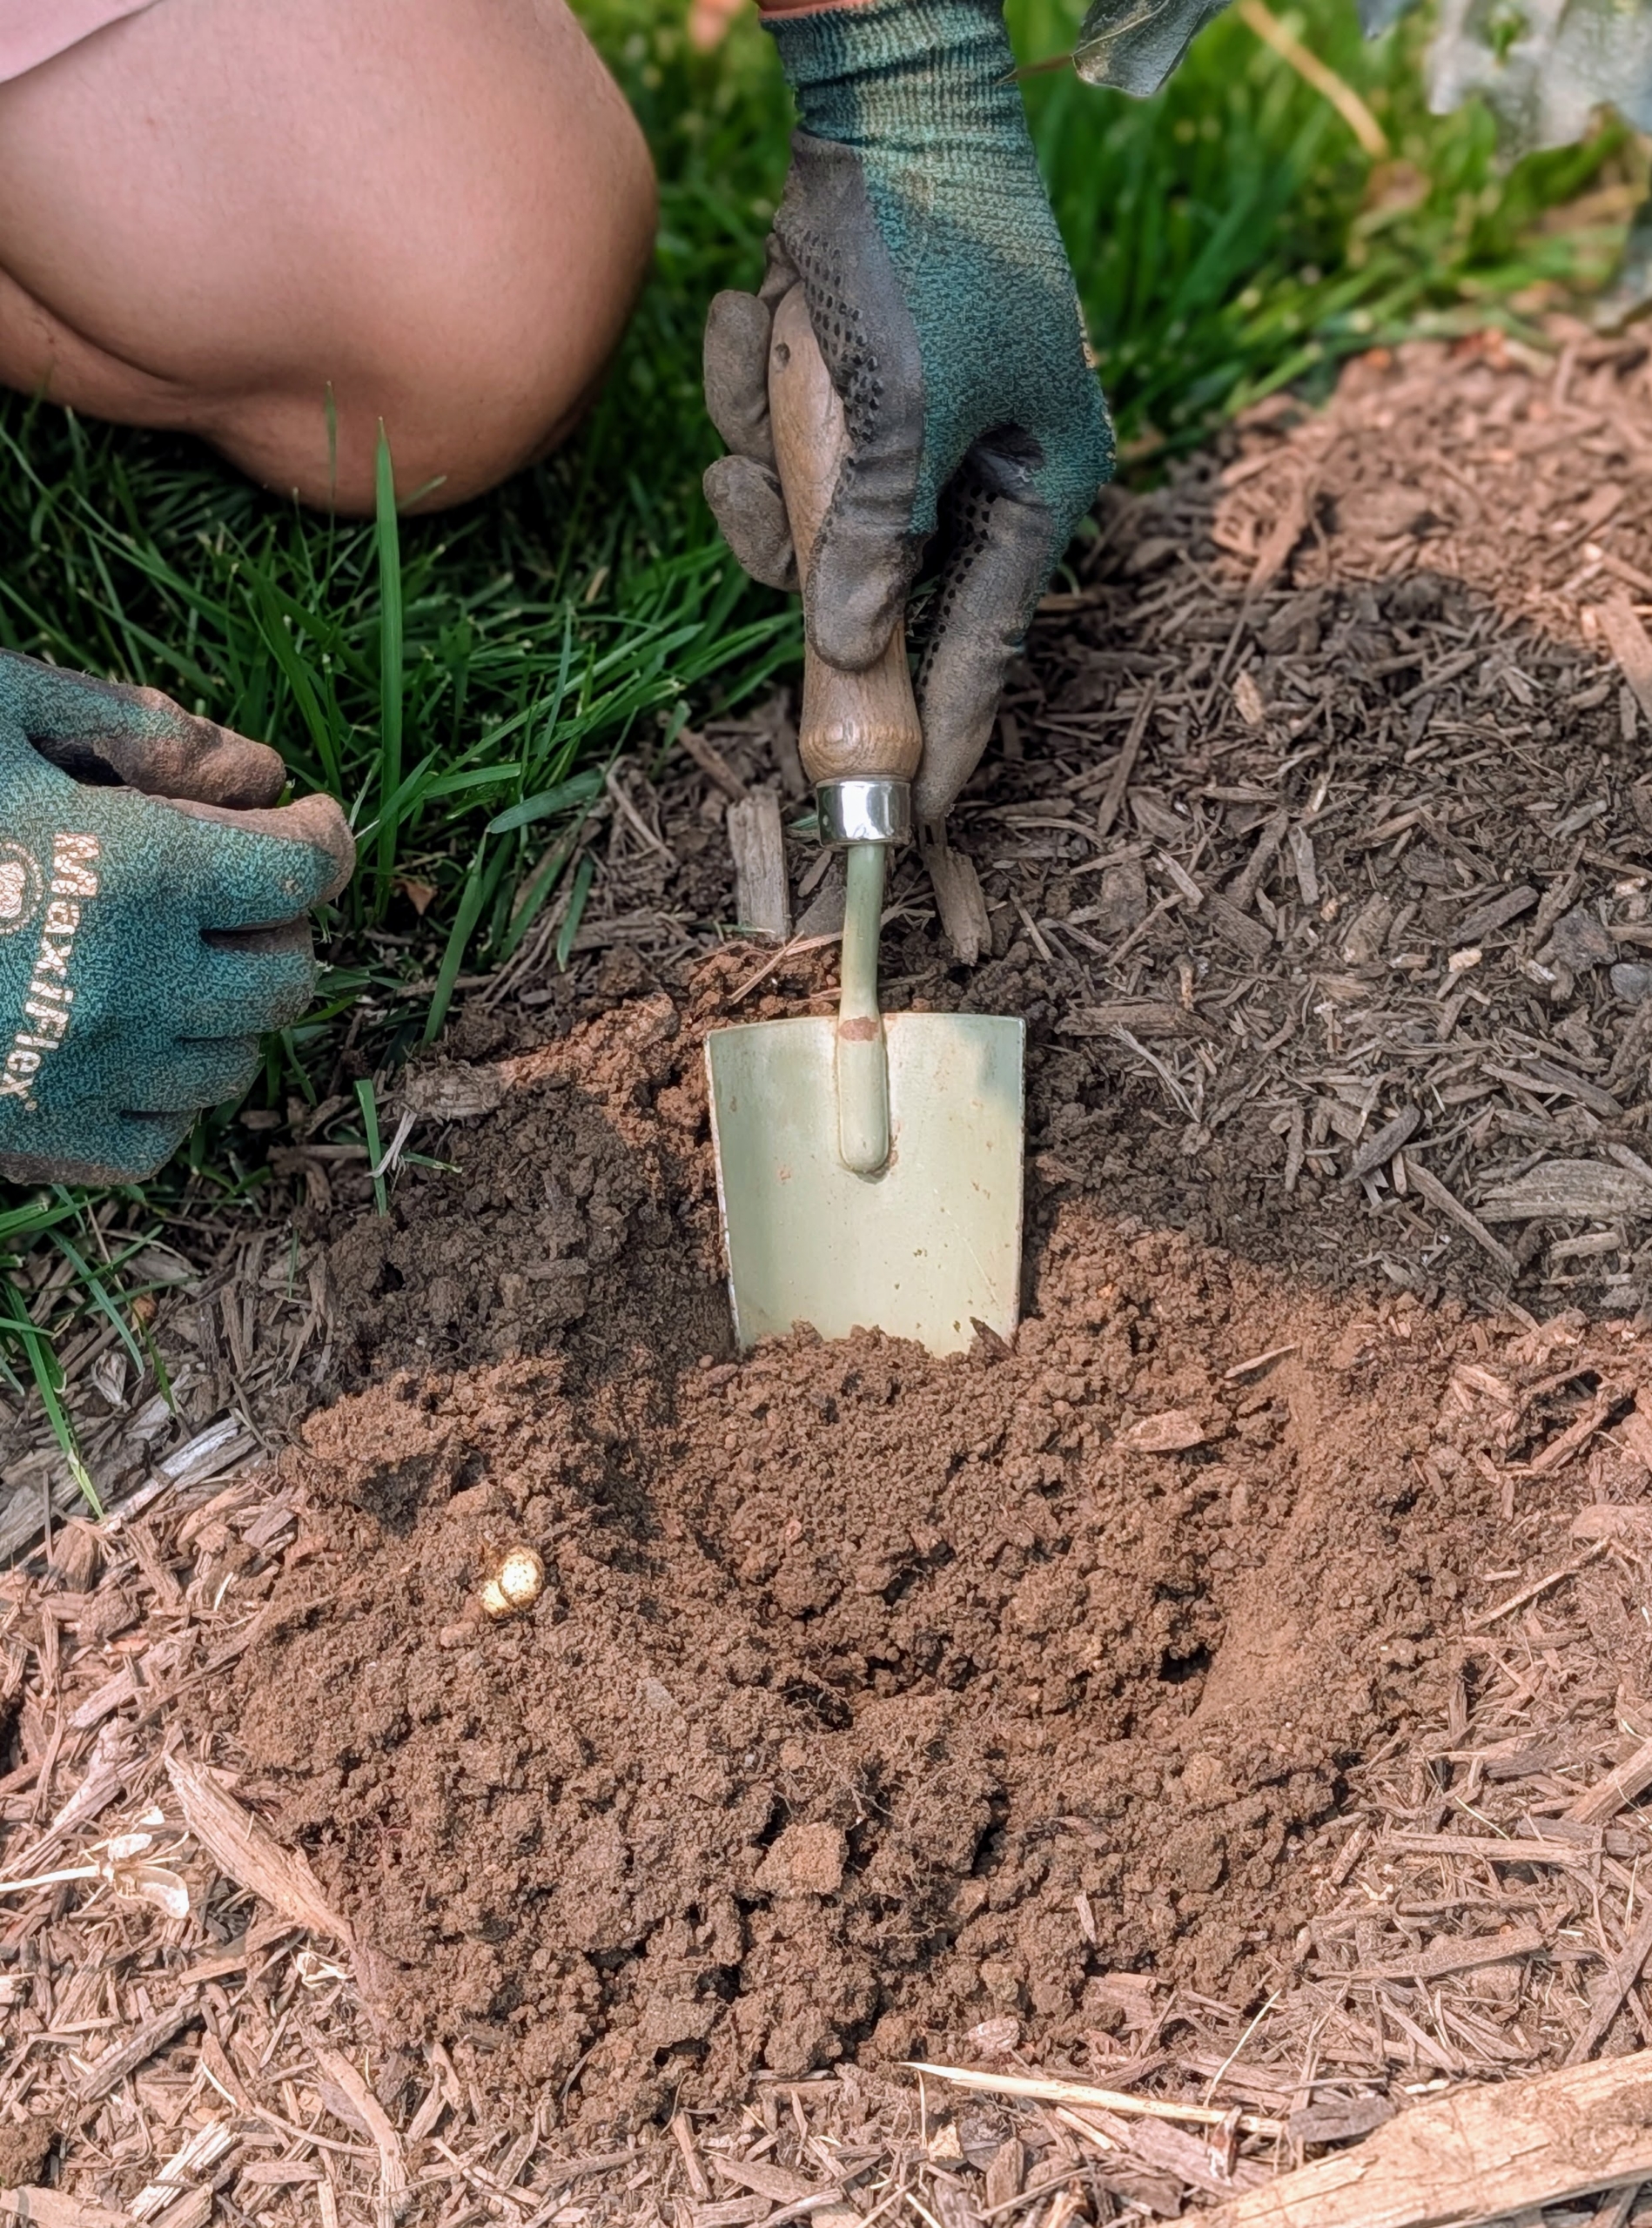
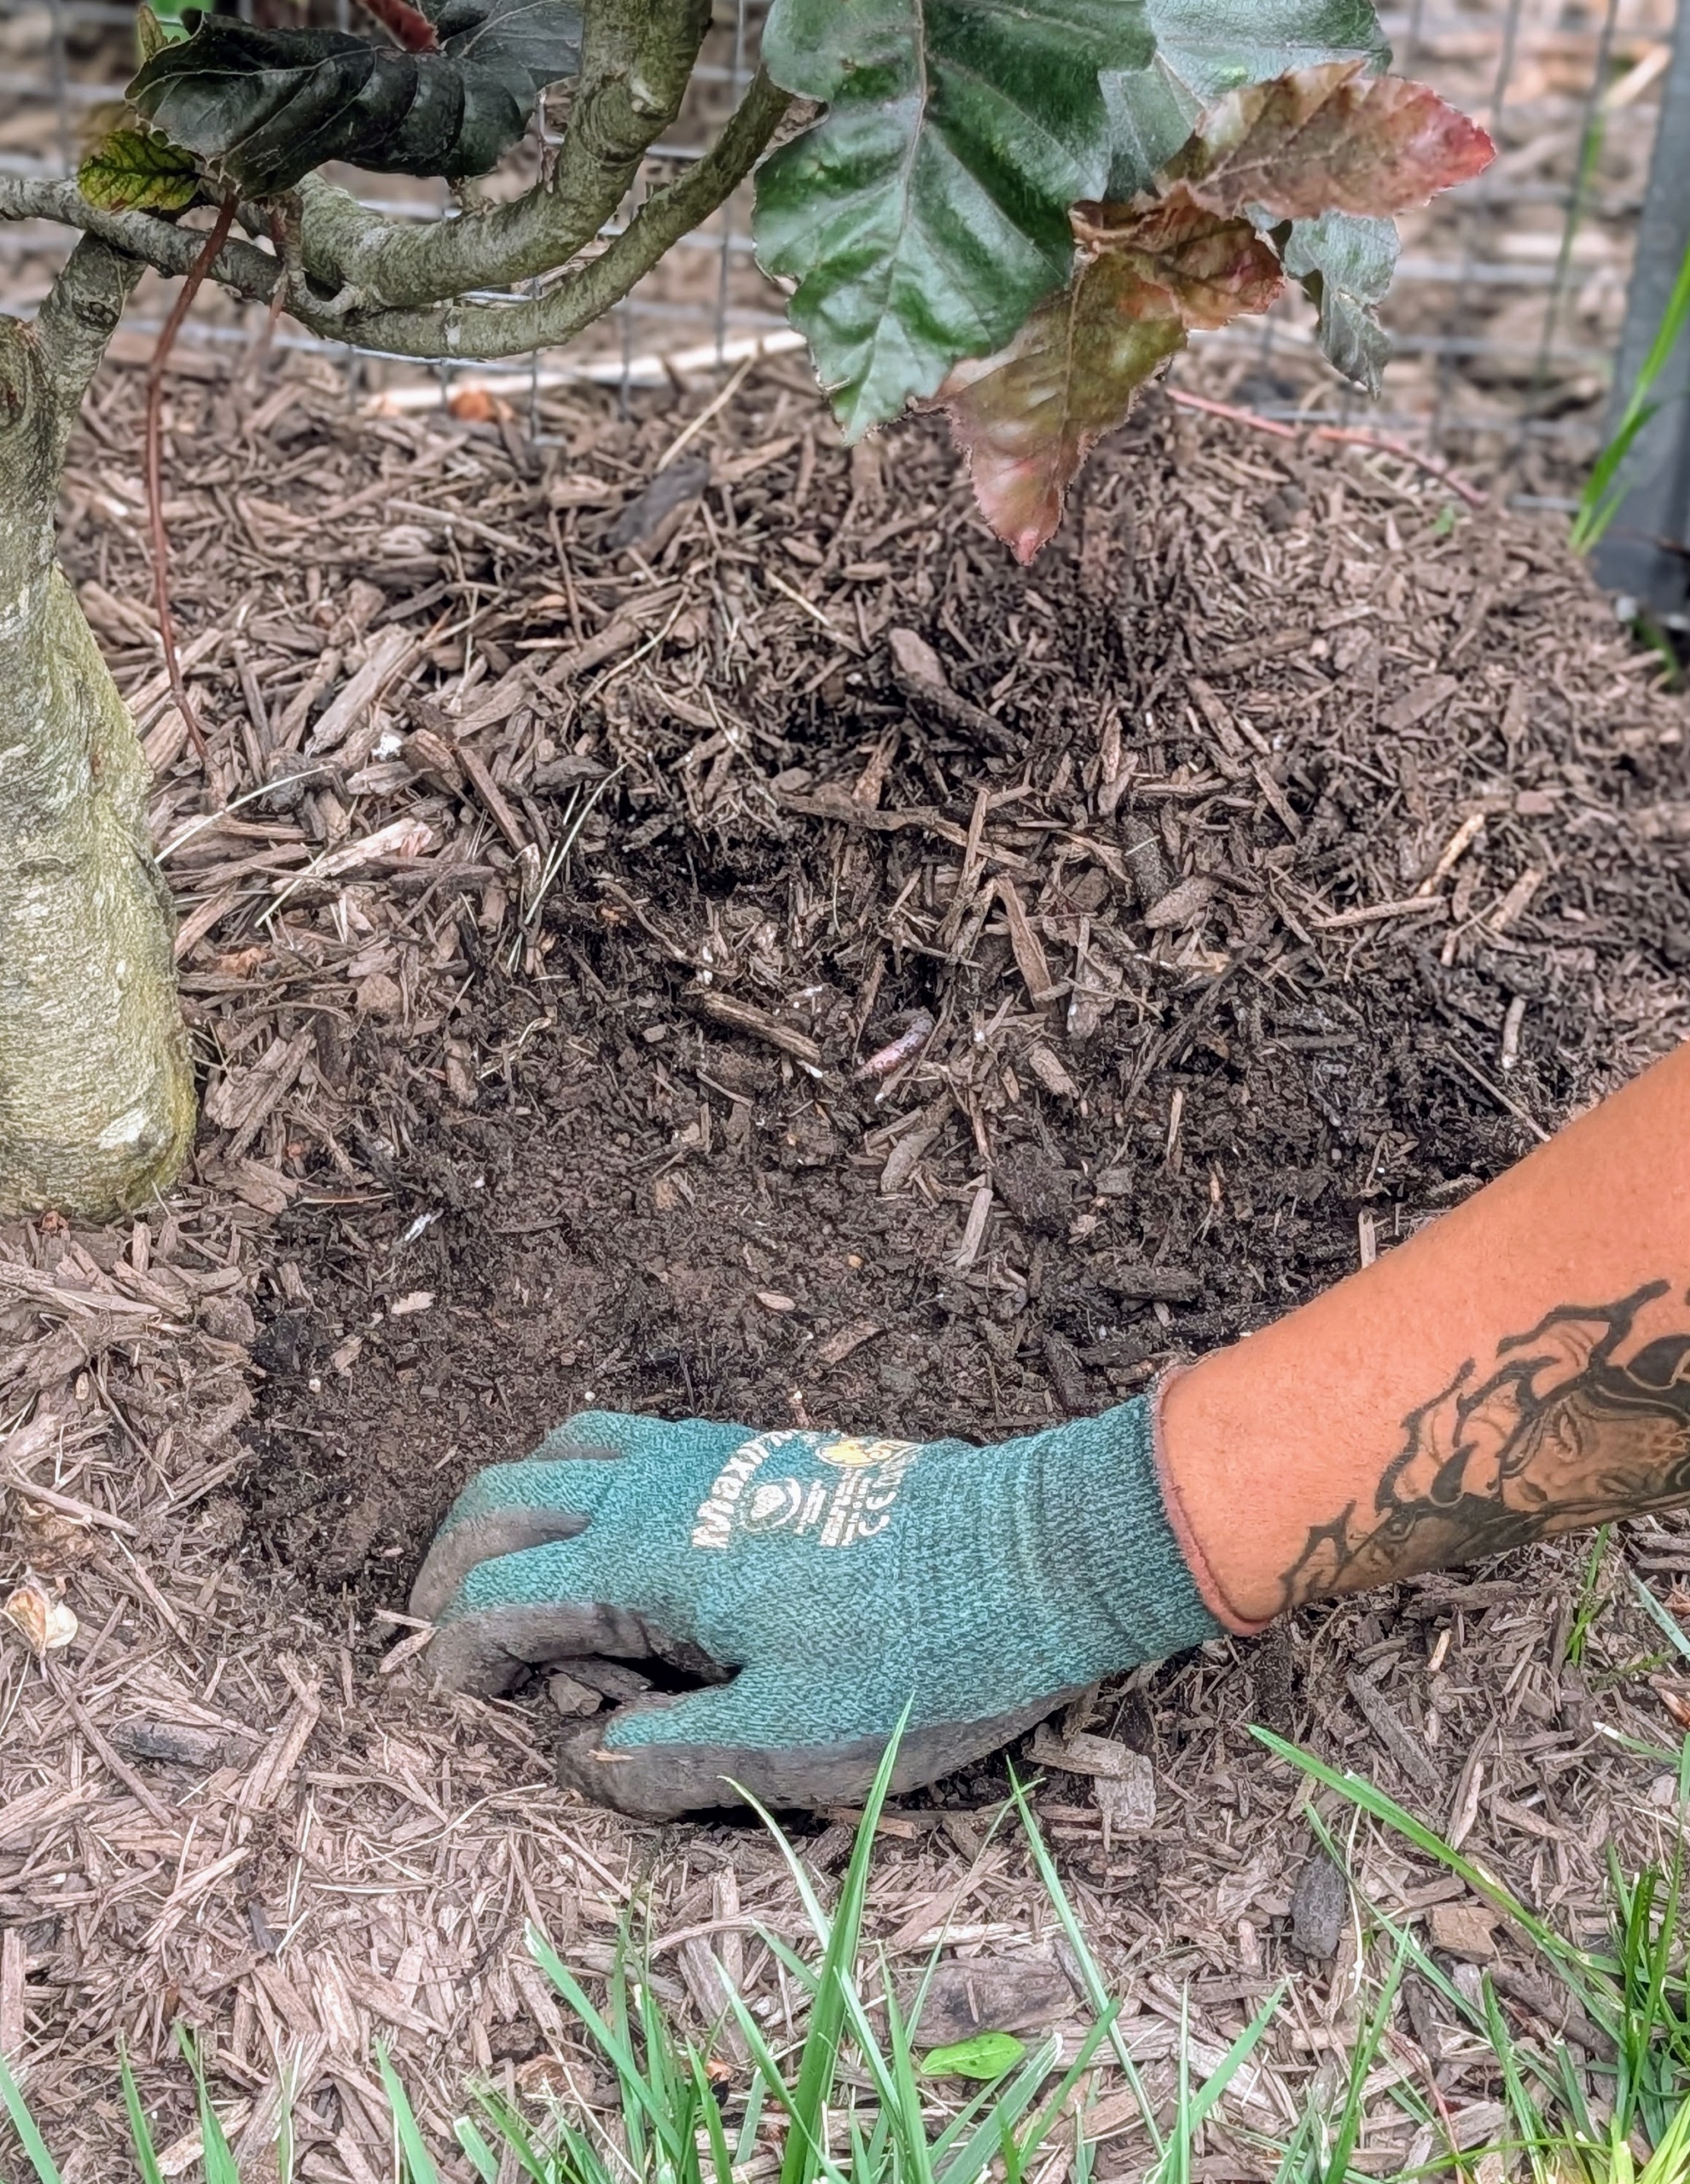
Matthew starts by digging the hole at least twice the size of the plant’s root ball.
He matches the hole depth to the root ball height and adjusts the hole slightly with his hands. It’s important not to bury the crown more than one inch below the soil surface. The soil was already fed earlier.
After removing it from the plastic pot, Matthew teases the root ball just a bit to stimulate new growth.
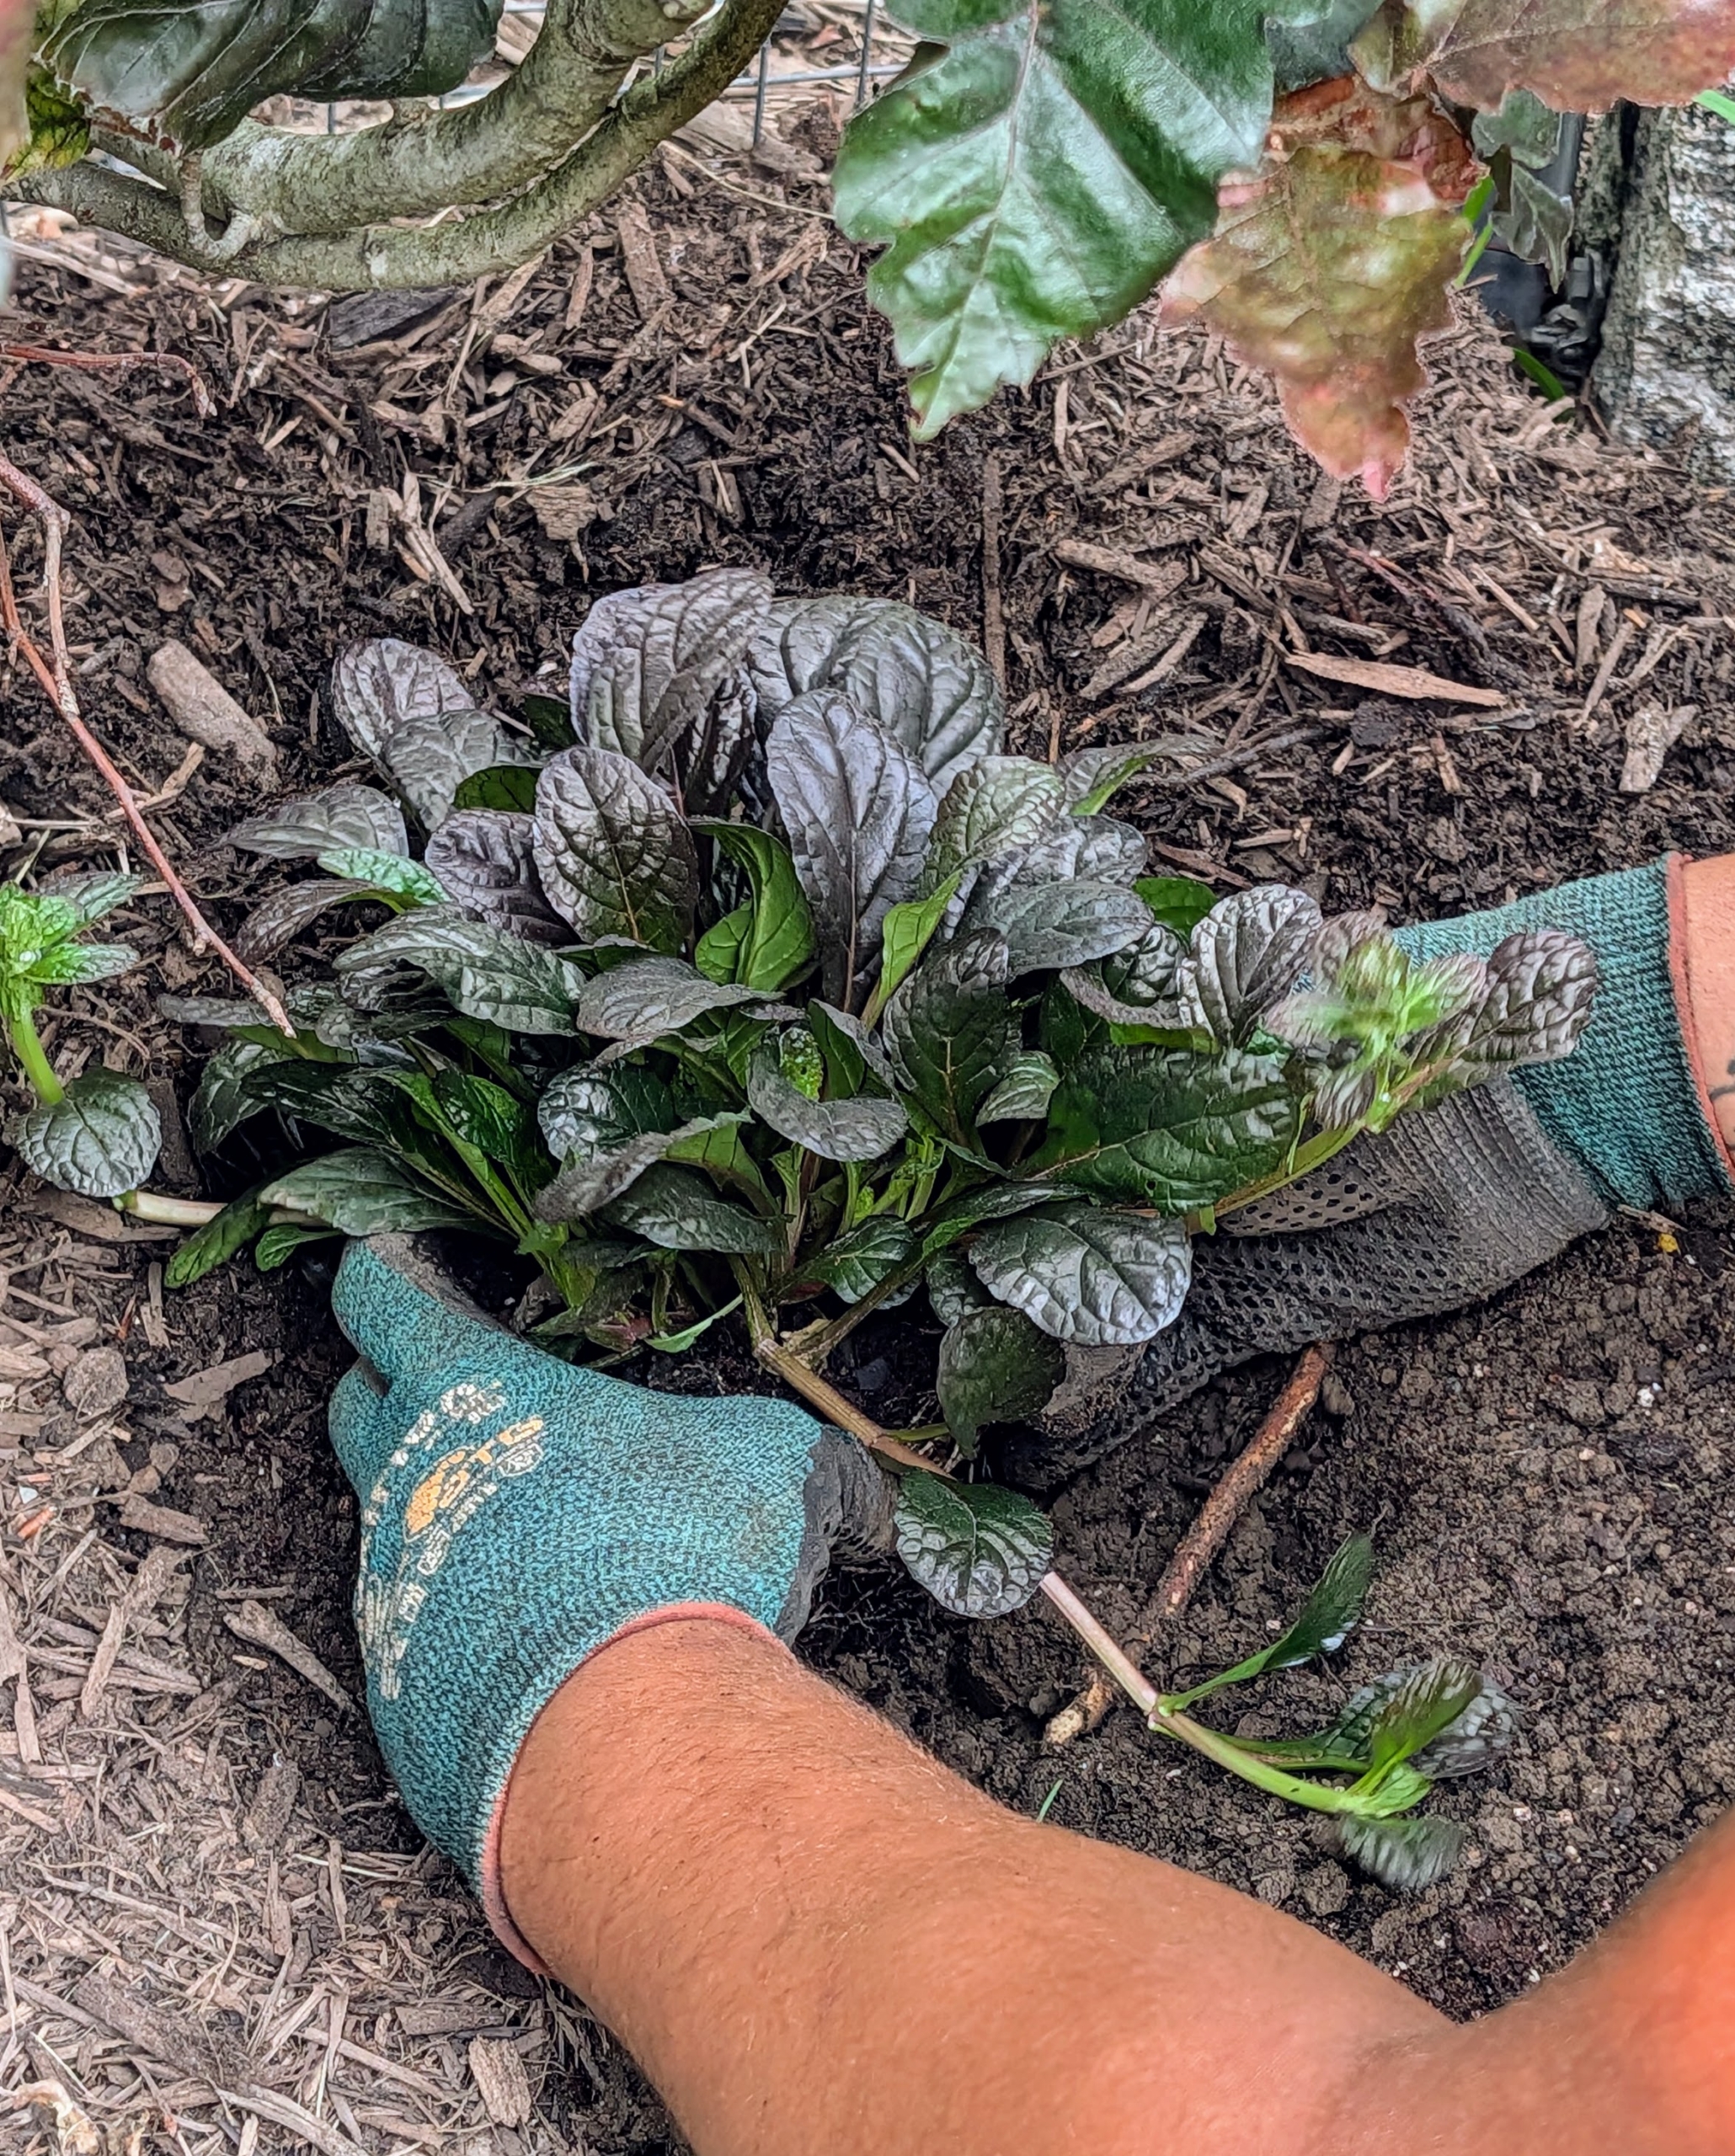
And then he plants the Ajuga. Ajuga naturalizes easily, spreading by stolons, or horizontal stems that creep along the ground, so be sure to plant it appropriately.
Matthew tamps down gently to ensure good contact between the soil and the plant. If there is mulch in the bed, be sure to go beneath it to plant the Ajuga properly.
What is so nice about adding Ajuga to the pool garden is they hold their leaf color and stay attractive almost all year-round.
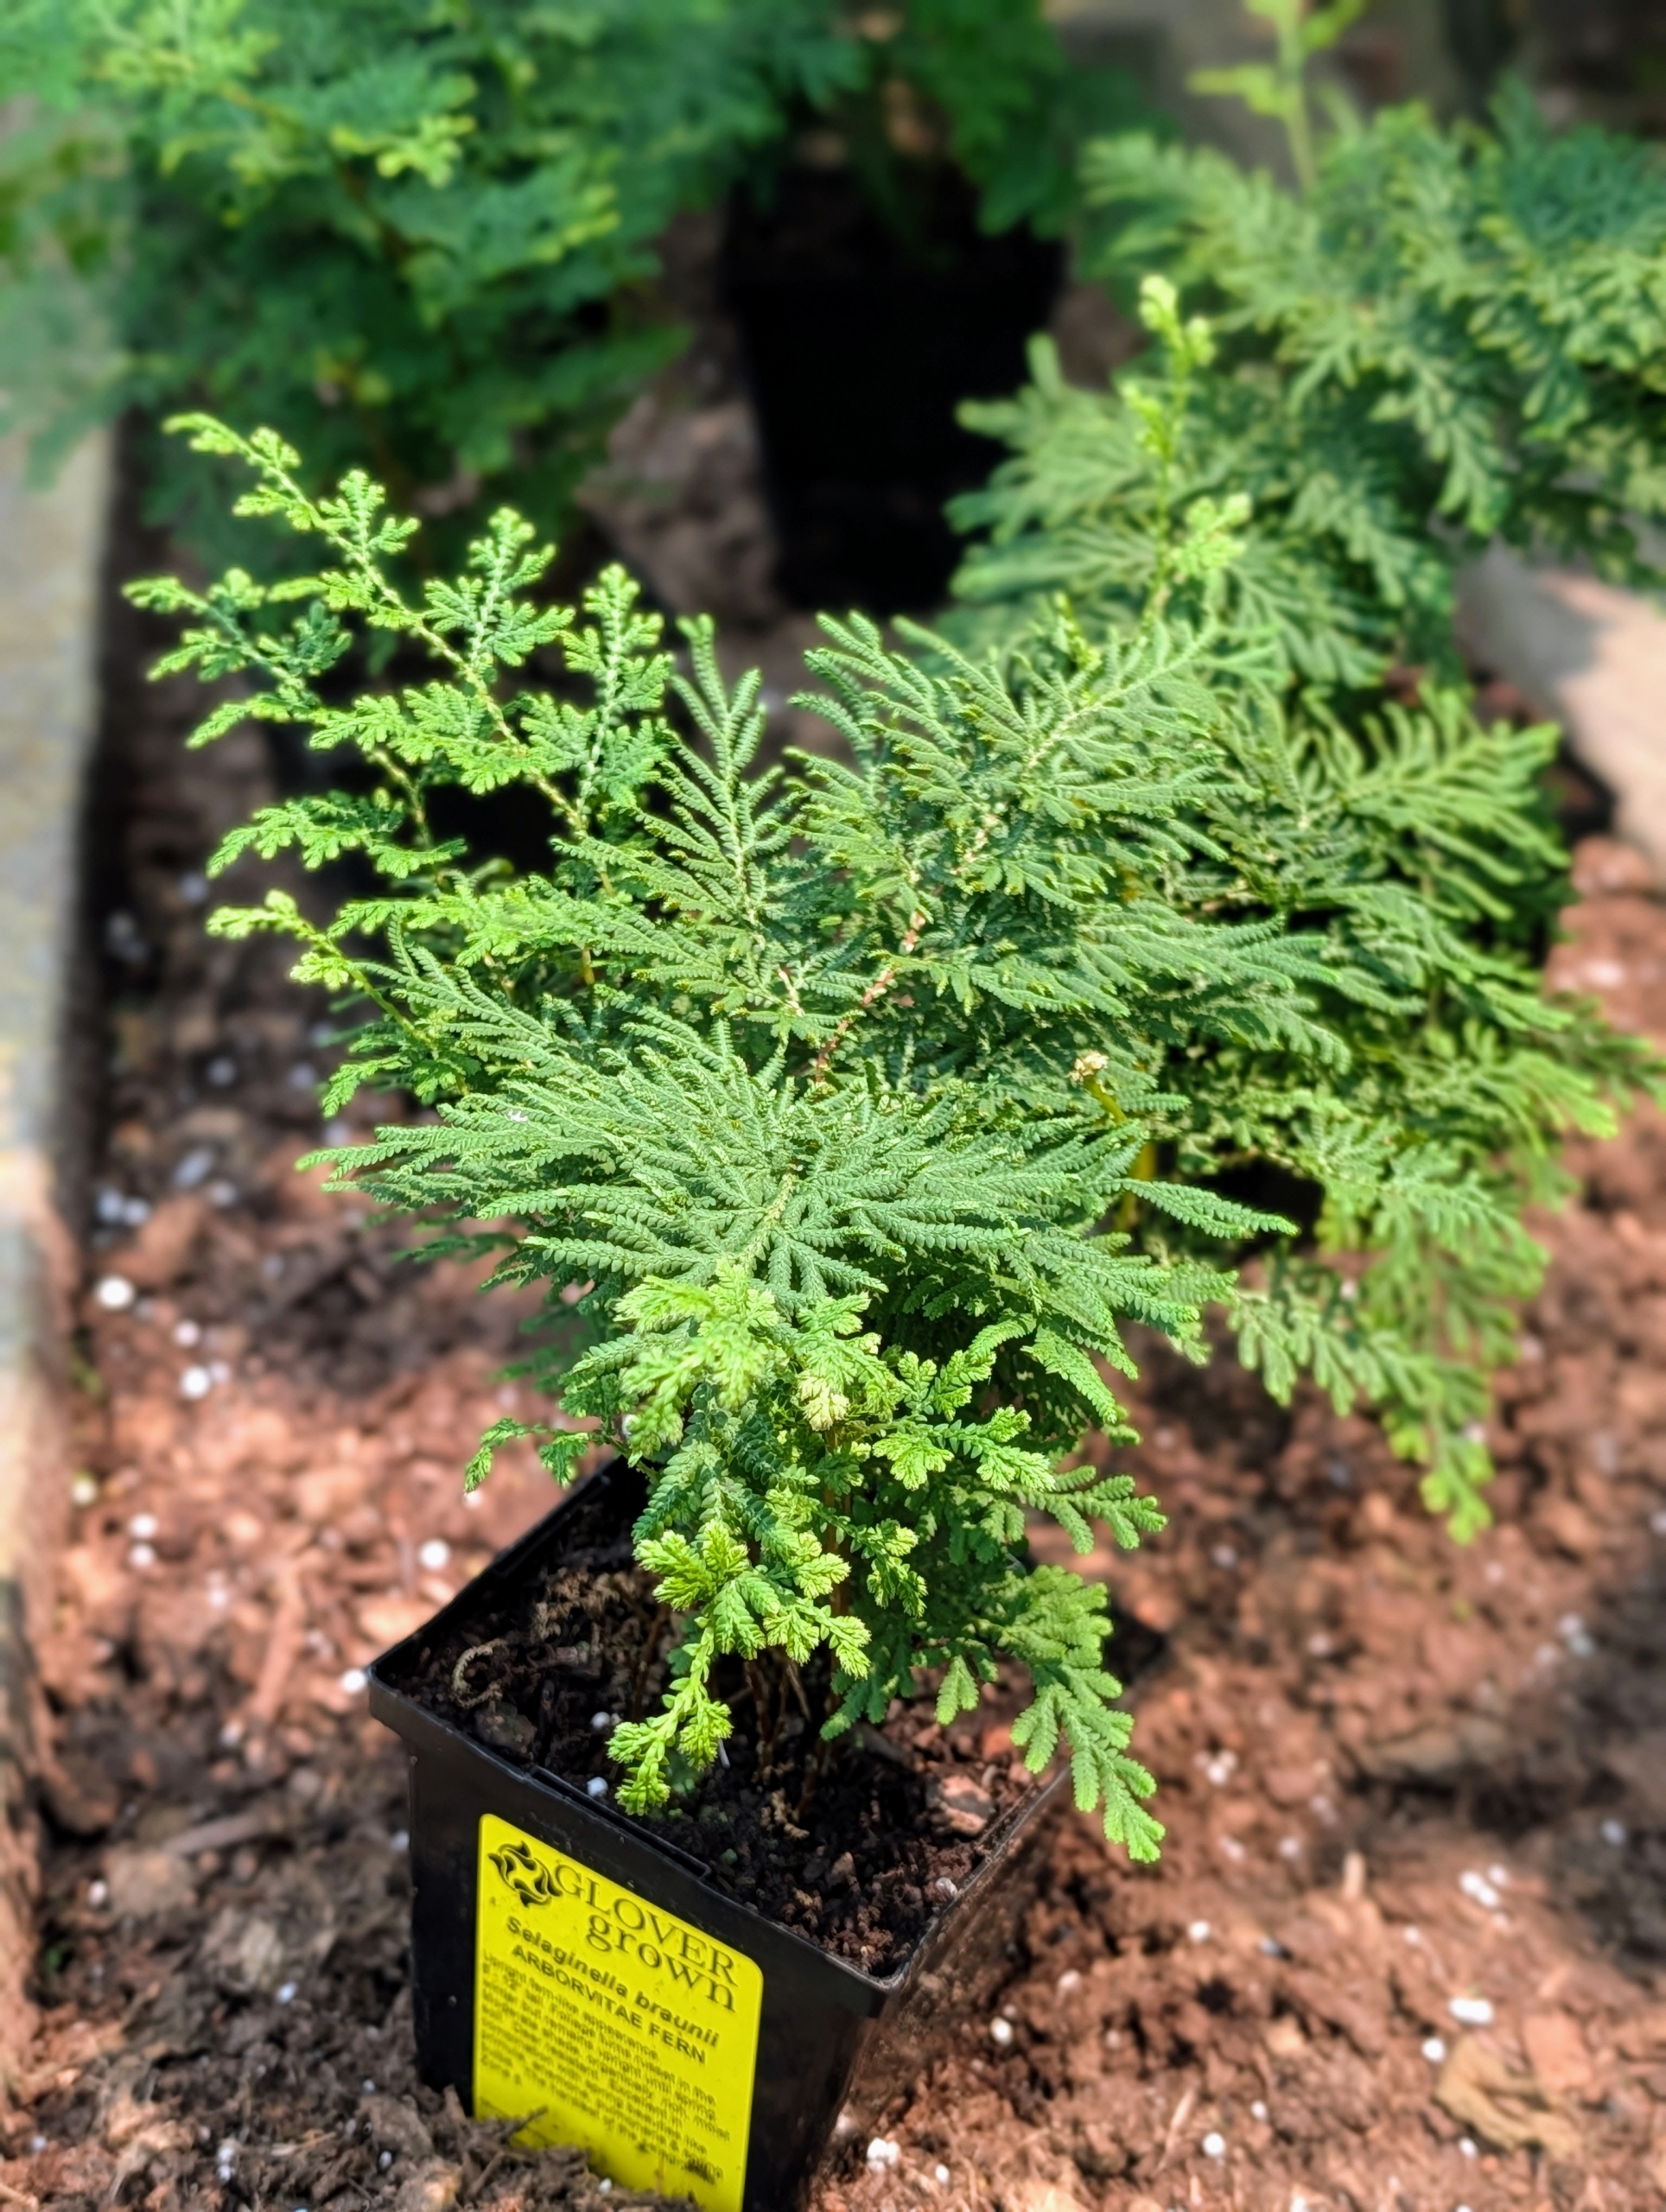
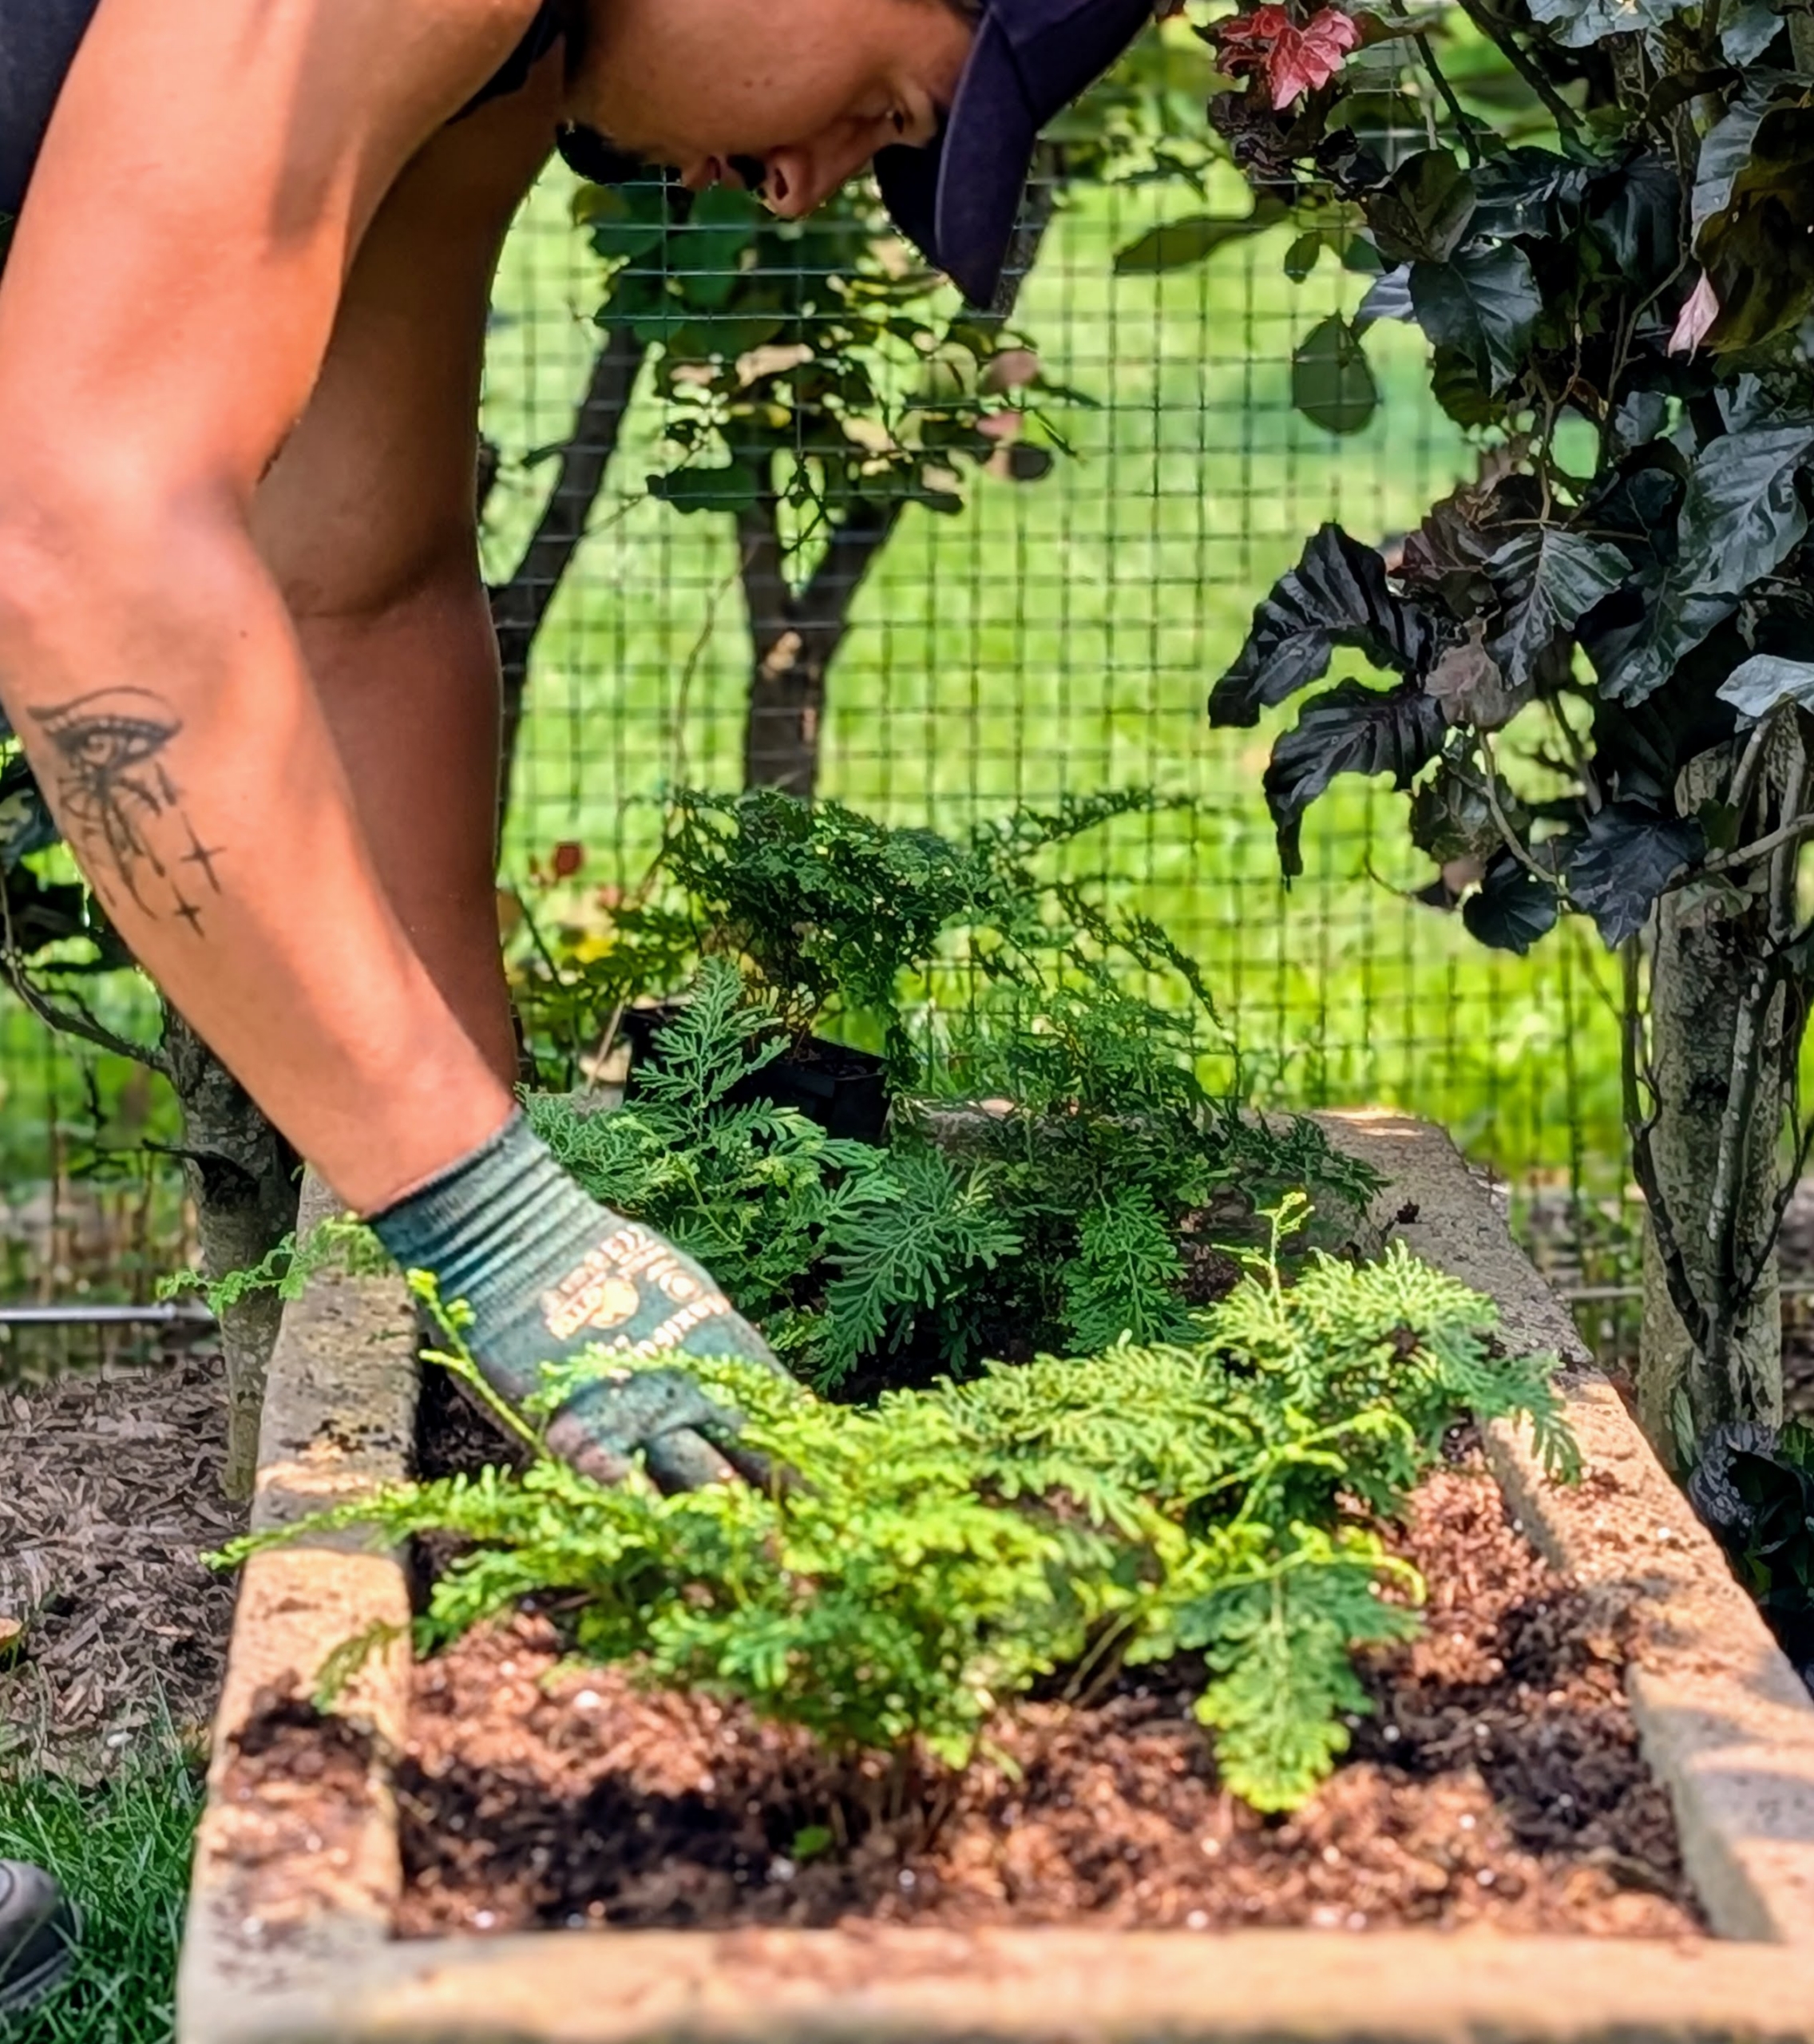
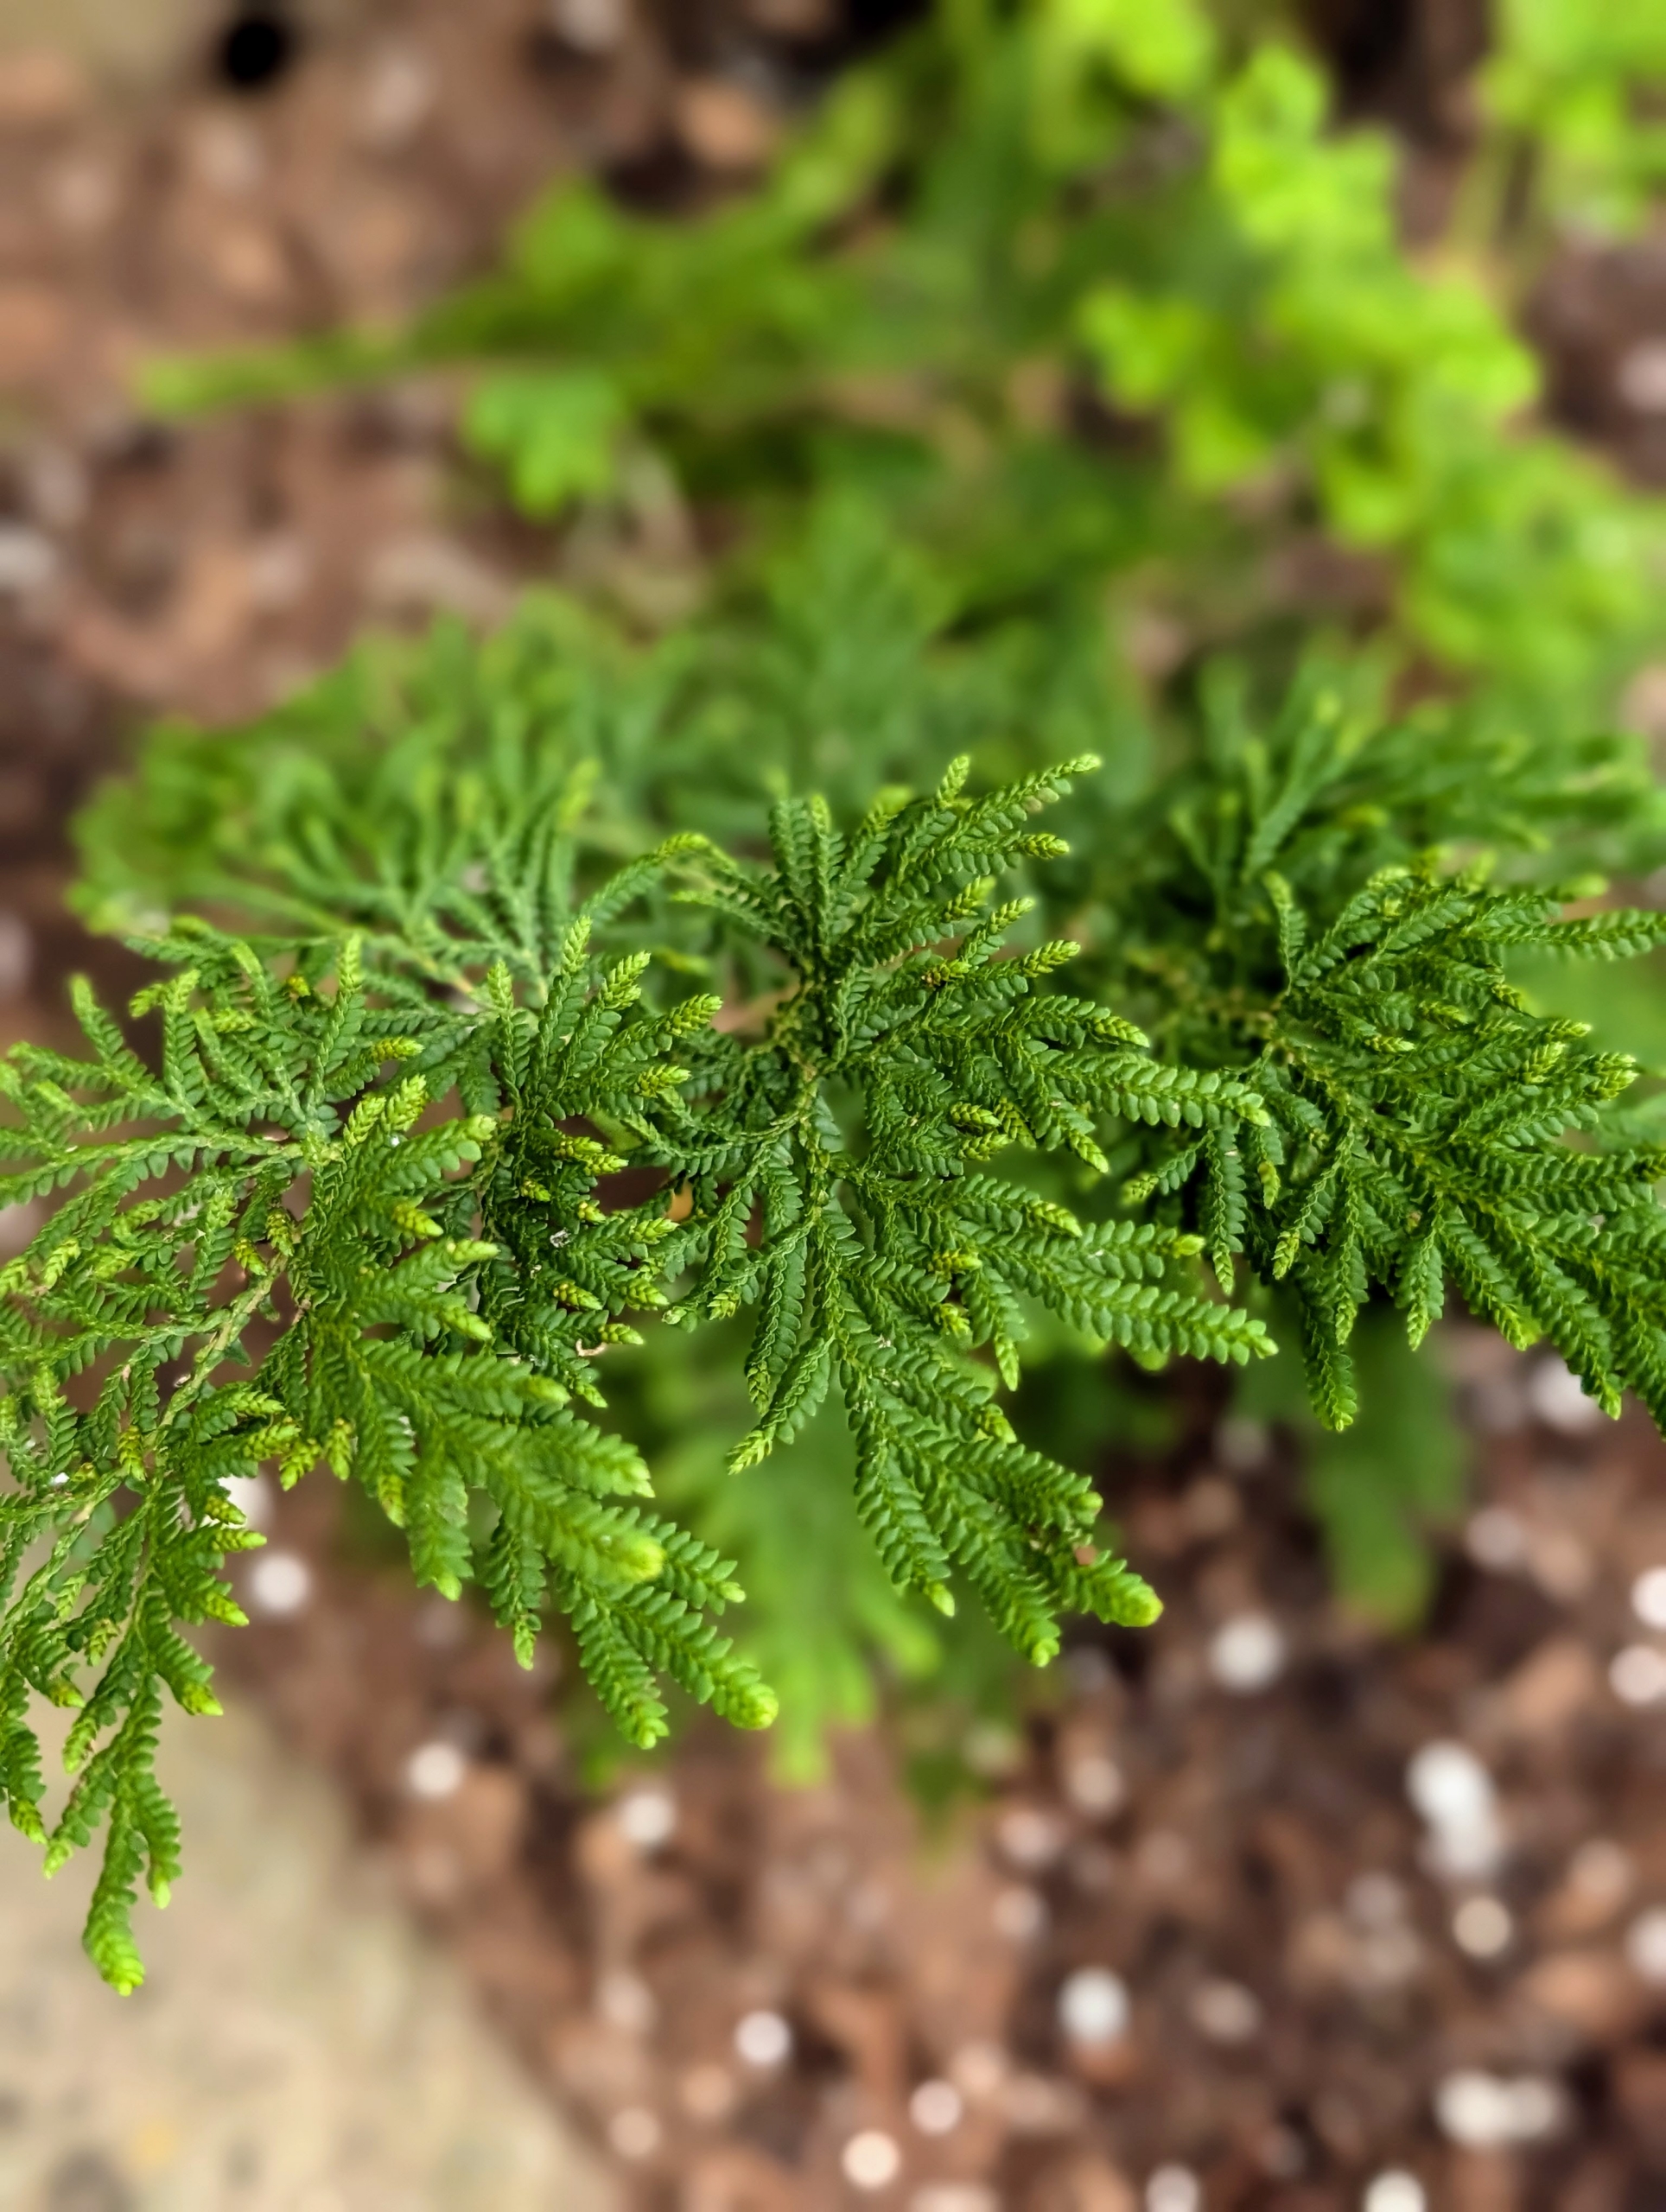
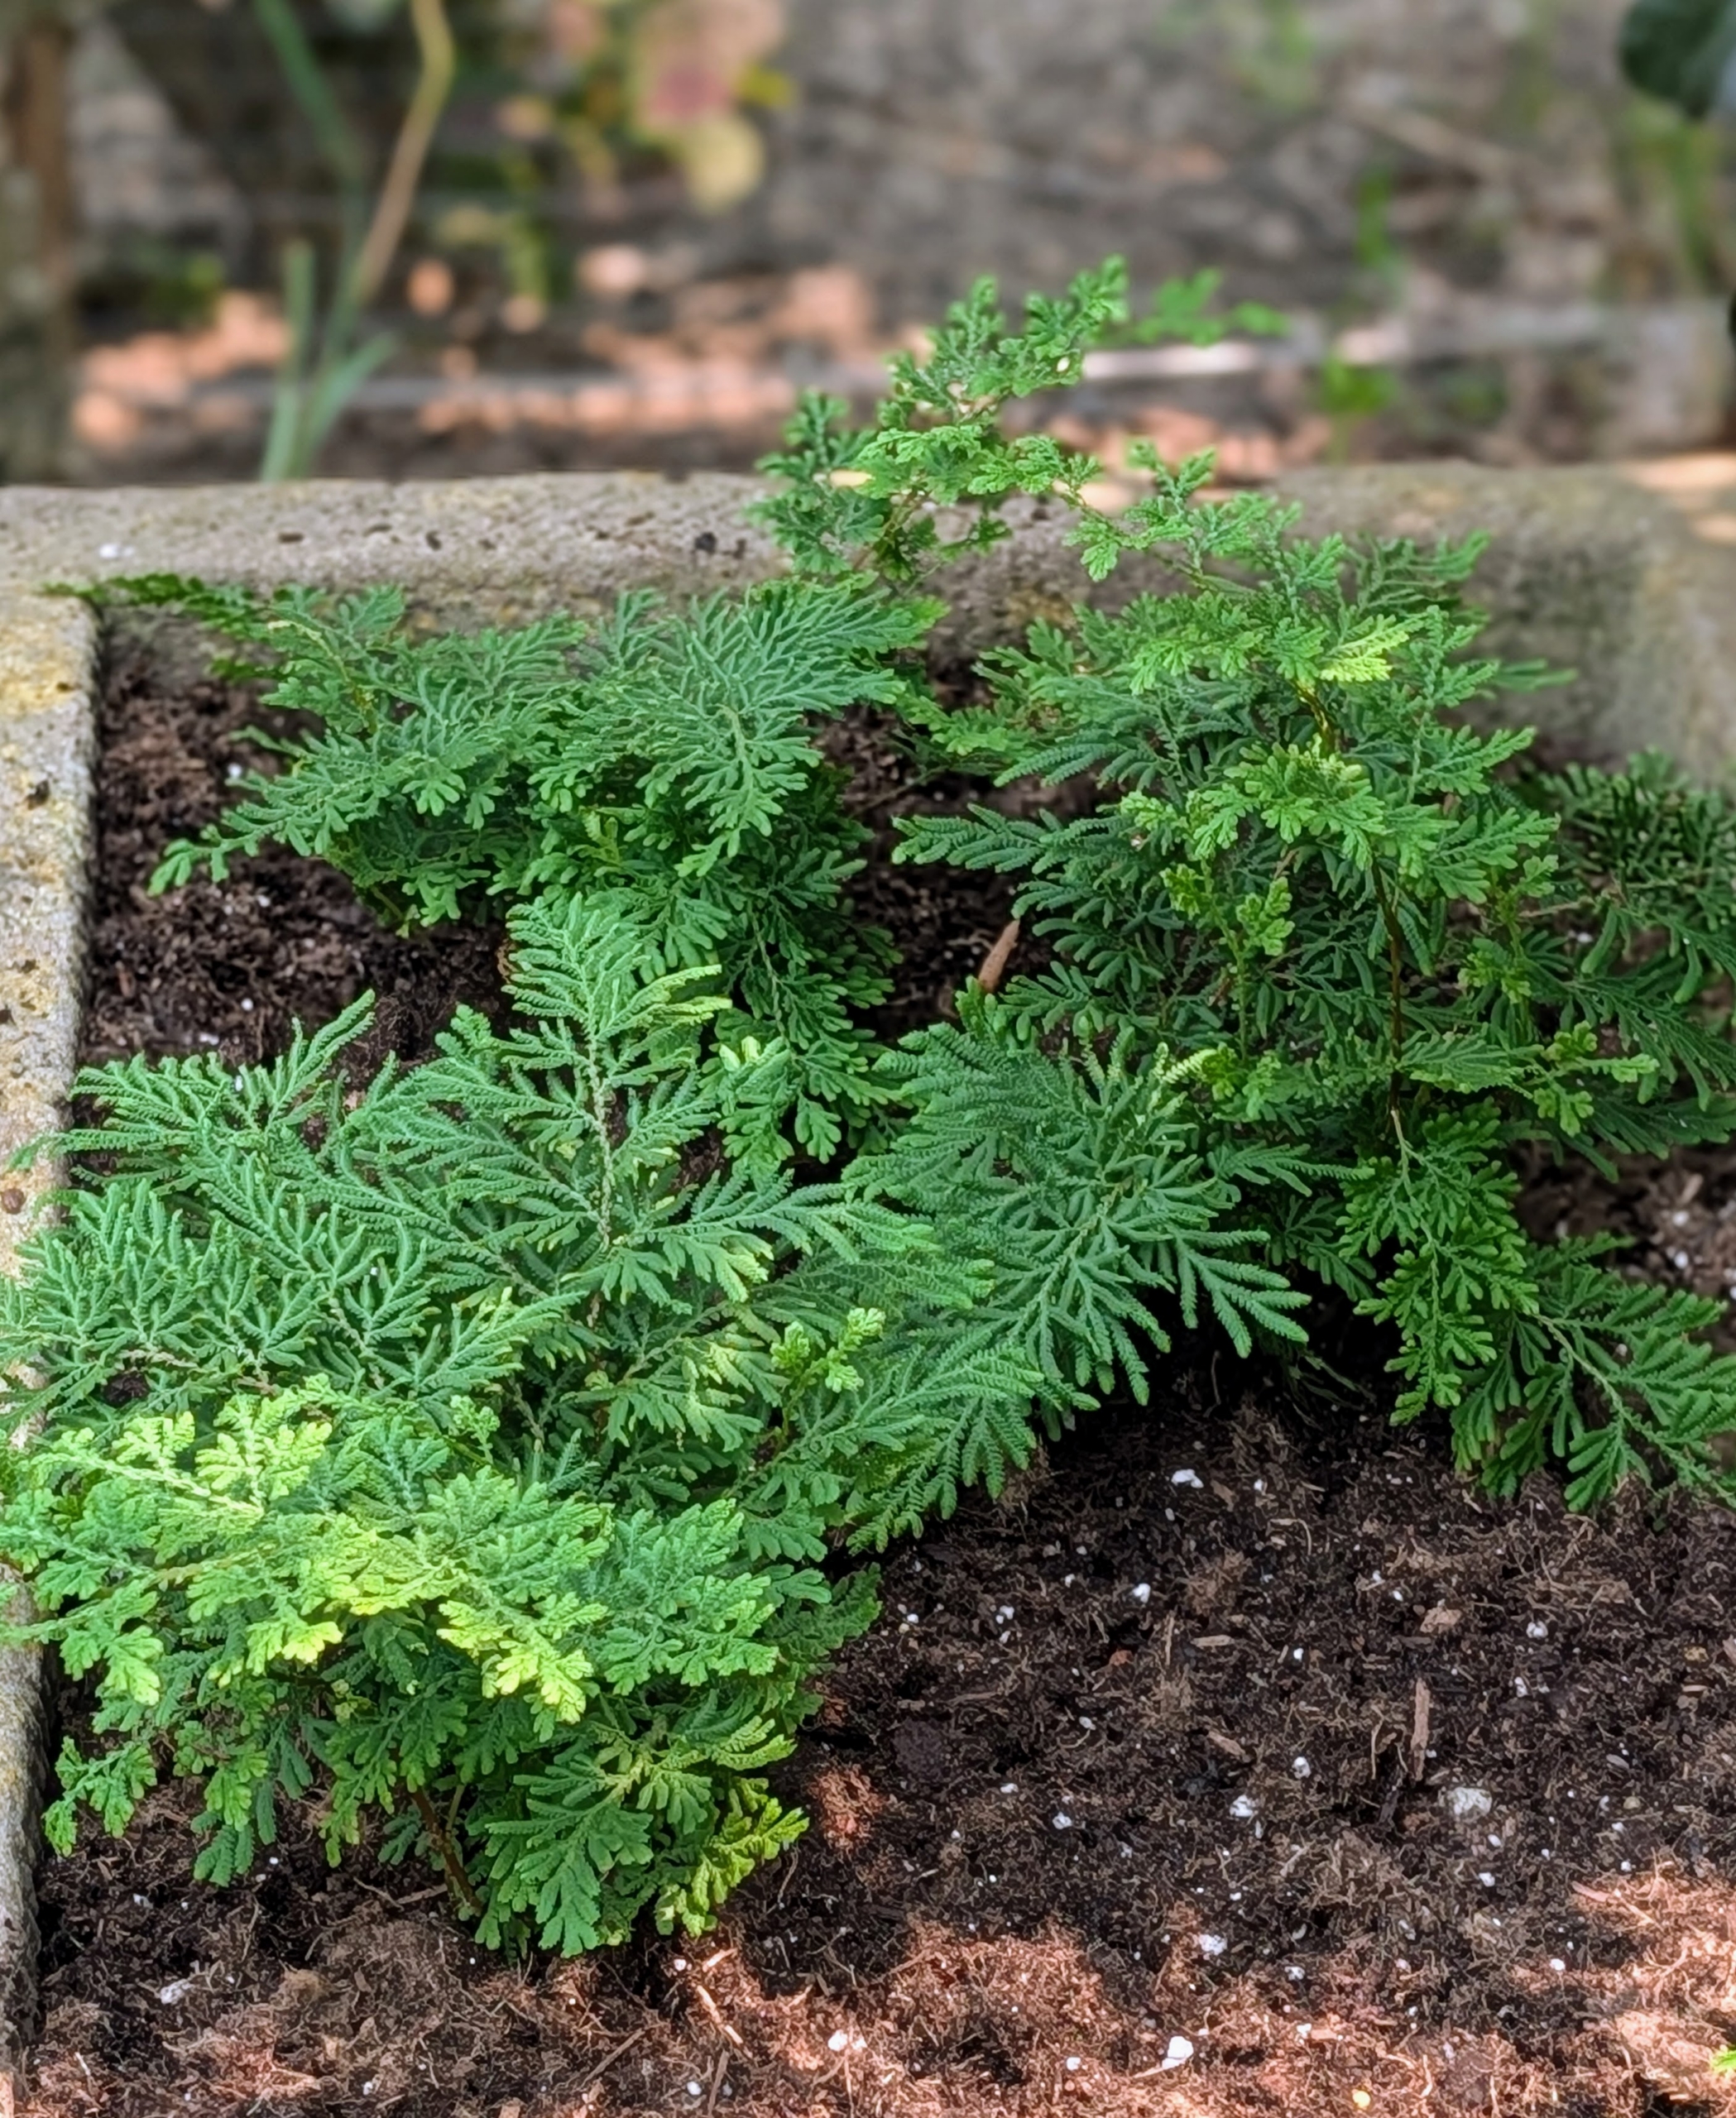
Nearby, I decided to plant this Selanginella braunii, an arborvitae fern, in two of the stone troughs I have at the back of my pool area. This plant has an upright fern-like appearance and grows six to 12-inches tall. The foliage turns a russet brown in the winter and remains upright until spring.
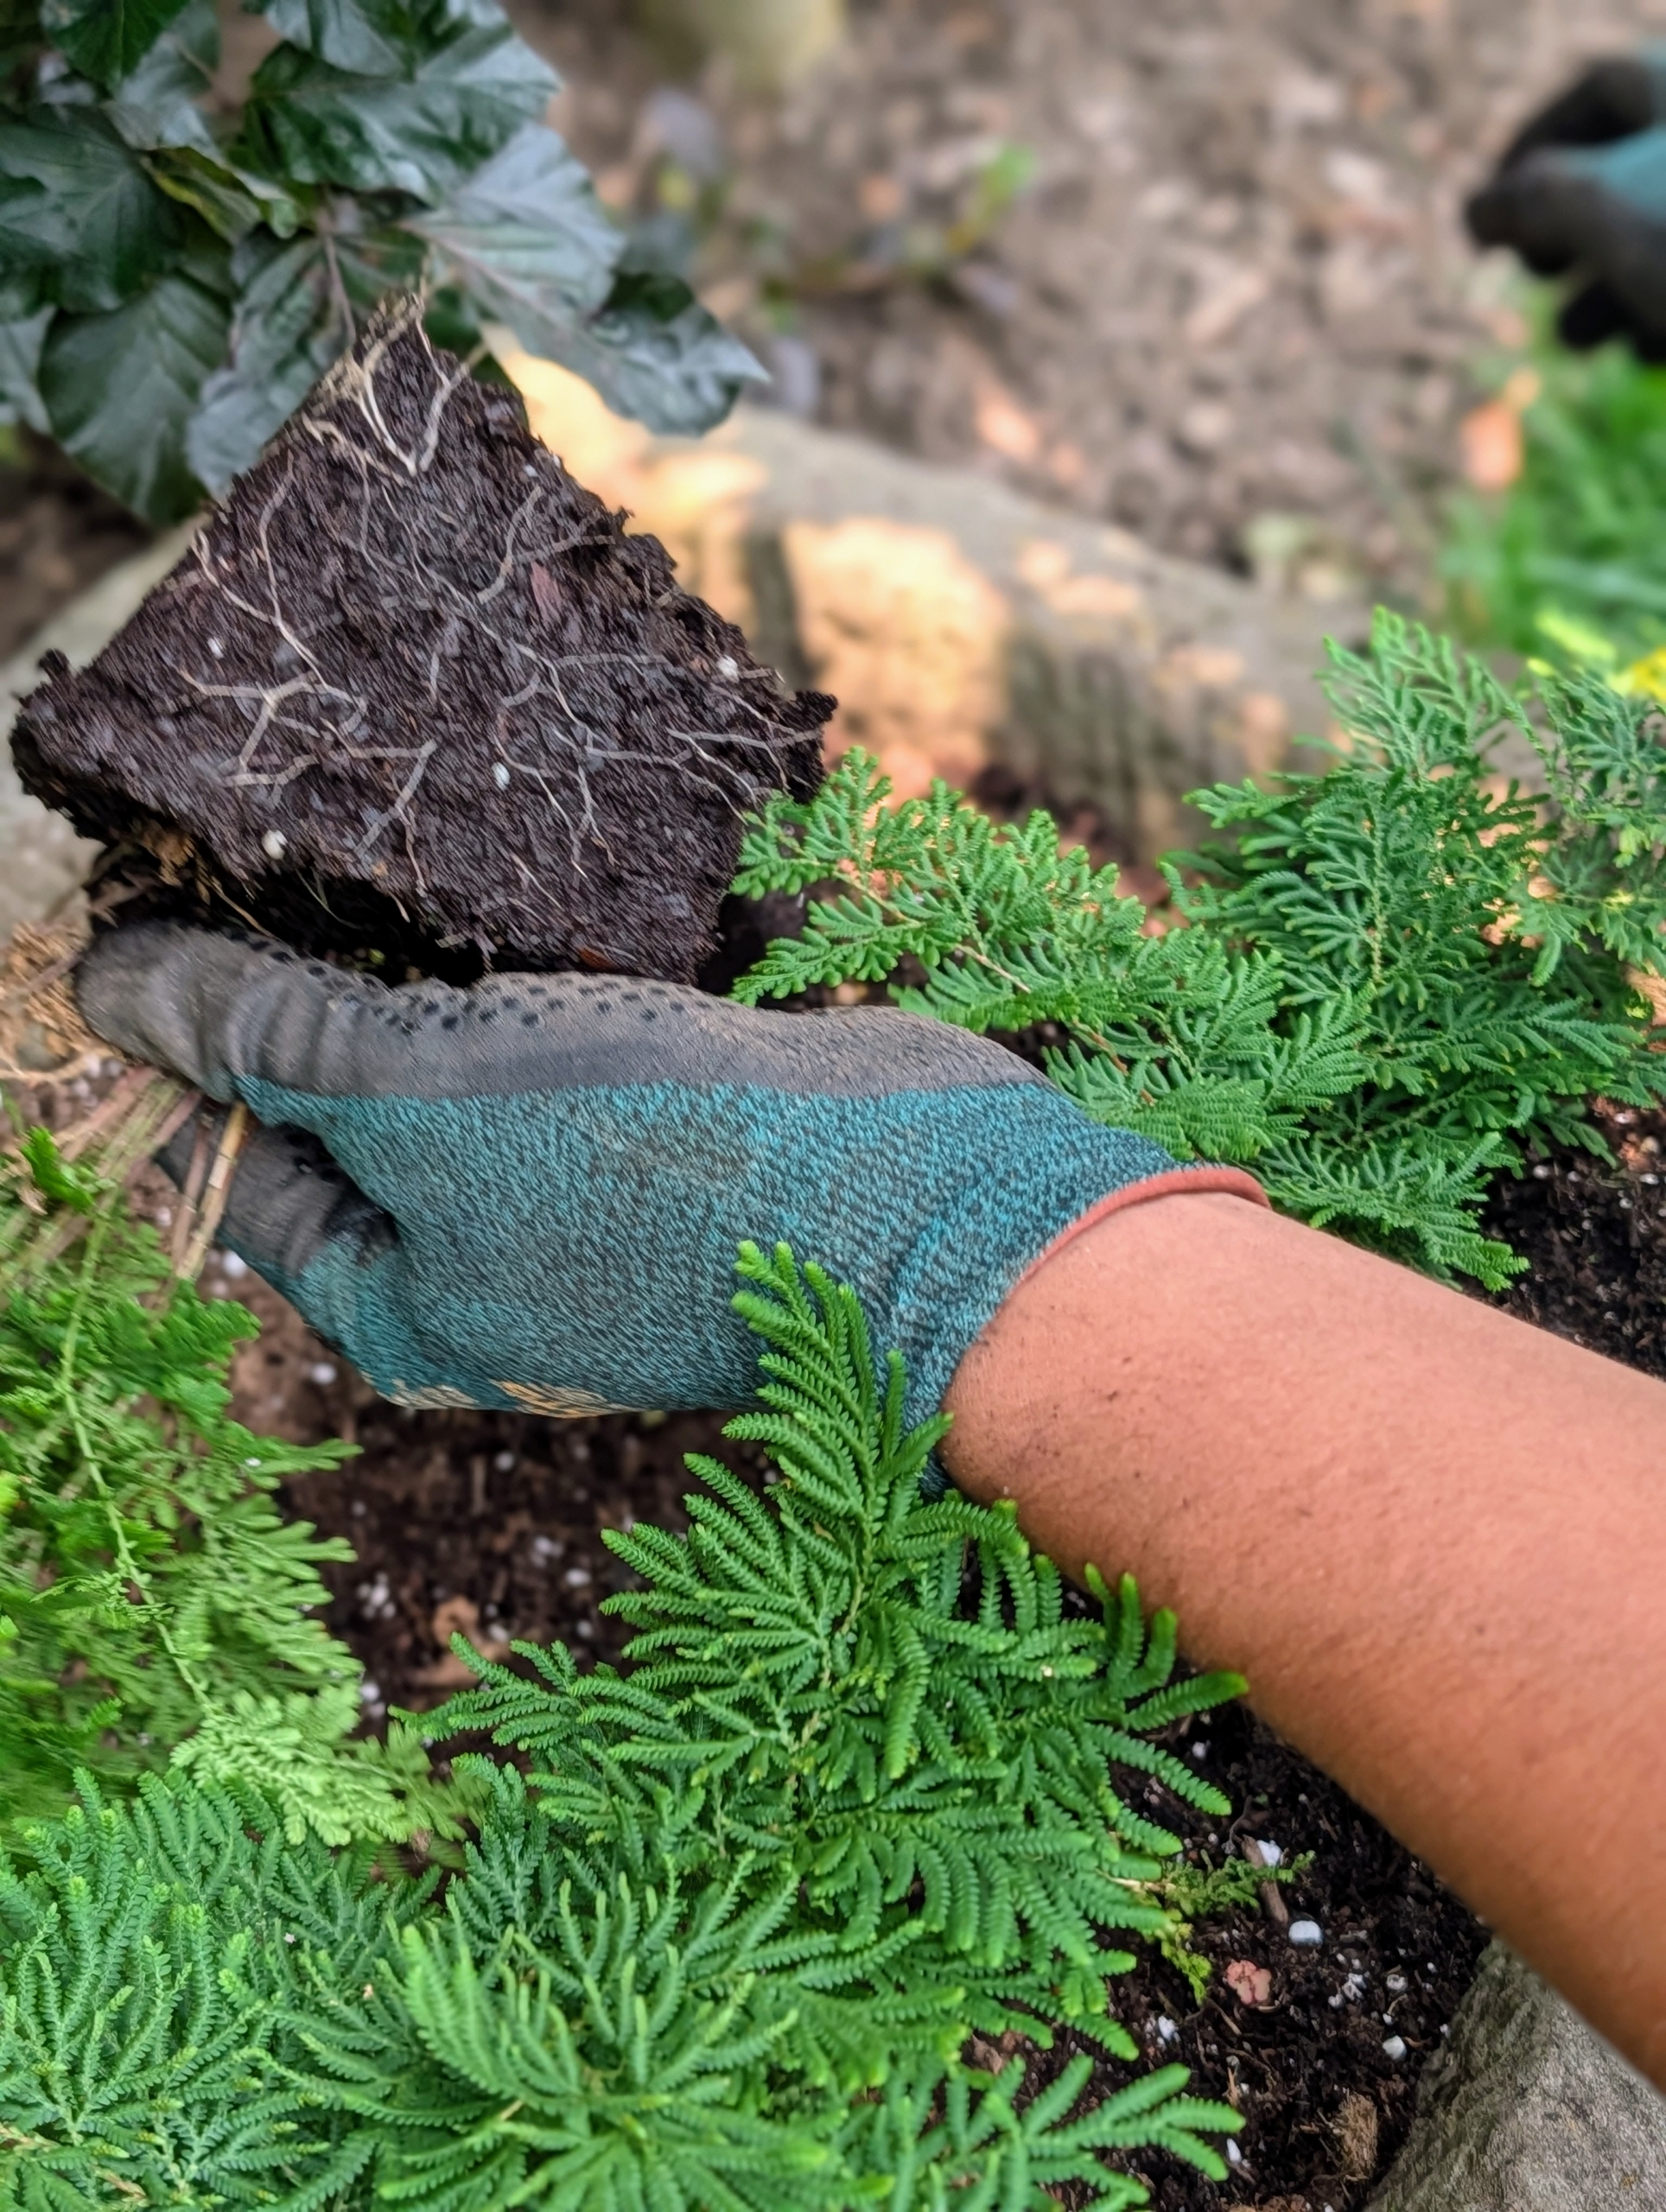
Matthew does the same with these plants, teasing the root ball just a bit to encourage root growth – it is a process called scarifying.
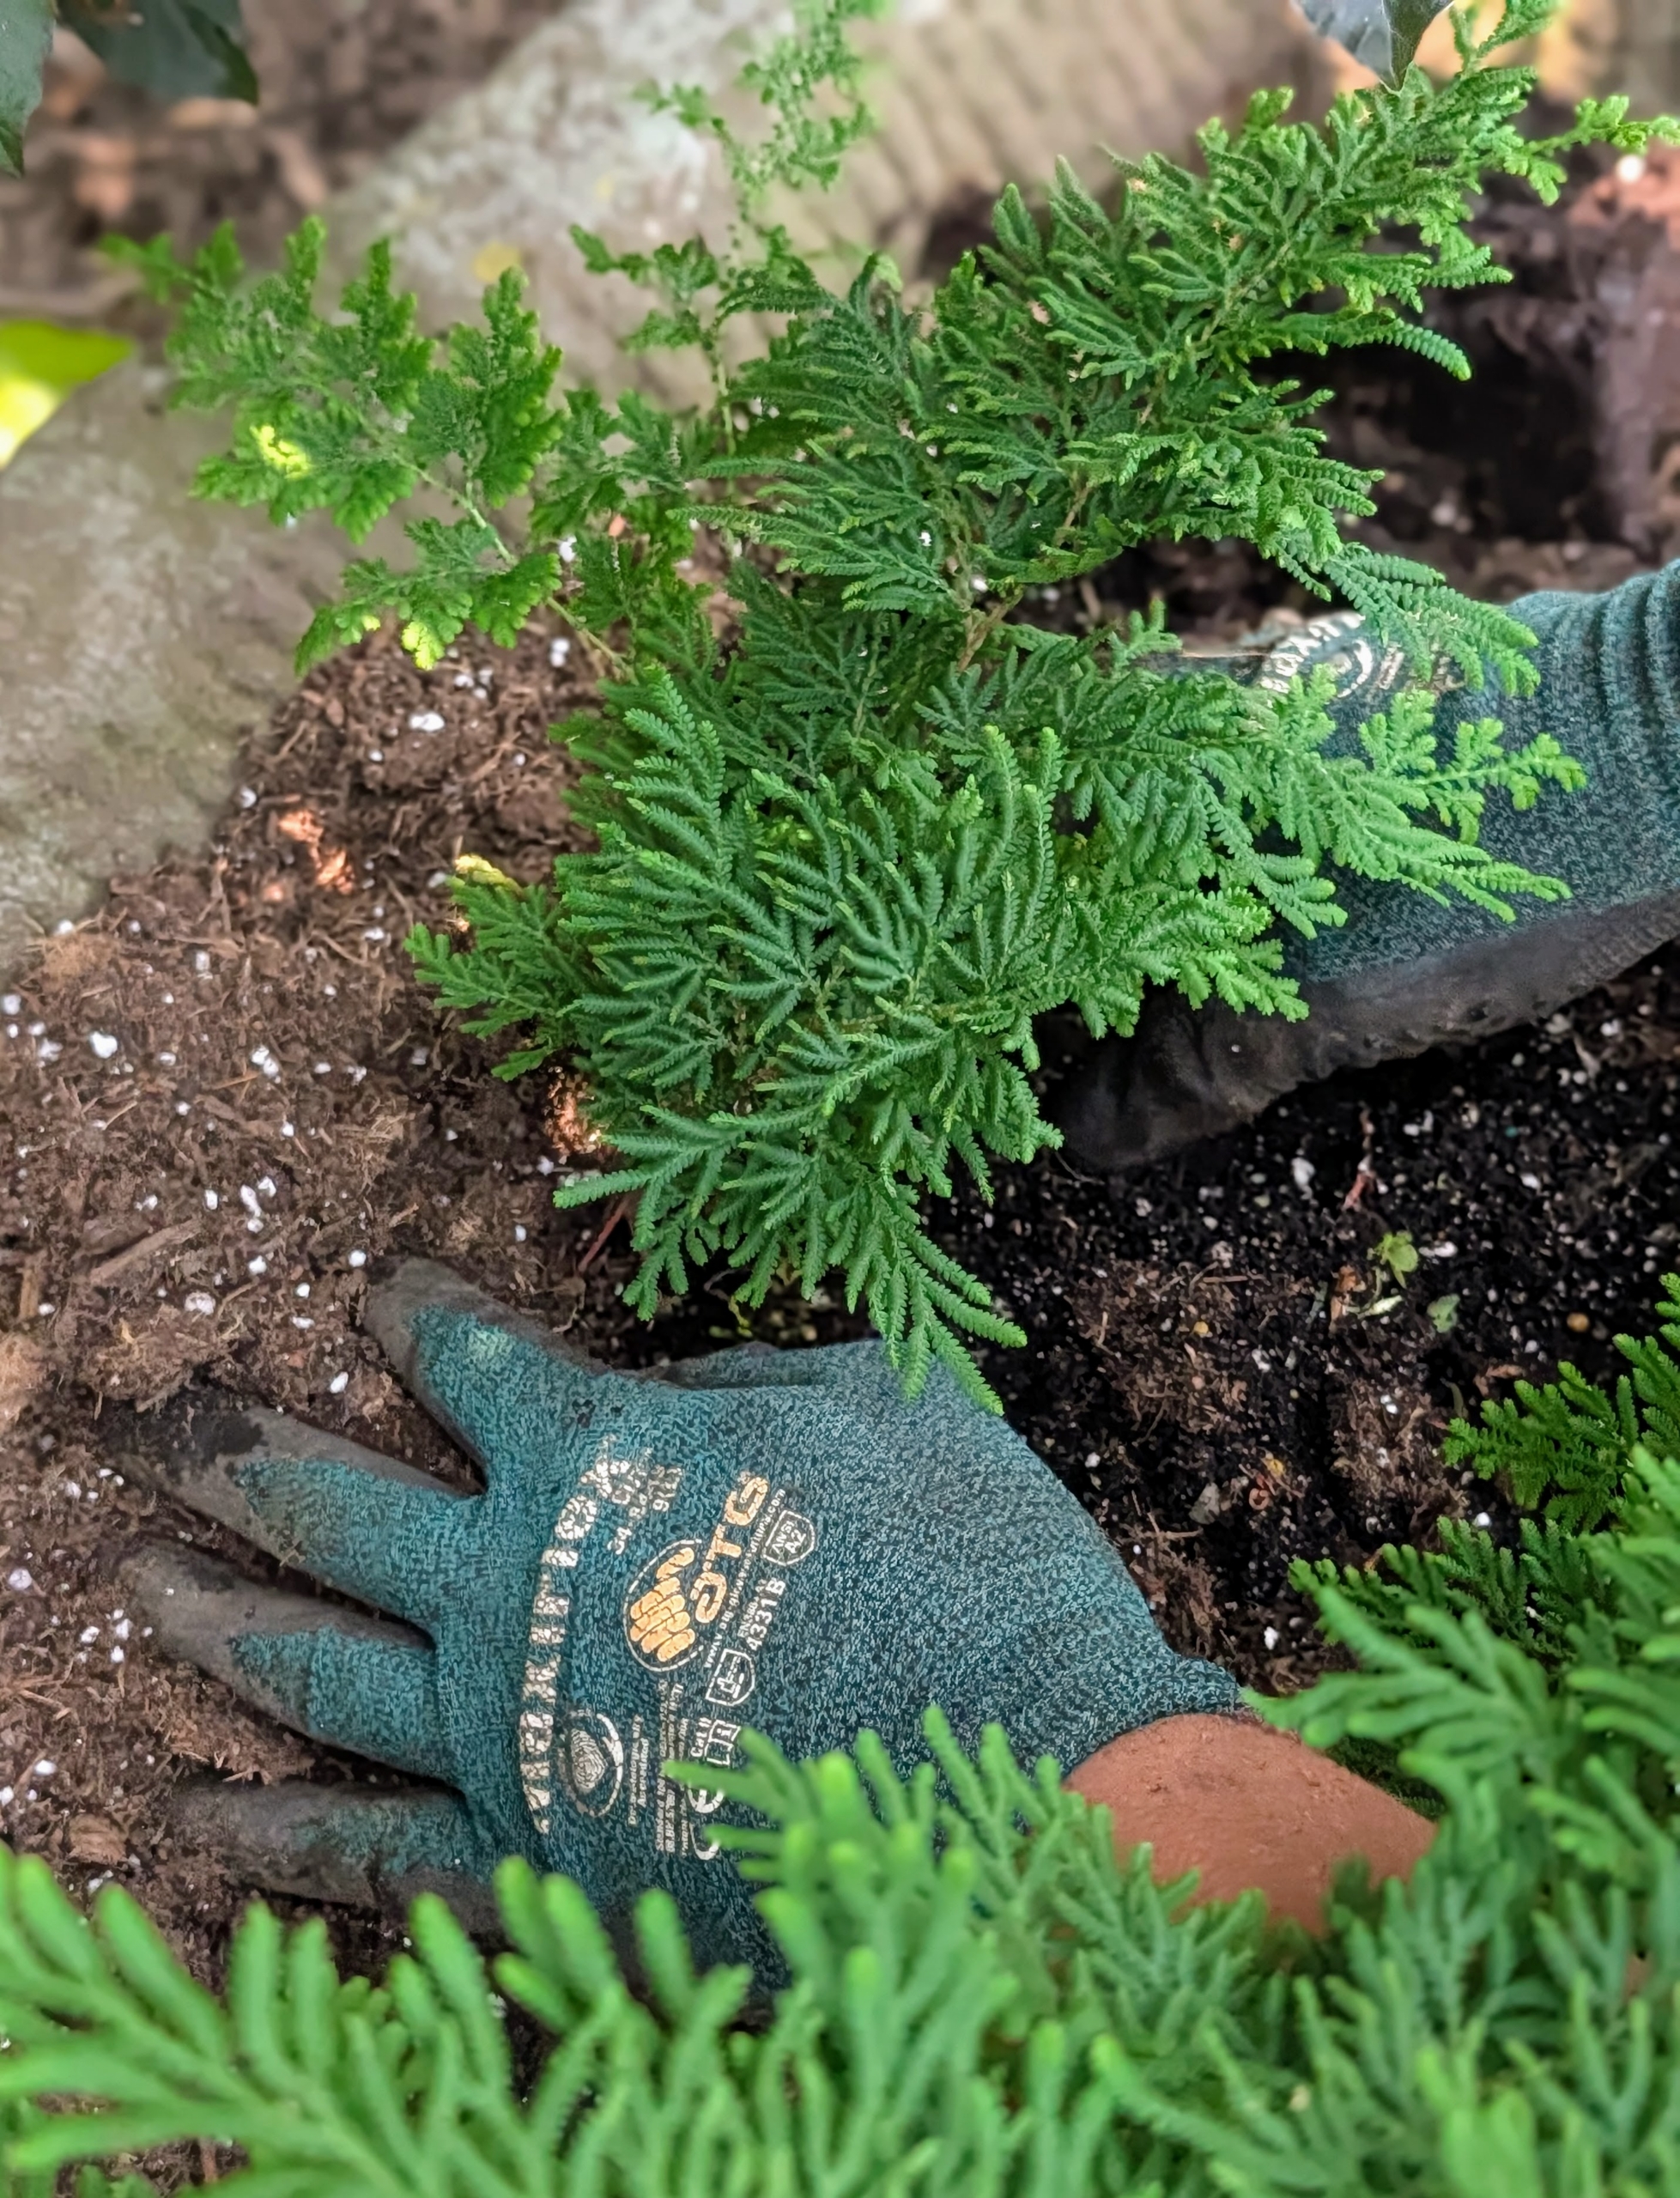
Then he plants the Selaginella about 10 inches apart to make sure the plants can grow without overcrowding.
Because it will get moderate shade in this location, these plants will thrive through the season.
Selaginella foliage is scale-like and fern‑like in texture, giving it a mossy appearance.
This Selanginella ground cover will fill in this planter nicely, creep along the surface soil, and trail over the edge.
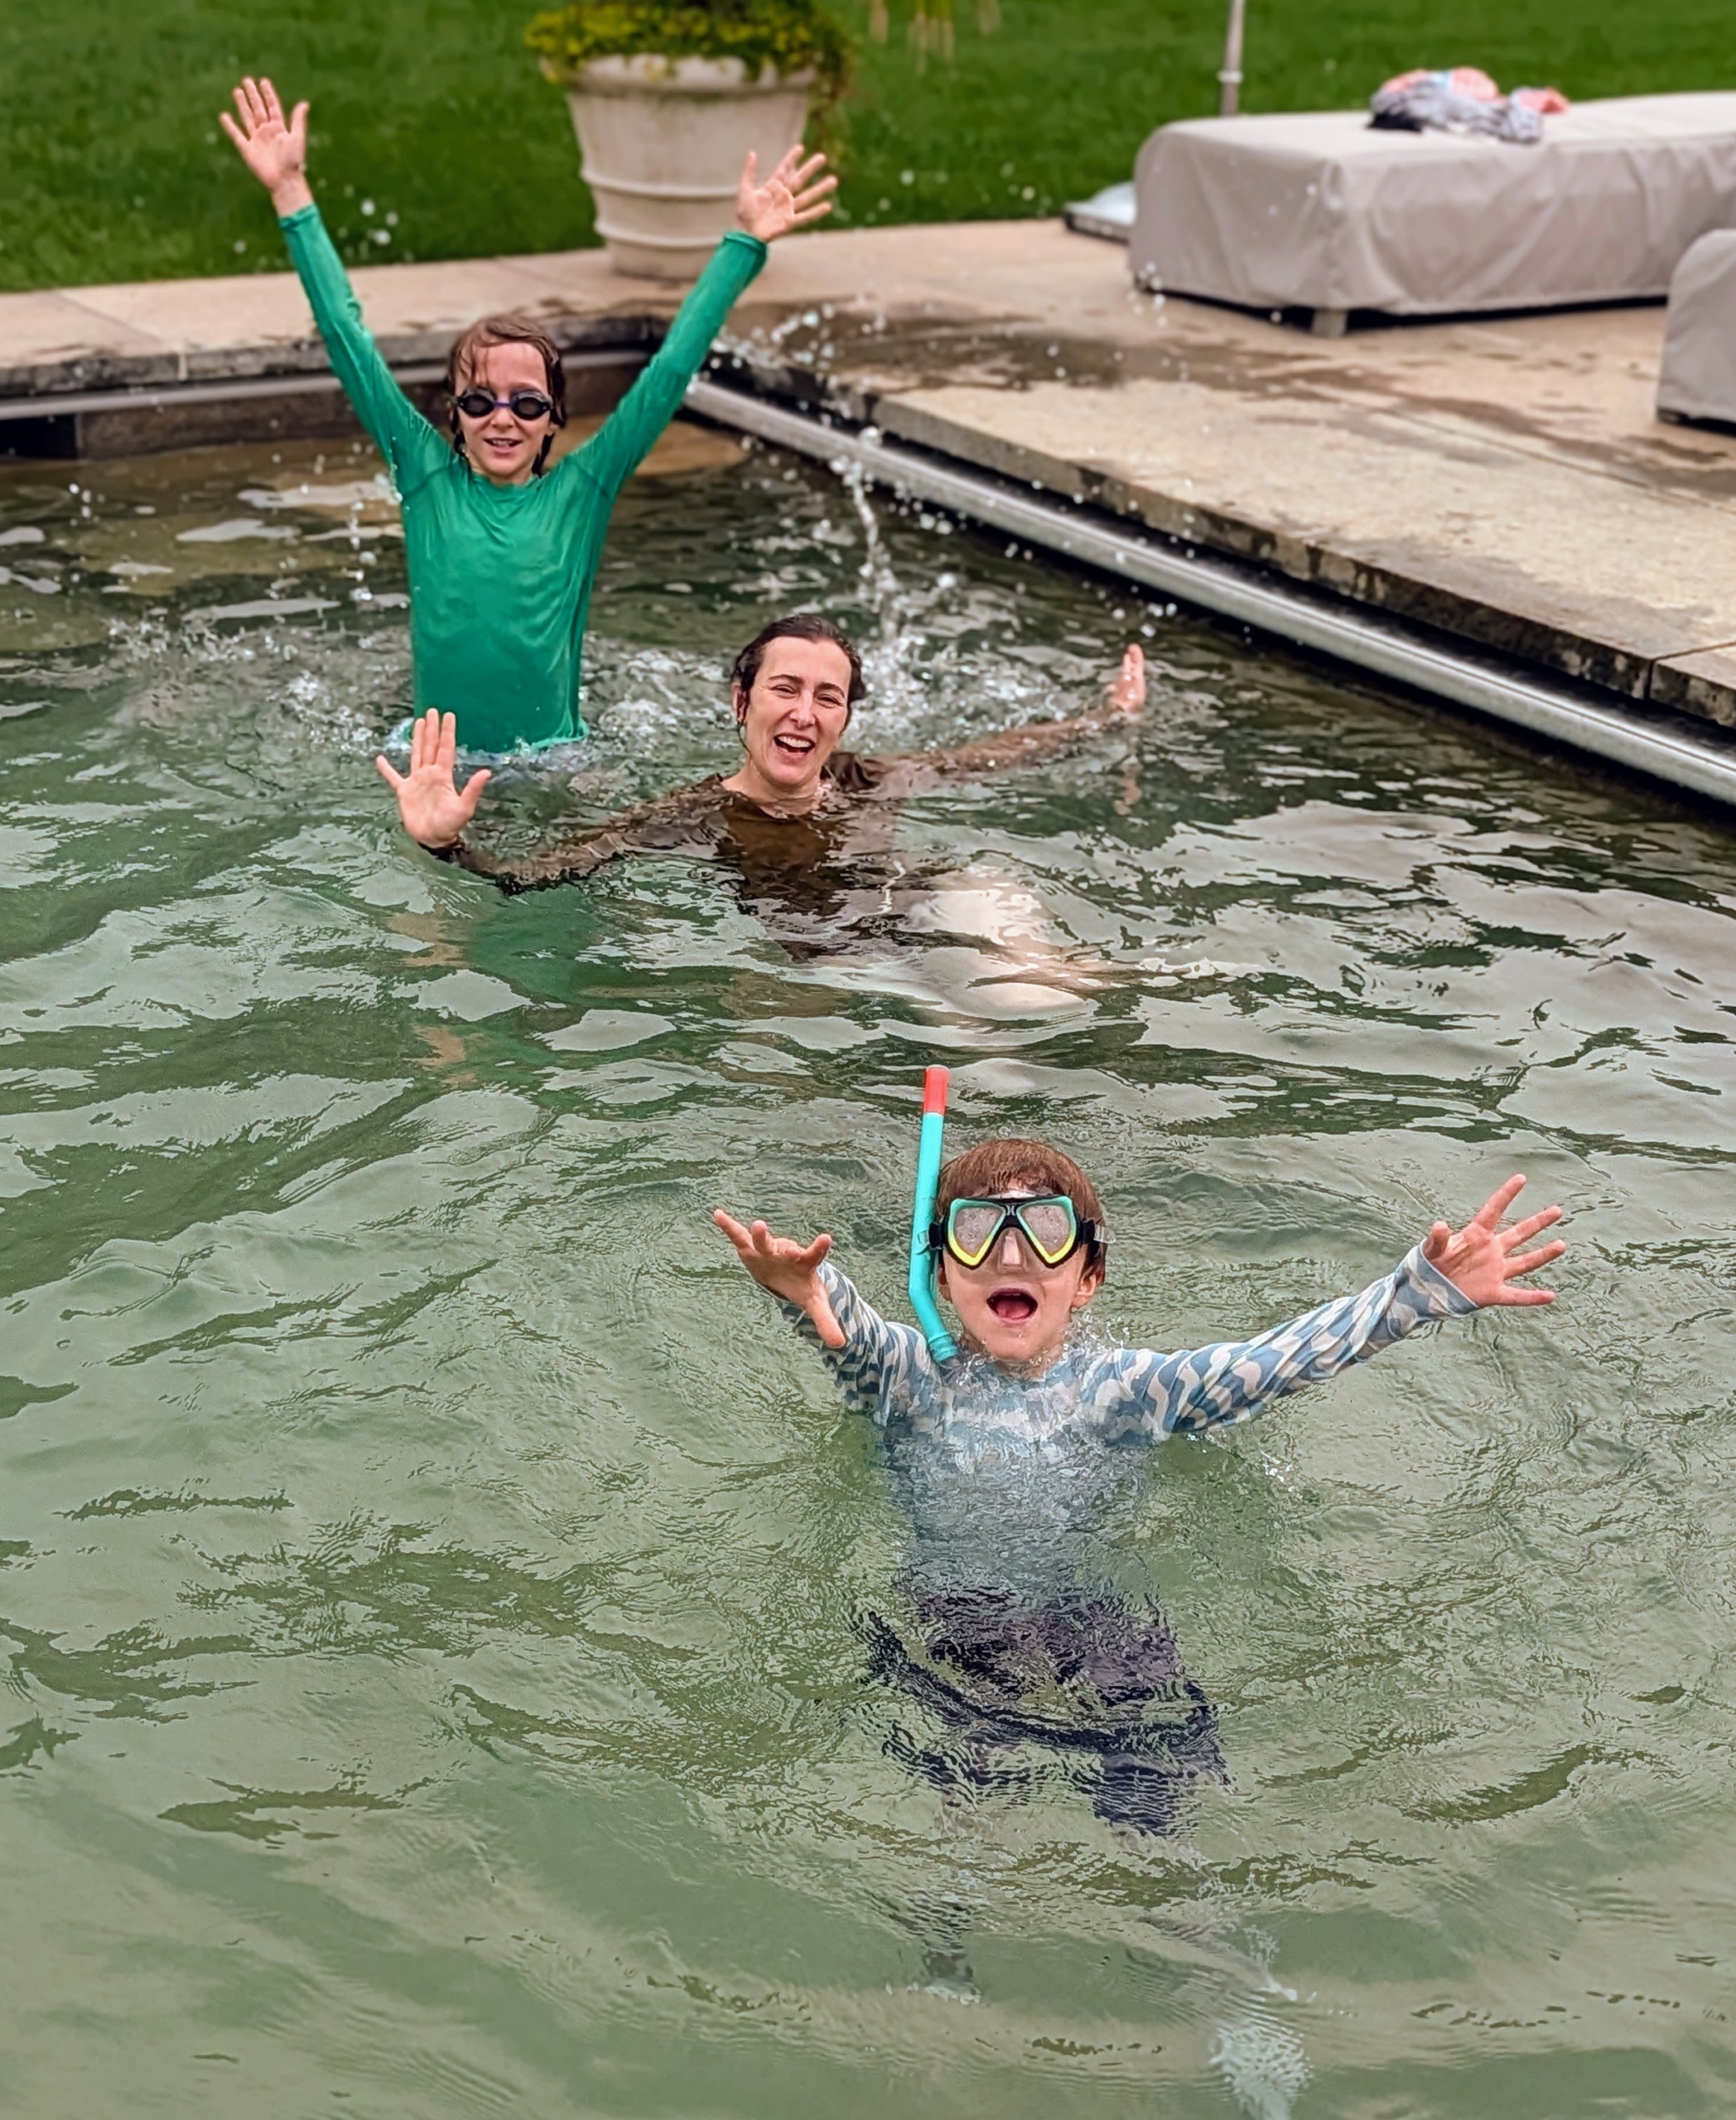
And look who came for a short swim at the farm? It’s my beautiful niece, Sophie Herbert Slater, and her wonderful children – Silas and Felix. Hope your summer is filled with fun gardening projects and good times with family and friends.
Clematis, often called the "Queen of Climbers," is one of the most elegant and spectacular flowering vines in the garden. It brings exceptional beauty to trellises, arbors, pergolas, and posts, covering them with an abundance of star-shaped blooms in shades of pink, white, blue, purple, red, and striking bicolors.
I have always loved clematis, and over the years I've grown many varieties of this remarkable vine. When I purchased my farm I built a long, winding pergola supported by antique granite uprights, where I could grow lots of clematis. Over time, I've continued adding new varieties. I've also planted them to climb some of the surrounding trees. Beginning in late spring, the vines burst into bloom, producing a magnificent display that continues throughout the summer.
Enjoy these photos.
Each pair of posts under my long pergola supports the same variety of clematis, but over the years, I’ve added others all in the same palette of colors – shades of pink, purple, white, and blue.
Clematis is a genus of about 300-species within the buttercup family Ranunculaceae. The name Clematis comes from the Greek word “klematis,” meaning vine.
Depending on the species, clematis can start blooming anywhere from late winter to early spring and then continue flowering through the summer and into early fall.
Most clematis leaves are pinnately compound and heart-shaped with a smooth to coarsely toothed margin. They also feature a pointed tip and a shallowly lobed cleft at the petiole.
Clematis is also known as traveller’s joy, virgin’s bower, leather flower, or vase vine. It’s also been called “Old Man’s Beard,” because of the long fluffy seed heads that look similar to an old man’s beard.
Clematis are native to China and Japan and are known to be vigorous, woody climbers.
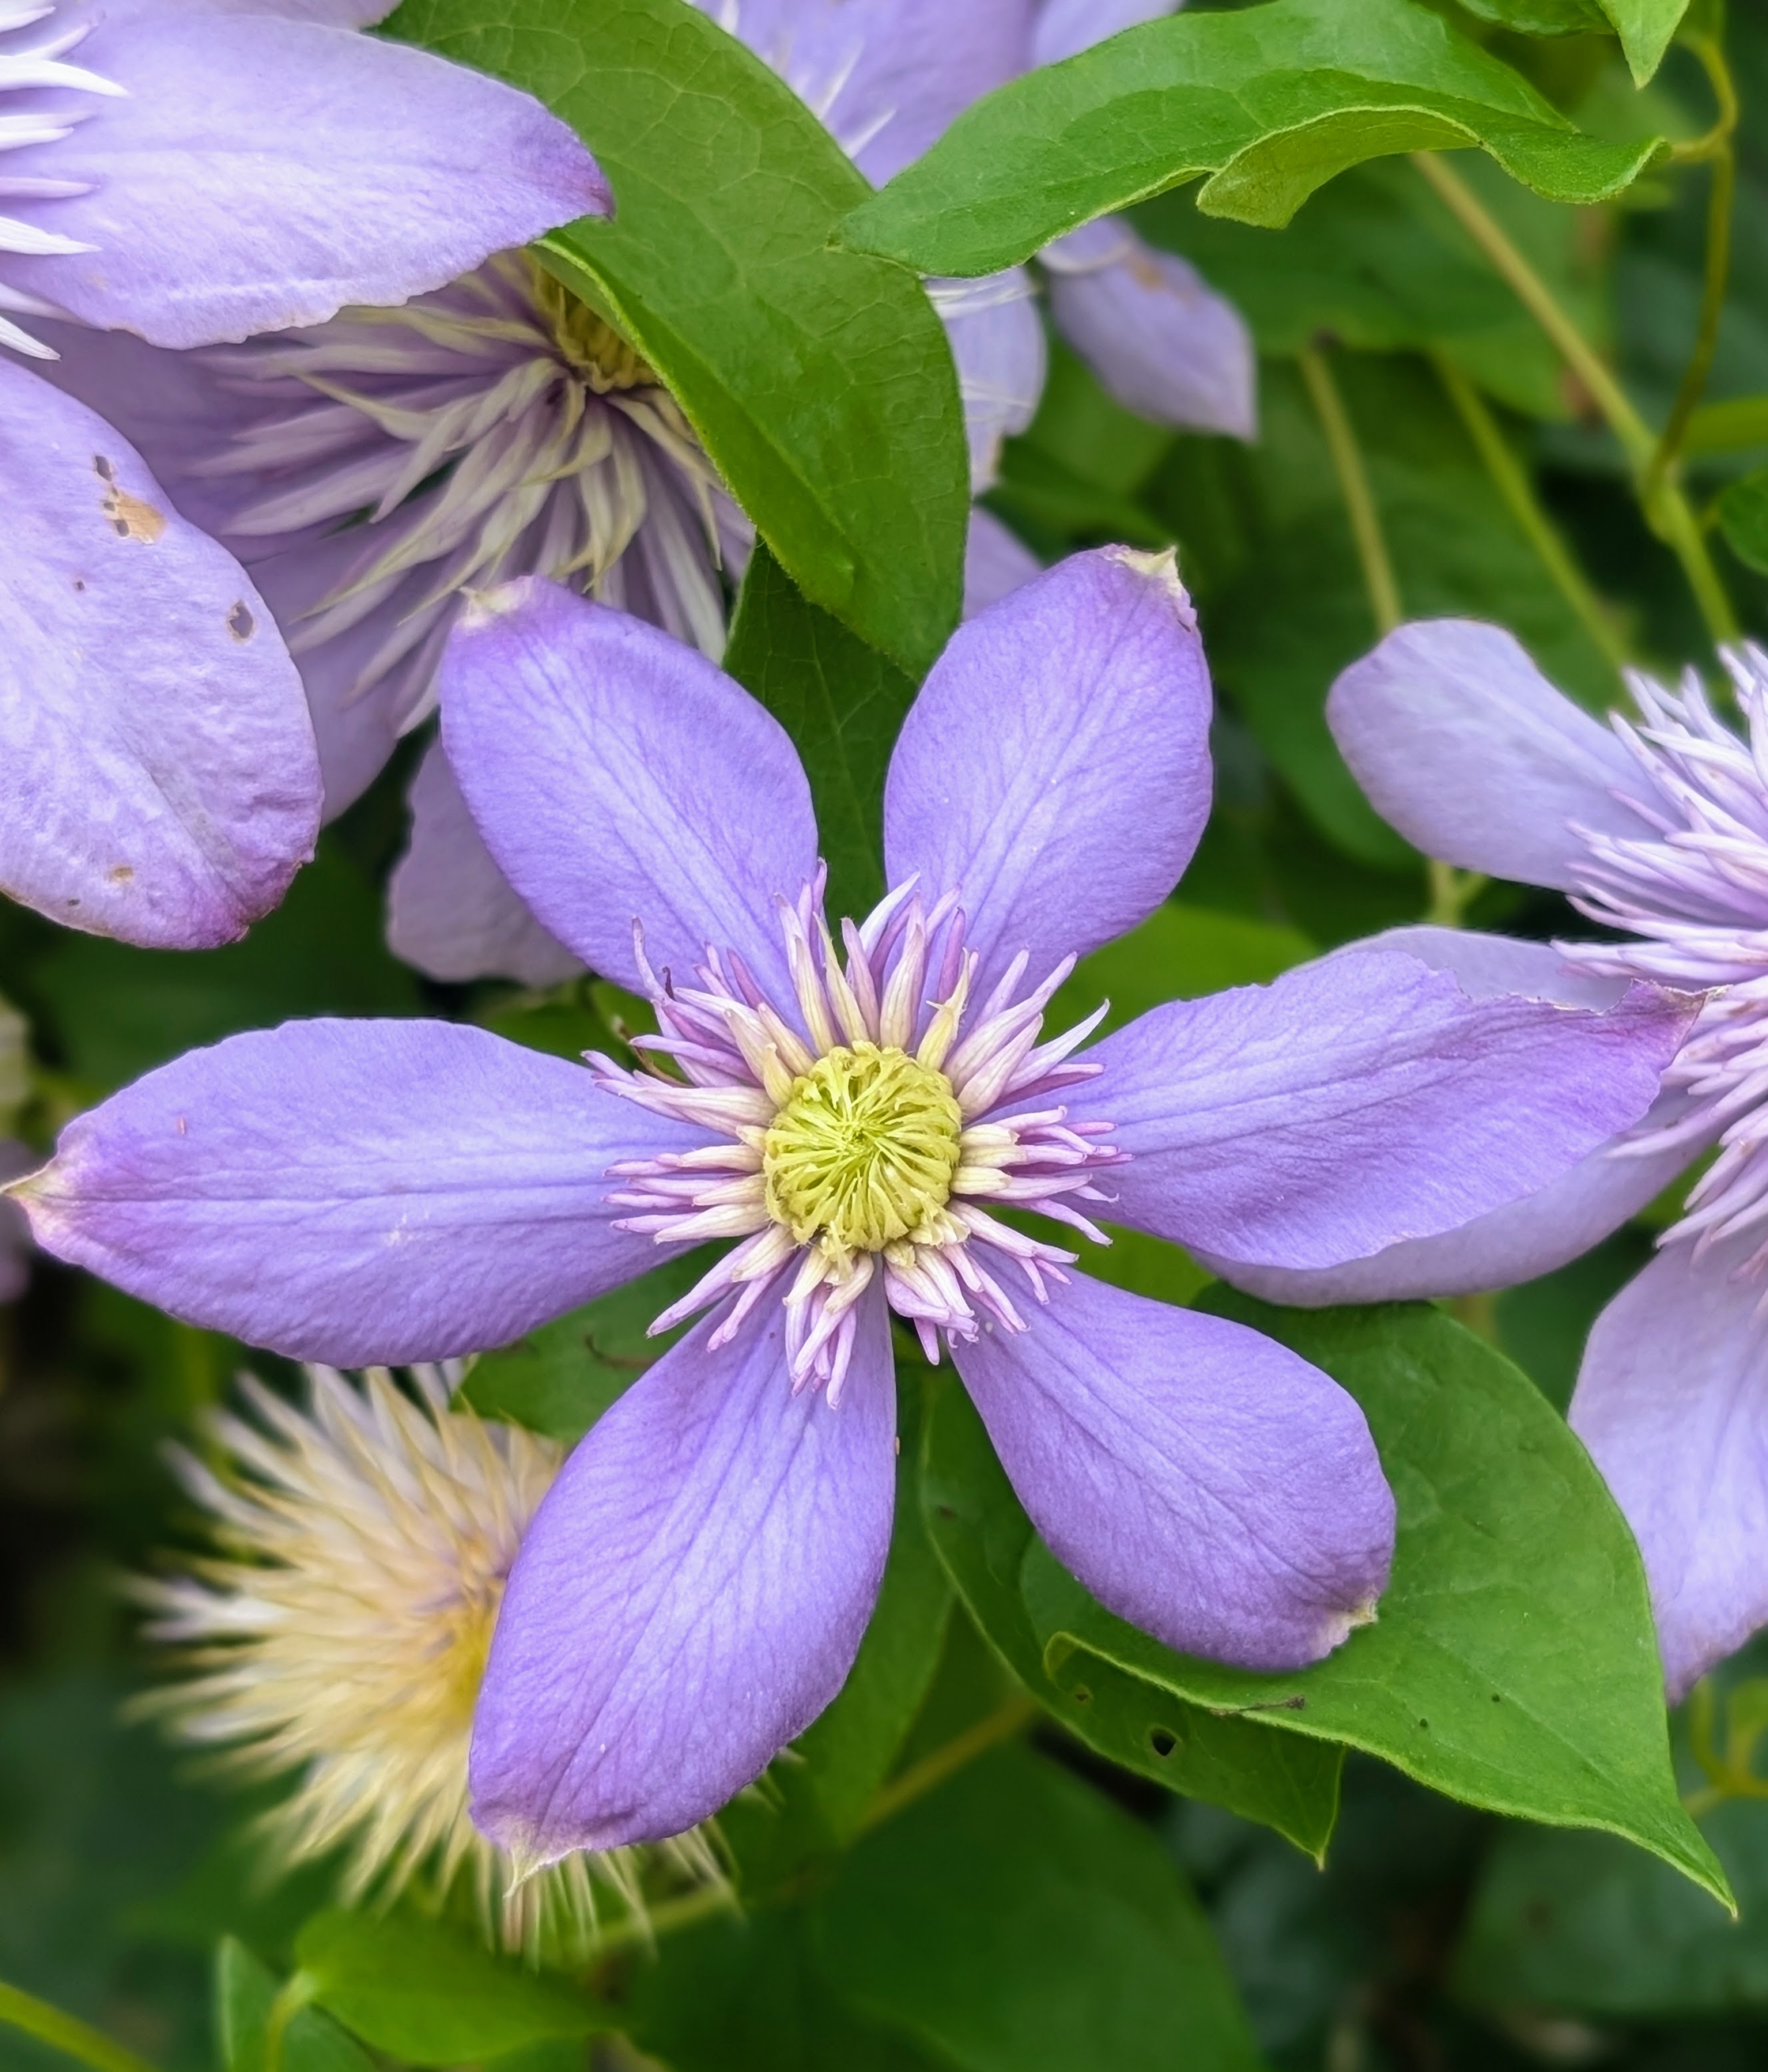
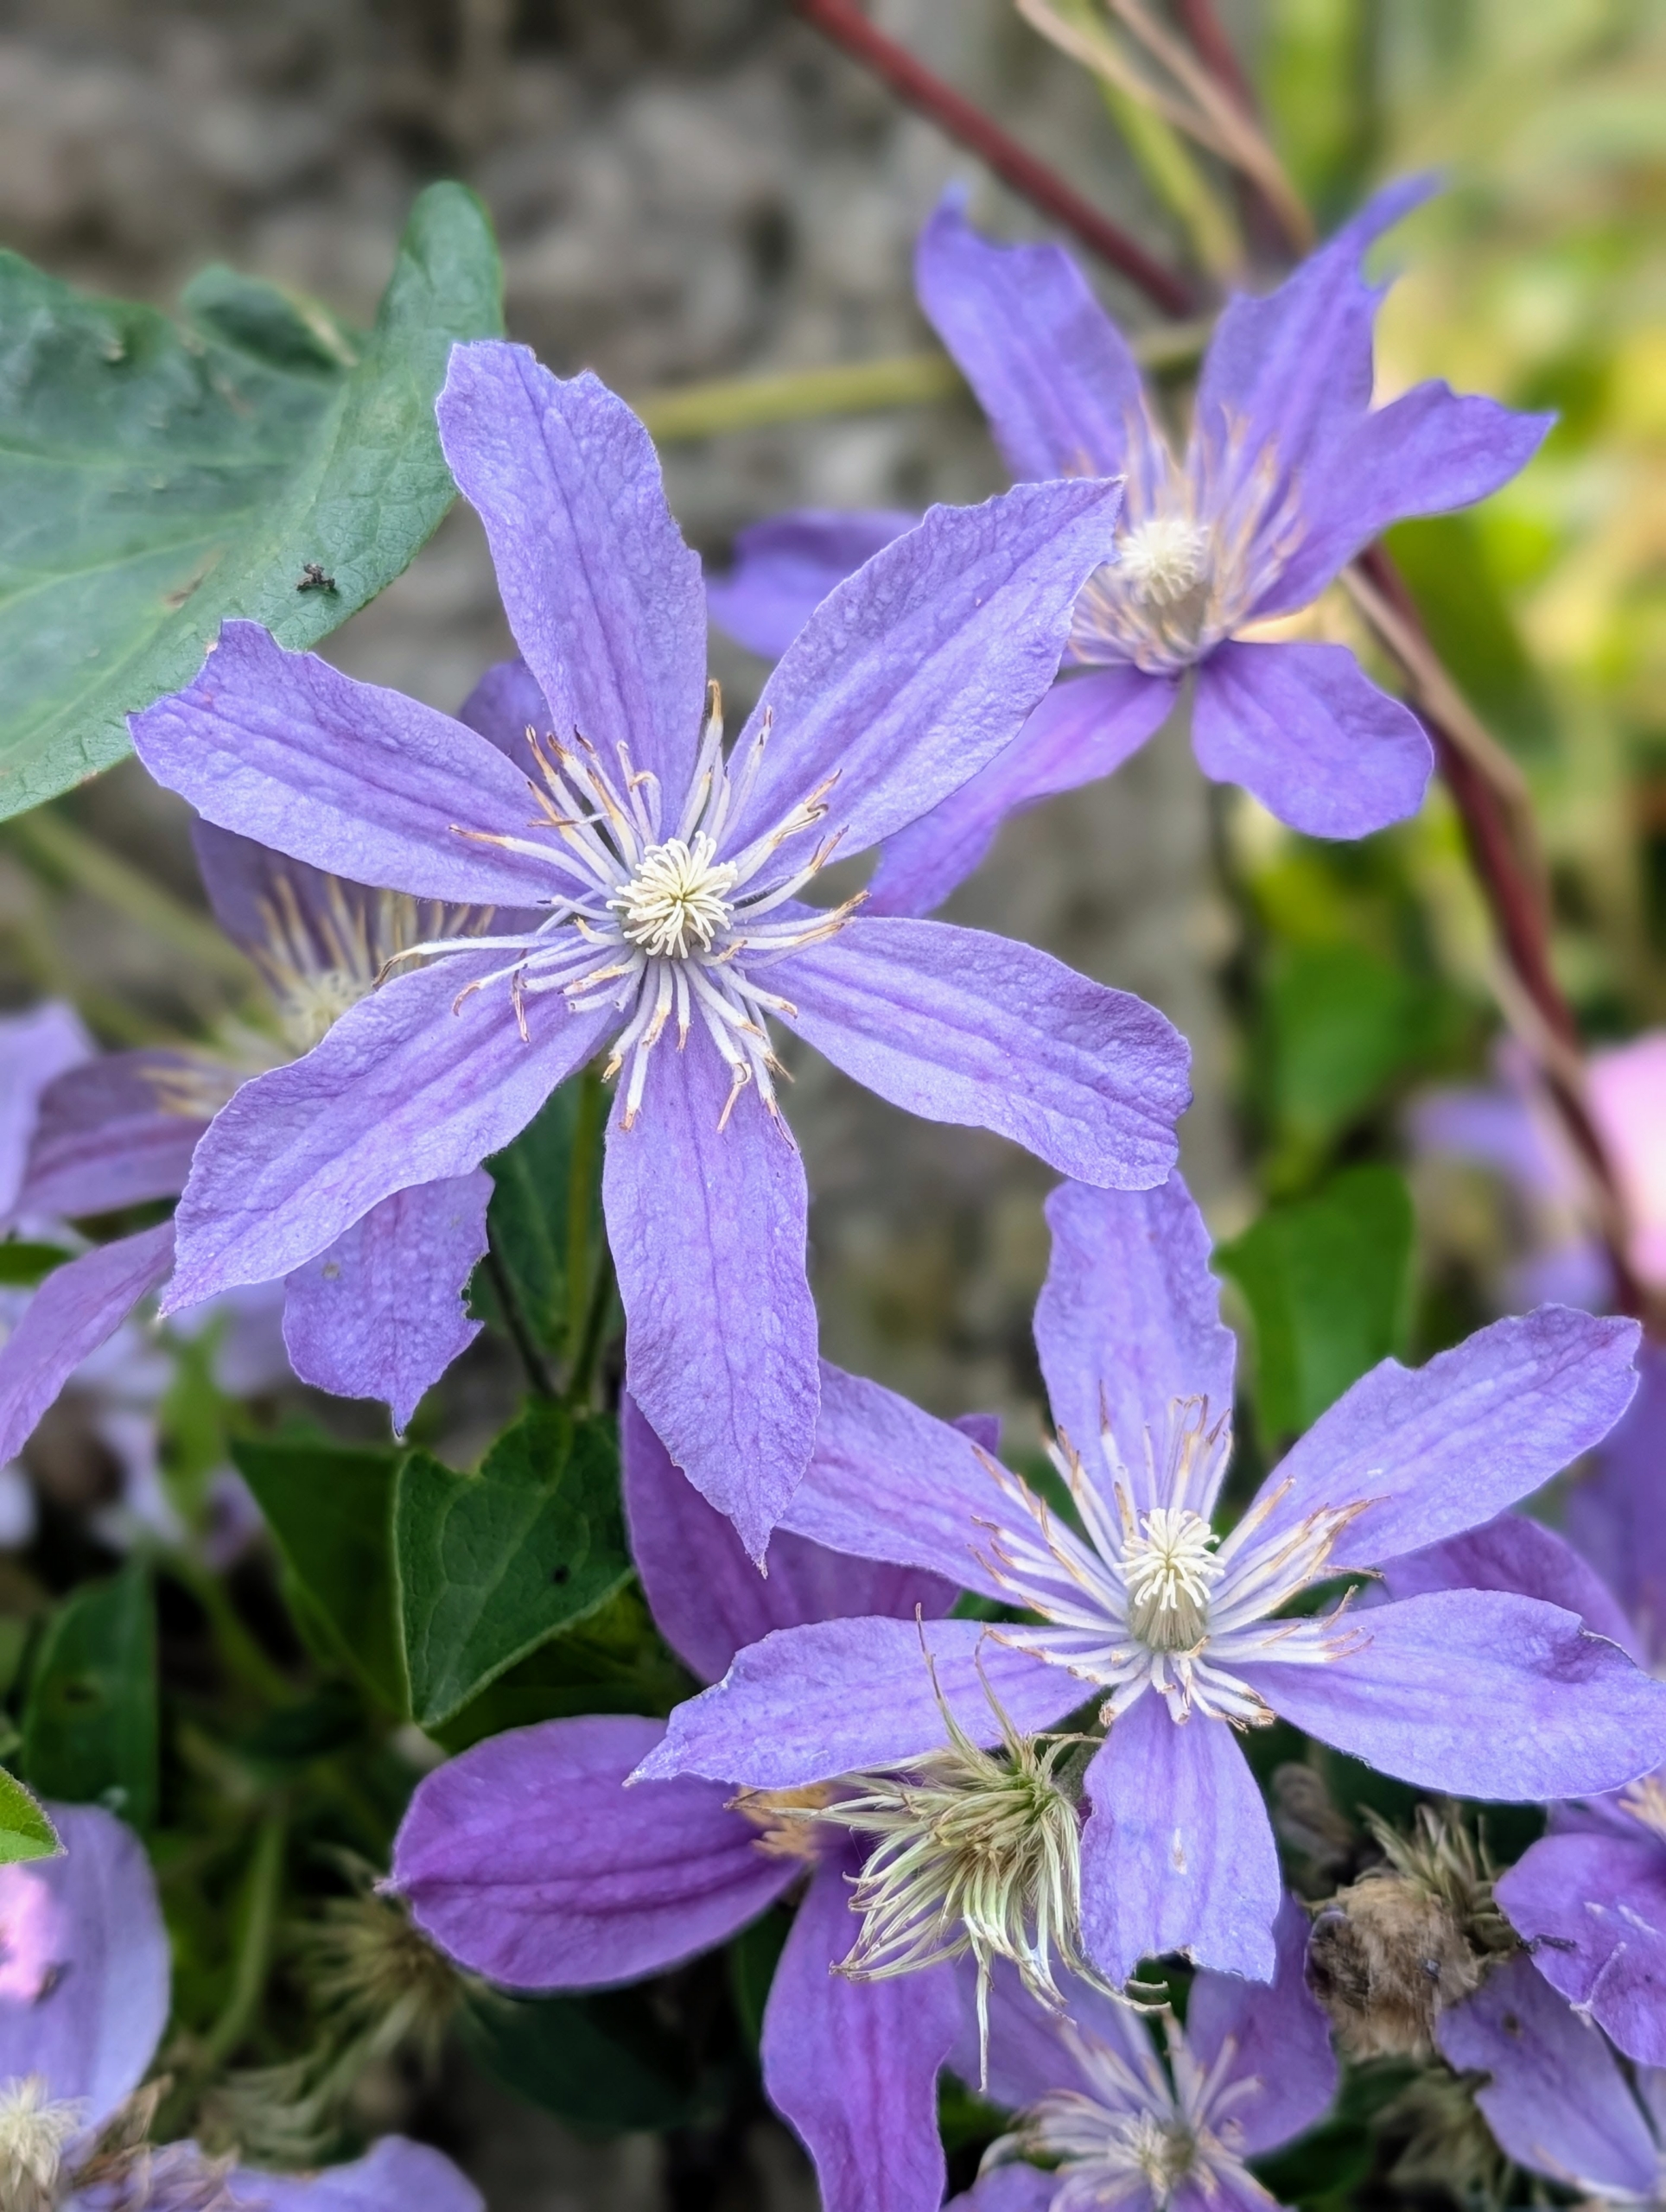
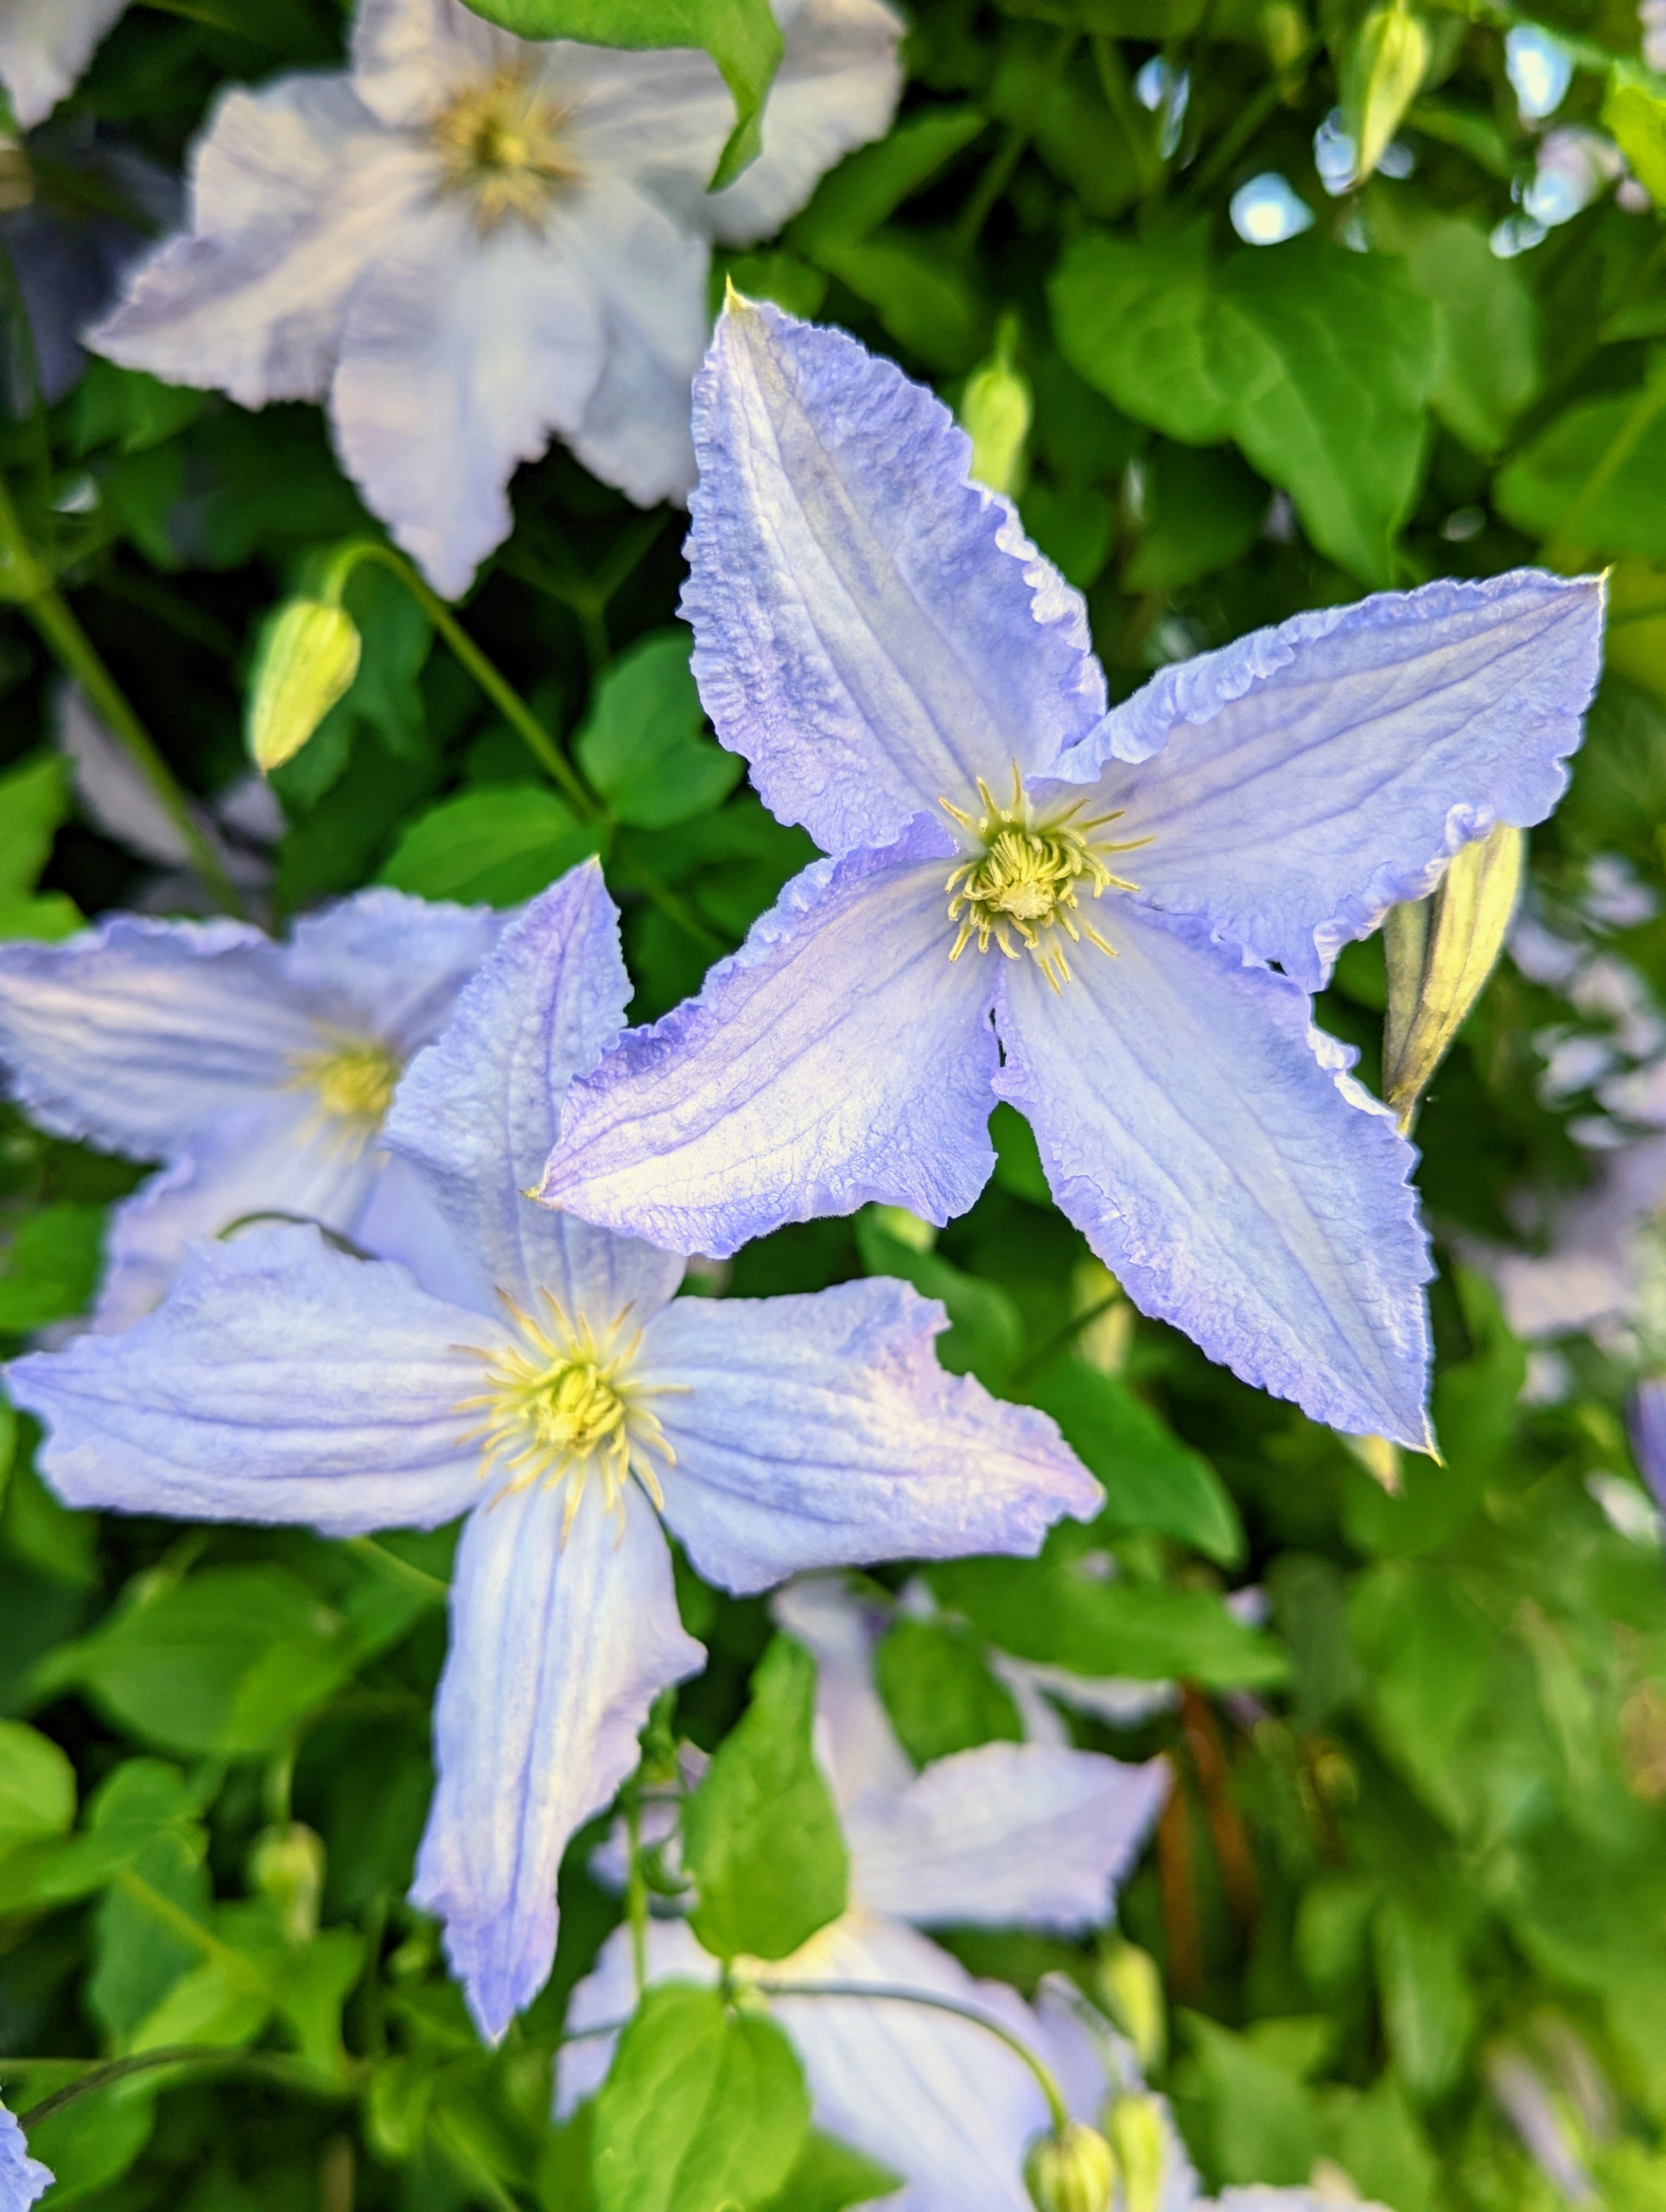
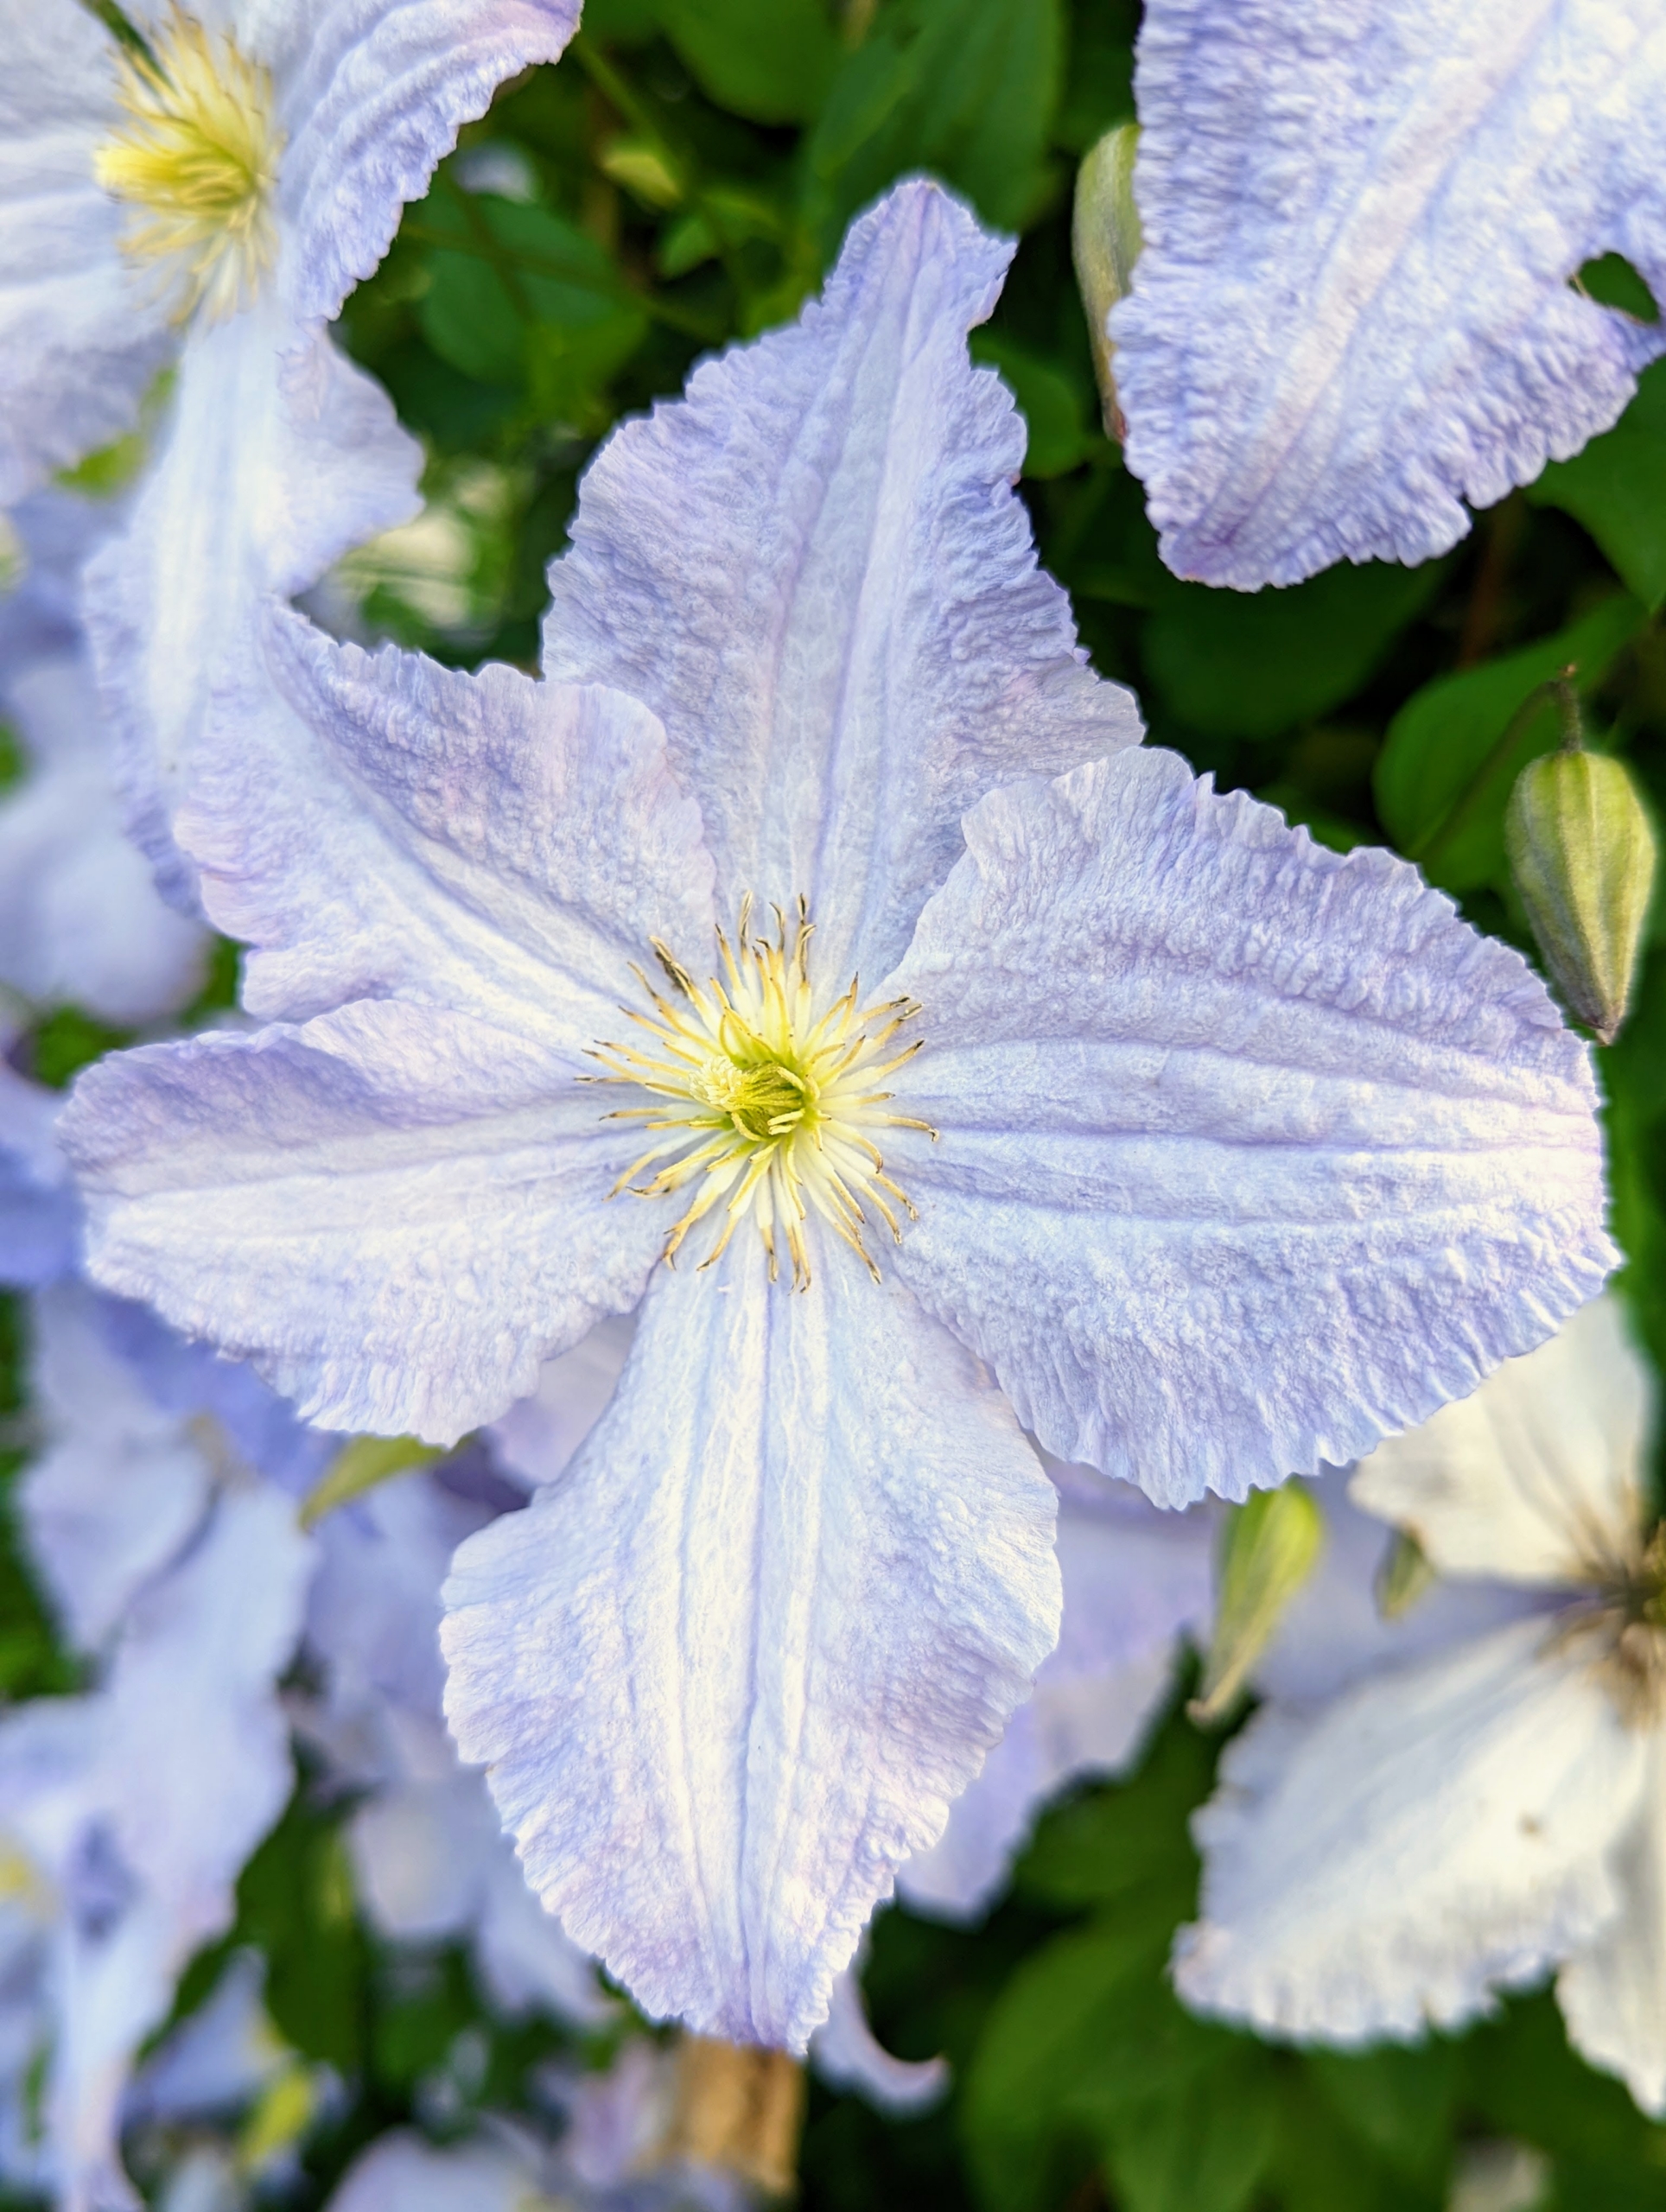
The standard clematis flower has six or seven petals, measuring five to six inches across. Colors range from lavender to deep purple, white to wine red, and even a few in yellow.
Many clematis are lightly scented. Flowers vary in shape and sizes. They can be flat, tubular or bell-shaped and can be as small as one-inch wide.
Some clematis cultivars will bloom in partial shade, but to really thrive, they need at least six-hours of sun each day. Just think, “head in the sun, feet in the shade.” The vines like sun, but cool, moist soil.
The soil should also be loose and neutral in pH. I enrich my soil with compost regularly.
And be mindful where it is planted. The clematis plant is toxic to people, dogs, cats, and horses and can cause skin irritation in humans.
Some of the clematis varieties grown here include ‘Parisienne,’ ‘Blue Angel,’ ‘Jackmanii,’ ‘Sapphire Indigo,’ ‘Arabella,’ ‘Contessa de Bouchard,’ and ‘Eyers Gift.’
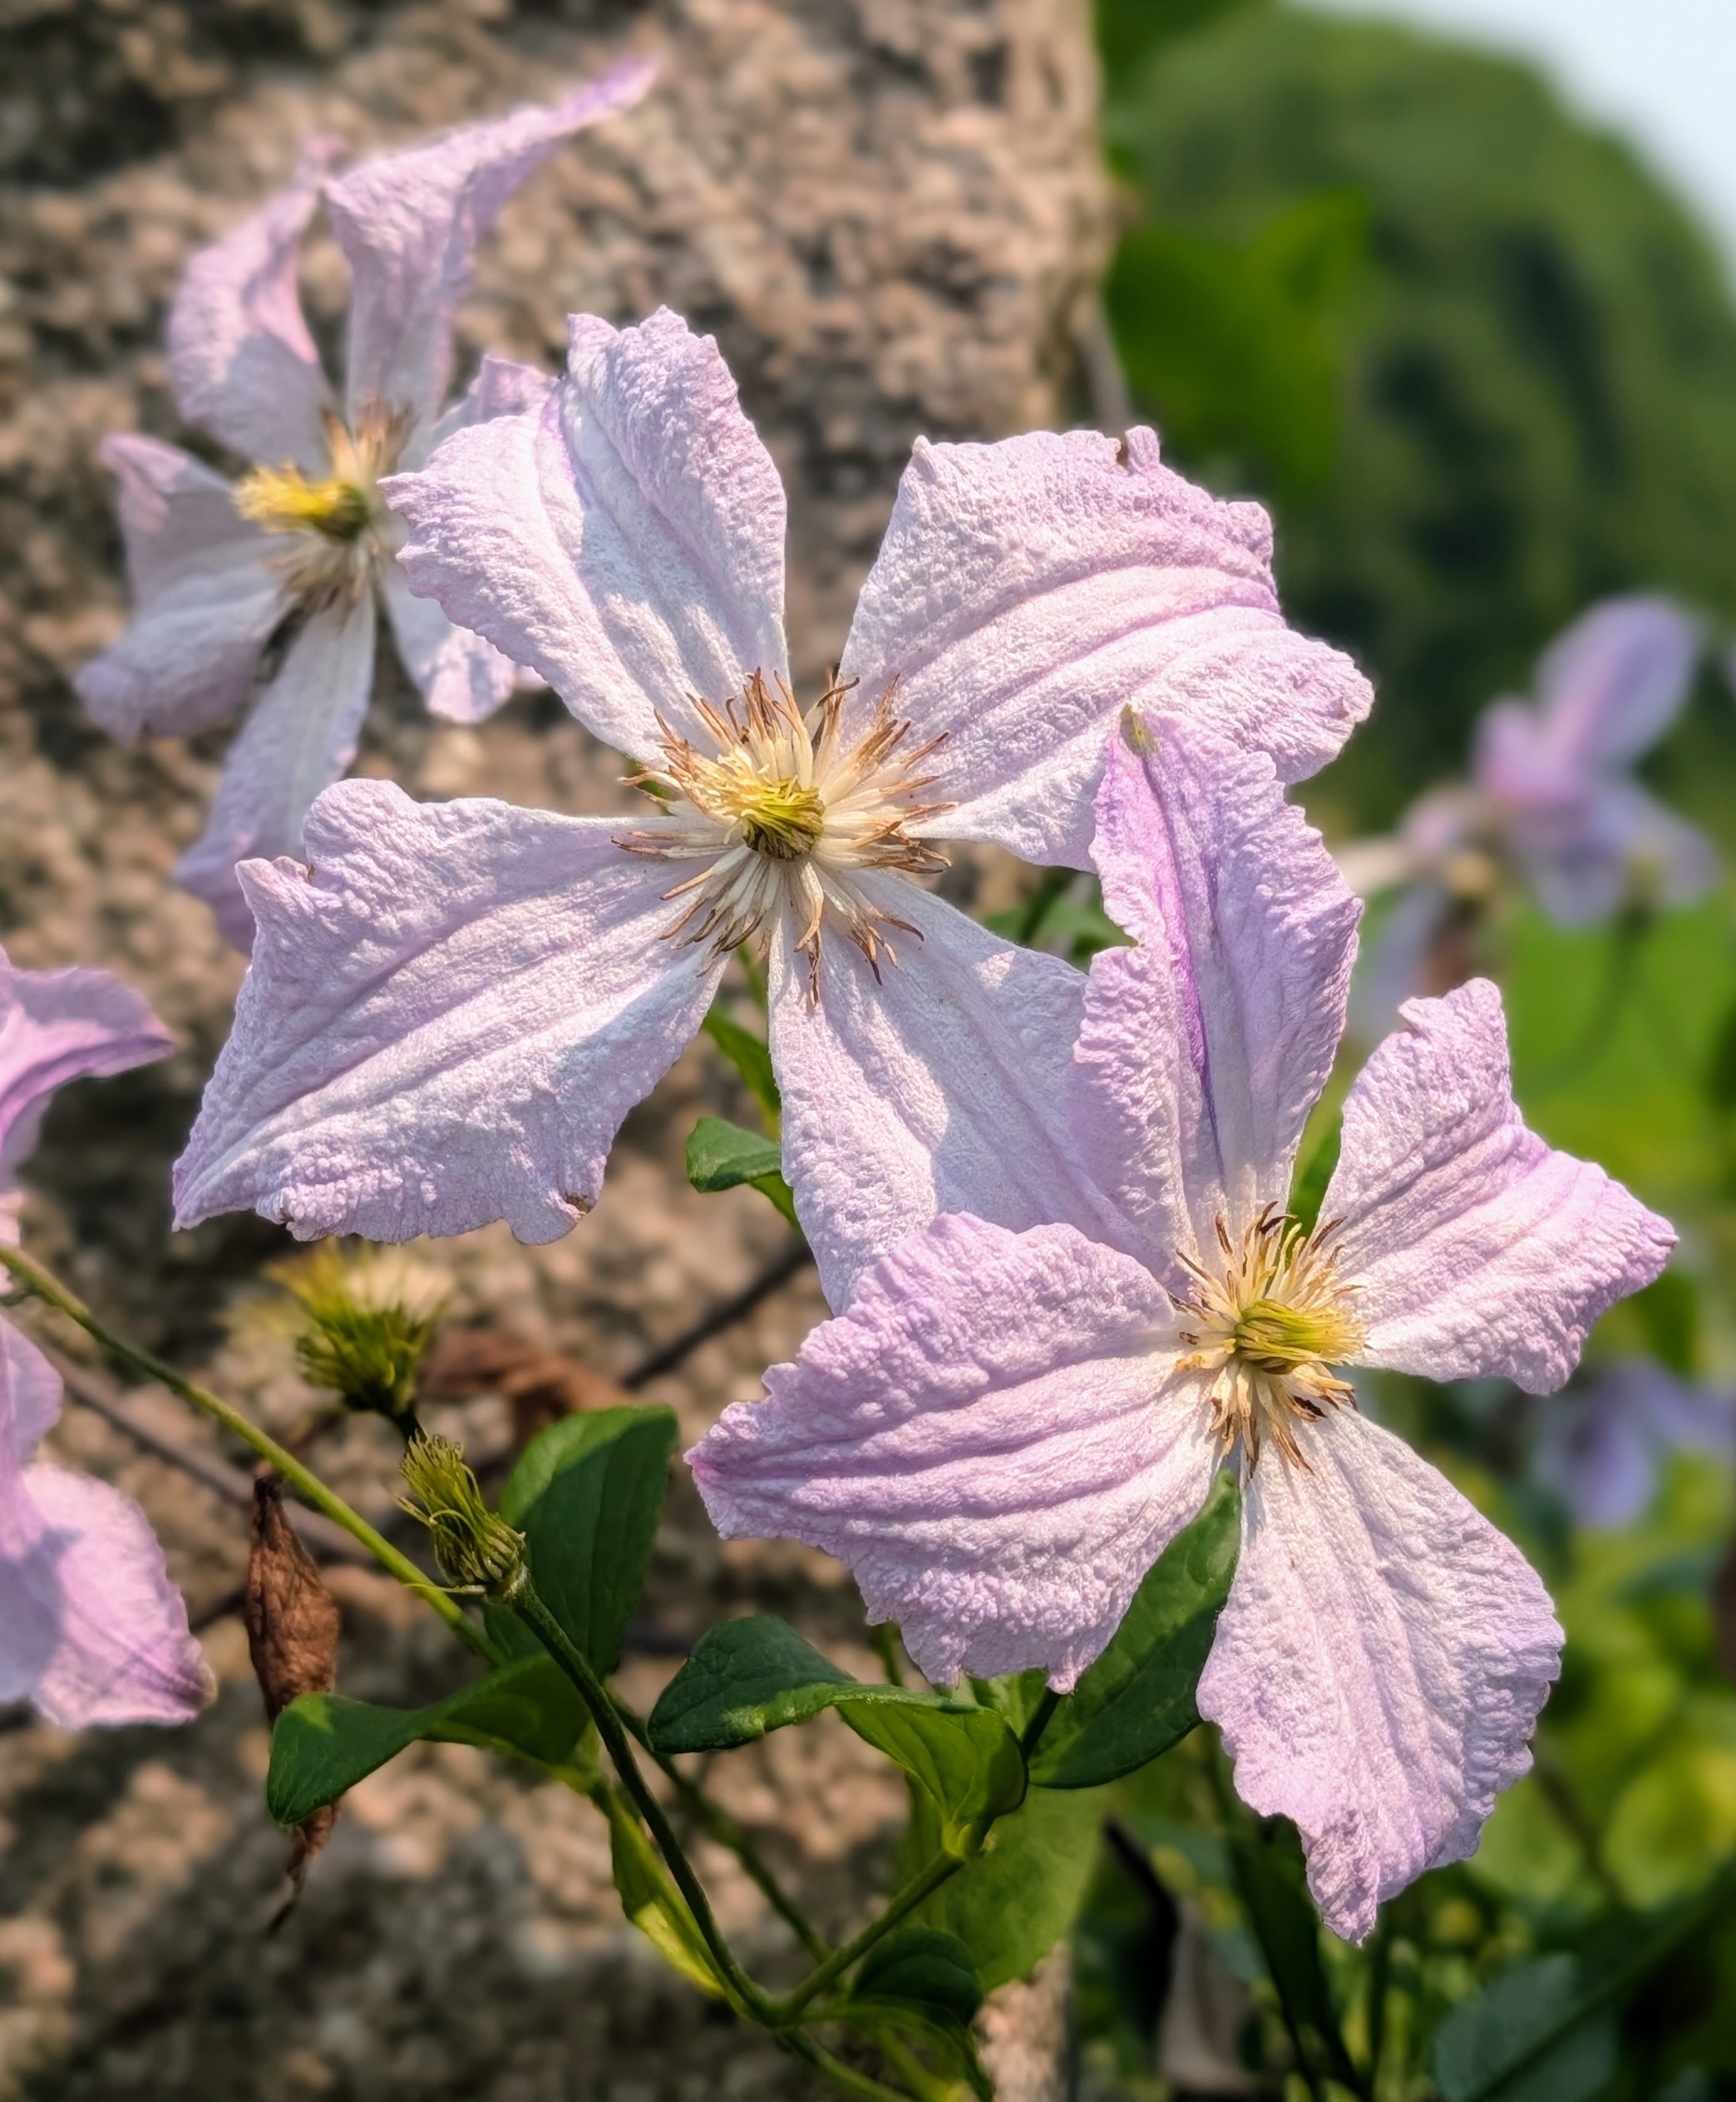
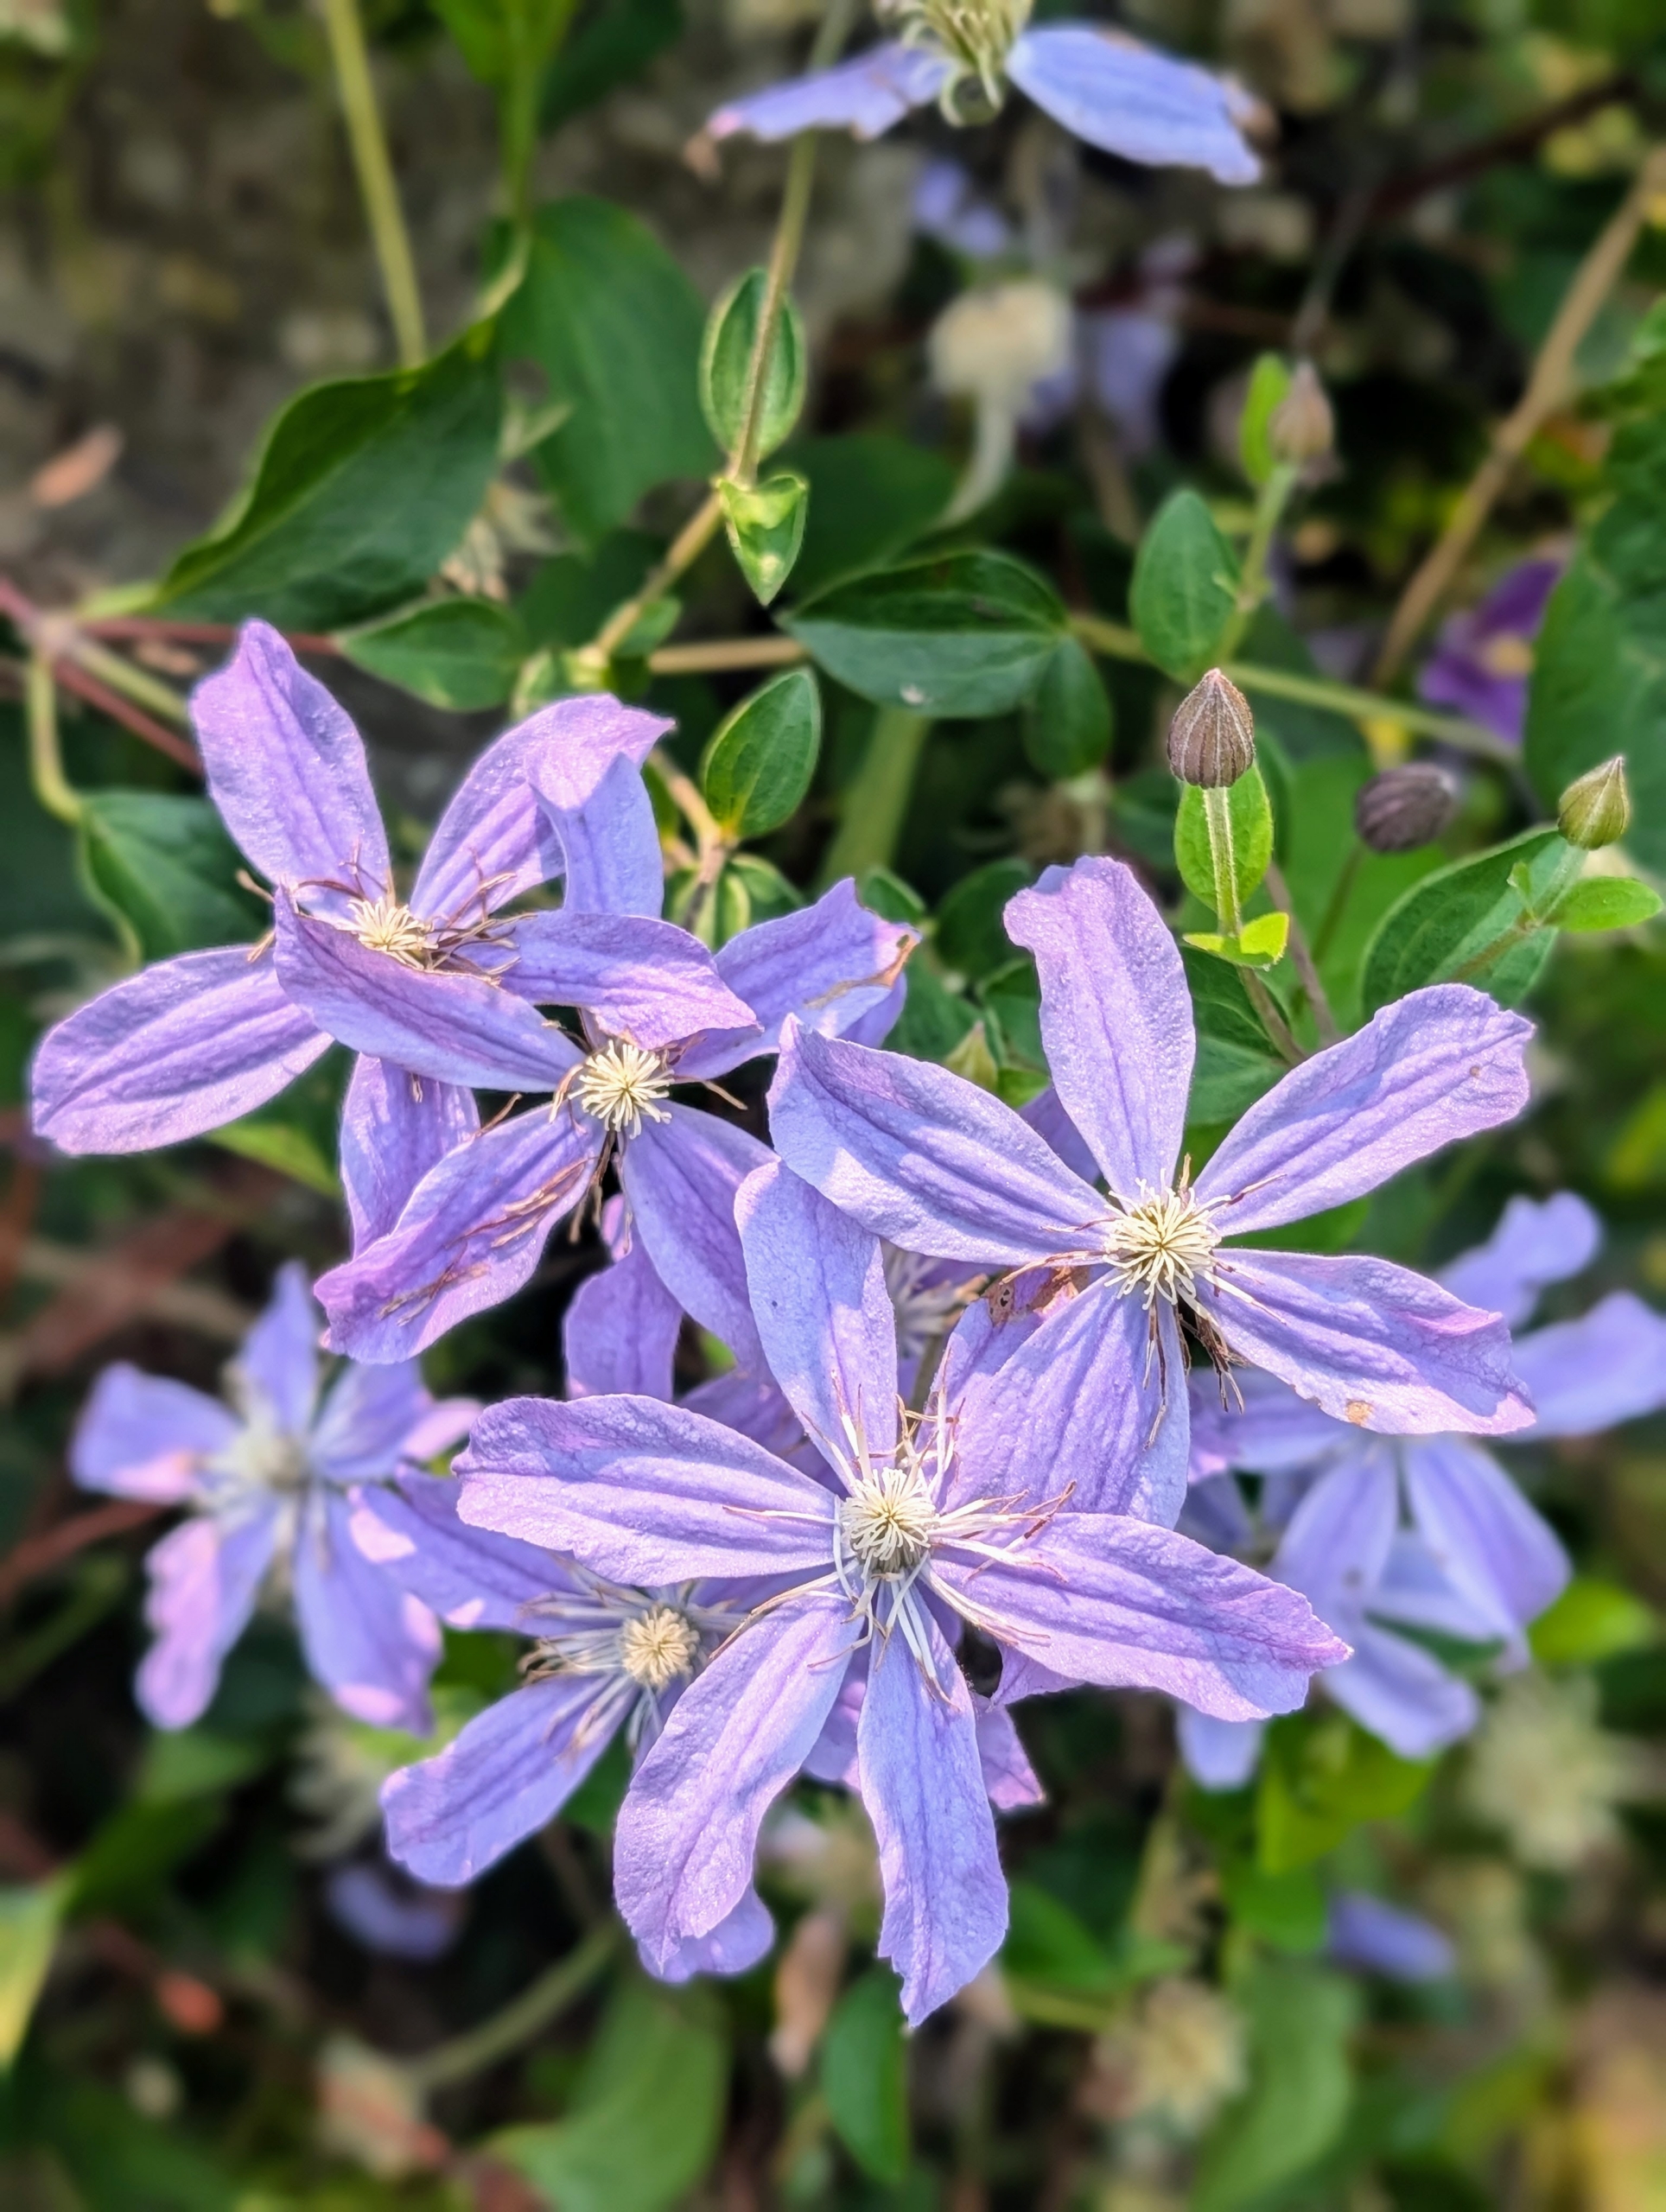
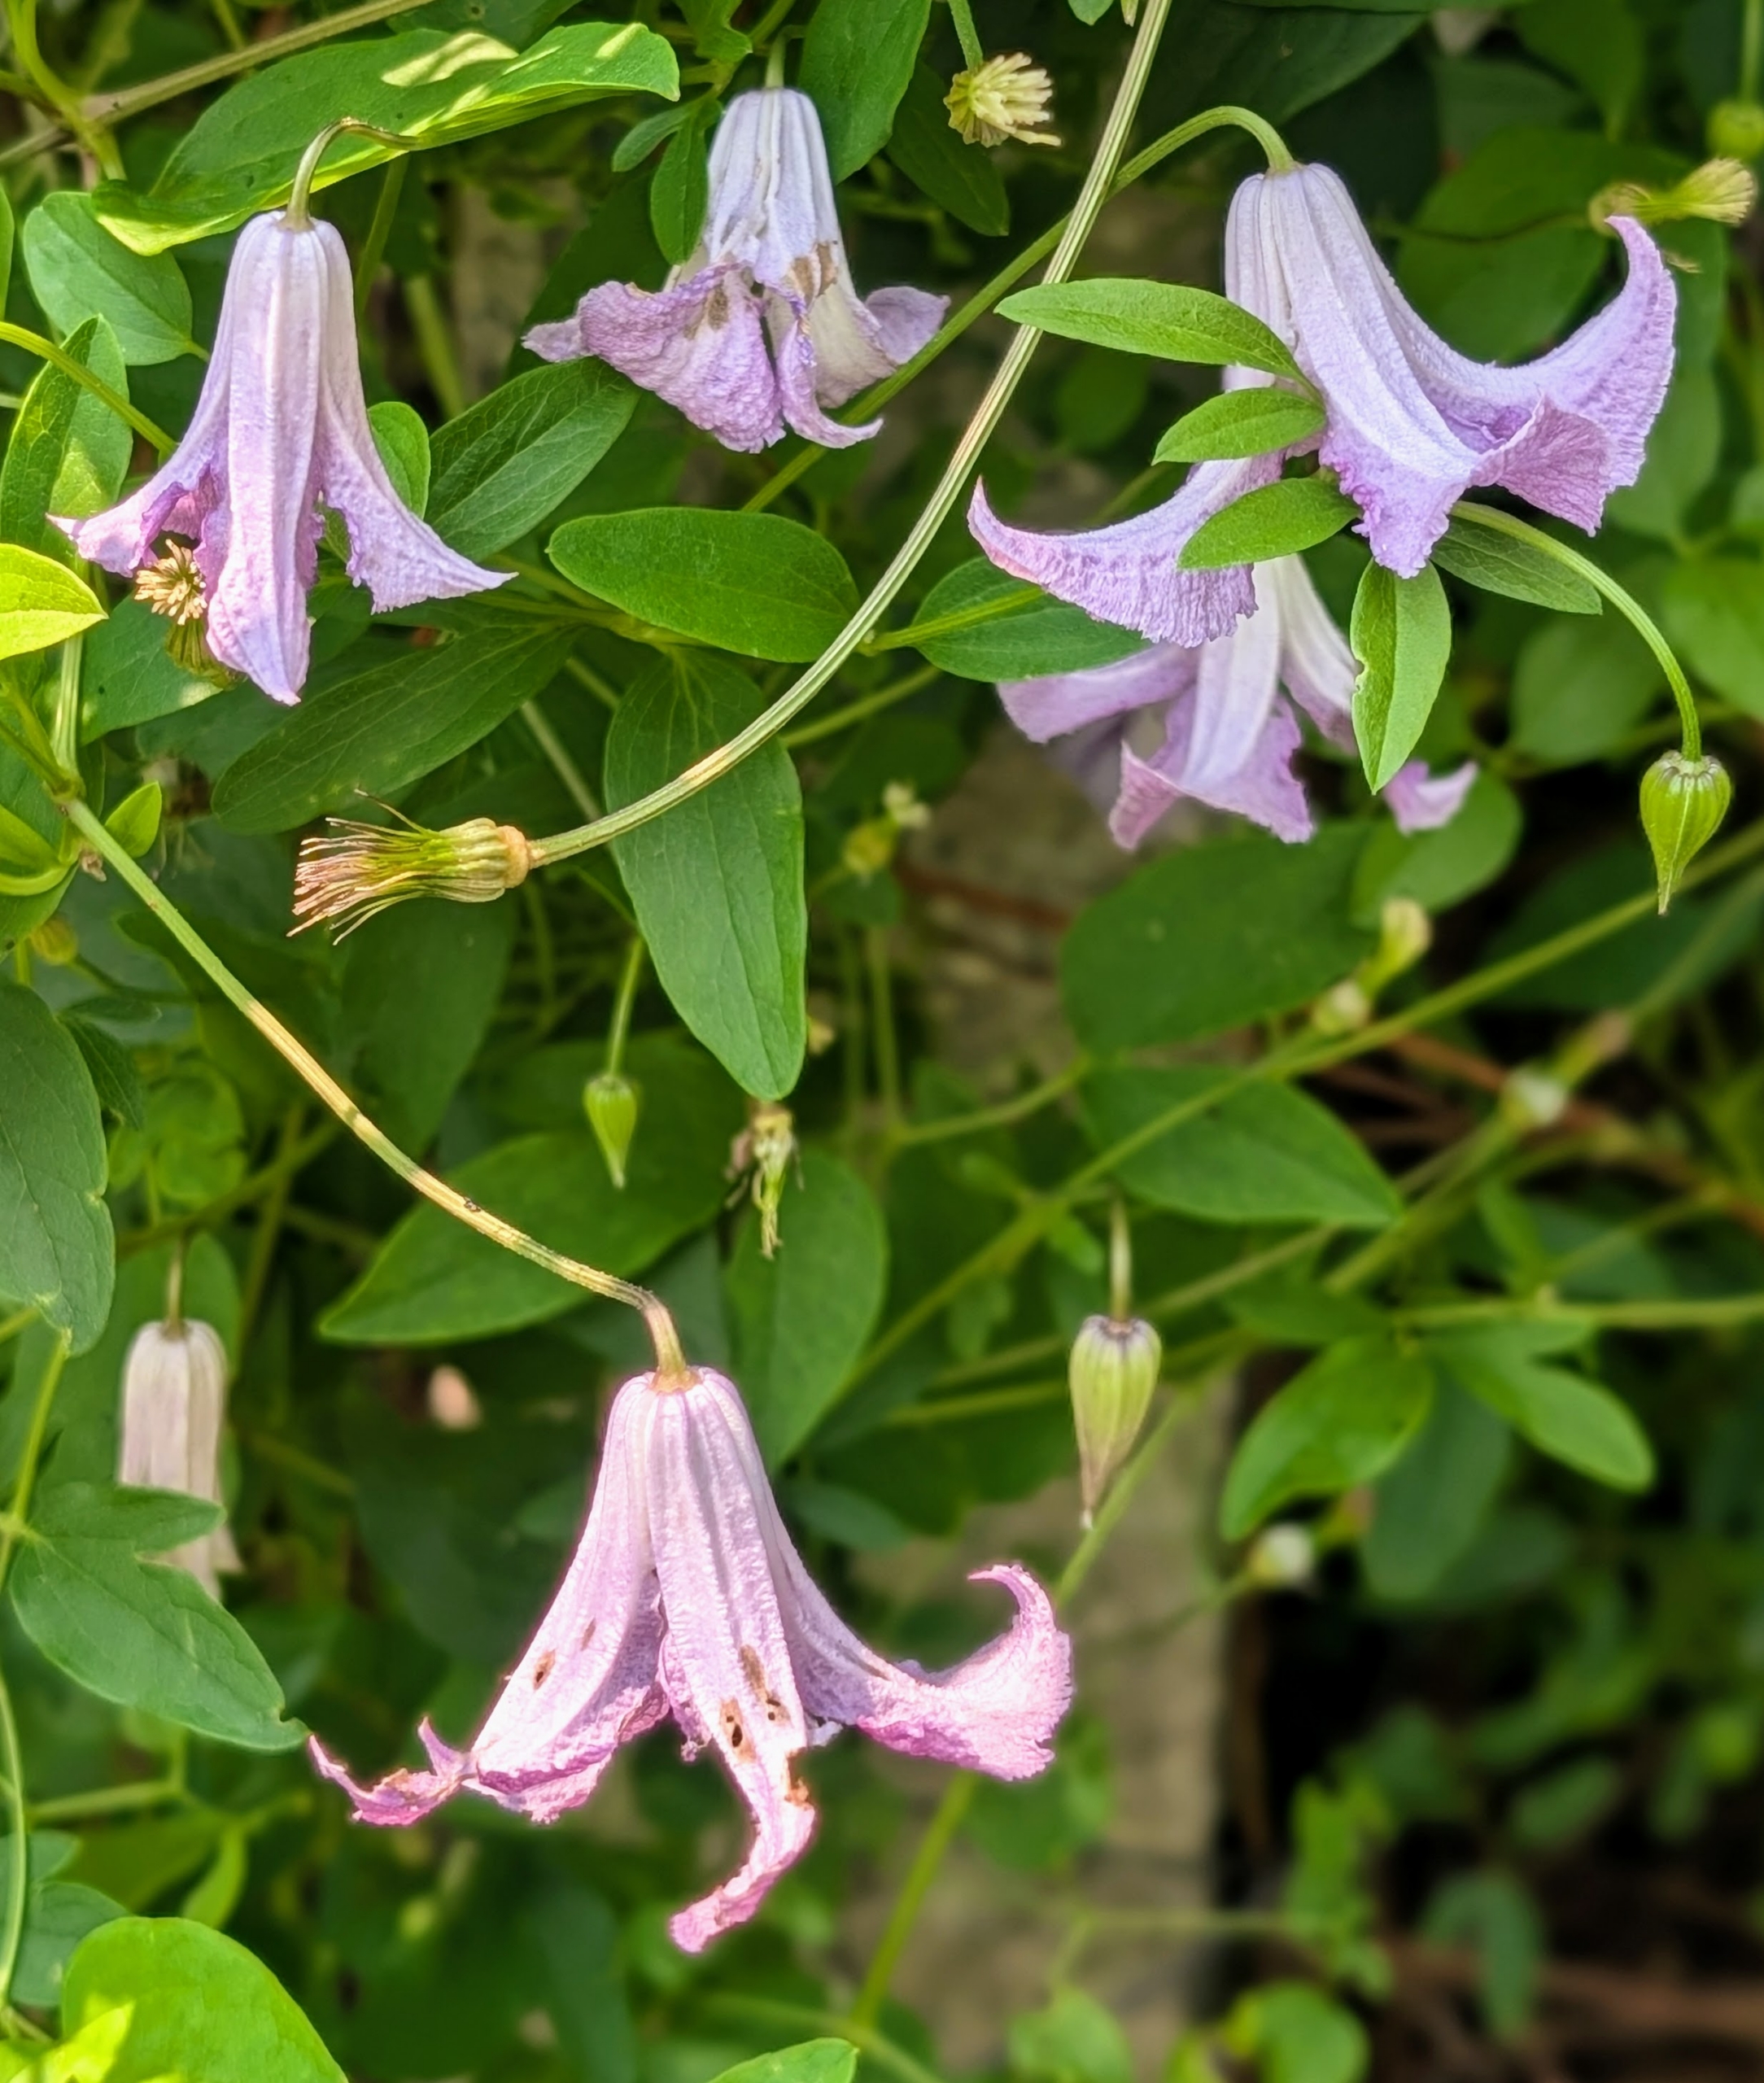
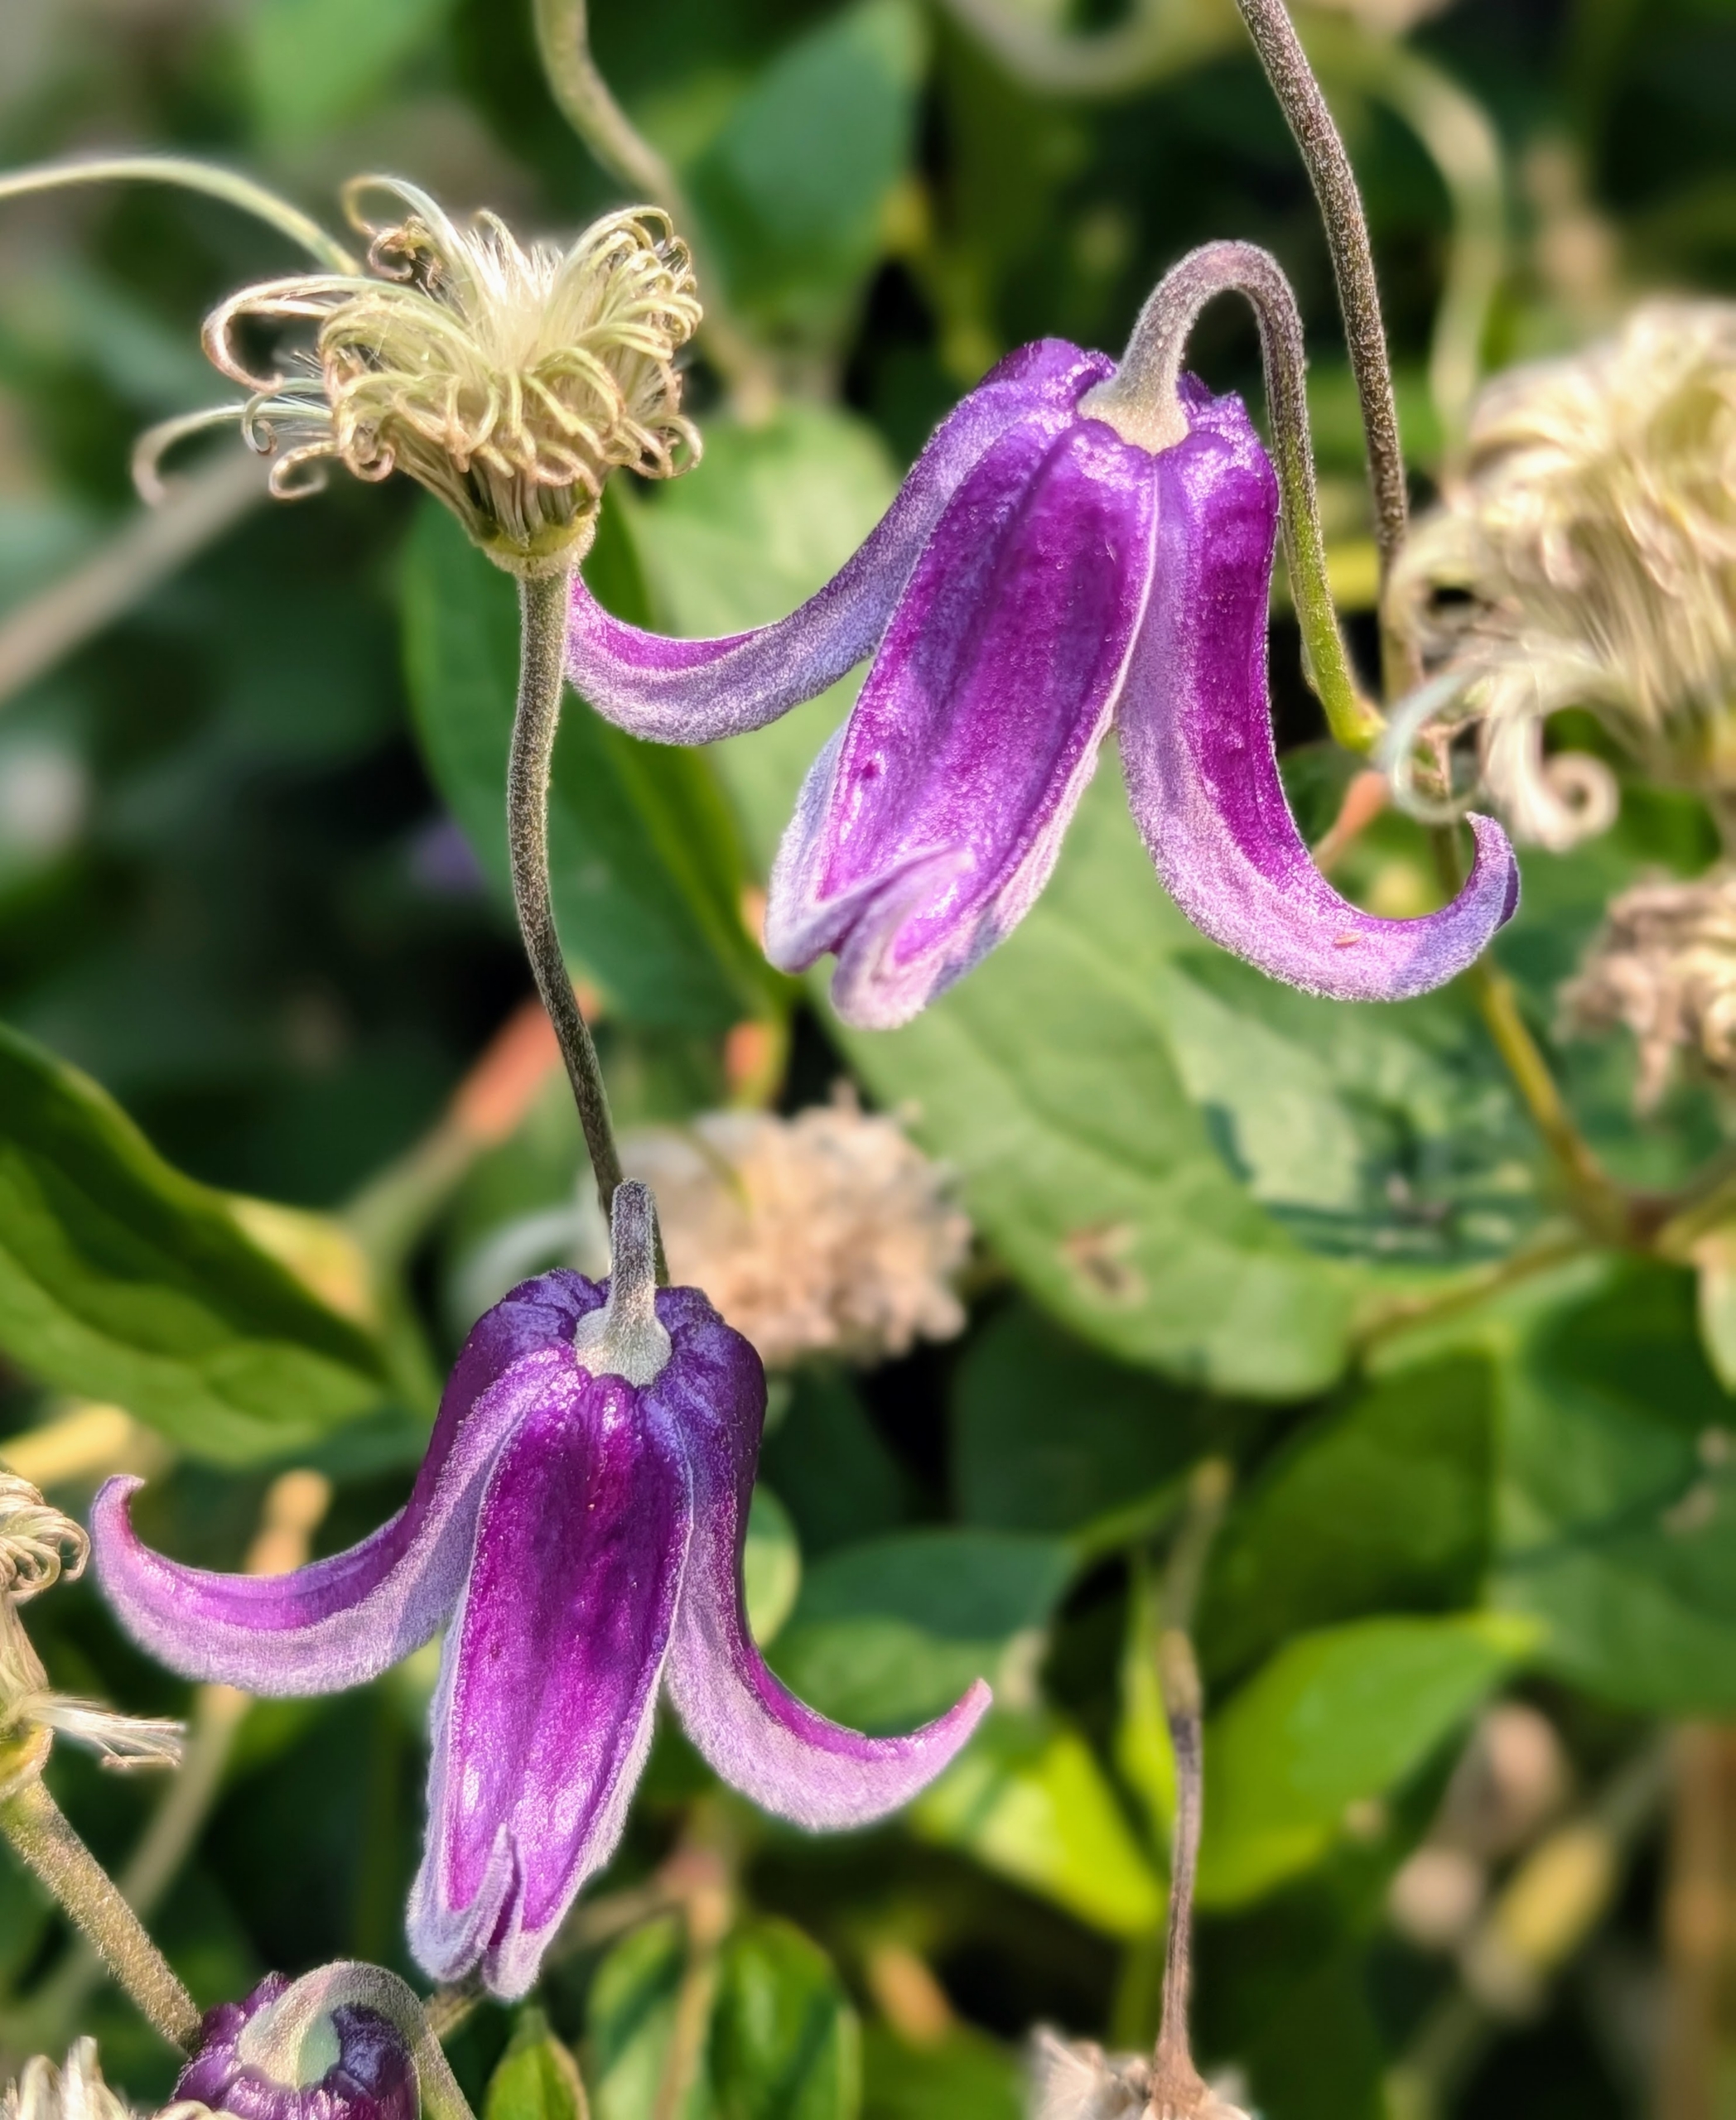
This is Clematis viticella ‘Betty Corning’, which has slightly fragrant, bell-shaped flowers that bloom from summer to fall.
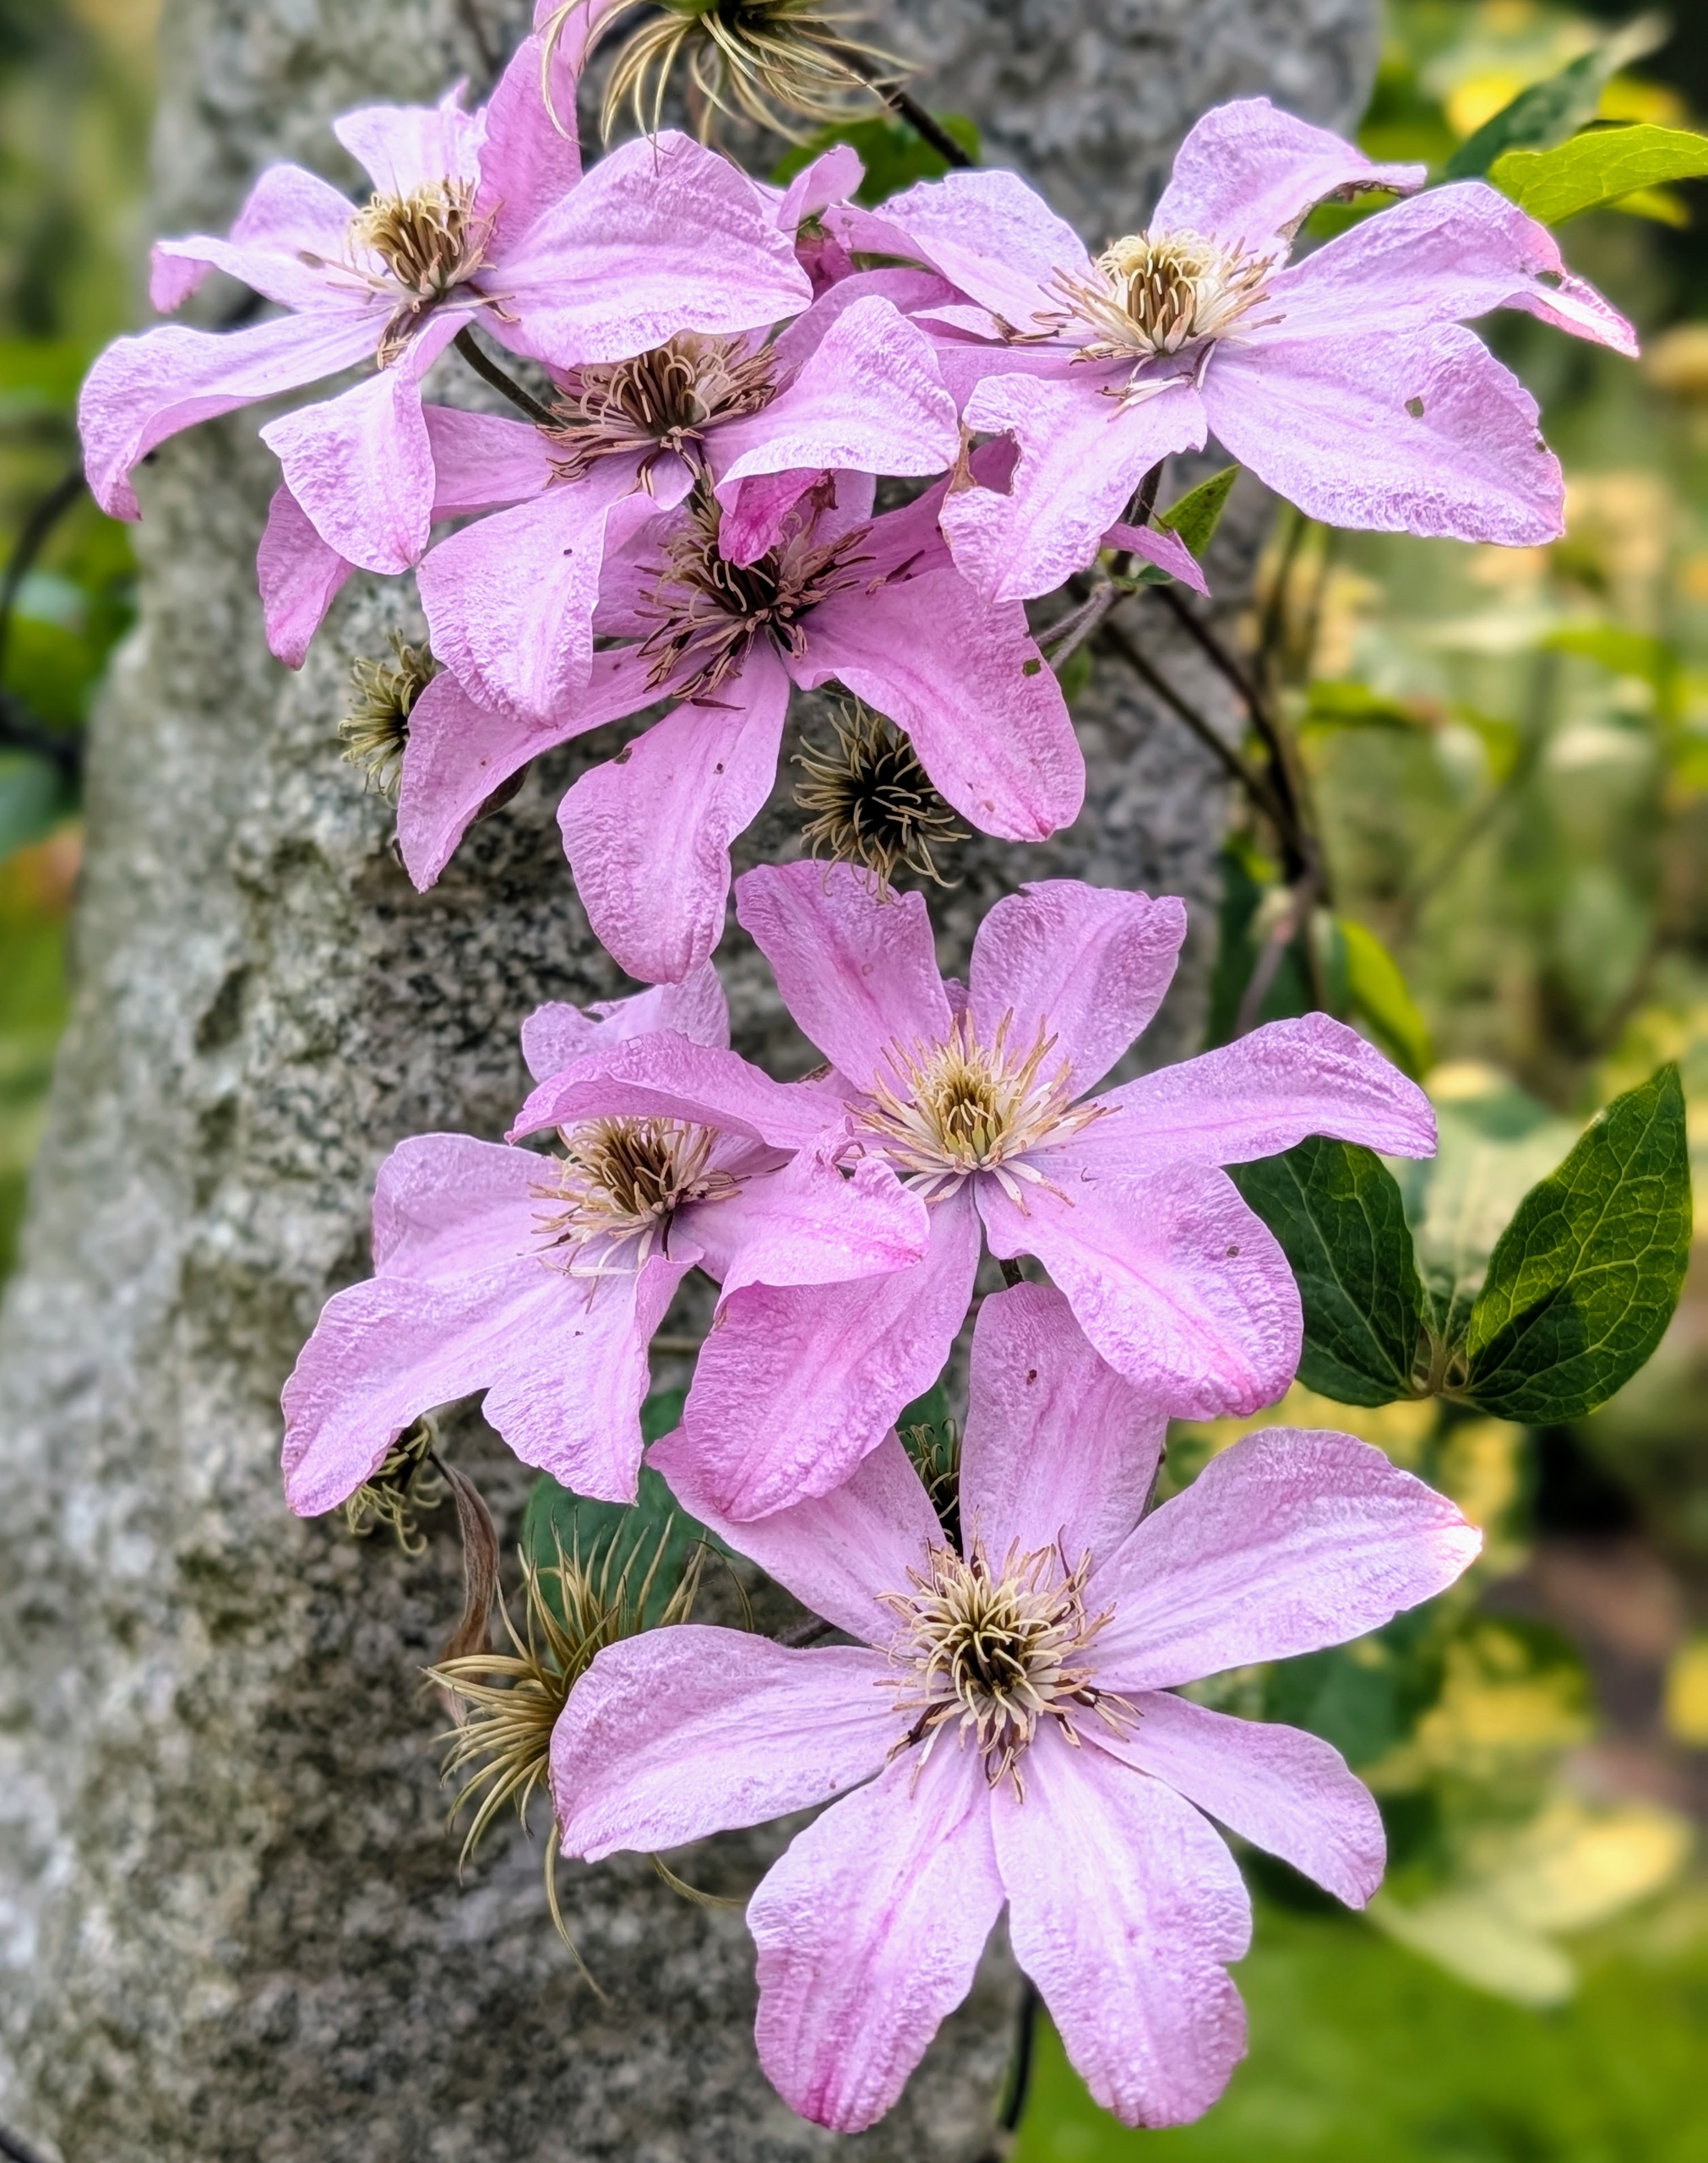
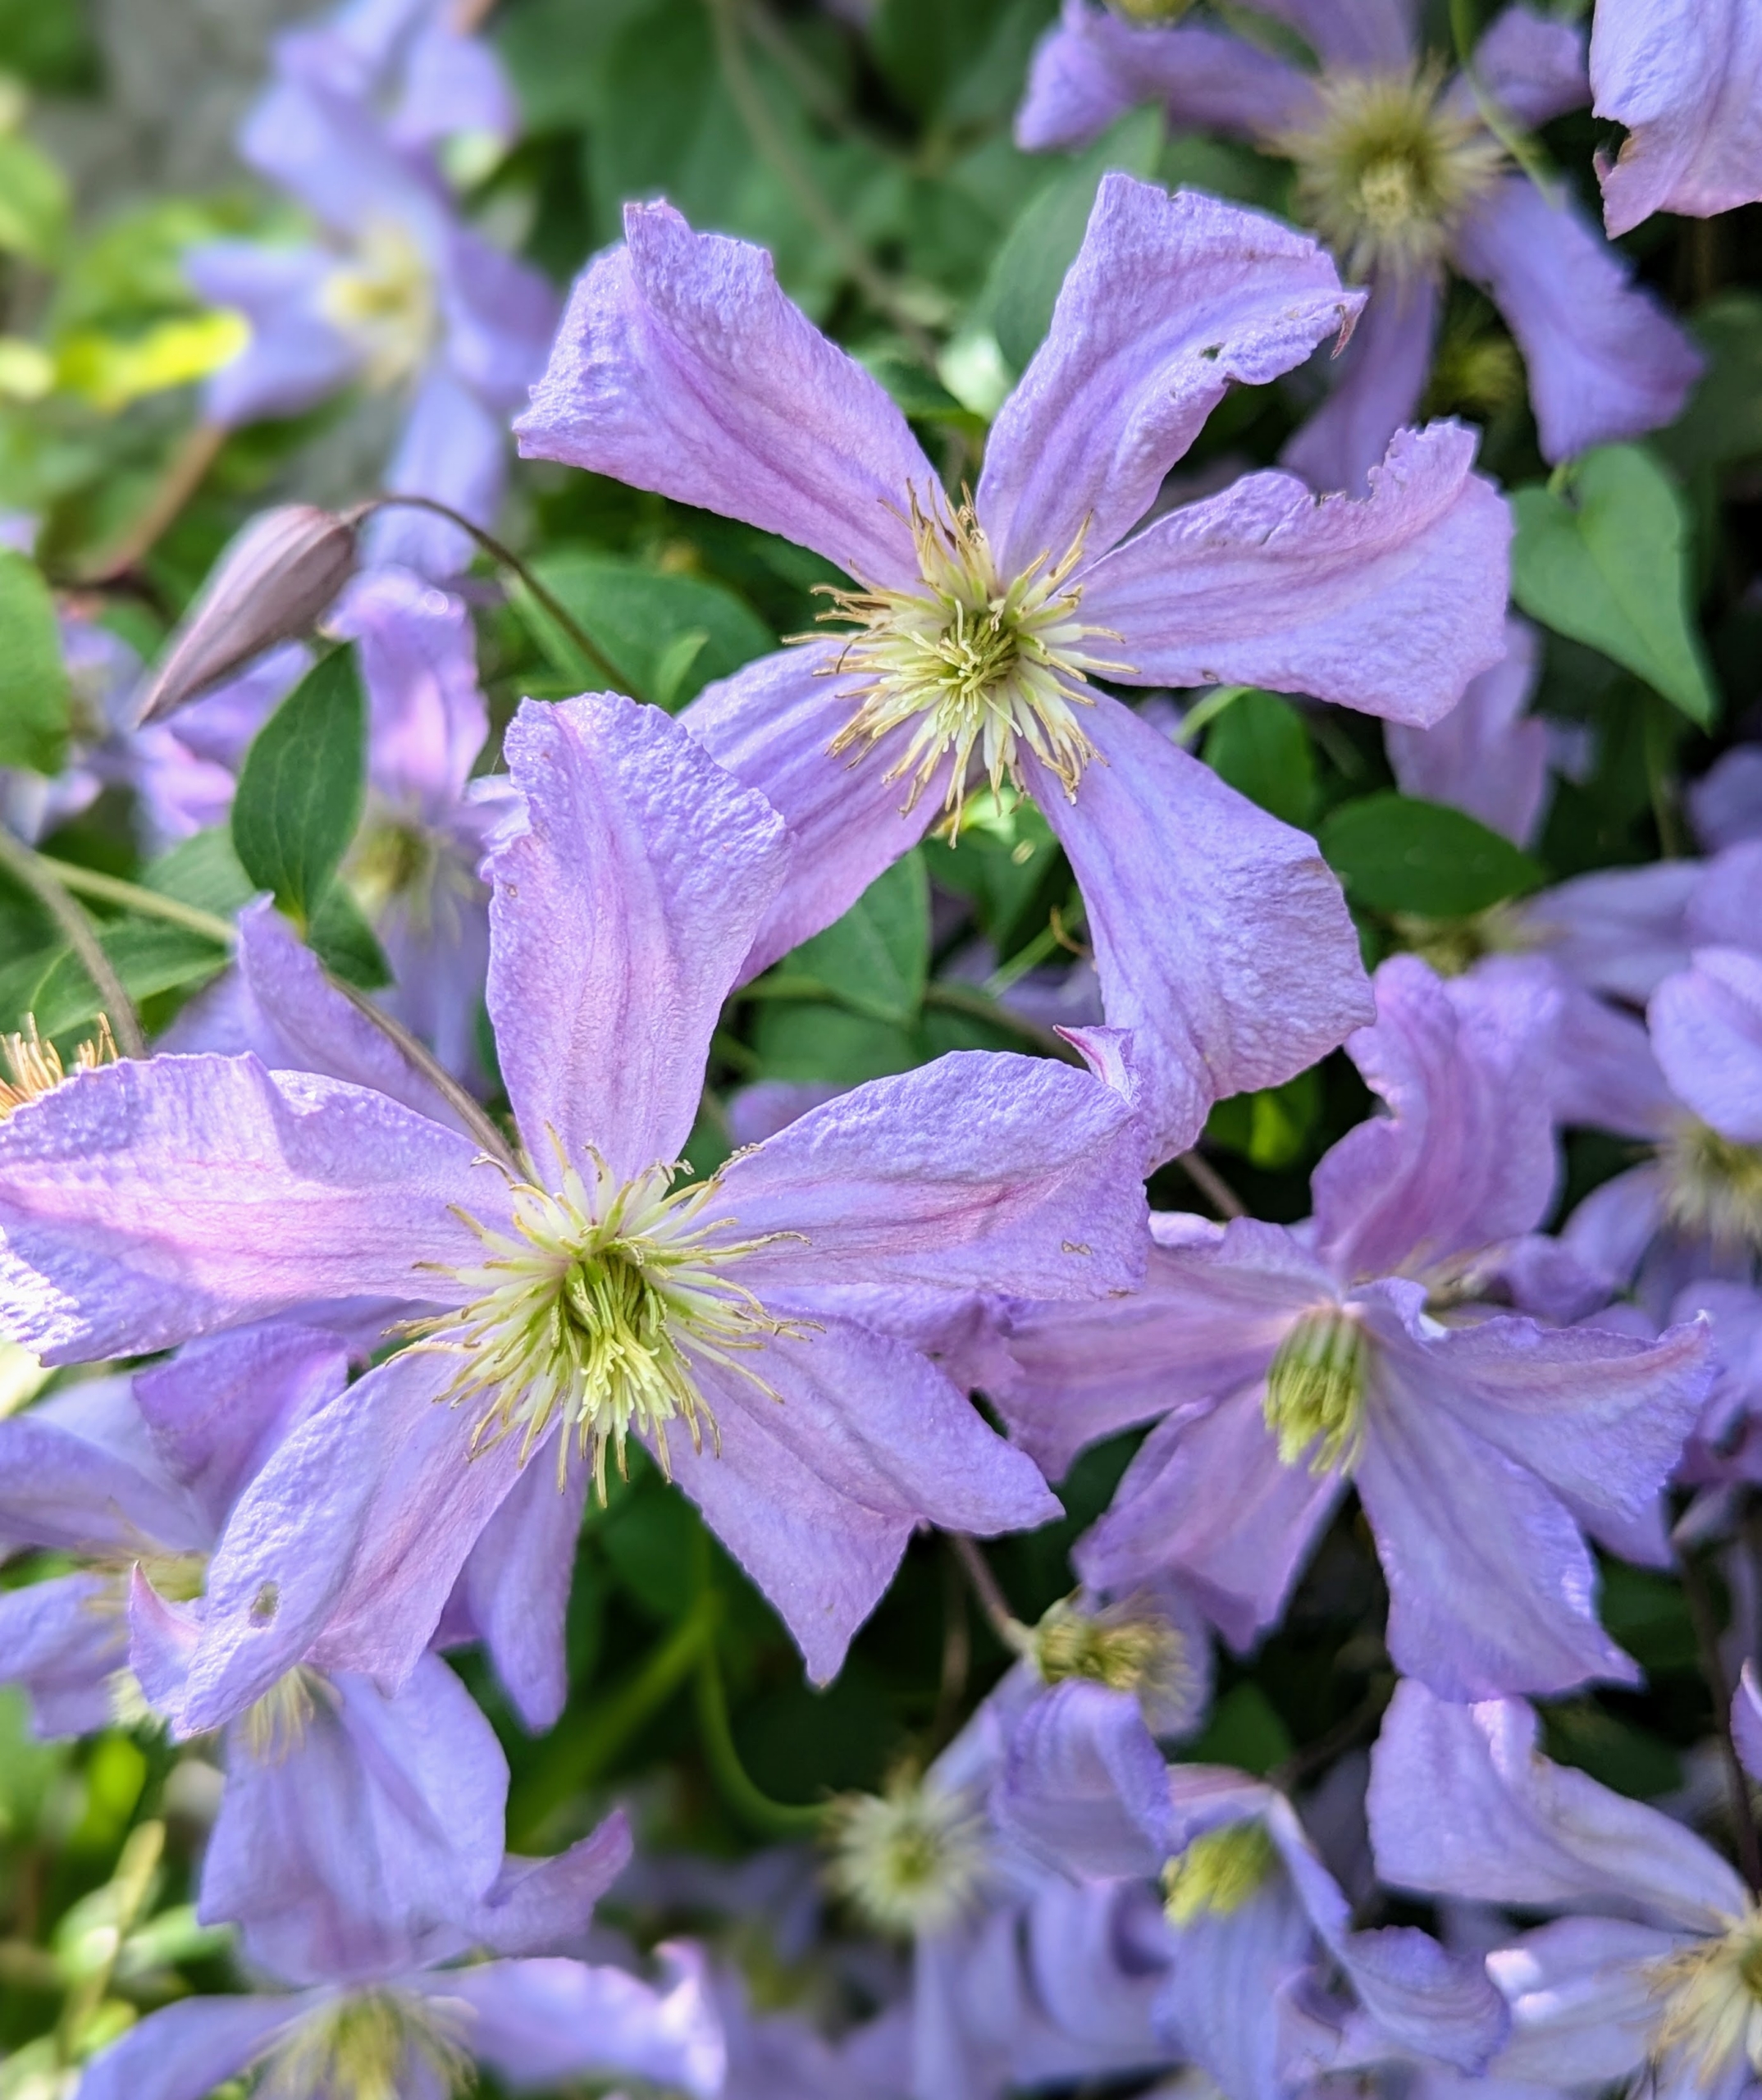
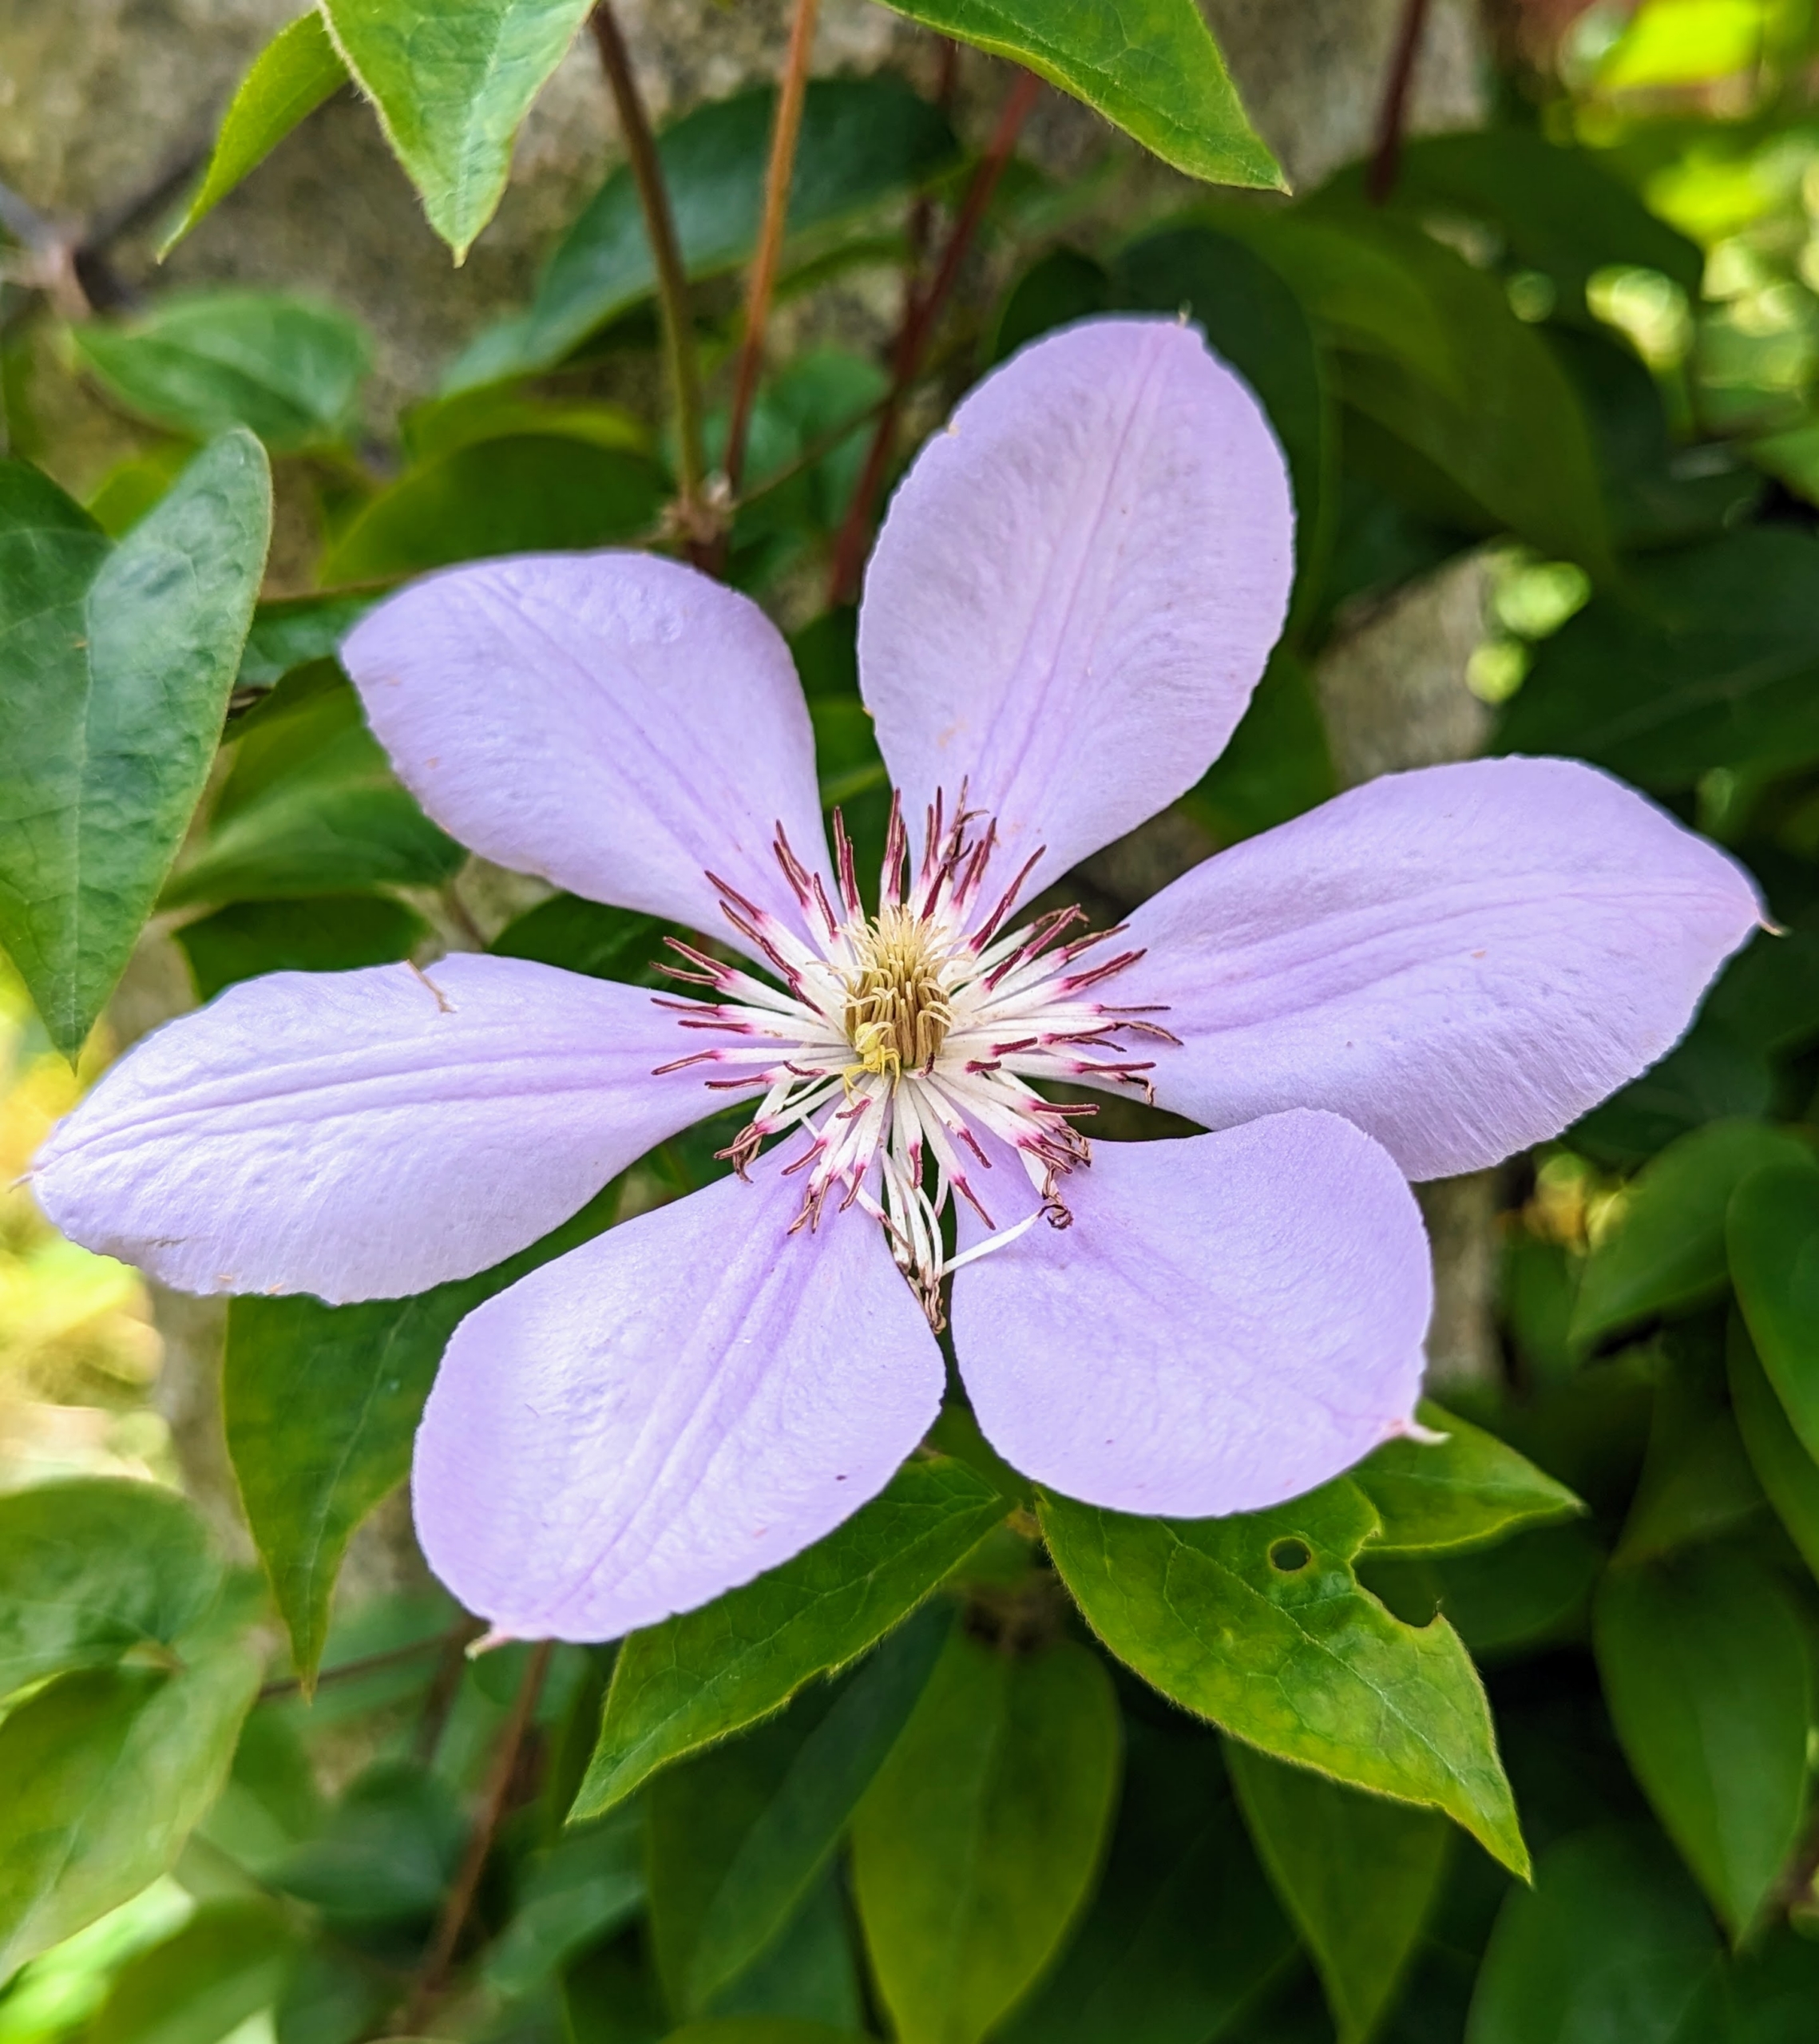
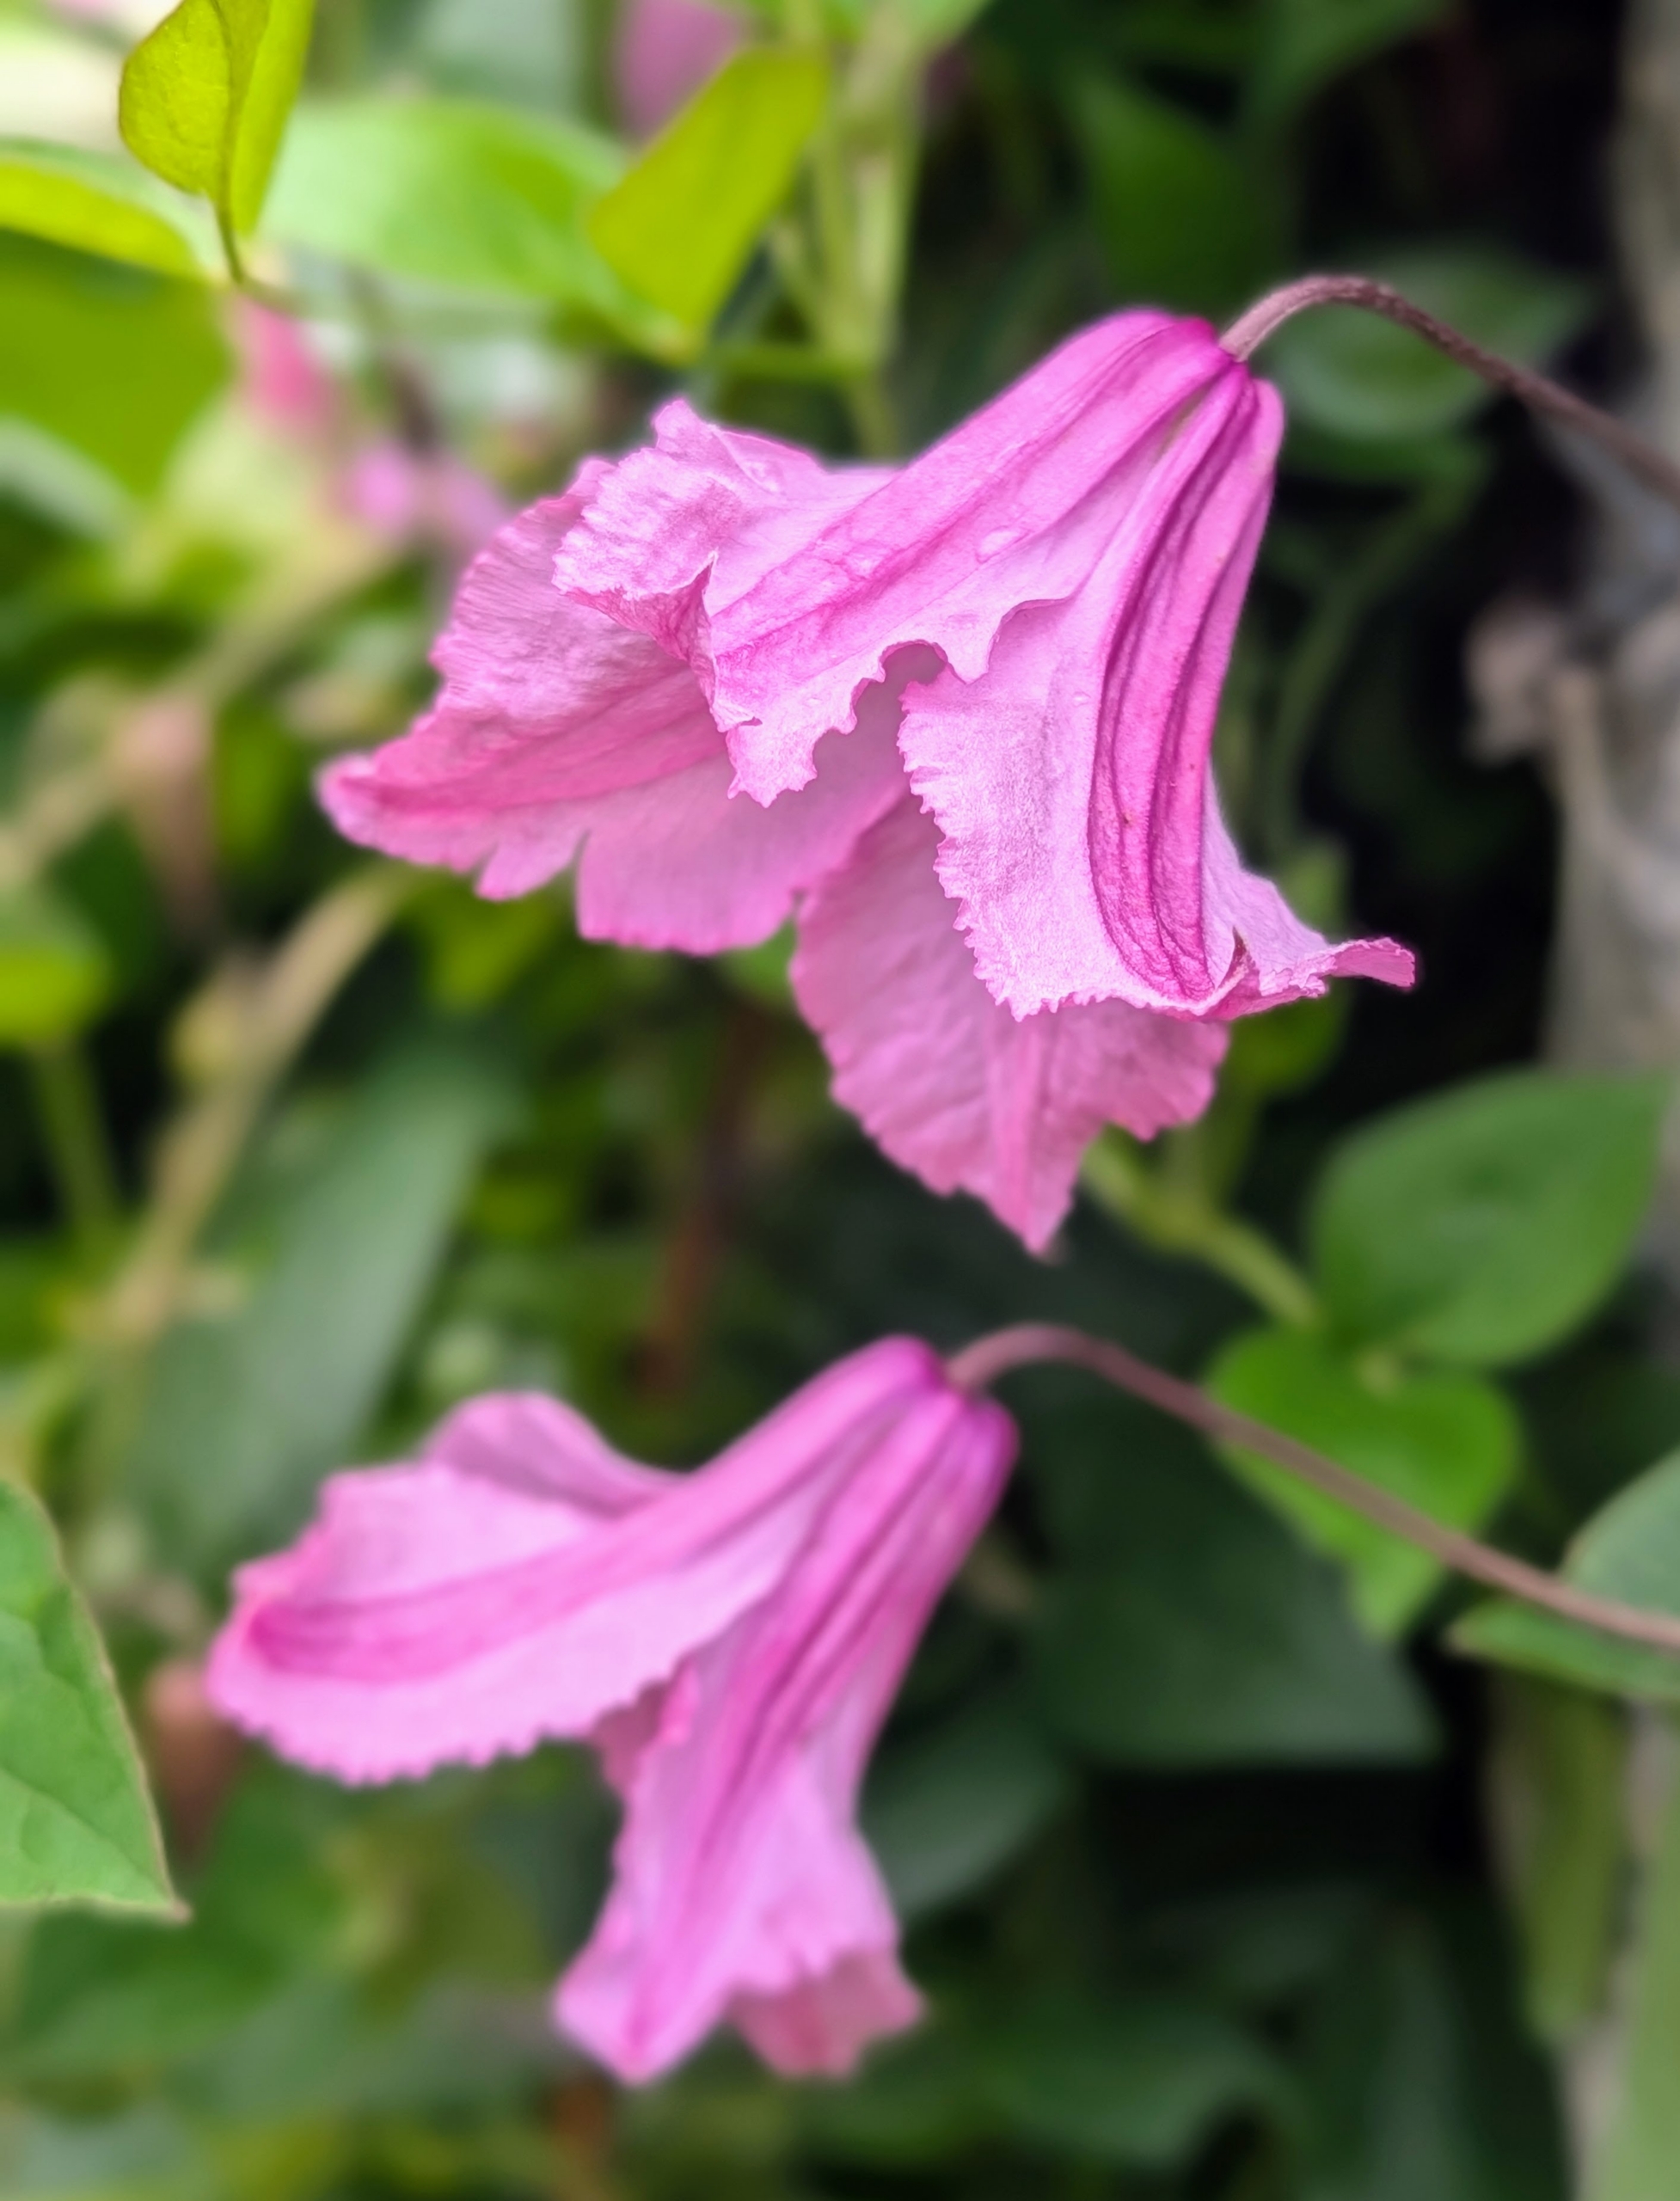
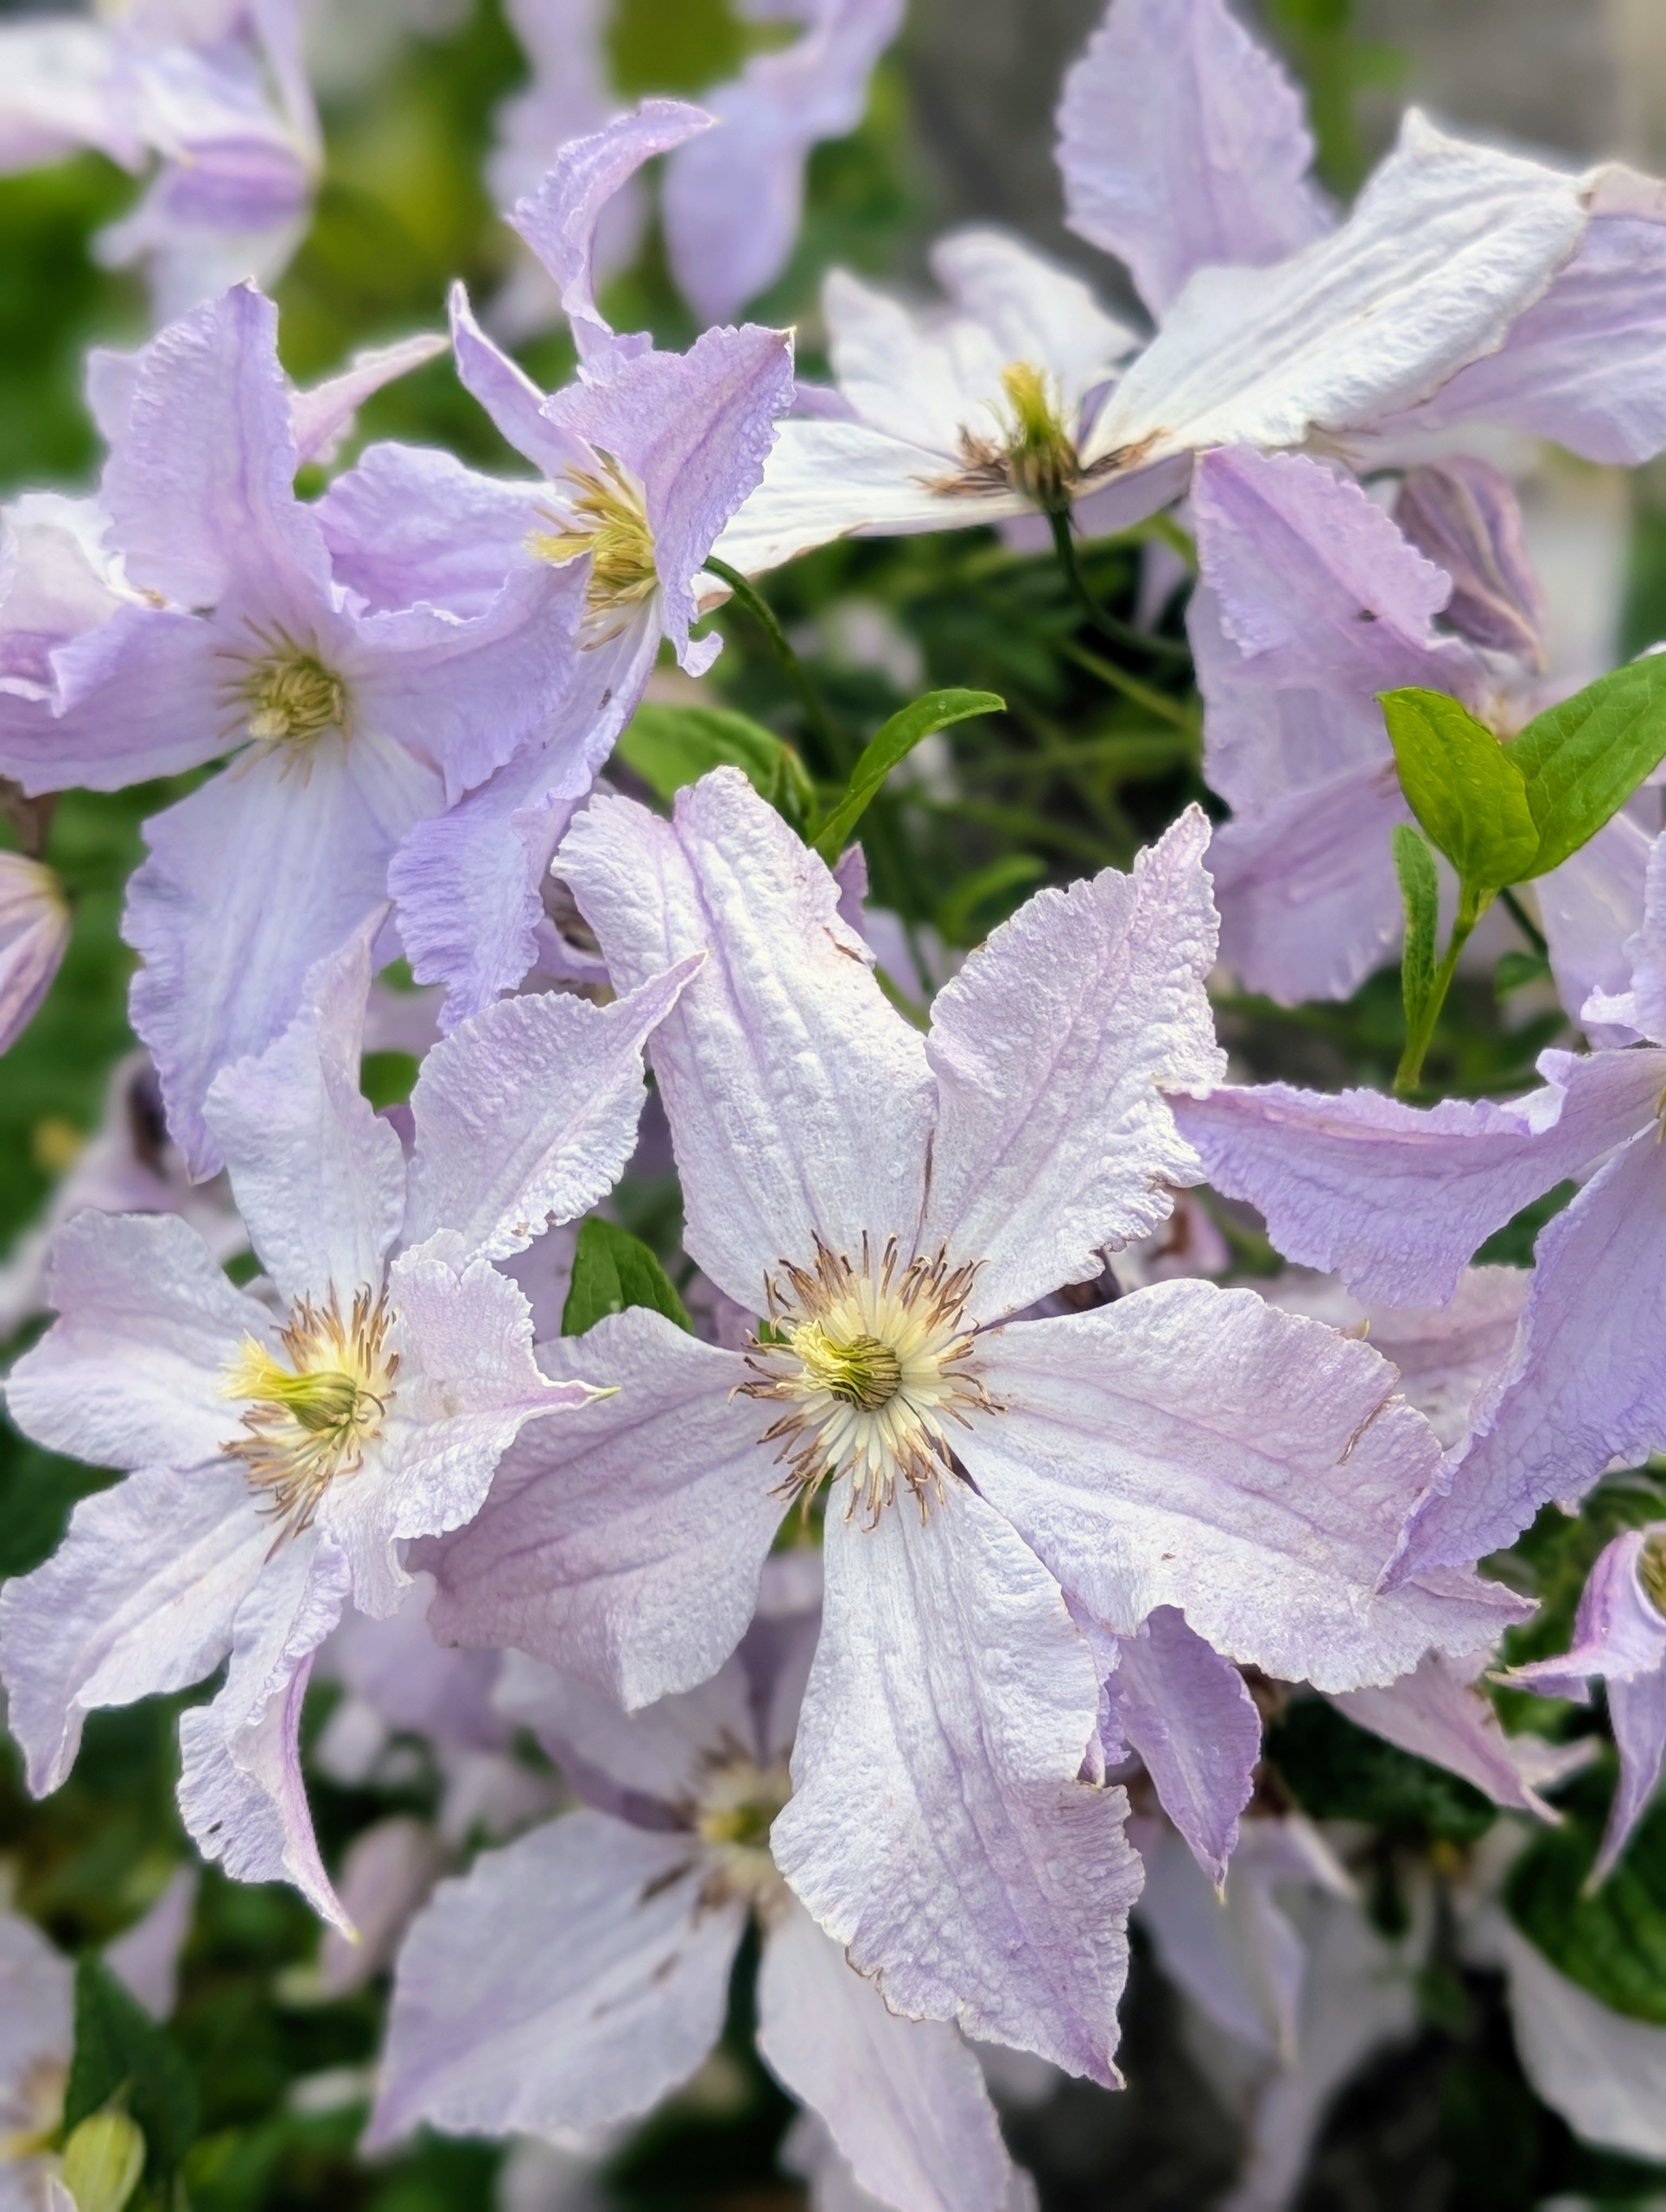
Here is a similar variety in pinkish purple.
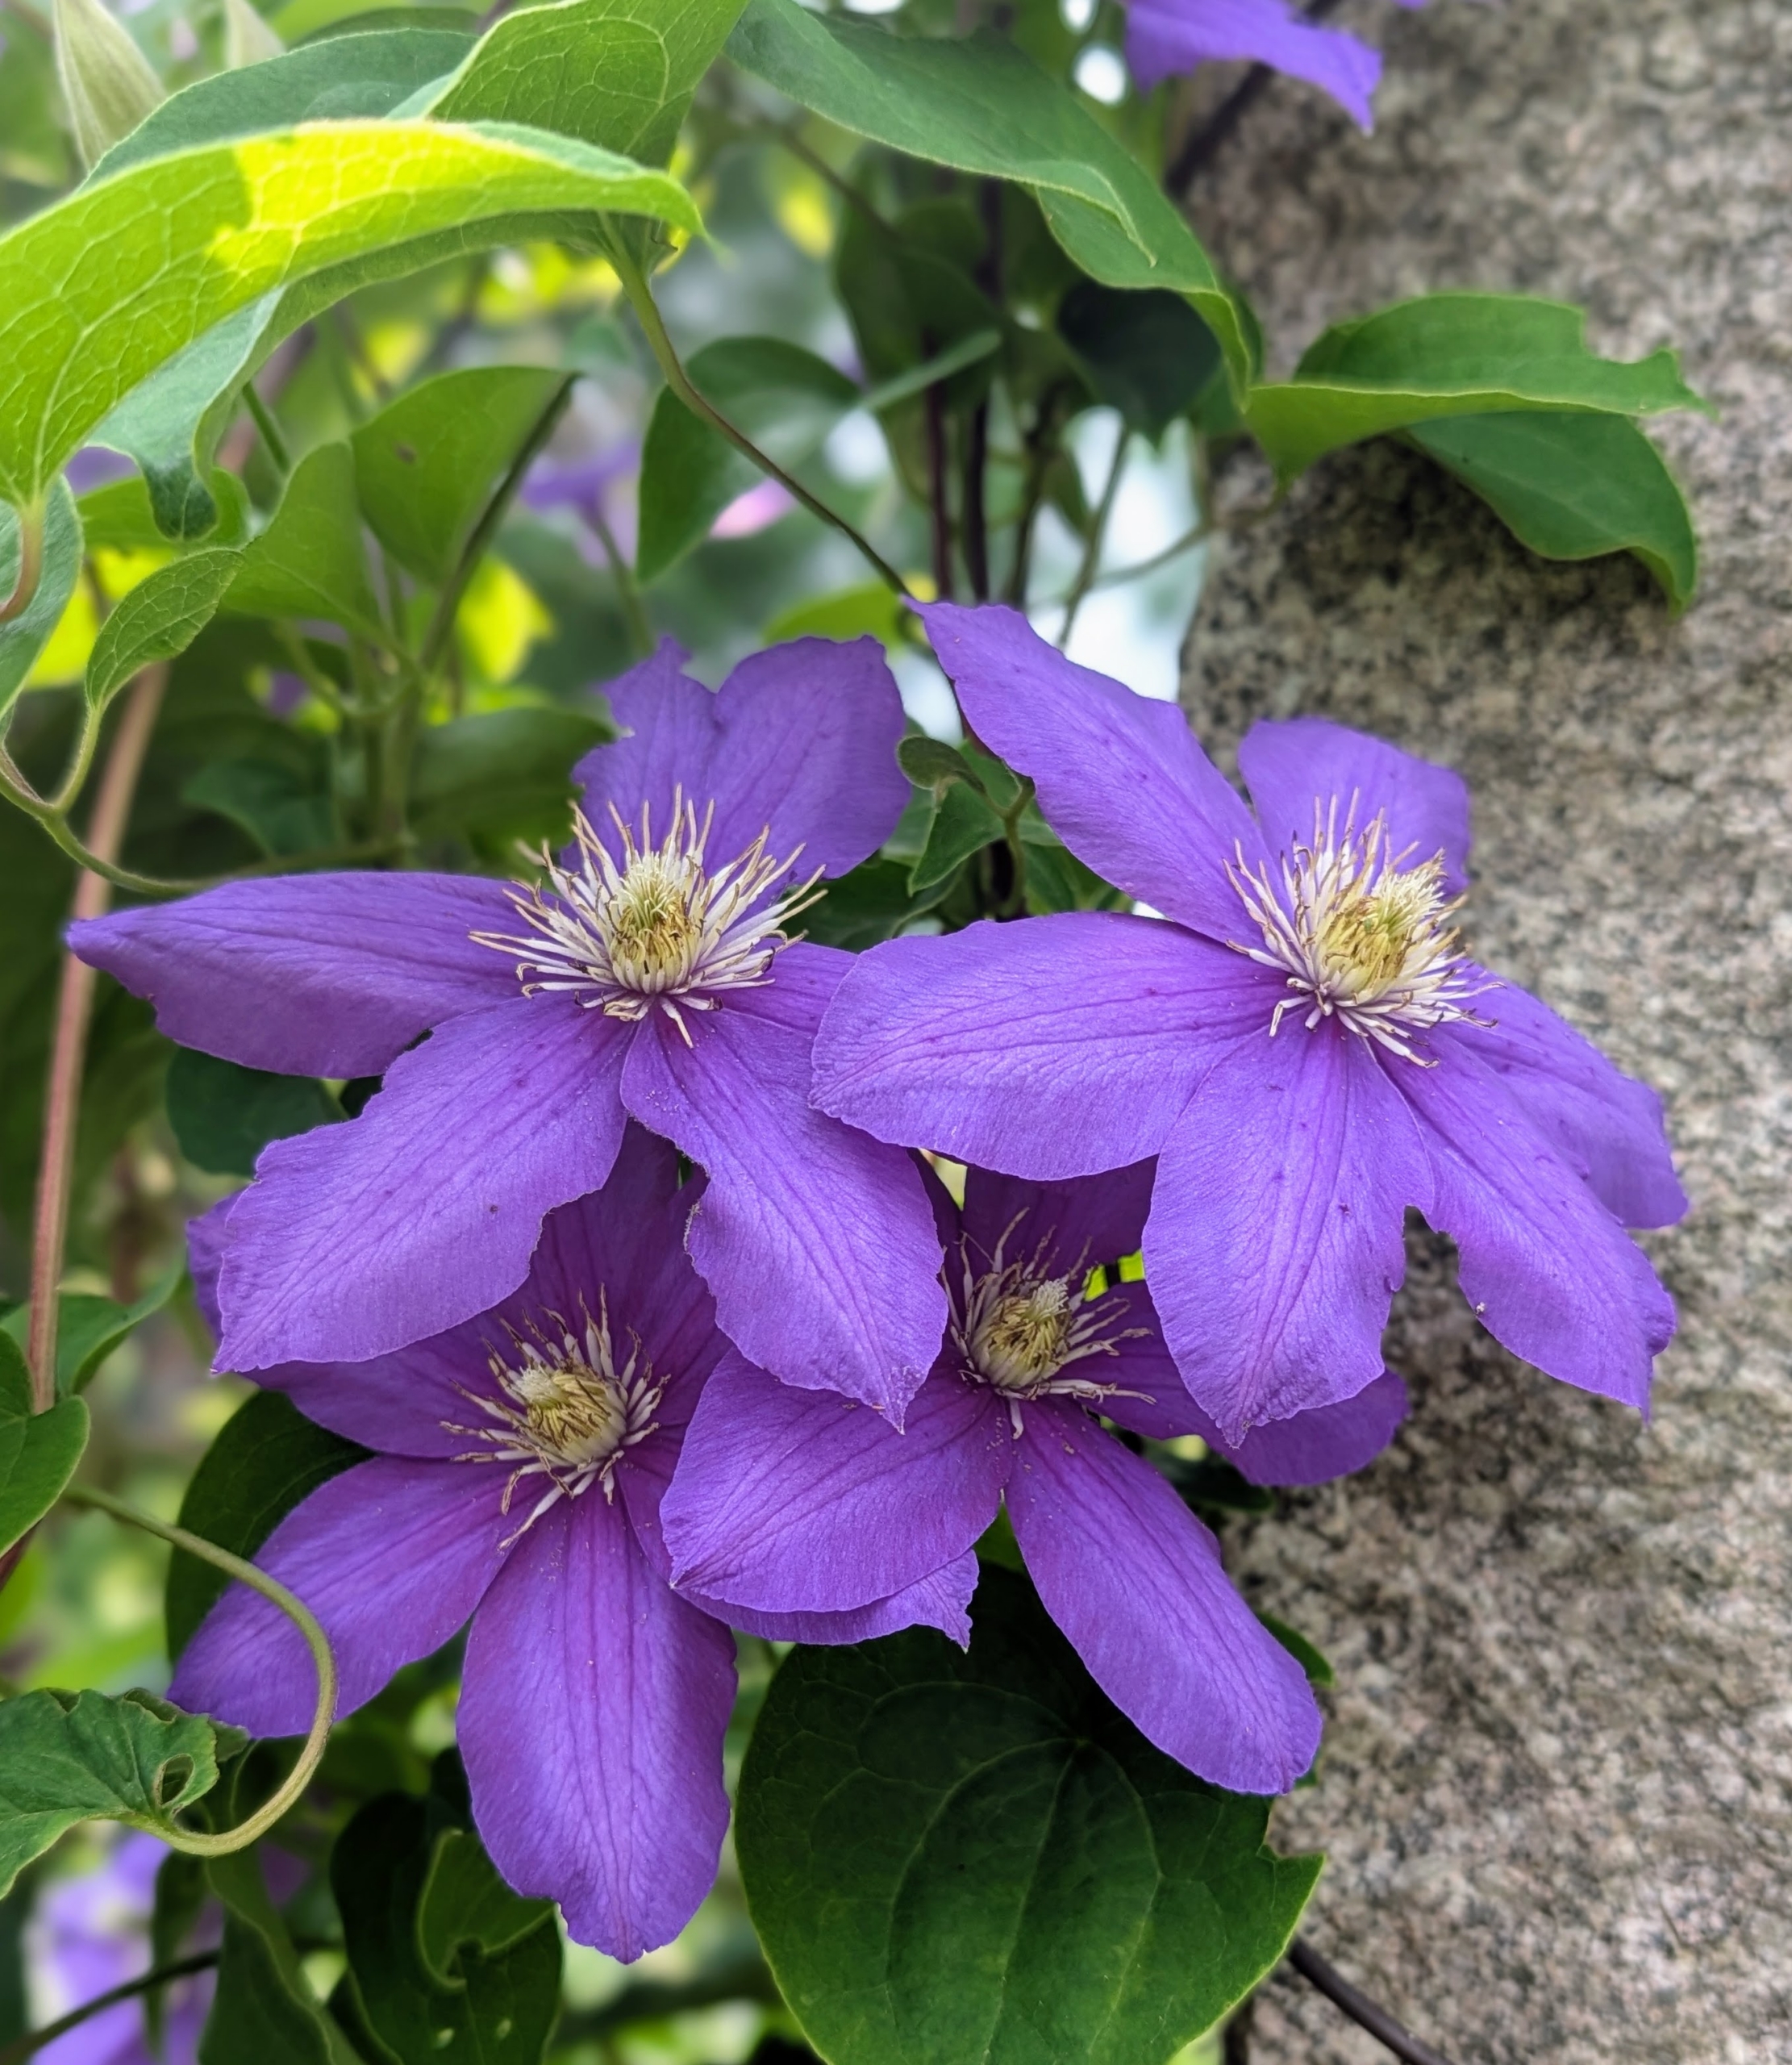
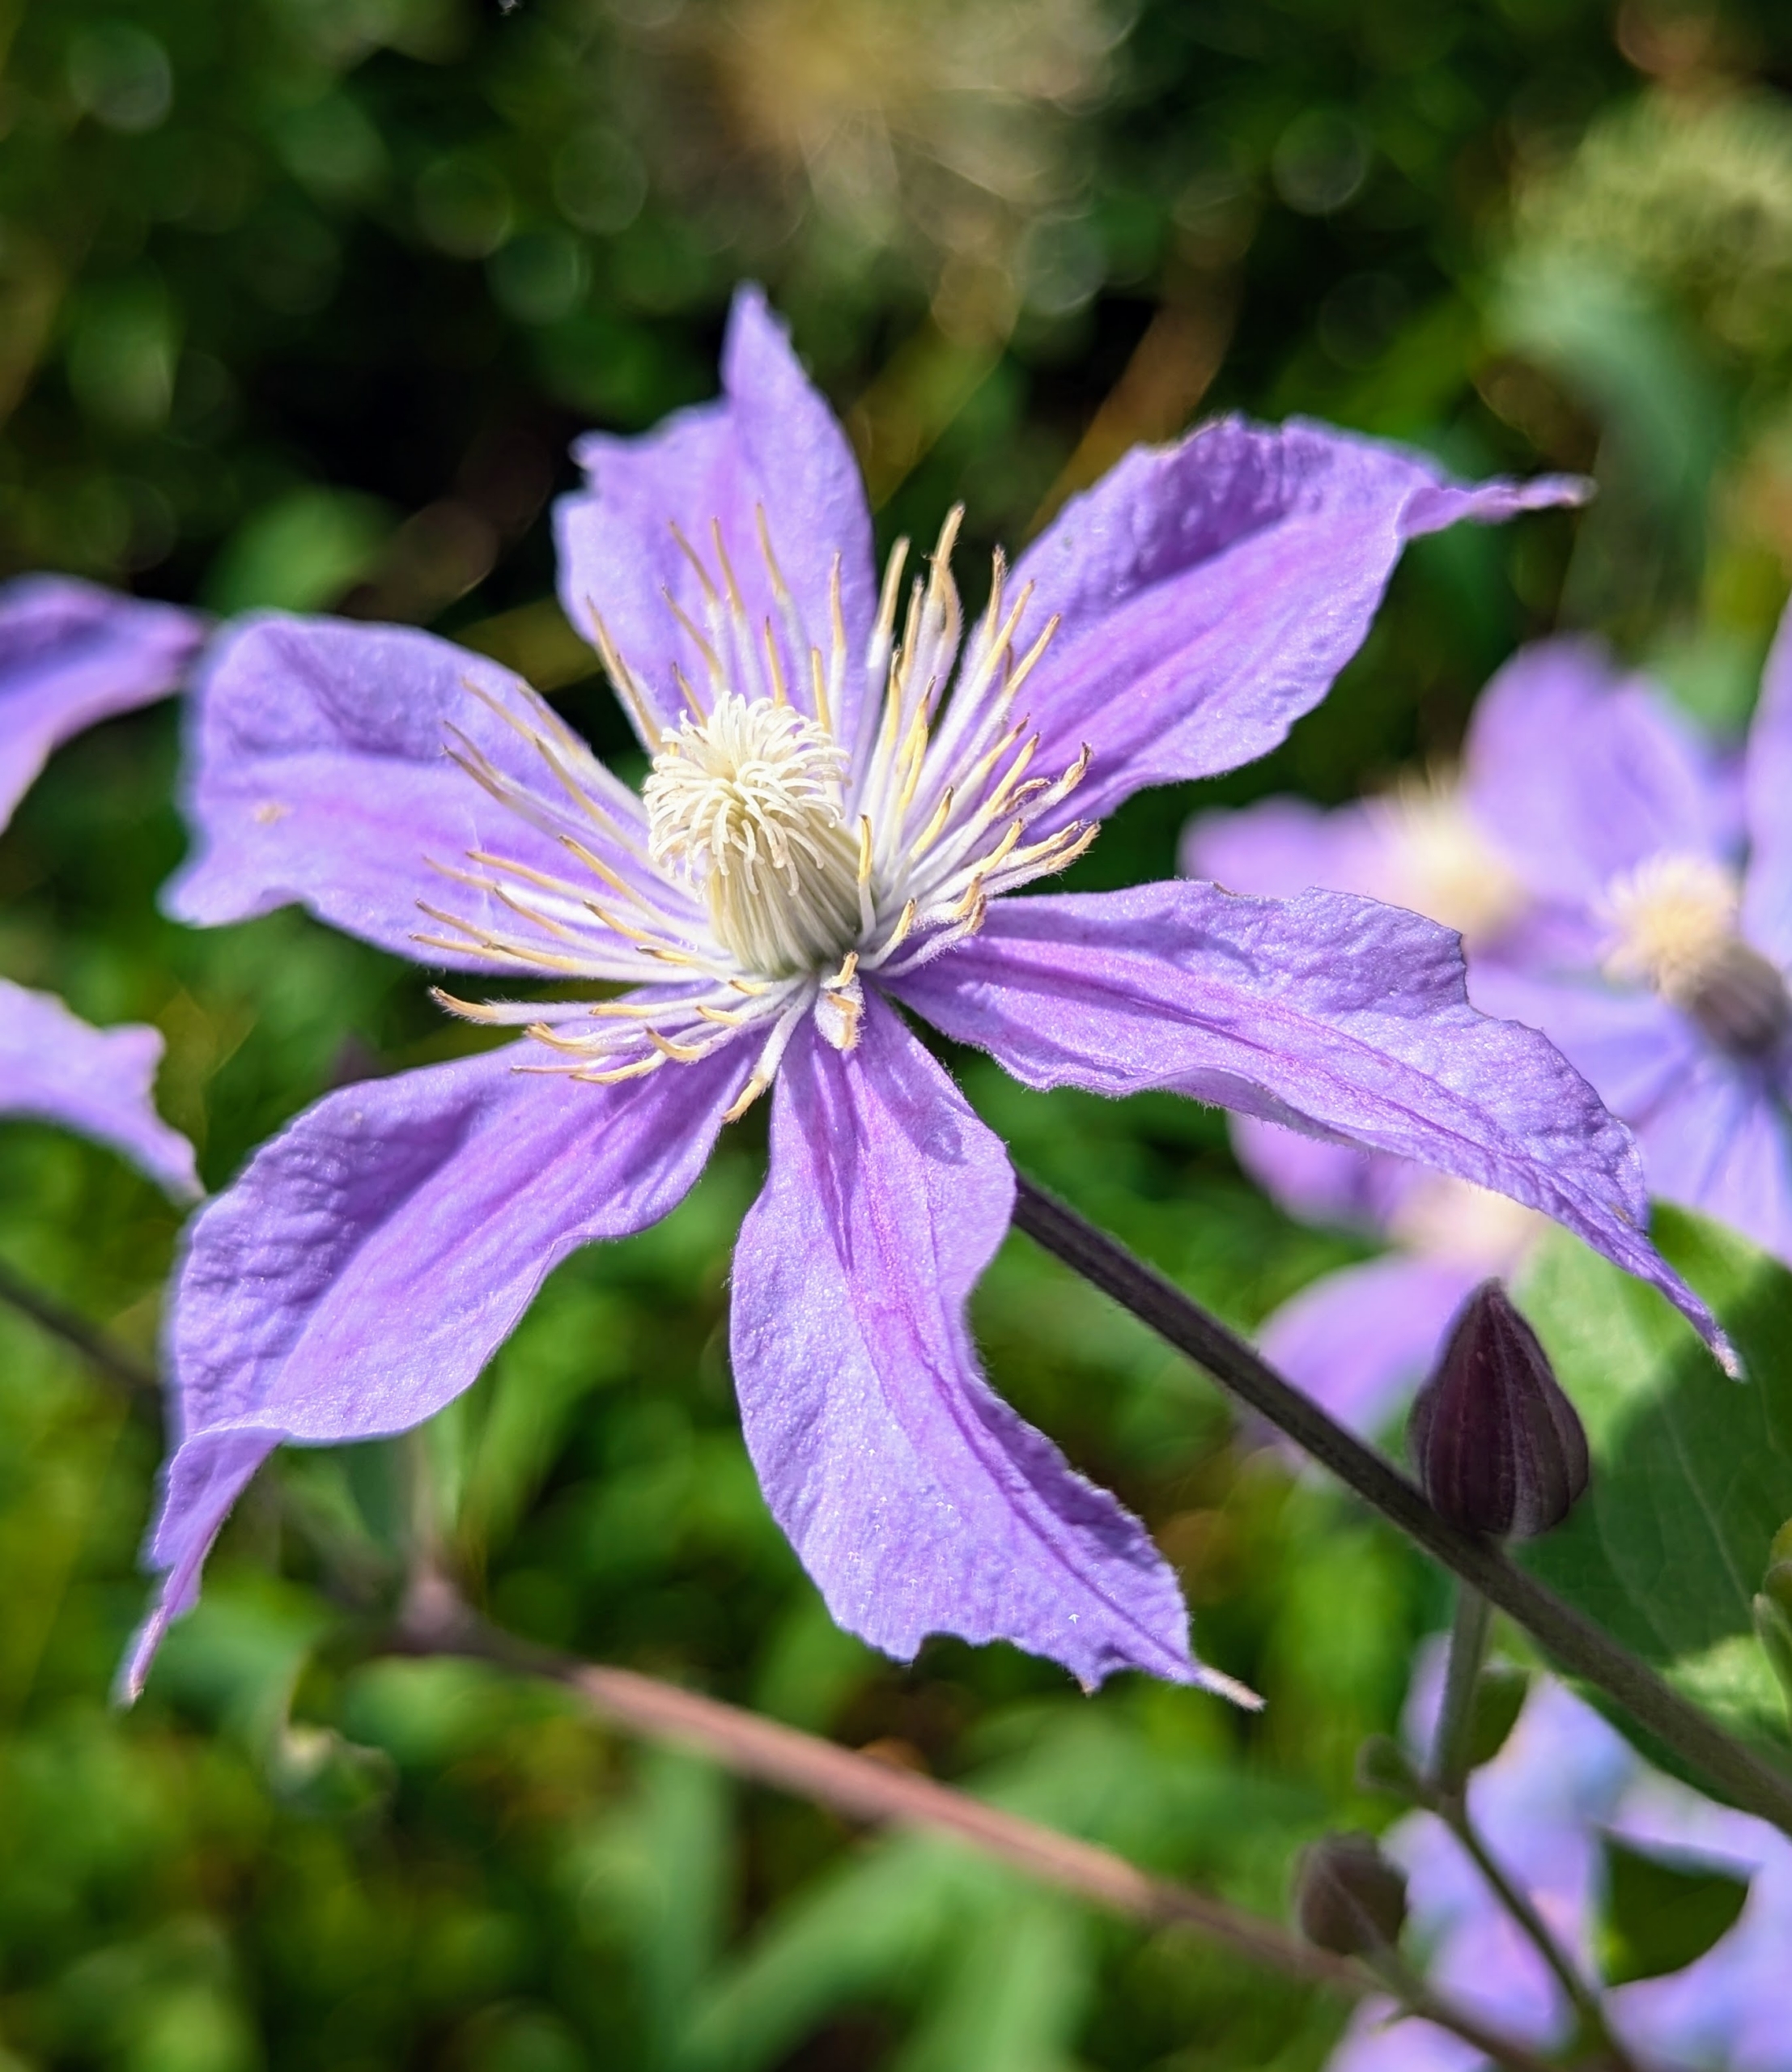
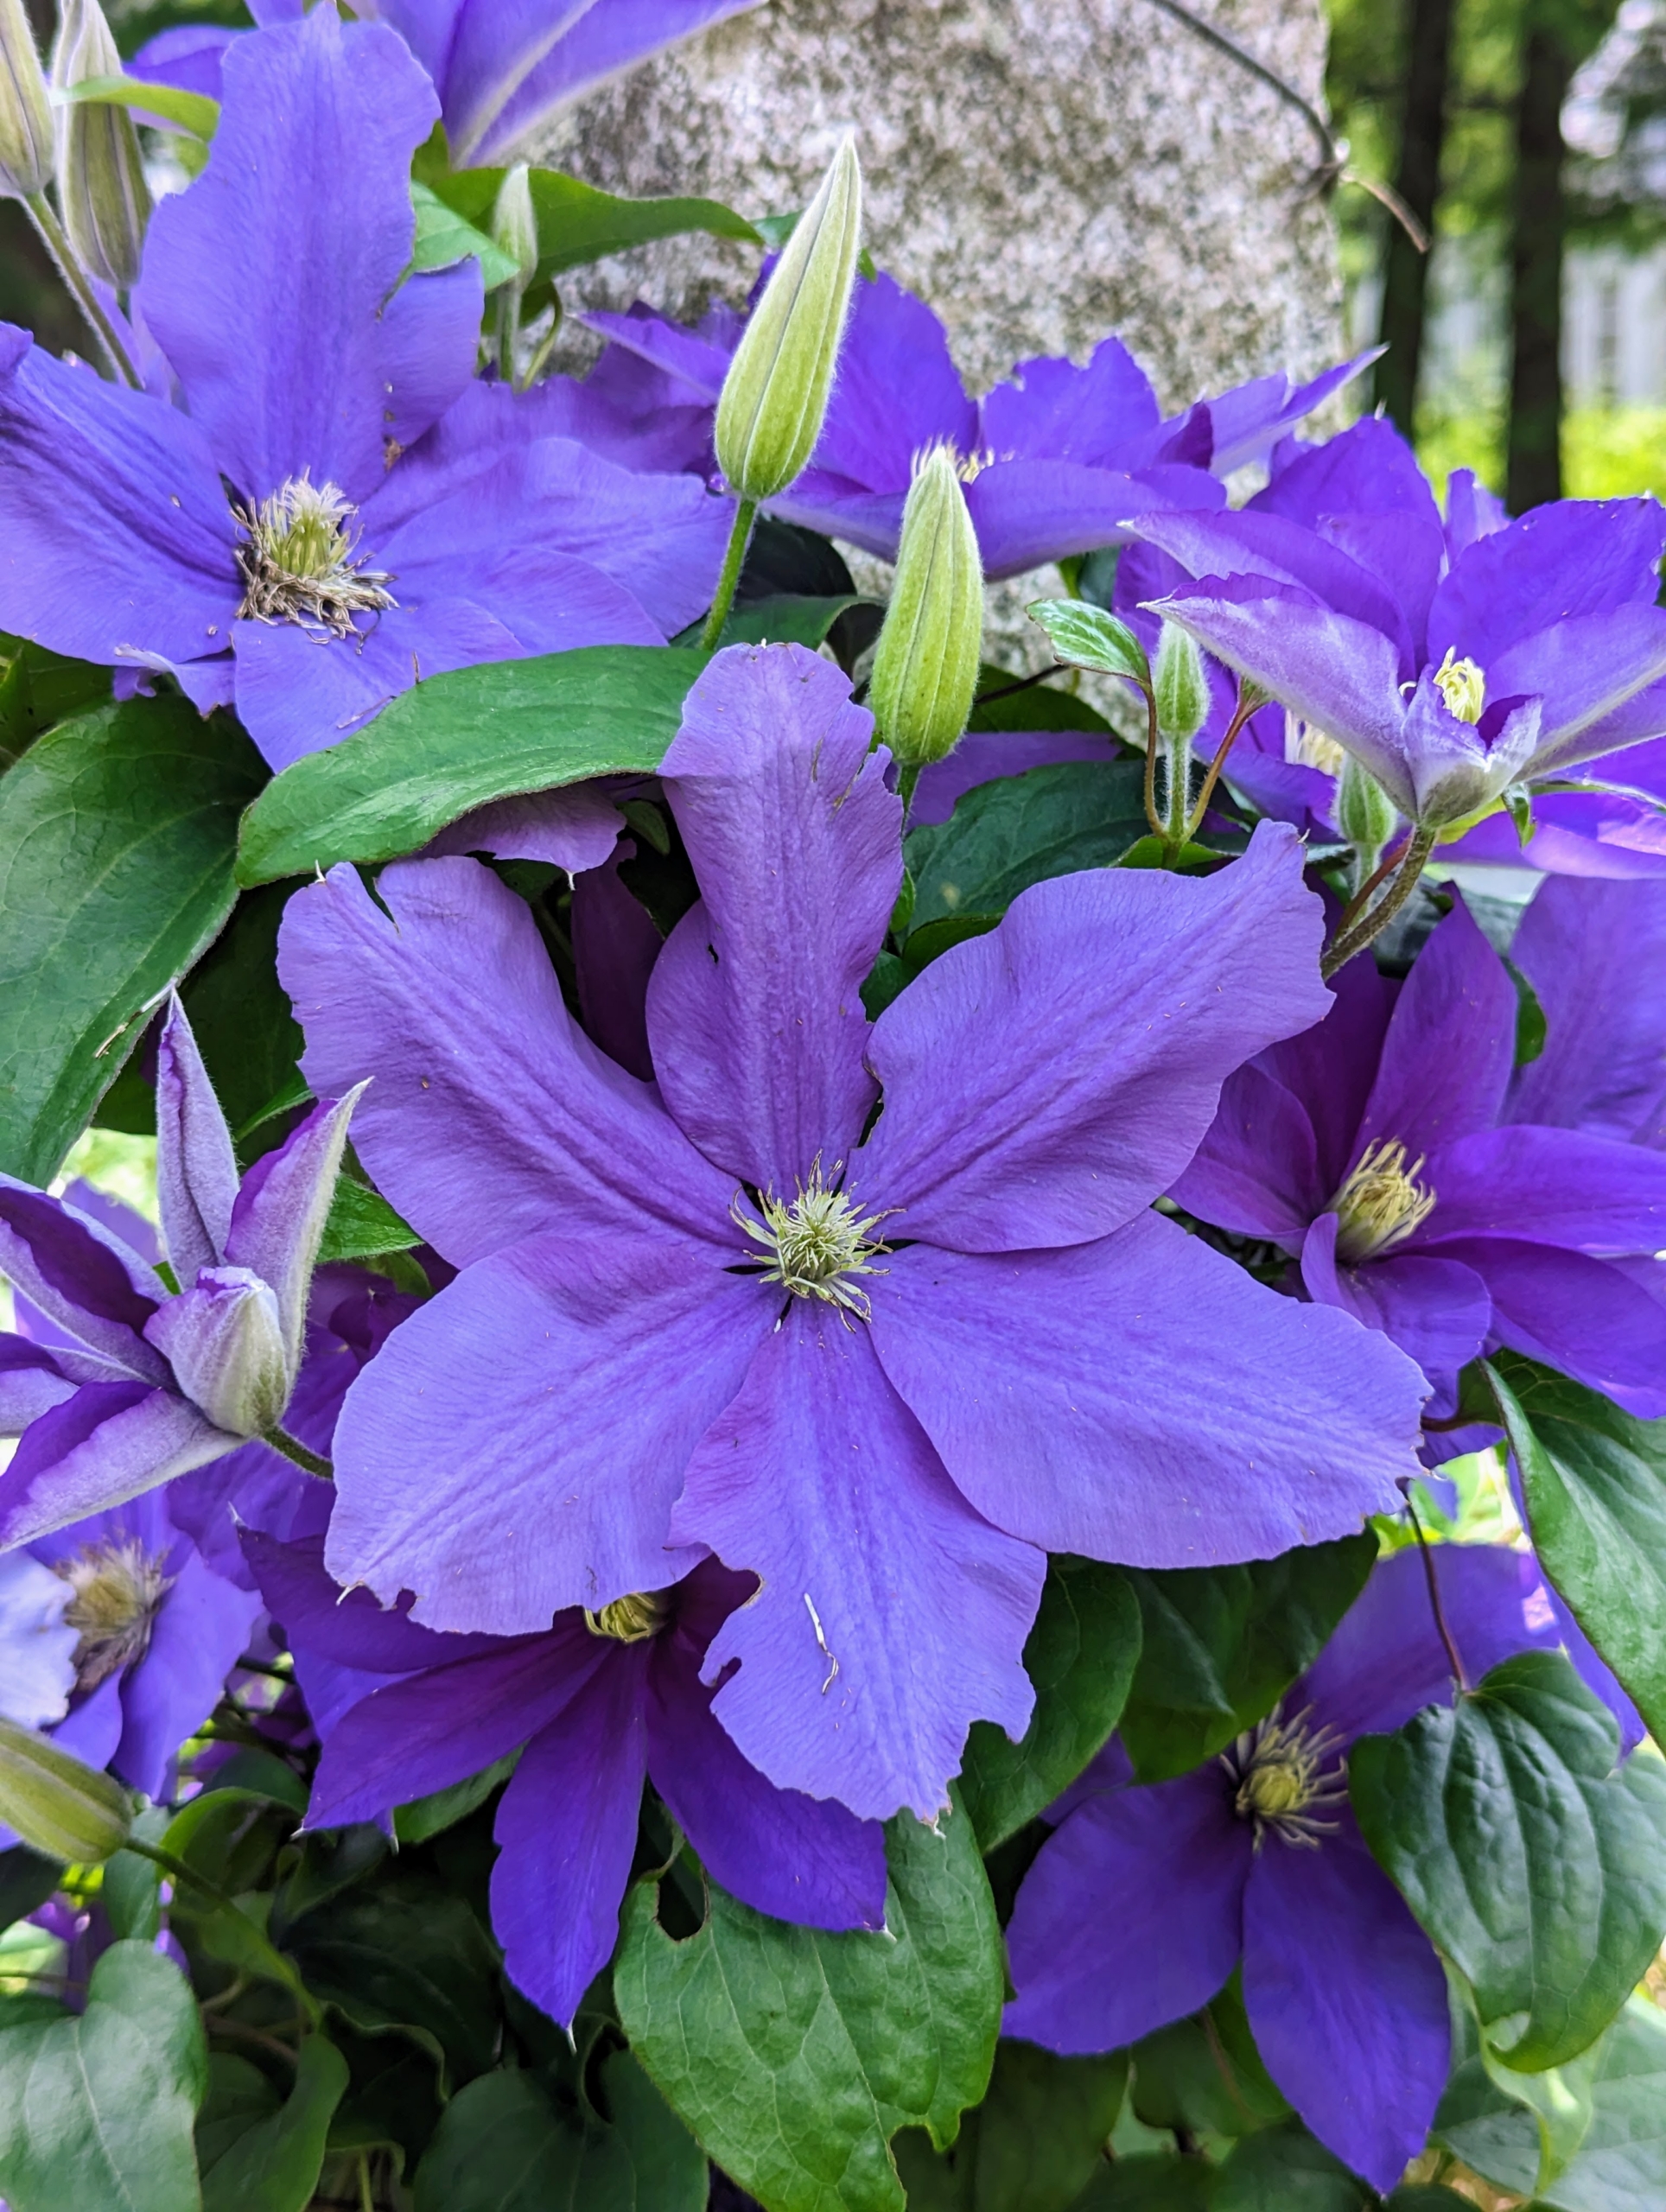
And here’s one that’s even darker purple.
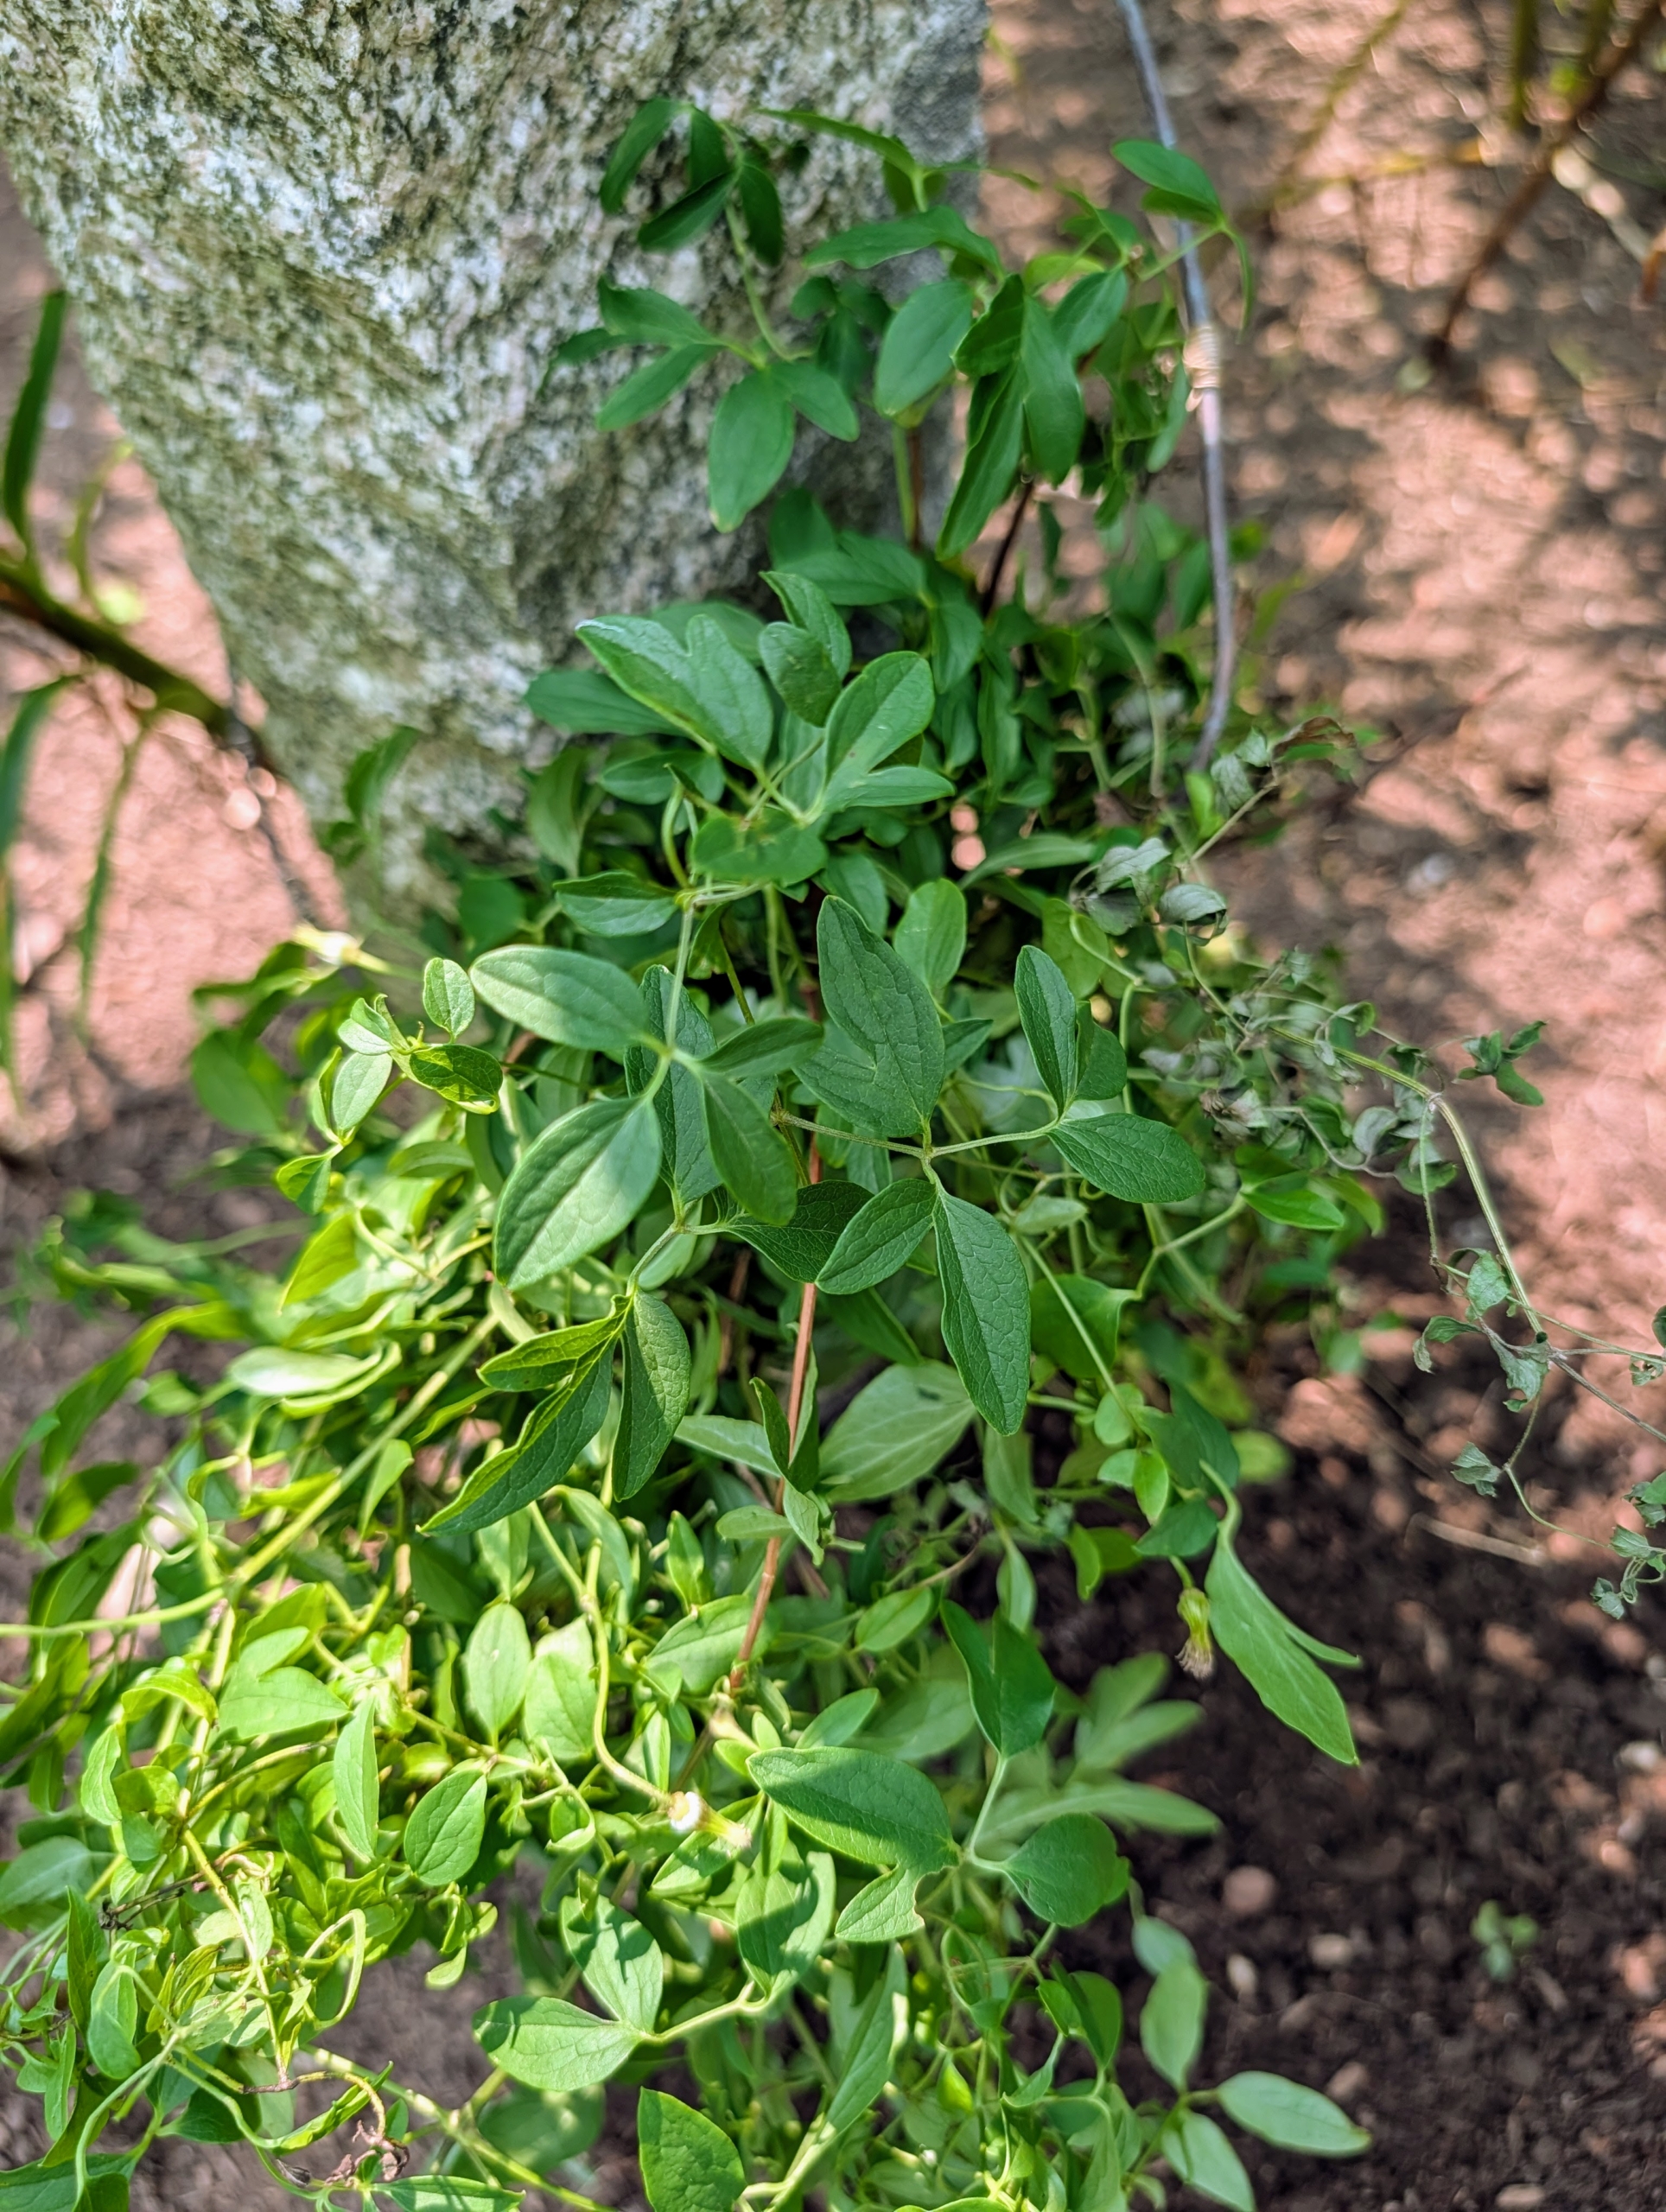
Yesterday, I planted a couple more clematis to fill in some areas. This is another viticella ‘Betty Corning.’ This is from Glover Perennials in Cutchogue, New York – a family owned and operated wholesale nursery I’ve been going to for many years.
And this is Clematis ‘Silver Moon.’ This plant is not blooming now, but it features large, silvery-lilac flowers that are six to seven inches across.
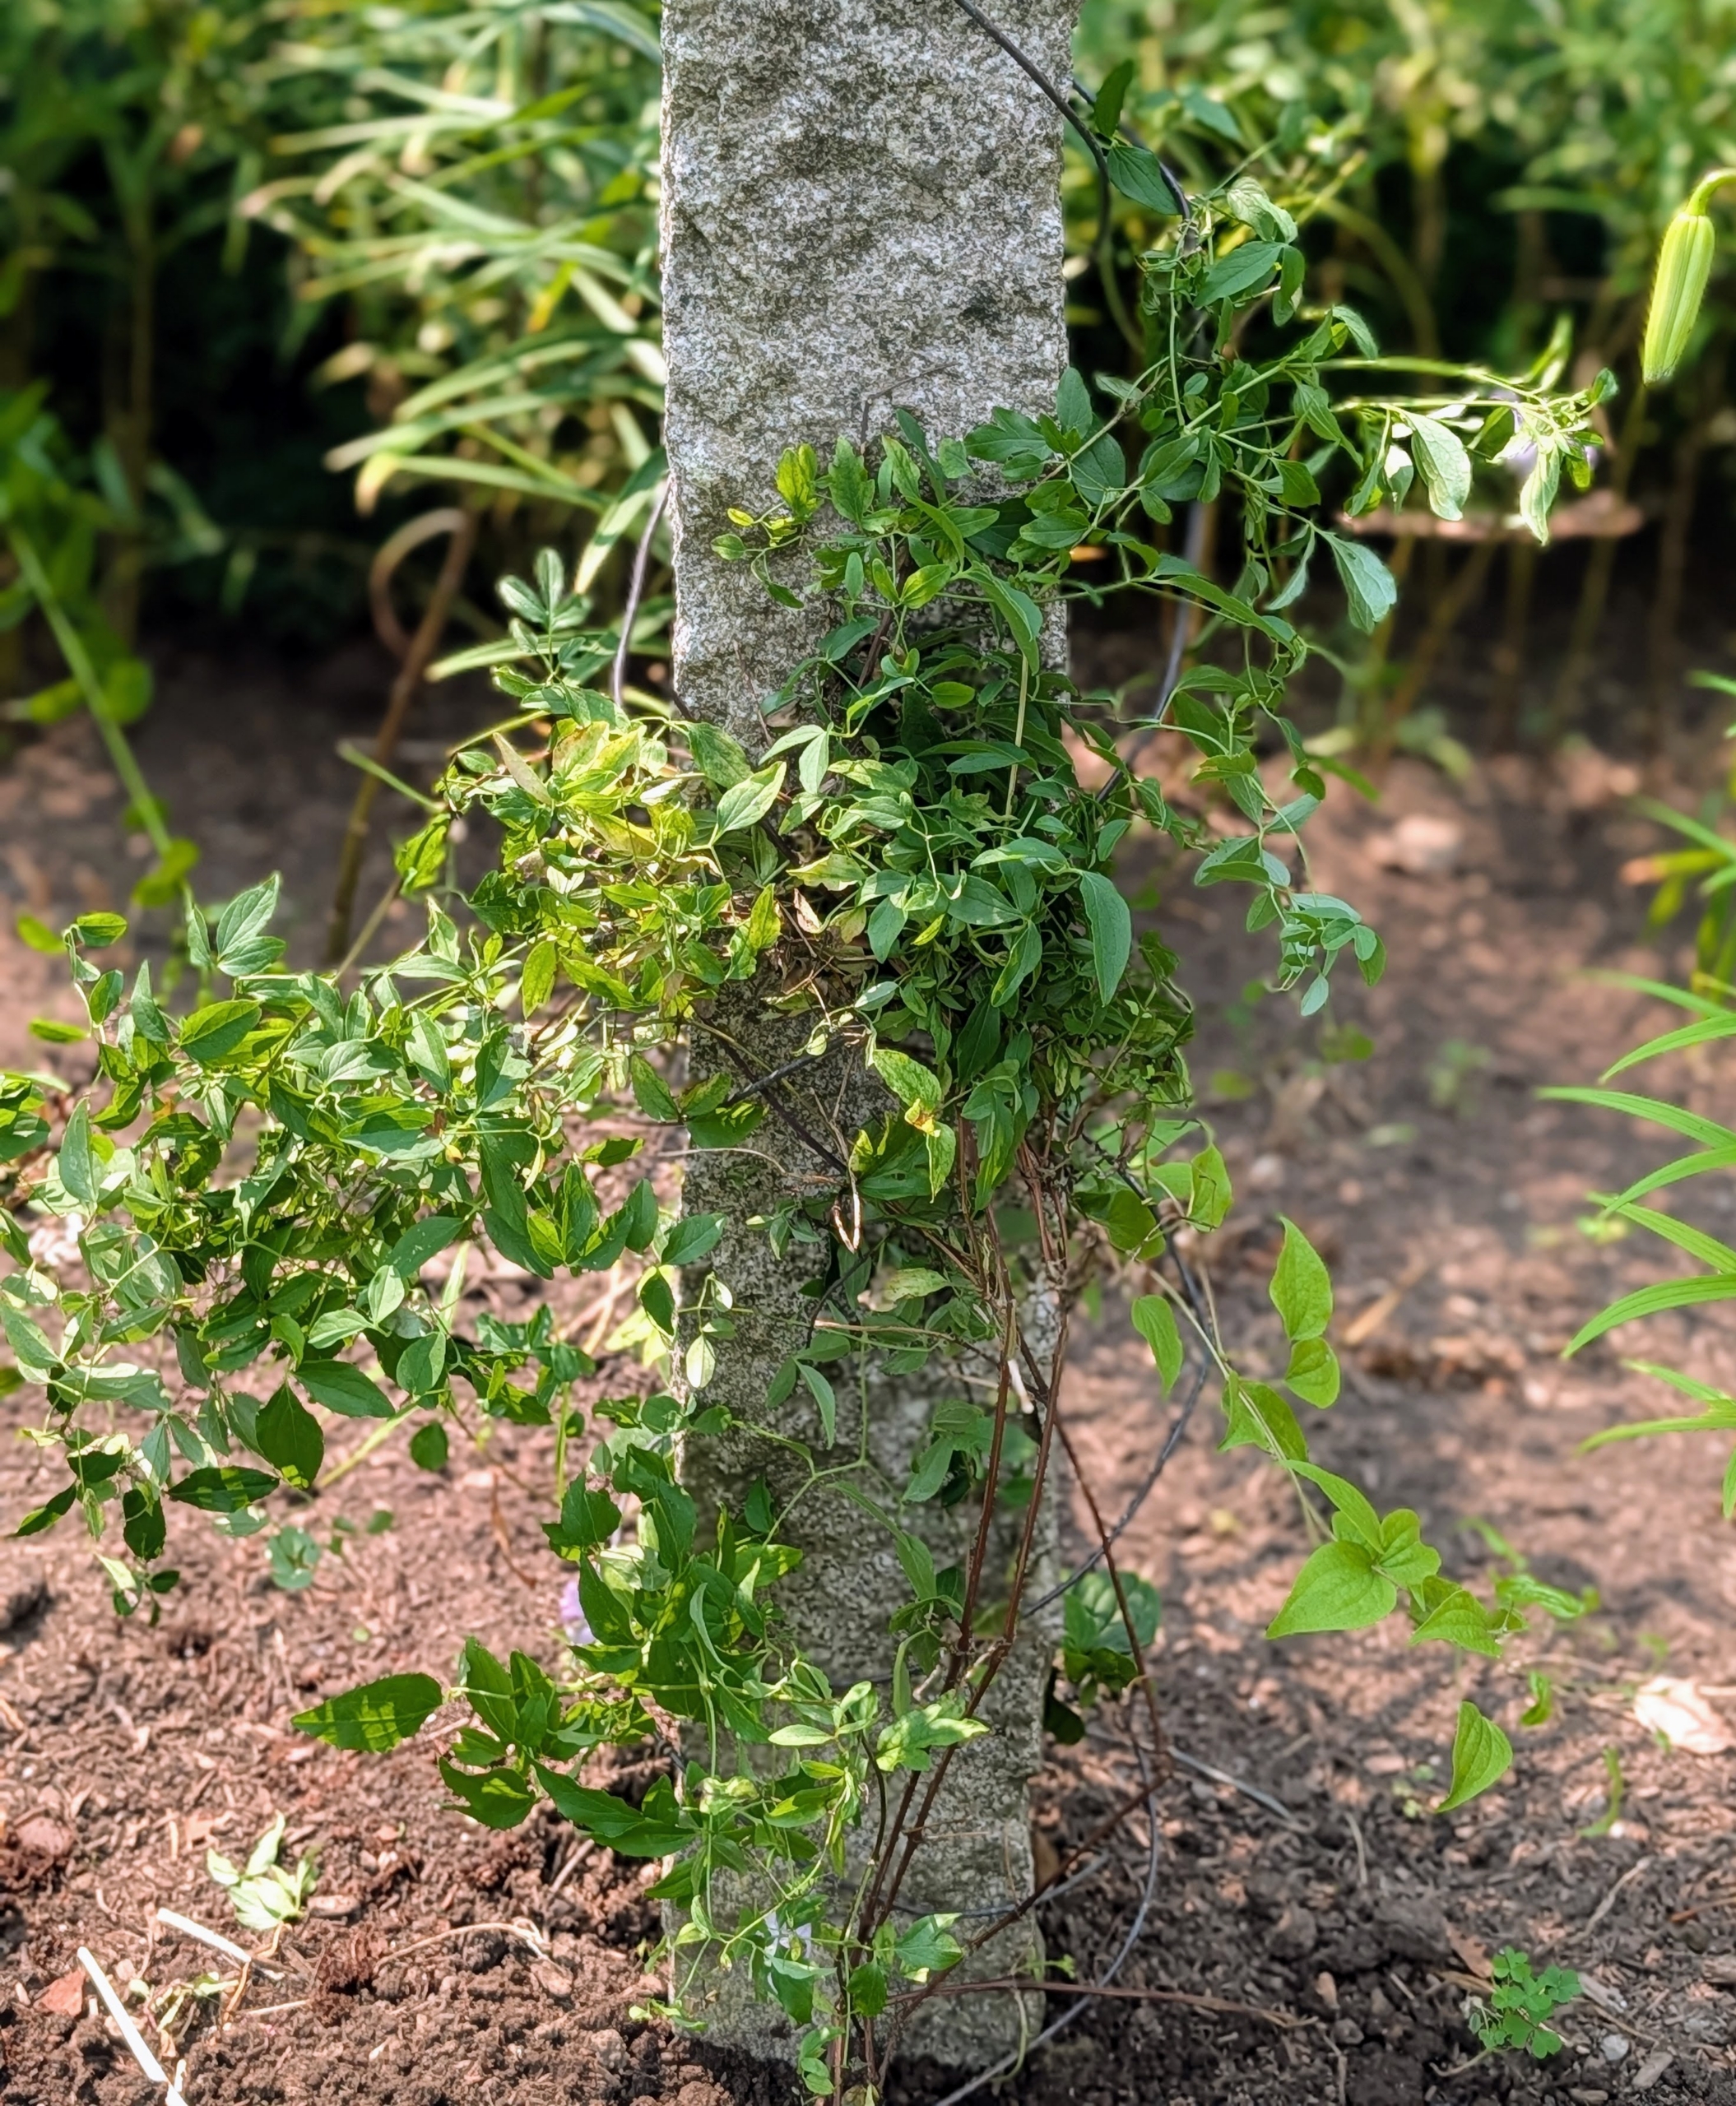
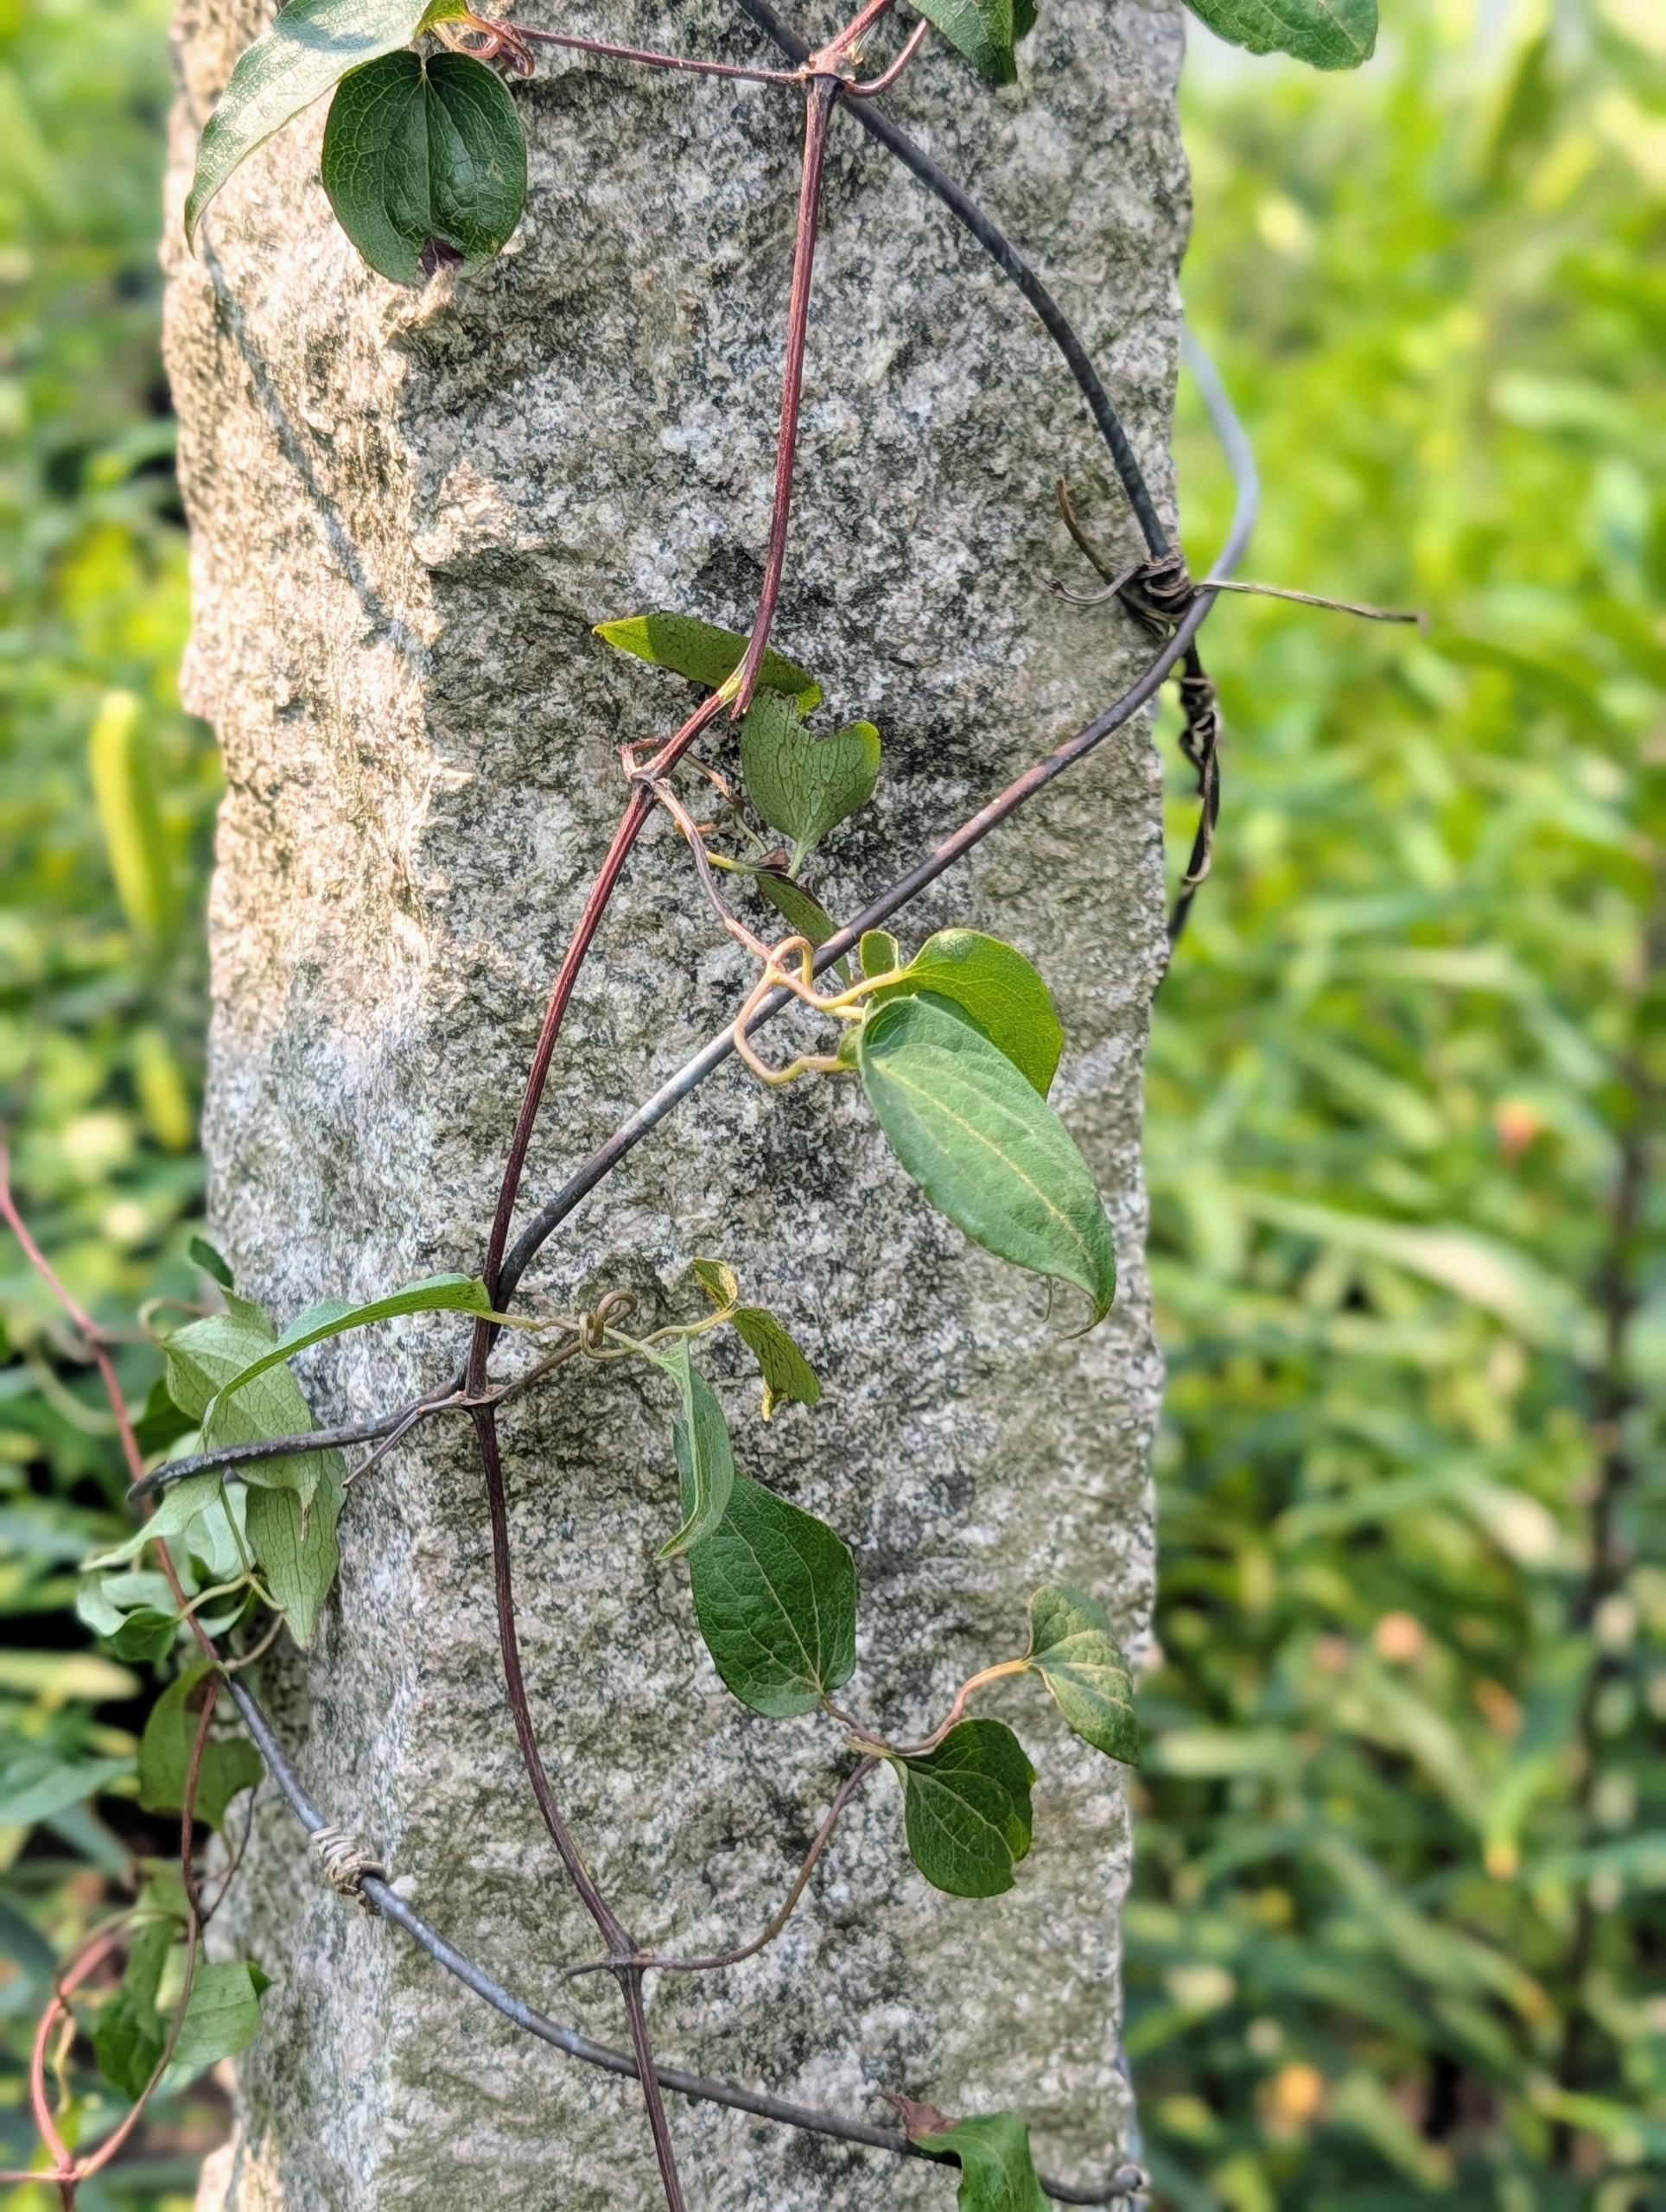
Copper wire is wrapped around each post, so the climbing tendrils of the clematis vines could attach easily. The uprights for this pergola are antique granite posts from China originally used as grape supports. They’re perfect as posts because they don’t rot over time like wood does. A friend of mine acquired a lot of stone from this valley and I purchased a couple hundred of these posts. I only wish I had bought more of them.
Clematis can also be grown in containers, And they can be trained and used to cover walls and fences, providing year-round floral interest.
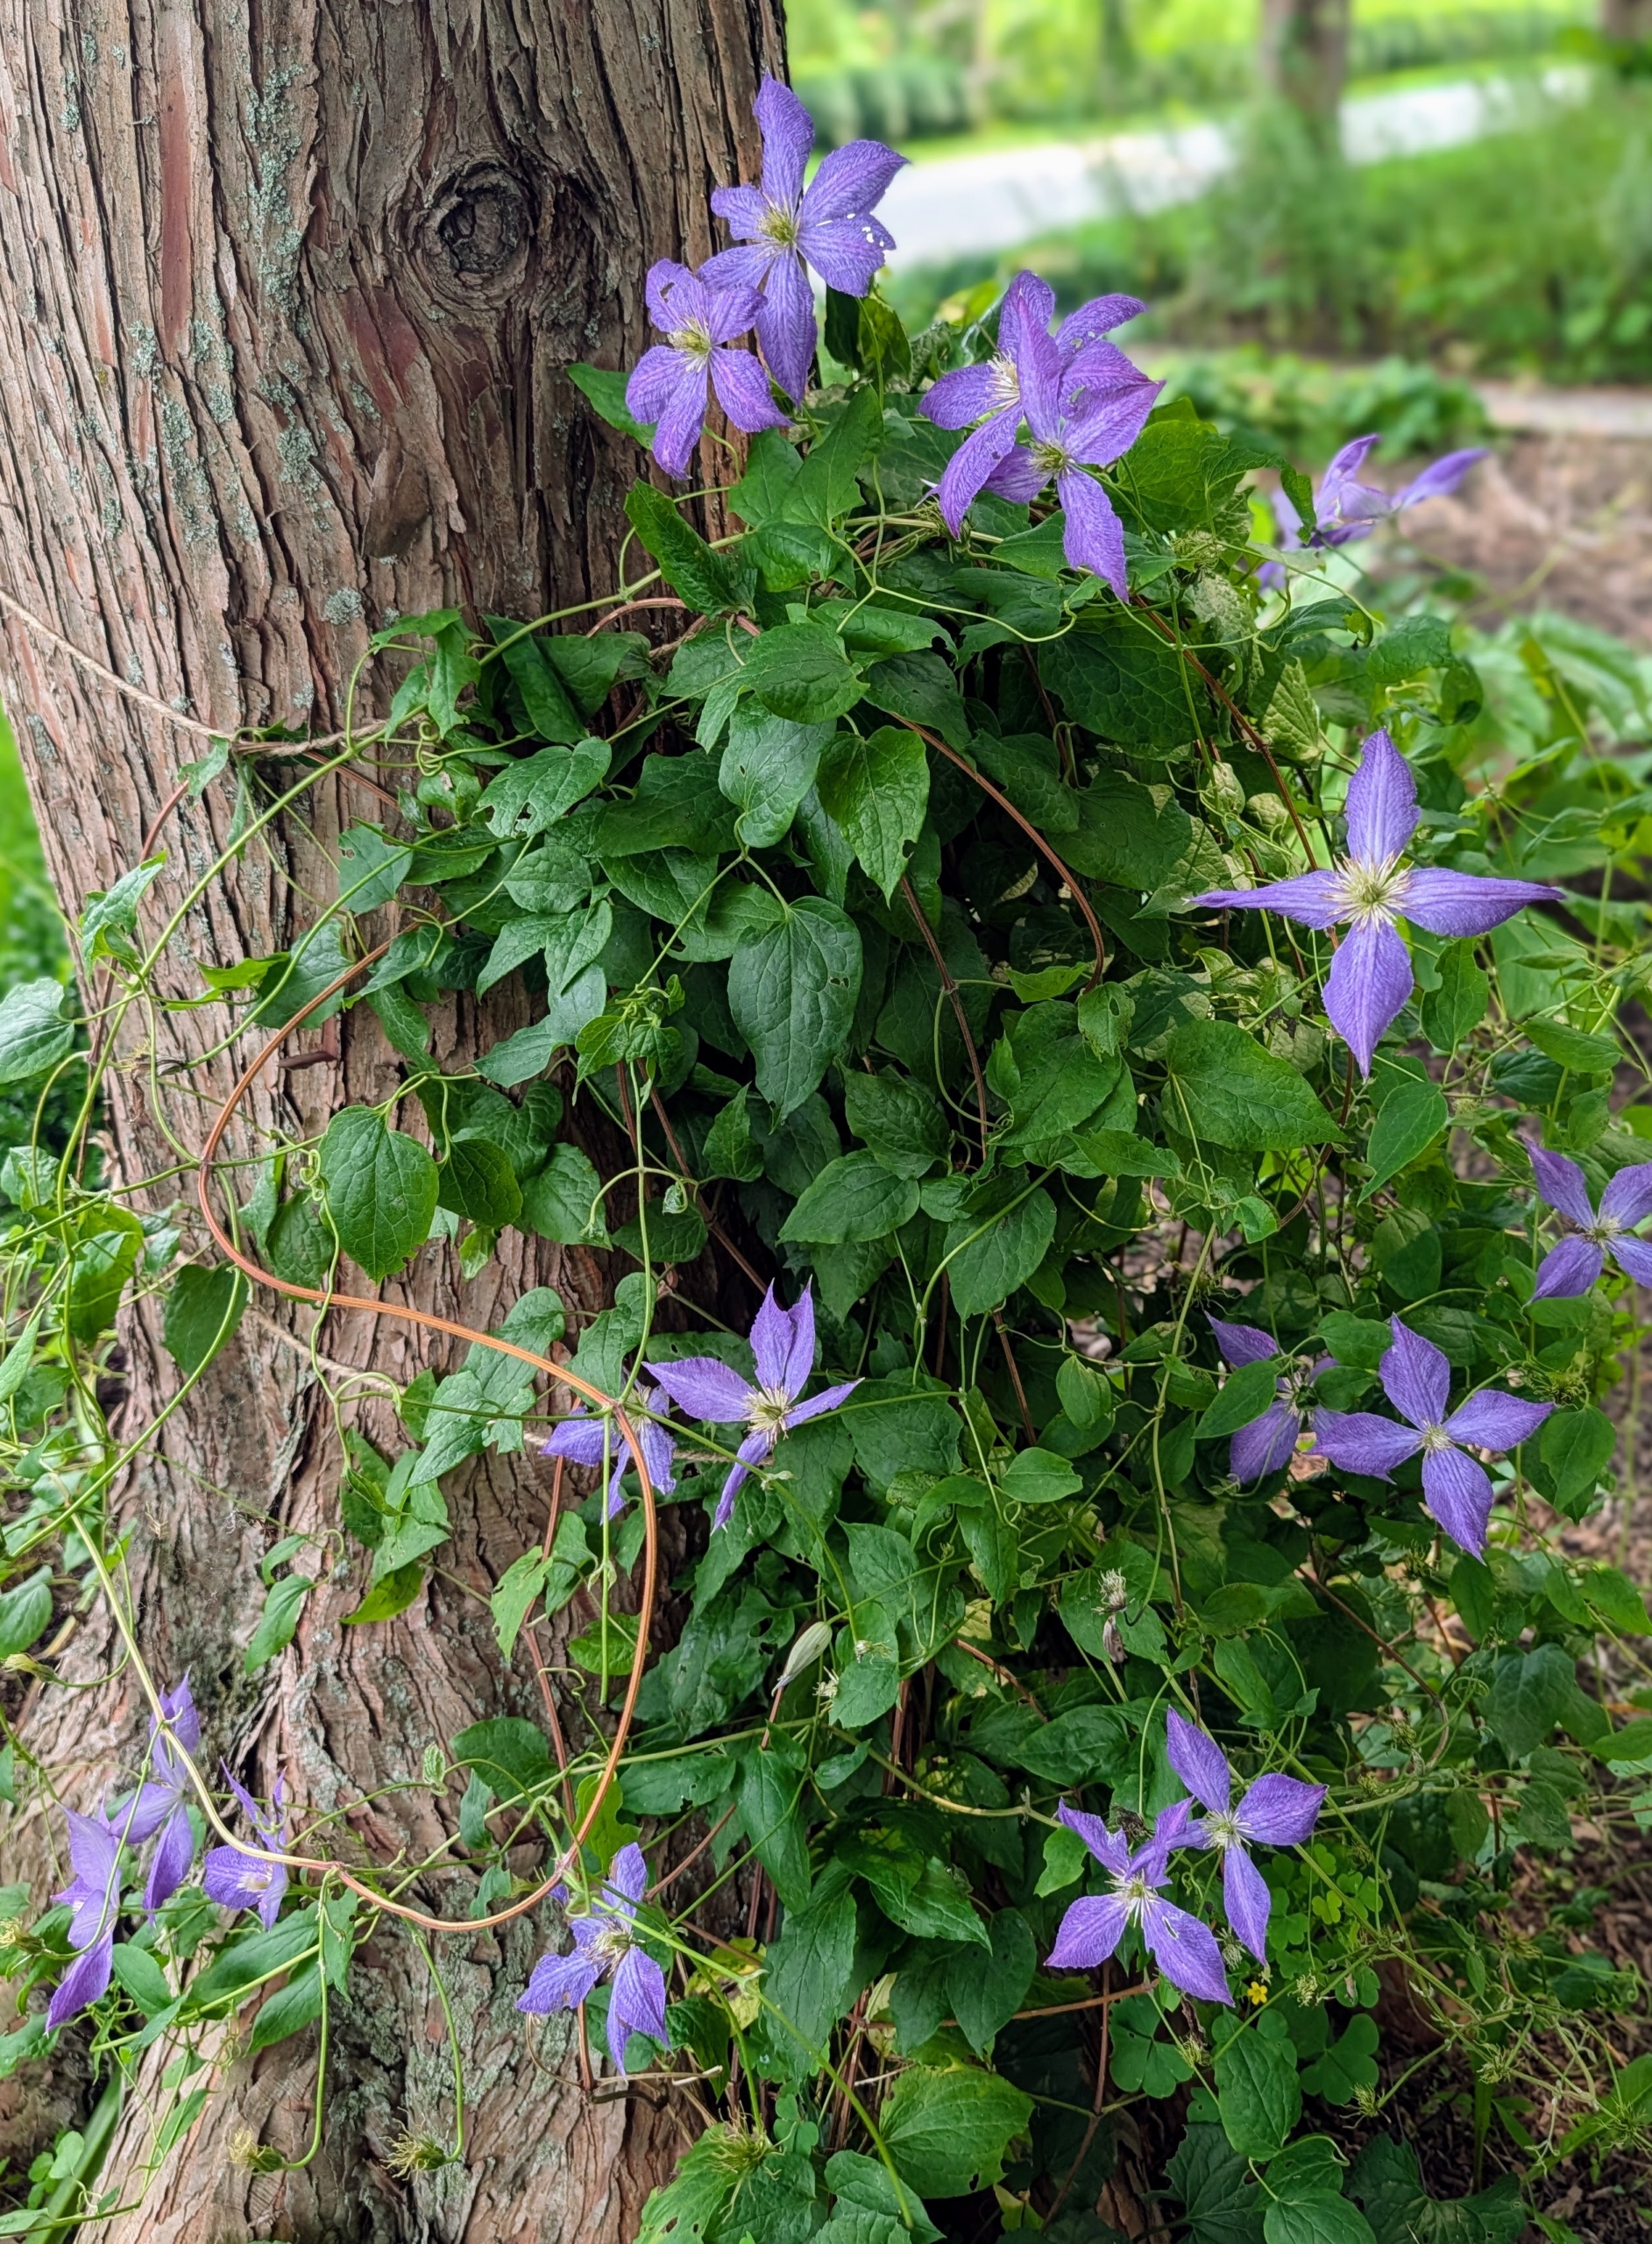
Across the carriage road from my pergola, I also have some clematis vines planted at the base of several bald cypress trees. On these trees, I used twine to secure the climbing vines.
Clematis are generally not hard to maintain. They are surprisingly tough and can cope with hard pruning. If you don’t already have clematis plants in your garden, pick one up and plant it – you’ll love it as much as I love all of mine.