Here at my Bedford, New York farm, whenever a member of my team returns from vacation, I always encourage them to share some of their photos.
This summer, my head gardener, Ryan McCallister, traveled to France for the first time. Among his many day tours, he visited the famous château and gardens of Villandry, located in the département of Indre-et-Loire. Once part of a medieval fortress and known as Colombiers, the land passed through several owners - Jean Breton, treasury secretary to de Francois I; the Comte Michel-Ange de Castellane, ambassador of Louis XV; Jérôme Bonaparte, the younger brother of Napoleon; financier Pierre Laurent Hainguerlot, and then in 1906, Joachim Carvallo and his wife, Ann Coleman, heiress to the Coleman fortune. Joachim and Ann spent extensive time and money to redesign the extraordinary property - all of which sit on 15-acres, with the seven-acre garden forming a 360-degree backdrop for the château. In 1934, Château de Villandry was designated a Historic Monument.
Here are just some of Ryan's photos, enjoy.
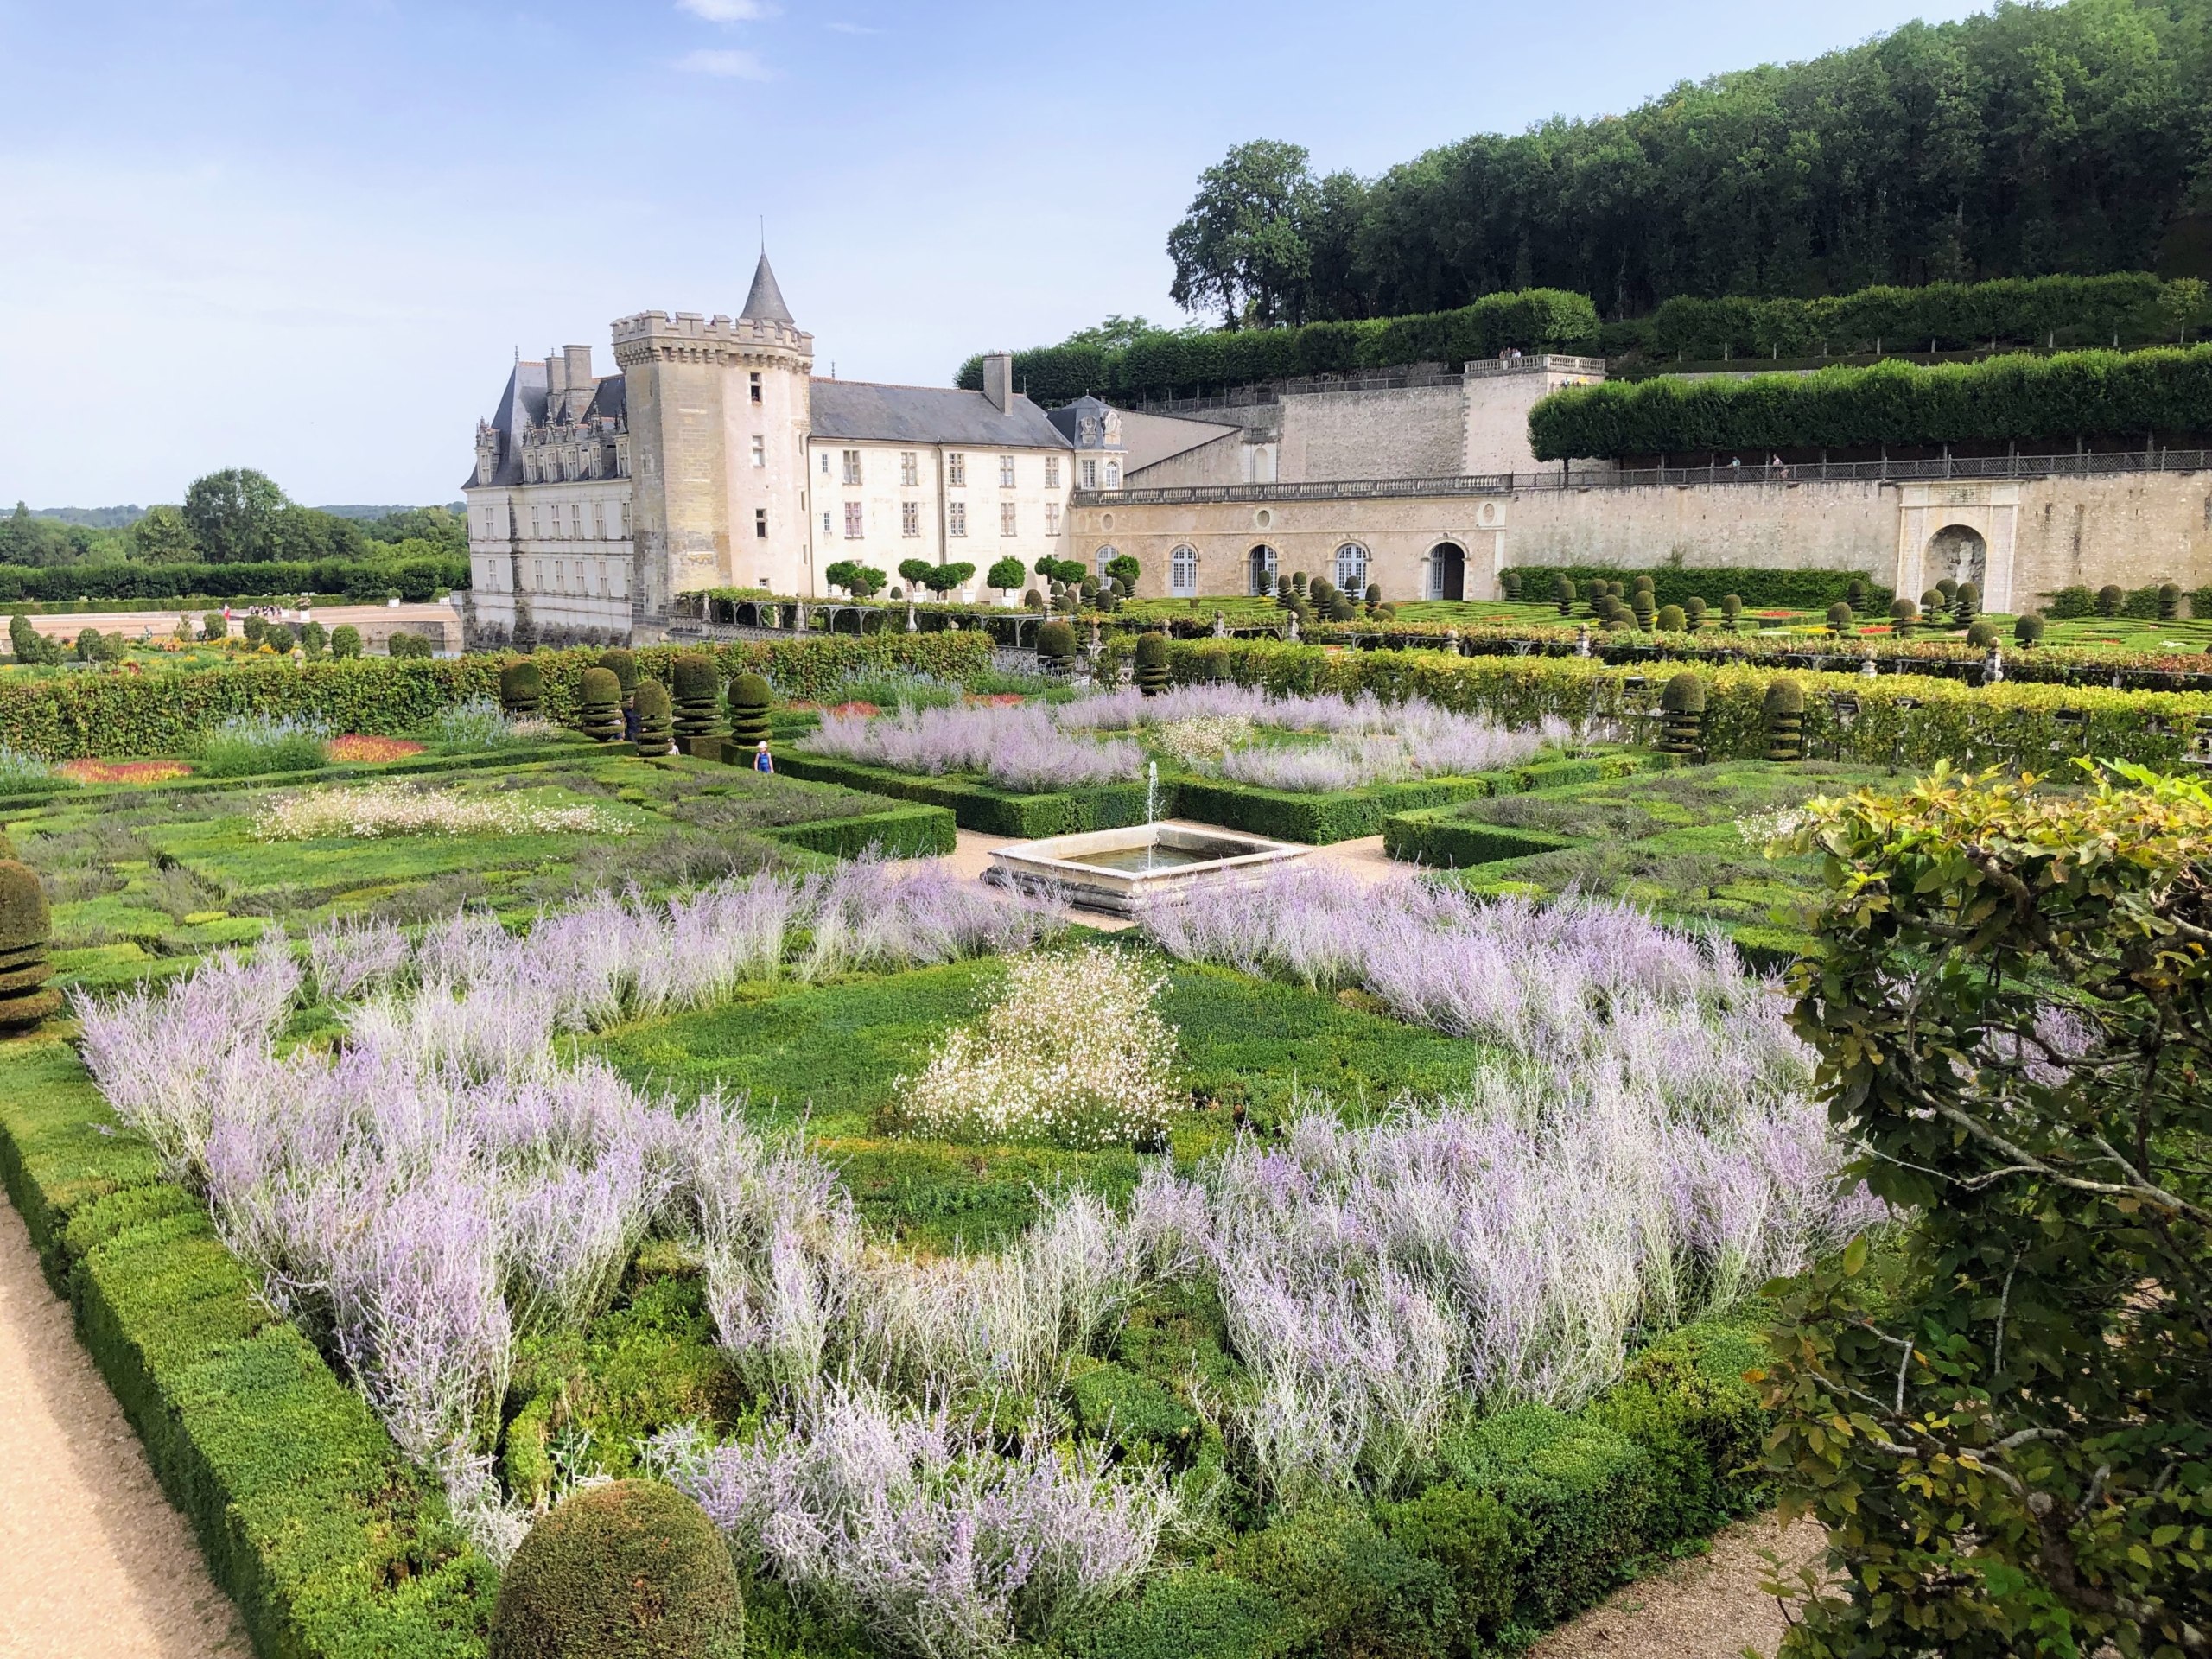
The château and gardens of Villandry are located in a small valley overlooking the Cher River in central France, a left tributary of the famous Loire.
The land is bordered by a wooded hillside and a village. It is also completely walled.
Now a Historic Monument, the gardens symbolize the way in which gardens were built during the Renaissance. The design and maintenance are incredible. Now, a team of 10 gardeners works full-time to maintain and preserve the gardens.
Everything is pruned and carefully groomed according to a very strict schedule. The trees planted throughout the estate require more than three months of pruning by a team of four.
More than 115,000 flowering and vegetable plants are planted every year.
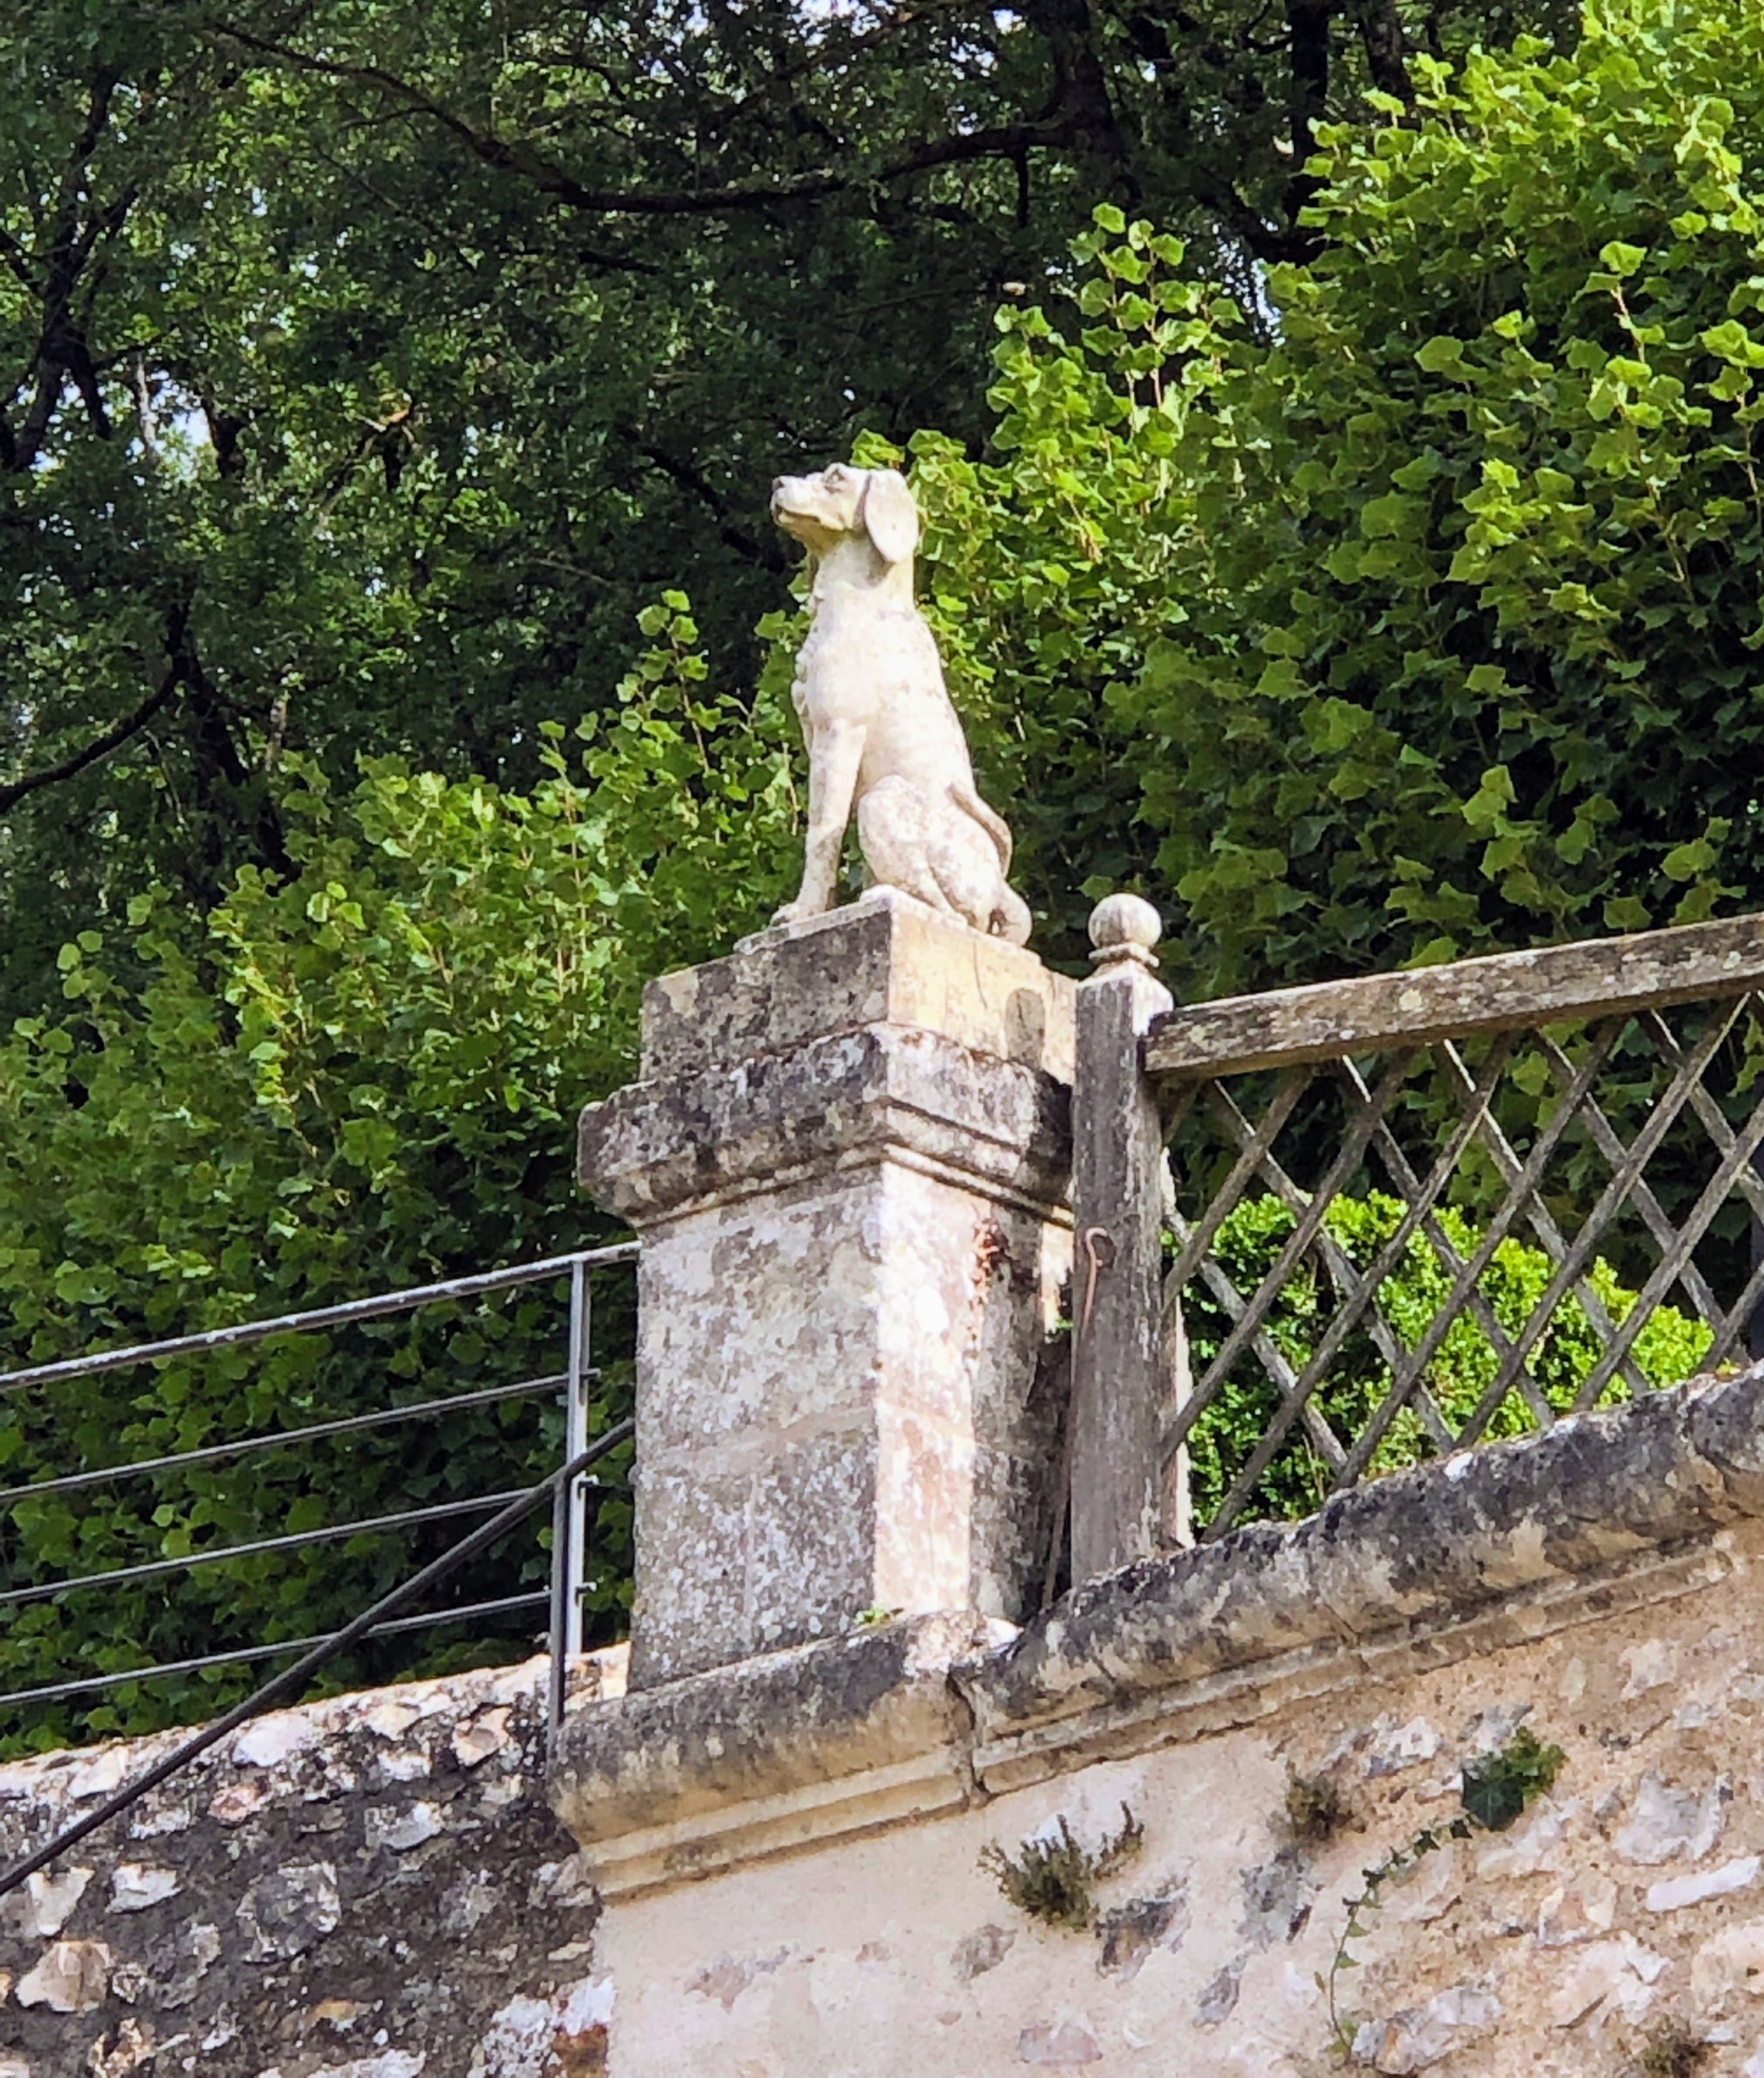
Here, a sculpture of a dog looks over the gardens from one of the terraces.
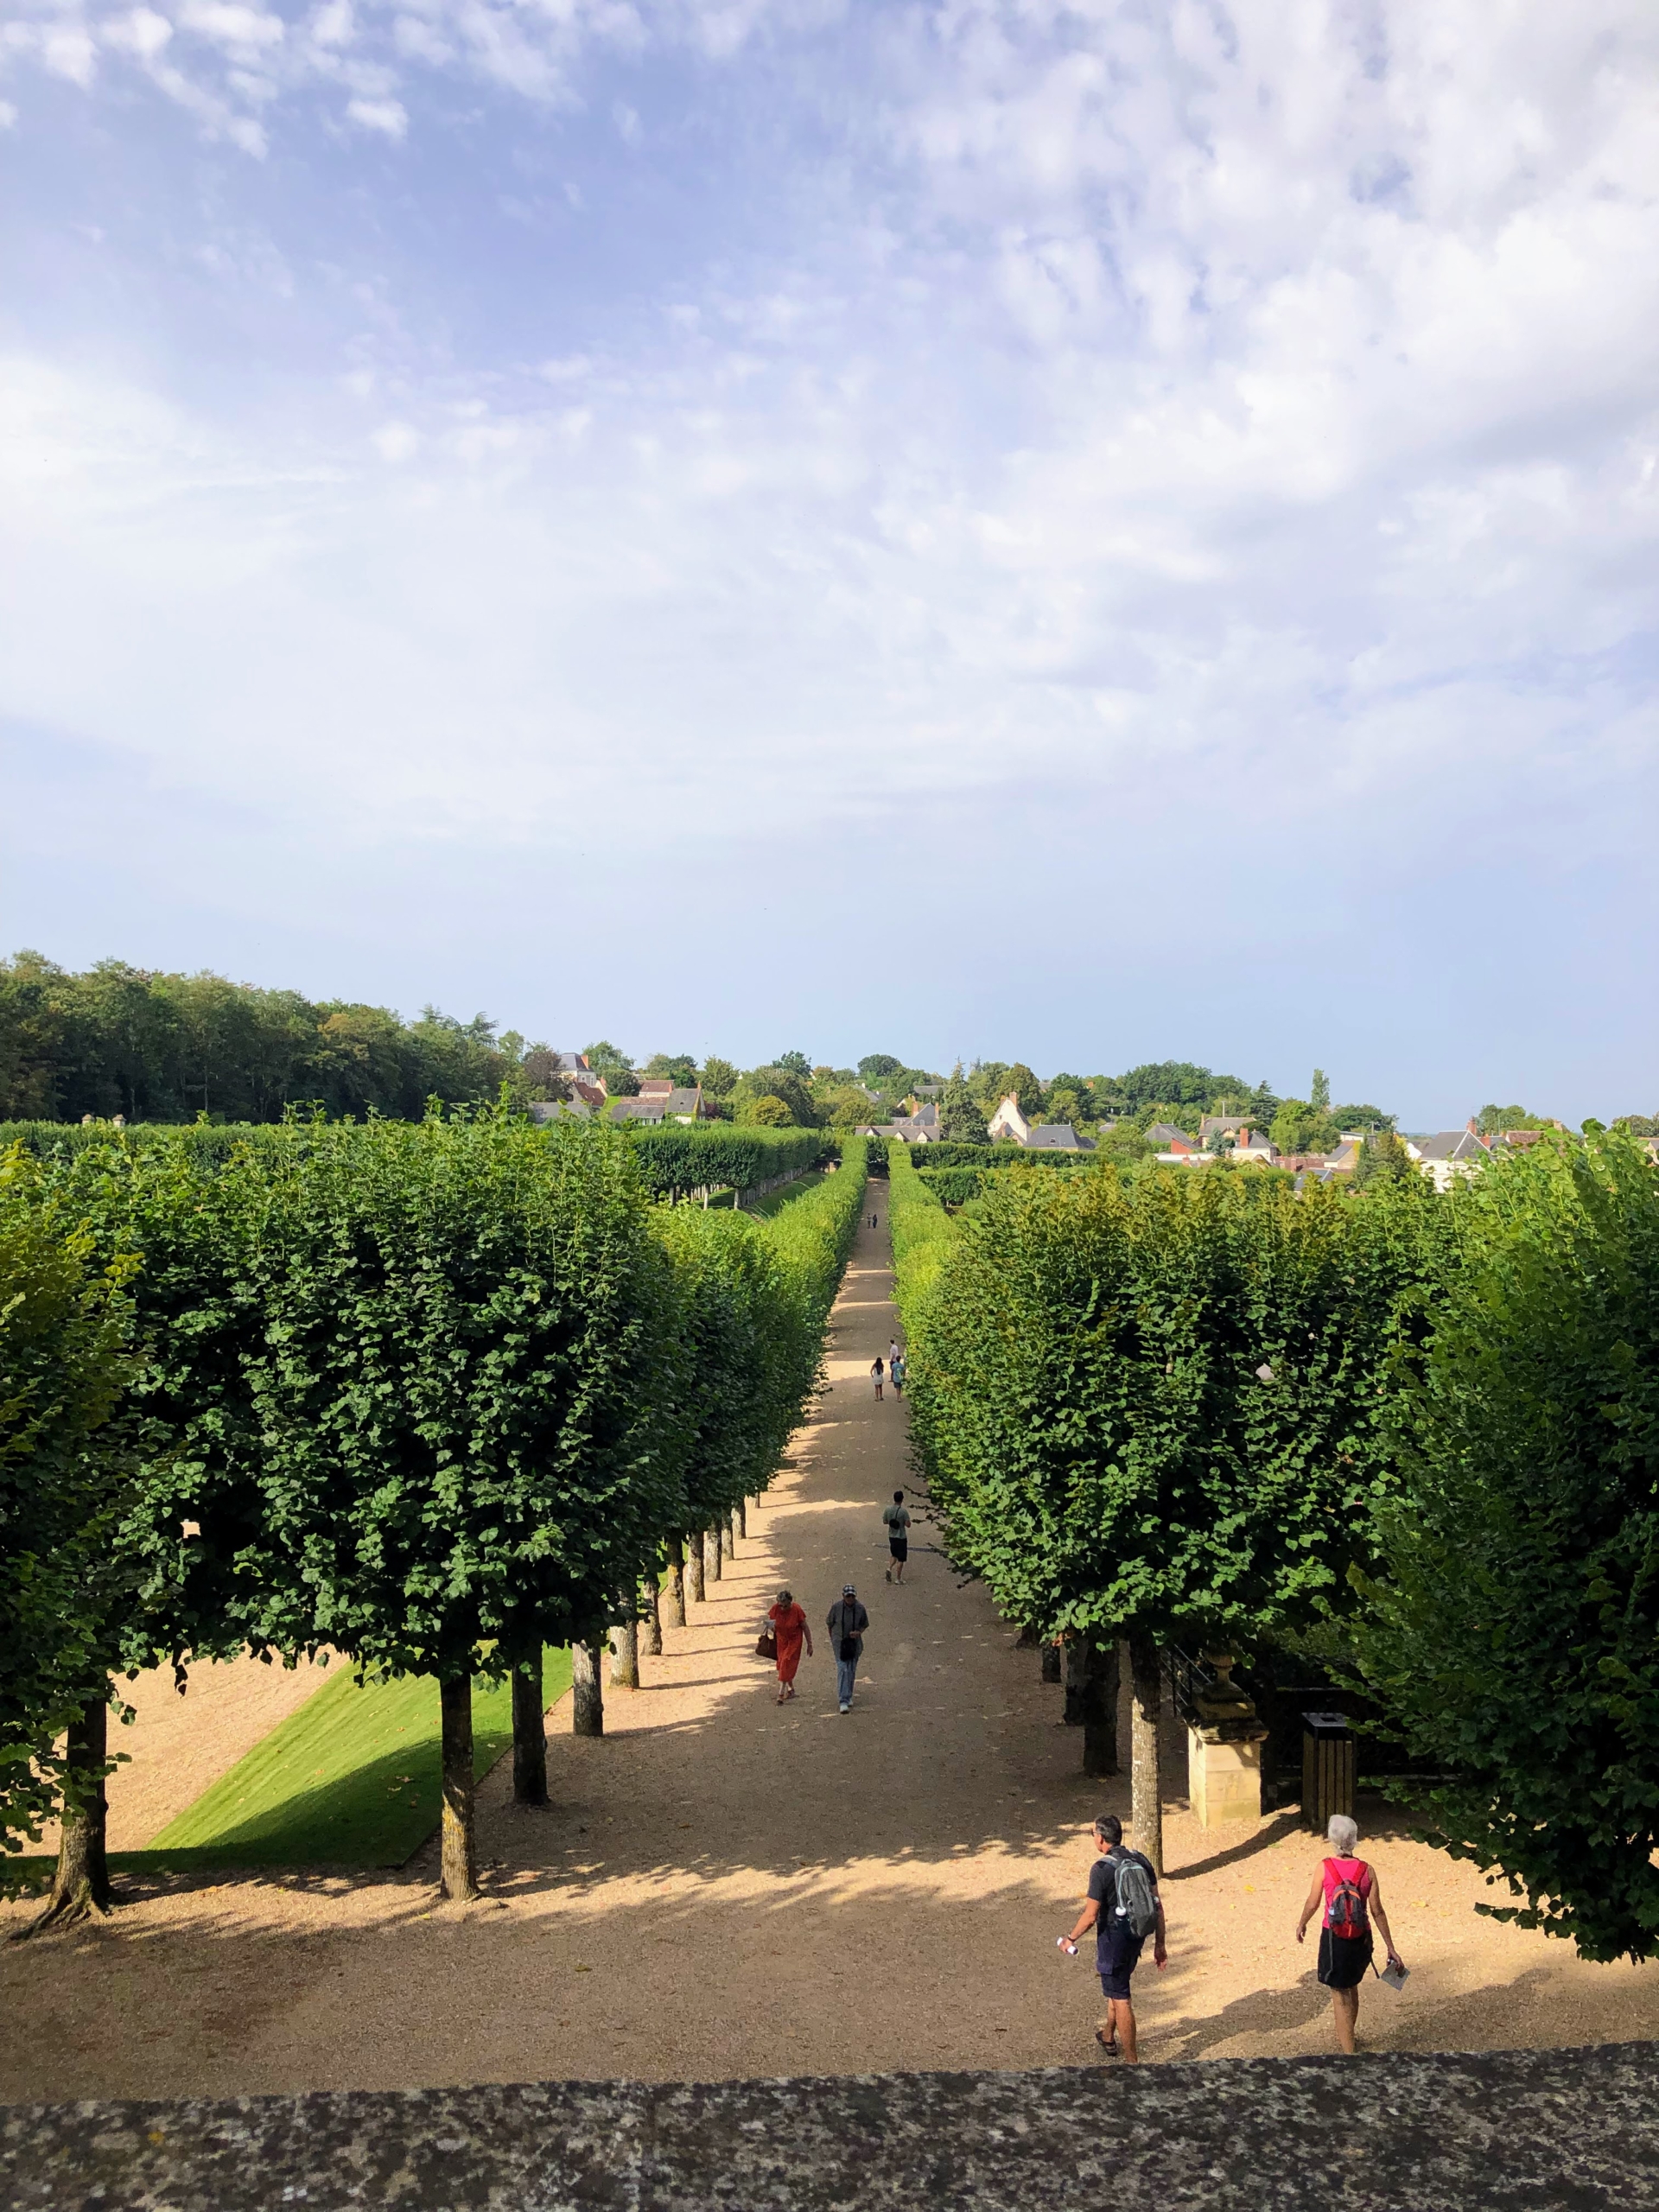
This is Water Garden surrounded by lawns and lime trees. It was meant to offer visitors a place for perfect rest and meditation. Originally created in the 18th century, it was restored in the early 20th century by Joachim Carvallo.
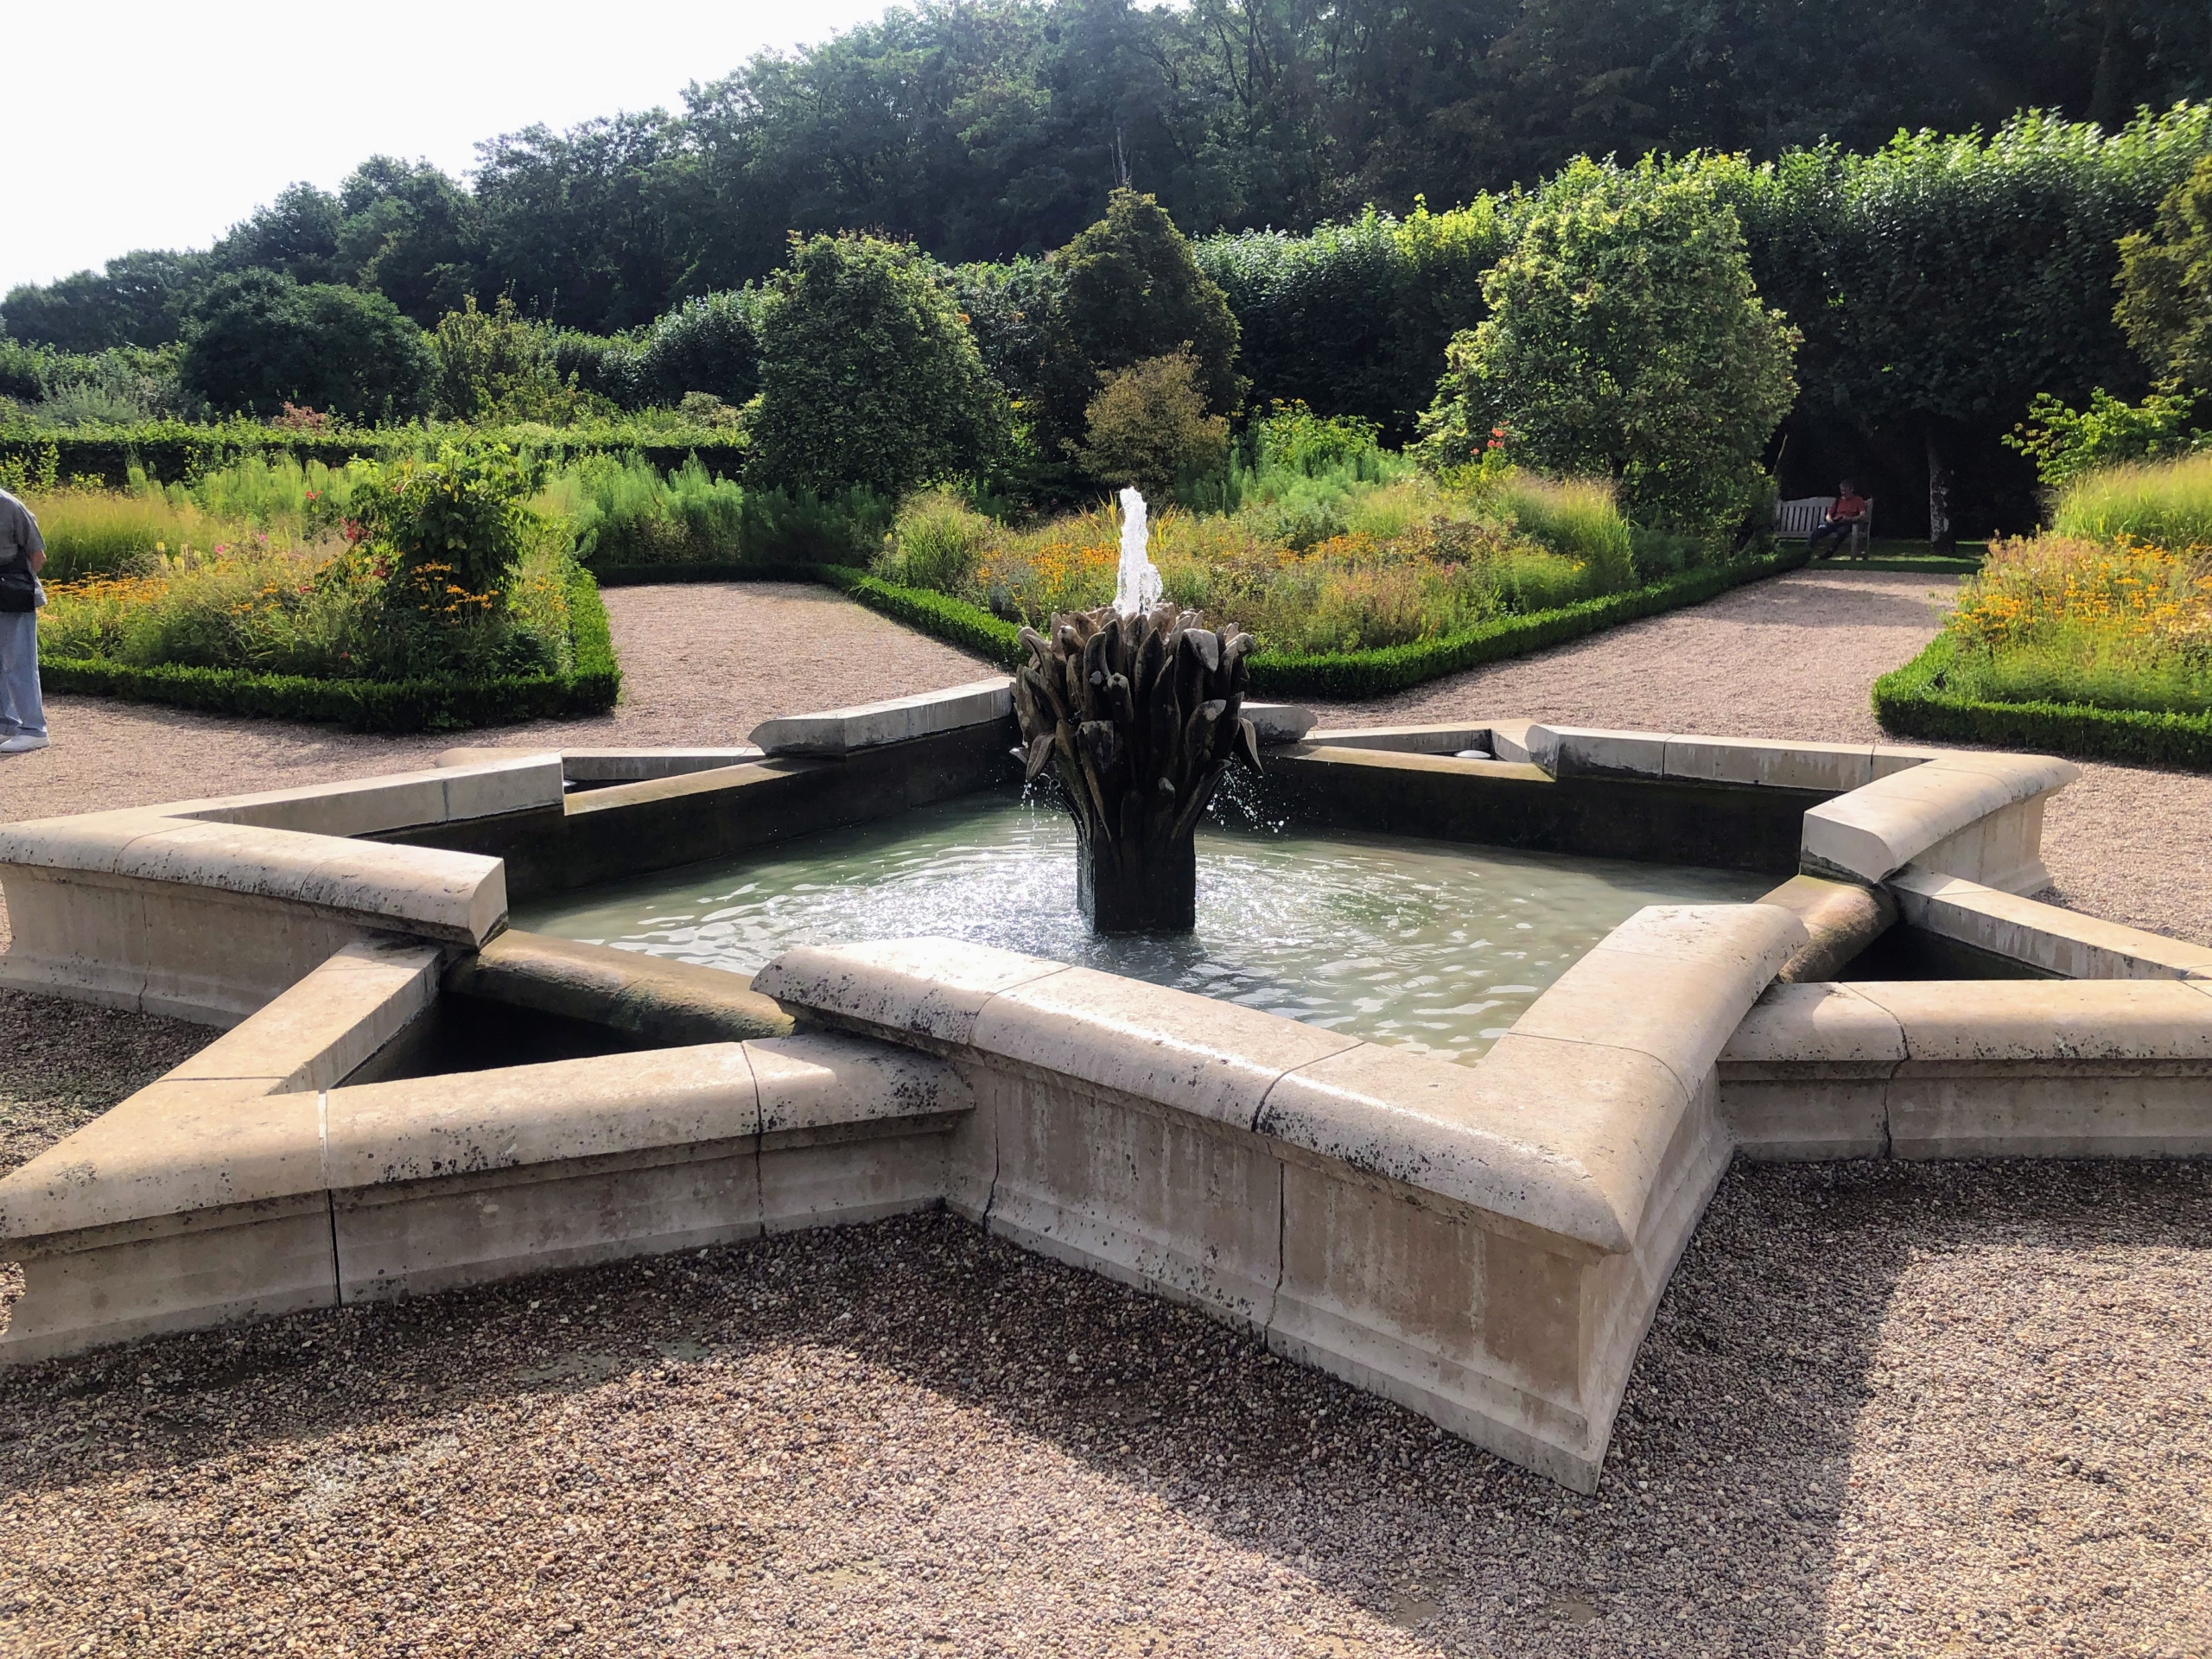
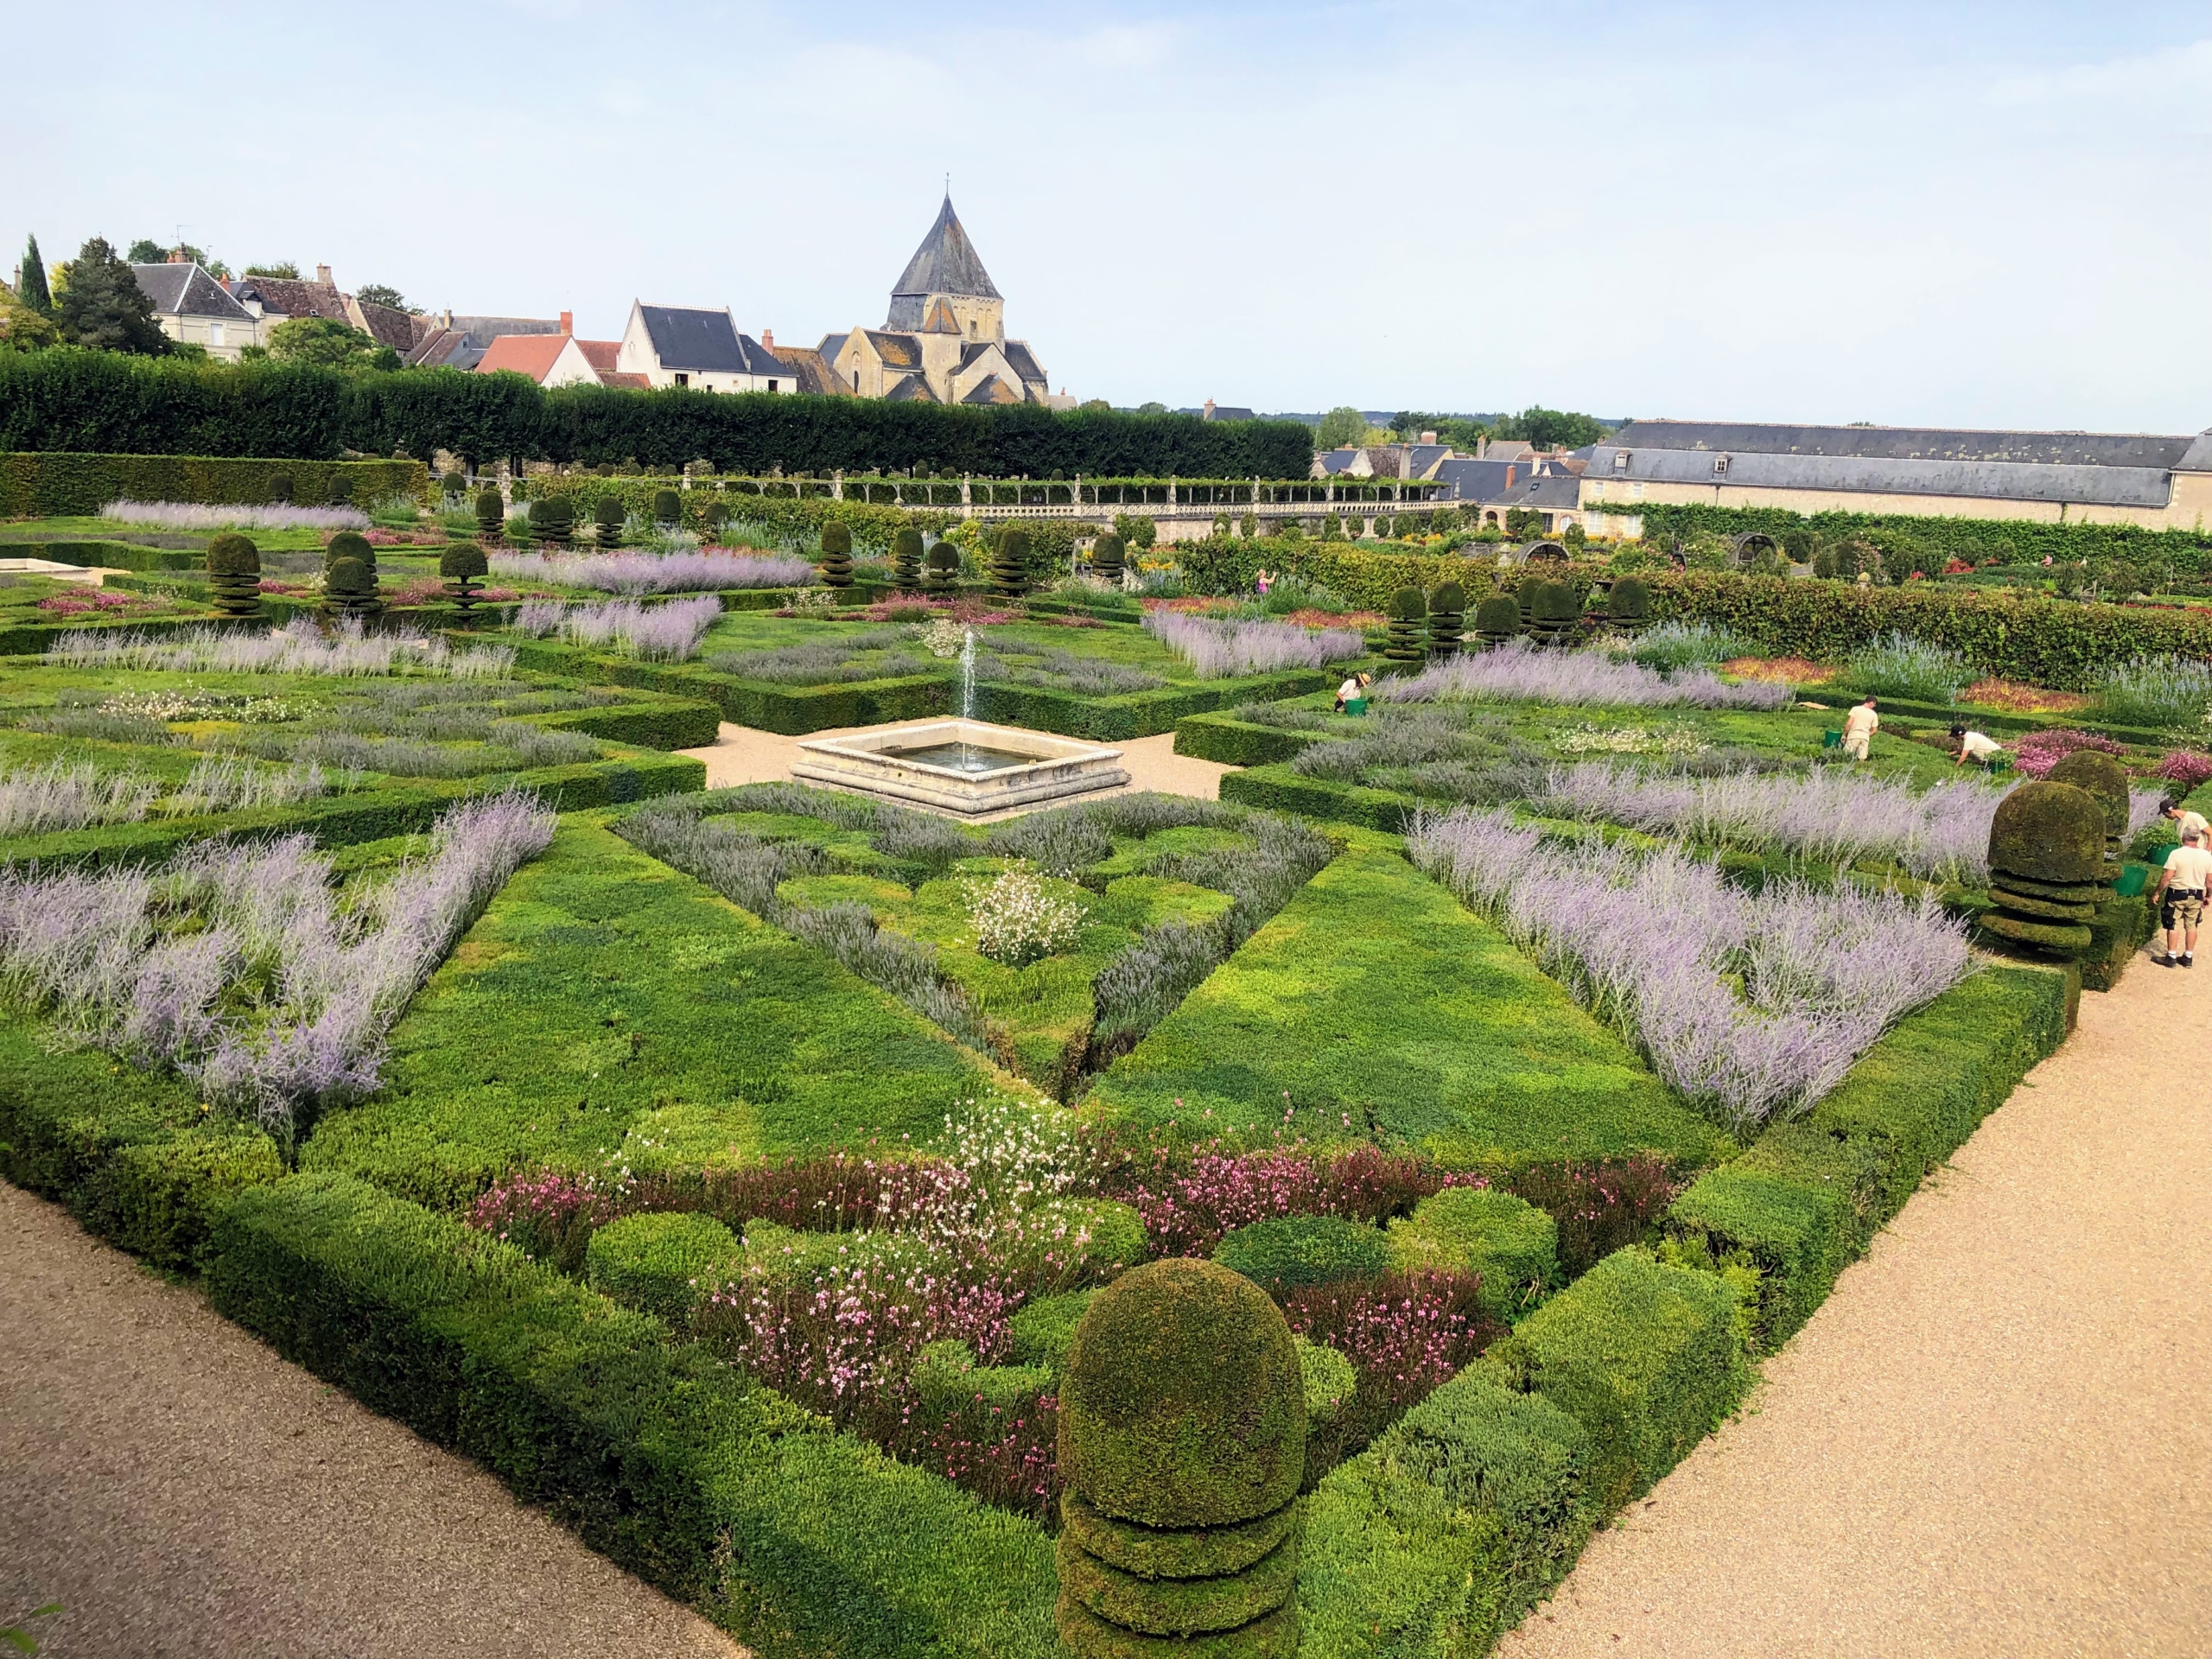
The Sun Garden is a contemporary space inspired by another one of Joachim’s projects. It is formed in three spaces – a cloud chamber with grassy paths, planted with shrubs and perennials, a children’s chamber and this sun chamber centered around a star shaped pool.
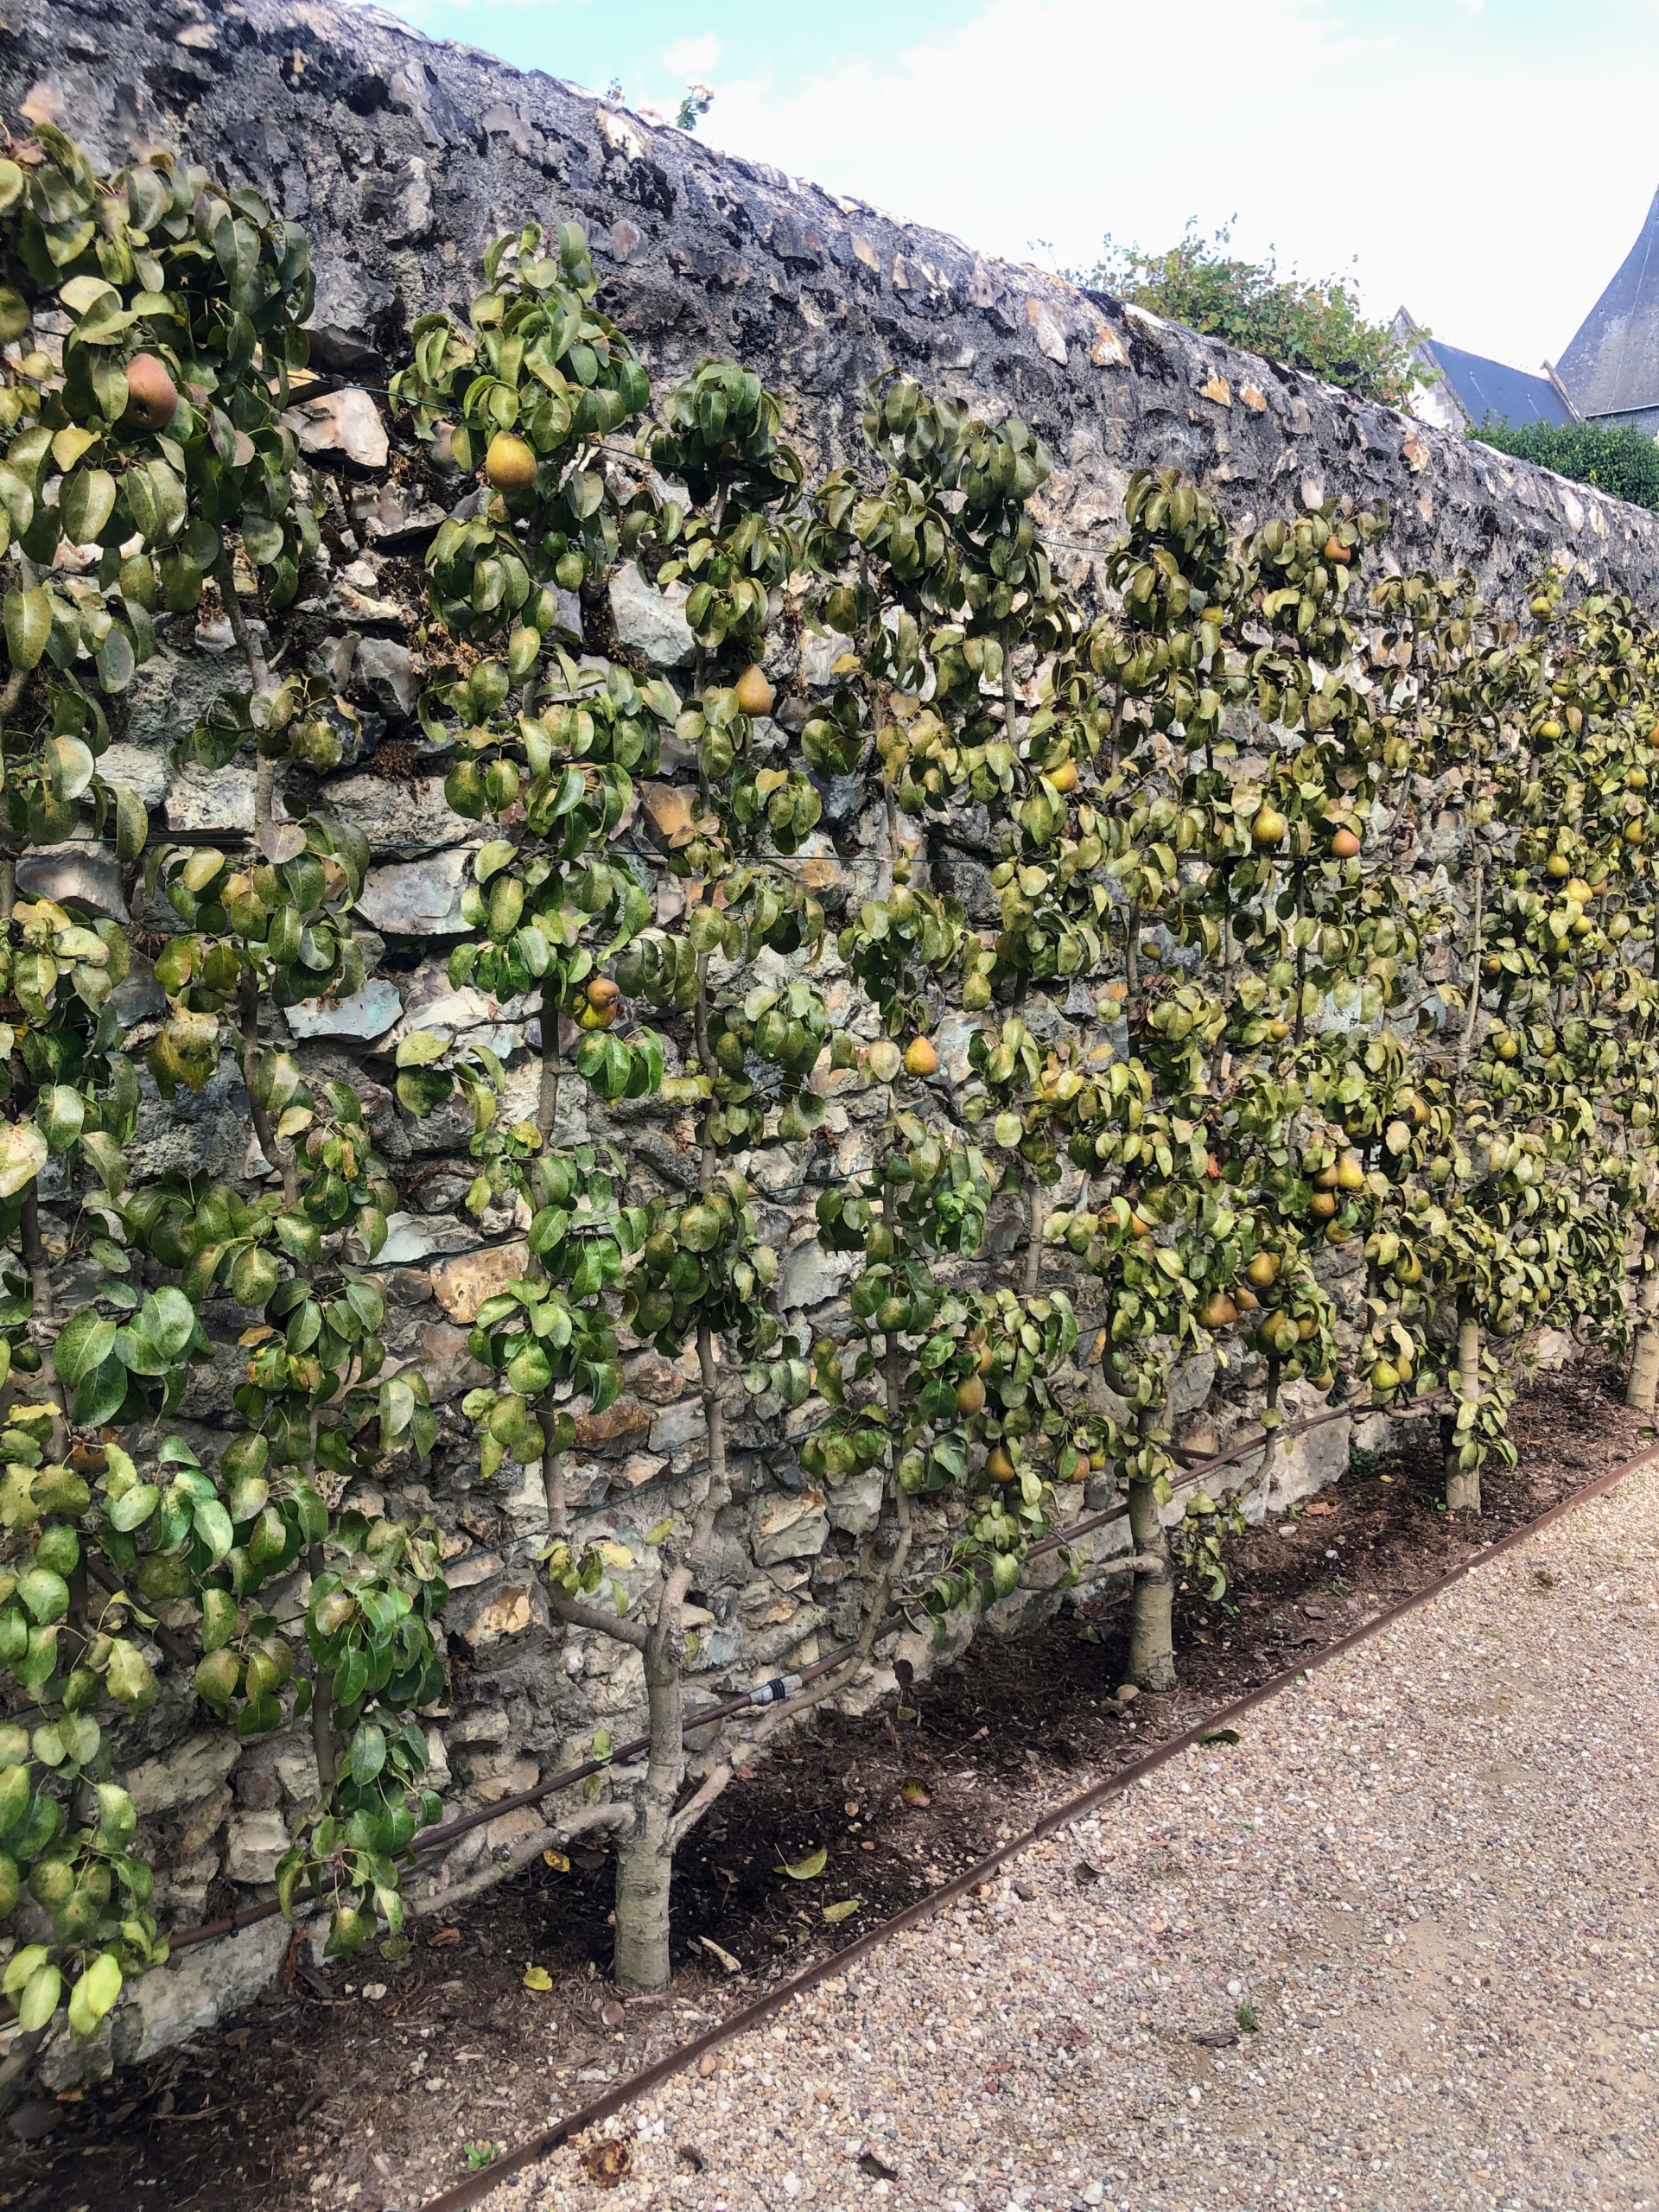
The gardens also include espaliers – fruit trees or ornamental shrubs whose branches are trained to grow flat against a wall, supported on a lattice or a framework of stakes. These are espaliered pear trees. I also have espaliered fruit trees at the farm. The horizontal branches grow lower to allow pickers easier reach.
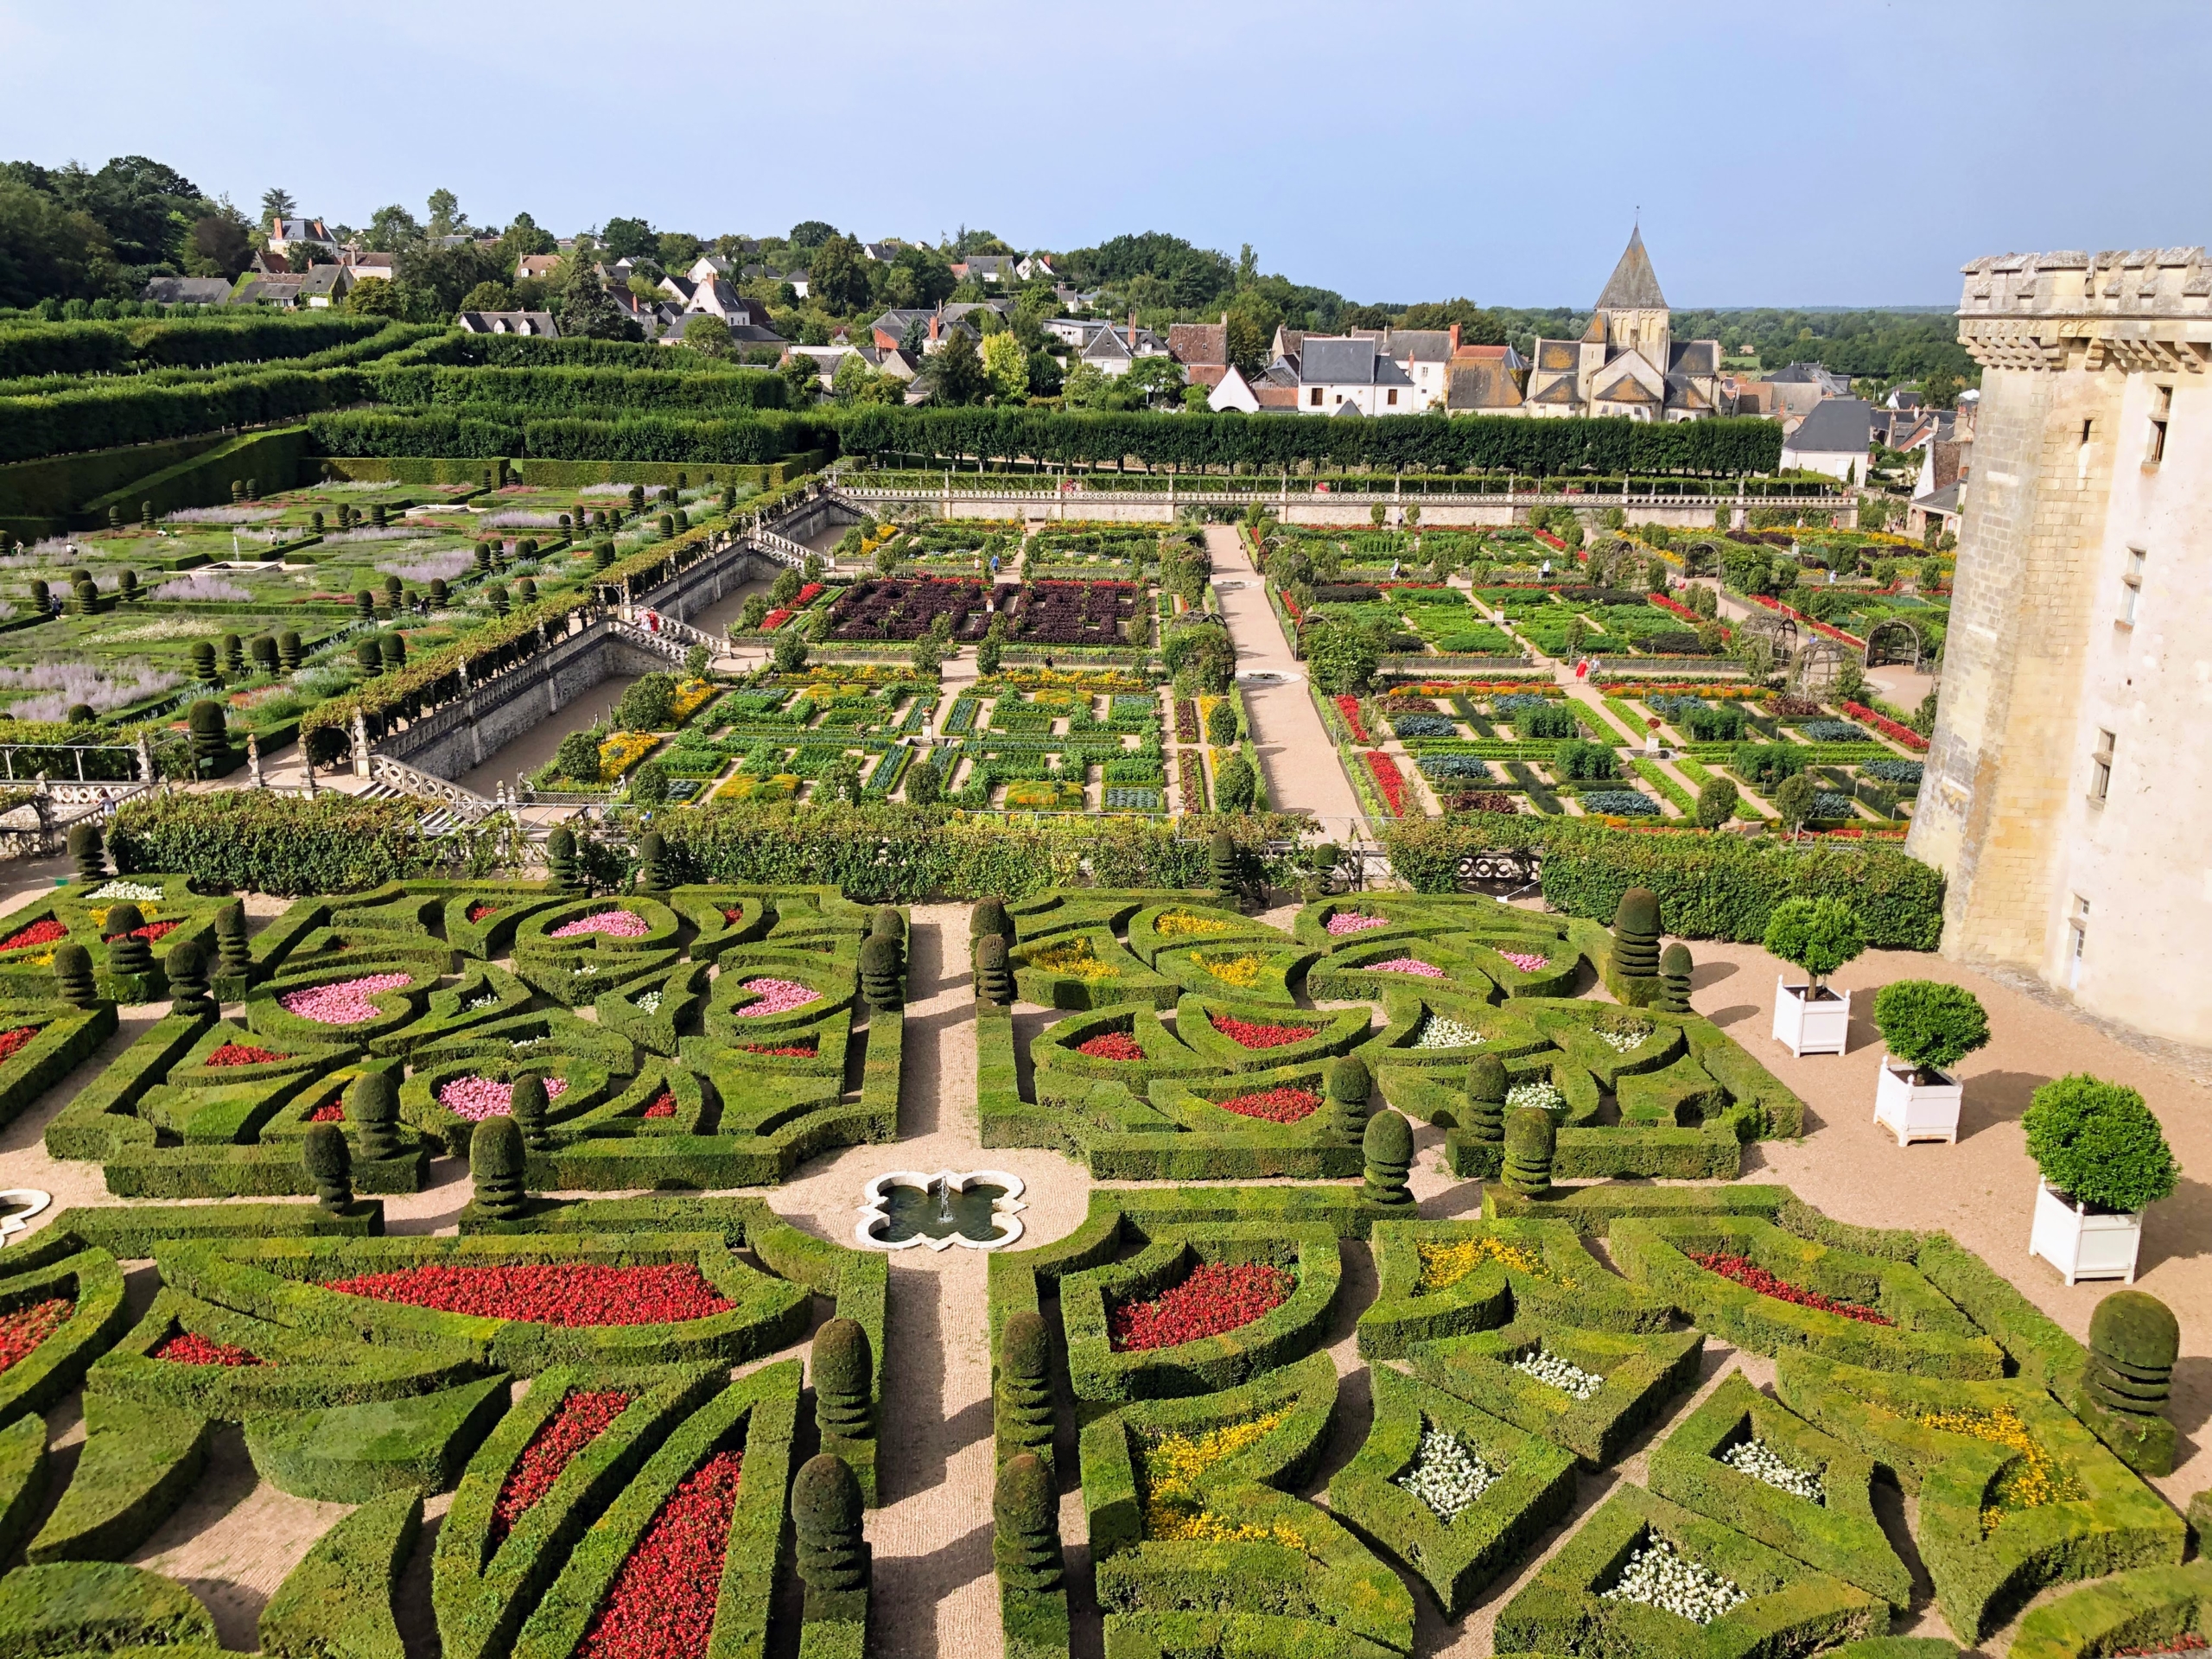
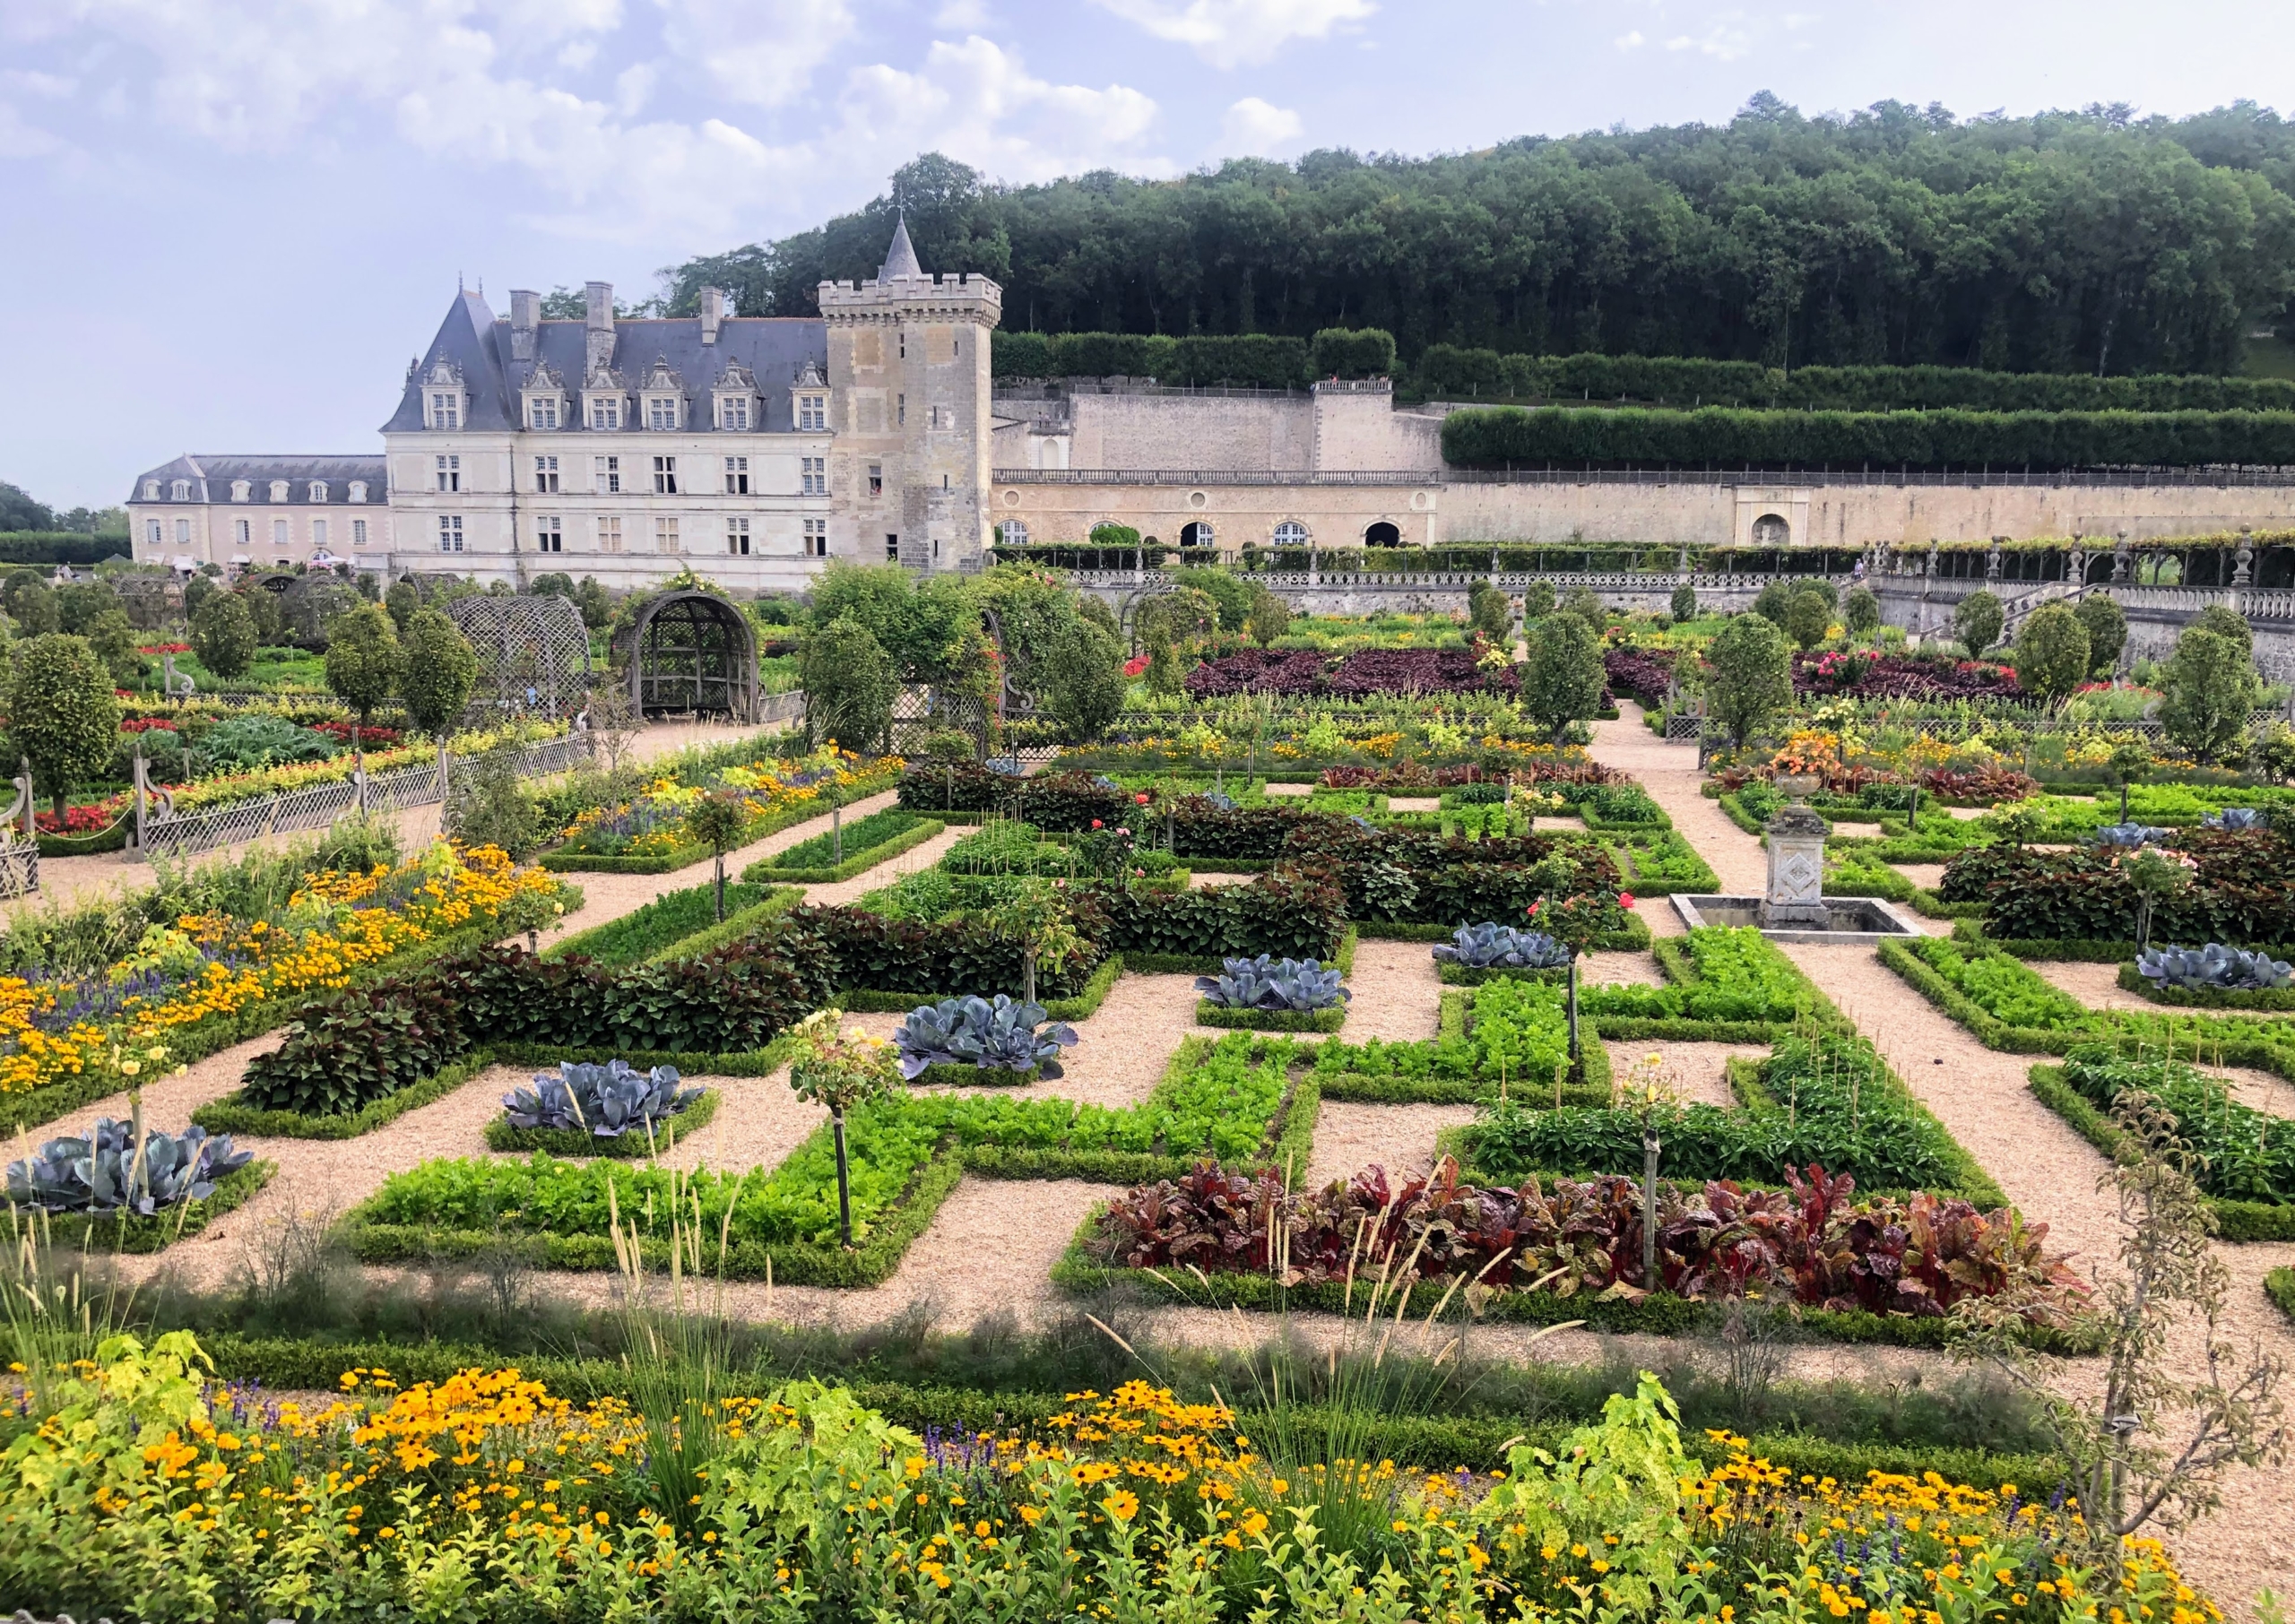
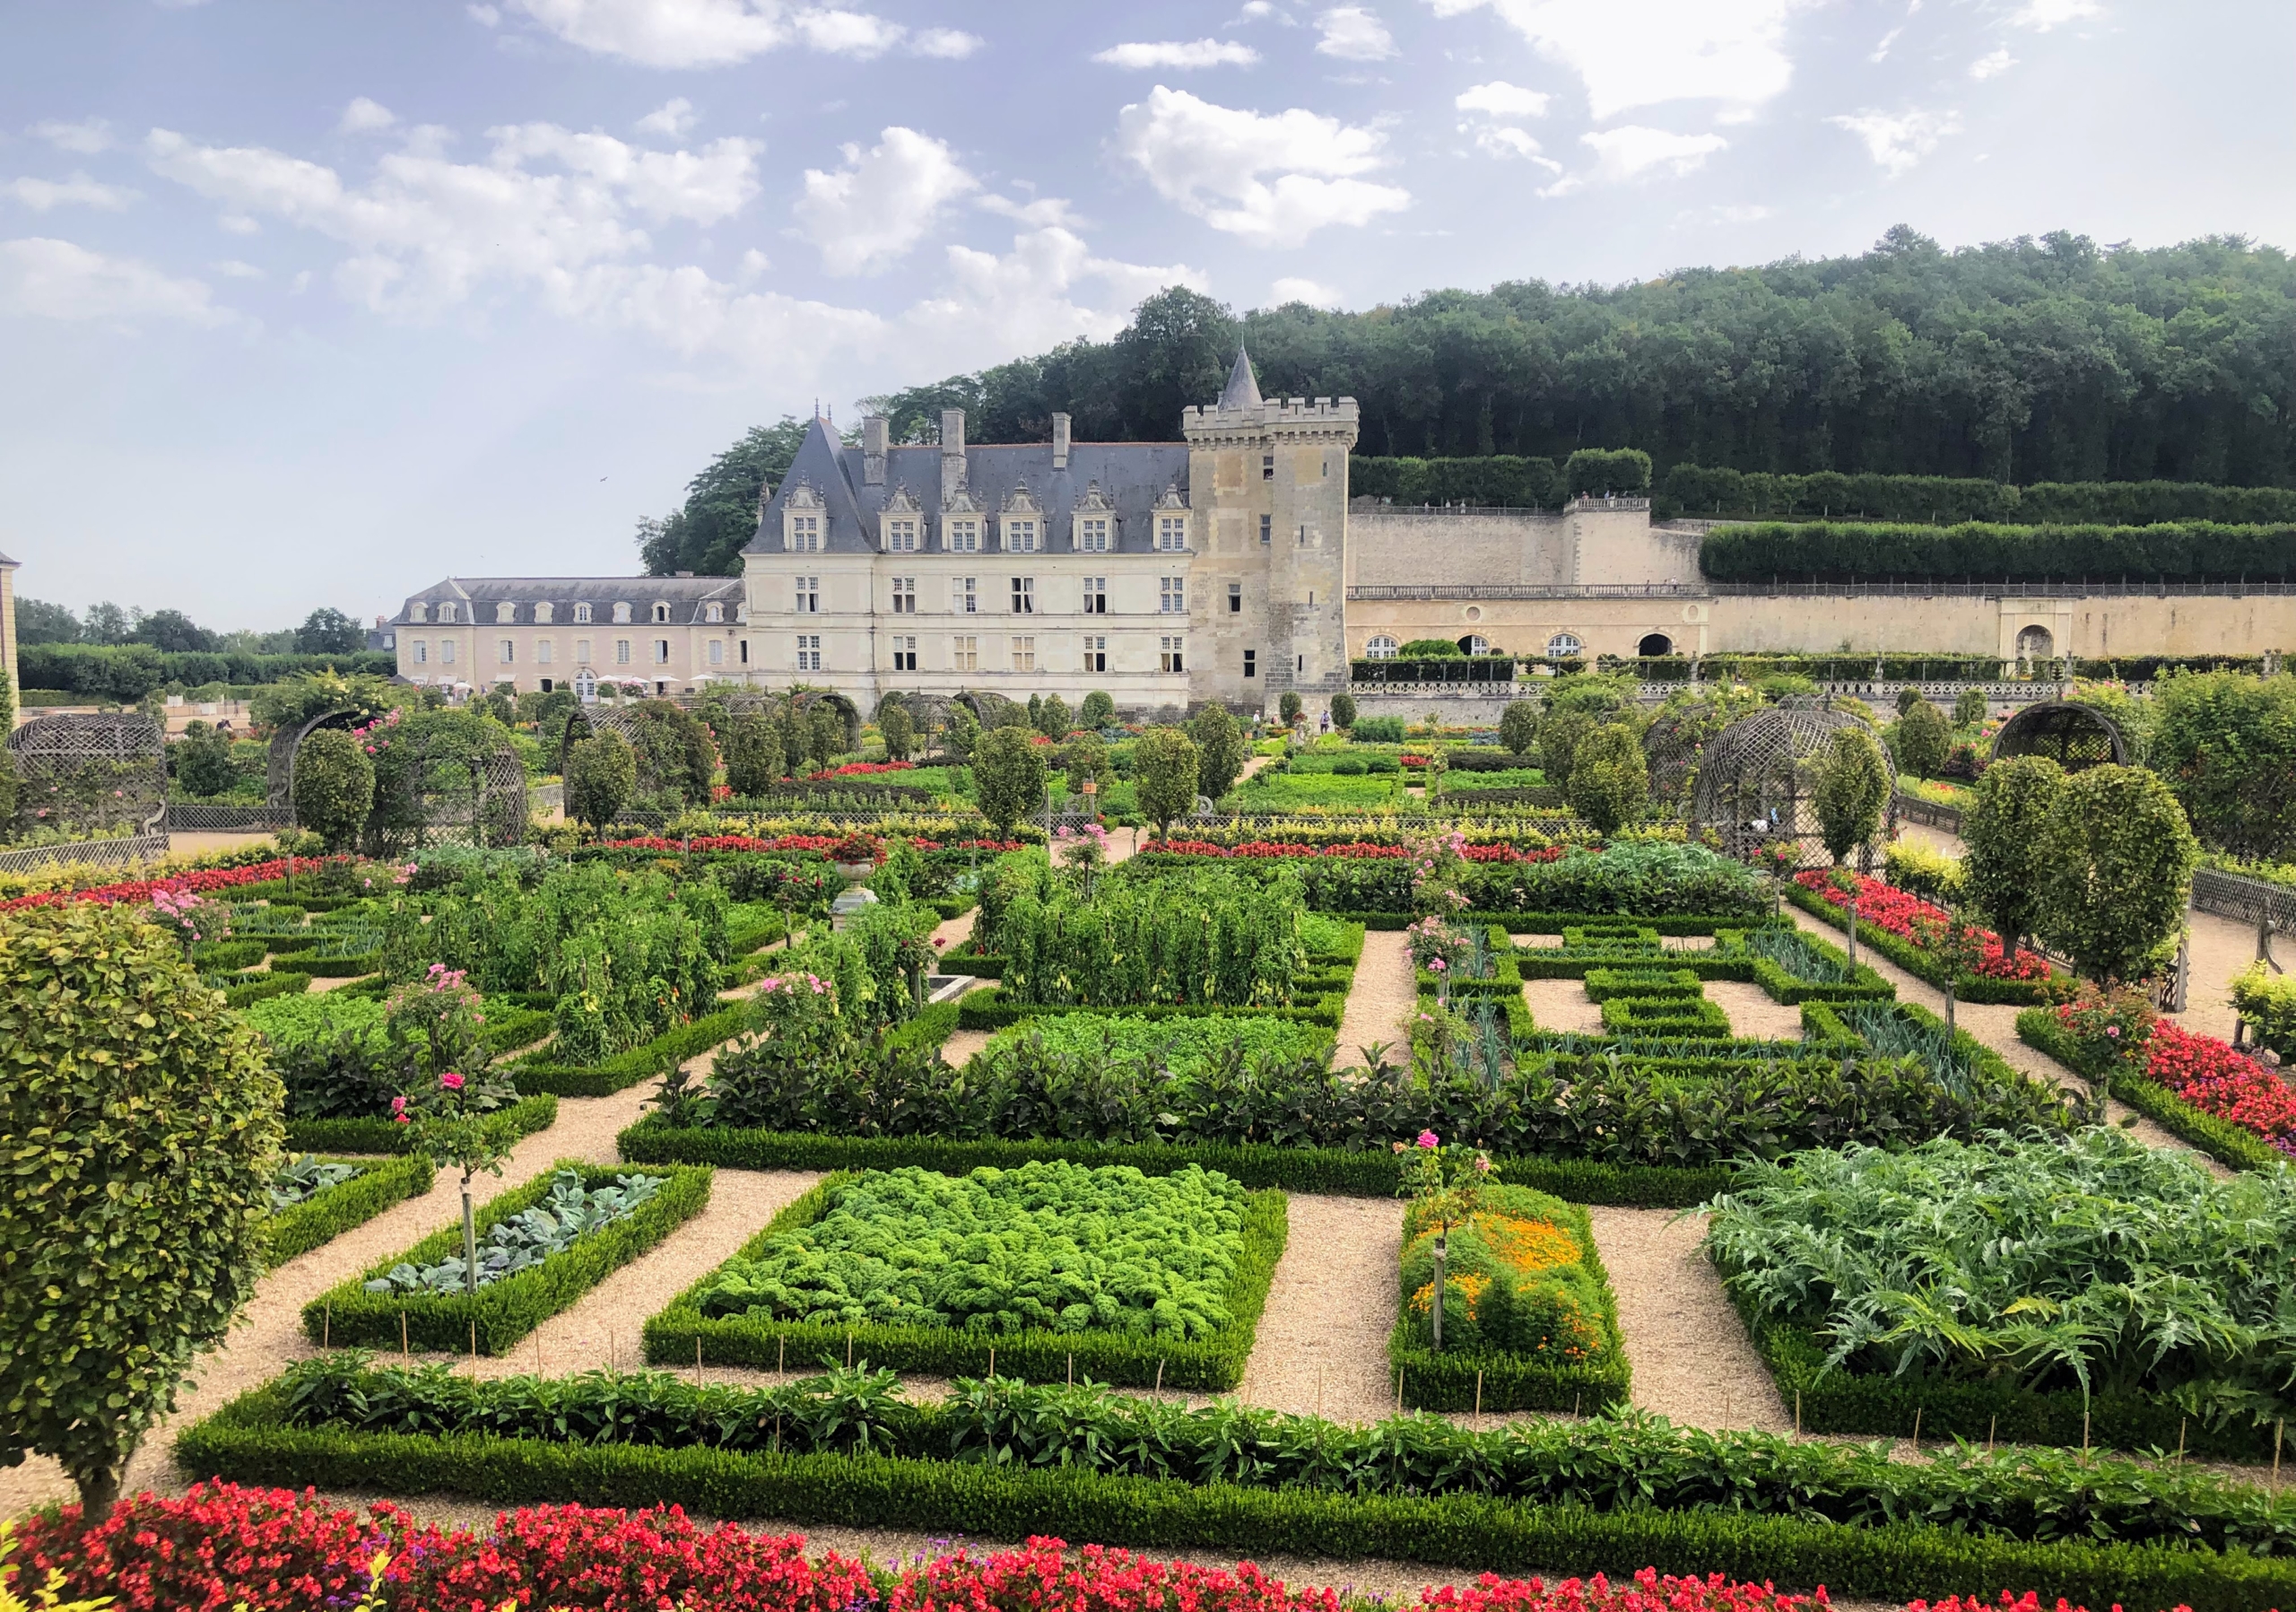
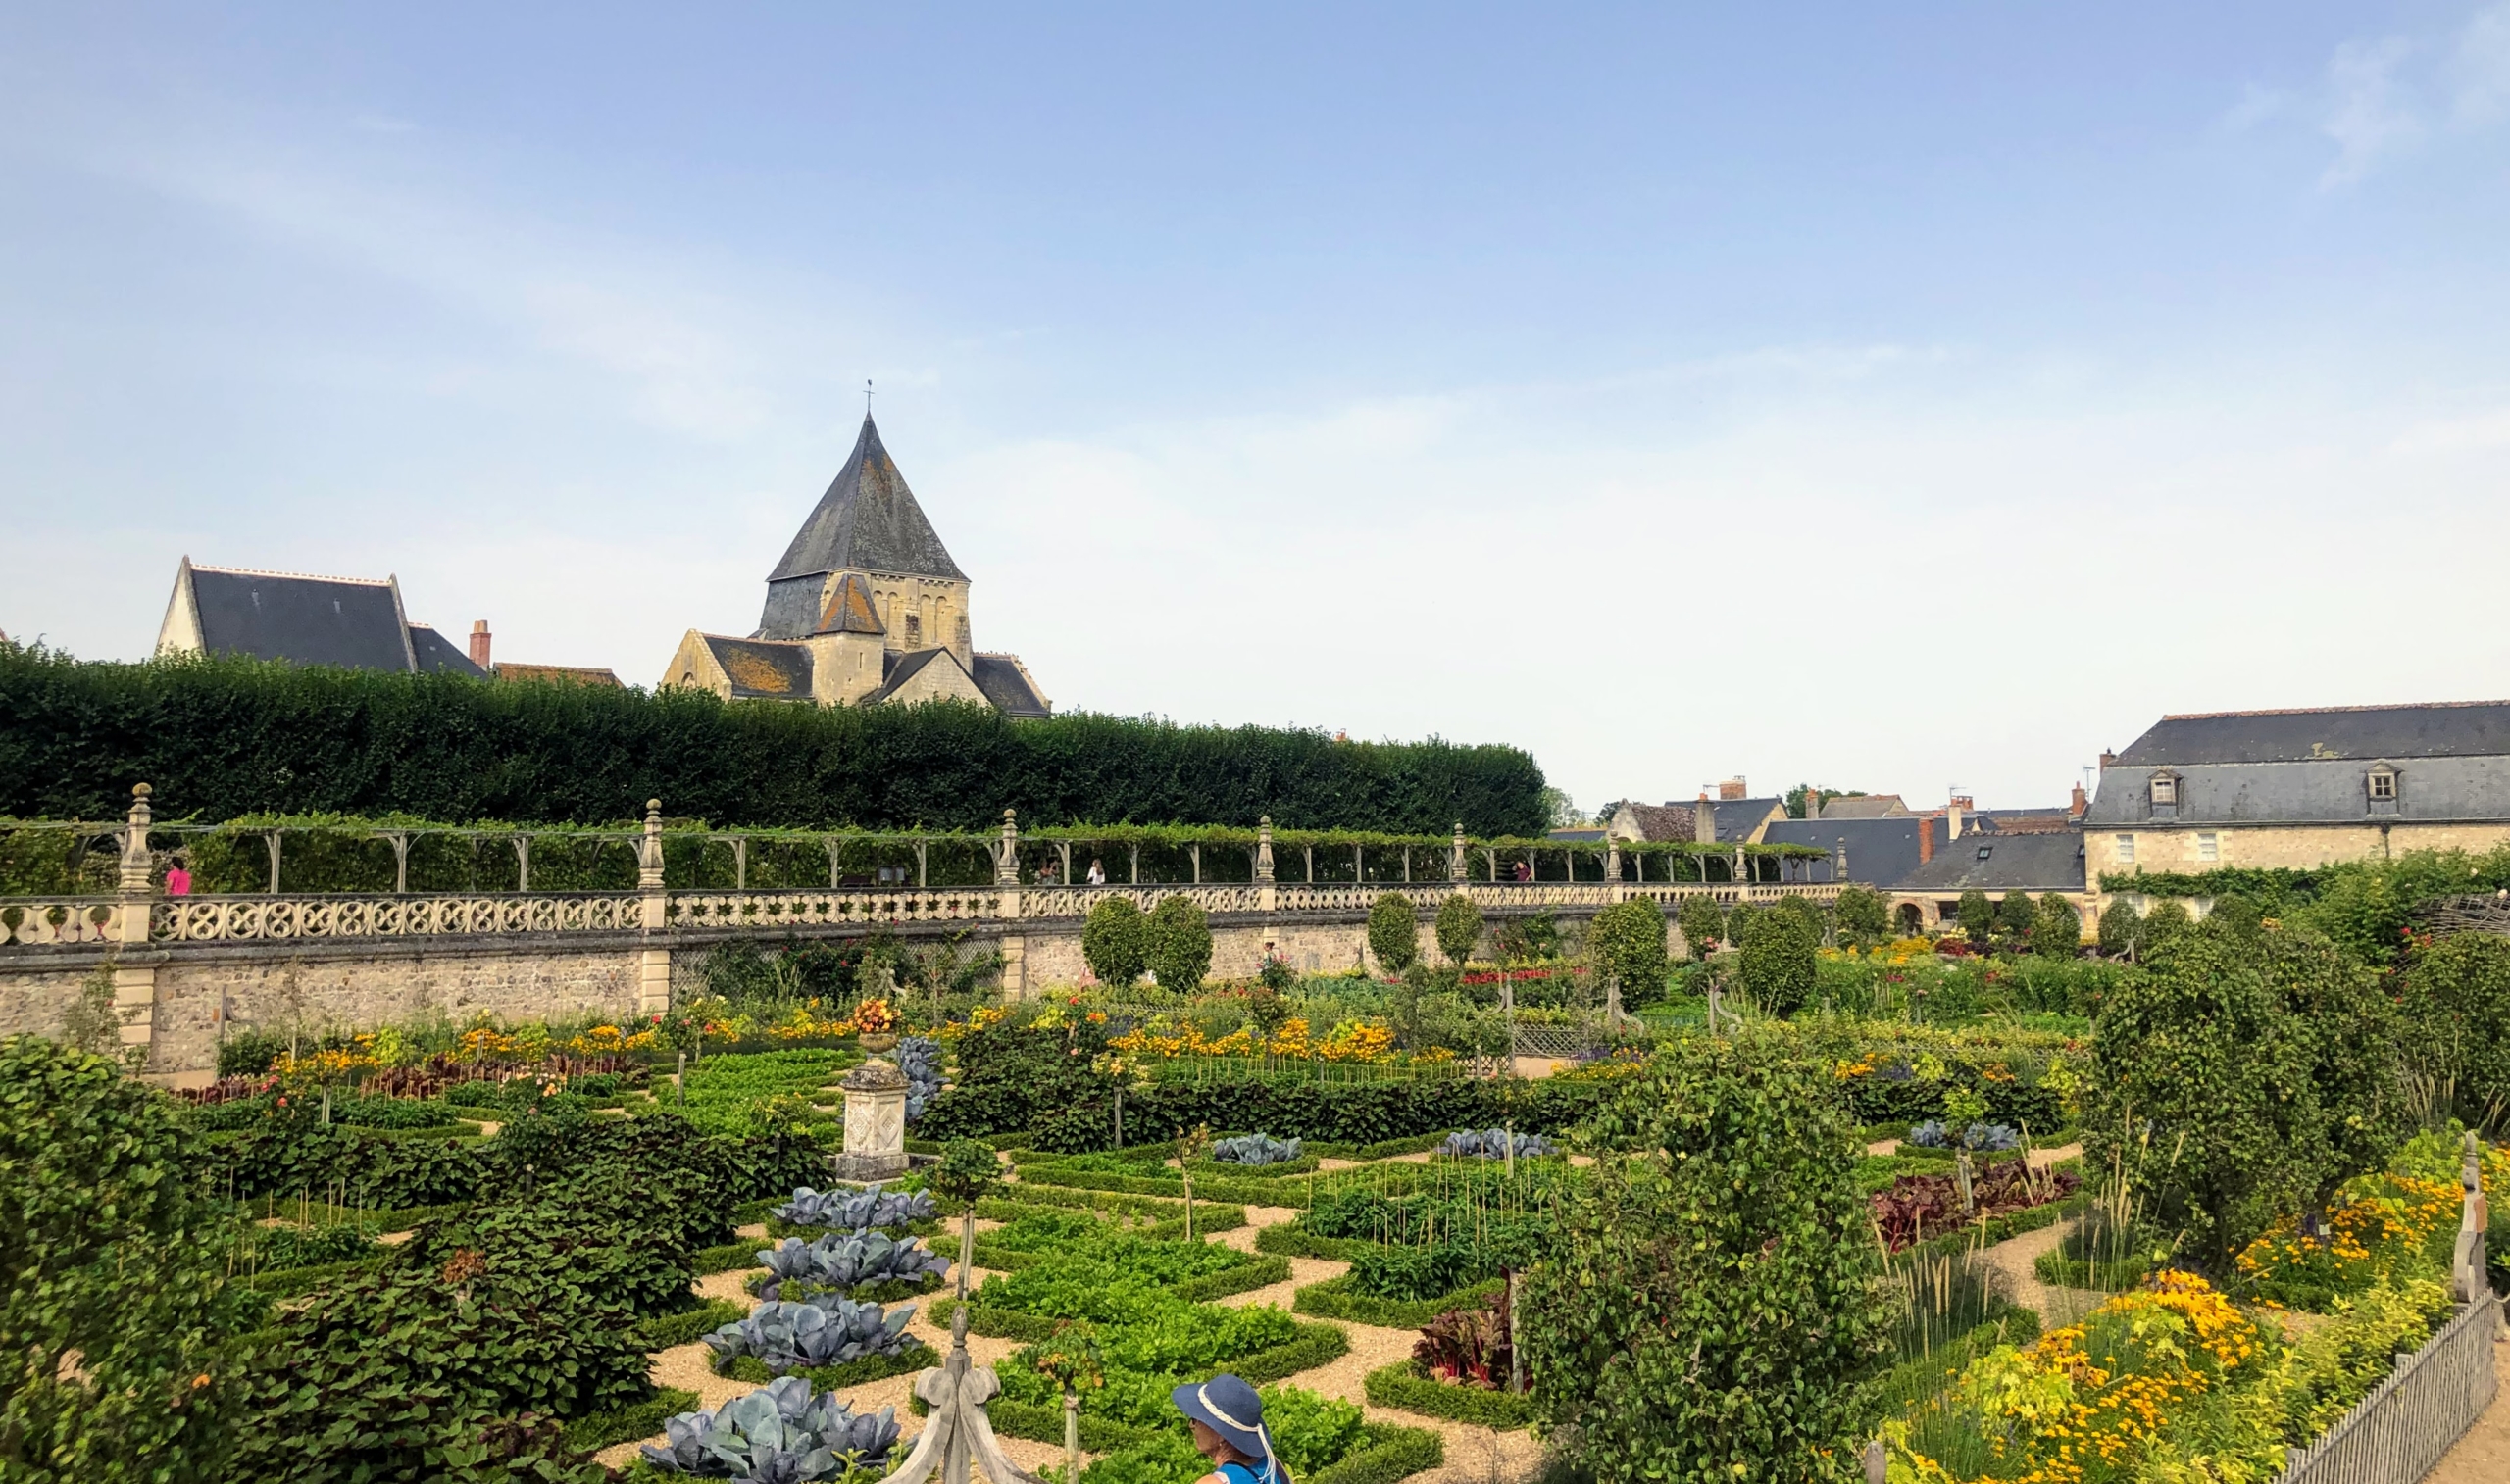
This is the Ornamental Kitchen Garden is located between the château and the village and is made up of nine raised beds featuring different geometrical designs.
Here’s another section of the Ornamental Kitchen Garden. It is also planted with different colors to offer the illusion of a multicolored checkerboard. It includes blue leeks, jade-green carrot tops, red cabbage, and others.
And in this section, perfectly planted red cabbages . This Ornamental Kitchen Garden was first planted during the Renaissance, was replaced for a while by an English style park in the 19th century and then transformed back into the Kitchen Garden in the early 1900s by Joachim.
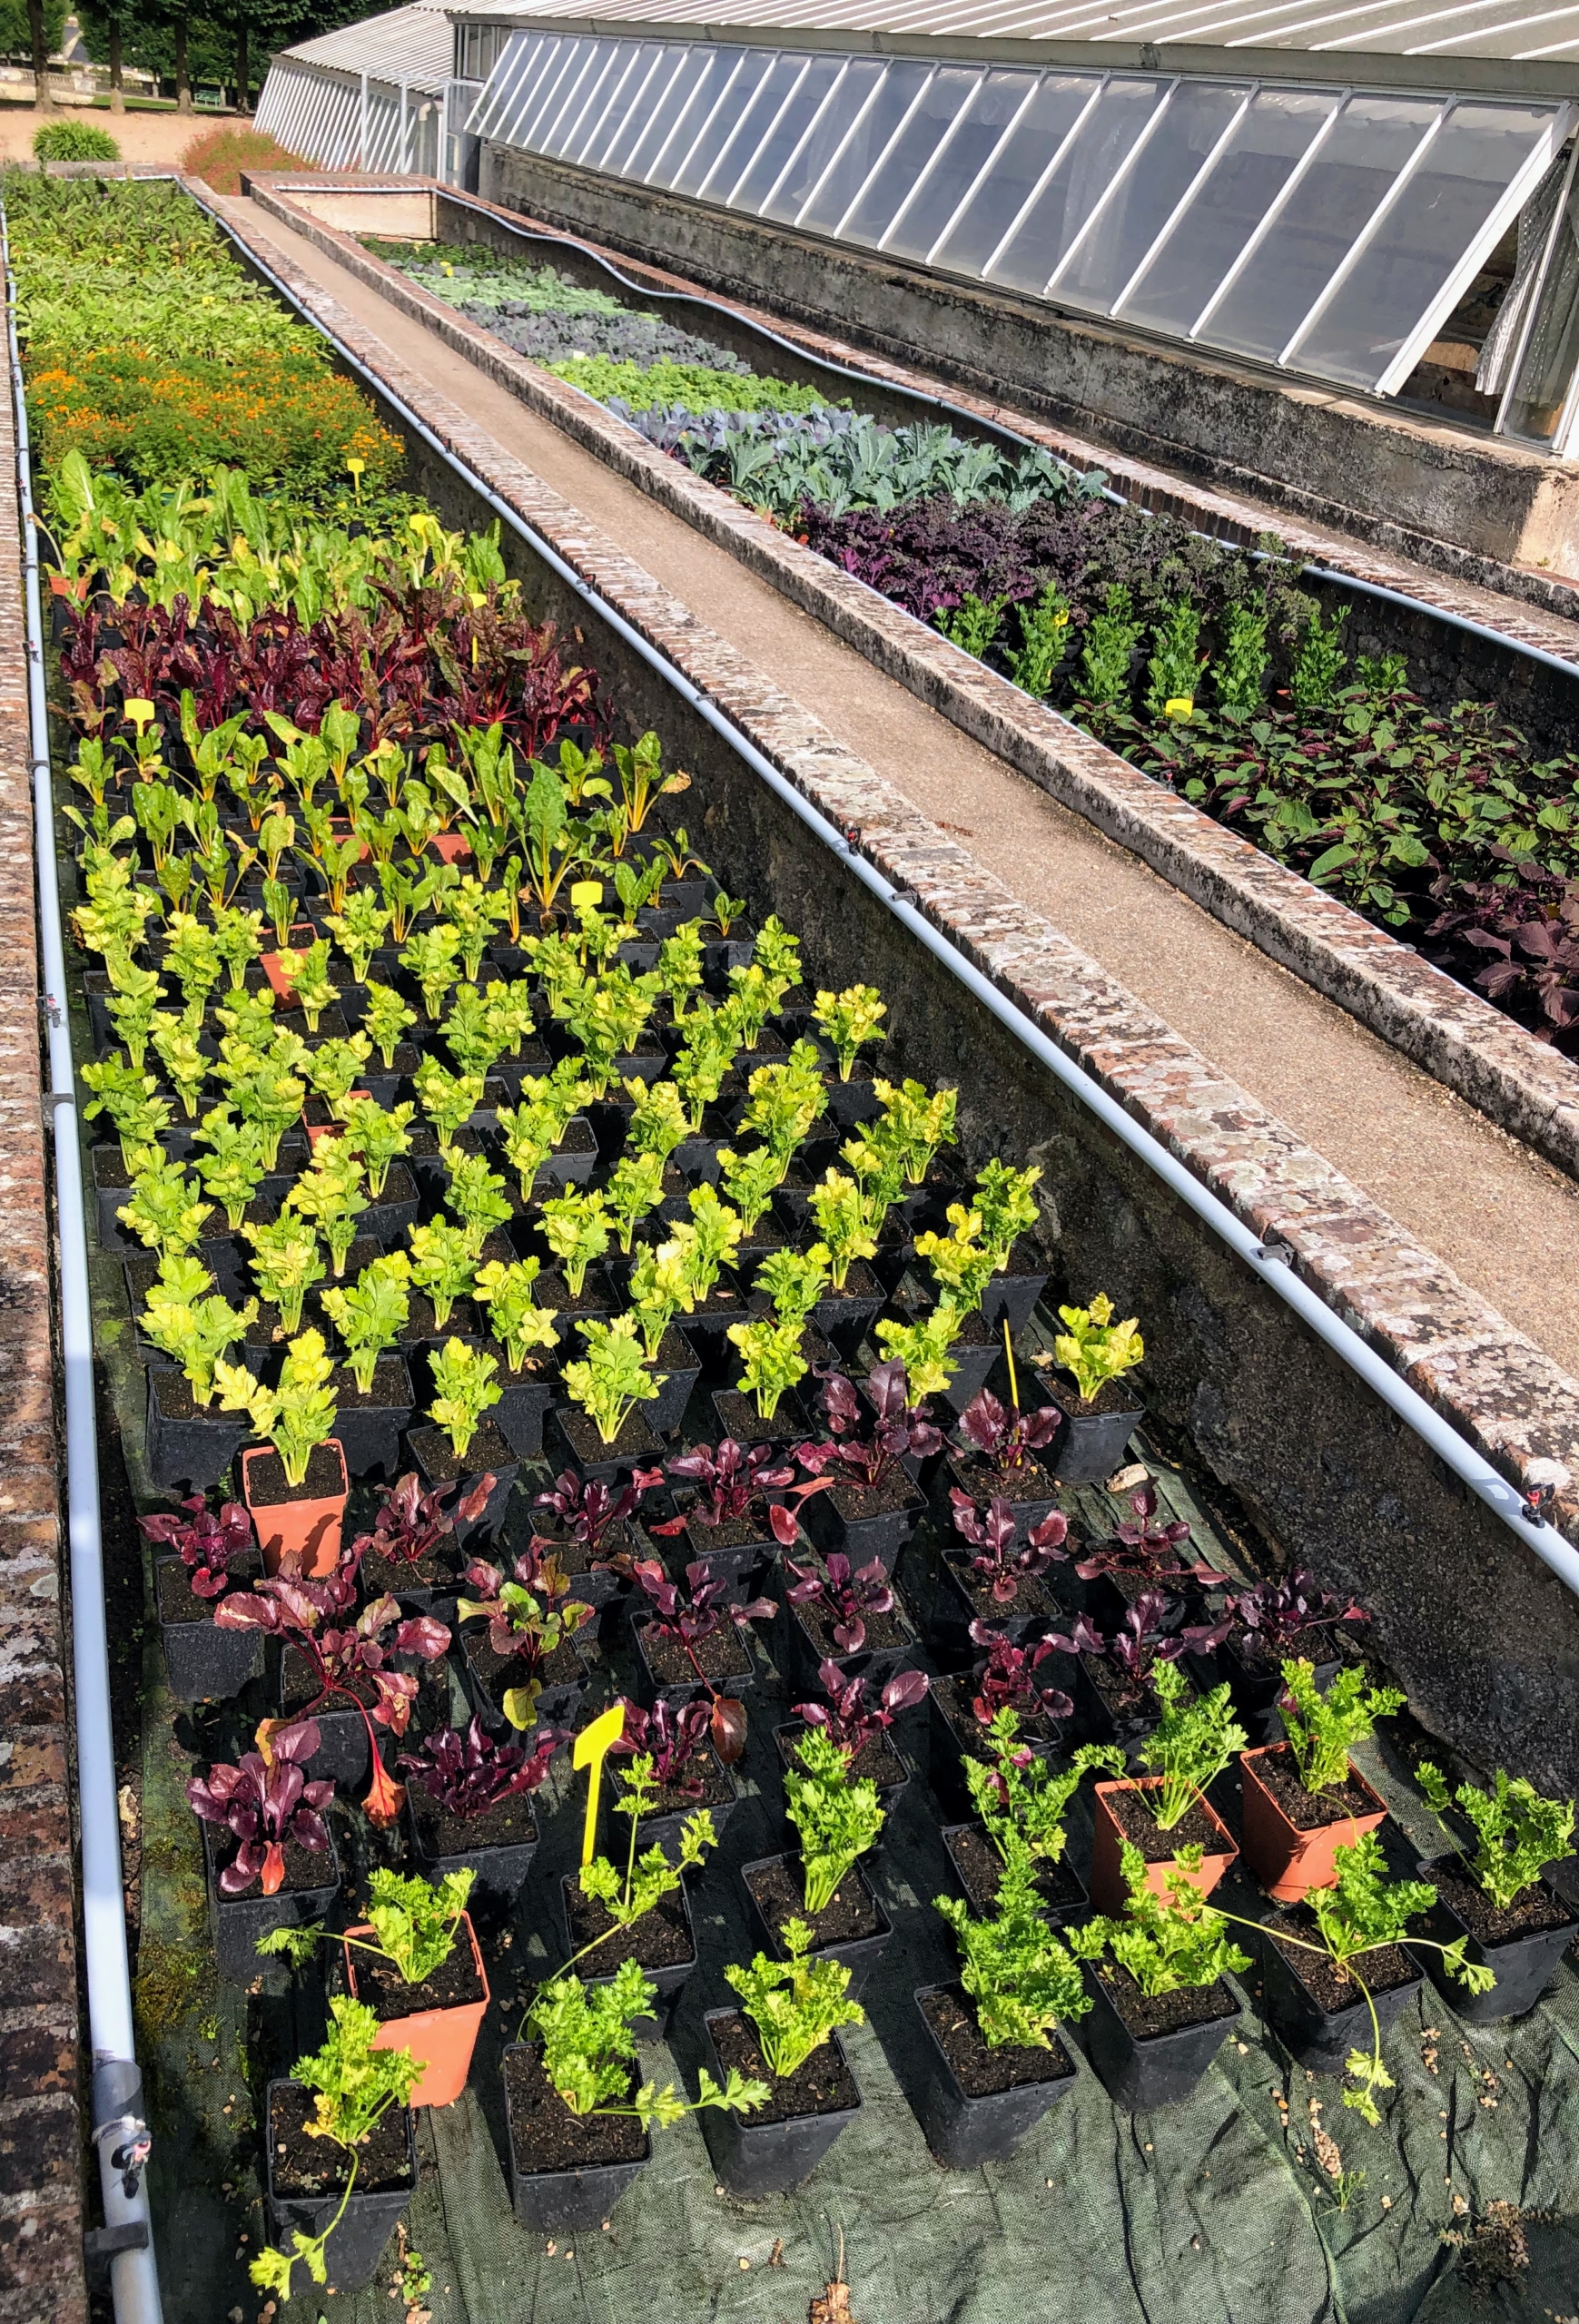
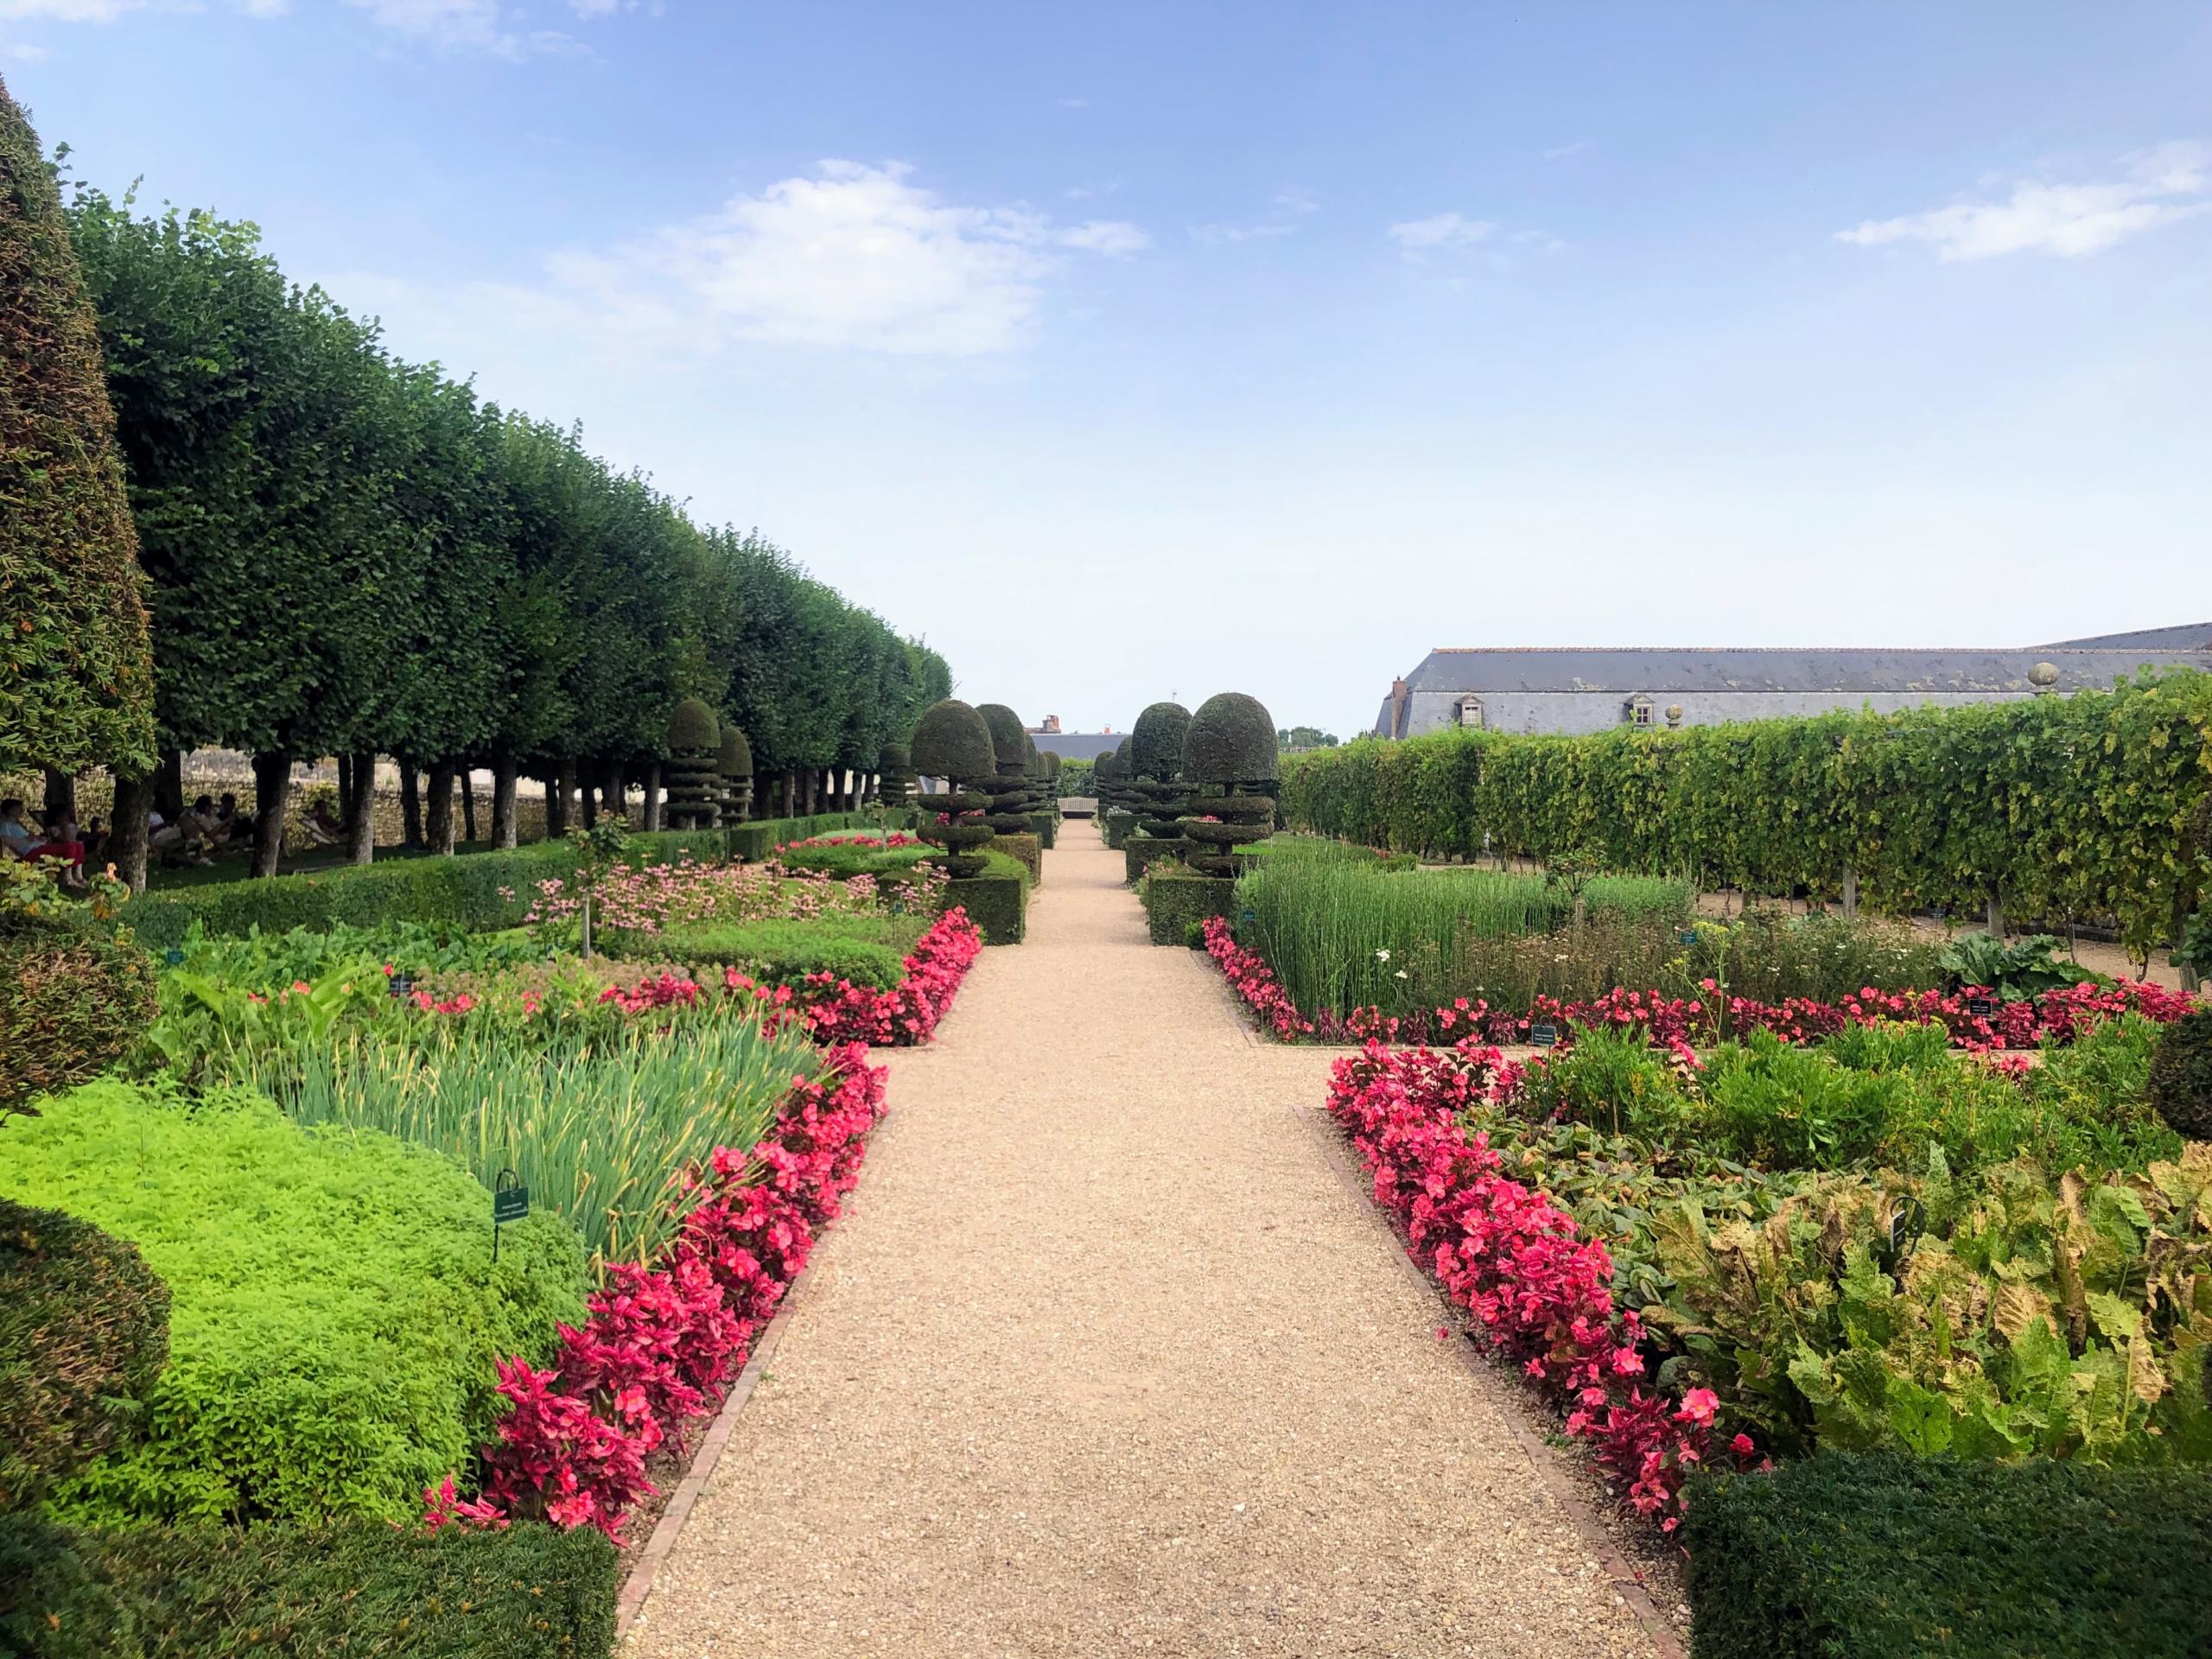
Footpaths throughout are lined with perfectly growing plants and shrubs. More than 60,000 of the specimens planted every year are first nurtured and prepared in the greenhouses.
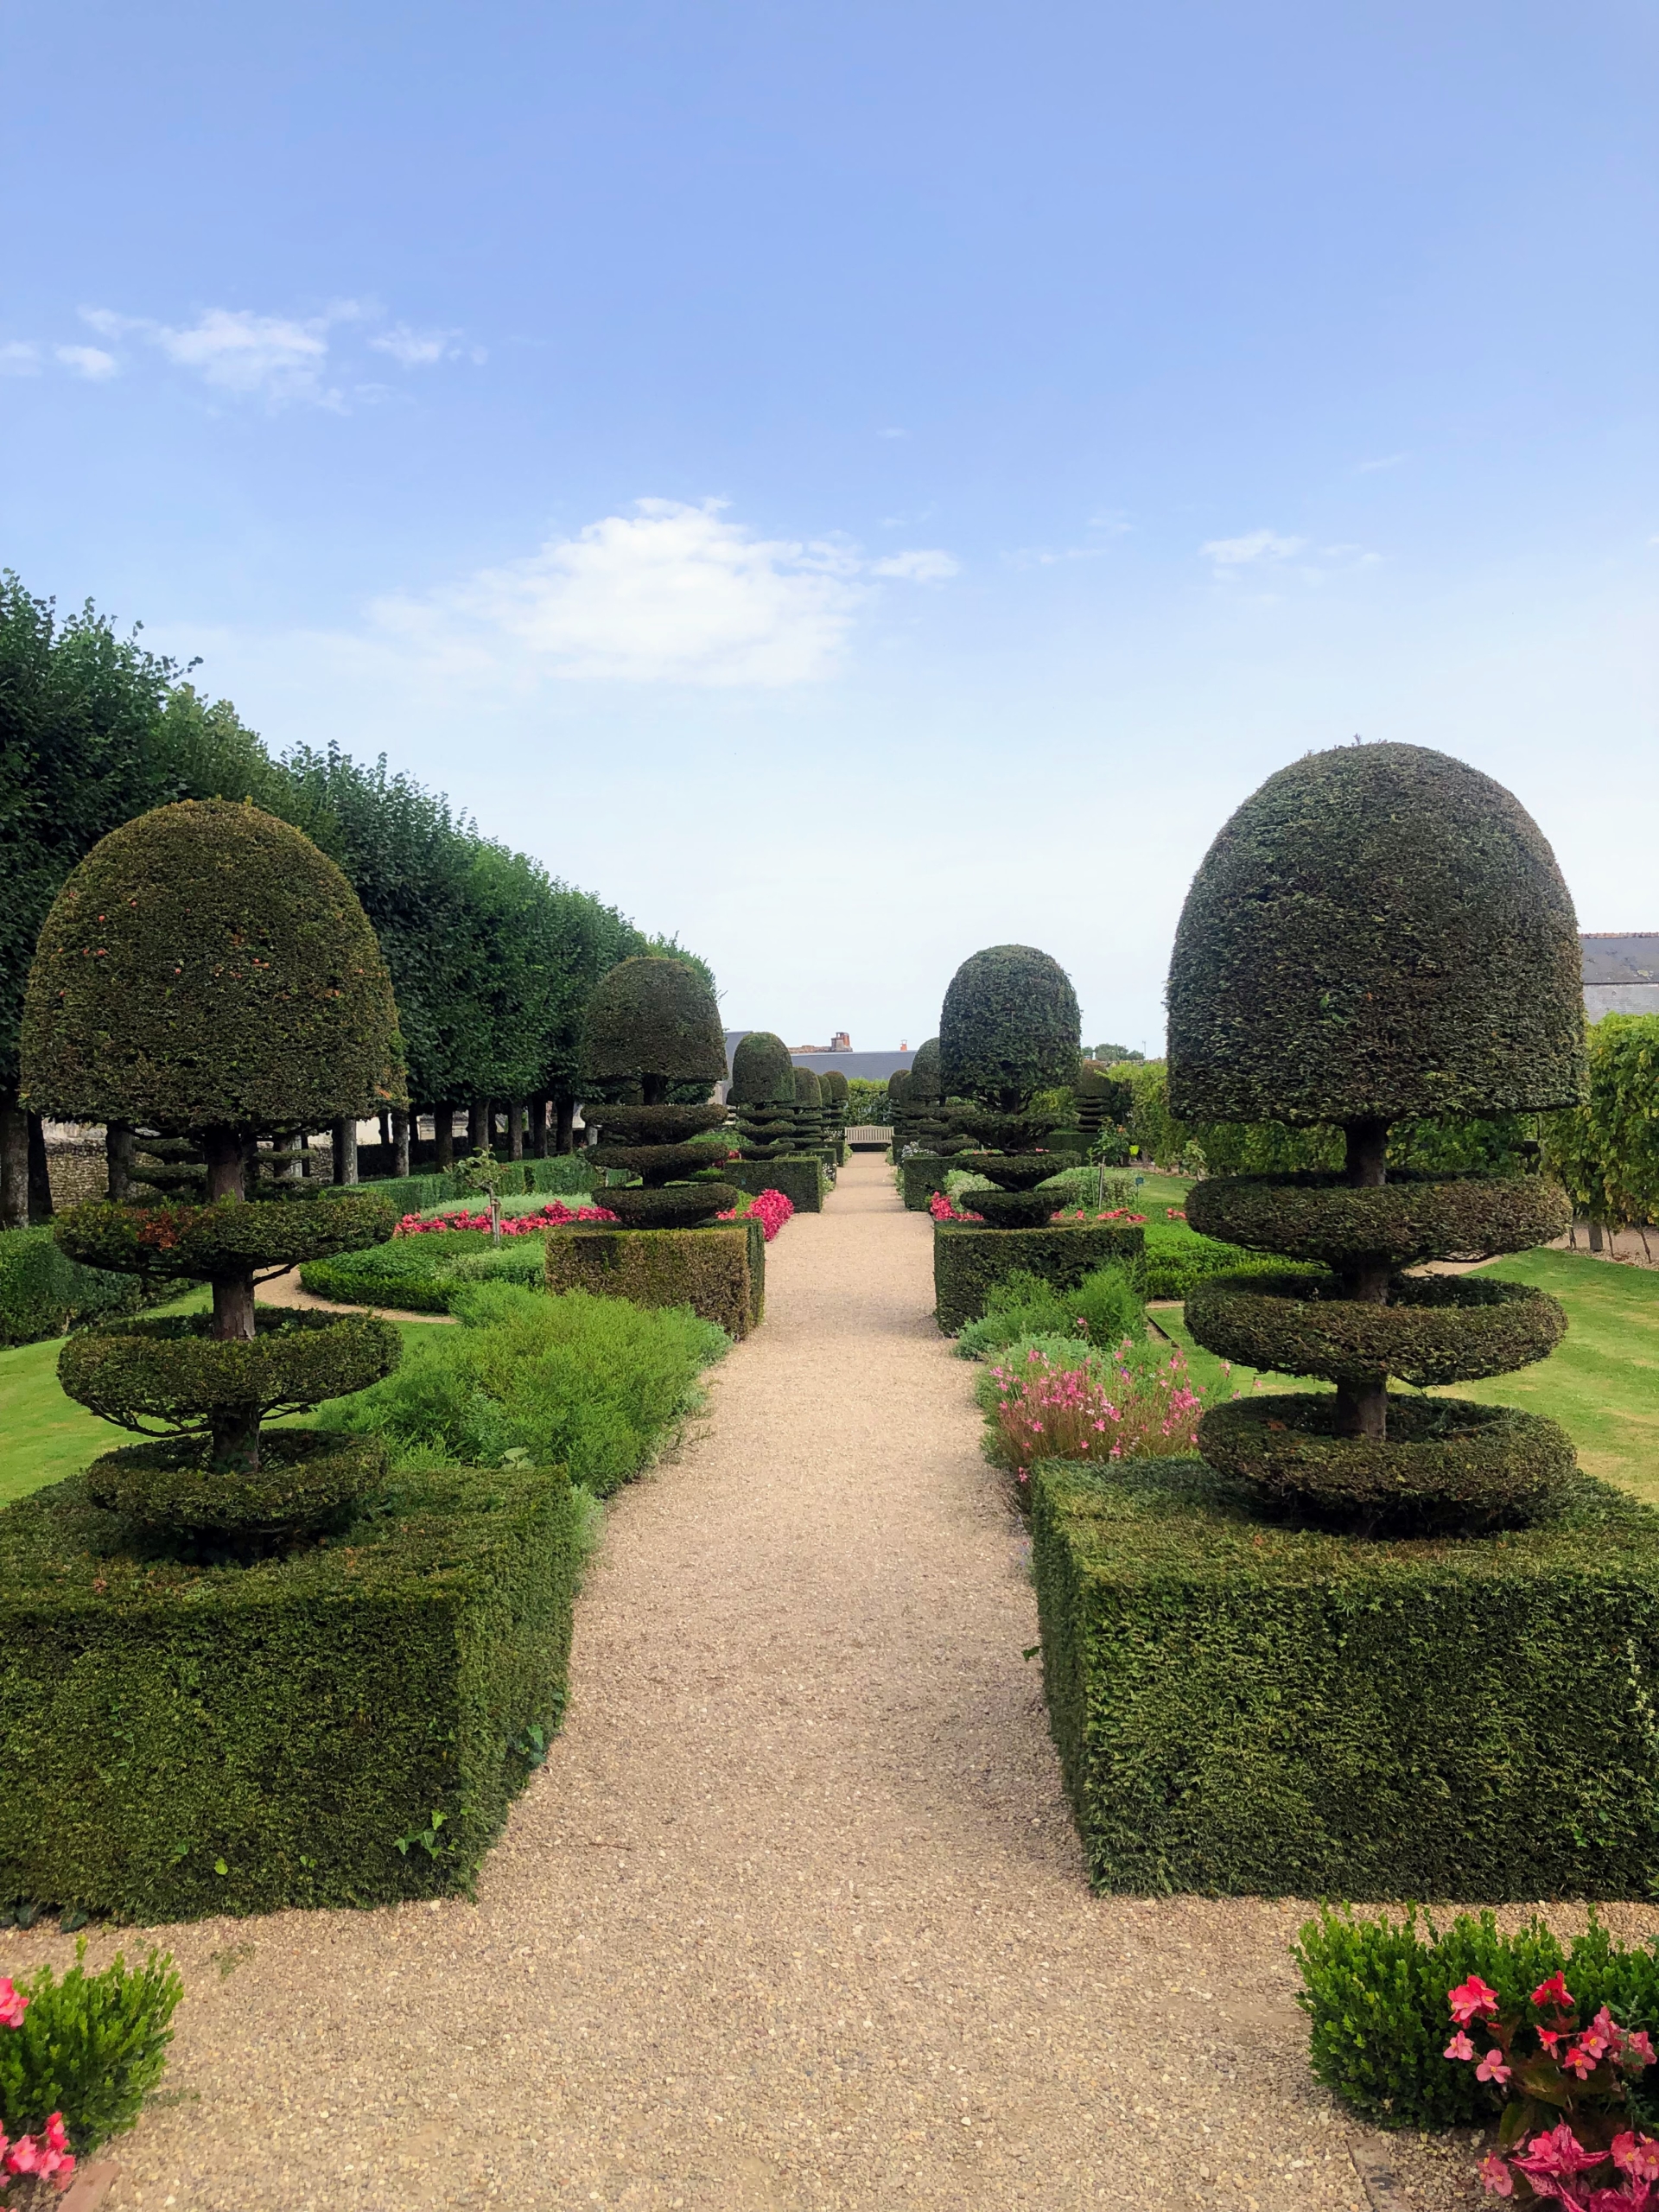
Hard not to admire the topiaries – also groomed flawlessly.
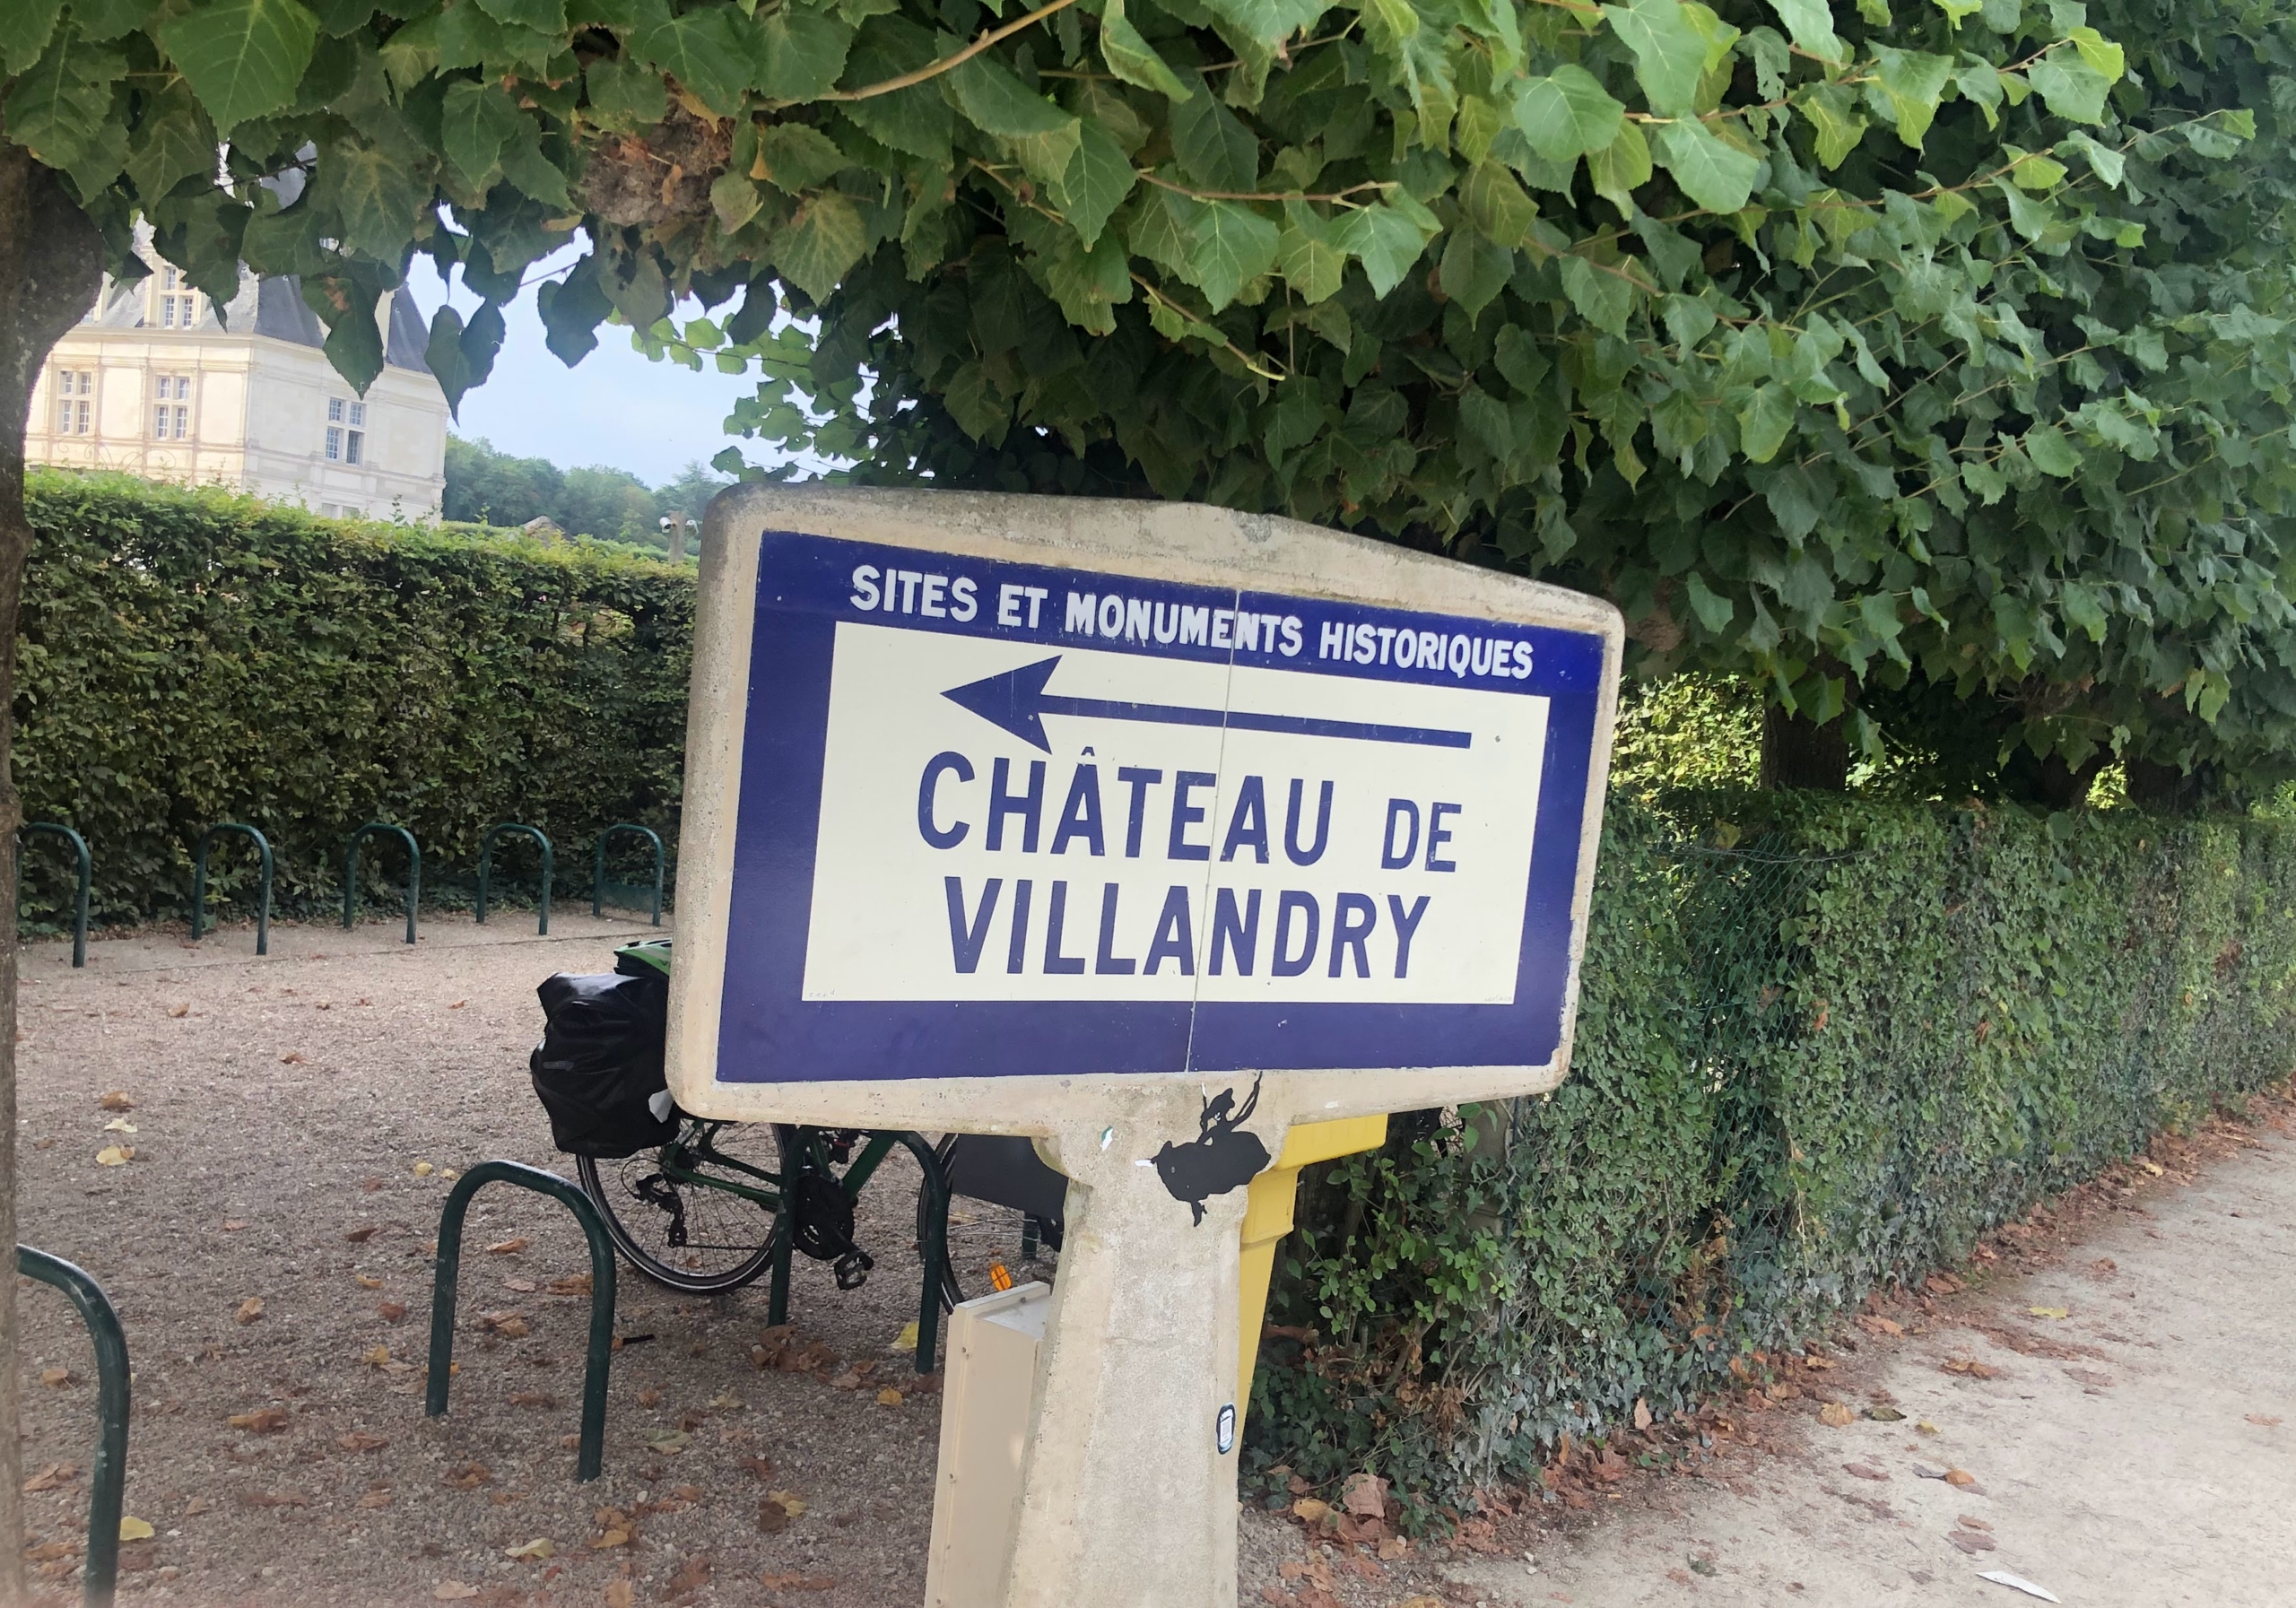
Today, the gardens are all well marked, giving all visitors a way to gain their bearings at Villandry.
The gardens have two main planting sessions – one in spring and one in summer to fall. In all, there are six picturesque and mystical gardens that focus on the true heritage of the French Renaissance era – the Ornamental Gardens, the Water Garden, the Sun Garden, the Maze, the Herb Garden, and the Kitchen Garden.
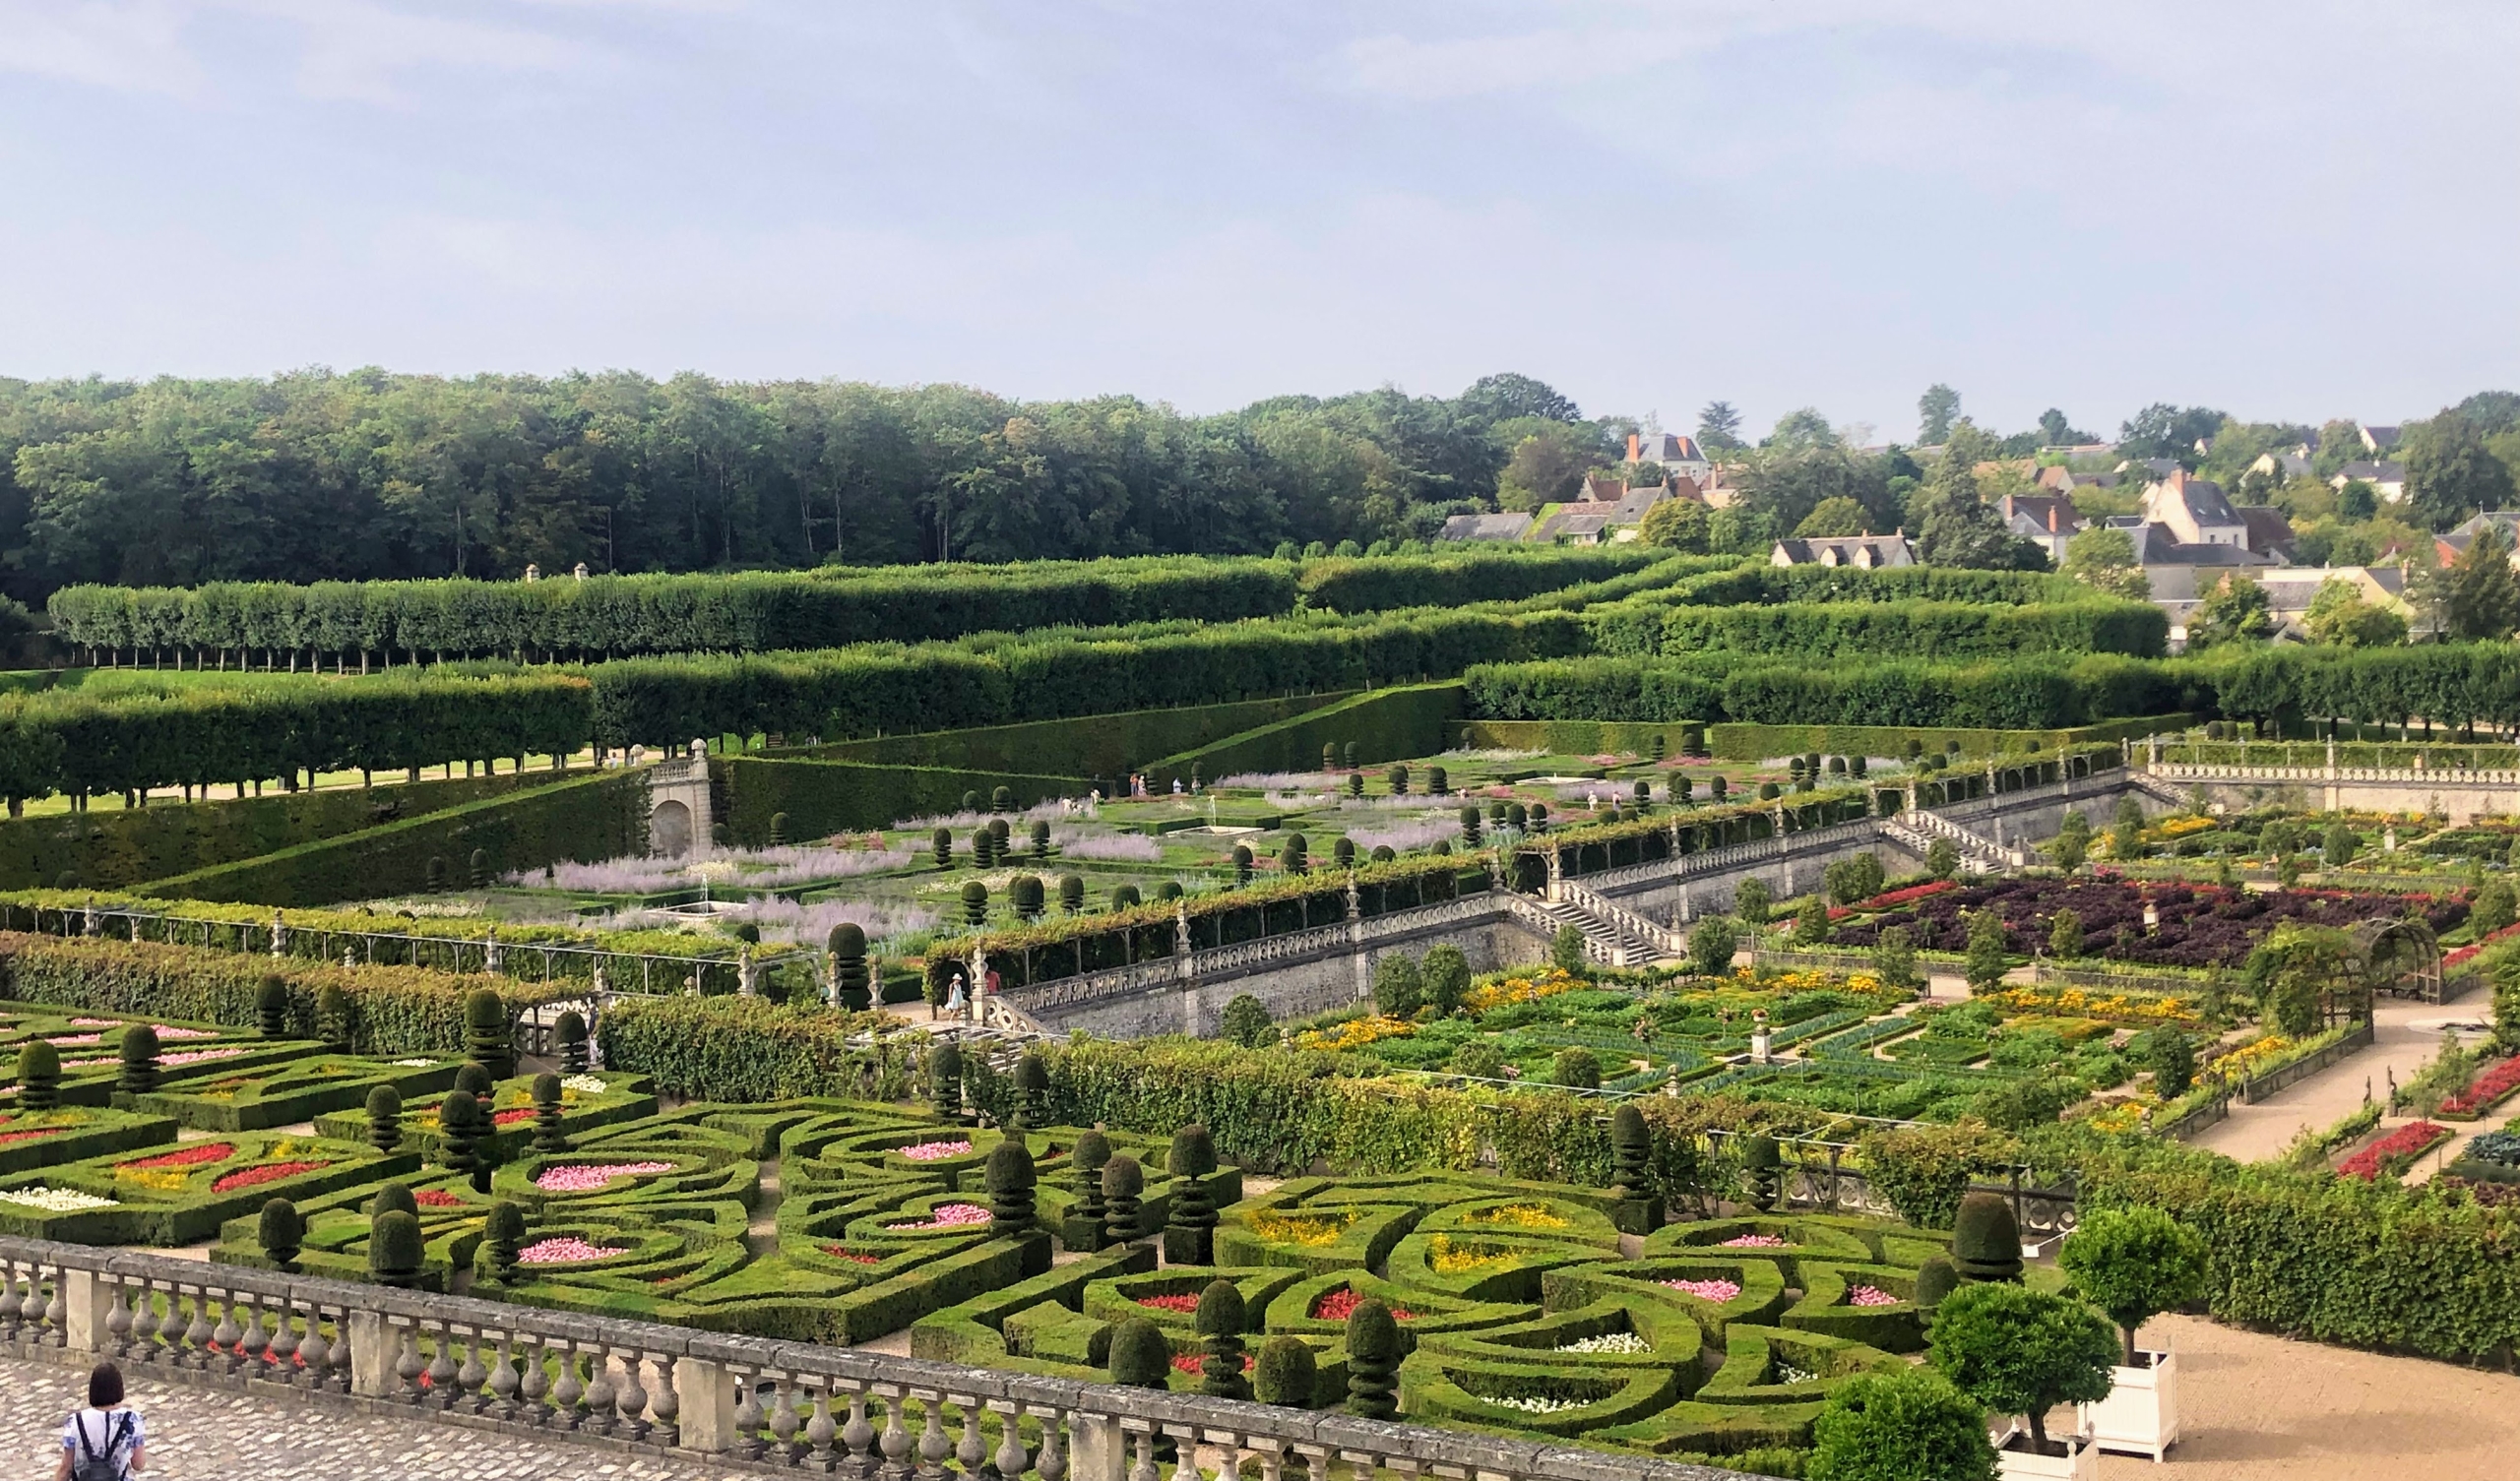
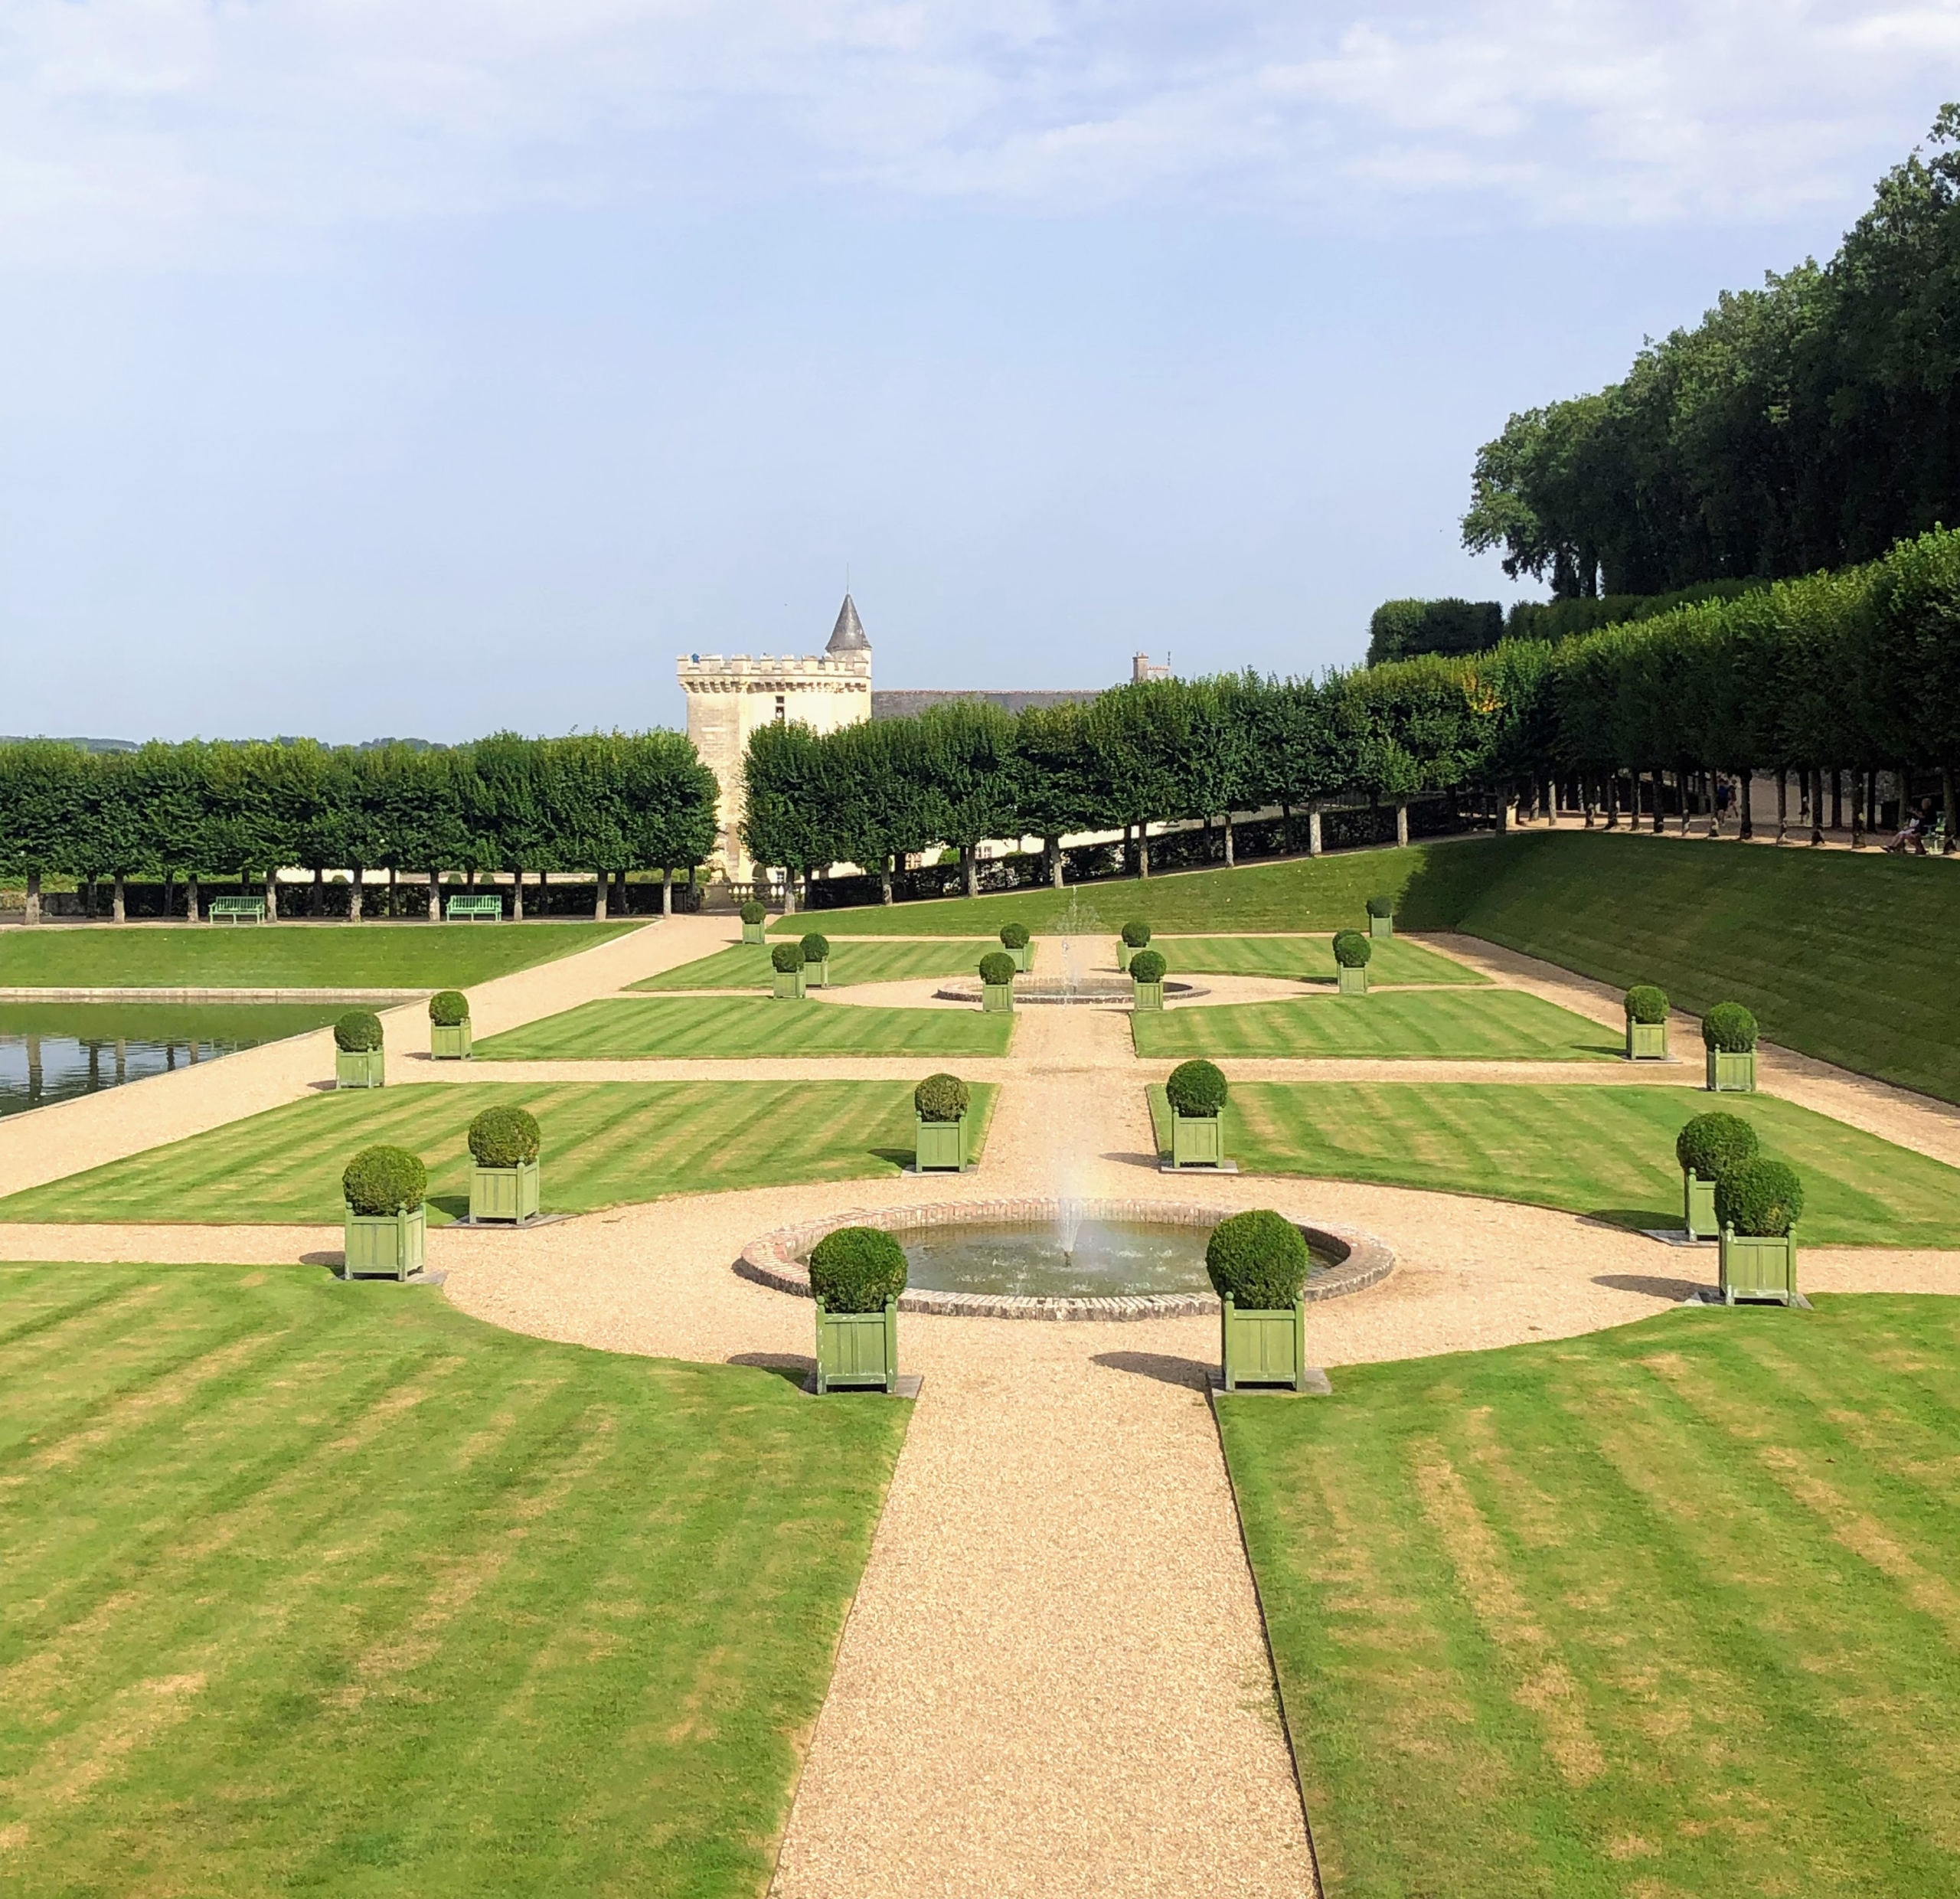
Here is wider view from the nearby Ornamental Gardens. One can see the variety of knot gardens, square gardens bordered by box hedging, and all filled with different plants or vegetables to create beautiful, very symmetrical spaces.
Since 2009, the gardens have also been maintained without the use of chemicals and instead uses beneficial insects and other environmentally-conscious methods. Most of the watering is carried out by an automatic, underground system.
From every vantage point, one can see the meticulous work done by the talented team here at Villandry.
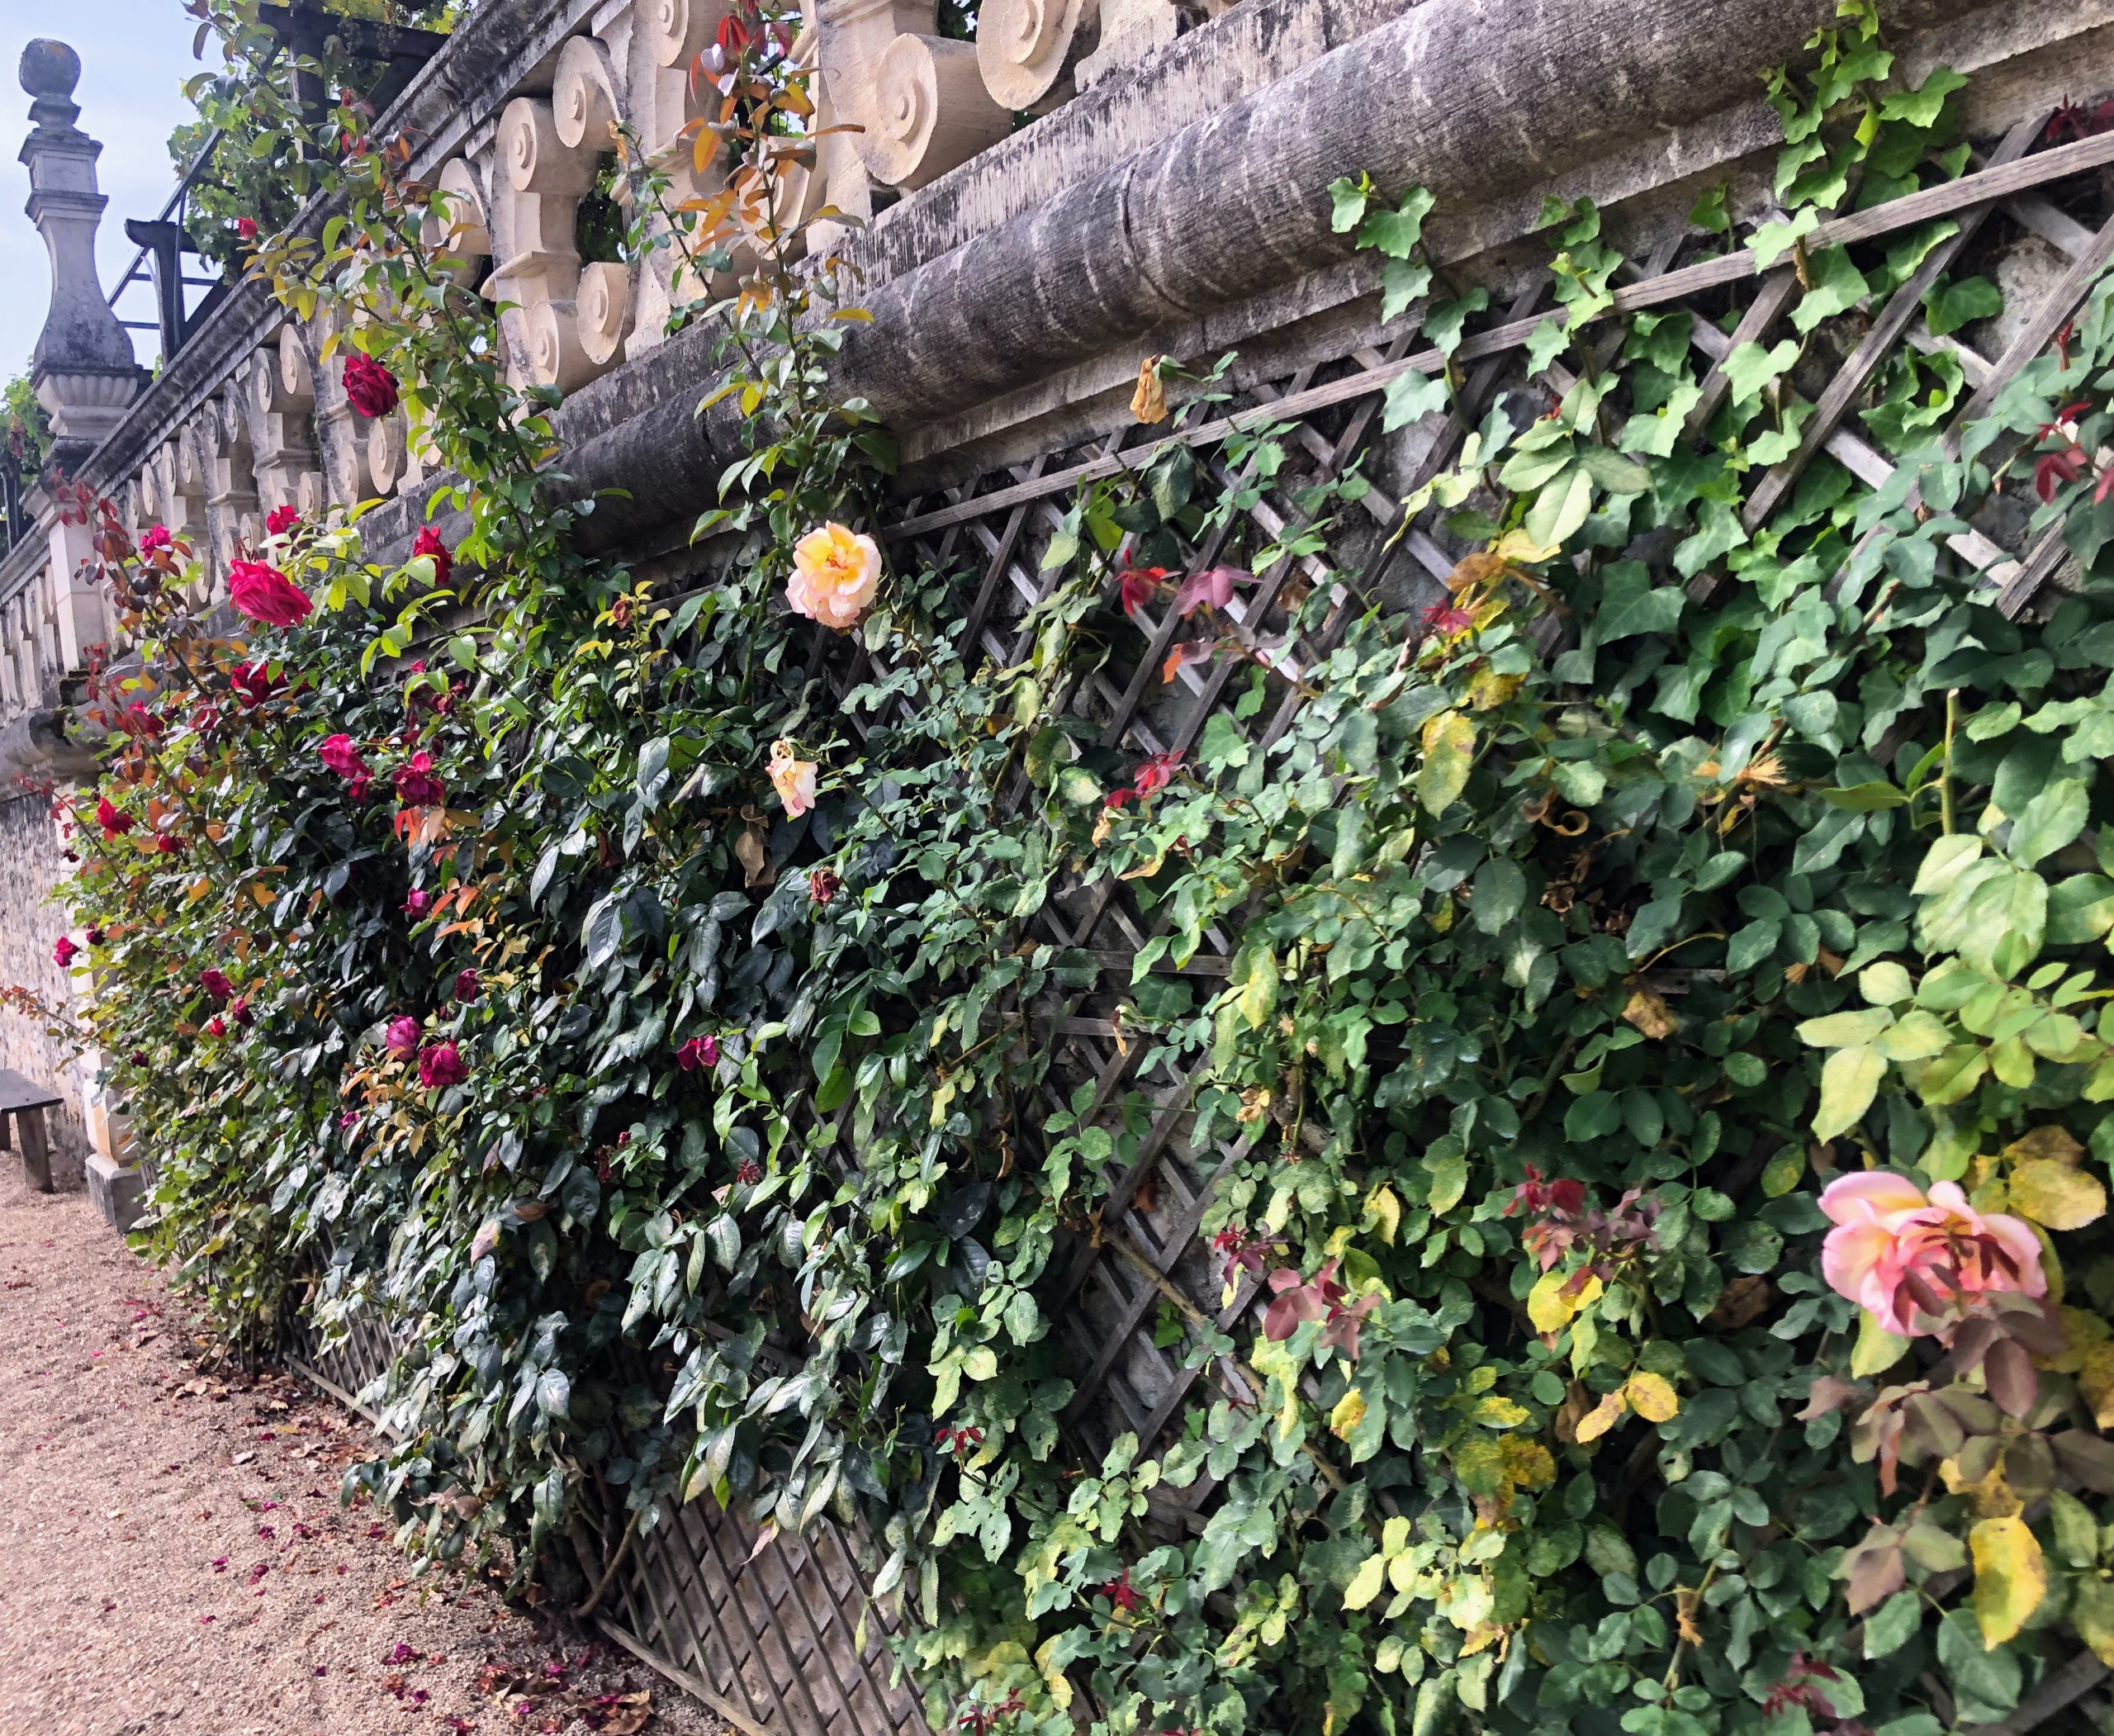
Climbing roses clinging to an ancient rock wall are grown near the exit. If France is on your list of places to visit, do make time to see Villandry – the grounds will astound and inspire you.
One of the best things about this time of year is harvesting so many great crops in the garden - this week we have lots of beautiful farm-grown onions and shallots.
The onion, Allium cepa, is the most widely cultivated species of the genus Allium. Onions are hardy, easy to grow, and can be grown in a variety of soils and climates. We plant a lot of onions every year. I use them in my cooking, and in sandwiches and salads. I also share many of them with my daughter, Alexis, and my grandchildren, Jude and Truman. Earlier this week, my gardener, Ryan McCallister, picked the onions from my new garden here at the farm and they are truly some of the best we've ever grown.
Enjoy these photos.
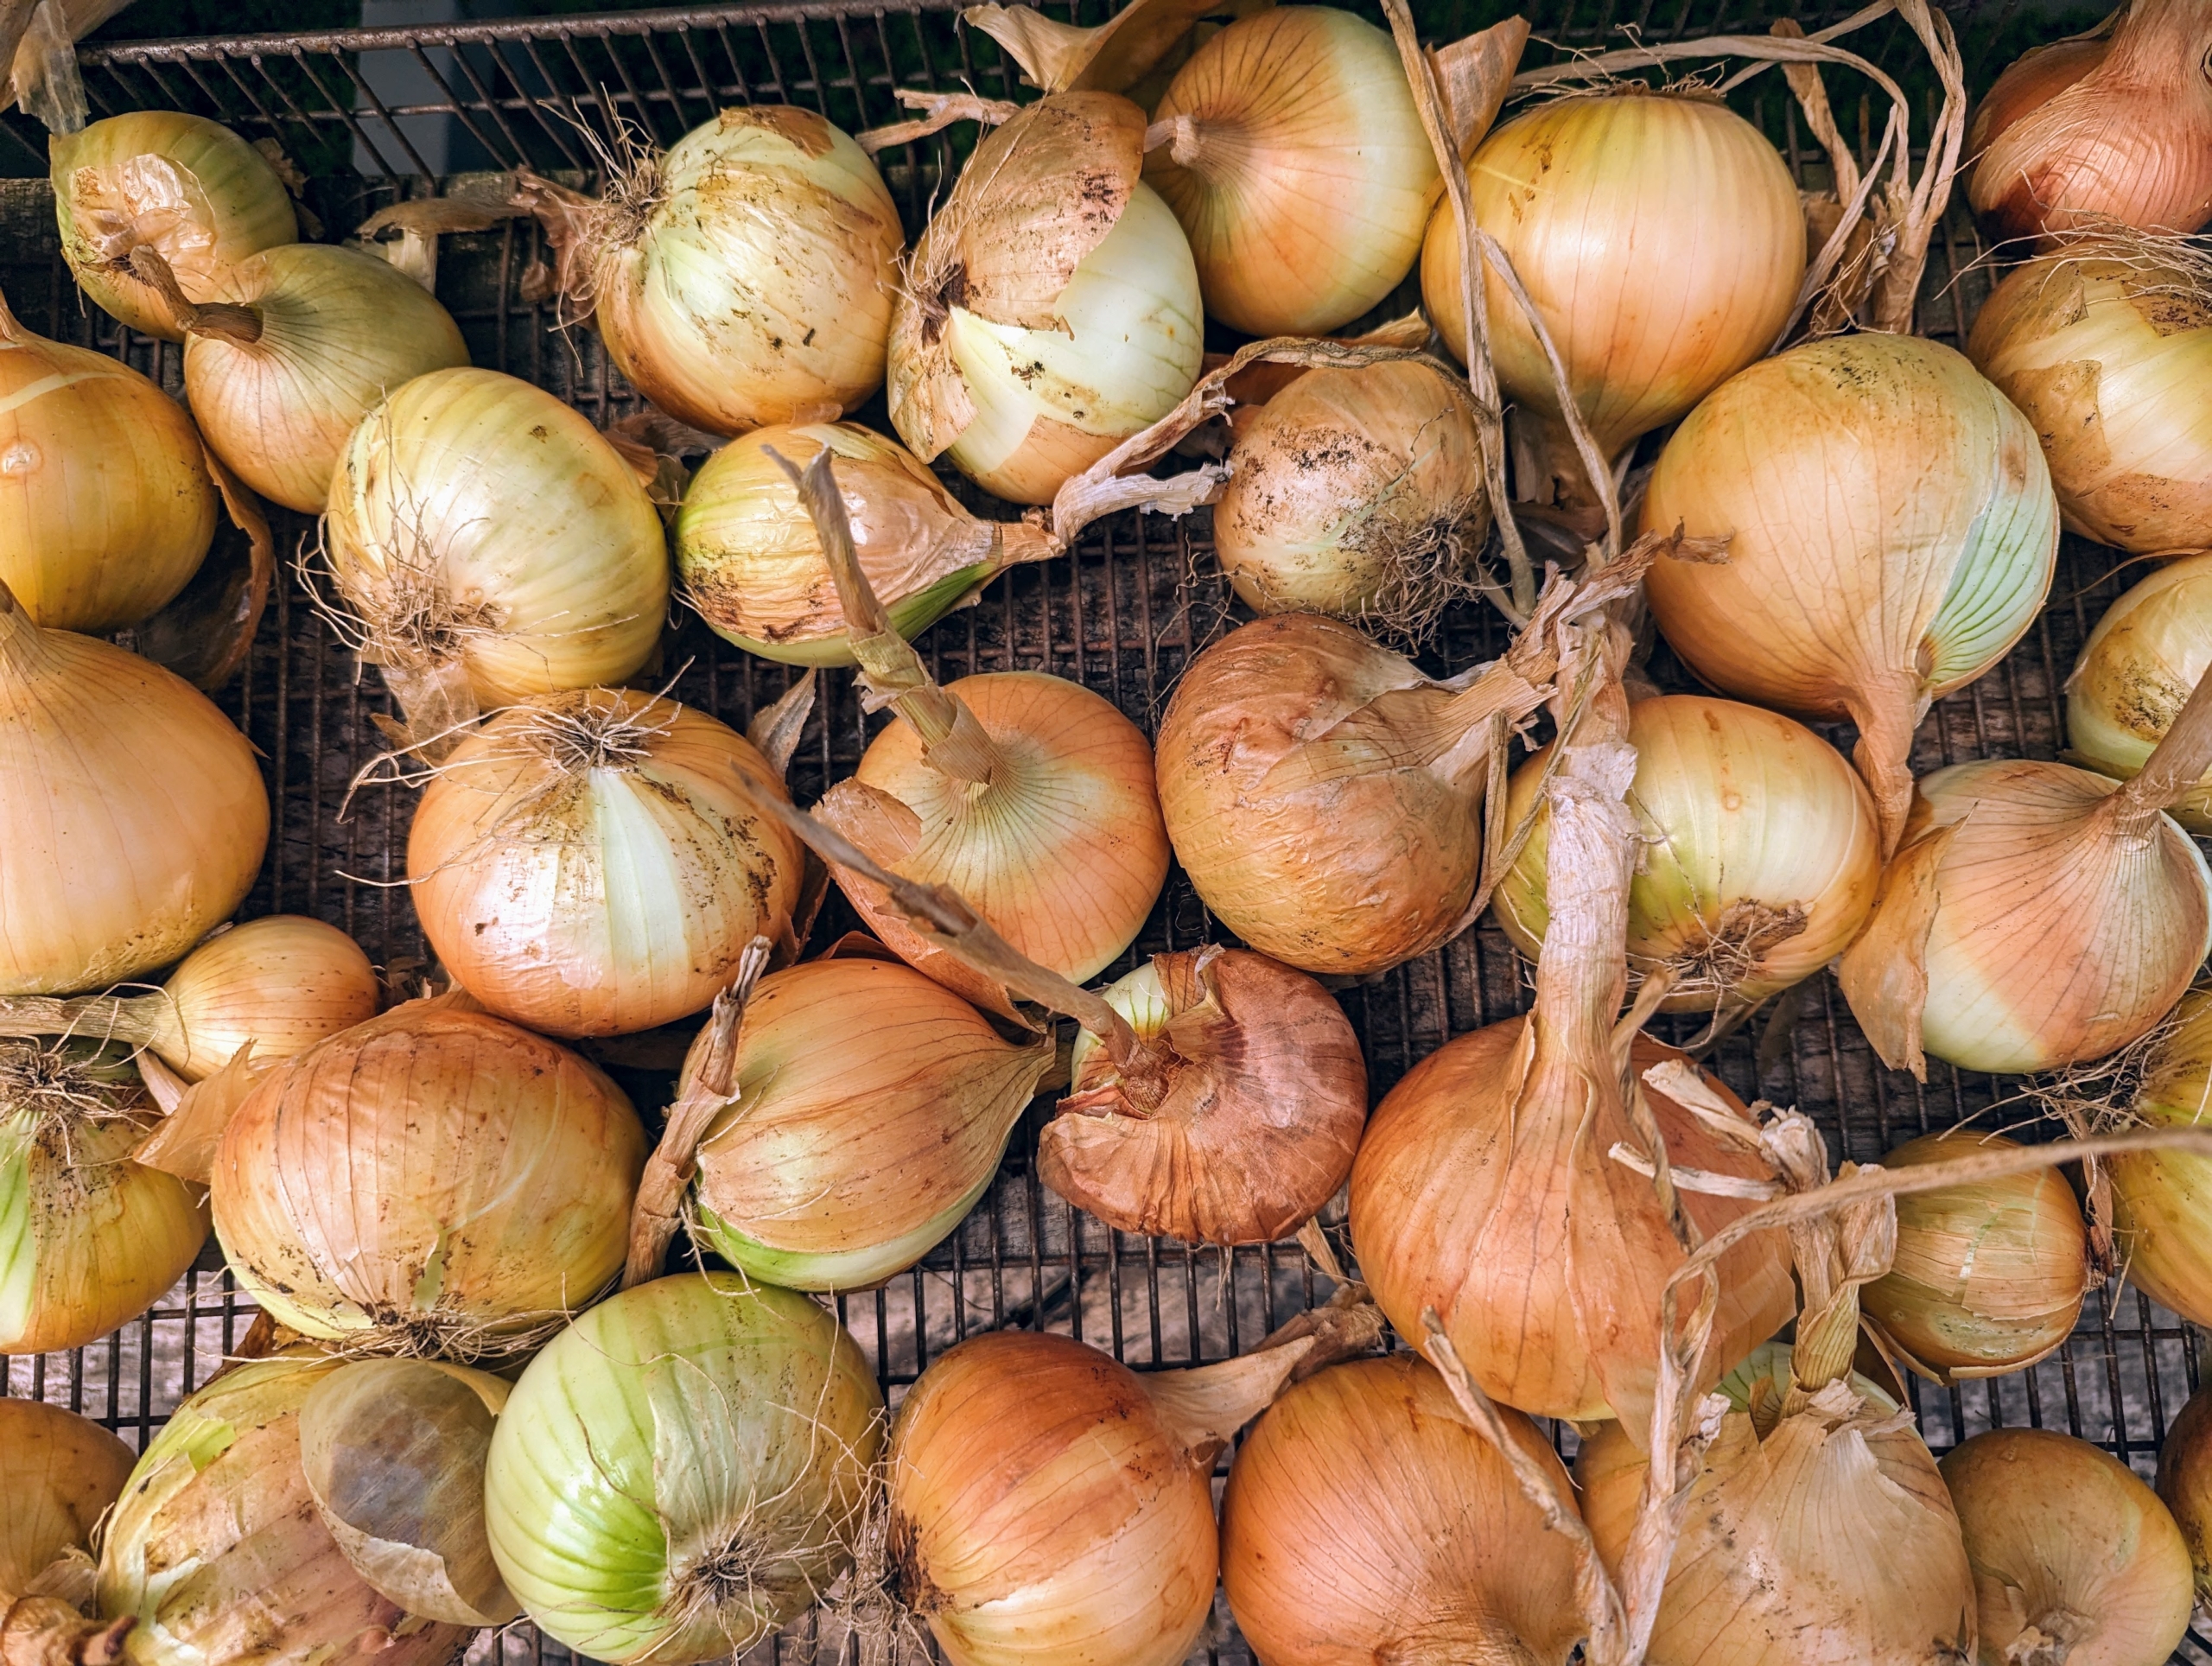
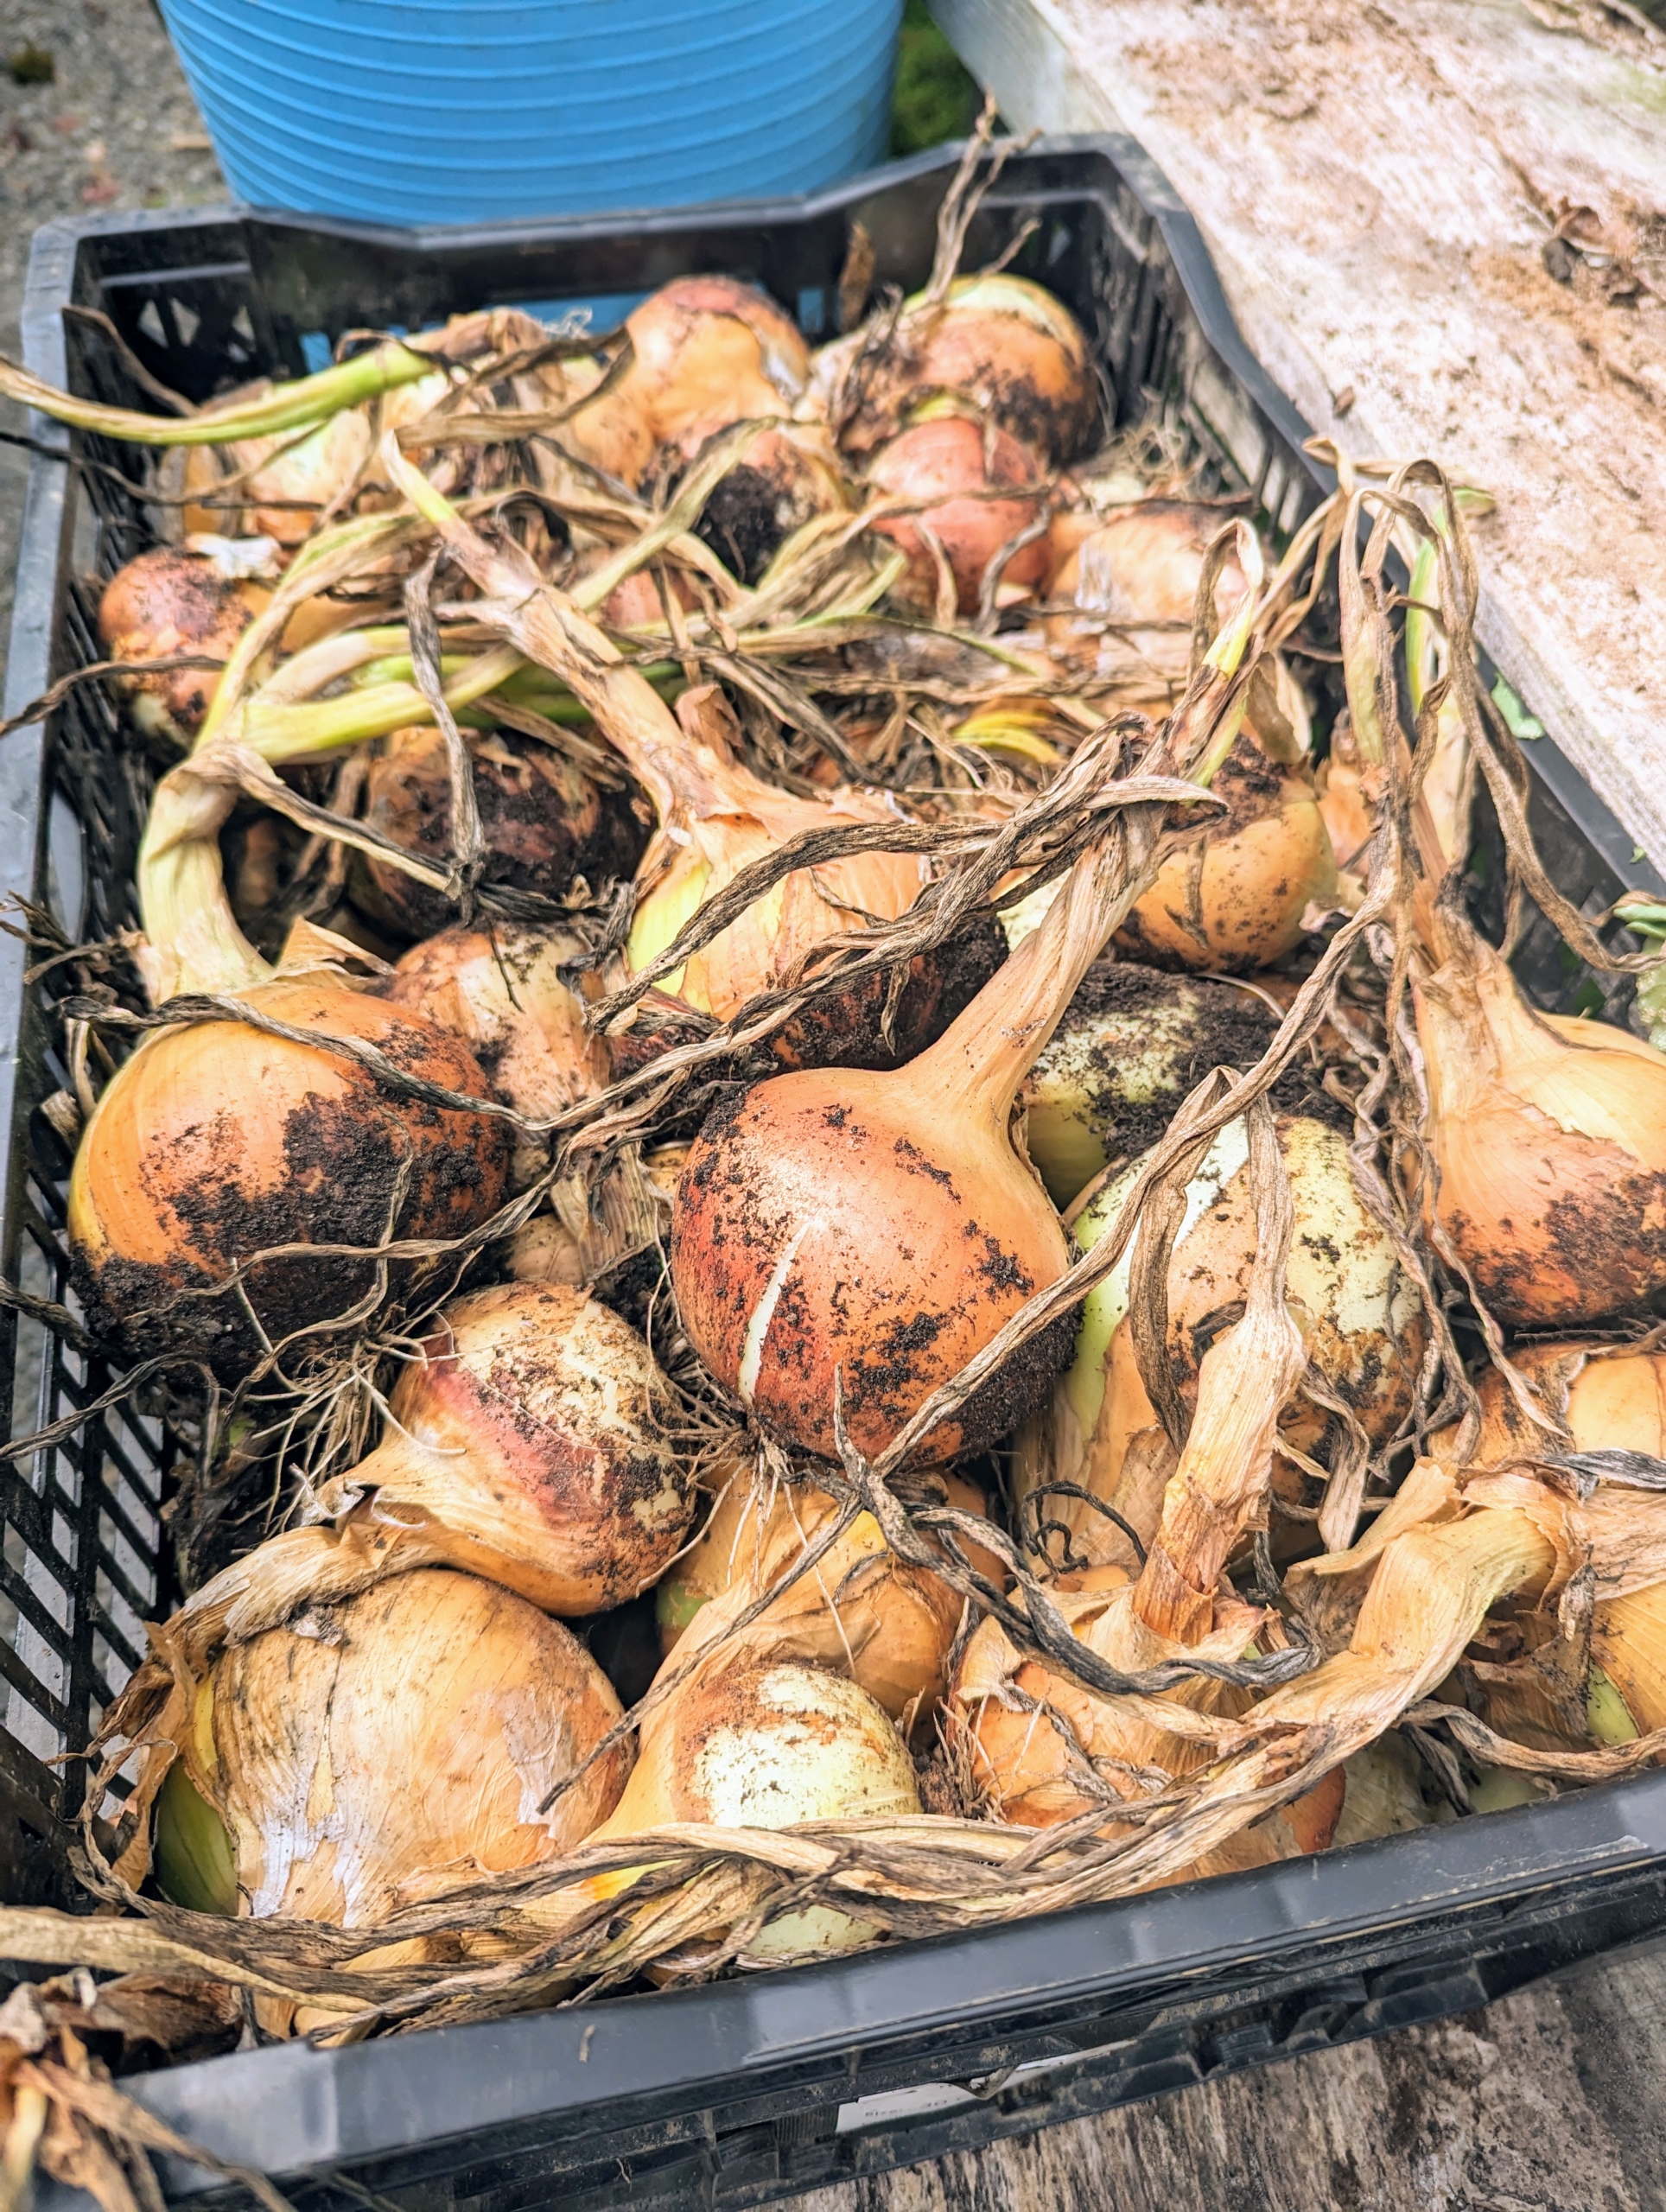
Such a bounty of gorgeous fresh onions – it’s one of our favorite crops to pick.
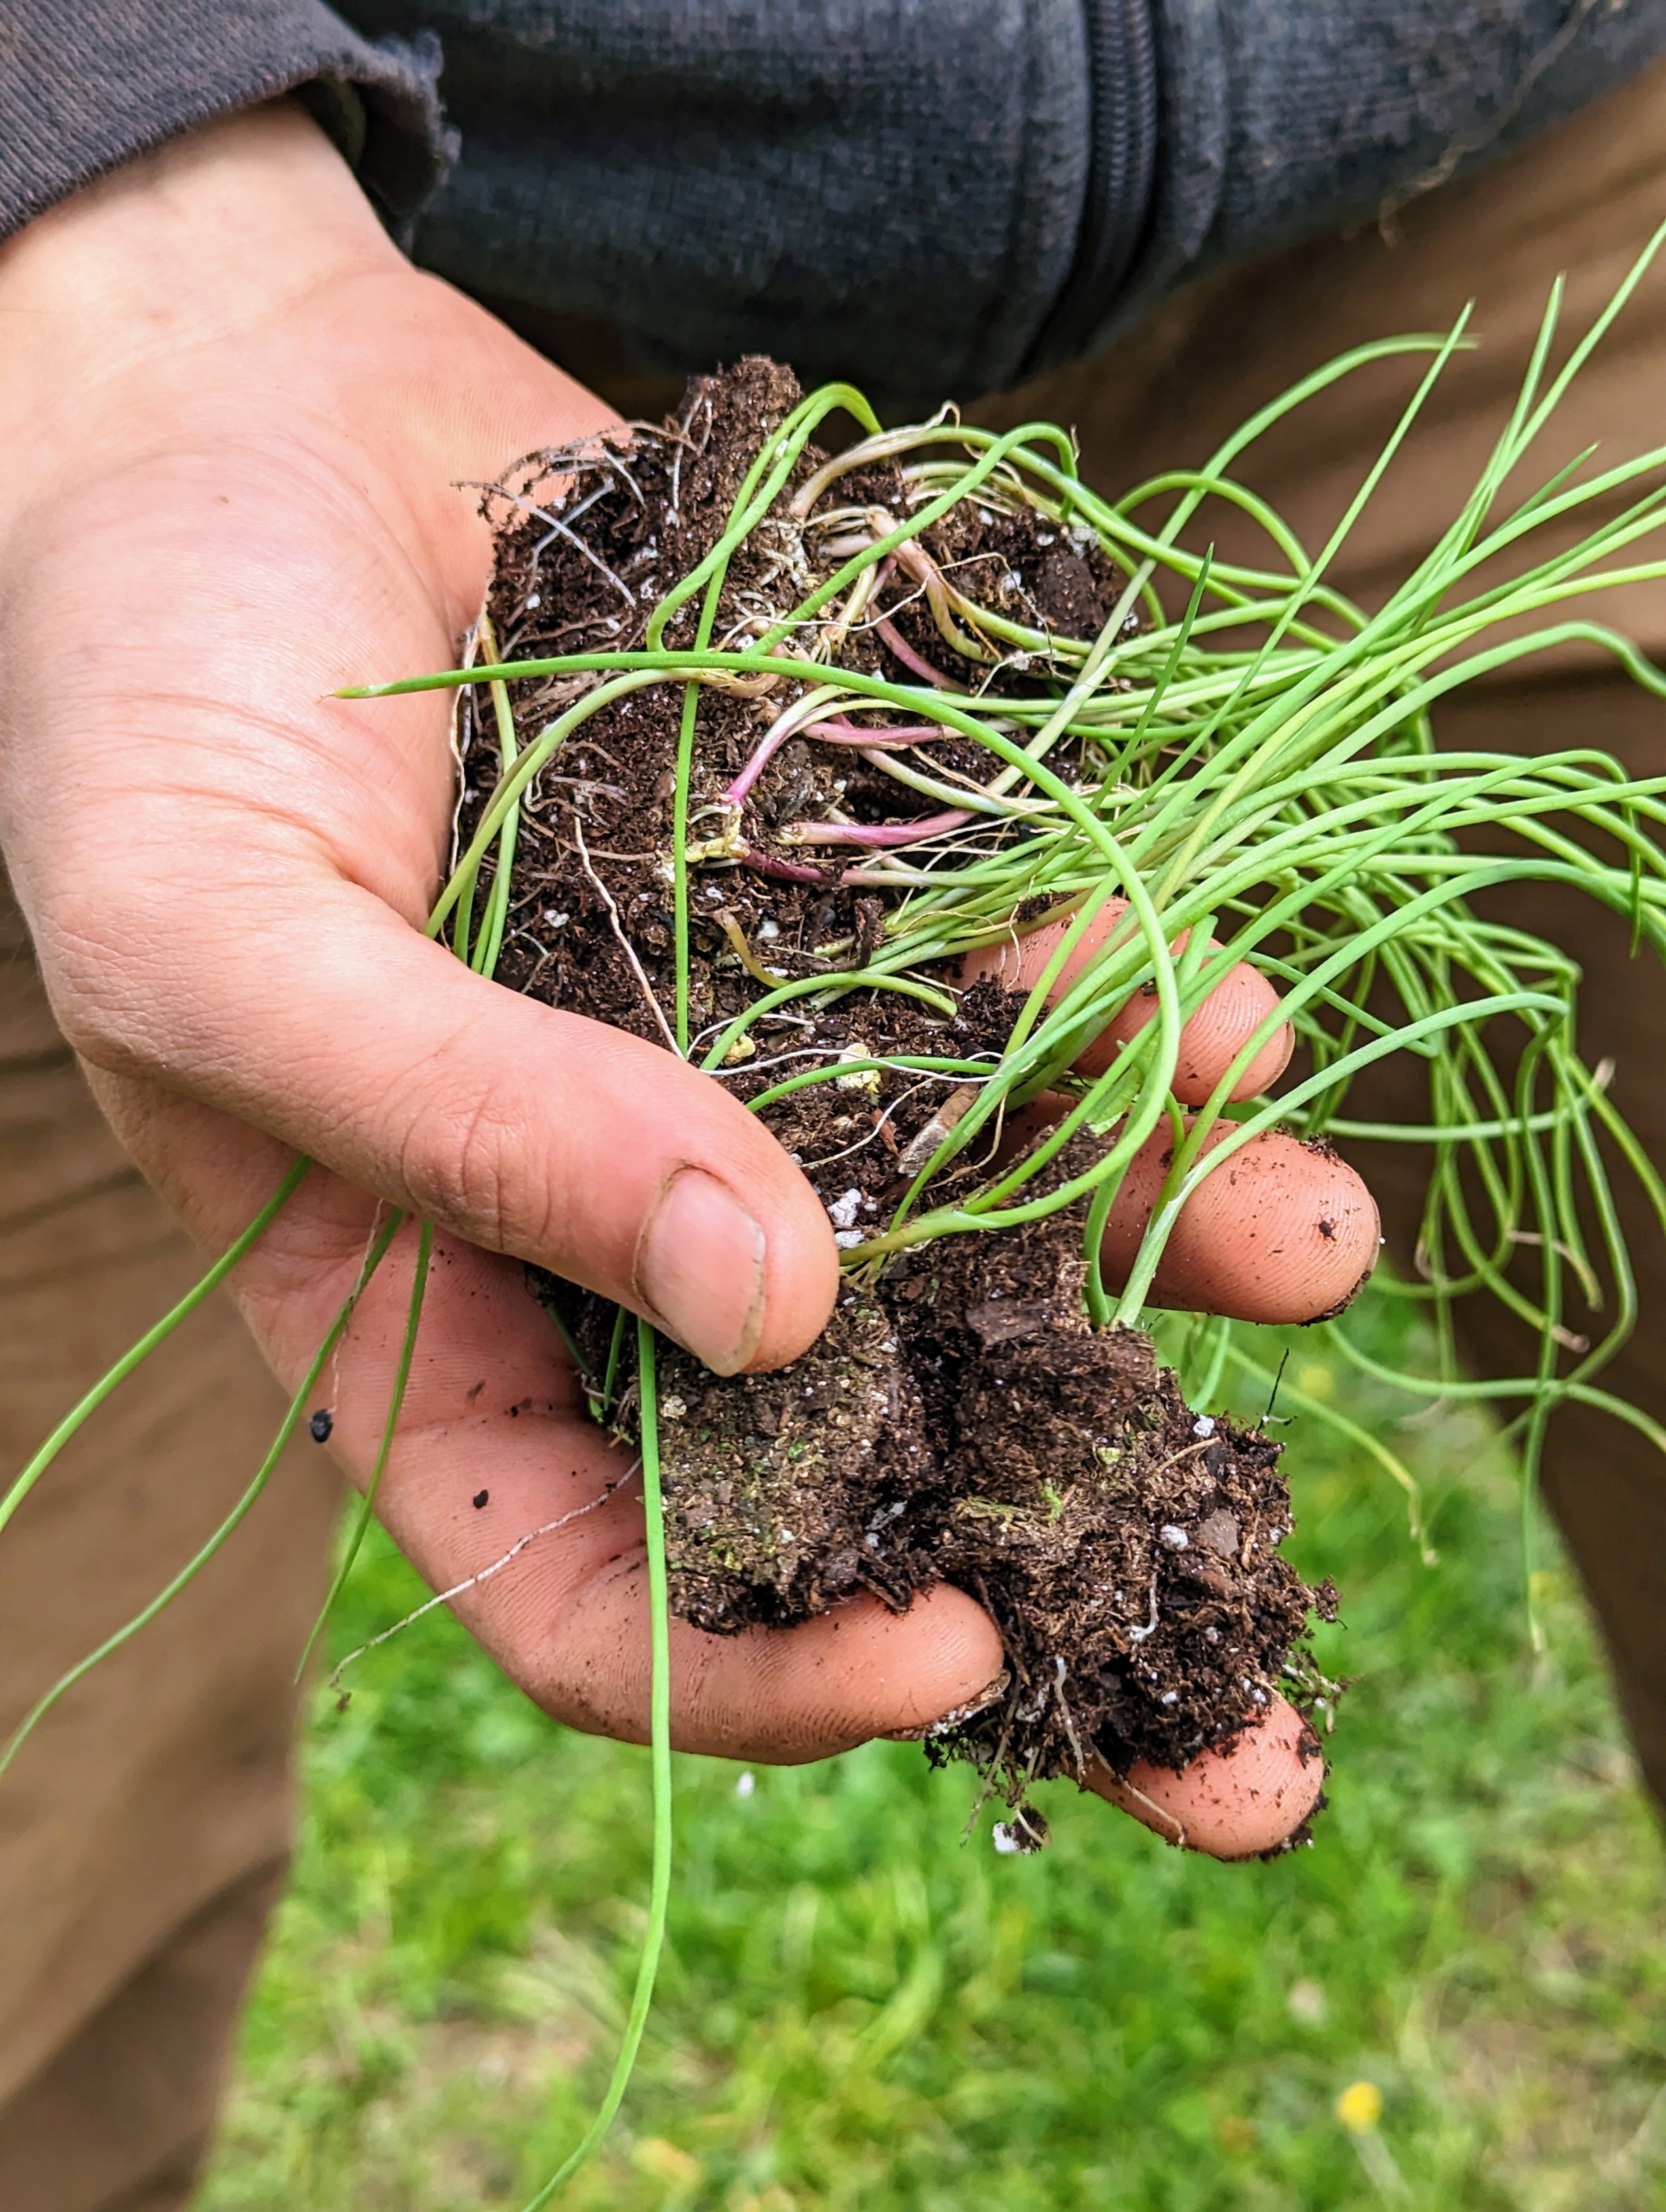
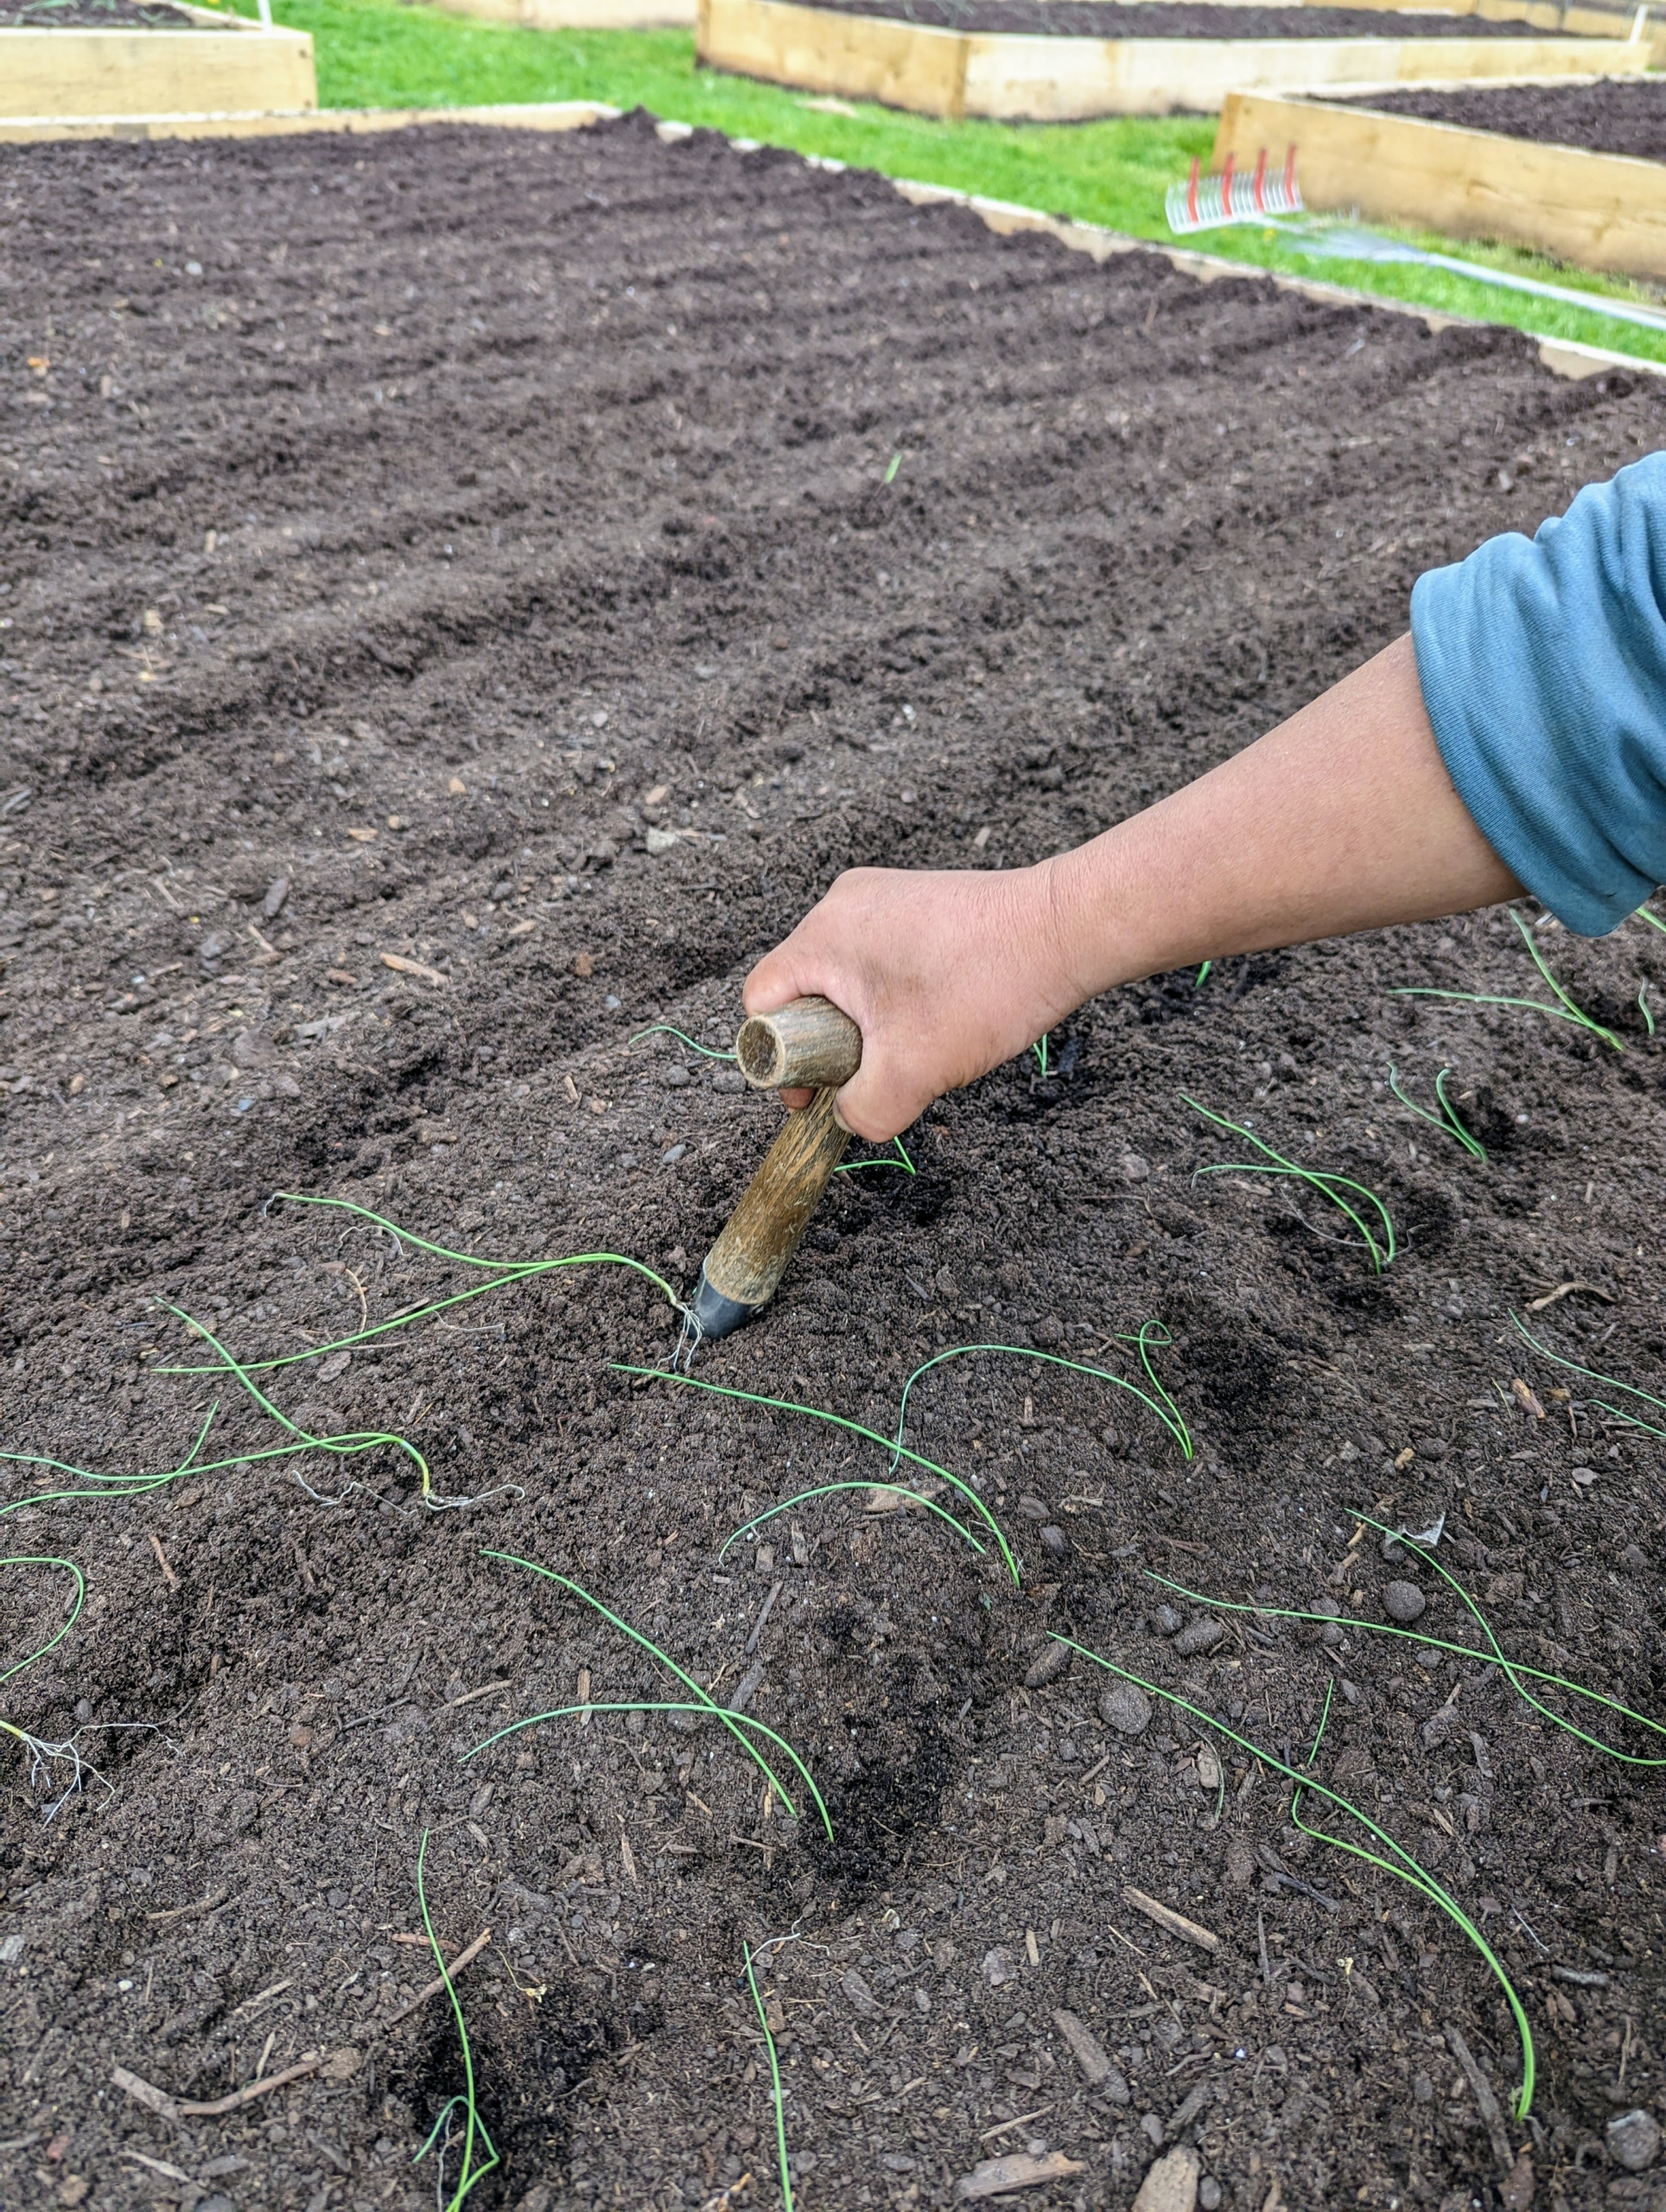
Here at the farm, our onions are started from seed in the greenhouse and then planted outdoors in the garden bed.
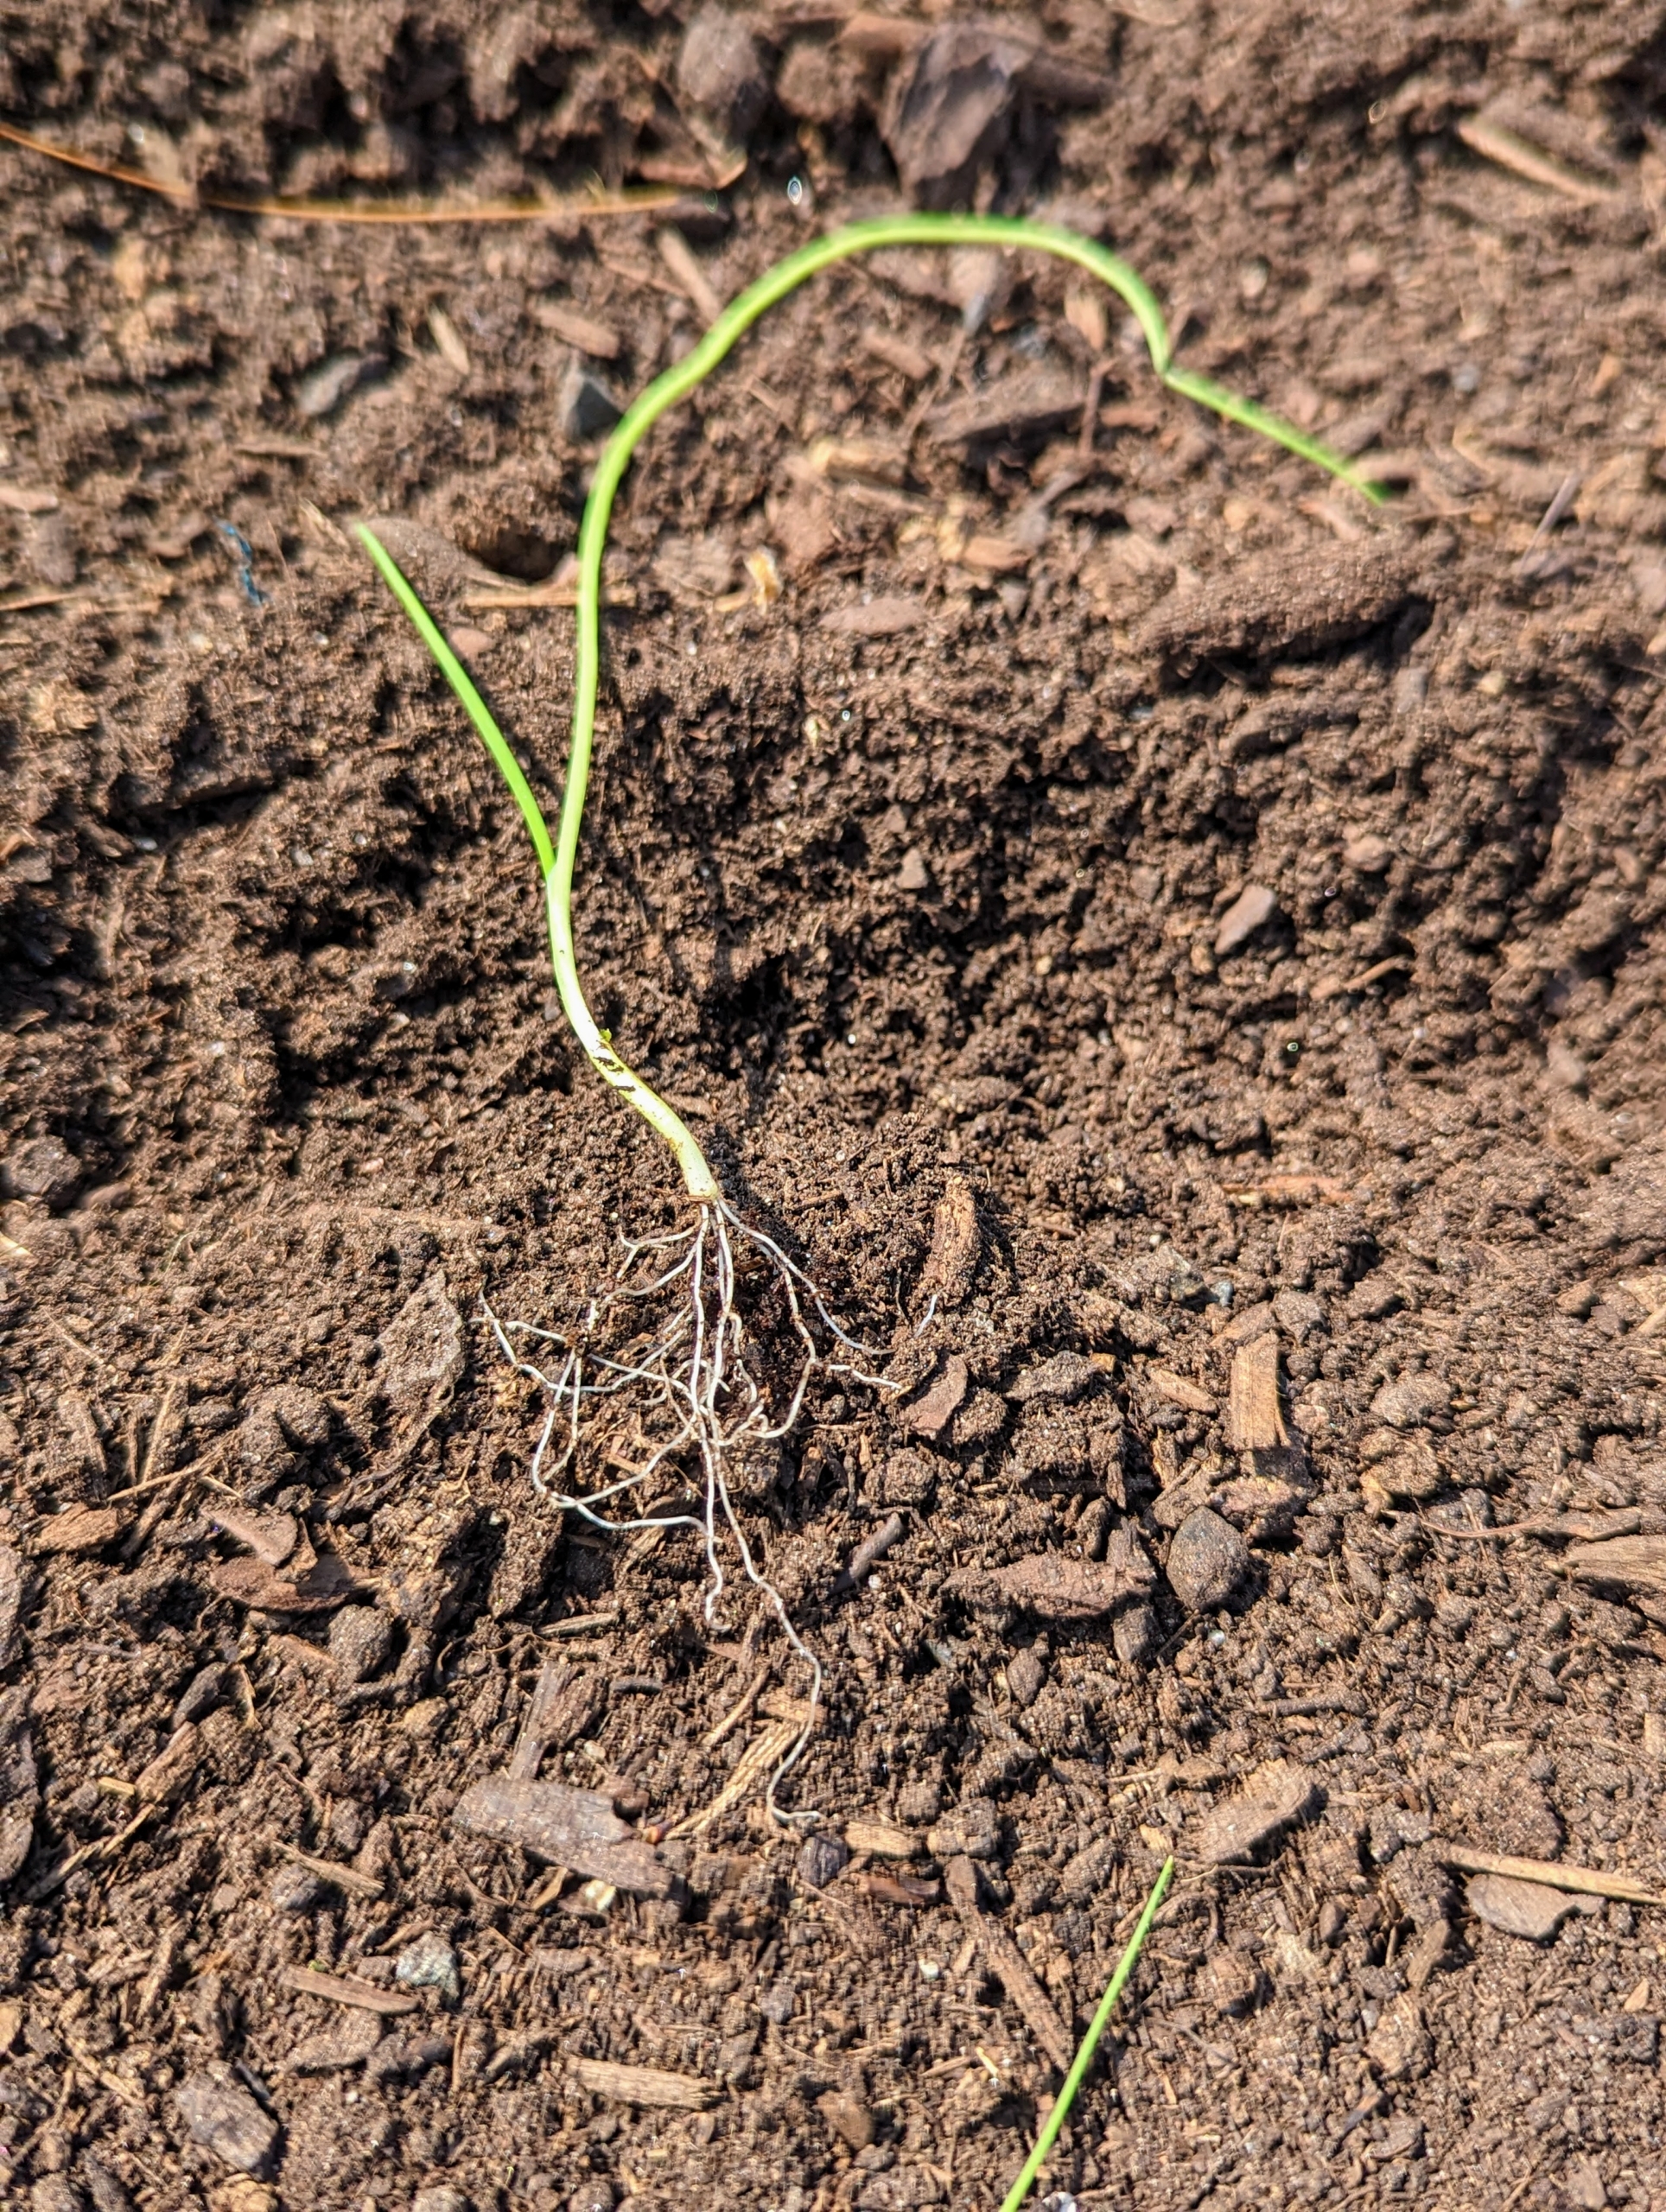
Here is what one of our onion plants looked like in late April just before planting it in the ground.
This year, we planted two large beds for red onions, white onions, yellow and brown onions.
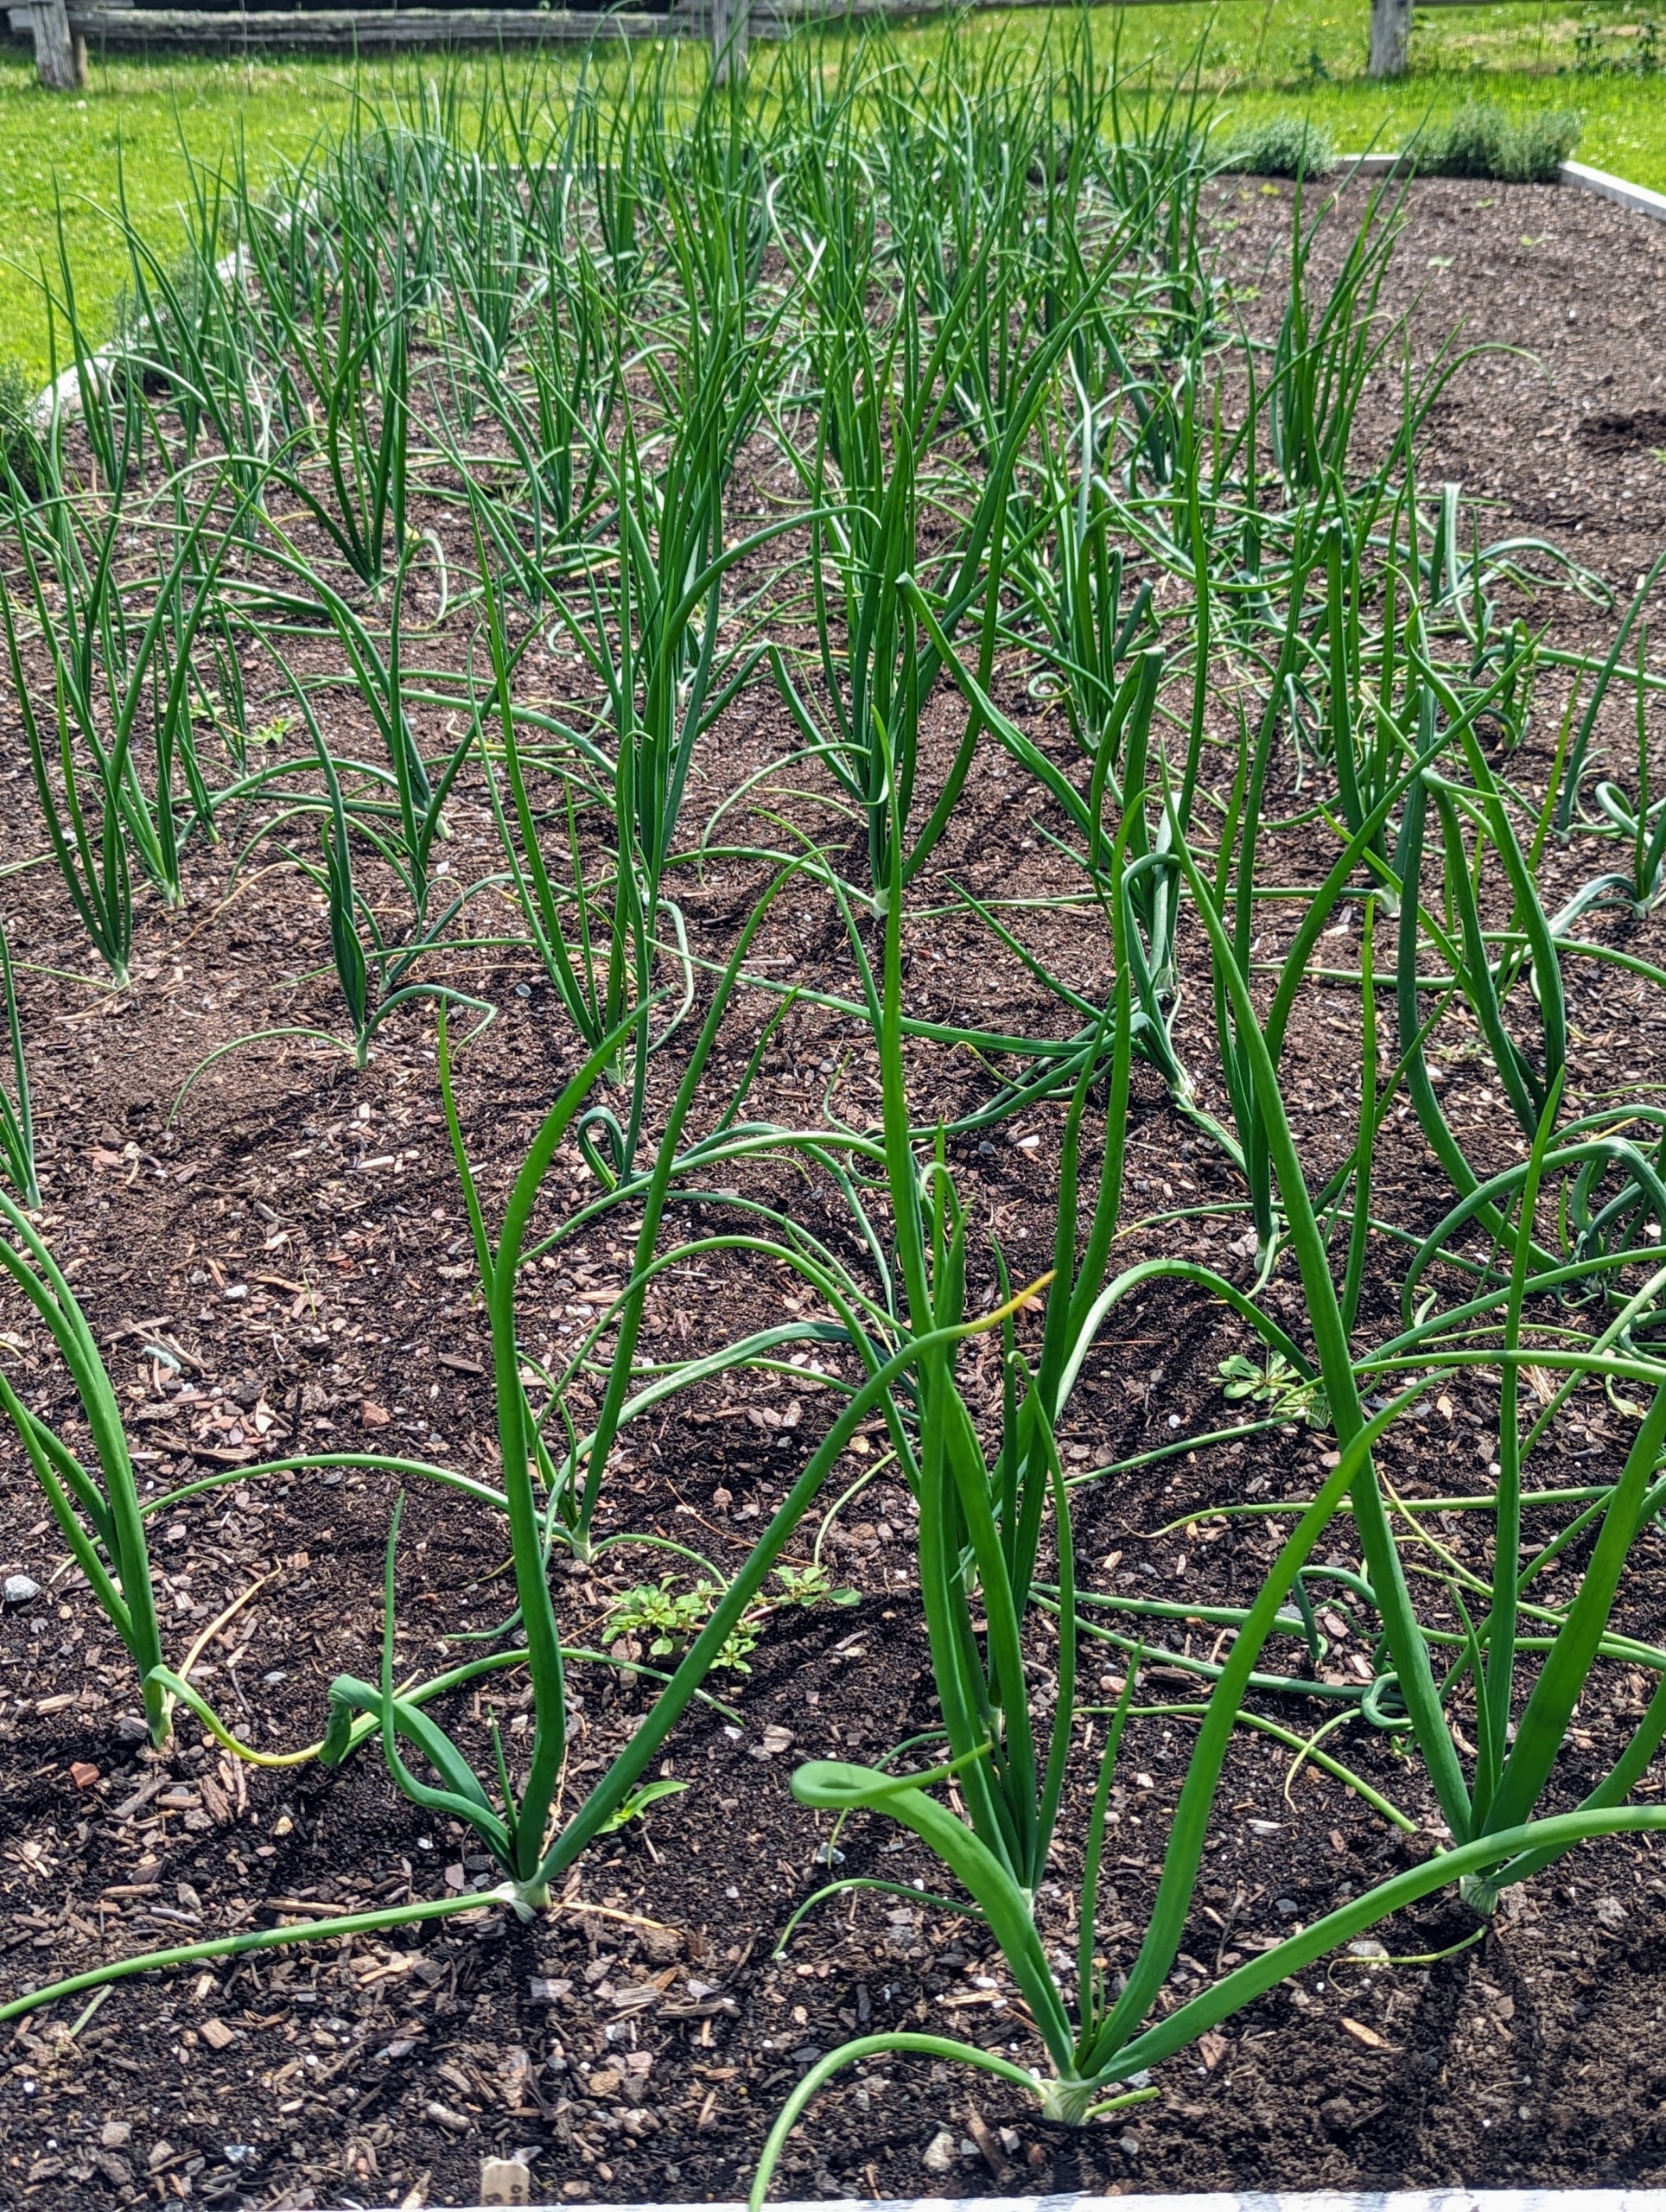
And here they are in May – just one month after planting. The onion, Allium cepa, is the most widely cultivated species of the genus Allium. They are planted in spring when temperatures are still a bit cool. Early planting gives the onions time to develop tops and store energy for the bulbs.
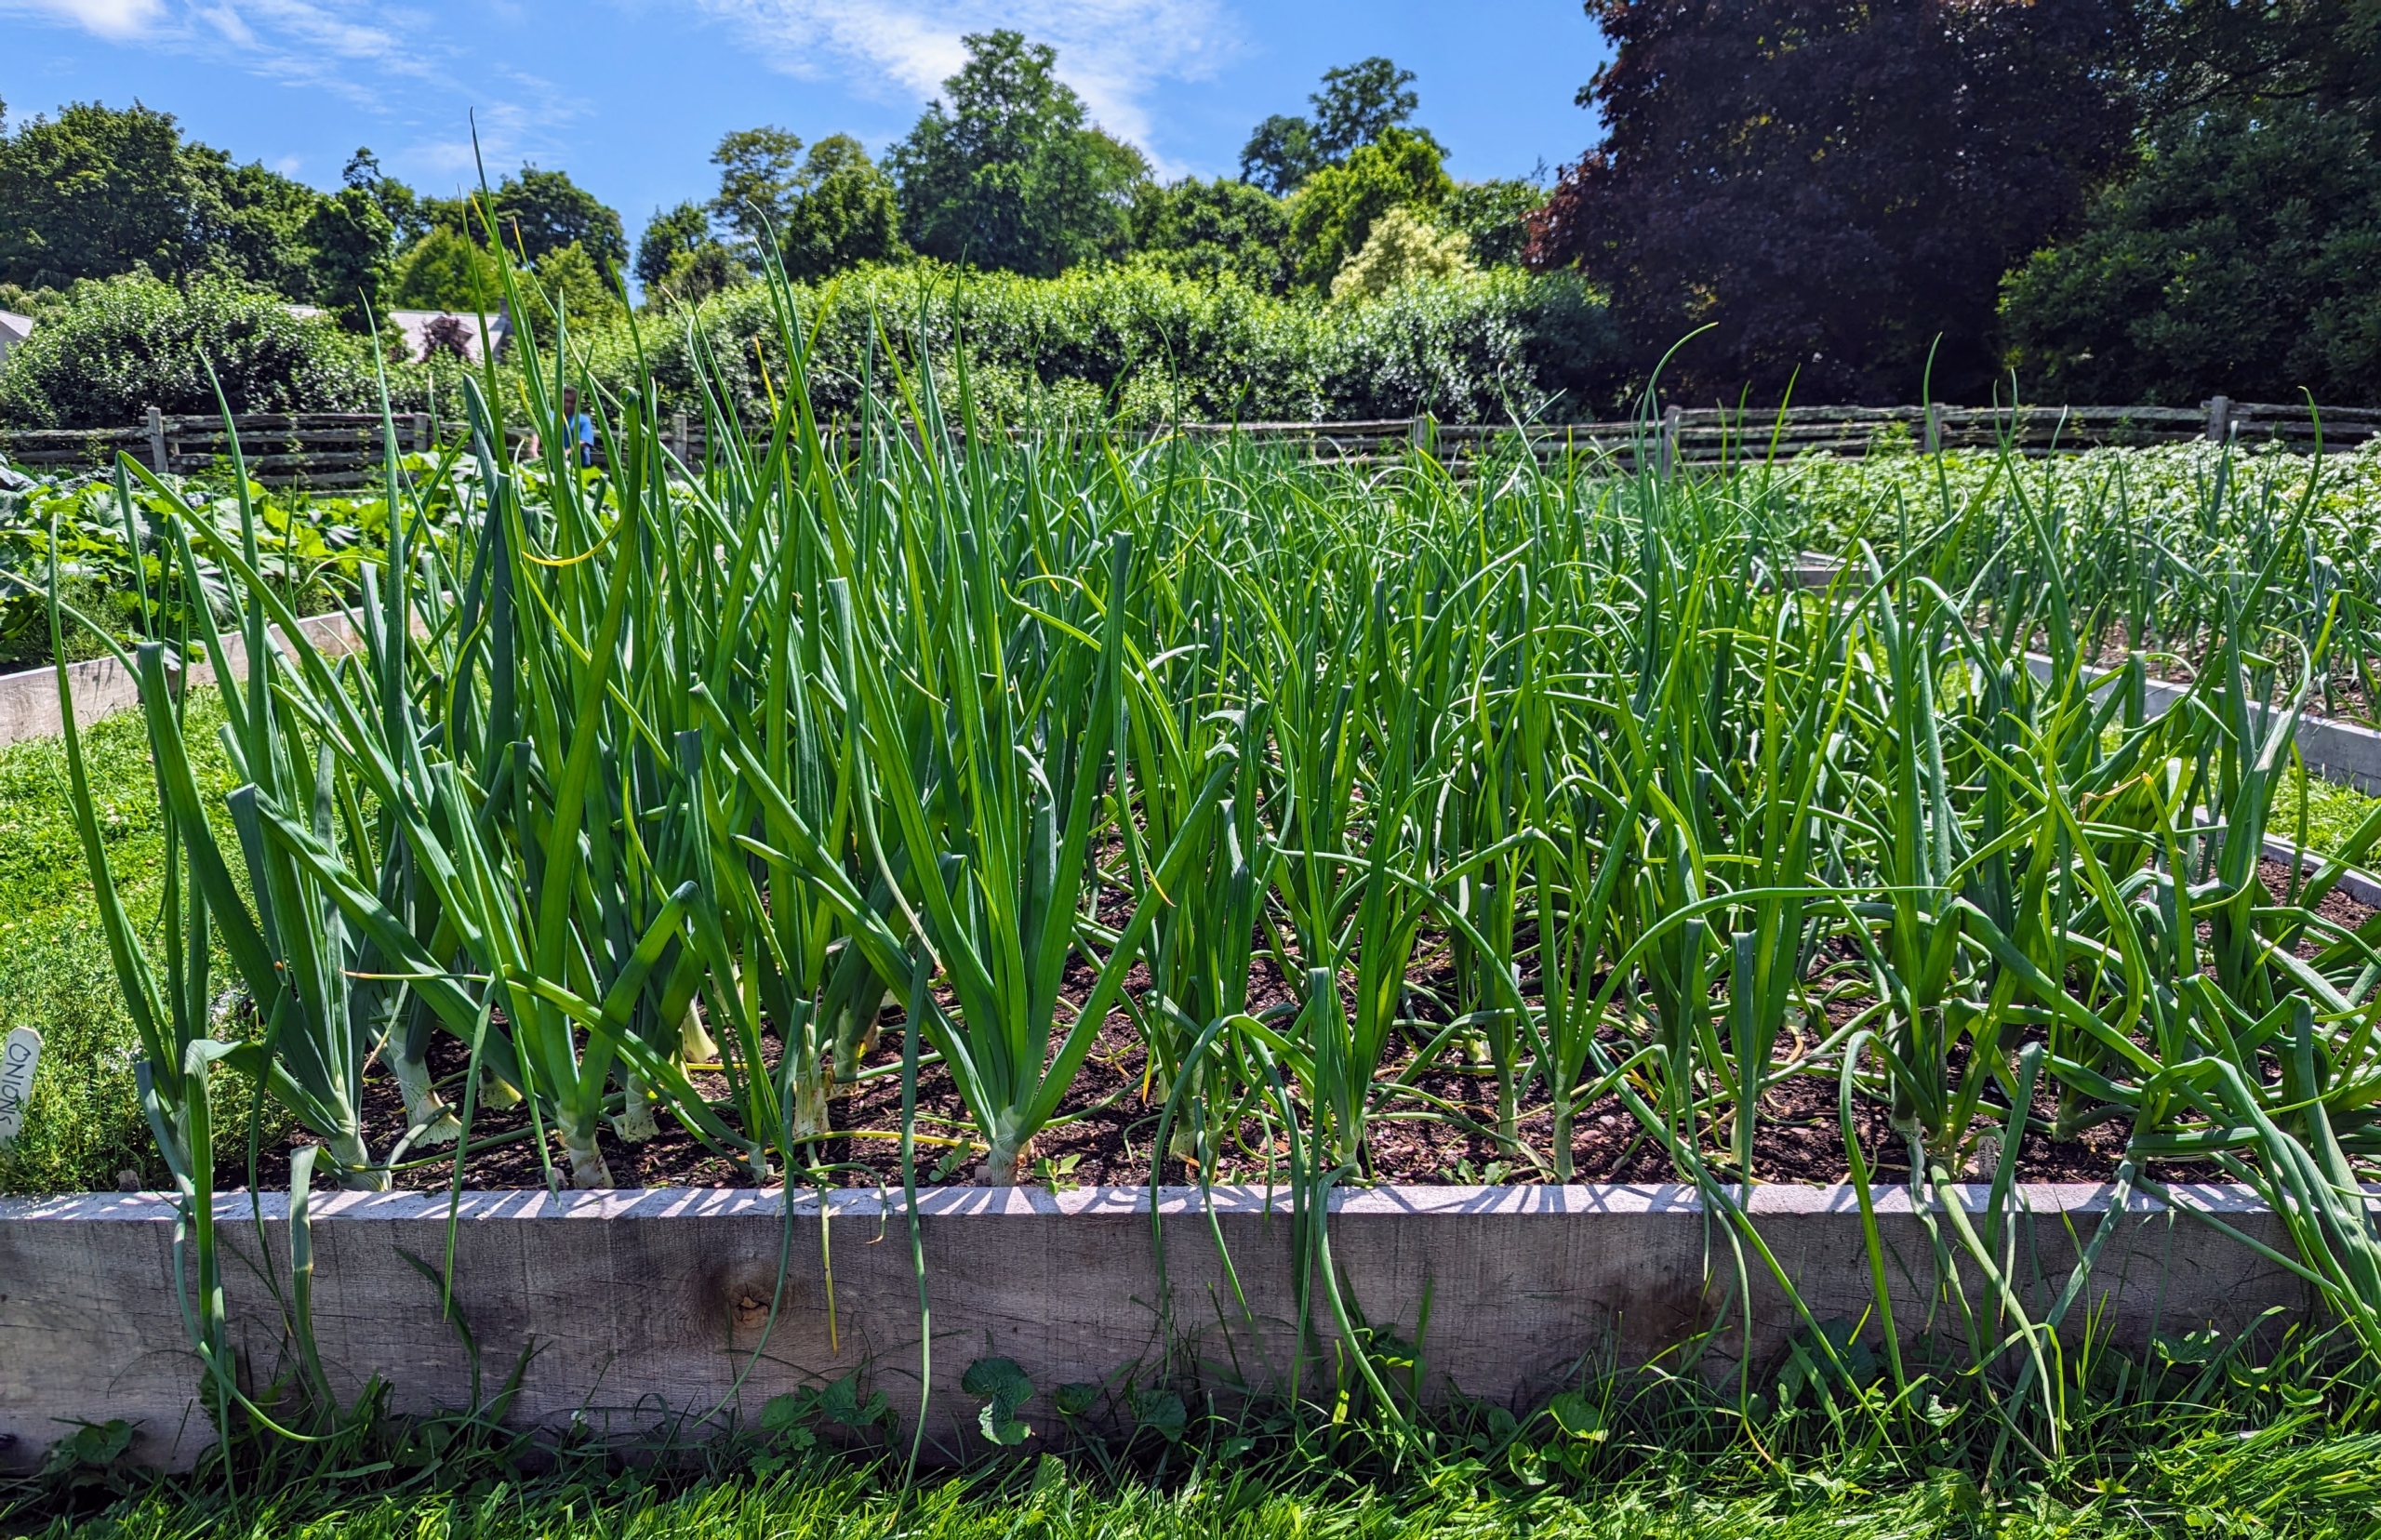
In June, the plants are much more developed and the leaves are quite tall, bright green, and sturdy.
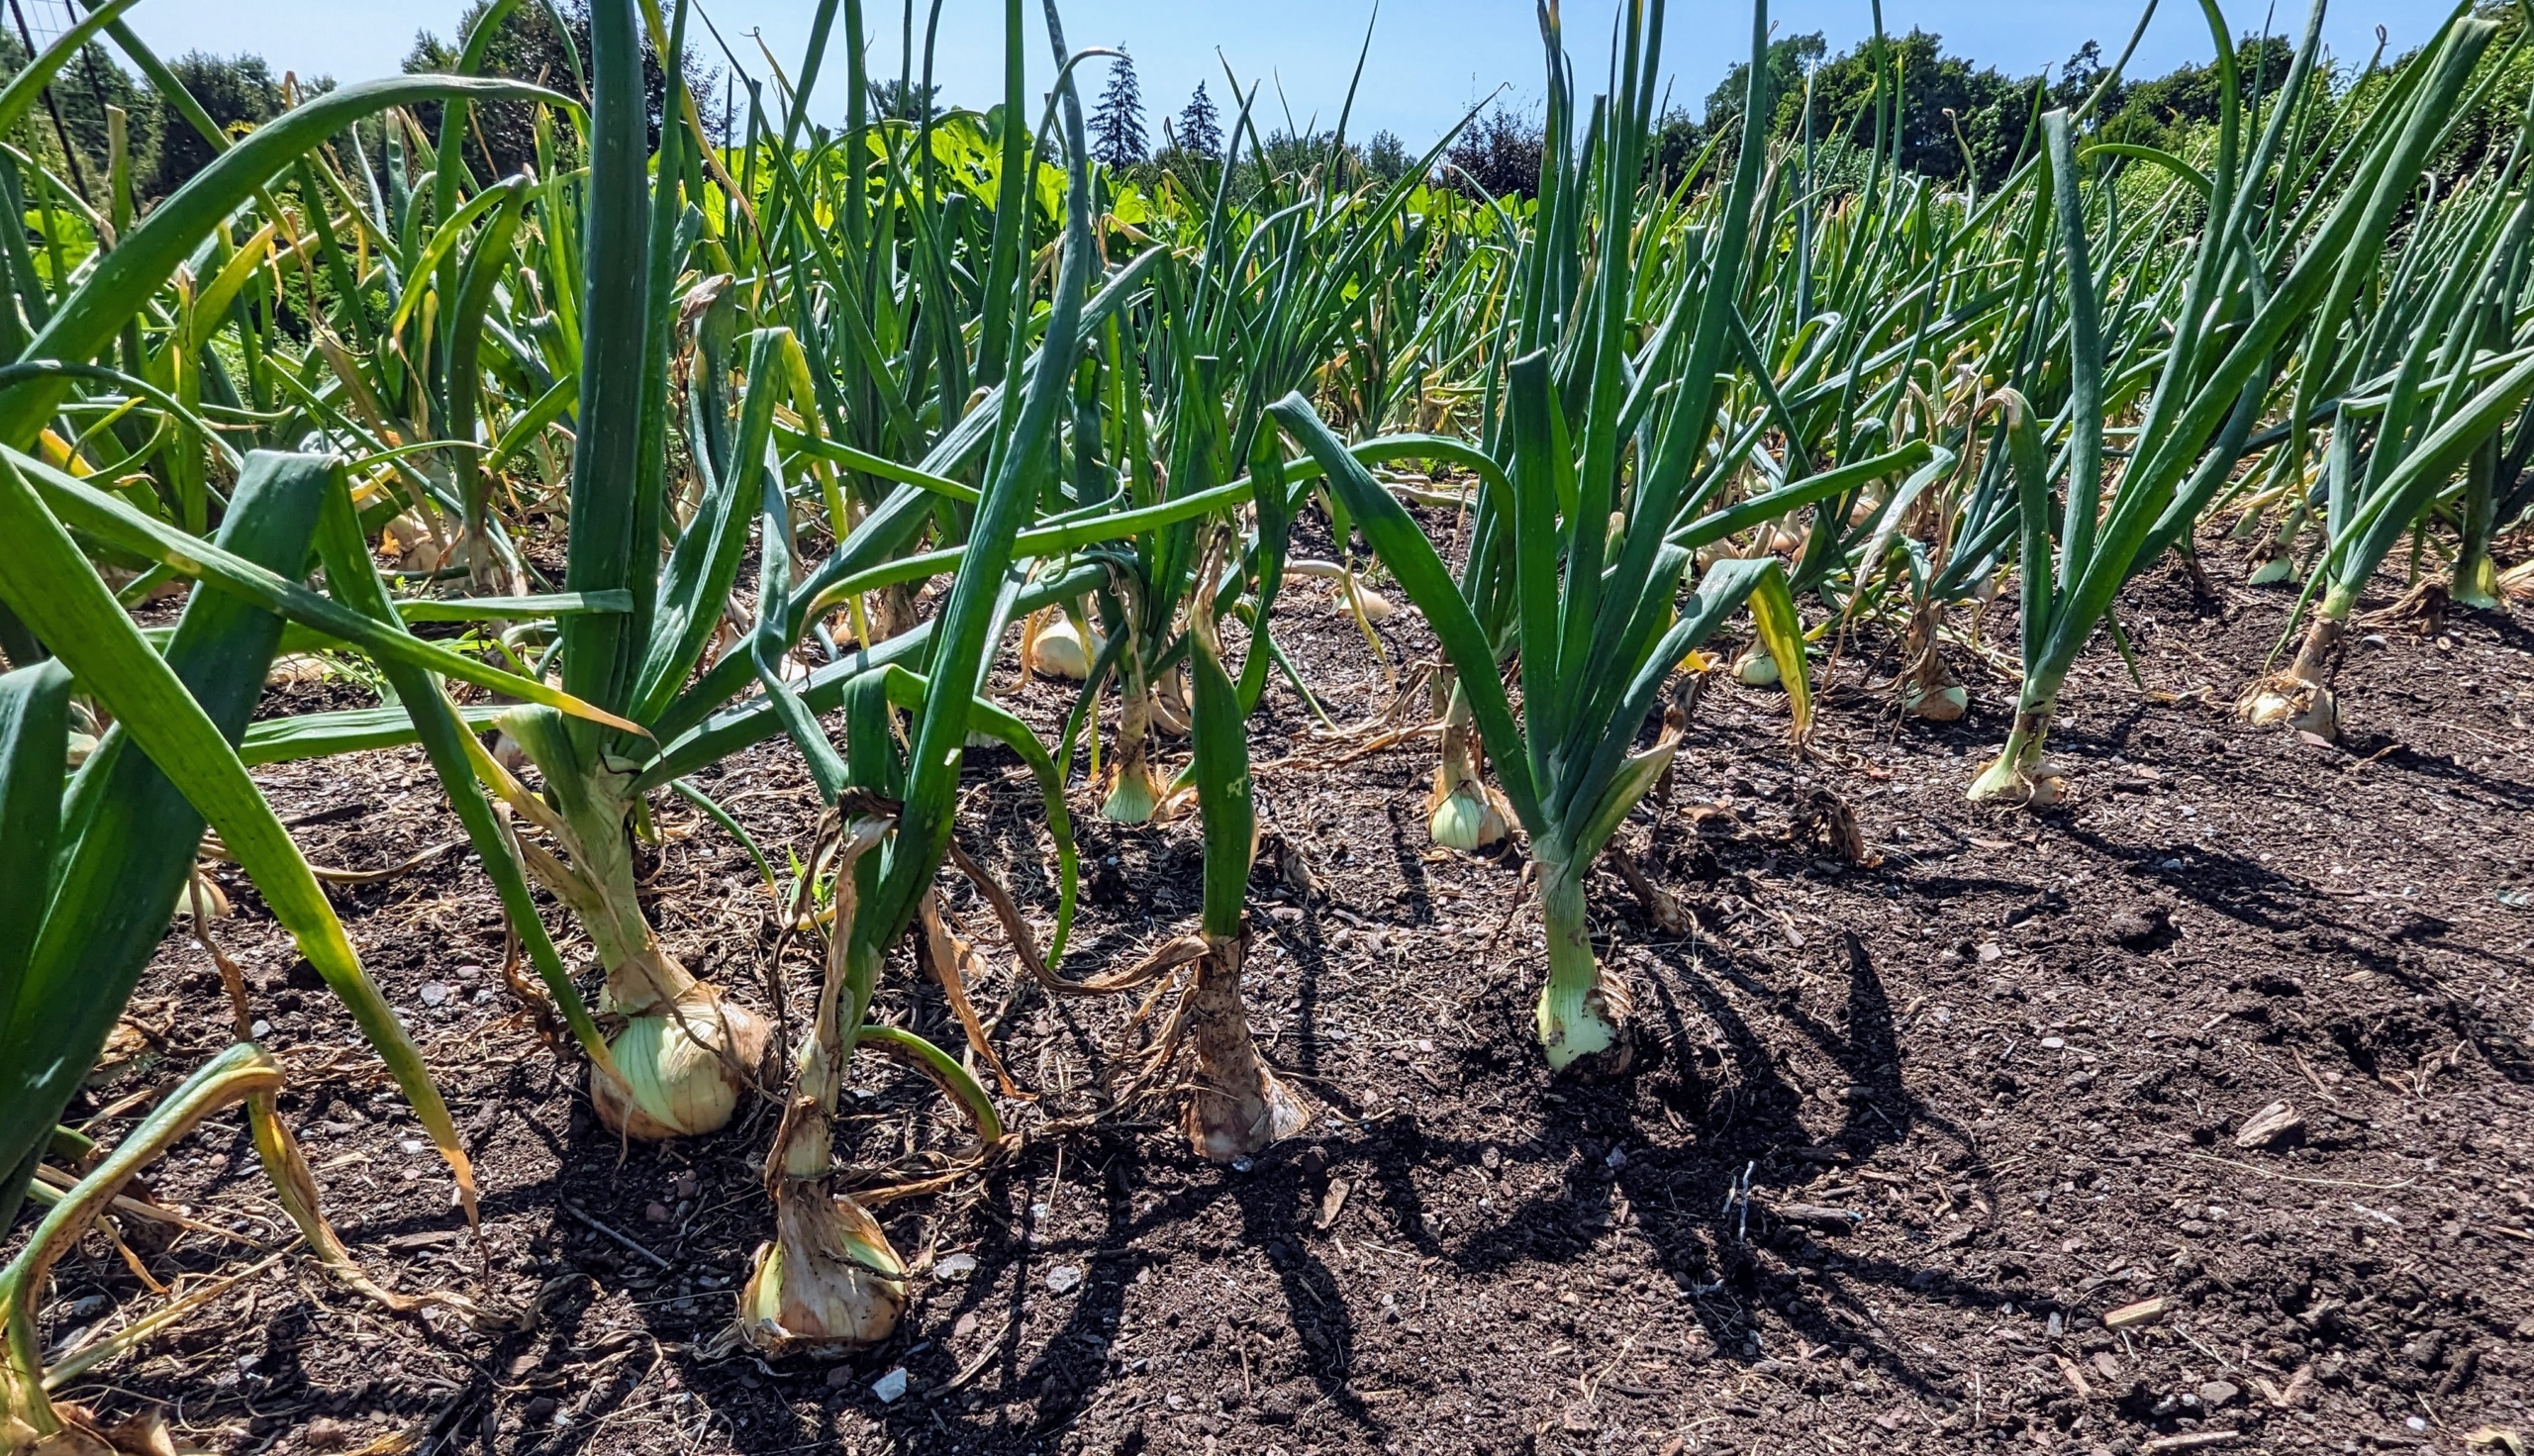
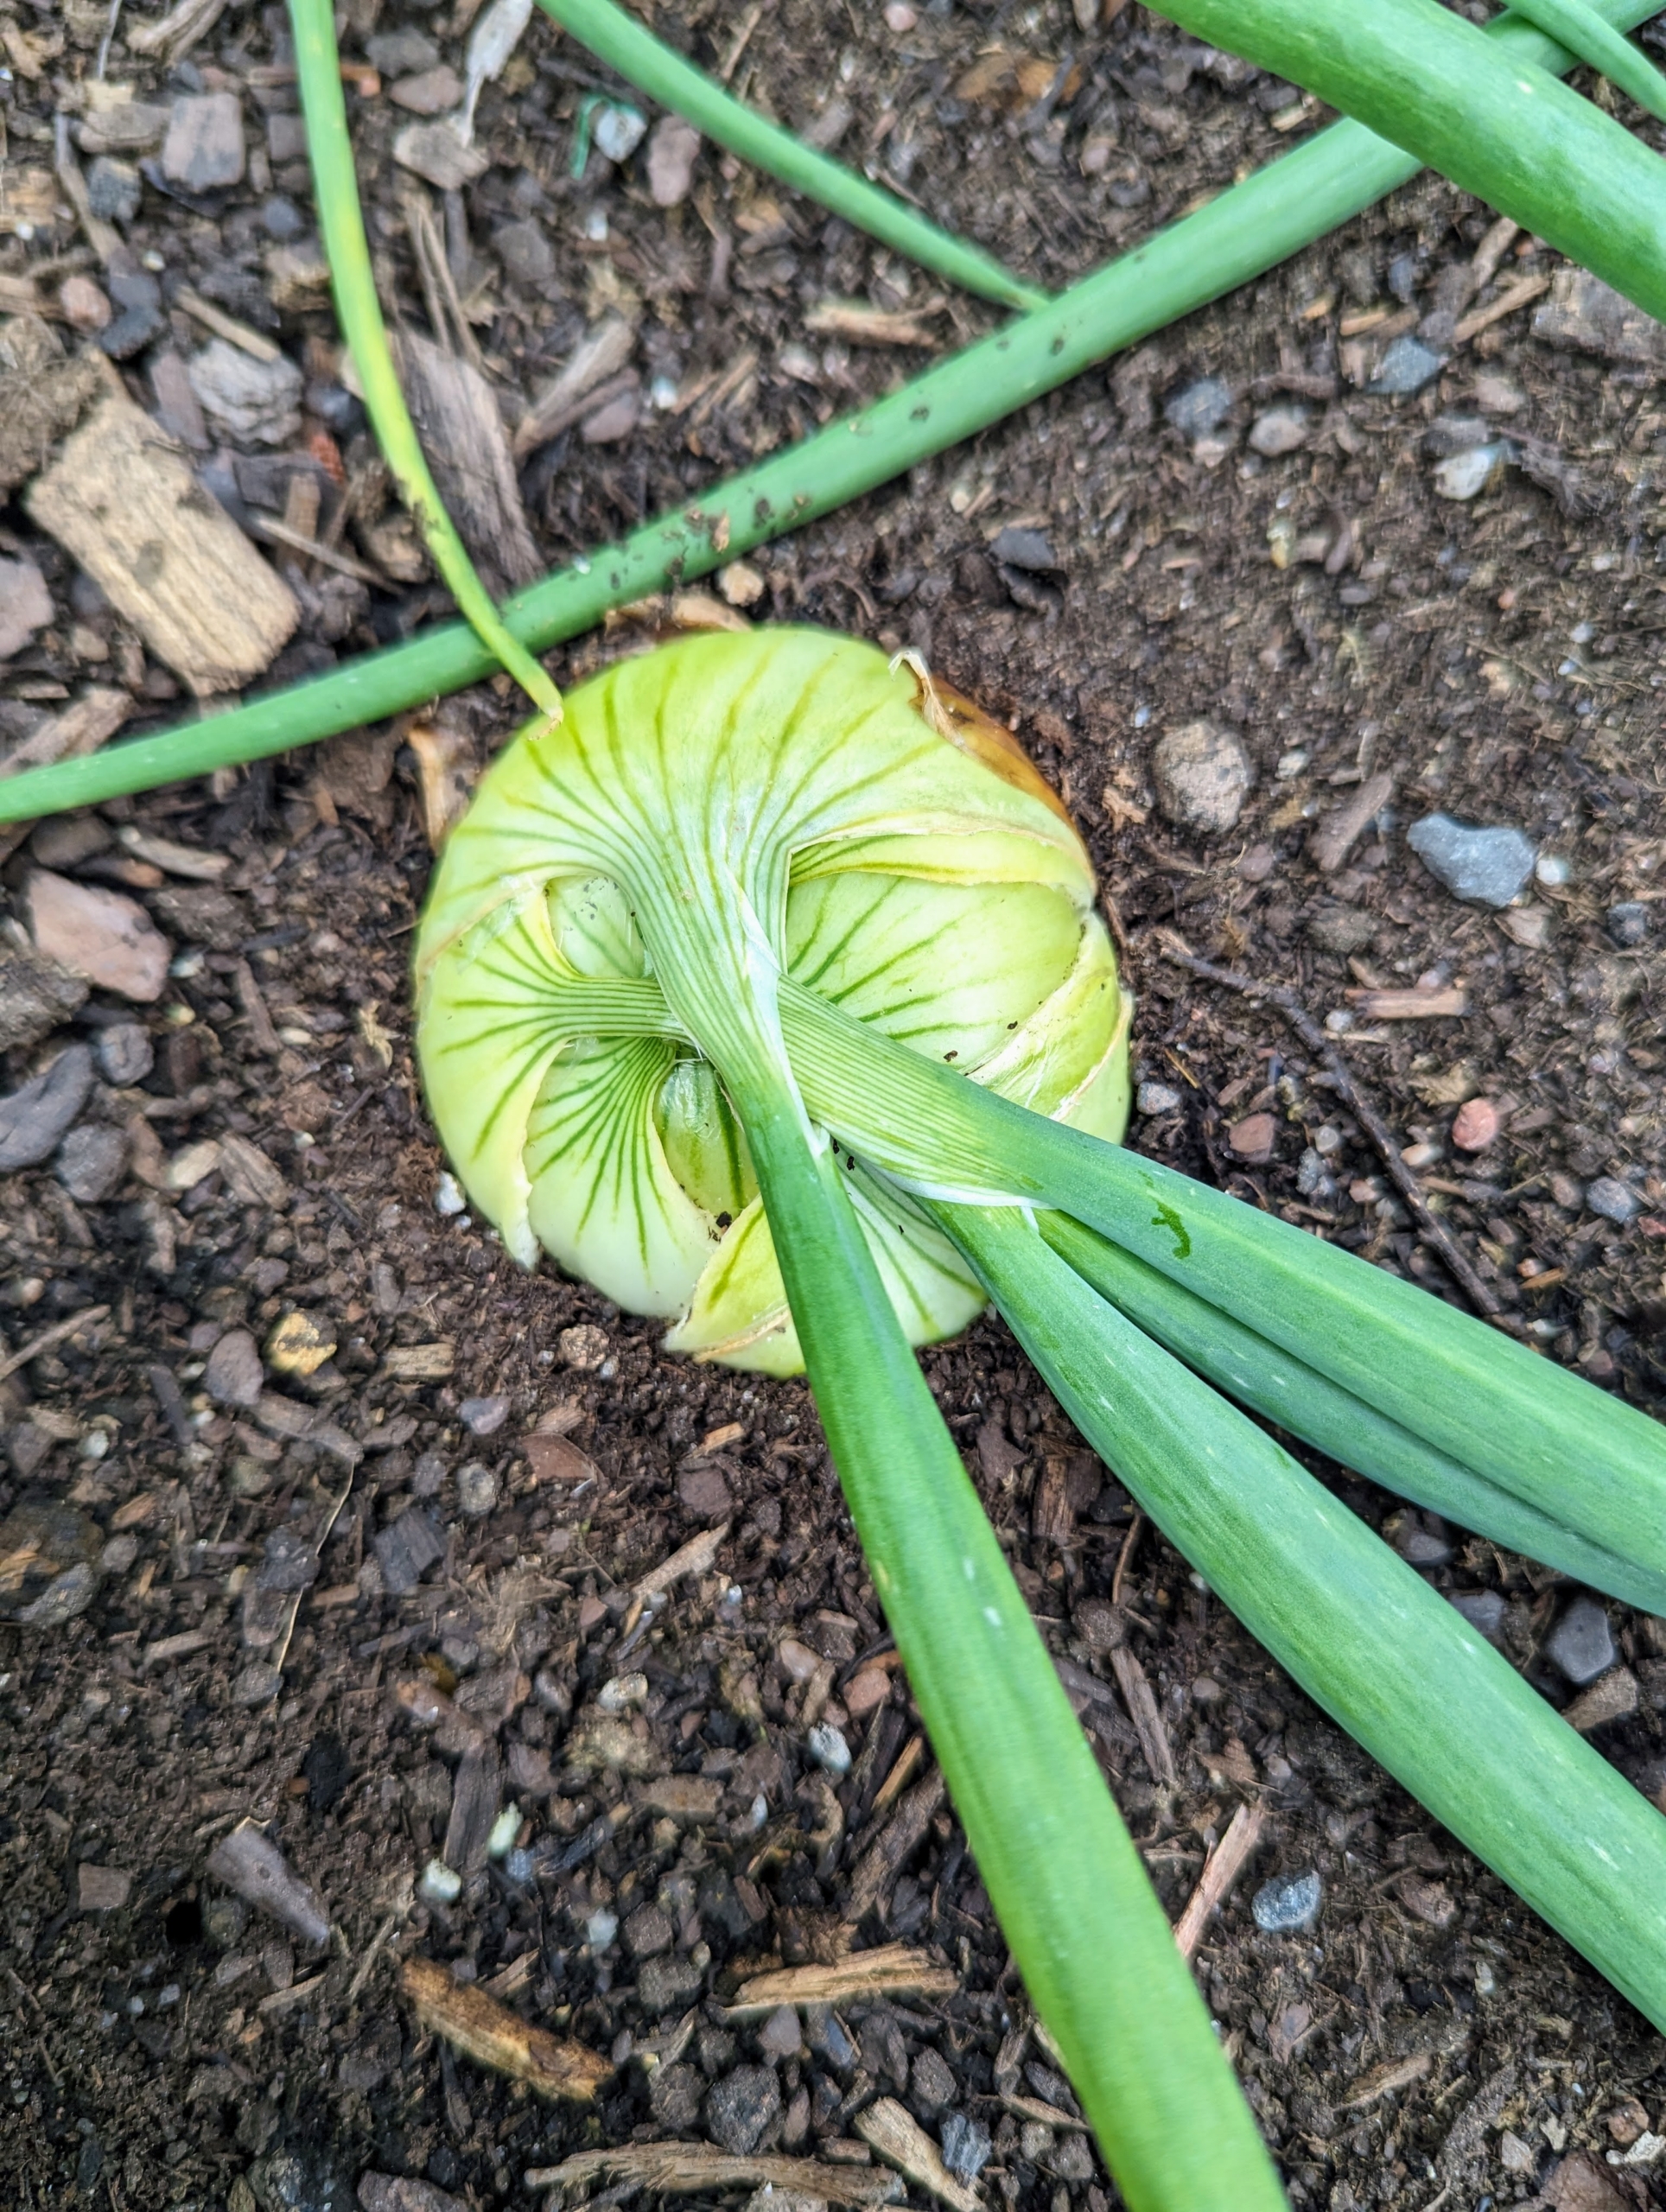
By July, the onions are starting to show through the soil, but they are still small and the top leaves are still very green.
Looking down, this is one of the growing onions.
Onions require 90 to 100 days to mature from seed, which is around four months. From sets, onions are ready to harvest after around 80 days, or just under three months. We picked a few onions for my summer vacation in Maine.
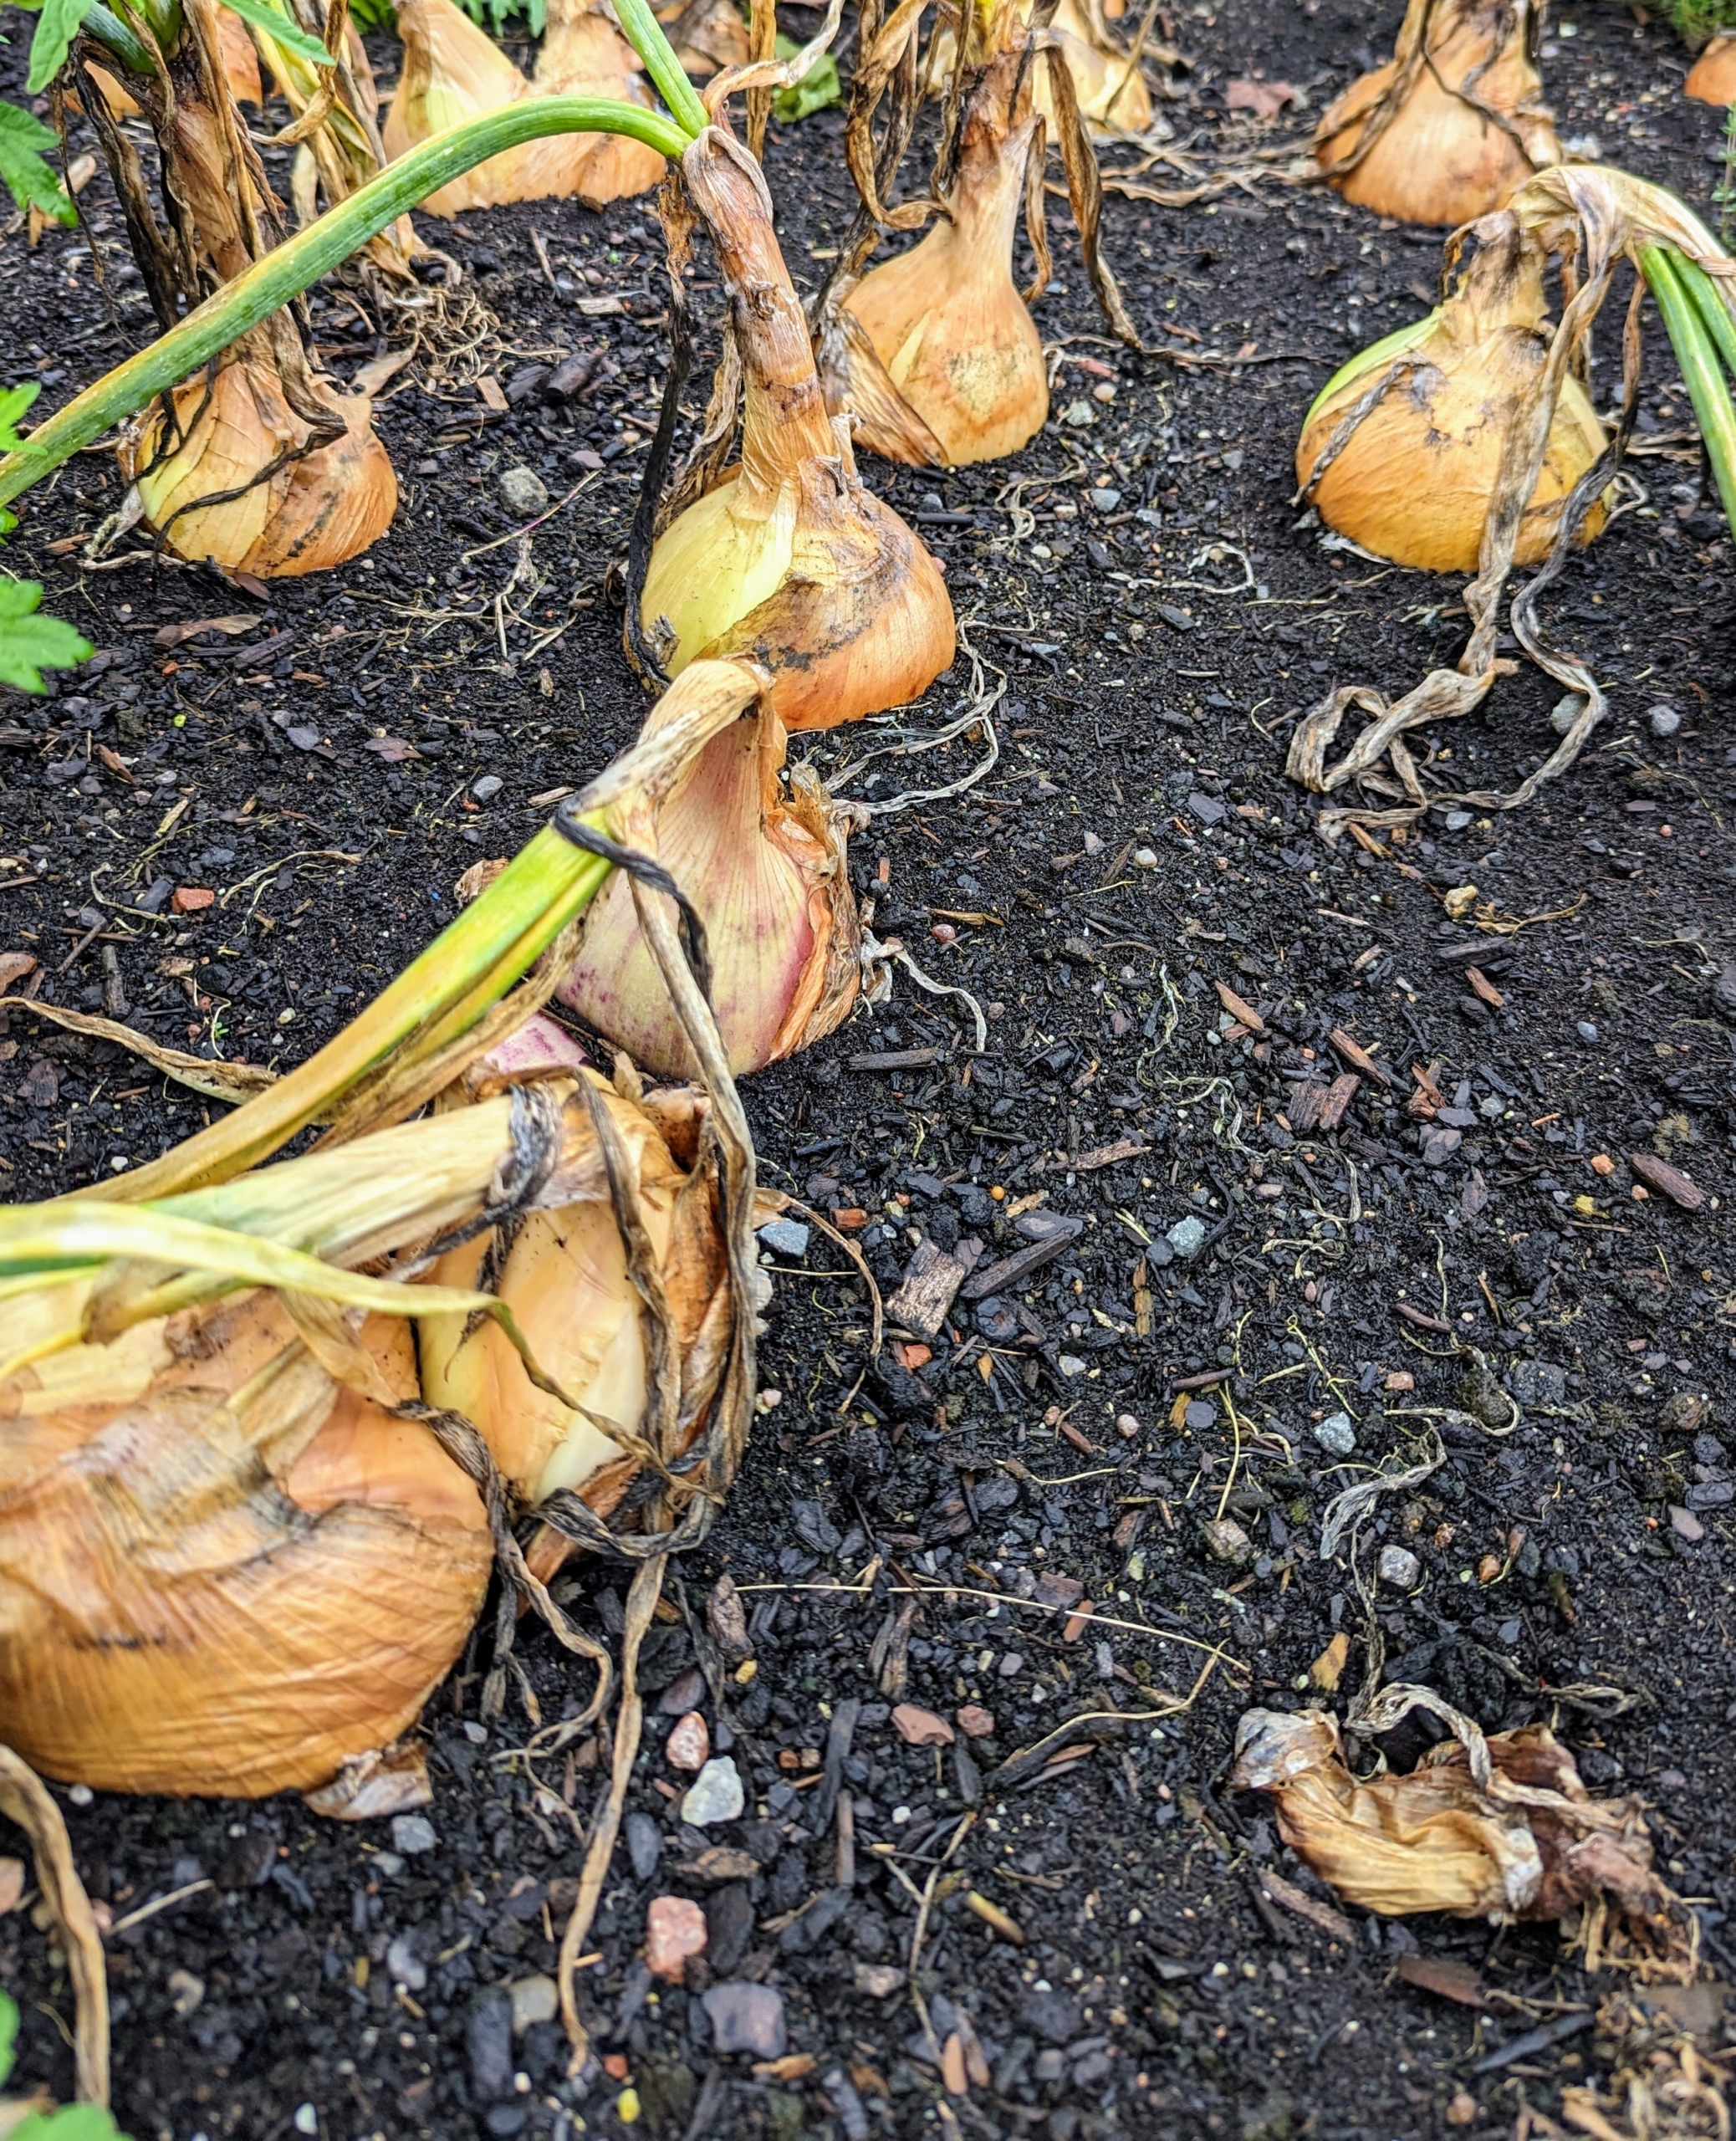
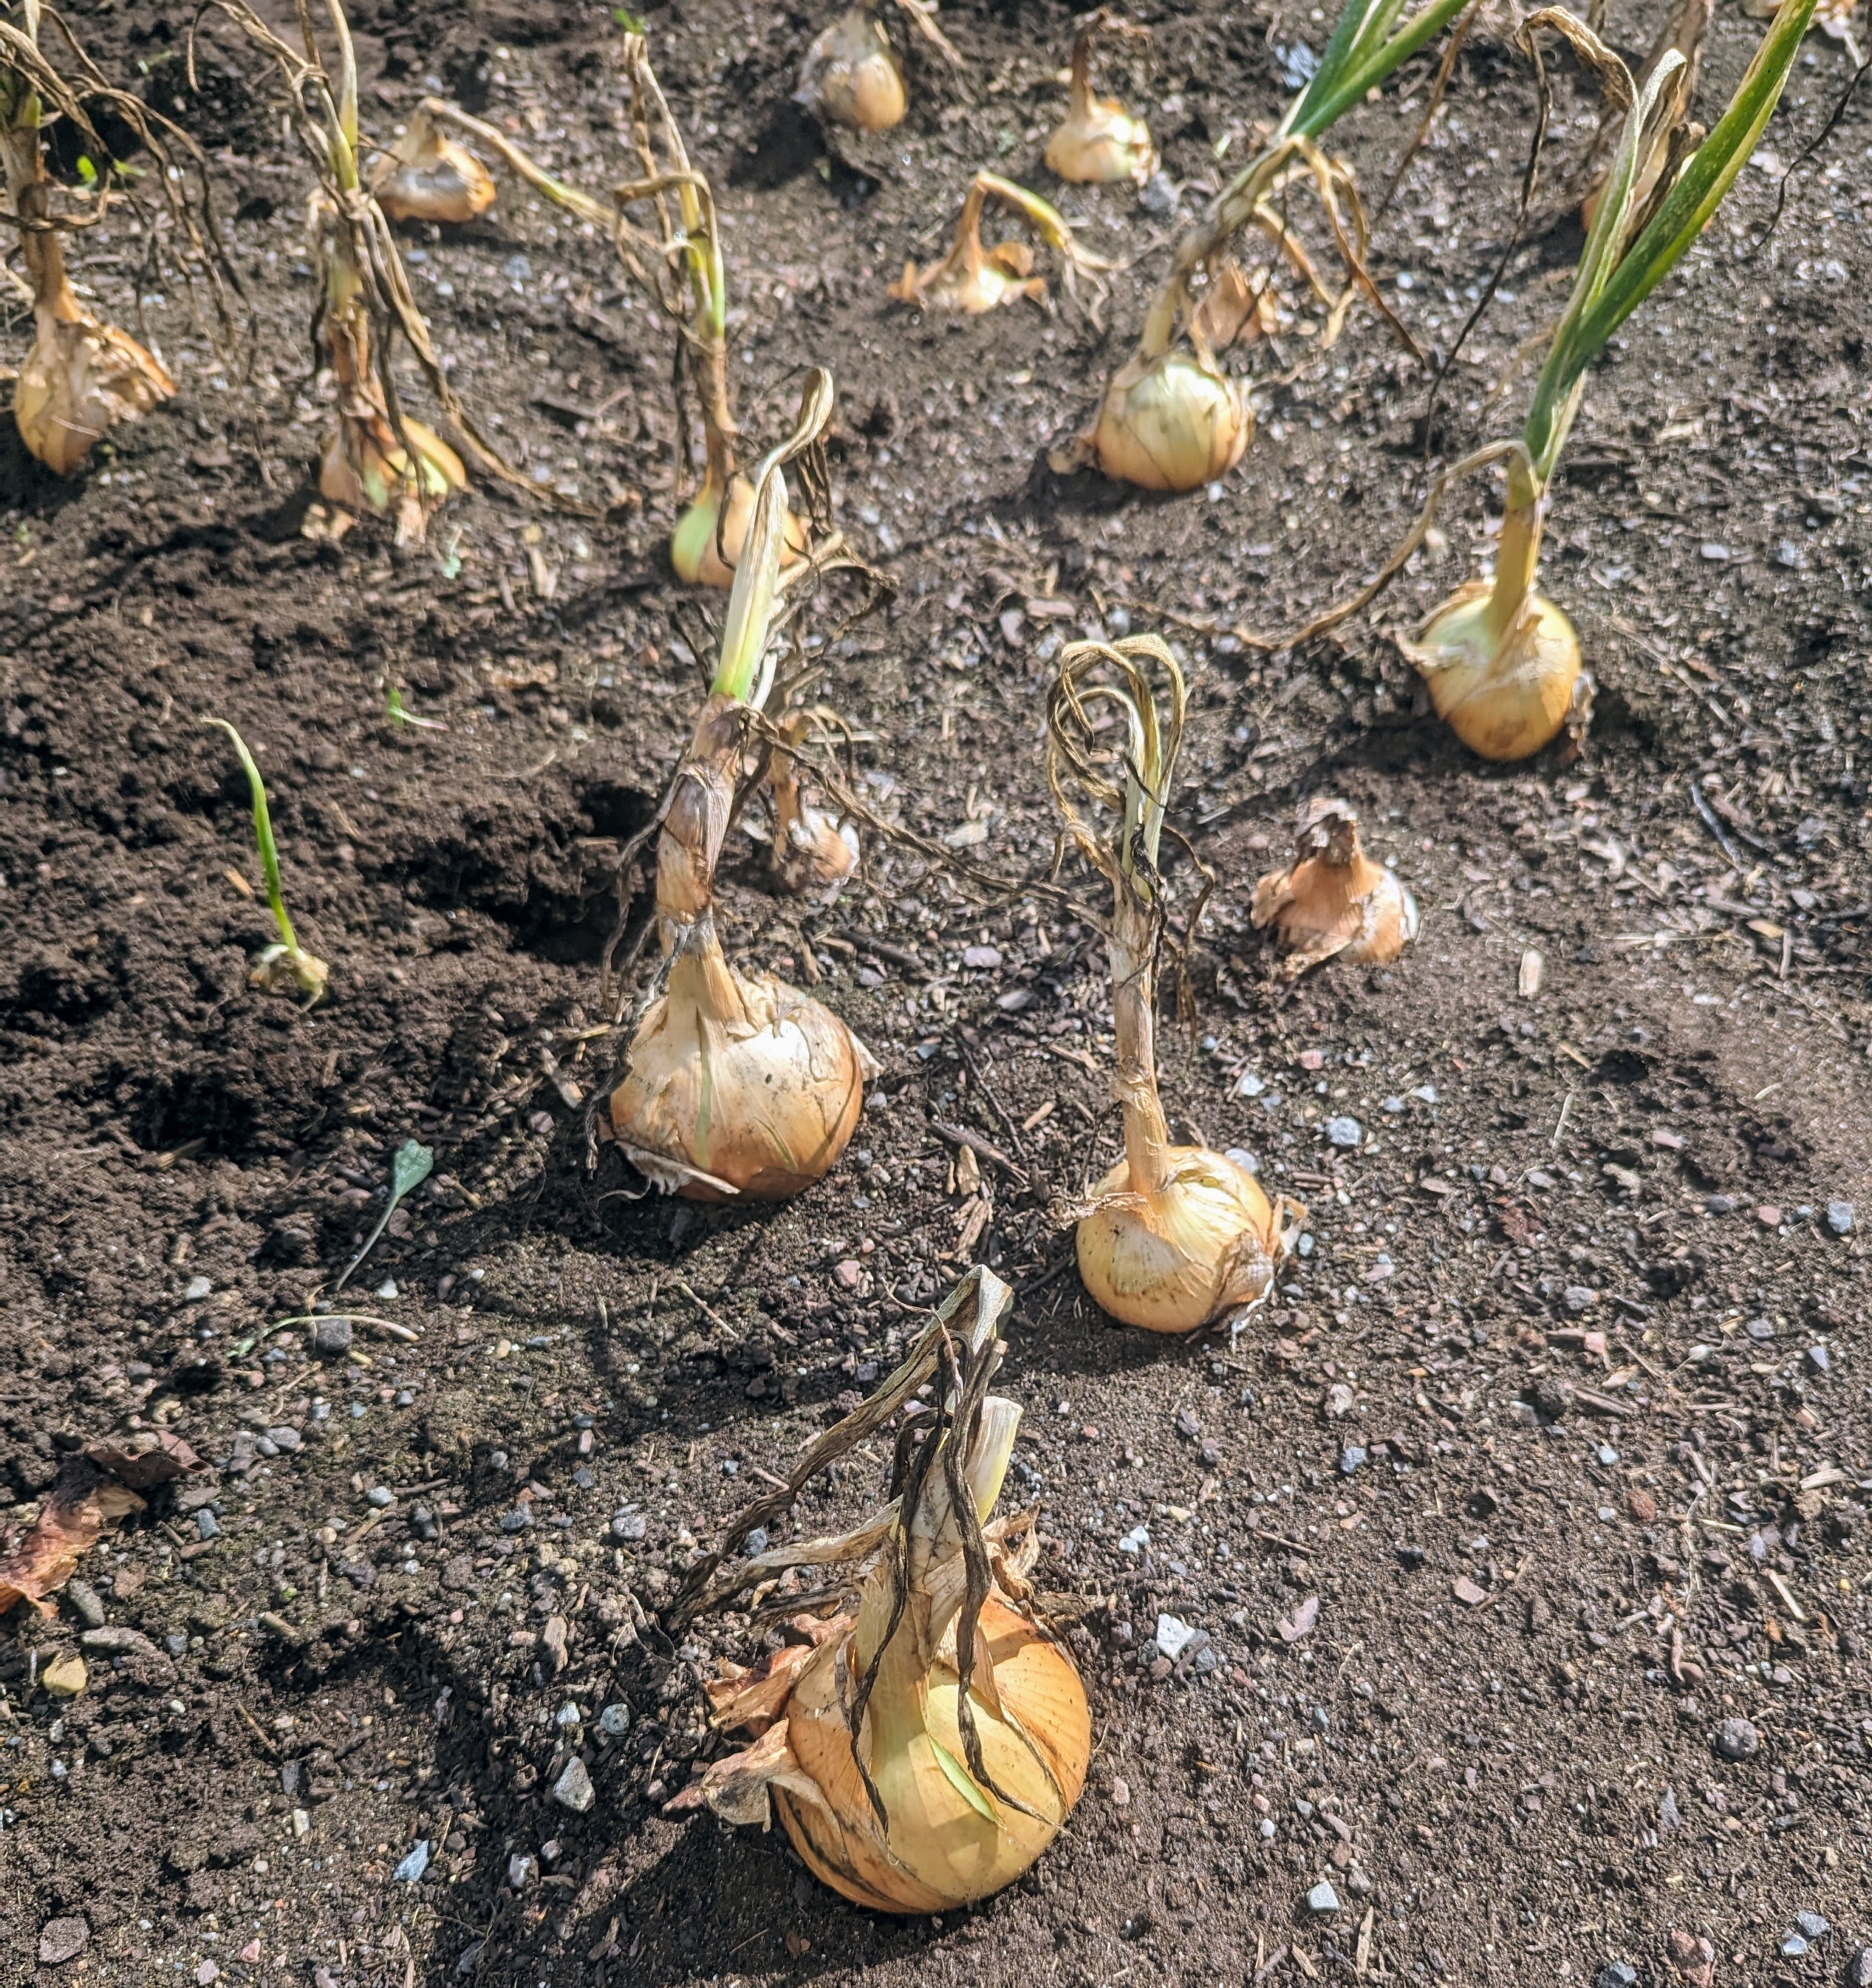
This week, the tops of the onion plants have fallen over naturally – an indication they are fully mature and ready to harvest.
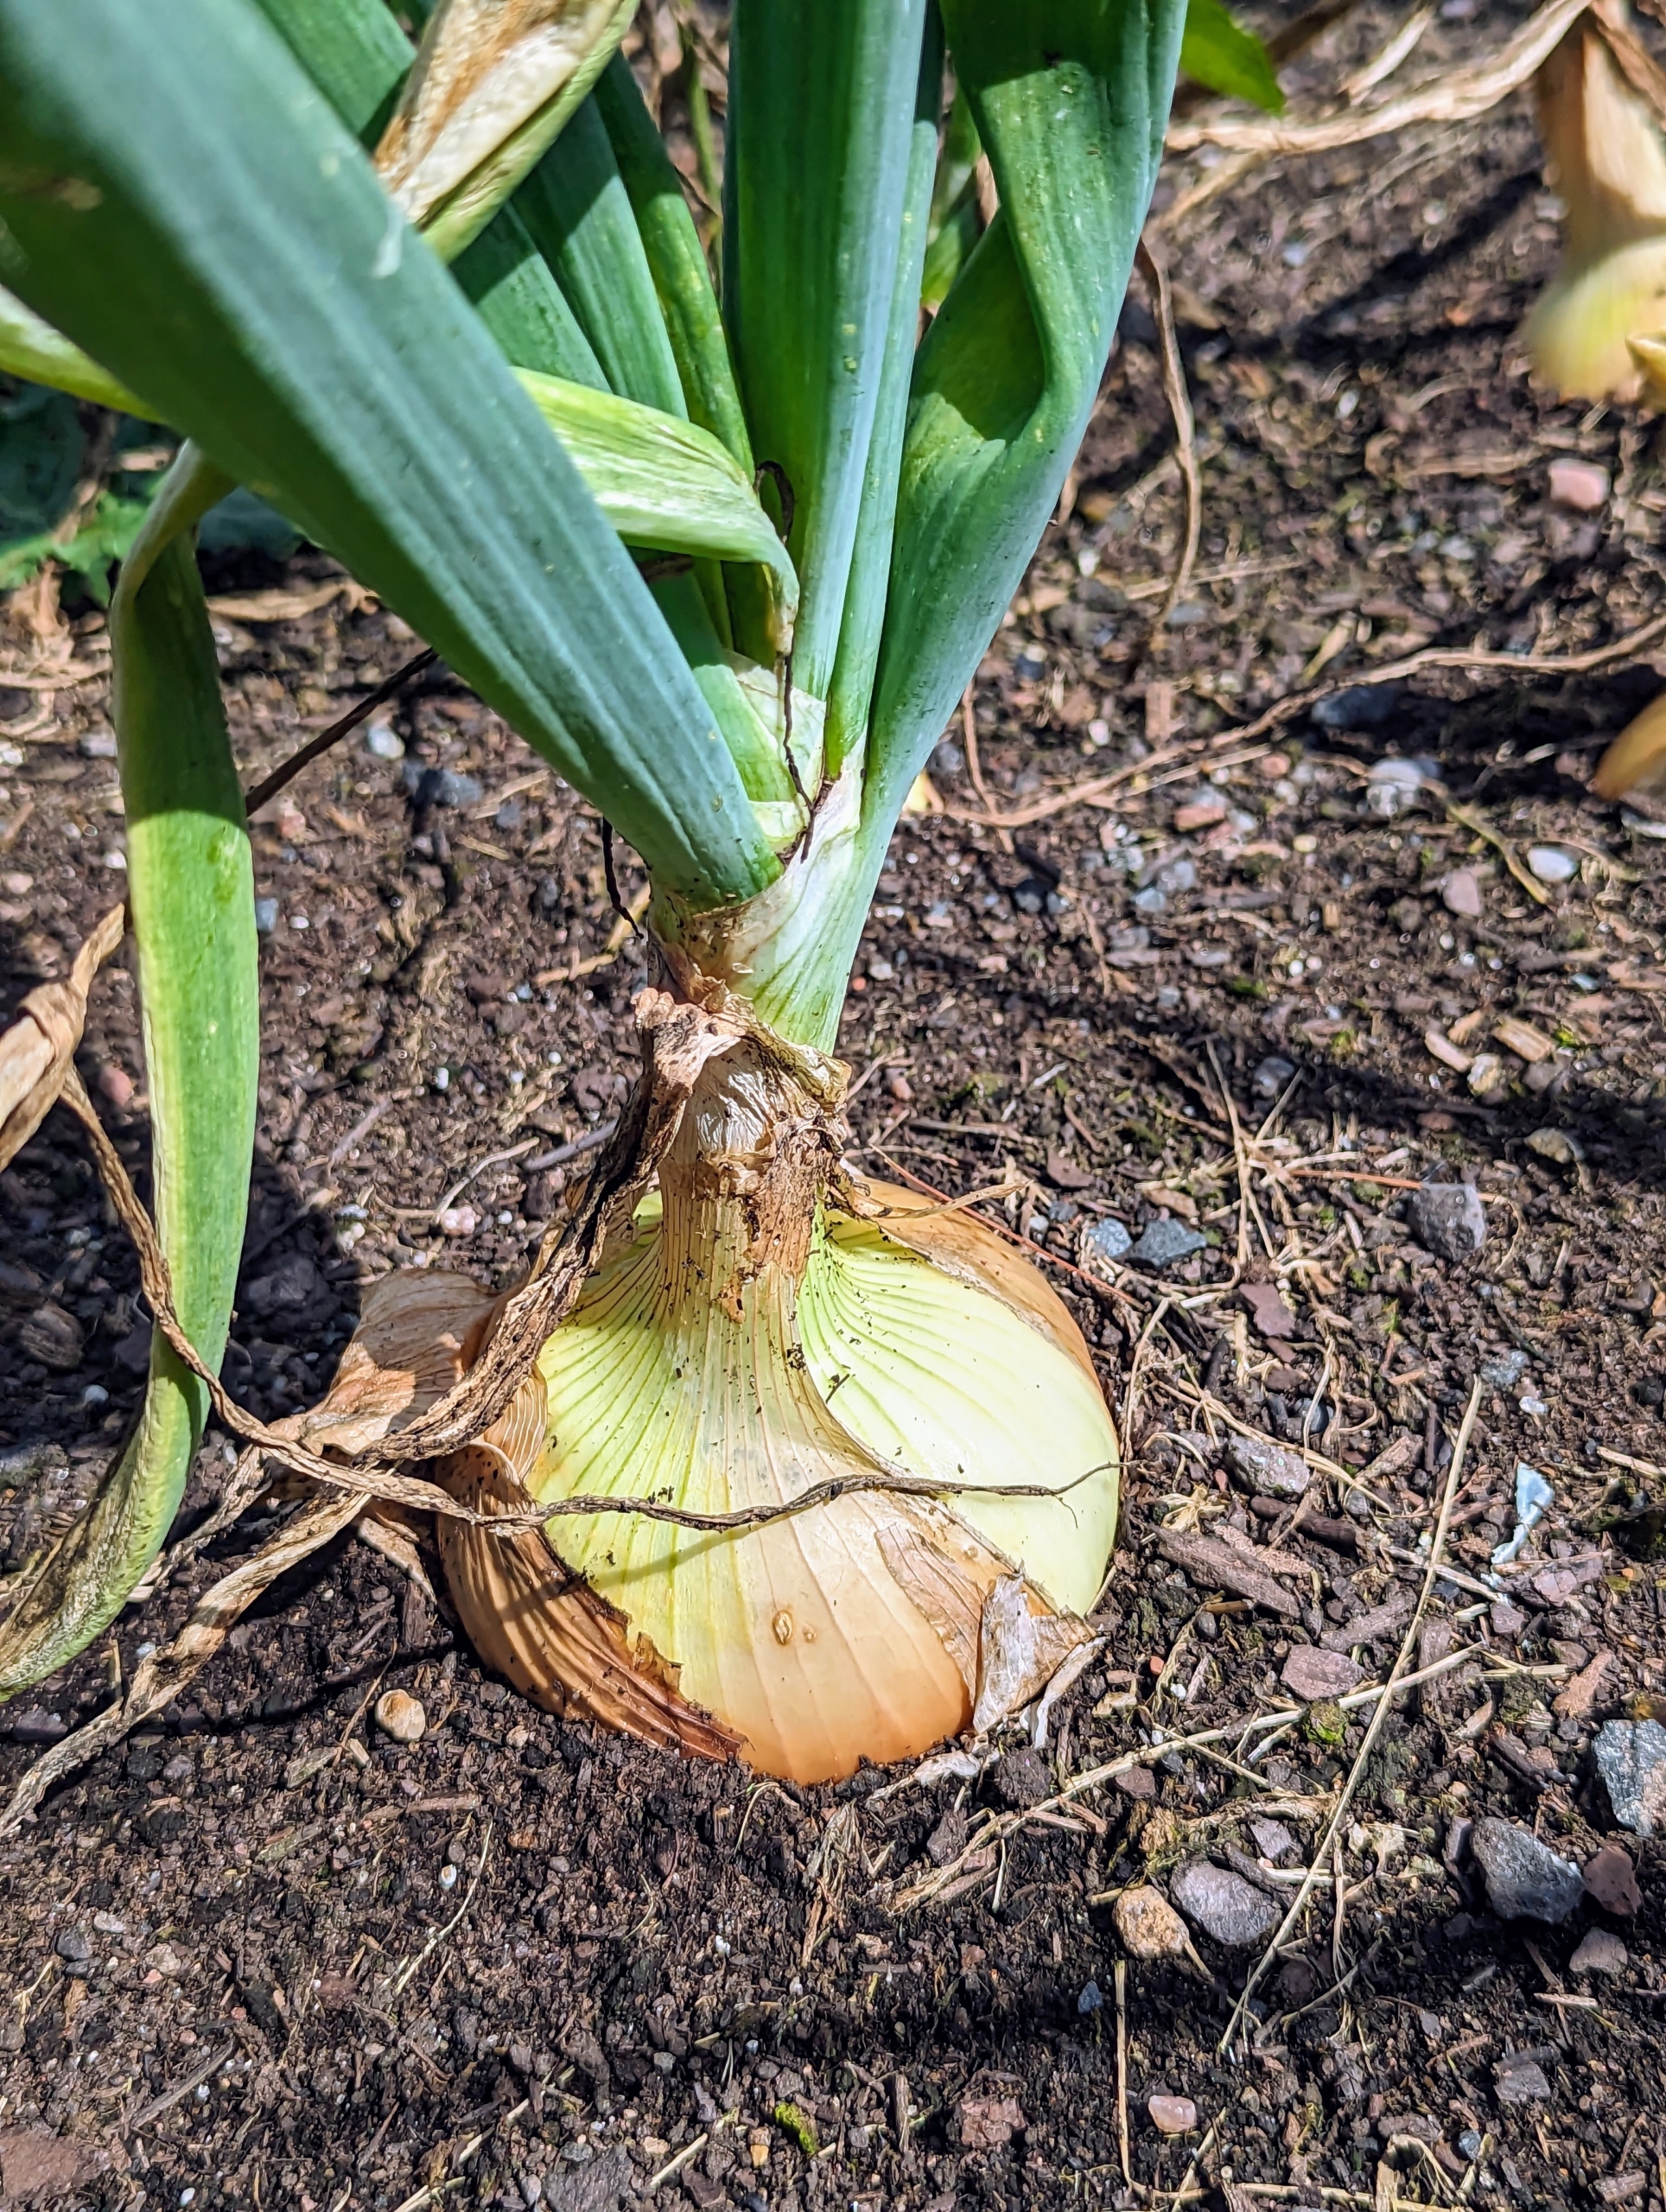
Here, the onion leaves are also quite brown and dry. This happens at the “neck” of the onion, where the leaves meet the bulb, and signals that the plant has stopped growing.
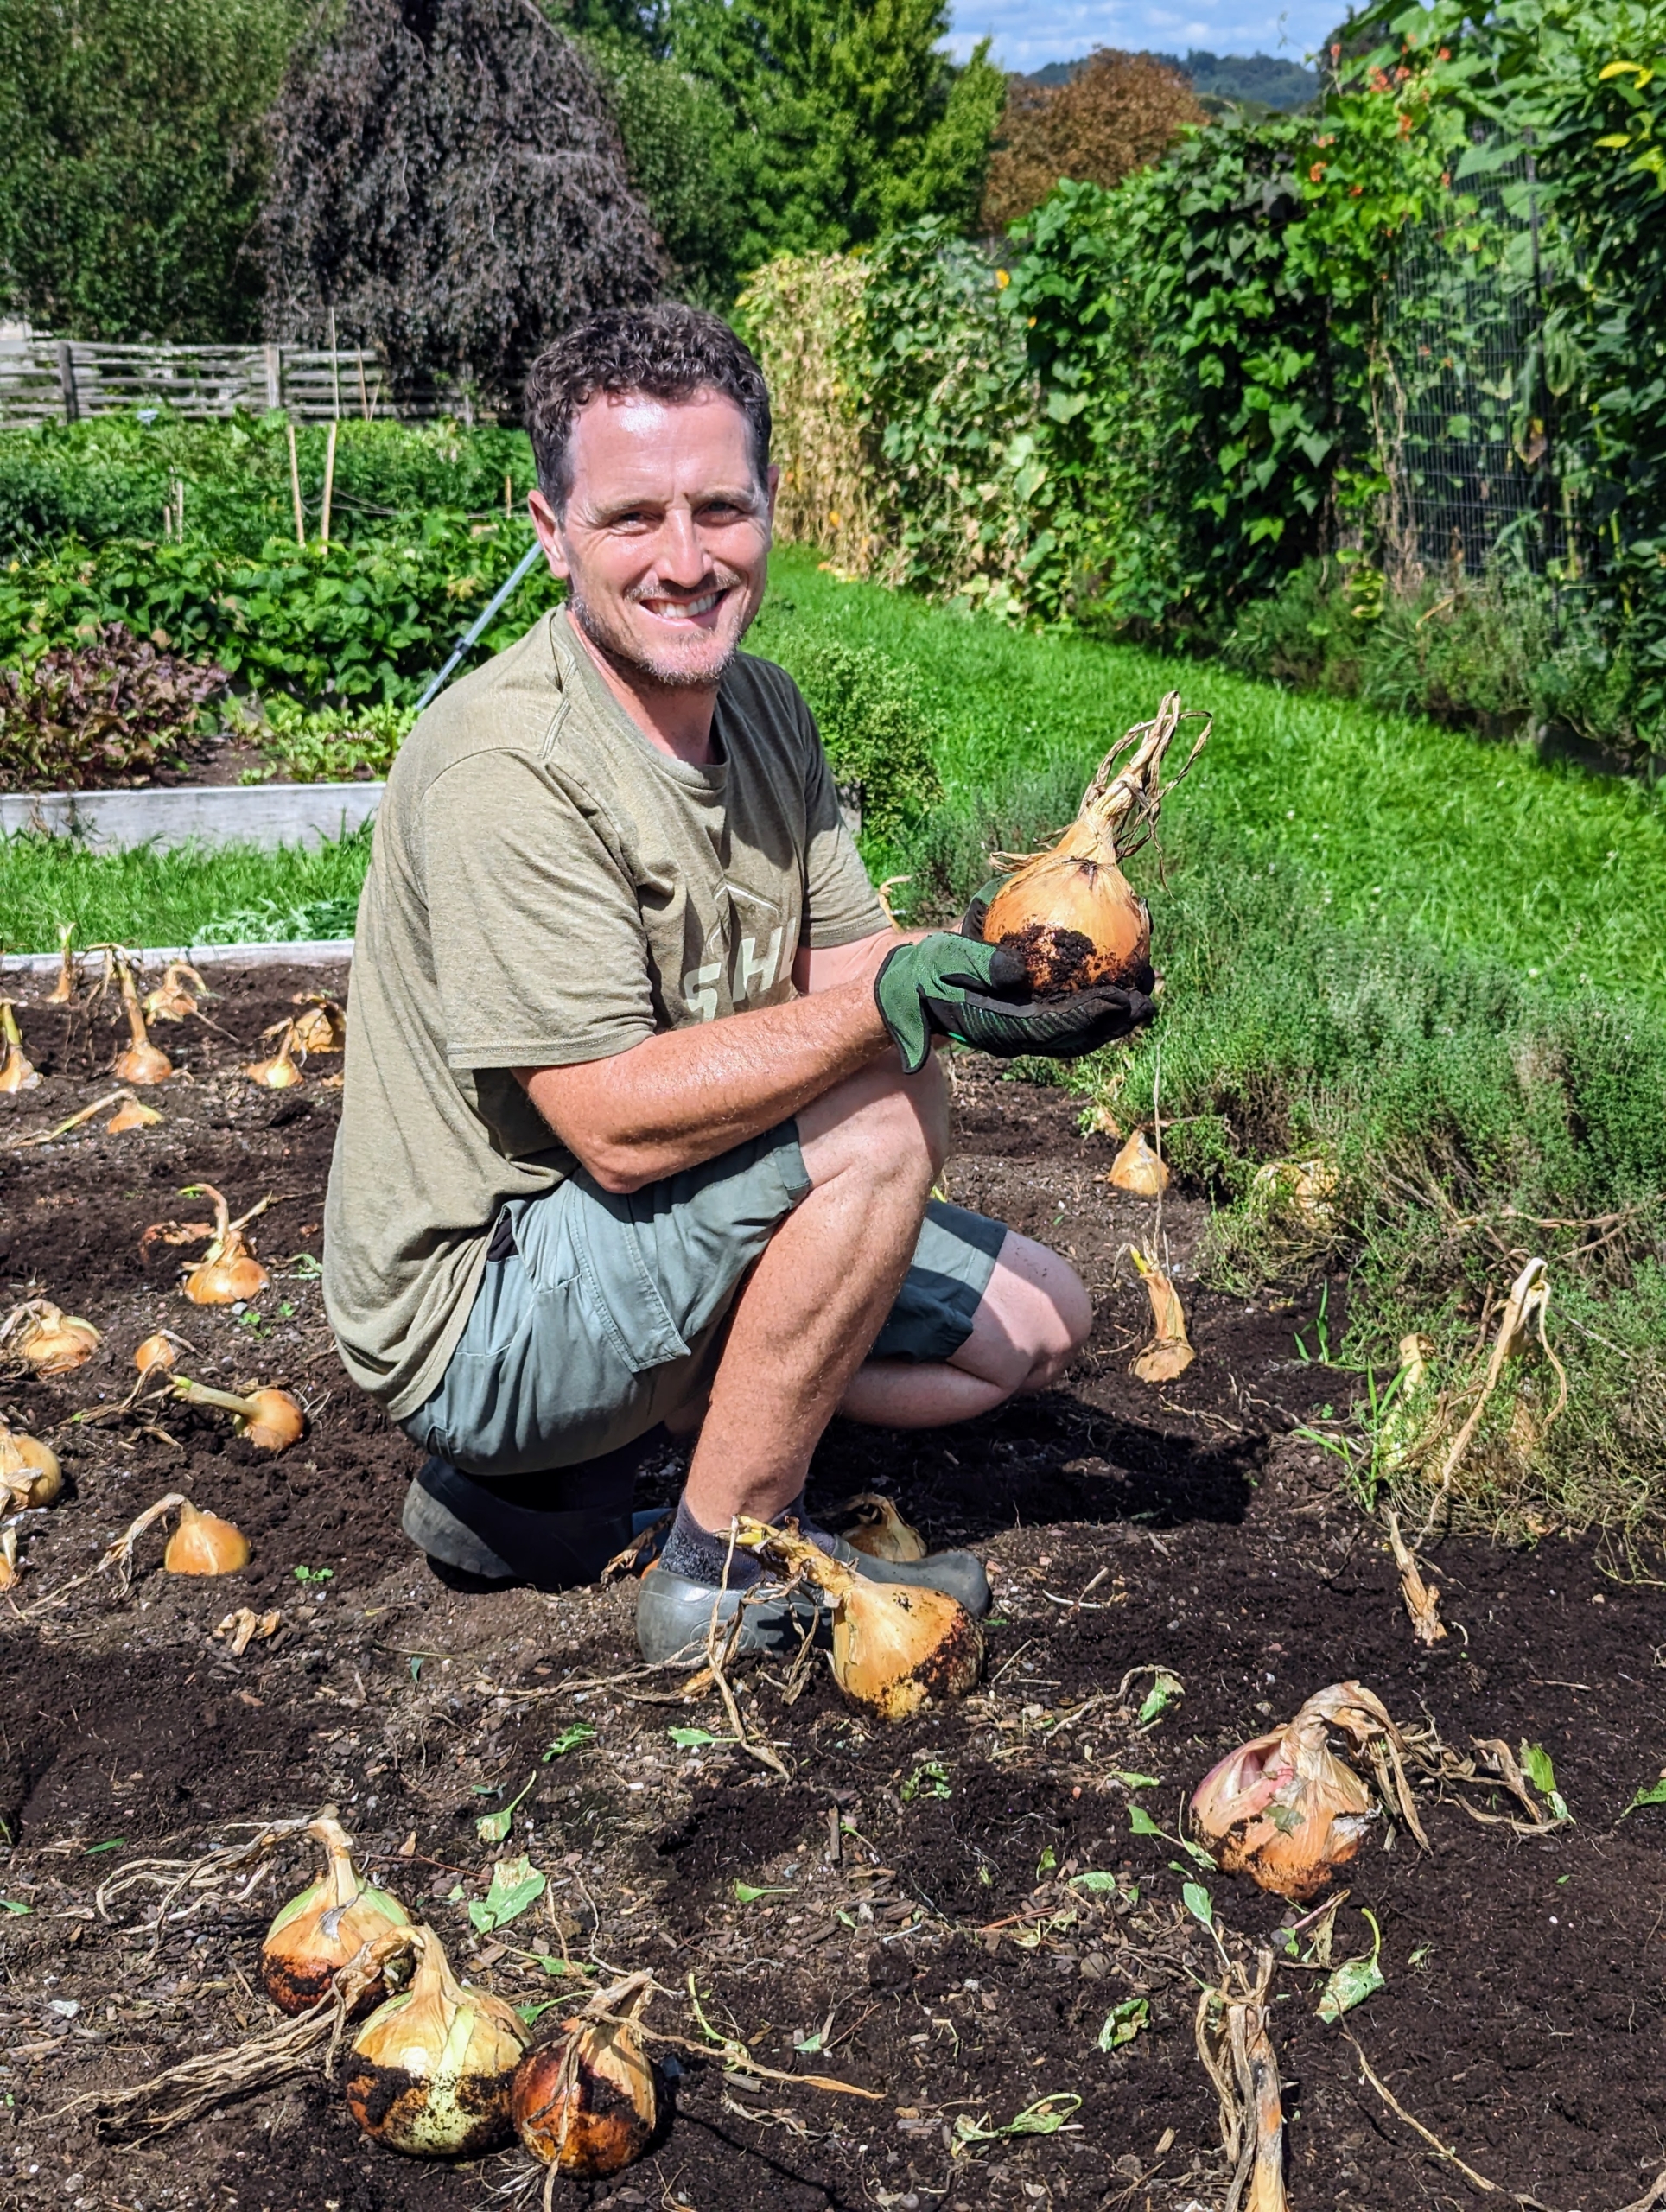
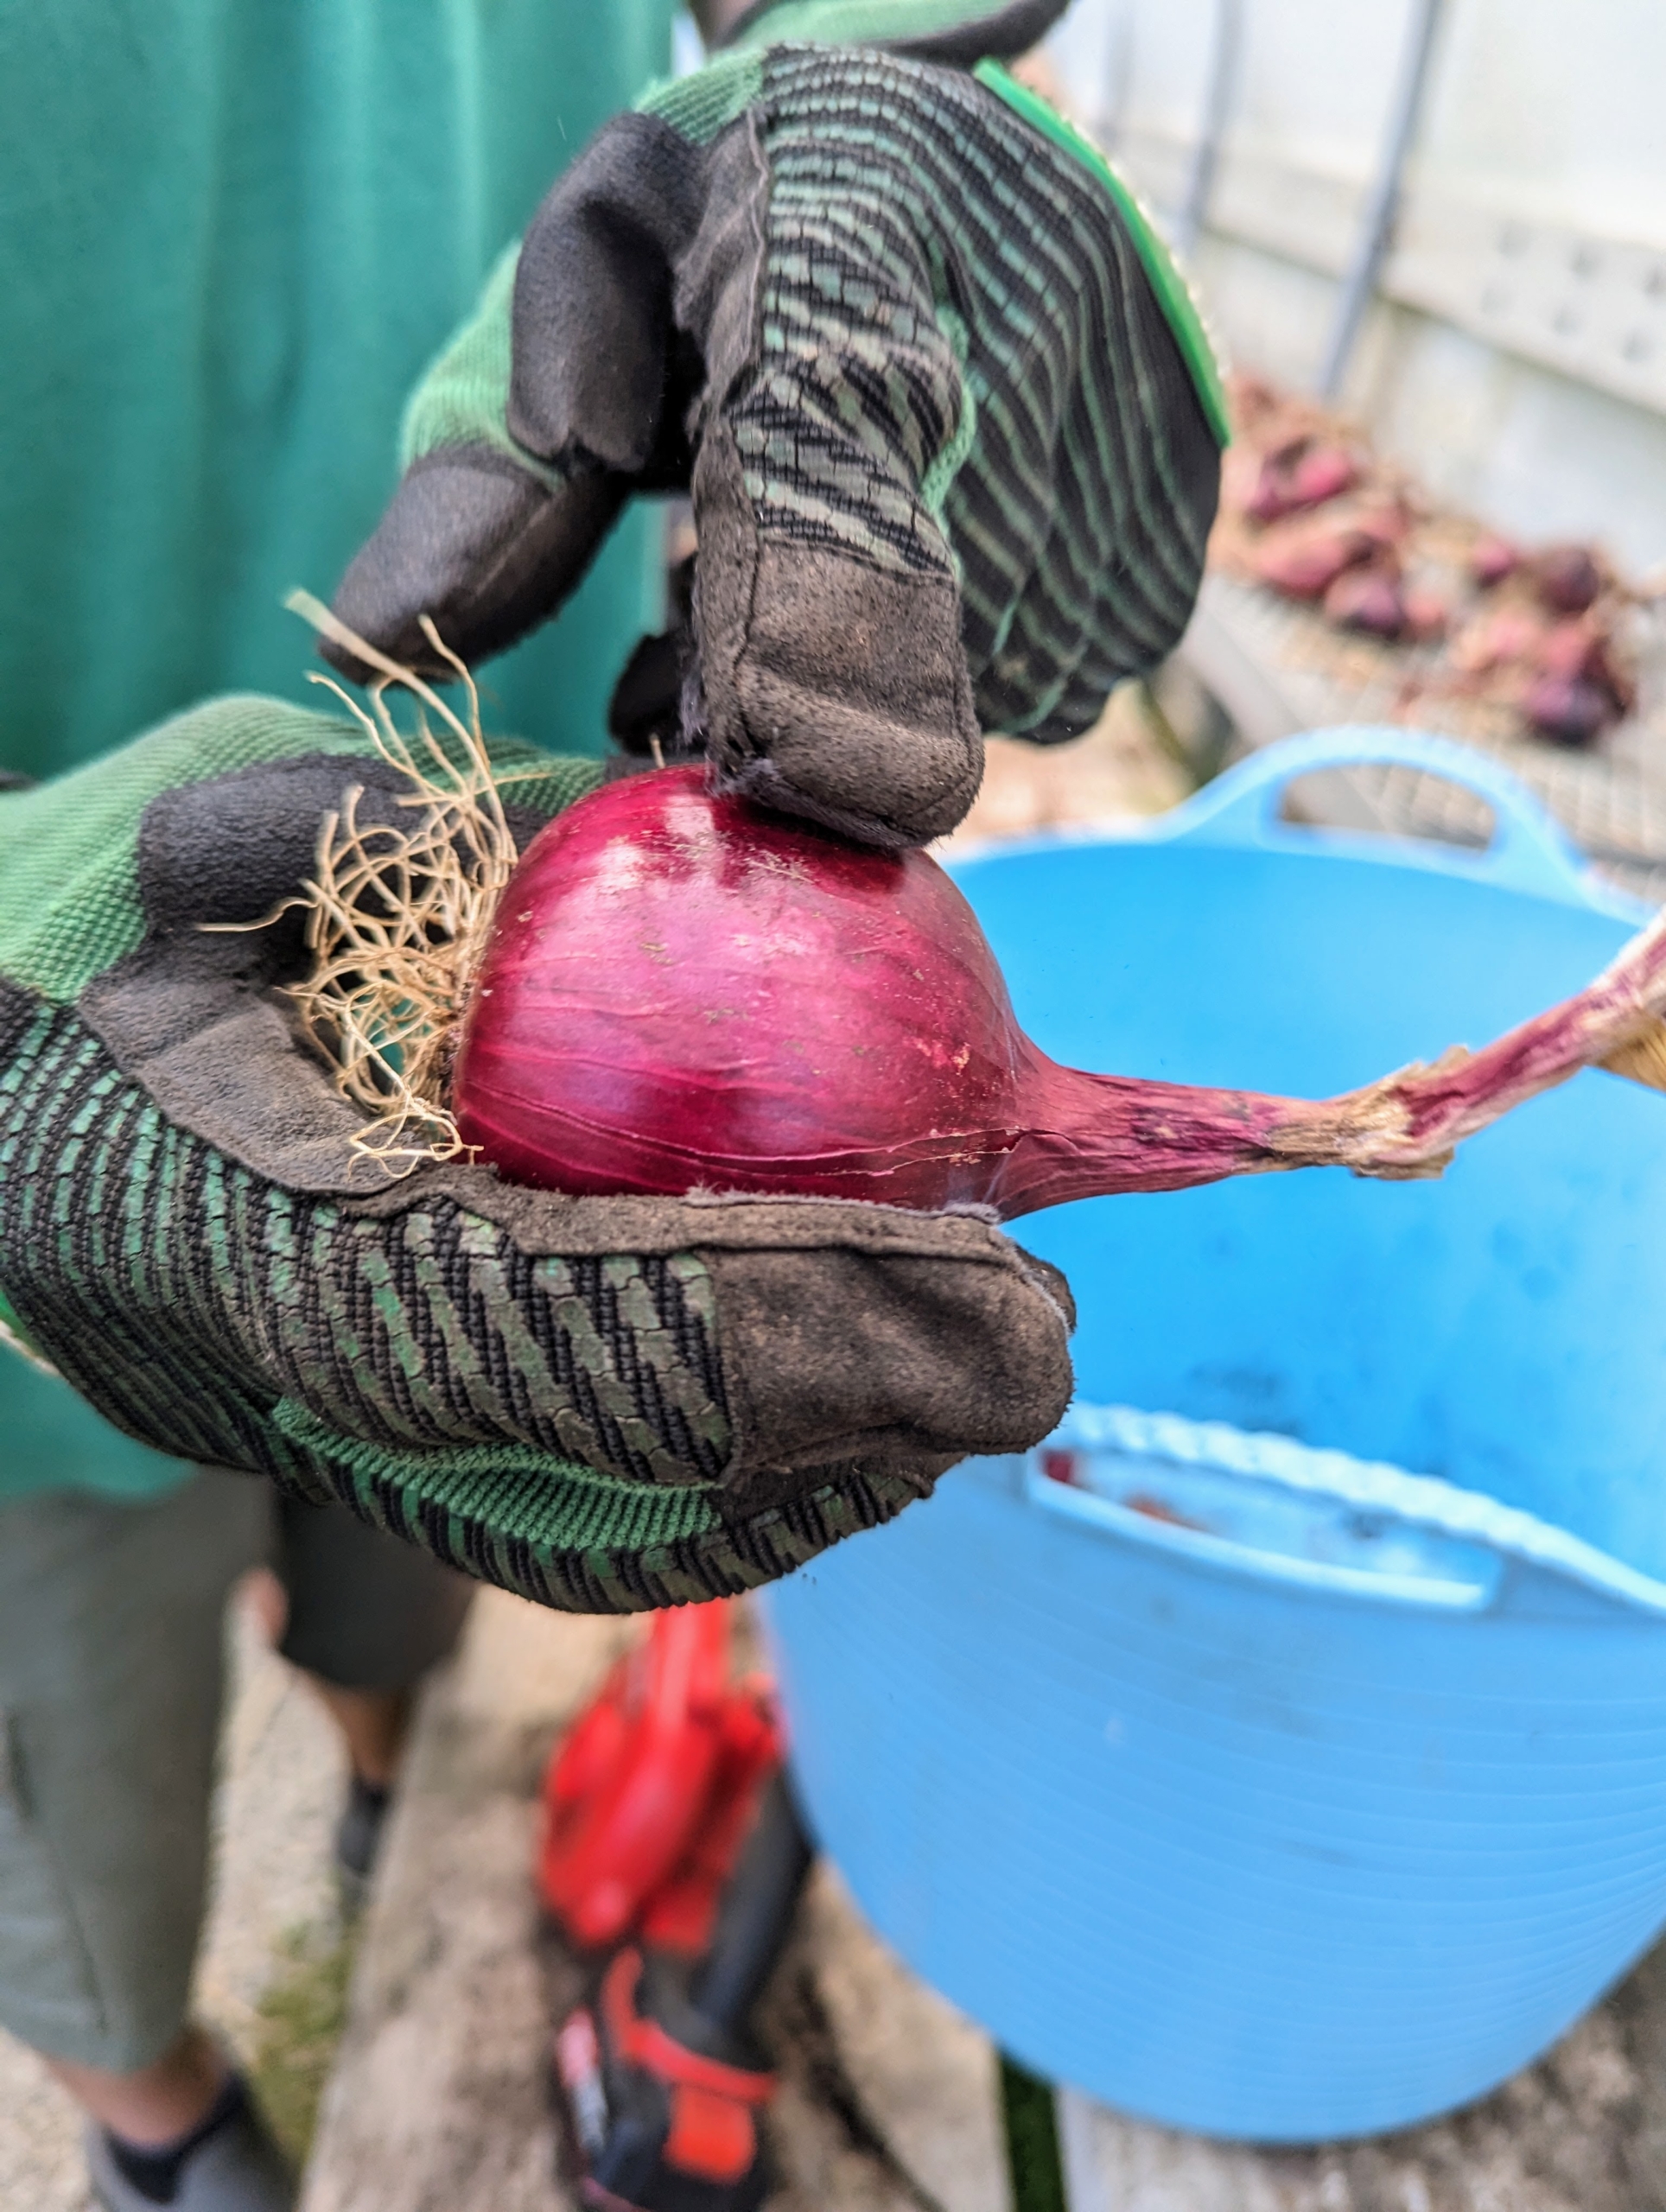
Here’s Ryan after picking one of our largest onions. To pick, he carefully loosens the surrounding soil and then gently pulls the onion up by its top. It’s important to keep the stem intact to prevent the possibility of rot.
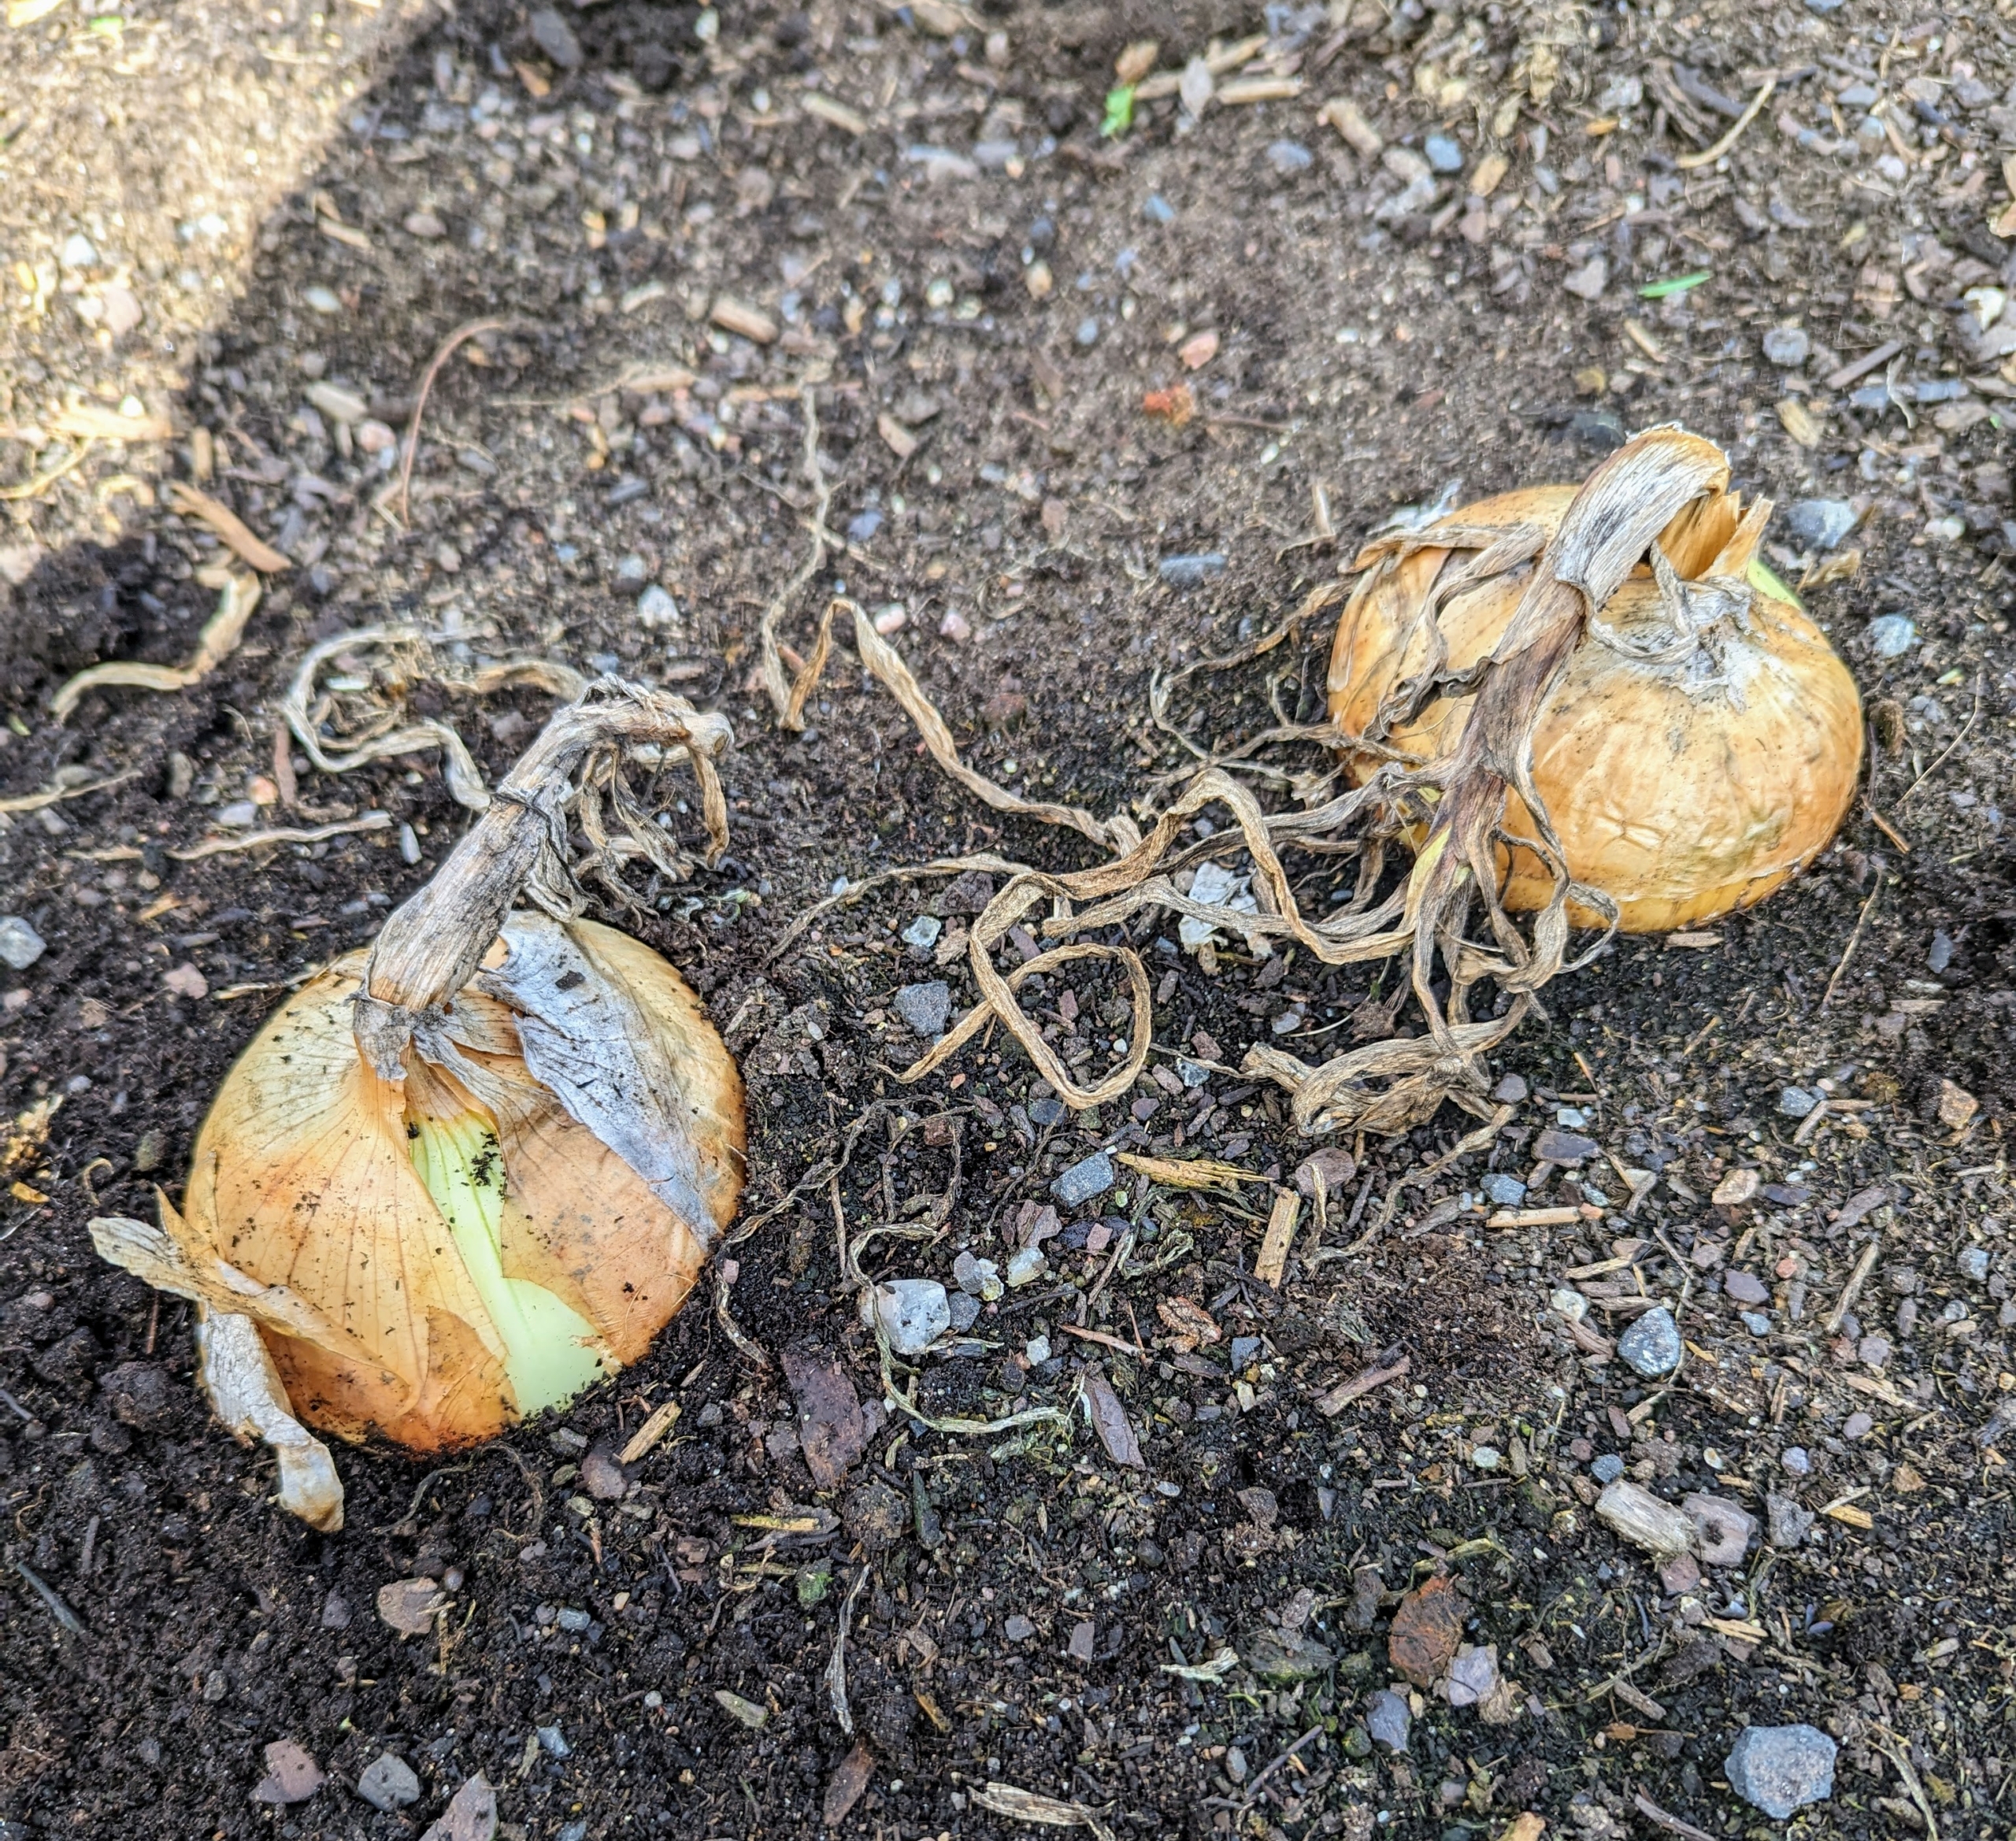
All these onions are in great condition. Ryan also keeps track of the varieties that grew well, so we know what kinds to grow again next season.
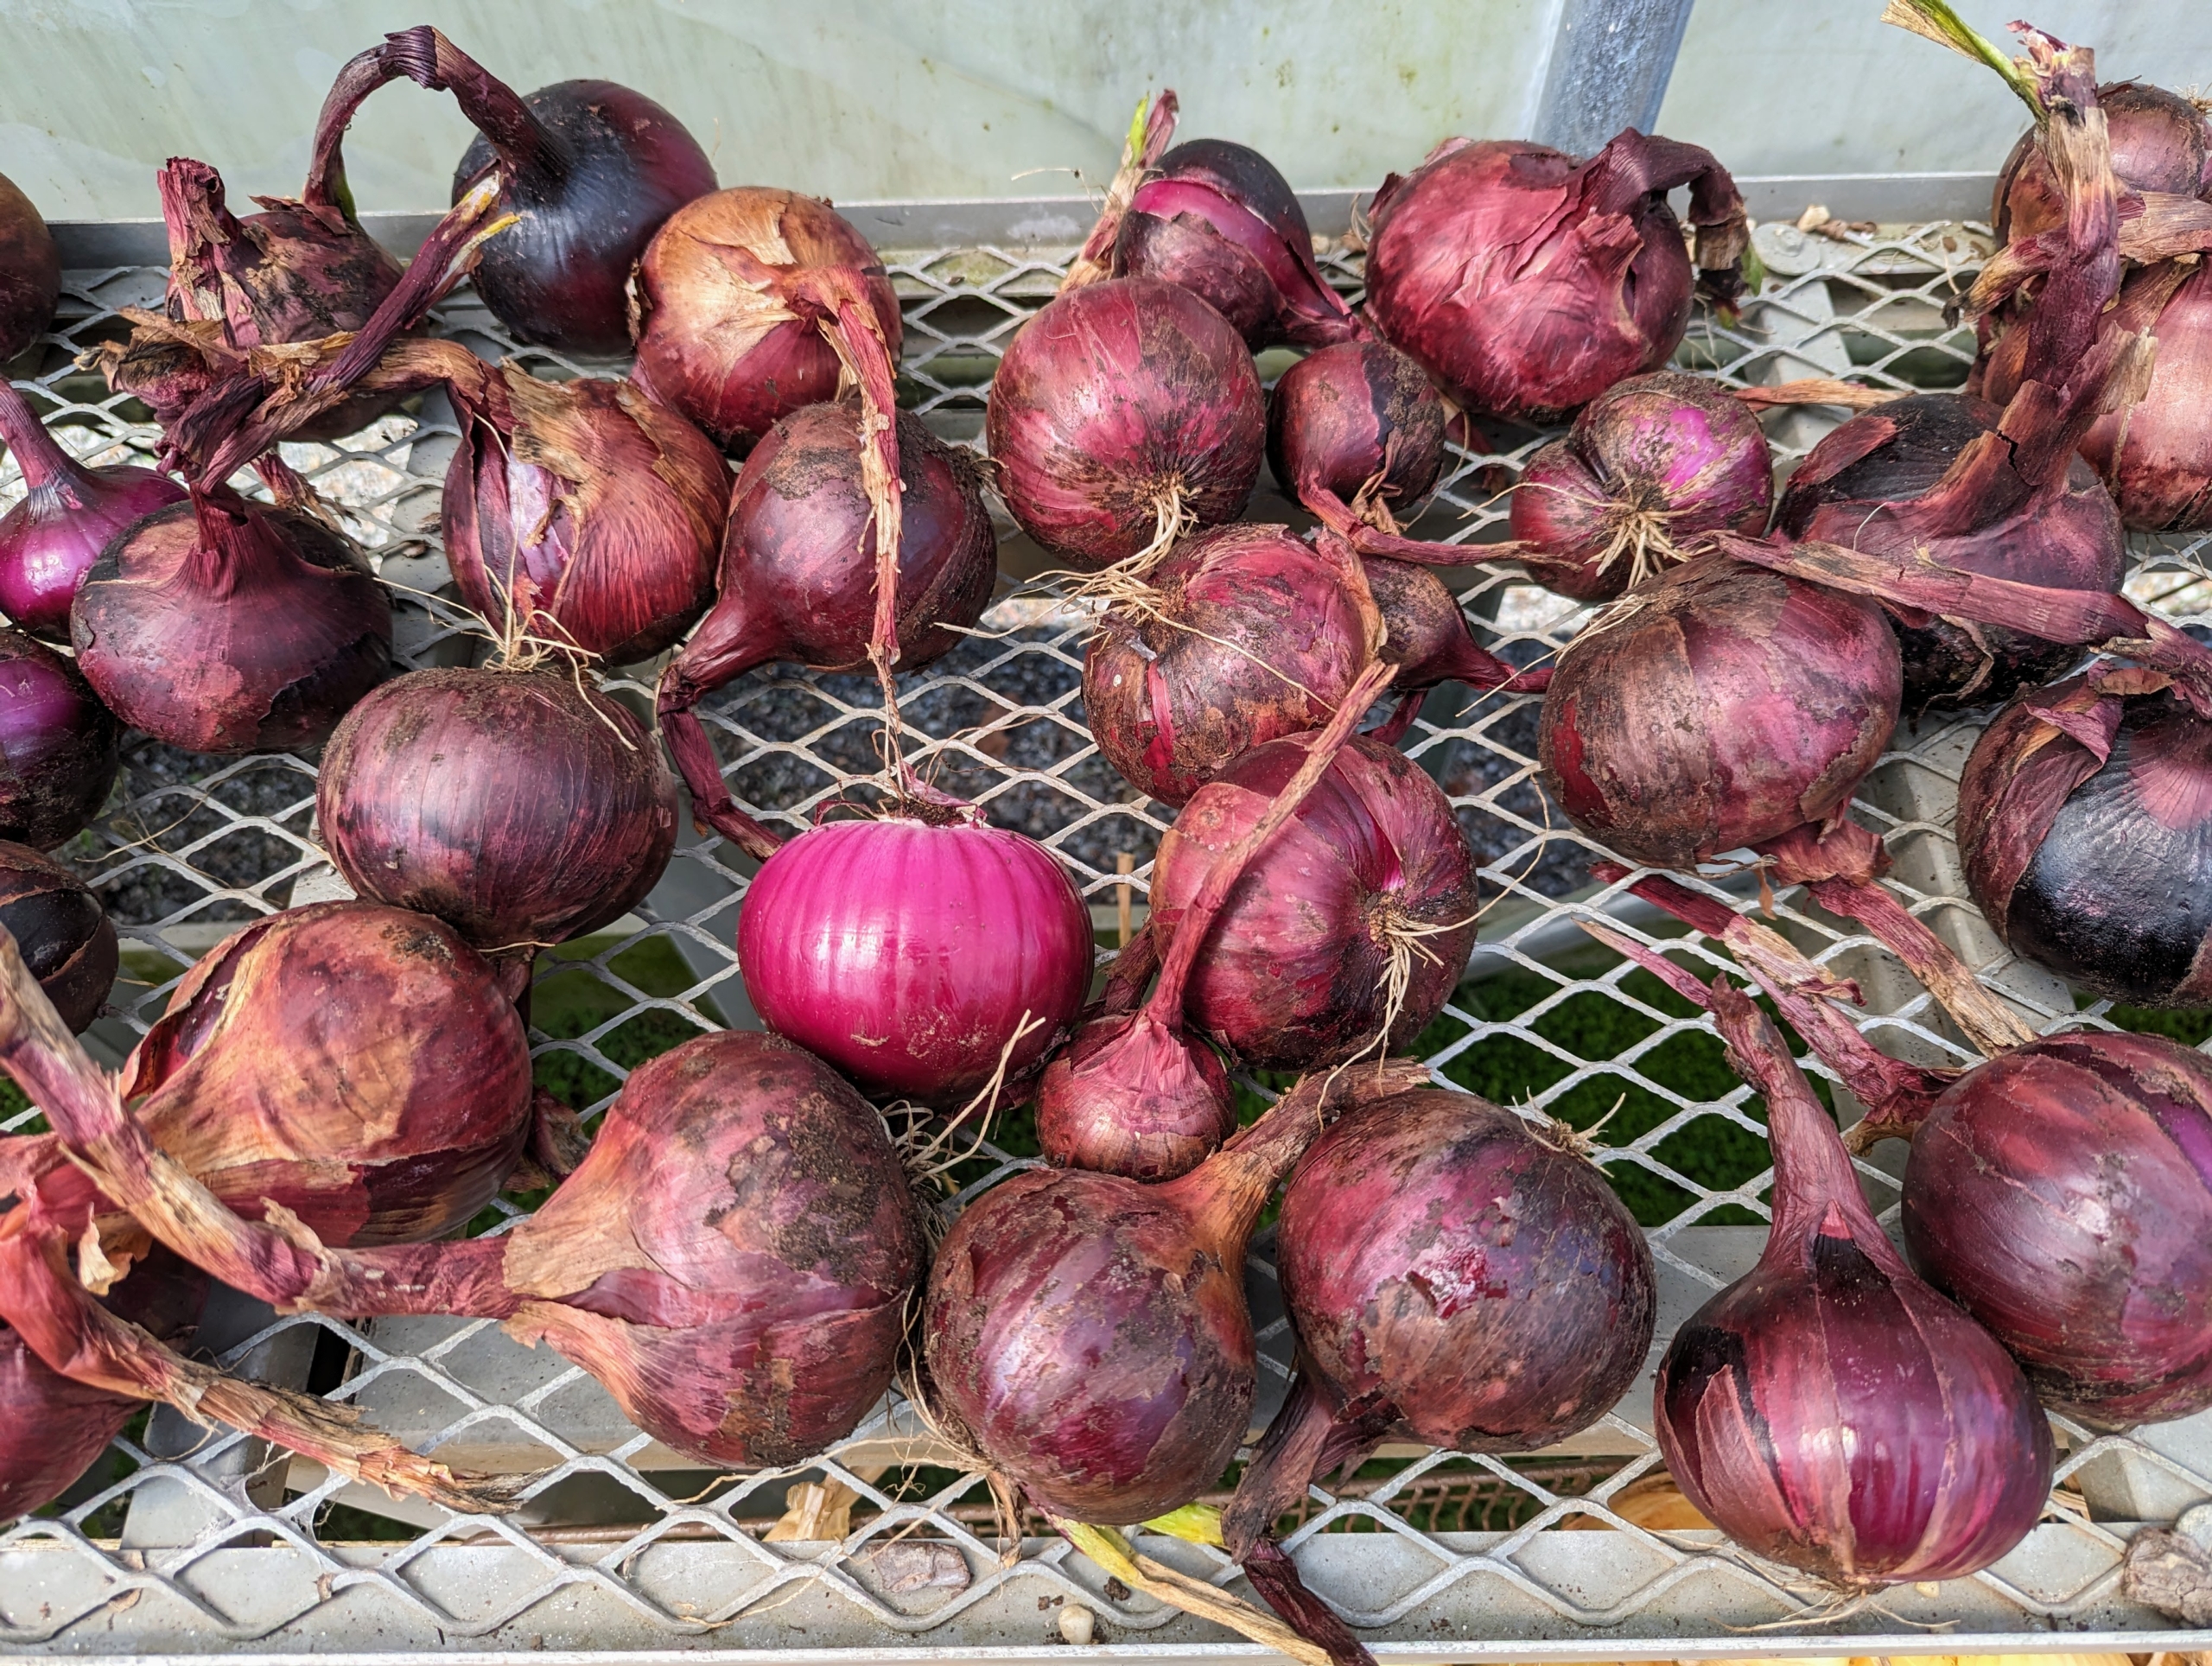
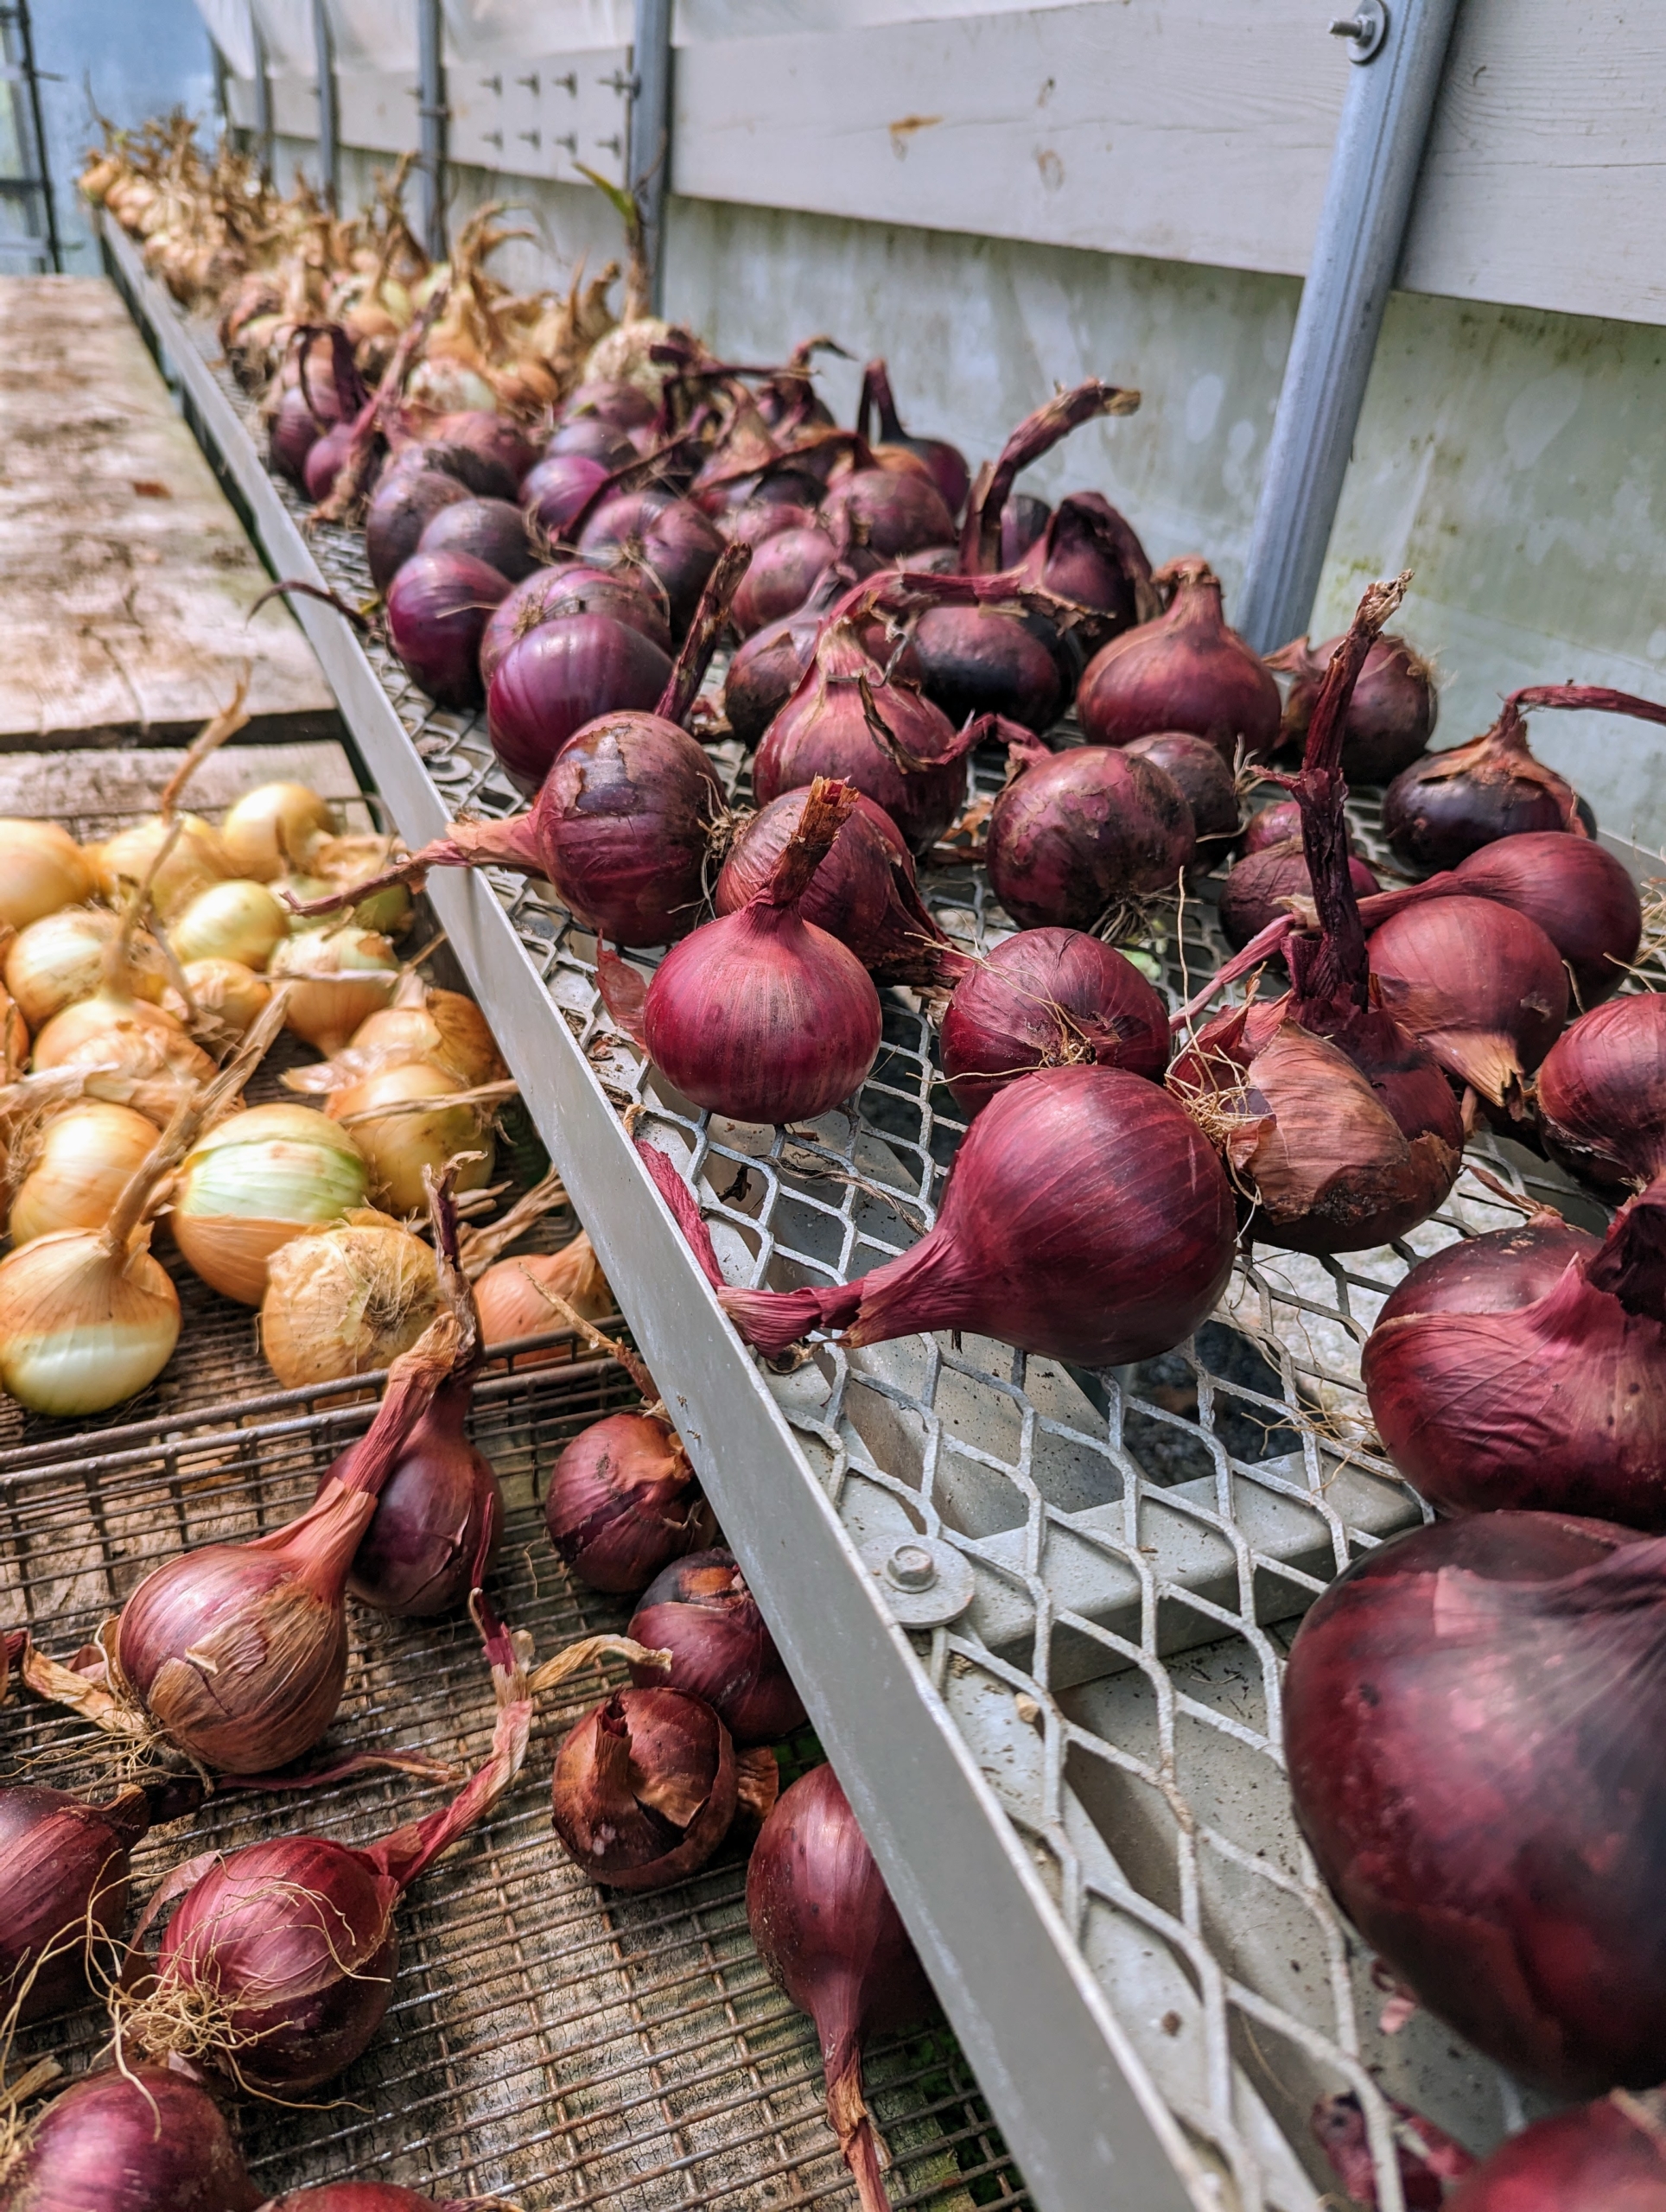
The red onions were also picked.
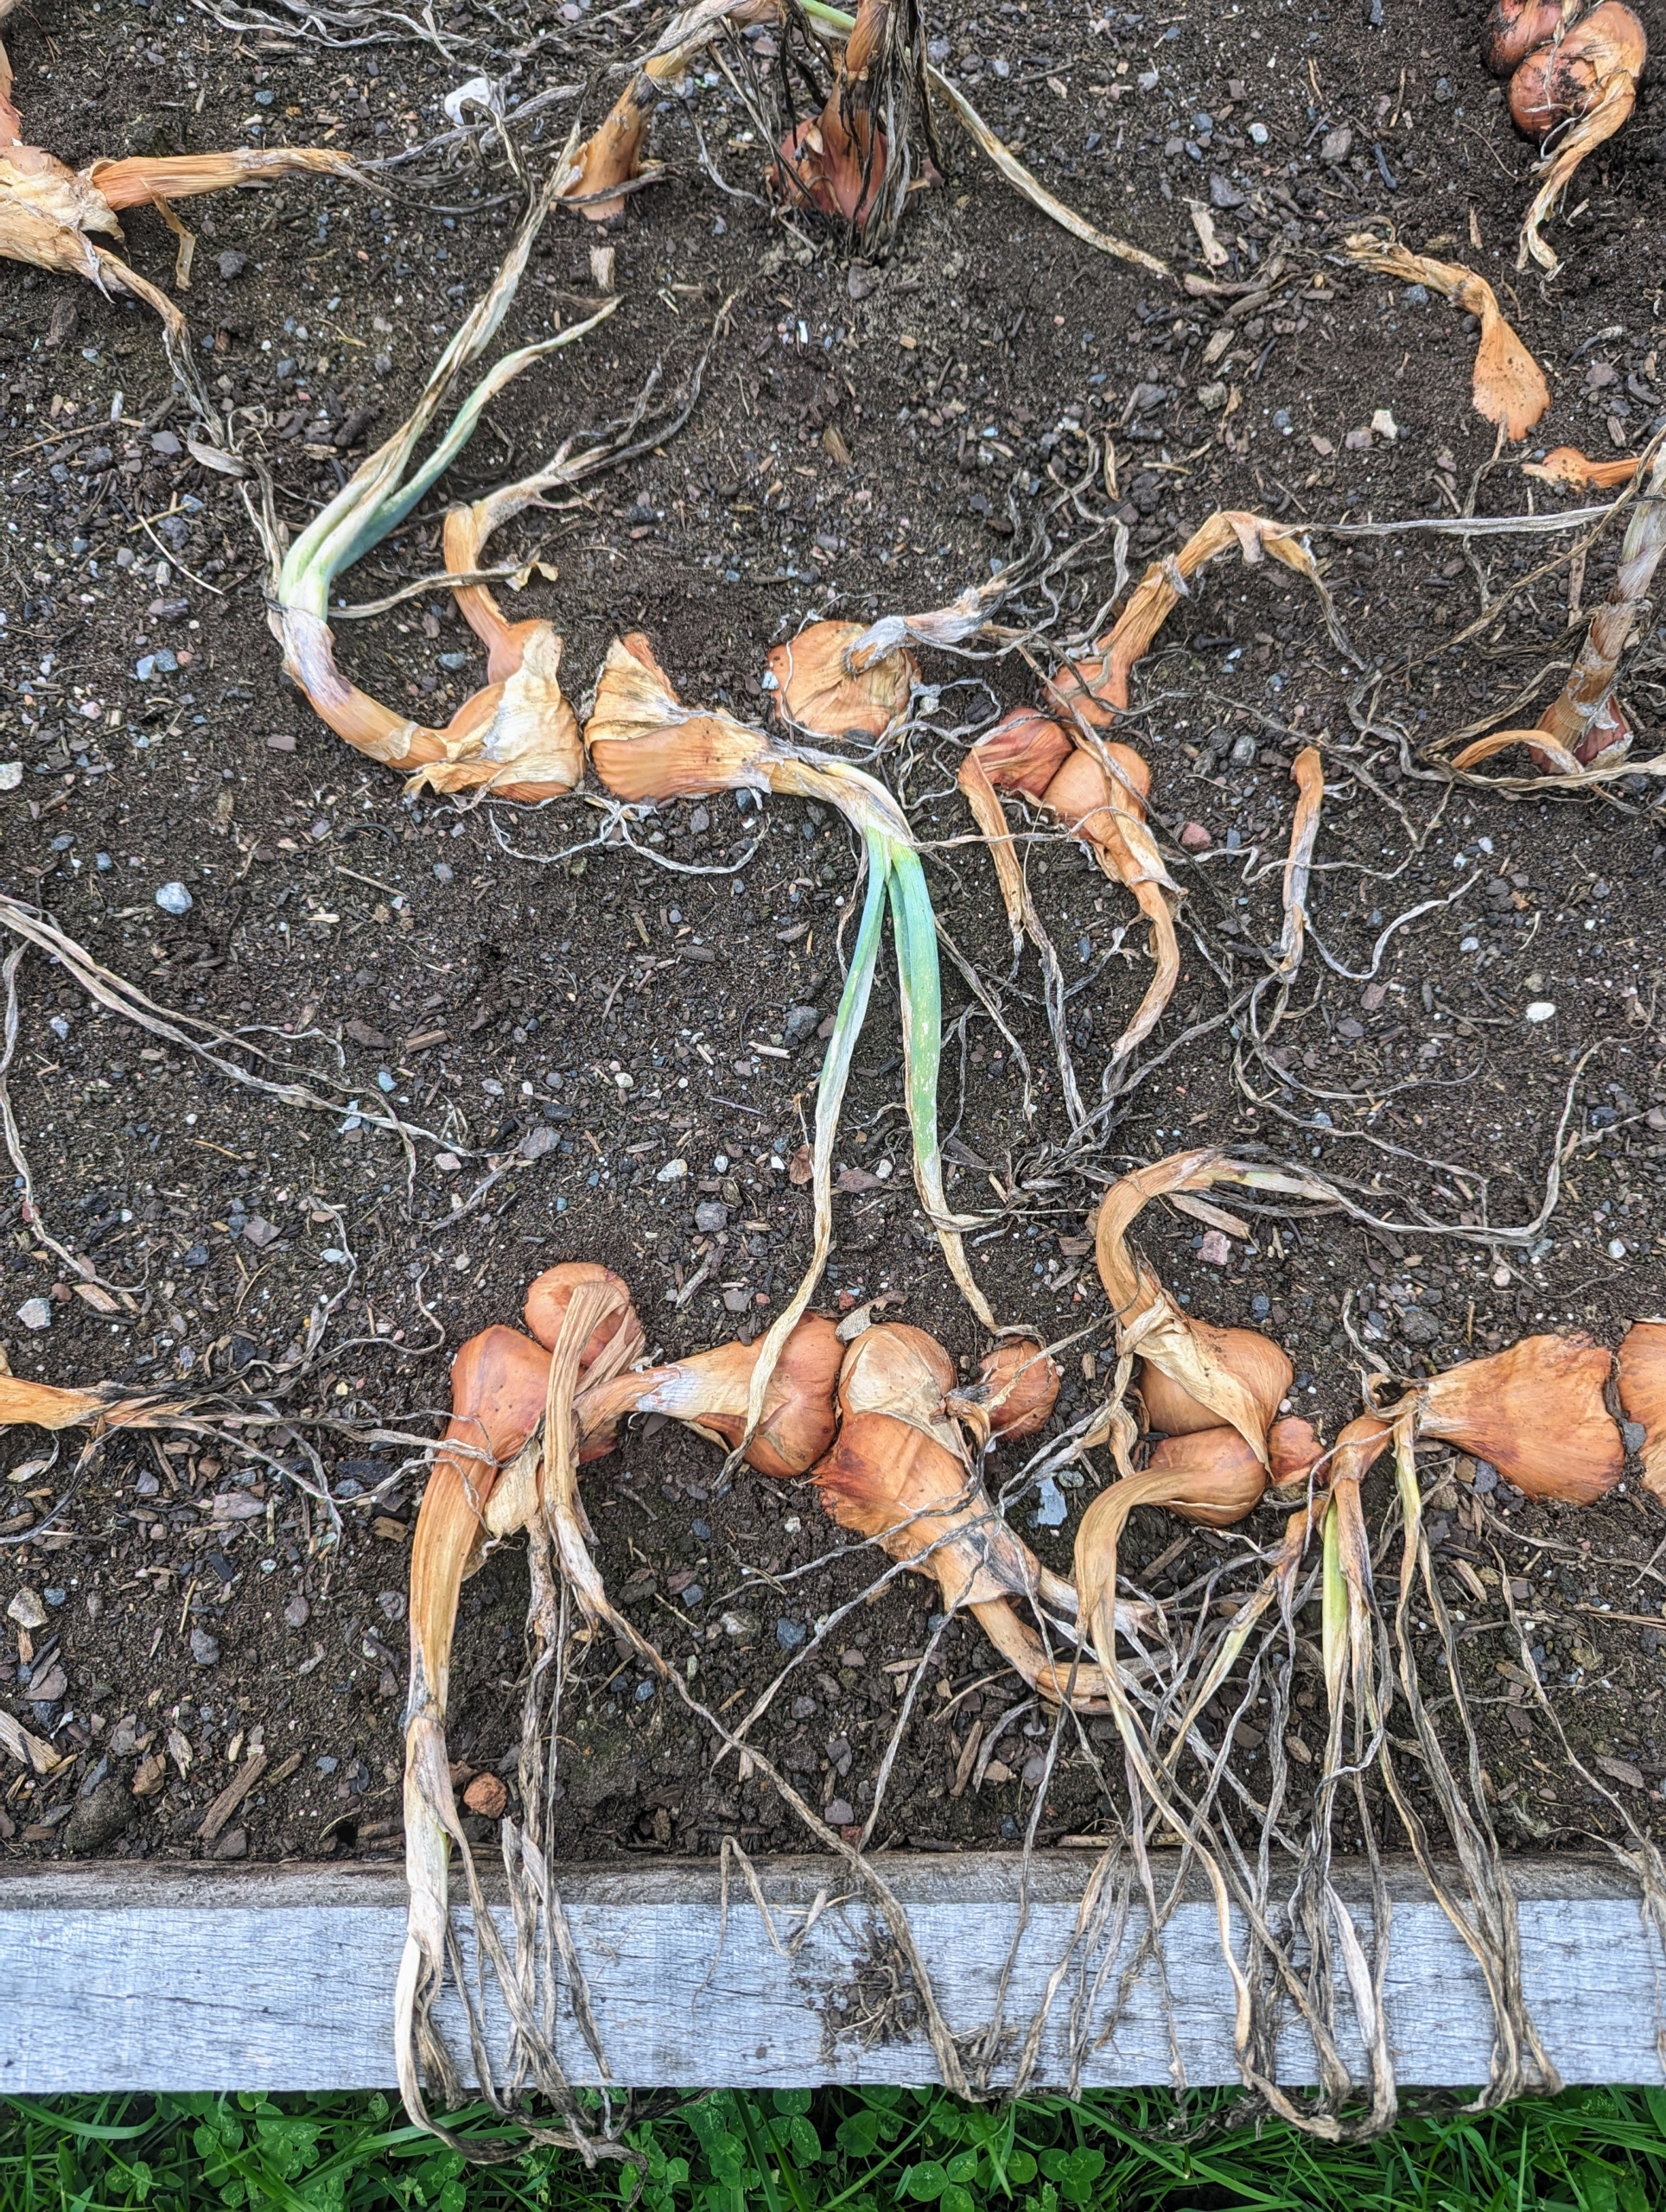
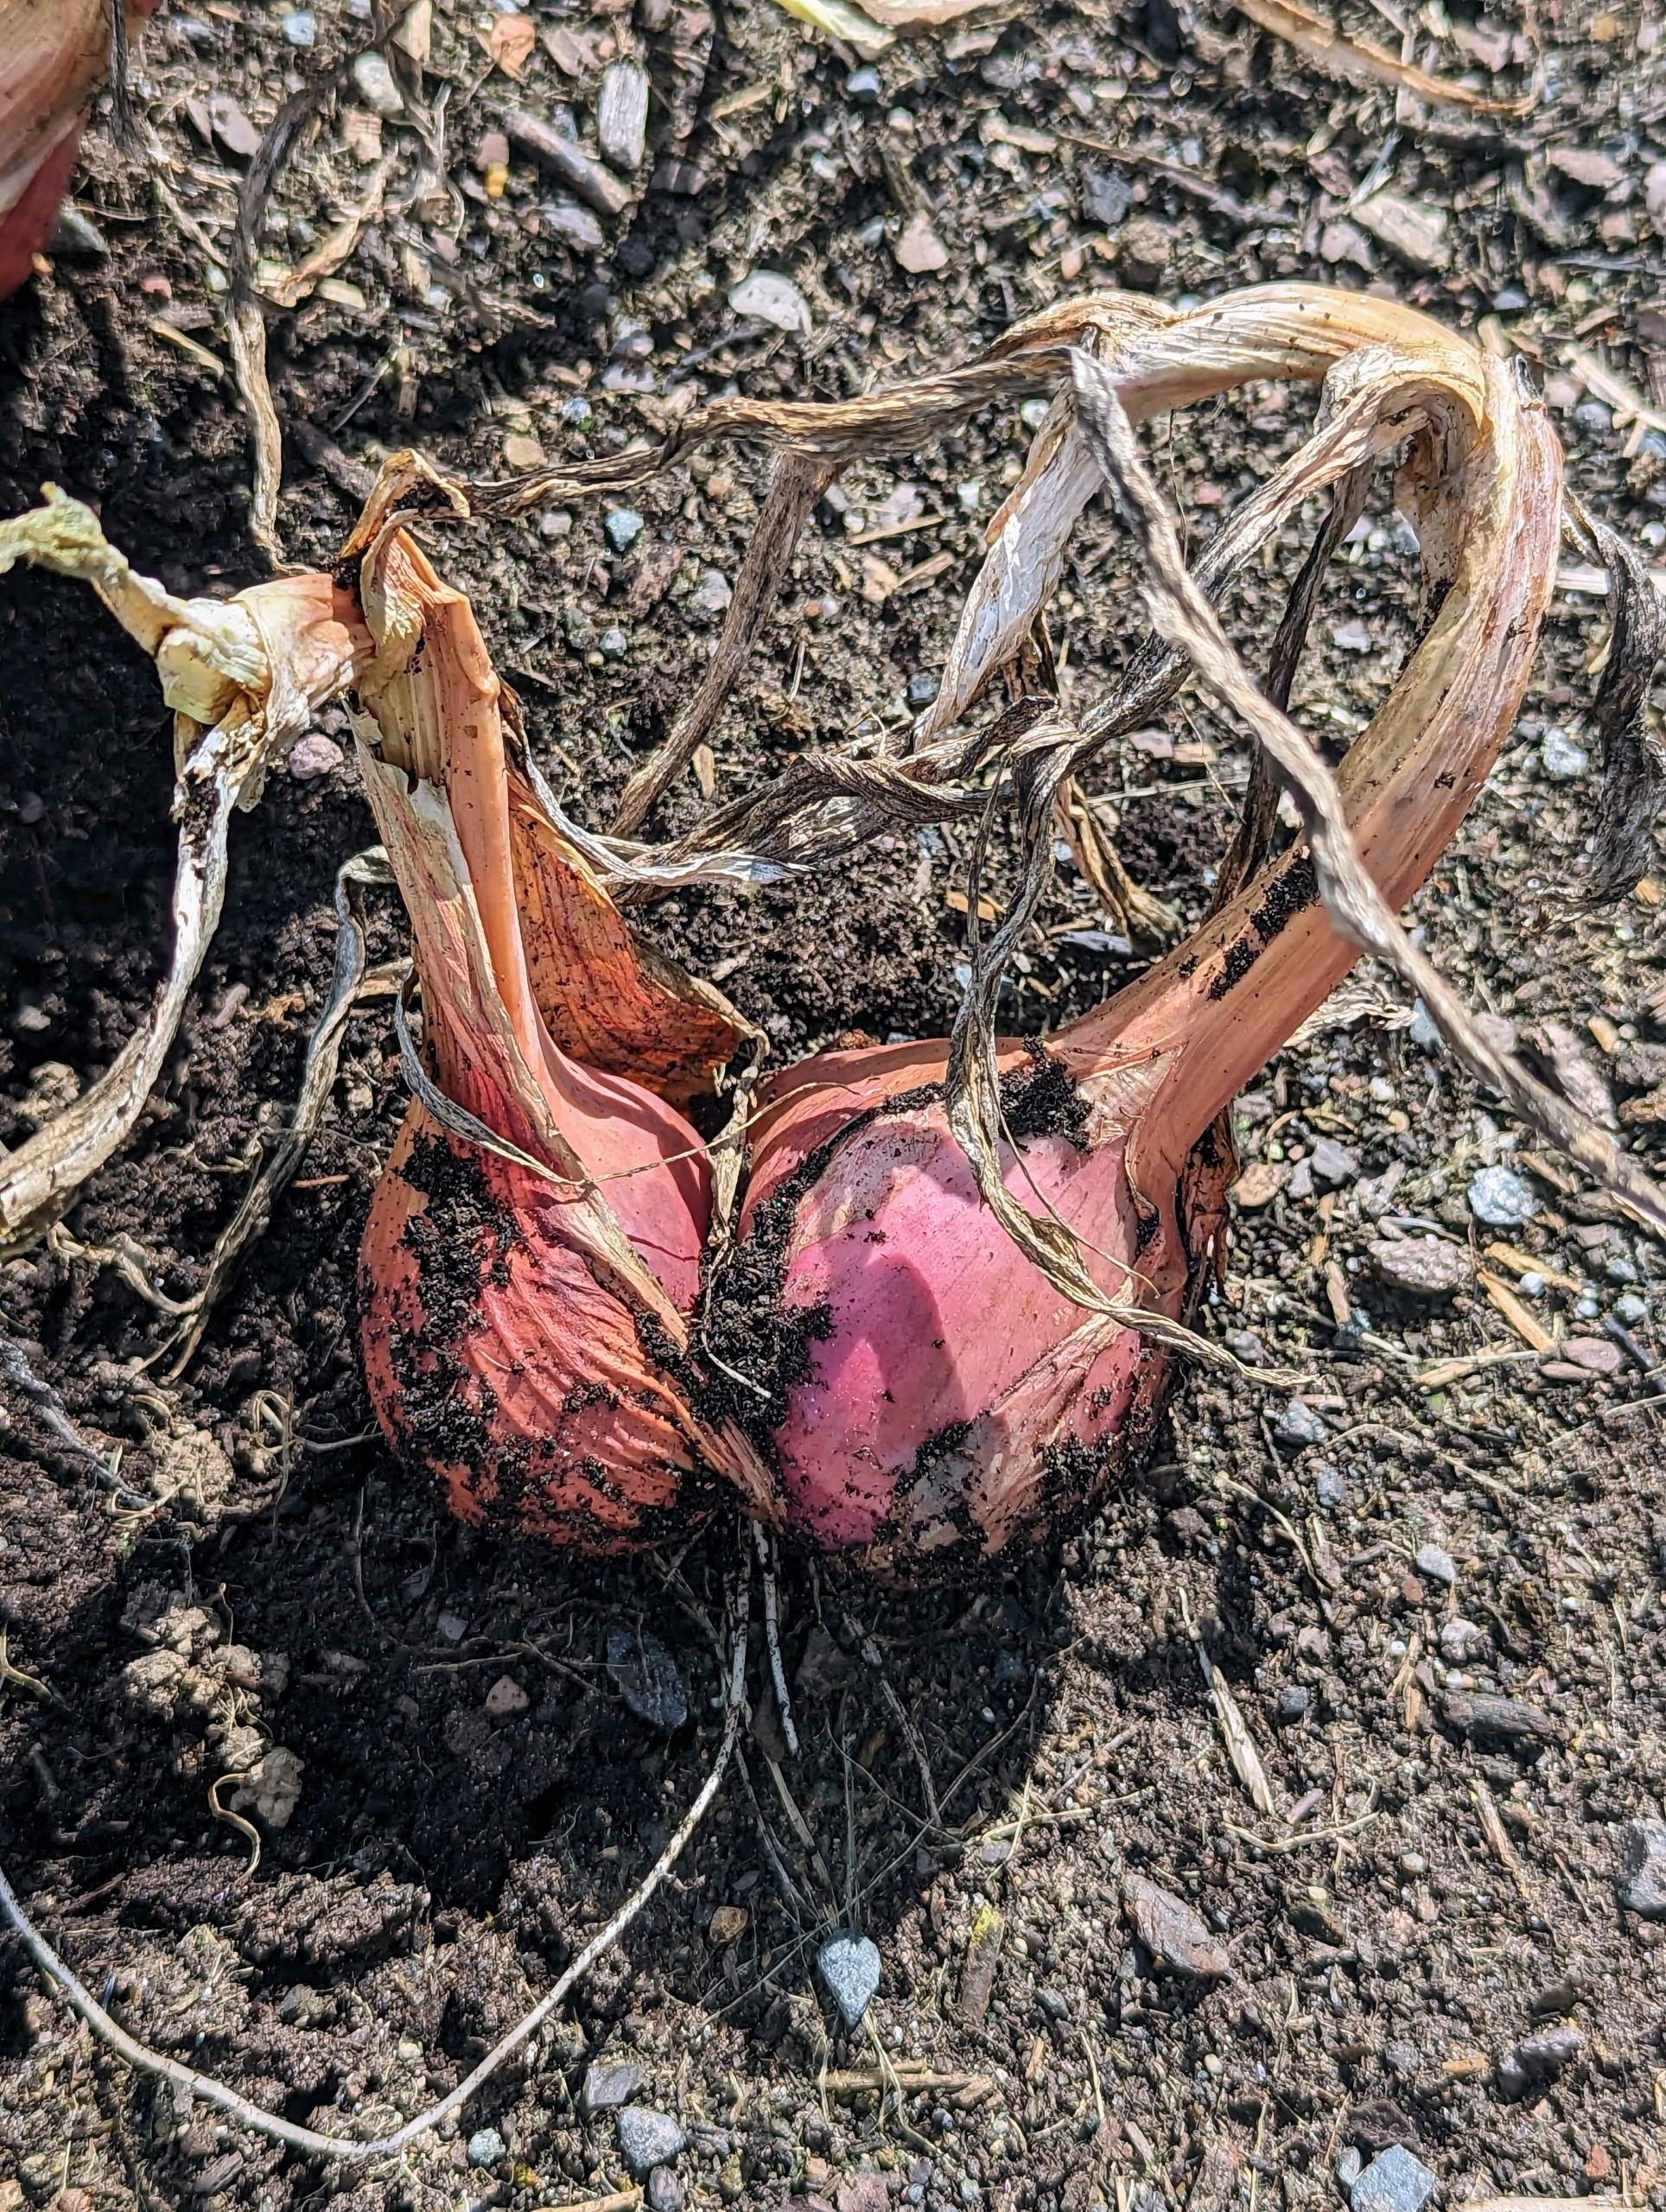
As well as the shallots. Shallots, Allium ascalonicum, are a member of the allium family, closely related to onions, garlic, and chives.
Shallots are smaller than onions, their skin is papery and coppery-pink, the flesh is pale purple and white, and the bulbs grow in clusters, similar to cloves of garlic.
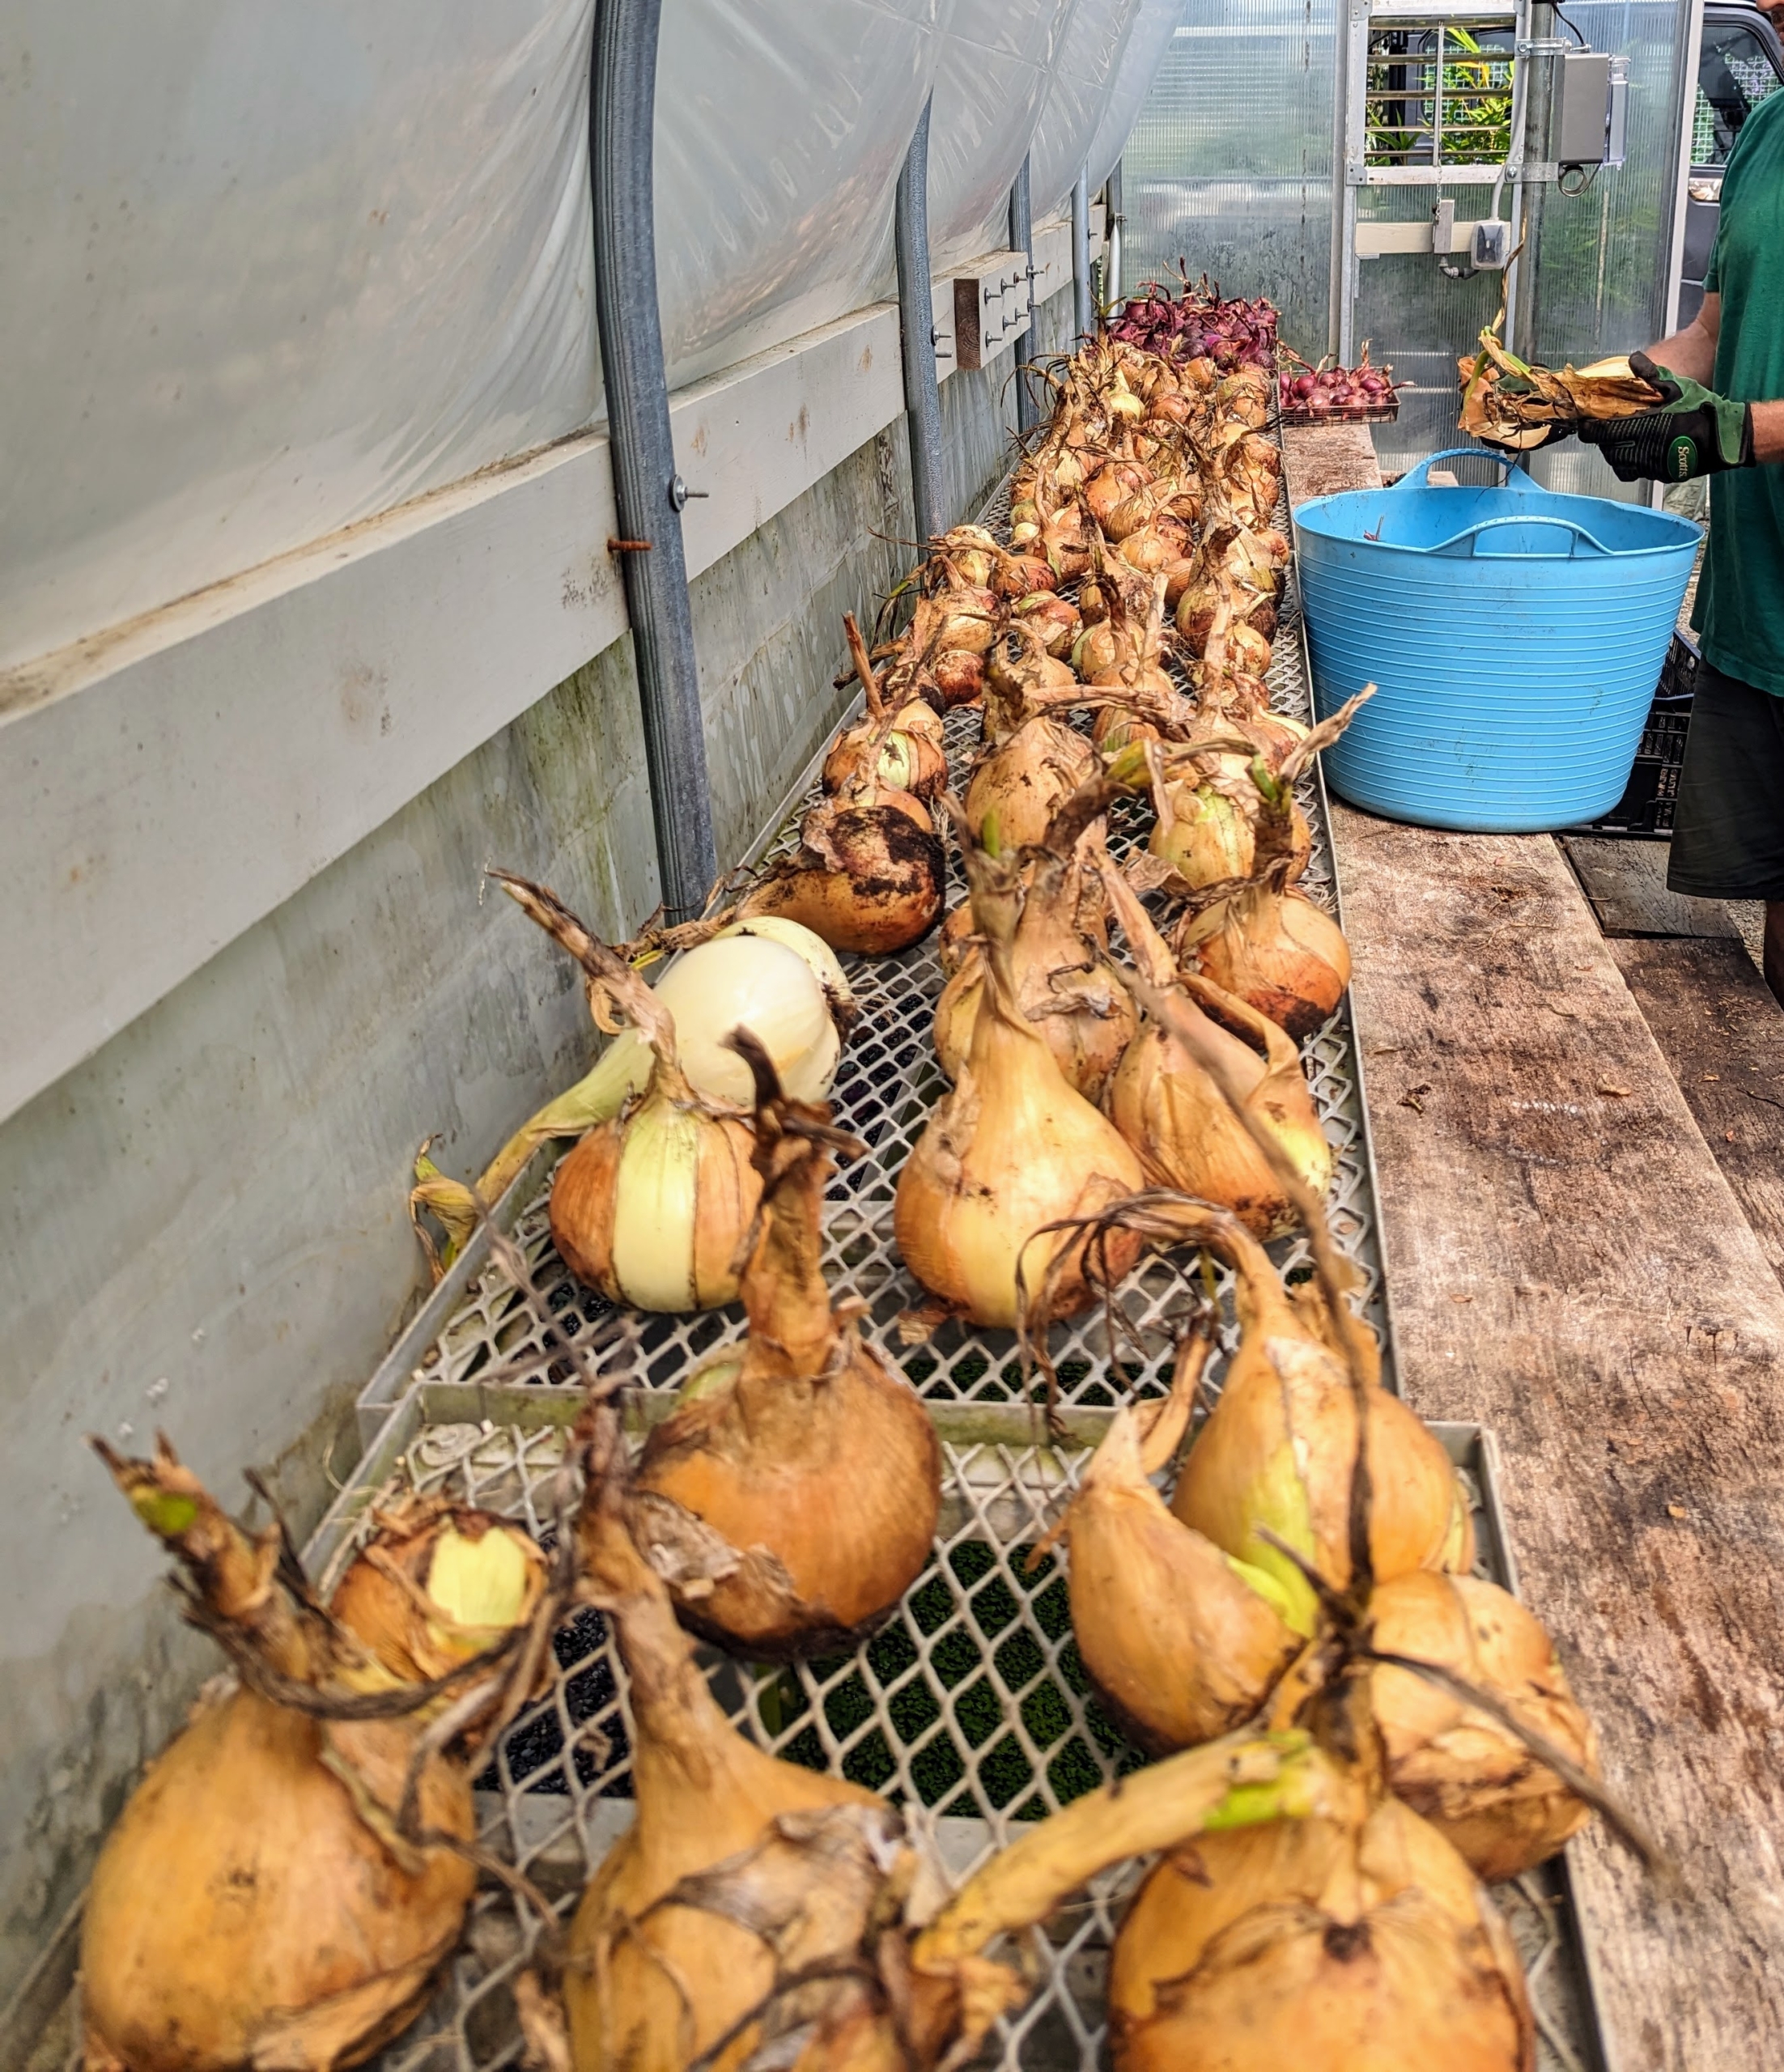
Once all the onions and shallots are picked, Ryan brings them into the hoop house closest to my main greenhouse where they can cure. Curing is a process of preparing the onions for long-term storage. During the curing stage, the outer layers of the onions dry out, tightening around the bulb and creating a protective layer that keeps the onion firm and fresh for a longer time.
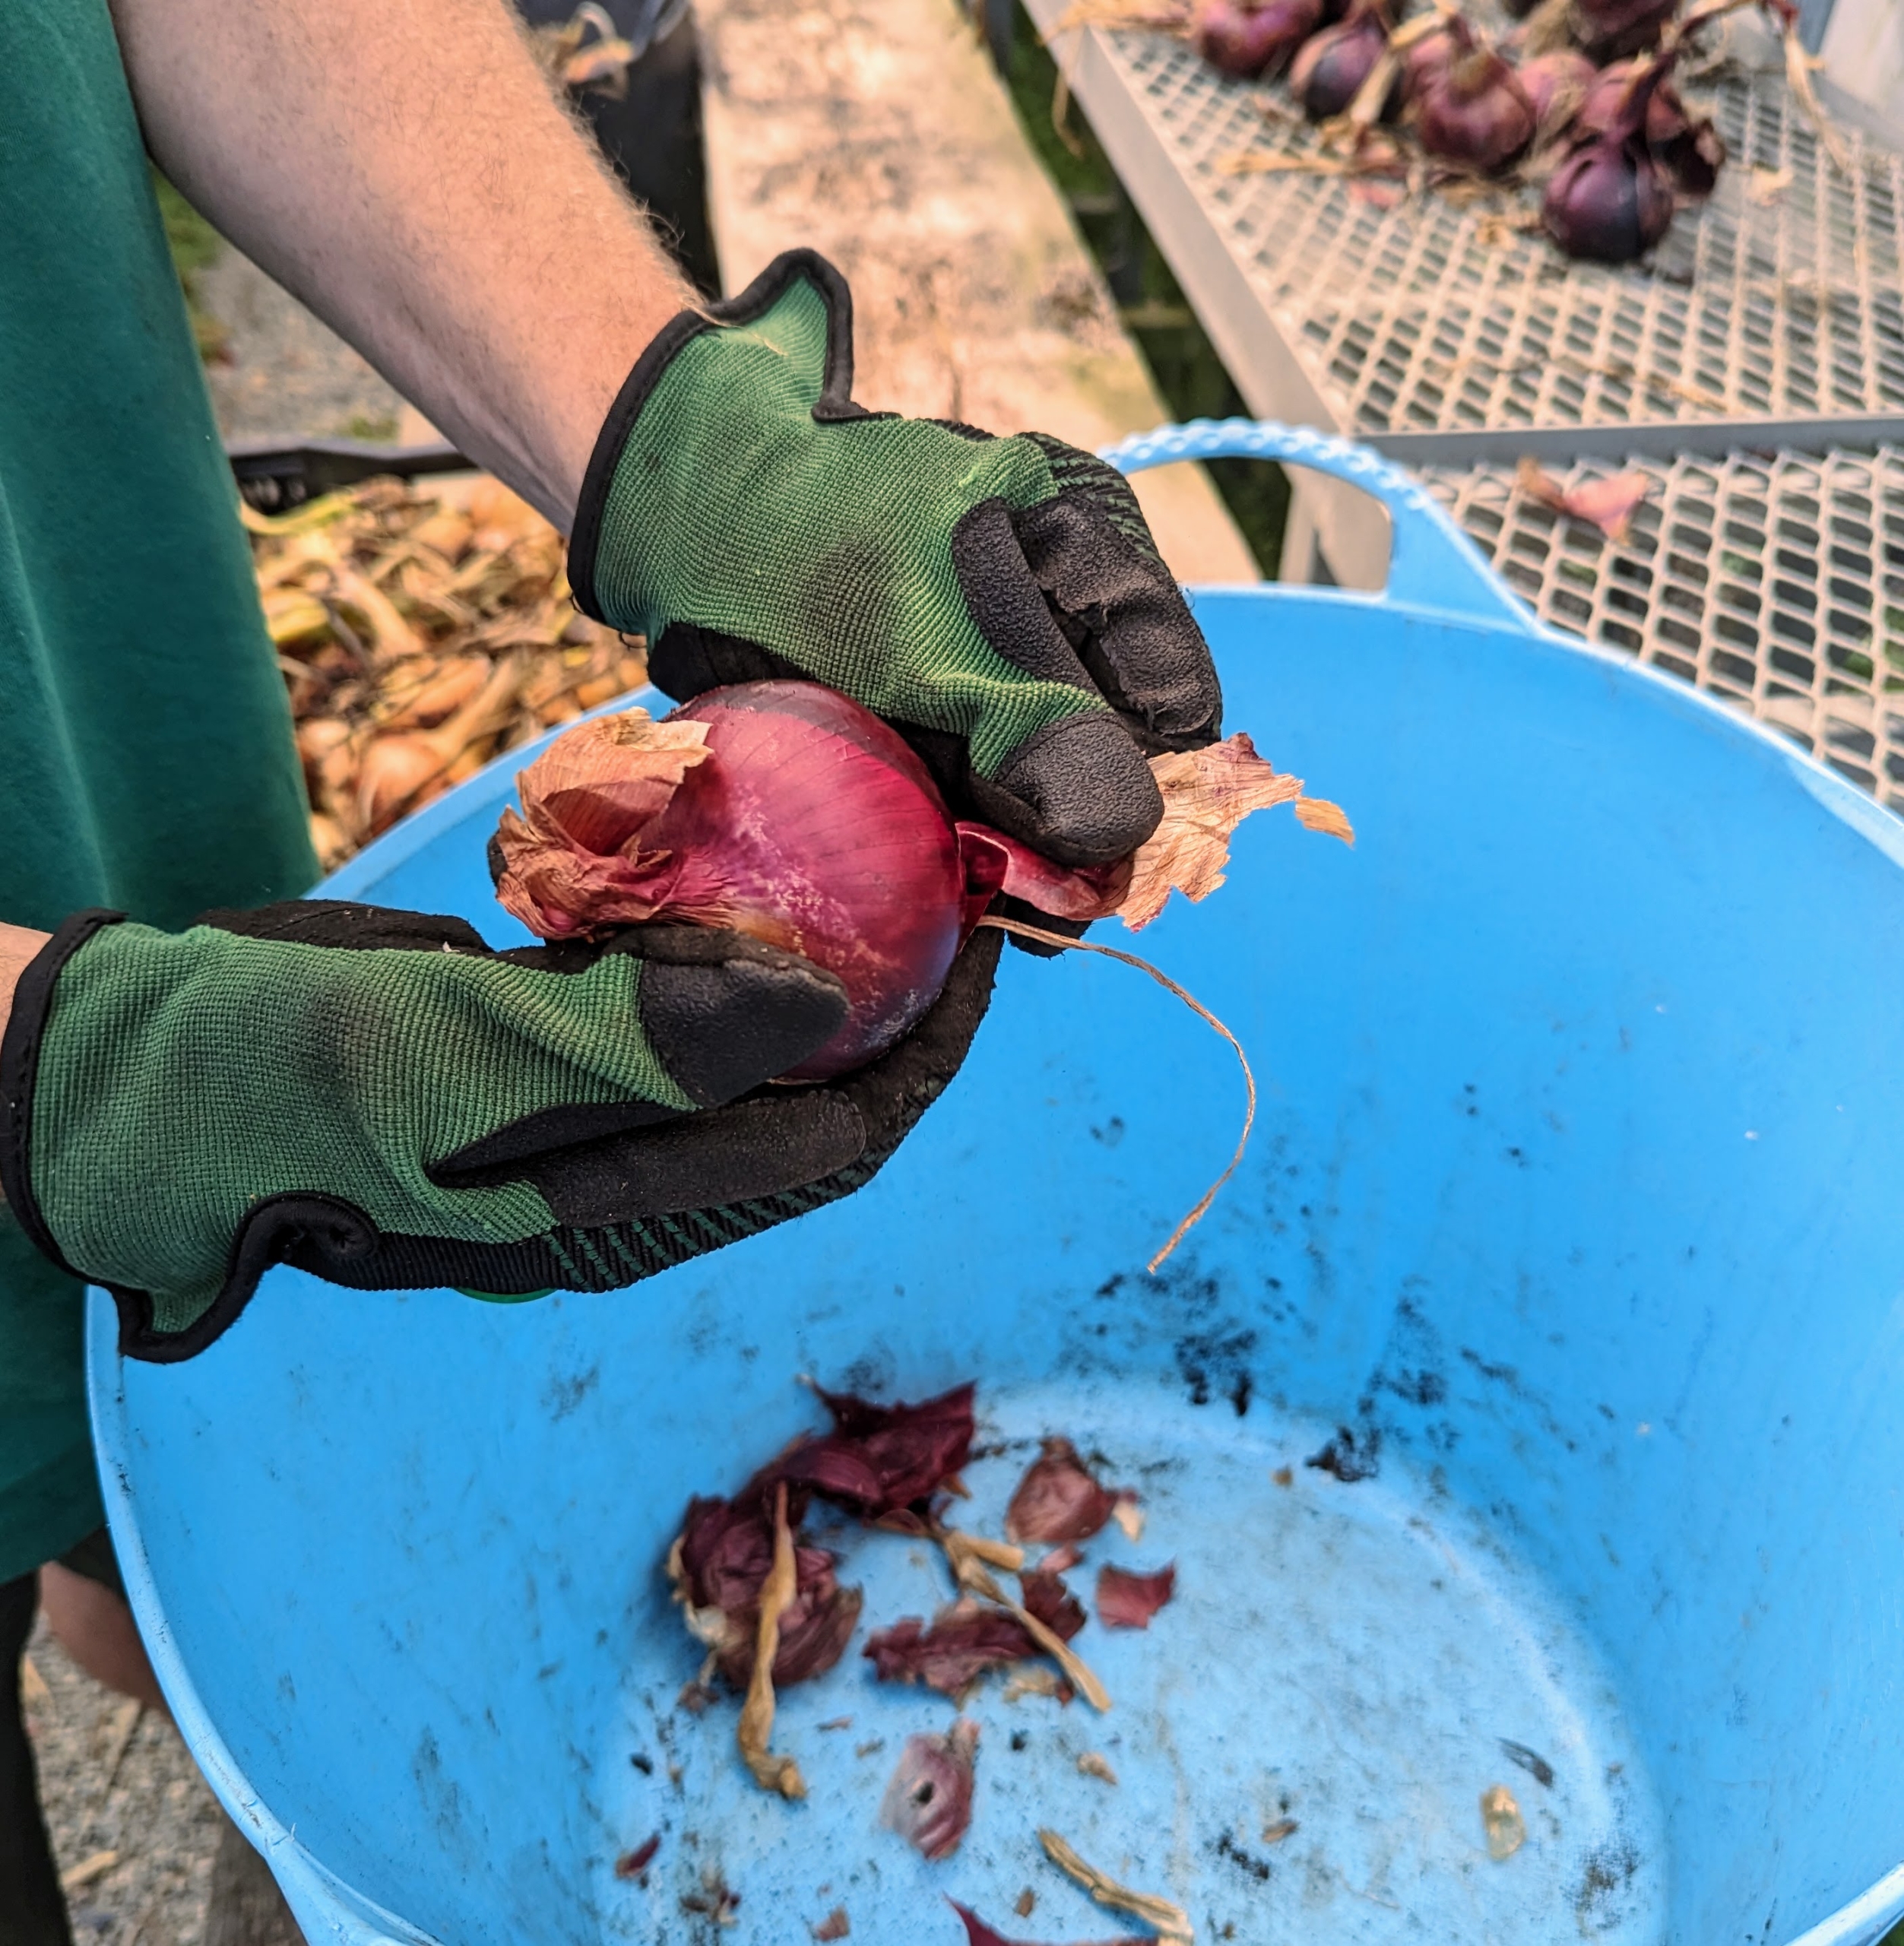
Some of the red onions had already been curing for a couple of weeks. Ryan removes the top layer of skin from the onion and clips the tops and roots.
The shiny skin should remain. He also lightly brushes off any loose soil before placing in a single layer on the shelf where they can continue to cure.
The onions need plenty of space for air to circulate, and can even be turned occasionally to make sure they dry evenly. Our greenhouse shelves are metal and have air circulating through, so this environment is Ideal. It is also warm in this hoop house – 75 to 80 degrees Fahrenheit, dry, and out of the sun.
Ryan is careful when handling the onions, so they don’t bruise.
When cured and stored properly, a good storage onion will retain its eating quality for 10 to 12 months. I can’t wait to try them. How did your onions do this year?
Whenever I go hiking at Skylands, my home in Maine, or in the woodlands of my Bedford, New York farm, I always enjoy discovering and identifying all the different types of wild mushrooms that may be growing along the way.
A mushroom is the fleshy spore-bearing fruiting body of a fungus. Fungus thrives in moist areas and loves growing on decaying wood. While many may try to eradicate mushrooms from their lawns, they are an important part of the forest ecosystem. Because they live off of decaying plant matter, fungus breaks down and disposes of fallen tree branches, leaves, and even animals. It also digests rock particles and other organic matter in the soil, so new plants can grow. Earlier this year, I received mushroom growing kits from 2FUNGUYS - an Atlanta, Georgia company that sells mushroom growing spawn plugs, inoculated logs, and complete starter growing kits. The process of growing mushrooms is very interesting, and very different from growing other crops, so I decided to grow some here at the farm.
Enjoy these photos and remember, never eat any mushroom you cannot clearly identify.
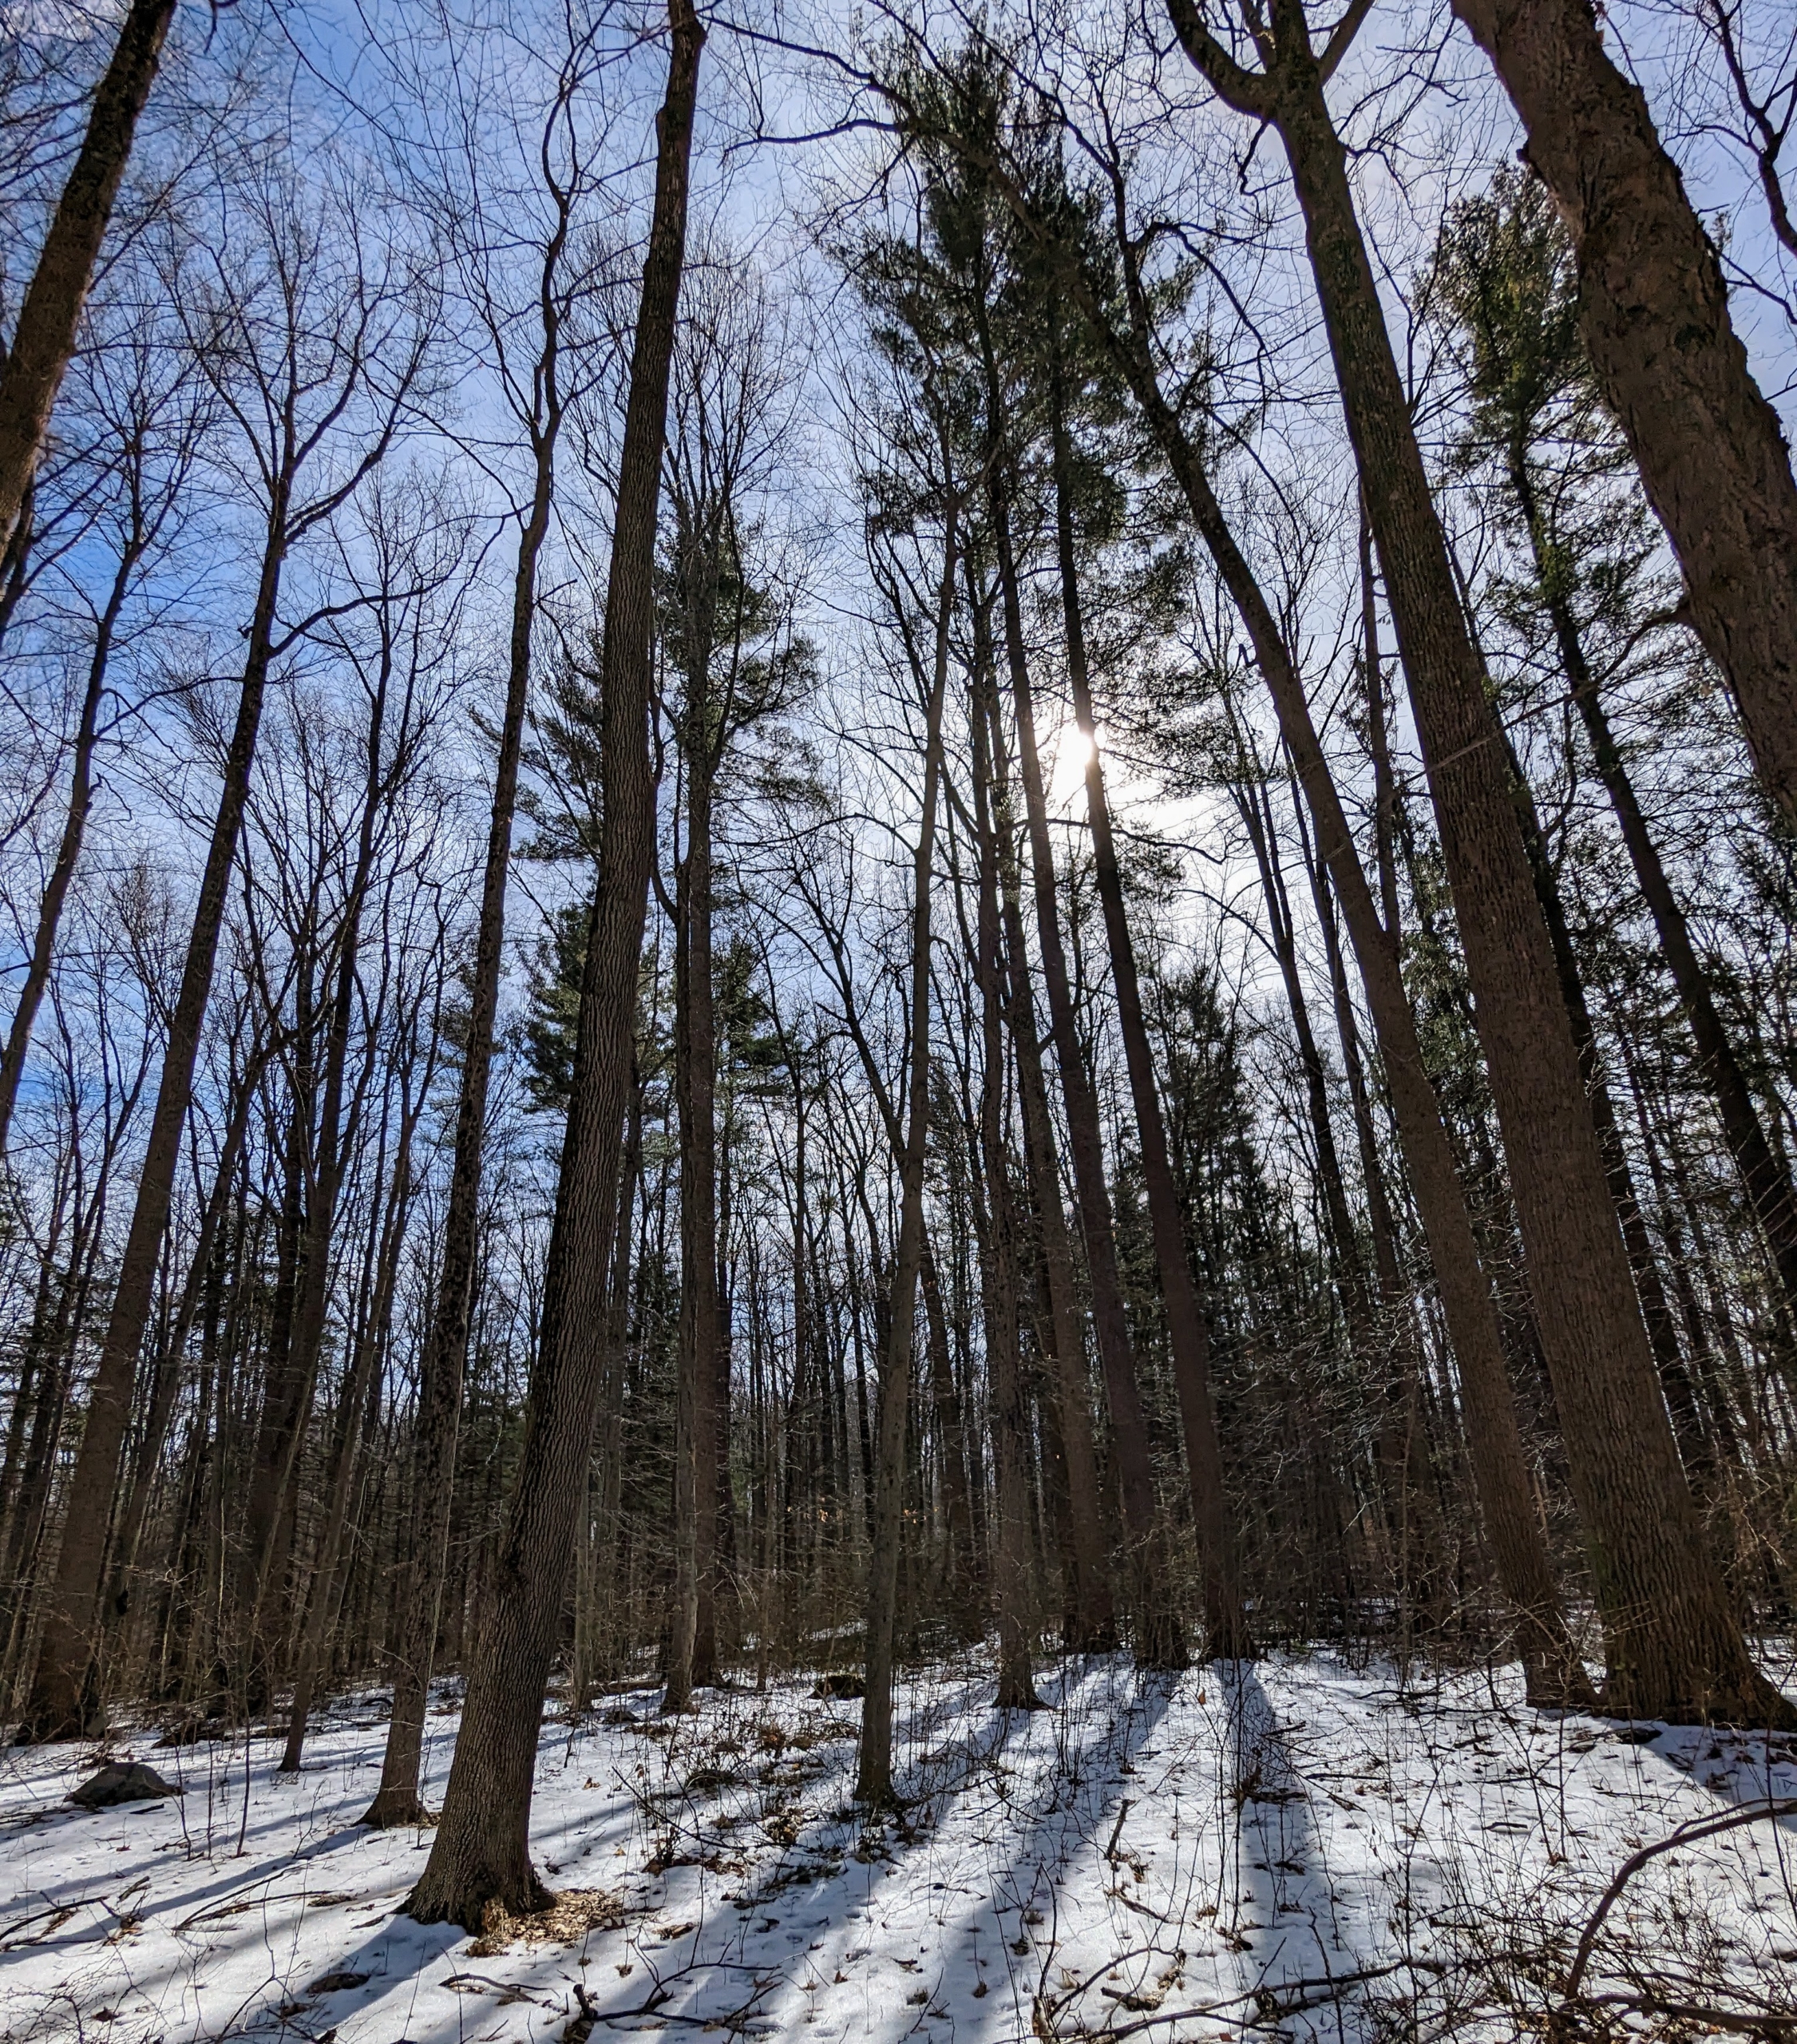
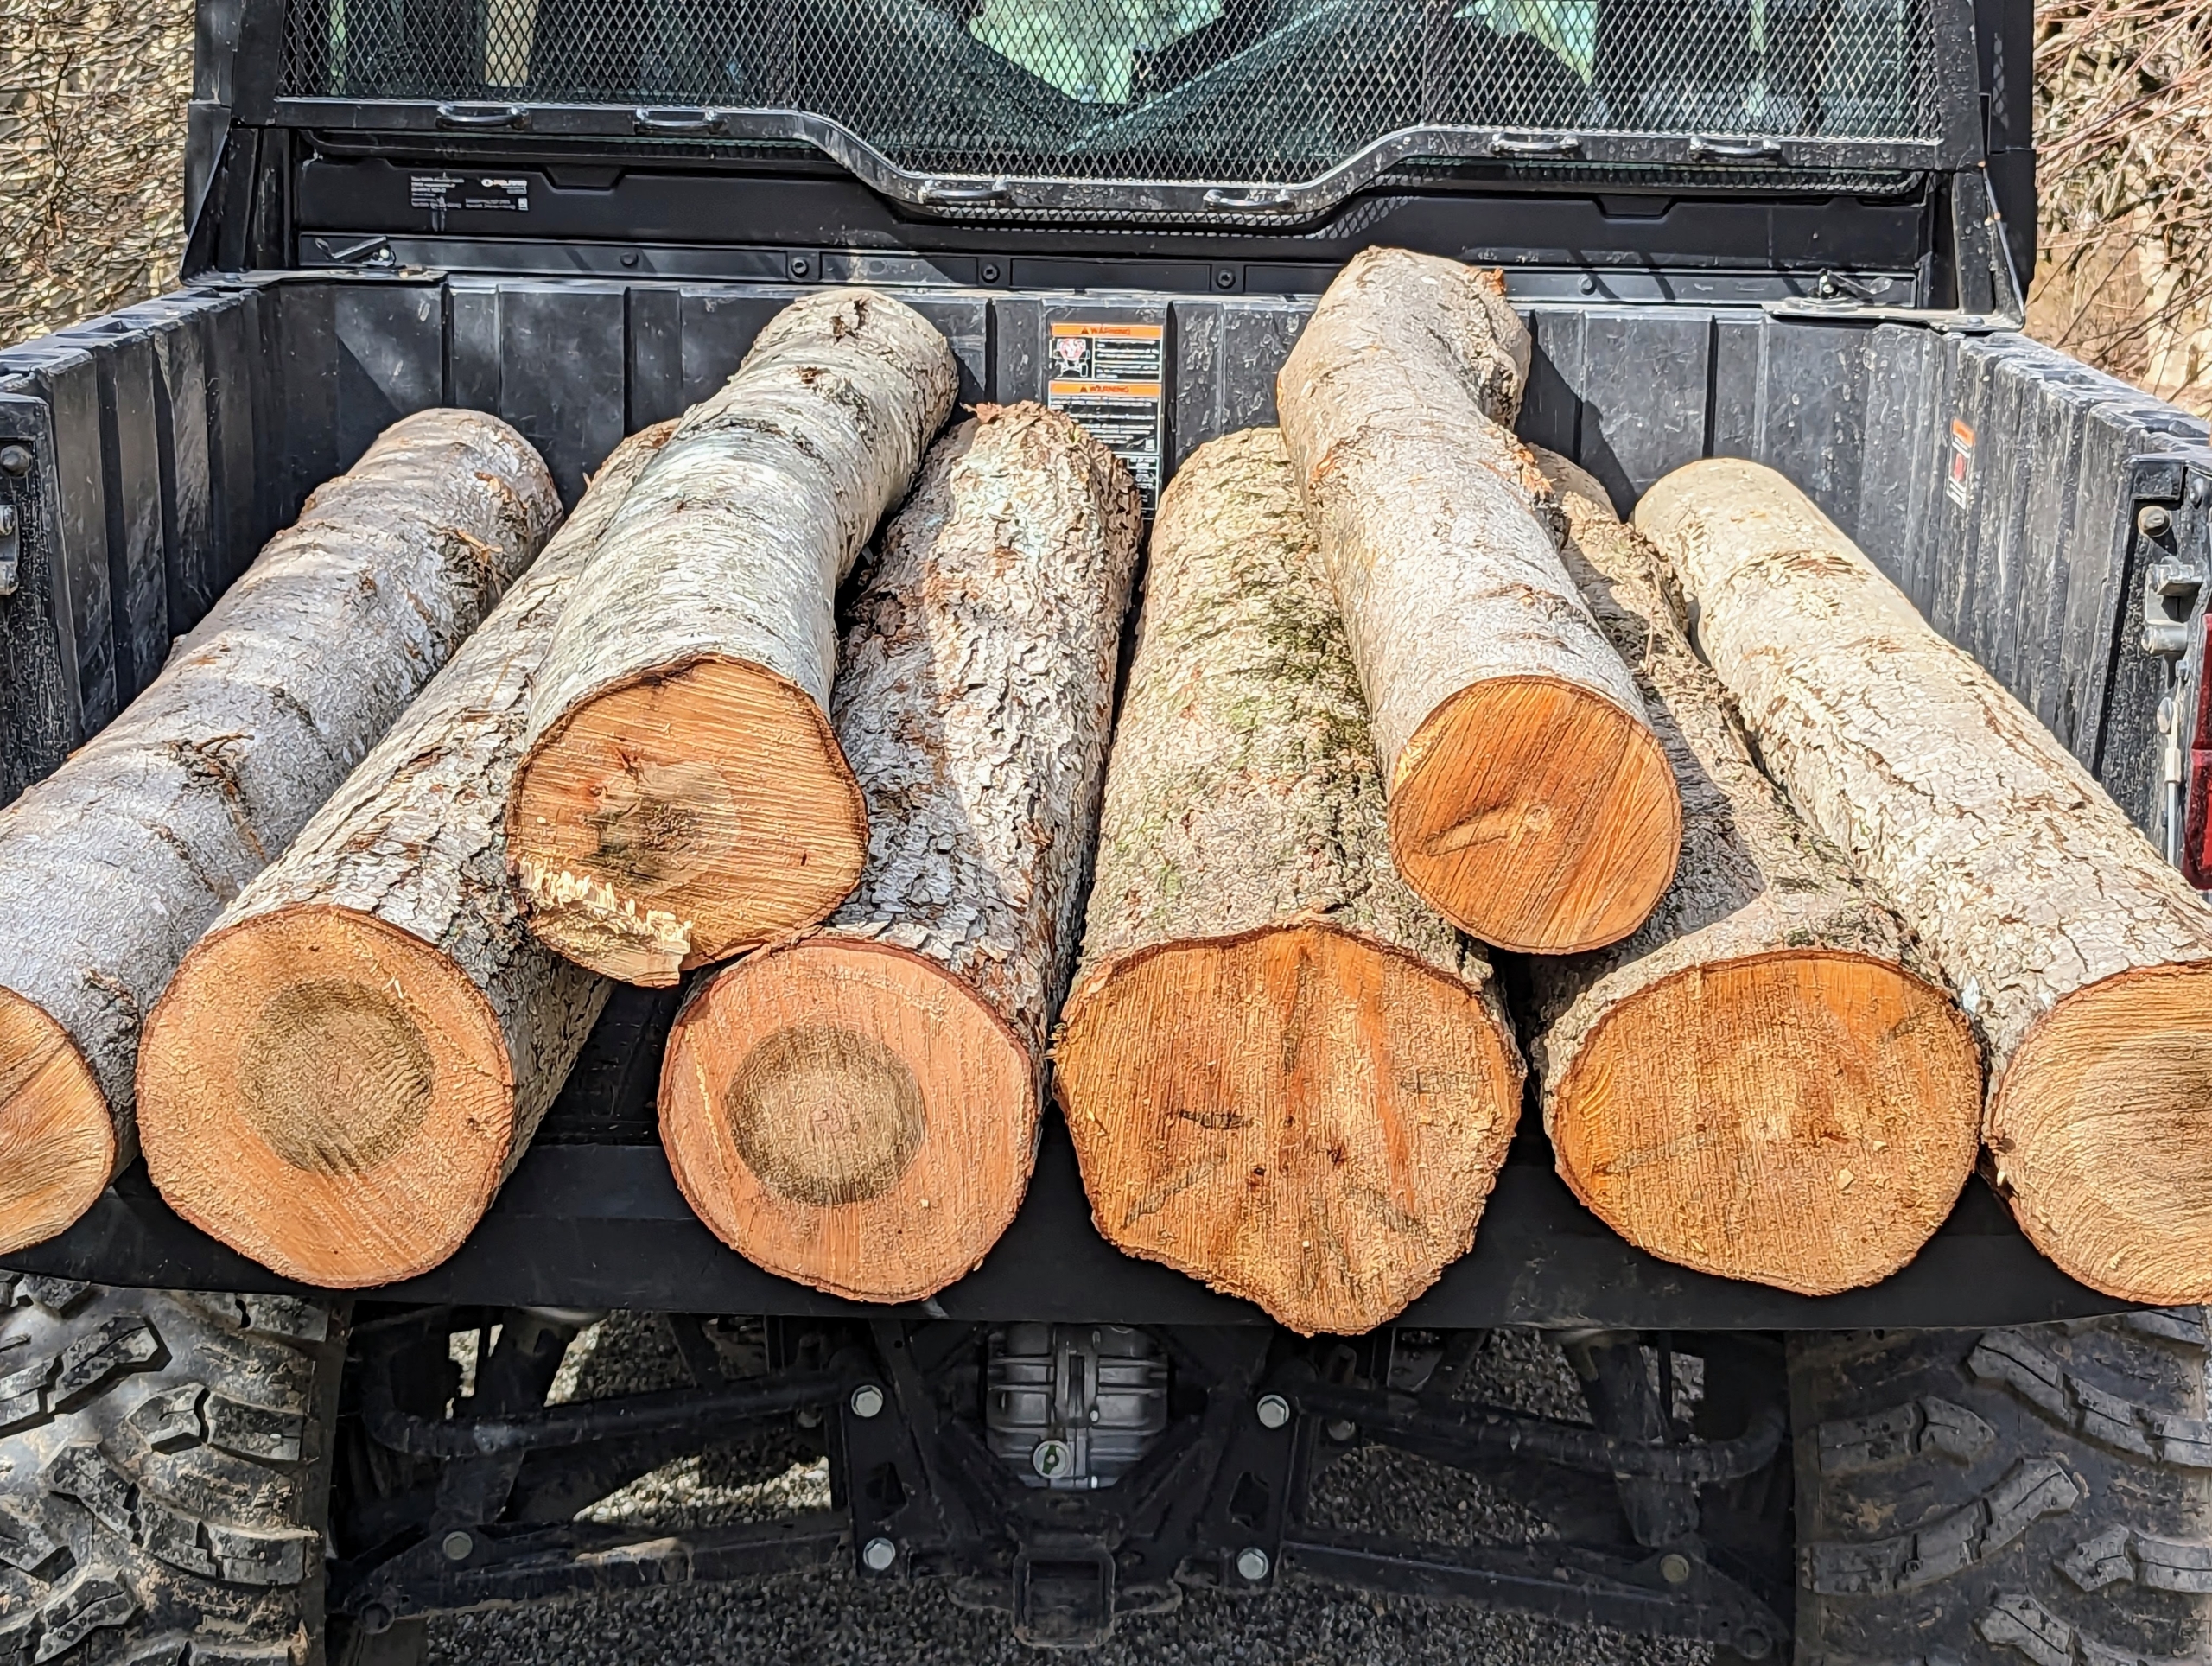
One way to grow one’s own mushrooms is to inoculate logs with mushroom plugs. Last March, Pete from my outdoor grounds crew went into the woodland for just the right trees. I hate to take down any trees, but he only looked for those that were growing too close to other more robust trees, those that were not growing well, or trees that were broken and needed to be removed. The best kind of wood to use for mushrooms is deciduous hardwood, such as oak, beech, willow, birch, elm, and poplar.
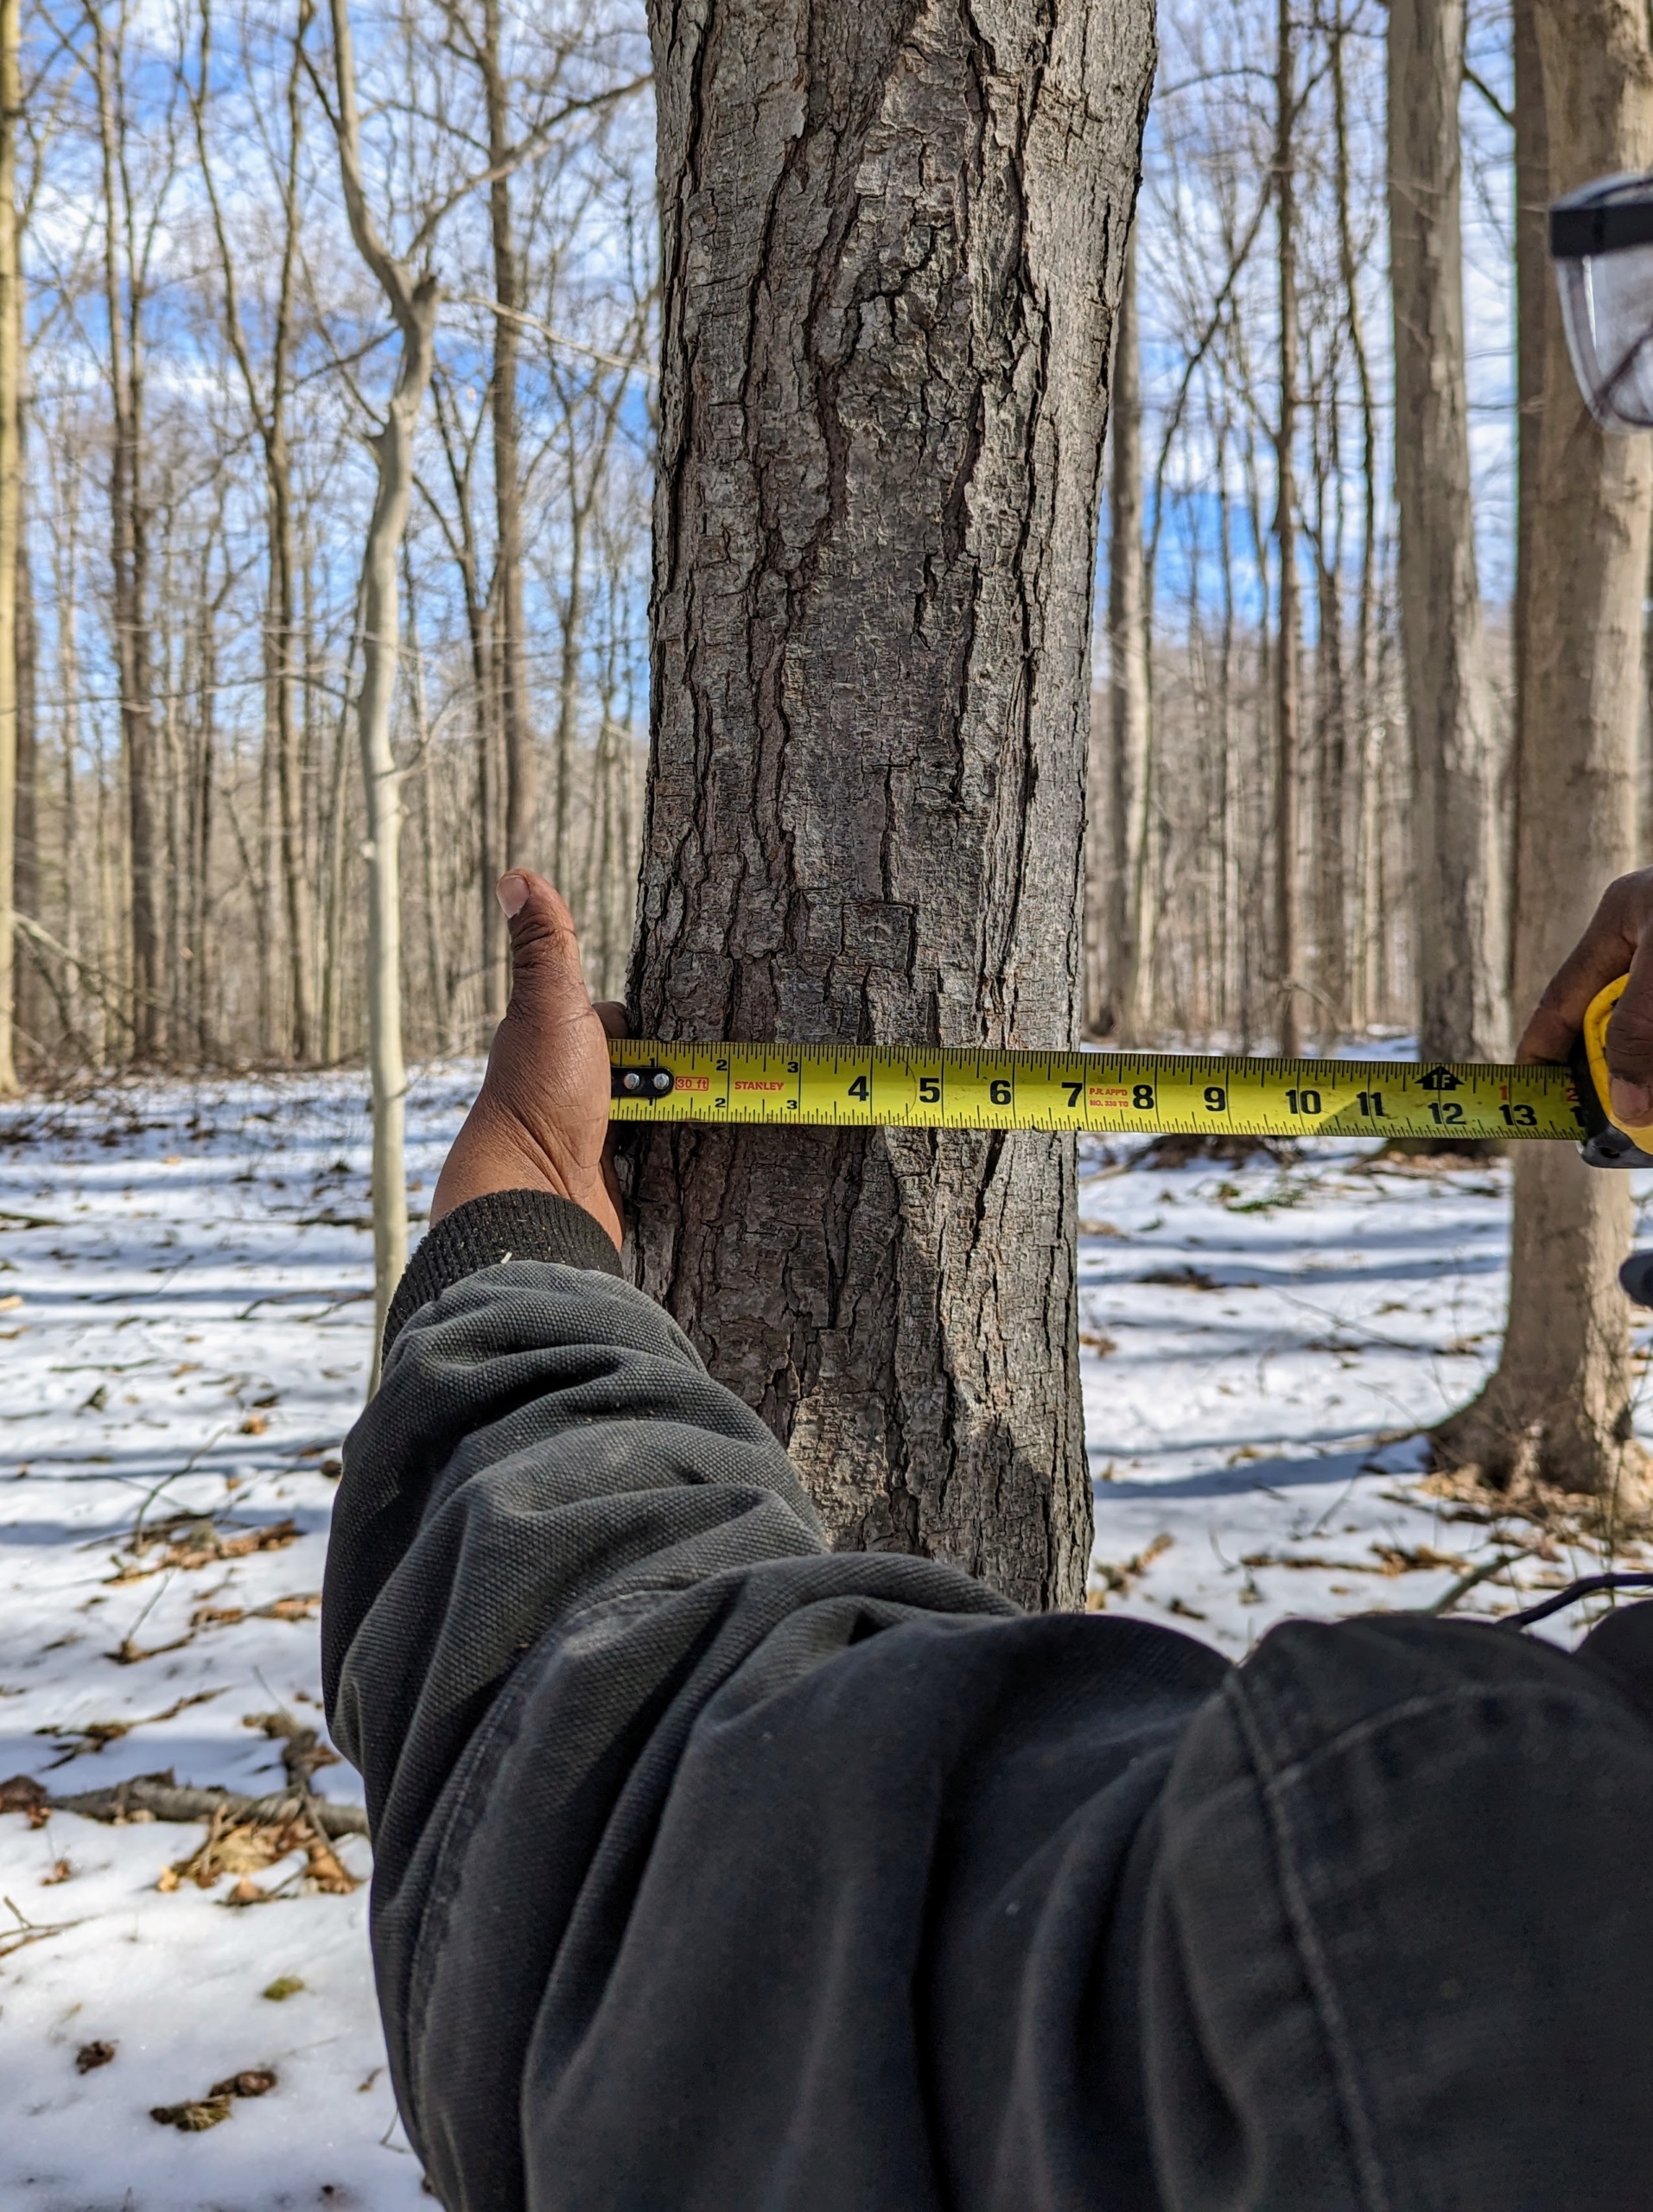
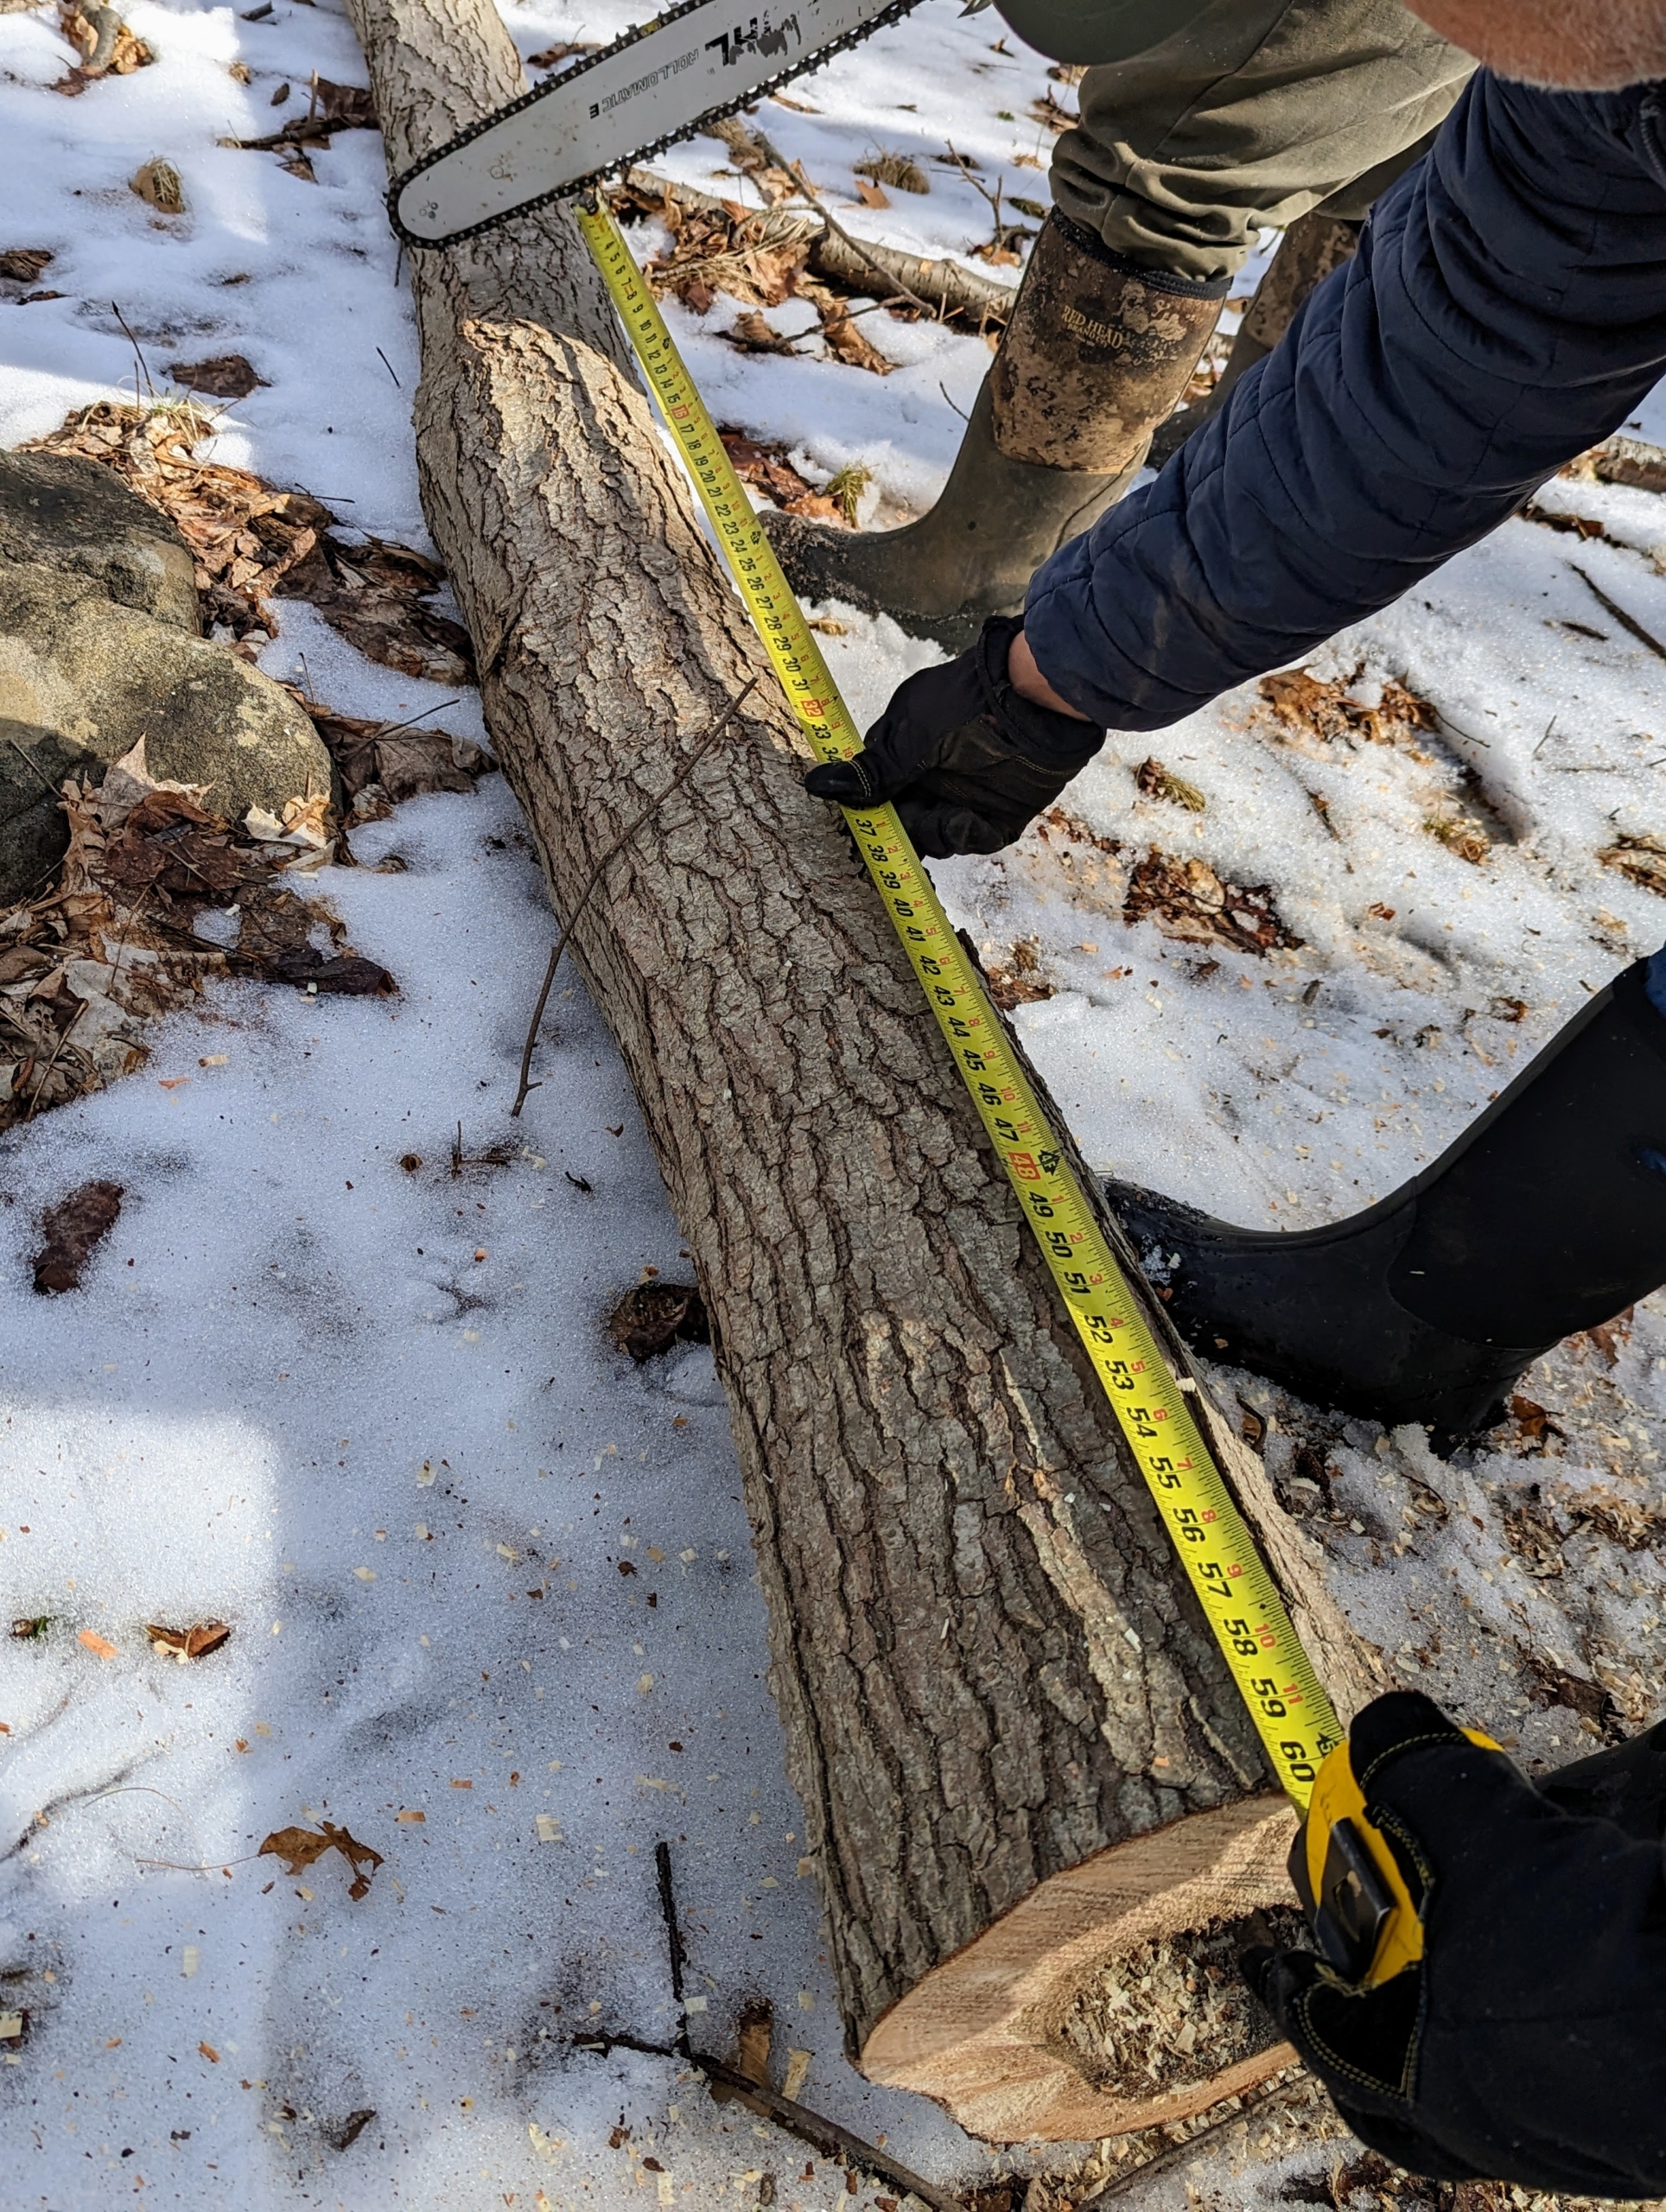
The logs used should also be the right size – four to 10 inches in diameter…
… and about two to five feet long. Pete cut them all to the same size.
The best time to cut the fresh logs is during the fall or winter, when their leaves have fallen and their sugar concentration is highest. After they are cut, they are left to rest for a few weeks.
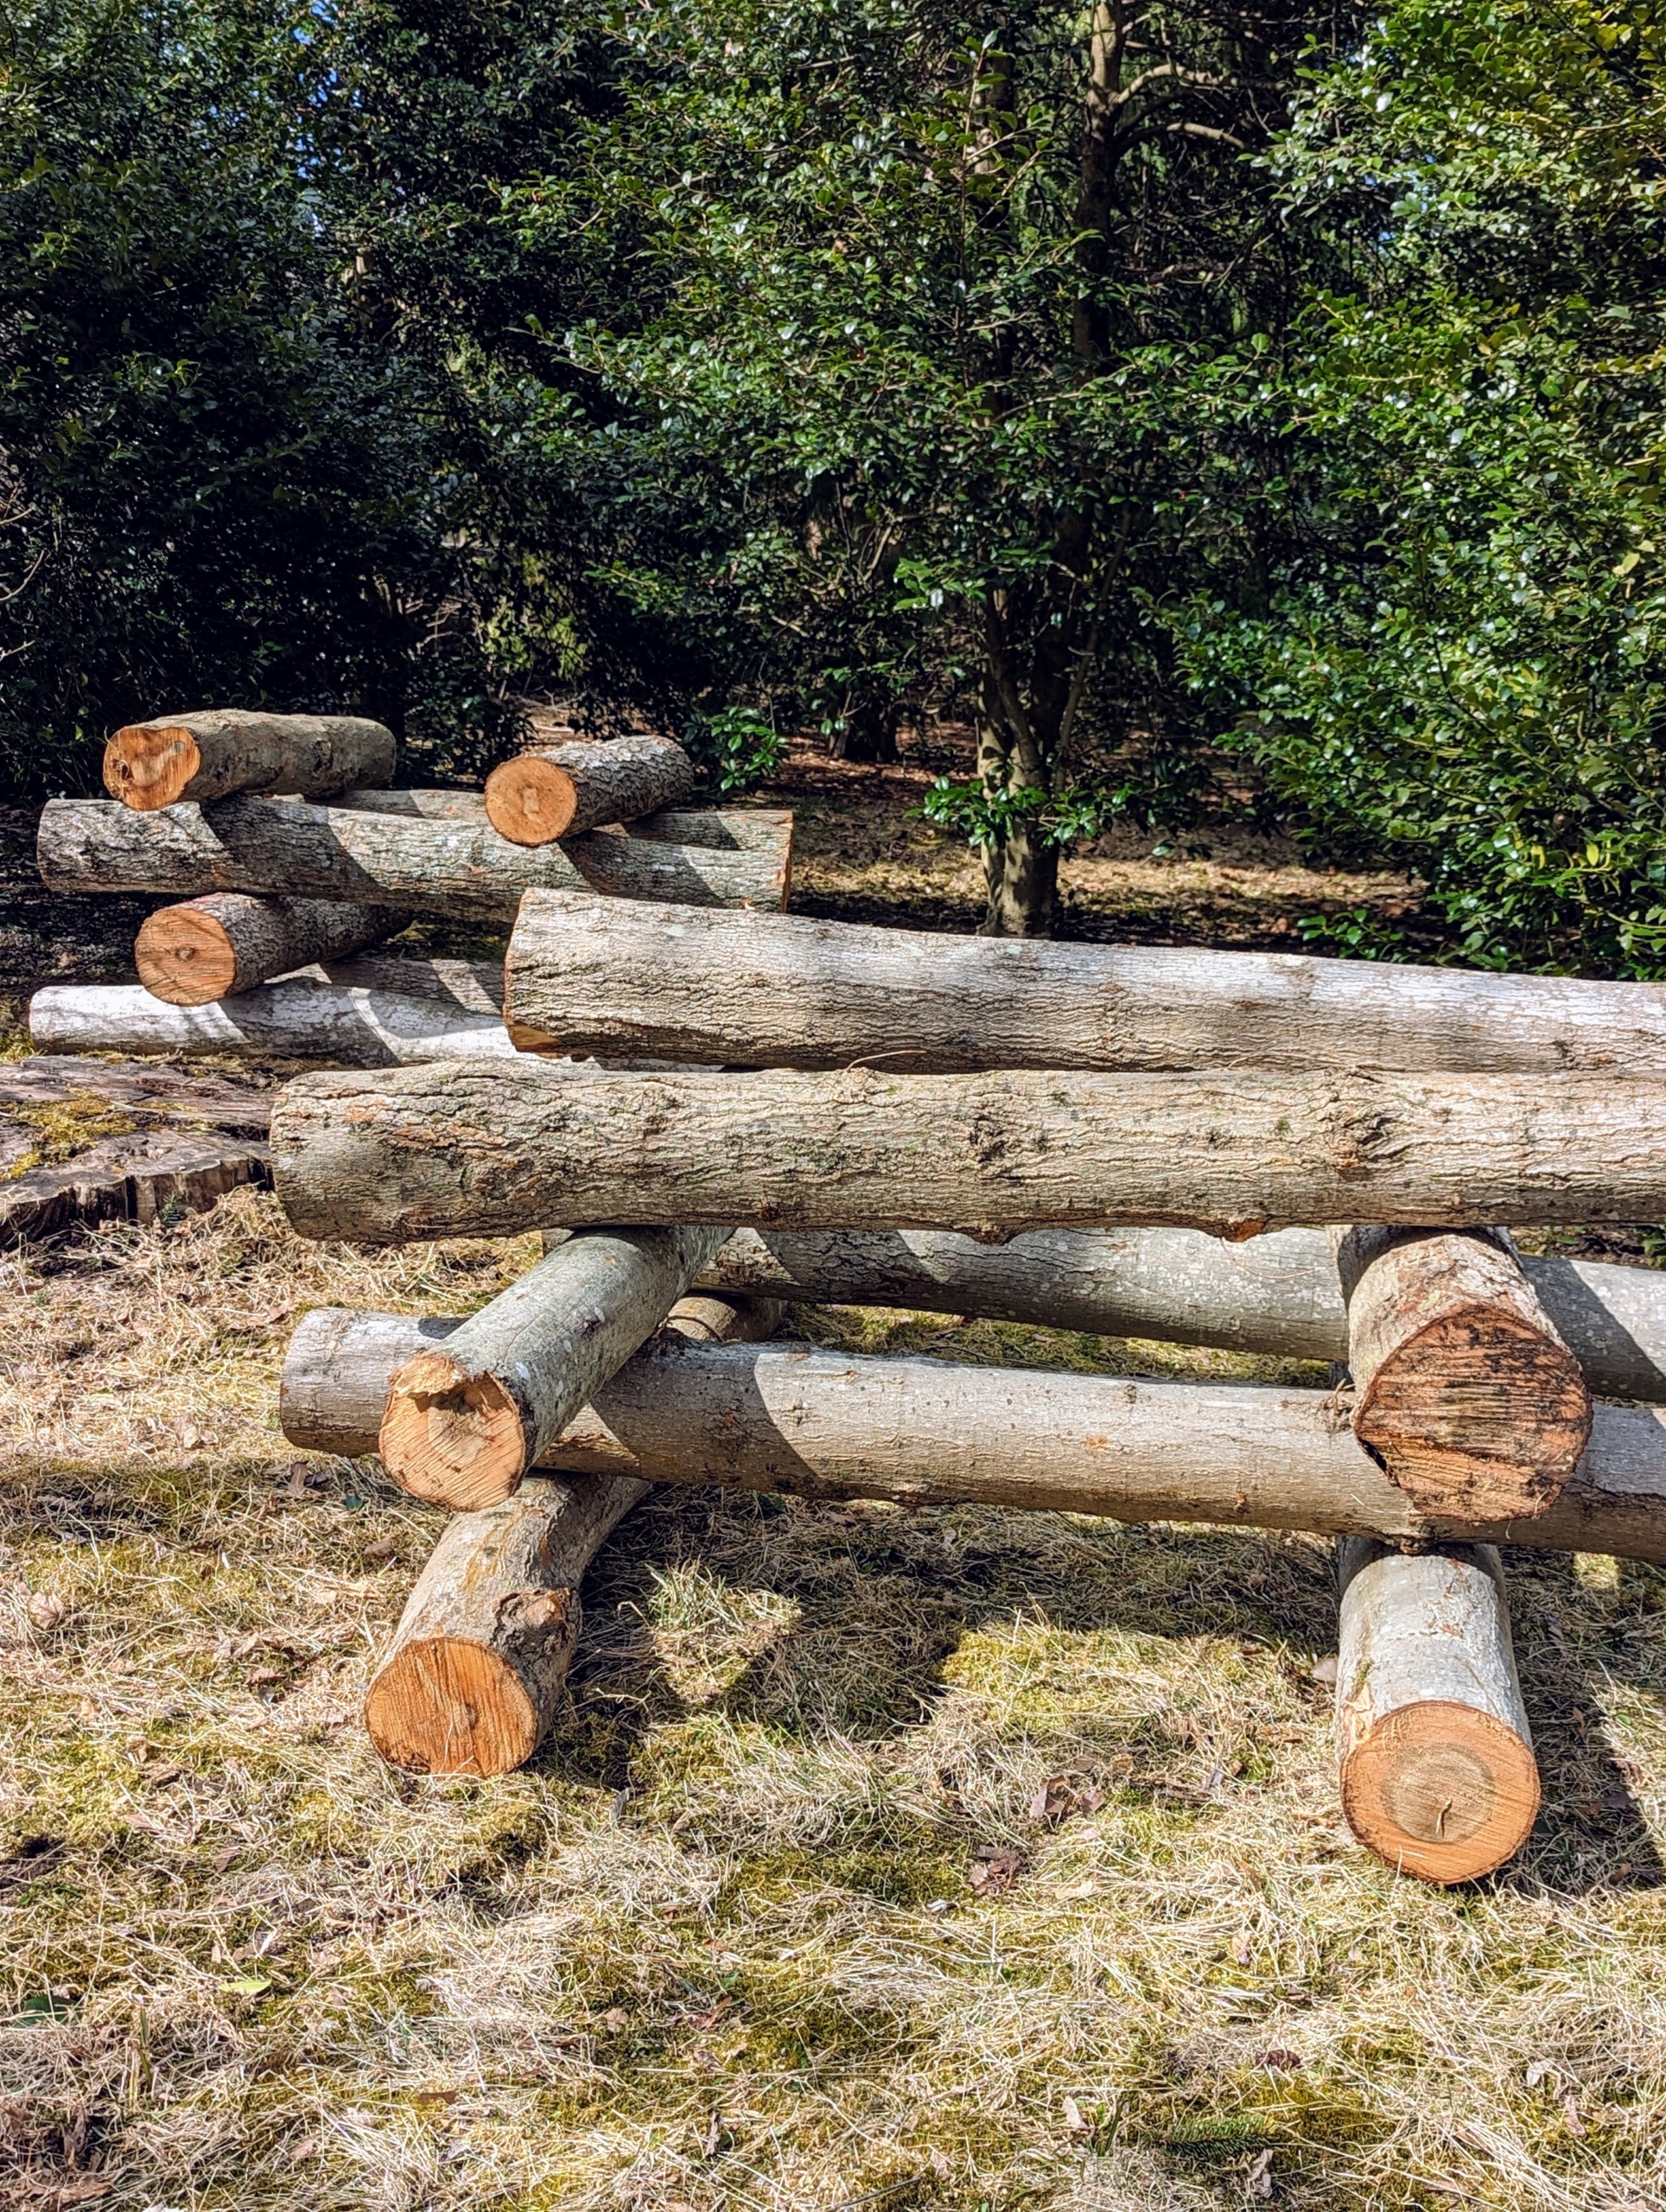
The logs are then brought to an area tucked behind some trees and stacked securely for mushroom growing. It’s important that the logs used are clean and free of rot. These are stacked in a loose crib formation.
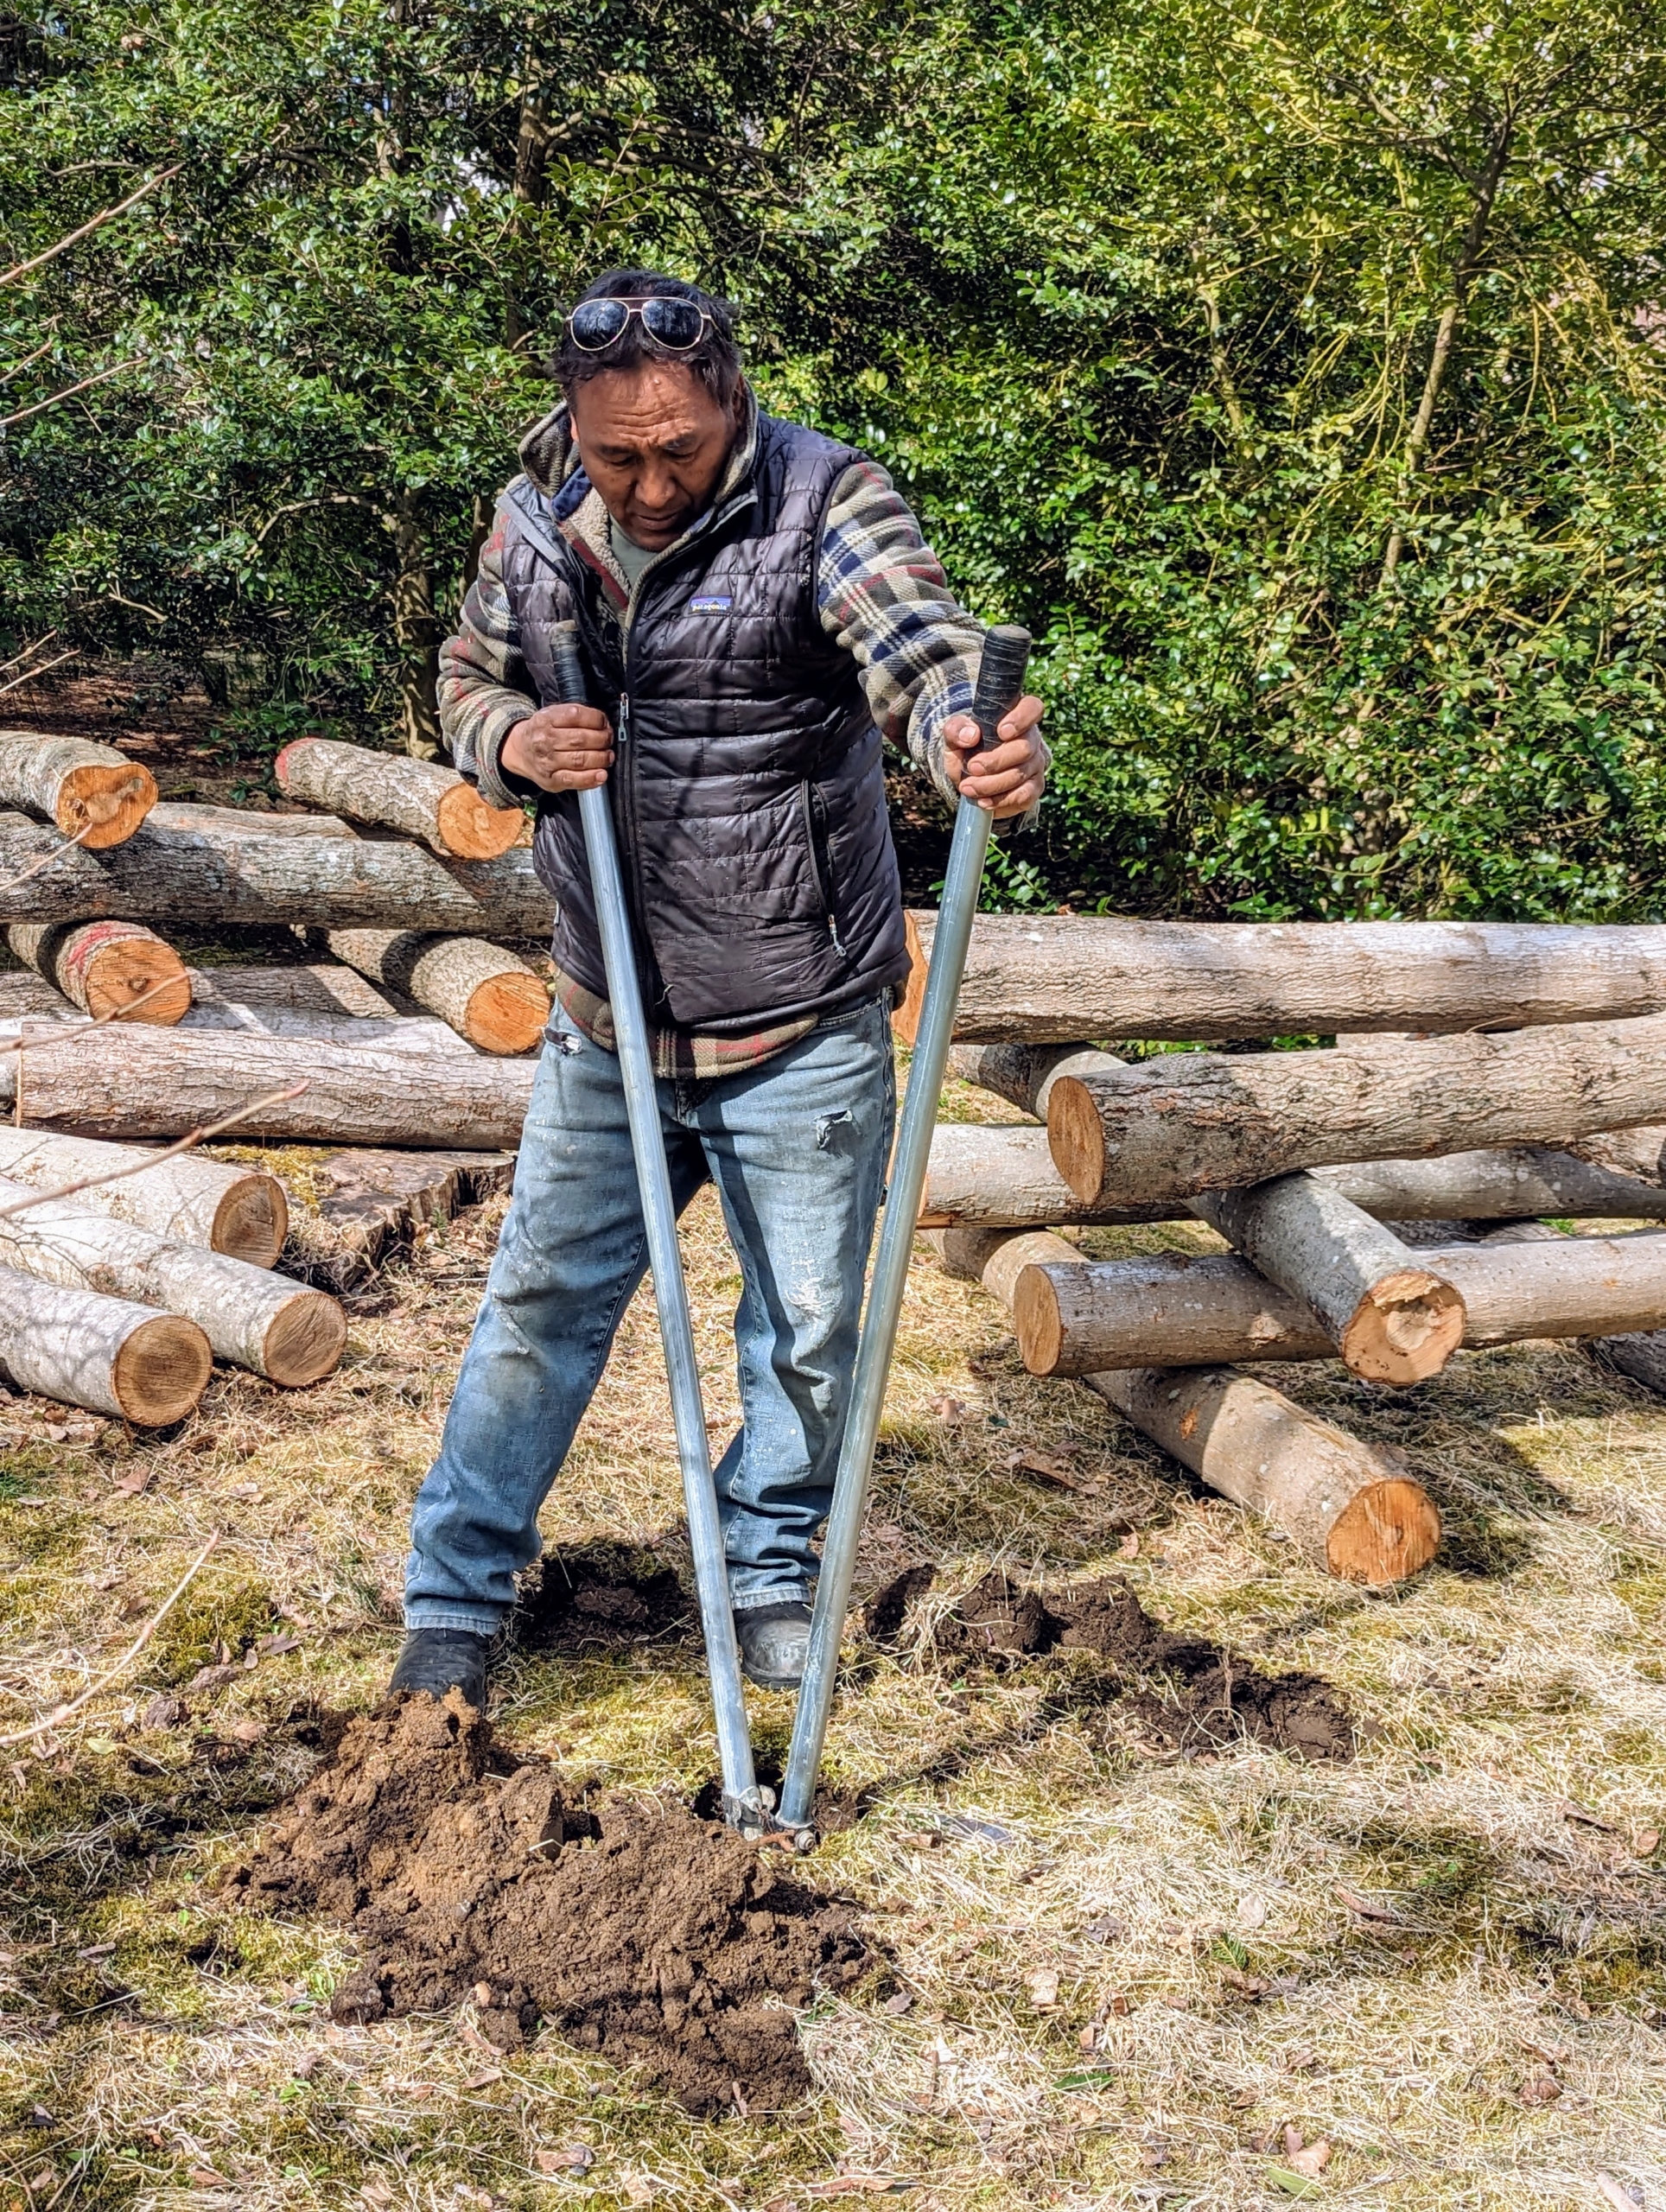
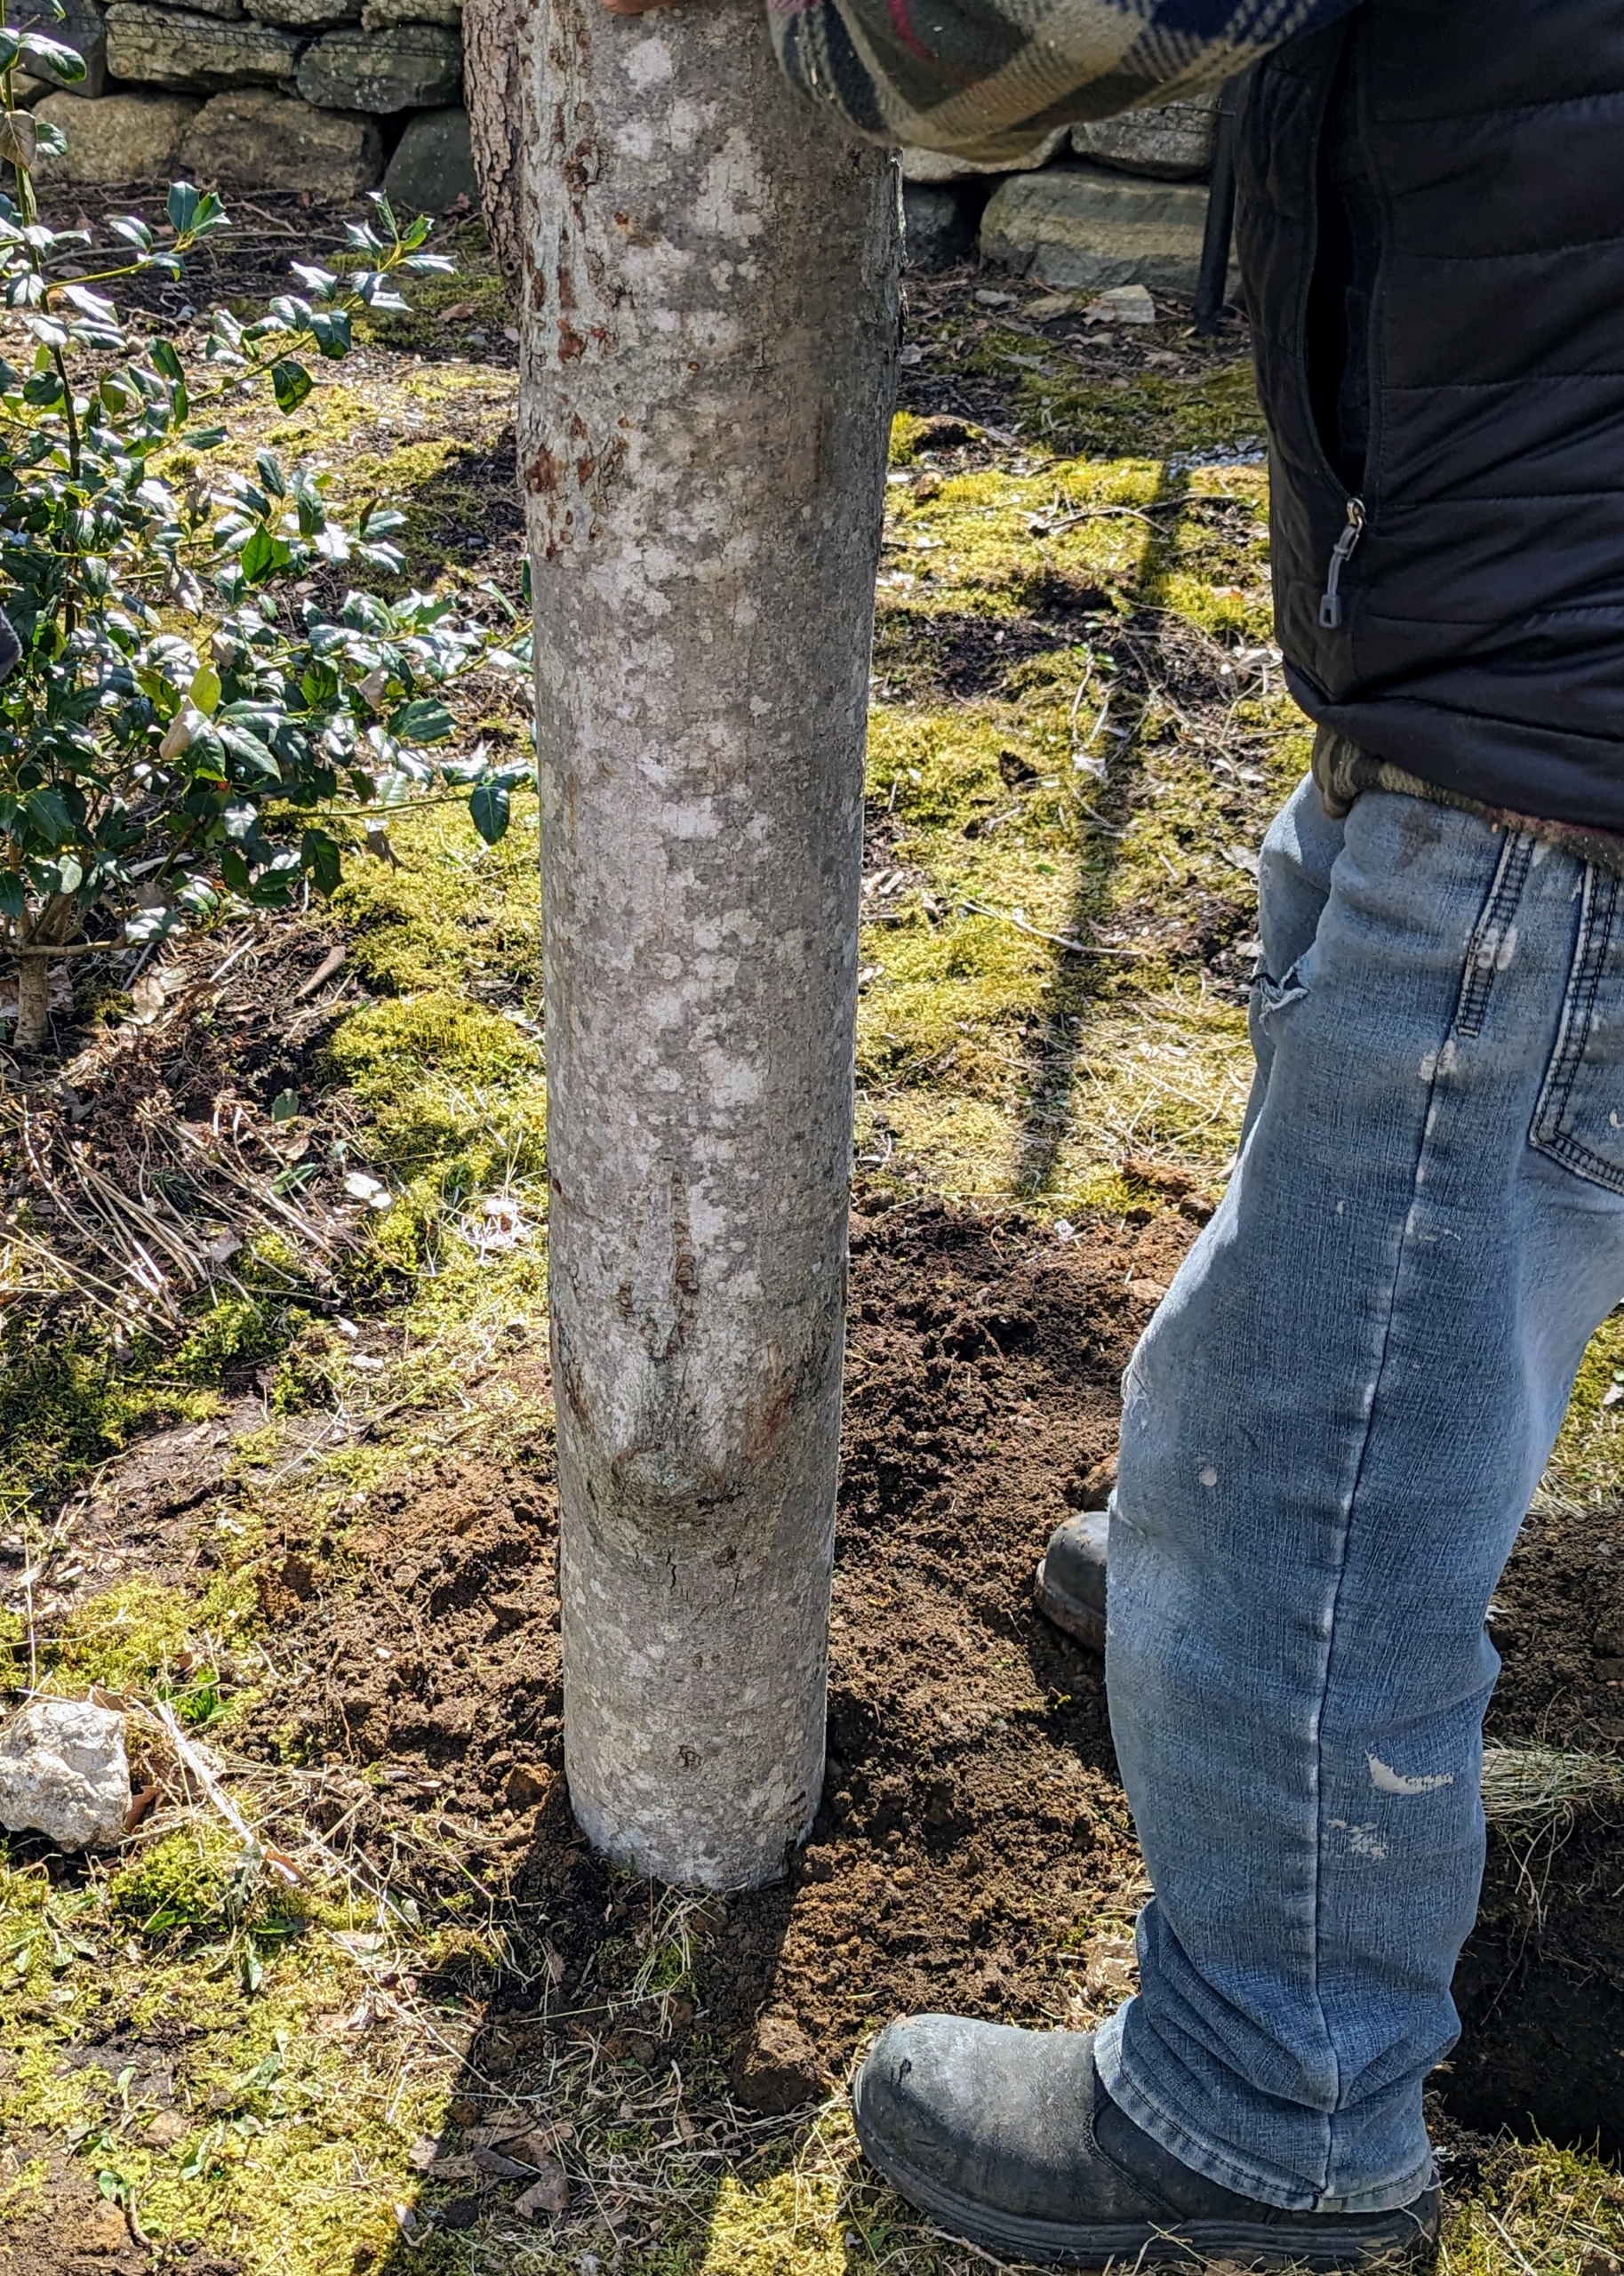
Some of the logs were also “planted” upright, another way to stack logs for mushrooms. Pete is digging the hole for the upright logs. Logs can also be stacked in a loose lean-to or upright A-frame structure.
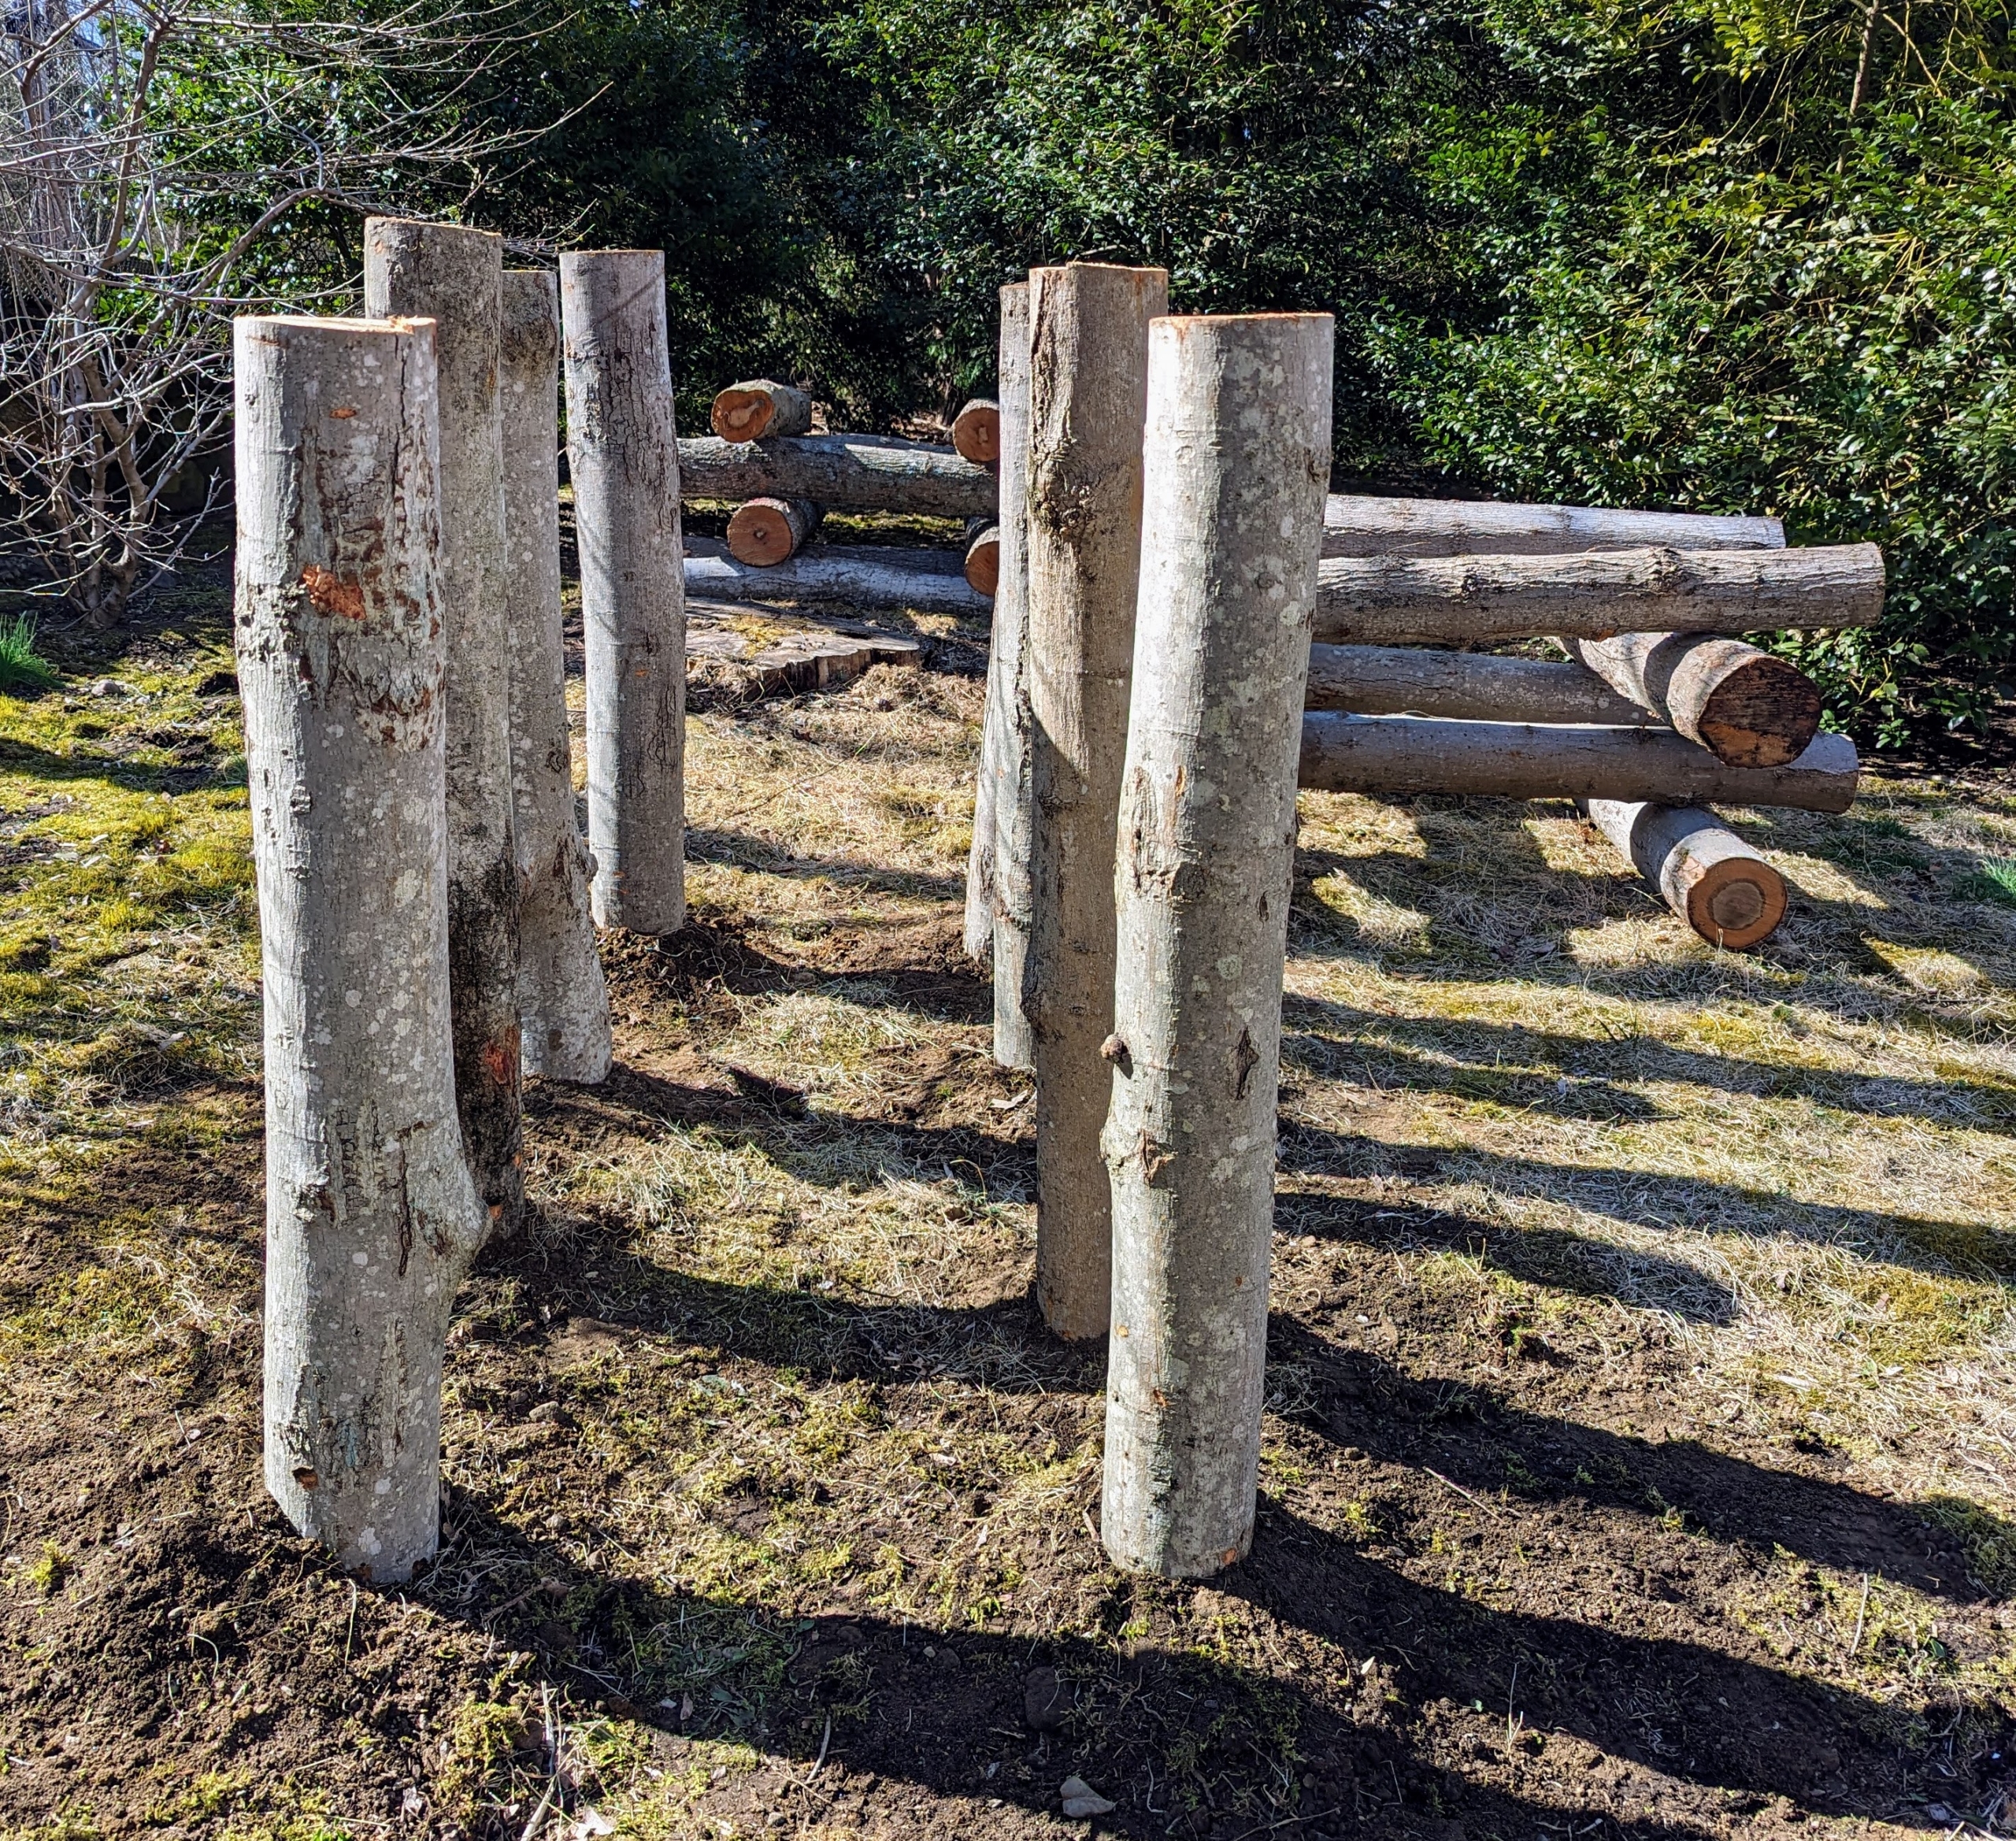
Pete dug holes for six upright logs.
Here is our mushroom garden. On average, a mushroom log will produce for one year per inch of diameter of the log. Hopefully these will be very productive.
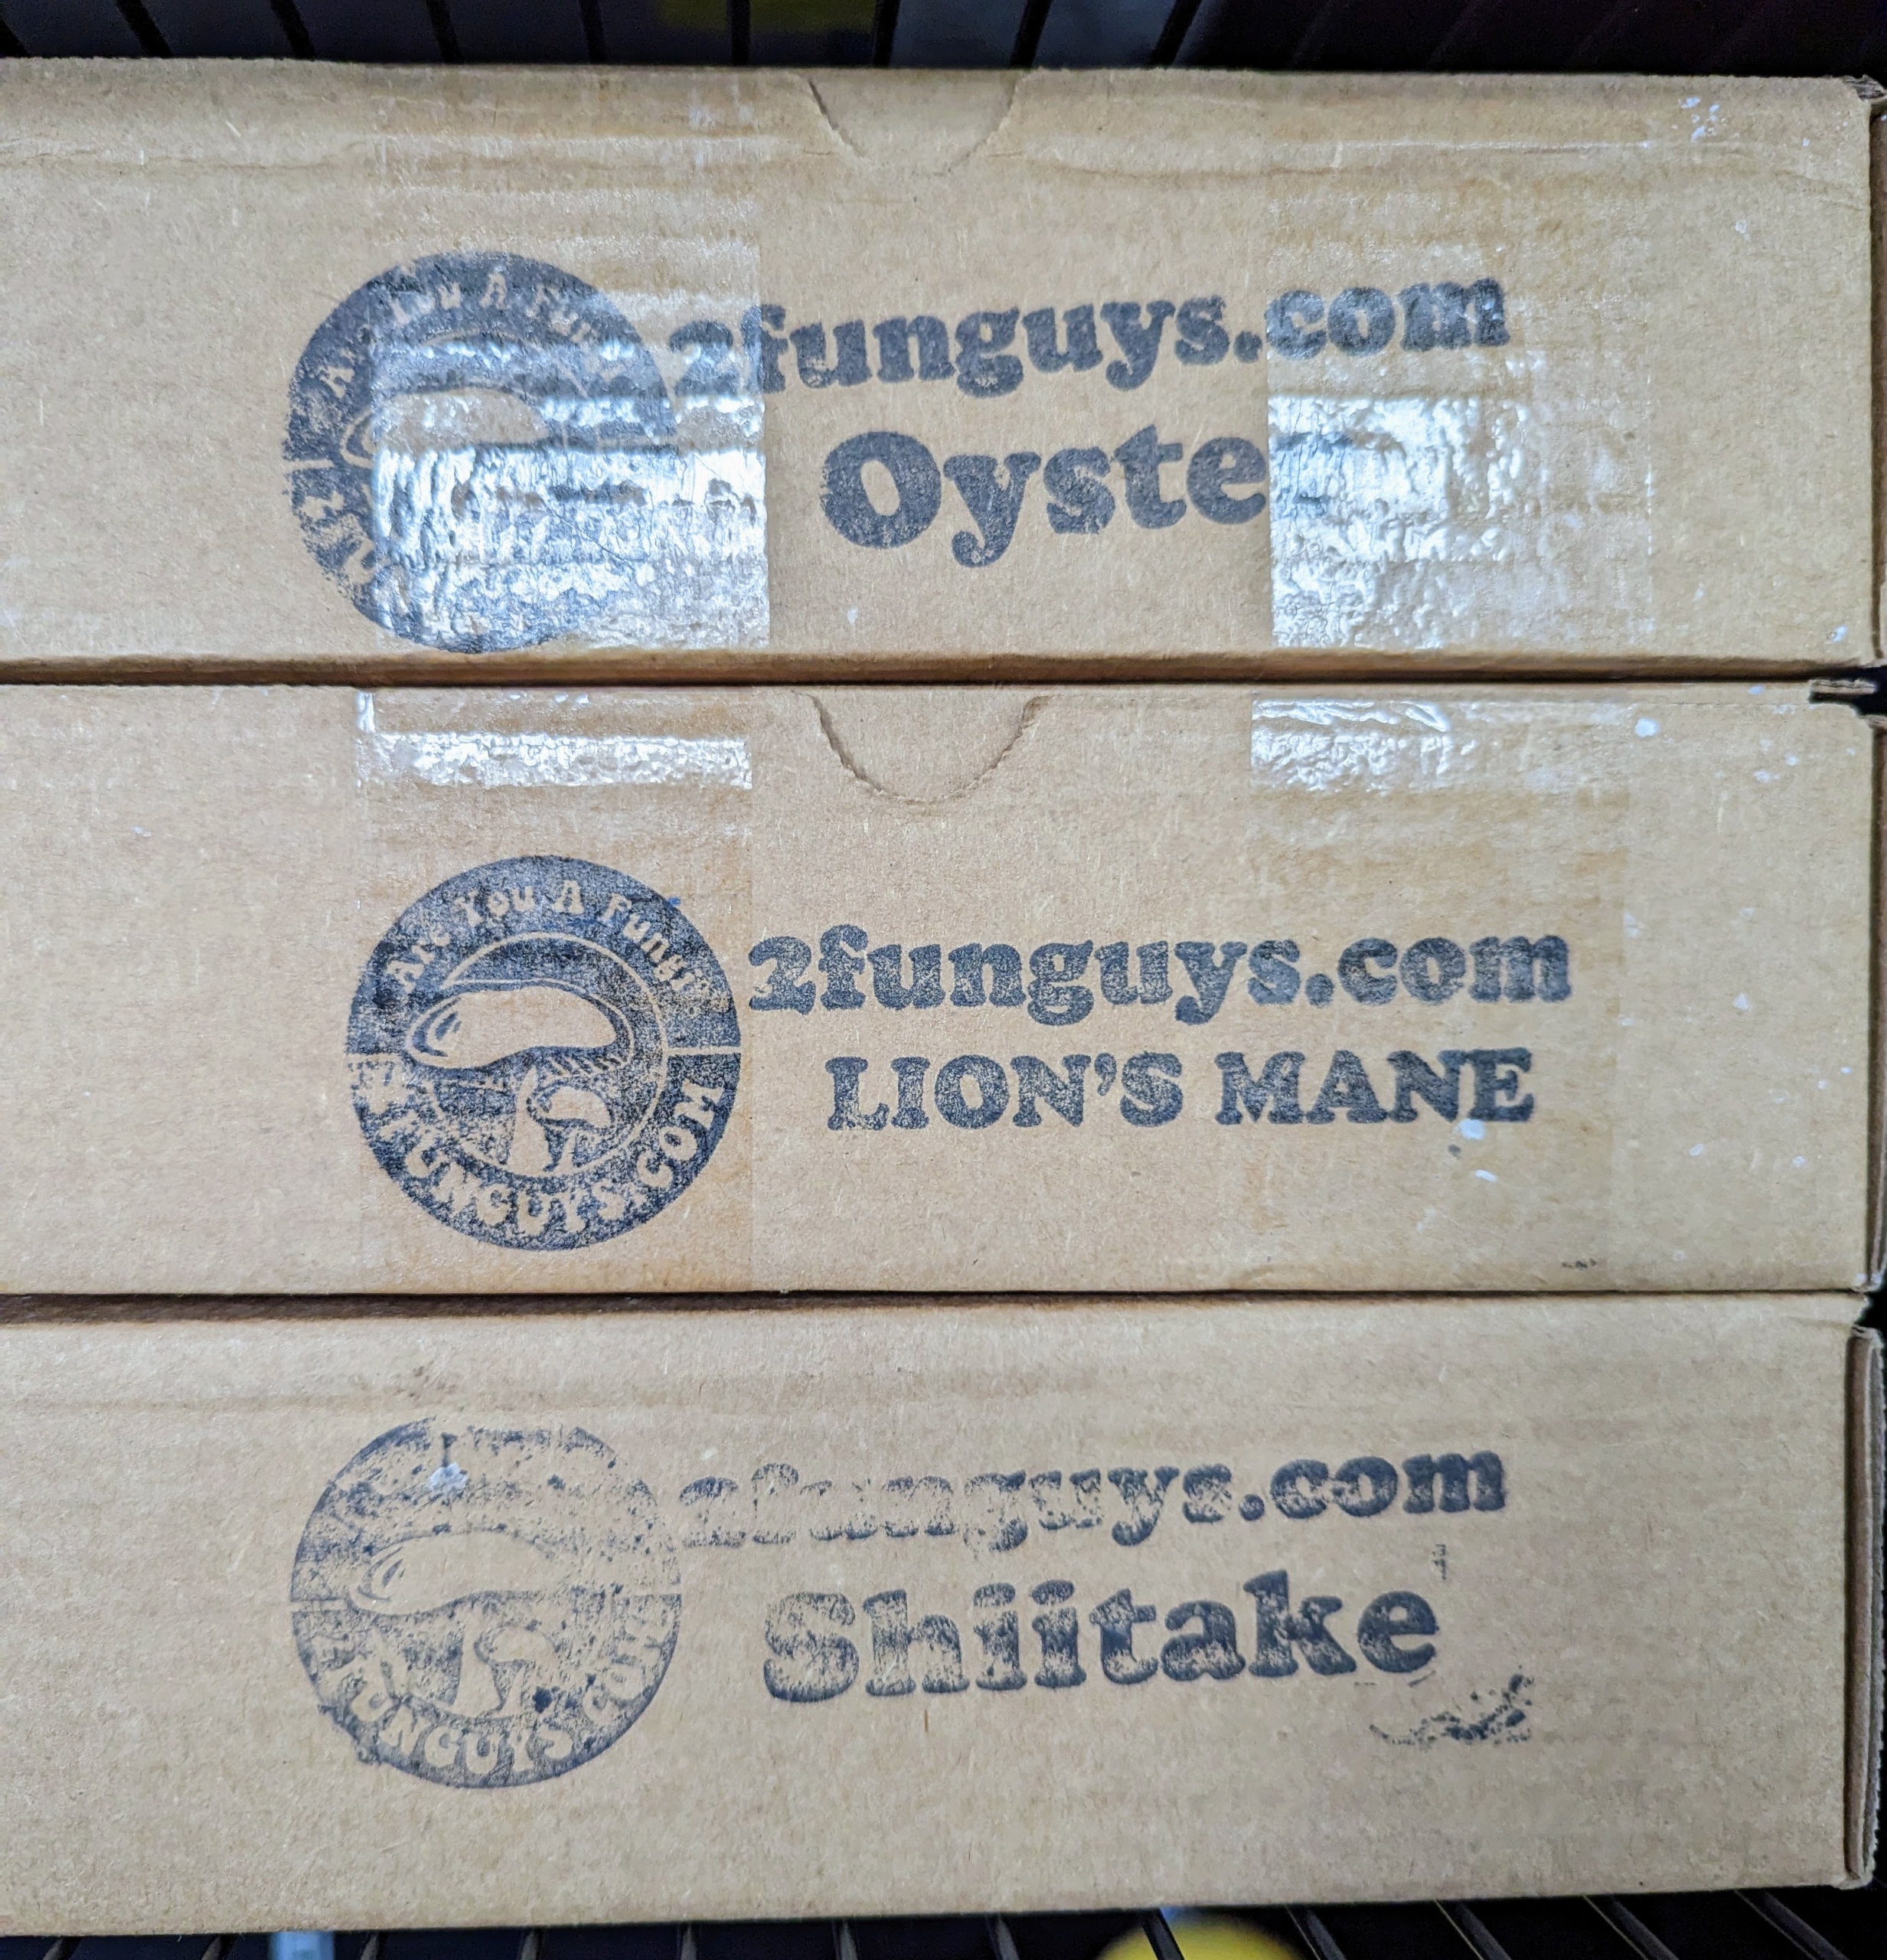
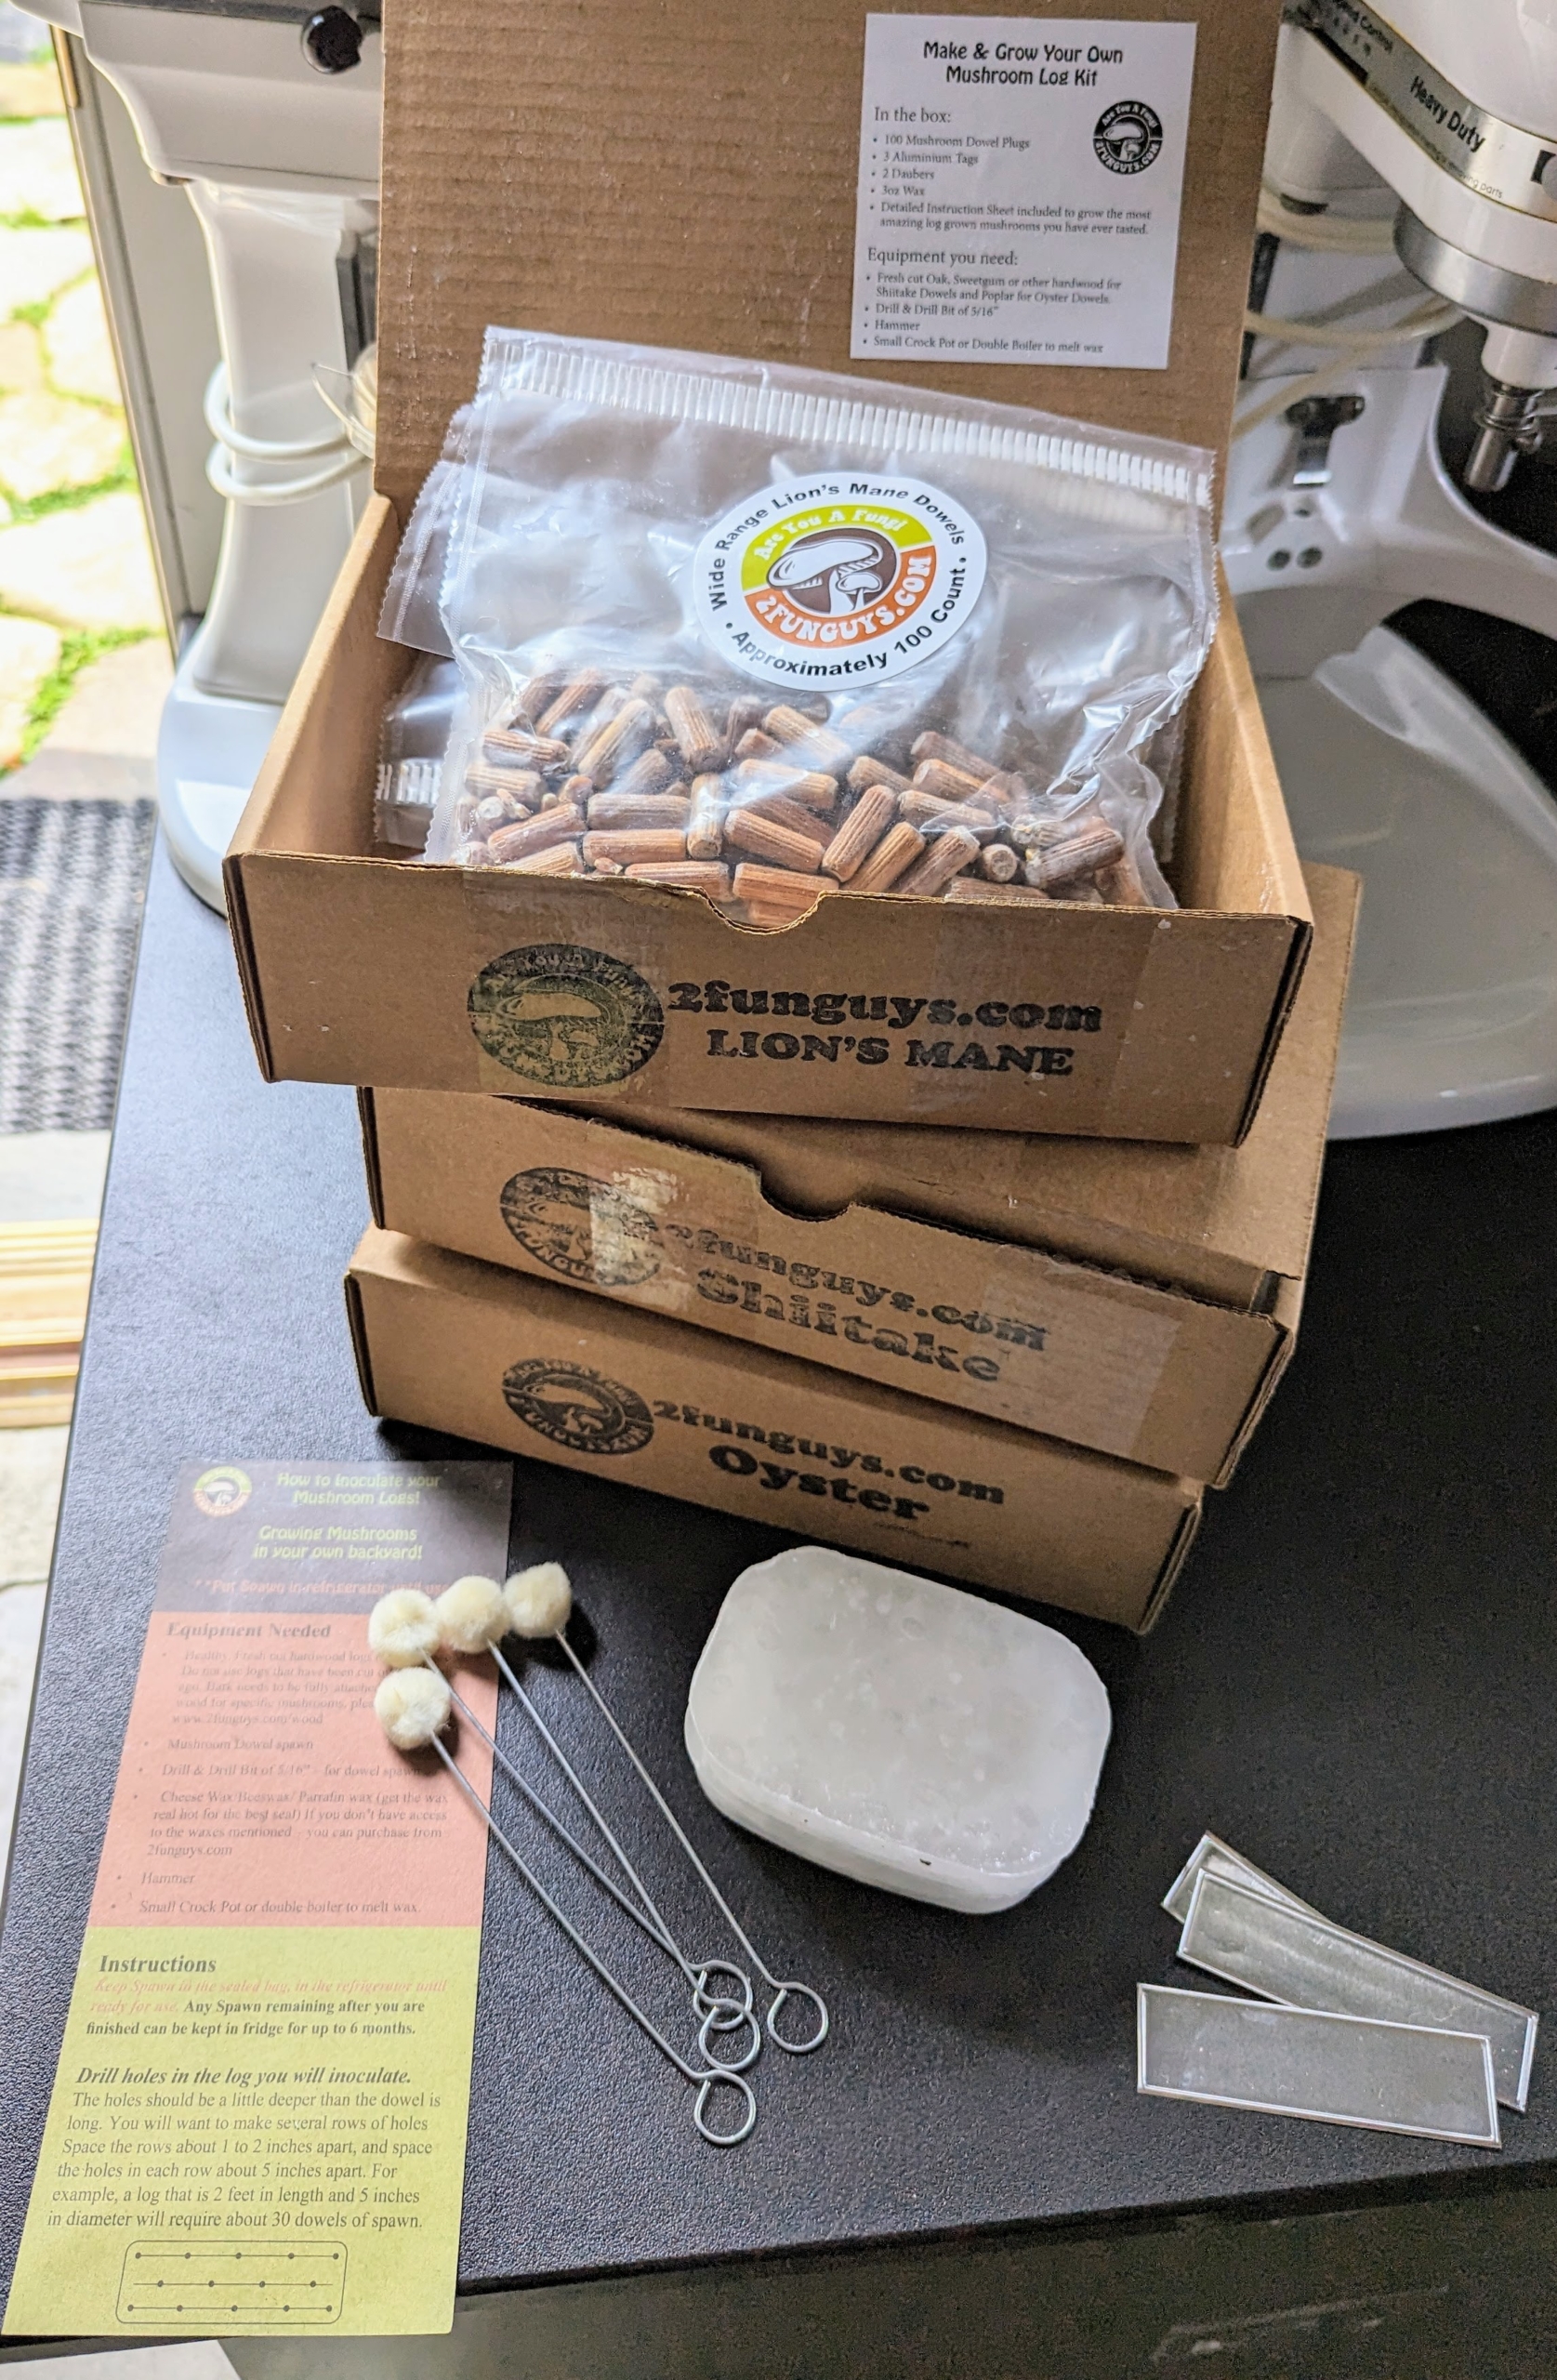
Our mushroom spawn plugs came in kits – one for oyster mushrooms, Pleurotus ostreatus, one of the more commonly sought wild mushrooms; lion’s mane mushrooms, Hericium erinaceus, those big, white mushrooms from the tooth fungus family that grow on woody tree trunks; and, shiitake mushrooms, Lentinus edodes, another popular mushroom renowned for its unique and savory flavor.
Each kit contains a hundred mushroom spawn plugs, an appropriate sized drill bit, tags, daubers, wax, and a complete instruction card.
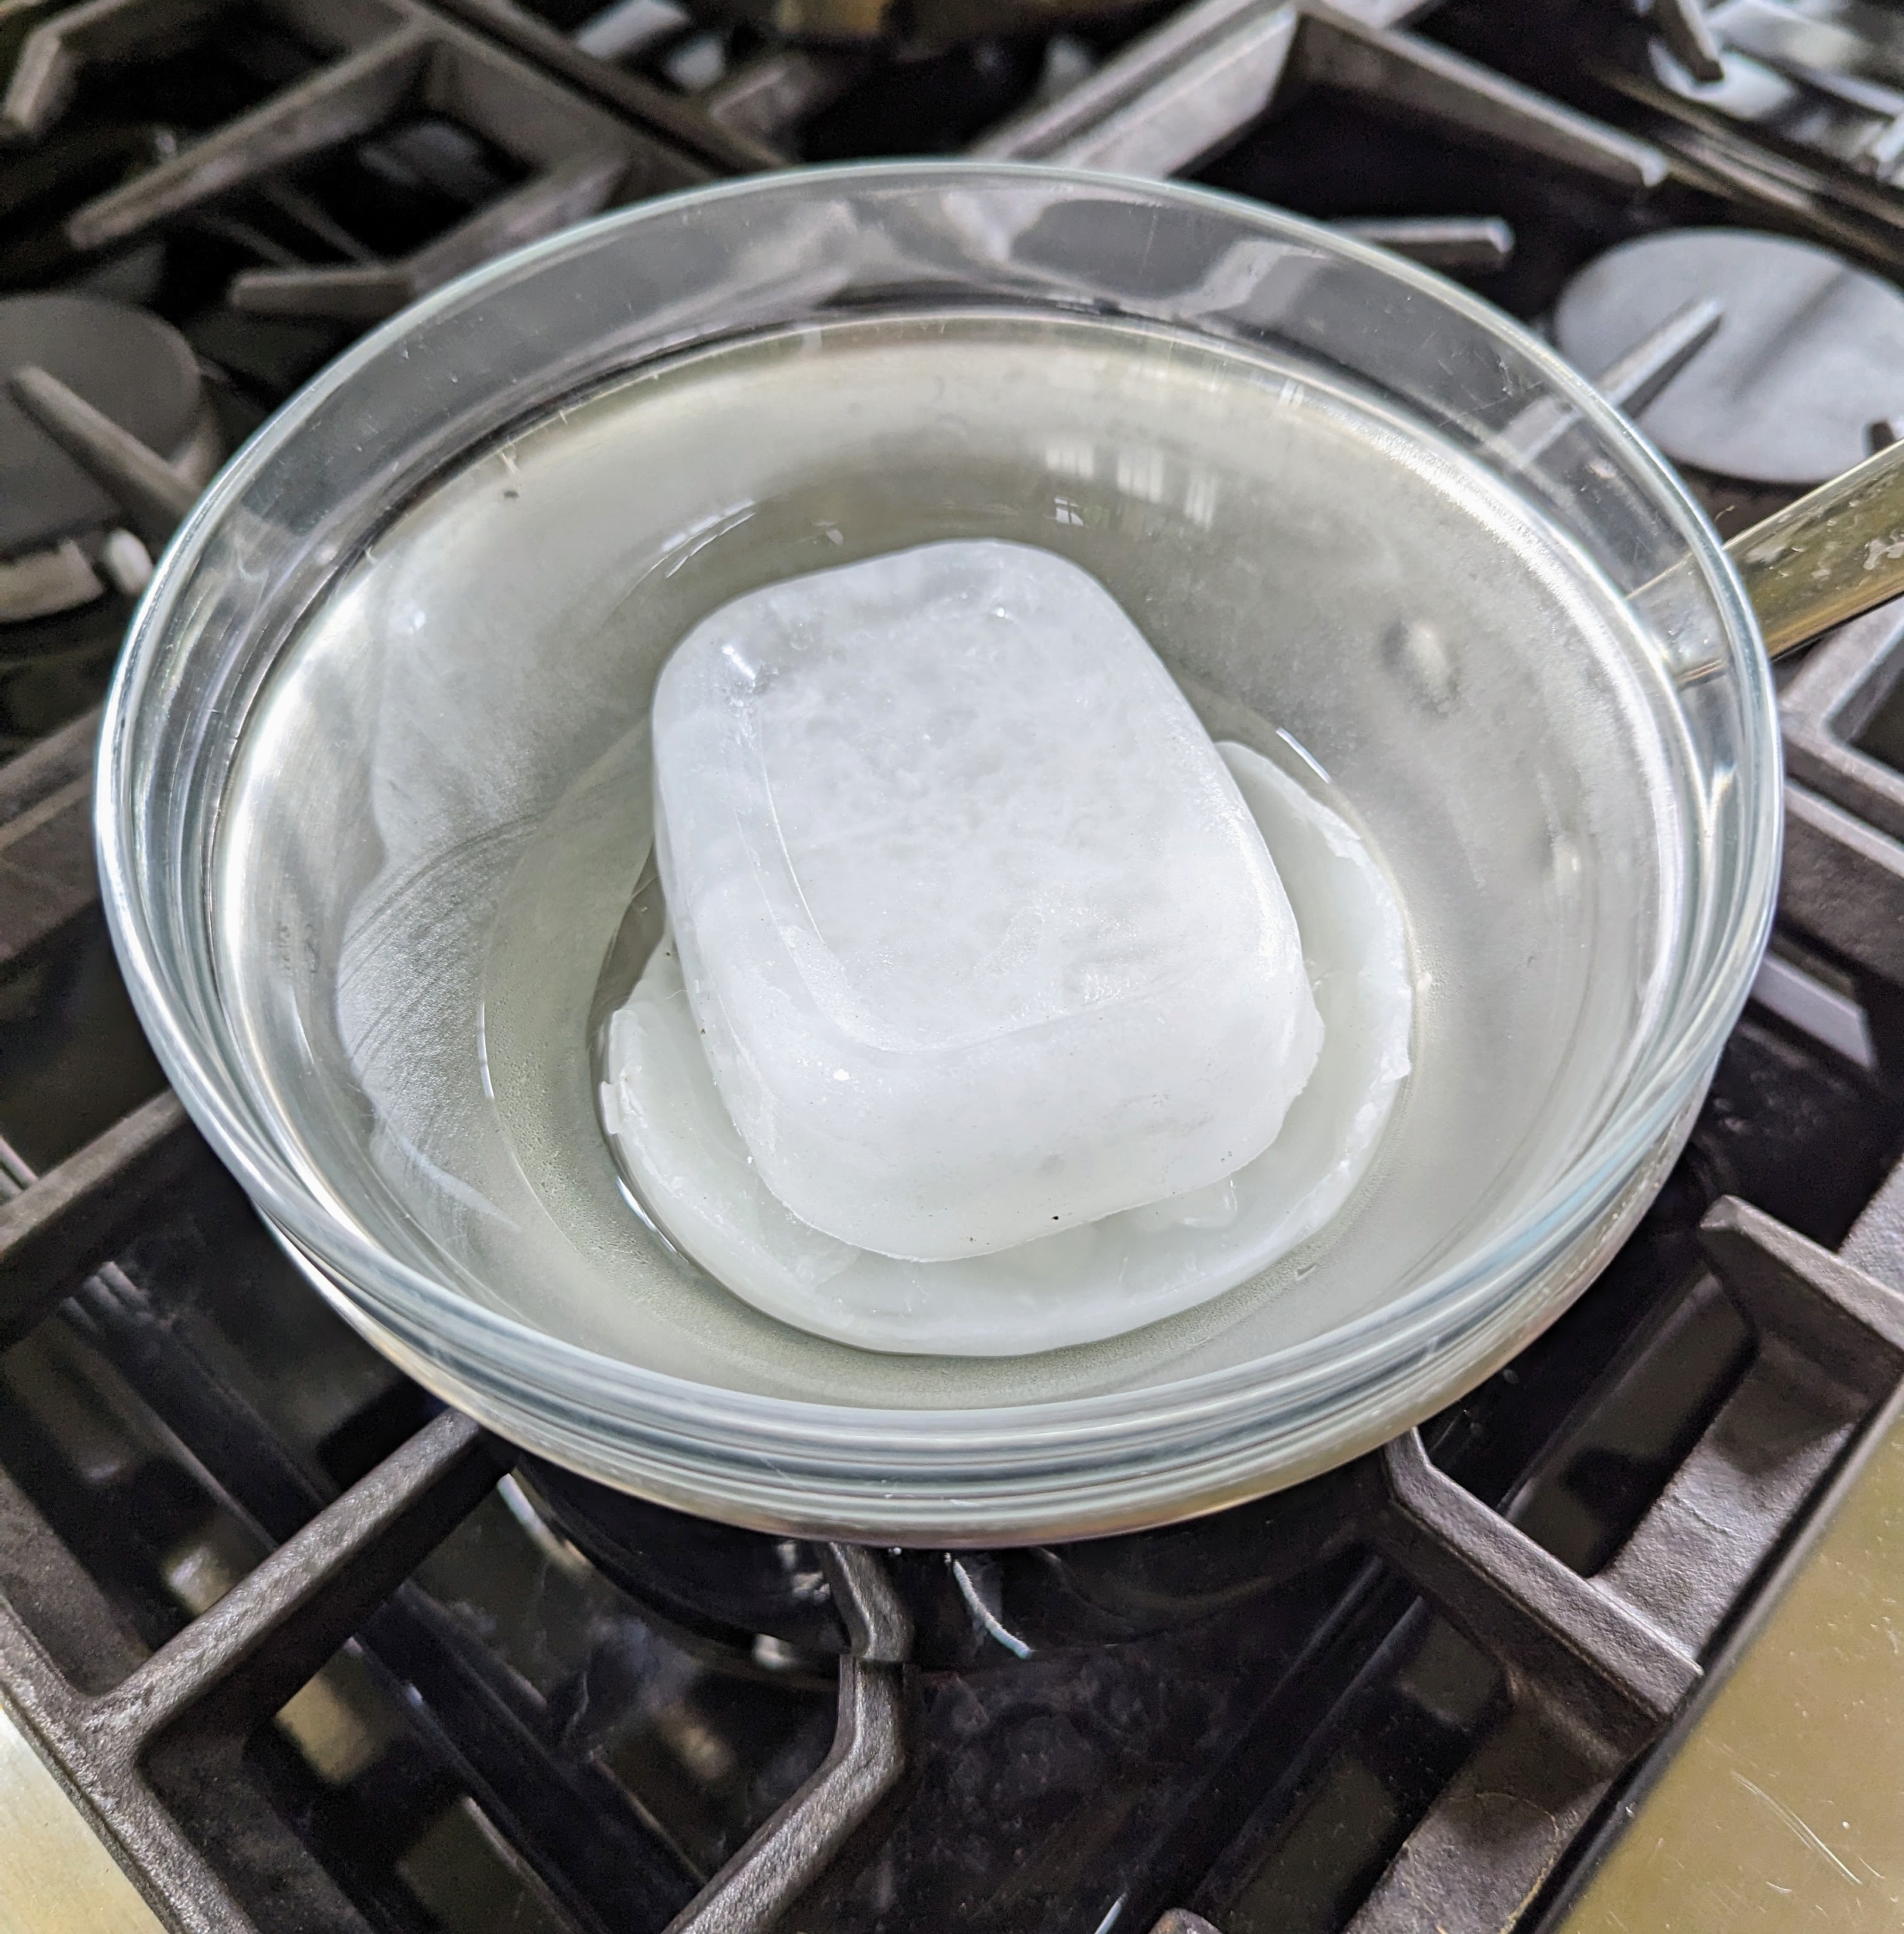
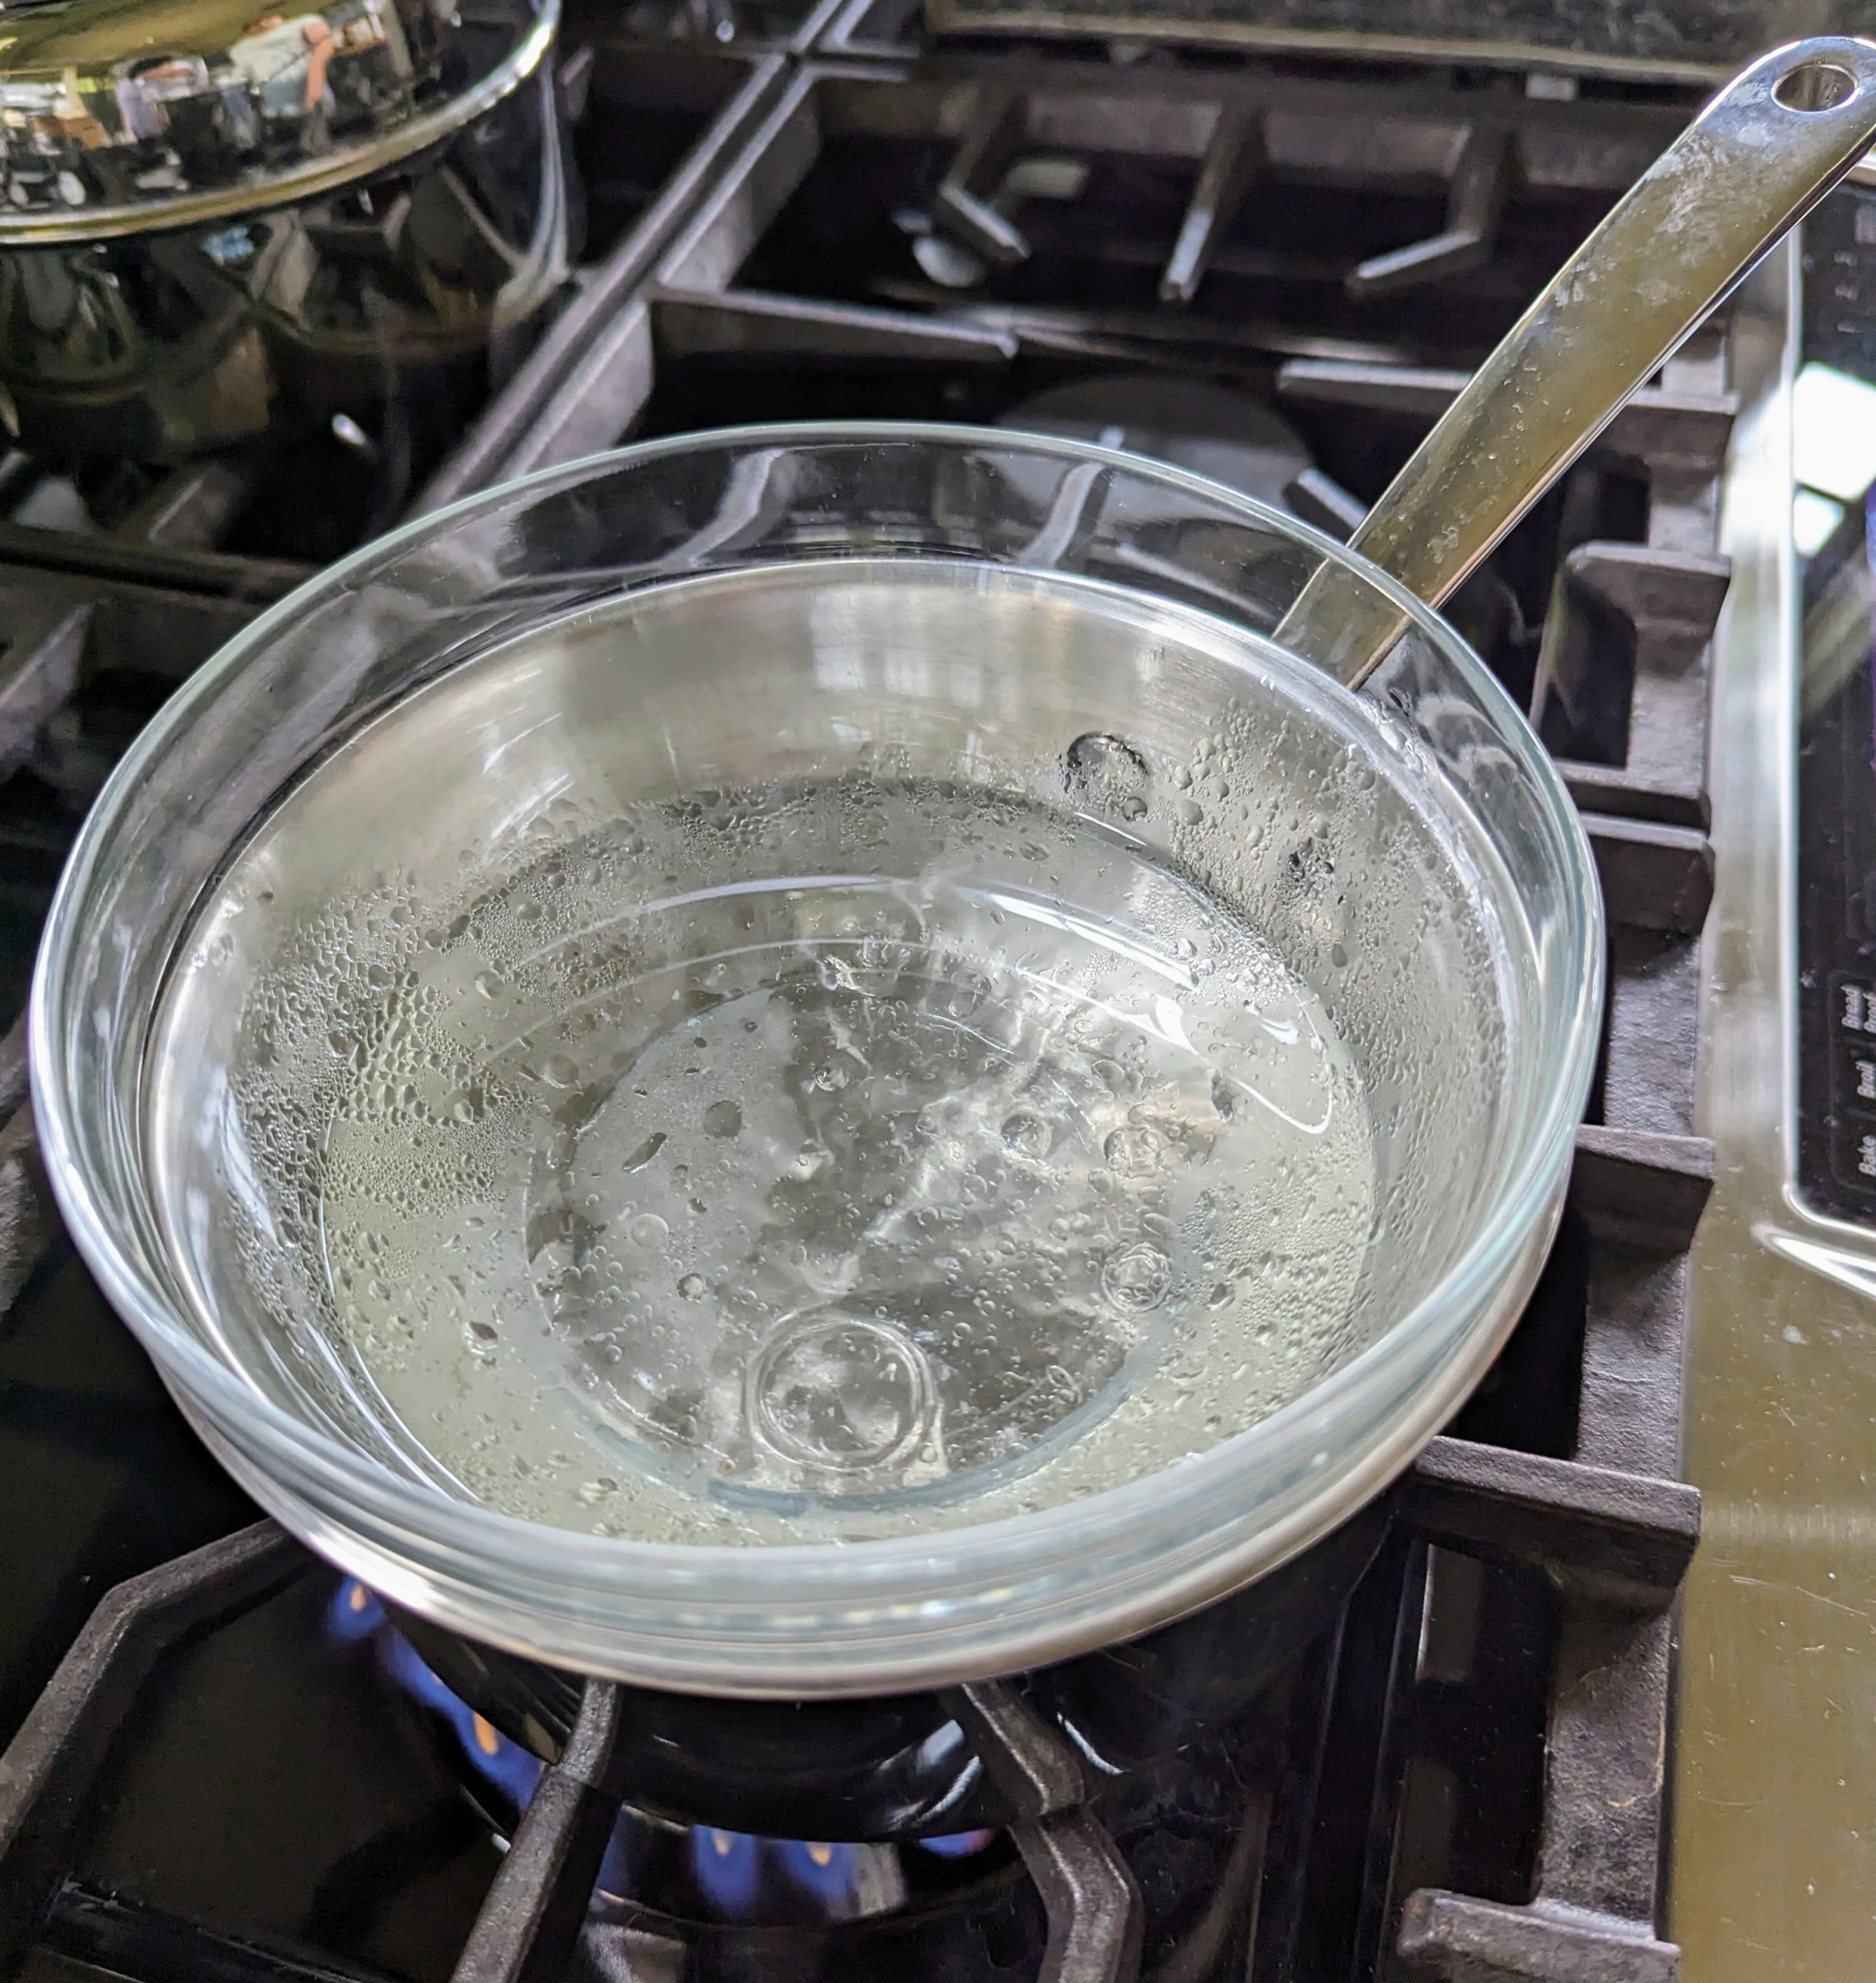
Ryan starts by melting the wax. The wax will be used for sealing the plug into the log.
Once it is melted down, it is brought to the mushroom log site.
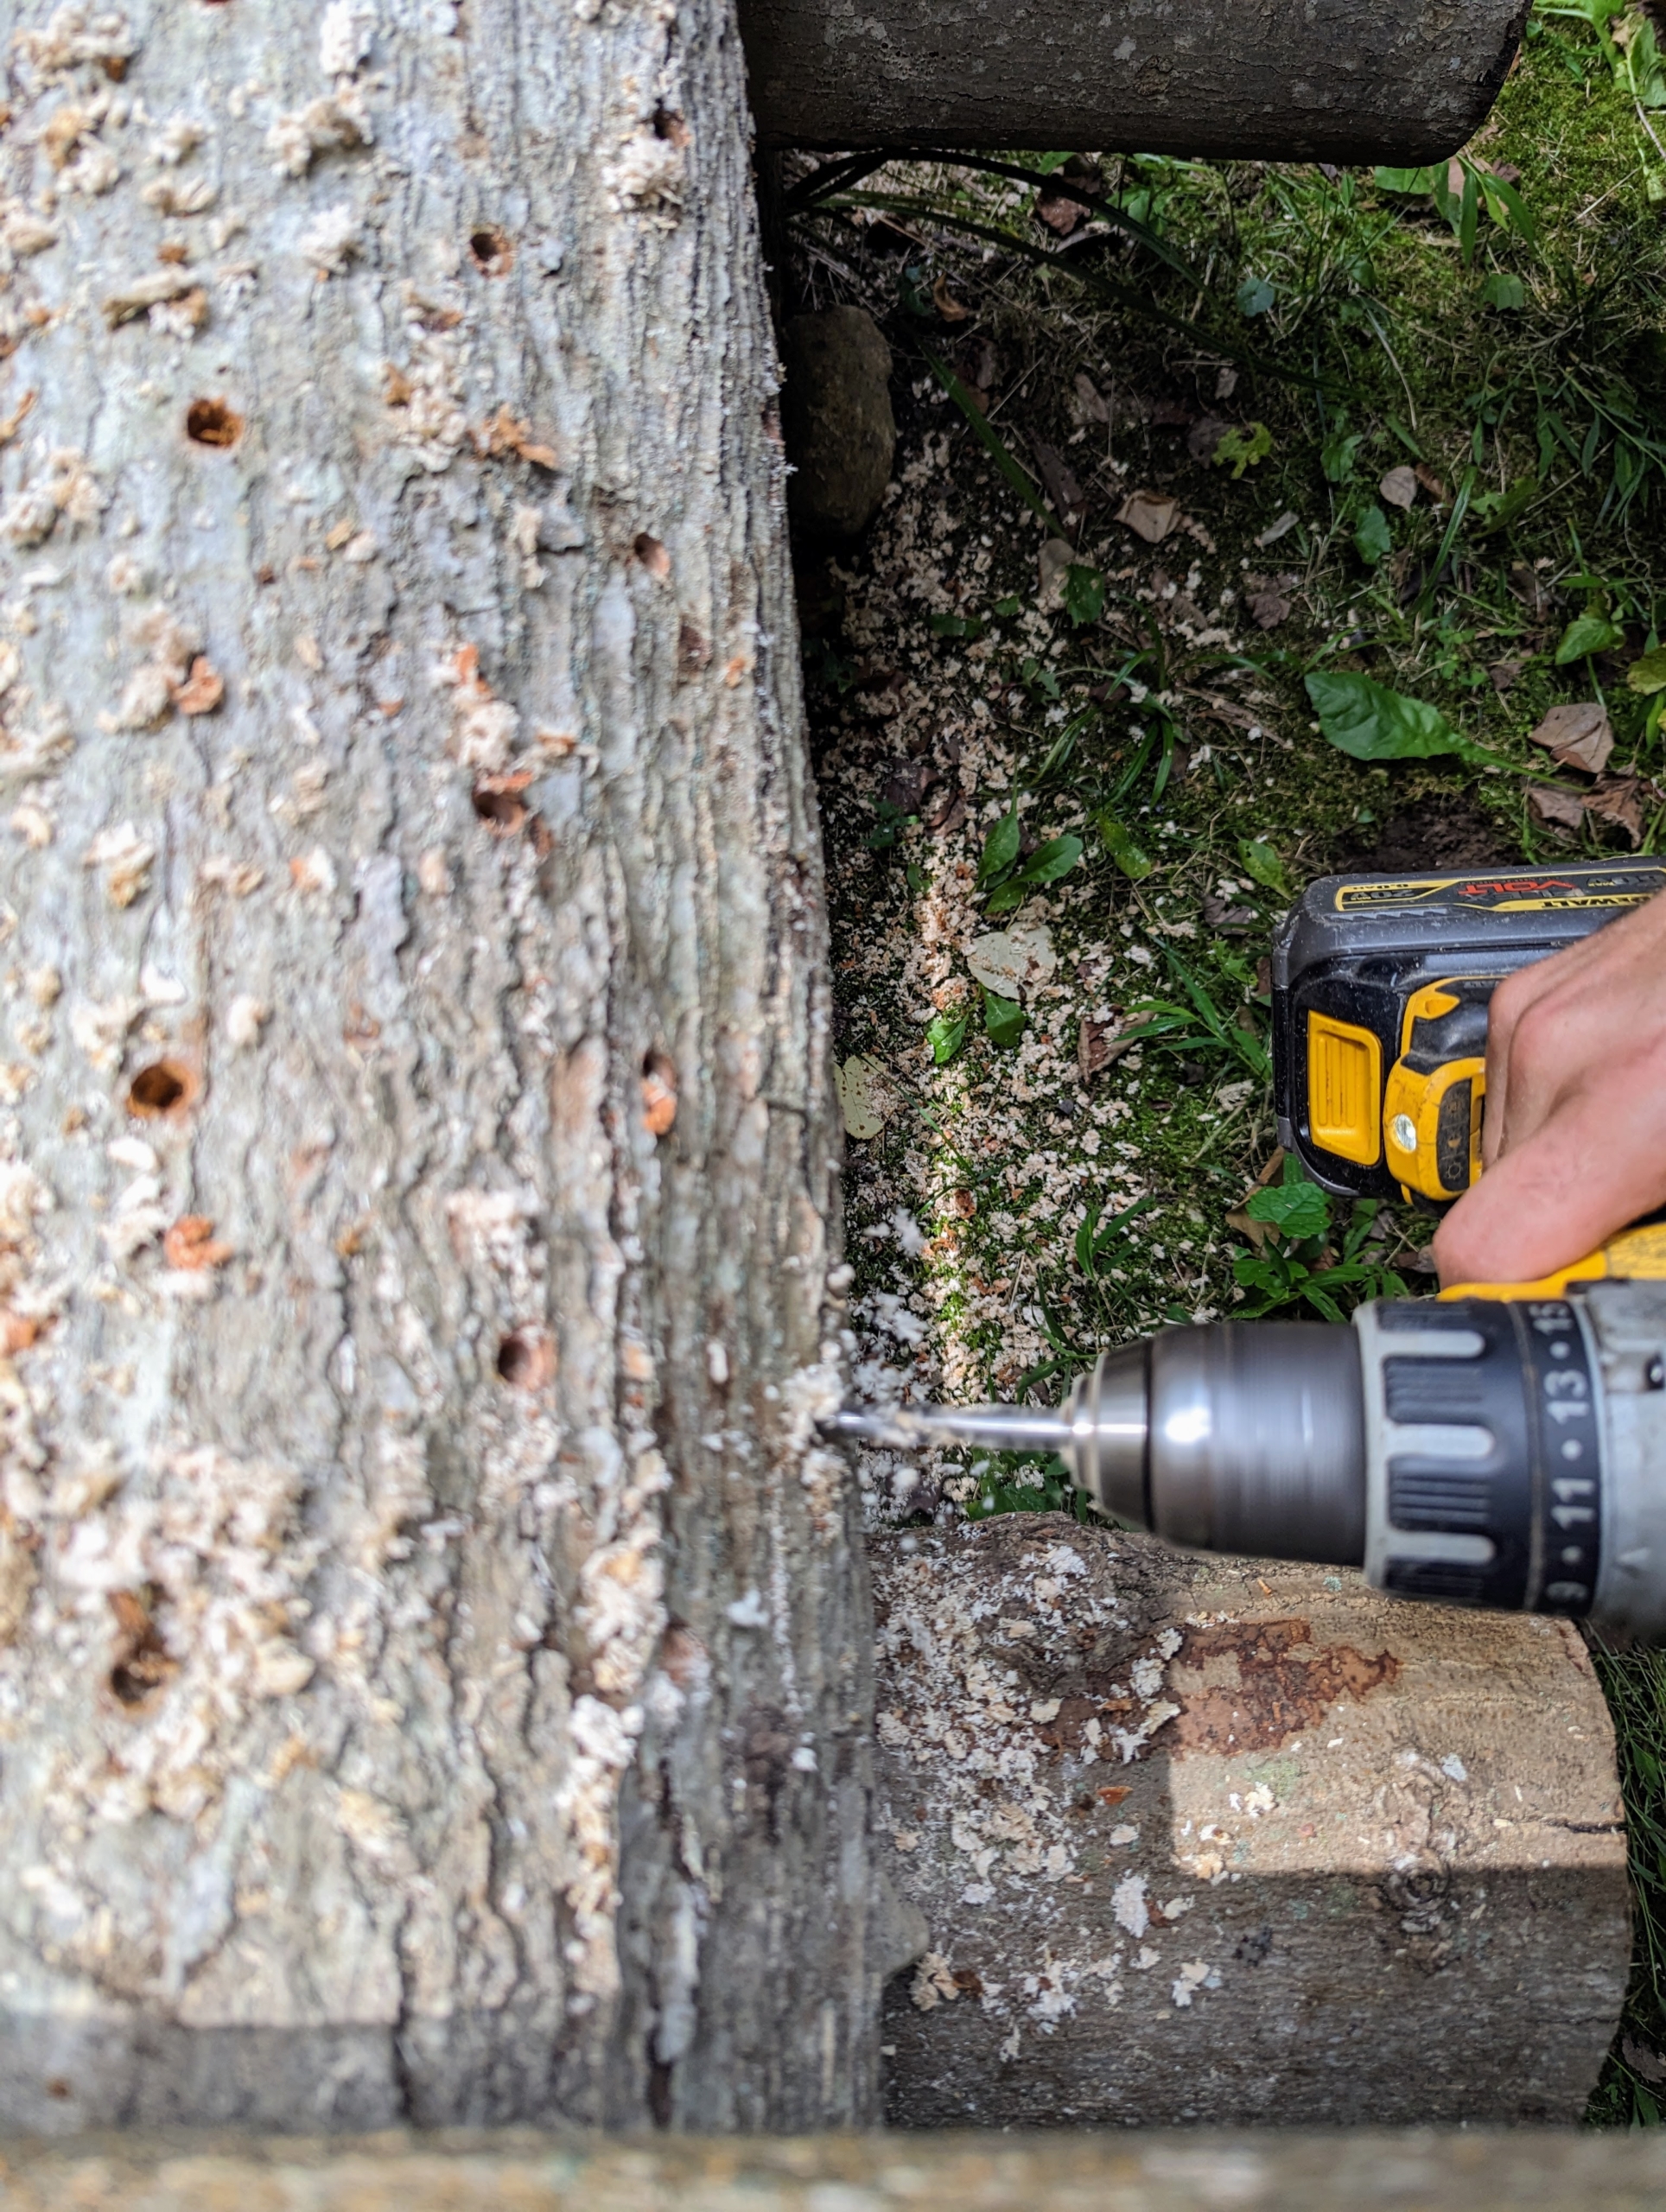
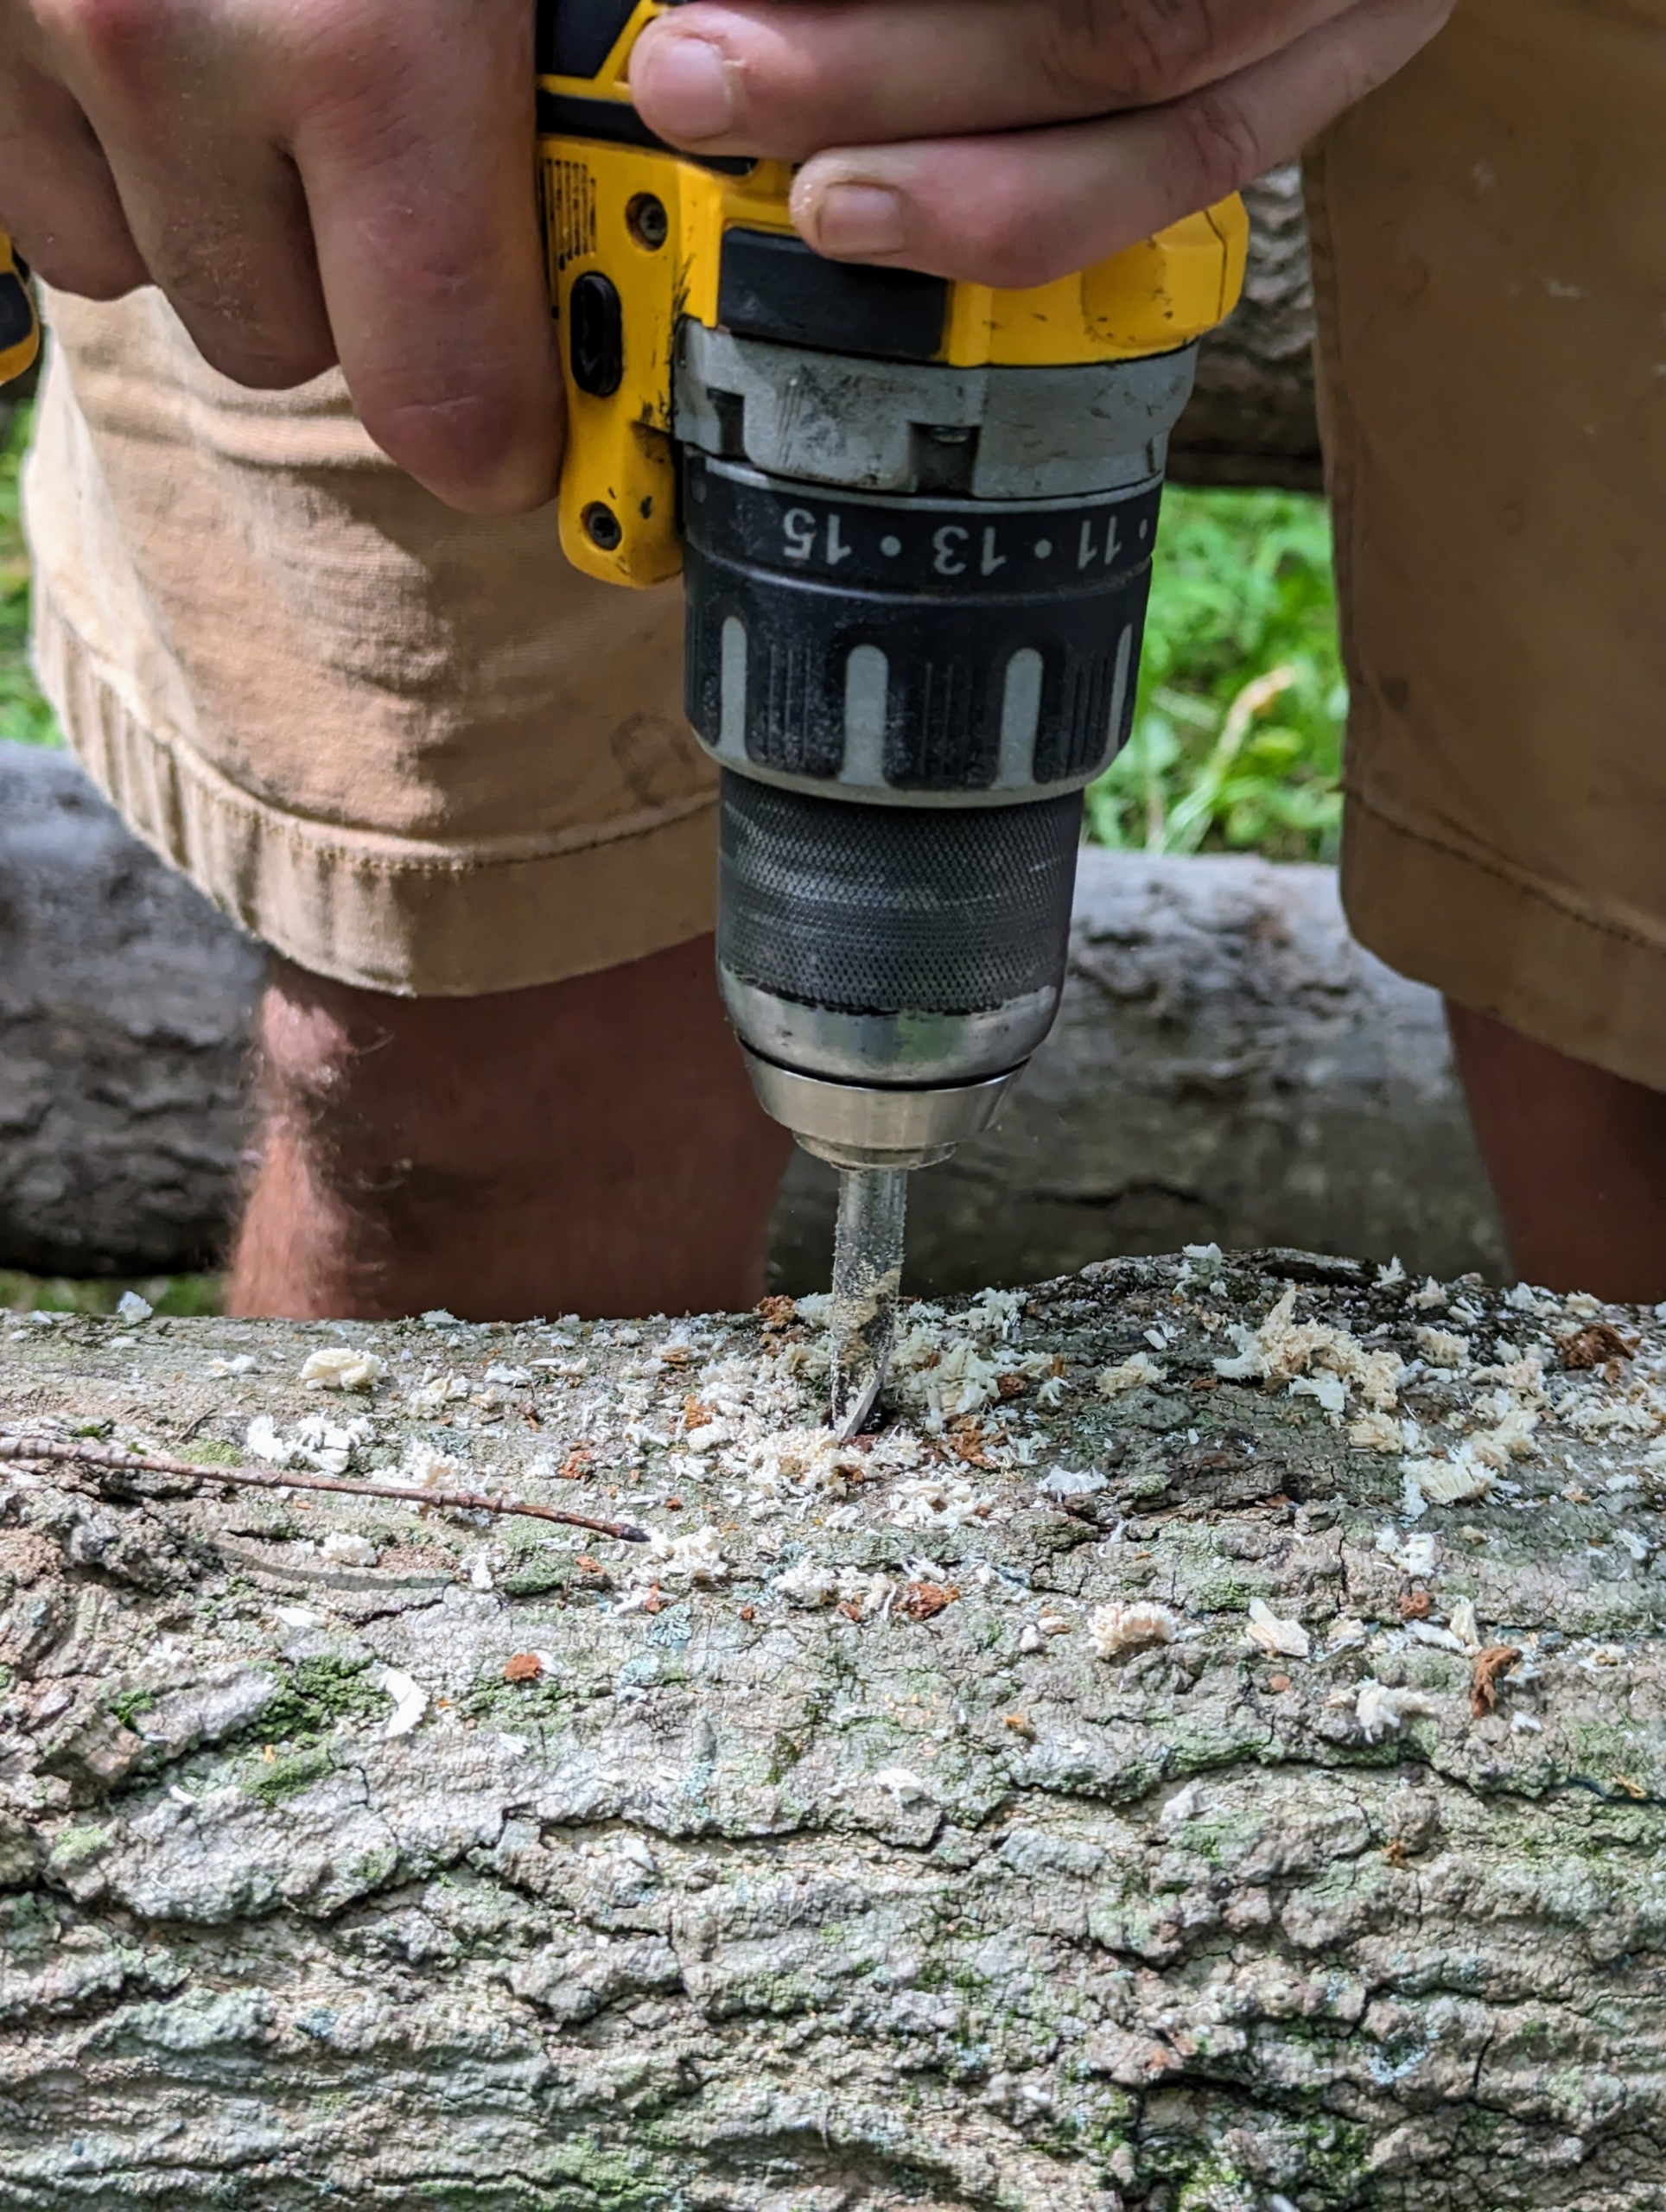
Meanwhile, Brian drills the holes in the logs. Using a 5/16-inch bit, he drills holes two-inches from one end of the log, spacing them several inches apart until he has reached the opposite end.
He does this on all the upright logs as well as those positioned horizontally.
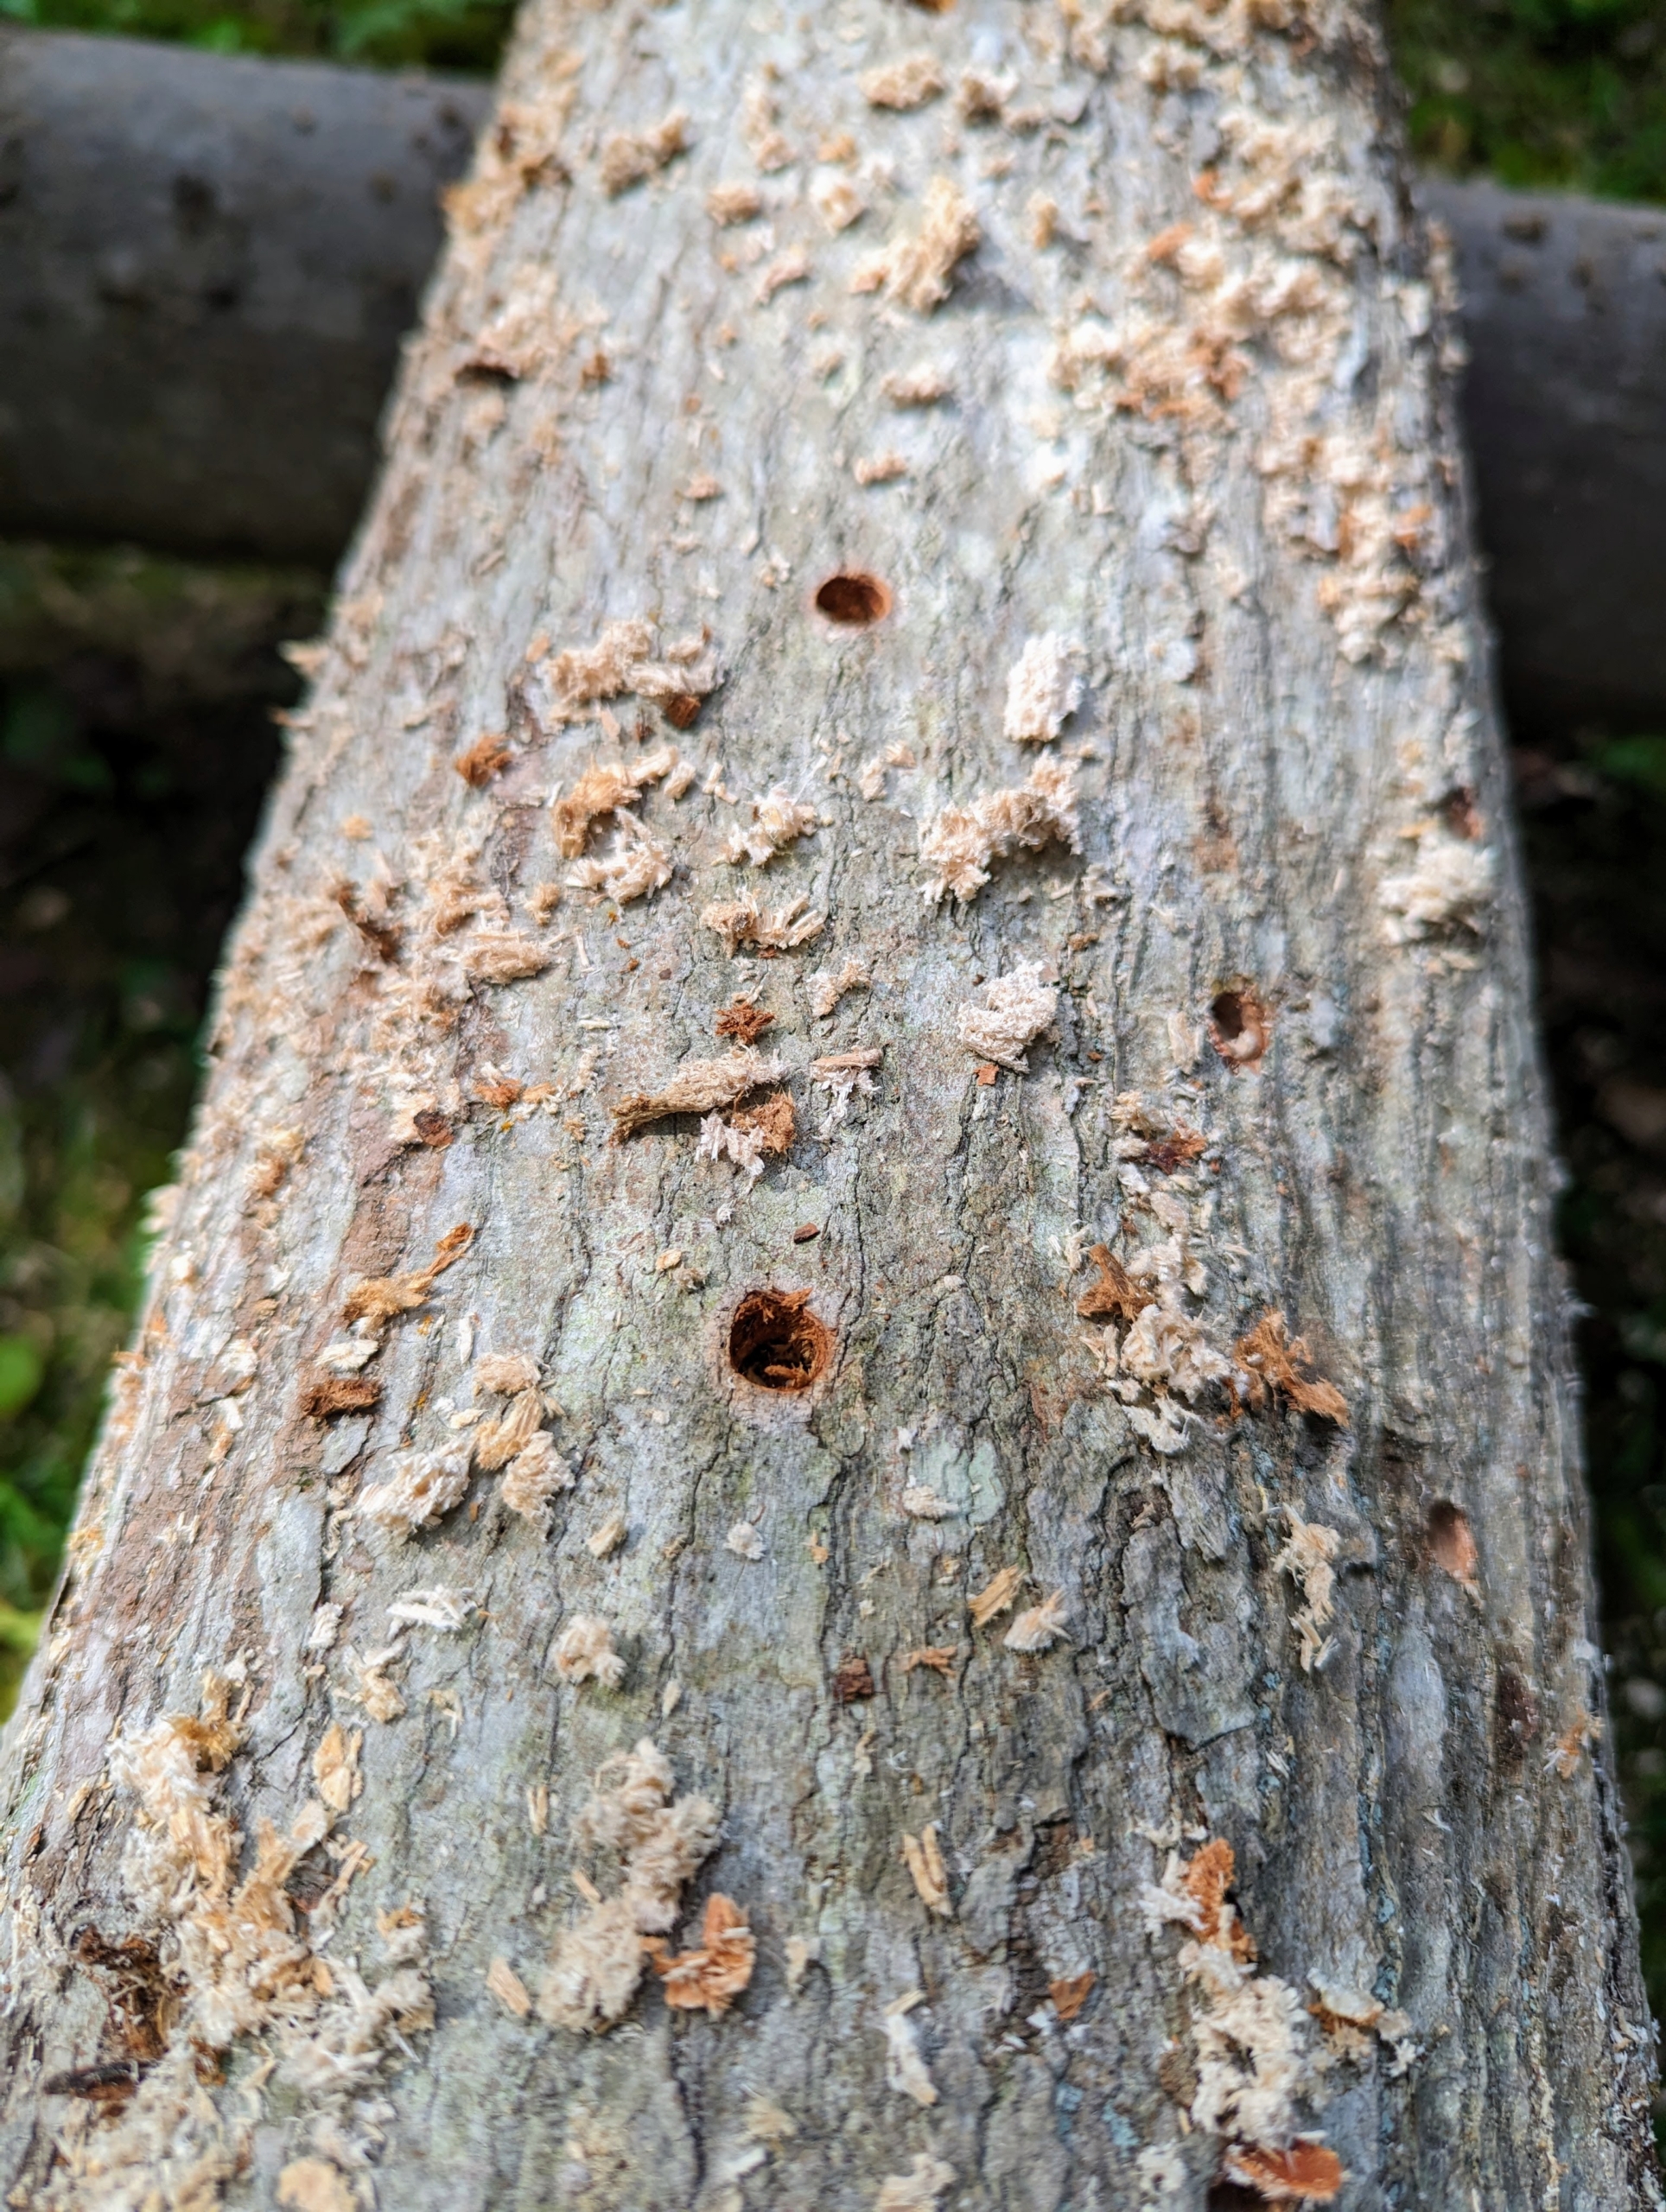
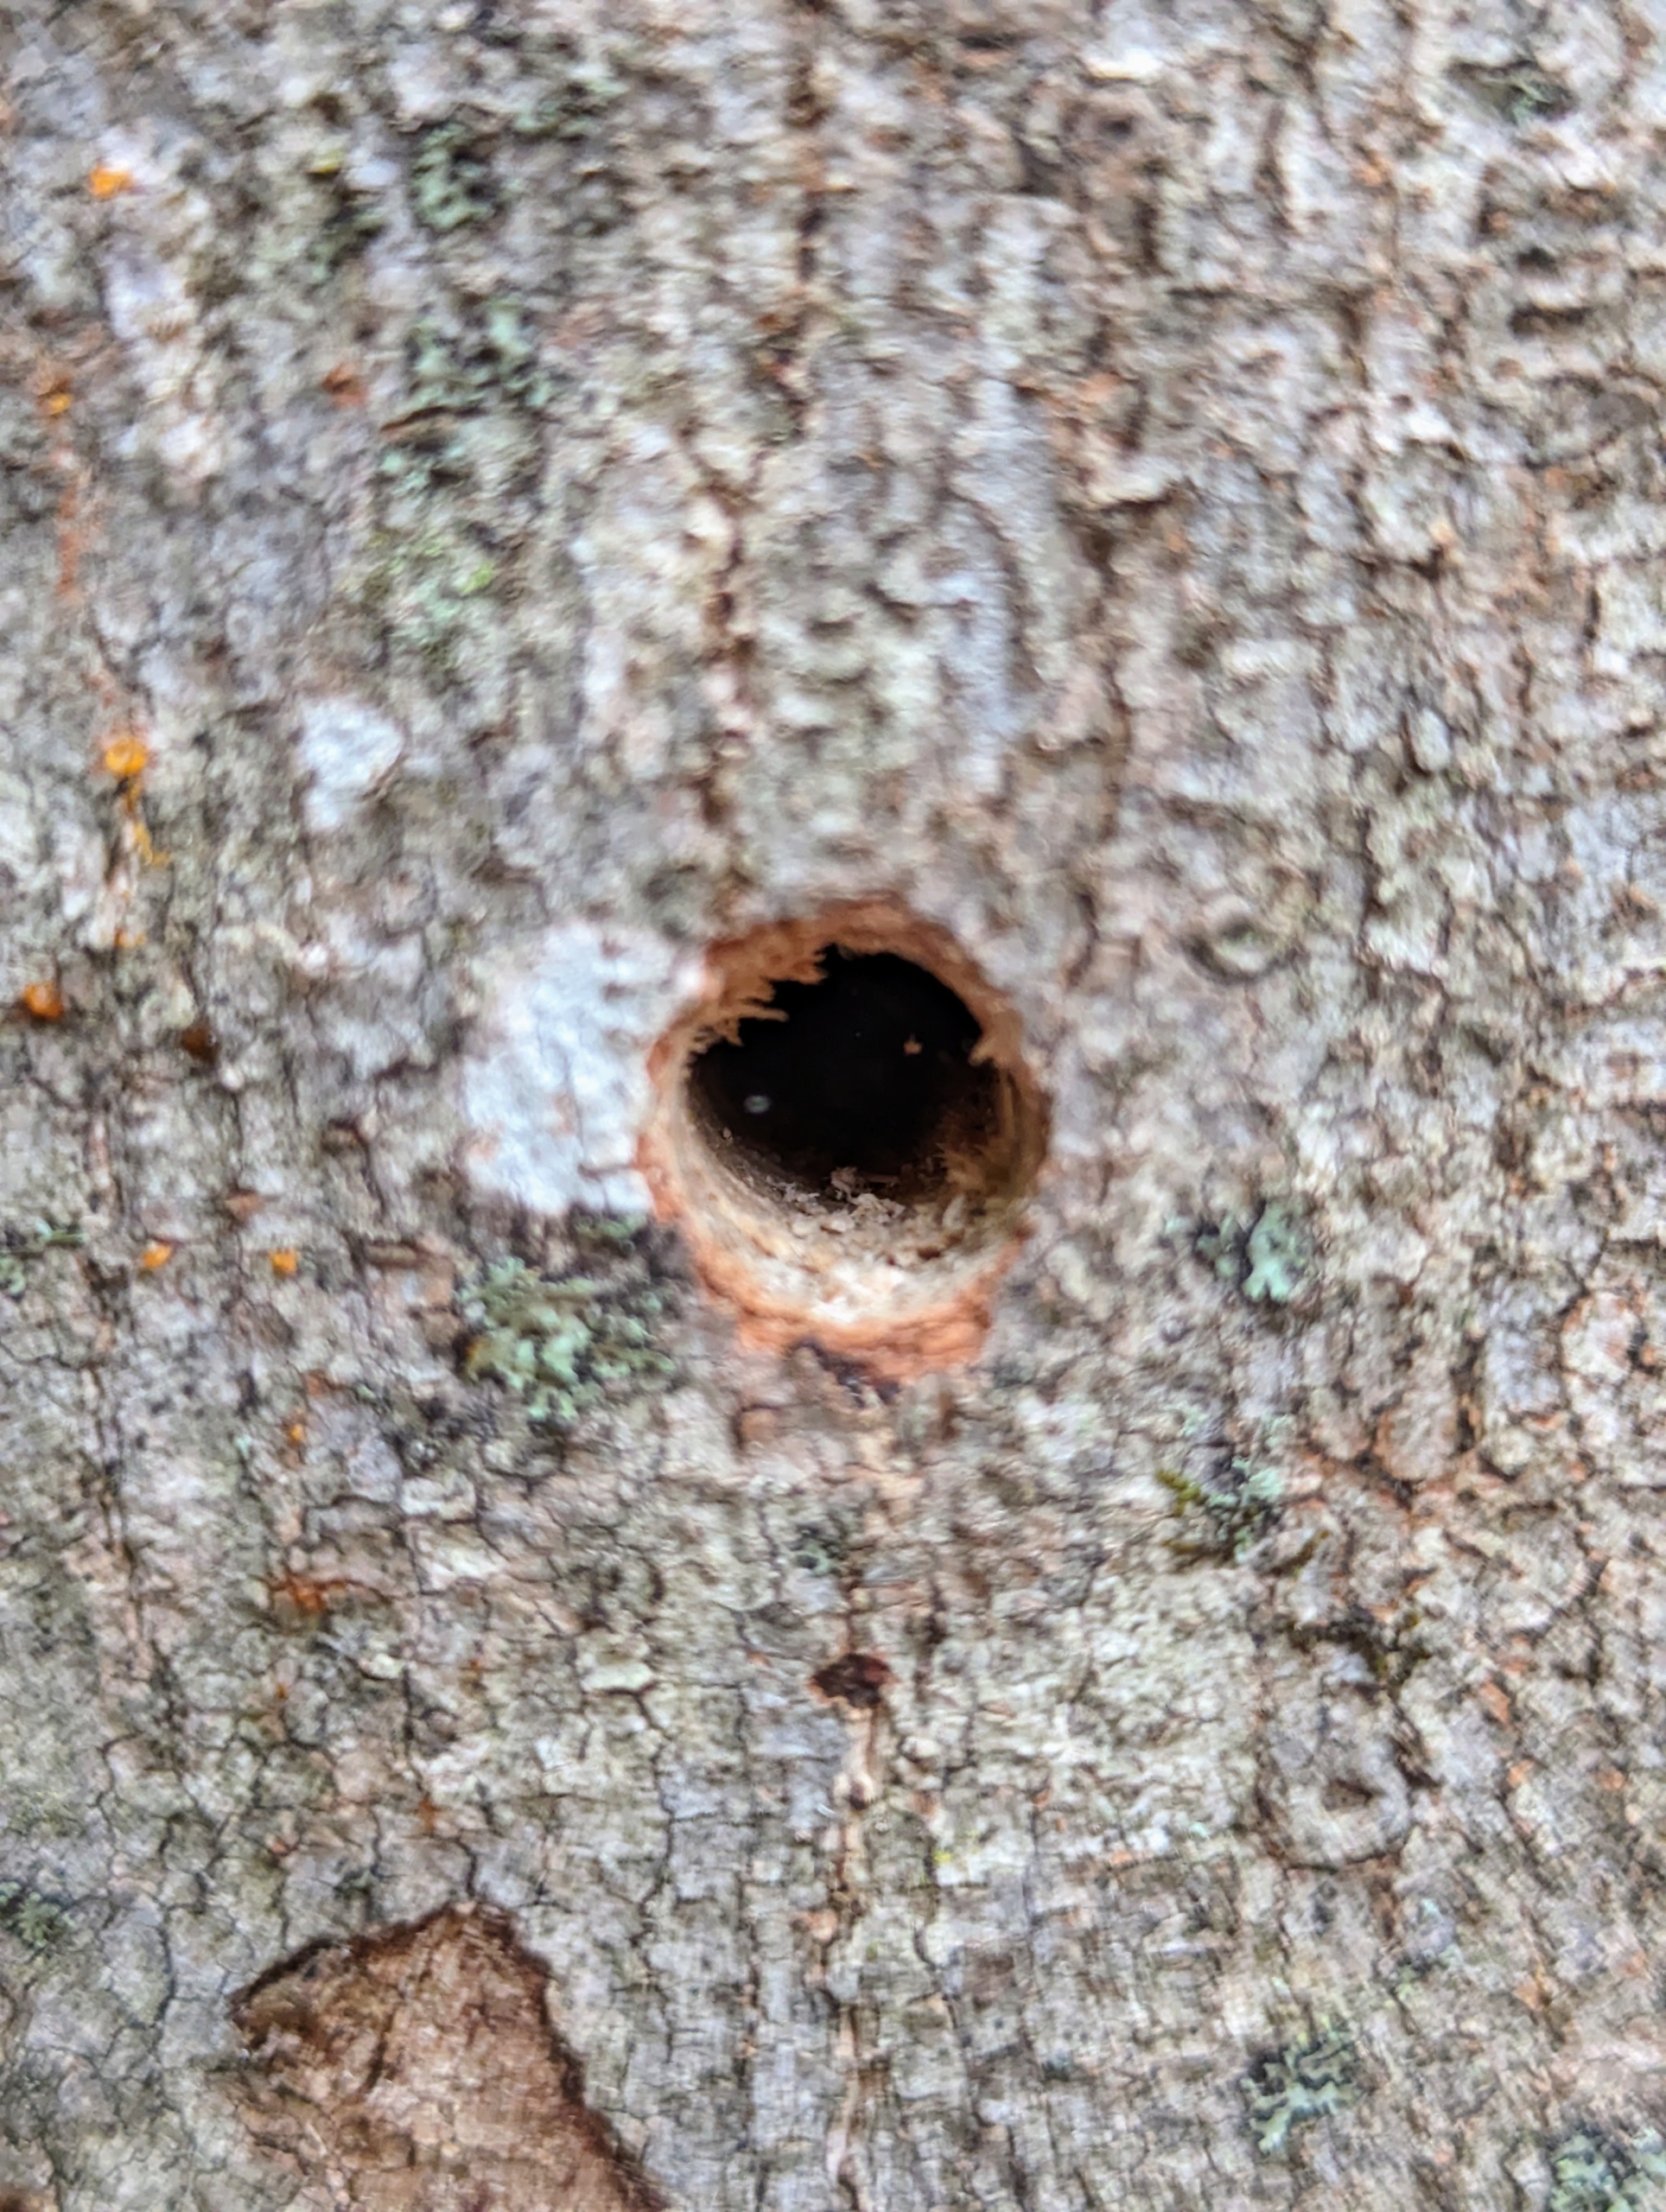
This is what the log looks like after it is drilled – holes are around the entire girth of each log.
The holes should be about an inch and a quarter deep – deep enough for the mushroom plug to fit flush inside the hole.
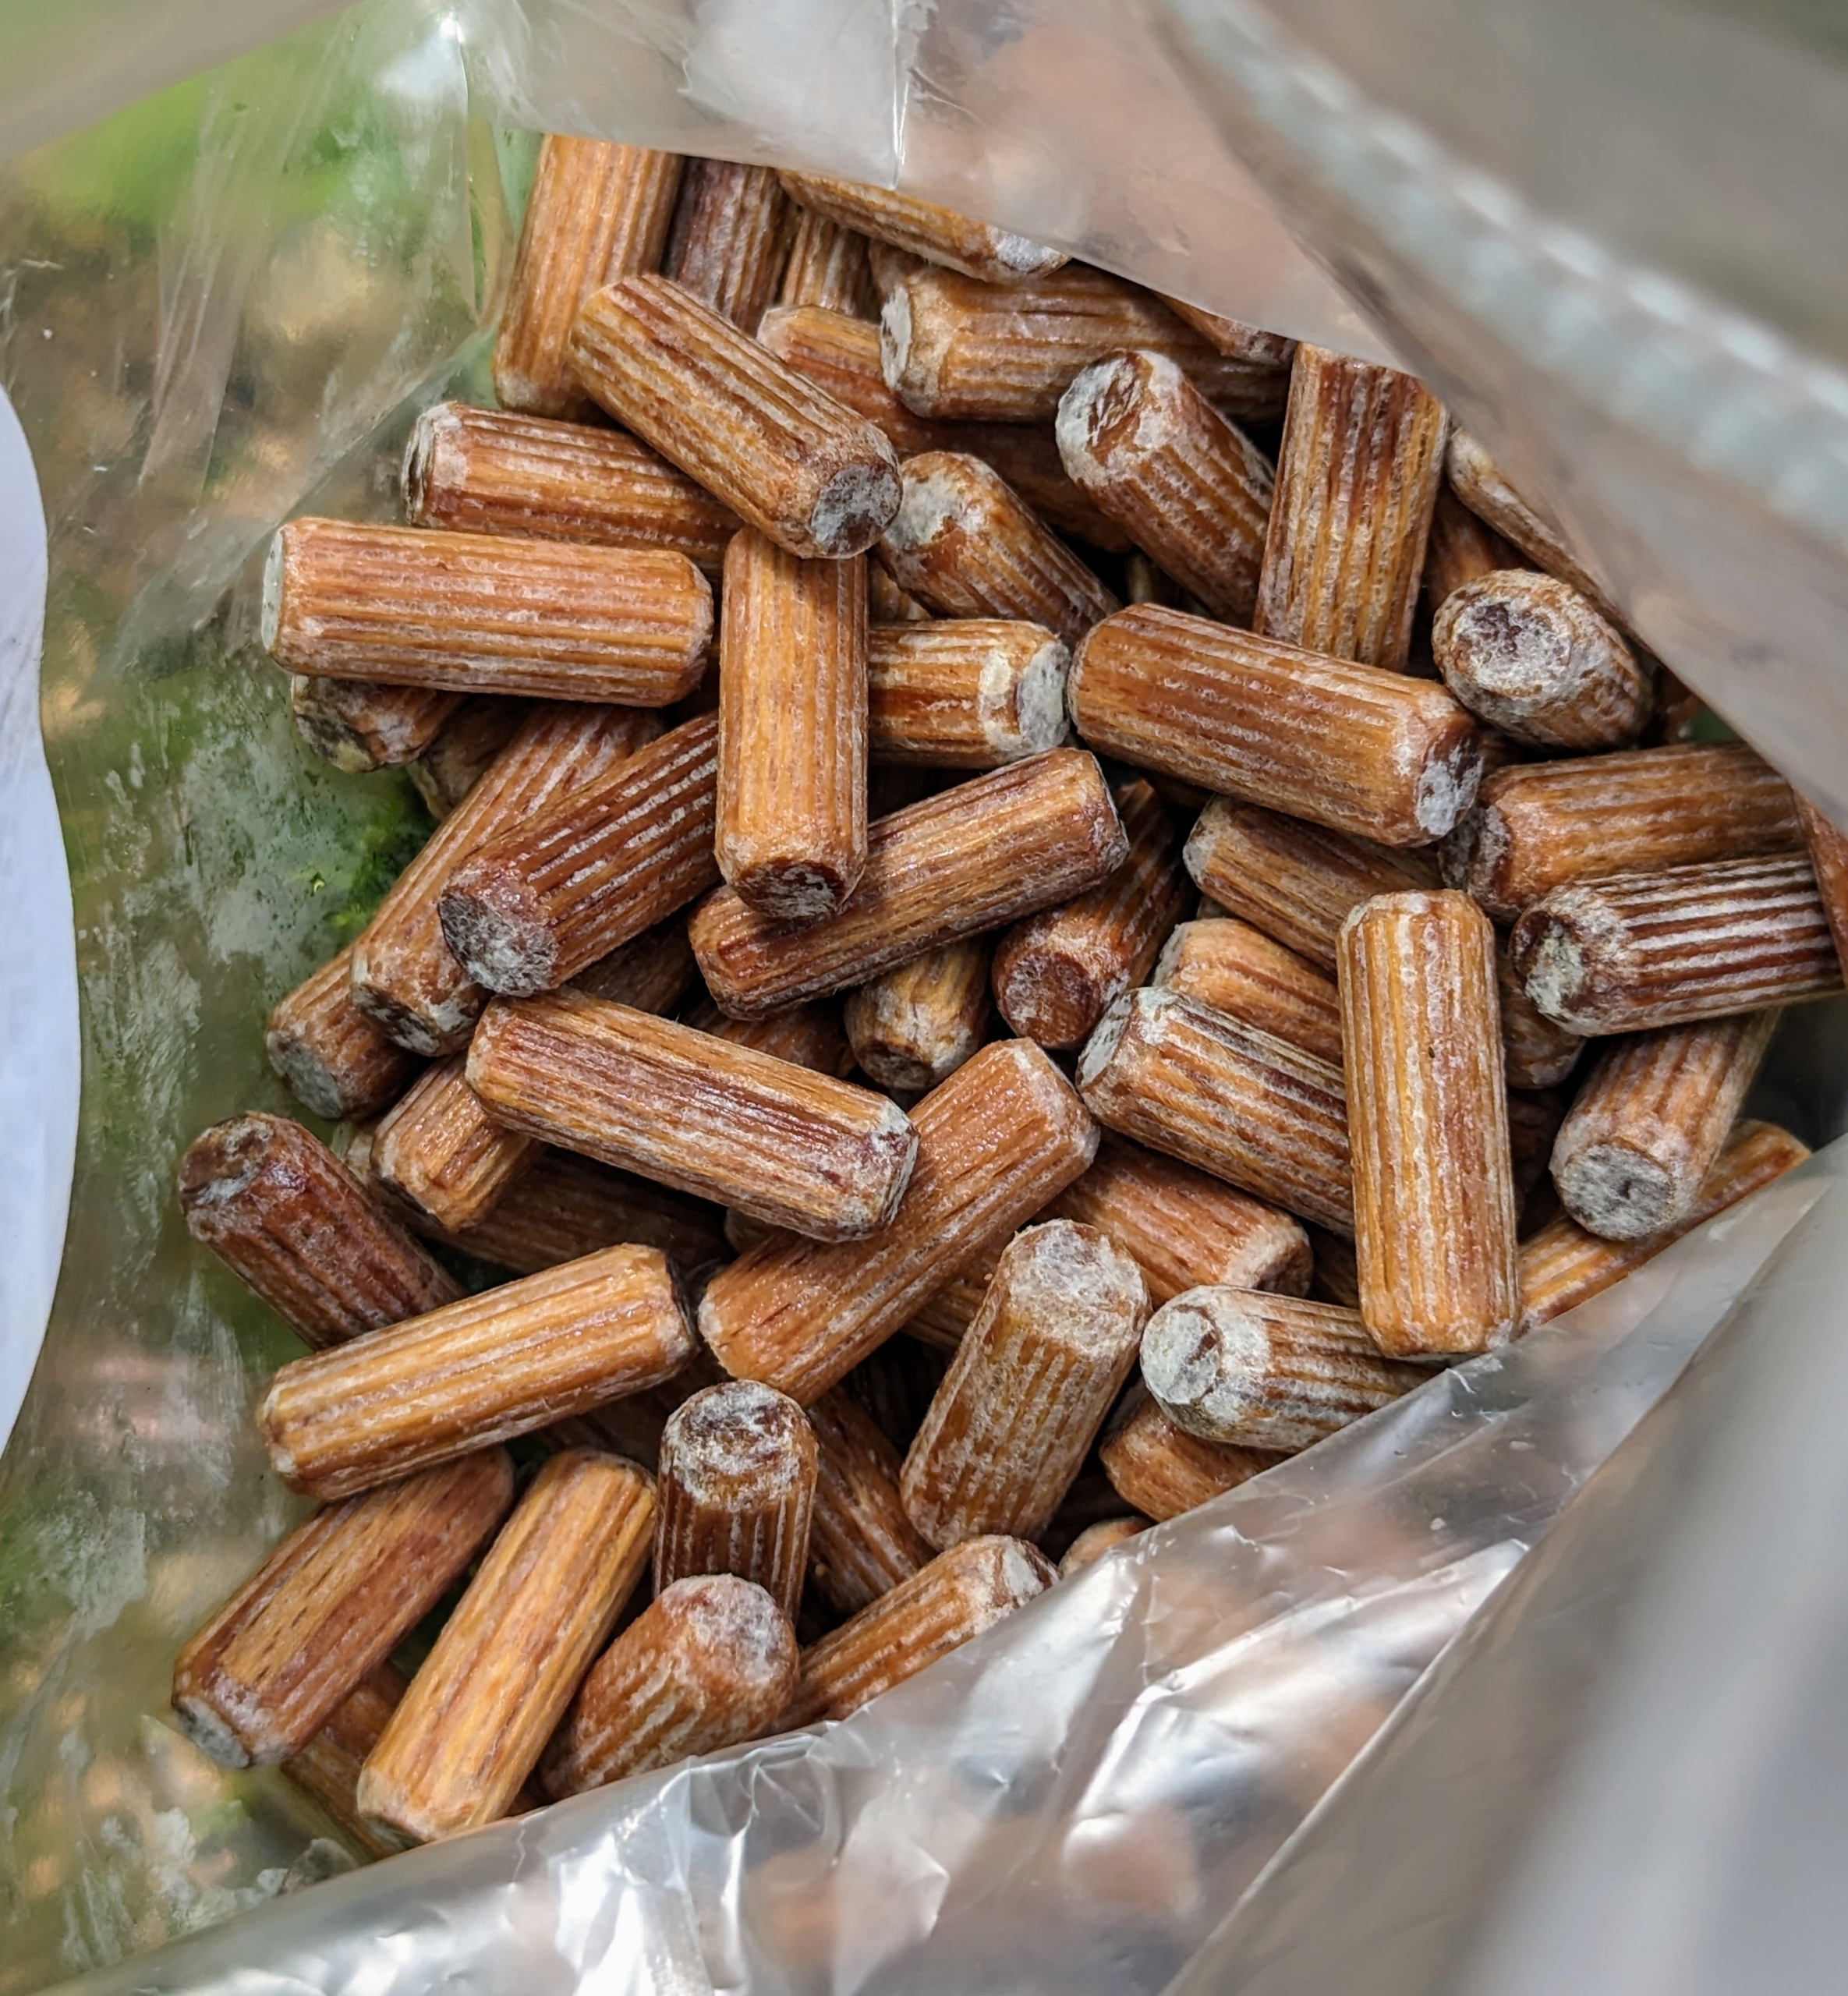
These are organic mushroom plugs – each filled with pure mushroom mycelium.
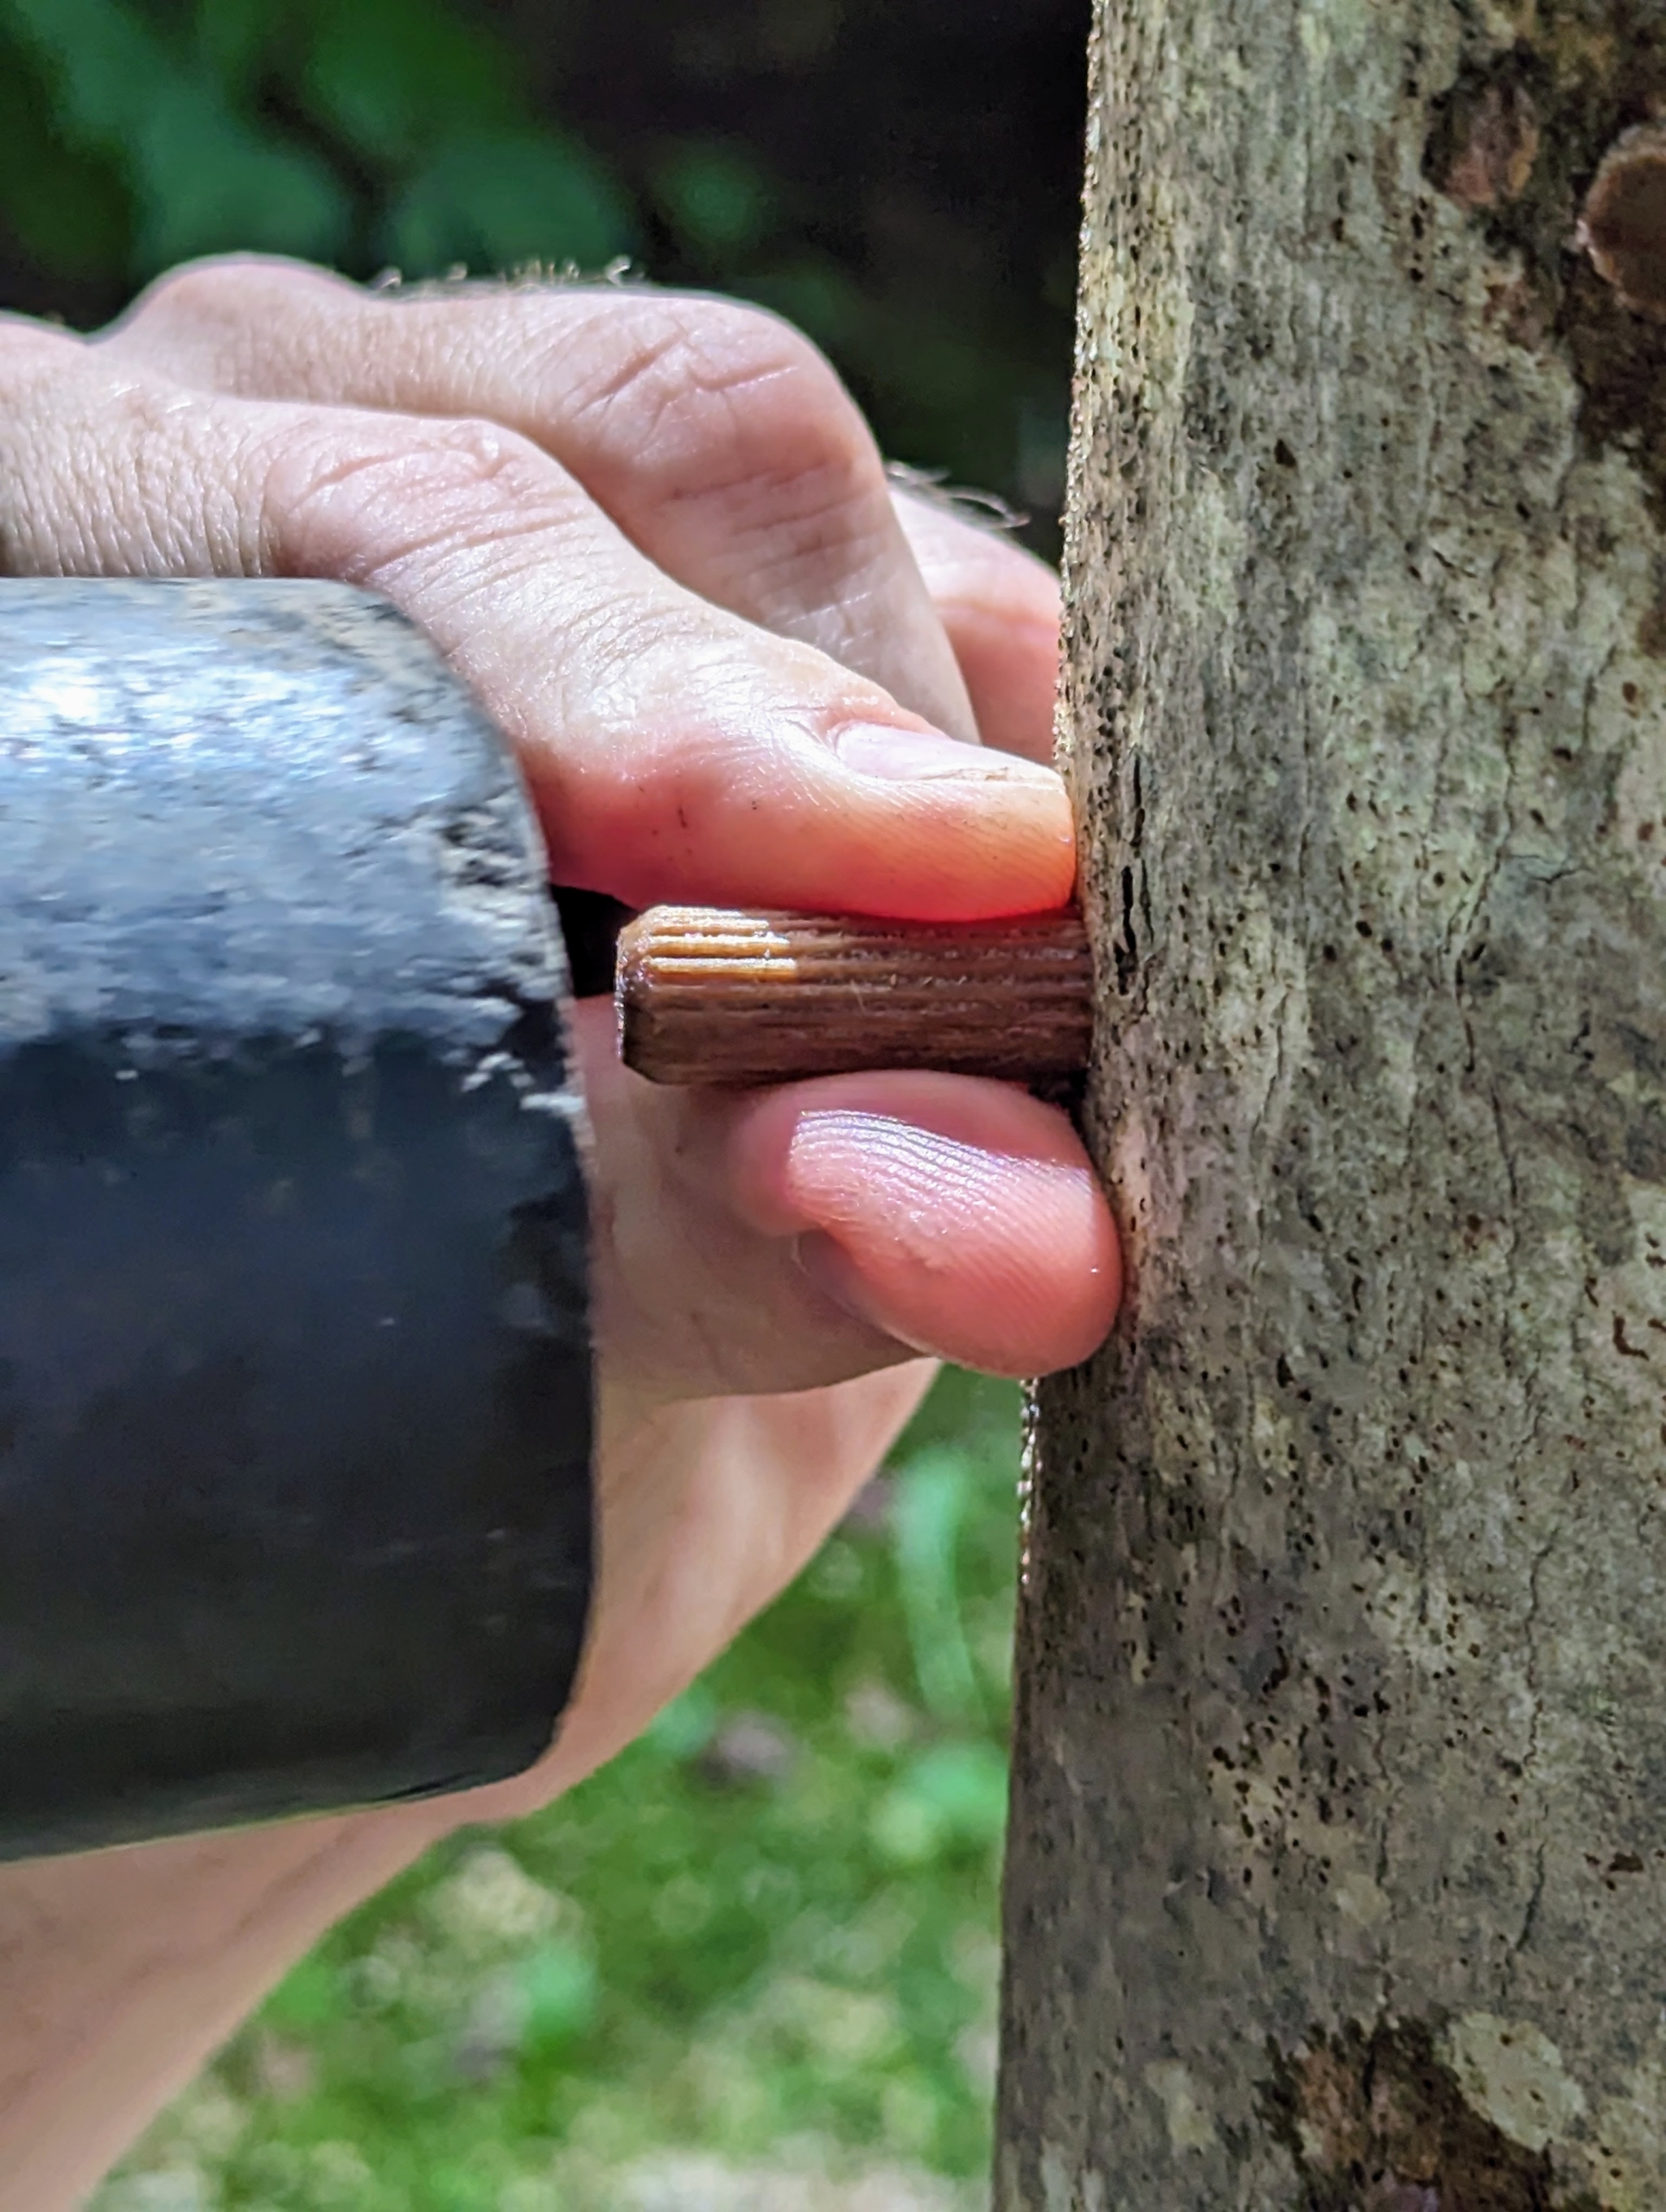
Ryan takes each plug and inserts it into the hole and using a mallet, taps it until the plug is flush.
The plug should be very snug.
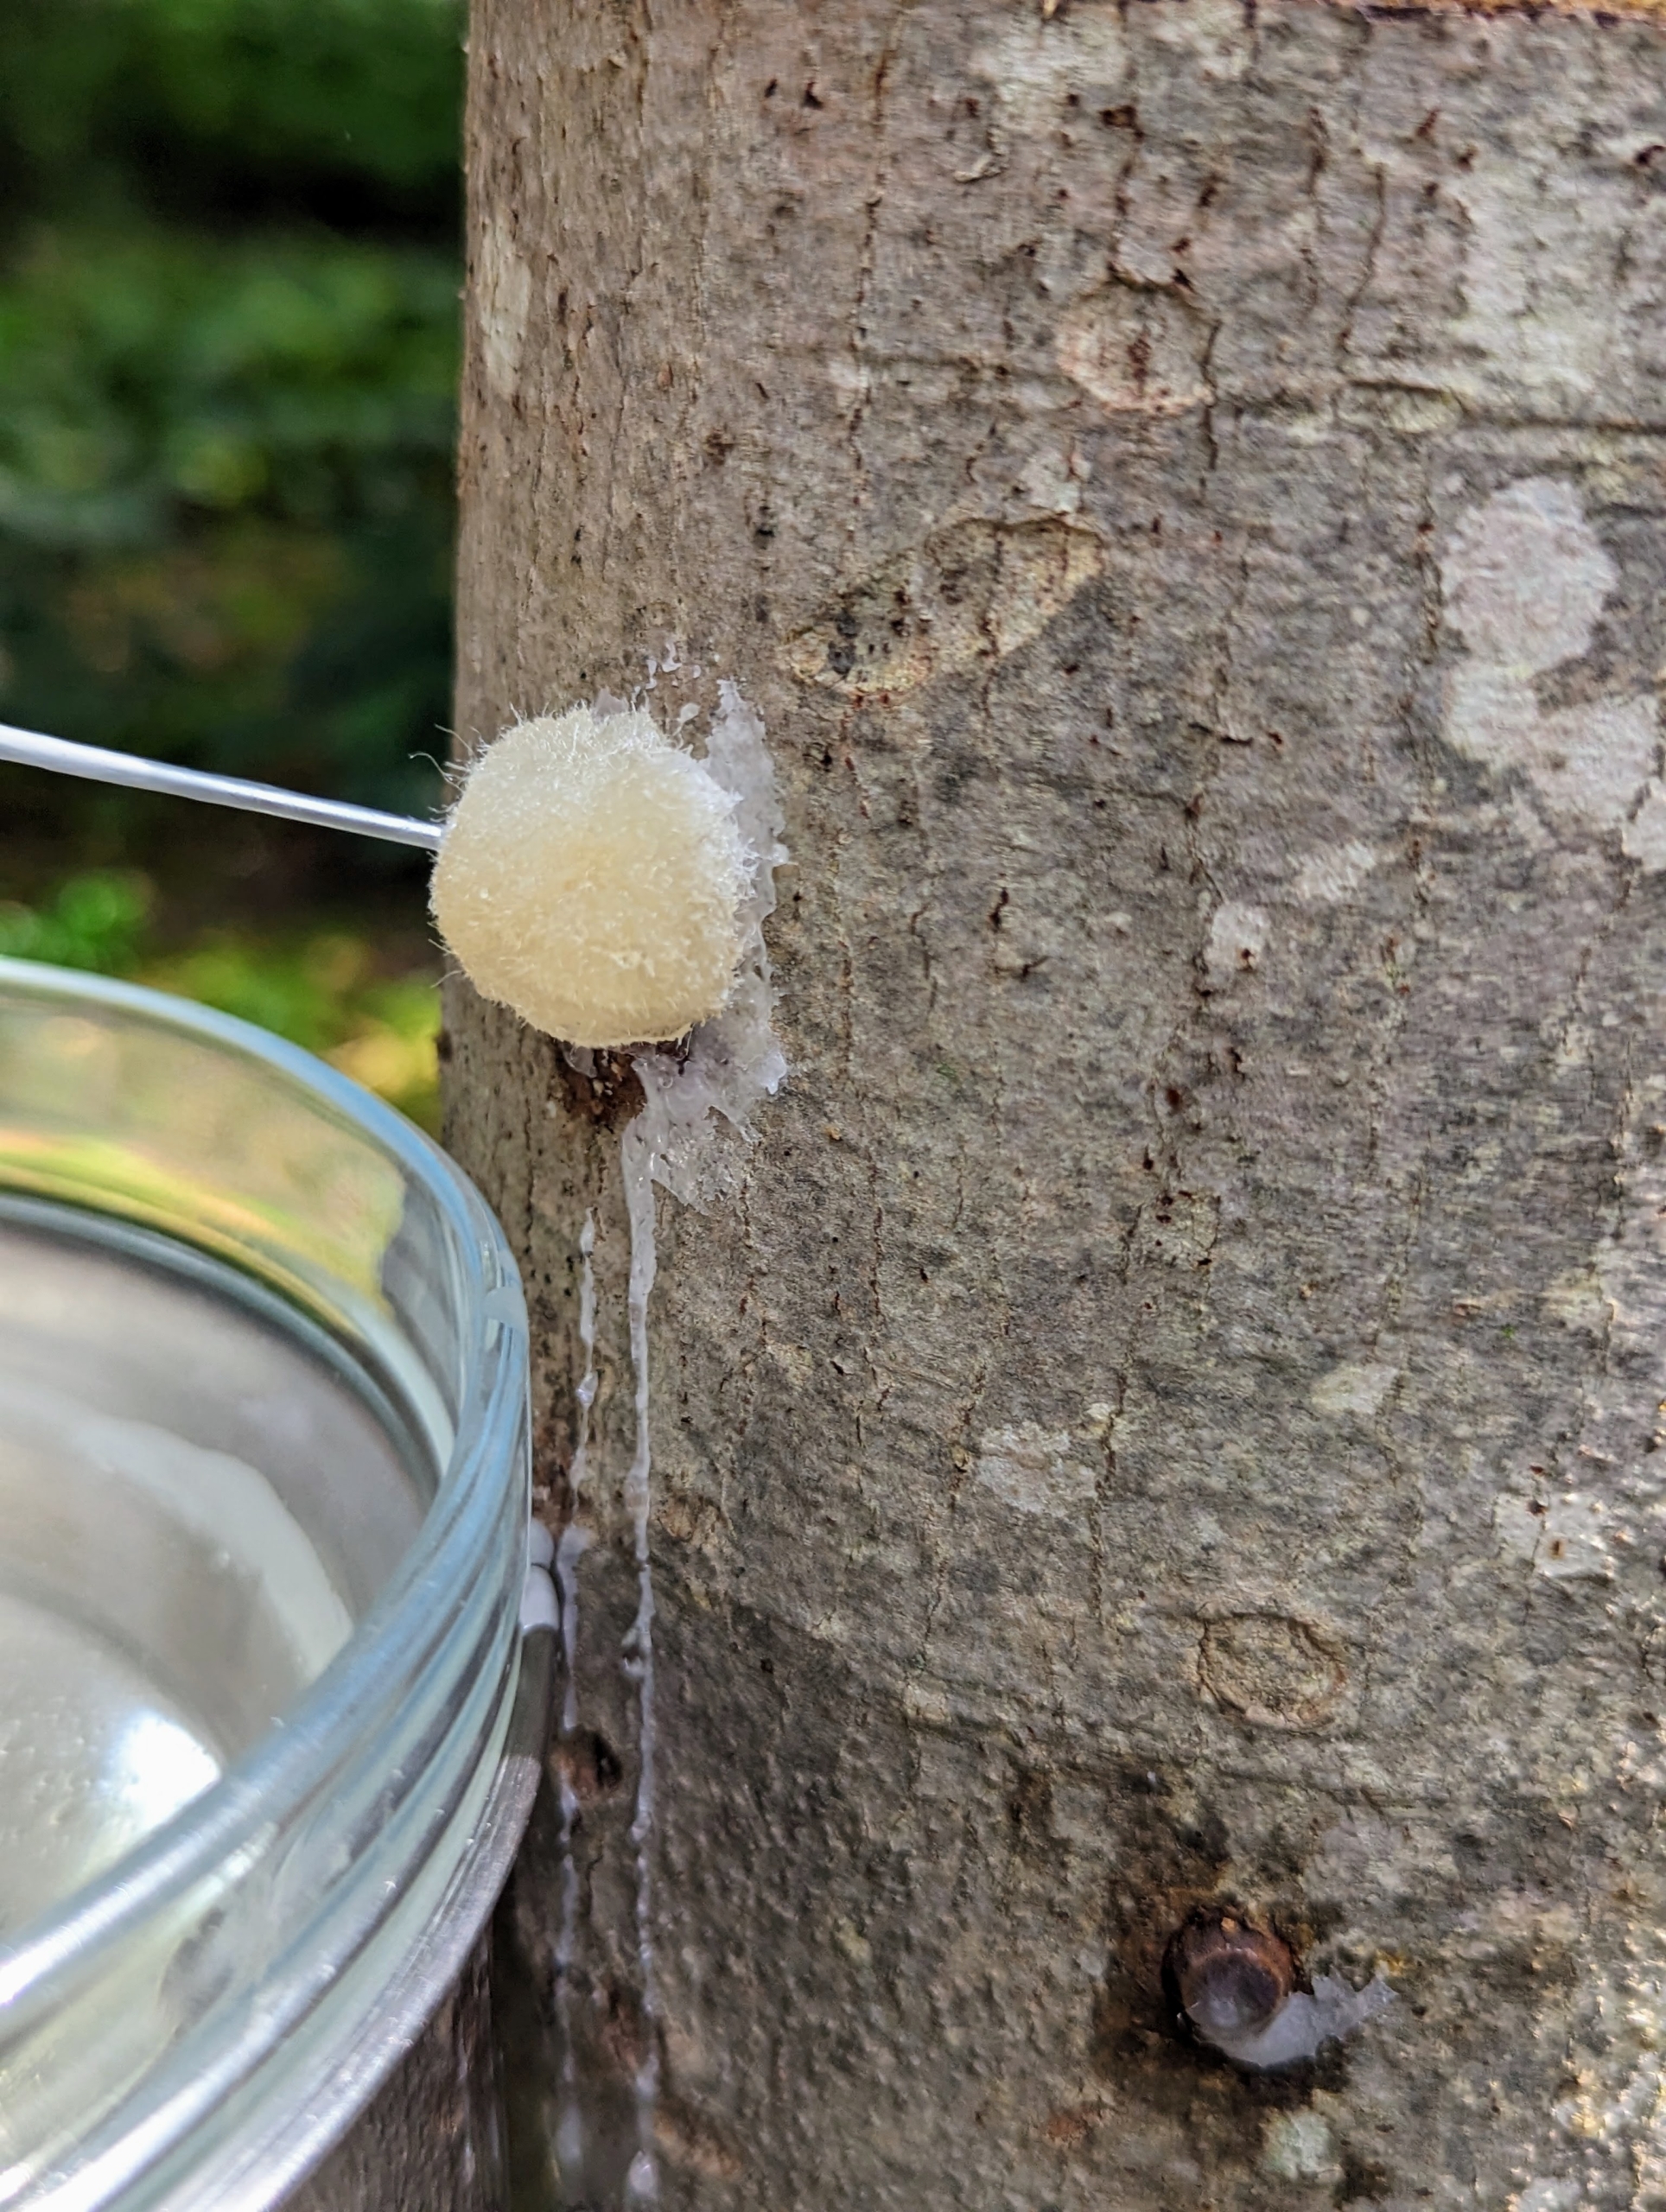
Next, using the dauber dipped into the melted wax, Ryan dabs the plug until it is completely covered and sealed.
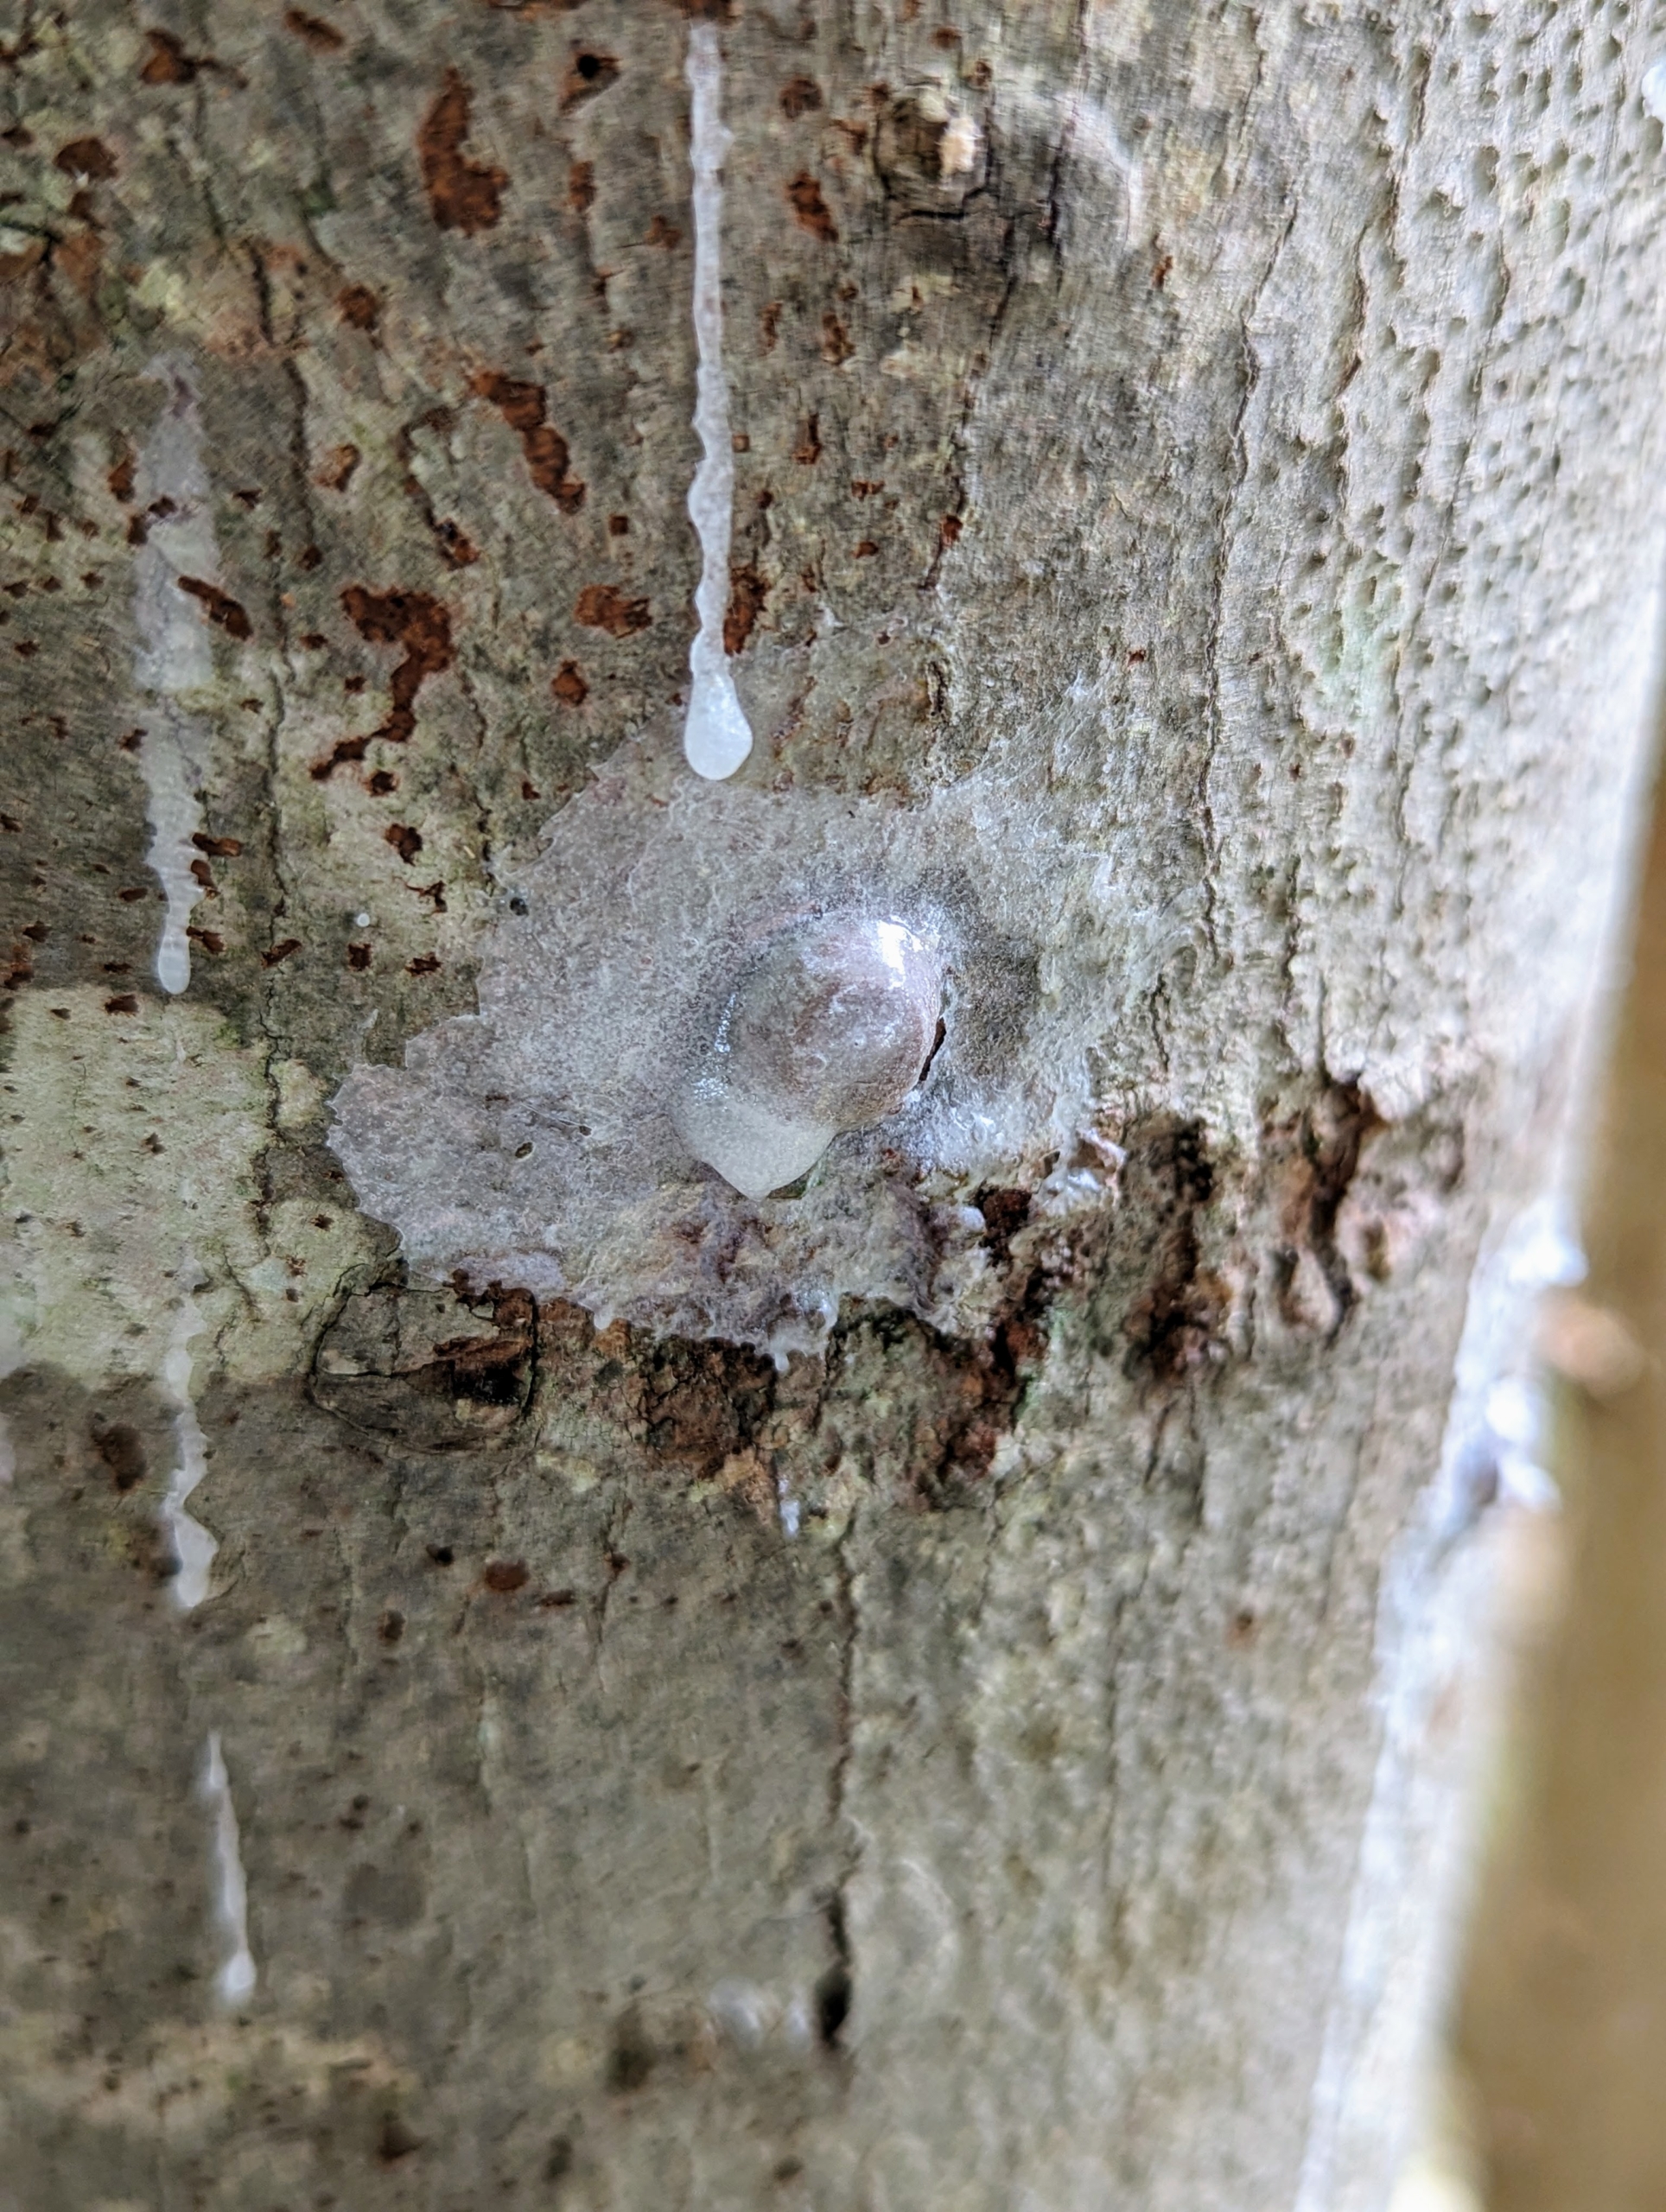
This is a well covered spawn plug. It is important to make sure the inoculated logs are also well-watered twice per week to maintain the moisture levels. Mycelium are living organisms, so if the logs completely dry out, the mycelium will die. Our log stacks will be kept uncovered, where they are exposed and have access to rainwater.
Here is a log all done. We should have our first fruiting in about nine to 12 months – I can’t wait. If you’re looking for a wonderful family project, consider growing mushrooms. And go to the 2FUNGUYS.com for more information.