For anyone passionate about gardening, it's always so rewarding to know well cared for perennials will return year after year, often becoming more lush and more resilient with each passing season.
Recently, I received a large assortment of beautiful plants grown by Monrovia, a wholesale plant company with several nursery locations across the country. Many of the plants are from their Landscape Legends Collections and include Mint Julep Juniper, Little Rick Mugo Pine, Ilex Emerald Boxer, and Ilex Little One. I also received Blue Atlas Cedar, Yellow Ribbon Arborvitae, Hoop's Blue Spruce, Yankee Doodle Lilac, and others. I'm so excited with these plants and can't wait to add them to my living maze and to other gardens here at my farm.
Enjoy these photos.
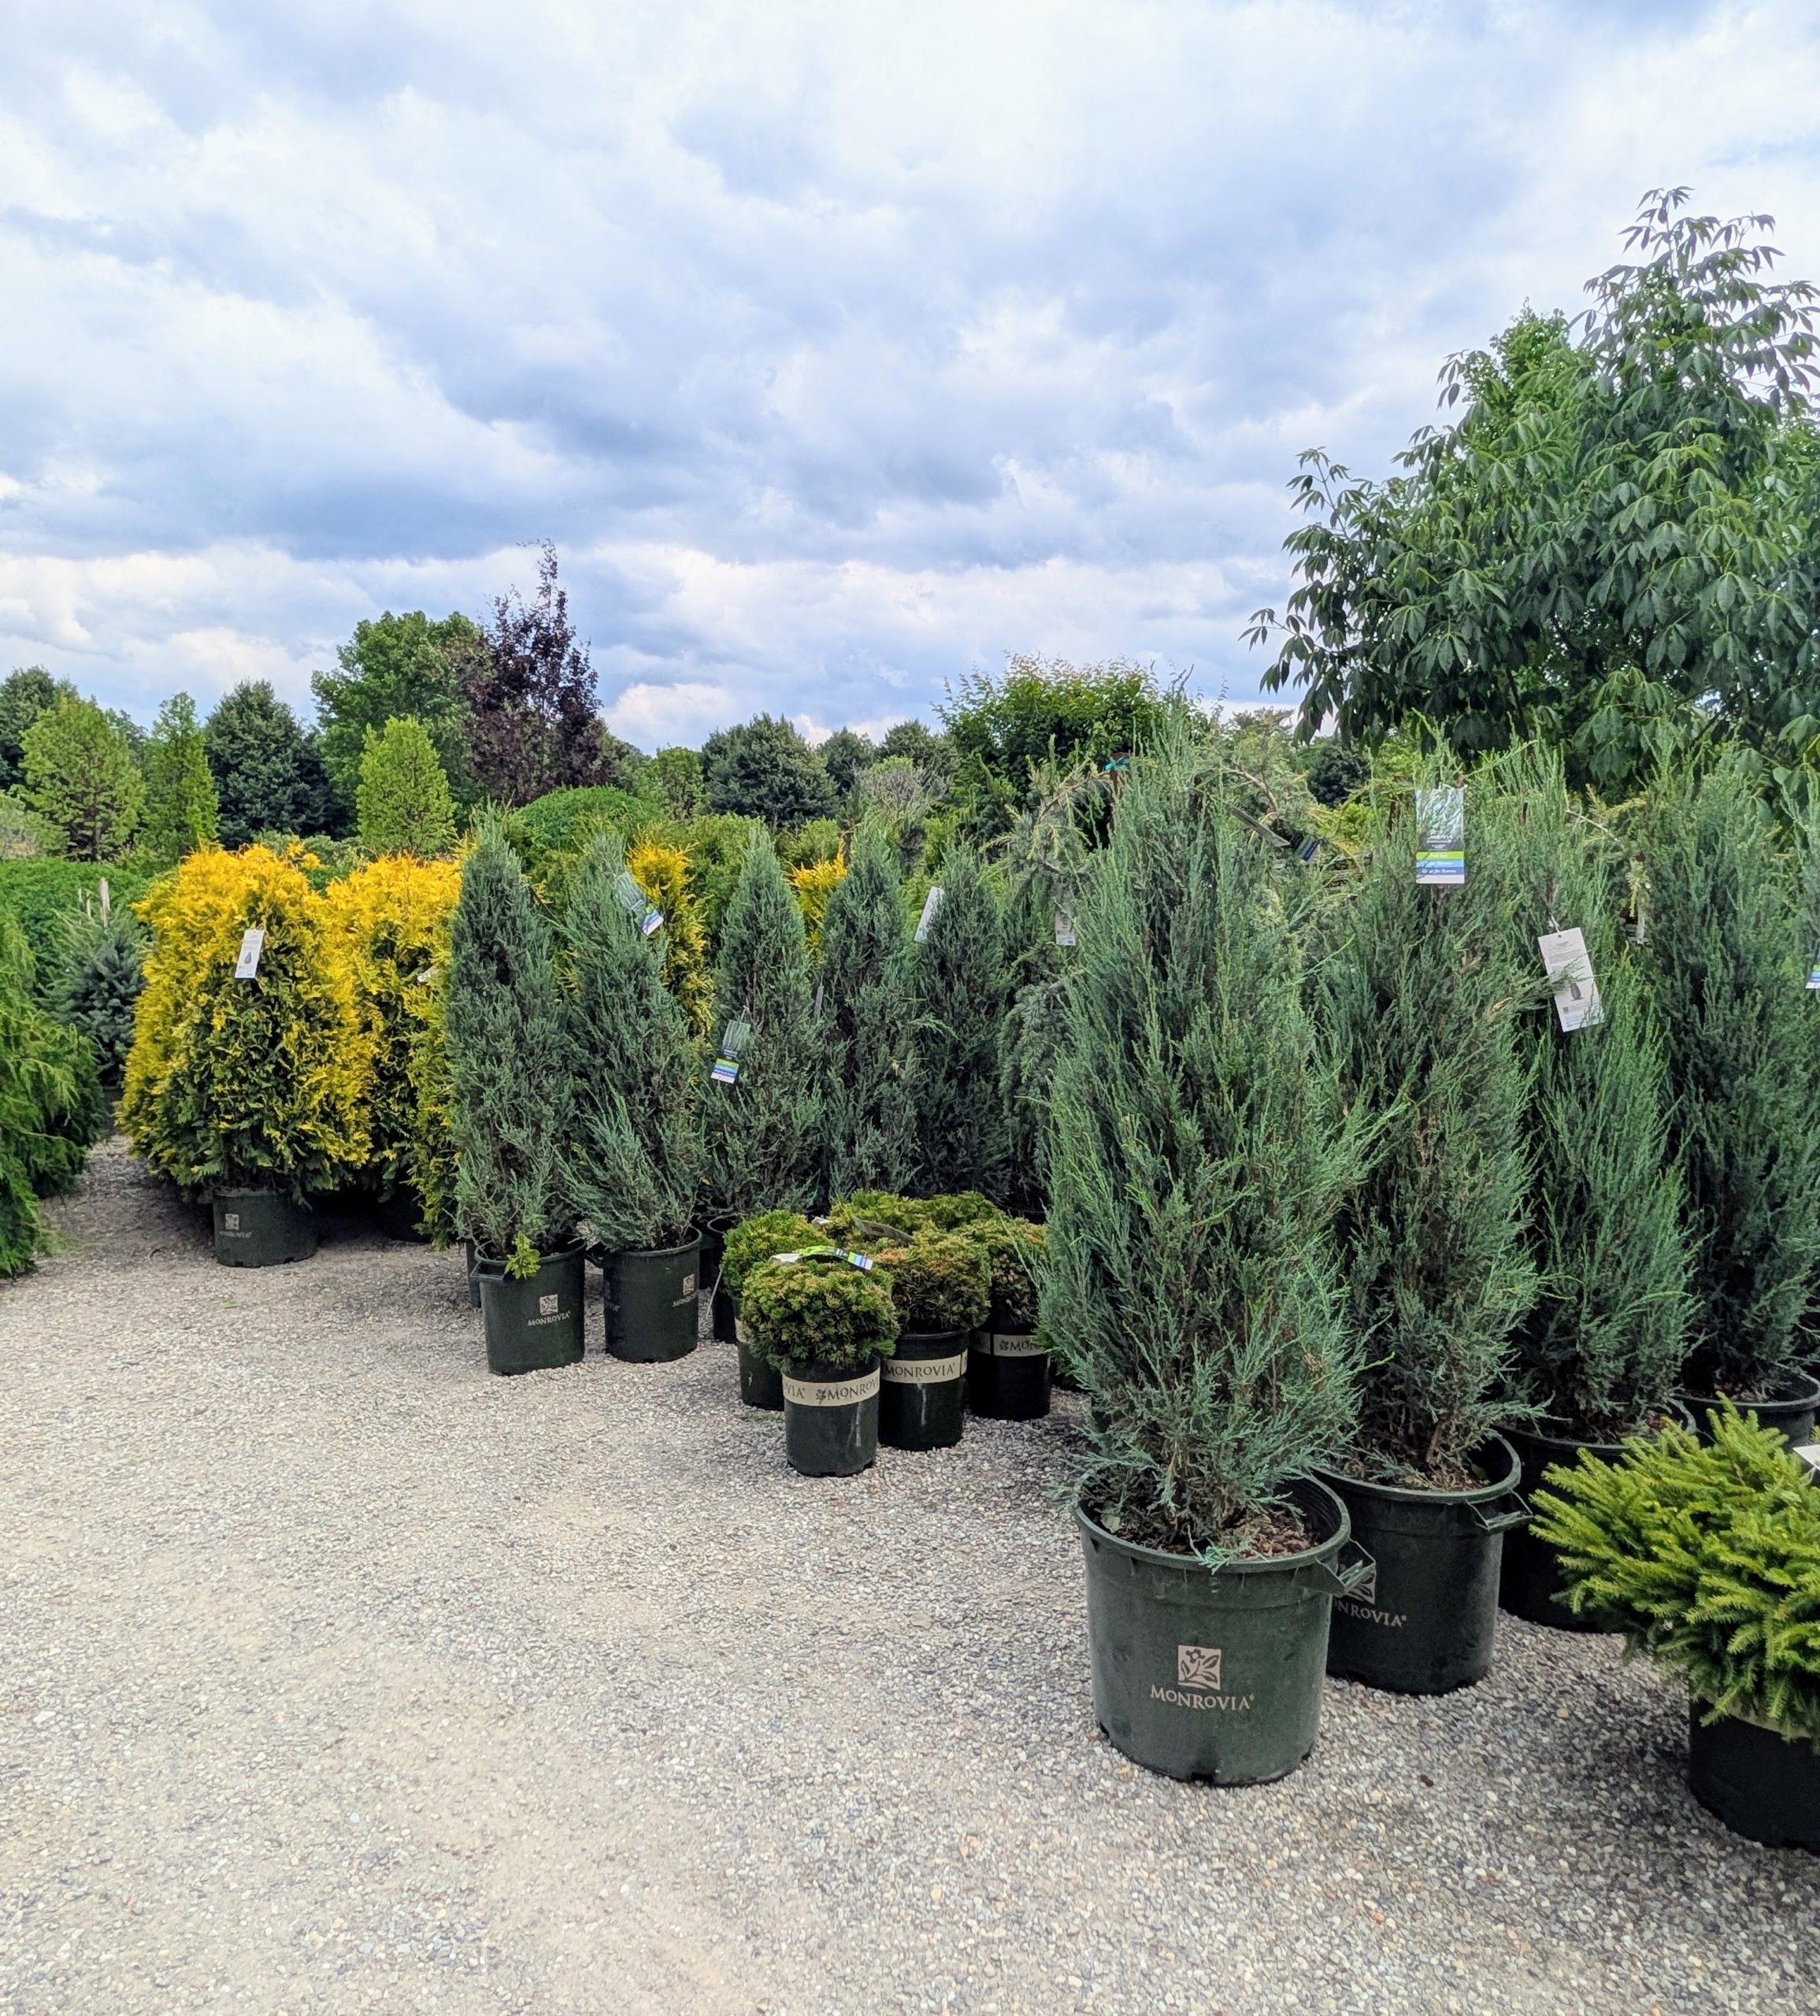
Adding gorgeous, healthy plants to my gardens is one of my biggest joys. I was so thrilled to see these beauties.
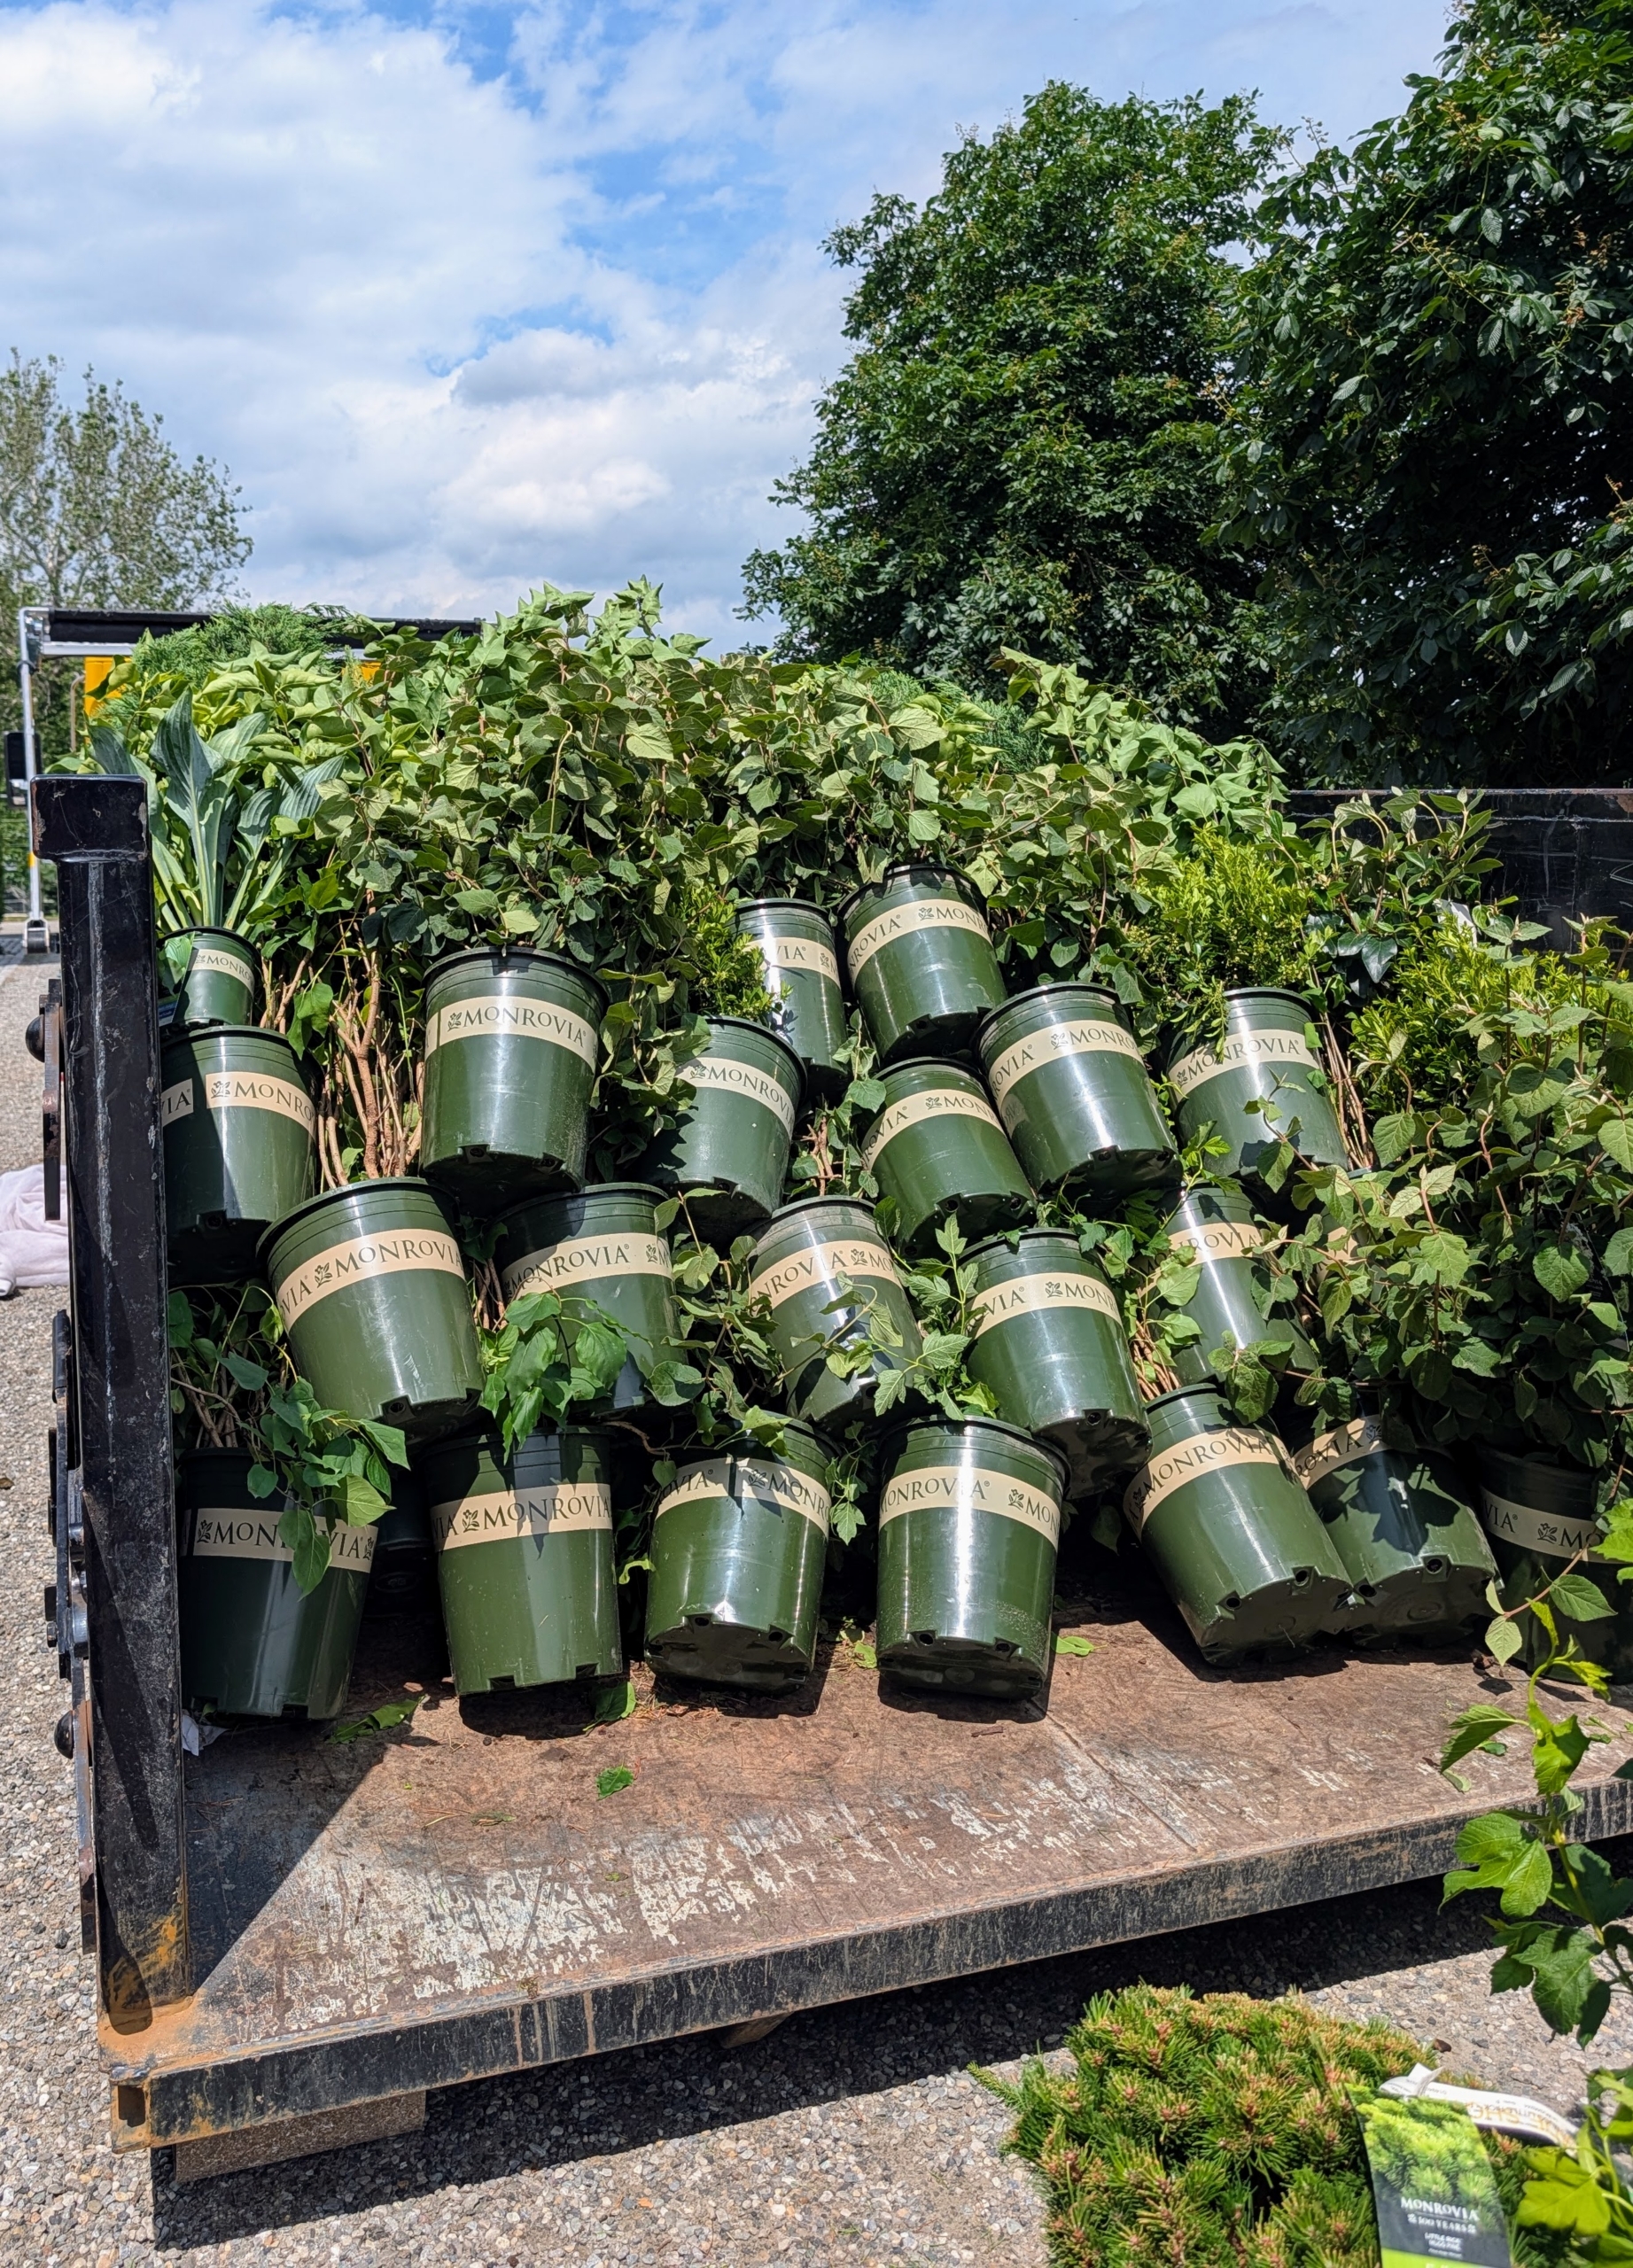
The plants arrived in several truck loads and had to be unloaded one by one.
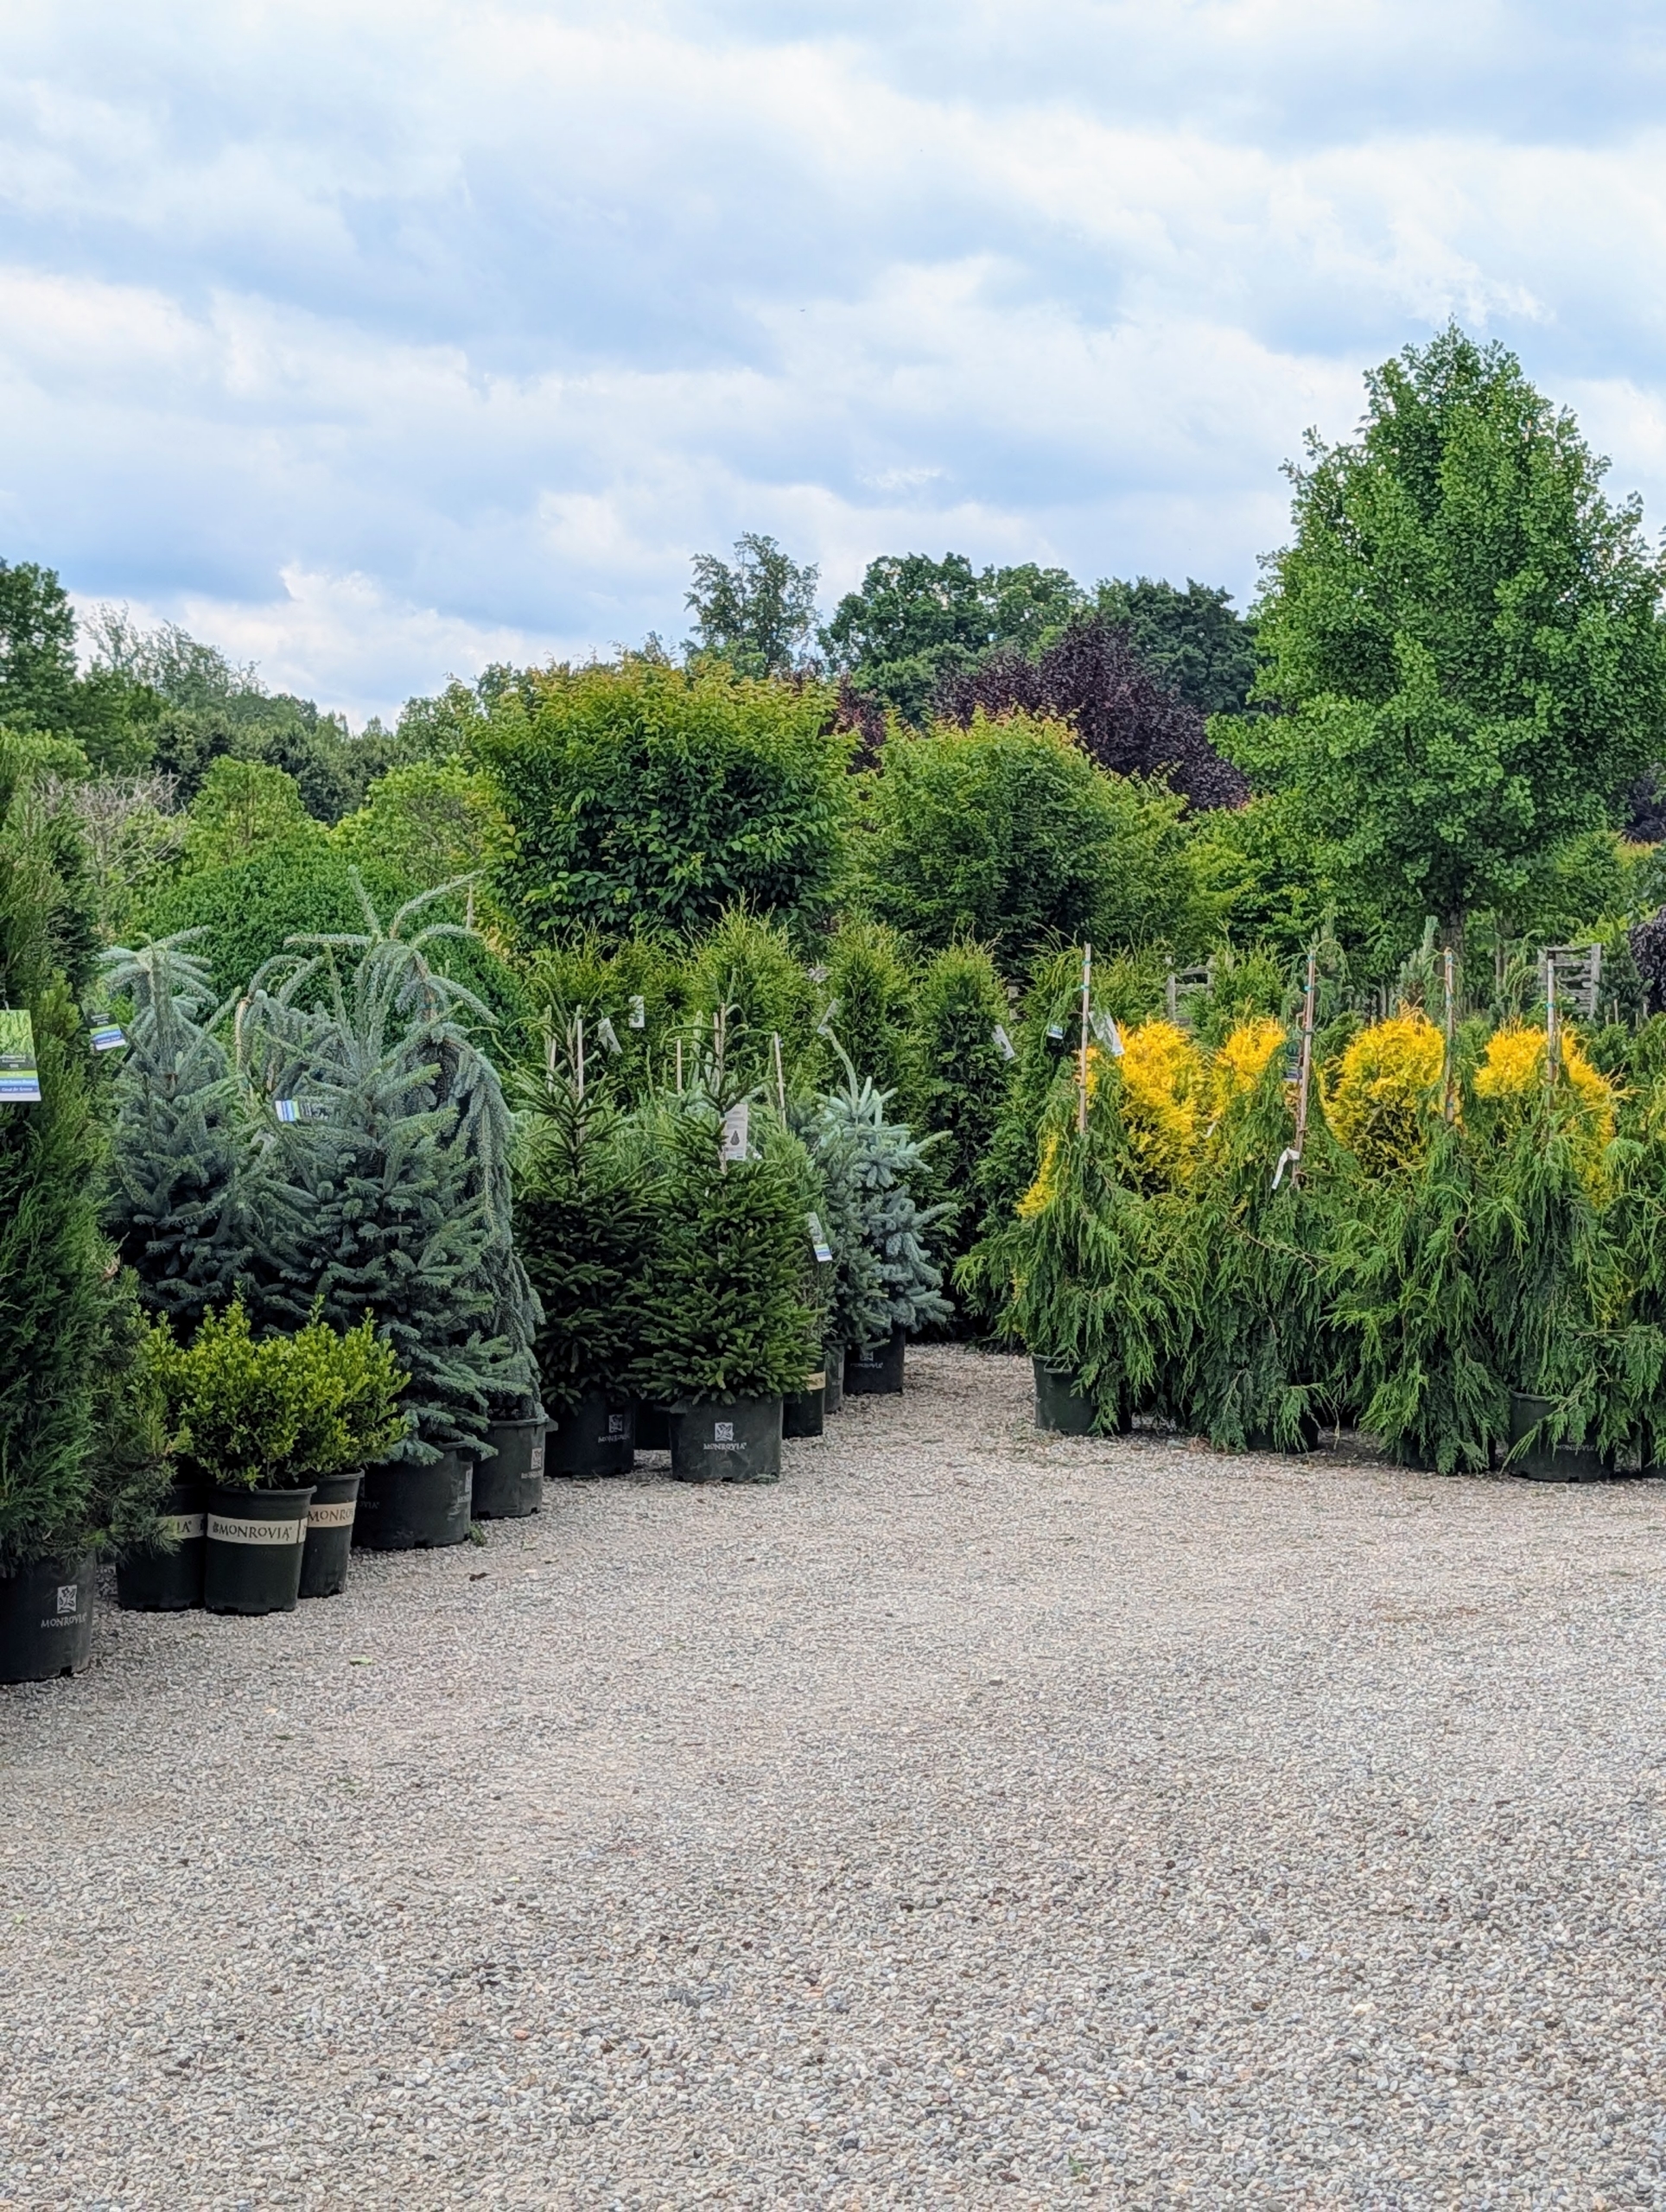
As specimens are removed from the truck, they are organized in neat rows according to type so they are easy to see, count, and access when it is time to plant.
Creating a garden takes time. Select species suited to the climate zone and garden conditions. Also consider the plant’s mature size, sunlight requirements, and soil preferences to ensure long-term health. Add a few specimens every year and keep track of what grows well and what doesn’t.
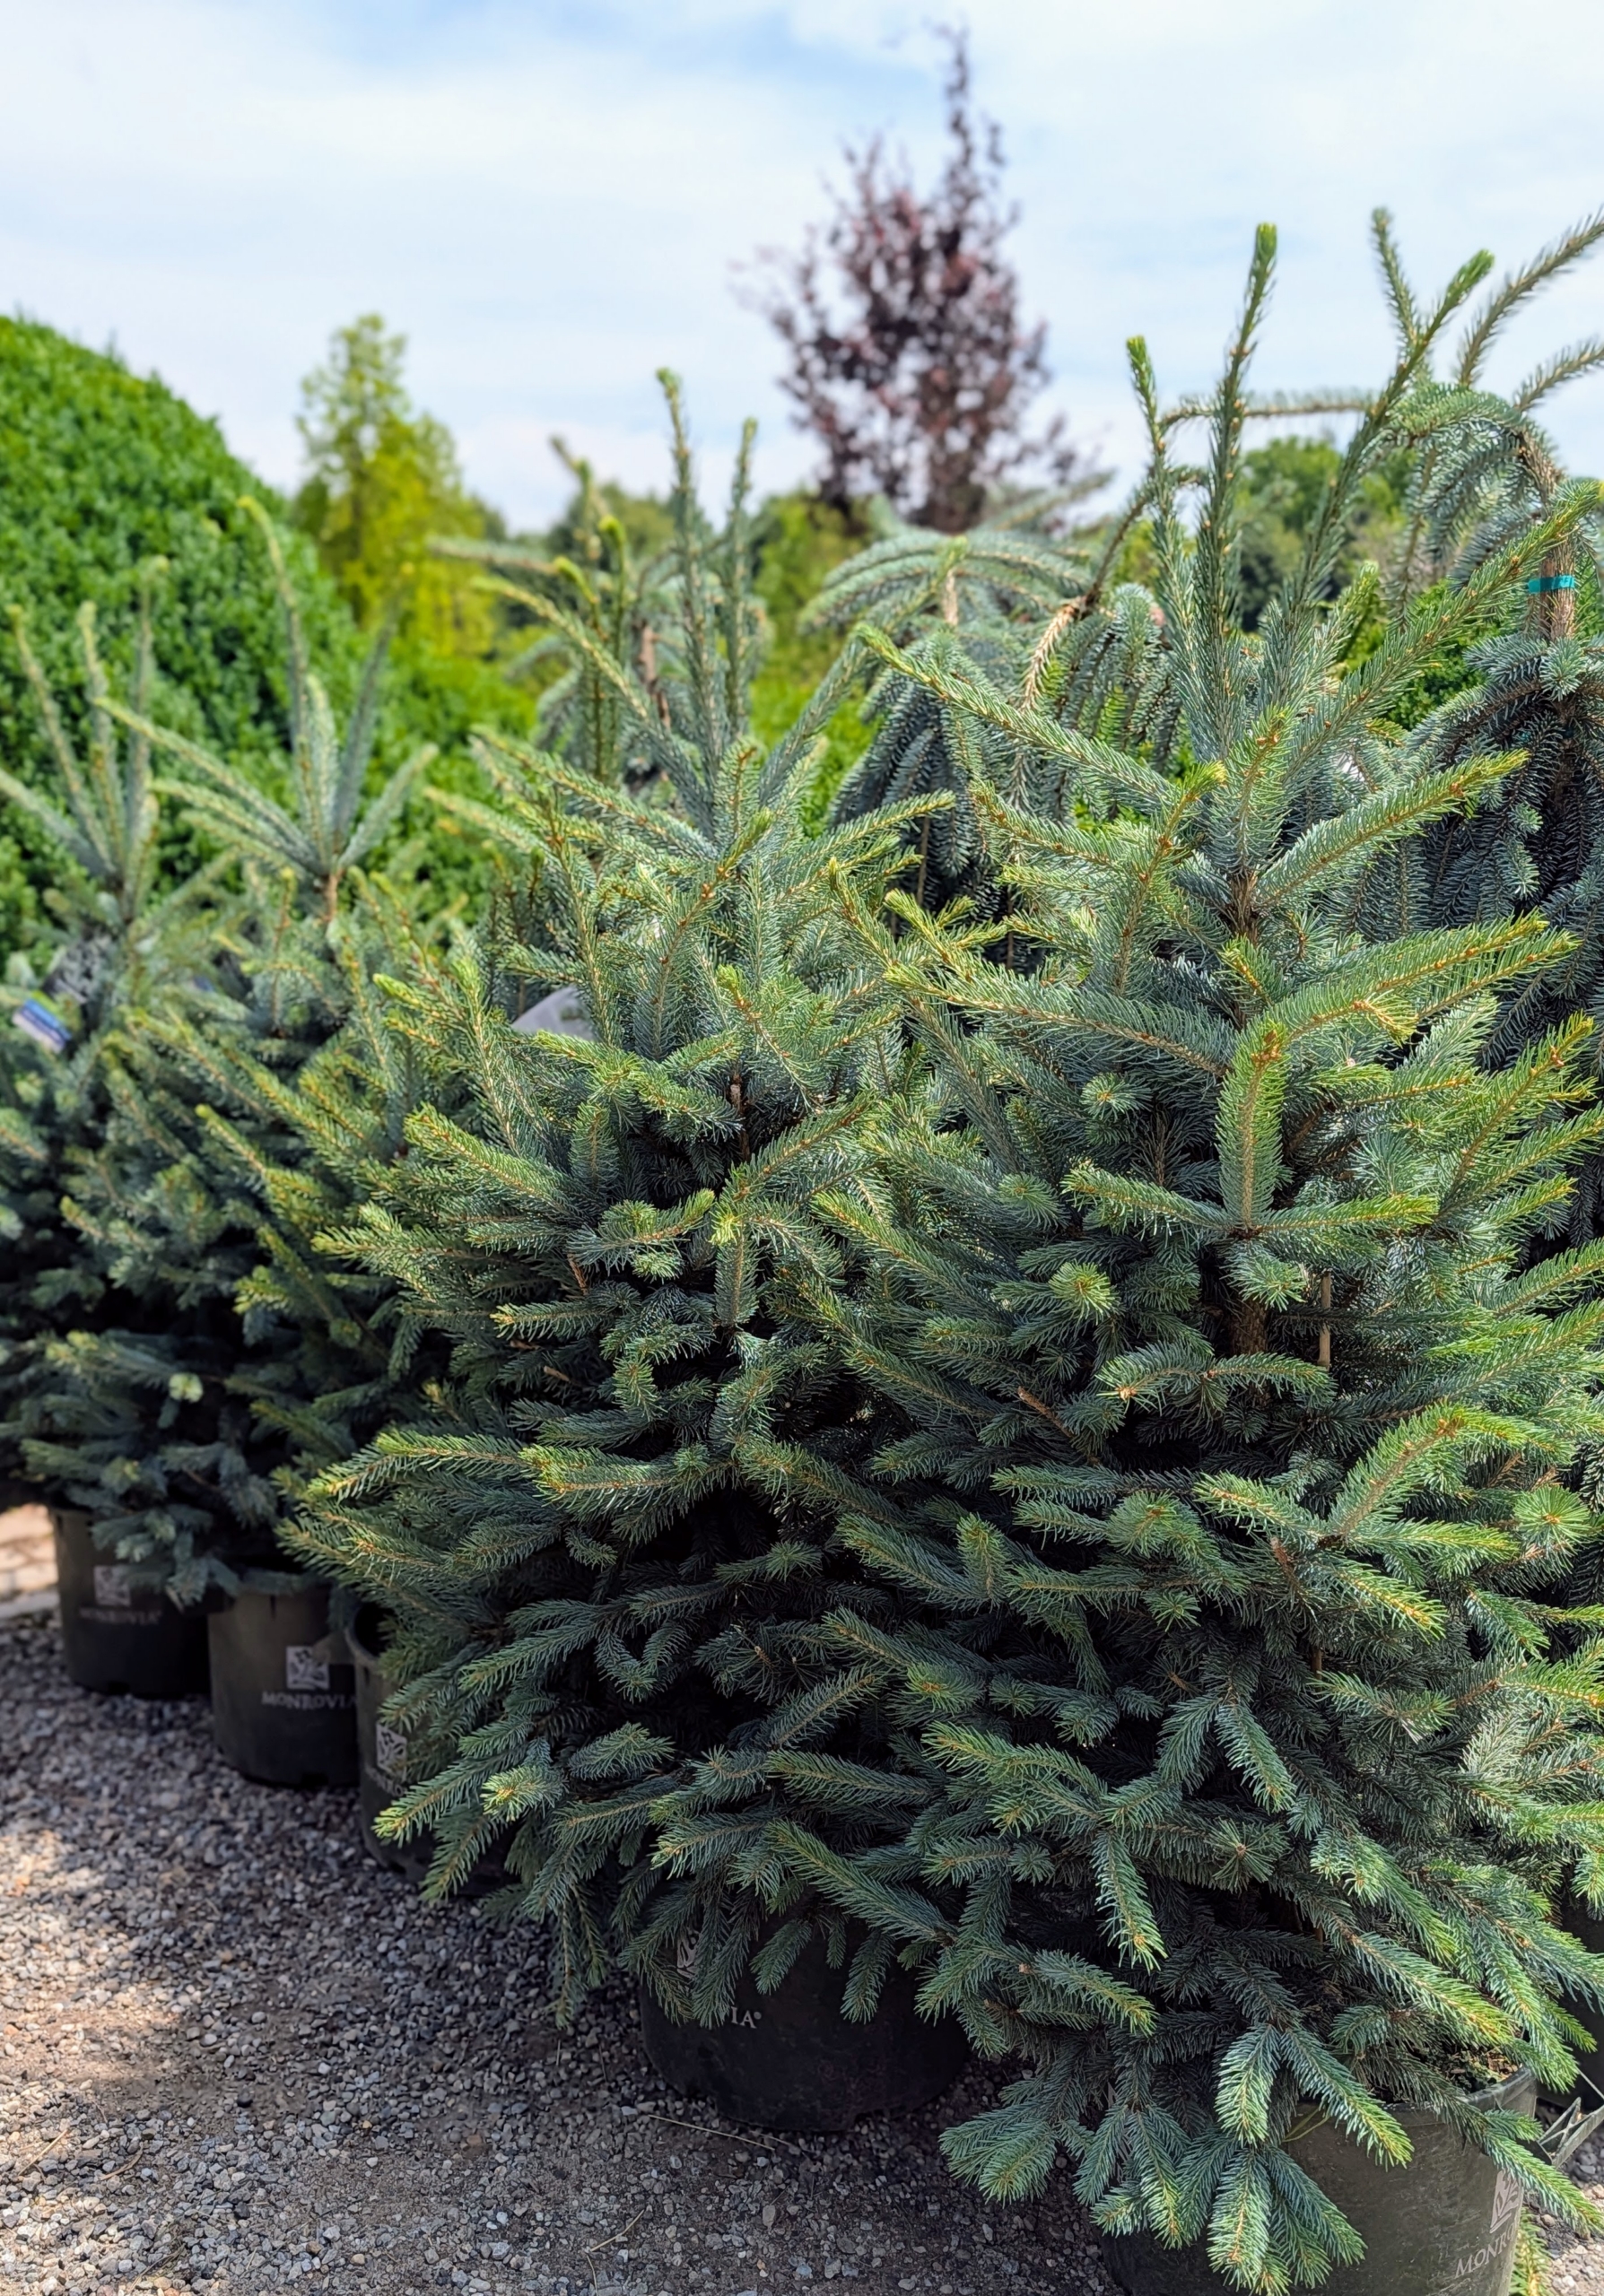
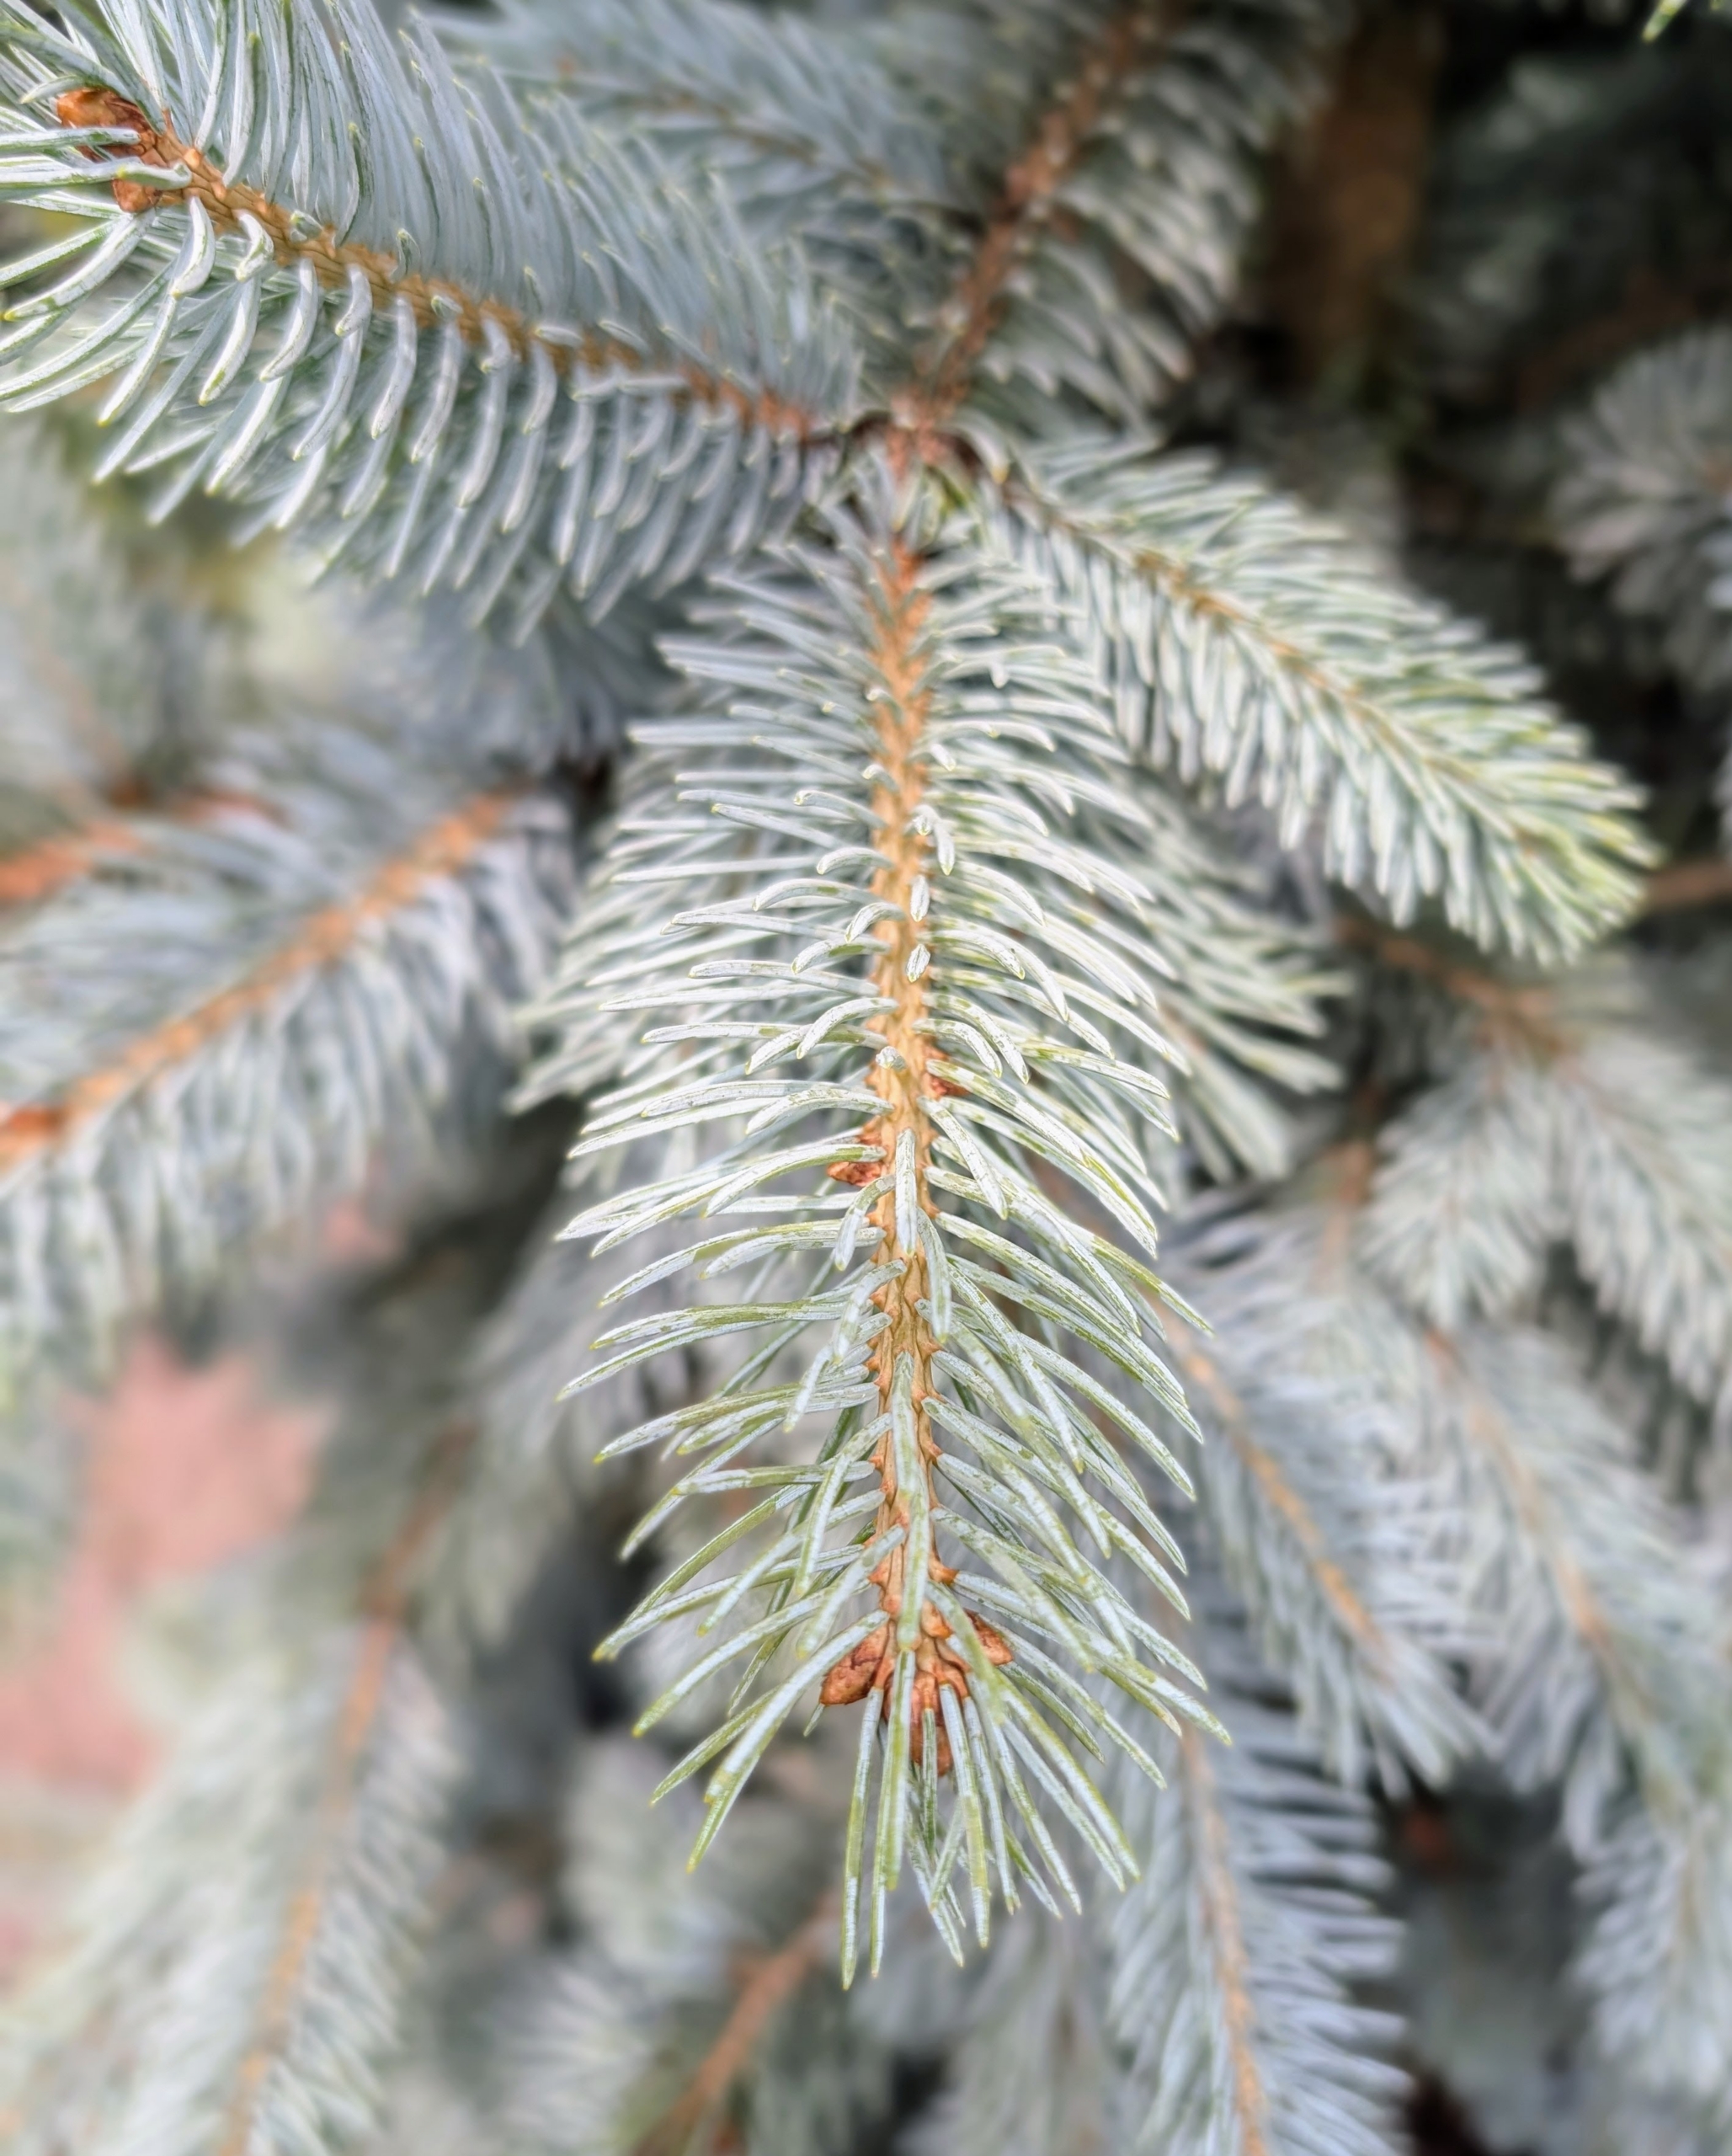
This is a Colorado blue spruce, Picea pungens ‘Fat Albert.’ It is an evergreen conifer with rich blue needles on dense branches. It grows slowly, but naturally in a pyramidal form. And it grows 10 to 15 feet tall and wide in 10 years time. Do you know the difference between an evergreen and a conifer? Evergreens are plants that retain their leaves year-round, while conifers are cone-bearing plants. Most, not all, conifers are evergreens, but not all evergreens are conifers.
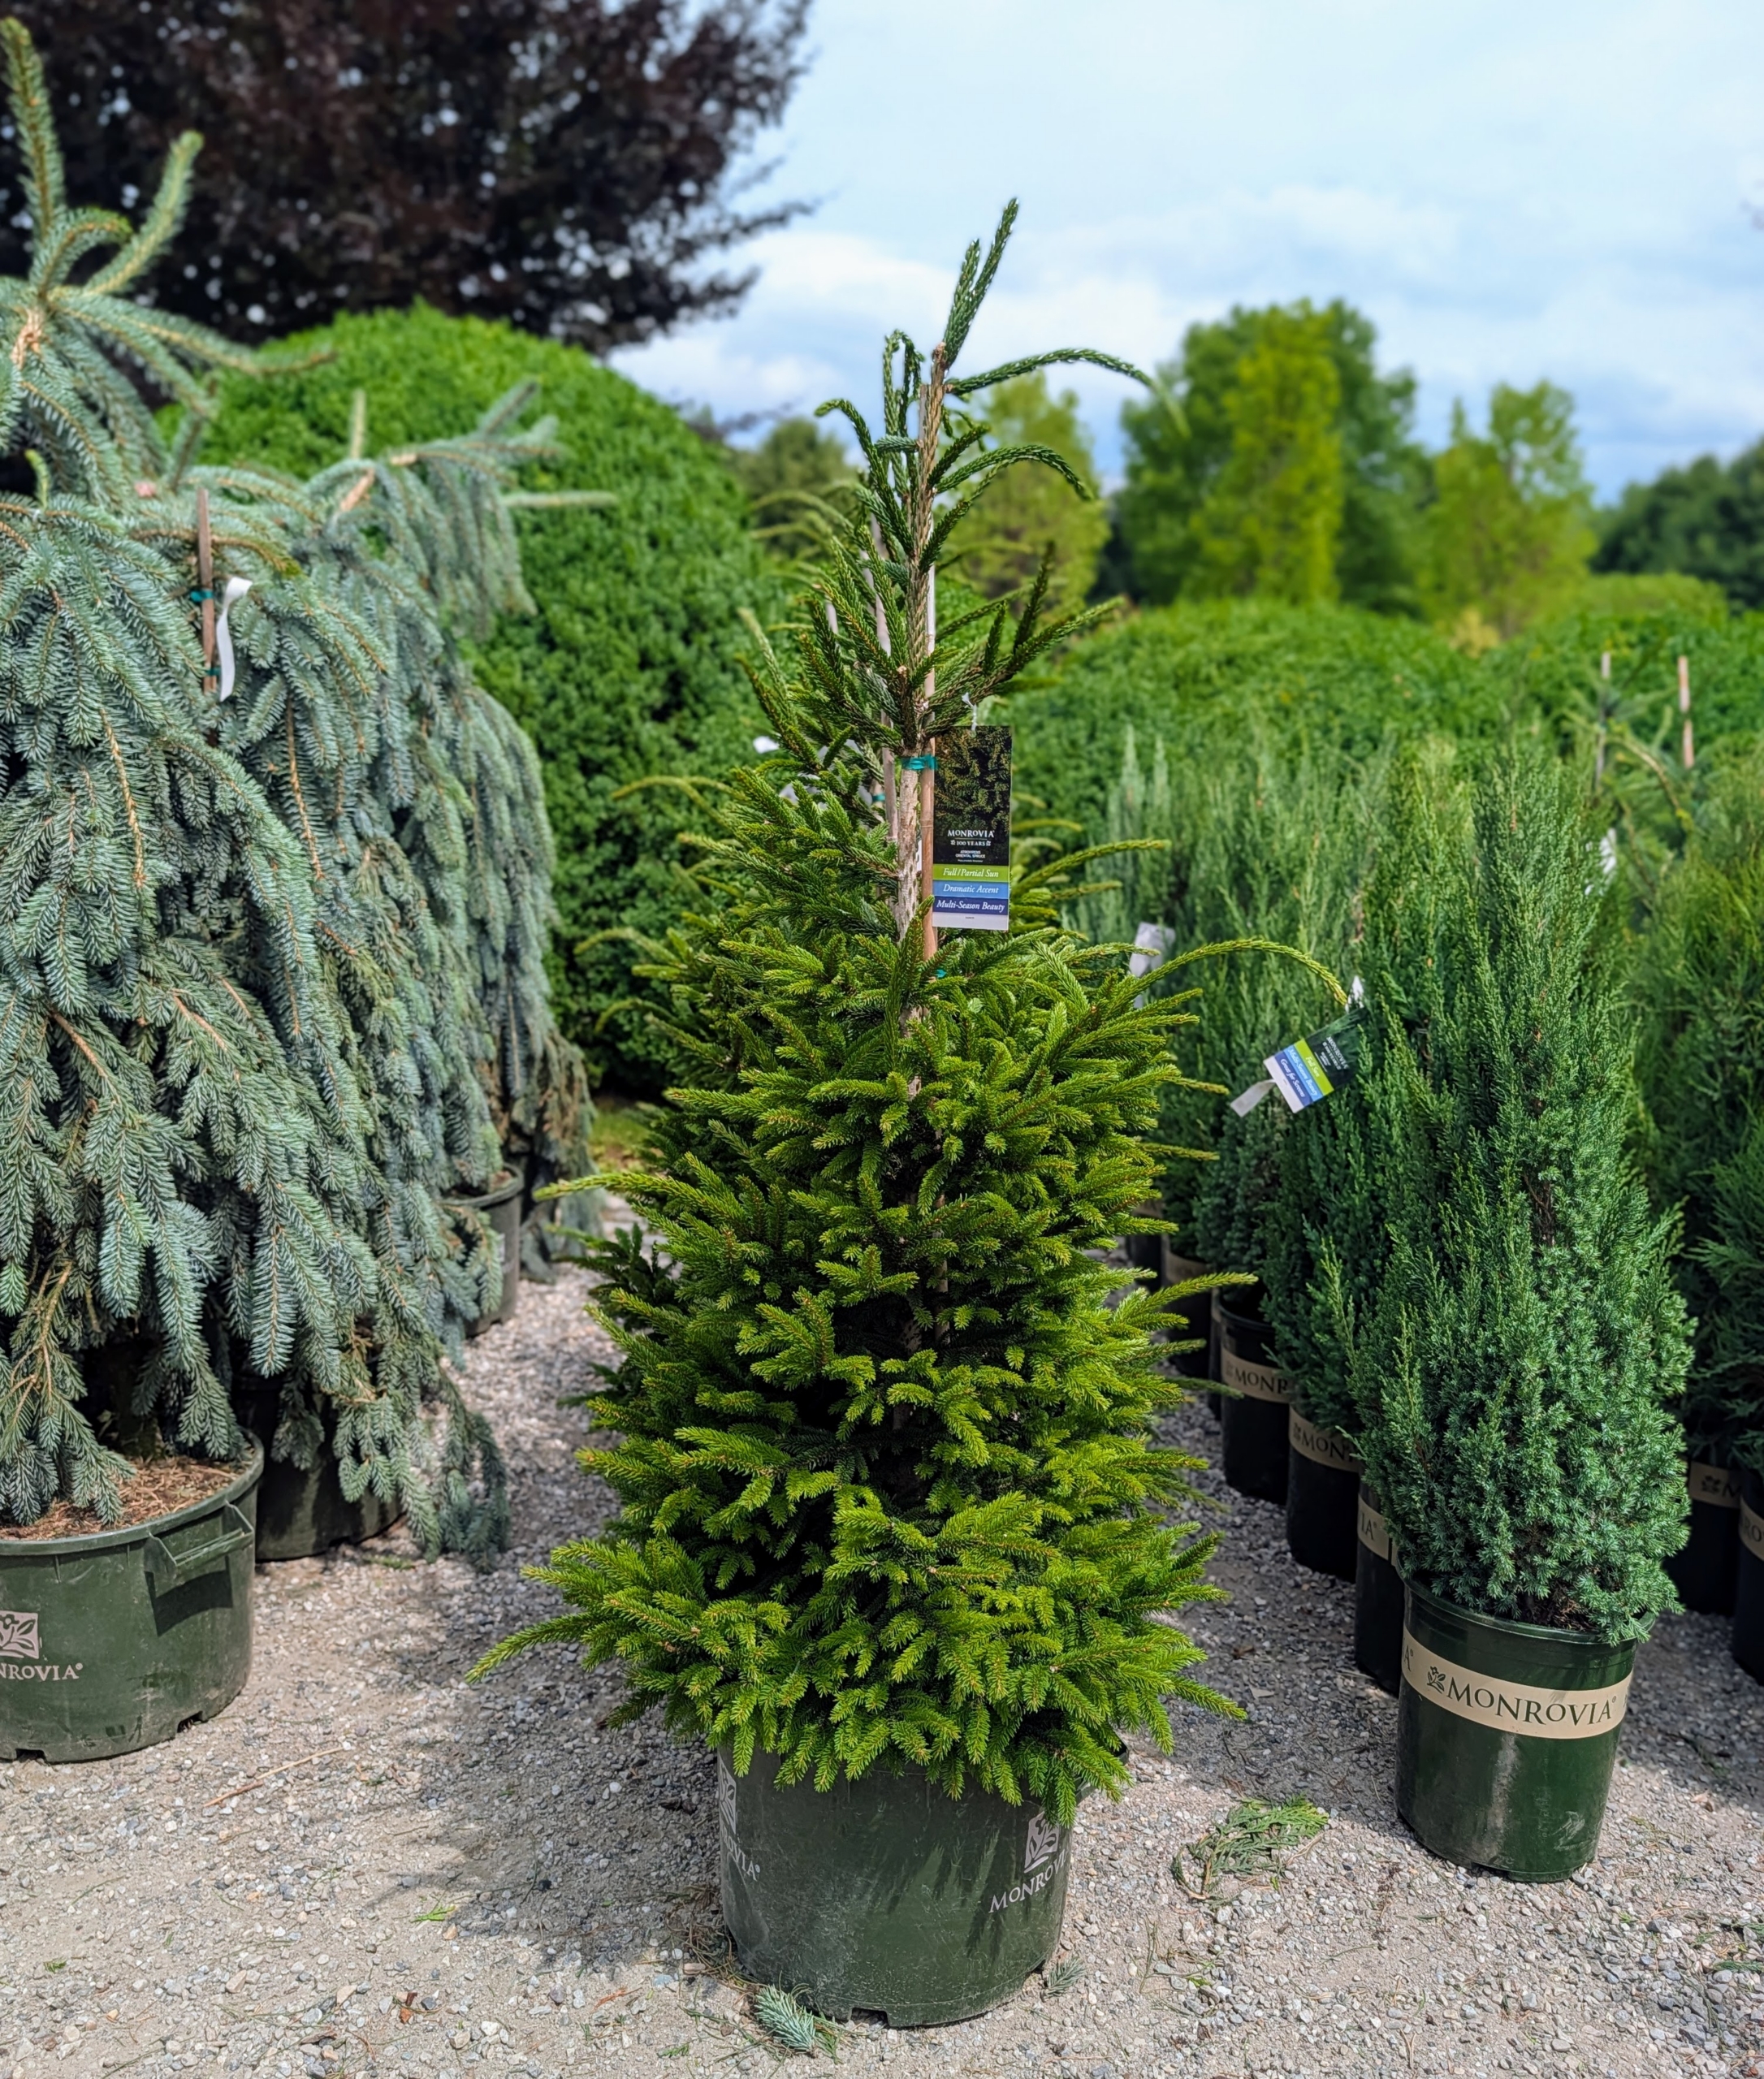
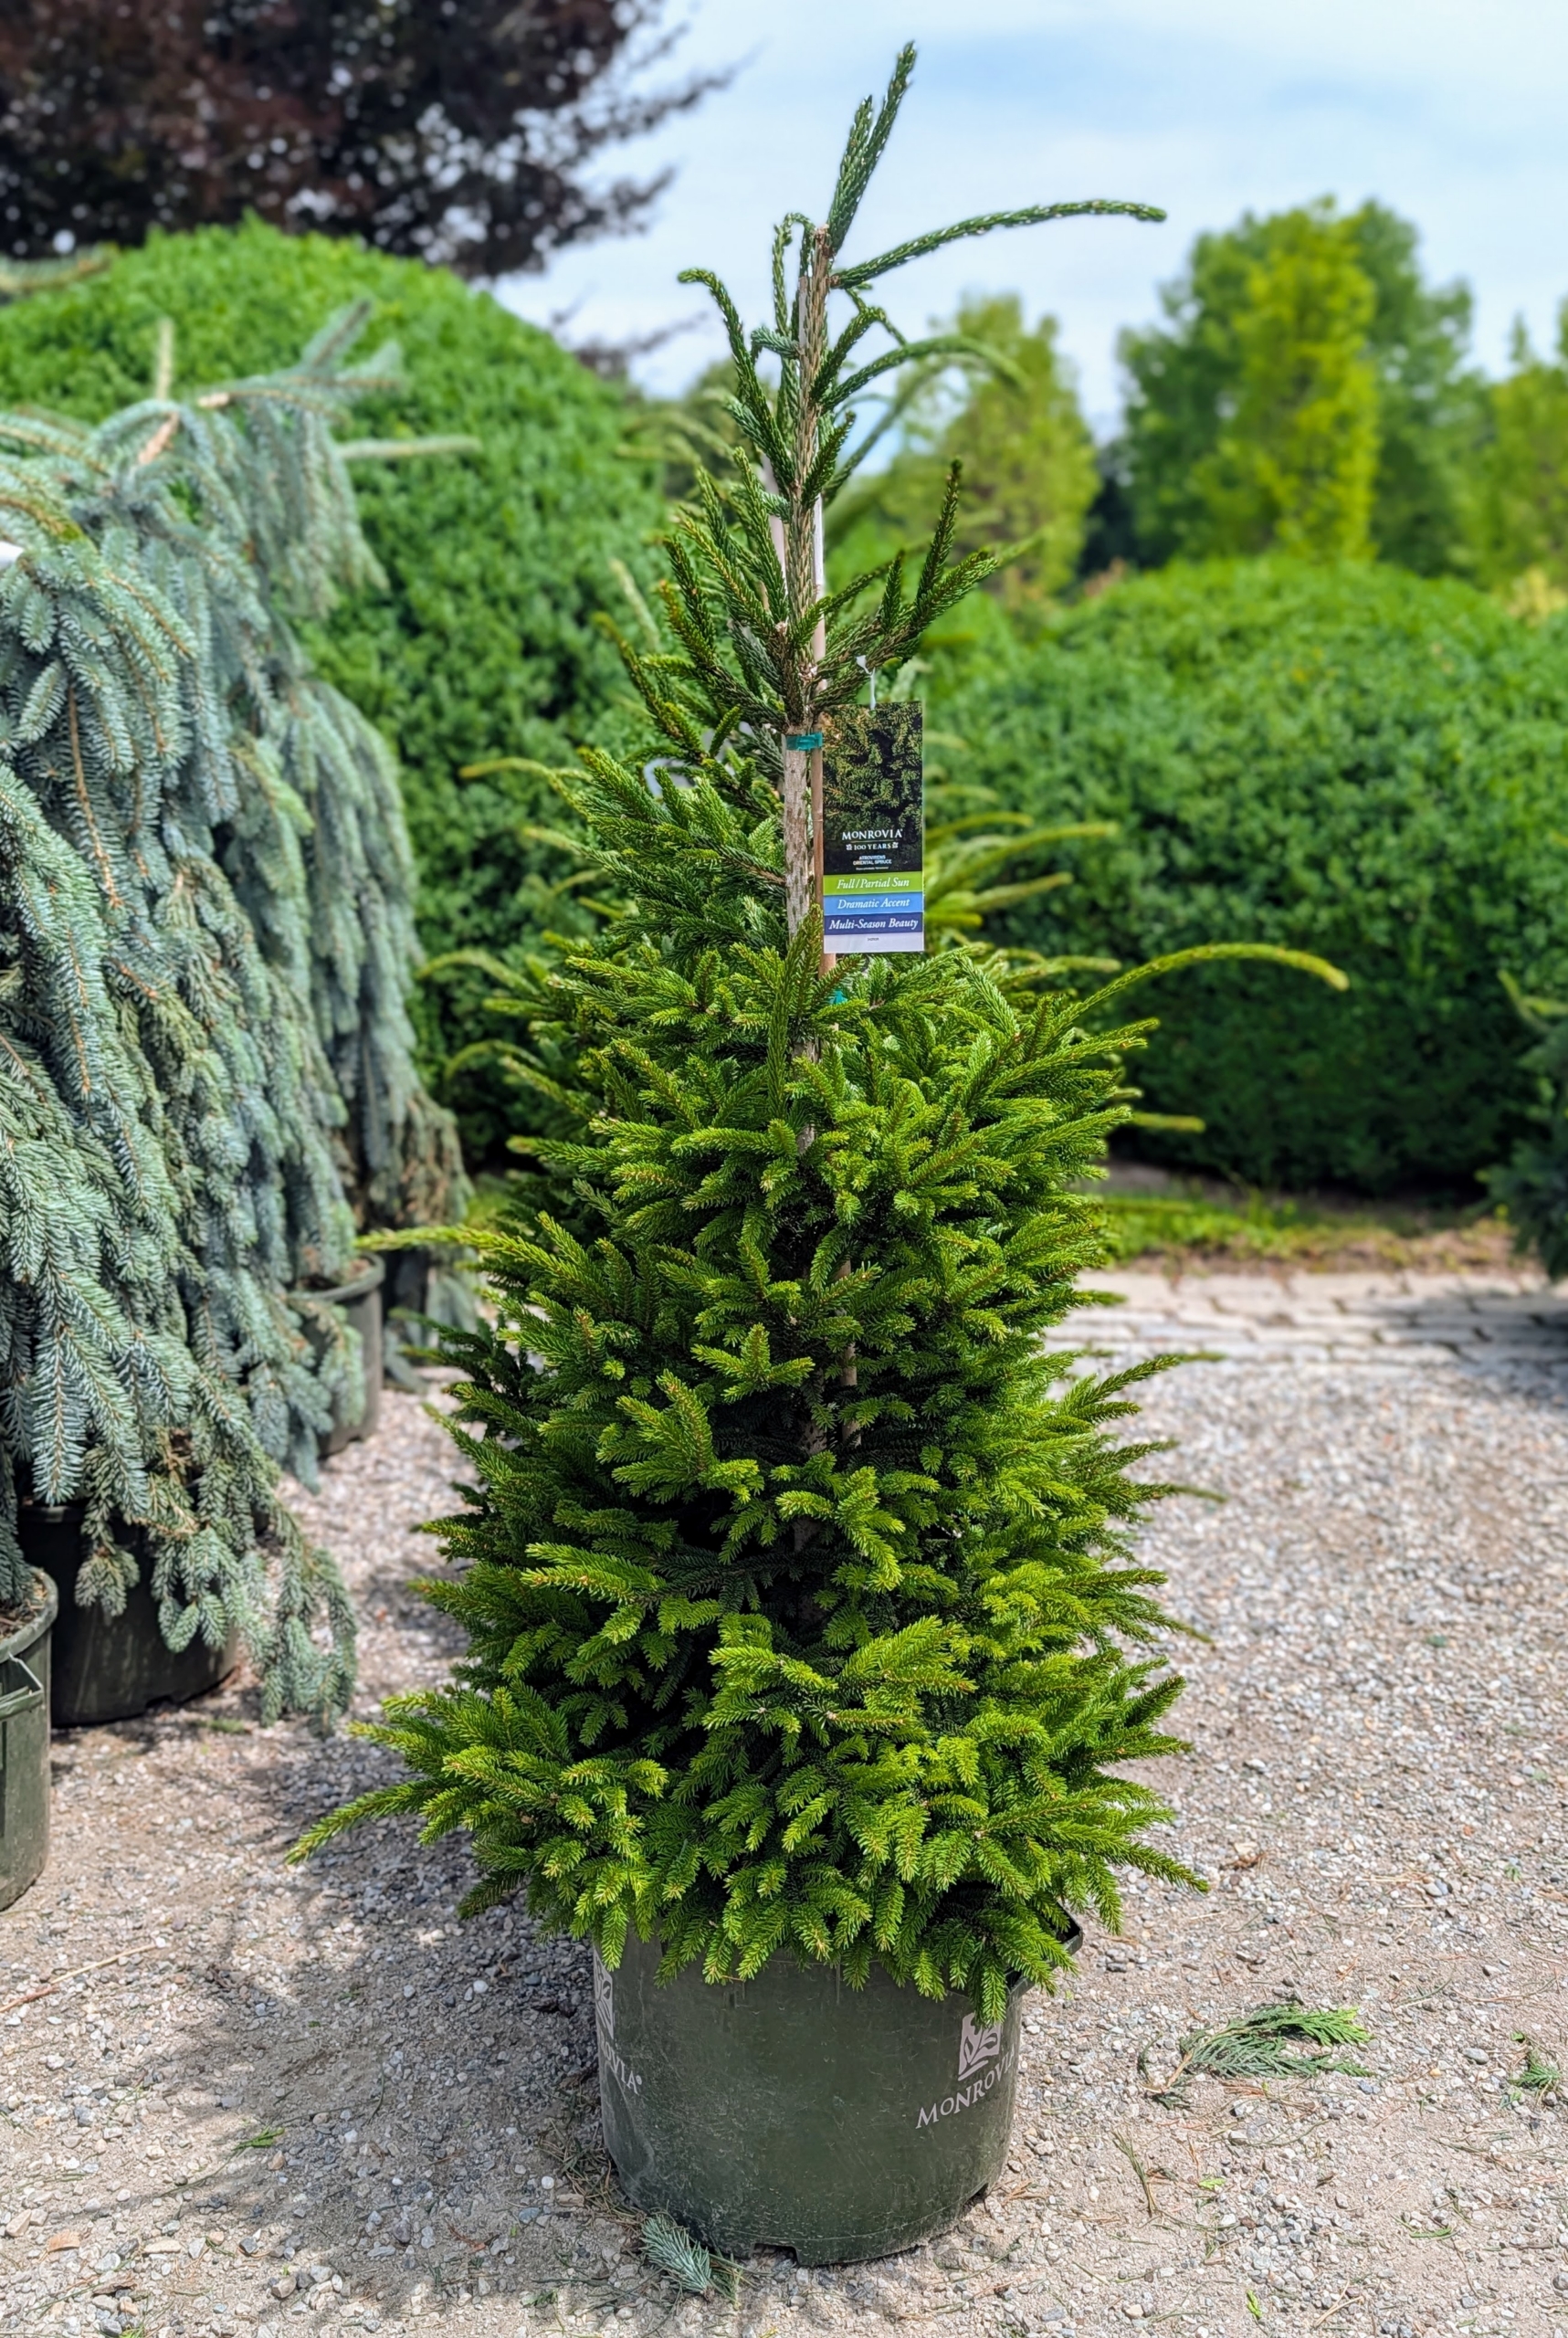
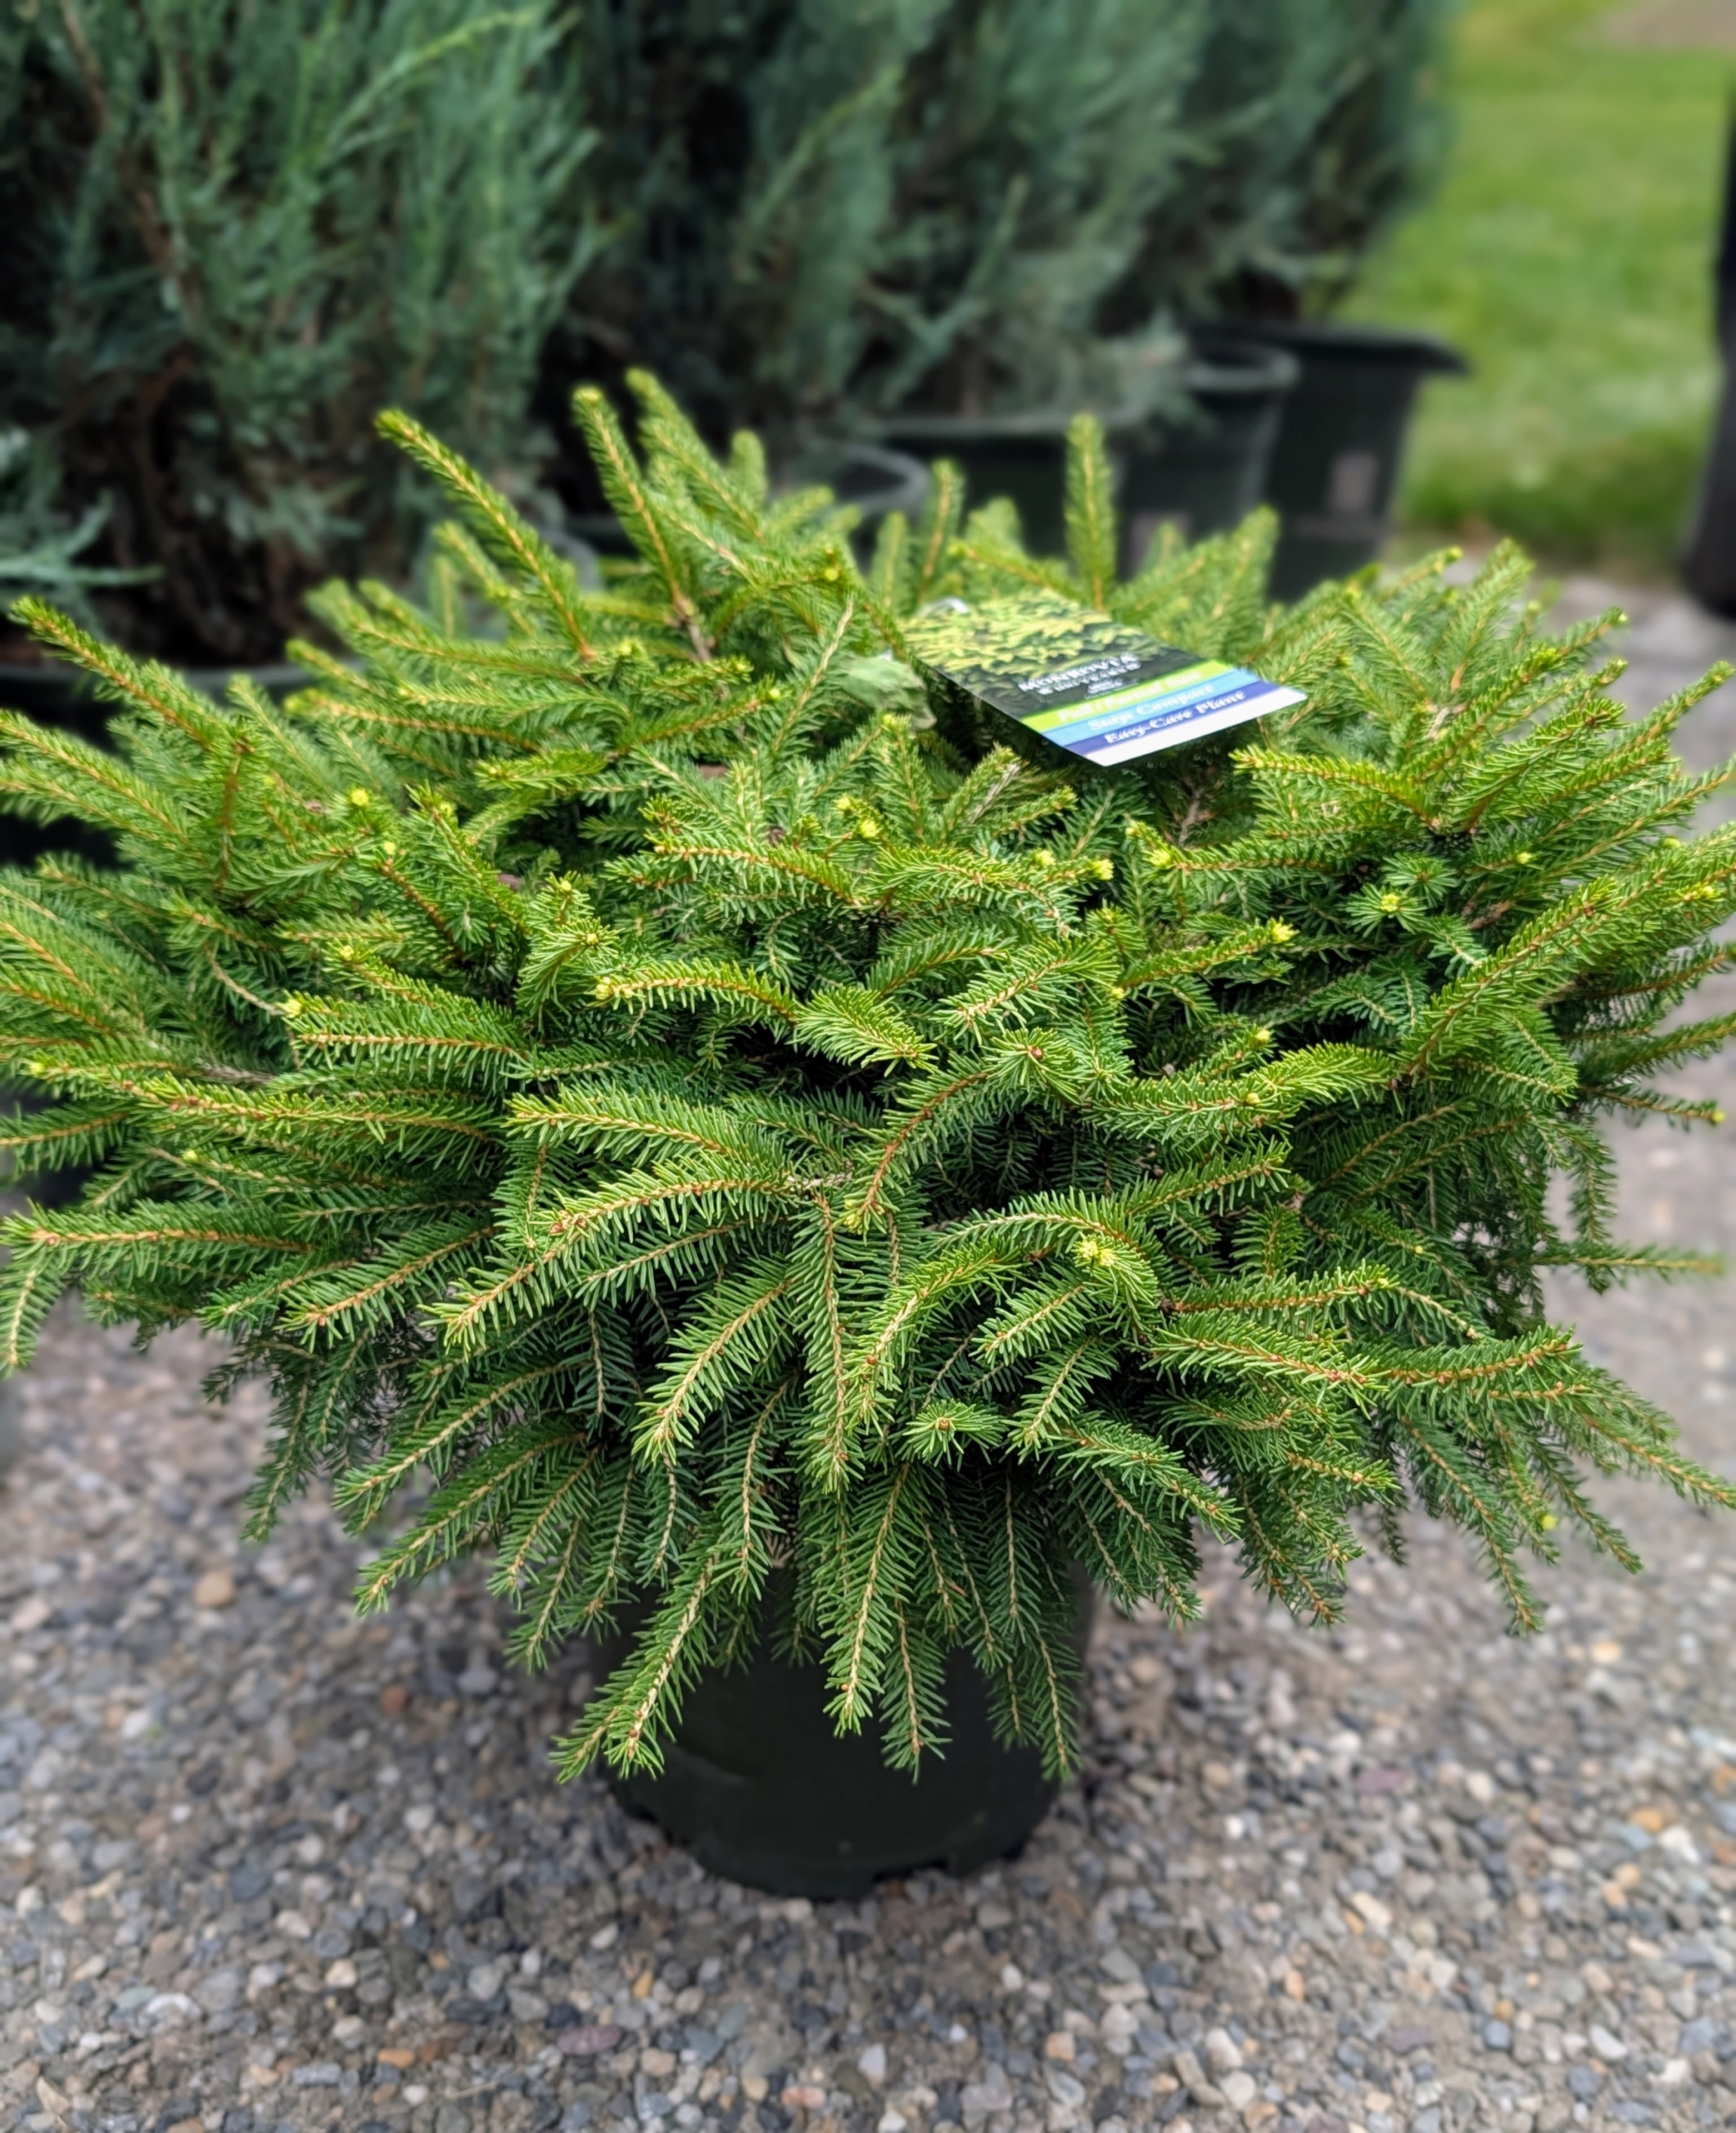
This is Picea orientalis ‘Atrovirens,’ an oriental spruce. This tree is an elegant conifer with exceptionally dark green, shiny needles on dense, pendulous branches. It is one of the last spruces to bud in spring. It produces showy female purplish cones before maturing to brown, making it a great specimen tree.
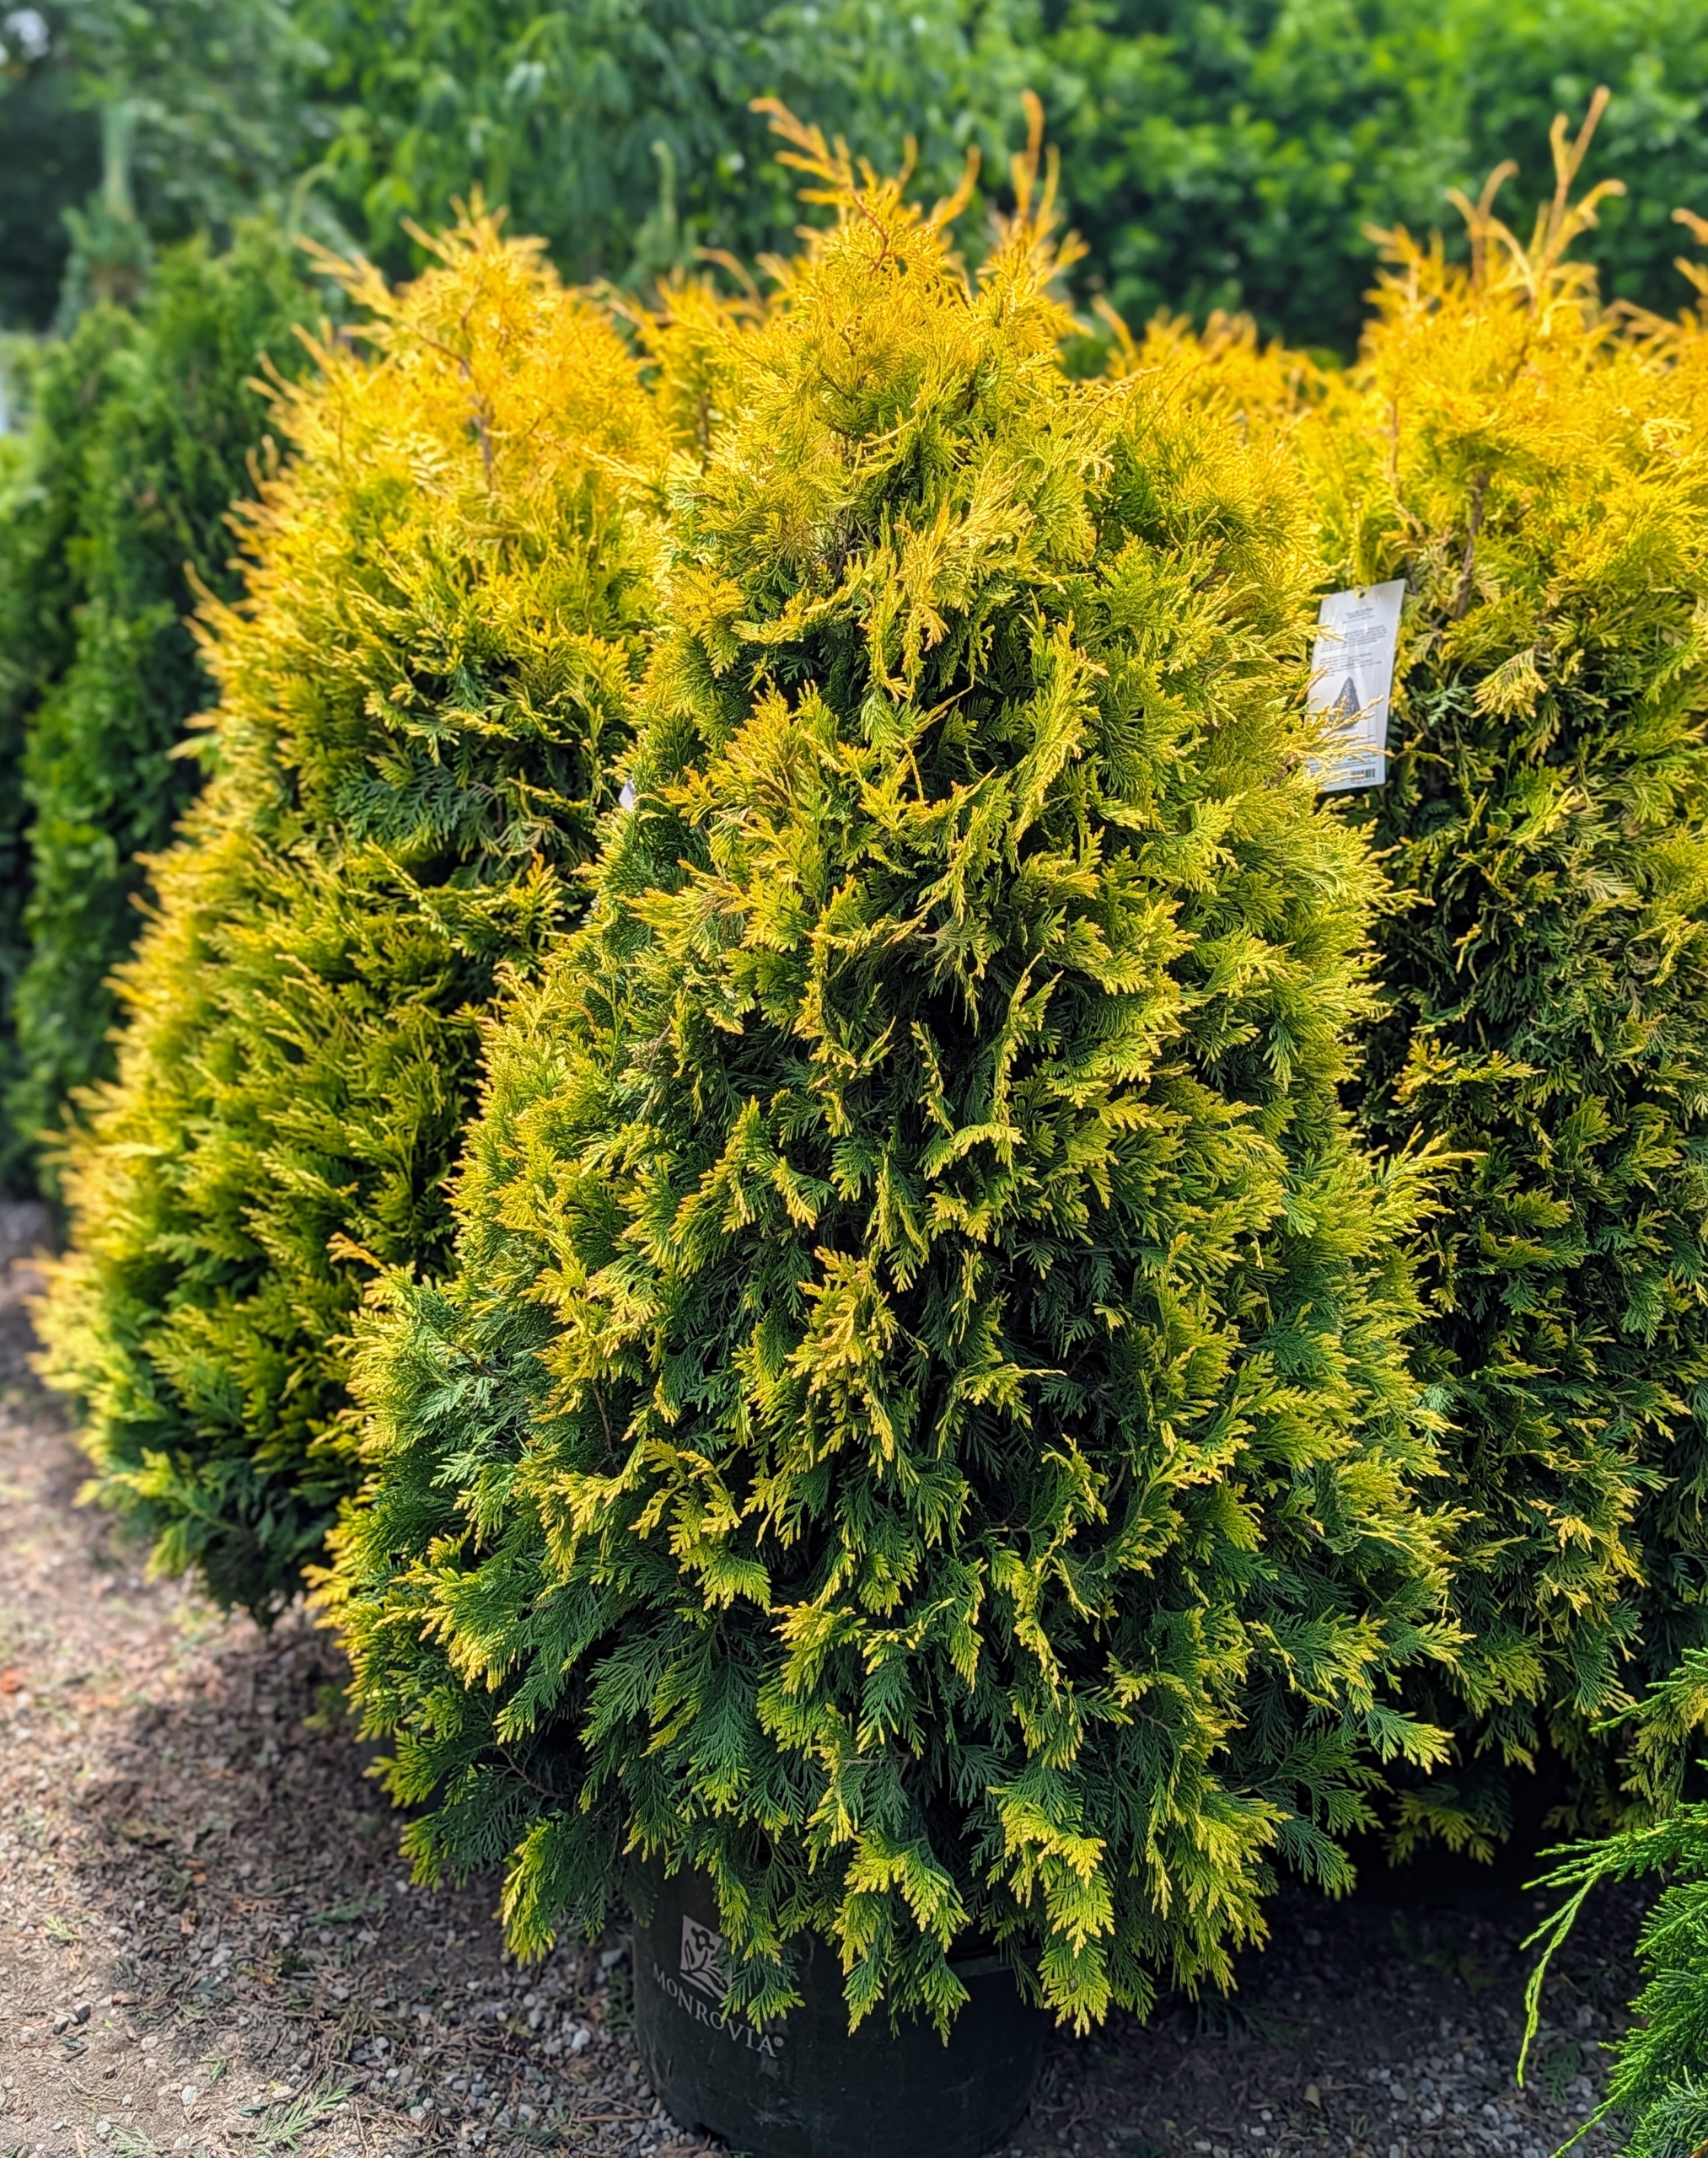
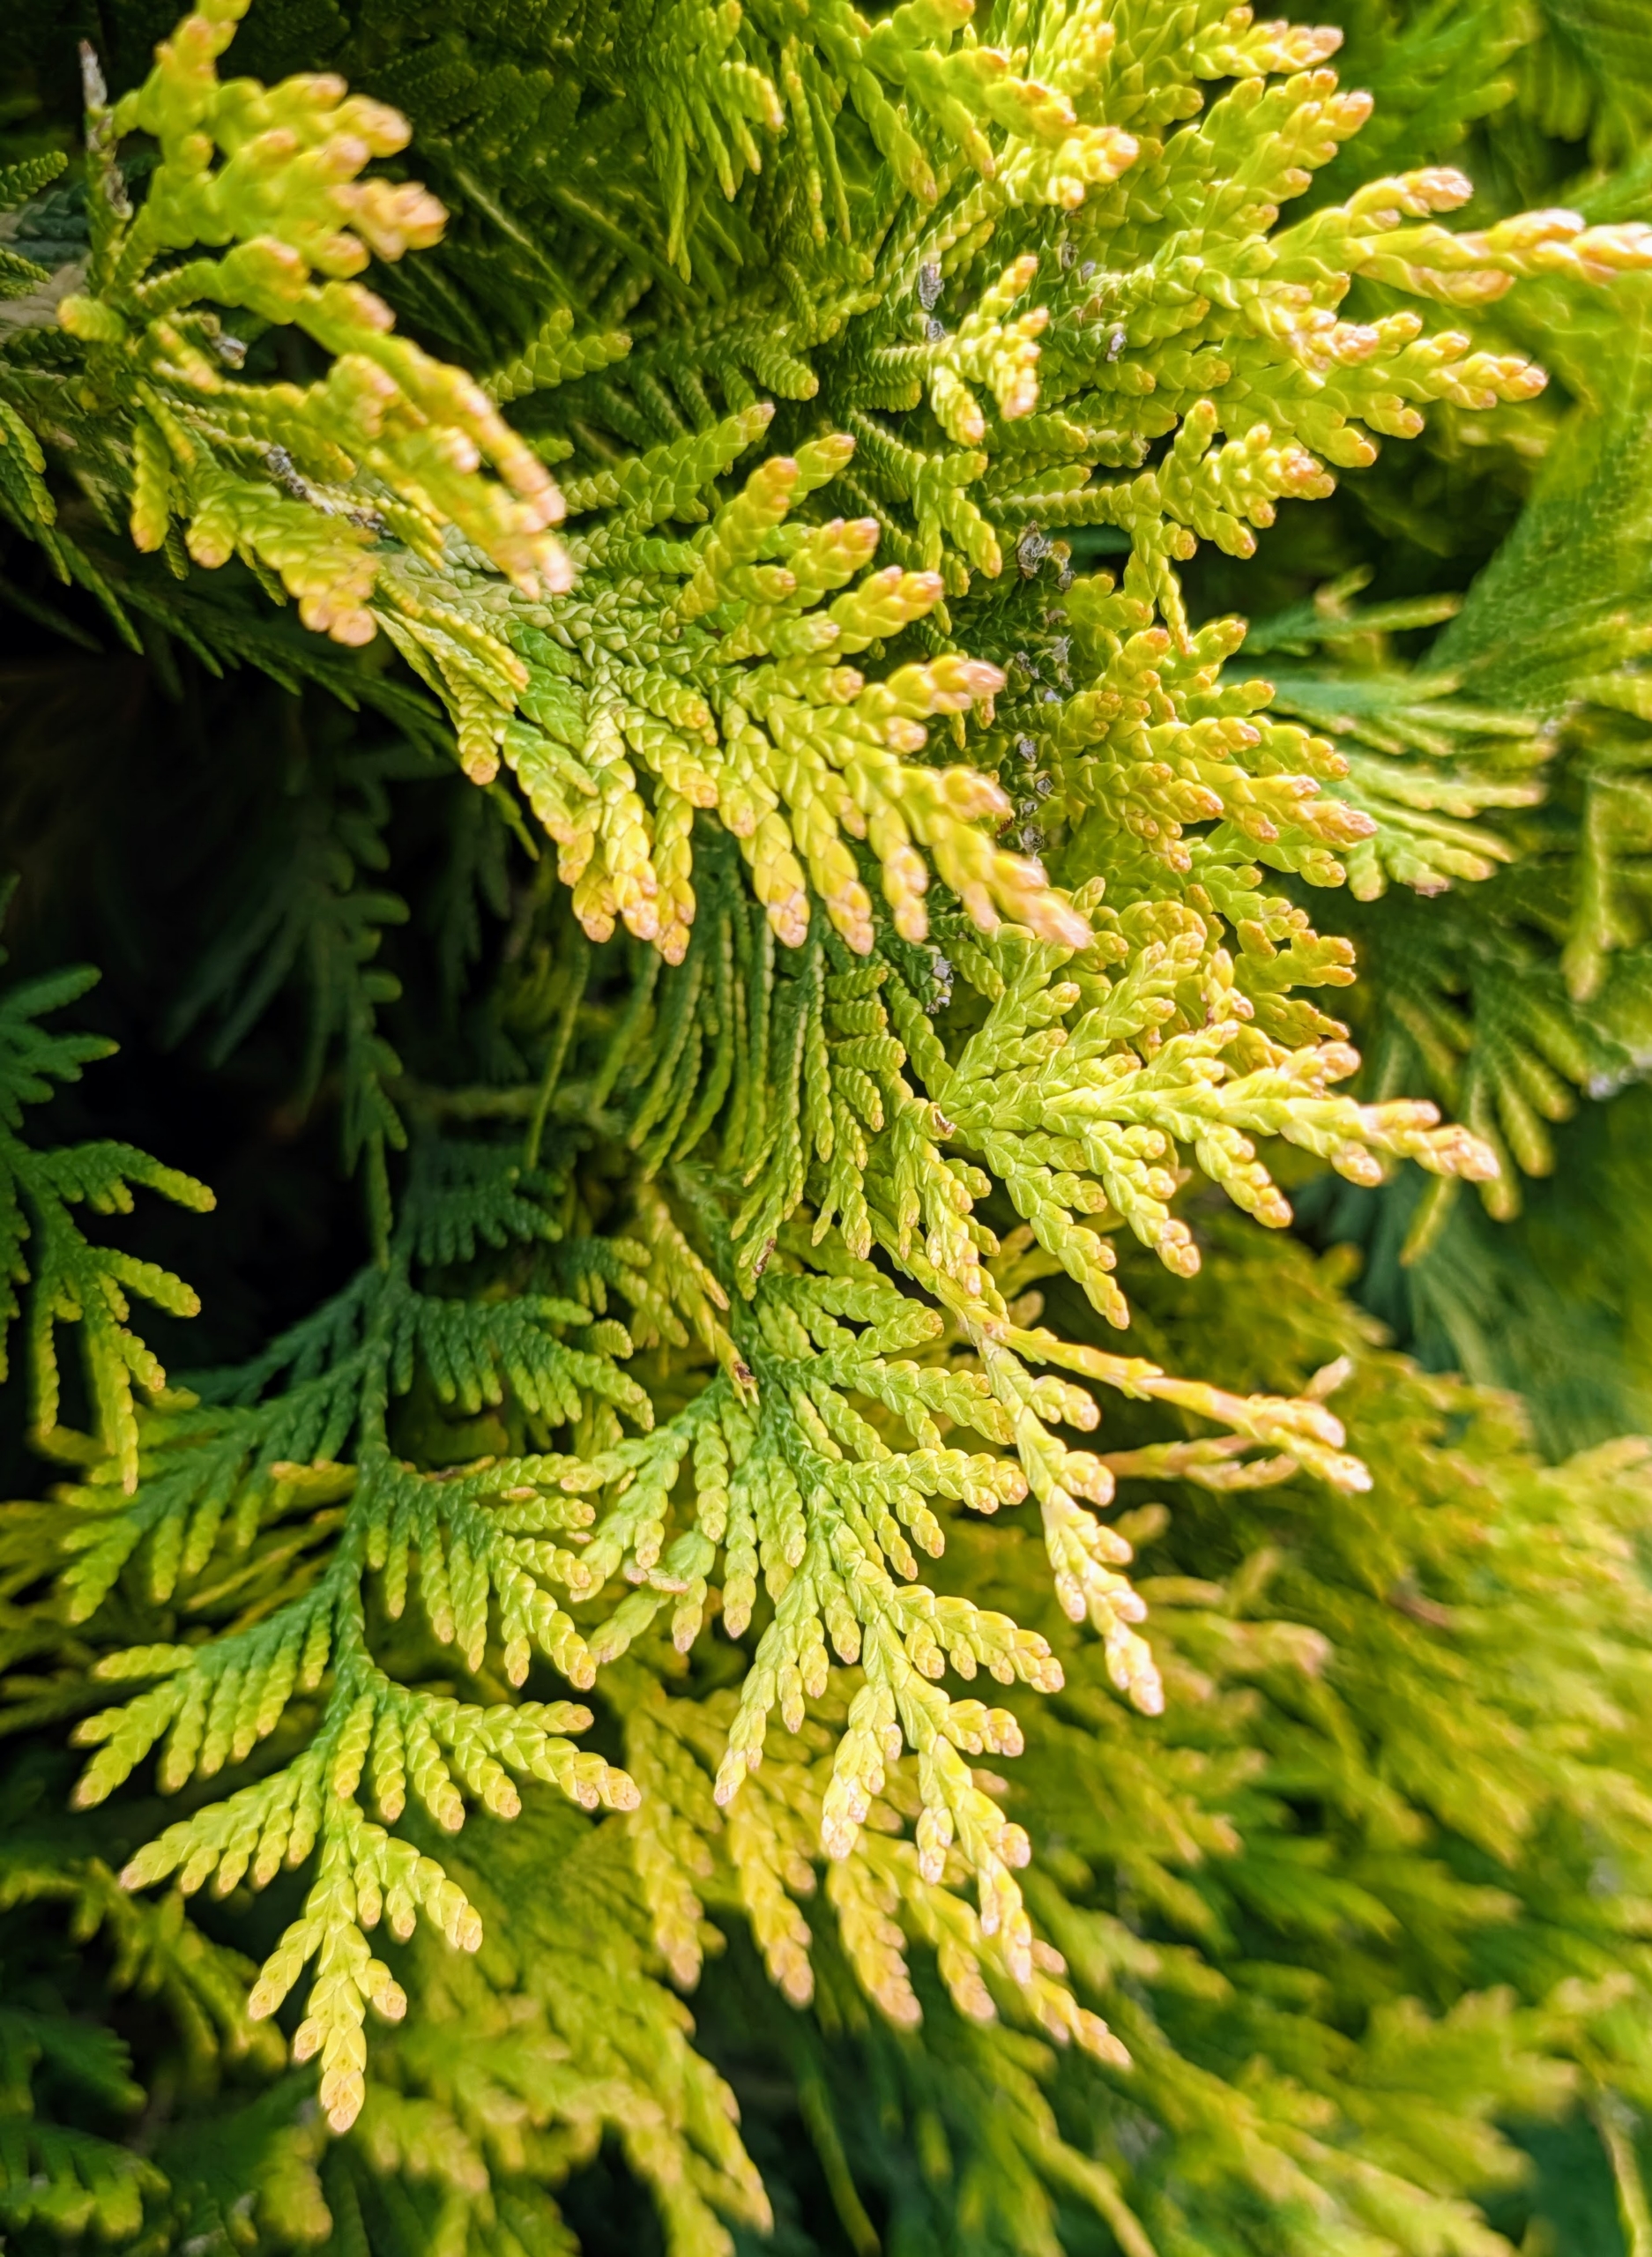
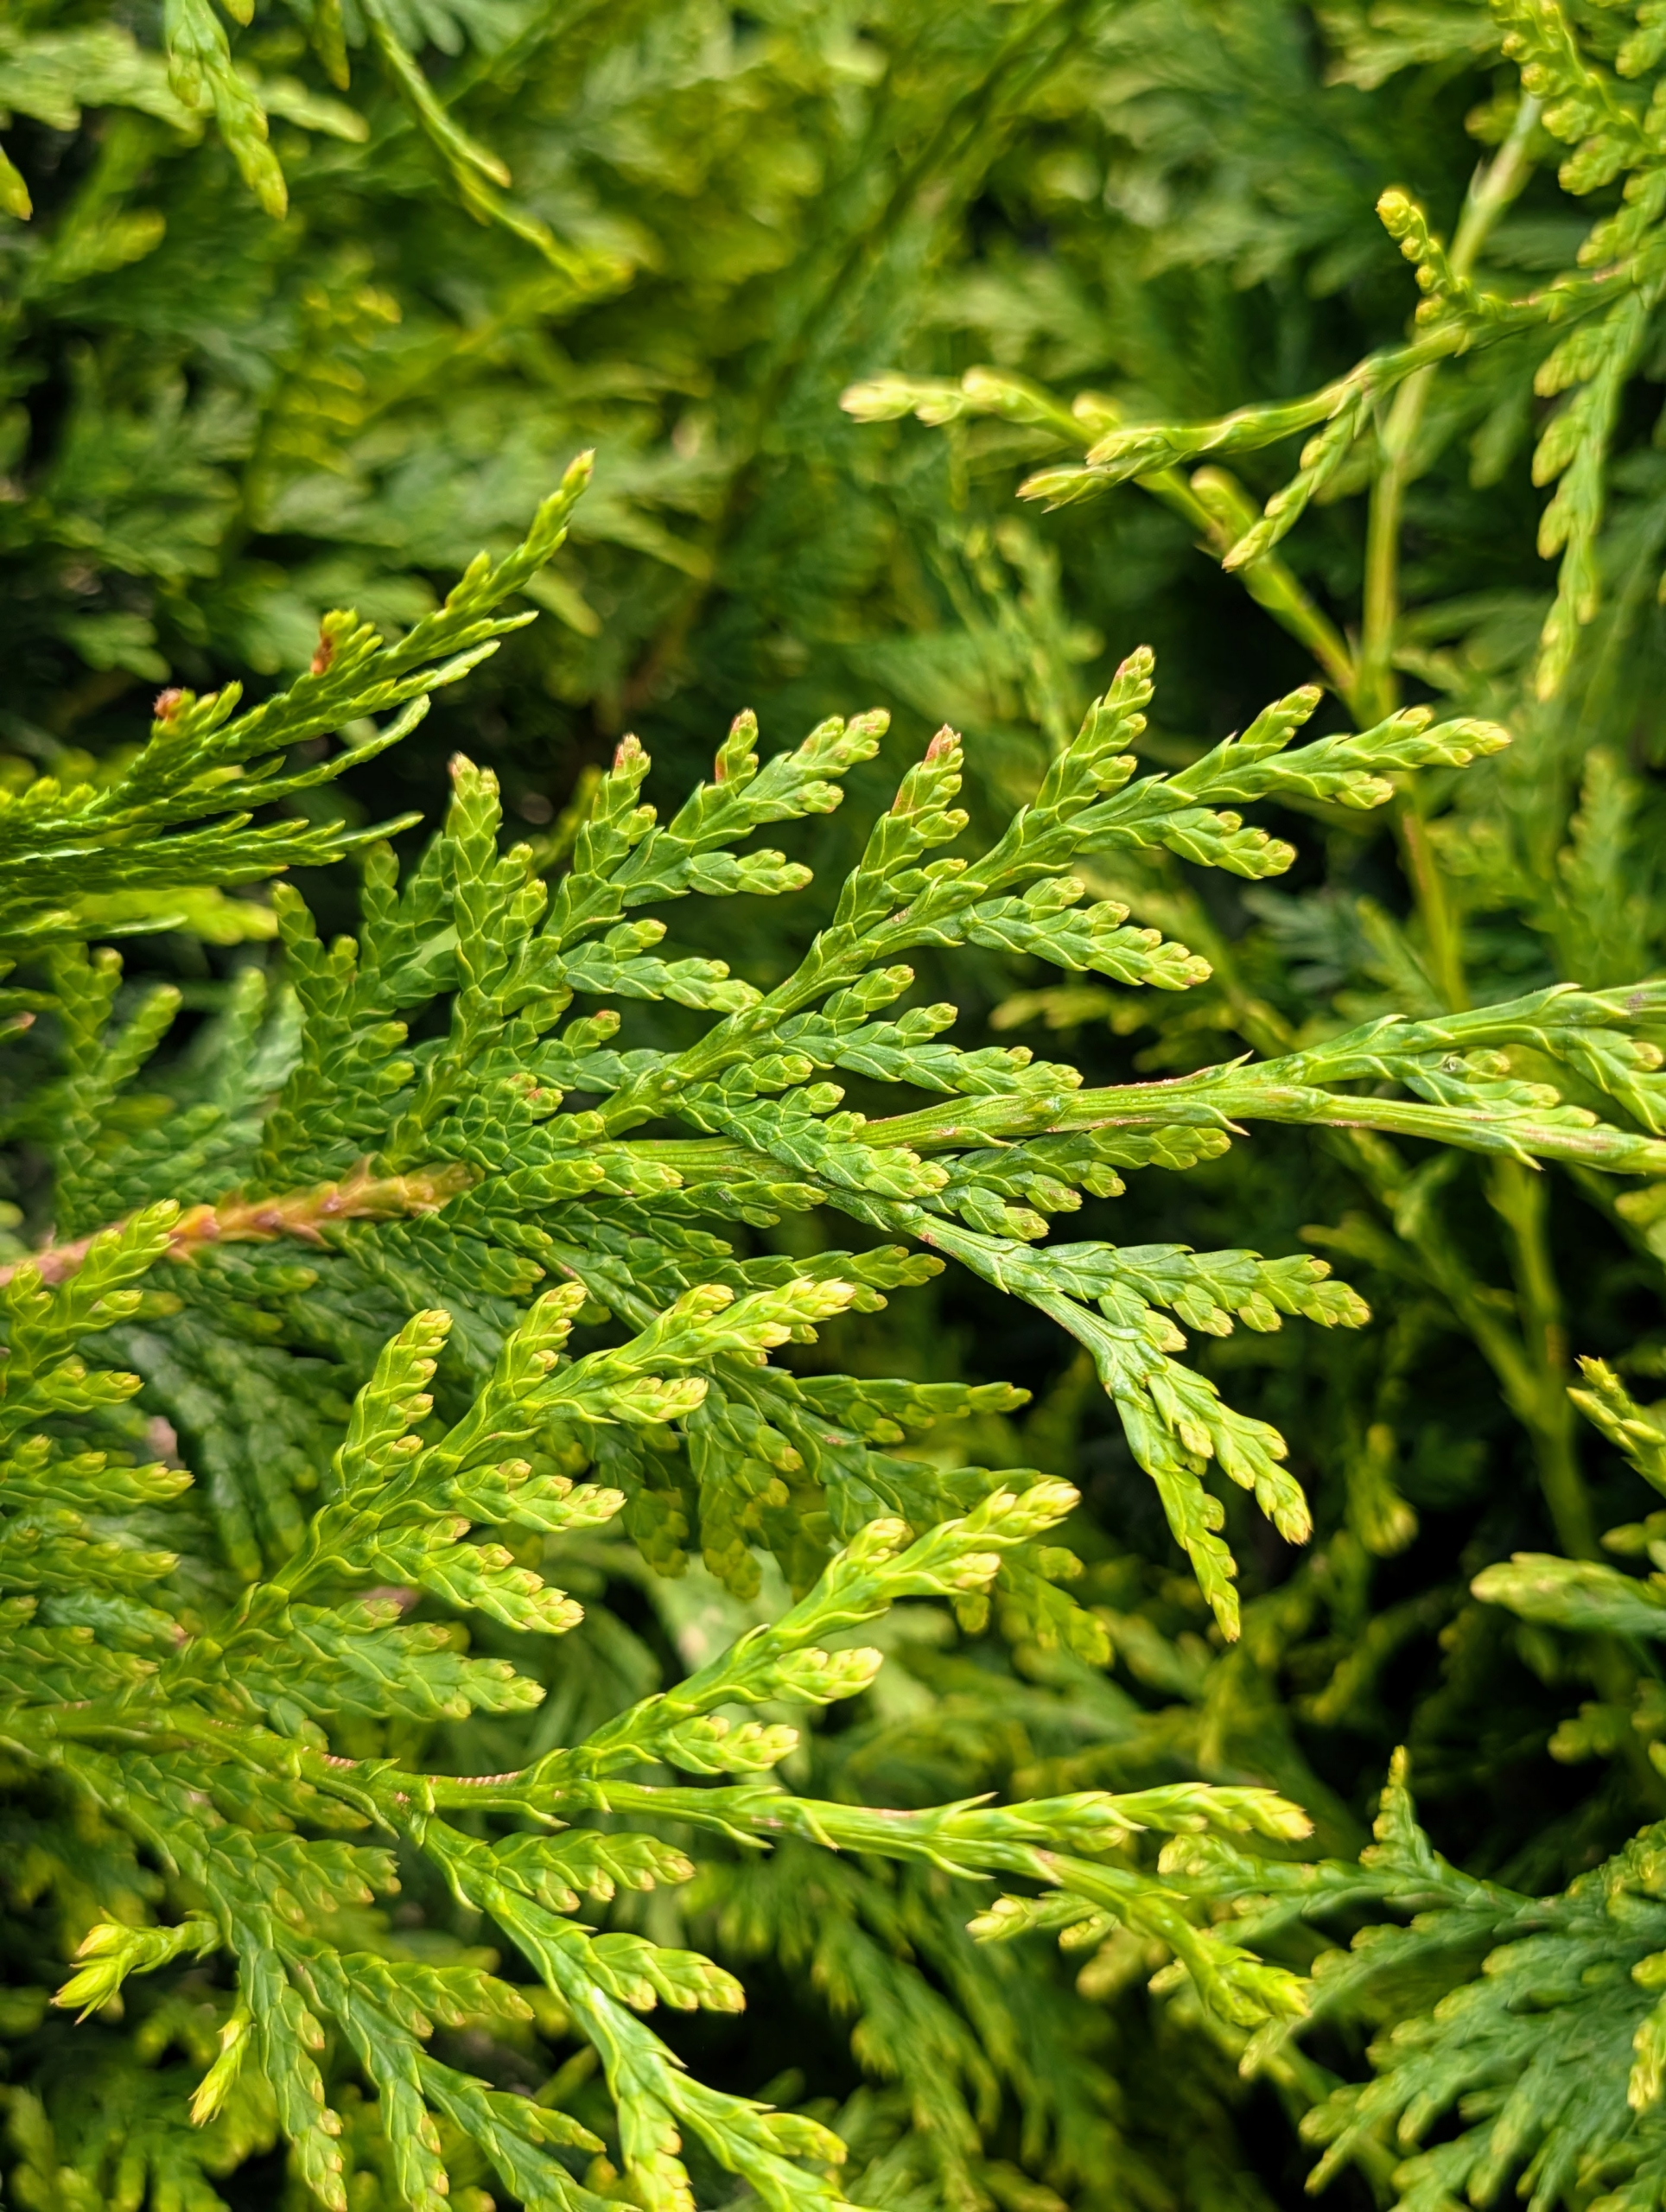
And look at this pretty tree – a yellow ribbon arborvitae, Thuja occidentalis ‘Yellow Ribbon.’ It is an evergreen with showy, dense golden-yellow foliage that maintains its color throughout the year. It’s wonderful wherever a splash of natural color is needed.
Its foliage grows in scale-like, flat sprays that are yellowish-orange in spring maturing to medium green.
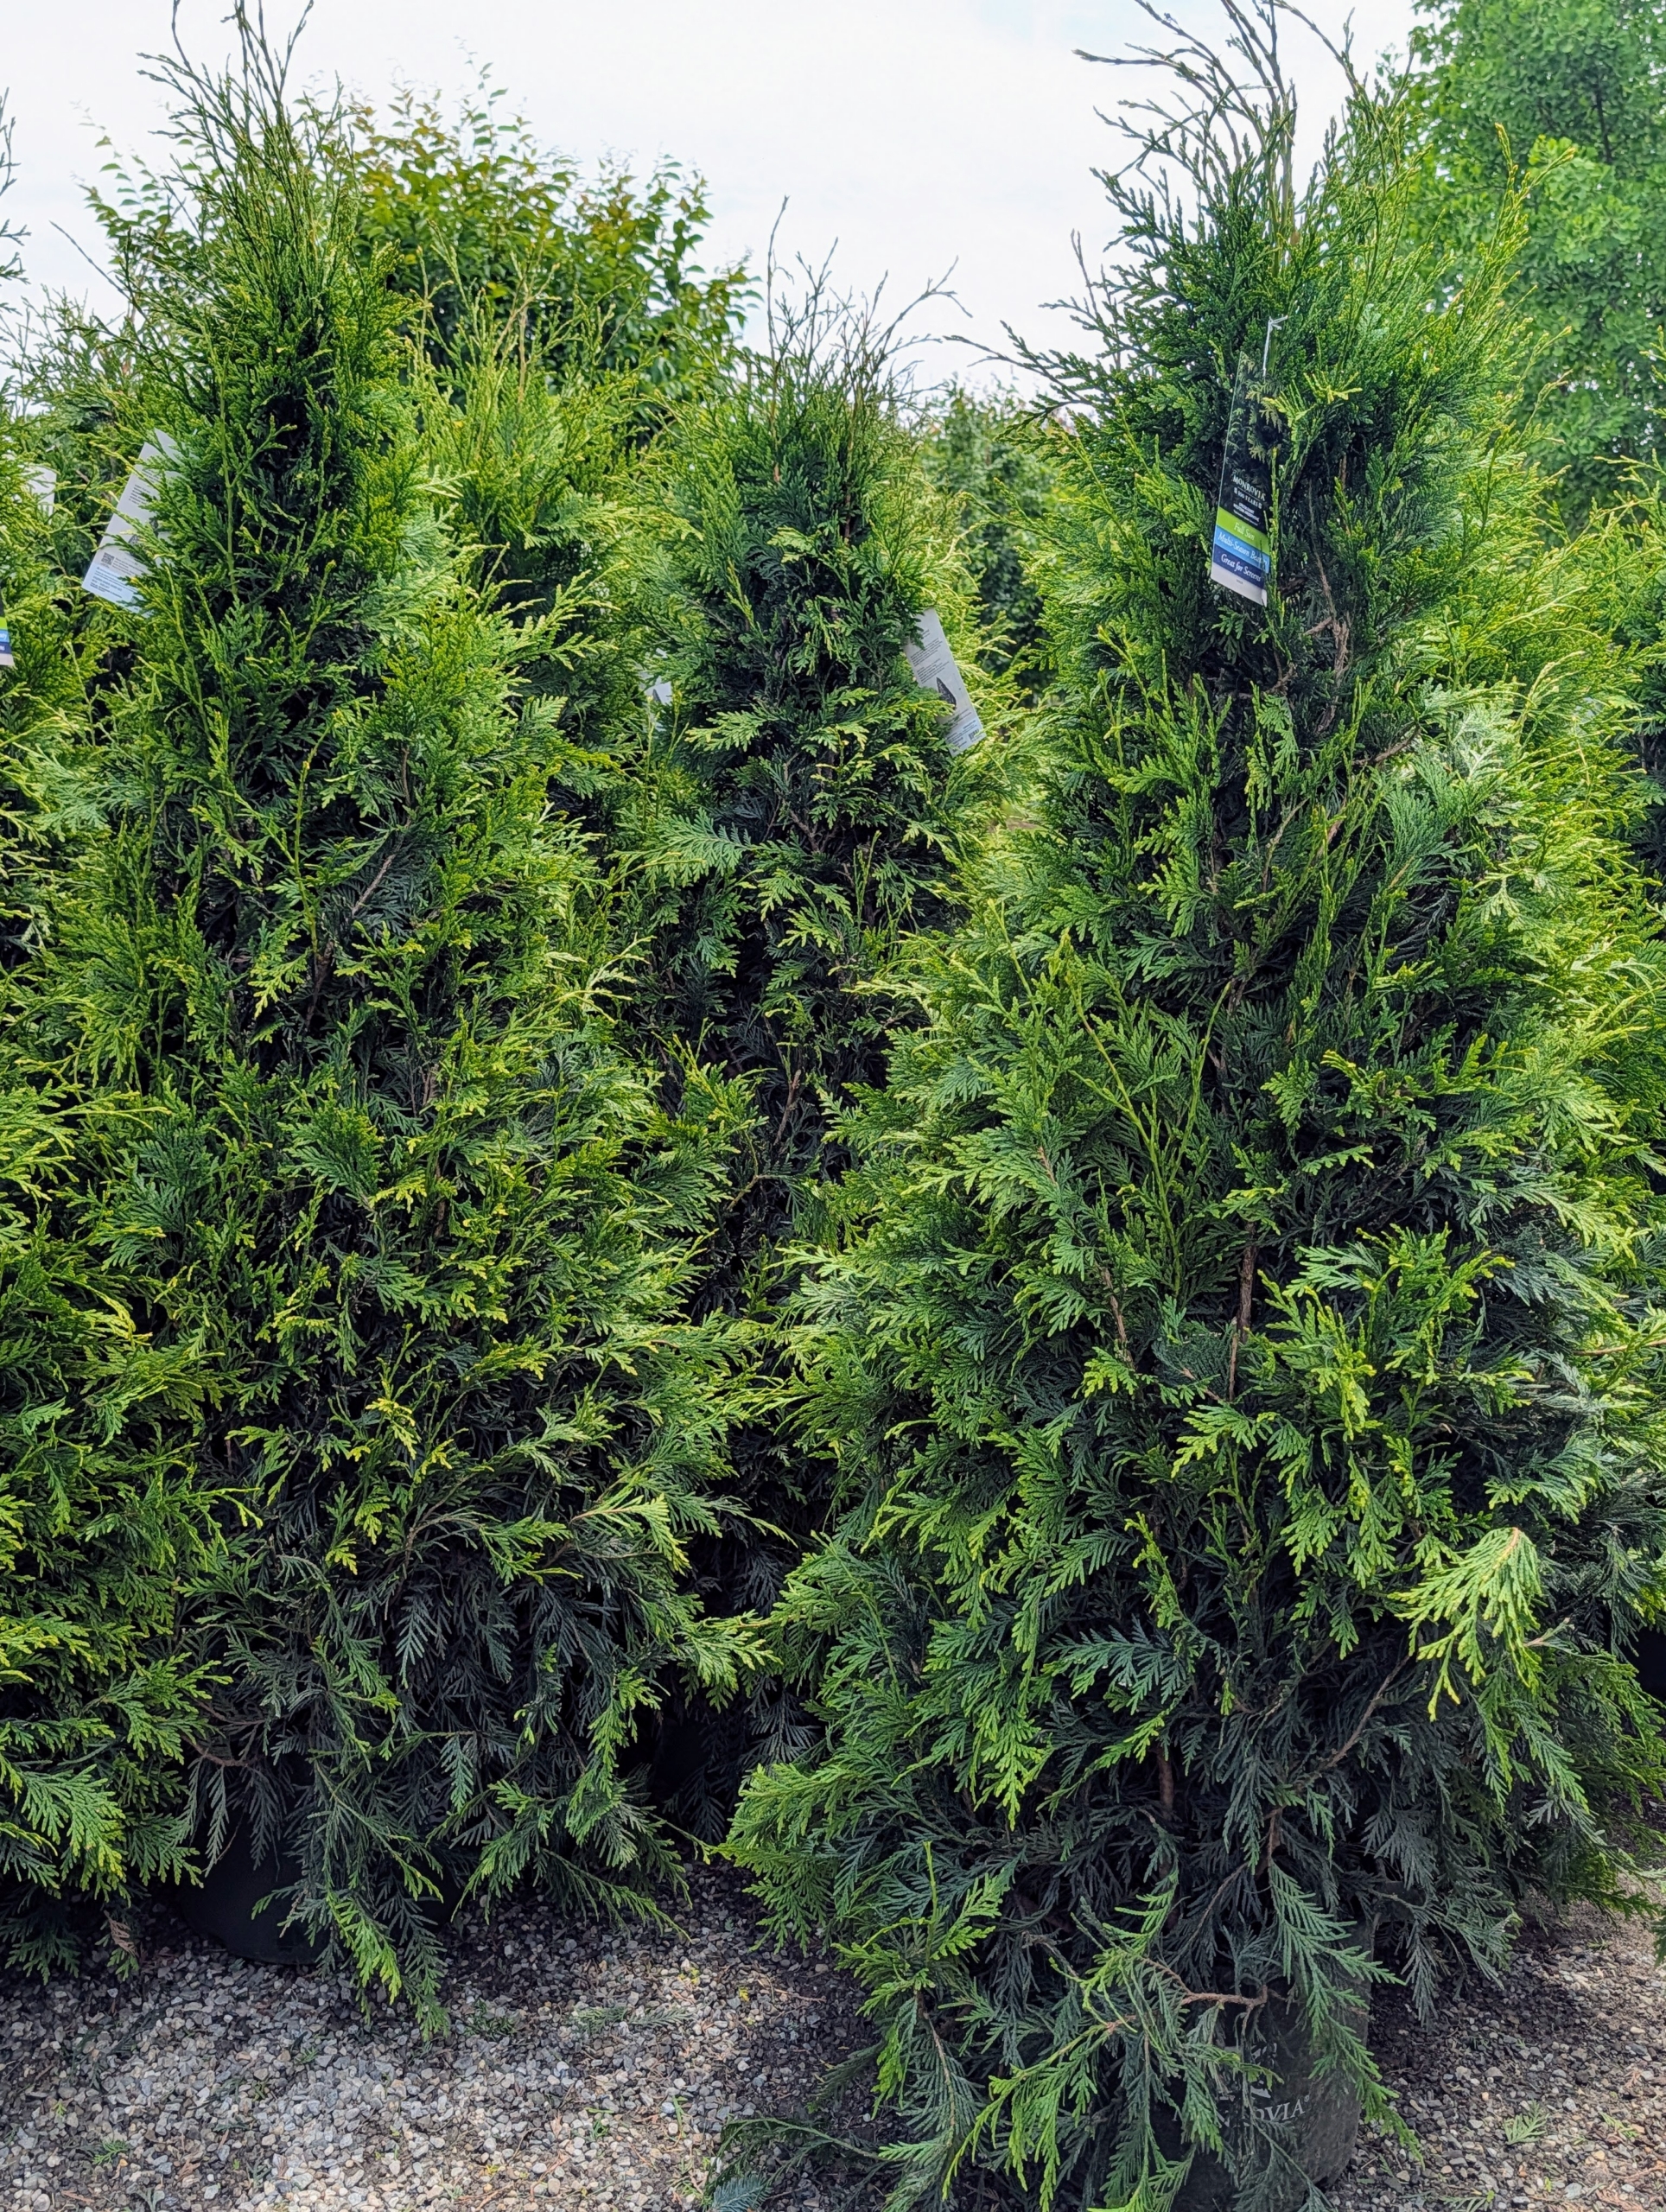
All of Monrovia’s evergreen trees and shrubs are unique and in excellent condition. Thuja ‘Green Giant’ is a handsome evergreen for use as privacy screening. It is an upright conifer that is versatile, strong-rooted and virtually disease-free.
This tree’s foliage is dense with rich green sprays that turn slightly bronze in winter.
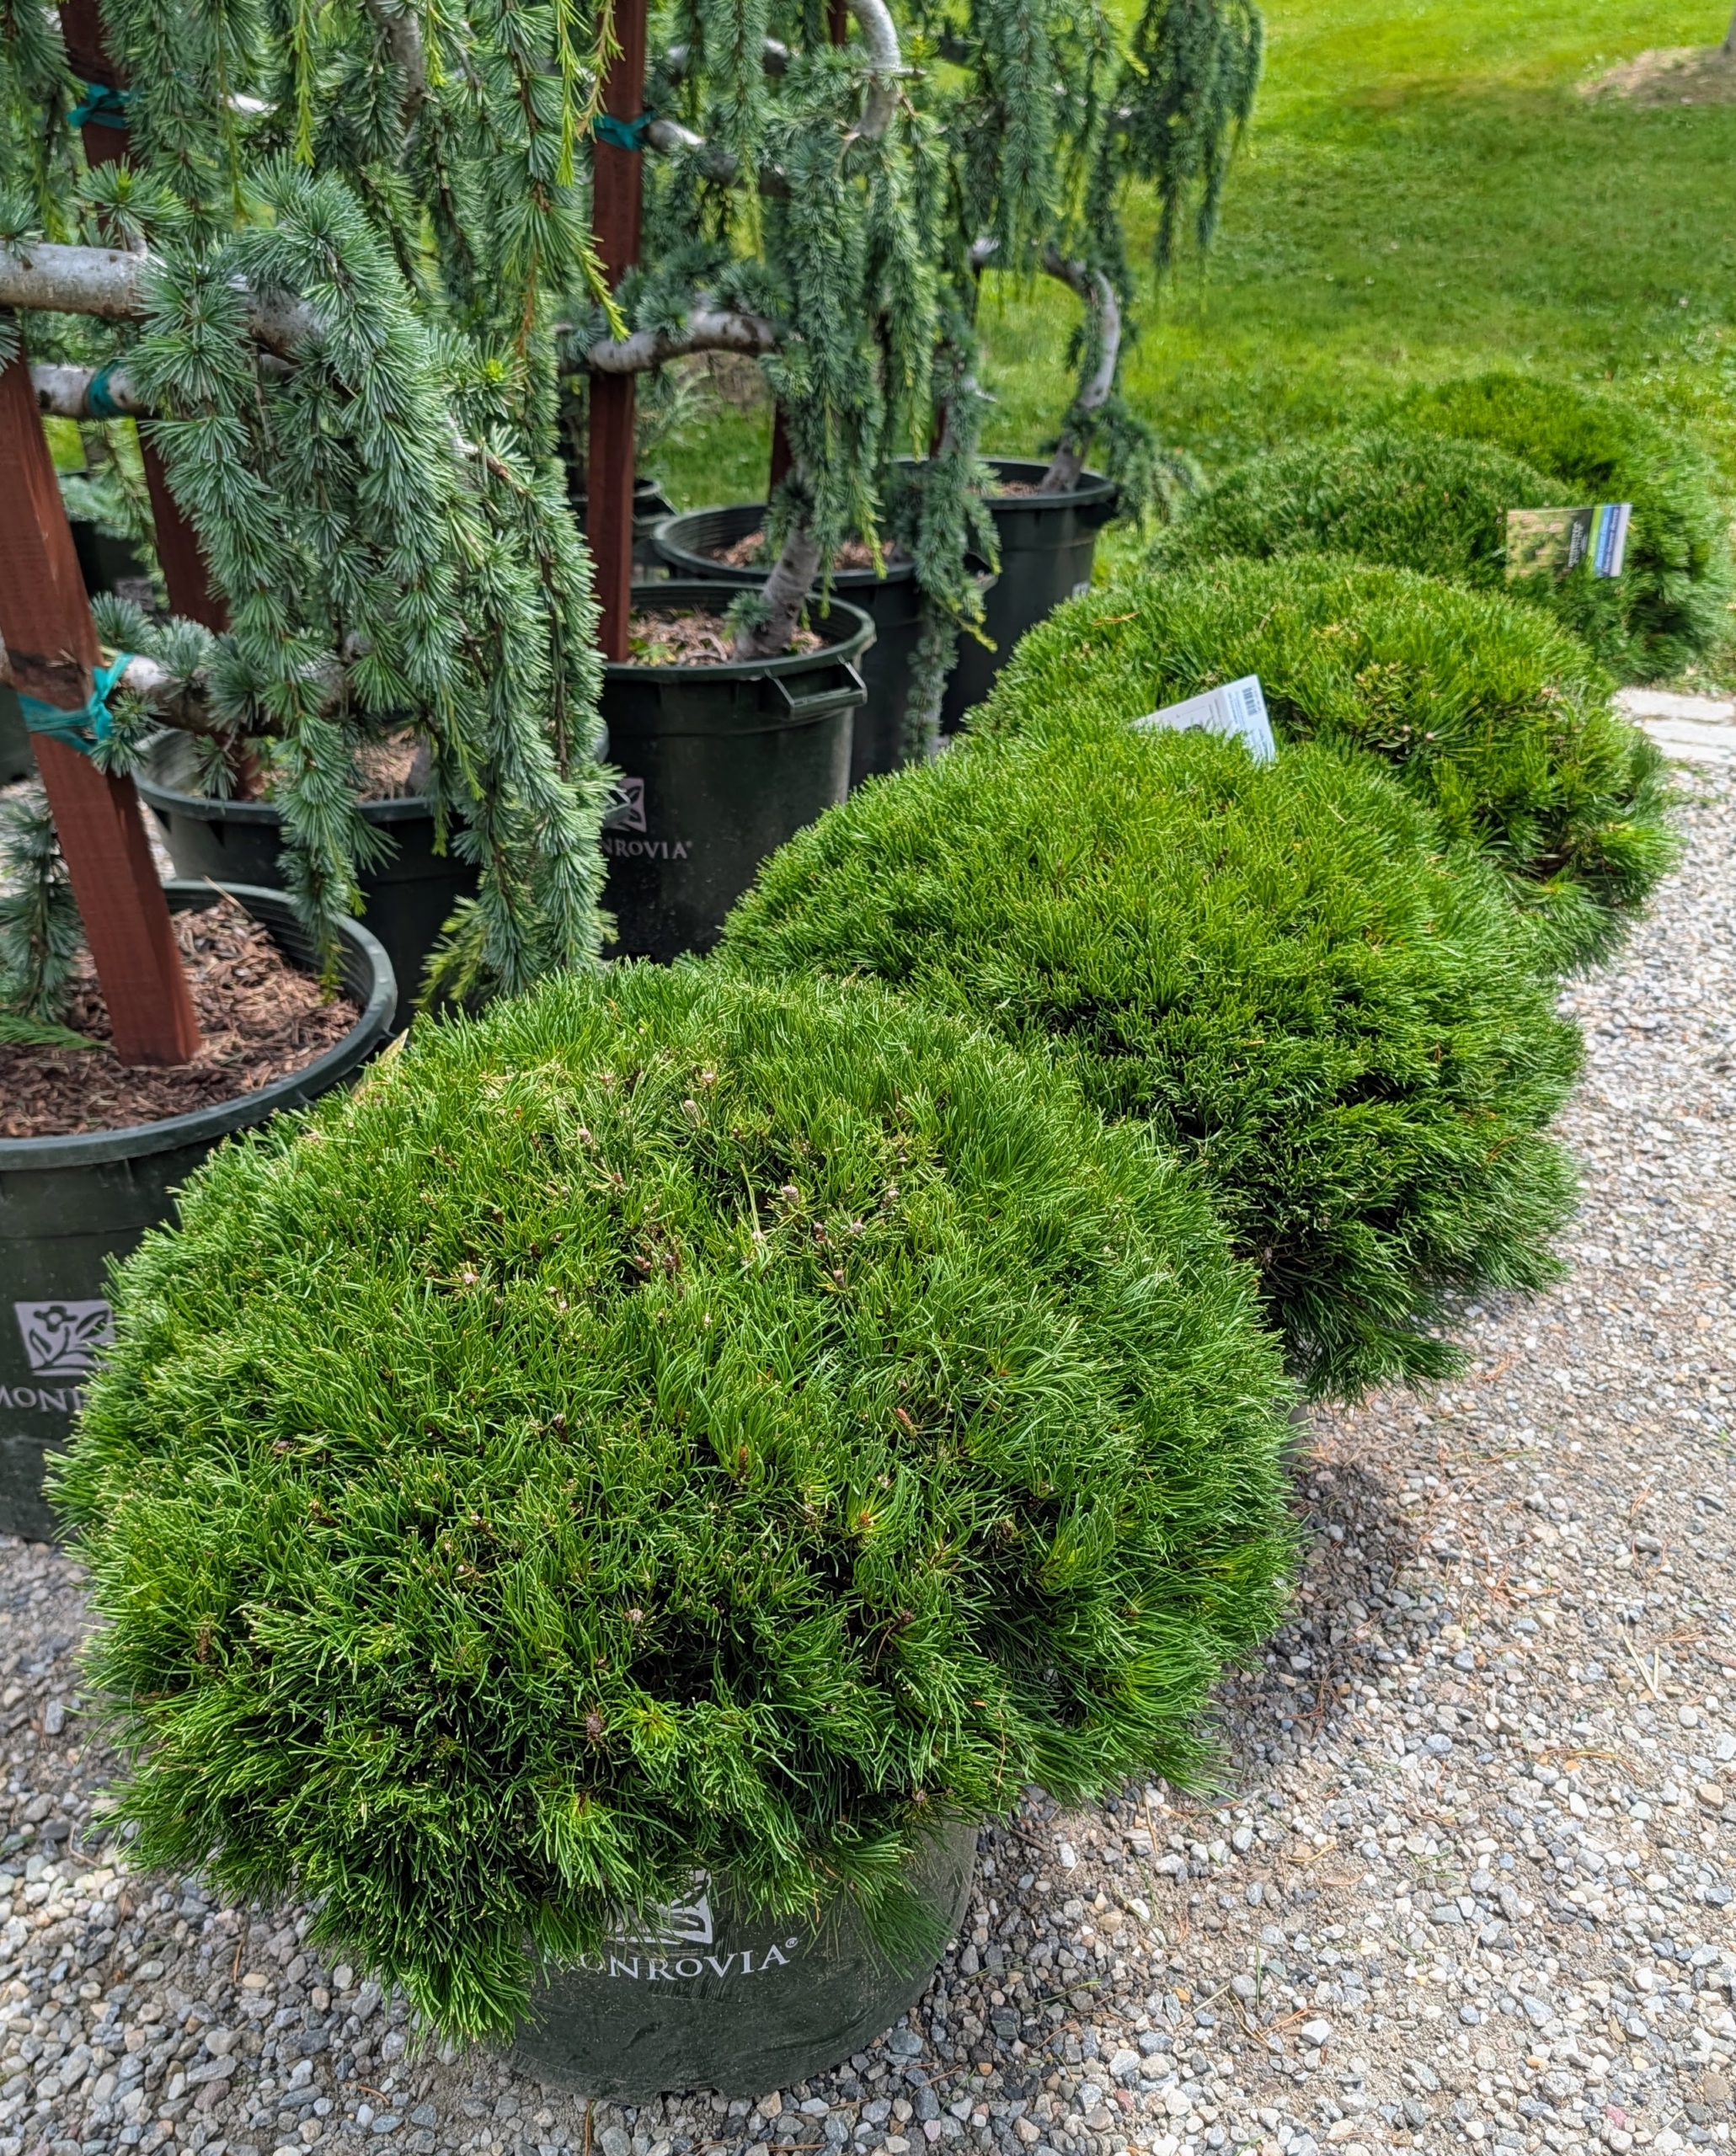
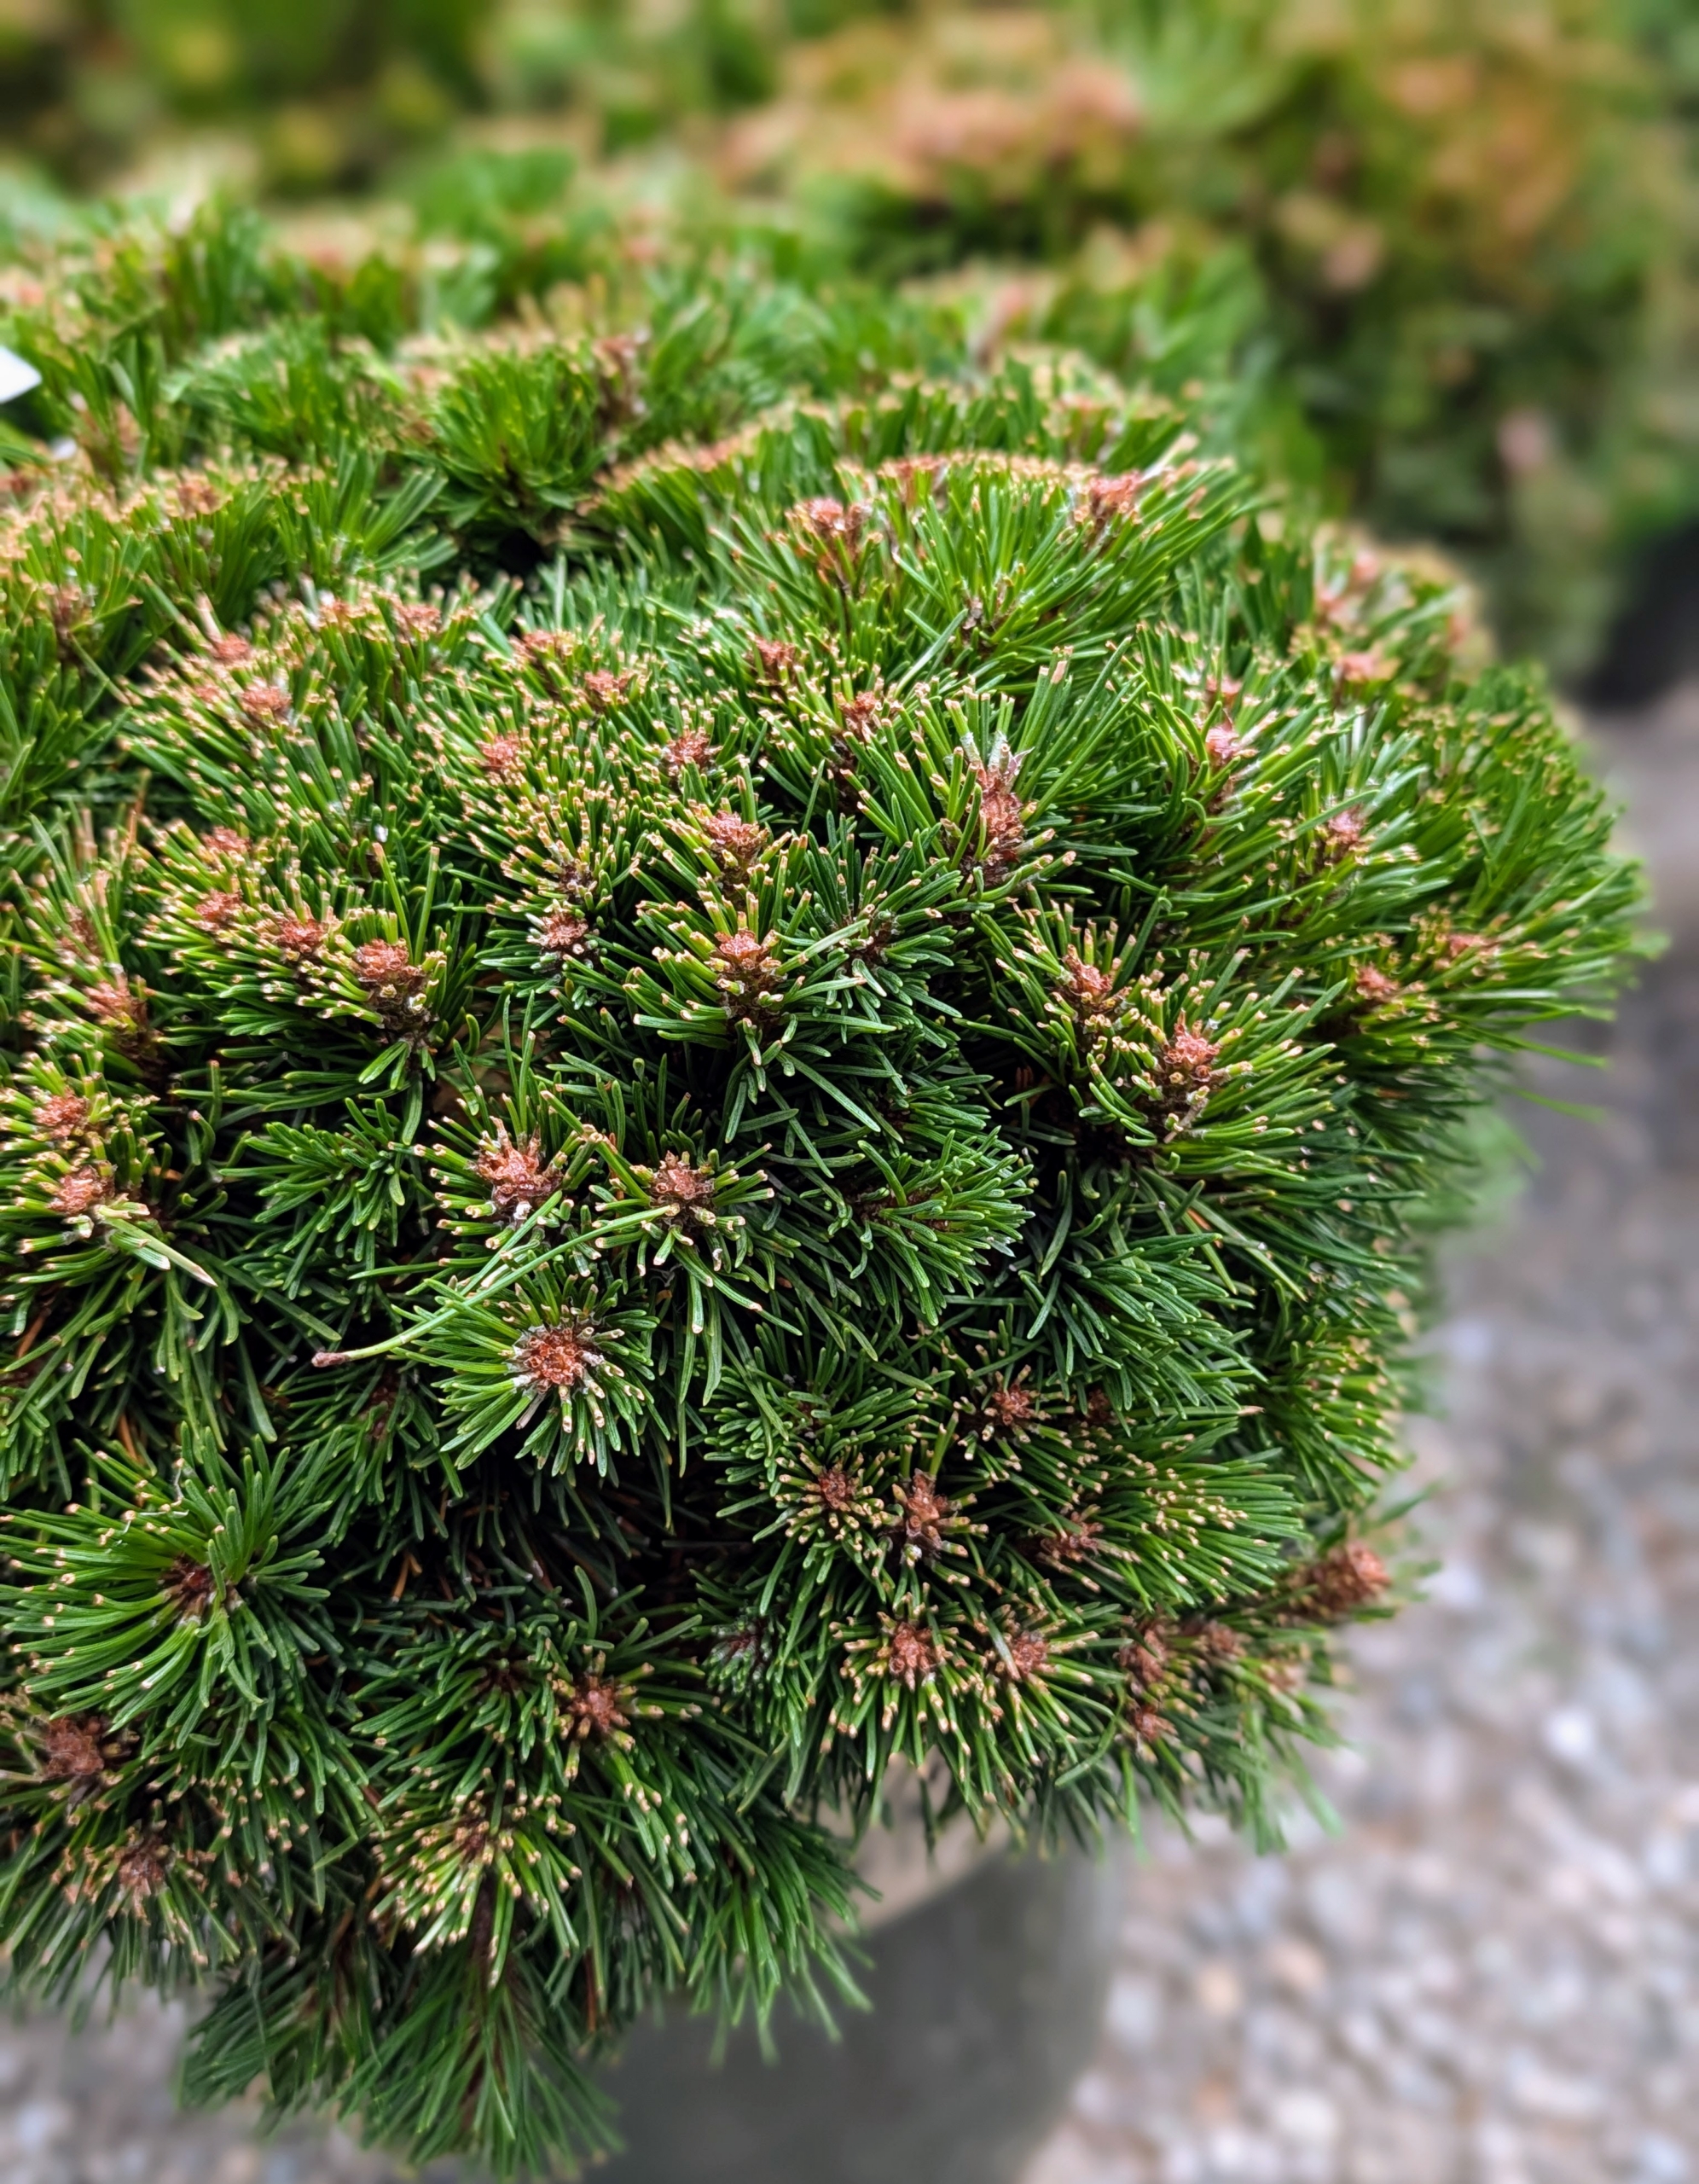
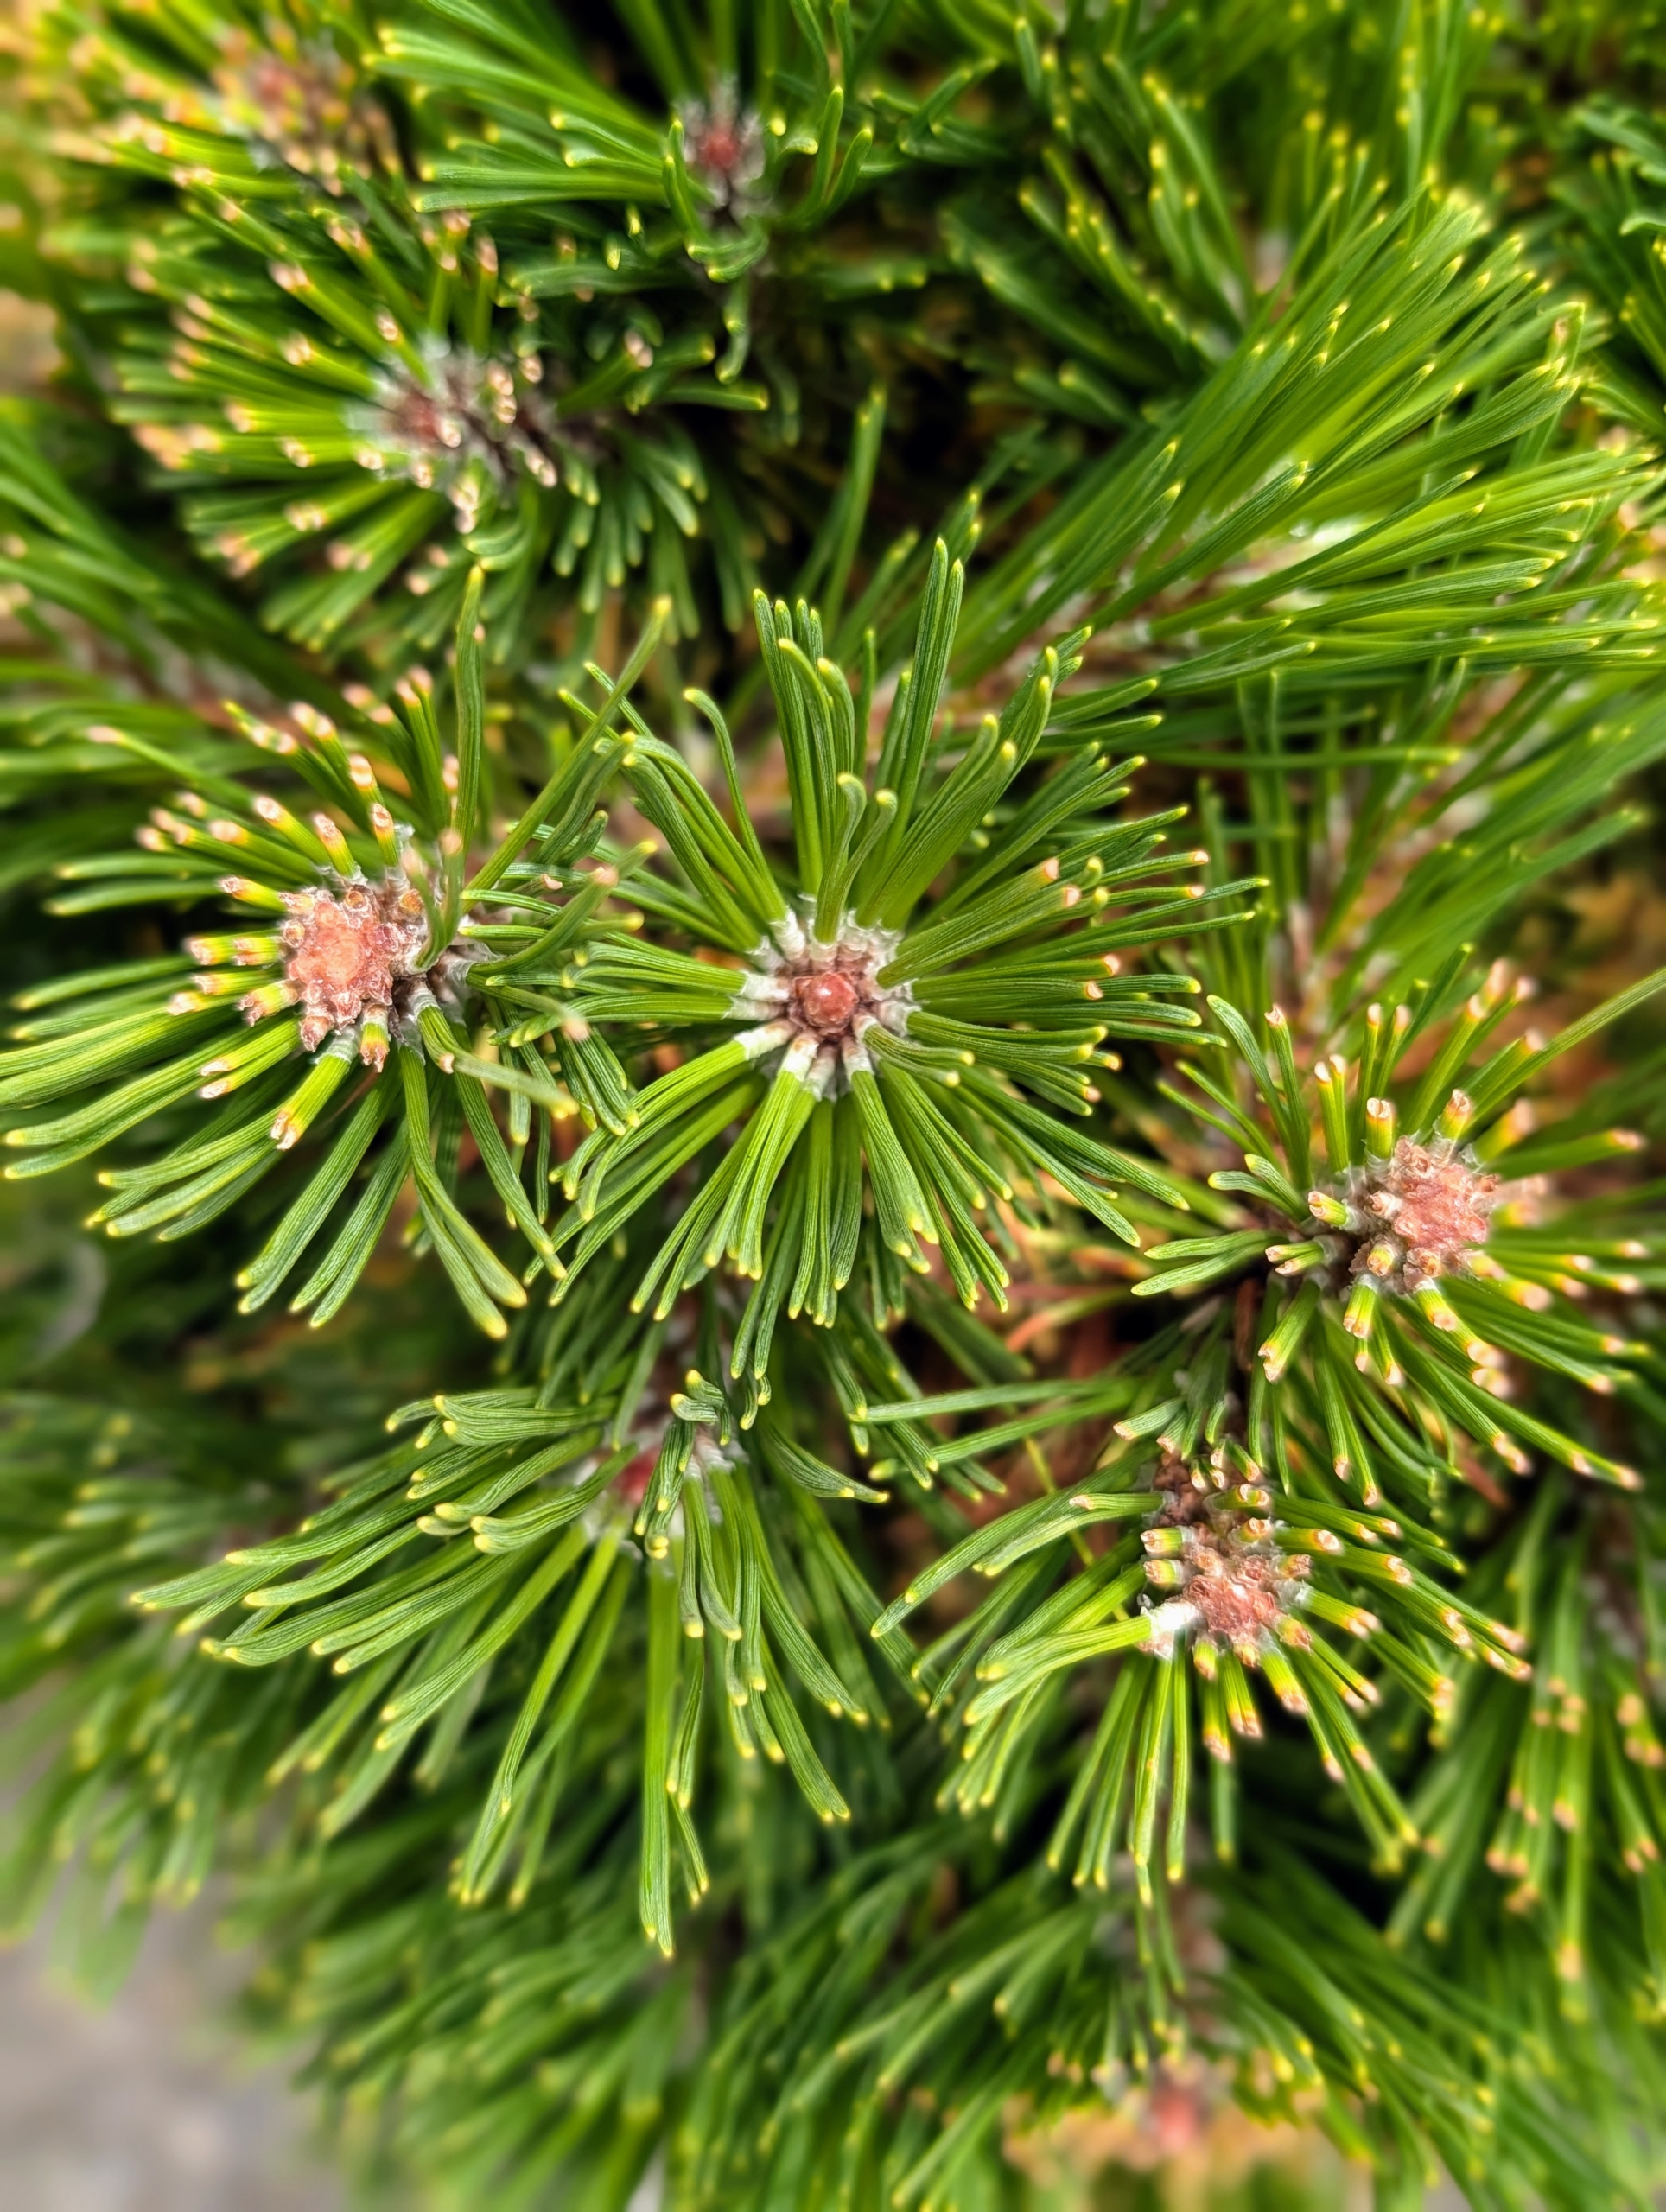
For lower growing texture in the garden, this is a dwarf mugo pine, or dwarf Pinus mugo var. pumilio. it is a popular conifer showing dark green needles on dense branches. A very useful, slow growing evergreen for rock gardens, mass plantings, and in mixed groupings. It also makes a great container specimen on a terrace.
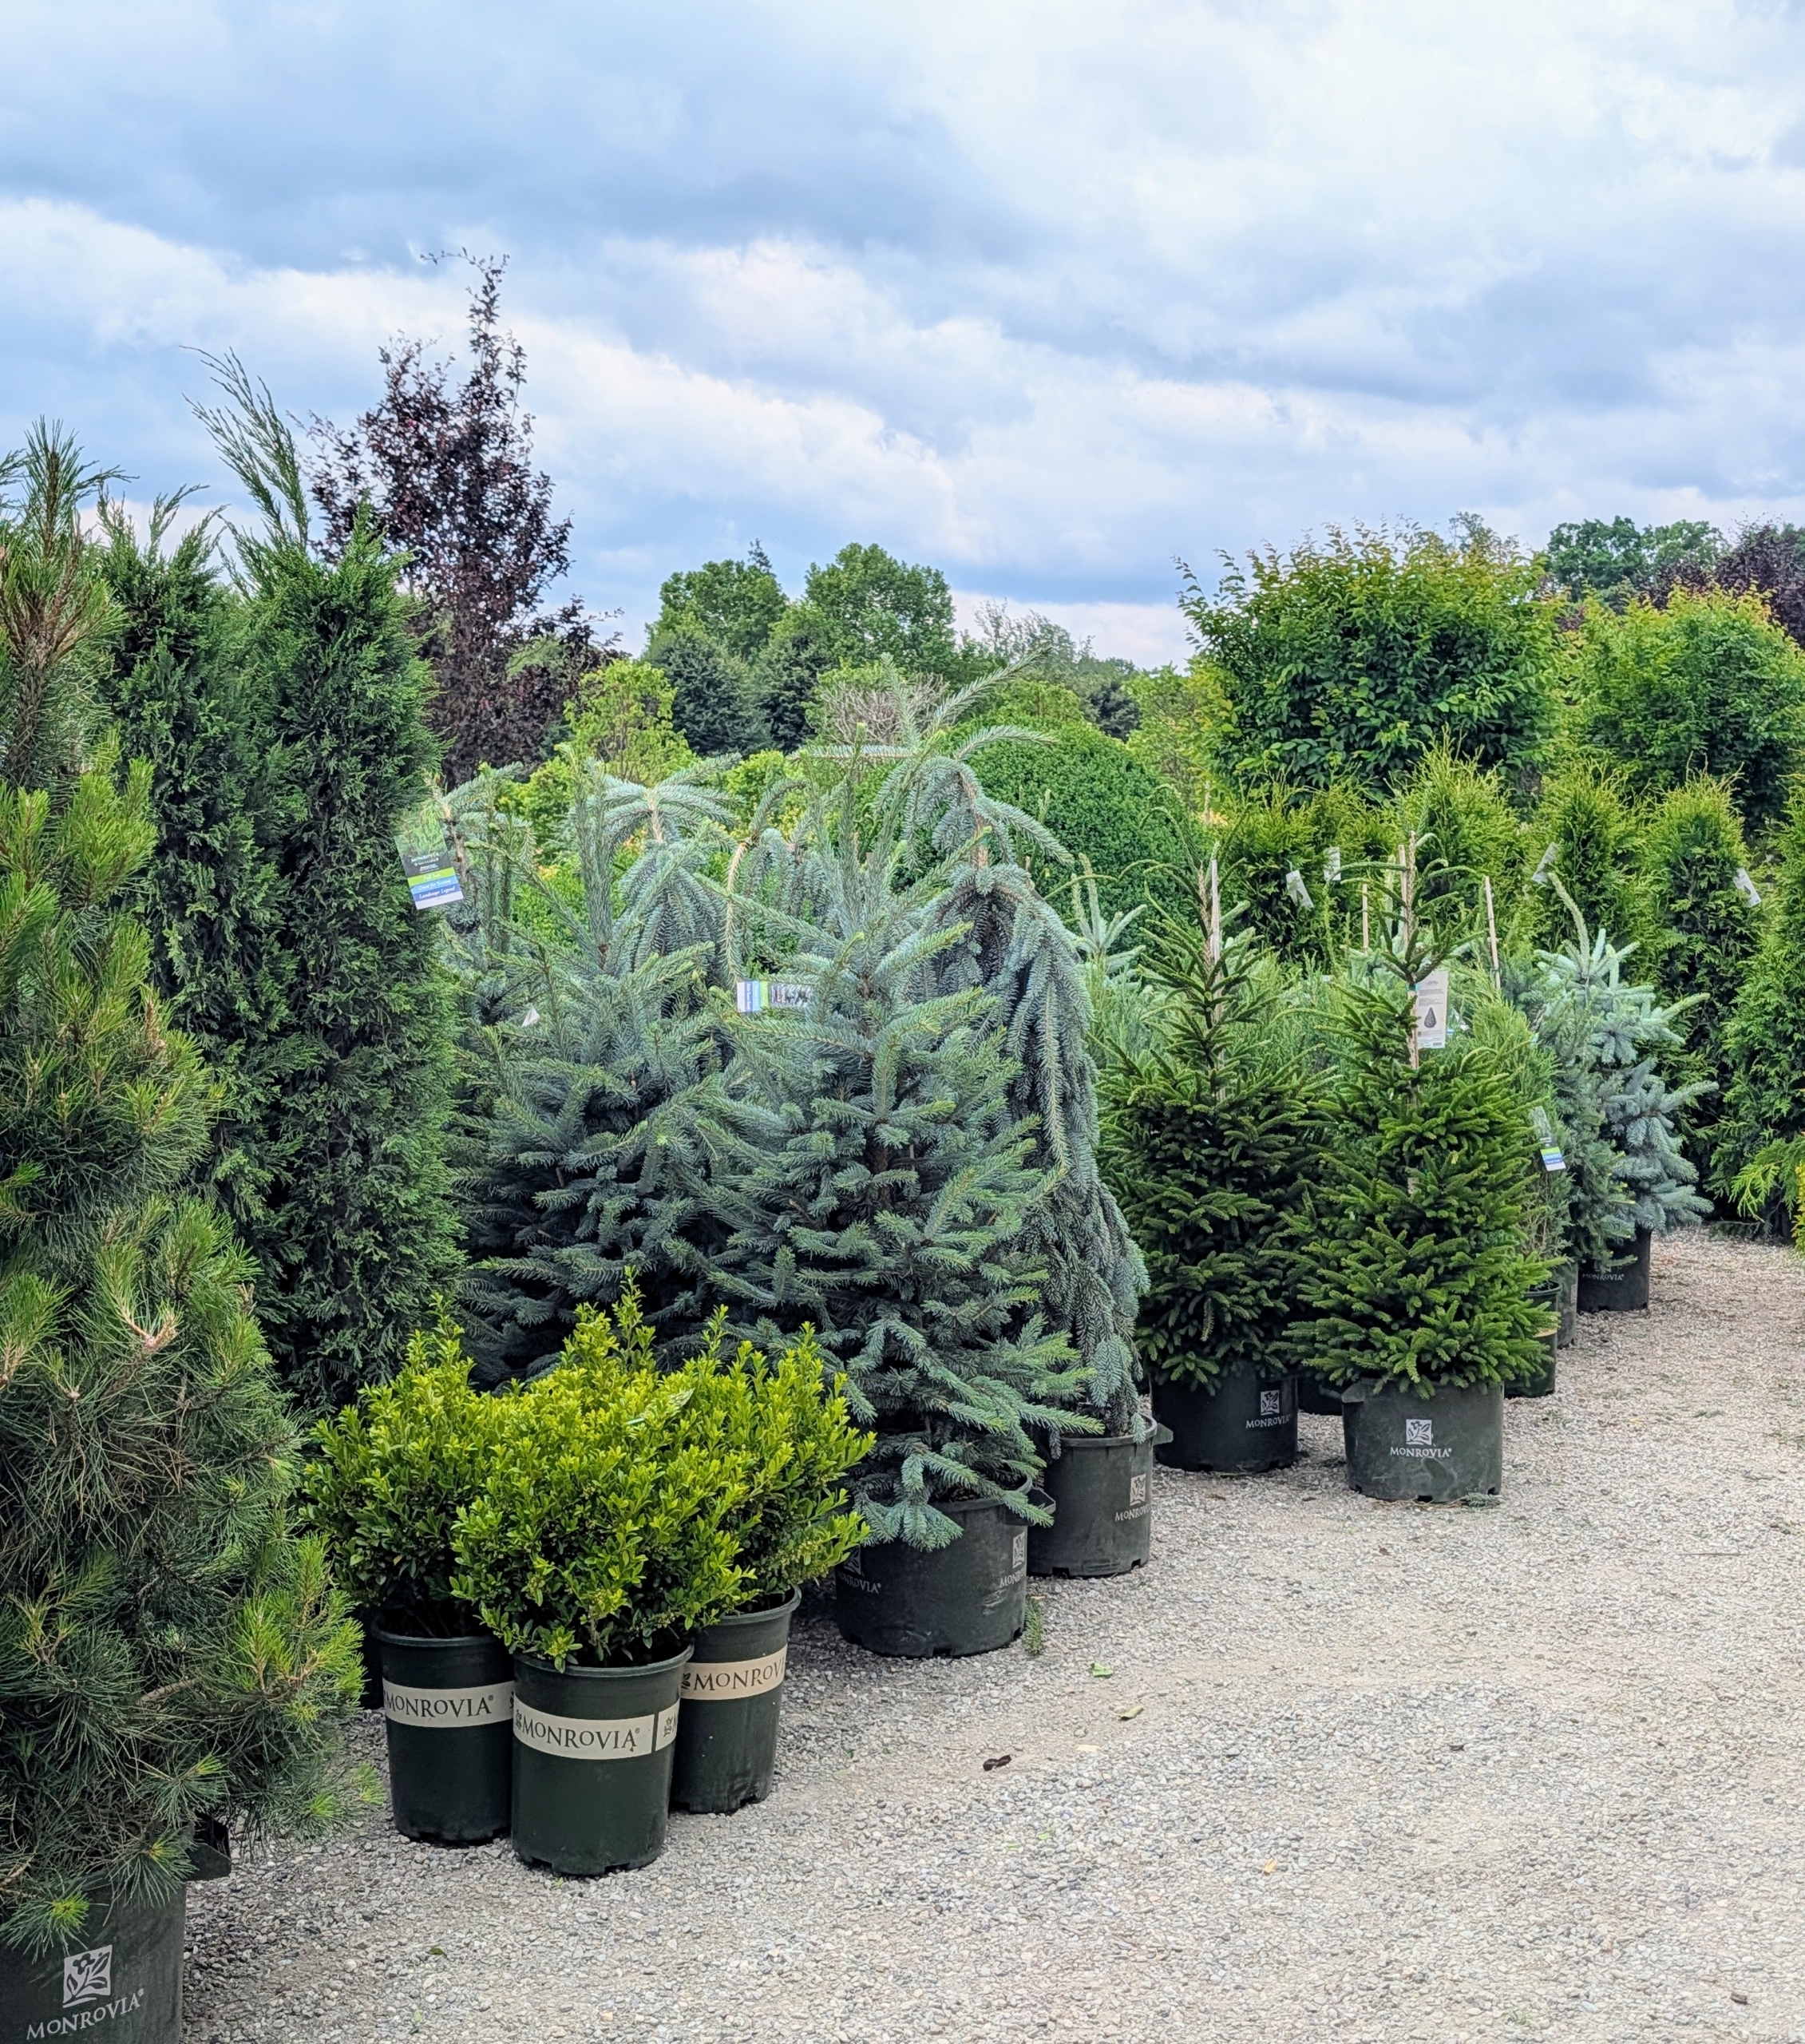
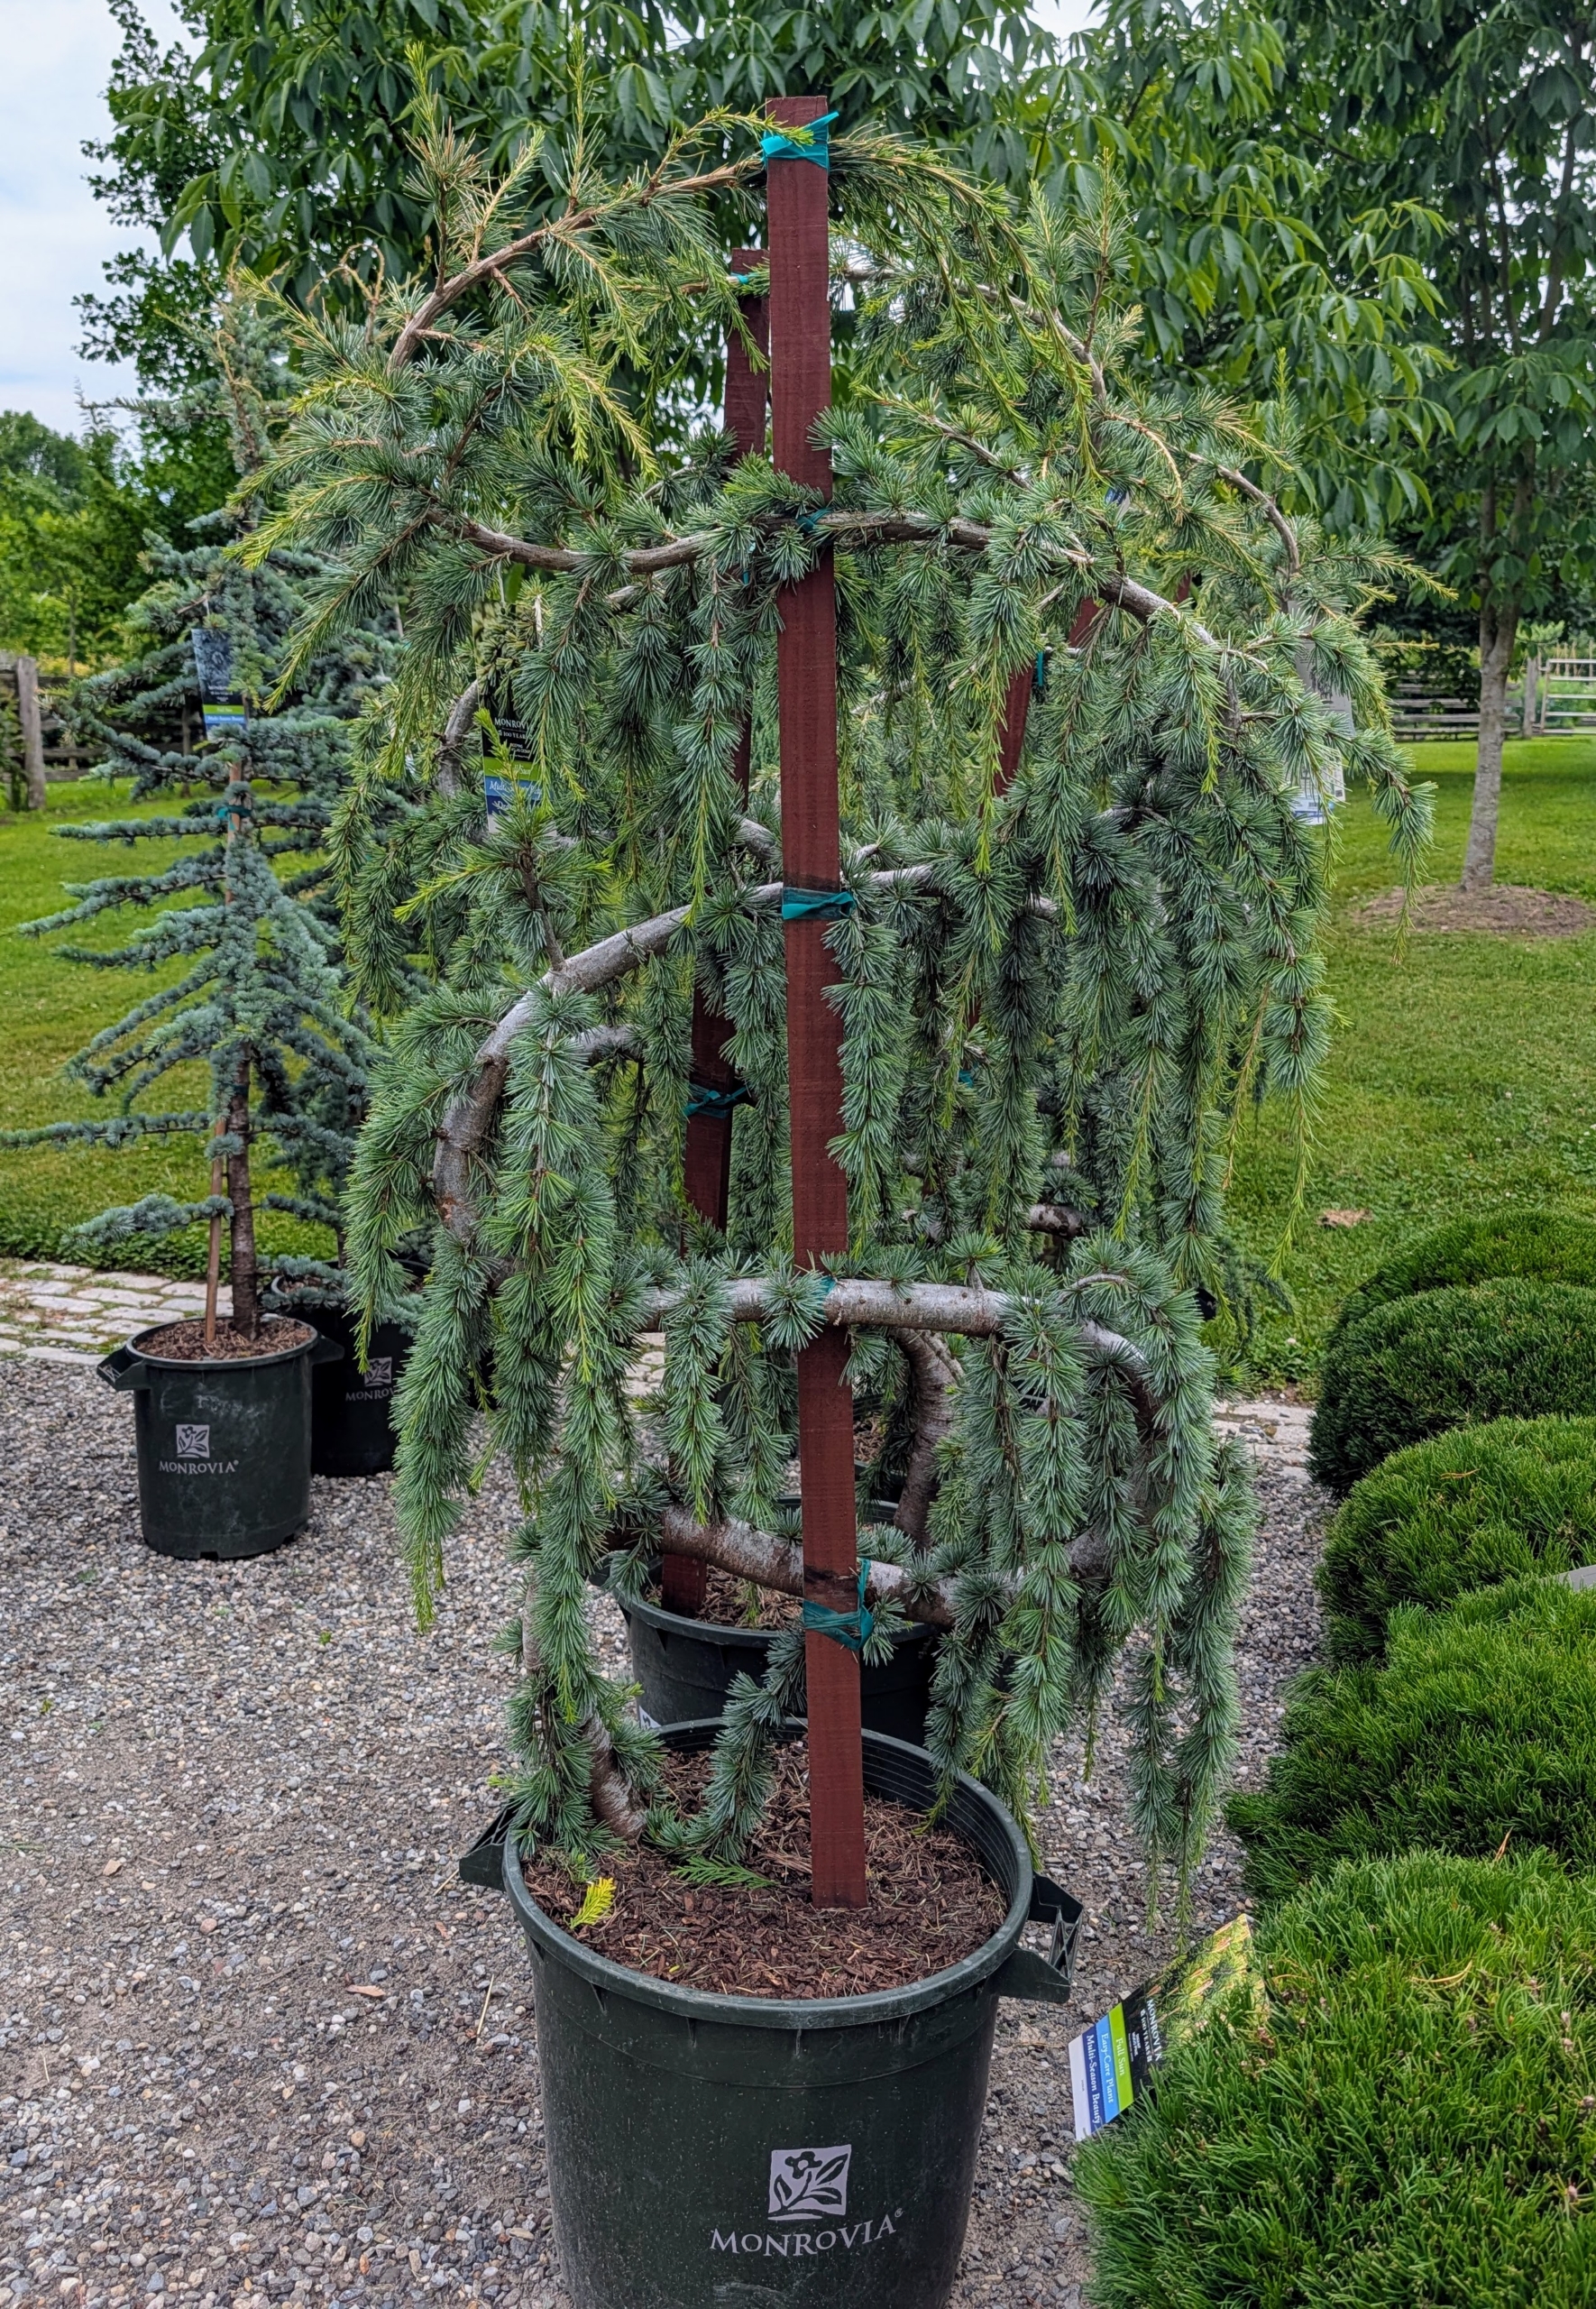
Everyone at the farm admired the weeping blue atlas spruce, Cedrus atlantica ‘Glauca Pendula.’ This dramatic weeping evergreen is naturally slow-growing with a sprawling horizontal habit that is often trained into an upright, serpentine form. Pendant branchlets display icy-blue needles. Where shall I plant these?
This is a nest spruce, Picea abies ‘Nidiformis.’ It is a small, versatile conifer with outward-curving branches and dense, dark green needles, resembling a bird’s nest.
Pinus mugo ‘Monjaw’ is also known as Little Rick mugo pine. This is a compact, dense variety that stays green throughout the winter.
Pinus mugo ‘Carsten’s Wintergold’ is another a dwarf pine form. It is short with densely arranged green needles in spring and summer, turning a rich gold tone as cold weather arrives.
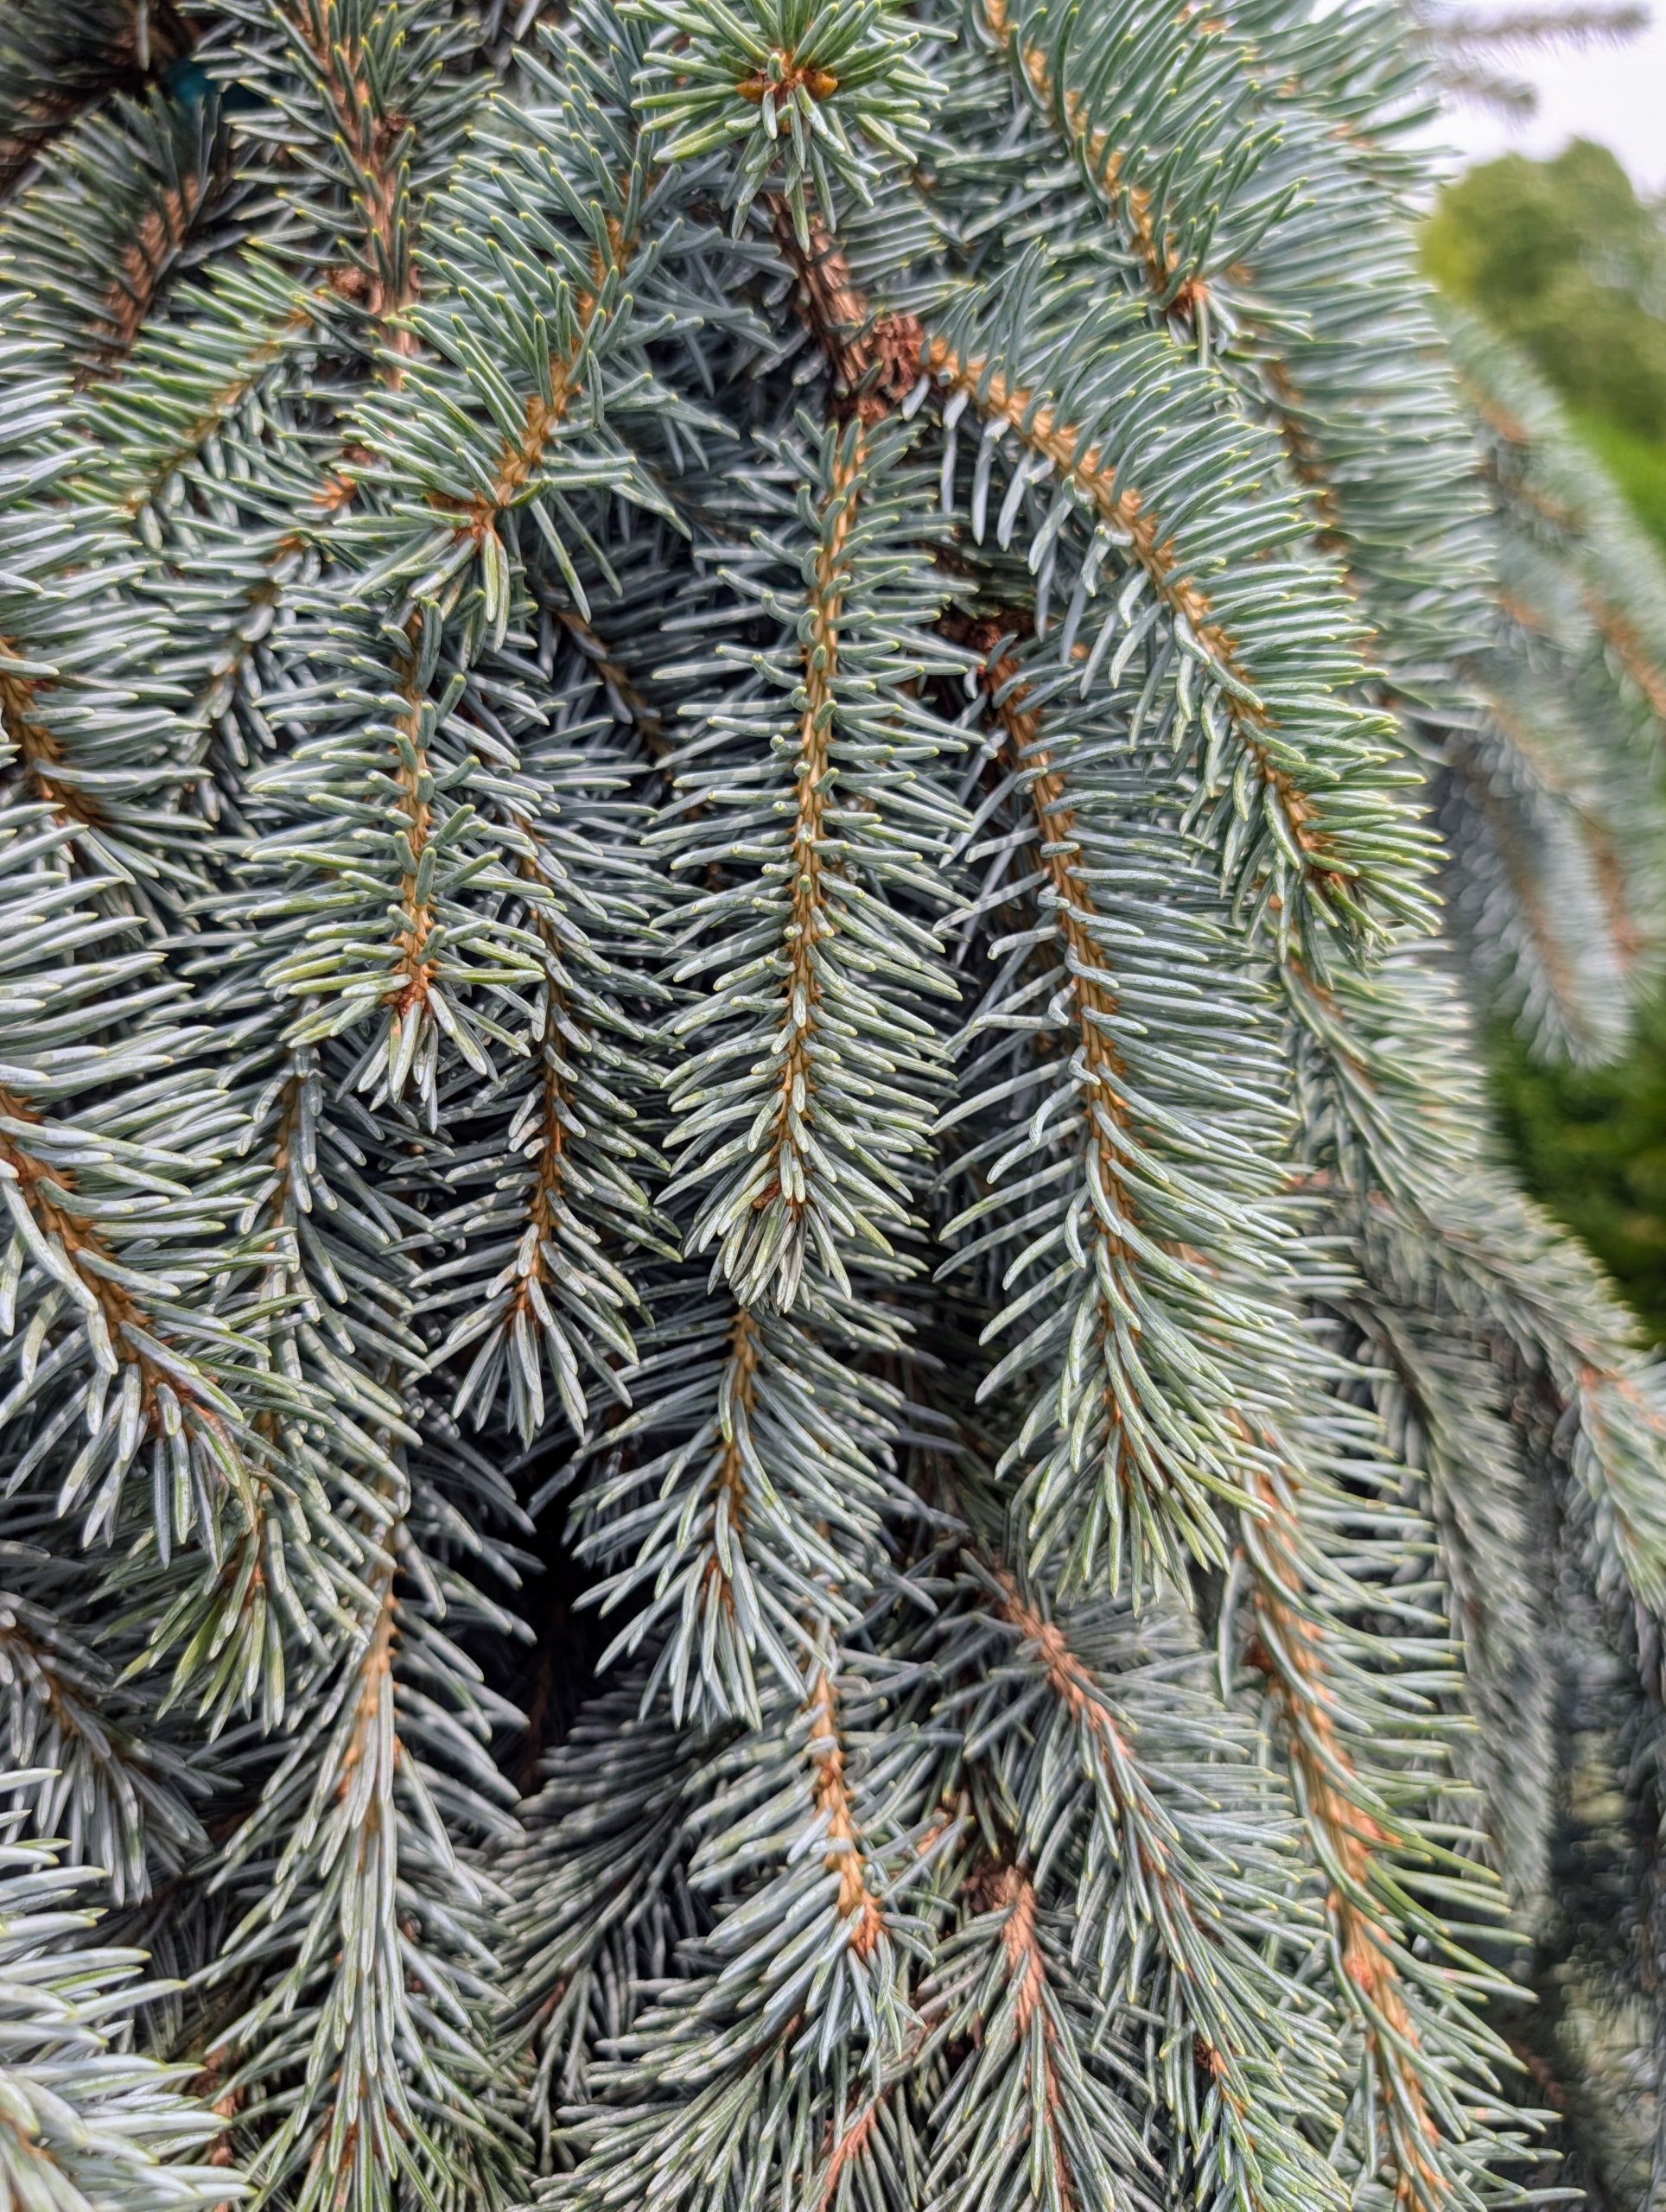
Hoop’s blue spruce, Picea pungens ‘Hoopsii’ is another hardy evergreen tree. Its pyramidal shape holds stiff horizontal branches with dense silvery-blue needles.
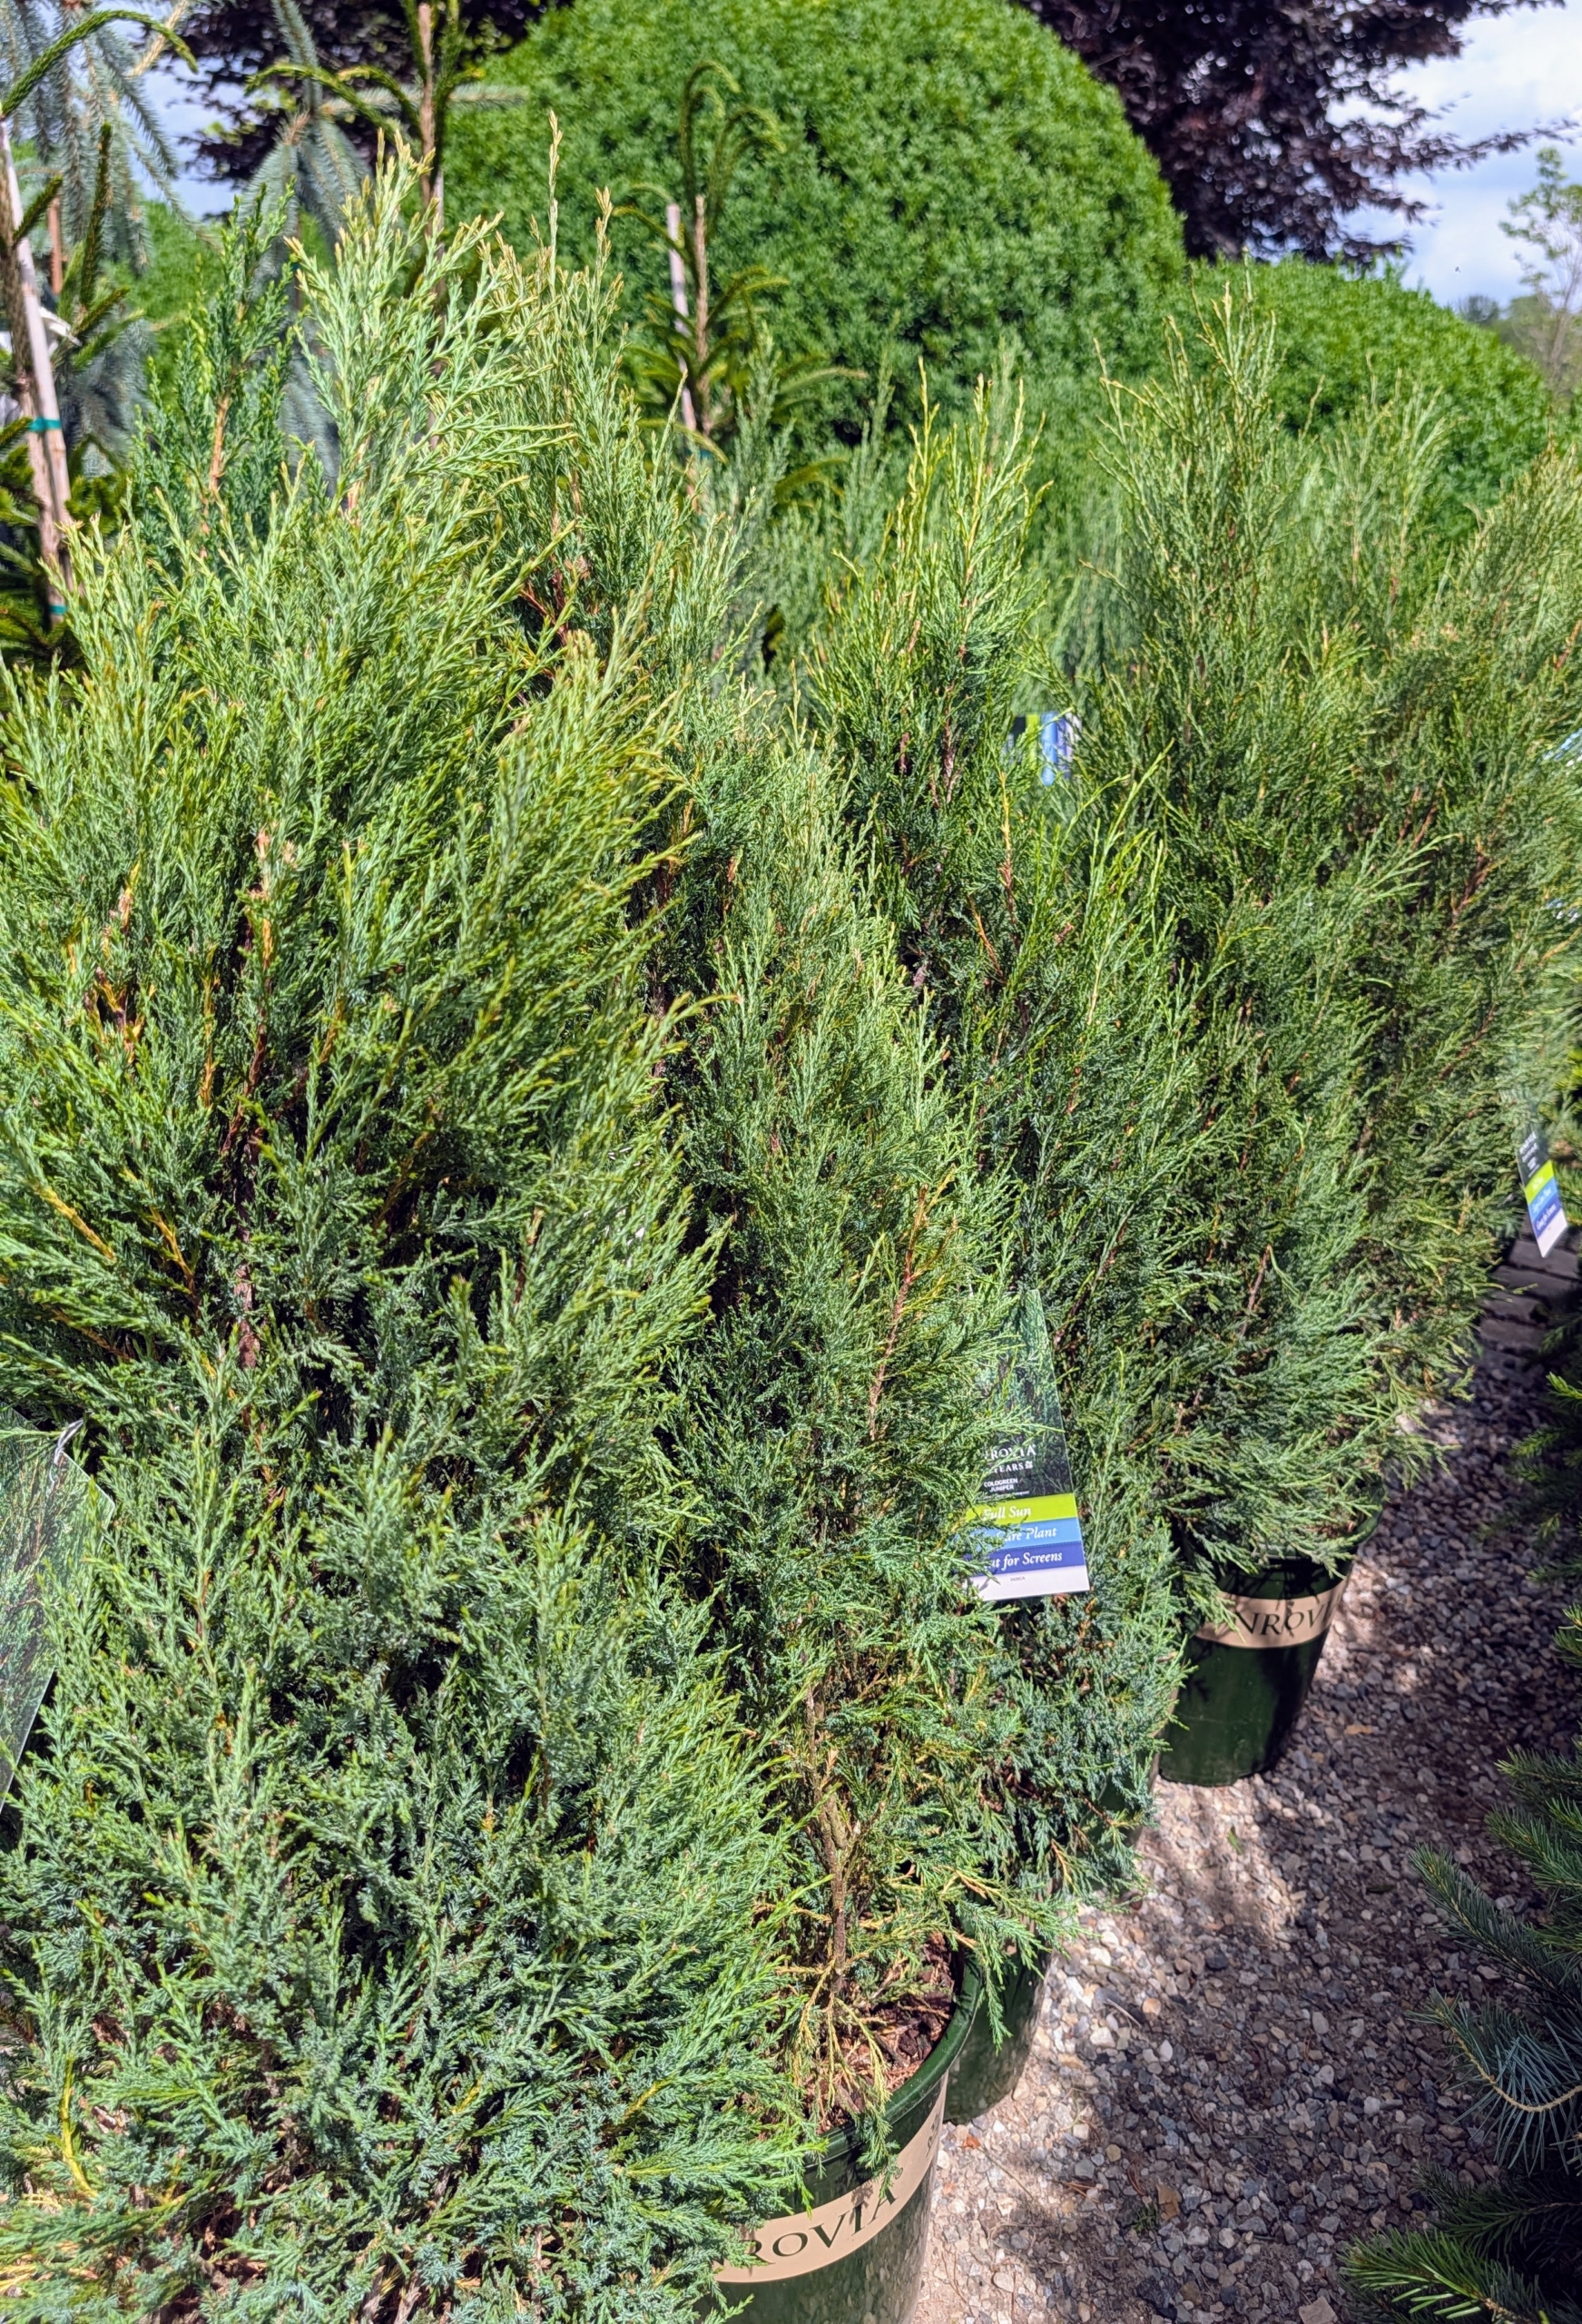
And this is a cologreen juniper, Juniperus scopulorum ‘Cologreen’ – a very interesting narrow, columnar cone-shape form tree. It is heat and cold tolerant that’s easy to maintain.
Picea pungens ‘The Blues’ – The Blues blue spruce. This is a strong weeper with irregularly spreading and drooping branches.
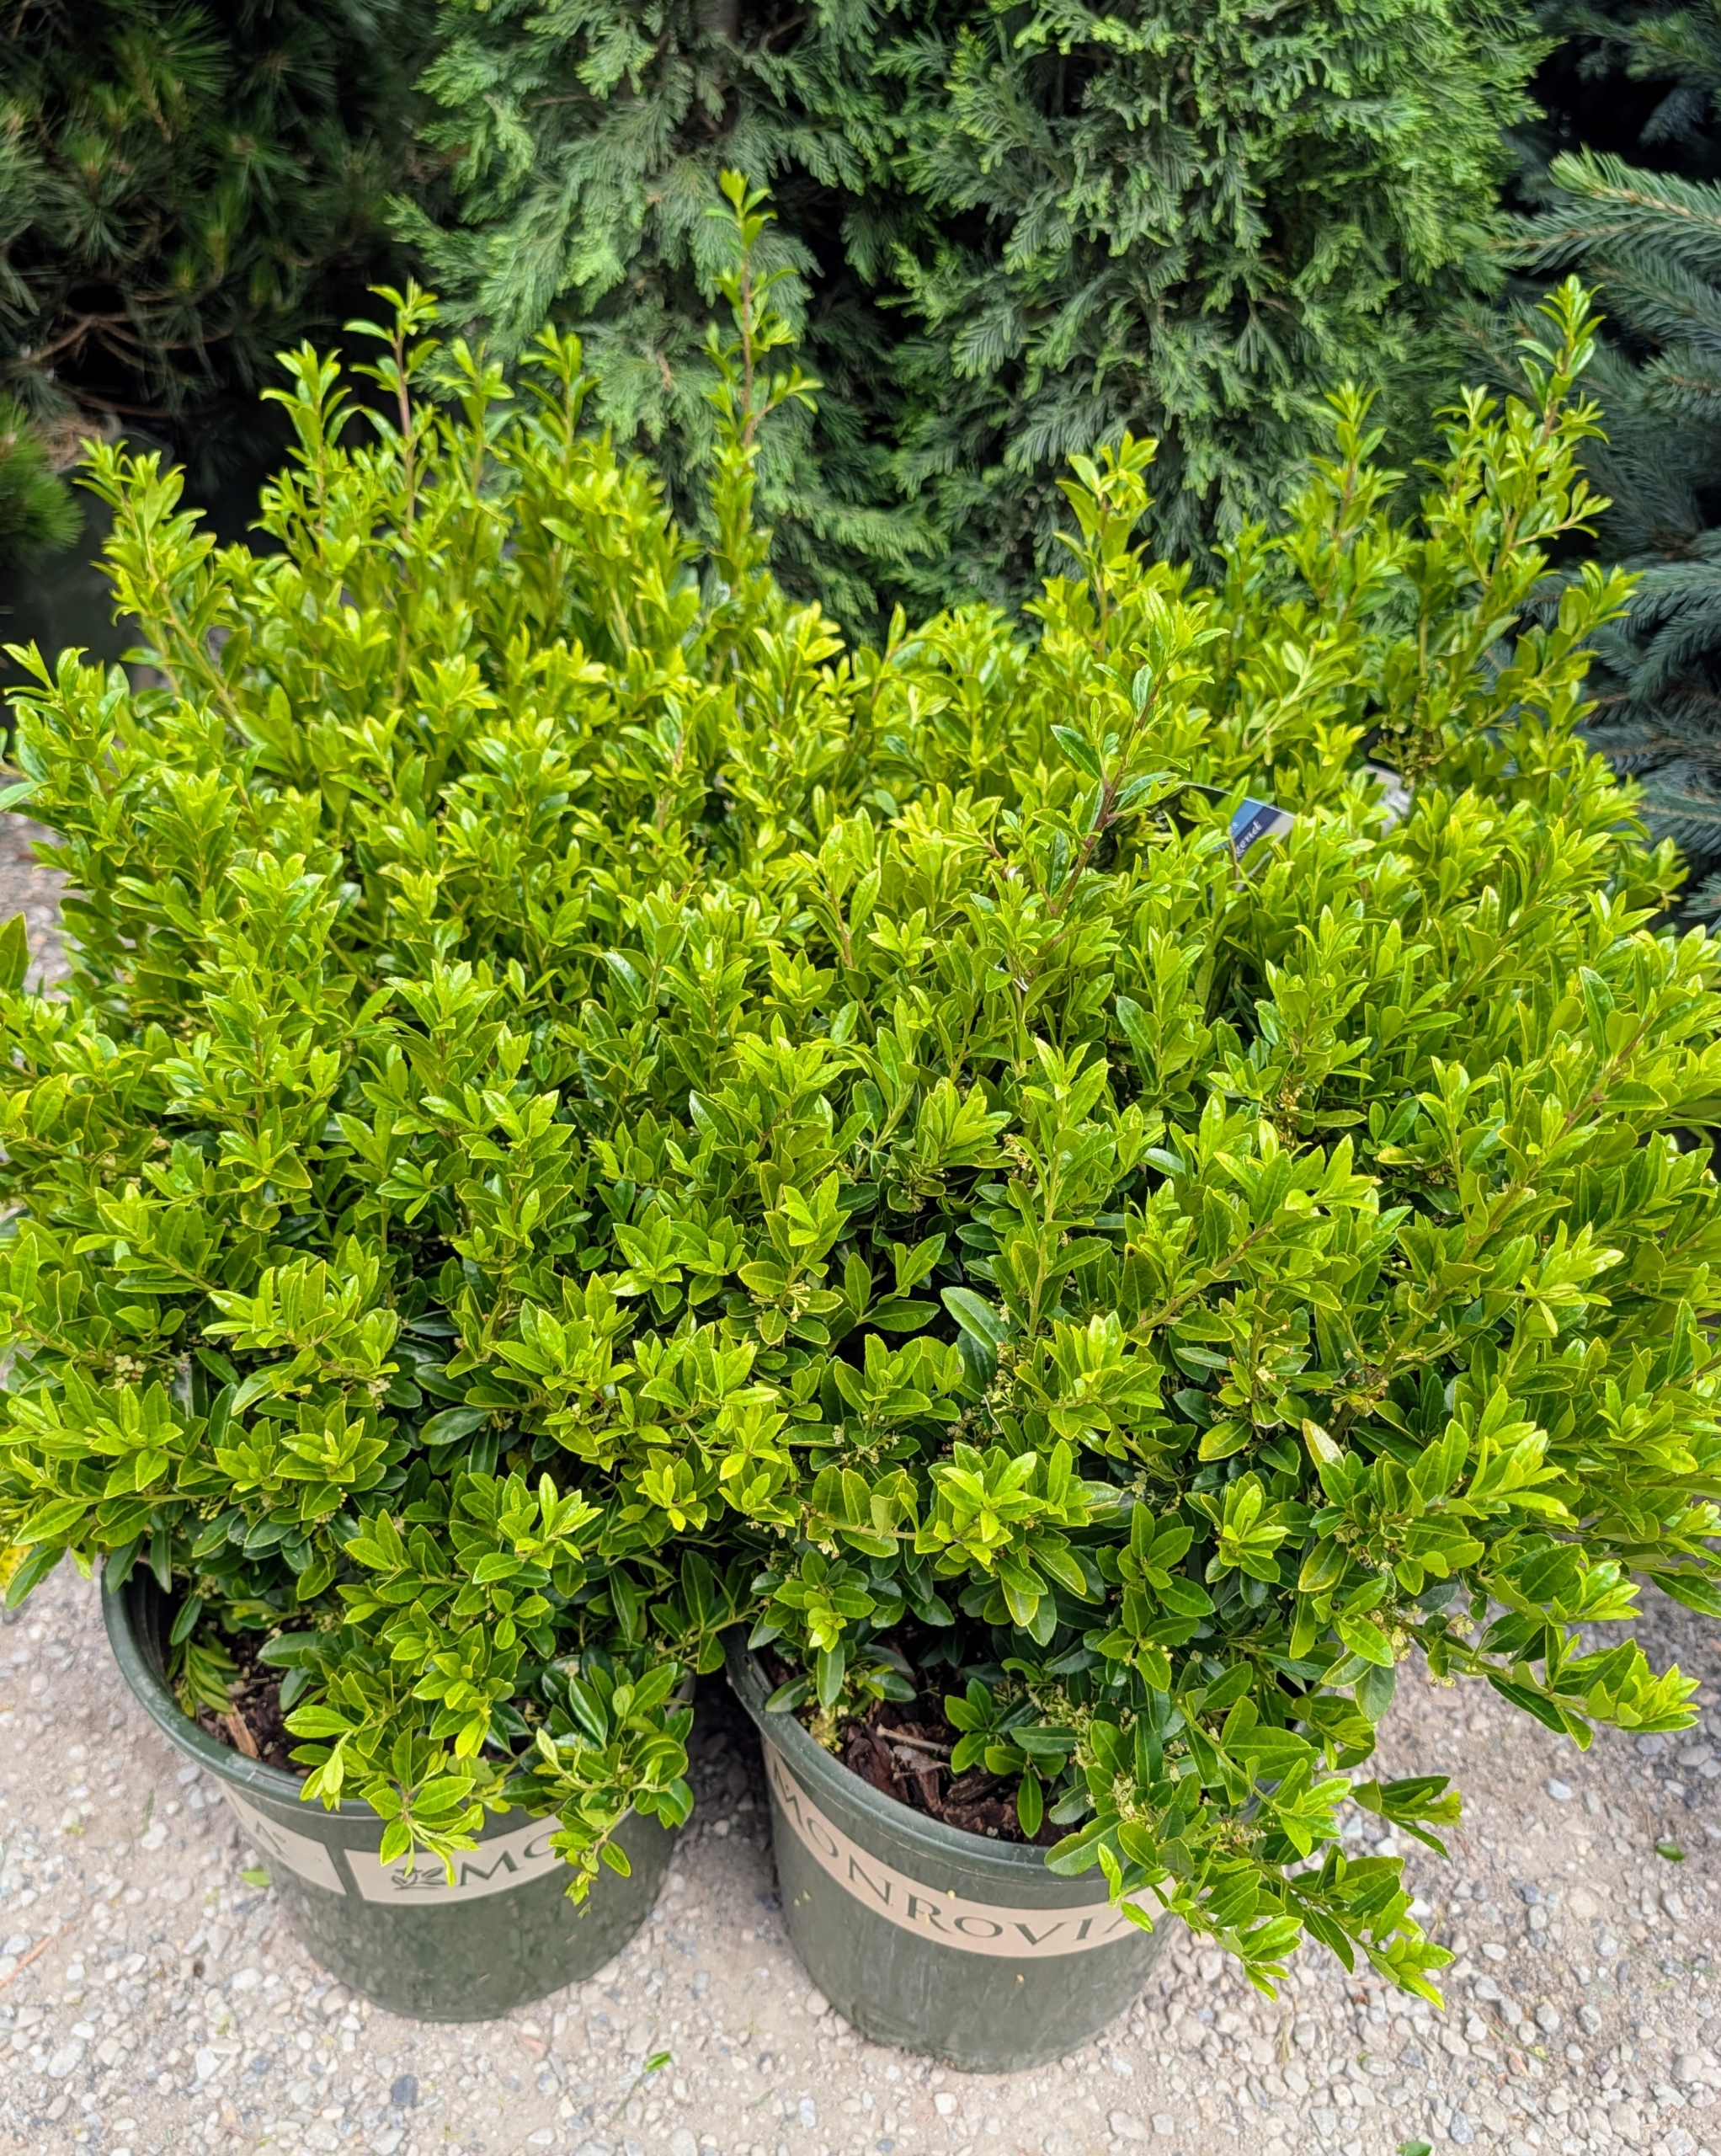
Ilex x crenata ‘RutHol10’ PPAF or emerald box holly looks similar to boxwood, but is actually a versatile male evergreen holly with a rounded form and small, green, toothless leaves. It makes a good replacement option for boxwood.
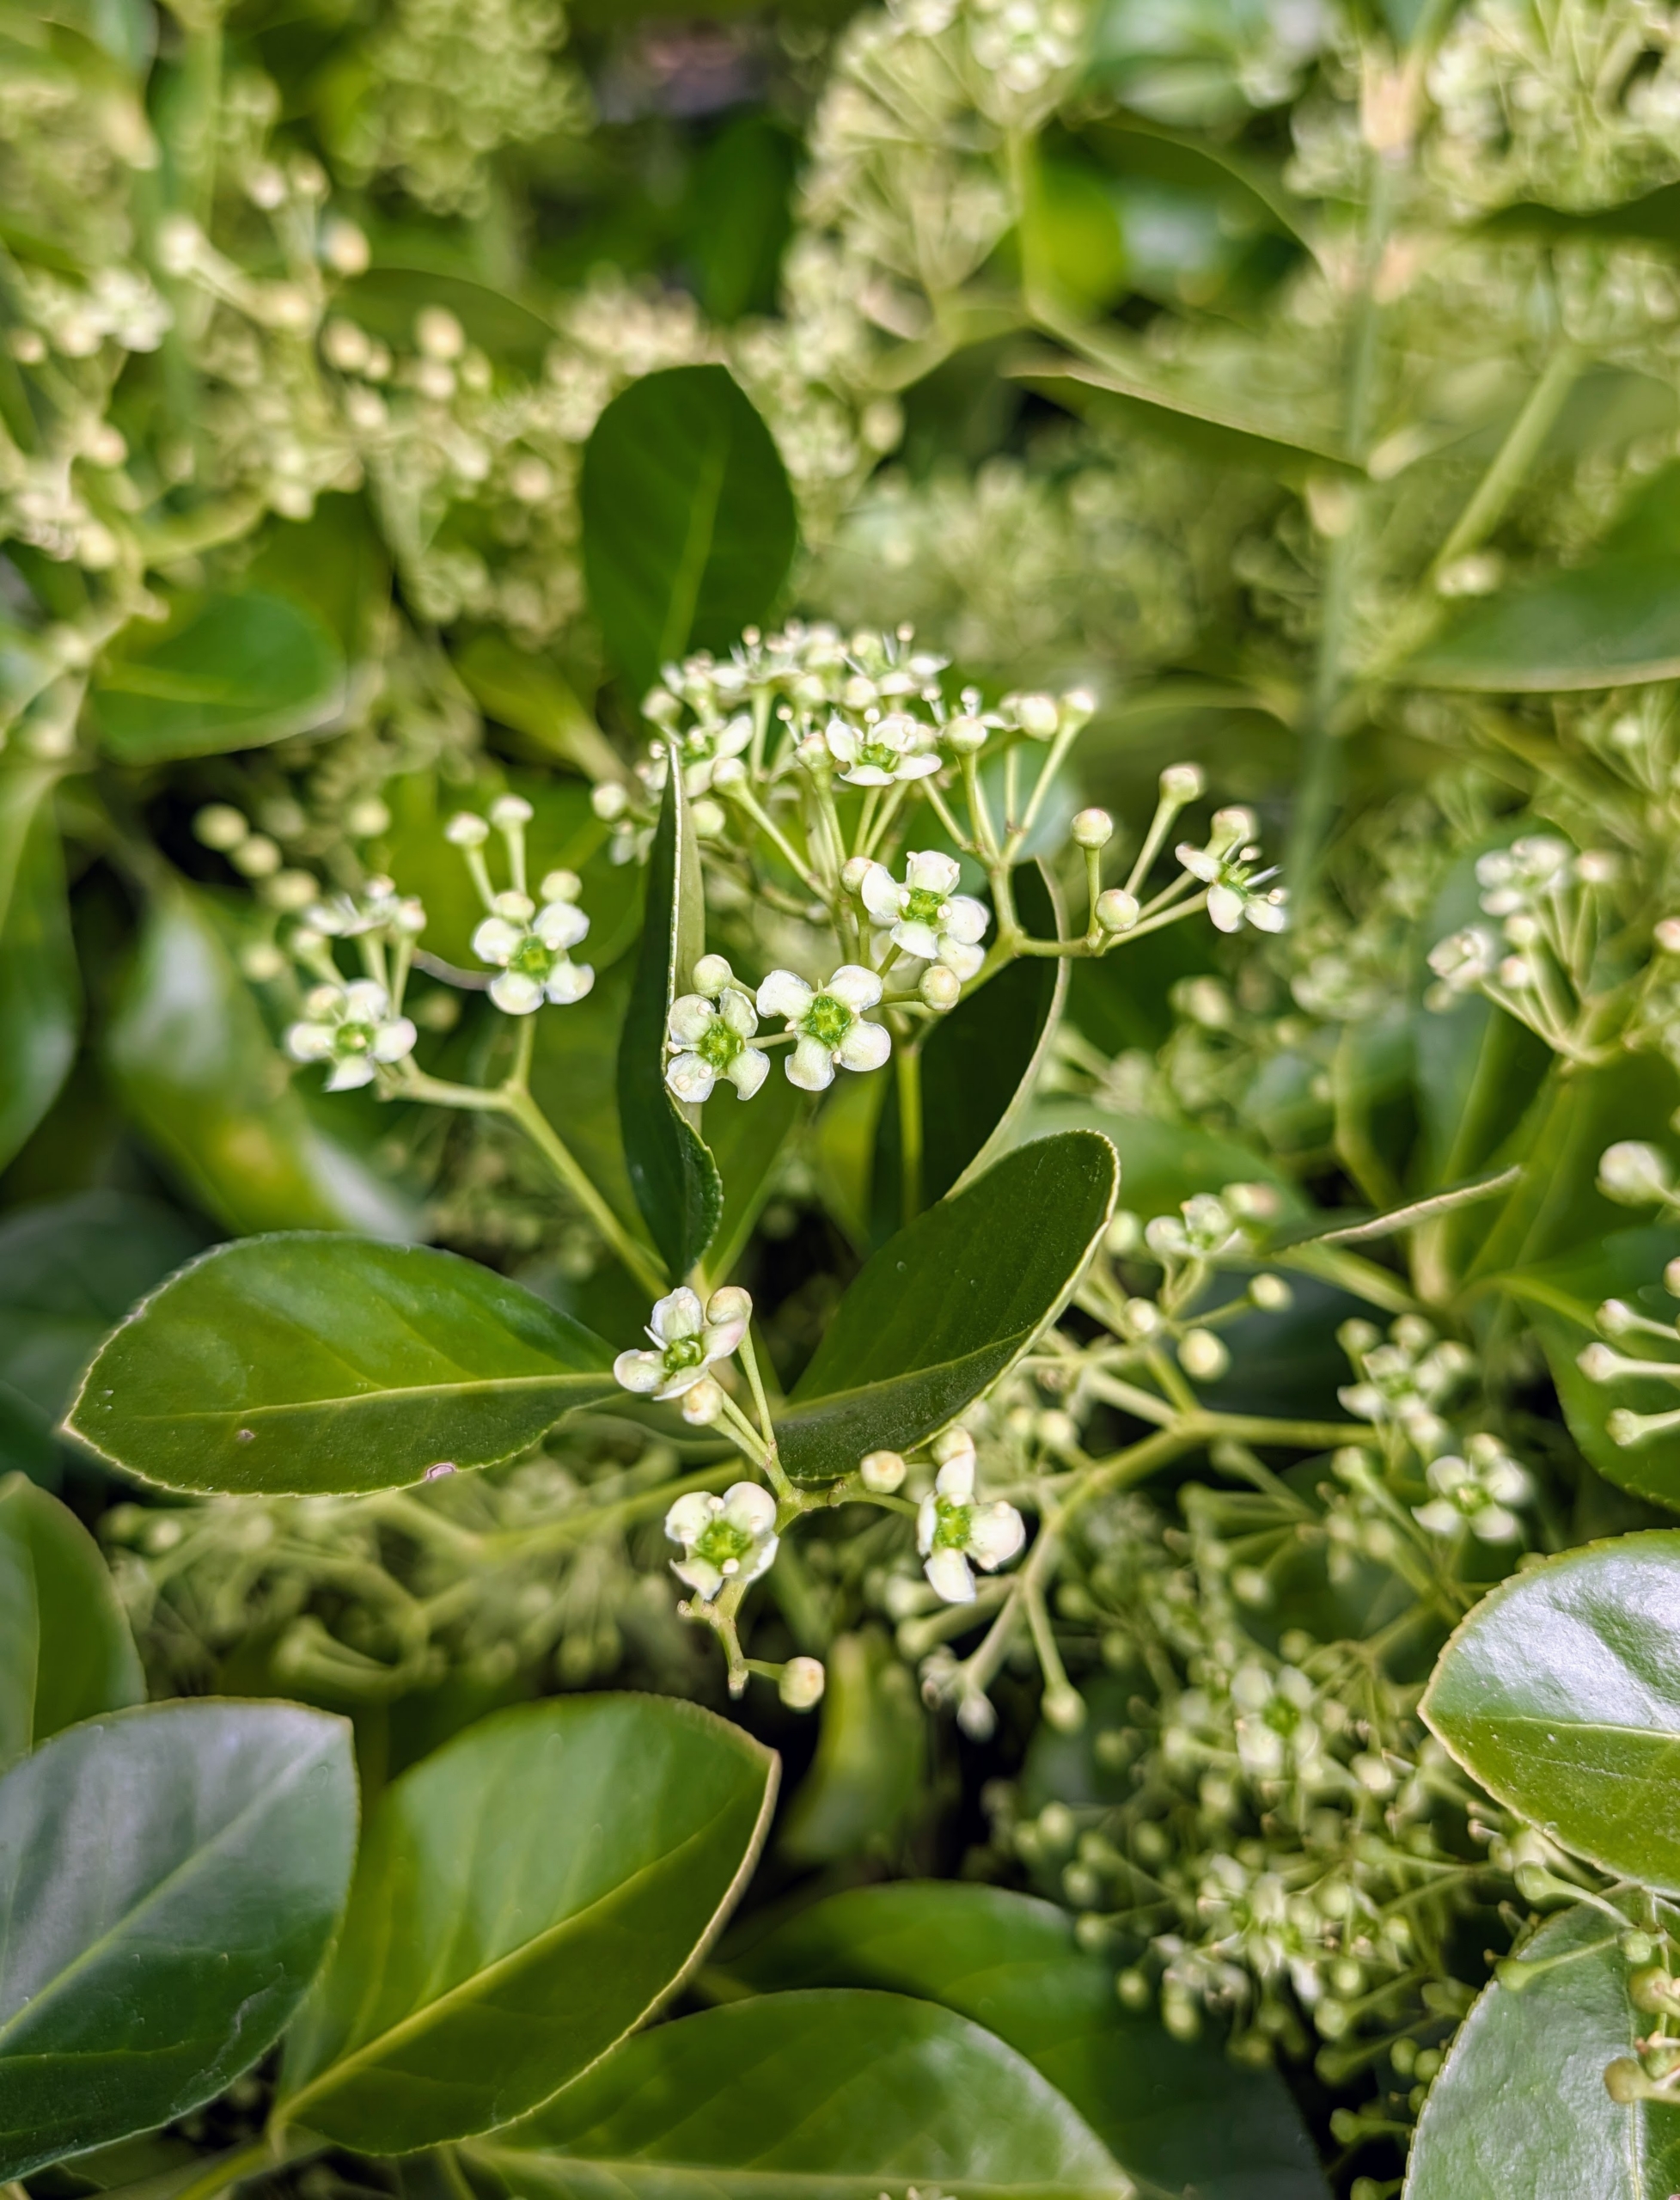
Euonymus kiautschovicus ‘Manhattan’ is an excellent choice for gardeners wanting a fast growing evergreen clipped hedge, informal screen, or espalier in full sun. This shrub has dense, lush, dark green foliage and a naturally neat, formal appearance that looks great without pruning.
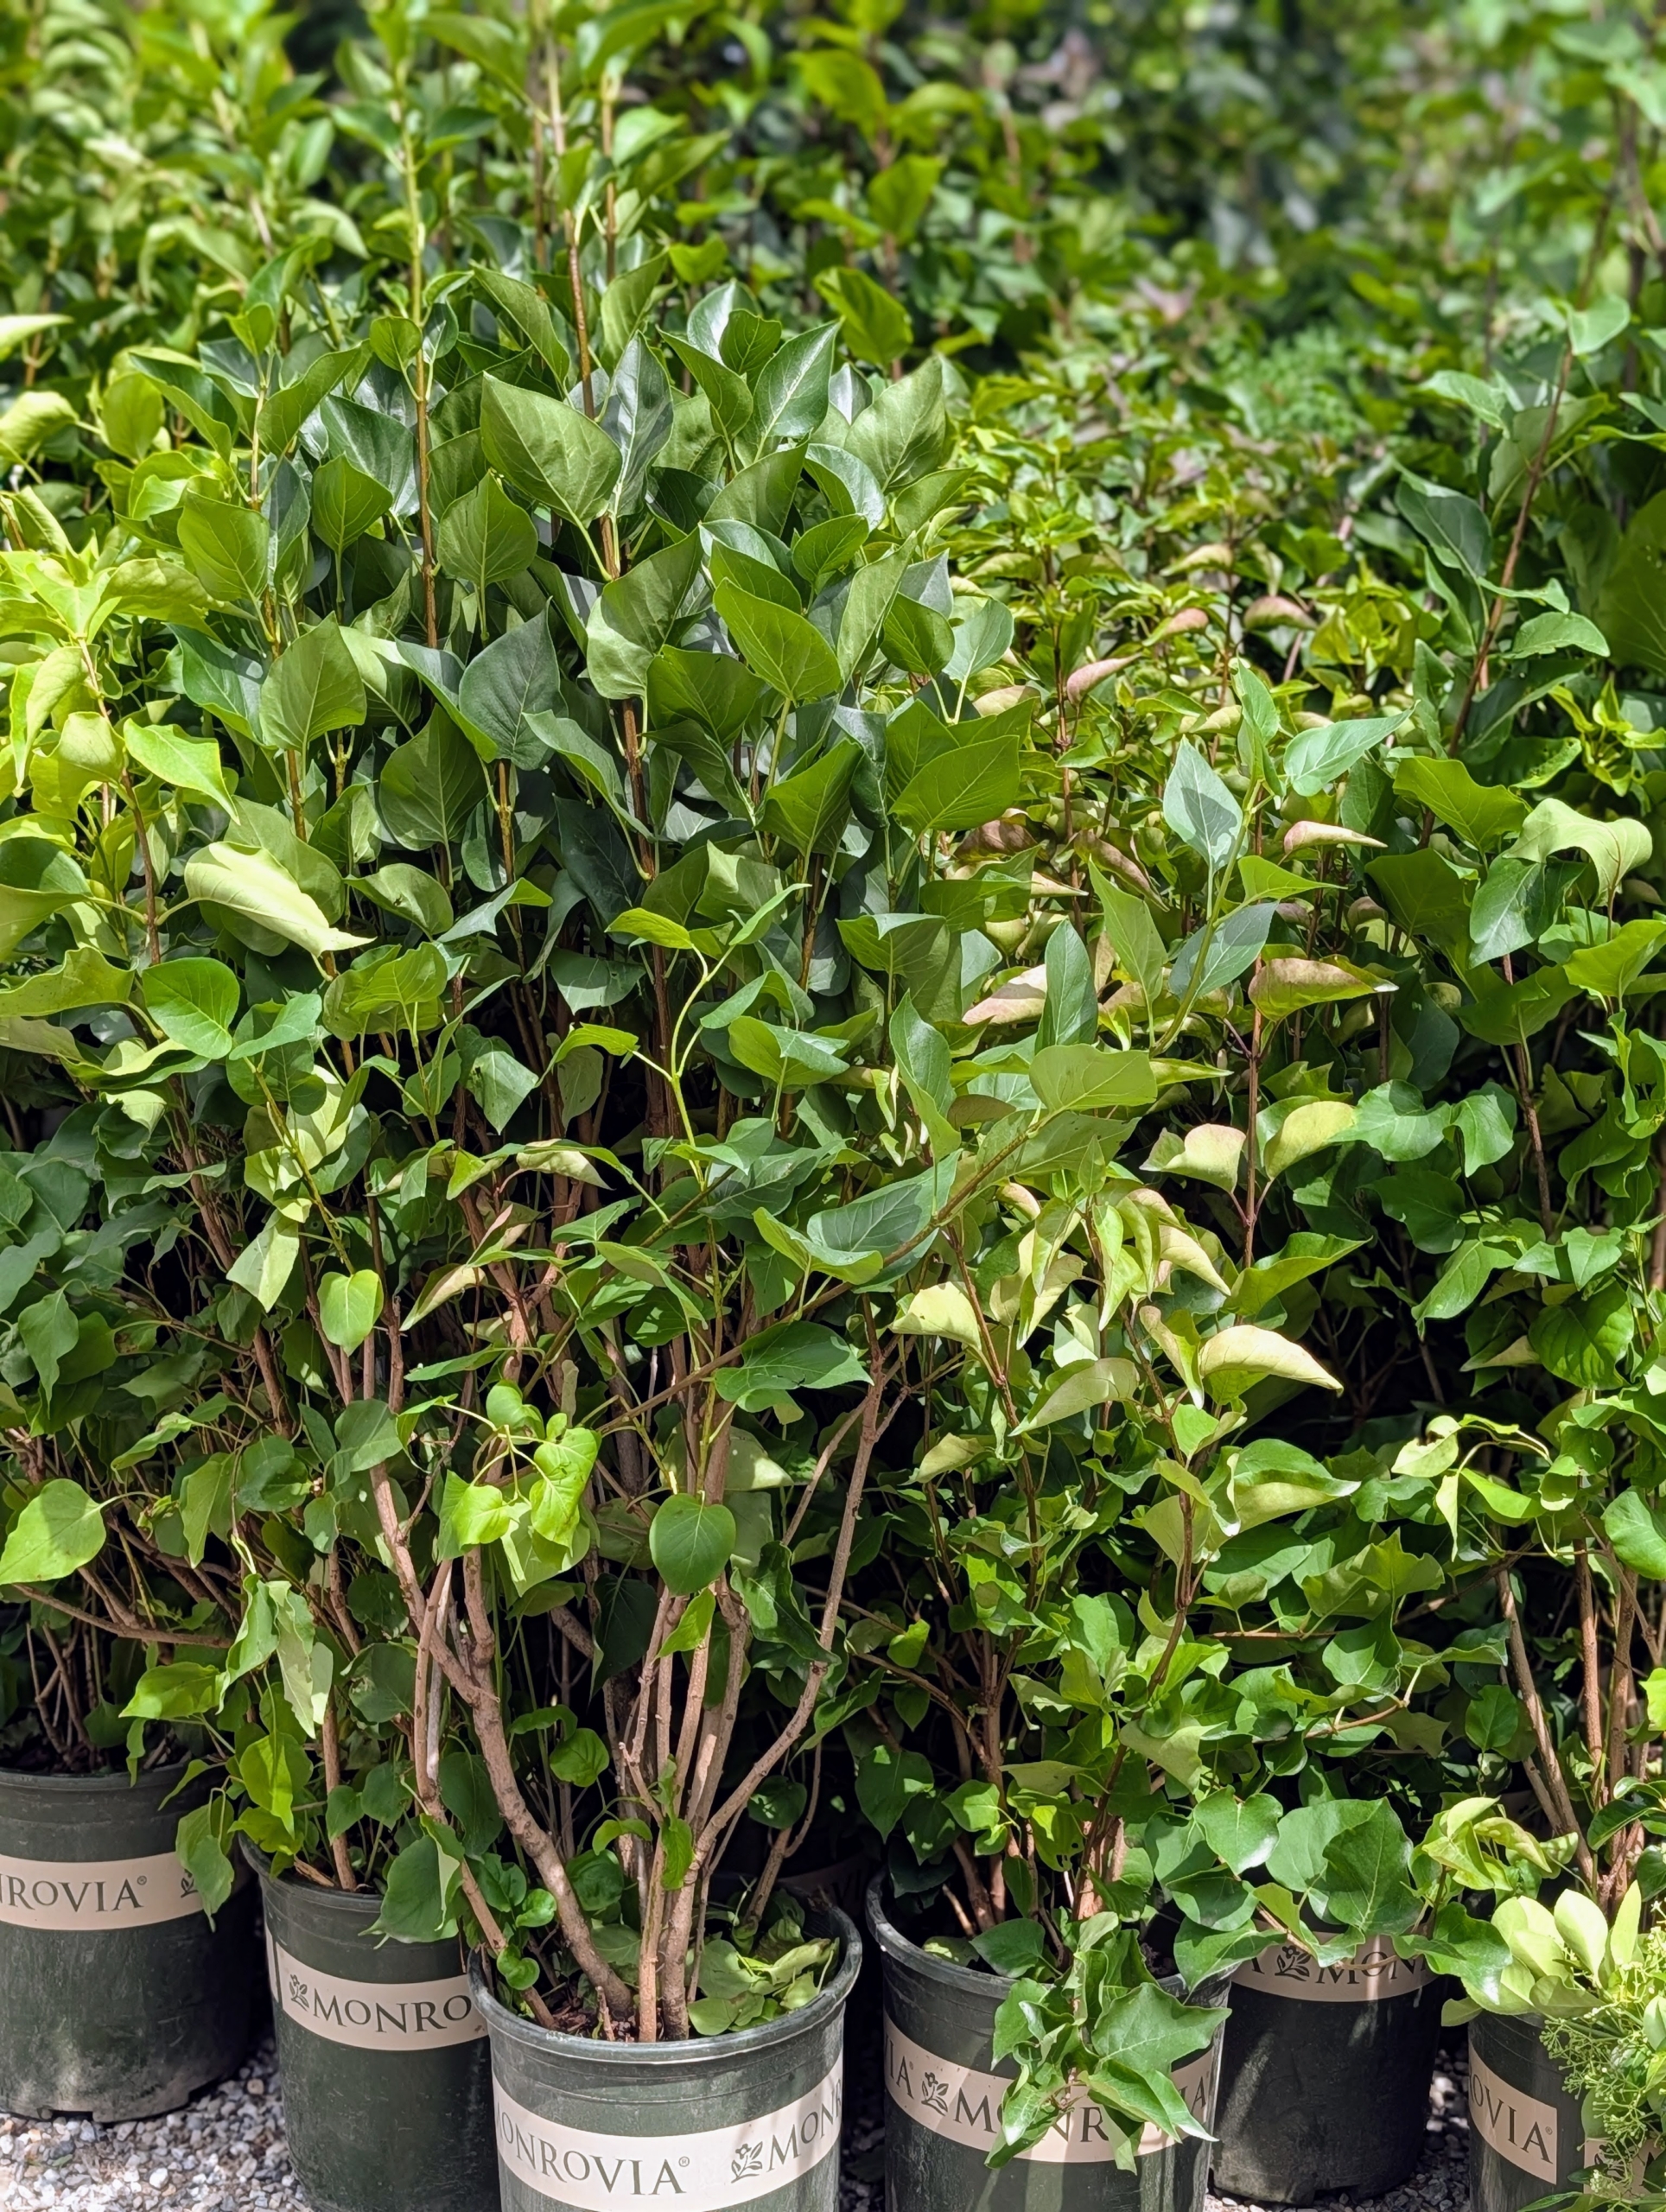
And this is Syringa vulgaris ‘Yankee Doodle’ – one of the darkest purple lilacs. It grows showy clusters of fragrant, purple florets that appear in mid-spring.
It’s planting season – happy gardening! And look for Monrovia wherever you buy your plants – you’ll be so happy you did!
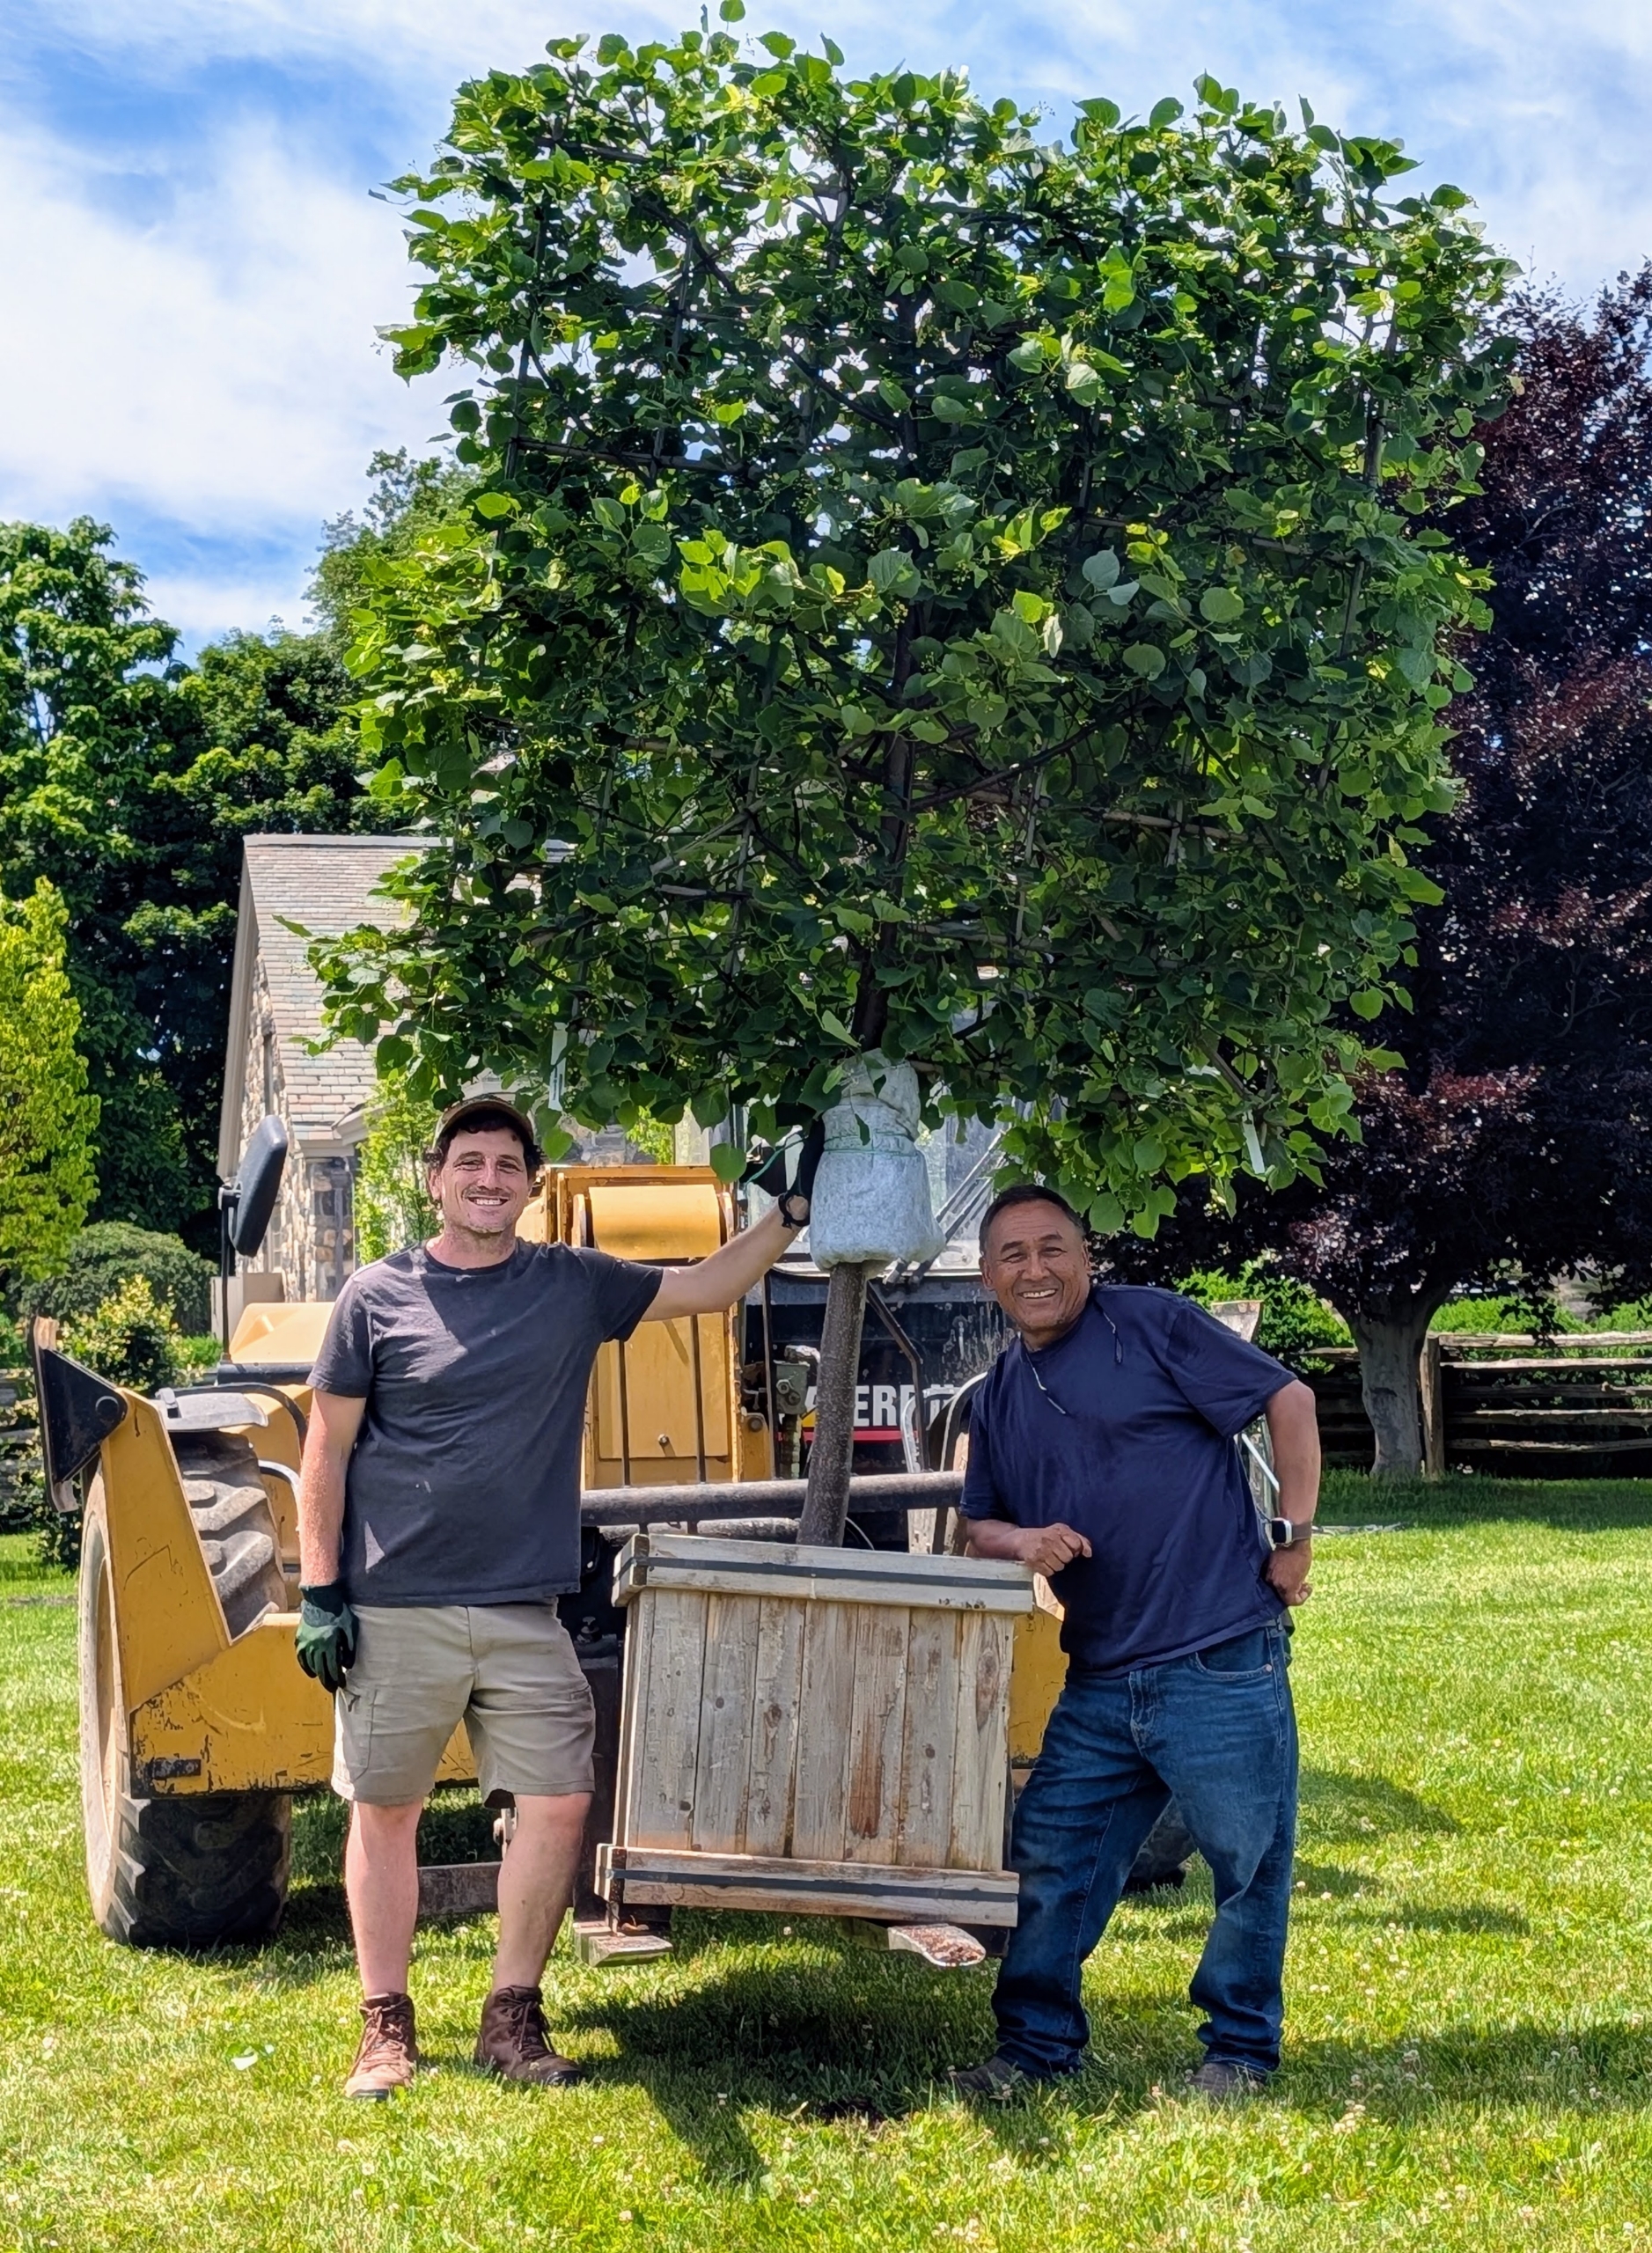
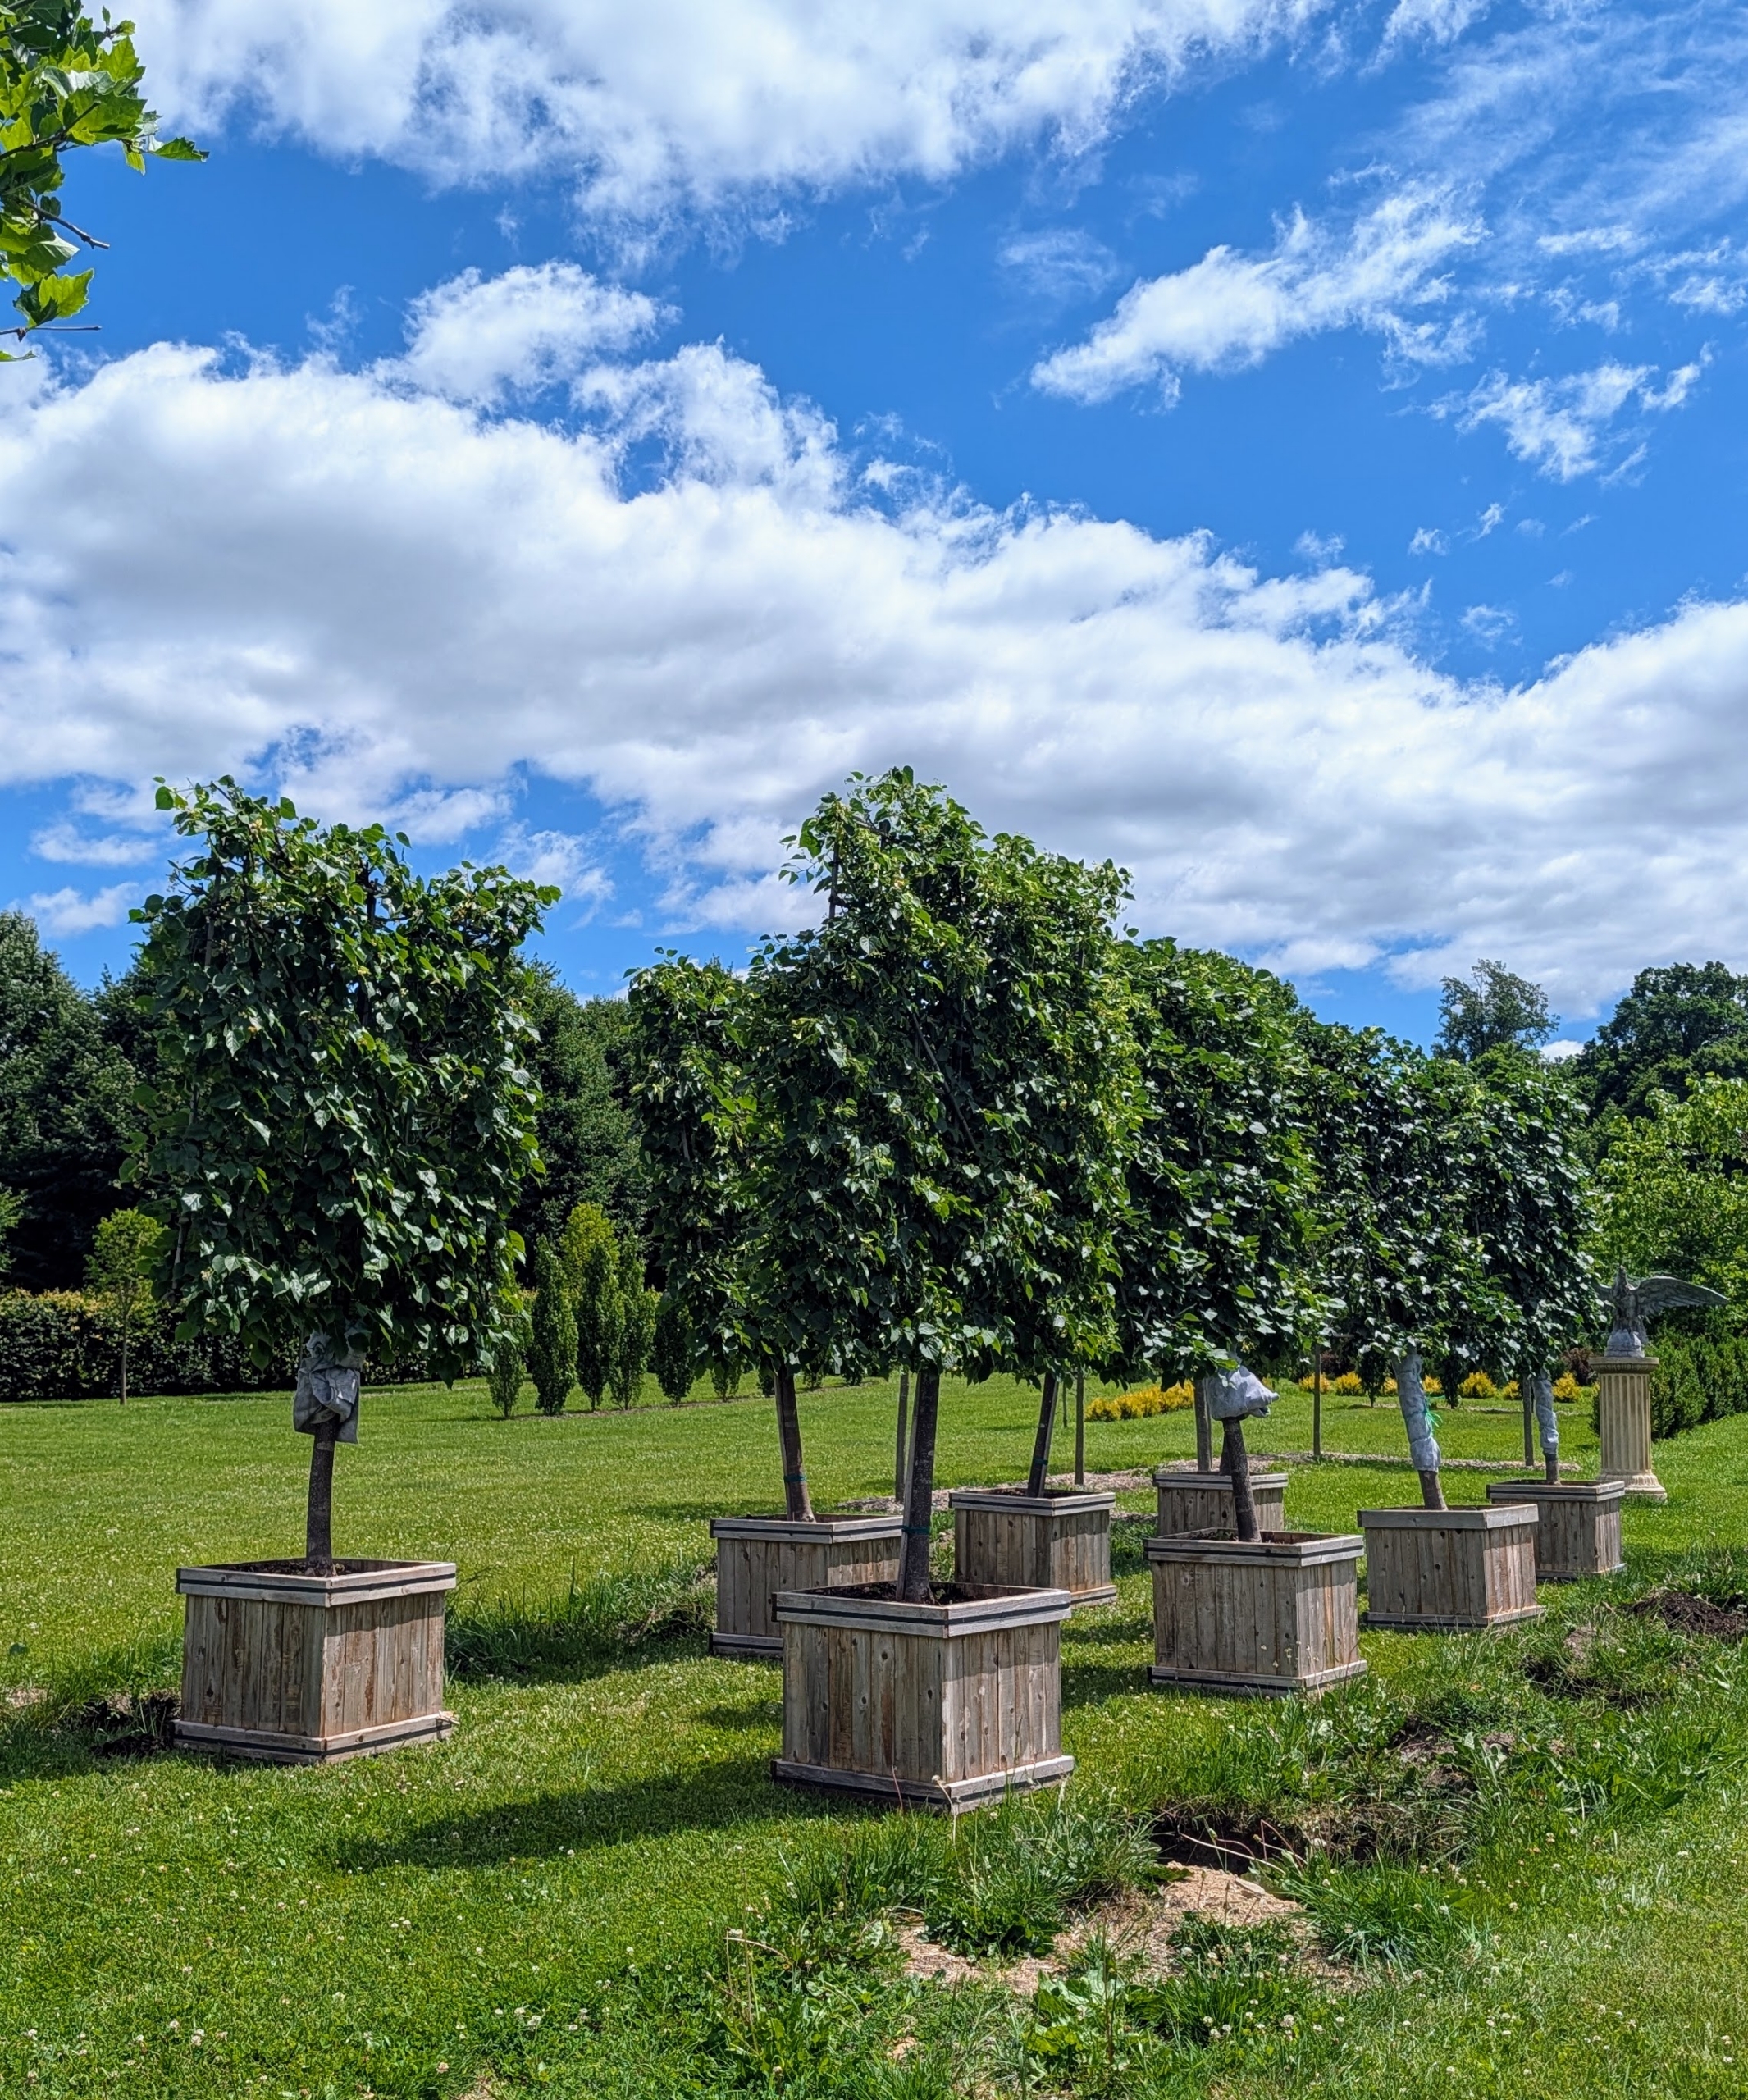
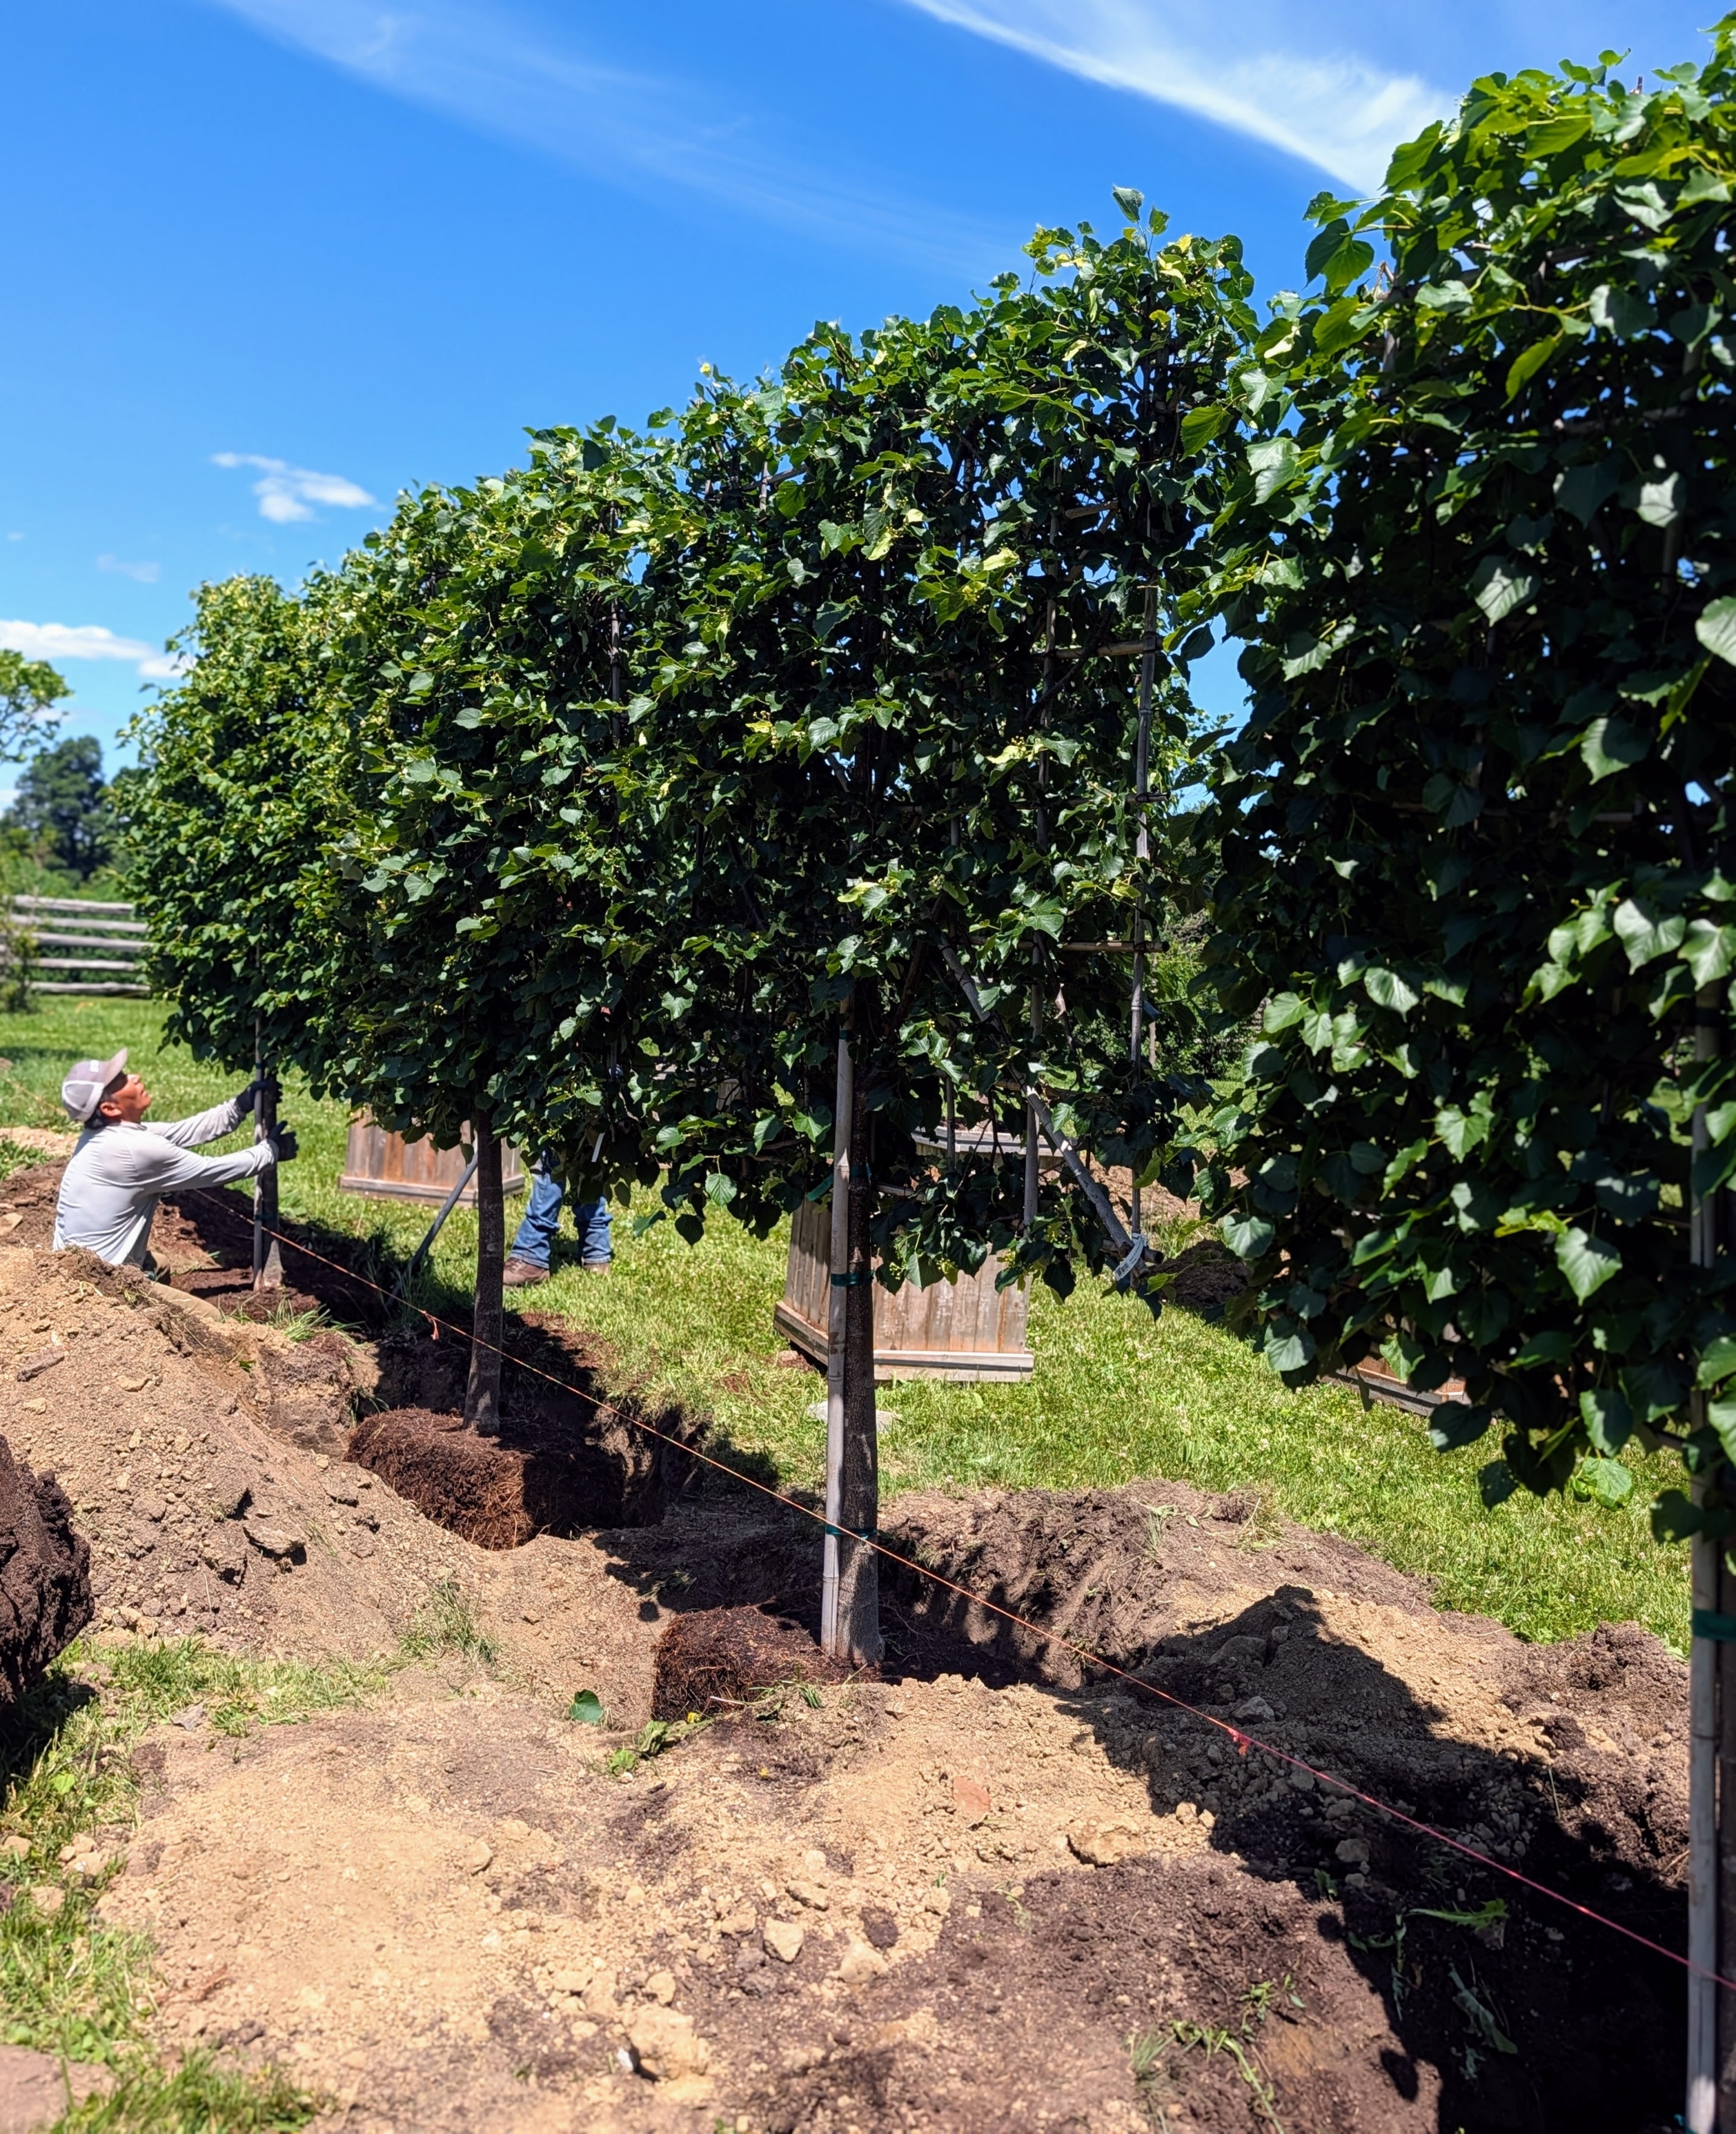
It's always exciting to find just the right specimen trees to plant in a certain location. I recently spotted eight espaliered linden trees, Tilia cordata EC square, at Select Horticulture Inc., in nearby Pound Ridge, New York and knew right away they'd look excellent in my living maze.
I designed my maze to have a variety of different trees and shrubs. I wanted every turn to be both beautiful and interesting. I decided these lindens should be planted close together in a center allée formation close to the north end of the three-acre space. My gardeners and outdoor grounds crew prepared the location, put up landscape twine so every tree would be perfectly straight, gathered their tools, and got to work.
Here are some photos, enjoy.
It’s always fun to see what new trees I’m adding to the farm – on this day, eight handsome espaliered littleleaf lindens.
My head gardener Ryan McCallister and Pete Sherpa from my outdoor grounds crew, unloaded all the trees where they would be planted – in a prominent center area of my maze.
Here they are next to some previously dug holes. I instructed the team to plant them close to each other, almost touching.
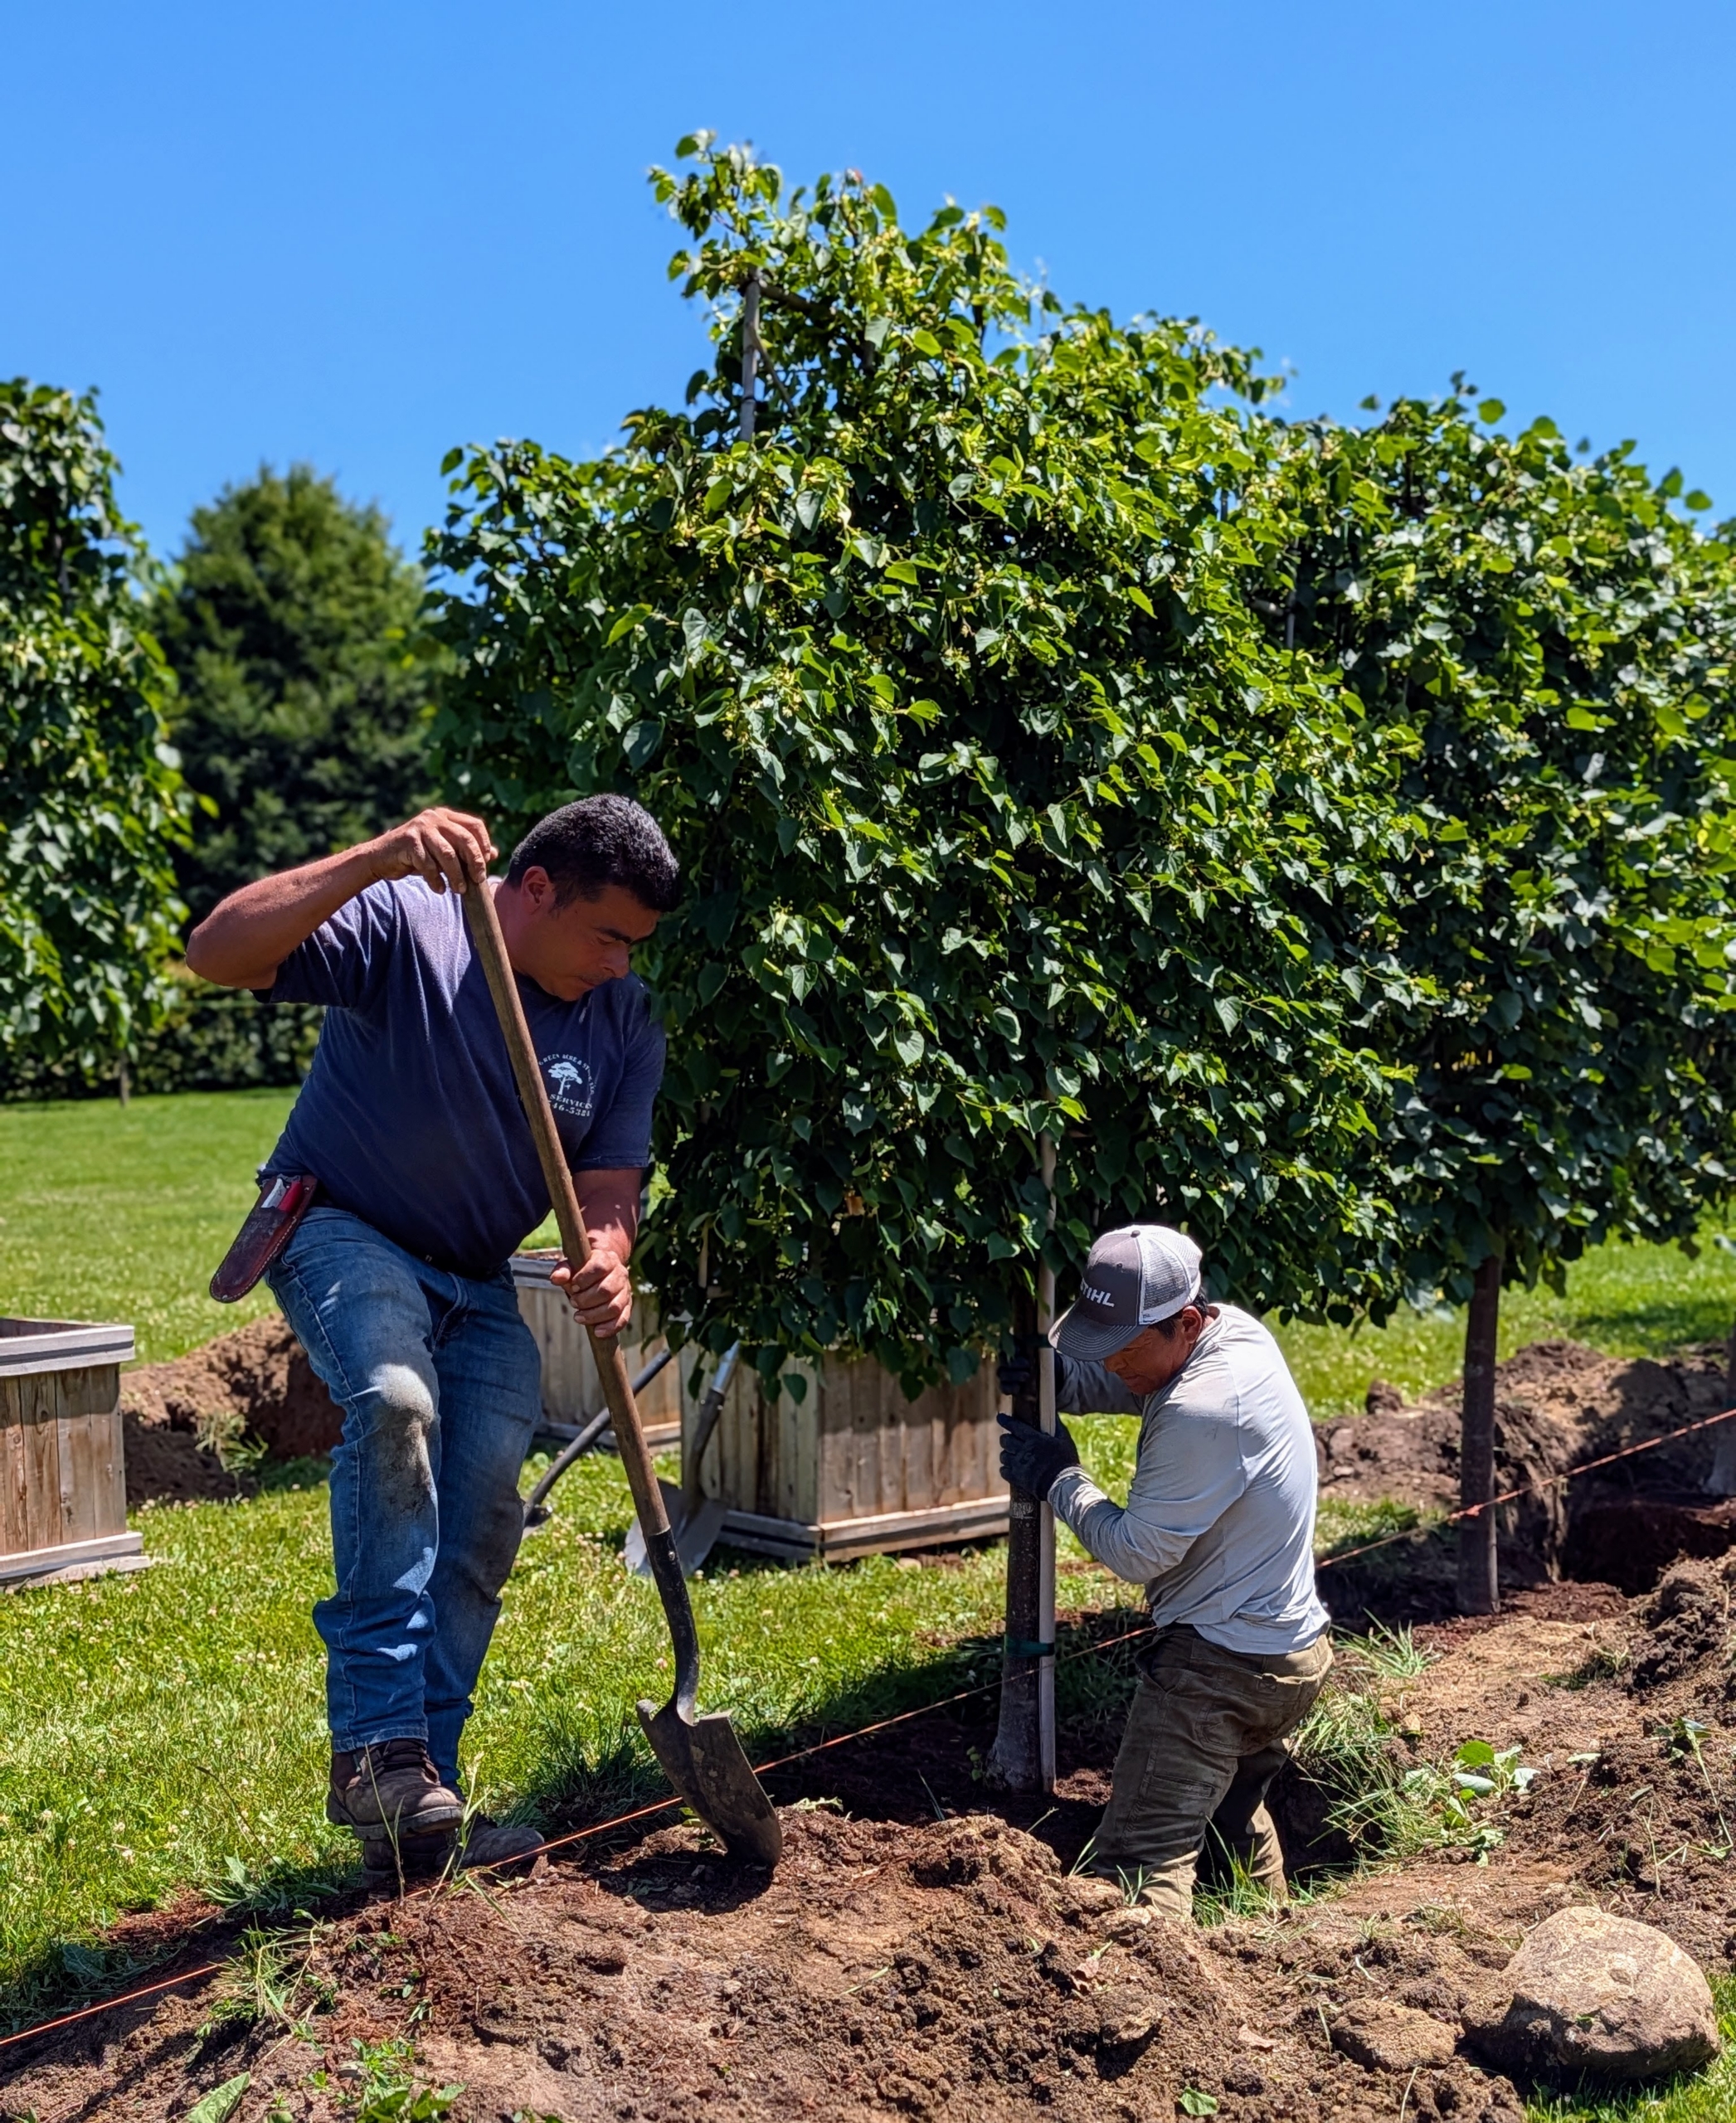
The holes needed to be moved slightly to accommodate the trees, so Phurba and Arnold started digging. Each hole is manually smoothed out and prepared to ensure it is deep enough for each specimen. The hole sides are slanted. Digging a wide planting hole helps to provide the best opportunity for roots to expand into its new growing environment.
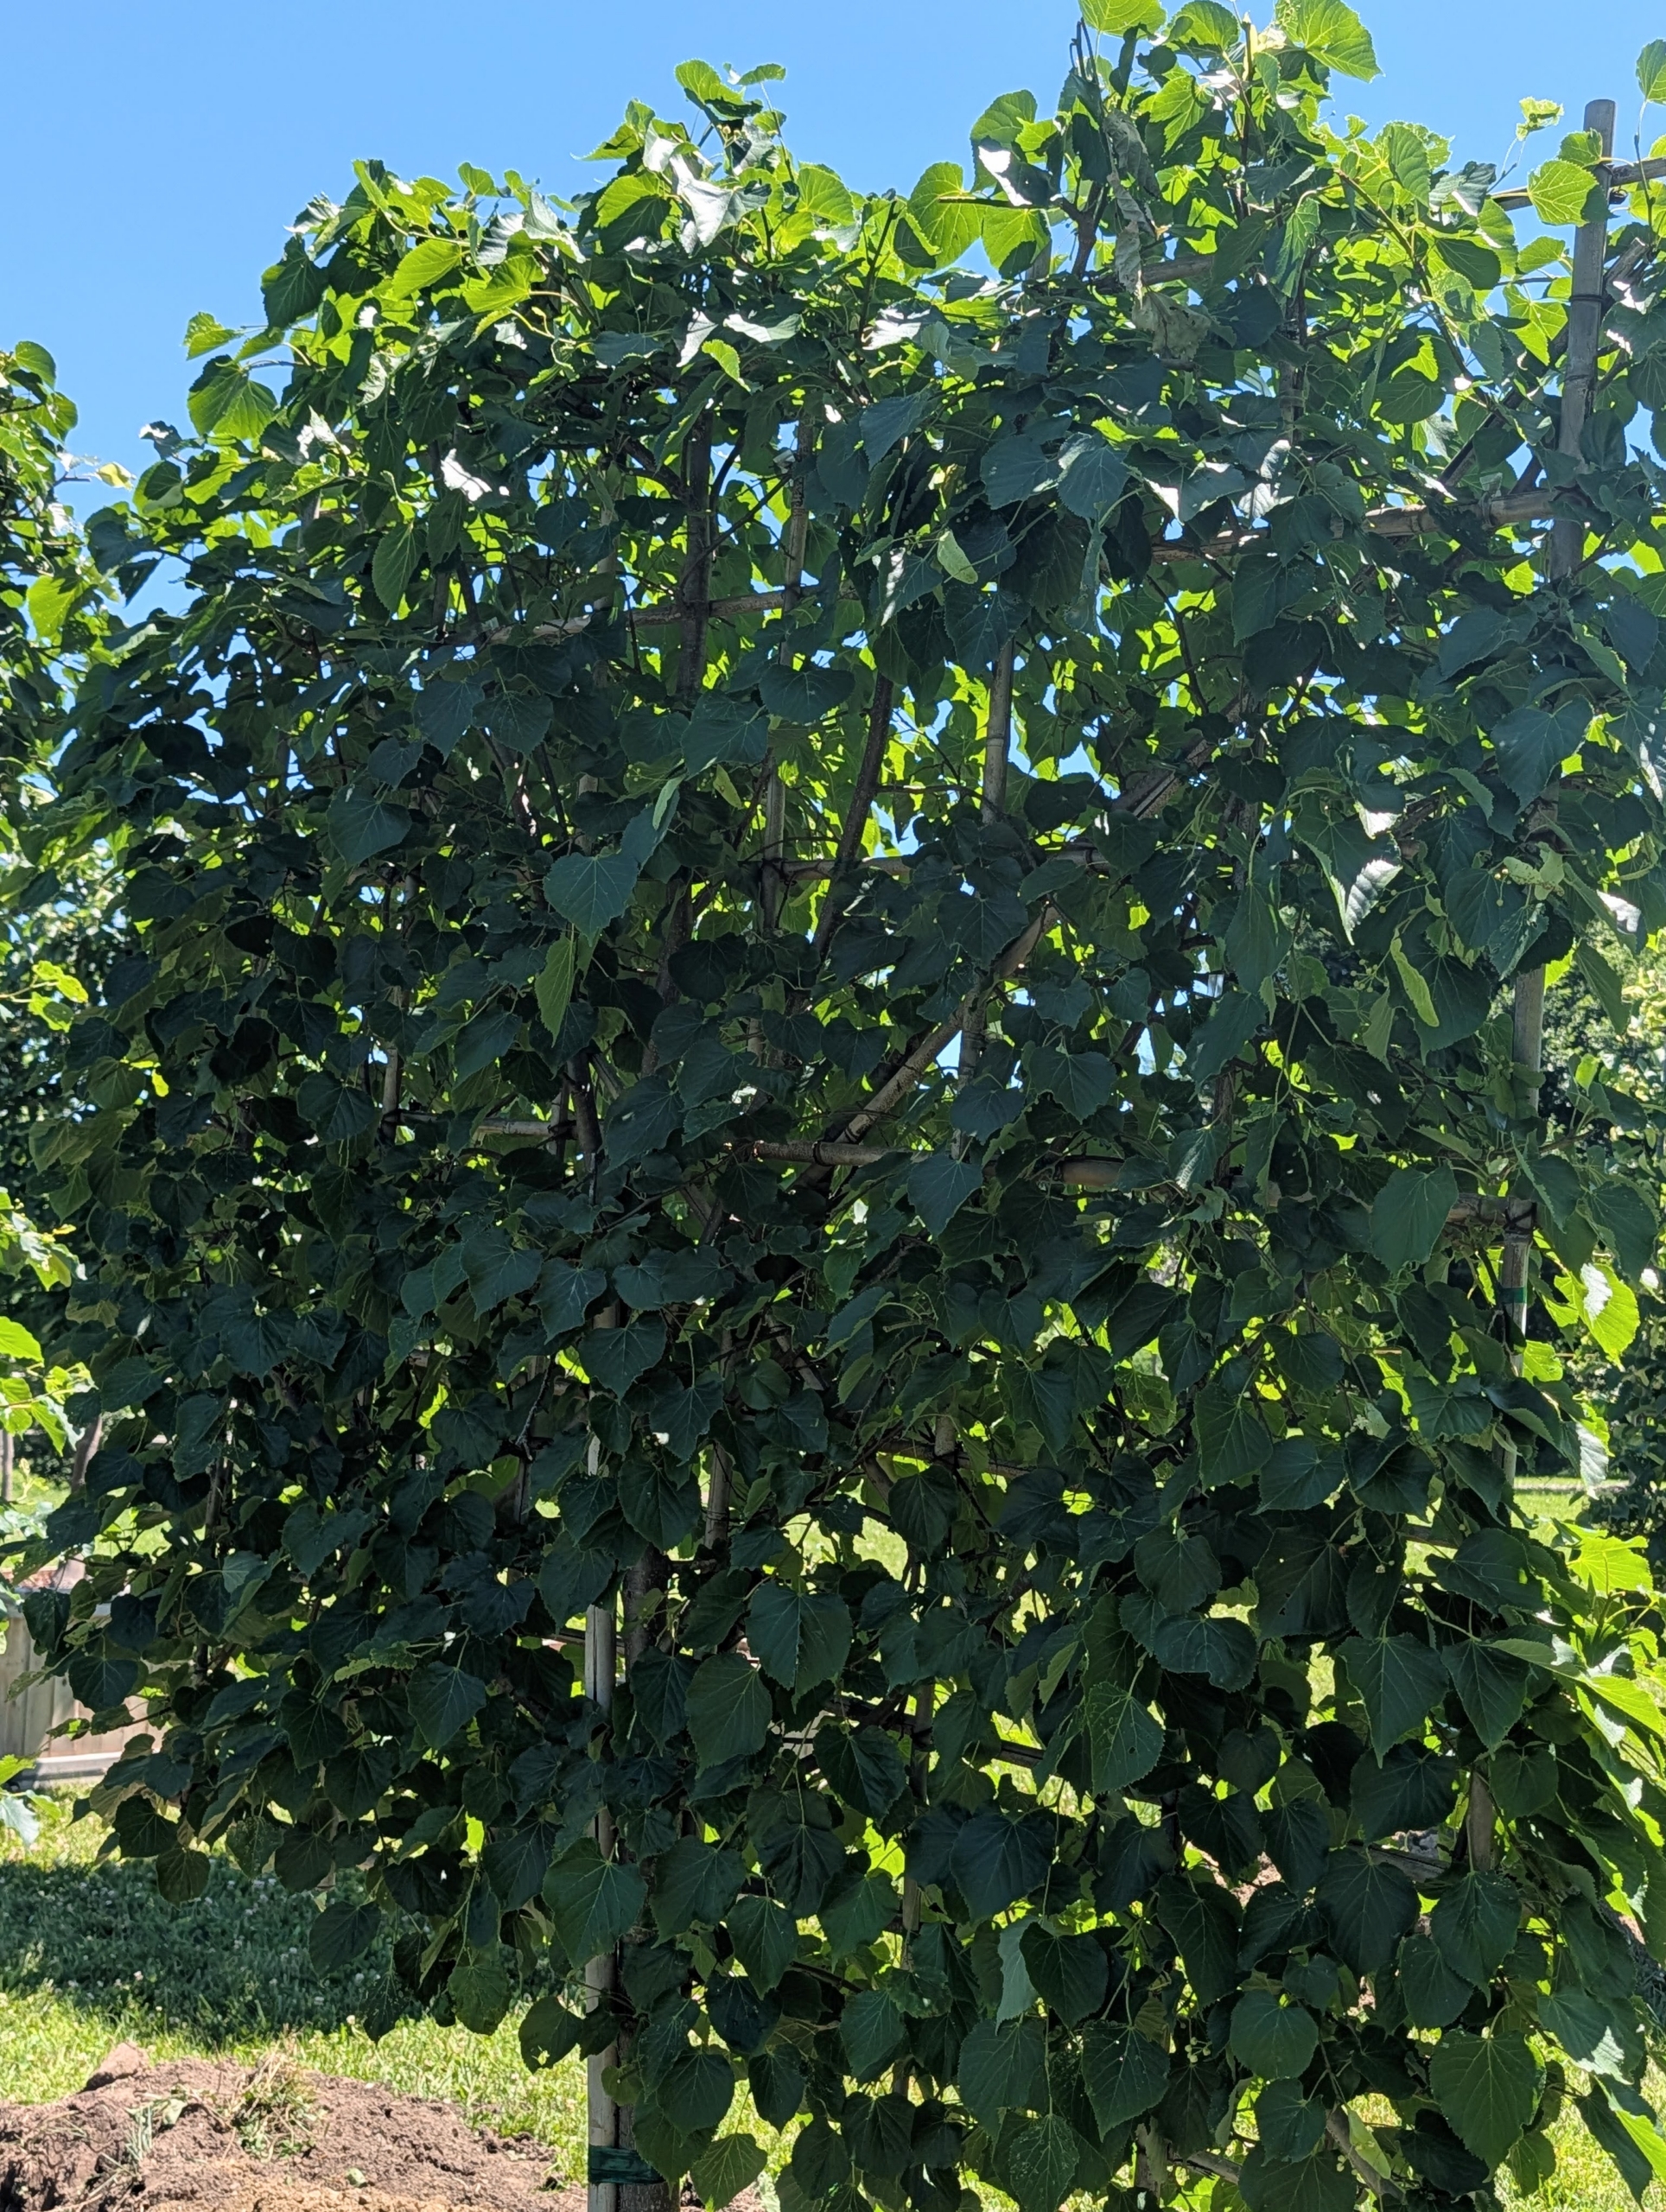
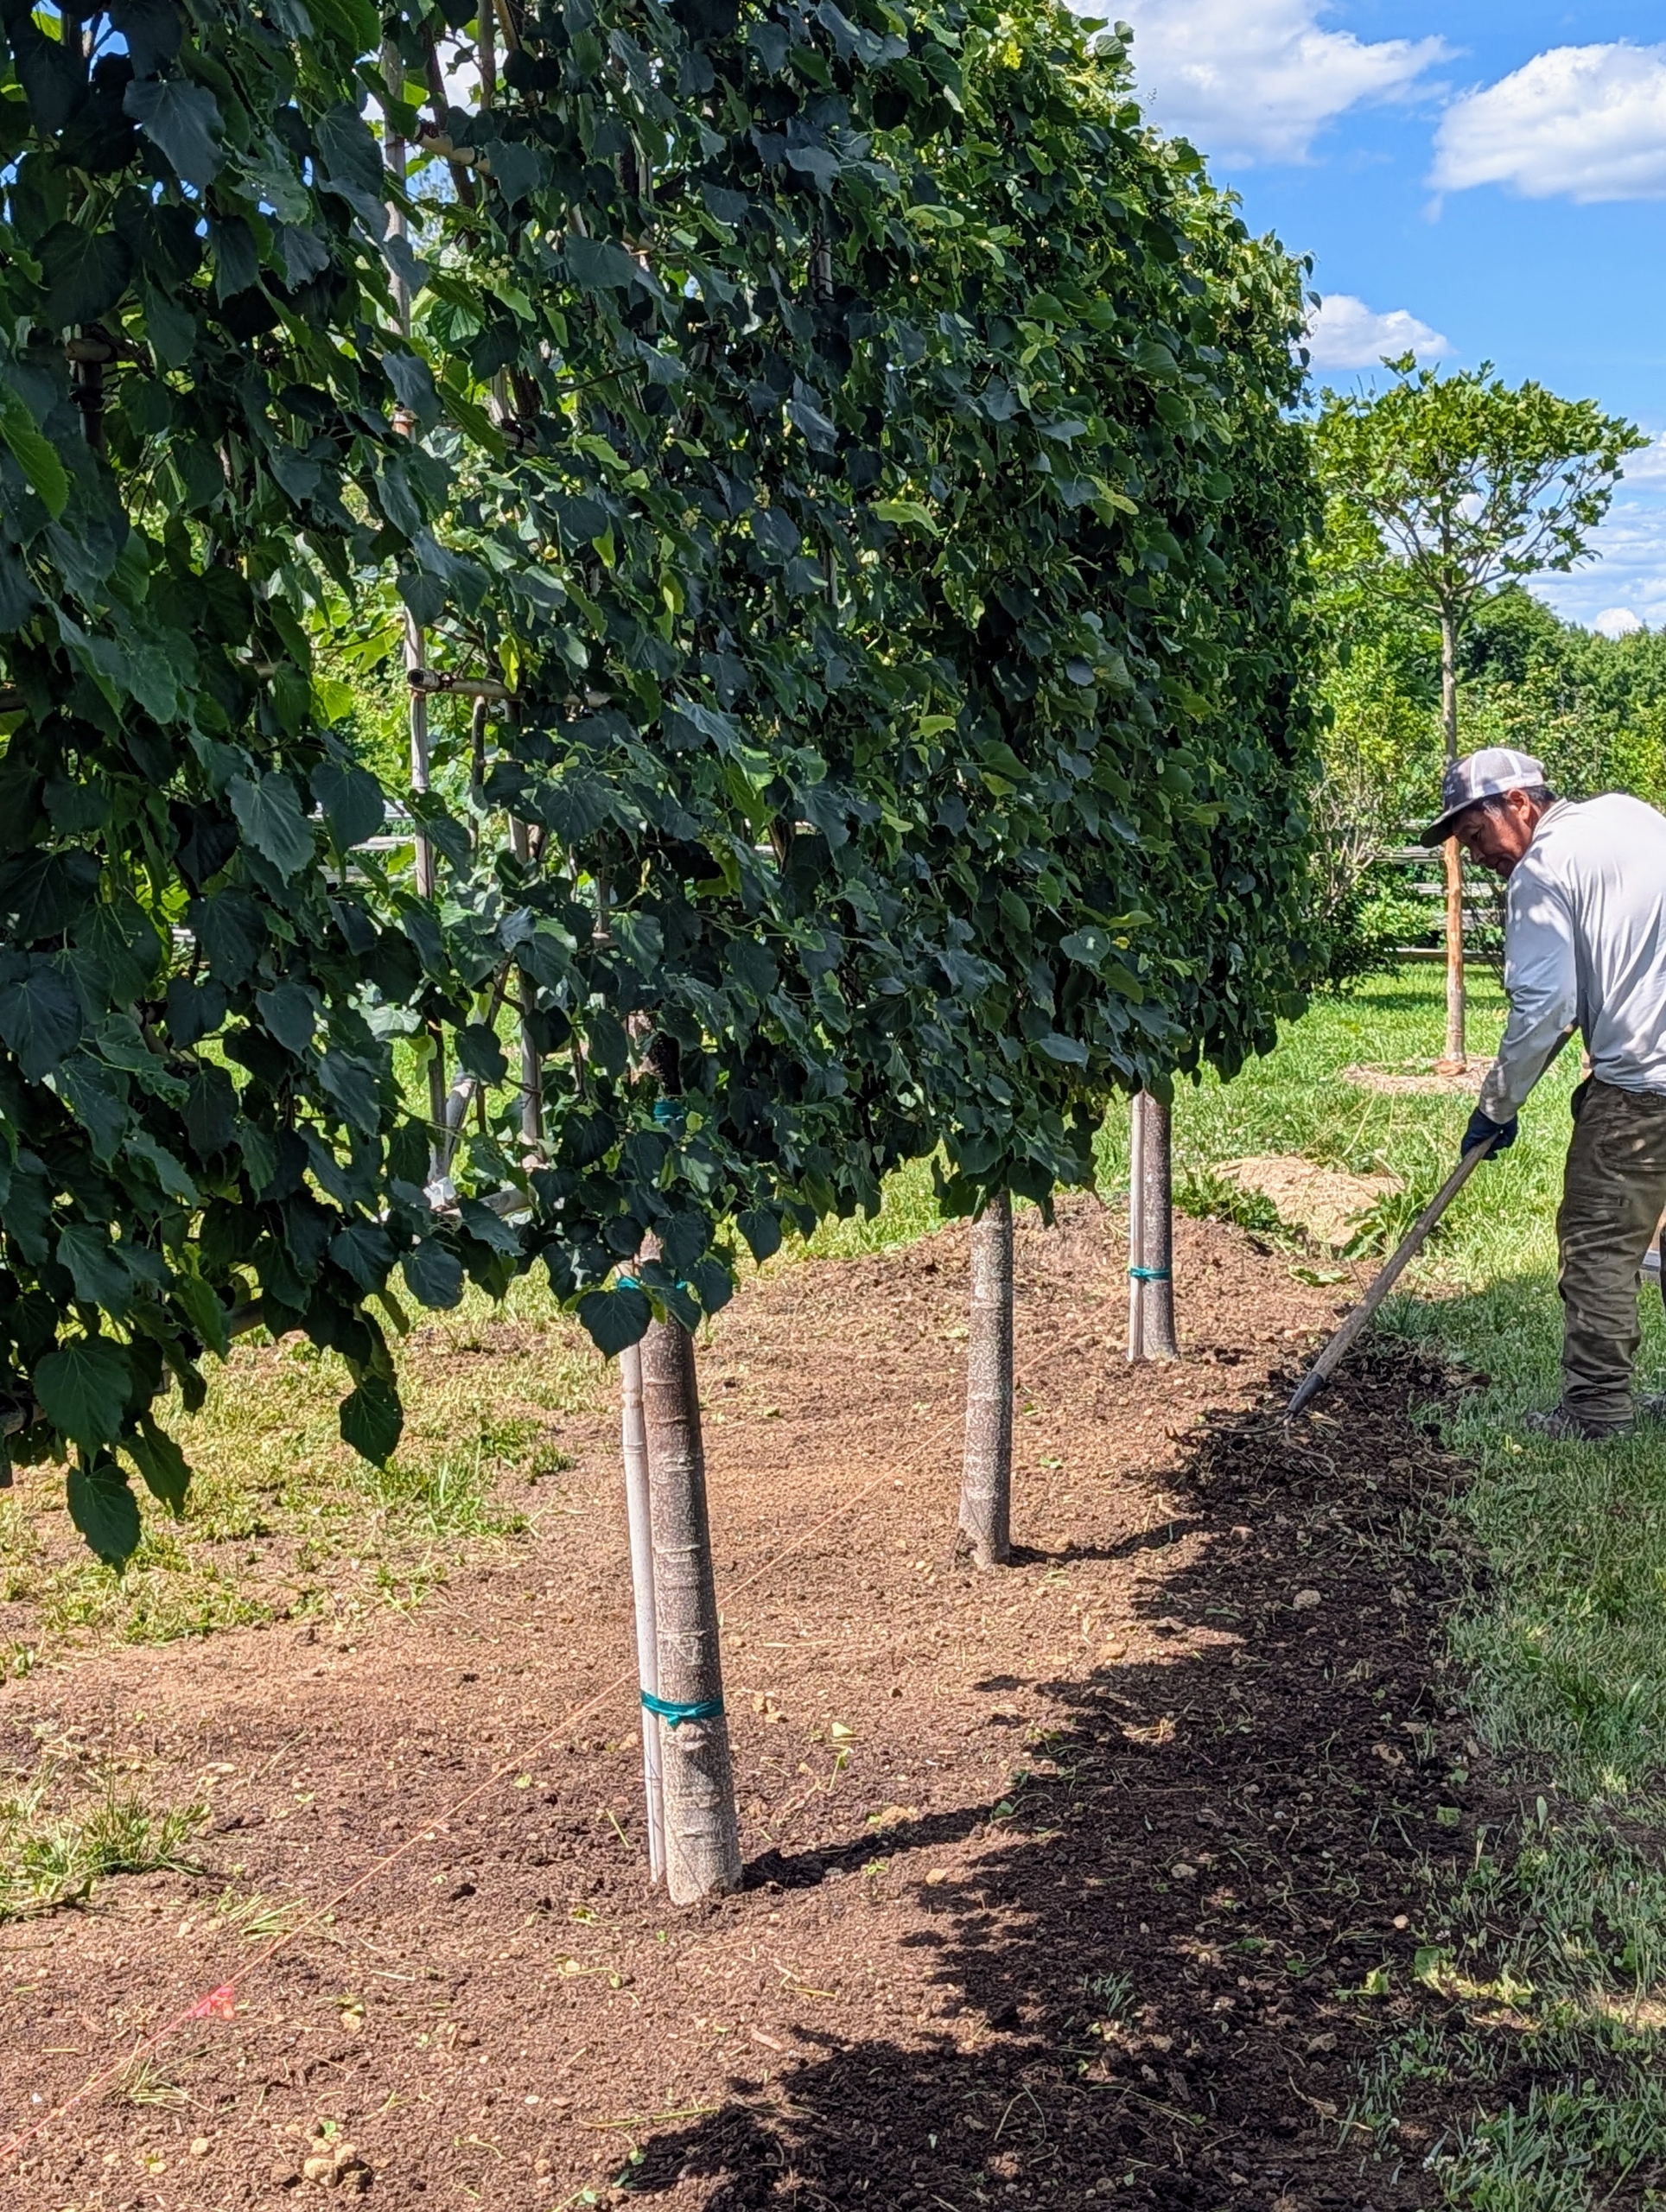
Tilia cordata, commonly called littleleaf linden, is native to Europe. It has been widely planted in the United States as an ornamental tree because of its attractive foliage, dense form, and its tolerance to urban conditions. These are espaliered, meaning they are trained along a support to keep them in this flat shape, which is square.
The leaves of the littleleaf linden are ovate, shiny, and dark green up to about three inches long with tapered tips, serrated margins, and cordate or heart-shaped bases. Littleleaf linden trees are known for their fragrant, creamy-yellow flowers that appear in late spring to early summer, typically June to July.
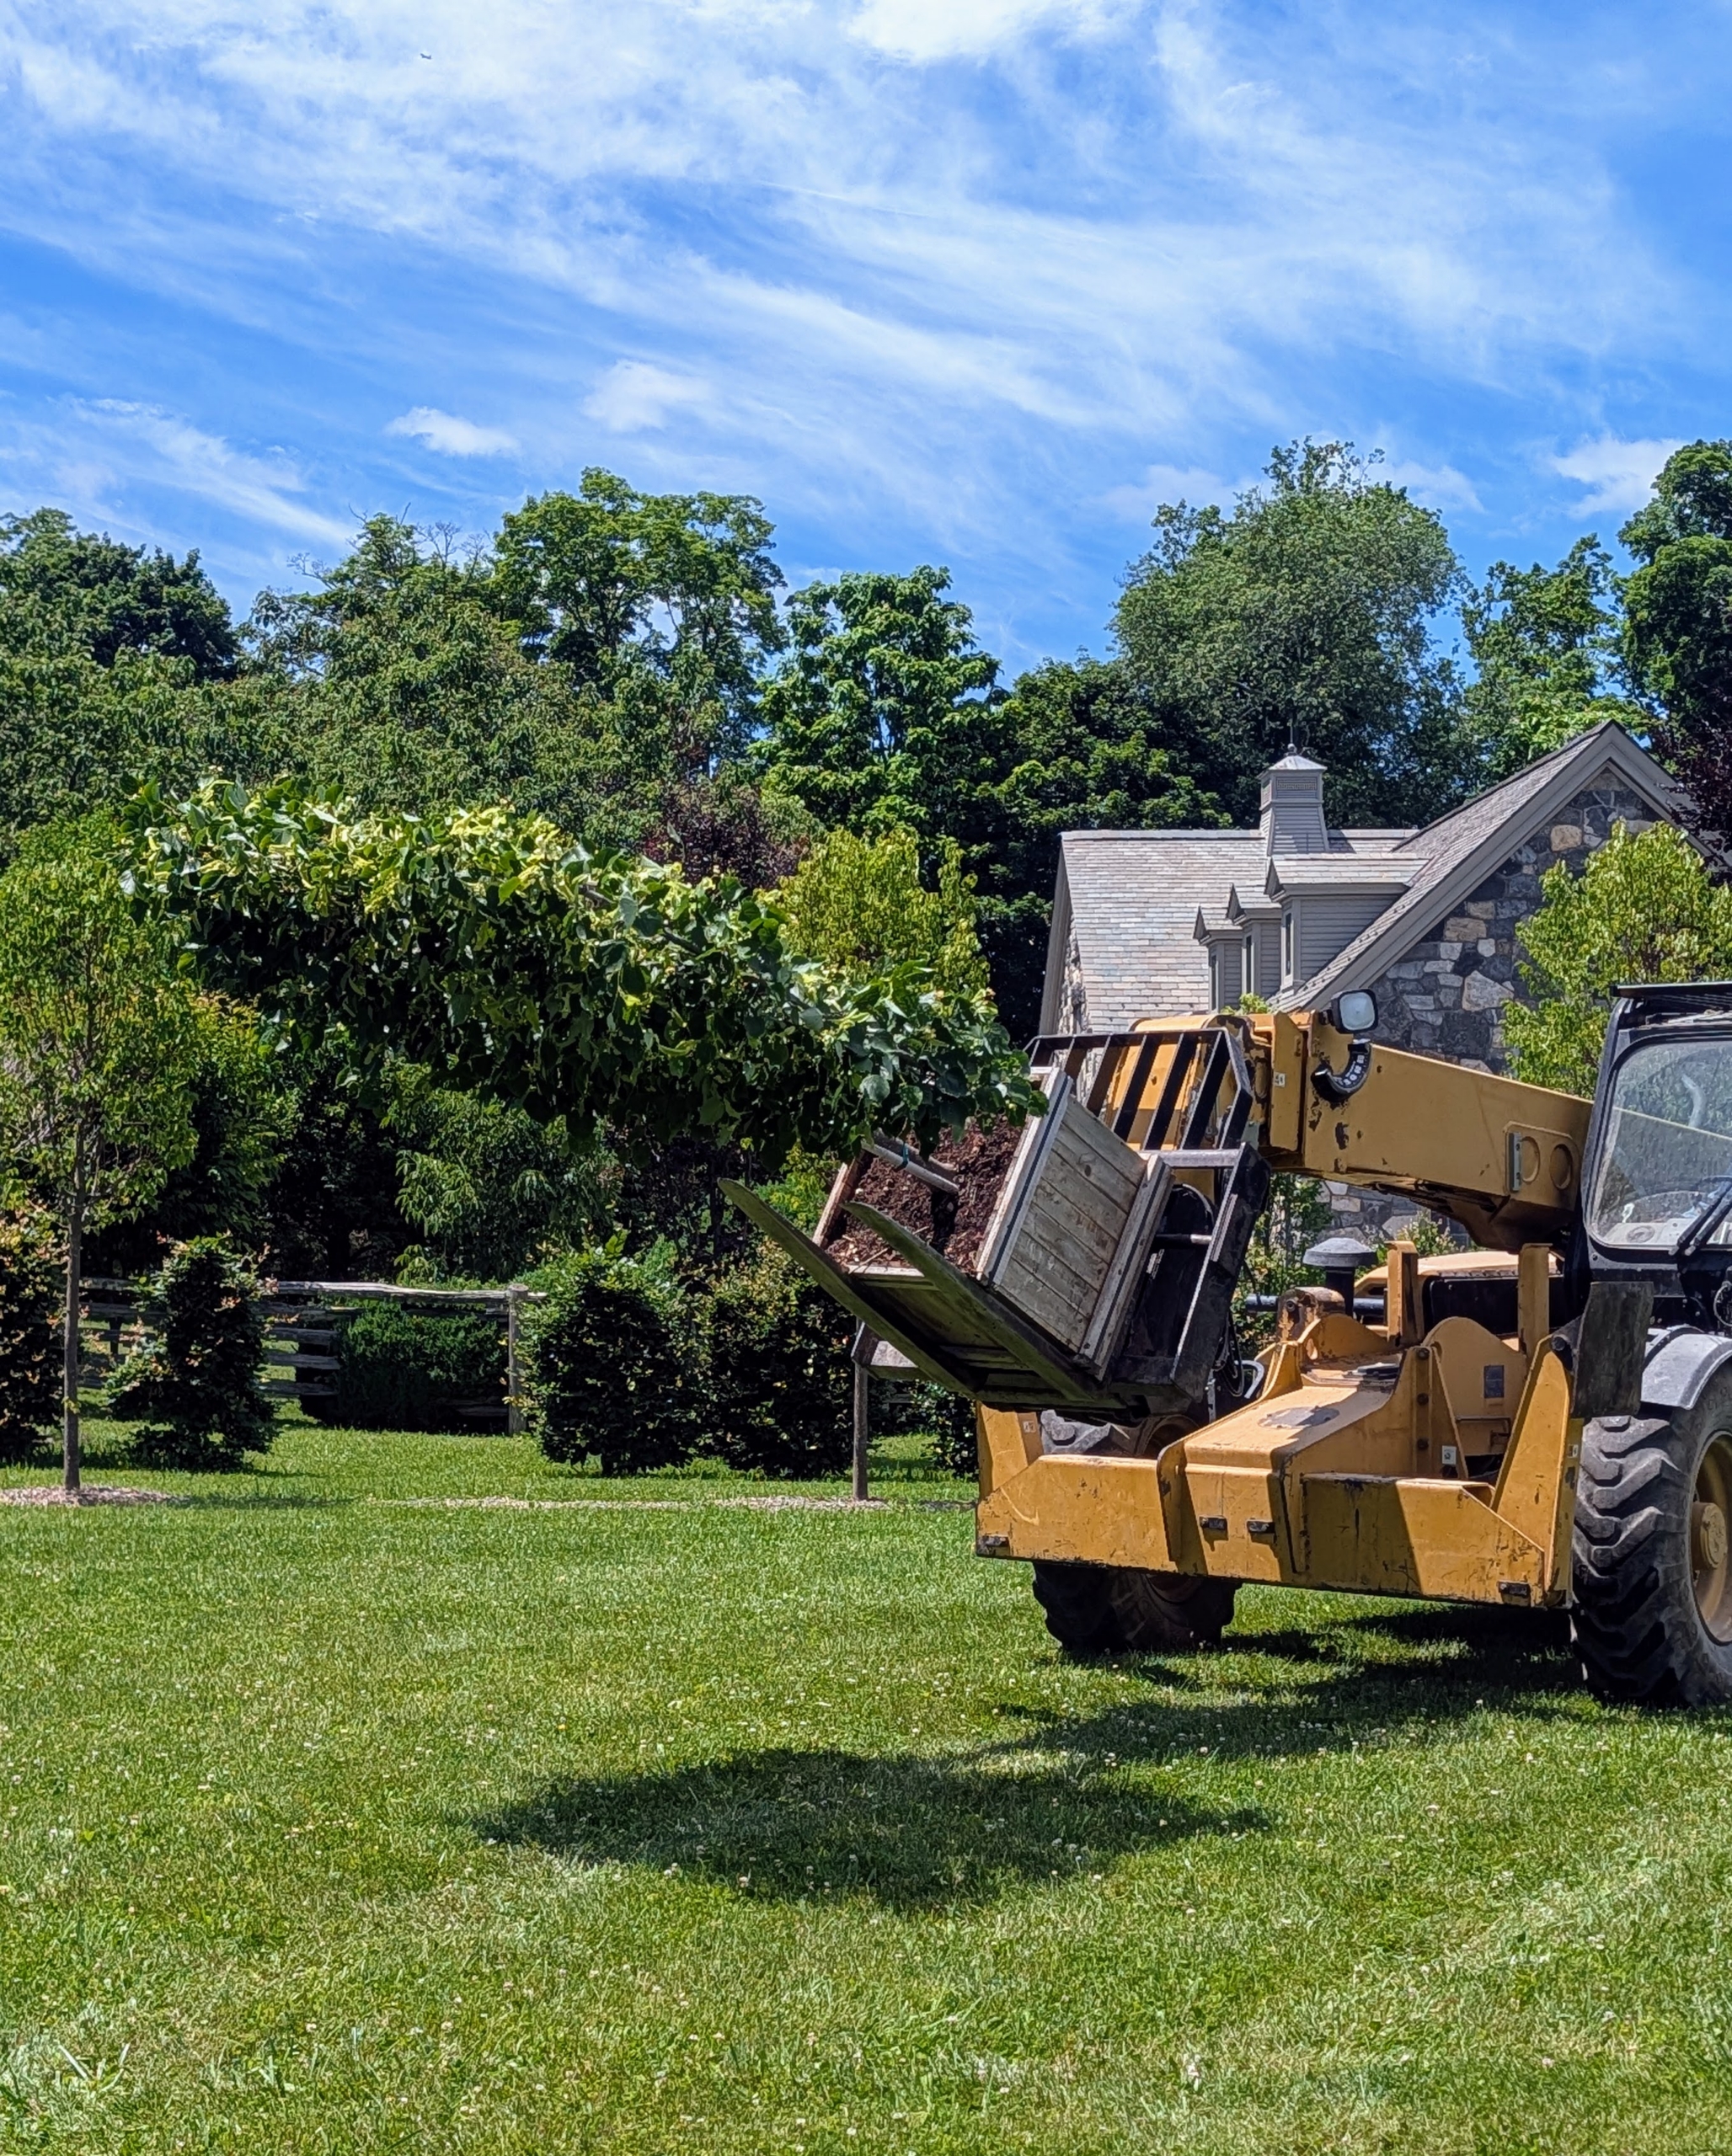
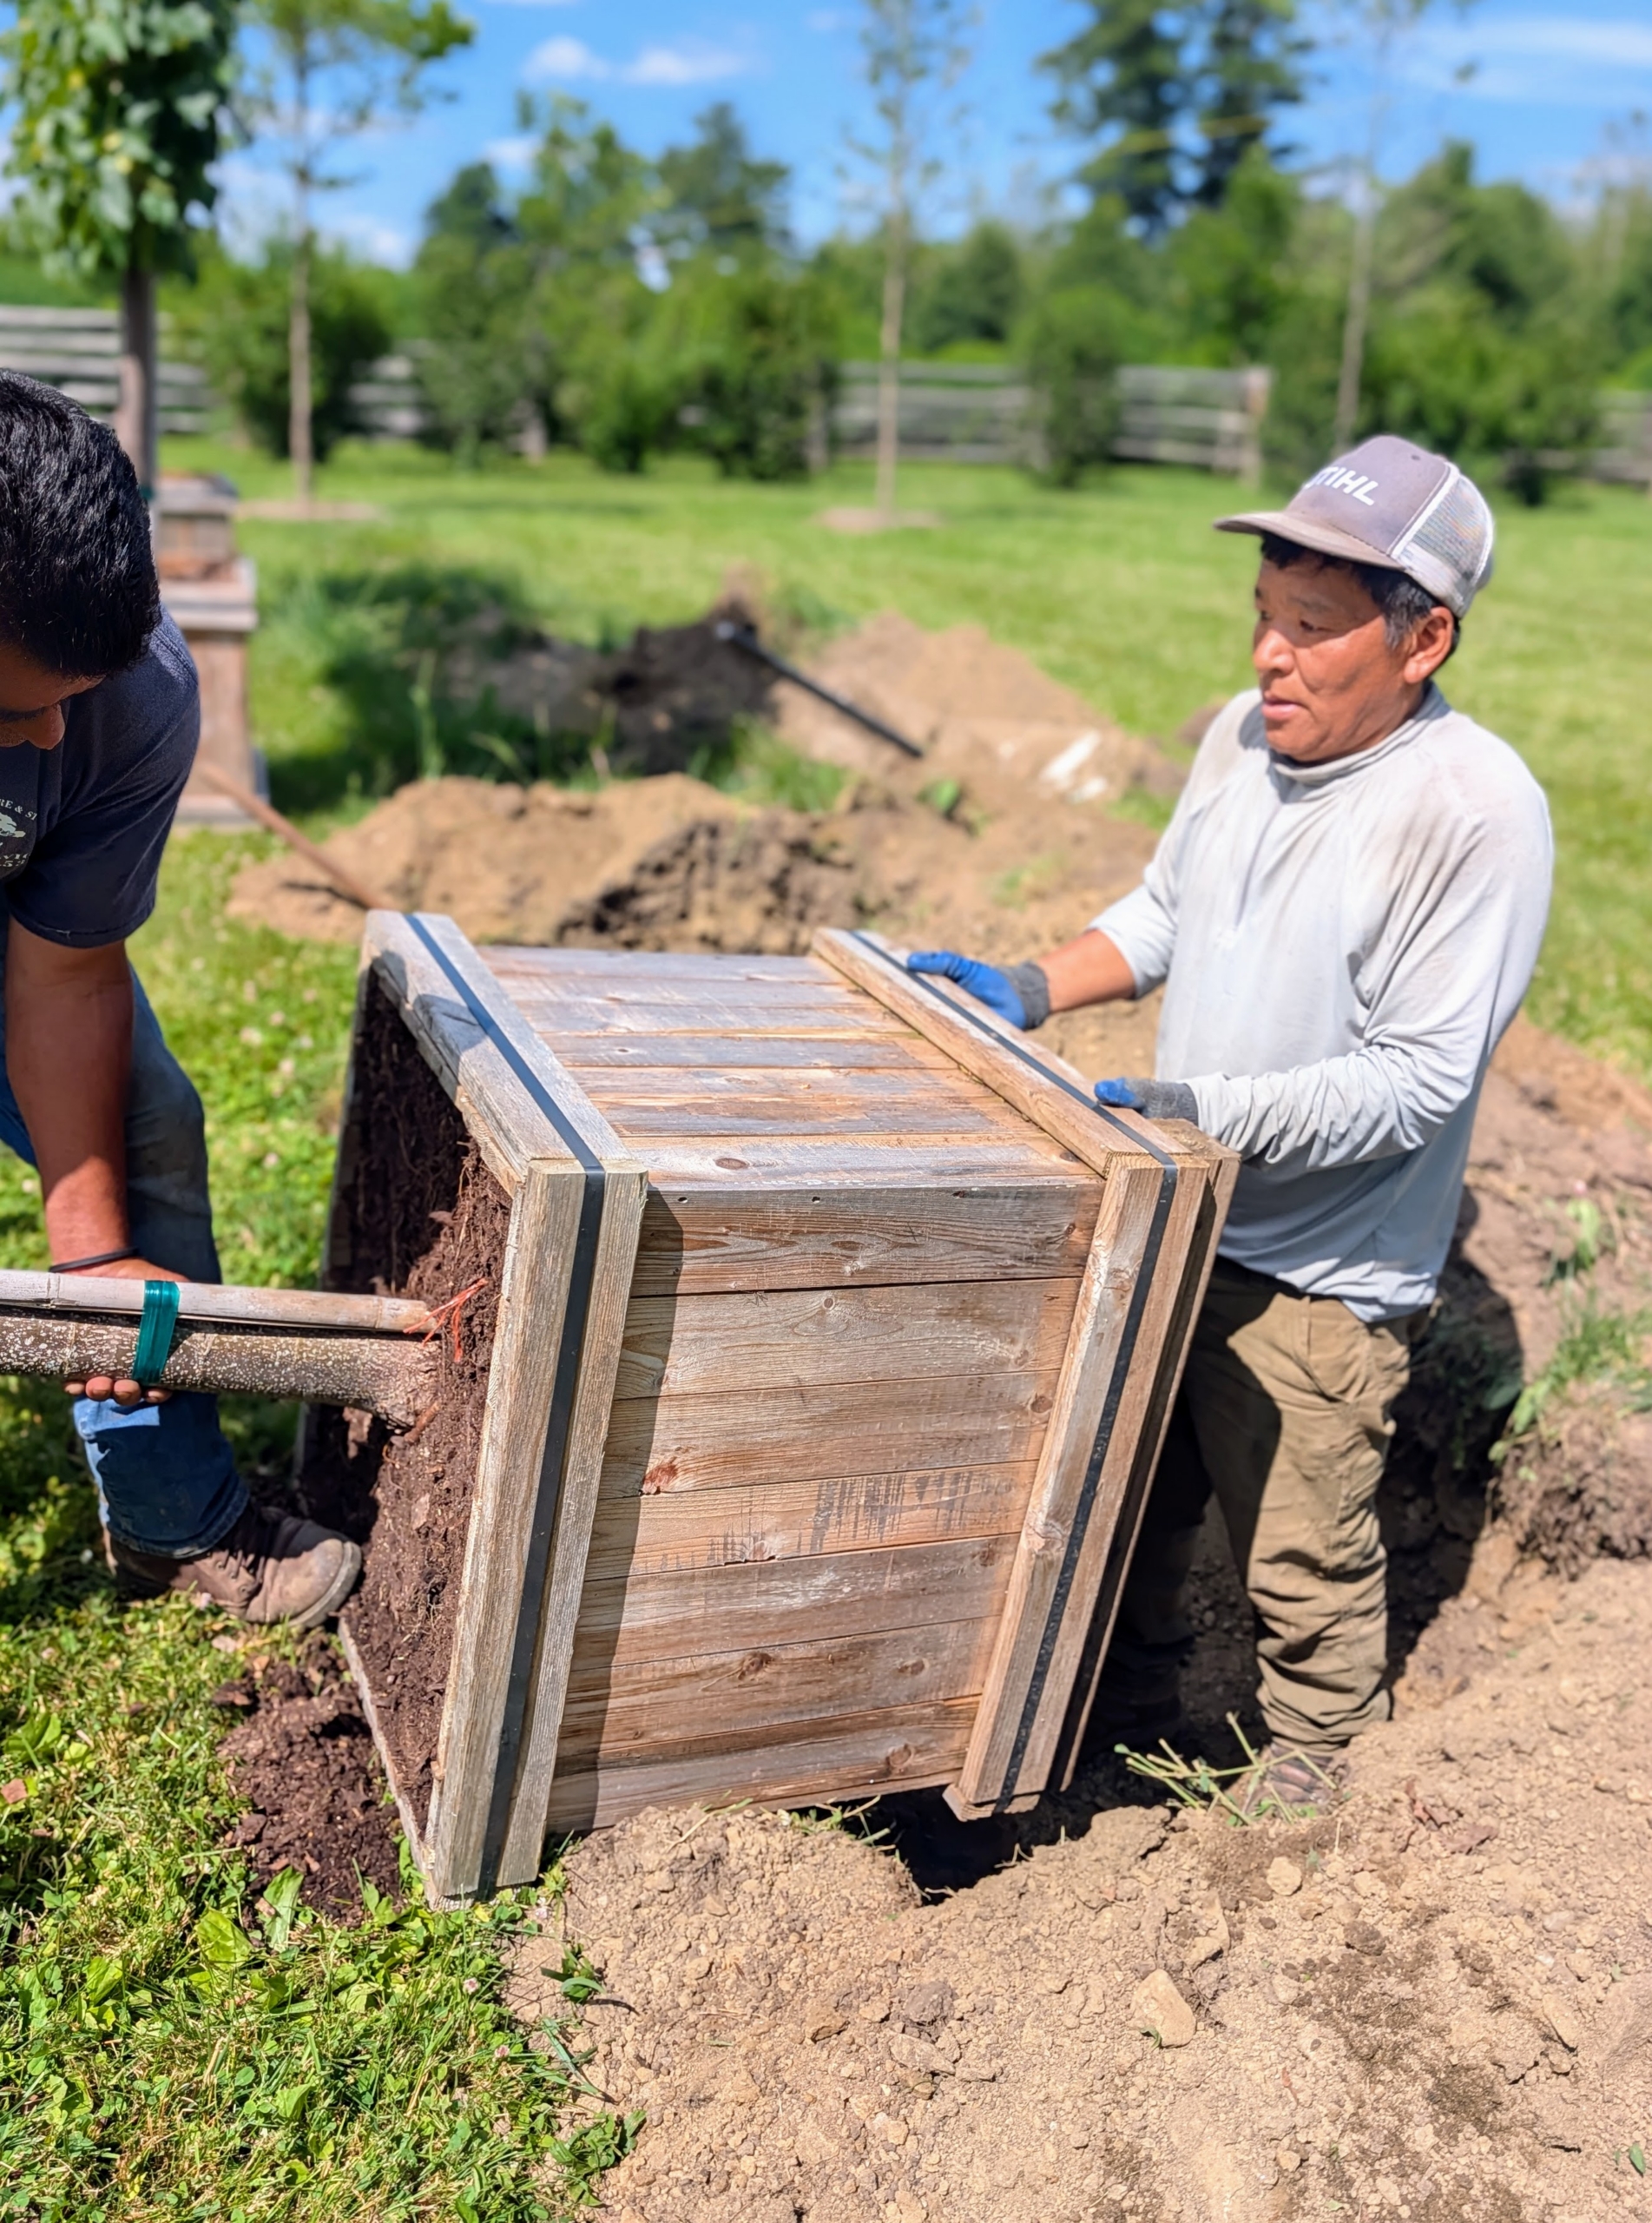
The trees arrived in wooden boxes. I asked the crew to be careful, so the boxes were not damaged – I can always repurpose them later.
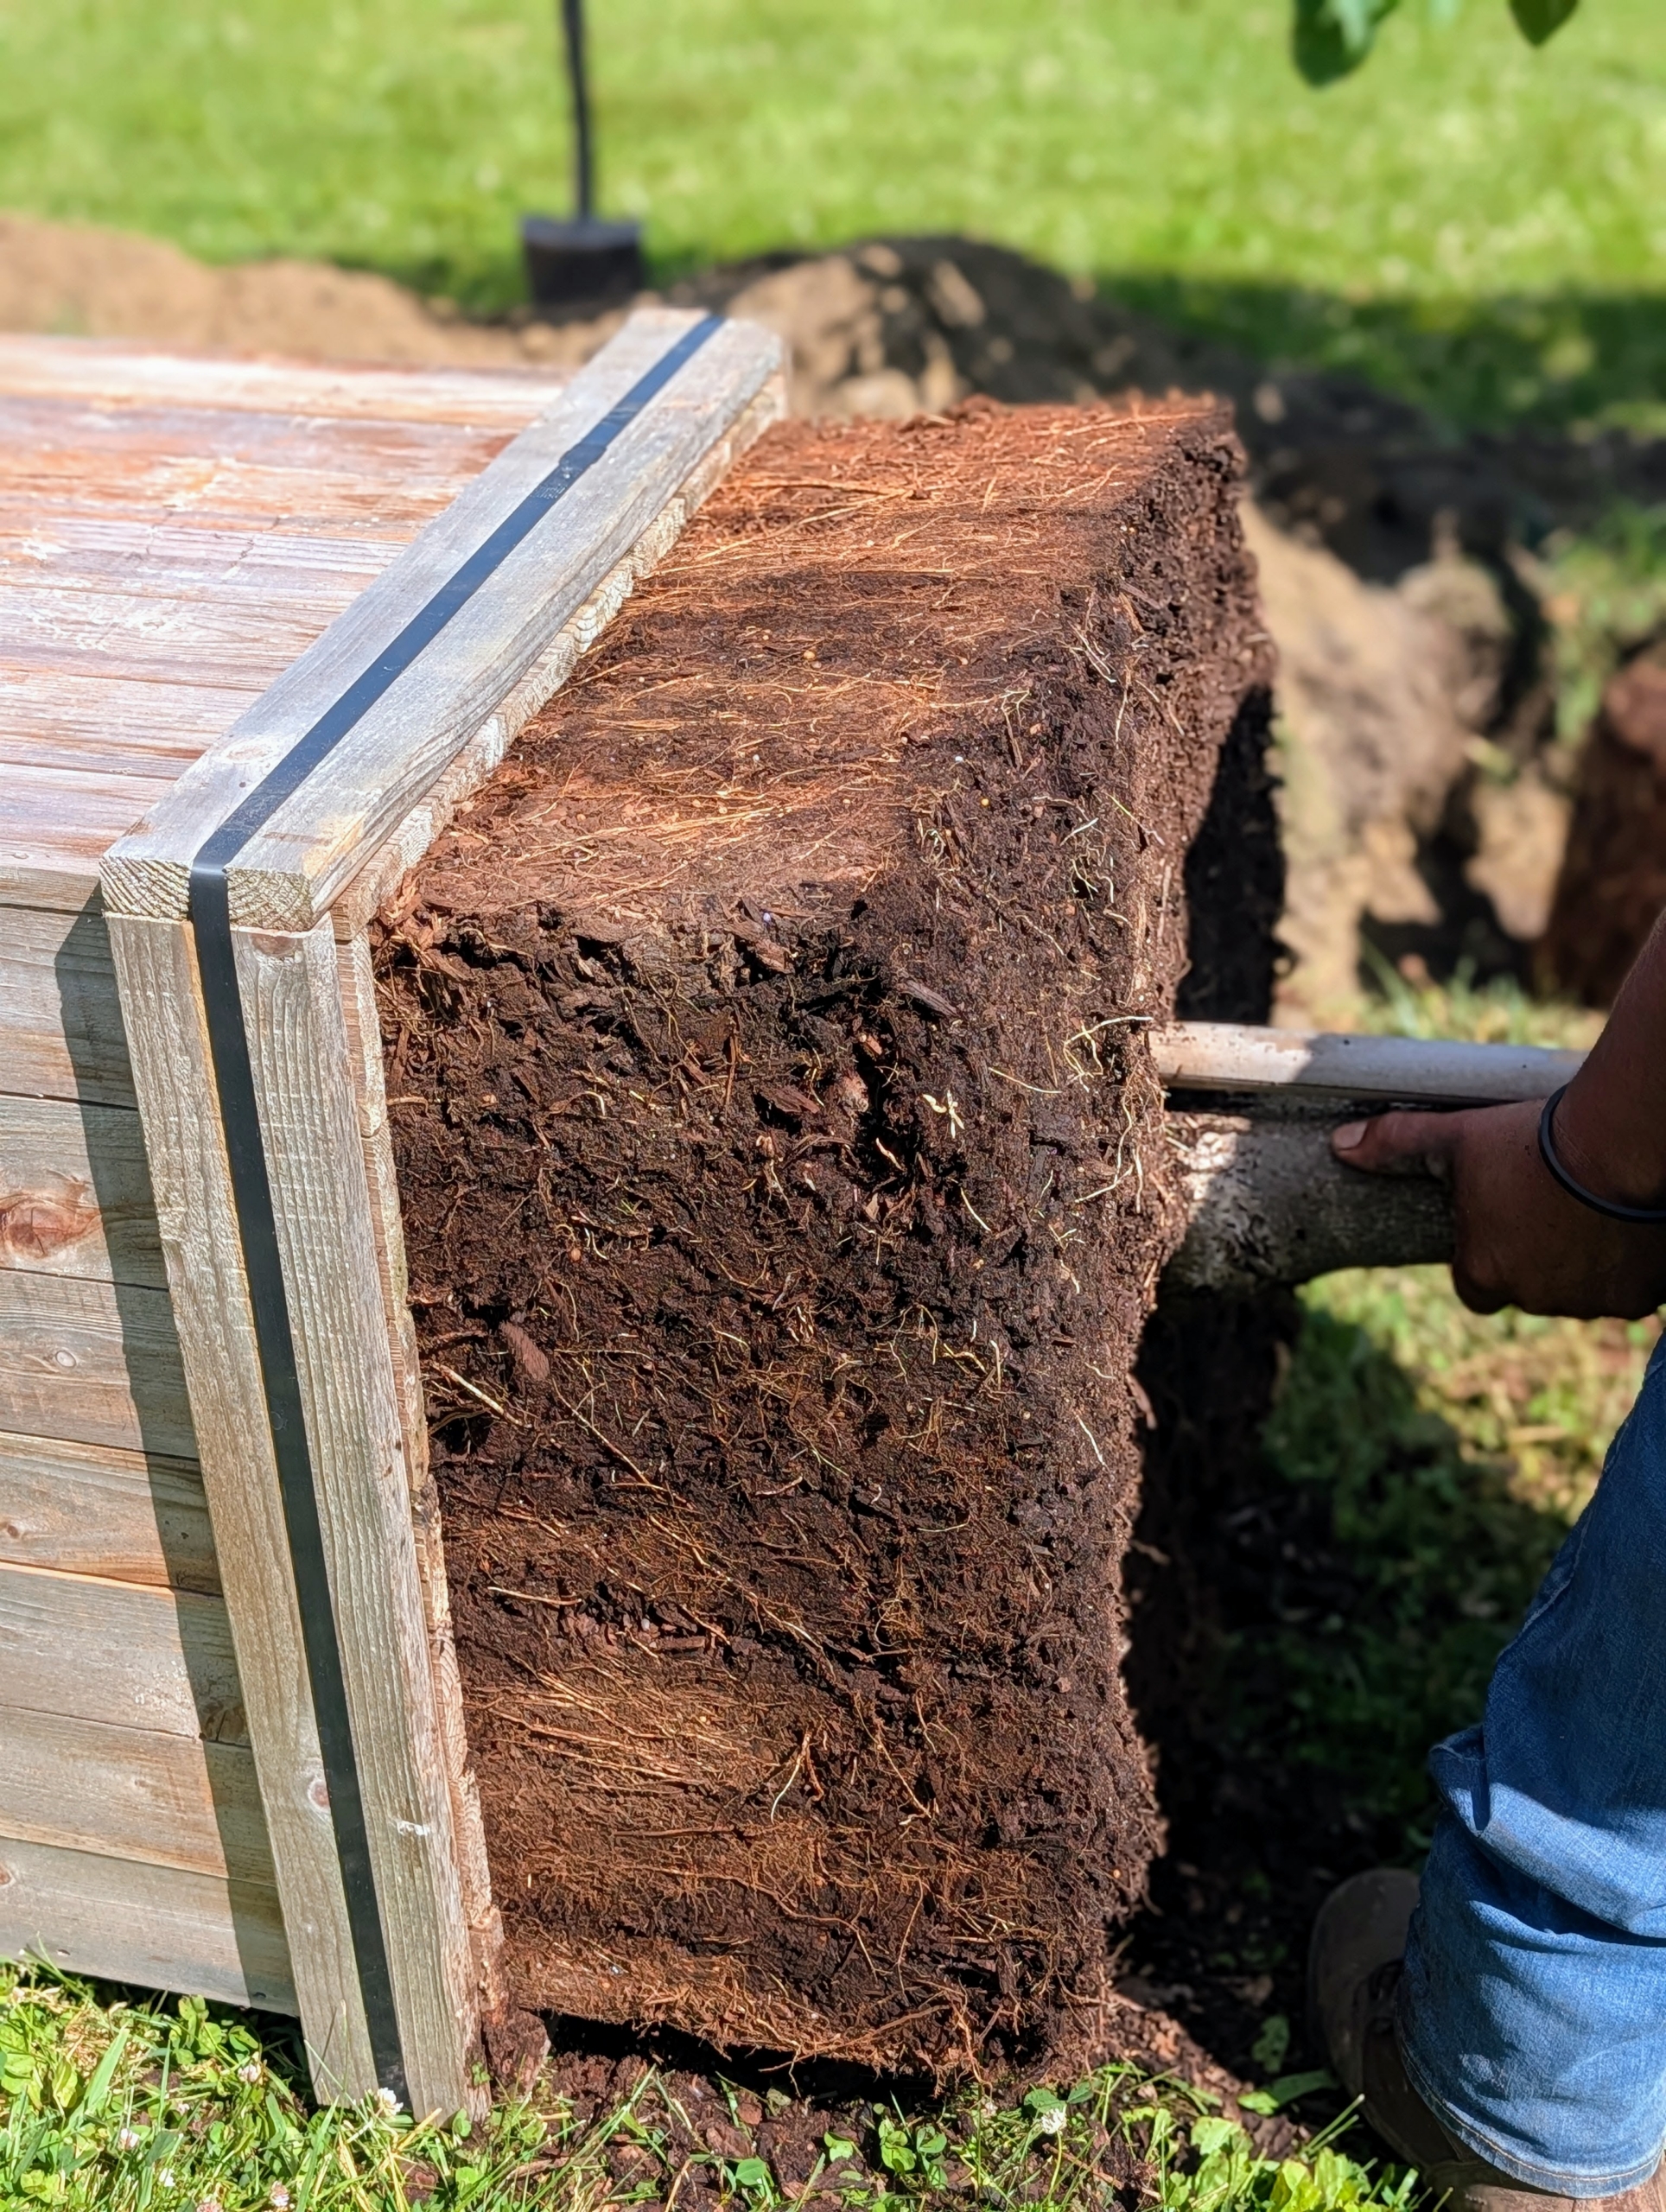
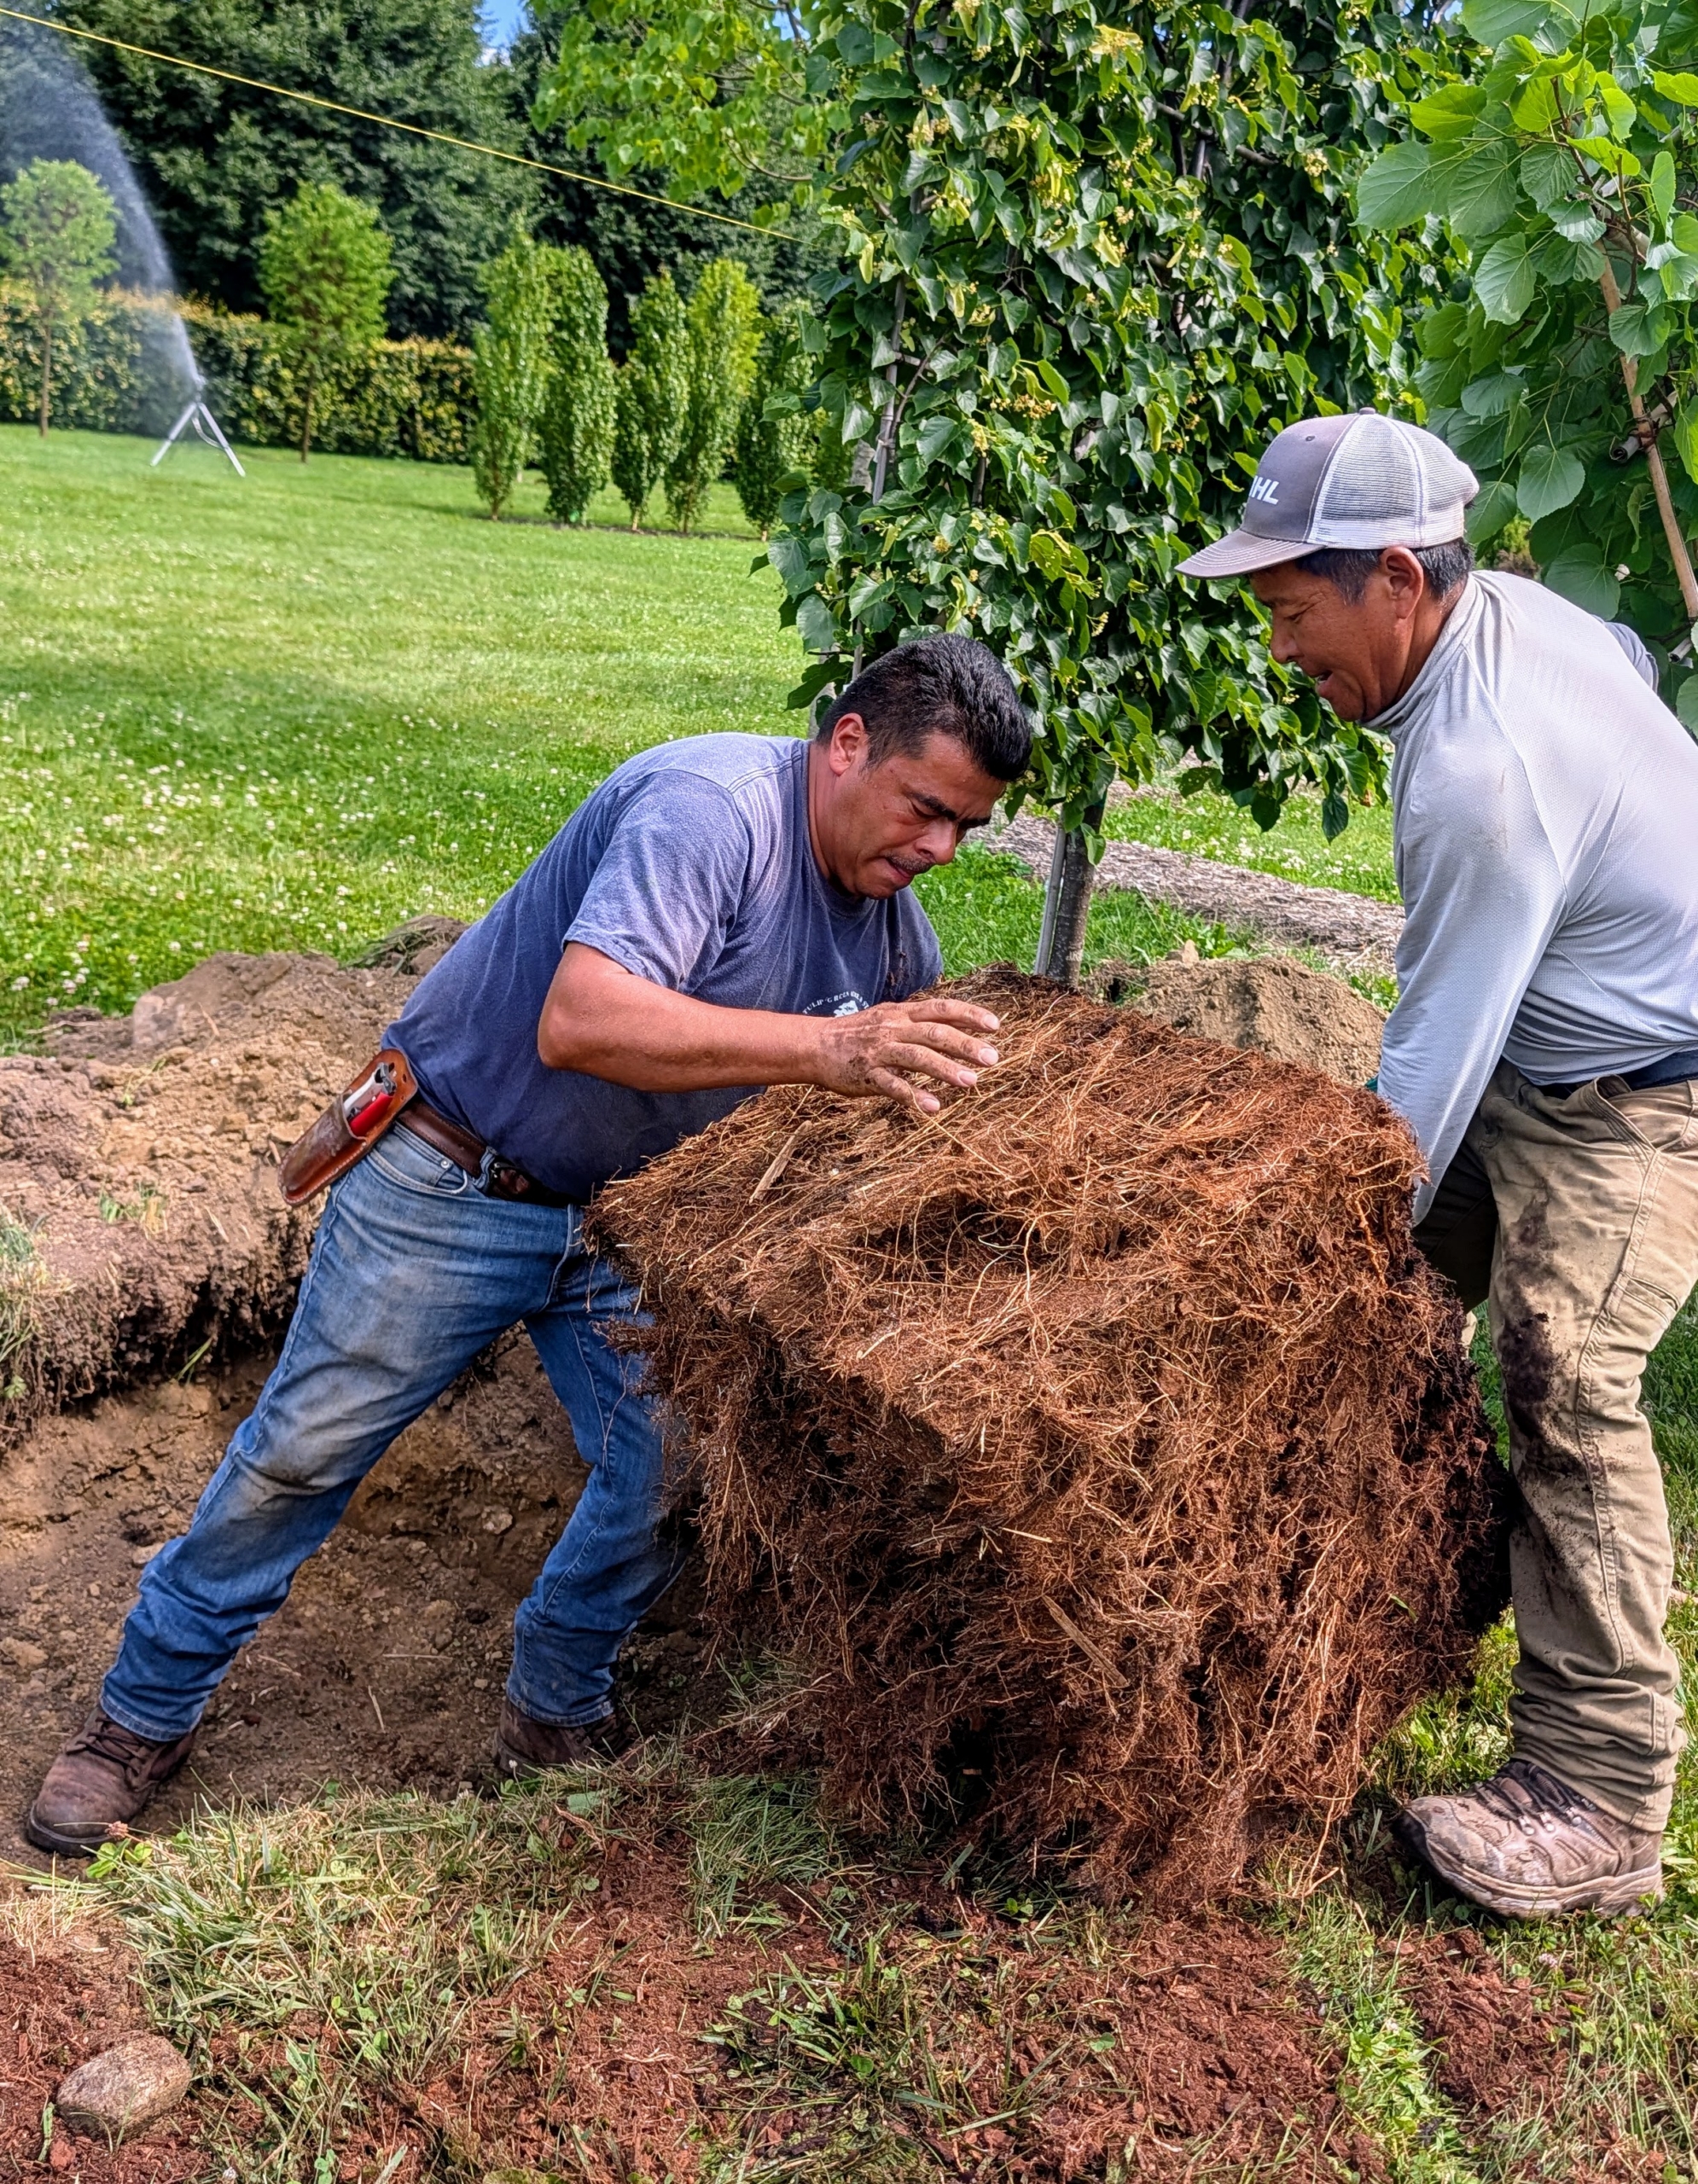
The root ball is slowly pulled from its box.
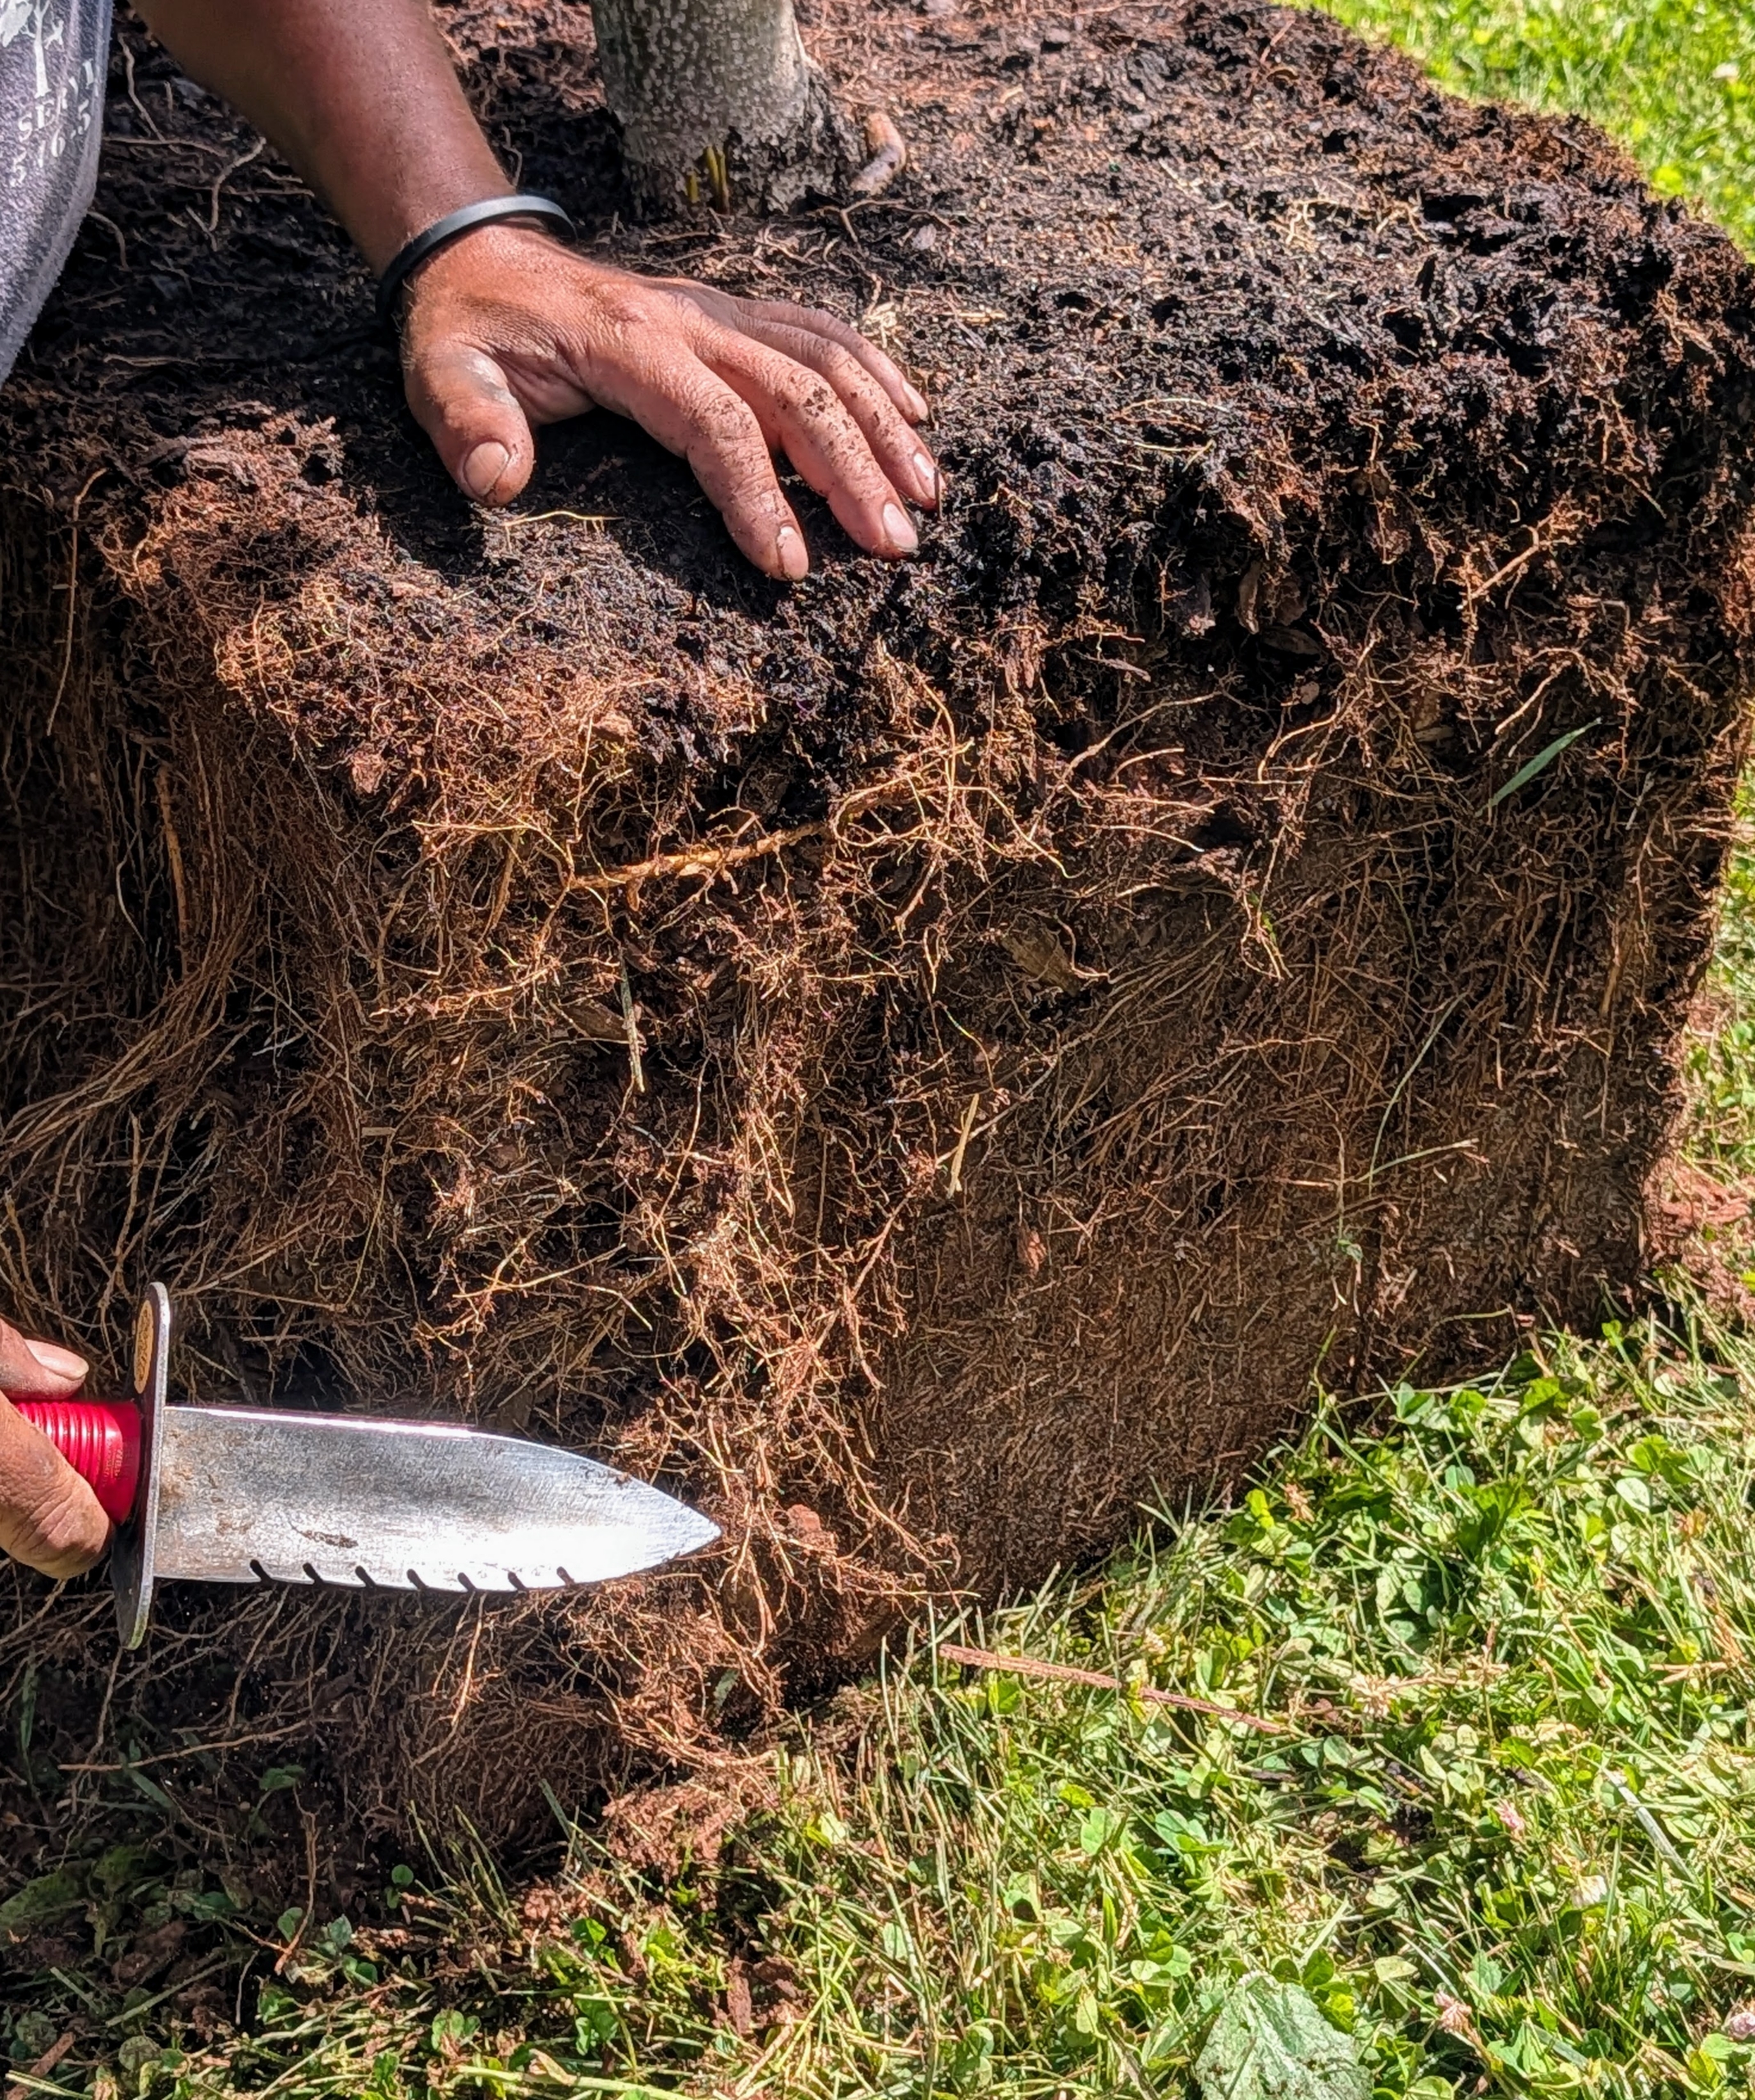
And then each root ball is scarified. Scarifying the root ball is a planting technique where one cuts or scores the outer edges of the root ball to redirect circling roots and encourage new roots to develop outward into the surrounding soil.
Arnold and Phurba slowly roll the root ball into position. When moving a heavy tree into its hole, only hold it by the root ball and the base of the trunk – never by its branches, which could easily break.
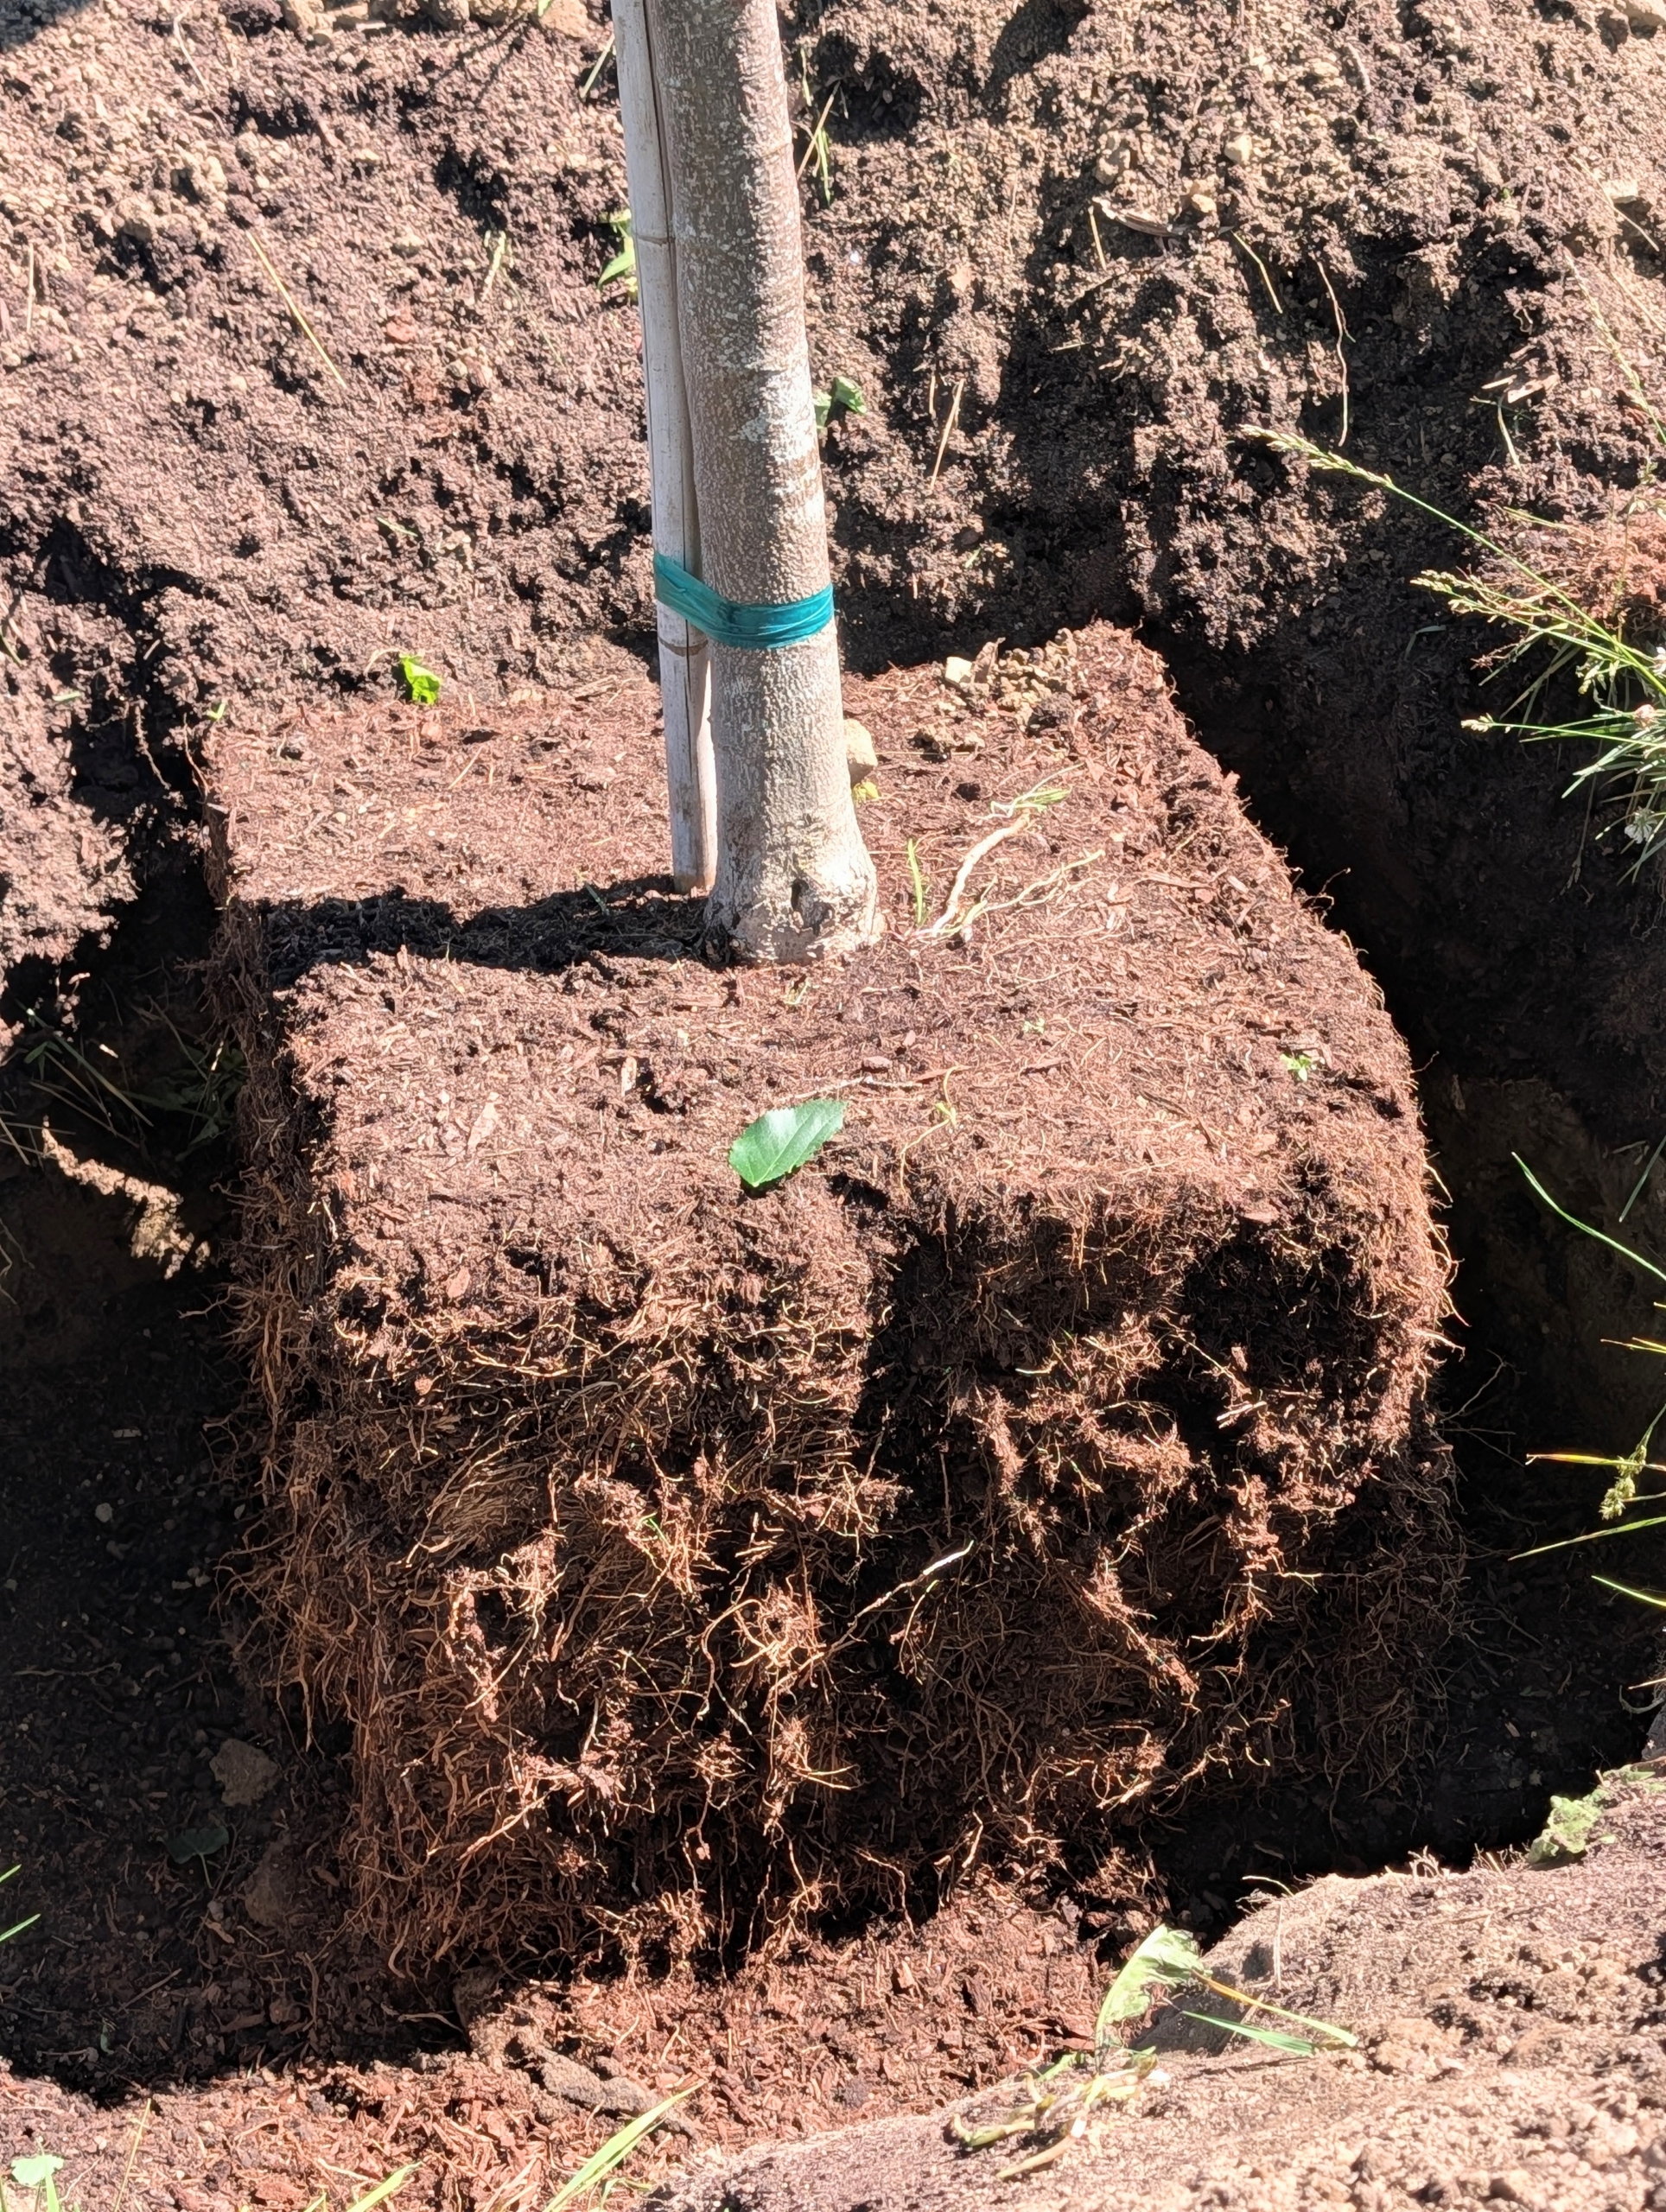
Once the tree is in its designated hole, it is adjusted to ensure everything is precisely straight and in line with the others. Landscape twine is secured to help.
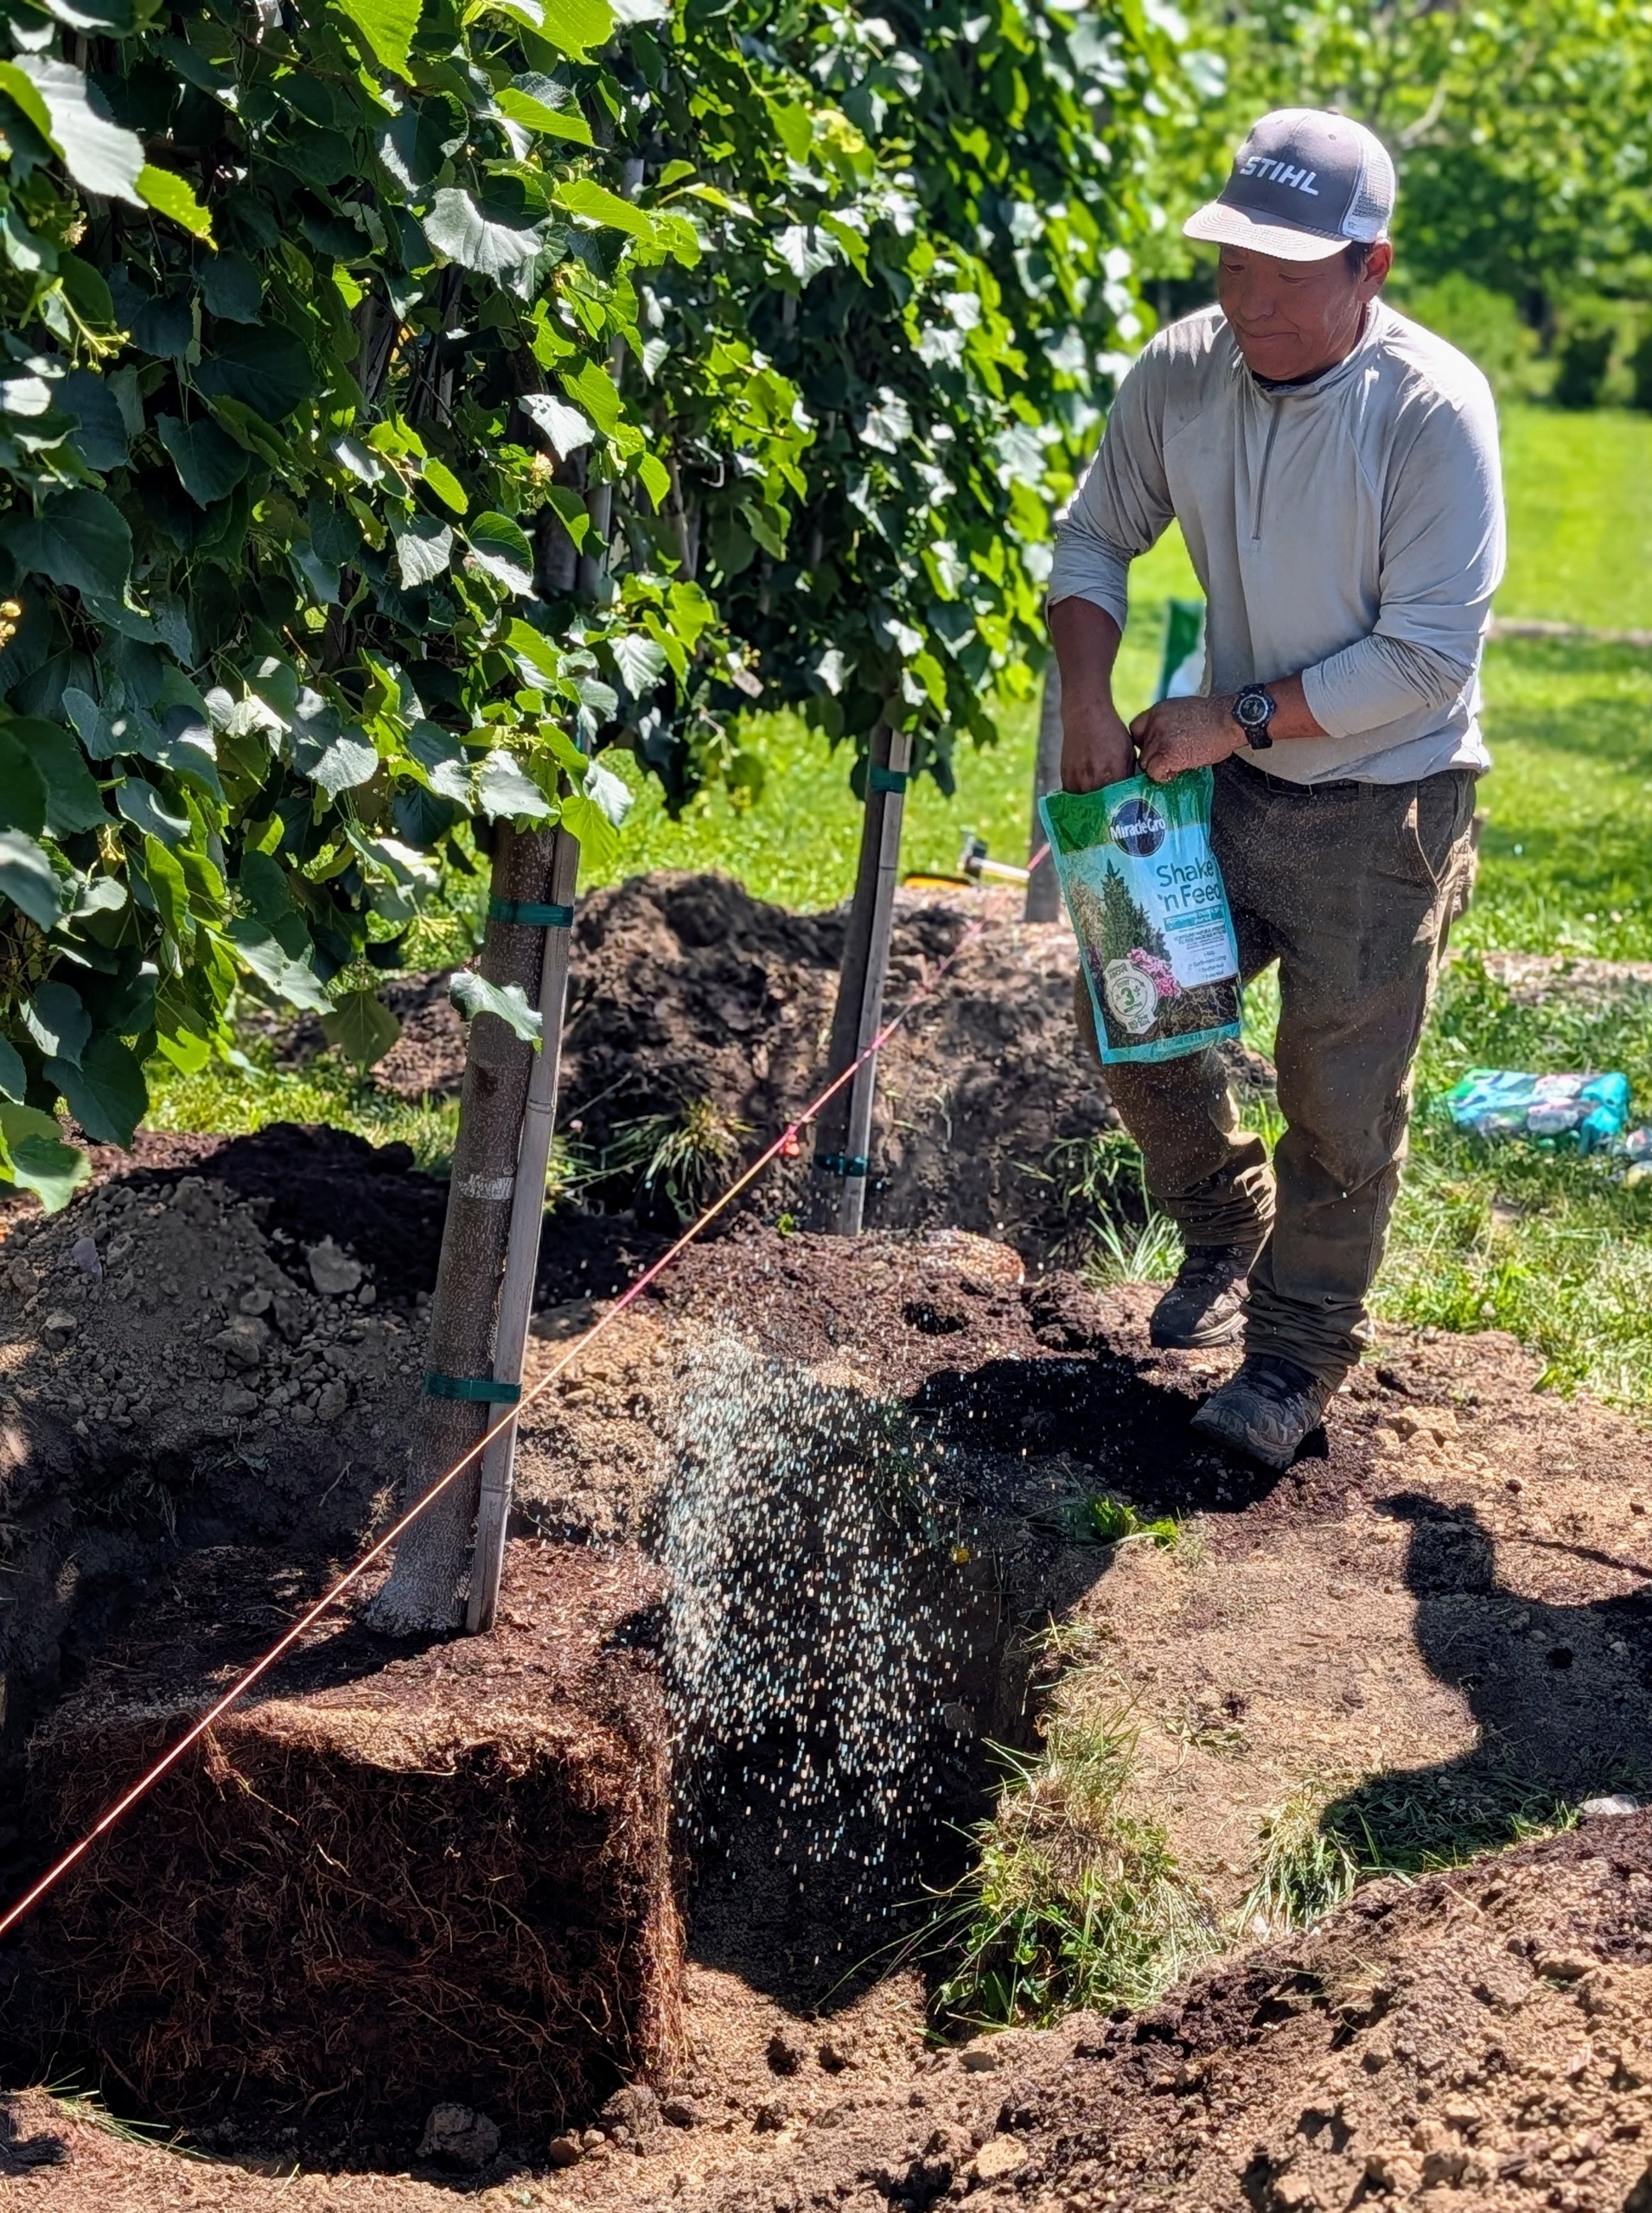
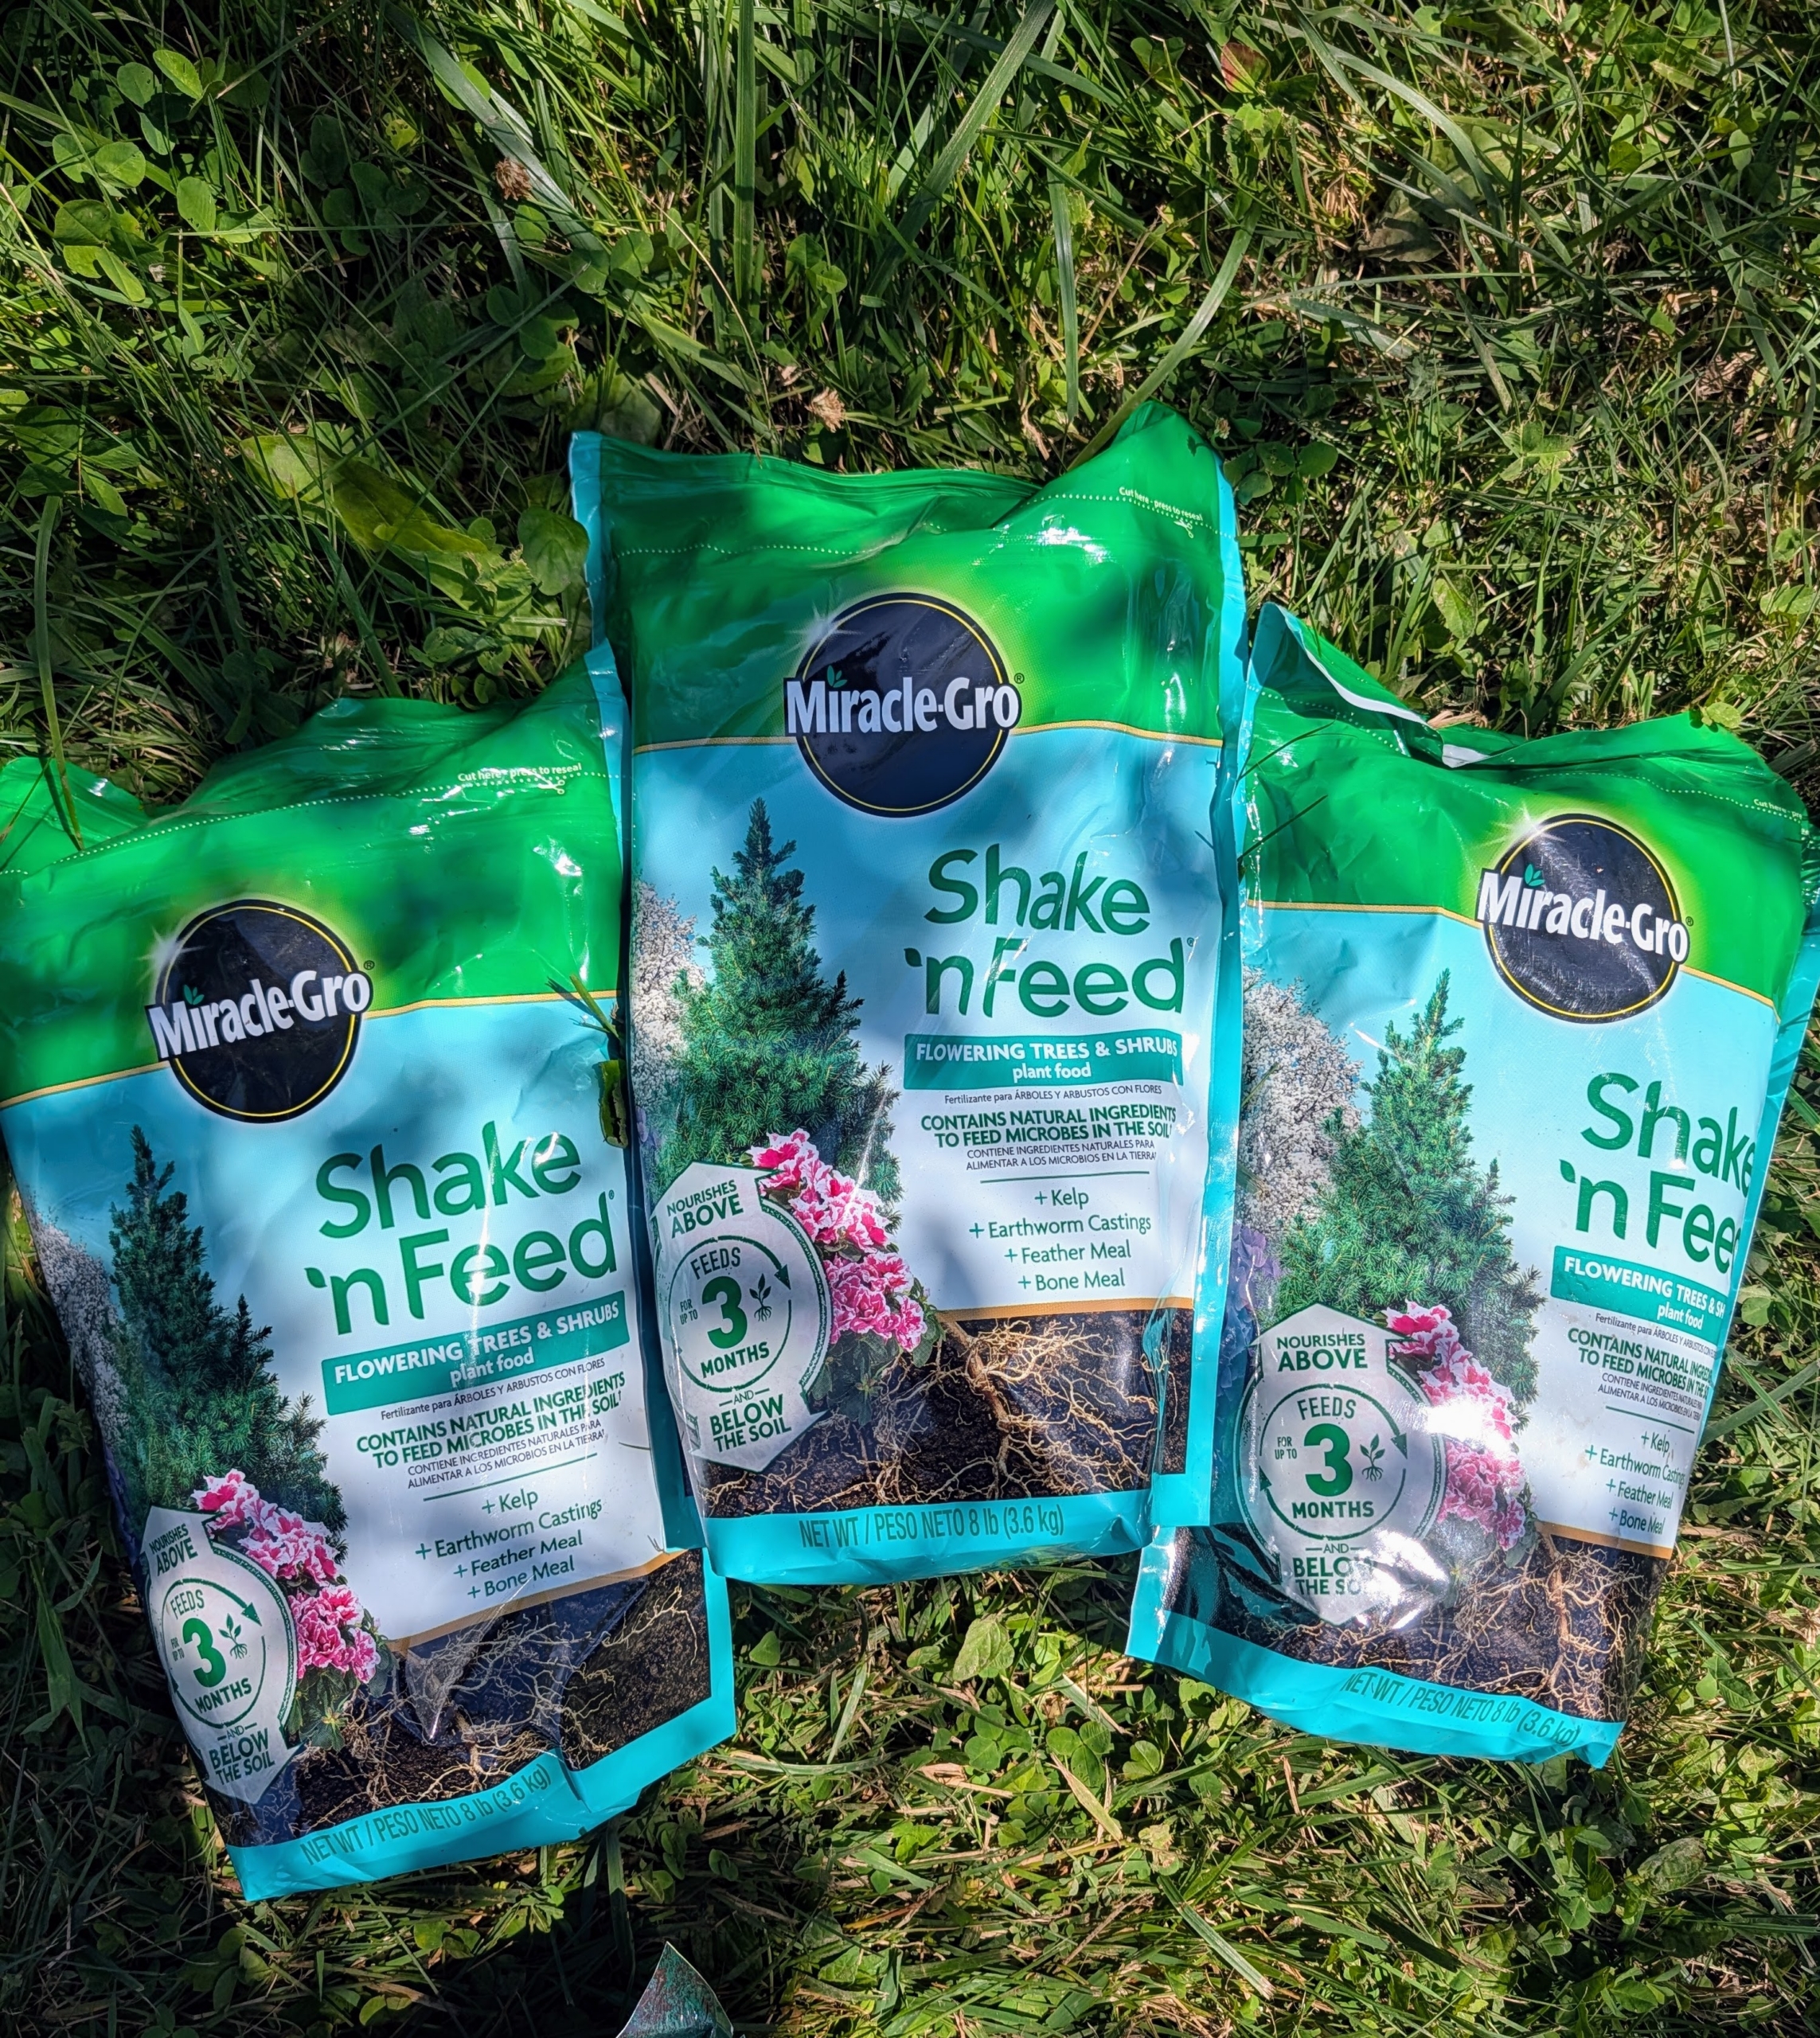
The entire area – each hole and the surrounding soil – is sprinkled with fertilizer.
For these I use Miracle-Gro Shake ‘n Feed Flowering Trees and Shrubs plant food.
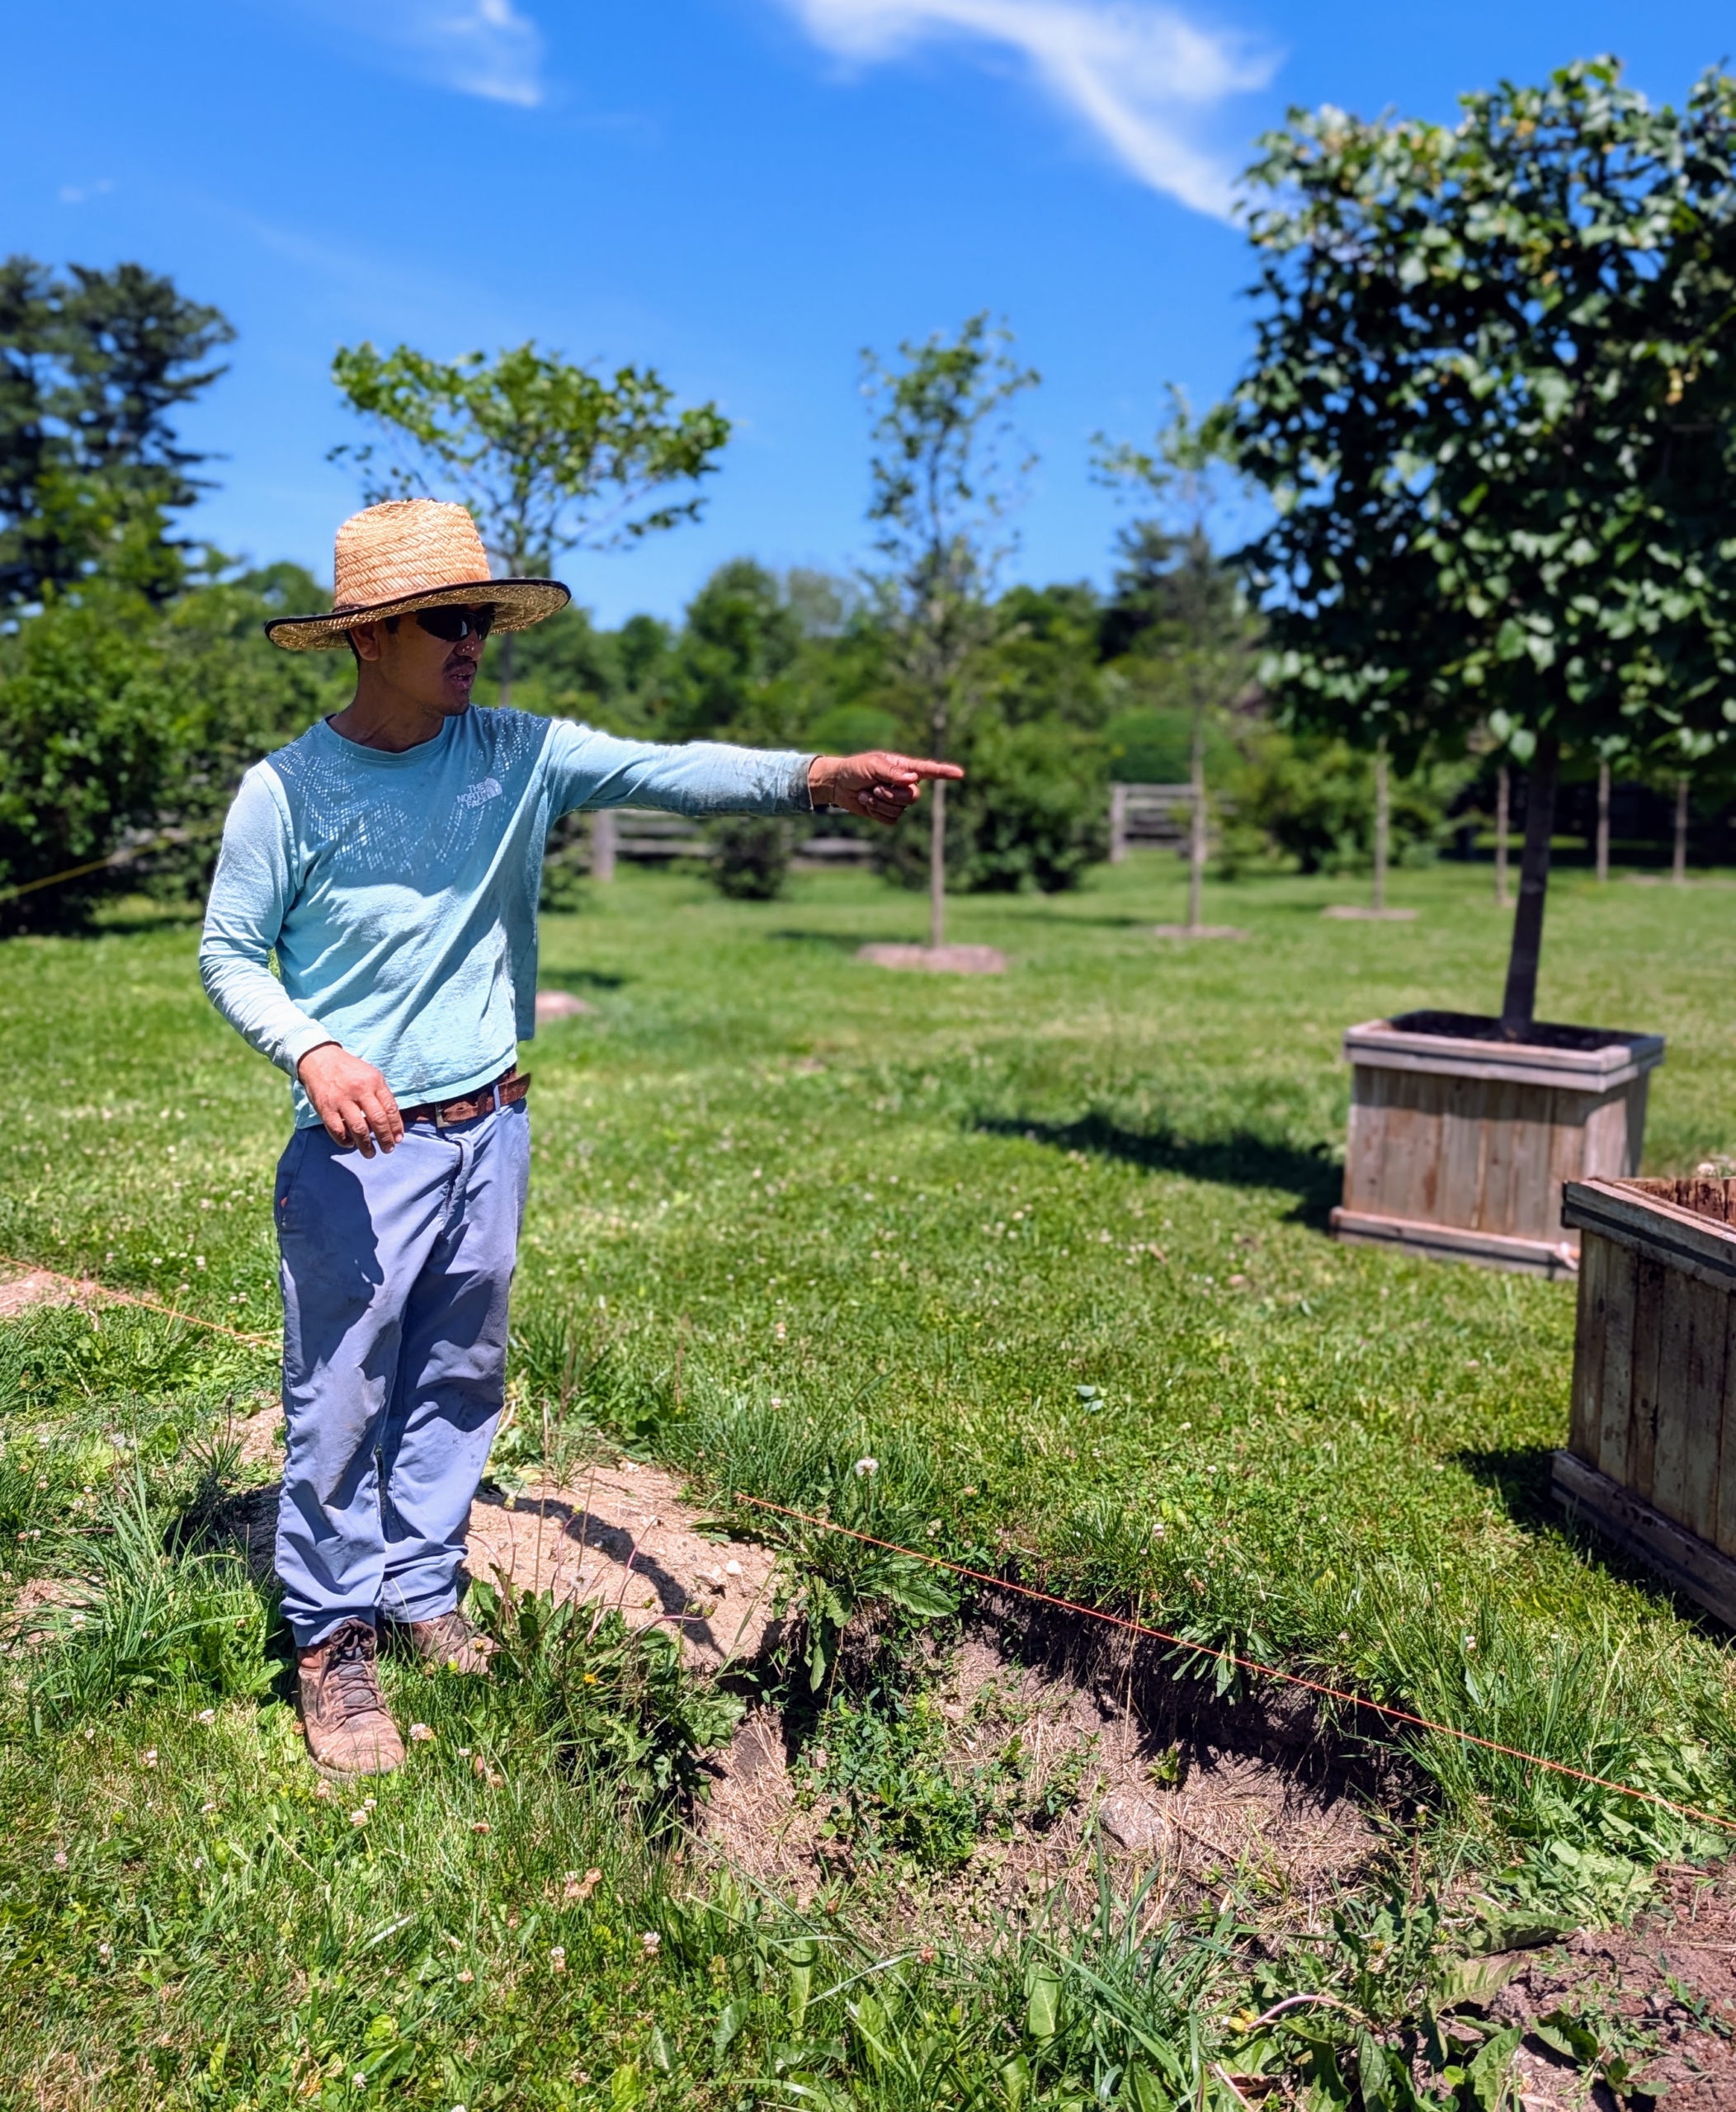
My foreman Chhiring has a good eye for planting, so he also takes a look – pointing out which trees need a bit more adjusting.
Phurba moves a tree ever so slightly. The crew also positions plantings with the best side facing the walking path or area where guests, or myself, will see them.
Once they are in place, the crew starts watering. I always instruct my team to fill the hole with water before it is filled.
Filling the hole with water helps settle any loose soil, eliminate air pockets, hydrate the soil around the root ball to encourage roots to spread, and minimizes stress to the tree when it is newly transplanted.
Then it’s time to backfill.
Afterward, Phurba rakes the area beneath the trees and removes and loose rocks or clumps of soil.
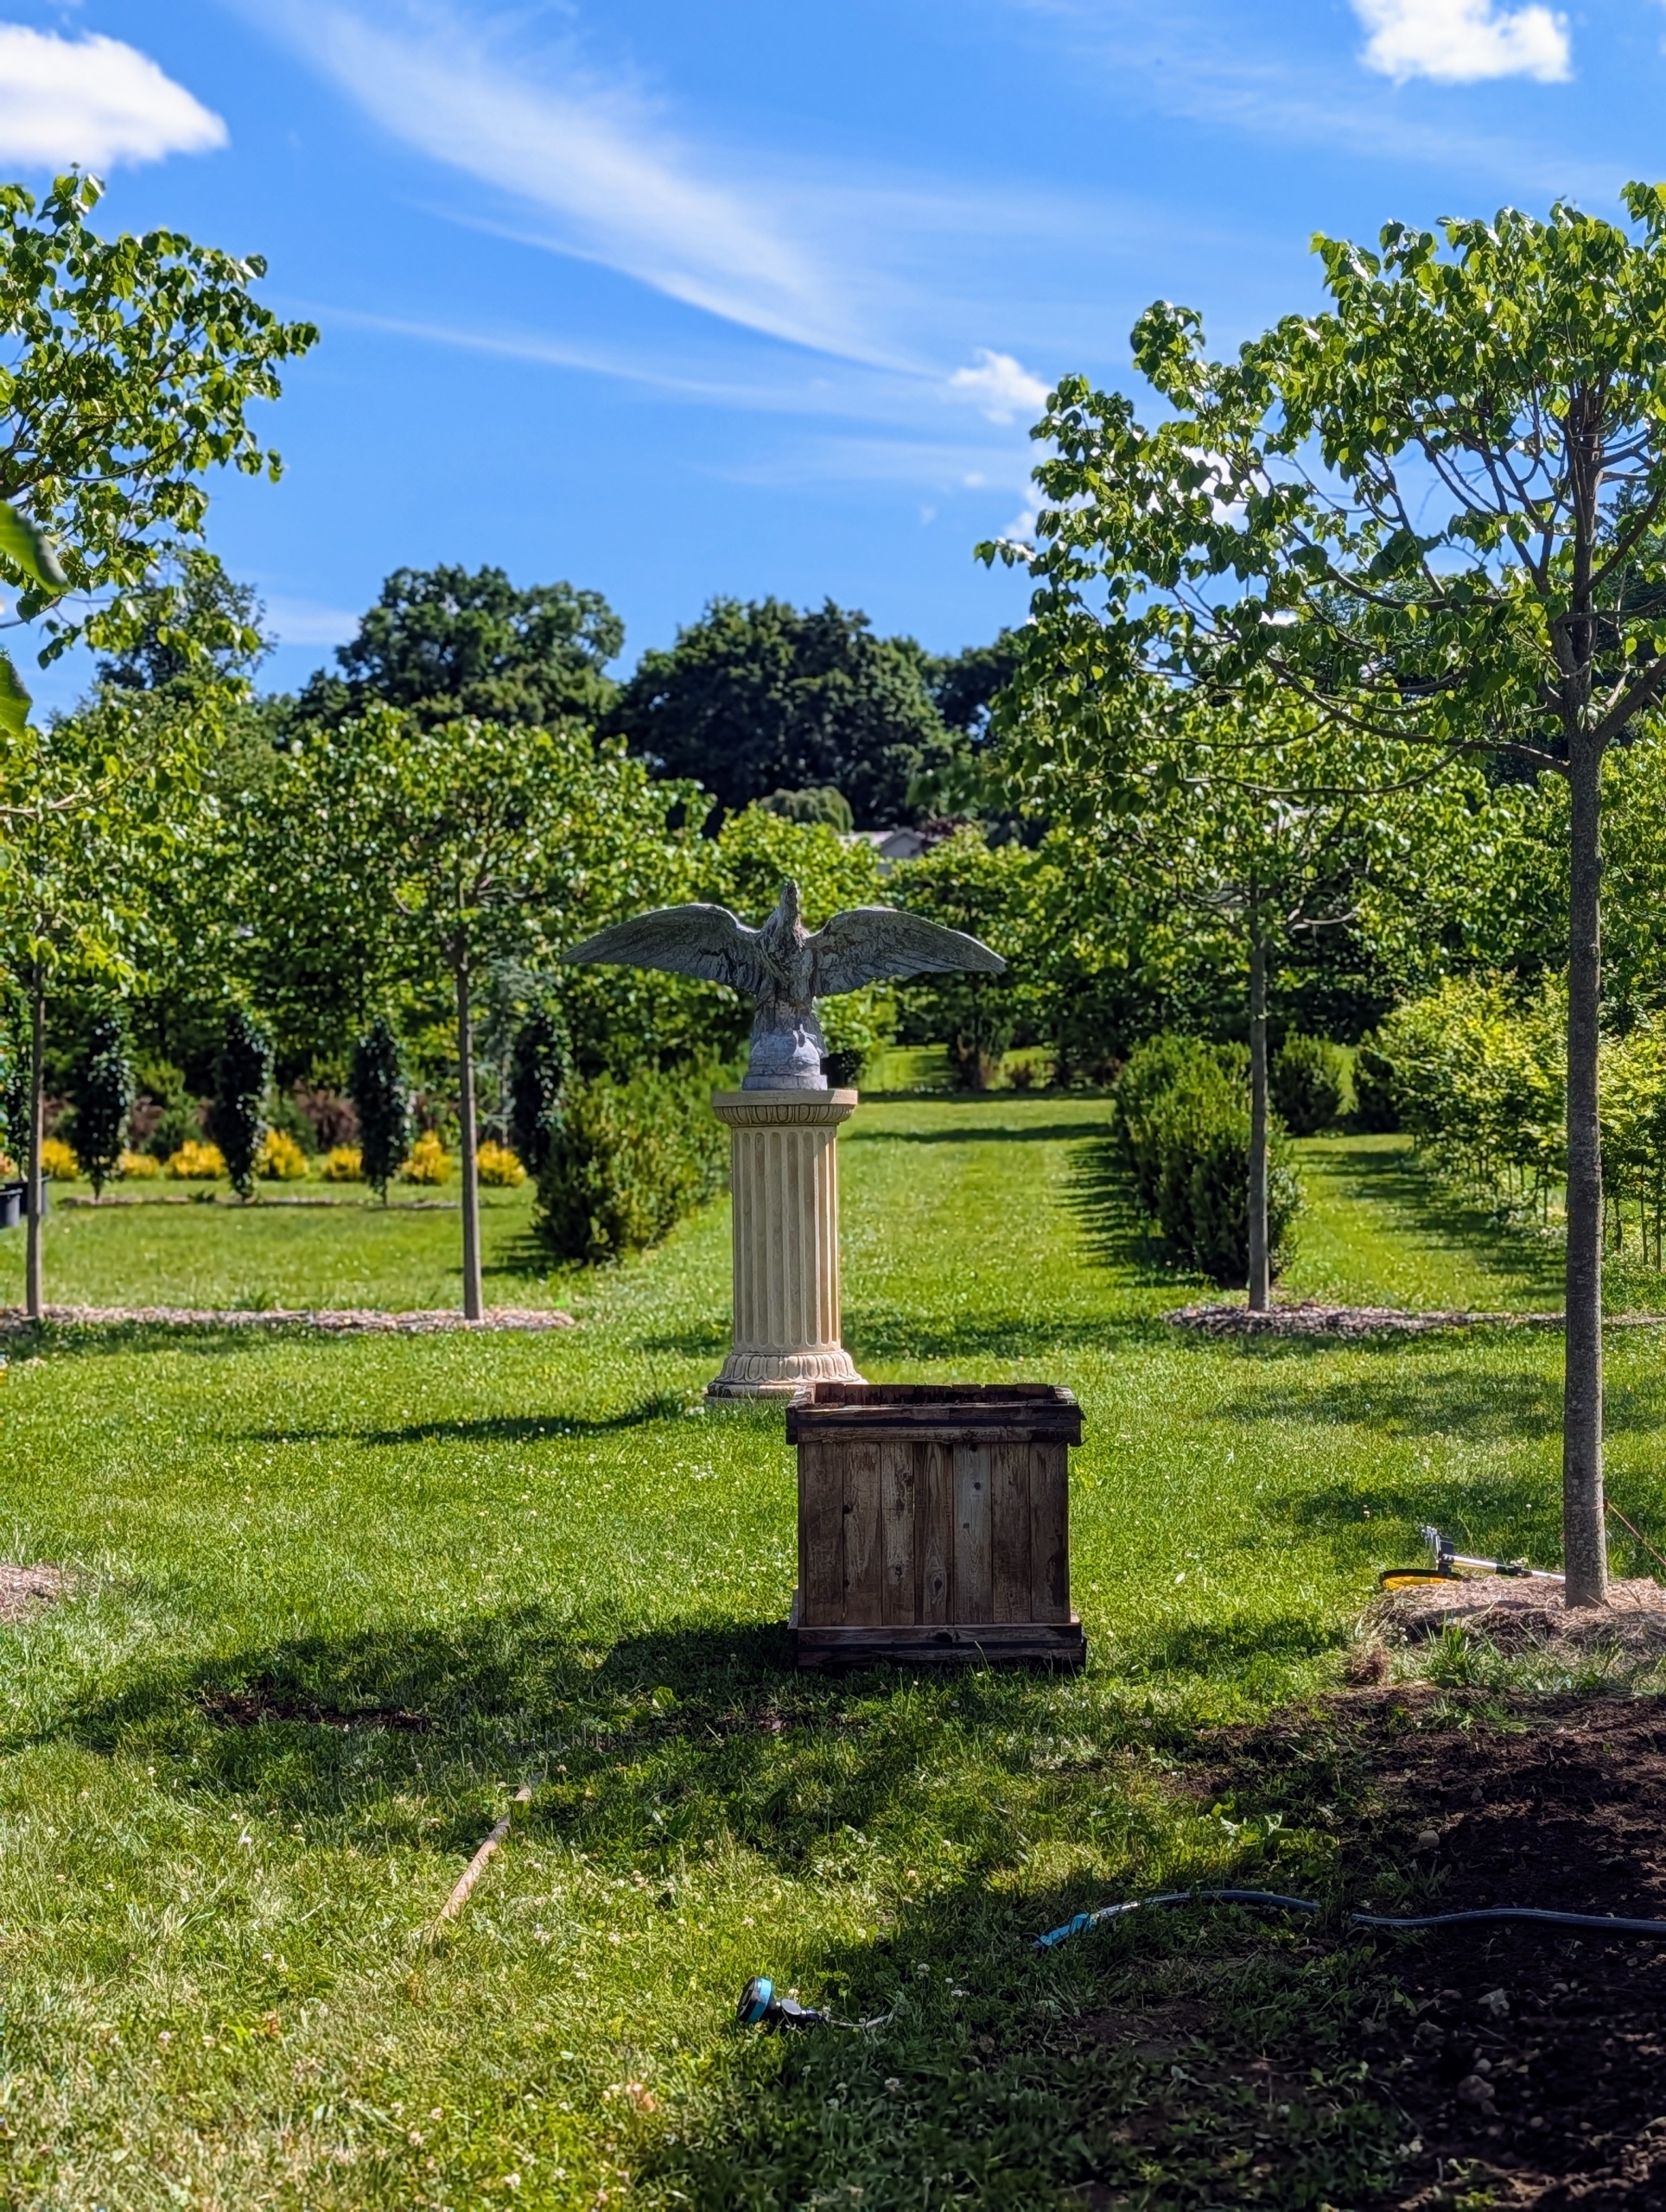
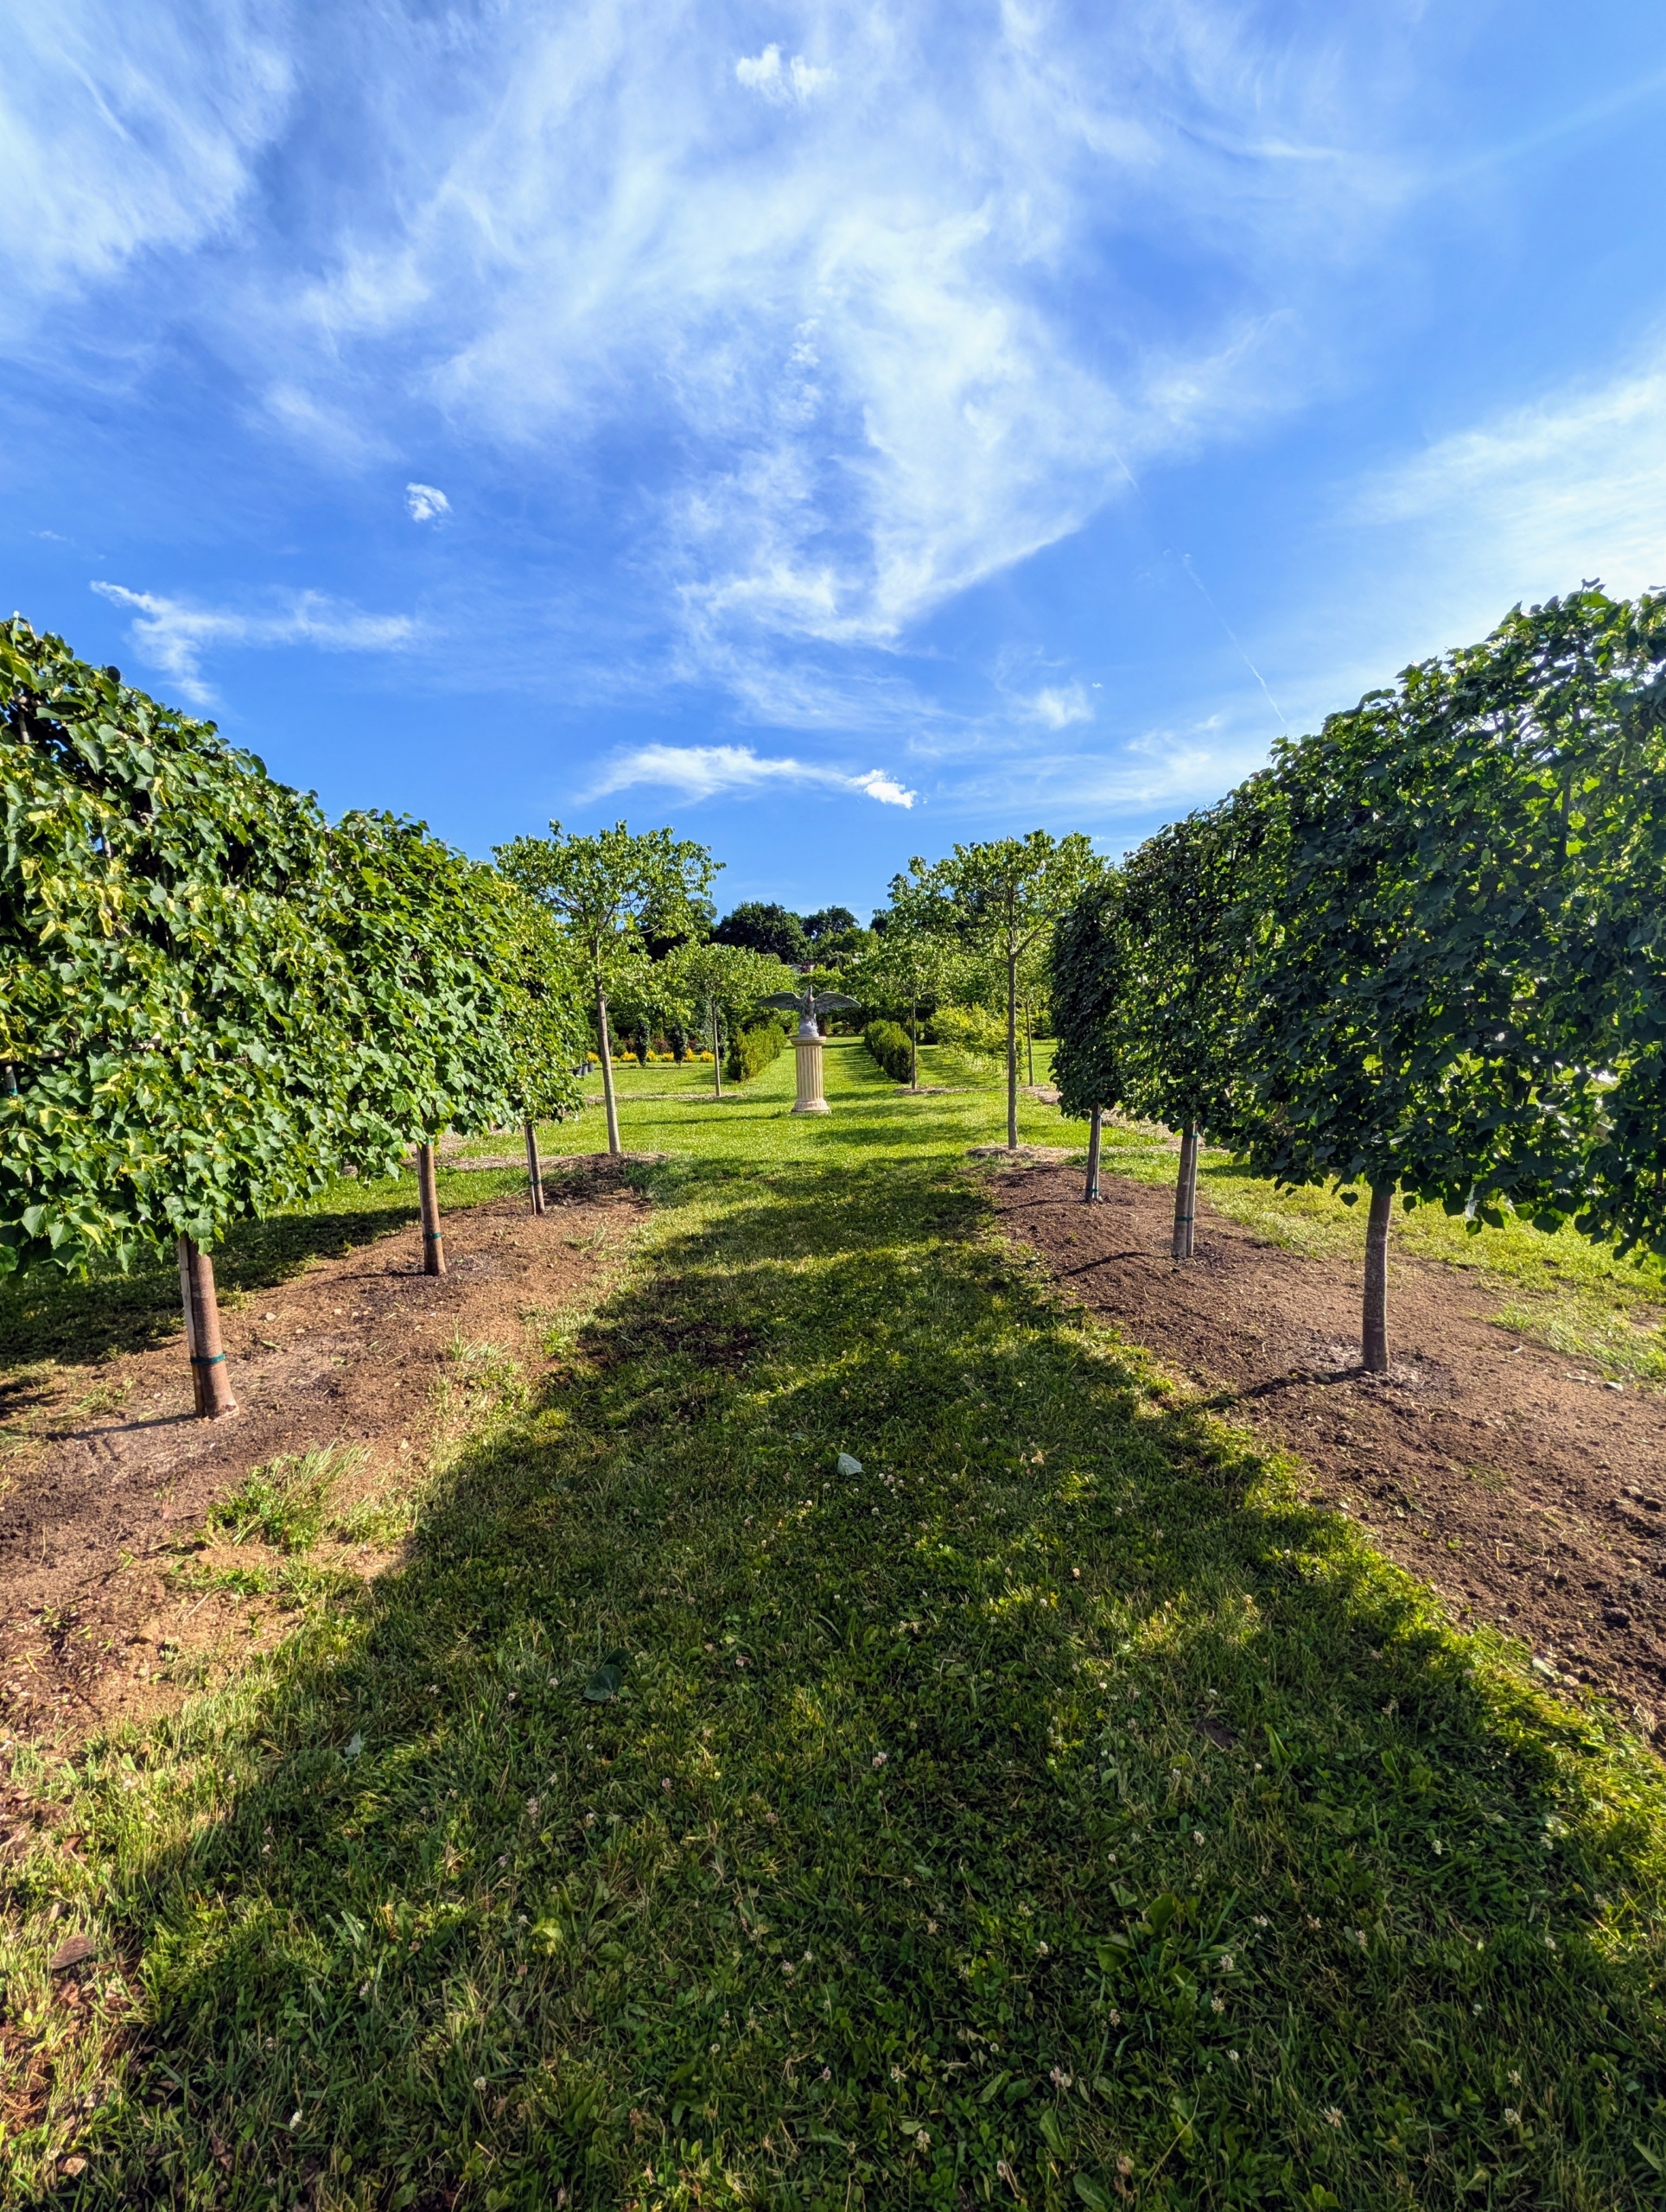
The trees are just in front of this eagle – one of the main focal points of my maze. The newly planted area will also be mulched and edged.
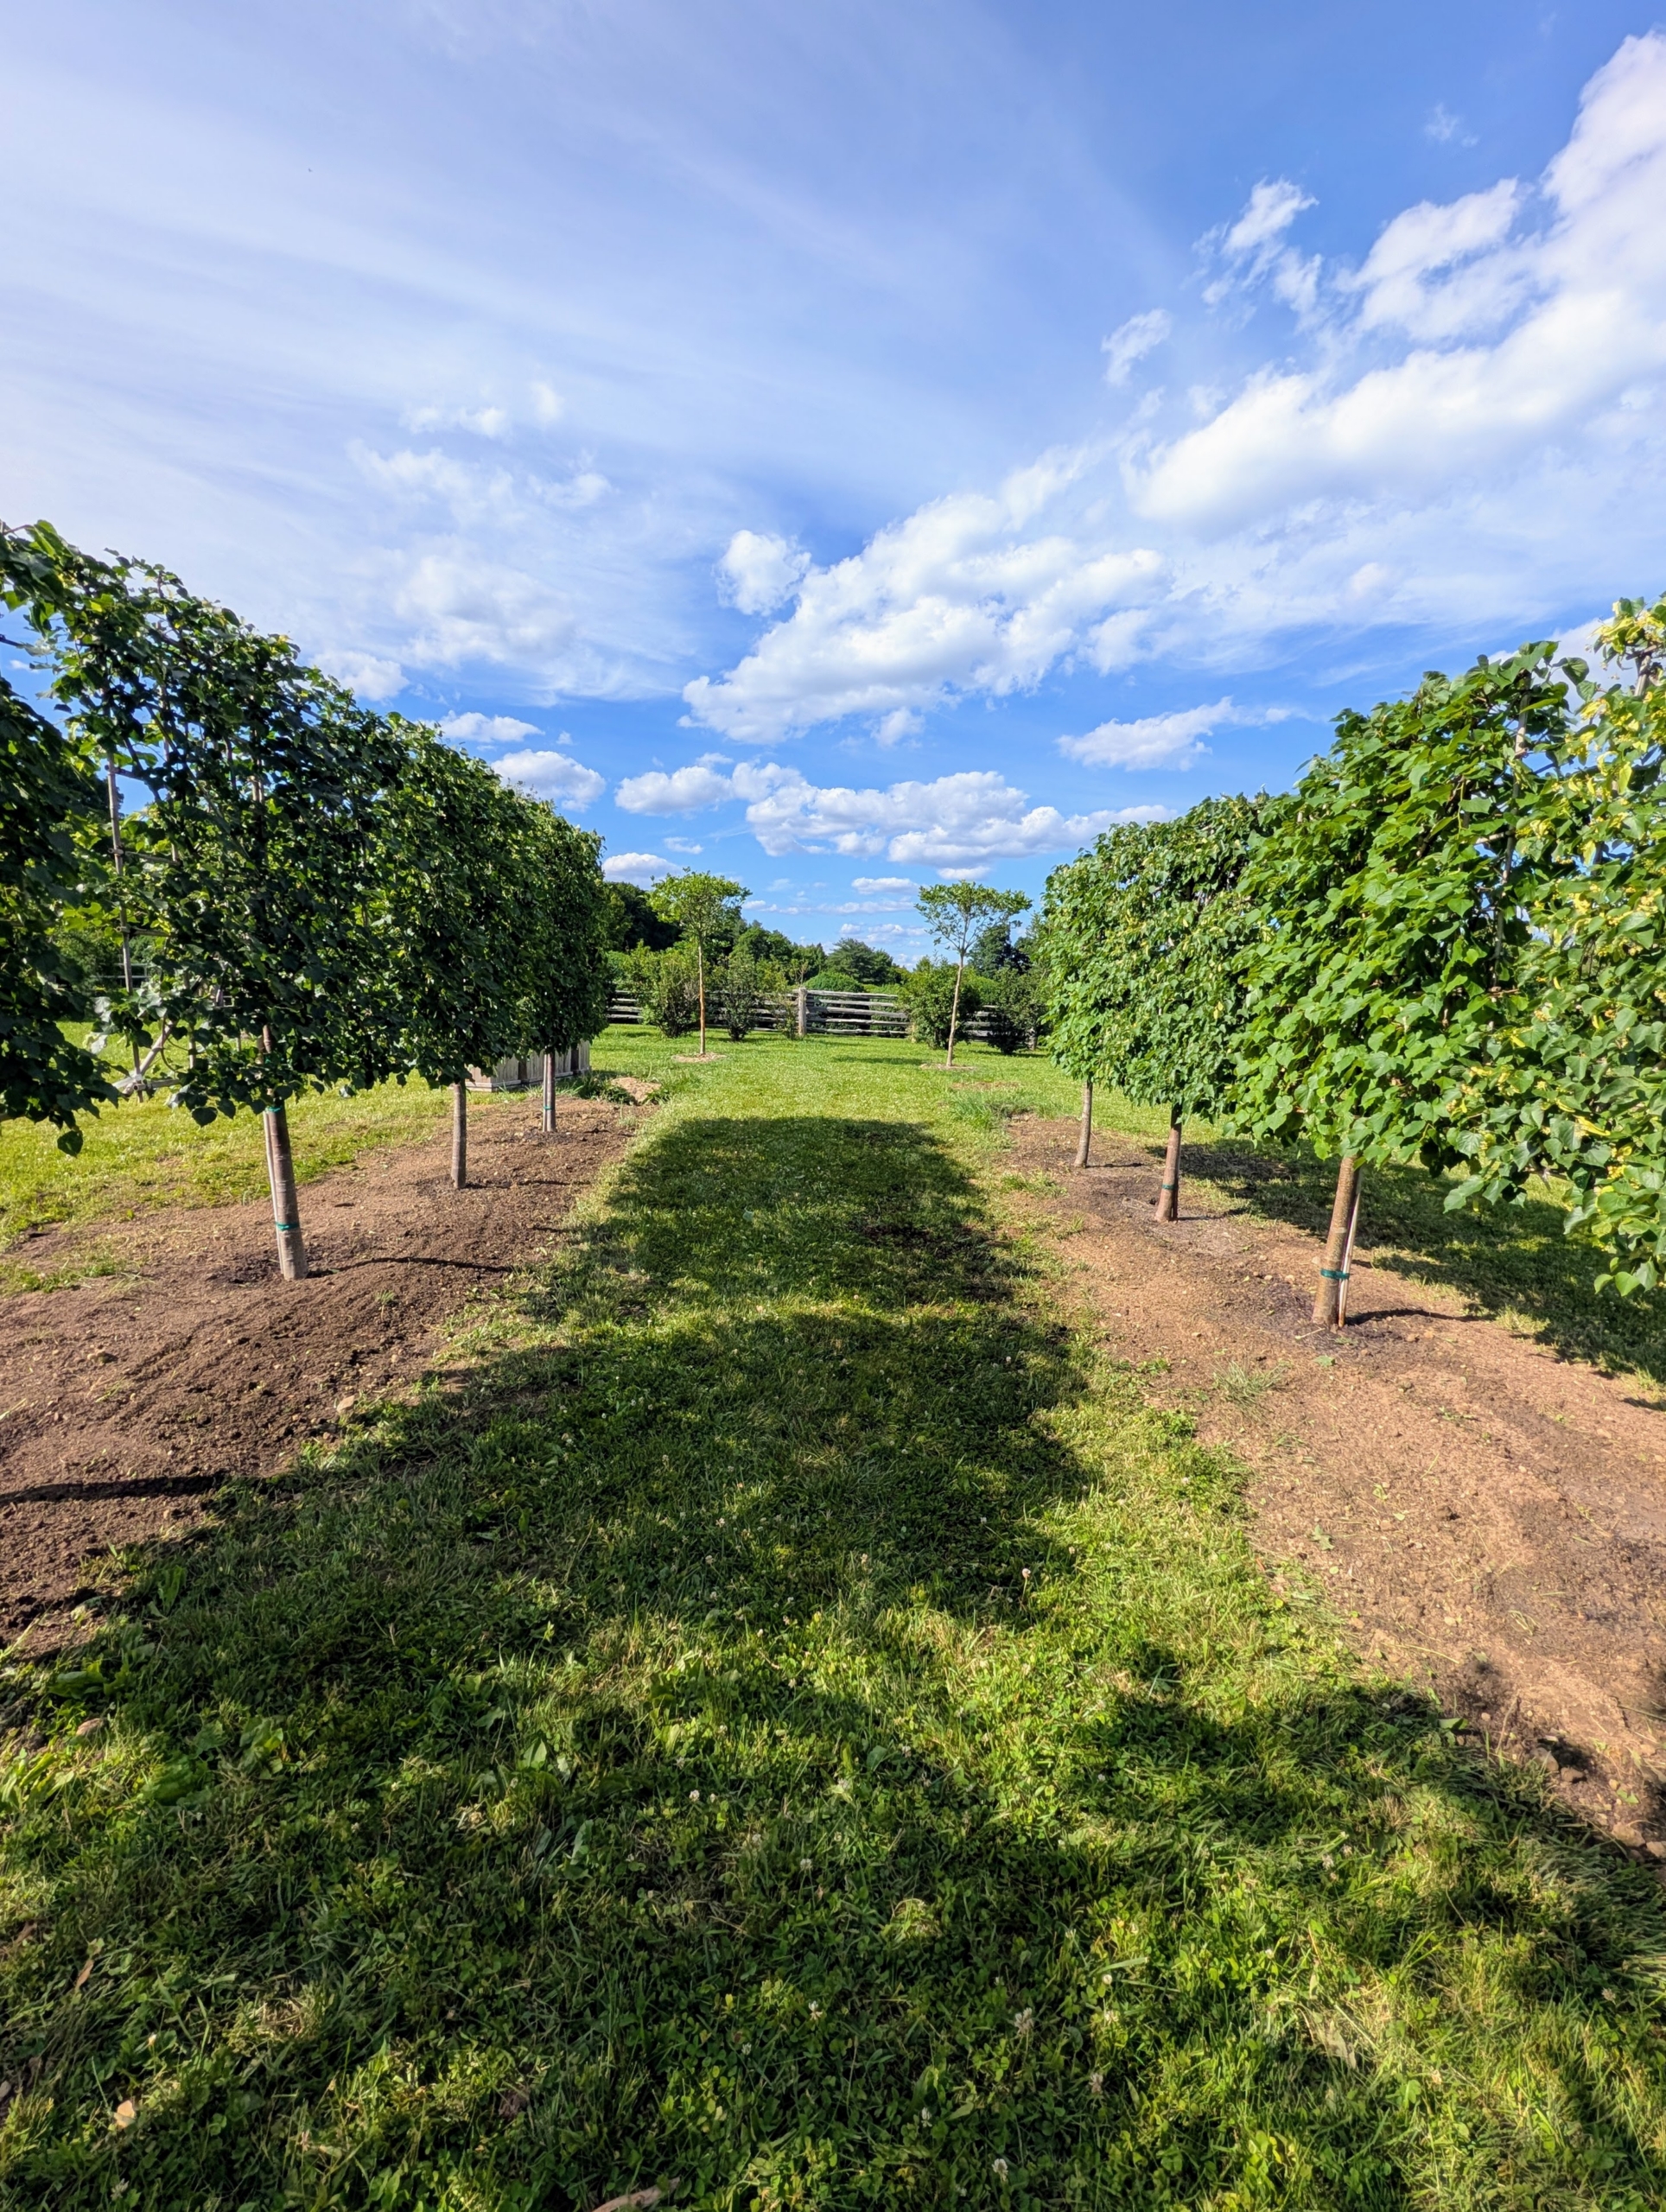
I think it looks so excellent here surrounded by other linden trees. These littleleaf linden trees usually produce a single leader trunk that supports the evenly spaced, horizontal branches.
This maze is almost done. I’m so proud of it. Follow along to see more of my “a-mazing” maze trees.
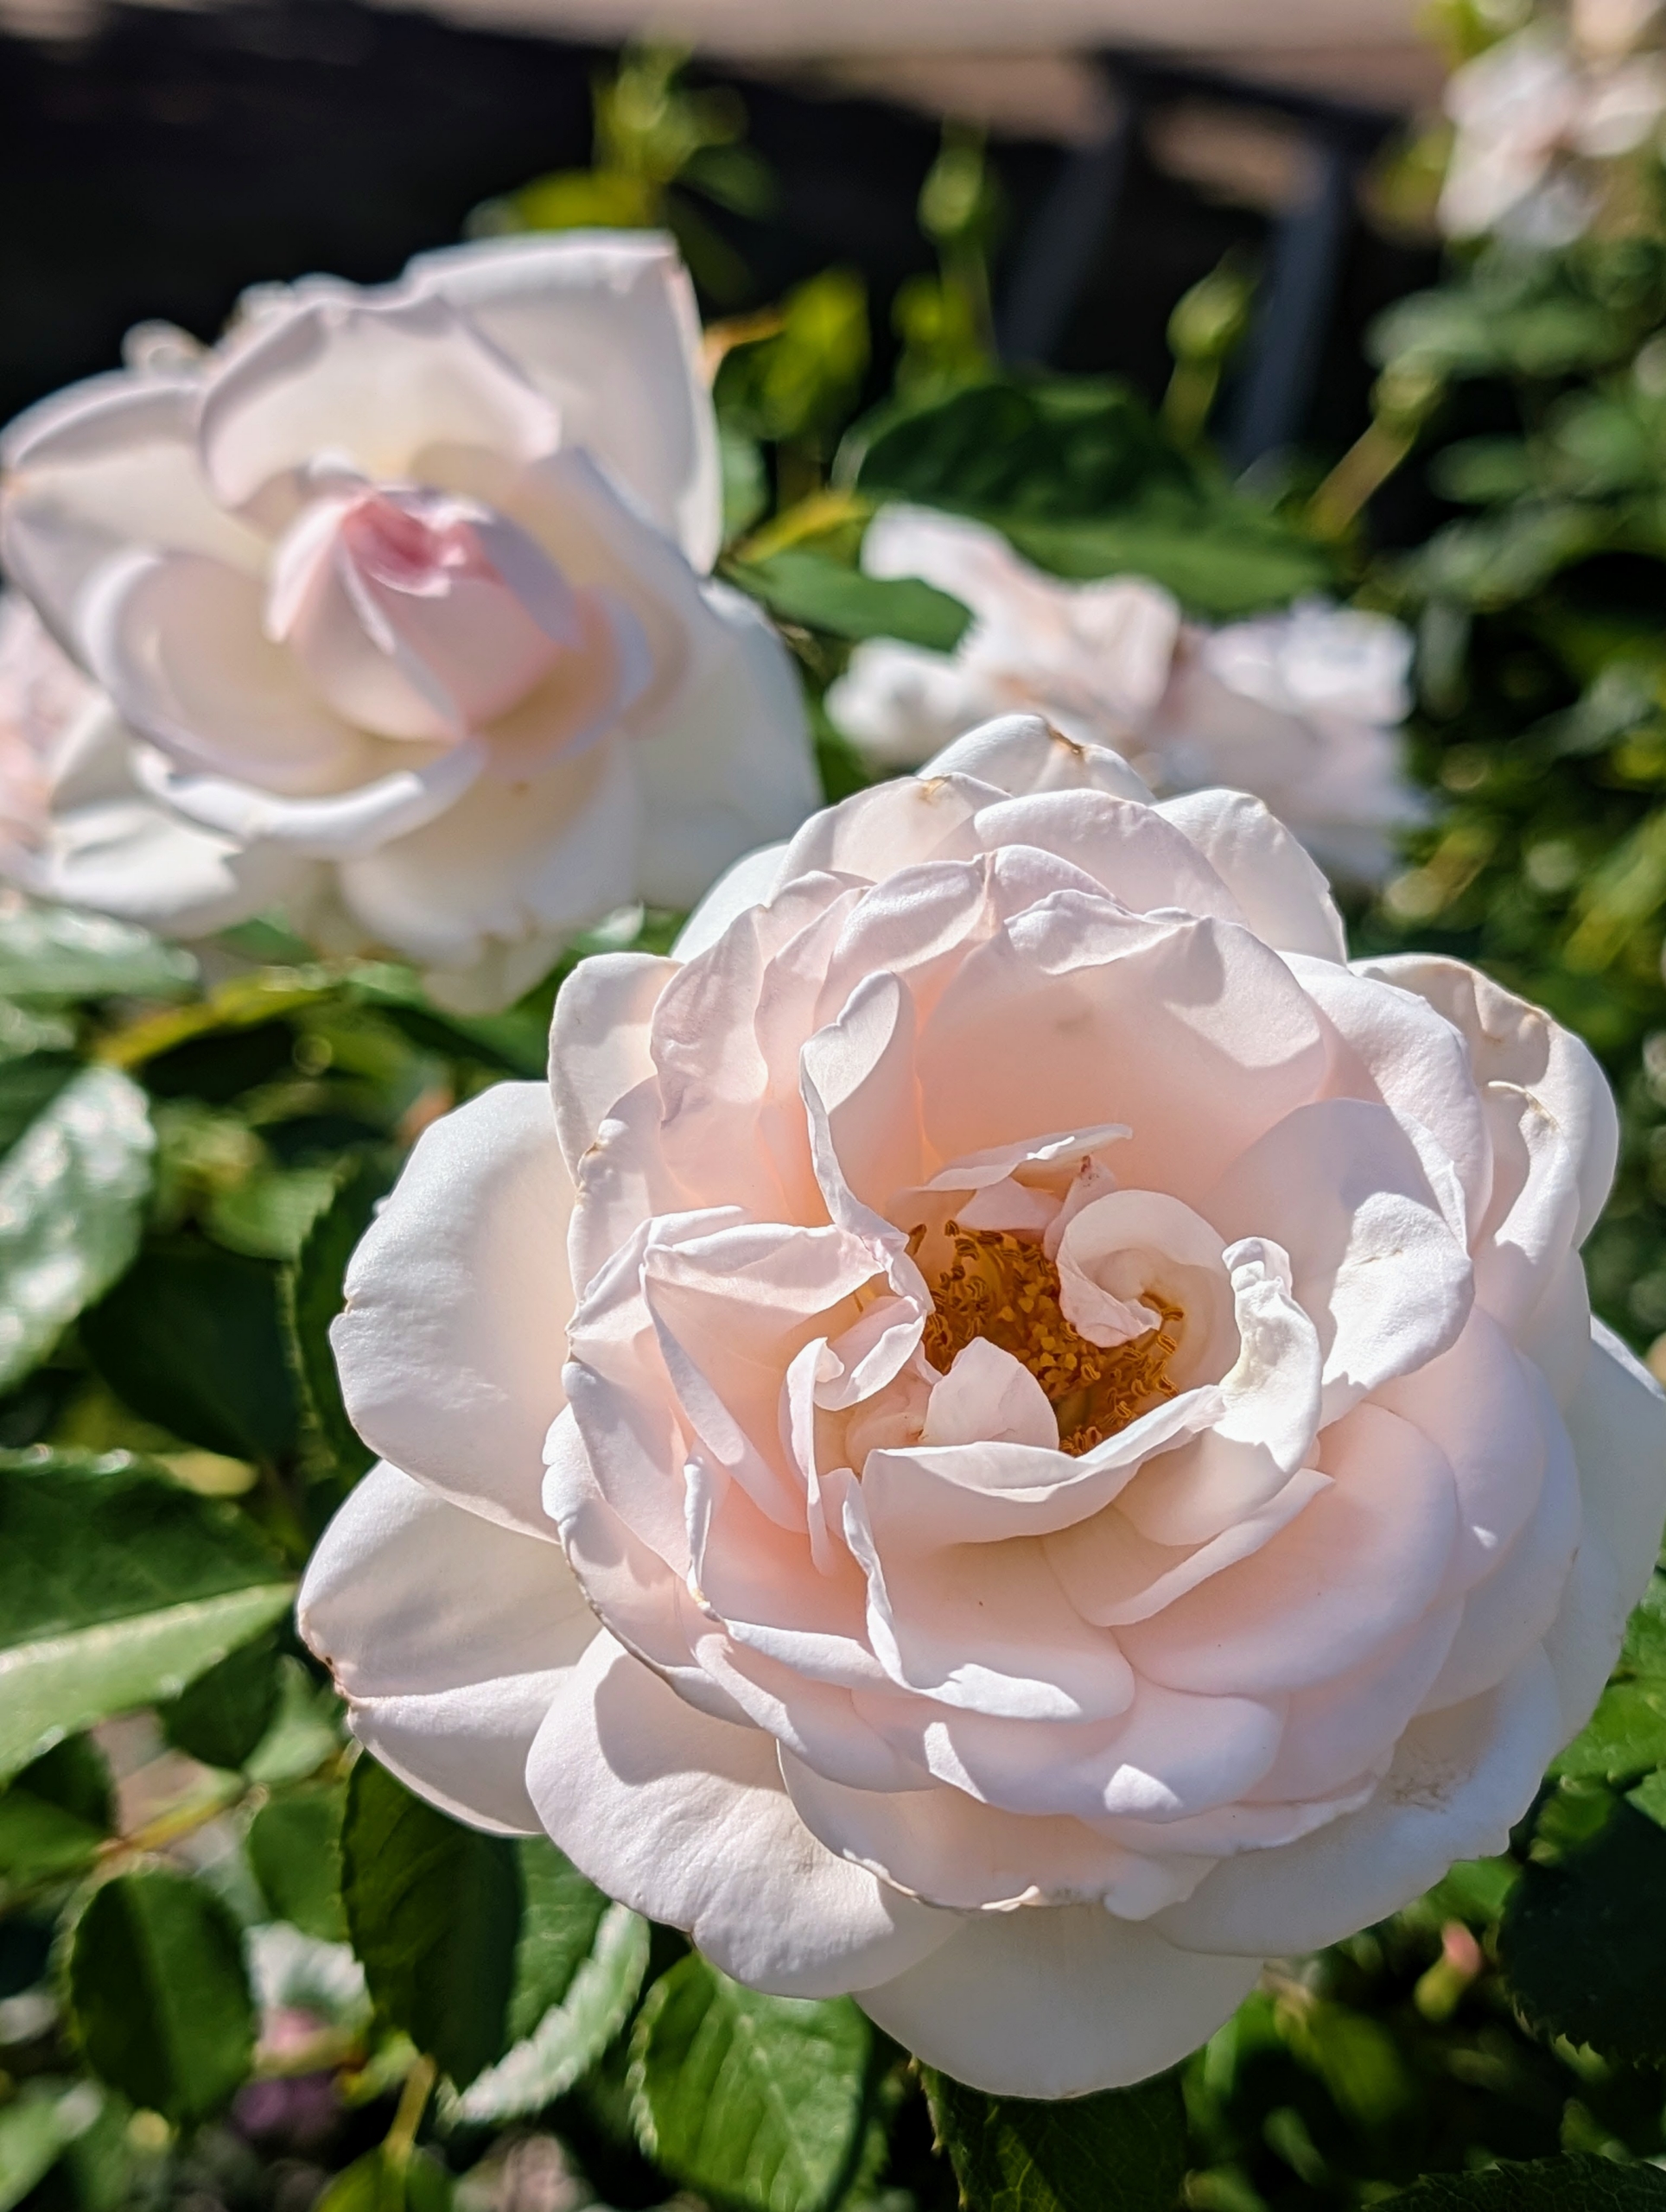
Here at my farm, all the roses are showing so beautifully!
Last month I created a new formal rose garden. The bed was previously planted with lilacs as well as roses, but it was in need of an overhaul. I planted more than 140 new rose bushes from Star Roses and Plants in Pennsylvania to add to the existing roses transplanted years ago from the gardens at Lily Pond, my former home in East Hampton, New York. I surrounded them all with a border of young boxwood. And just weeks later, many of the flowers are in bloom - so colorful and so fragrant.
Here is an update. Enjoy these photos.
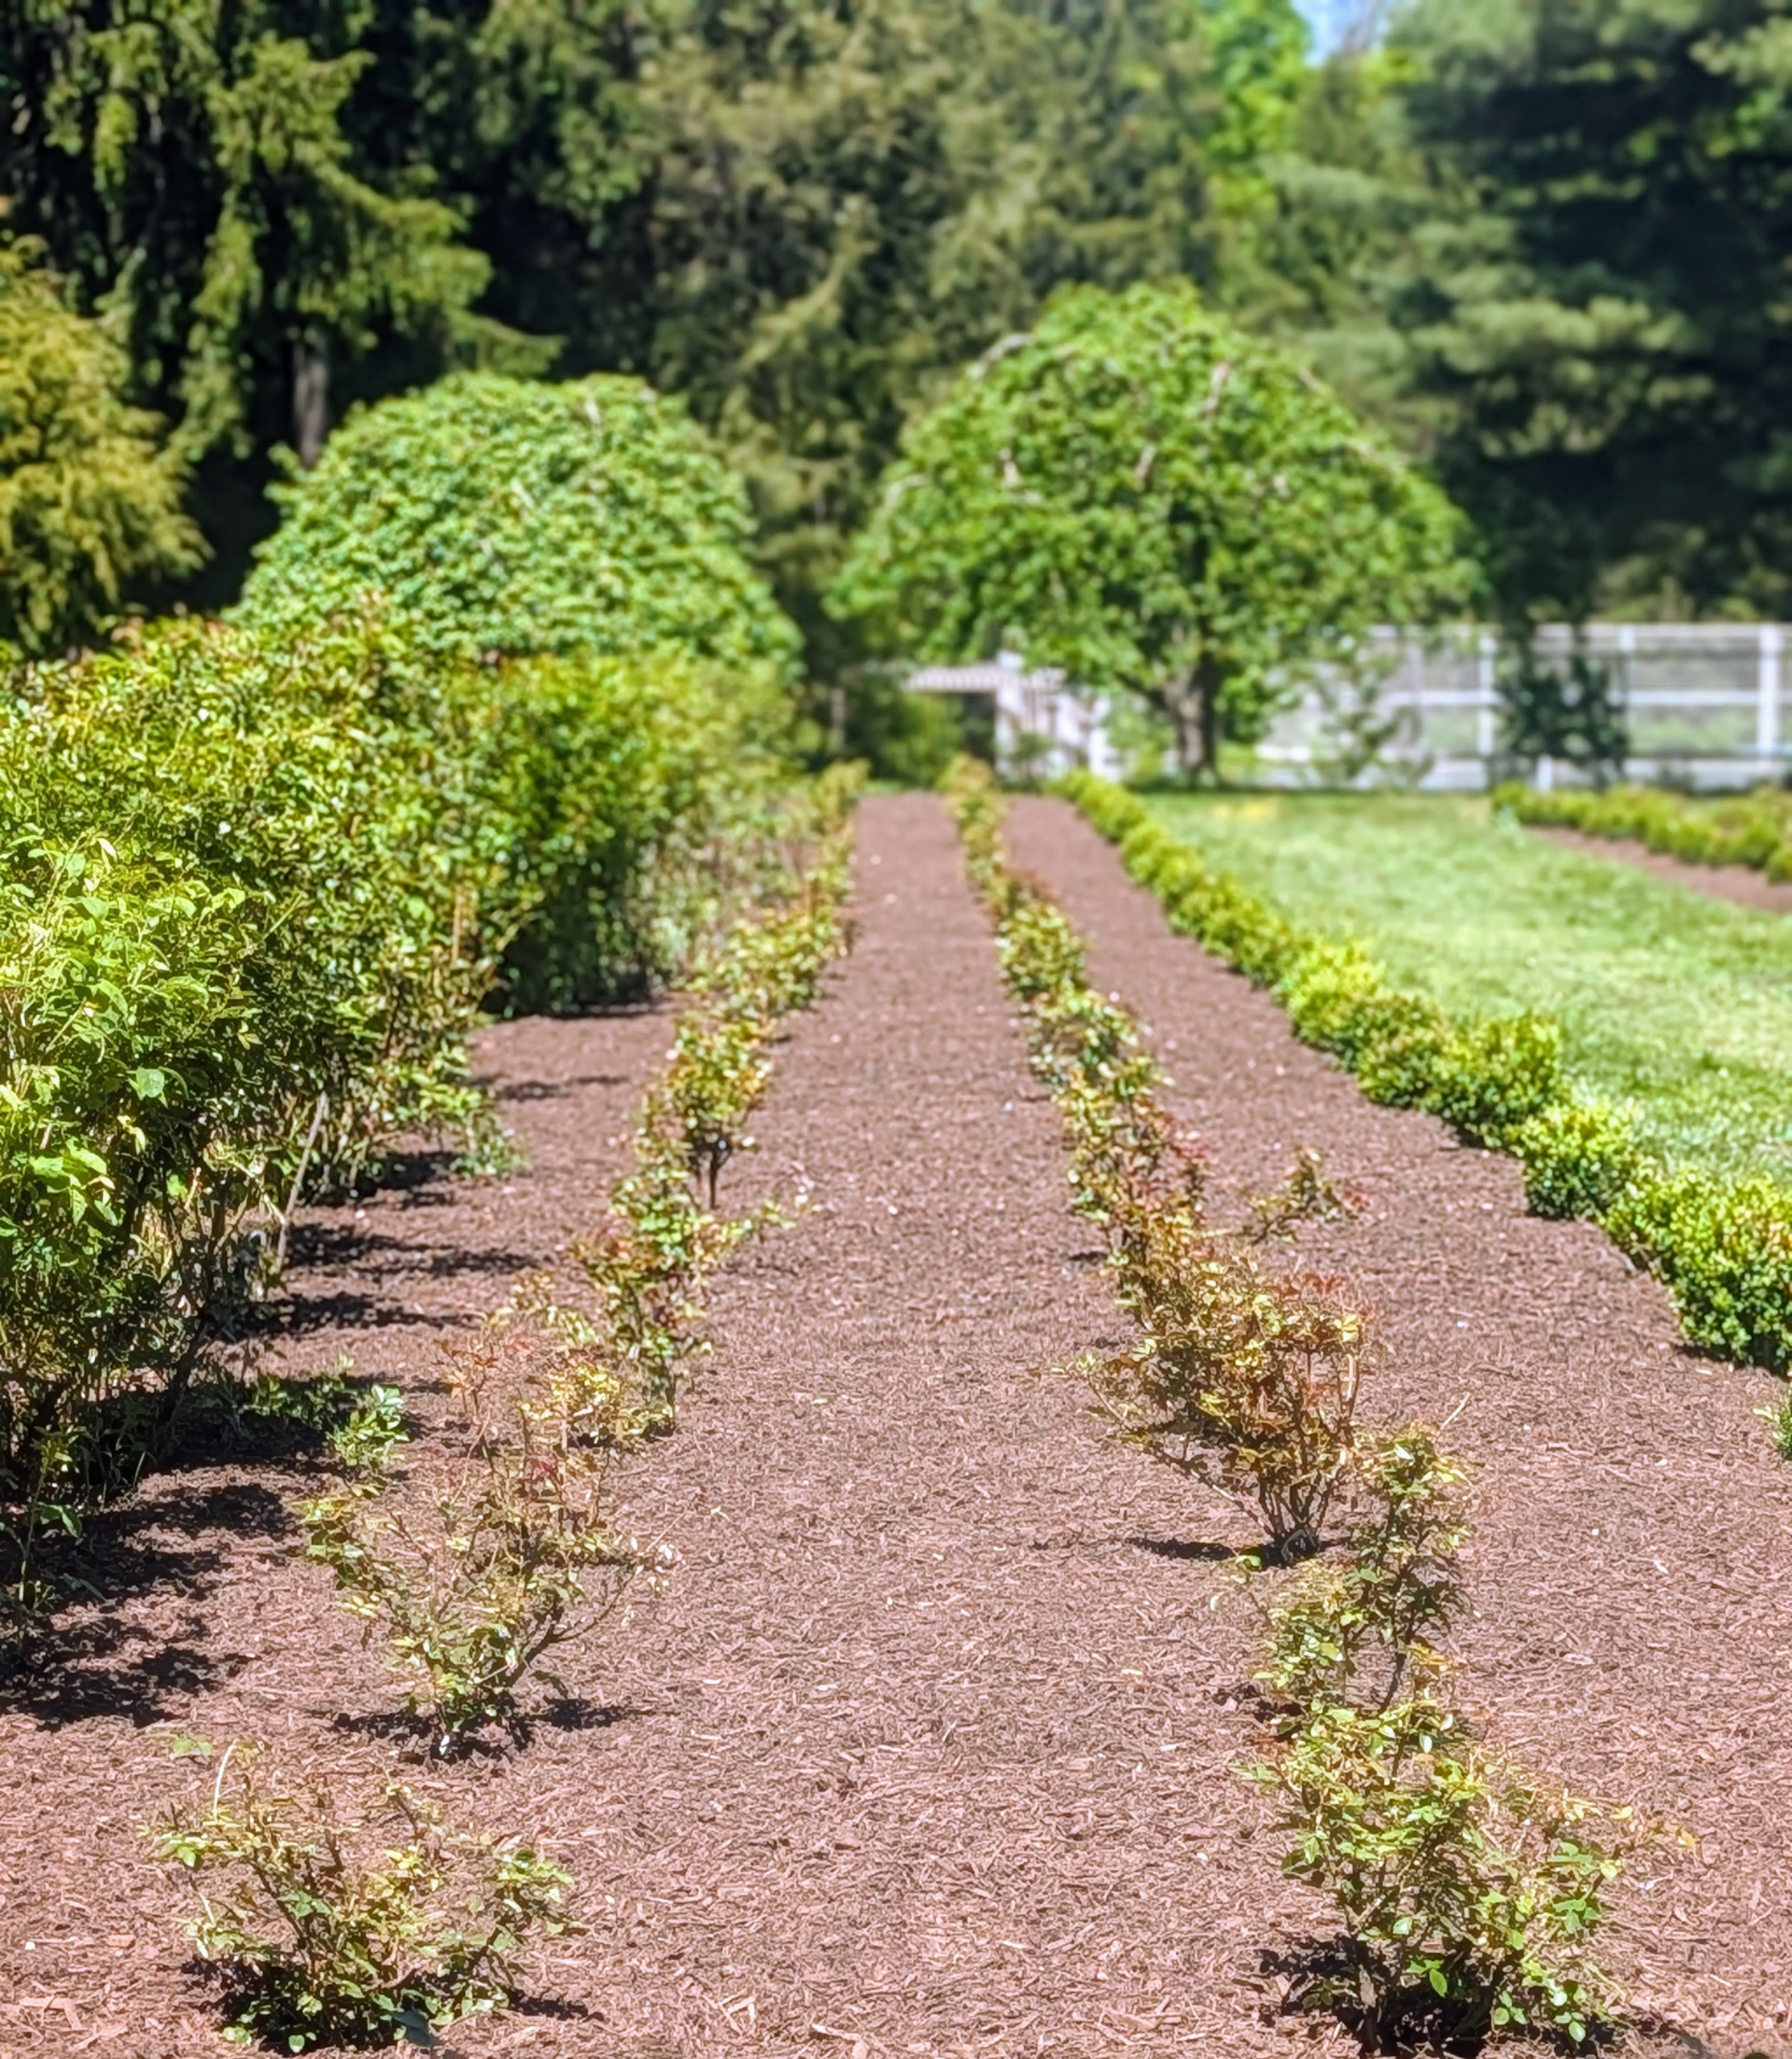
You may have seen photos of this new garden a few weeks ago. It was once my allée of lilac, Syringa vulgaris. The garden was filled with sweet-smelling lilacs in white, lavender, and purple – with some shrubs reaching 15 to 20 feet tall. After 20 years, the garden needed to be refreshed, so I replanted it with young roses and a border of boxwood.
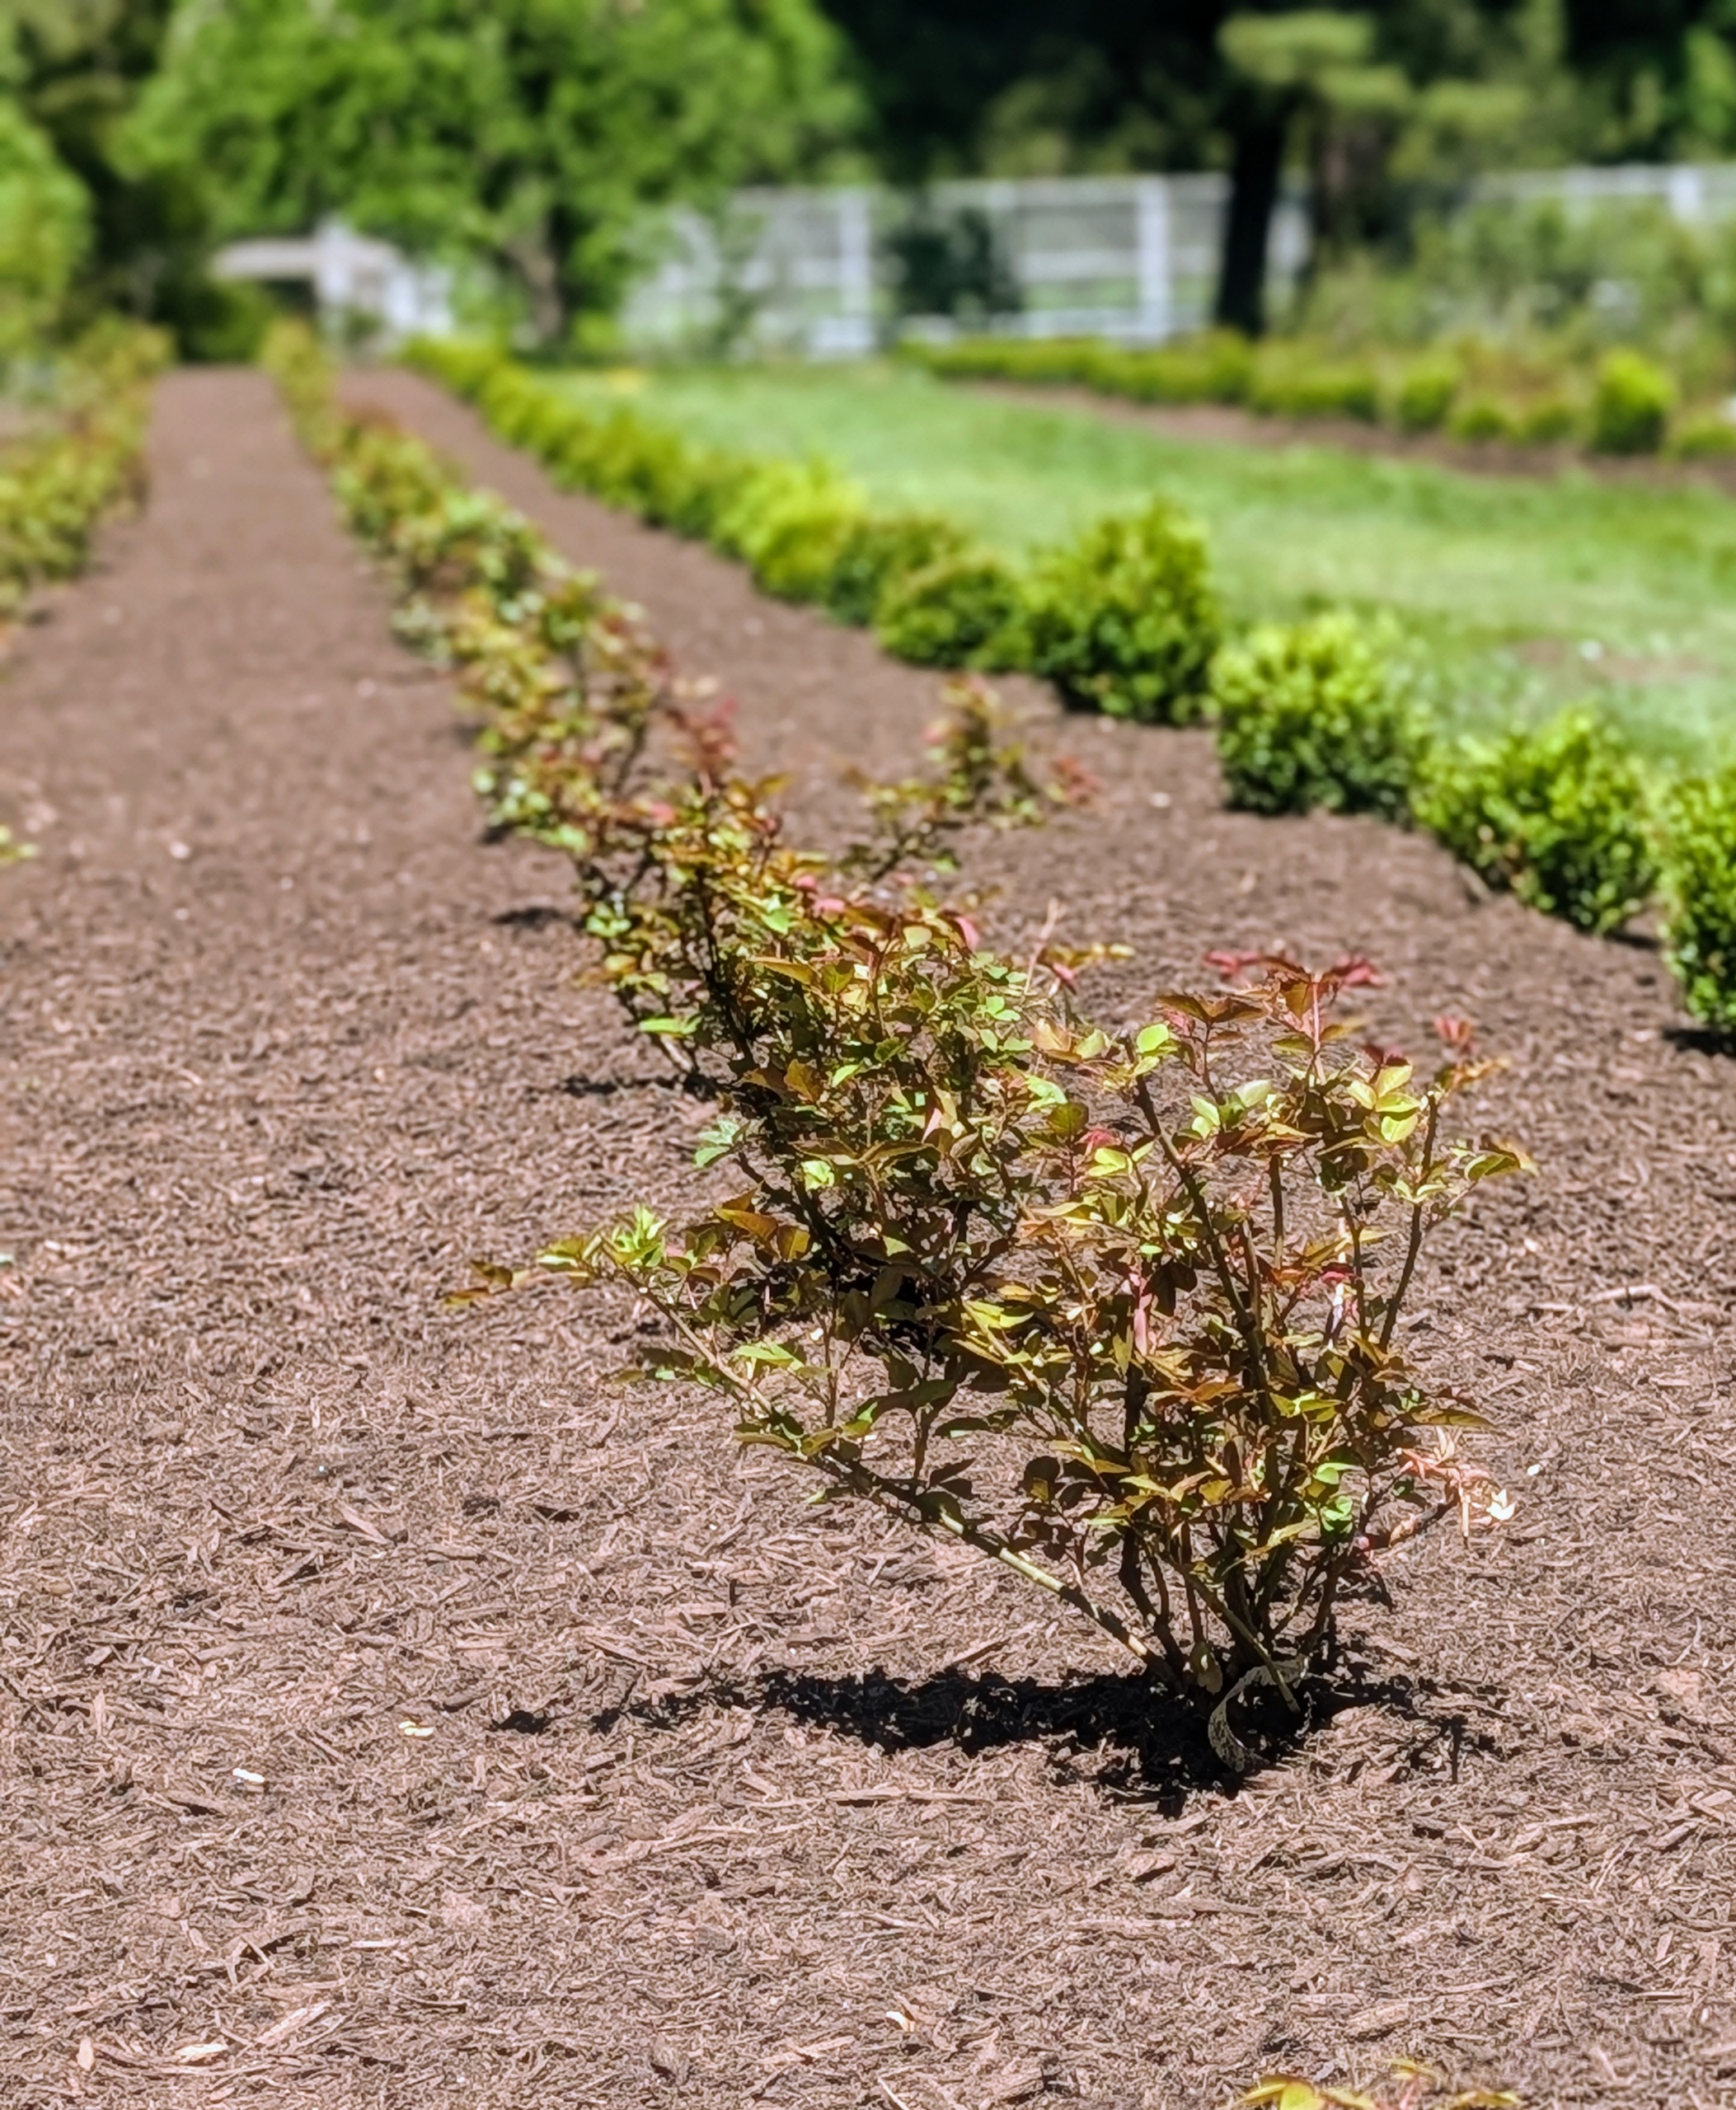
The roses were planted in two rows – each variety in groups of four from one end to the other.
Every row is perfectly lined up. The boxwood that surrounds the garden will grow into a nice formal hedge.
Among the varieties recently planted here – Parfuma® Earth Angel™ ‘KORgeowim,’ Bolero™ ‘Meidelweis,’ Raspberry Cupcake™ ‘KORcarmsis,’ Parfuma® Bliss ‘KORmarzau,’ Michelangelo™ ‘Meitelov,’ Sunbelt® Savannah,™ Romantica® Moonlight ‘Meikaquinz,’ Princesse Charlene de Monaco® ‘Meidysouk,’ Dee-Lish® ‘Meiclusif,’ and Top Cream™ ‘Meiroguste.’
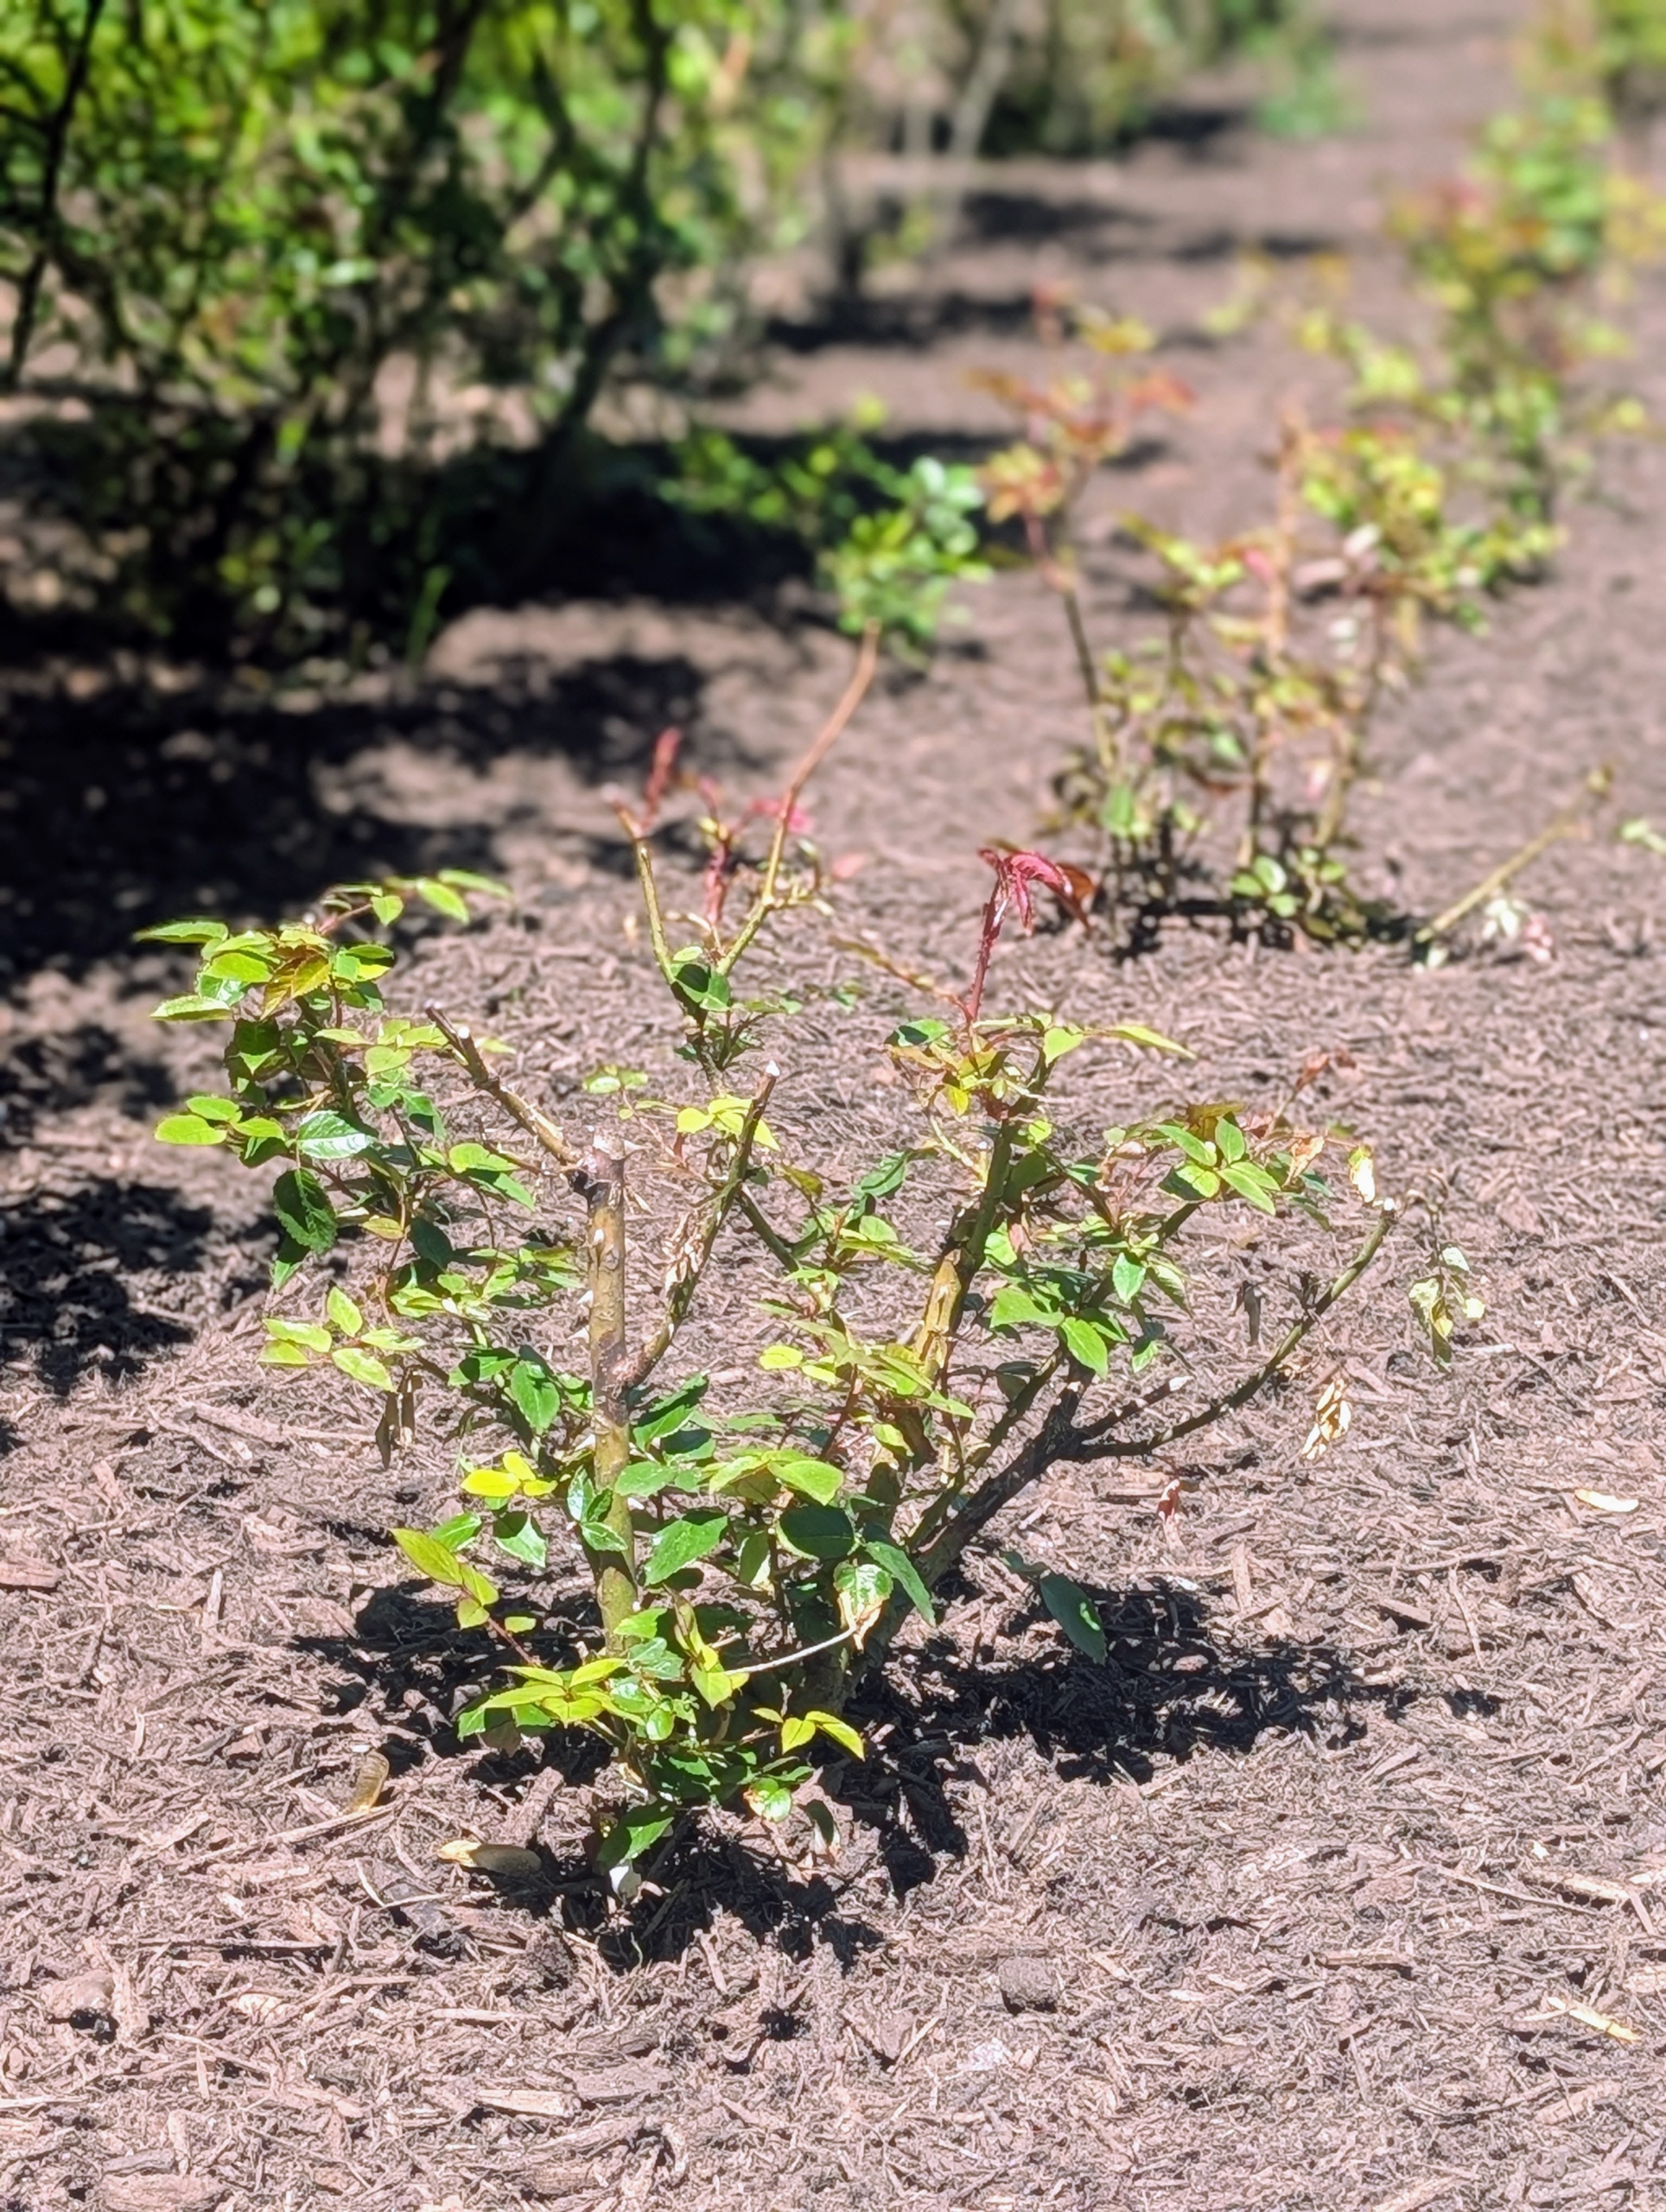
Now, many of the bushes are flowering.
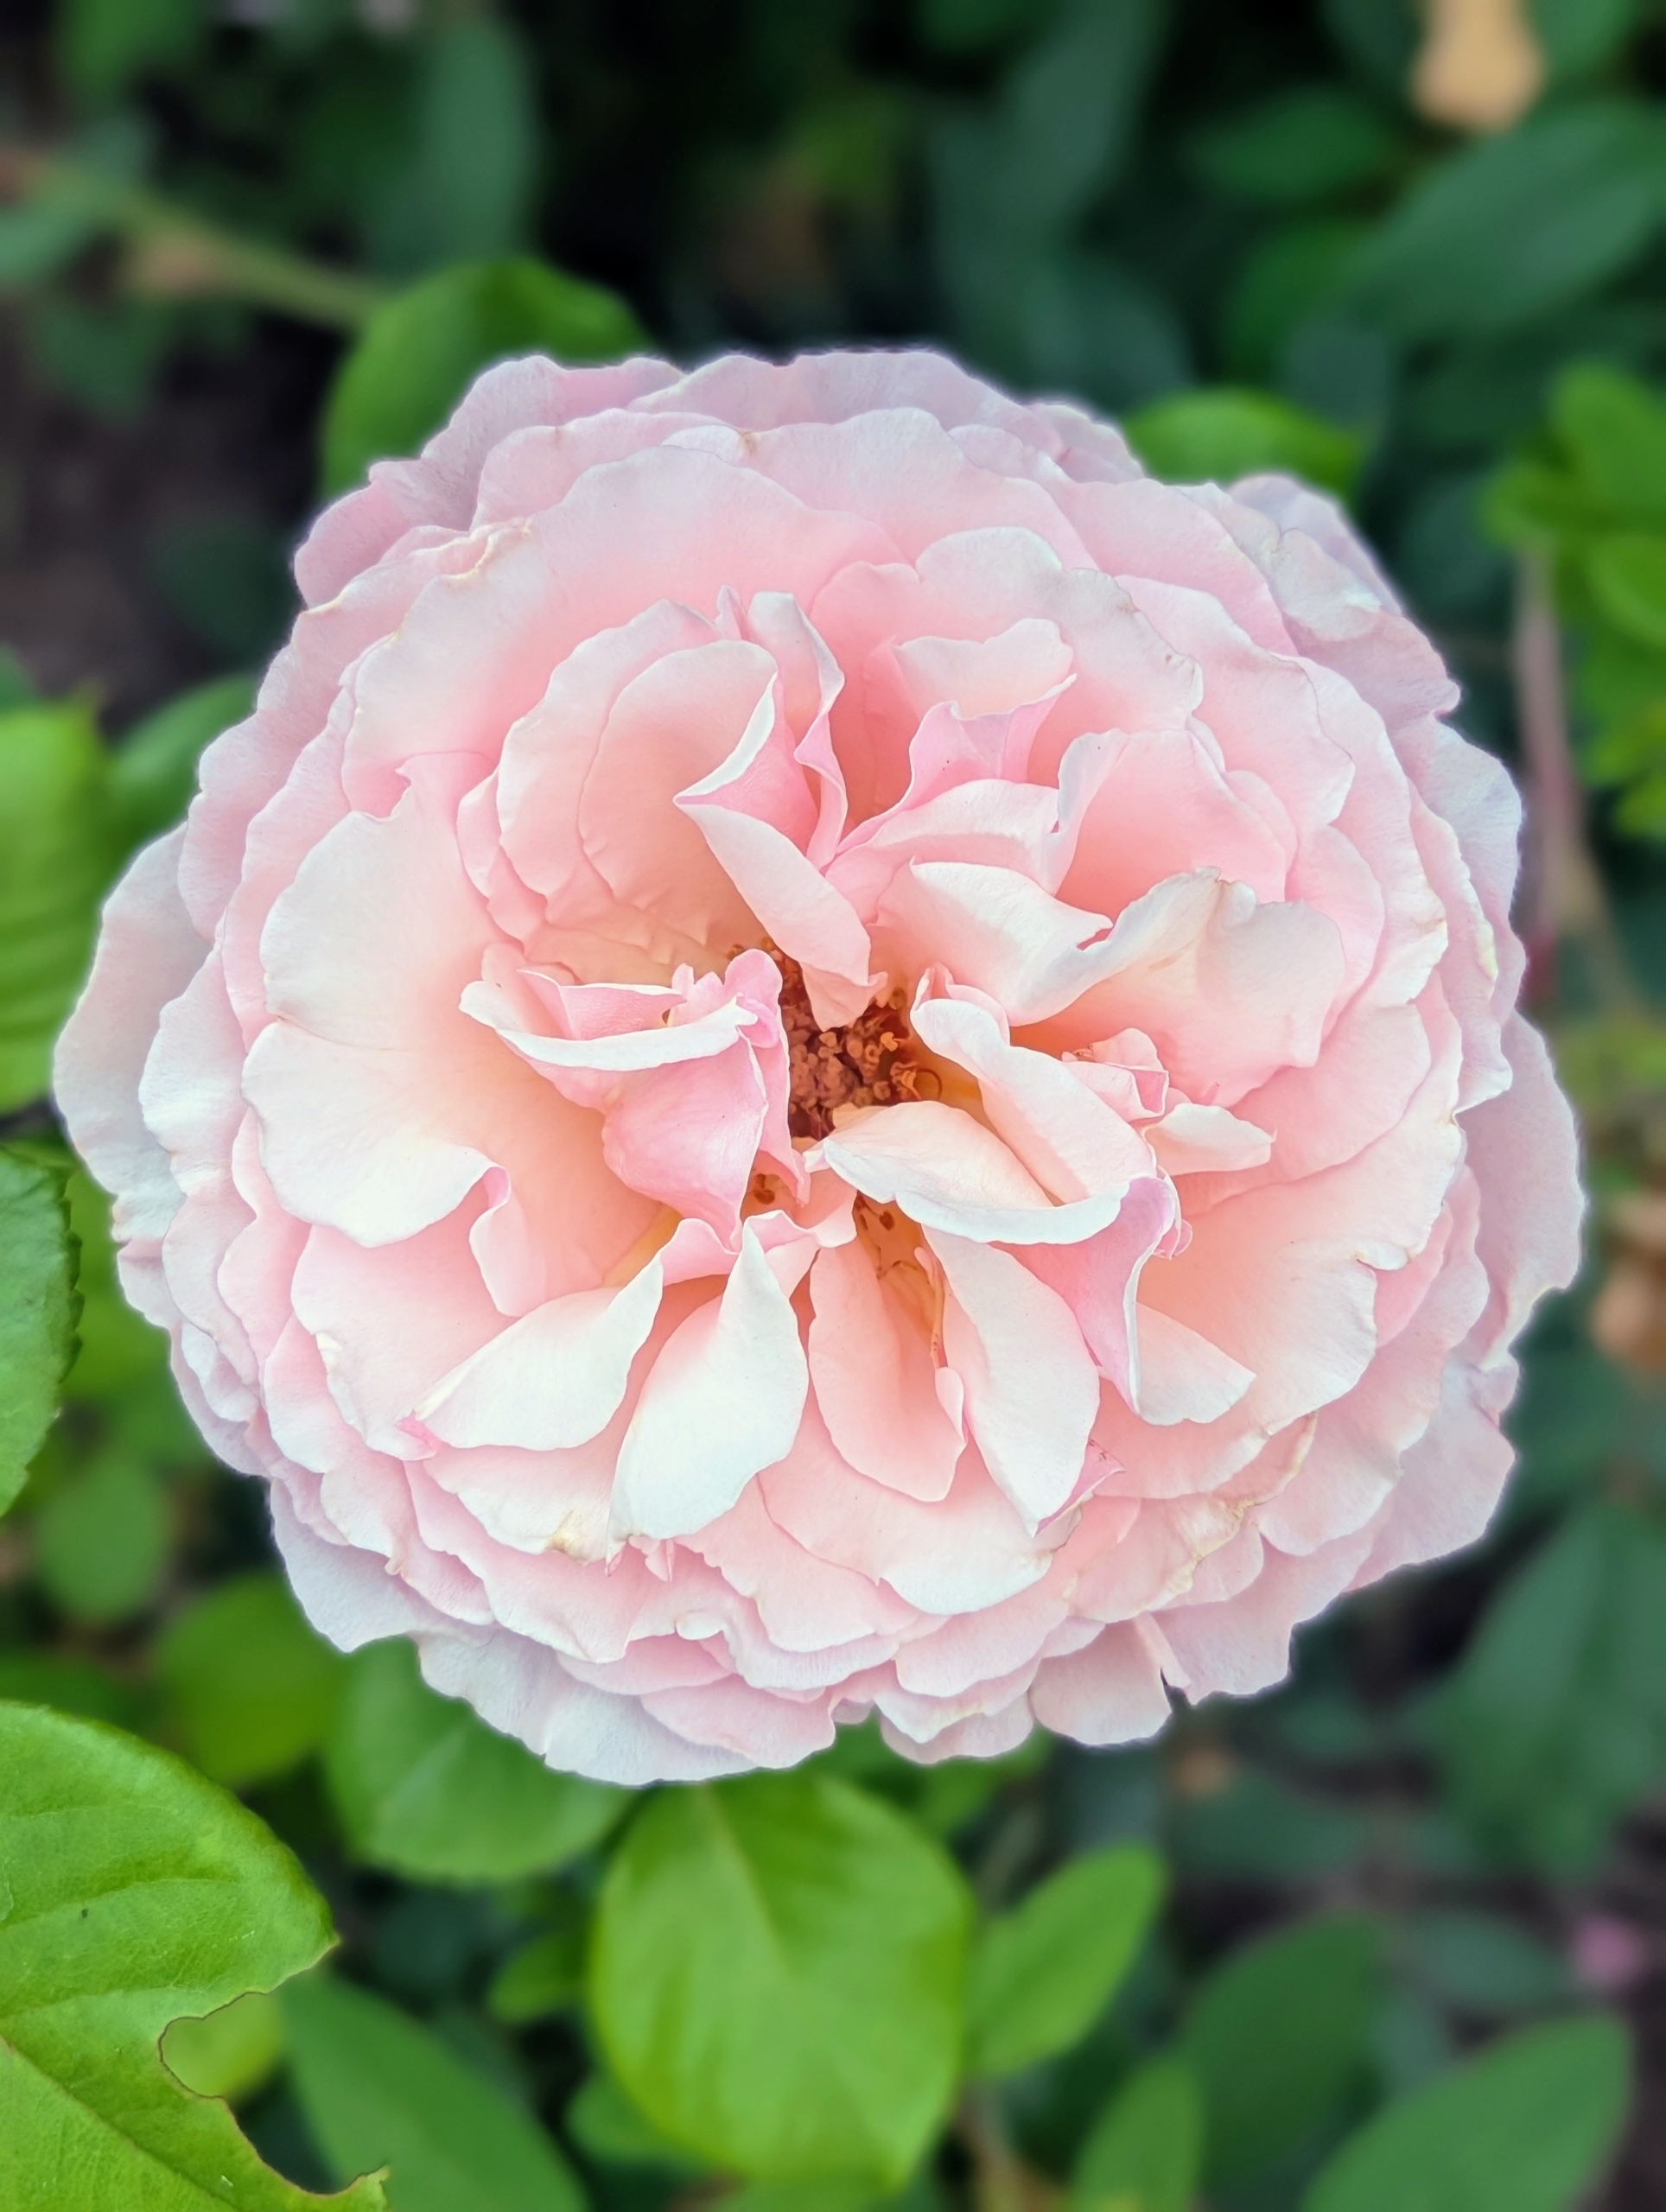
A rose is a woody perennial flowering plant of the genus Rosa, in the family Rosaceae. There are more than a hundred species and thousands of named cultivars.
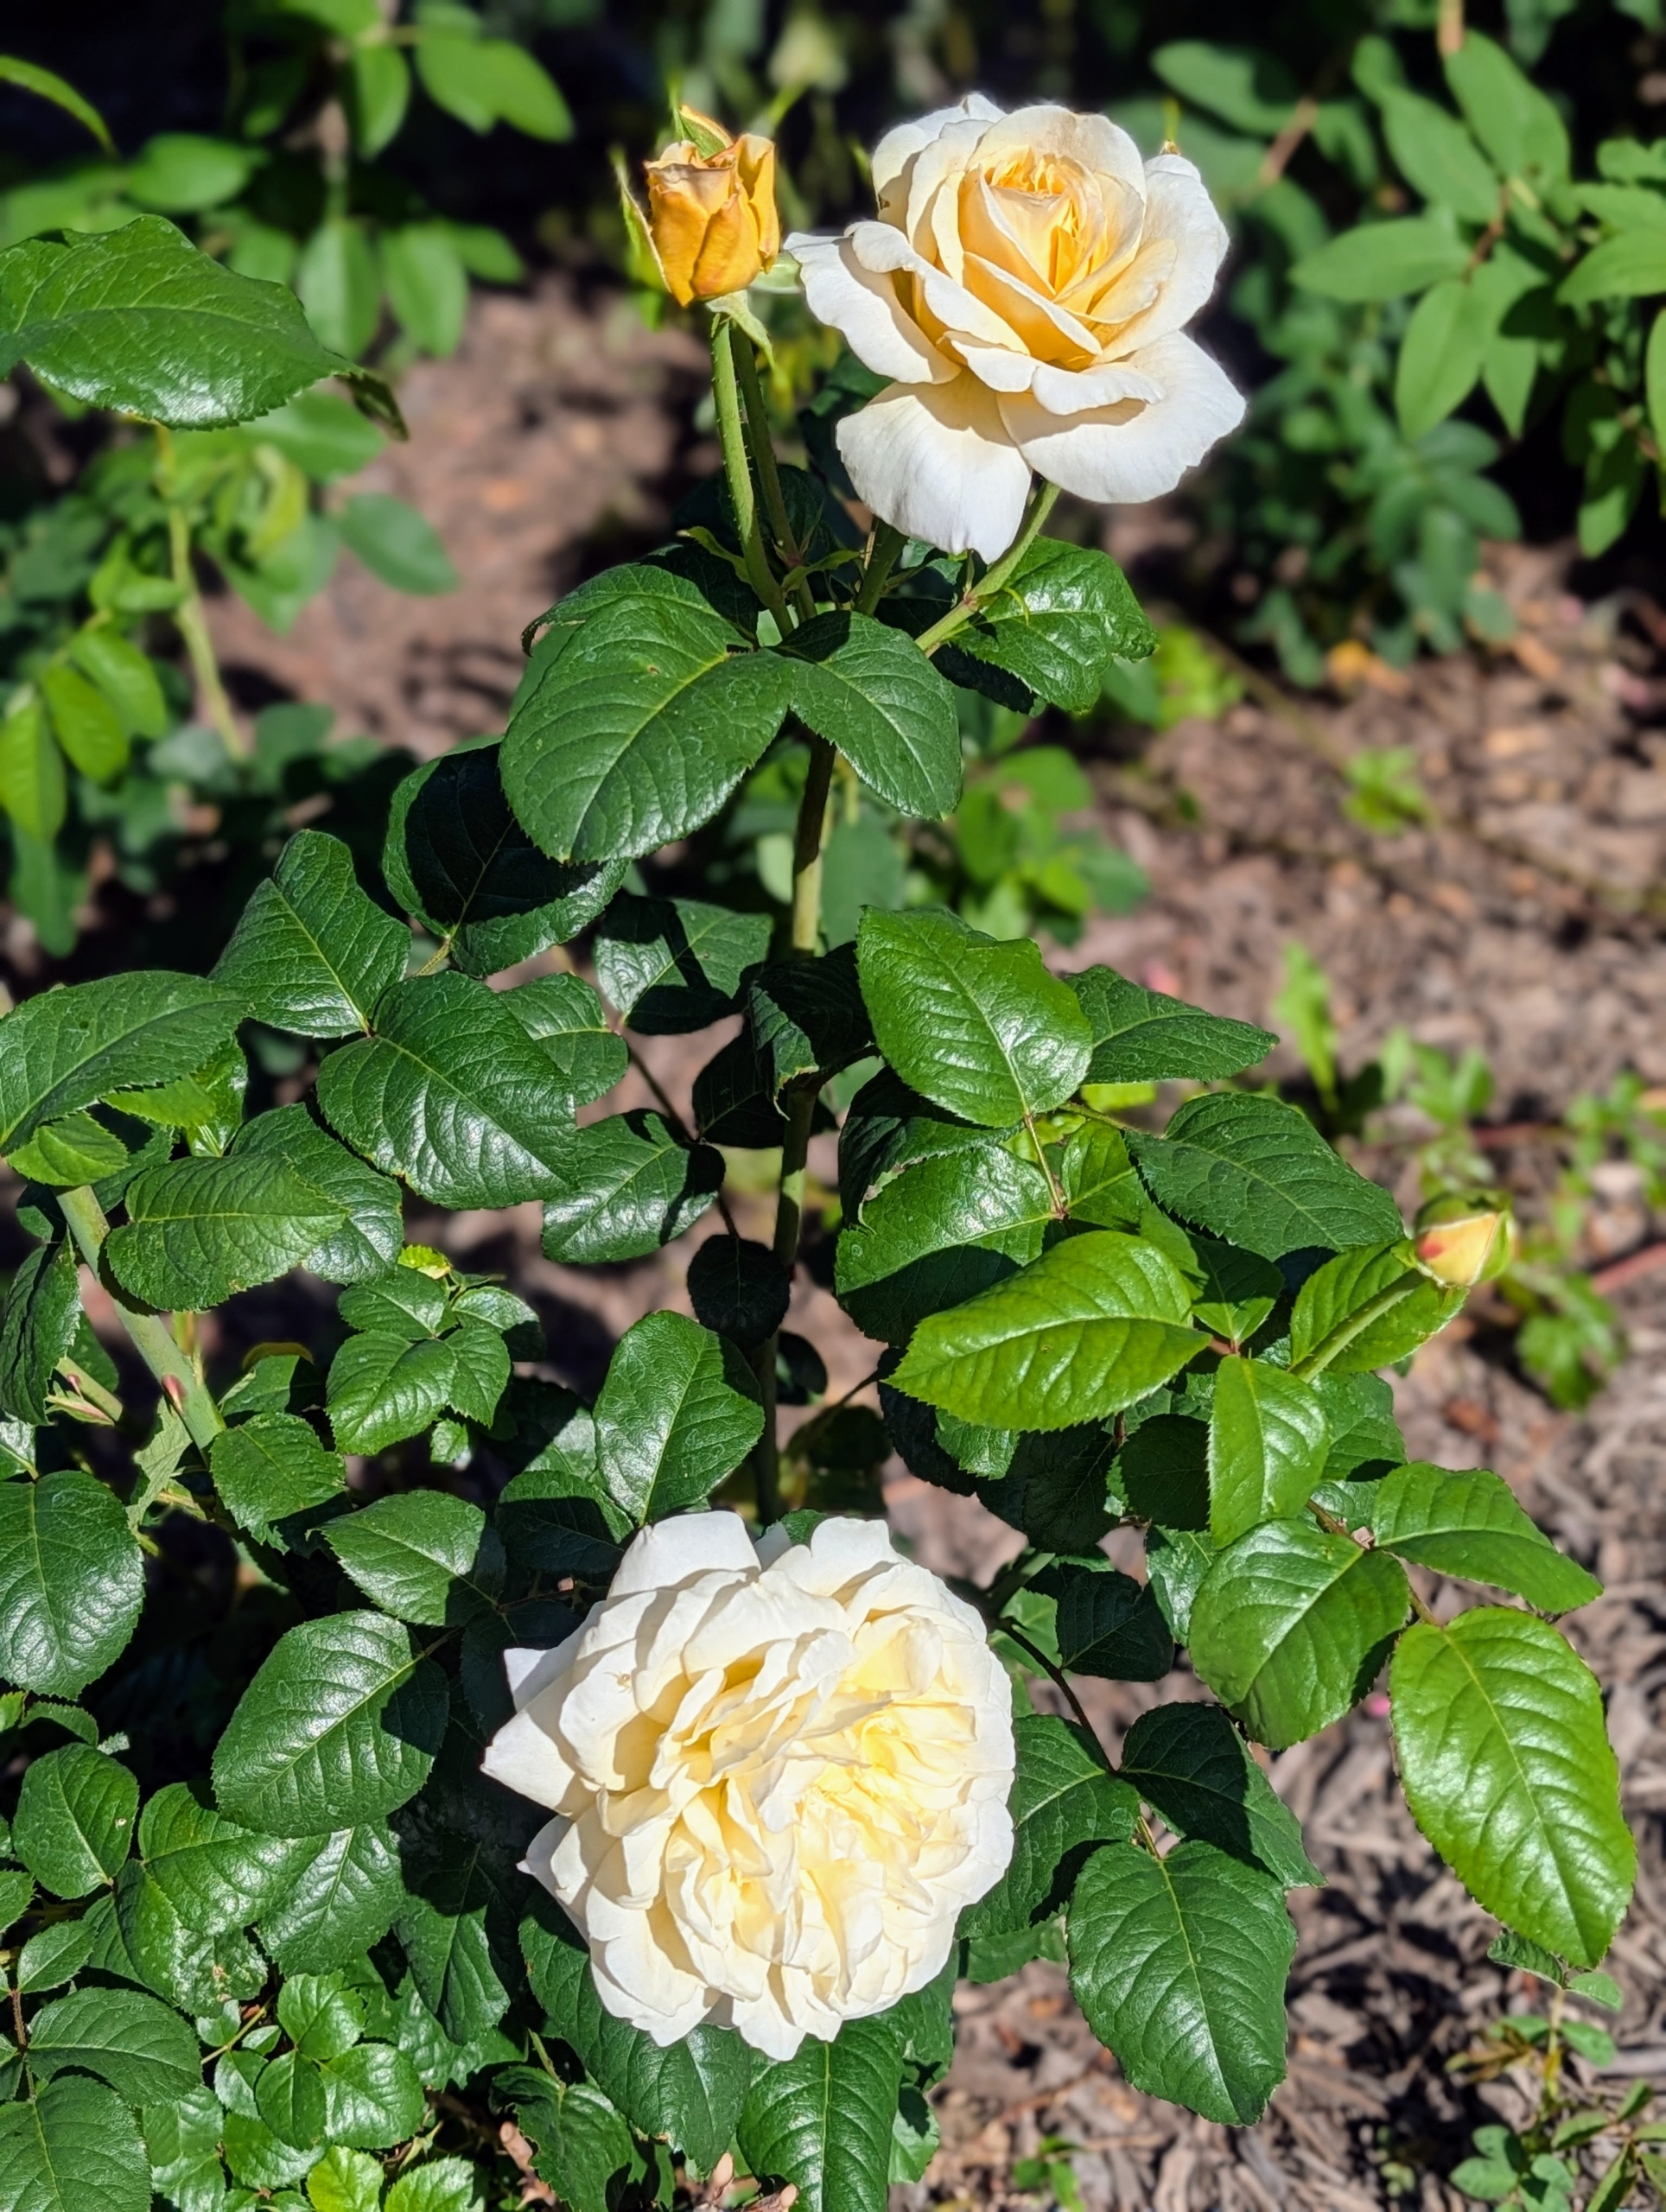
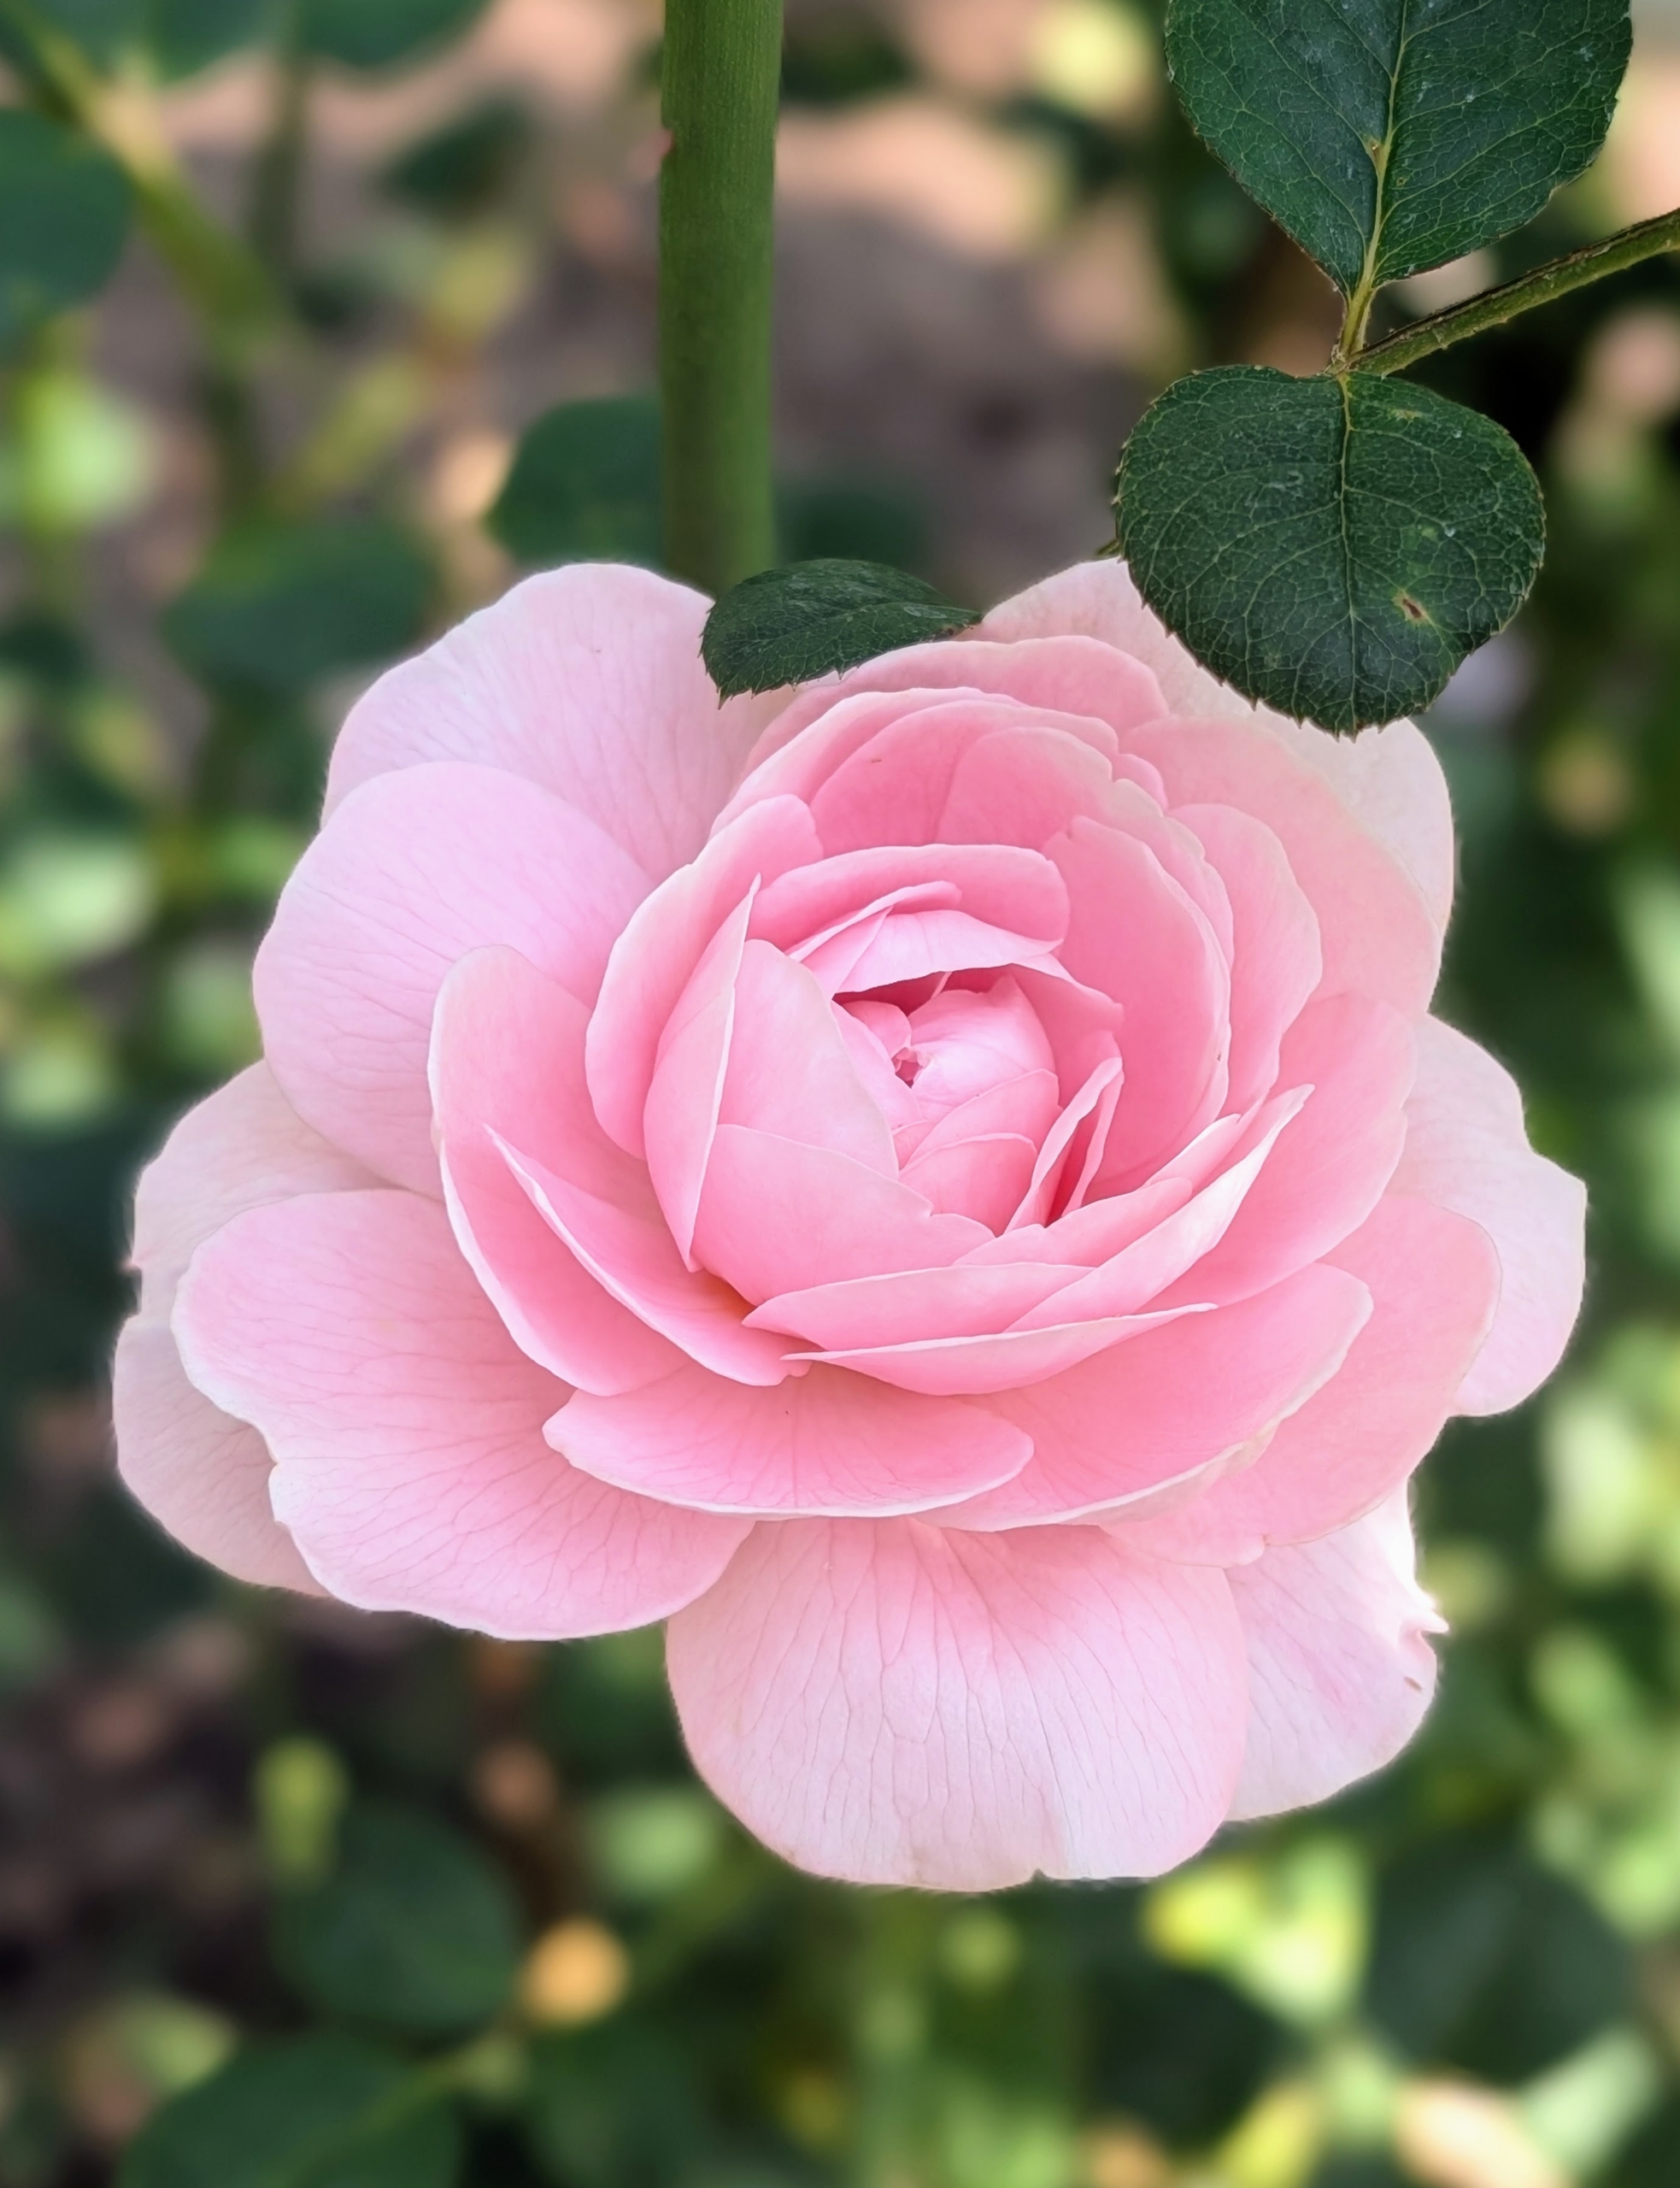
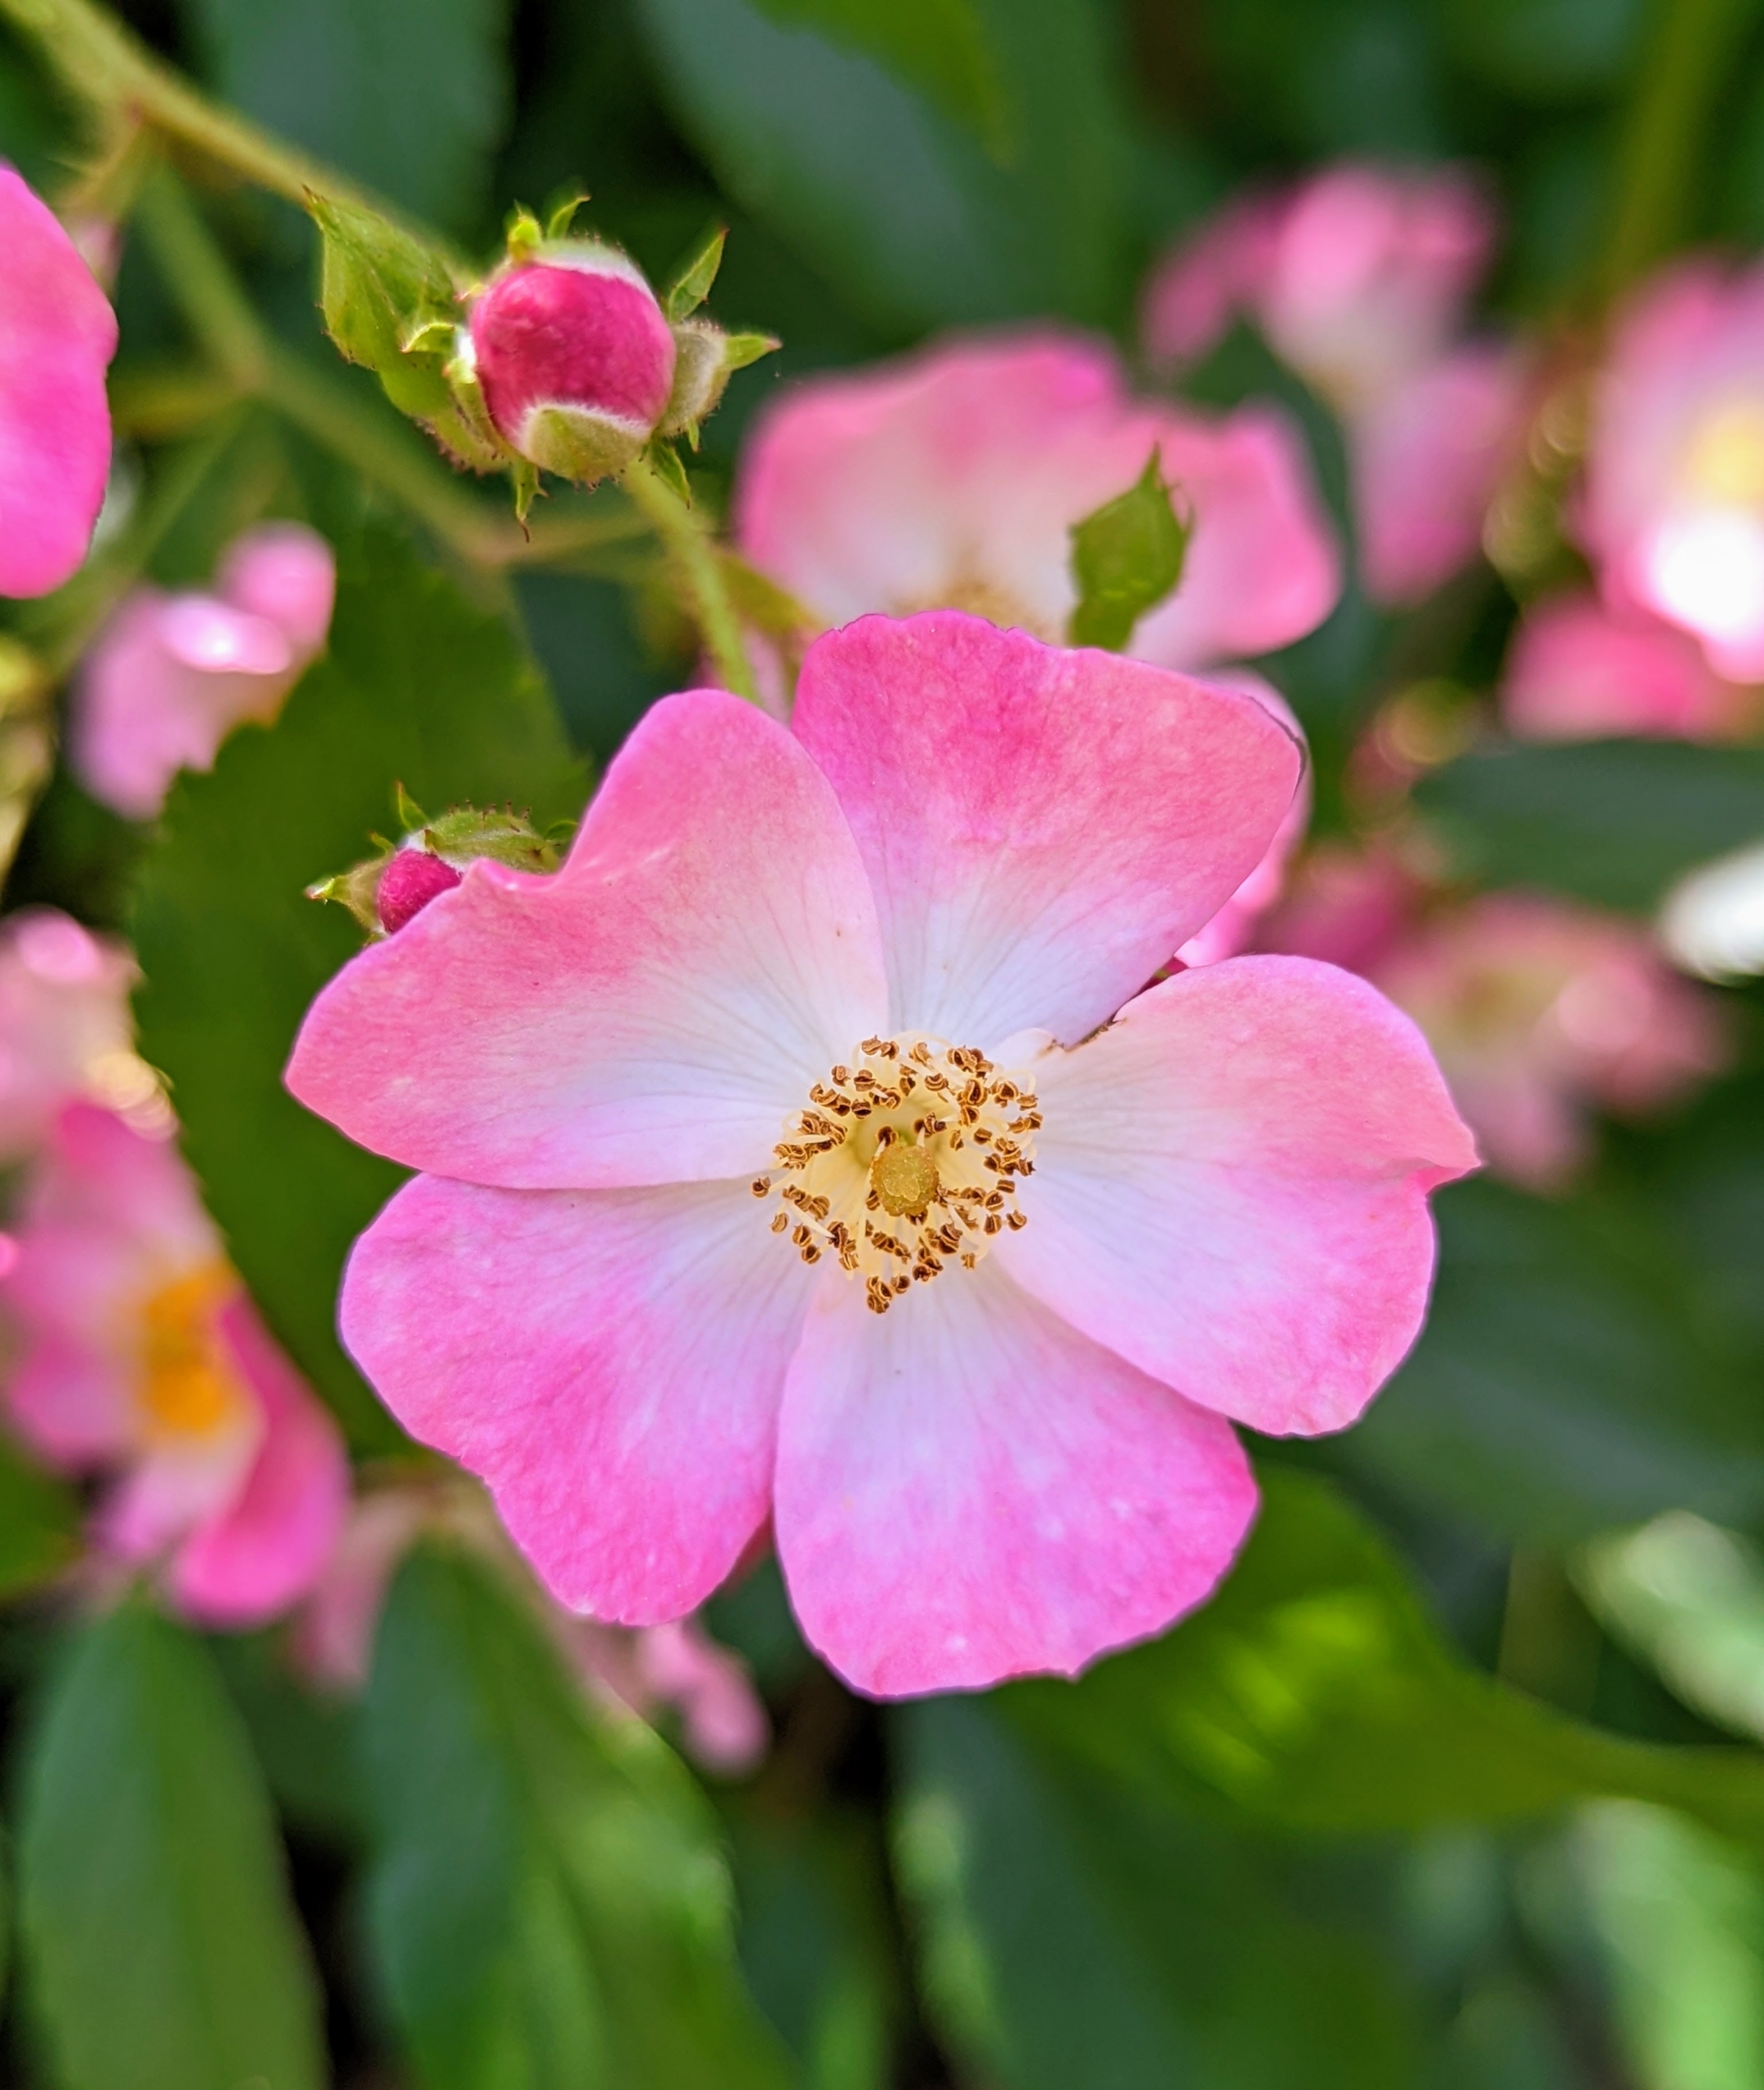
The flowers of most rose species have at least five petals. Each petal is divided into two distinct lobes.
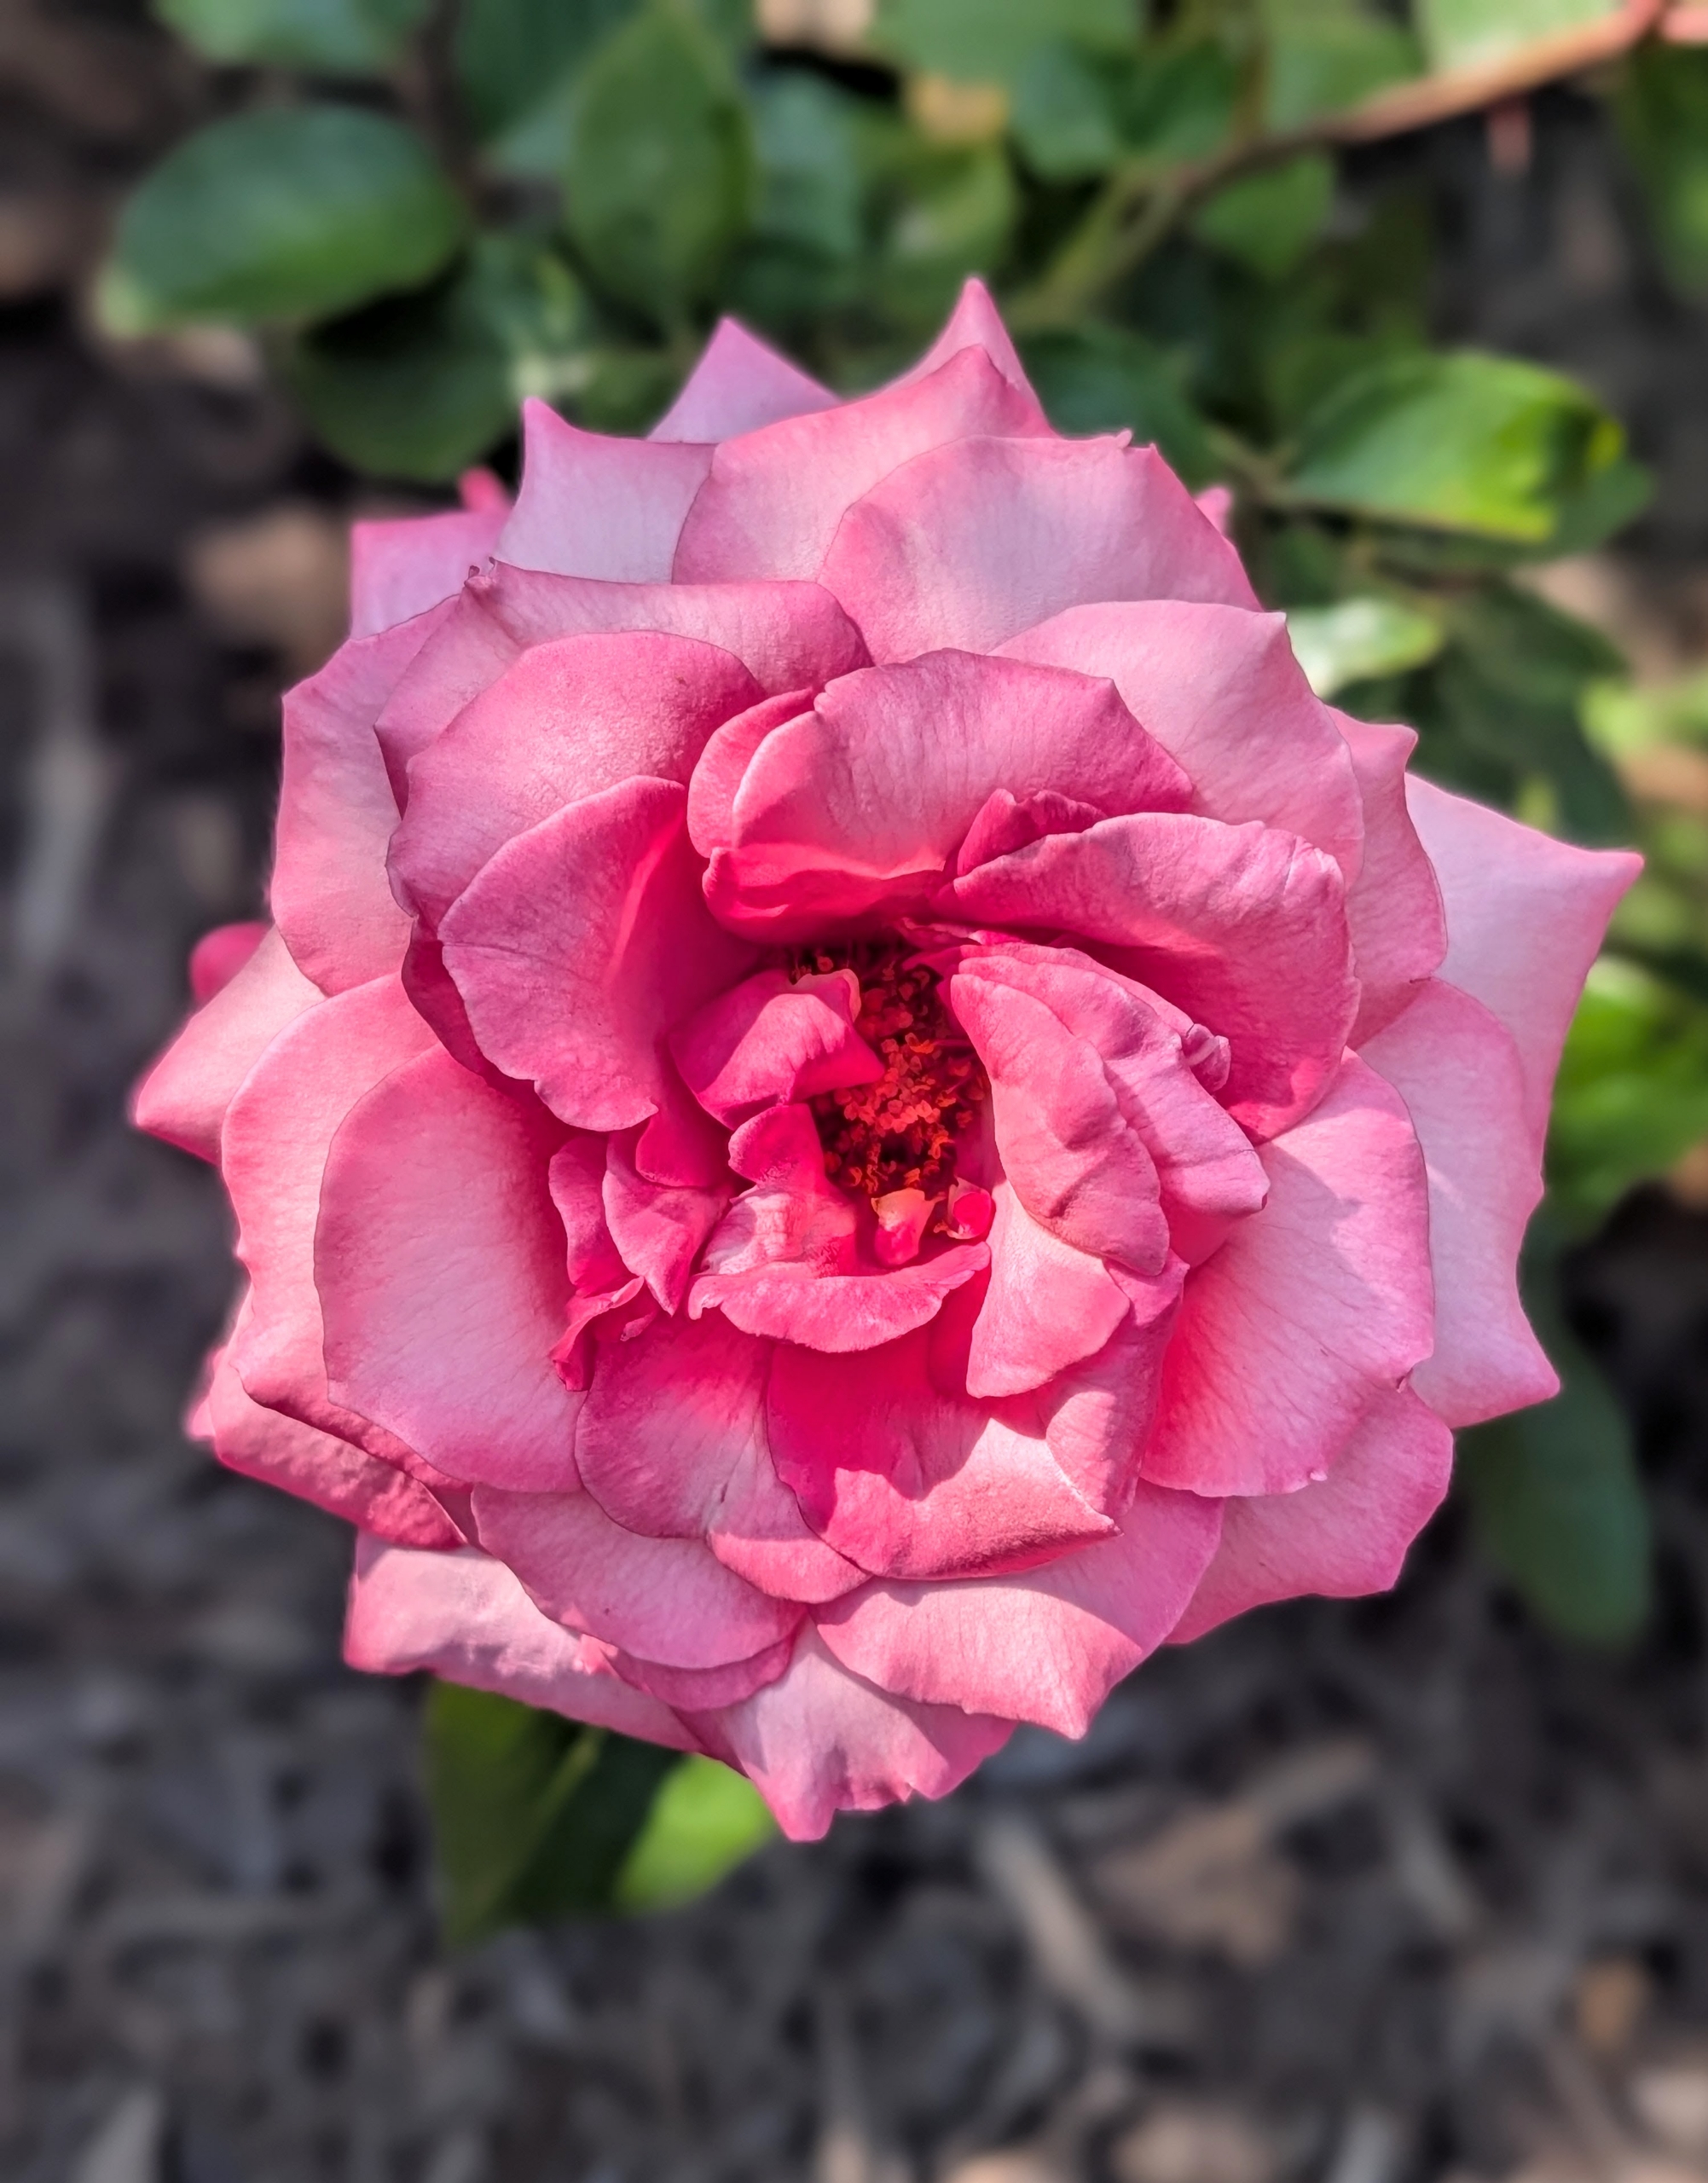
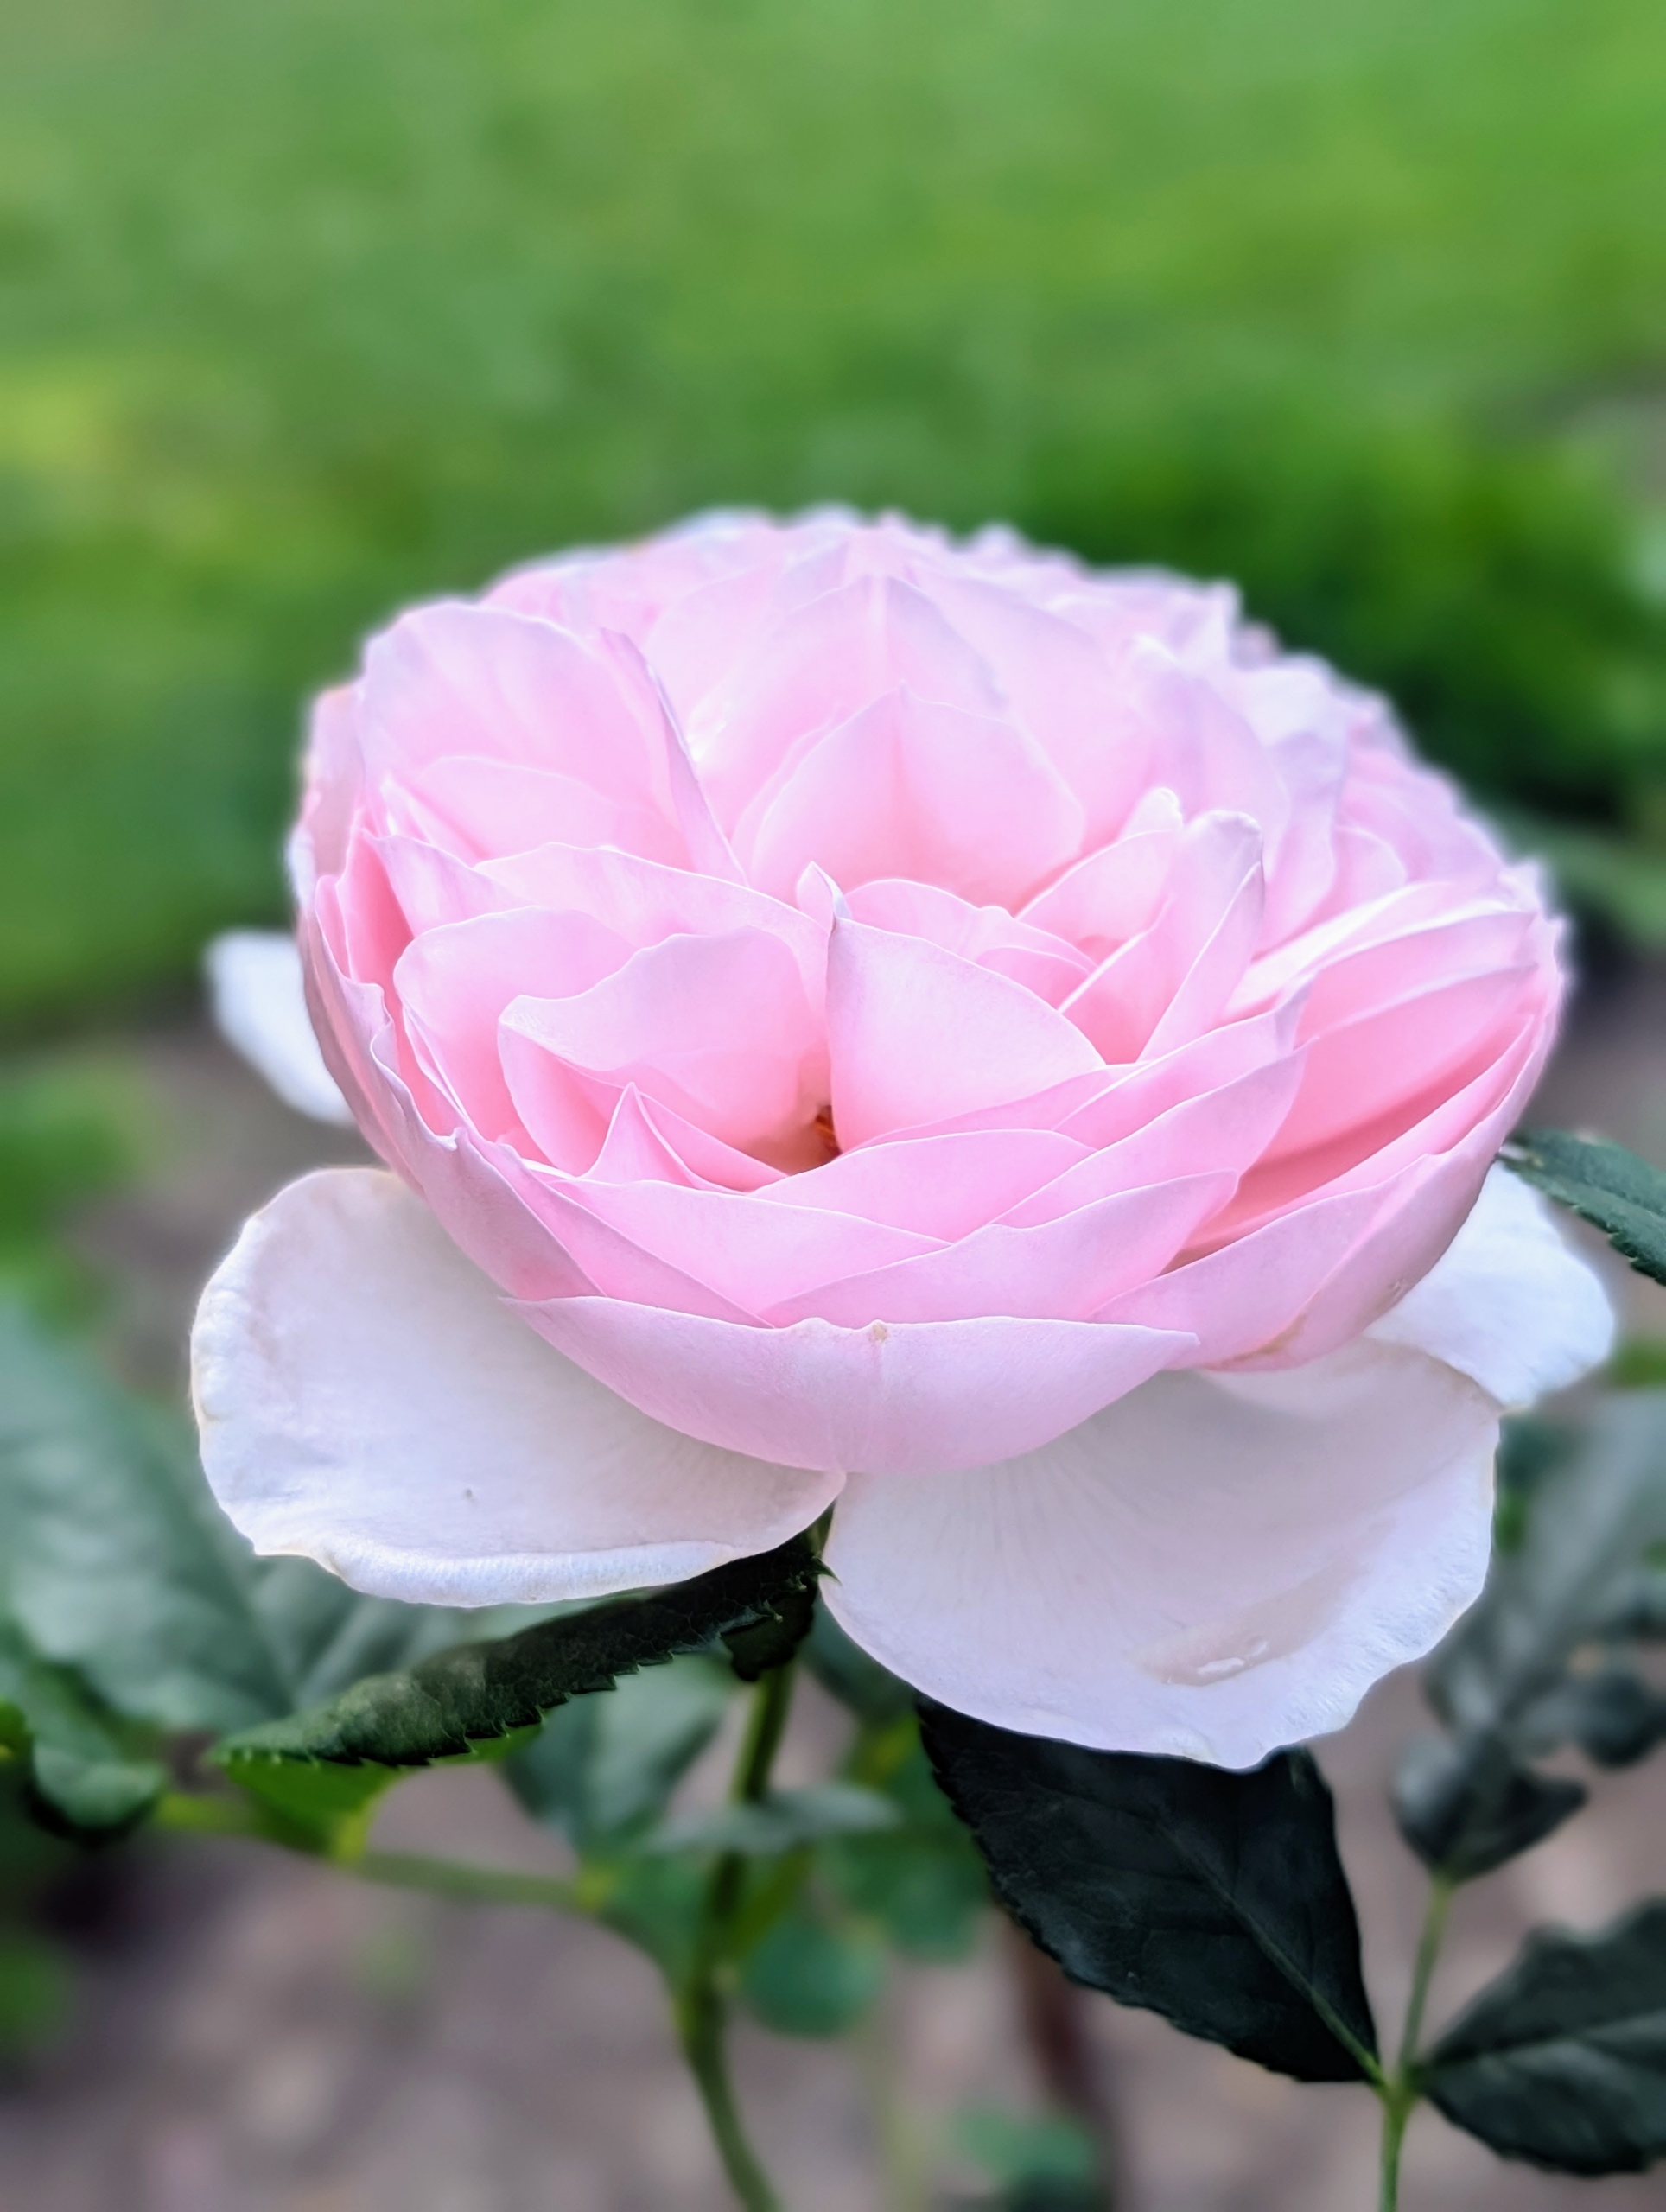
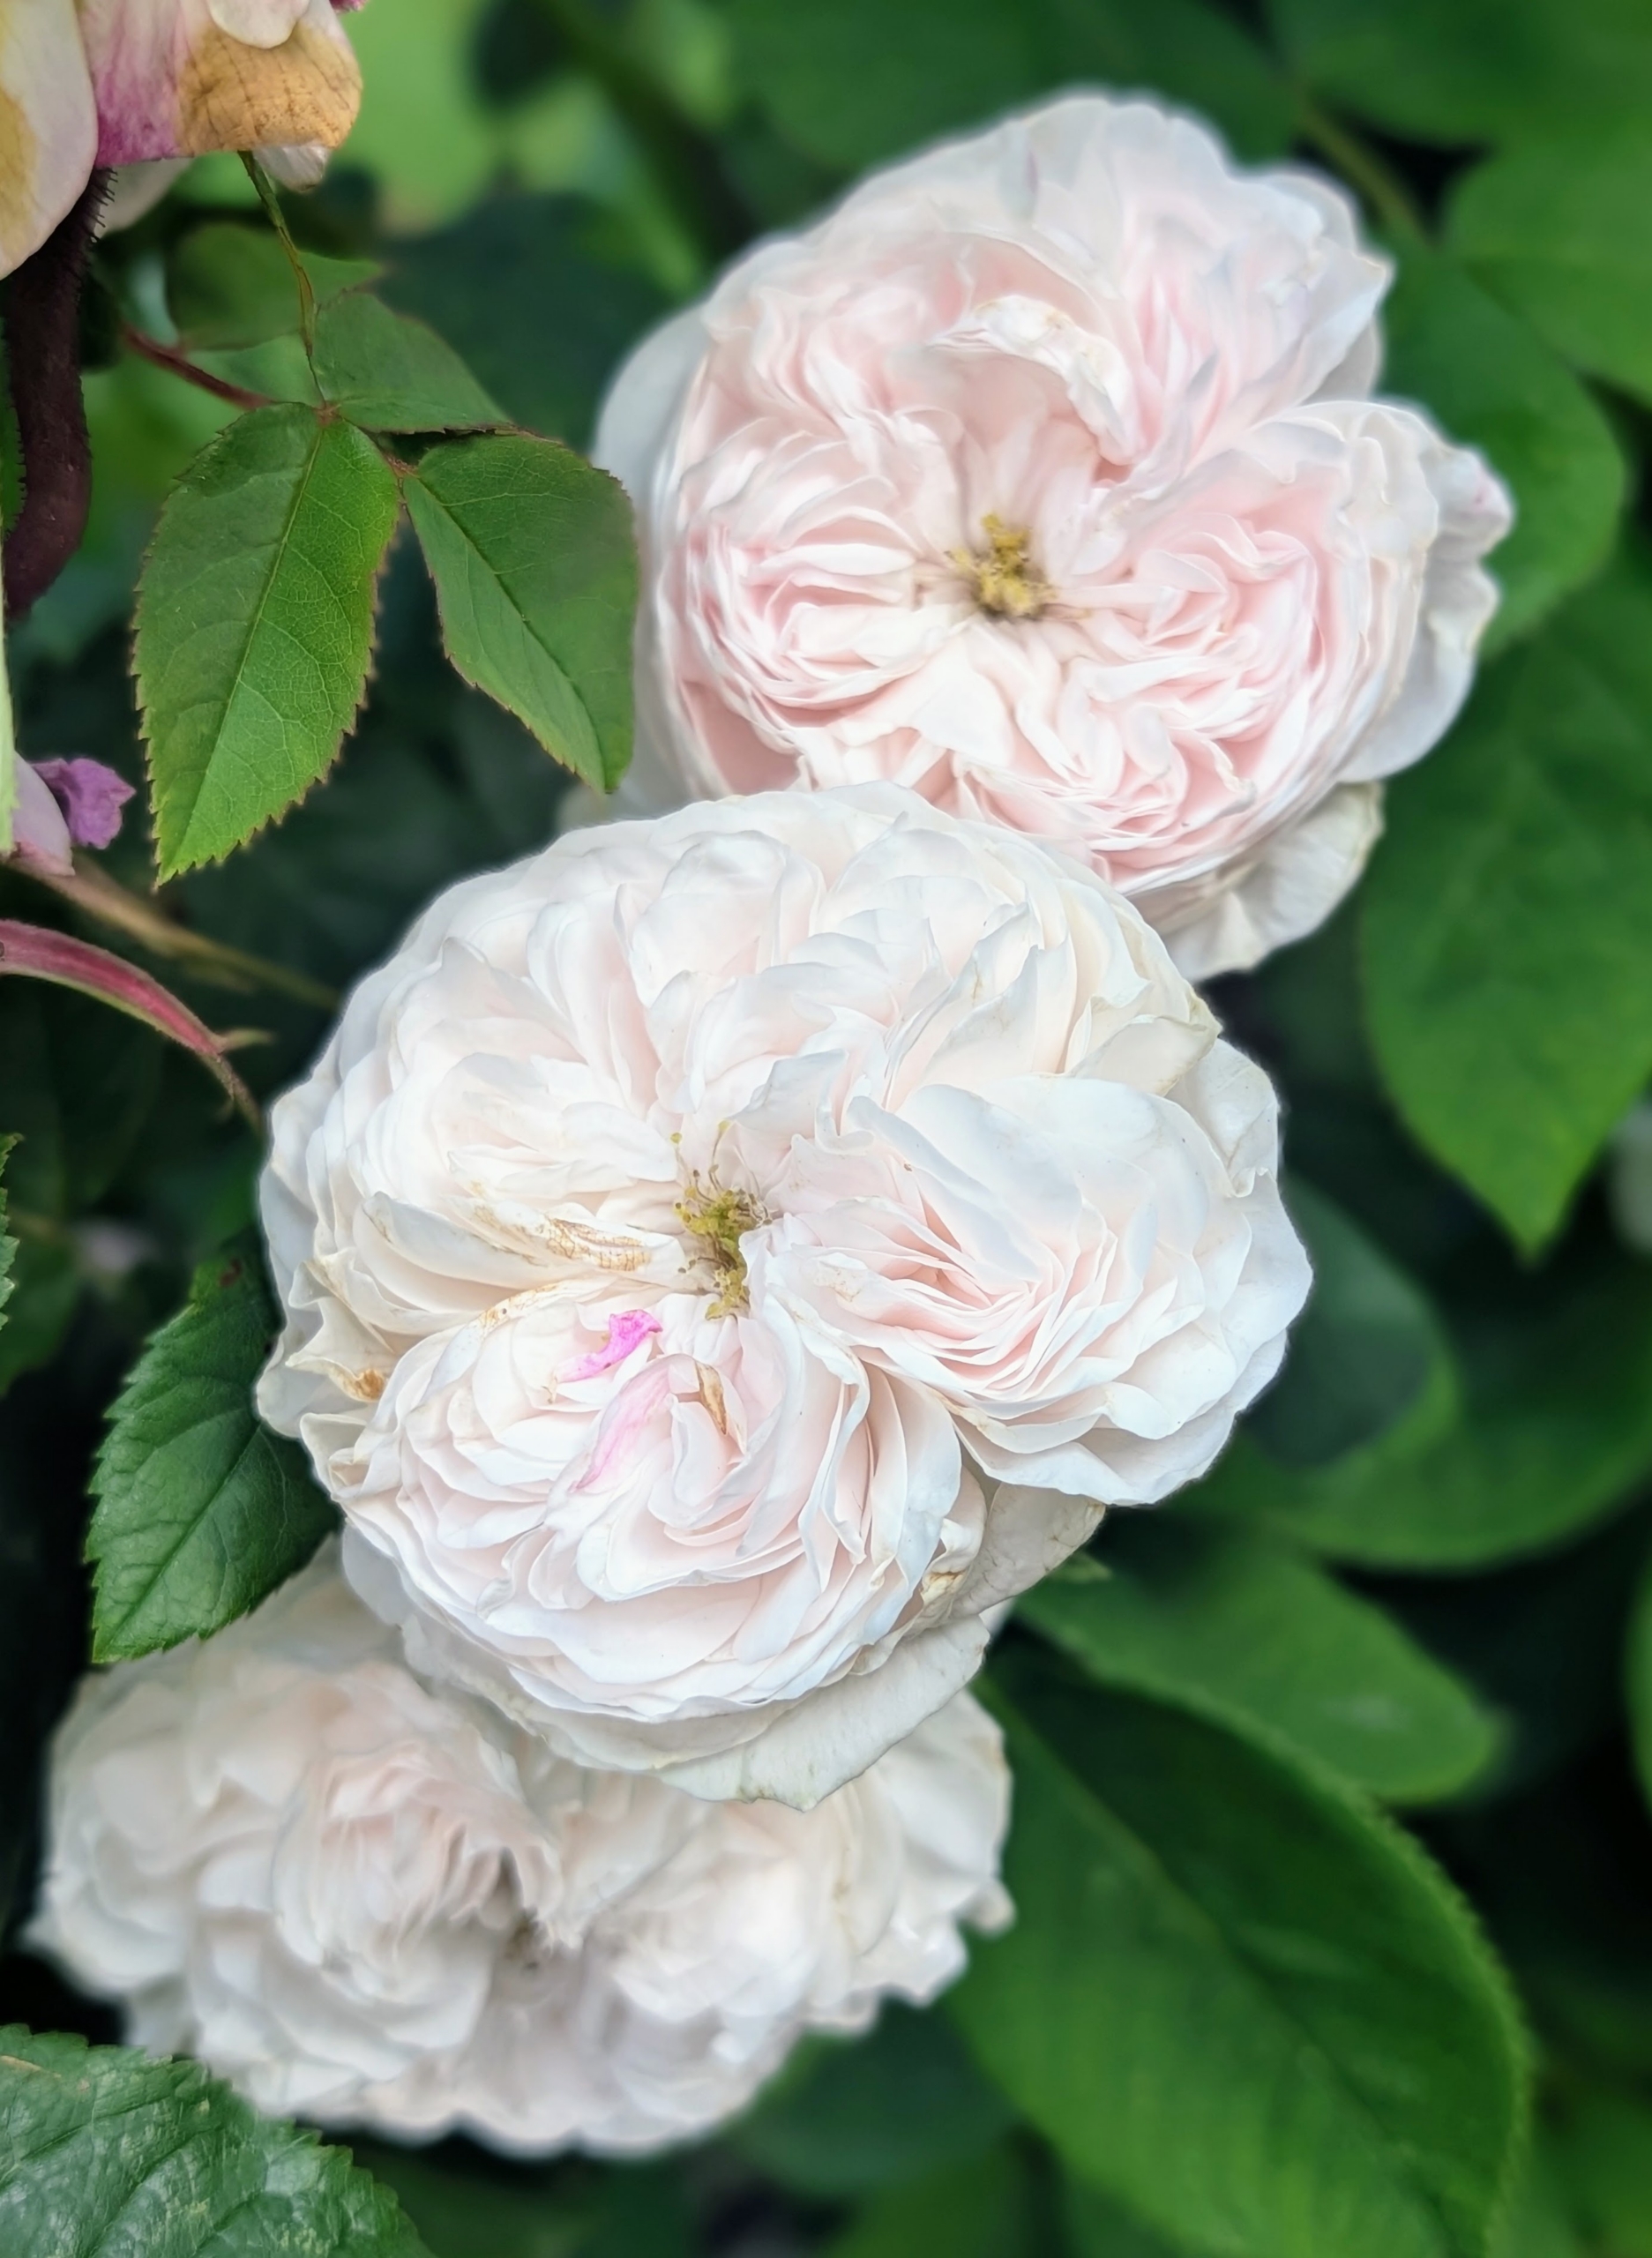
I always knew I wanted many different roses in all sorts of petal formations. Double blooms consist of 16 to 25 overlapping petals in three or more rows.
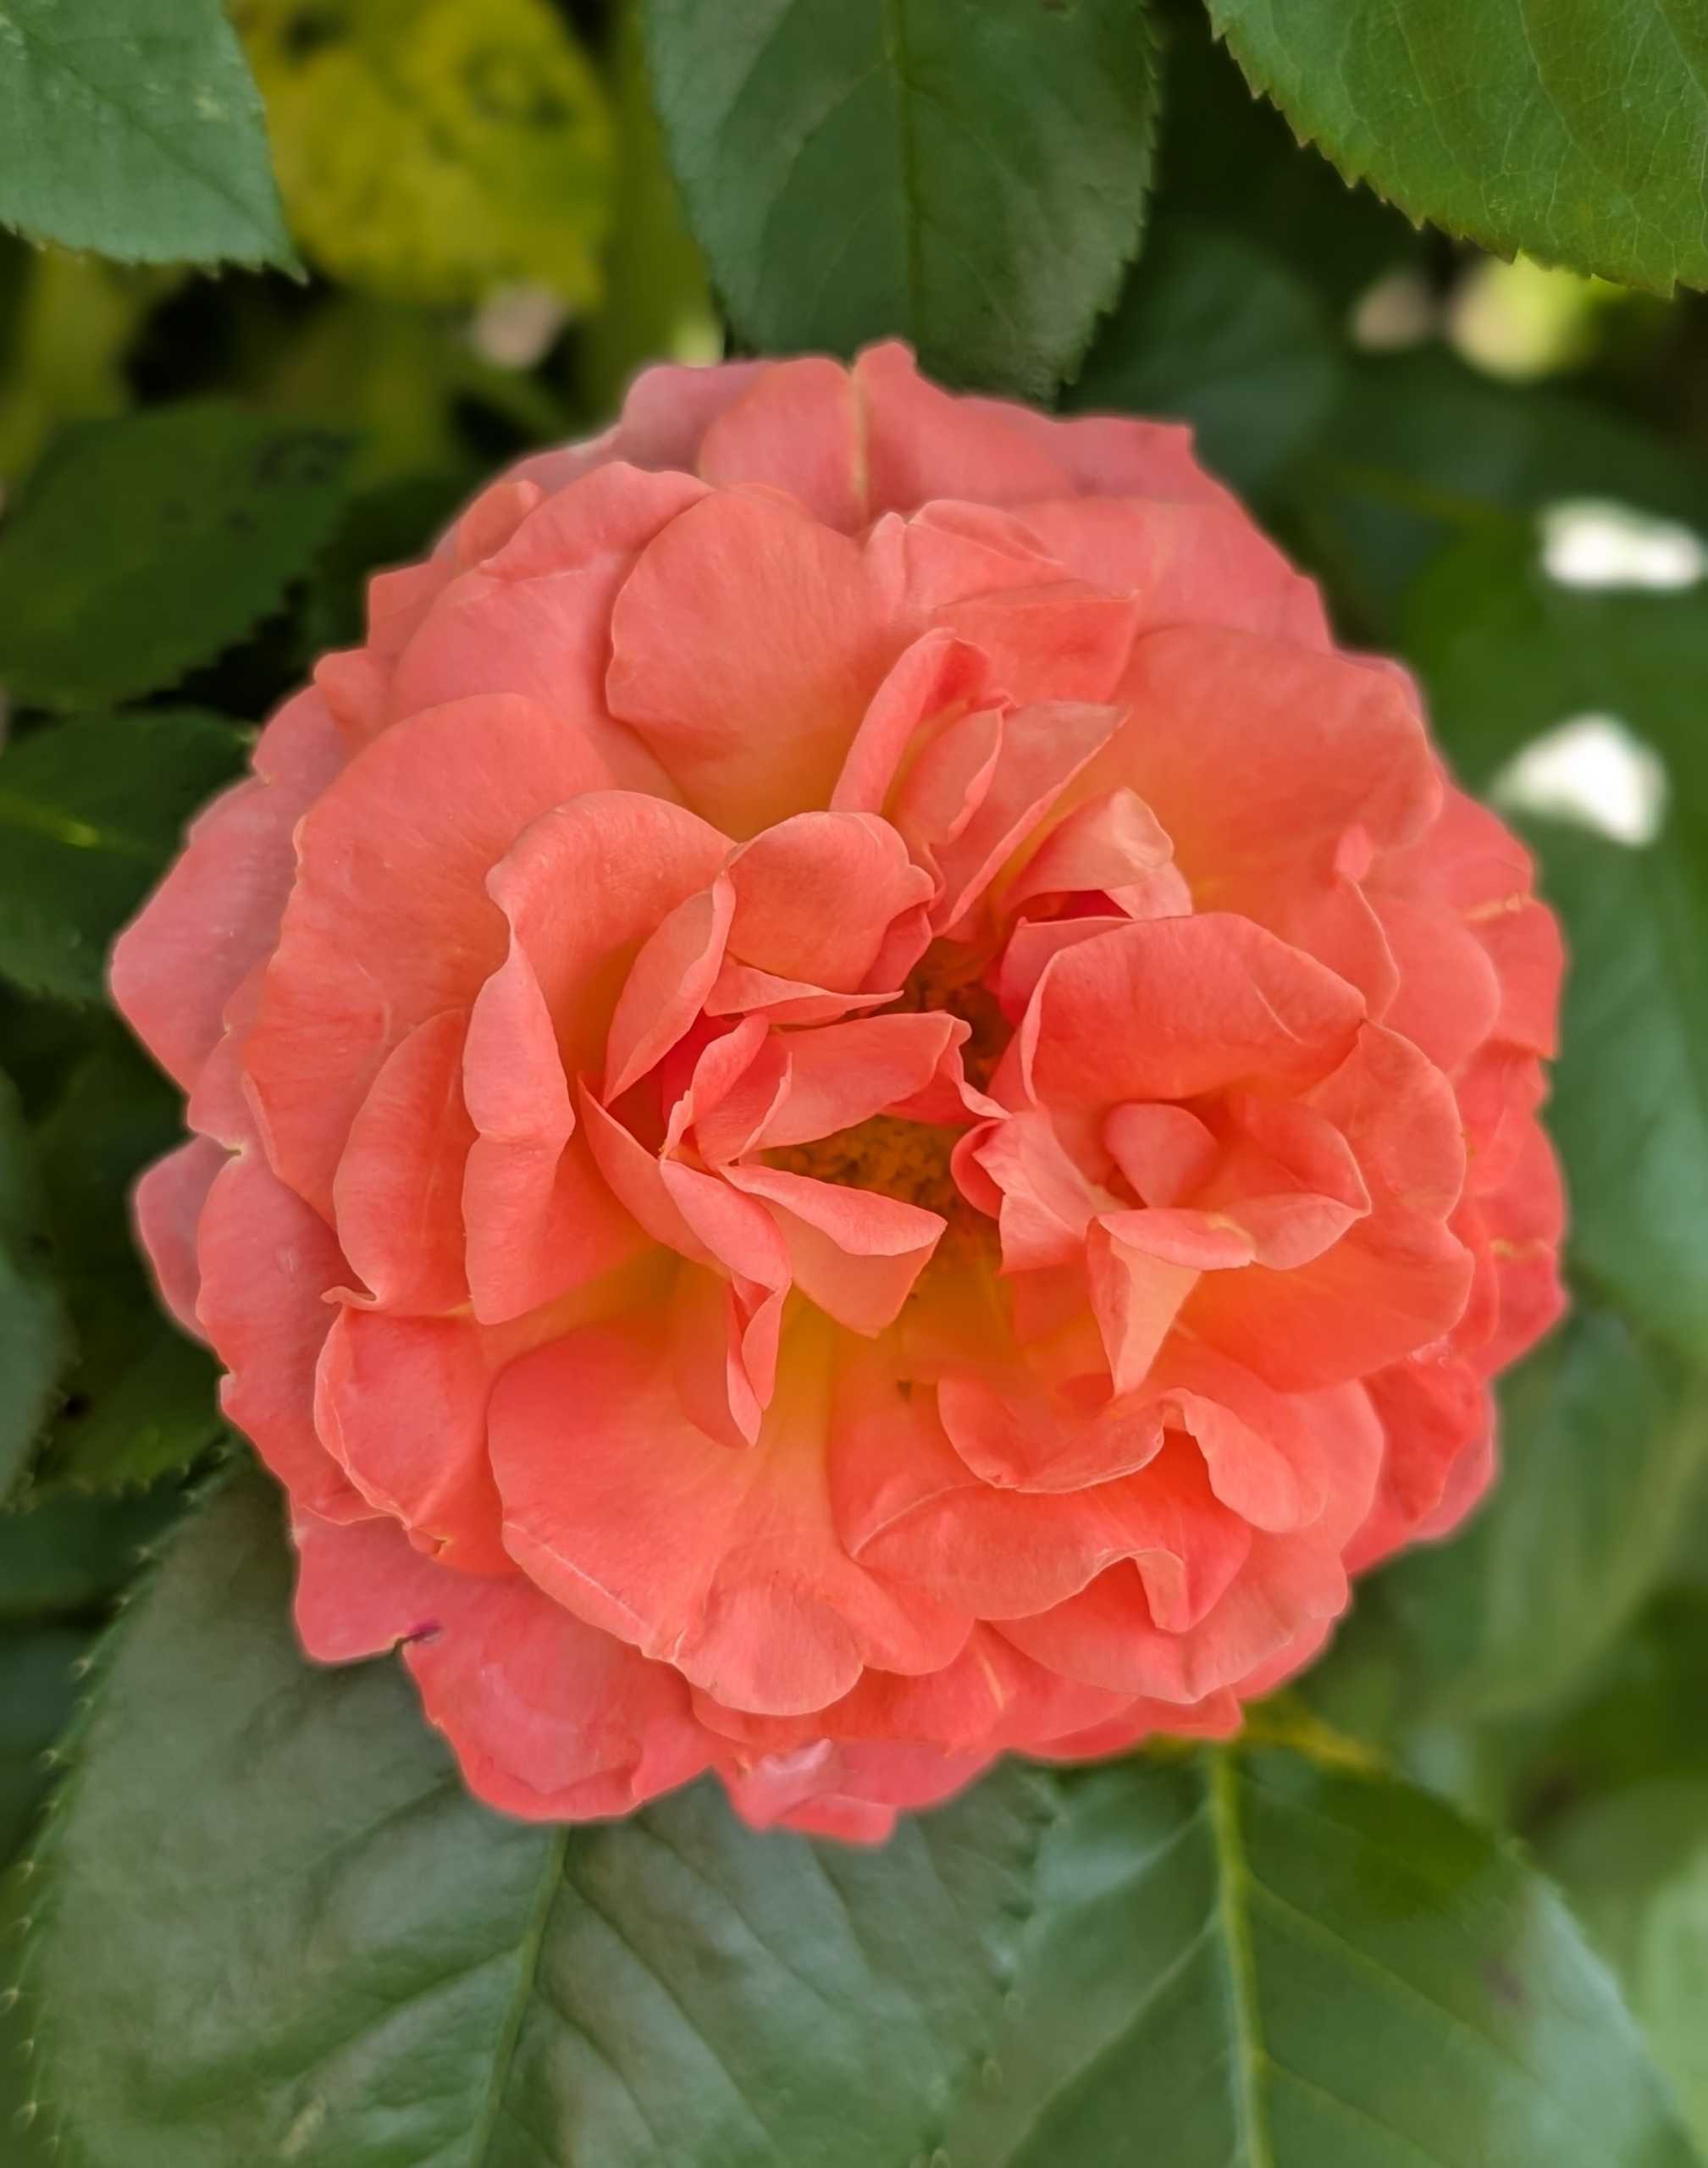
Some blooms are very full – this one in bold orange.
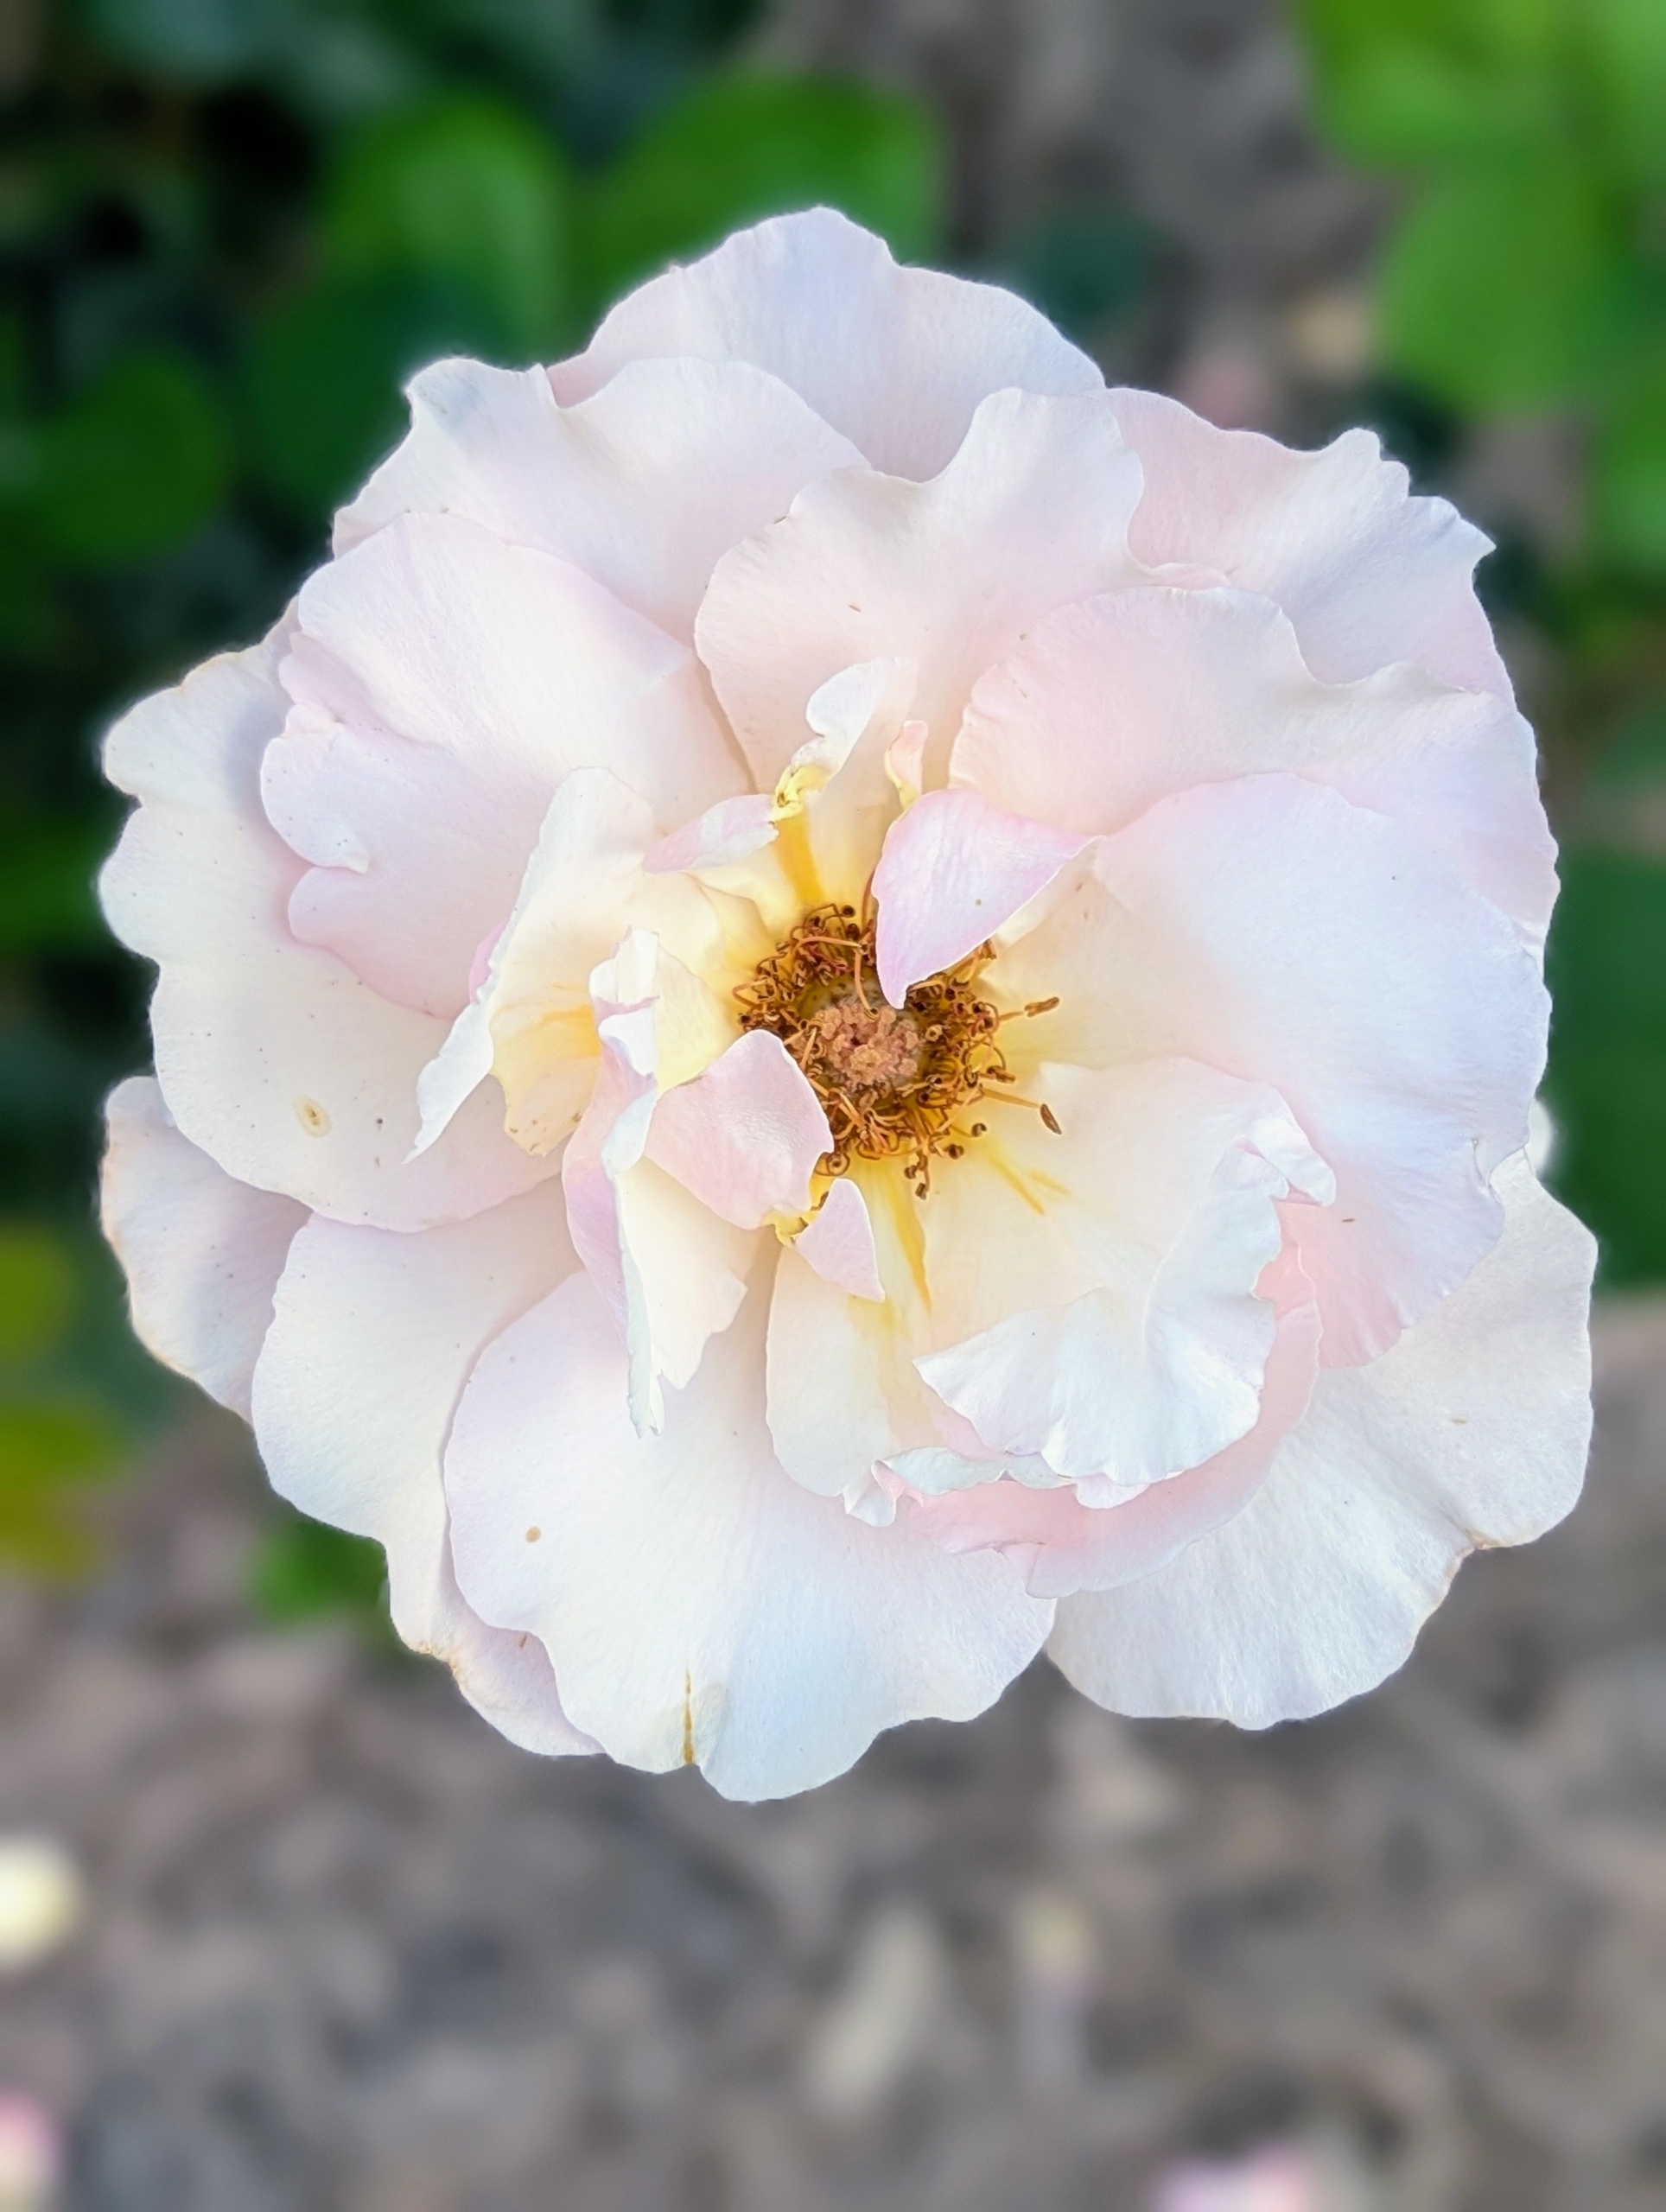
The flat bloom is just as it sounds, with petals generally flaring out.
Roses vary widely in size, from tiny miniature blooms of one inch to giant exhibition flowers more than inches across.
Roses come in many different colors, such as pink, peach, white, red, magenta, yellow, copper, vermilion, purple, and apricot.
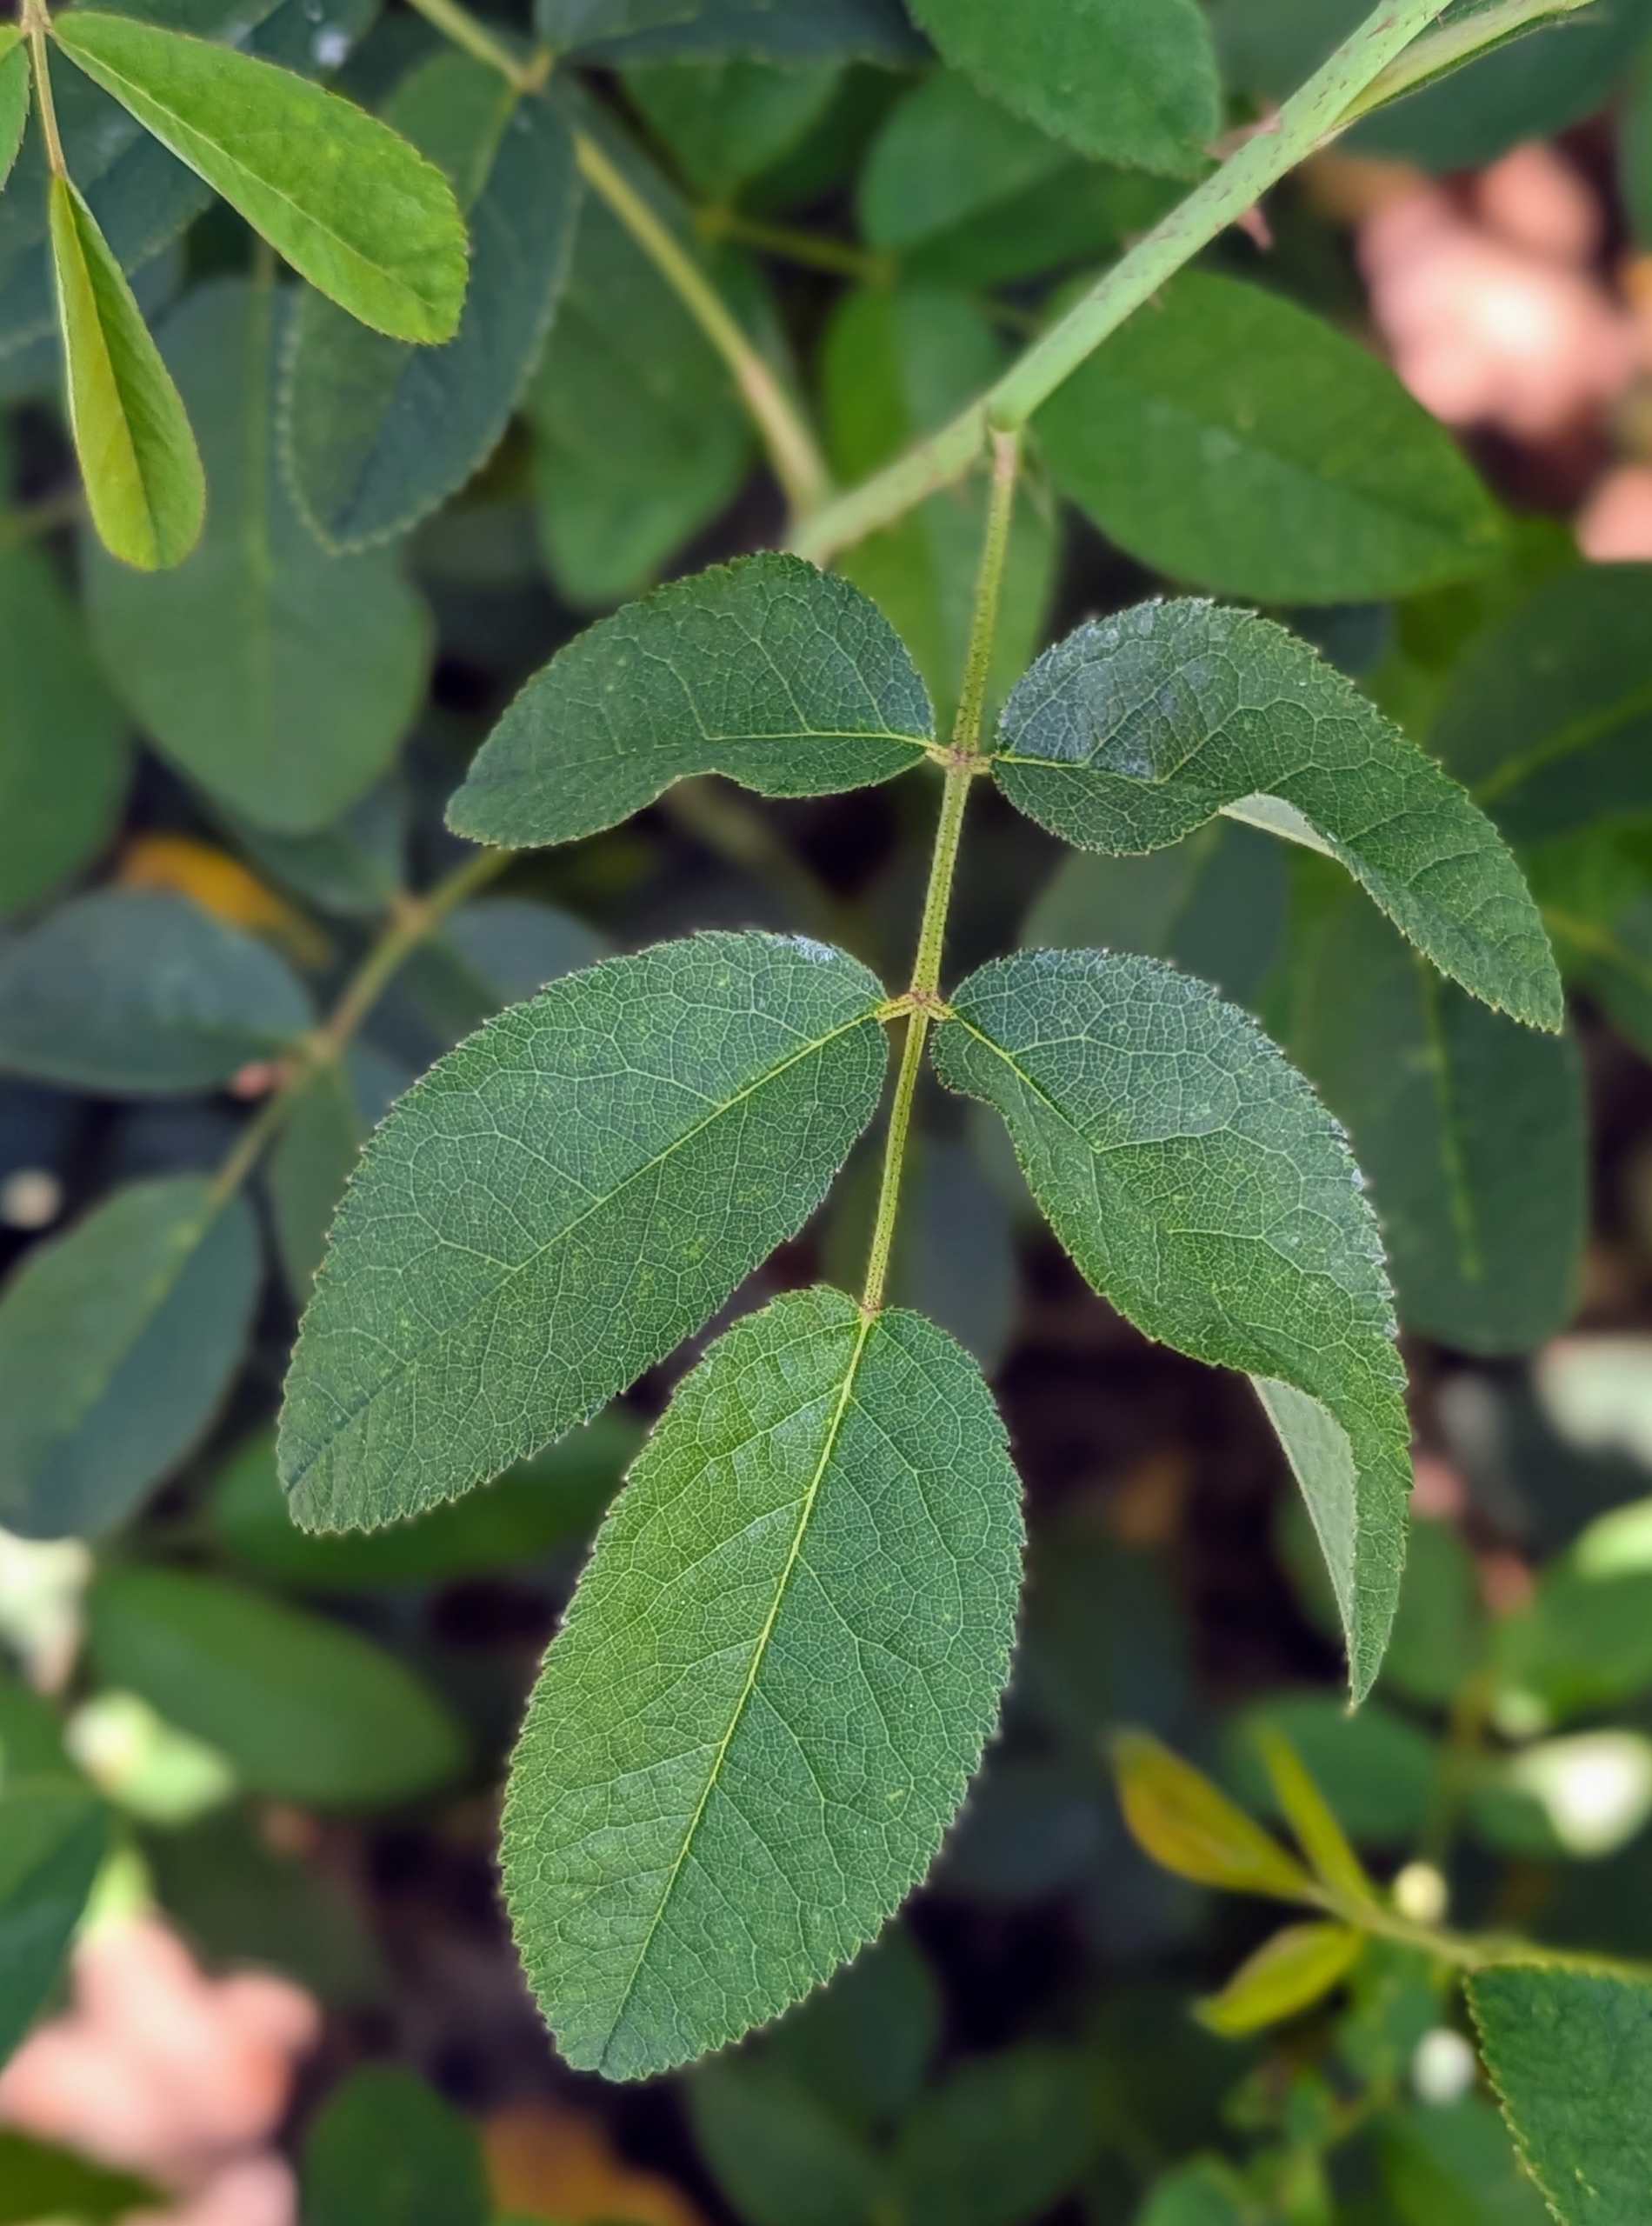
Rose leaves are borne alternately on the stem. In most species, they are about two to five inches long, pinnate, with at least three leaflets and basal stipules. The leaflets also usually have a serrated margin.
And remember, rose stems are often armed with sharp prickles, not thorns. A prickle can be easily broken off the plant because it is really a feature of the outer layers rather than part of the wood, like a thorn.
Rose plants range in size from compact, miniature roses to climbers that can reach several feet in height.
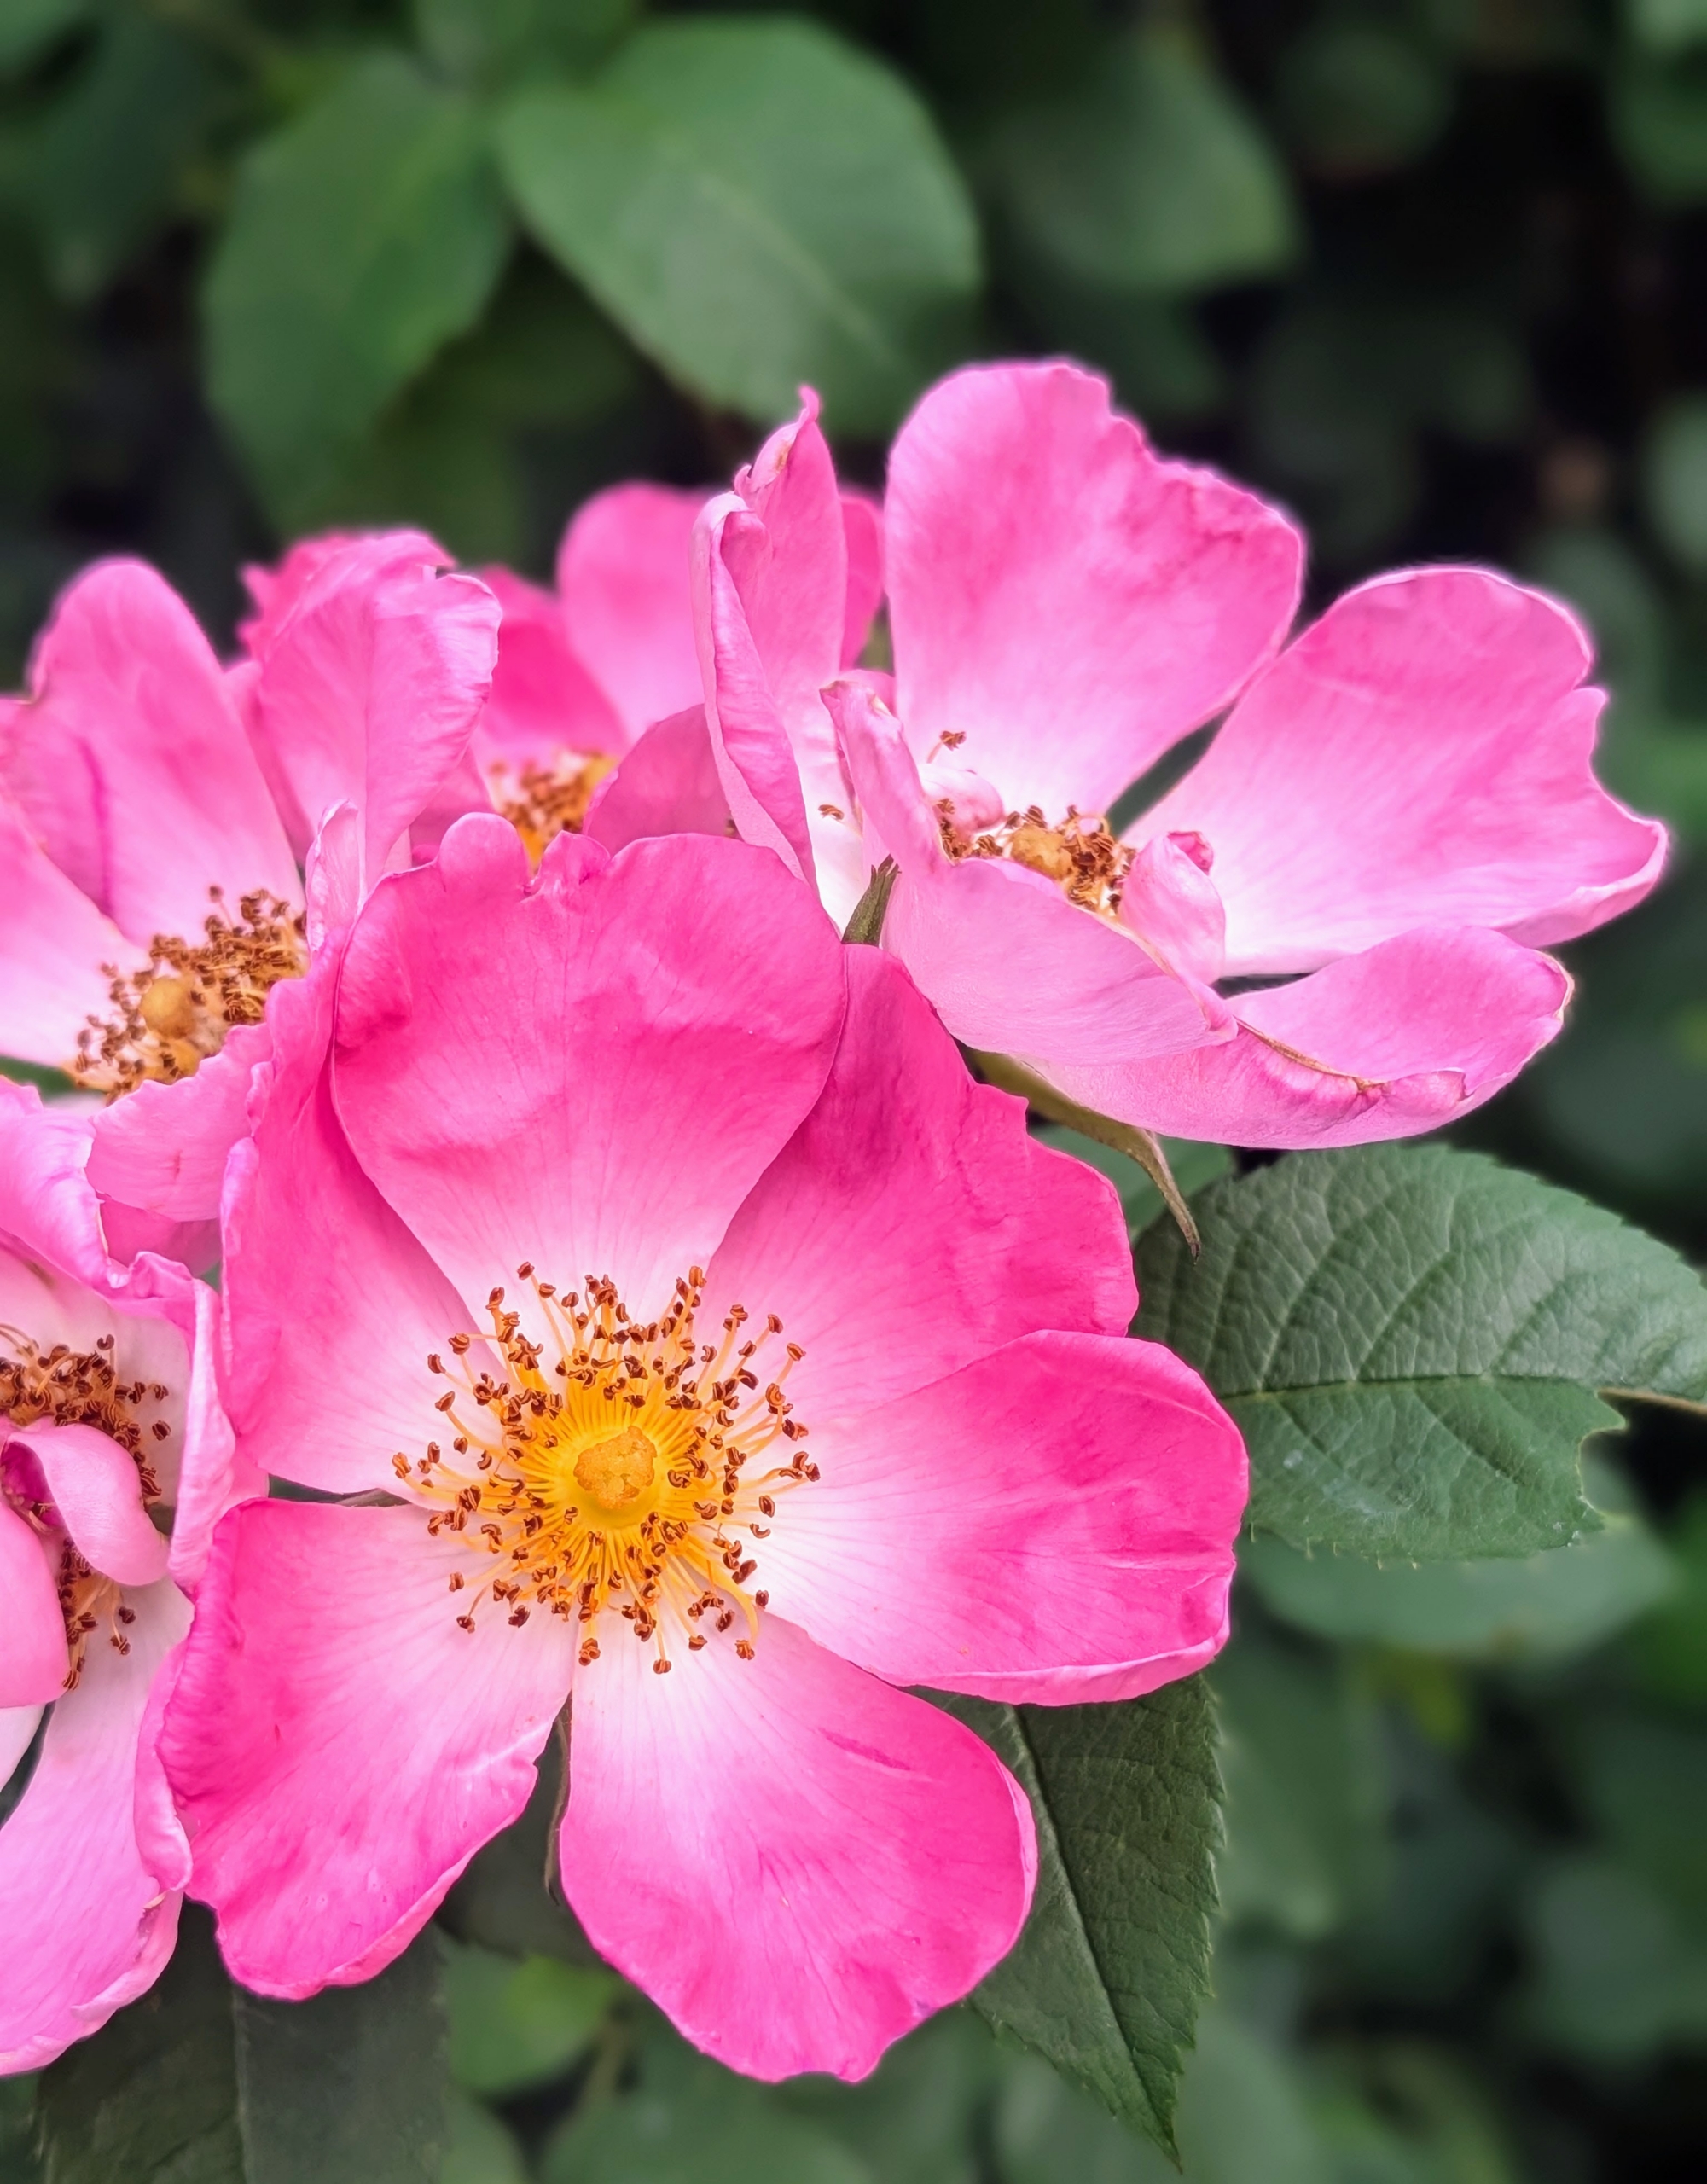
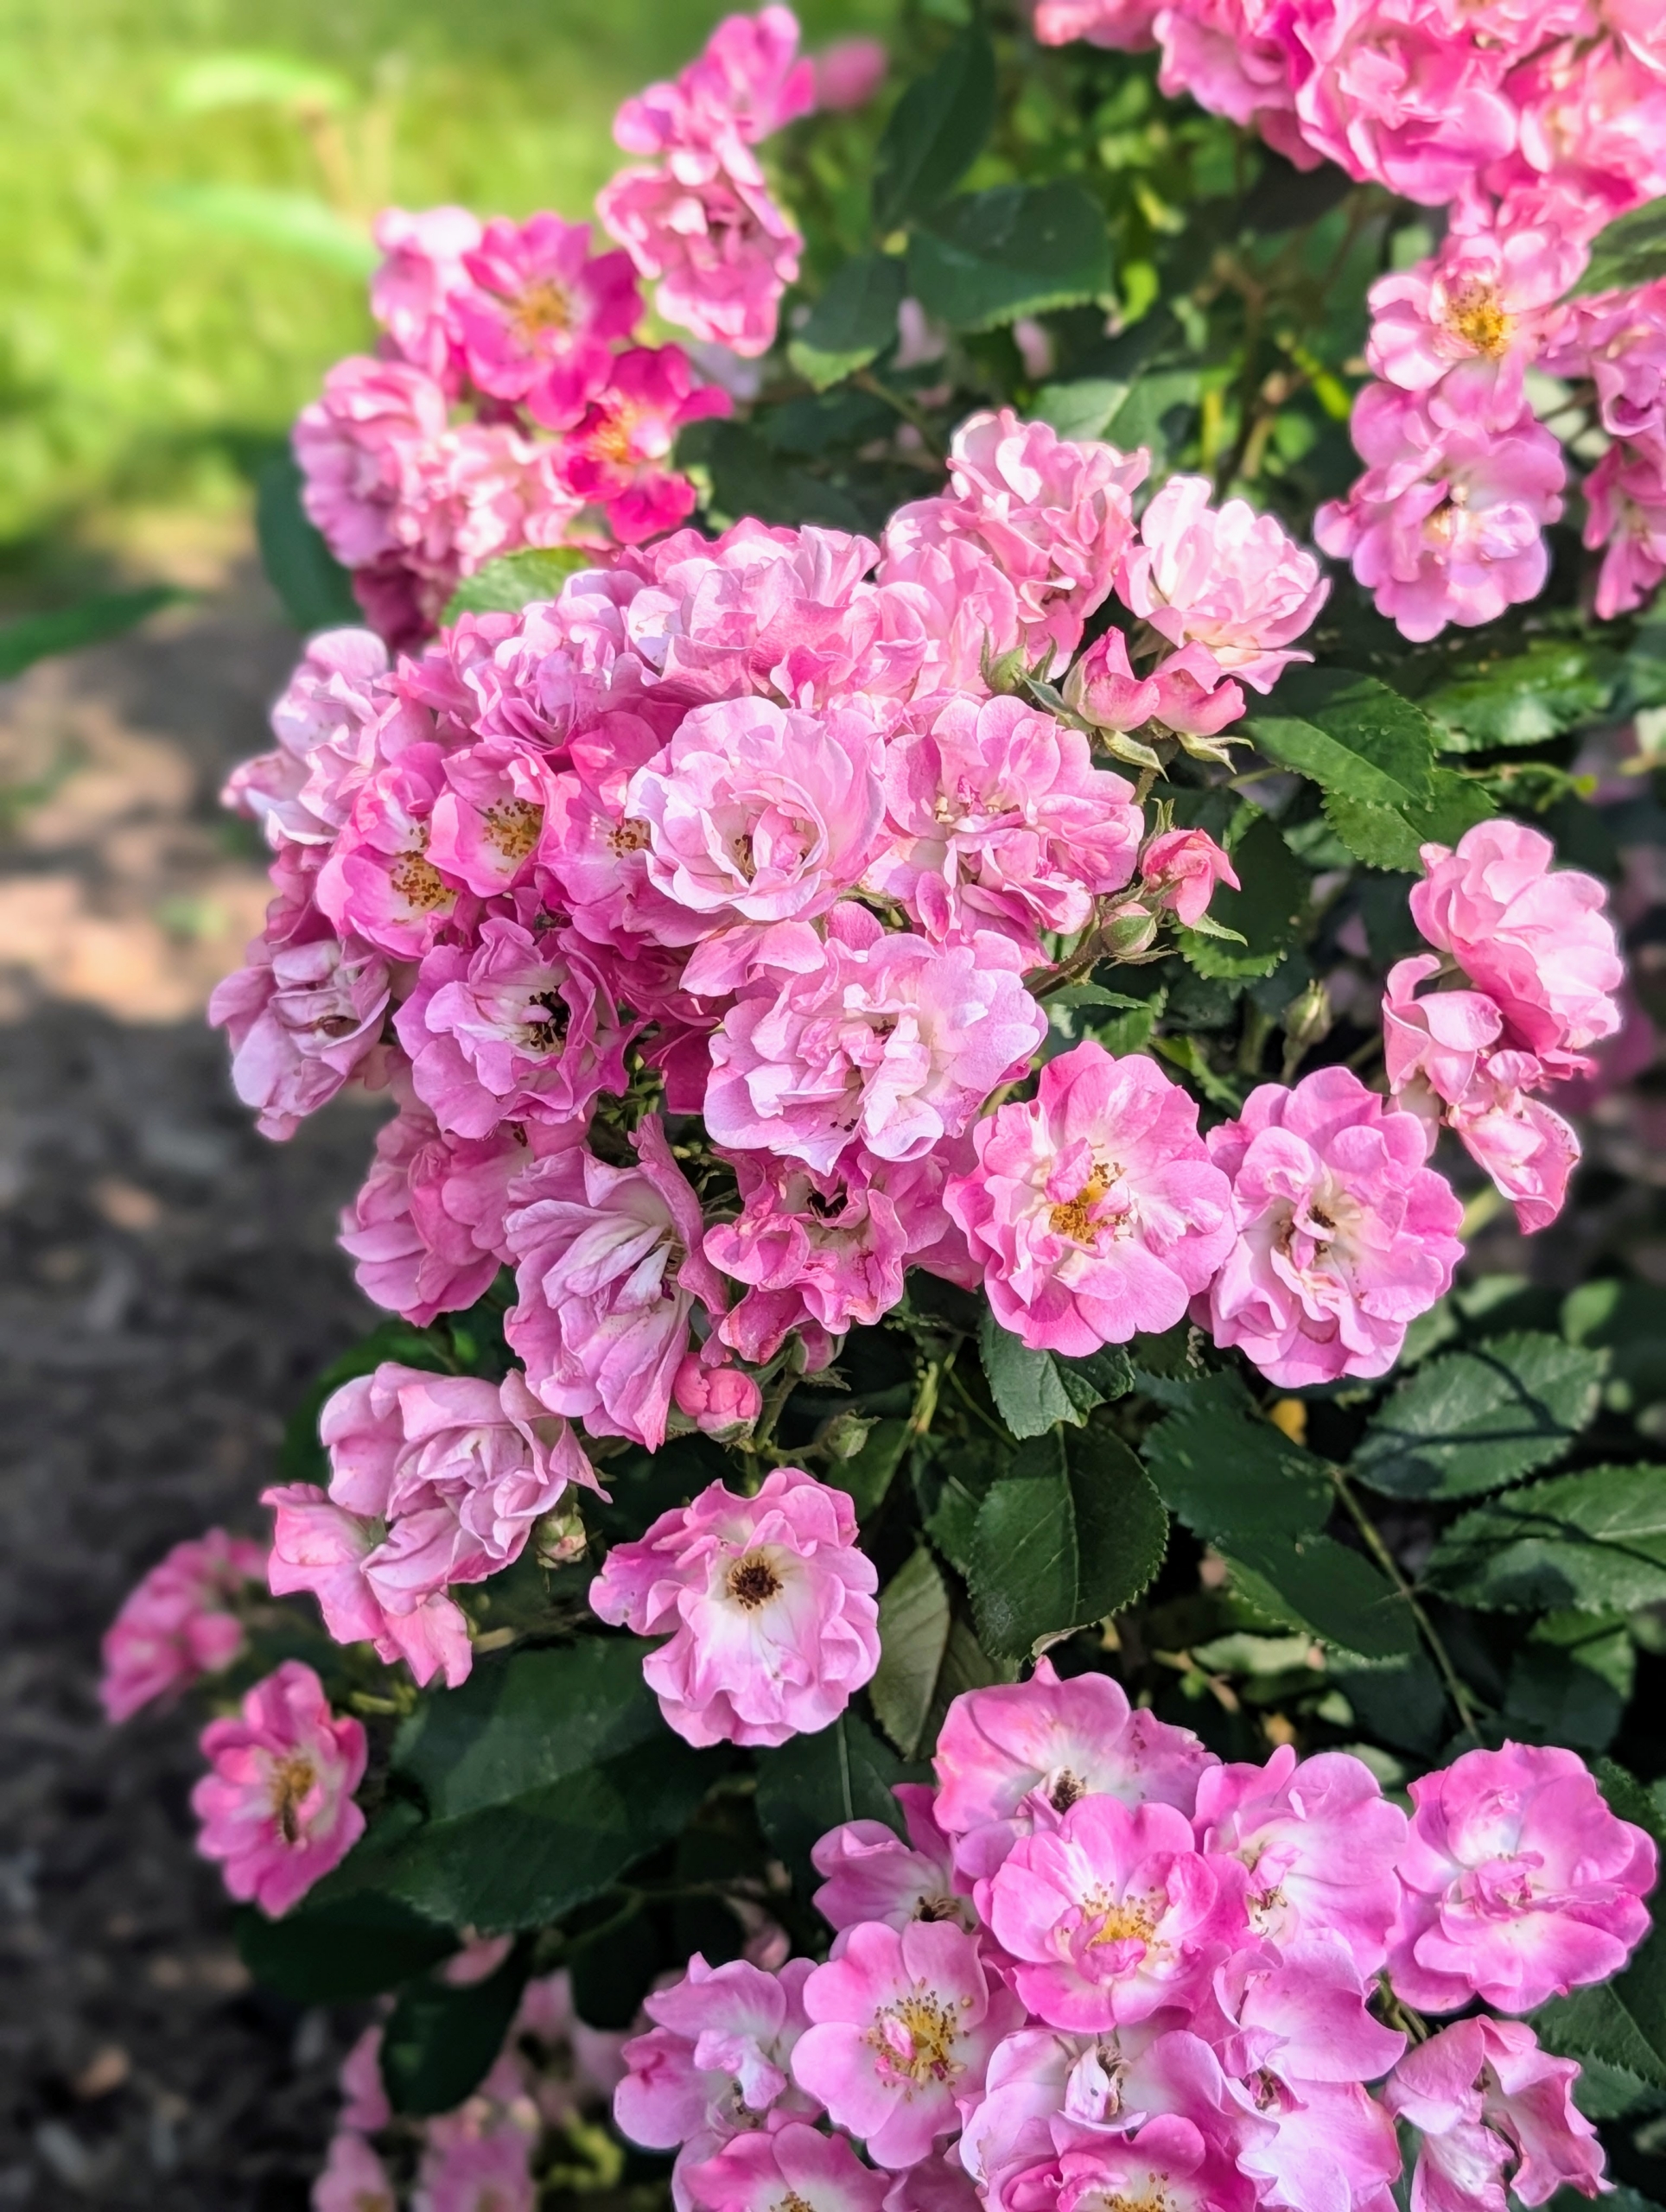
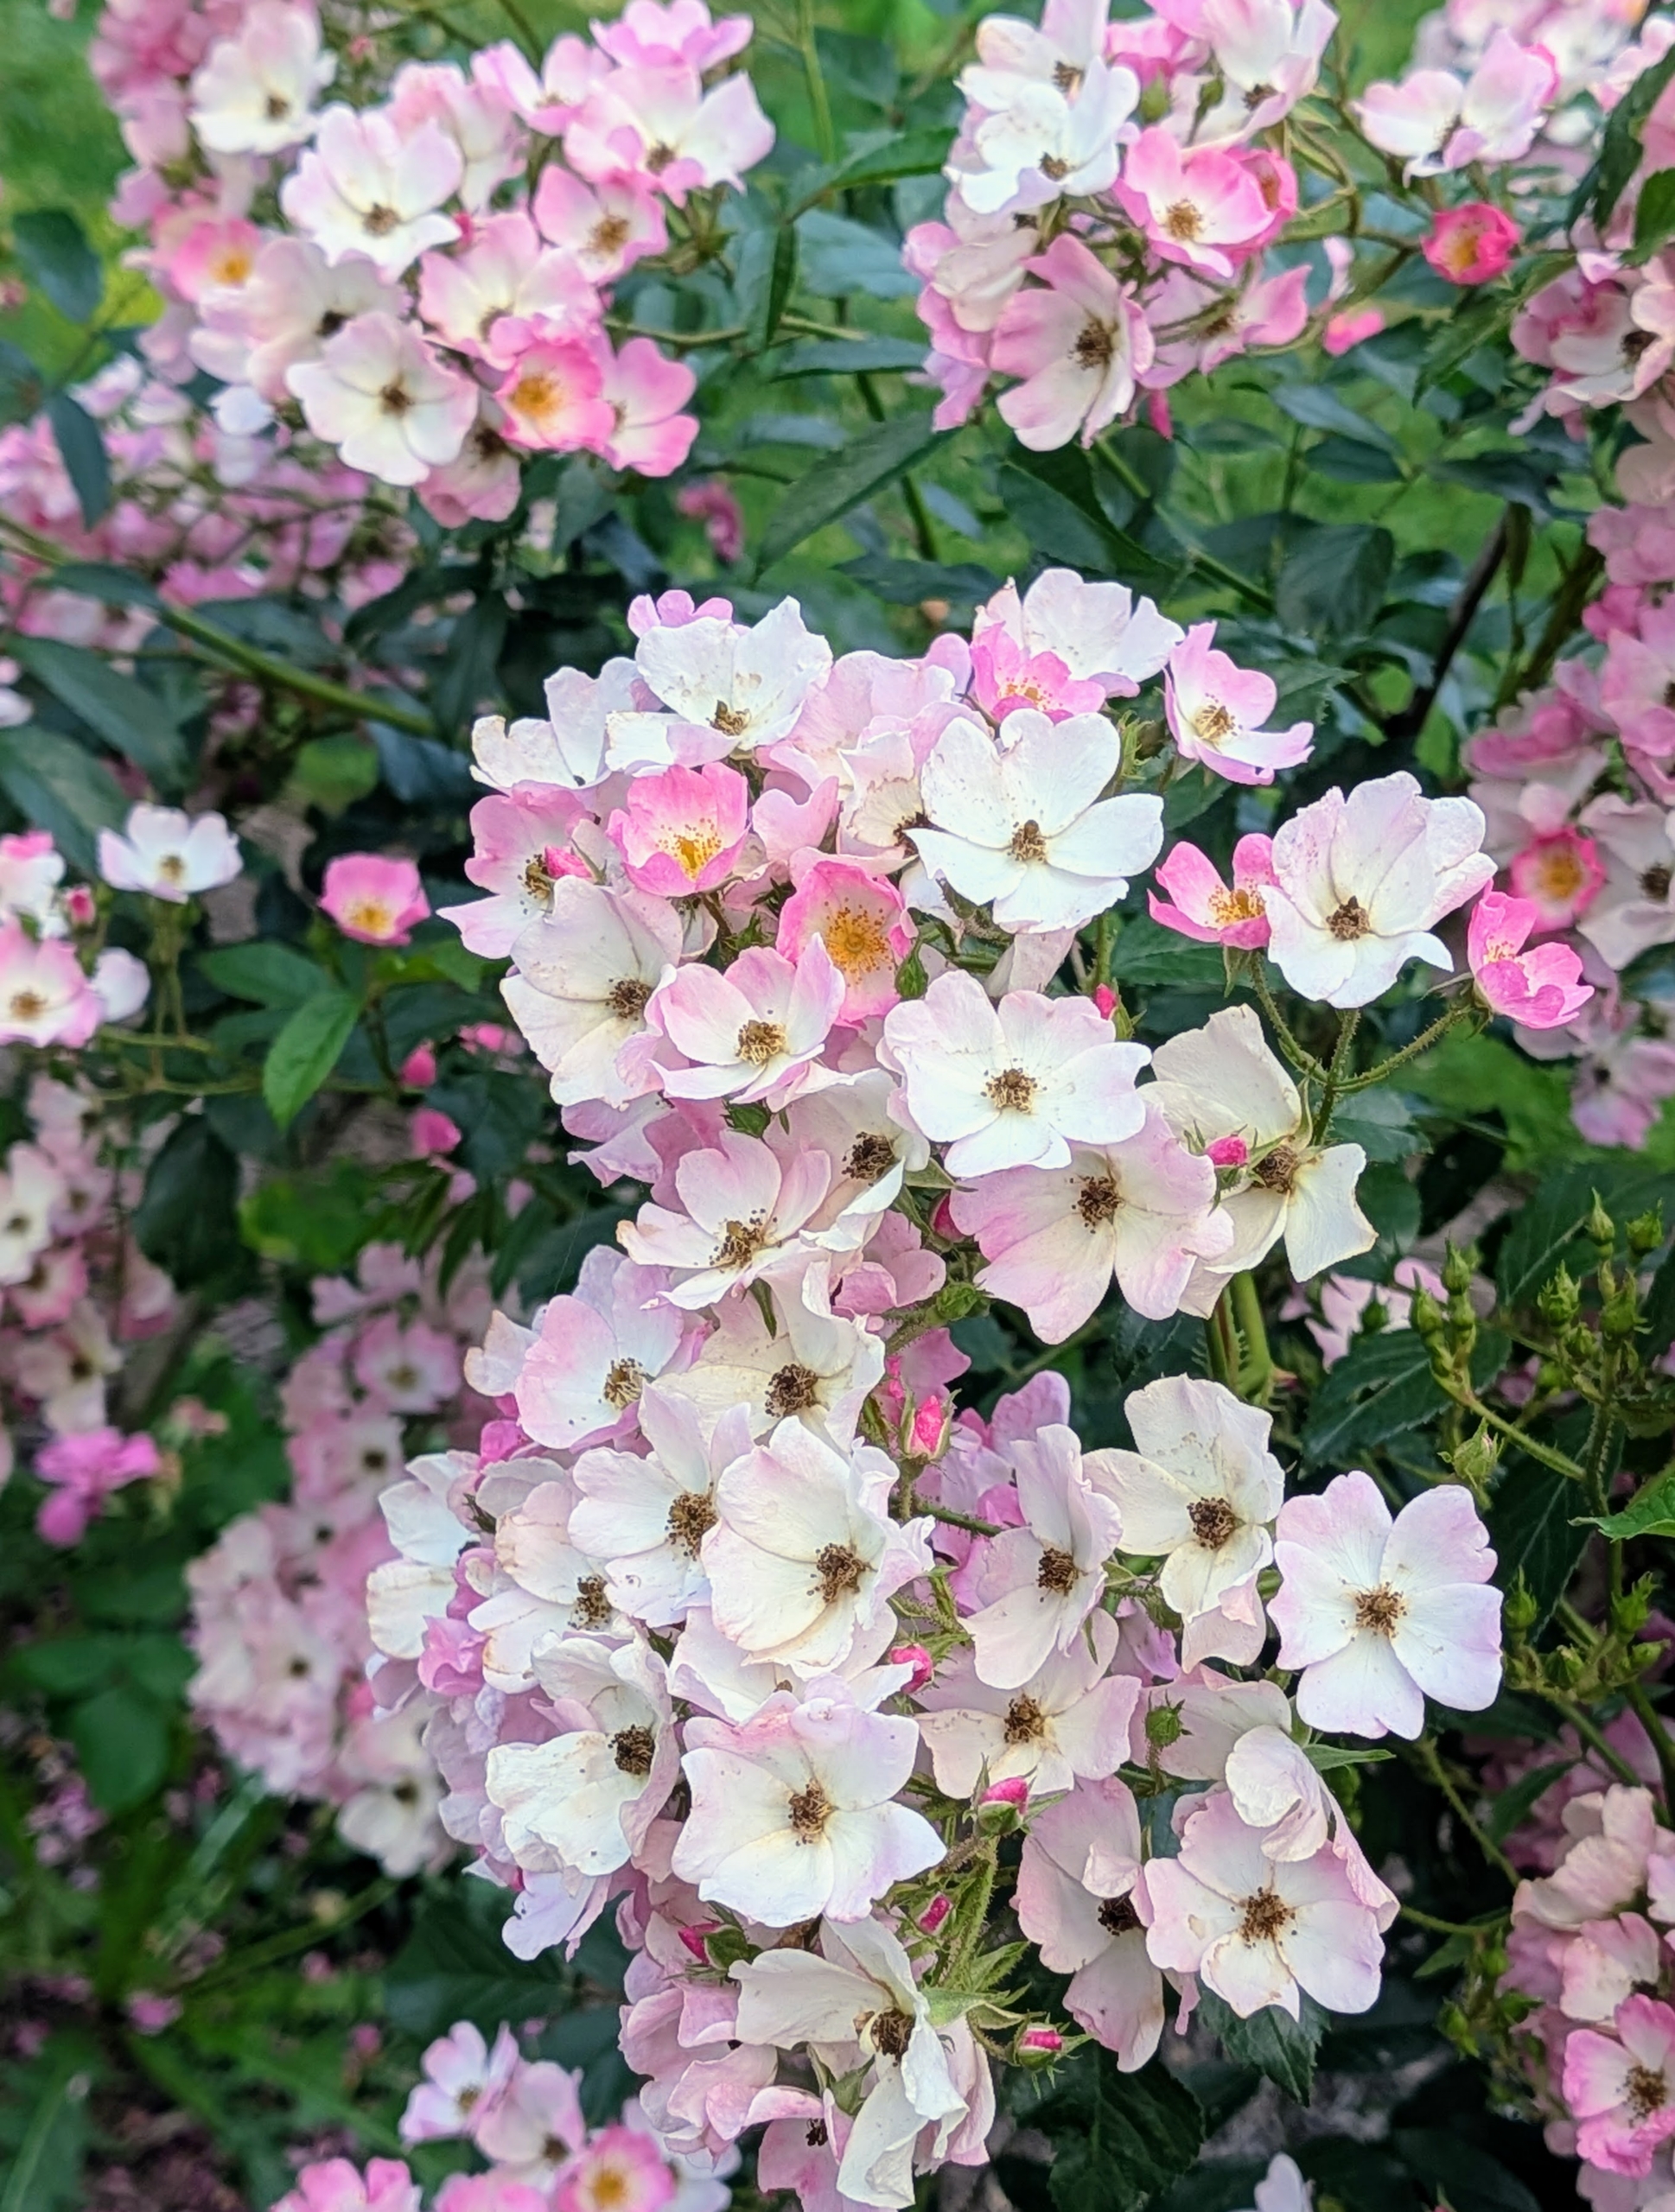
Small, white and pink clusters grow on this Multiflora rose.
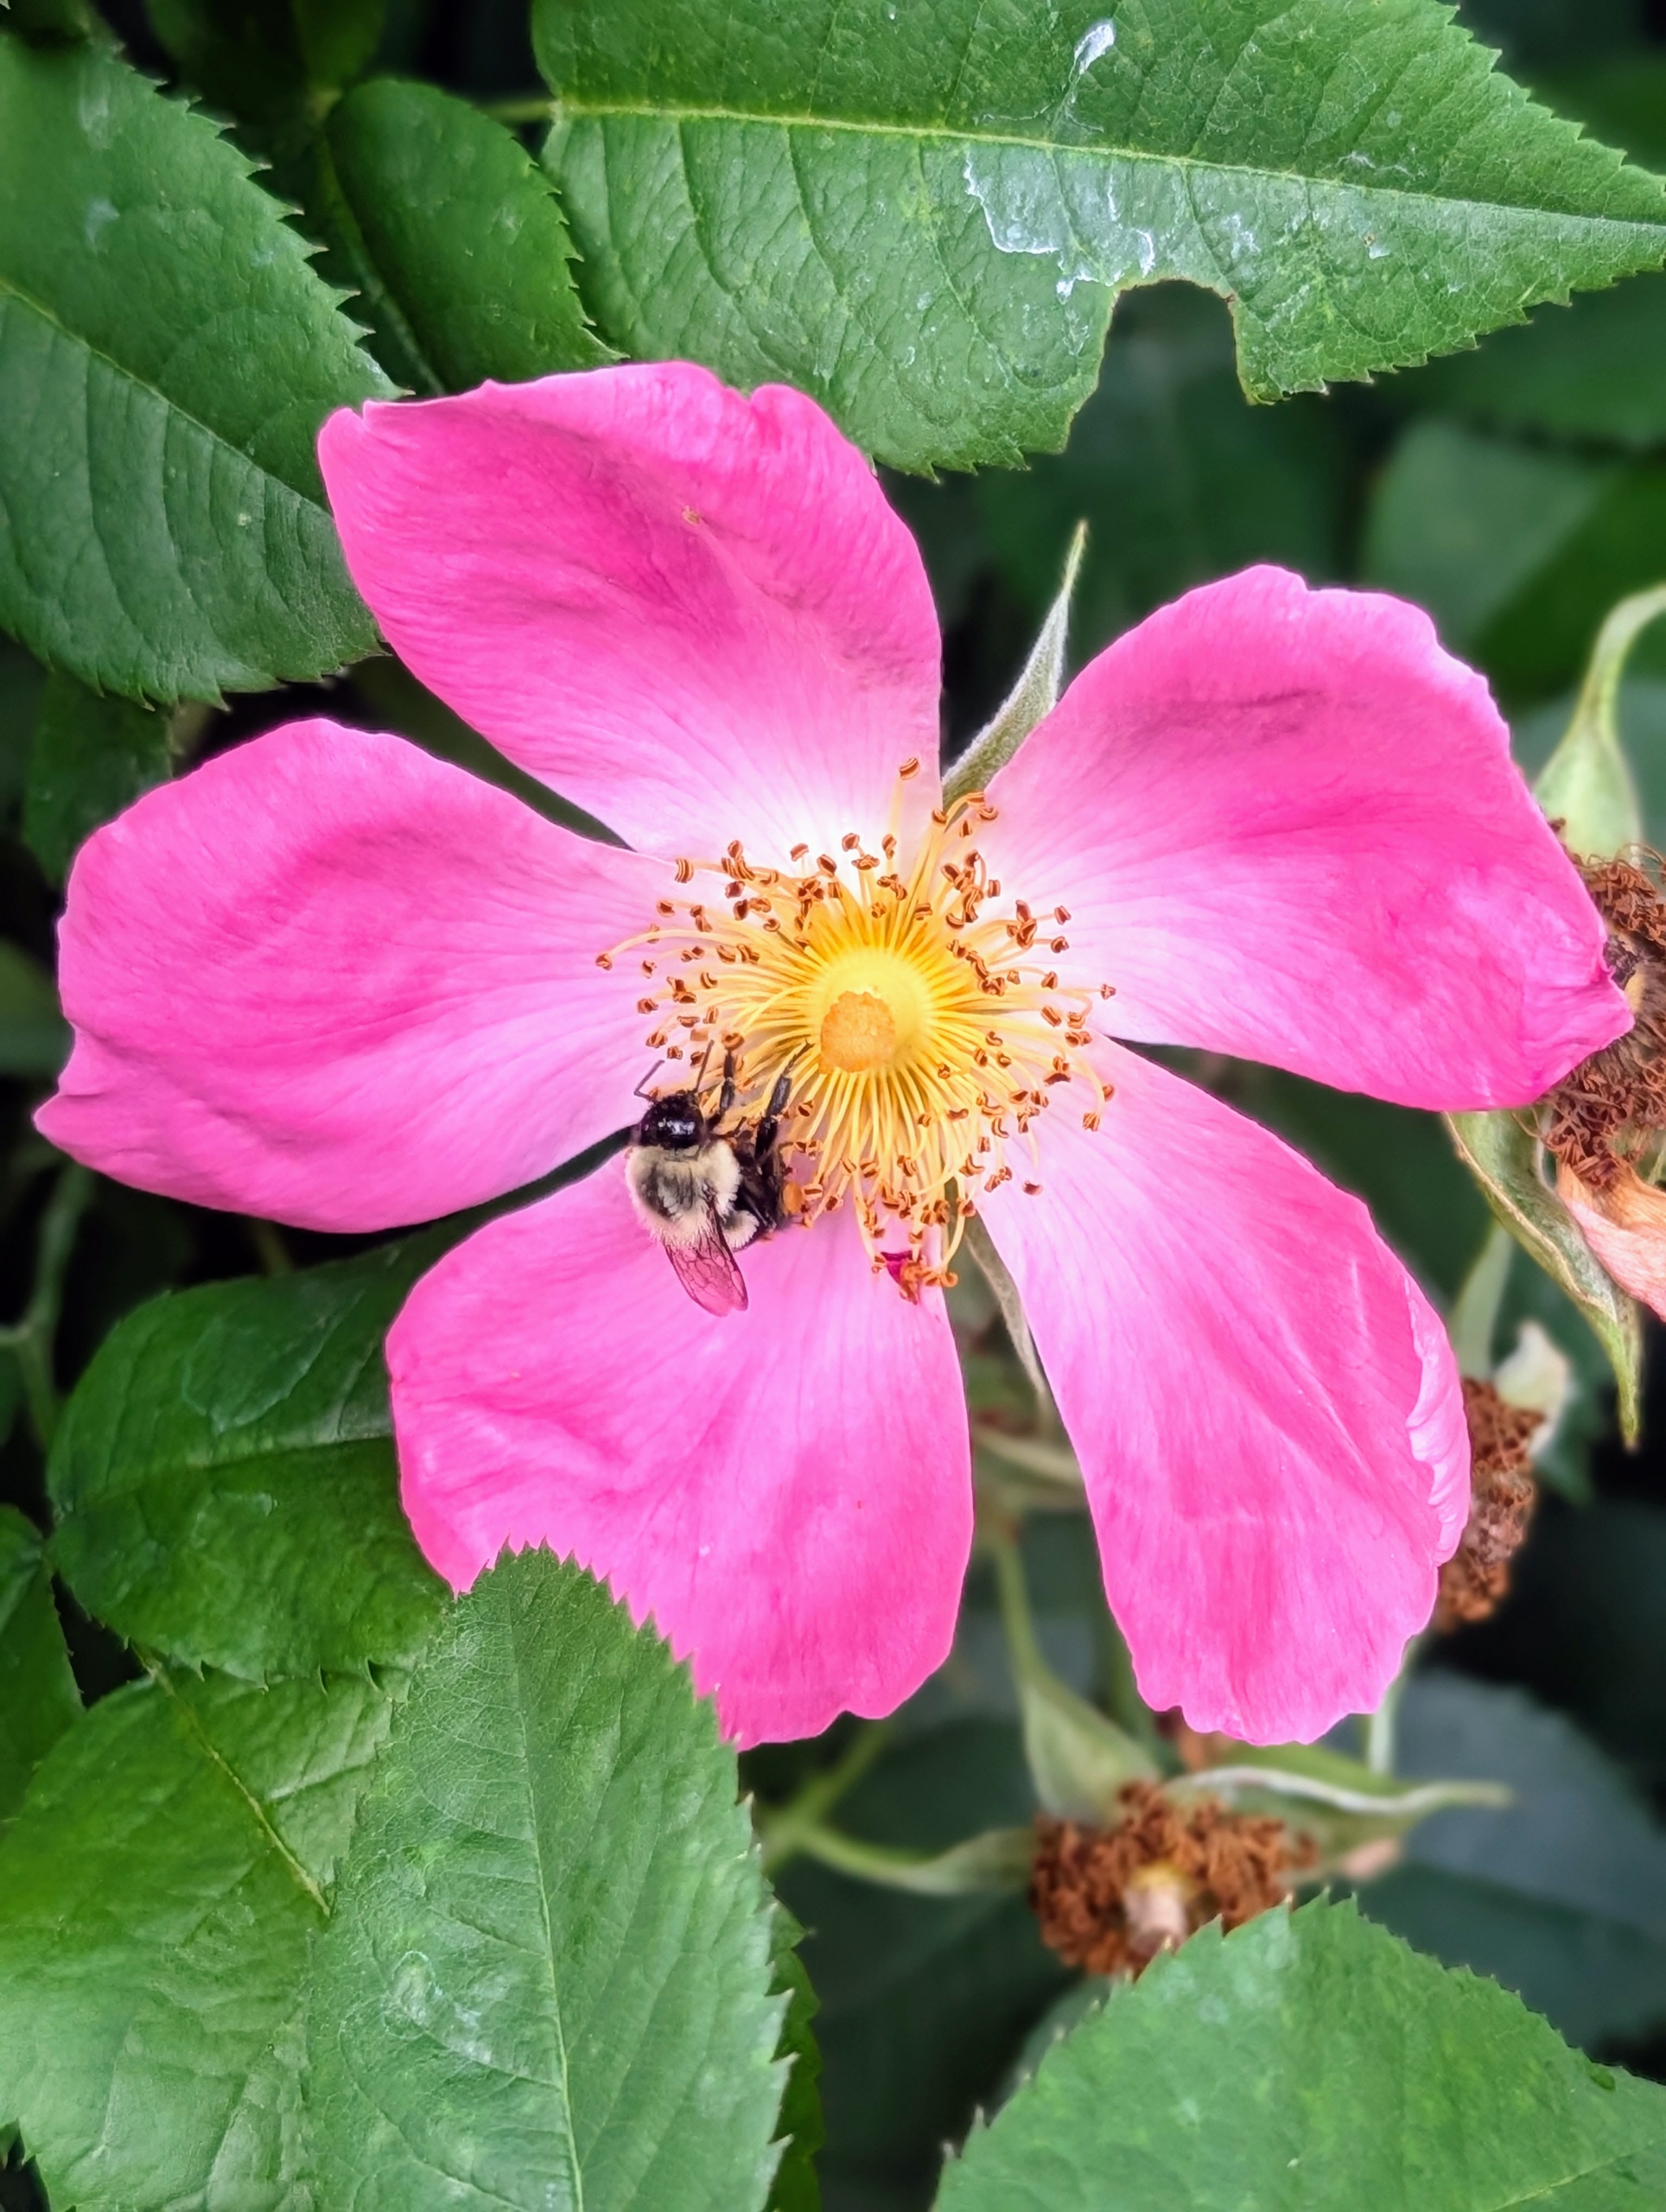
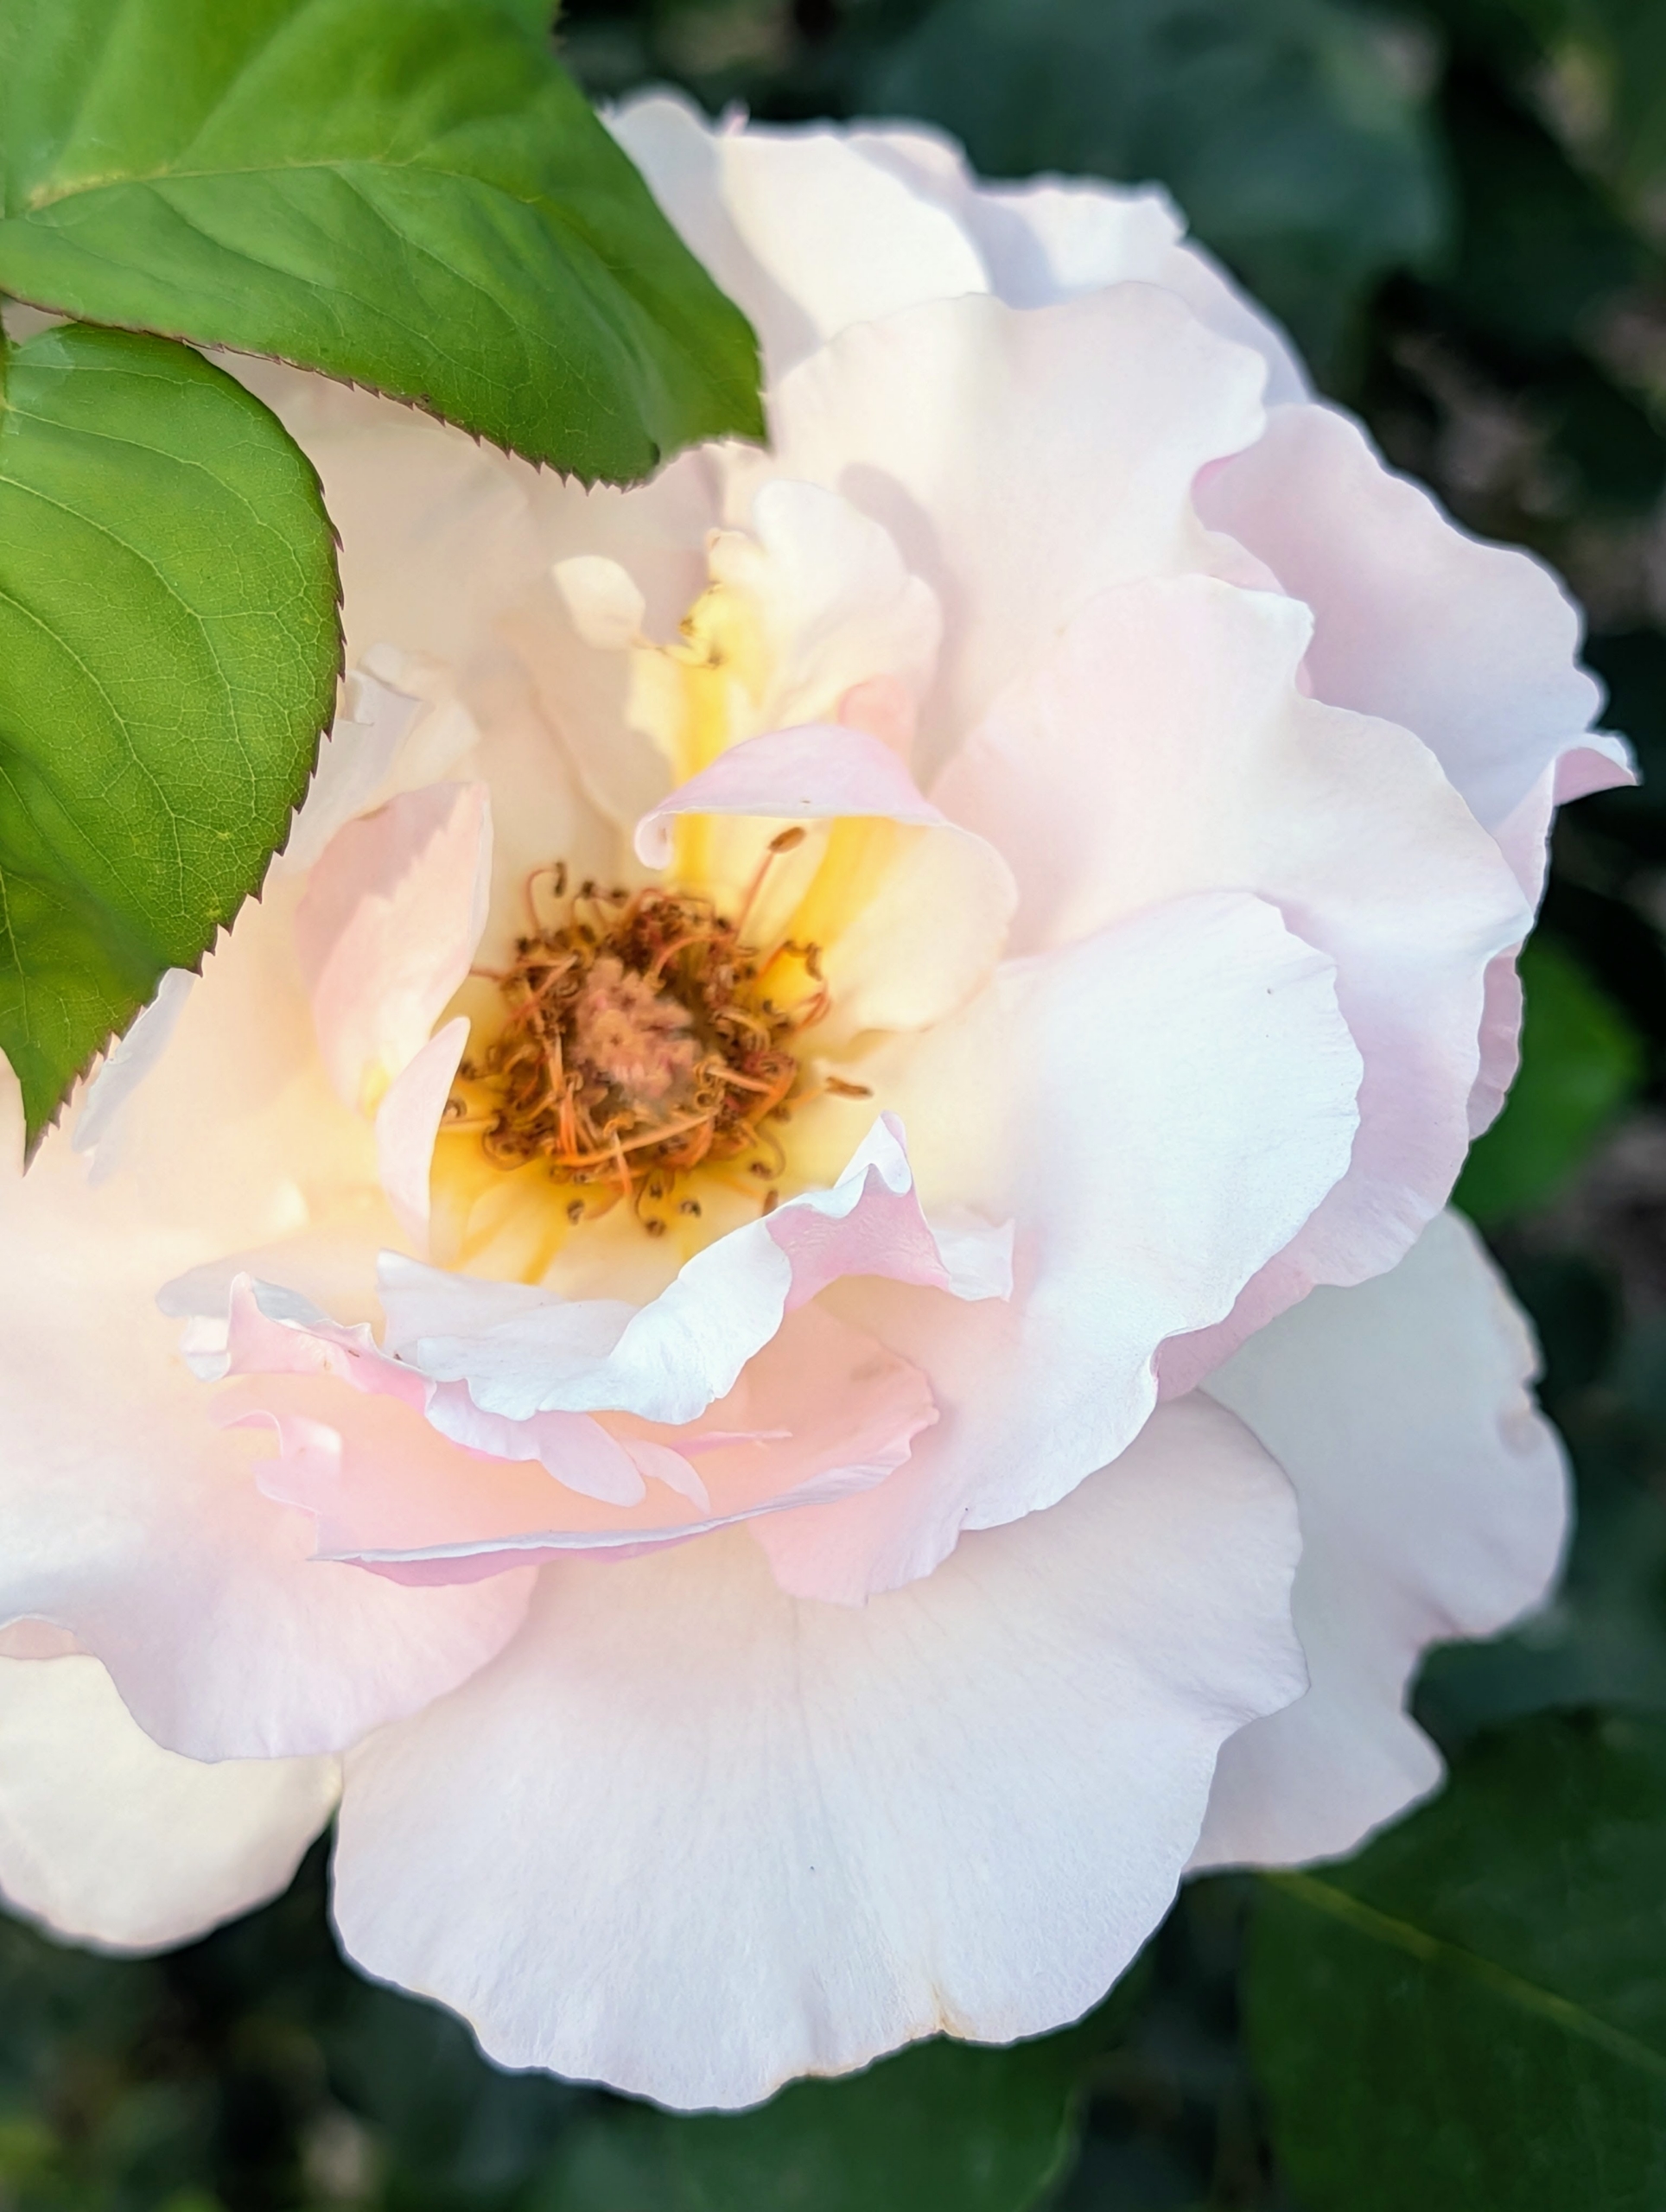
Many roses are loved by bees, depending on the variety, bloom structure, and how much nectar and pollen they produce. Open, single or semi-double blooms that expose the pollen-rich stamens are some of their favorites.
Roses need six to eight hours of sunlight daily. In hot climates, roses do best when they are protected from the hot afternoon sun. In cold climates, planting a rose bush next to a south or west-facing fence or wall can help minimize winter freeze damage.
Among the older roses that I’ve nurtured for many years include Rosa ‘Mme Zoetmans,’ ‘Variegata di Bologna,’ ‘Charles de Mills,’ ‘Ispahan,’ Rosa ‘Therese Bugnet,’ ‘Constance Spry,’ ‘Juno,’ and others.
When watering, give roses the equivalent of one-inch of rainfall per week during the growing season. Water at the soil level to avoid getting the foliage wet. Wet leaves encourage diseases such as black spot and powdery mildew.
To produce an impressive show of flowers, always use nutrient-rich compost, composted manure, and other organic and natural fertilizers, such as fish emulsion. Organic amendments also help to encourage beneficial soil microbes and a well-balanced soil pH. We amend the soil here at my farm every season.
If properly cared for, a rose bush should live for about 30-years or more.